How to Install Klipper on Ender 6: Config and Setup
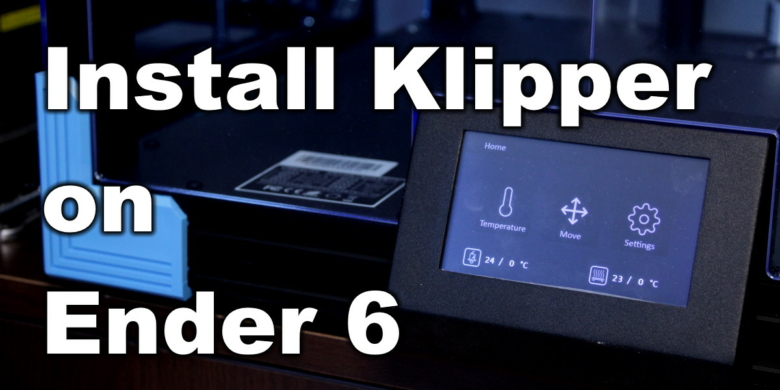
In this guide I will show you how to Install Klipper on Ender 6 using a simple Raspberry Pi Zero. Because the original Klipper build doesn’t work with the Ender 6 screen, we will use a modified Klipper build made by Desuuuu.
What is Klipper?
Klipper is an open-source firmware for your 3D printer that combines the power of a Raspberry Pi and your printer main board for better printer control. By doing this, You are able to run your printer at higher speeds with better precision and control.
Why Install Klipper on Ender 6?
By installing Klipper on Ender 6, you will be able to print faster compared to a stock printer, and you will also be able to control your printer remotely, trough Wi-Fi. You will be able to use features like Pressure Advance and Input Shaper, which will greatly improve your print quality and speed. The touchscreen firmware is also updated which gives you a bit more options compared to stock.
If you want to learn more about Klipper, check out Nero’s video
With a good extruder, you could push the print speed quite high. Here’s an example of print quality and speed with the BIQU H2 Extruder Upgrade I did on the Ender 6.
Prerequisites
To install Klipper on Ender 6, you need to have the following:
- Raspberry Pi Zero W (any Pi will work)
- MainsailOS or FluiddPi – In this guide I will use FluiddPi and a Raspberry Pi Zero
- Creality Ender 6 3D printer
- Micro USB cable – Ensure that your USB cable work for data transfer. There are some cables out there that are good only for charging.
- OTG Micro USB Cable (needed only for the Pi Zero)
Before you begin

Please note that installing Klipper on Ender 6 requires some experience with 3D printers and hardware. This is not a trivial task for beginners, and you may break your printer during the process. If you don’t feel comfortable doing this, then keep the stock firmware.
Read the full guide carefully and install Klipper on Ender 6 only after you properly understood all the steps involved. If you have questions before starting, leave a comment and wait for a reply.
I am not responsible for any damage you may cause to your printer by following this guide. You are doing this on your own responsibility.
The configuration file shared in this article, is made for the stock Creality Ender 6.
Install FluiddPi or MainsailOS on Raspberry Pi
I have covered the FluiddPi installation and the Mainsail OS installation in a previous article, so please follow it before continuing. This will ensure you have the same setup as I do which will make the entire process a bit easier.
In that article I also covered how to install KIAUH which is a helpful tool for installing and updating Klipper.
Connect your Raspberry Pi to the Ender 6 board
The Creality Ender 6 doesn’t have an accessible USB connector like other printers, so in order to connect our Raspberry Pi to the board, we need to open the bottom cover.
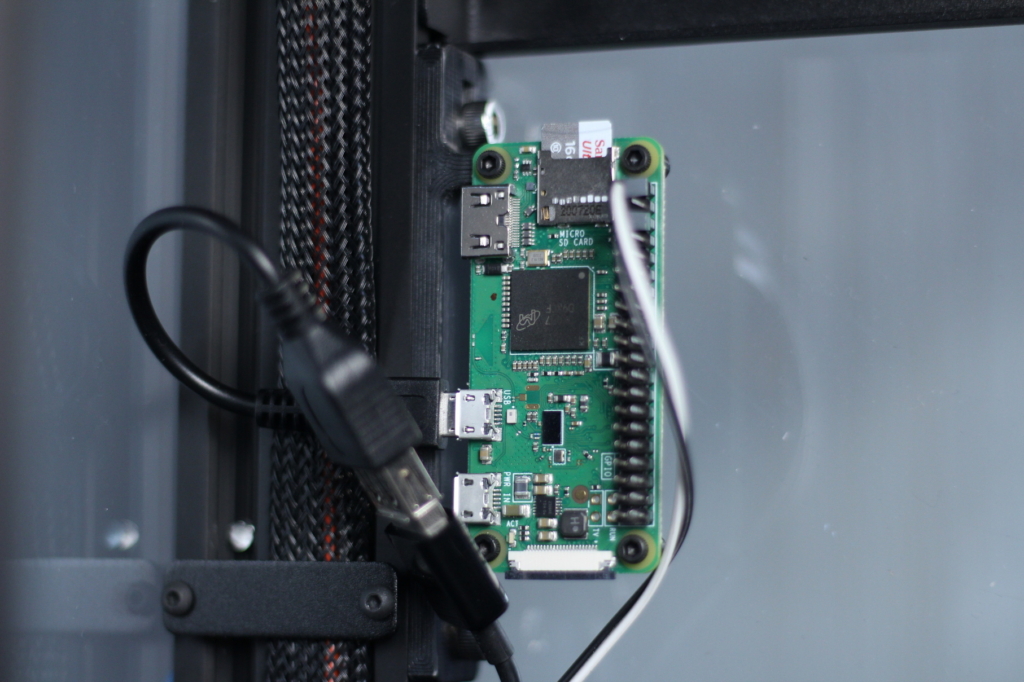
I chose to connect my Ender 6 board to a Raspberry Pi Zero using a Micro USB cable and a MicroUSB OTG cable. I also power the Pi directly from the printer using a buck converter and the GPIO pins. This converts the 24V from the printer and powers the Pi with 5V. The whole setup is shown below.
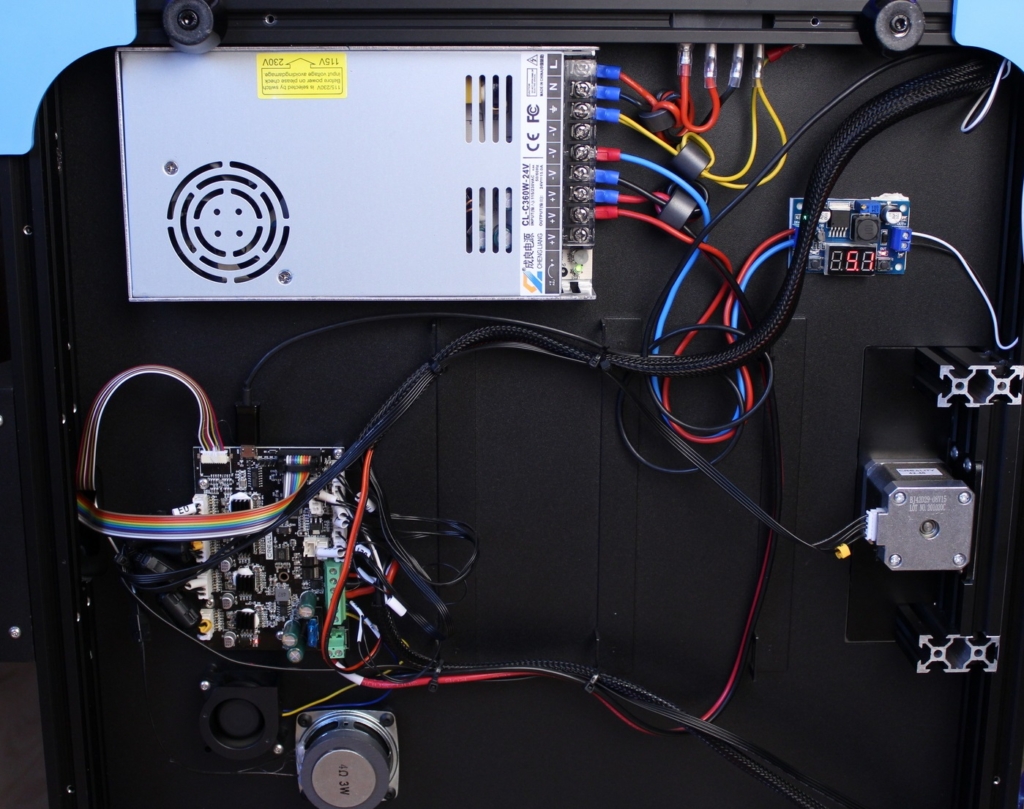
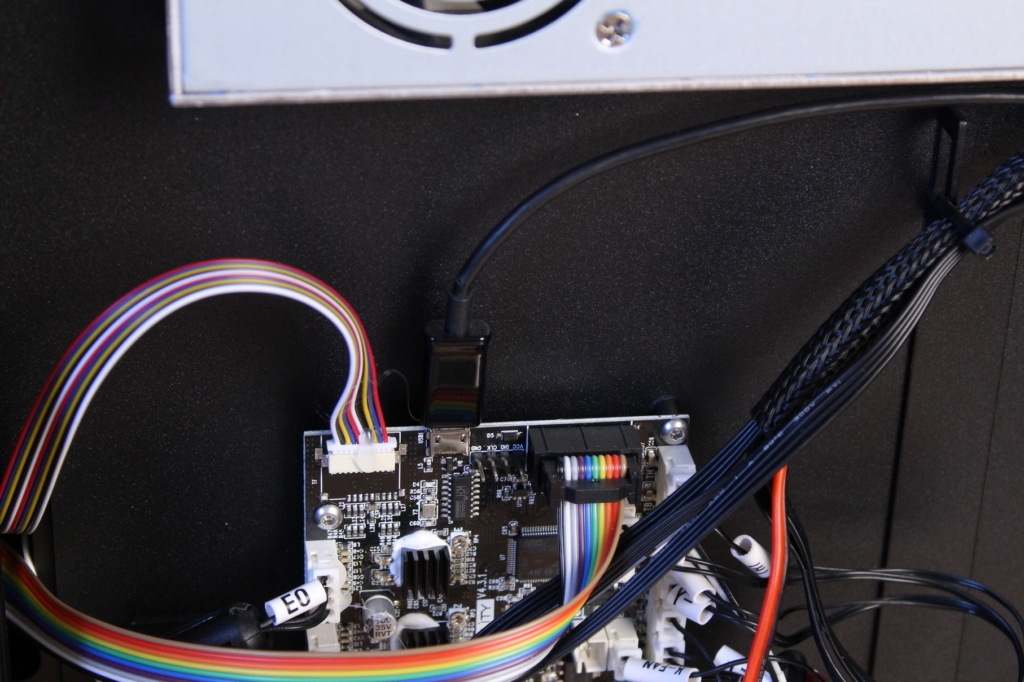
For better Wi-Fi reception and accessibility, I installed the Pi Zero outside the case.
In case you are using a Raspberry Pi 3 or 4, you won’t need the OTG cable.
Prepare and install Klipper firmware for your Ender 6
Merge Custom Klipper build
To use the stock screen with Klipper, we need to merge the custom Klipper setup into the one already installed with FluiddPi. Connect to your Raspberry Pi and run the following commands:
Remove the old Klipper folder
rm -rf klipperClone Desuuuu’s repo
git clone https://github.com/Desuuuu/klipperNavigate to the Klipper folder
cd ~/klipperConfigure the custom Ender 6 Klipper firmware
Open the Klipper Firmware Configuration screen using the following command:
make menuconfigThe Klipper Firmware Configuration screen will appear. Using your navigation keys, move through the menus and replicate the same settings I used.
When finished, press Q then Y to save your configuration.
Now run the following command to start building the firmware:
makeThe build process will start and when finished, the firmware will be ready to install. For the Ender 6, we need to install it from the SD card
Please note that updating Klipper firmware with the vanilla version (using the Fluidd/MainsailOS upgrade option) will break the screen functionality. You need to use the Desuuuu klipper build if you want the screen to work.
How to flash Klipper firmware on Ender 6
Flash the Ender 6 board
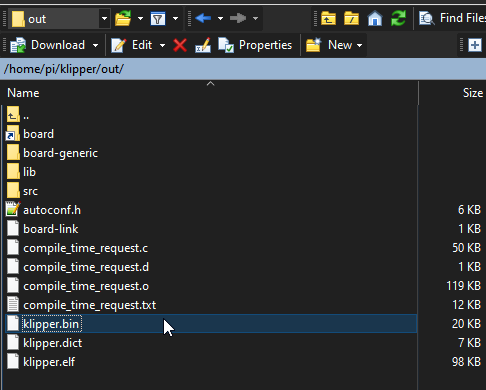
First, connect via SFTP to your Raspberry Pi. I use WinSCP. Enter the IP, username and password just like you did for Putty, then click on Login.

Navigate to /home/pi/klipper/out and copy the klipper.bin file on an SD card.
Next, plug the SD card in your printer and turn it on. The installation process takes about 15 seconds. I recommend you wait for a minute, then remove the SD card and restart your printer.
When you are flashing the board firmware, there won’t be any information displayed on the touchscreen. It might look like the screen is stuck, and the progress bar does not move, but this is ok. Just continue to the next step.
It’s also worth noting that if you want to re-flash the board, always change the filename. The Creality board doesn’t start the flash process again, if you use the same firmware name, as in your previous flash.
Flash the Ender 6 touchscreen
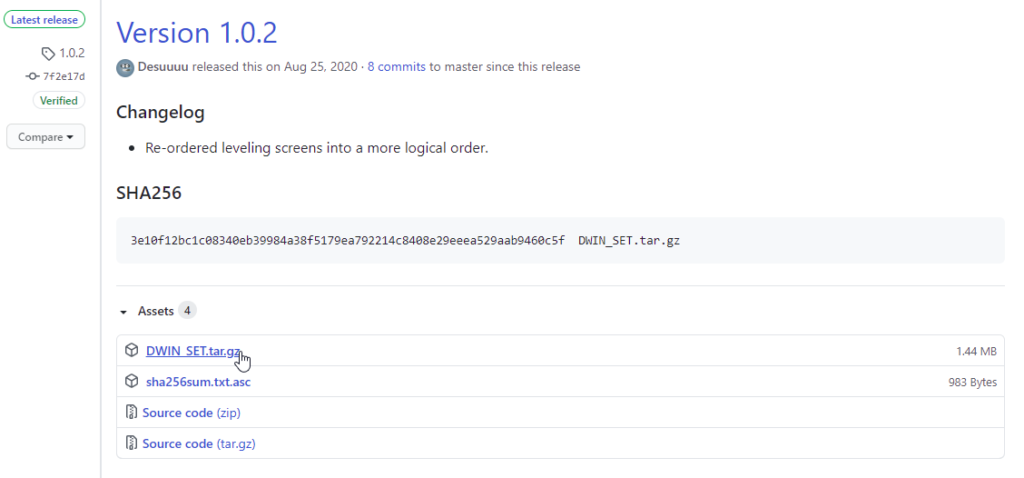
Download the latest release of DGUS Reloaded Klipper firmware from Github
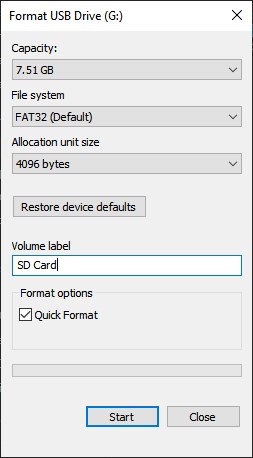
Format your MicroSD to FAT32 with a 4096 allocation unit size. Don’t skip this step. It’s important.
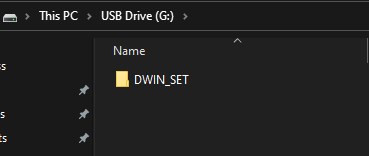
Unzip the archive contents and copy the DWIN_SET folder on the root of your MicroSD Card
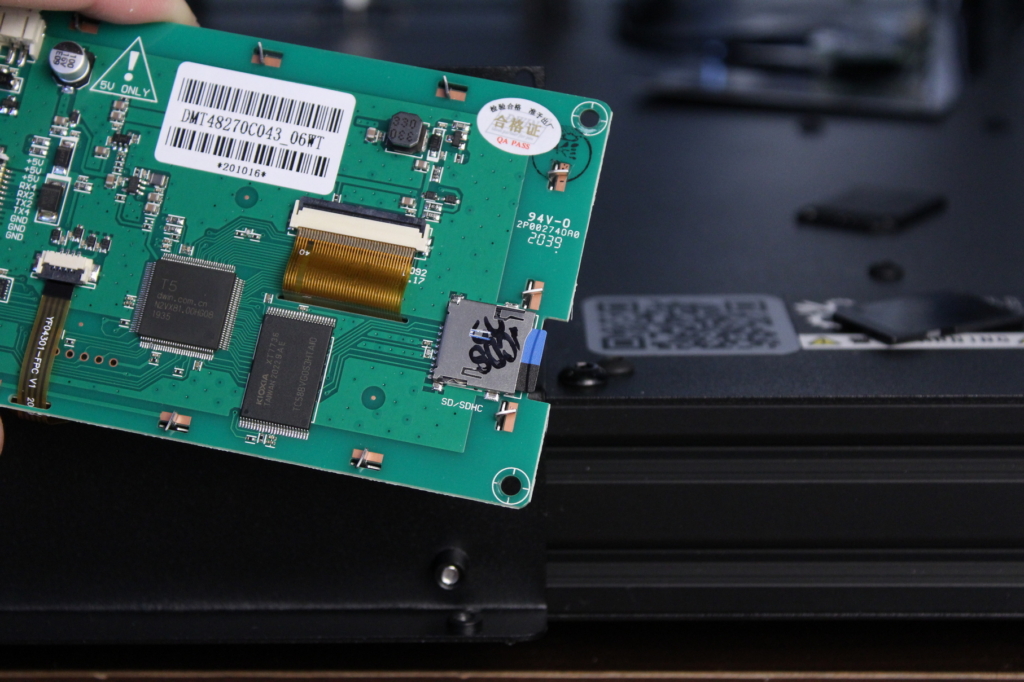
With the MicroSD card ready, we need to remove the touchscreen face plate in order to access the MicroSD card slot. To do this, you need to remove the four hex bolts (behind the screen and underneath).
Once you removed the face plate, unscrew the remaining four hex bolts which keep the touchscreen in place, in order to insert the Micro SD card into the screen.
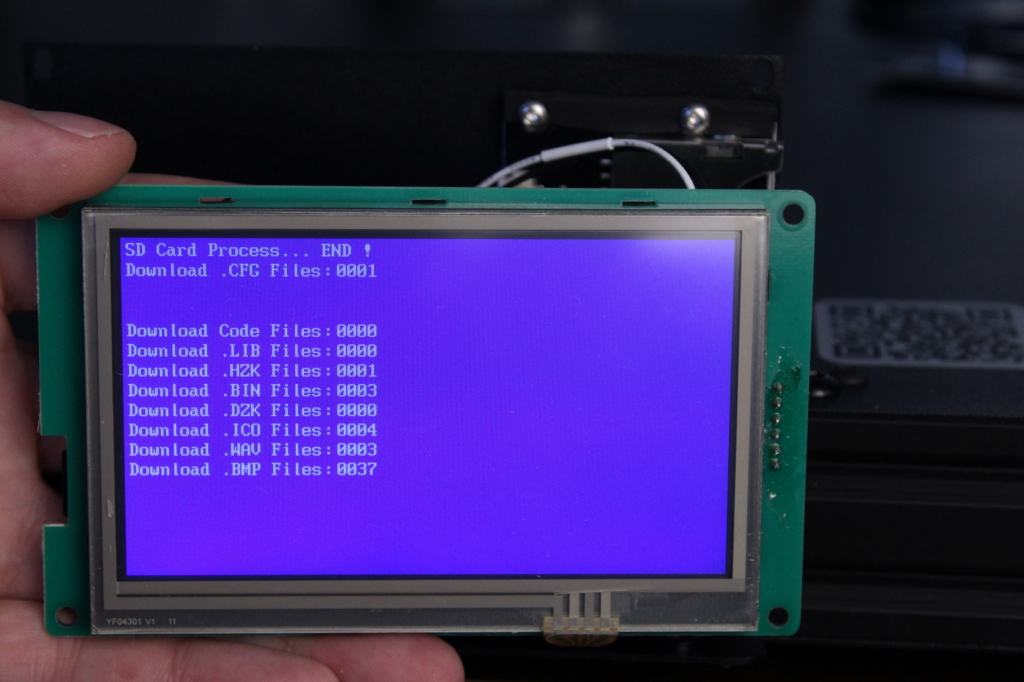
Power on your printer. This will start the installation process. Wait until the “SD Card Process… END!” message shows up, then turn off the printer.
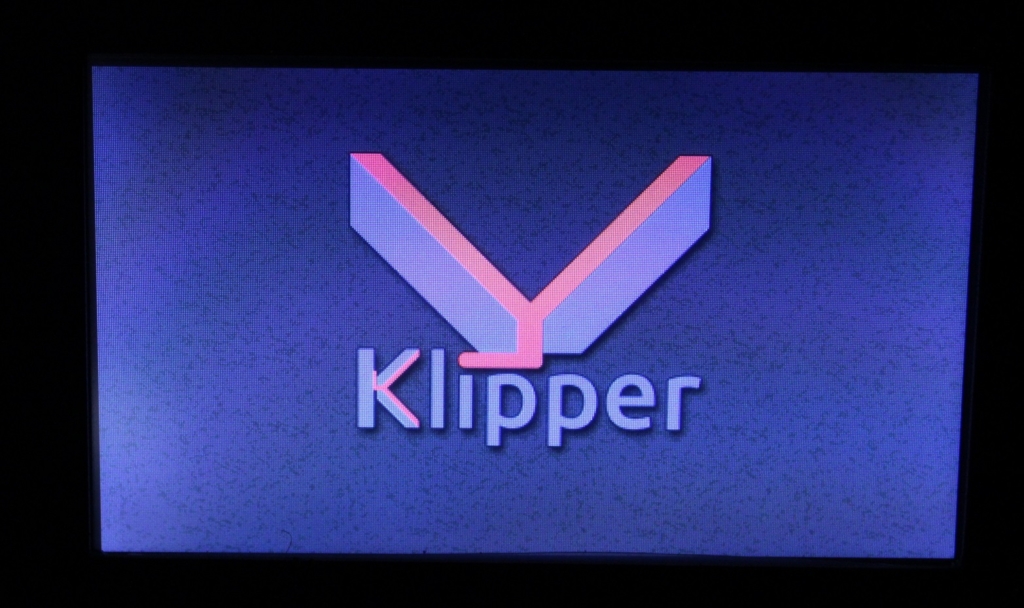
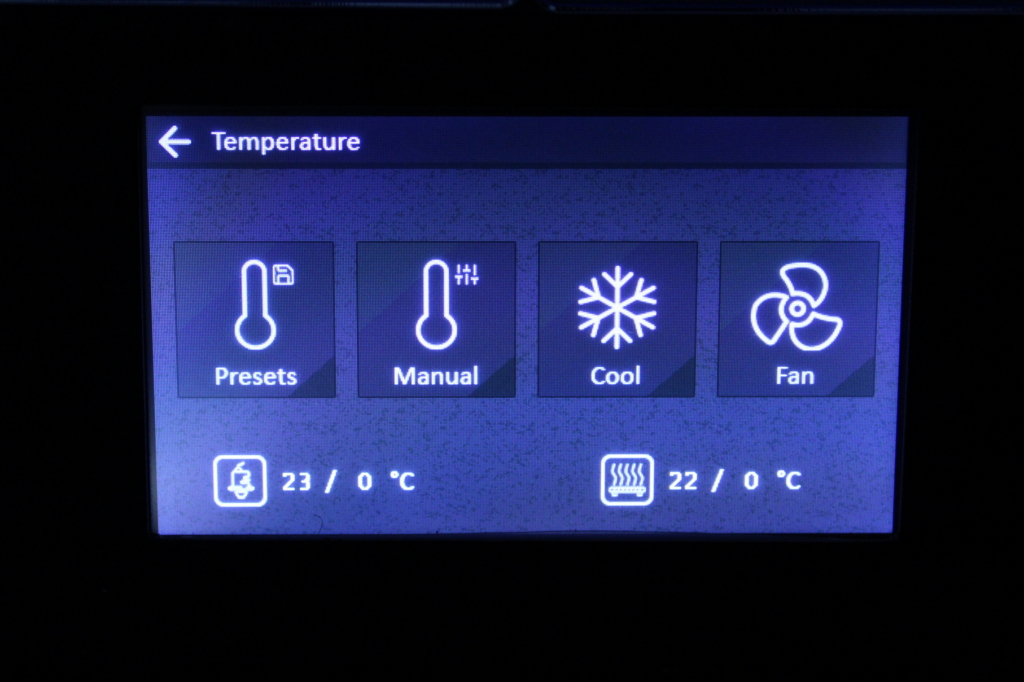
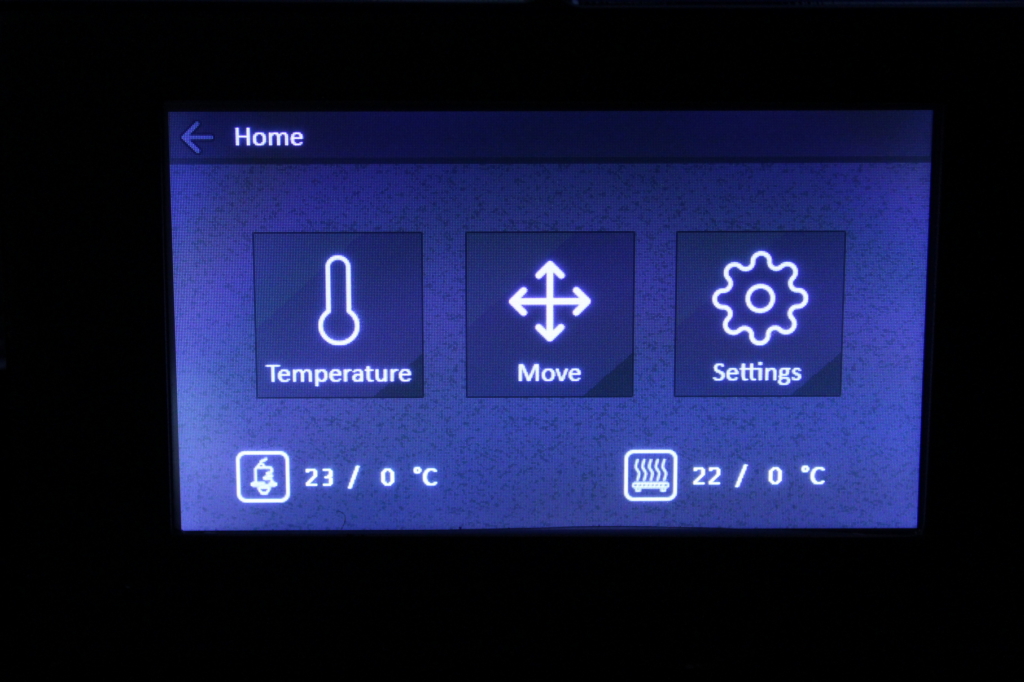
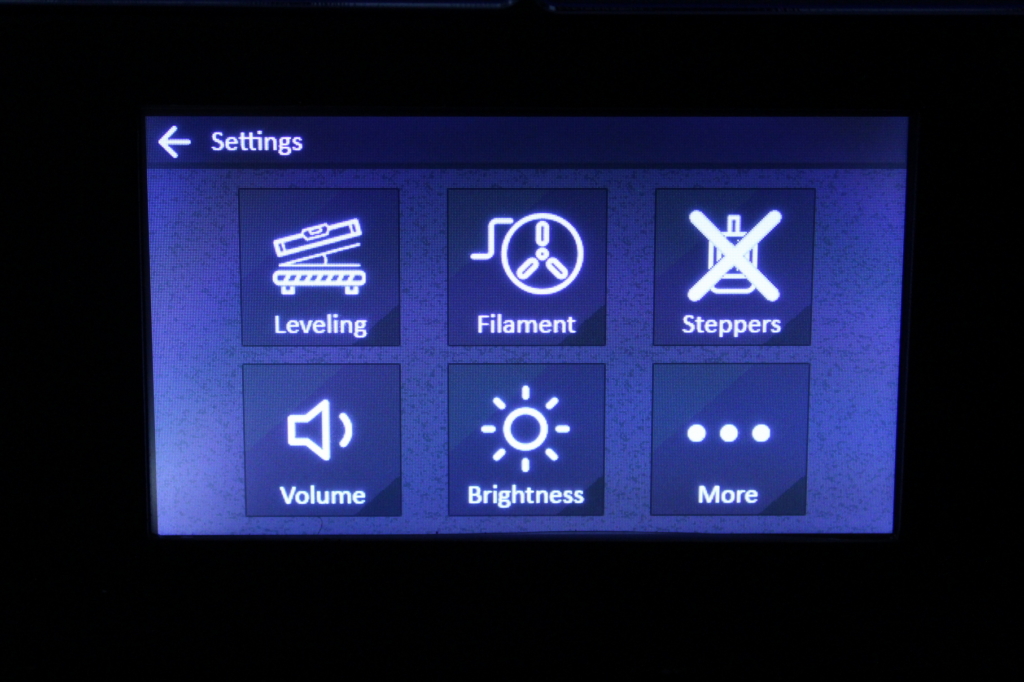
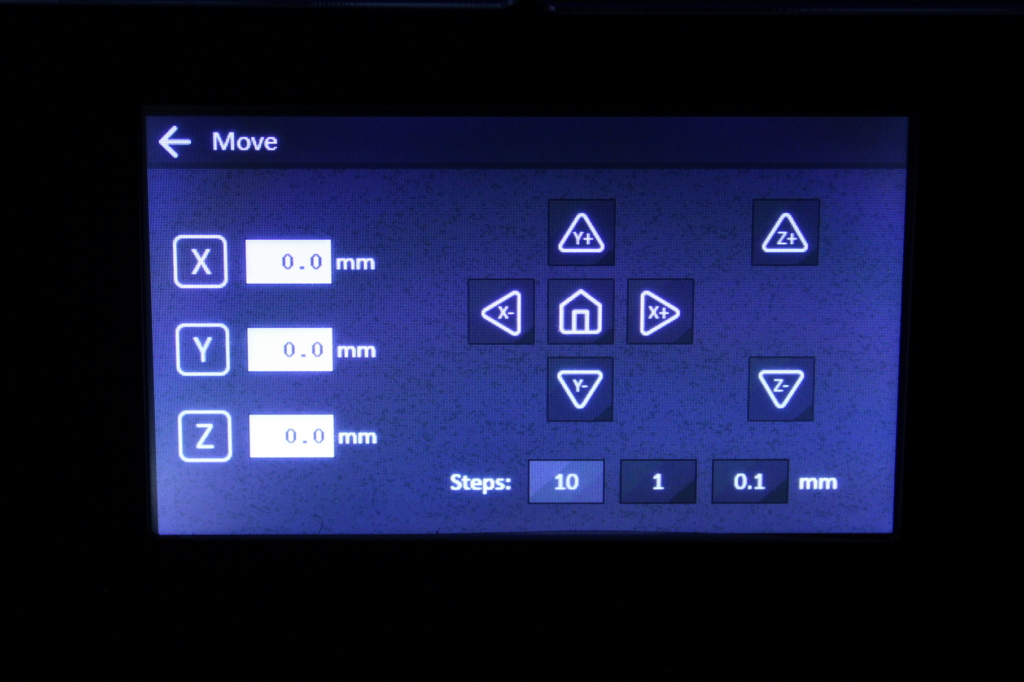
When you start the printer again, the screen will only show the Klipper logo. The main menu will only show up after you connect Klipper to the board.
Copy the Ender 6 Klipper config file
Now that our Ender 6 is running Klipper firmware, we need to copy the configuration file. You can download my sample configuration to get you started.
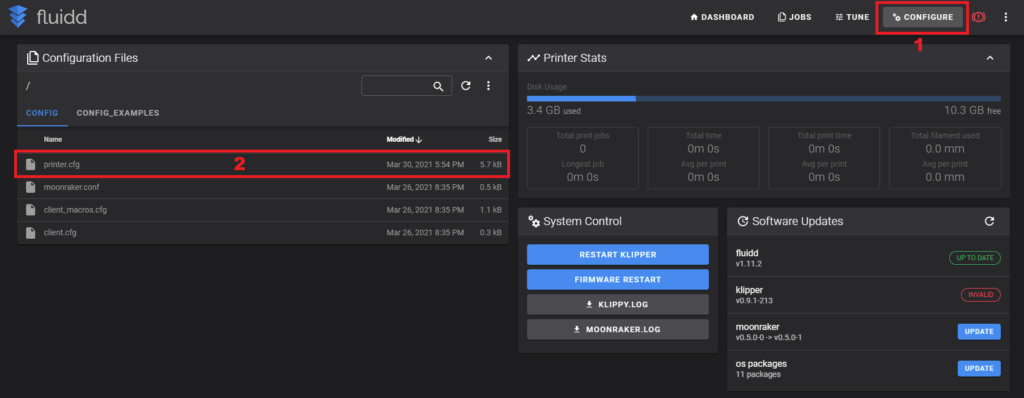
In your FluiddPi Web UI, navigate to the Configure tab, and drag and drop the printer.cfg file in the Configuration Files section
Connect Klipper to your printer
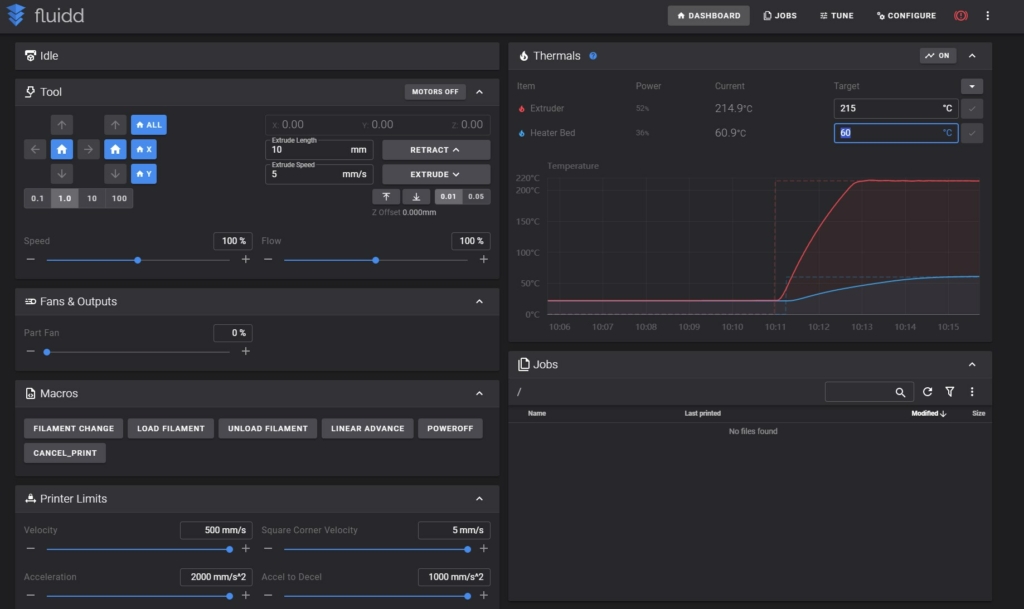
Finally, you just need to connect Klipper to your printer. This is super easy. You just need to go back on your FluiddPi Dashboard and click on Firmware Restart.
This action will trigger the connection between the Klipper service running on FluiddPi and the Ender 6 firmware we just installed. If all the steps have been followed, then your printer will connect, and you will be greeted by this interface.
Feel free to home the printer first, to make sure everything is running correctly. Heat up the nozzle and heatbed and check if the temperature rises as expected. If everything looks good, then you are ready to start your first print with Klipper.
How to revert to Stock Ender 6 Firmware?
If you decide Klipper is not for you, reverting to the stock firmware is easy. First, download the stock Ender 6 board firmware and the Ender 6 touchscreen firmware.
Unzip the files, and copy the contents on the SD card
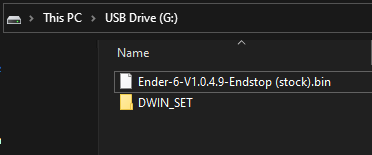
First, plug in the SD card to your printer in the SD Card slot, and restart it. This will trigger the board firmware update and the firmware will be flashed.
Finally, connect the MicroSD card to the touchscreen, and start the printer. The touchscreen flashing process will start. When completed, turn of the printer.
Please keep in mind that after you flash the screen/board once, if you want to try again and re-flash, you need to edit the names of the .bin files. Otherwise, it will not work.
If you have issues flashing the stock screen firmware, overwrite the T5UID1.CFG with the file you downloaded from here, and ensure you use an 8GB MicroSD card formatted with the 4096-allocation unit size. I already included the file in the screen firmware archive but for some reason, it doesn’t work every time.
Wrapping up
Even though the installation steps seem to be a bit hard to follow, I hope this guide helped you and now you are running Klipper on your Creality Ender 6.
Make sure you check out my Ender 6 Upgrades: Paid and Free article where I go over some of the upgrades I plan to do on my Ender 6.
If you encounter issues during your installation, feel free to leave a comment below and I will do my best to help you. Besides that, You can also join the 3DPrintBeginner Forum where there are dedicated threads for Klipper Firmware and Creality printers.
Liked it?
|
|







The screen never shows this message when the screen firmware is complete “SD Card Process… END! ”
Try to format the SD card with 4096 allocation unit and give it another go.
Thanks for the quick reply. I was able to load the screen firmware, I just never got the “completed” message on the screen.
I also used a MAC (disk utility) to format the card and never saw a way to do the 4096 allocation there. Is it possible to do on a MAC?
In the end the screen got the update and was able to display correctly with Klipper.
Thanks for your instruction guide. I was able to do it.
First of all thanks for your guide, it has helped me a lot, you are doing an amazing job here, in my case I have a couple of errors:
Moonraker warnings found.
#policykit-permissions for instructions on how to resolve.
How to fix this??
With that many errors, I would talk to the Mainsail Discord, or just do a fresh install of the latest versions.
DId you ever get it sorted out? I have the exact same errors after a fresh walkthrough of this guide.
When I get to the SFTP portion of the guide. It says to go to:

Navigate to /home/pi/klipper/out and copy the klipper.bin file on an SD card.
But there is no klipper.bin file.
Can anyone help me?
You probably used the wrong config when building the firmware. I recommend trying again.
hey mate, i’ve mirrored your config for creating the klipper.bin, but i get the following error when using USART1 PA10, PA9
Conflicting definition for constant ‘RESERVE_PINS_serial’
make: *** [Makefile:83: out/compile_time_request.o] Error 255
this what i have set
Communication interface serial USART1 PA10, PA9
Enable DGUS T5UID1 Screen
Screen serial interface USART3 on PD9/PD8 - i dont have the option to set it to USART3 like your screenshot
250000 baud rate
If i change serial USART PA10, PA9 to USB the config generates, but not sure if this will actually work.
Any idea on what might be the issue?
Ye, im stuck on the same thing…setting it to USB does not work btw.
Ahhhhaaaa!!!
Got it!
in the guide it says to follow the fluidd install guide and then follow the Ender 6 guide…
Does not work, you end up in “RESERVE_PINS Hell”.
What i did to solve it…yes this is convoluted and alot of trial and error…hours >.<
Any who,
install KIAUH
edit/create “klipper_repos.txt.example”
comment out all the klipper lines.
Add this line instead: desuuuu/klipper,dgus-reloaded
run kiauh REMOVE EVERYTHING.
Install klipper (will now get it from the correct repo for us :))
install moonraker
Install Fluidd (if you want to follow the guide)
IMPORTANT THIS IS WHAT WORKED.
In kiauh hit 4 (advanced menu)
Number 2 (Build only) This will build your firmware (basically the same as makemenu and make, but this works without failing due to the RESERVE_PINS error.).
Update the screen as per the guide.
Voila!
Fully (almost) working Ender 6 with klipper.
I got most stuff working…Buuuuut…BL-Touch >.<