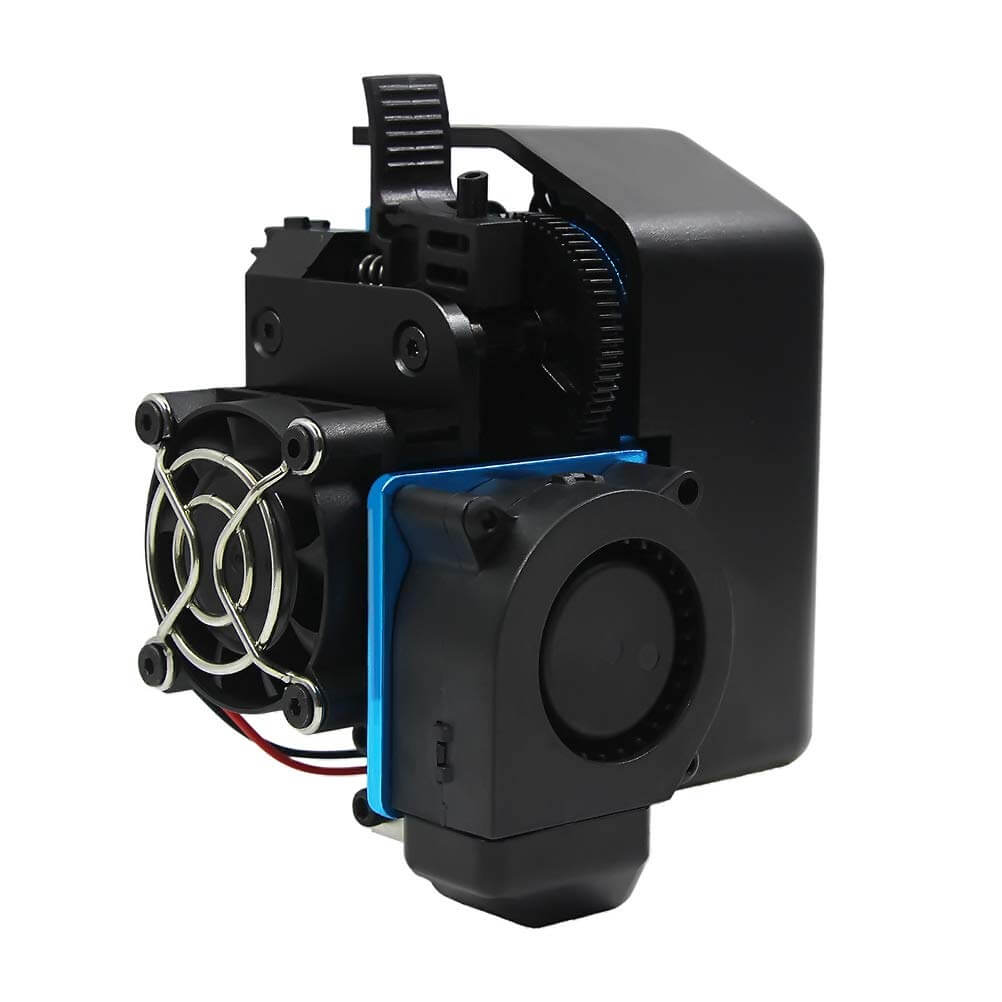
Trianglelab Matrix Extruder Installation Guide for Artillery Genius and Sidewinder X1
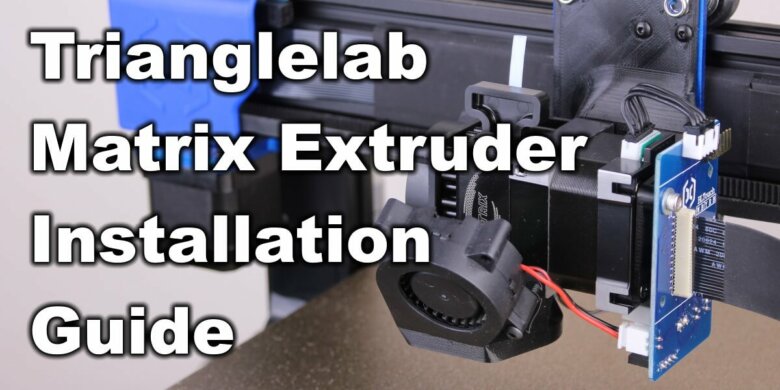
The Trianglelab Matrix Extruder is an excellent upgrade for the Artillery Sidewinder X1 or Genius. You can read more about my experience with it in the Matrix Extruder Review.
In this article you will learn how to install the Matrix Extruder on the Artillery Genius, but the same steps apply to the Sidewinder X1.
Trianglelab Matrix Extruder on the Sidewinder X1 and Genius
Prerequisites
To install the Trianglelab Matrix Extruder on Sidewinder X1 or Artillery Genius, you need the following:
- The Trianglelab Matrix Extruder – 24V
- Printed Hemera mount and fan shroud from Thingiverse (PETG or ABS)
- Digant’s TFT Screen Firmware
- Latest 3DPB Marlin Build for Artillery Genius / Sidewinder X1
Before you begin
Please note that installing the Trianglelab Matrix Extruder on the Sidewinder X1 or Genius requires some experience with 3D printers and hardware. This is not a trivial task for beginners, and you may break your printer during the process.
Read the full guide carefully and install the Trianglelab Matrix Extruder only after you properly understood all the steps involved. If you have questions before starting, leave a comment and wait for a reply.
I am not responsible for any damage you may cause to your printer by following this guide. You are doing this on your own responsibility.
Installation steps for Sidewinder X1 and Genius
Remove the old extruder
To install the Matrix Extruder, we need to remove the old extruder. Easiest way to remove it is to just remove the three black M3 screws from the stock extruder. This way, you will remove the whole extruder assembly in one piece.
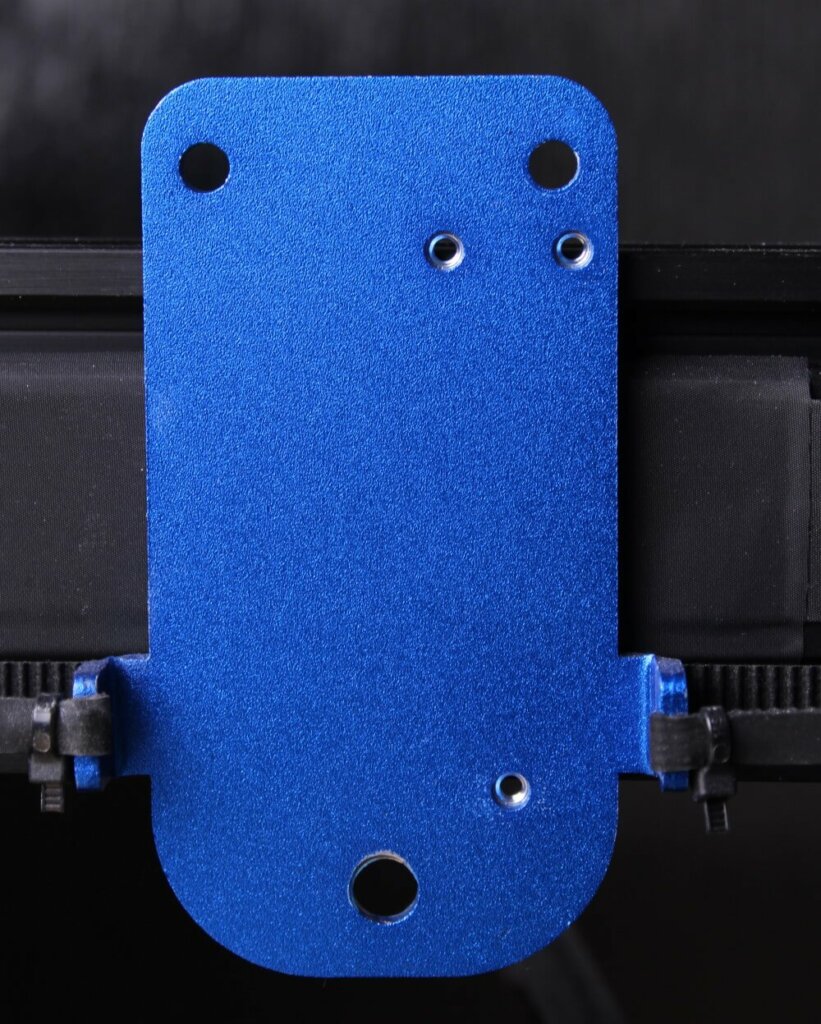
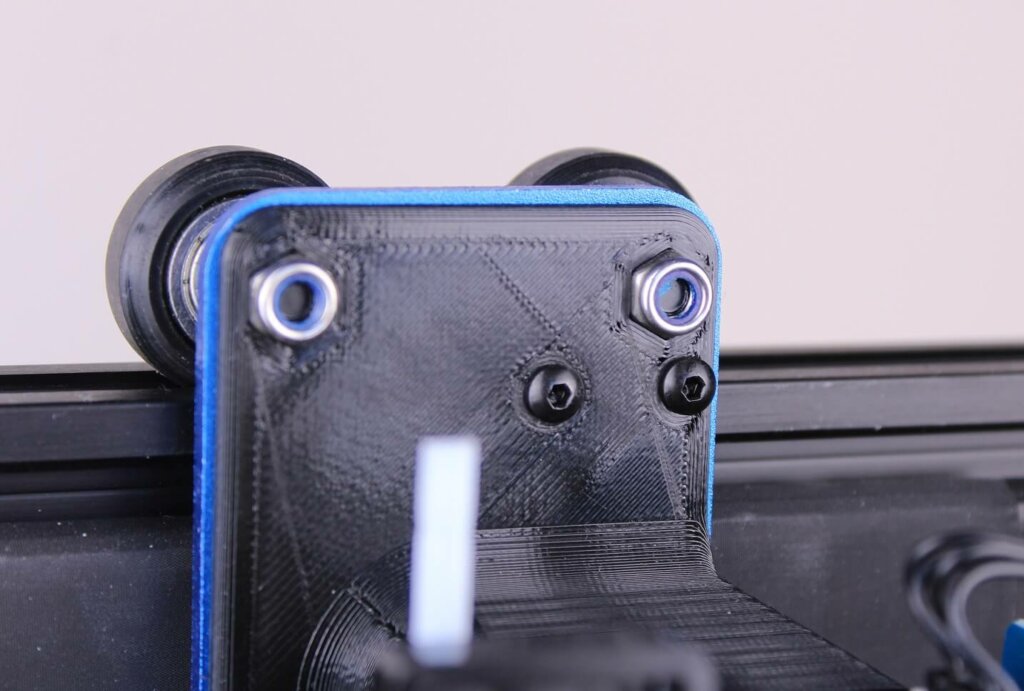
After removing the extruder, this is how the X bracket will look like.
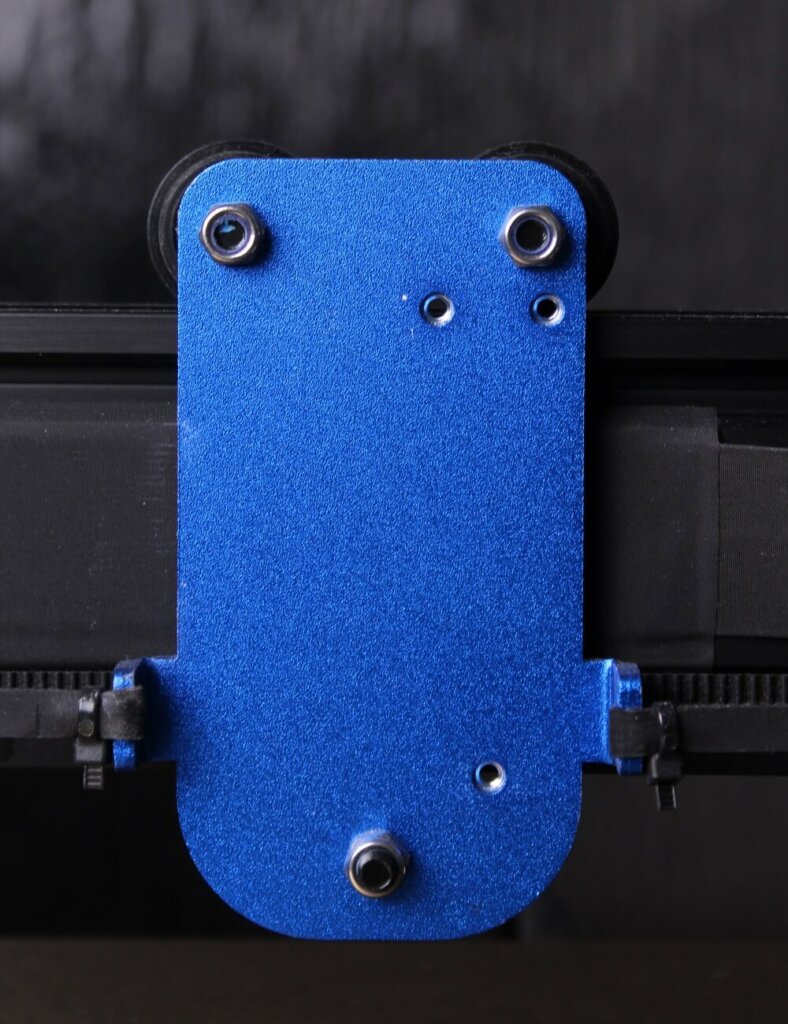
Next step is to remove all the three nuts holding the wheels in place. This will allow you to install the extruder on the machine.
Install the thermistor and heater cartridge
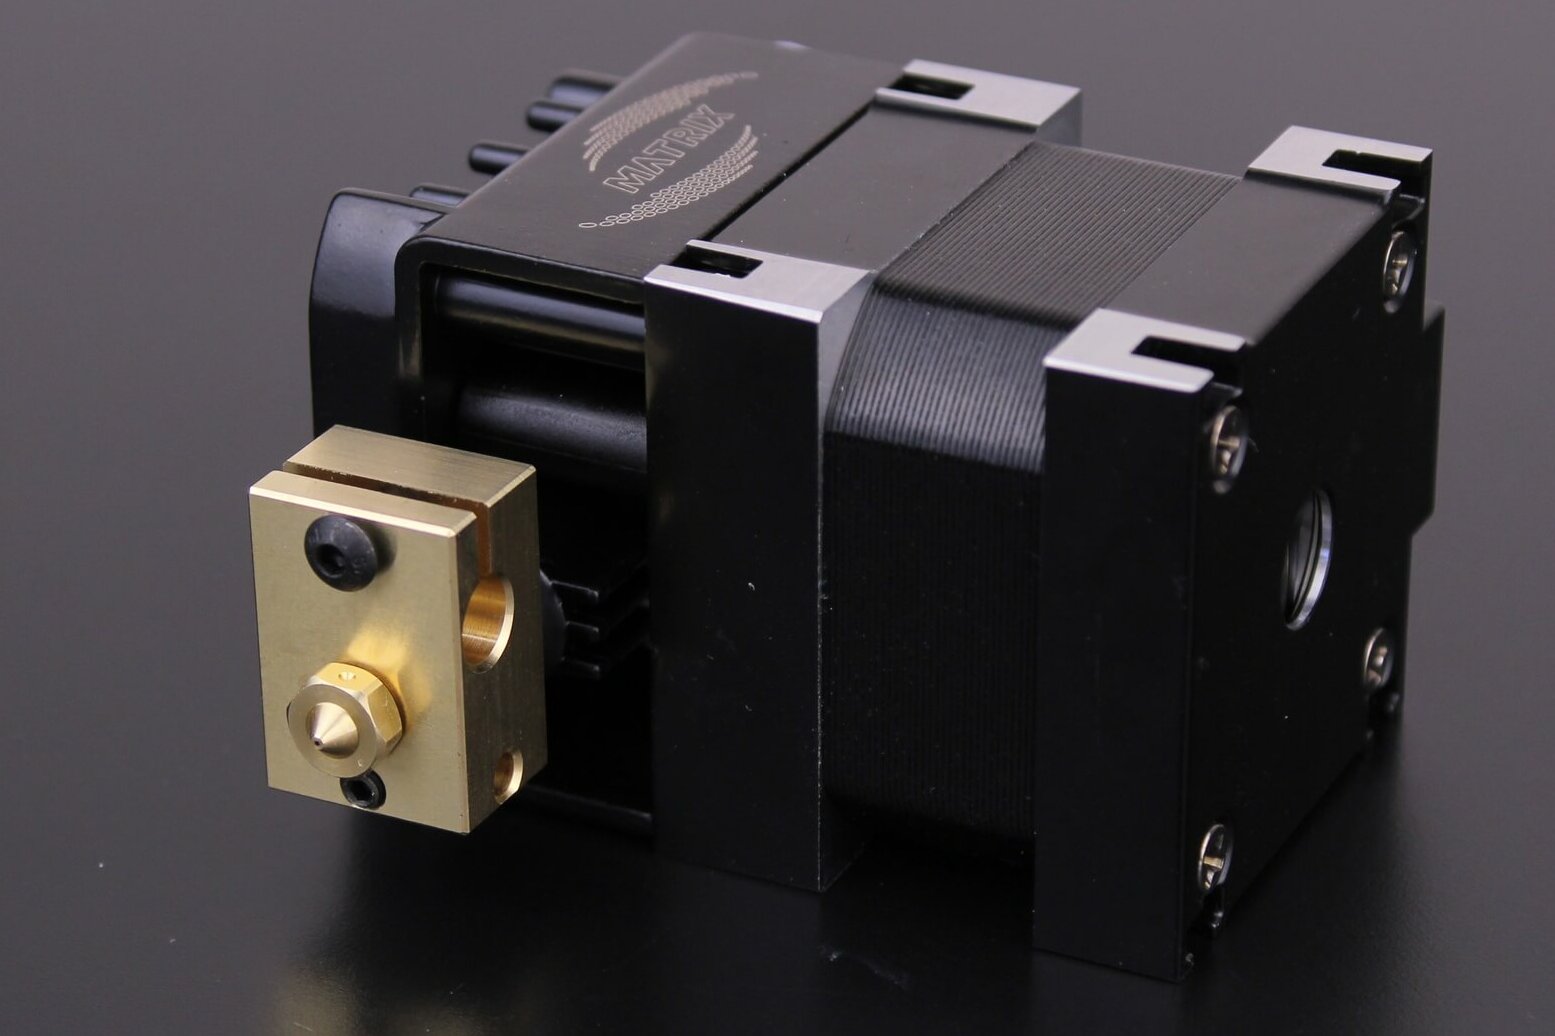
The Trianglelab Matrix Extruder comes mostly assembled, so the thing you need to do is to attach the heatblock to the heatbreak, and then tighten the nozzle to keep it in place.
Please note that the heatblock orientation should be turned 180 degrees from its current position (with the thermistor hole in the front, and the heater cartridge in the back), and NOT like in the image below.
Next, carefully remove the thermistor and heater cartridge from the stock volcano heatblock and install them in the Trianglelab Matrix heatblock.
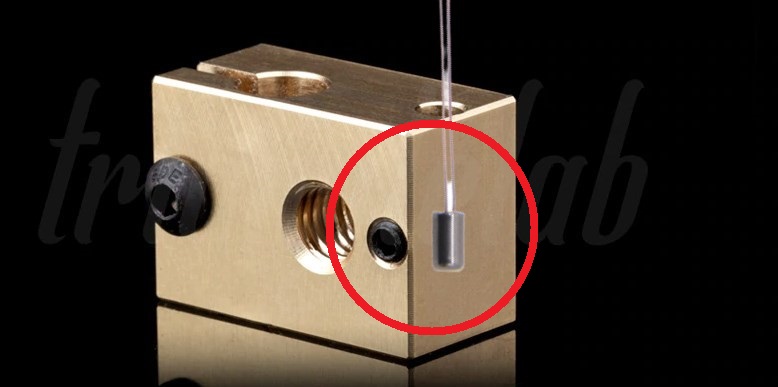
The stock Artillery thermistor is encased in its metal sleeve. You need to carefully insert it into the heatblock and lock it in place with the small grub screw, like in the image below.
It’s extremely important to make sure that the grub screw is holding the thermistor in place. Don’t overtighten the screw, but make sure the thermistor cannot be easily removed.
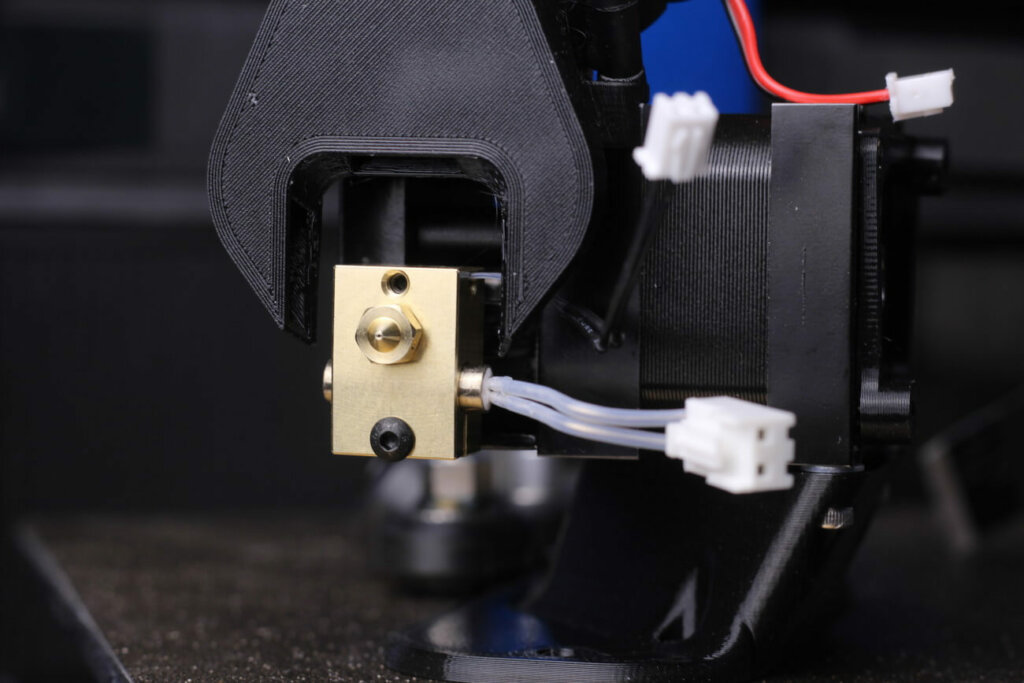
Do the same for the heater cartridge. In the end, the Trianglelab Matrix heatblock should look like in the image below. This image also shows the correct orientation of the heatblock.
Attach the Matrix Extruder to the printed mount
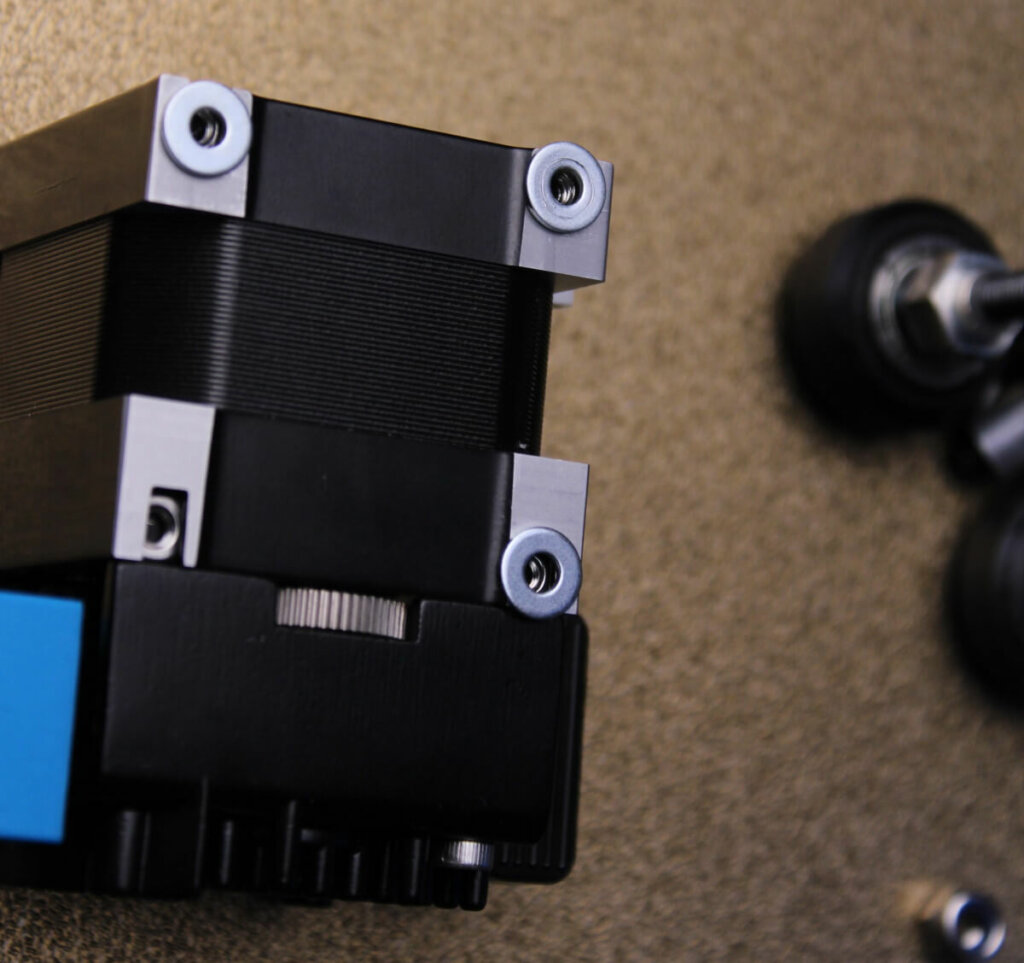
To attach the Trianglelab Matrix Extruder on the printed mount, you need three M3 washers and three M3x10 screws from the package. I installed the three washers because without them, the M3x10 screws were a bit too long.
If you have M3x8 washers, you can use those and ignore the washers.
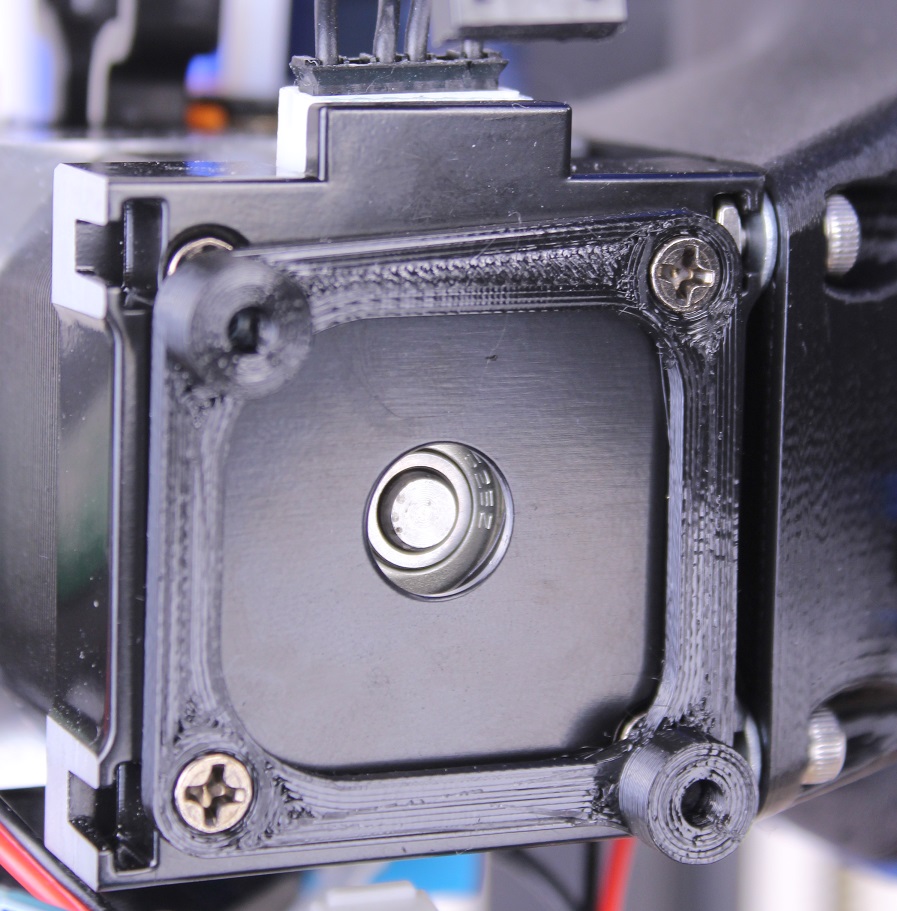
After installing the mount, you need to remove two screws from the extruder motor and install the printed spacer for the breakout board, then finally attach it to the motor.
Next, install the 4020 radial fan from the stock extruder, and make sure it’s properly centered. I’ve used one of the black M3 screws I removed from the stock extruder. Removing the stock fan shroud from the fan will take a bit of force because it’s glued, but if you’re careful, you will be able to remove it and install it on the new printed duct for the Matrix Extruder.
This is how the Trianglelab Matrix Extruder assembly should look like, when it’s ready to be installed on the machine.
Of course, don’t forget to also install the 4010 fan, as shown in the images above.
Install the Matrix Extruder on the printer
Now that the extruder assembly is done, we can attach the extruder to the printer. The easiest way to do this is to first attach the top wheels and tighten the screws.
Next, install the bottom wheel and adjust the eccentric nut until the extruder is fixed. You should tighten it just enough so that the extruder is fixed, and you can barely spin the wheel with your finger. If you overtighten the bottom wheel, you will damage the wheels and print quality will be degraded.
This is a back video of the extruder assembly with the Matrix Extruder installed.
If you carefully followed all the steps, then the Trianglelab Matrix Extruder is now installed on the machine, and it should look like this:
Flash latest Marlin firmware with inverted motor
The Matrix Extruder is now functional, but if you try to print anything, you will notice that the gears are turning in the wrong direction.
The extruder motor direction needs to be reversed in the firmware. For this, you just need to edit the #define INVERT_E0_DIR section in configuration.h then re-compile the firmware.
To make things easier, I already compiled the firmware for the Sidewinder X1 and Artillery Genius with the motor direction changed. This is made for a completely stock machine, with just the new added. Download the firmware and follow this guide to install it.
Sidewinder X1 (stock with Matrix Extruder) – UNTESTED
Artillery Genius (stock with Matrix Extruder)
If you are using RepRap firmware, you just need to edit the config.g file and change the S0 value to S1 on your extruder motor then restart the printer.
While you’re at it, also install the Artillery Sidewinder X1 / Genius TFT FW from digant (currently artillery_tft_fw_0.26.1_patch_8.8.rar) because it’s the most complete TFT screen firmware out there. You can follow the TFT installation guide I wrote, but using his screen files.
Set your new Z Offset
My favorite way of setting up the Z offset for machines which don’t have a leveling sensor is by manually adjusting the endstop and trigger point.
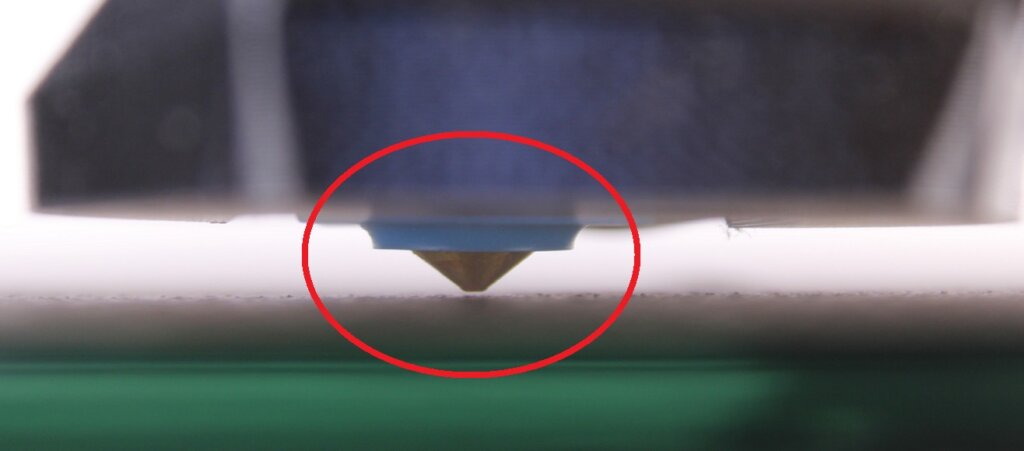
To do this, I manually lower the Z axis until the nozzle barely touches the bed (~0.1 mm)
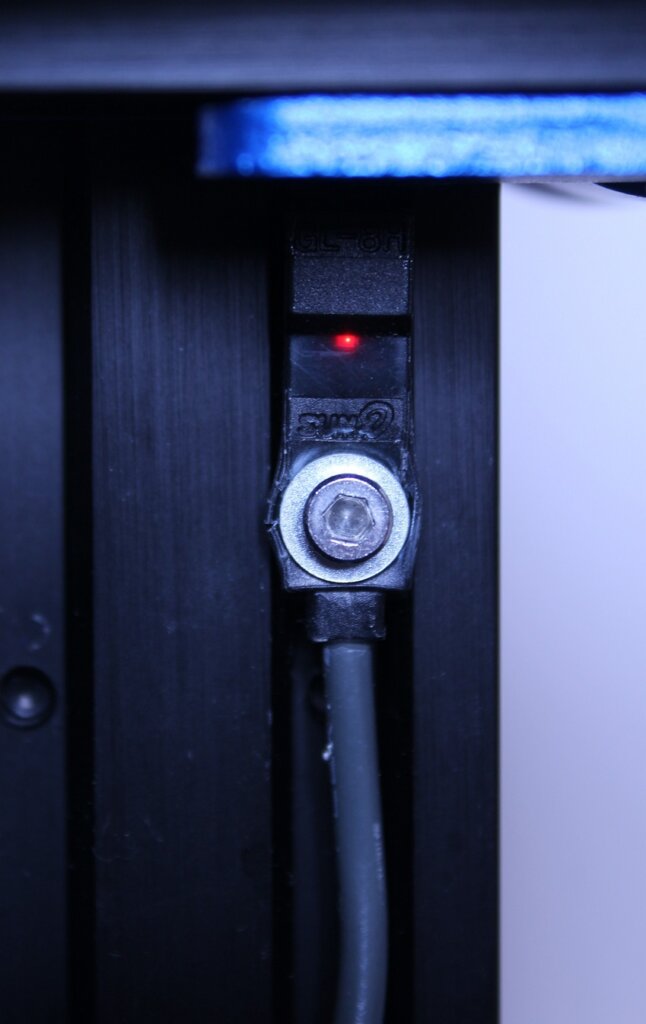
With the nozzle close to the bed, I adjust the position of the Z endstop until it triggers. In this case, until the LED light turns on.
After carefully tightening the endstop in position, I home the Z axis and the nozzle should stop in the same position.
Please note that your bed should be properly leveled before doing this. I had my Artillery Bed Leveling Mod installed so there was no problem with that.
Final checks
We didn’t tighten the nozzle completely, so to do that, heat your hotend to 270C then do the final tightening. Don’t overtighten it. If you need a better way to tighten your nozzle, I recommend using a torque wrench like instructed in the Nozzle Change guide.
It’s recommended to perform a PID tune to make sure the hotend temperature is stable. You can follow the PID Tuning Guide to do this.
Wrapping up
Hopefully, this article was helpful to you and now you have the Trianglelab Matrix Extruder installed on your Artillery printer. If you have any issues along the way, feel free to post a comment.
Check out the Artillery Sidewinder X1 Upgrades article for other upgrades you can do to your Artillery 3D printer. Most of them are compatible for both Artillery Genius and X1.
You can also join the 3DPrintBeginner Discord server where you can receive help along the way.
Liked it?
|
|

