Marlin 2.0.x on SKR 1.3 with TMC2208 in UART mode
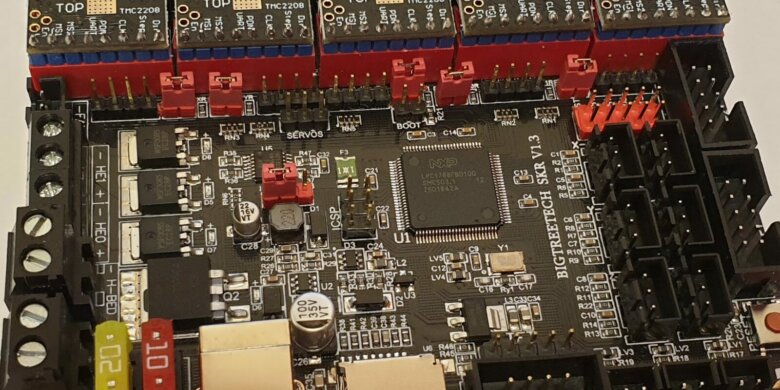
My old Anet A8 original motherboard had a faulty stepper driver. Without it the extruder was not working properly anymore, so this was a great opportunity to upgrade to a 32 bit motherboard.
Being a cheap and powerful board, the SKR 1.3 was the obvious choice. Besides the board, i also ordered 5x TMC2208 stepper drivers that provide silent operation and precise movement.
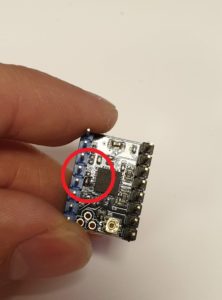
In order to run the board with the TMC2208 drivers, i needed to setup the board jumpers like in the picture below. I also moved the board jumper from 5V to 12V in order to power the motherboard from the 12V power supply.
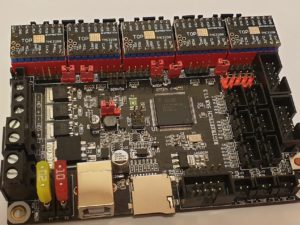
After this, i soldered the J2 pin from all five TMC2208 drivers and plugged them on the motherboard.
The easy part was done. Now, the software part was a lot harder. I needed to download Visual Studio Code and install the PlatformIO extension in order to be able to compile and flash the board. I opened the project folder, and started editing the Configuration_adv.h and Configuration.h files.
If you are a beginner, you probably don’t want to mess with that, so it’s easier just to download my config files and flash your board with it. In this Google Drive link, you will find the complete archive with Marlin Bugfix 2.0.x and the configuration files already set for TMC2208 drivers in UART mode for the SKR 1.3 board. It is recommended to always download the latest Marlin version available and then port the configuration files. When porting the configuration files, make sure you also copy the platformio.ini file.
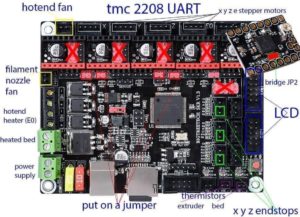
Please note that i use the E1 connector as the second Z motor, so make sure you connect it the right way.
I also found this drawing that helped a lot. Unfortunately, i don’t remember where, but kudos for the author.
After compiling, a firmware.bin file will be generated in Marlin-bugfix-2.0.x\.pioenvs\LPC1768 folder. You need to take that firmware, and put it on the SD Card provided. Make sure to delete the .cur file before. Next, plug in the SD Card in your board and power the printer. In a few seconds, the firmware will be flashed and you will see the home screen.
The firmware can be flashed directly with the one provided by me in the link, if you have the configuration listed below, but you will need to be really careful when homing the printer for the first time. Most probably, the home offsets are not the same, and you may drive the hotend trough the heatbed.
- SKR 1.3 board
- TMC2208 stepper drivers set in UART mode
- 12864 RepRap Display
- Dual Z motors
- Single Extruder
- No auto level sensor
- AM8 Frame
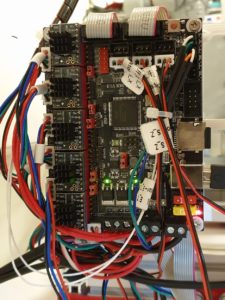
I also printed the SKR 1.3 mount .STL made by neb1 from Thingiverse, in order to mount the board on the AM8 2020 aluminium frame.
If you need any help, please let me know. I will try my best to help out with the configuration. Also, please note that this is not a complete guide, and the information provided is for your reference only. I am not responsible for any faults that may occur if the configuration is not done properly.
Happy printing
Liked it?
|
|

