Build A Resin Cure Light: Cure The Inside Of Your Models
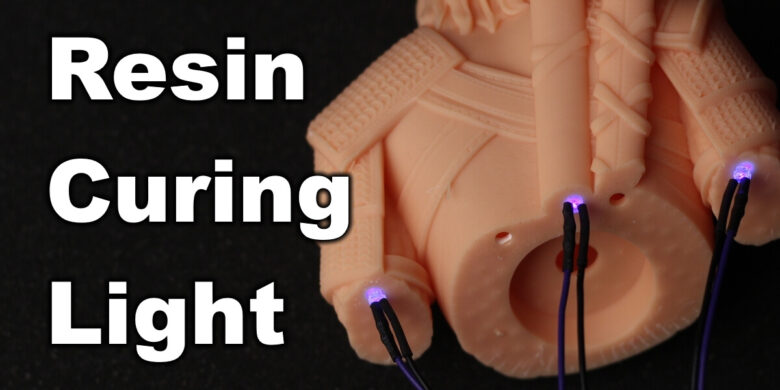
Resin 3D printing can be fun, and the results are amazing once you figure out a process from slicing the model to completing the post-processing tasks. And this post-processing issue has been my arch enemy for a while because resin 3D printing can be quite messy.
You need to clean your models using stinky IPA, cure the models with UV light then spend a bit of time cleaning everything around you.
But when it comes to curing, there’s a step a lot of people fail to do, and that’s curing the inside of their printed models. Most of us hollow the printed models to save resin and add holes to help with suction forces and cleaning.
In this guide, I will show you how to build a simple resin cure light for the inside of your resin models.
Why do you need to cure the inside of a resin print?
The main reason why you need to cure the inside of the prints is because you can’t really clean them as well as you do on the outside. Even with wash and cure stations, uncured resin can still be present in the model, and over time, this resin can start leaking and crack the models.
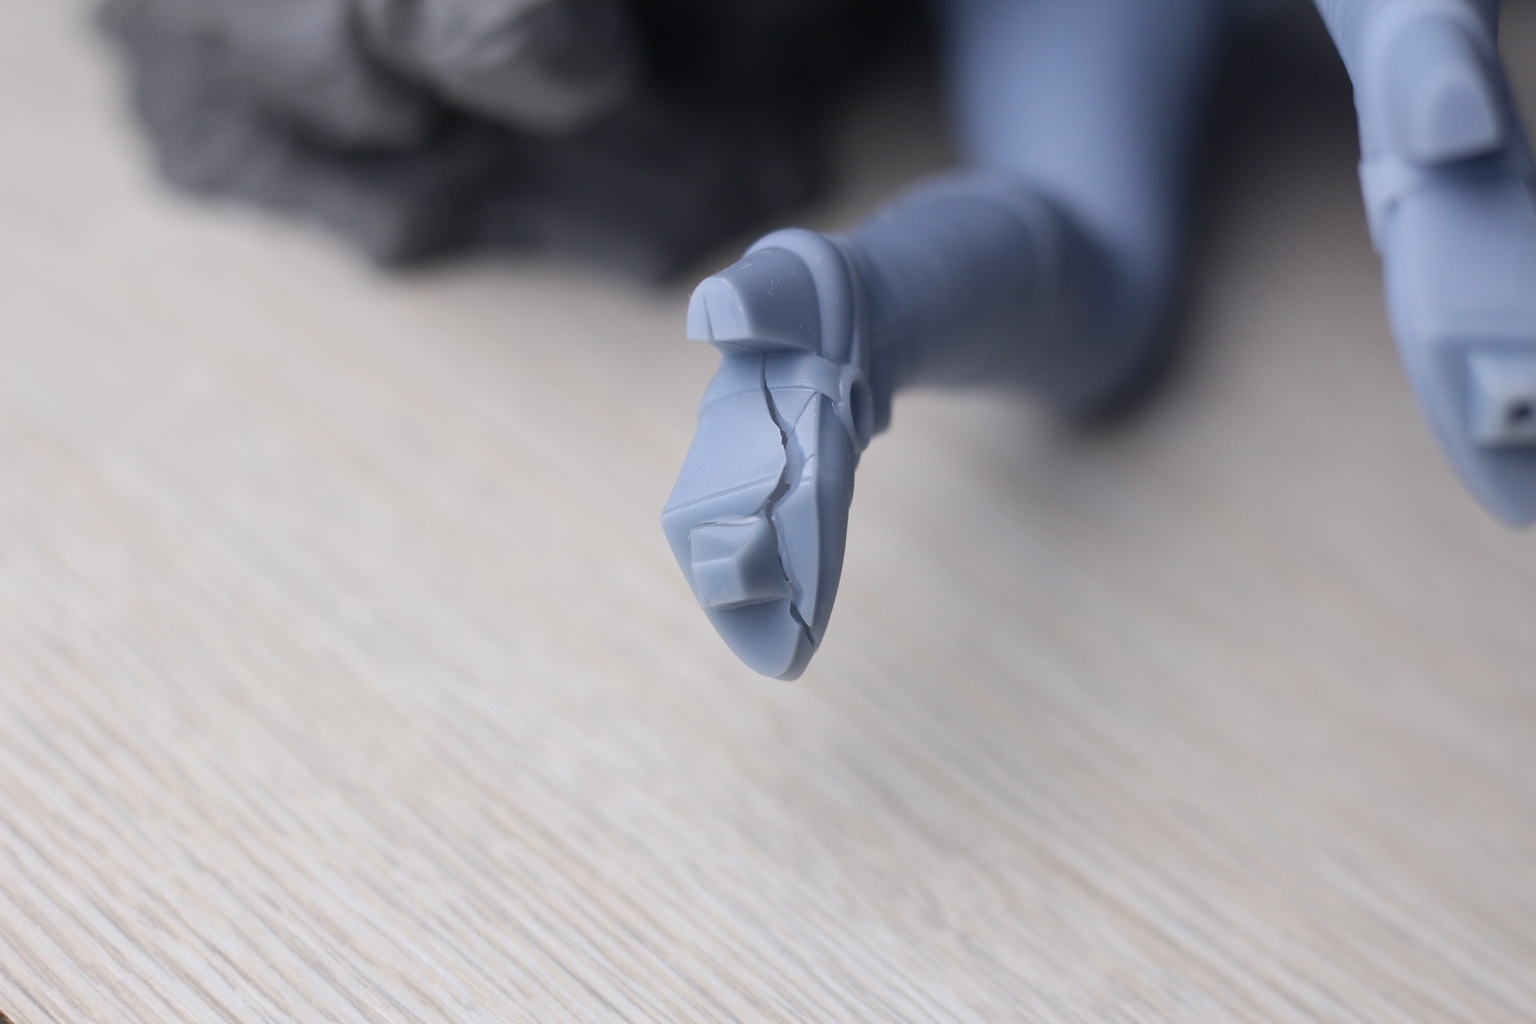
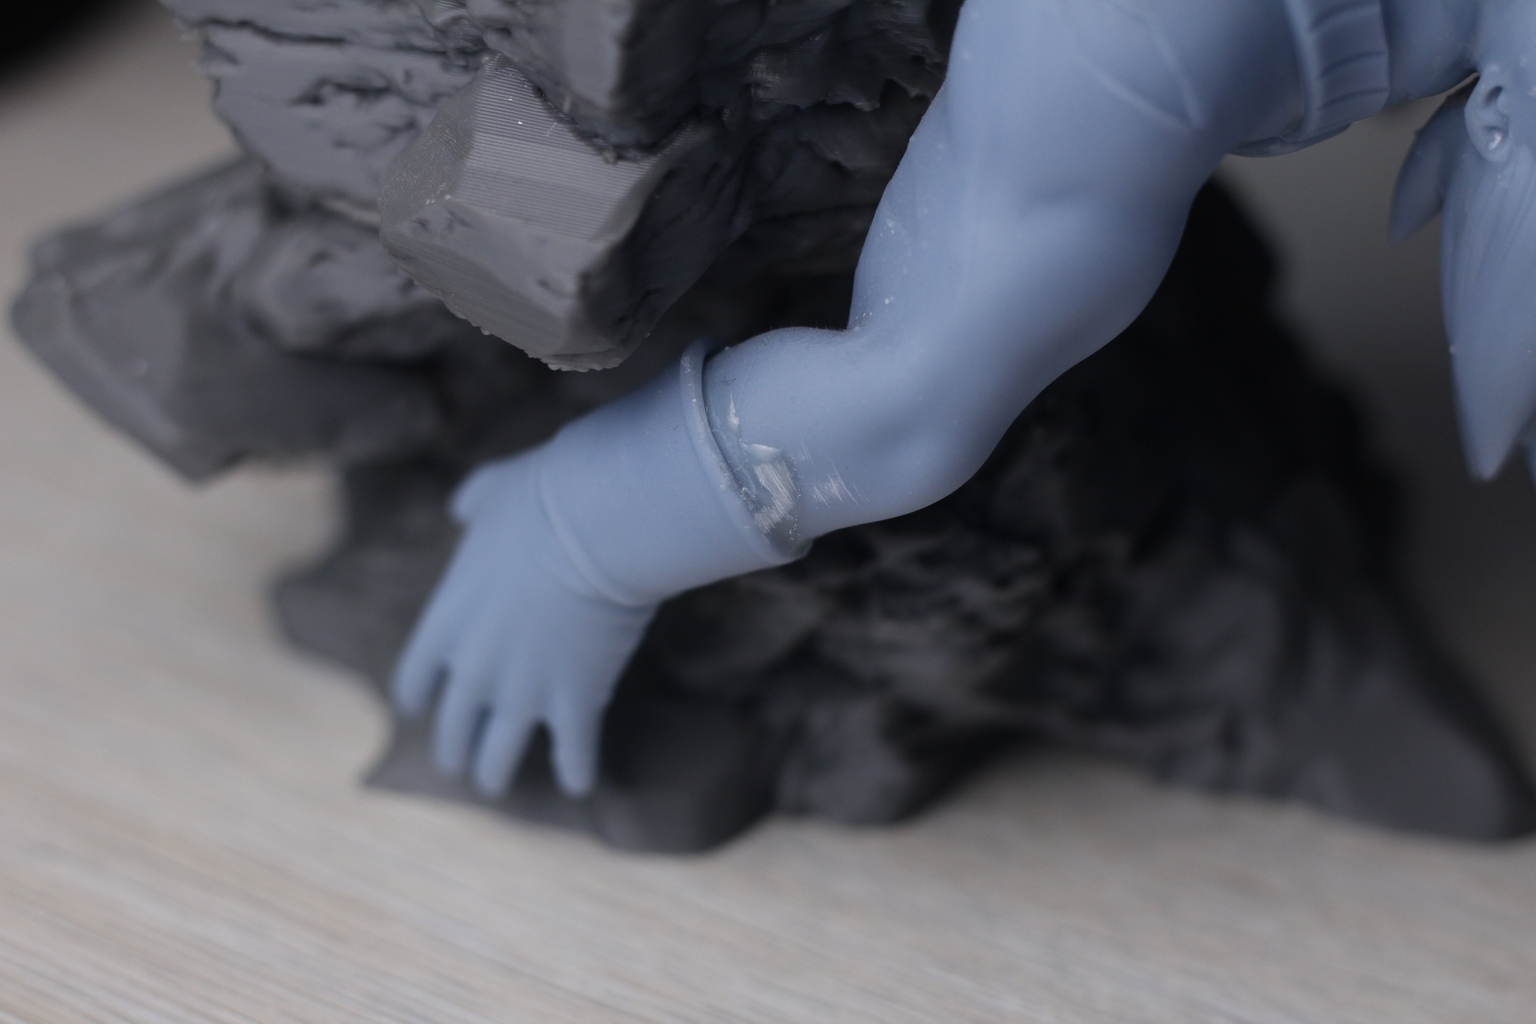
I had this issue in the past with some of my models where the inside of the resin model was not cured, and the finished model cracked after a few months.
What do you need to build a resin cure light?
The list of materials is quite short if you’re already a maker. You need the following:
- UV LEDs – I bought this 20 pack from AliExpress. You can find them on Amazon too.
- A 12V power supply – I used a spare 12V charger I had laying around from an old router. Any 12V adapter will work because the LEDs use little power. Amazon and Aliexpress examples.
- A soldering iron and some electrical tape. – I used my crimping tool and some ferrules, then I used the electrical tape for insulation. You can also use these handy solder heat shrink tubes which make it much easier.
There are other solutions out there for making a cure light, and some people use a 9V battery to power the LEDs, but that’s wasteful in my opinion. I don’t like throwing away batteries if I can replace that with a power adapter.
Steps to make a resin cure light
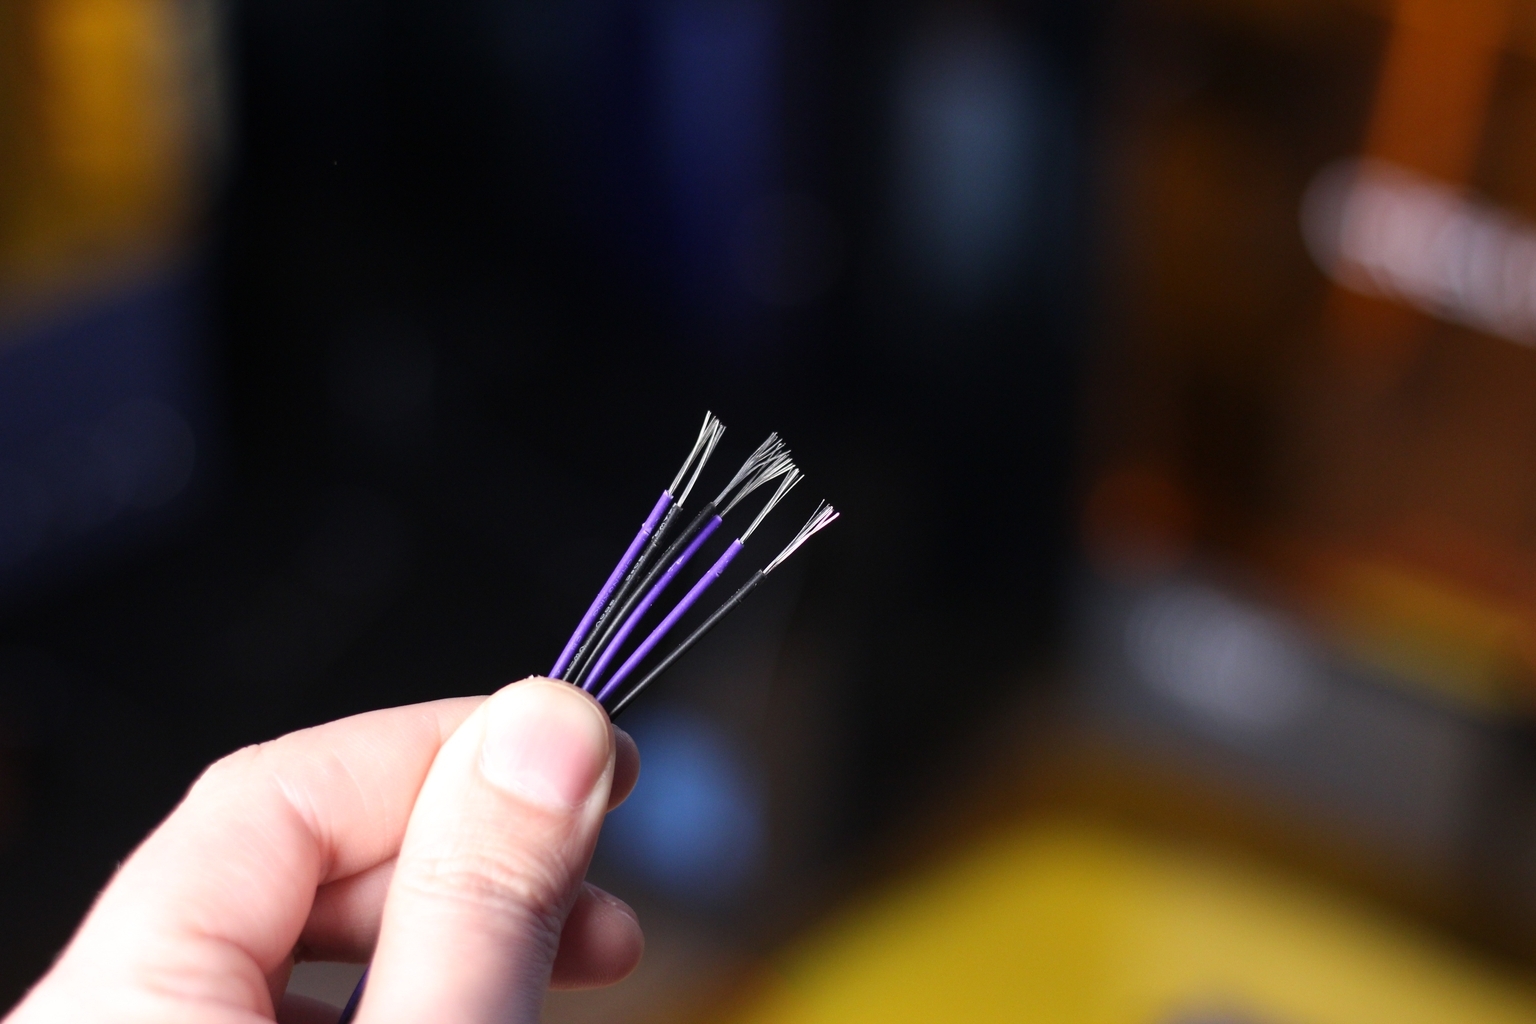
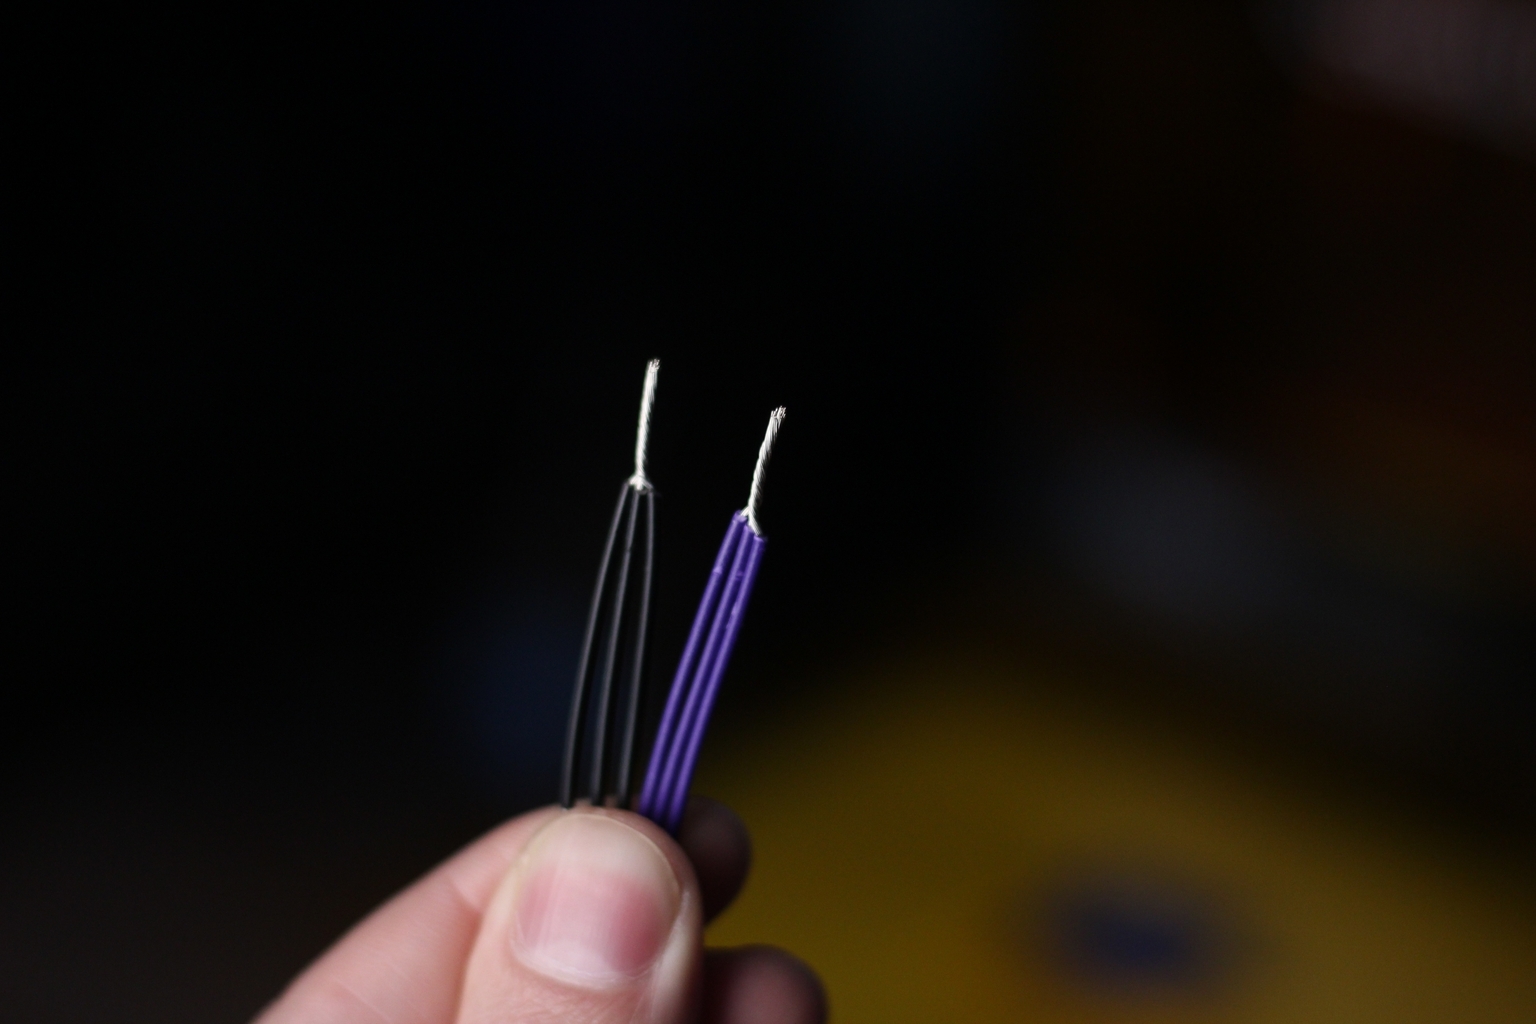
First, you need to cut the connector off your power adapter and split the wires then do the same thing for the LED lights. You should have something like this:
Next, you need to pair the wires like shown in the images below. I used three LED lights for my resin cure light, but having an extra one or two lights would have been helpful.
In the next step, you need to pair the LED wires to the power supply wires. I recommend checking the polarity before doing this to ensure that you do it right.
As mentioned, I used ferrules because it was quicker than soldering, but it doesn’t look as good.
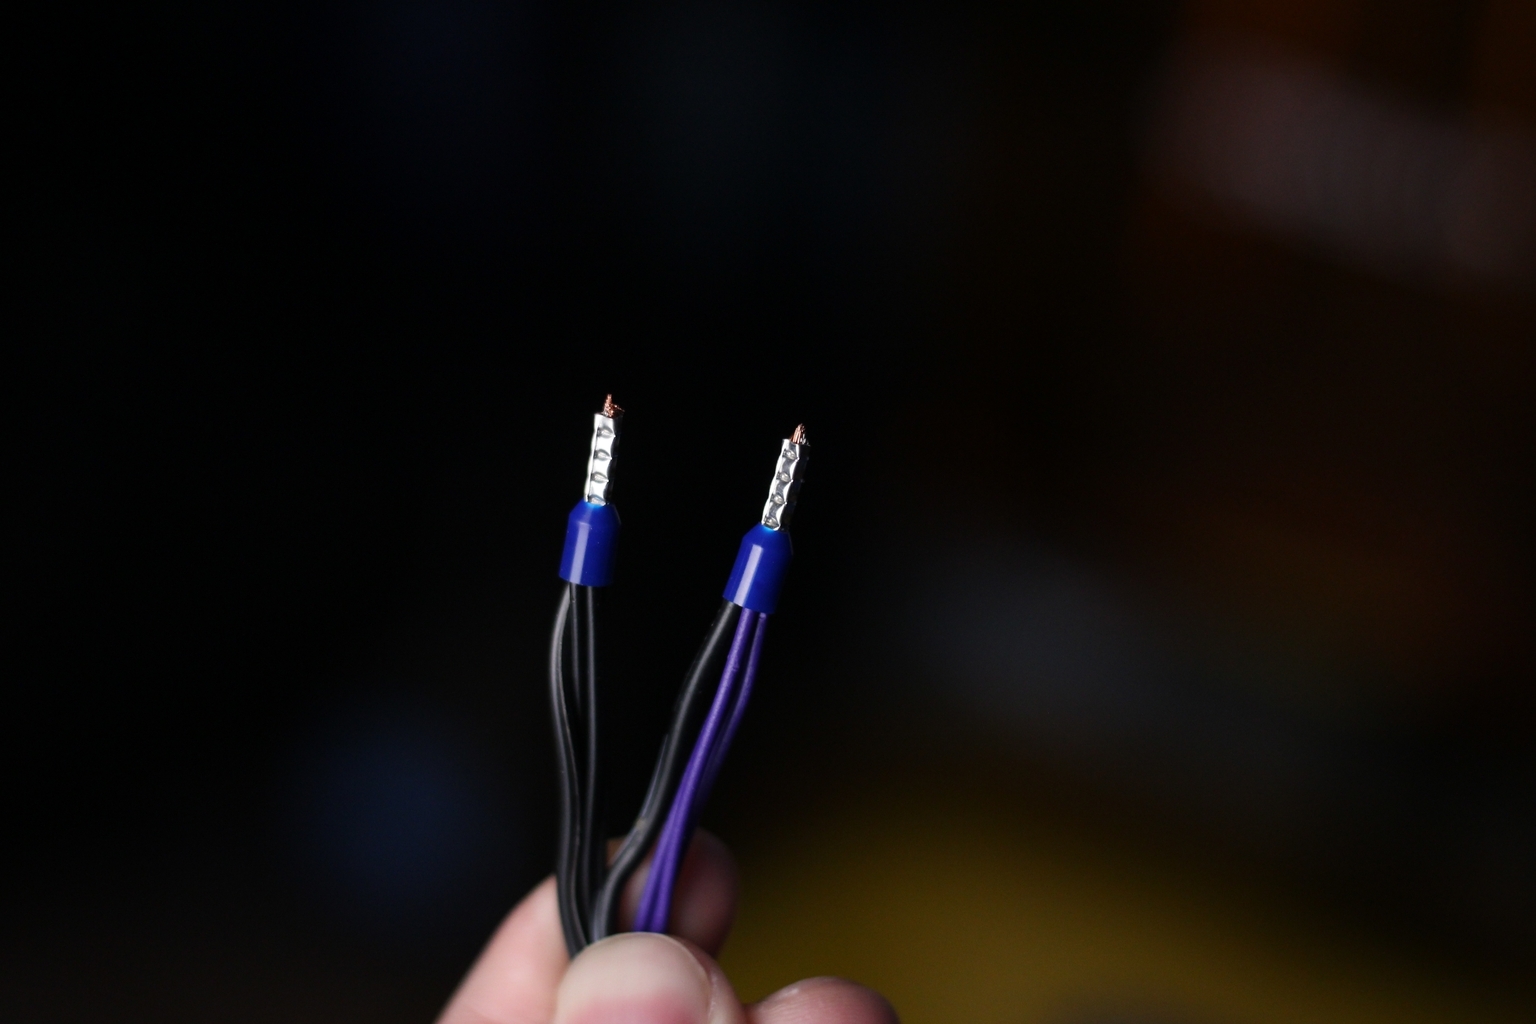
Finally, use electrical tape to insulate the wires and make everything look a bit more presentable.
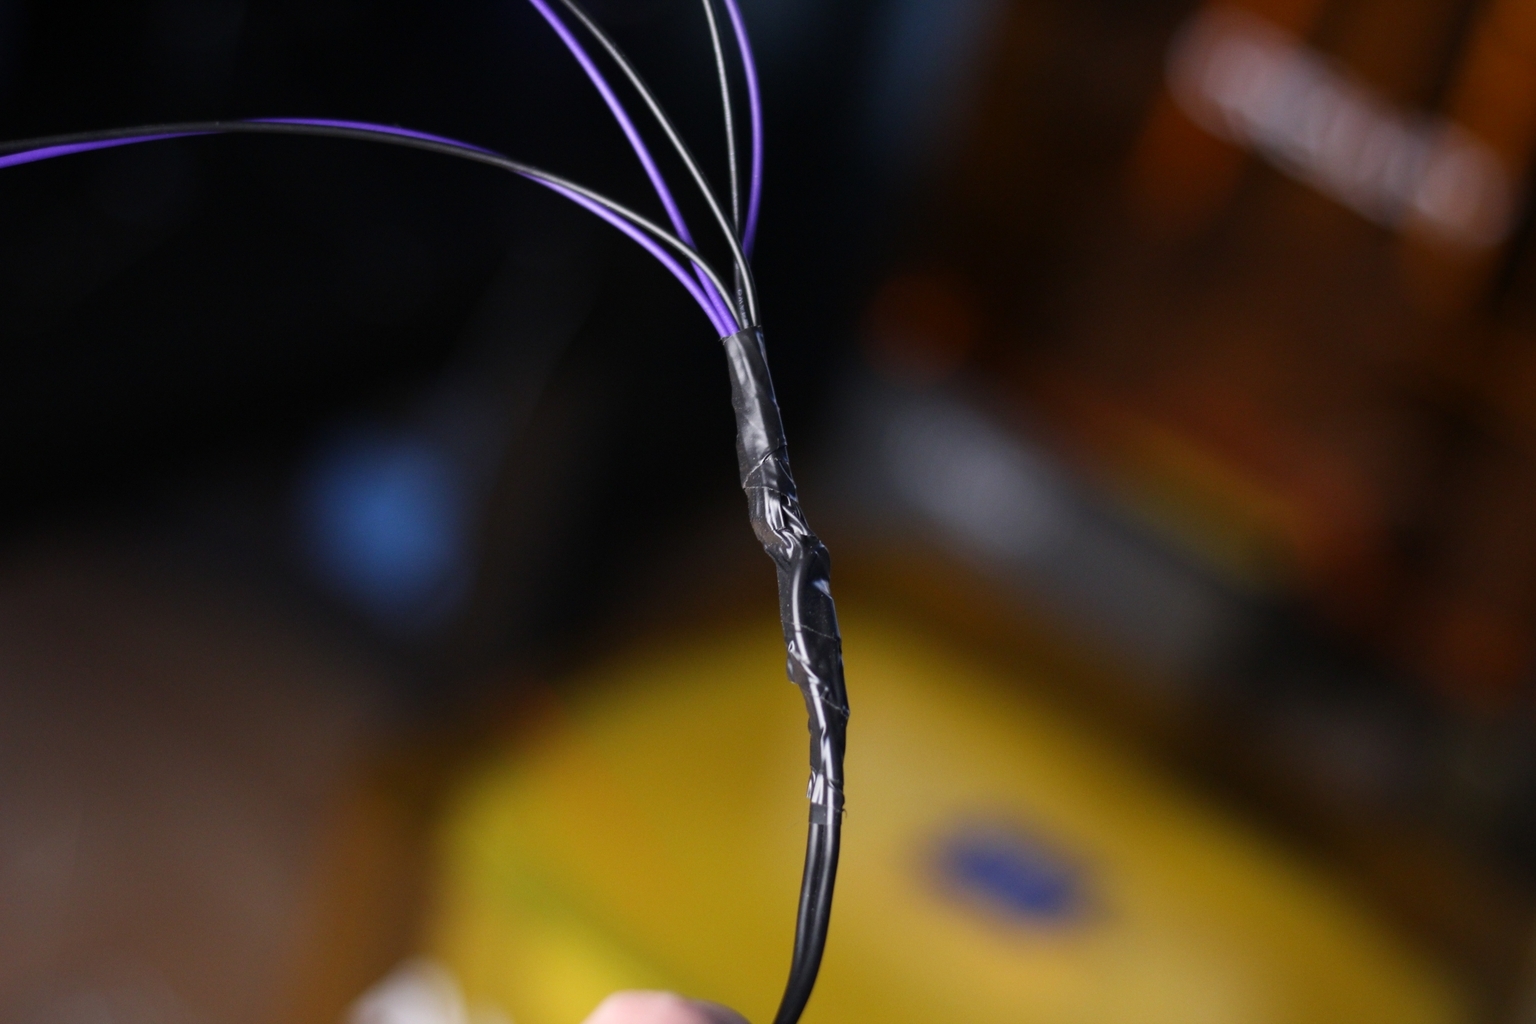
Easy, right?
How to use the resin cure light?
Well, this is simple. After you wash and cure your models, just stick the LEDs inside the model and turn them on for a few minutes.
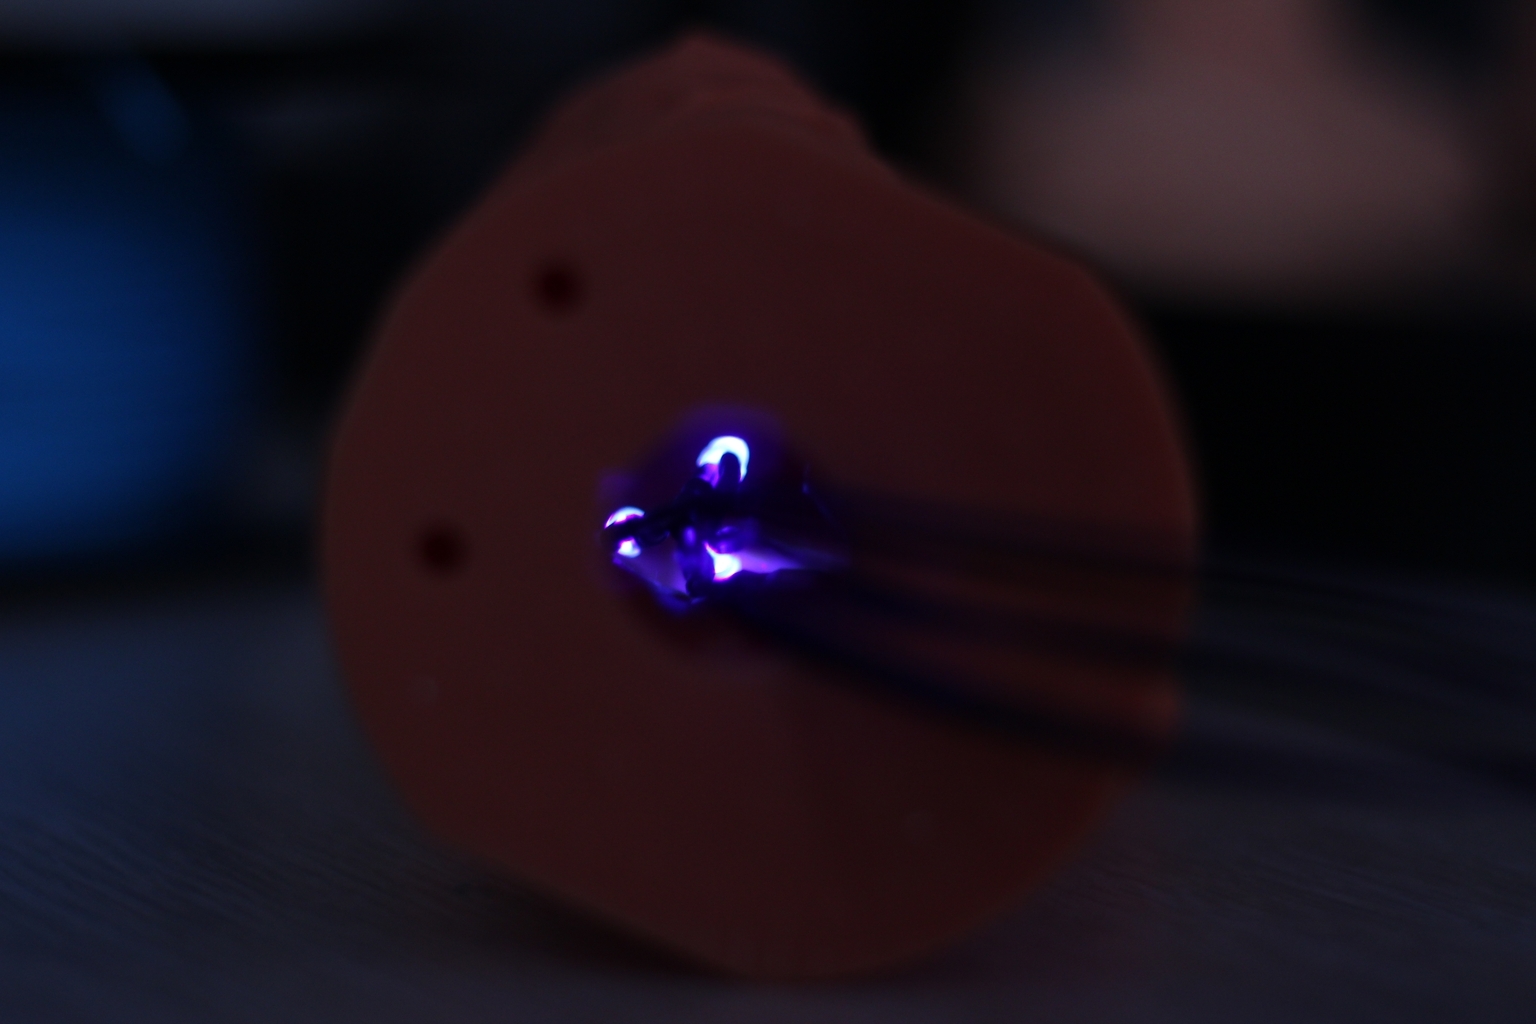
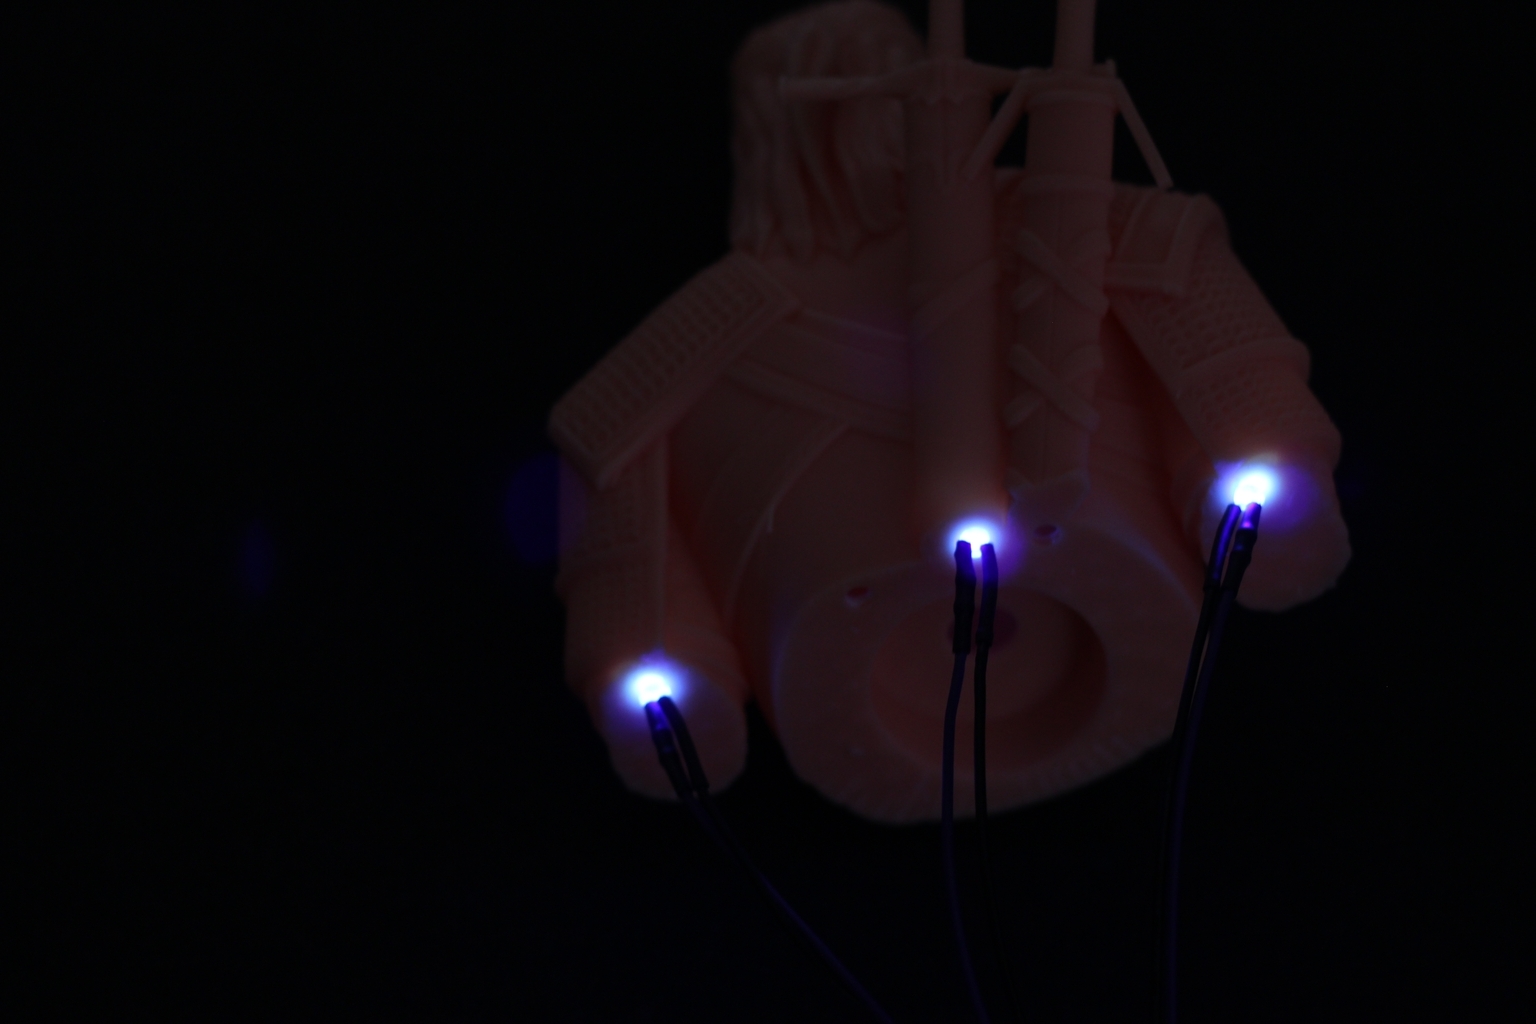
This will cure the inside of your model and you won’t have to deal with issues in the future caused by the uncured resin.
Wrapping up
I hope this simple guide on how to build your own curing light to cure the inside of your models has been helpful. If you’re just starting with resin 3D printing, then I recommend checking my Resin 3D Printing for Beginners article.
Liked it?
|
|



You can leave a comment for this article on the 3DPrintBeginner Forum