Creality 3DPrintMill (CR-30) Review: Belt Printer for Batch 3D Printing
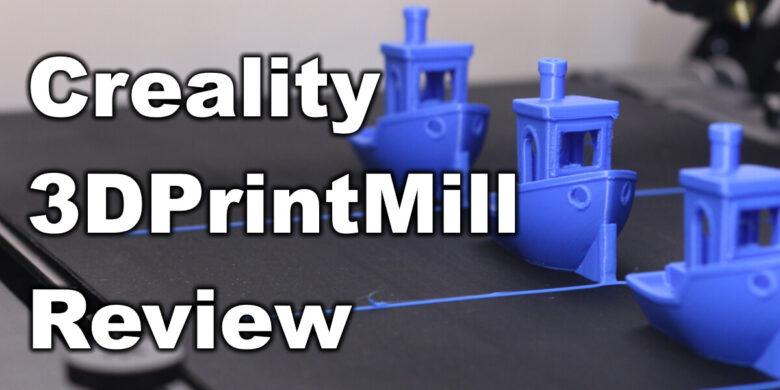
I was really interested in getting the Creality-CR30 (Also knowns as the 3DPrintMill) because I never used a 45-degree 3D printer. So, I contacted Creality and they sent me one to review. In this article you’ll read about my experience with the CR-30, so you can decide for yourself if this printer is what you need.
Creality CR-30 Shipping and Packaging
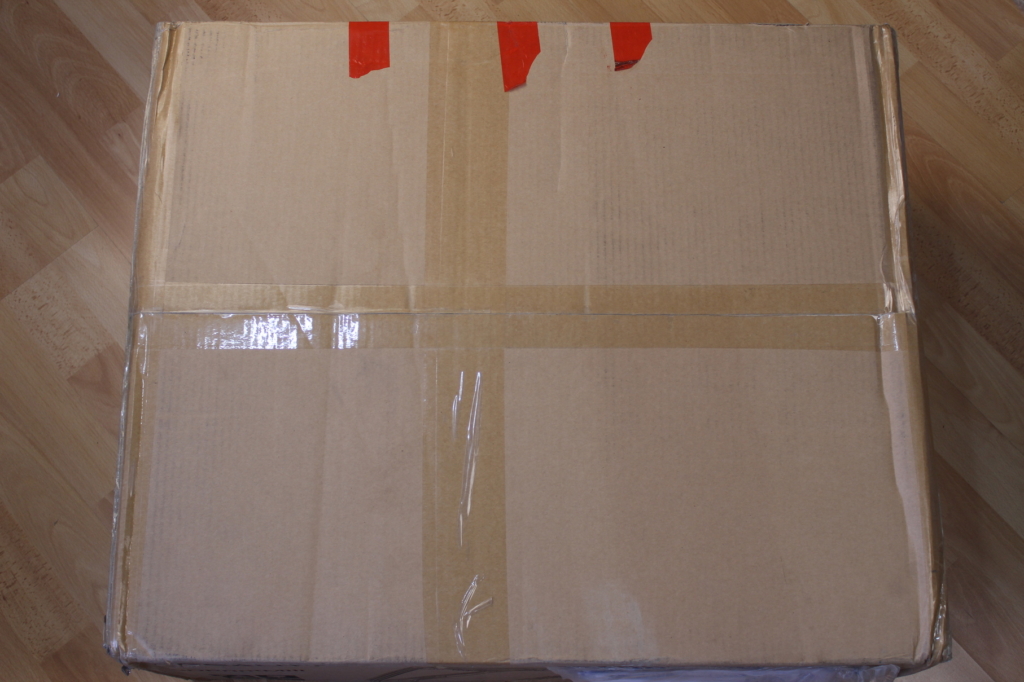
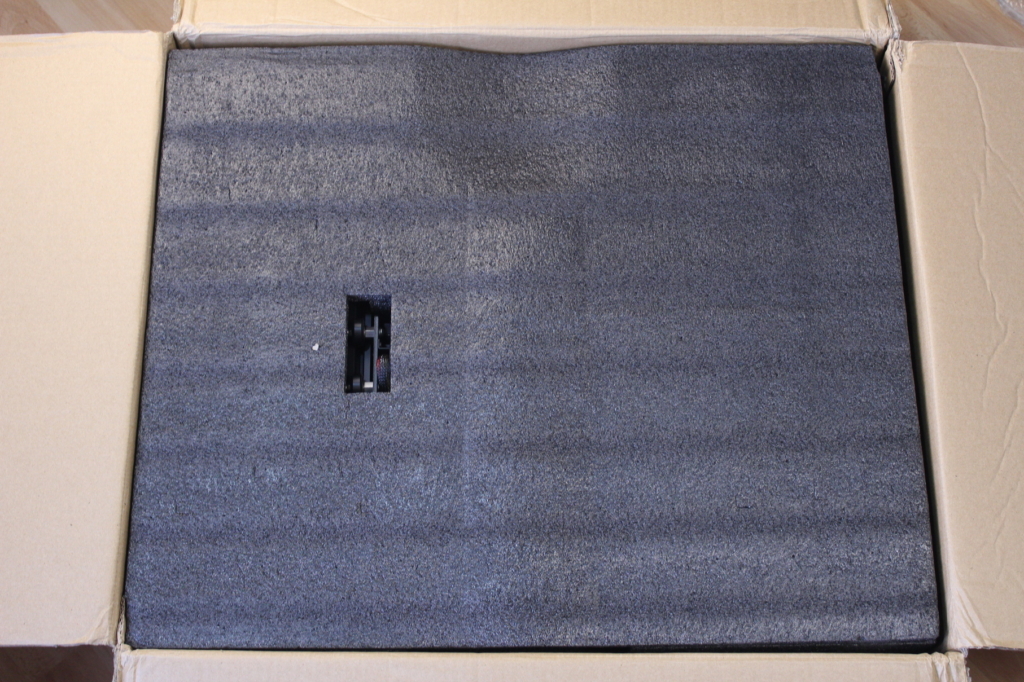
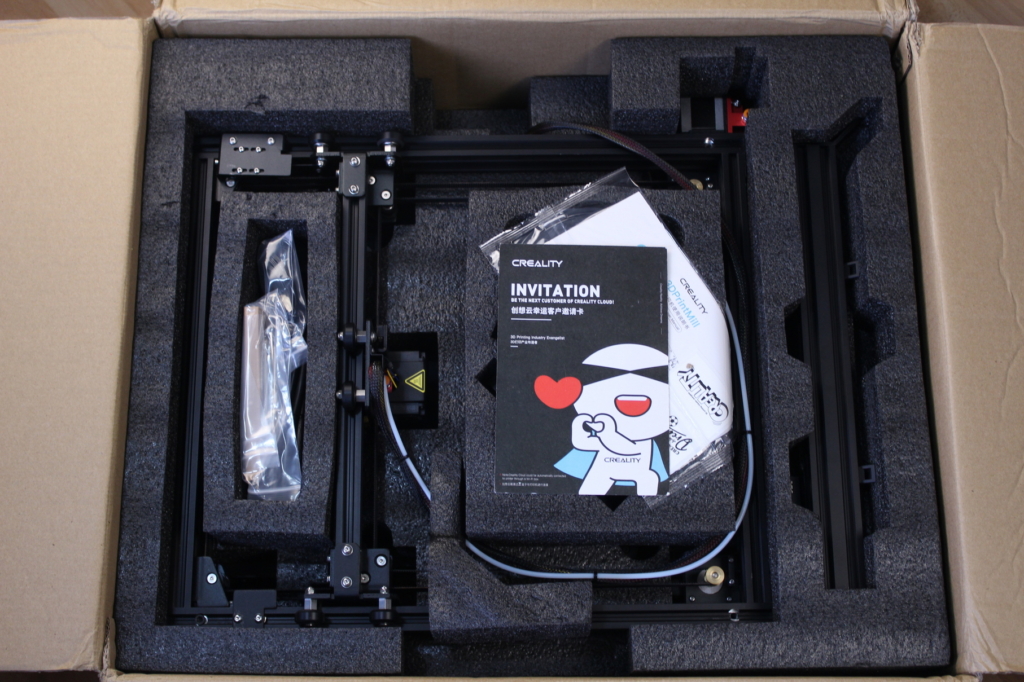
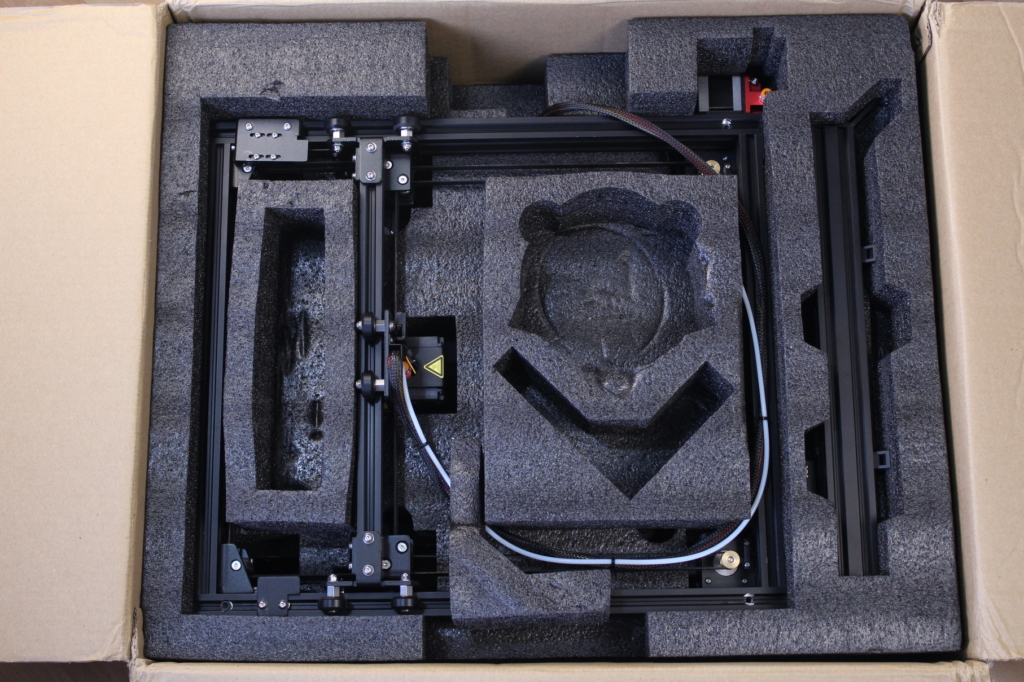
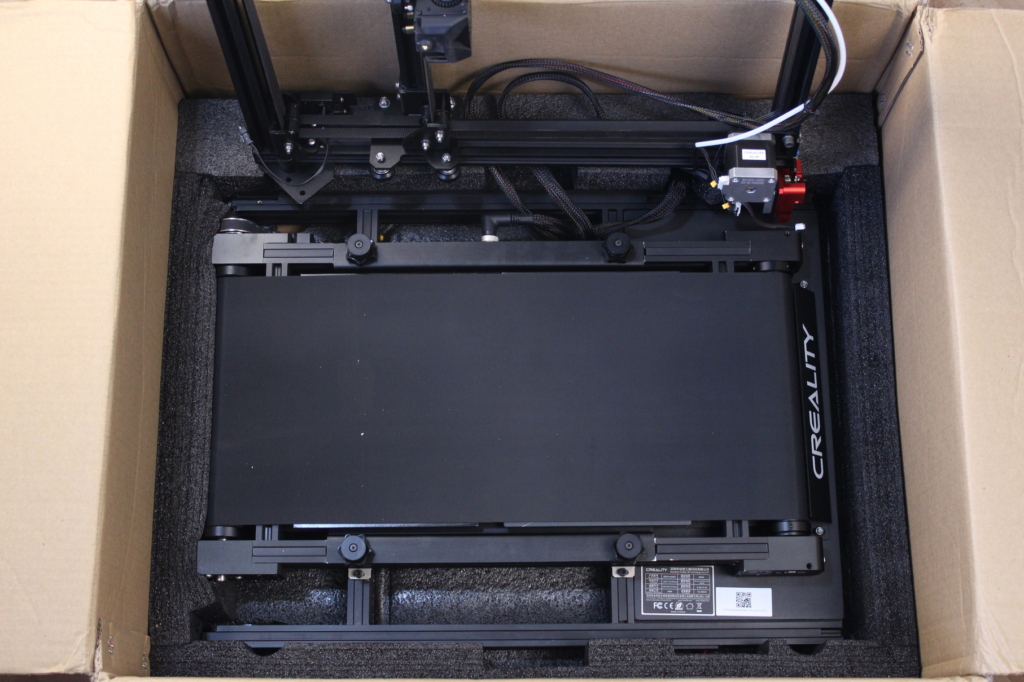
The Creality CR-30 3DPrintMill comes in a large carboard box with everything tightly packed to ensure a successful delivery. The printer is quite heavy so it’s nice to see that Creality used thick foam to protect the components from shipping damage.
Creality CR-30 Design
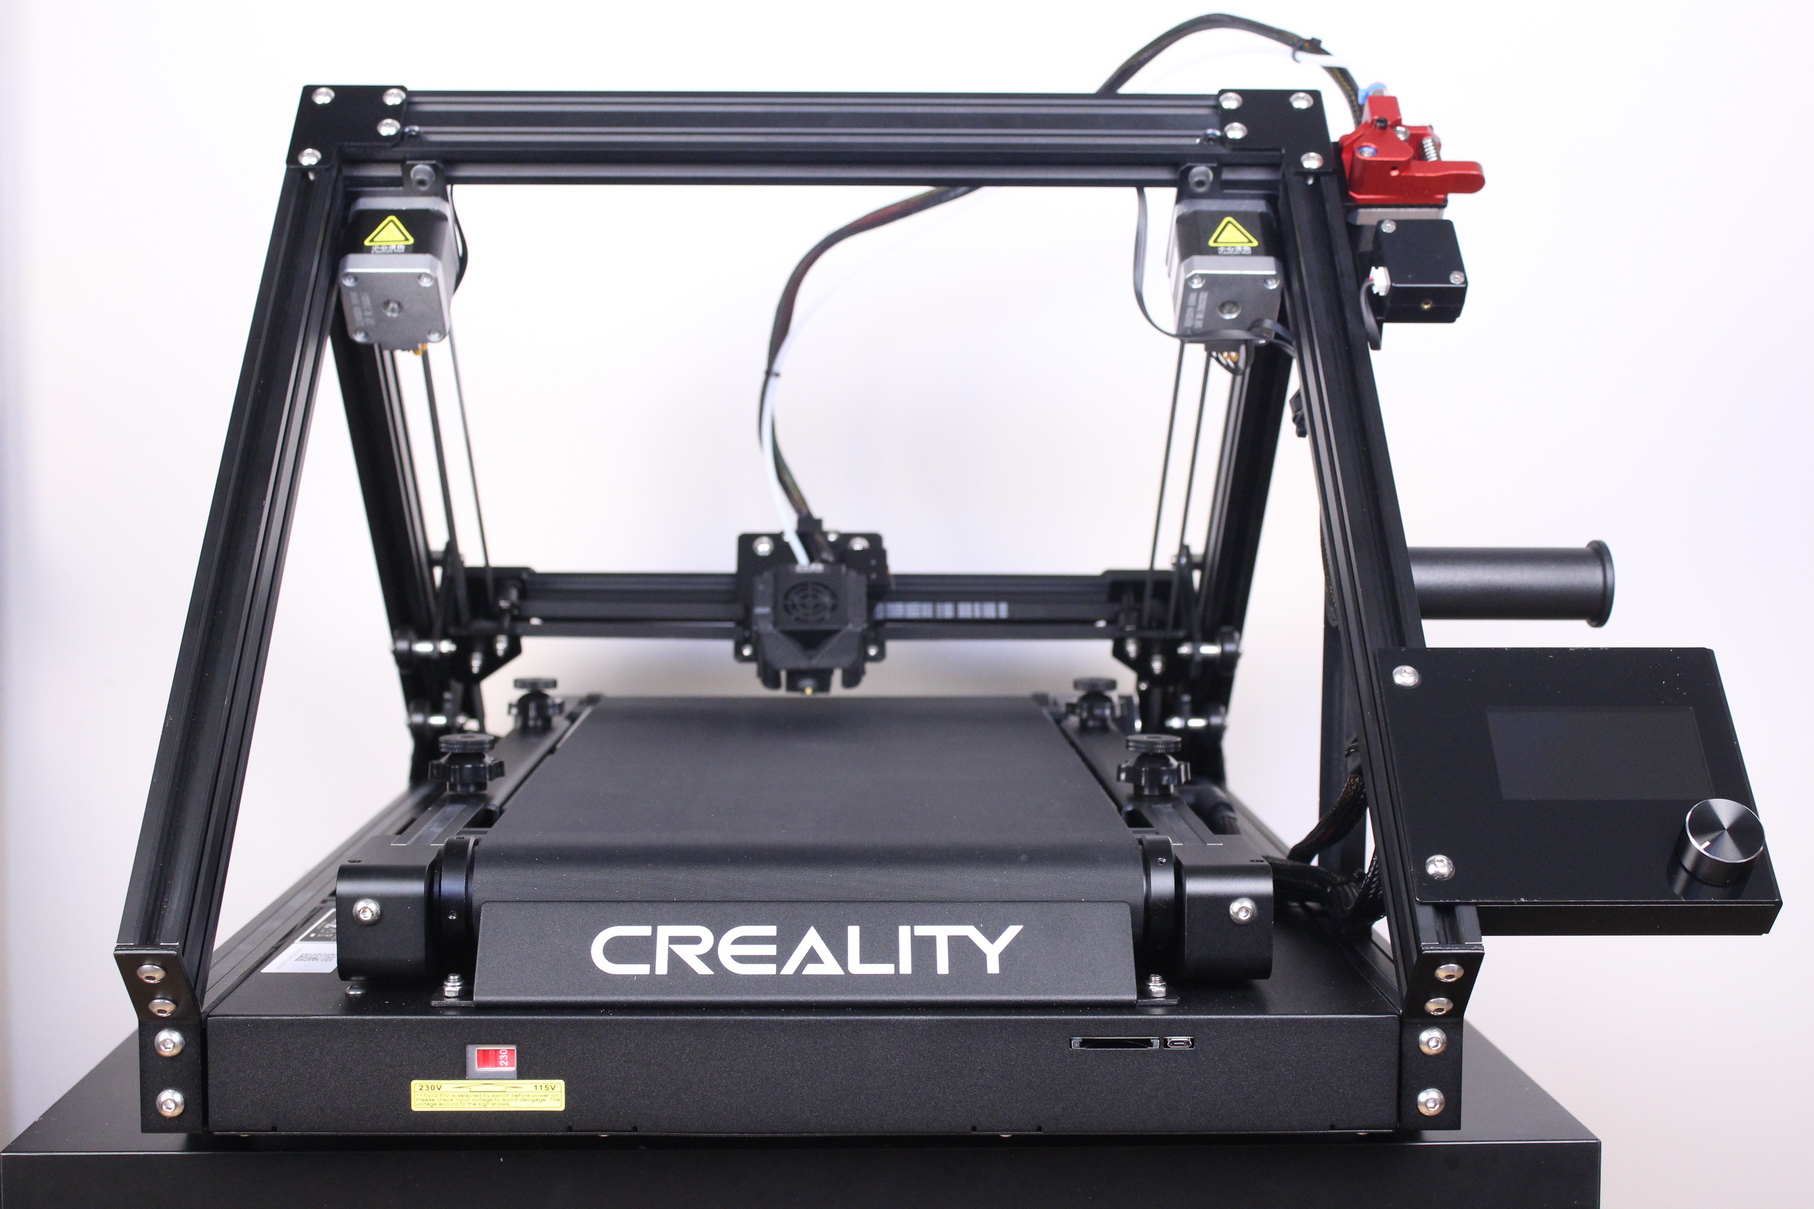
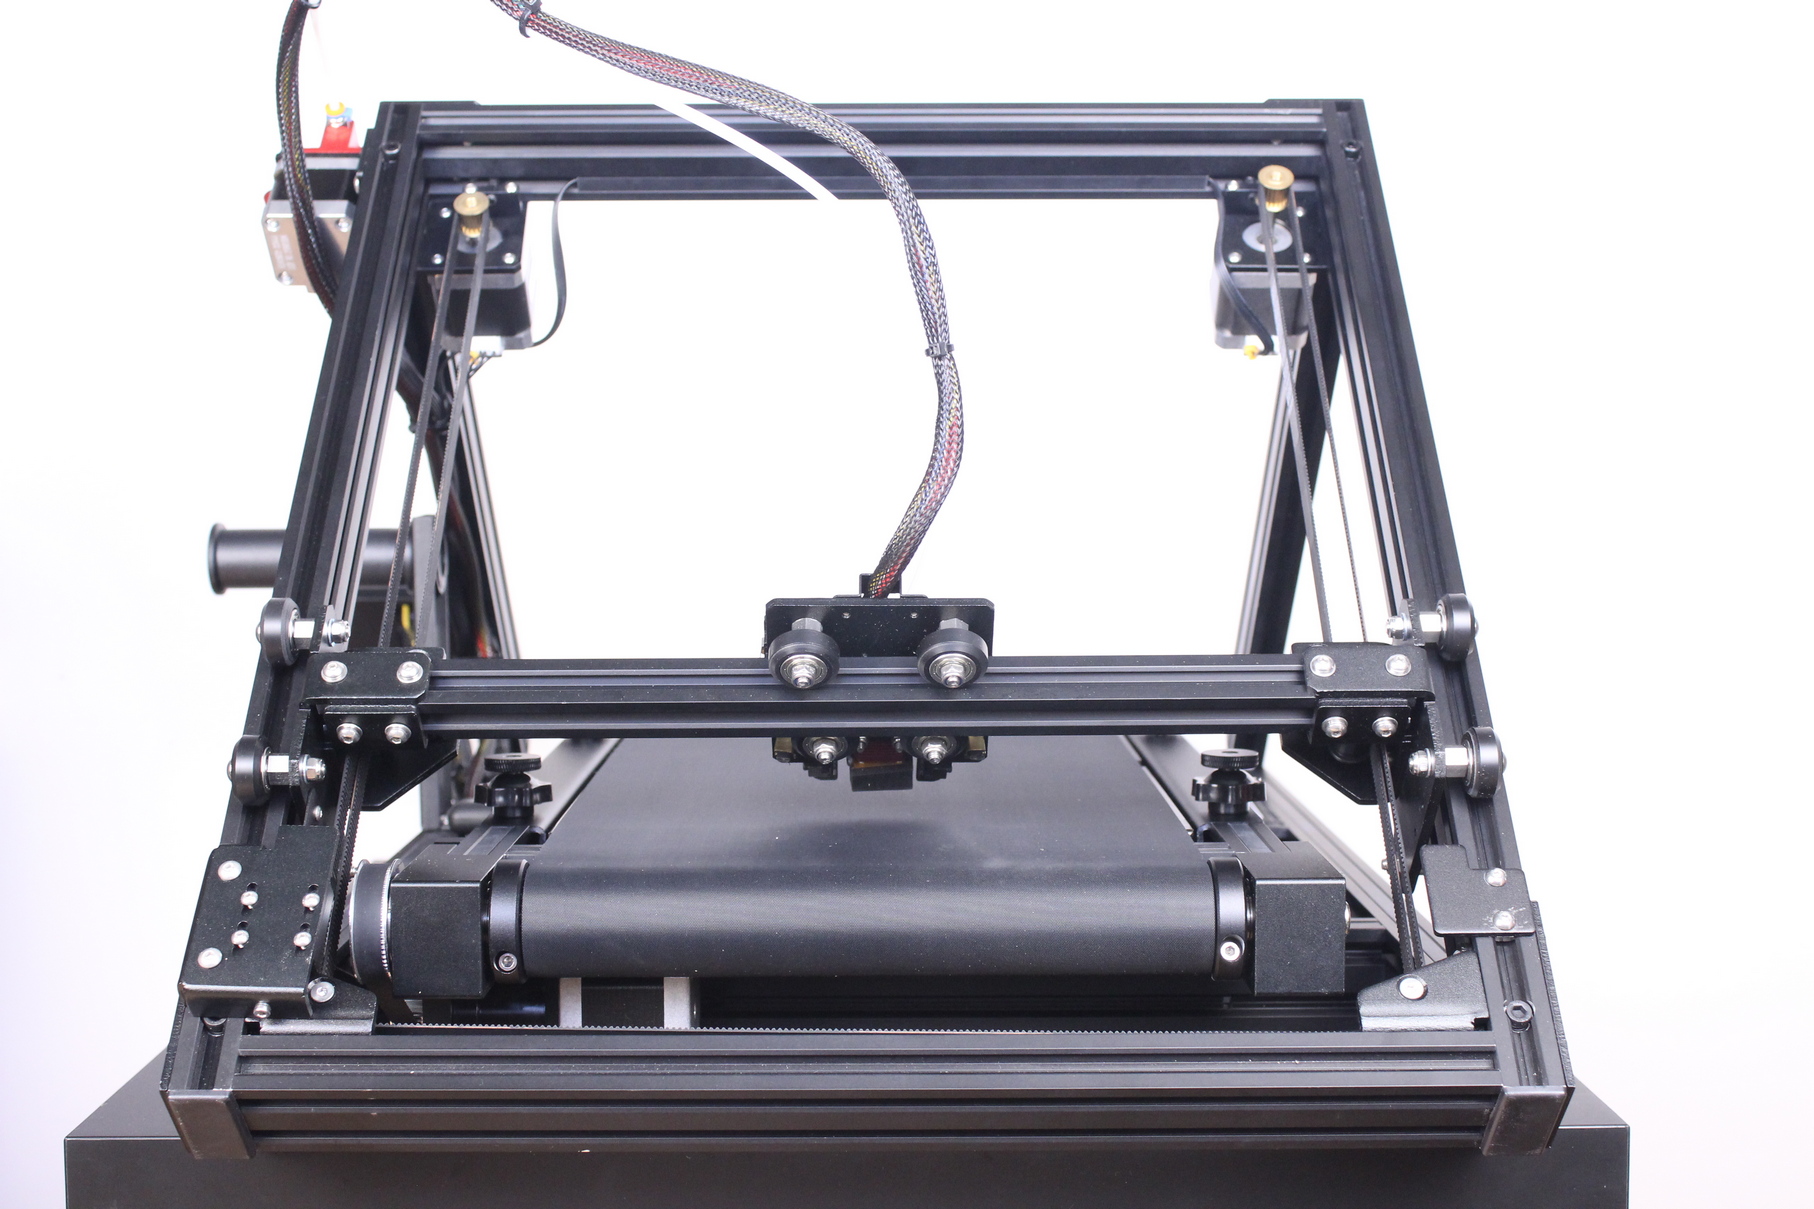
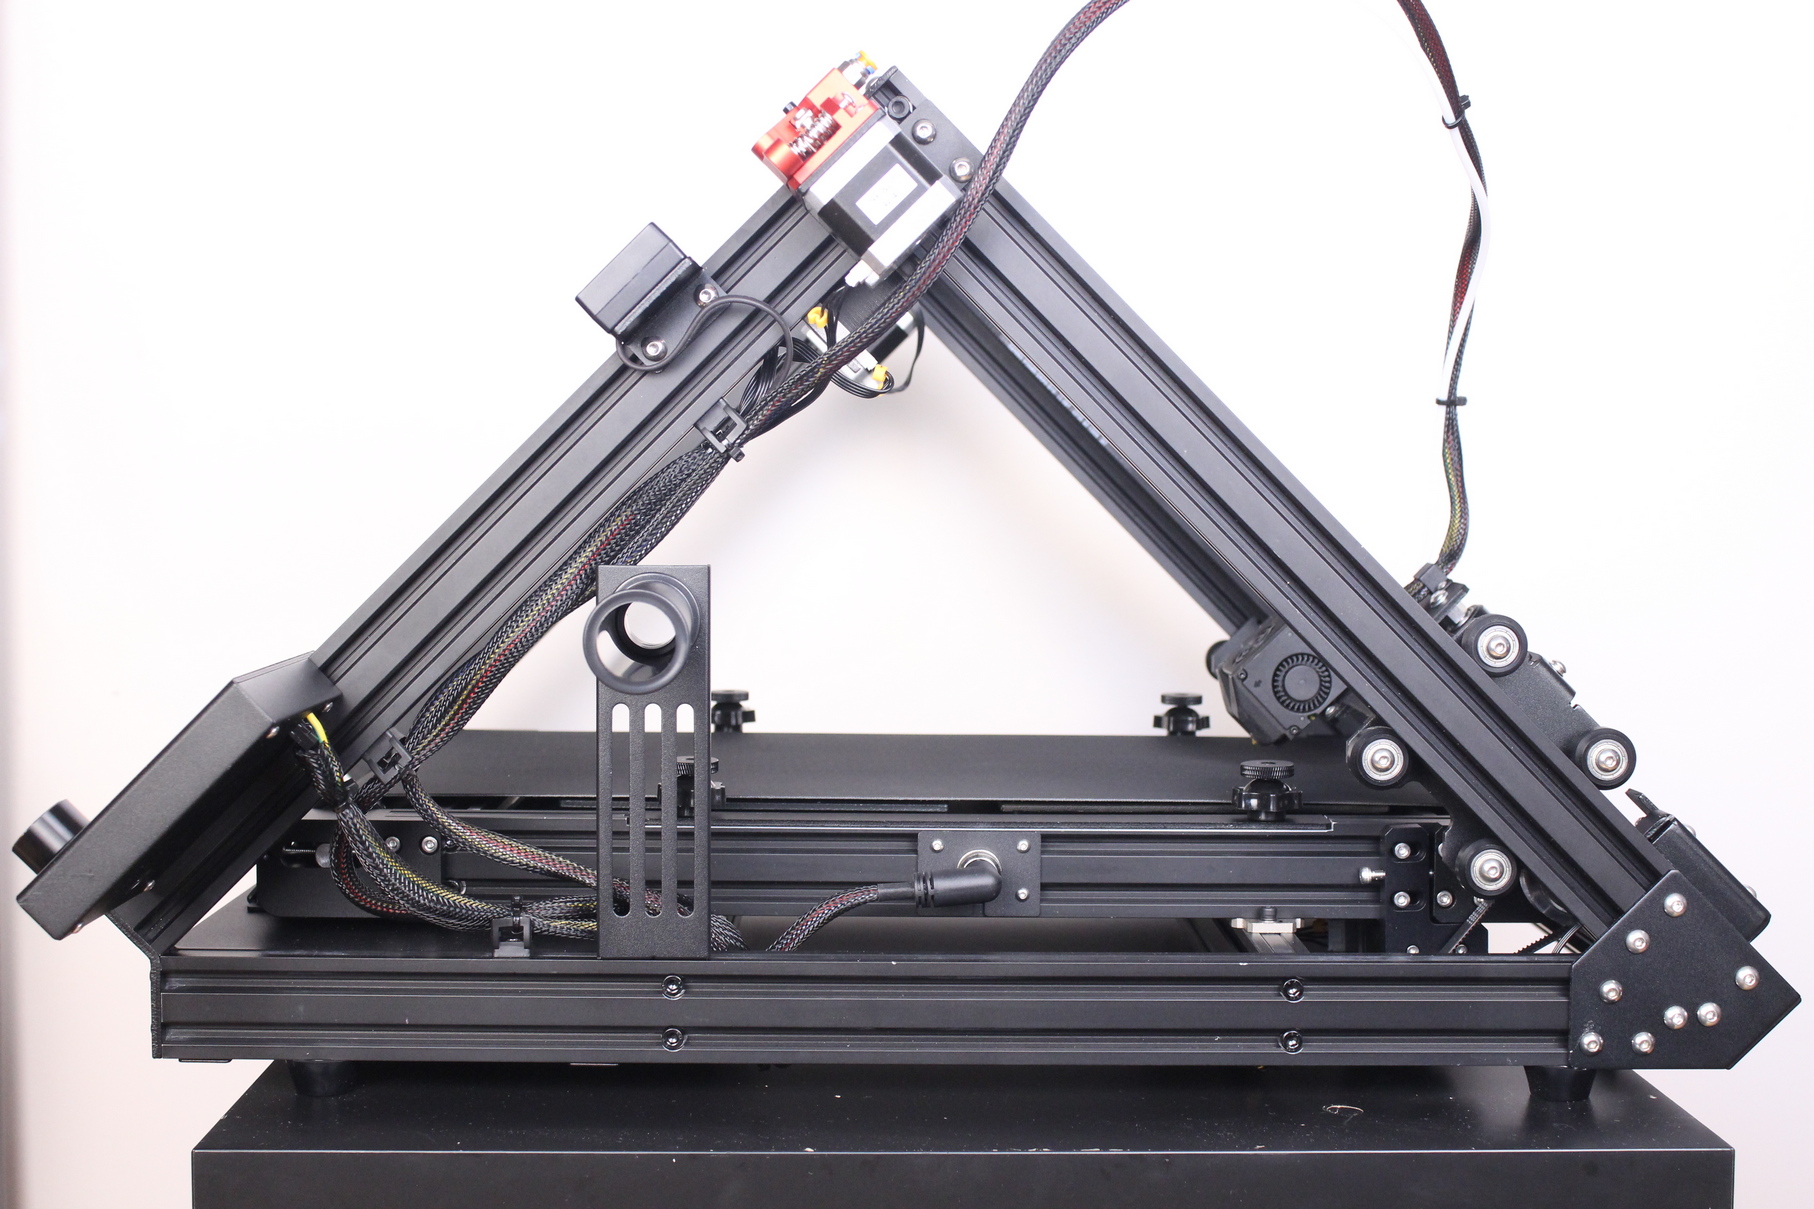
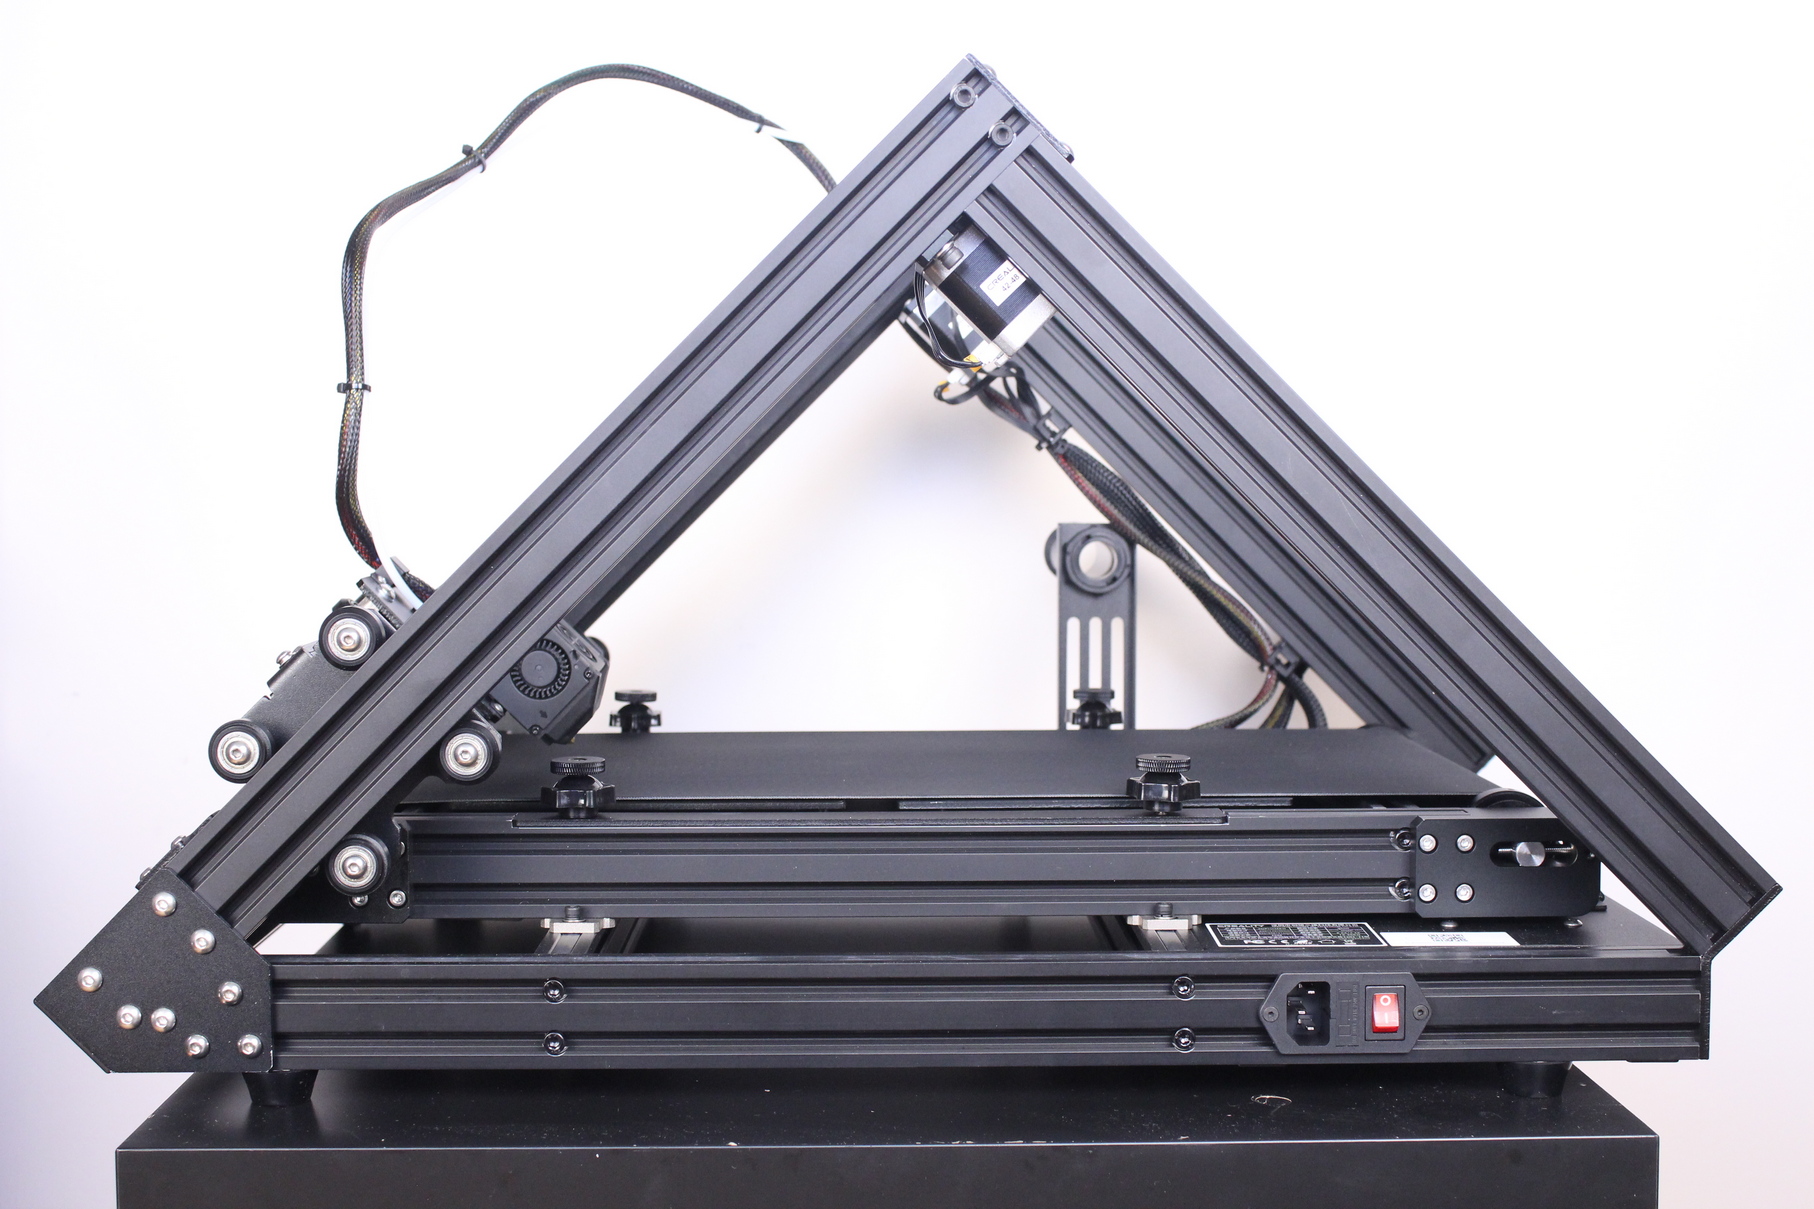
Assembling the printer takes less than 30 minutes, and when complete, you get a really sturdy printer. While it looks quite big, the physical dimensions are smaller than expected.
Creality 3DPrintMill (CR-30) Specs
| Molding technology | FDM |
| Print dimension | 200 * 170 * ∞ mm |
| Machine dimension | 535 * 656 * 410mm |
| Package dimension | 685 * 565 * 302mm |
| N.W. | 16.5kg |
| G.W. | 20.5kg |
| Slice software | Crealitybelt or IdeaMaker |
| Print accuracy | ± 0.1mm |
| Nozzle diameter | 0.4mm |
| Number of nozzles | 1 |
| Hotbed temperature | ≤ 100 ℃ |
| Nozzle temperature | ≤ 240 ℃ |
| Layer thickness | 0.1mm-0.4mm |
| Rated Power | 350W |
| Power supply | AC 100-120v / 200-240v, DC 24V |
| Supported filaments | PLA / TPU / PETG |
| Diameter of filament | 1.75mm |
| Supported language | English |
| File transfer | USB/SD card |
Infinite Z axis belt
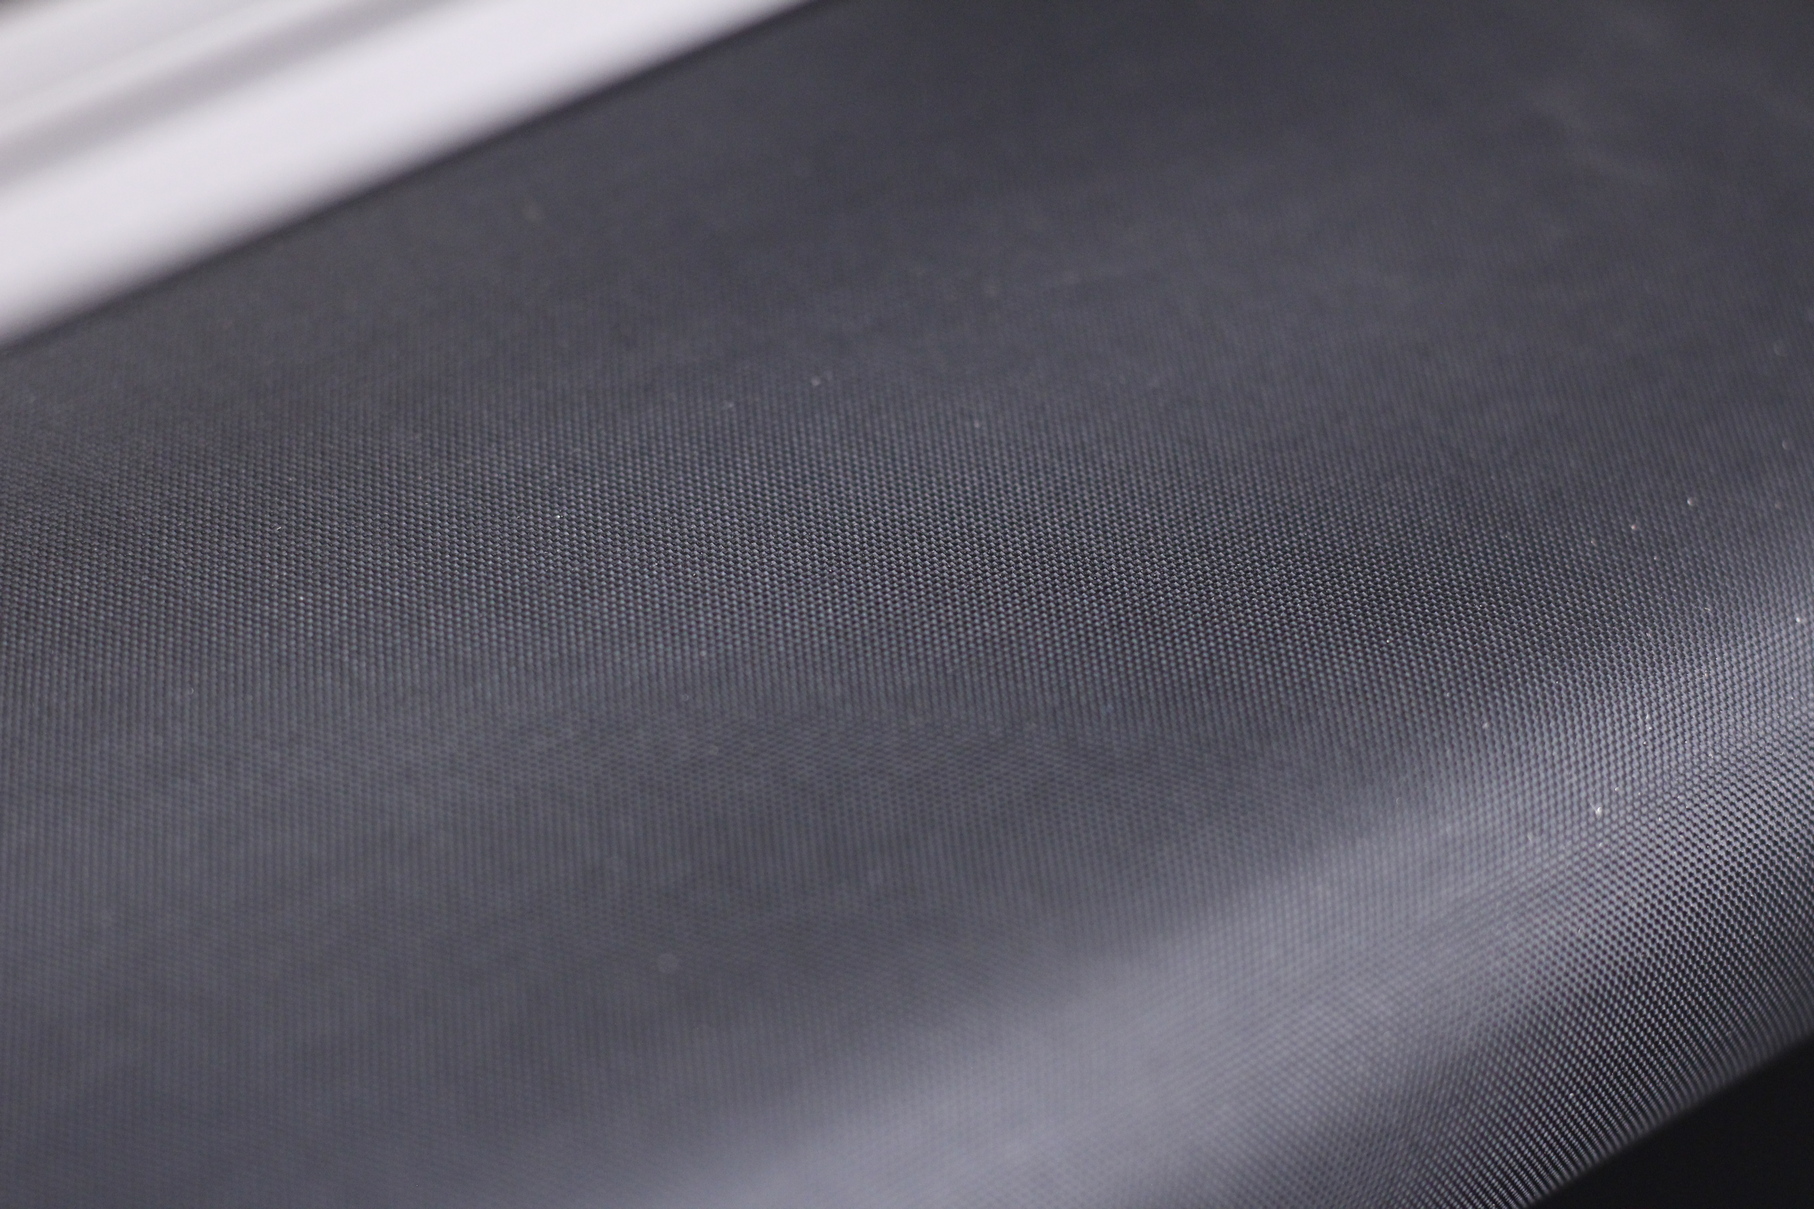
What makes the infinite possible is the Z belt present on the printer. It’s made from nylon and offers good adhesion for the prints if the nozzle offset is set correctly. What I don’t like too much is the location where the belt ends are connected. That particular section is not as smooth and will leave an imprint on the models, but I don’t think there’s another way of making a belt.
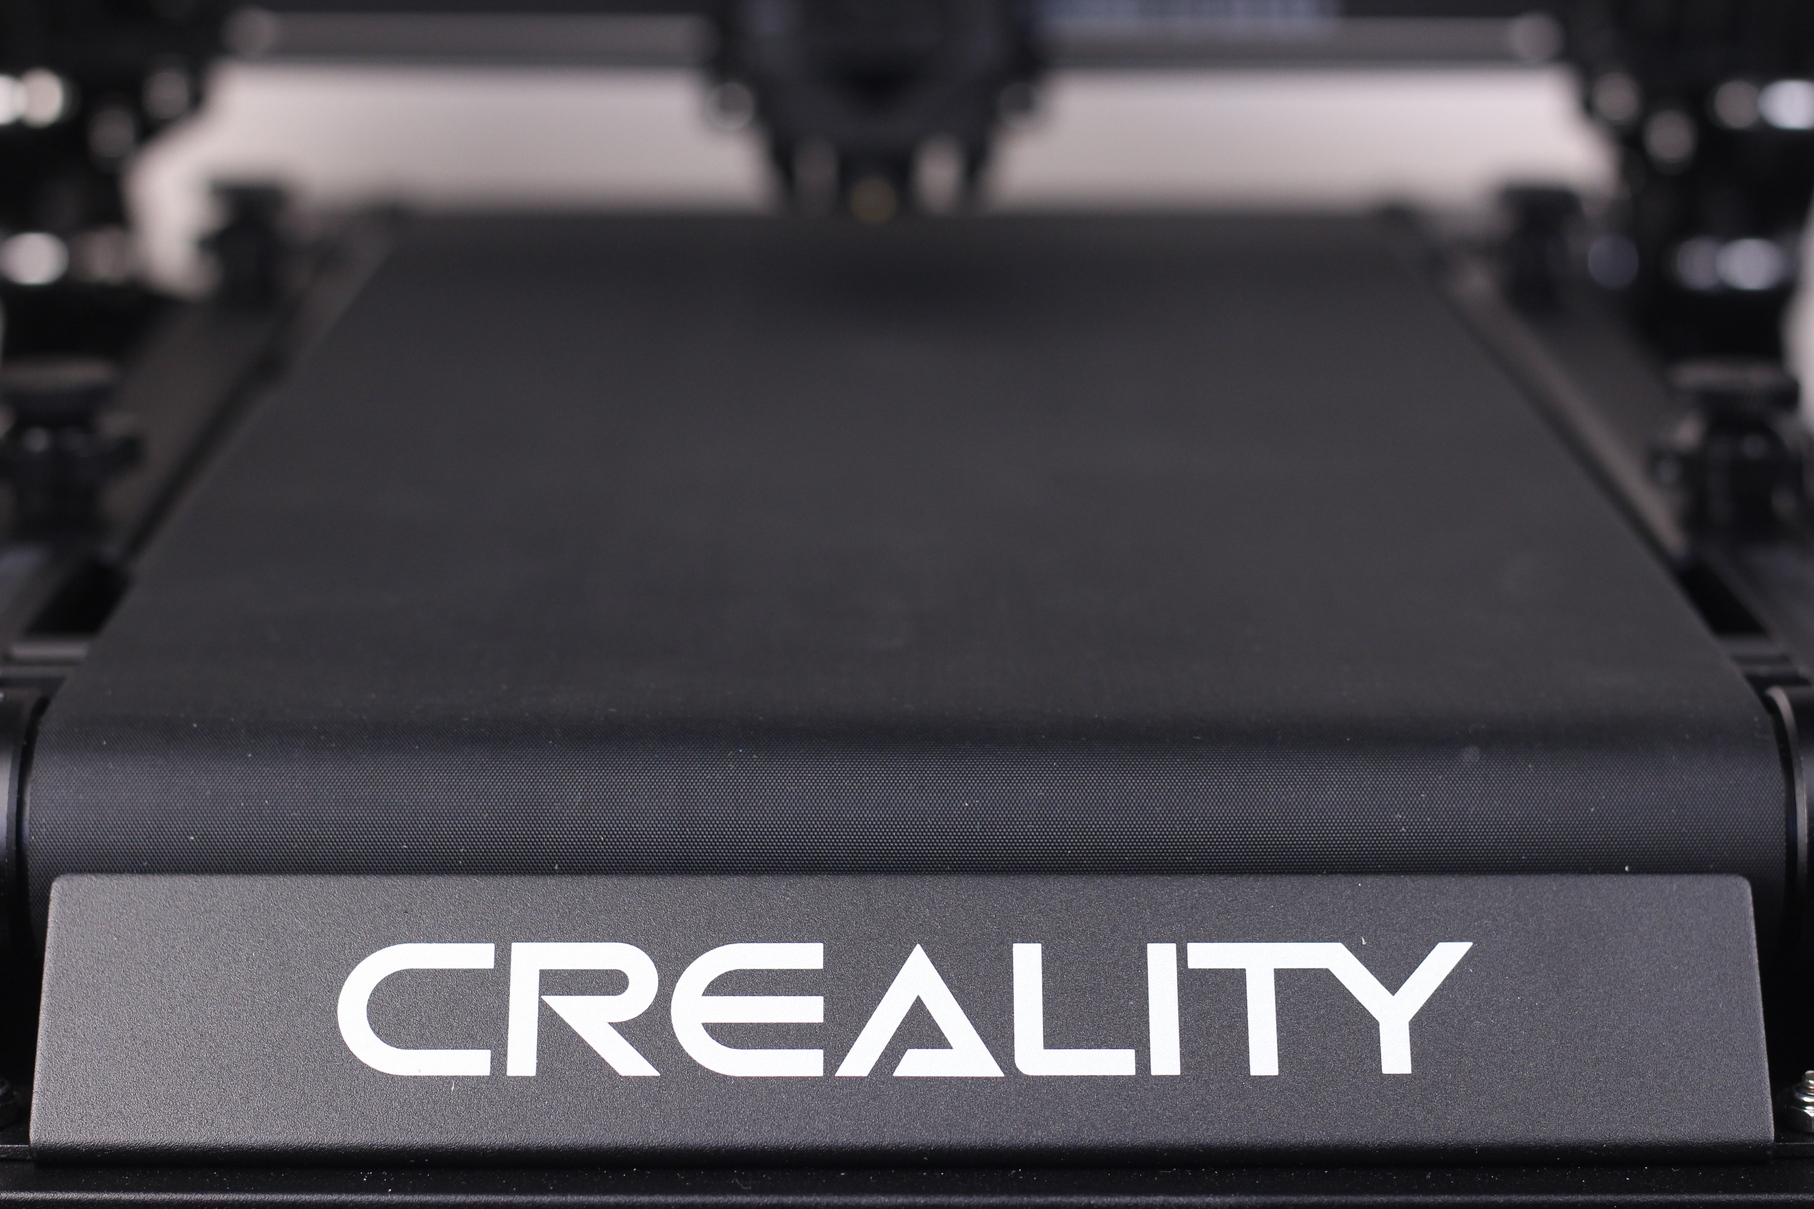

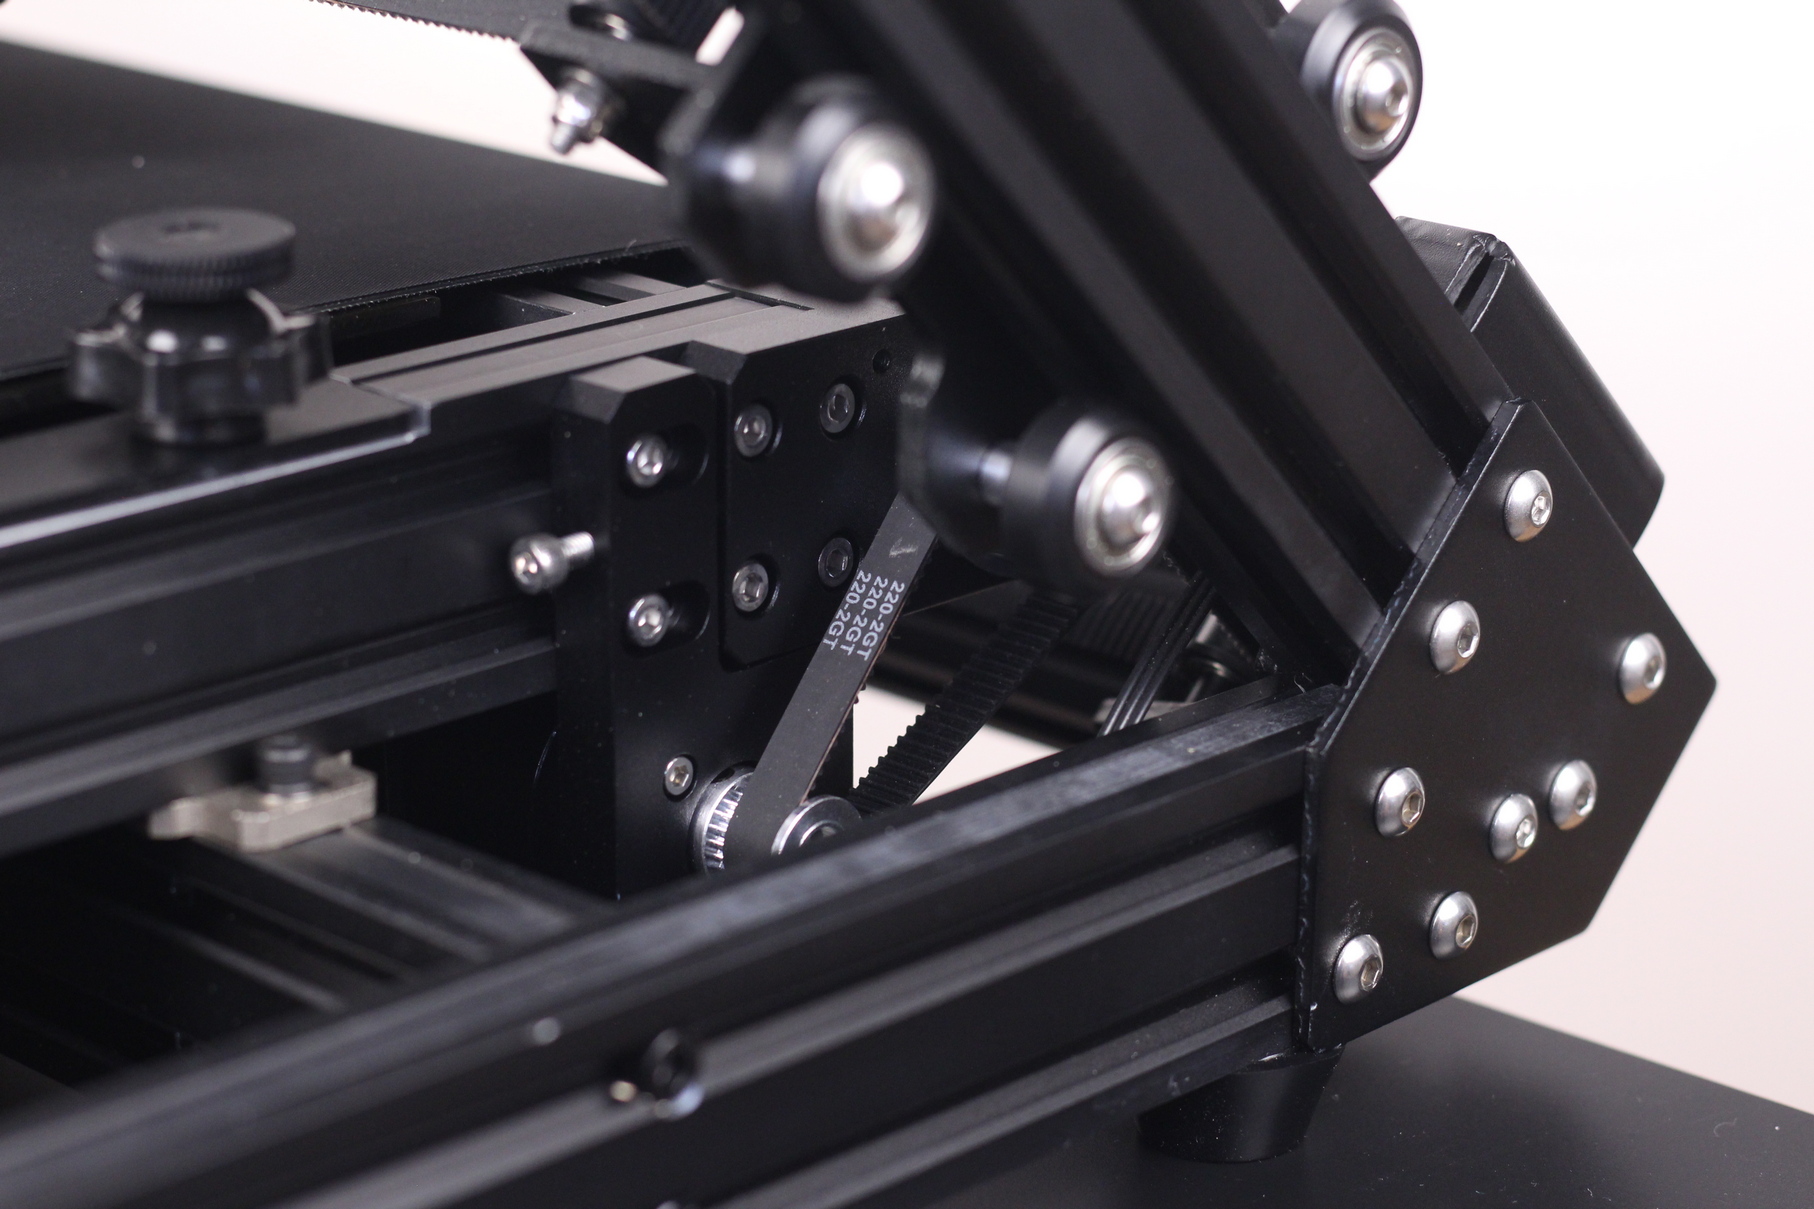
The belt is moved by a stepper motor located in the back of the printer, which is connected with a smaller 2GT belt to a bigger pulley. A belt tensioner is available if there’s a need to tighten it.
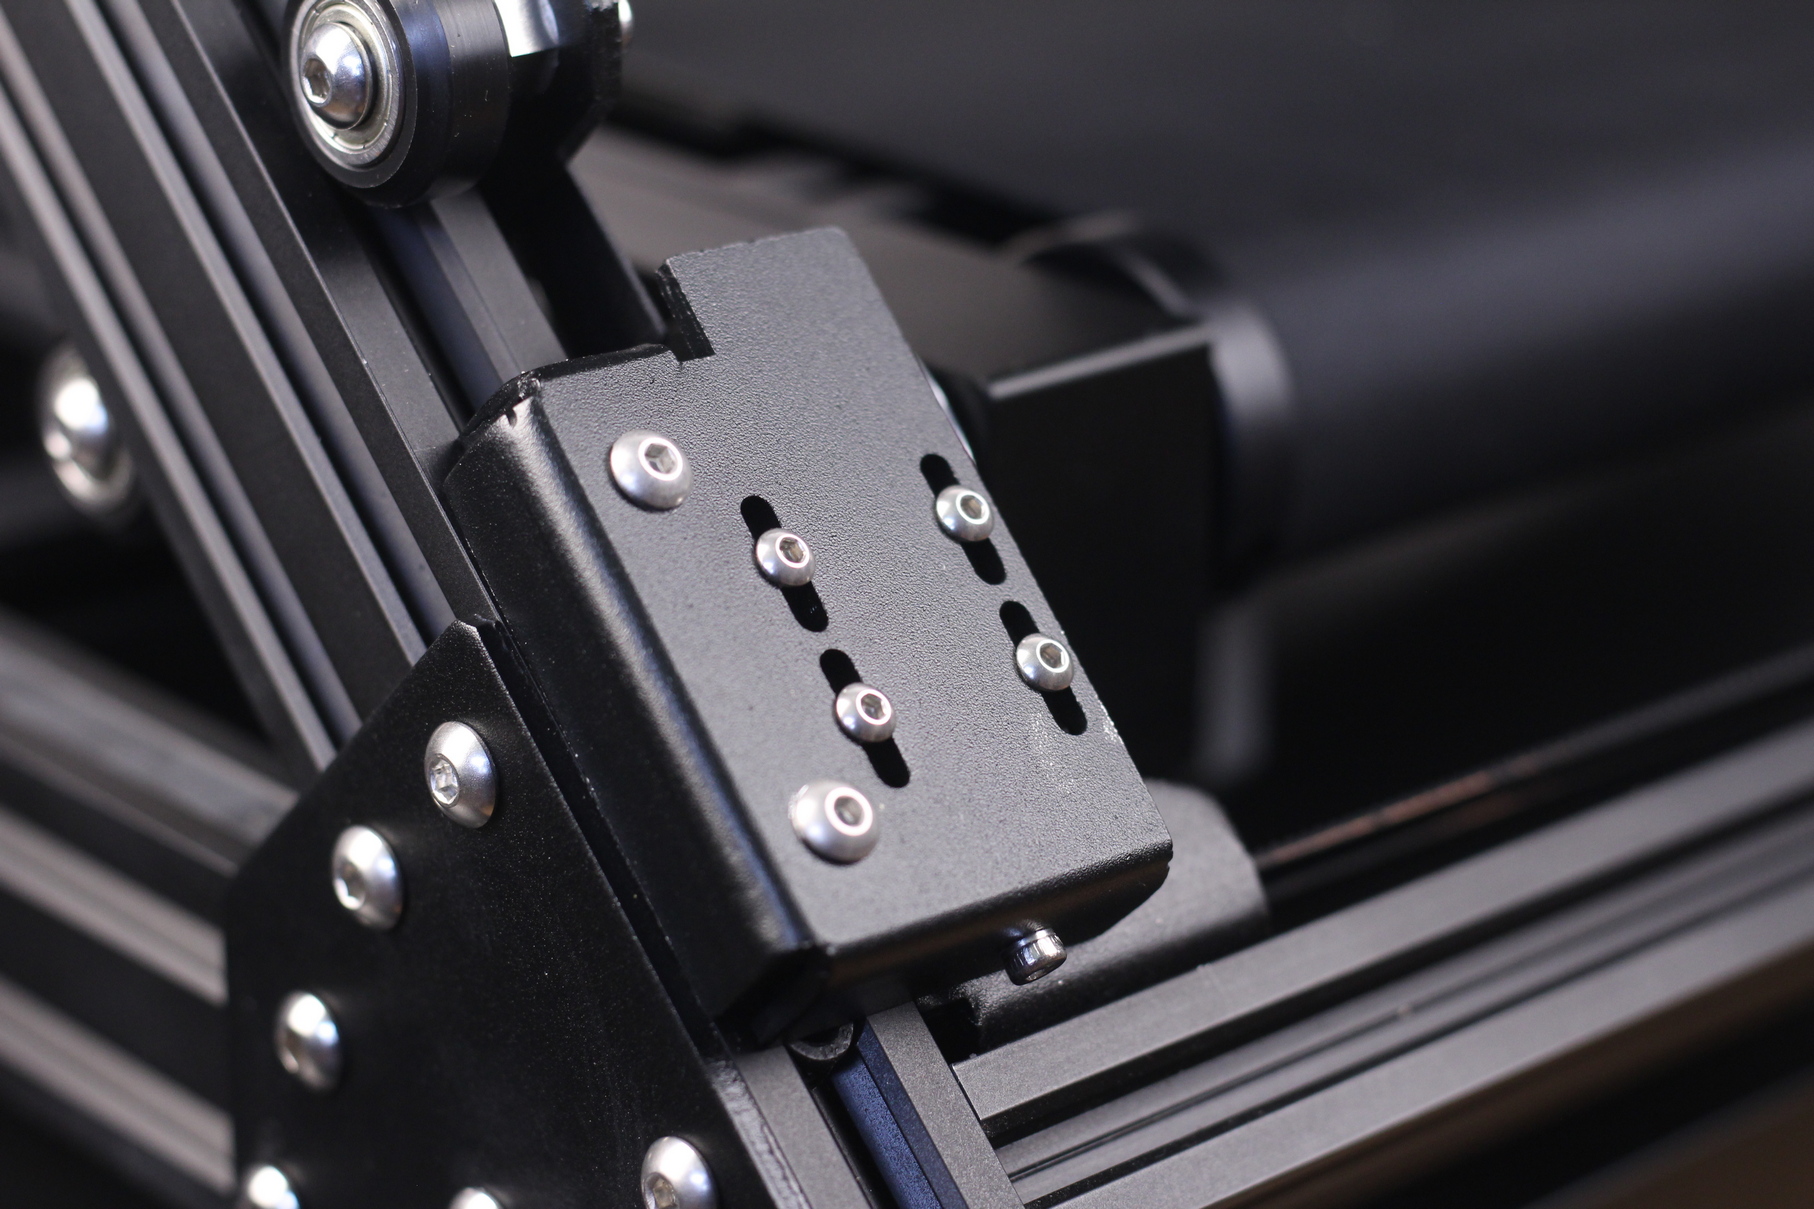
On the back left, we have the Z endstop. It’s an optical sensor which can be adjusted using the bottom screw. Ensure that the four screws holding the sensor in place are loosened before you adjust the sensor position. When you’re done, carefully tighten back.
Core-XY movement with 9mm belts
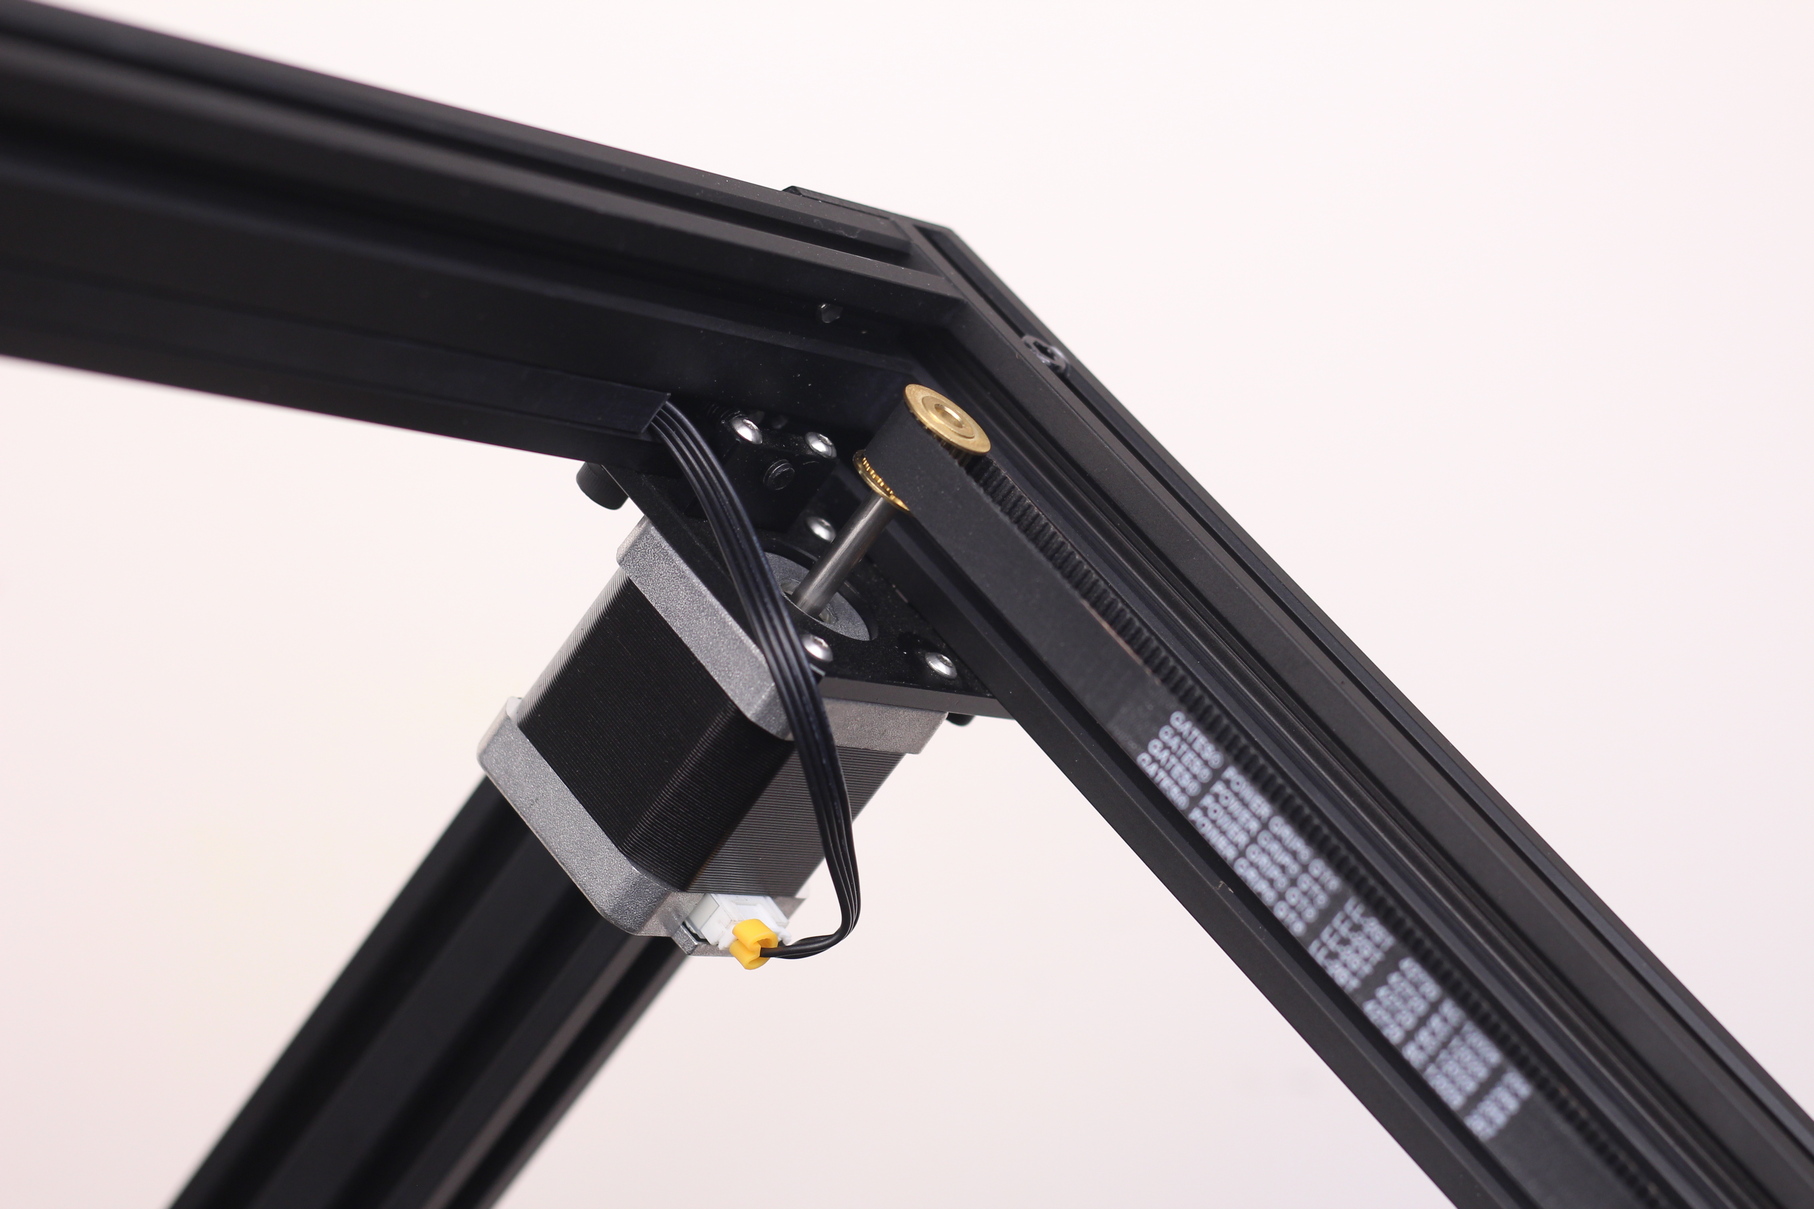
The Creality 3DPrintMill uses the same Core-XY movement solution as the Creality Ender 6. It’s sturdy, the movement is accurate and the use of 9mm belts allows the printer to move quite fast.
The biggest drawback on this Core-XY setup is the right motor shaft which is taller. I’ve seen multiple reports online with the Ender 6 where the shaft broke. If Creality would have added some kind of brace to the motor shaft, this issue would not occur, so I hope they improve the design over time. There are some printable addons that can be installed to mitigate this issue, and I’ve also seen an aftermarket aluminium solution which is currently being tested.
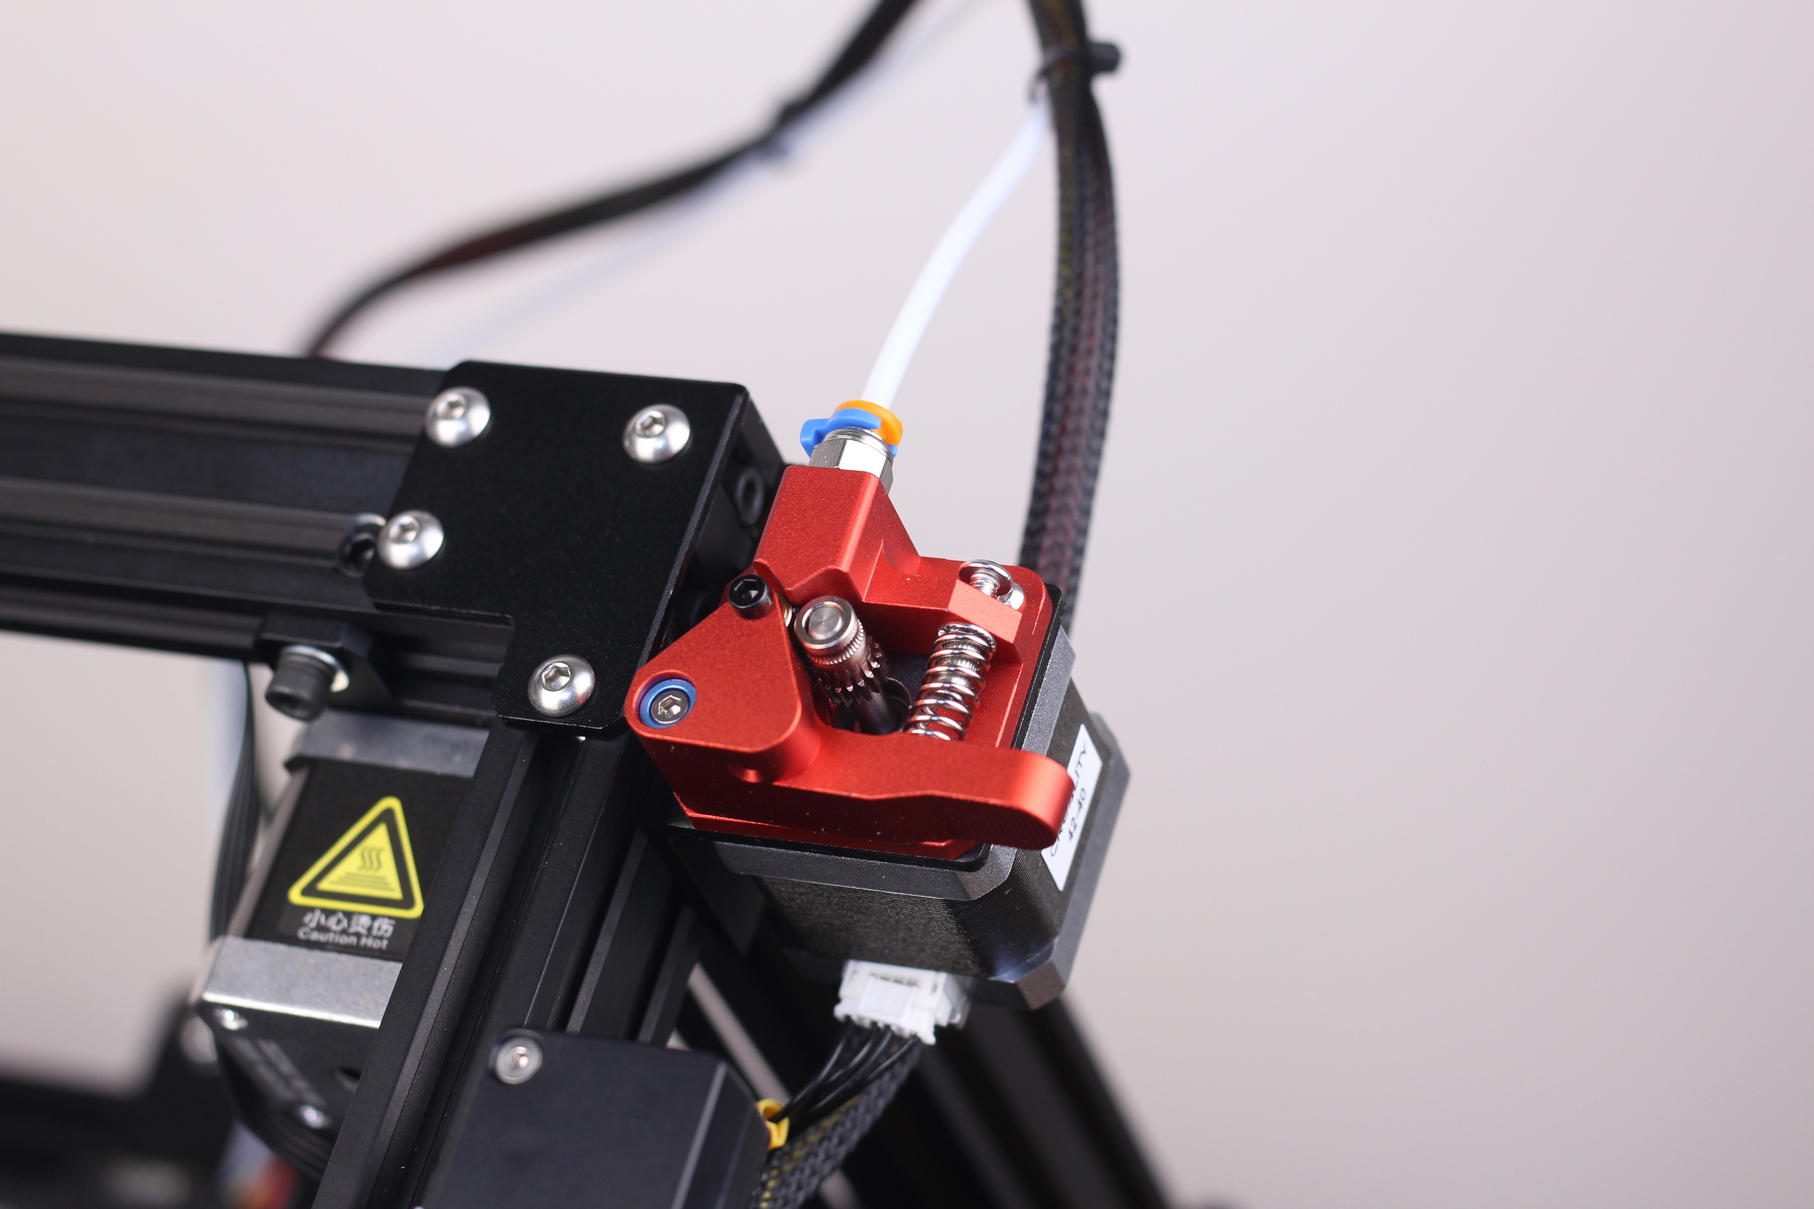
Dual-gear Creality extruder
The extruder used with the Creality 3DPrintMill is the same one used with the Ender 6 and the Creality CR-10s PRO. It does a good job extruding filament without losing grip. The two gears grip the filament from both sides which is important especially considering the long bowden tube used with the CR-30.
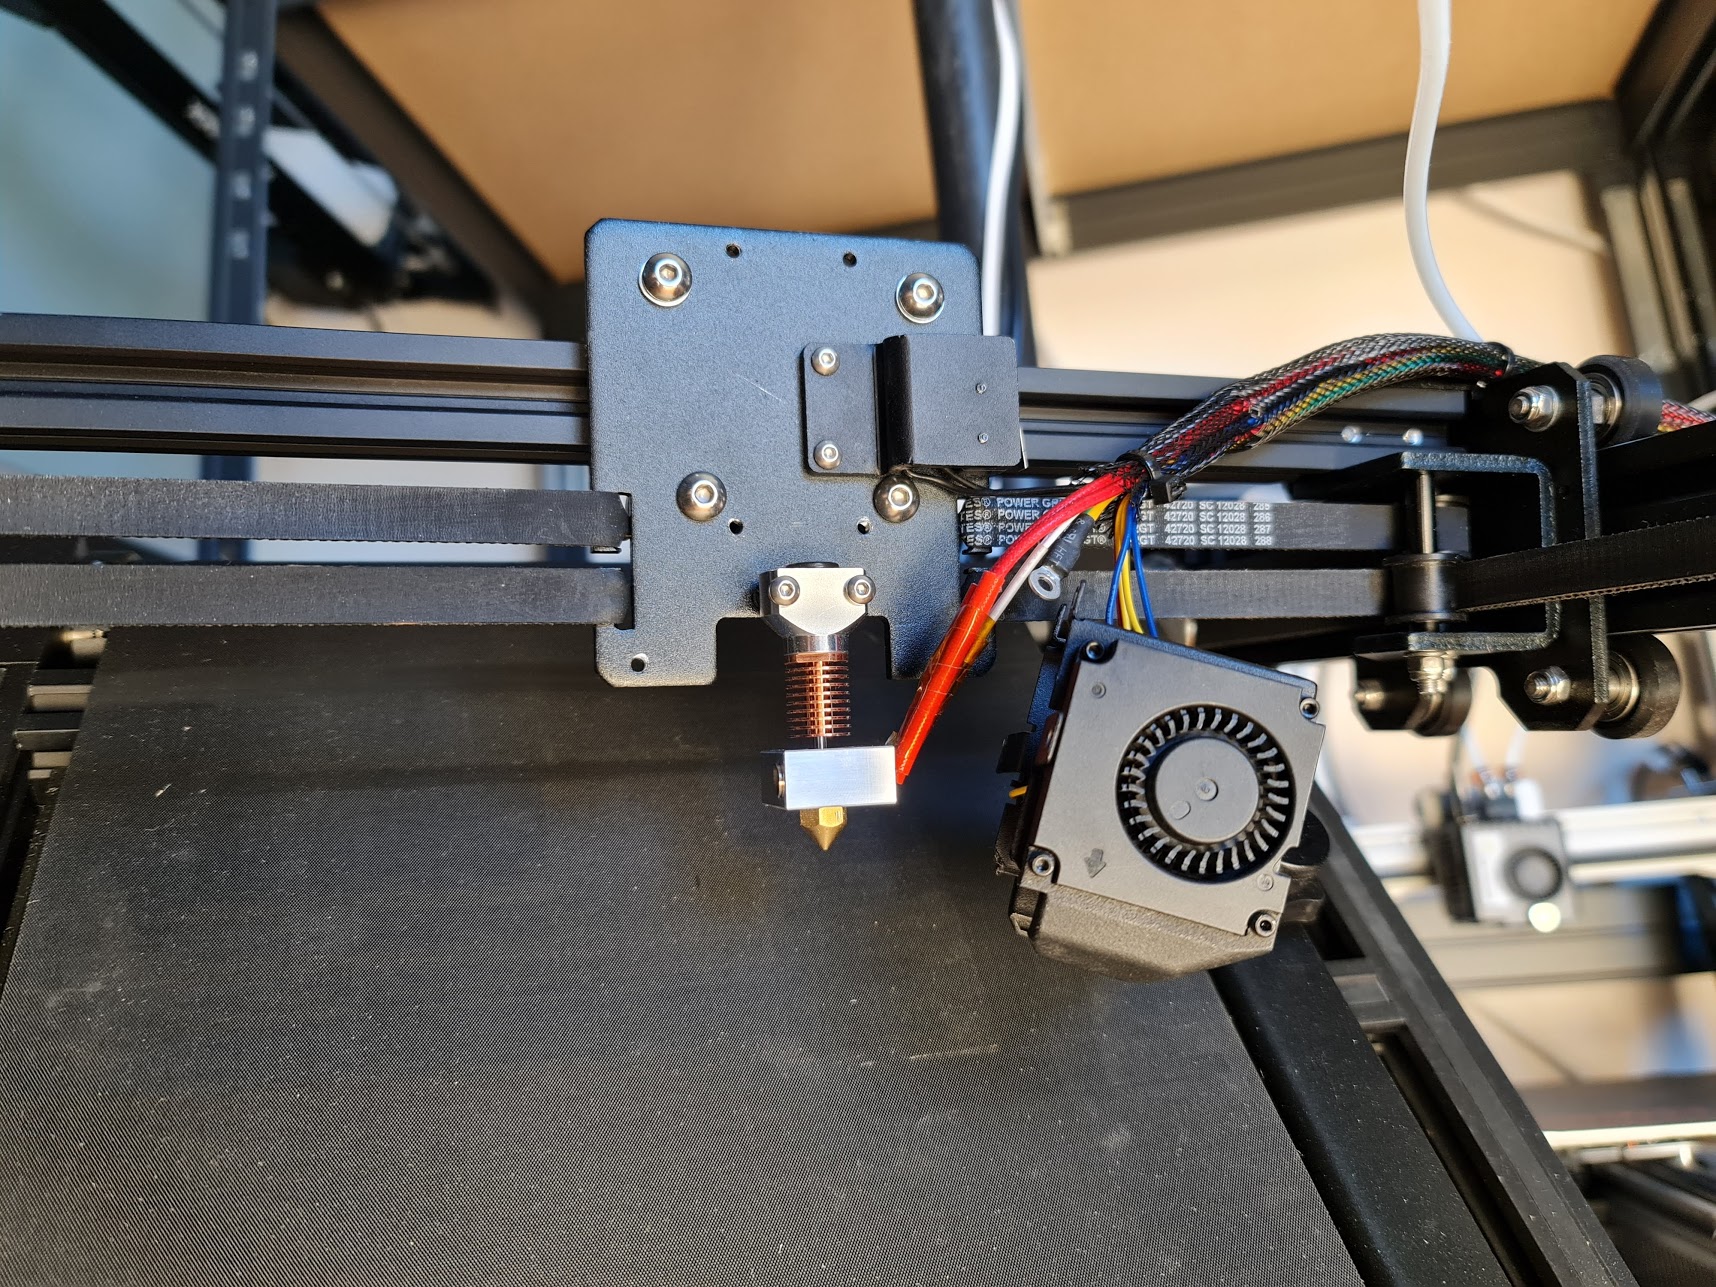
Generic 45° angle Creality PTFE-lined hotend
It’s not a surprise that the Creality CR-30 uses the same generic Creality PTFE-lined hotend. If you’ve been reading my Creality 3D printer reviews, you know that I am not a fan of these hotends because of their bad thermal performance. The PTFE tube touches the nozzle which means that you are limited to printing up to 240C. If you go over this temperature, the PTFE tube starts to degrade, and a clog is just a matter of time.
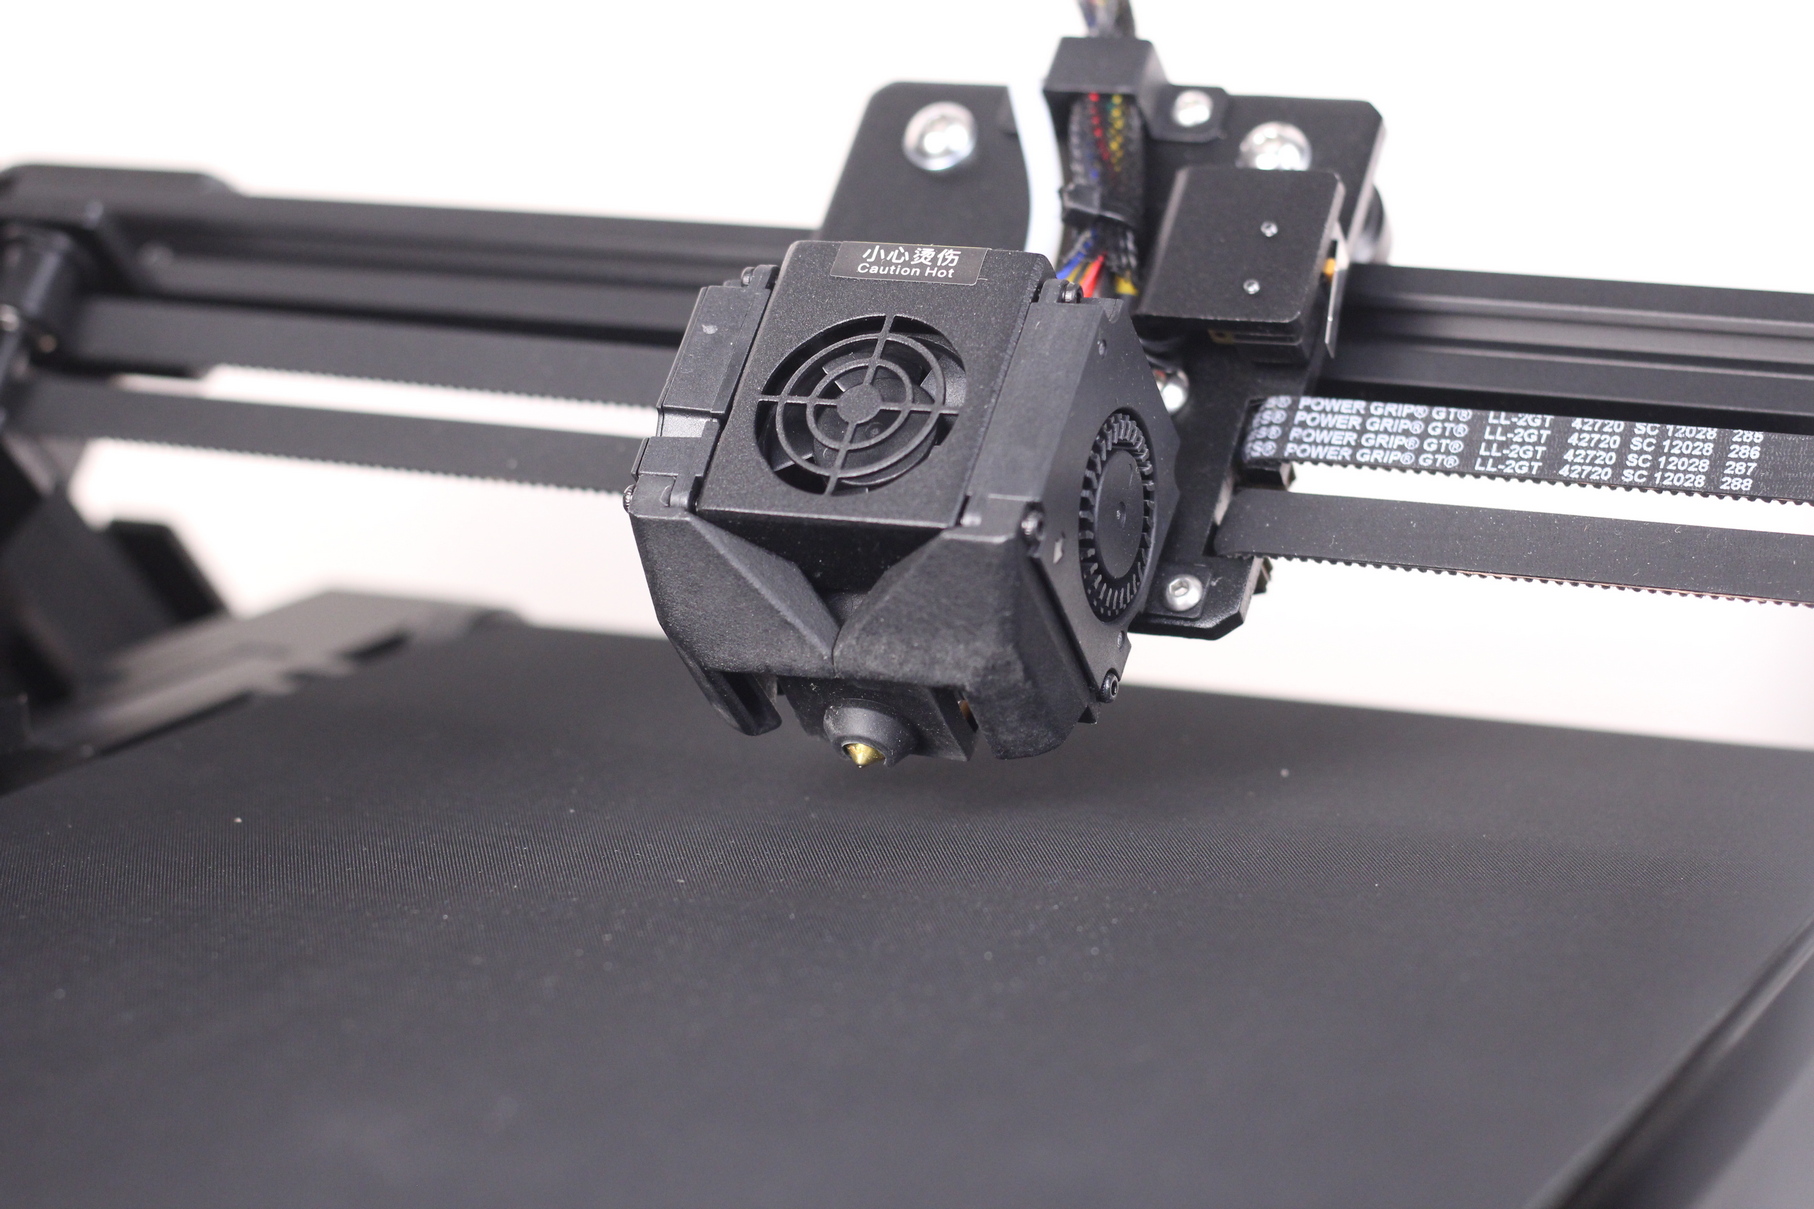
The hotend sits at a 45° angle to which allows the printer to use the belt as the Z axis and print really long models or have serial production of smaller parts without the user interfering to remove the models when done.
Considering that the Creality 3DPrintMill is designed to be a workhorse that should work for days, their choice of hotend is a bit unfortunate and I would have liked to see a better hotend installed. One with the PTFE tube sitting higher in the heat break for more consistent extrusion and less downtime to fix it.
I am not sure if this is an isolated issue, but I was not able to do bigger prints with the stock hotend. I had probably ~10 failures, where the nozzle would just clog and stop extruding. The small 30mm fan doesn’t have a lot of airflow which leads to higher temps in the heat break. Higher temps are not great for PLA which starts to swell then cause a clog.
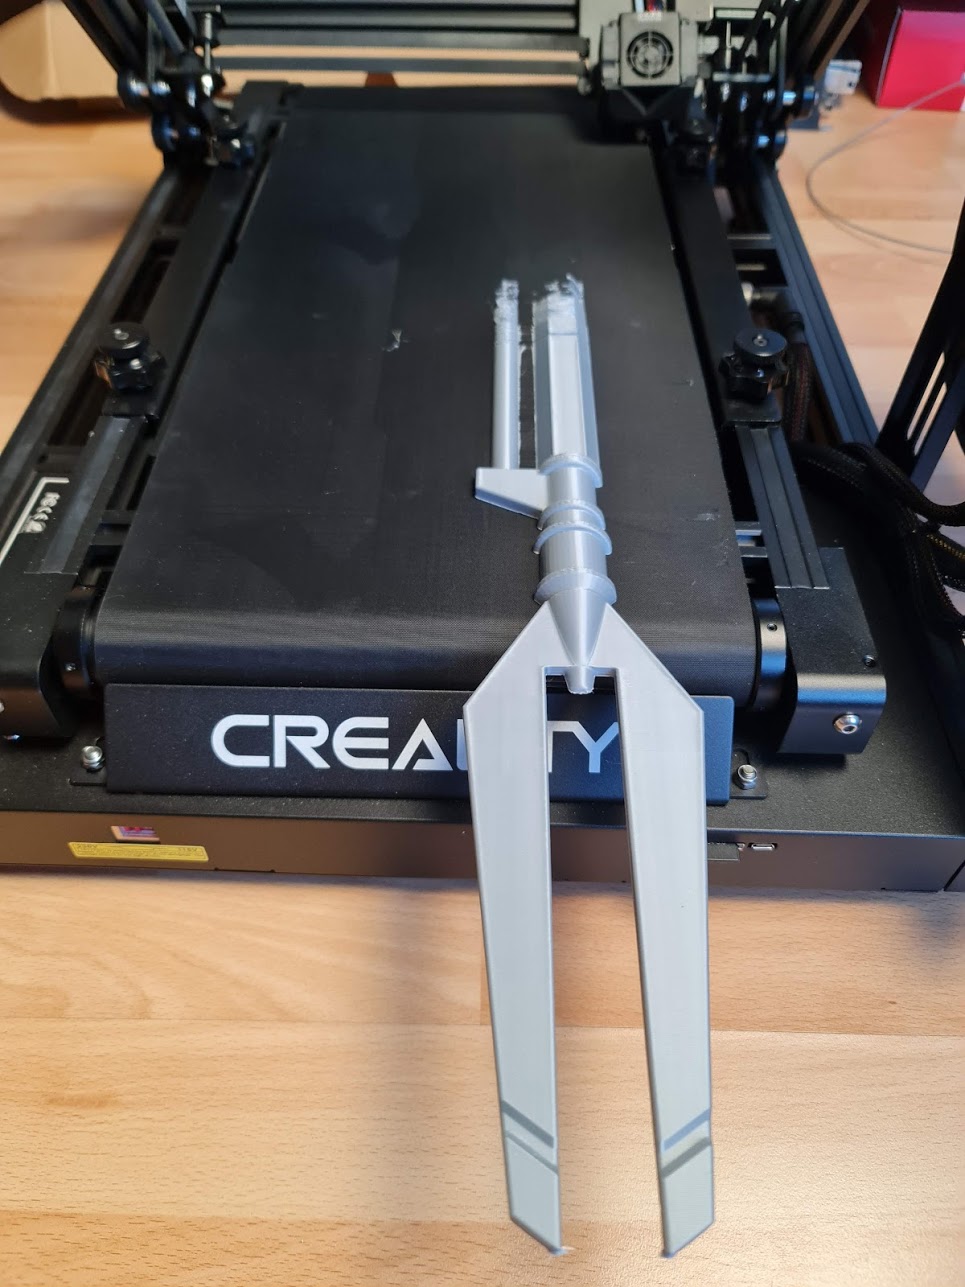
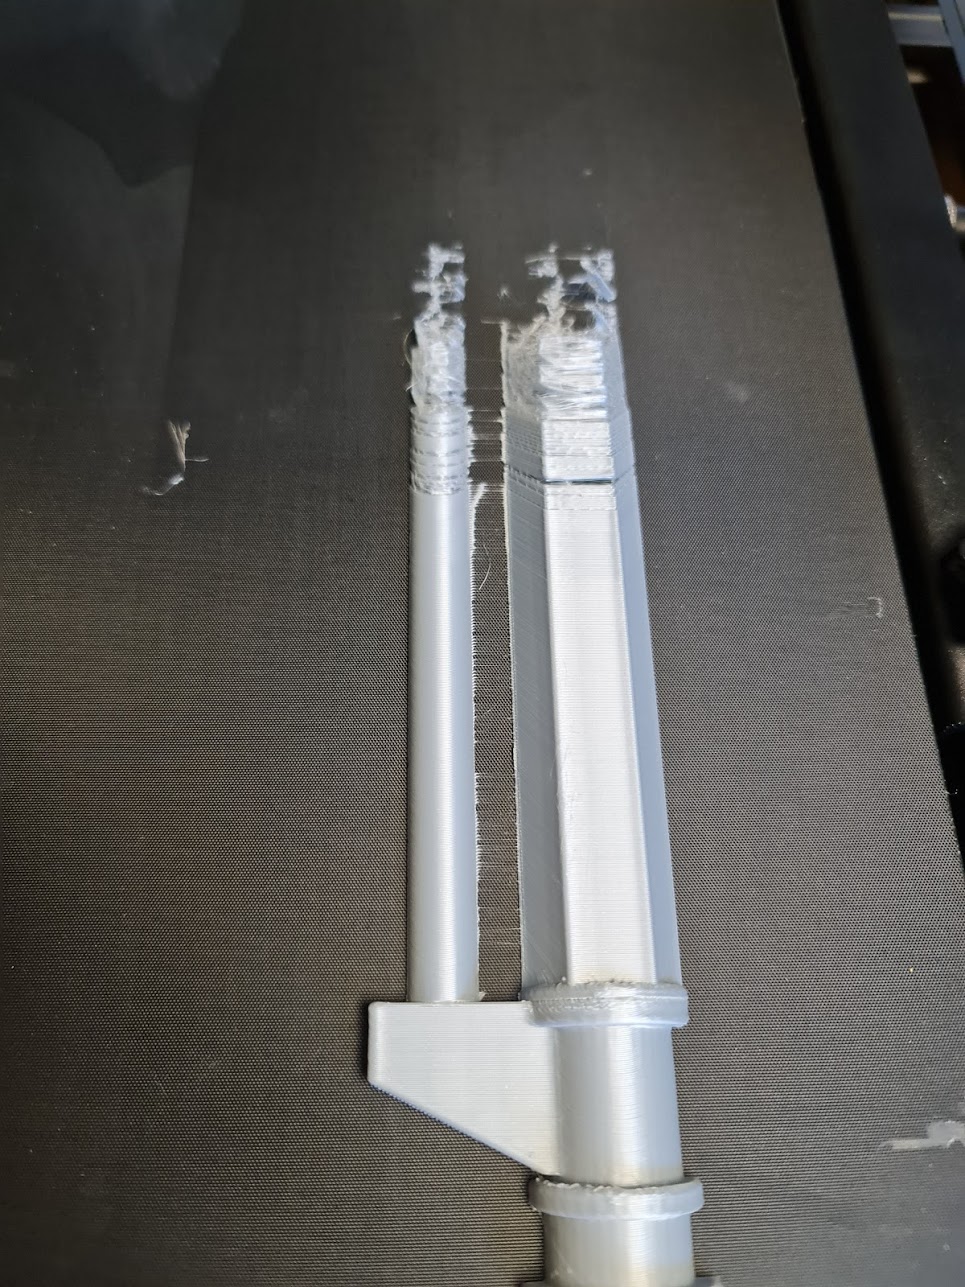
Frustrated with all the failures, where after each clog I had to take everything apart, then re-adjust the Z offset, I decided to install a better hotend (the Trianglelab Spiral Tower I had laying around). I understand that my review will be less accurate now, but this was the only way I could test the rest of the printer.
After changing the hotend, all my prints were successful with no other clogs, so I recommend budgeting for a better hotend if you plan to purchase a 3D Print Mill. The stock hotend will only cause issues, and you don’t want that on a week-long print.
Creality V4.2.10 32-bit silent board
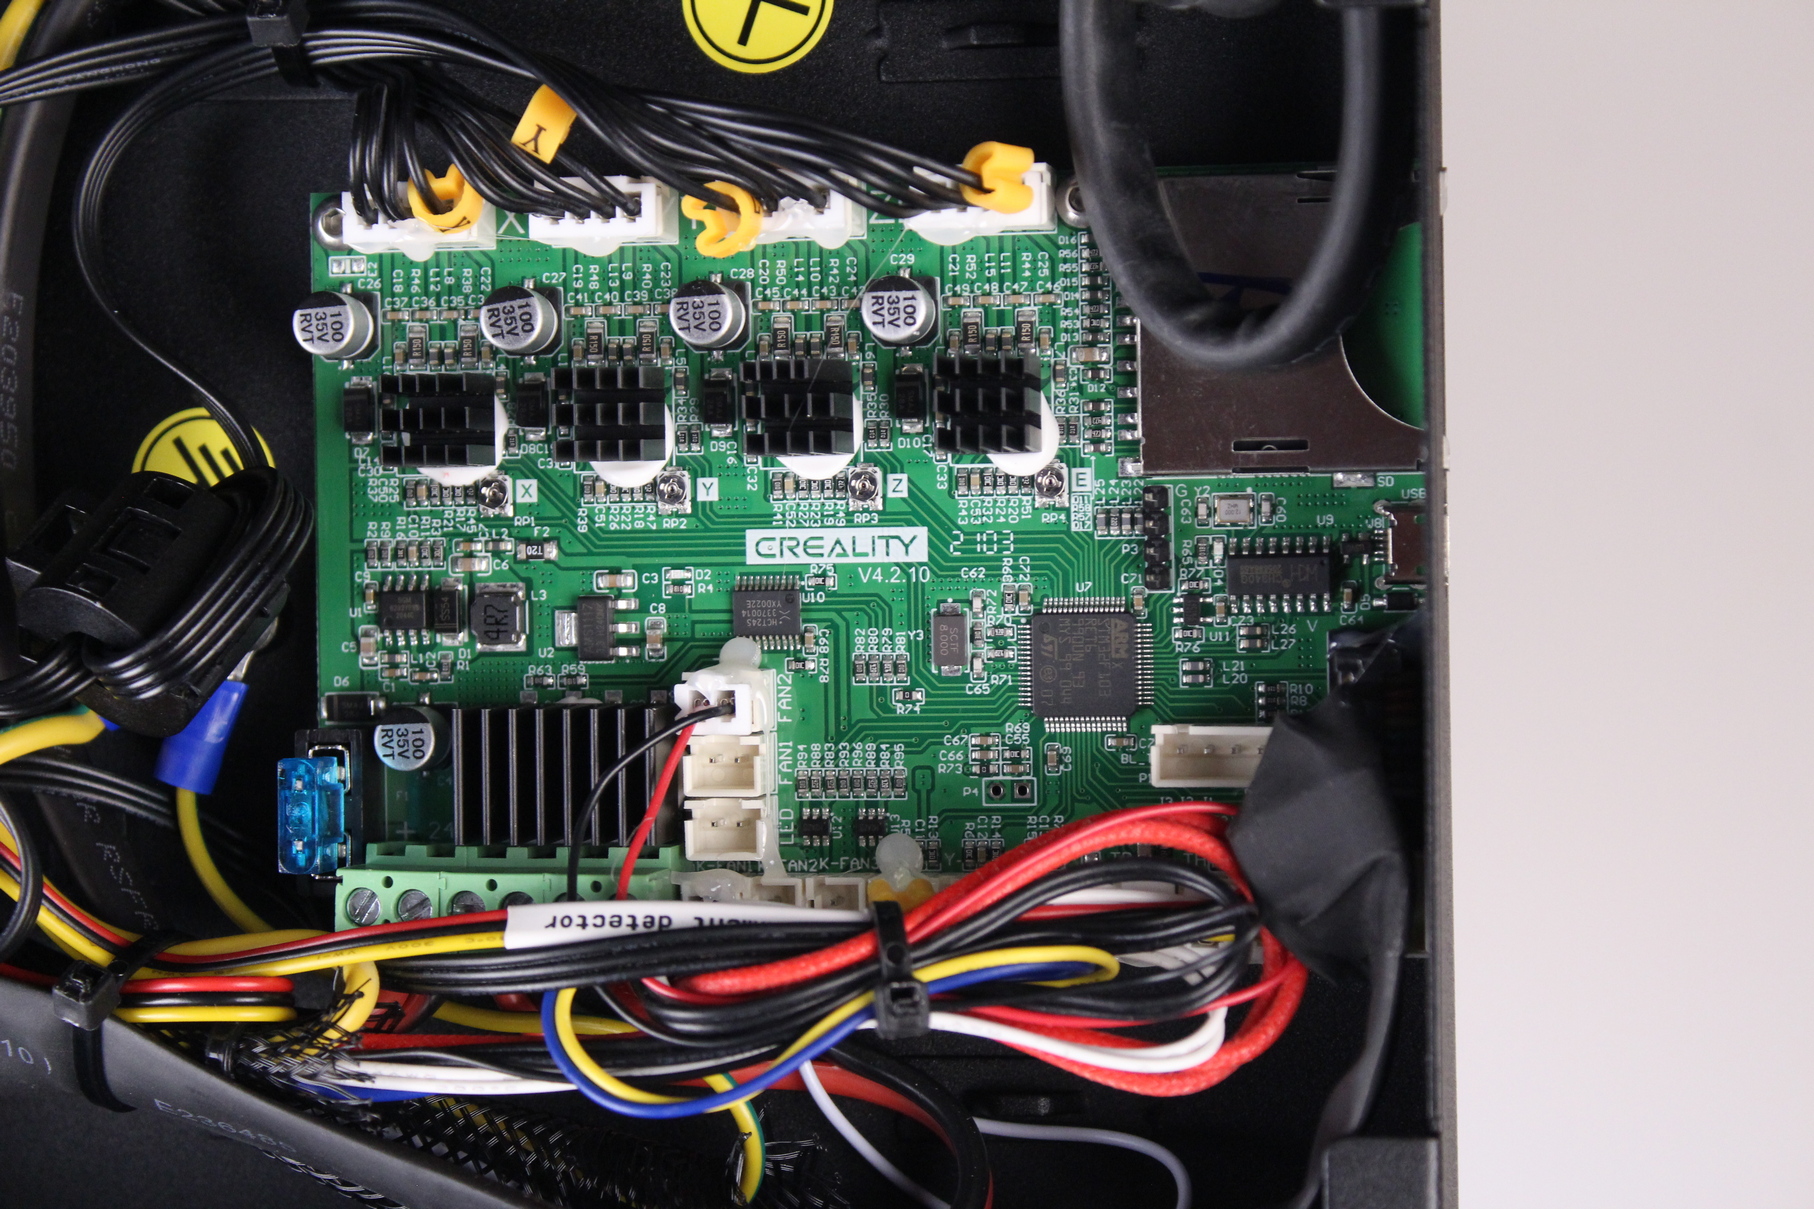
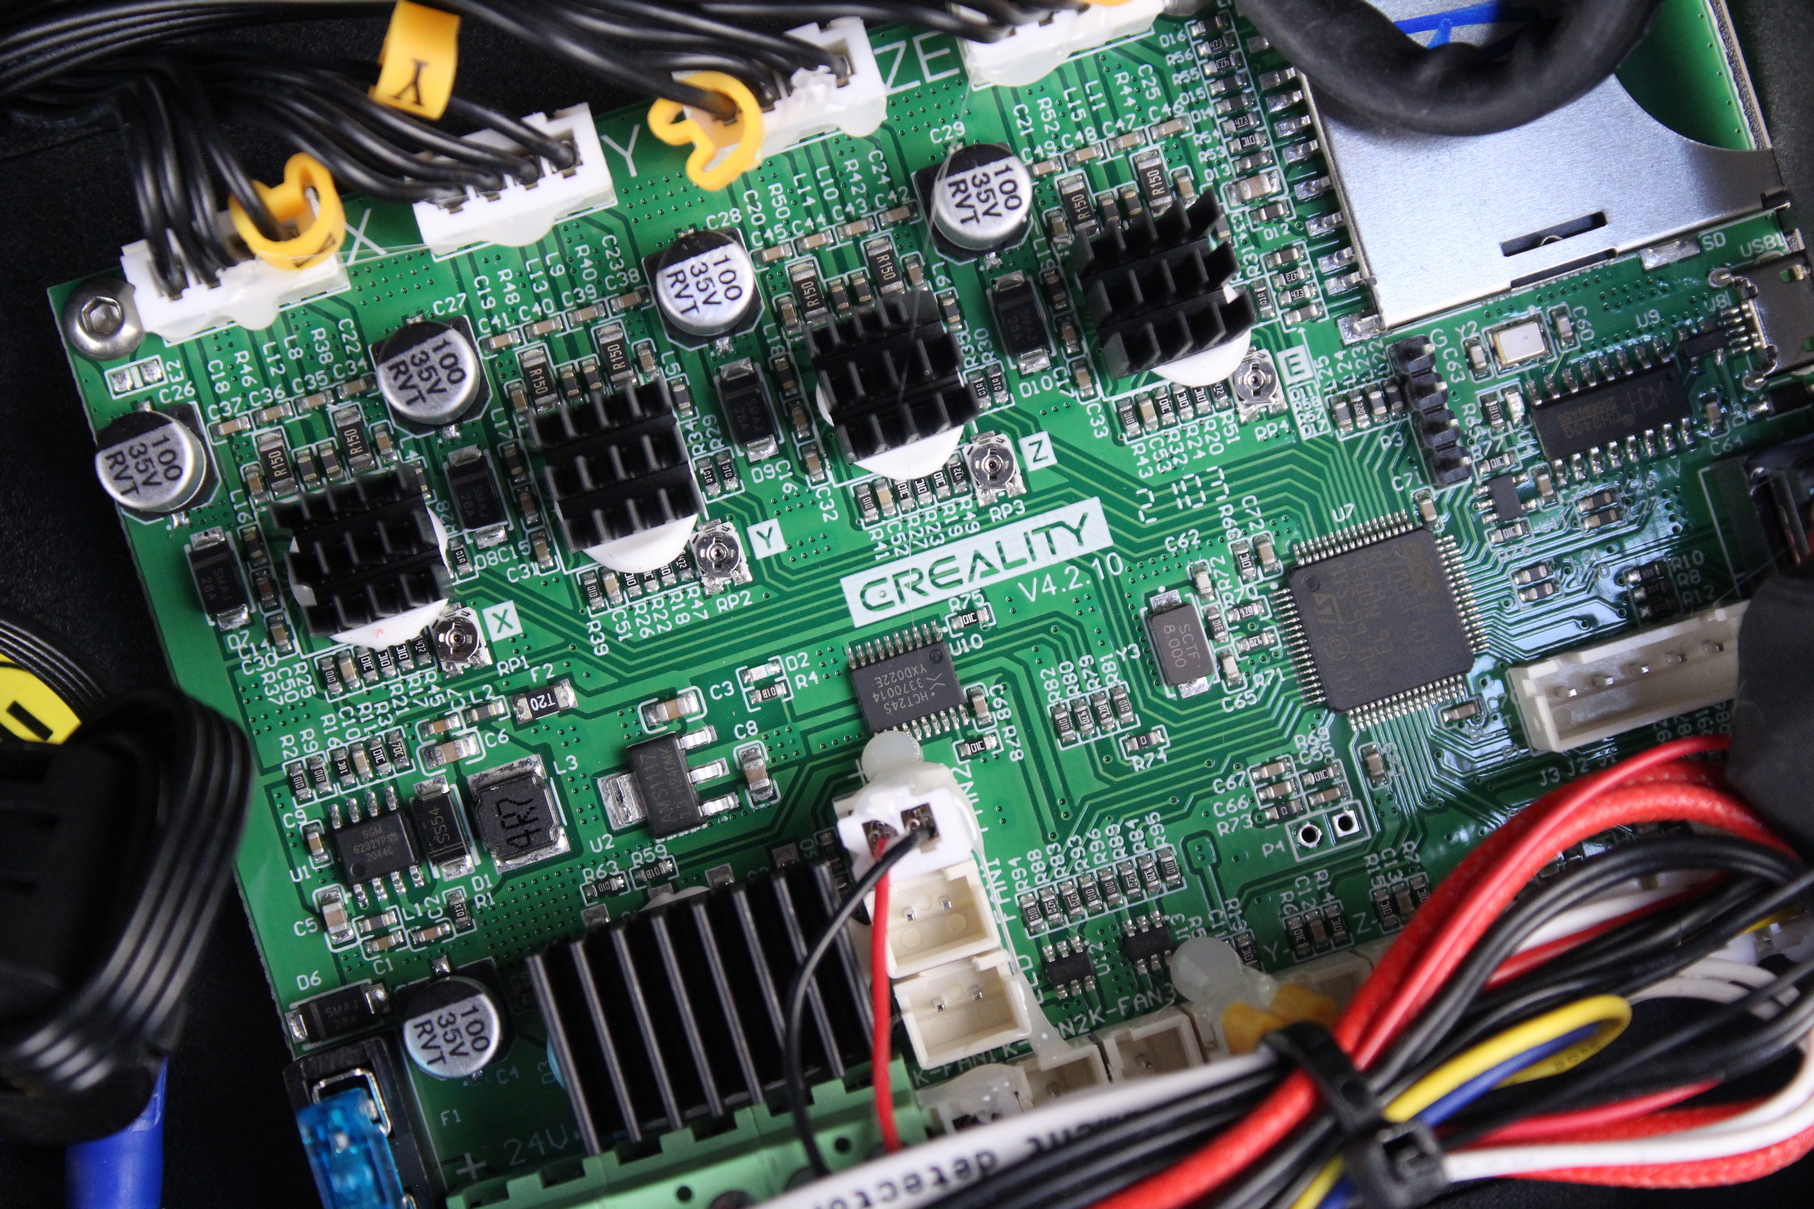
Inside the Creality CR-30, we have a Creality V4.2.10 board running silent stepper drivers. As with all Creality boards, the stepper drivers are not removable. Other than that, nothing major to report.
350W Huntkey 24V power supply
Considering that the 3D Print Mill is quite an expensive printer, I was expecting to see a Mean Well power supply inside. But my unit came with a Huntkey 24V 350W power supply. I don’t know too much about this brand, but the power supply is silent, and I can’t really complain about its performance.
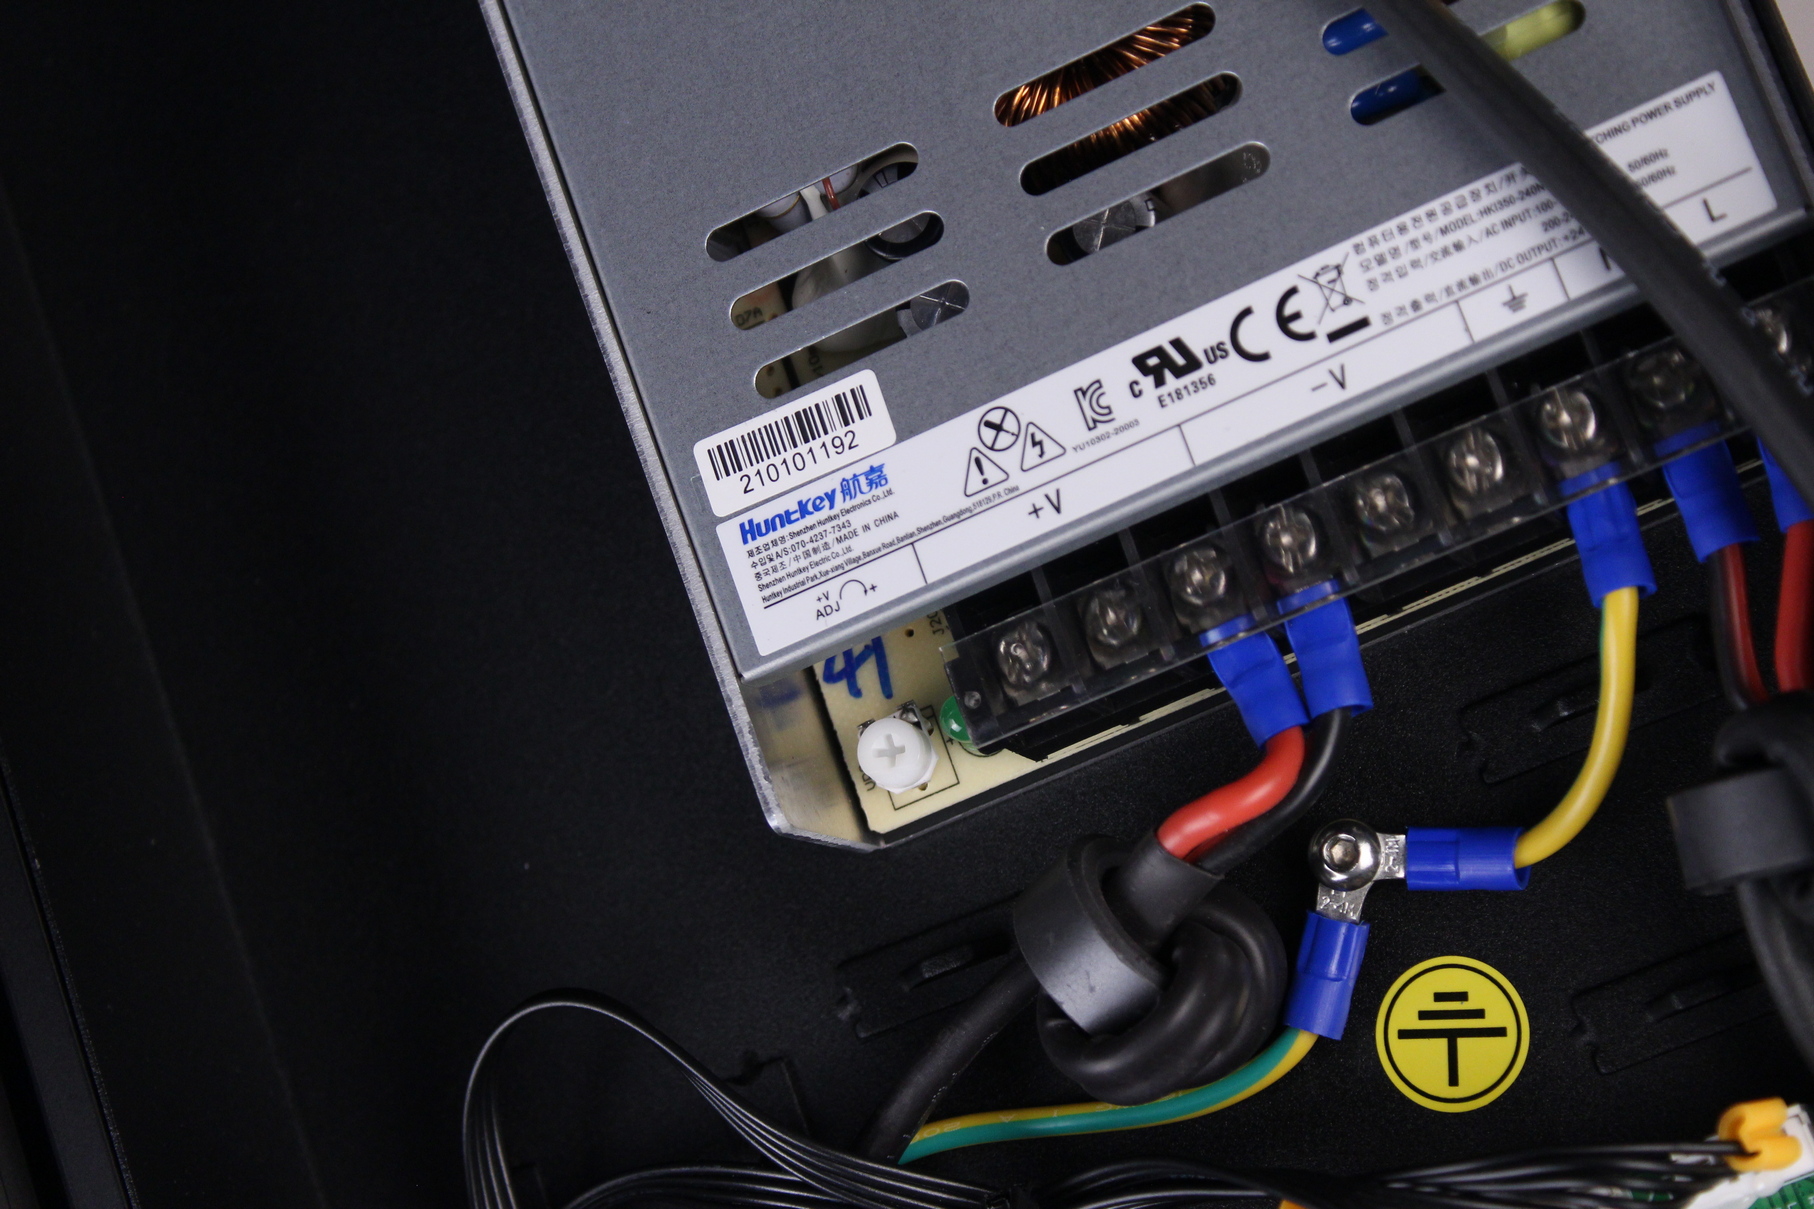
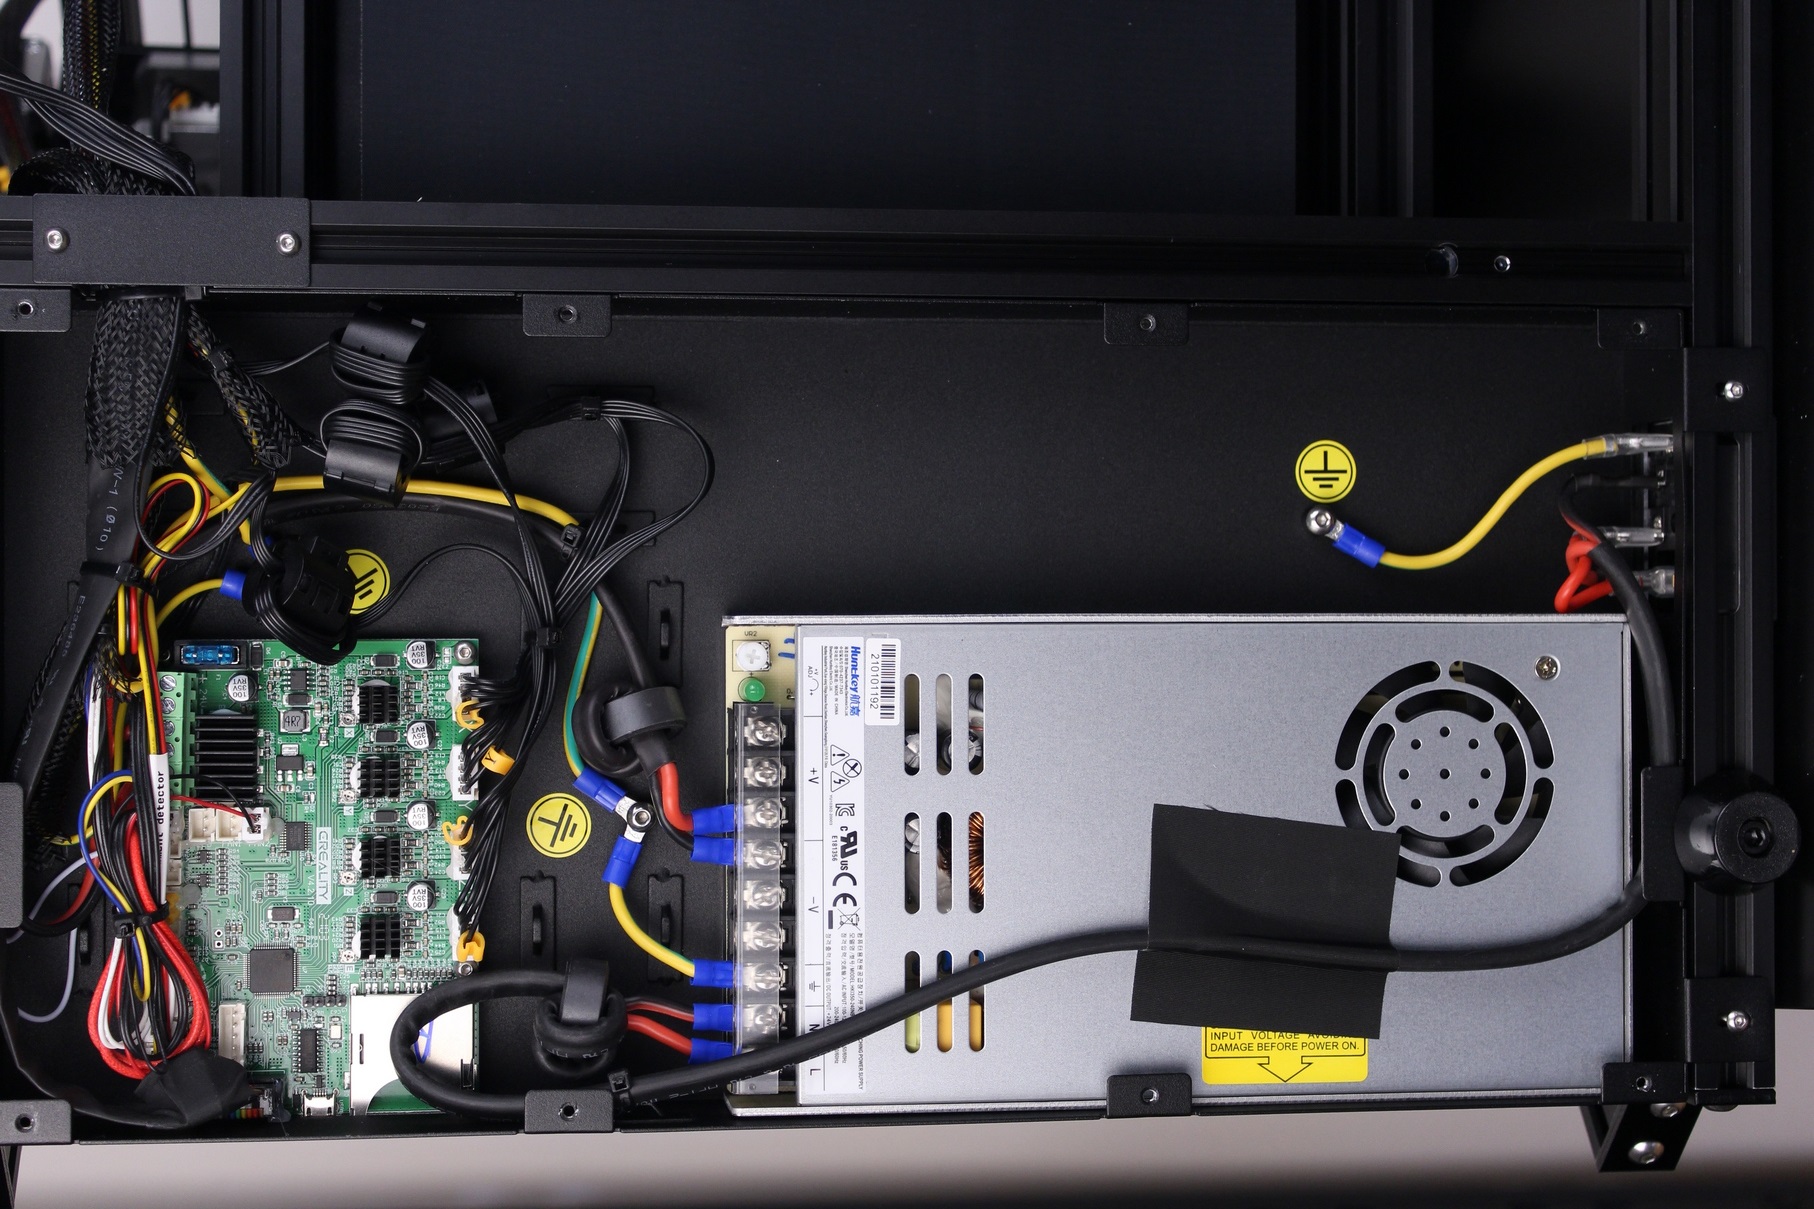
As you can see in the pictures, the power wires have ferrite cores which are installed to minimize electrical interference. Creality started adding these on more expensive printers, which is a nice addition.
12864 monochrome screen
The included 12864 screen is the same one you get with the popular Ender 3. It doesn’t have any special features, and you still need to turn the knob for moving through the menus (instead of the newer touchscreens). But I’m ok with that.
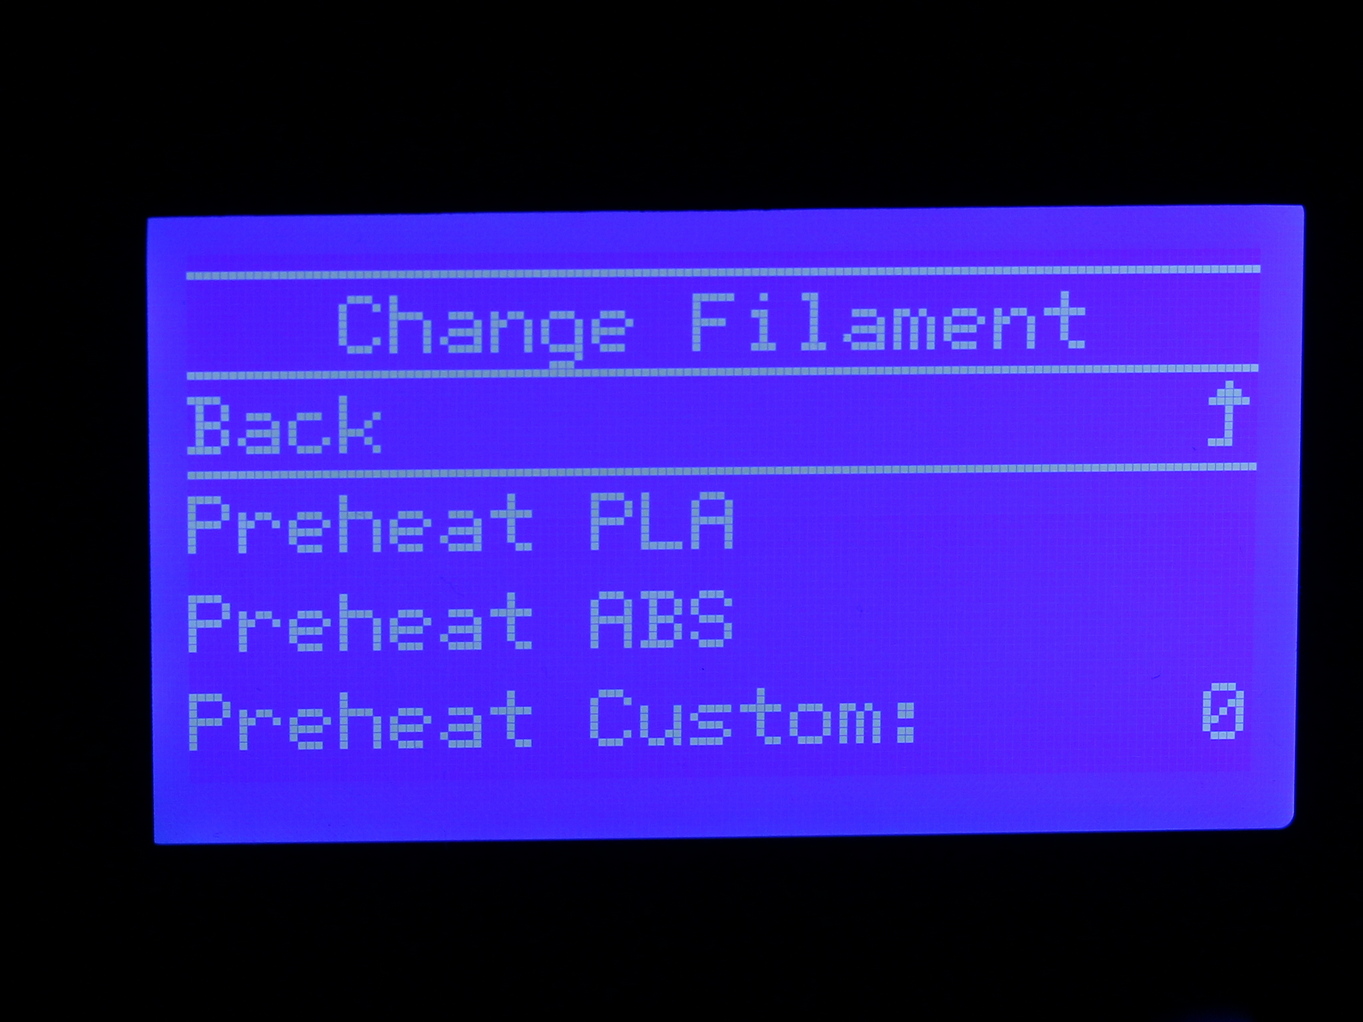
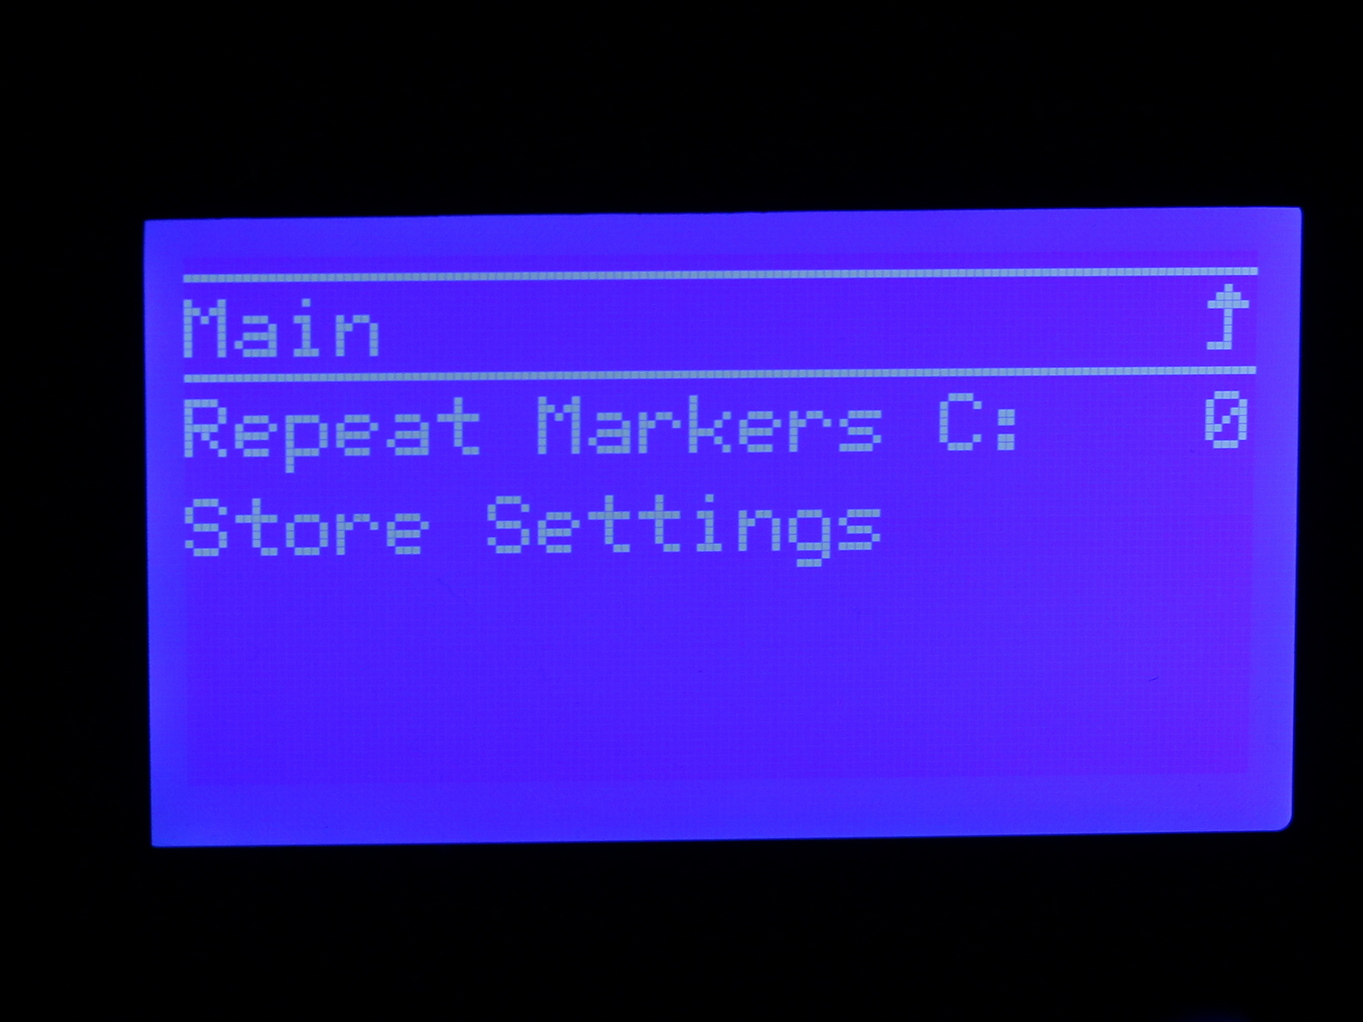
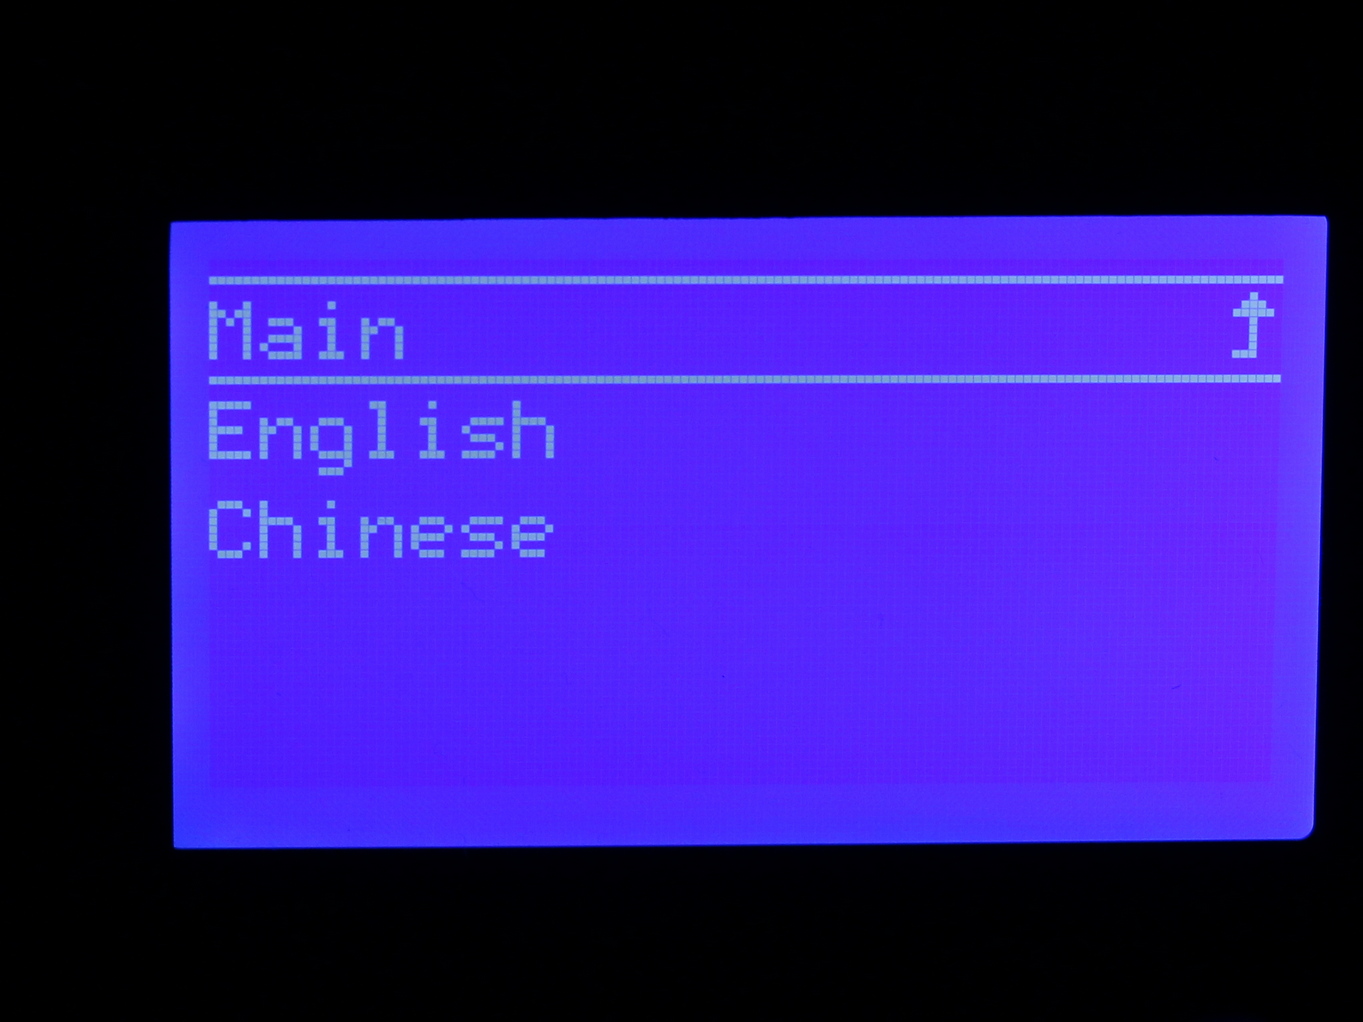
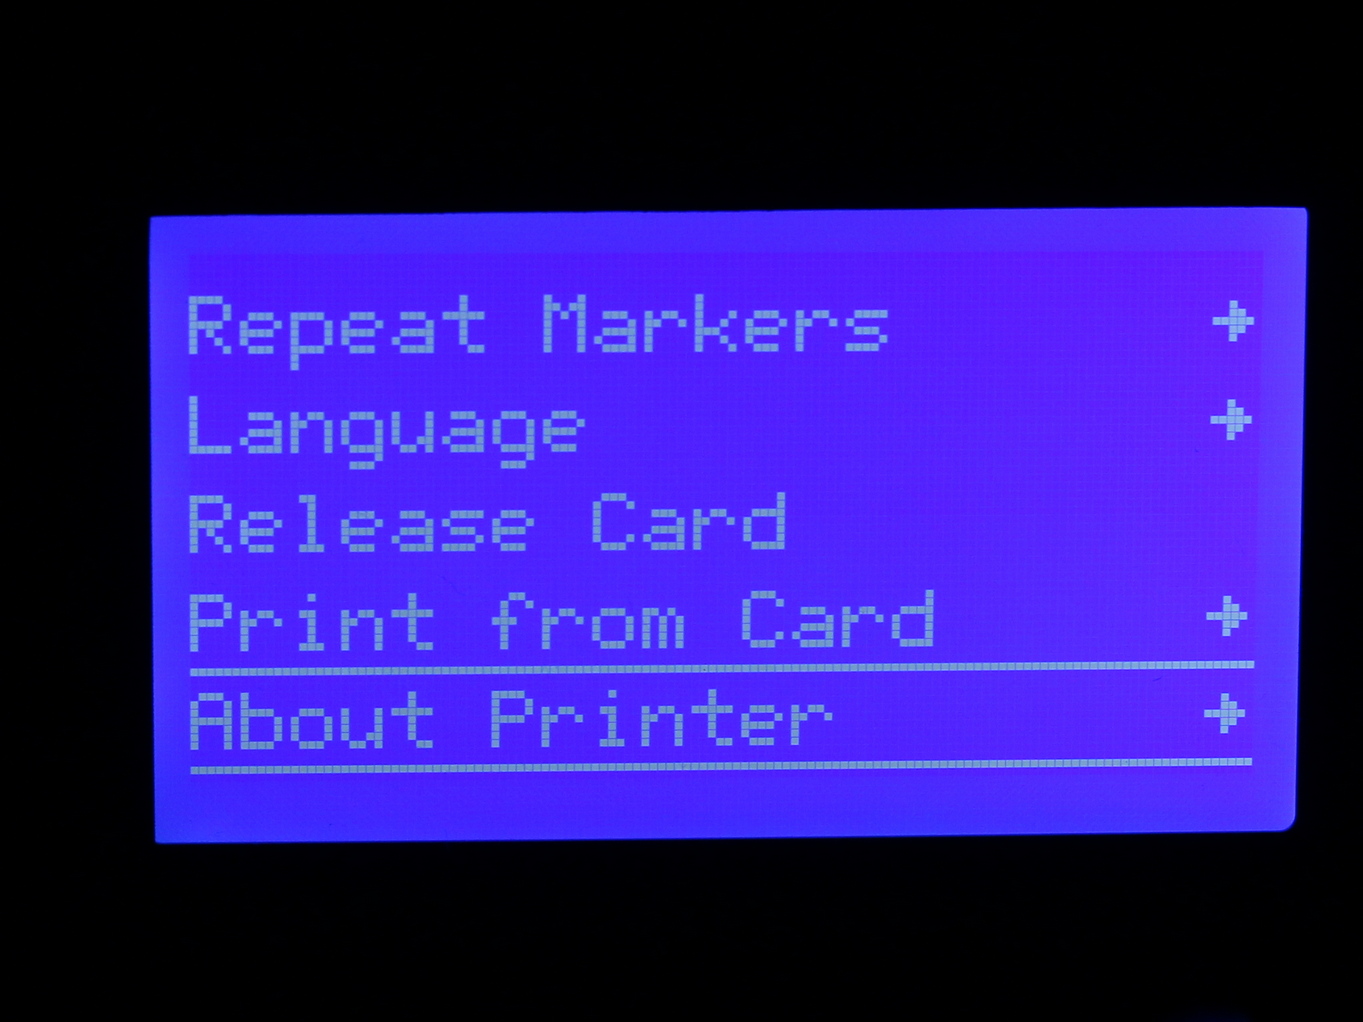
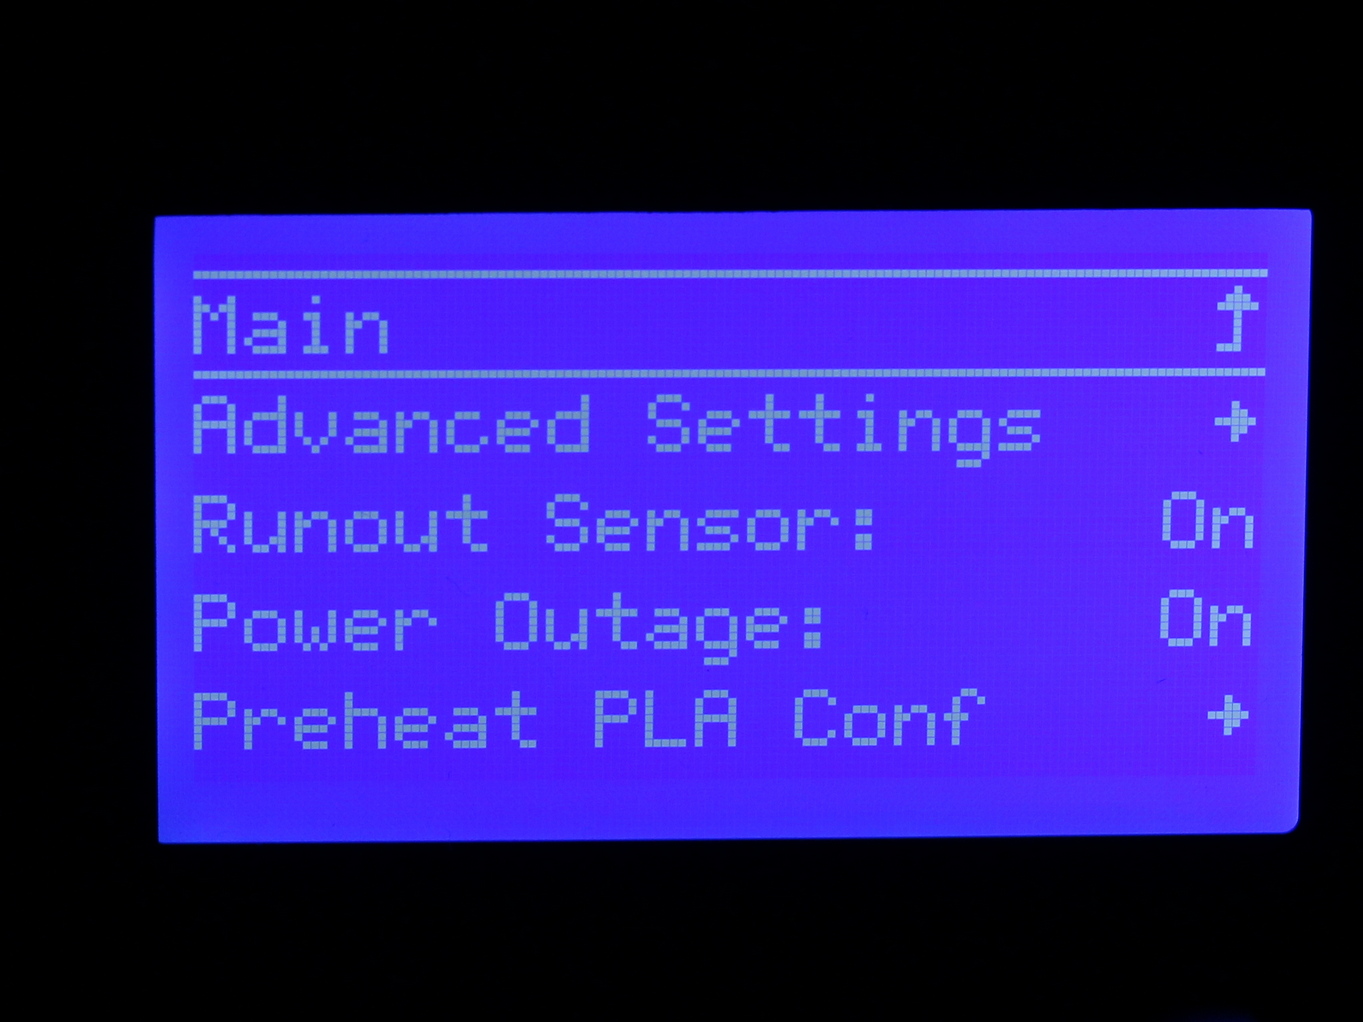
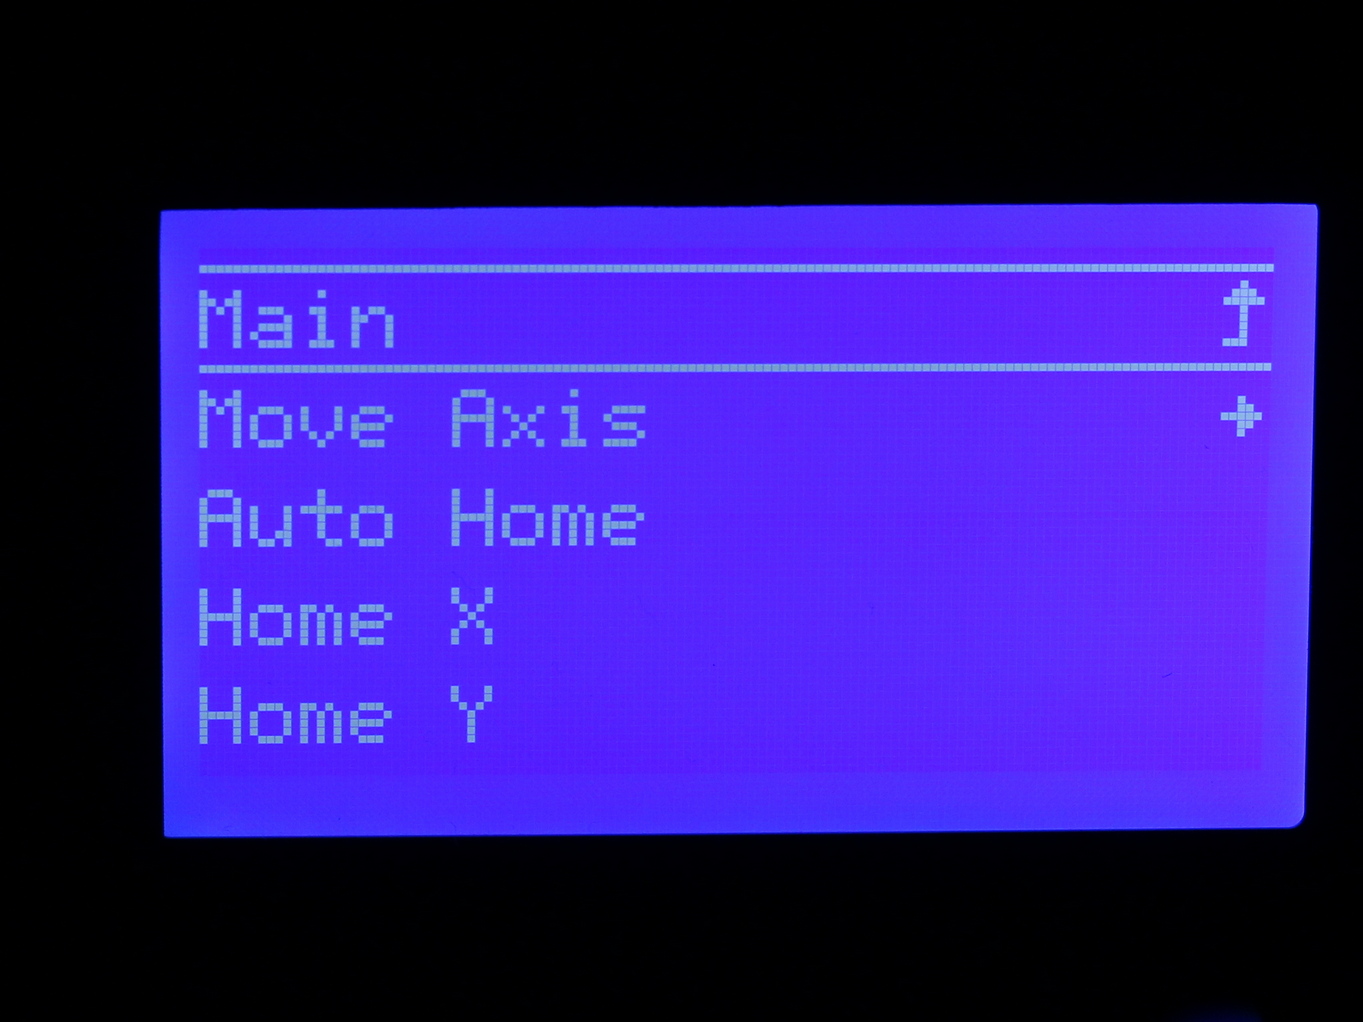
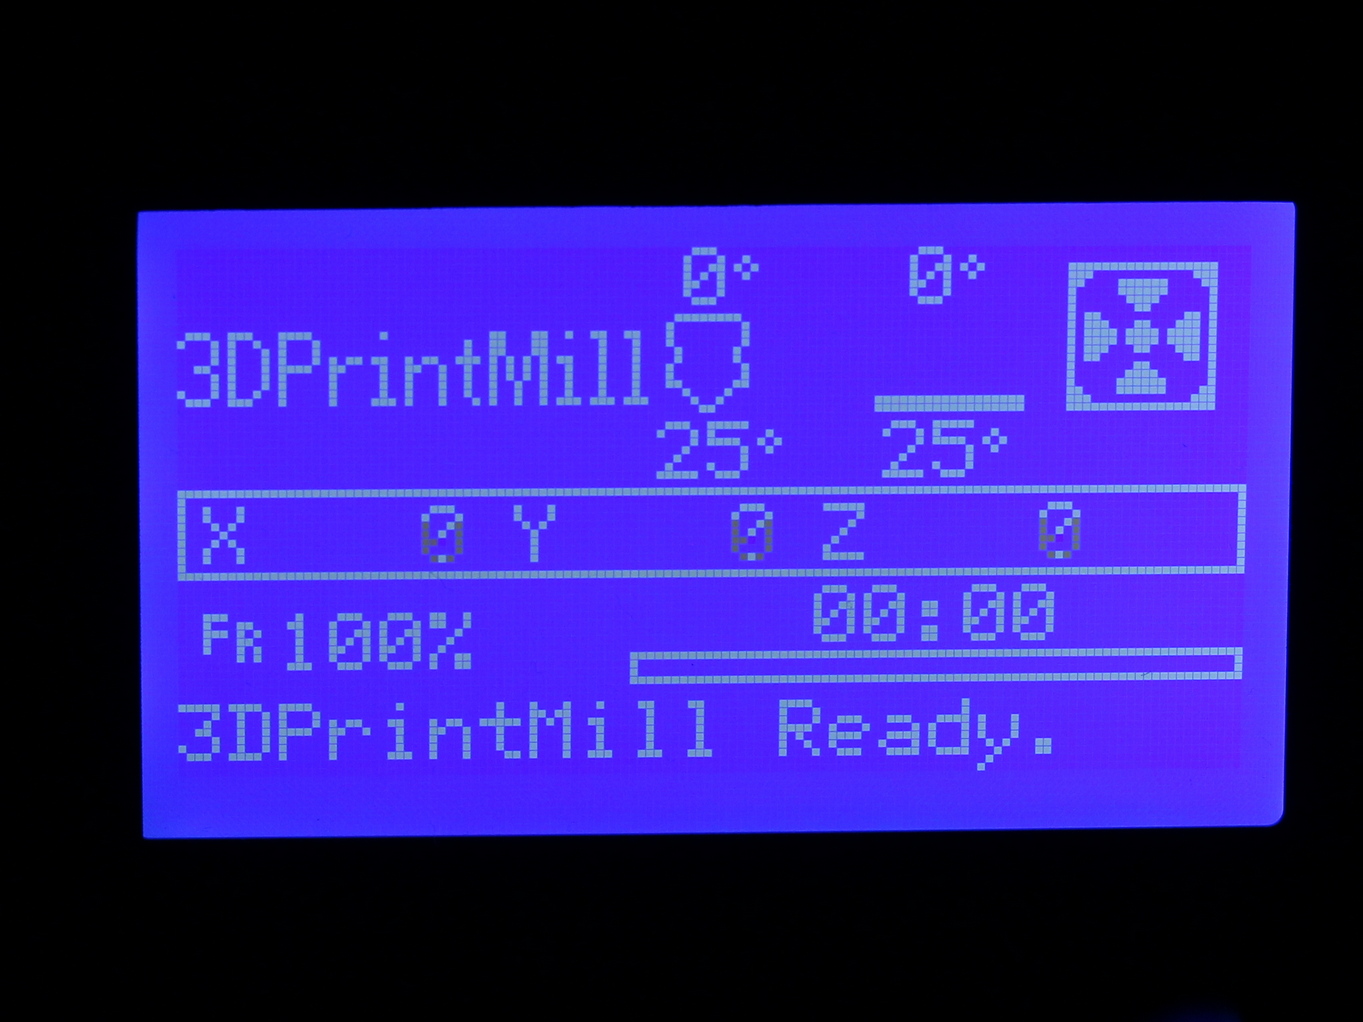
What I don’t like is the shiny plastic covering the screen. The piano black cover is a fingerprint and dust magnet, which can be easily scratched, and it gives the printer a cheap look. I would have liked a metalic bracket better (like the Ender 3).
Filament sensor and power failure recovery
Most of the 3D printers out there use filament sensors so this shouldn’t come as a surprise, especially considering that the 3DPrintMill will work for days without stopping. When the filament spool is done, the sensor stops the printing process and notifies you to replace the filament and continue the print.
I also tested the power failure recovery (without planning to do so) when there was a 1-hour long power failure during the rifle print. When power came back, the printer asked me if I want to continue the print. I chose “Yes” and after heating up, the nozzle homed then continued the print.
Usually, I don’t even bother testing the power failure feature because the model will surely detach from the heated bed after it cools down, but with the CR-30, the belt adhesion is great, and the power loss recovery feature can actually be used.
Heating time and power consumption
I tested the heating time for both hotend and heat bed and here are the results:
Hotend
- 200C in 54 seconds
- 250C in 1 minute and 10 seconds
Heatbed
- 60C in 1 minutes and 25 seconds
- 100C in 4 minutes
Power Draw
Idle power draw is around 6W. When the hotend and heatbed are heating up, the Creality 3DPrintMill draws around 280W. After it starts printing, the power draw stabilizes to around 60W.
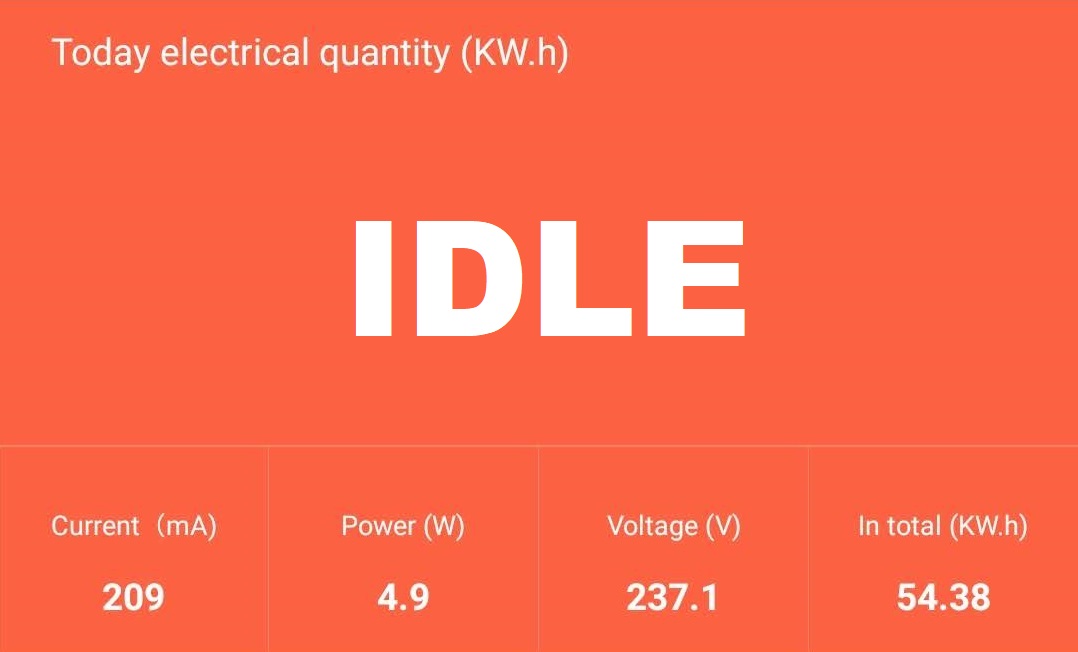
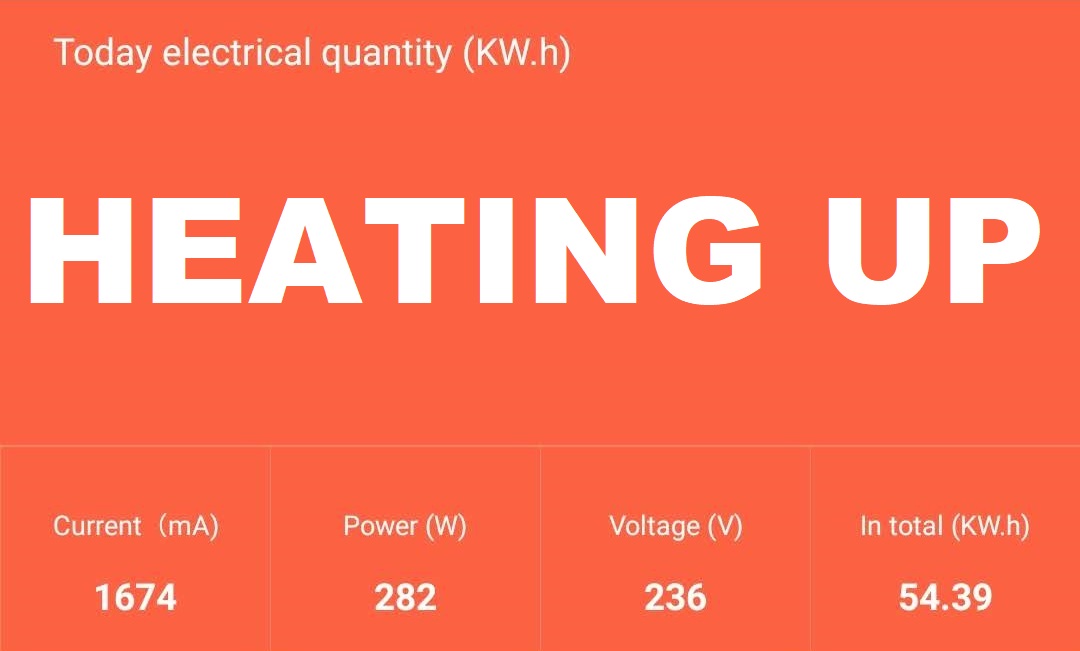
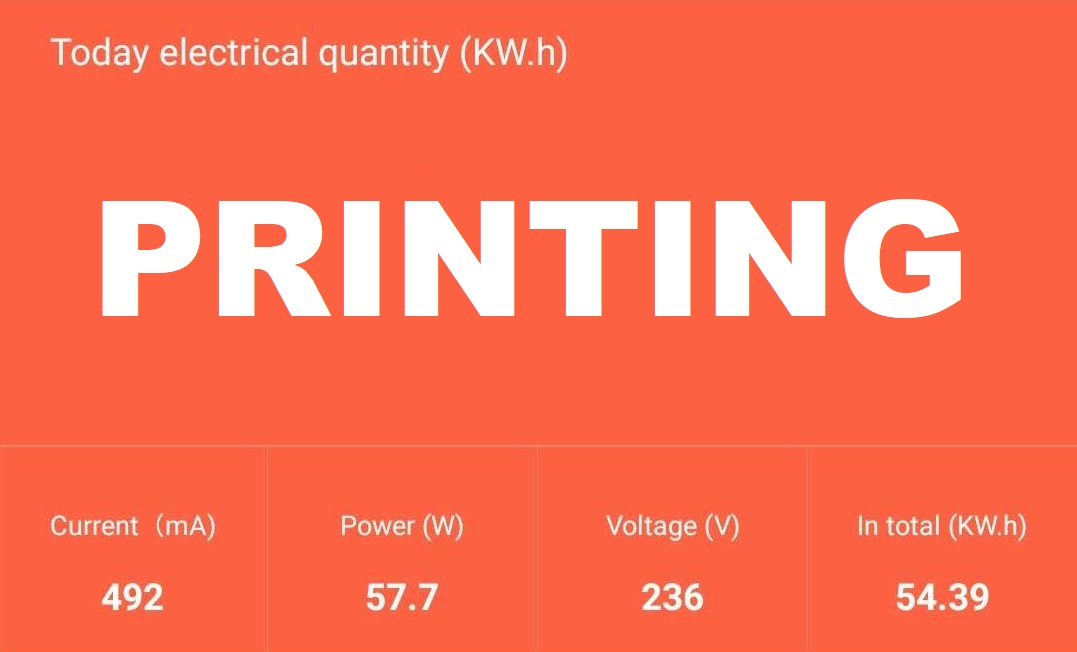
All these measurements were taken with a Blitzwolf smart power socket which indicates the power draw, and it can also be used for remotely powering on and off the printer.
Bed Temperature Uniformity
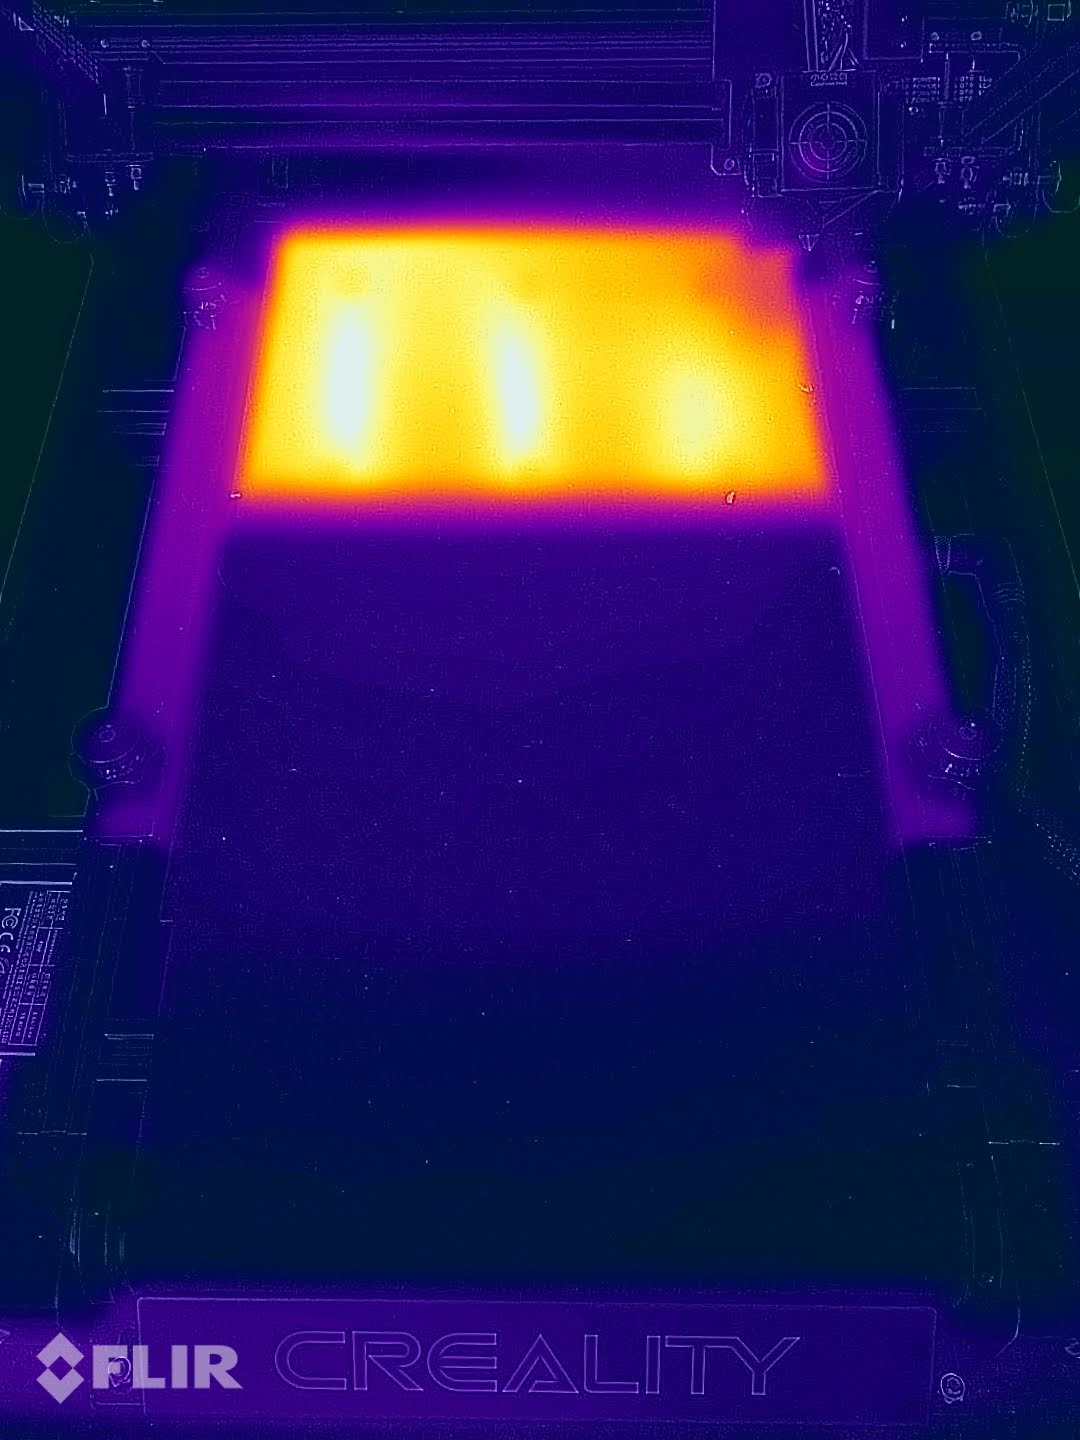
I tested the temperature uniformity for the Creality CR-30 bed with the Flir Camera installed on the CAT S62 Pro. The bed has been set to 60C and I waited 2 minutes after reaching that temperature for the temperature to stabilize.
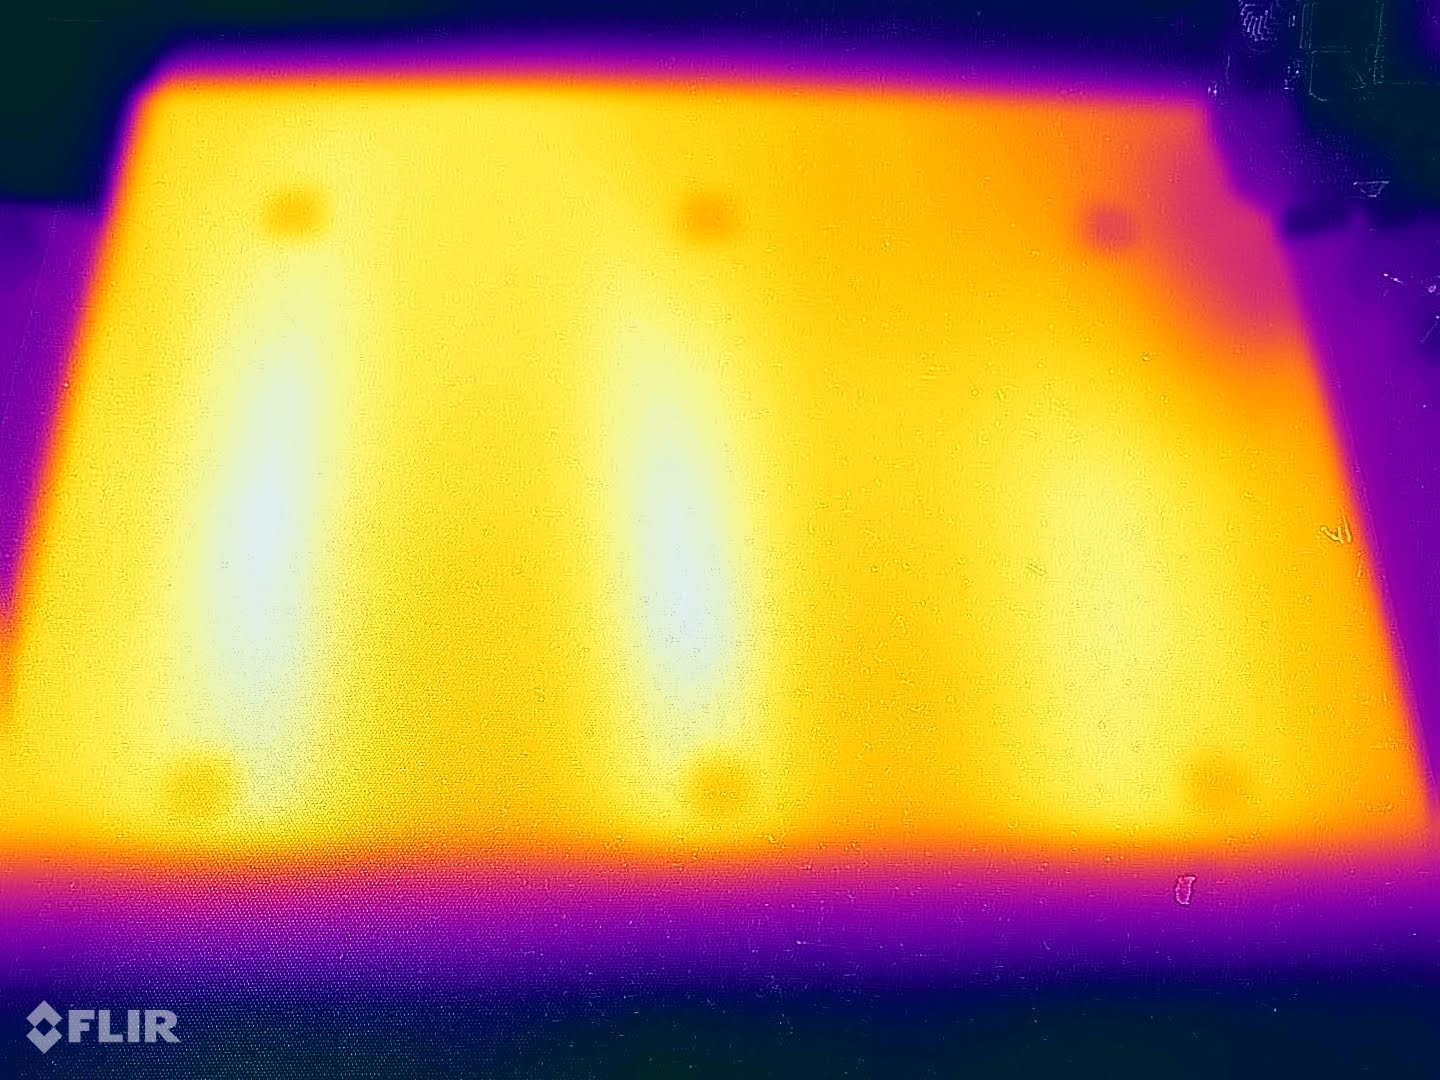
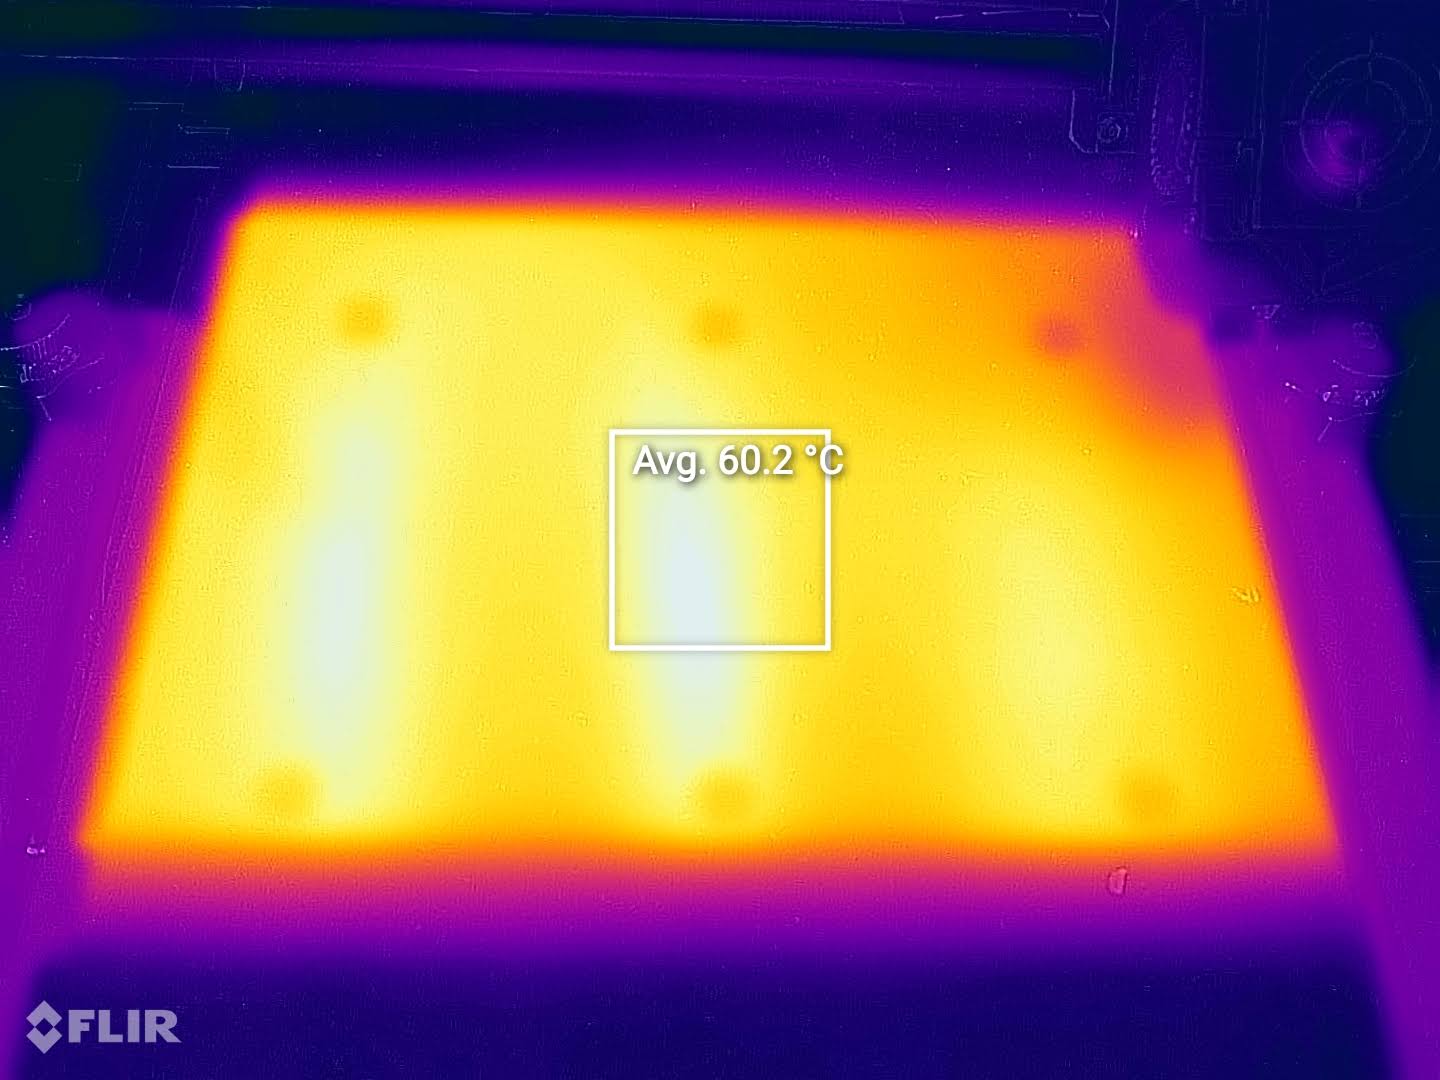
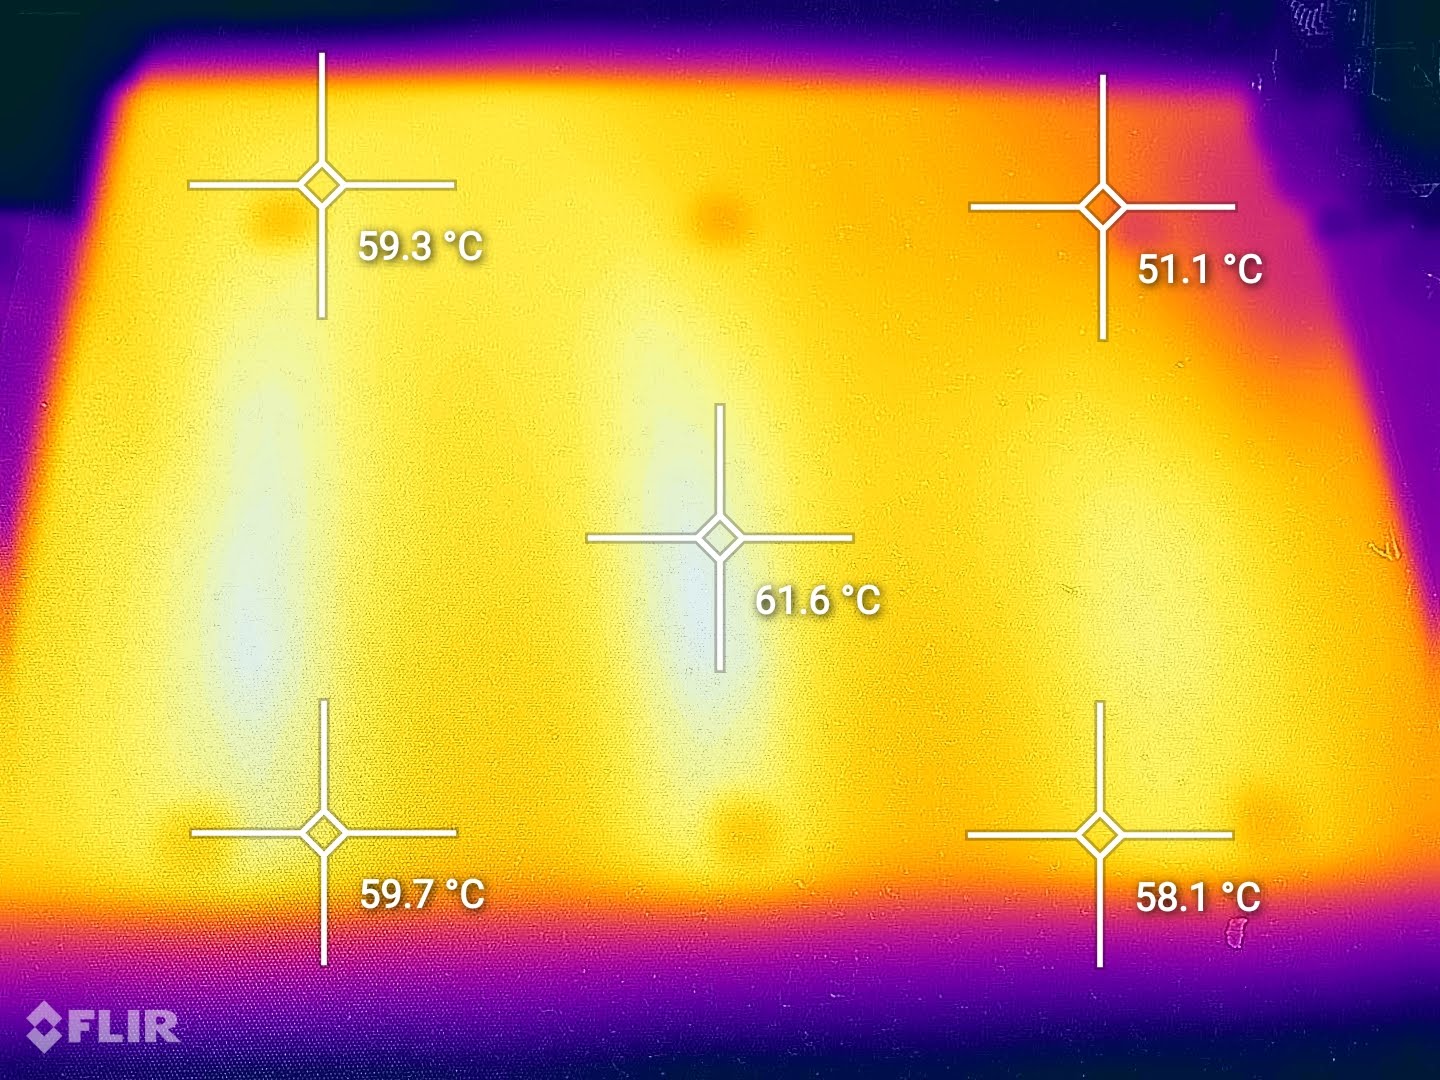
The print surface on the Creality CR-30 is only heated in the first half. For good adhesion on small features, ensure that the belt is tightened and runs smoothly over the heated bed in order to heat the belt uniformly.
Creality CR-30 Noise Levels
The Creality CR-30 is more silent than I expected. All the movement speeds during printing are silent, thanks to the stepper drivers used. The hotend fan is a bit noisy but that’s understandable considering it’s only 30mm. But the CR-30 can print in the same room where you work, without being too loud.
IdeaMaker Profiles for Creality CR-30
During my time with the printer, I also tuned a PLA IdeaMaker profile for the Creality 3DPrintMill using the tools available in the 3D Printer Calibration Guide using IdeaMaker article and using NAK3D’s excellent profile as a base.
Creality CR-30 IdeaMaker Profile – PLA – 3DPrintBeginner
Test prints on Creality CR-30
40x40mm cube
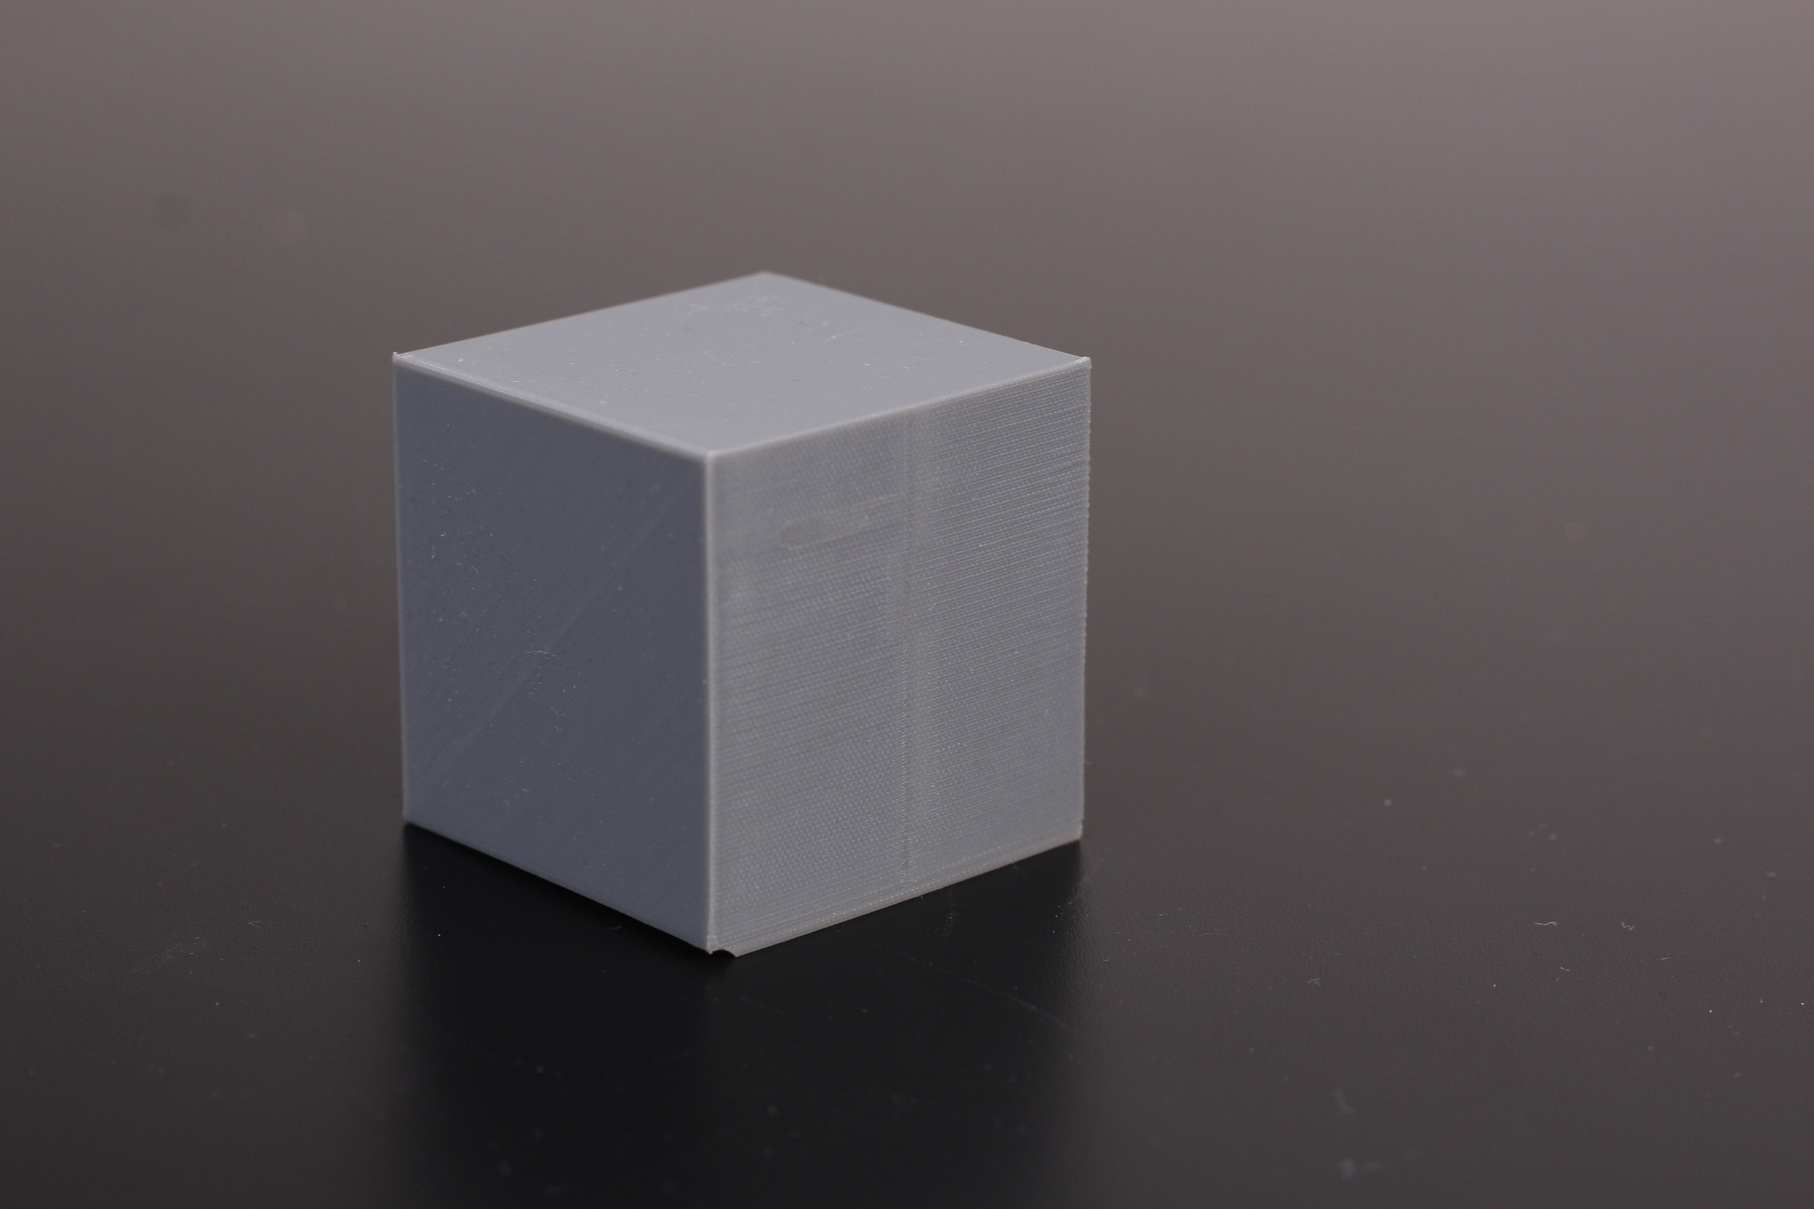
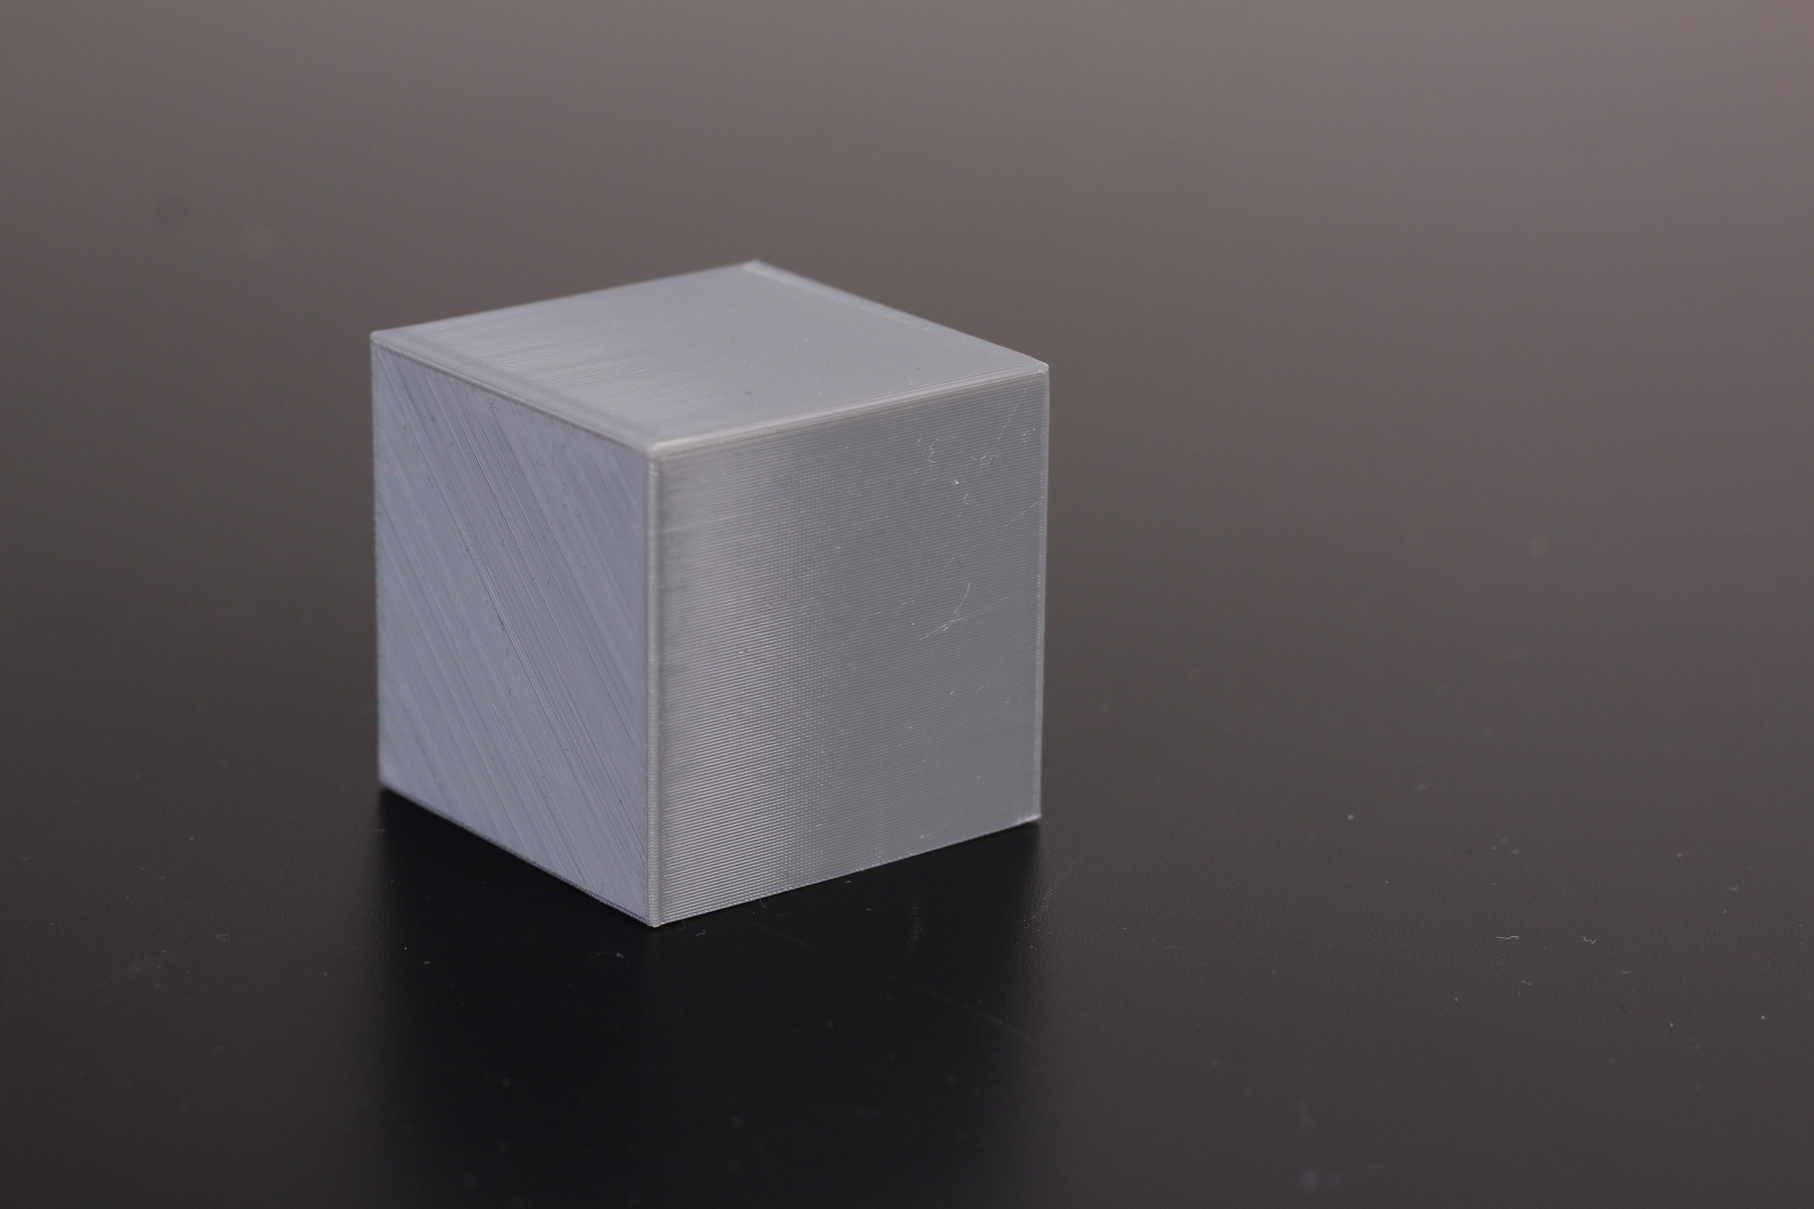
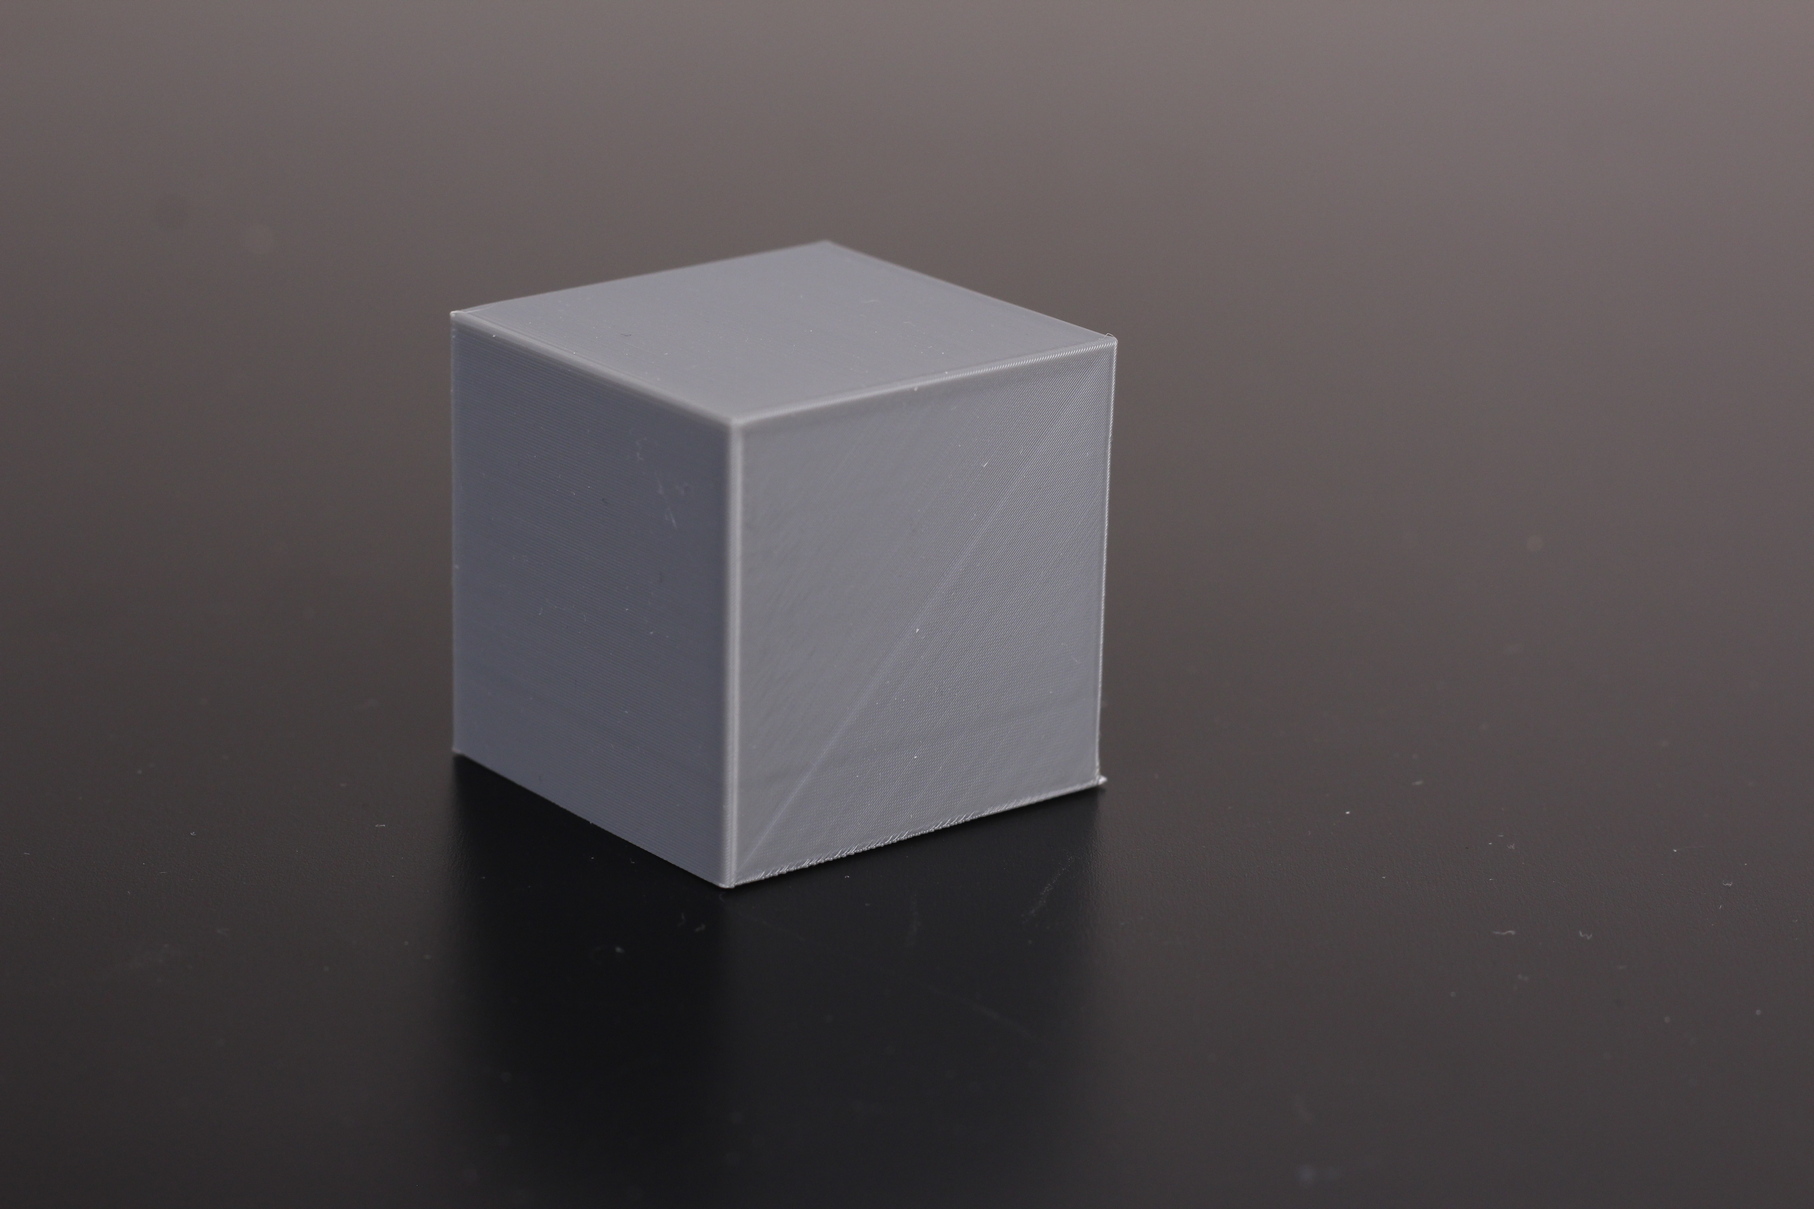
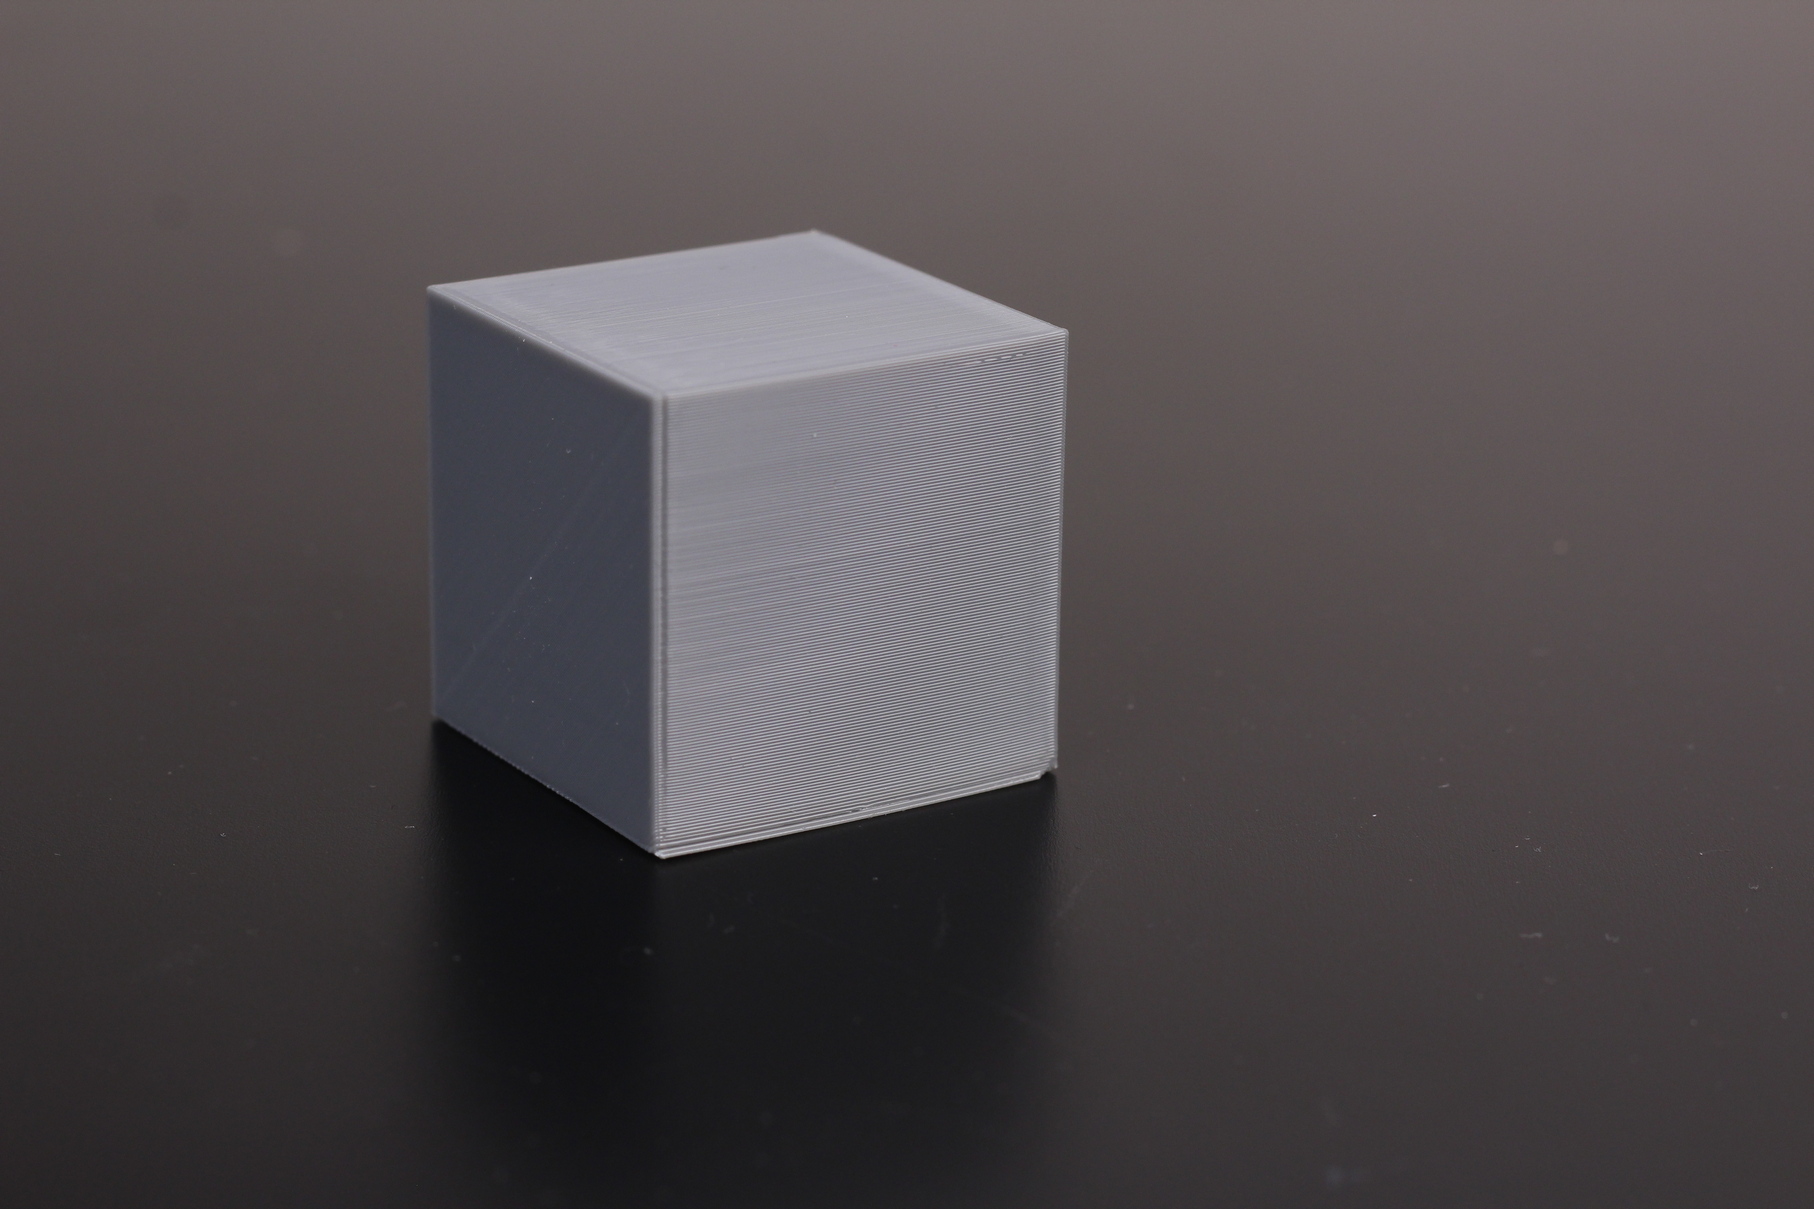
The first print I tested was a simple 40x40mm cube. I wanted to test the adhesion and the print quality with a simple shape. Unfortunately, I had a bunch of failures where the cube would lose its adhesion and cause a print failure.
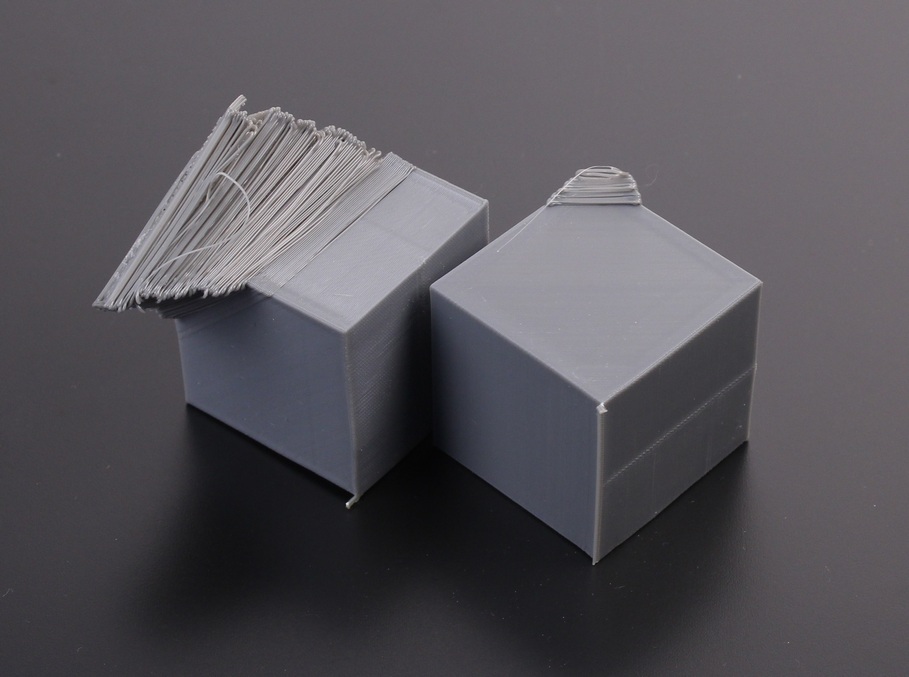
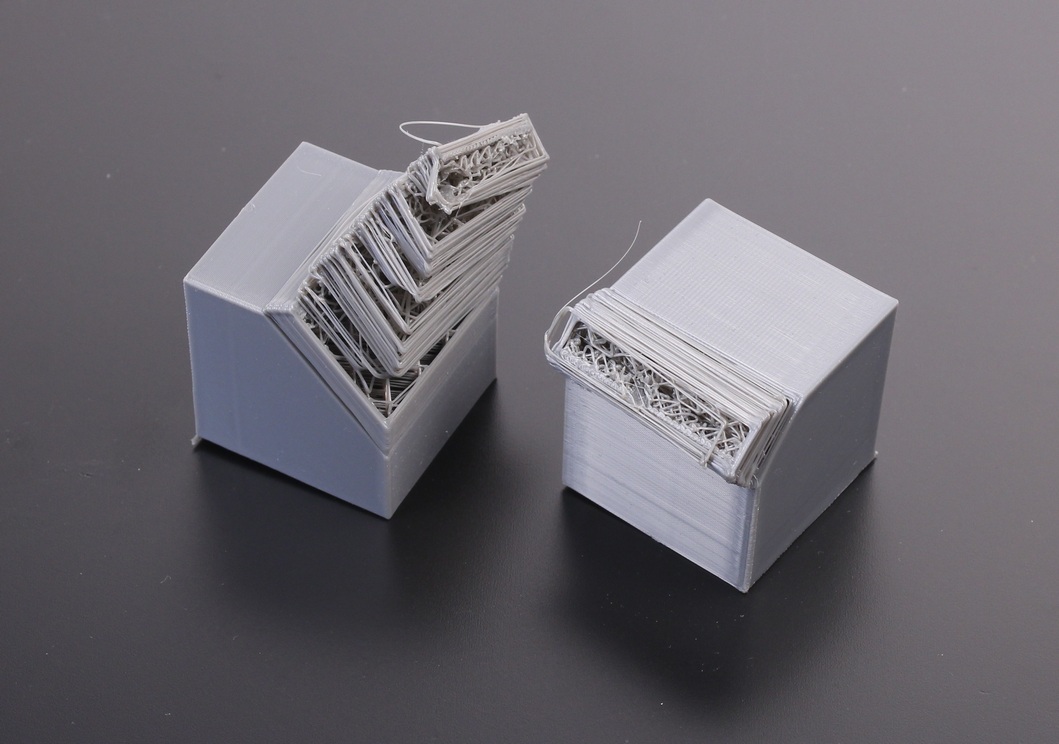
It took a few tries until I adjusted the nozzle height so it’s touching the belt. Before, I was always using a 0.2mm shim but that doesn’t work with a belt printer. After the nozzle was set to touch the belt, adhesion issues were eliminated, and the print quality can be seen in the images below.
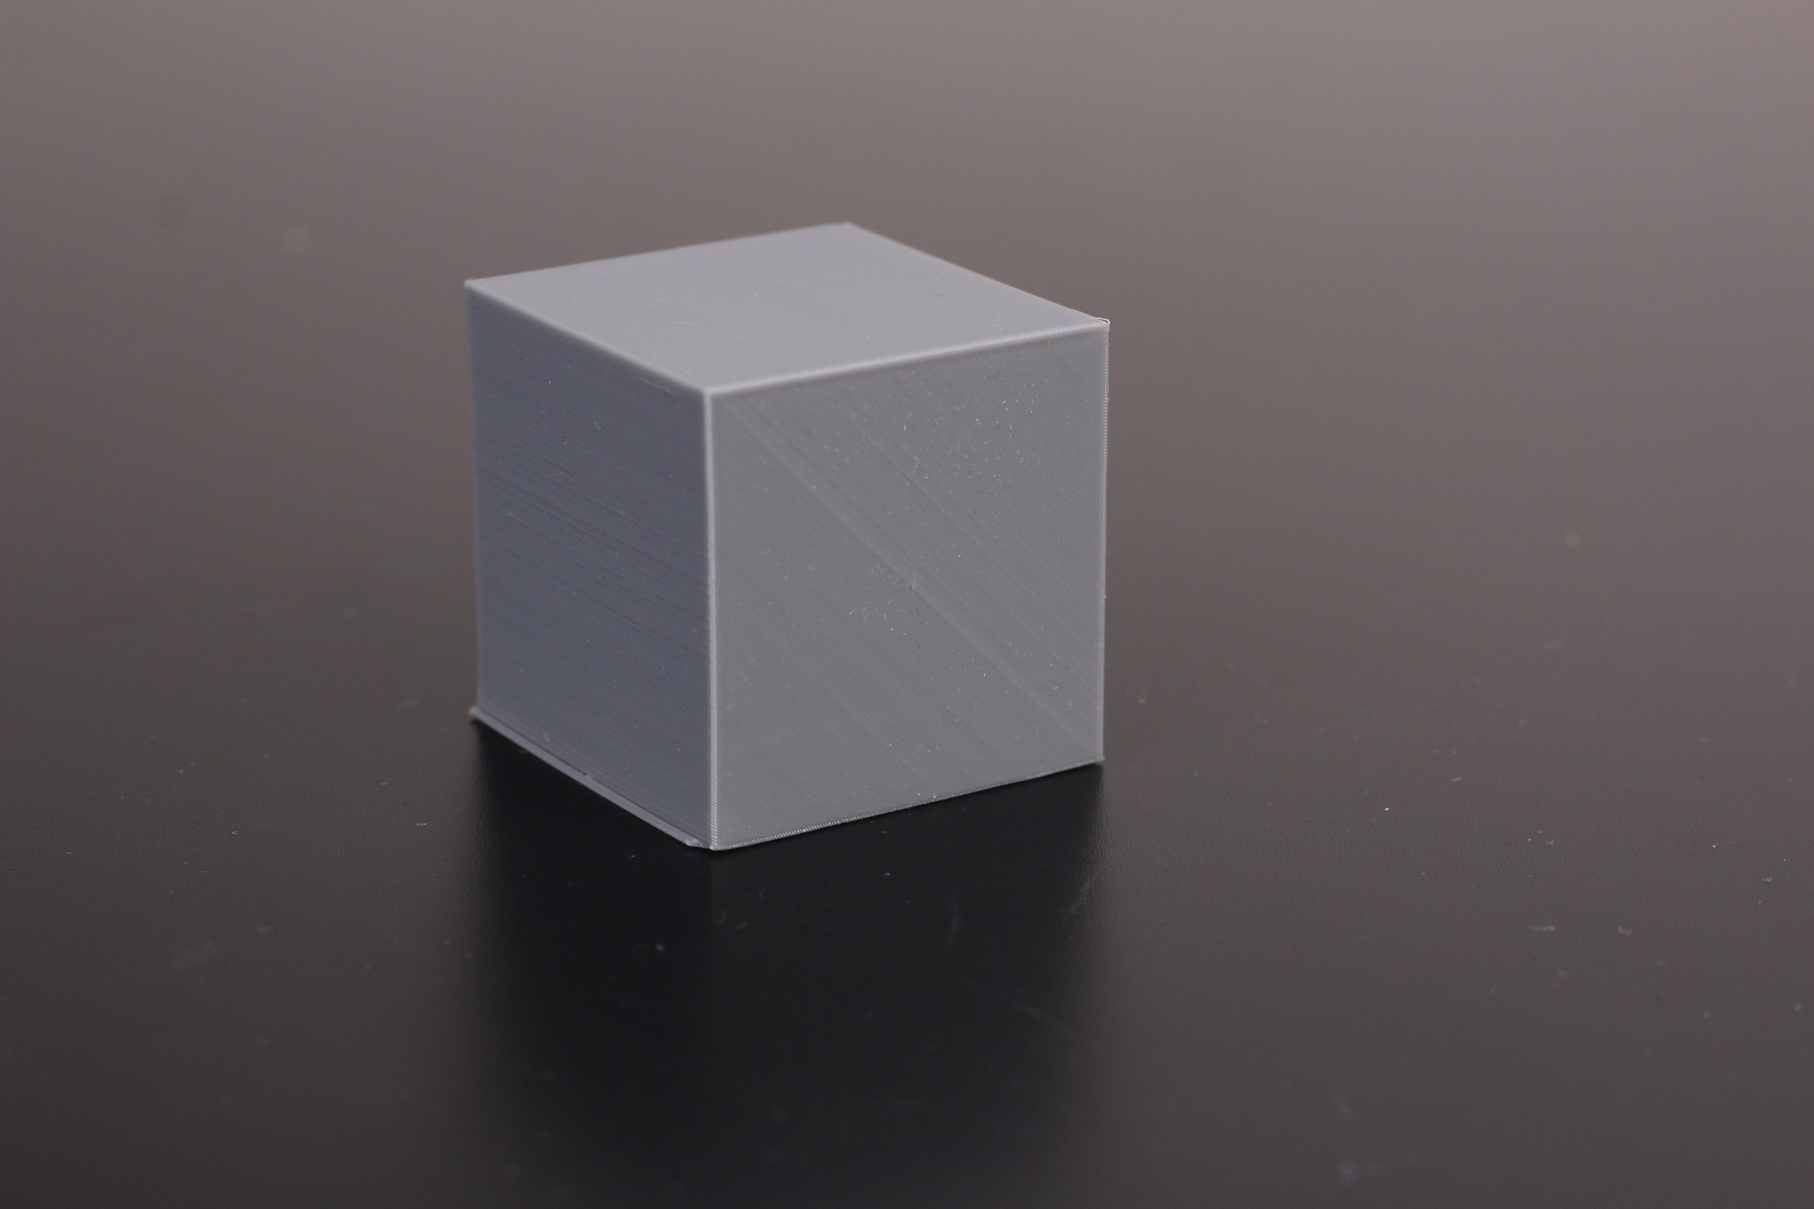
- Material: Sunlu Grey PLA
- Layer Height: 0.2mm
- Nozzle Temperature: 210C
- Bed Temperature: 70C
- Print Speed: 35 mm/s
Master Sword from Legend of Zelda
Now that I had more trust in the printer’s capabilities, I thought I should print a small sword to test a longer model. I scaled the sword, so it takes about 8 hours to print half and started the print. I was quite happy when the sword was completed successfully without failure.
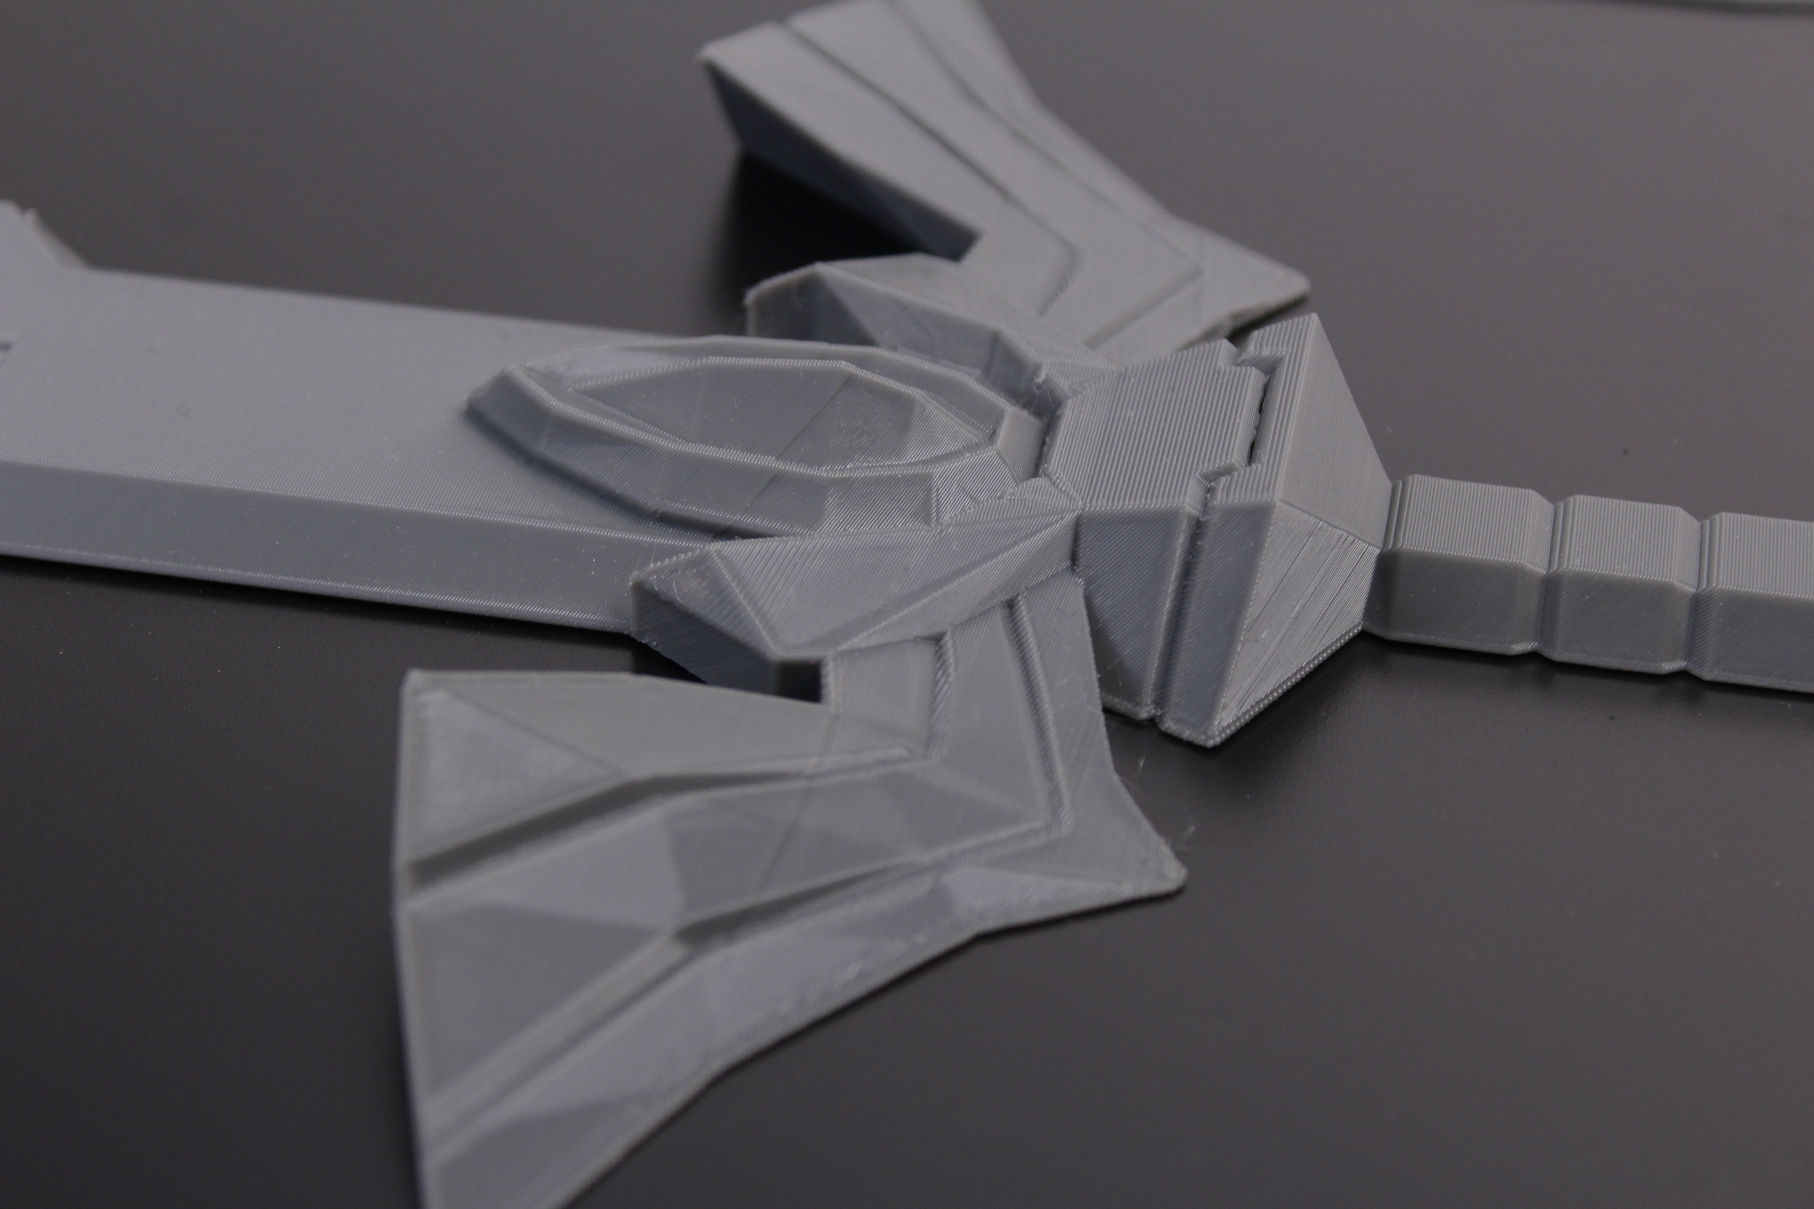
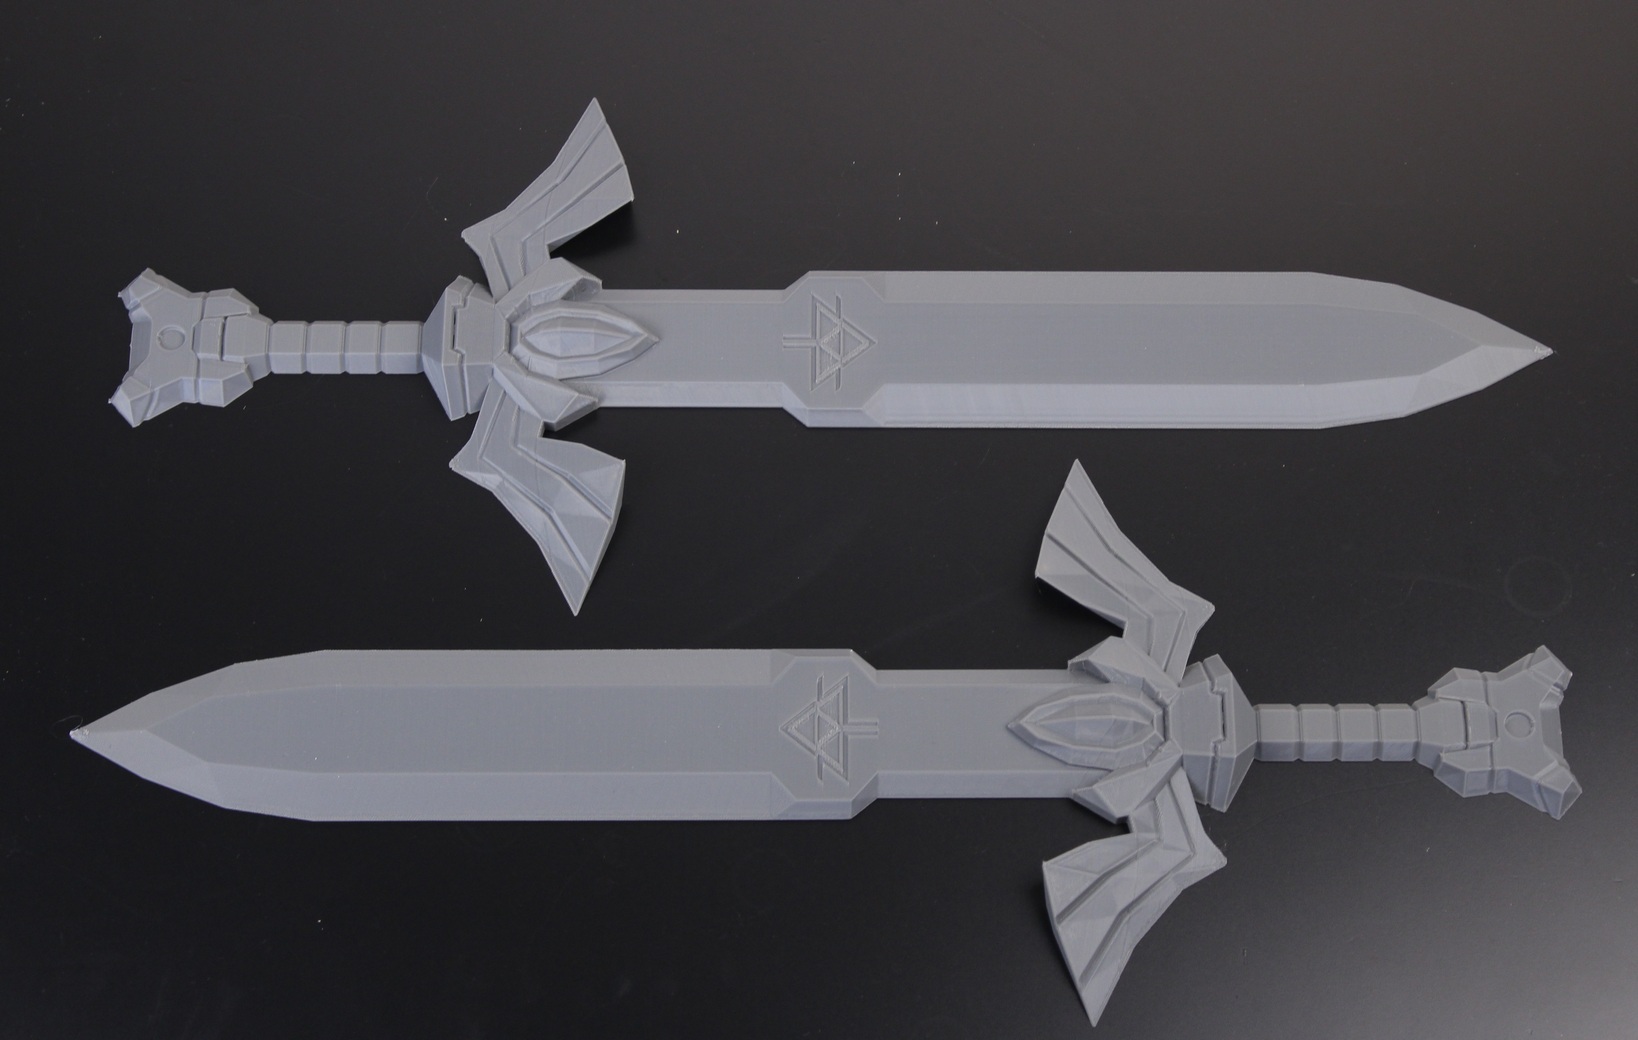
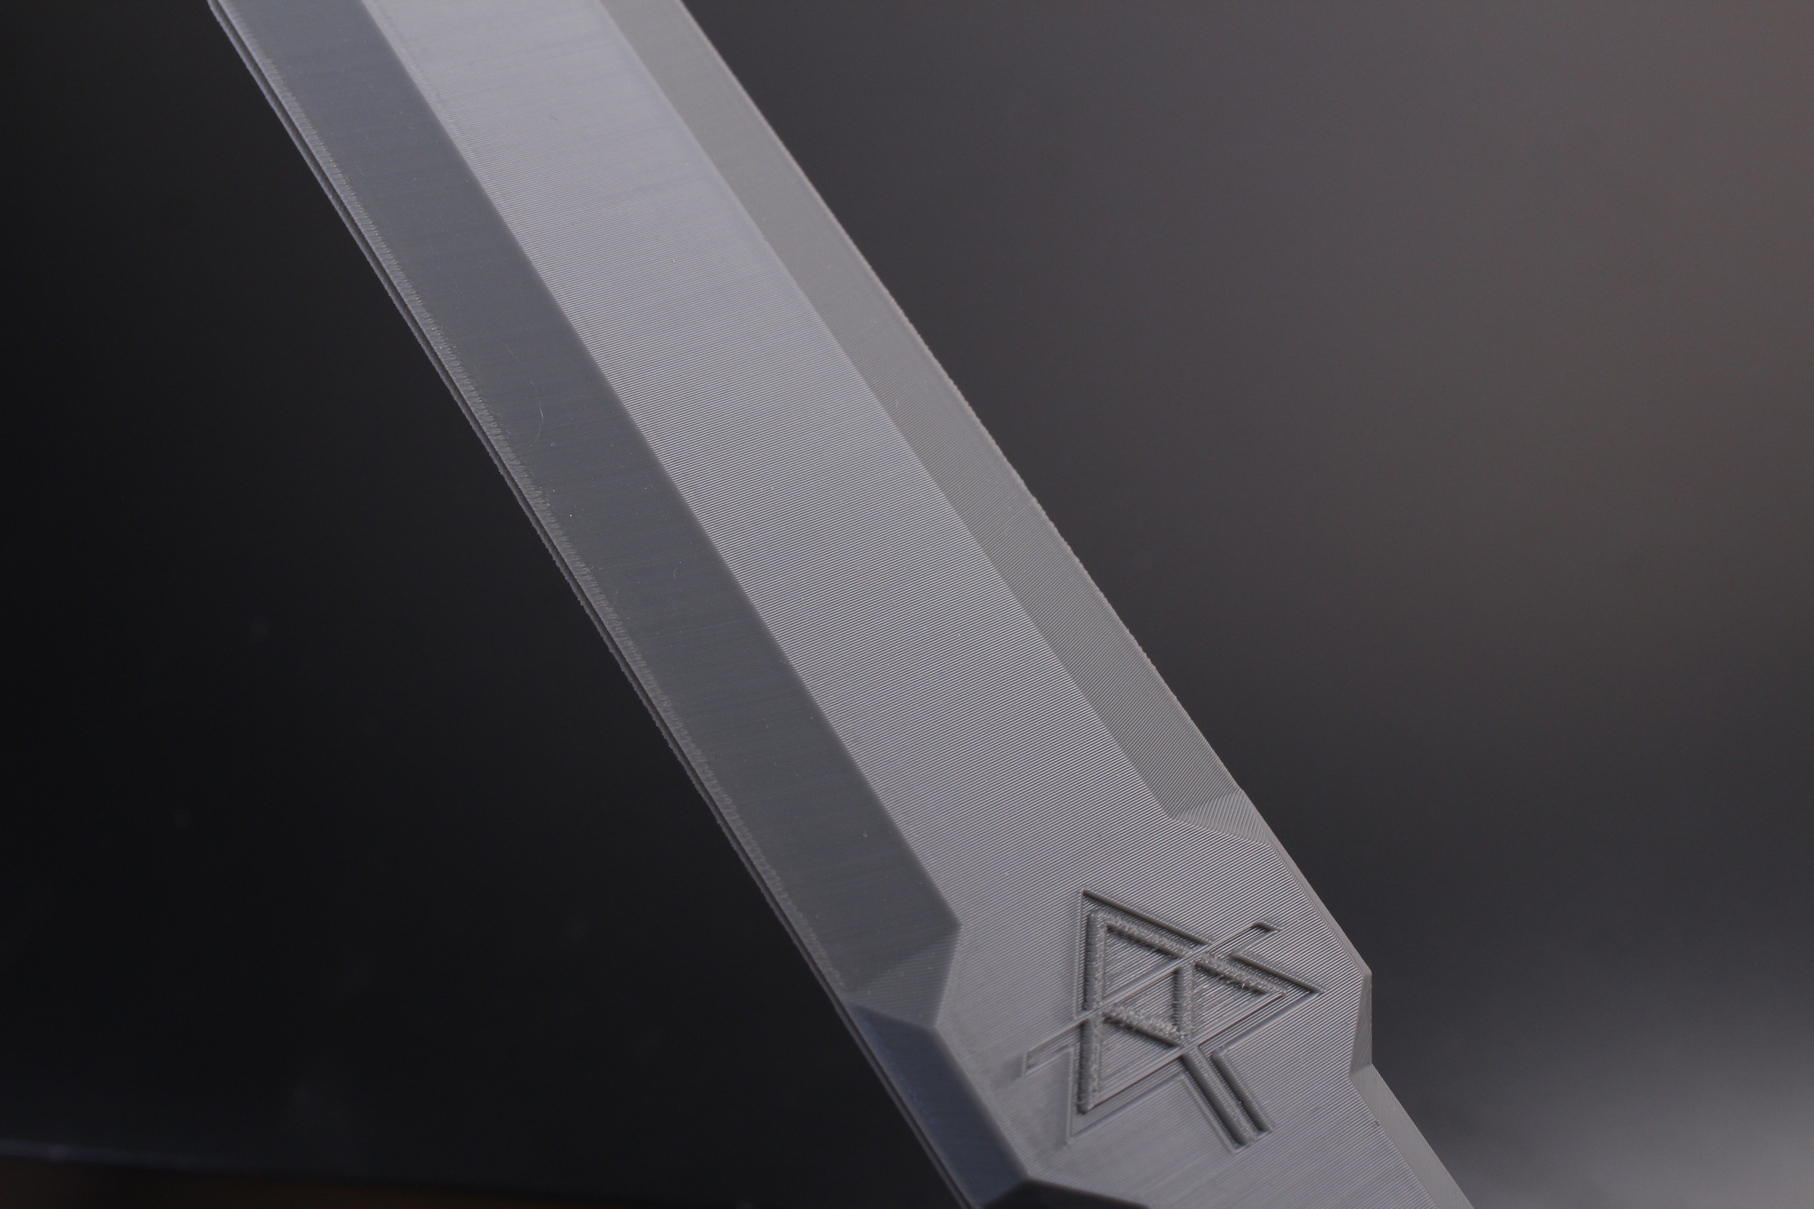
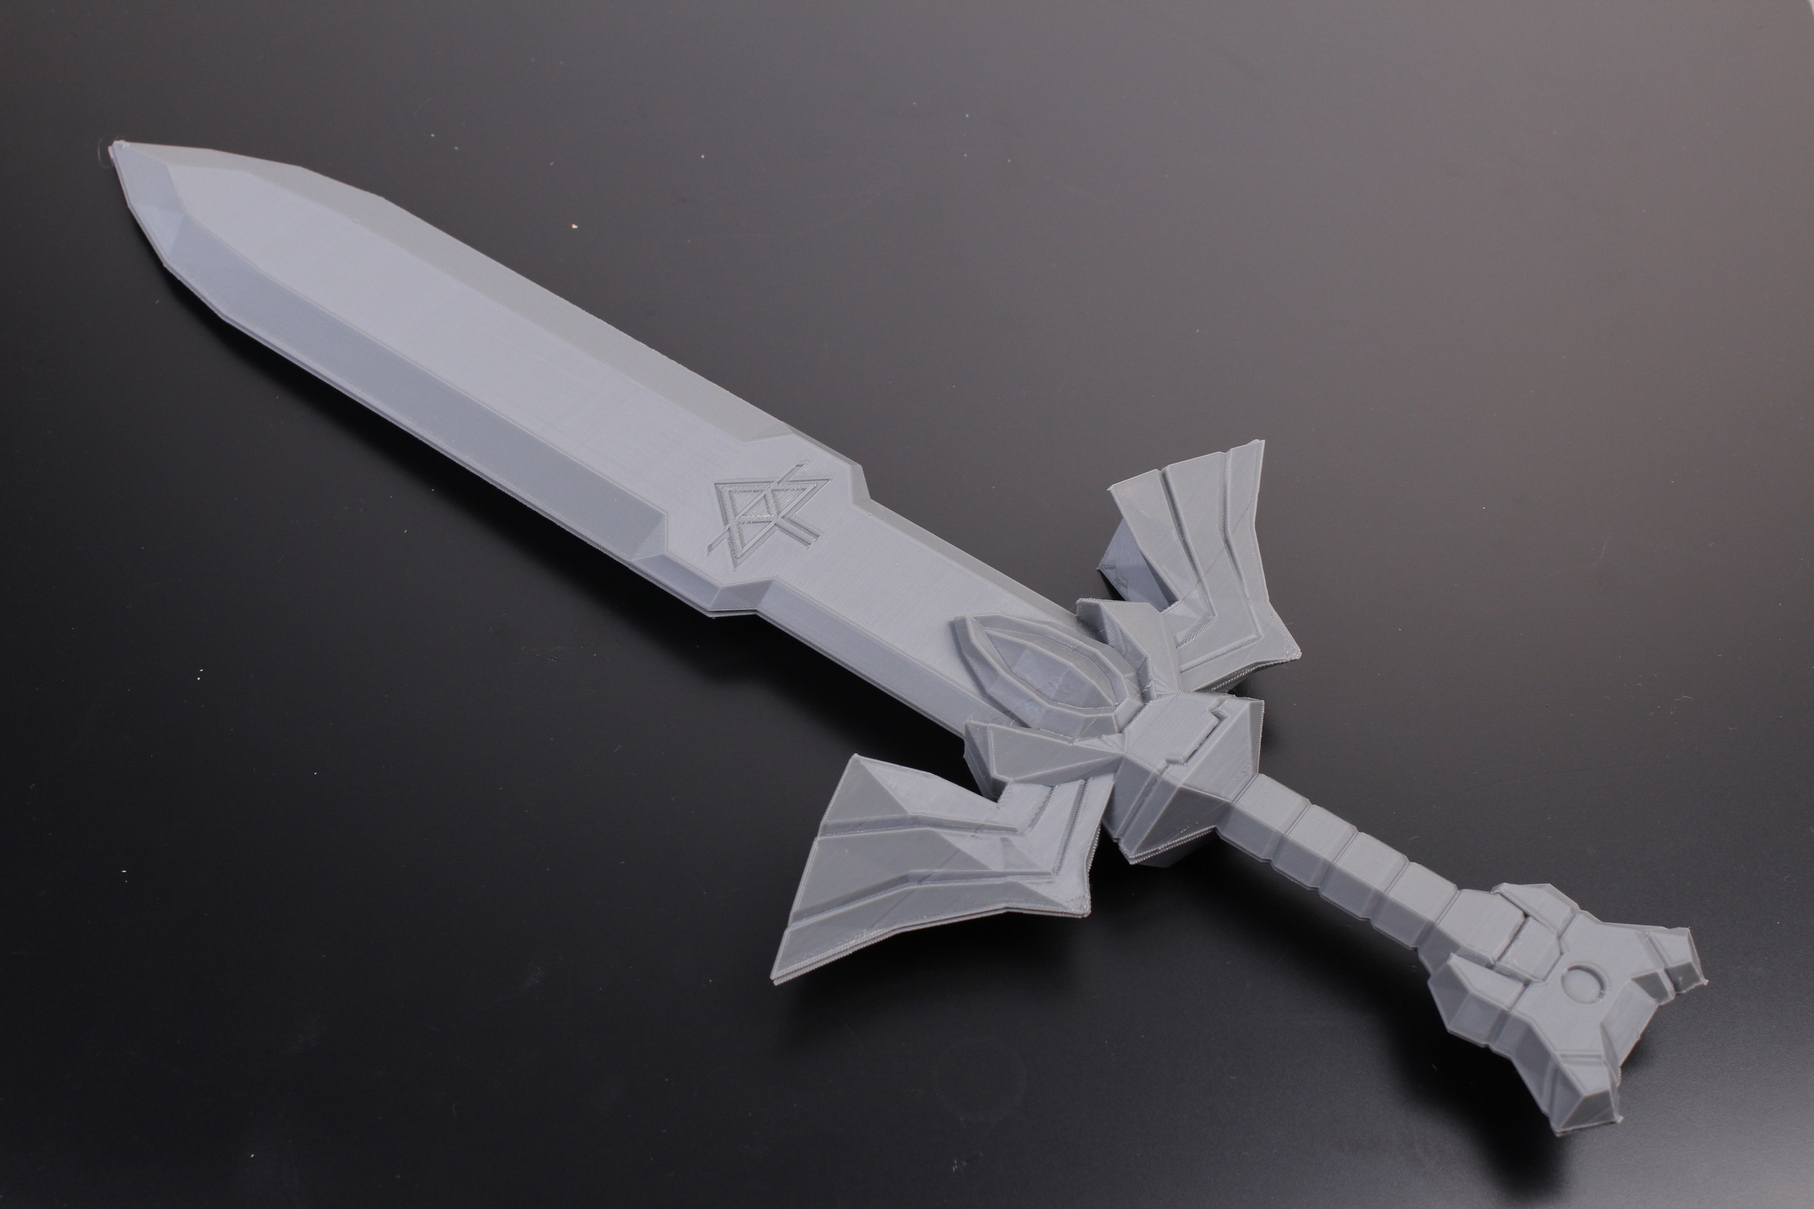
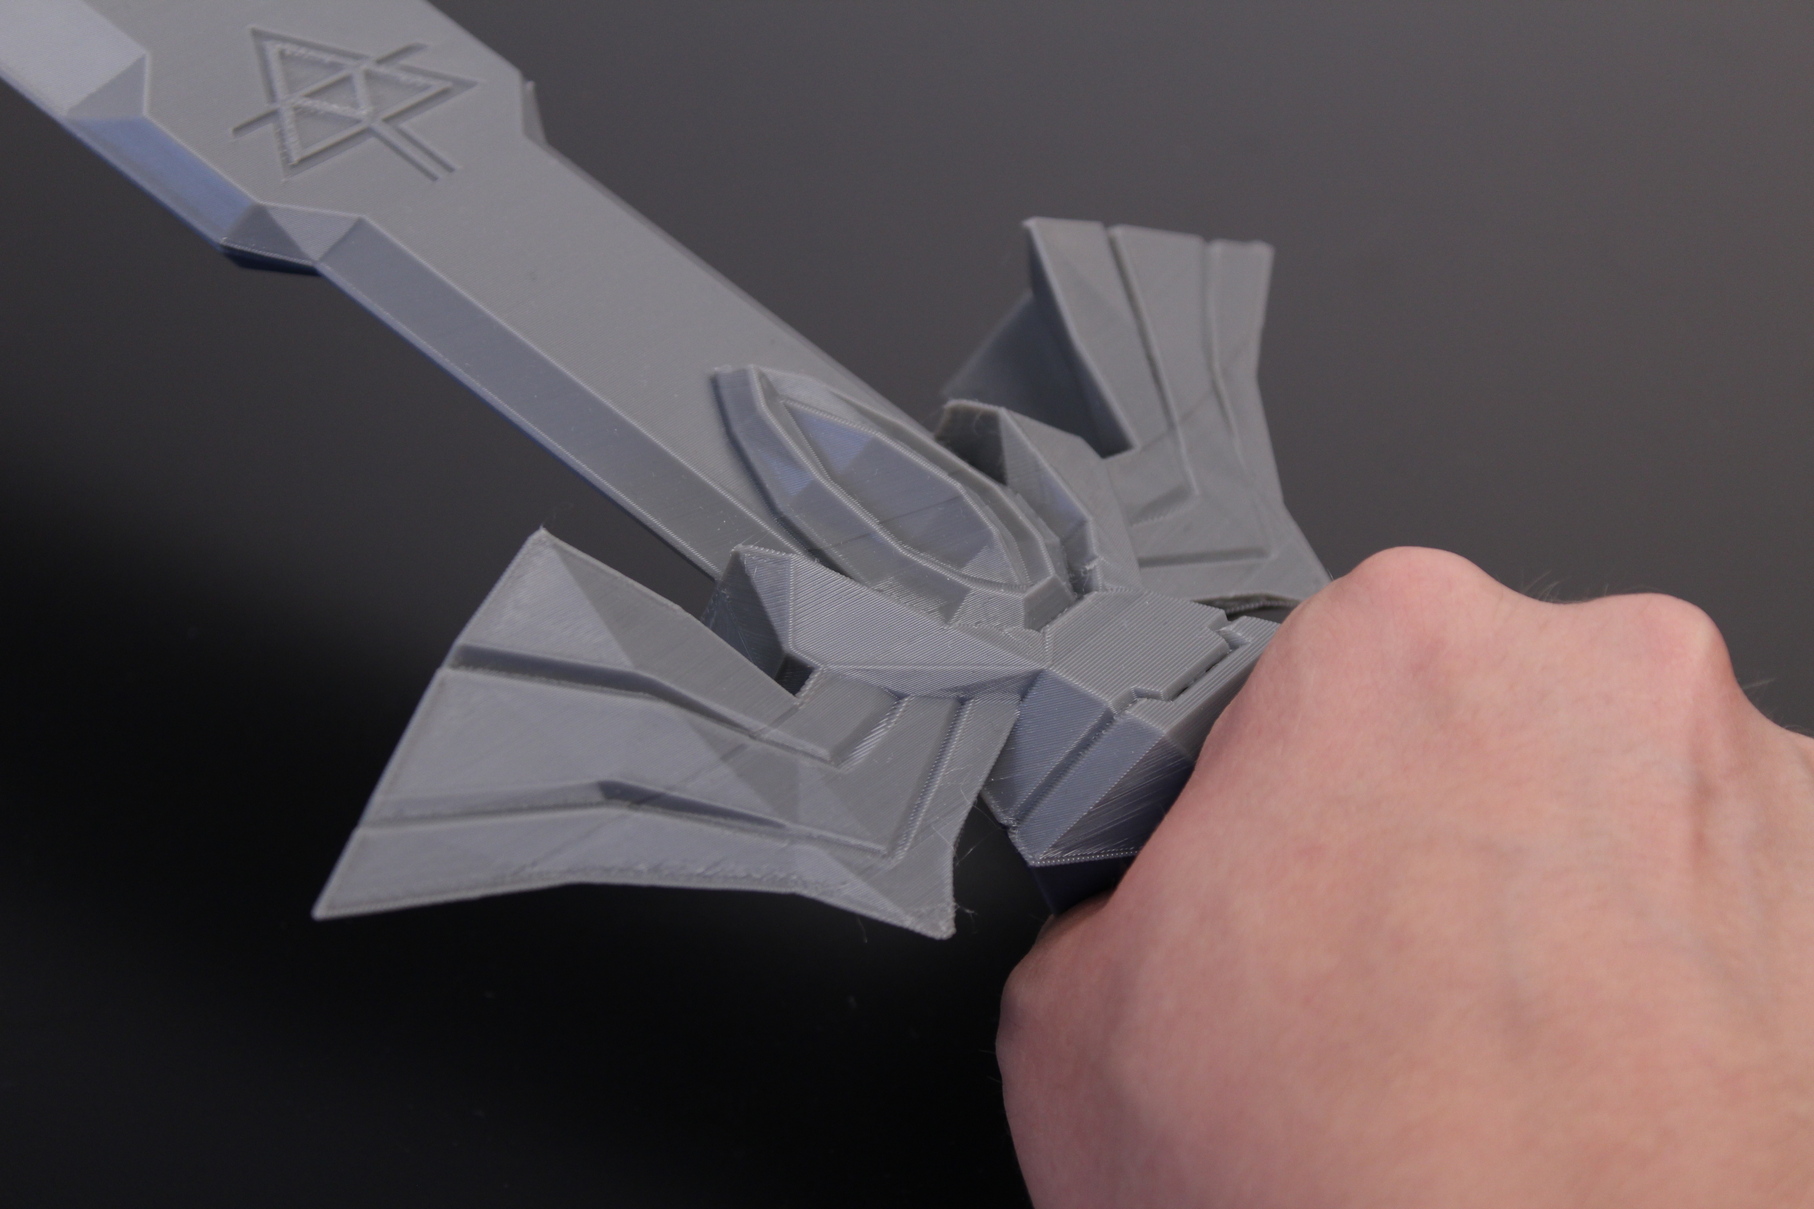
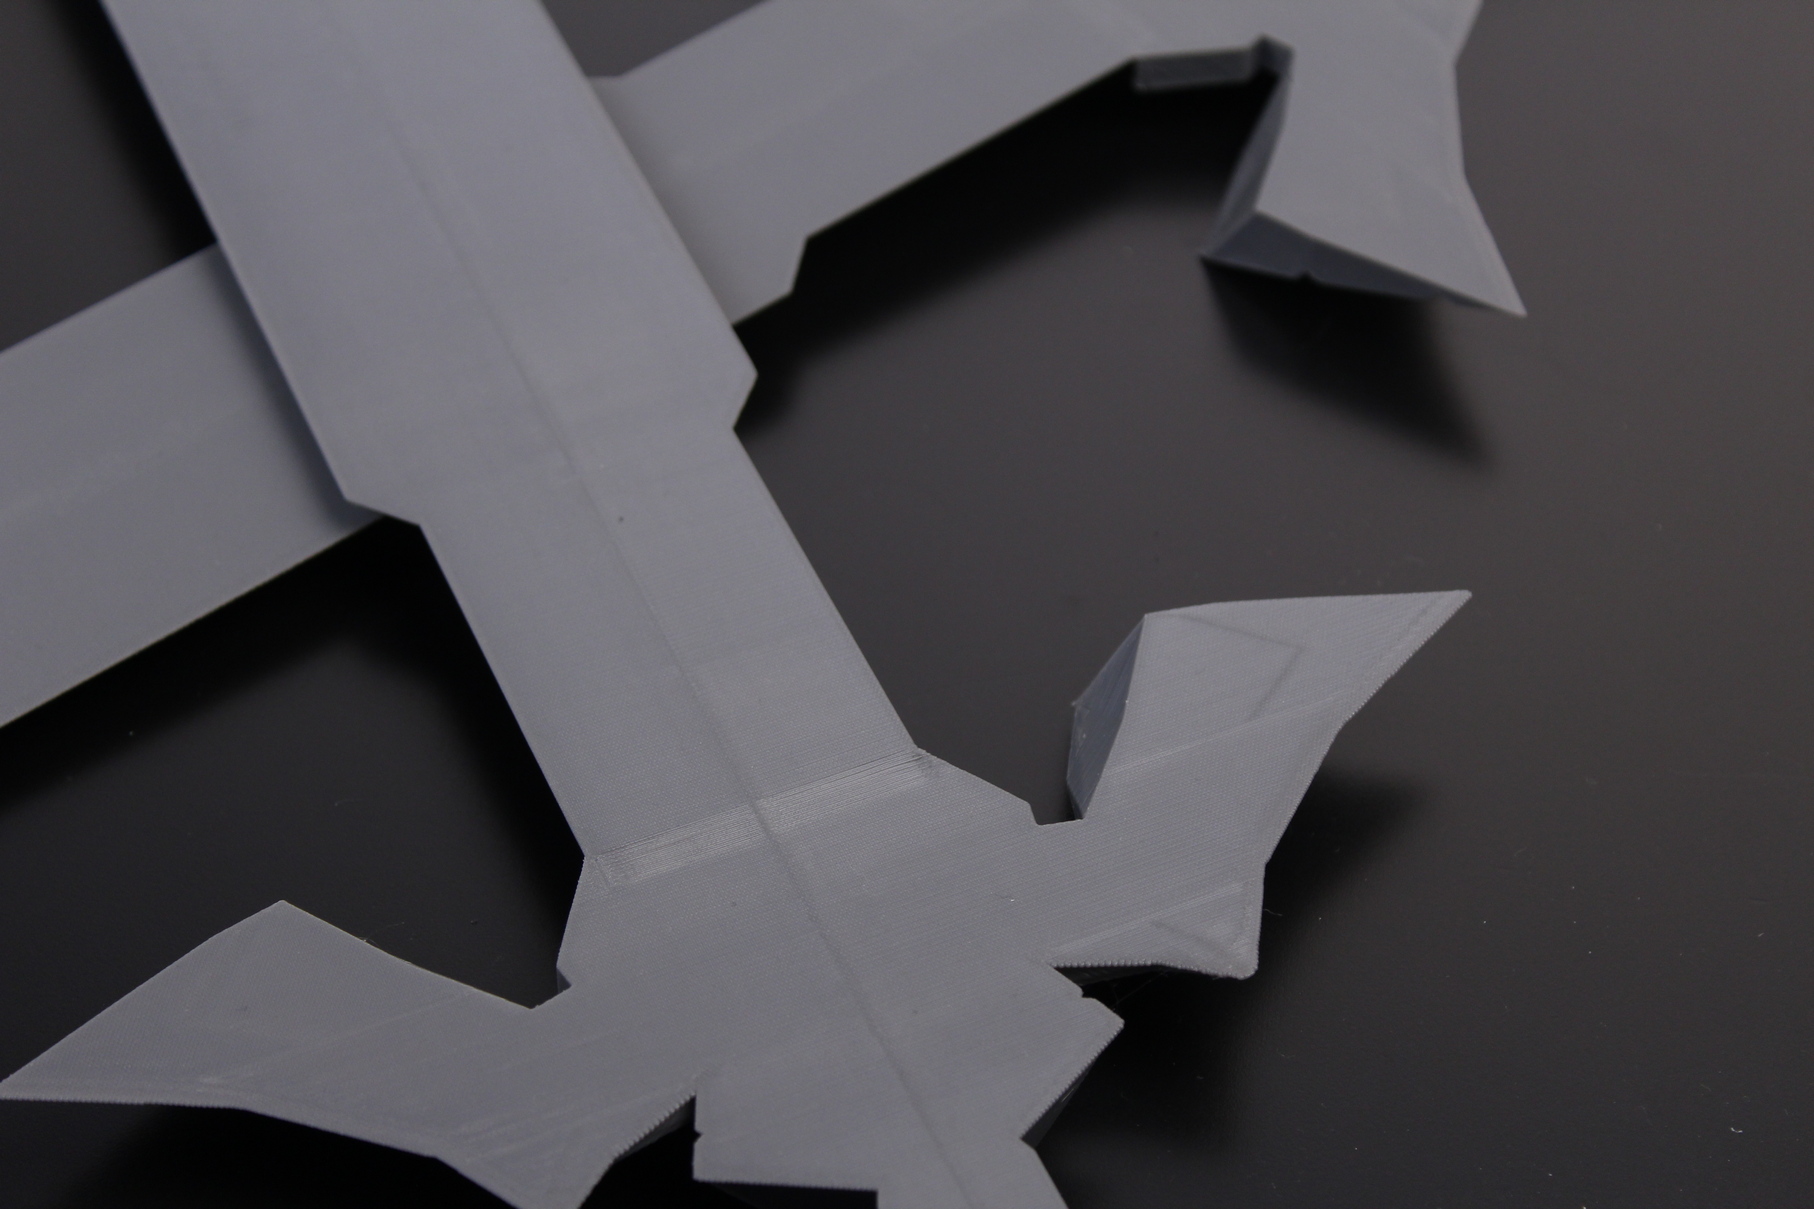
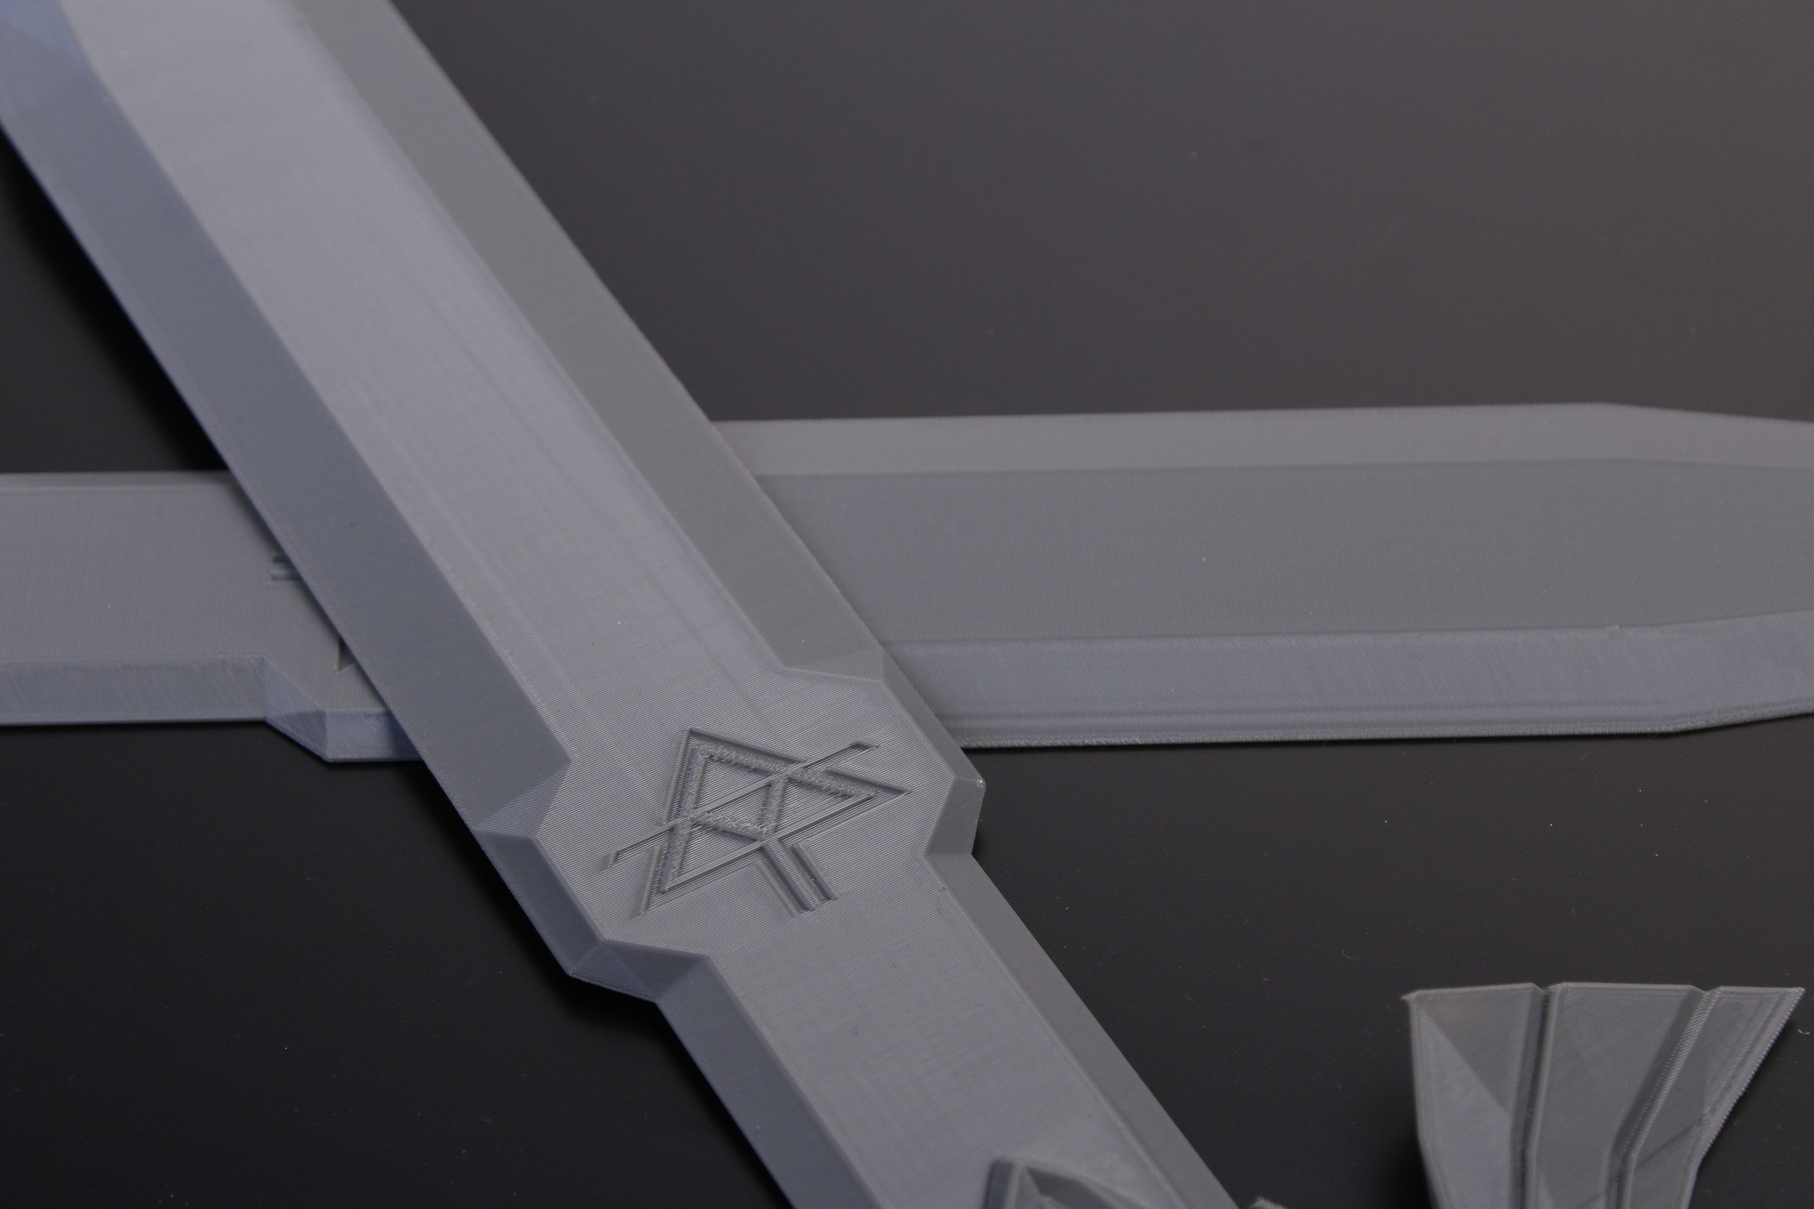
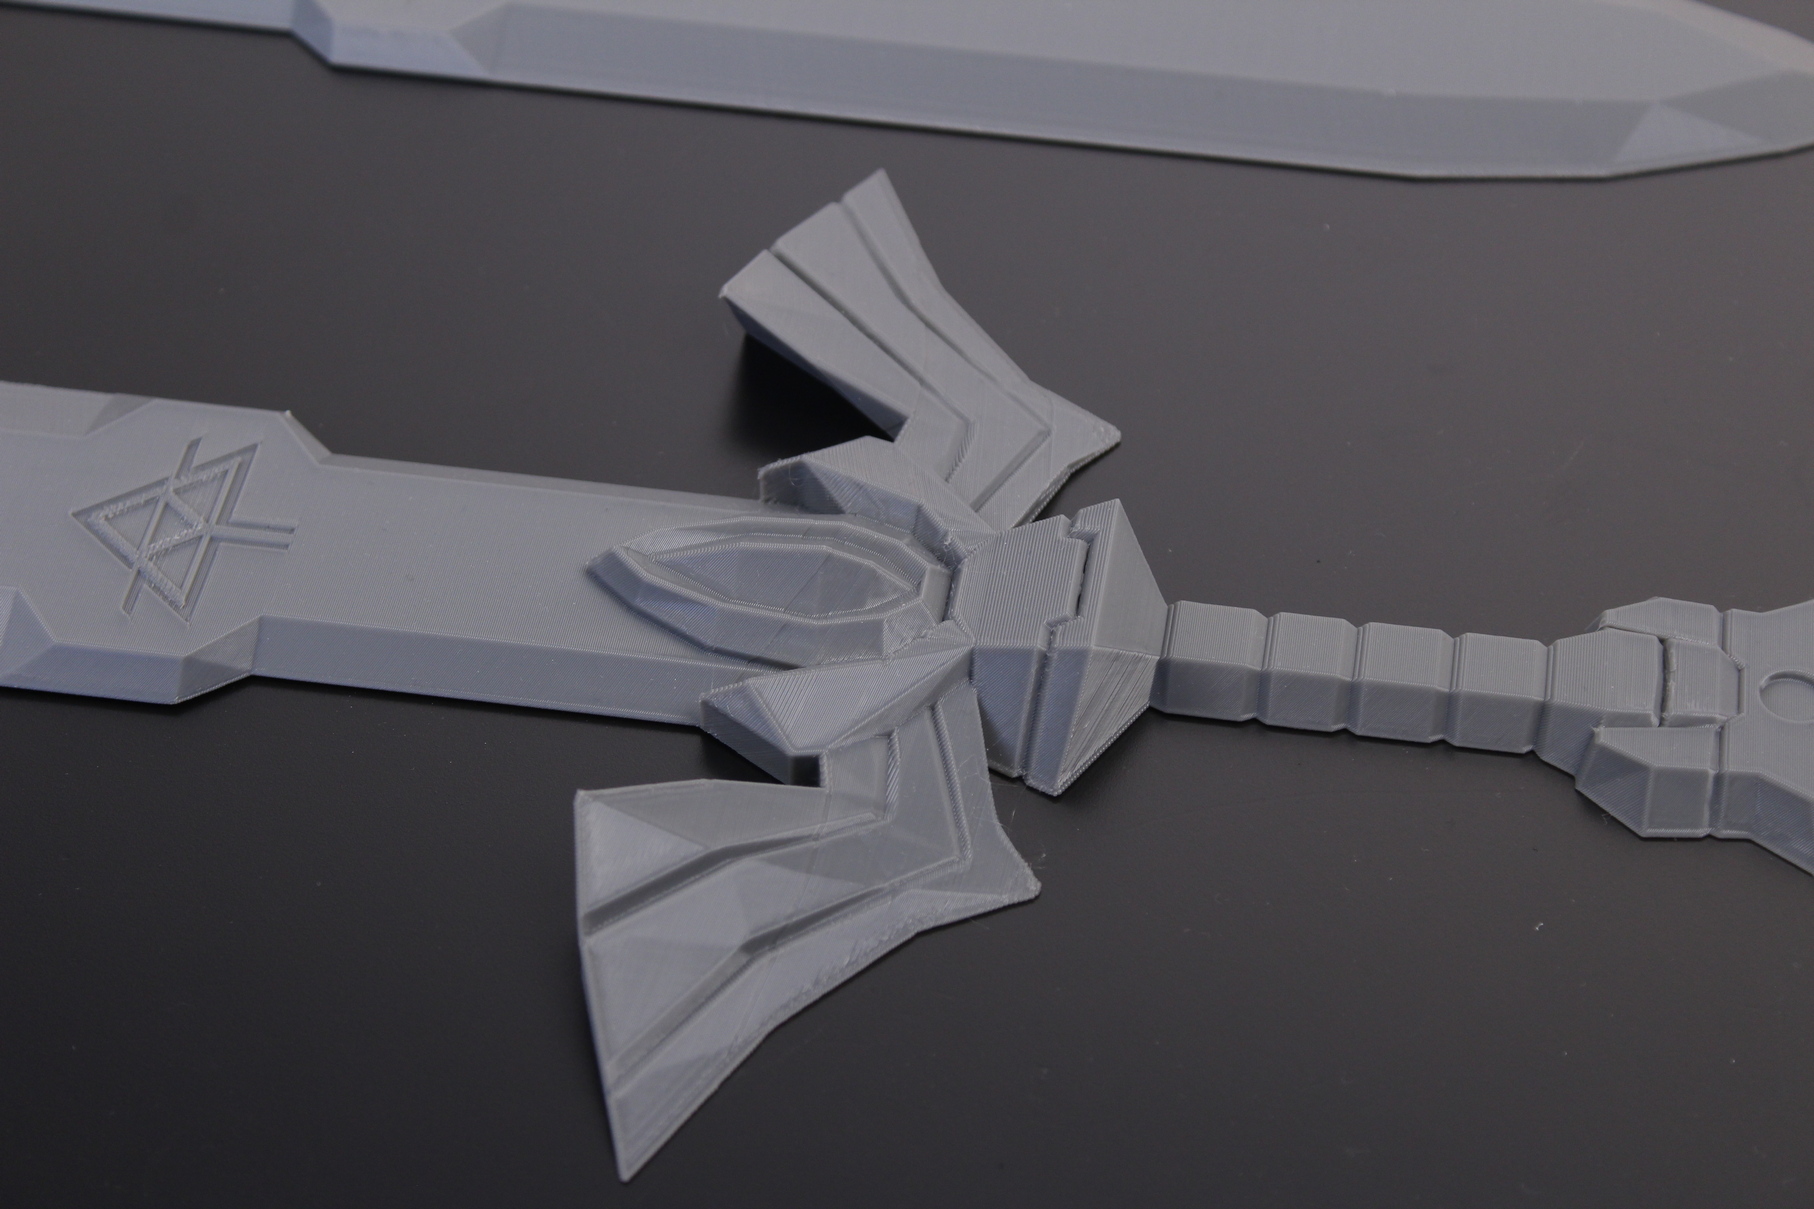
- Material: Sunlu Grey PLA
- Layer Height: 0.2mm
- Nozzle Temperature: 210C
- Bed Temperature: 70C
- Print Speed: 35 mm/s
Batch 3D Benchy printing
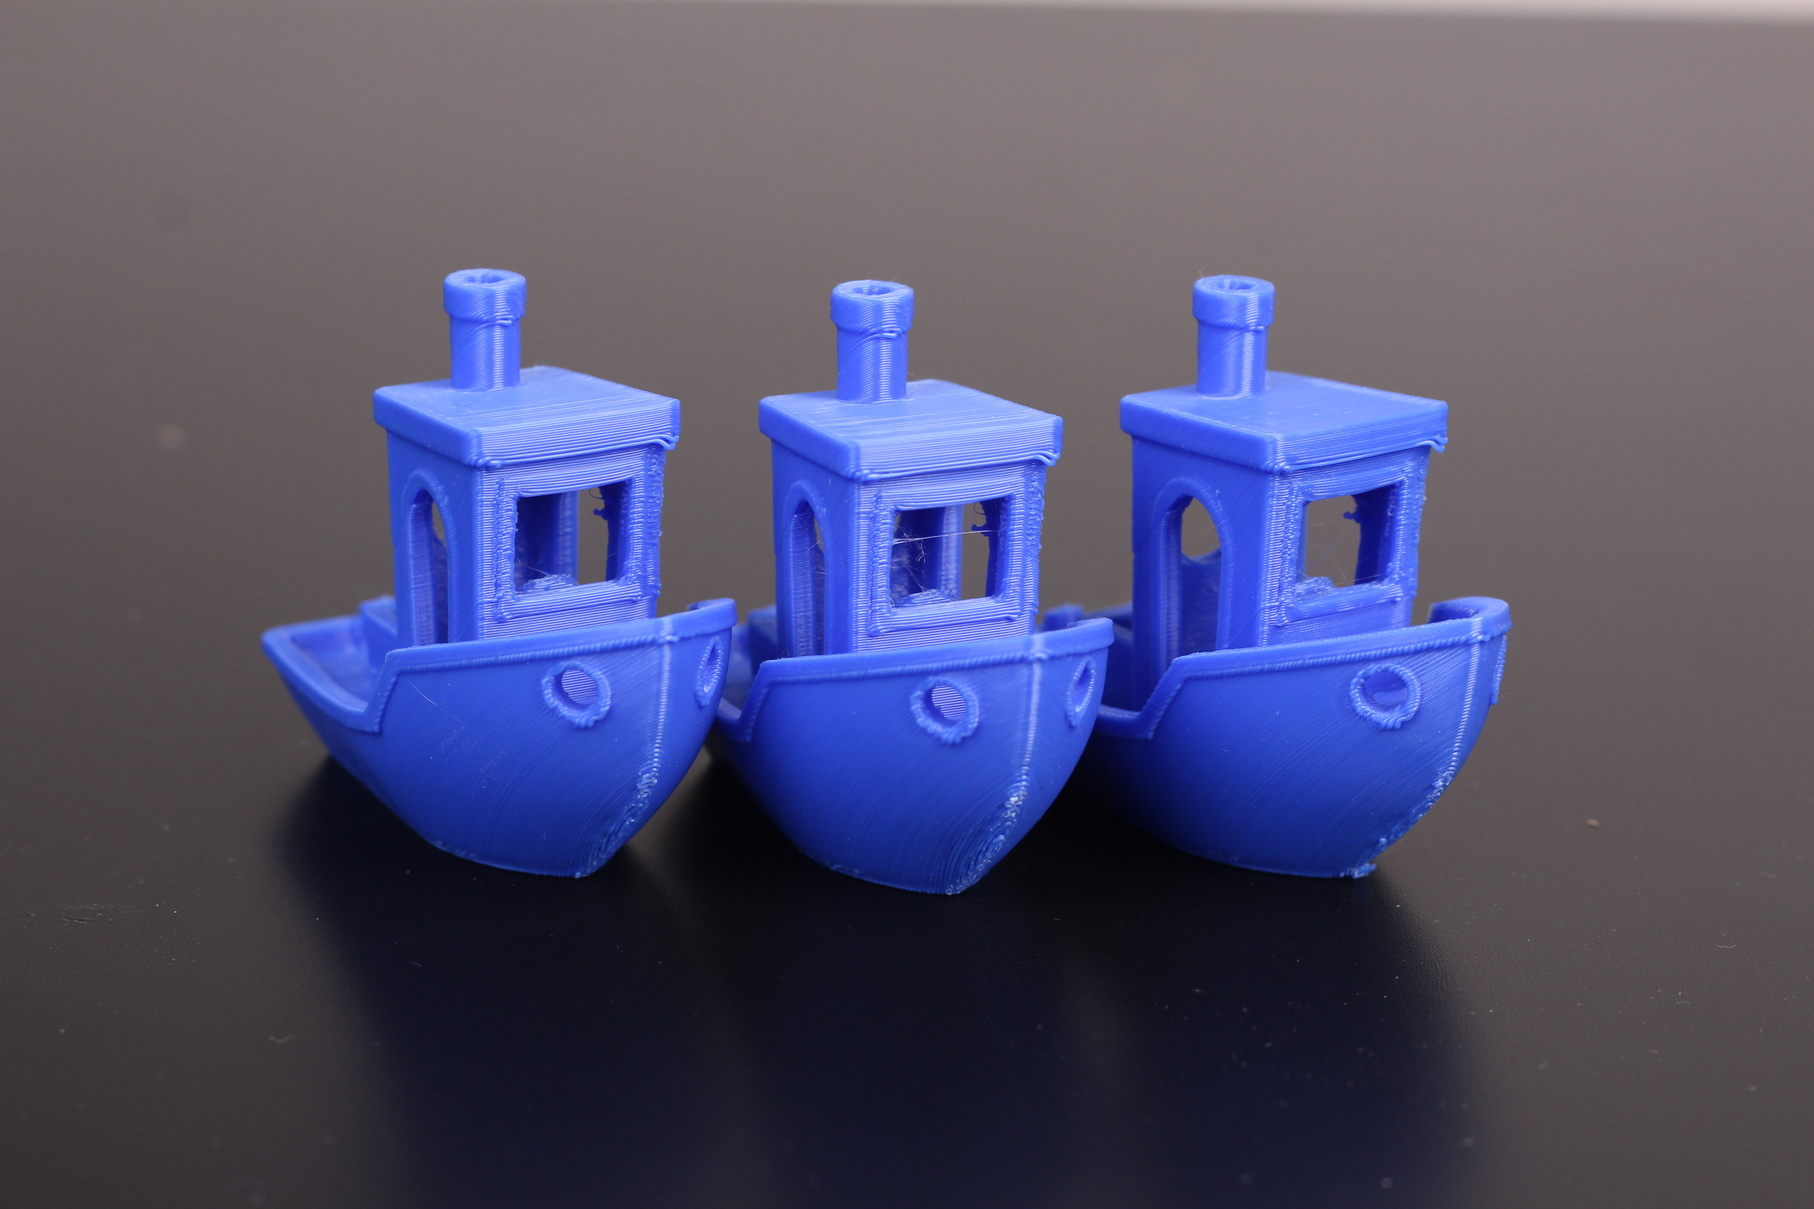
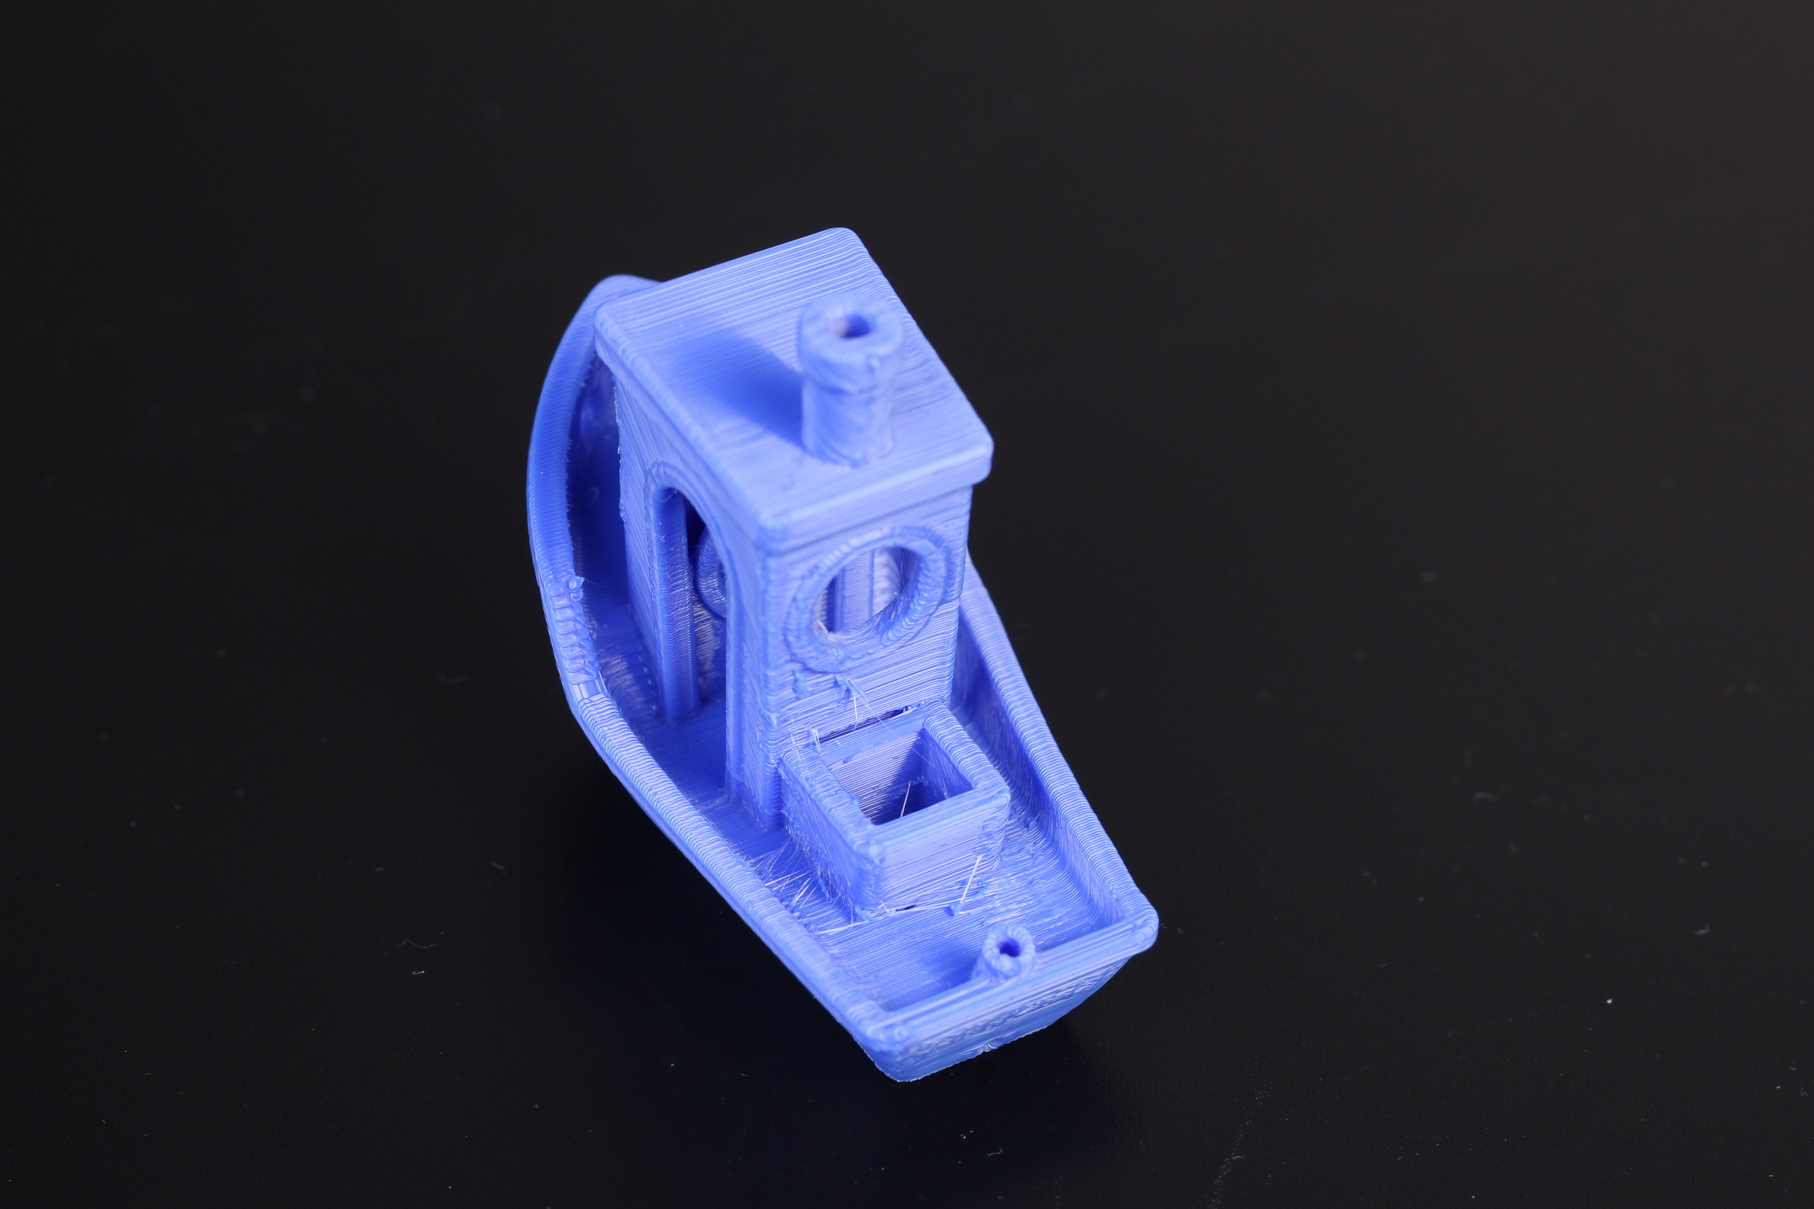
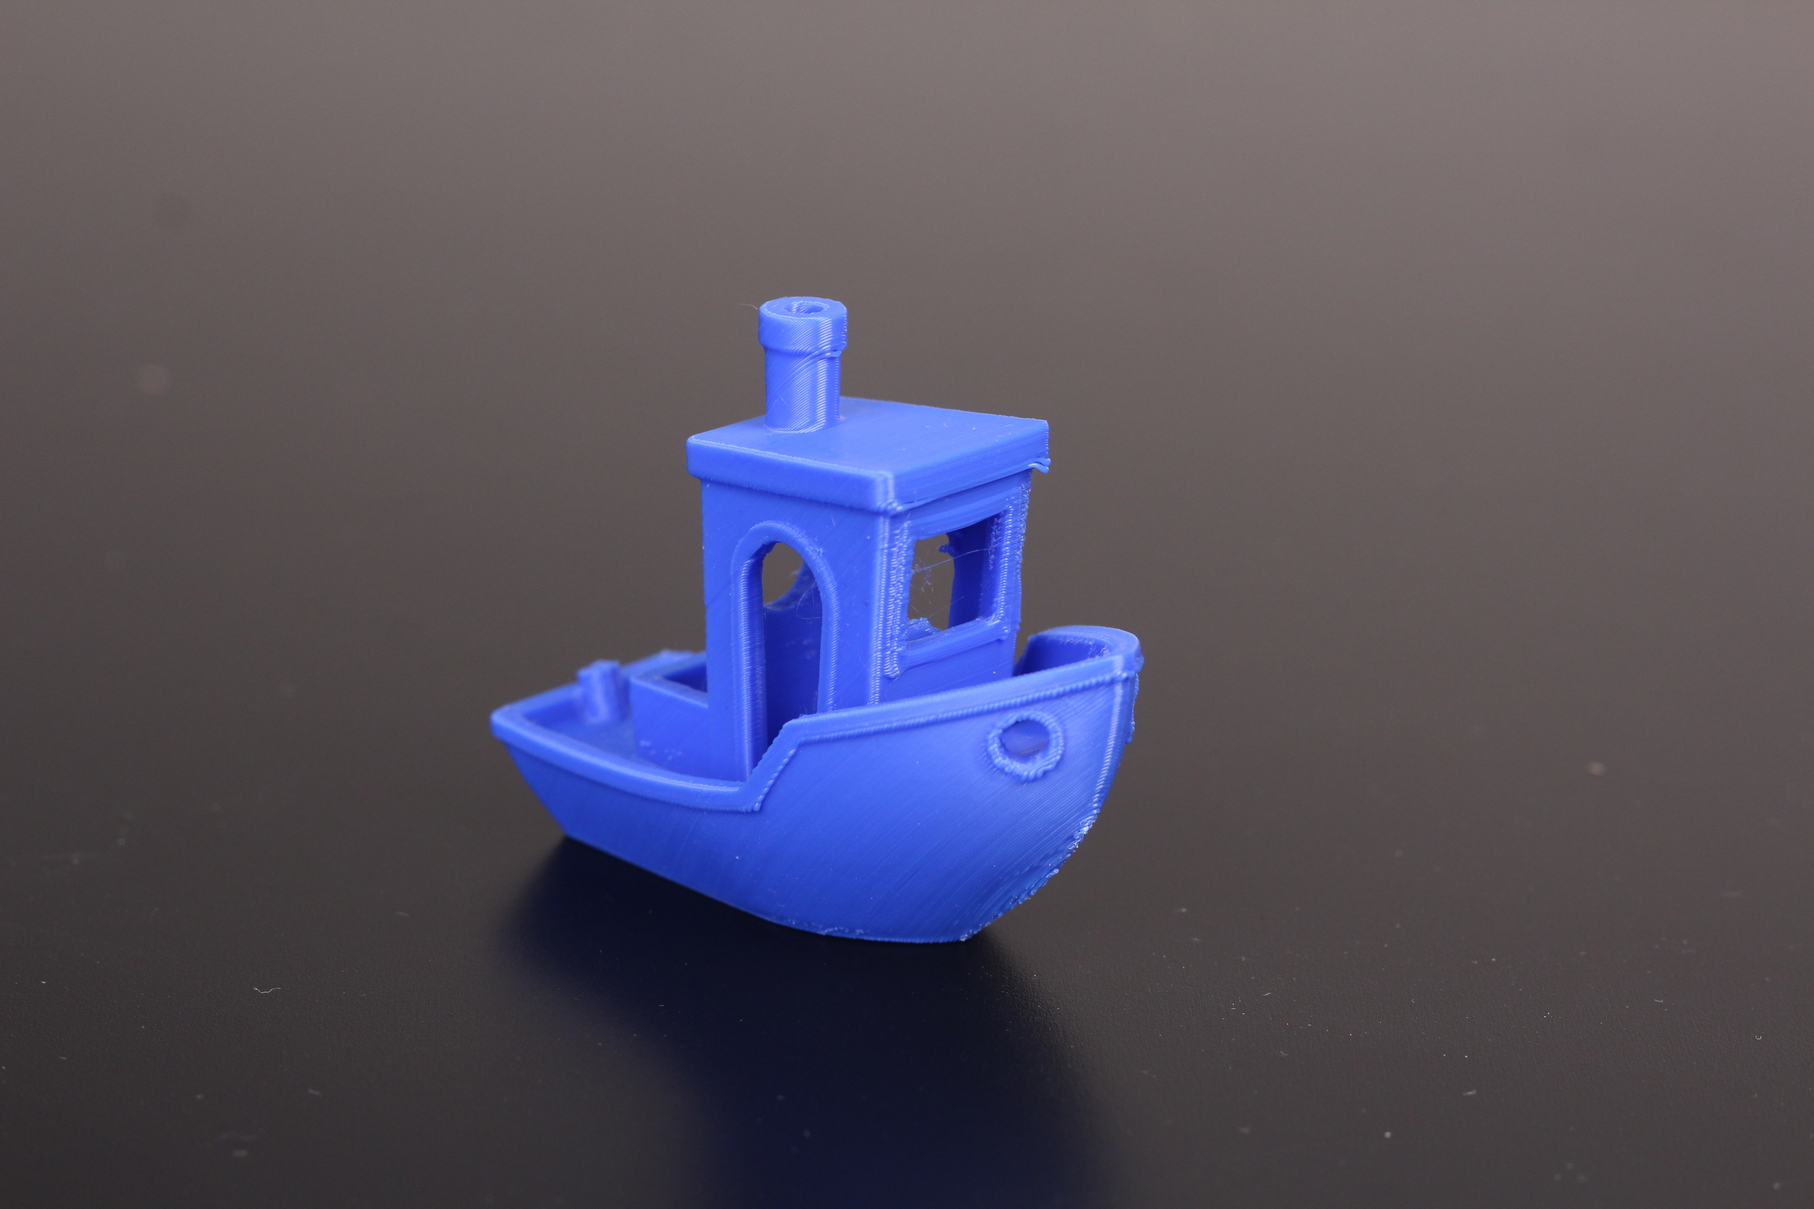
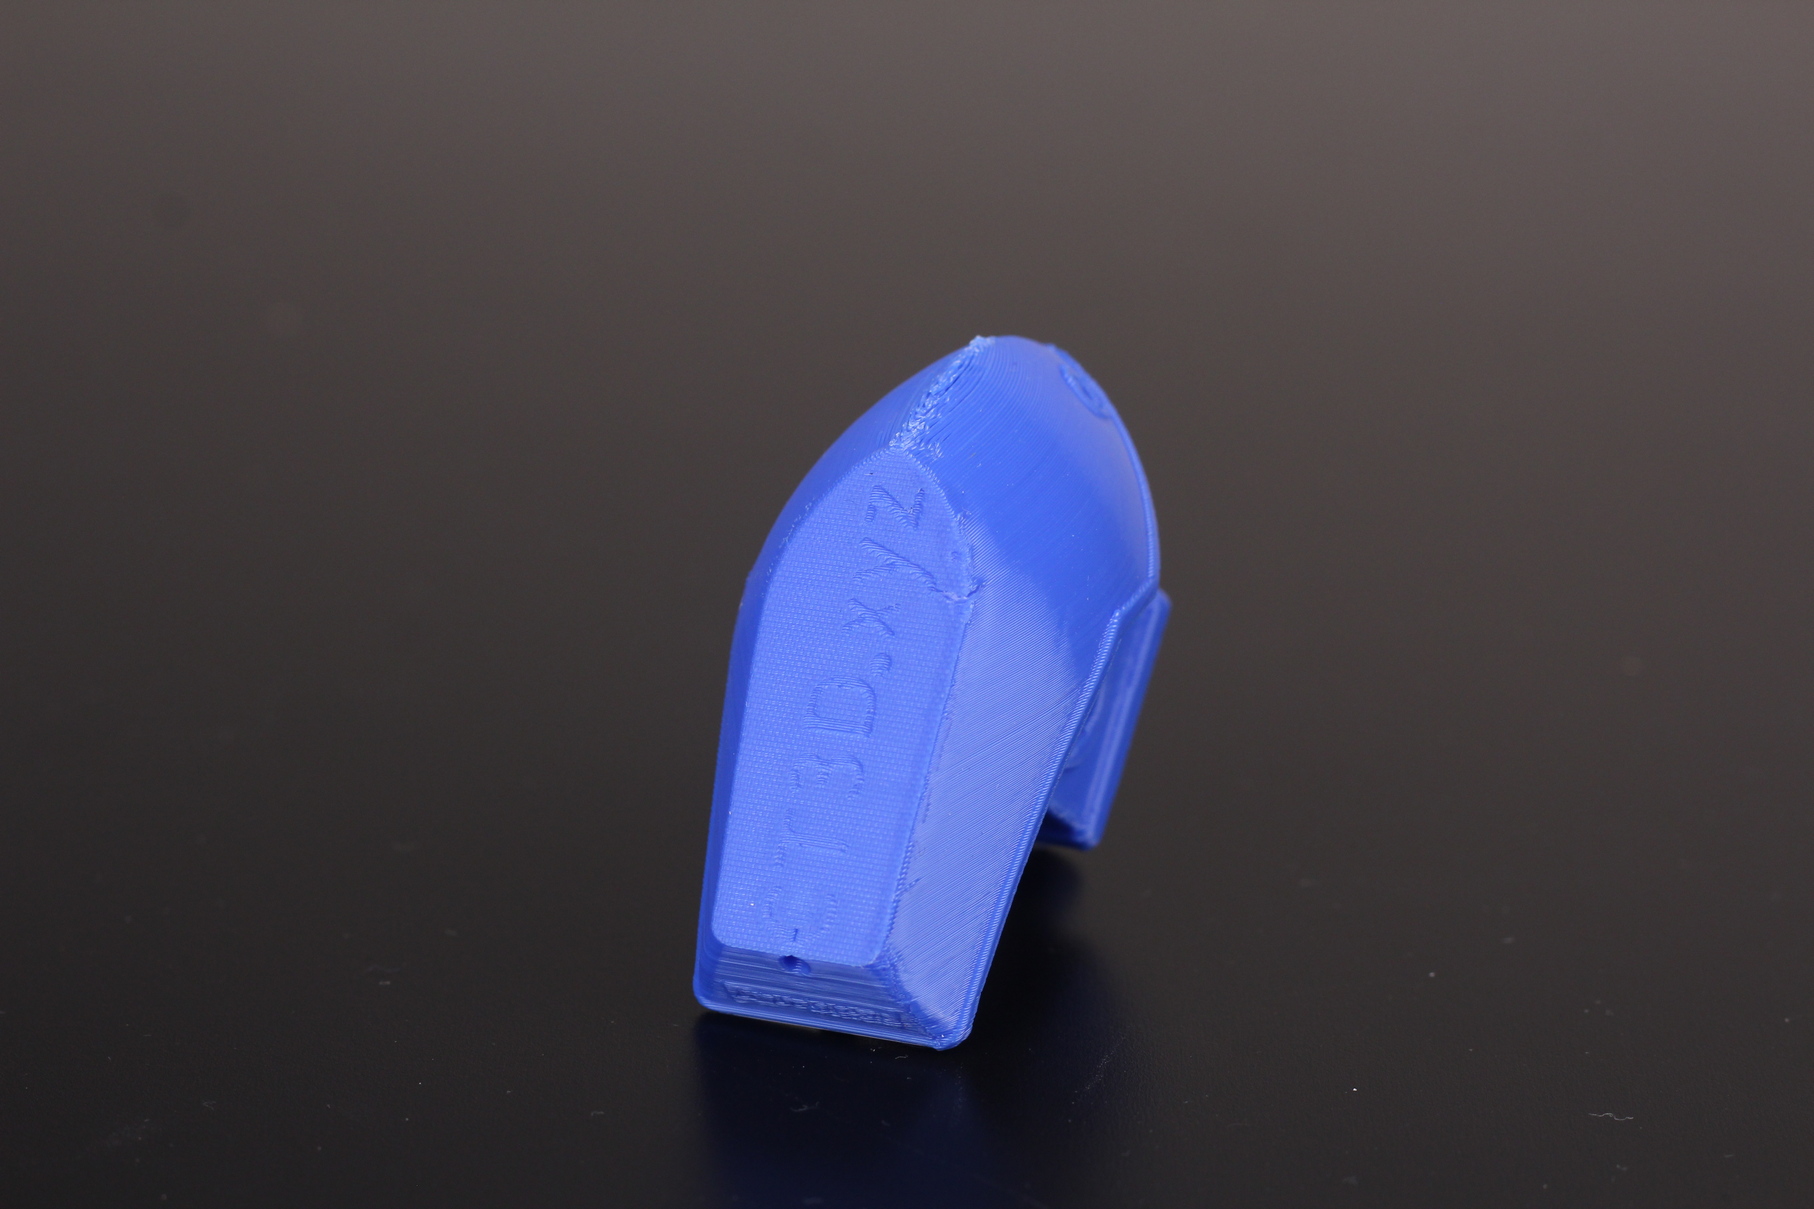
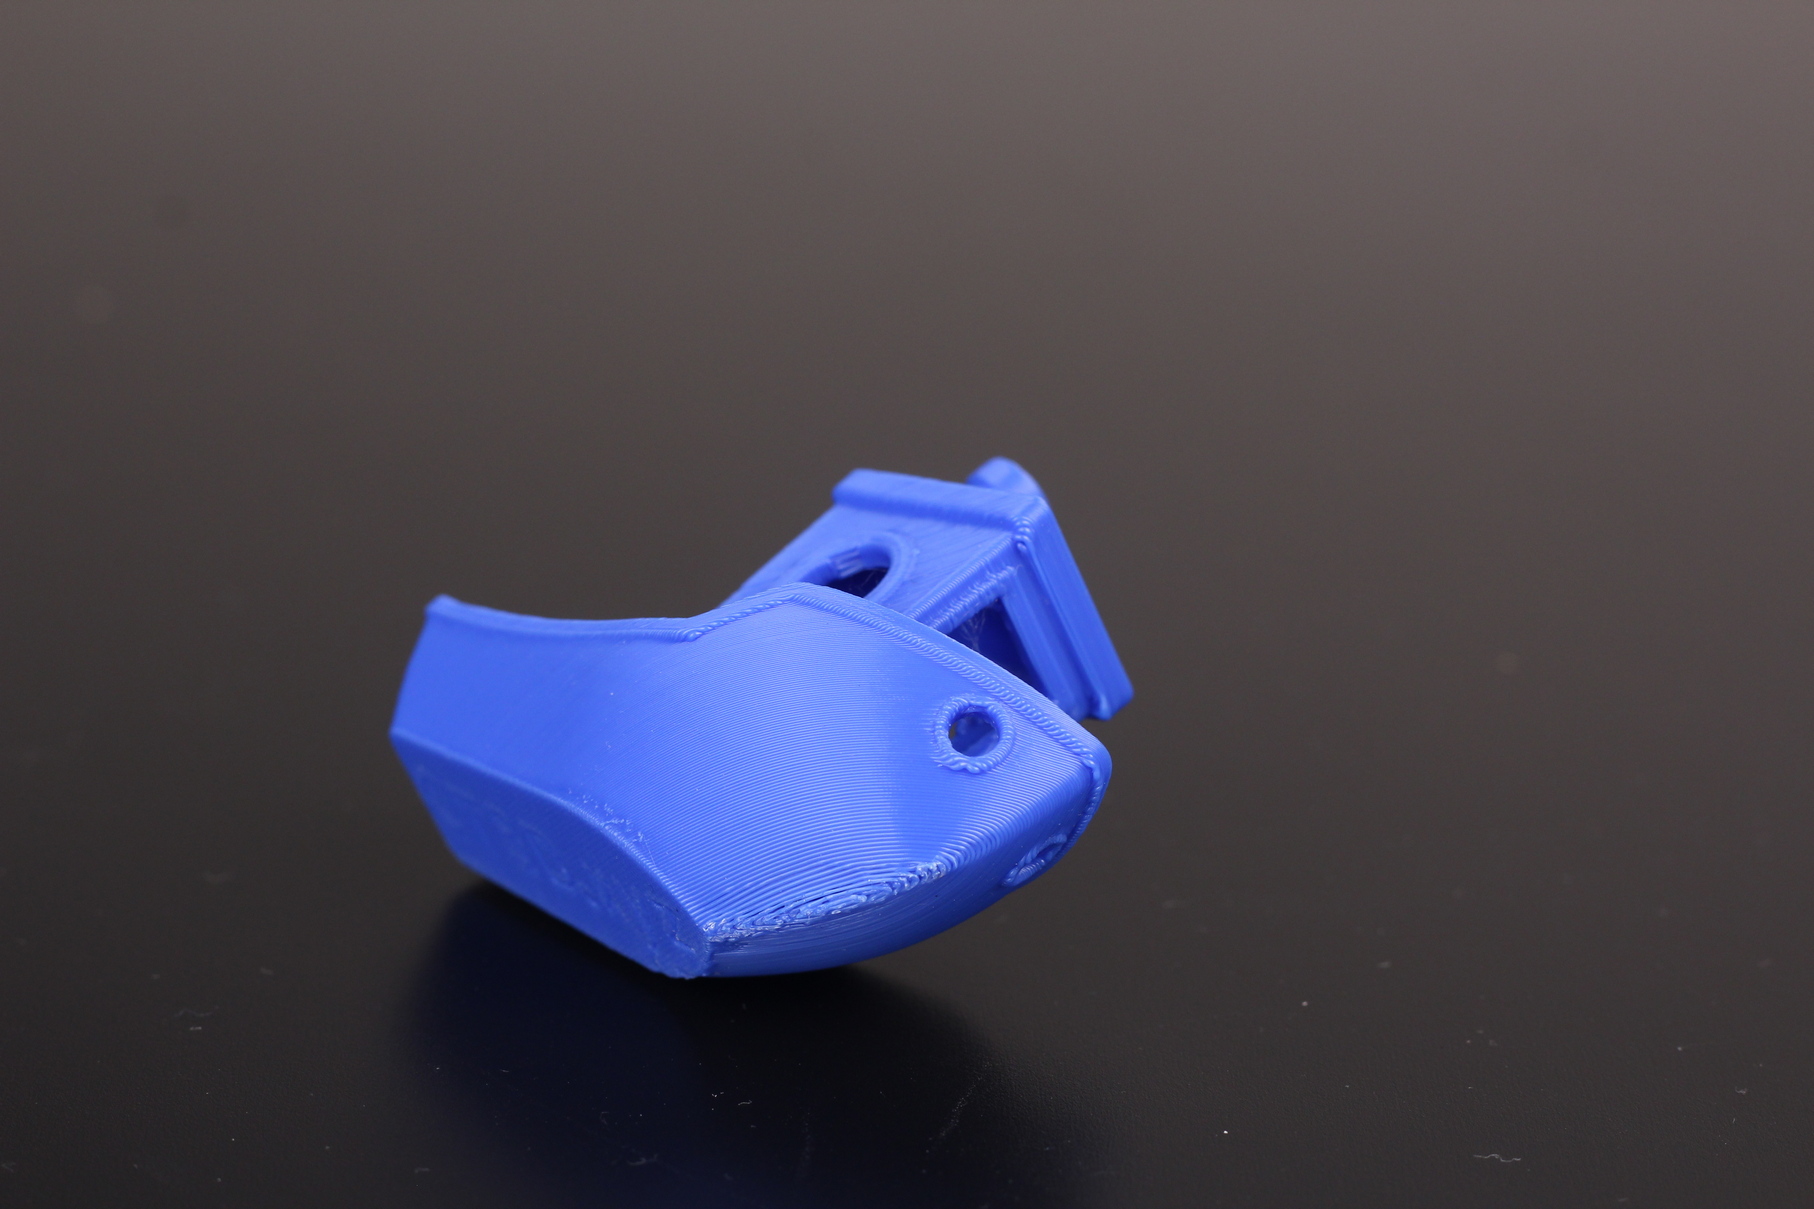
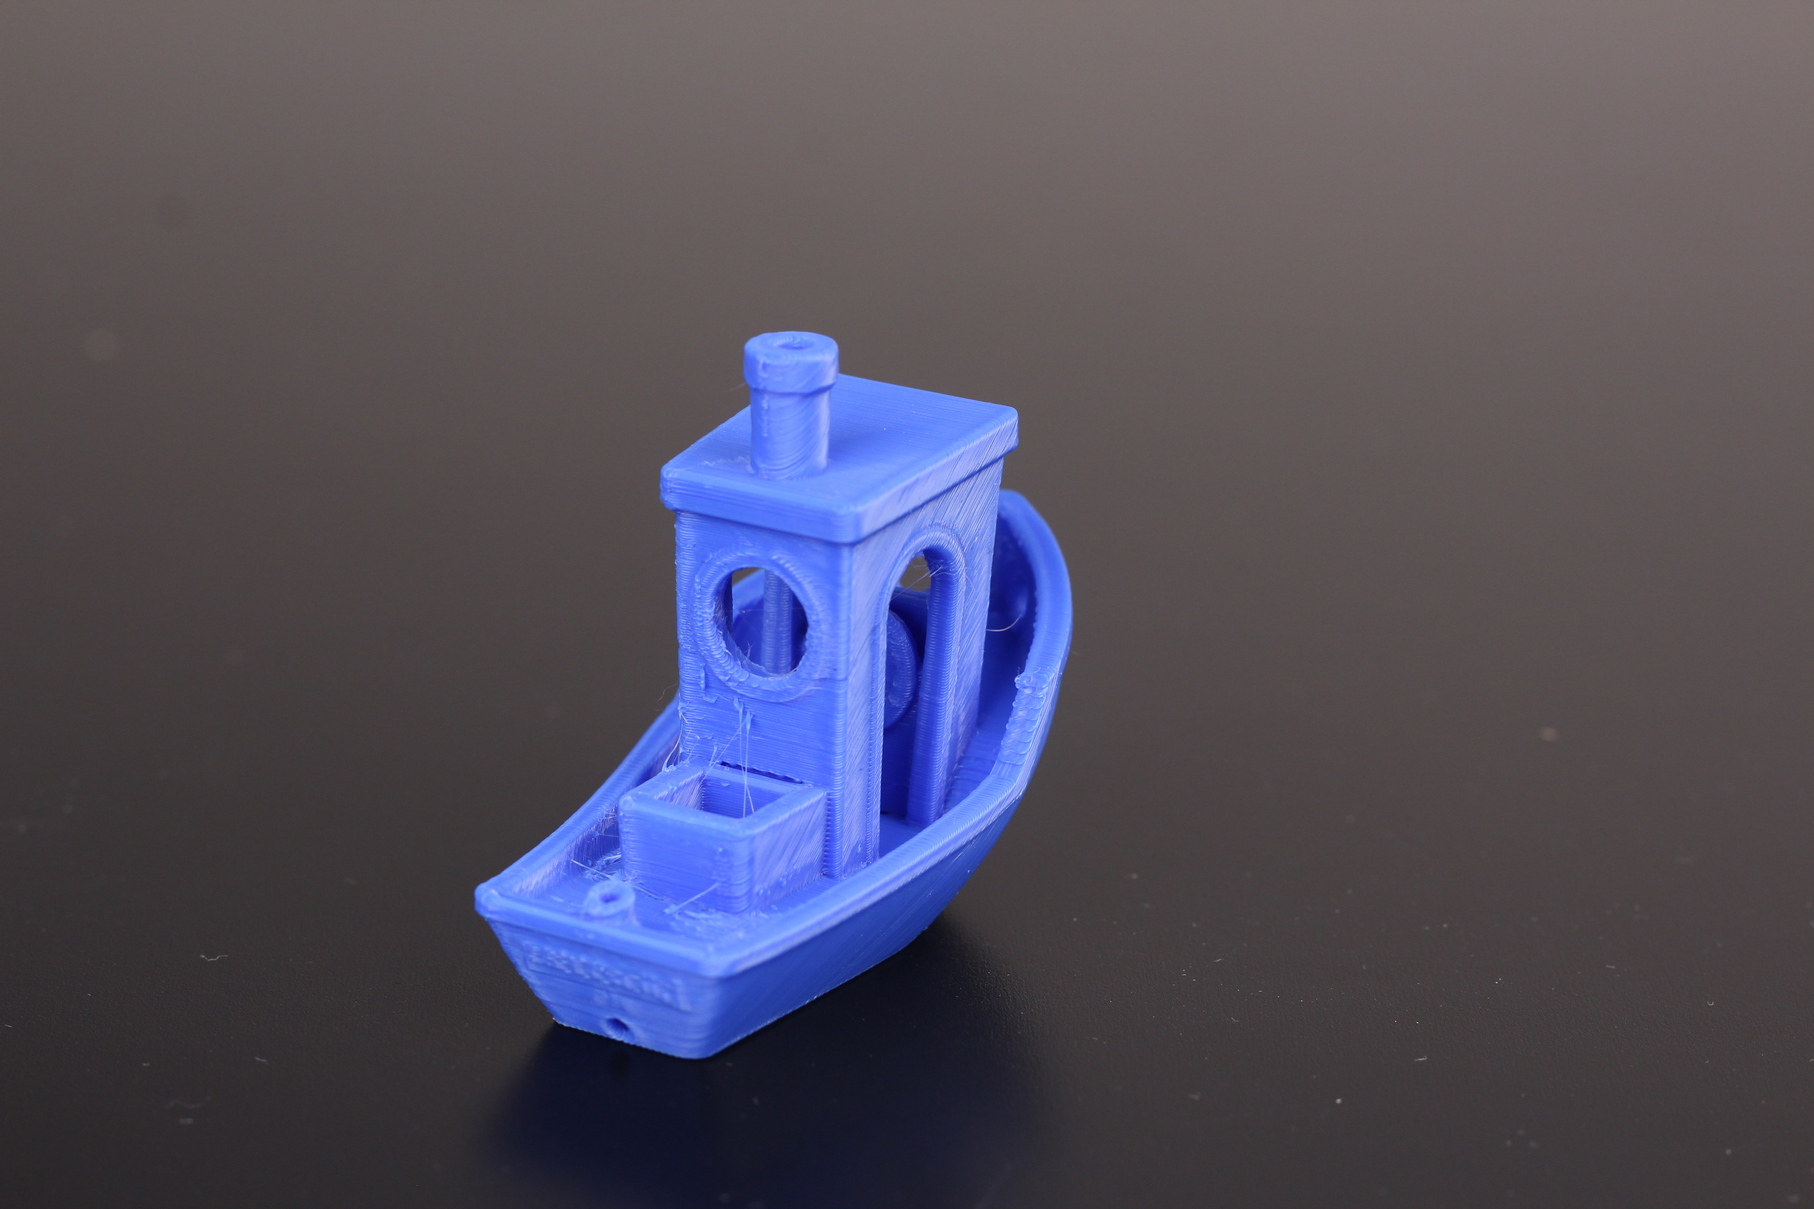
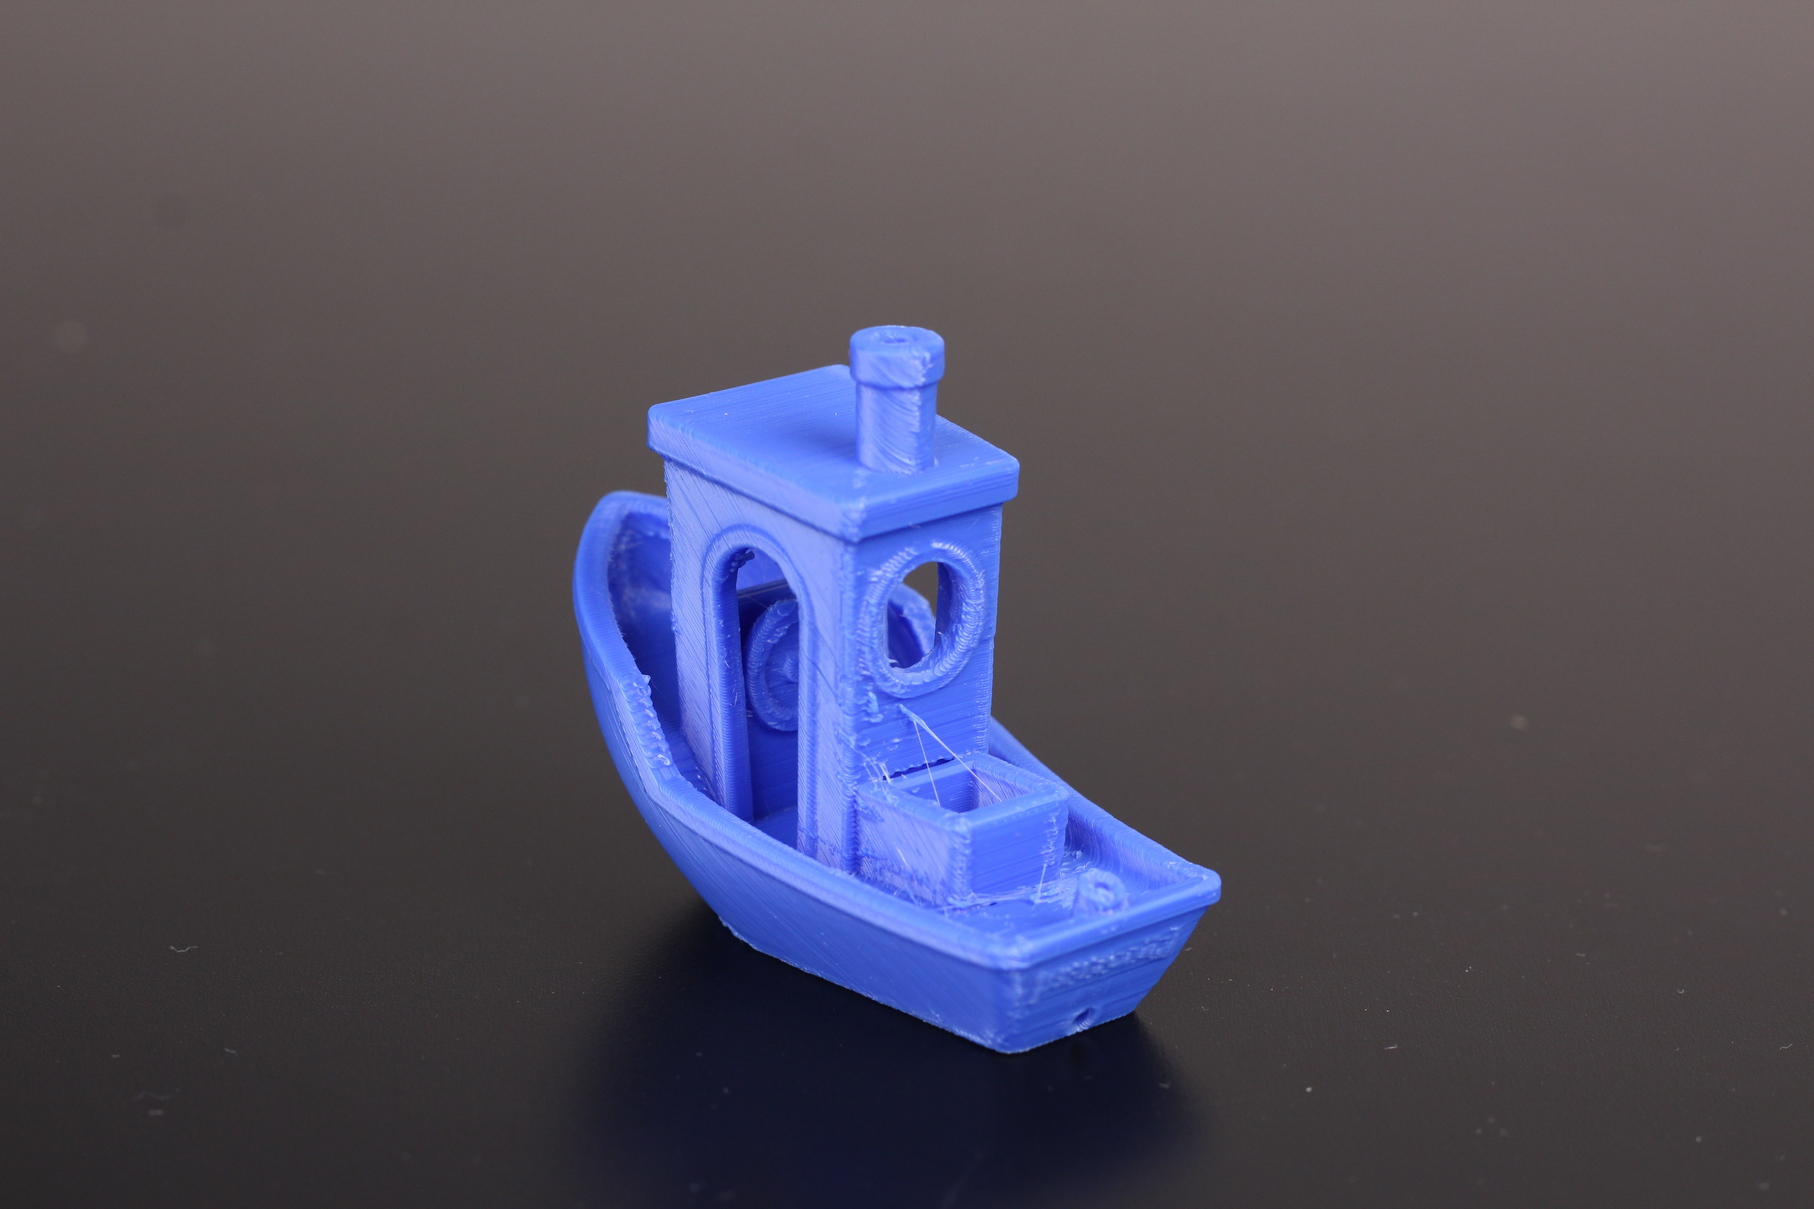
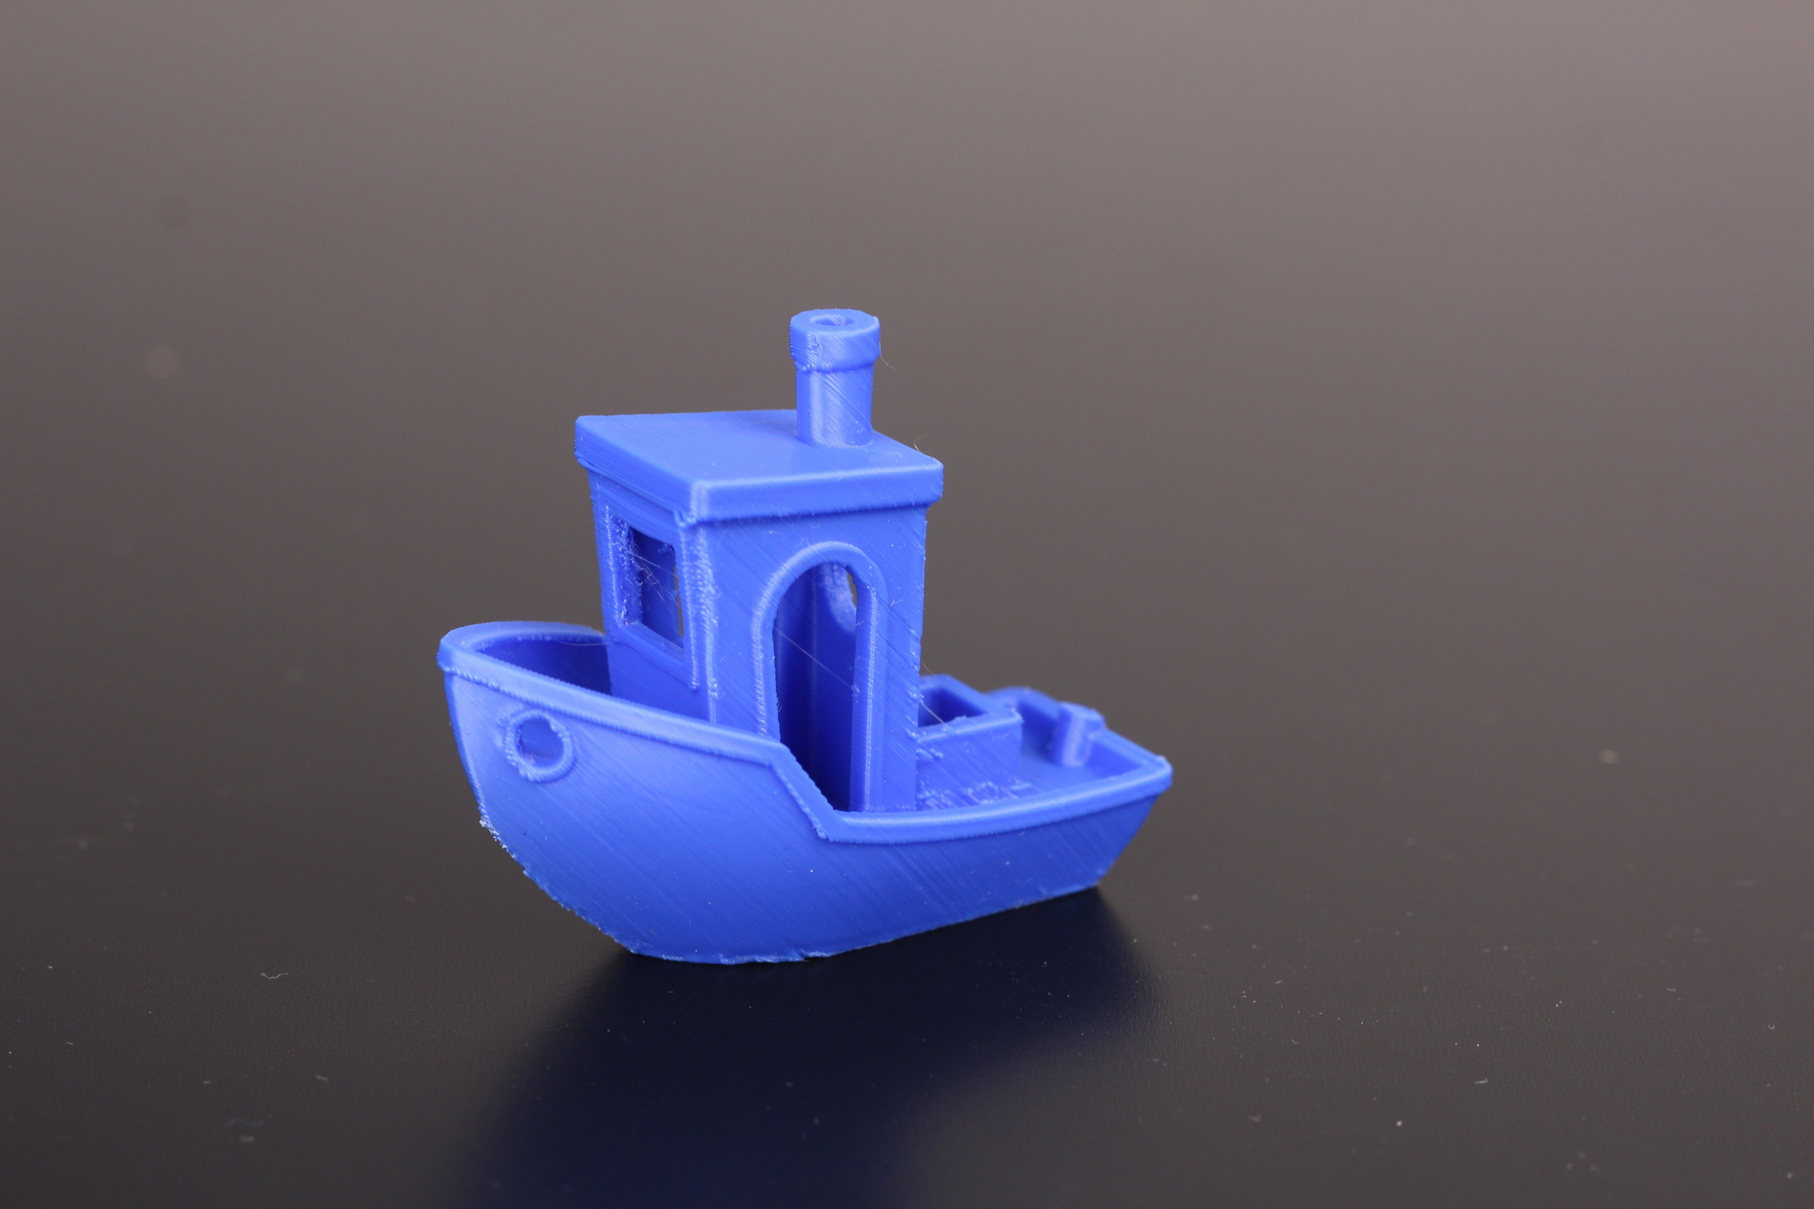
As you might expect, when printing with a 45-degree angle, you need to change how you think about slicing a model. For example, the regular 3D Benchy cannot be printed without a bit of support. But even with that tiny amount of supports, I managed to print three benchies without too much trouble.
The print quality is not as good as with a regular printer, but this is also influenced by the model. Some model can look much better on a regular printer compared to one which prints at a 45-degree angle.
- Material: Anycubic Blue PLA
- Layer Height: 0.2mm
- Nozzle Temperature: 210C
- Bed Temperature: 70C
- Print Speed: 30 mm/s
Mandalorian’s Rifle
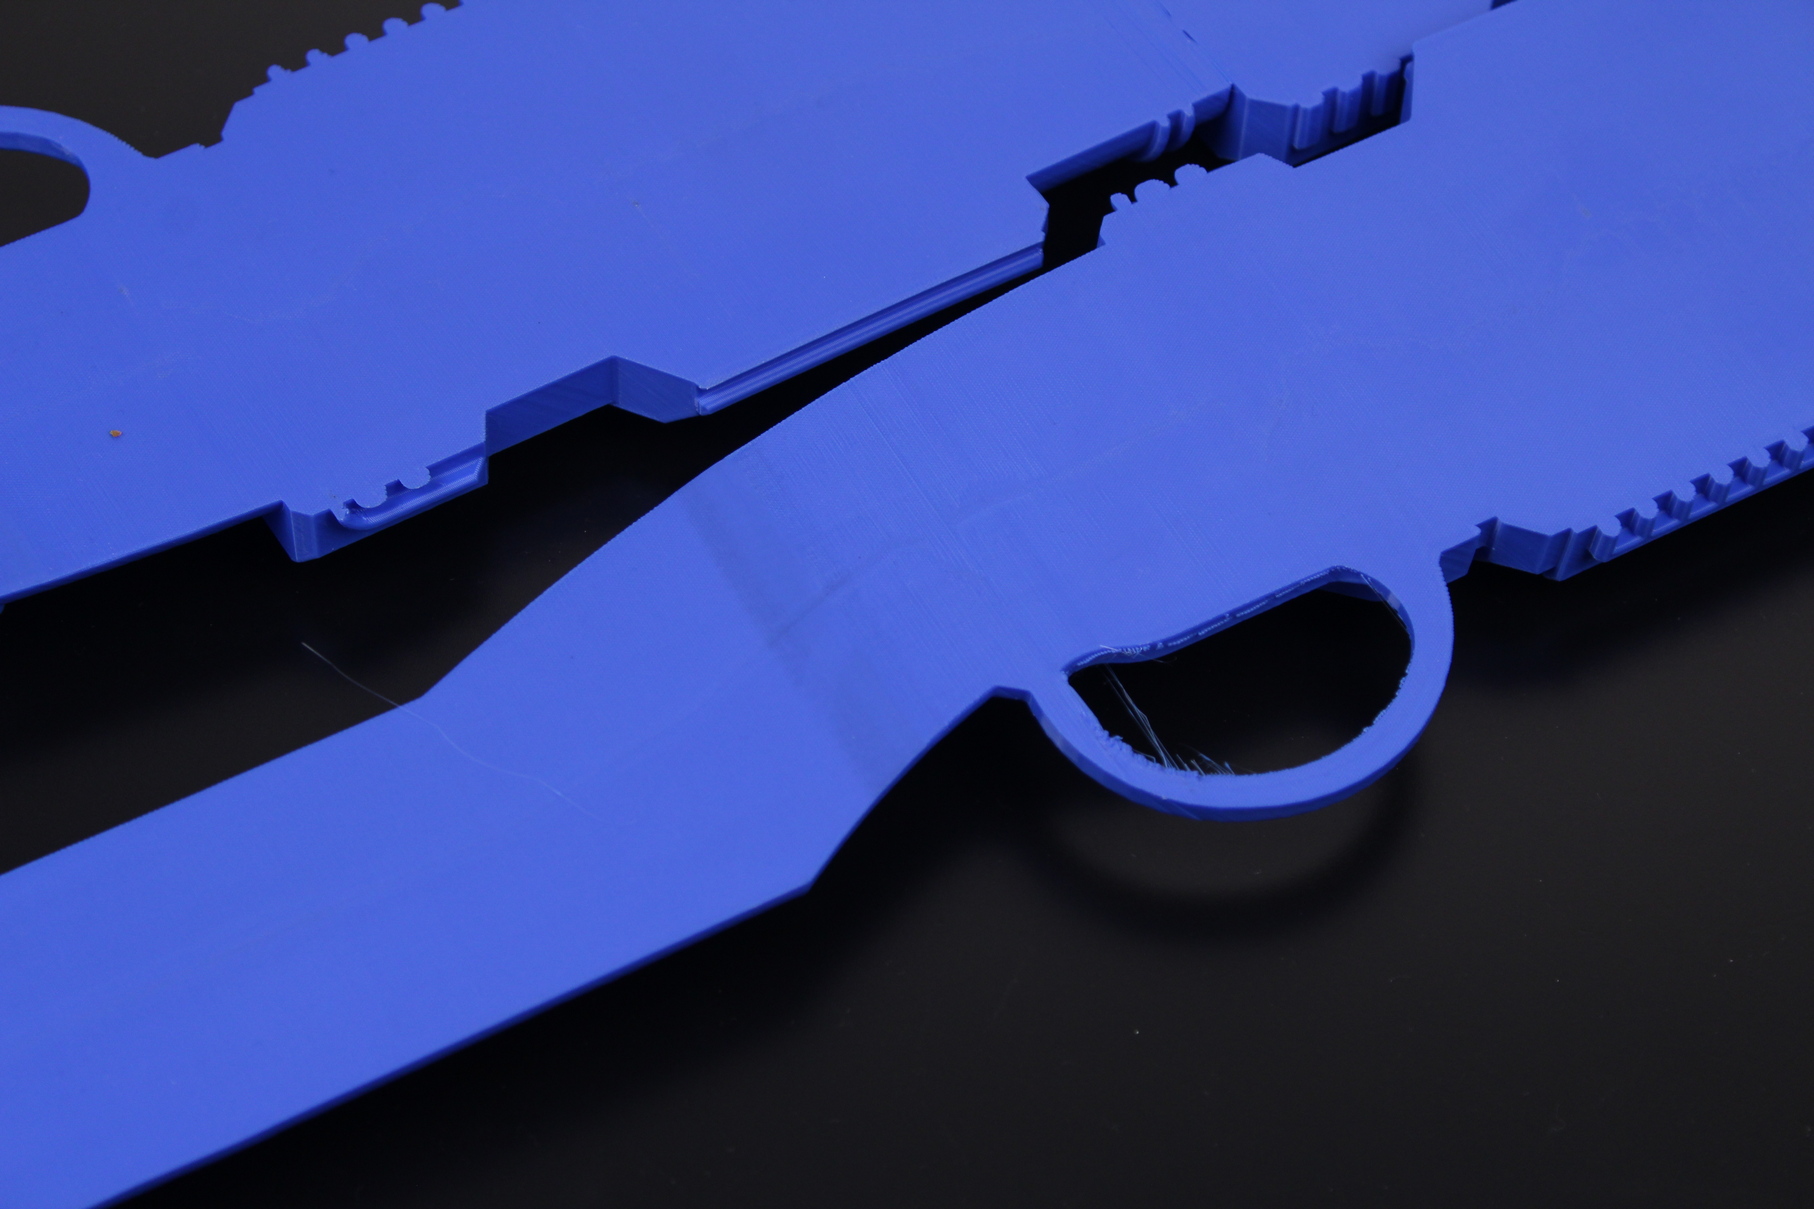
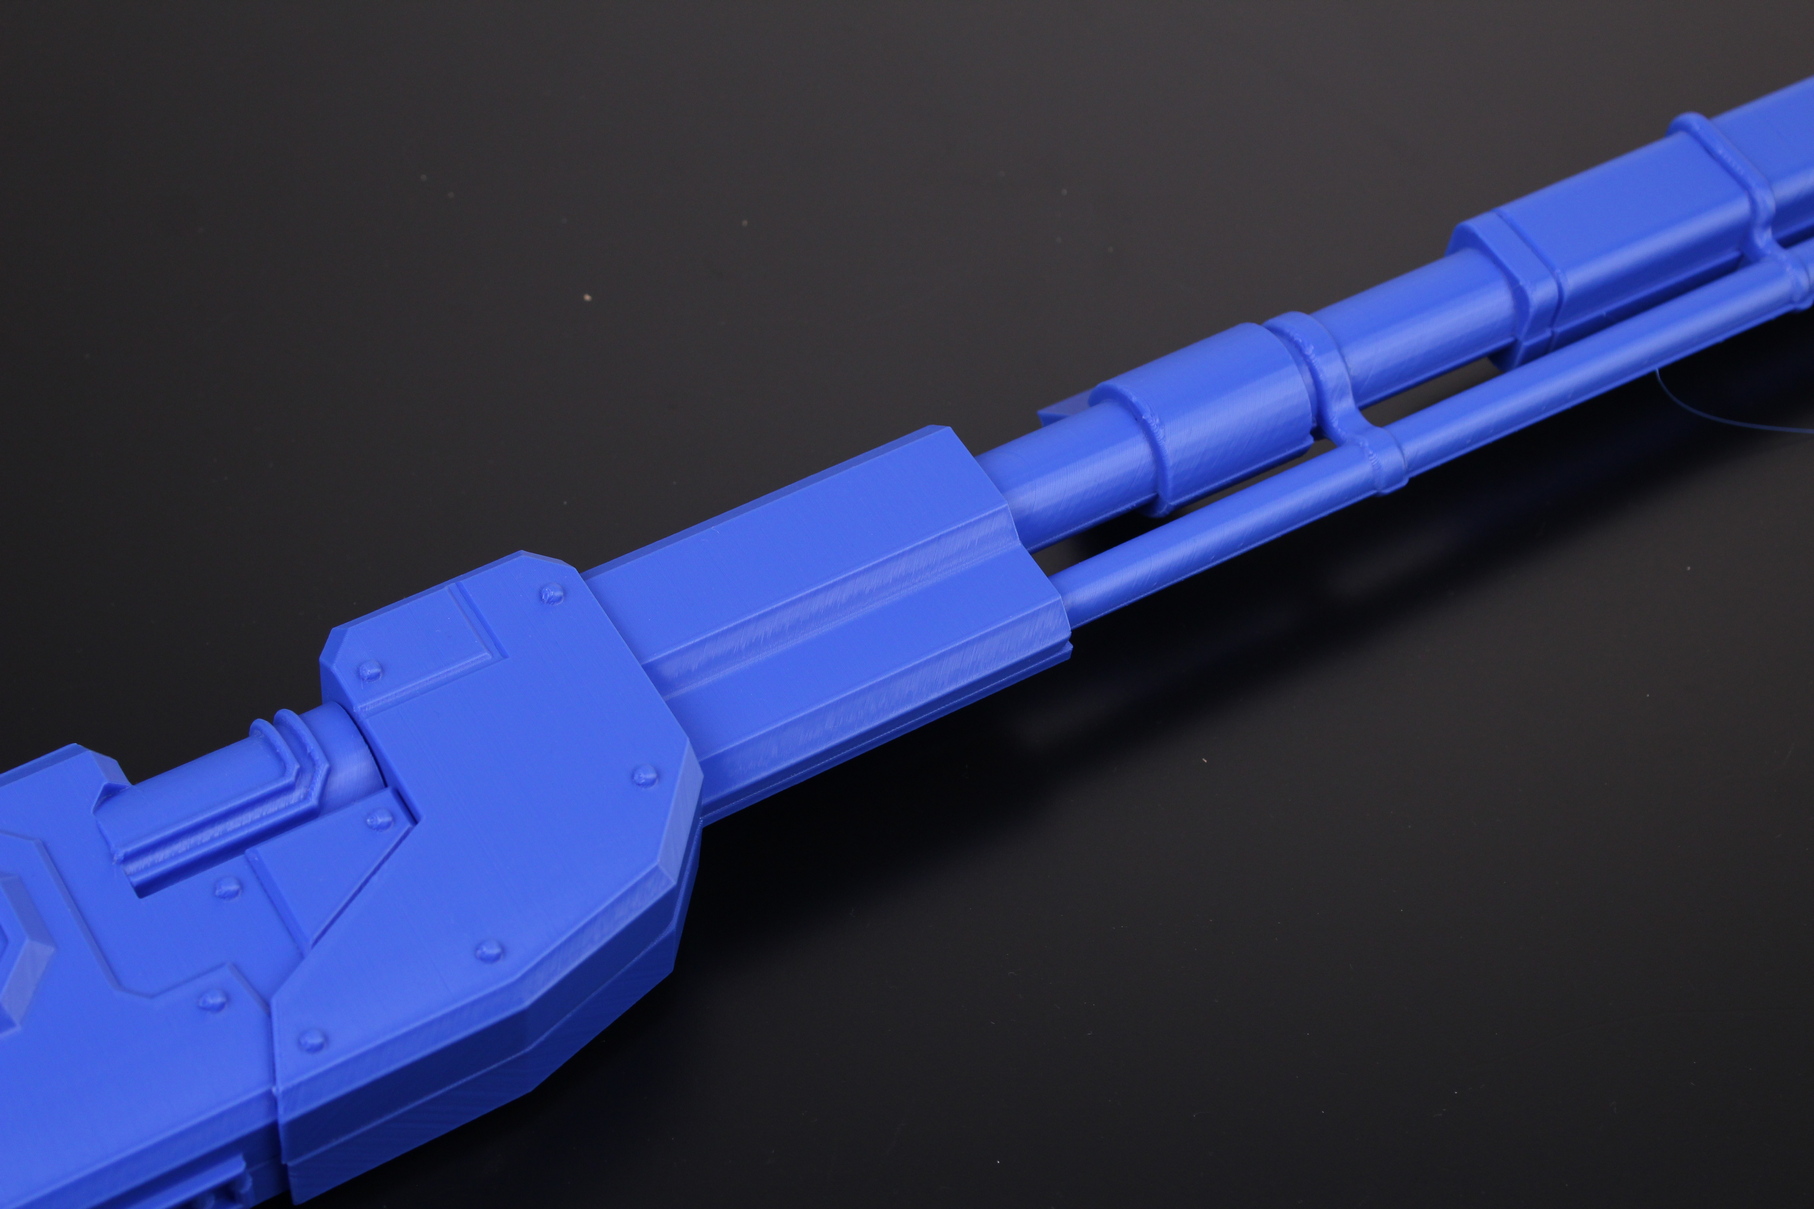
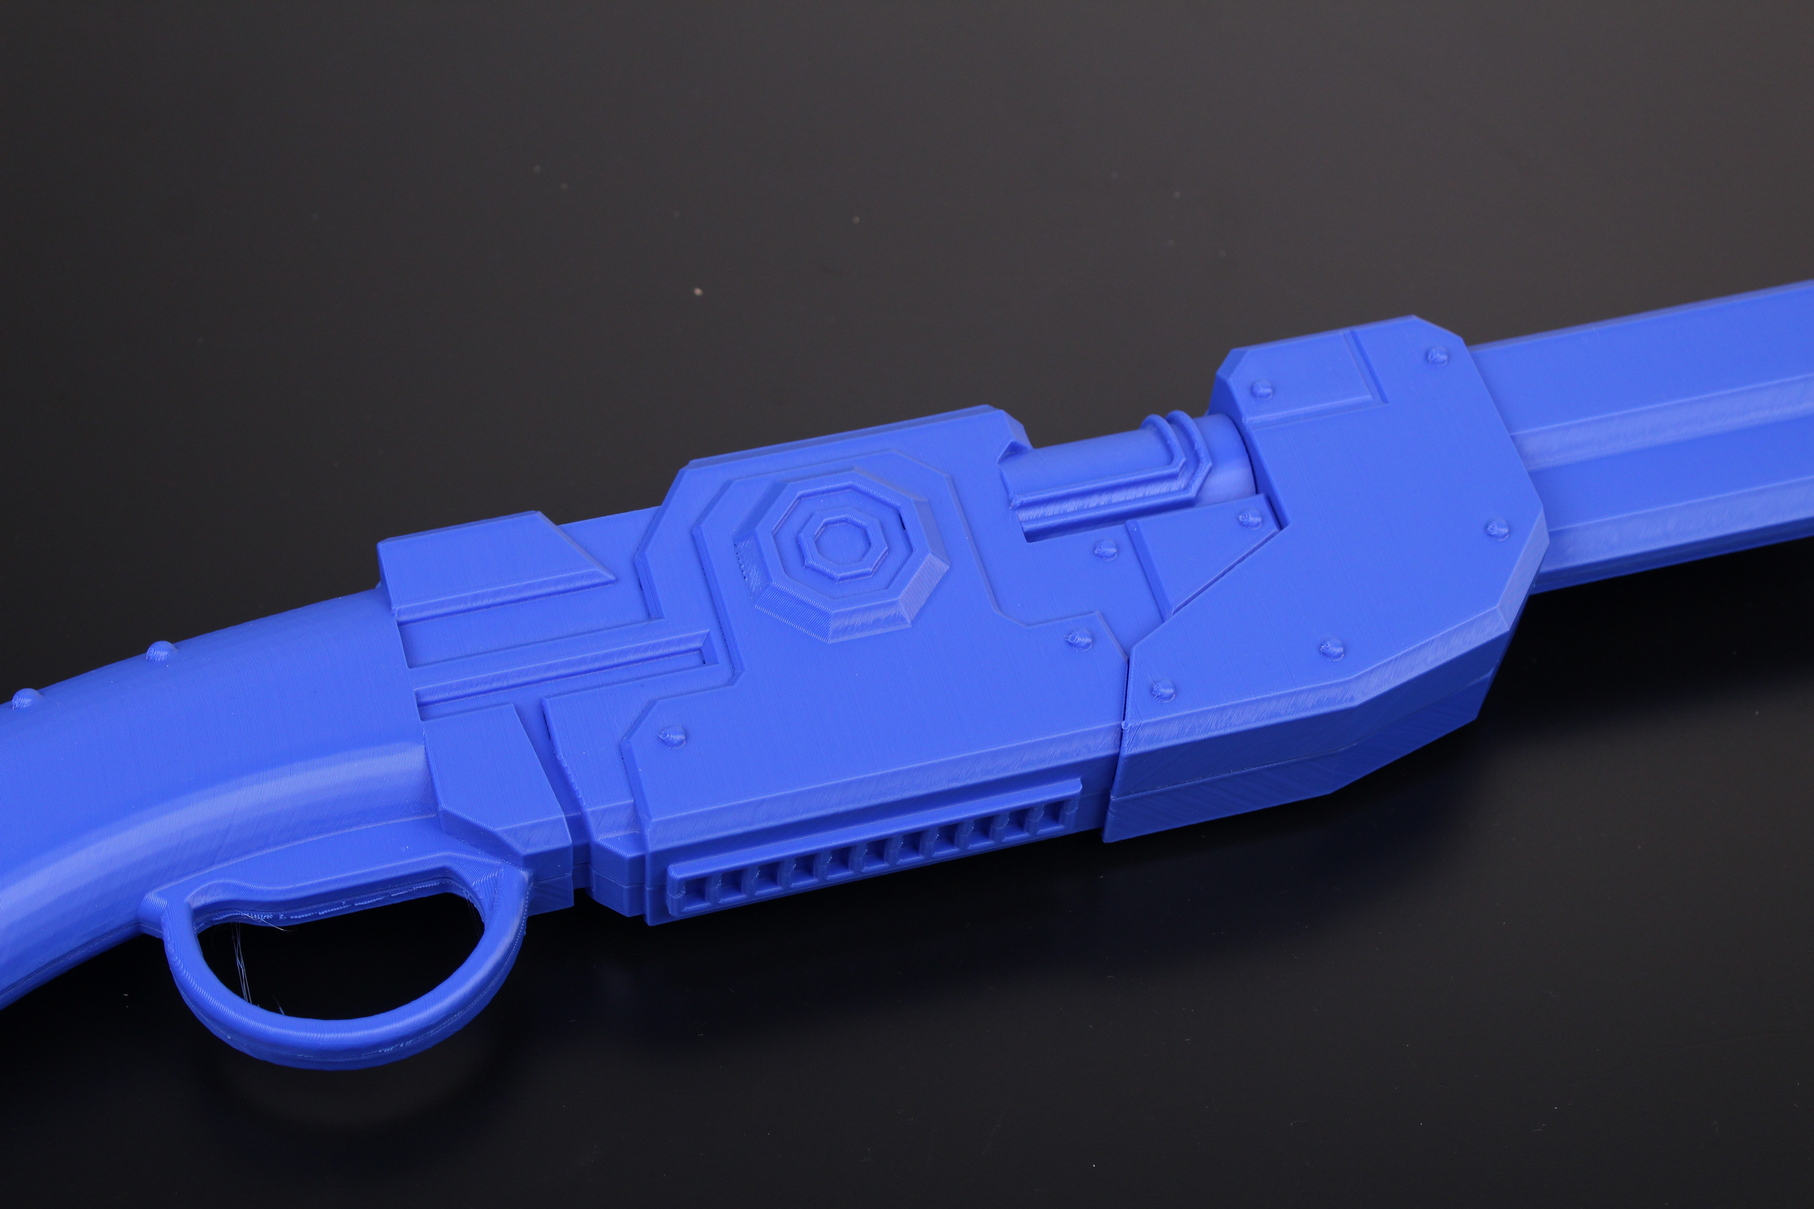
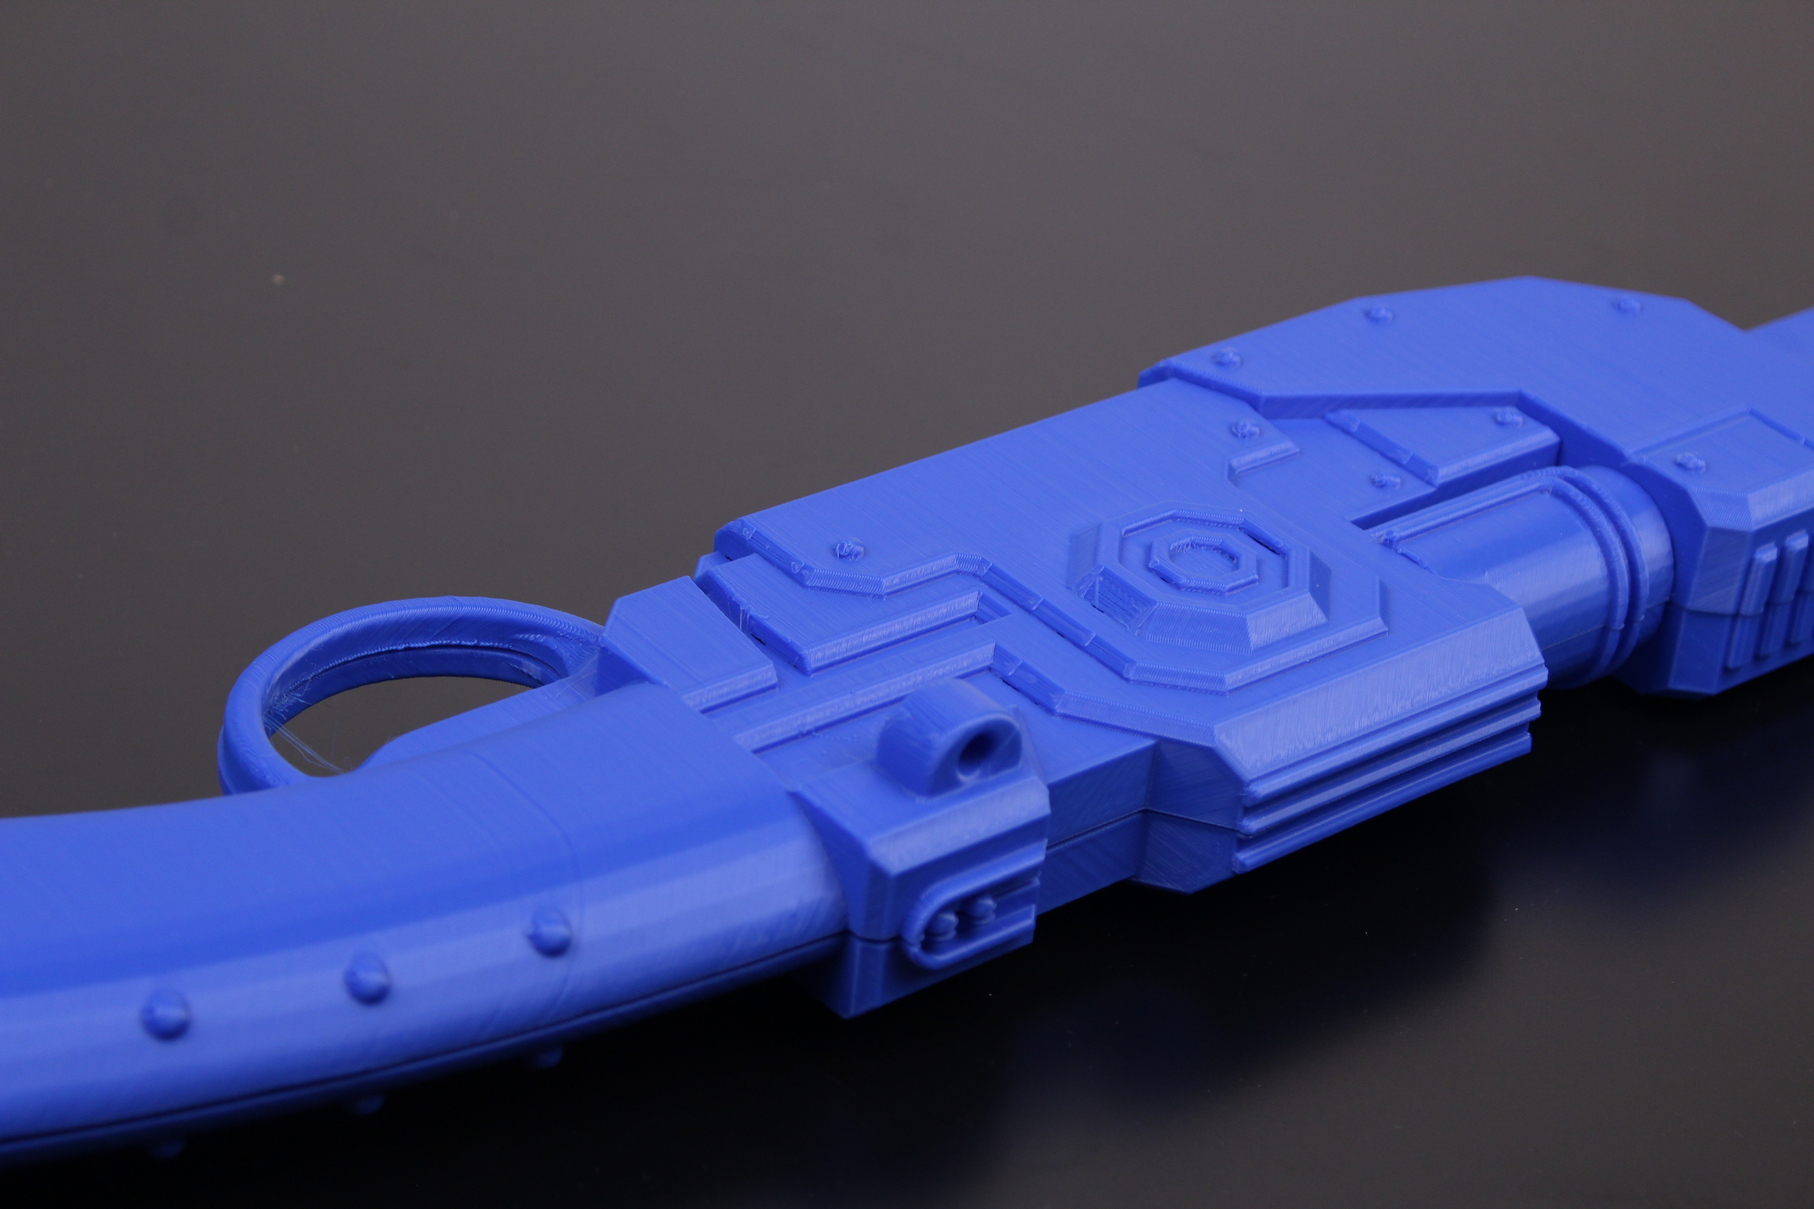
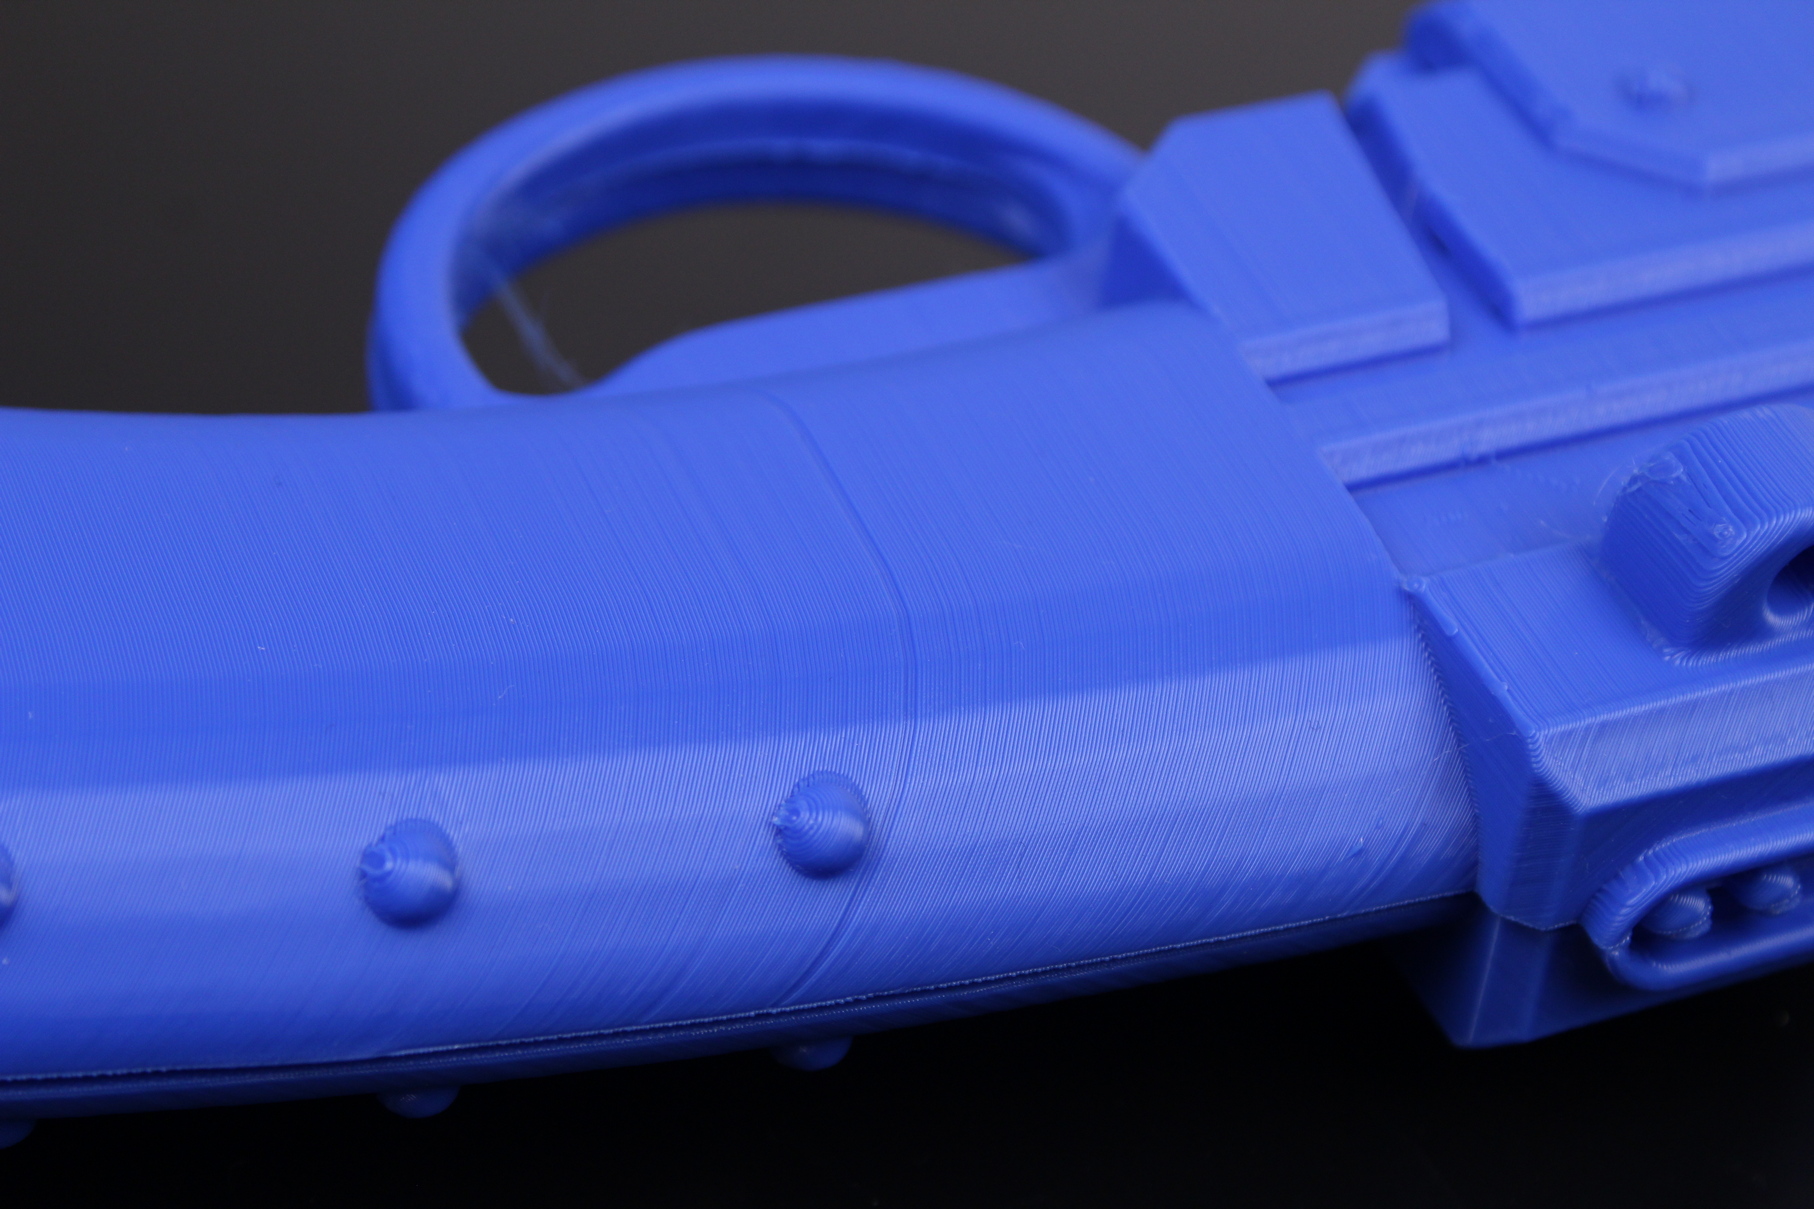
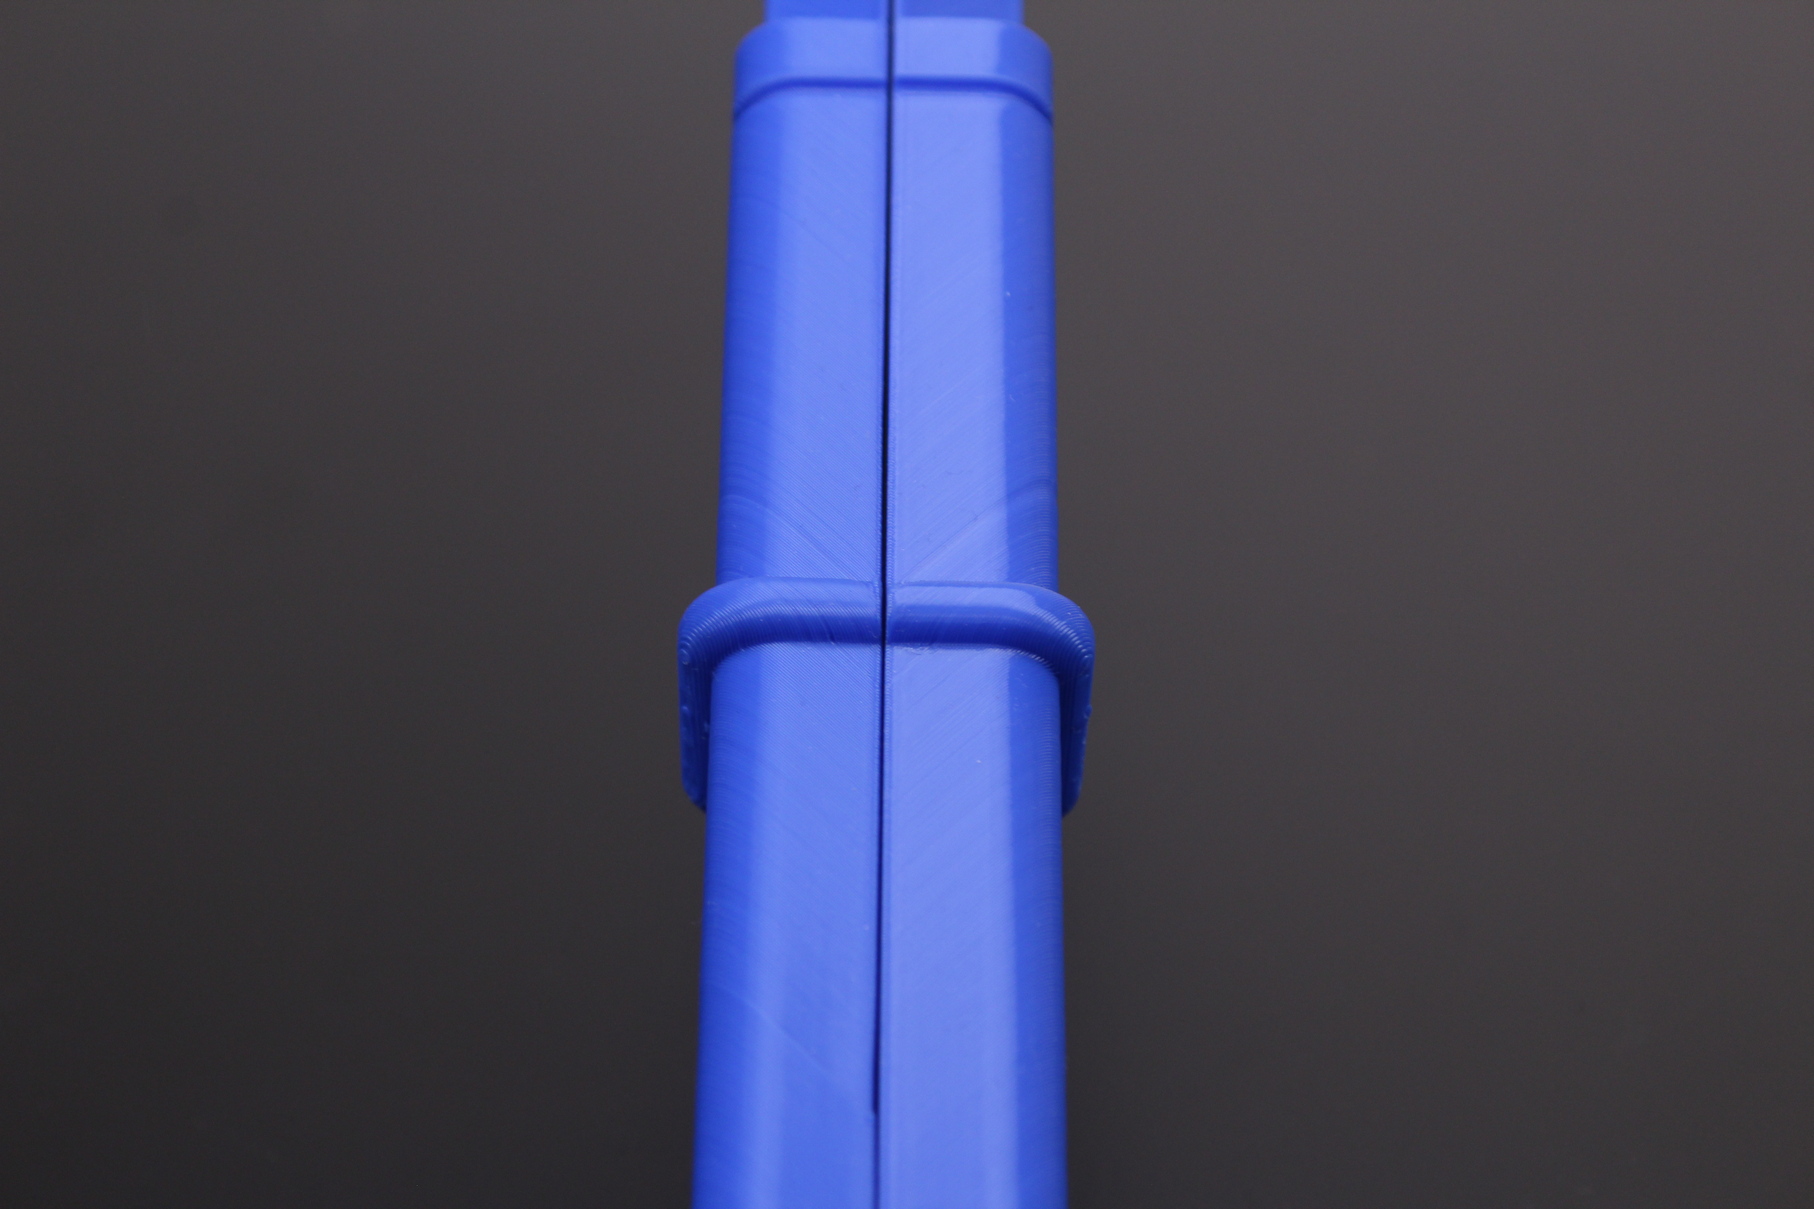
Finally, I wanted to do a really long print, and I found the Mandalorian Rifle split by NAK3D on the 3DPrintMill discord server. Each half of the rifle took around 46 hours. When both parts were finished, I spent around 90 hours of printing and close to a full roll of PLA filament. I can’t say that the print quality is excellent but is good enough considering the ~155cm length of the model. With a bit of sanding and primer, you can make this look nice as a prop.
- Material: Anycubic Blue PLA
- Layer Height: 0.2mm
- Nozzle Temperature: 210C
- Bed Temperature: 70C
- Print Speed: 30 mm/s
Conclusions: Is the Creality CR-30 worth it?
To answer this question, we need to first decide the purpose for which this printer is purchased.
If you are a prop maker, who will print a lot of swords or long objects, then yes, the printer is great for this purpose. You will be able to print your models in less pieces, with less post processing.
If you are a person who need to batch print a lot of smaller items, then you need to consider if those particular models can be printed well at a 45-degree angle. Sure, you can start the print, and the printer will continuously produce the model, but if you need to add supports, and post process those particular parts afterwards, it’s not really helpful.
Besides that, print speed is quite low, so there’s not a lot of time saved. You would be better off with purchasing a few regular printers and building a print farm compared to buying a single CR-30.
If you are a regular user who thinks the Creality 3DPrintMill is cool, but you don’t have a specific use for it (long model prints or batch printing) I can’t really say the printer is worth the money. For any other kind of print scenarios, the CR-30 is slower, and the print quality is lower compared to a regular printer.
Overall, the Creality CR-30 is a printer which has some nice use cases for some people, but for the vast majority, a regular printer will be better.
The Creality CR-30 (3DPrintMill) is great if you have a specific use case that can benefit from continuous printing. For regular users, it might be more troublesome than having a few regular printers. Creality CR-30 (3DPrintMill) Rating
Design
Specs
Noise Levels
Ease of use
Print Quality
Price
Where to buy the Creality CR-30?
The Creality CR-30 can be purchased from the following websites:
AliExpress
Amazon
Banggood
Creality3DOfficial
Creality Store
I recommend checking out the Discount Codes page before purchasing. I regularly update the article with discount codes for various online shops, and you might find one for this particular model.
The Creality CR-30 3DPrintMill was provided free of charge by Creality for the purpose of this review. While the article includes affiliate links, all opinions are my own. Nobody reviewed the article before it was posted, following the Review Guidelines.
Liked it?
|
|



You can leave a comment for this article on the 3DPrintBeginner Forum