Ender 6 Direct Drive Conversion with BIQU H2 Extruder
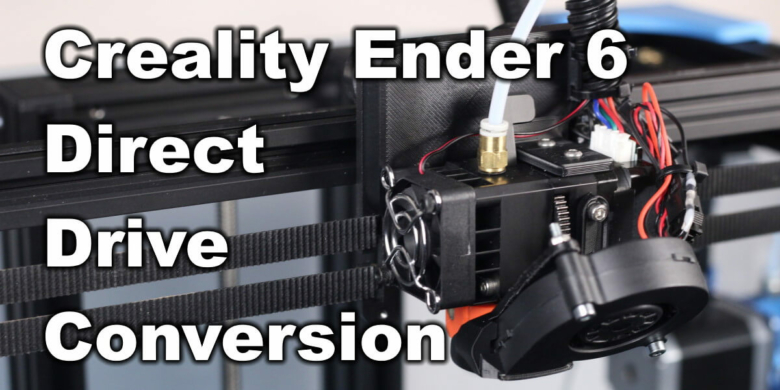
In my Ender 6 review, I mentioned that having a direct drive extruder could improve the printer speed and quality. So, designed an Ender 6 direct drive mount and converted the printer by using the excellent BIQU H2 extruder.
Why convert the Ender 6 to direct drive?
I previously covered the main benefits for upgrading any printer to direct drive in my Direct Drive Extruder Buyer’s Guide, but here are the main reasons why I did it on the Ender 6.
Installing the BIQU H2 extruder on the Ender 6 provides much better filament control due to the short filament path it has. This improves print quality and allows the use of less retraction distance.
When you install the BIQU H2, the hotend is also improved, even though the stock heatbreak is still PTFE lined.
Finally, you will be able to print flexible filaments like TPU and TPE with better quality and faster print speeds.
Ender 6 results with Klipper and BIQU H2 extruder
This is the print quality you can achieve, by upgrading the Ender 6 with a BIQU H2 extruder and installing Klipper.
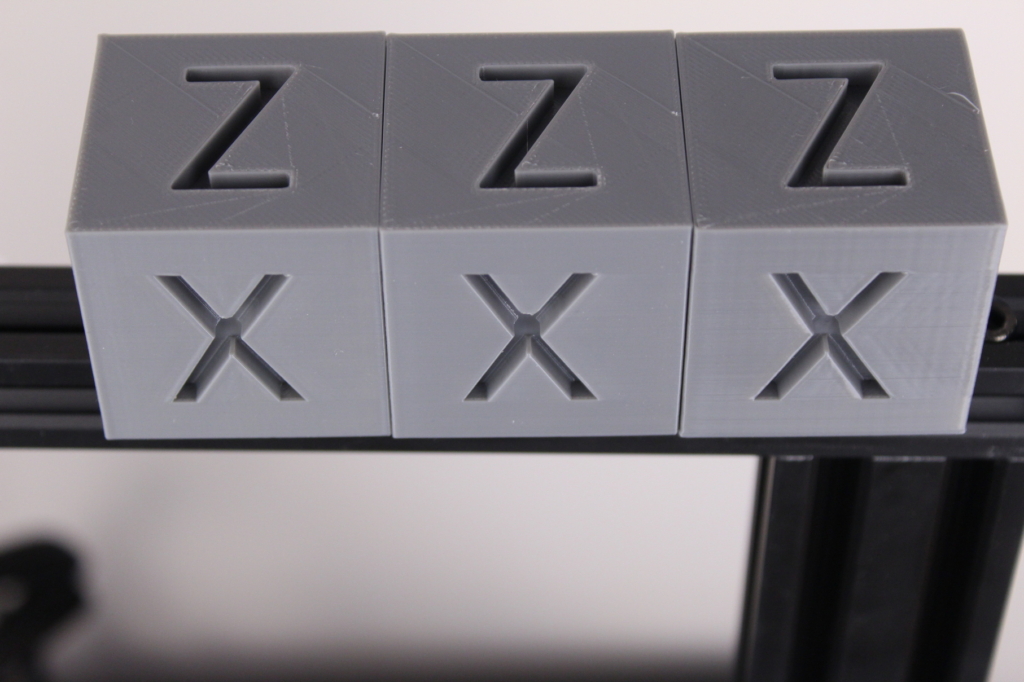
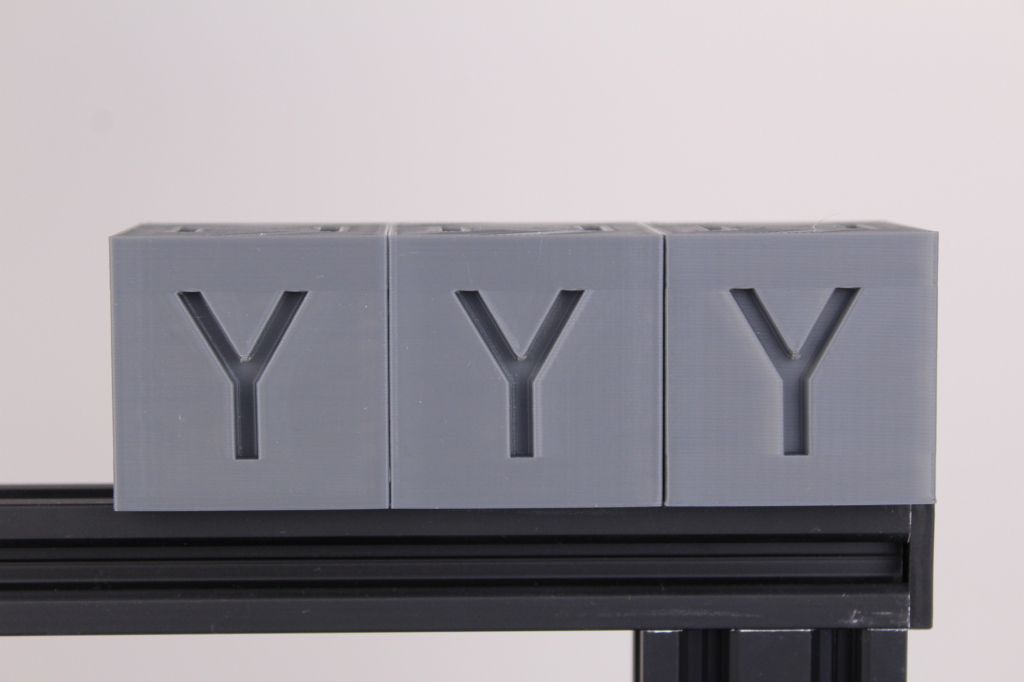
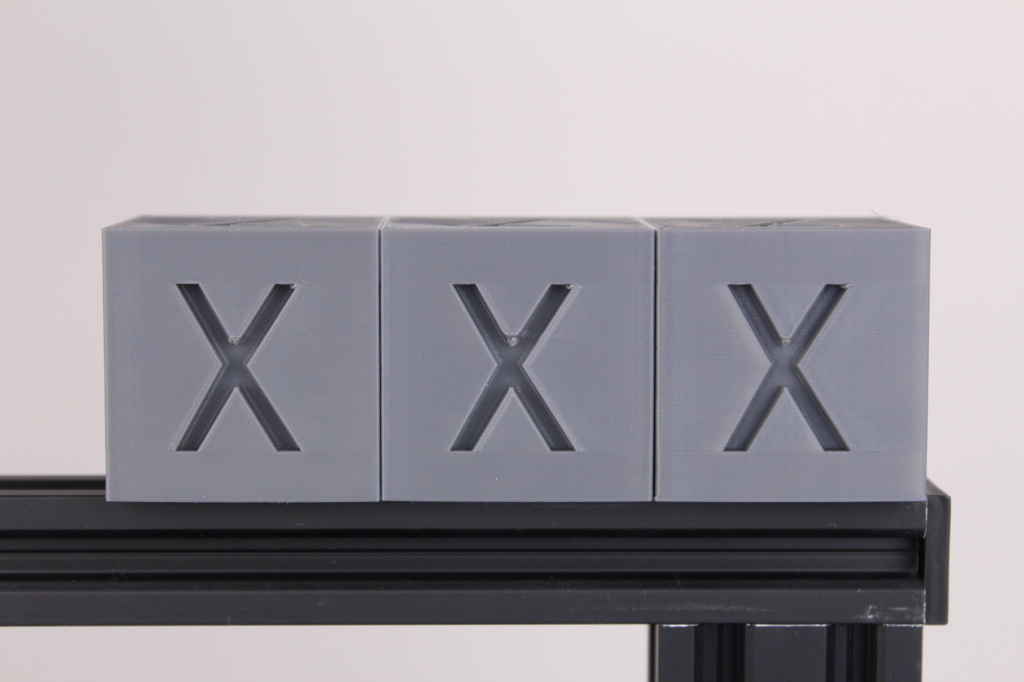
Calibration cubes (200%)
These calibration cubes were printed with different speeds and settings. The first one was printed right after installing the H2 extruder with no calibration.
The second cube was printed at the same speed, but with tuned pressure advance and input shaper. This is the cleanest cube I was able to print at this speed and this will be my “daily use” configuration.
The third cube was printed at 130mm/s with the calibration values tuned to see if I can push the speeds a bit further, but the printer moves a bit too much for my liking and the print quality decreased.
All the speeds for internal and external walls were set to 100mms and the infill was set to 130mm/s for all three cubes.
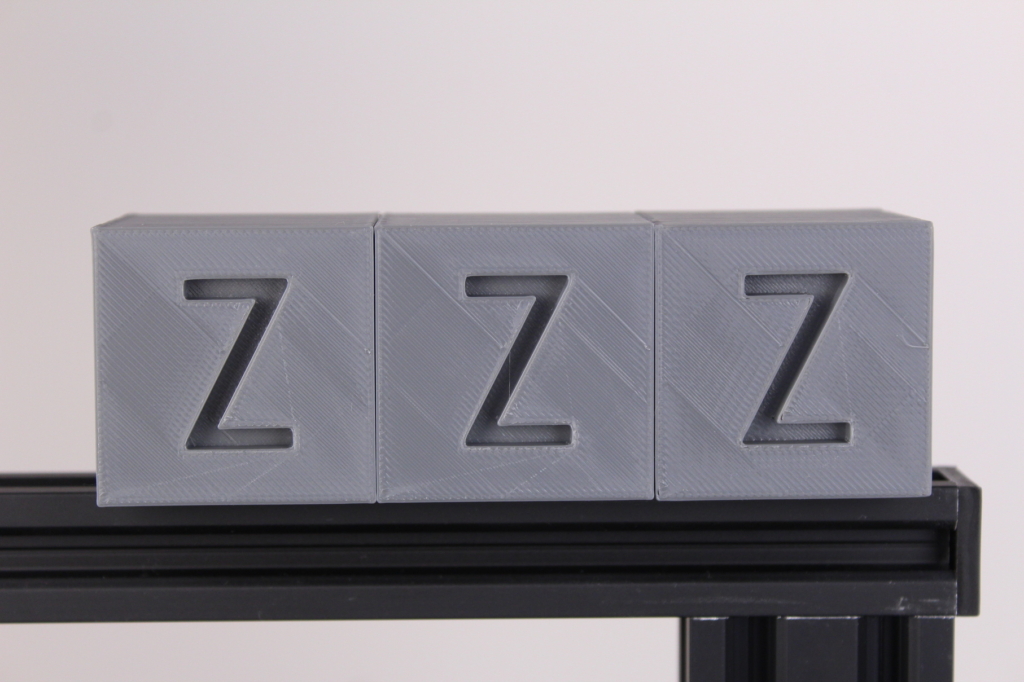
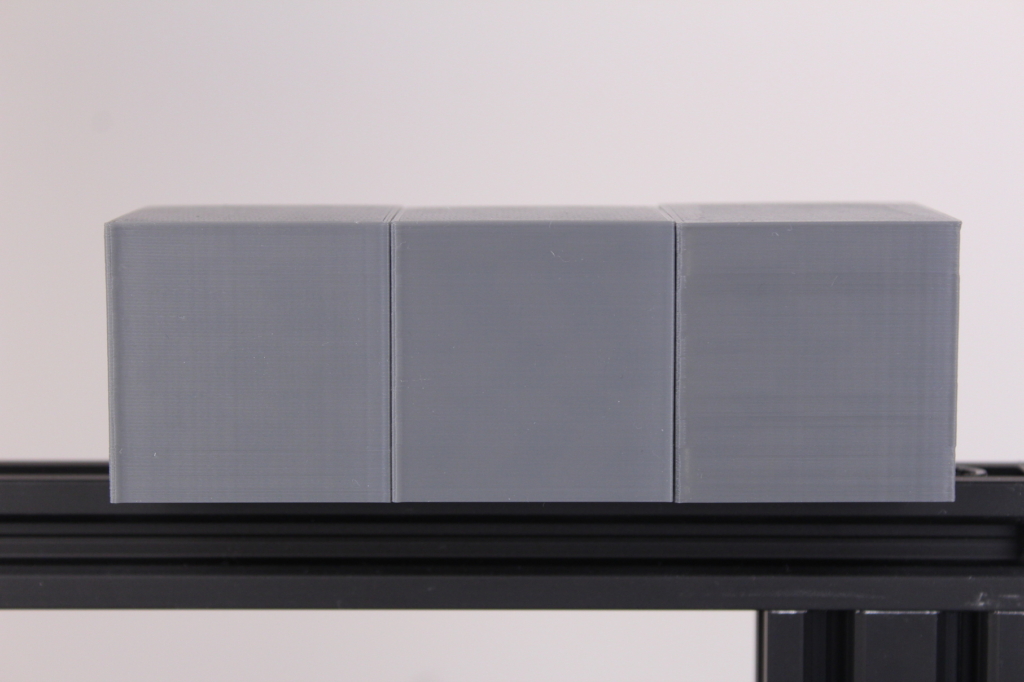
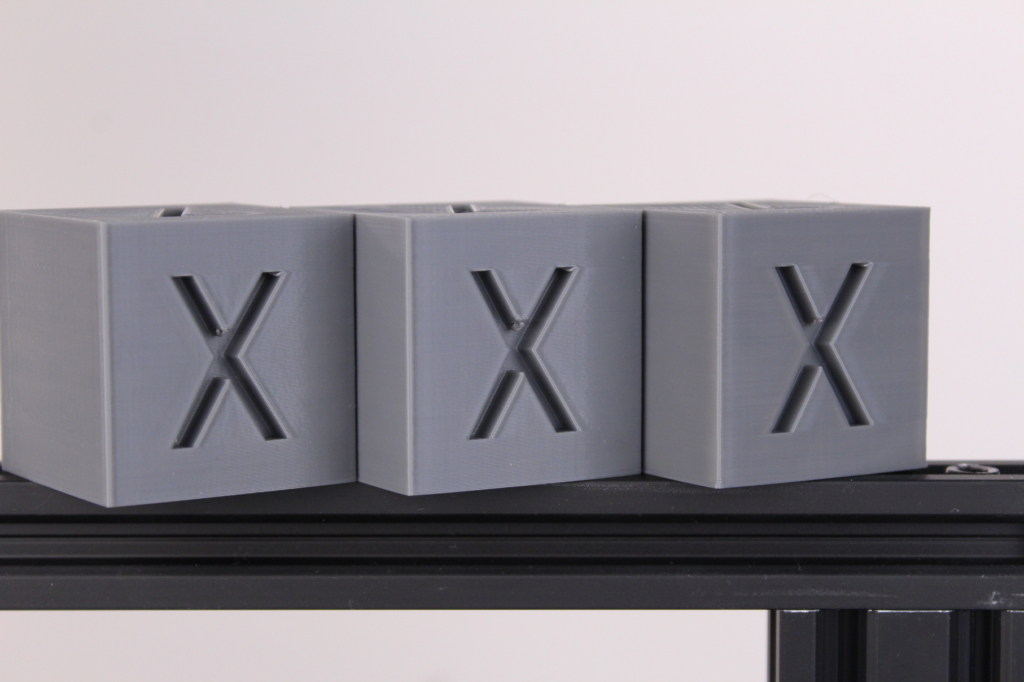
- Material: Sunlu Grey PLA
- Layer Height: 0.2mm
- Nozzle Temperature: 215C
- Bed Temperature: 60C
- Print Speed: 100 mm/s
- Print Time: ~55 minutes
3DBenchy
Because I can’t test a printer setup without printing a 3D Benchy, I used the same “daily use” settings like I used on the cube and started the print. It finished in around 37 minutes and I’m quite happy with the quality I was able to get from this setup.
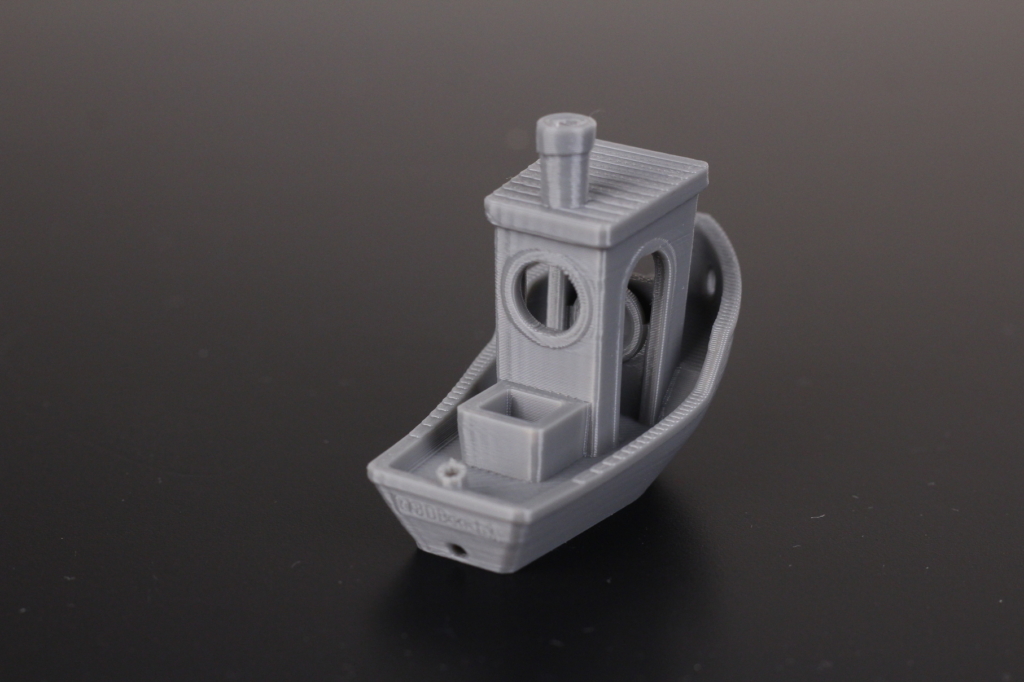
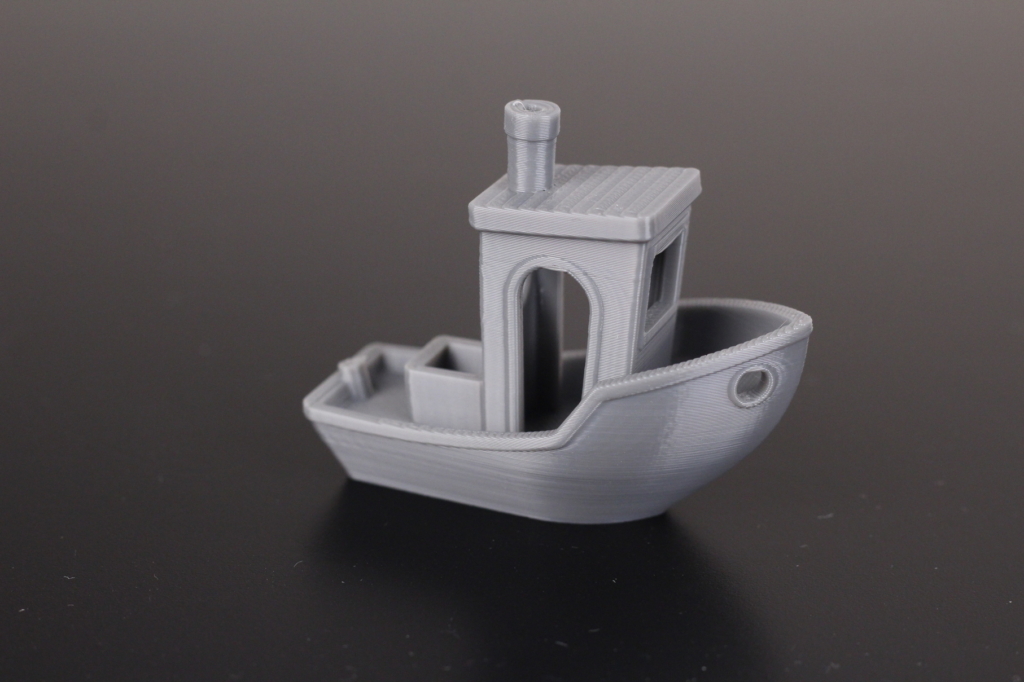
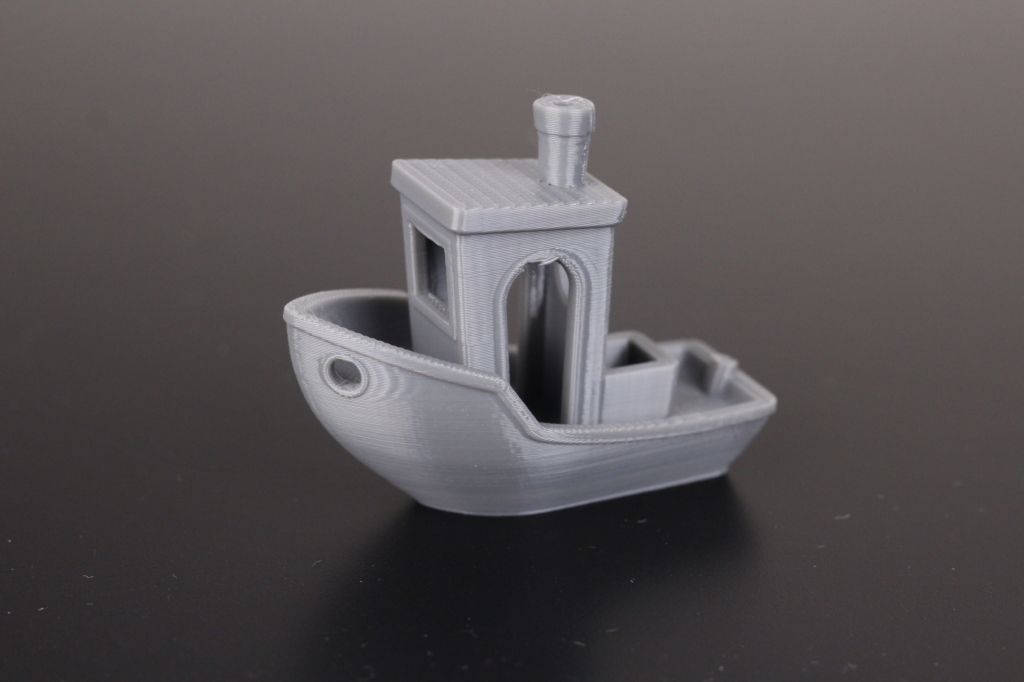
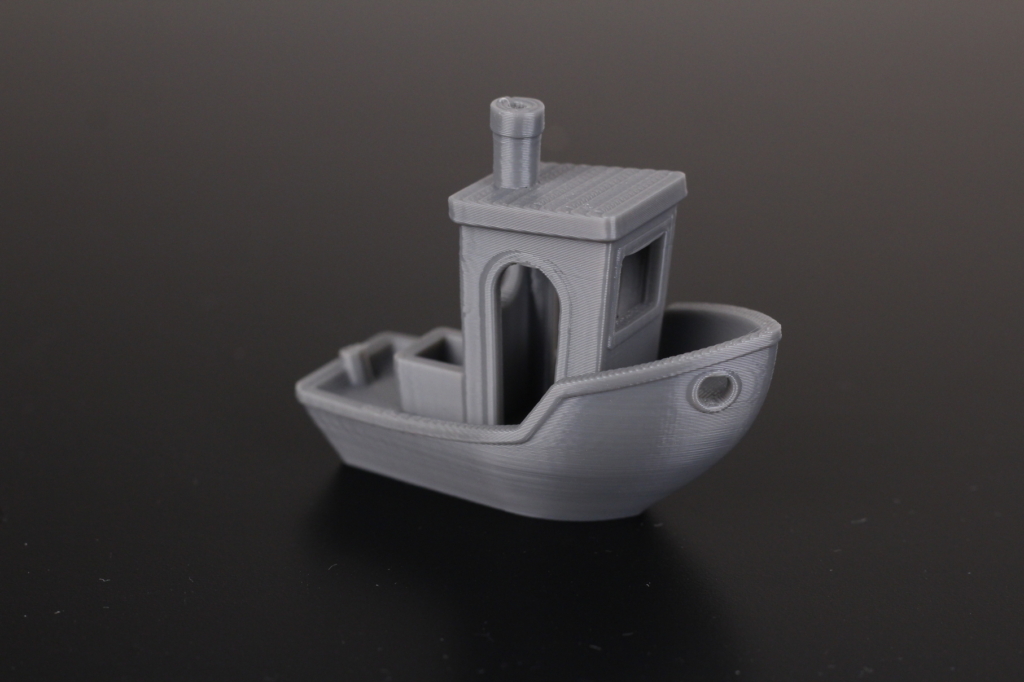
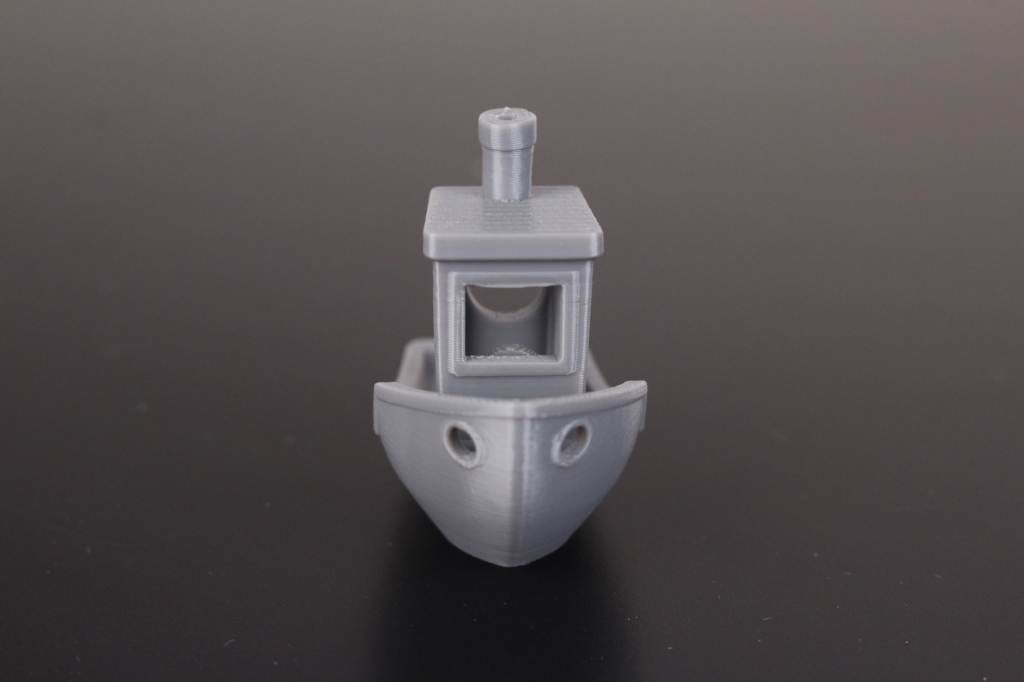
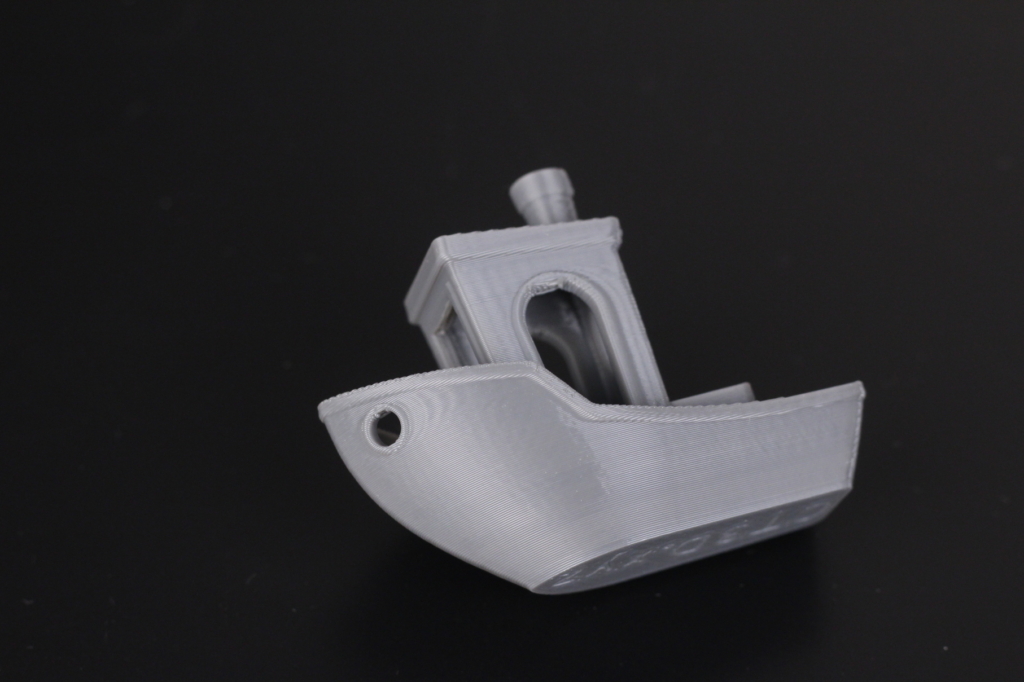
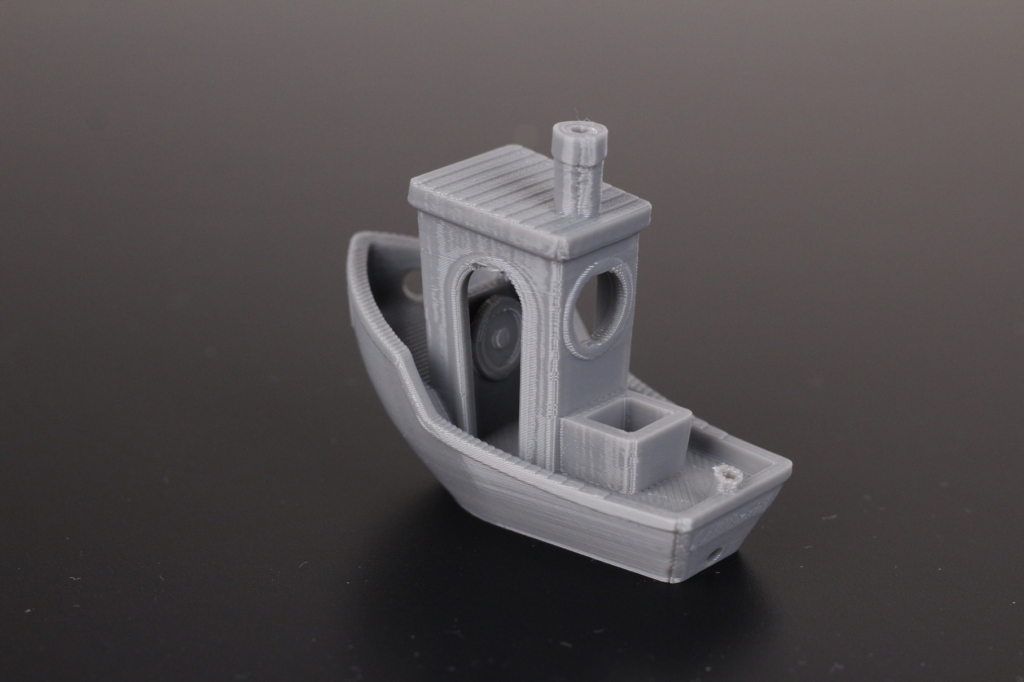
- Material: Sunlu Grey PLA
- Layer Height: 0.2mm
- Nozzle Temperature: 215C
- Bed Temperature: 60C
- Print Speed: 100 mm/s
- Print Time: ~37 minutes
Torture Toaster
This was the ultimate test for the Ender 6 running the BIQU H2 extruder. It was printed at 100mm/s with 4000 acceleration and took ~7 hours. I wasn’t expecting the print quality to be this good considering the speed it was printed at.
All the moving parts work as expected, and I was able to move the 0.3 mm tolerance indicator which is decent. With a bit more tweaking I think 0.2 will be possible.
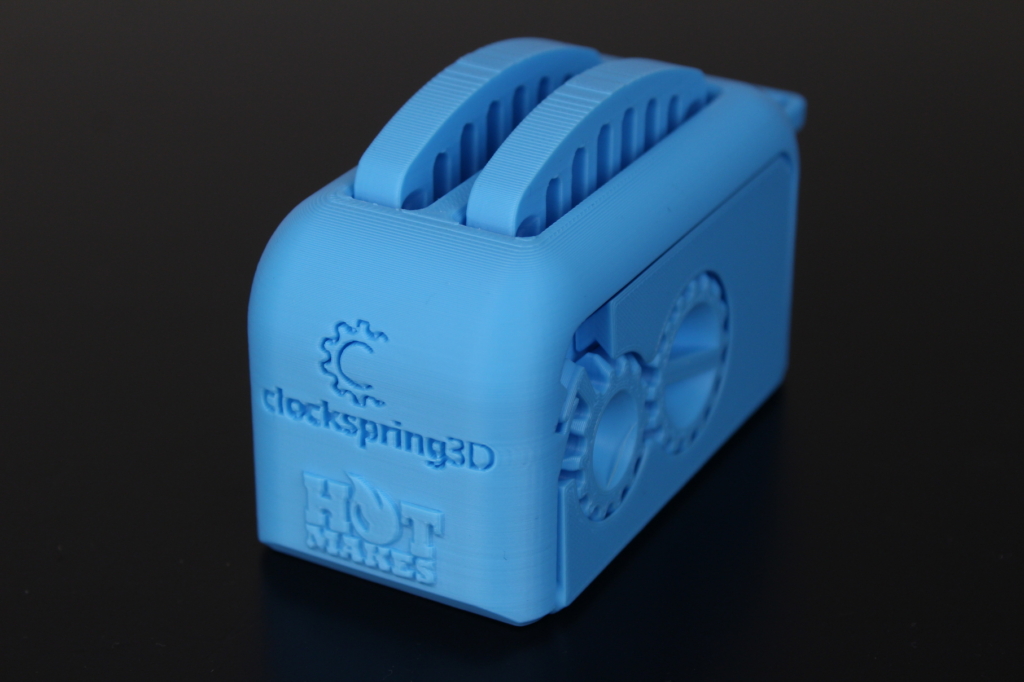
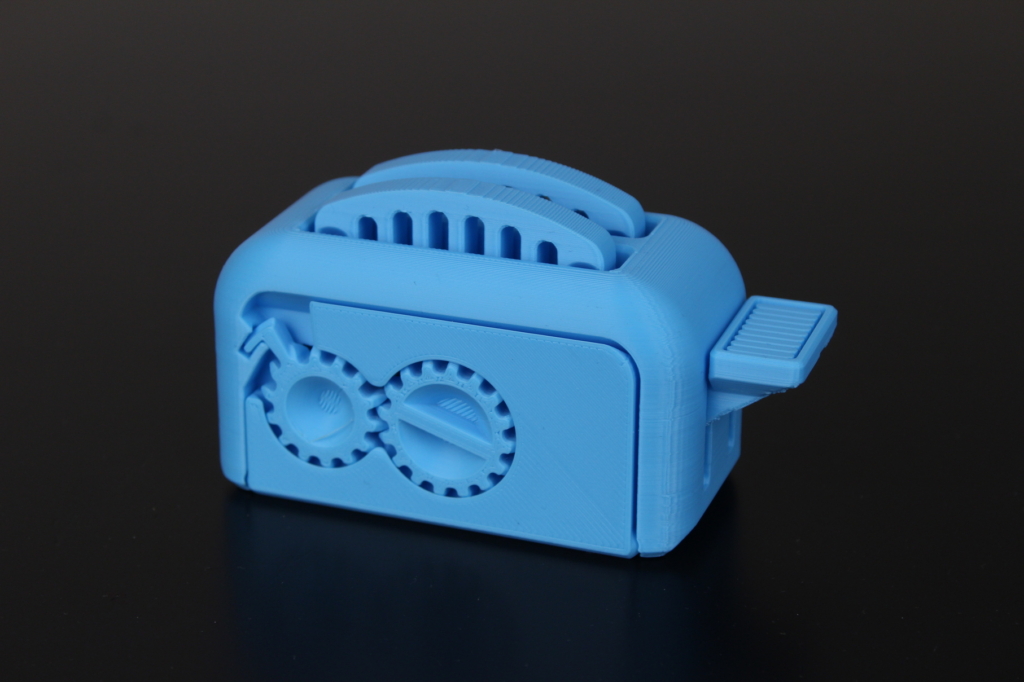
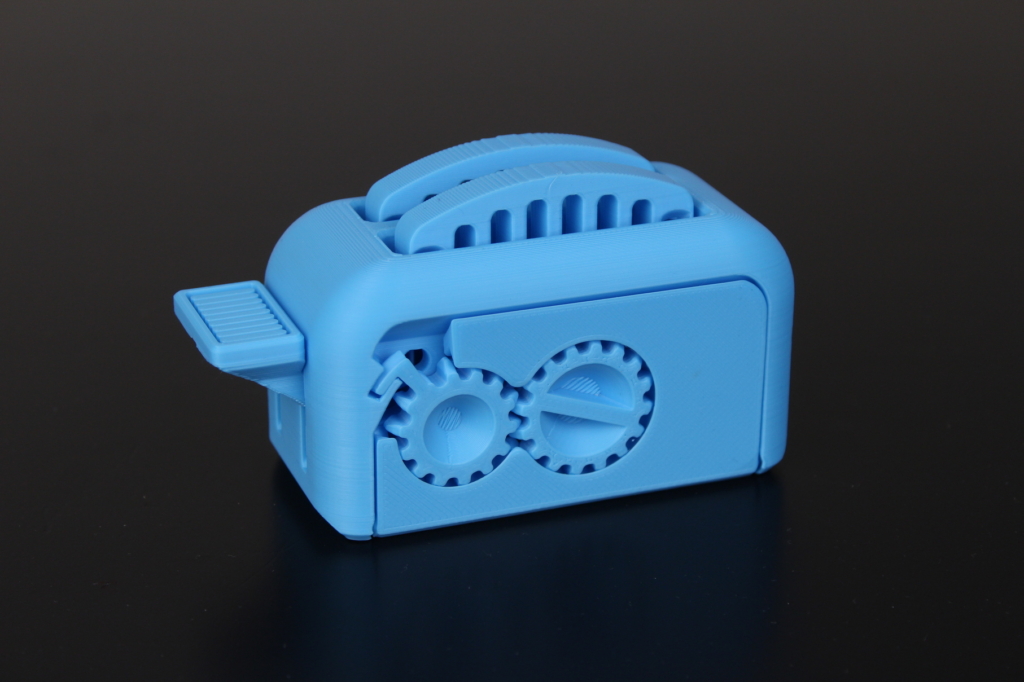
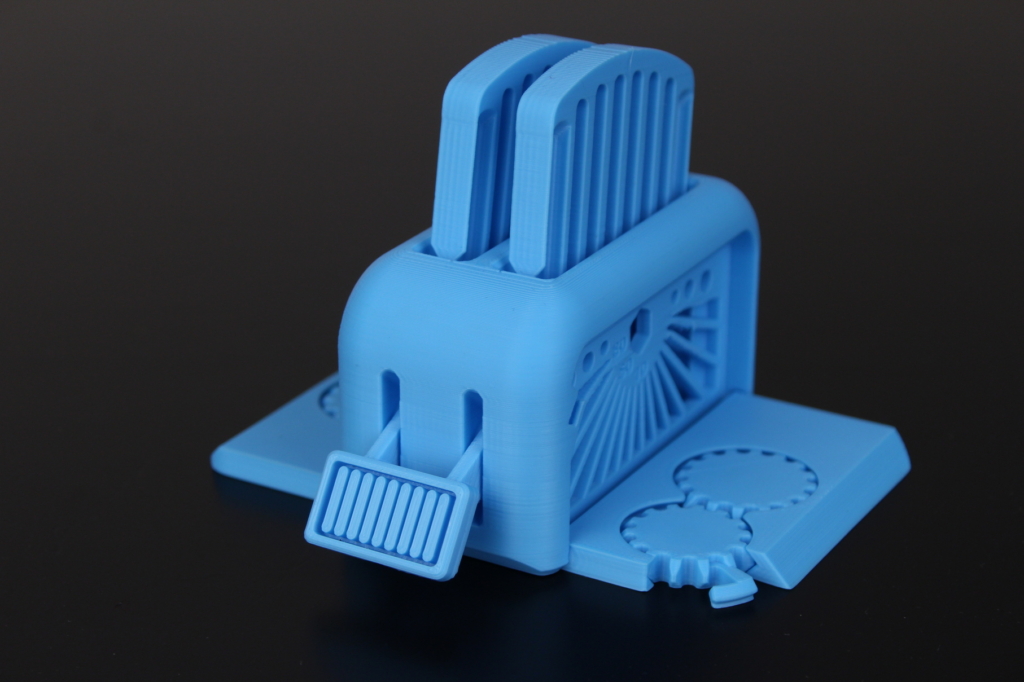
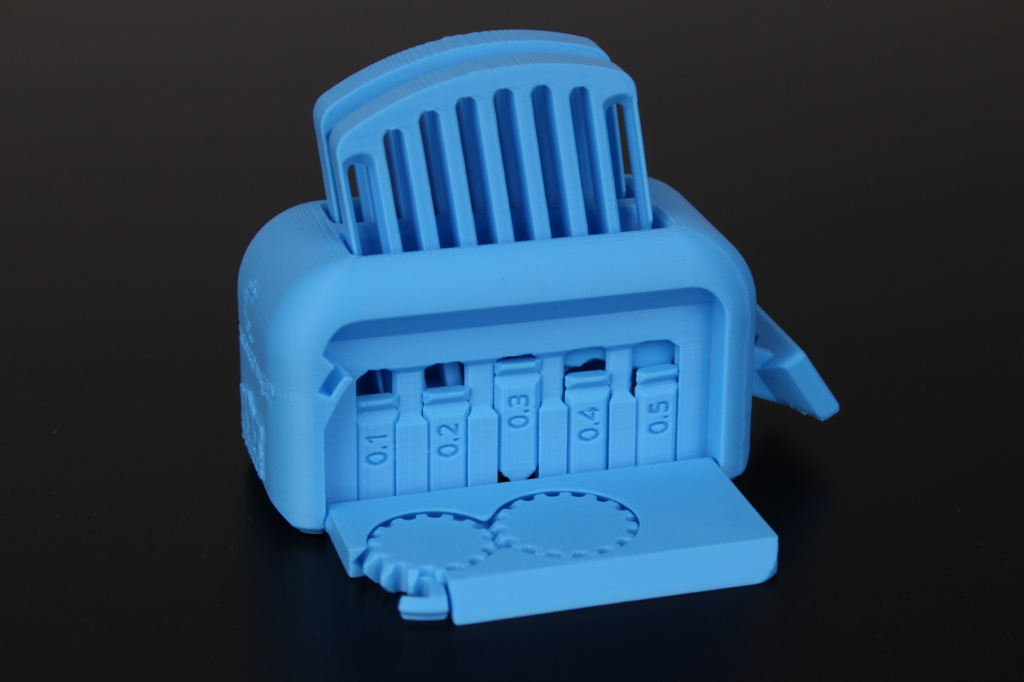
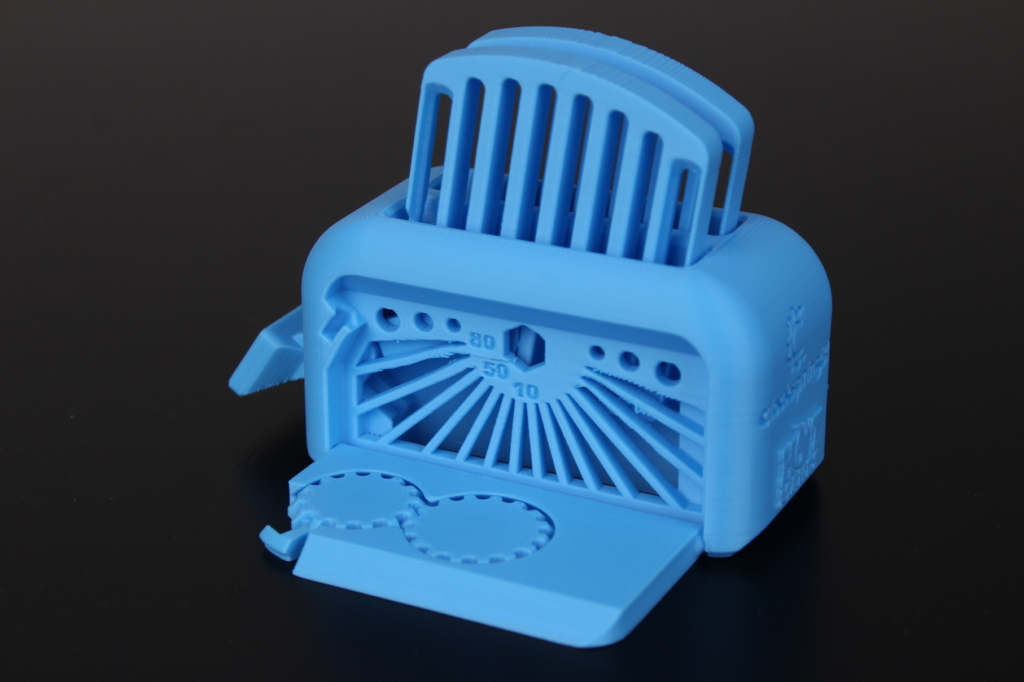
- Material: Gembird SkyBlue PLA
- Layer Height: 0.2mm
- Nozzle Temperature: 215C
- Bed Temperature: 60C
- Print Speed: 100 mm/s
- Print Time: ~7 hours
Prerequisites
To install the BIQU H2 on your Ender 6, you need to have the following:
- BIQU H2 Extruder
- Printed mount for BIQU H2 and H2 5015 Fan bracket (this one takes less space)
- Extra thermistor (optional)
- Klipper firmware (recommended)
- BIQU H2 Klipper Config
Before you begin

Please note that converting your Ender 6 to direct drive requires some experience with 3D printers and hardware. This is not a trivial task for beginners, and you may break your printer during the process.
Read the full guide carefully and follow this guide only after you properly understood all the steps involved. If you have questions before starting, leave a comment and wait for a reply.
I am not responsible for any damage you may cause to your printer by following this guide. You are doing this on your own responsibility.
Steps to install the BIQU H2 on Ender 6
Remove the stock hotend
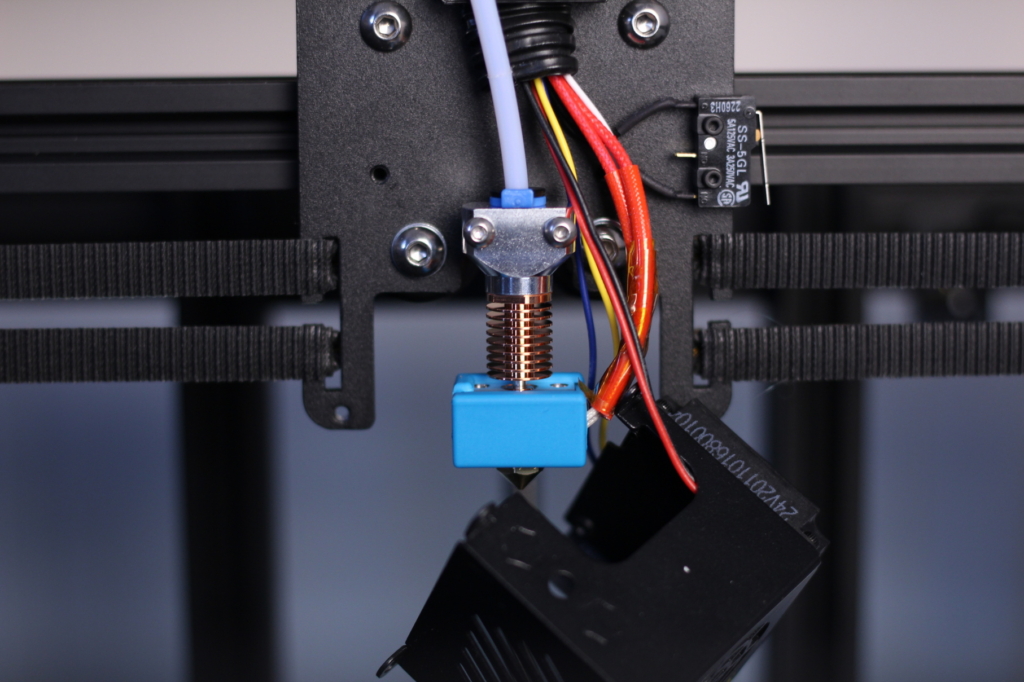
This step is easy. First, remove the three front screws and uninstall the front fan cover, then unscrew the hotend.
In the image below, you can see how I removed the Spiral Tower Hotend in preparation.
Carefully remove the thermistor and heater cartridge and move to the next step.
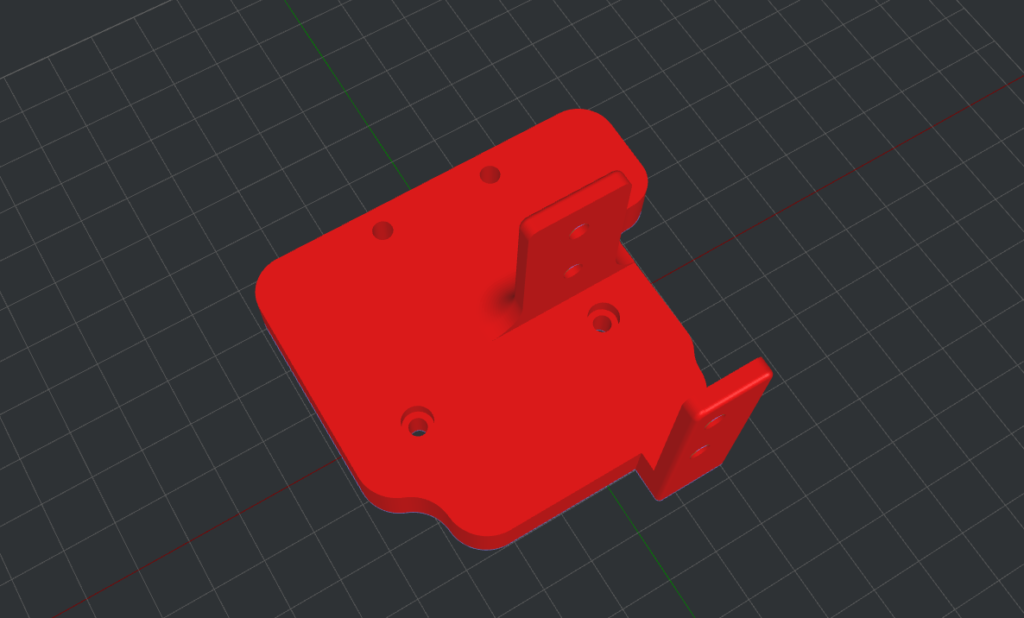
Install the printed adapter
It’s now time to install the printed adapter. It’s installed using only two screws and it is stable enough to be used even at high speeds.
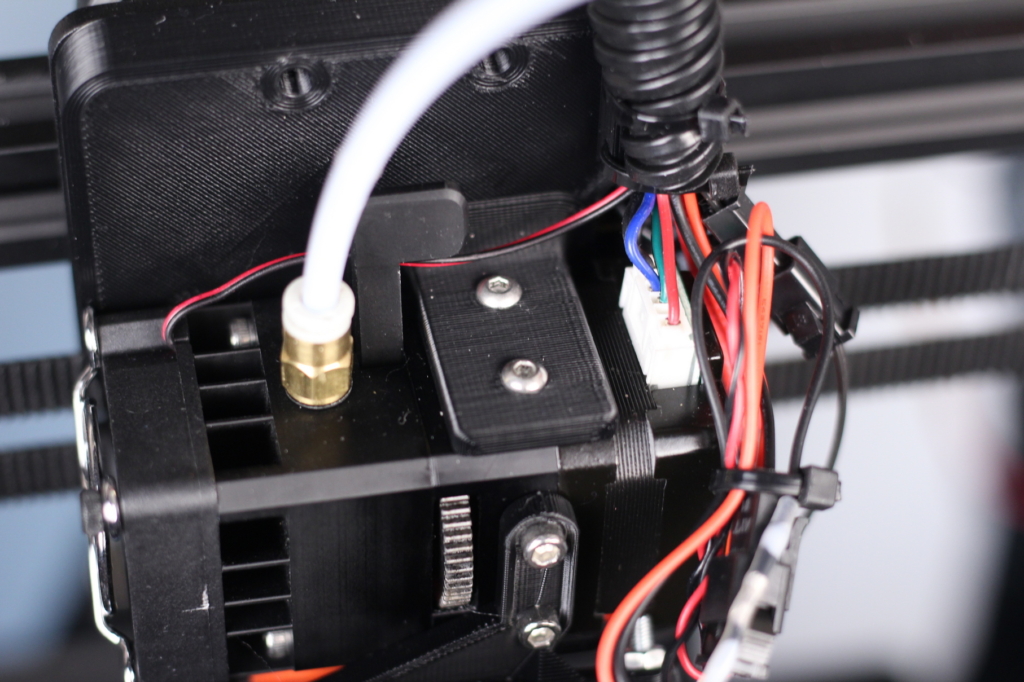
Attach the BIQU H2 to the adapter
To attach the BIQU H2, you will need four M3x10mm screws. Two for the top side of the extruder, and two for the bottom.
Install the heater cartridge and thermistor
It’s important to note the block orientation I used to the BIQU H2 extruder. This will allow you to install the part cooling duct I linked and you will also be able to route the cabled to the back of the extruder.
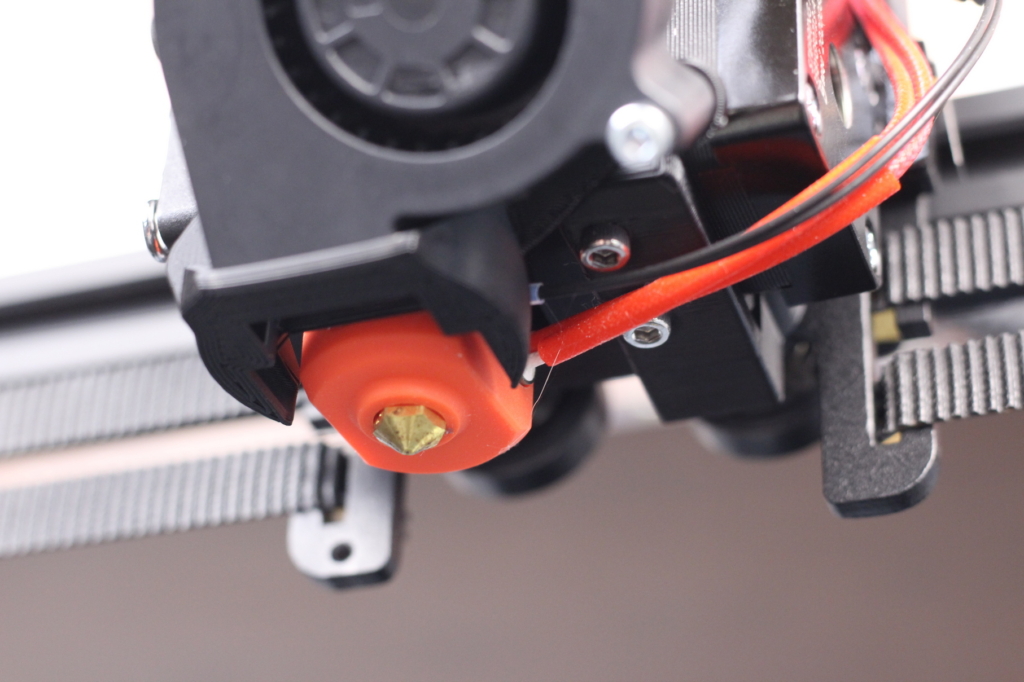
Please note that the stock thermistor doesn’t have a metallic housing. If you have a spare thermistor, you can replace it and install it. If not, you can use the stock thermistor with some boron nitride paste for better thermal transfer, but it’s extremely important to secure it in place so it doesn’t move inside the block. I also recommend printing a temperature tower to make sure the temperature readings are correct.
Re-wire the fans
Because the BIQU H2 uses a 35mm fan, you will also need to re-wire it. The easiest way to do it is by cutting the old fan, and splicing the wires with these handy heat shrink solder tubes. Of course, you can use any kind of method to re-wire the fans, but make sure you do it properly.
Unfortunately, I did not document this step, but it’s not hard to do. Just respect the correct polarity and if needed, use a multimeter to confirm it.
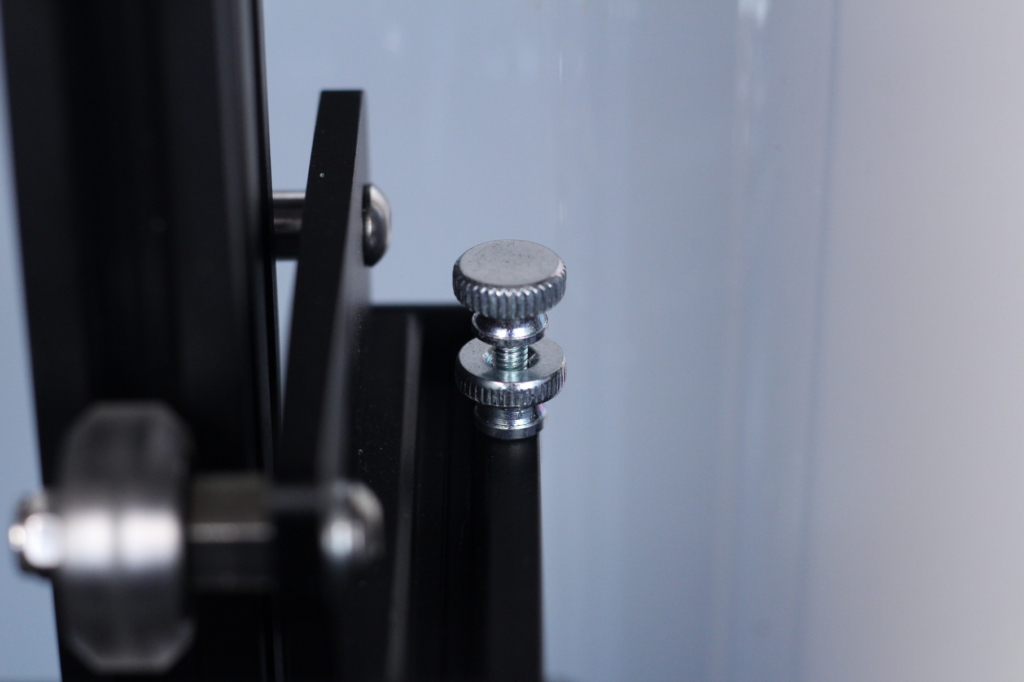
Level the bed and adjust the Z offset knob
Because the BIQU H2 extruder sits a bit higher compared to the stock hotend, we need to adjust the Z offset. I recommend you remove the spring and adjust the nut accordingly.
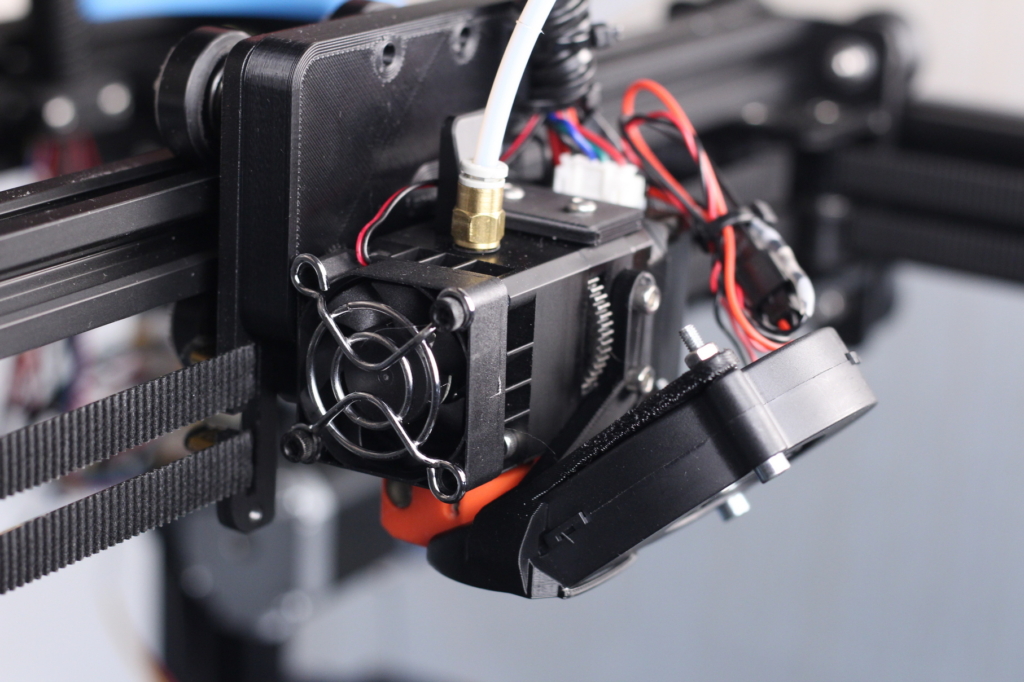
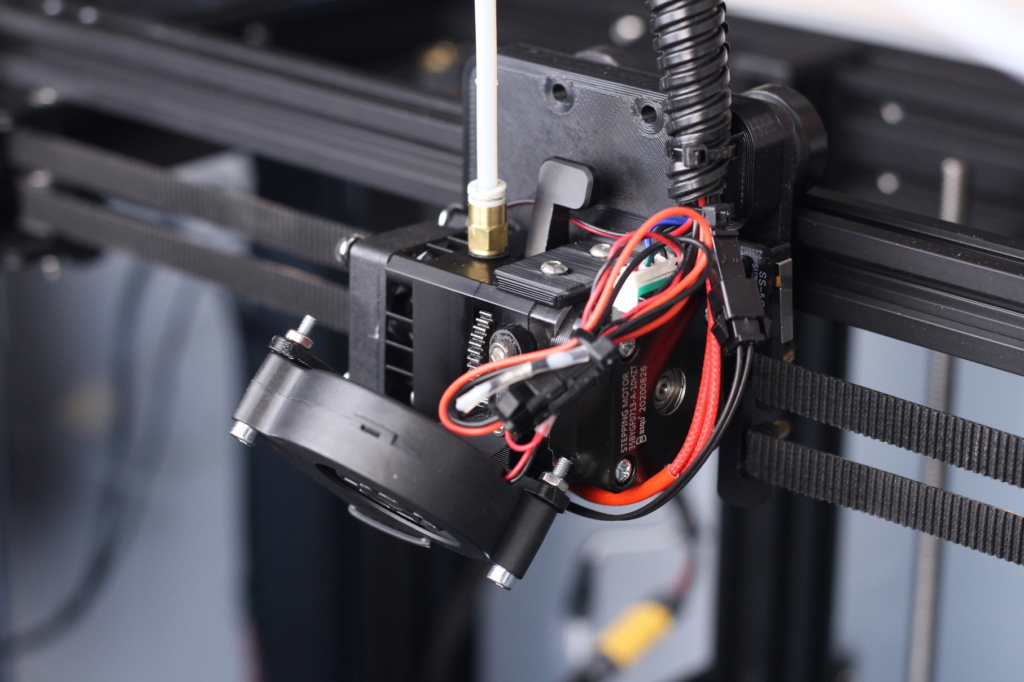
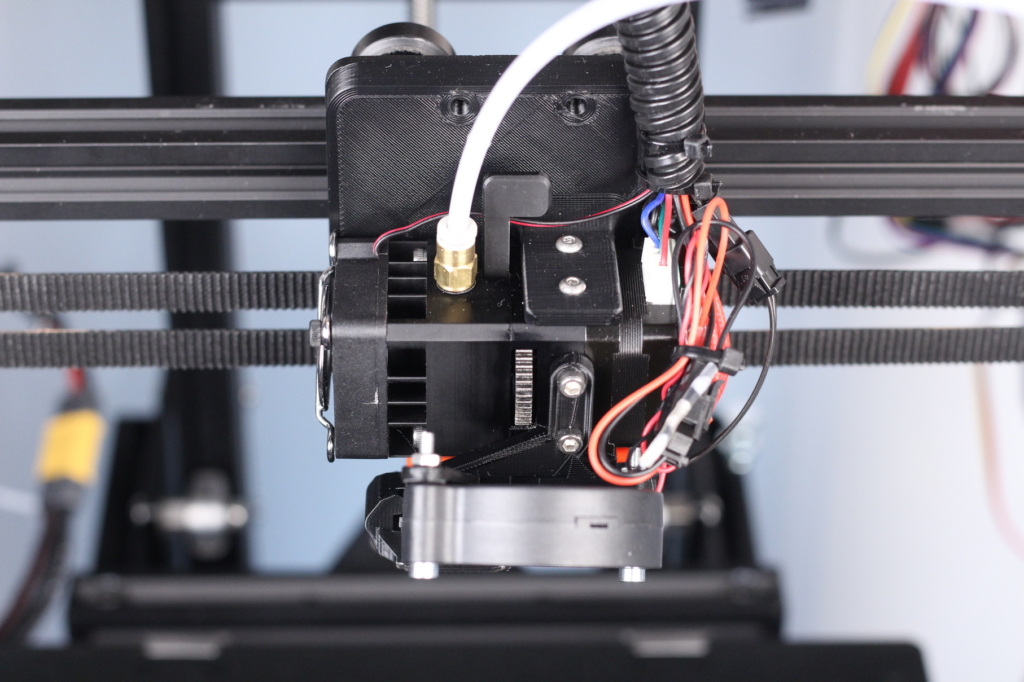
This is how the extruder should look like when the installation is complete.
Firmware changes
Set the correct E steps
As with any new extruder, it’s important to set the new E steps according to the gear ratio used. In this case, the BIQU H2 extruder needs 932 steps/mm which translates to a rotation_distance value of 3.4334 for Klipper. Just open the printer.cfg file and update the value accordingly. If you are running Marlin, you should update the e-steps using Pronterface.

If you want, you can also download my Klipper printer.cfg which already has this setting configured and also other calibration values. But as always, your printer might be different so you might need to adjust it.
PID tune the hotend
I previously covered the PID tuning process in another article, but if you are running Klipper firmware, you need to PID tune using the following command:
PID_CALIBRATE HEATER=extruder TARGET=215This command will start the tuning process. When completed run the SAVE_CONFIG command to update the printer.cfg file with the new values. If you are running Marlin, use this guide to PID tune your hotend.
Adjust the build volume
With the part cooling fan linked to this guide, you lose a bit of space on the Y axis. Instead of 260×260, the new build volume will be 260×220. This can be edited in the configuration file (if you use Klipper) but for Marlin, the firmware will need to be re-compiled.
IdeaMaker Profile for Ender 6 running Klipper and BIQU H2 extruder
To make things easier, I also uploaded my final daily-use IdeaMaker profile. It’s tuned for PLA and it runs well with my Klipper config, so feel free to give it a go.
IdeaMaker Profile – Ender 6 – PLA – Klipper & BIQU H2
This profile can be used with other direct drive setups, but the retraction settings will need to be adjusted accordingly.
Wrapping up
Hopefully, this guide helped you install the BIQU H2 on your Creality Ender 6. If you encounter any issues, feel free to leave a comment below, and I will do my best to help you.
If you are looking for other interesting upgrades, check out my Ender 6 Upgrades: Paid and Free article.
You can also join the 3DPrintBeginner Forum where there’s a dedicated category for Creality 3D printers.
Liked it?
|
|





So I configured everything according to the guide, however I’m unable to get my extruder to work. It does nothing when I send the extrude gcode command to it. I’m certain I have it wired correctly so I don’t know what the issue is. Do you have any idea how I can figure out what’s going on?>
Have you set the hotend temperature to ~200C before extruding?
The extruder will not work with a cold hotend
I have this same problem. I double checked all the settings and they are correct plus I am up to temp before i try to extrude. I tried using the console and the GUI but the motor sounds as if it engages but doesn’t move.
This set up was working awesome right before I installed Klipper.
Any thoughts?
I have installed the Biqu H2 extruder (not yet the Klipper). So in the Marlin menu when i Feed the filament there comes something out. Nice. But when i do a test print, the print hangs on “heating”. Whats amazing me is that the temperature of the hotend fluctuates so much. When the selected temp is 215, it swings from 222 to 209. What can i do next to get printing?
Solved, You have the calibrate the PID when you change something in the “heat department”.
Another thing was that the heat cartridge was upgraded from 40W to 150W. The standard marlin firmware can’t handle that. It’s PID method is just to slow. I installed the 40W back and migrated to Klipper/Supersliser. It works now like a charm.