Tips to Improve your 3D Printer Speed: Free and Paid Solutions
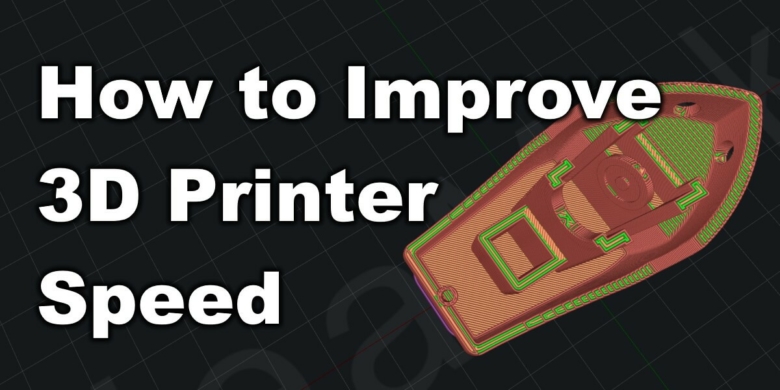
When it comes to 3D printing speed, people are often focusing too much on hardware upgrades, instead of carefully tuning their slicer profiles. In this article I share some of my tips on how to improve print speed without breaking the bank. Most of the tips are free ways to speed up your print speed, and there’s also a few cheap paid upgrades which can help you go even faster.
Free 3D Printing Speed Upgrades
These upgrades don’t cost anything, other than a bit of time invested in properly calibrating your printer and tuning your slicer settings. As always, it’s importat to ensure that your extruder calibration is done right, and flow rate is also tuned.
Slice your models with better settings
A big impact on your 3D printer speed is made by the slicer settings you use. You already know that my favorite 3D printer slicer is IdeaMaker, which produces excellent results while also offering a lot of flexibility when it comes to slicer settings without having to do too many adjustments.
Layer height
The most important settings when discussing about 3D printing speed is layer height. With an increased layer height, the print time is lowered significantly, but the print quality also degrades. Most of the times, I use a layer height of 0.2 mm because this value offers a good speed/quality ratio.
For detailed prints, I mostly use 0.15 mm. This value lowers the layer height and provides improved print quality, but the print time can increase significantly. I don’t usually go lower than this because I don’t think the print quality improvements are worth the extra print time. Finally, for draft prints, where I don’t really care about print quality and layer lines are not a problem, I go with a 0.25mm layer height and even 0.3 mm in some cases.
Adjust print speed values
Besides layer height, the next important setting I adjust in IdeaMaker to improve print speed is the actual speed values used for various sections. On regular 3D printers, I don’t usually go much higher than ~50-60mm/ second for the internal and external wall. A good idea is to use a lower speed for the external wall (something between 30mm/s and 50mm/s) but try to keep the speed differences as low as possible. Print quality is a bit better when both internal and external layer print speeds are close because the flow rate will be more even.
Adjust extrusion width
The next value you can change in your slicer to push your 3D printer speed higher is the line width (or extrusion width, in some slicers). For a 0.4 mm nozzle, the most common line width is 0.4 mm (IdeaMaker, Cura) while in other slicers like Simplify 3D and Prusa Slicer the line width is set between 0.45mm and 0.48mm.
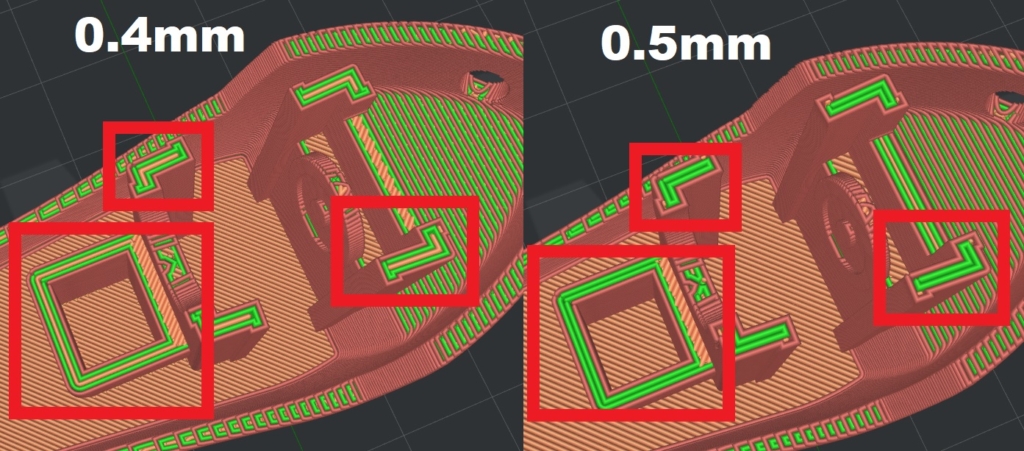
To improve print speed, you can adjust this value according to your model. In some cases, extra printer moves are needed to fill the gap between the lines which adds to the print time required to complete a model. Most of the time, I use the default 0.4 mm line with, but I often change it to 0.5mm to save some print time.
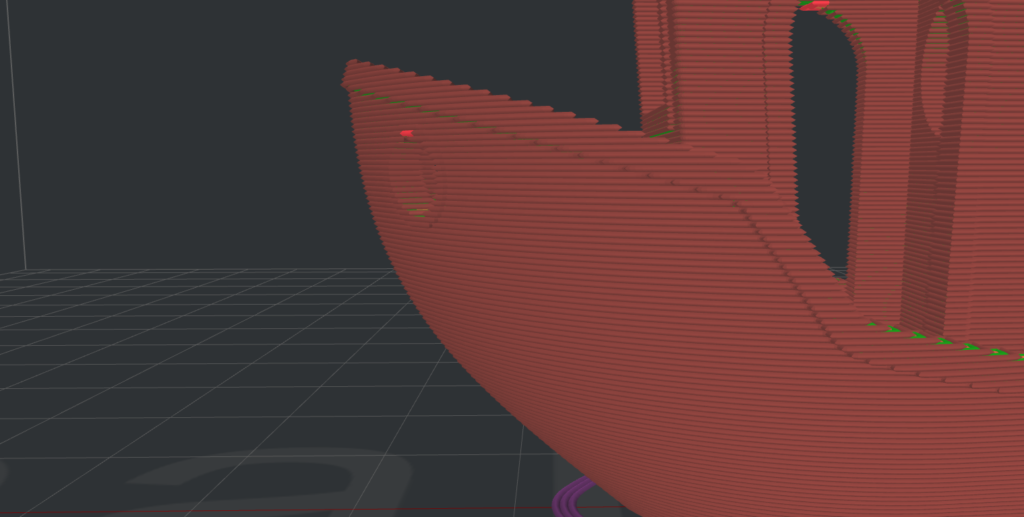
What you need to keep in mind when slicing your 3D model is to try and use a good “line width to wall thickness ratio” to avoid the extra print moves. In the example below, you can see that if you print a 3D Benchy with the 0.4mm extrusion width you get extra movements to fill the space between the extrusions which adds to the print time. When using a 0.5 mm extrusion width, the infill lines are not needed anymore, thus saving time.
A benefit of using wider extrusion widths is increased layer adhesion, and stronger parts but print quality can degrade if you go too far. 0.5mm works great and impact on the print quality should be minimal.
Combine infill and use variable infill
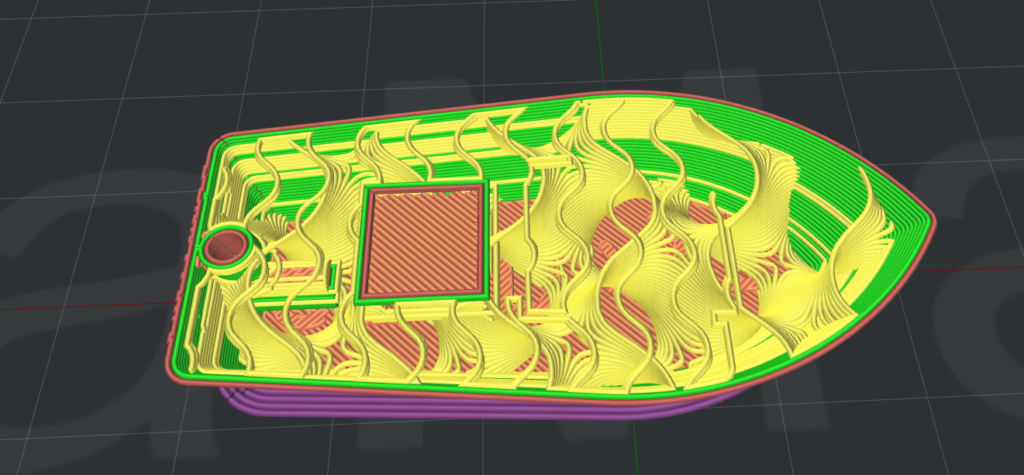
The infill density also has a huge impact on your 3D printer speed, and the time it takes for a print to complete. I see a lot of beginners who add too much infill to a model which probably doesn’t require a high infill value. When the combine infill setting is enabled, the printer will combine the infill structure with multiple layers and will also print ticker layers to shorten the print time.
IdeaMaker gives you the possibility of using variable infill on distinct parts of the print with no drop in quality. This means that the model will be printed with a less amount of infill where it’s not needed, and it will increase the infill percent with a few layers before printing the top layers.
Adjust seam position
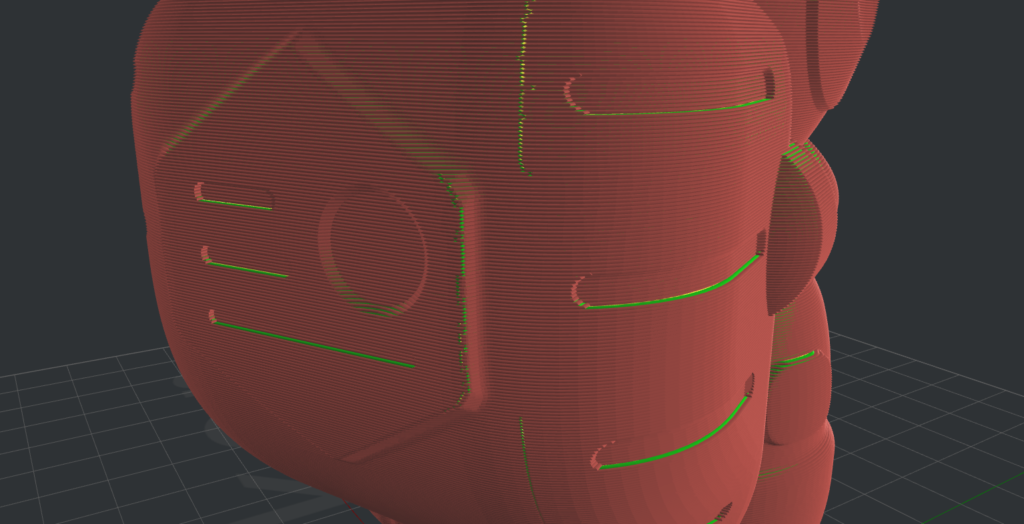
Another way you can improve your 3D printing speed is adjusting the seam position. For best print quality, I recommend aligning the seam position in a single place, preferably in a position where it’s not seen that easy (in a corner, or in the back of a model.
Aligning the seam position will add a bit more travel time compared to setting the seam on the closest position possible, but you can mitigate this with careful seam positioning. You want to set it in a position closer to the center of the print, so that travel movements are halved compared to setting the seam in a farther corner, but also in a position where it’s hidden so it doesn’t look bad.
Install Klipper Firmware
There’s no denying that installing Klipper firmware will allow you to improve your 3D printer speed. Features like Pressure Advance and Input Shaper will greatly improve your 3D printer speed capabilities without decreasing the print quality.
If you are using an older 8-bit 3D printer board, by installing Klipper all the processing load will be moved to a Raspberry Pi and your board will only have to do the moves without it being slowed down anymore because of slow G-core interpretation.
Installing and using Klipper firmware is free, but you need a computer to run this. The most popular solution is installing Klipper on a Raspberry Pi, which started to become a common piece of hardware. If you don’t need fancy functionality, you can run Klipper even from a Pi Zero.
With Klipper you also get Wi-Fi connectivity which allows you to remotely control your 3D printer and send the g-code files over the air. If you choose to install Octoprint, you will also get access to a huge library of plugins which add distinctive features to your 3D printer.
I covered the Klipper installation process on the Creality Ender 6 and Kingroon KP3S, but the process should be comparable on other printers. I recommend looking up your printer online, and check if others have previously installed Klipper on your printer. Usually, it’s just a matter of replacing the config file.
Tune the acceleration and jerk/junction deviation values
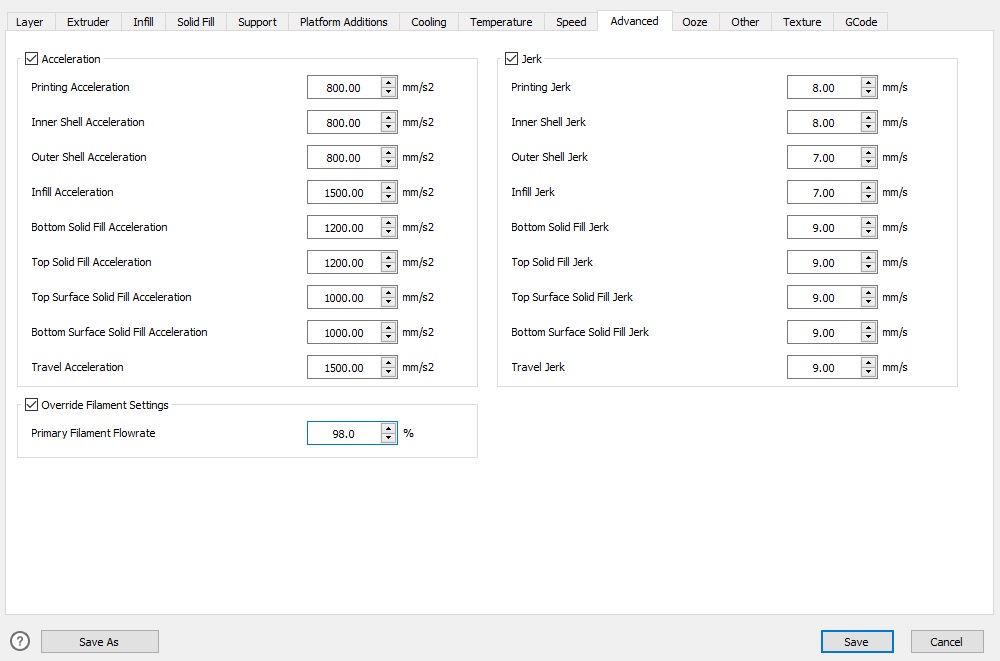
If you don’t want to mess with Klipper firmware, then you can adjust the acceleration and jerk or junction deviation values. After carefully tuning these values, your 3D printing speed will be greatly improved for free, and you will also remove ringing present on the external walls of your model.
You can set these values in most of the slicers. I like to adjust acceleration and jerk directly in IdeaMaker because it offers a granular adjustment for each time of movement made by the printer. For example, you could use a higher acceleration and jerk values inside the model where the infill is printed because it will improve print speed without impacting the print quality of your external walls.
Another improvement you will notice after setting the acceleration and jerk values inside your slicer is in the print time estimation. The slicer will be more accurate in estimating the time it takes to print a model.
Teaching Tech made an excellent guide on tuning acceleration and junction deviation, so I recommend checking it out.
Use Arc Welder and Meat Pack
Another great way to improve the 3D printing speed and quality is by using the Arc Welder and Meat Pack plugins for Octoprint.
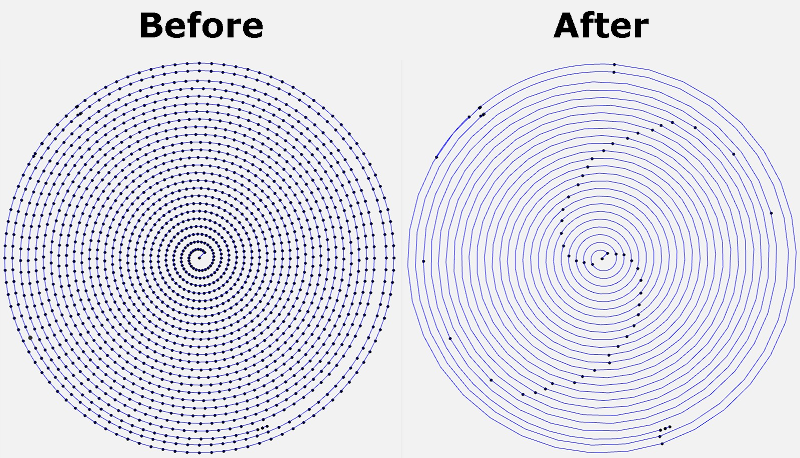
Arc Welder is a plugin which replaces the G0/G1 linear moves g-codes with G2/G3 arc moves to compress the g-code and also to remove stuttering. Instead of sending a lot of g-code commands with tiny movements in rapid succession, the g-code commands are translated to arc movements which take less bandwidth trough the slow serial connection.
Most of the time, the g-code is compressed by a huge amount, usually halving the number of commands that are sent to the printer. Besides this, using Arc Welder should also improve print quality for printers running older 8-bit boards so there’s no reason not to use it.
Maker’s Mashup made an excellent video for this topic, so I recommend watching it before setting it up to properly understand it’s functionality. Please note that Arc Welder support needs to be present in Marlin firmware and for best compatibility, it’s recommended to use Marlin 2.0.7.2 or newer.
MeatPack is another plugin which compressed the g-code delivered to the printer to allow for more g-code commands to be sent through the slow serial connection. Its effectiveness is just as impressive, managing to reduce the g-code size to about 50%.
Just like with Arc Welder, using MeatPack requires firmware support so double check if your printer already has this enabled in the firmware.
Paid 3D Printer Speed Upgrades
I wrote a few articles regarding 3D printer upgrades, and some of the included recommendations also help improving the 3D printing speed. As always, do your own research and consider all the implications before doing modifications to your 3D printer.
Use a bigger nozzle
It’s not a surprise that the easiest way of printing faster is to install a bigger nozzle. The most popular nozzle size is 0.4 mm because it offers a good ratio between print speed and quality, if you want to print a bit faster while also retaining detail, then I recommend installing a 0.6 mm nozzle. You could go even higher, with a 0.8 mm or even 1 mm nozzle, but you will notice a drop in detail.
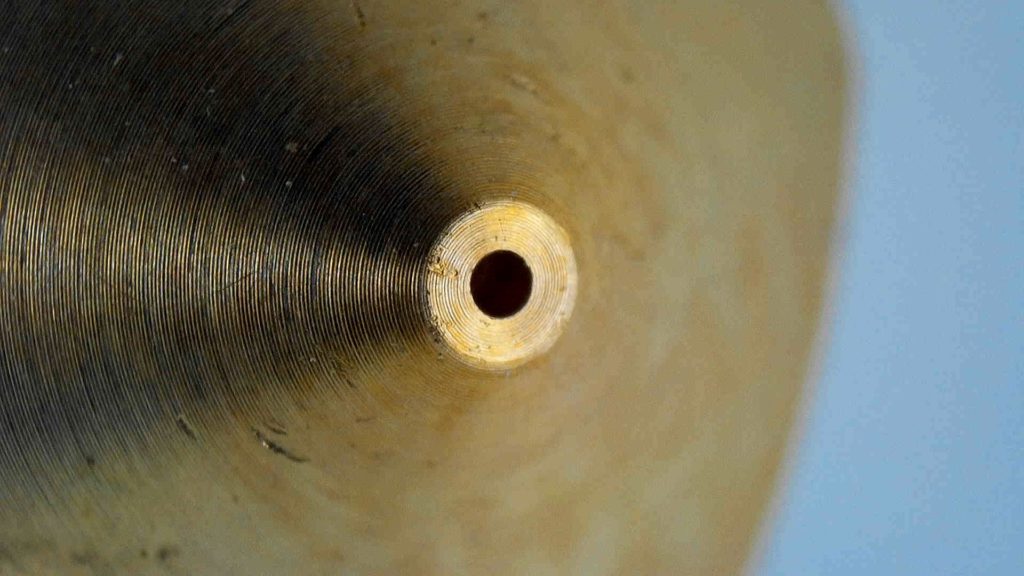
When shopping for a bigger nozzle, don’t purchase the dirt-cheap nozzles and try to get one that offers a good price/quality ratio. You can check my Ultimate 3D Printer Nozzle Comparison where I took some close-ups of the most popular nozzles out there.
Upgrade to a high flow hotend/heat block
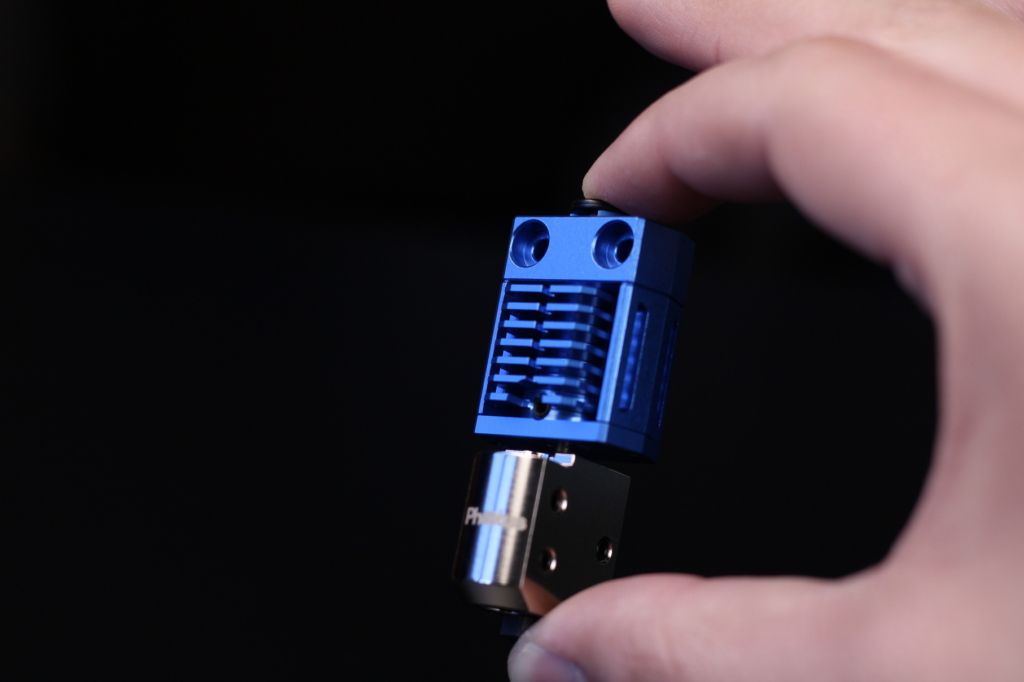
After upgrading to a larger nozzle, more filament gets pushed through the nozzle. This means that more heat needs to be absorbed by the filament for consistent extrusion. Most heat blocks are good enough for 0.4 mm or 0.6 mm nozzles for regular printing speeds (~60mm/s). If you want to print faster, or you use a bigger nozzle, then you should also upgrade the hotend to a high-flow version.
There are a few solutions out there, with the Volcano being the most popular. For the Volcano hotend, the melt zone is increased due to the orientation of the heater cartridge and the nozzle design. Volcano nozzles are bigger, and this allows more filament to be melted consistently while retaining the same print speed.
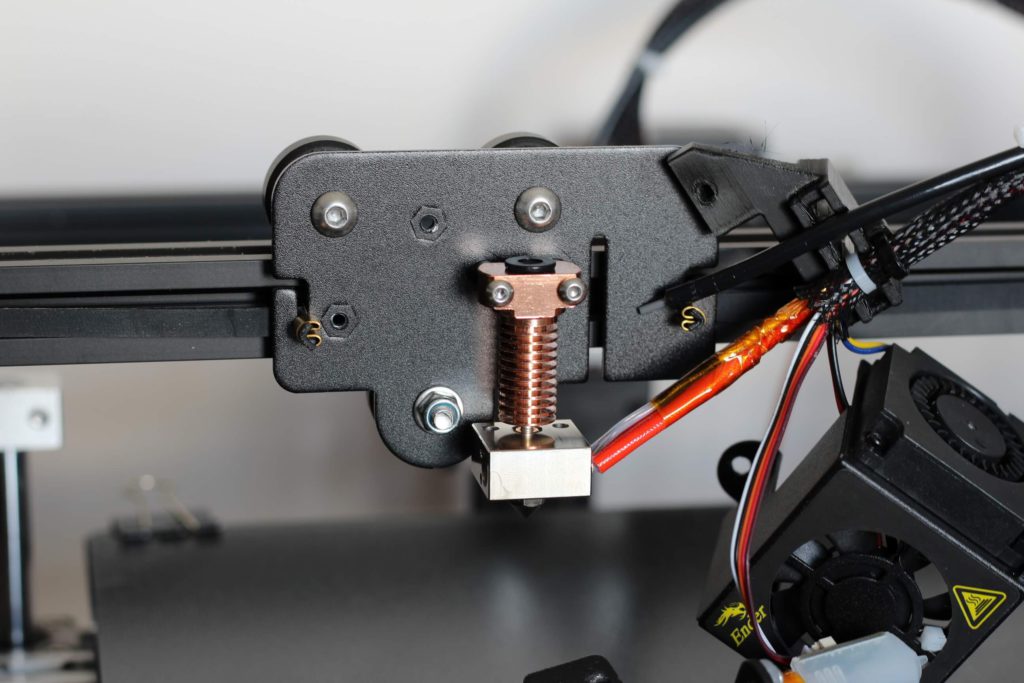
For Creality machines I would recommend checking out the NF Smart CR-10 because it’s a cheap bi-metal hotend which has increased flowrate compared to the stock solution. It’s not as good as a hotend which uses a longer melt zone, but it’s able to melt filament more efficiently because of the copper section which screws in the heat block. It’s also a drop-in replacement which means that no modifications are needed in a stock setup to install it.
Upgrade to a 32-bit board
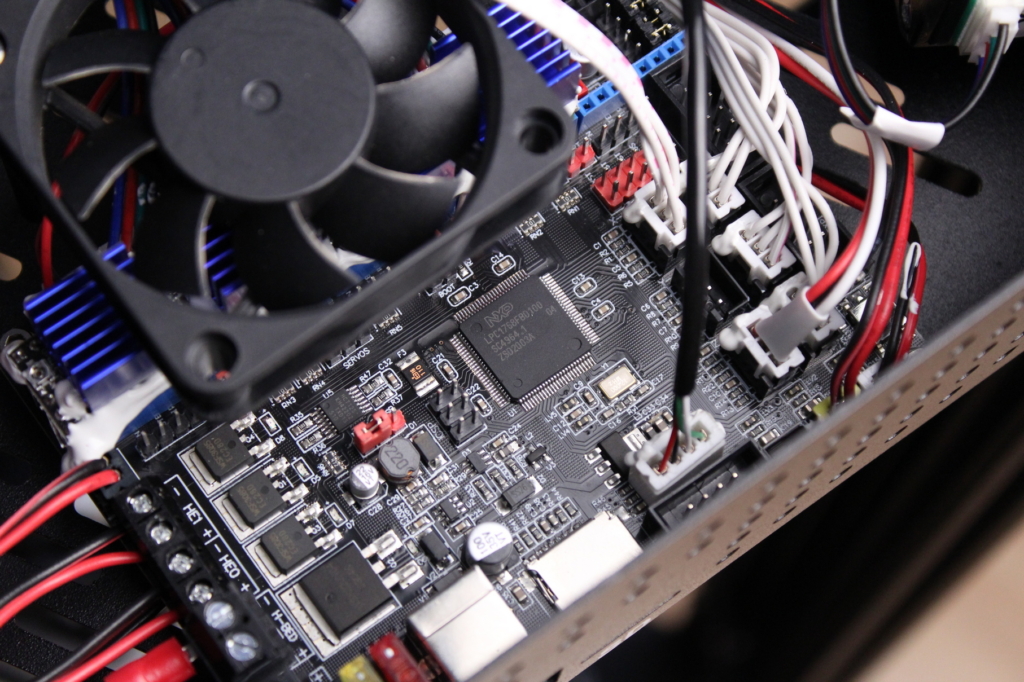
Newer 3D printers use 32-bit boards which have more computing power compared to the old 8-bit boards we used to have. Having a 32-bit board will allow you to push the print speed higher than with an 8-bit board, while also being able to enable more features in the 3D printer firmware.
With this 3D printer board upgrade, you can also get other benefits like Wi-Fi connectivity. Most of the Marlin boards that offer Wi-Fi connectivity don’t really give you a lot of features with this, but if you decide to purchase a RepRap Firmware compatible board, you will be able to control the printer using a Web interface directly from your browser. RepRap Firmware will also allow you to edit your 3D printer configuration without needing to re-compile the firmware, like you do with Marlin.
When upgrading to a 32-bit board, the BIGTREETECH boards are the most popular solutions. The SKR 1.4 and the SKR 2.0 are cheap solutions but remember to also include stepper drivers when making a purchase.
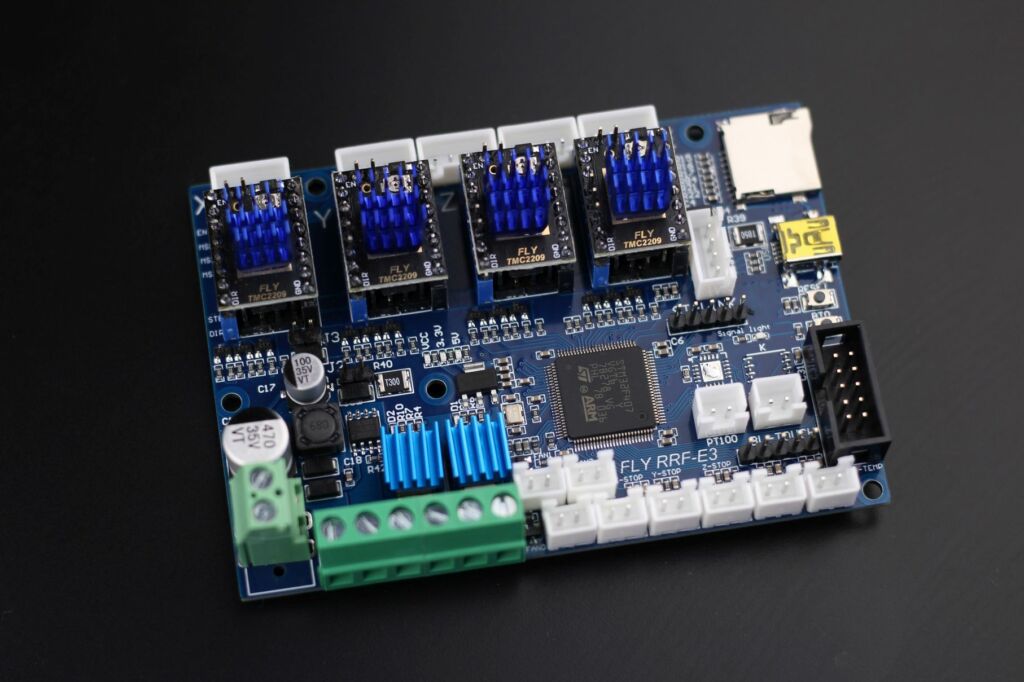
For Creality printers, you might want to check the SKR Mini E3 and the SKR Mini E3 Turbo. If you want to also have the option to install RepRap Firmware, then the FLY RRF E3 and the BTT E3 RRF V1.1 boards are also good solutions. These boards are usually a drop-in replacement for Ender 3 style printers which makes the installation process easier.
Upgrading your 3D printer board can be a difficult and time-consuming task, especially if you’re a beginner. Before taking the plunge and ordering a newer board, I recommend doing some research and see what boards other people used with the same 3D printer. The whole upgrade process will be easier, especially if you can follow a guide.
Install a better part cooling solution
When you print faster, more cooling is needed especially when it comes to printing PLA and smaller 3D models. Cooling quickly starts to become the limiting factor so it’s important to choose a good part cooling solution (duct + part cooling fan).
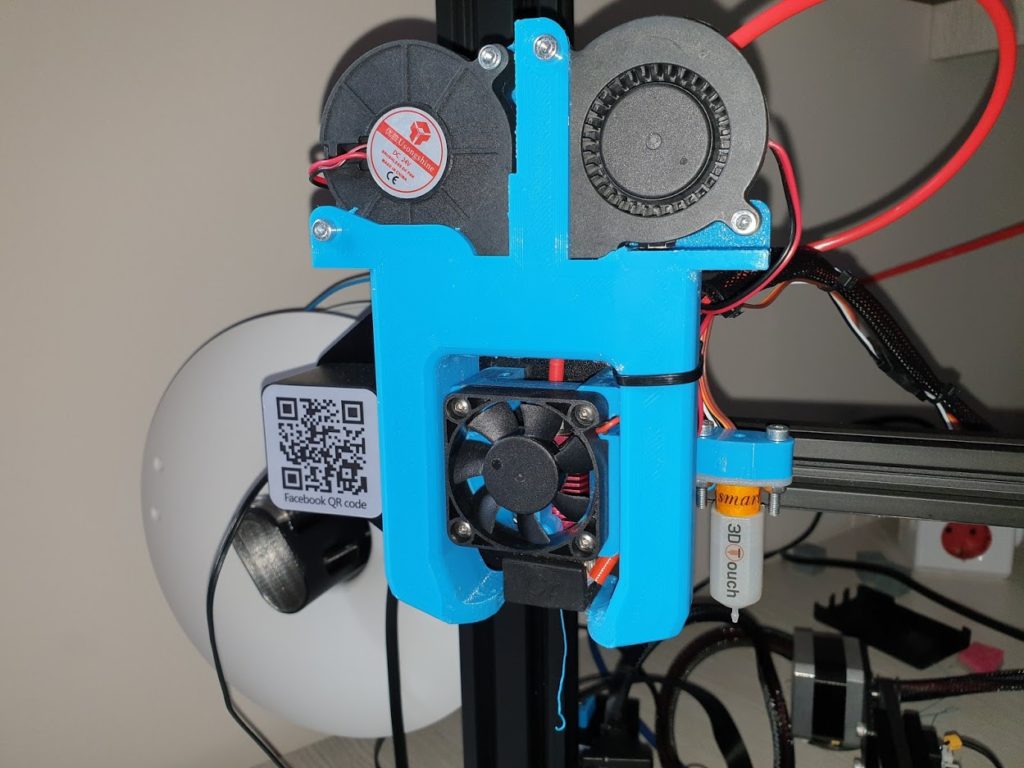
On Creality printers, you often get a 3510 radial fan blowing air from a single direction. This is not a satisfactory solution when trying to improve 3D printer speeds because of the low amount of airflow directed to the print.
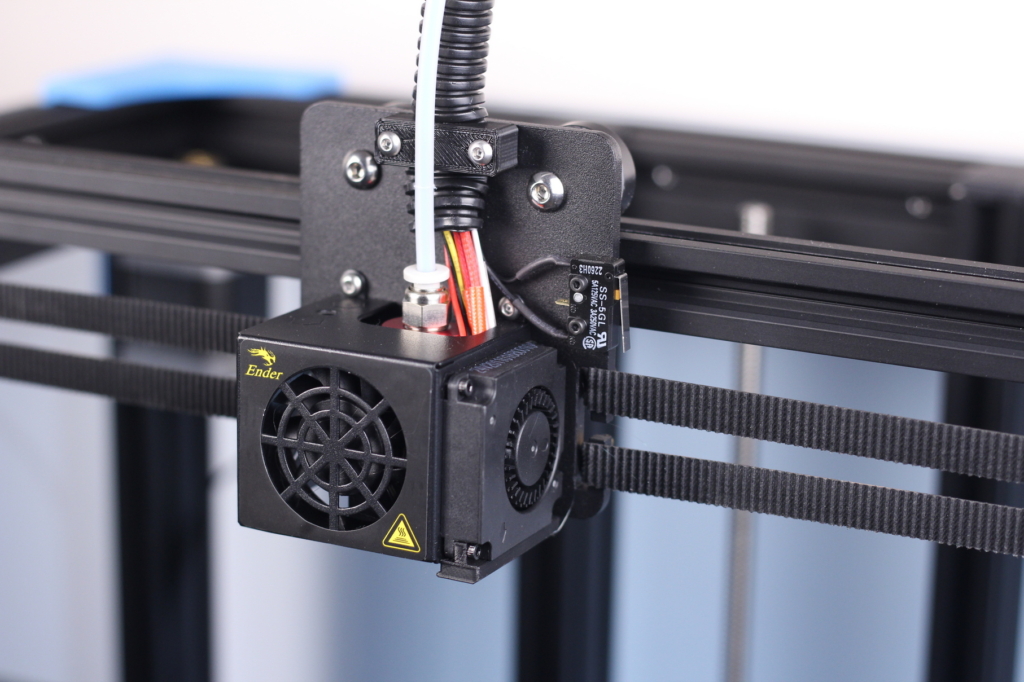
The most popular solution out there is using a 5015 radial fan and a duct that direct the airflow from two sides. I had the best results with the MK3S style ducts because they offer little airflow resistance and direct the air on three sides. It’s also possible to build an over-the-top cooling solution like the Petsfang below, but most of the time this is overkill and you would do something like that only to lower the noise (lower fan speed with similar airflow).
If you don’t want to upgrade the part cooling fans, or if you already use a 5015 fan, you might get improved results when printing faster by using a part cooling fan with better airflow design. Look around and choose a duct compatible with your printer which also has good feedback from others who tried it already.
Wrapping up
I hope these tips on how to improve your 3D printing speed helped you. As you can see, you can speed up your printer significantly by simply learning how to configure your slicer profile efficiently. If you want to learn more about how to slice your files, then make sure you also read the 3D Printing Tips to Improve Print Quality article. I also covered how to calibrate your 3D printer using IdeaMaker, so that might also be helpful.
If you have questions, feel free to leave a comment below and I will try my best to help you. You can also join the 3DPrintBeginner Forum where there’s a category for FDM 3D printers.
Liked it?
|
|




I got a real belly laugh out of this typo!
When you print faster, more cooling is needed especially when it comes to printing PLA and smaller 3D models. Cooling quickly starts to become the limiting factor so it’s important to choose a good part cooling solution (duct + ******fart****** cooling fan).
Auto-correct doing an excellent job 😀
Hi, I just bought my first printer (sidewinder X1) a few weeks ago and your website was very usefull for my first steps in this new world. Even today it’s a reference for me. Thanks you for this quality work.
I still have a qestion about speed. I use Ideamaker and i based my profiles on yours with some adjustments after various qualification steps and tests prints. In your review i noticed that you specified a different print speed depending on the model. But i wonder what speed is about. Is it just the outer shell speed ? both inner and outer shell or do you adjust various others speeds ?
Thanks you for your help.
You can try to download my latest IdeaMaker profiles for the X2. They work with the X1 too.