Extruder Calibration Guide (with calculator) – E Step Calibration
The extruder calibration is one of the most important process to do for any 3D printer. By doing the extruder calibration, your printer will accurately extrude the exact amount of filament. This translates to much better finish on the printer parts and more accurate dimensions.
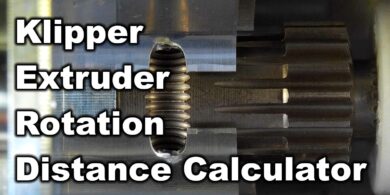
Because this process is a bit hard to understand for a beginner, I made an extruder calibration calculator that should make things easier. Only two values need to be entered, and the extruder calibration calculator will take care of the rest.
Without further ado, let’s begin the extruder calibration process.
Why do the Extruder Calibration?
As previously mentioned, by doing the extruder calibration, we make sure that the printer extrudes the exact amount of filament needed. In most of the cases, 3D printers suffer from over-extrusion and sometimes under-extrusion.
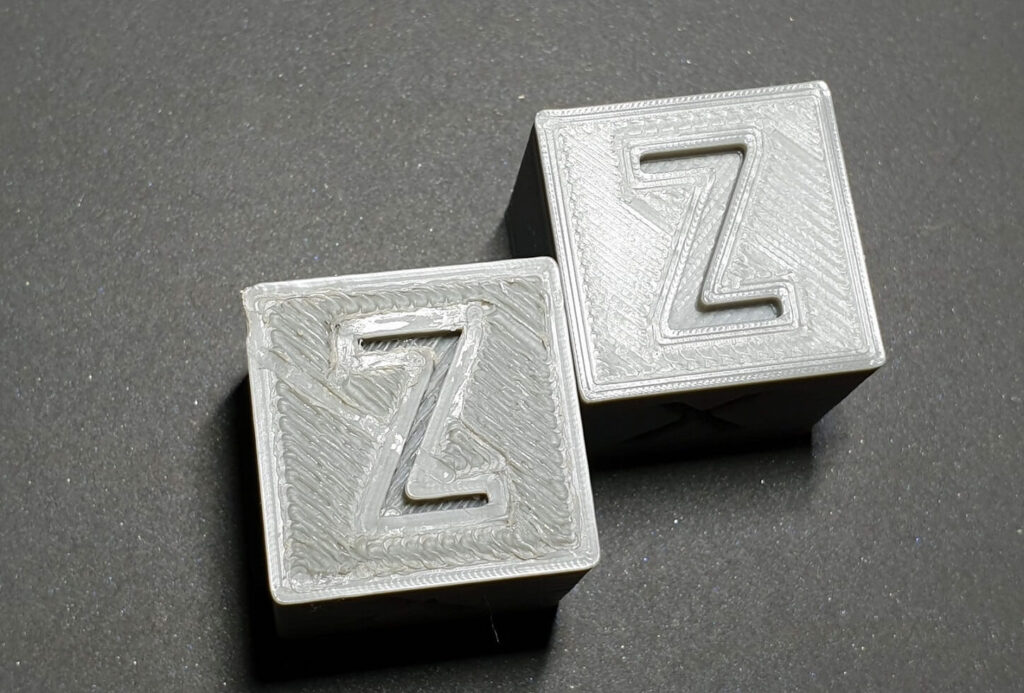
When the printer is over-extruding, more filament is being pushed through the nozzle. Because of this, the printed walls look bad, layer lines are uneven and the bottom and top layers.
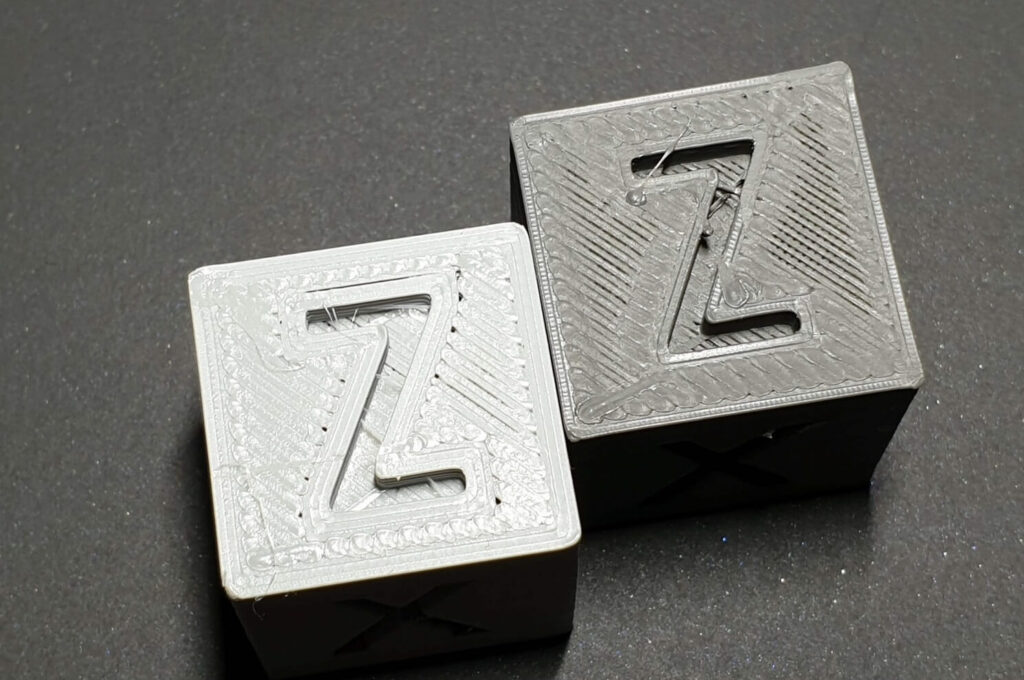
In the image below, the first cube is before extruder calibration, and the second one is after i calibrated the extruder.
If under-extrusion is present, then you may find holes in the top layers and even in other parts of the print.
Prerequisites for Extruder Calibration
In order to do the extruder calibration, you need to have the following:
- Measuring ruler
- Marker
- Computer with USB cable to connect the printer
- Pronterface
- A bit of patience
For a successful extruder calibration, the hotend needs to be set at the correct temperature according to the filament used. If you are performing the calibration using PLA filament, set a temperature of 195C. If using PETG, set a temperature of 225C.
It’s important to use a temperature close to what you normally use for printing. This ensures that all variables are as close as possible to when you print.
After the hotend reaches the correct temperature, try to push some filament manually. This is especially important to do if you previously printed other materials.
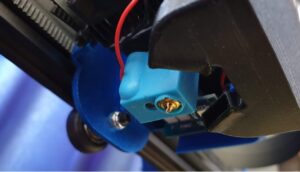
The filament should be easily melted by the hotend. and you should not encounter a lot of resistance when pushing it. The melted filament from the nozzle needs to be a continuous line of filament going down.
If the filament curls to the left or right, there’s a big chance the hotend is partially clogged and you need to fix this before proceeding with the extruder calibration.
Don’t forget that having a good extruder tension is quite important. I strongly recommend performing the Extruder Tension Calibration if your extruder supports this.
How to do the Extruder Calibration?
1. Connect printer to Pronterface
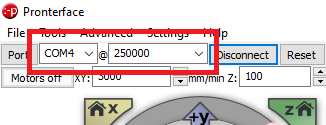
Next step in the extruder calibration process is to connect the printer to the computer via USB cable. Open Pronterface, and choose the correct COM port and Baud Rate. In my case, i used COM4 and 250000.
If you encounter issues when connecting to the printer, make sure you closed all slicers. Cura is known to interfere with the COM ports used by the printer.
2. Get current extruder steps
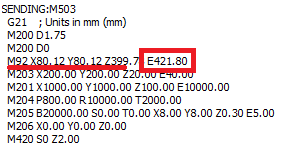
Enter the M503 command, then press enter. Look for the line starting with M92.
Add the E value in the calculator, then move to the next step.
3. Measure 200 mm of filament
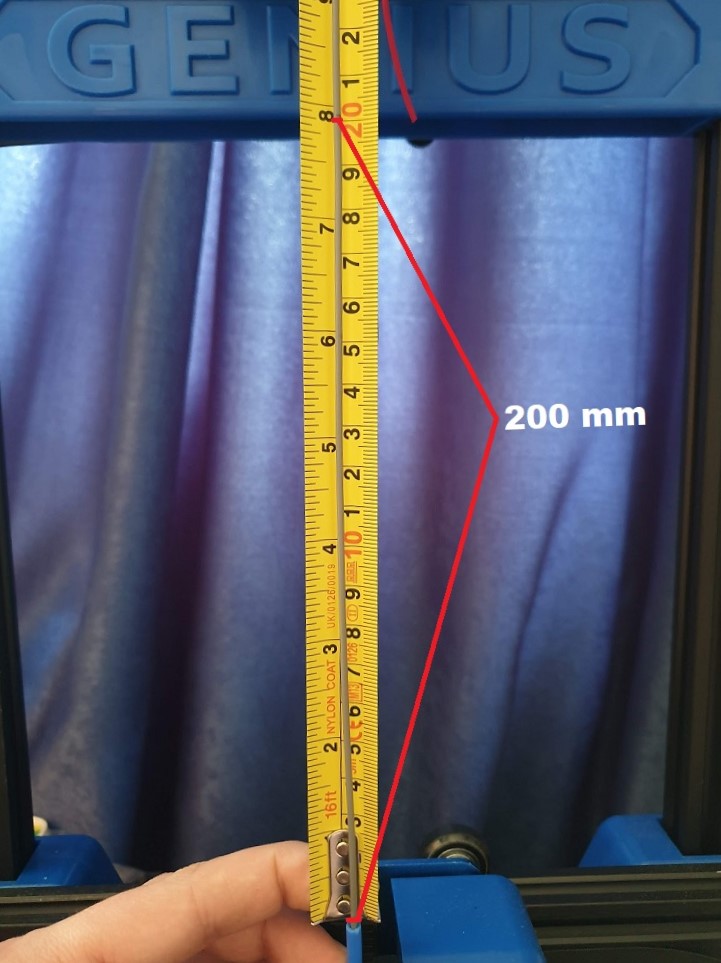
Carefully straighten the filament and measure 200 mm from a fixed position. I chose to measure from the end of the PTFE tube that goes into the extruder. Mark the filament, then move to the next step.
4. Extrude 180 mm of filament
Back in Pronterface, run the M83 command for relative mode. Then, run the G1 F100 E180 command. The extruder will start pushing filament and the whole process will take about a minute.
5. Measure the remaining filament
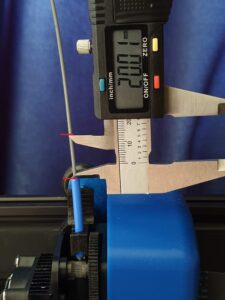
After the extruder stops, measure the remaining amount of filament, and add it to the calculator.
6. Save the new extruder value
In Pronterface, run the M92 Exxx.xx command, and replace the xxx.xx with the value from the calculator, then save everything with the M500 command.
It is recommended to repeat the process in order to make sure the new extruder value is correct.
Please clear your browser cache and refresh the page if the calculator does not show up.
Wrapping Up
The extruder calibration process is now complete. A few things to keep in mind:
- While other guides recommend doing this by extruding 100 mm of filament, after multiple trials I found out that a longer is a bit more accurate. Besides that, it’s easier for me to measure a longer filament section.
- Make sure the pressure on the filament is not changed after calibrating the extruder. If you tighten the extruder lever, and apply more pressure on it, the extrusion can change slightly, and it will influence the end results.
- The spool holder can influence the extrusion quality. If possible, ensure that the spool is spinning smoothly, with a small amount of resistance to prevent tangles.
- If you can’t edit the EEPROM of the printer, the M92 Exxx.xx command that includes the calibrated extruder value can be added in the start gcode of your slicer. This way, the extruder value will be loaded each time you start a new print.
- You can also calibrate your extruder from IdeaMaker without the need of doing modifications to your EEPROM.
It is recommended to also perform the Flow Rate Calibration to fine-tune the layer width and improve accuracy of your prints.
If after calibration, your extruder is still not performing well, check out my Ultimate 3D Printer Upgrade Purchase Guide where I shared a few extruders that may improve your print quality.
You can also join the 3DPrintBeginner Forum where there’s a dedicated category for FDM 3D printers.
Liked it?
|
|

