Voxelab Aquila Upgrades: Paid and Free
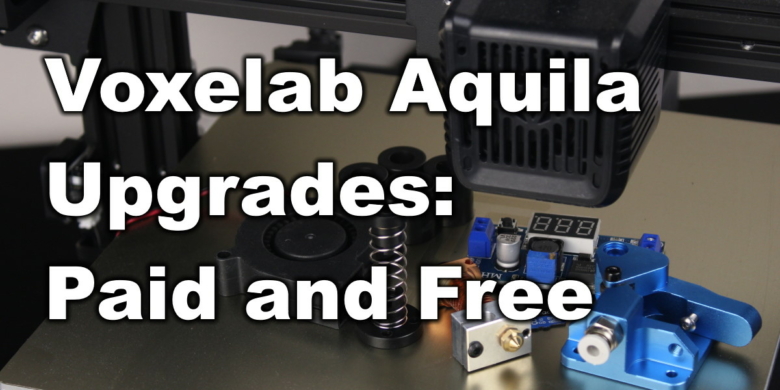
In this article I will cover some of my recommended Voxelab Aquila upgrades which should improve your printing experience while keeping the costs low.
Voxelab Aquila is a budget 3D printer which brings a lot of features for a low price point. With the money saved from not purchasing the Ender 3 V2 you could add more functionality to your Aquila and also have some money left for an extra roll of filament.
As always, before jumping in the 3D printer upgrades train, I recommend reading the 3D Printer Upgrades for Beginners: When and Why? article to have a better understanding about how upgrades can improve the print quality of your 3D printer. There’s also a handy Reddit post with information about the Voxelab Aquila which I recommend reading.
Voxelab Aquila Paid Upgrades
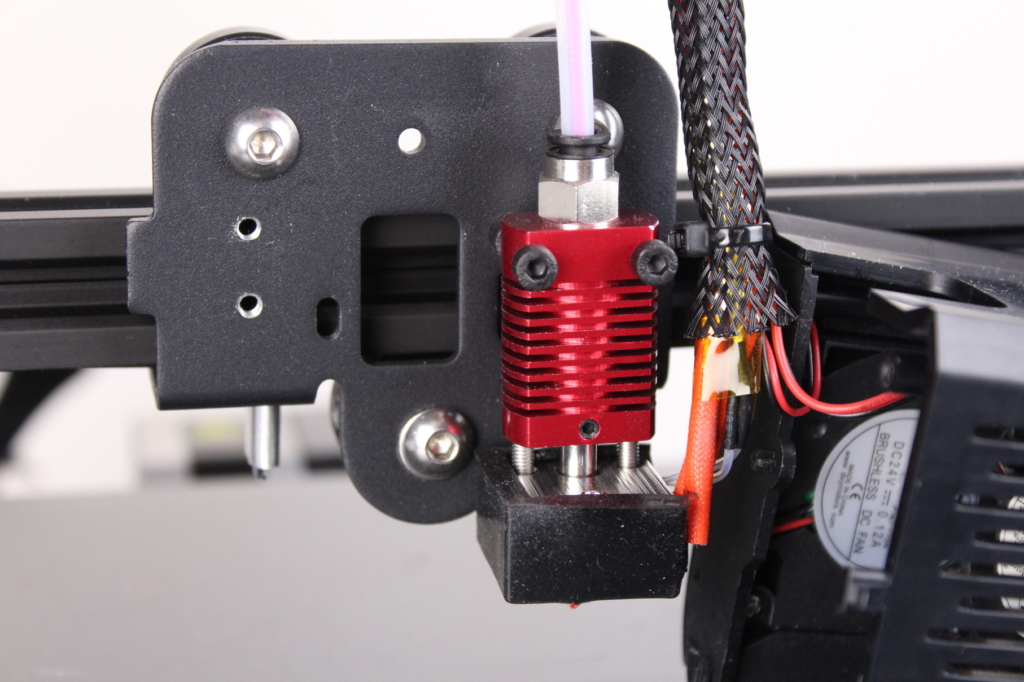
Better hotend
As mentioned in the review, one of the first Voxelab Aquila upgrades I recommend is a better hotend. The stock PTFE lined hotend works fine but it doesn’t have the best thermal performance, and Voxelab tried to mitigate this issue by using a noisy hotend fan.
You might know this already, but having the PTFE tube touching the nozzle will degrade it over time and you will need to check it regularly, especially if you print higher temperature materials like PETG or ABS.
Because the hotend is similar to what you get with a Creality 3D printer, I would recommend looking for a drop-in replacement like the NF-Smart CR-10, Trianglelab Spiral Tower or the popular Microswiss hotend. Any of these hotends should allow you to print higher temperature materials more reliably without having to service your printer that often.
If you choose one of the bi-metal hotends, you will also be able to replace the hotend fan with a more silent variant.
There’s also the possibility of upgrading the stock hotend with a bi-metallic heat break like the one from Slice Engineering or Trianglelab.
The NF Smart hotend can be purchased from the following websites:
AliExpress
POM anti-backlash nut
I noticed that my Voxelab Aquila’s X gantry can easily droop because of the weight, when the Z motor is not engaged. To fix this, I would recommend installing a POM anti-backlash nut. This will ensure that the Z axis will not droop by its own and will also eliminate the need of greasing the Z rod in the future.
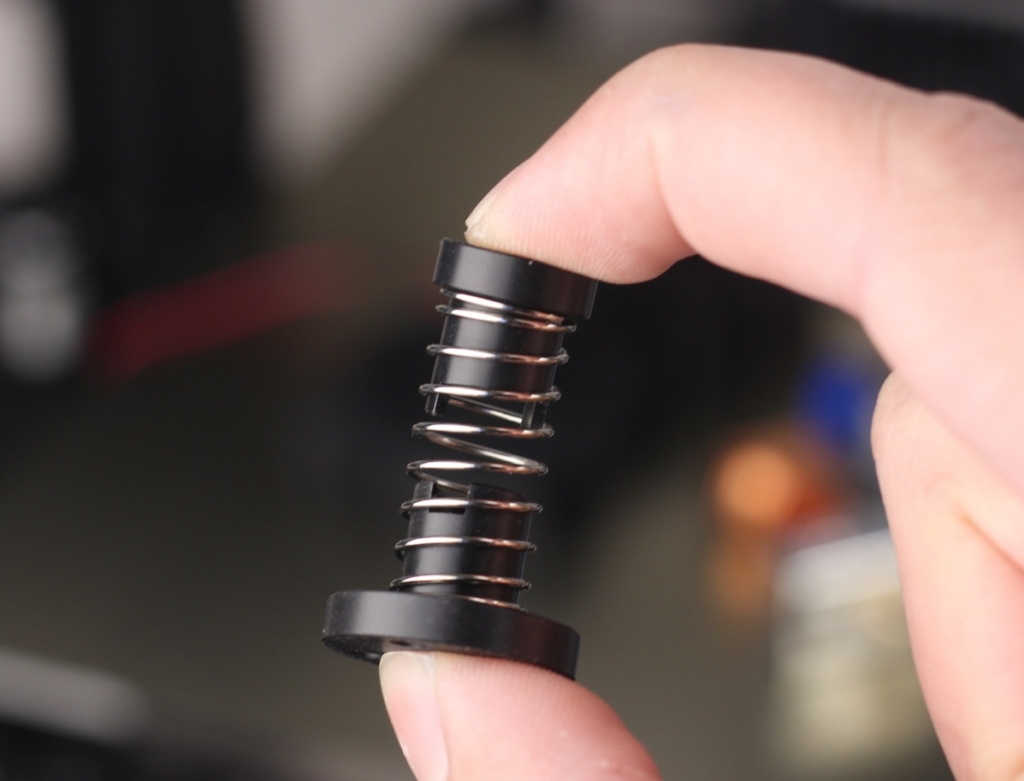
It’s a cheap 2$ upgrade, so there’s no reason for the POM nuts not to be on your Voxelab Aquila upgrades list.
The POM Anti-Backlash Nuts can be purchased from the following websites:
Banggood
Amazon
Aliexpress
Silent fans
One of my biggest complaints with the Voxelab Aquila is the noisy fans it uses. The printer is silent during operation, but that silence is invalidated by the noisy fans used on the printer. You could replace the fans with silent alternatives but keep in mind that they might have less airflow compared to the stock offering.
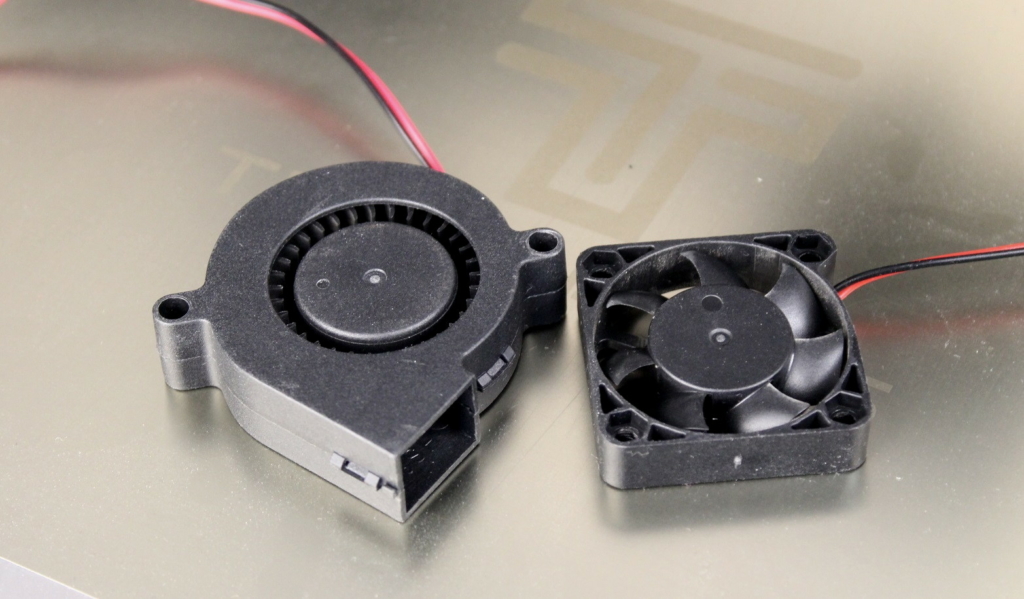
The Sunon and Noctua fans are quiet, but they are 12V so you will need a buck converter if you plan to install these. I would recommend replacing the hotend fan only if you also upgrade the hotend, to make sure heatcreep will not become an issue after this upgrade.
Better extruder
The Voxelab Aquila has a generic single-geared extruder which does a decent job, and with a better hotend, it might perform even better. Mostly, because a better hotend won’t require a high retraction value and will allow easier filament feeding to the nozzle.
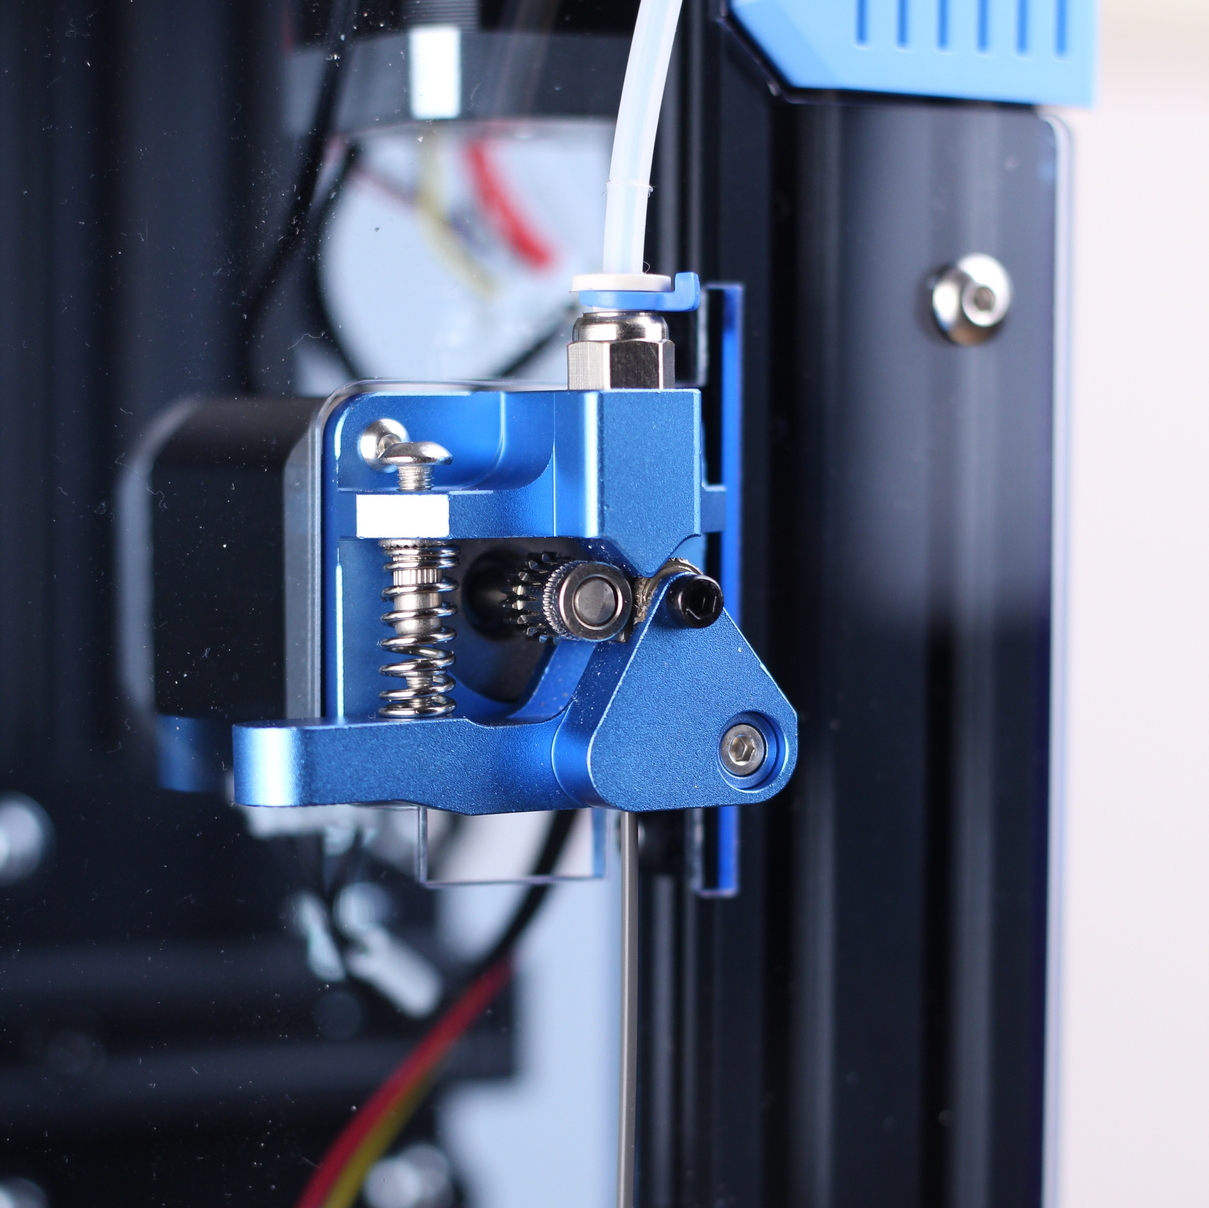
If you decide to upgrade the extruder, I recommend getting a cheap dual-gear all-metal extruder which should increase the filament grip and also eliminate any risk of cracking, which the stock one currently has. The main benefit of upgrading to this extruder is that you won’t have to perform any firmware modifications, but extruder and flow rate calibration should not be skipped.
If you want a better extruder for your Voxelab Aquila, then you can give the BMG extruder clone a shot. This one also has dual gears, but it also has a 3-to-1 gear ration which will provide more accuracy for your extrusion quality and will also let the extruder motor work less. With the BMG extruder, you will need to change the motor direction in your firmware or switch the motor wires (which does the same thing).
I also found this helpful video online describing the installation steps for the two mentioned extruders:
The Dual-Gear Extruder can be purchased from the following websites:
Amazon
AliExpress
Banggood
Silicone bed mounts
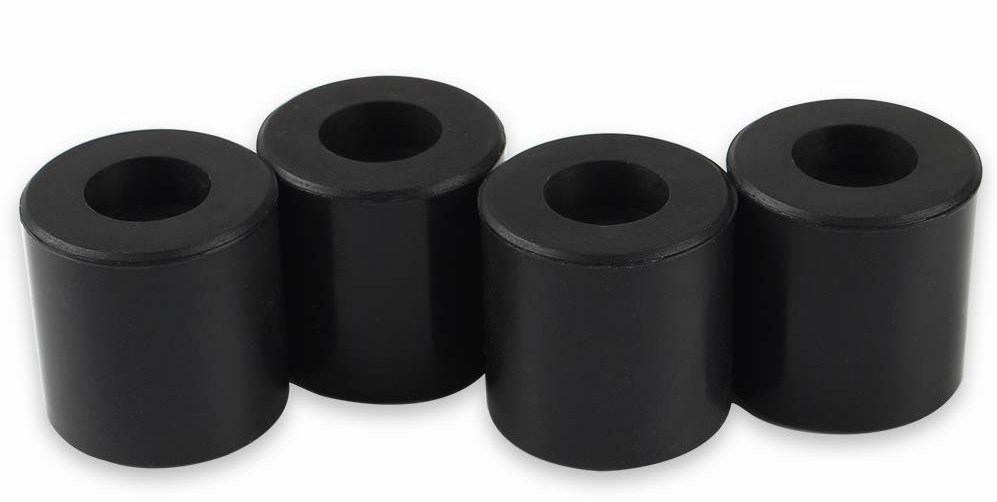
Another cheap and important recommendation in the Voxelab Aquila upgrades list is replacing the stock bed springs with silicone bed mounts. The reasoning behind upgrading to silicone bed mounts is to have the bed fixed in place and not mess up the Z offset or leveling when removing a print.
You could do the same thing using a few screw nuts and a bit of patience, but the silicone bed mounts are quite cheap and will allow you to have your bed fixed much faster. This upgrade is something I started recommending to most of the printers available because it makes bed leveling much easier and should eliminate the need for any auto bed leveling solution like a BLTouch.
You can buy silicone bed mounts from the following stores:
Amazon
AliExpress
Banggood
Magnetic PEI sheet print surface
Another item on the Voxelab Aquila upgrades list is installing a magnetic PEI sheet instead of the stock glass print surface. By doing this upgrade, you will lower the bed weight a bit, and bed adhesion will be much improved.
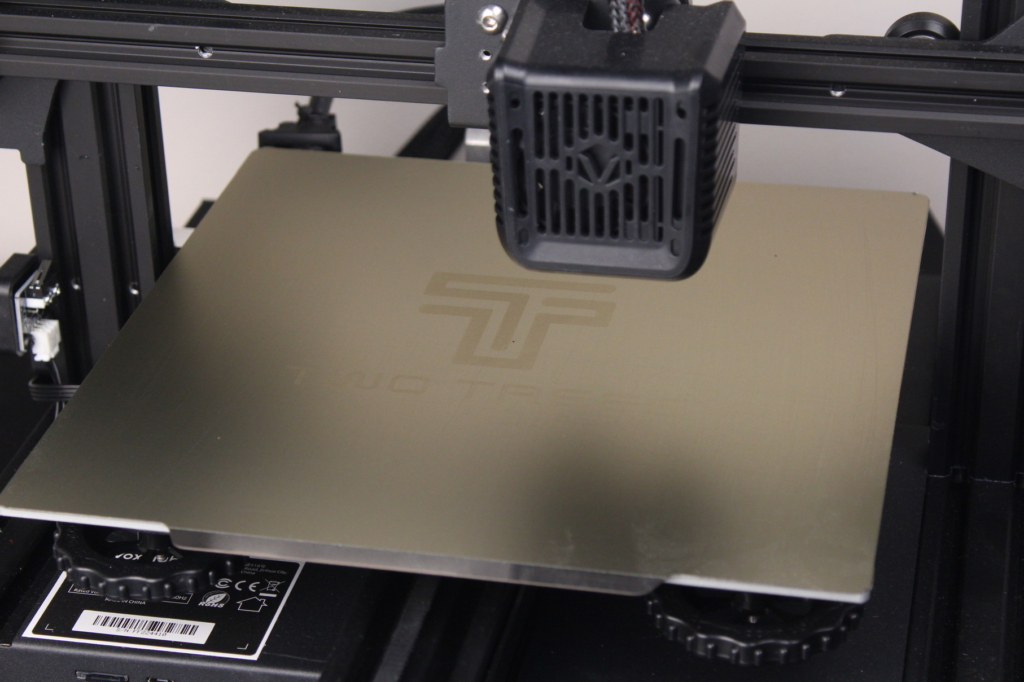
It’s also one of the more expensive upgrades you can do, so if your stock print surface works well and you don’t have adhesion issues, then you could skip this one. If you decide to install a magnetic PEI print surface, then I recommend getting the Energetic PEI Sprint Steel Sheet which is probably the best out there. I used a spare 235×235 mm Two Trees PEI sheet I had previously bought for a different printer.
The magnetic PEI sheet can be bought from the following websites:
Banggood
Amazon
Aliexpress
BLTouch for Auto Bed Leveling
Finally, there the BLTouch that’s recommended by everyone. I added this to the guide just so you know this can be a solution for easier bed leveling, but in the free section I will tell you about the free alternative which can be used (manual mesh bed leveling). In my opinion, a BLTouch is not needed for small format printers like the Voxelab Aquila but it can be a helpful upgrade if your print surface is not perfect, and you don’t want to mess with MBL.
The BLTouch sensor can be bought from the following websites:
Banggood
Amazon
Aliexpress
Voxelab Aquila Free Upgrades
Extruder knob
One of the differentiating features of the Ender 3 V2 is the inclusion of an extruder knob right out of the box. this help when loading filament, or when you need to extrude a bit after replacing the old filament roll. If you want to add the same functionality to your Voxelab Aquila, download this extruder knob and start printing. A similar knob should be available on the SD card.
Custom firmware with more functionality
I really like the stock firmware used by the Voxelab Aquila, but there are custom firmware builds out there which add more functionality to your printer. One of the most popular offerings is Alex’s firmware for Voxelab Aquila. Alex did an excellent job in compiling various versions of the firmware so you can easily download the version you need and flash it in a couple of minutes.
If you have a complete stock machine, I recommend getting the ManualMesh-4×4.bin file. This will add manual mesh bed leveling to your printer which is an excelent Voxelab Aquila upgrade if you notice that your bed is not perfectly flat and could benefit from a bit of adjustment. If you decide to install a BLTouch, there’s a pre-compiled variant available for that too.
There’s a huge list of added features, like Manual Mesh Bed Leveling, the possibility of adjusting the screen brightness, tuned PID settings and custom menu colors.
Make sure you read the documentation carefully before flashing a custom firmware, to ensure that you understood all the steps needed, and you have the correct files at hand. It’s also important to format the SD cards as recommended in the flashing guide, for a successful firmware upgrade.
Vertical LCD mount
If you decide to flash a custom firmware on your Voxelab Aquila, then you will notice that it’s recommended to mount the LCD in a vertical orientation. This vertical LCD mount on Thingiverse should do the job. But if changing the firmware is not on your Voxelab Aquila upgrades list then changing the screen orientation won’t help.
V-slot covers
I’m probably not the only person annoyed by the small bits of filament that gets stuck in the bottom aluminum extrusions of any 3D printer. Printing V-slot covers is an excellent Voxelab Aquila upgrade that should help you keep your printer clean.
Filament guide
The filament spool position doesn’t give the filament a clean path to get fed into the extruder. Because of the filament angle, the extruder will produce filament shavings which changes its width and in turn will cause the prints to look a bit worse. So, an easy fix would be to print a filament guide to ensure that the filament gets fed to the extruder under a better angle and eliminate this issue. This is a must have for a stock printer, so add it to your Voxelab Aquila upgrades list.
Better part cooling fan duct
The 3510 radial fan does a decent job cooling the printed layers, but its main drawback is that it blows air only from the right side. You can improve this by printing a dual-head part cooling duct. If you want to go a step further, you could also upgrade the fan to a 5015 version which allows more airflow and will improve your PLA prints.
There’s also the possibility of adding an extra 3510 radial fan and print this mount to have dual fan cooling for your printer.
Direct drive conversion
Some people hate bowden setups and choose to convert their printers to a direct-drive setup, mostly for better filament control and less retraction. It also improves the print quality for flexible filaments like TPU, so it might be an interesting Voxelab Aquila upgrade, especially considering that it can be done with no cost except for a few grams of filament. If you decide to convert your Aquila to direct drive, make sure you print this mount first then start working.
Tool holder
Another feature missing from the Voxelab Aquila but present on the Ender 3 V2 is a place to store all the tools which came with your printer. The Ender 3 V2 has a handy drawer on the base, but you could print this Voxelab Aquila All tool holder and keep your tools on the top of the printer. You should also have a file on the SD card which has been pre-sliced by Voxelab and ready to be printed, so remember to also check that. You might like it better.
Install Octoprint
If you’re a beginner, you might not know about Octoprint. This is a piece of software which can be installed on a Raspberry Pi that will allow you to add remote control for your 3D printer right from your computer browser. Besides that, you can also use a plethora of plugins which add extra functionality to your 3D printer.
I covered the Octoprint installation in this article, so if you have a Raspberry Pi laying around, there’s no reason not to give Octoprint a chance because it’s an excellent addition in the free Voxelab Aquila upgrades list. You’ll love it!
Wrapping up
I hope this article helped you find some Voxelab Aquila upgrades suited for your machine. Be sure to also check out my Voxelab Aquila IdeaMaker profiles which have been tuned for the stock machine and could also help improve your print quality. Having a well-tuned slicer profile can improve print quality without needing to add mods to your printer. If there’s any useful upgrade I’ve missed, feel free to leave a commend below.
Liked it?
|
|

Will the silicone bed mounts fit the C2 version of the Aquila?
POM anti-backlash nut.
The nut in the photo, as well as all three nuts in the above stores can not be installed on the Aquila – there you need a non-circular nut with two holes;)
which nut specifically? I’ve searched around but I’m having trouble finding the right one for my c2
thanks in advance
You cannot possibly be serious. Fixed-level print surface? That will only make leveling a true nightmare.
Also OctoPi? Only at staggering cost. A Raspberry Pi capable of running OctoPi is now just stupid expensive. It’s much cheaper and simpler to just buy a cheap secondhand Linux desktop computer and run Pronterface on it.
Side note: I’d like it very much if people stopped referring to Octoprint at all. It’s not like there’s any actual distinction between Octoprint and OctoPi. Sure, it can possibly be set up on a Linux desktop / laptop, but not without a buttload of work. It’s really only suitable for a Pi. And… shame. It’s not compatible with Beaglebones, which are superior to Raspberries.
So… Is this an angry comment? Or what?
Because you are clearly missing the point 🙂
Can you update the link for which Hotend upgrade you recommended? When I go to the site, the number 2 option is steel and not copper. Just want to be sure I get the right one for my Voxelab Aquila DIY FDM (G32)
Depends on which one you want to pick. You want the NF smart?
Yes. I was trying to go with what you recommended in the underlying article where you said “I got the Set 2 copper version which has a copper heatsink with plated copper heatblock (with silicon sock) and nozzle.”
Their site is very confusing because pictures dont always match the descriptions given.
That’s the one I had. But you can get whatever version you want and suits your needs.
Personally I prefer https://www.thingiverse.com/thing:4874098 for a filament guide. It doesn’t require bolts, and just slots into the 2 holes using little nubs. Little hard to put on but holds super tight.
Any chance you might update this for the X2?
I don’t have the Voxelab X2
Without messing with the stock software you can use the E3v2 bed levelling code from thingyverse https://www.thingiverse.com/thing:4761680