How to Install Klipper on Creality Ender 3 S1 Pro: Config and Setup
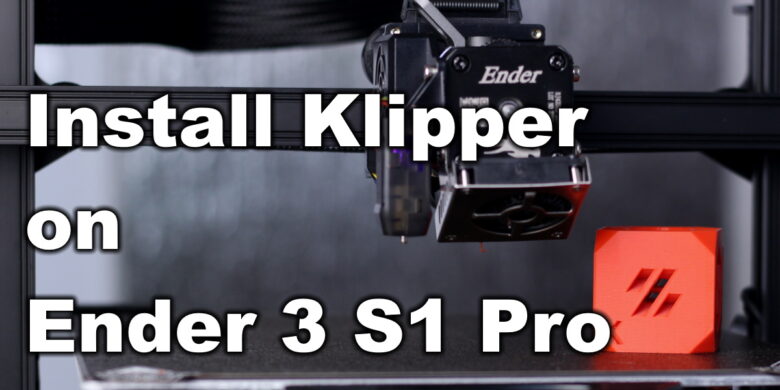
I previously covered the Ender 3 S1 Klipper installation, but things are a bit different for the S1 Pro, so I thought it would be helpful to cover this in a separate article. In this guide, I will show you how to install Klipper on the Ender 3 S1 Pro.
What is Klipper?
Klipper is an open-source firmware for your 3D printer that combines the power of a Raspberry Pi and your printer mainboard for better printer control. By doing this, you are able to run your printer at higher speeds with better precision and control.
Why Install Klipper on Creality Ender 3 S1 Pro?
By installing Klipper on the Ender 3 S1 Pro, you will be able to print faster compared to a stock printer, and you will also be able to control your printer remotely through Wi-Fi using a Web interface. The main reason to install Klipper is to use Pressure Advance and Input Shaper, which will further improve the capabilities of the new Sprite Pro Extruder from Creality.
The video below is showing the Ender 3 S1 running Klipper, printing at 150mm/s, 0.15 mm layer height with 3500 acceleration (realistically, it’s probably printing at 100mm/s). You should get the same print speed with the S1 Pro.
Test Prints with Klipper on Ender 3 S1 Pro
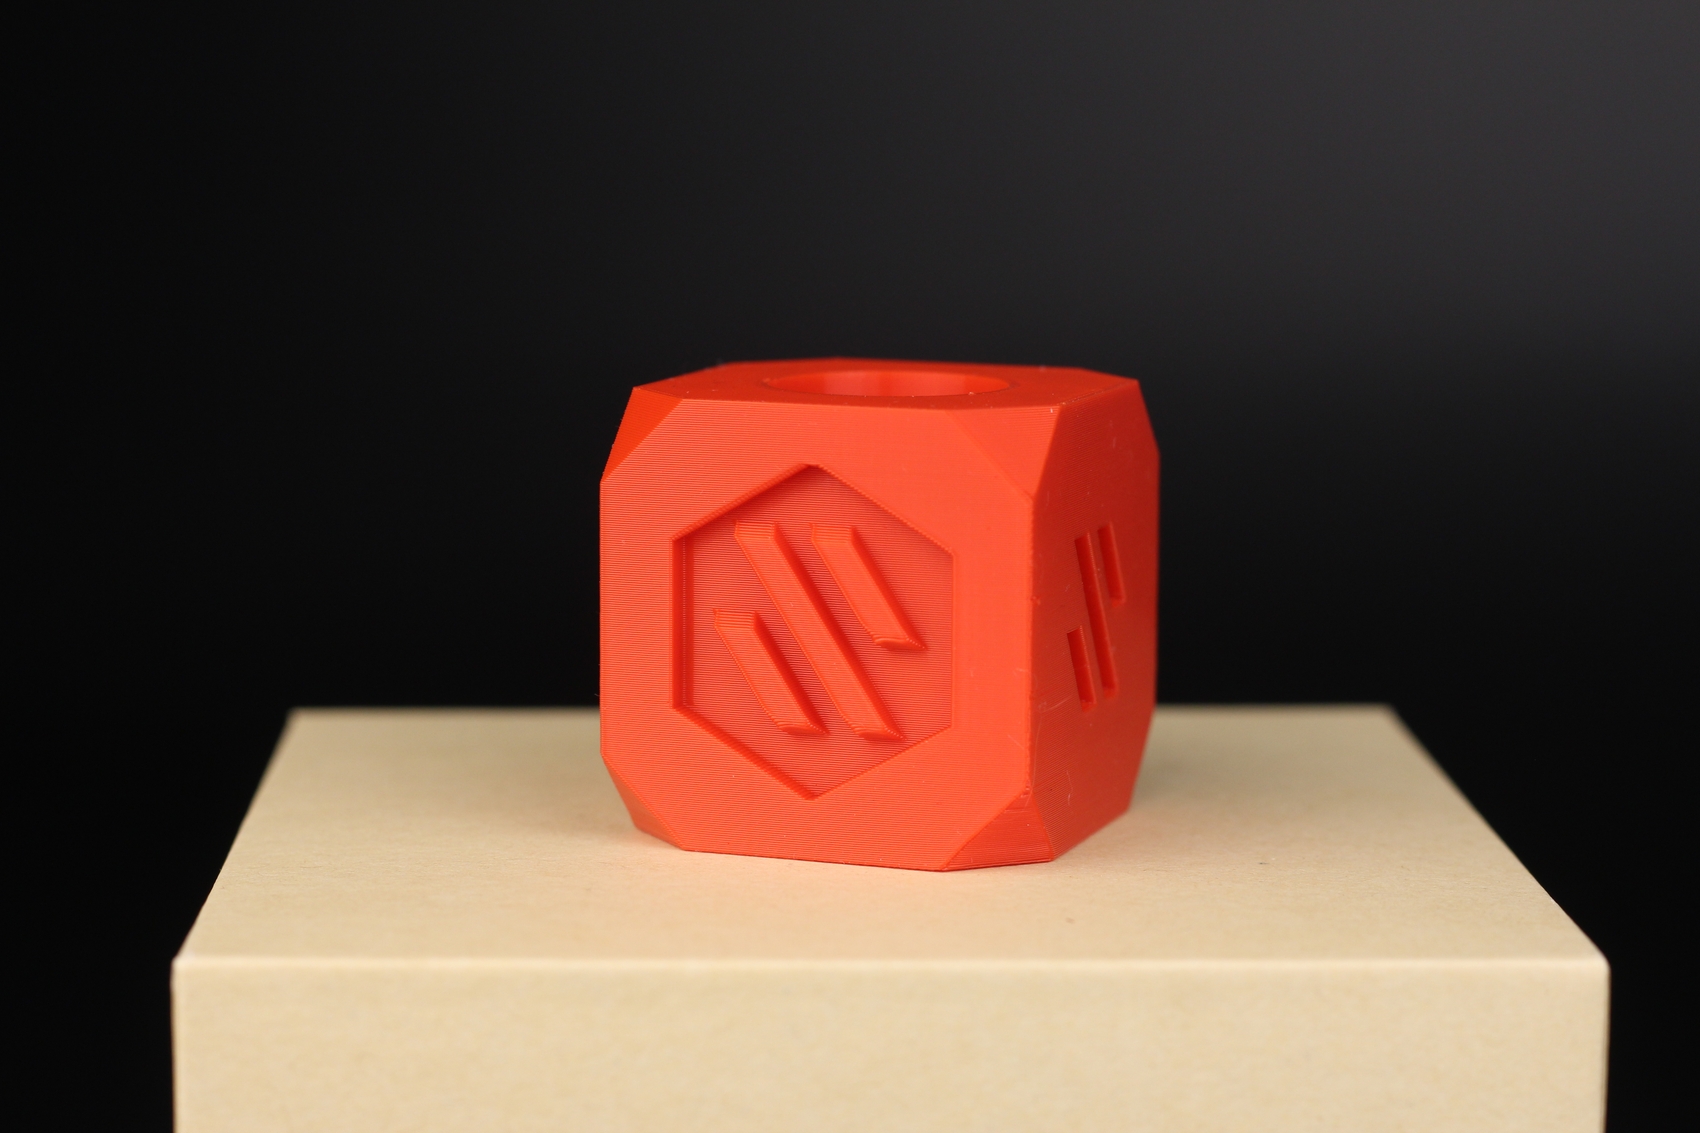
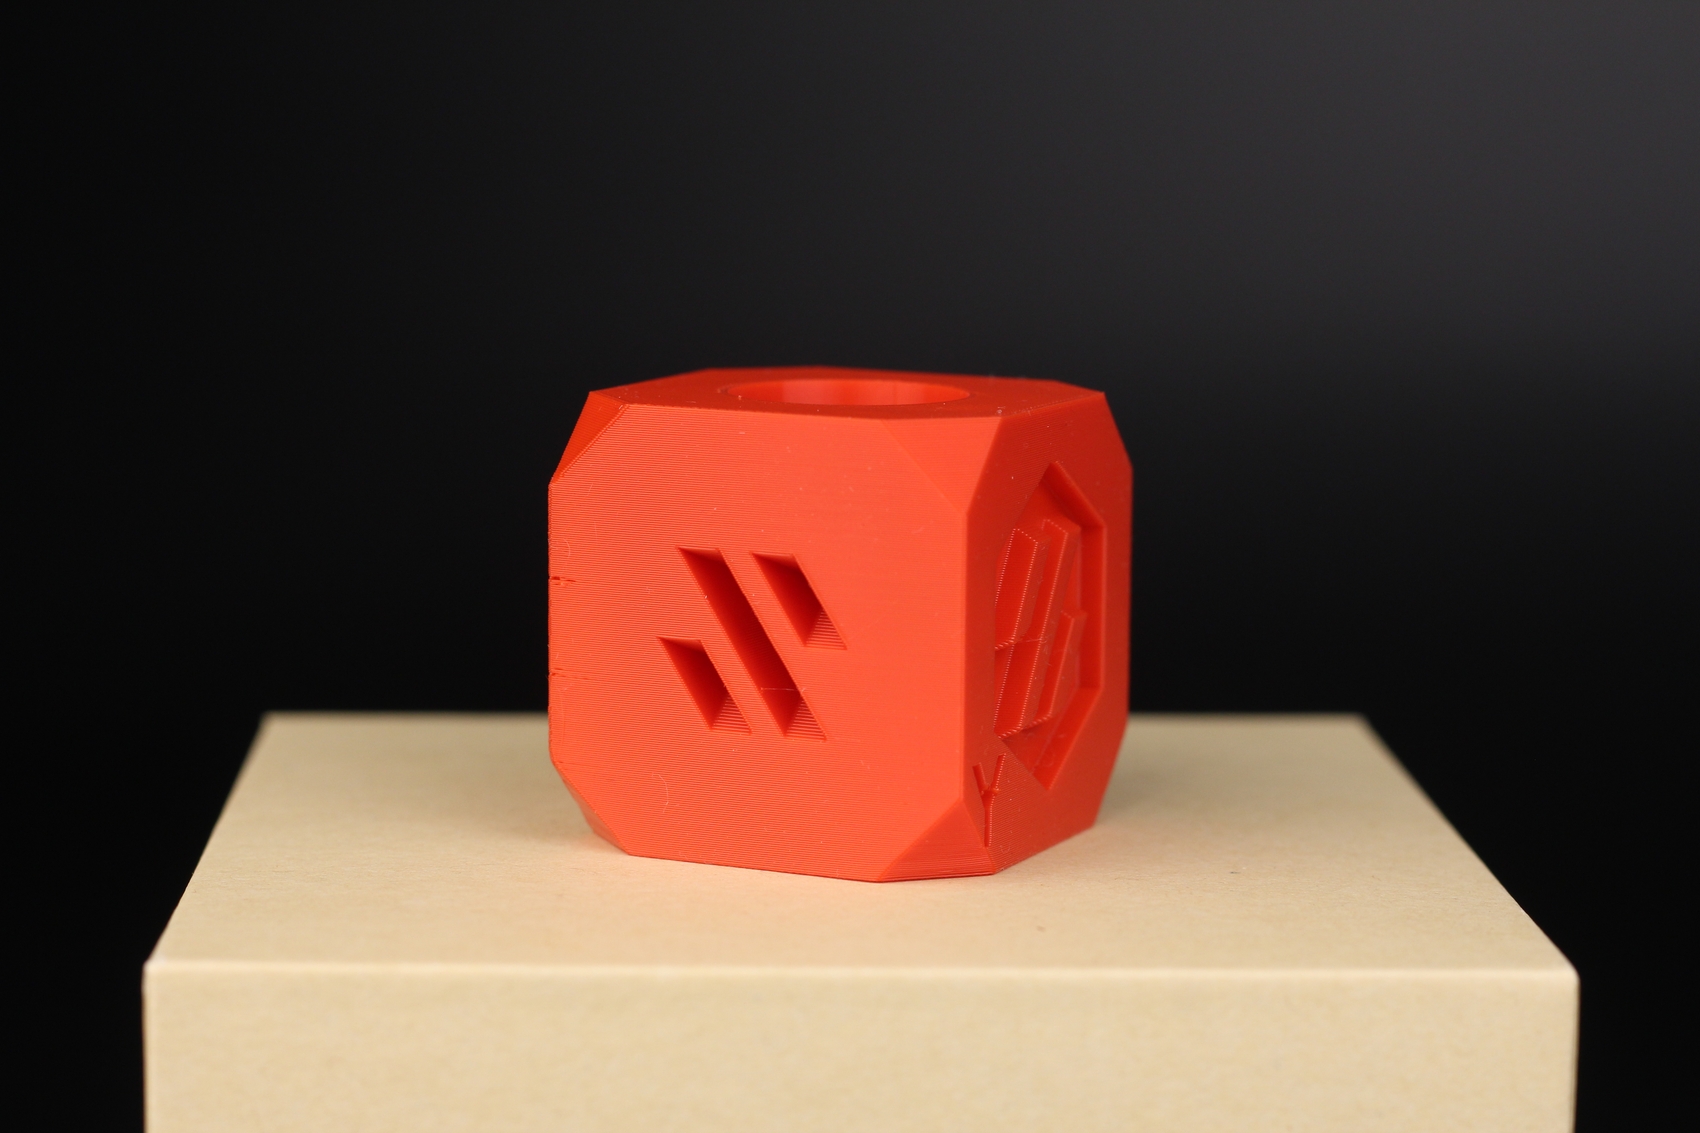
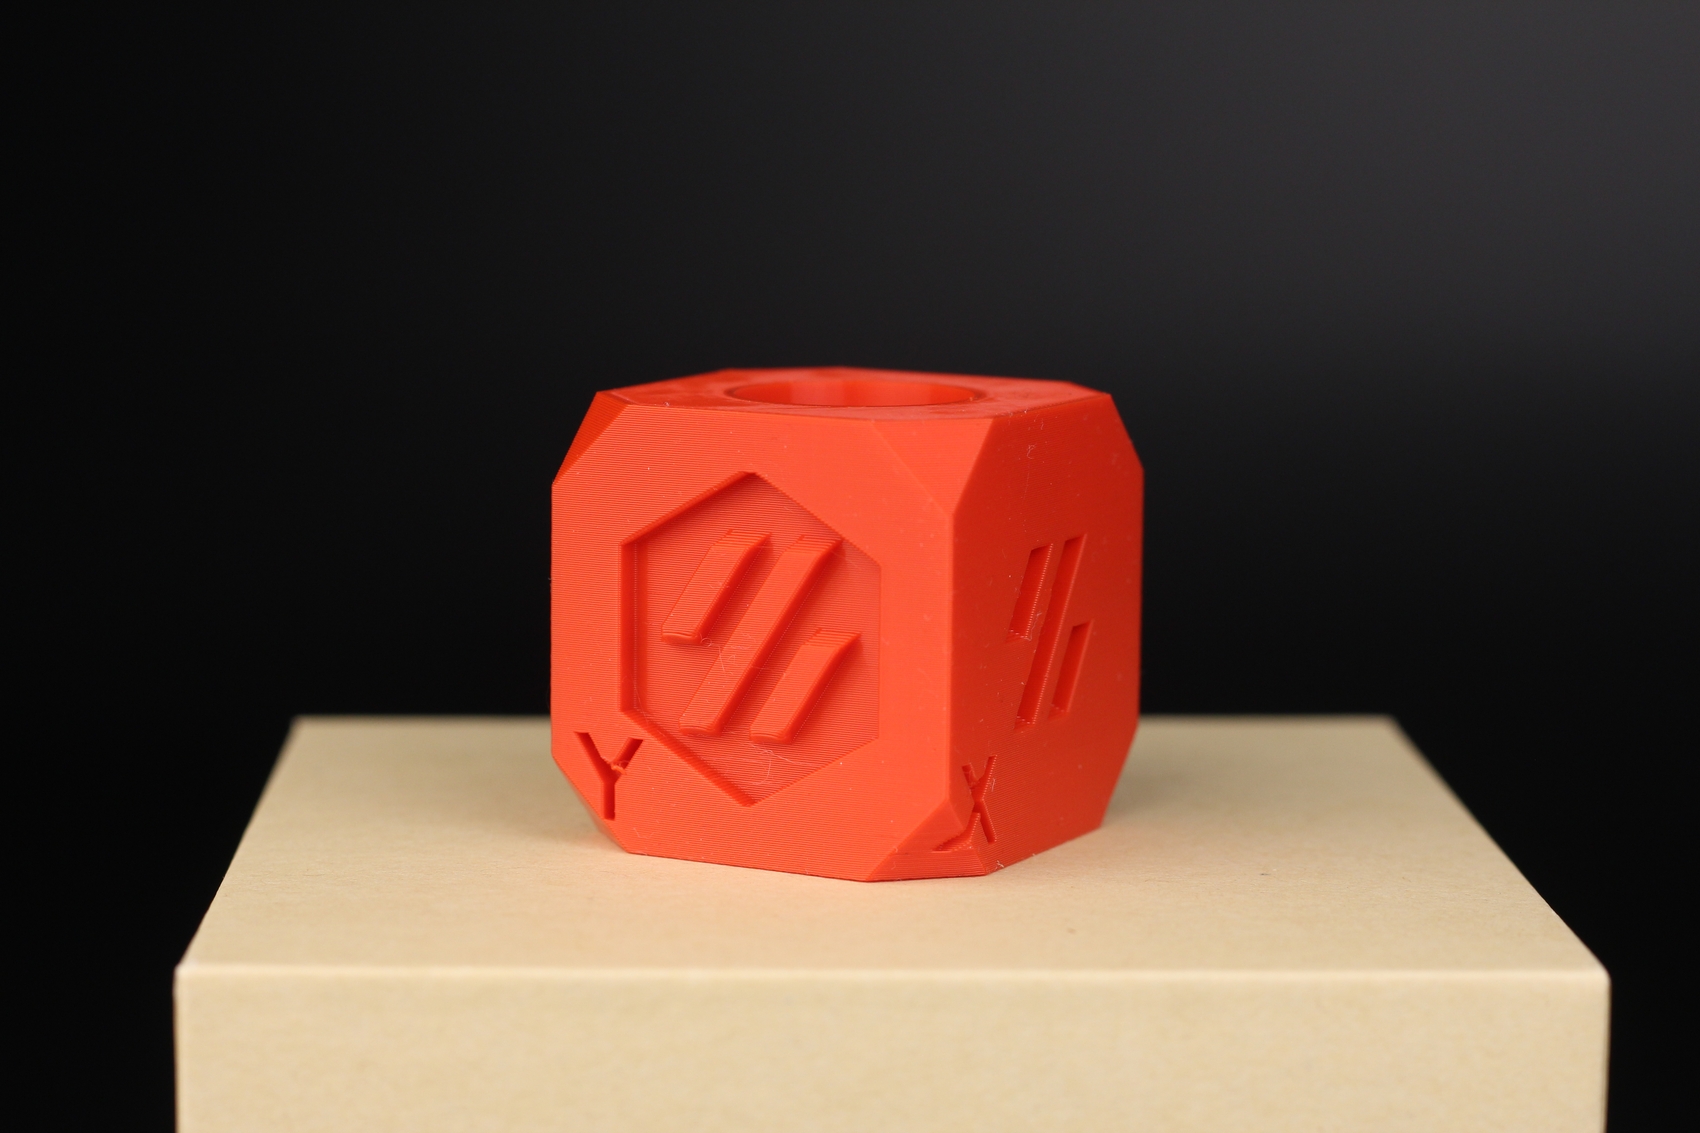
40mm Voron Calibration Cube
In the pictures below, you can see the print quality you can expect after upgrading your Ender 3 S1 Pro to Klipper. It might need a bit of extra tuning, but it looks pretty great!
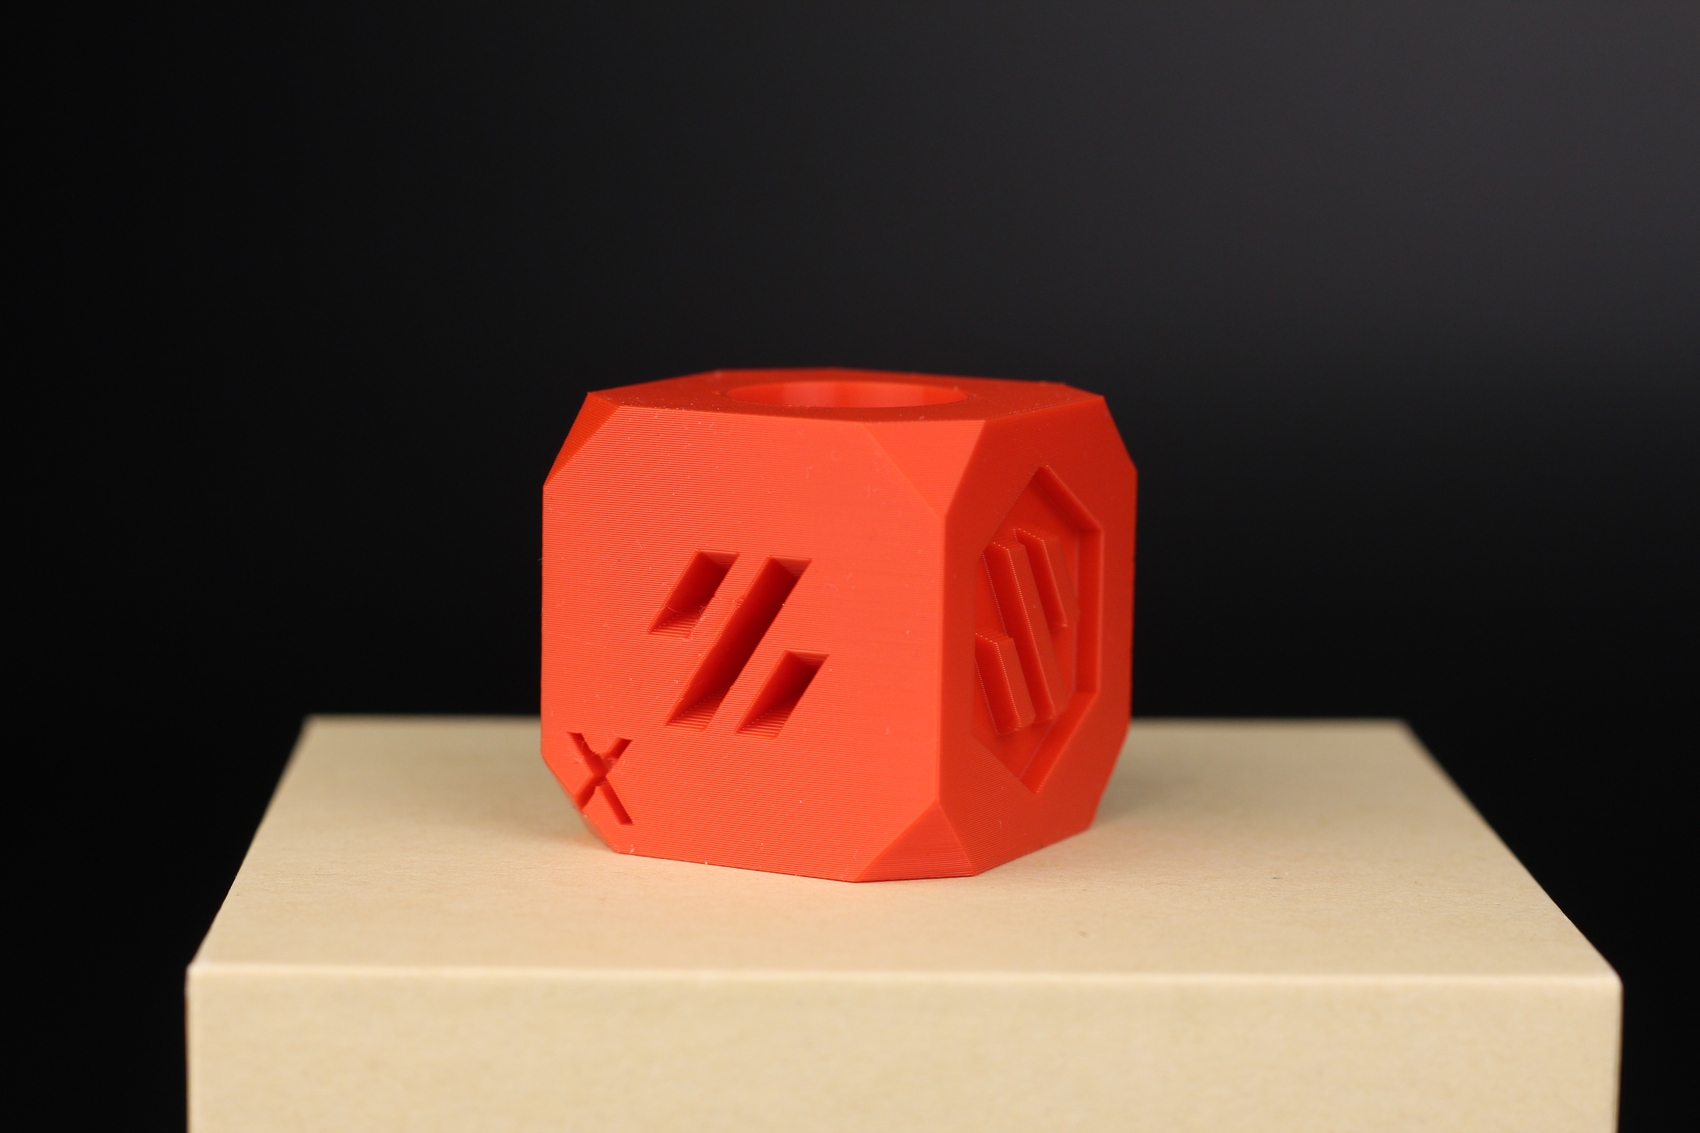
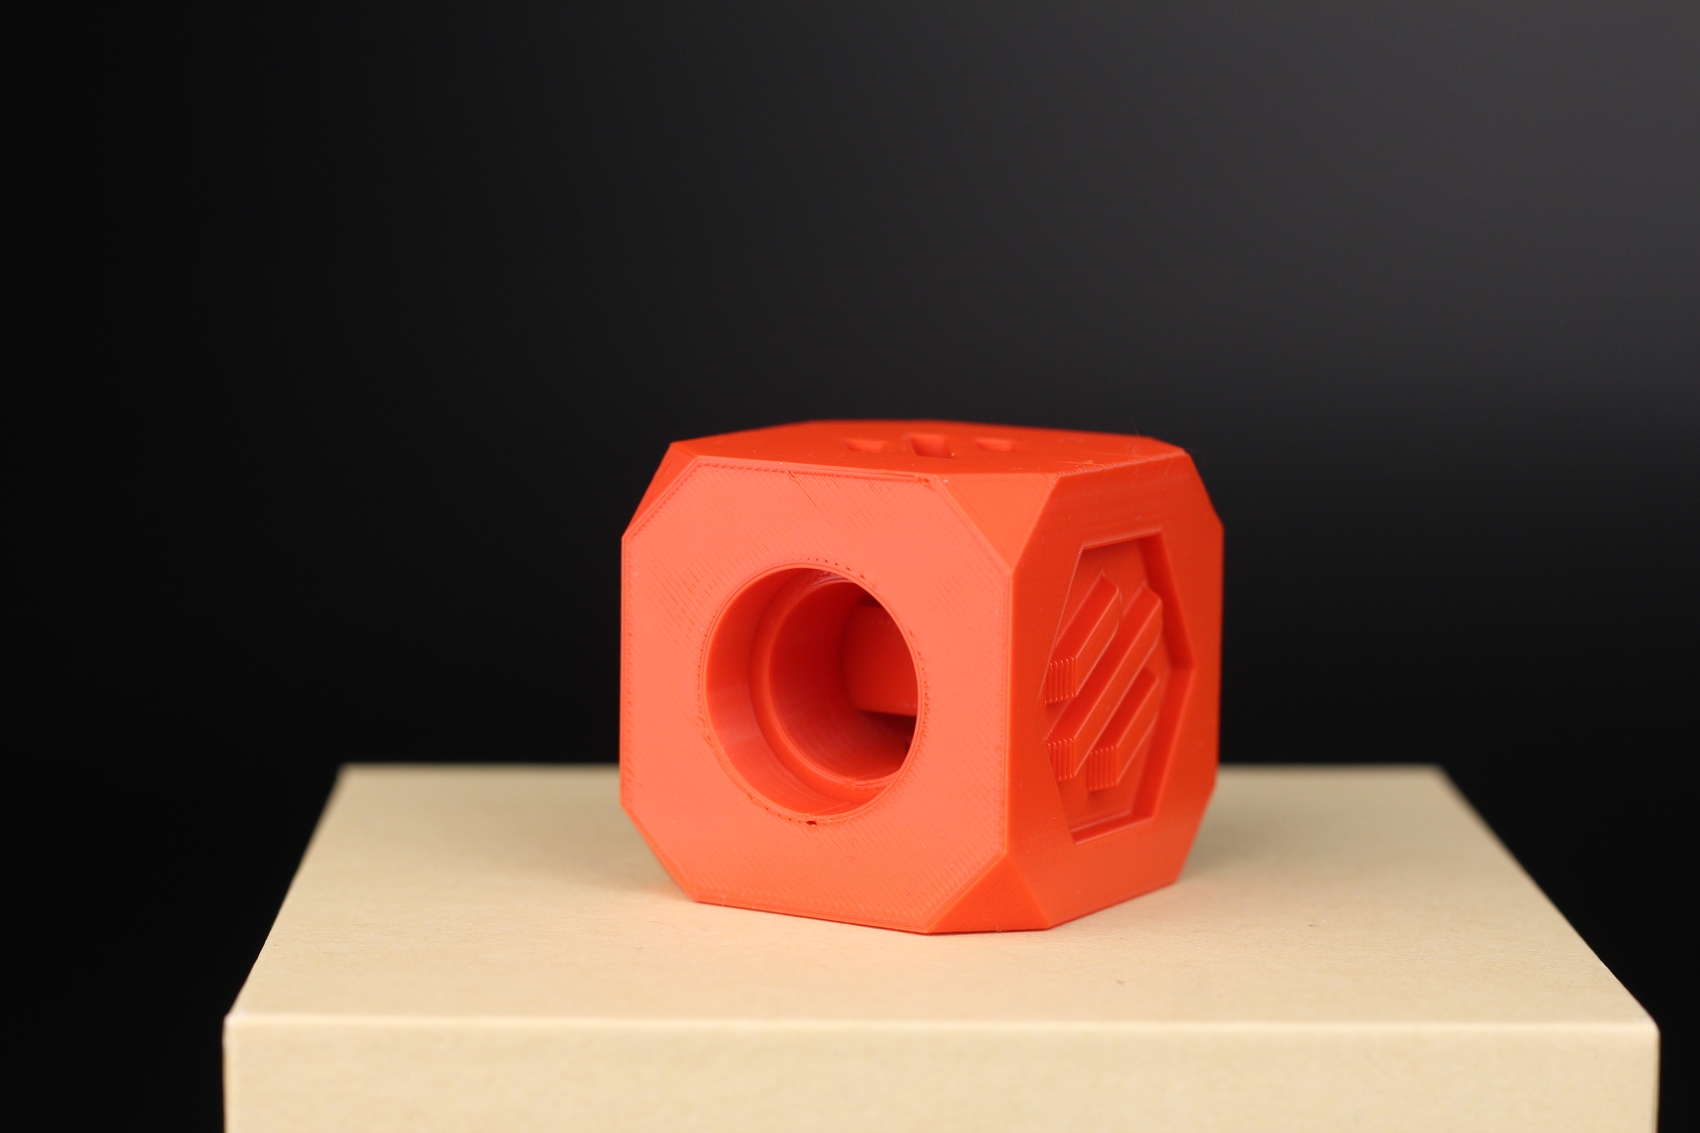
- Material: Sunlu Red PLA
- Layer Height: 0.2mm
- Nozzle Temperature: 215C
- Bed Temperature: 65C
- Print Speed: 100 mm/s
- Acceleration: 3000mm/s
Prerequisites
To install Klipper on Ender 3 S1 Pro, you need to have the following:
- Raspberry Pi (any Pi version will work)
- MainsailOS or FluiddPi – In this guide I will use MainsailOS and a Raspberry Pi 4.
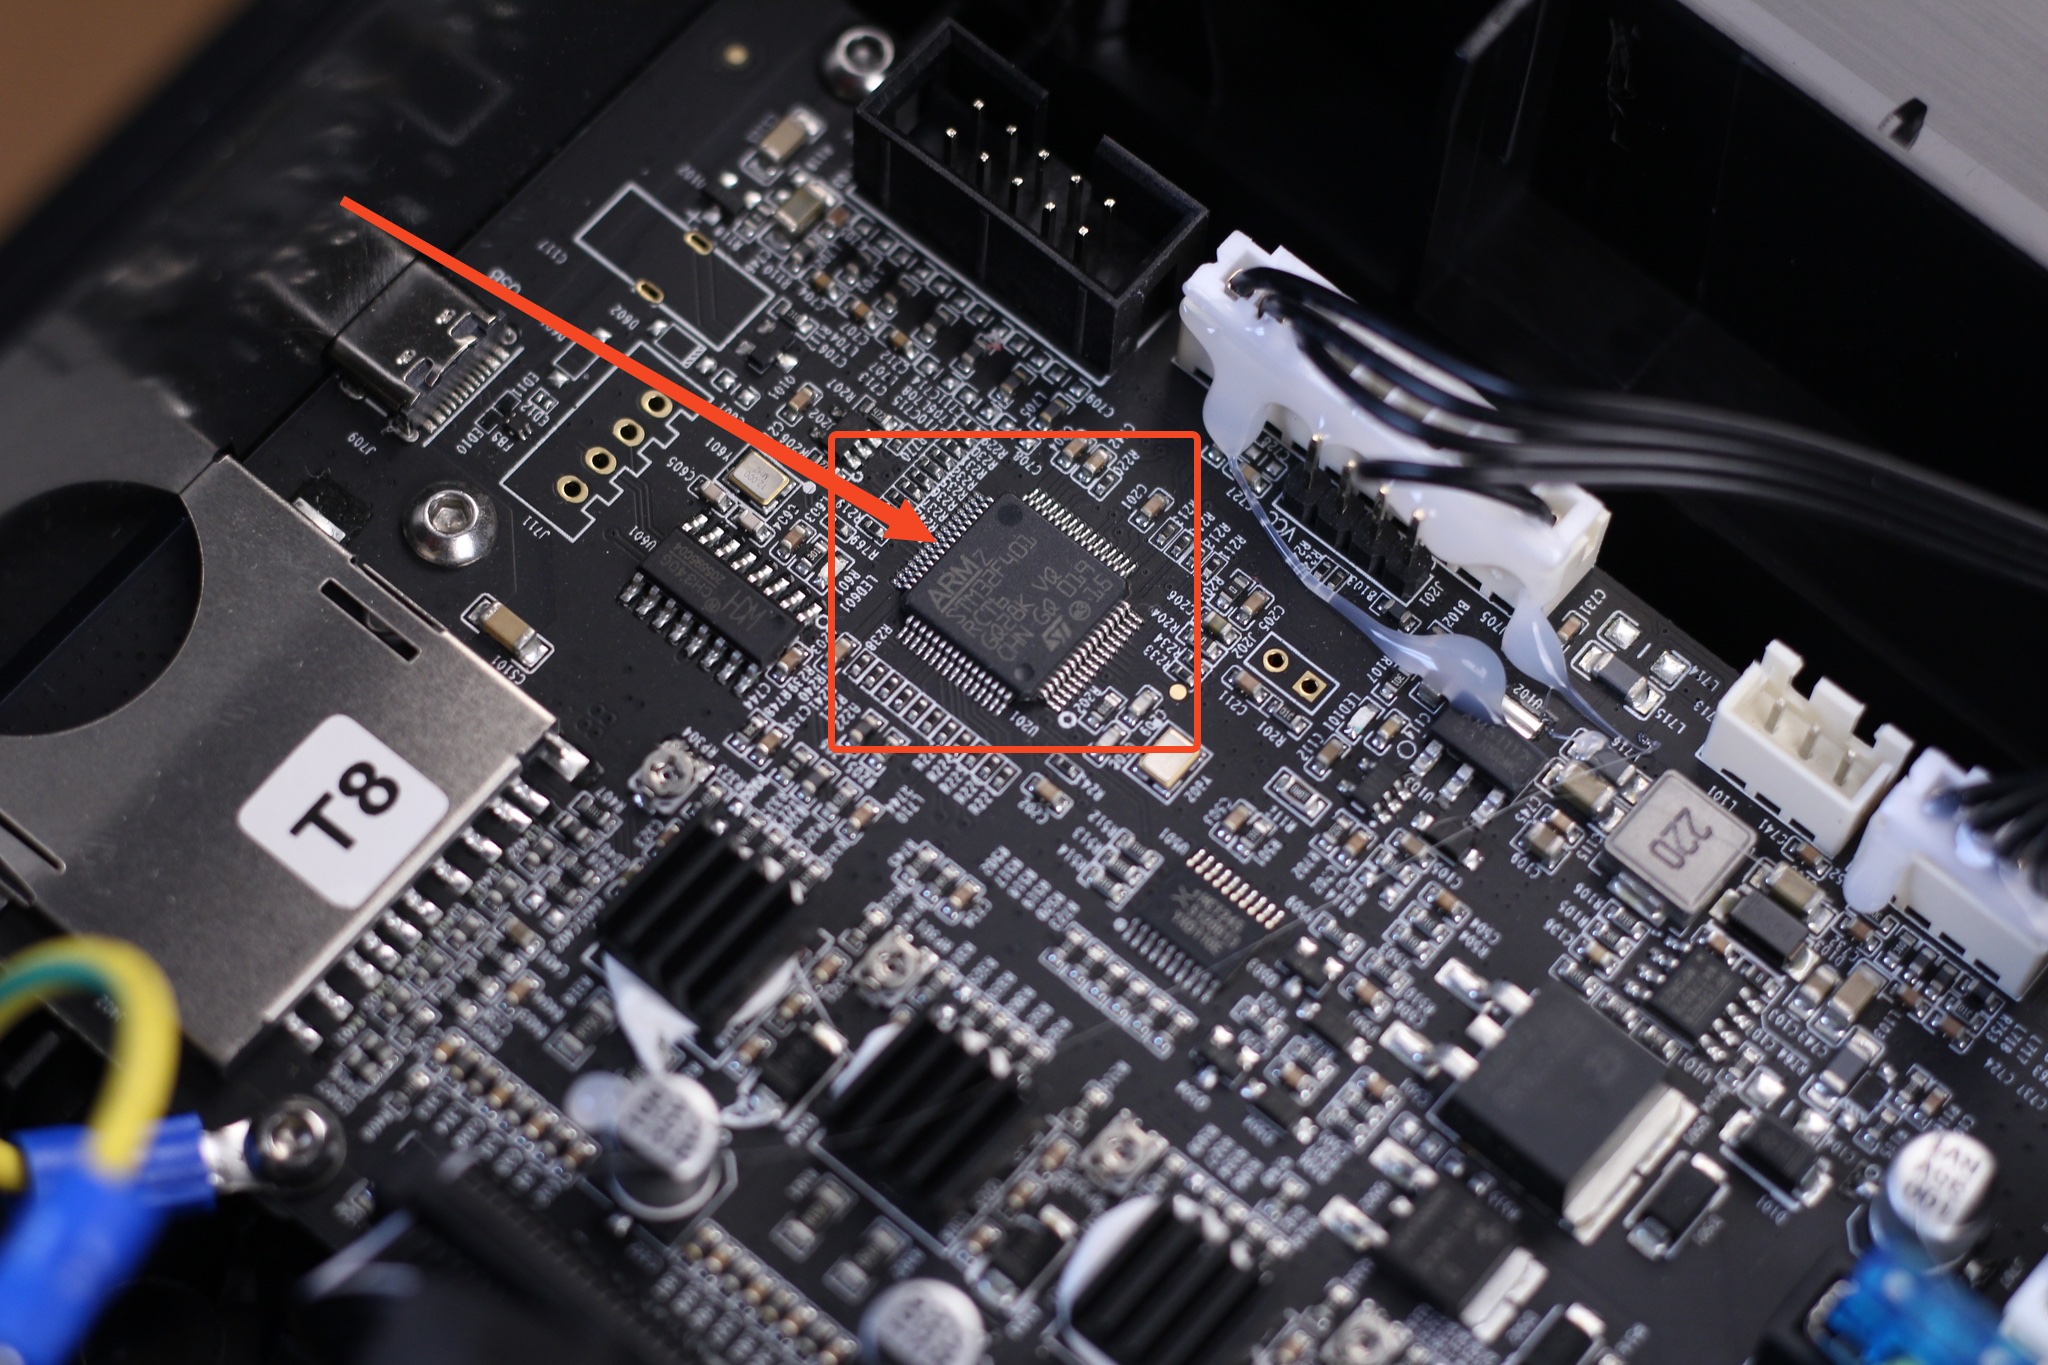
- Stock Creality Ender 3 S1 Pro 3D Printer with STM32F401 CPU. I recommend checking your chip version before following this guide.
- Quality Power Supply for your Raspberry Pi
- Type C cable which fits the Ender 3 S1 Pro
- 3DPrintBeginner Ender 3 S1 Pro Klipper Config File
You can check what kind of chip your printer is using by removing the bottom cover of the printer, and checking the CPU on your board:
If your printer has the STM32F103 chip, you can follow the Ender 3 S1 Klipper Guide, and use the config from this S1 Pro guide.
Before you begin

Please note that installing Klipper on the Creality Ender 3 S1 Pro requires some experience with 3D printers and hardware. This is not a trivial task for beginners, and you may break your printer during the process. If you don’t feel comfortable doing this, then keep the stock firmware.
Read the full guide carefully and install Klipper on Ender 3 S1 Pro only after you properly understood all the steps involved. If you have questions before starting, leave a comment and wait for a reply.
I am not responsible for any damage you may cause to your printer by following this guide. You are doing this on your own responsibility.
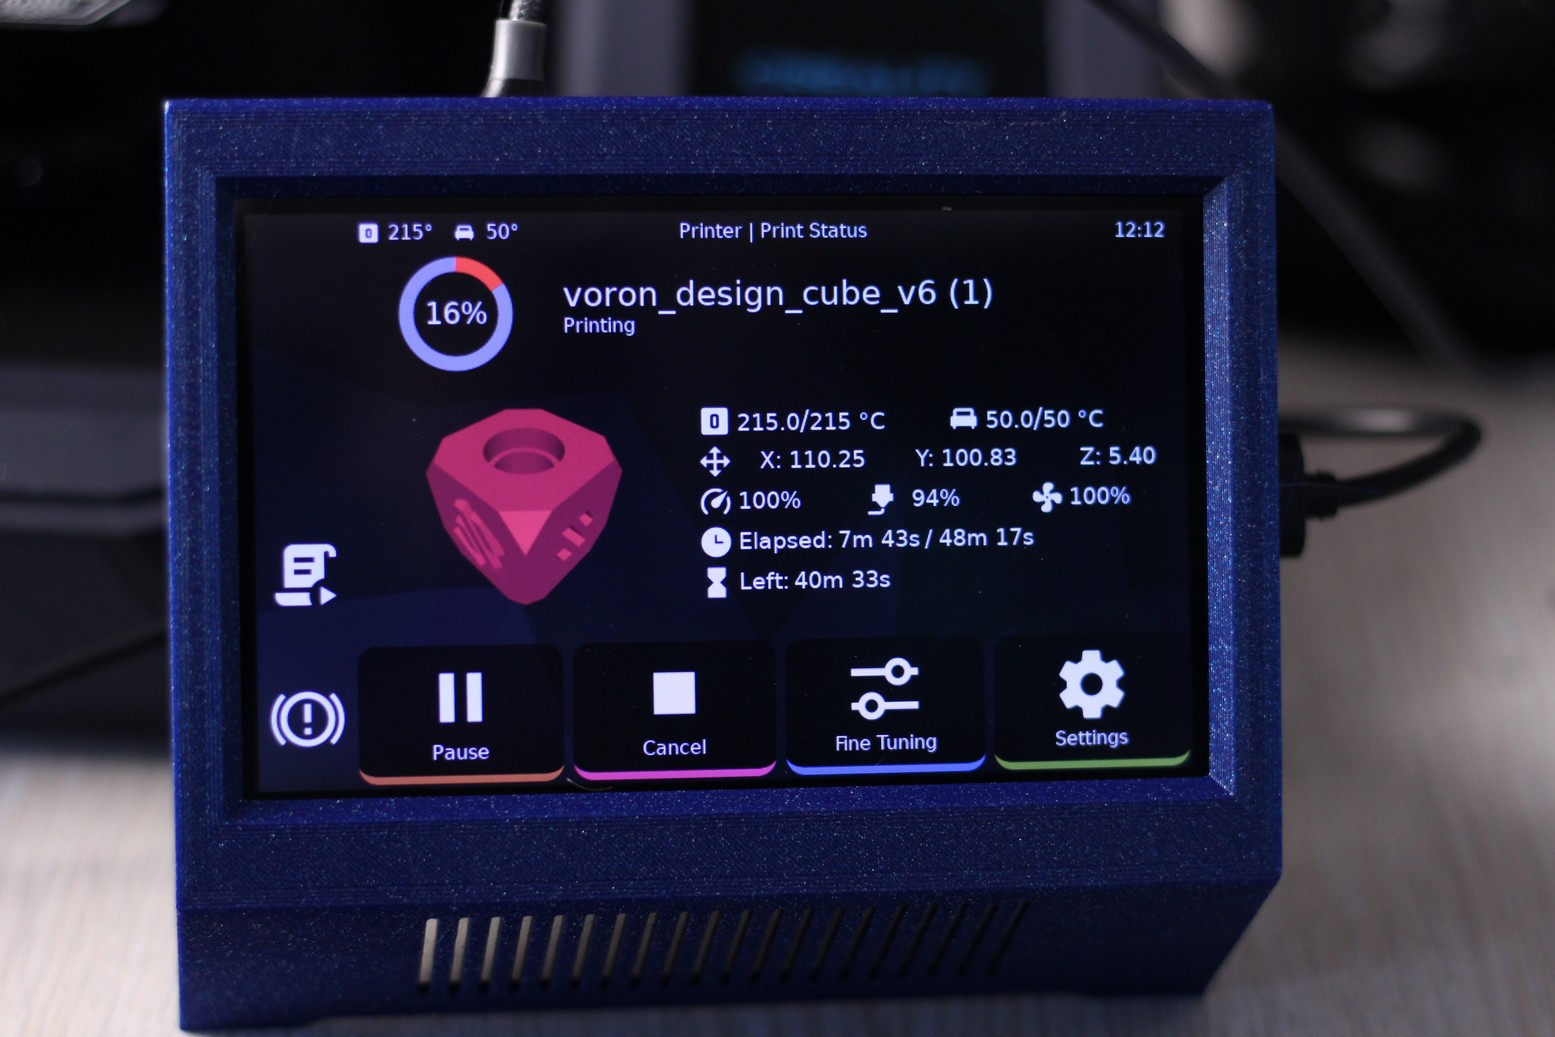
The configuration file shared in this article is made for the stock Creality Ender 3 S1 Pro. It’s also worth noting that the stock touchscreen will not work anymore, and you will need to use the WebUI for controlling the printer. If you still want a standalone touchscreen, then I recommend buying a BIQU PI TFT50 and installing KlipperScreen.
This is how mine looks like now:
Install Mainsail or Fluidd
Before we begin, we need to install the web interface for our Klipper setup. I recommend installing MainsailOS because it is actively developed and it’s easy to use, but you can also install Fluidd.
I have written complete instructions on how to install Mainsail OS and Fluidd, so check out one of those articles before moving to the next step. In this guide, I will use Mainsail.
The articles also cover the installation of KIAUH which is a handy tool to have when running Klipper.
Prepare and install Klipper firmware for Ender 3 S1 Pro
Configure Klipper for Ender 3 S1 Pro
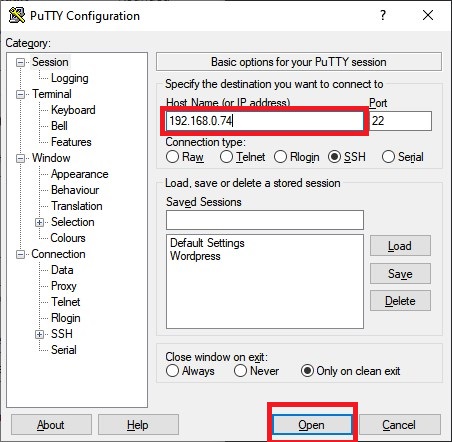
Open Putty, enter the IP of your Raspberry Pi then click Open.
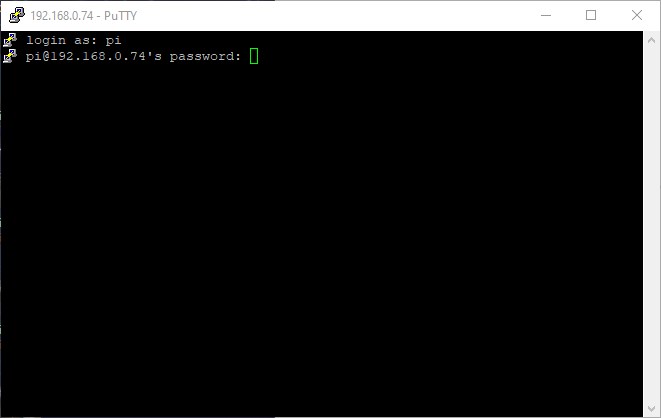
In the Login prompt, you need to enter the credentials for MainsailOS. The default user is pi and the password is raspberry. Please note that the password will not be shown when typing.
Now you are in the SSH console of your MainsailOS install. Enter the Klipper folder:
cd klipperOpen the Klipper Firmware Configuration screen using the following command:
make menuconfigThe Klipper Firmware Configuration screen will appear. Using your navigation keys, move through the menus and replicate the same settings I used.
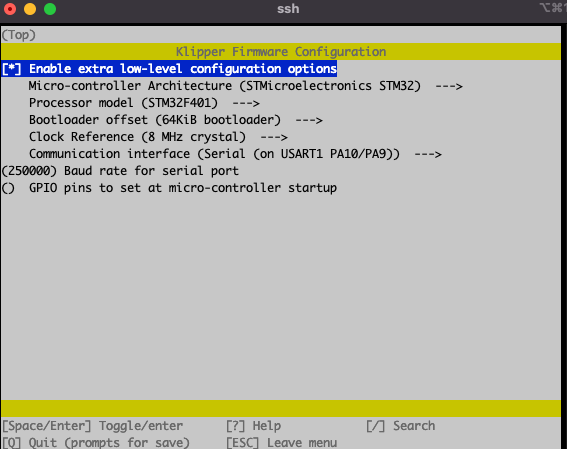
When finished, press Q then Y to save your configuration. Now run the following command to start building the firmware:
makeThe build process will start and when finished, the firmware will be ready to install. For the Creality Ender 3 S1 Pro, we need to install it from the SD card.
How to flash Klipper firmware on Ender 3 S1 Pro
Create a folder named STM32F4_UPDATE on the printer SD card. This will hold the klipper.bin firmware file we created before.
Next, connect via SFTP to your Raspberry Pi. I use WinSCP. Enter the IP, username and password just like you did for Putty, then click on Login.

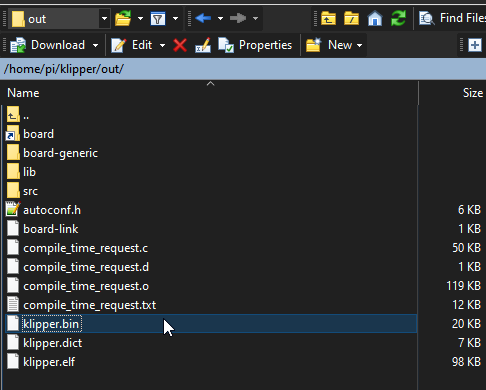
Navigate to /home/pi/klipper/out and copy the klipper.bin file to the STM32F4_UPDATE folder we previously created.
Next, plug the SD card into your printer and turn it on. The installation process takes about 10 seconds. I recommend you wait for a minute, then remove the SD card and restart your printer. You will know that the firmware is flashed successfully if the screen does not display the regular menu.
Copy the Ender 3 S1 Pro Klipper config file
To make things easier, I made a printer.cfg for the stock Creality Ender 3 S1 Pro which can be downloaded and copied in Mainsail. You can download the config from here: Creality Ender 3 S1 Pro Klipper Config
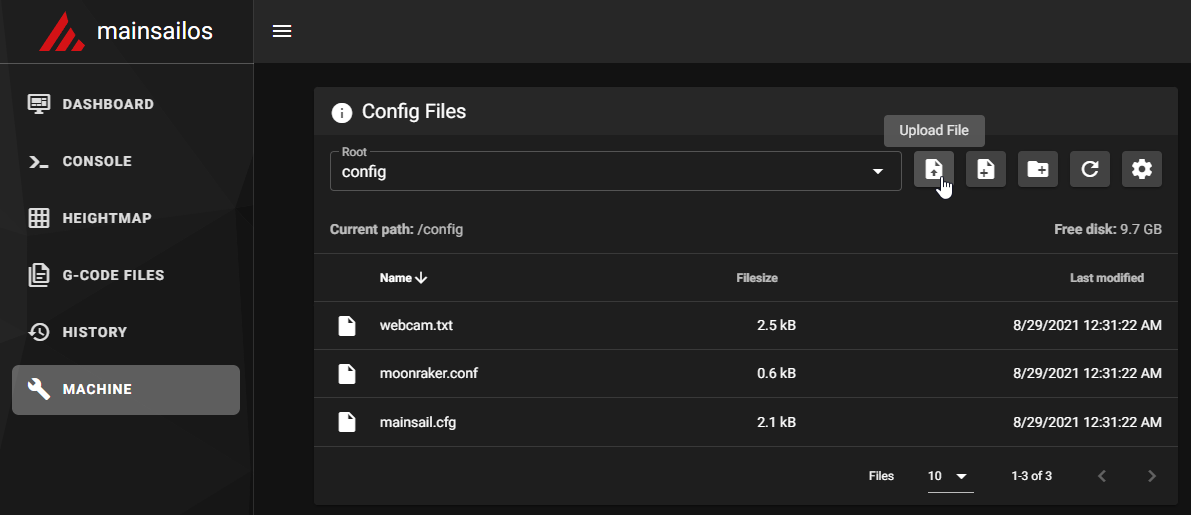
Navigate to Machine, then click on the Upload button.
Connect Klipper to your printer
Finally, you just need to connect Klipper to your printer. This is super easy. You just need to go back on your Mainsail Dashboard, click on the Power button in the top right corner then click on Firmware Restart.
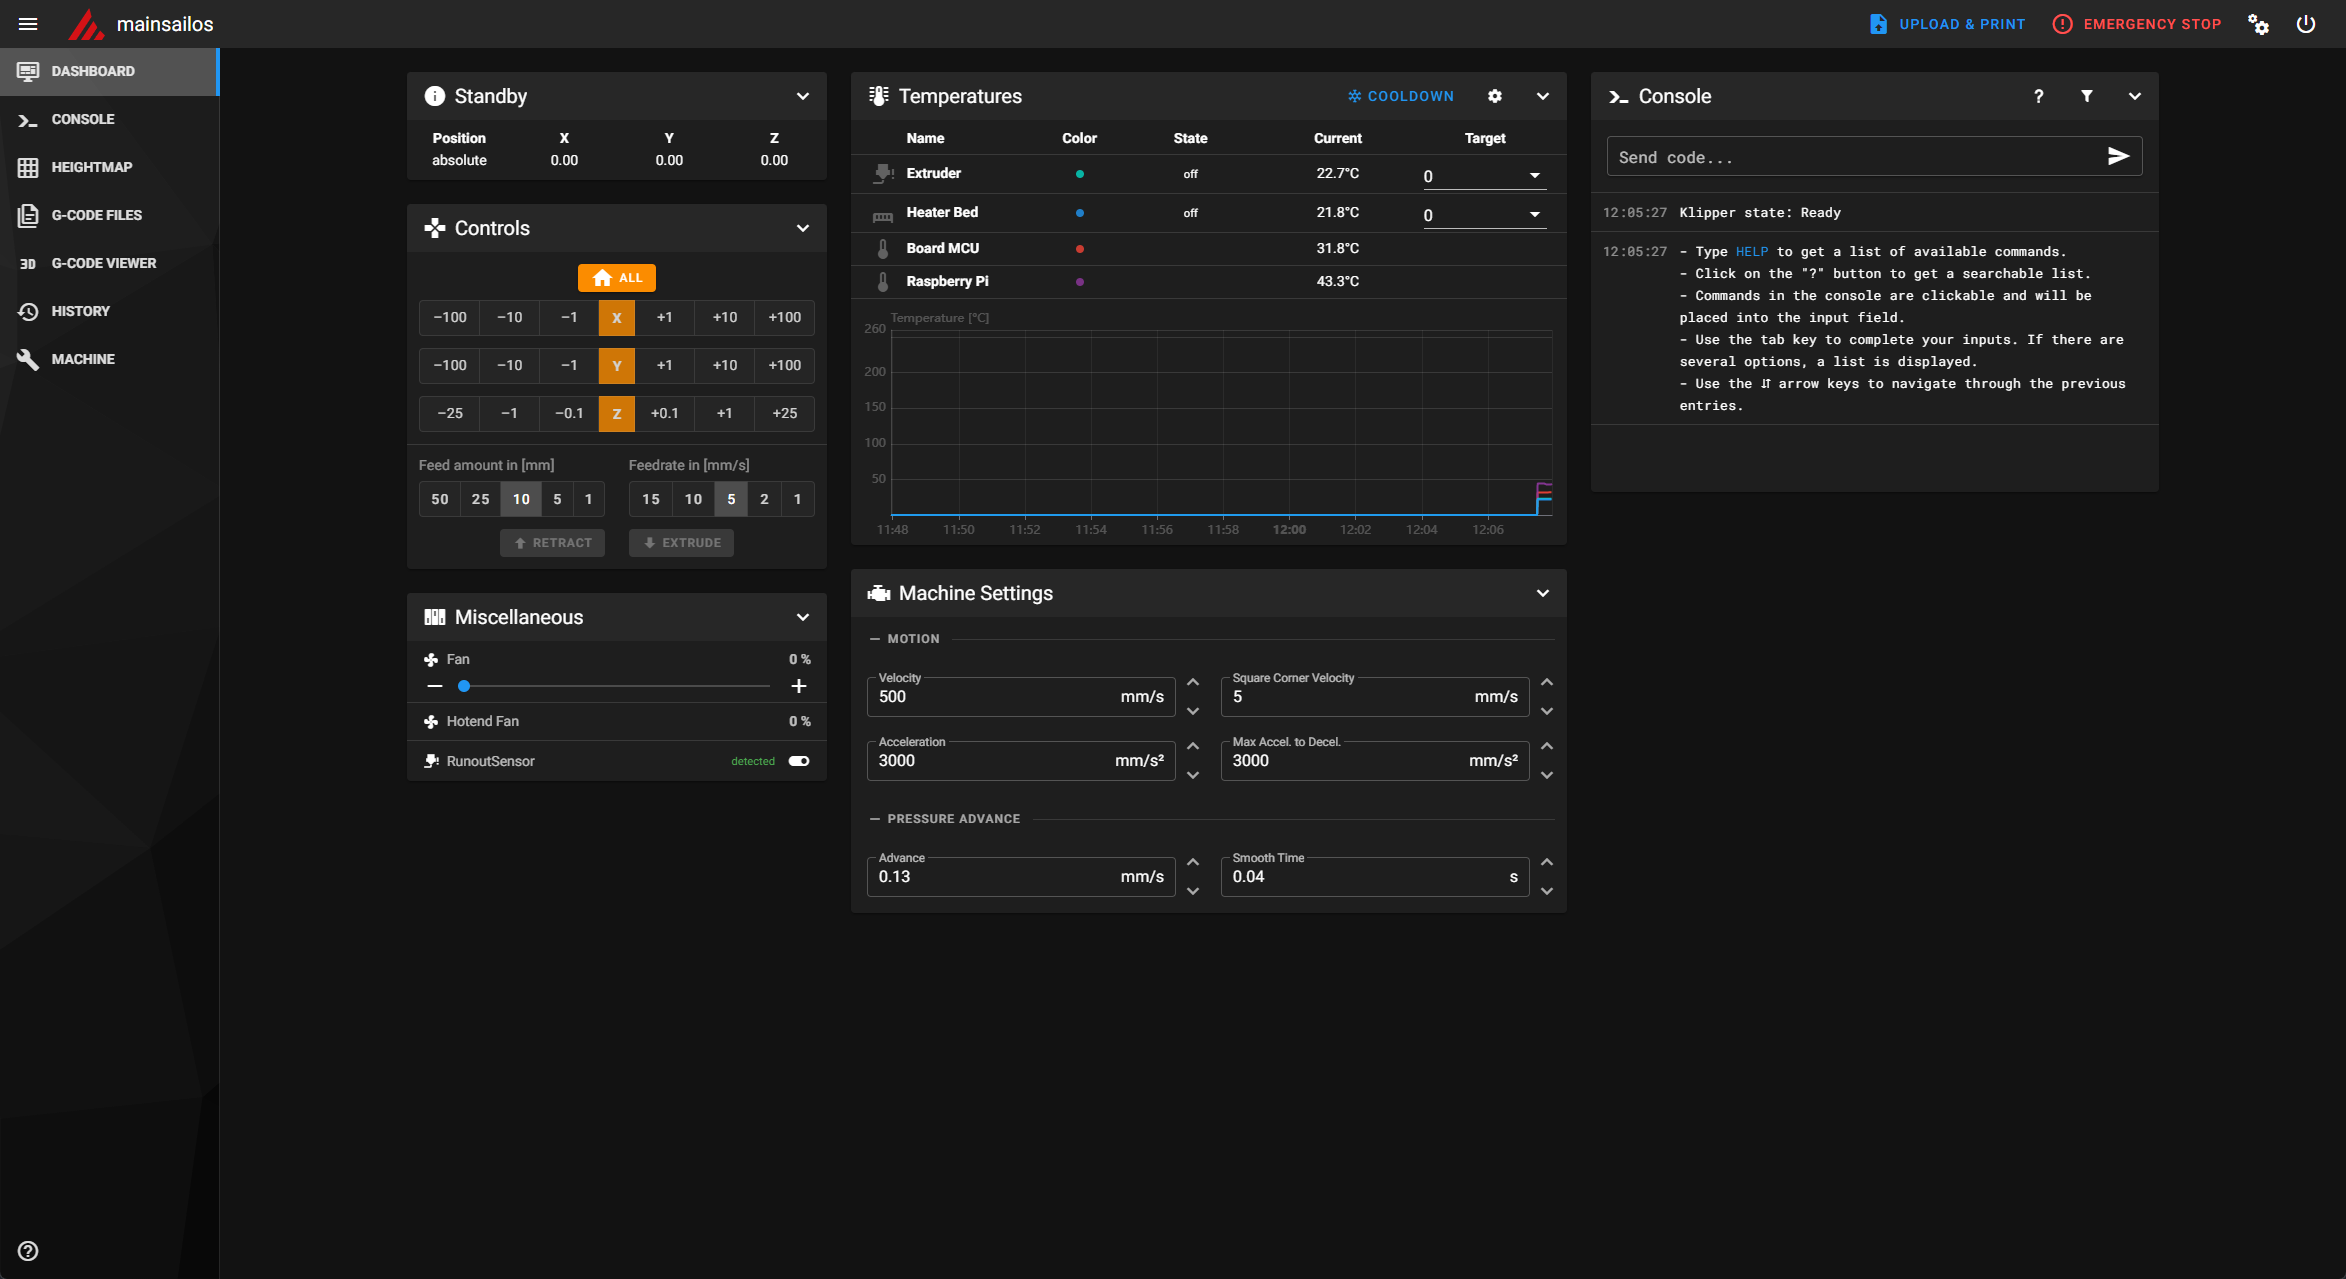
This action will trigger the connection between the Klipper service running on Mainsail and the Ender 3 S1 Pro Klipper firmware we just installed. If all the steps have been followed, then your printer will connect, and you will be greeted by this interface.
Feel free to home the printer first, to make sure everything is running correctly. Heat up the nozzle and heatbed and check if the temperature rises as expected. If everything looks good, I recommend starting the calibration process for Z offset, Pressure Advance, and Input Shaper.
My configured values should work well, but it doesn’t hurt to double-check.
How to revert to Stock Ender 3 S1 Pro Firmware?
If you decide Klipper is not for you, reverting to the stock firmware is easy. First, download the stock Ender 3 S1 Pro board firmware then follow the flashing guide from Creality.
Wrapping up
If you encounter issues during your installation, leave a detailed comment below and I will do my best to help you. I recommend checking out the Faster Klipper Bed Probing Macro if you want to probe your bead faster before each print.
You can also join the 3DPrintBeginner Forum where there’s a dedicated thread for Klipper Firmware, with Klipper enthusiasts ready to help.
Liked it?
|
|







I see that the Klipper GitHub also has a config file for the S1 Pro now, but when I compare that config file with the config file from this article, there are quite a few differences… so, now not sure which file is more current or accurate… any advice on this?
You are free to use any klipper config
Can I copy/past sections from one file to another to “make” my own config? Or will this cause issues?
No problem in doing that. You just need to make sure you know what you’re doing and understand what’s changed.
Hi,
Im at klipper firmware configuration, and for processor STM32F401 there is only on bootloader offset avalaible “16KiB bootloader (HID bootloader)” and in the guide there is 64 KiB bootloader selected. Should i go with 16 KiB bootloader? Or i need to update somthing to get 64 KiB option?
Great tutorial for the S1 Pro. Worked great on my STM32F401. Thanks to 3DPrintBeginner. So nice to get rid of the SD card and enjoy tons more features with Klipper. I was lucky to have a Pi4b I bought a year ago. One tip I have for those installing Klipper is to uninstall the Arc_Welder plugin in Cura if they have it installed. The G2 and G3 codes it yields do not work in Klipper without making changes.
Oh… One more thing. The Klipper firmware did not flash on the first try. But did flash fine on the second try. Weird!
Same issue. Looking for how to fix this.
Hello everyone, I’ve had my S1 Pro for a week now and am thinking of trying Klipper for the first time. I have a Raspberry Pi already on another printer I’m planning on moving over to the S1 Pro for Octopi but I may just use it for this. So my question is my Pi already has the official Pi 7” screen so will that work with this firmware like normally running Octopi?
Yes. you just need to install KlipperScreen
Hello,
tl;dr
I am new here, as I am new to 3D printing. I recently bought myself an Ender 3 S1 Pro and had quite a hard time with because it was nearly impossible to properly level the bed with the stock firmware. While manual leveling worked to some extend, the ABL messed everything up and caused the nozzle to almost engrave the build plate in the front part while printing into the air in the back part.
After some searching in the almighty internet I stumbled onto this guide and gave it a try. It worked almost like a charm. The ABL works now and Klipper is also really helpful when it comes to calibrating and configuring the printer.
So great thanks for providing the guide.
I have, however, a minor issue with the precision of the z-axis: With the stock firmware the height of the standard 20mm^3 calibration was spot on 20mm while I had to adjust the flow rate for the x- and y-axes. Now with Klipper the x- and y-axes are spot on but the z-axis is almost 0.5mm to high. I am quite not sure on how to fix this. I would use the same approach as I did for the e-steps and use the old step value the actual height and the target height to calculate the new step value (does this work at all?), but I am not sure what step value is relevant here. rotation_distance? microsteps? Any help would be appreciated.