3D Printer Upgrades for Beginners: When and Why?
I noticed a lot of beginners looking for 3D printer upgrades before even receiving their printer which is not recommended. While I always recommend upgrading your 3D printer with various hardware, it’s time to cover this topic in more detail to avoid frustration for people who don’t have the 3D printing bases and do this without really understanding why some of these 3D printer upgrades are performed.
What are 3D printer upgrades?
3D printer upgrades are modifications you do to your 3D printer to improve the print quality or solve other hardware issues you might encounter. Most of the people refer to this by hardware upgrades, but there’s also firmware upgrades you can do.
3D Printer Hardware Upgrades
Common 3D printer hardware upgrades try to improve your 3D printing experience by replacing low-quality hardware parts of your 3D printer with better quality variants. There are also hardware upgrades that refer to printing some part which are added to your printer to solve a specific issue.
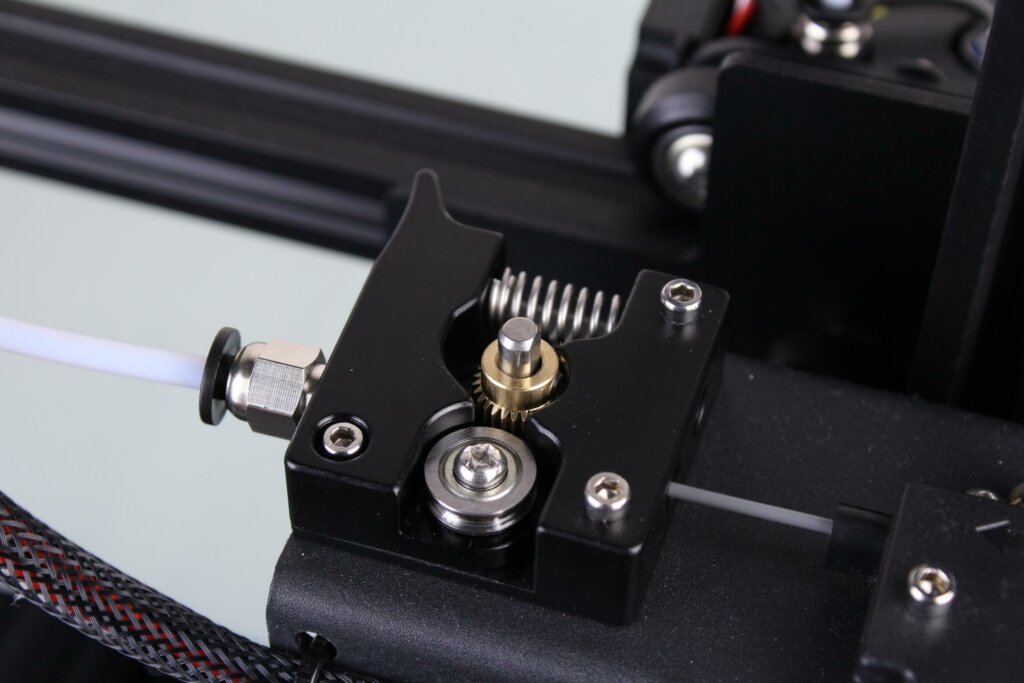
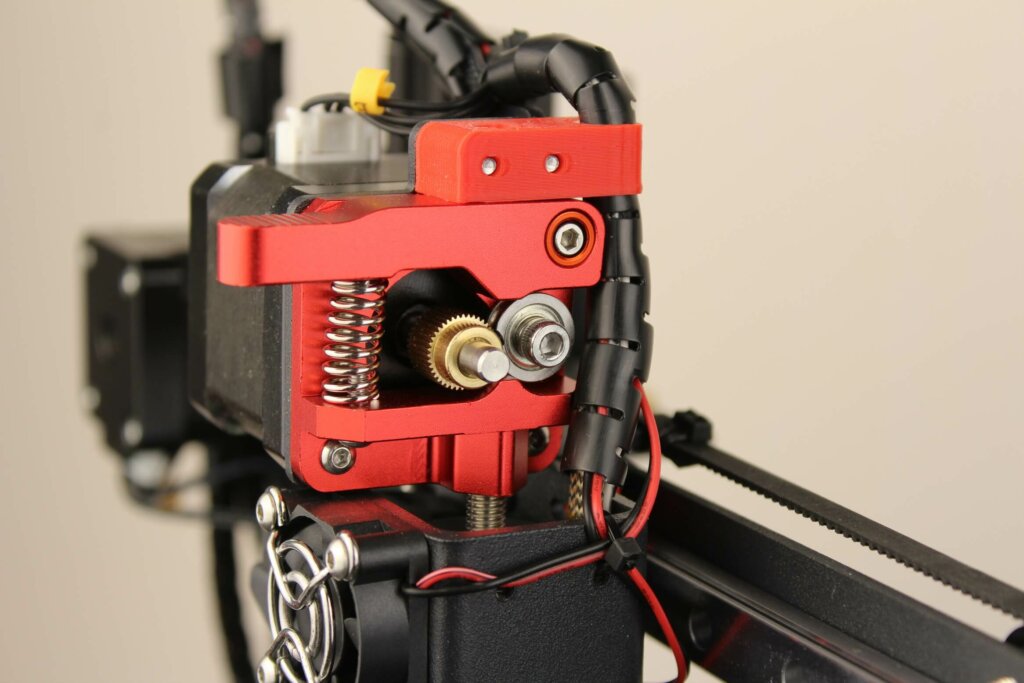
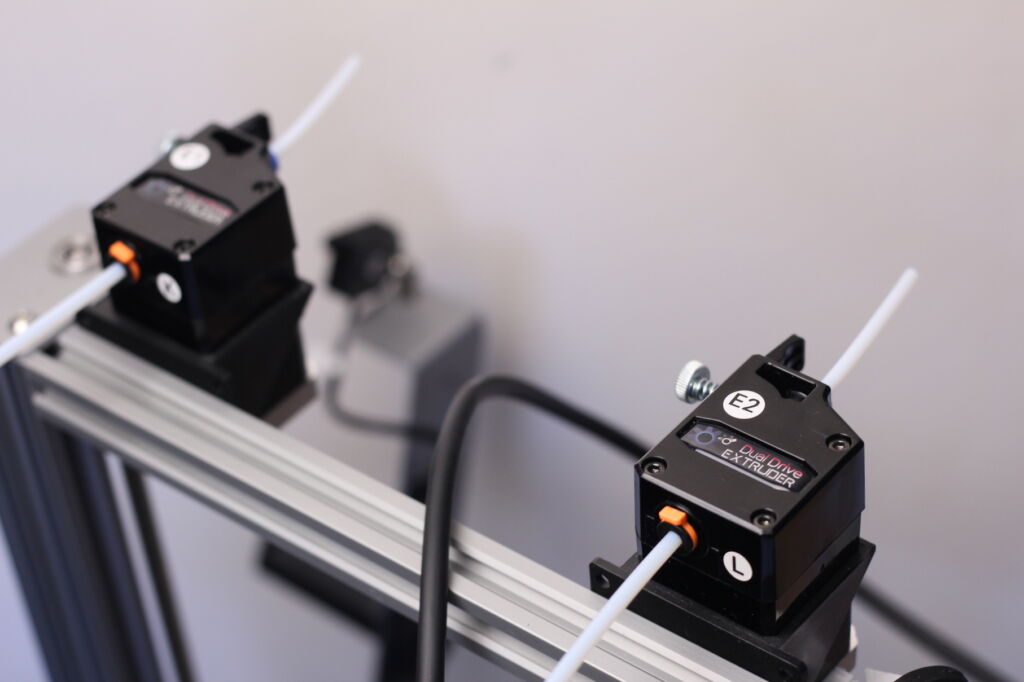
The most common hardware upgrade is replacing the extruder. Budget 3D printers use a single-geared extruder, which often doesn’t provide the most accurate extrusion possible especially with long bowden setups. A popular upgrade is purchasing a dual-gear extruder which grips the filament from both sides feeding the filament more effectively.
Sometimes, people are upgrading their extruders because they want to convert their bowden 3D printer with a direct drive setup. The main benefit of upgrading to a direct drive extruder is the smaller filament path which allows the use of a smaller retraction value and also offering better filament control. I covered this topic in the Direct Drive Extruder Buyer’s Guide. You can choose to completely upgrade the extruder by purchasing a dedicated direct-drive setup, or you can print a mount which allows the relocation of your stock extruder next to the hotend.
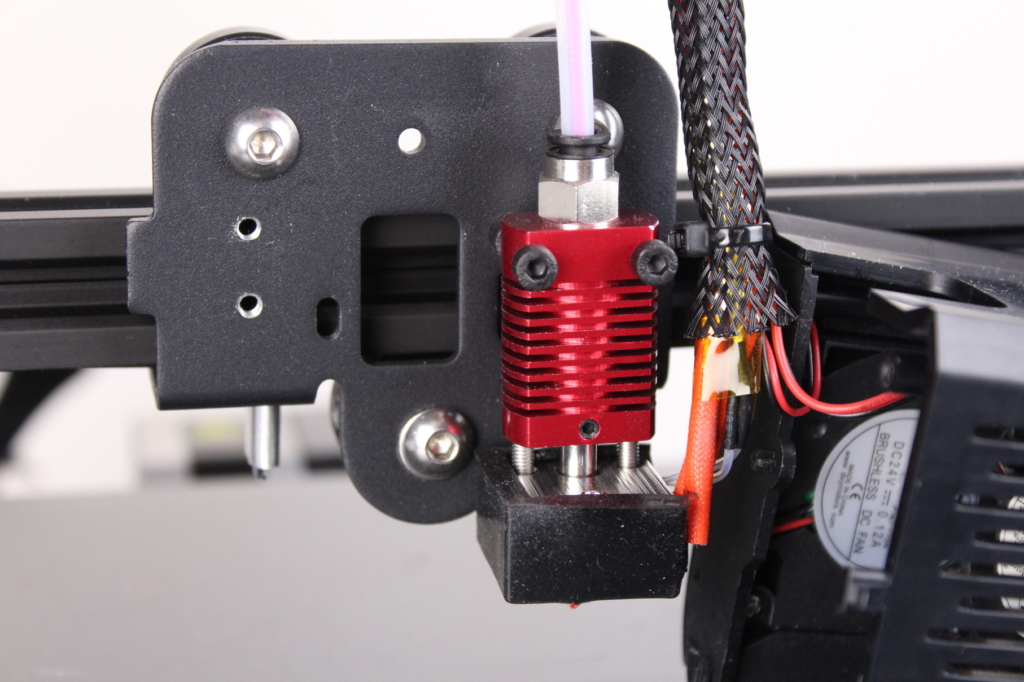
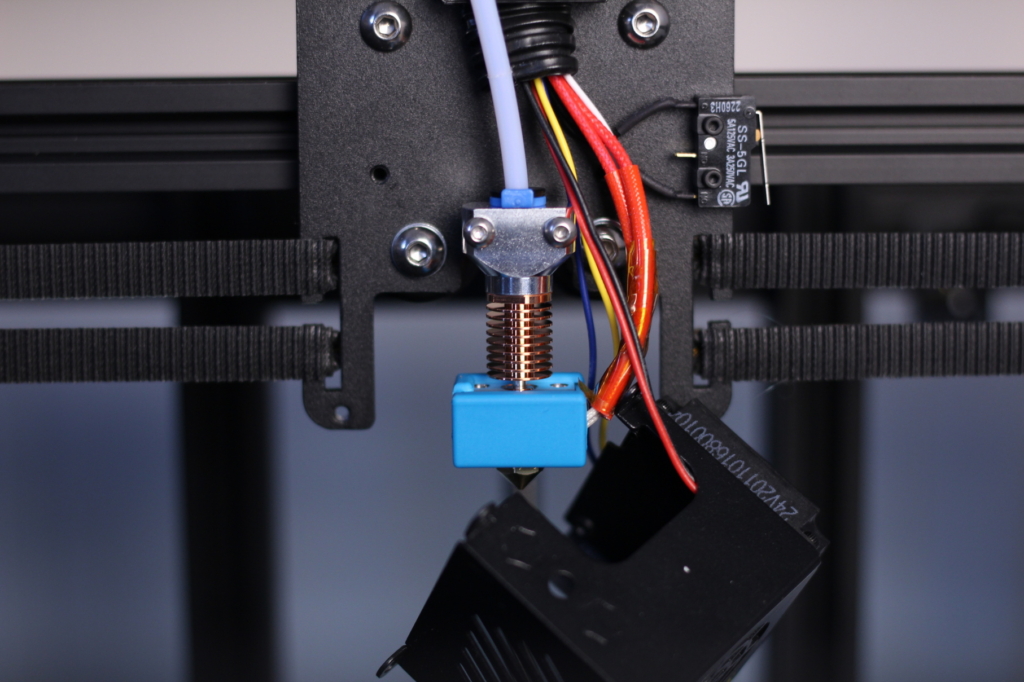
The second most popular 3D printer hardware upgrade is replacing the hotend. Most of the time, the hotend is replaced with an all metal hotend to allow printing higher temperature filaments while also decreasing the amount of maintenance you need to do on regular PTFE lined hotends. This PTFE tube starts to degrade after a while because it touches the nozzle. By replacing the hotend on your 3D printer with an all-metal hotend, you eliminate this issue.
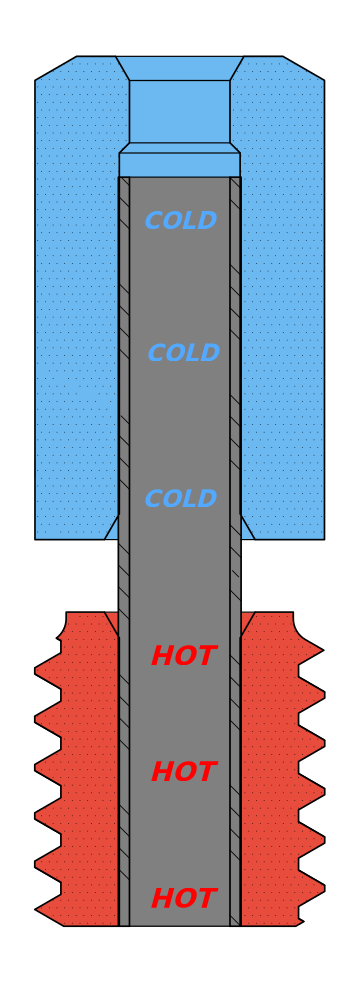
If you don’t want to replace the whole hotend, you might want to just replace the heat break inside it. The heat break is the part in your hotend which is responsible with ensuring that the heat doesn’t travel up to the heat sink. This heat break needs to have low thermal conductivity to make the thermal difference between the heat block and the heatsink as big as possible. The filament needs to keep its shape right until it reaches the heat block and start melting only inside the heat block, so upgrading to a titanium heat break or a bi-metallic variant can improve help.
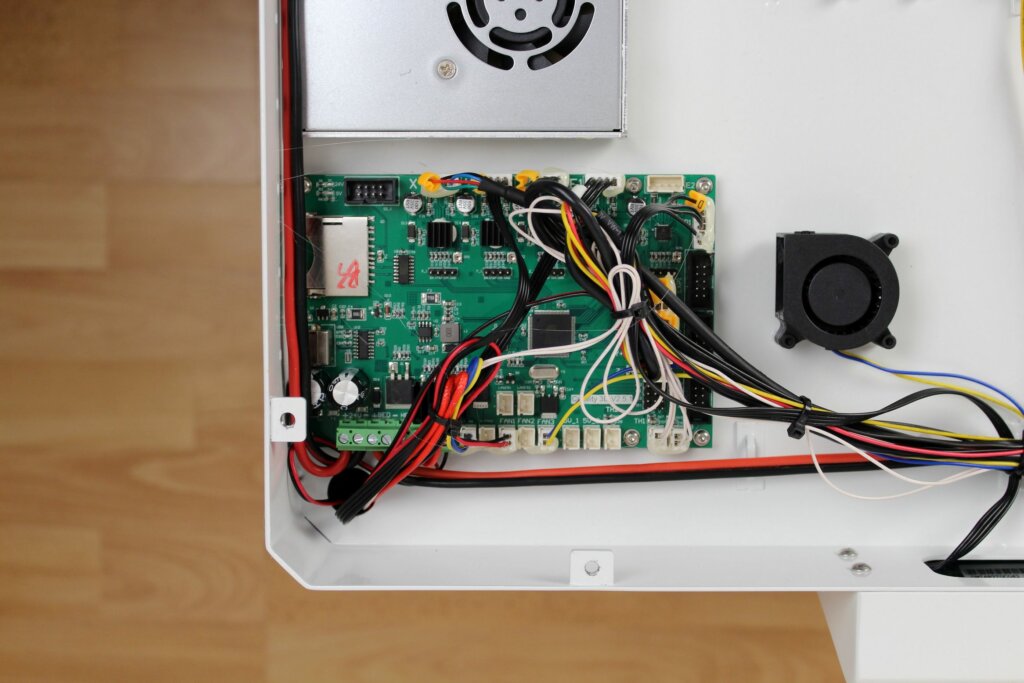
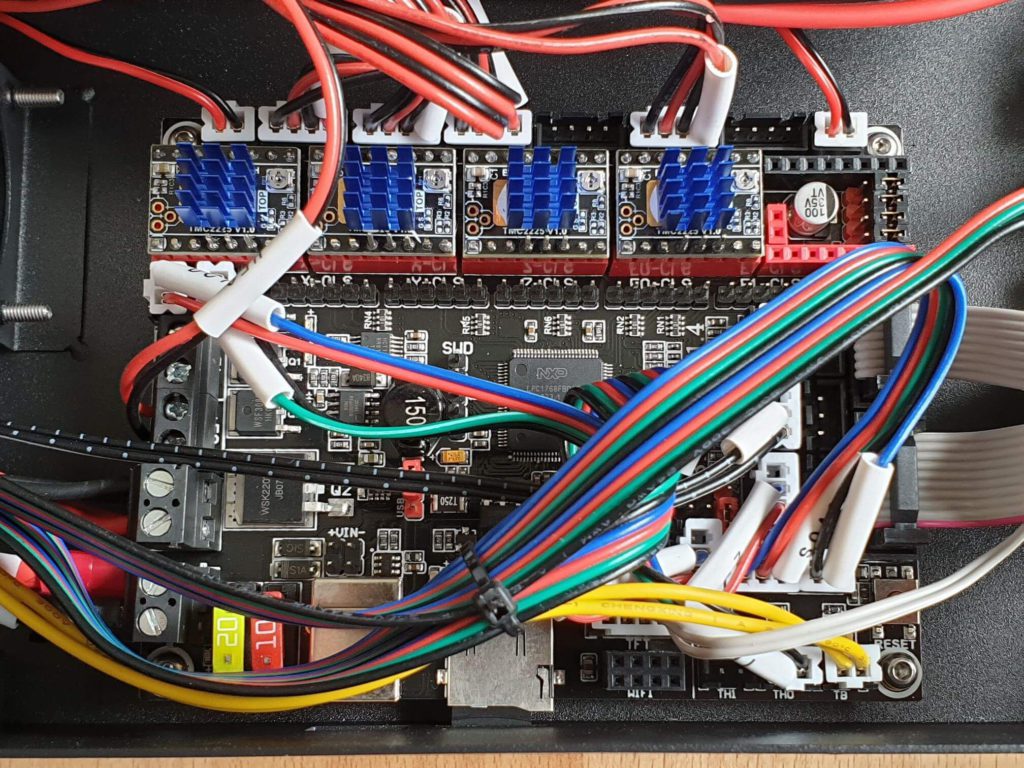
The third popular 3D printer upgrade is an aftermarket 3D printer board. People who are upgrading the board in their 3D printers are usually looking to do it because their stock board is either an older 8-bit board, or it uses noisy stepper drivers that cannot be replaced with silent variants.
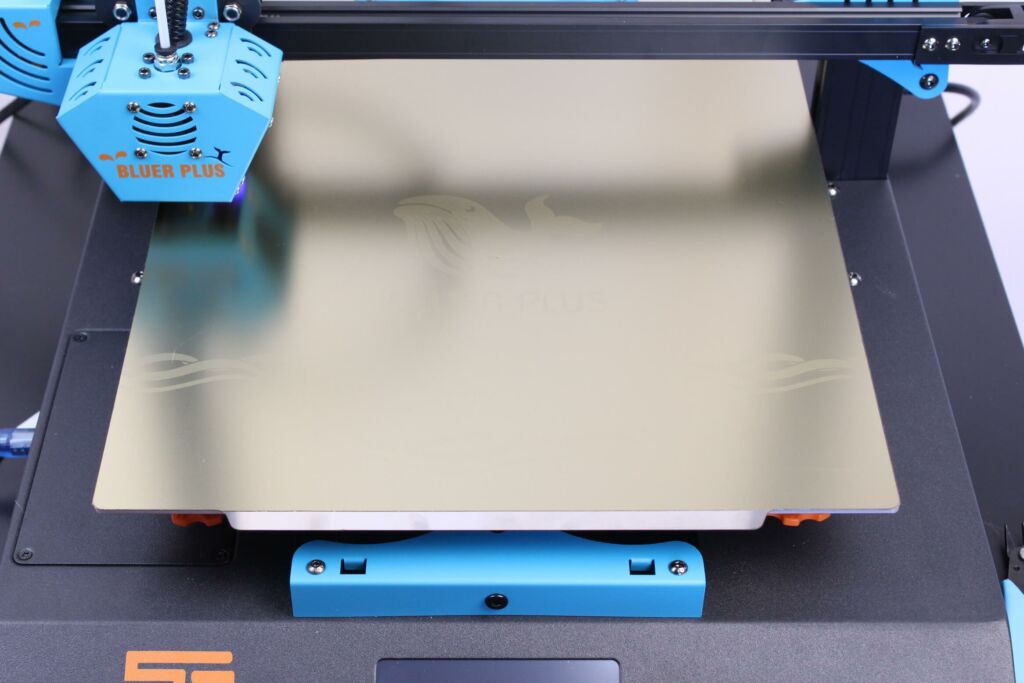
Another popular upgrade is adding a magnetic PEI sheet to your heatbed. While this is an easy to perform upgrade which I highly recommend doing, you need to first try to fix the problem with your current setup. If your bed is not properly leveled, and the print surface is not cleaned then you will have a tough time ensuring that your model sticks well to the bed.
A PEI sheet helps with removing the prints, and with adhesion, but you need to learn how to print successfully on the stock setup to have a better experience with this upgrade. The same applies for an auto bed leveling sensor like the BLTouch. I see a lot of people who upgrade to a BLTouch expecting all their problems to go away, but if the bed is not thoroughly cleaned and trammed, the results won’t be as expected.
3D Printer Firmware Upgrades
A common upgrade for 3D printers is flashing an aftermarket firmware which usually brings more features and it’s also running a newer Marlin firmware version. You might also want to upgrade your firmware to fix some issues present on the current stock firmware you are running. Finally, you might also do a 3D printer firmware upgrade to install a different firmware like Klipper.
When should you upgrade your 3D printer?
It shouldn’t come as a surprise but upgrading your 3D printer is usually not a painless process especially if you are just starting your 3D printing journey. A lot of beginners are looking for 3D printer upgrades right after they set it up, without taking their time to check if they really need those upgrades. Please keep in mind that any alteration you do to your stock 3D printer (hardware or software) invalidates your warranty.
My recommendation for beginners would be to set up their printers according to the manual included with the printer and do a few test prints to make sure everything works as intended. You might discover that some parts are not working correctly, and it will be easier to ask for assistance from the community or from the company who sold the printer.
If everything runs well, and the first few prints are successful, you should continue using your printer for at least a week or two, just to get comfortable with the whole 3D printing process and to learn the bits and pieces of your machine. This will ensure that you have a good understanding of how your 3D printer works and you will have a better experience if you know your printer and what you should improve.
Take your time and learn your slicer settings. A lot of printer defects can be solved by carefully tuning your slicer profile. First, start with a known good slicer profile, and work your way up. I share a lot of IdeaMaker slicer profiles for the printers I review, so if your printer is available use that as a start. Then, you can check out my 3D Printing Tips to Improve Print Quality article where I cover some slicer settings that might help you improve your printing quality without installing upgrades.
Why upgrade your 3D printer hardware?
As previously mentioned, upgrading your 3D printer needs to produce a visible effect on your 3D prints. If you decided you want to go this path and do some 3D printer upgrades, then the first question you should ask yourself is “What am I trying to achieve after I install this upgrade?“. The answer to this question should come after checking the print quality you are able to get after carefully tuning your slicer settings and eliminating the issues you might have with your 3D printer in its stock configuration.
If you notice that your nozzle often clogs, then you should first investigate the problem. Usually, nozzle clogs are caused by improper cooling of the hotend which causes the filament to expand inside the heat break and cause a clog. Another reason could be a damaged PTFE tube which blocks the filament feed. Try to fix these issues before jumping on Amazon or AliExpress and ordering new parts. Ask for help on how to fix the problems and apply those recommendations.
Popular hotend upgrades are the NF Smart, MicroSwiss and the good-old V6 hotend.
If you’re thinking about upgrading your extruder, ask yourself the same question and think about how this extruder could help with your problem. The most common issue I see online is with single-gear extruders that start to grind filament and are having a tough time pushing the filament efficiently trough the PTFE tube. Upgrading the extruder will not solve the cause of the problem (which is probably a clog on your hotend) and instead will just add another factor to consider when investigating the problem. You should the extruder on your 3D printer only when your stock setup works well, and you notice that the pushing power is not as good as you would like it to be.
Popular extruder upgrades are the BMG extruder, Creality dual-gear extruder and now, the small compact extruders like the Orbiter.
Finally, upgrading your 3D printer board should be the last on your 3D printer upgrade list, especially if you’re a beginner. Upgrading the board is not a trivial task and it often requires a good understanding of how the printer works, and how to flash the correct firmware to it. Most of the time, the aftermarket boards don’t come with the correct firmware for your machine. For example, if you have an Ender 6, you can’t use the same firmware an Ender 3.
If you’re a beginner who is looking to upgrade their board to replace their old noisy board, I recommend you get a drop-in replacement which doesn’t require any firmware modifications, or if it does, it already has a firmware available for you to use.
When you’re a bit more experienced, look for reports online of other people using the same setup as you, to have a place to check when the installation time comes. There are various 3D printer boards out there which work with various stepper drivers so ensure hardware compatibility in advance. You should have a diagram showing you how to prepare the board in advance and how to wire everything before even ordering the replacement board.
Popular board upgrades are the new SKR 2.0, and the SKR Mini E3 (specifically for Ender machines).
Why upgrade your 3D printer firmware?
The main reason you would want to upgrade your 3D printer firmware is to fix some issues in your stock firmware. There’s no surprise that some budget 3D printers come with unfinished firmware which have untested features, or they even miss important safety features like thermal runaway protection.
A beginner should always look for the latest firmware upgrade available directly from the manufacturer. Before doing the upgrade, take your time to look up for other reports online regarding that specific firmware upgrade to check if the issues you encounter are fixed, and if the upgrade process works as intended.
When you have the required information, double-check that you have downloaded the correct firmware for your 3D printer, and you also understand all the steps required for the firmware upgrade process. Besides that, it’s recommended to also have the old firmware at hand, ready to be flashed if something goes wrong.
Once you have more experience, you can also start looking into flashing aftermarket firmware builds made by the community, but the same rules apply. You can also look into upgrading your firmware to something else, like Klipper or RepRap Firmware but these upgrades require more knowledge compared to ready-to-go firmware.
If there’s a specific feature you want, you might want to look into installing Octoprint. You might be able to add that feature to your machine via Octoprint plugins without the risks of flashing the wrong firmware and bricking your printer.
Wrapping up
In the end, I recommend you not to fix something that works. The main reason for a 3D printer is to have a working machine that can print your models. If you’re less experienced, never start “fixing” a working machine because you can easily break your printer and turn it into a paper weight.
Always take your time to learn as much as possible about what you’re trying to achieve, before performing an upgrade. When doing hardware upgrades, make sure your current setup works well to ensure that if you are not able to complete it successfully, you are able to install the old parts and get your printer in its previous state. The same applies when it comes to firmware upgrades. Always look for information on how to revert your firmware upgrade if the one you flash doesn’t work as intended.
Now that you learned why and when to upgrade your 3D printer, feel free to check the Ultimate 3D Printer Upgrade Purchase Guide for a complete list of upgrades you can try. Upgrading your 3D printer can be a really interesting way to learn more about printers and can be a rewarding experience after you manage to successfully do it, but please do your due diligente and don’t start running before you learn to walk.
Liked it?
|
|



I have the ender 3 S1, and I want to upgrade to the pro extruder. I am very new to this, can you please explain to me how to do it, do I need to change any settings?
If you are very new to 3D printing, I recommend waiting until you gather more experience, then take on the upgrade.
Switching the extruder should be as easy as when you assembled the printer, then you only need to flash the updated firmware. But if you don’t need the 300C capabilities, stock should work just fine
Very good article!