Artillery All-Metal Extruder Review: Is it worth it?
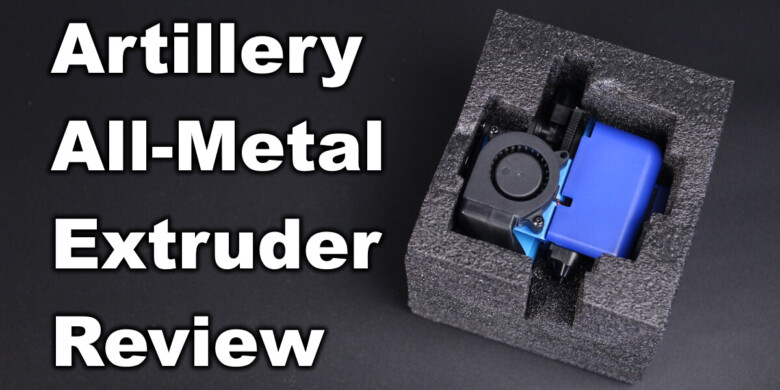
One of the biggest disappointments with the Artillery Sidewinder X2 and Genius Pro is the lack of an all-metal idler and heat break. But it seems that Artillery was saving these upgrades for a separate product in the form of an All-Metal Extruder assembly.
In this article, I will test the differences between the stock Artillery Sidewinder X2 Extruder and the upgraded Artillery All-Metal Extruder.
Artillery All-Metal Extruder Packaging
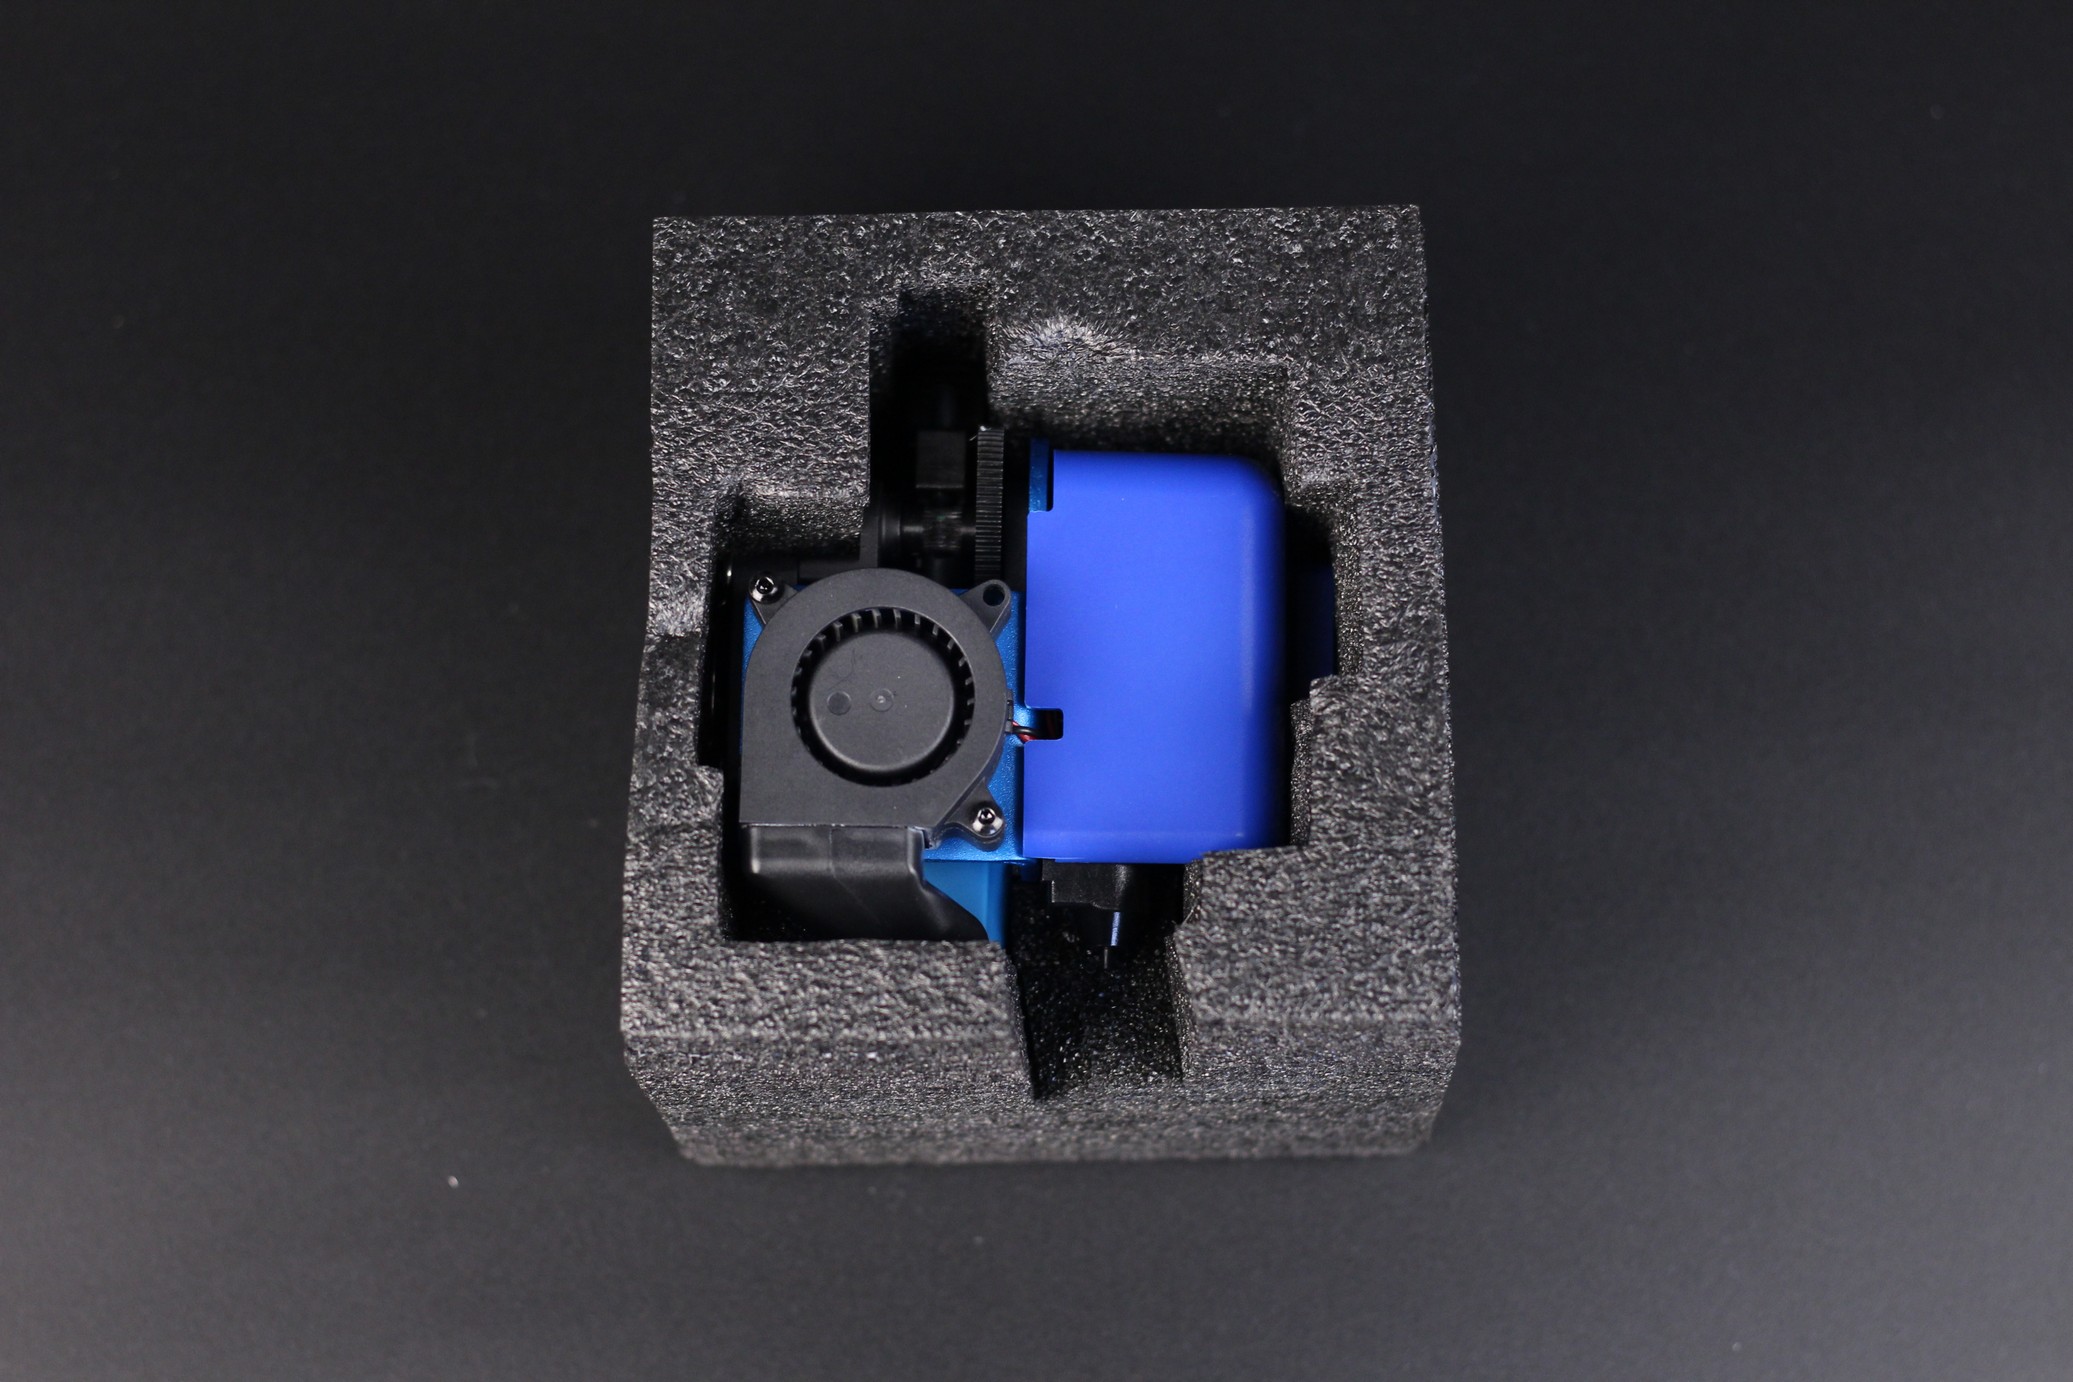
The Artillery All-Metal Extruder comes in a simple cardboard box, with foam protection on the sides. Nothing worth noting about this, other than me losing the photos I took during unboxing. Please note that in the image below, it’s the stock Artillery extruder. The upgrade looked just the same.
What’s interesting about this is the lack of any kind of documentation or information about this extruder inside the package. I was expecting at least a piece of paper to direct me on a website link or something like that, to read more about it. But nothing else was included besides the extruder assembly
Artillery All-Metal Extruder Upgrades
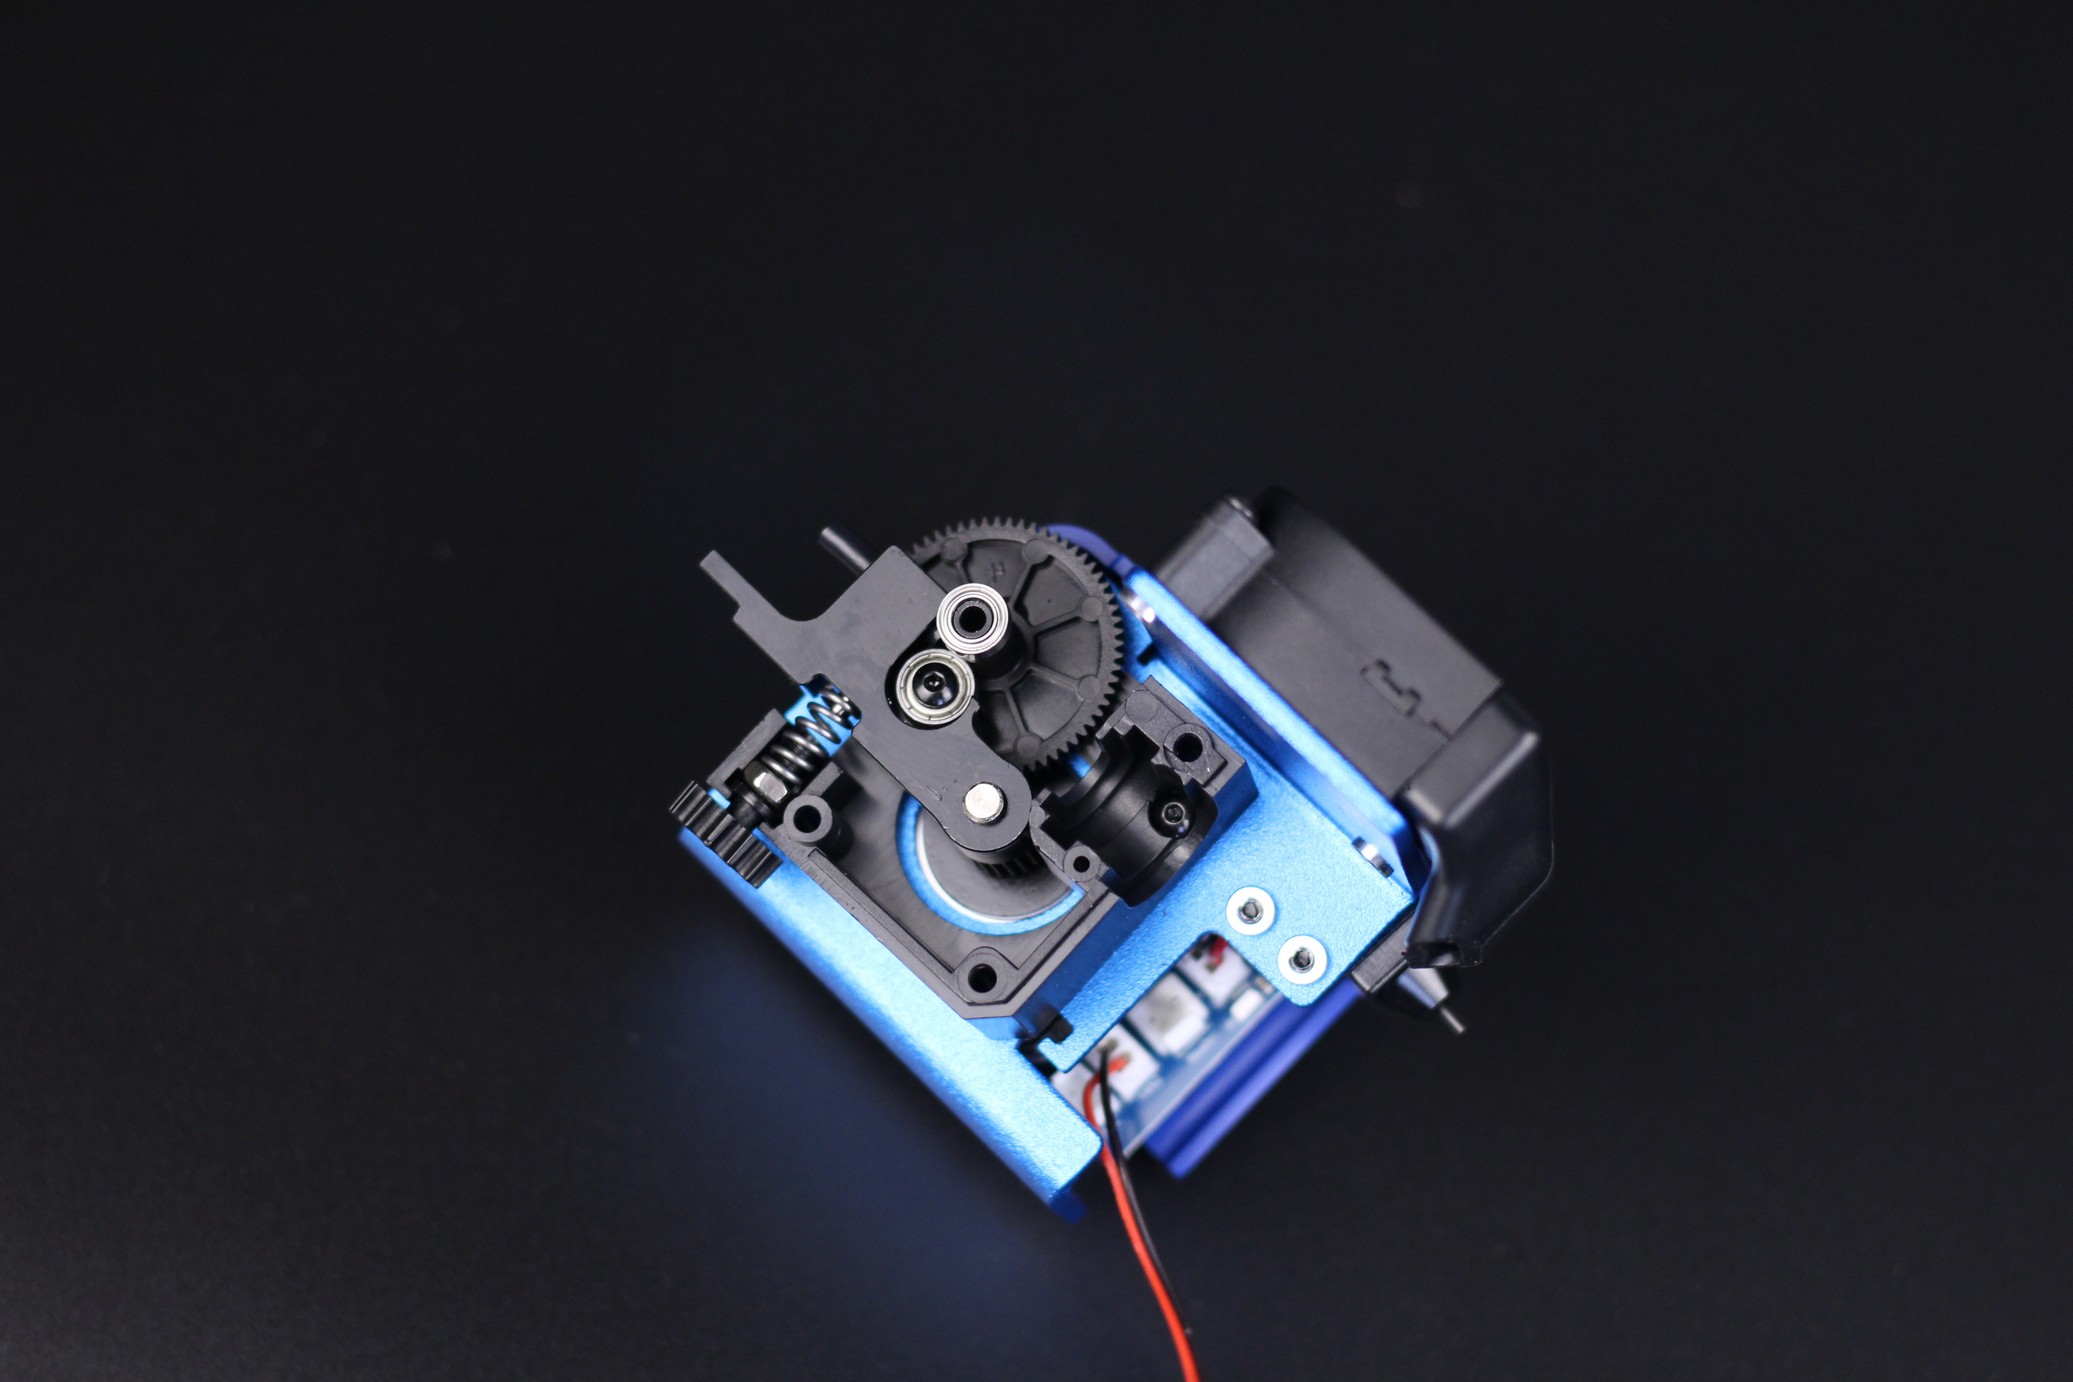
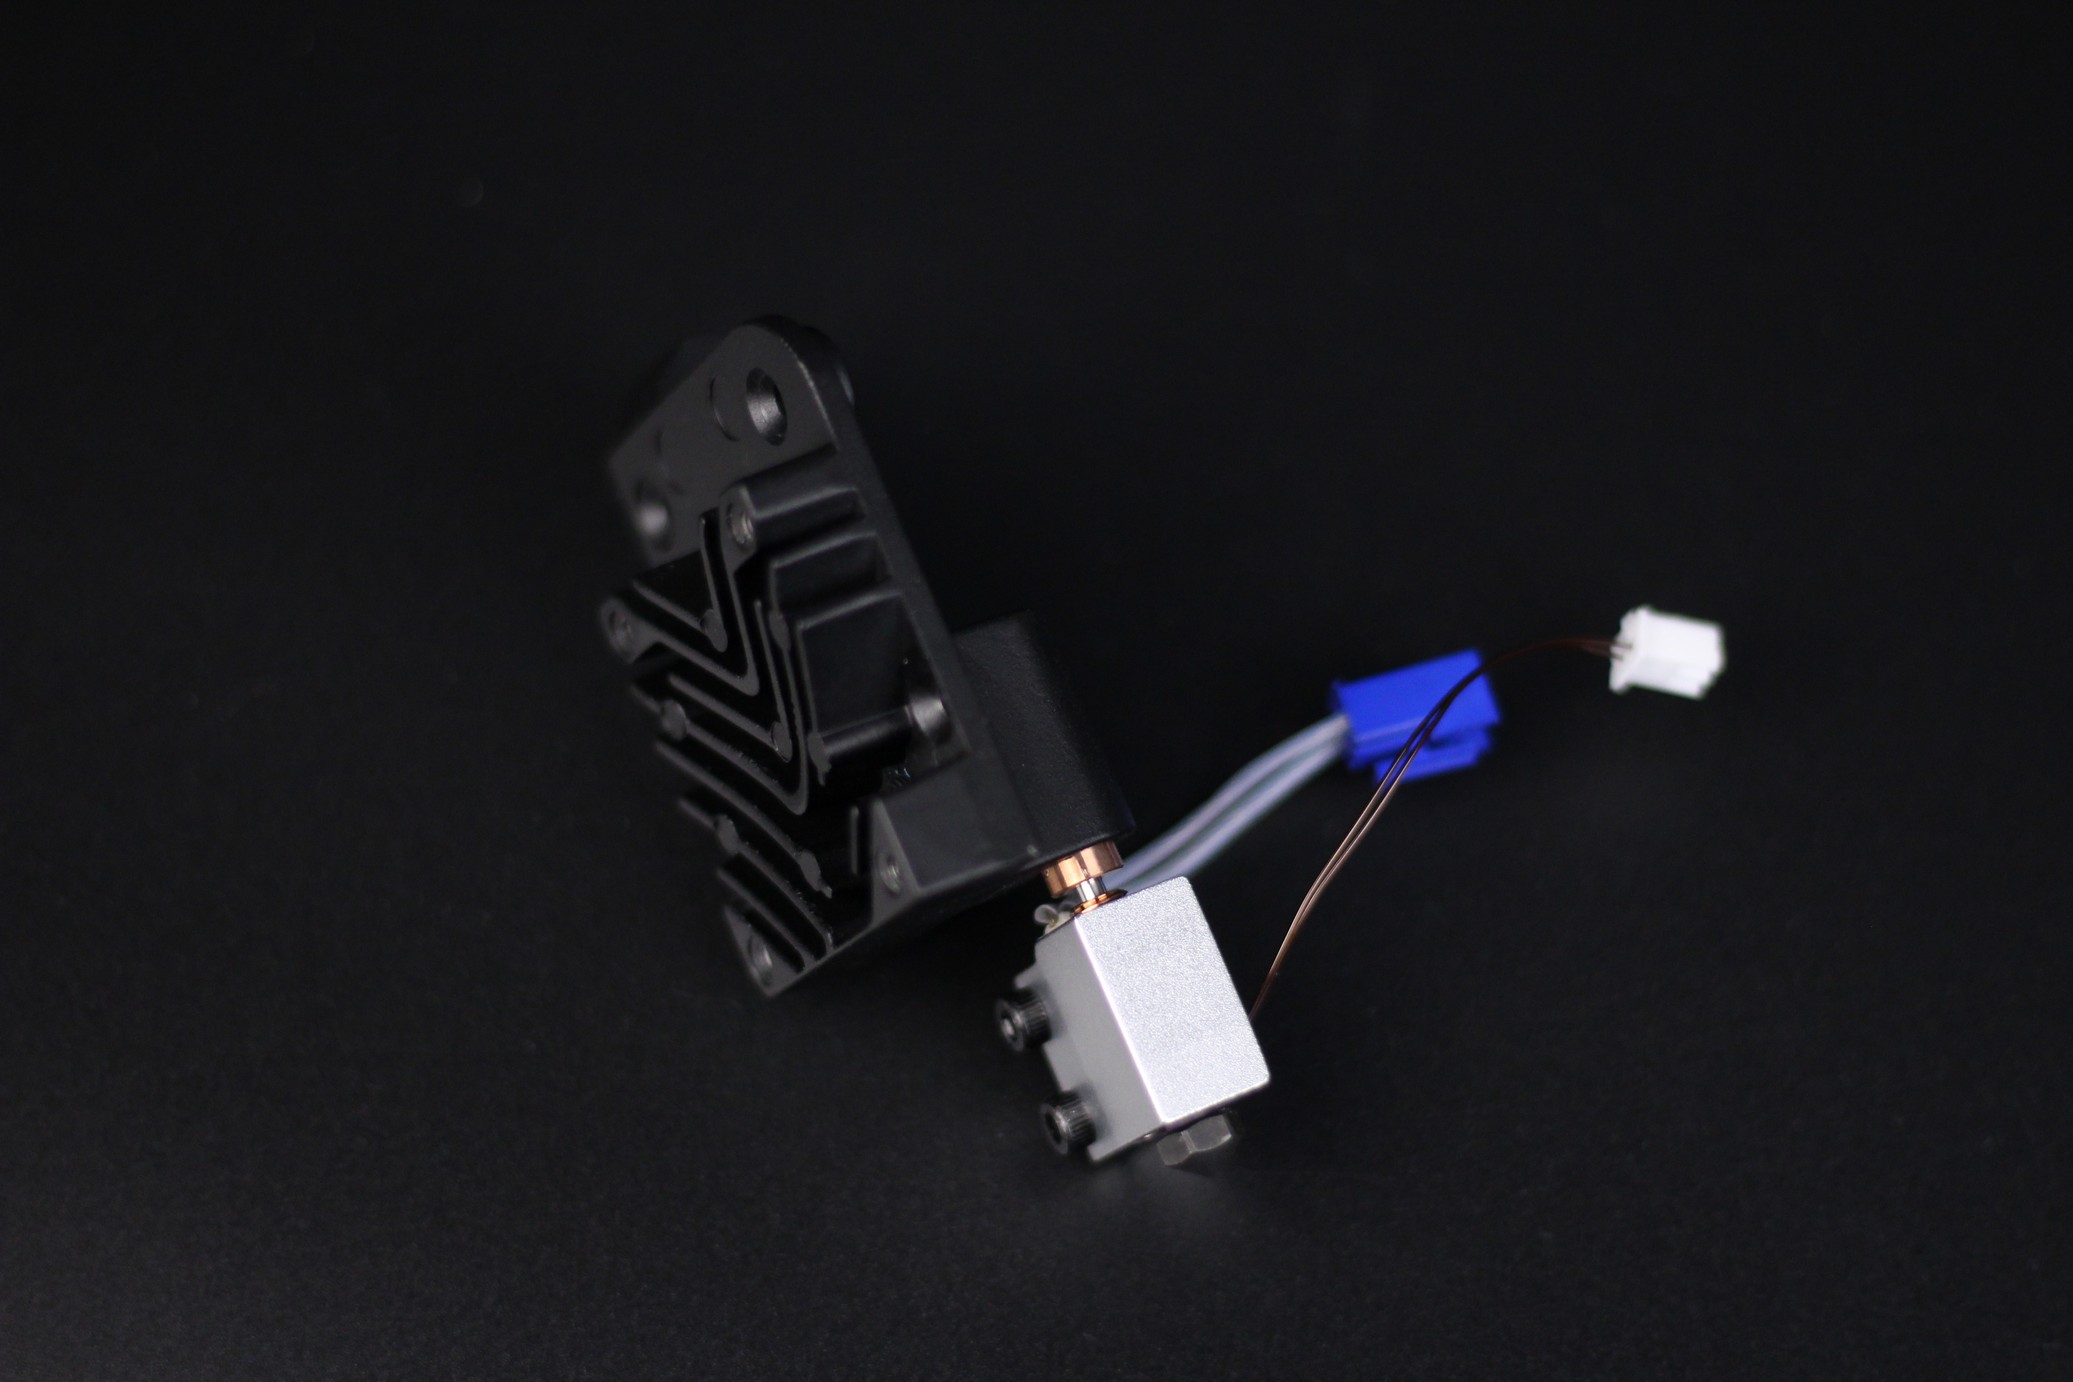
In terms of visual design, nothing changed. The Artillery All-Metal Extruder looks similar to the one you get in a stock Sidewinder X2 or Genius Pro. The main differences between the stock extruder and the upgrade proposed by Artillery are related to the components used inside it.
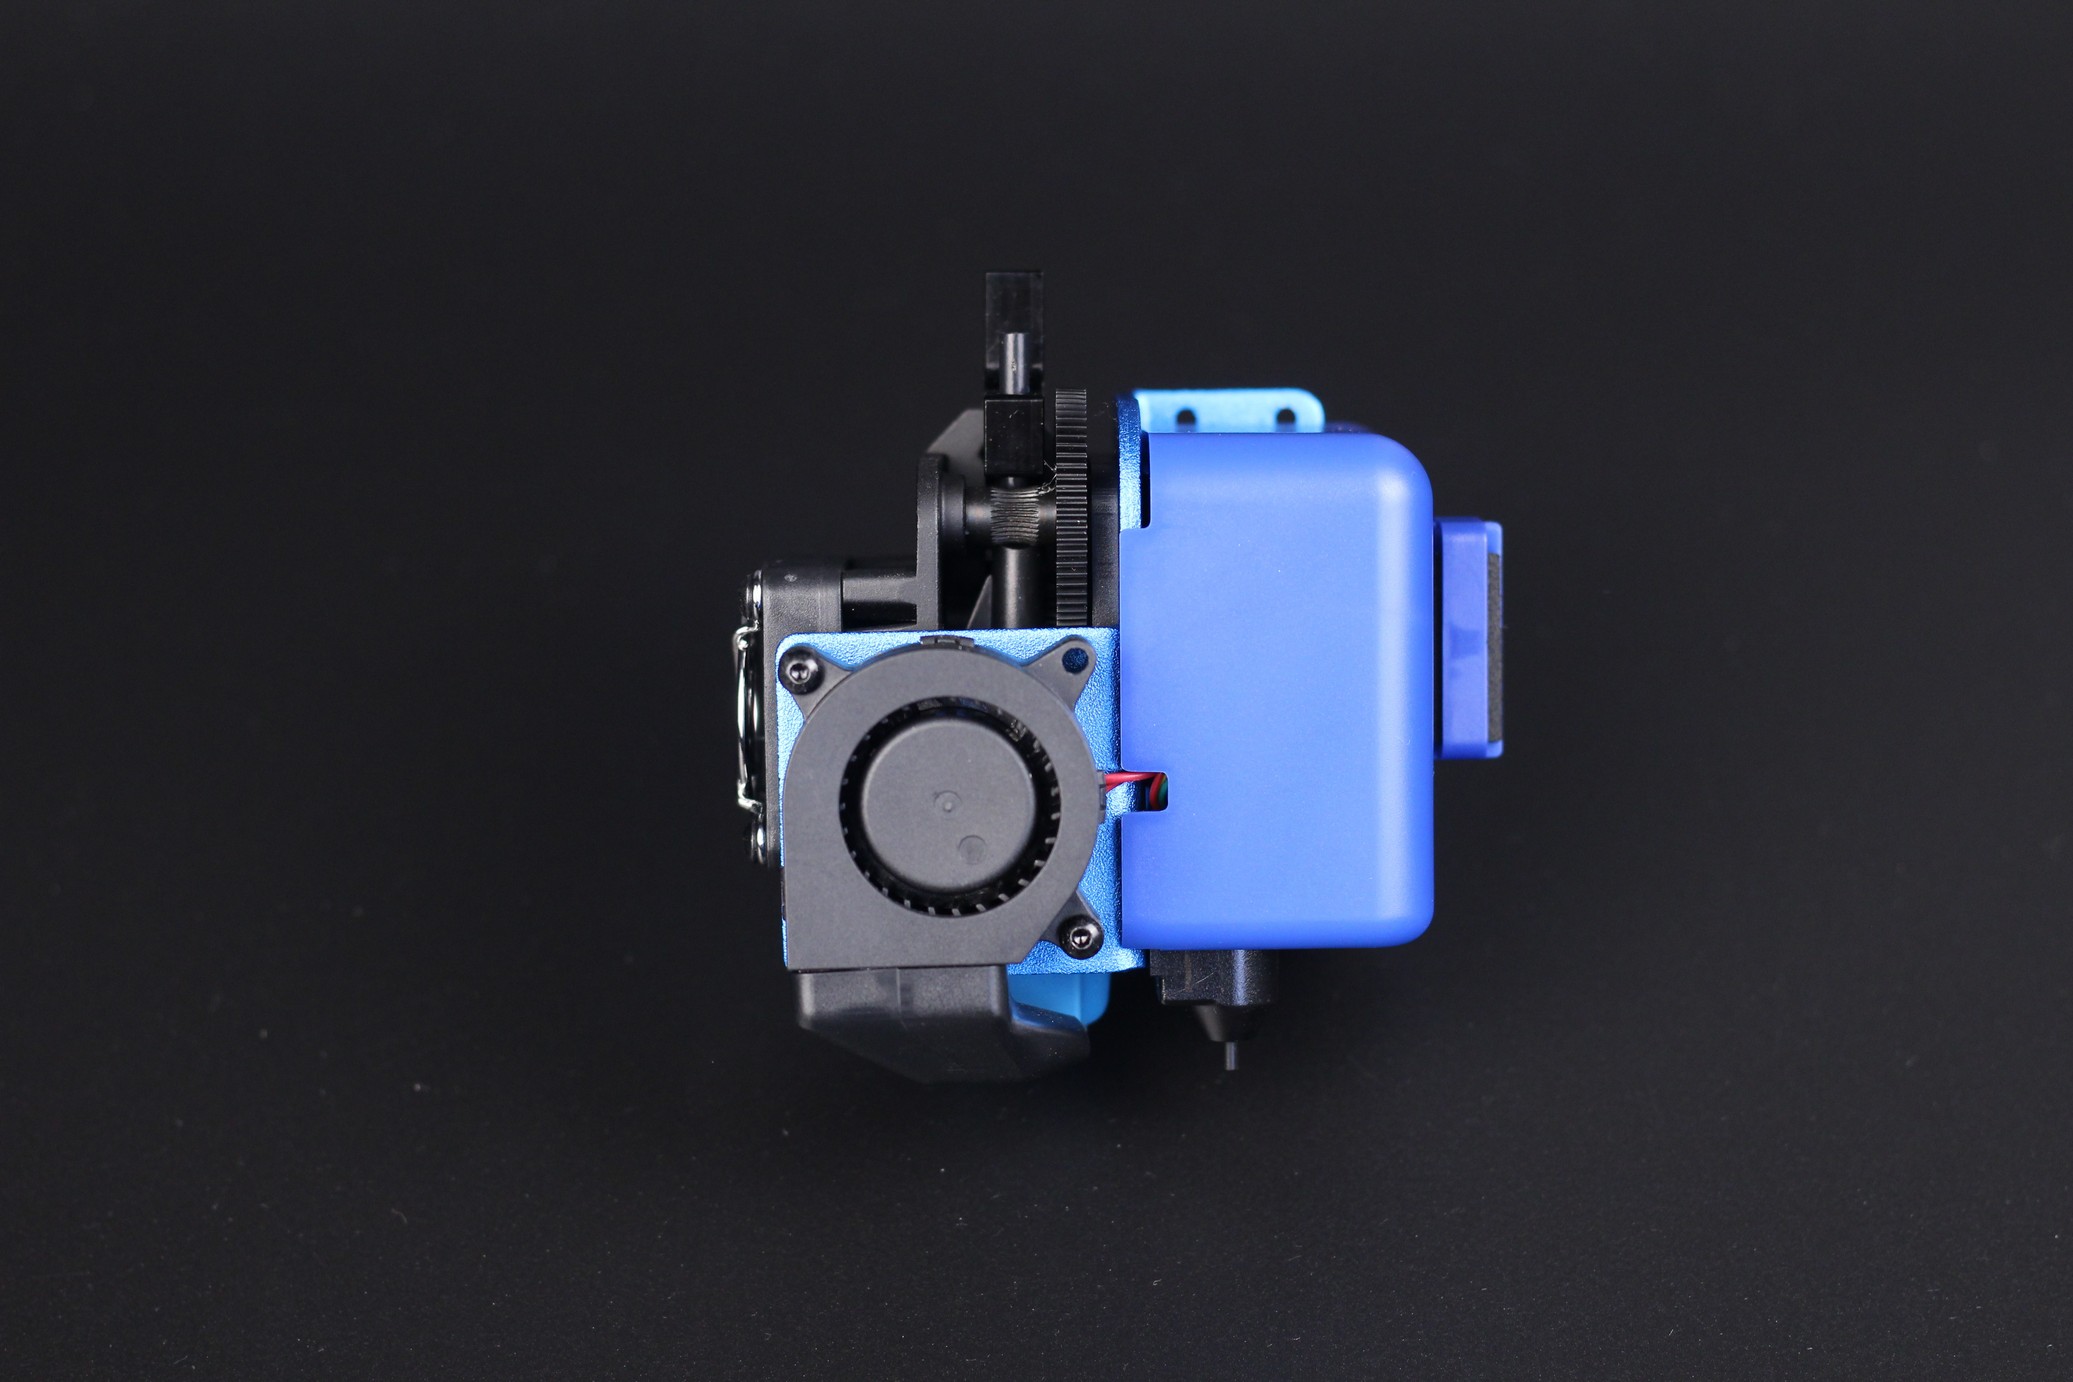

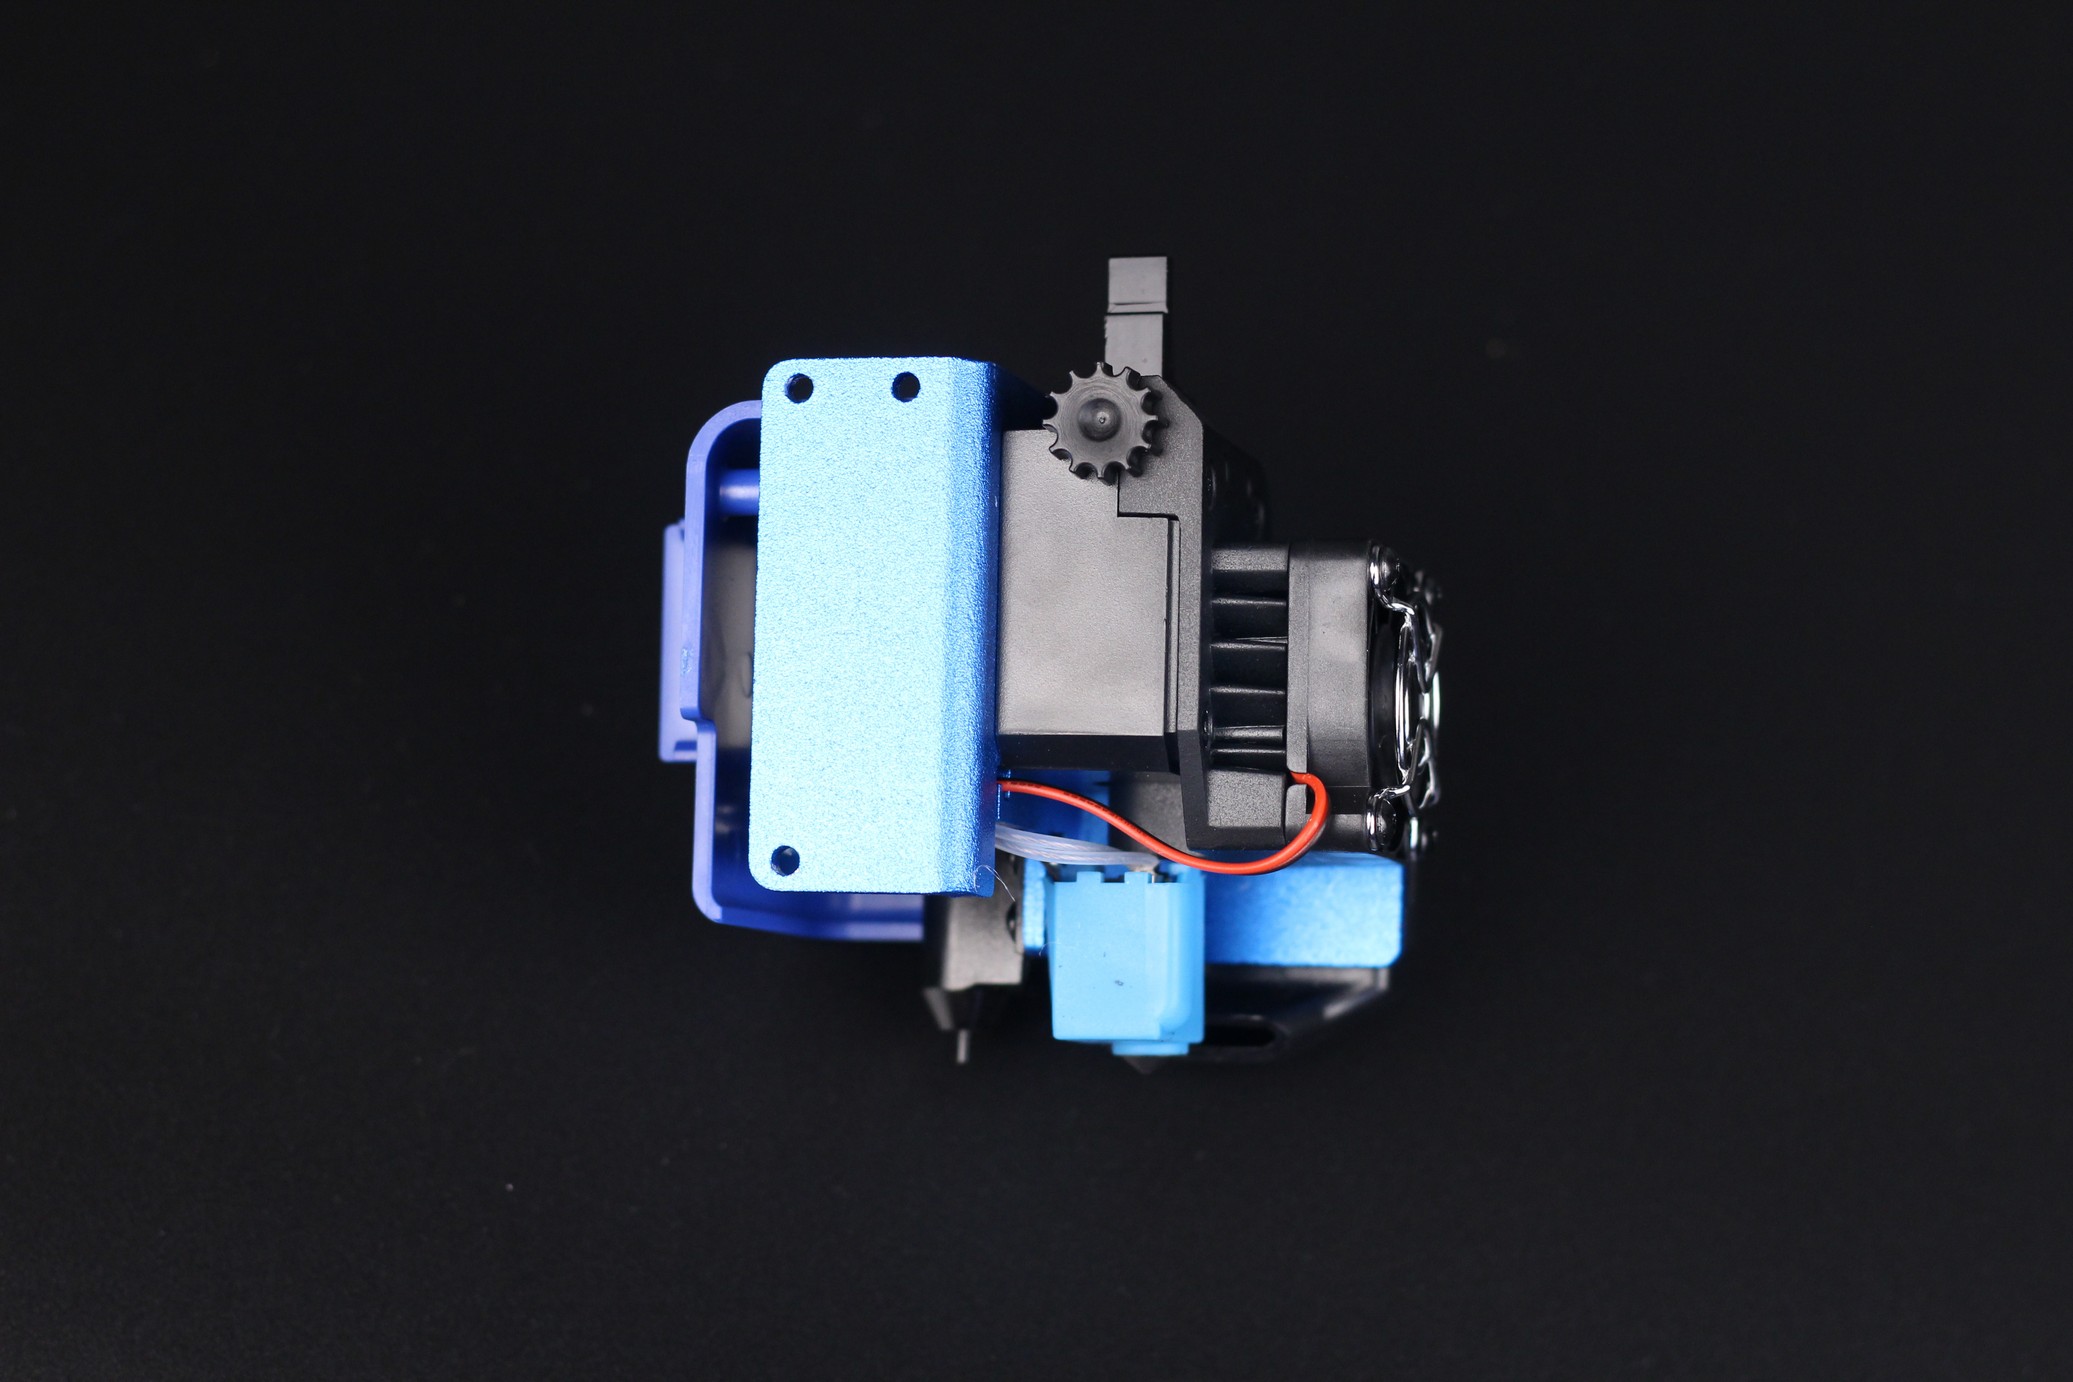
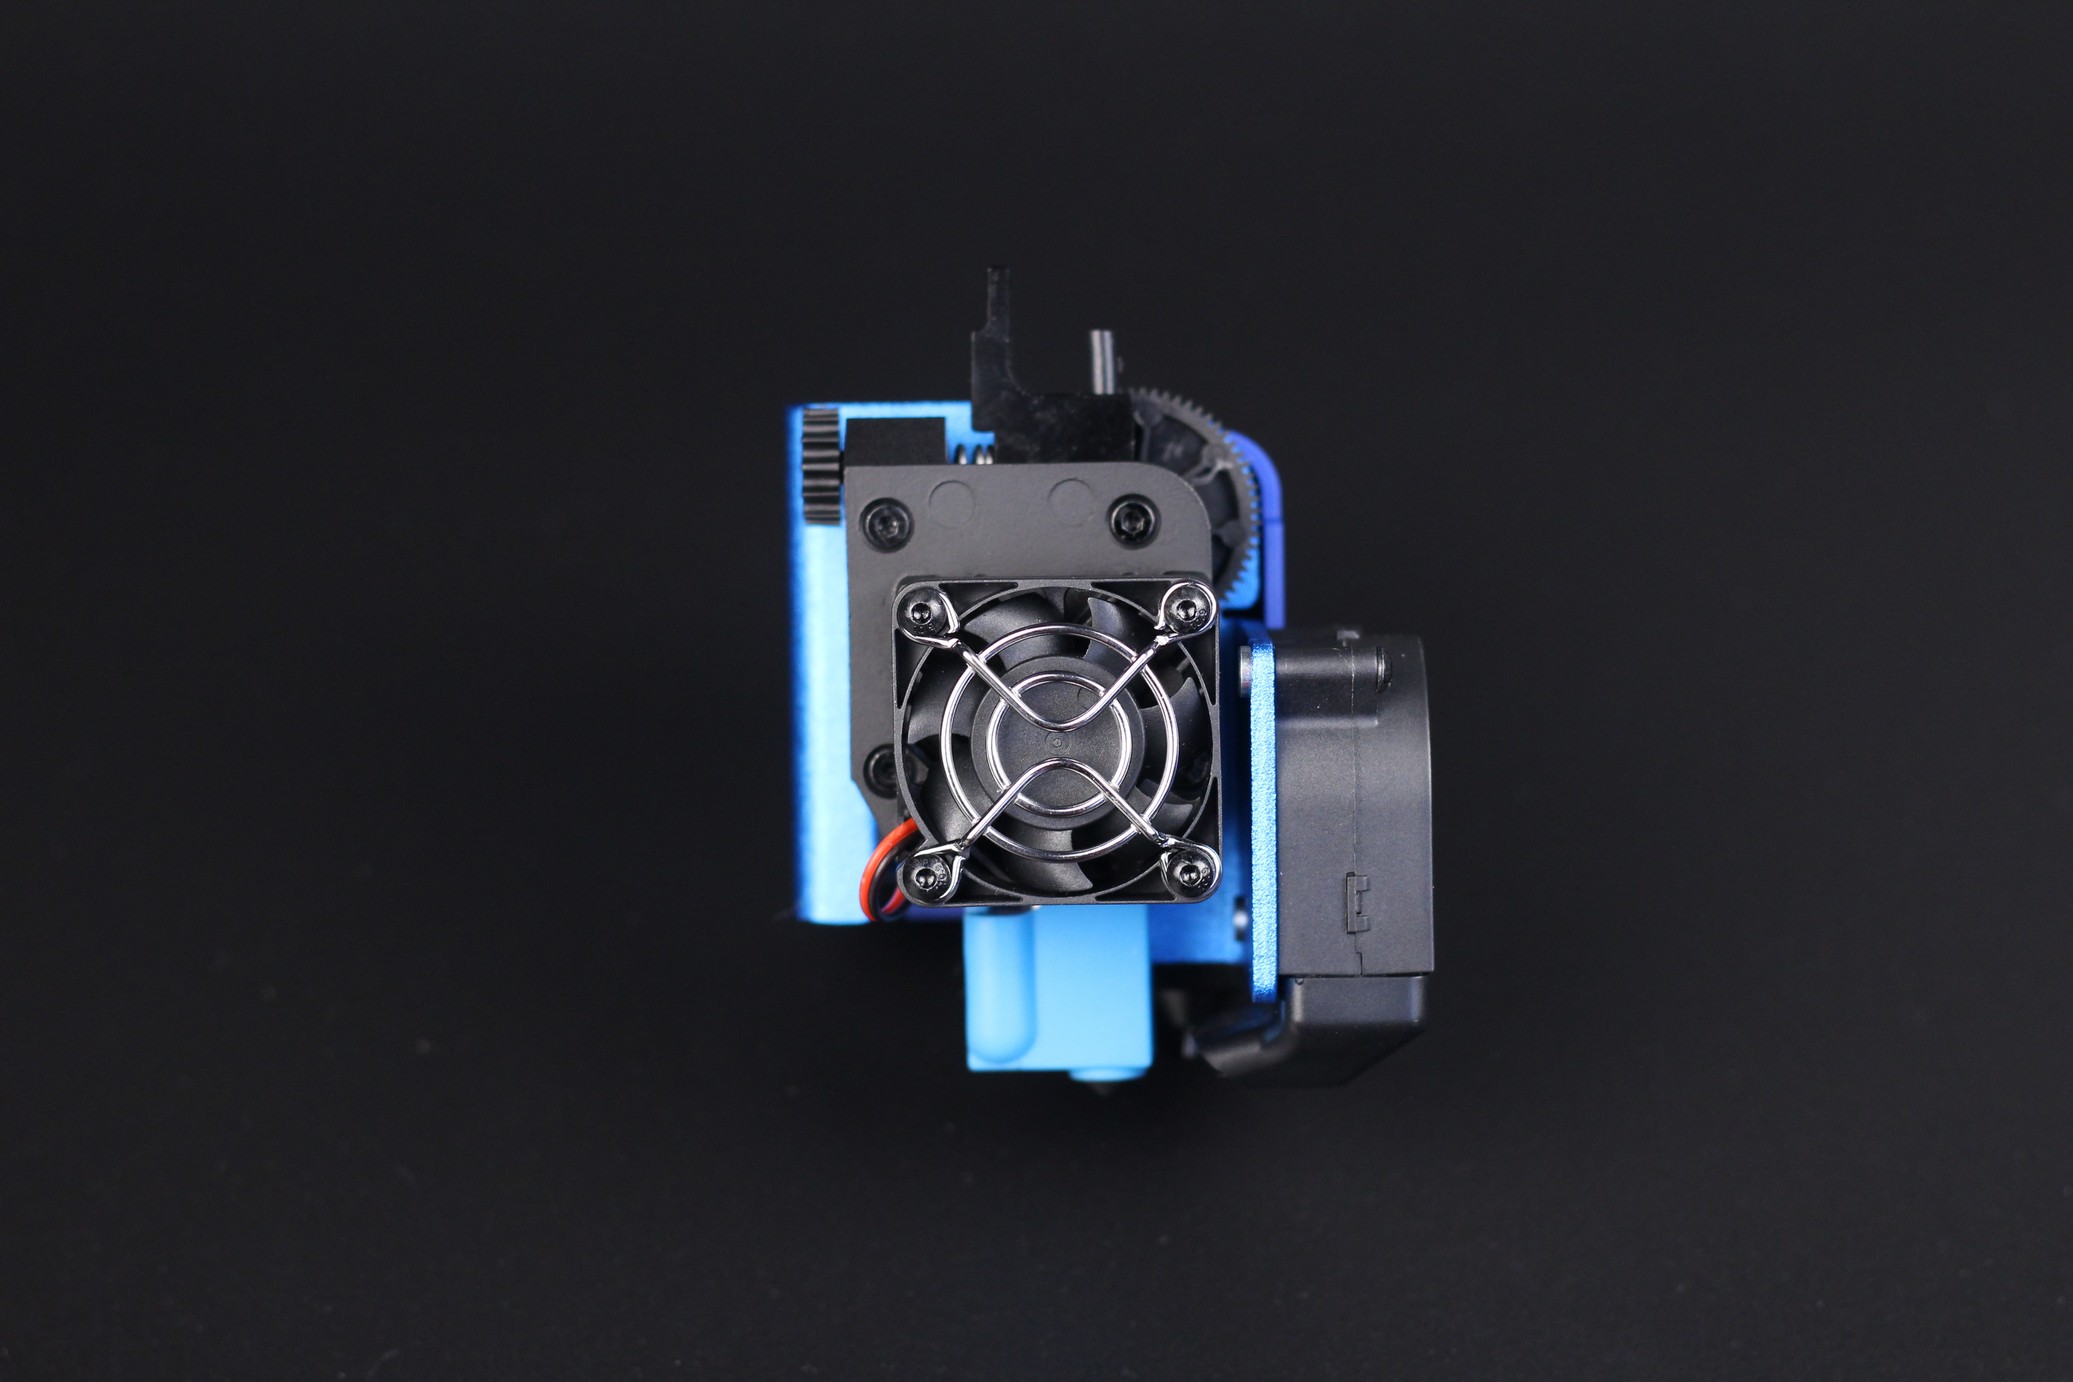
One of the issues I noticed out of the box is the connection for the heater cartridge. It was not sitting correctly and this might cause a fire over time.
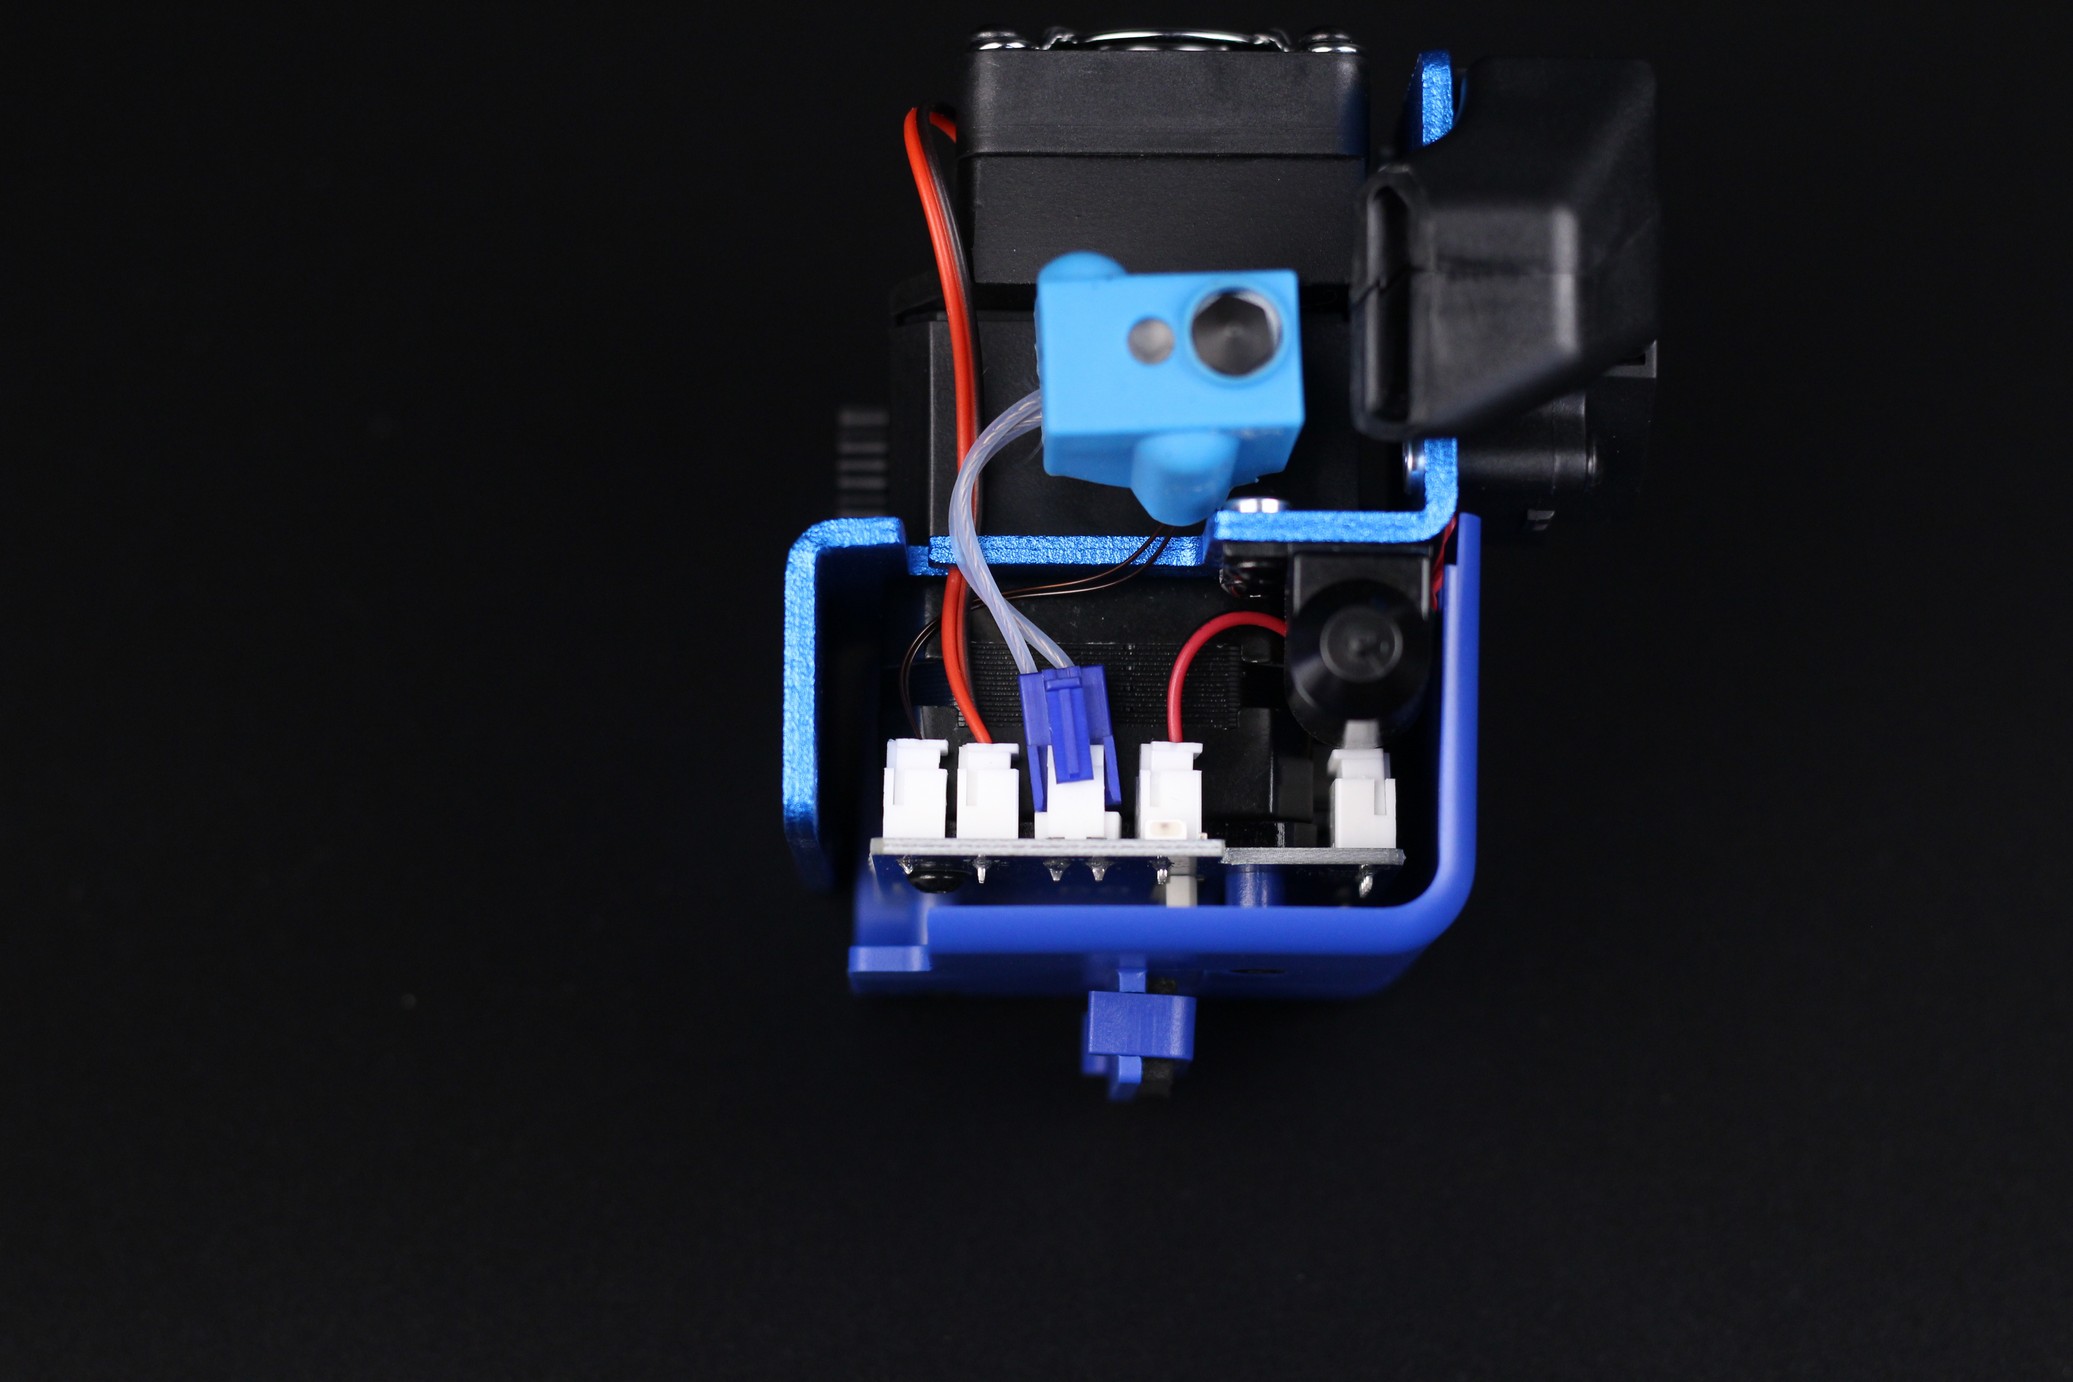
I really hope Artillery will do a better job with their QC over time because I’ve seen similar issues posted on the forums. Maybe it’s an isolated incident and I was just unlucky, but either way, this should not happen.
Aluminum idler
The first upgrade to the all-metal extruder from Artillery is the inclusion of a black aluminum idler. This was the most failure-prone component of the Artillery extruder ever since the Sidewinder X1 and it’s one of the essential upgrades you can do to your printer because eventually, it is going to fail.
The cost of this aluminum idler is around 7$, depending on the site you are ordering it from.
Bi-metal heat break
The second upgrade and probably the second most important is the bi-metal heat break. I talked about bi-metal heat breaks in previous articles where I explain all the benefits you can get with this upgrade. In short, this bi-metal heat break will greatly improve the thermal performance of your hotend allowing you to print higher temperature materials without worrying about the PTFE tube degrading (in the case of the stock hotend setup).
Unfortunately, I was not able to remove the bi-metal heat break, even after unscrewing the grub screws keeping it fixed. I did not pull too hard on it because these heat breaks are fragile, and I wanted to have something to test. If it fails in the future, I am sure you can replace it if needed.
From the limited visual inspection, the heat break used by Artillery is similar to what’s already available to purchase as an upgrade (smooth version). It’s worth mentioning that the lower part is made from copper, and from experience I found these heat breaks to be a bit more fragile compared to the alternatives sold now which are made entirely from titanium.
The cost for this upgrade is around ~16$ for a good quality heat break, but you can also buy cheaper variants (although not recommended, because they are less reliable).
Hardened nozzle
Finally, the third upgrade included with the Artillery All-Metal Extruder is the nozzle. In the past, Artillery were including some bad quality nozzles with their printers. Over time, the nozzles got better but they are still considered “bad quality” when you compare them with the alternatives.
The included nozzle is made from hardened steel, which has better abrasion resistance if you are printing abrasive materials. But this also means a bit less performance when it comes to thermal transfer so it’s recommended to increase the hotend temperature by about ~10C when printing with a hardened nozzle, to compensate for this.
The nozzle machining quality is great, and I can’t really complain about it. It’s on par with what I’ve seen from other manufacturers like E3D, Mellow, and Trianglelab. The cost for this upgrade is around ~10$.
Stock vs All-Metal Extruder
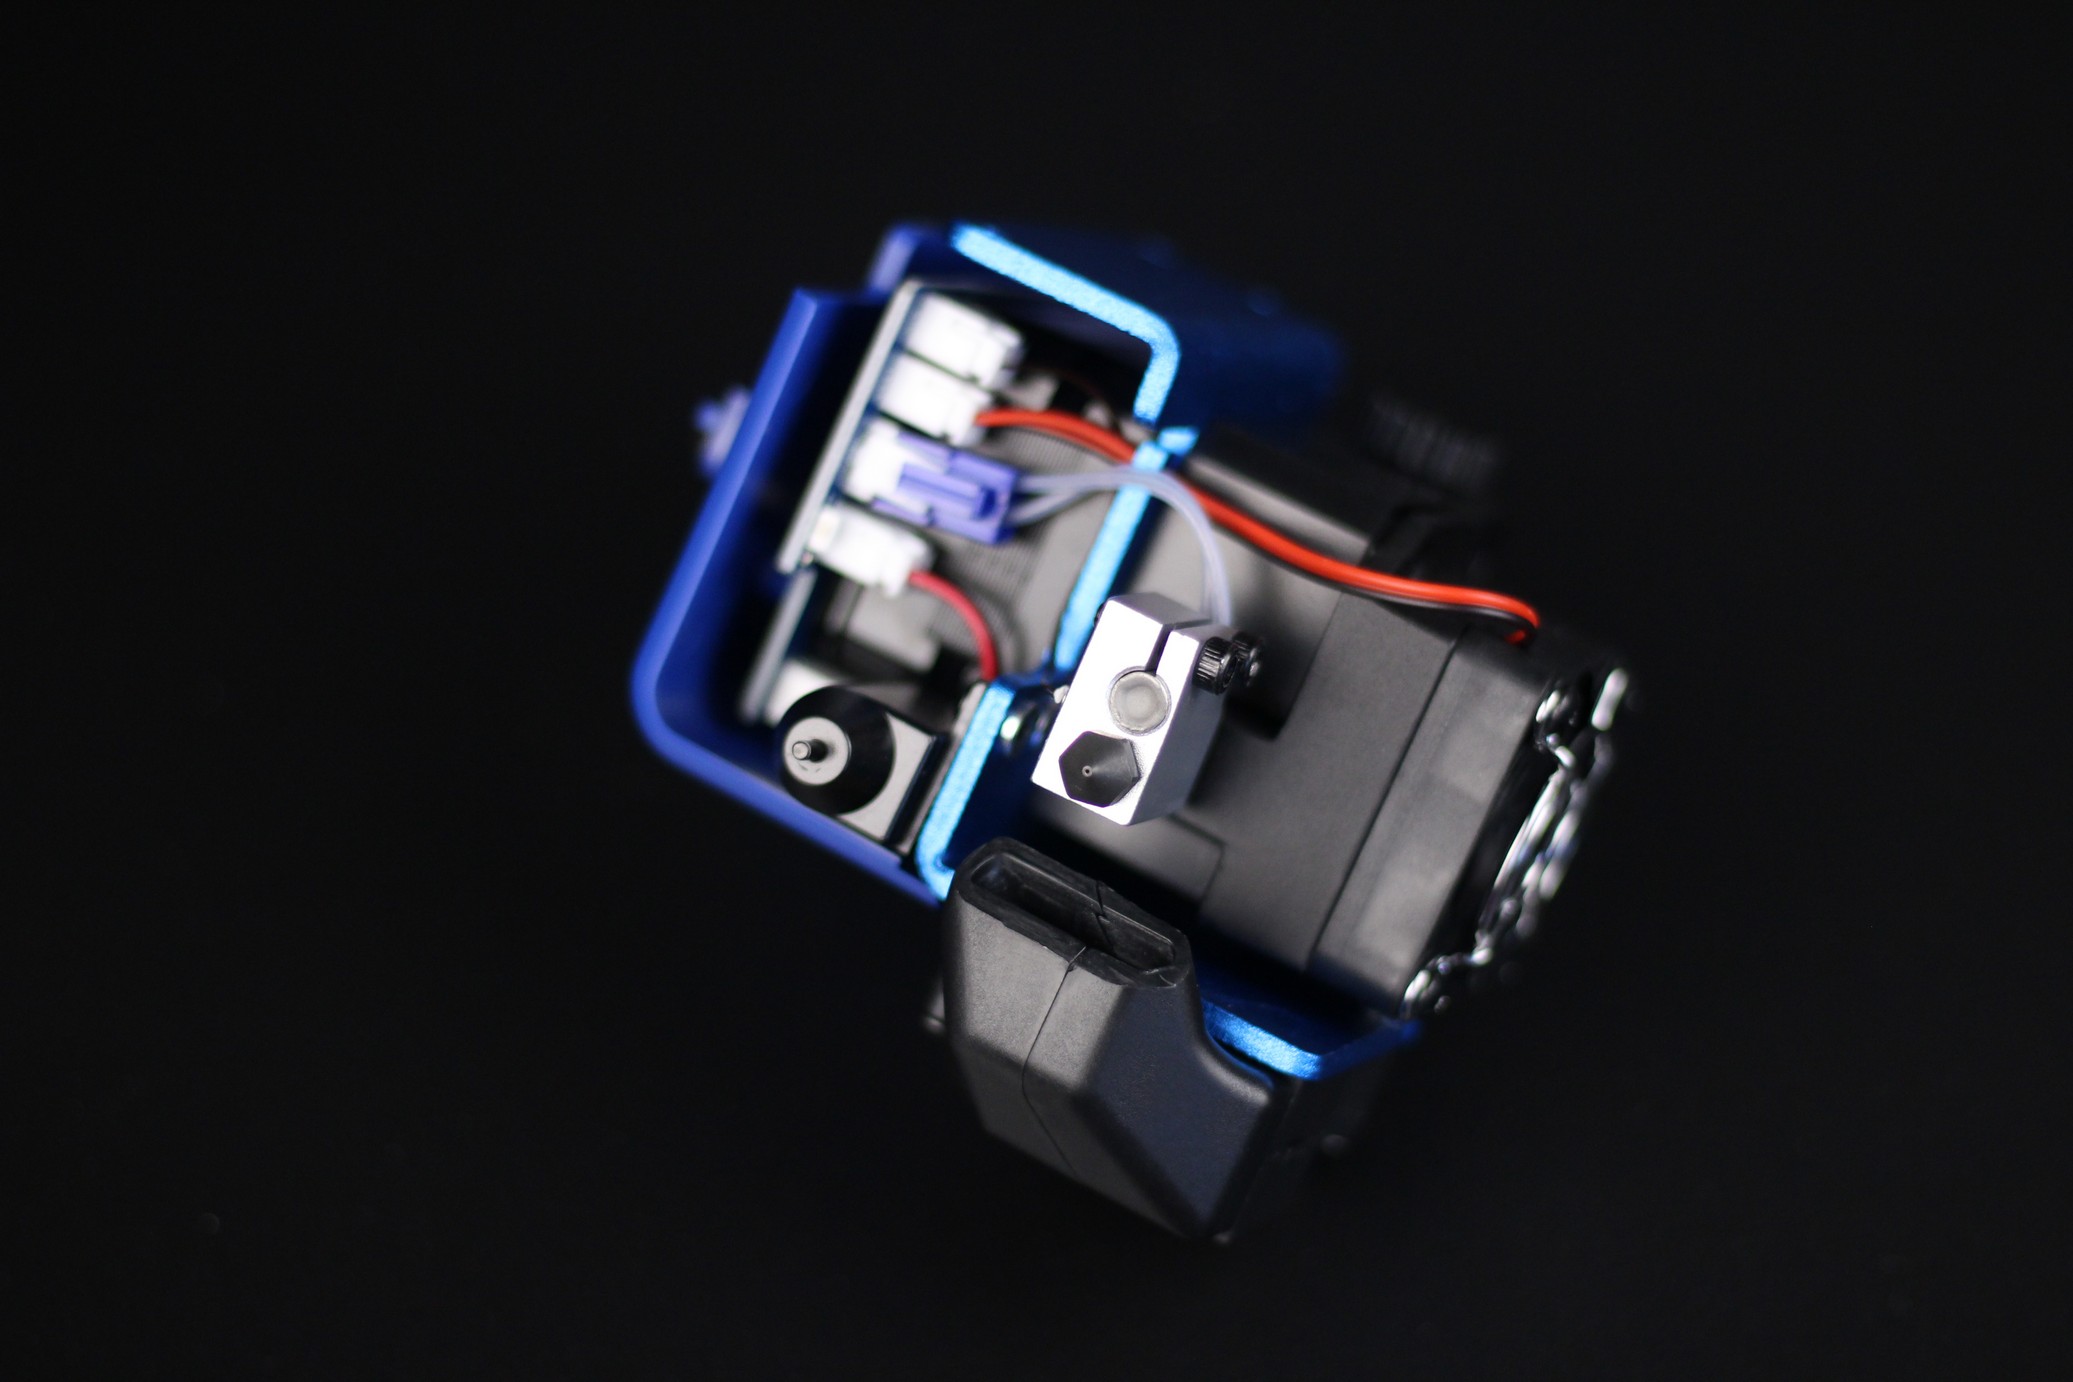
I took some side-by-side photos of the two extruders so you can see the visual differences between the two. The extruder in the left is the stock Sidewinder X2 extruder, while the extruder in the right is the upgraded All-Metal unit.
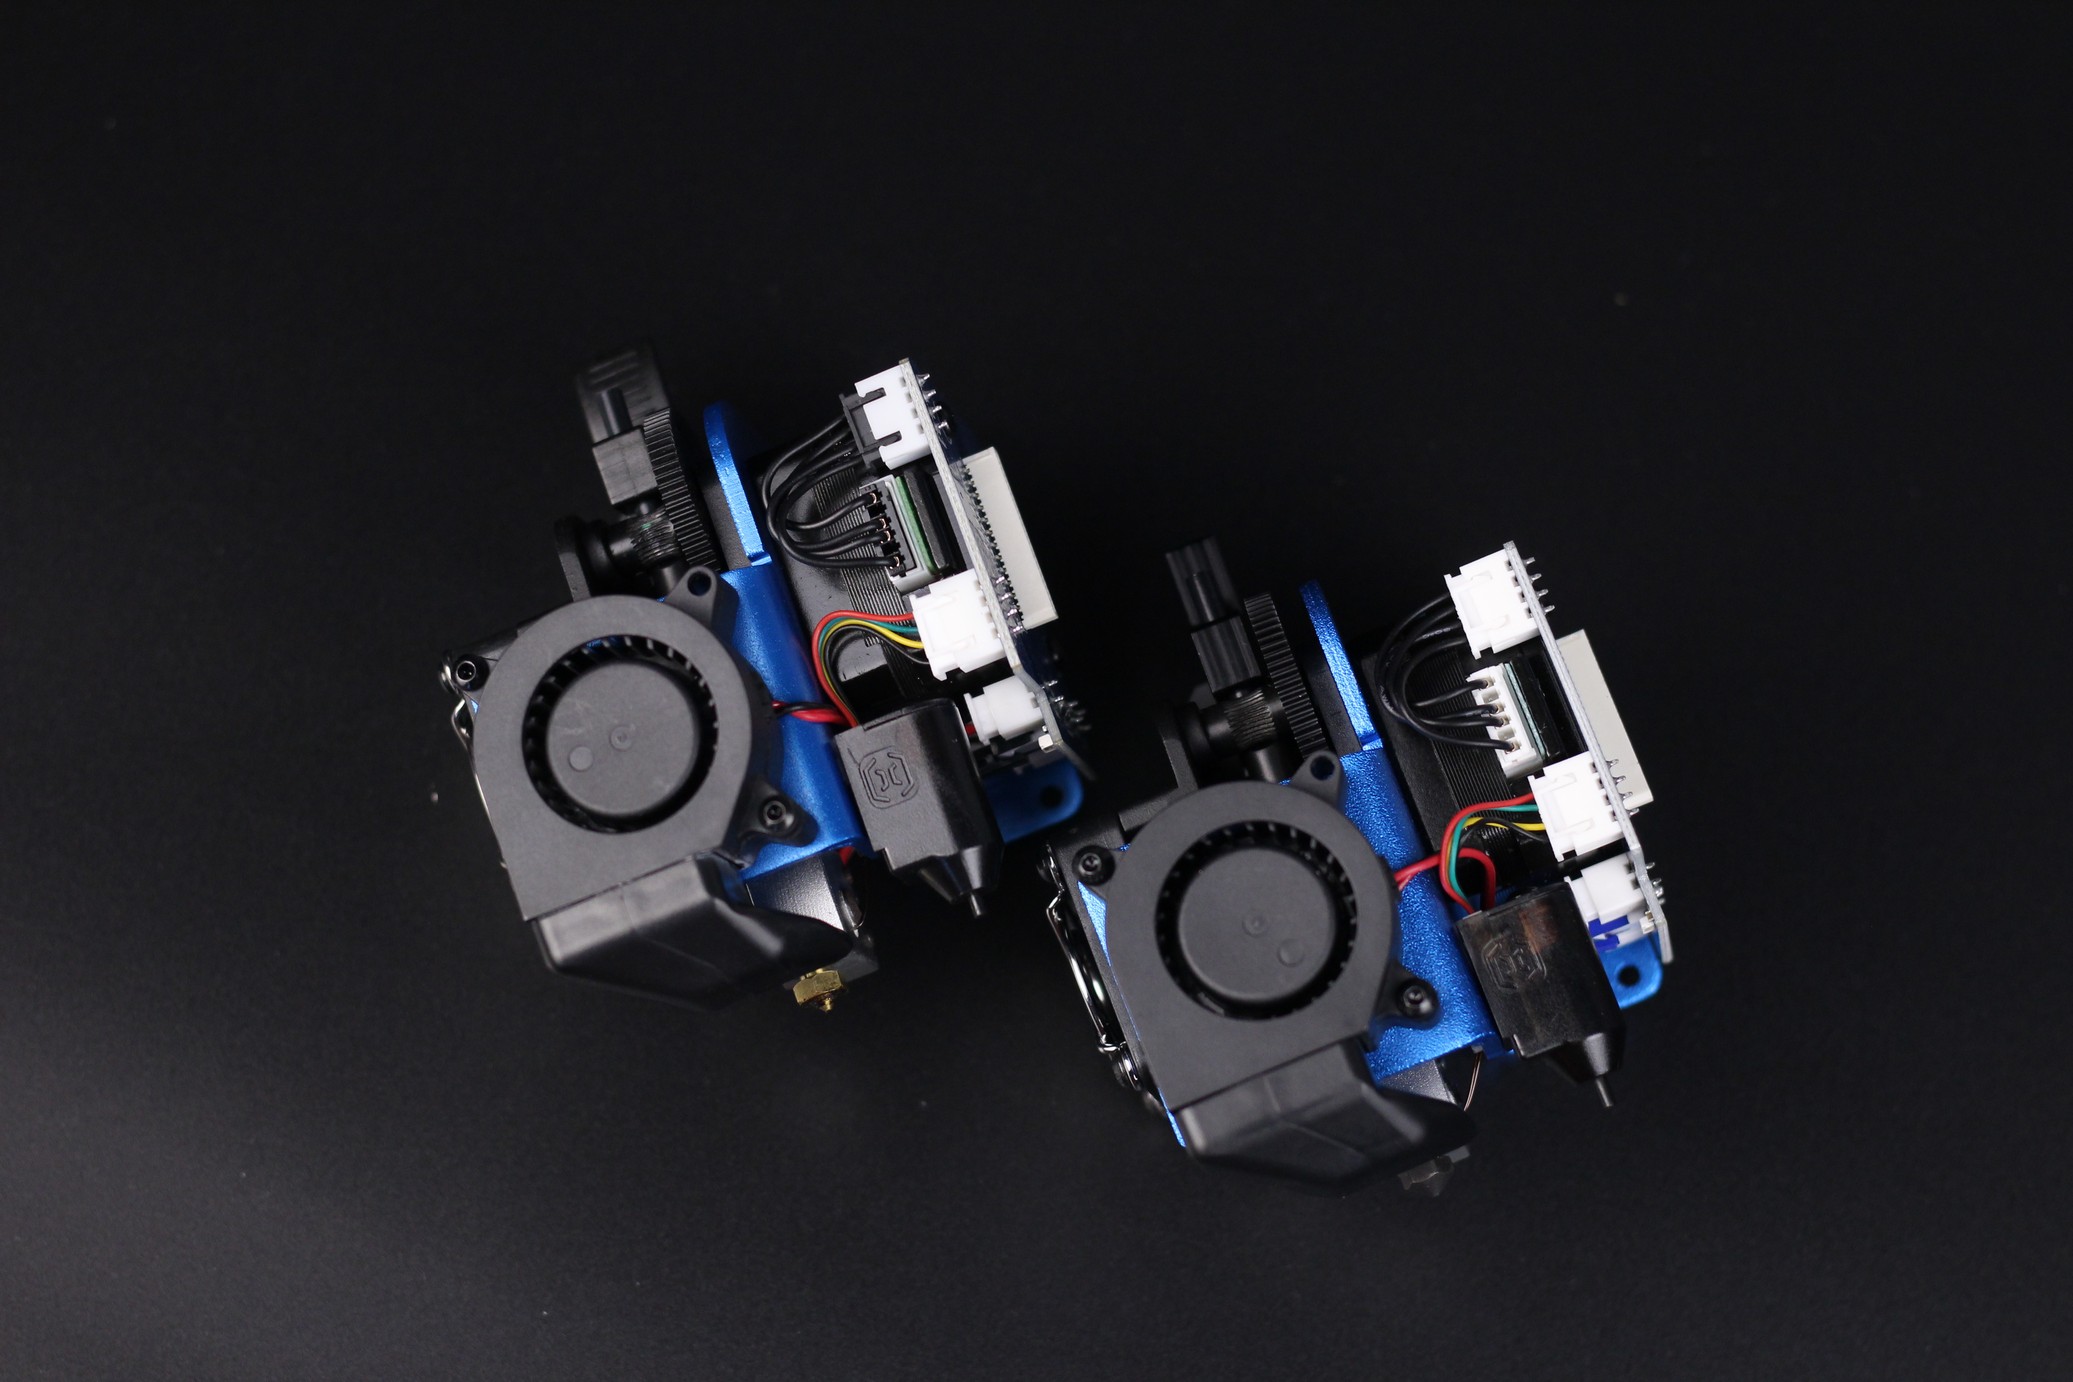
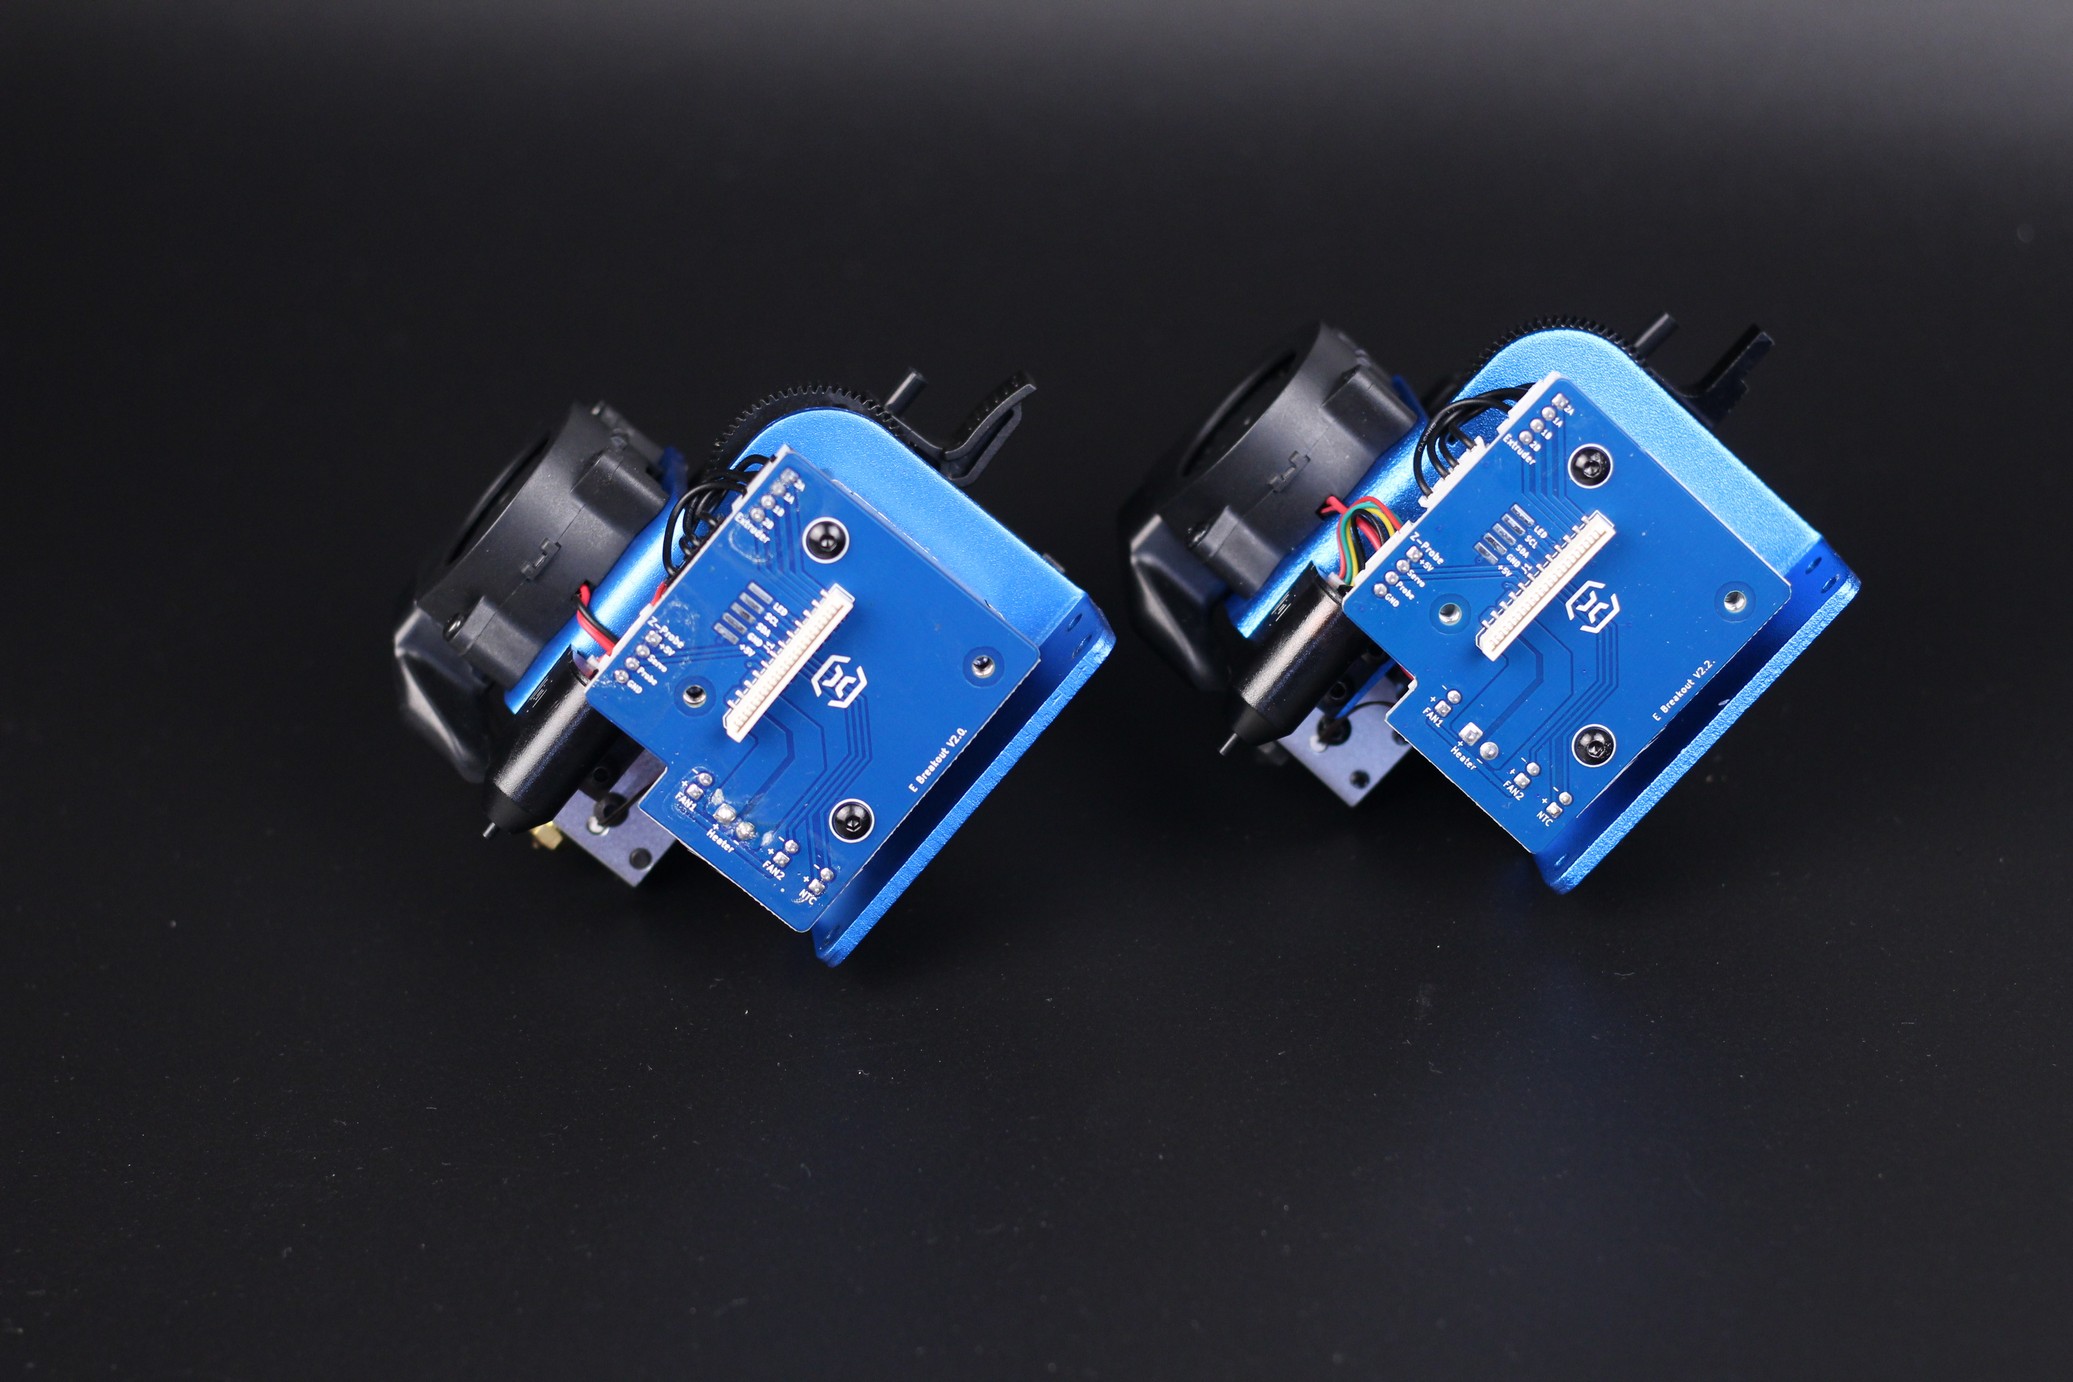
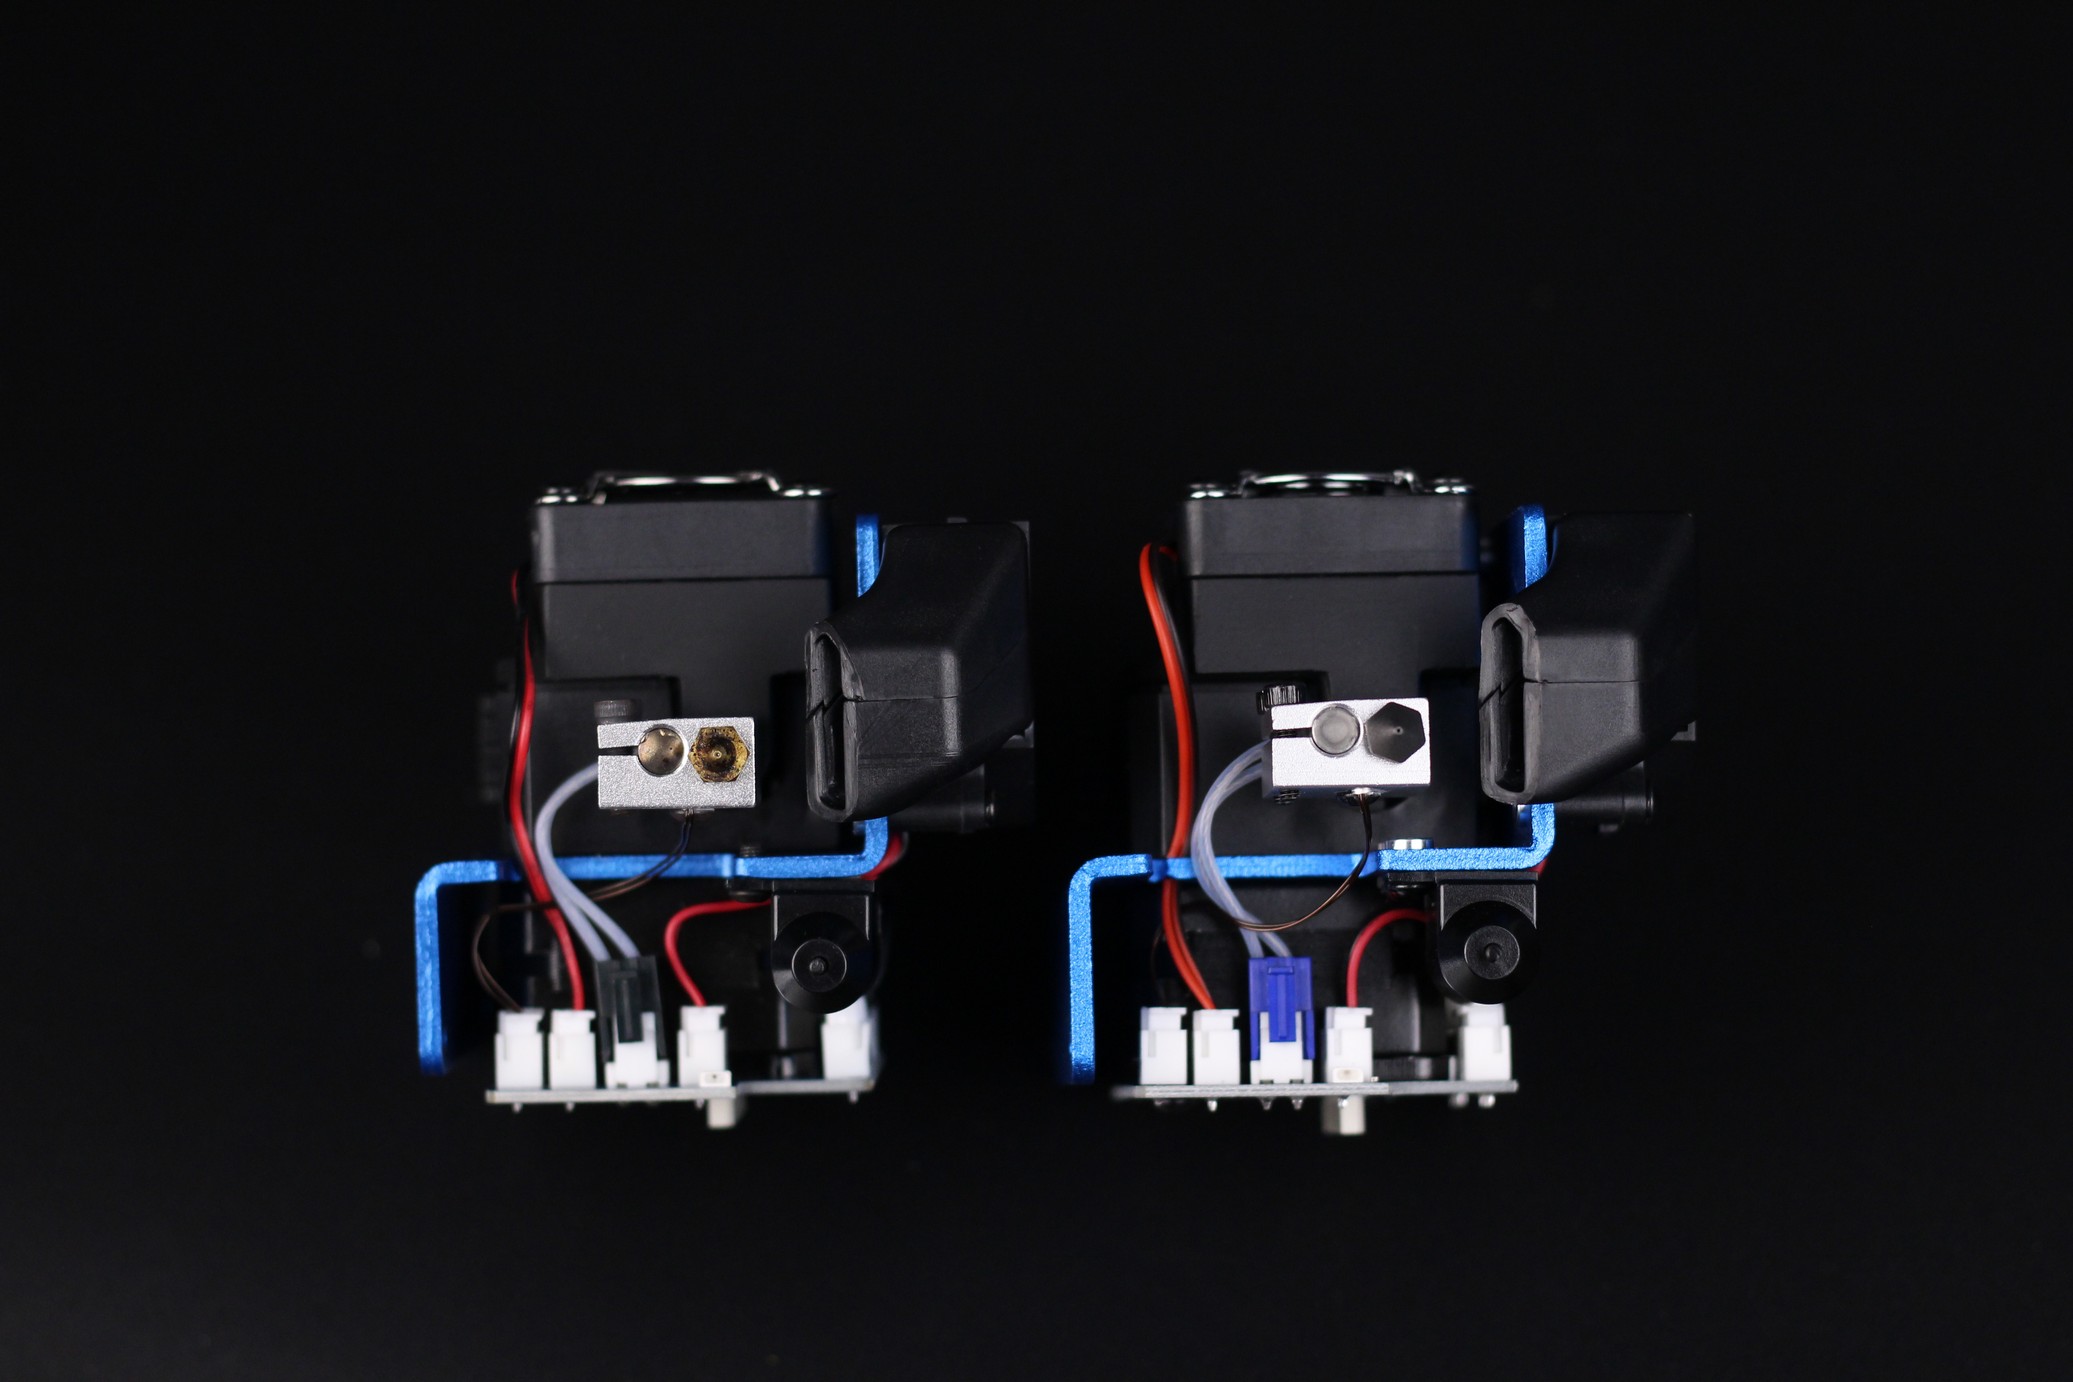
The only big difference I can see is the changed breakout board version. The upgraded extruder comes with the V2.2 board, compared to the 2.0 board included with the Sidewinder X2 stock extruder. But I can’t see any visual differences between the two.
Upgrade experience for the Artillery All-Metal Extruder
The upgrade process is super easy. You just need to disconnect the ribbon cable, remove the plastic blue cover and then unscrew the three screws holding the extruder assembly in place.
To install the upgraded All-Metal Extruder from Artillery, follow these steps in reverse. Attach the extruder using the three screws to the X gantry, attach the blue plastic cover then connect the ribbon cable.
Of course, I recommend calibrating your Z offset again, to ensure a good first layer.
Thermal Performance Tests with the Artillery All-Metal Extruder
The most significant difference between the stock Artillery Extruder and the All-Metal Extruder upgrade is the improved thermal capability. So I thought I should do a simple temperature comparison between them using my FLIR camera.
I set three different temperatures (200C, 250C, and 280C) then I waited 10 minutes between measuring the heatsink temperature. This is not the best way to measure the temperature where it really matters (the heat break) but it should give you an overall idea about the differences between the two extruders.
Stock Artillery Extruder Thermal Performance
This serves as a baseline, so we can compare the temperature differences after the upgrade. With the stock Artillery extruder, the heat break is PTFE lined and has a higher thermal conductivity which can be seen on the heatsink temperatures.
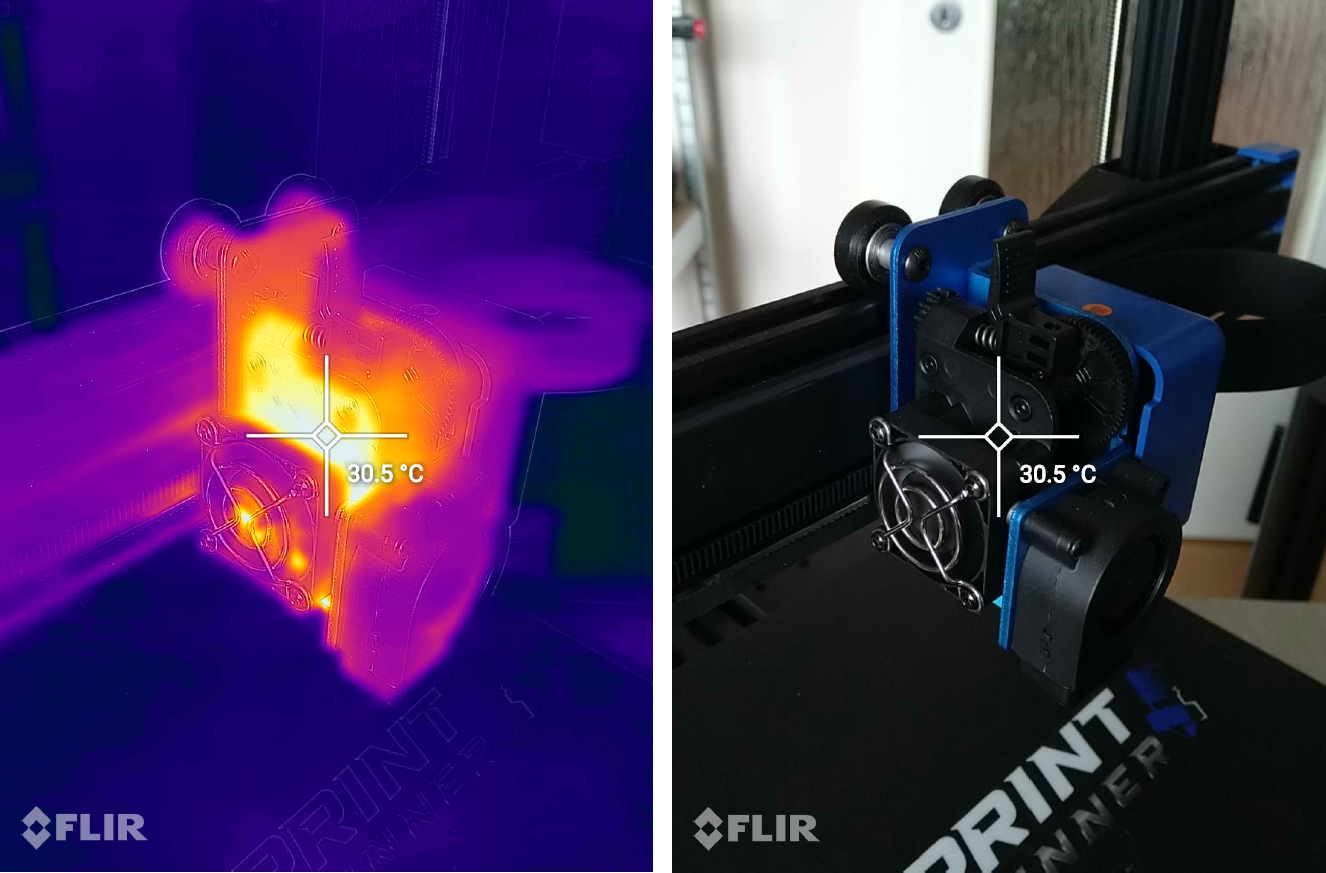
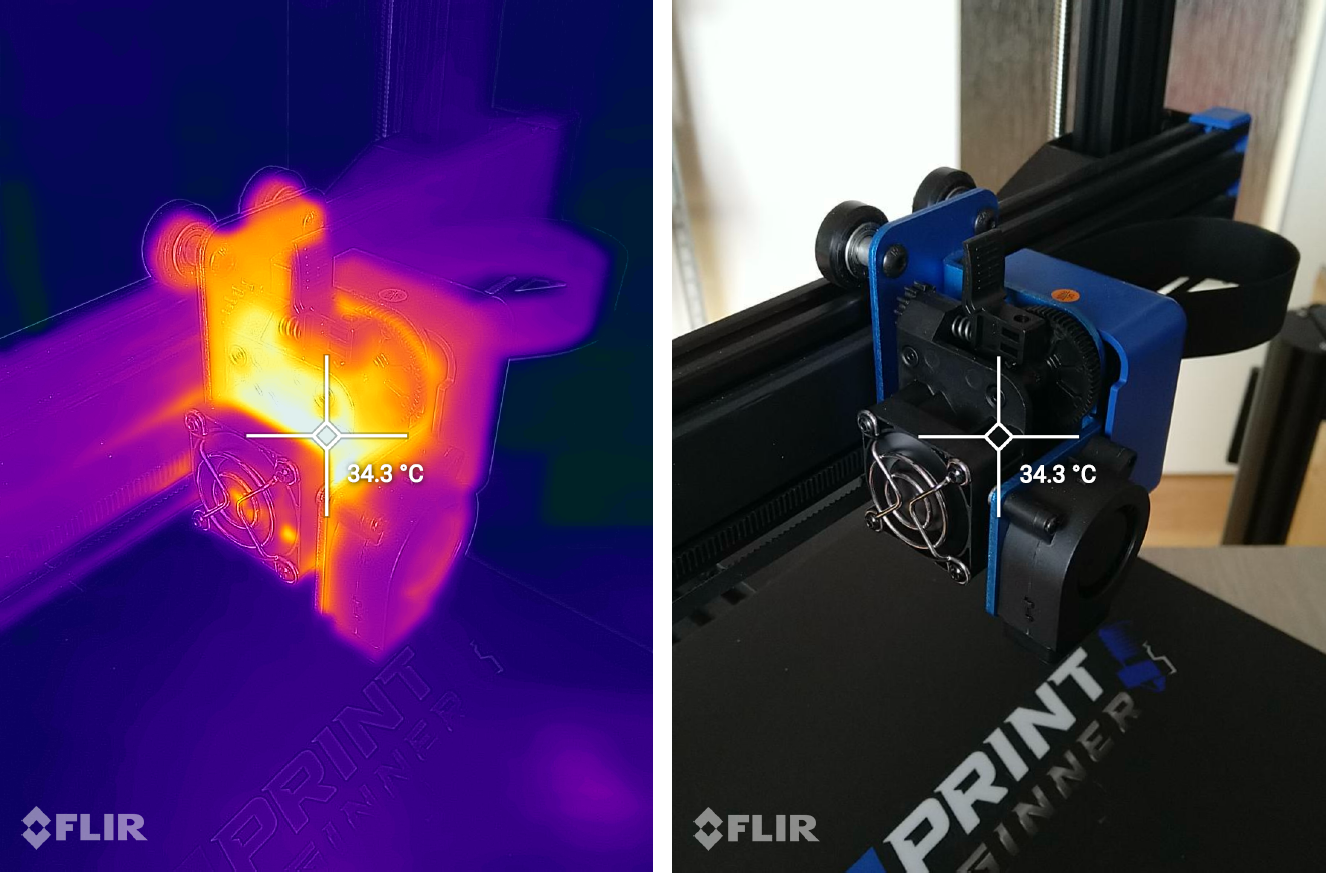
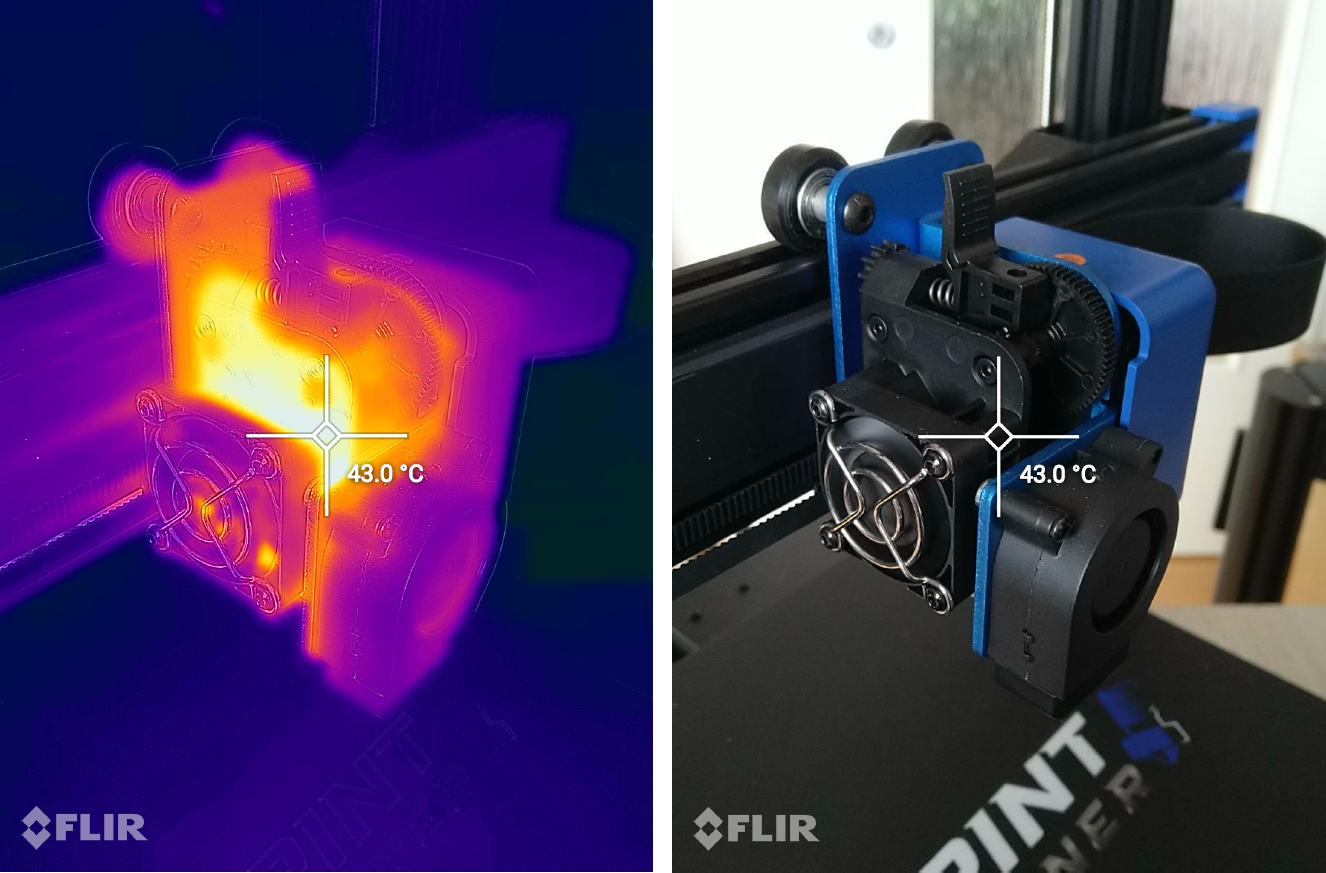
| Hotend Temperature | Setup | Duration | Heatsink Temperature |
| 200C | Stock Artillery Sidewinder X2 Extruder | 10 minutes | 30.5C |
| 250C | Stock Artillery Sidewinder X2 Extruder | 10 minutes | 34.3C |
| 280C | Stock Artillery Sidewinder X2 Extruder | 10 minutes | 43.0C |
As previously mentioned, this is not a good representation of the actual temperature inside the heat break, where the filament sits before reaching the nozzle. But using these images I can do an educated guess and consider that the temperature inside the heat break is almost double compared to the heatsink.
All-Metal Artillery Extruder Thermal Performance
In the images below, you can see the heatsink temperature after upgrading to the Artillery Full Metal Extruder. The heatsink temperatures are significantly lower, especially when using higher hotend temperatures.
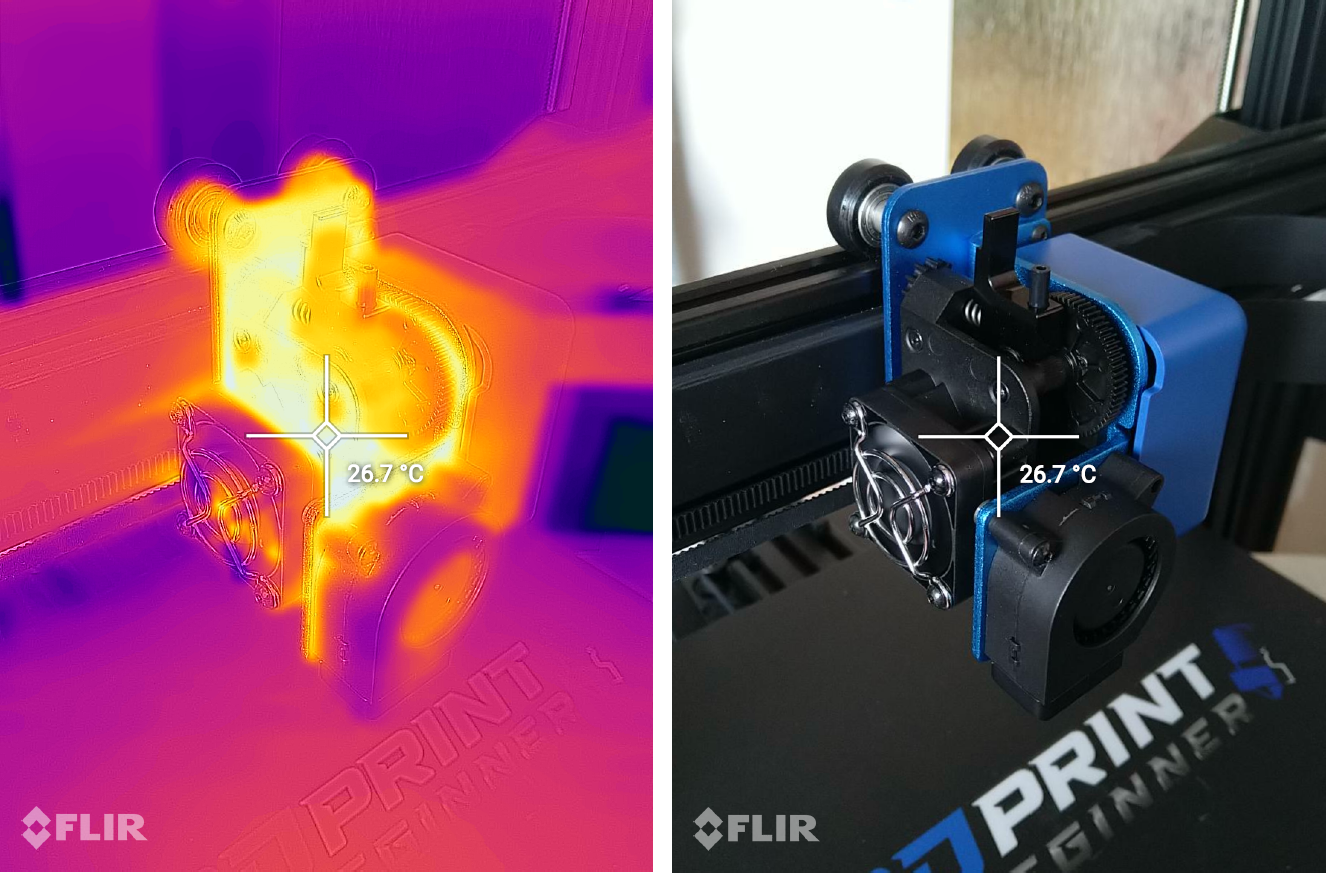
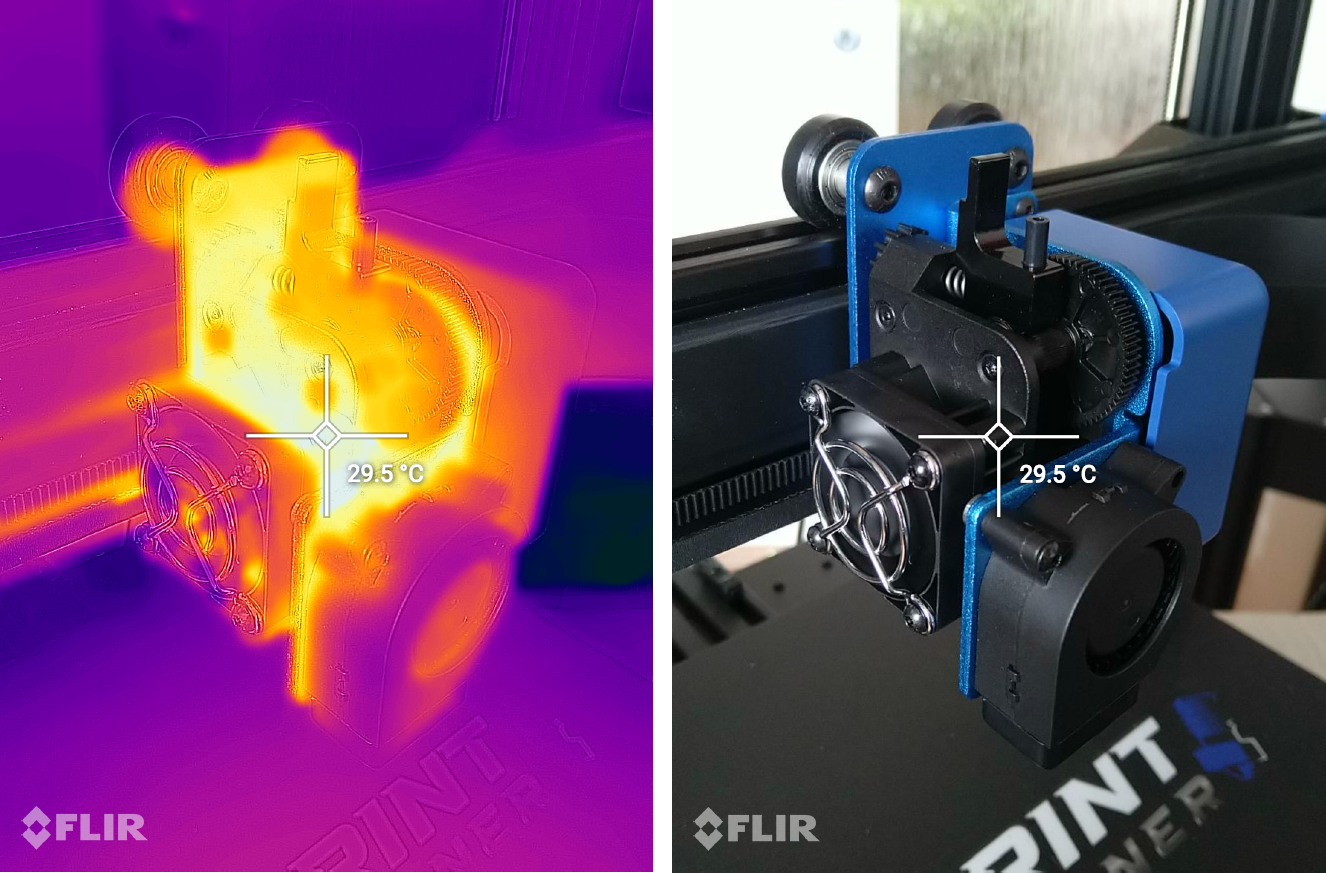
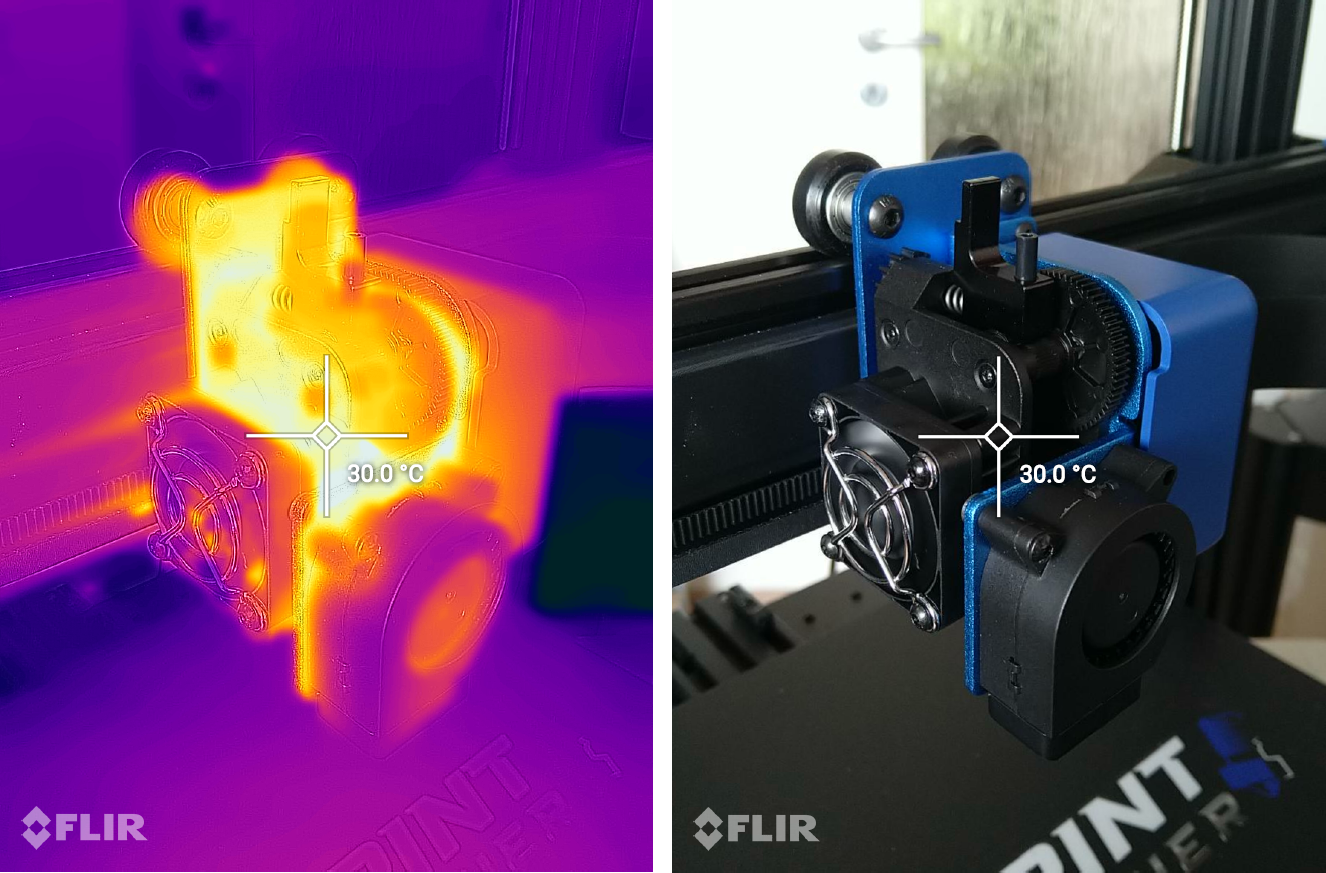
| Hotend Temperature | Setup | Duration | Heatsink Temperature |
| 200C | Artillery All-Metal Extruder | 10 minutes | 26.7C |
| 250C | Artillery All-Metal Extruder | 10 minutes | 29.5C |
| 280C | Artillery All-Metal Extruder | 10 minutes | 30.0C |
Besides lower temperatures, there is no PTFE tube touching the nozzle, to get damaged over time due to the increased temperatures. Again, I don’t have a good way of measuring the temperature inside the heat break, but if I were to compare with my previous bi-metal heat break tests, the temperature is just a few degrees over the one measured at heatsink level.
What I don’t like about the Artillery All-Metal Extruder
After testing the new All-Metal Extruder from Artillery, I need to also share what I don’t like about it.
No documentation
Artillery is selling this All-Metal Extruder upgrade without any kind of documentation or information about how to use it. More experienced people will have no problem in removing the old extruder and installing the new one but the same people could just buy the parts separately and save some money.
Besides that, I am not really sure if it’s even legal to sell a product in the EU without proper documentation or information included, but I might be wrong so don’t quote me on that.
No firmware upgrade available
Besides the missing documentation, there is also no firmware support for this upgrade. Maybe Artillery expects us to use the stock firmware with it, but with the stock firmware, you can’t go past 260C so you can’t really use the extruder you purchased with hopes of printing with higher temperature materials.
An experienced user can re-compile Marlin and make this upgrade work, but what settings does he use for the thermistor? Is it the same one? Is it a different one? Until Artillery gives us an official answer, the safest way to treat it is just like the stock one.
Somewhat deceitful marketing
The All-Metal Extruder is marketed to have a 300-350C Higher Temperature Resistance. But there is no information about what thermistor is included with the new hotend. Does it really support up to 350C for correct reporting? It would be quite a significant risk to adjust the firmware to allow heating the hotend up to 350C without the thermistor being capable of properly measuring this.
There’s also no information about the included silicone sock. Does it support temperatures of up to 350C? Because most of the silicone socks out there don’t support it, and besides releasing harmful fumes when overheated, that sock might fall during a print after it starts melting.
No technical support
Before starting the upgrade process, I opened a ticket through Artillery’s ticketing system where I asked for more information and documentation regarding the All-Metal Extruder they are selling. A week has passed since then, and I received no answer to that ticket.
Sure, I could use my Artillery contacts and get help from them, but that’s not something regular users will have access to. Buying a pretty expensive official upgrade from them, and receiving no information or help about using it is not right. I wouldn’t support these practices by purchasing the product before Artillery comes up with proper documentation for it.
Conclusions: Is the Artillery All-Metal Extruder worth buying?
At the time of writing this review, the price of this upgrade is around ~70$, and it’s available in different warehouses around the world. Considering the price and availability, I think that the upgrade is somewhat worth the asking price if you are looking for a drop-in replacement on your Artillery 3D printer. On the Artillery 3D official website, the price is almost 100$, and that’s not as attractive.
I would consider this upgrade good if you are happy with the stock setup, want to do the important upgrades, and also want to have a spare extruder assembly in case something goes wrong. Just don’t overpay for it.
But if you are a more experienced user, then I see no reason to purchase this instead of sourcing the upgraded parts by yourself and upgrading the stock extruder. The cost of upgrading the three hardware parts is around ~35$ and you will get similar performance from your setup.
You can also go a step further, and upgrade the entire extruder assembly to a whole new extruder like the E3D Hemera, Trianglelab Matrix, BMG Wind, or whatever extruder you might find attractive. This will increase the cost but you should also benefit from other improvements that come with those aftermarket extruders.
Where to buy the Artillery All-Metal Extruder?
The Artillery All-Metal Extruder can be purchased from the following websites:
AliExpress
Banggood
Geekbuying – Discount code GKBATI05 – 65$ – PL warehouse
I recommend checking out the Discount Codes page before purchasing. I regularly update the article with discount codes for various online shops, and you might find one for this particular model.
The Artillery All-Metal Extruder was provided free of charge by Geekbuying for the purpose of this review. While the article includes affiliate links, all opinions are my own. Nobody reviewed the article before it was posted, following the Review Guidelines.
Liked it?
|
|





Nice Review. Have you tried to contact Artillery to provide feedback on the Firmware? Would be great to get some 411 on if / when they plan to upgrade FW. Maybe you can convince them to support the latest Marlin features too? Or better yet… Klipper! (prob dreaming there)
Hey Aaron, I had the same question and stumbled across a new custom Marlin firmware (by: PrEzi) for the X2 on Thingiverse (https://www.thingiverse.com/thing:5186707).
In the description PrEzi states “-Since I tweaked the heatbreaker I have also risen the max safe temp to 300 (if you have all stock you can either revert it back or just stay below 260 degrees Celsius. Config.h line 558)”. I’m considering giving this a go, but wondering if anyone has tried this out yet.