IdeaMaker Review: Why it’s my favorite slicer?
I have been using IdeaMaker for a few months and it quickly became by favorite slicer. In this article I will try to share a few reasons why I love it so much and why I think IdeaMaker is currently the best slicer available
What is IdeaMaker?
IdeaMaker is a free 3D slicing software made by Raise 3D. This is the software you use when preparing a model to be printed on your machine. It is designed to work with their Raise 3D printers, but it allows adding aftermarket printers with custom profiles.
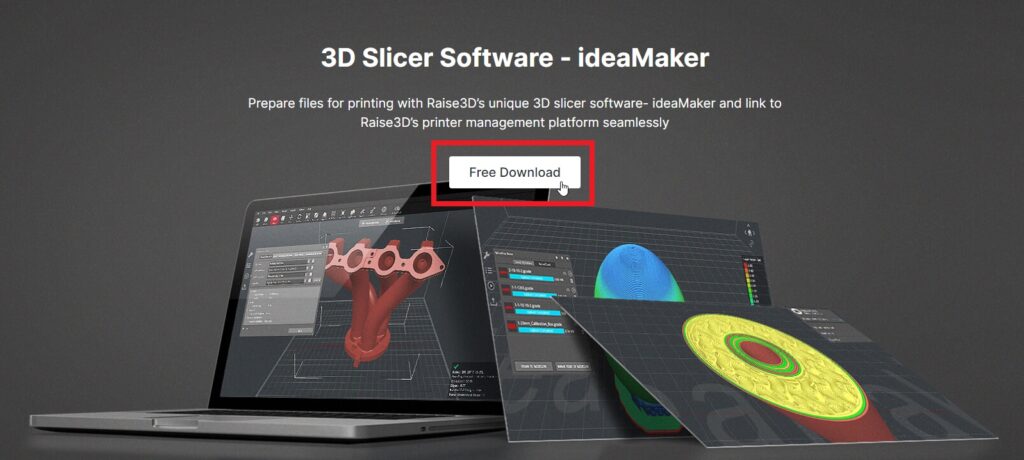
It’s a closed source slicer, but I don’t mind this considering it’s been more consistent and stable compared to Cura.
Why IdeaMaker instead of Cura?
A lot of people start their 3D printing journey with Cura. This is because Cura is an opensource slicer with good support for a lot of printers. It includes profiles for most of the popular printers and it offers a lot of customization.
Better stability
The main reason why I use IdeaMaker instead of Cura is the stability. IdeaMaker never failed on me when I upgraded to the latest version. With Cura, I lost my profiles a few times and I was always nervous when updating.
IdeaMaker crashes from time to time, but at least I can be sure that my profiles are safe and I can easily re-slice a model without worrying something else broke.
Faster slicing
Cura is also a lot slower compared to IdeaMaker. It takes a long time to start, and slicing performance is not the fastest compared to other slicers. I can slice a model twice in the same time Cura struggles to slice the model for the first time.
Better print time estimates
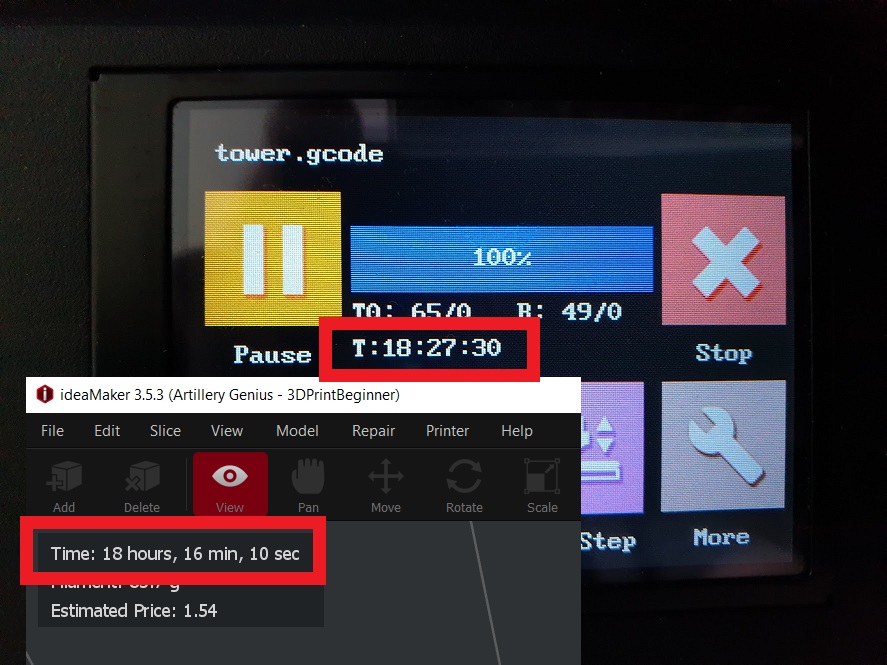
Another really important benefit from using IdeaMaker is the print time estimates. After configuring acceleration and jerk settings in the profile, I always get accurate print estimates.
With Cura, even after configuring the printer acceleration and jerk the estimates were wrong for me. Most of the time, the print would take about 20% longer so not the most reliable estimations.
More cohesive print settings
I know there are people who will argue with me about this, but I always found Cura settings to be all over the place. After you get some experience, you know what settings you are trying to change and using the search feature in Cura can help.
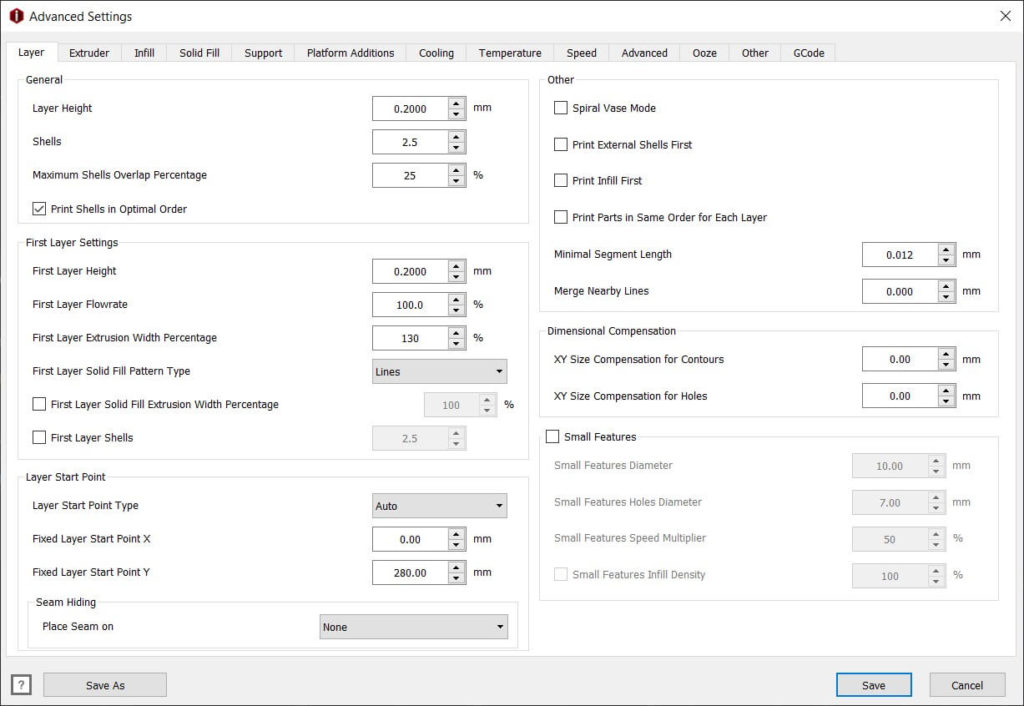
In IdeaMaker, all settings are available in a single window, with nicely arranged tabs which makes it easier for me to slice a model.
You might argue that Cura offers more settings, and I would agree. In Cura you can control every aspect of a printed model and tune a specific profile to your liking. But this can be a double-edged sword.
In my case, every time I did a change in Cura, some other value would affect the quality of my print. At some point, it turned in a battle betwen me and the slicer and it became really hard to set up a custom profile for a printer.
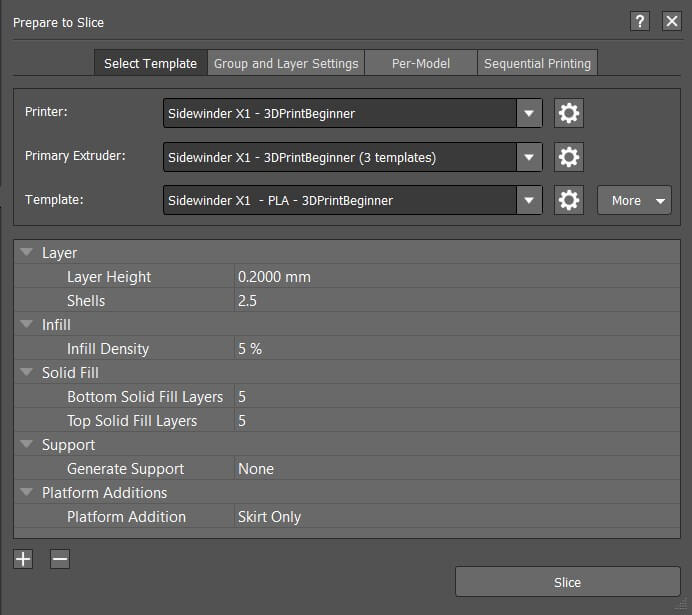
And the best part is that you can choose a few settings which can be edited right from the side bar without needing to go to the print settings page. I added layer height, wall count, infill, platform additions and top/bottom layer in the side bar with a tweaked profile those are the only settings I usually change before starting a print.
IdeaMaker Features
The IdeaMaker slicer is packed full with features you can use for slicing your models and these are a few of my favorite features included.
Free cut
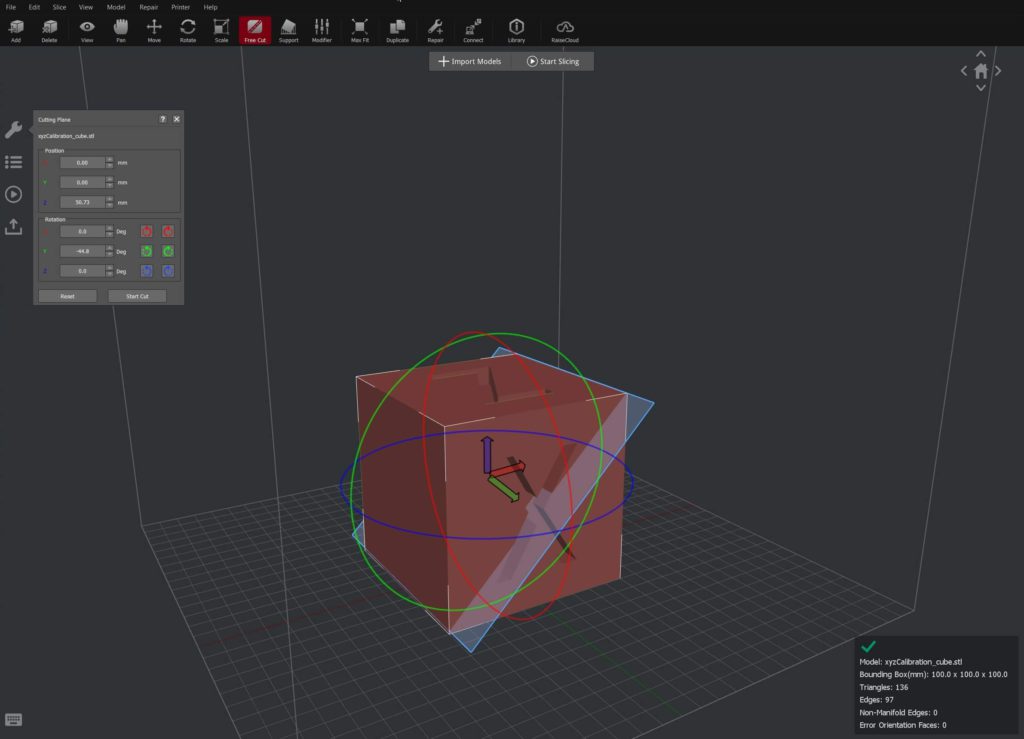
A really useful feature in IdeaMaker is Free Cut. This feature allows you to cut a model according to your needs.
If you are trying to print a big model which doesn’t fit your 3D printer build plate, you would use this feature to cut a model in two separate parts. That way, you can print the model in two separate prints
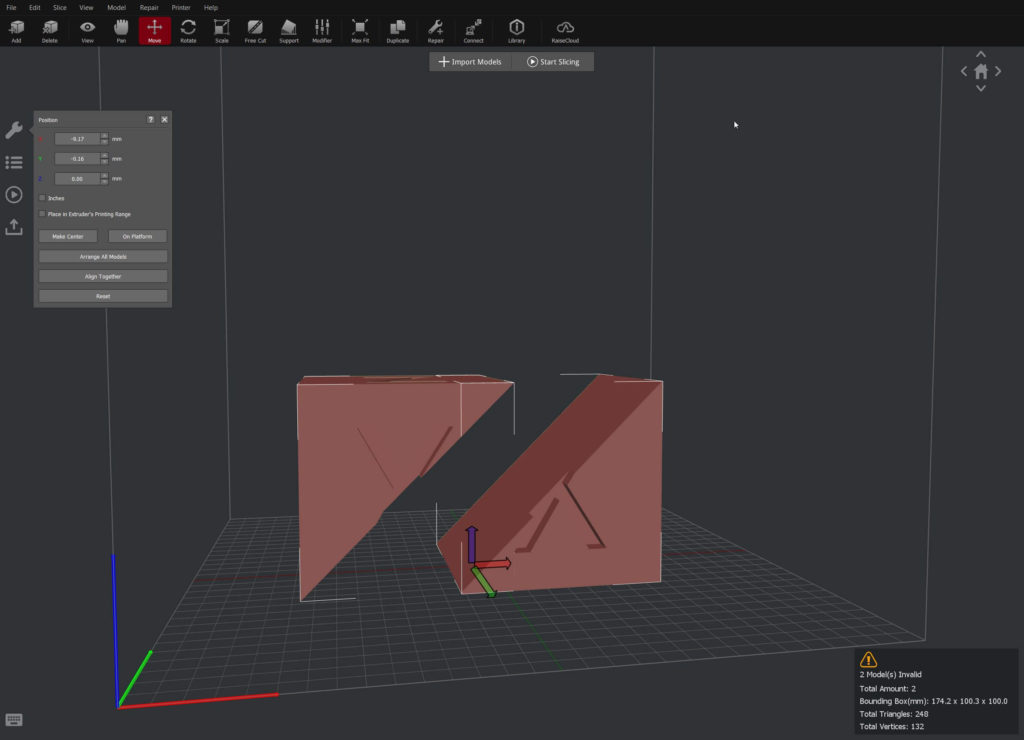
After importing the model, click on the Free Cut button then you can control the slice on the XYZ axis. When you are happy with the cut position, just click on the Start Cut button and in a few seconds you will have two models.
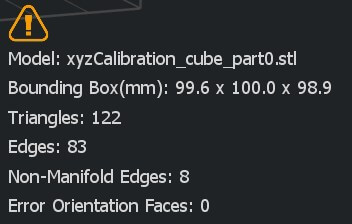
After the cut, you will probably notice in the lower right side of the slicer that the models appear to be invalid. This can be fixed using the Repair feature.
STL repair
IdeaMaker also includes a nice feature which can repair models which have non-manifold edges or errors in the orientation of the STL faces. This is really nice because some of the files available online can have errors and this can lead to unwanted failures during printing.
You can easily detect these errors by importing the model in the slicer. If the model has issues, in the bottom right side of the slicer interface you will get a yellow caution sign where you will see the issues detected in the model.
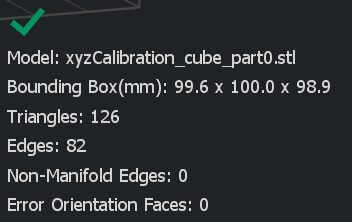
To repair the model, you just need to click the Repair button in the tool bar and the model will be repaired. With the model repaired, you are now safe to slice the model and be sure that you will be able to print it successfully.
Great supports
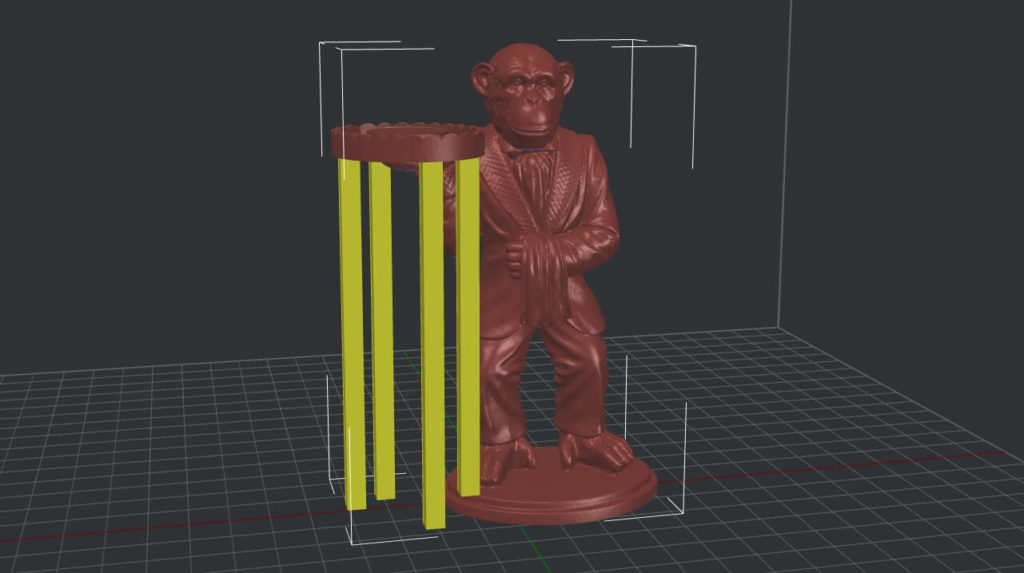
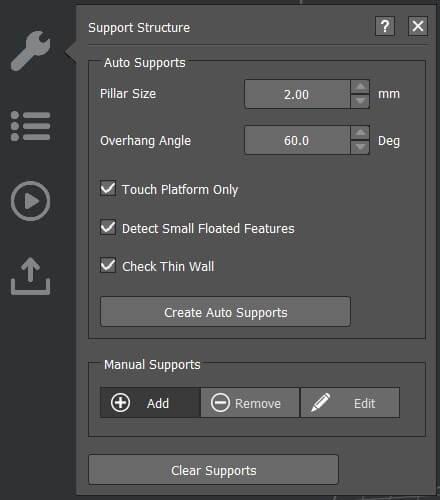
Another feature which made IdeaMaker my favorite slicer is the awesome supports. With IdeaMaker you can manually add support pillars on overhangs and easily control the amount of supports you add to a print.
In the Support Structure settings, you can control a few quick settings for supports.
If you click on the Add button under the Manual Support, you will be able to choose the position of the support pillar. If you want to remove some of the supports, just click on the Remove button, then click all the pillars you want to remove.
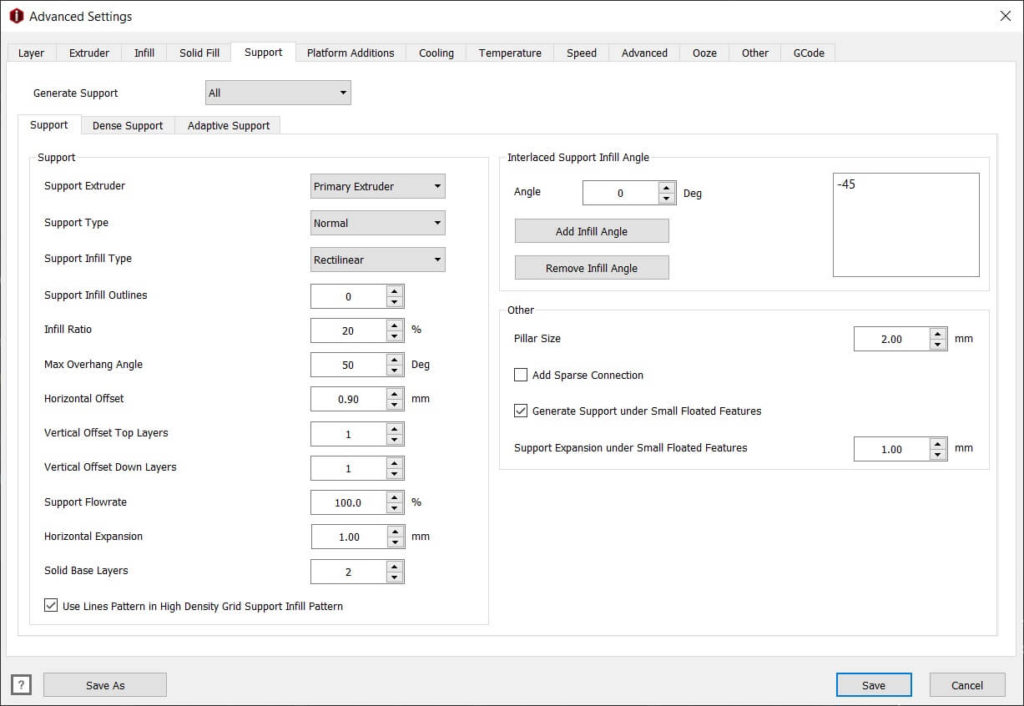
In the Advanced Settings, under Support you can edit a lot more support settings. I recommend you always use a few layers of dense support because this improves print quality and makes removal easier.
You can see in the pictures below that the interface between the model and the support is really good.
I also did a video (ignore the quality) where I removed the supports.
Modifiers
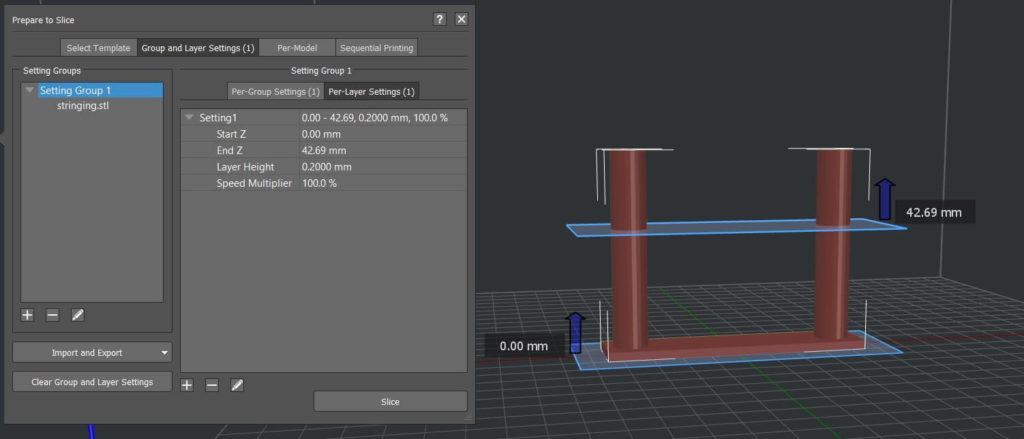
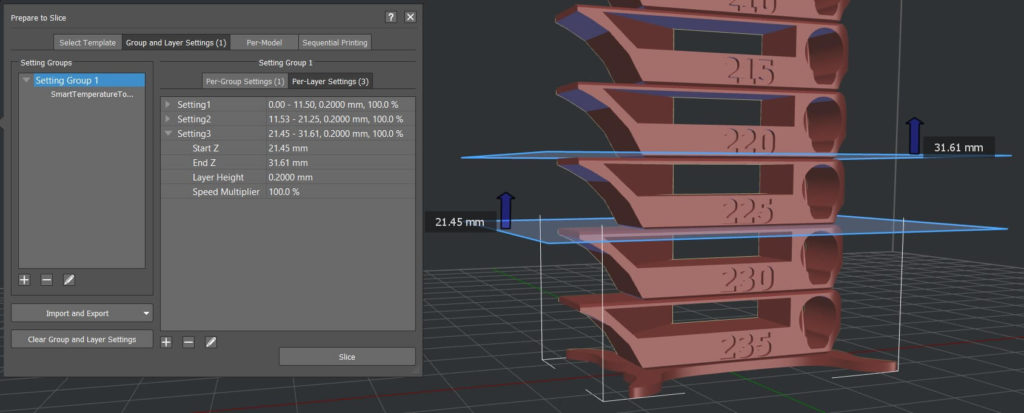
Another powerful feature included in IdeaMaker is Modifiers. This feature allows you to control different settings in your slicer according to the layers.
For example, you may want to print smaller features in your print at a lower speed. You can adjust print speed for 20 mm in your print, then continue with the regular speed.
Another use case is when calibrating your printer. For example, when calibrating retractions there’s a popular STL which tests this. With modifiers, you can set the slicer to adjust the retraction value every 10mm during the print. This way, you can test a bigger range of retraction values in a single print which is really useful.
3D Maker Noob has a video where he shares his way of tweaking retraction in IdeaMaker using modifiers.
The same technique can be used to tune the filament temperature when you are printing a temperature tower. You download a temperature tower test then set IdeaMaker to change the temperature for each test piece. That way, with a single print you will have a test which includes a range of temperatures then you can decide which one works best for you.
There are other uses for this feature, so feel free to leave me a comment on your use case with IdeaMaker modifiers.
Easy to remove rafts
Rafts are a few layers which are printed before starting the model, to increase adhesion on the build plate. It’s especially good when you have some issues with your heat bed like an unlevel bed or inconsistent flatness.
In the past, I was avoiding using a raft because it was really hard to remove. But since I started using IdeaMaker, this was not a problem anymore. Rafts are extremely easy to remove and leave an excellent bottom layer on your print.
Below, you can see some pictures of the rafts I printed using IdeaMaker.
This is how the bottom of the print looks after removing the raft.
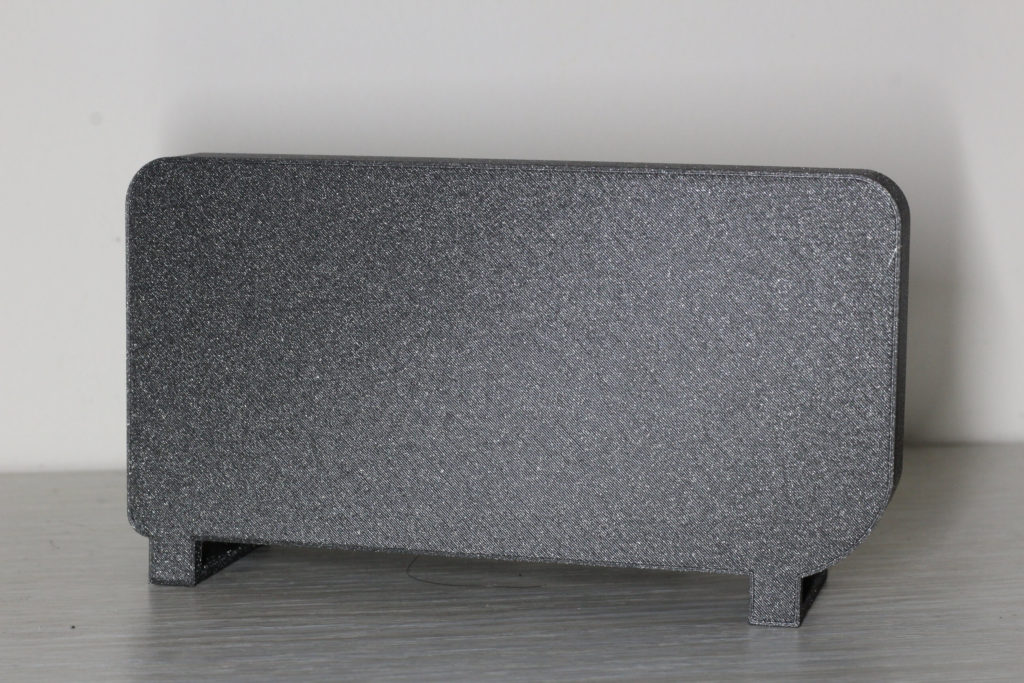
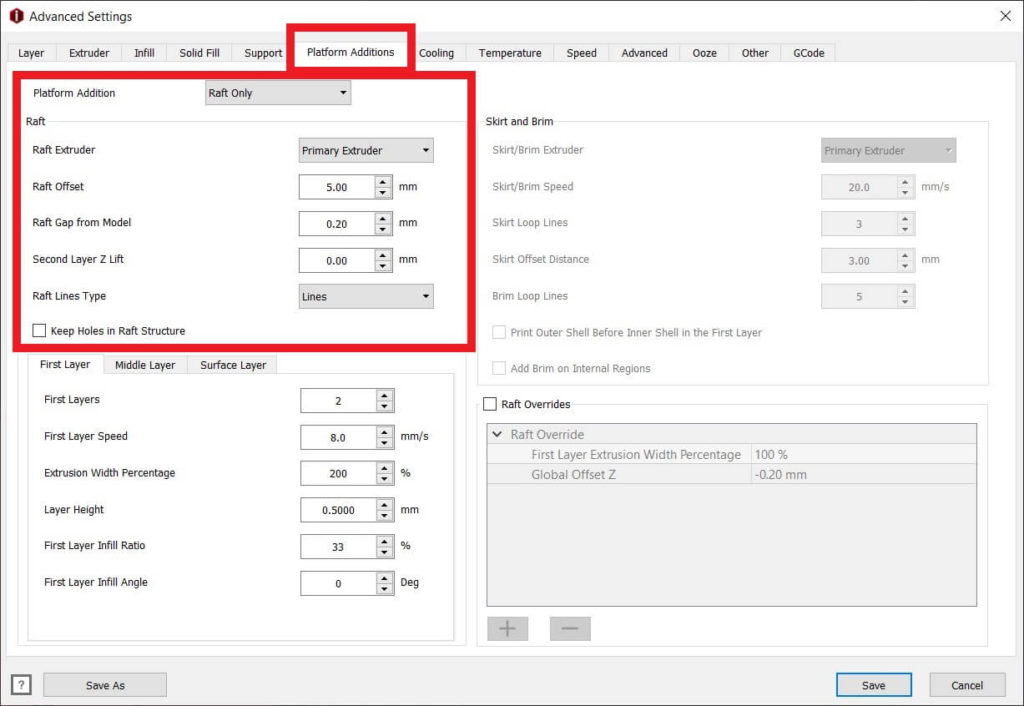
You can enable this in the Advanced settings, under the Platform Addition section. The stock settings worked well for me, but you can tweak it you want to modify the gap between the model, or the raft lines type.
Raise Cloud integration
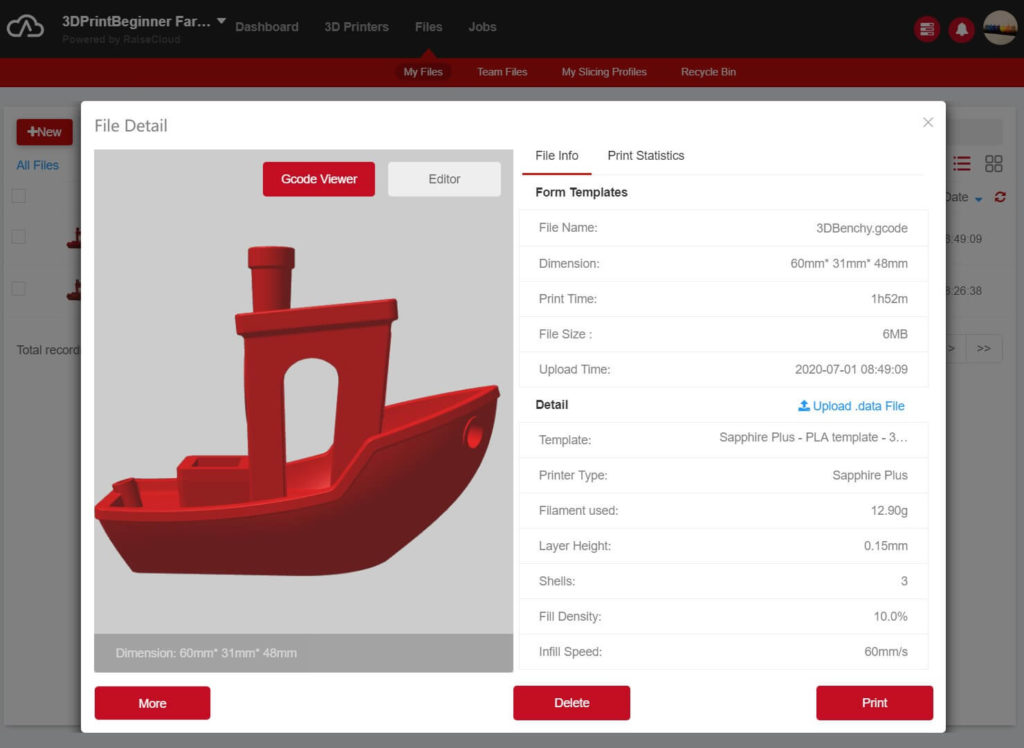
I covered the Raise Cloud integration in a previous article, so I recommend you read about it to understand the whole process a bit better.
You can use Raise Cloud with your printer by attaching it to your Octoprint instance, which will allow you to slice and start prints right from the cloud.
There’s also a nifty app which connects to Raise Cloud which allows you to check on your print from anywhere in the world, right from your smartphone.
Profile import from IdeaMaker Library
Because IdeaMaker is so well integrated in the Raise ecosystem, you can now import profiles from ideamaker.io
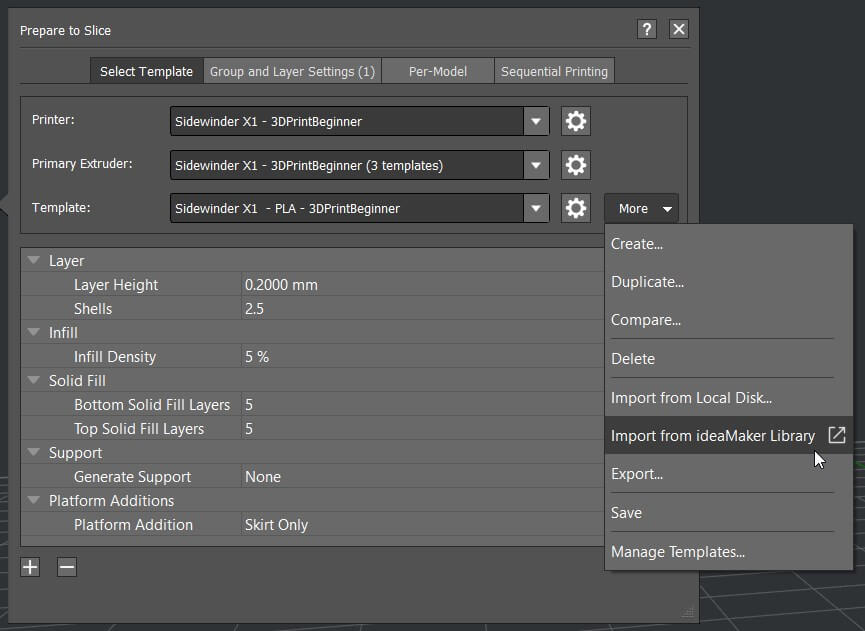
Click on More -> Import from IdeaMaker Library. This will take you to ideamaker.io where you can download the profile. Click on Import to IdeaMaker then return to the slicer. Your printer will then be imported.
This is a really nice way of importing already tuned profiles and I really love it. This is a reason why I will try to upload all my IdeaMaker profiles to the library.
Printer profile comparison
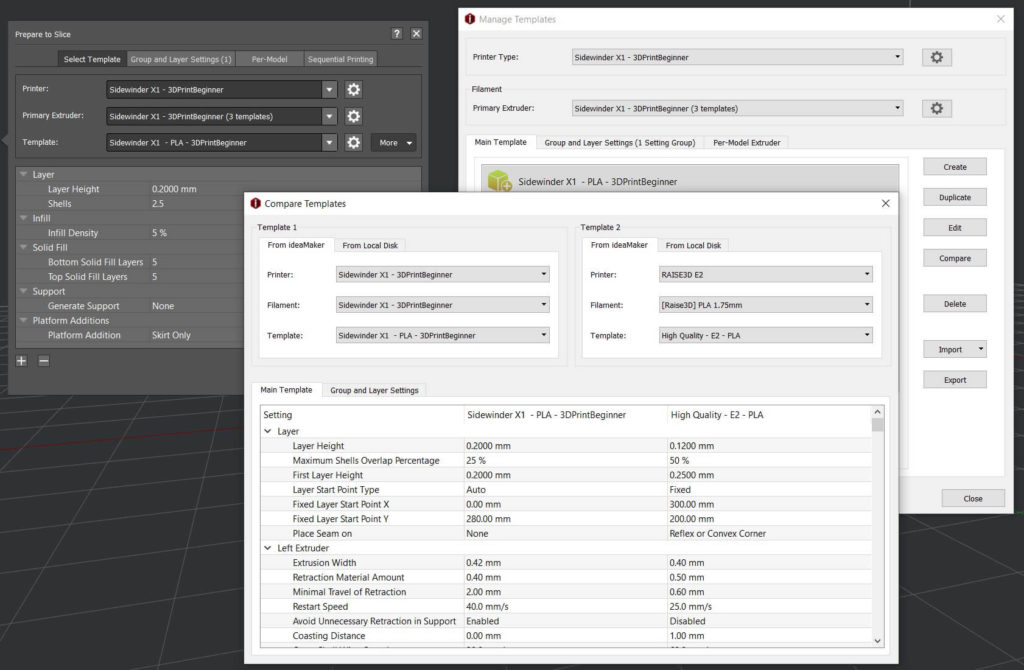
You might not use this feature that much, but it can help you compare different printer profiles. This is available under More -> Manage Templates -> Compare
For example, you tuned a custom profile for your printer, but you struggle with some of the settings to get that print just right. You downloaded a similar profile from the internet, and noticed that it fixes your issues but it’s also not perfect and it has other drawbacks.
With IdeaMaker profile comparison you can choose the two profiles and compare them. That way, you will easily find the differences between the profiles and will help with editing your profile so your get the results you are looking for.
IdeaMaker Drawbacks
There’s also a few drawbacks and missing features in Ideamaker, but the development team is actively working on adding extra functionality.
Steeper learning curve
I’ve read this online from other users and I can also confirm. When you first start with IdeaMaker it takes a bit of time to master it. But after you get used with the interface and learn your way around it, it becomes easier.
When I first started with IdeaMaker a lot of the settings were hard to find and it looked like it’s hard to get around in it. After about 30 minutes I already knew where to look and everything became easier.
Raise 3D has a nice quick introduction video which could help you get started.
You can also learn more about how to setup a new printer from Joe’s video:
If you are now starting your 3D printing journey, I highly recommend starting with IdeaMaker. You will thank me later.
Export G-code directly to Octoprint
A nice feature available in slicers like Prusa Slicer and Cura is the ability to export your model directly in Octoprint.
With IdeaMaker this is not currently possible. You need to export the model locally, then import it to Octoprint manually. The good news is that this feature should be available soon in the next releases of IdeaMaker.
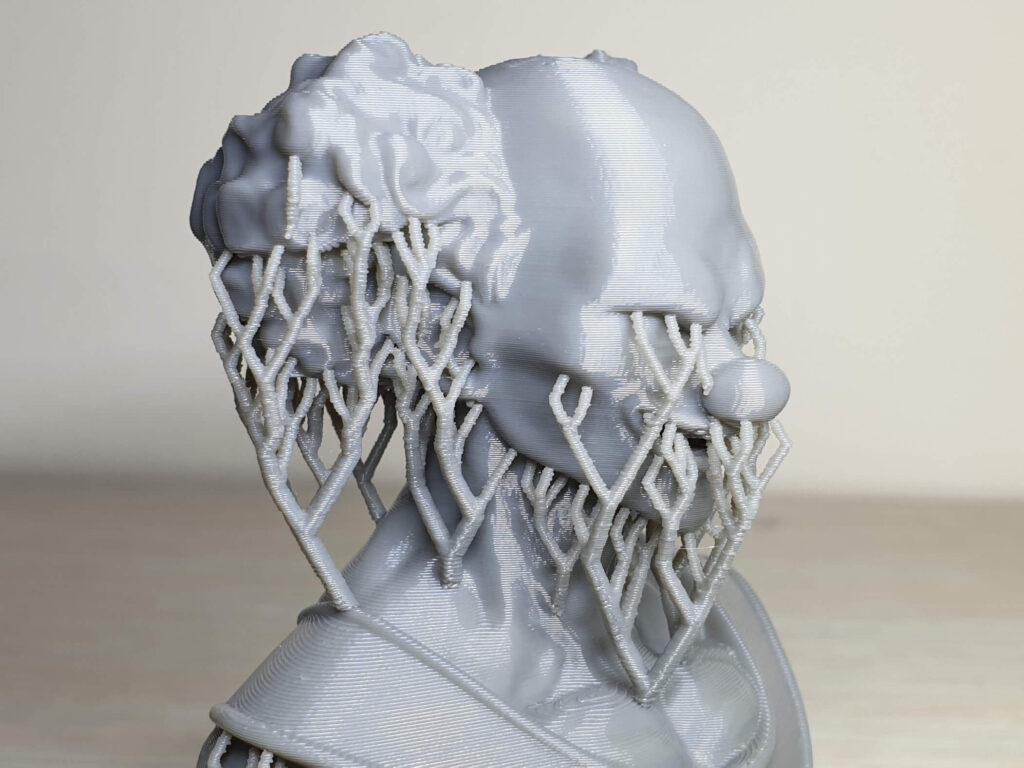
Tree supports
A lot of people use the tree supports available in Cura. This is another feature which Ideamaker development team has on their list but it will take a while until it will be available in the slicer.
I am not a really big fan of tree supports, considering how well regular supports work for me but it can become a good support alternative if you are looking to save some filament.
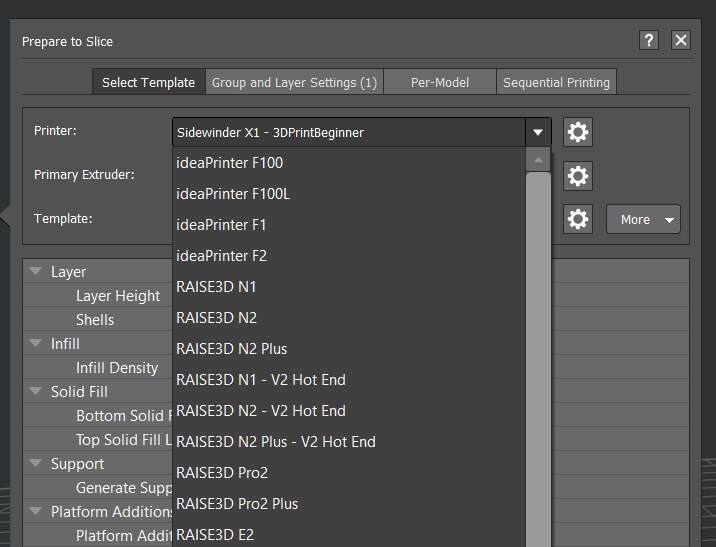
Removal of included printers
IdeaMaker comes with a lot of printer profiles made for the Raise 3D machines and filament. This is nice if you are a Raise 3D printer owner but if you are using IdeaMaker with aftermarket printers, you might find this a bit cumbersome.
I would like to be able to remove unused printers from the slicer but for now this is not possible. I contacted IdeaMaker support and they confirmed that this feature is currently actively developed so expect this feature to be available soon.
Wrapping up
Hopefully this small review is helpful for you and maybe you will give IdeaMaker a try.
If you have any questions, you can join the 3DPrintBeginner Discord server where there’s an IdeaMaker channel. It’s been a great slicer for me and I would love to hear about your experience with it down in the comments.
Liked it?
|
|

