Multi-Color 3D Printing Using IdeaMaker
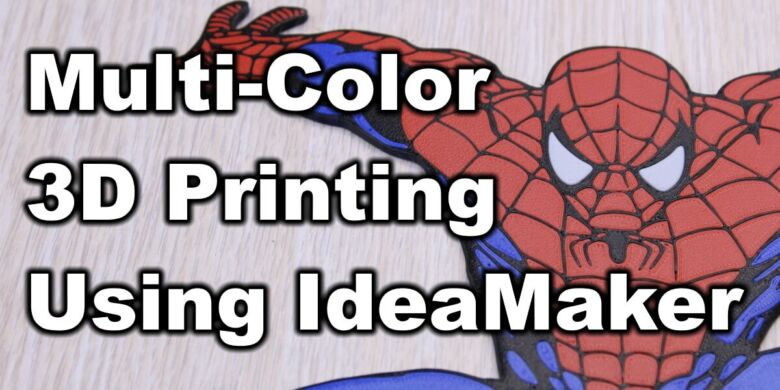
The idea of multi-color 3D printing is interesting, but most of the time you need a machine capable of doing it. The good news is that you can do simple multi-color 3D prints using a feature called “Z hop” in your slicer.
CHEP made an excellent video highlighting this trick in Cura, so in this guide I will show you how to use Z hop in IdeaMaker for multi-color 3D prints.
This technique of doing multi-color 3D prints is intended for flat models where you want to have different colors on the same plane. For example, you can print multi-color coasters or signs.
Here’s an example of what’s possible:
Prerequisites for multi-color 3D printing with Z hop
Before starting your multi-color 3D printing adventure, you should consider some of the requirements:
Sharp nozzle
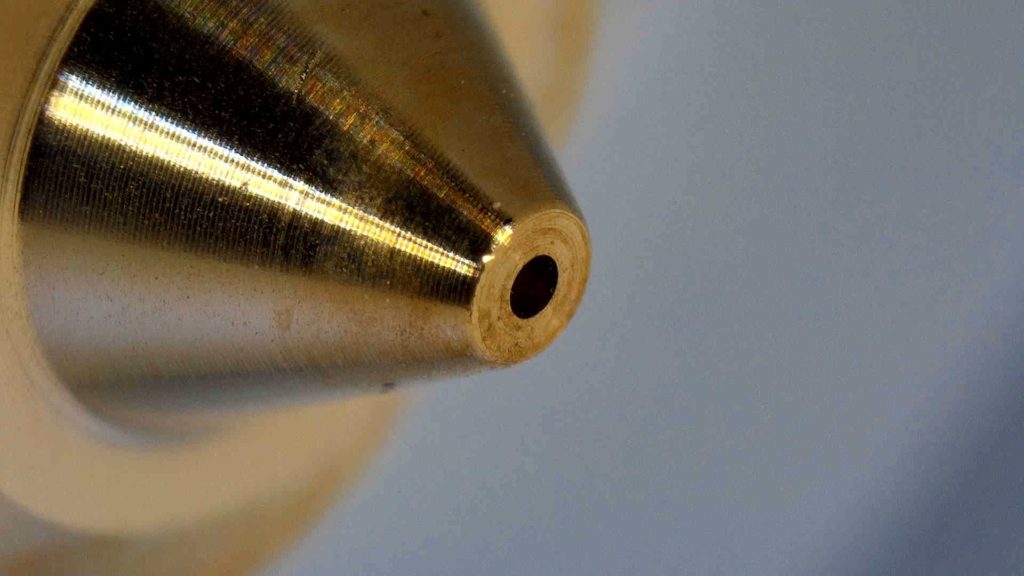
For best results, your printer should use a sharp nozzle. With a sharp nozzle, you will be able to print multiple layers without the nozzle damaging the surrounding layers.
The best nozzle for this is the NF Sharp from Mellow, but a regular E3D nozzle should also work well.
Perfectly leveled bed
For good results when doing multi-color 3D prints, it’s imperative to have a level print surface. If your leveling is not good, then you will have adhesion issues on small parts of the print.
Take your time and level the bed, then do a few test prints to confirm that the surface is ready, and you don’t need to interact with babystepping on your first layer.
Print slow
As mentioned, it’s crucial to have good adhesion, and to help with that I recommend printing at about 30mm/s. This helps the first layer stick better and small features will not be affected.
Calibrated printer
As always, your printer should be calibrated in order to deliver the best top and bottom layers. You can check out my 3D Printer Calibration Guide using IdeaMaker if you need to do some extra tuning.
Printer with regular Z endstop
The easiest way to do multi-color 3D printing using Z-hop is if you have a 3D printer with regular end stops. If the printer uses an auto bed leveling sensor for Z homing, then the size of your print will be limited.
When you start printing with other colors, the printer needs to home the Z axis, and if the print is in the middle of the bed, it will not home correctly.
Printers that use a BLTouch usually home on the middle of the bed (Z Safe Homing). This limits the size of the print to a quarter of the bed, because you need to position the model so it doesn’t interfere with the homing process.
Preparing models for multi-color 3D printing with Z Hop
Find a good 2D model
The first step is to find a good 2D model to generate the model. It’s best to find a SVG model because you can import it in Fusion 360 and extrude each part of the model.
If you’re good at drawing, you can also generate your own SVG file with a custom design.
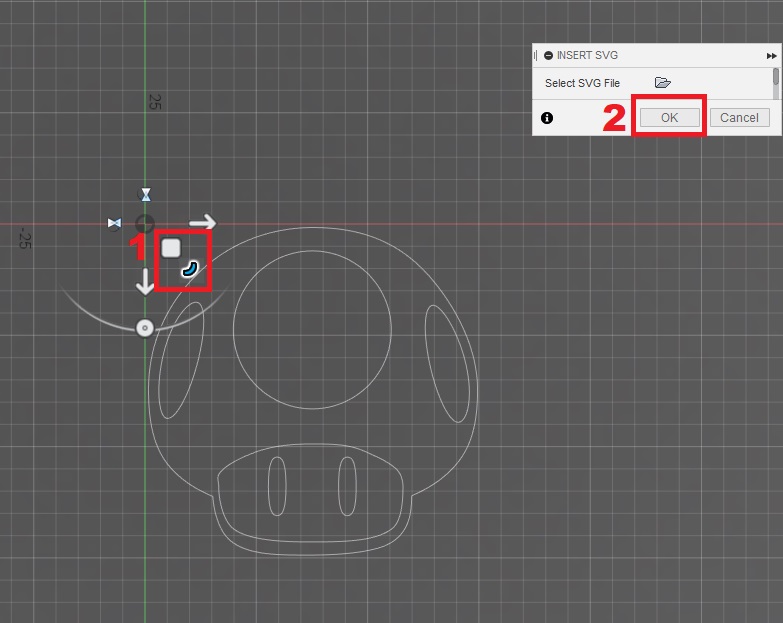
Import SVG in Fusion 360
Now that you found a good SVG to print in multiple colors using Z-hop, you need to import in in Fusion 360. You can do this in other programs, but Fusion is the easiest for me.
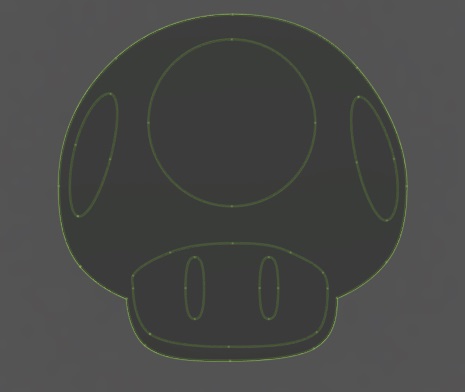
First, start a new sketch and select the Top plane
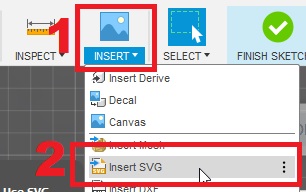
Next, click on Insert -> Import SVG and select the SVG you want to import.
Resize your SVG file according to the required dimensions you want to print, then click OK.
Generate different components
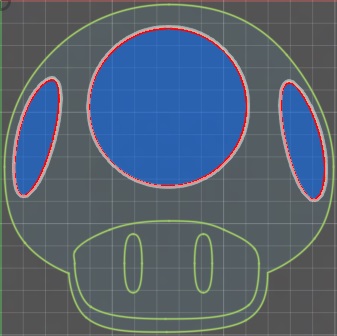
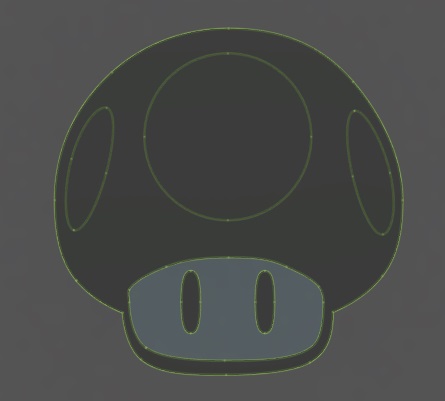
Now, we need to generate different components for each type of color you want to use in your multi-color 3D model. In this example, I will use a Mushroom from Mario which will be split into three models with different colors.
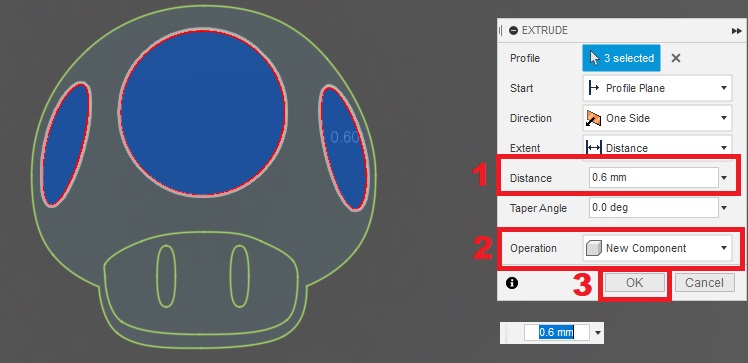
First, we select the sections we want to print in white. Hold CTRL and click on the selections you want to print in white.
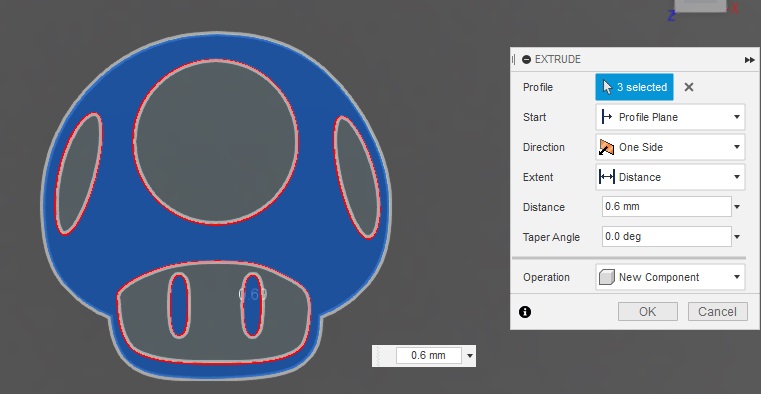
After selecting them, press E to extrude, set a distance of 0.6mm, operation should be set as New Component then click OK.
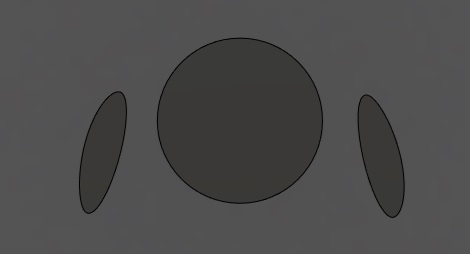
This is the result:
Edit the sketch, select the sections you want to print in red, press “E” to extrude and set a value of 0.6mm and click OK.
This is the result:
Finally, select the sections you want to print in black, press “E” to extrude and set a value of 0.6mm and click OK.

This is the result:
Export components as different STLs
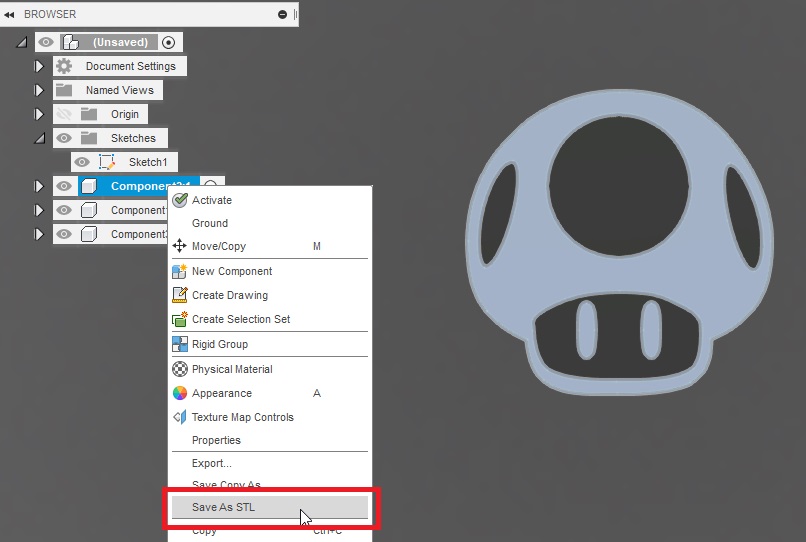
With the components now correctly generated, we can export each component into a single STL. To do that, right click on each component we generated in the previous step then export them one by one.
I recommend you name each of the components including the color you plan to use for them for easier identification during printing. In the end, you will have three STL files.
Import all files in IdeaMaker
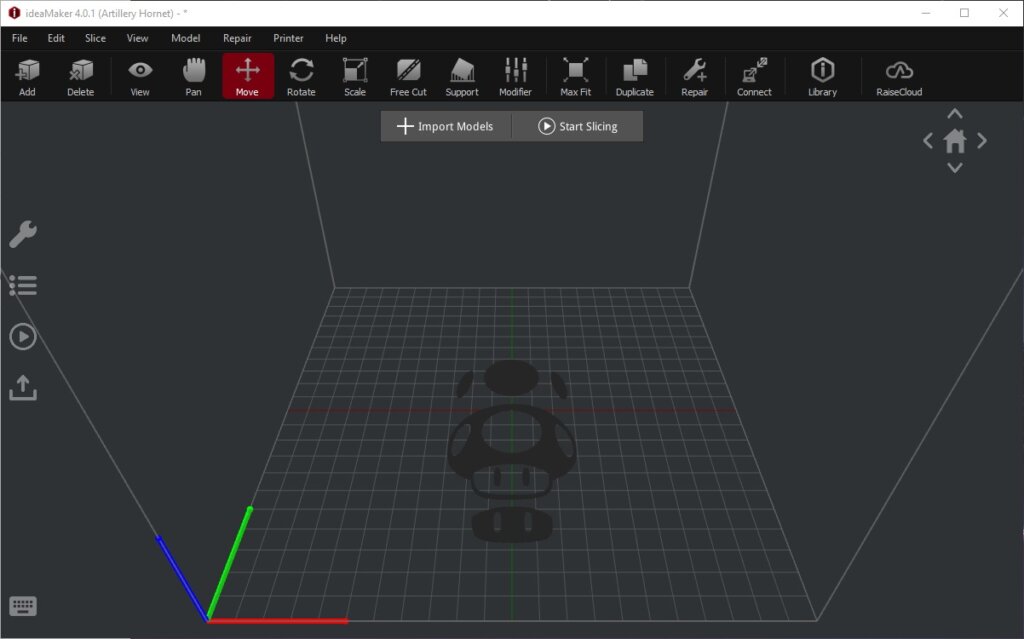
We need to import all the STLs exported in the previous step in IdeaMaker, then center them.
First, drag and drop all the STL files in IdeaMaker.
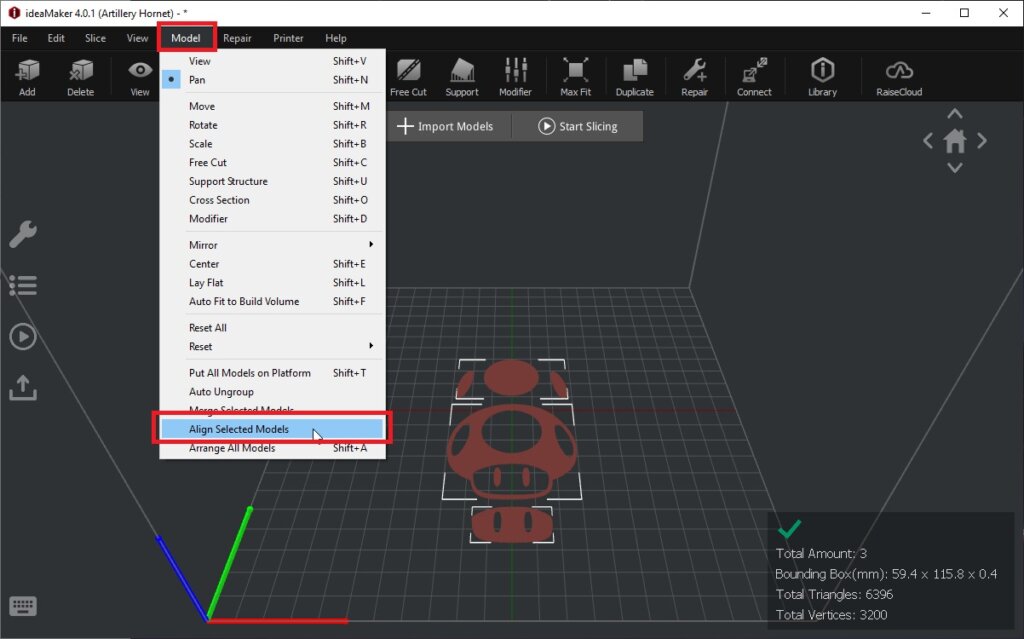
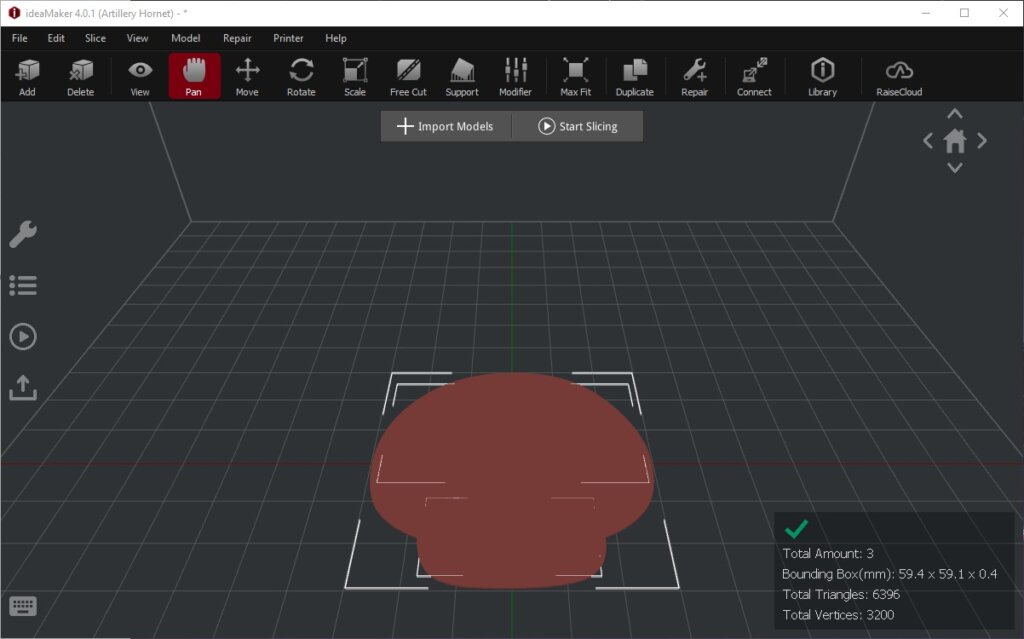
To do this, select all models with CTRL+A, then navigate to model -> align models.
If the models are aligned correctly, then you can continue to the next step.
IdeaMaker settings for multi-color 3D printing
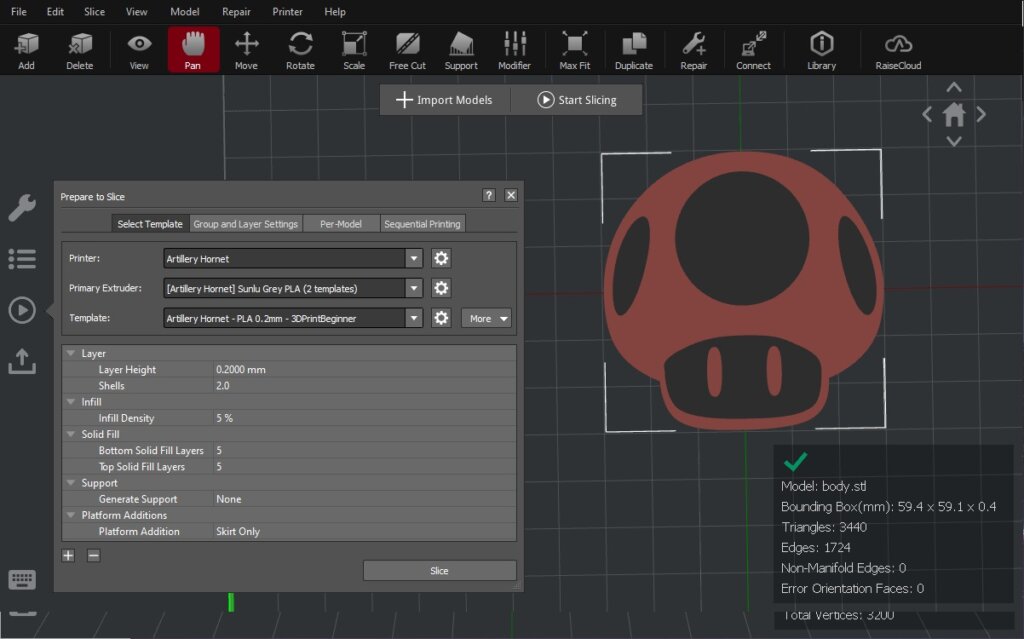
For best results, your IdeaMaker profile needs to be set up with the following settings.
Layer Height: 0.2mm
First Layer Height: 0.2mm
Platform Additions: None
Z Hop at Retraction: 1 mm
Z Hop Performed: All
No part cooling
Higher temperature on the heatbed: (~70C for PLA / ~80C for PETG)
The rest of your settings can remain unchanged.
Slicing models in IdeaMaker
To do multi-color prints using Z hop, we need to slice each component separately, and generate a single g-code for each color.
For easy slicing, I recommend you keep a single component, and delete the rest. For example, even though I previously imported all three components of this mushroom, I selected the face and the dots and deleted them.
After deletion, I was left with the body, which was sliced and the g-code saved accordingly.
With the file now sliced and exported, you can use CTRL+Z to get back to the point where all the components were available, then slice a different component with the previously mentioned steps.
In my case, I had three g-code files for three different colors.
How to print the files?
There’s no specific way of printing the files, but I usually start with brighter colors and finish with the darker colors because it’s easier when I do the filament change. For this mushroom, I started with the black filament.
When the first component was done, I replaced the black filament and started the second component with white filament to print the dots. In the end, I did another filament swap to print the face and the model was finished.
Multi-color 3D Prints
I did a few test prints using the multi-color Z-hop technique and I must say the results are awesome.
Jordan Sign
This is one of the first models I made using a SVG available online. You can download the Jordan Sign from this link.


Chicago Bulls Sign
The second print is a bit more challenging because the tip of the horns are quite small so the bed adhesion needs to be excellent. This model was printed on the Creality CR-6 SE You can download the Chicago Bulls Sign from this link.
Spider-Man
Finally, the four-color Spider-Man. This model came out great and it’s a good example of what’s possible with multi-color 3D printing with a single nozzle. The model was printed on the BIQU BX.
Wrapping up
I hope this guide has been helpful, and now you have another trick under your sleeve when it comes to 3D printing. If you encounter any issues, leave a comment, or join the 3DPrintBeginner Discord server where you can get assistance.
Liked it?
|
|






Nice workaround. Does the .6 offset get eaten with layer squish?
Many thanks.
I haven’t tried it.
hello good tutorial thank you very much but i have a great question
Install your Marlin 2.0.5.3 firmware and I would like to install a Bltouch. You will have a tutorial on how to install it in 1 X1 please, I am a newbie trying to learn more about 3D printing but I have not been able to find a tutorial to install BLtouch in X1 with Firmware 2.0. 5.3 https://uploads.disquscdn.com/images/1c6fd98be393c9661972a99d85d4cd4cc993314f499e8fdf7be1dc62df460e73.png