Ender 3 V2 vs Artillery Genius – Which One To Buy?
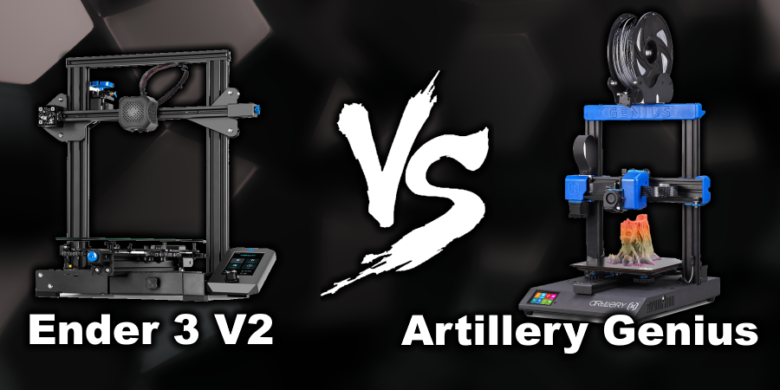
Creality just announced the Ender 3 V2. An upgraded version of the extremely popular Ender 3 which at the moment is a best buy for a beginner.
The Ender 3 V2 is available for preorder on Creality’s site for 279$ or Banggood for 259$. Today, I will do a comparison between the Ender 3 V2 and Artillery Genius to see which one is a better value.
Ender 3 V2 Creality Extruder vs Artillery Genius Titan Clone
The Ender 3 V2 comes with the same low quality plastic extruder we got in the past. Because of the positioning , the filament rubs on the plastic and cuts trough it damaging the lever. Besides that, the lever tension on the filament is low, and the filament could have extrusion issues. Some users upgrade to a metal extruder to fix this issue, or even better, a dual-gear extruder.
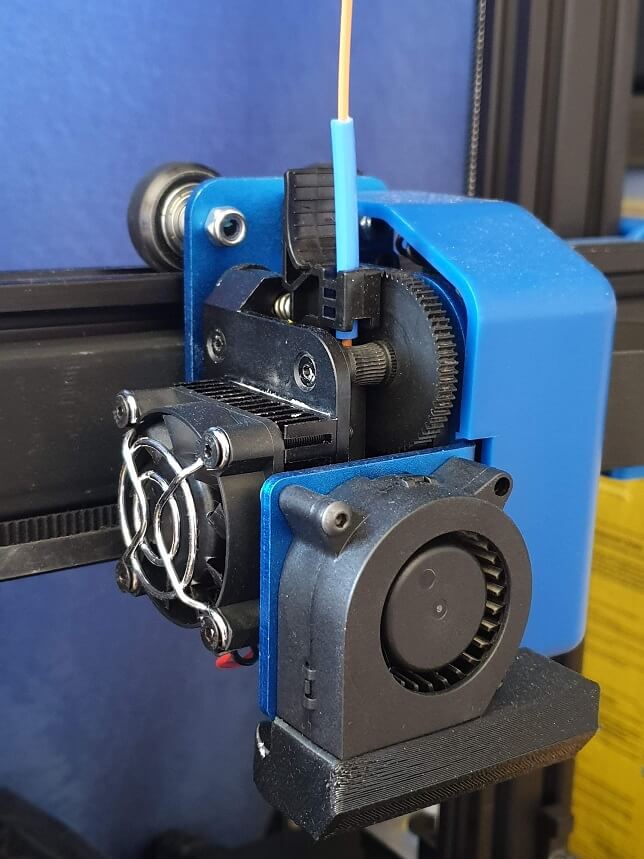
On the other hand, the Artillery Genius comes with a Titan Extruder clone, in a direct drive configuration. While there are some issues with the stock configuration (extruder lever might break), you get a spare in the package. This part could be also 3D printed in PETG / ABS or order one in Aluminum to fix the issue for good.
The Titan Extruder clone used by the Genius also has manual tensioning of the spring allowing fine tweaks in the gear pressure over the filament. The Creality plastic extruder used on the Ender 3 V2 does not have this.
In my opinion, the winner here is the Genius extruder. It’s not as good as an original Titan extruder, but it’s a lot better compared with Creality’s offering.
Bowden vs Direct Drive
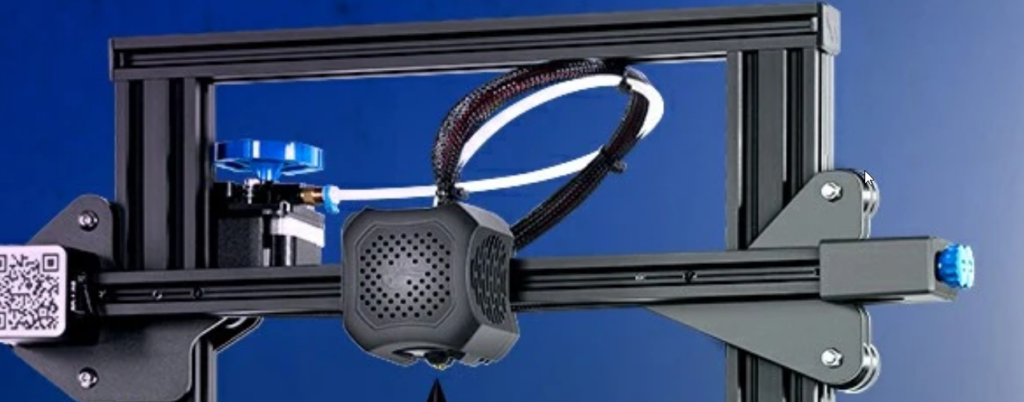
The Creality Ender 3 V2 uses the traditional bowden setup present in most of Creality’s machines. Some people swear that this system allows you to print faster. Because the entire hotend assembly is lighter, you should get improved printing performance.
This is a true statement, but with a Bowden setup, it’s harder to control oozing and stringing. Besides that, retraction values are a lot higher compared to a Direct Drive.
Another important feature that it’s hard to tweak and use on a bowden setup is Linear Advance. Any 3D printer in 2020 should use this feature to improve print quality.
It’s like painting a picture: try to paint with a 1m long brush, grabbing the rear end of the handle which is made from rubber
The most frustrating issue in a Bowden setup is the use of bad quality bowden fittings. They fail constantly and getting quality replacement is close to impossible. This issue was so frustrating for me when using the Creality CR-10s Pro, so i just converted it to a Direct Drive System and that fixed my issues for good.
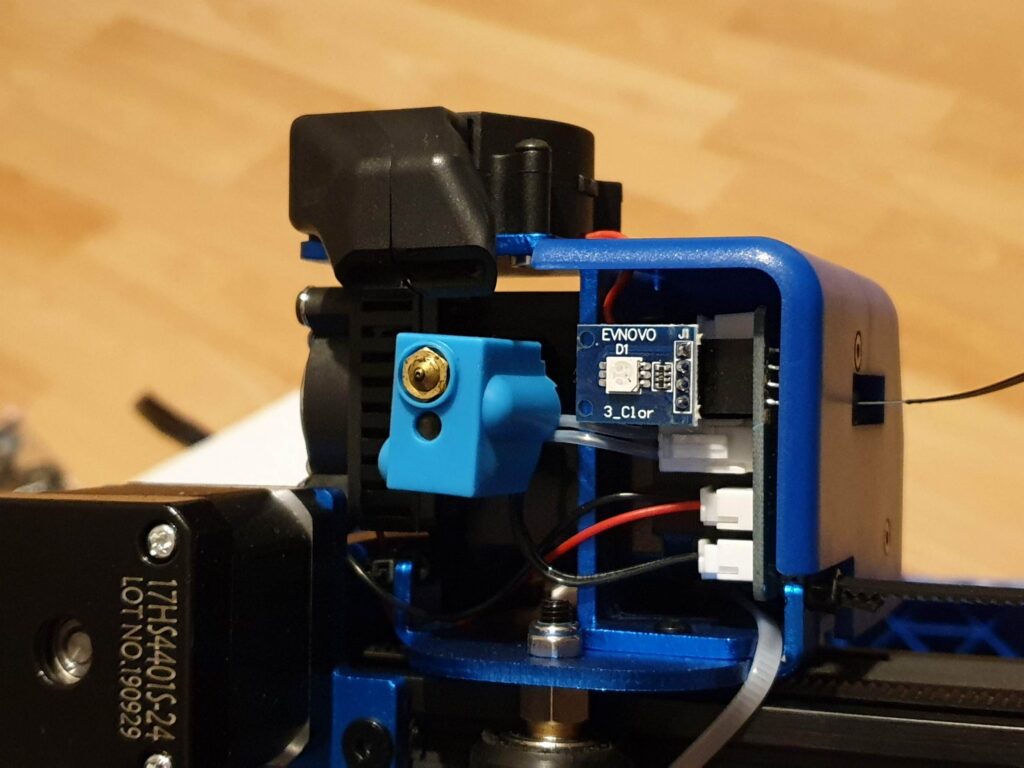
All the mentioned issues are not present in a Direct Drive configuration, like on the Artillery Genius. Sure, it’s heavier, but the X gantry is also a lot stronger. A direct drive extruder allows for much better filament control.
With the Titan Extruder clone in the Artillery Genius you can use Linear Advance, lower retraction values and get less oozing.
Regular Creality Hotend vs Volcano Style
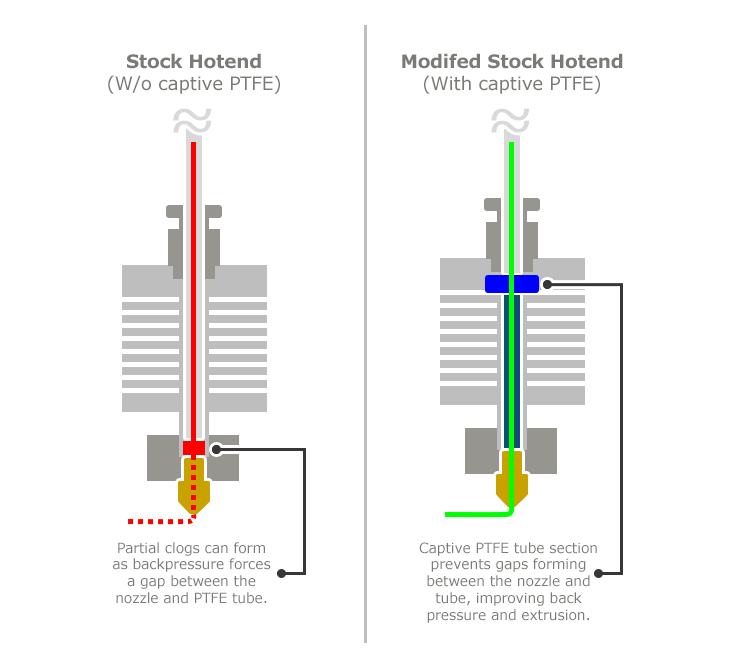
On the Ender 3 V2 the hotend looks new. It does not look like the regular Creality Hotend used in the original Ender 3 so maybe it’s an improved version. The old one needed some hacks like the PTFE mod from OneBadMarine to fix issues caused by the bowden tube moving inside and allowing plastic to clog the hotend.
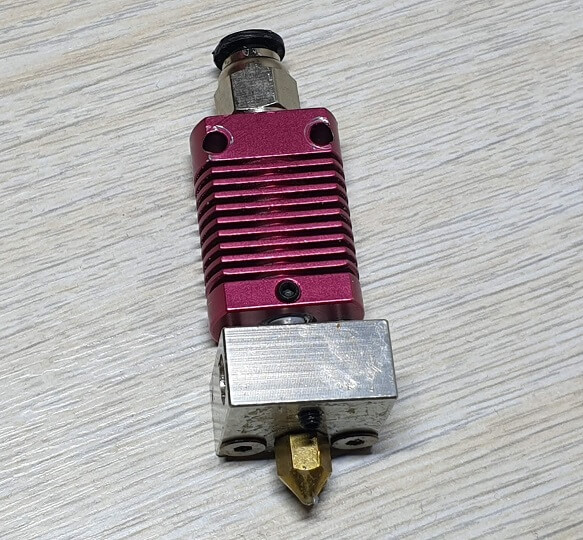
Besides the bad design, the Creality hotend uses a regular heatblock. While this is fine for prints with a regular 0.4 mm nozzle and a speed of 60mm/s, the hotend can’t keep up and will have troubles melting filament efficiently.
The Artillery Genius uses a Volcano style heatblock which has a longer filament path parallel to the heater cartridge. In this setup, filament can be melted much faster allowing you to reach other 3D printer limits, but still have headroom when it comes to print speed.
Ender 3 V2 Single Z Axis vs Dual Z Axis on Artillery Genius
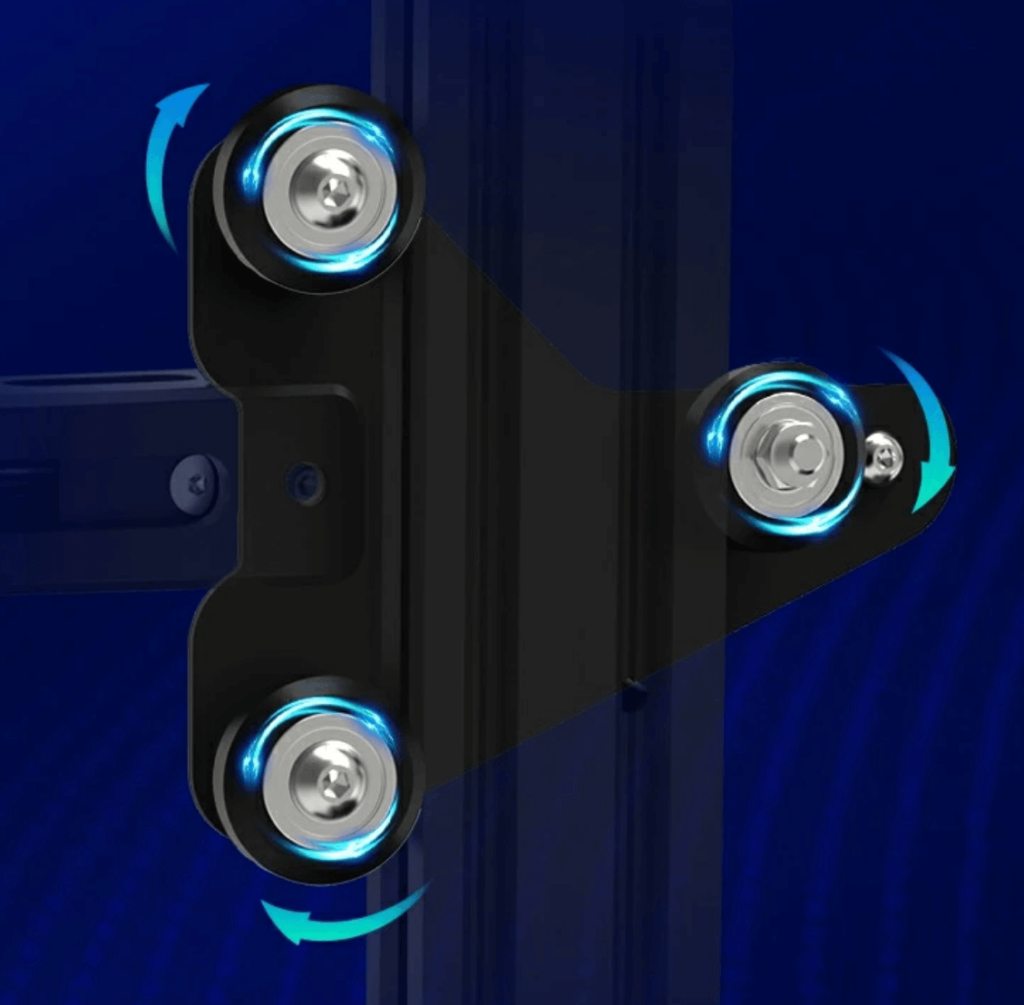
The Ender 3 V2 comes with the same Single Z axis setup as the regular Ender 3. Considering that the V2 uses a bowden setup, this is that big of an issue but can still cause problems. If the printer is not assembled correctly and the wheels on the right side are not properly tightened the X gantry can sag because of the lack of support. And this causes issues when leveling the printer.
Besides that, if you want to upgrade cooling or install a direct drive setup you will encounter this sagging issue for sure.
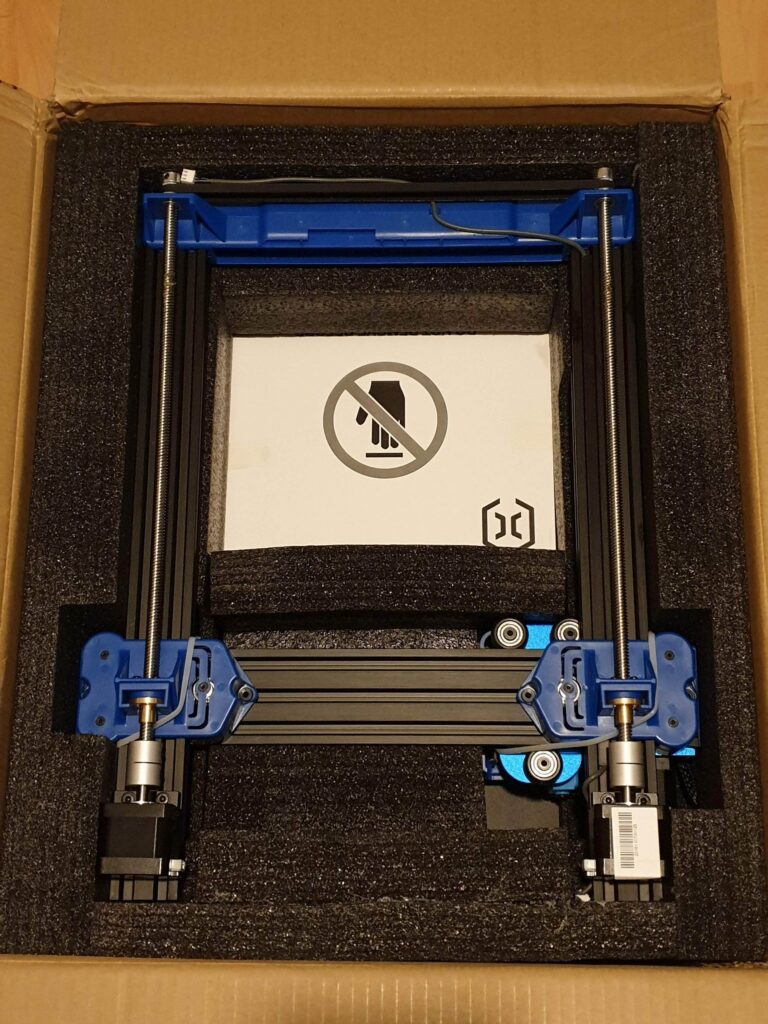
The Artillery Genius has a Dual Z axis setup controlled by two independent stepper motors. This allows the printer to easily move the X gantry up an down, and also keep it level.
The Z screws are linked together with a belt to keep them in sync and keep the gantry in place when the printer is off, eliminating any backlash.
Because the Dual Z axis setup used in the Artillery Genius is independently controlled, you can enable features like Z Stepper Auto-Alignment and with the addition of a BLTouch, enable full leveling automation.
24V Heatbed vs AC Powered Heatbed
While Creality is not telling us what type of heatbed they used in the Creality Ender 3 V2, it’s probably heated by a regular 24V resistance. This is fine for most printers of this size, and the heatbed will reach 60C in a couple of minutes.
But compared to the AC powered heatbed we get with the Genius, this is slow. The Artillery Genius heatbed can reach 60C in less than a minute.
Also keep in mind that the new Ender 3 V2 uses a “carborundum” glass bed, which has thermal mass and it’s a bit harder to heat fast compared to just an aluminium bed.
Click Wheel vs Touch Screen
One of the new selling points of the new Ender 3 V2 is the new screen. It seems to have a new interface and it keeps the old click wheel we know and love. Hopefully, the new screen is still open source and will allow modifications.
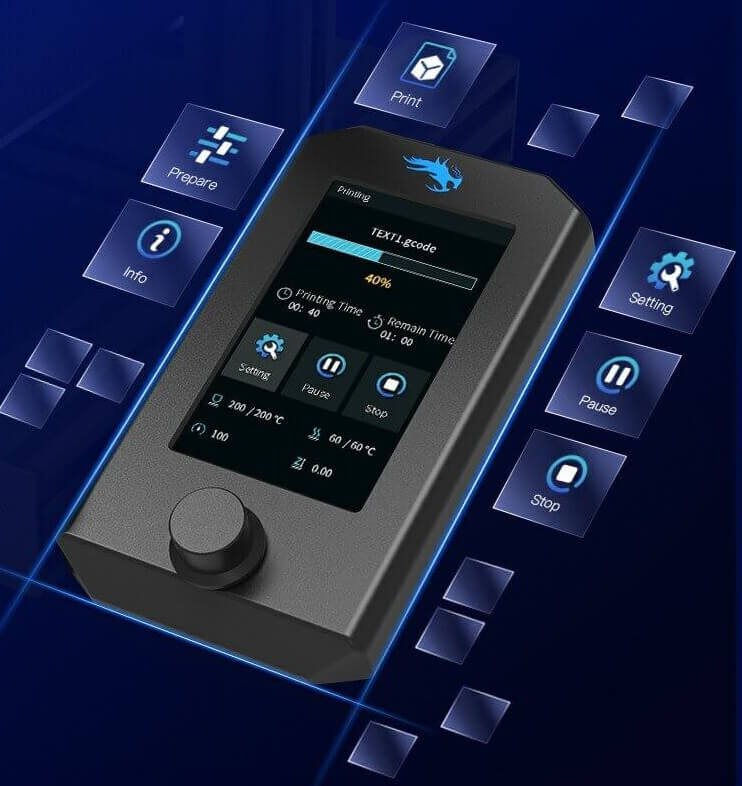
The Artillery Genius uses a color touch screen, which is a MKS TFT 2.8 clone. It has the usual features with the stock firmware, but this can be improved with the custom firmware available here.
I hope the Ender 3 V2 will have the screen directly connected to the board, and not just another “computer screen” that sends gcode to the printer, like the Genius.
While i like the screen on the Genius, filament change feature from Marlin cannot be used with the stock firmware.
Also, it’s a bit harder to edit and customize, compared to the good-old 12864 Full Graphics display we all love.
Board Selection – 8 bit vs 32 bit.
Hopefully, the new Ender 3 V2 will come with a newer 32 bit CPU. They advertise the new board as silent, so it will probably use newer TMC stepper drivers like the TMC2208.
This will make the new Ender 3 V2 more future proof and capable of better print quality, especially when it comes to printing round objects.
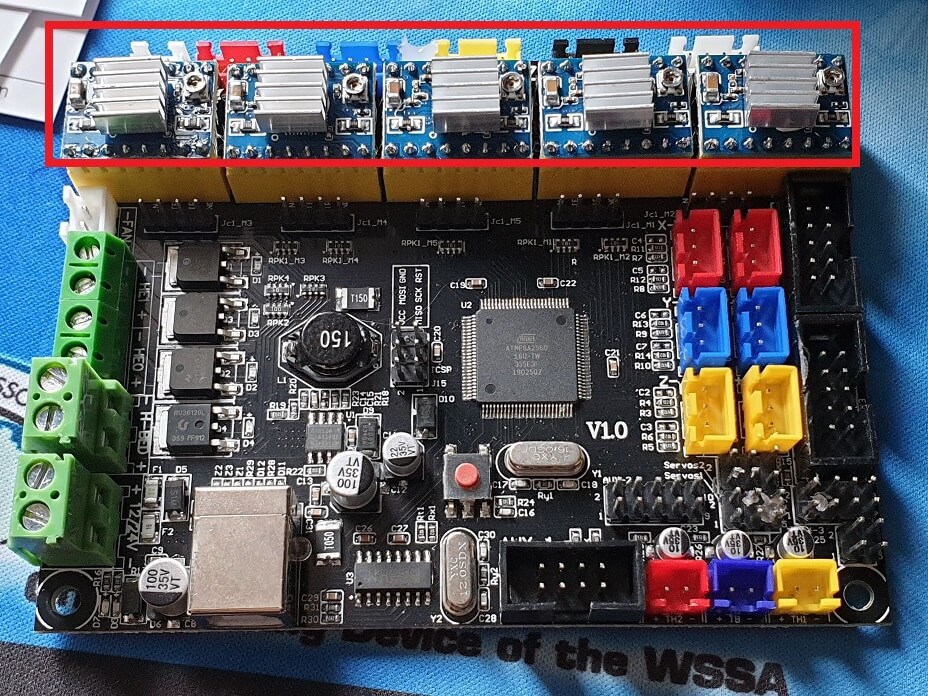
The Genius comes with a MKS Gen L clone with soket TMC2100 clone stepper drivers. The board still uses the old 8 bit CPU. Unfortunately, this is not the best but with a bit of tinkering it can be updated with a newer low cost board like the SKR 1.3 / SKR 1.4. I previously did a guide on how to upgrade Sidewinder X1 board with SKR 1.3 and i will do the same for the Genius. The process is similar.
While i can’t say i encountered any issues with the stock 8 bit board, a 32 bit board for the Artillery genius can make it better and it will allow for easier firmware upgrades.
Soket vs Soldered Stepper Drivers
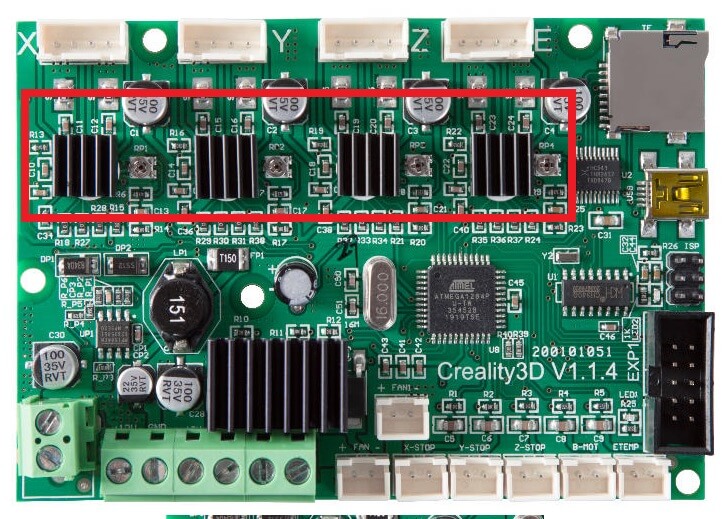
While details of the new Ender 3 V2 board are not available right now, if Creality keeps thesame design, the new board on the Ender 3 V2 will use soldered stepper drivers. While this is not a big issue, upgrading the stepper drivers in the future is not possible.
Besides that, if any of the drivers burn out over time, the owner will need to replace the whole board to get the Ender 3 V2 back up and running
The Artillery Genius uses socket stepper drivers. This translates to easier stepper driver replacements if needed and if one of the drivers goes bad, it can be replaced without the need of buying a new board. Lower cost in the long run, and less waste.
No Filament Sensor on the Ender 3 V2
From the specs we currently have, there’s no word of any filament sensor included with the Creality Ender 3 V2. While this can be added after buying the printer, it needs firmware and wiring modifications. This can be a hassle for inexperienced users and having one installed from factory would make things easier.
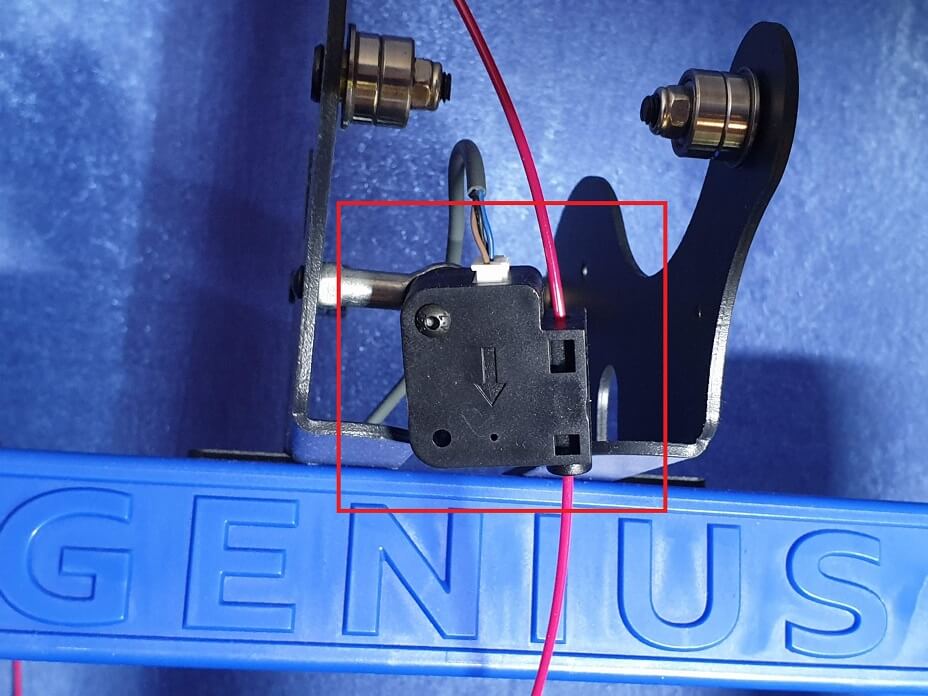
The Artillery Genius includes a filament sensor out of the box, which allows the printer to pause when the filament runs out, allowing you to replace it and continue the print.
Ender 3 V2 Wire Management vs Artillery Genius
The Ender 3 V2 seems to have the same wiring as the regular Ender 3. It does not look as clean as other setups, but there’s nothing wrong with it.
I strongly hope they fixed the connector problem on the heatbed wires. In the past, this connector could melt and possibly start a fire.
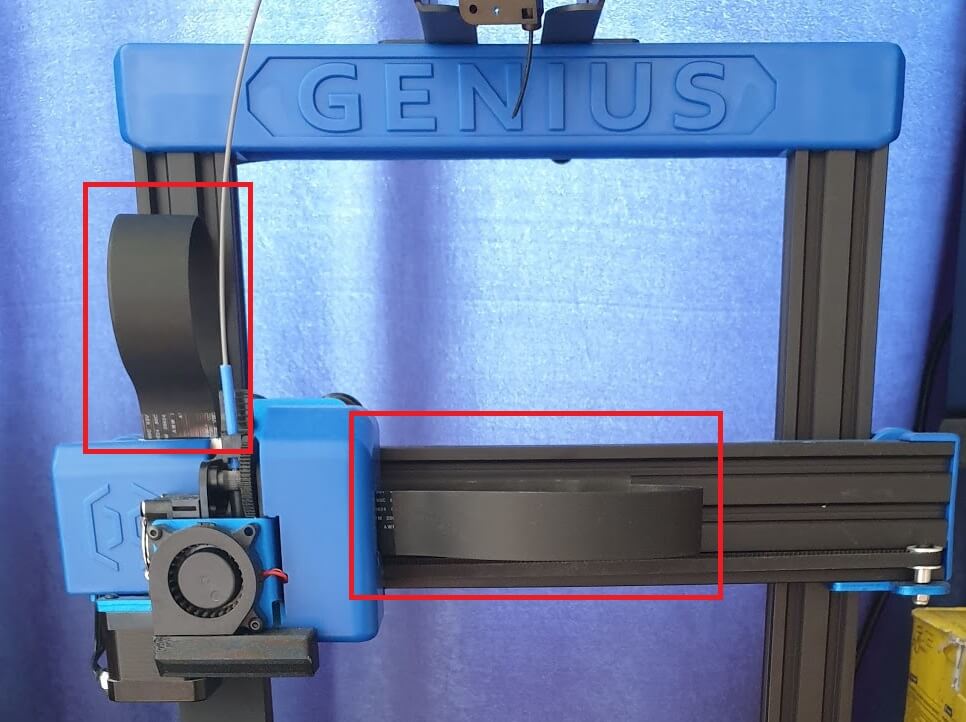
Artillery Genius does not use regular wires. Instead, it uses flat cables which look a lot better compared to regular wires. There are reports online where the connector that keeps the flat cable is not that good, and sometimes fails.
But you also get a spare flat cable in the box if this happens. I never had issues with it.
Ender 3 V2 vs Artillery Genius – Conclusions
The Ender 3 V2 from Creality will probably be a good machine. But to call this a V2, while adding some upgrades that can be 3D printer (extruder knob and tray) instead of upgrading the important parts, it’s a failure in my opinion.
If the new Ender 3 V2 would have a dual-gear extruder, AC powered heatbed and maybe Dual Z axis, then maybe it would worth getting one. But for the 269$ price, the Ender 3 is not a good value.
For the same amount of money, the Artillery Genius can be currently ordered from Banggod with code BGGenius. The printer is also available on Aliexpress, Amazon and other stores but with a bigger price tag. The Genius is a much better value in my opinion, having better features and parts while keeping the same cost.
I previously reviewed the Artillery Genius, so make sure you read it before choosing between Ender 3 V2 and Artillery Genius.
Either way, both printers are great for any 3D printing beginner who wants to get started. Both Ender 3 and Genius communities are developed and you can get help if issues occur.
Please note that I am not affiliated with either Artillery or Creality. This is just my opinion on the two printers and the recommendations I do are based on my experience and available information.
Liked it?
|
|

