BIQU B1 SE PLUS Review: SKR 2 and ABL from Factory
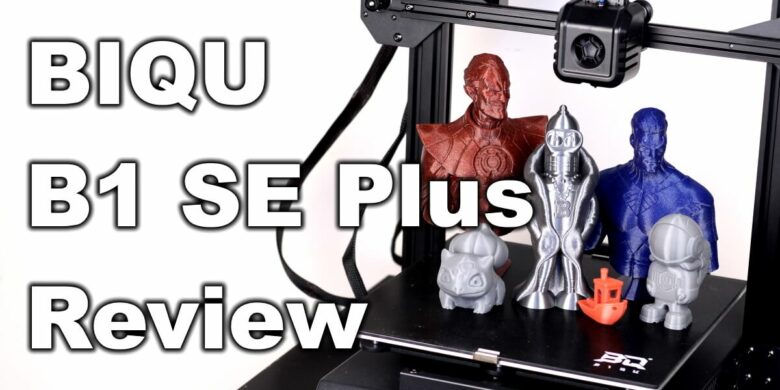
I previously reviewed the BIQU B1 3D printer, which was a decent budget offering, with good hardware specs. Today, we are looking at the new BIQU B1 SE Plus which has a larger build volume, and it brings an integrated auto bed leveling sensor. Let’s see how well the BIQU B1 SE Plus performs and if it’s worth the price tag.
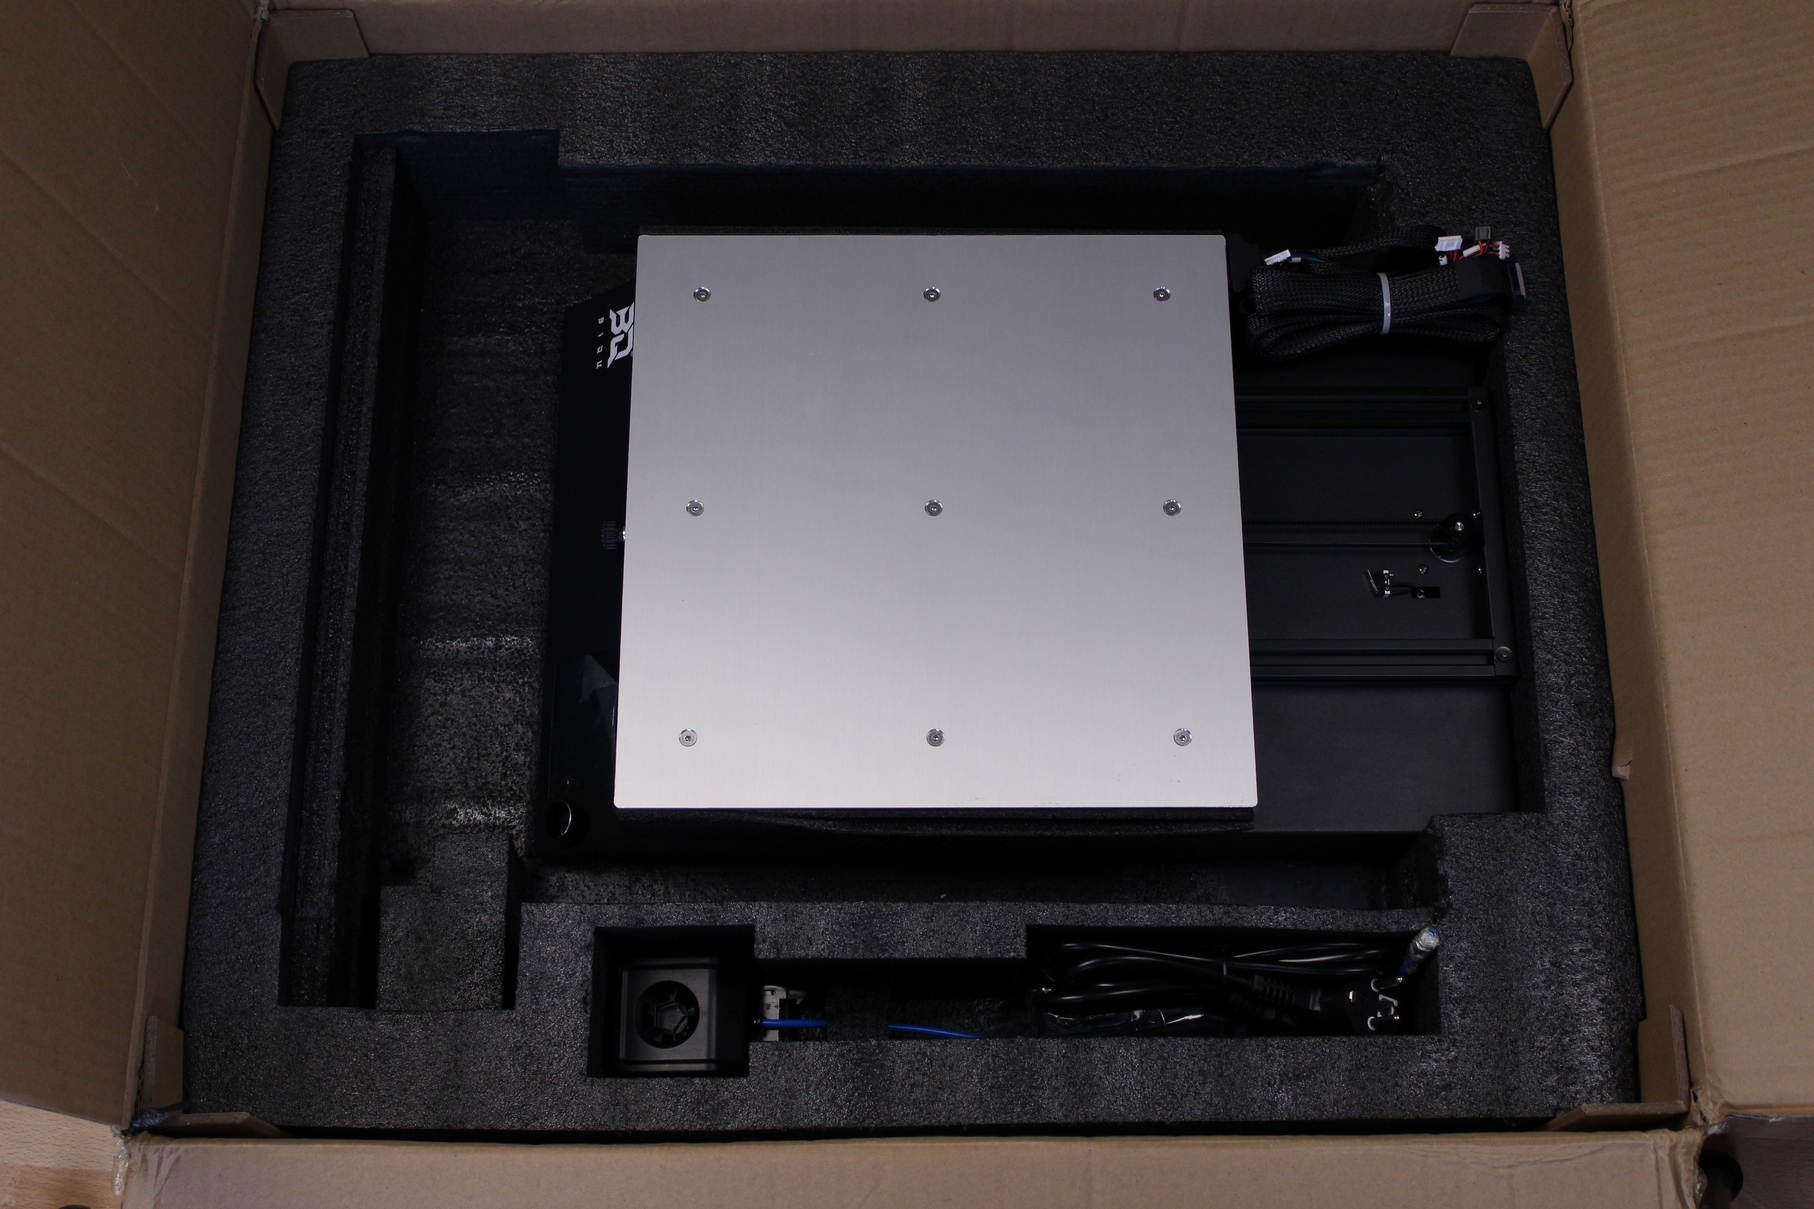
BIQU B1 SE Plus Shipping and Packaging
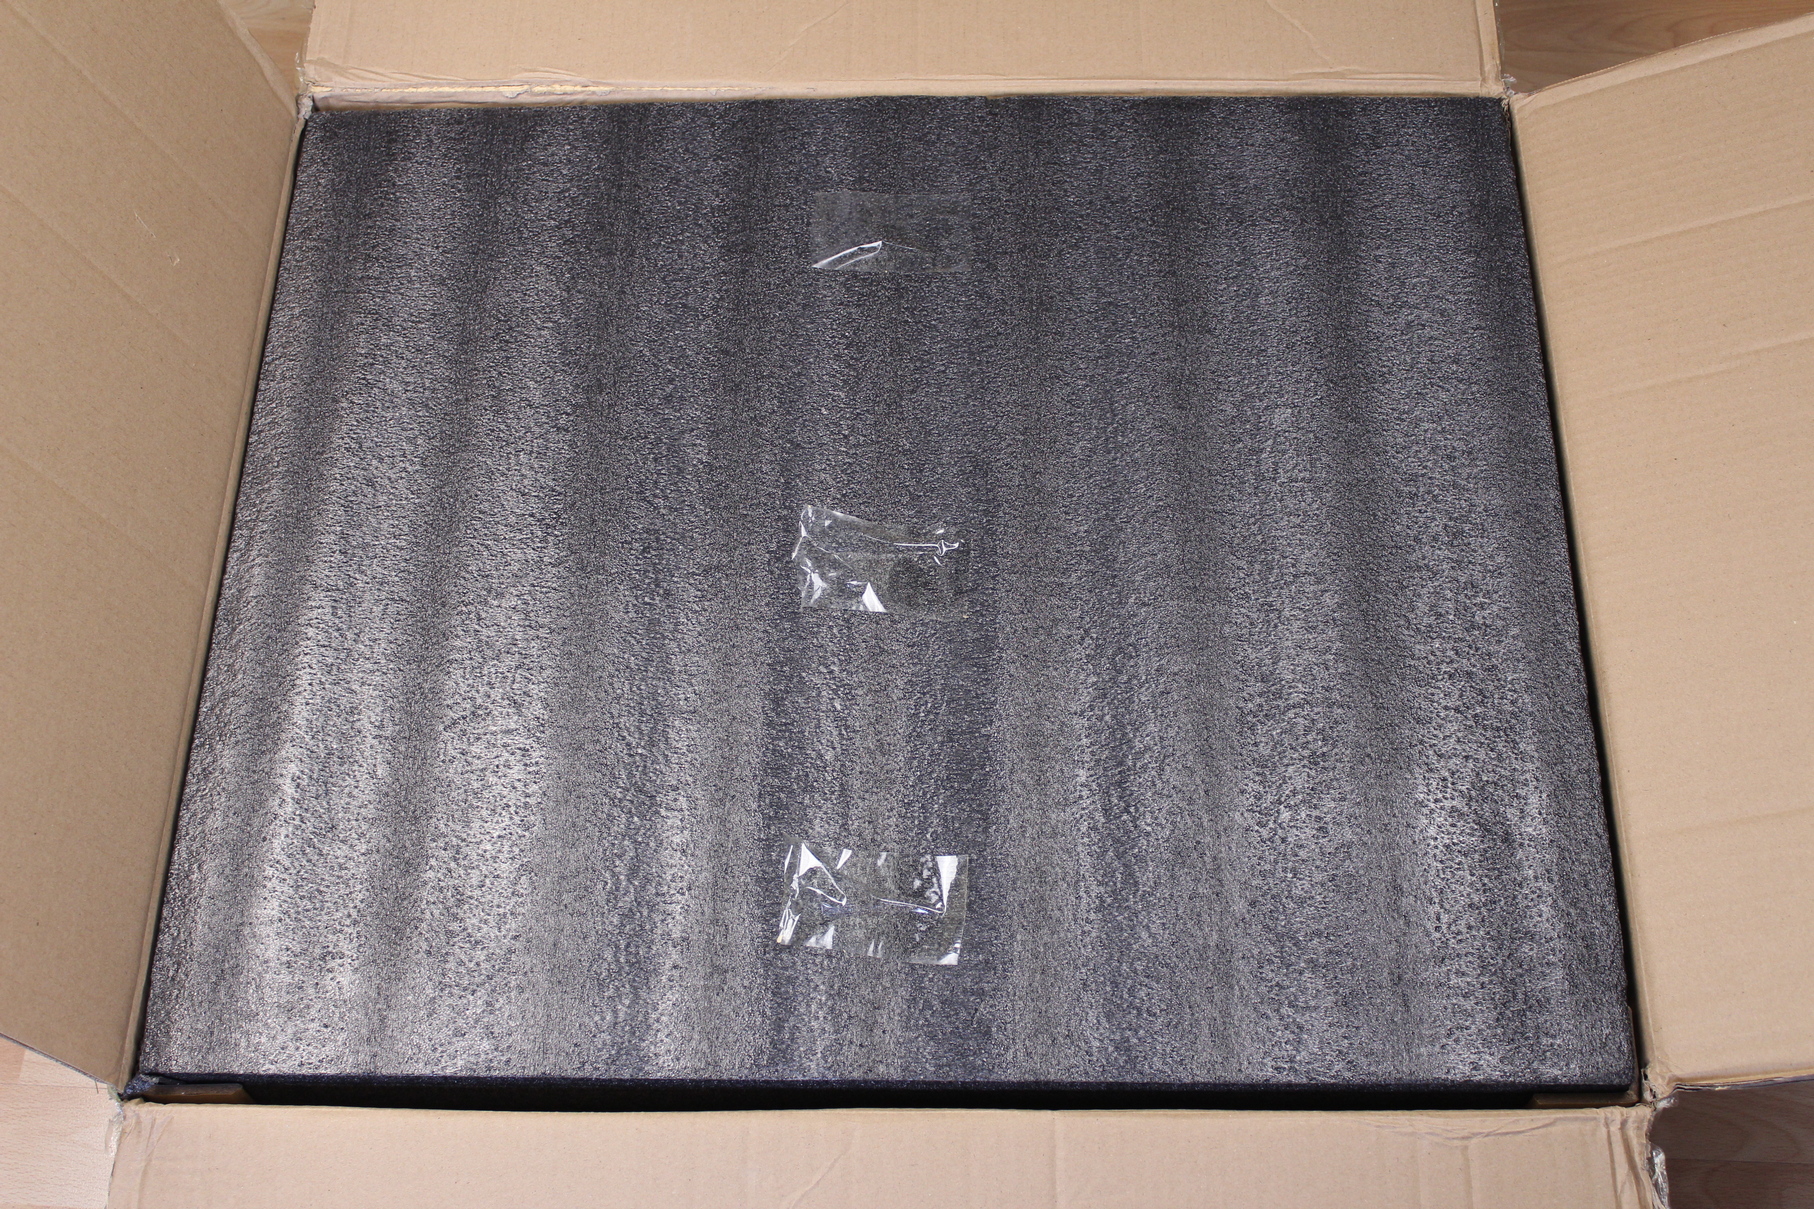
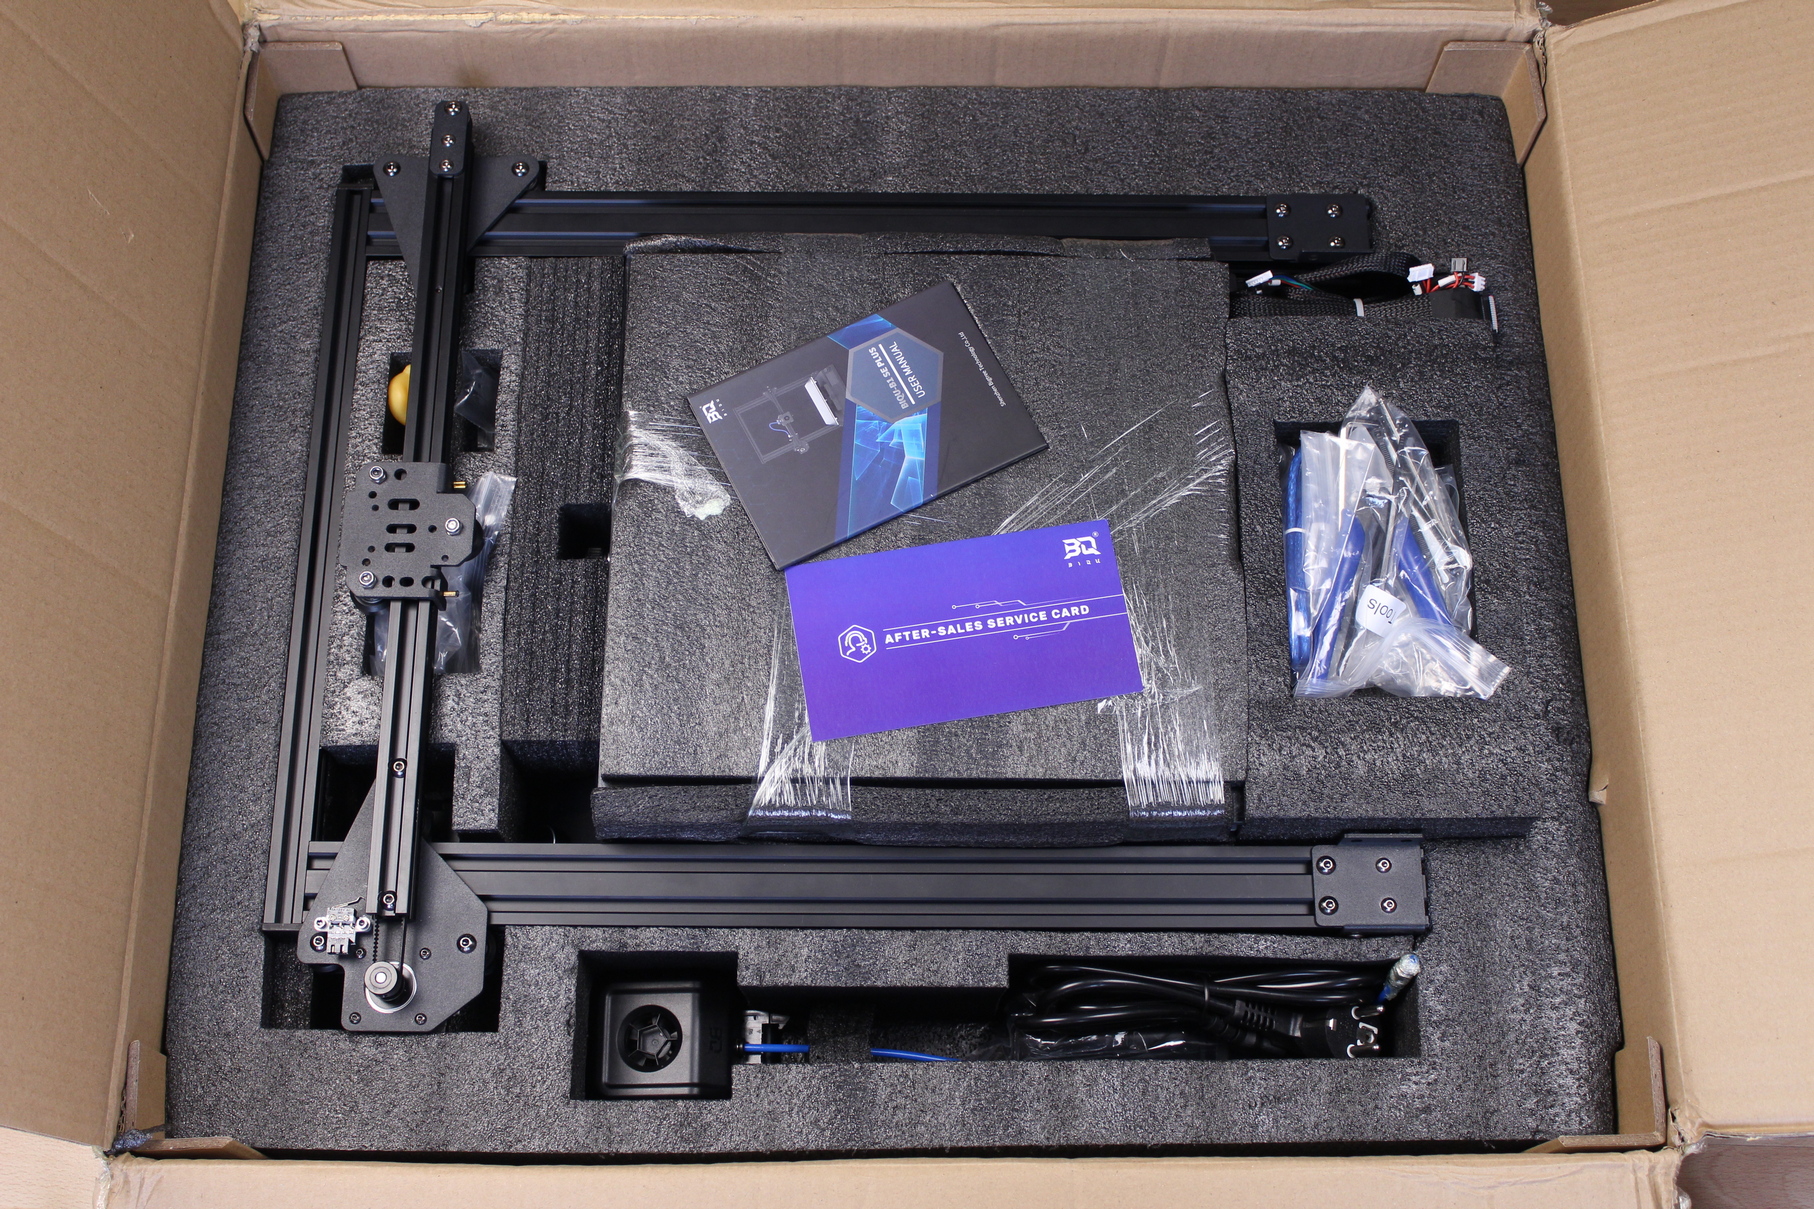
The BIQU B1 SE Plus comes in a cardboard box, with foam protection on all sides. The printer parts are protected, and everything came intact, with no damage.
BIQU B1 SE Plus Design
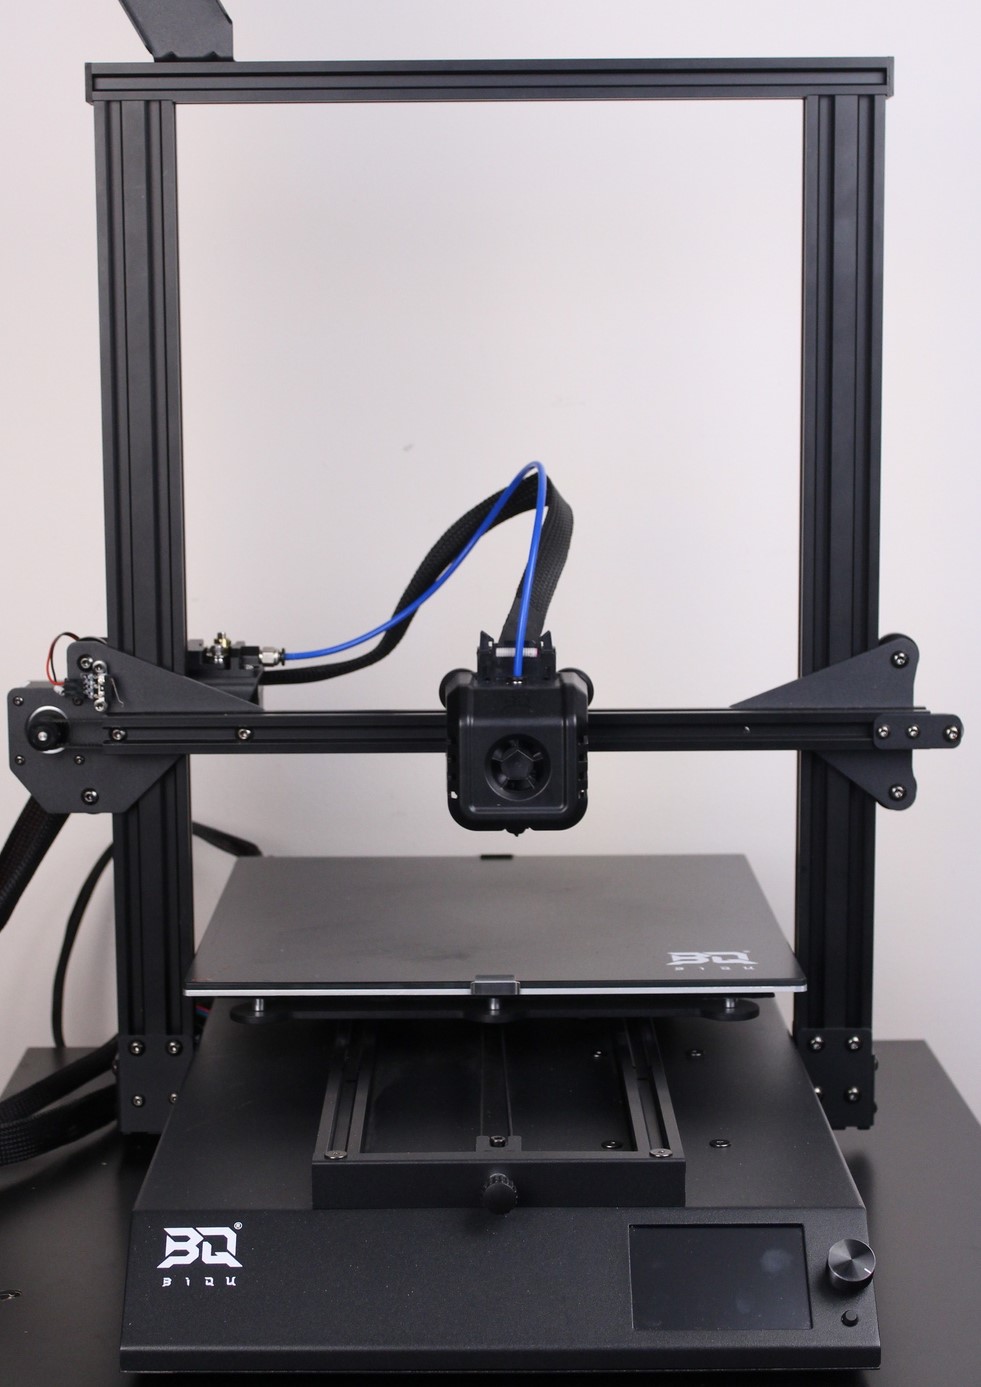
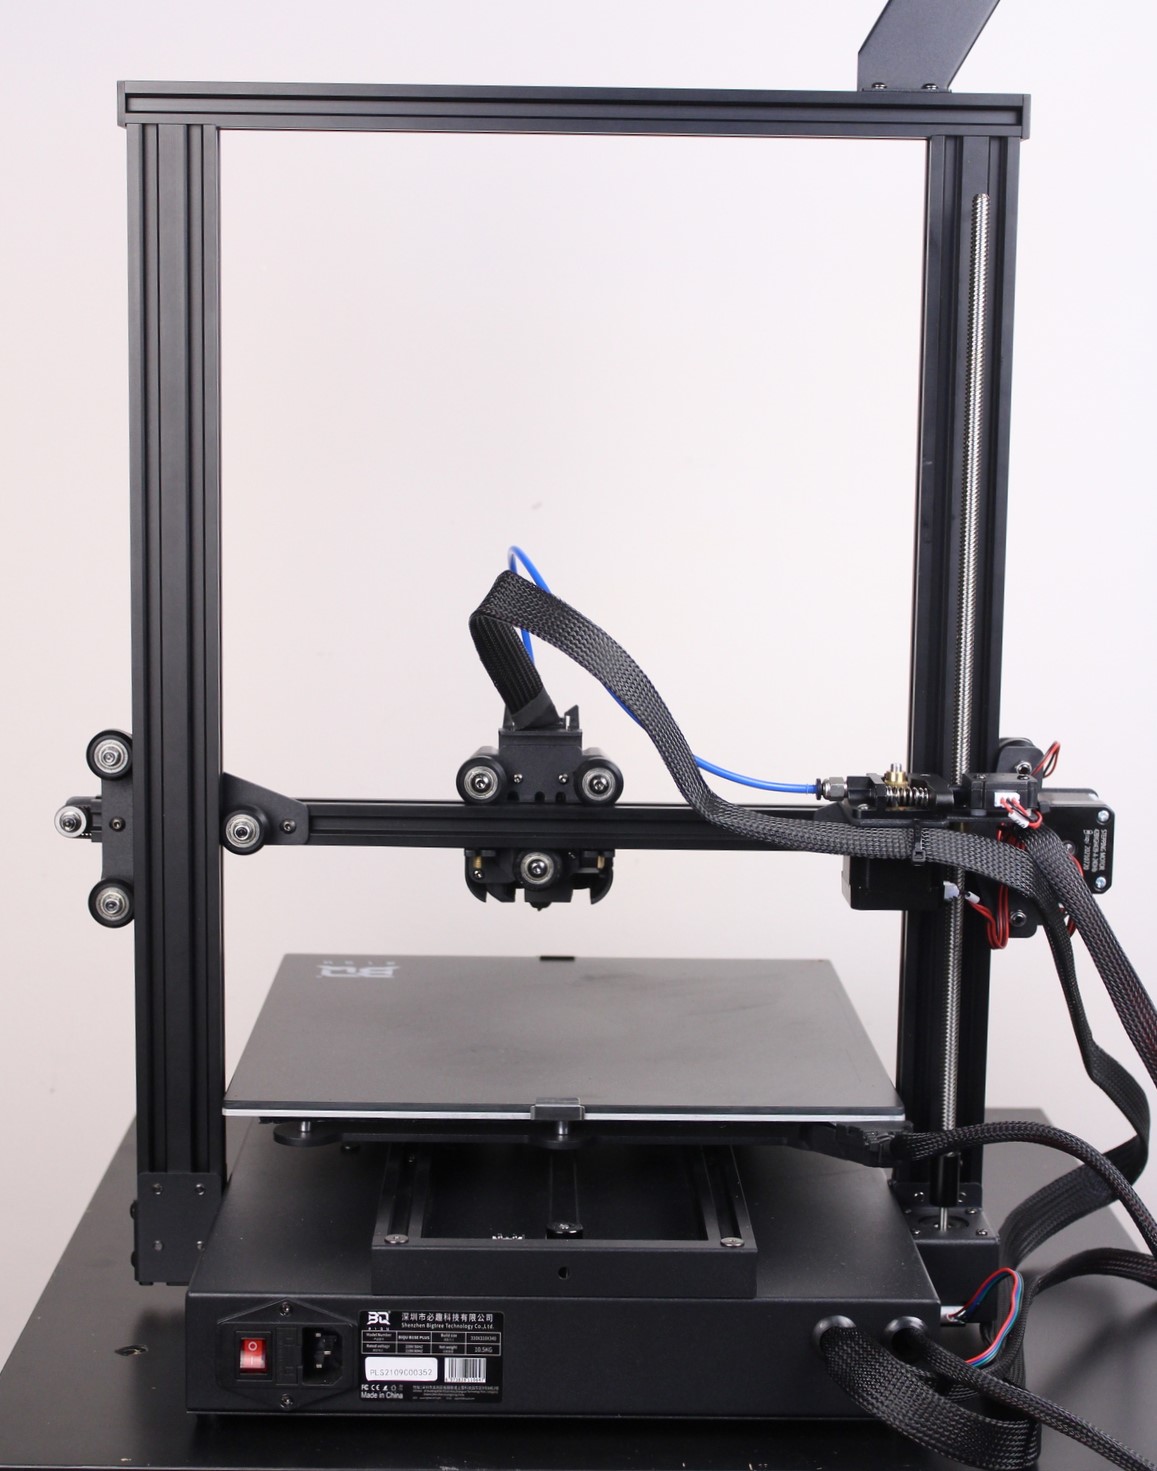
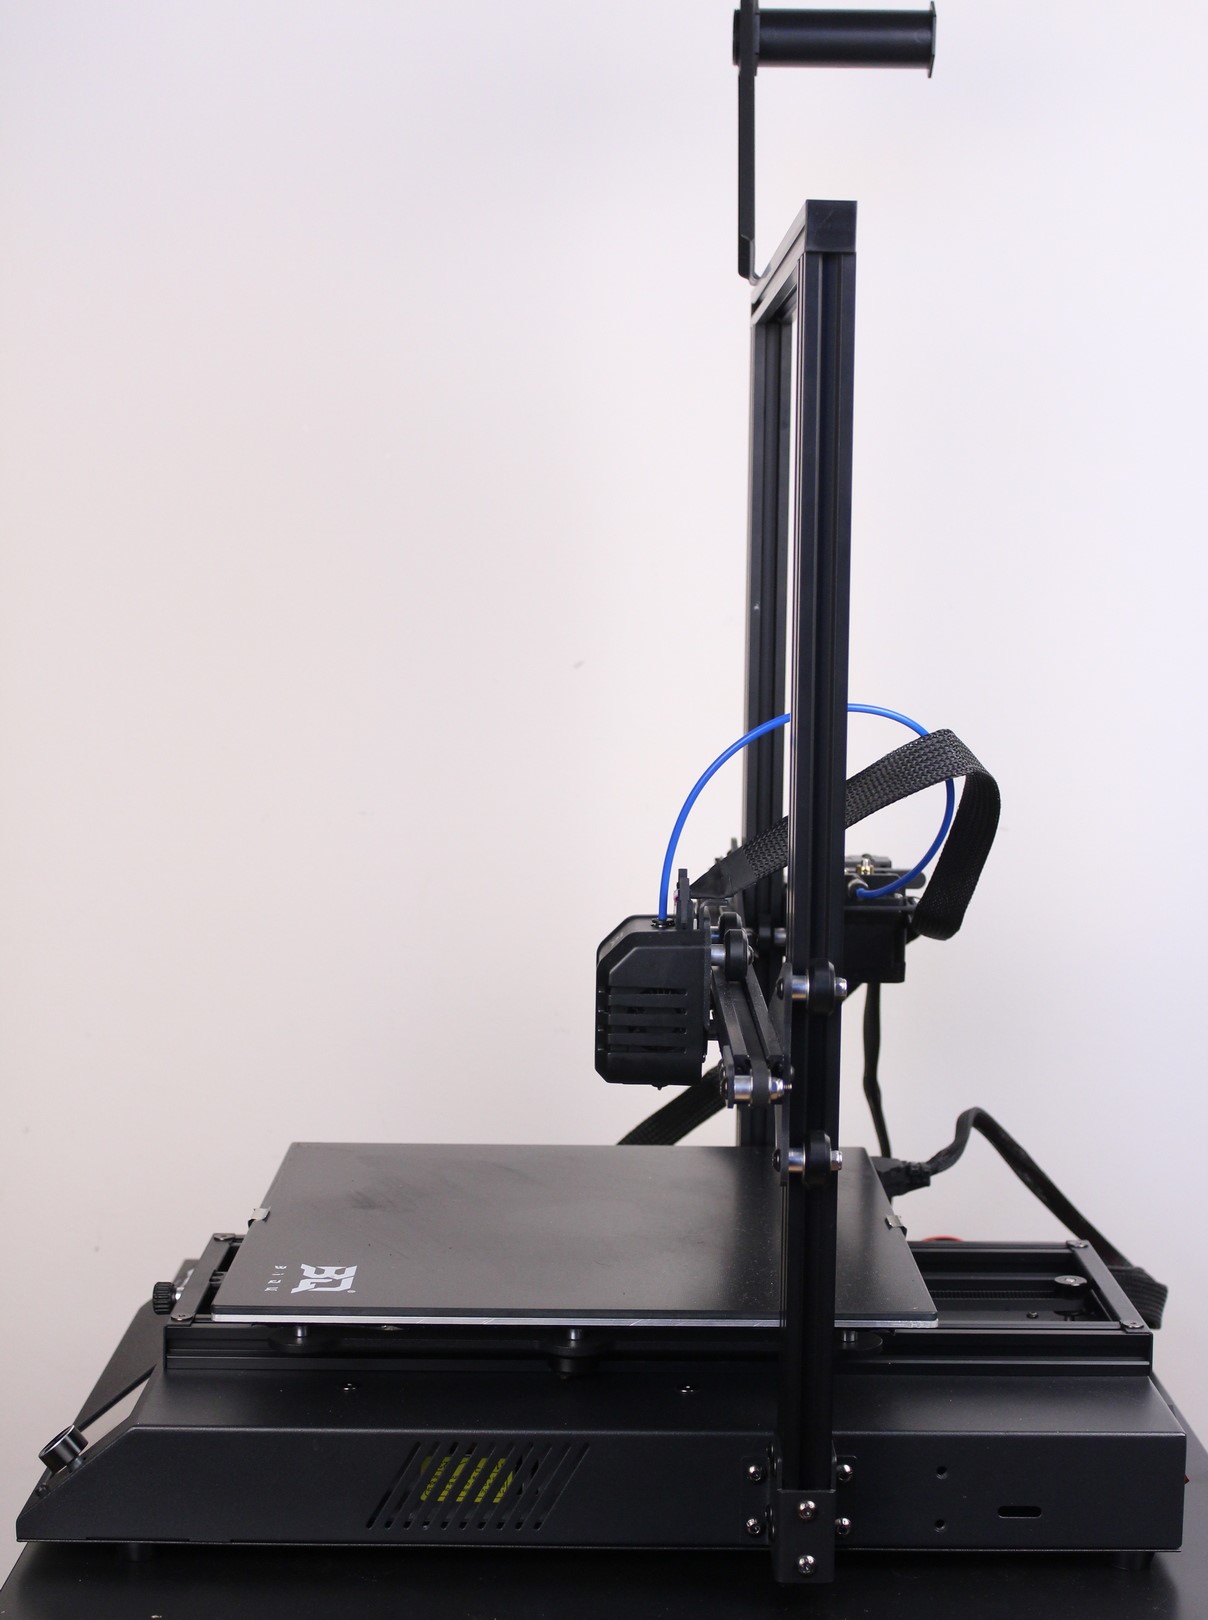
If you know the BIQU B1, then you will notice that the BIQU B1 SE Plus design is similar. Even though the SE Plus has a larger print volume, it doesn’t take a lot of space on a table which is great.
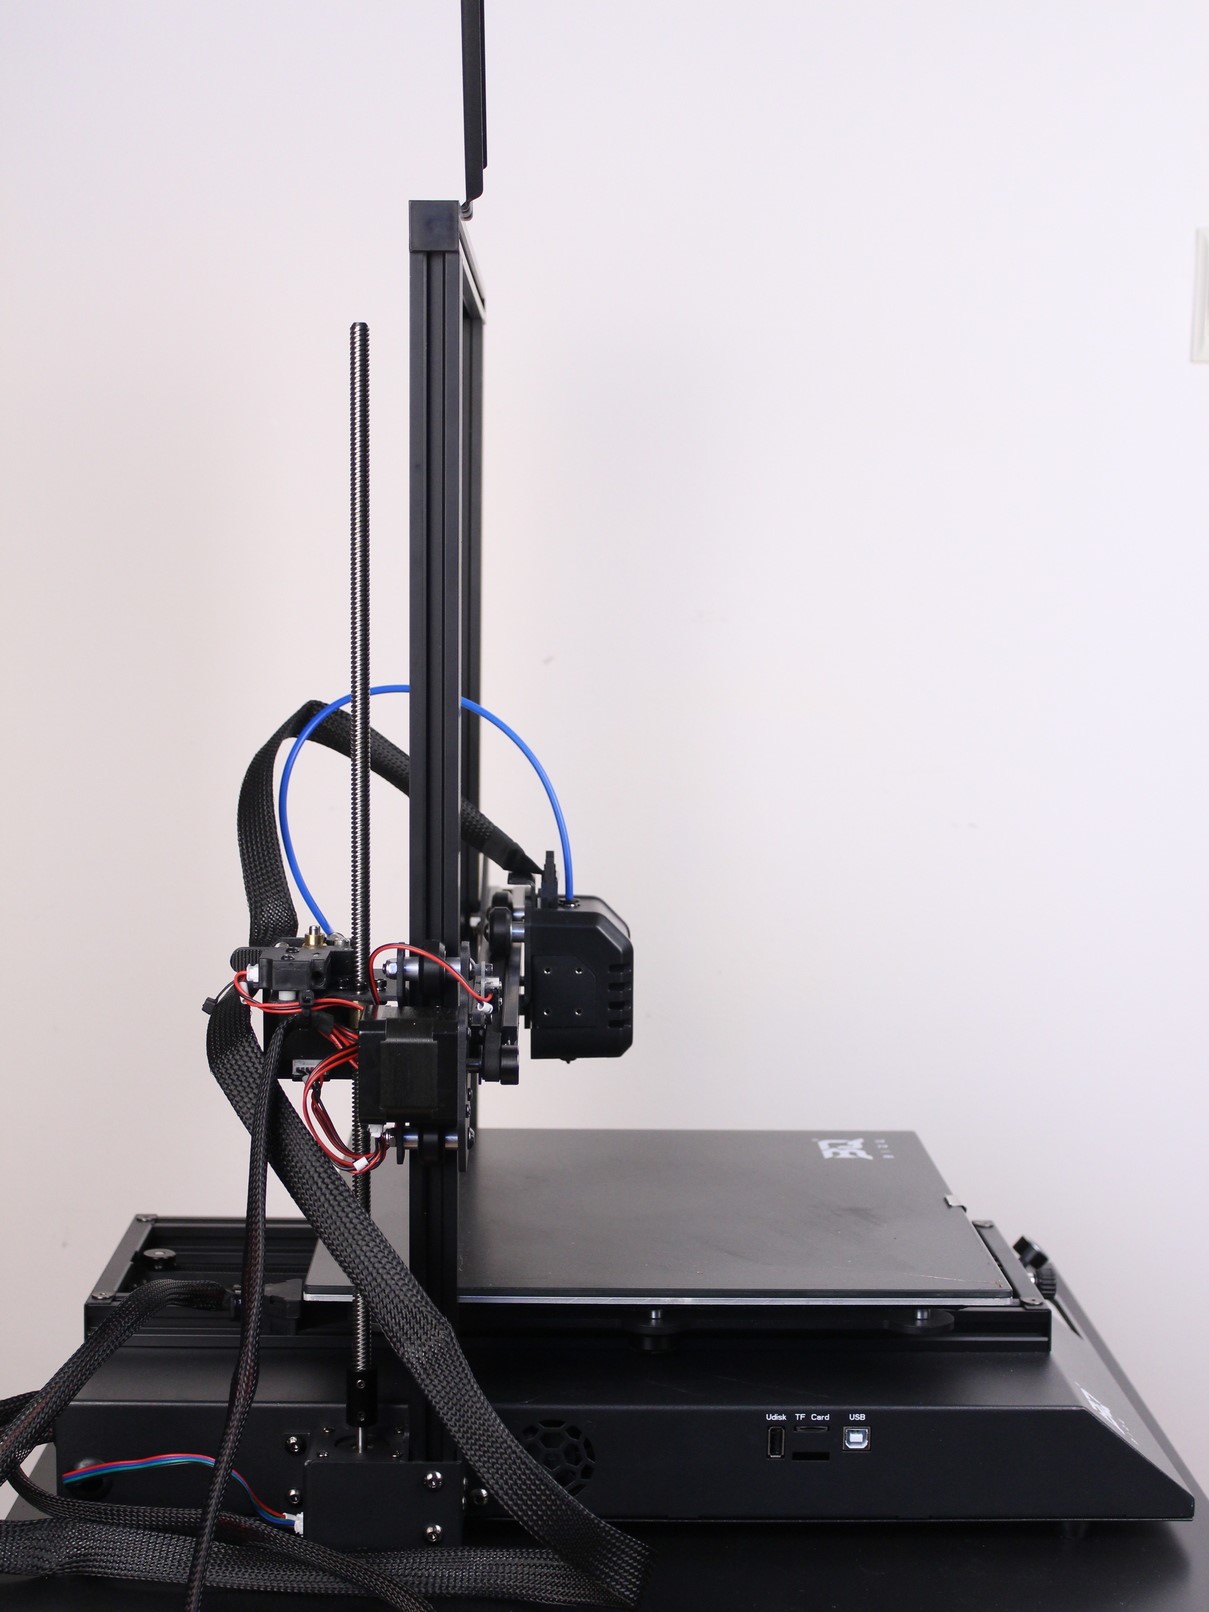
BIQU B1 SE Plus Specs
| Model | BIQU-B1 SE Plus |
| Molding Tech | FDM |
| Layer Thickness | 0.1mm – 0.3mm |
| Printing Accuracy | ±0 05mn |
| Slicing Format | STL / OBJ / AMF |
| Slicing Compatible | Cura / Repetier-Host /Simplify 3D |
| Output Voltage | 24V |
| Max Temp of Hot Bed | 100C |
| Printing Size | 310x310x340mm |
| Nozzle Quantity | 1 PCS |
| Nozzle Diameter | 0.4mm |
| Filament | PLA / PETG / TPU / TPE / ABS / Nylon |
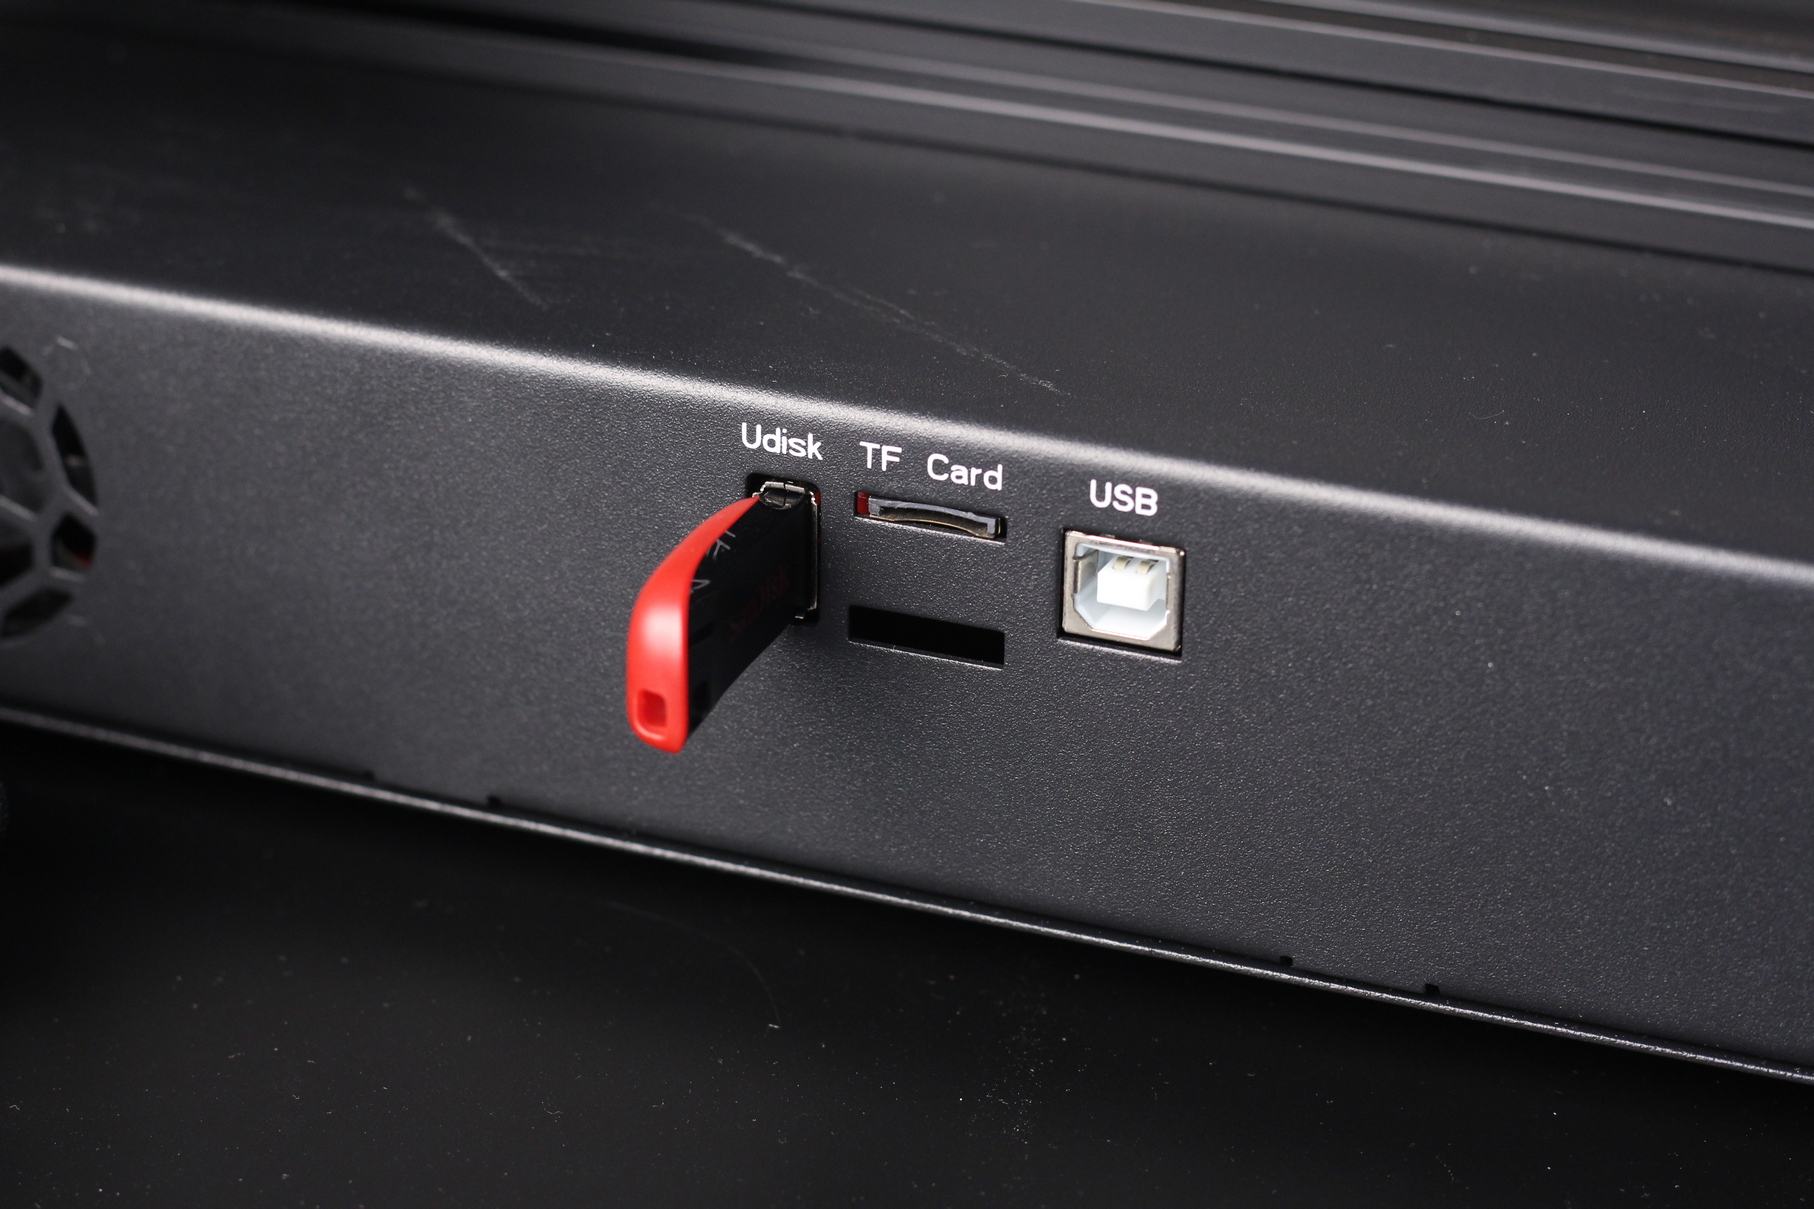
| Connecting Method | Online / TF card / USB |
| Rated Voltage | 100 -120V /200 -240V 50 /60 HZ |
| Rated Power | 300W |
| Max Temp of Nozzle | 260C |
| Max operating speed | 120mm/s |
| Max Printing Speed | 120mm/s |
| Normal Printing Speed | 60mm/s |
BIQU SKR 2 board with TMC2225 stepper drivers
The BIQU B1 SE Plus is equipped with the new SKR 2 board which is the latest SKR board from BIGTREETECH. It replaces the old SKR 1.4 and it’s becoming one of the most popular budget boards to get right now. It comes equipped with a STM32F407 chip and four socketed TMC2225 stepper drivers.
One of the stepper driver sockets is free, in case you want to upgrade in the future to a dual color hotend or dual Z lead screws.
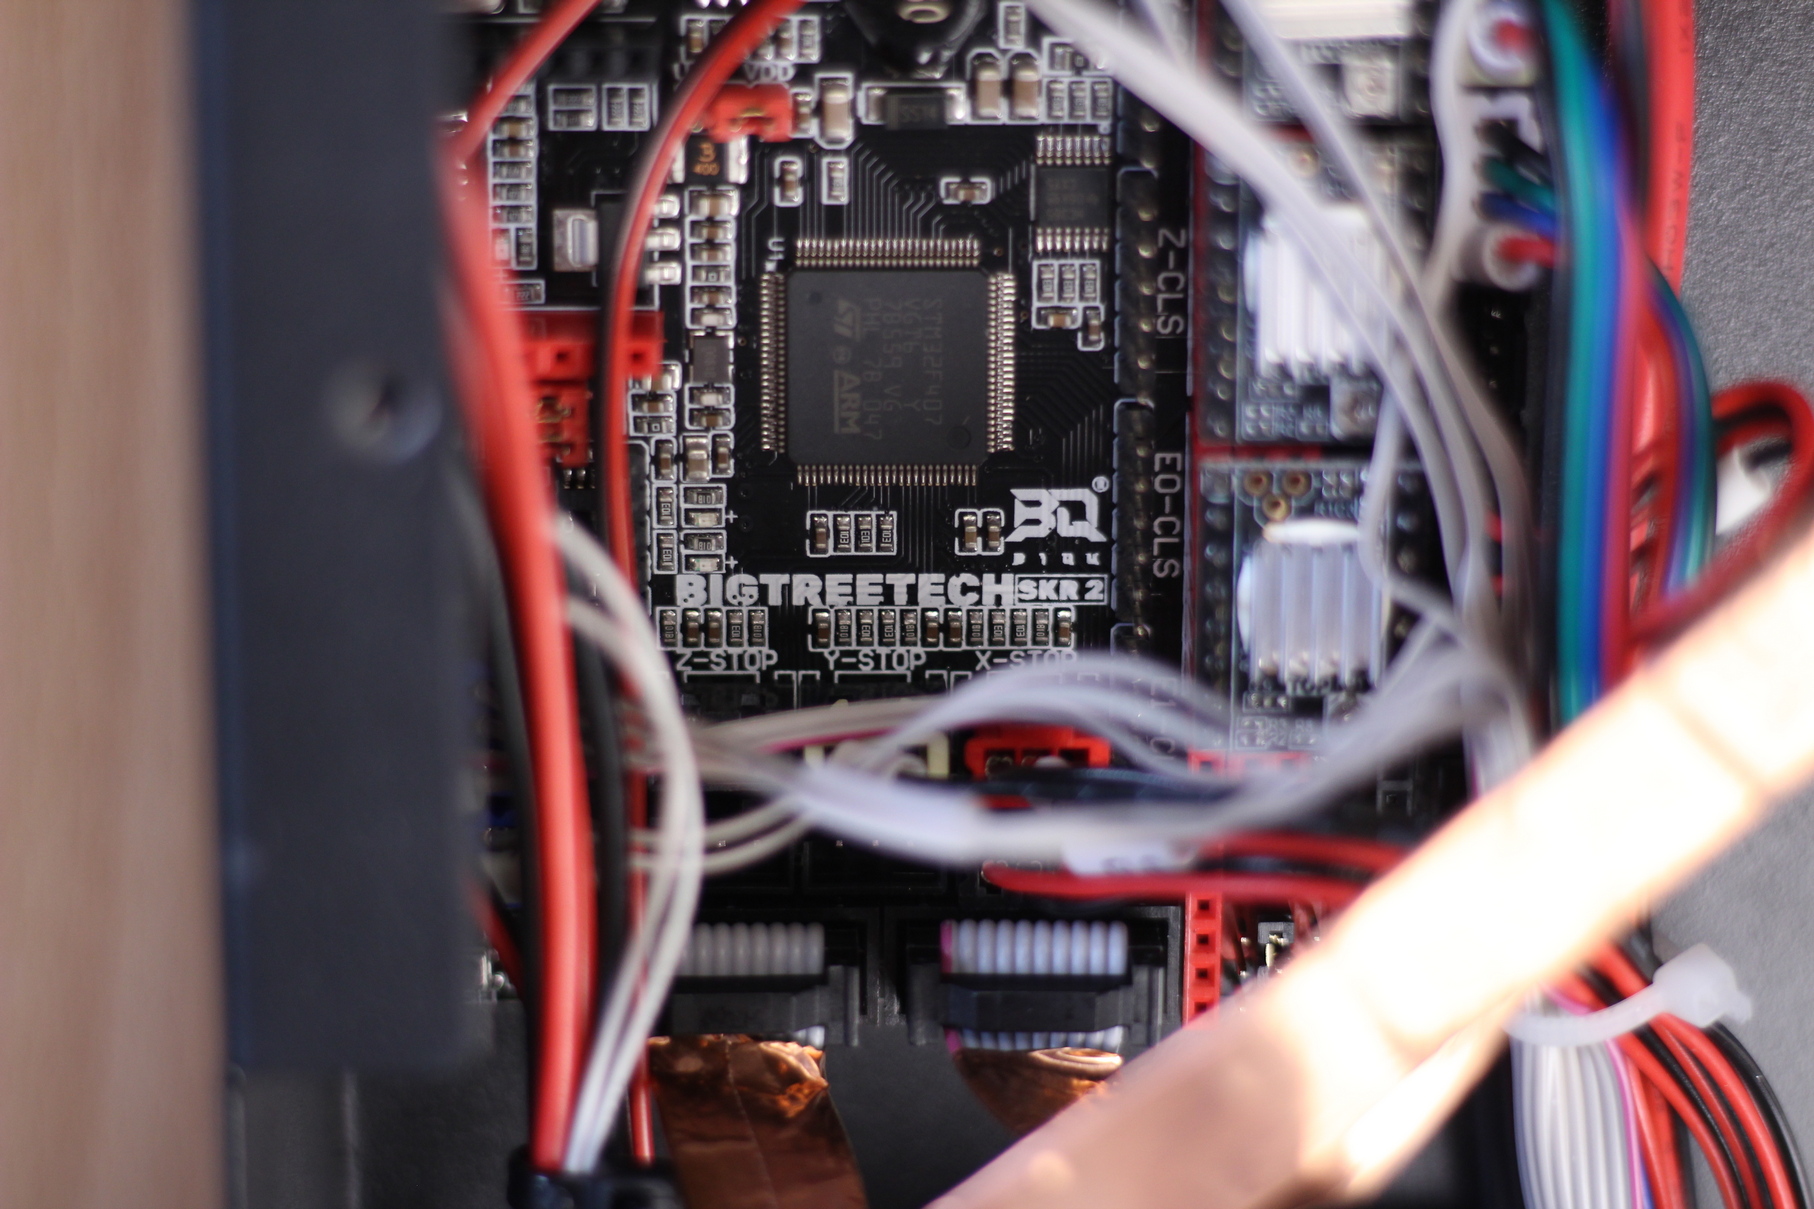

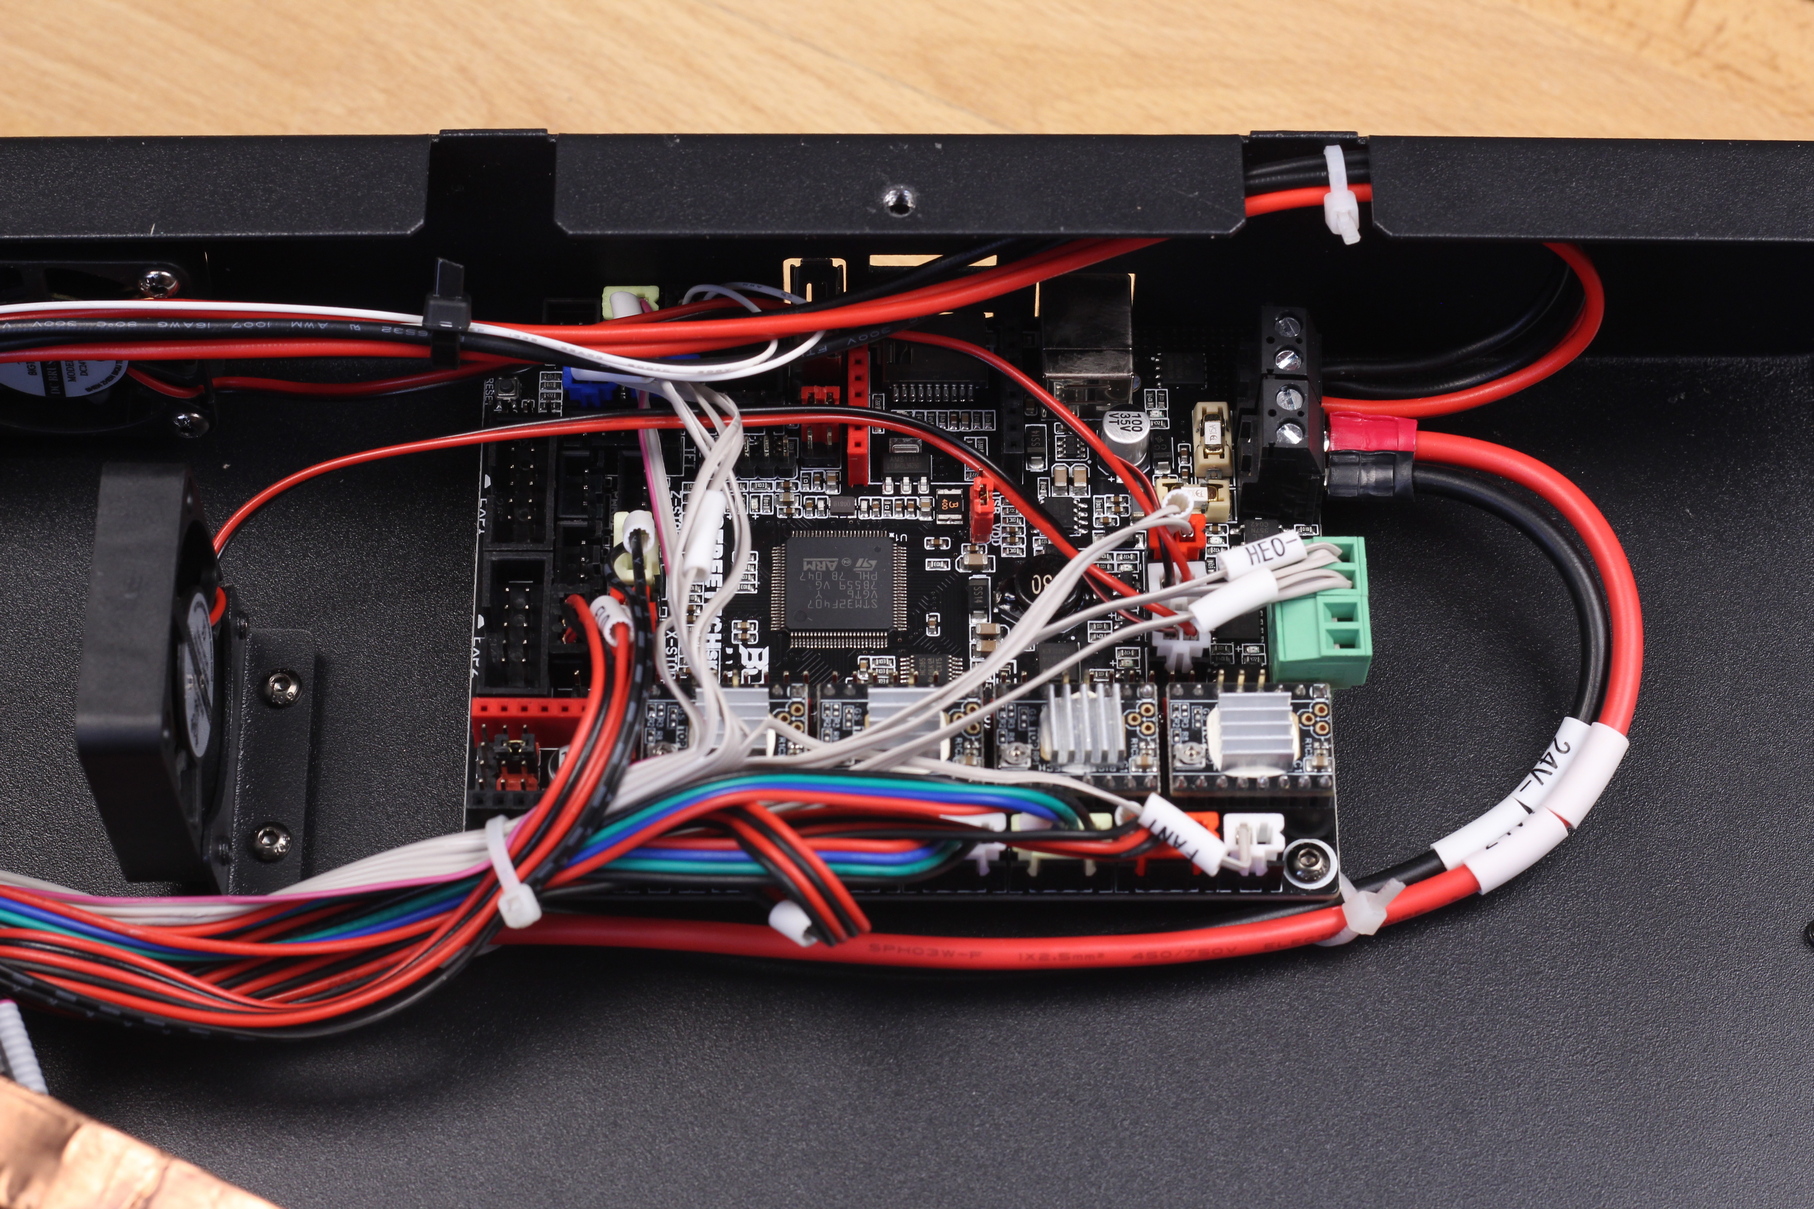
You can also add a Wi-Fi module and install RepRap firmware on the board which will give you access to a Web interface for remote control of your printer.
PTFE lined hotend
It doesn’t come as a surprise that the BIQU B1 SE Plus hotend still uses a PTFE lined heat break. It’s what most manufacturers choose to use for low-cost 3D printers. This setup usually works great if you don’t print over ~240C. Materials like PLA, PETG, and TPU work well with this setup, but if you plan to print higher temperature materials, you will need to replace the heat break to an all-metal variant.
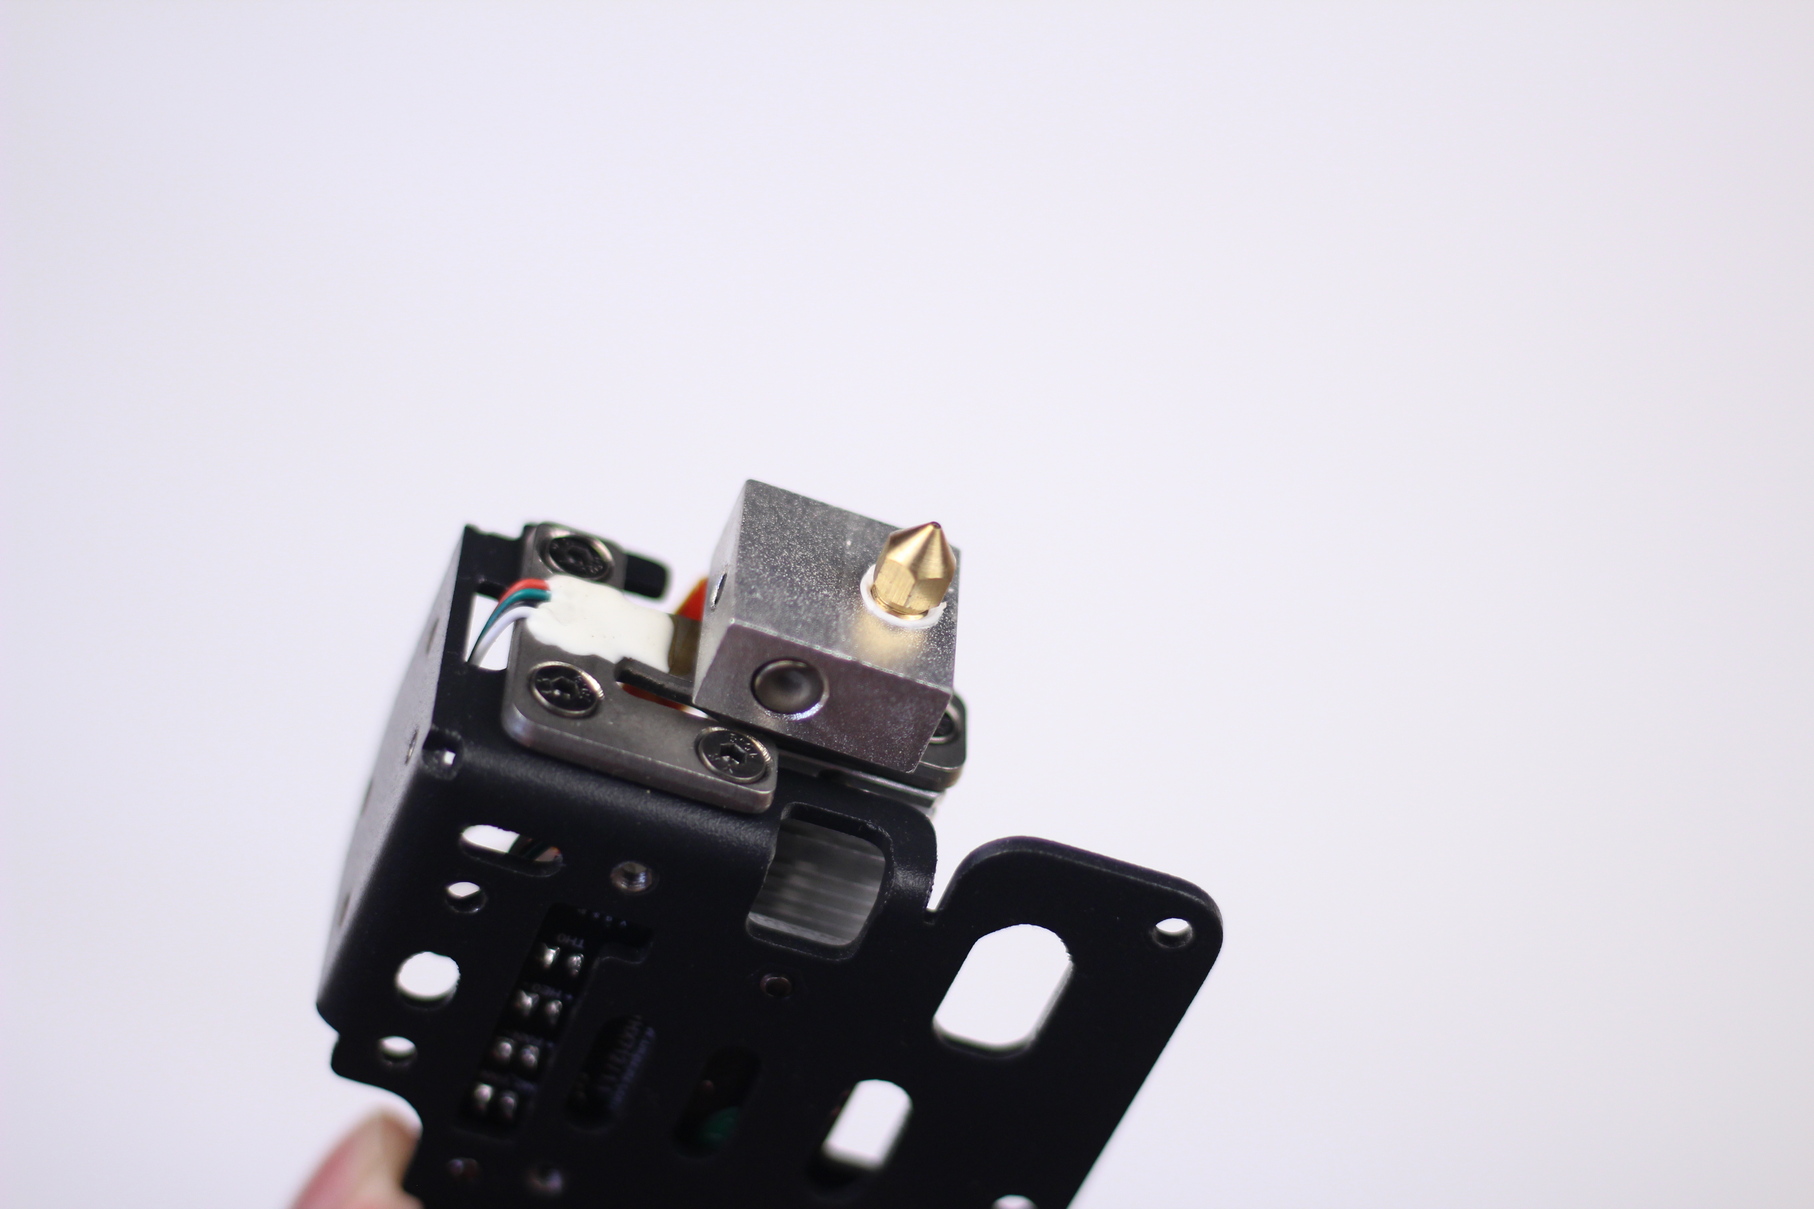
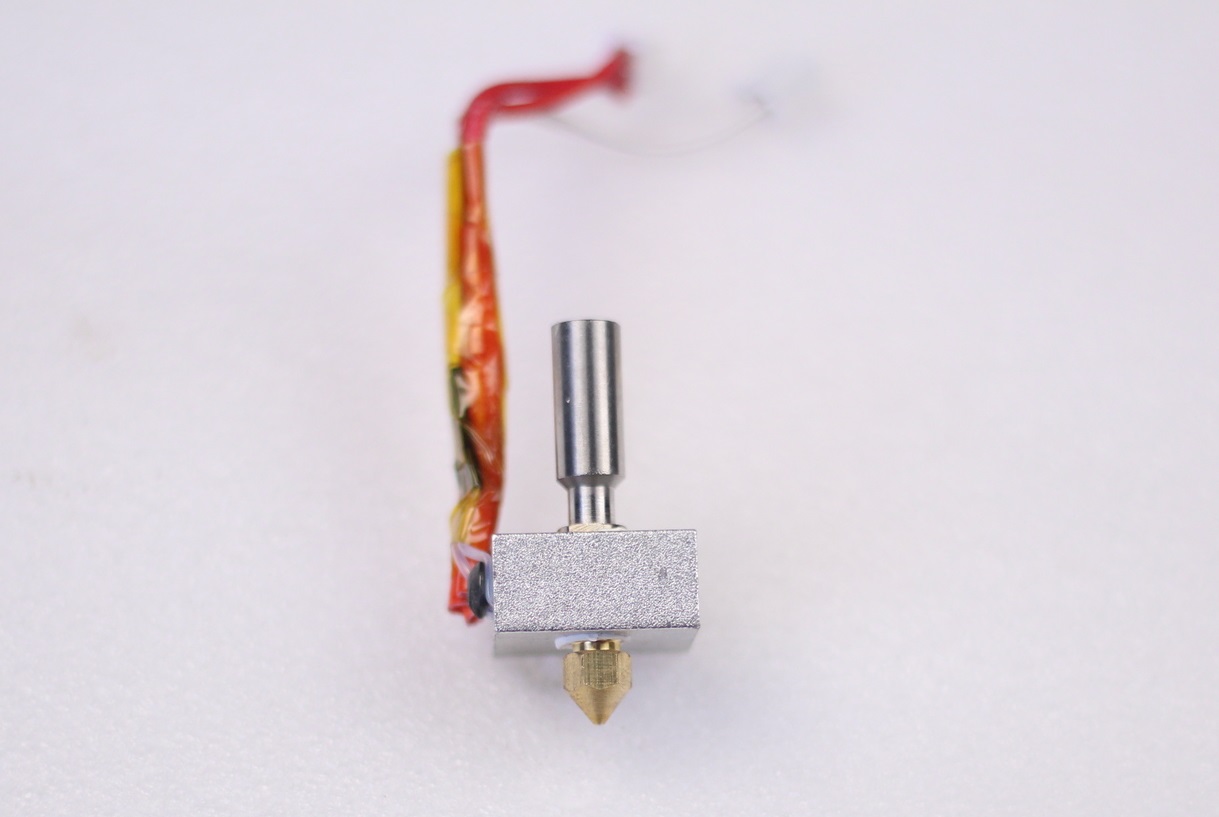
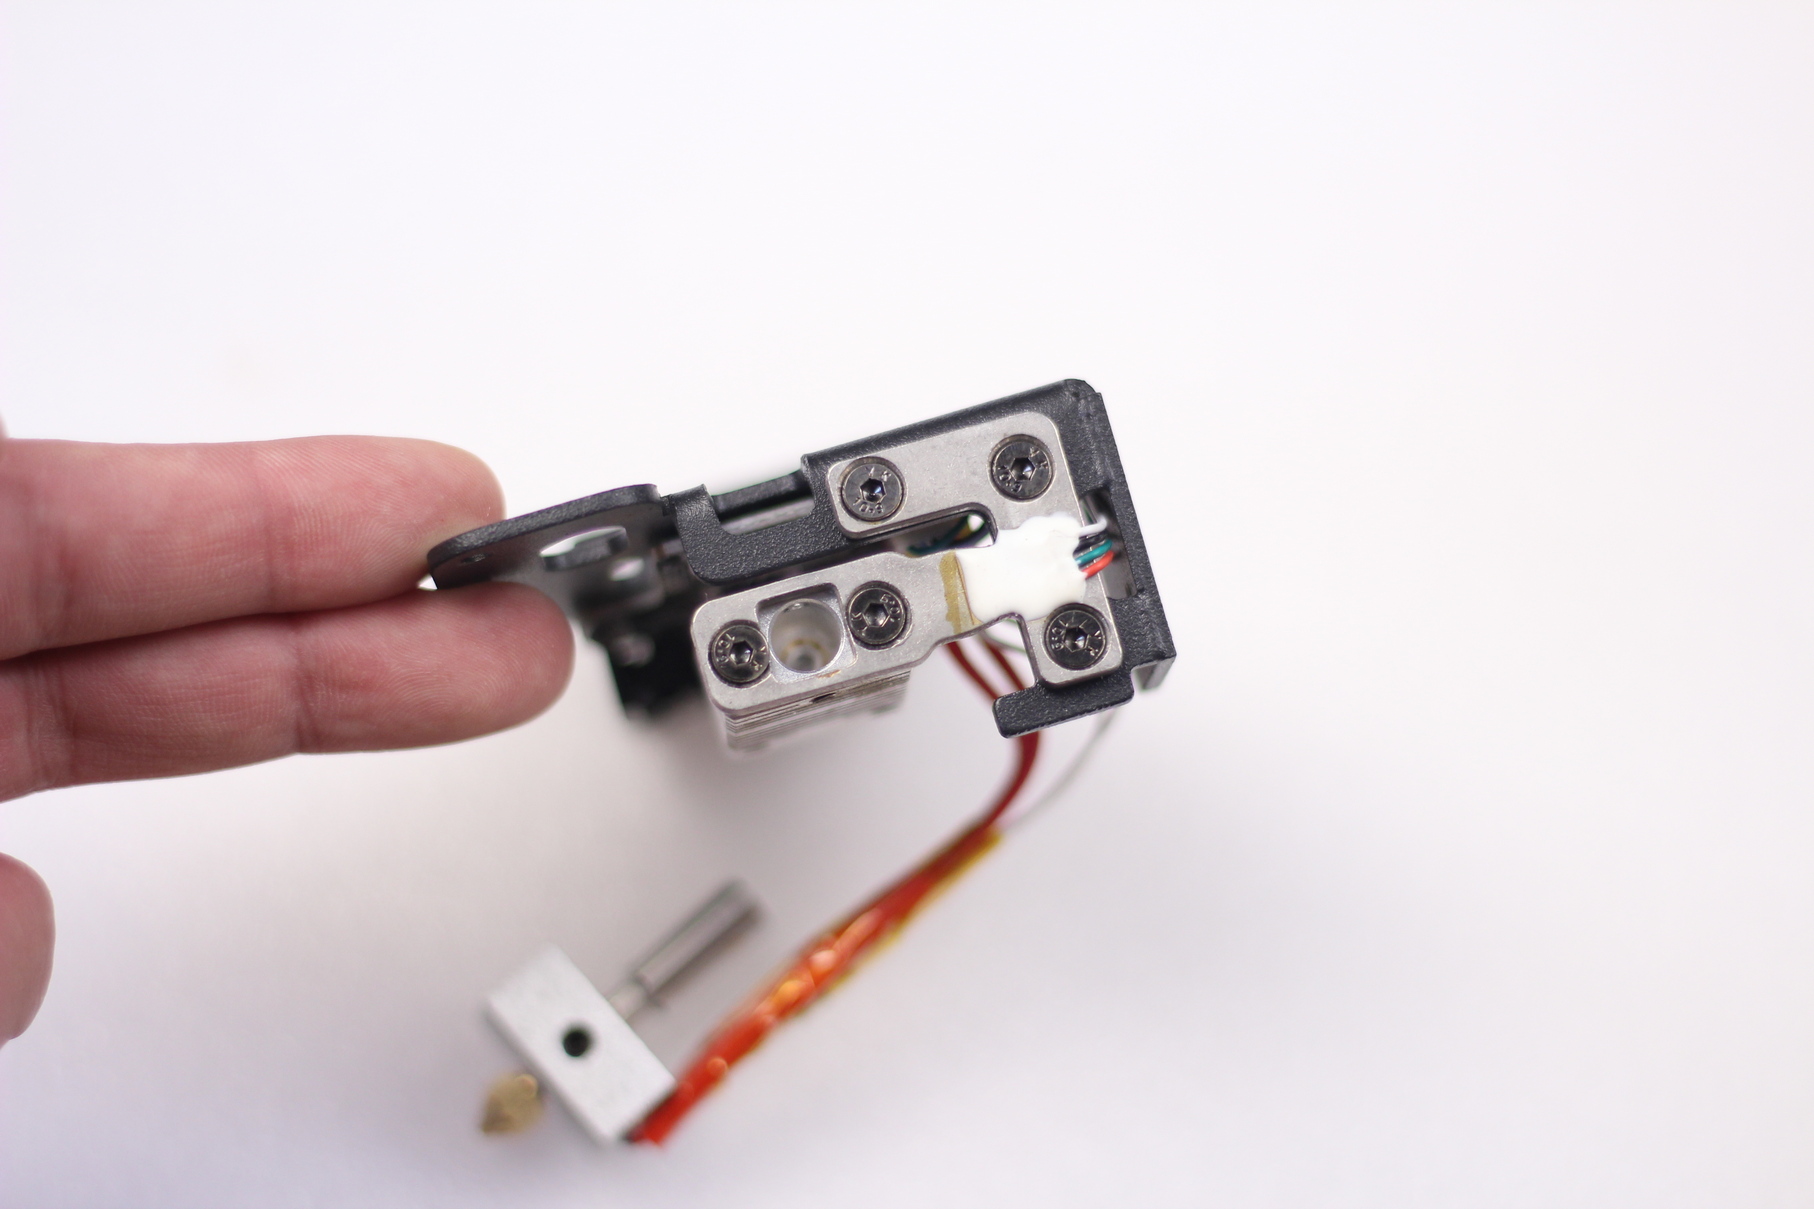
The hotend is similar to the MK8 hotends used by Creality on their budget machines, but there’s a catch. This one is split in two parts, to ensure that the PTFE tube will always be pressed against the nozzle. But whoever built this hotend didn’t understand the process too well.
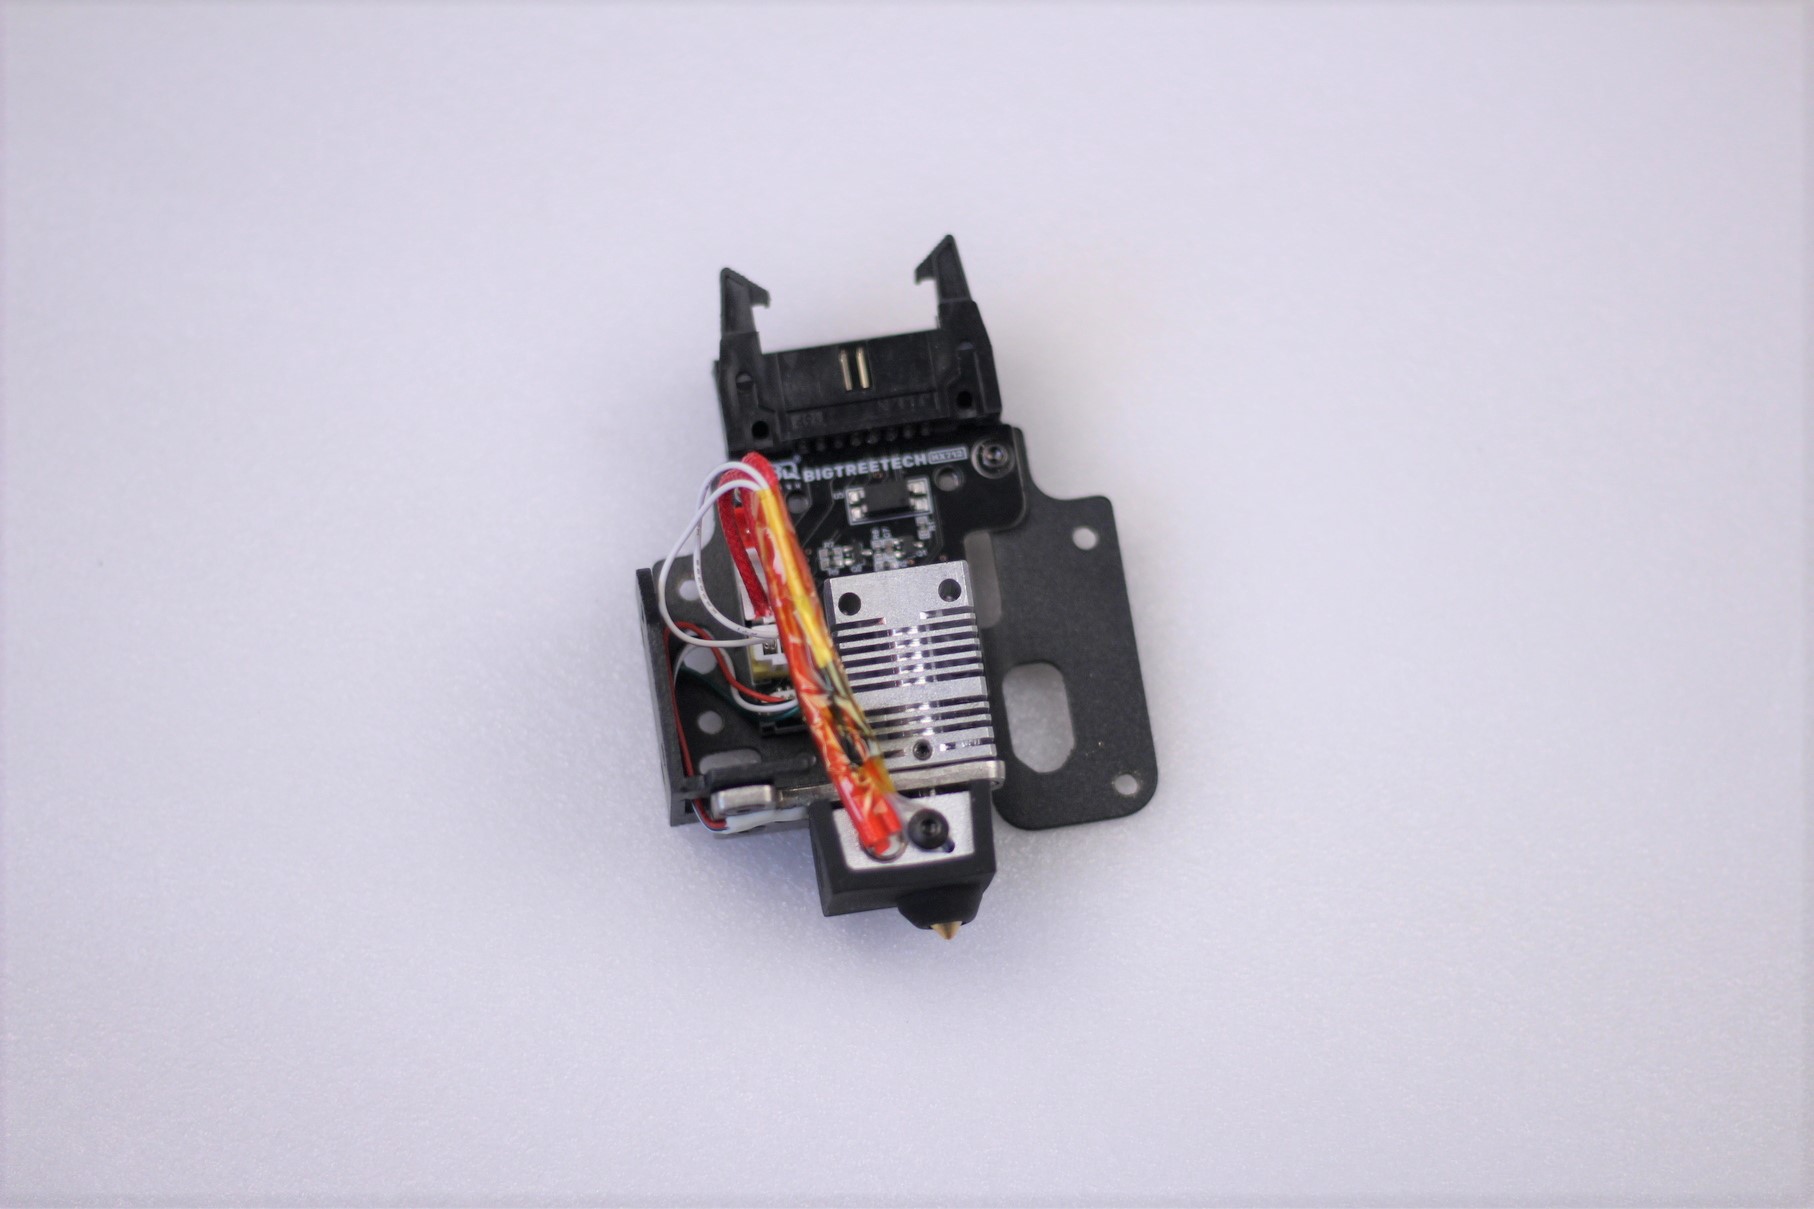

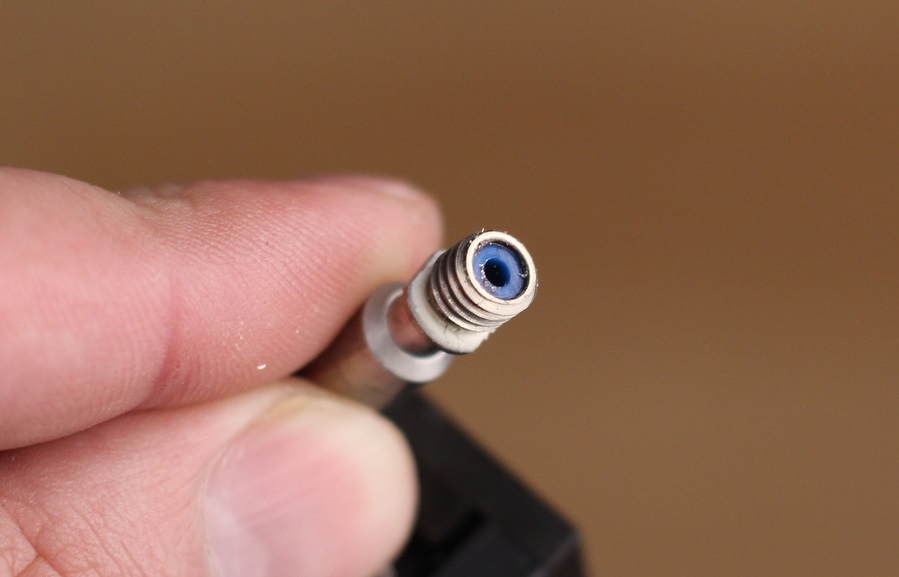
When I started printing the torture toaster, the nozzle started clogging constantly. First, I thought this is caused by bad cooling, but I later discovered that the PTFE tube inside the heat break was cut shorter. This creates a small gap between the nozzle and the heat break which gets filled by molten plastic and causes a clog. The exact same thing was done on the BIQU H2 heat break.
After removing the short PTFE tube, and replacing it with a proper size tube, the issue was fixed for good, and I didn’t have other clogs during my testing period. To fix this for good and improve the thermal performance of the hotend, I will upgrade it with a bi-metal heat break soon.
We also have a 3510-fan blowing over the heatsink, but the print head doesn’t have a good airflow design, trapping hot air inside the unit and making the temperature to increase higher than I would like.
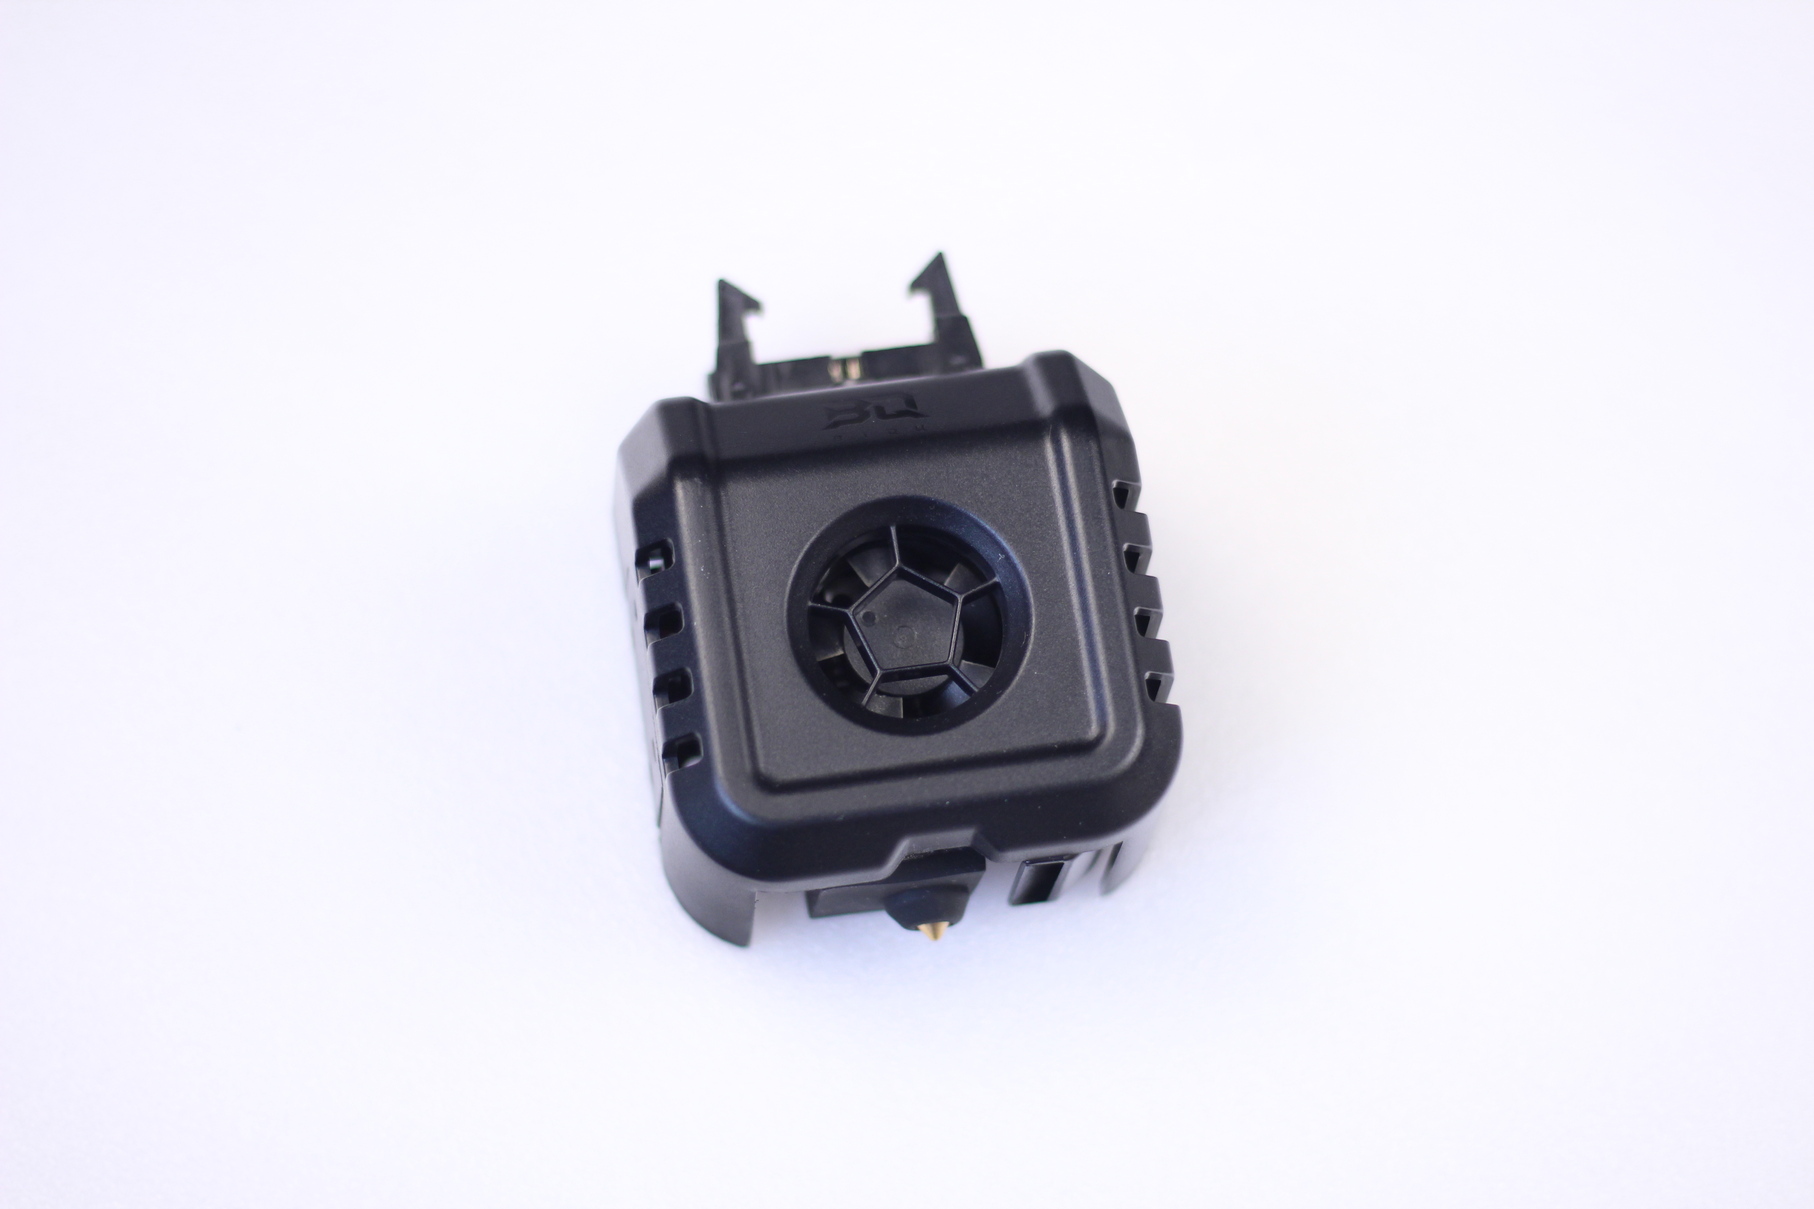
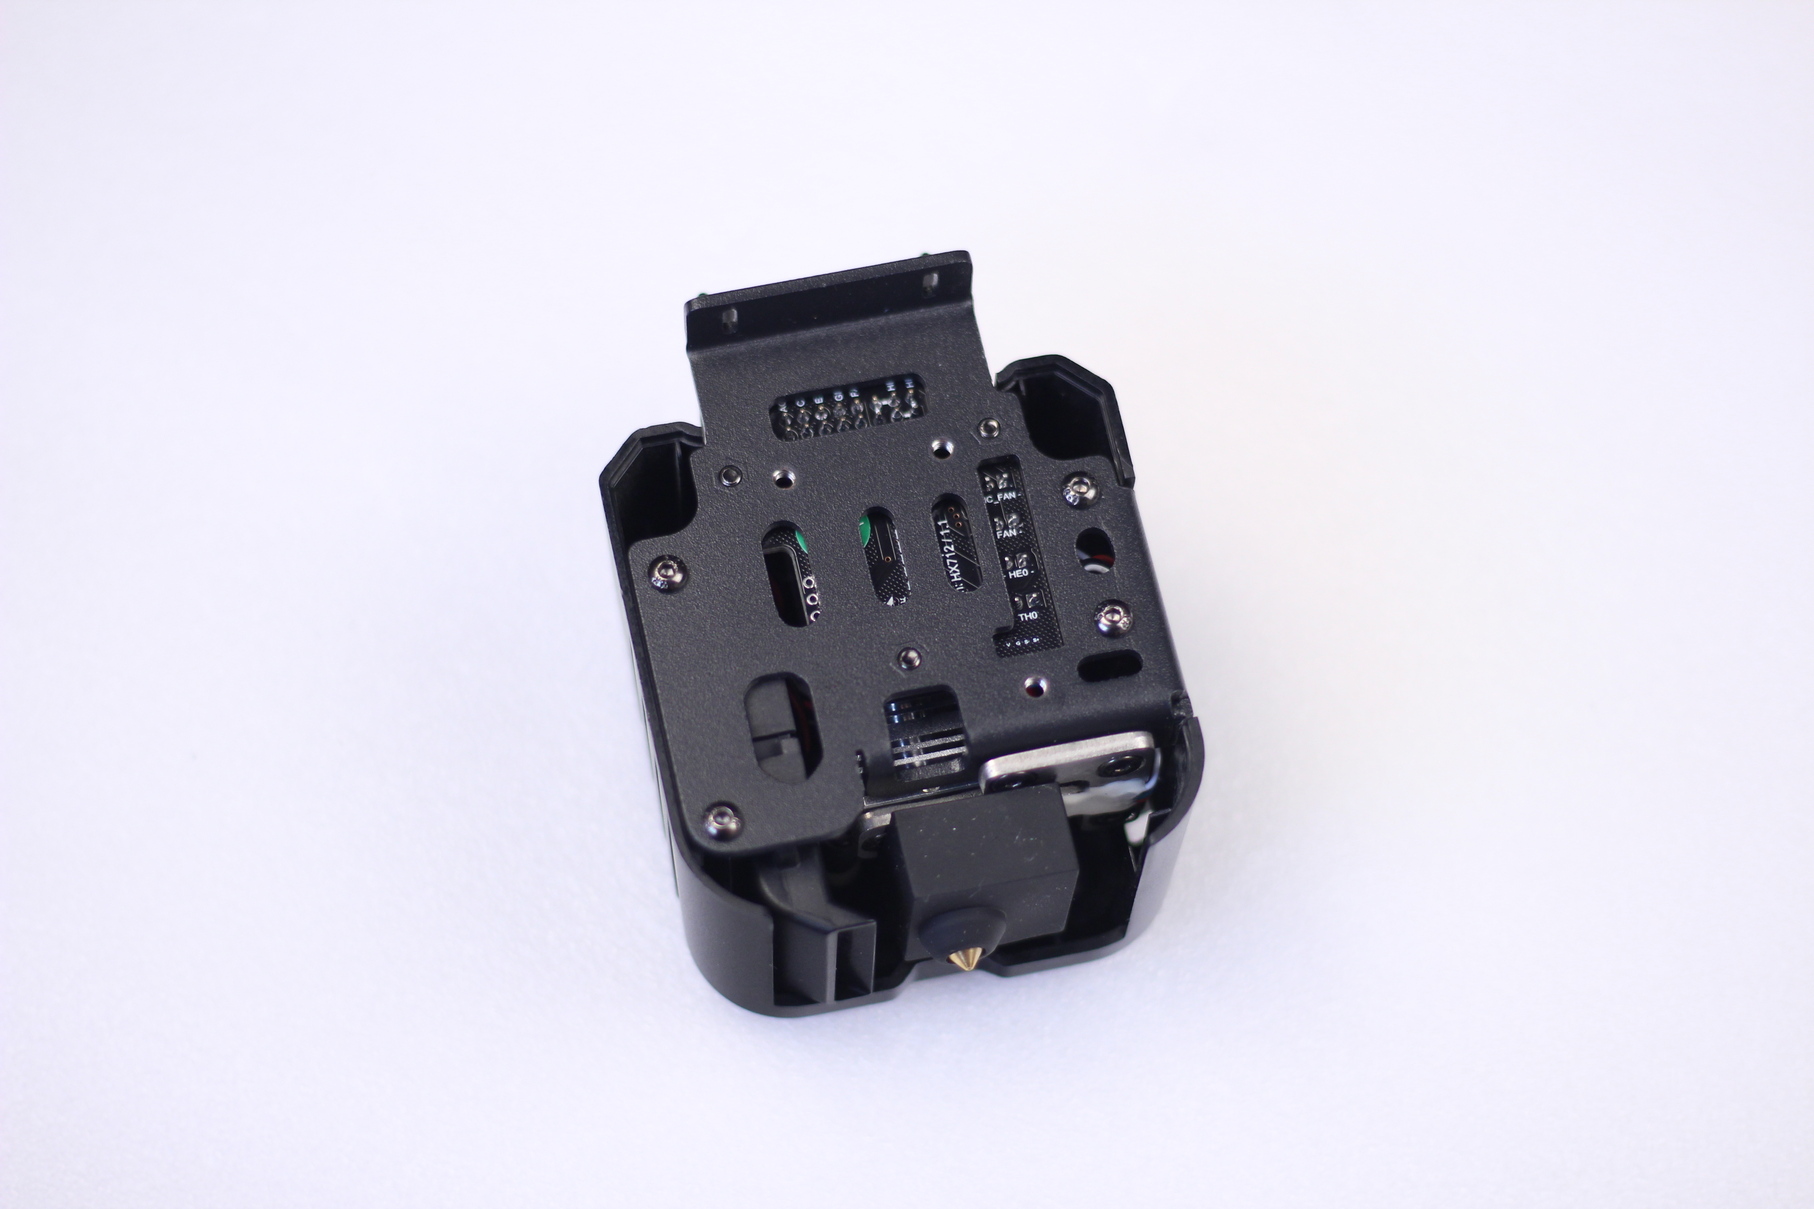
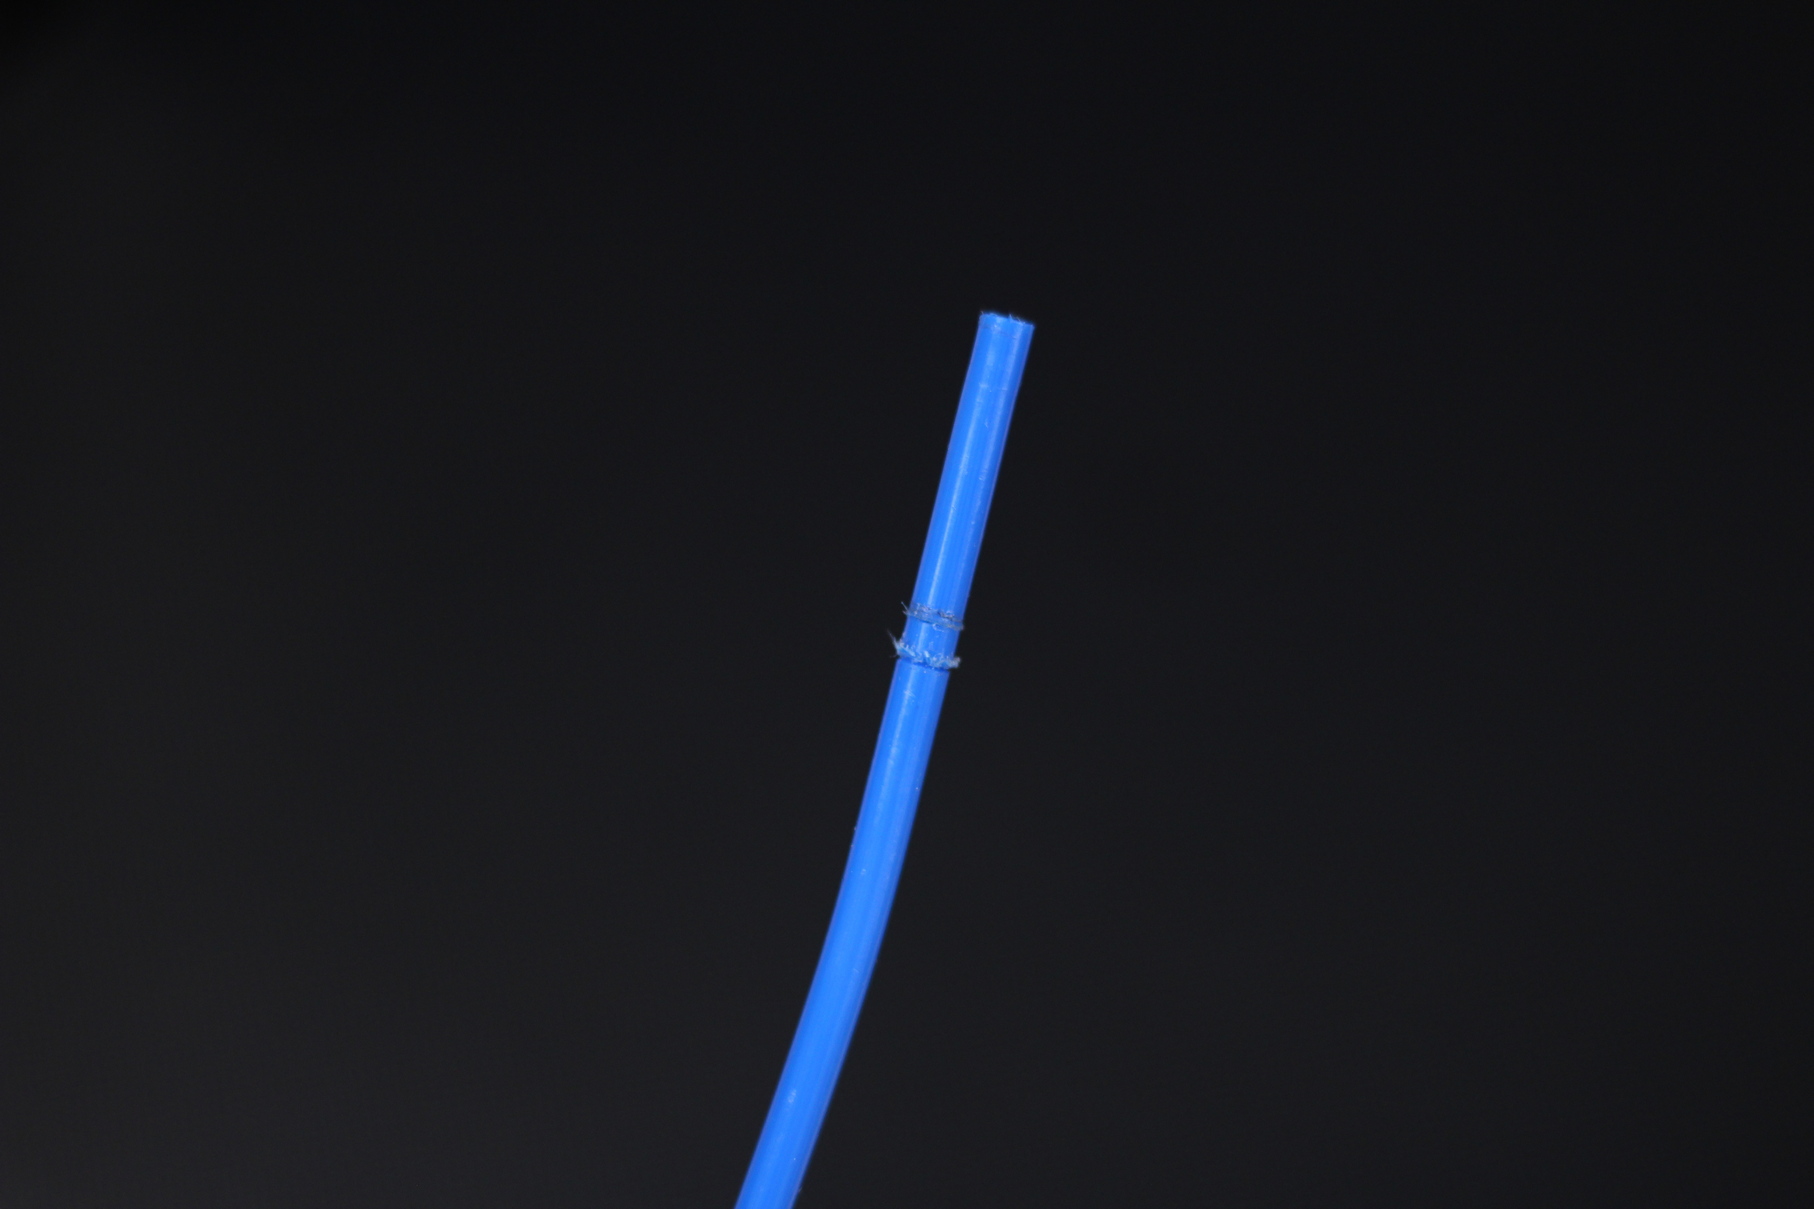
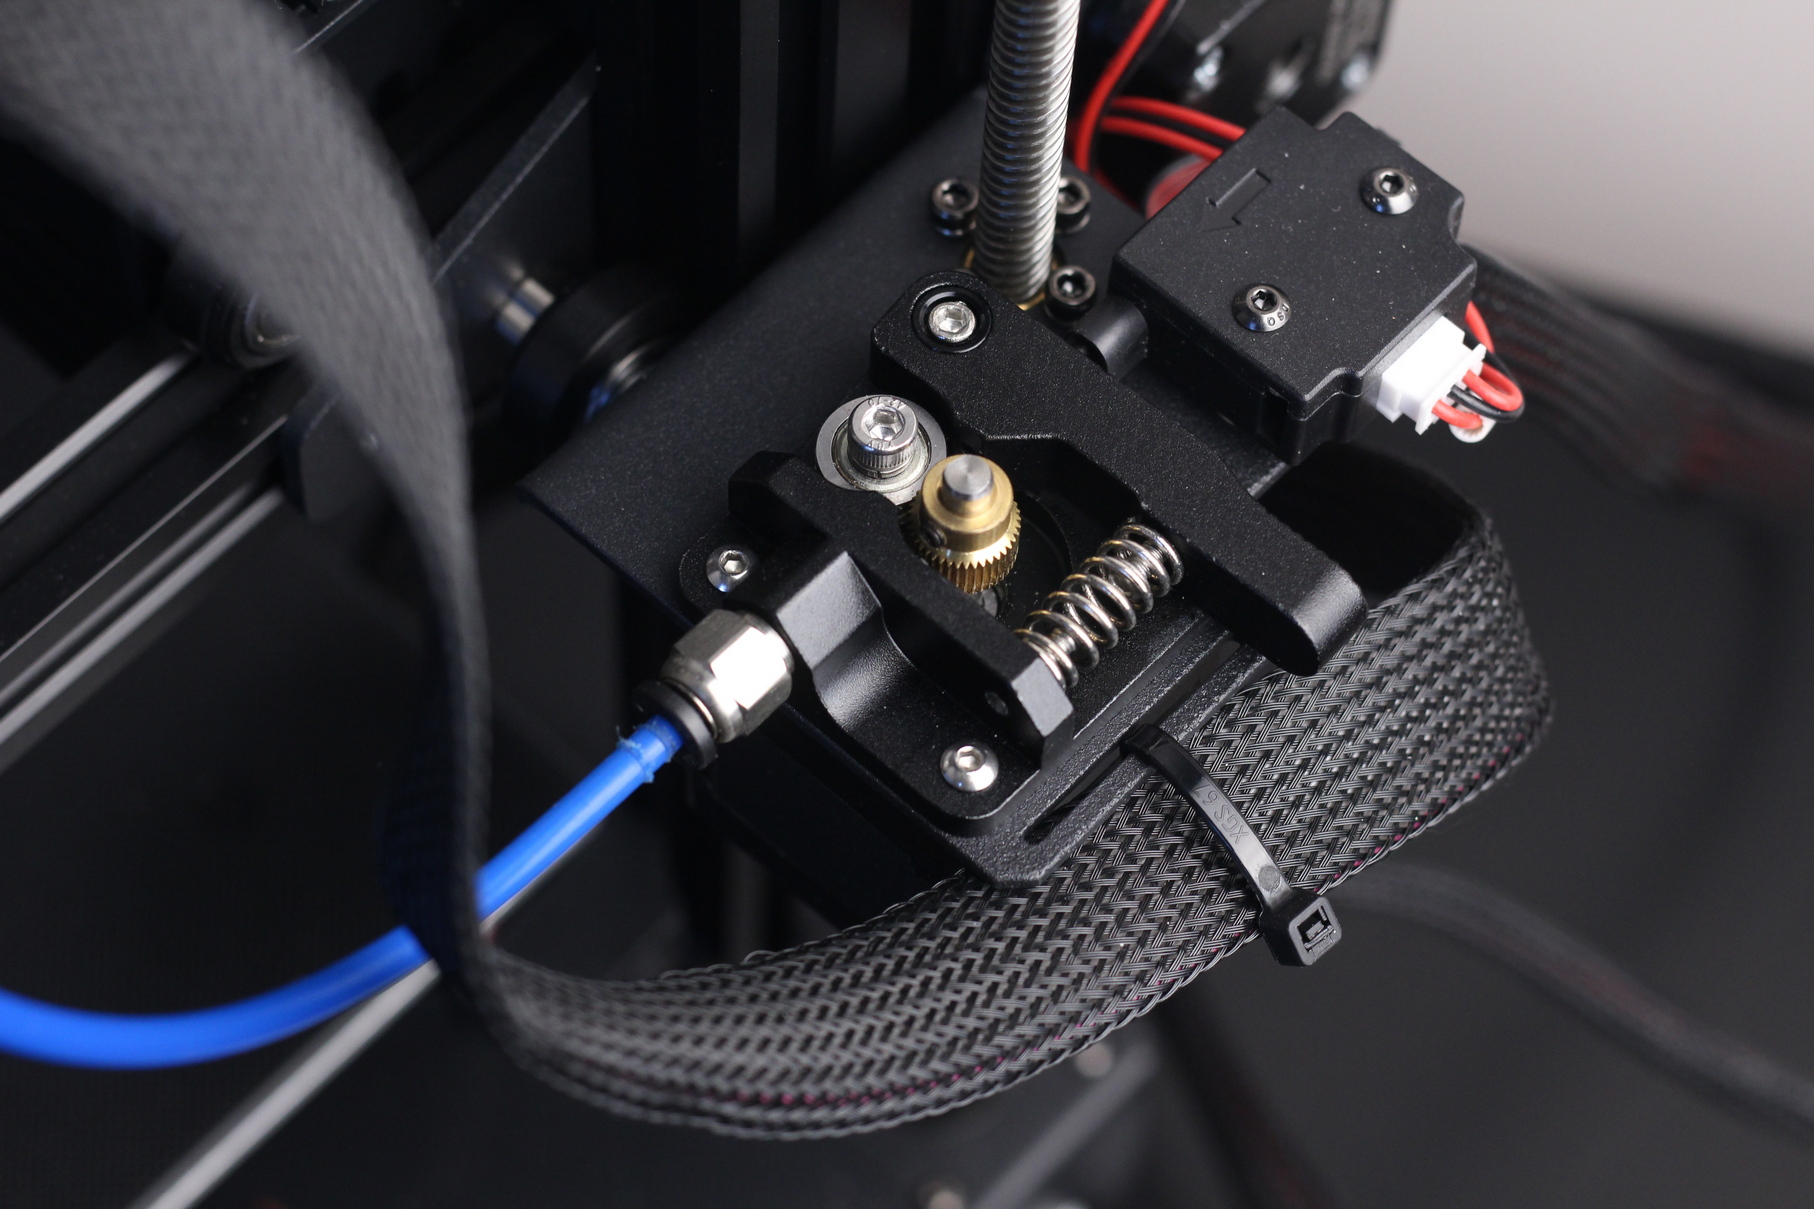
The PTFE tube connecting the extruder to the print head came already inserted, and during assembly and shipping it got damaged. The PTFE tube was spinning, and the coupler started cutting around it. Fortunately, the cut wasn’t that deep and I was able to just trim a bit from both sides and use it.
Aluminum single-gear extruder
As you might expect, the extruder is a single-gear aluminum version which is better than the plastic versions used by budget Creality machines. I know this is a budget machine, but there are a lot of cheap printers which ship with a dual-gear extruder that usually performs much better, especially for flexible filaments.
While it works well, when the gear gets worn out, I would just upgrade it to a dual-gear extruder or even a BMG clone. These extruders will grip the filament much better, and flexibles could be printed easier.
BIQU TFT35 SPI touchscreen
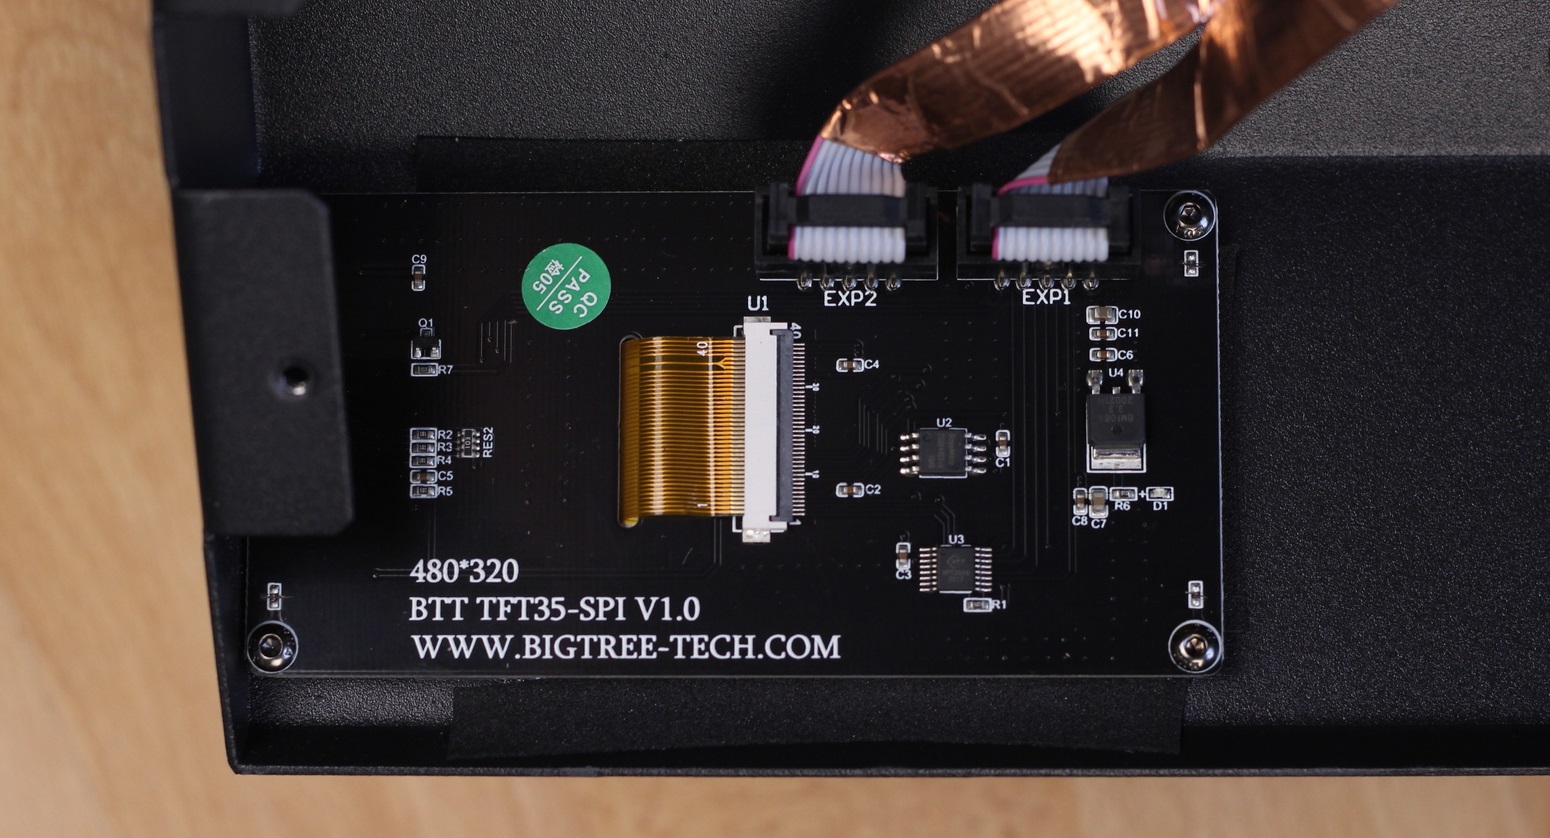
While it looks similar to the popular TFT35 touchscreen used on the b1, the BIQU B1 SE Plus comes with the cheaper version of this screen named TFT35-SPI V1.0. This screen is connected directly to the board and relies on the board CPU to work, so it doesn’t use a separate firmware and it also has less features.
Even though you can only use the regular touchscreen interface made by BIQU, all the features you would expect are there. It’s one of the most complete and feature-rich touchscreens included on a budget 3D printer.
I miss the option of sending g-code commands using the on-screen keyboard, but it is what it is.
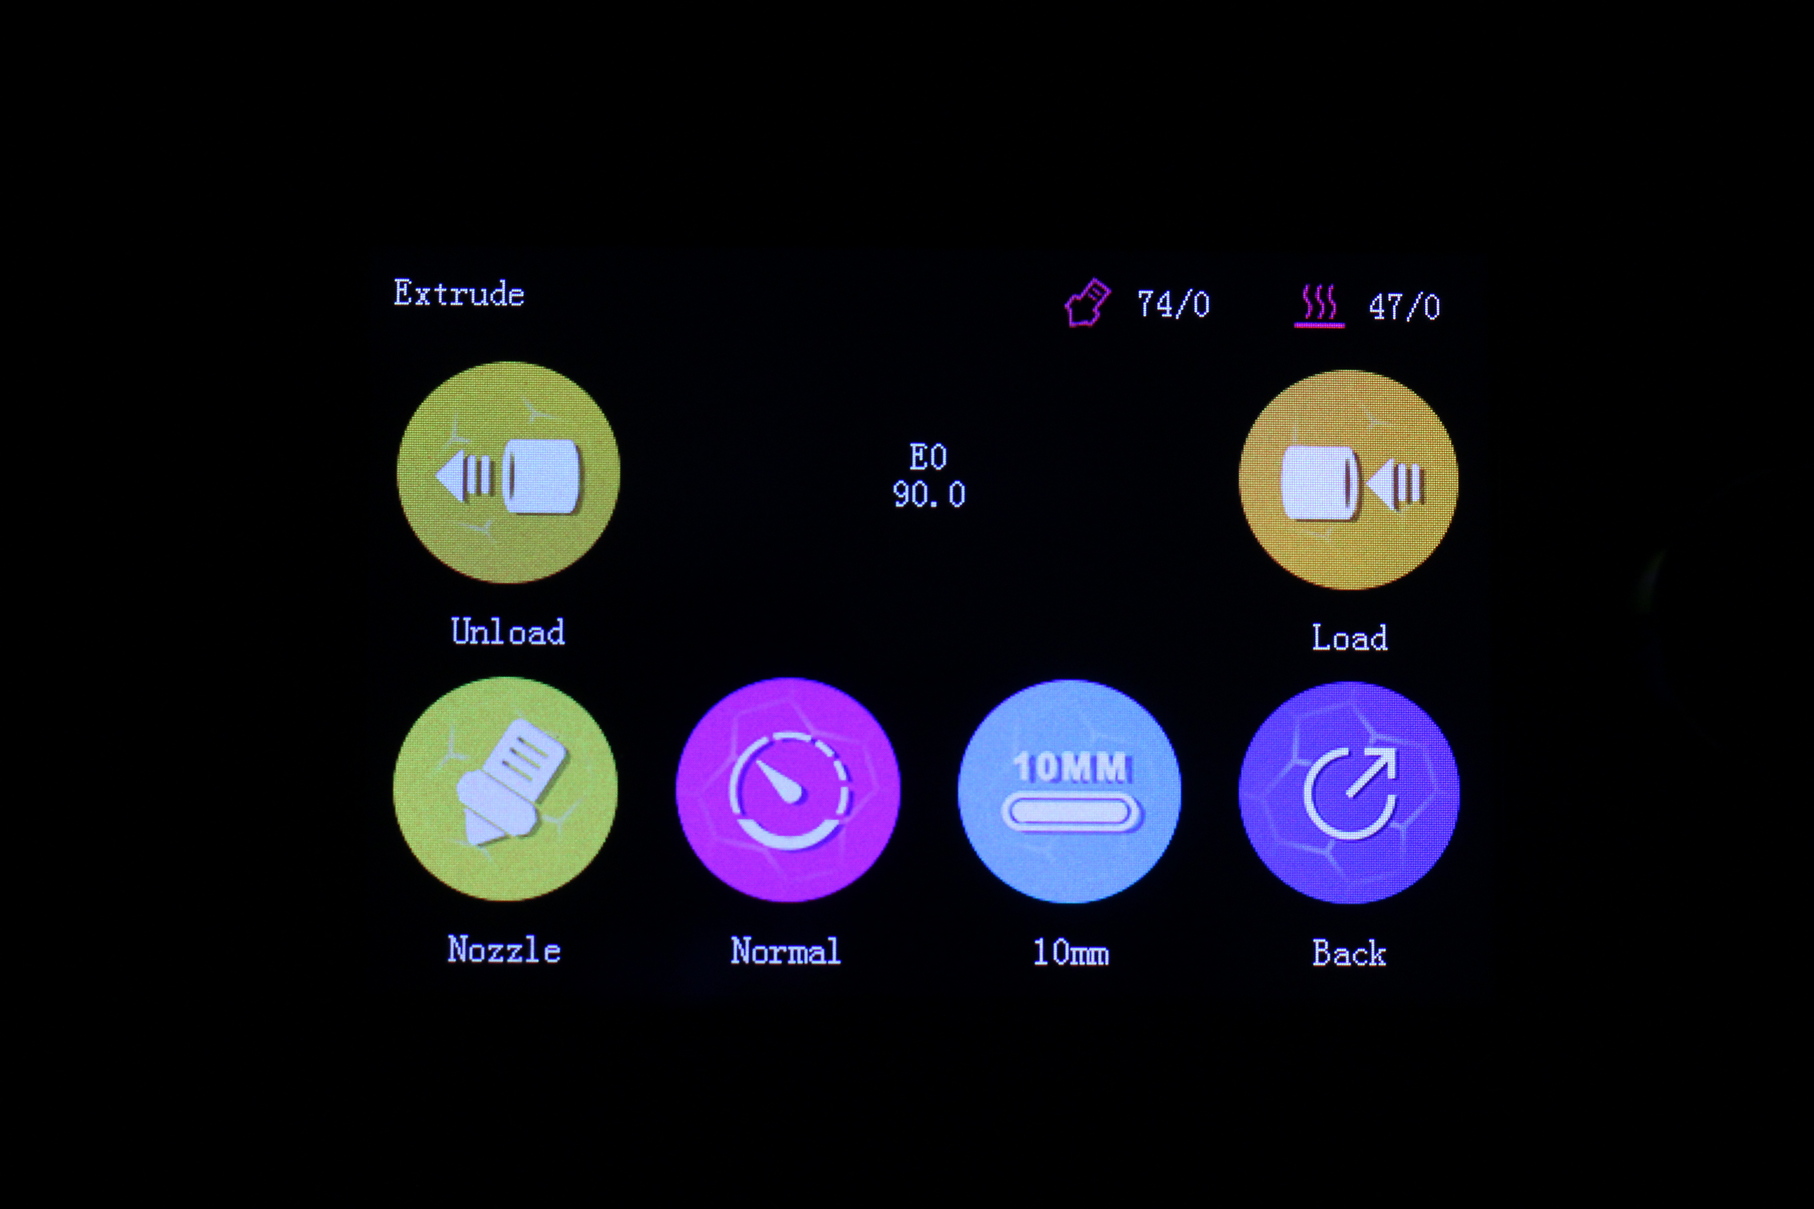
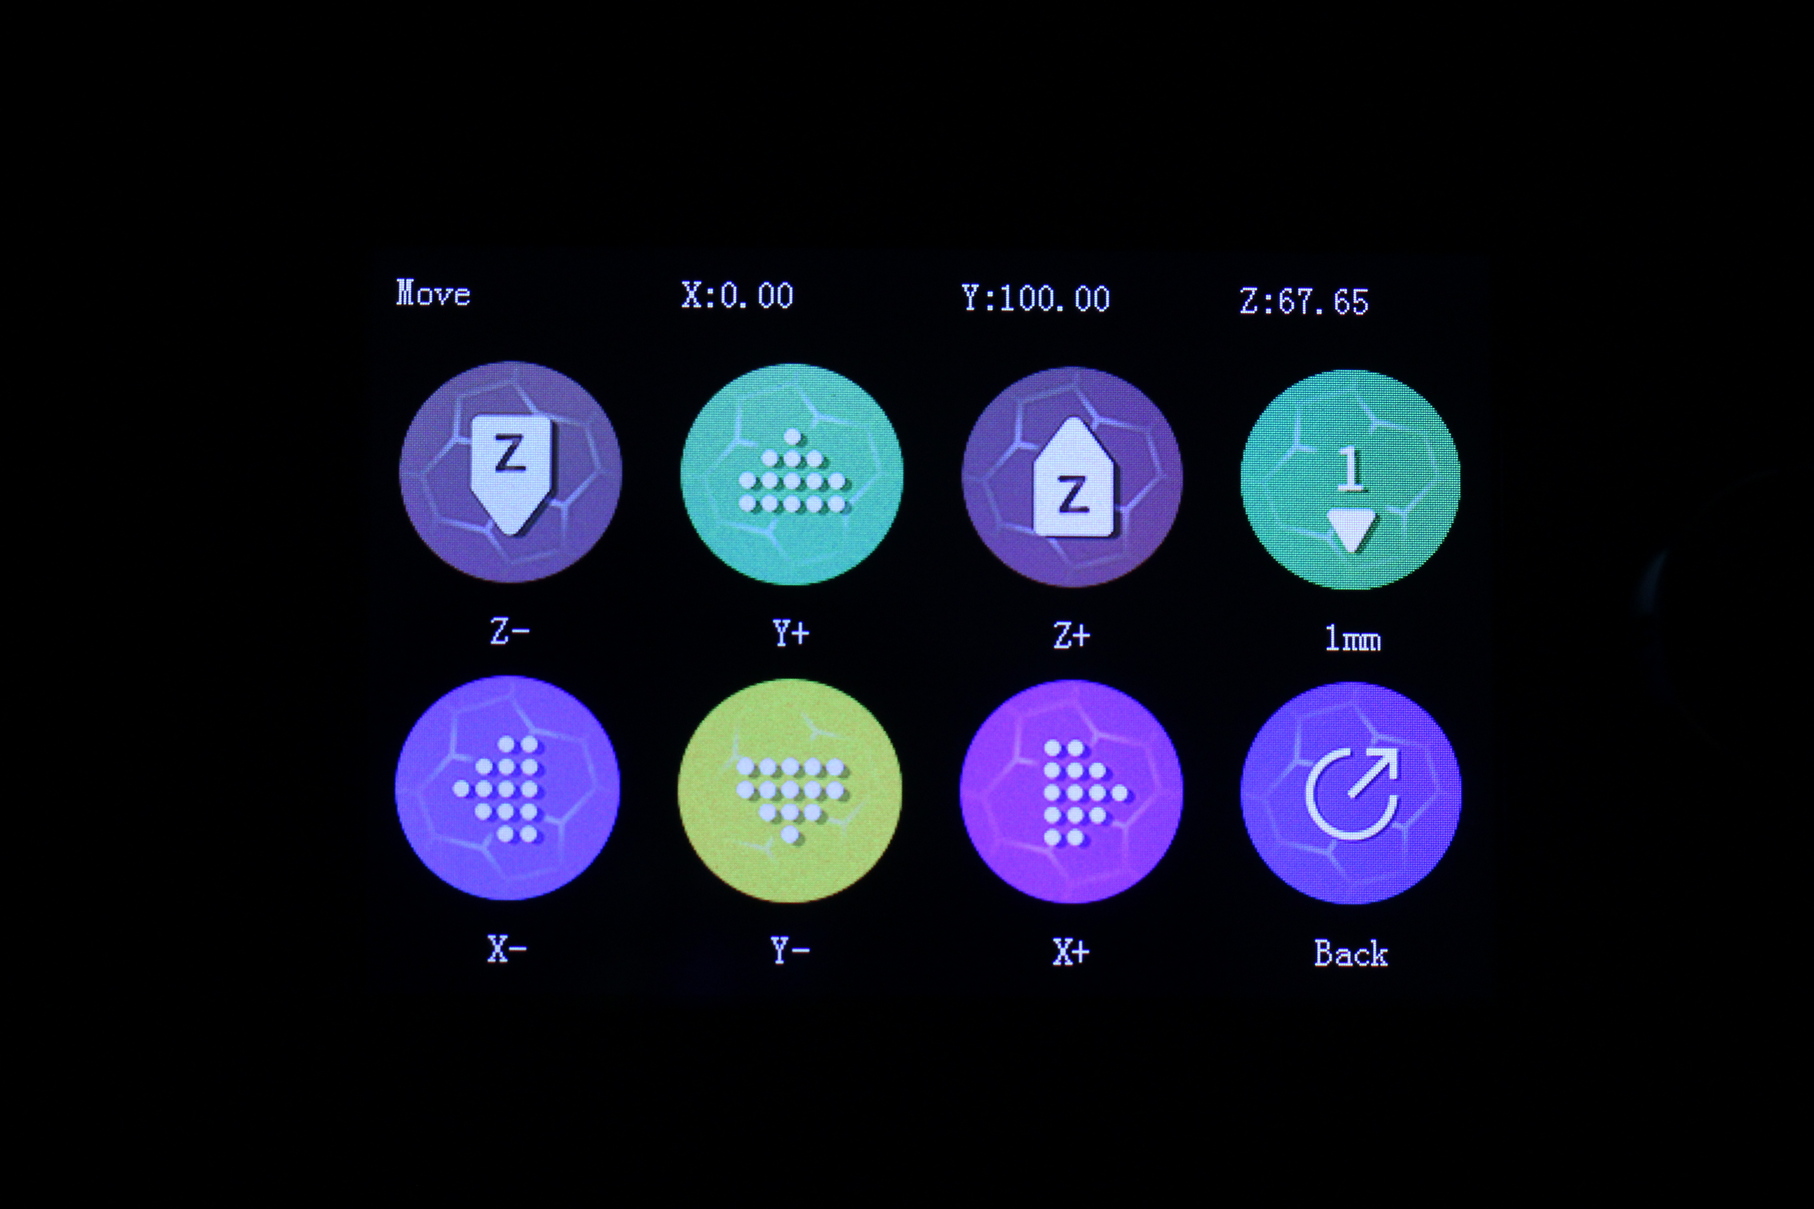
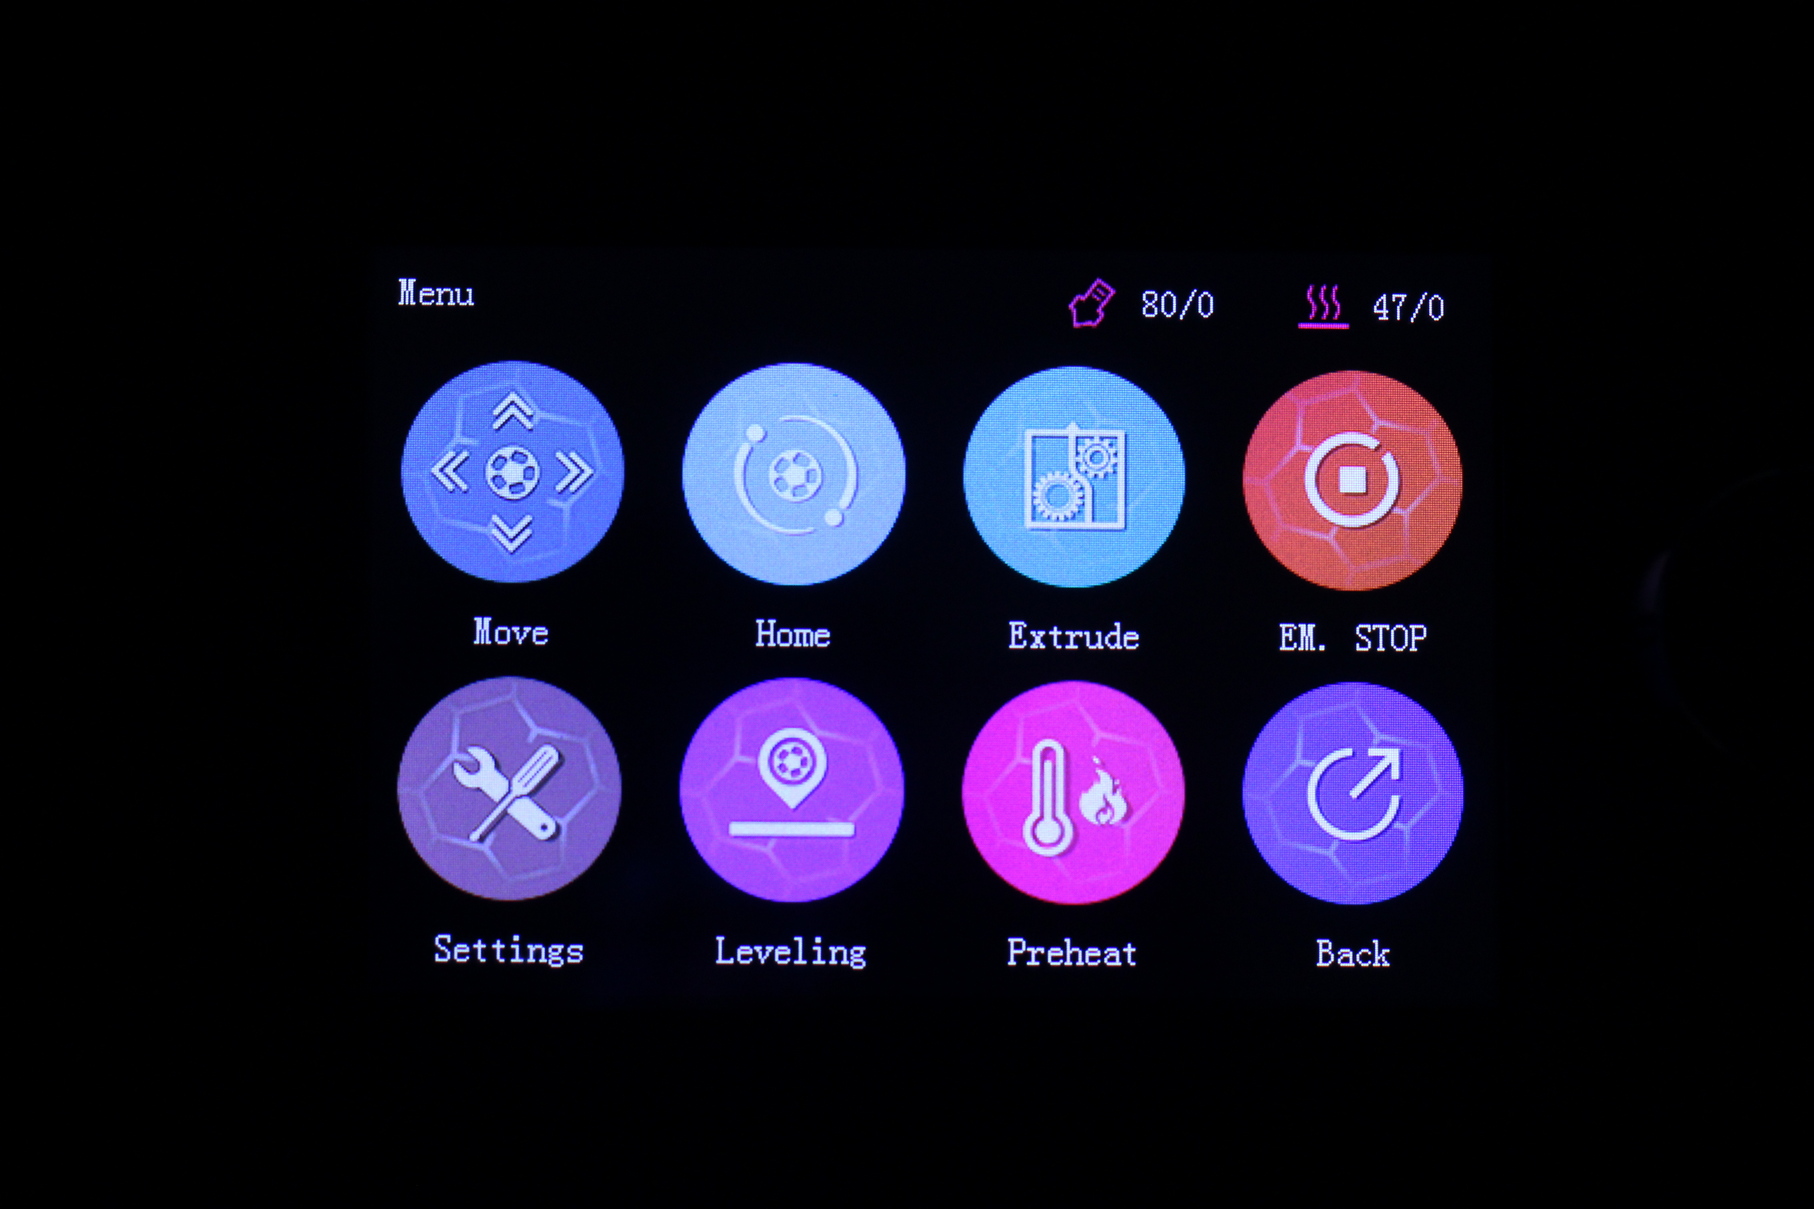
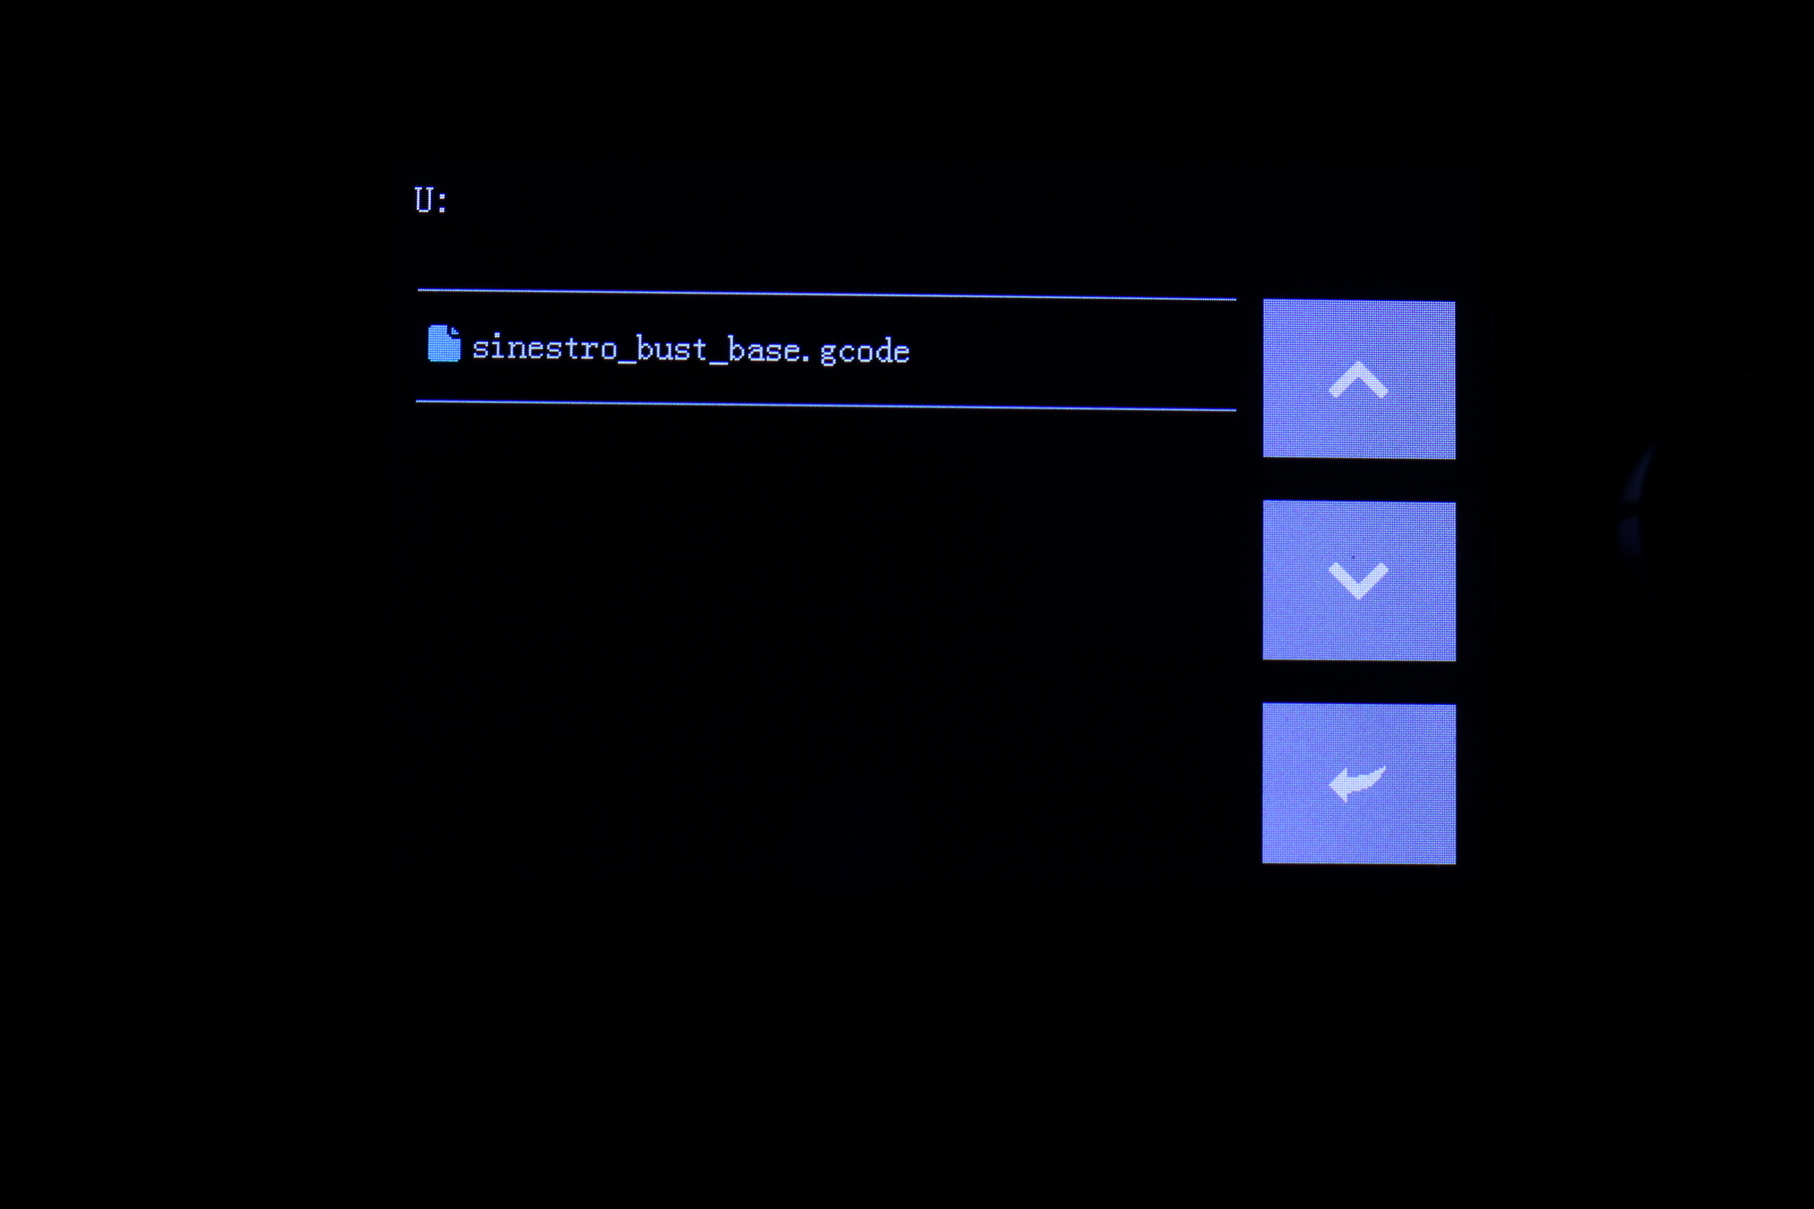
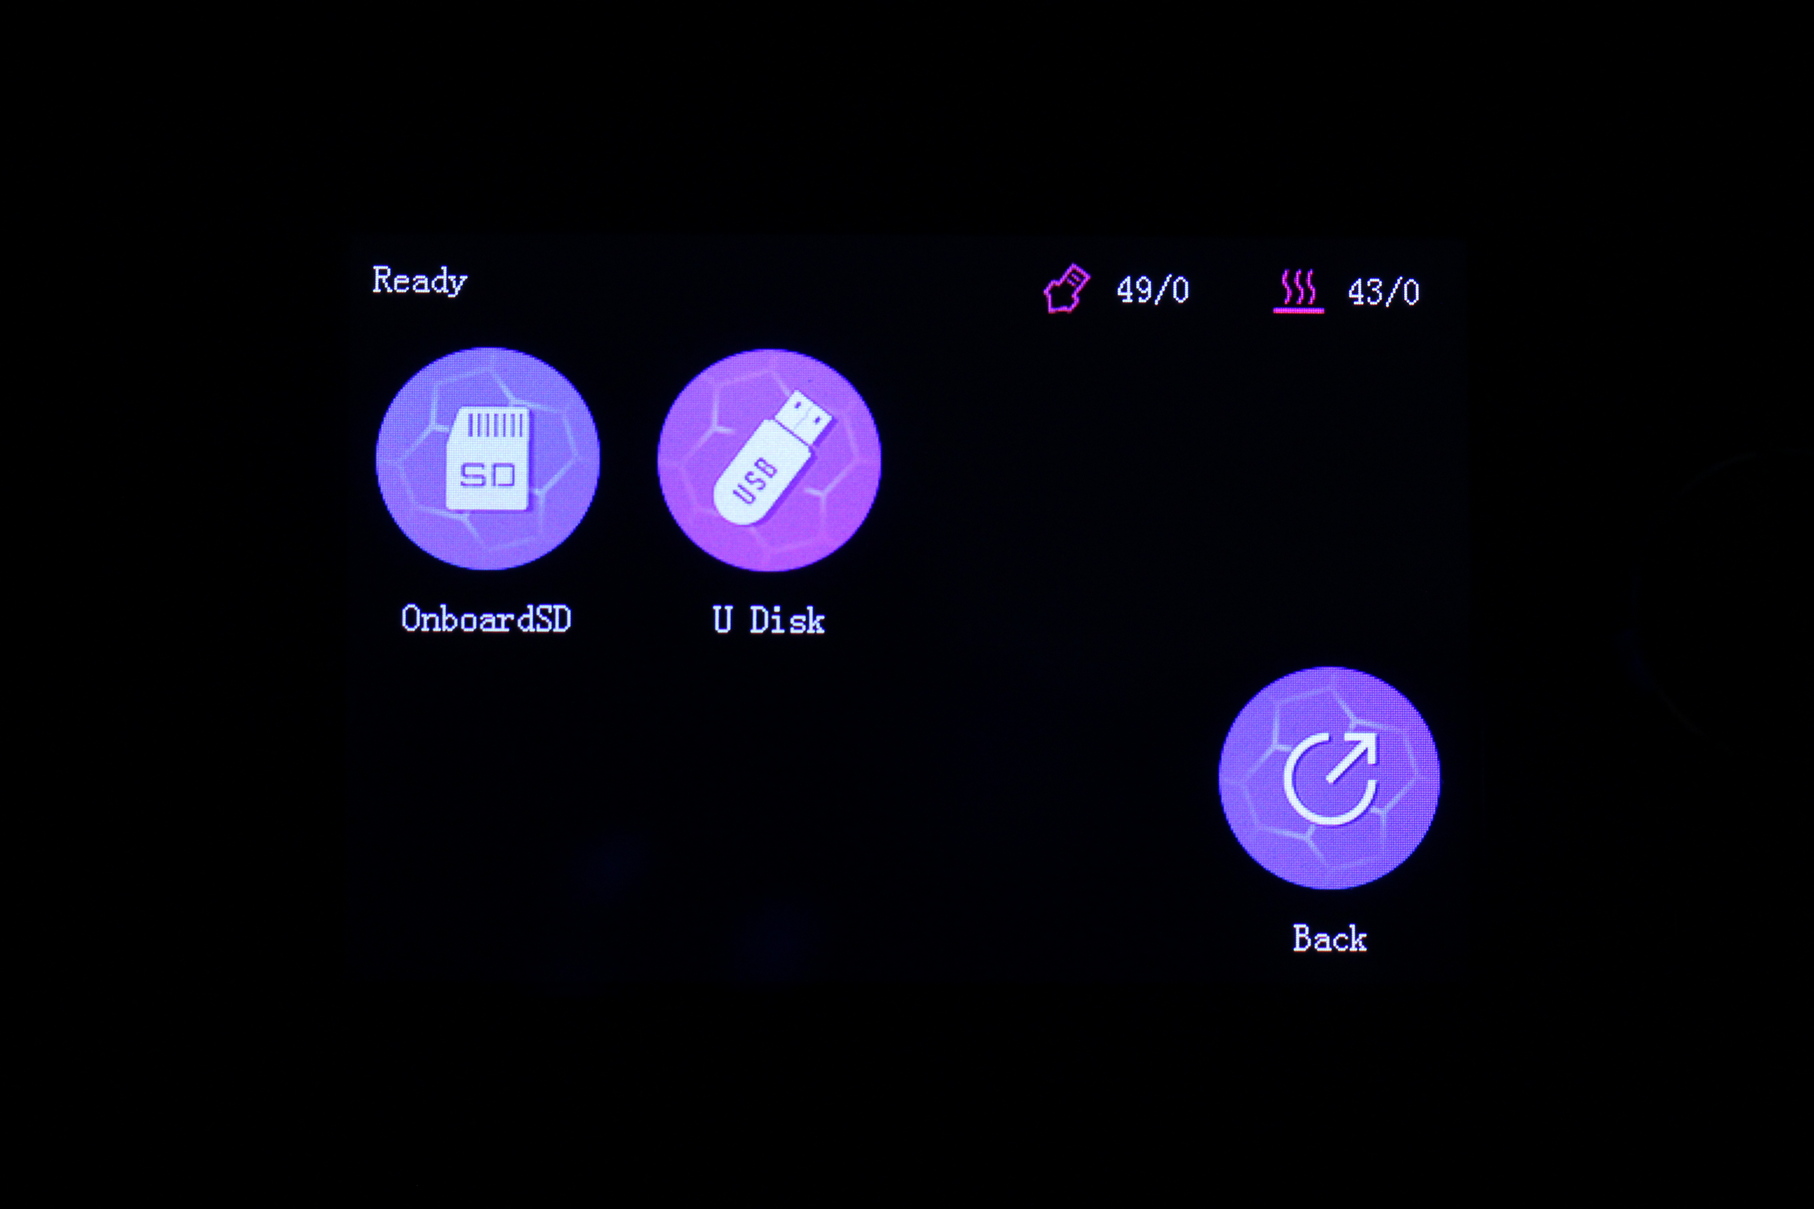
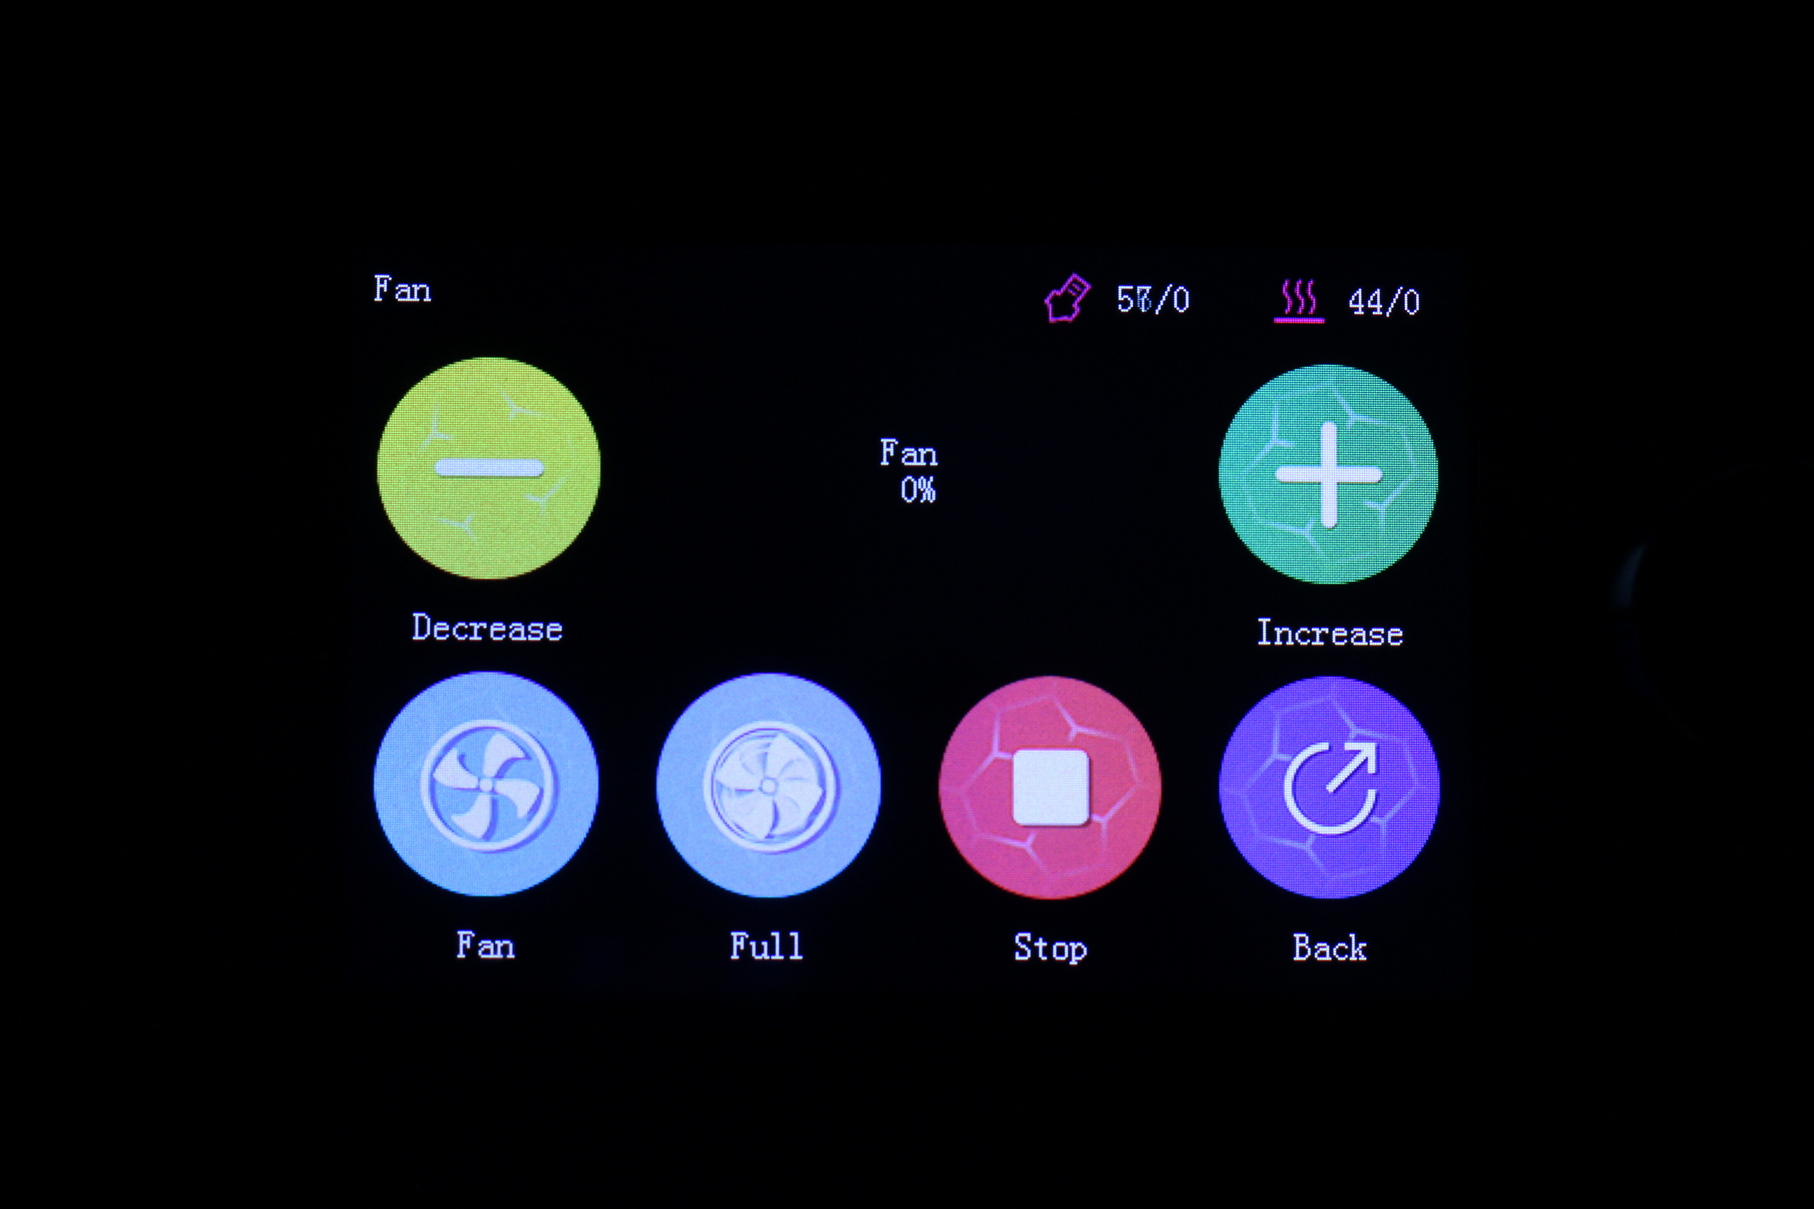
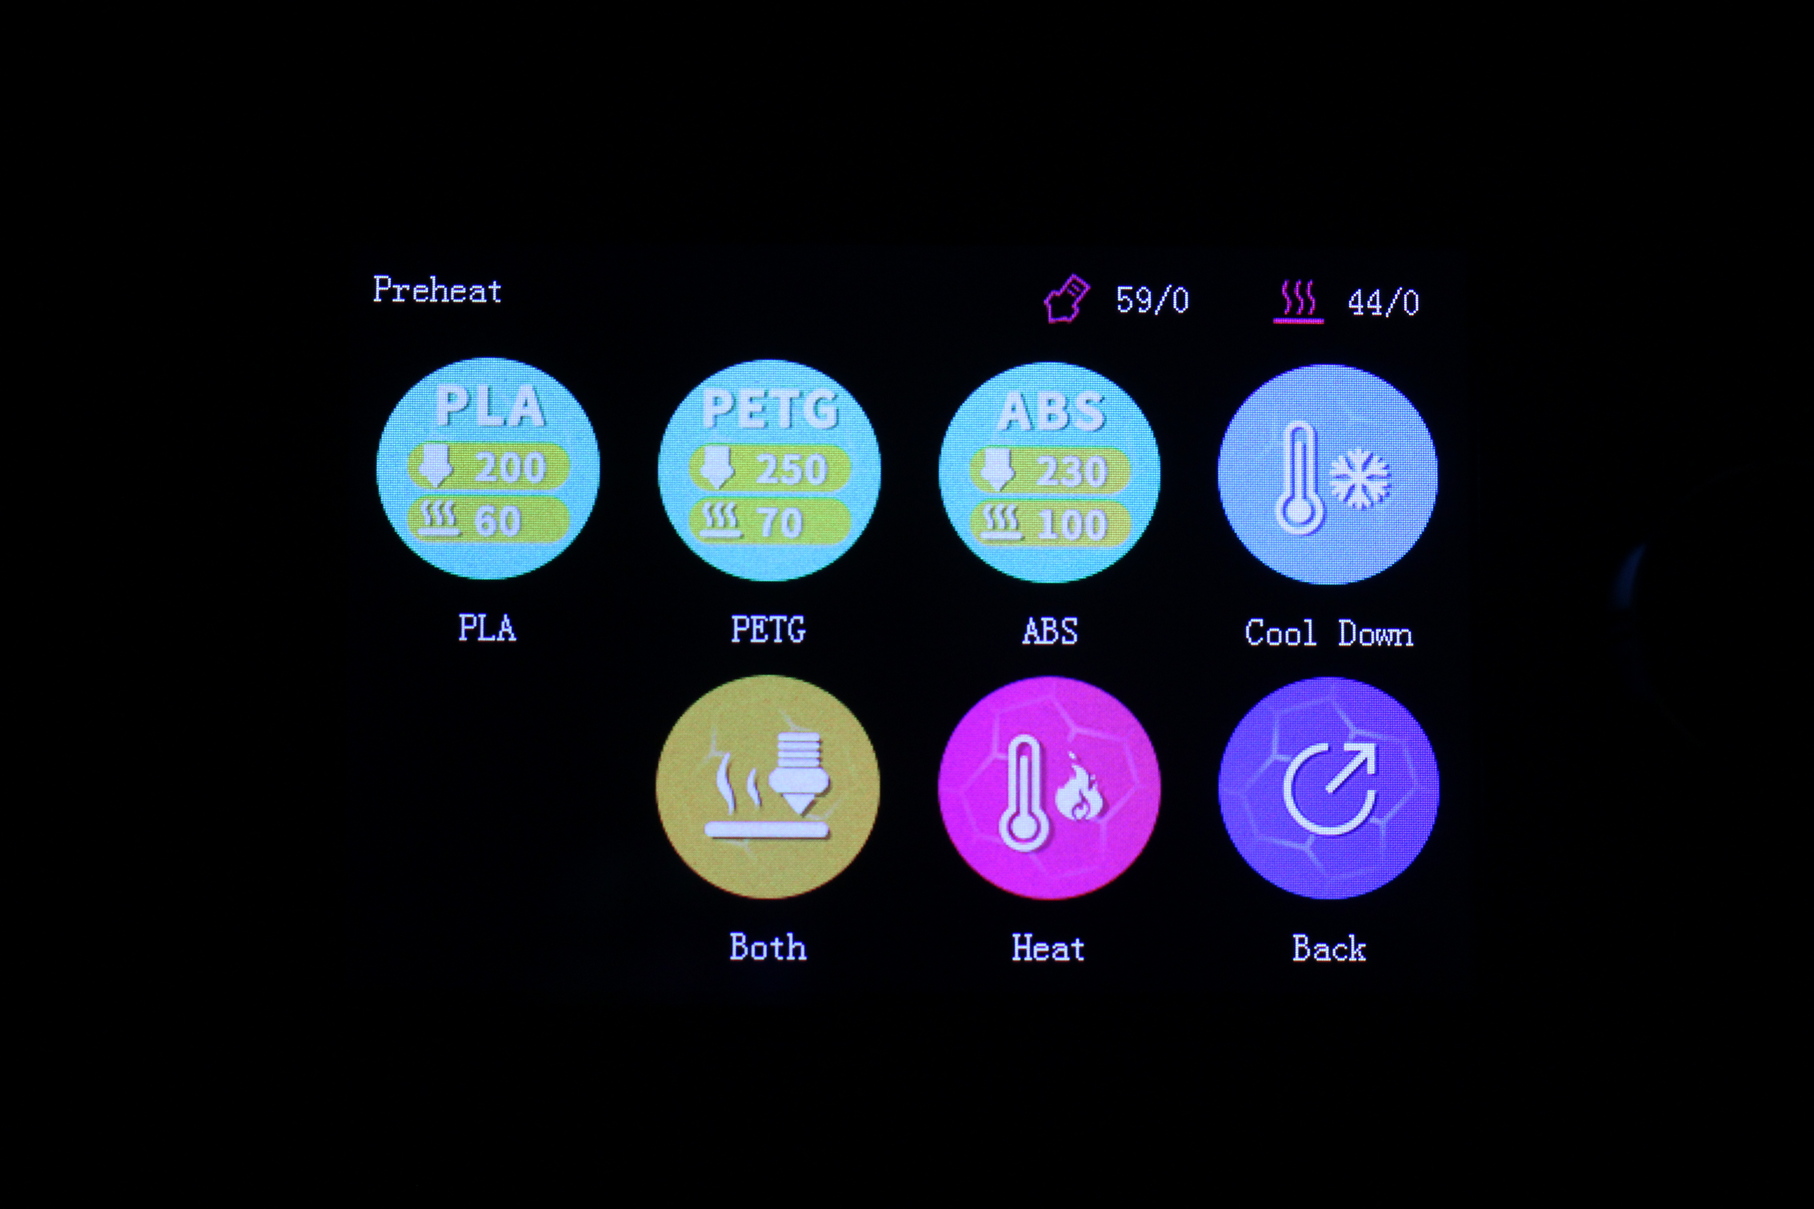
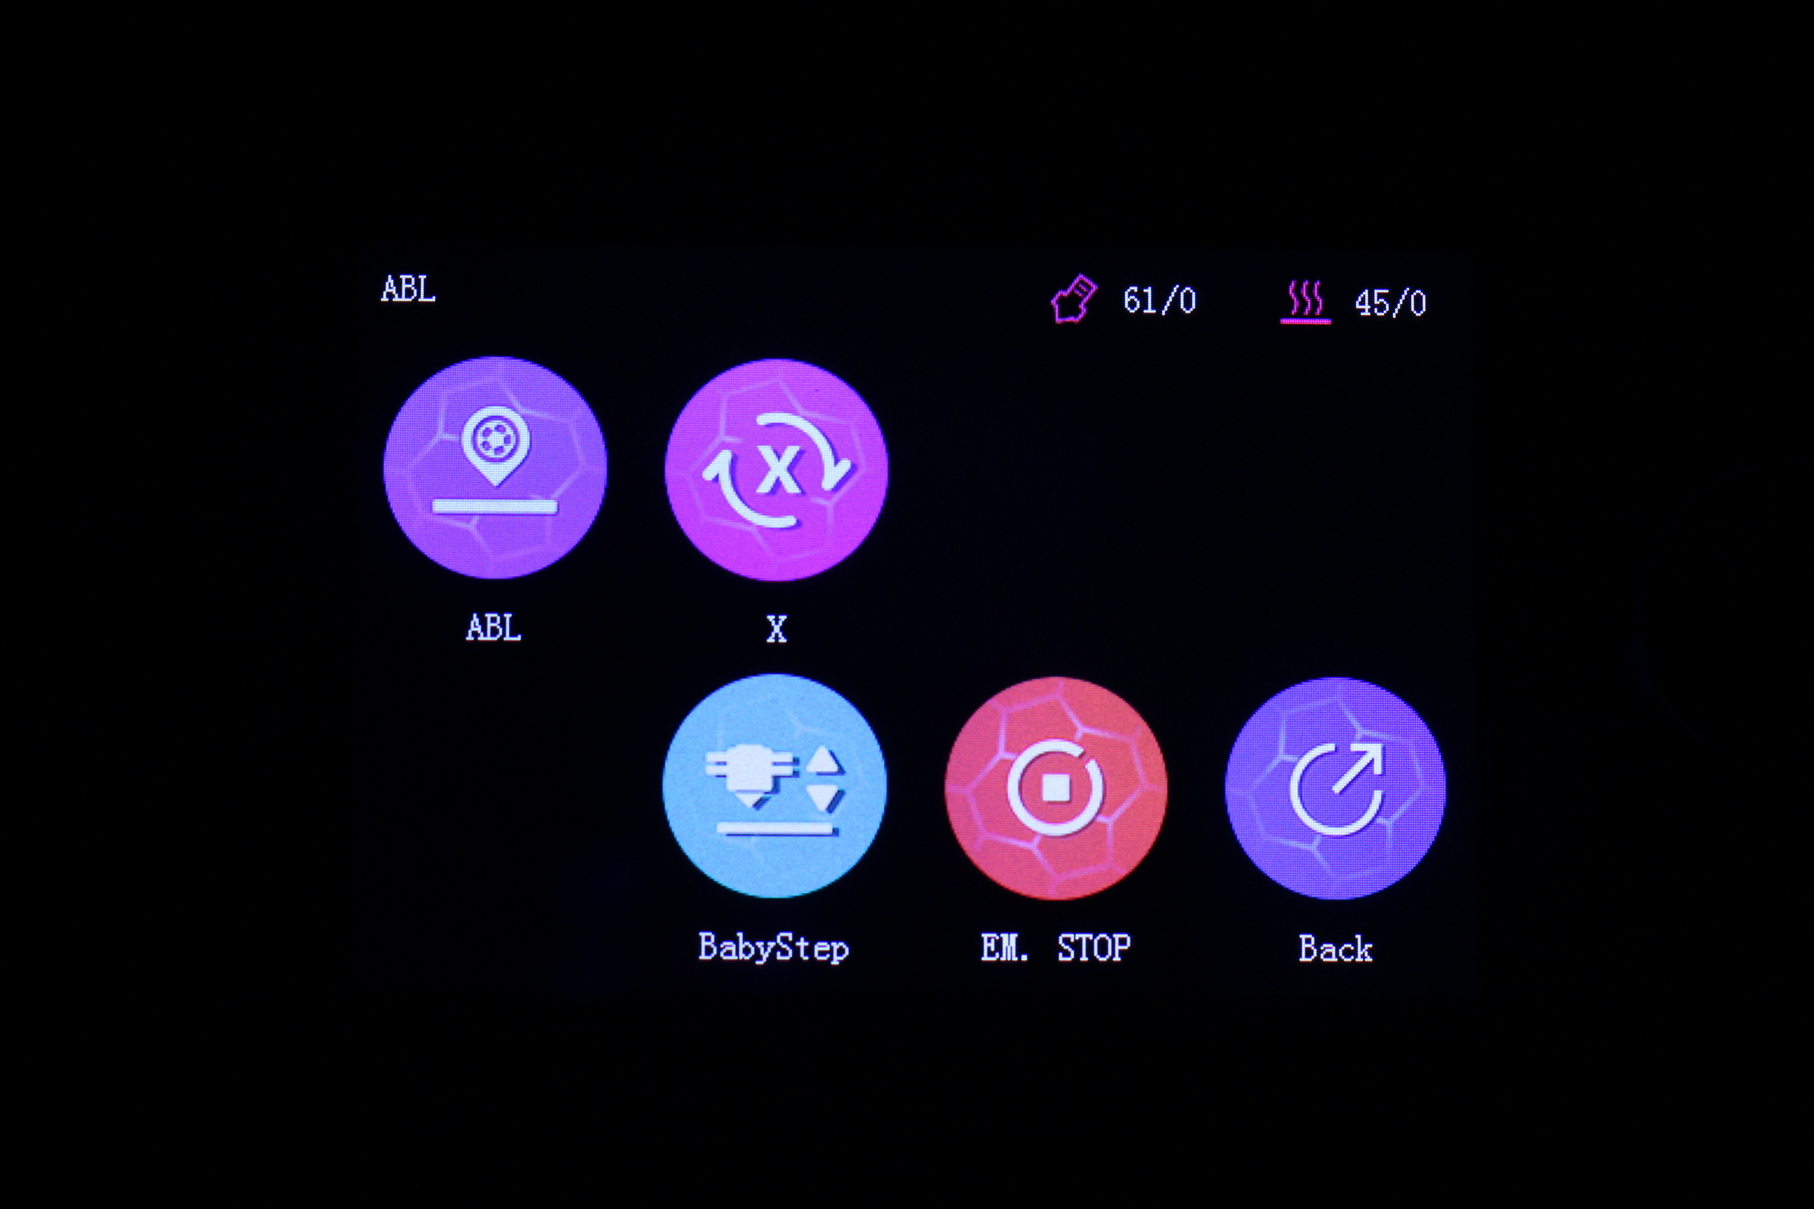
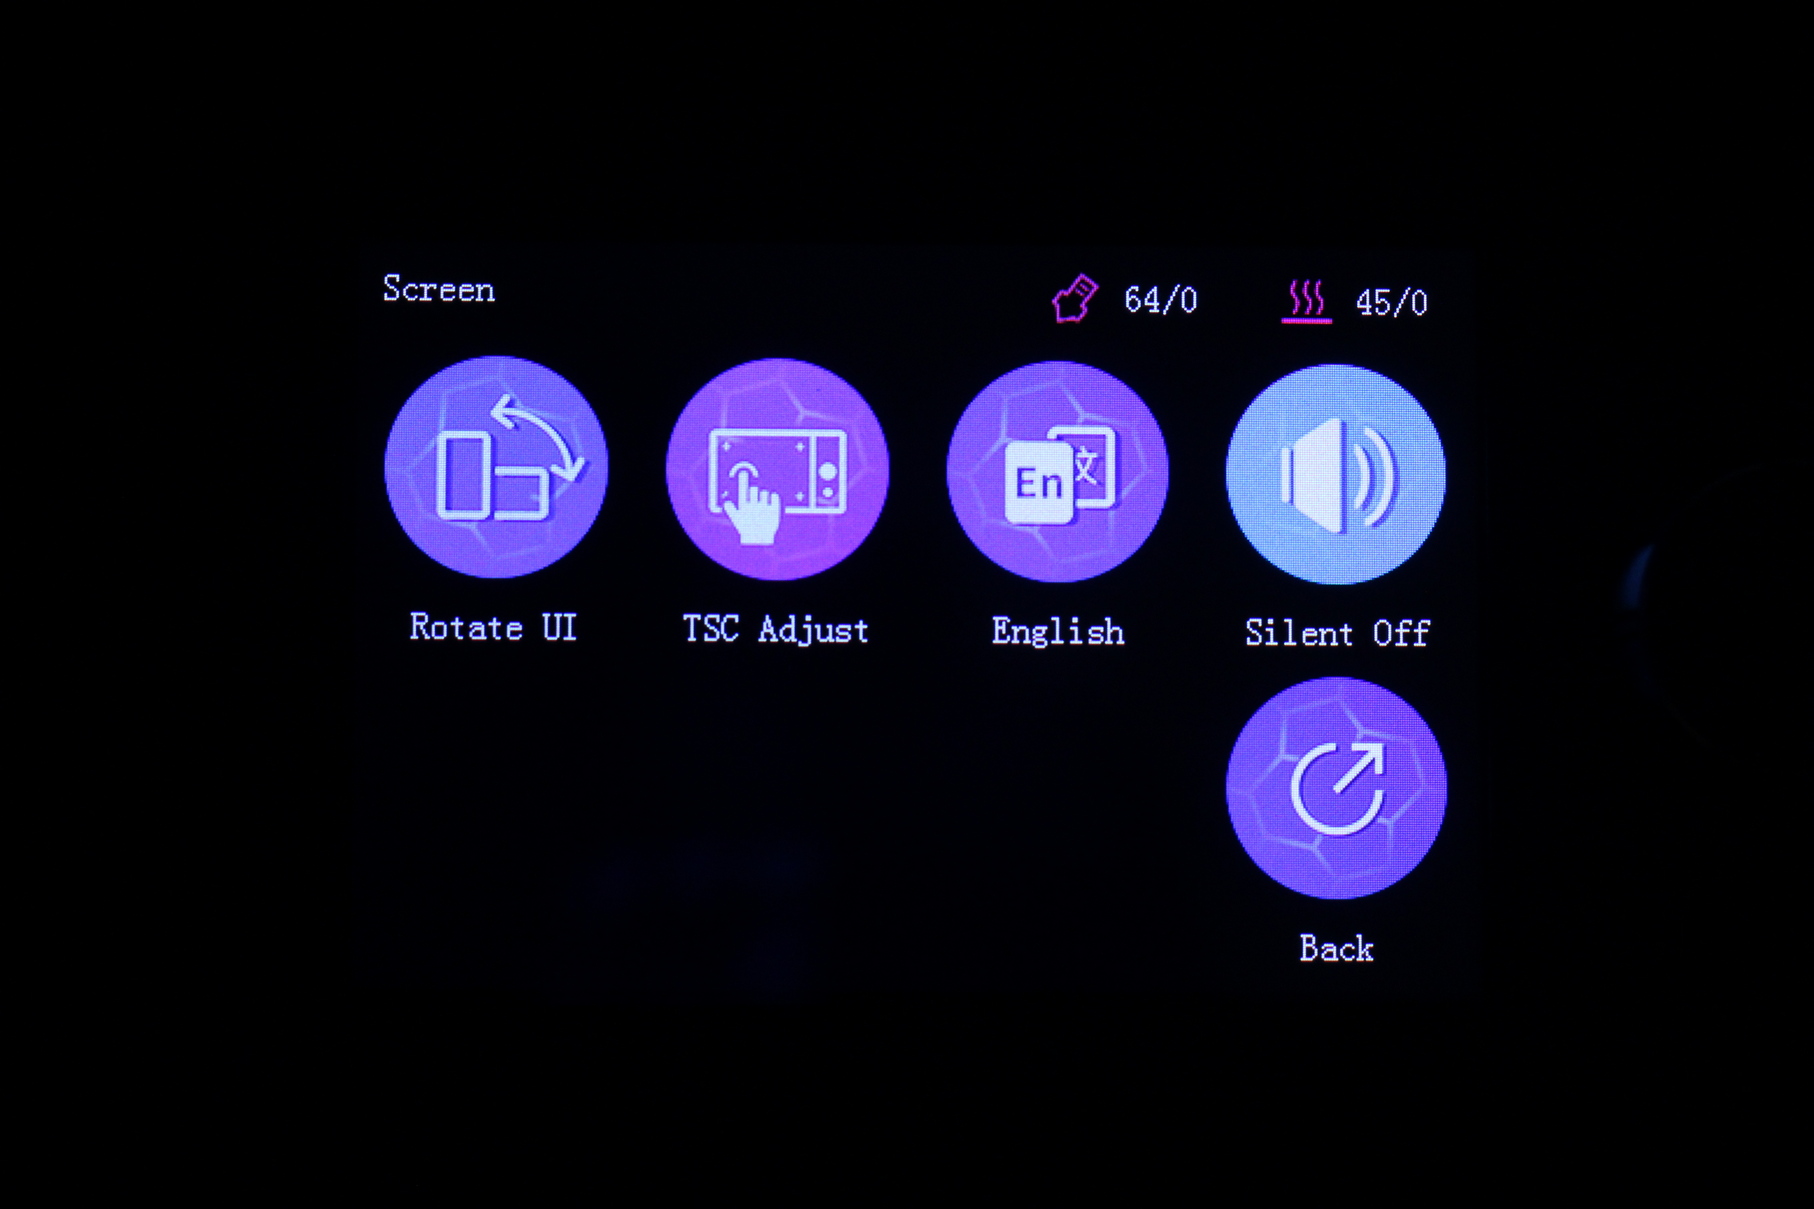
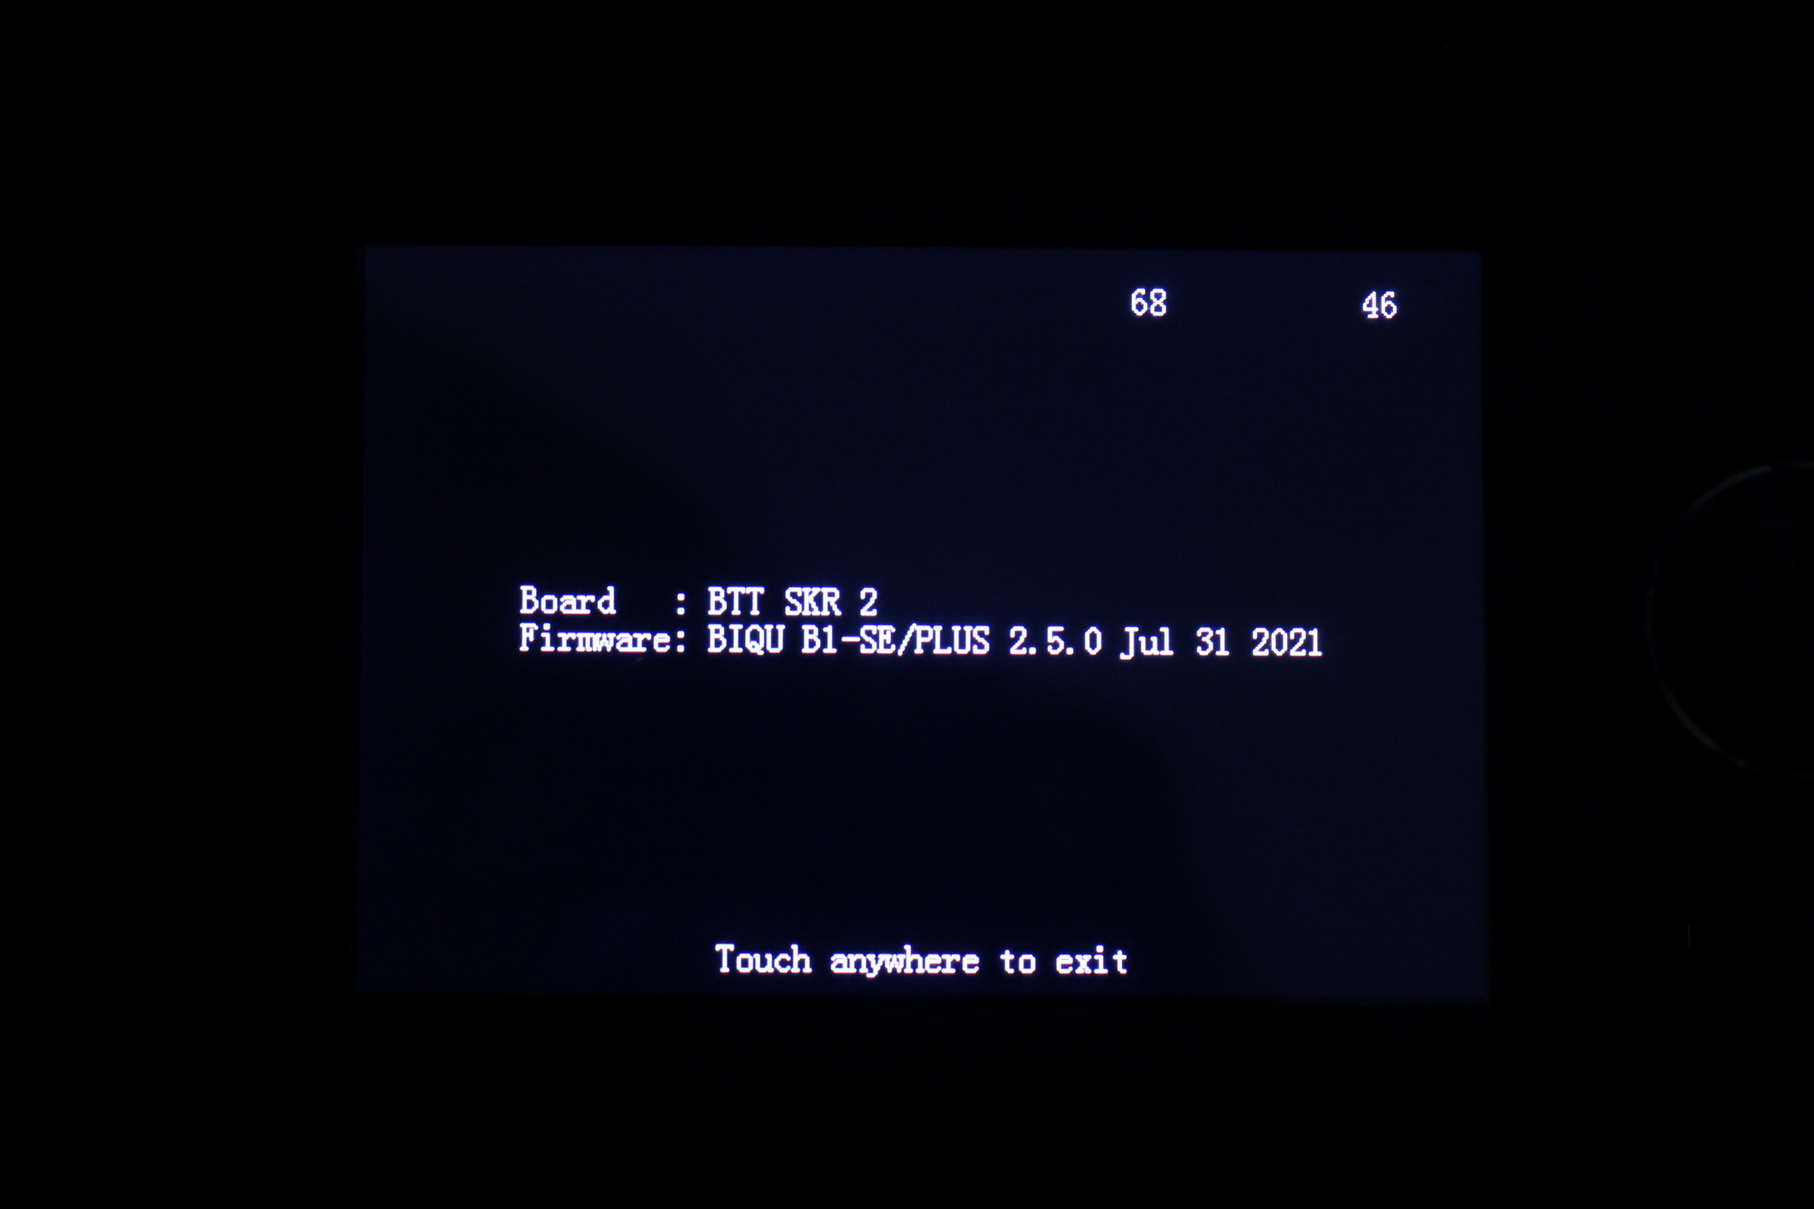
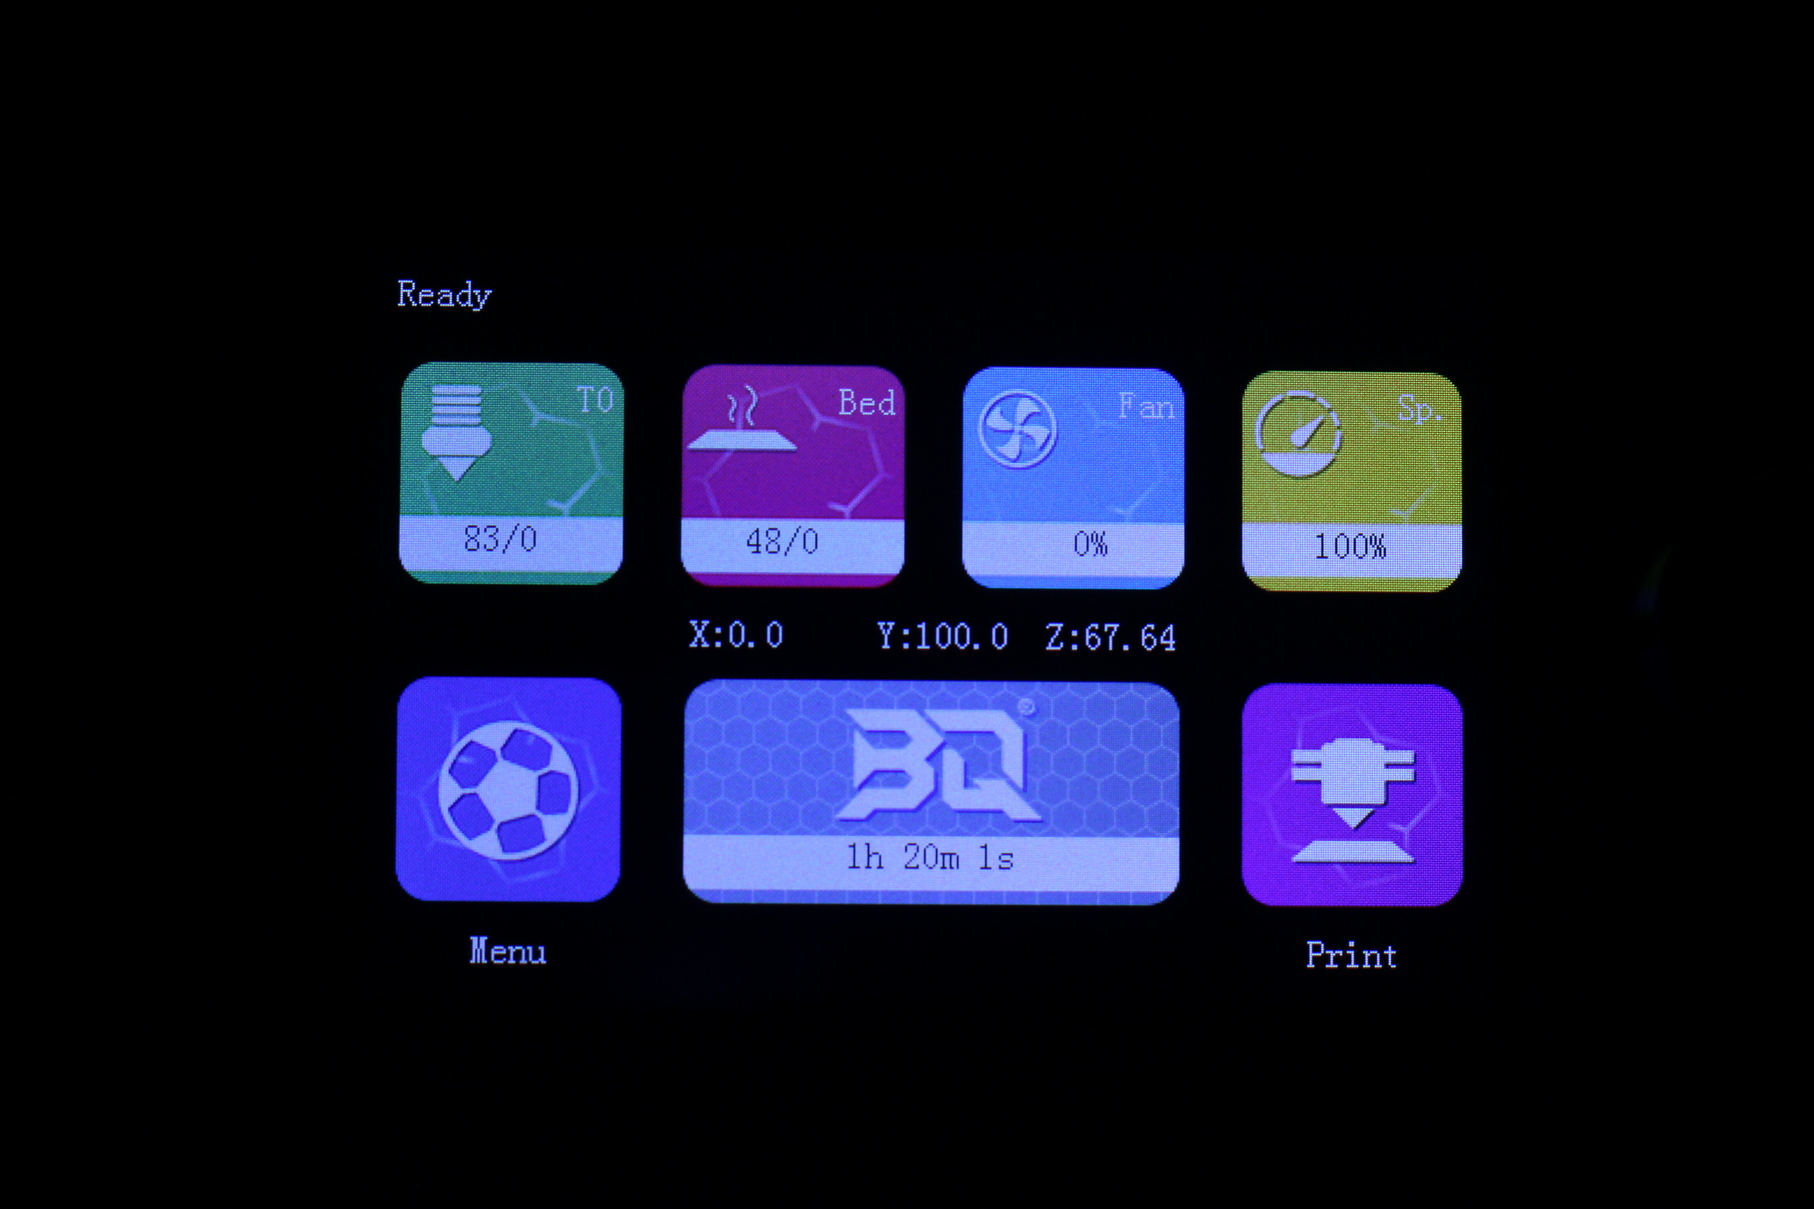
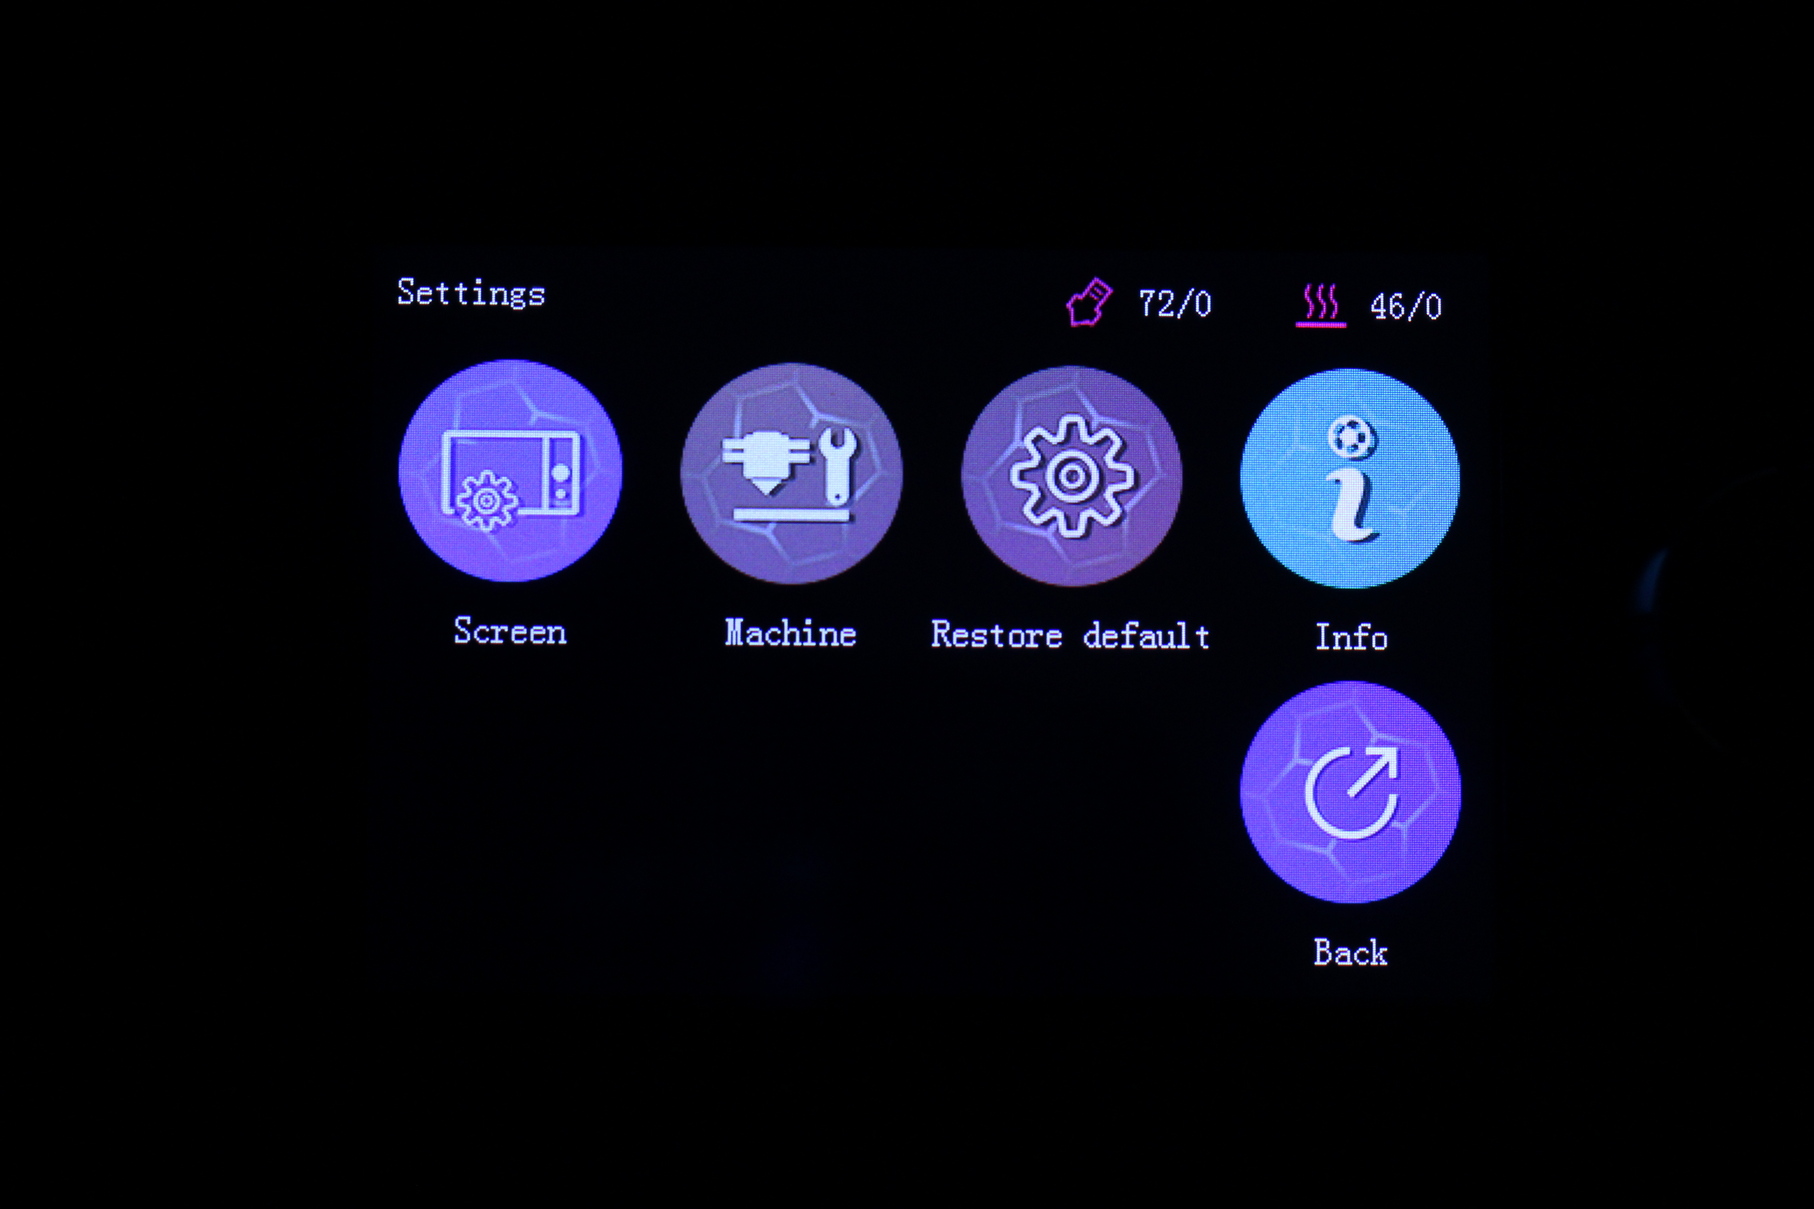
During testing, I noticed that I was able to set the hotend temperature to 500C and the printer would try to reach that temperature. This is not good, and I reported this issue to BIQU to be fixed in a future firmware upgrade. The good news is that thermal runaway works well, and the printer stops if something happens during heating.
Auto Bed Leveling using nozzle probe
To make bed leveling easier, we have a strain gauge sensor installed which allows the printer to probe the bed in 16 points then generate a mesh which compensates for the irregularities in the print surface.
This type of leveling sensor is getting more popular because it’s cheap and effective. The CR-10 Smart, CR-6 and Vyper use something similar.
The probing works well, altough a bit slow to probe. Fortunately, you don’t need to probe the bed too often so that’s fine. But the biggest speed issue is when you home after finishing a tall print. The Z movement speed is really slow and that might quickly become annoying.
310x310x340 build volume
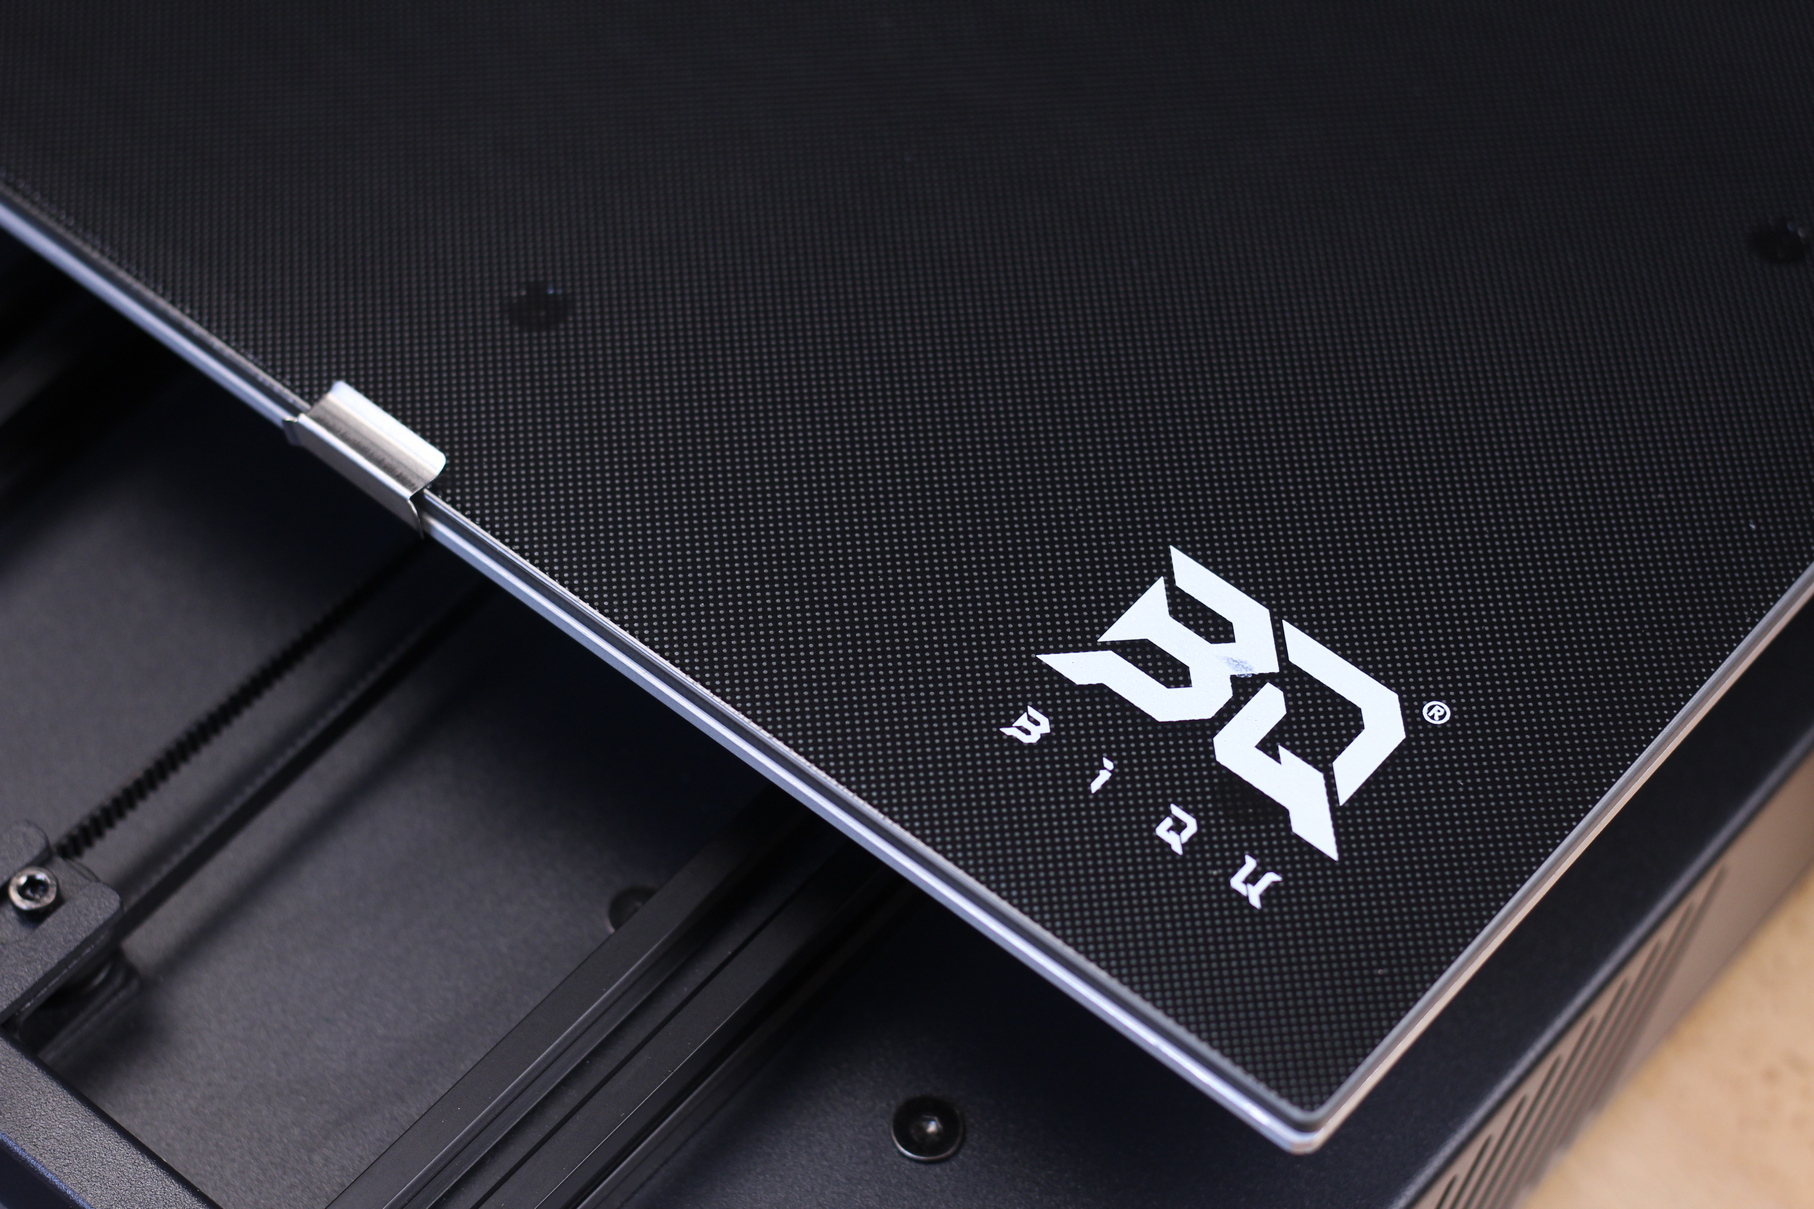
One of the main selling points of the BIQU B1 SE Plus is its big print volume. The bed is made from aluminum which is covered by a textured glass print surface. While this looks similar to what you get on Creality machines, this one actually works great. It has excellent adhesion when it’s hot, and the prints release by themselves after it cools down.
What I don’t like is the two clips that hold it in place. BIQU should have included at least four clips to have them on each side. With only two clips, after the aluminum bed heats up, the glass print surface only touches the aluminum bed on the middle and you can notice lower temperature on the sides.
Quick bed movements can also make the glass print surface to move slightly which can contribute to lower print quality.
Manual belt tensioner only for Y axis
BIQU included a manual belt tensioner for the Y axis, but the X axis doesn’t have one I don’t really mind this because usually you only need to tension the belts once, then you are good to go. But I thought it was worth mentioning.
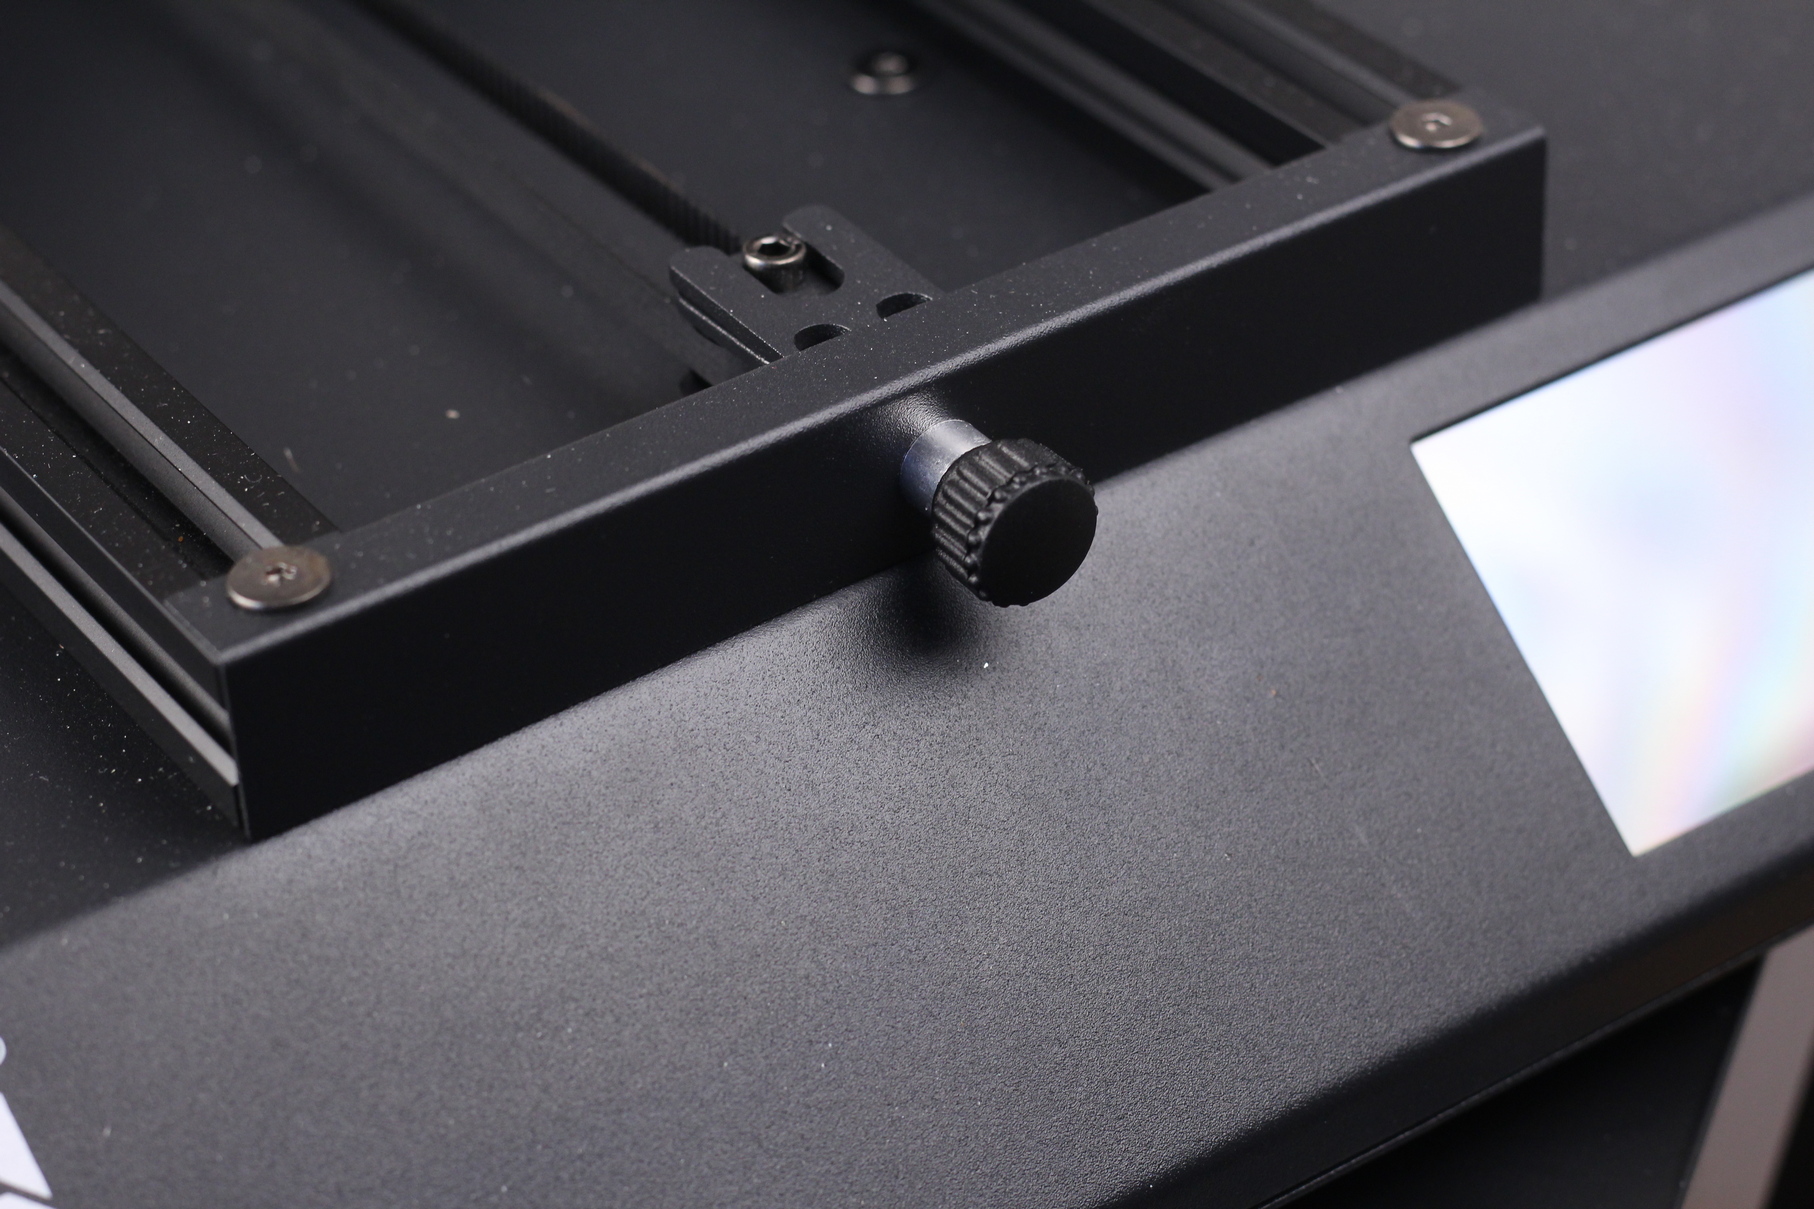
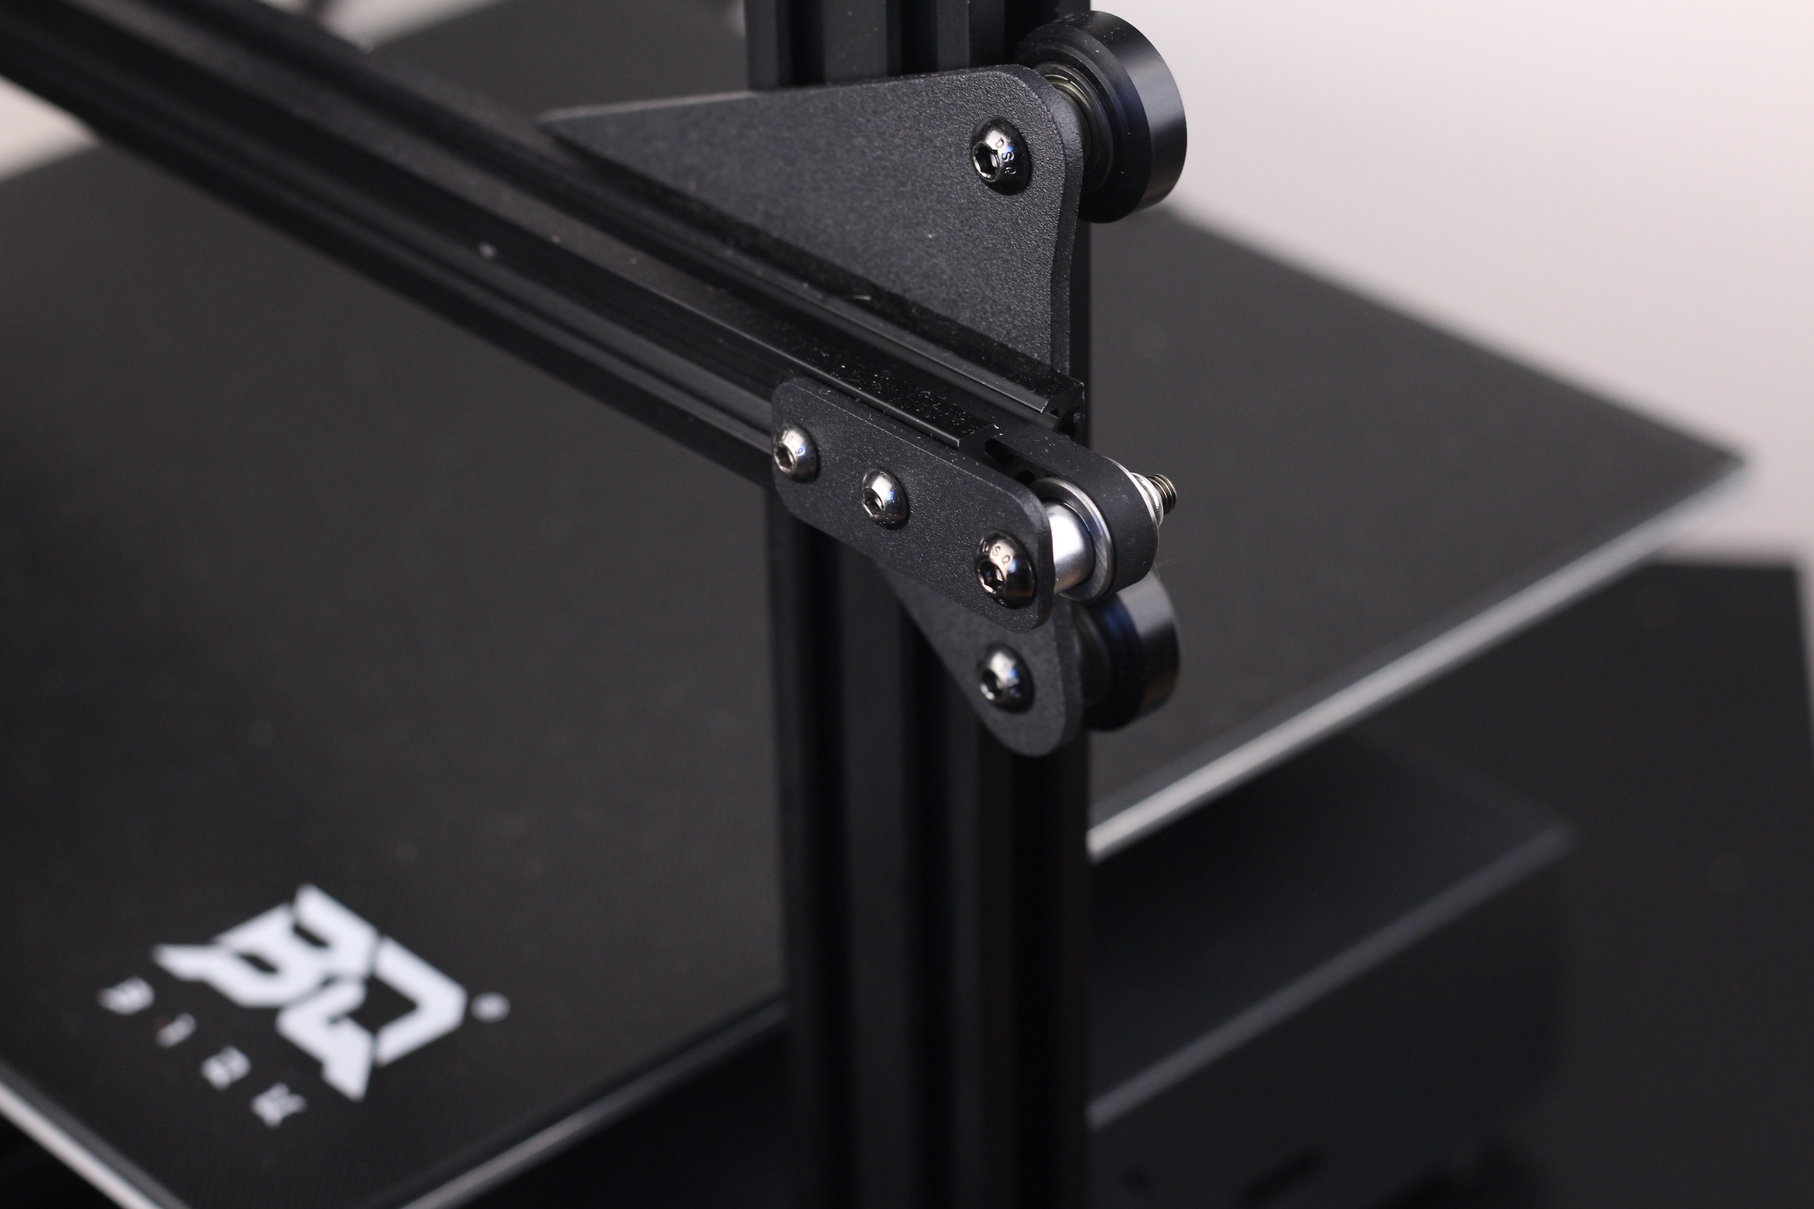
The belts already came well tensioned from the factory, so I didn’t need to change anything.
350W 24V power supply
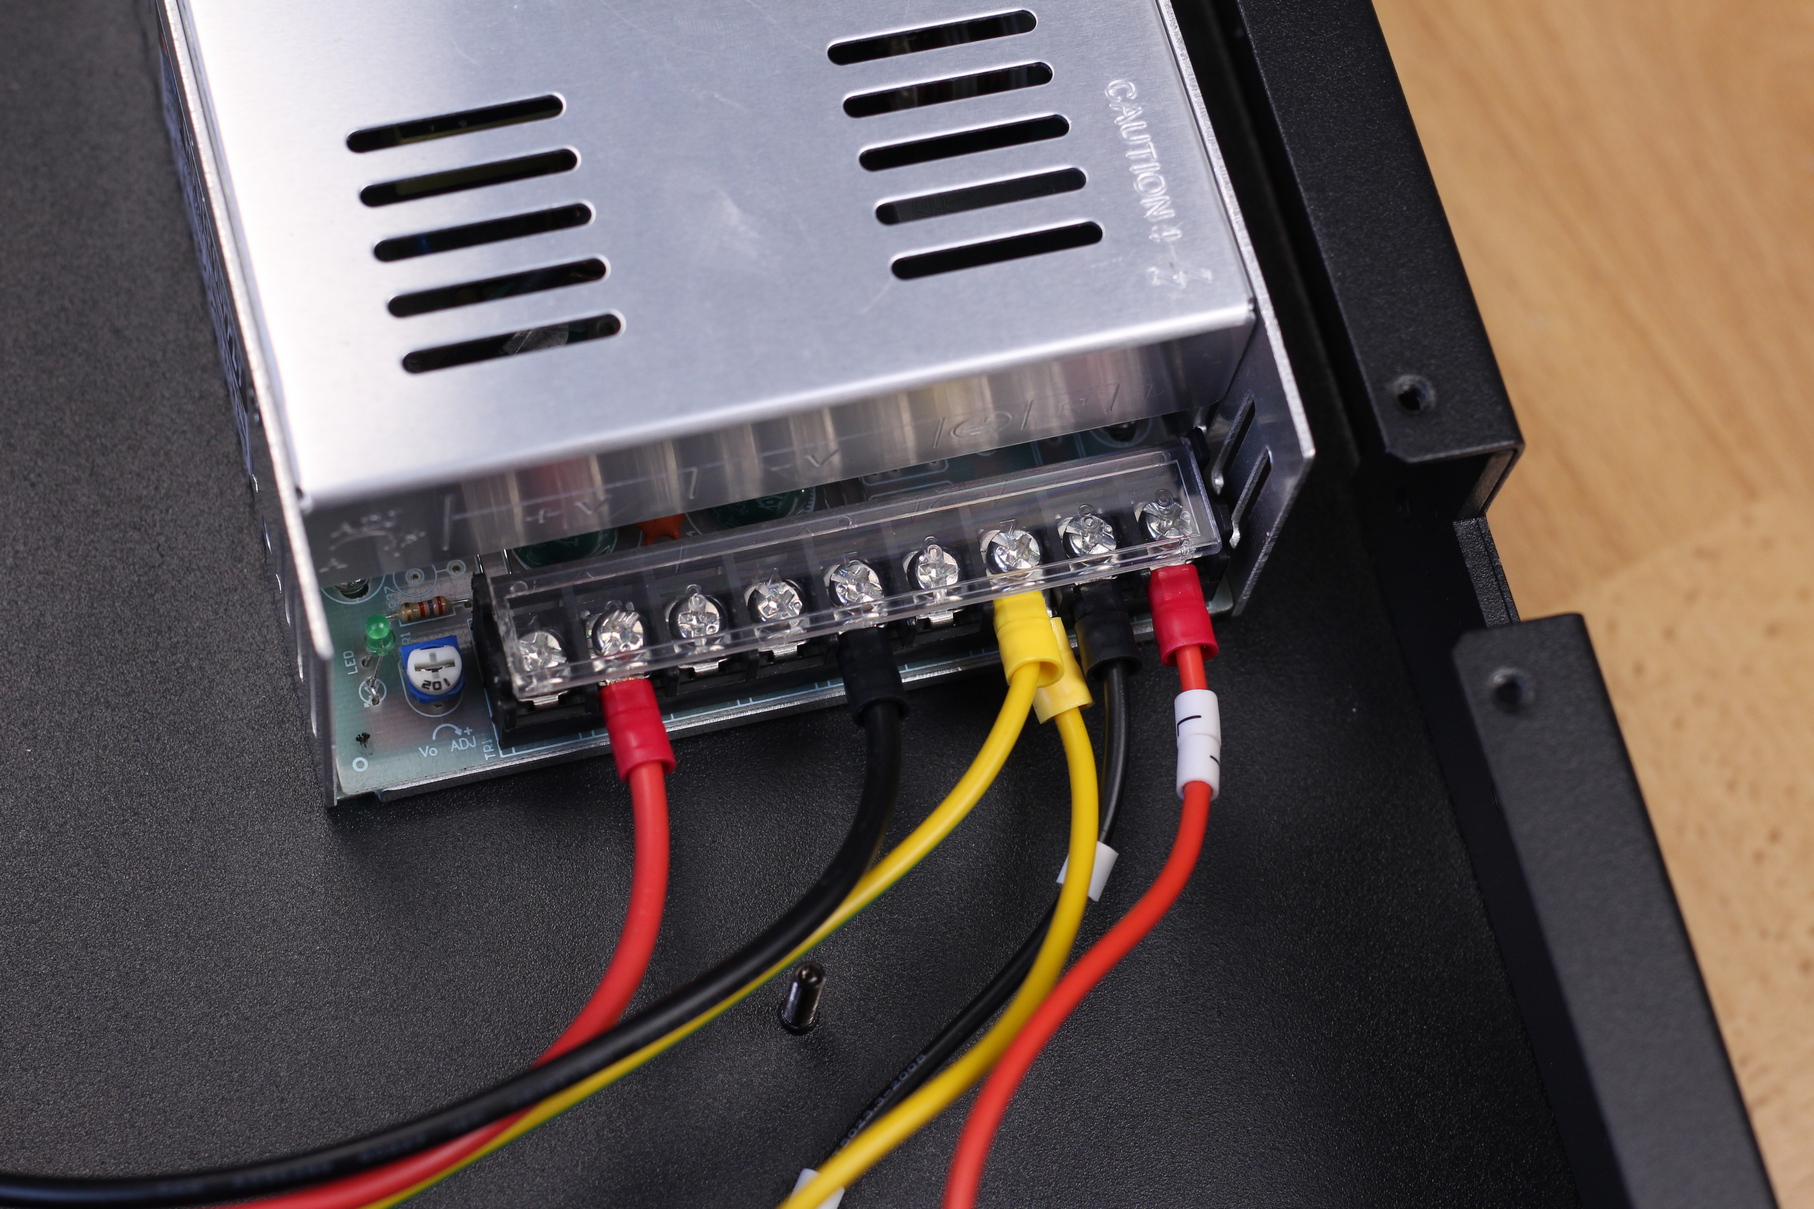
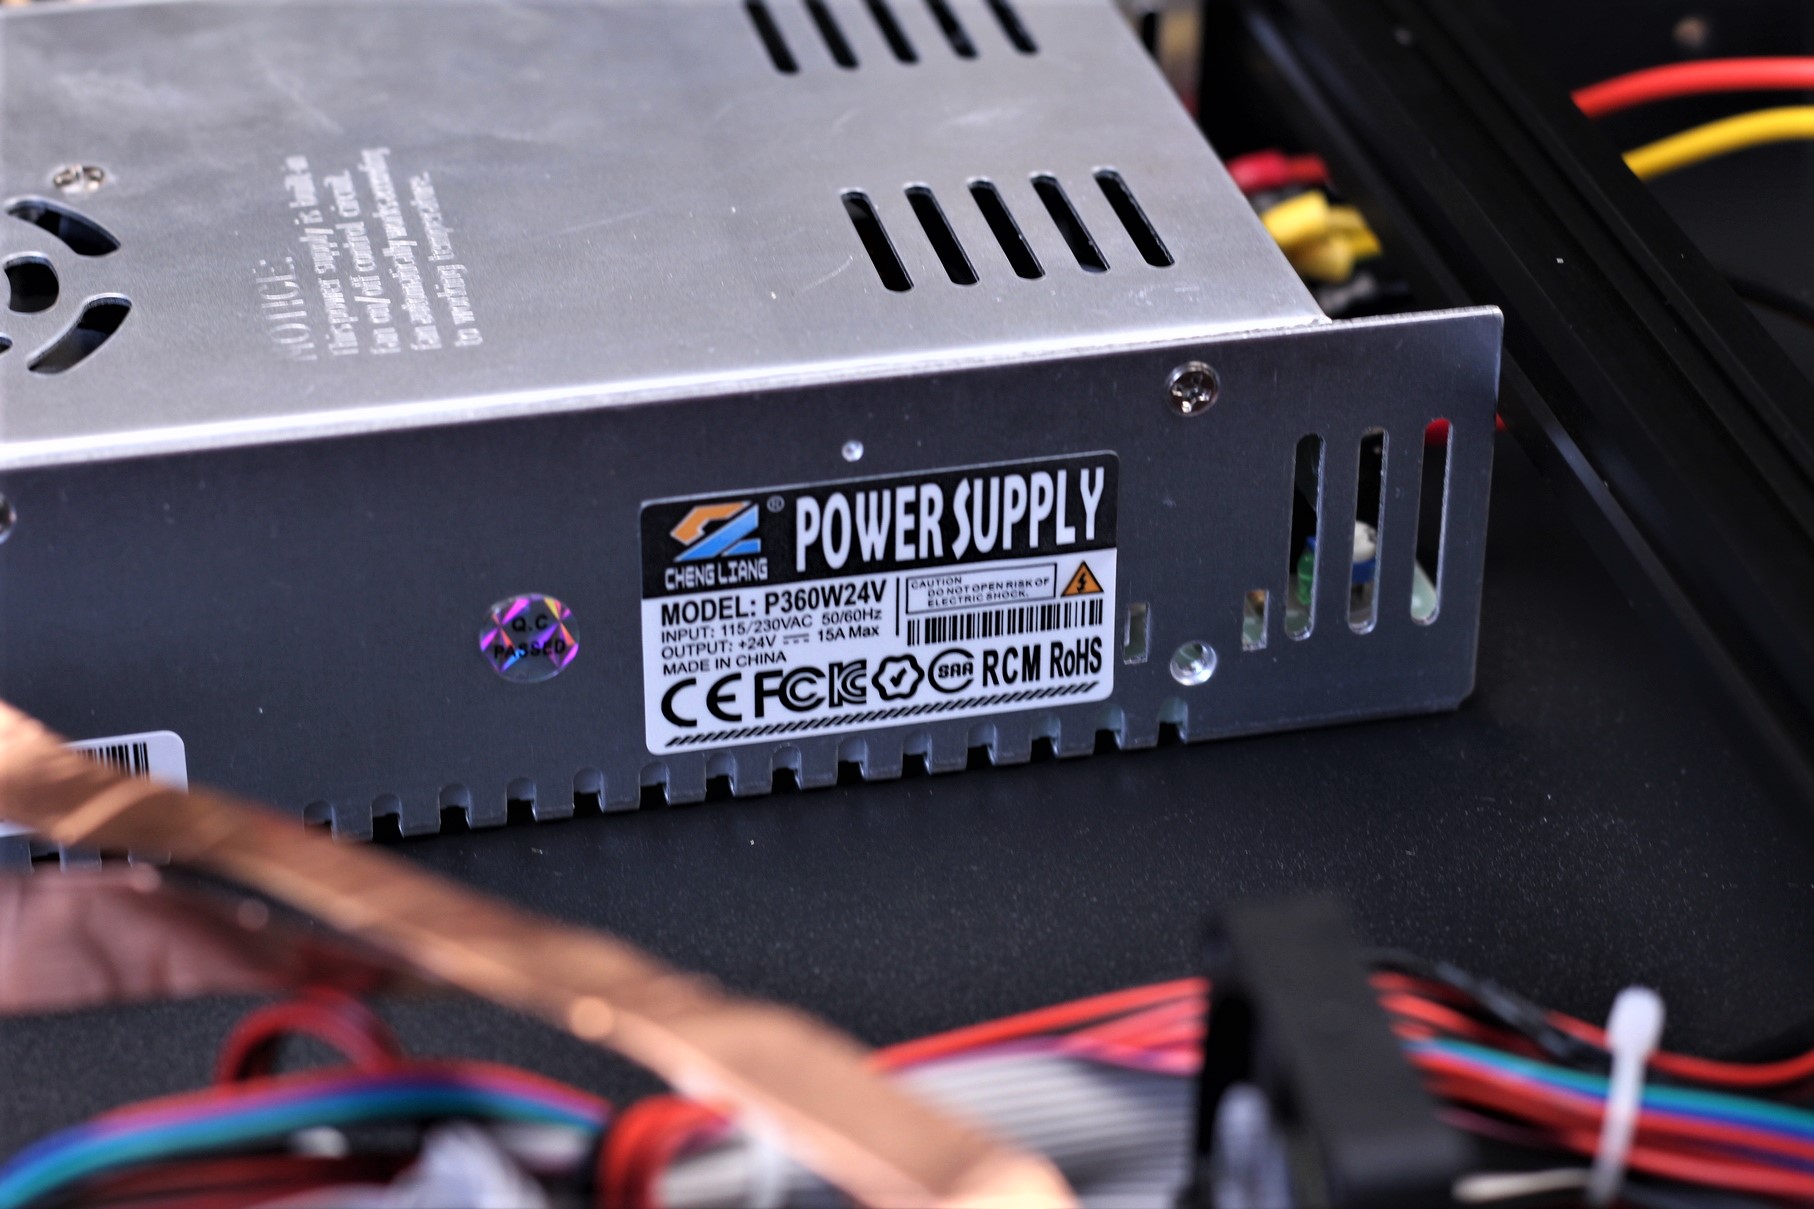
Powering everything is a 350W 24V Cheng Liang power supply which is not my favorite. It works well, but the fan inside is noisy and not temperature/load controlled so it runs continuously.
Heating time and power consumption
I tested the heating time for both hotend and heat bed and here are the results:
Hotend
- 200C in 1 minute and 30 seconds
- 250C in 2 minutes and 10 seconds
Heatbed
- 60C in 3 minutes and 30 seconds
- 100C in 13 minutes and 50 seconds
Power Draw
Idle power draw is around 10W. When the hotend and heatbed are heating up, the BIQU B1 SE PLUS draws around 275W. After it starts printing, the power draw stabilizes to around 80W.
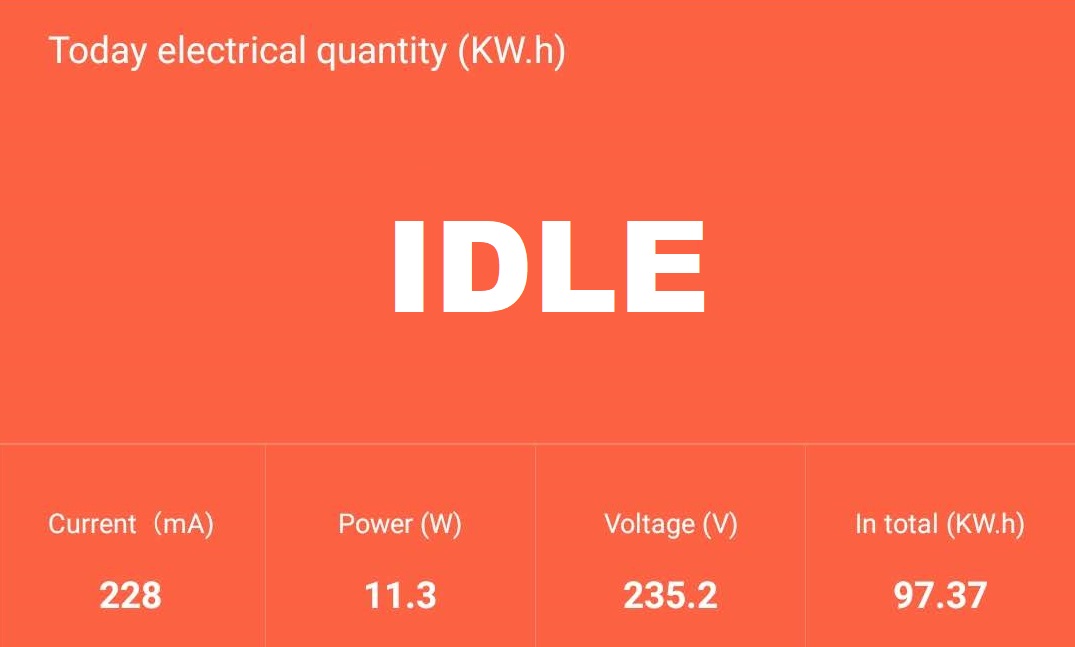
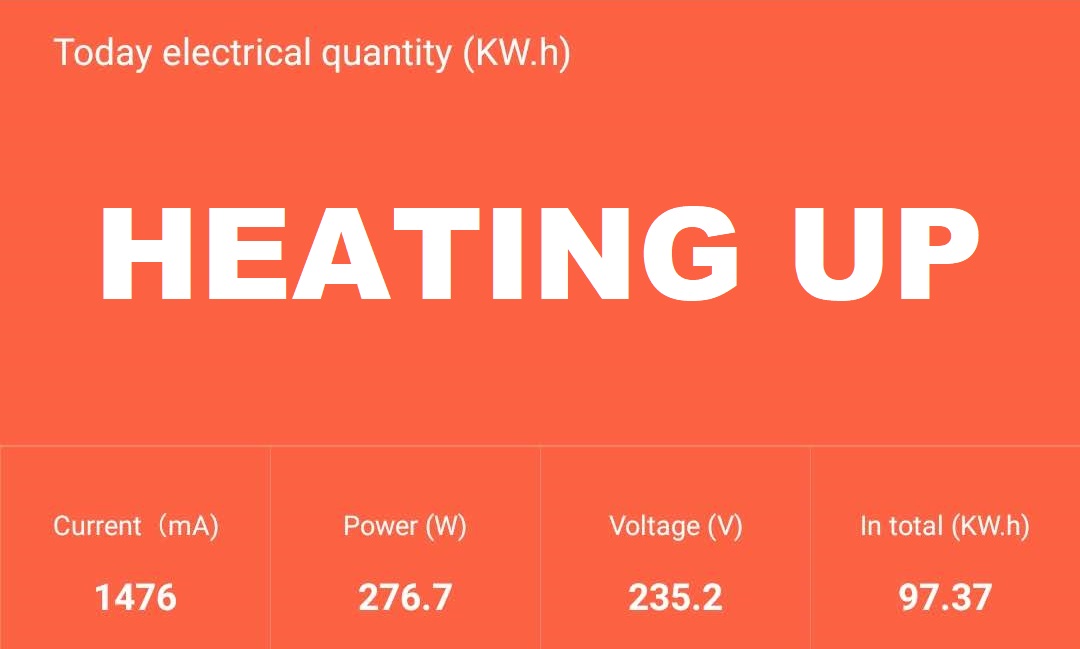
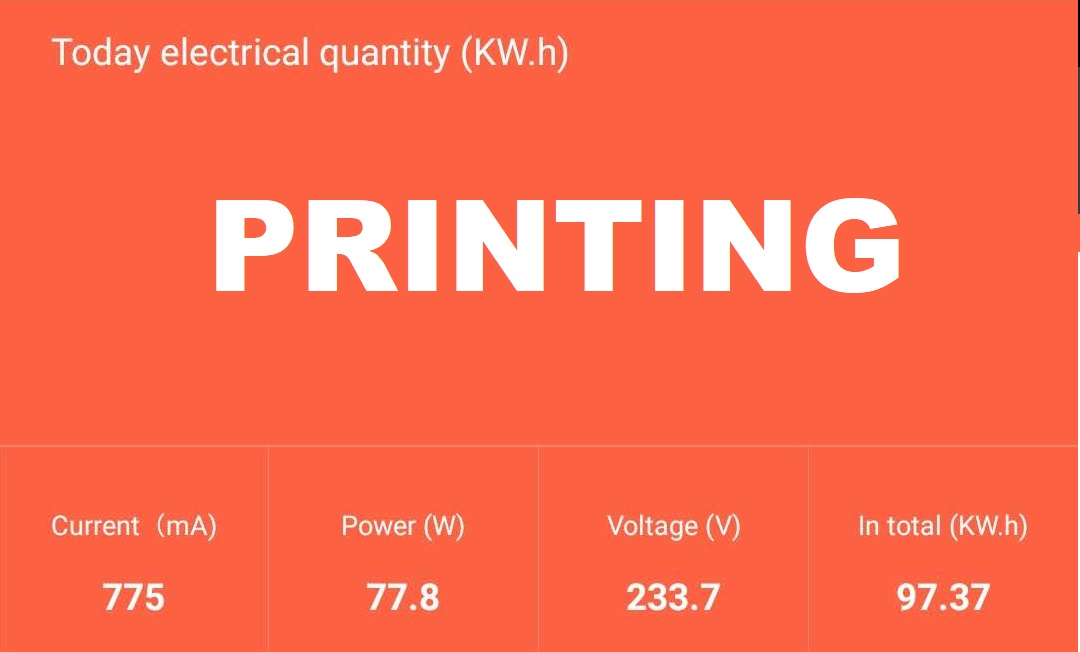
All these measurements were taken with a Blitzwolf smart power socket which indicates the power draw, and it can also be used for remotely powering on and off the printer.
Bed Temperature Uniformity
I tested the temperature uniformity for the BIQU B1 SE Plus bed with the Flir Camera installed on the CAT S62 Pro. The bed has been set to 60C and I waited 2 minutes after reaching that temperature for the temperature to stabilize.
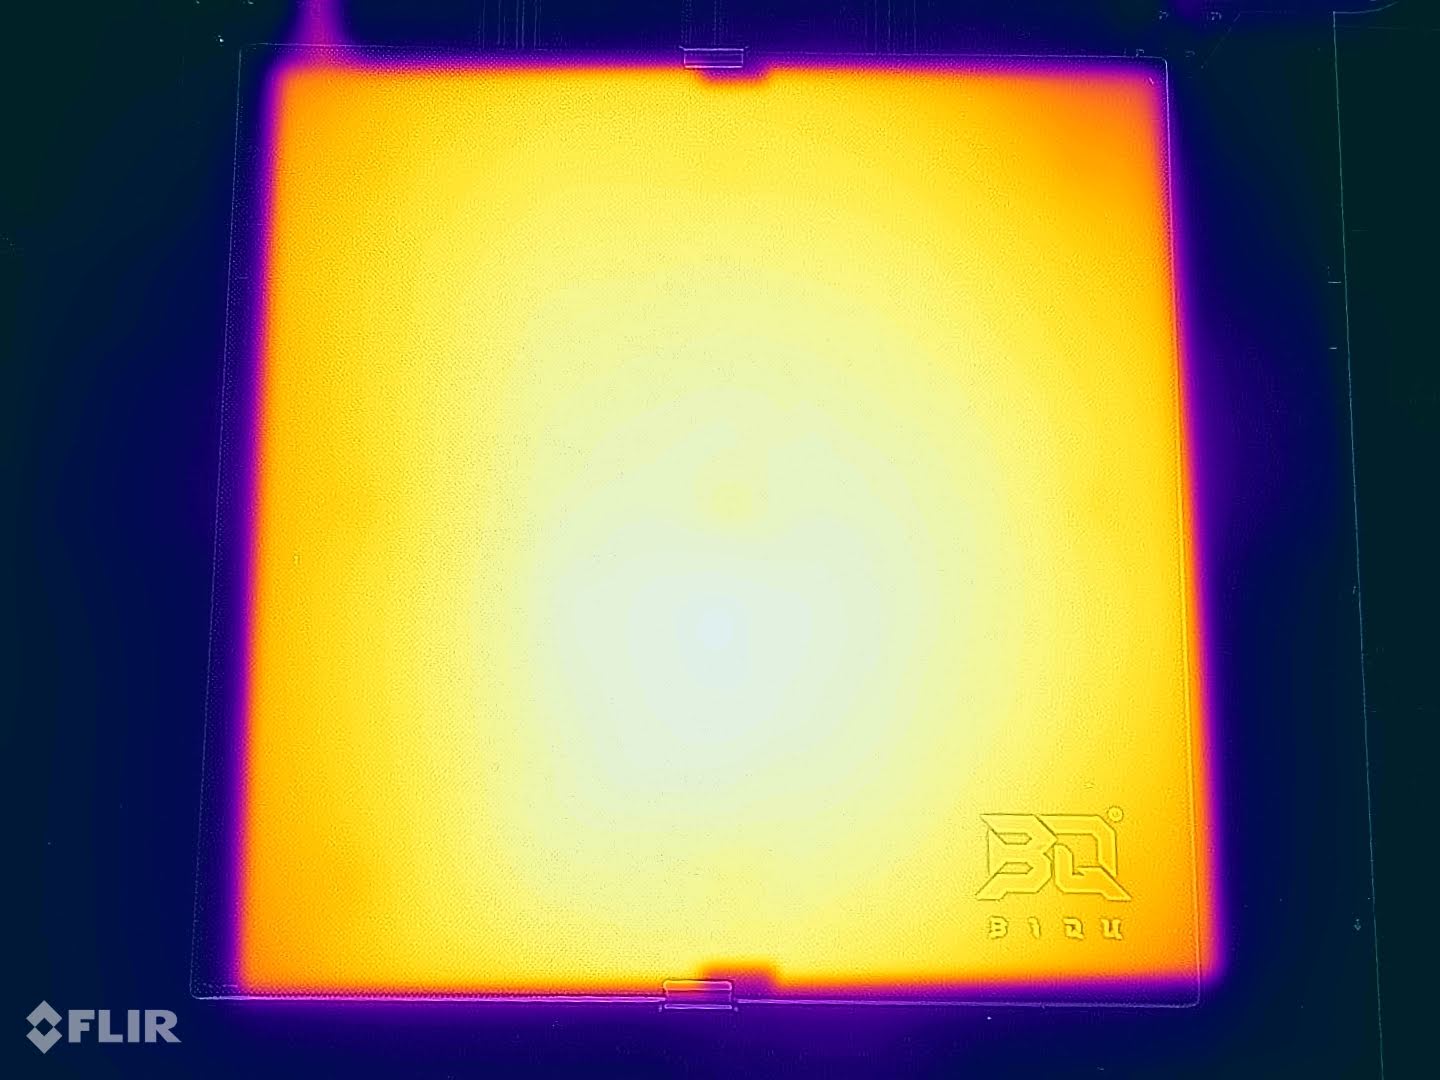
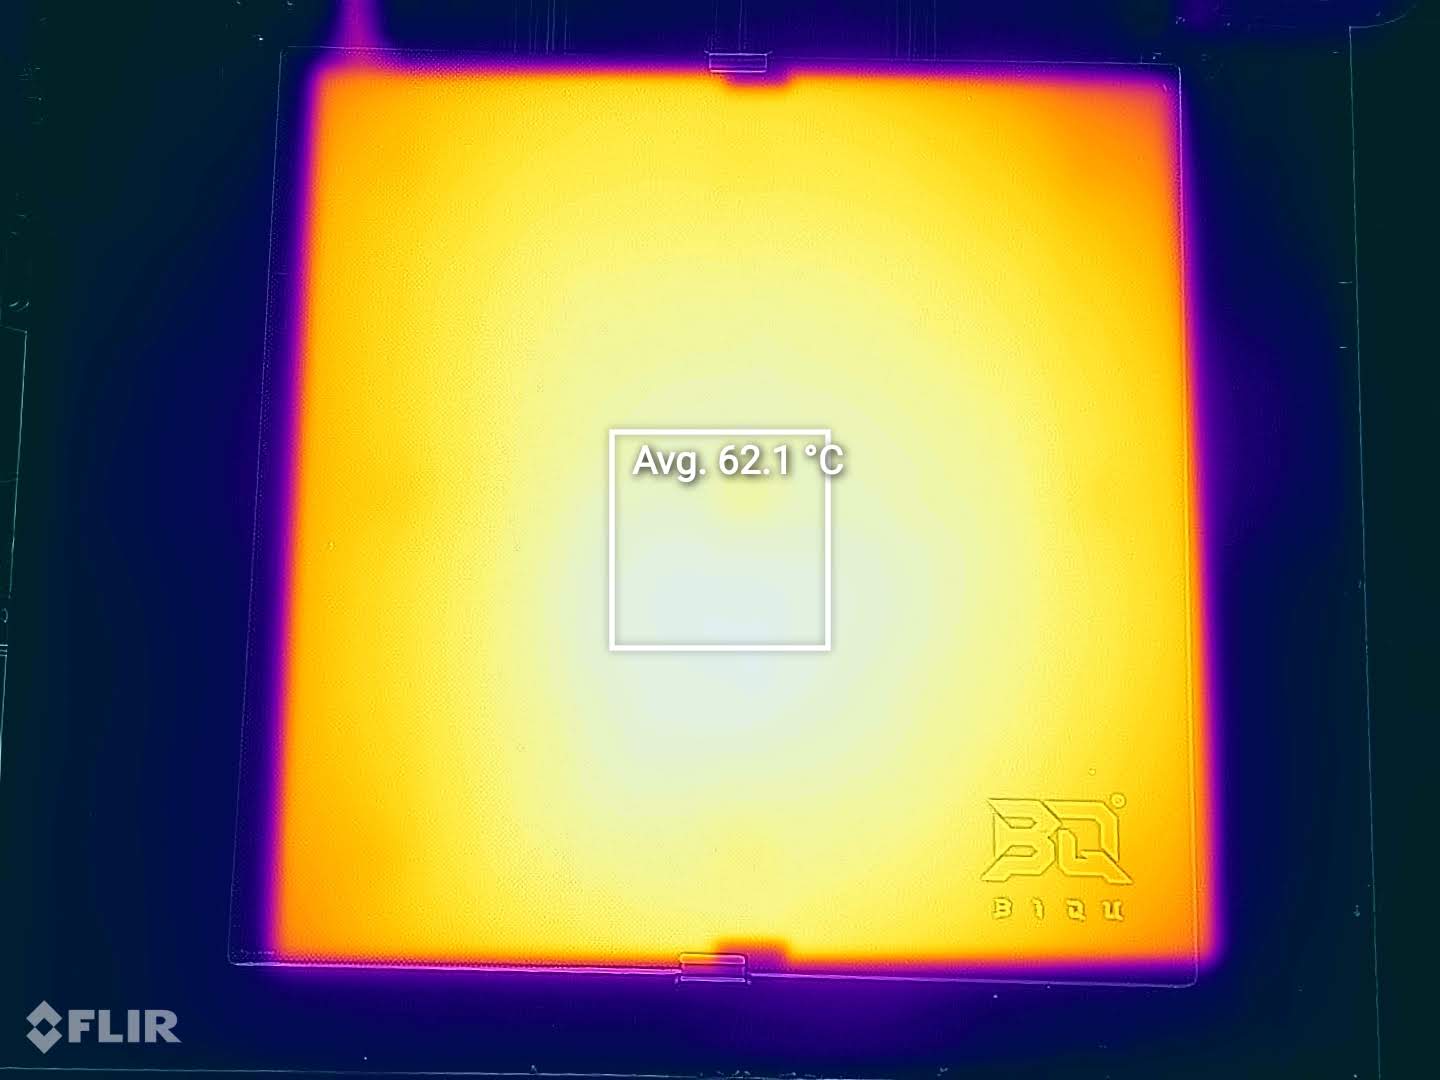
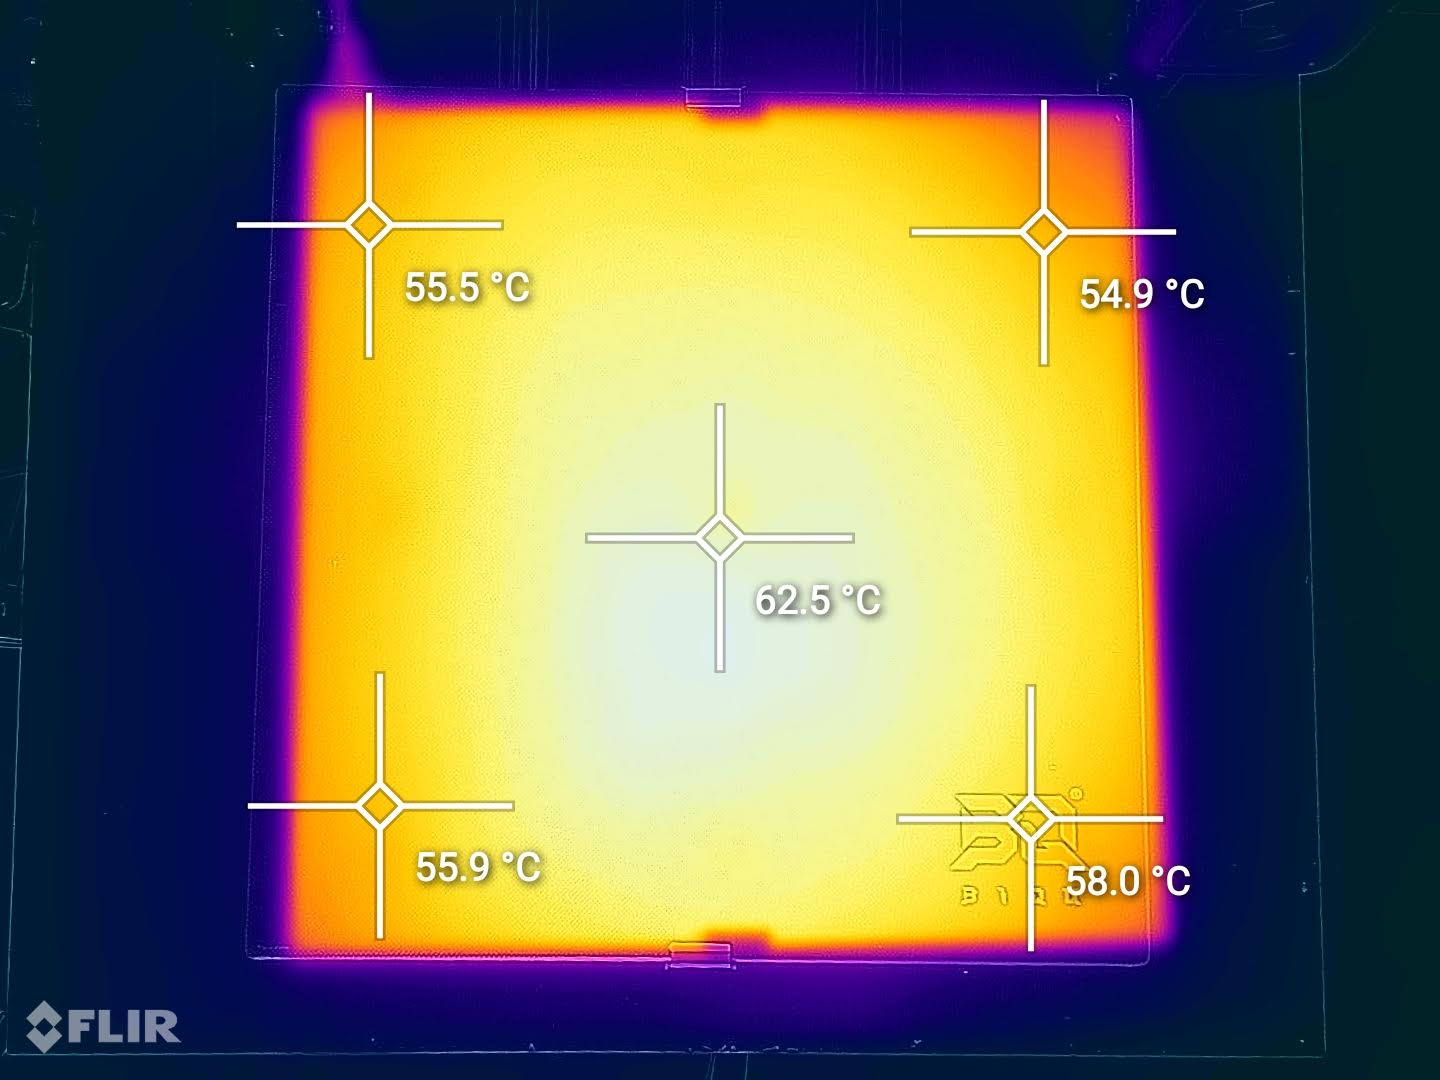
As you can see, the bed temperature uniformity is decent, but there’s a couple of degrees difference on the corners. This is caused by only using two clips to hold the bed in place. If four clips are used, the glass touches the aluminum bed on all sides and helps with the bed temperature uniformity.
BIQU B1 SE Plus Noise Levels
Unfortunately, the BIQU B1 SE Plus is not that silent. When it’s idle, the hotend and power supply fans are the noisiest. When printing, besides the fan noise, there’s also a stepper driver/motor noise present which is louder than other printers I’ve tested.
IdeaMaker Profiles for BIQU B1 SE Plus
During my time with the printer, I also tuned two IdeaMaker profiles for the B1 SE Plus using the tools available in the 3D Printer Calibration Guide using IdeaMaker article.
BIQU B1 SE Plus IdeaMaker Profile – PLA – 3DPrintBeginner
BIQU B1 SE Plus IdeaMaker Profile – PETG – 3DPrintBeginner
Test prints on BIQU B1 SE Plus
Bulbasaur
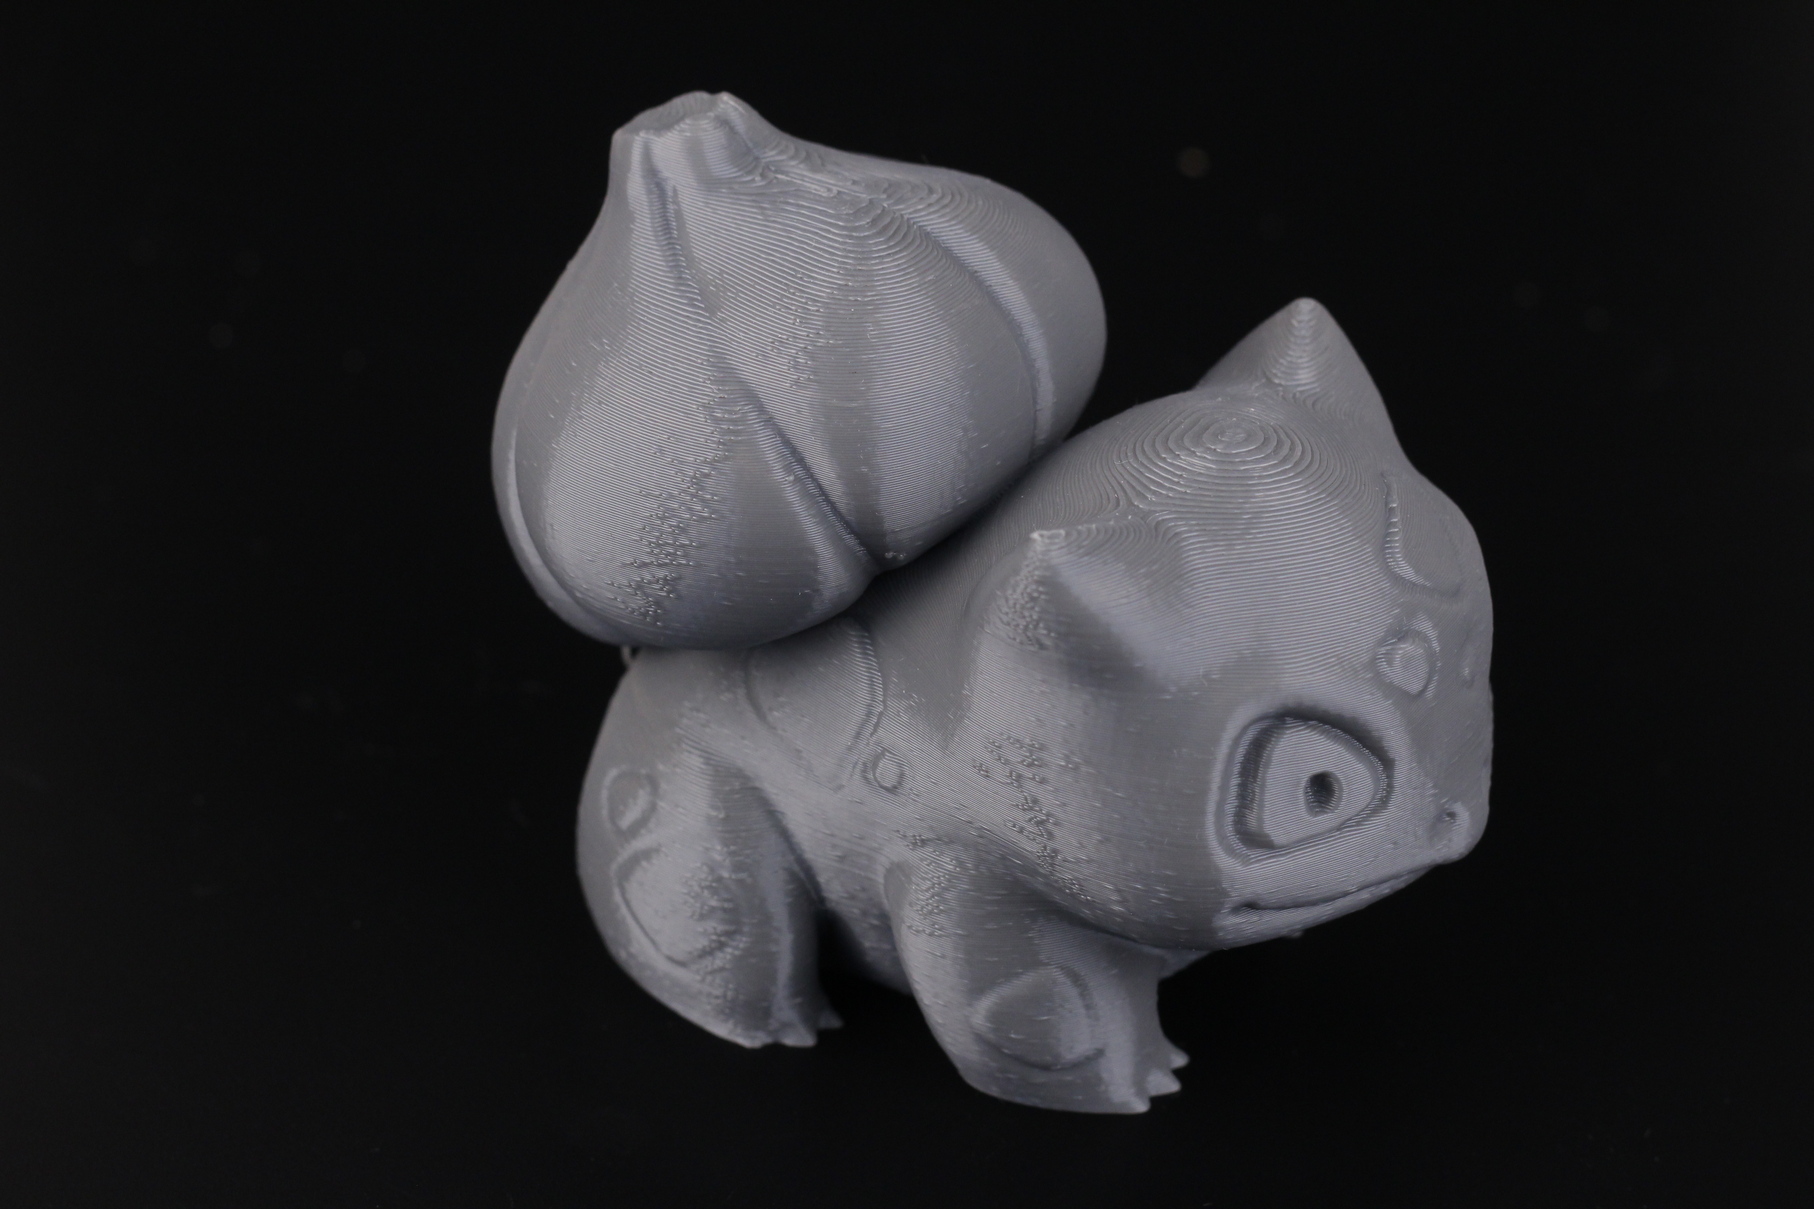
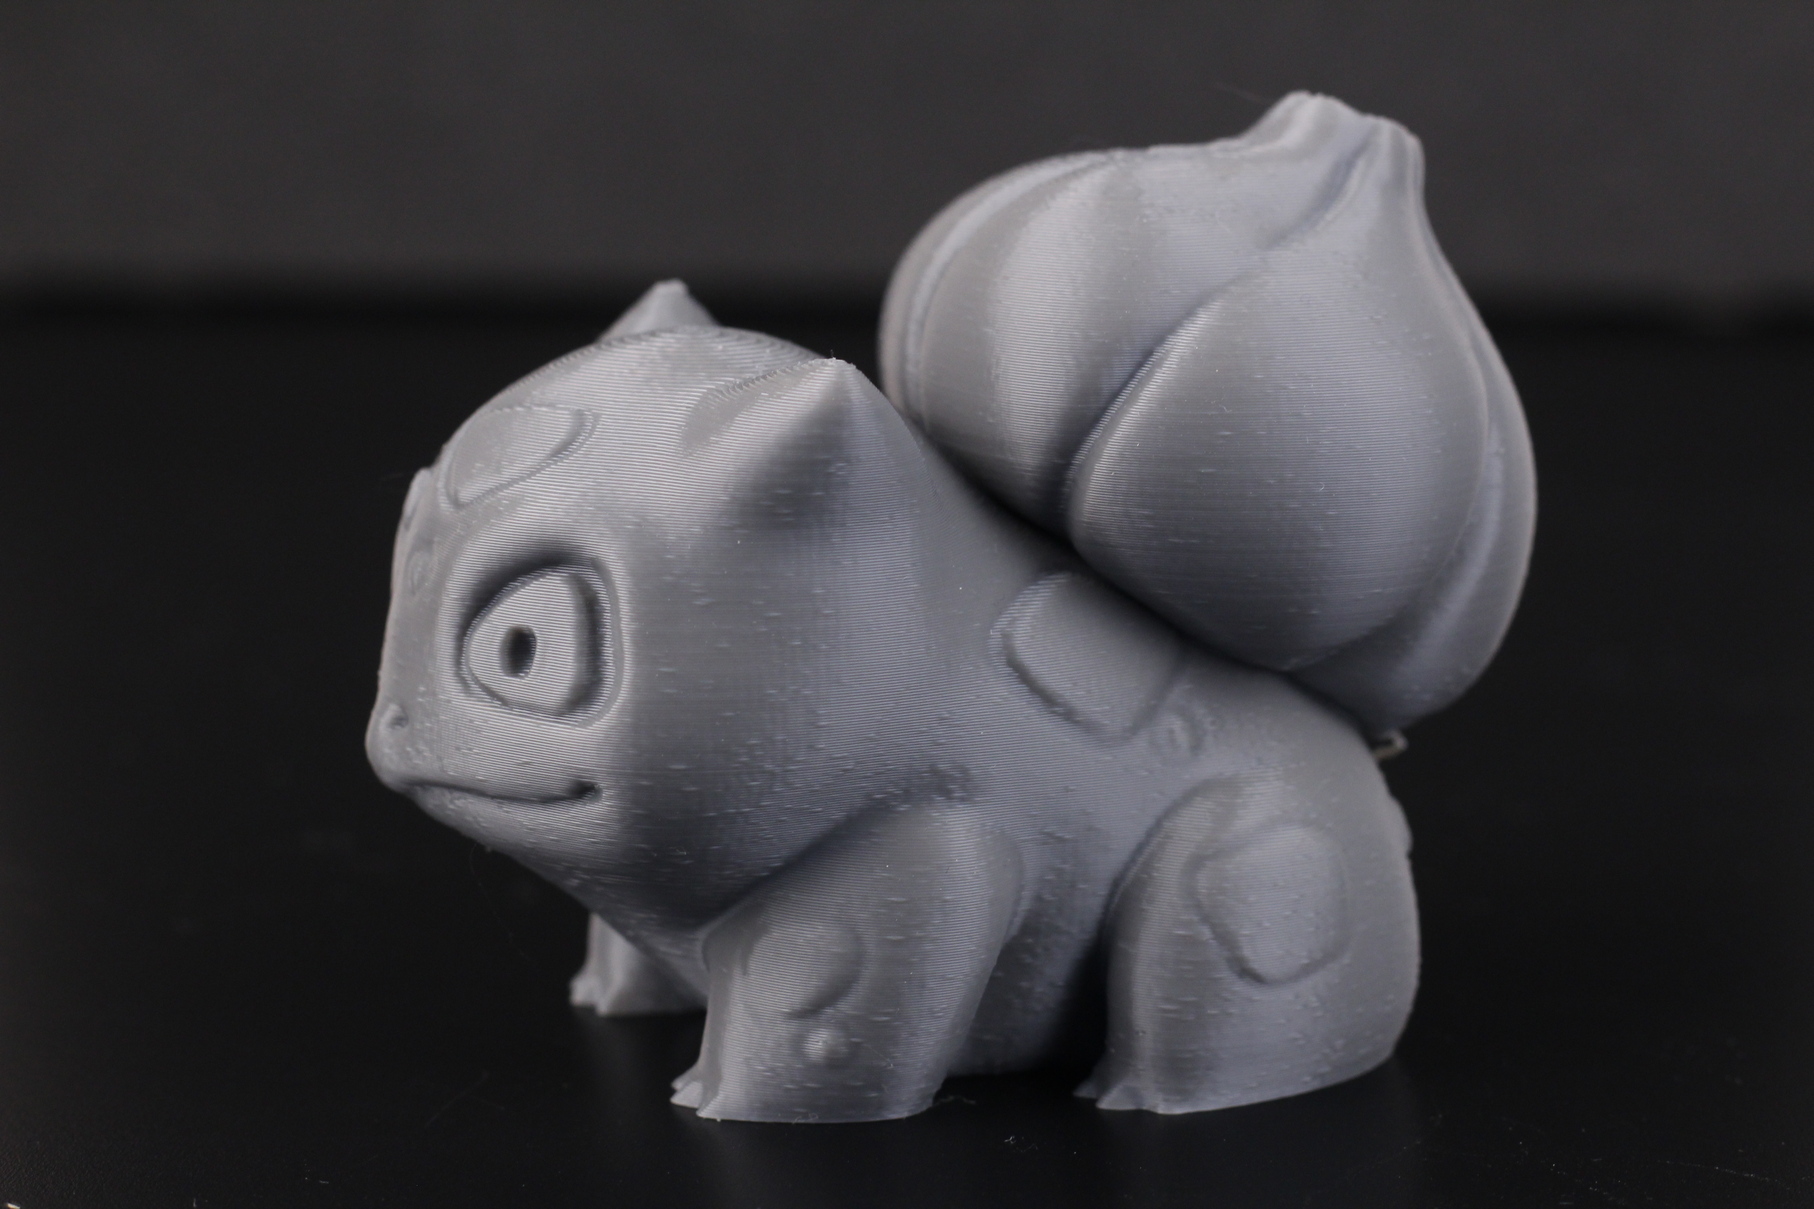
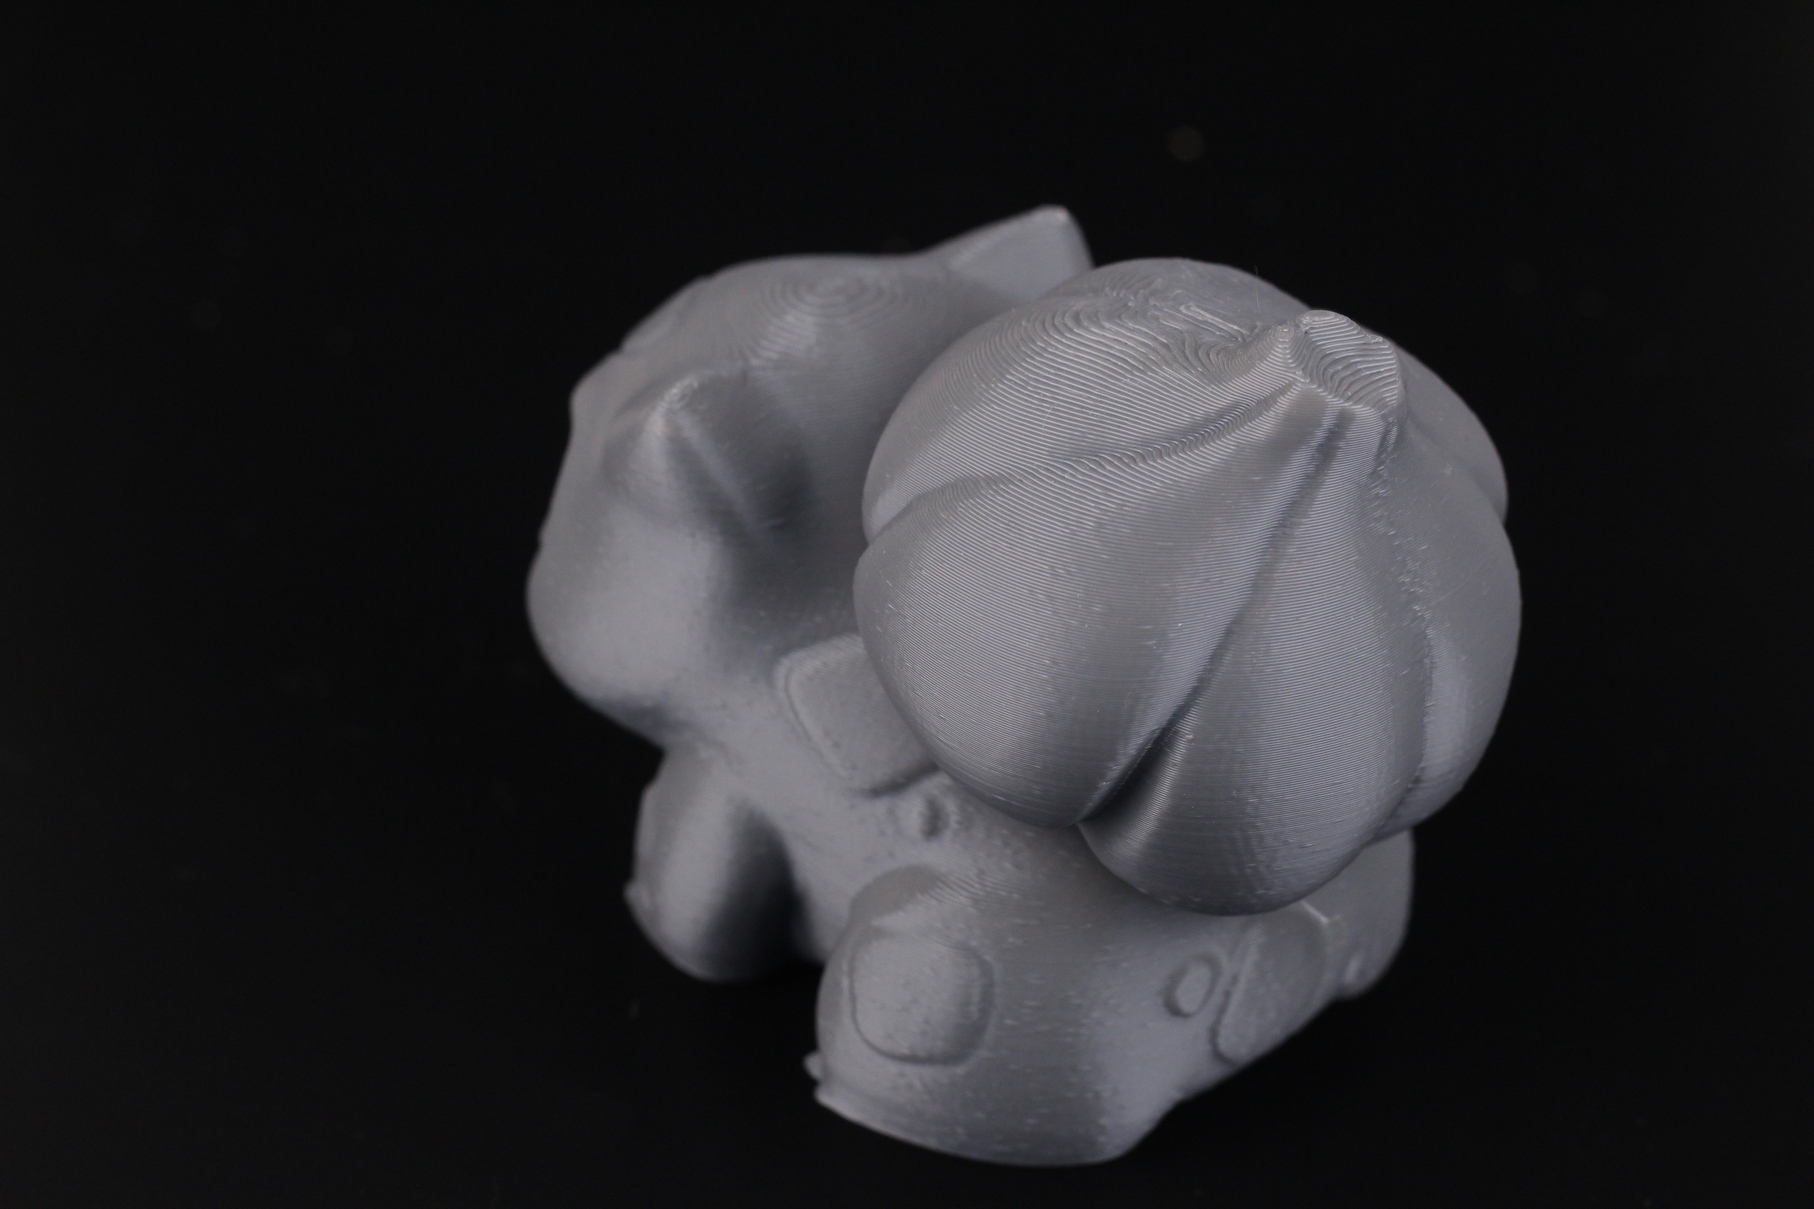
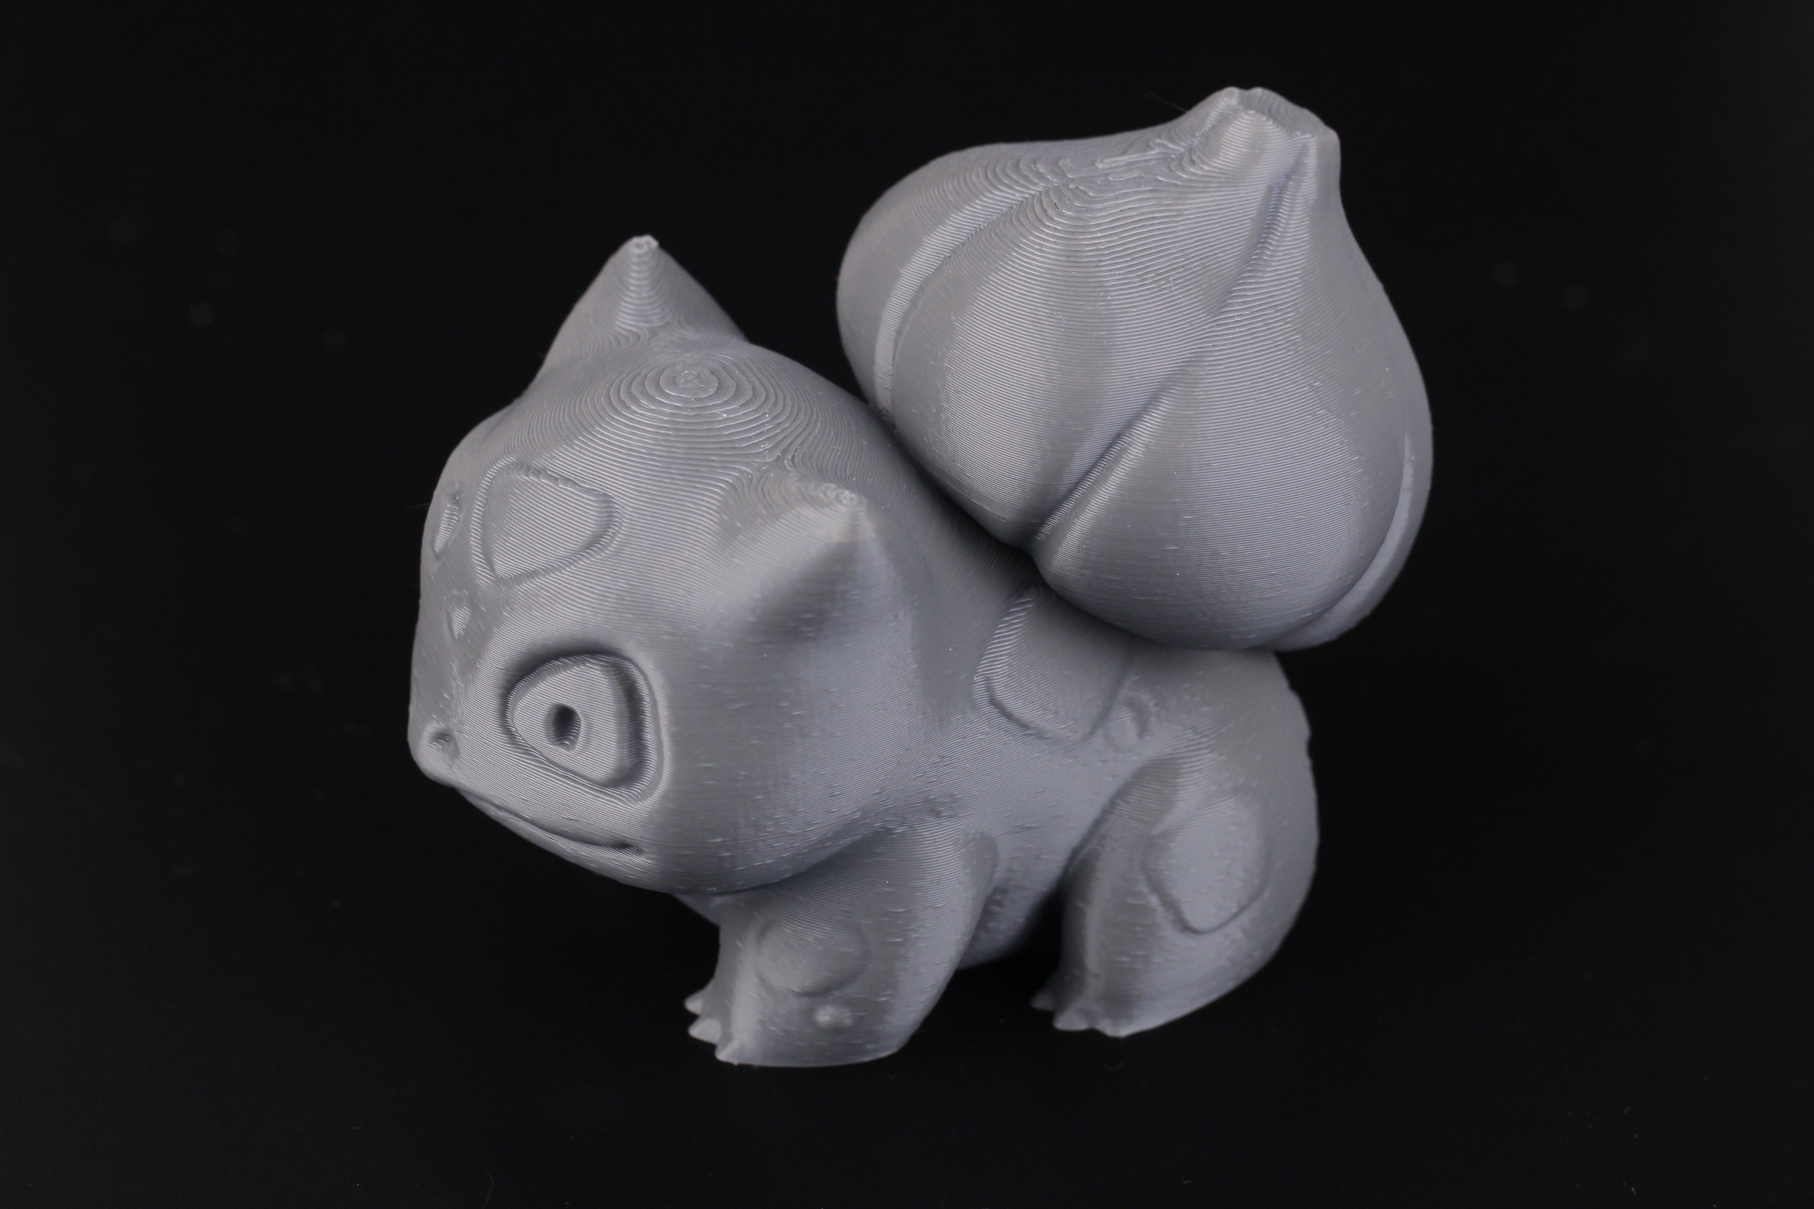
My first 3D print with the BIQU B1 SE Plus is this Bulbasaur model which was included on the SD card. While the print quality is OK, the person who sliced this model didn’t align the Z seam which created a lot of “zits” across the model. Besides that, there’s also a lot of infill used, and the print speed is not as fast.
3D Benchy
After the first test print, I sliced this 3D Benchy to tune my IdeaMaker profile and the results are great for a first print. A small amount of stringing, but other than that, I think it looks great.
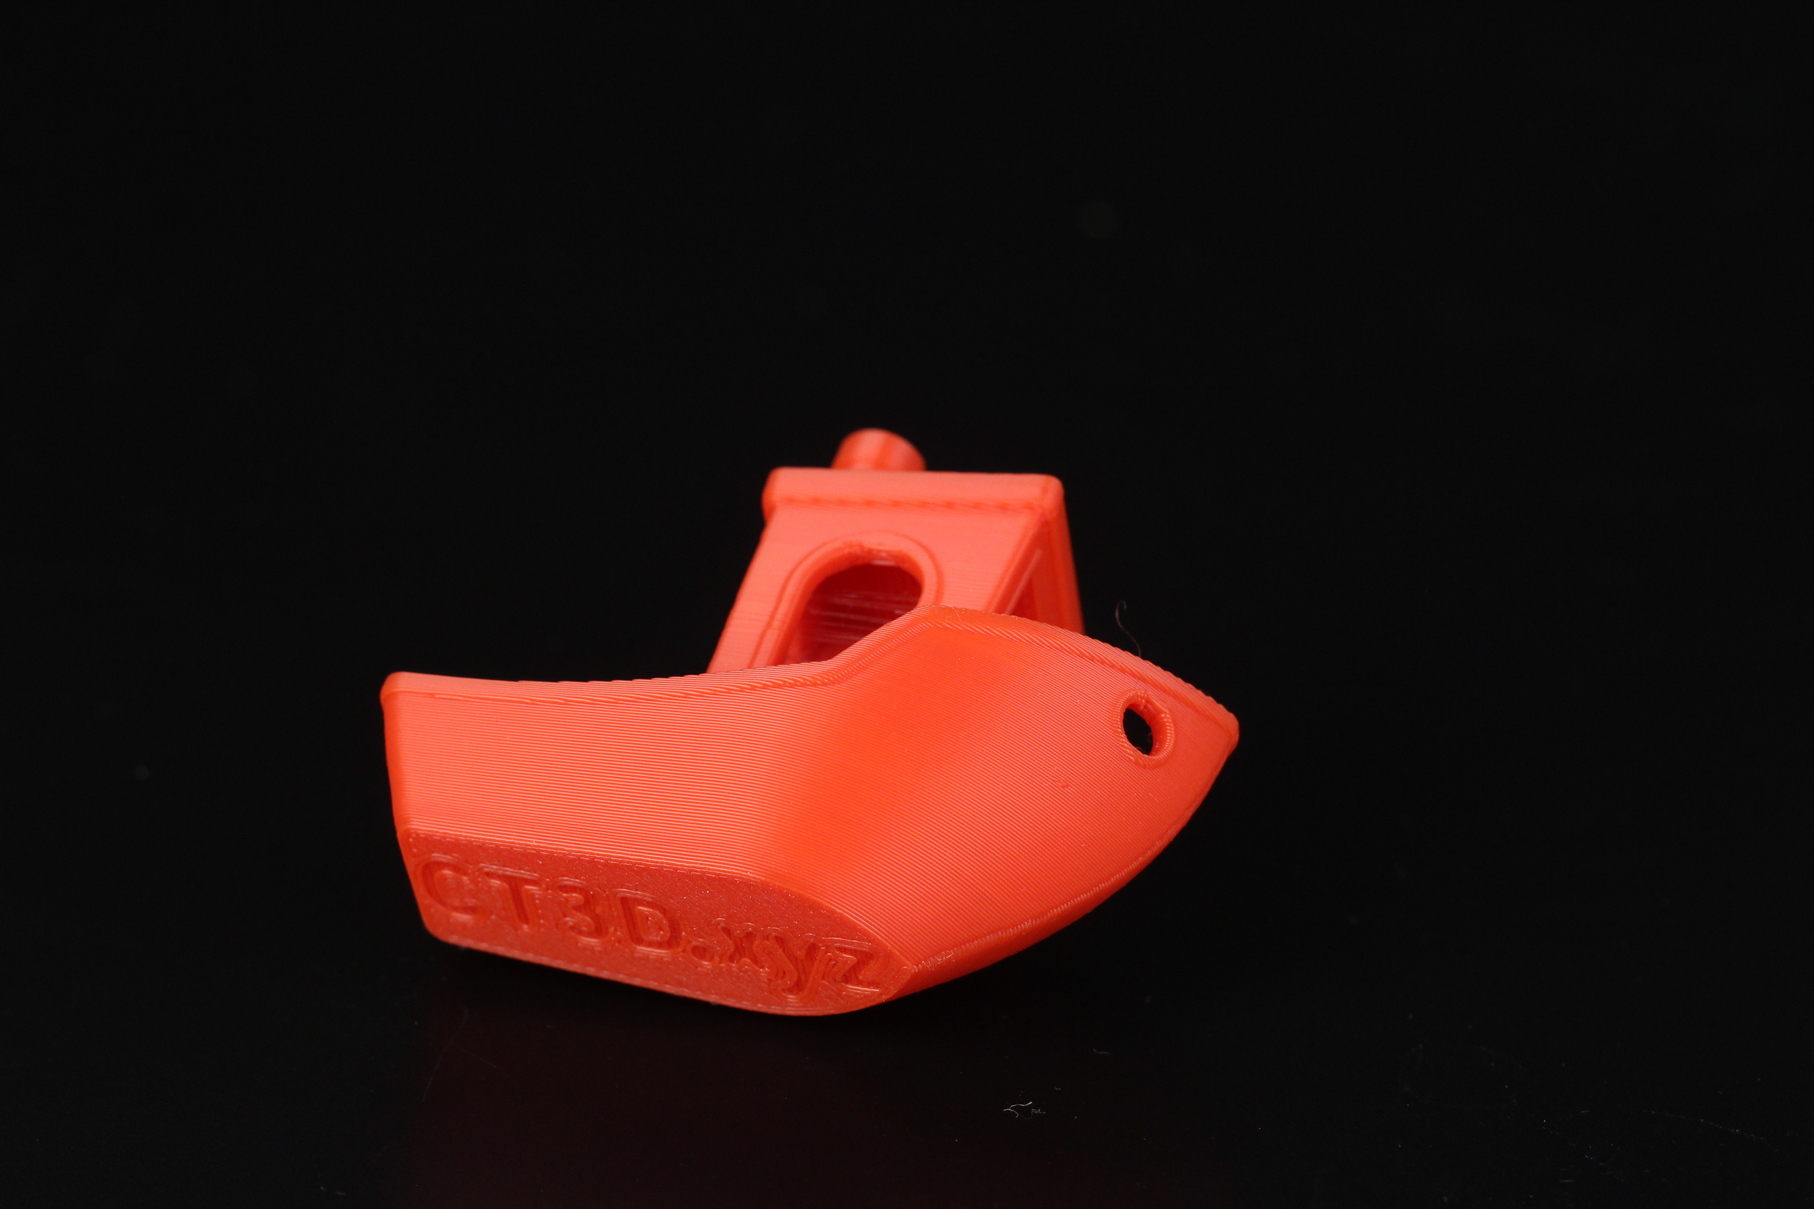
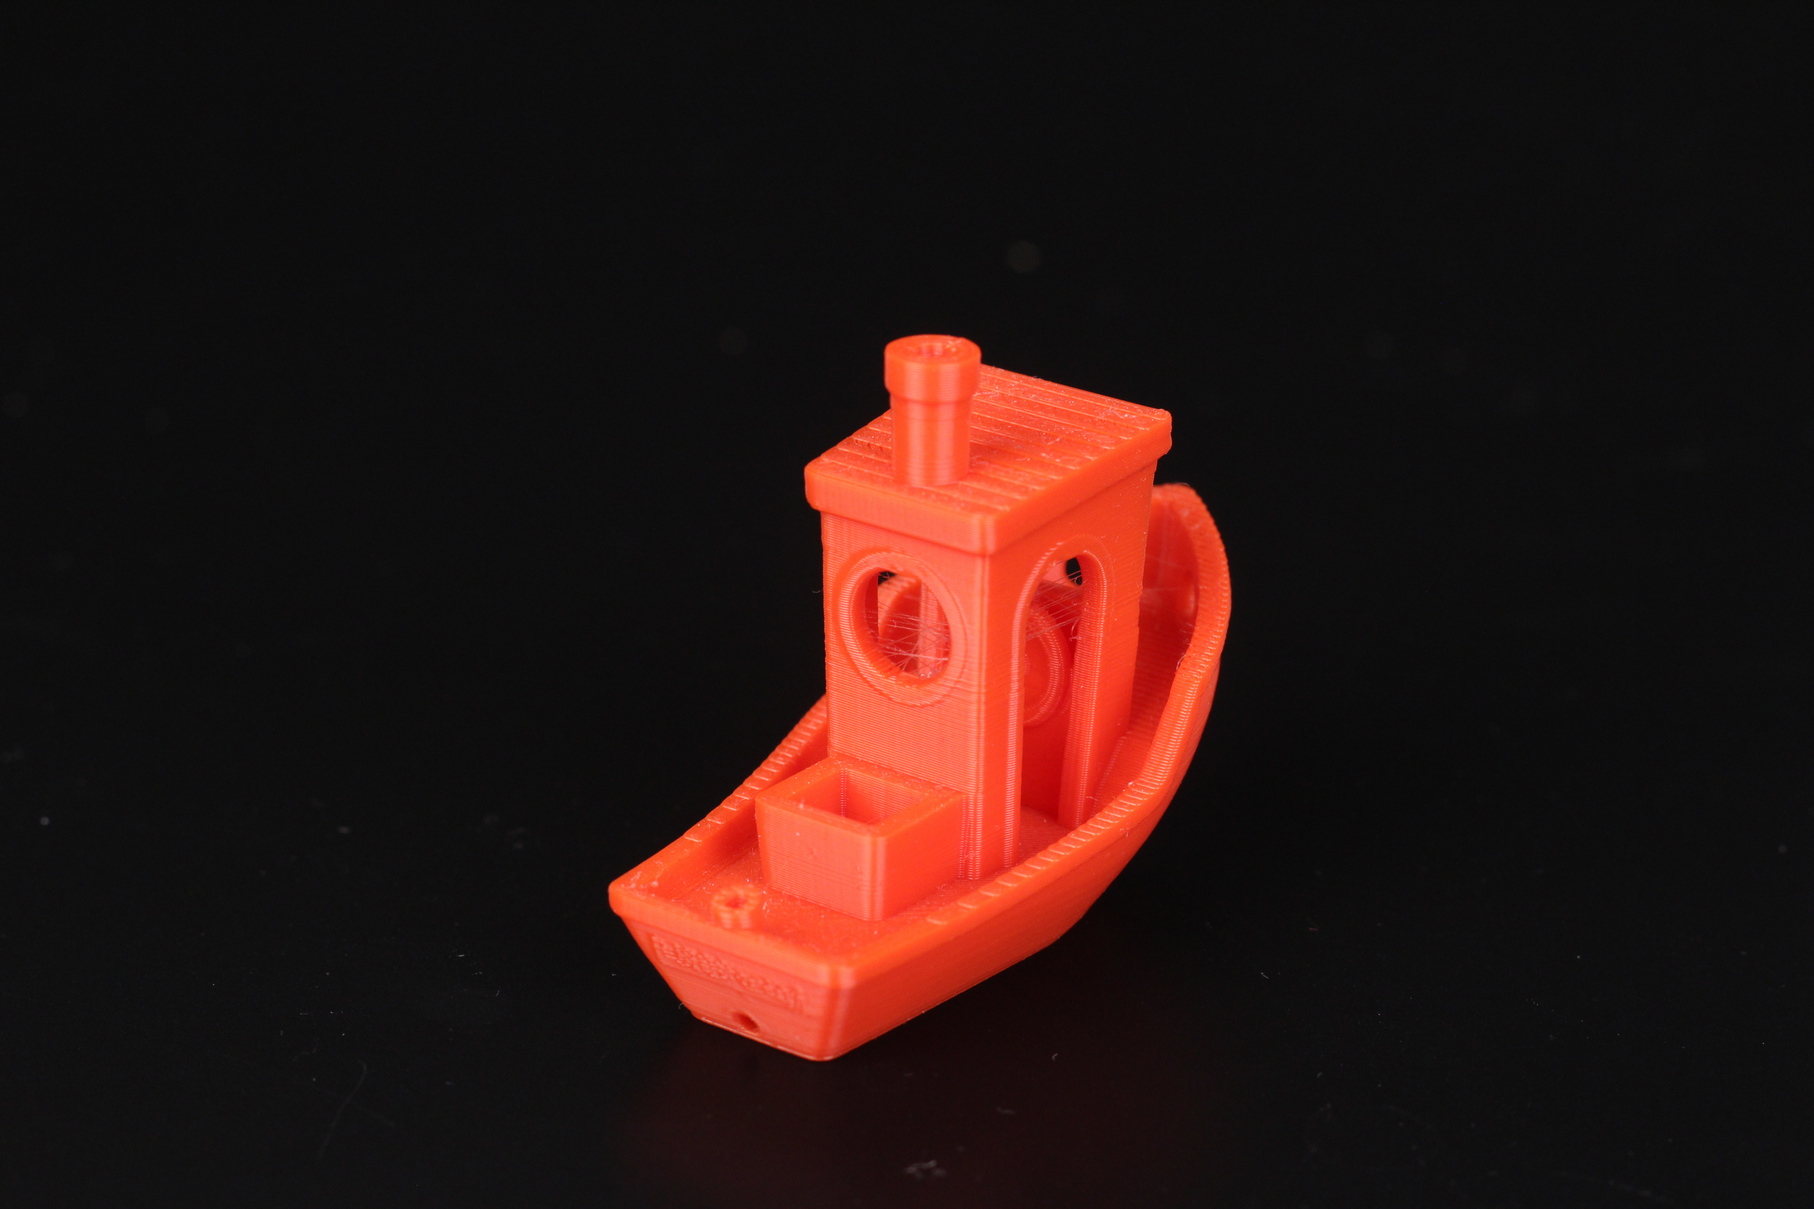
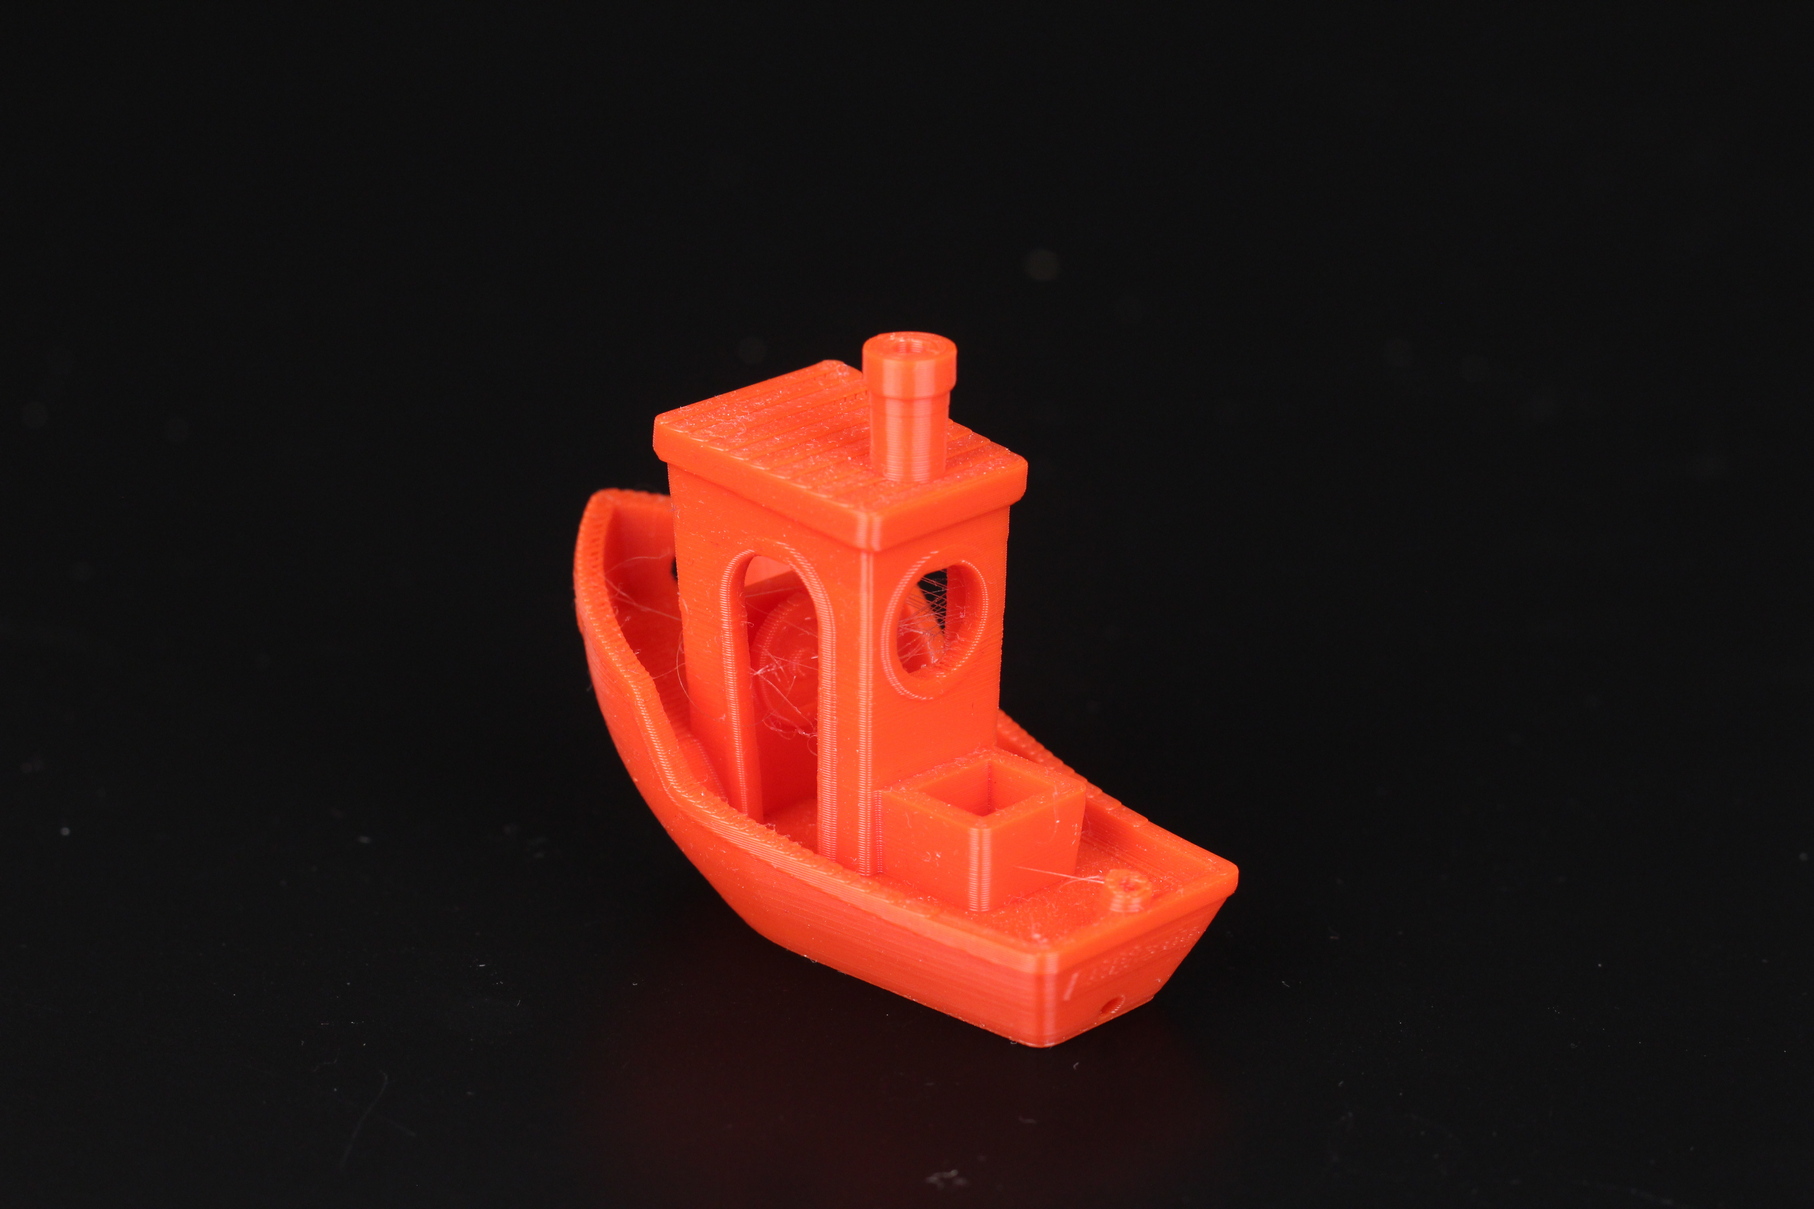
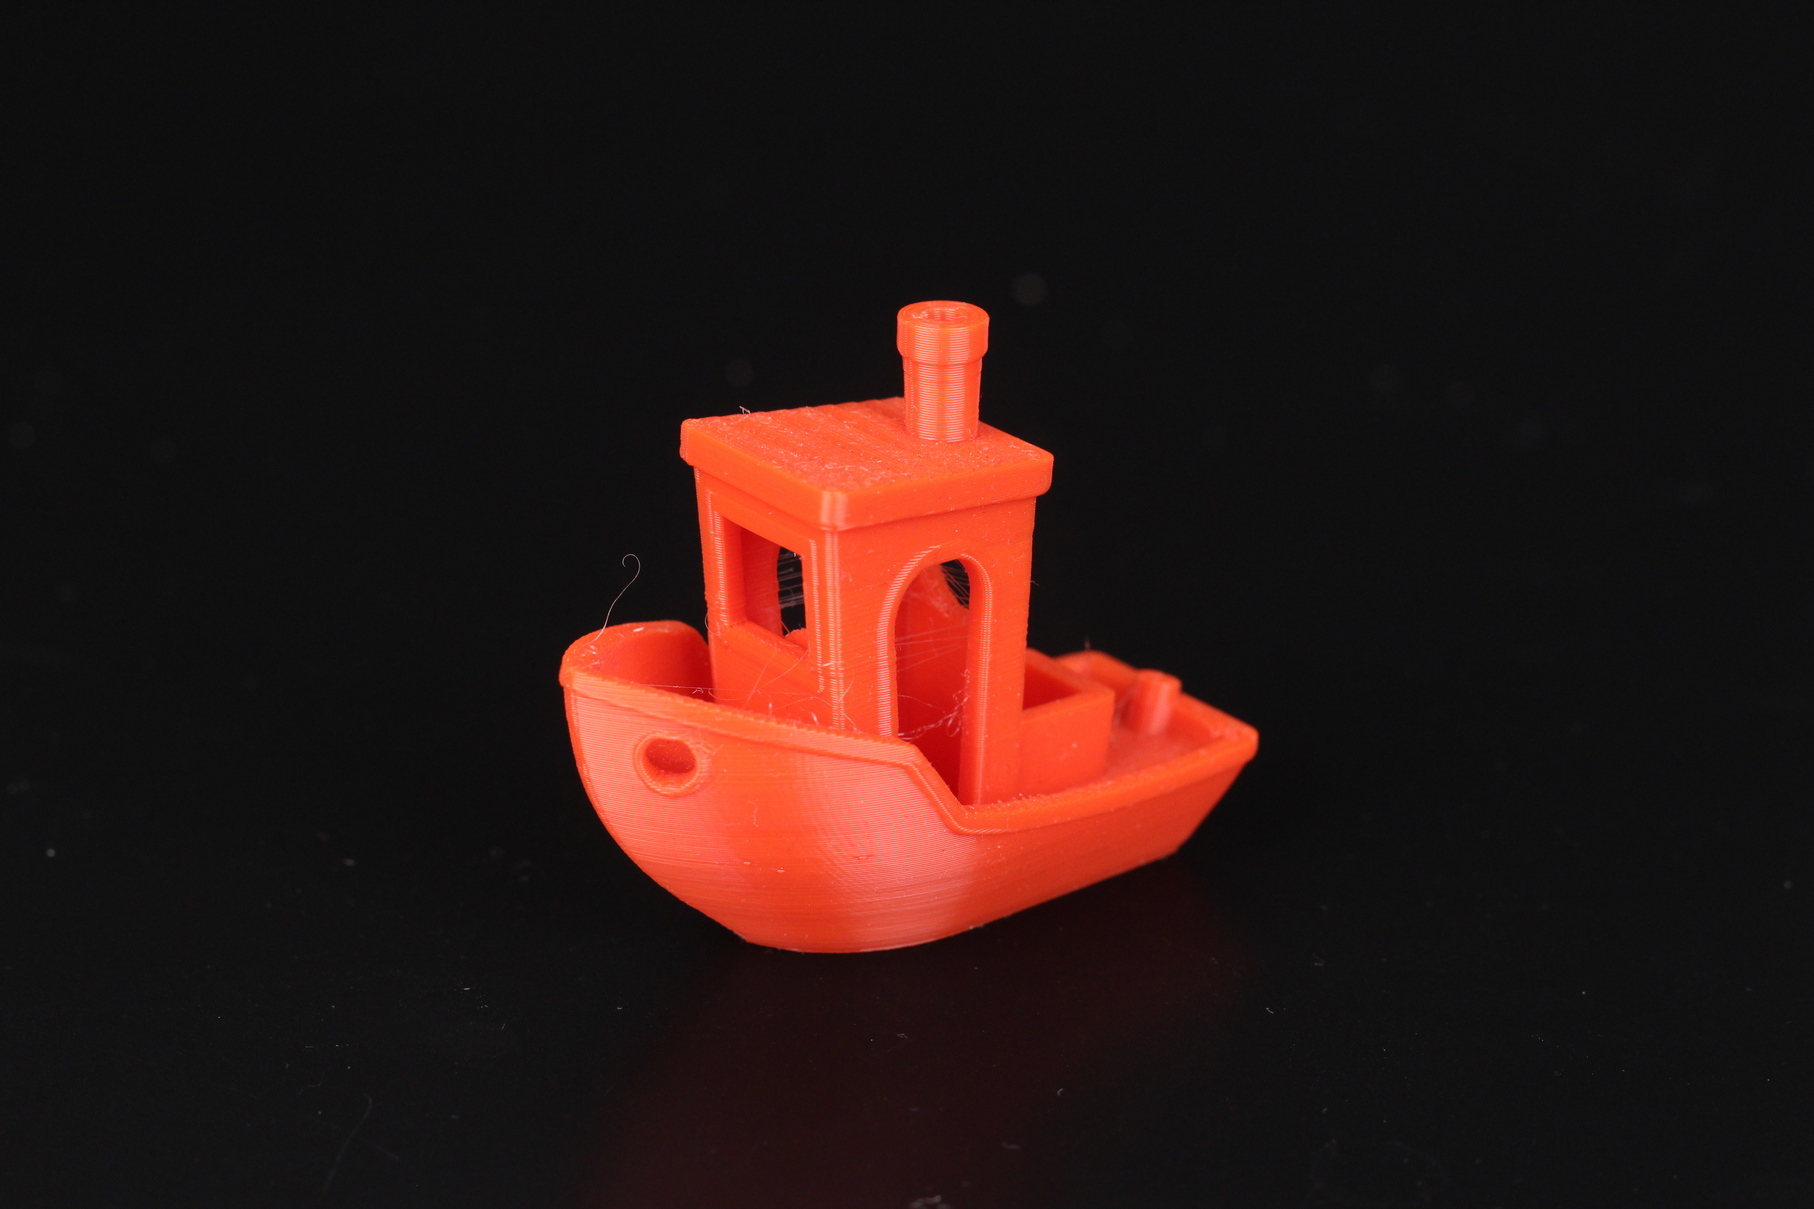
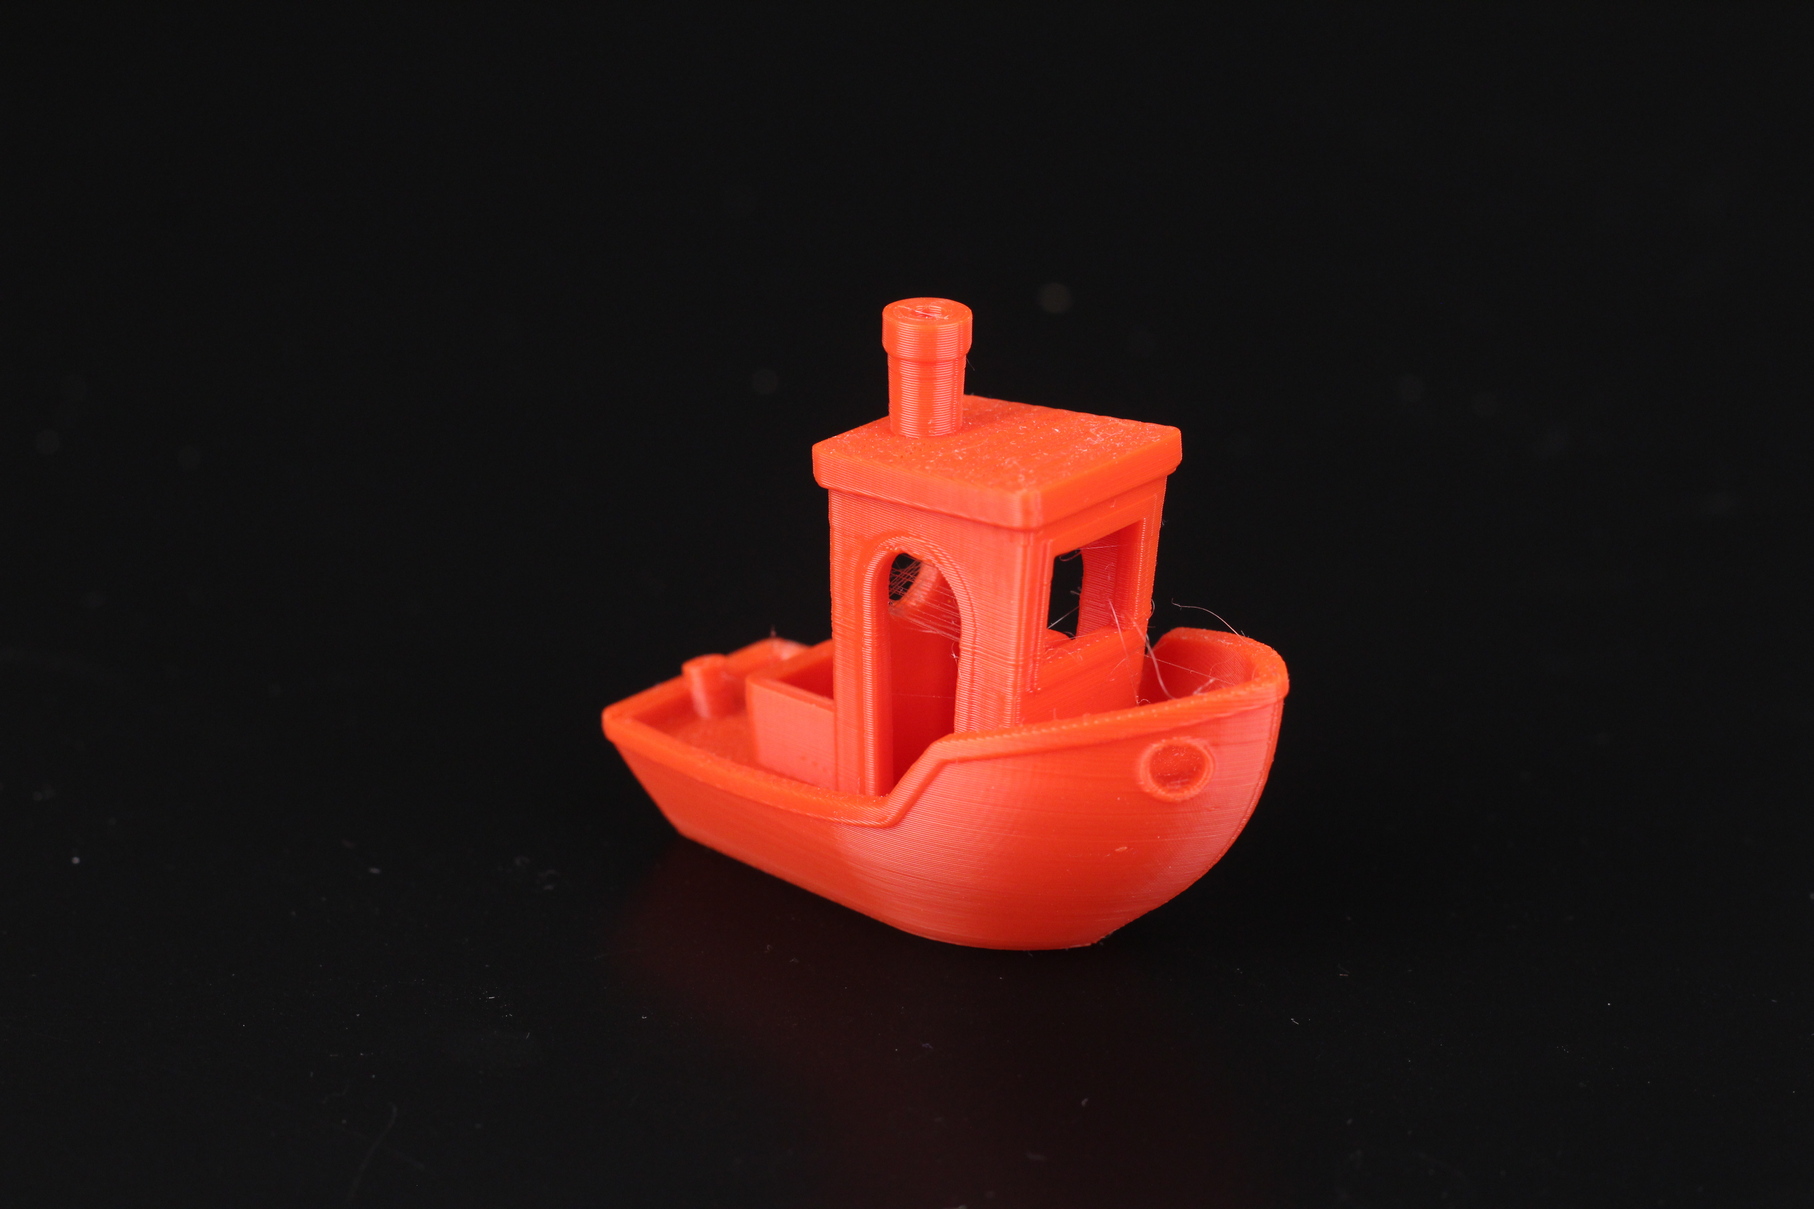
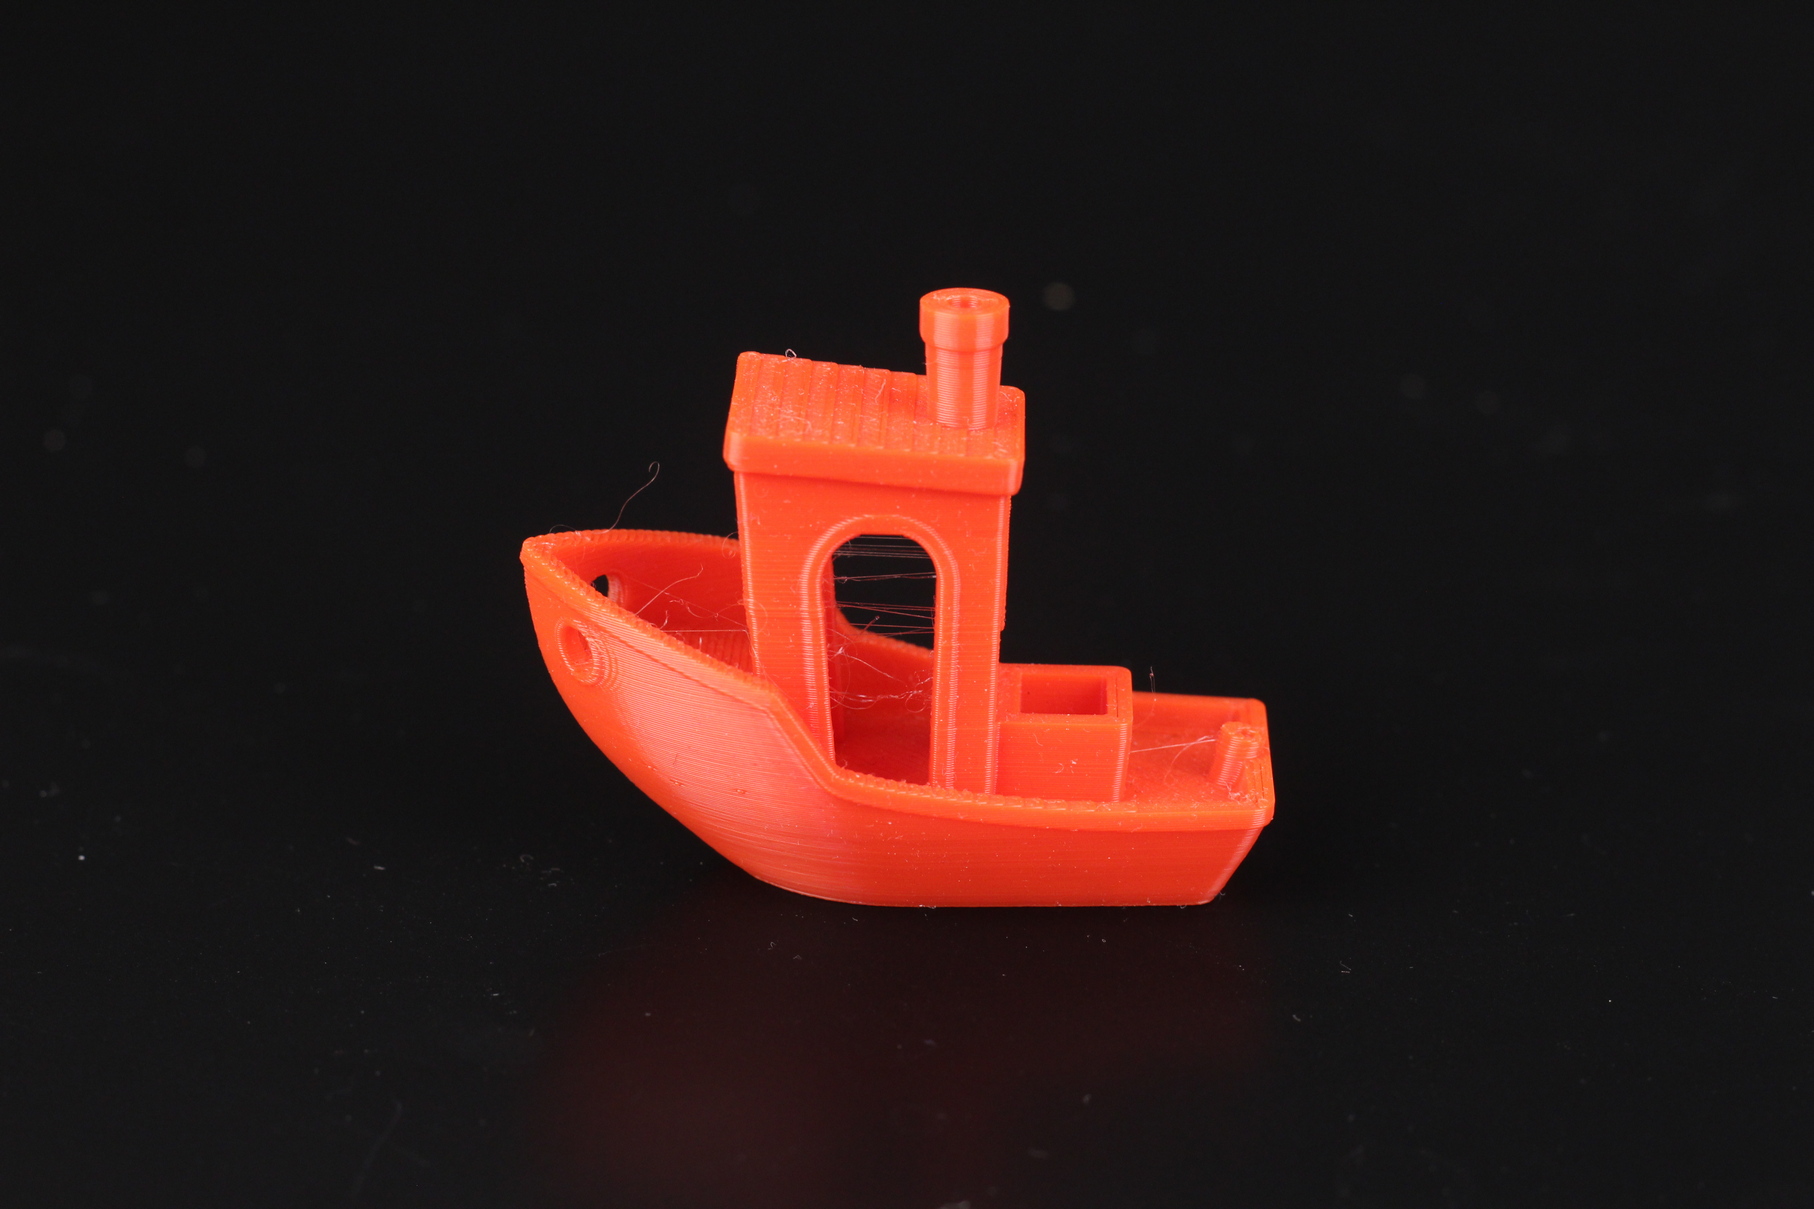
- Material: Gembird Red PLA
- Layer Height: 0.2mm
- Nozzle Temperature: 210C
- Bed Temperature: 60C
- Print Speed: 50 mm/s
Surprised Pikachu
To continue the Pokemon theme started by BIQU, I also printed the Surprised Pikachu model from Jukka Sepannen. The body printed well, but you can see some Z banding on the tail which is caused by a partial clog inside the hotend and also by the thin unsupported model.
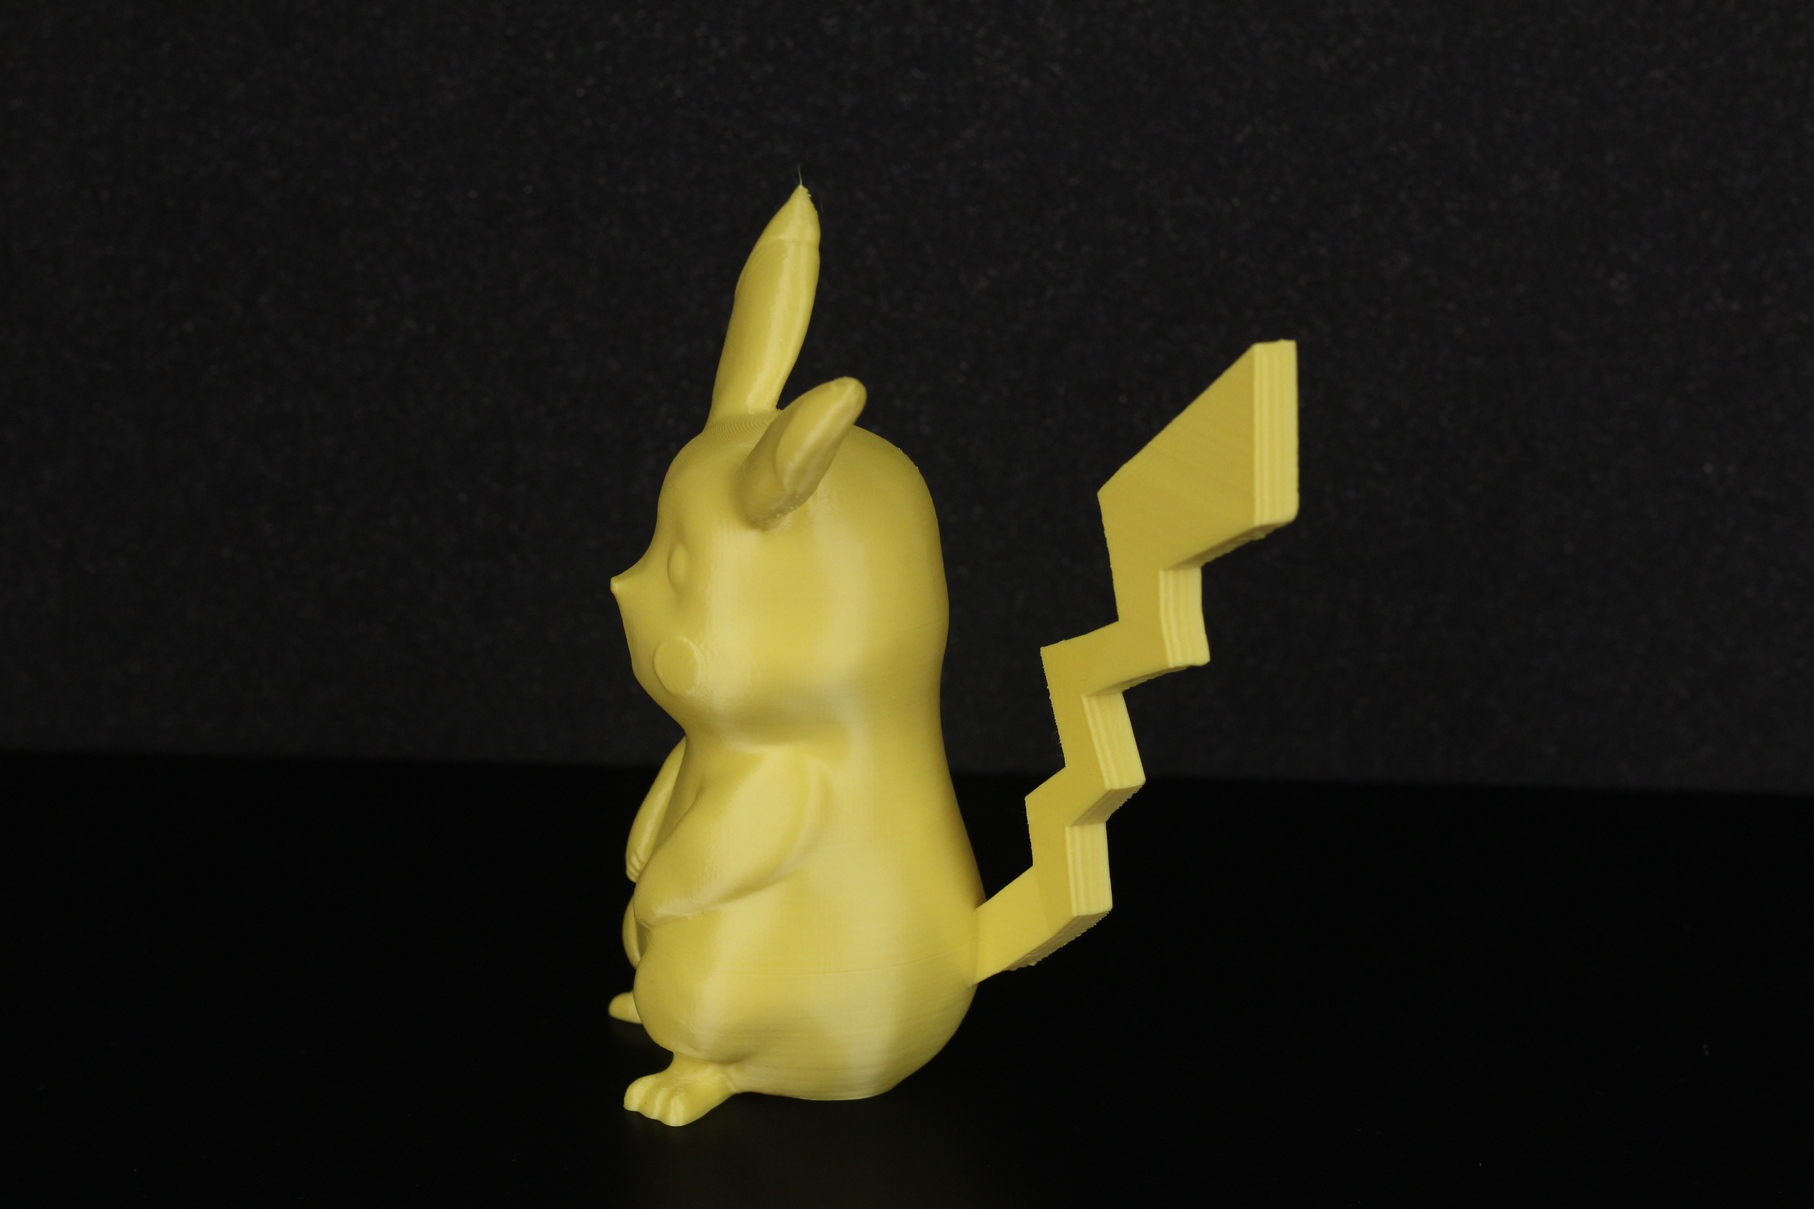
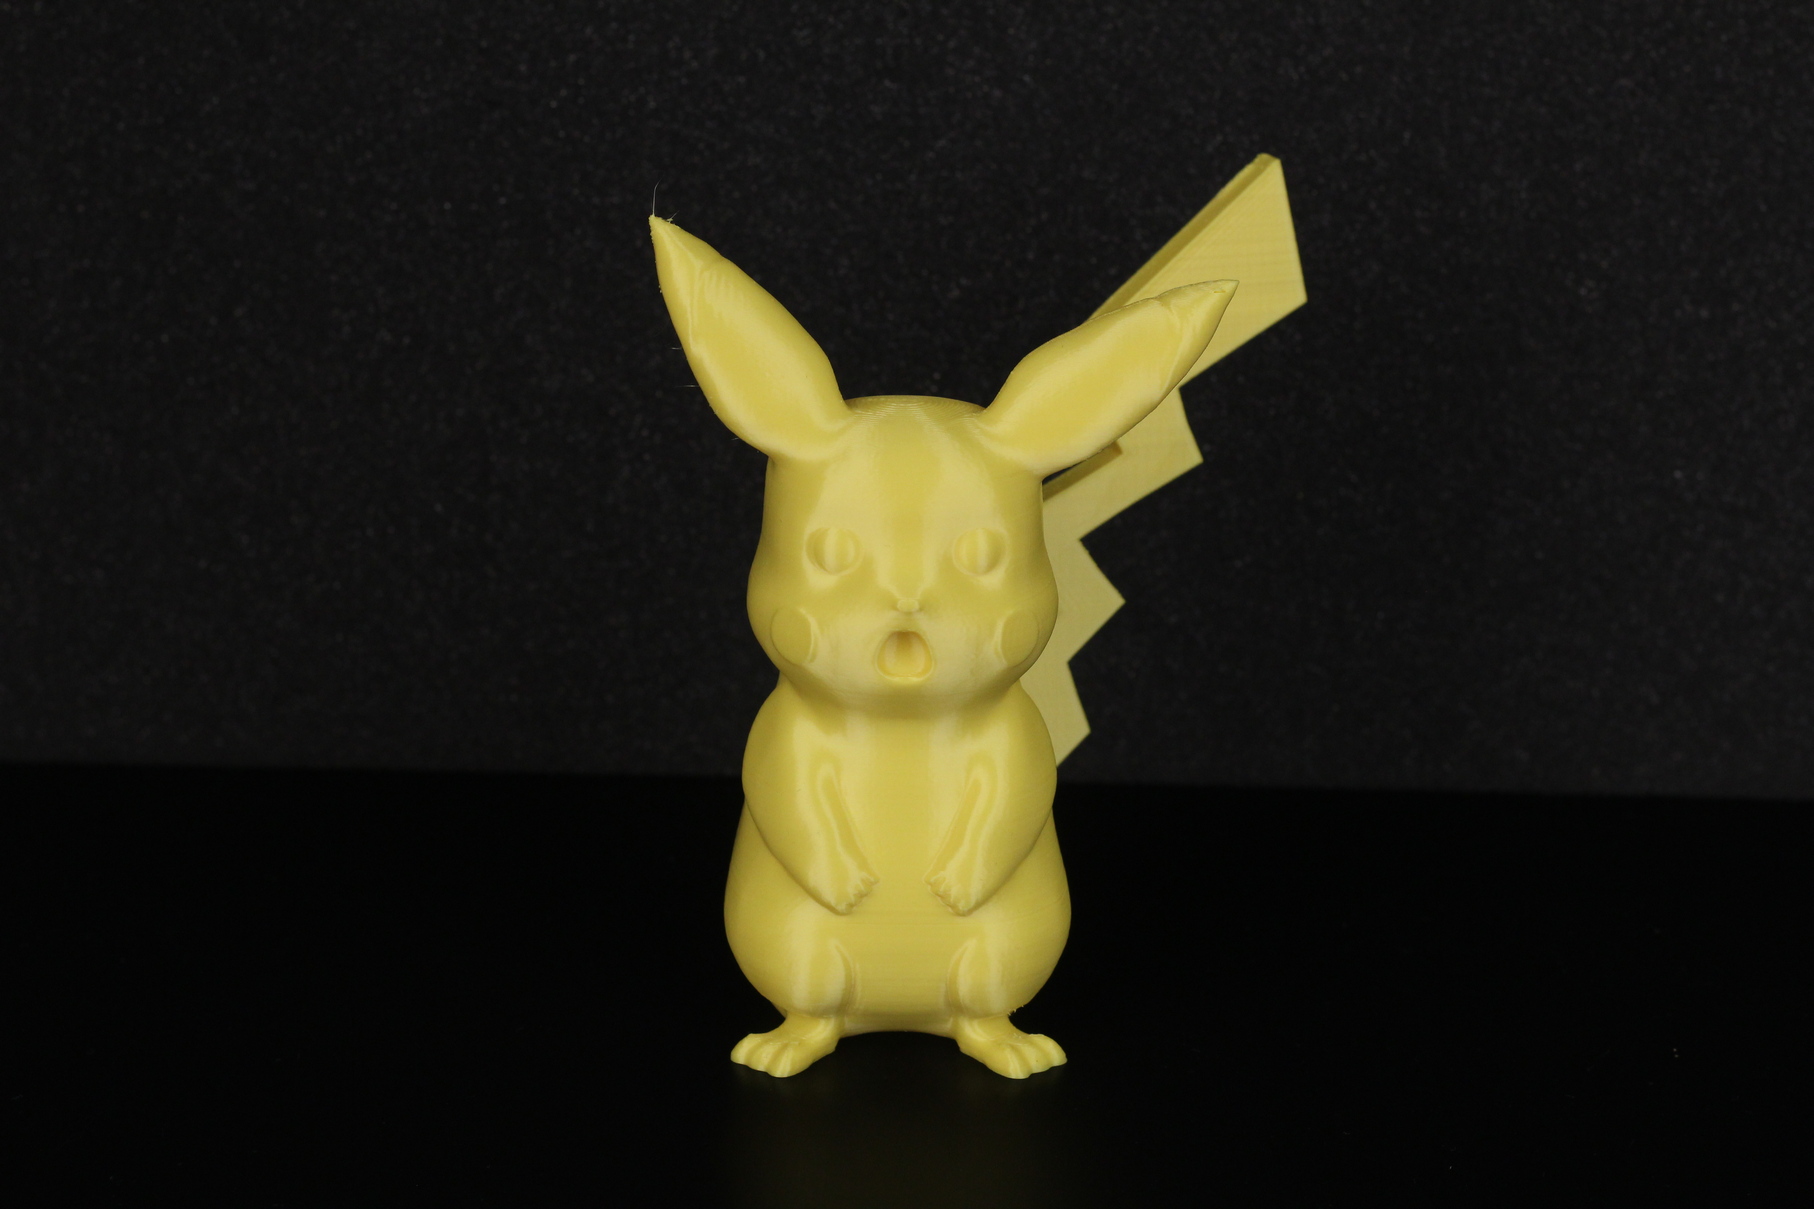
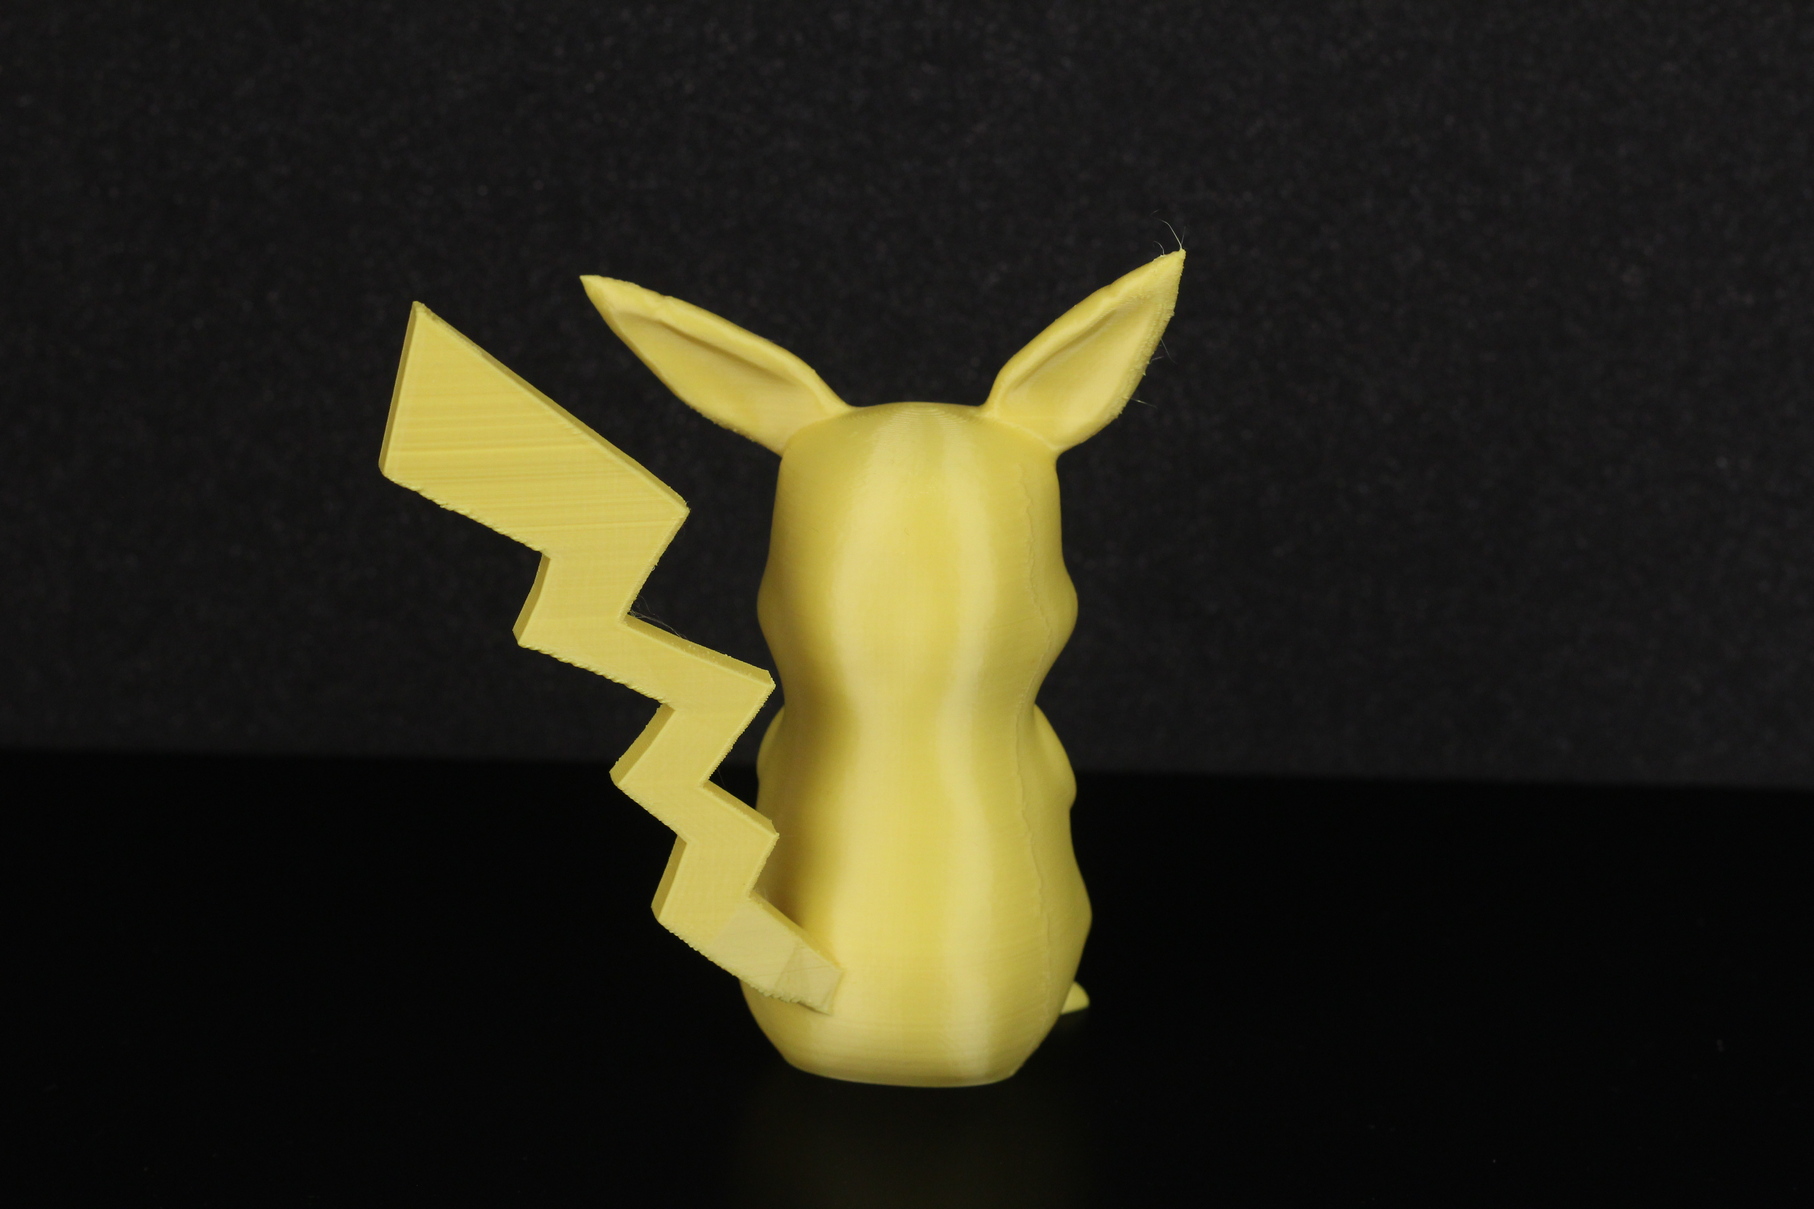
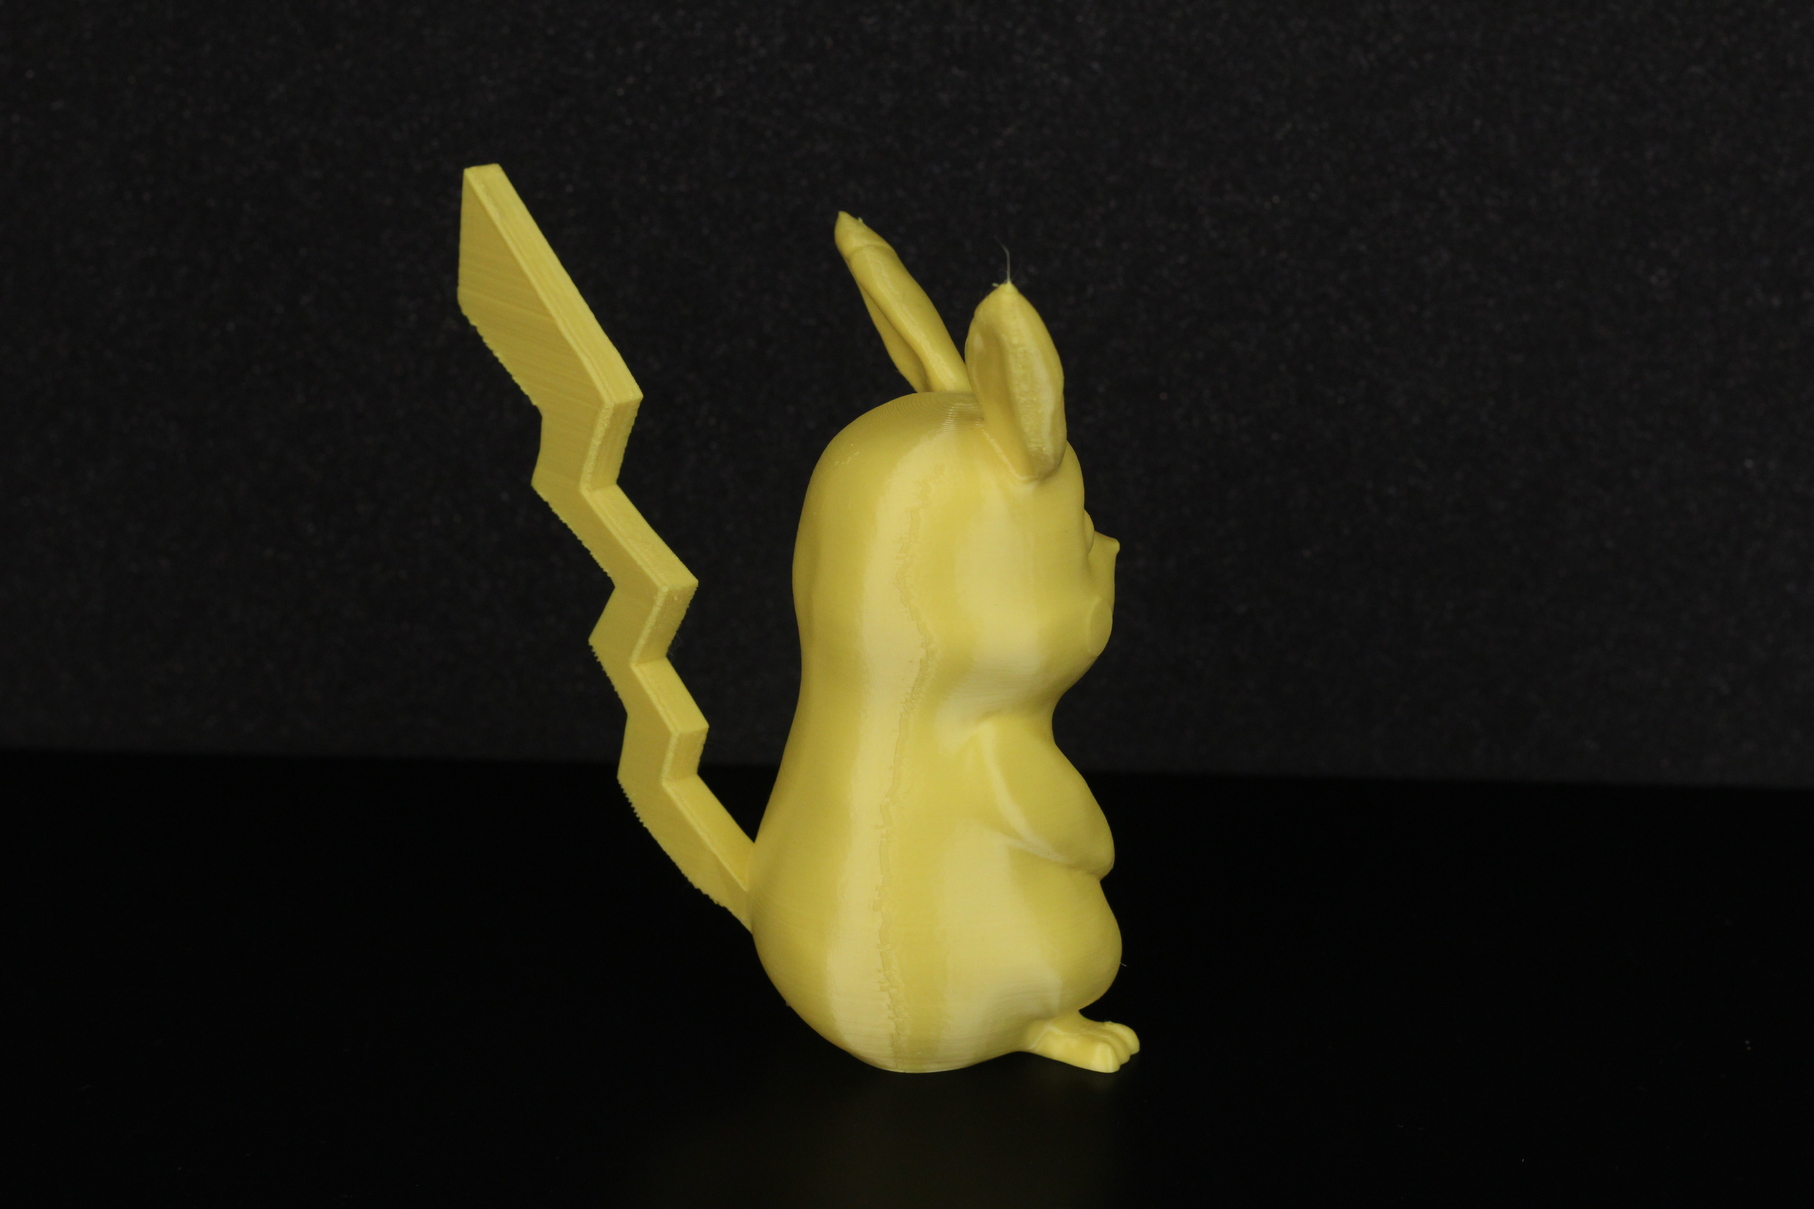
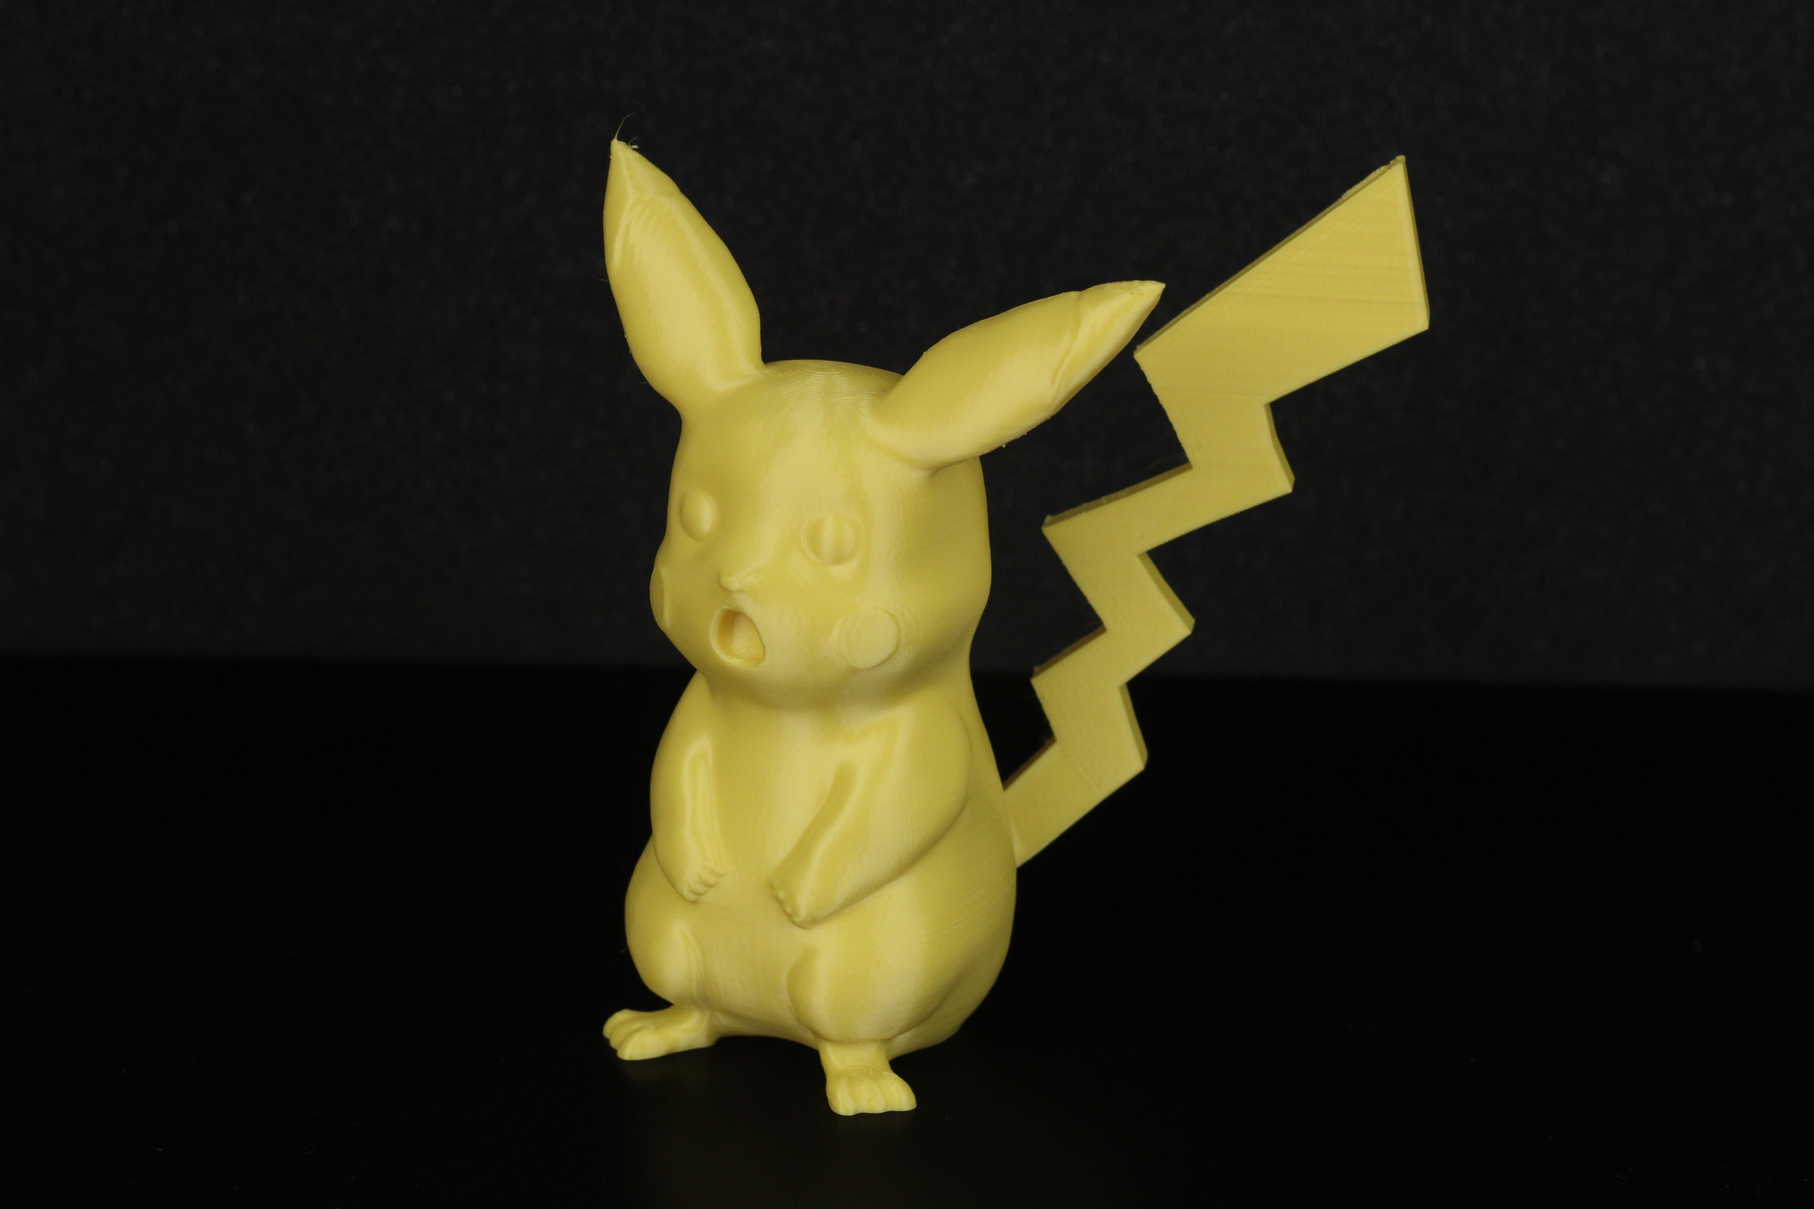
- Material: Gembird Yellow PLA
- Layer Height: 0.15mm
- Nozzle Temperature: 215C
- Bed Temperature: 60C
- Print Speed: 50 mm/s
Bender
This Bender bust is one of my favorite 3D printable models because it can be printed without supports and it also looks awesome. I used silk filament for this one, and if you look closer, you can see a small ribbing effect on the smooth surfaces. Not exactly sure what generates this, but I think it’s because of the overtightened belts that amplifies the stepping of the belt.
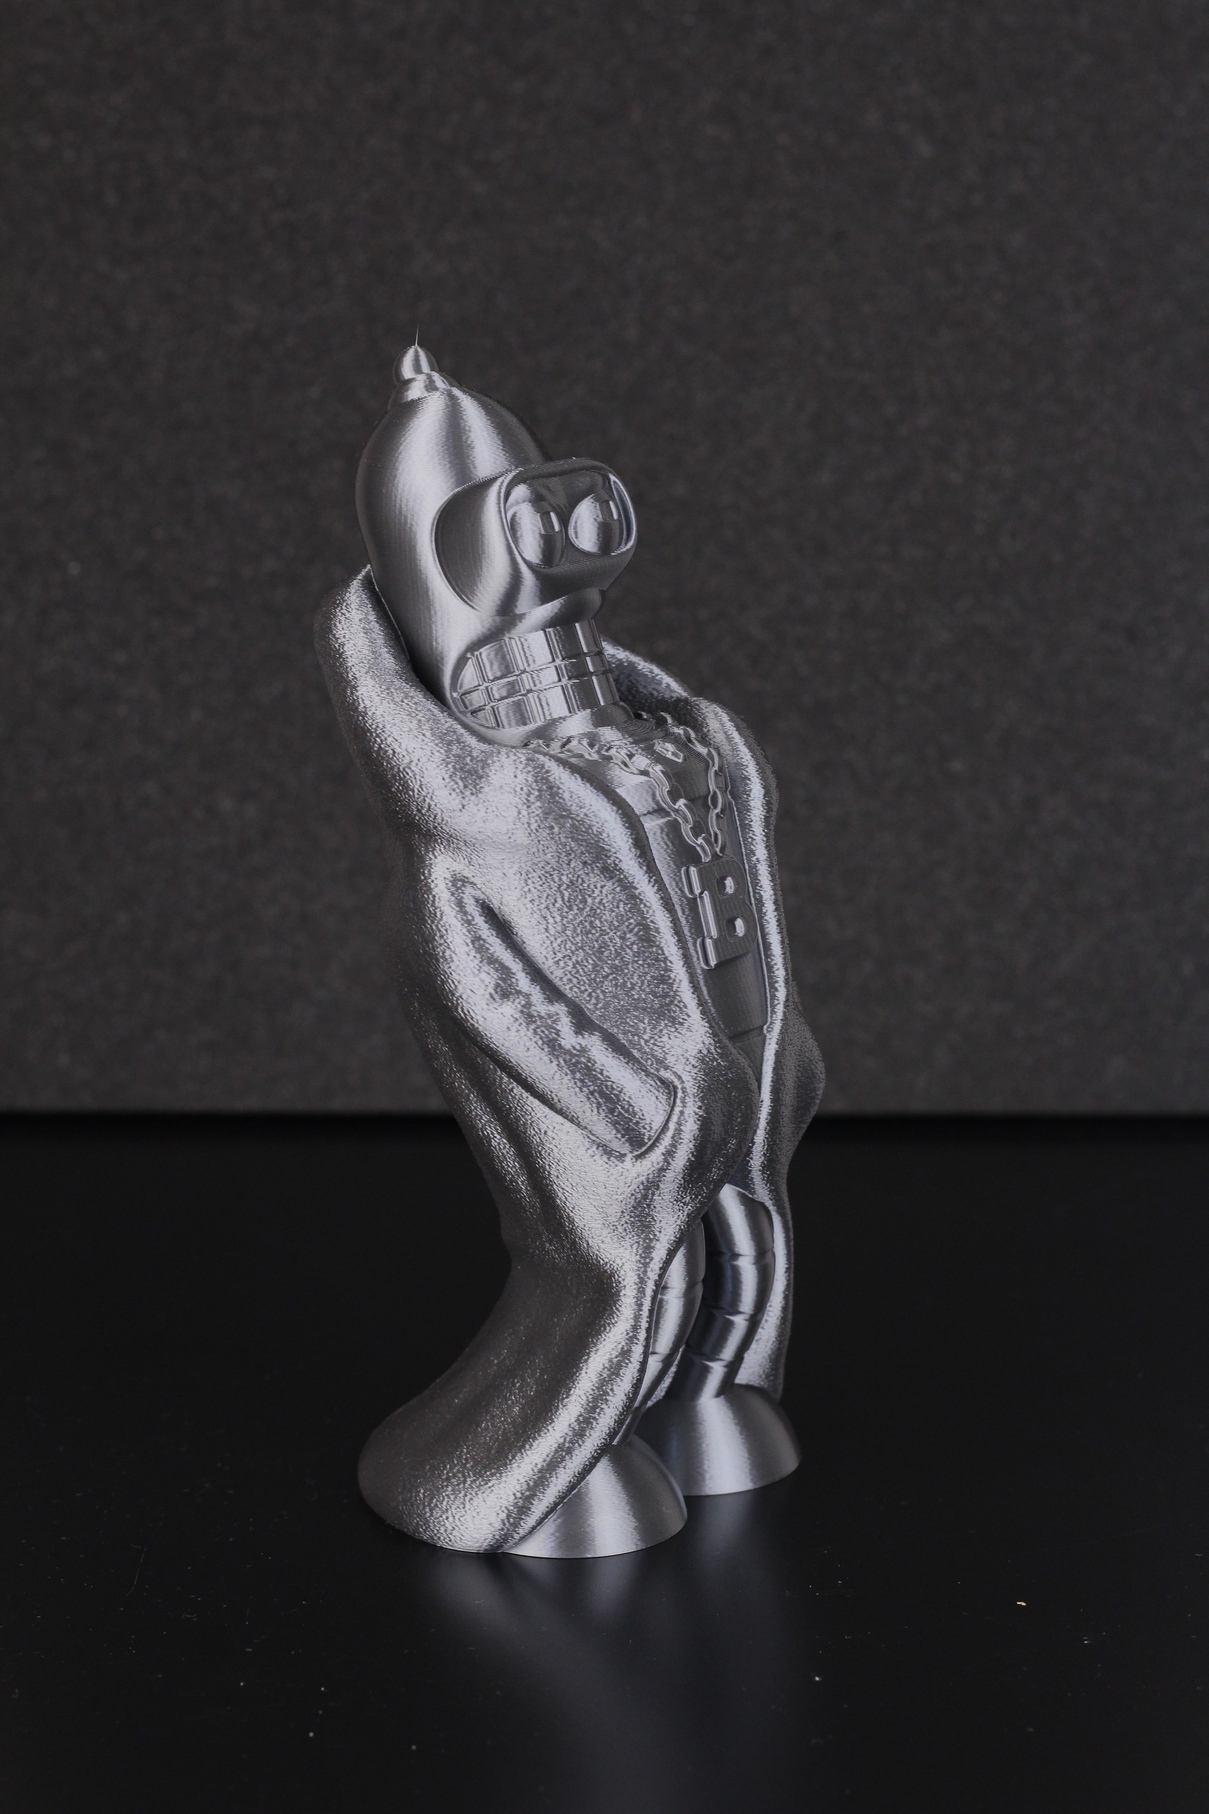
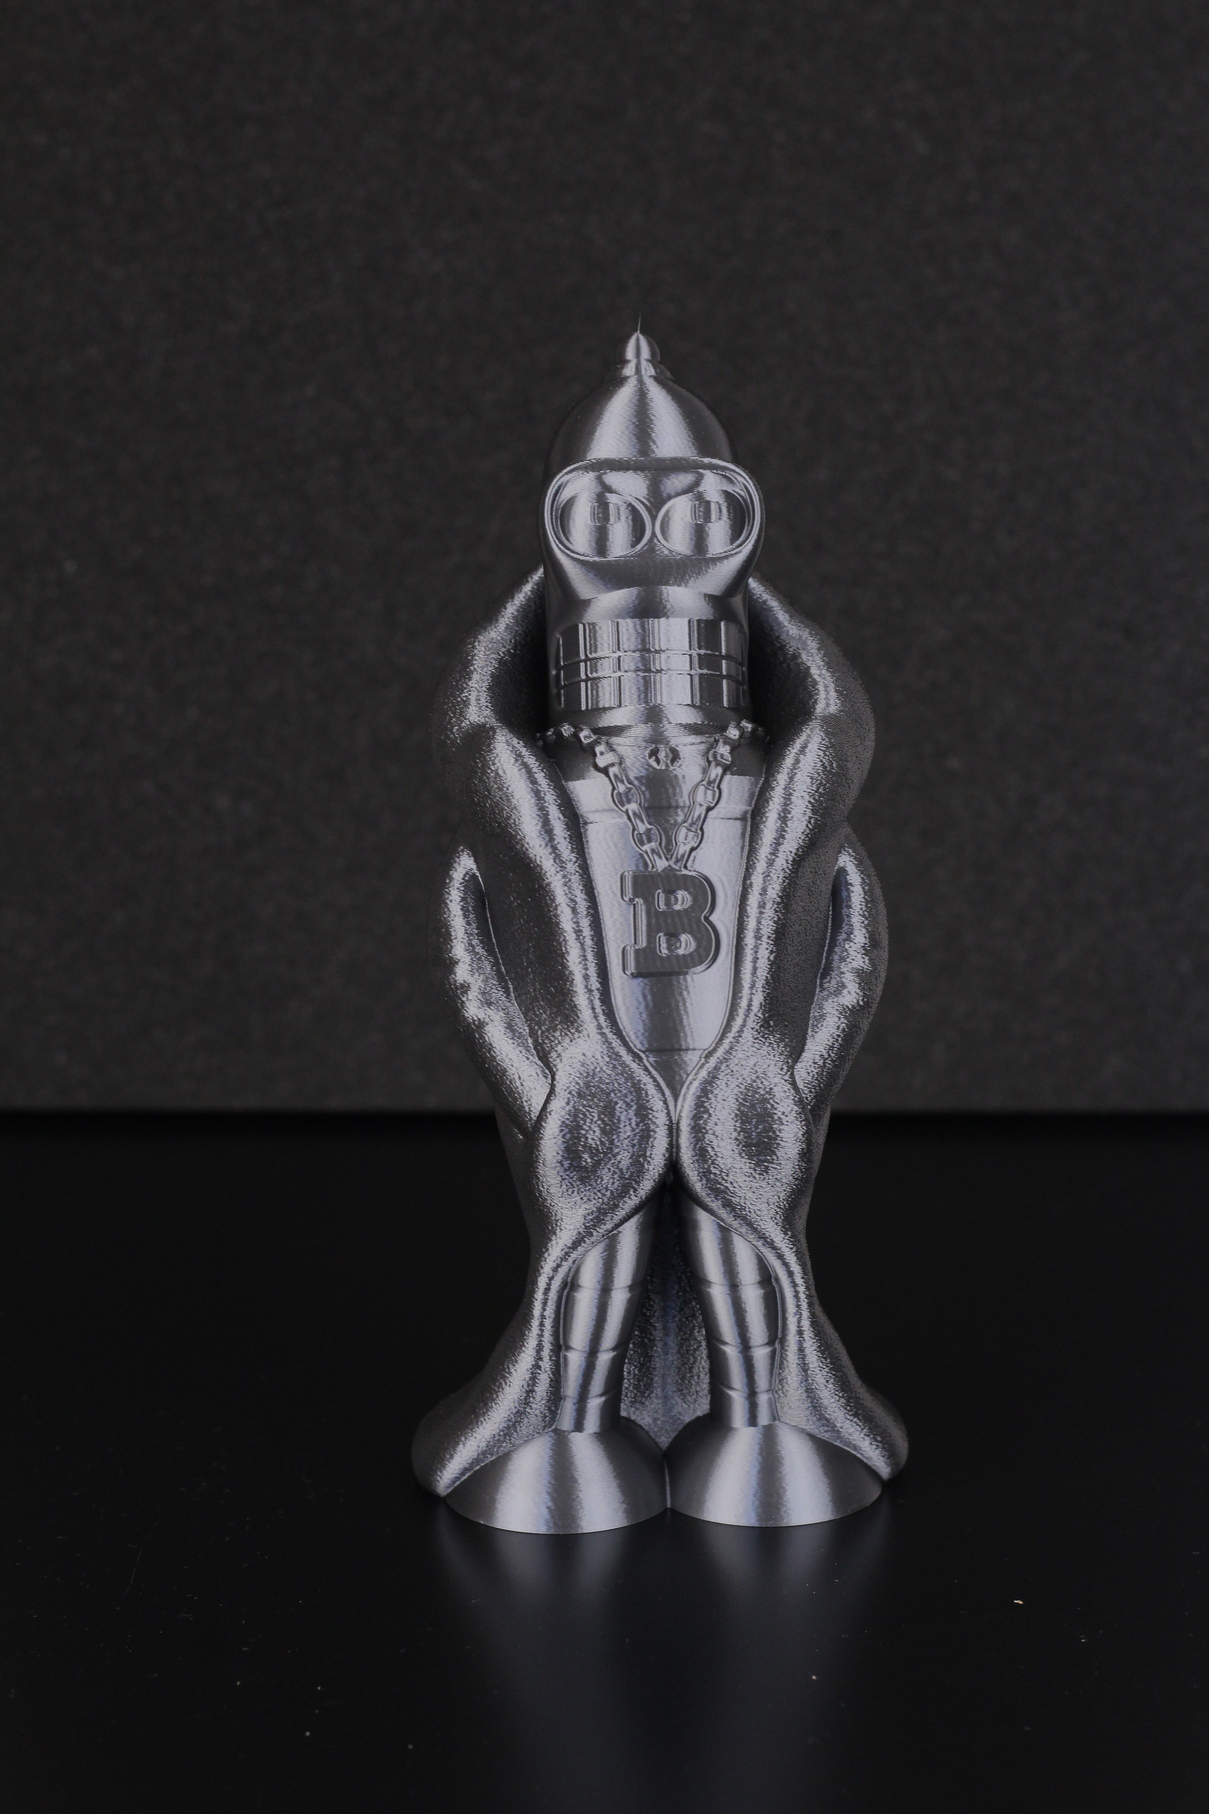
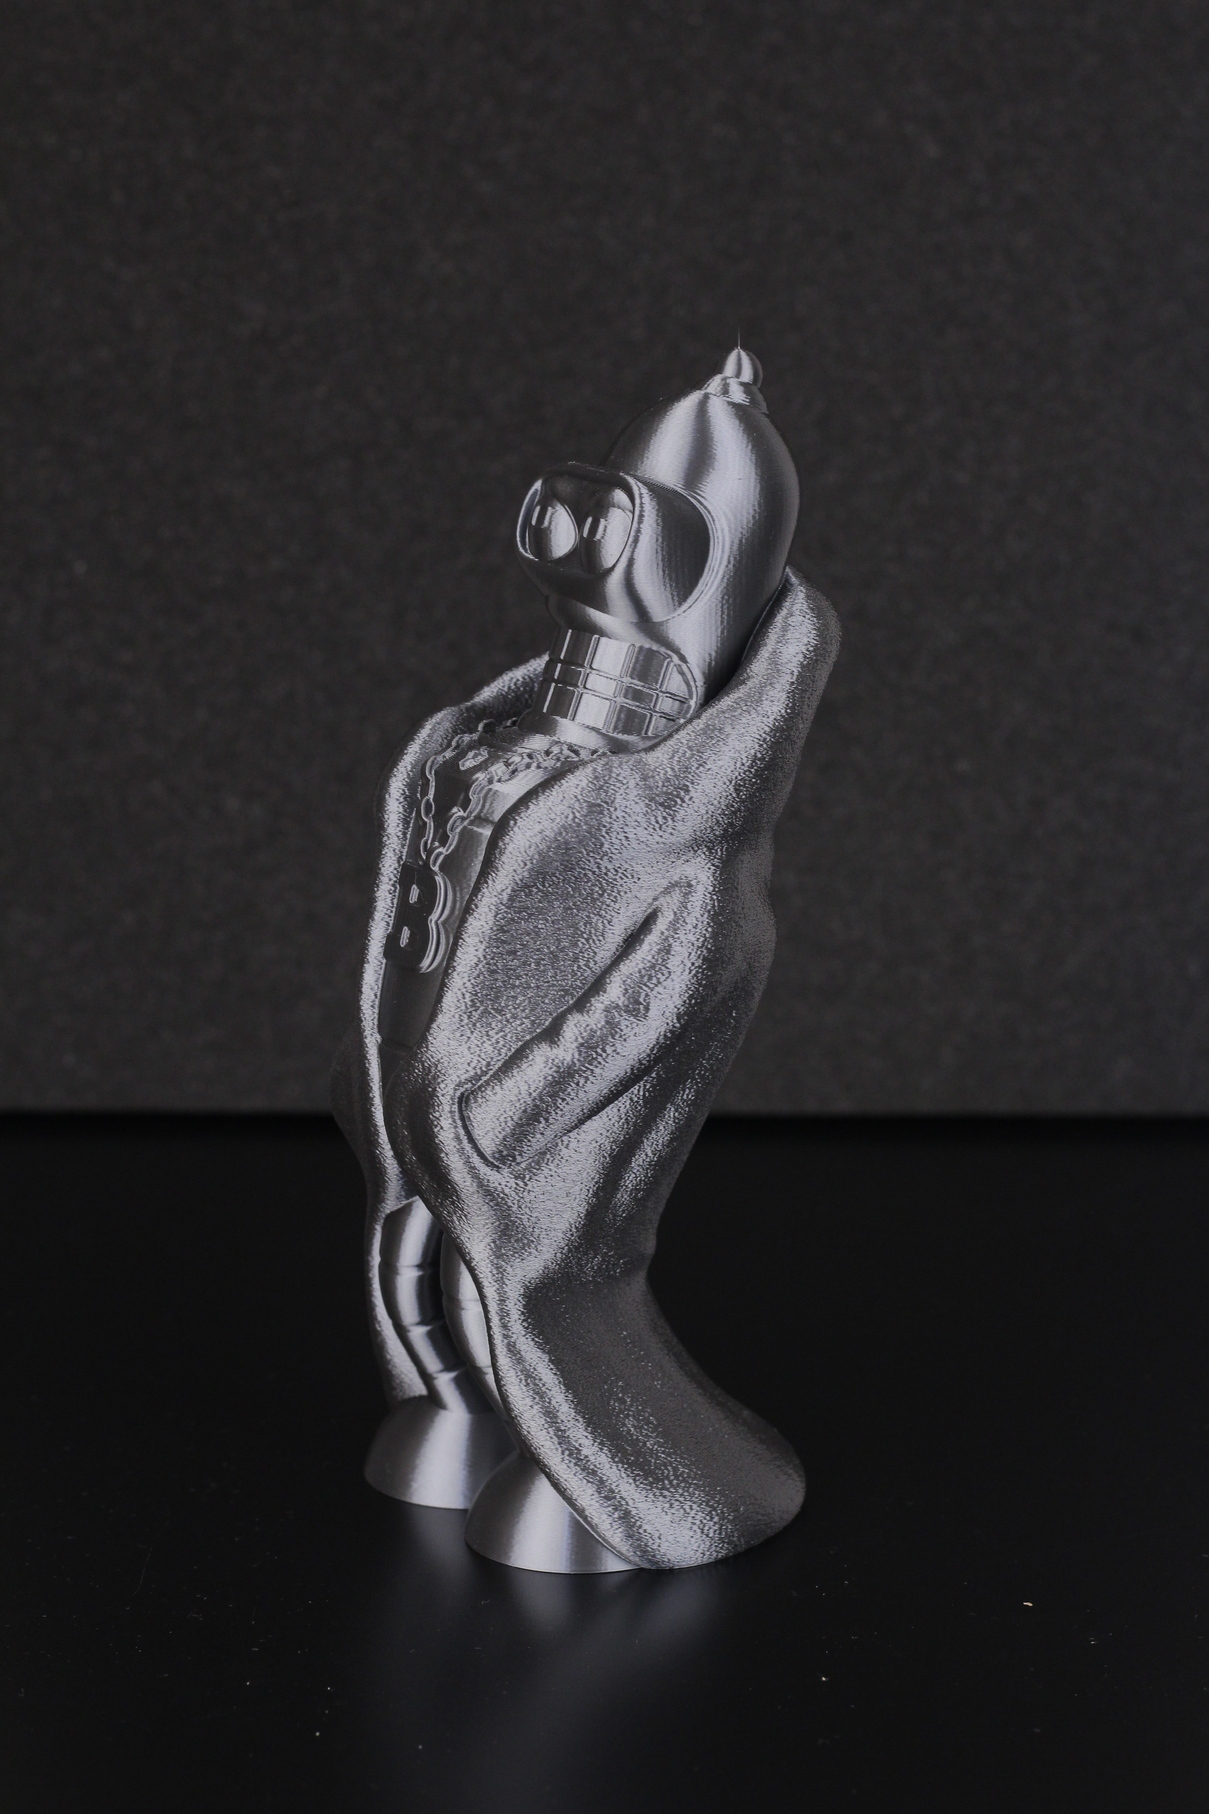
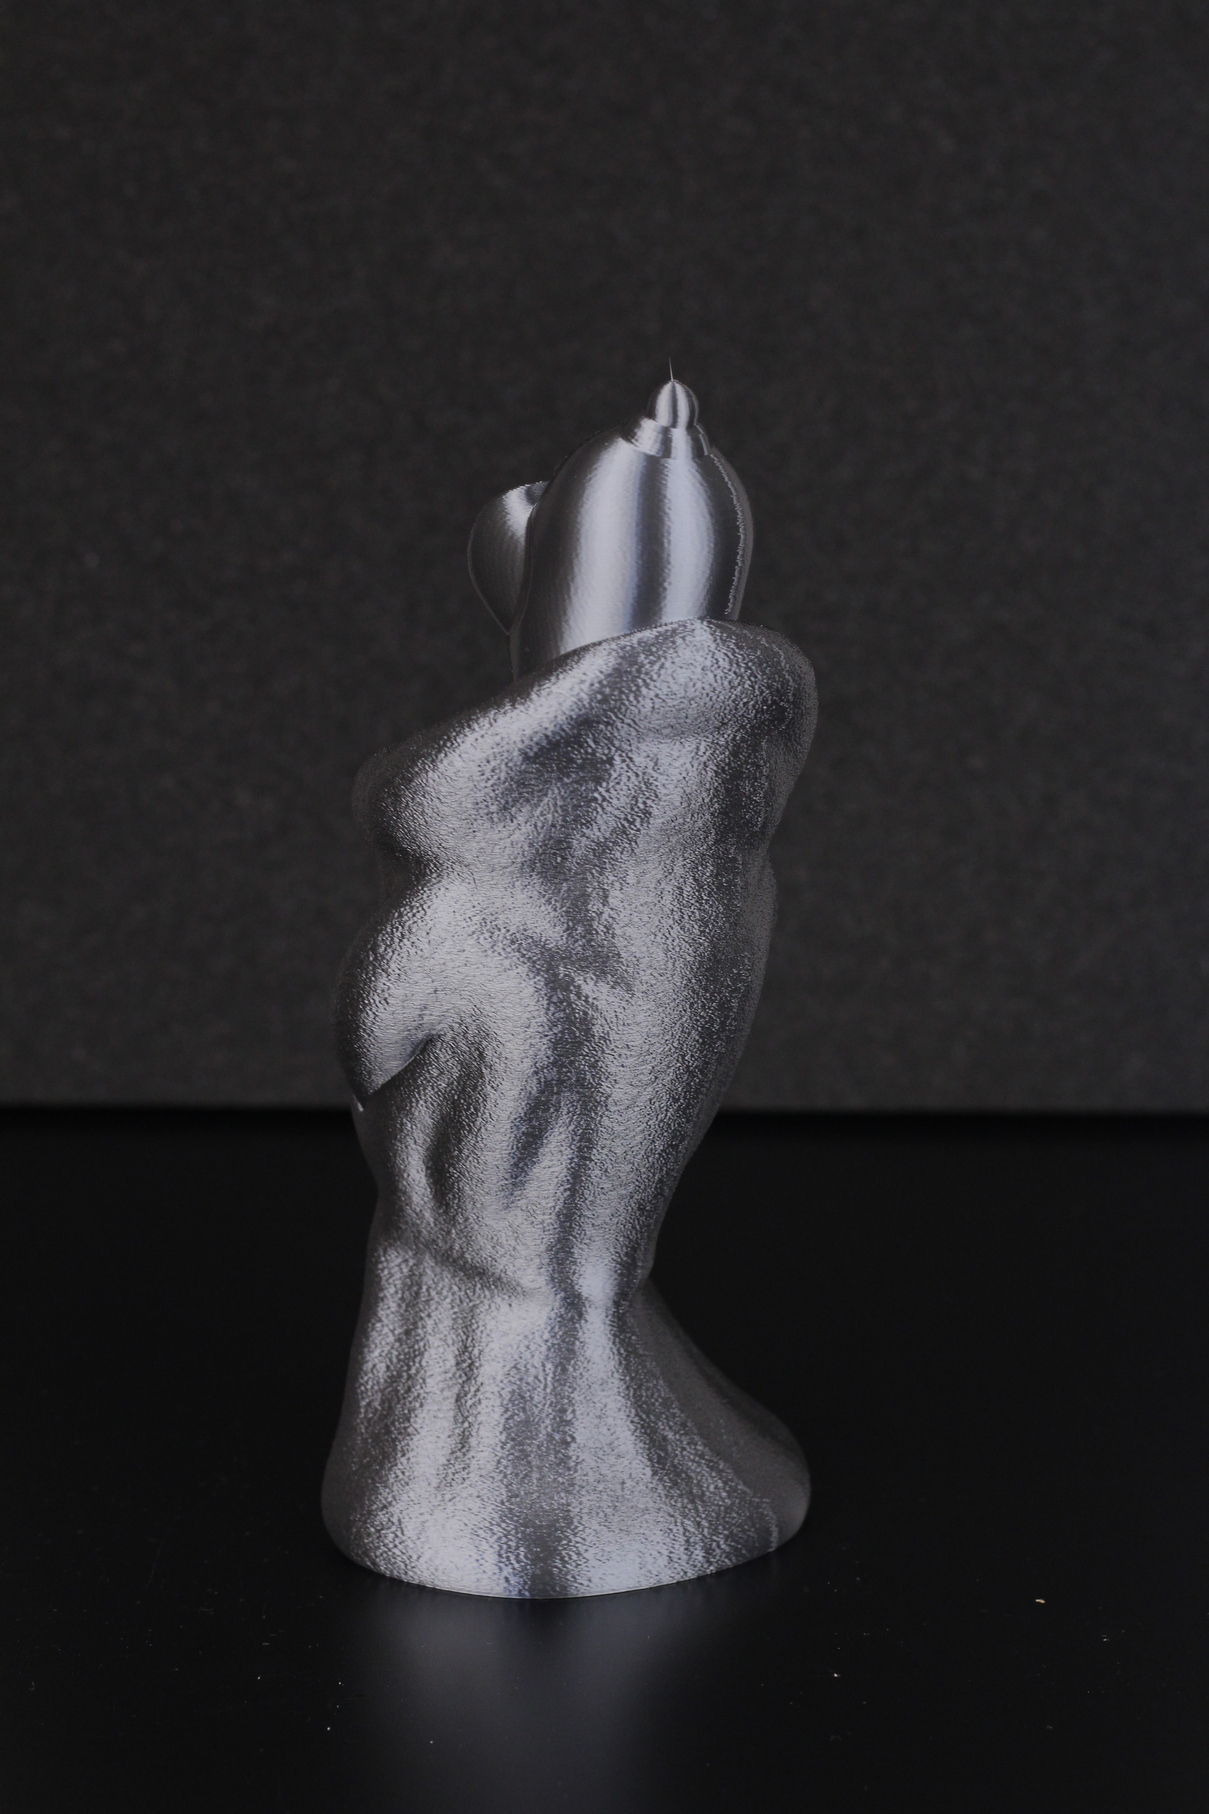
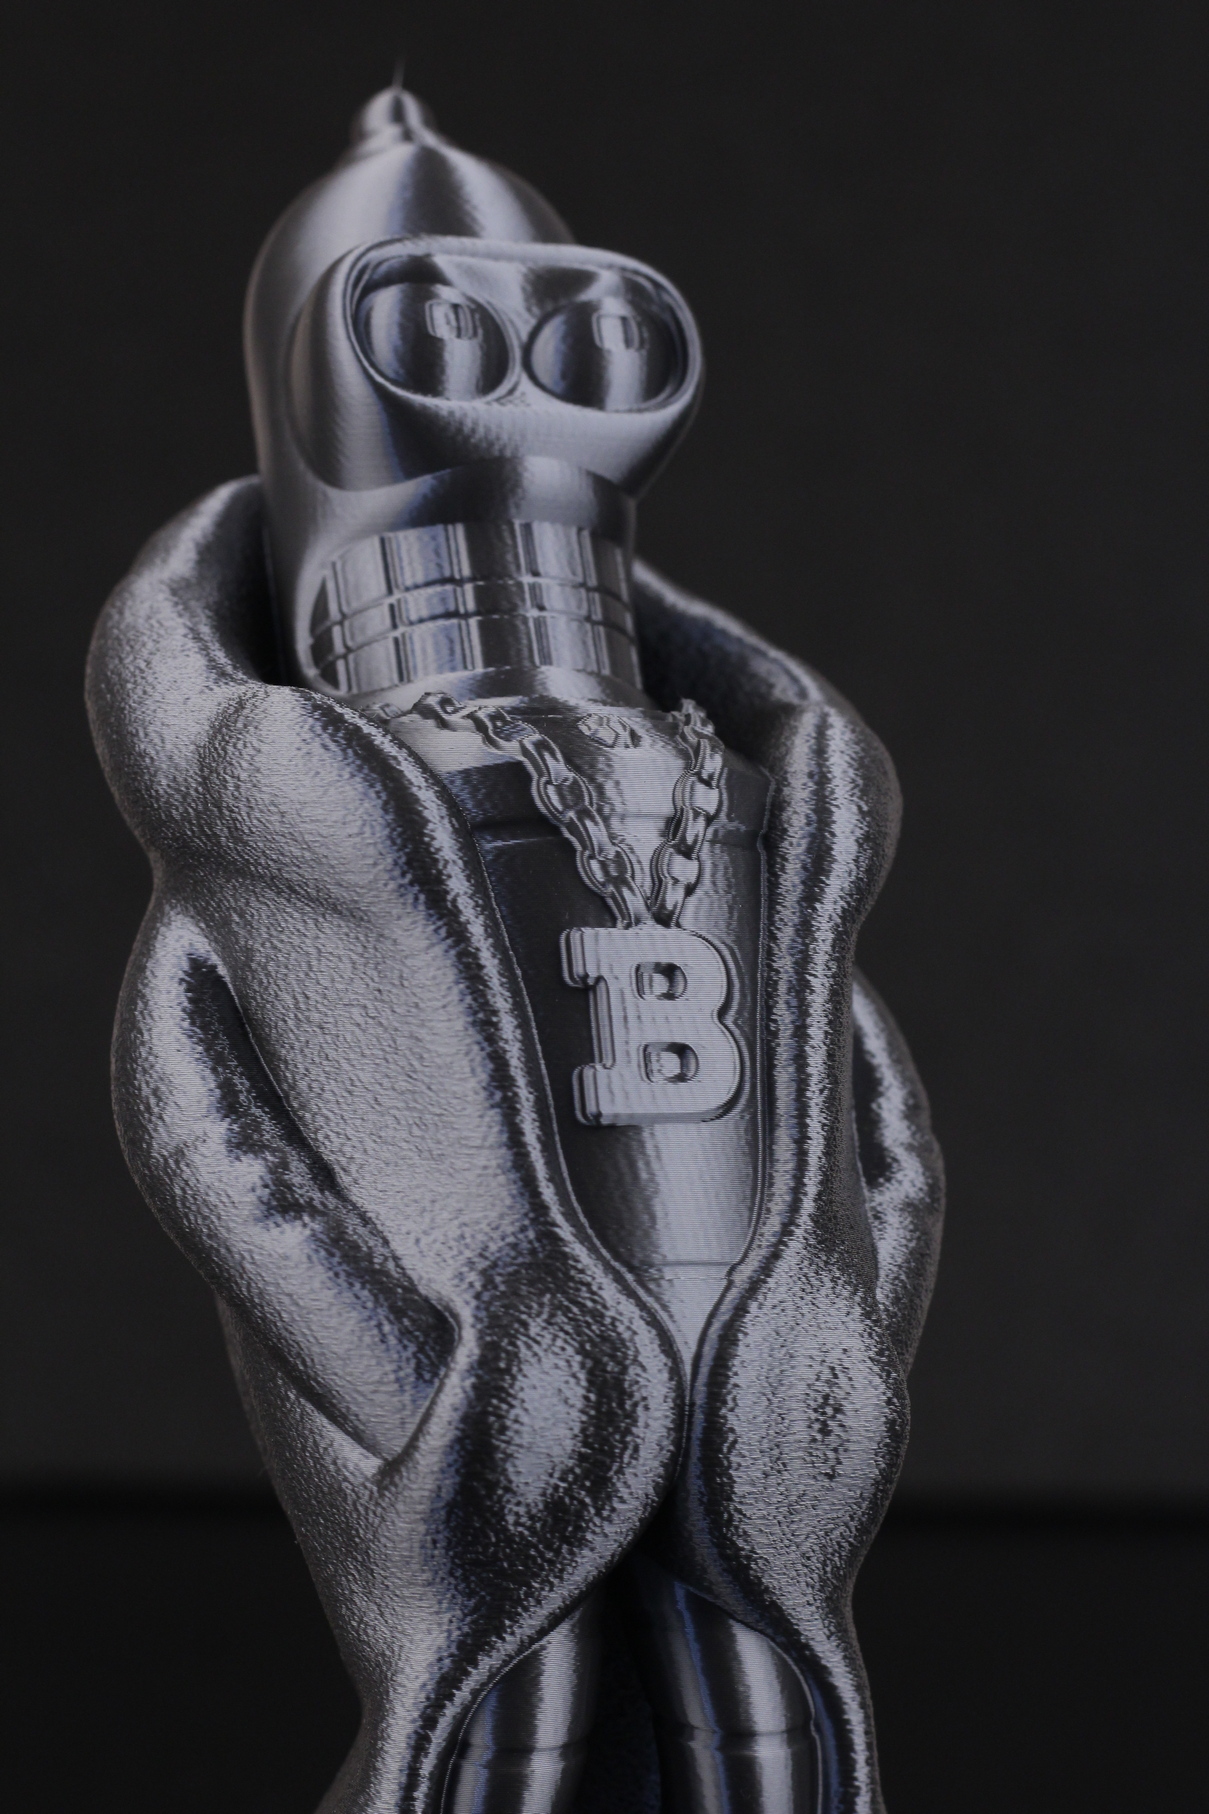
- Material: Extrudr BioFusion Metallic Grey
- Layer Height: 0.15mm
- Nozzle Temperature: 215C
- Bed Temperature: 60C
- Print Speed: 45 mm/s
Torture Toaster
As usual, I also printed the Torture Toaster, to check how well the printer does when it comes to tolerances. I was able to move the 0.3mm tolerance test piece, but the 0.2mm one was stuck. Besides that, some of the overhangs failed and broke off during printing. The small features were not cooled fast enough during printing and the nozzle hit them.
The rest of the features work as you would expect.
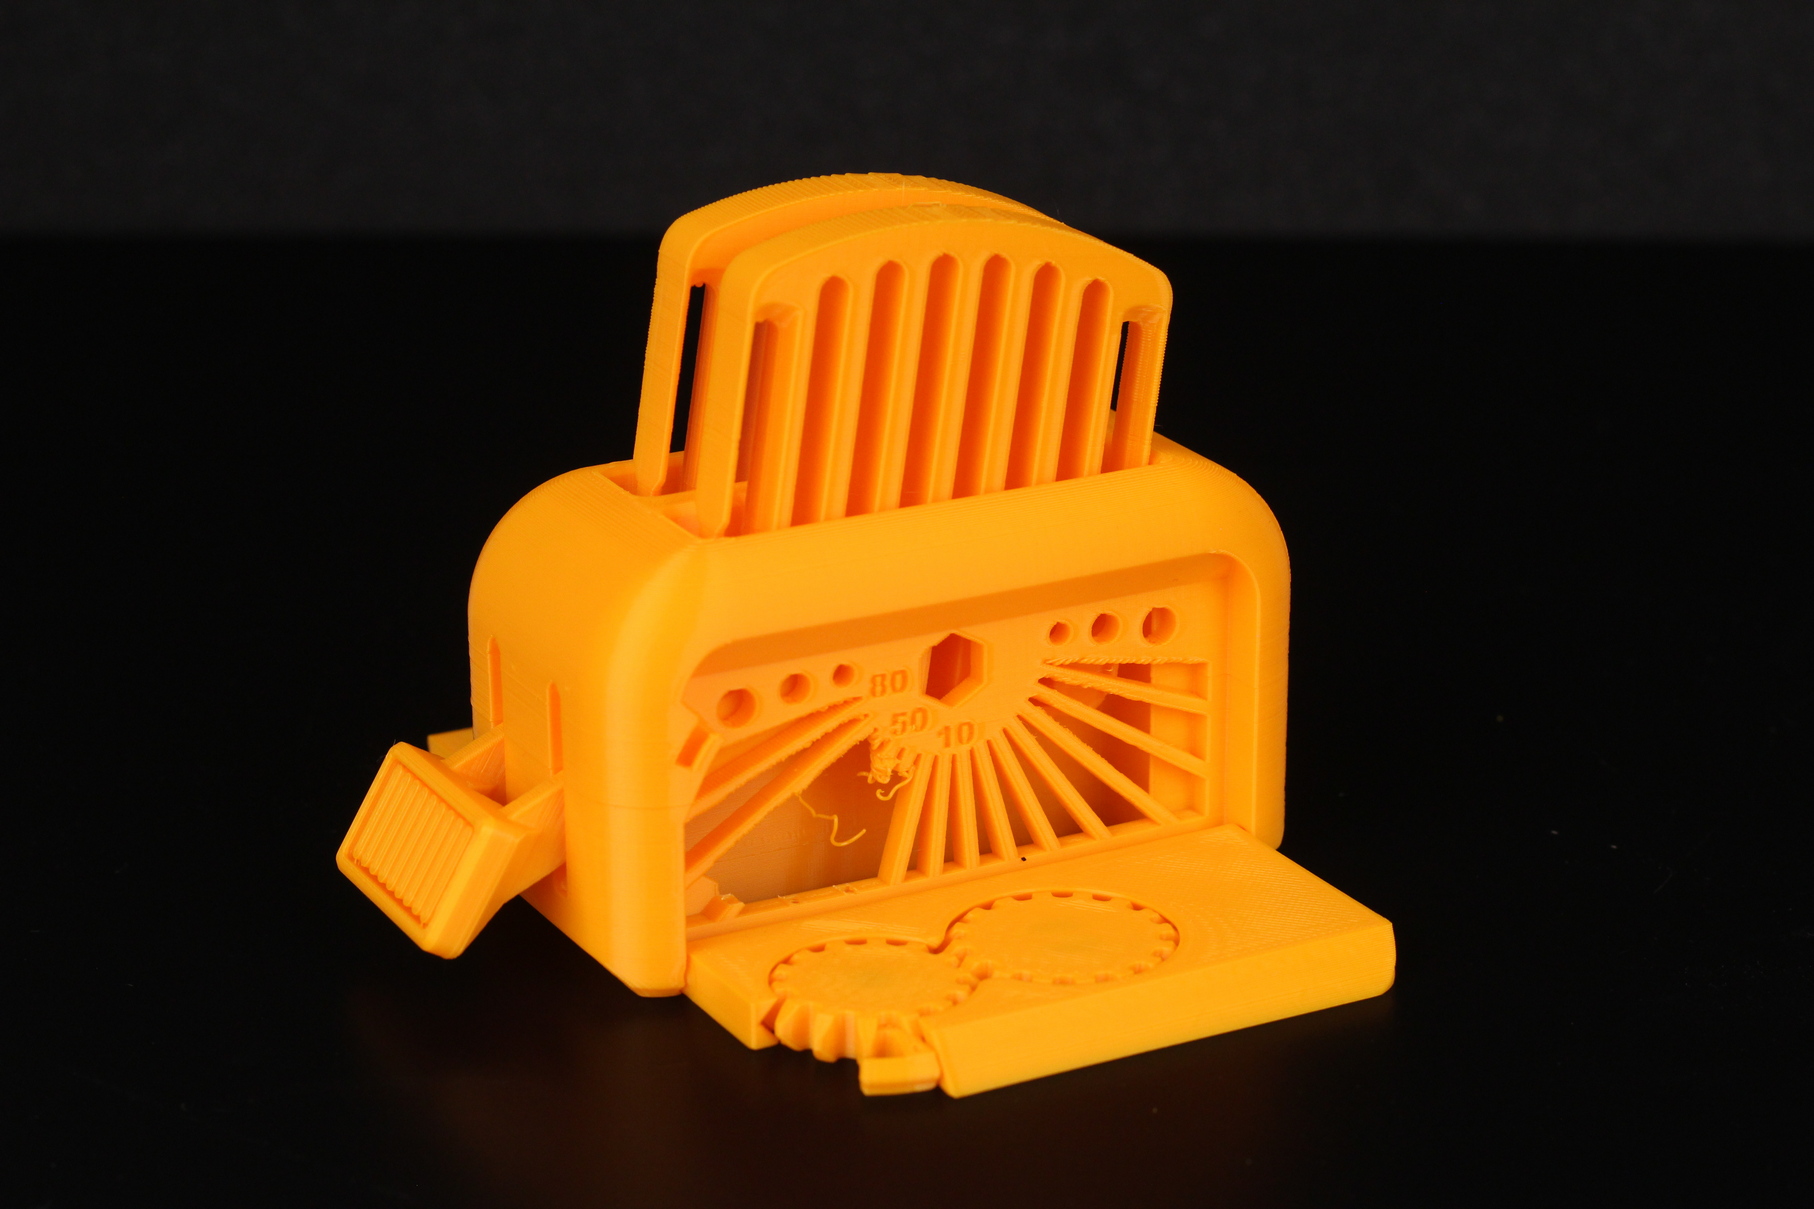
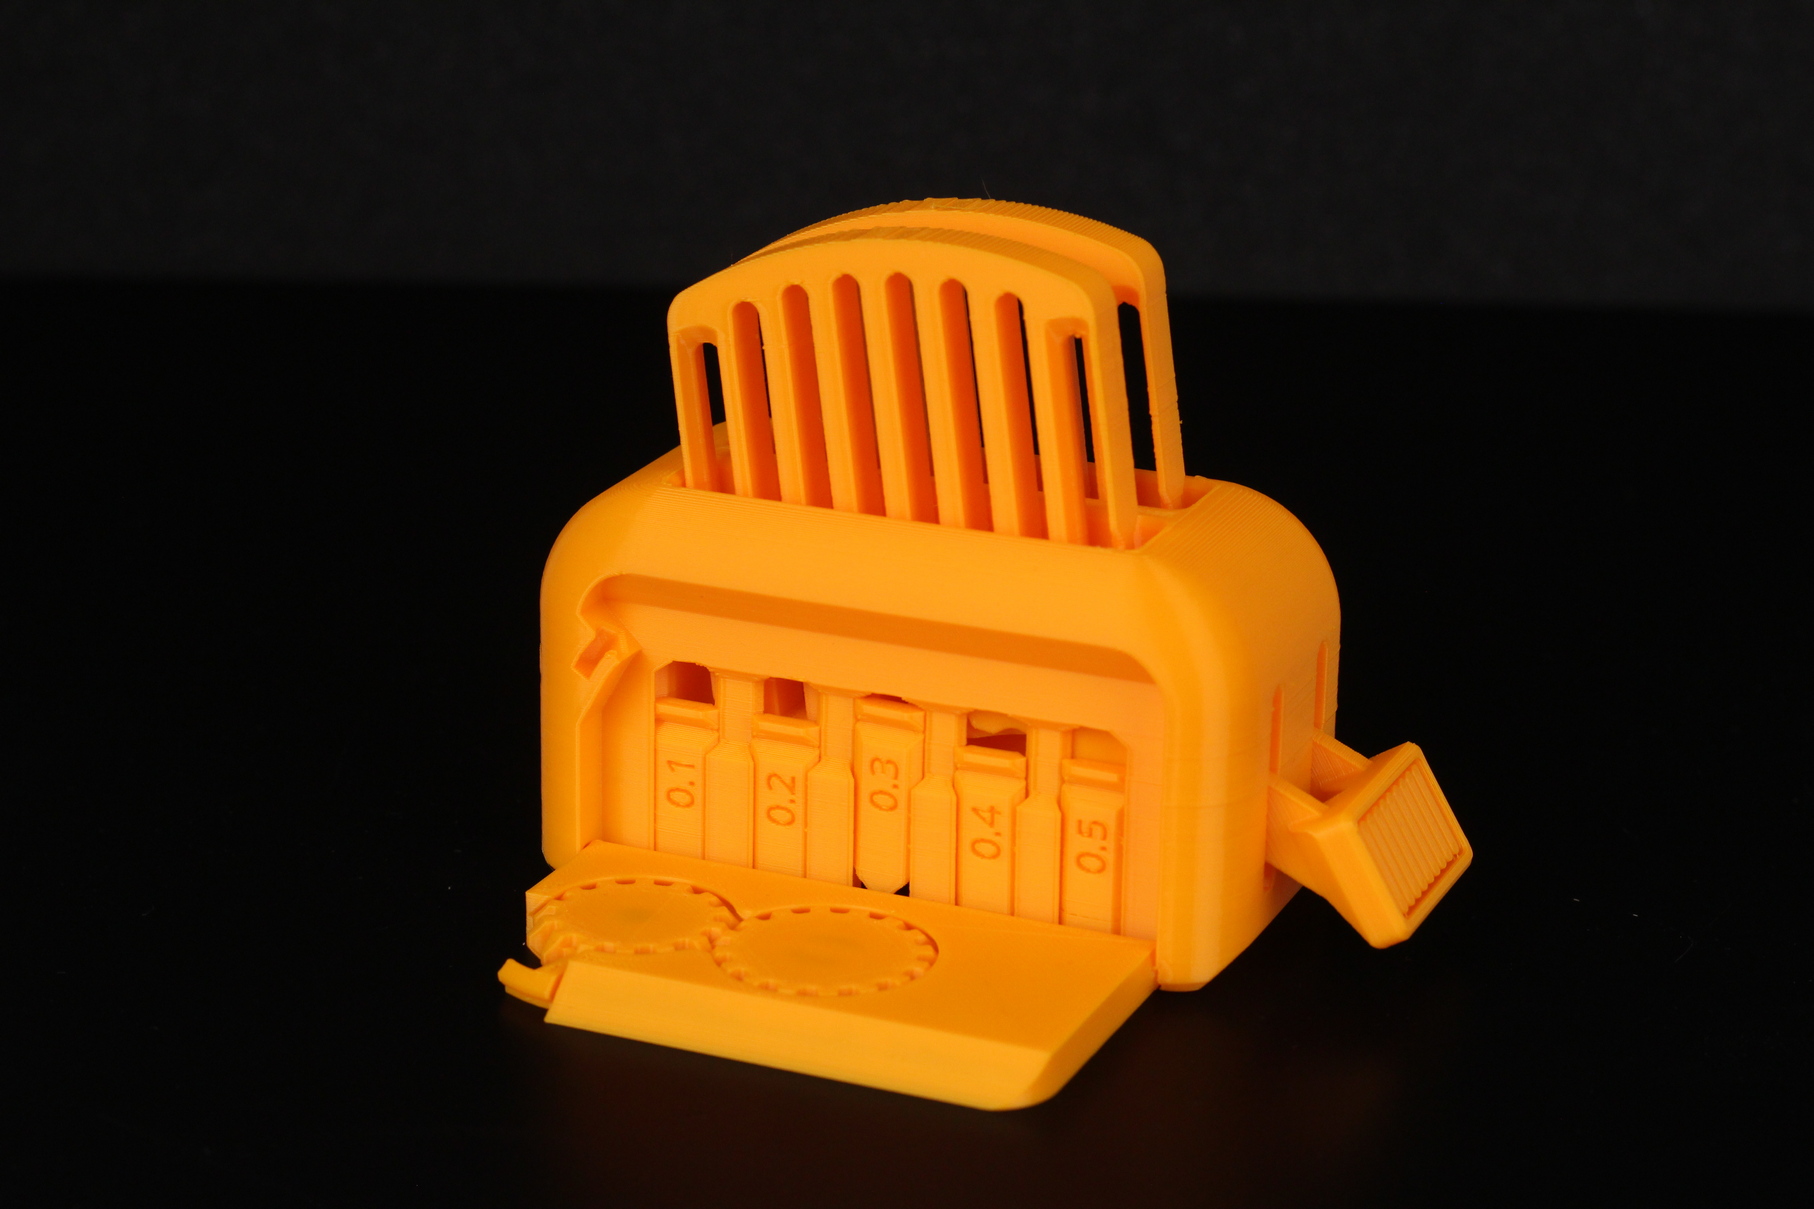
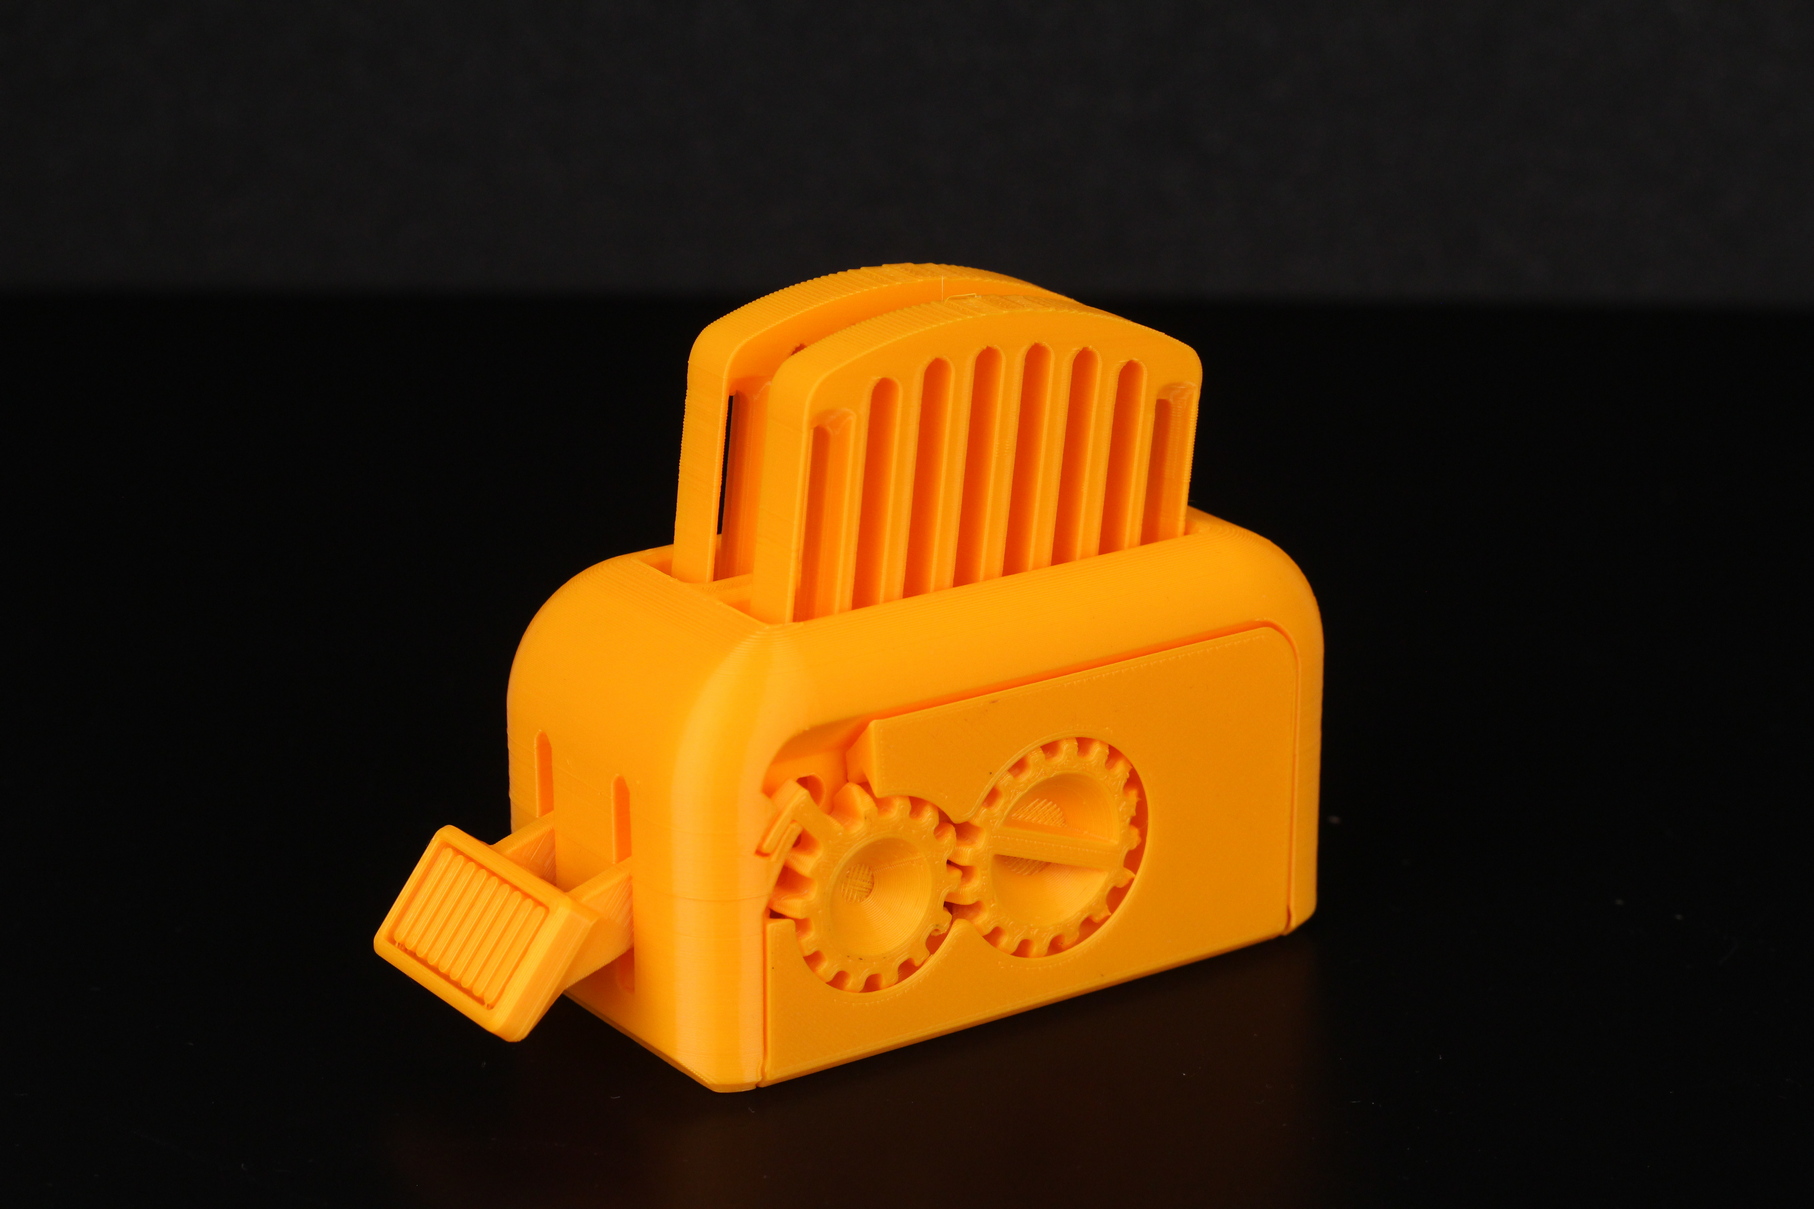
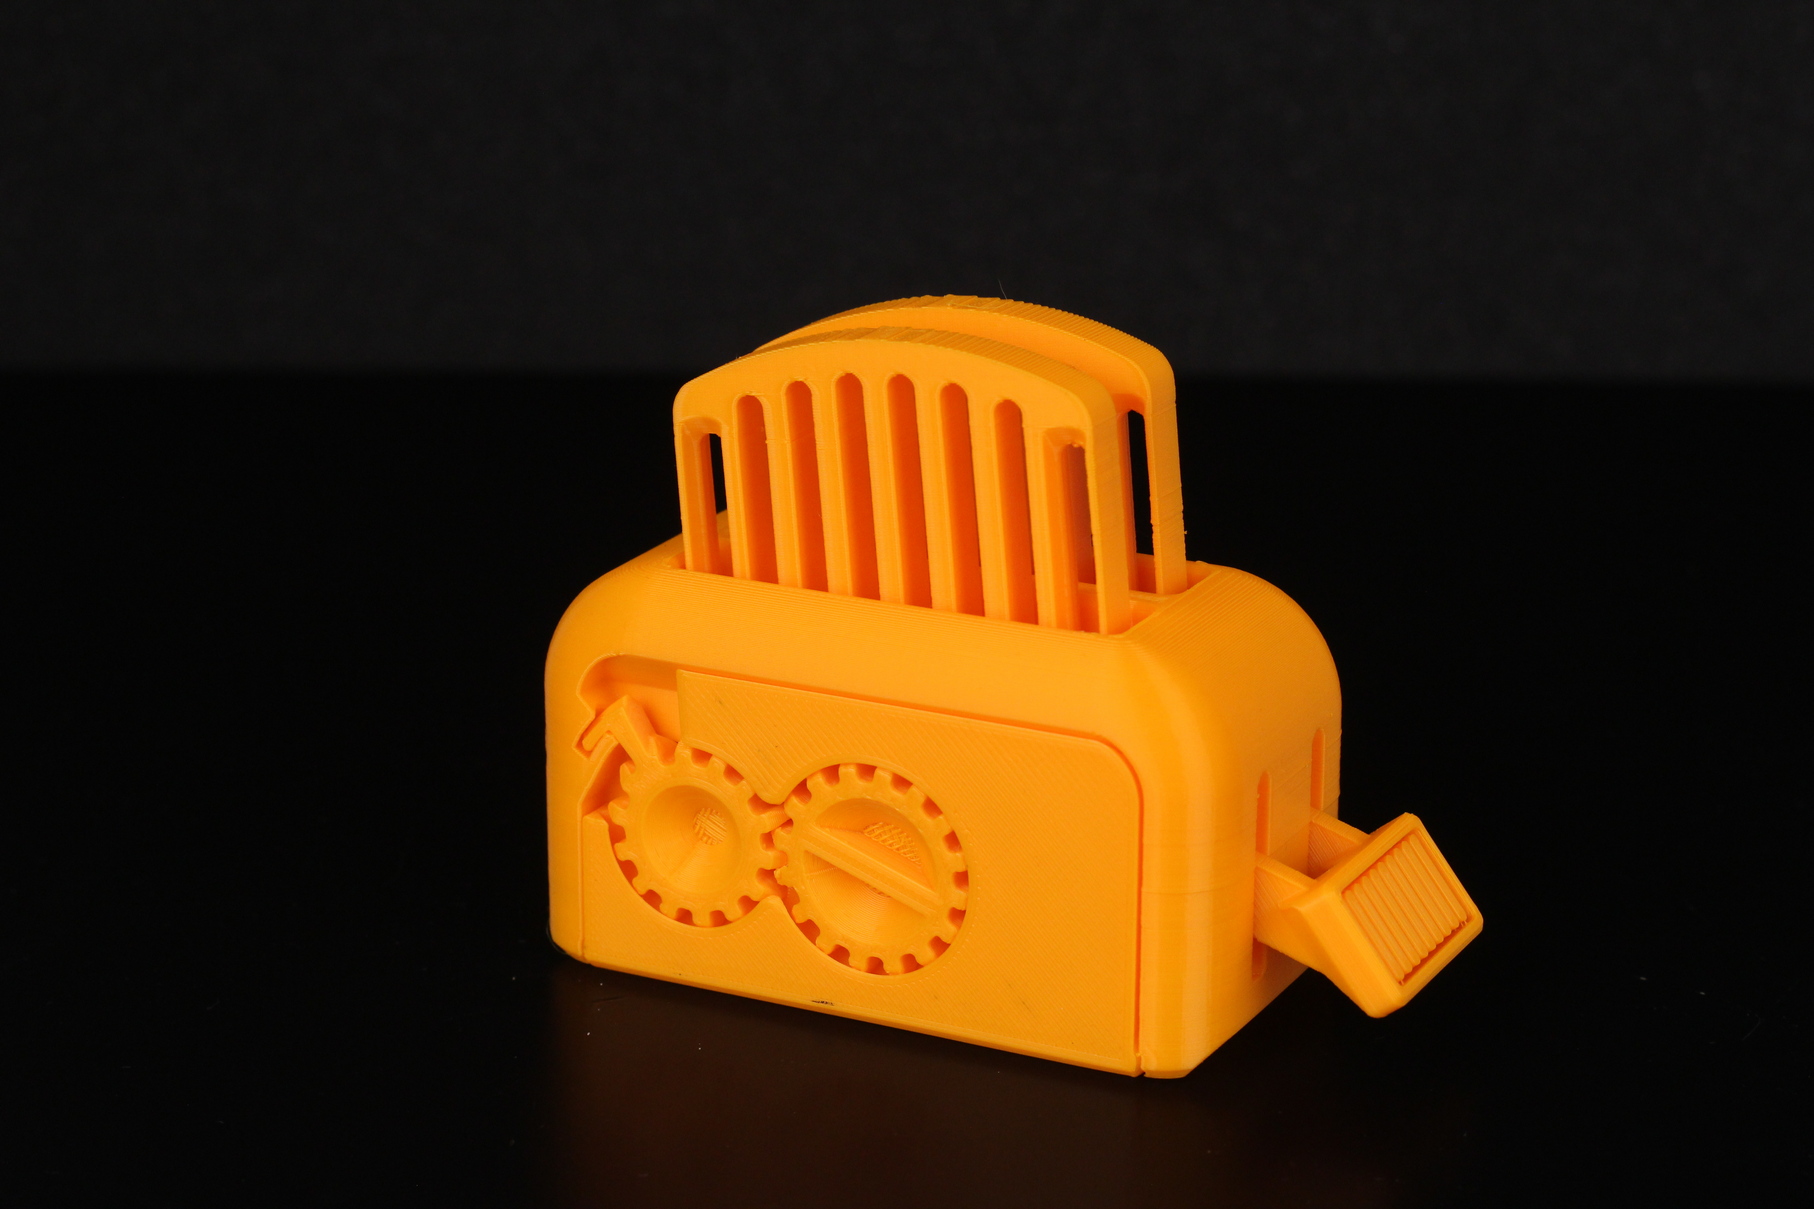
- Material: DevilDesign Orange PLA
- Layer Height: 0.2mm
- Nozzle Temperature: 215C
- Bed Temperature: 60C
- Print Speed: 60 mm/s
Phil-A-Ment
I also print Phil-A-Ment on every 3D printer I test because it’s a good way to see how well a printer performs. The external layers are stacked well, but you can also see the ribbing effect on the smooth sections. Other than that, the overhang section was printed well and the underside of the gloves looks better than I expected. Adhesion was also great considering the tiny contact surface of this model.
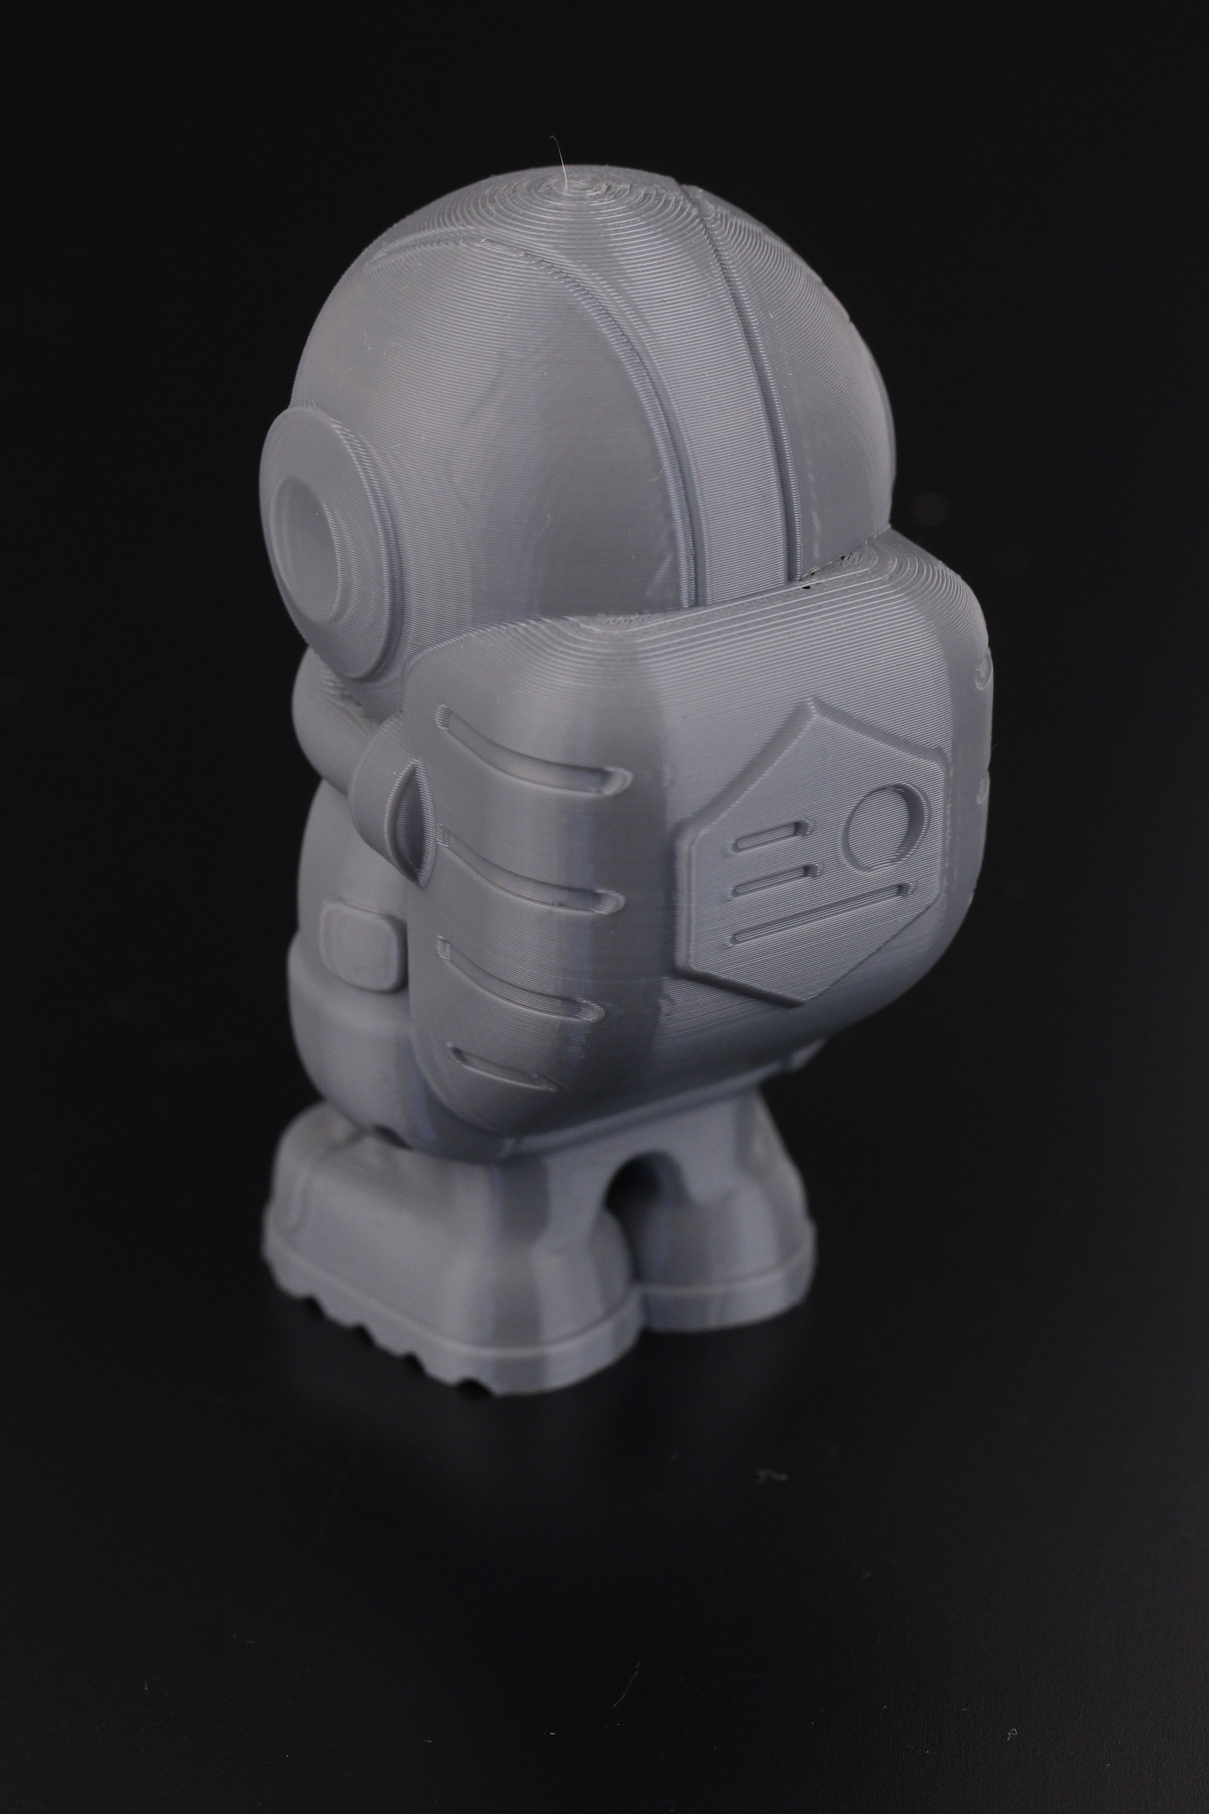
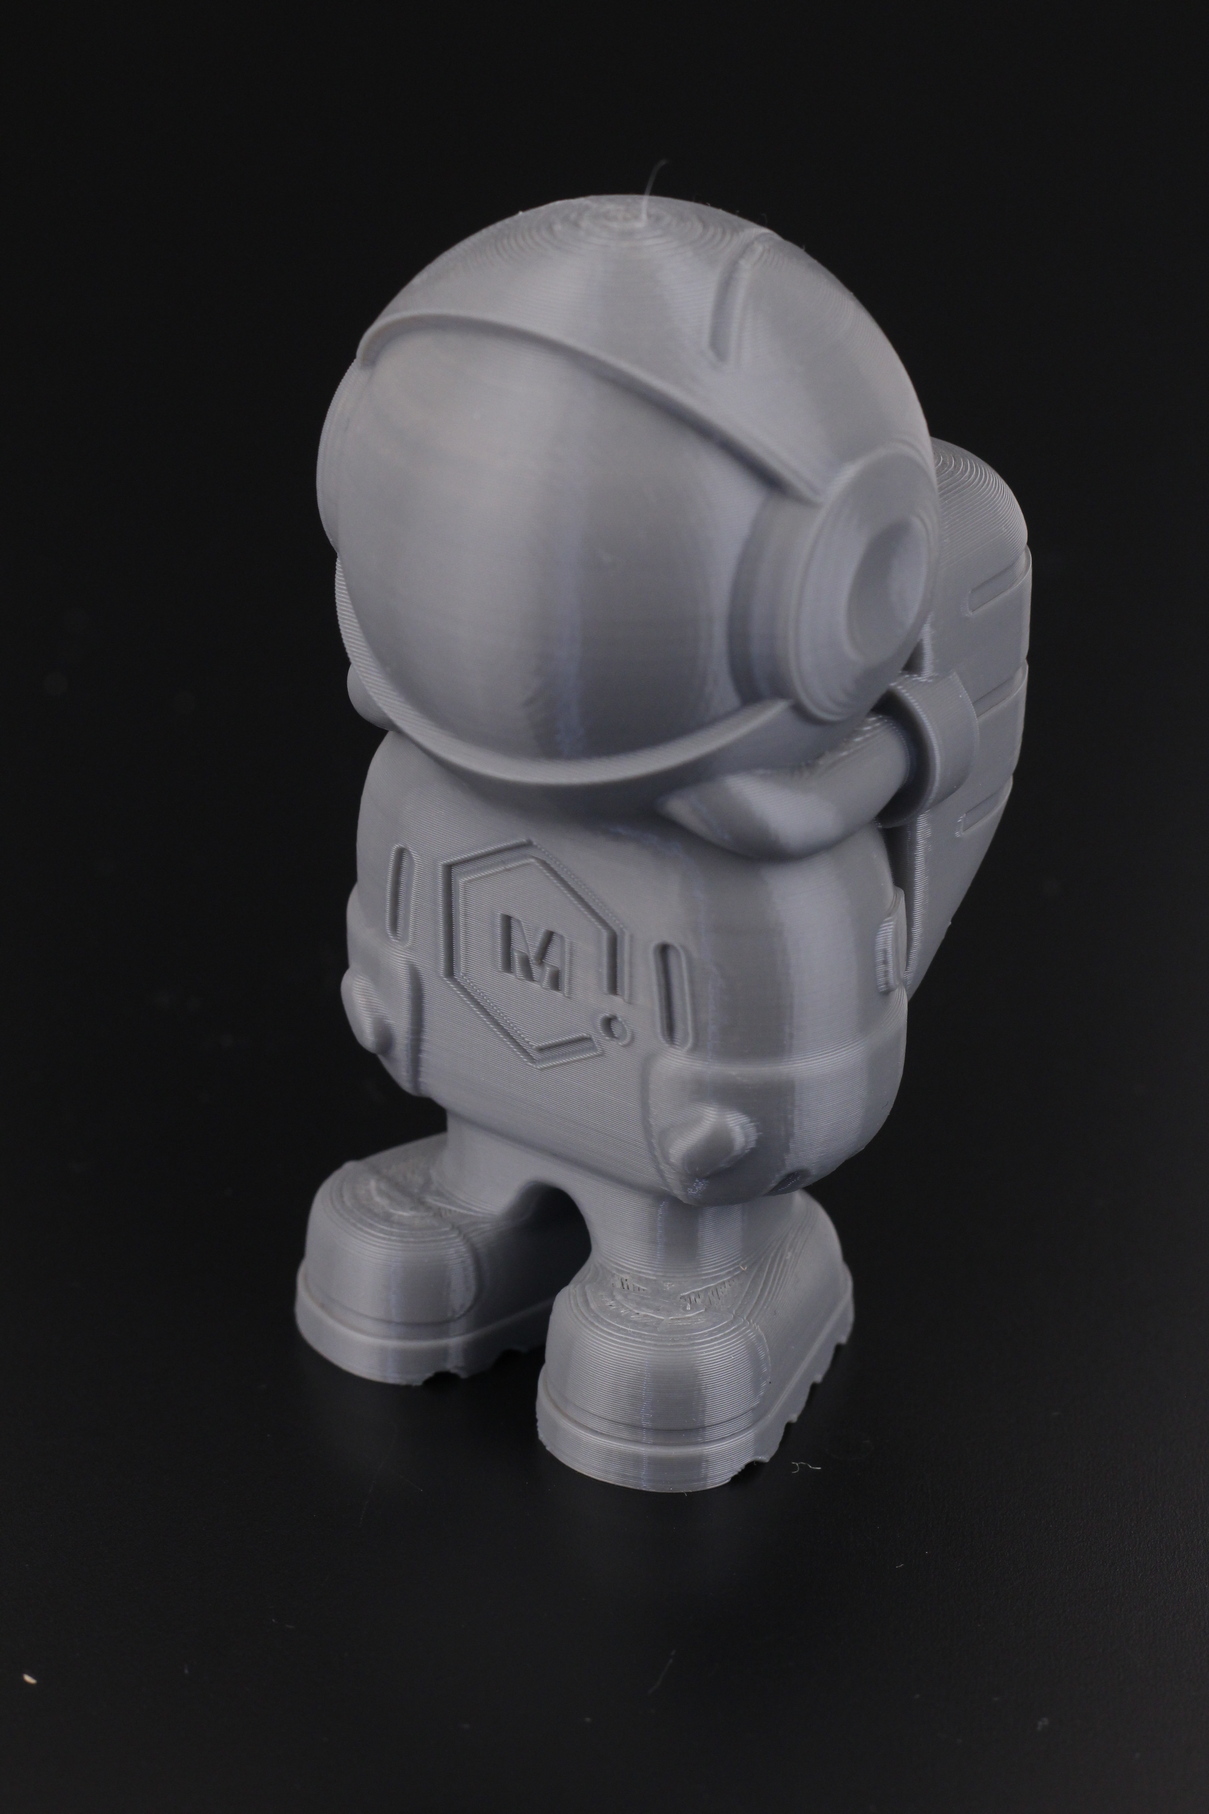
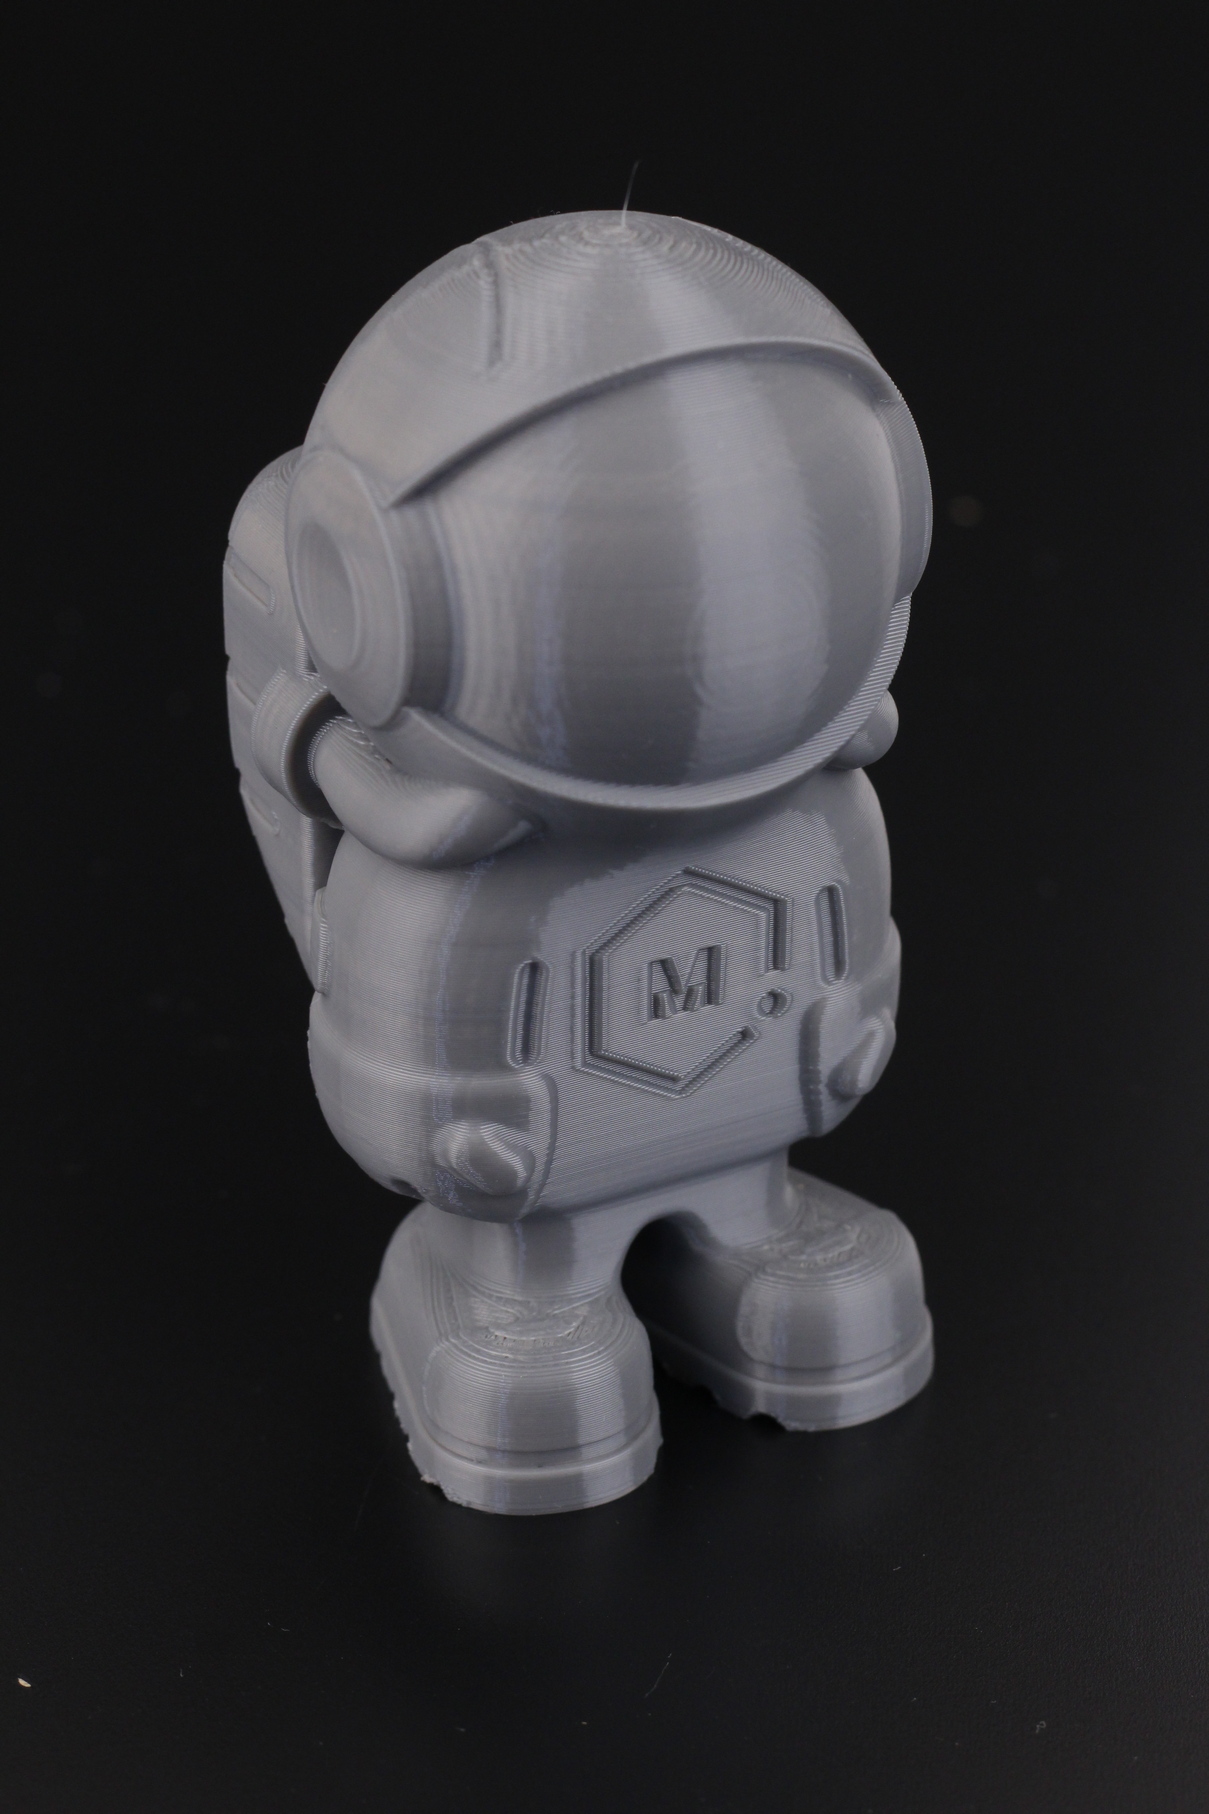
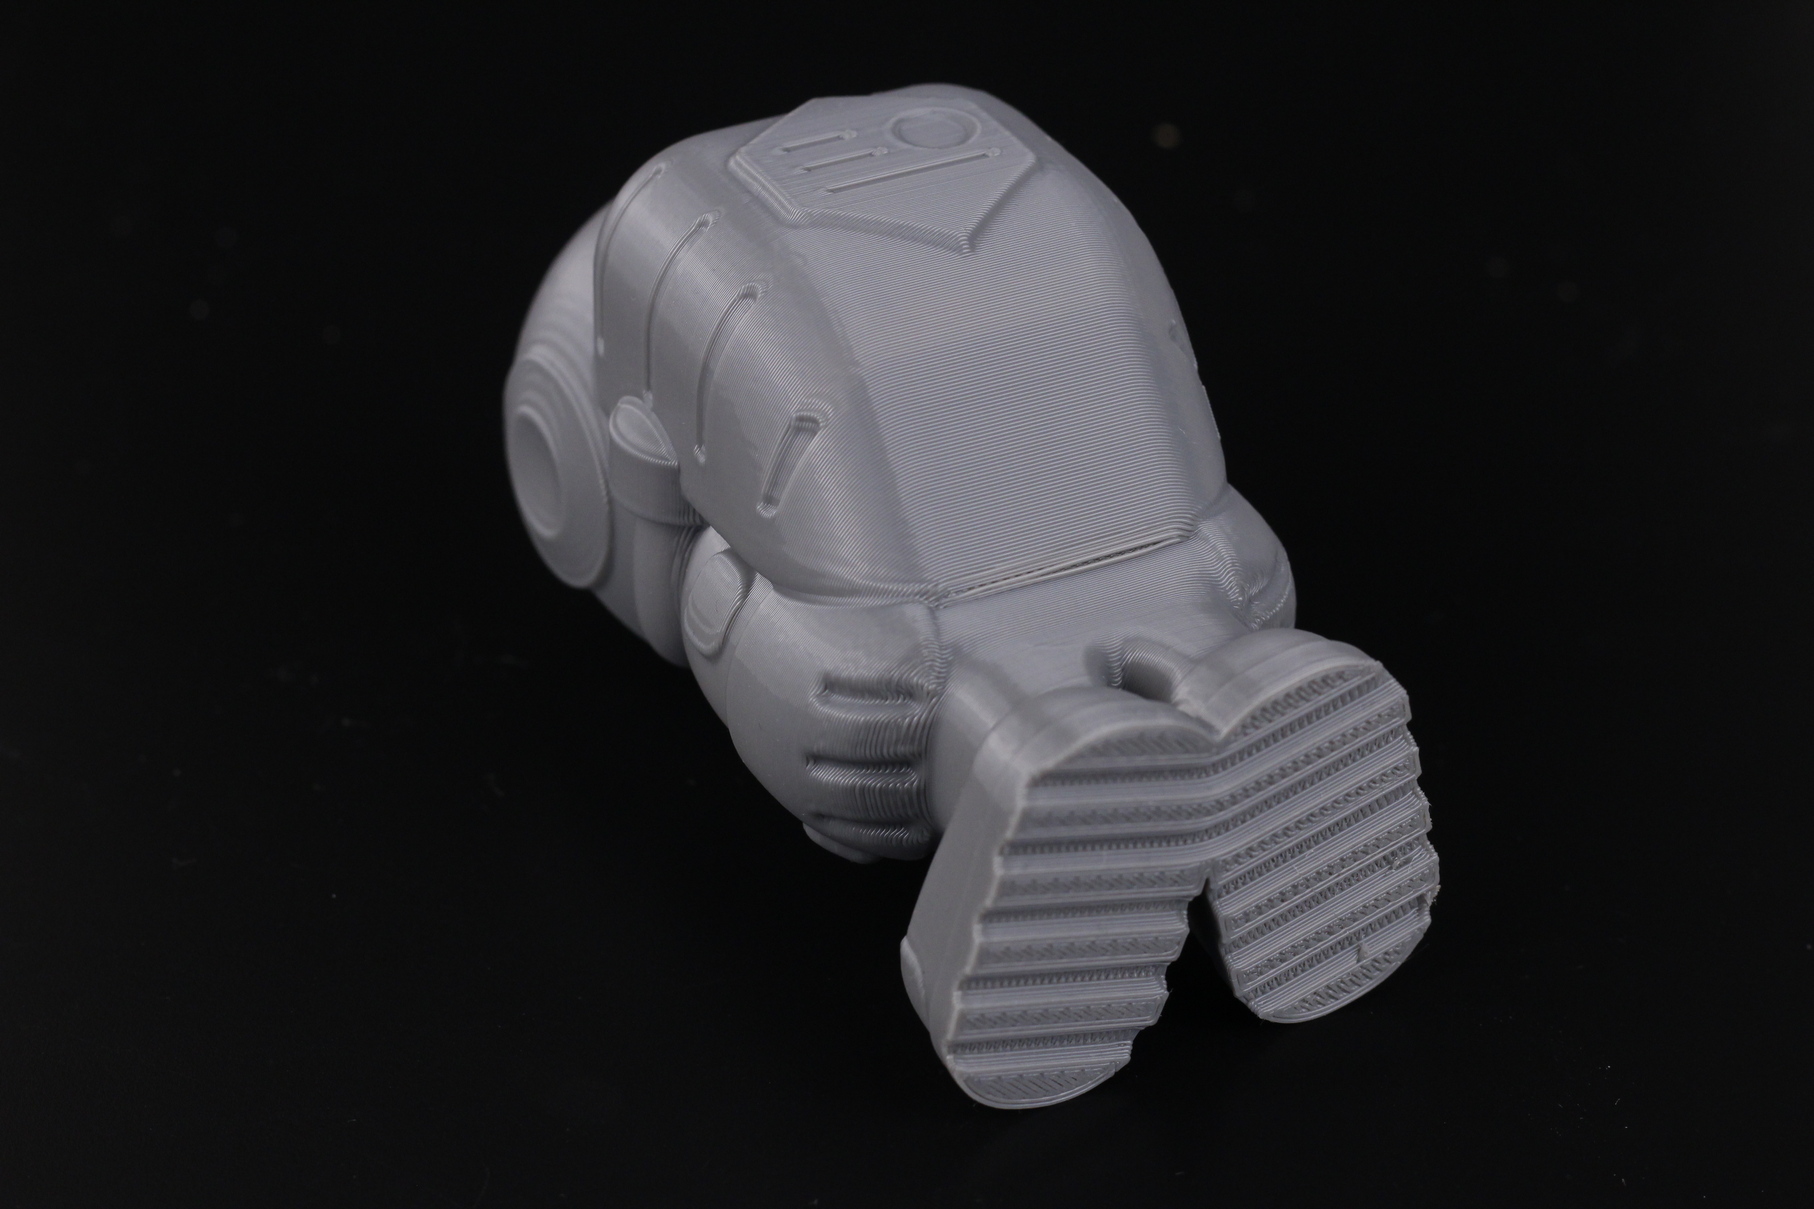
- Material: Sunlu Grey PLA
- Layer Height: 0.2mm
- Nozzle Temperature: 210C
- Bed Temperature: 60C
- Print Speed: 60 mm/s
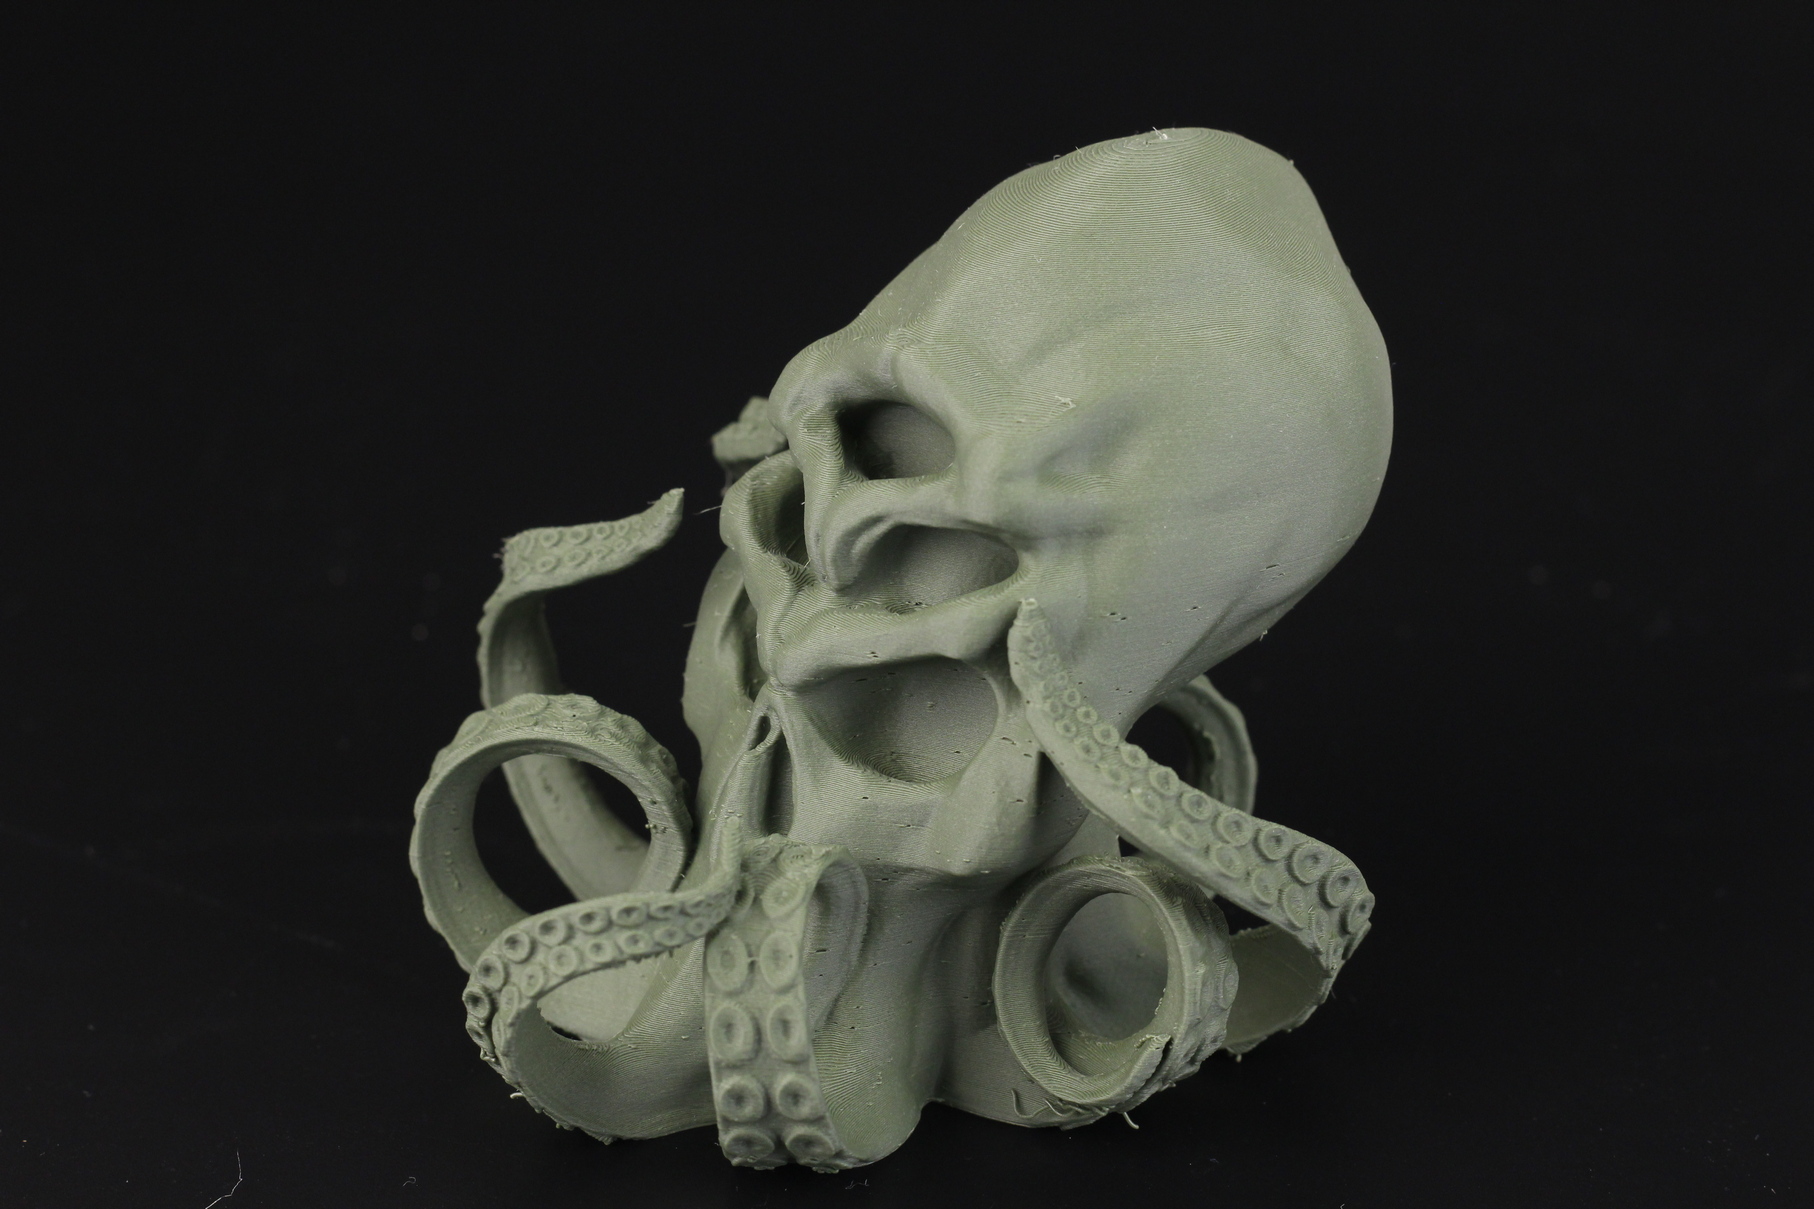
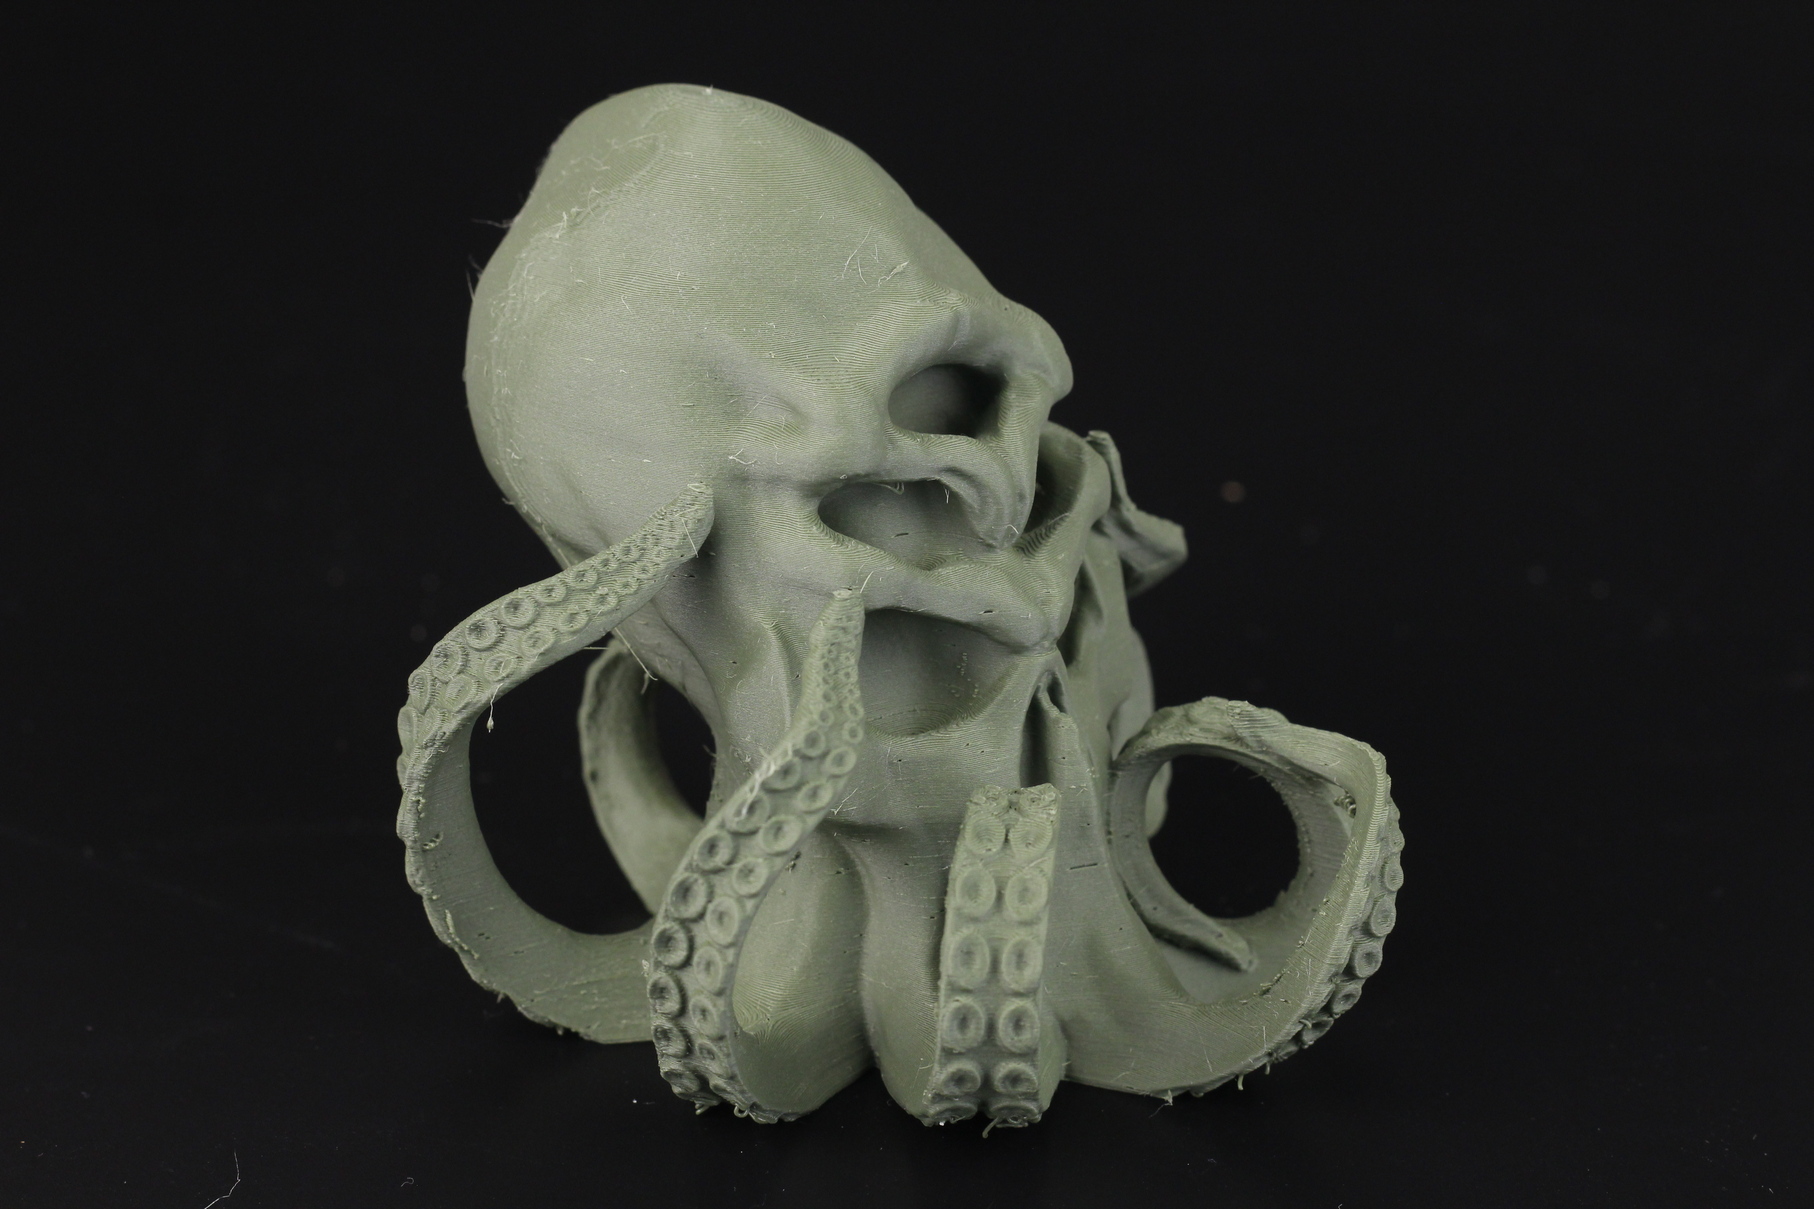
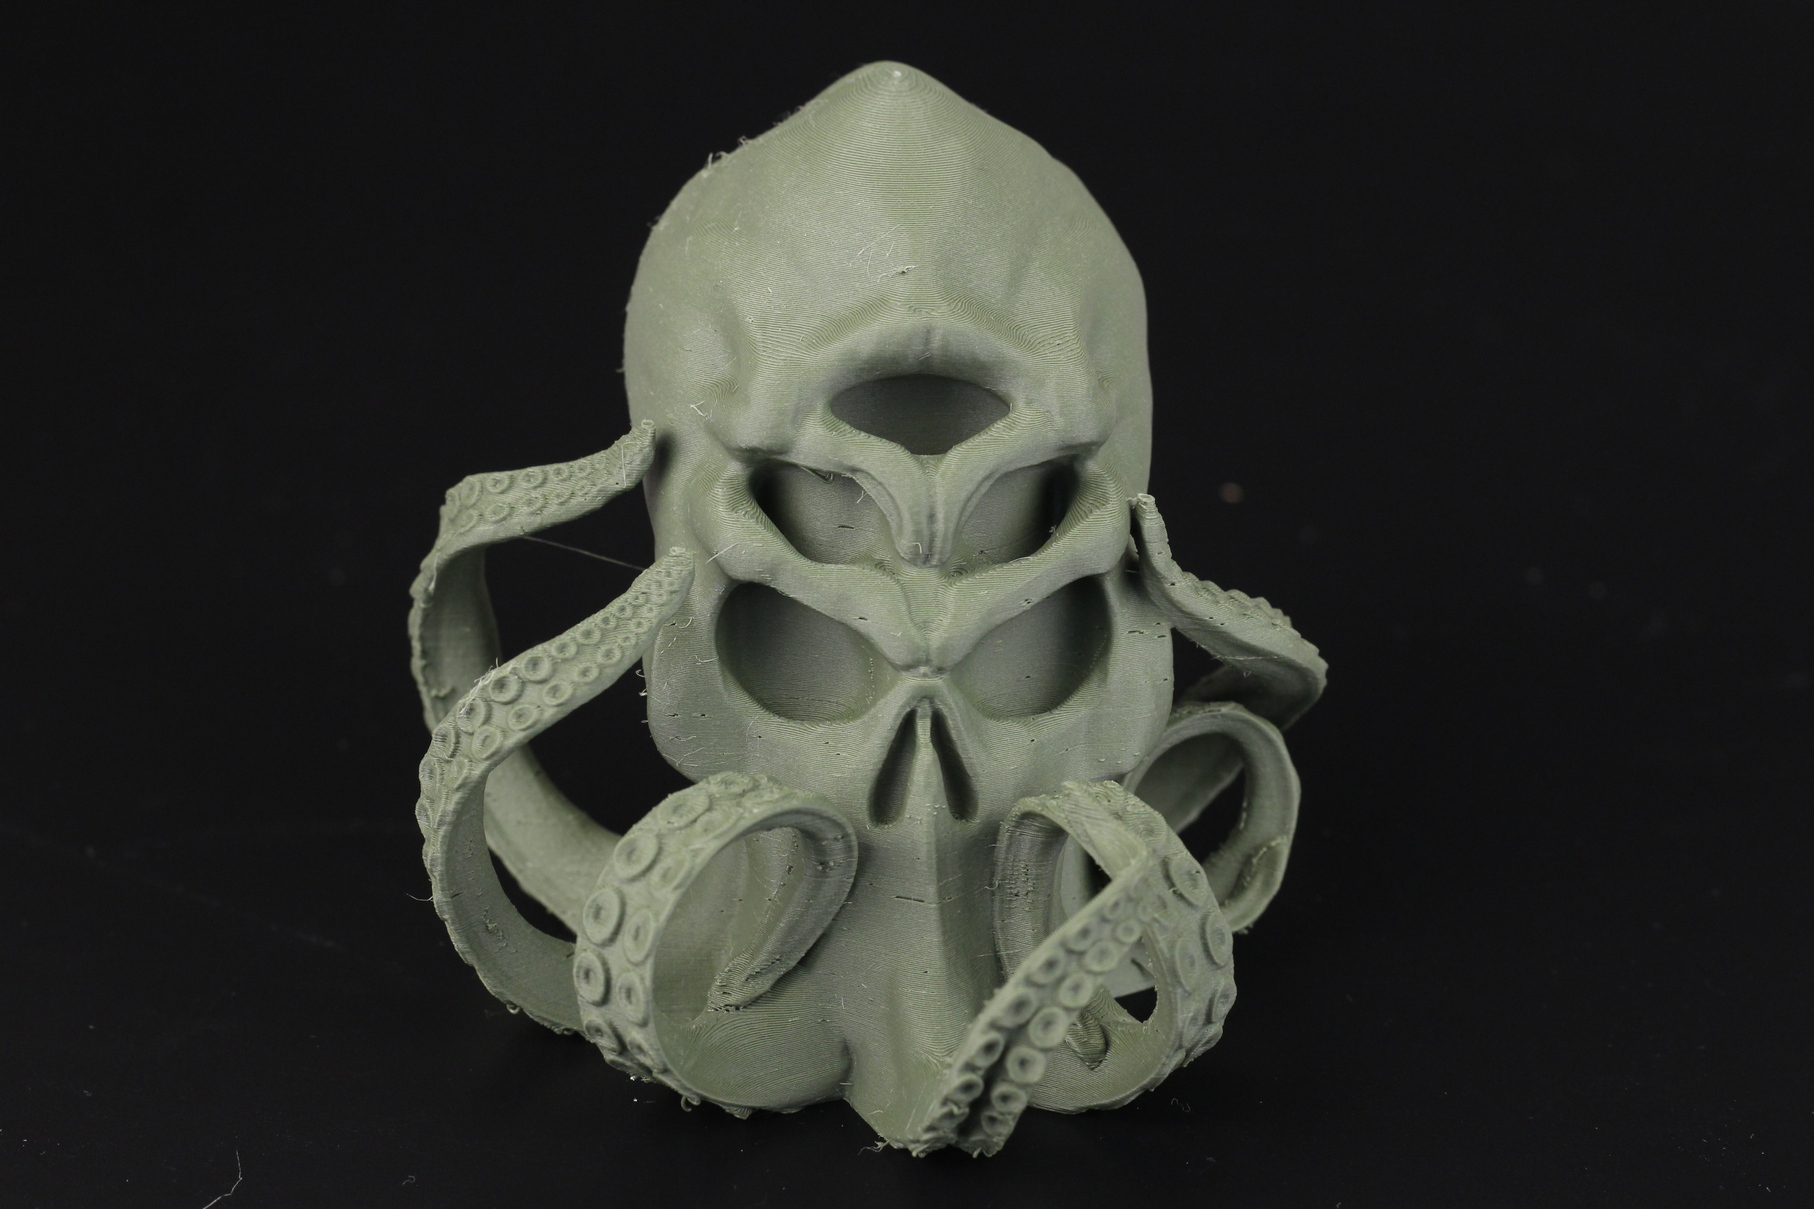
Cthulu
BIQU also sent me some of their Matte Olive-Green PLA to test, but I can’t say I am a big fan. The color is nice, but every time I print it, there’s some stringing present and layer adhesion is not great. In this model, you can also see some tiny points where the filament did not extrude well and caused tiny holes on the external walls. I don’t think this is caused by the printer, becase this didn’t happen with the rest of the filaments.
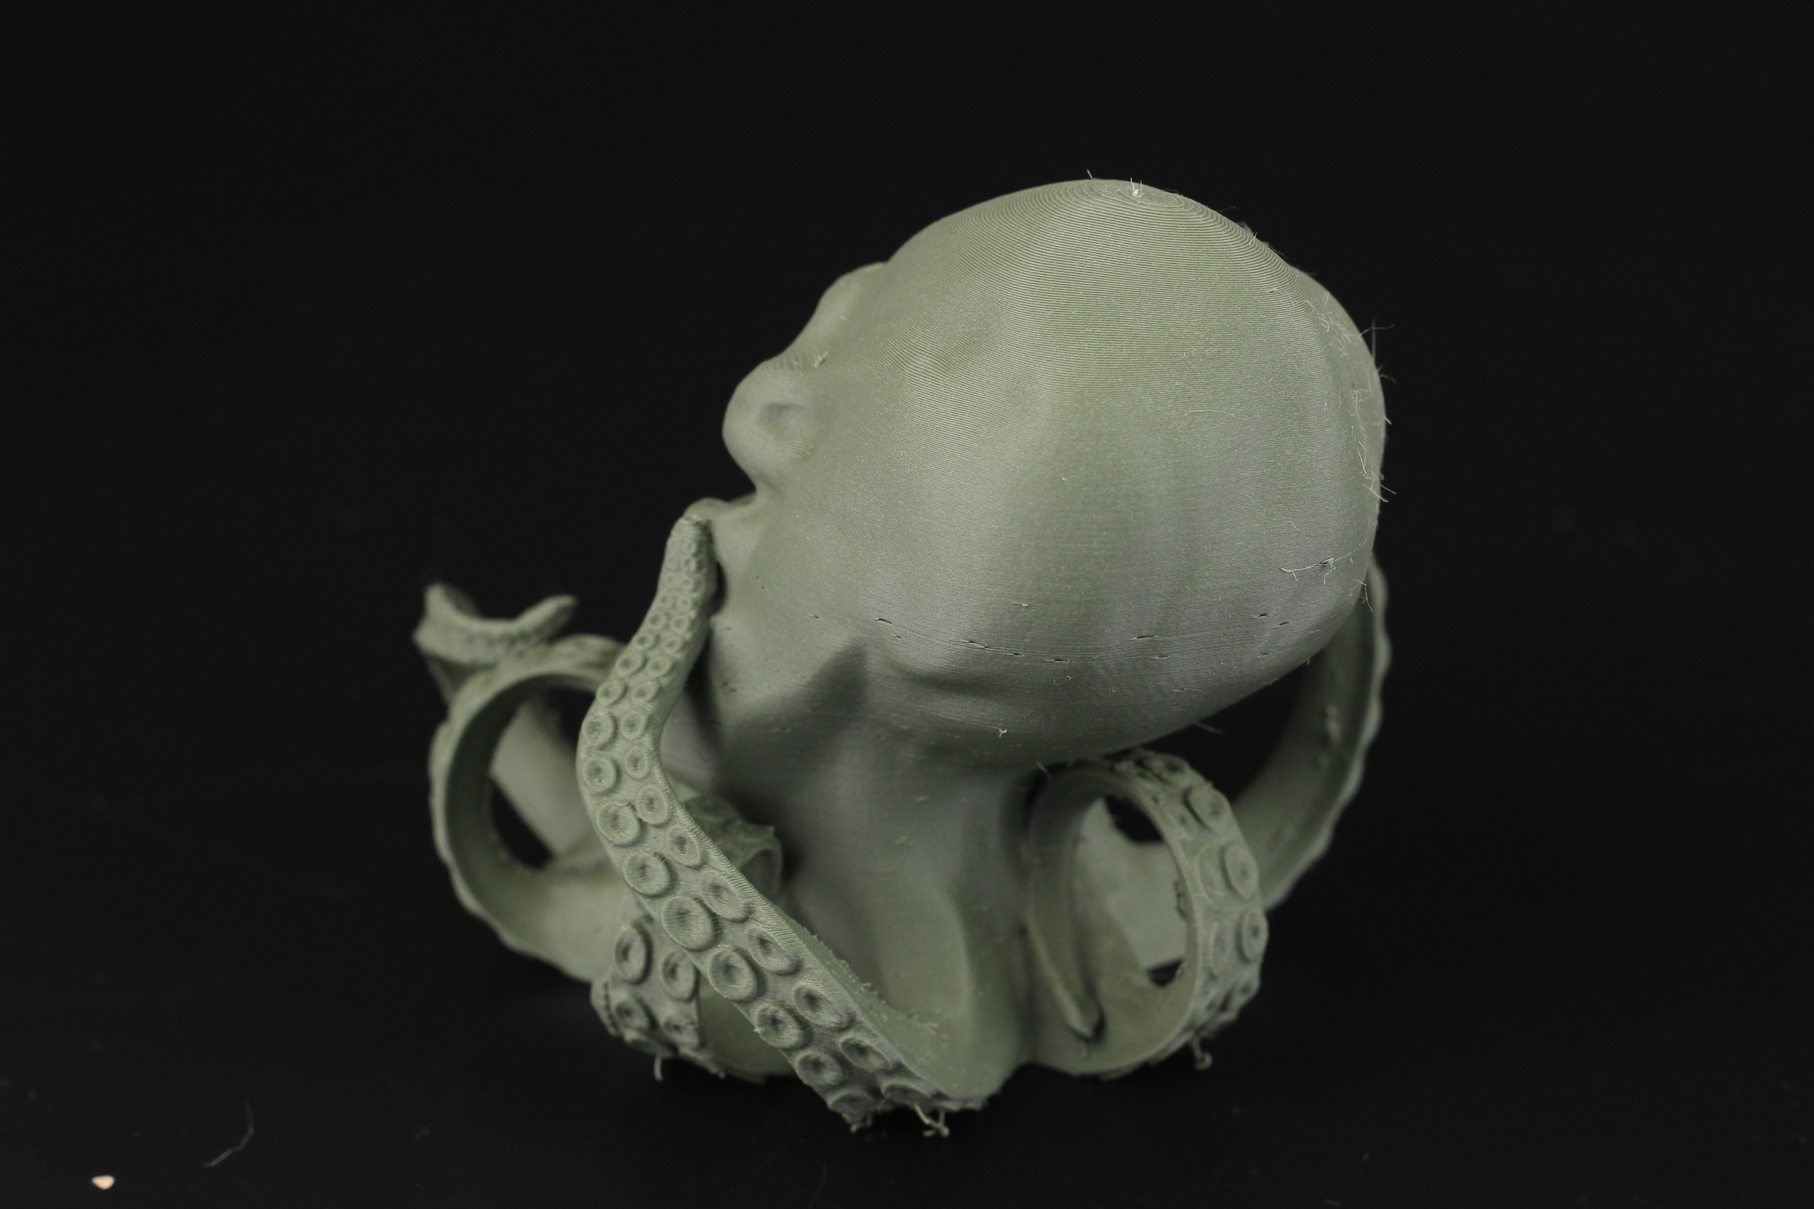
- Material: BIQU Olive Green Matte PLA
- Layer Height: 0.15mm
- Nozzle Temperature: 215C
- Bed Temperature: 60C
- Print Speed: 50 mm/s
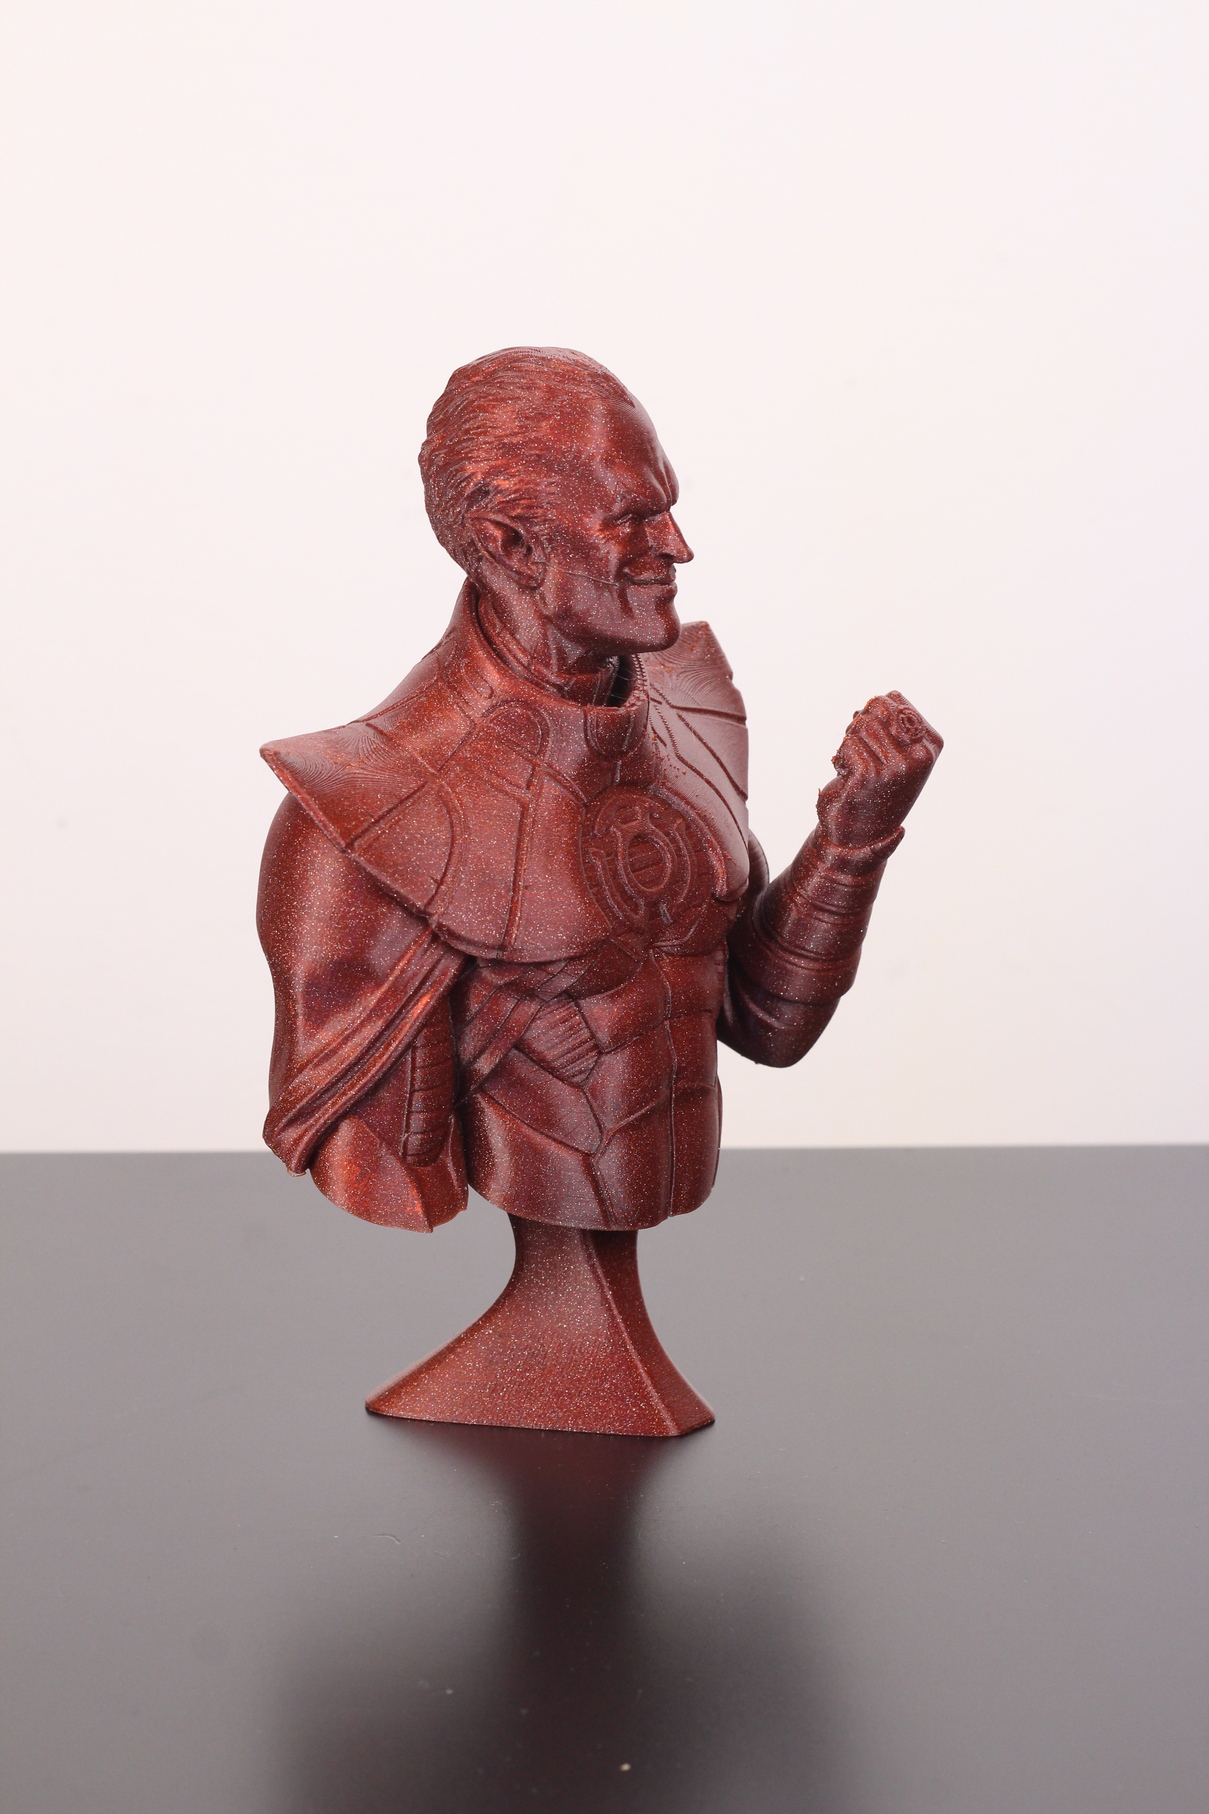
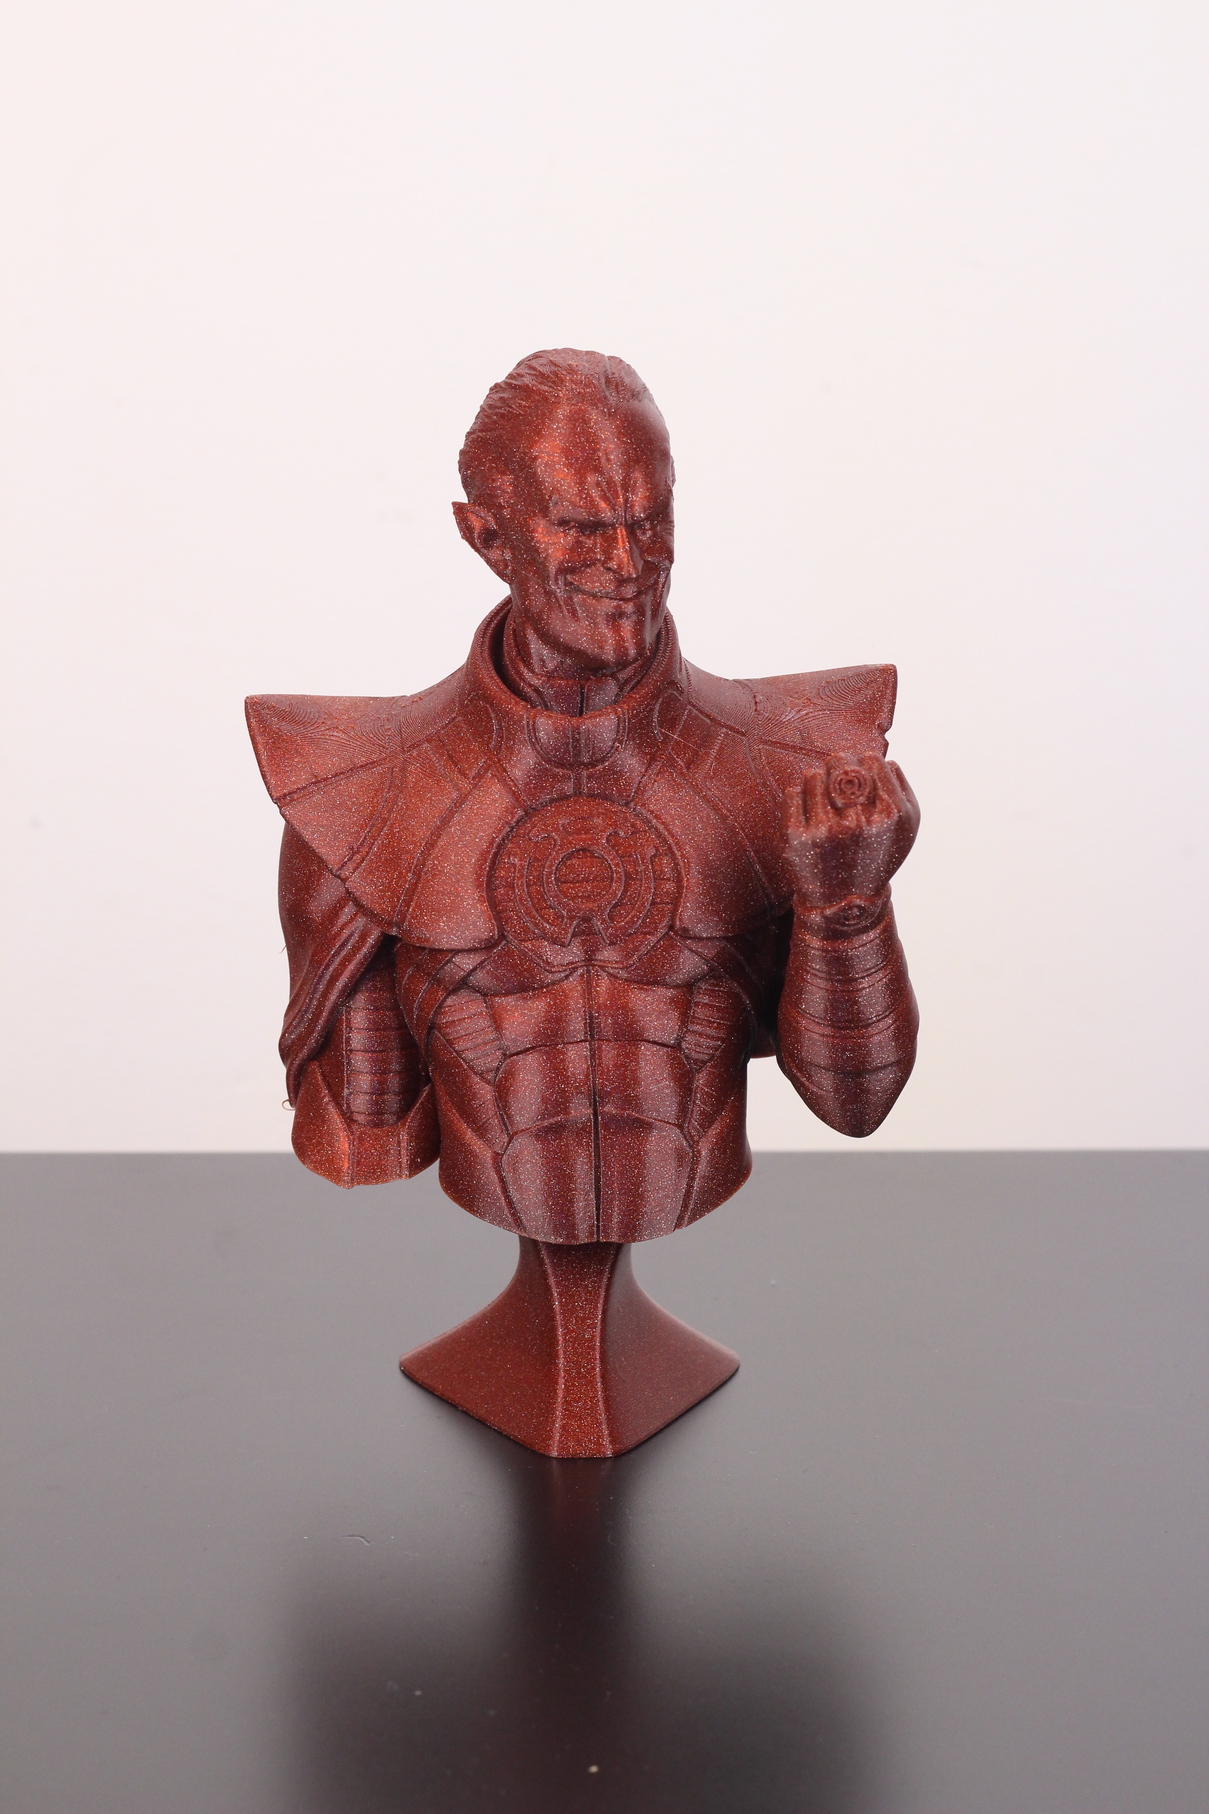
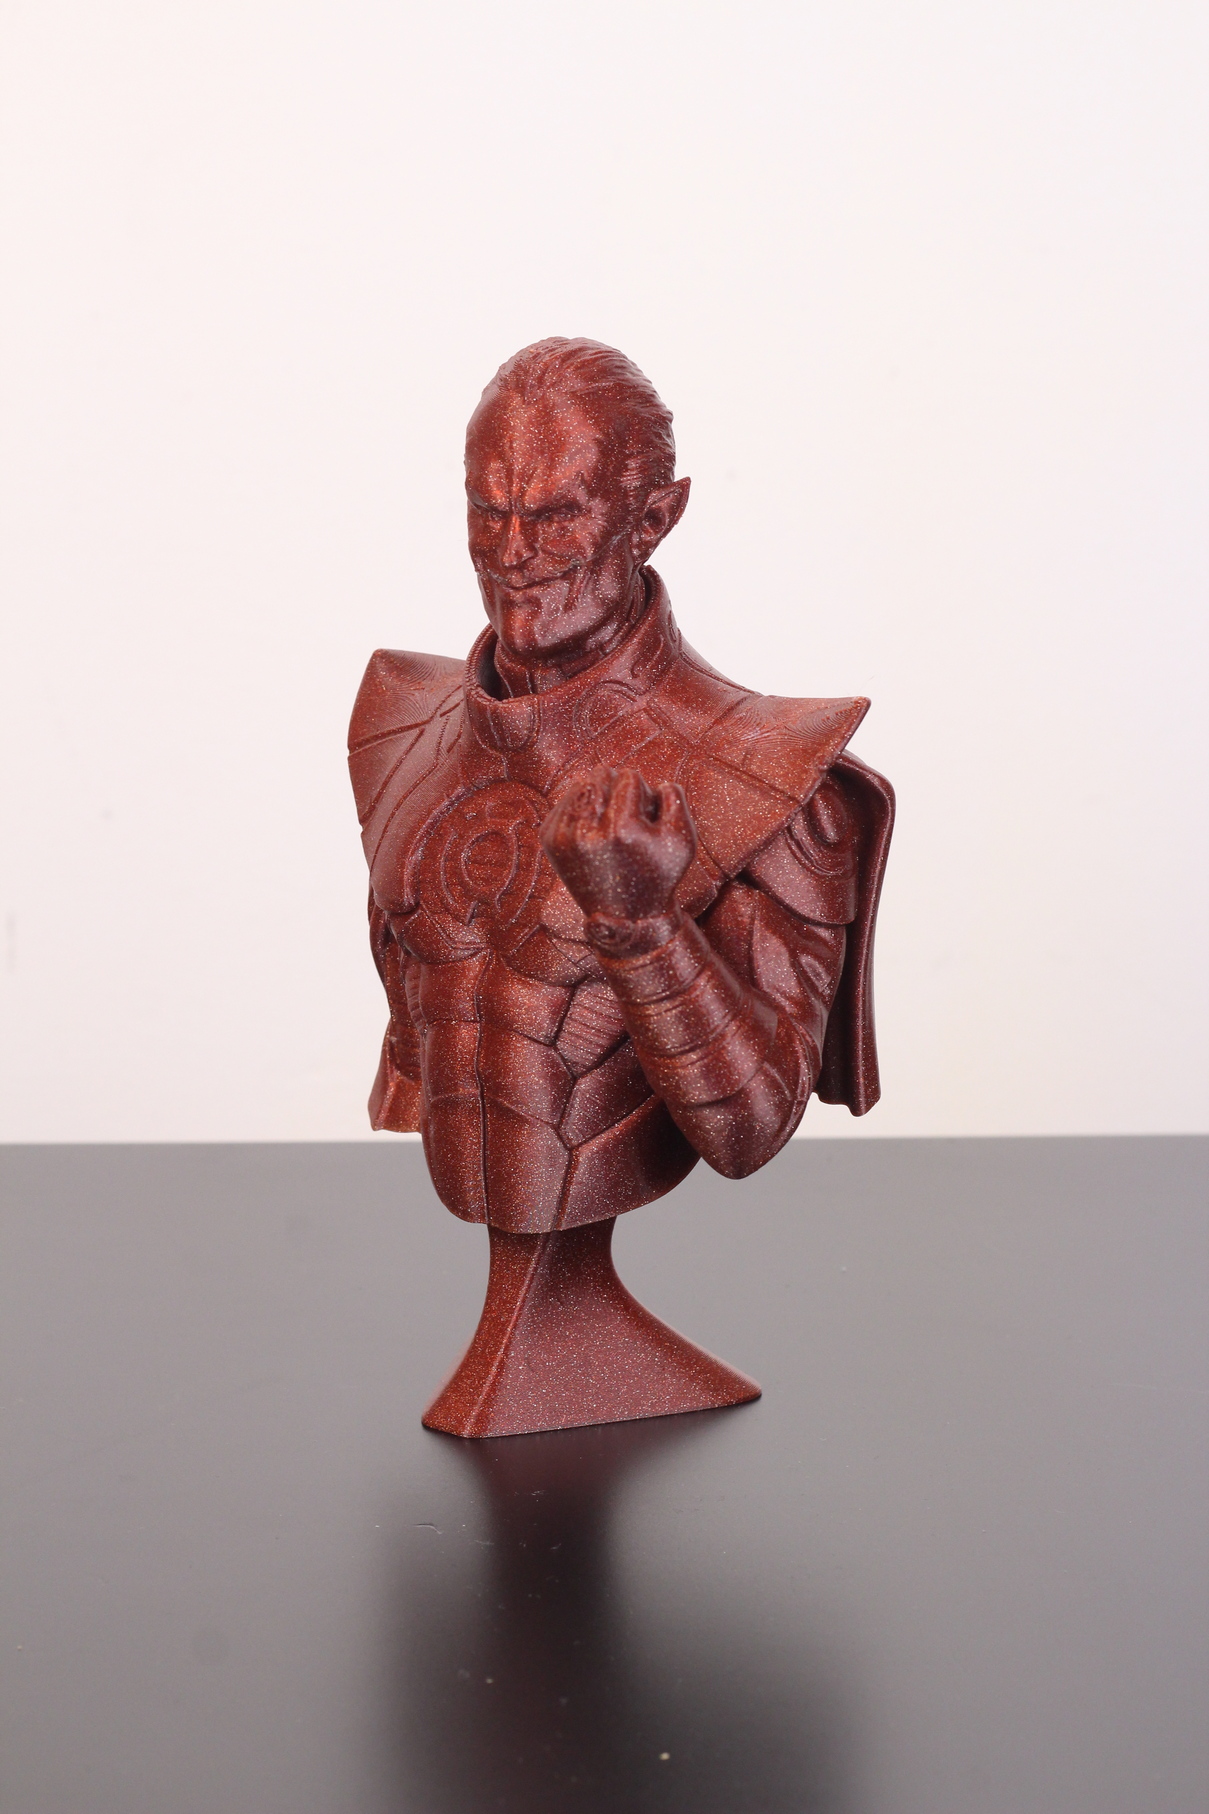
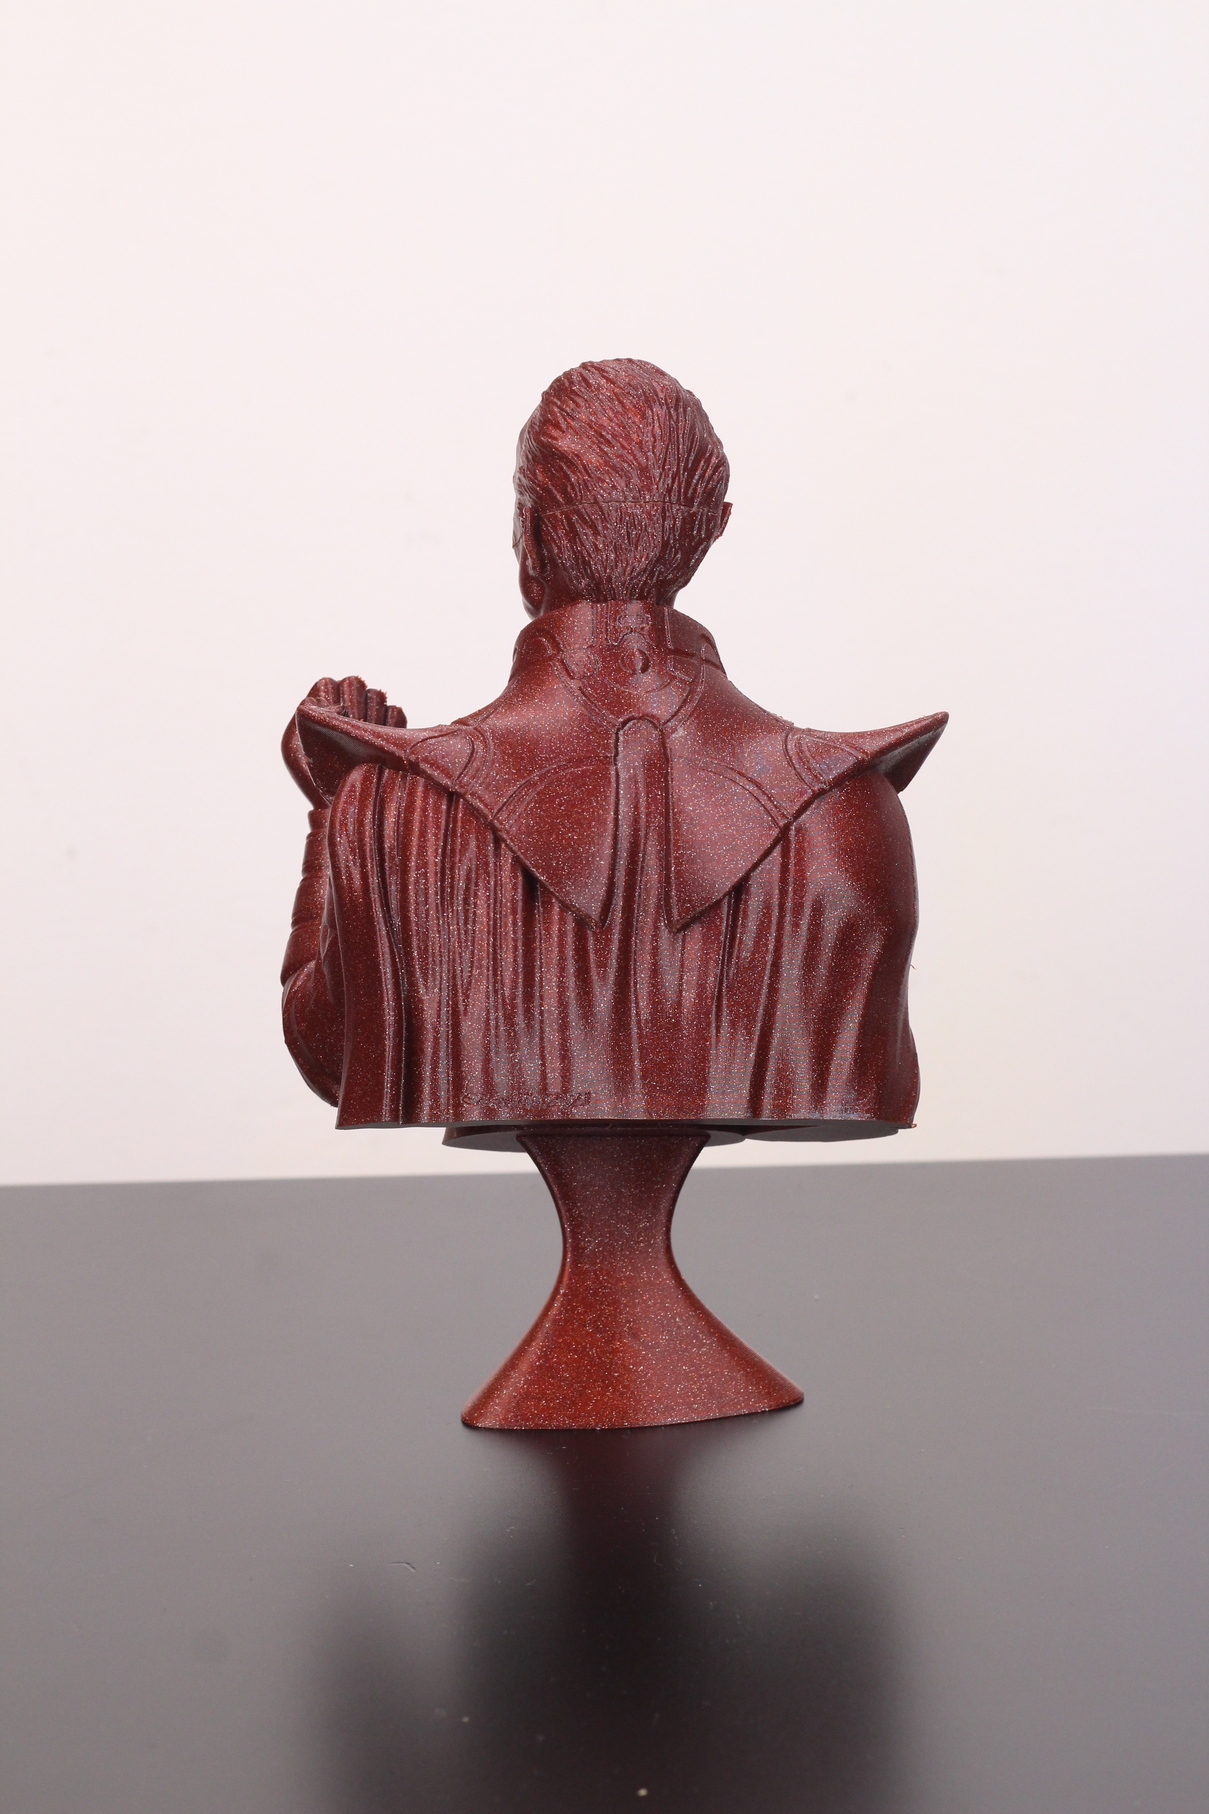
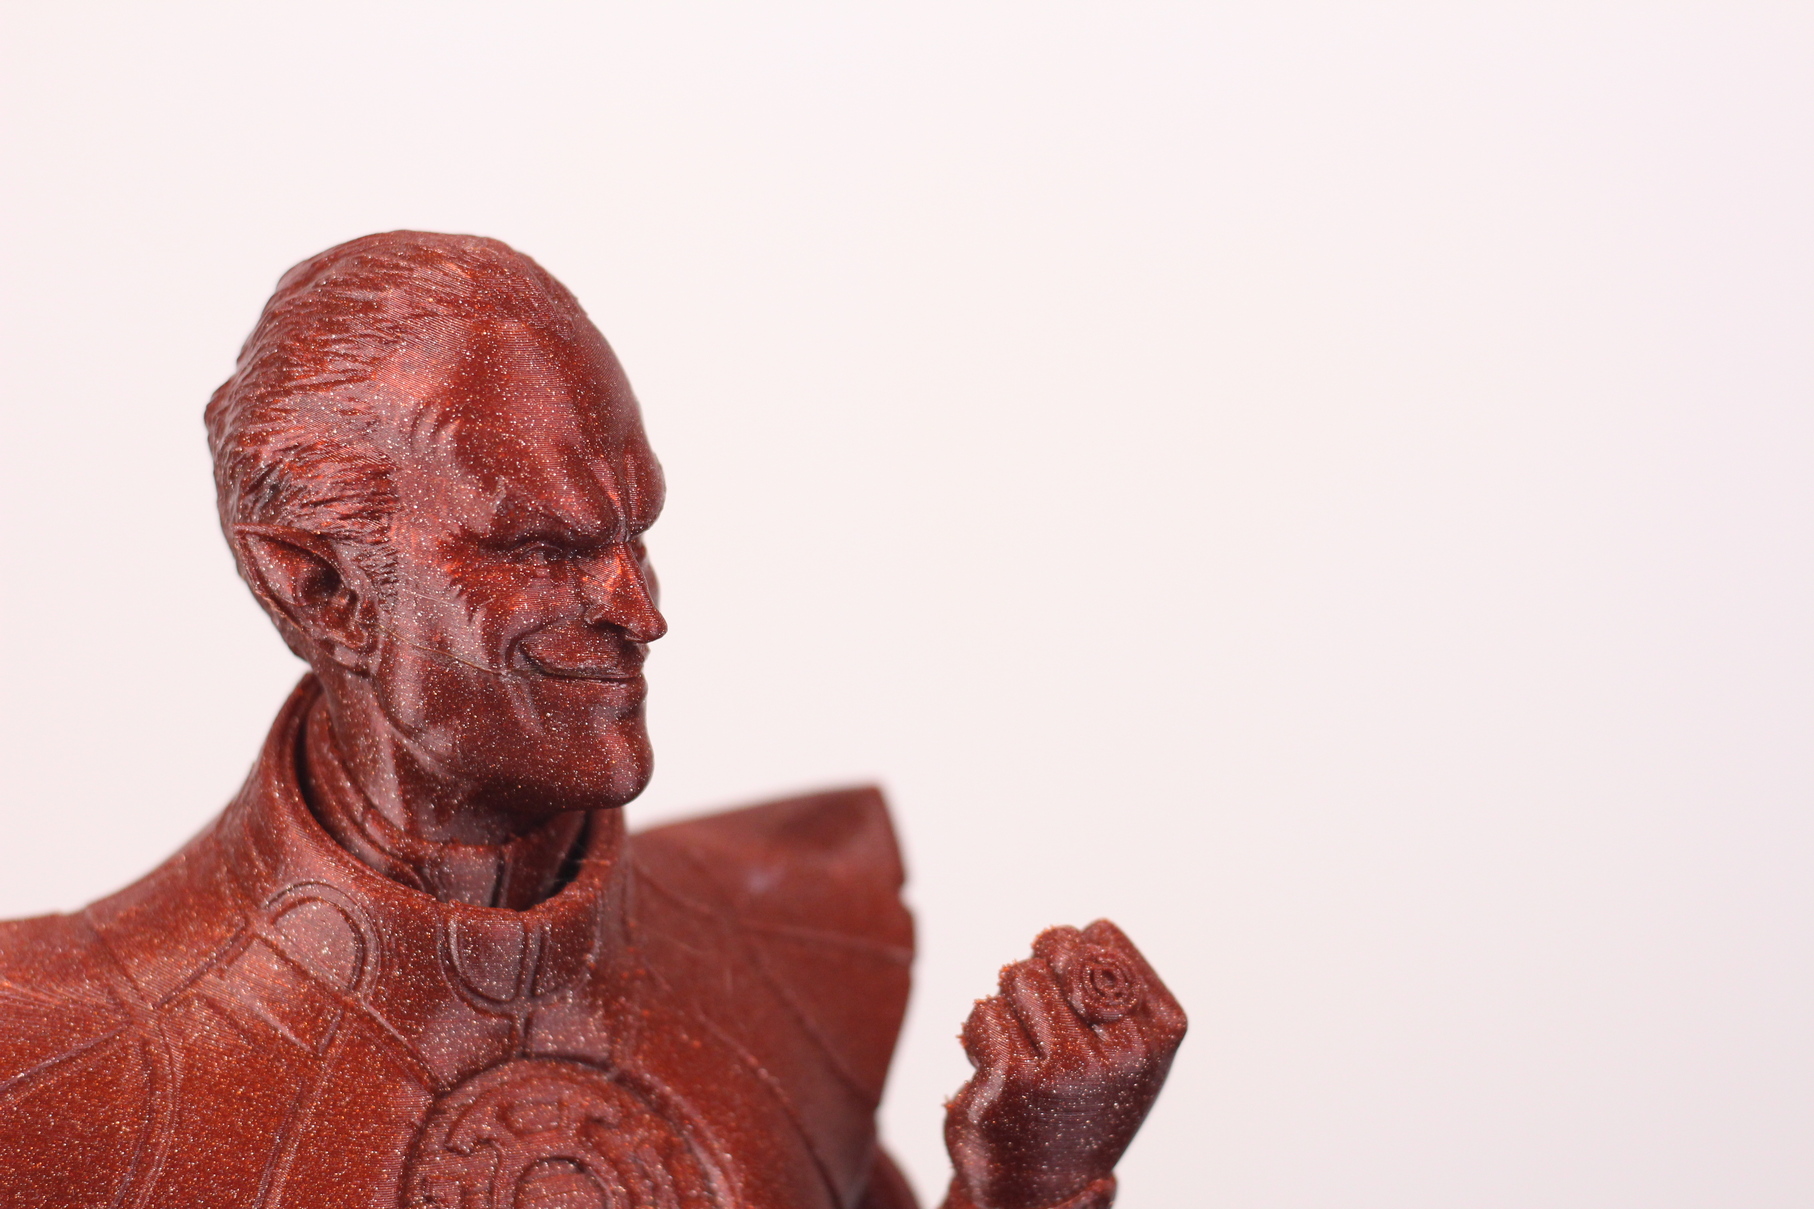
Synestro Bust
This Synestro Bust from Eastman came out great, but the hotend clogged during printing so I needed to print the rest of the head as a separate print, then glue the model. Either way, the print quality is good.
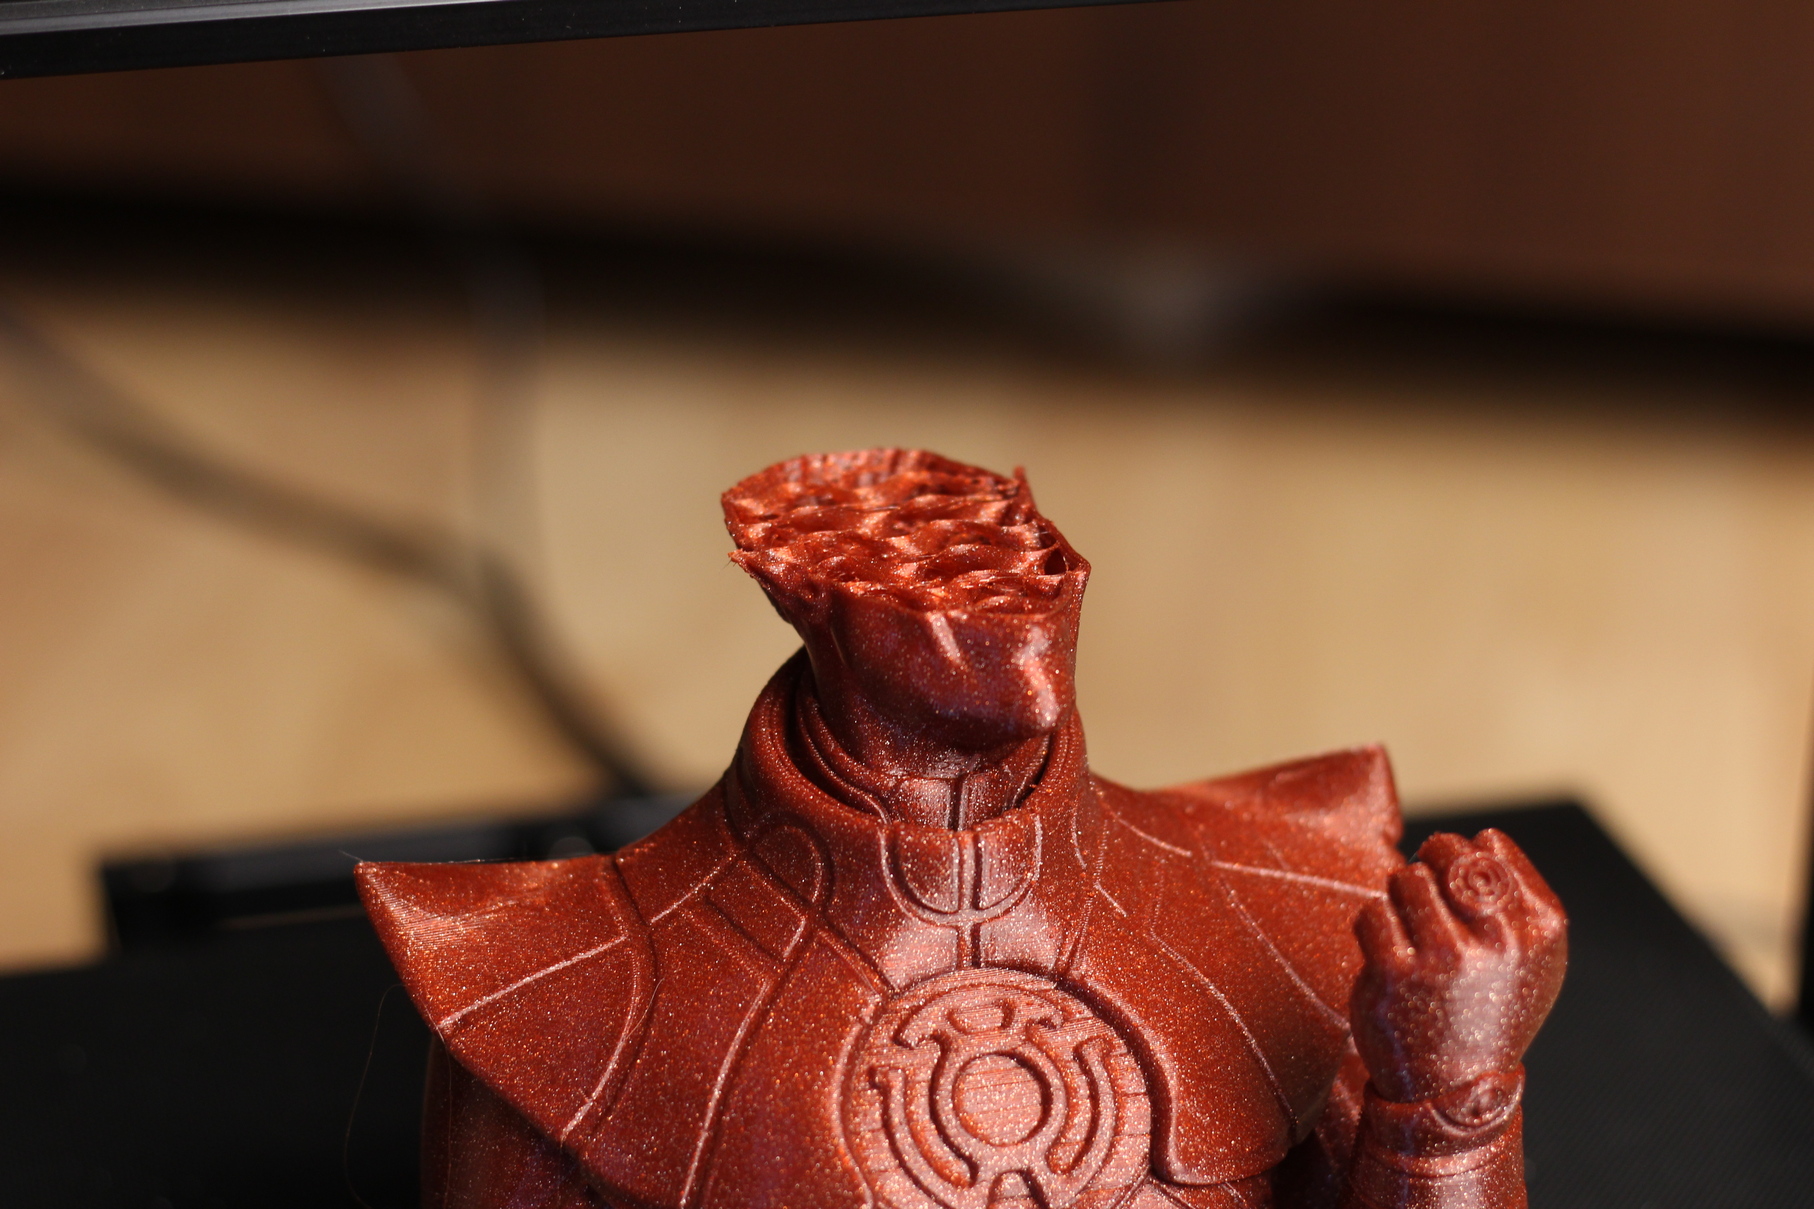
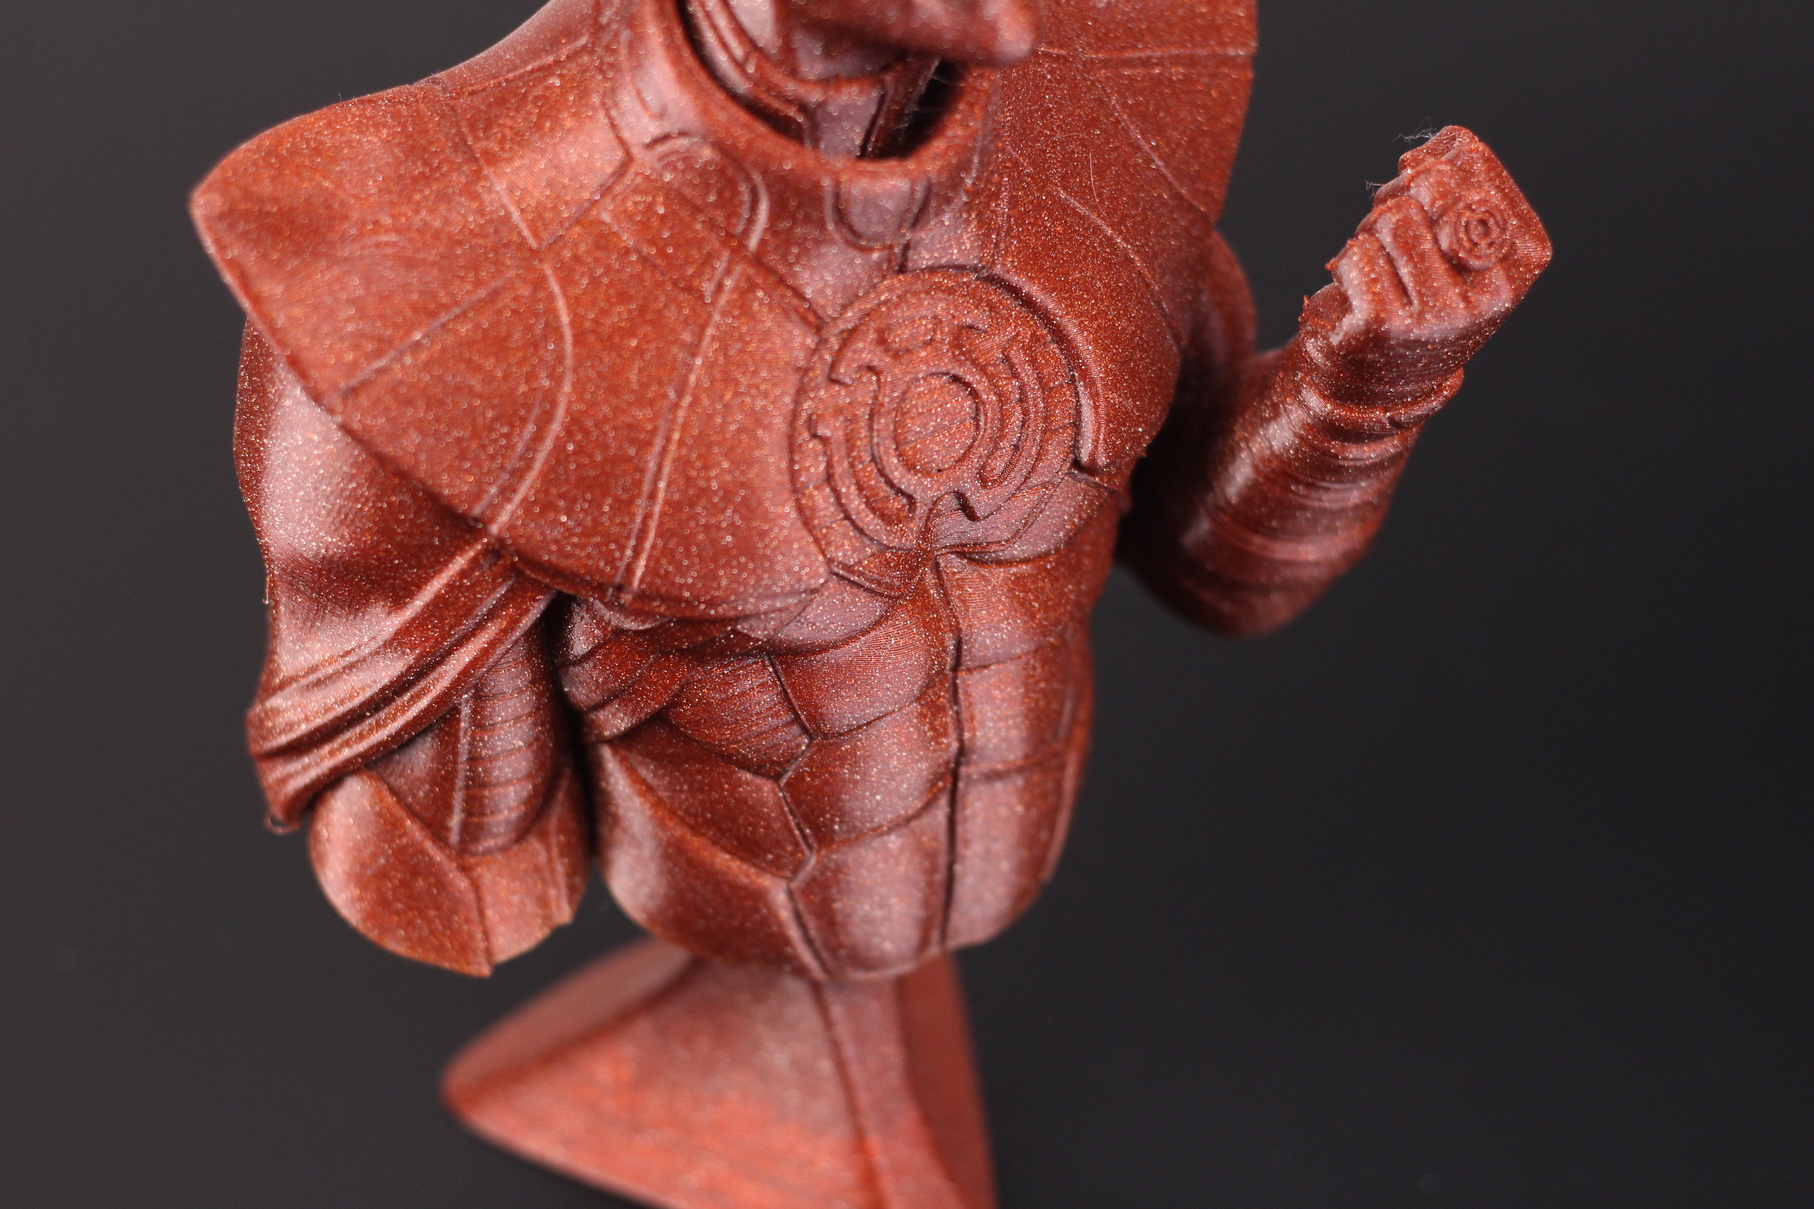
- Material: FilamentOne Glint Red PLA
- Layer Height: 0.15mm
- Nozzle Temperature: 210C
- Bed Temperature: 60C
- Print Speed: 60 mm/s
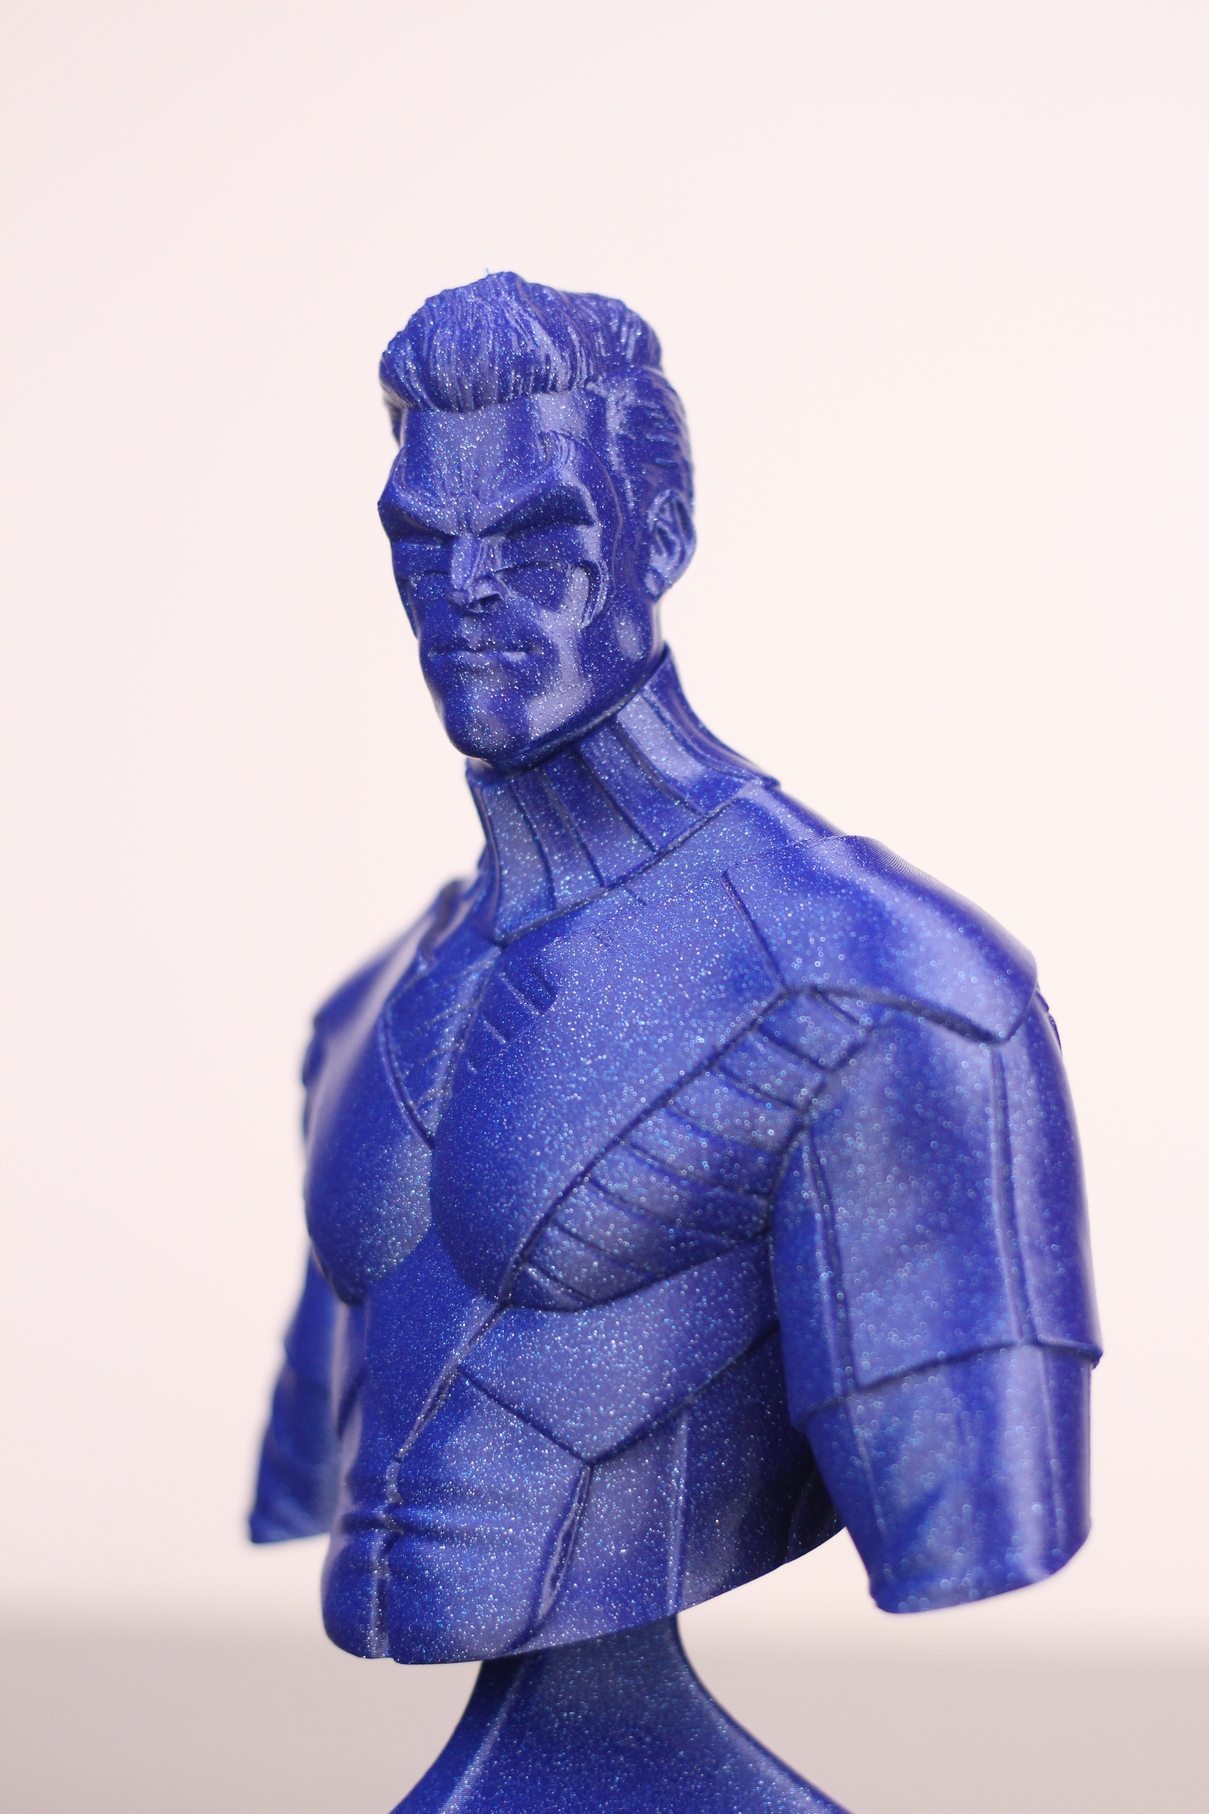
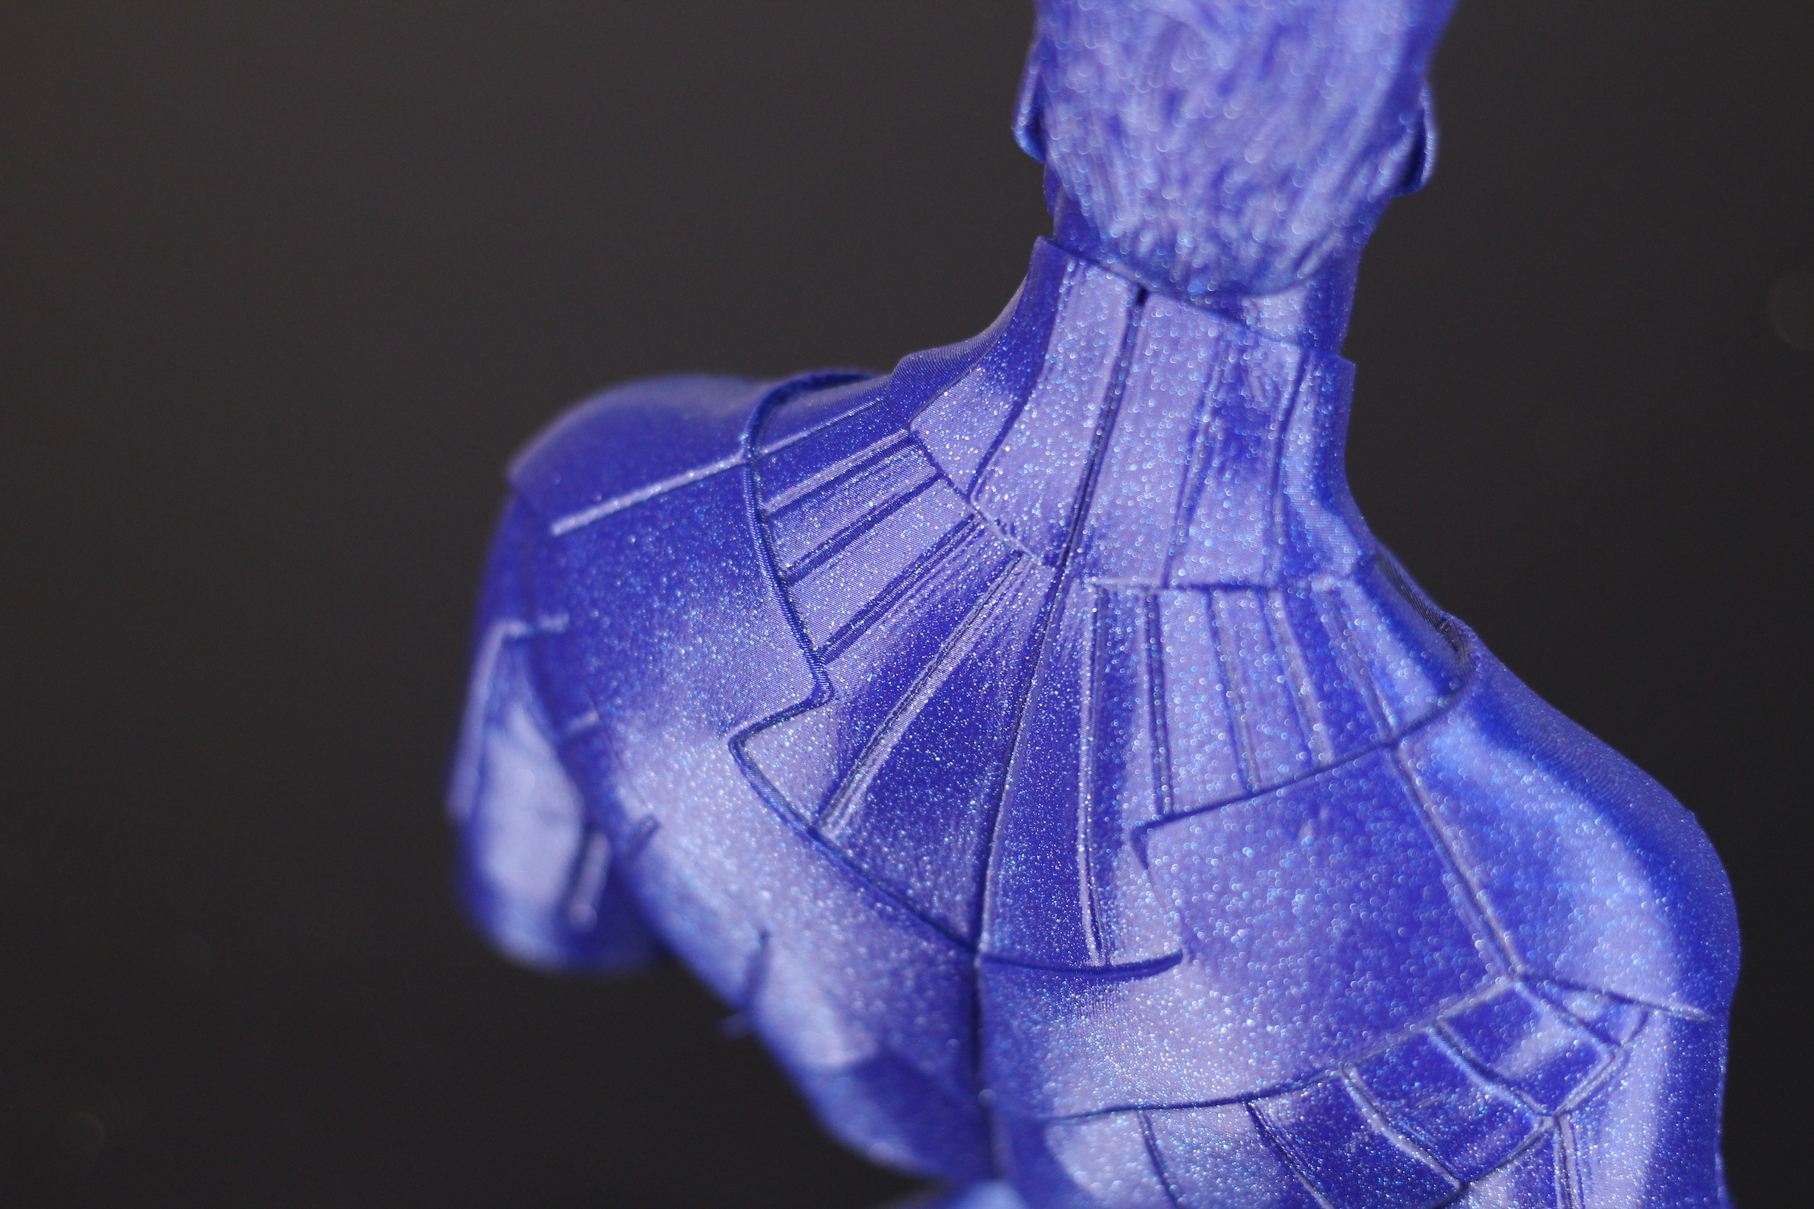
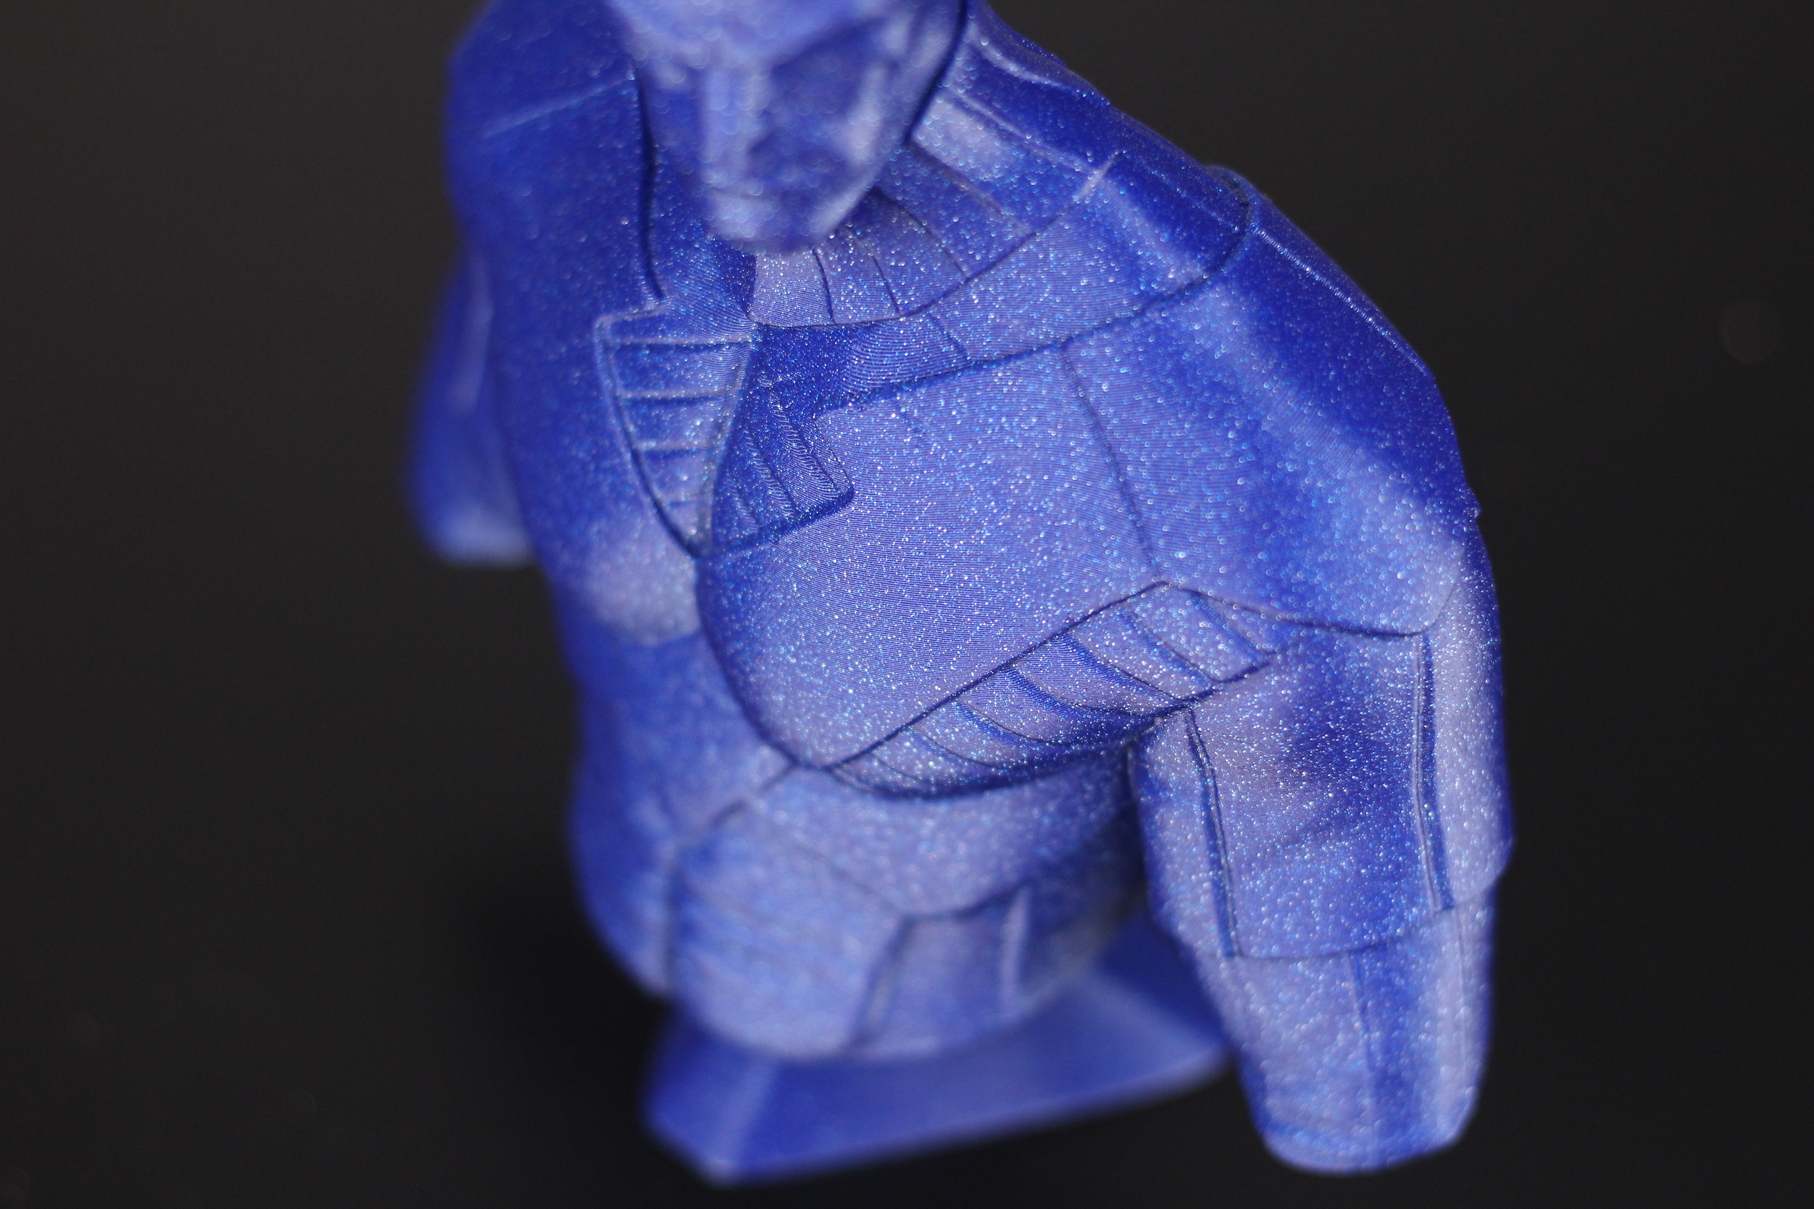
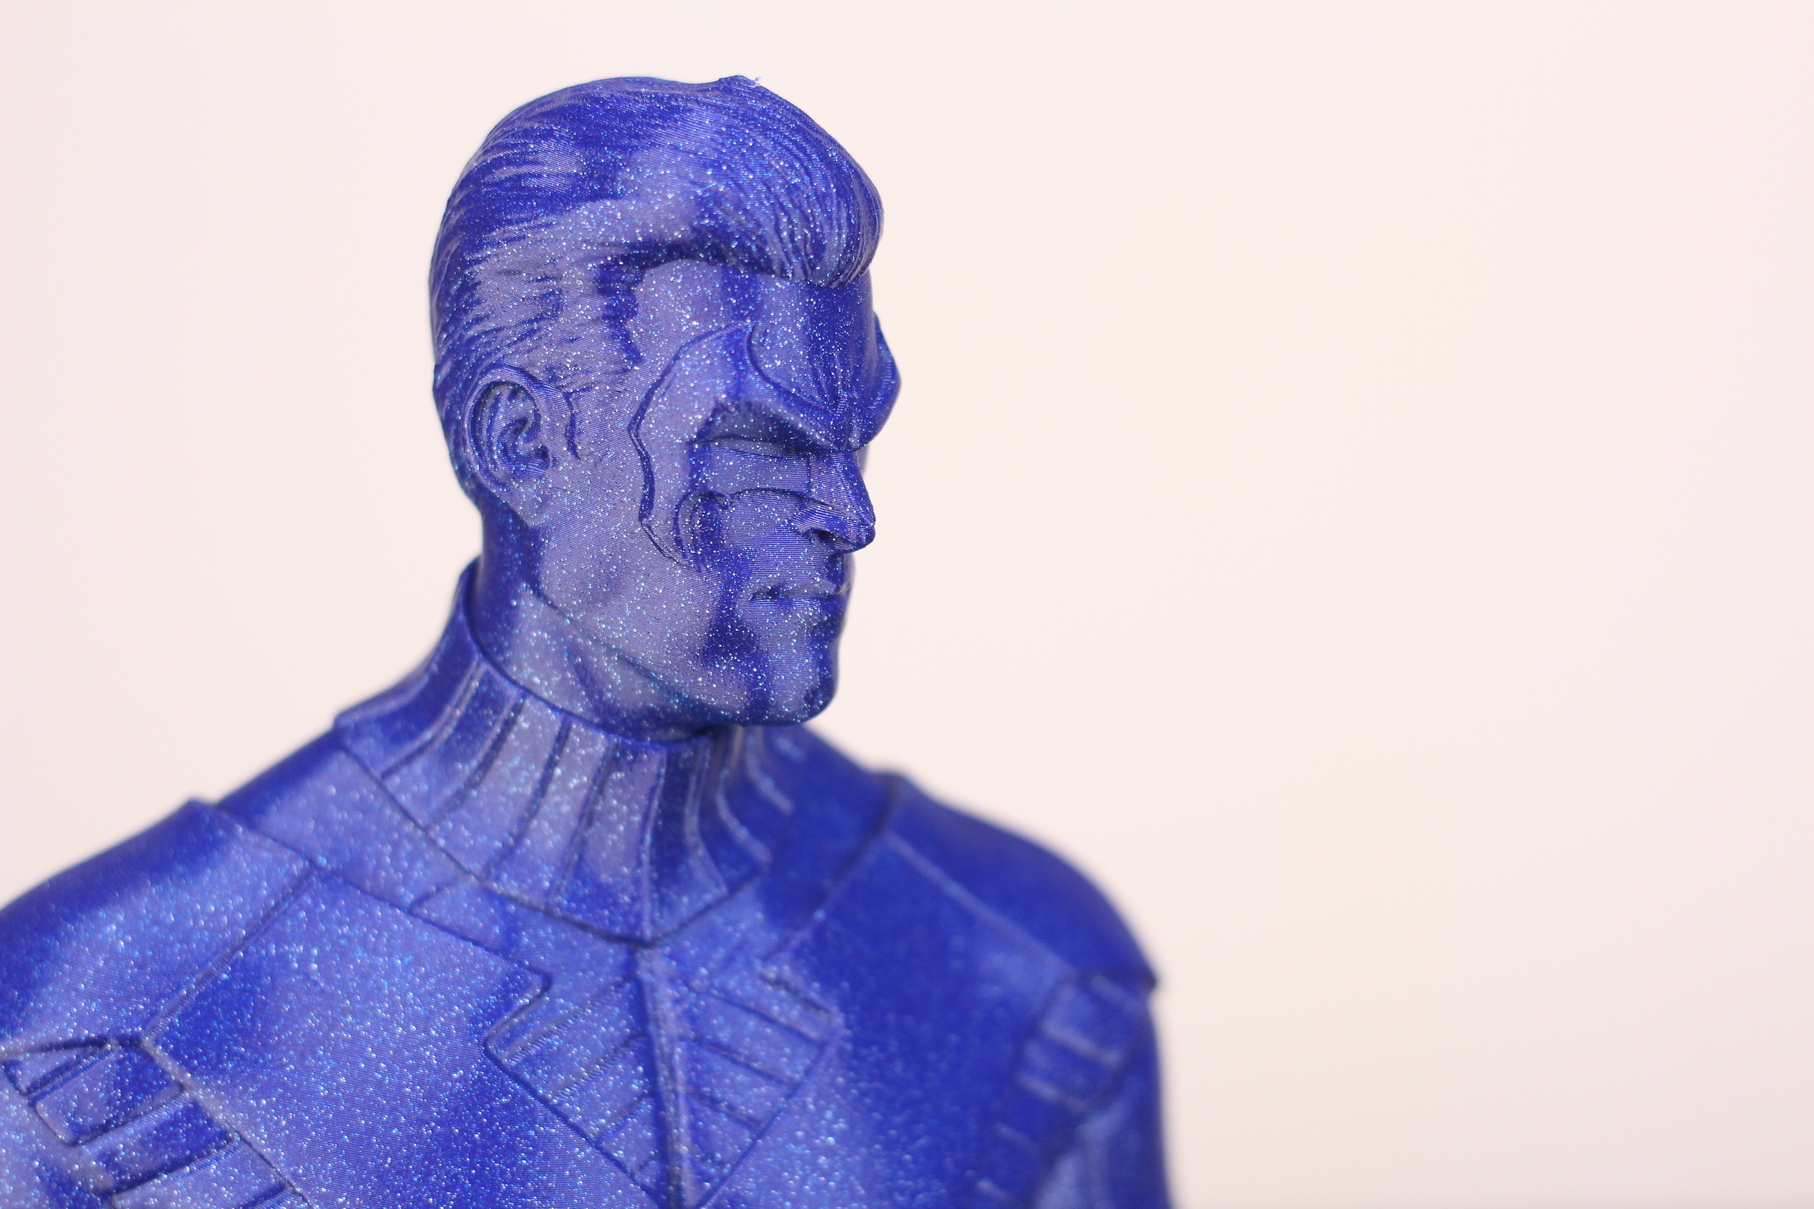
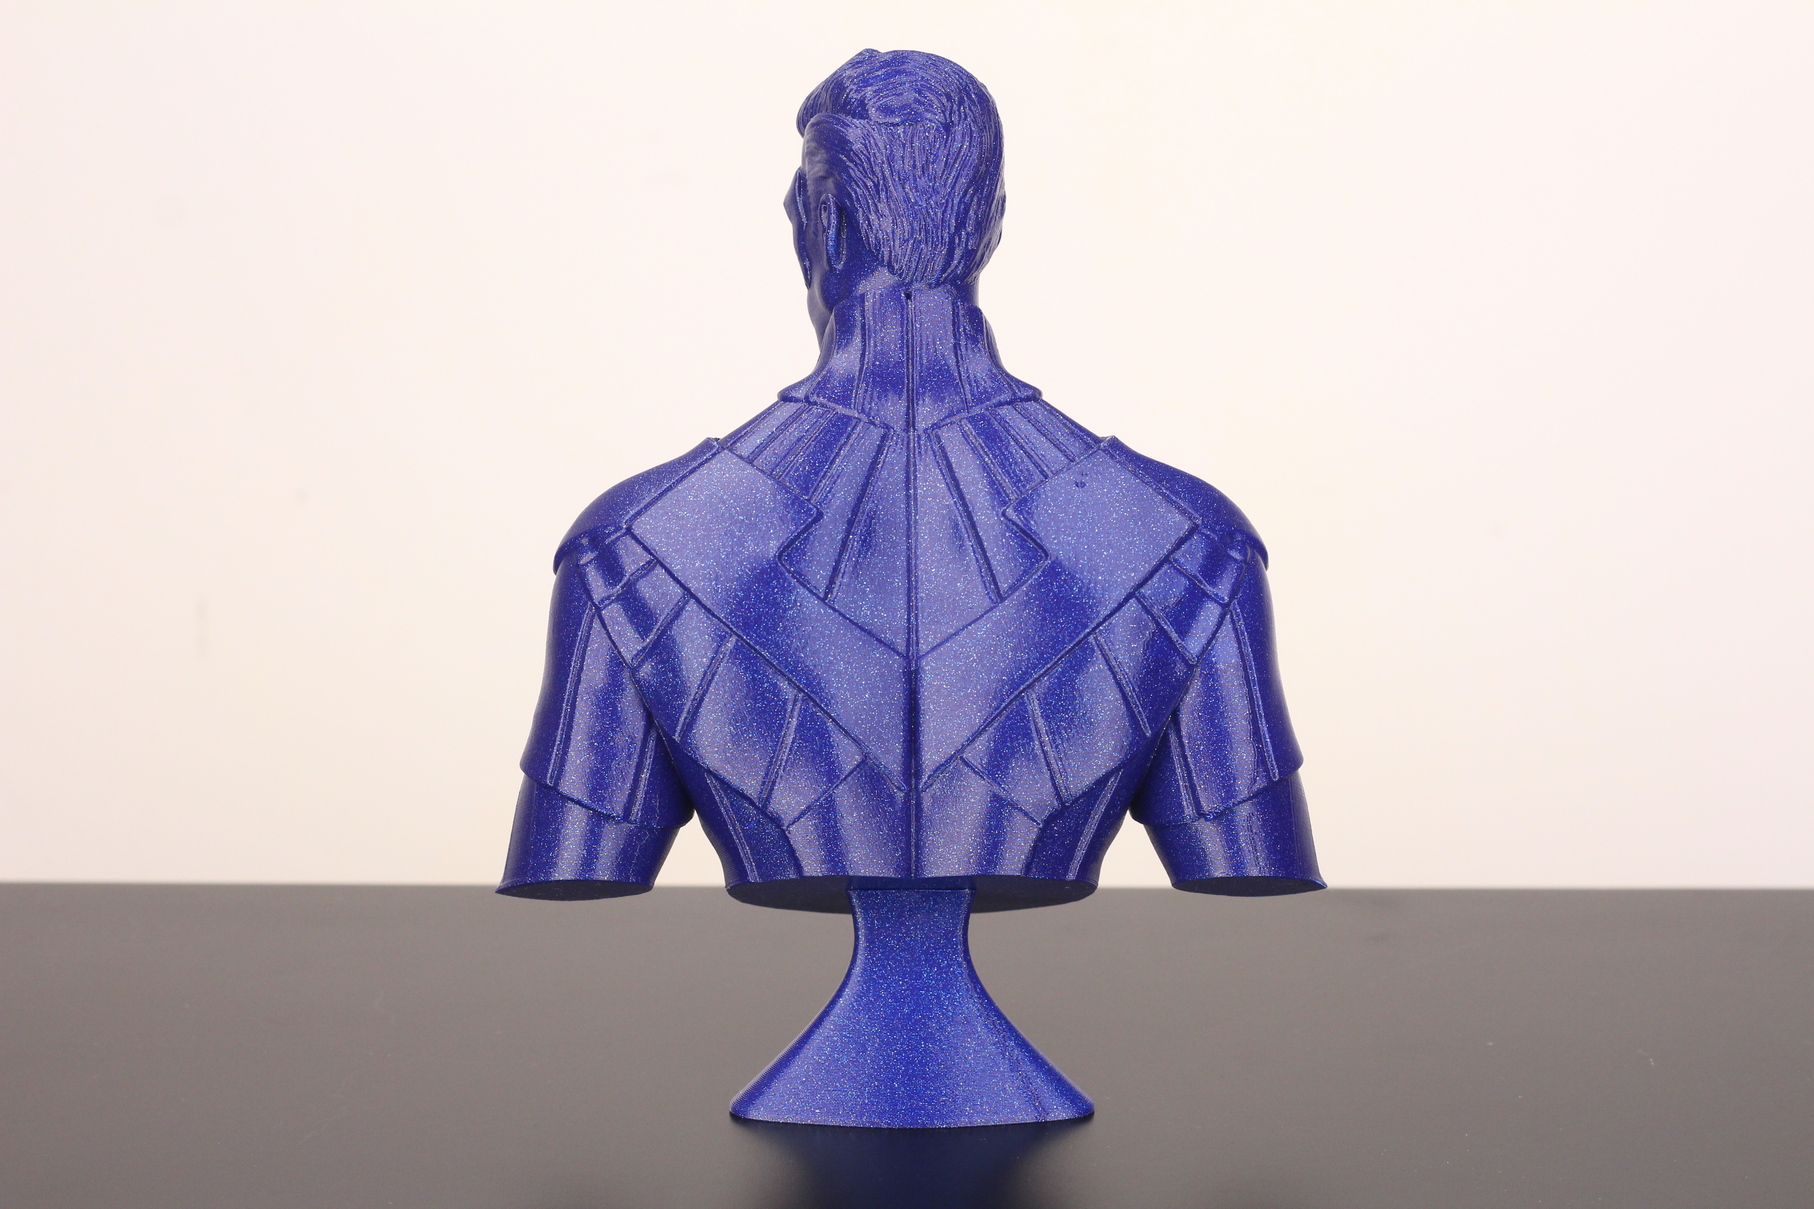
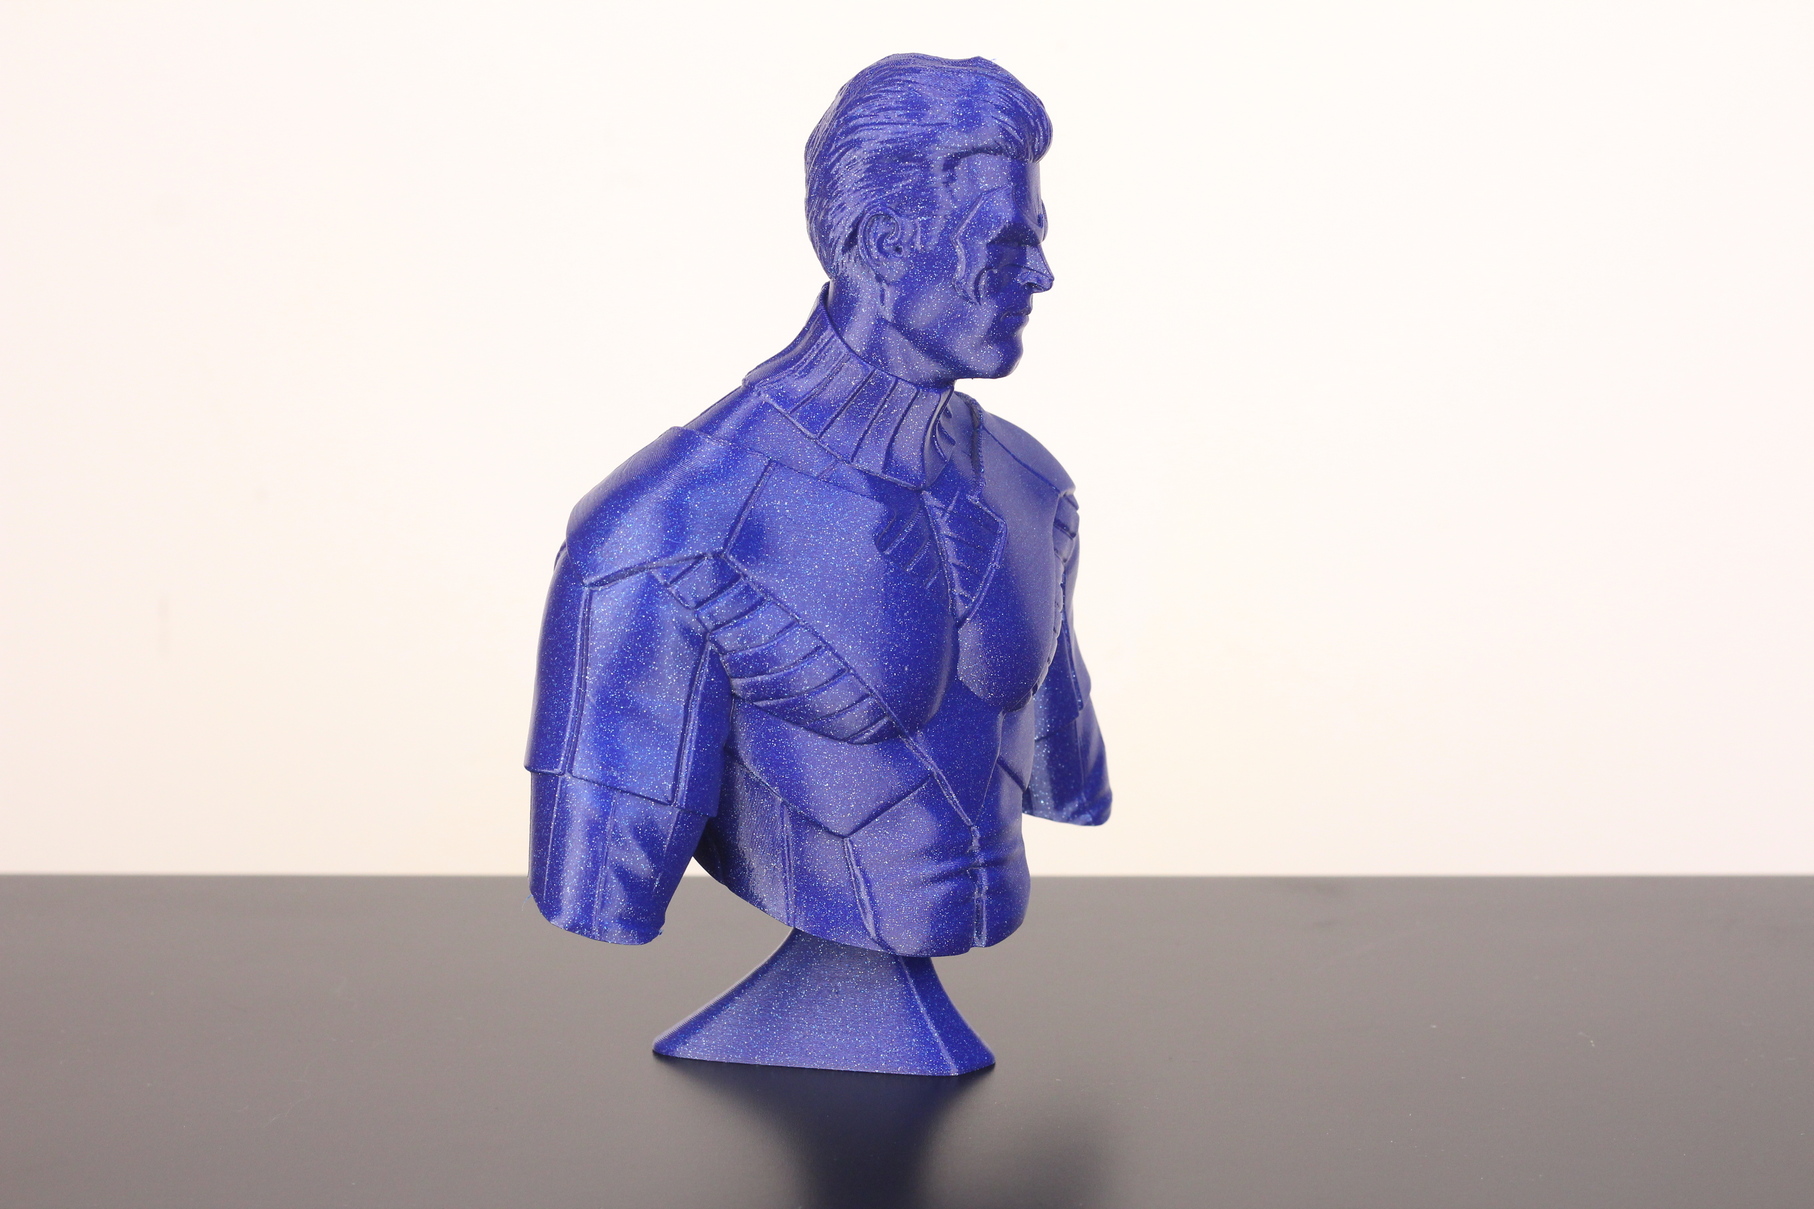
Nightwing Bust
Finally, I printed the Nightwing Bust from Eastman and I must say, it came out really well. The printer is able to print consistent layers while also preserving a lot of detail. It also helps using higher quality filament, but the results are excellent for a budget machine.
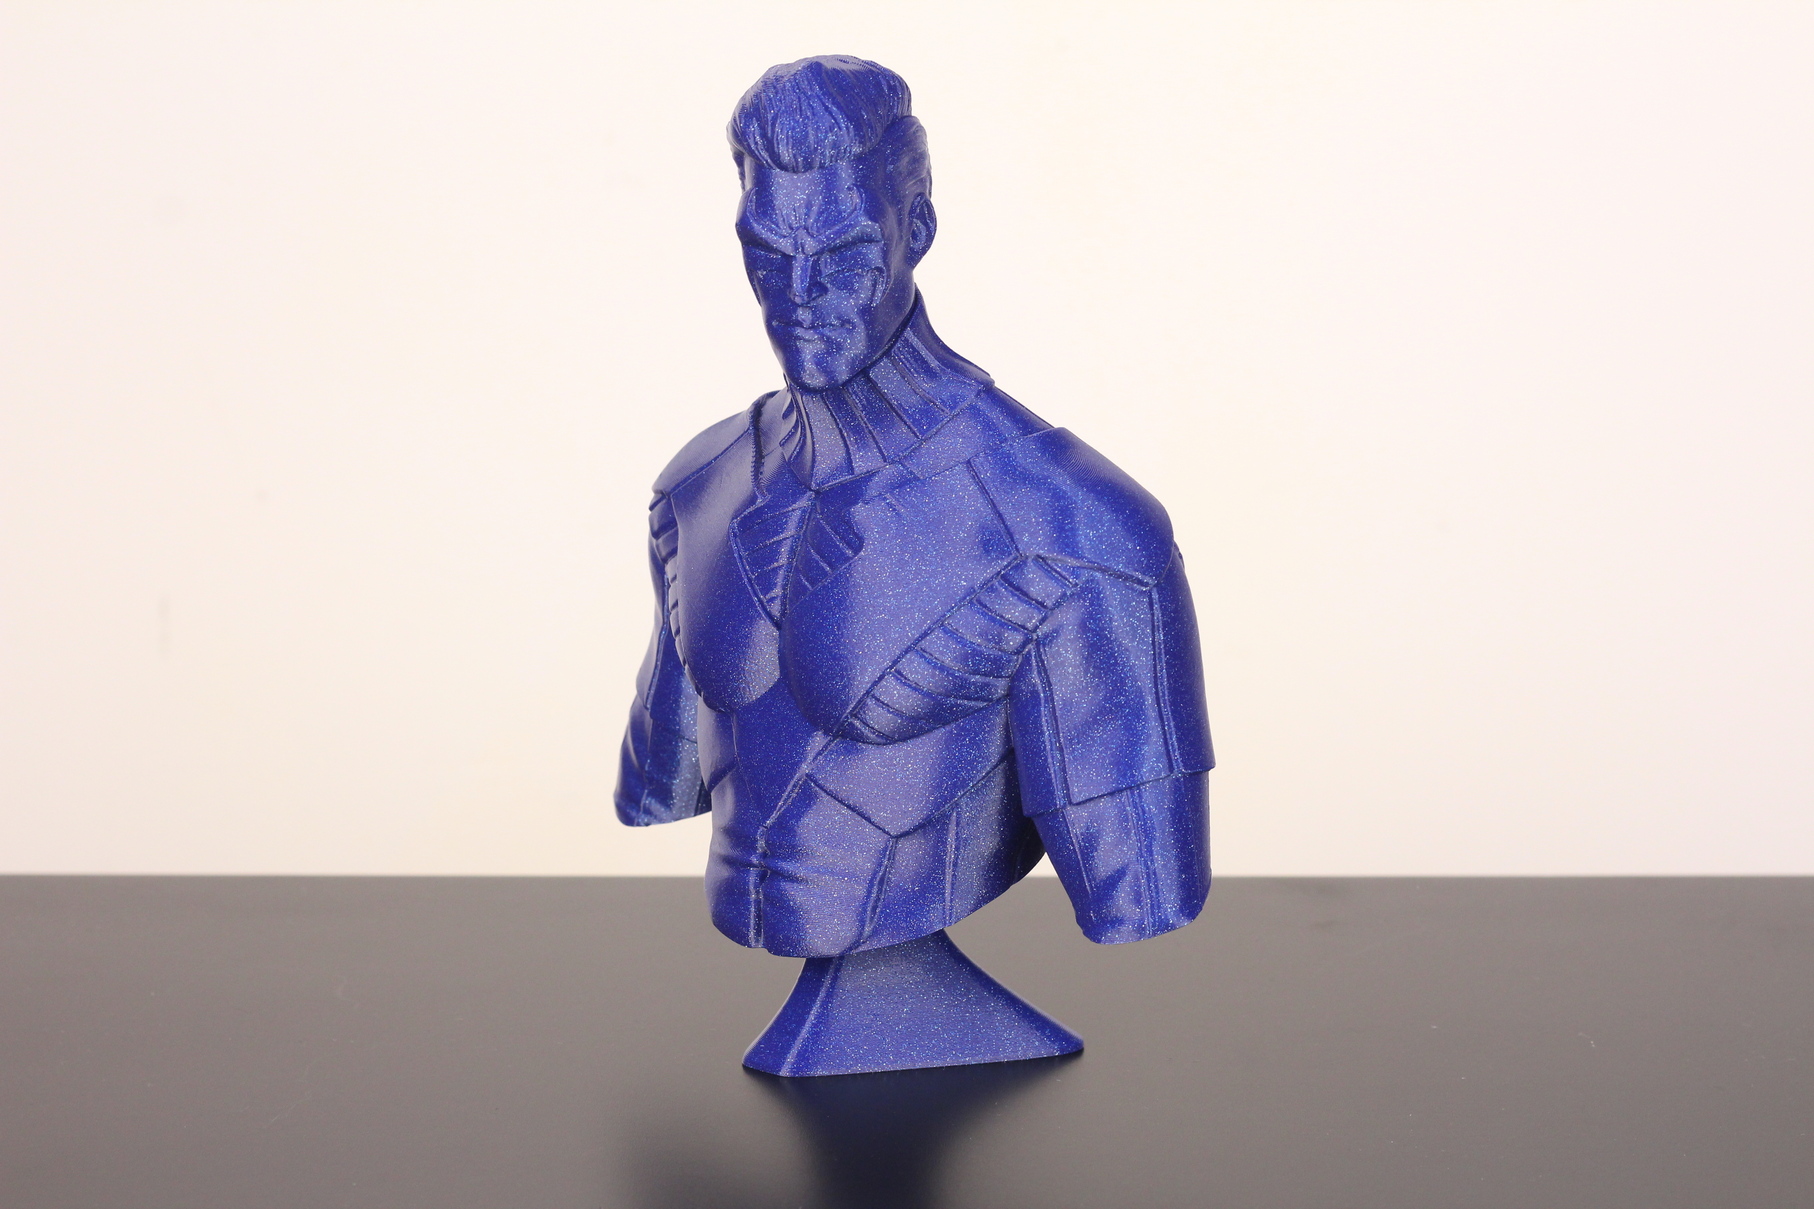
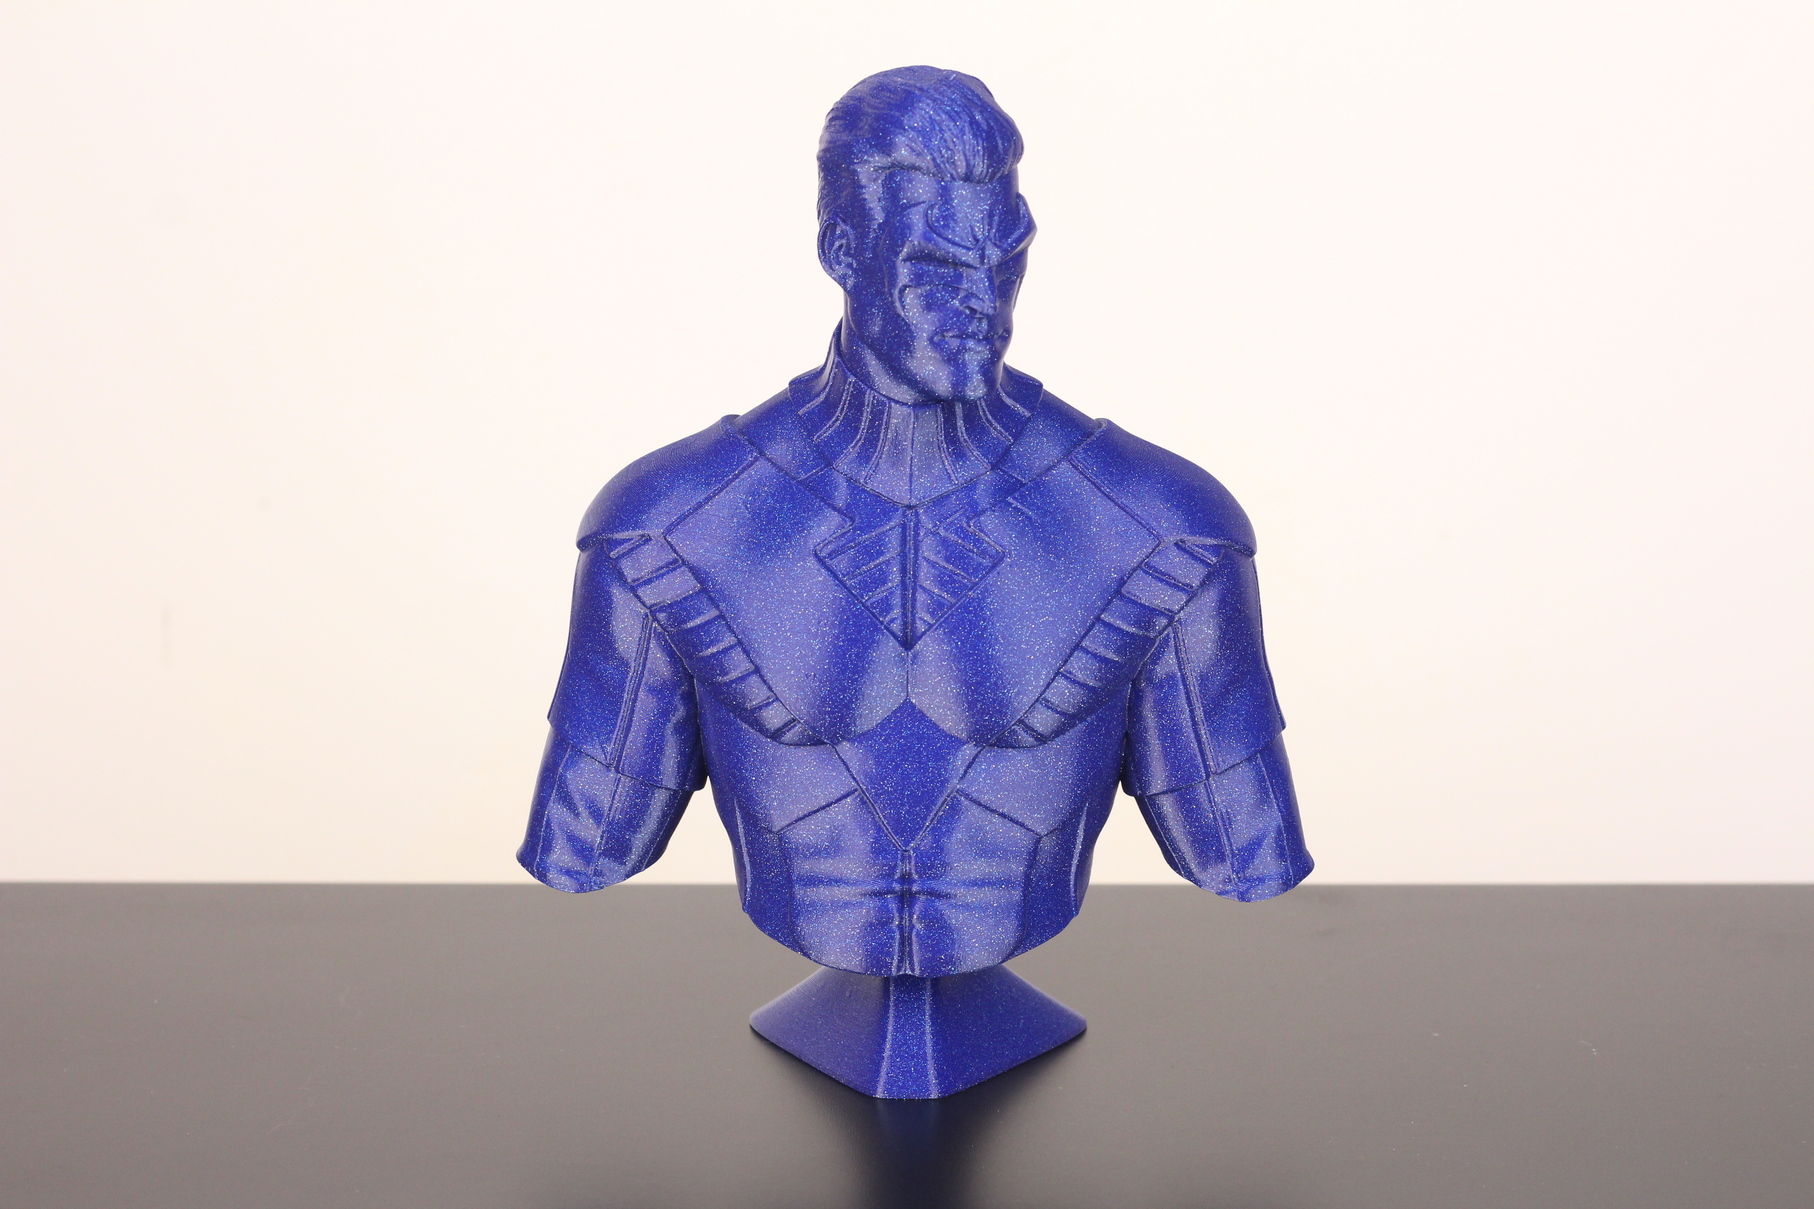
- Material: FilamentOne Glint Midnight PLA
- Layer Height: 0.15mm
- Nozzle Temperature: 210C
- Bed Temperature: 60C
- Print Speed: 60 mm/s
Conclusions: Is the BIQU B1 SE Plus worth it?
I have mixed feeling for the BIQU B1 SE Plus. Mostly because I needed to mess around with the hotend to fix the badly cut PTFE tube. This is a beginner friendly machine which should work well out of the box, but it’s held back by the lack of proper QC on some parts.
On the other hand, I think that BIQU really nailed the ~299$ price, considering the machine specs, and also the print quality you get. The SKR 2 with socketed stepper drivers is a good performer, and a good start if you plan to do other upgrades in the future. The ABL also works well, and the print surface has great adhesion.
The main contender for the BIQU SE Plus is the Creality Ender 3 Max. I previously reviewed it and it performed worse. Besides that, it’s more expensive with less features, so there’s no comparison between the two. The SE Plus is definitely better.
In the end, if you’re looking for a decent large-format 3D printer that doesn’t break the bank, which works well out of the box, but can also be easily upgraded in the future, I don’t think you can go wrong with the BIQU B1 SE Plus.
The BIQU B1 SE Plus is a decent large format FDM 3D printer with an attractive price and feature set. The SKR 2 board allows for easy expandability and modding in the future, and the ABL eliminates the need for manual bed leveling turning the B1 SE Plus into a good entry for people looking to get their first printer.BIQU B1 SE Plus Rating
Design
Specs
Noise Levels
Ease of use
Print Quality
Price
Where to buy the BIQU B1 SE Plus
The BIQU B1 SE Plus can be purchased from the following websites:
I recommend checking out the Discount Codes page before purchasing. I regularly update the article with discount codes for various online shops, and you might find one for this particular model.
The BIQU B1 SE Plus was provided free of charge by BIQU for the purpose of this review. While the article includes affiliate links, all opinions are my own. Nobody reviewed the article before it was posted, following the Review Guidelines.
Liked it?
|
|



Out of curiosity because i have this printer and the ribbon cable connection to the print head is wearing out and the hotend has a stripped screw do you by chance know of any good replacements?