ATOMSTACK A5 Laser Engraver Review
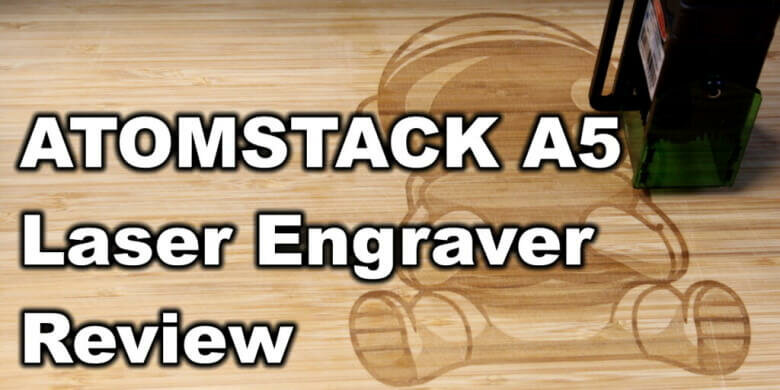
I never used a laser so when Banggood asked me if I want to test the ATOMSTACK A5 laser engraver, I gave it a chance even though I never used one. In this article I will describe my experience with the ATOMSTACK A5 from the perspective of a total beginner.
ATOMSTACK A5 Shipping and Packaging
The ATOMSTACK A5 comes in a small package, and it’s well packed. All the components are protected well and should arrive safely.
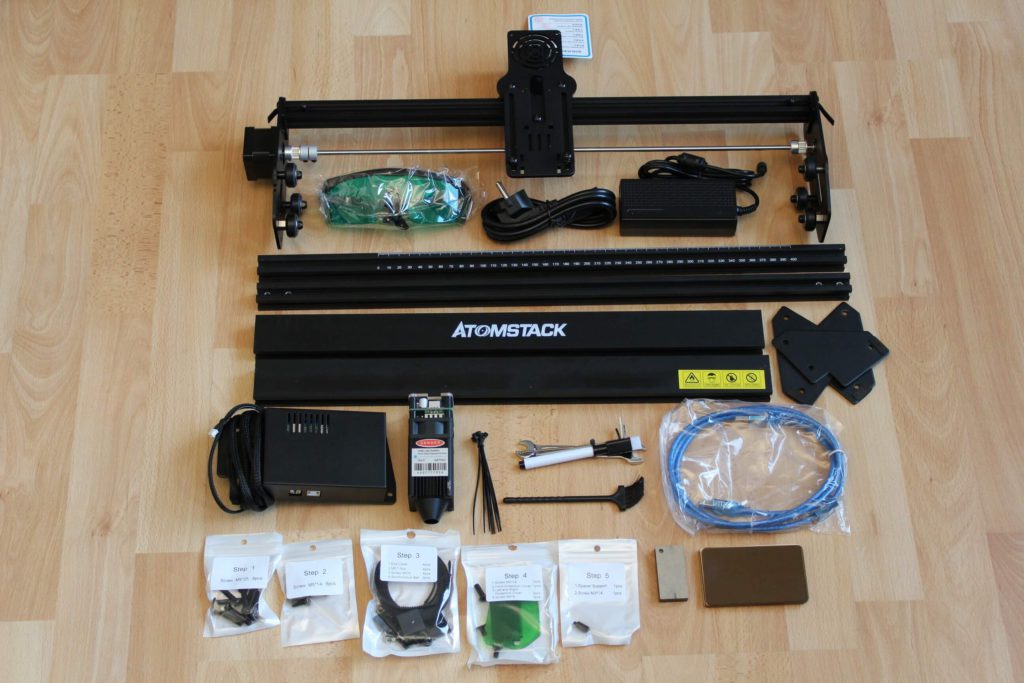
Inside the box, we get the following:
- Engraving Machine
- Laser Module
- Goggles
- 24V 2A Power Adapter with Power Cord
- USB Cable
- M5 Wrench
- Rolled Belts
- Installation Packages
- M3 Wrench
- Marker
- Brush
- Leveling acrylic card
- Acrylic Sample
- Wood Sample
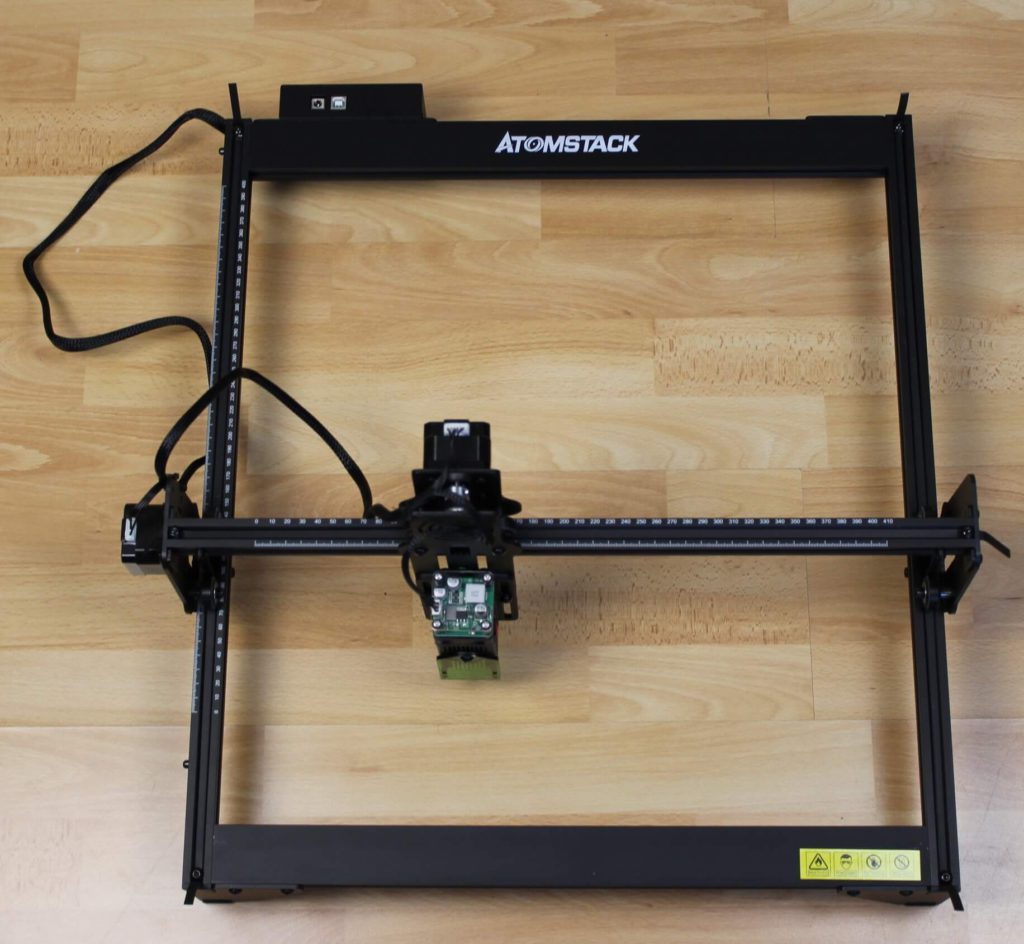
Assembly of the ATOMSTACK A5
The installation manual is excellent, and the screws and parts are labeled for each step. It’s easy to follow the instructions and complete the installation in about 20 minutes.
ATOMSTACK A5 Specs
| Product Model | ATOMSTACK A5 20W |
| Engraving Size | 410*400mm |
| Engraving Materials | All wood, bamboo, Paper, Plastic, Leather, PCB Board, Aluminum Oxide, Non-reflective plating and lacquered metal |
| Cutting Materials | Cardboard, non-woven fabric, light wood, Acrylic material, thin plastic board |
| Laser Power | 20W |
| Laser Output Optical Power | 4.5~5W |
| Laser Wave Length | 455±5nm |
| Engraving Accuracy | 0.01mm |
| Focusing Method | fixed focus laser, no need to focus |
| Laser Protective Cover | Protect the user’s eyes and prevent pets from grabbing the laser spot. |
| Operating Software | LaserGRBL, LightBurn, support Win XP / Win 7 / Win 8 / XP / Win 10 system. |
| Input Format | NC, BMP, JPG, PNG, DXF, etc. |
| Data Transmission Method | USB connection |
| Input Voltage | AC100-240V, 50/60Hz |
| Output Voltage | DC12V, 5A |
| Equipment Net Weight | 4.0kg |
| Package Weight | 5.6kg |
| Equipment Size | 570*600*270mm |
| Packing Size | 618*342*129mm |
| Certification | CE / FCC / RoHS / FDA |
Fixed focus laser
The laser included is rated to 20W but this is the electrical power input. The real power output of the laser is 5-5.5W.
It’s a diode laser operating in the 455 nm spectrum and it does not have a focus ring like other machines.
Instead, the laser has a fixed position and to focus the laser, you use a 2mm acrylic included in the box to set the offset from the item you want engraved.
To make the focusing process easier and add some protection, the ATOMSTACK A5 laser has an acrylic shroud which is made from the same material as the included protection googles. This doesn’t mean that you should use the laser without proper protection, but it’s nice to have an extra layer of protection.
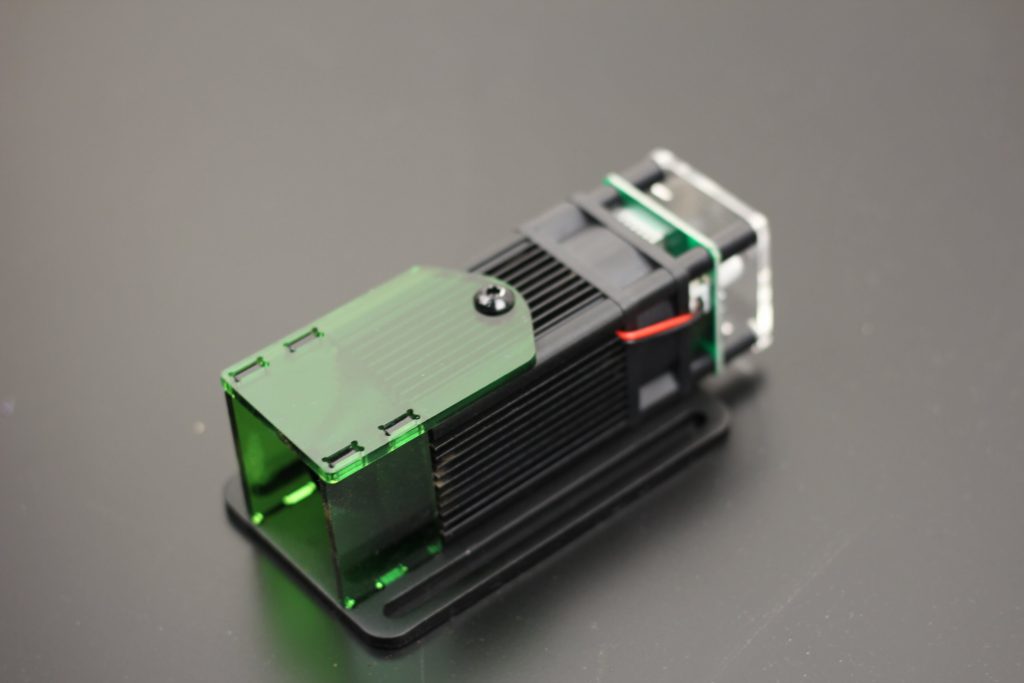
Unfortunately, this shroud also has a drawback when you cut / engrave an item. The smoke that comes out during operation is partially trapped closed to the laser and this decreases the consistency and power of the laser.
LaserBox 1.0 Board with removable drivers
The board powering the ATOMSTACK A5 is a proprietary LaserBox V1.0 board. It has two A4988 stepper drivers which can be replaced if needed. There’s also a 3rd stepper driver socket which is not populated.
Besides that, the board has support for endstop connectors, even though the machine isn’t using any
While other laser boards made the jump to 32-bit, the LaserBox 1.0 still has an 8-bit chip in the form of the ATmega328P. I’m not sure if there’s even a need for a 32-bit like in the case of 3D printers, because this laser engraver is a much simpler machine with only dual axis control.
As with most of the laser engravers available on the market, the ATOMSTACK A5 uses GRBL, a popular open source firmware for laser engravers.
No technical manual available in the box
Unfortunately, my ATOMSTACK A5 laser engraving machine did not include a technical manual. Fortunately, a PDF was provided after contacting support.
The information provided in the manual is good with excellent information for a beginner. It starts with safety precautions, then continues with information regarding installation, software, recommended settings and materials.
You can download the ATOMSTACK A5 Manual from here.
No endstops included
The ATOMSTACK A5 doesn’t have any endstops which I think is one of the biggest drawbacks for this laser engraver.
While you can manually move the laser to the correct position, then test the framing, I still would have liked a pair of endstops to easily set the 0 position by auto-homing.
Safety Precautions
Wear eye protection
It’s extremely important to take the necessary precautions when using a laser engraver. Always wear the protection glasses when the laser is on to avoid eye injury.
The laser can instantly blind you so it’s not something to take lightly.
Use the laser in a well ventilated area
When you start engraving or cutting different materials, smoke is released by the material. Do not use the laser in an enclosed space without ample ventilation because besides the bad smell, your lungs don’t like the fumes produced.
Always use the laser in a well ventilated area and it’s also recommended to use a face mask if you don’t enclose the laser.
Experience with the ATOMSTACK A5
As I previously mentioned, I’m a beginner when it comes to lasers and using the ATOMSTACK A5 was a learning experience for me.
After I’ve read the technical manual, I first configured LaserGRBL and tried using the laser to engrave a model. I’ve spent about 30 minutes with it but I felt it’s not the most user-friendly software to use even tough is really popular.
With a few minutes spent online, I found out that LightBurn is a much better software to use with a laser engraver. In just a few minutes, I was able to learn how it works and start engraving. The 30-day trial gives you access to all features and after using it I am considering buying a license for it.
ATOMSTACK A5 Laser Tests
To test my speed and power settings, I used a basic IKEA cutting board.
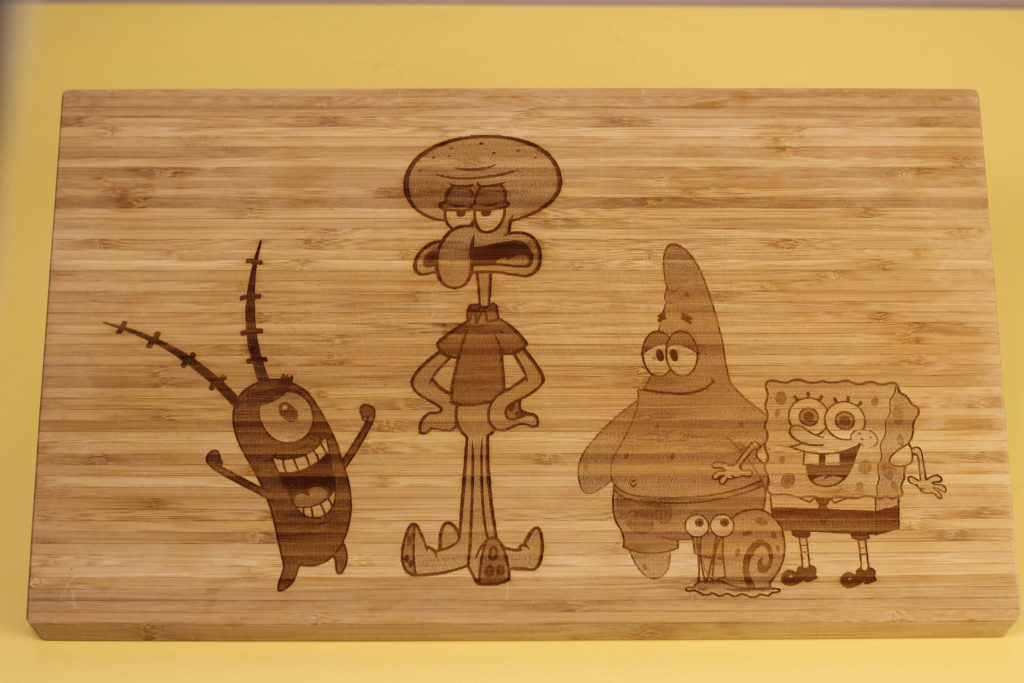
Patrick and Spongebob
The first image I engraved was Patrick and Spongebob and I used the fastest engrave speed. Result is a bit faded, but otherwise detail looks good.
- Material: Wood
- Speed: 3000 mm/min
- Power: 90%
- Passes: 1
Squidward
Second engraving test was made with less speed, so the lases has more time to burn the wood. I think 2400 mm/min at 90% power works best for the kind of wood I used.
- Material: Wood
- Speed: 2400 mm/min
- Power: 90%
- Passes: 1
Plankton
I was curious to see if lower speed can produce better results. In the images below you can see that the image is burned a bit more, and it has less detail than the previous faster engrave.
- Material: Wood
- Speed: 2000 mm/min
- Power: 90%
- Passes: 1
Astronaut with hamburger
Now that I found the correct engraving speed for my Ikea cutting board, I engraved the astronaut with hamburger image I found online.
I think it properly shows the engraving capabilities of the ATOMSTACK A5 on wood.
- Material: Wood
- Speed: 2400 mm/min
- Power: 90%
- Passes: 1
Wolf
I tried cutting the included plywood sample and the ATOMSTACK A5 can do it with 3 passes. Unfortunately, my model was too small for the piece of plywood I used, but the A5 was able to cut thin pieces of plywood without too much trouble.
- Material: Plywood
- Speed: 1000 mm/min
- Power: 100%
- Passes: 5
Is the ATOMSTACK A5 worth it?
I can’t really answer this question because the ATOMSTACK A5 is my first laser engraver and I haven’t tested other machines. But my experience with it was relatively effortless.
The instruction manual was good enough for me to follow as a beginner, and after less than 30 minutes of trial and error I was good to go.
LaserGRBL is not the most user-friendly software and it can have a small learning curve, but LightBurn made it much easier for me.
With the ATOMSTACK A5 you can engrave wood and leather without too much work. Cutting carboard and thin plywood is also possible, but I’ve had issues when trying to cut acrylic.
Unfortunately, I was not able to test other materials because I don’t have a good place to use the laser, with good ventilation. I will make sure to update the article when I get more time with it.
Where to buy the ATOMSTACK A5?
The ATOMSTACK A5 laser engraver can be purchased from the following websites:
I recommend checking out the Discount Codes page before purchasing. I regularly update the article with discount codes for various online shops, and you might find one for this particular model.
The ATOMSTACK was provided by Banggood for the purpose of this review. While the article includes affiliate links, all opinions are my own.
Liked it?
|
|


