How to Change The 3D Printer Nozzle?
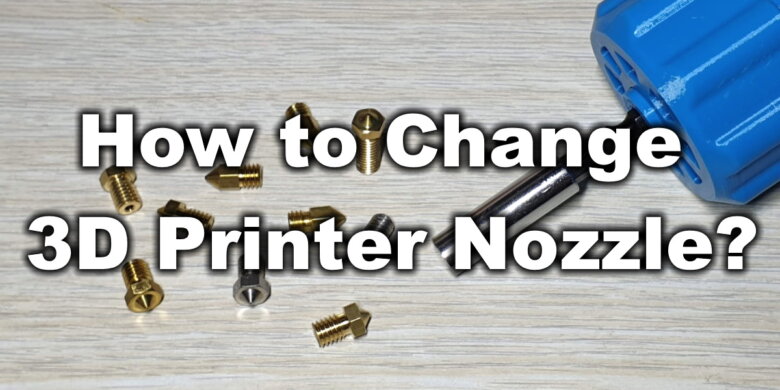
Today I will show you how to change a 3D printer nozzle correctly. I’ve seen a lot of posts on 3D printer groups where people were having issues with leaks after changing the 3D printer nozzle. Besides that, I just encountered a similar issue caused by improper nozzle change. Thinking that this will help, I’ve written a simple guide on how to change a 3D printer nozzle, and avoid leaks.
Why Change The 3D Printer Nozzle?
Nozzle changes are made for multiple reasons. The first reason why you need to change the nozzle on your 3D printer is because the old one is damaged. A bad nozzle can translate into bad quality prints, stringing issues and bad dimensional accuracy.
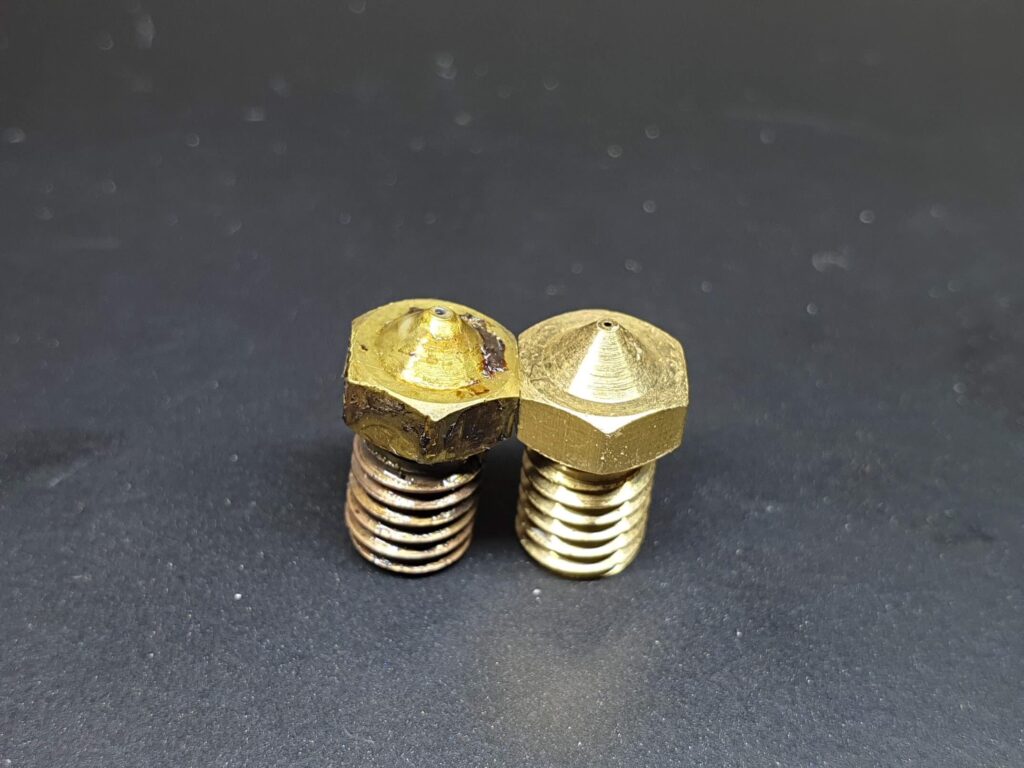
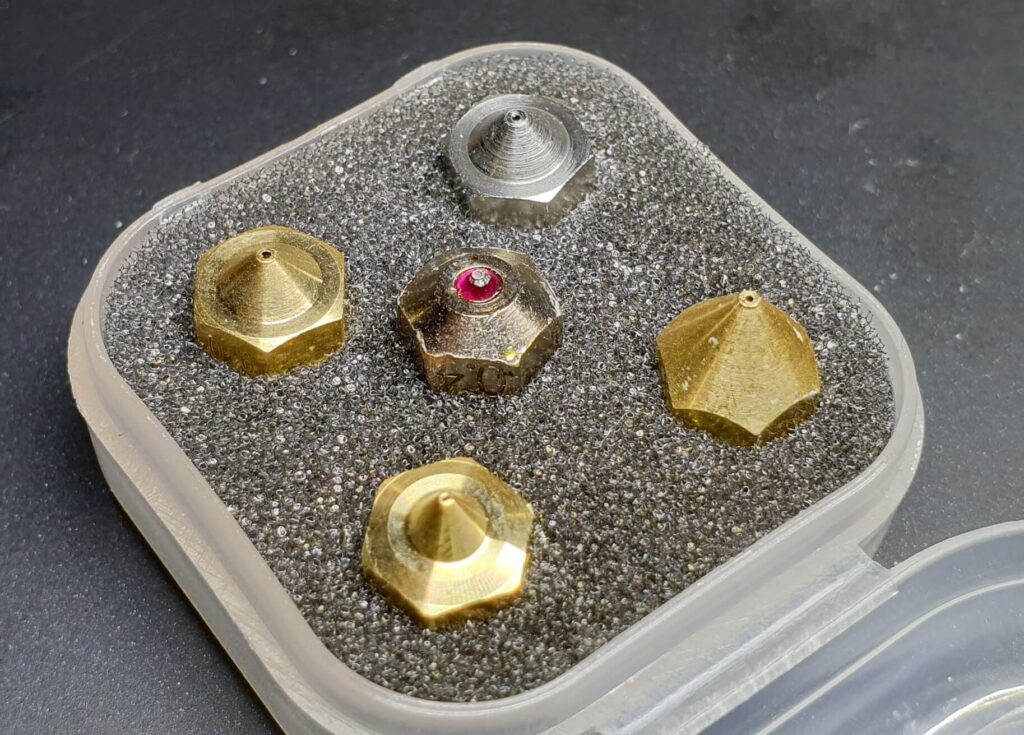
Another reason why to replace the 3D printer nozzle is when you want to print faster. A bigger nozzle allows you to lower your print times without needing to increase print speed. The most common nozzle is 0.4 mm, but for faster prints you would like to use a 0.6 mm or 0.8 mm nozzle sizes. This translates in wider extrusions and bigger layer heights.
By using a smaller nozzle (0.3 mm or 0.2 mm), you can increase the quality your final prints, by using lower layer heights. While this can increase the quality, it will increase print times.
Change The 3D Printer Nozzle and Fix Leaks
Changing nozzles on your printer can be a daunting task for newbies or beginners in 3D printing. If the nozzle is not properly tightened in the heatbreak, leaks can occur. If you change nozzles at room temperature, when heating up the hotend metal expands and the nozzle gets loose. This creates some space between the nozzle and the heatbreak and melted filament can flow through the threads. Clogs appear and you will need to disassemble everything to clean.
If you follow the guide carefully, you will learn how to correctly change the 3D printer nozzle and avoid leaks caused by improper tightening.
Because of an improper nozzle change, I managed to damage the heatbreak thread on my NF Crazy Hotend. Because I used too much force when tightening the nozzle, the thread was stripped and plastic started to leak from the heatblock.
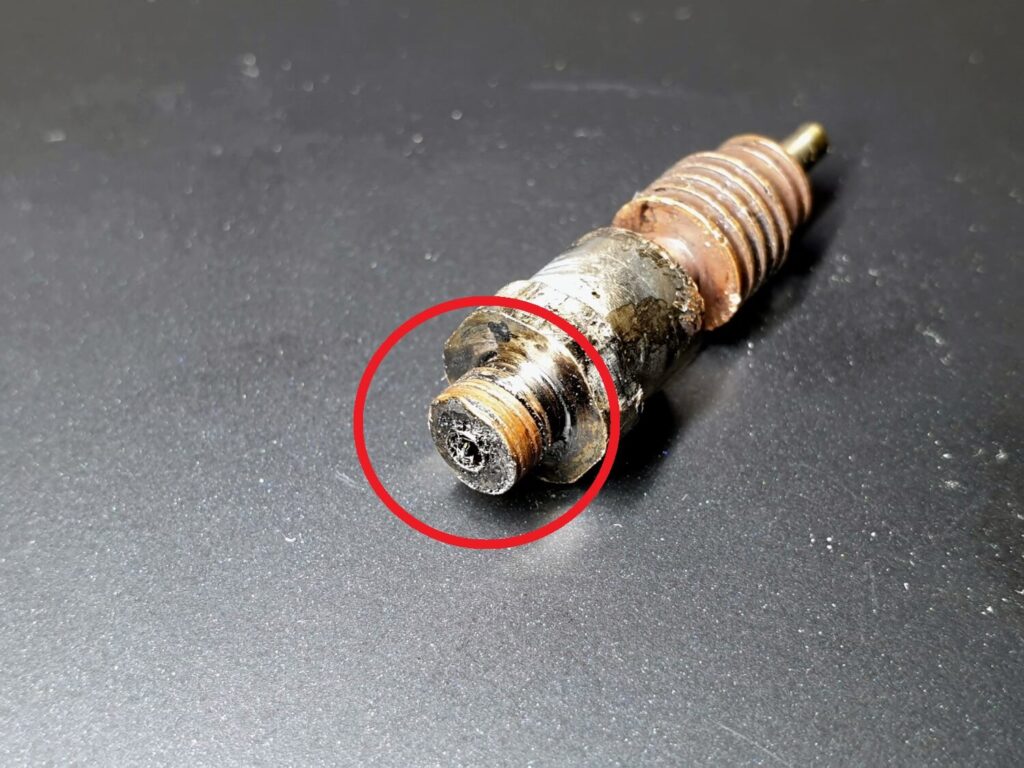
While I can fix this issue with a replacement heatbreak, I will use the torque wrench from now on, each time I change the 3D printer nozzle.
Prerequisites
In order to properly change nozzles on your 3D printer, you need to have some tools ready for this.
- Wrench or pliers to hold the heatblock.
- Tubular wrench for the nozzle.
- Temperature resistant gloves for protection.
- Torque wrench (optional).
Please note that if you are following this guide in order to change nozzles it’s important to be careful. You are working with hot components and burns can occur. Avoid touching nozzles and heatblocks when changing nozzles to avoid burns and injury. Read the full guide before starting.
Torque Wrench for Nozzle Change
In order to easily change nozzles on my printer, I printed this Torque Wrench from Prusa Printers (2nm version) in Blue EasyPETG from Fiberlogy. I strongly recommend using a torque wrench for good results.
Slice Engineering recommends using a 1.5nm torque wrench for tightening the nozzle on the Mosquito Hotend. E3D recommends tightening the nozzle with a 3nm wrench.
I used a 2nm wrench and it worked fine for both.


How to Change The 3D Printer Nozzle?
In order to change 3D printer nozzles properly, follow the steps below:
Heat up the hotend to maximum temperature.
Before starting the nozzle replacement, you need to heat the hotend to the maximum temperature. When you change the 3D printer nozzle, it’s important to do it with the heatblock set at your max temperature allowed by your printer. Usually, for PTFE hotends the maximum temperature is 270C.
While any temperature over 240C can quickly damage the PTFE tube, it’s ok for a few minutes until you replace the nozzle.
If you are using a silicon sock, remove it before heating up the hotend.
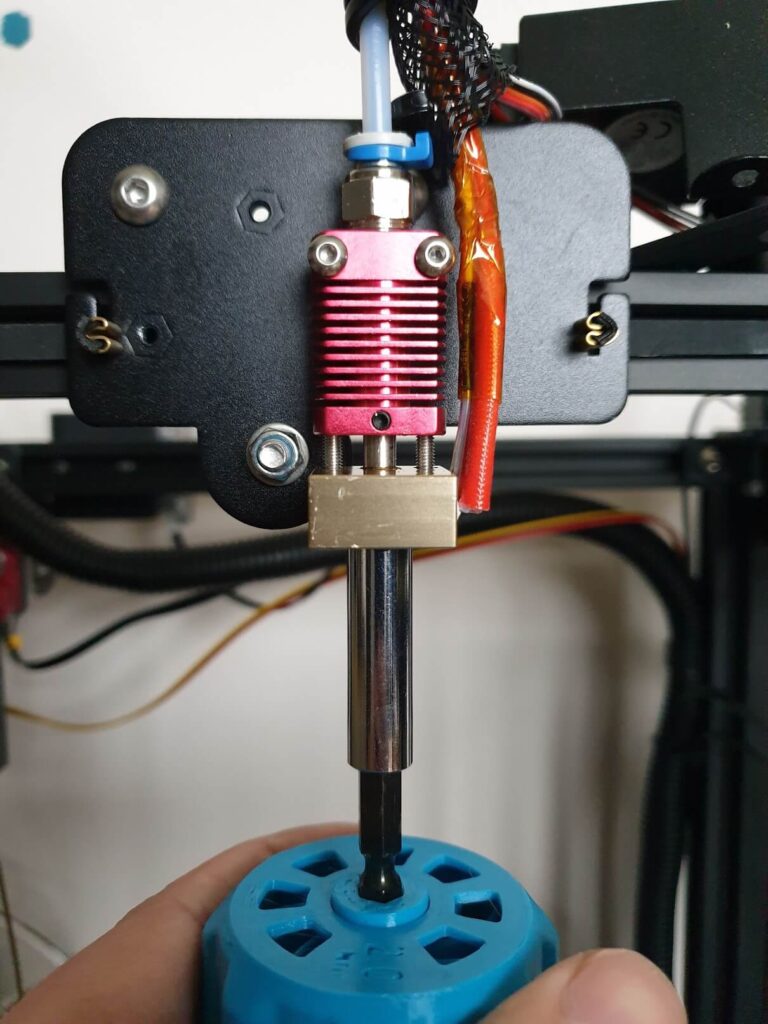
Remove the filament
When the hotend reaches around 130C for PLA and 150C for PETG, remove the filament with a quick pull in order to avoid filament clogs. This is not exactly a cold pull, but it will help you to remove most of the filament. This makes the nozzle change process easier.
Unscrew the old nozzle
Now that the hotend is set to the maximum temperature, you can proceed to replacing the nozzle.
Grab your wrench or pliers and hold the heatblock in place. Carefully grab the heatblock avoiding the heater cartridge and the thermistor. With your other hand, start unscrewing the nozzle.
Screw the new nozzle into the heatblock.
If you are using gloves, you can start screwing the nozzle with your hands then perform the tightening with the tubular wrench or the torque wrench.
If you are not using gloves, place the nozzle in your tubular wrench and screw the nozzle into the heatblock. After the nozzle is screwed tighten the nozzle a bit more. Don’t over-tighten the nozzle. This can lead to a stripped thread and can damage your nozzle and/or the heatblock.
If you are using the recommended torque wrench, the nozzle is tightened when the wrench clicks.


Wrapping up
Congrats! You just changed the 3D printer nozzle, and you can return to your printing activities.
Liked it?
|
|


