Tenlog TL-D3 PRO Review: IDEX on a Budget
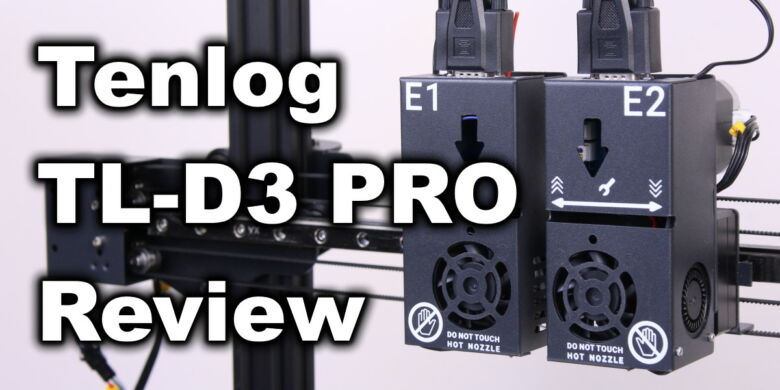
The Tenlog TL-D3 Pro is an IDEX 3D printer which is capable of independent dual extrusion. I reviewed the Raise3D E2 in the past, which is similar to this one but it’s a lot more expensive.
I didn’t have too many expectations from the Tenlog TL-D3 Pro, but as you will find in my review, the machine is better than expected for a budget IDEX 3D printer even though it has some faults.
Tenlog TL-D3 PRO Shipping and Packaging
As most of the printers I reviewed in the past, the Tenlog TL-D3 Pro comes in a cardboard box with ample foam protection on all sides. All the components are tightly packed, and shipping should not be an issue.
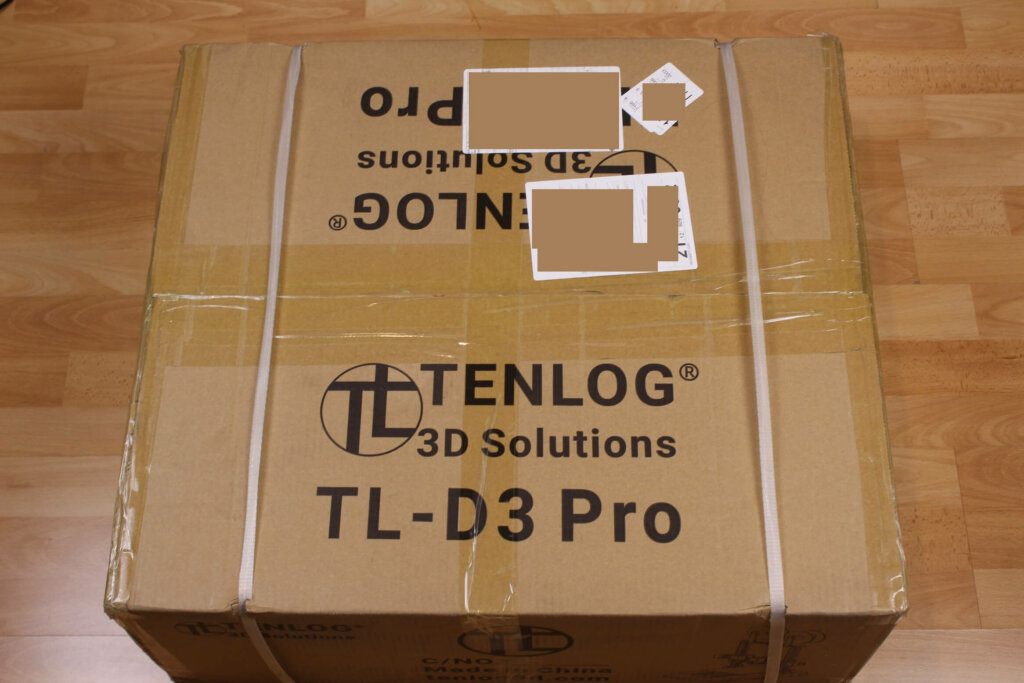
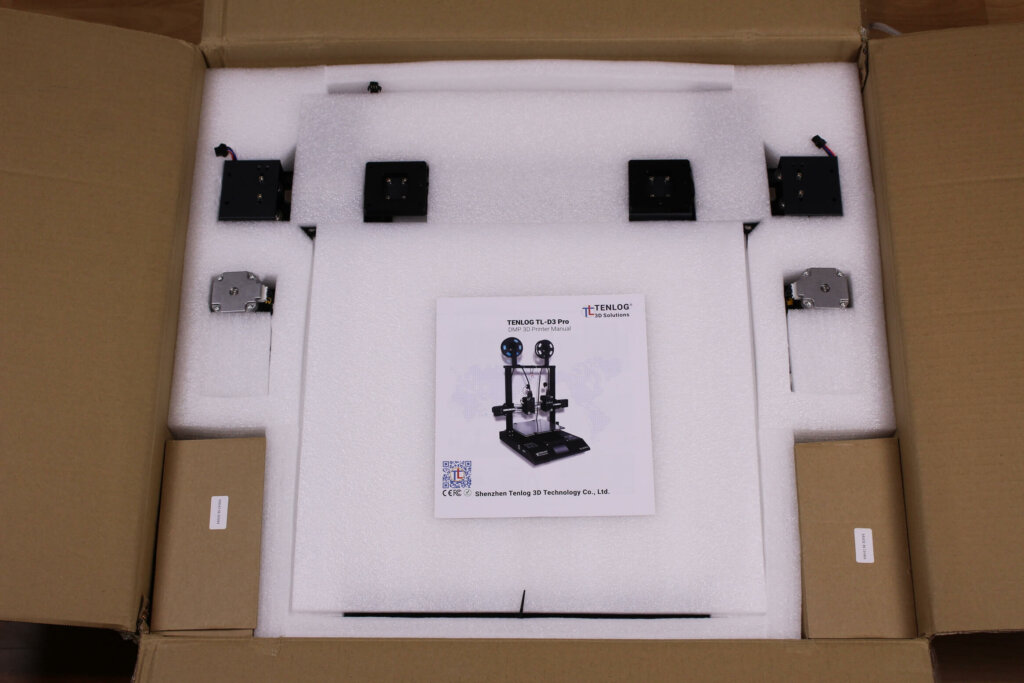
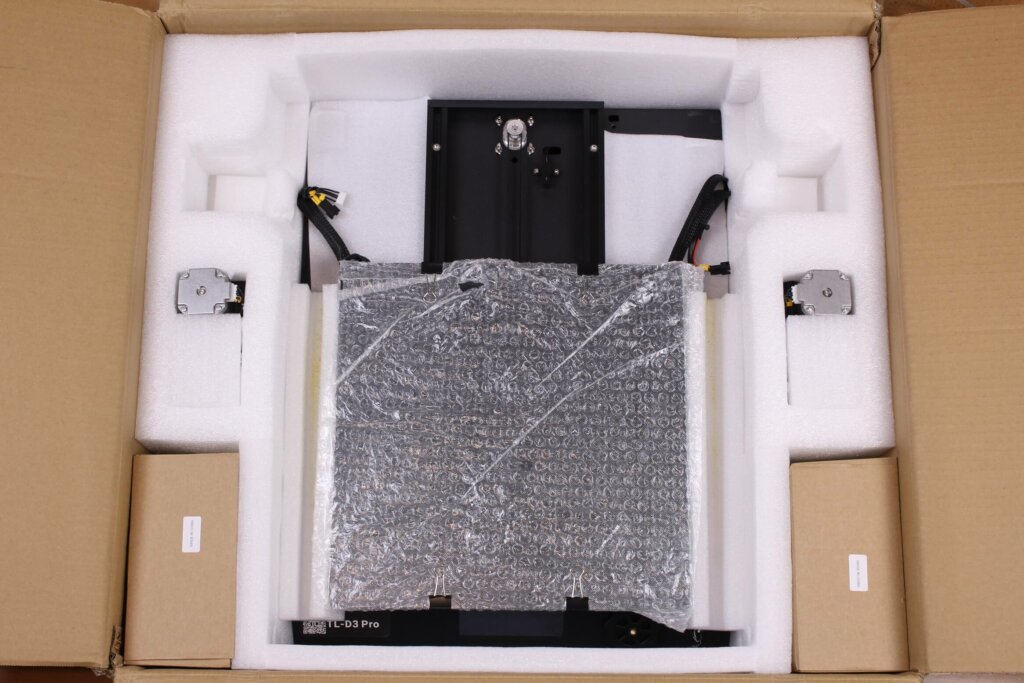
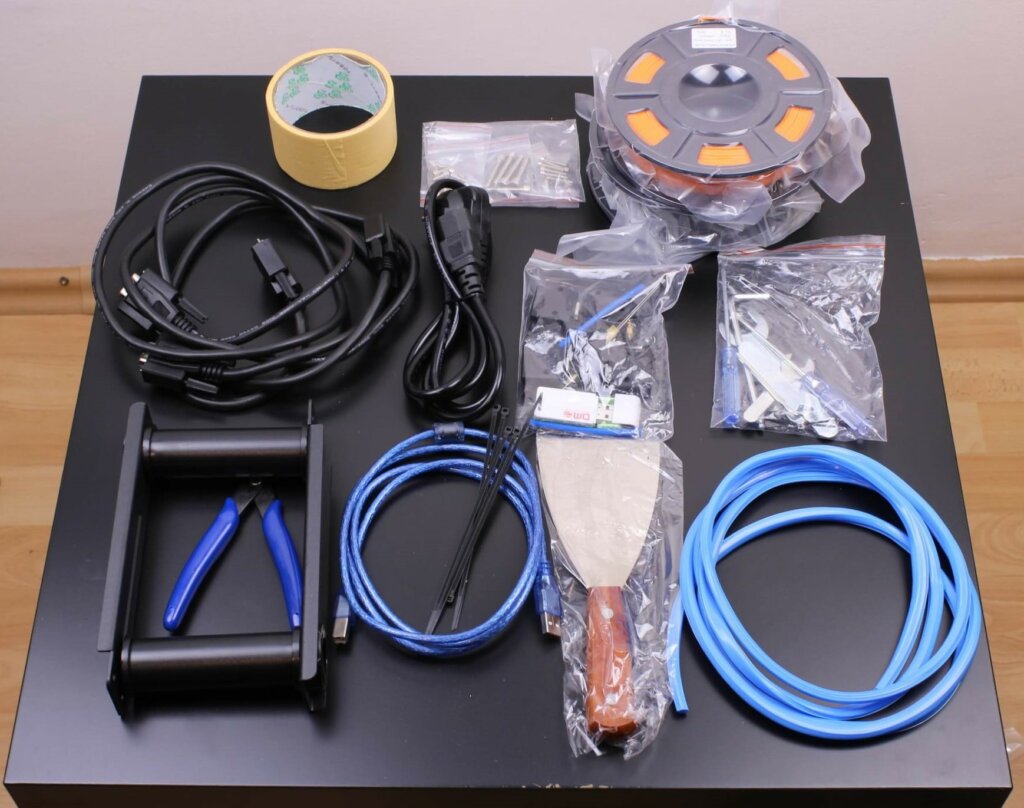
Inside the package you get the bottom section of the printer, the gantry and two boxes with accessories. This is the first point where I was surprised, learning that you get a lot more filament samples compared to any other 3D printer, which is nice to see.
Included accessories
- Two sample PLA spools
- Card reader
- SD Card
- Two spool holders
- Spatula
- Filament cutters
- Dual VGA cables
- Rubber covers for the aluminum extrusions
- Spare nozzle
- Unclogging tool
- Spare PTFE tube
- Zip ties
- Bag of screws
- Bag of tools
- Power cord
- Paper tape
Quick Assembly
The assembly process is relatively straight forward. You just need to attach the gantry to the base unit with four screws, then connect all the wires. After connecting everything, check the V-slot wheels for the heatbed and the Z axis to make sure they are properly tightened.
Tenlog TL-D3 PRO Design
The Tenlog TL-D3 PRO doesn’t win any awards for its looks, but it’s fine. The spool holders get mounted on the top X gantry.
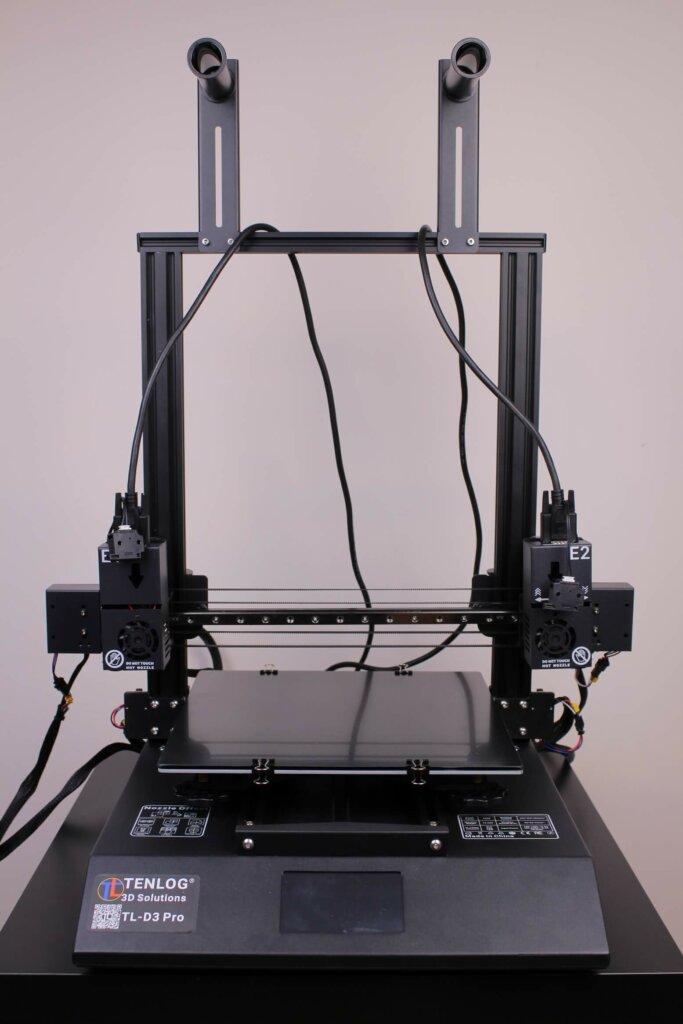
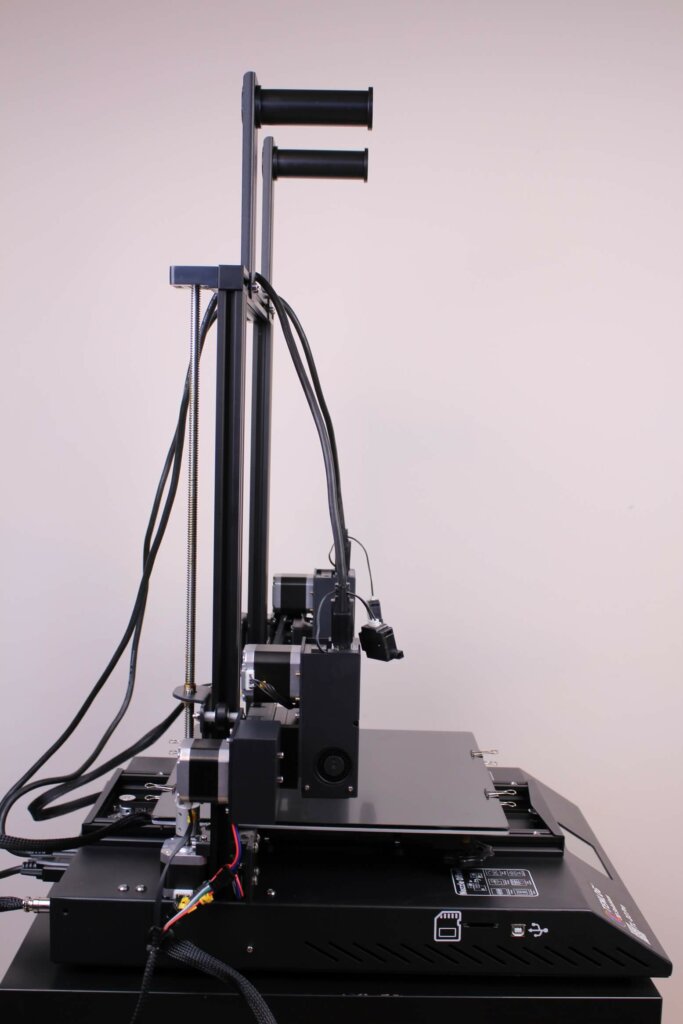
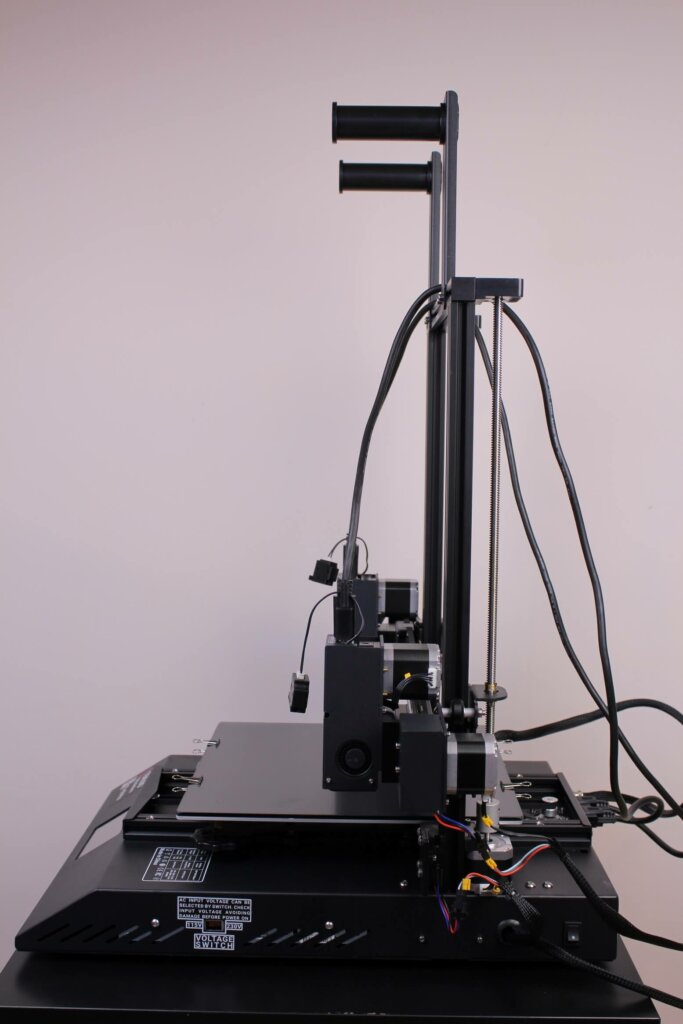
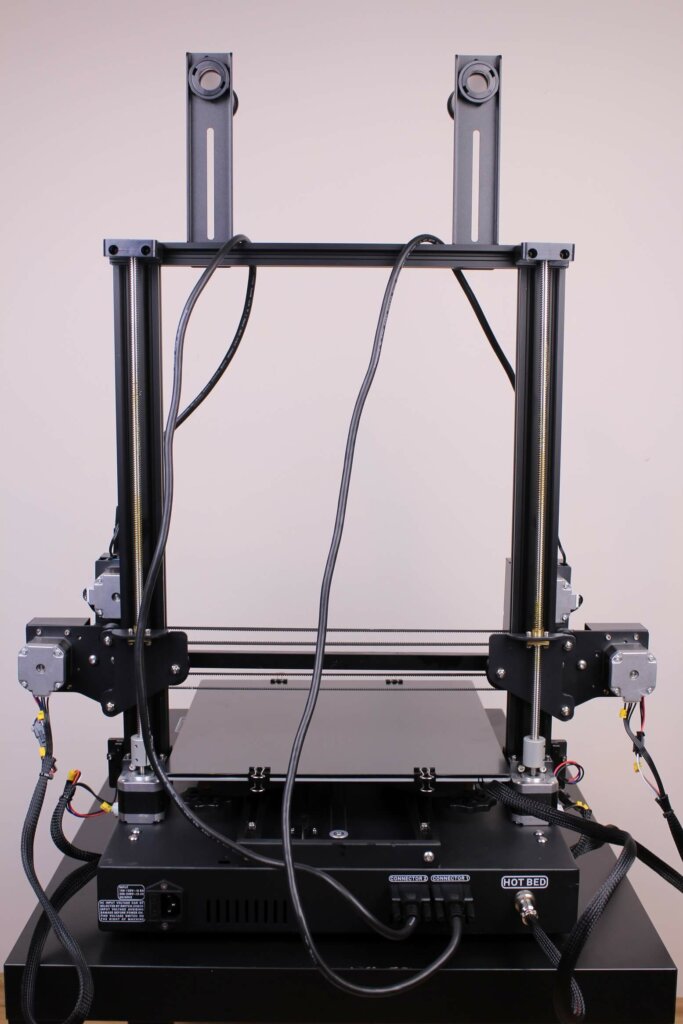
To be honest, I’m not a fan of the included blue aluminum extrusion covers. While they are helpful in keeping dust away from the extrusions, the blue color is not my cup of tea. But the good part is that you can choose to use them or not. They don’t impact the printing performance of the TL-D3 PRO.
Tenlog TL-D3 PRO Specs
| Specifications | |
| Model | TL-D3 Pro |
| Engraving Accuracy | 0.1mm |
| Frame material | Aluminum Alloy |
| Platform board | Aluminum Alloy + Glass |
| Nozzle quantity | Double |
| Nozzle diameter | 0.4mm |
| Nozzle temperature | 0 to 260 degree |
| Product forming size | 300*300*350mm |
| Layer thickness | 0.1-0.4mm |
| Memory card offline print | SDcard |
| LCD Screen | Yes(touch screen) |
| Print speed | 10-150mm/s |
| Platform temperature | MAX 110 degree |
| Supporting material | TPU,PVA,PLA,ABS,HIPS,WOOD,PETG,FLEXIBLE |
| Material diameter | 1.75mm |
| Language | English |
| File format | G-code, stl,Jpg ect |
| Model supporting function | Yes |
| XY-axis positioning accuracy | 0.011mm |
| Z-axis positioning accuracy | 0.0025mm |
| Voltage | 110/220V |
| Working Power | Input: AC 110/220V, output: 24V, 15A |
| Host computer software | Cura |
| Packing Type | Assembled packing |
| System support | XP,WIN7,Linux |
| Voltage Range | 110-120V / 6.8A, 200 – 240V / 3.4A, 50 / 60Hz |
| Connector Type | USB,SDcard |
| Product weight | 16kg |
| Package weight | 19kg |
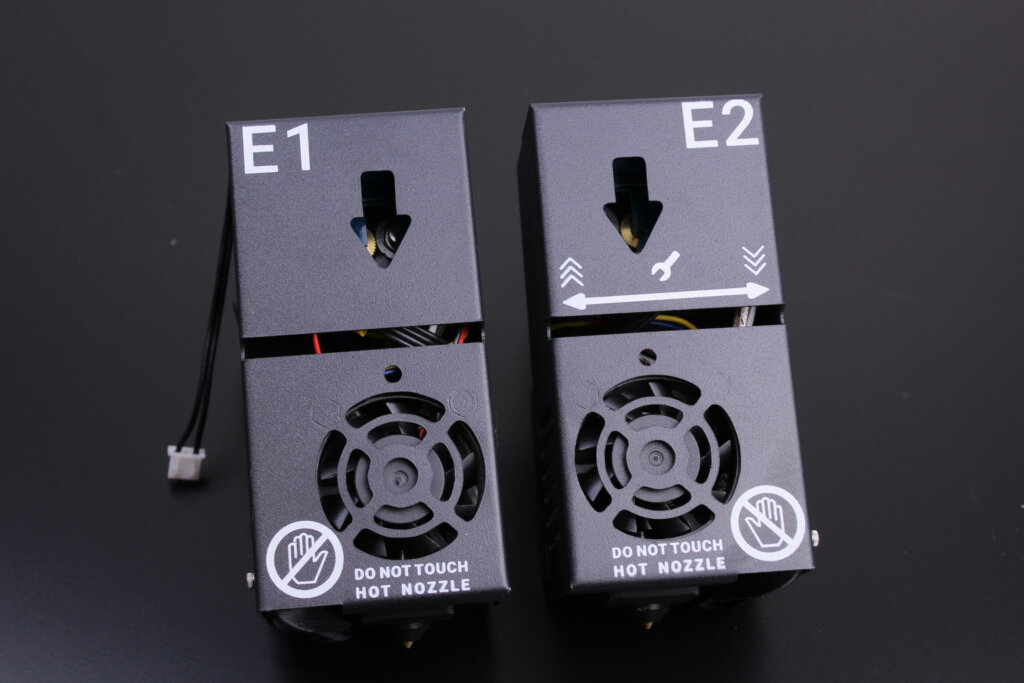
Dual print heads
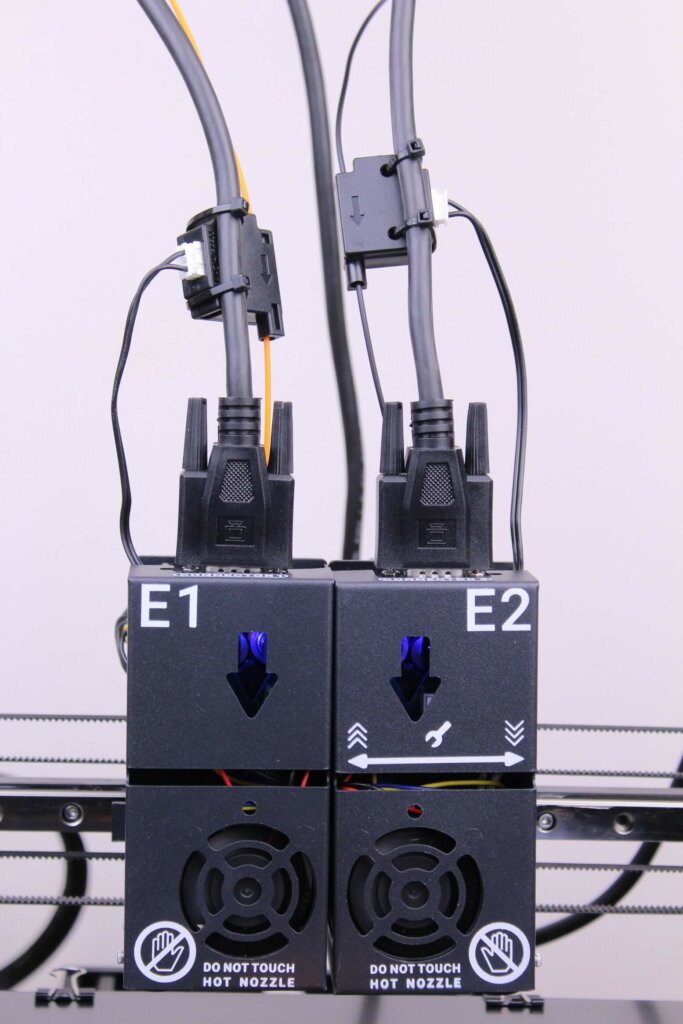
As with any IDEX machine, we get dual print heads capable of three print modes.
The first mode is the Dual Material Printing where you can print separate materials at the same time. For example, you could have one of the print heads loaded with TPU and the second one loaded with PLA to do dual material prints. Or, you could have one of the print heads do the model, and the second print head do the support structure with a second material.
The second print mode is Duplication Mode Printing which allows you to print two models at the same time, increasing the efficiency. This lowers the print time with 50% allowing you to produce prints at twice the speed.
The third print mode is Mirror Mode Printing. this print mode allows you to print two mirrored models. For example, you could print a picture frame split in two parts and each of the print heads will print one half of the model, and in the end you will have your finished model in half the time it would take to complete it with a single nozzle.
Direct drive extruders
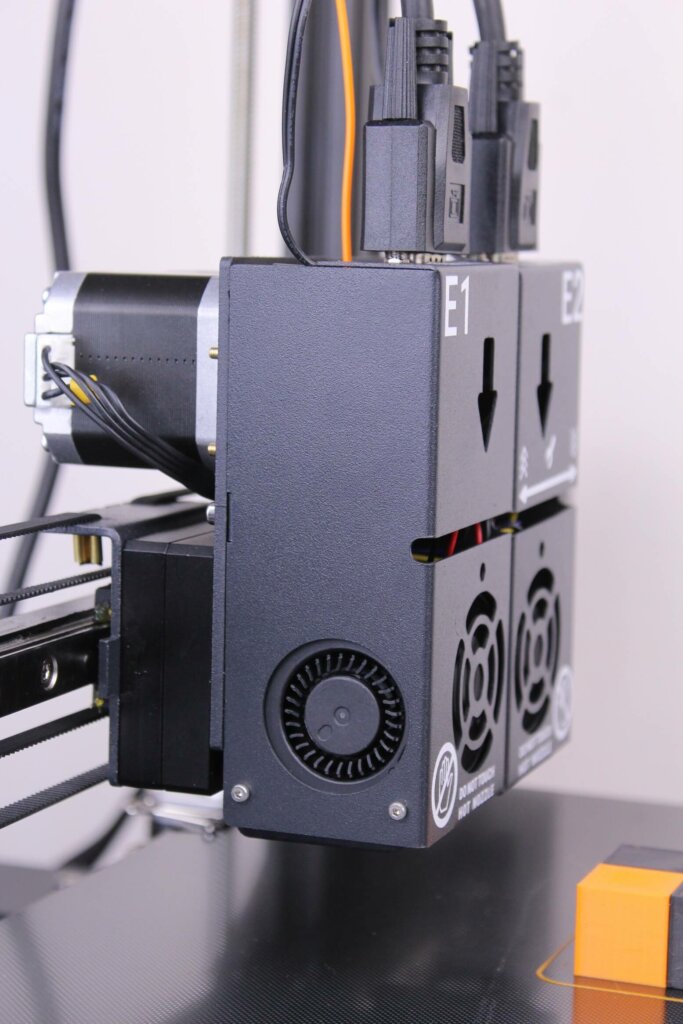
Each of the print heads for the Tenlog TL-D3 Pro is direct drive. The extruders use regular Nema 17 stepper motors which make them quite heavy (close to 1kg).
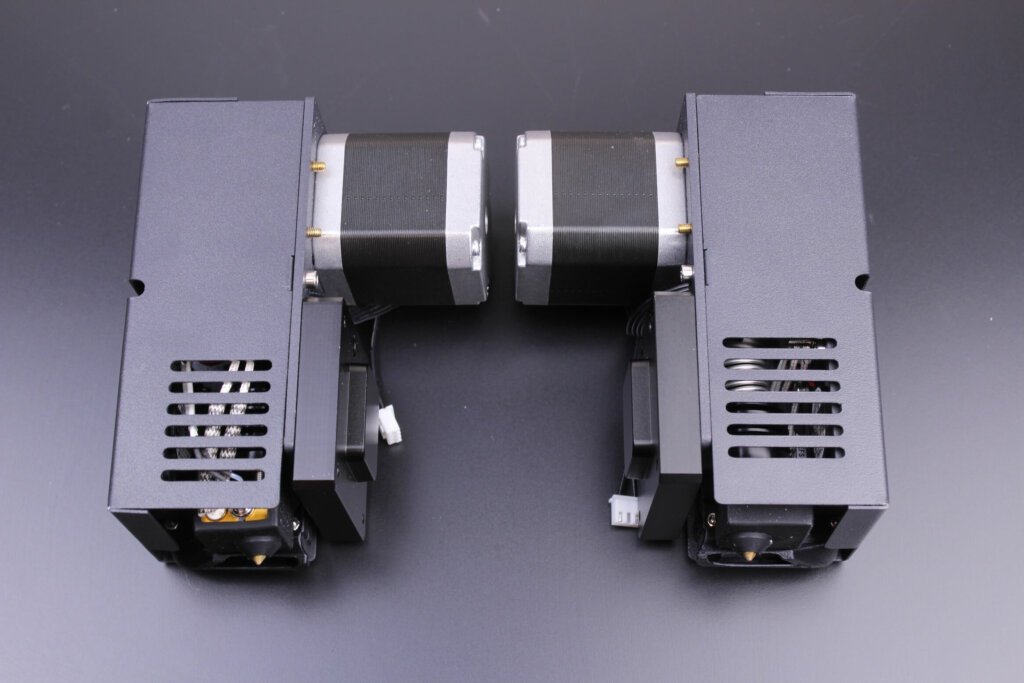
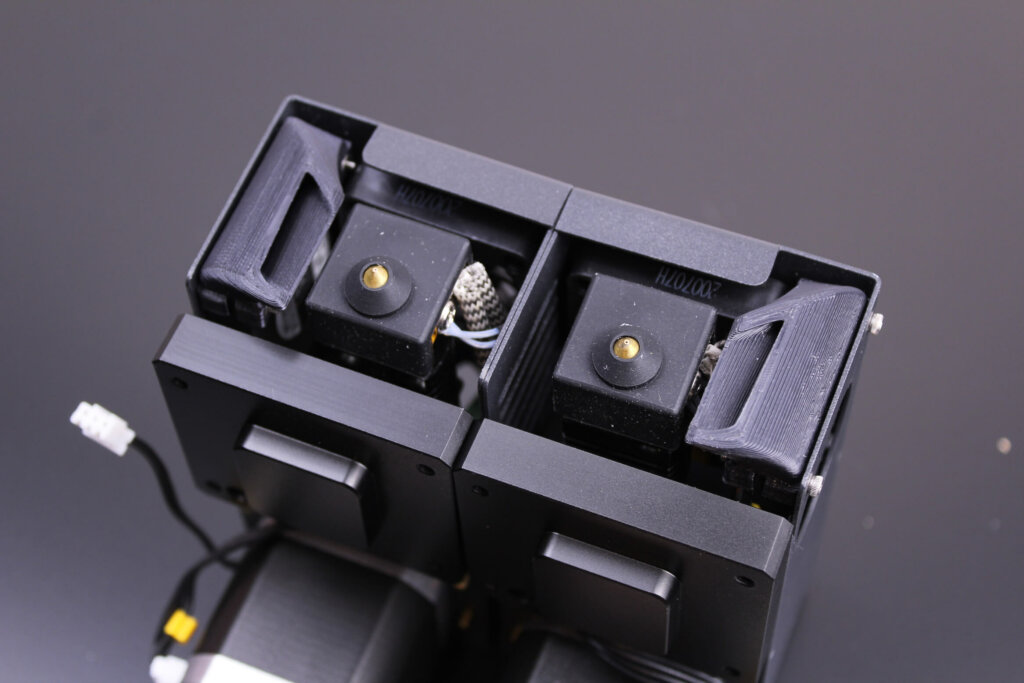
Unfortunately, I was not able to reliably print with the stock extruders because the stock spring was not strong enough to push on the idler. Because of this, I got a lot of under-extrusion.
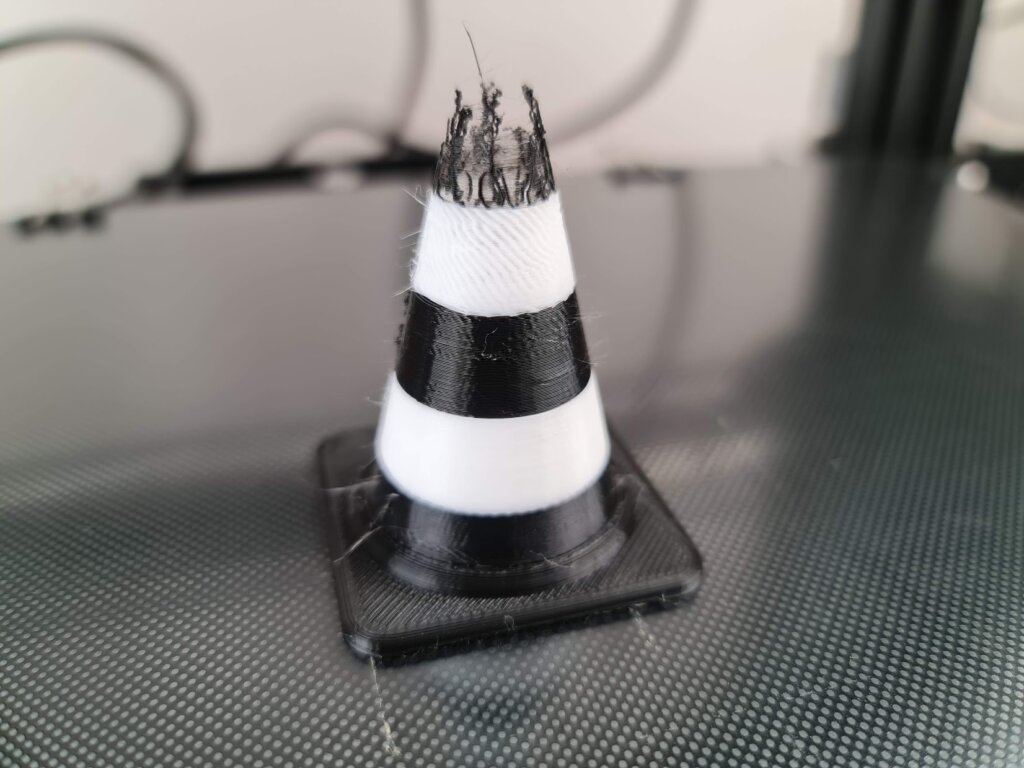
After replacing the springs with stiffer variants, I was finally able to start some test prints. Not the best out-of-the-box experience, but it is was it is…
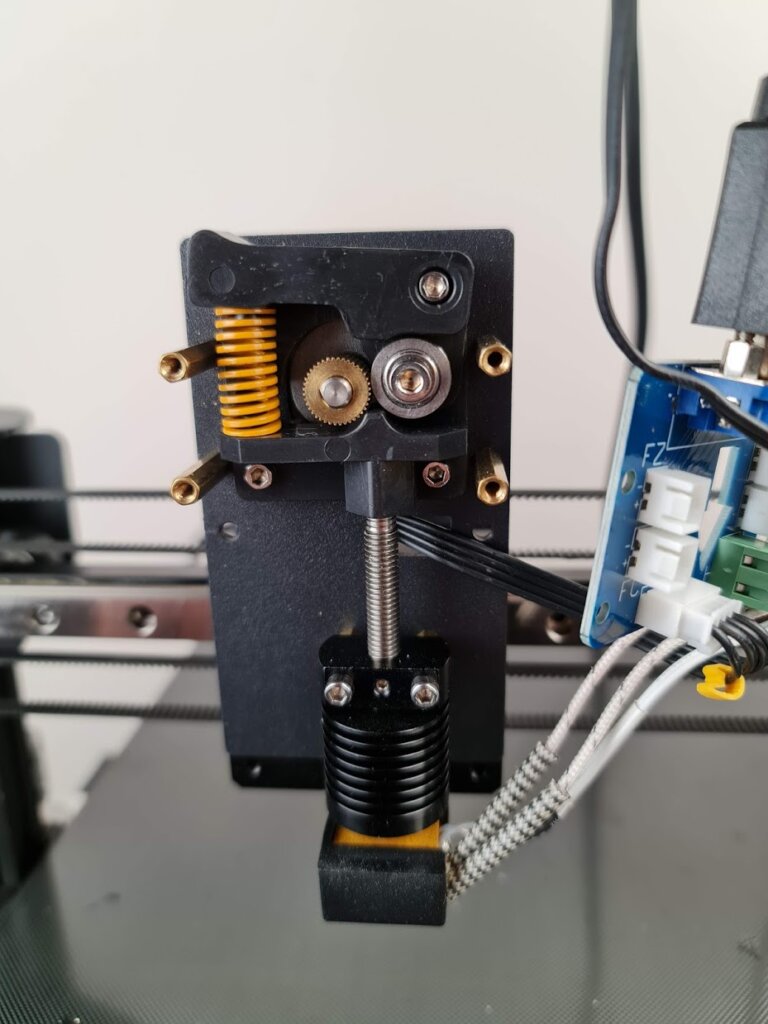
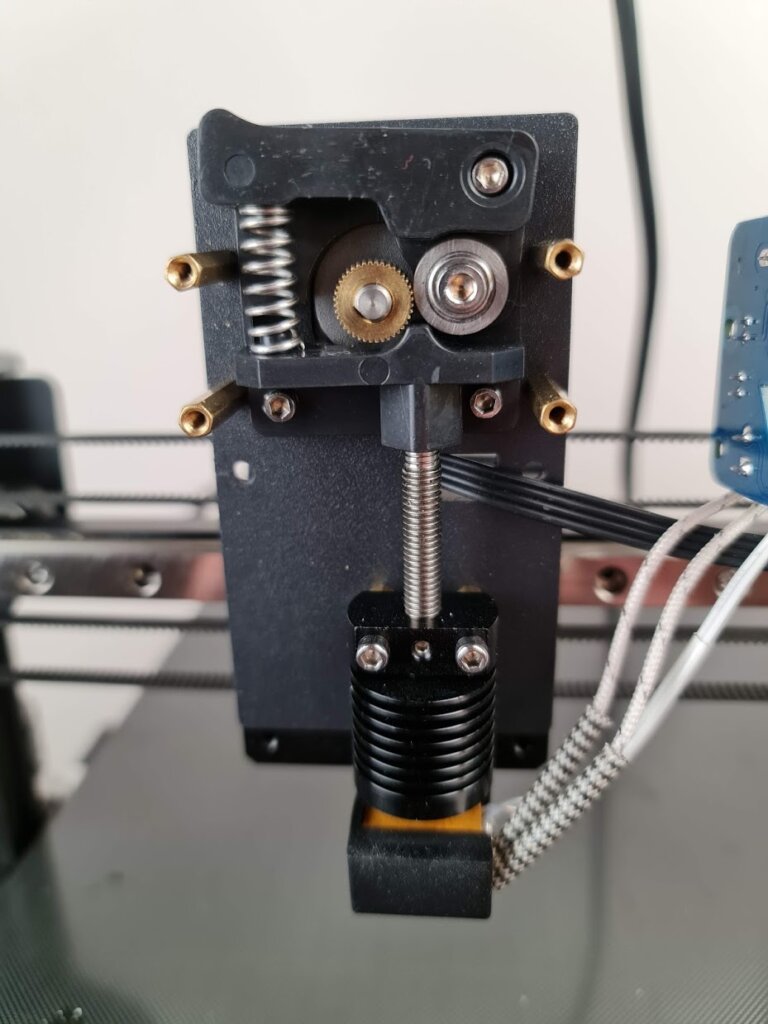
Tenlog said that a Titan Extruder upgrade will be available soon, which should make extrusion more accurate, but I can’t say for sure when you will be able to purchase it. I’ve seen some people online upgrading to the Hictop Titan Extruder which is half the weight of the stock offering and offer better part cooling with a 5015 fan.
Right now, I think you should also add a pair of yellow springs if you decide to order a Tenlog TL-D3 Pro, in case you have a similar issue.
A feature I would have loved to see on the Tenlog TL-D3 Pro is the addition of purge buckets and brushes for the print heads right out of the box.
When printing with both print heads, there is a bit of ooze when one of the print heads homes and waits for the next layer. This ooze can show up on the print if you don’t use a purge tower or an ooze shield. Having a purge bucket would have made this issue almost nonexistent and would also lower the filament waste.
Fortunately, you can print your own and with a bit of work, have them installed on the machine.
PTFE lined hotends
The hotends are PTFE lined and they look quite like the hotends used by Creality in most of their printers. Each hotend is cooled by a 4010 fan and for part cooling, Tenlog used a 3010-radial fan on each of the print heads.
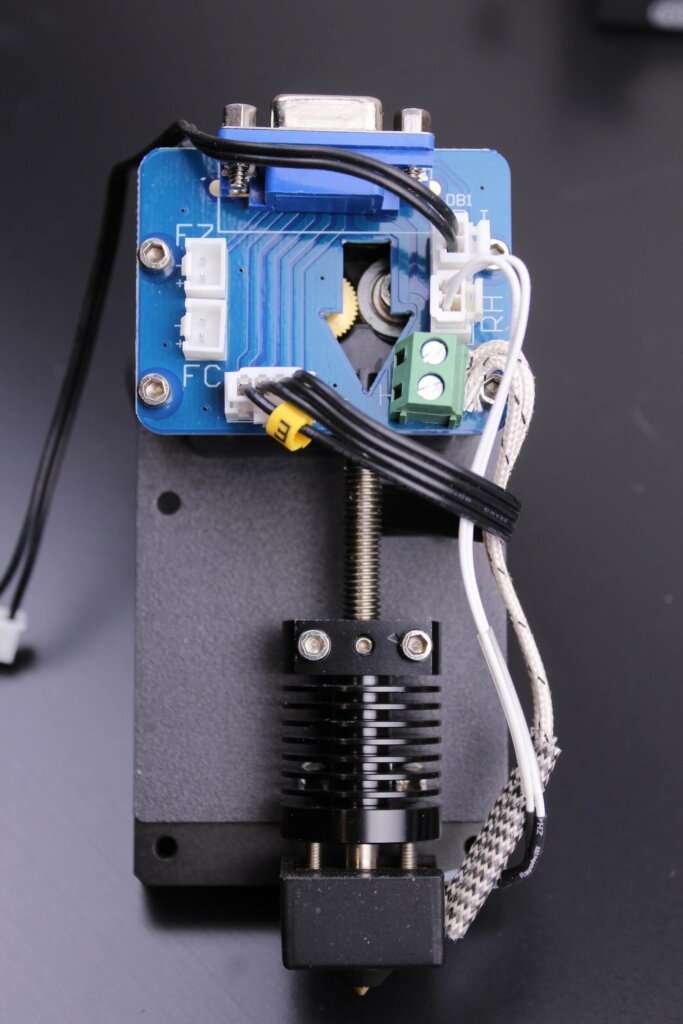
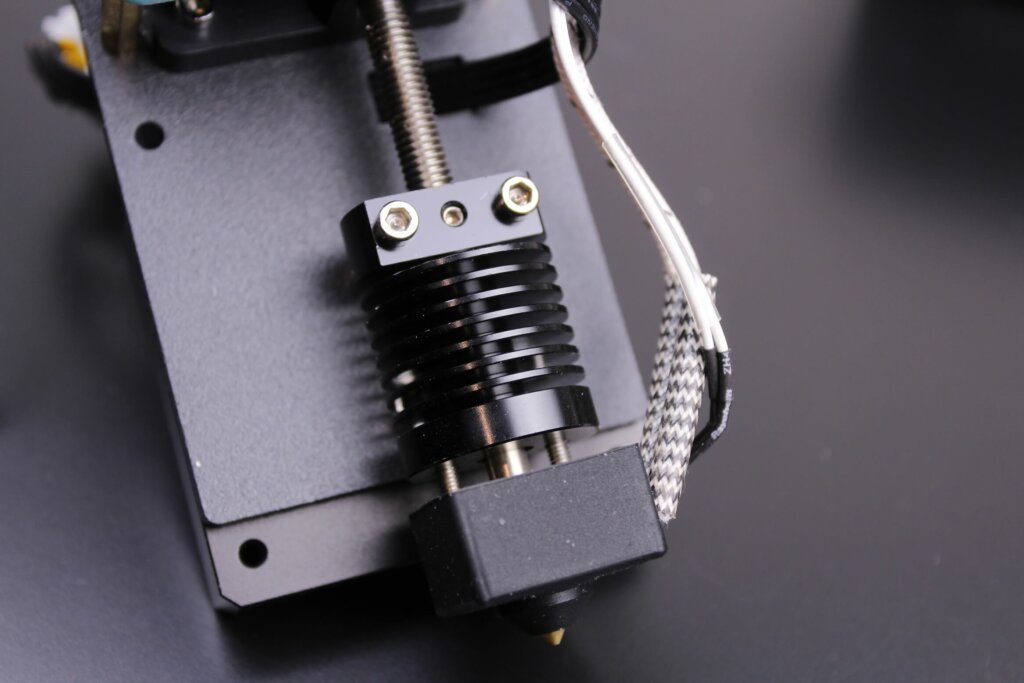
The hotend present on the P2 print head is adjustable, in order to manually set the Z offset and have it at the same height of the P1 print head. This is important to have for a good first layer on both of the machines, and it also contributes to good print layers, so take your time to level the right nozzle before your first print.
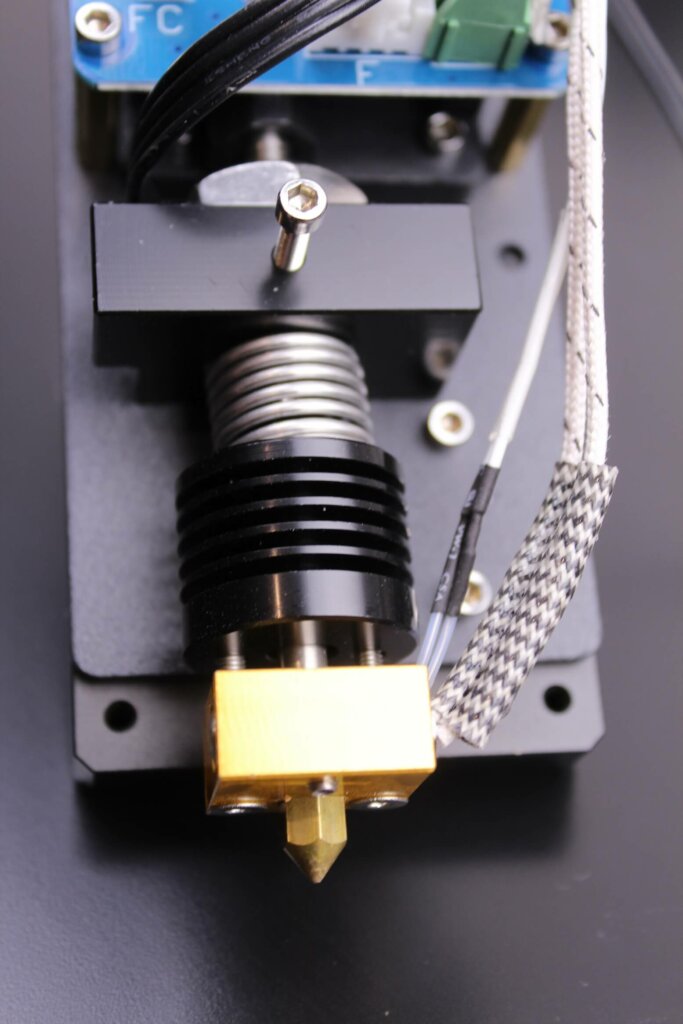
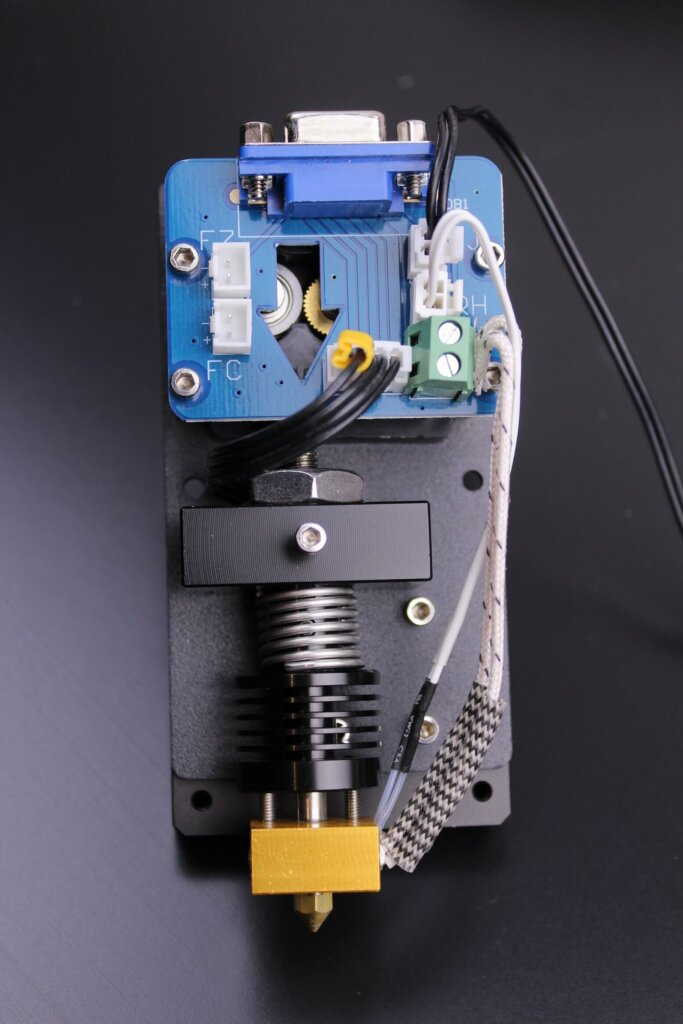
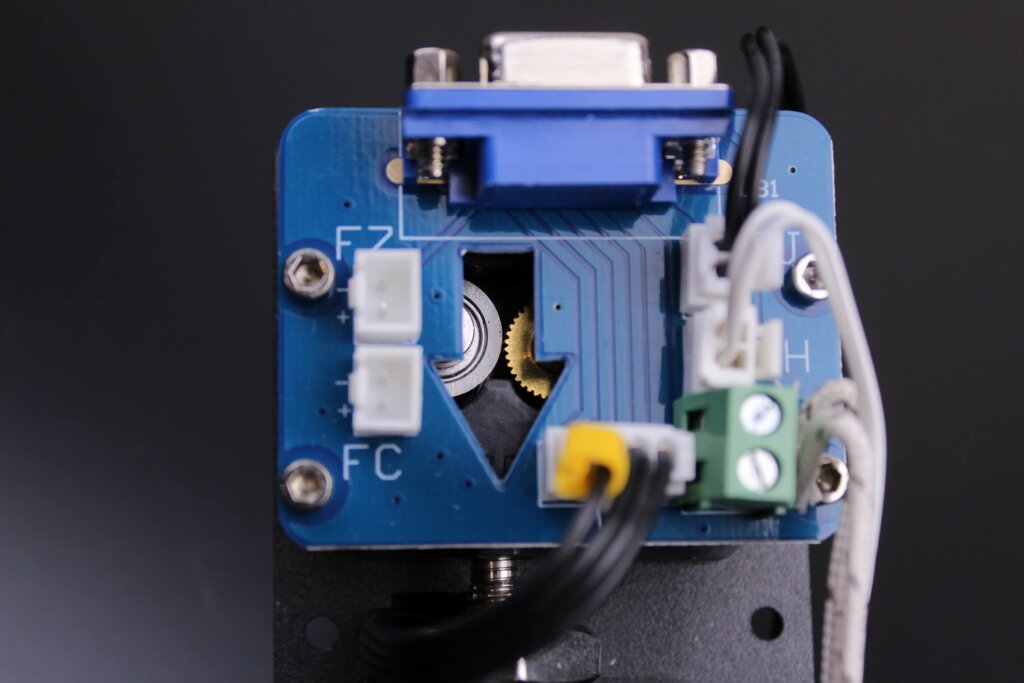
Manually adjusting the nozzle offset for the second print head is a bit fiddly, but not that hard to do. It just requires a bit of patience.
After properly leveling the bed with the first print head, you move the second print head in its position, and using the included wrench, you turn the adjustment screw until it reaches the correct position.
Quick-change setup with VGA connectors
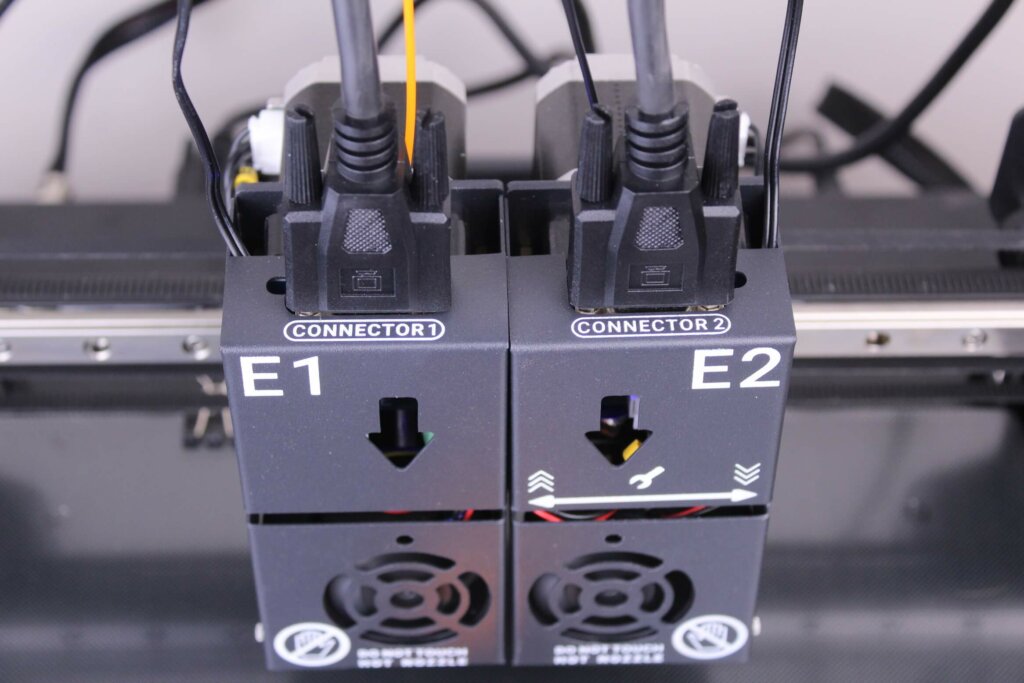
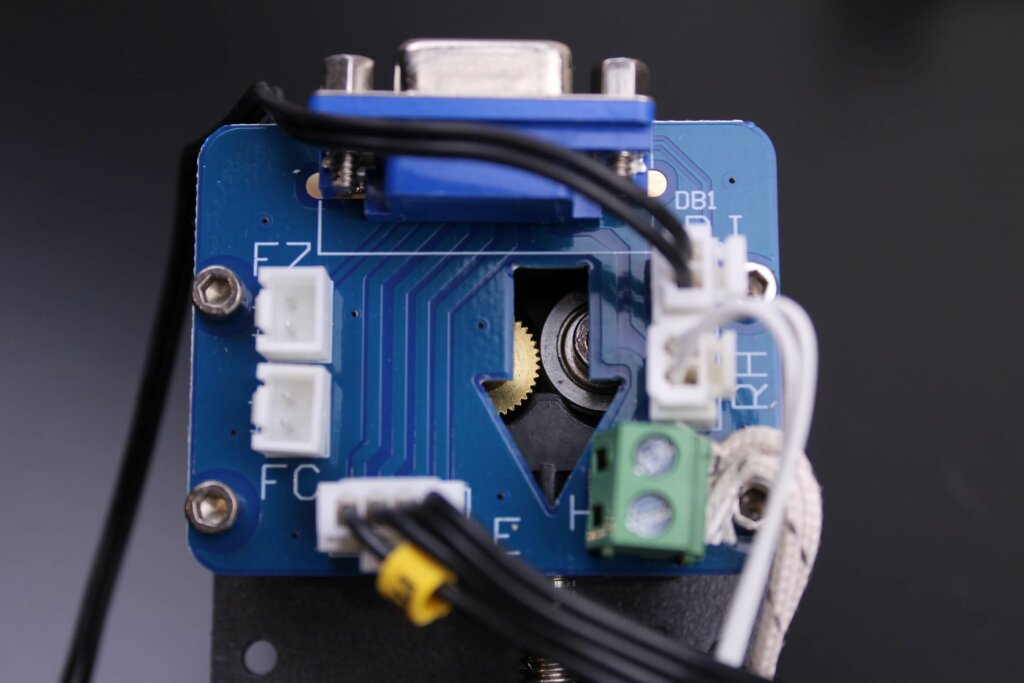
One nice feature of the Tenlog TL-D3 Pro is the ability to easily remove the print heads, by just removing one of the four screws from the back. This is really nice if you need to do any kind of maintenance to the print head.
This feature would not have been of much use if the wires wouldn’t have a quick way of disconnecting them. The use of VGA cables for powering the print heads makes connecting and disconnecting the print head an easy task.
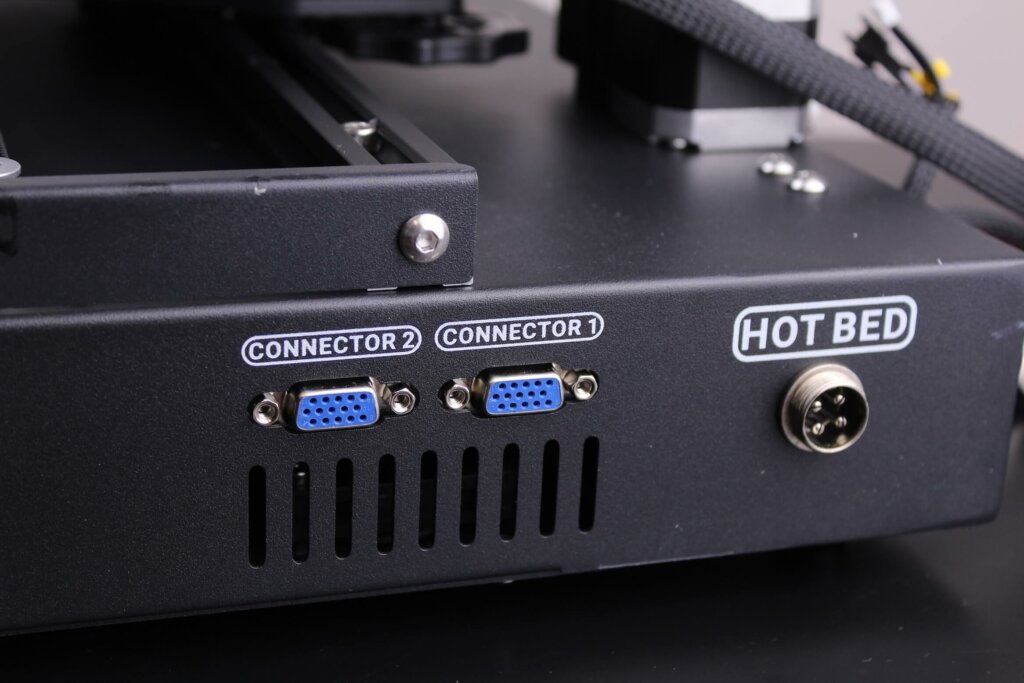
The connectors are secured with dual screws, so I don’t think there will be any issues with them in the future.
Generous 300x300x350 build volume
I previously mentioned the Raise3D E2 which has a build volume of 330×240×240 mm which can sometimes be liming if you want to print taller objects, but this is not the case with the Tenlog TL-D3 Pro. It sports a 300x300x350 build volume which gives you an extra 60mm for the Y axis and 90mm on the Z axis.
Dual Z axis
Considering the weight of the whole X gantry, there was no way of using a single Z axis lead screw. The Tenlog TL-D3 uses dual lead screws with independent stepper motors.
Unfortunately, Tenlog used regular lead screw nuts. It would have been awesome to also have a pair of anti-backlash nuts installed because the weight of the axis can make it go down when the Z motors are not engaged.
This is not a really big issue and can be easily fixed by upgrading the printer with cheap POM anti backlash nuts.
Optical endstops with auto leveling
Another excellent feature of the Tenlog TL-D3 Pro is the use of optical endstops, which are a bit more accurate compared to regular switches.
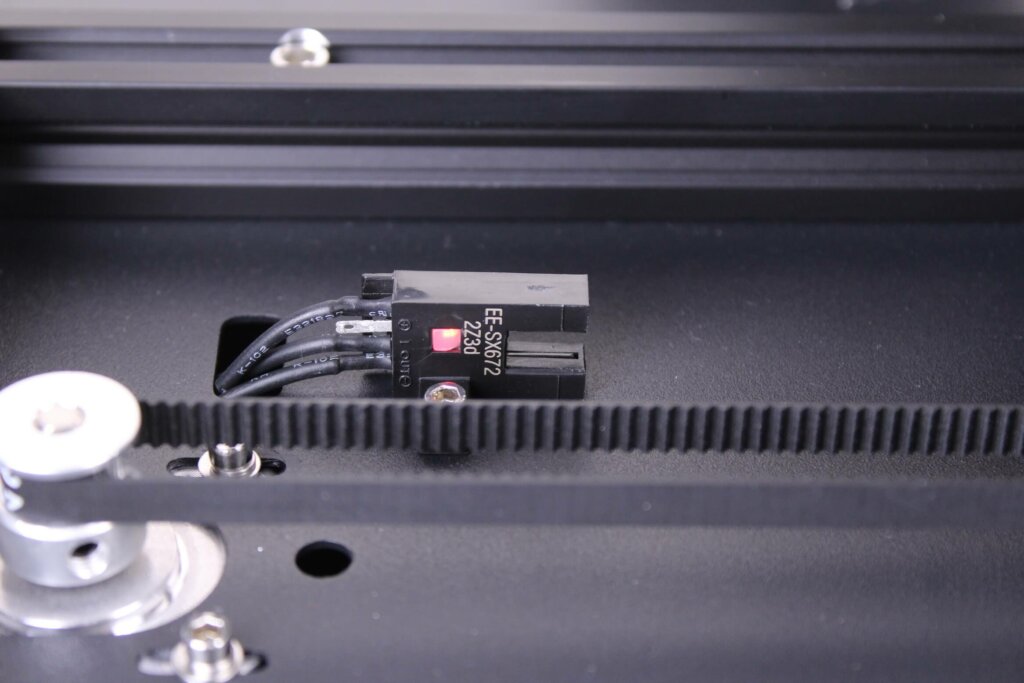
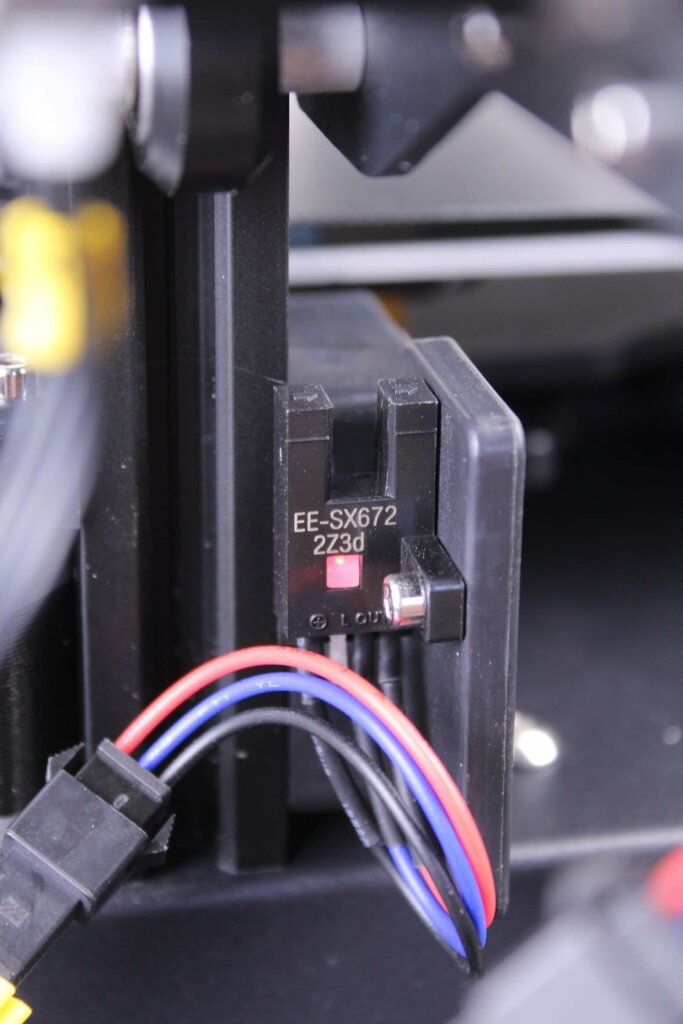
The good news is that we have a pair of optical endstop switches on the Z axis, allowing the printer to always level the X gantry automatically when you home the printer. This is a crucial feature to have on an IDEX 3D printer for repeatable results and ease of use.
Linear rail on the X axis
This comes as no suprise, but the X axis uses a linear rail for the X axis. Most of the good quality IDEX 3D printers use this because it’s extremely important to have the printheads at the same level when printing with dual color or dual material. If any of the print heads moves on during printing, it can ruin a print.
The MGN12 bearings move smoothly across the linear rail and they are properly greased from the factory, so no problem there.
310×310 glass bed
The Tenlog TL-D3 Pro comes with a 3mm 310×310 aluminum heated bed, and they used a textured piece of glass as a print surface. Remember to remove the protection sticker before printing.
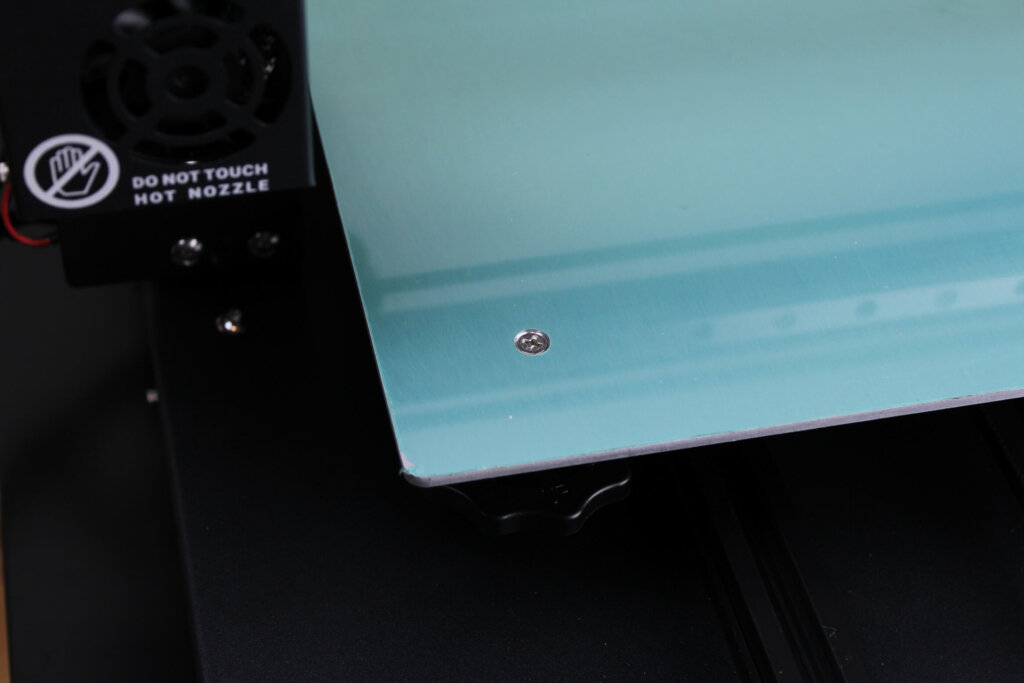
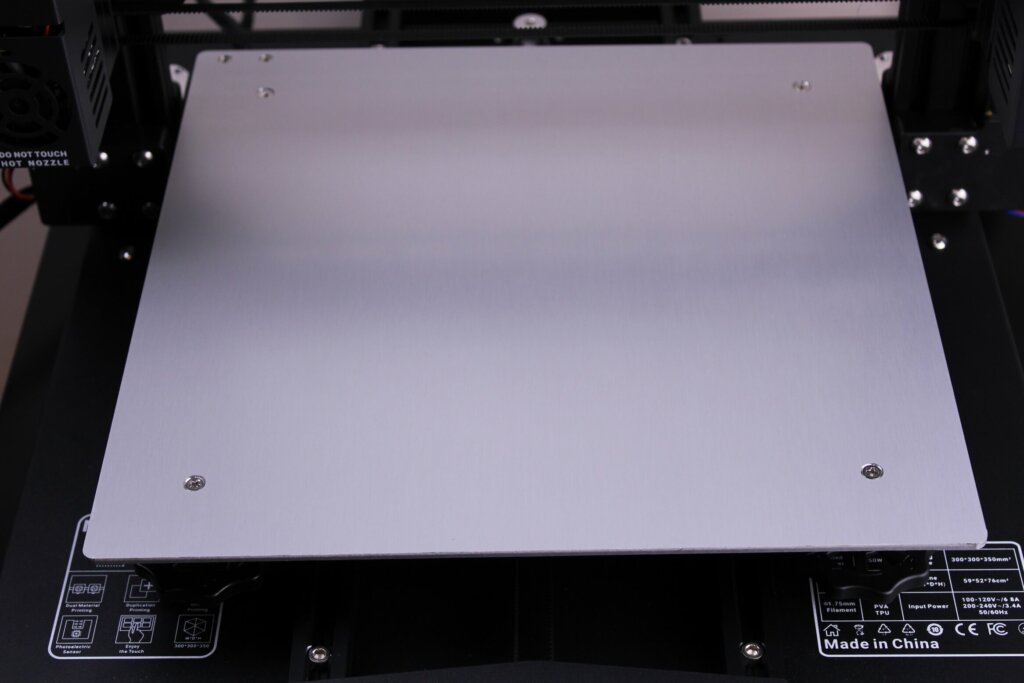
The glass print surface is not not great. It’s uneven, and it’s really hard to get a good first layer on it. I’ve had a few failed prints caused by the bad glass print surface.
I had a spare 310×320 aluminum plate I installed over the heatbed and I was able to complete my review, but without it the printer was not usable without a raft under the models. Either way, the stock glass print surface will probably need to be replaced.
You could upgrade to a PEI spring steel sheet to fix this issue, which will make removing the prints much easier. With this upgrade you can also remove the bed clips that hold the glass in place. Besides that, you will also lower the weight of the bed which will lower the ringing on the Y axis.
I would also have liked to see some bed insulation under the bed because it helps with heating time, it lowers power consumption and it decreases the load on the power supply, but unfortunately, we don’t have that on the Tenlog TL-D3 Pro.
4.3 inch touchscreen
With the Tenlog TL-D3 Pro you get a 4.3-inch touchscreen which is not the best out there, but it does the job. The interface is not that great, and the icons look a bit dated.
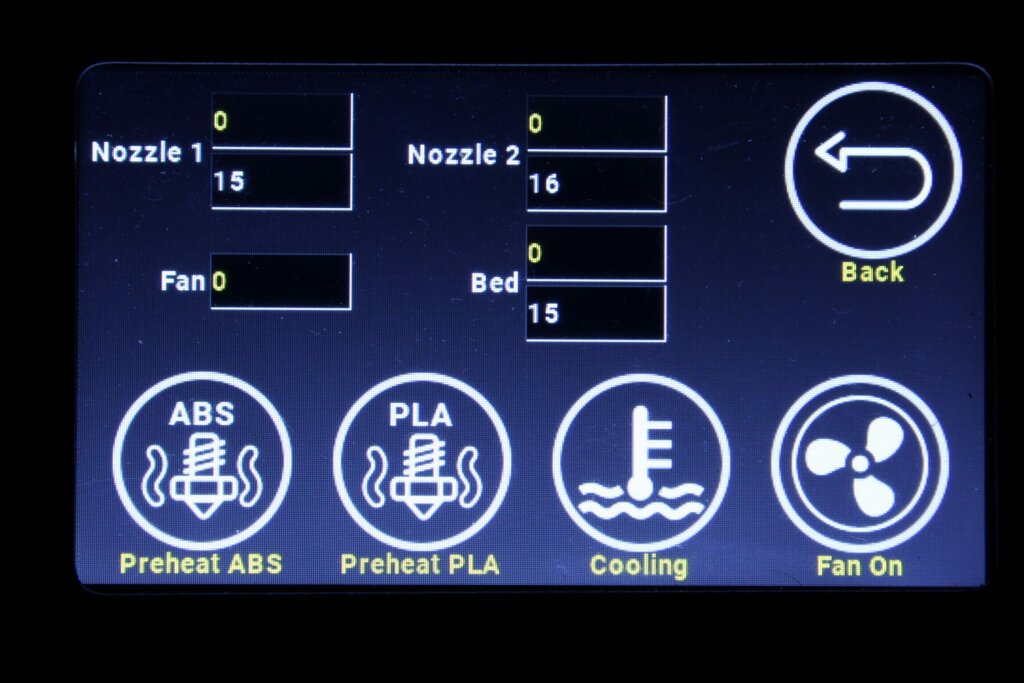
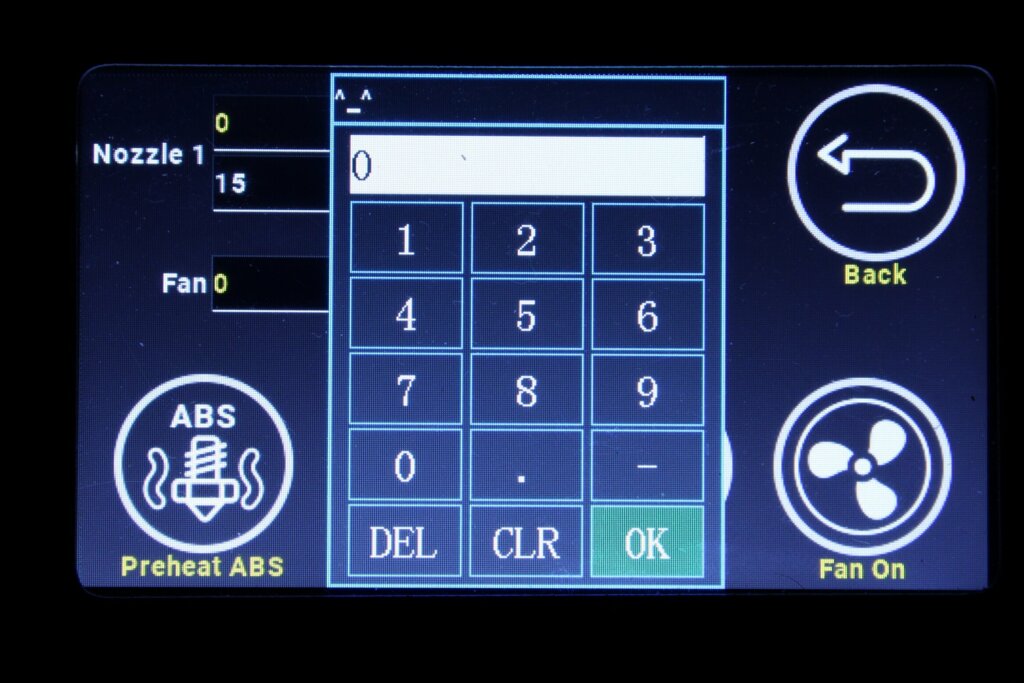
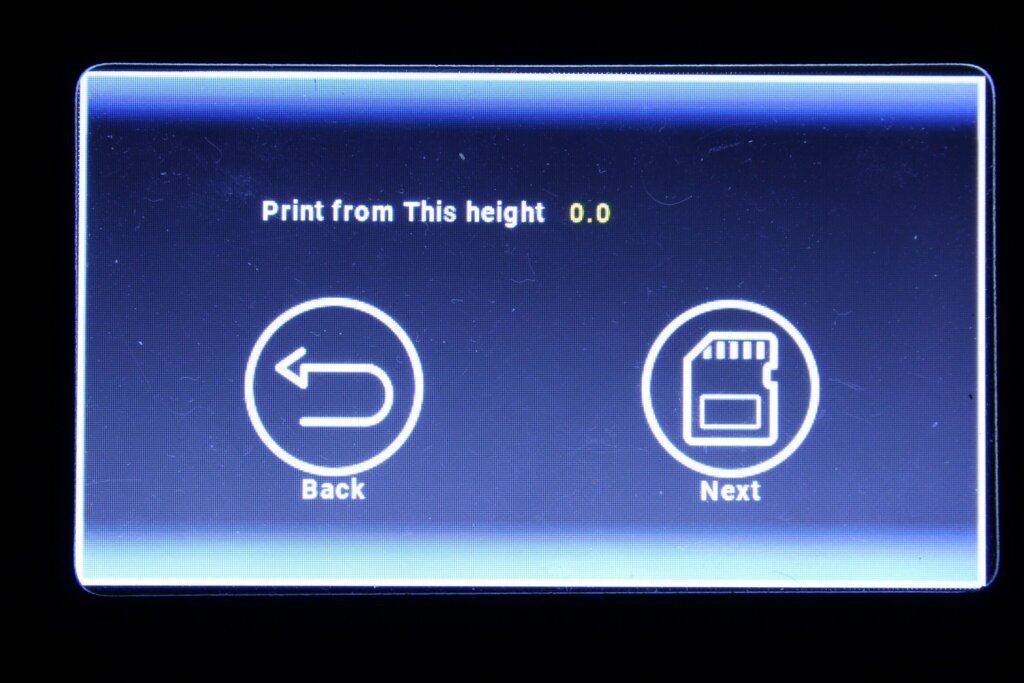
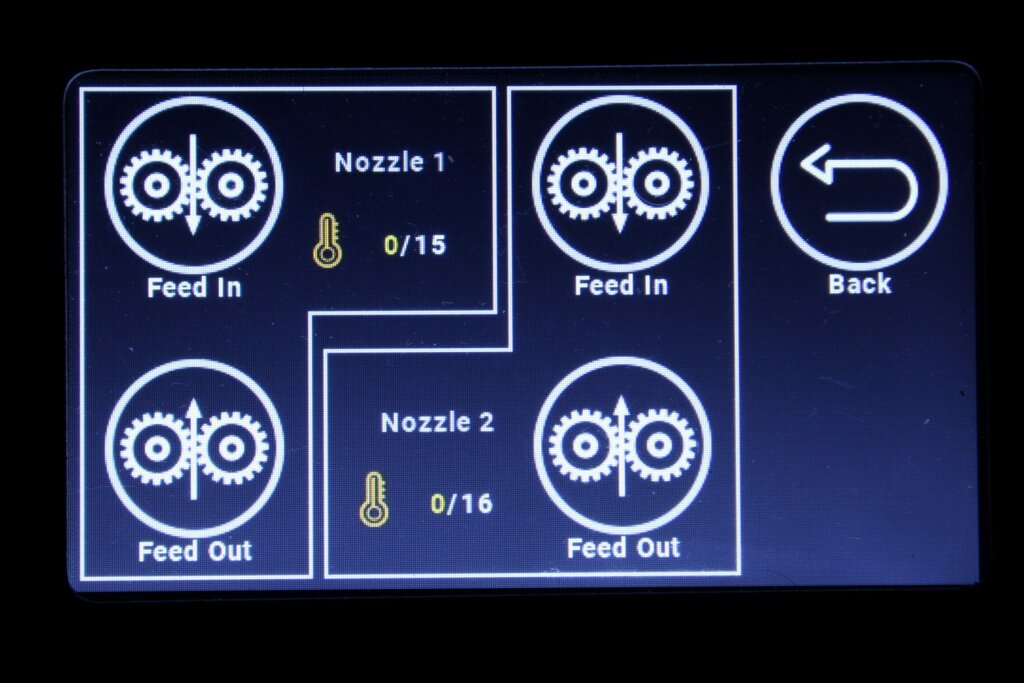
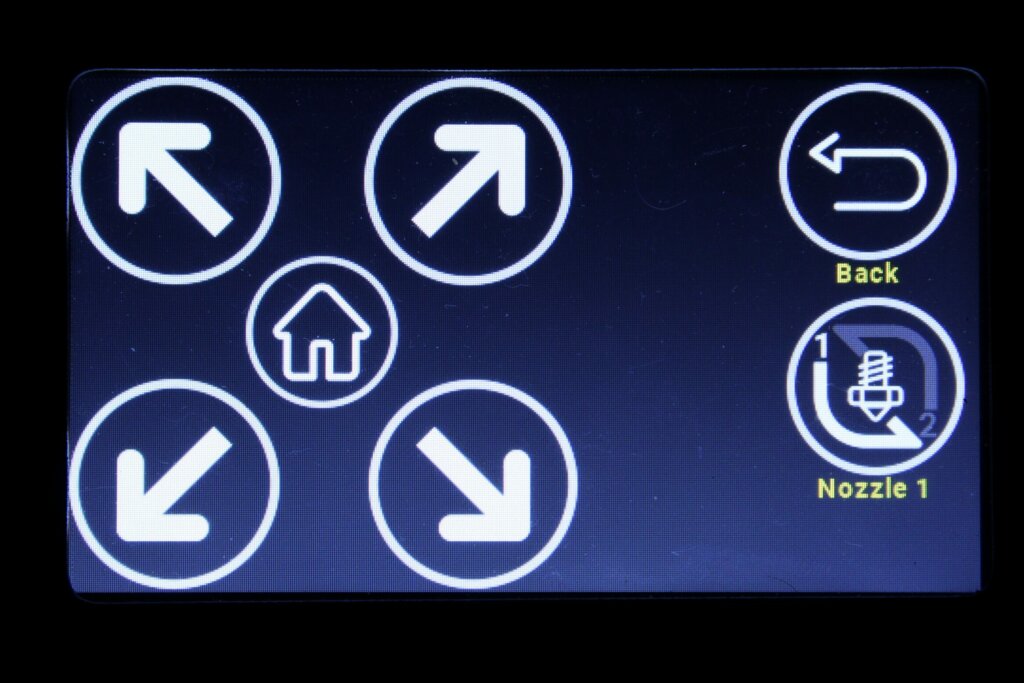
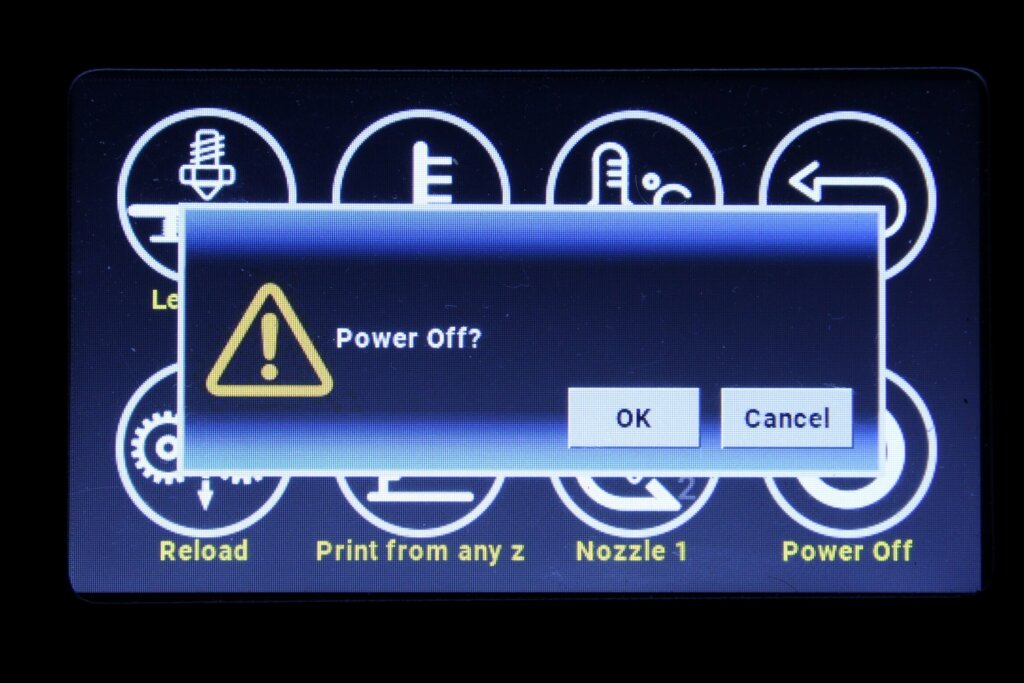
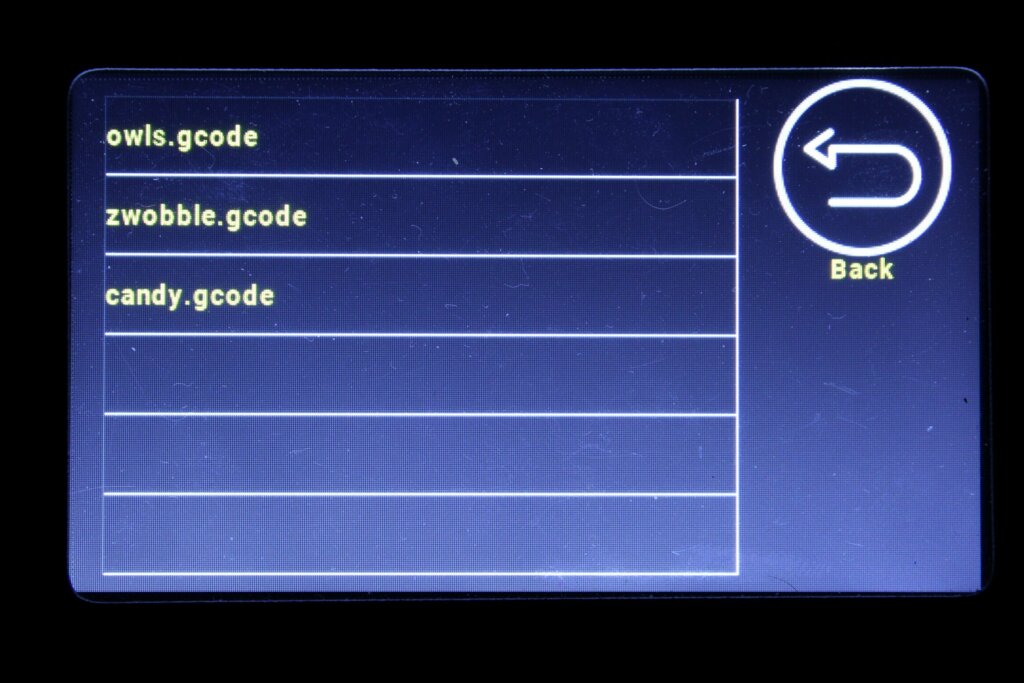
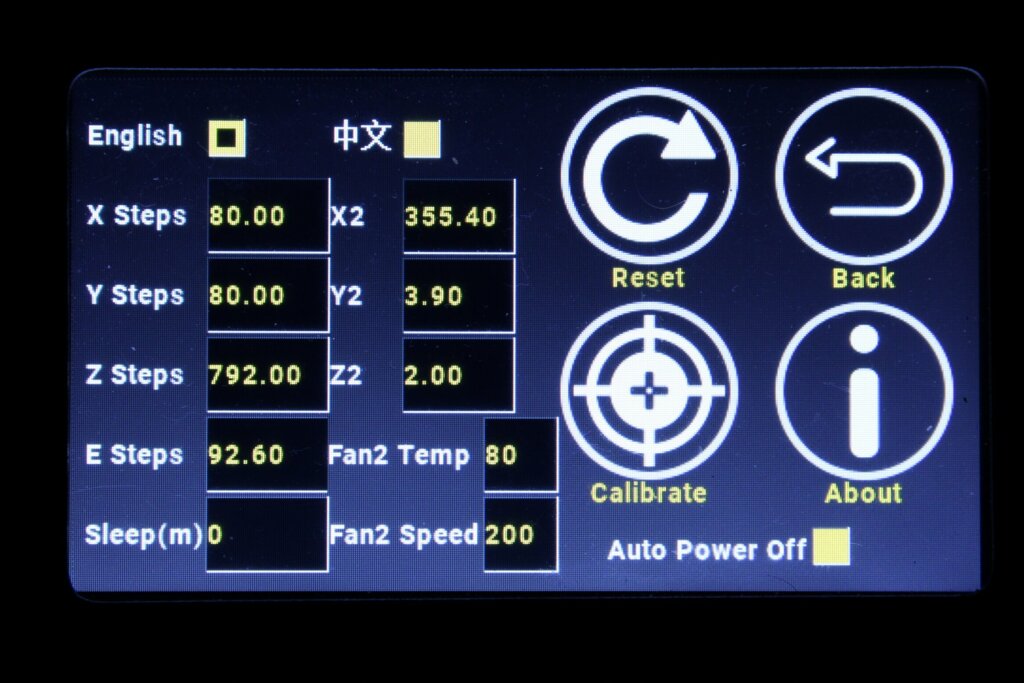
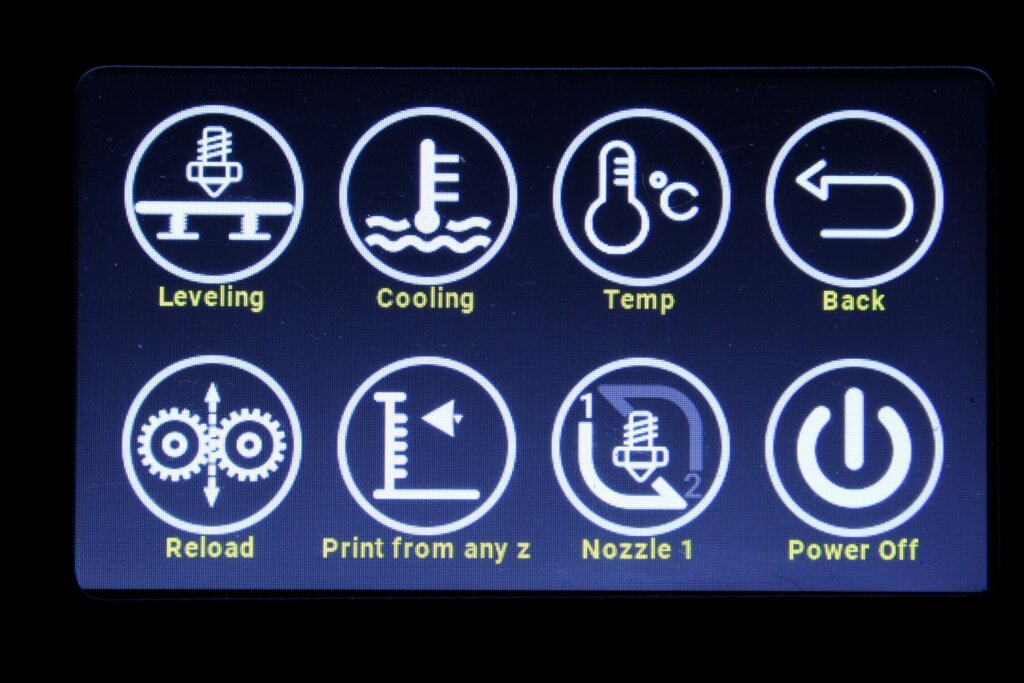
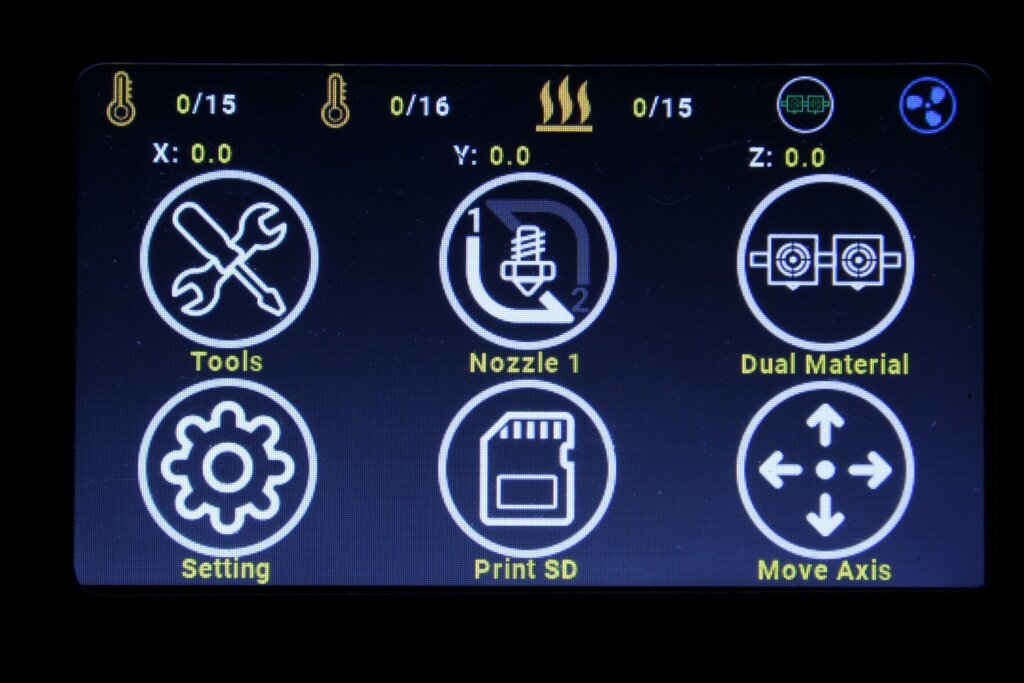
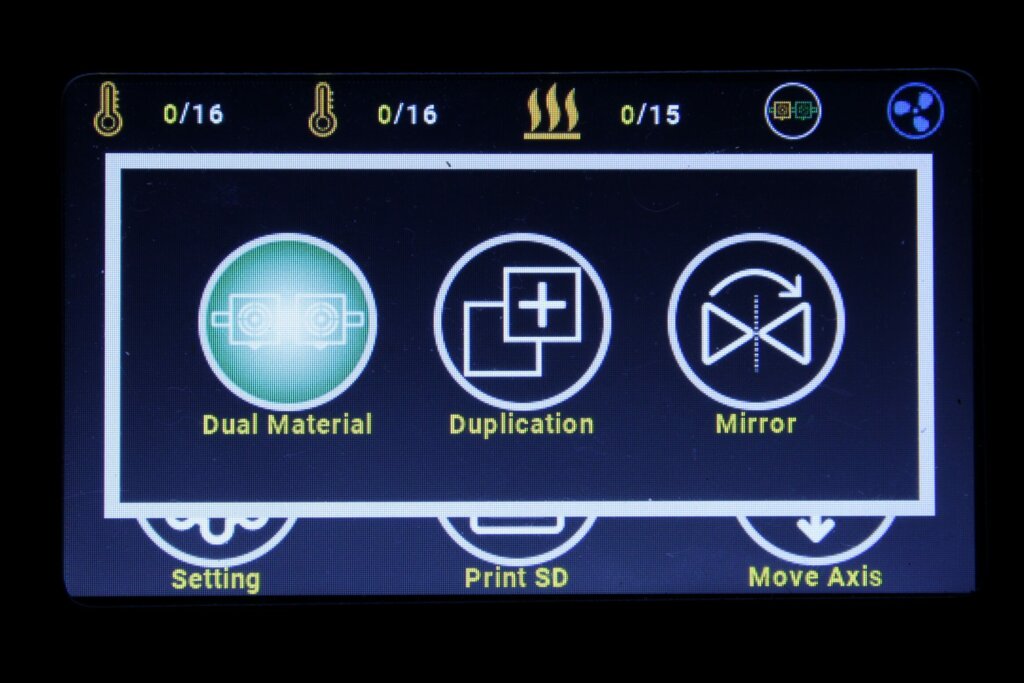
The good news is that the touchscreen is responsive, and you have a lot of options where you can tweak different settings on the printer, but sometimes the menus are ambiguous.
Custom 8-bit board with silent TMC2208 stepper drivers
A custom Tenlog 8-bit board is used with the TL-D3 Pro, which is running 7 stepper drivers. At a quick glance, the board looks fine, but changing the board with an aftermarket solution is a no go without extensive modifications.
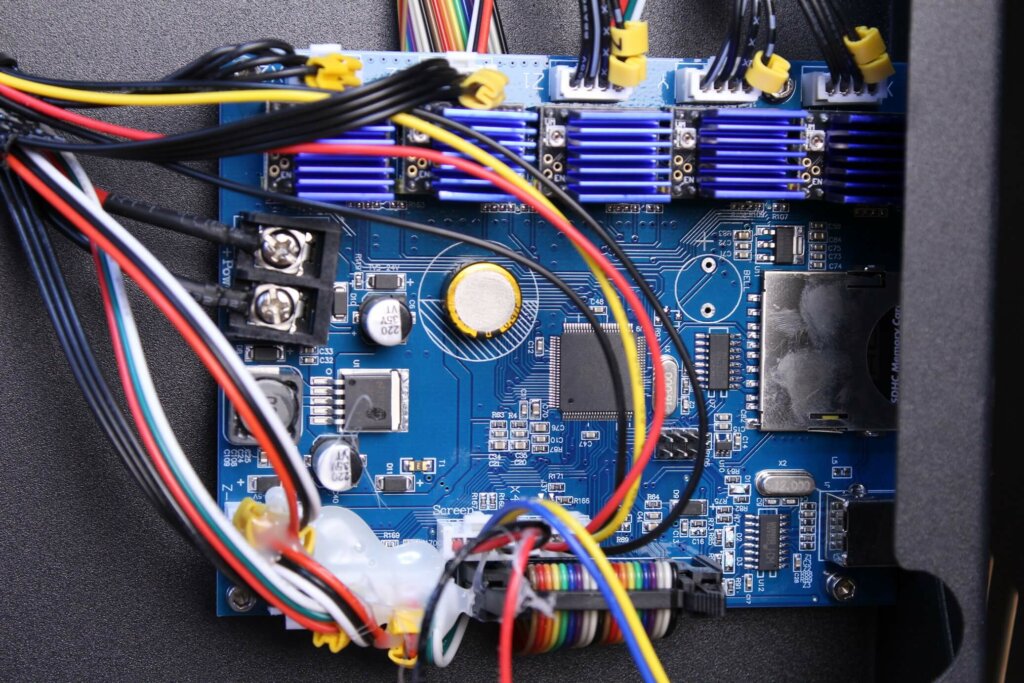
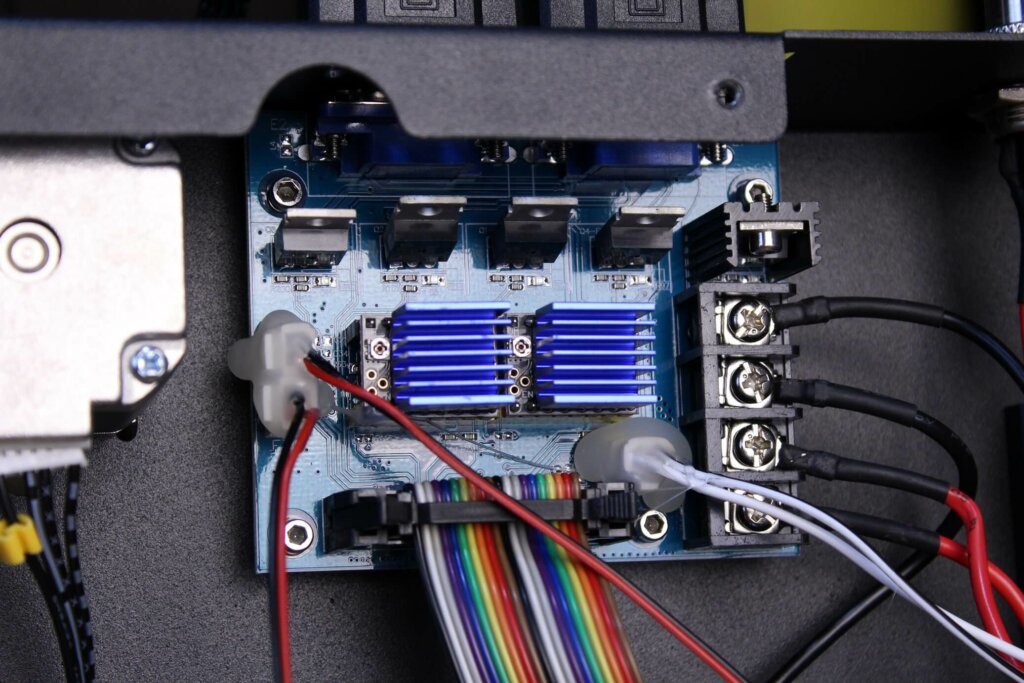
Either way, the board works well and I didn’t encounter any issues during my time with the printer.
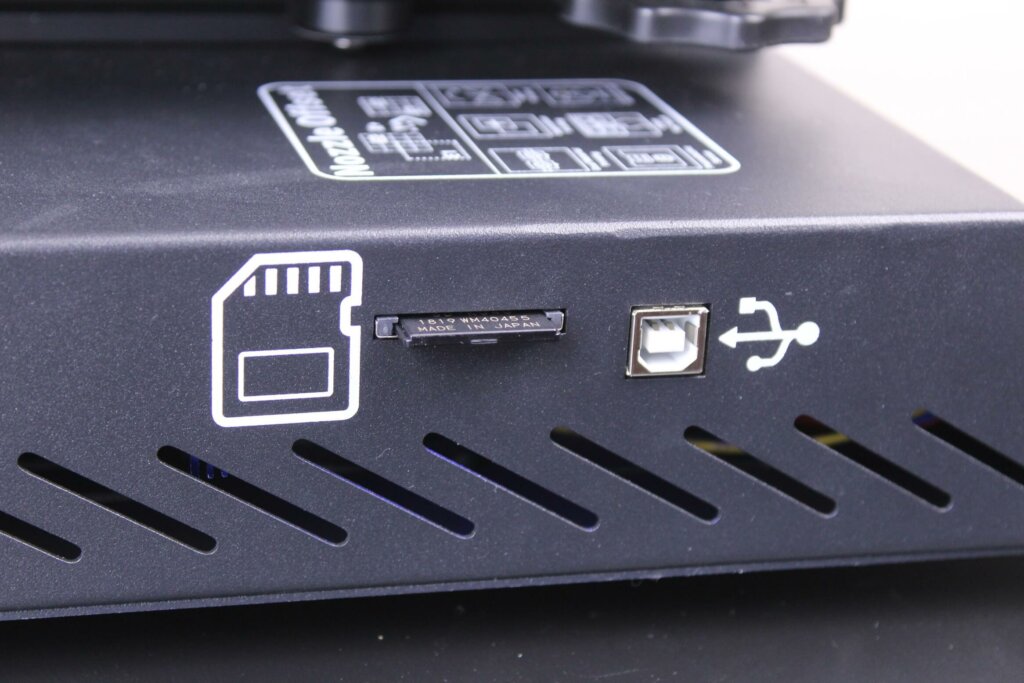
On the left side of the machine, you get a full-size SD card slot and the USB connector.
360W generic power supply
I’ve seen other reviews with early machines where the included power supply was a Mean Well unit. But my Tenlog TL-D3 Pro came with a generic CHENGLIANG 360W power supply. It’s probably not as good as a Mean Well but it gets the job done and it’s not noisy.
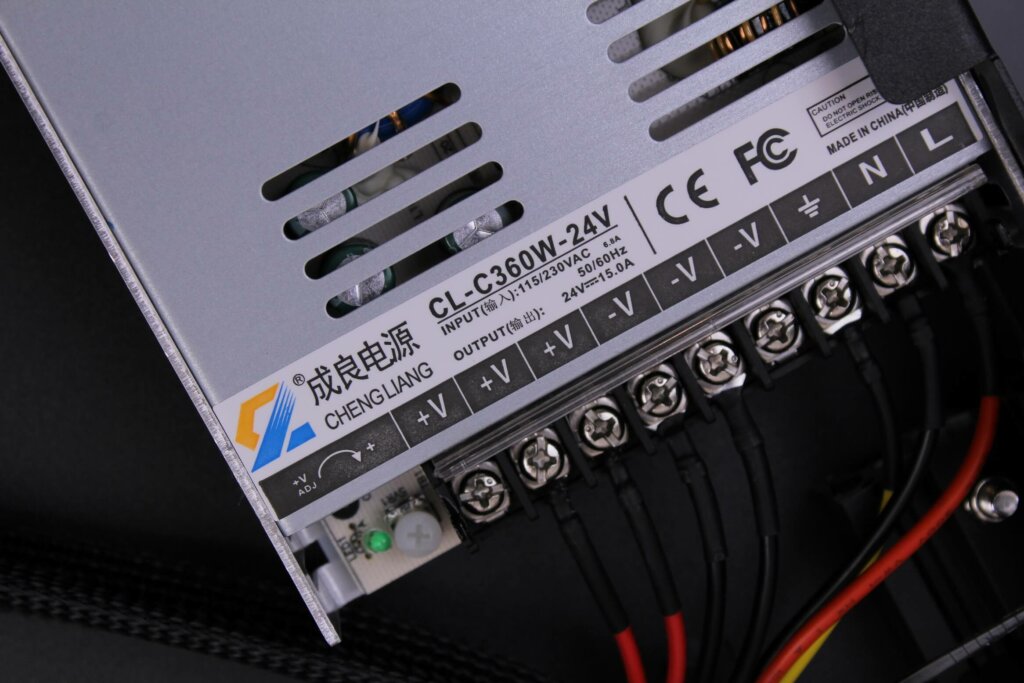
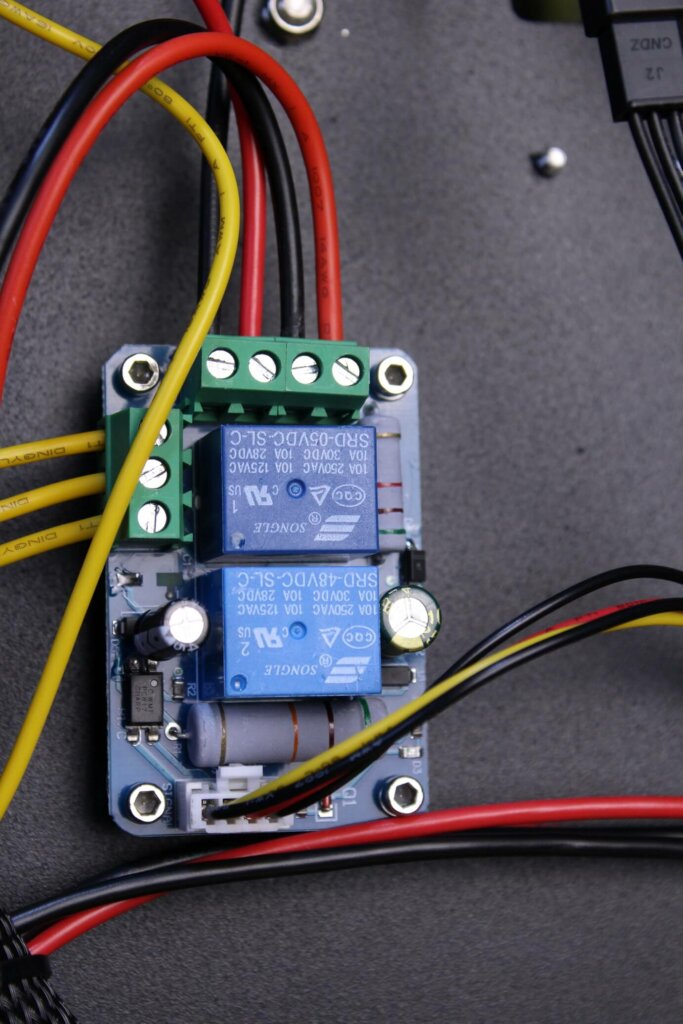
Another interesting feature is the addition of a power relay allowing you to turn off the printer from software.
Heating time and power consumption
I tested the heating time for both hotend and heat bed and here are the results:
Hotend
- 200C in 65 seconds
- 250C in 85 seconds.
Heatbed
- 60C in 5 minutes.
- 100C in 17 minutes.
Power Draw
Idle power draw is around 8W. When the hotend and heatbed are heating up, the Tenlog TL-D3 Pro draws around 310W. After it starts printing, the power draw stabilizes to around 230W.
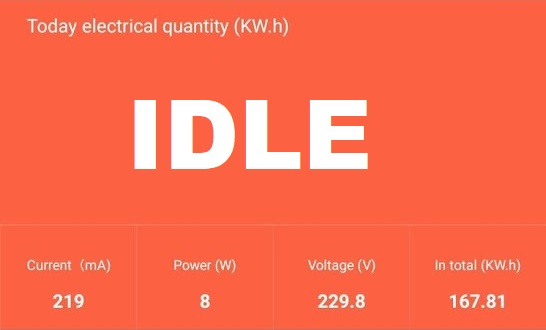

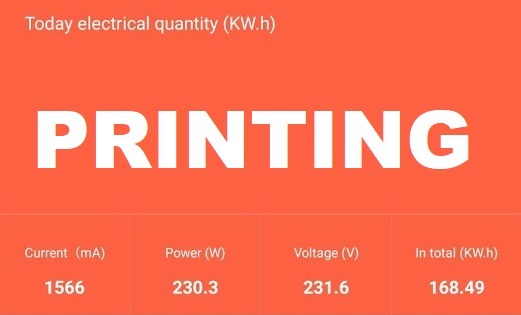
All these measurements were taken with a Blitzwolf smart power socket which indicates the power draw, and it can also be used for remotely powering on and off the printer.
Tenlog TL-D3 PRO Noise Levels
To better evaluate the noise levels of the Tenlog TL-D3 PRO, I took this video which should help you understand how noisy it is, but it is not an accurate way of measuring noise levels.
The printer is quiet when idle, and during printing the most noise you get from the printer is from the extruder fans. It’s quieter than I expected which is nice.
IdeaMaker profiles for Tenlog TL-D3 PRO
To slice models for the Tenlog TL-D3 Pro, IdeaMaker is one of the best slicer you can use. During my time with the printer, I calibrated a few profiles to get you started which should give you good results. Feel free to download them and try them out.
Tenlog TL-D3 PRO IdeaMaker Profile – PLA – 3DPrintBeginner
Tenlog TL-D3 PRO IdeaMaker Profile – PETG – 3DPrintBeginner
Test prints on Tenlog TL-D3 PRO
Dual-Color Calibration Cube
After I properly calibrated the X and Y offset of the second print head, I printed the dual-color calibration cube. Z banding is showing up on the side walls but the colors are properly separated with no smudges.
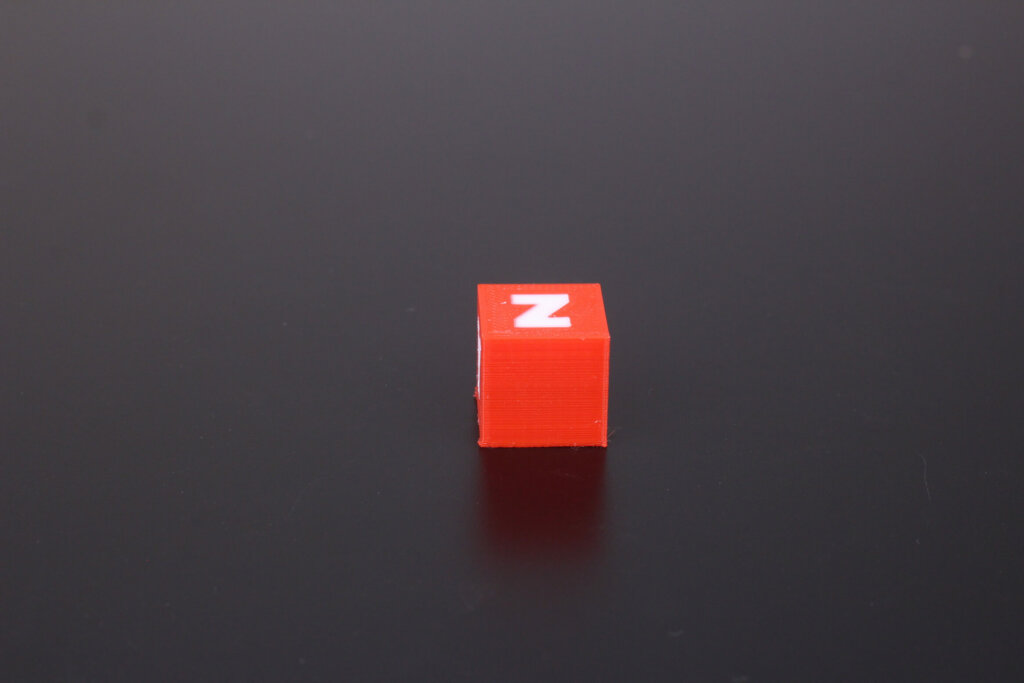
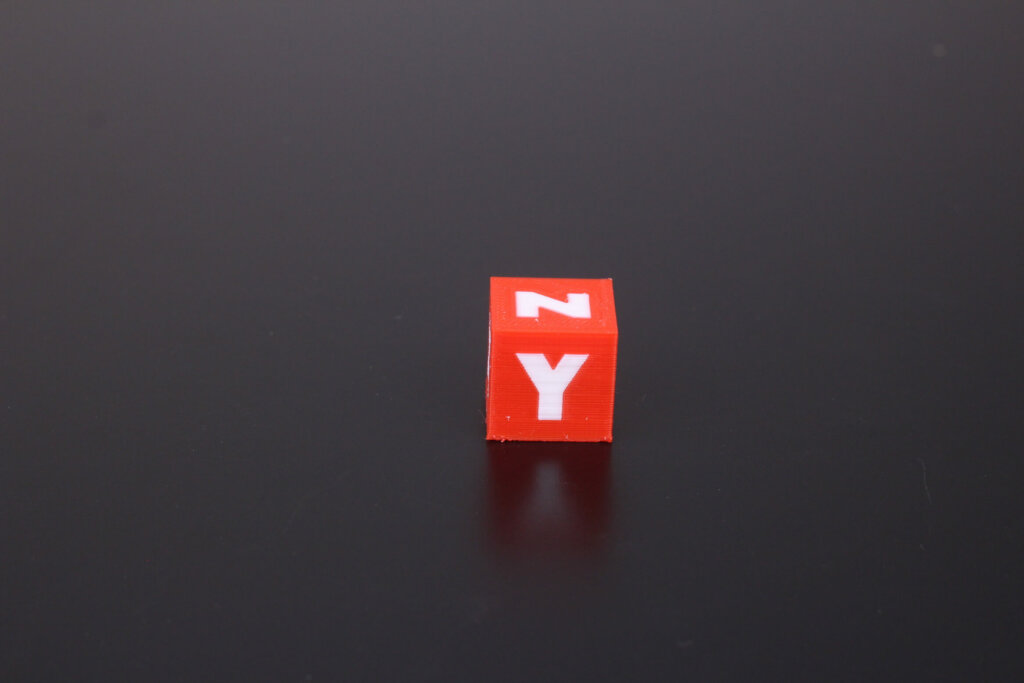

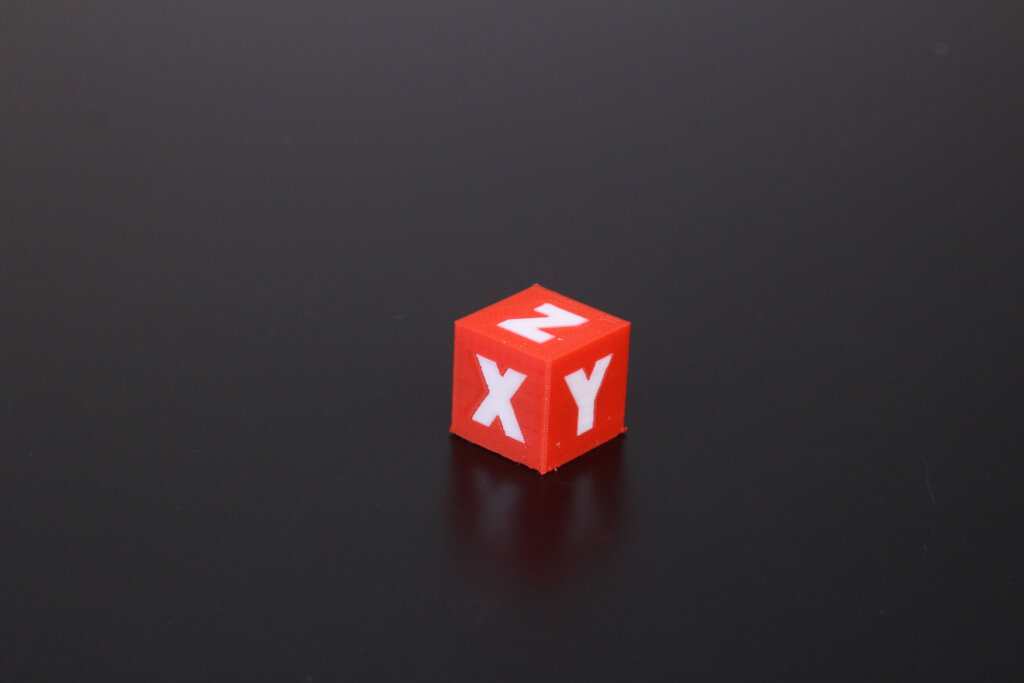
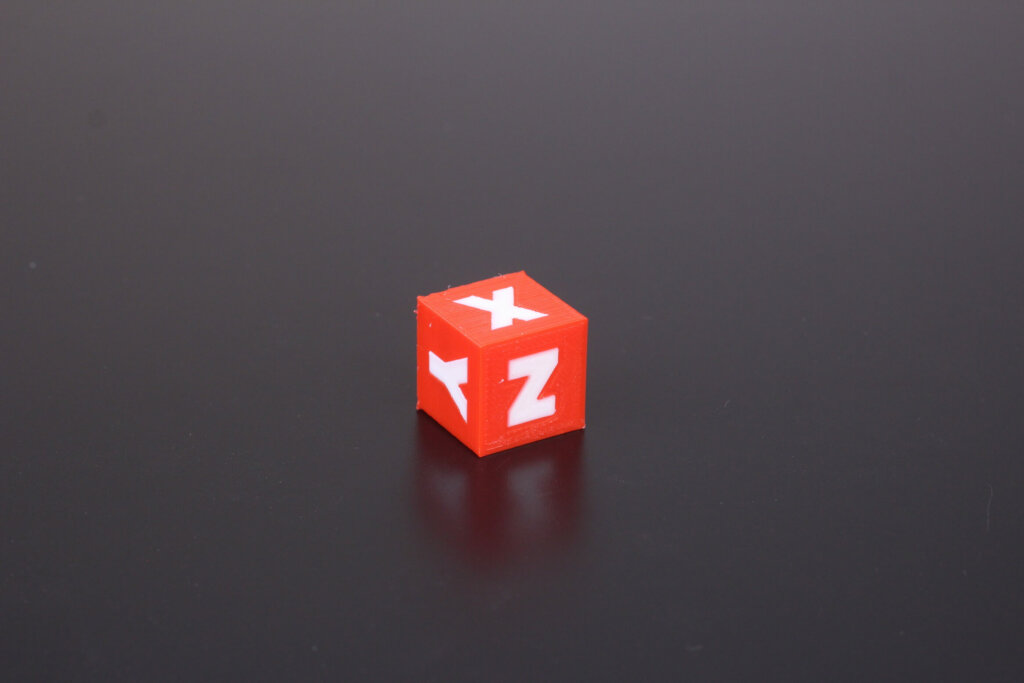
- Material: Raise3D Premium Red and White PLA
- Layer Height: 0.2mm
- Nozzle Temperature: 215C
- Bed Temperature: 60C
- Print Speed: 50 mm/s
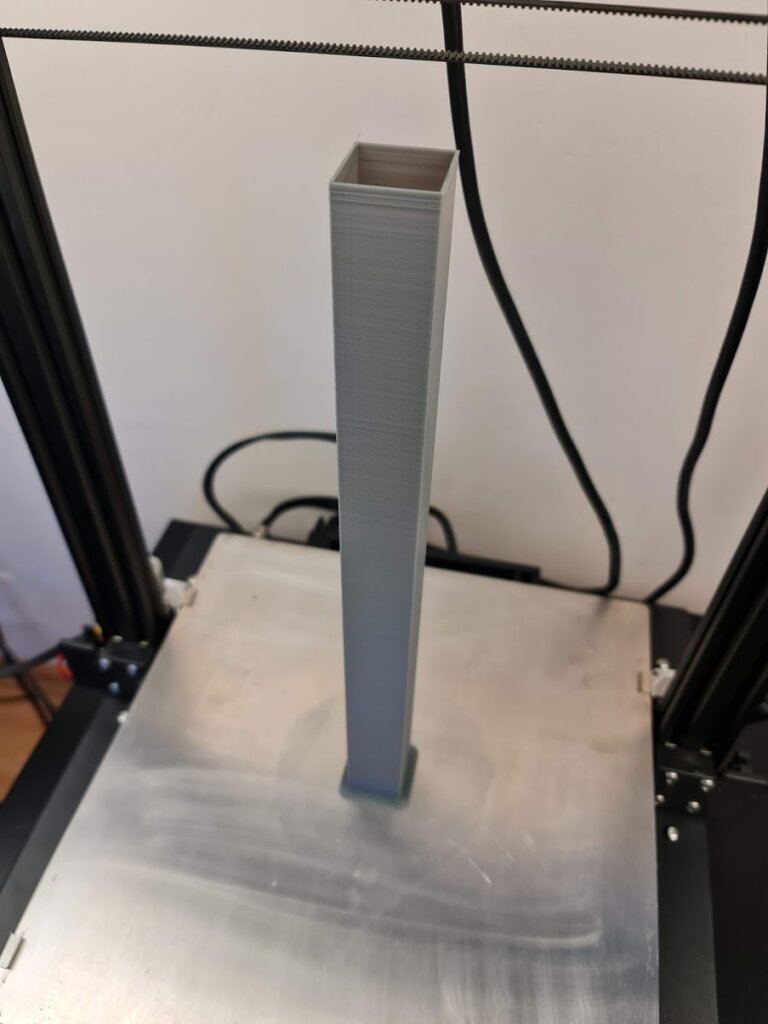
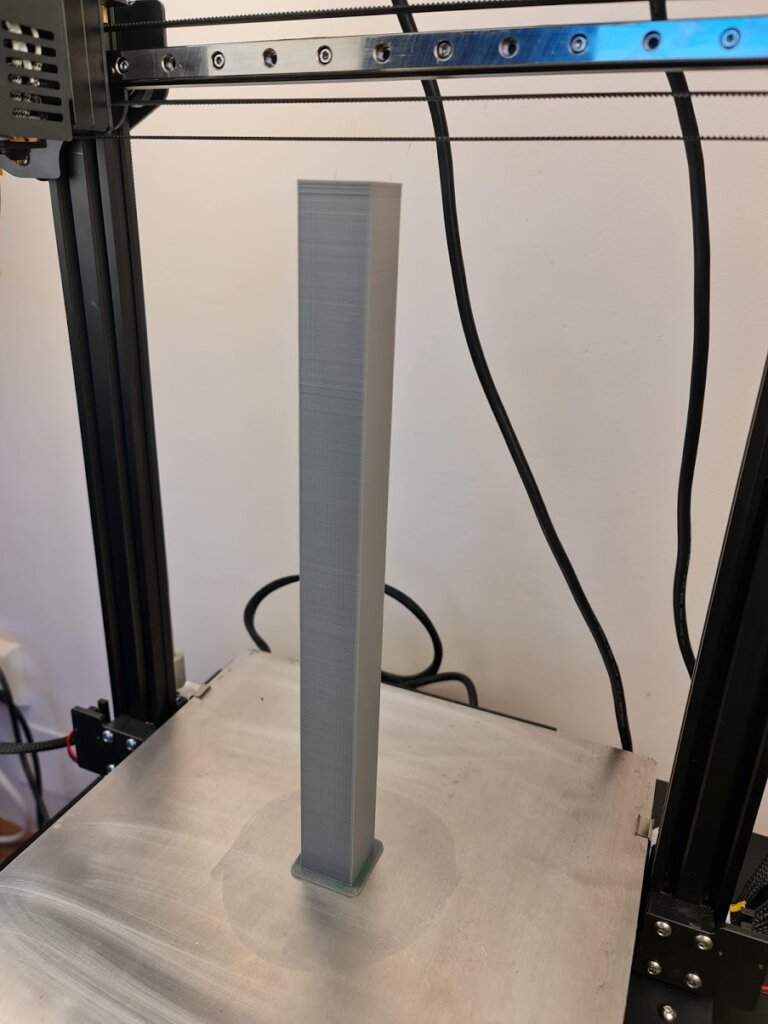
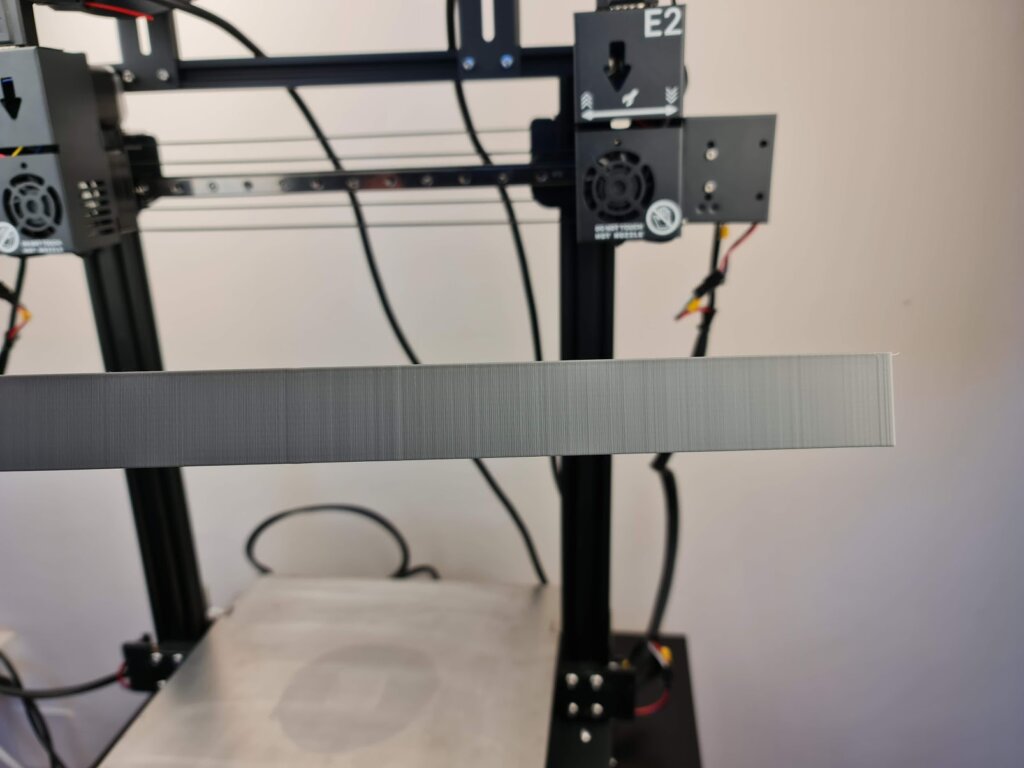
Z banding test
In the Z banding test, I can’t really detect a repeating pattern which makes me think that the inconsistent layers are caused by the single gear extruder. Maybe with the Titan upgrade, the extrusion will be better.
OmNom
This OmNom dual-color model printed fine, but you can see some small smudges around the eye pupils. Besides that, the extrusion is a bit uneven.
Otherwise, the printed result looks acceptable and print quality can be improved with a bit of work and by adding purge buckets.
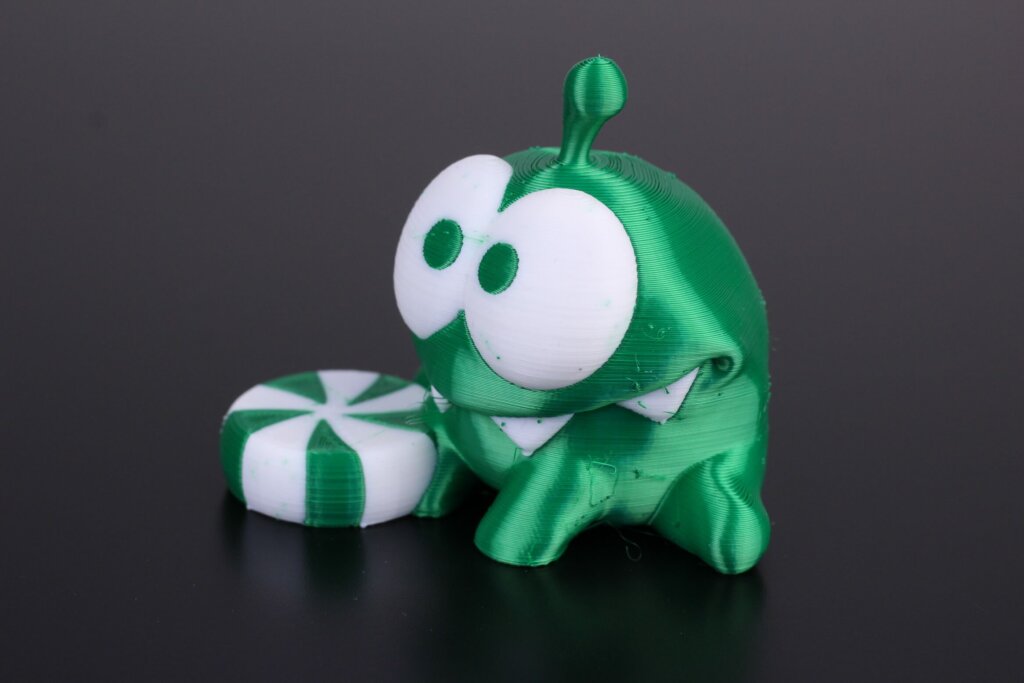
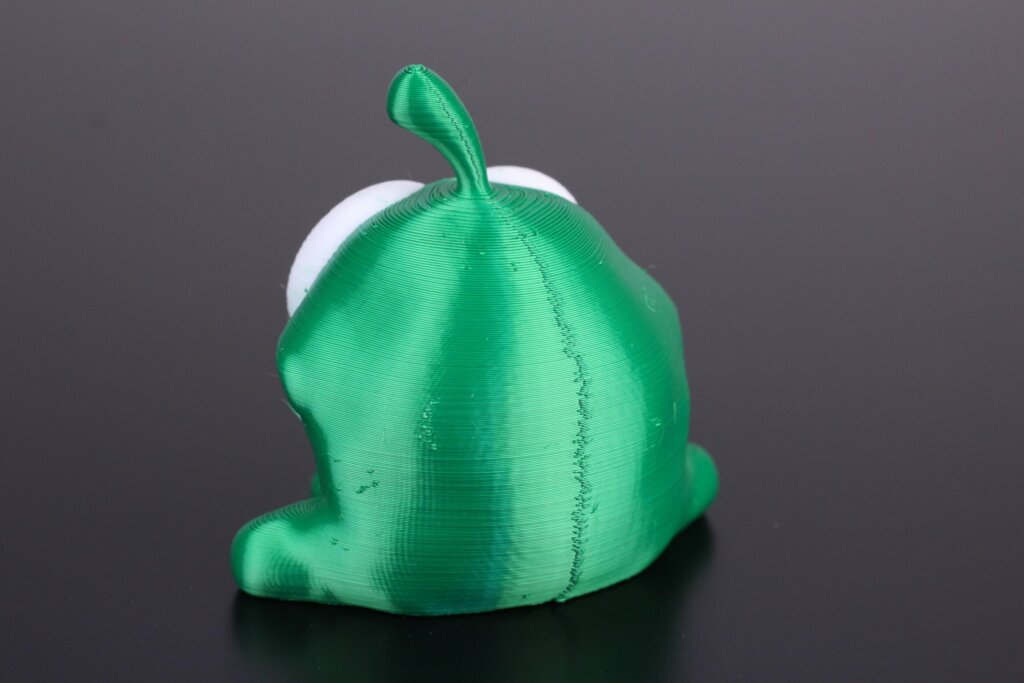
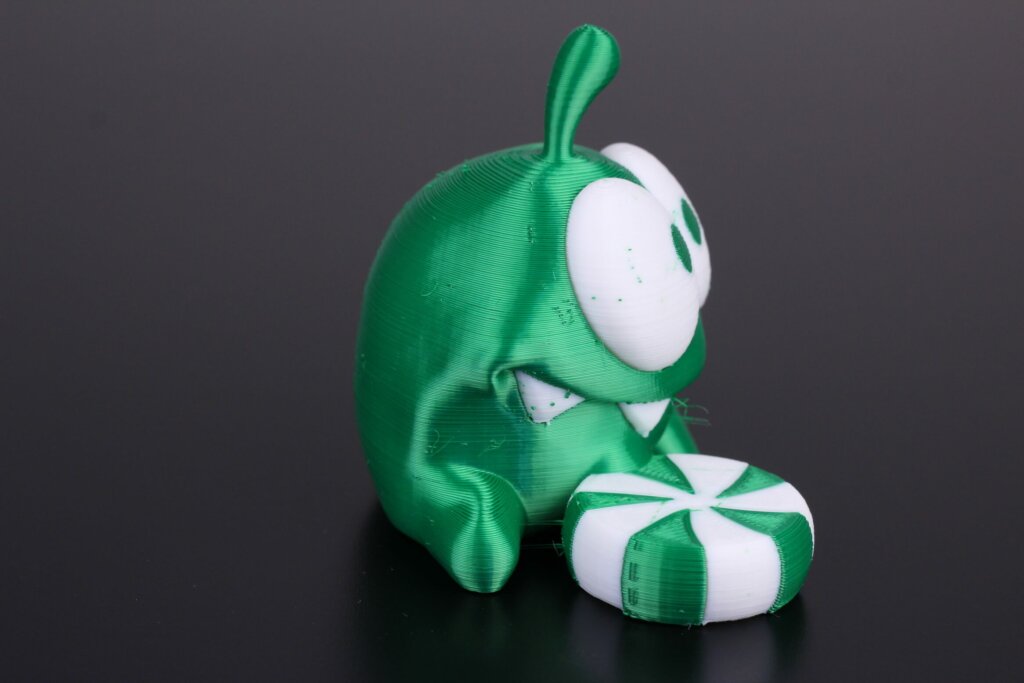
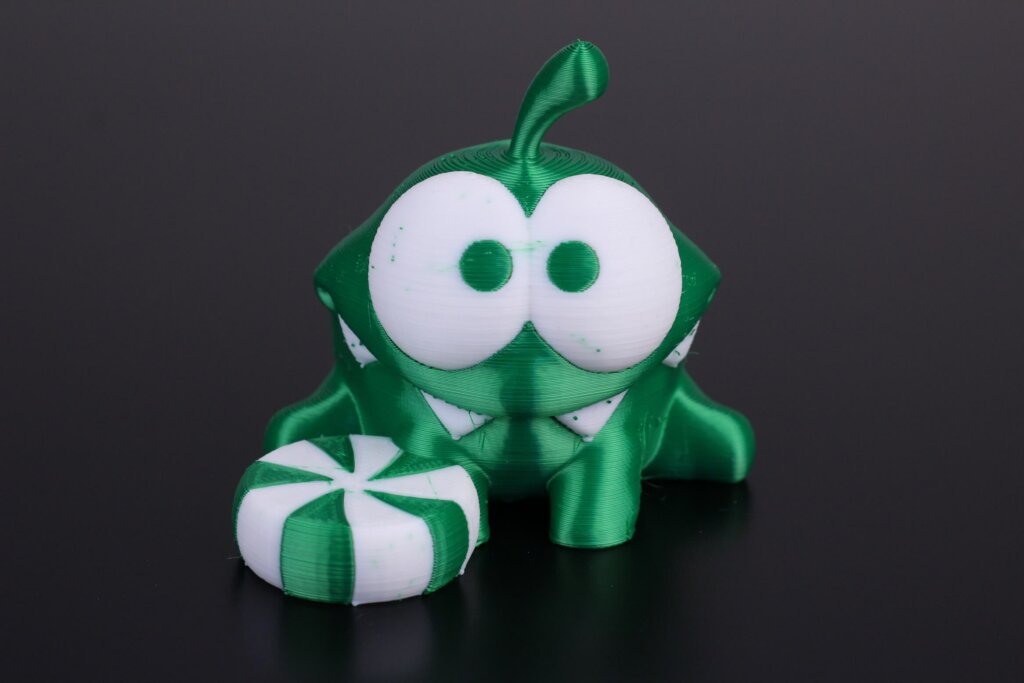
- Material: Extrudr Biofusion Reptile Green and Raise3D Premium White PLA
- Layer Height: 0.2mm
- Nozzle Temperature: 215C
- Bed Temperature: 70C
- Print Speed: 50 mm/s
French Bulldog
Next on the list is this awesome French Bulldog. The print quality is decent, but the Z banding is still apparent on the external walls. Besides that, I forgot to properly align the Z seam, so there are a few small marks on the print, but that’s not the printer’s fault.
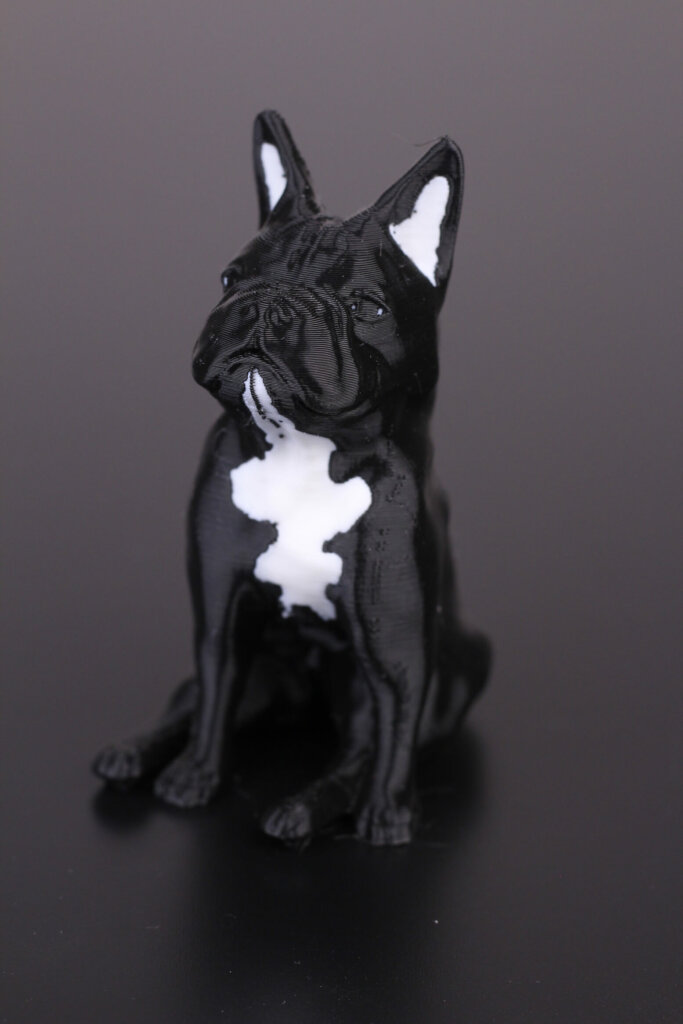
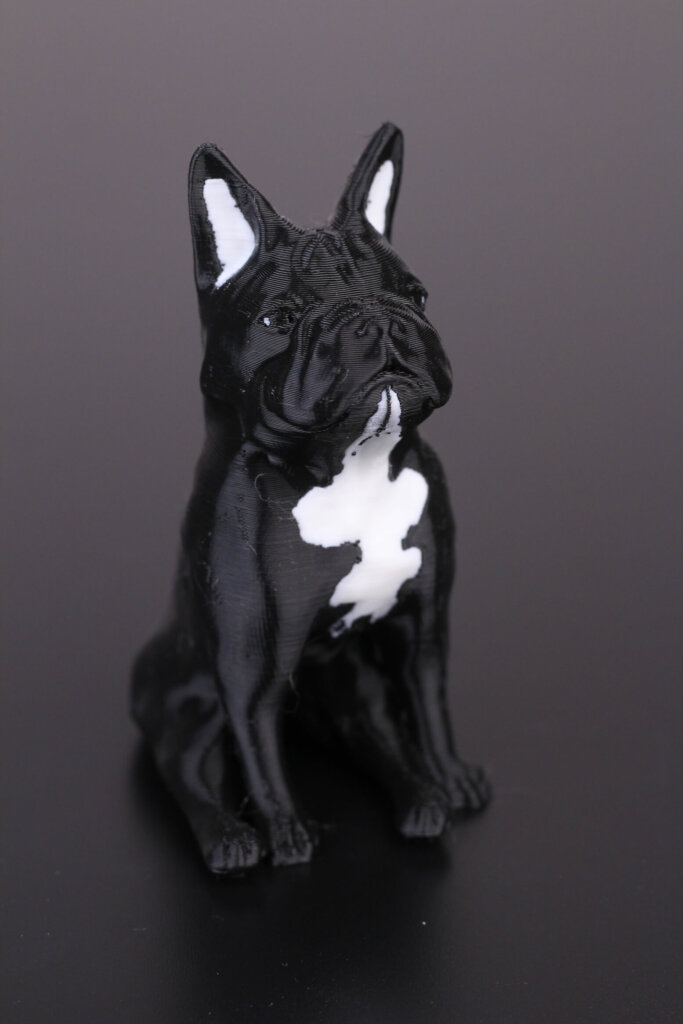
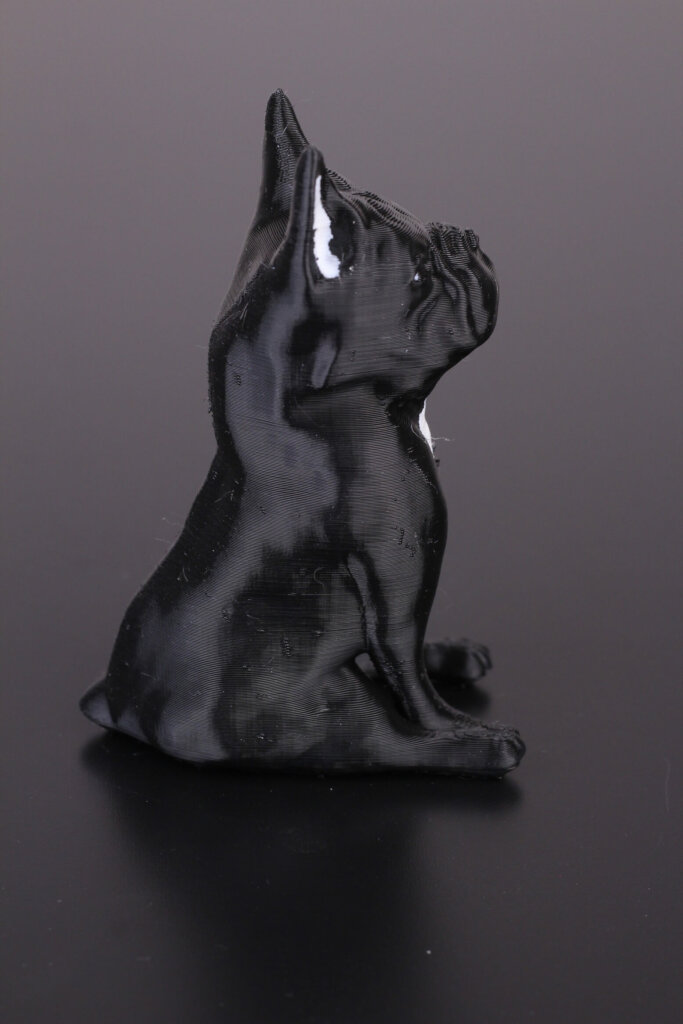
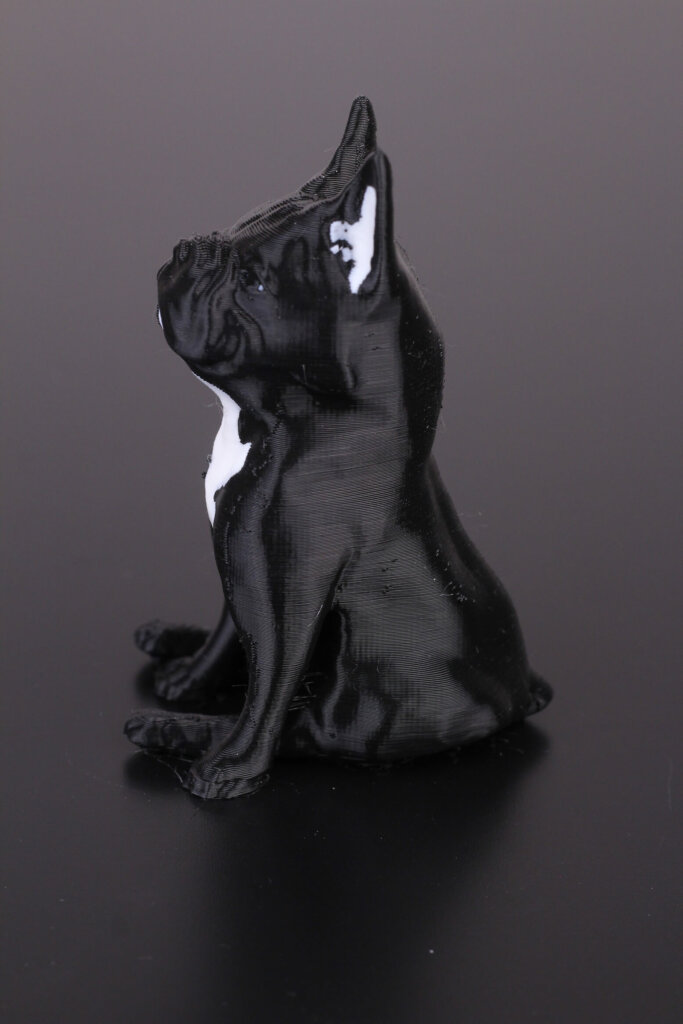
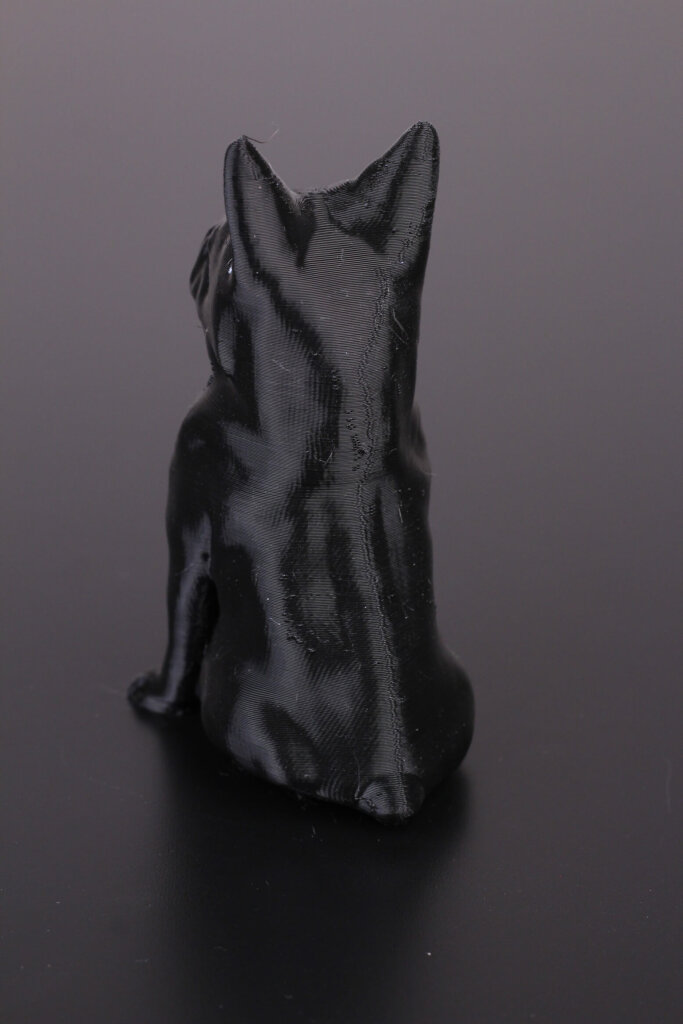
- Material: Devil Design Black PLA and Raise3D White PLA
- Layer Height: 0.2mm
- Nozzle Temperature: 215C
- Bed Temperature: 60C
- Print Speed: 50 mm/s
Zoidberg
The Zoidberg dual-color remix came out really well even though I was no expecting for the small eye pupils to be printed without smudges. There’s a bit of banding visible on the print, but otherwise, the print looks awesome.
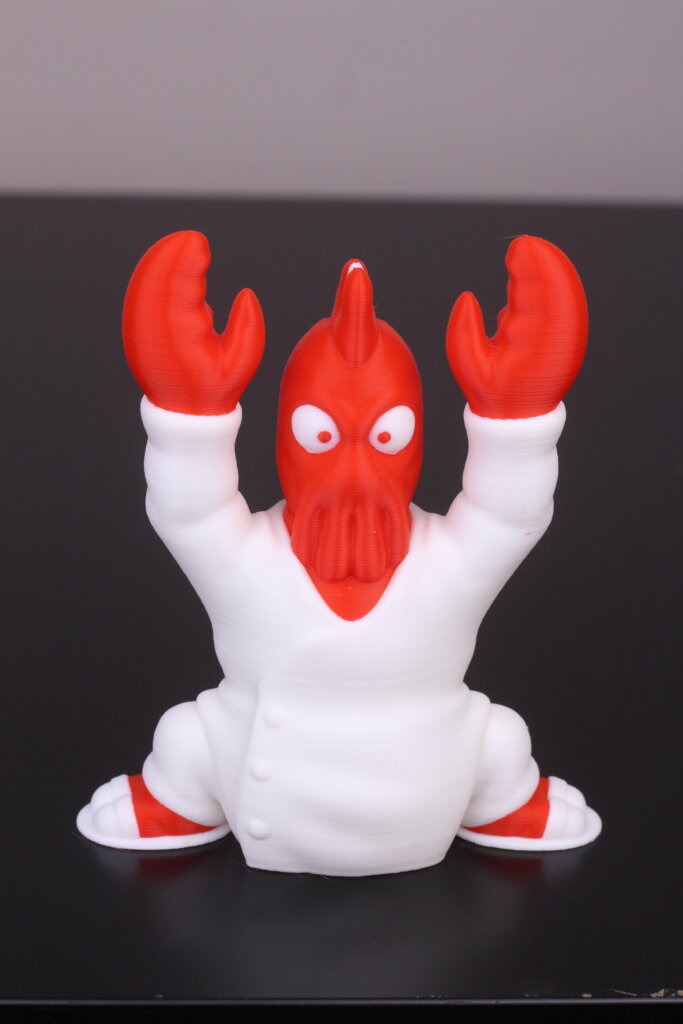
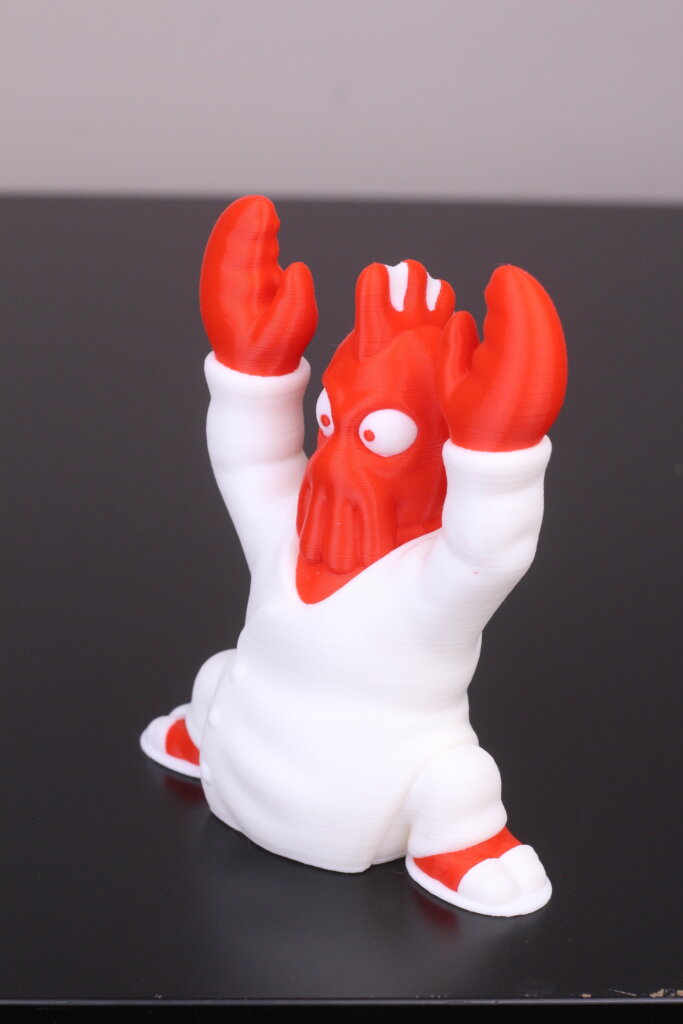
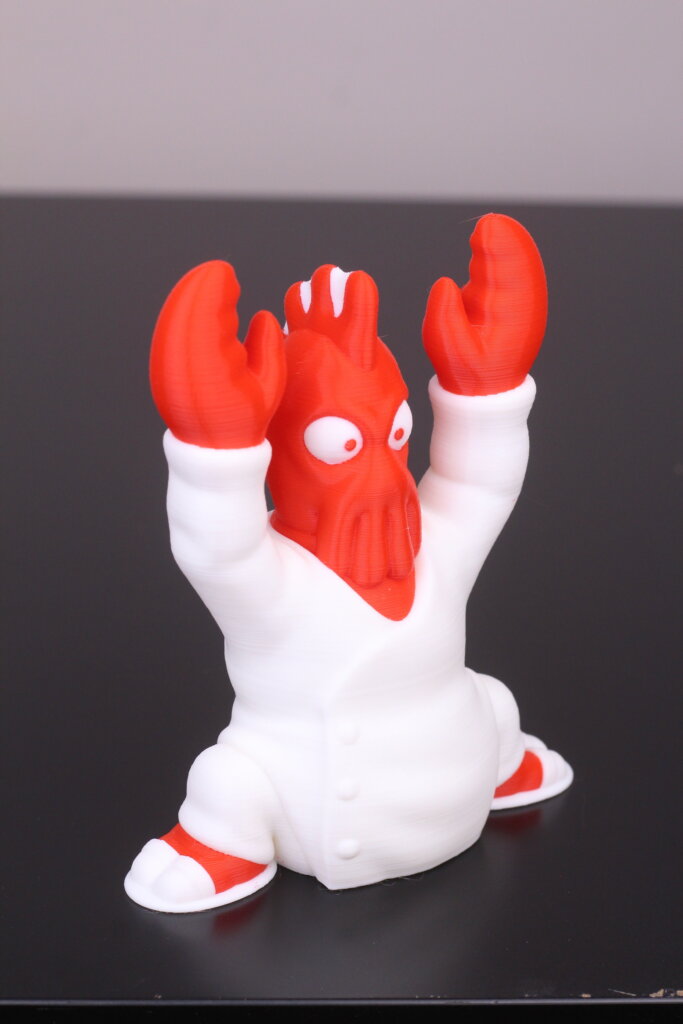
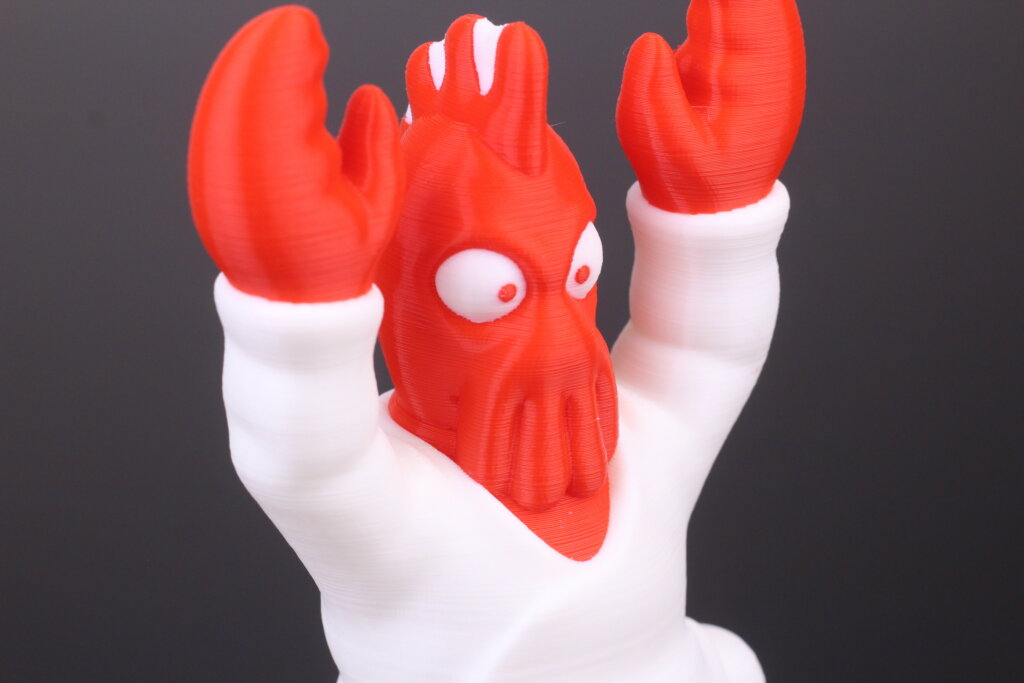
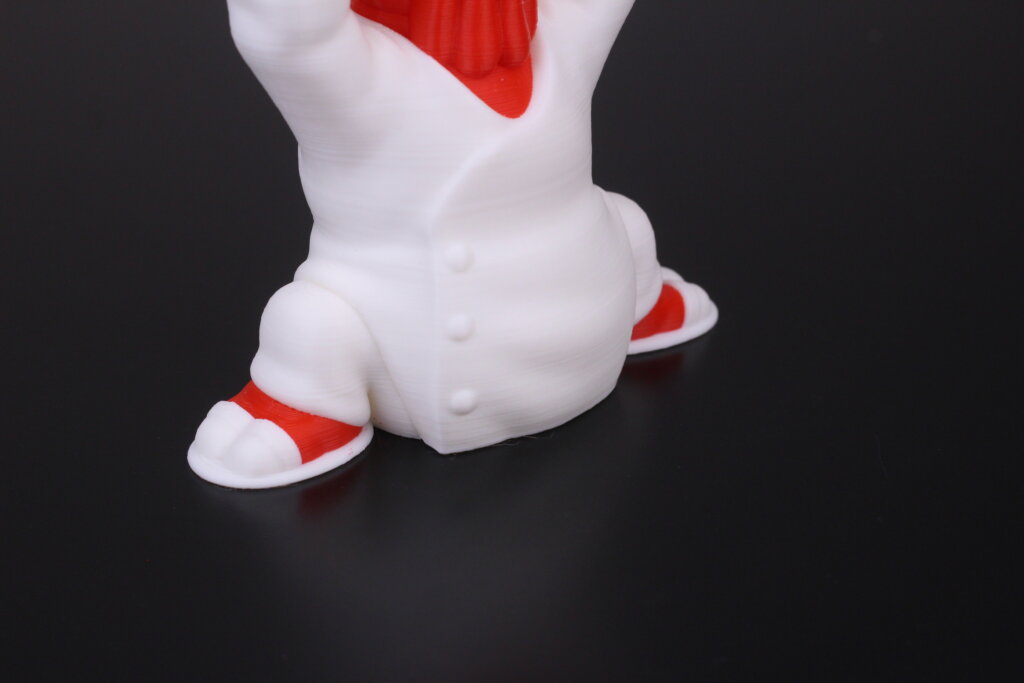
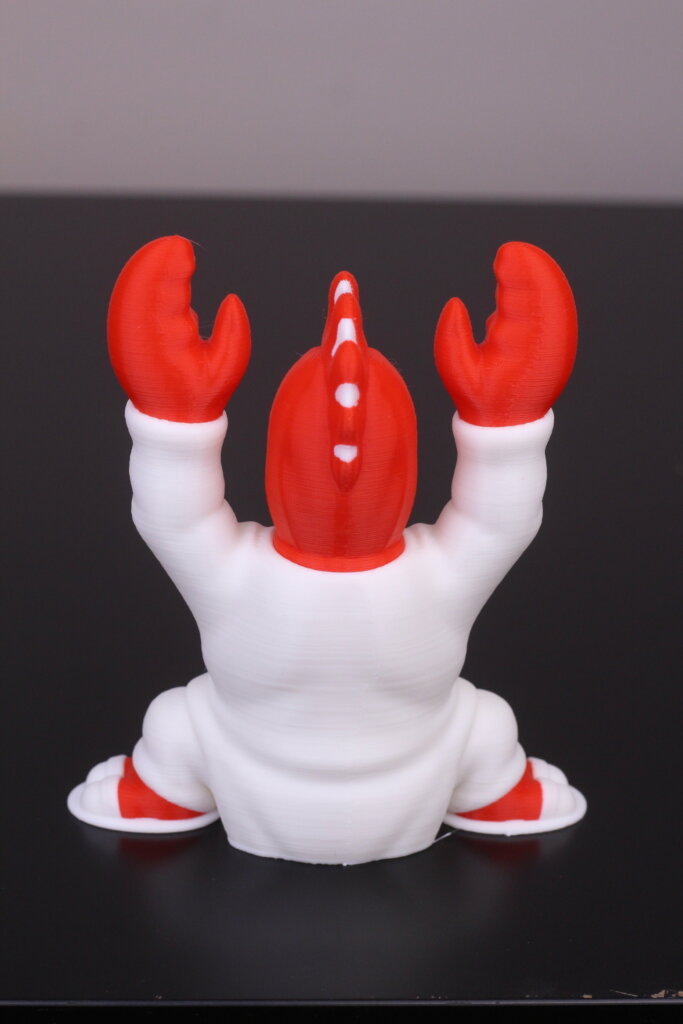
- Material: Raise3D Premium Red and White PLA
- Layer Height: 0.2mm
- Nozzle Temperature: 215C
- Bed Temperature: 60C
- Print Speed: 50 mm/s
Owl Statue in Duplication Mode
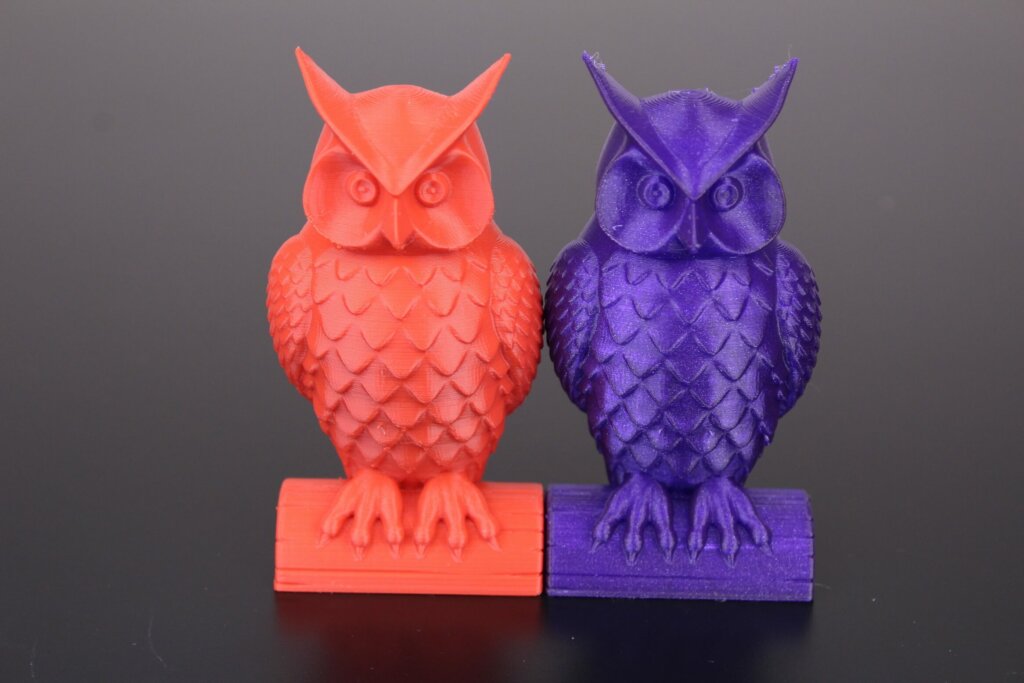
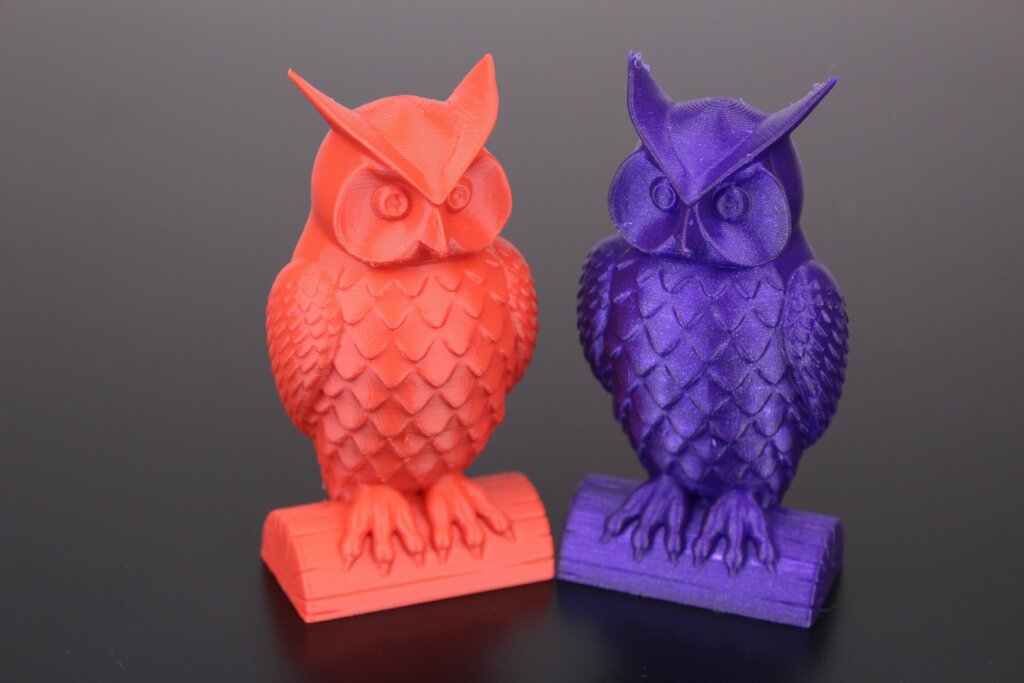
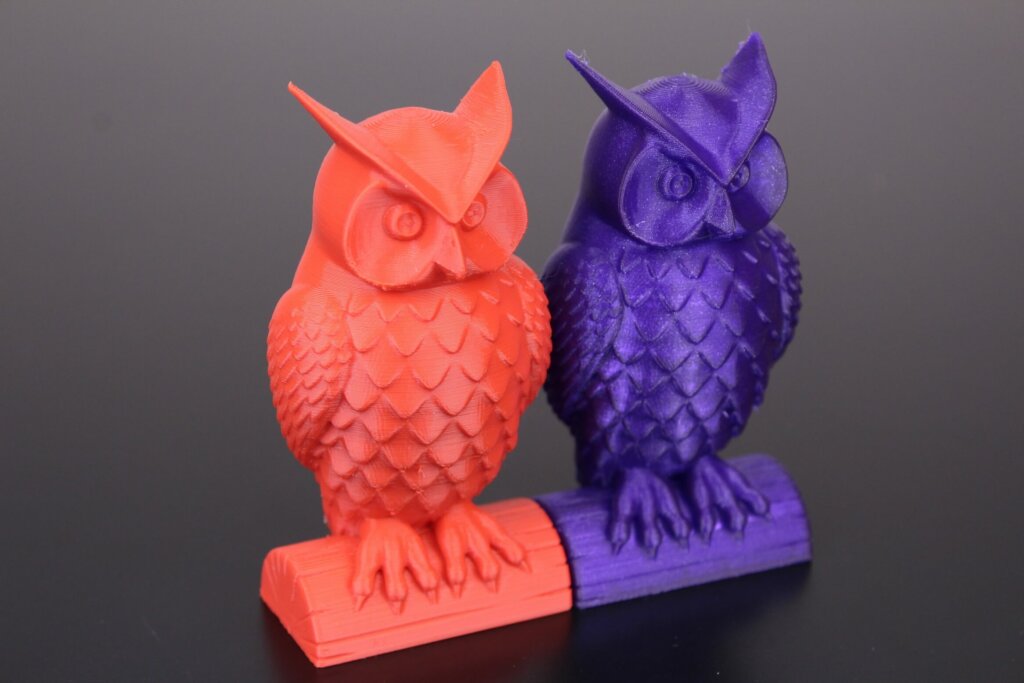
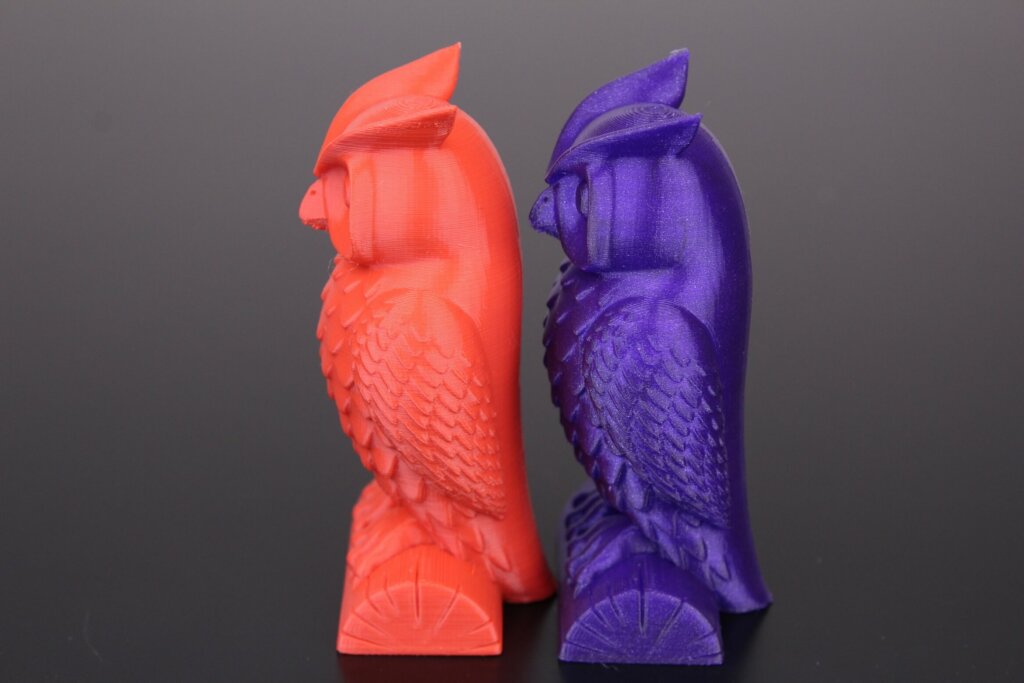
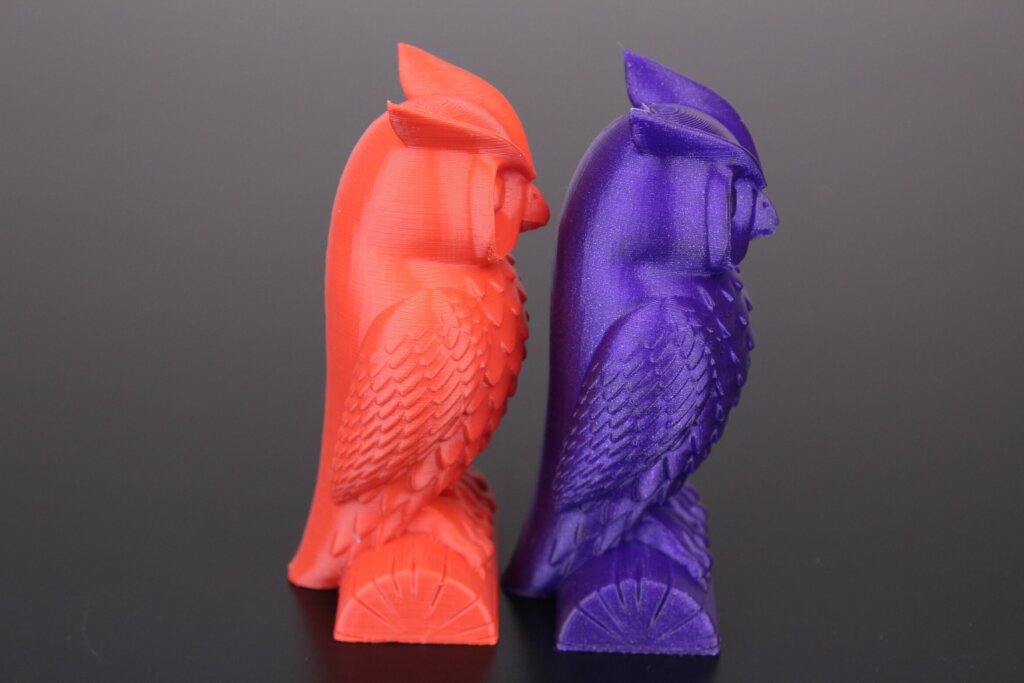
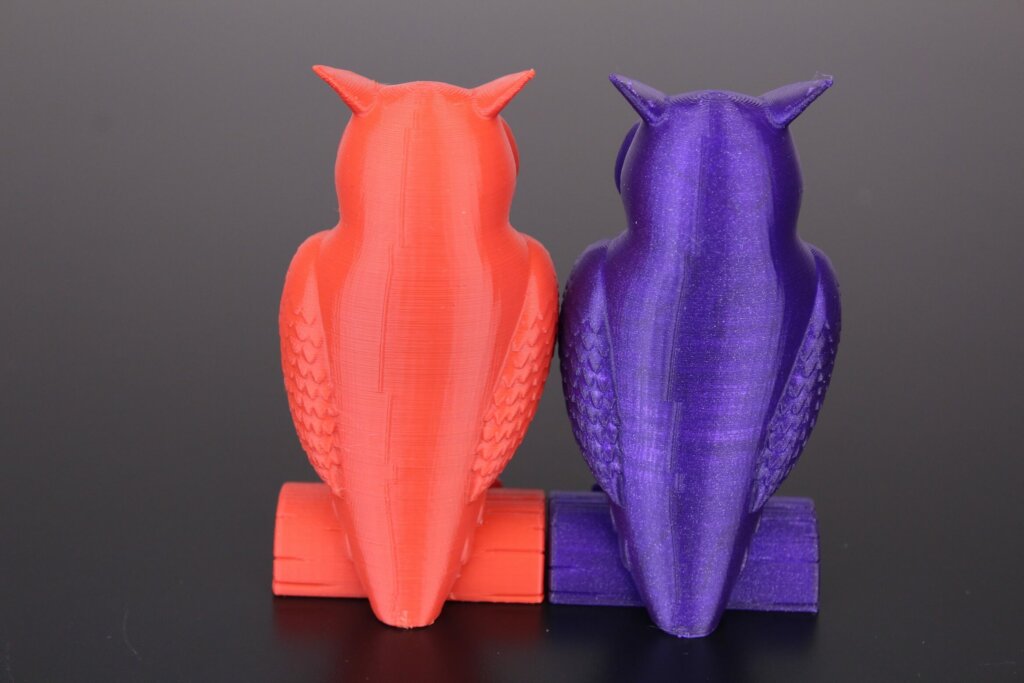
- Material: Devil Design Red and Galaxy Purple PLA
- Layer Height: 0.15mm
- Nozzle Temperature: 215C
- Bed Temperature: 60C
- Print Speed: 50 mm/s
Conclusions: Is the Tenlog TL-D3 PRO worth it?
The Tenlog TL-D3 Pro is a budget IDEX machine and because of this, it needs a bit of work to make it print reliably.
If you are looking for a ready-to-go IDEX 3D printer, then the Tenlog TL-D3 Pro is not the best machine for you. The springs used in the current extruder setup are not doing their job well and the glass build plate is one of the worst print surfaces I have ever seen.
When deciding if this is the right printer for you, consider the issues I encountered and do an informed decision. If you are fine with investing an extra ~50$ into upgrading the printer and fixing those issues, then the Tenlog TL-D3 Pro can be a good purchase.
The print quality is acceptable, and the features you get for the amount of money you spend for this printer could make it a nice machine to tinker with.
Just keep in mind that the Tenlog TL-D3 Pro is not a 3D printer for beginners, and you need to have a good understanding of how printers work to be able to tackle the calibration process and the issues that can occur when printing with dual extruders.
If you are looking for a ready-to-go IDEX 3D printer, then the Tenlog TL-D3 Pro is not the best machine for you. The springs used in the current extruder setup are not doing their job well and the glass build plate is one of the worst print surfaces I have ever seen. If you take your time to calibrate and tinker, then you could give it a chance. Tenlog TL-D3 PRO Rating
Design
Specs
Noise Levels
Ease of use
Print Quality
Price
Where to buy the Tenlog TL-D3 PRO?
AliExpress
Banggood
Amazon
Tenlog
I recommend checking out the Discount Codes page before purchasing. I regularly update the article with discount codes for various online shops, and you might find one for this particular model.
The Tenlog TL-D3 PRO was provided free of charge by Tenlog for the purpose of this review. While the article includes affiliate links, all opinions are my own. Nobody reviewed the article before it was posted, following the Review Guidelines.
Liked it?
|
|

I am having the same strange z banding issues with my tenlog, wondering if you ever found a solution
Hey, I don’t have this machine yet, but I think after reading this review, I’m probably going to be buying it with a STEEP discount code I found.
Has anyone tried popping out the retaining bearings at the top of the machine? Sometimes if the z screws aren’t perfect, those bearings can cause problems like banding. Maybe also disconnect and re-seat the coupler at the bottom of the Z screws(and make sure the rods themselves are straight of course).
I would recommend checking out the Sovol SV04. It’s a much better printer.
I reviewed it a few months ago.
Can you advise which POM Anti-Backlash Nuts you used, Size/Pitch/Starts? Or Amazon link?