How to Install a Magnetic Flex Plate on a Resin 3D Printer
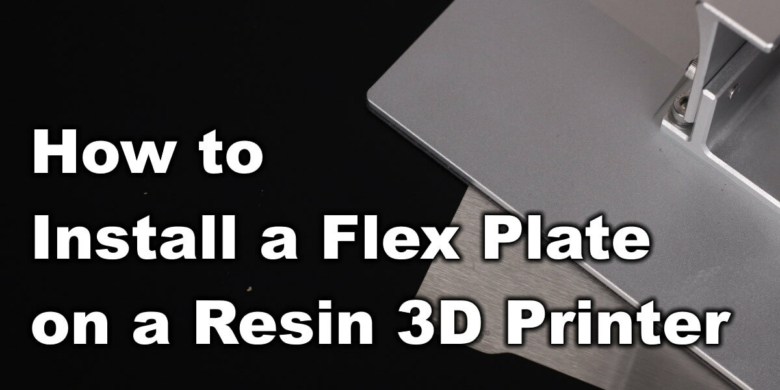
I just installed a removable magnetic flex plate on the Anycubic Photon Mono X, which makes removing prints from the build plate a less annoying task. I still like FDM 3D printing more, because of the minimal post processing required, but hopefully this plate will make the whole experience a bit better. So, let’s get right to it!
Why install a Magnetic Flex Plate?
The main reason to install a magnetic flex plate is to help removing the models after the print is finished. Compared to printing directly on the aluminum build plate, where you always need to use a metallic scraper to remove the model, with a magnetic flex plate you just need to remove it and then flex the plate. Just like the PEI spring steel sheet magnetic plates we use on FDM 3D prints.
Besides the obvious advantage when removing prints, a flex plate can also help with adhesion and minimizing the “elephant foot” effect on the first layers. Because adhesion is better, there’s no need to over-cure the first layers too much, which translates into next to no elephant foot effect on your prints. Of course, this needs a bit of tuning for your settings, but it’s possible.
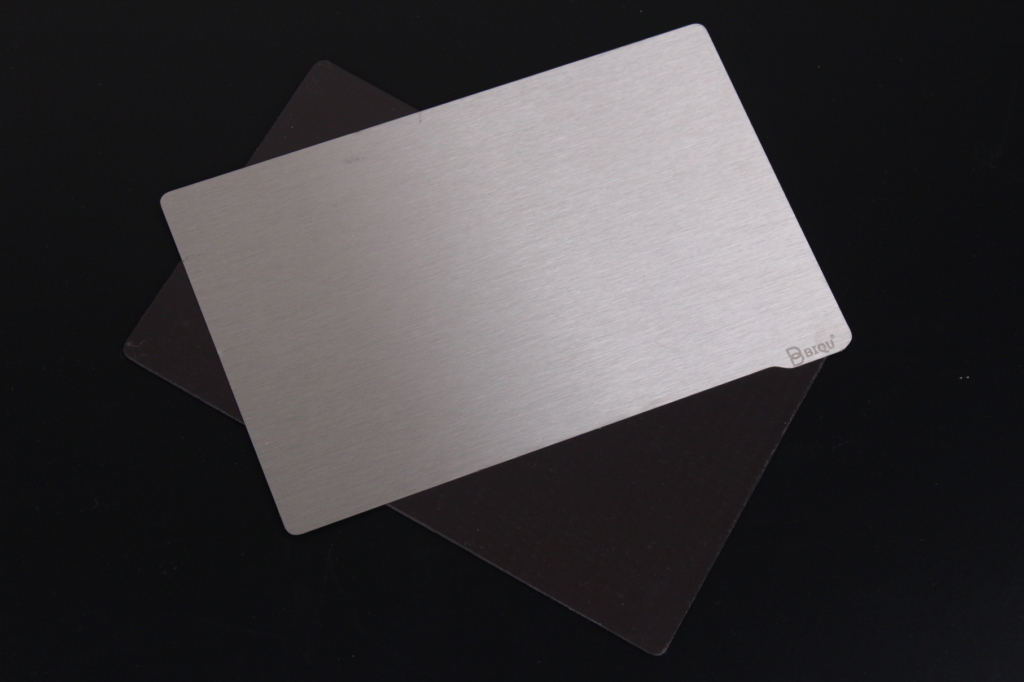
BIQU Magnetic Flex Plate for Resin Printers
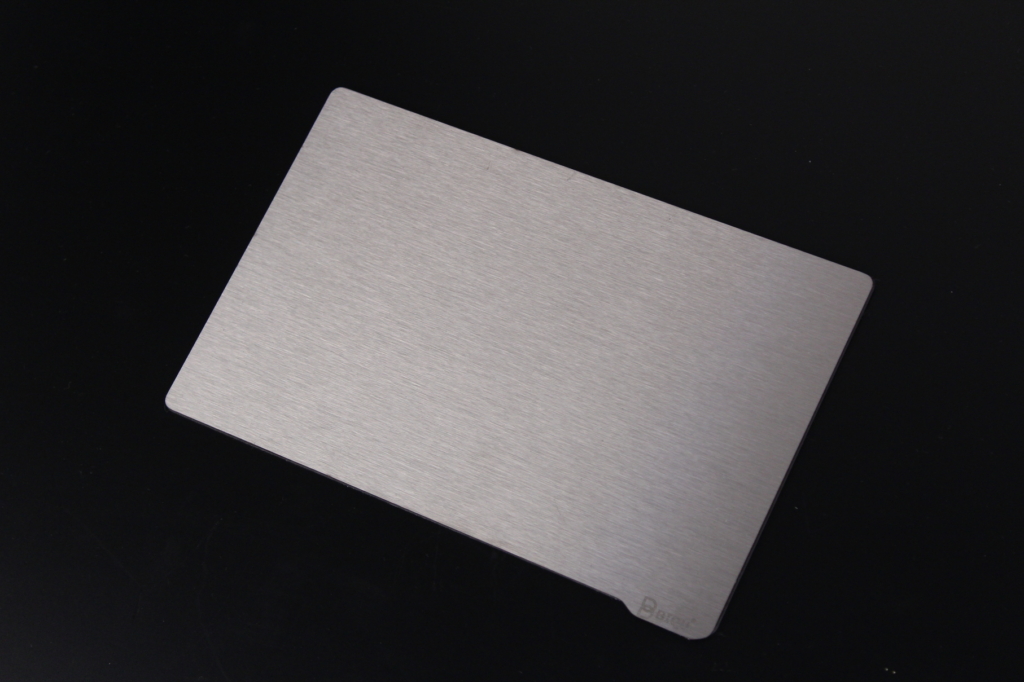
As mentioned, today we will install the magnetic flex plate provided by BIQU. It comes in a simple bubble wrap bag, but it’s well protected during shipping.
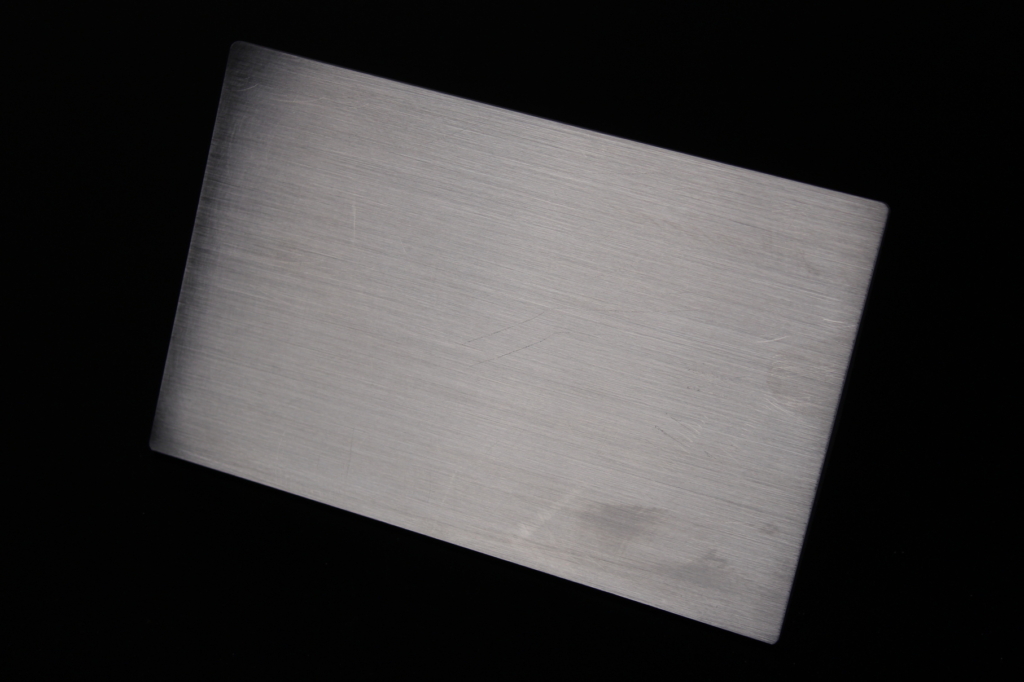
Both sides of the plate are textured which helps with model adhesion. On the bottom right side of the plate, we got the BIQU logo laser engraved.
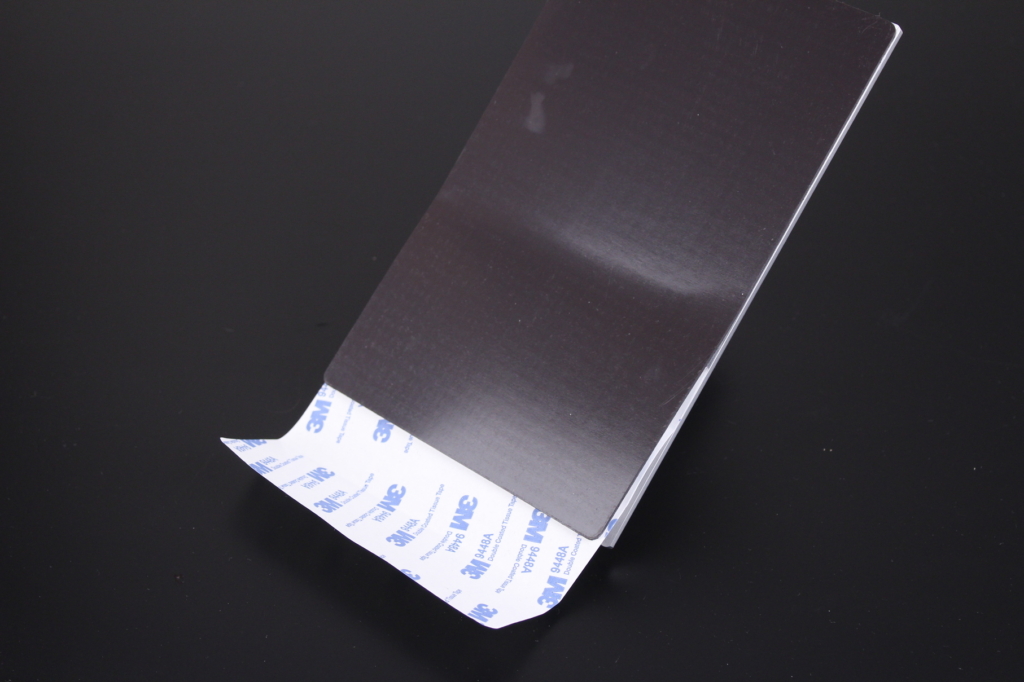
While I was a bit skeptical with the magnetic sticker, I found out that it provides good attraction to the build plate and it shouldn’t move or get detached during printing.
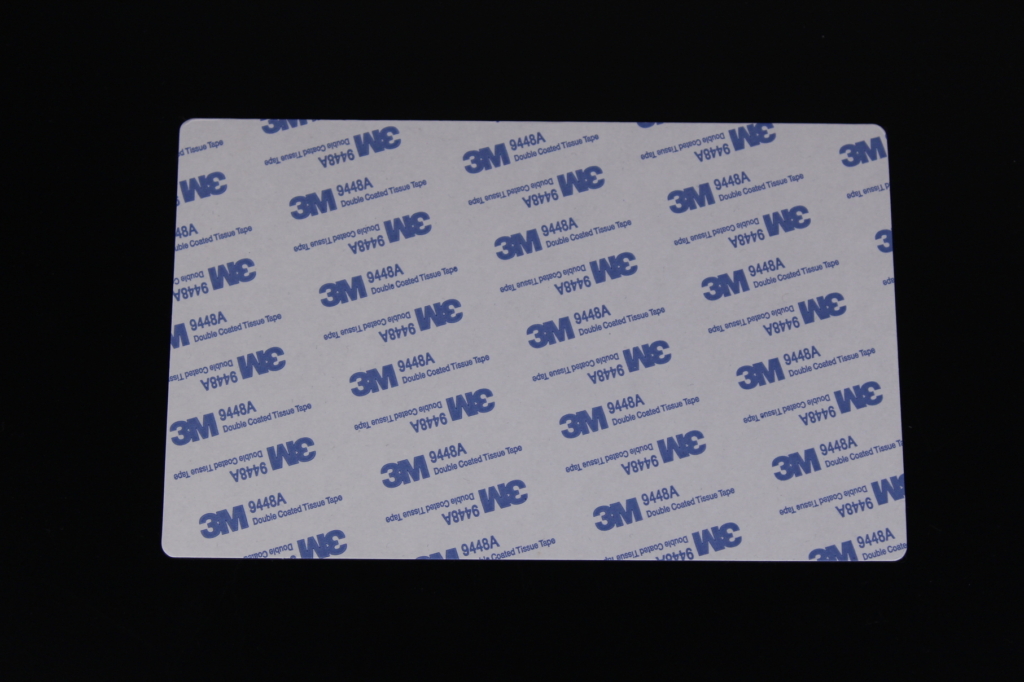
This magnet is held in place by 3M 9448A double-sided tape. After checking the specs, I found out that it offers medium resistance to solvents and UV so It’s interesting to see if there will be any adhesion issues after being exposed to the resin.
Installation steps for flex plate on resin 3D printer
Remove and clean the build plate
When installing any kind on sticker to a surface, the most crucial step is to ensure that the surface is clean. First, I cleaned the build plate using IPA twice to remove most of the resin. Next, I scrubbed the build plate with regular soap and water by using a kitchen sponge.
Finally, to make sure the surface is ready for the installation, I cleaned it again with a few sprays of IPA and a clean paper towel.
Please take your time to thoroughly clean the build plate because it will save you a lot of trouble in the future.
Install the magnetic sticker
The recommended ideal temperature for applying the sticker it is between +21C and +38C so make sure you respect those values. If you already have an FDM 3D printer, I recommend heating up the bed to ~50C and leaving it with the sticker side on the bed for a few minutes before starting the installation process.
Next, carefully align the magnetic sticker and unpeel about 2 cm from the the protective sheet then attach the magnet to the build plate. It’s important to apply even pressure and make sure you don’t trap air bubbles underneath the sticker.
Continue the application with small steps, until the magnetic sticker is completely attached to the build plate.
Heat up the build plate
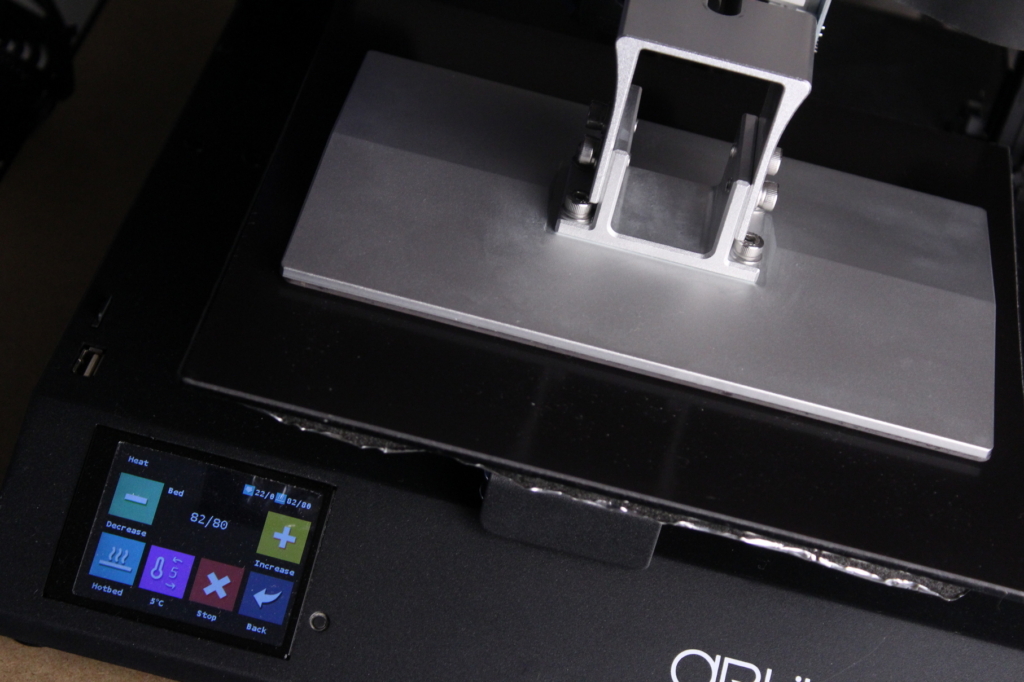
Because I had satisfactory results with applying heat to the magnetic surface with other applications on my FDM 3D printers, I chose to do to the same on for the resin printer too. I heated up the Artillery Genius bed to 80C and left the build plate on it for about 5 minutes.
I used this elevated temperature because I already have a magnetic print surface installed on the bed and the thermal transfer is a bit reduced compared to the temperature displayed on the screen. It’s also worth noting that the adhesive will allow up to 150C for small periods of time, so this step can only improve the adhesion during installation.
If you want to learn more about the double-sided tape used with this magnetic surface, you can download the technical data sheet from here.
Wait for the adhesive to set
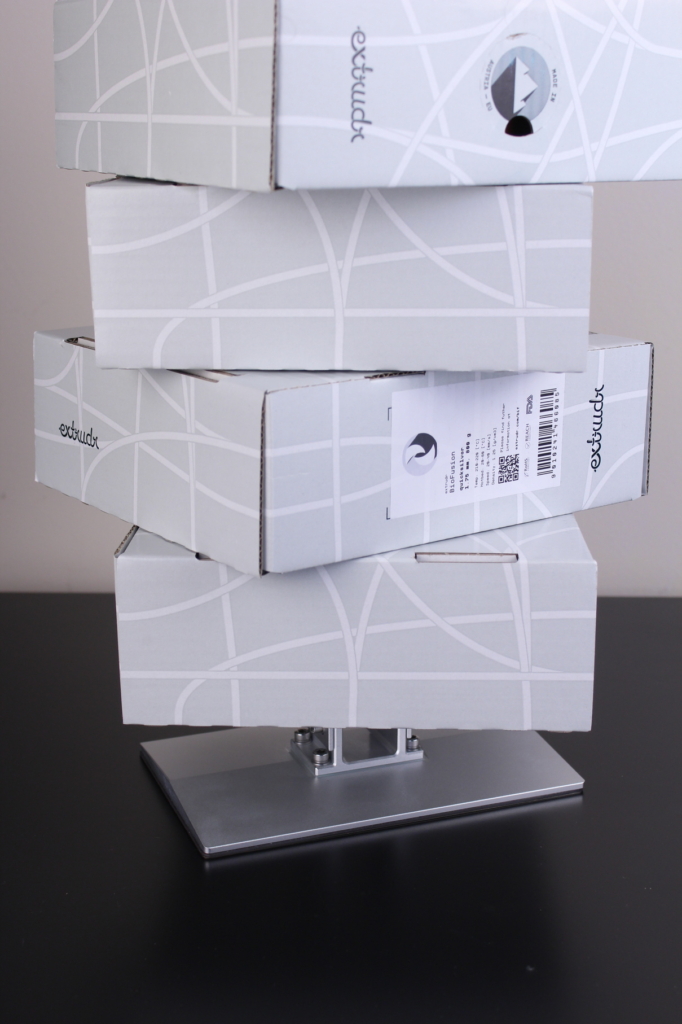
After letting the build plate and magnet take a bit of heat, and reach ~60C, I removed the build plate and applied pressure to it. The build plate was set on a flat table and I’ve put five rolls of filament on top.
The adhesive specs tell us that after 30 minutes, the adhesion reaches 135N/100mm while waiting 72 hours this value reaches 140N/100mm when attached to stainless steel.
I know that a lot of people recommend waiting for the full 72 hours but a few hours are more than enough if you follow the steps I did.
Re-level the build plate
Because the build plate is now a bit thicker, it’s crucial to re-level your printer.
Different resin 3D printers have different solutions for leveling the build plate, but most of the times, it’s a straightforward process which will be described in the user manual of the printer.
To do this on my printer, I need to loosen the four screws holding the build plate. I place a piece of A4 paper between the bed and the screen then carefully lower it. While the build plate is laying on the screen, you need to press the build plate on the screen then start tightening the screws to hold it in place.
Elegoo has a good video about this, but this process will be different from printer to printer.
This process was described in my Resin 3D Printing for Beginners article where I covered other aspects when printing with resin, so make sure you check that out.
Install a spacer for the Z endstop
After publishing the article, it was brought to my attention that a spacer is needed for the Z endstop to adjust for the difference in height of the build plate. On some printers, the endstop flag doesn’t reach the sensor and you may risk damaging your screen.
There are thingiverse prints which can be printed and installed. For the Anycubic Mono X, a 2.6mm spacer is needed. Make sure you check this information in advance, to avoid any damage to your printer.
Where to buy flex plates
BIQU Flex Plates on AliExpress
BIQU Flex Plates on Amazon
TwoTrees Flex Plates on AliExpress
Sovol Flex Plates on Amazon
Liked it?
|
|



I have to say too, I don’t recommend buy cheap Chinese flex plates. They tend to slip alot and they use cheaper spring steel. Also the magnets will fall apart. I like the fulament brands myself. They have been great on all my SLA and FDM printers.