Anycubic Photon M3 Max Review: Who Needs FDM Anymore?
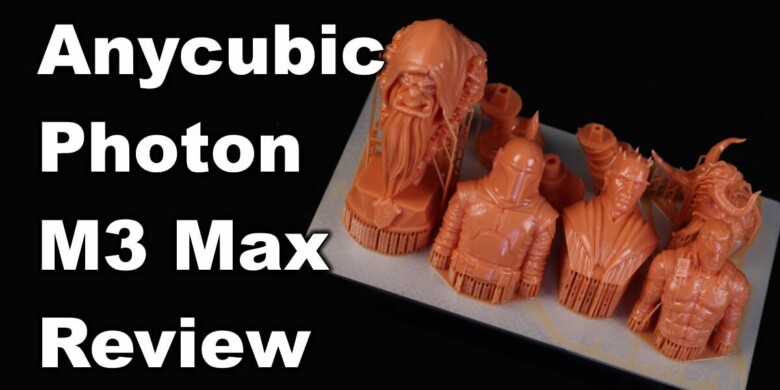
Today we’re going to check out the Anycubic Photon M3 Max, the biggest resin 3D printer from the M3 lineup. How big you’re asking? Well, as big as an FDM 3D printer.
I really think that the future will be resin printers and FDM will slowly go away. Anycubic is moving fairly quickly when it comes to adding new features to their resin 3D printers while also increasing the print size, and this is how the Anycubic Photon M3 Max was born.
Anycubic Photon M3 Max Shipping and Packaging
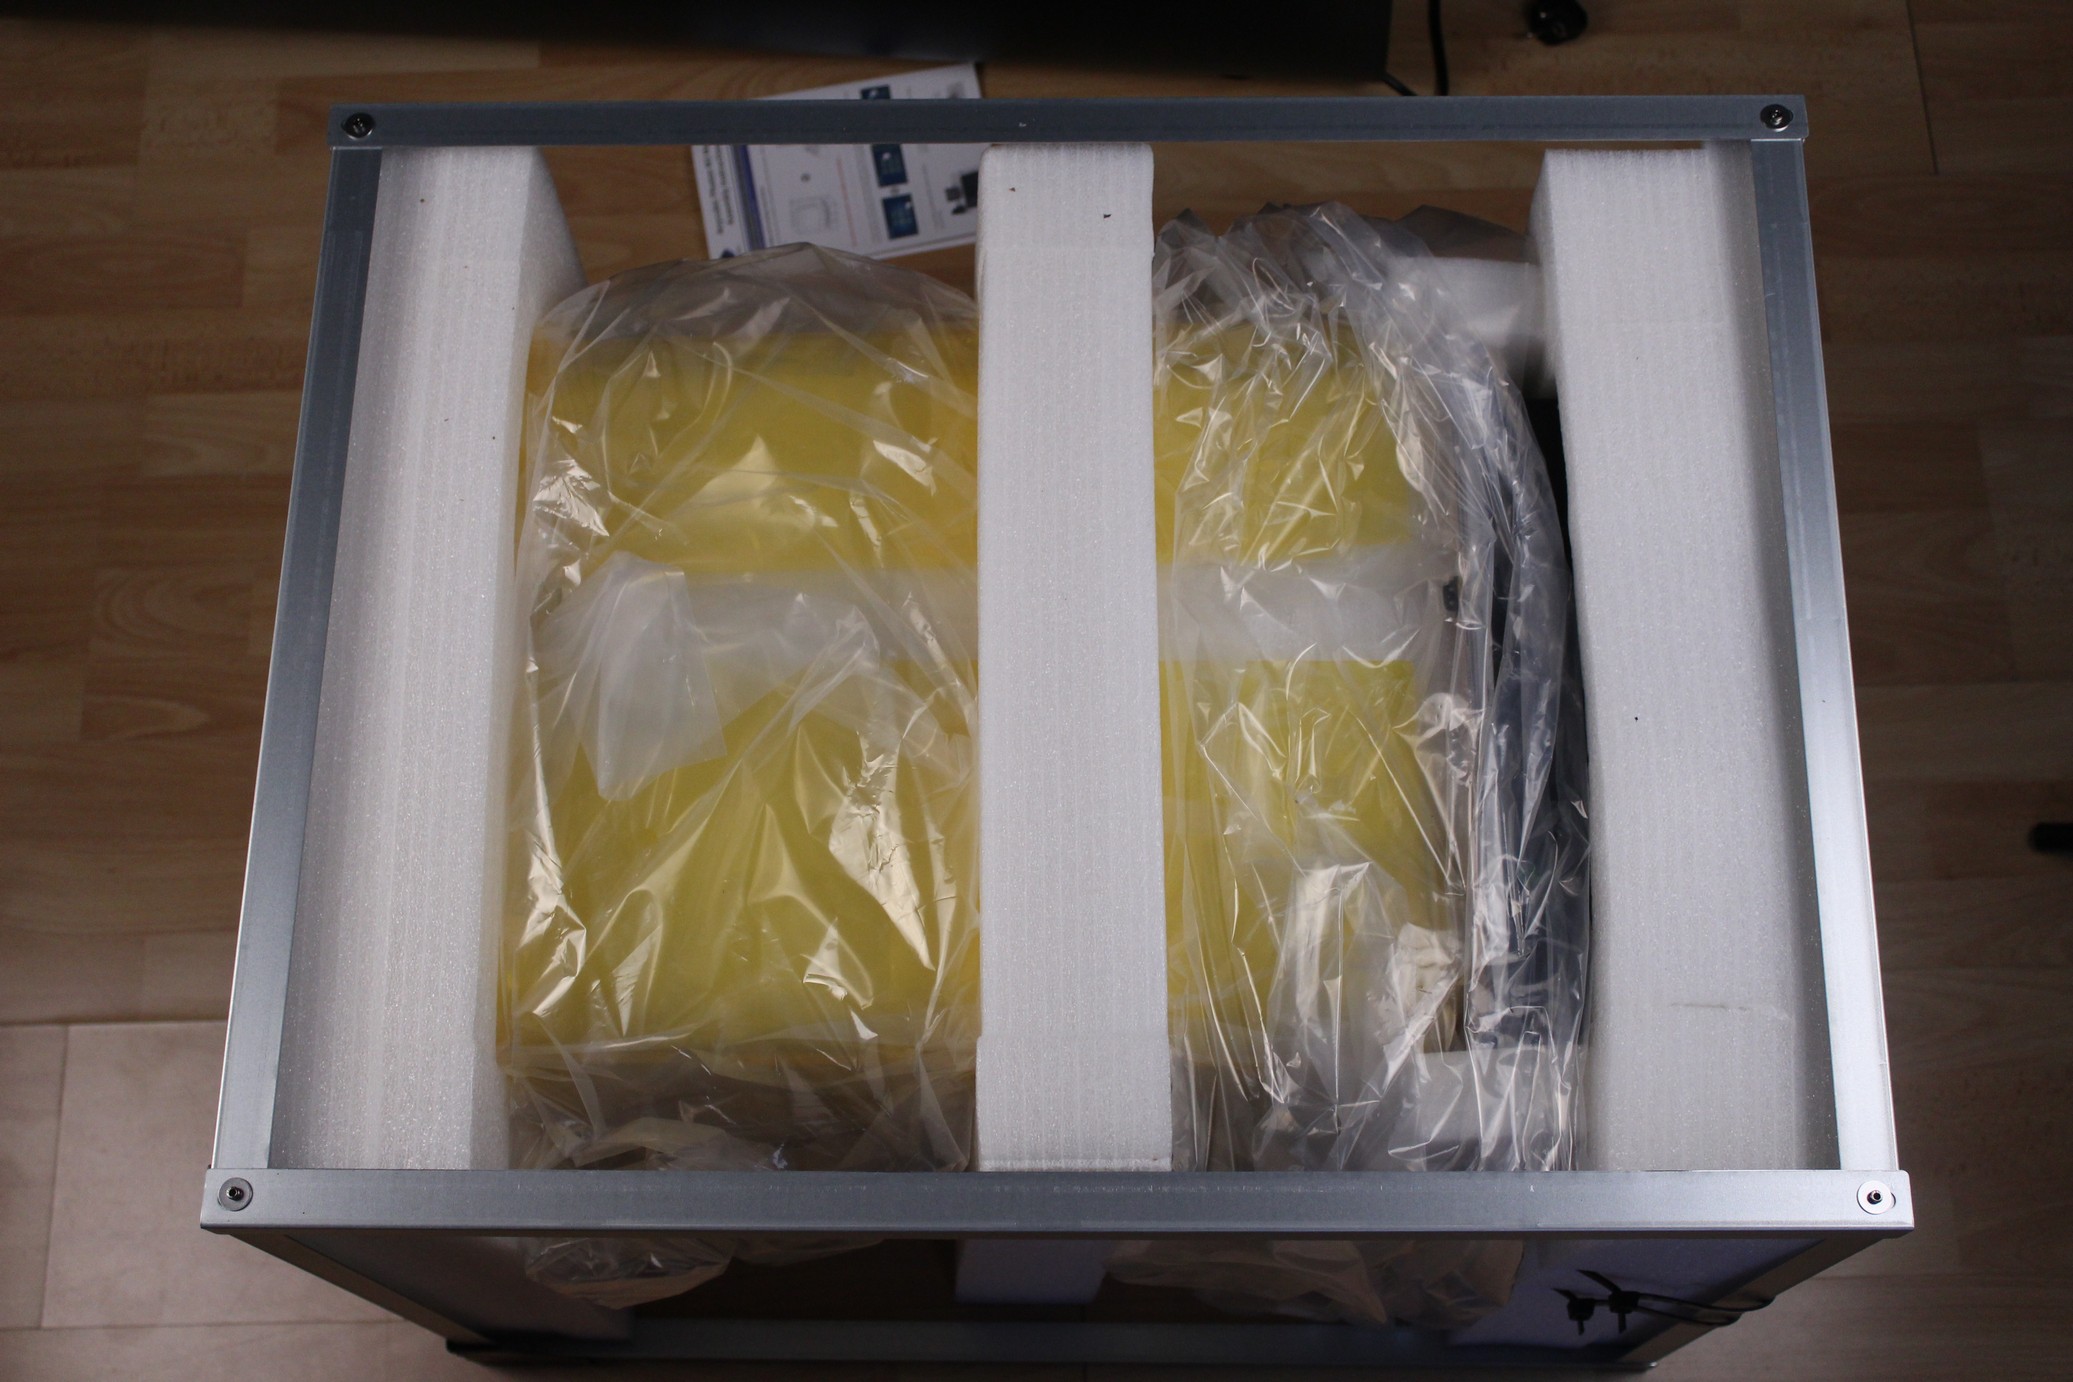
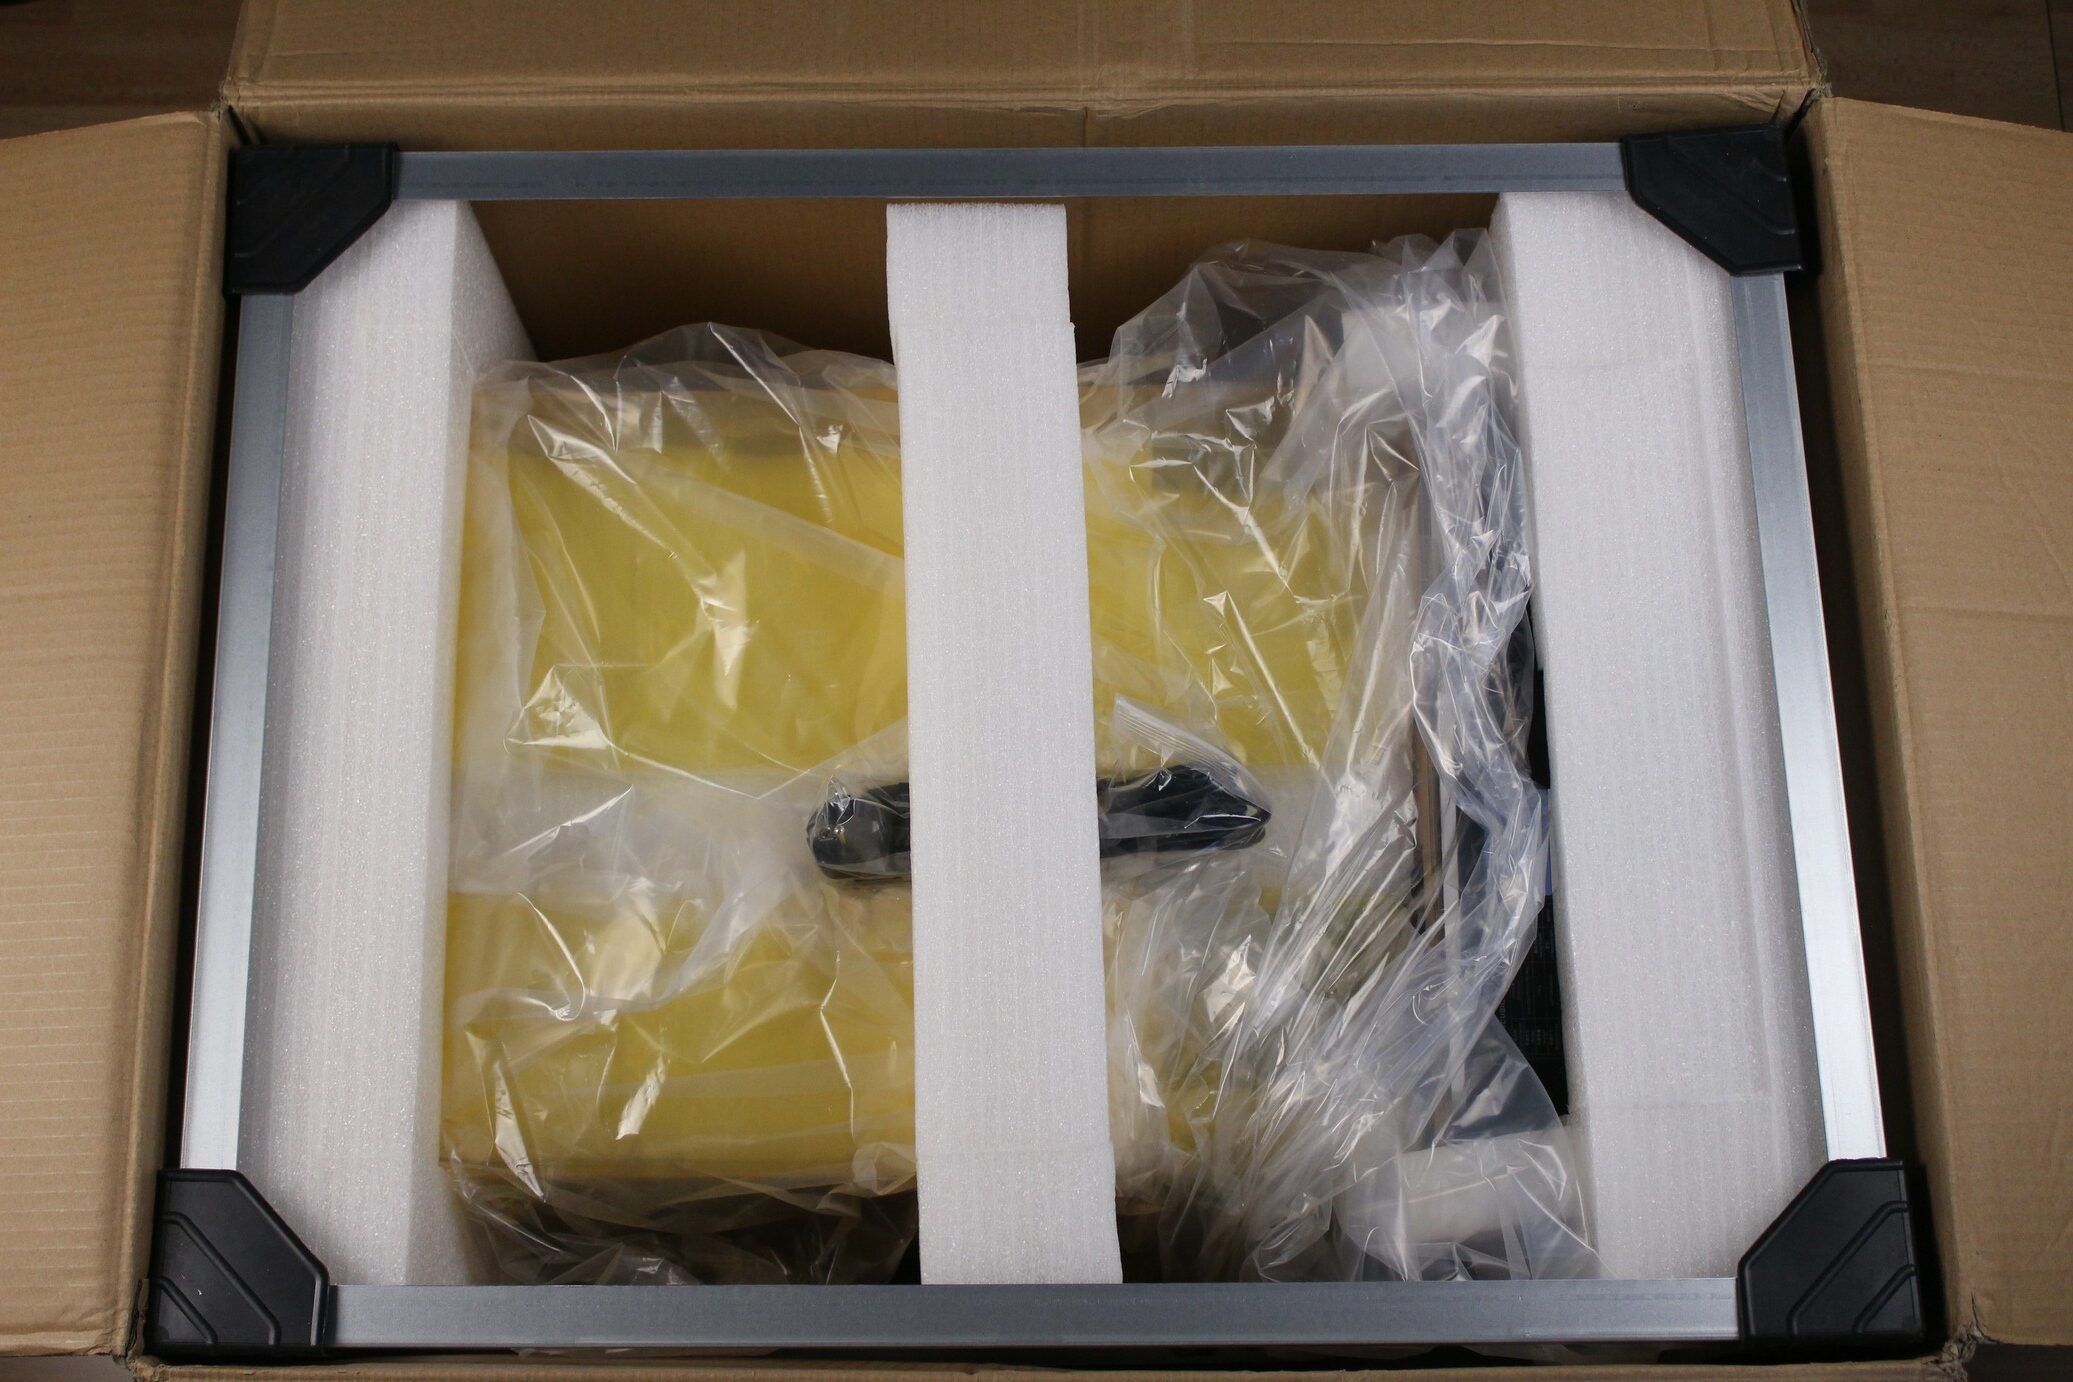
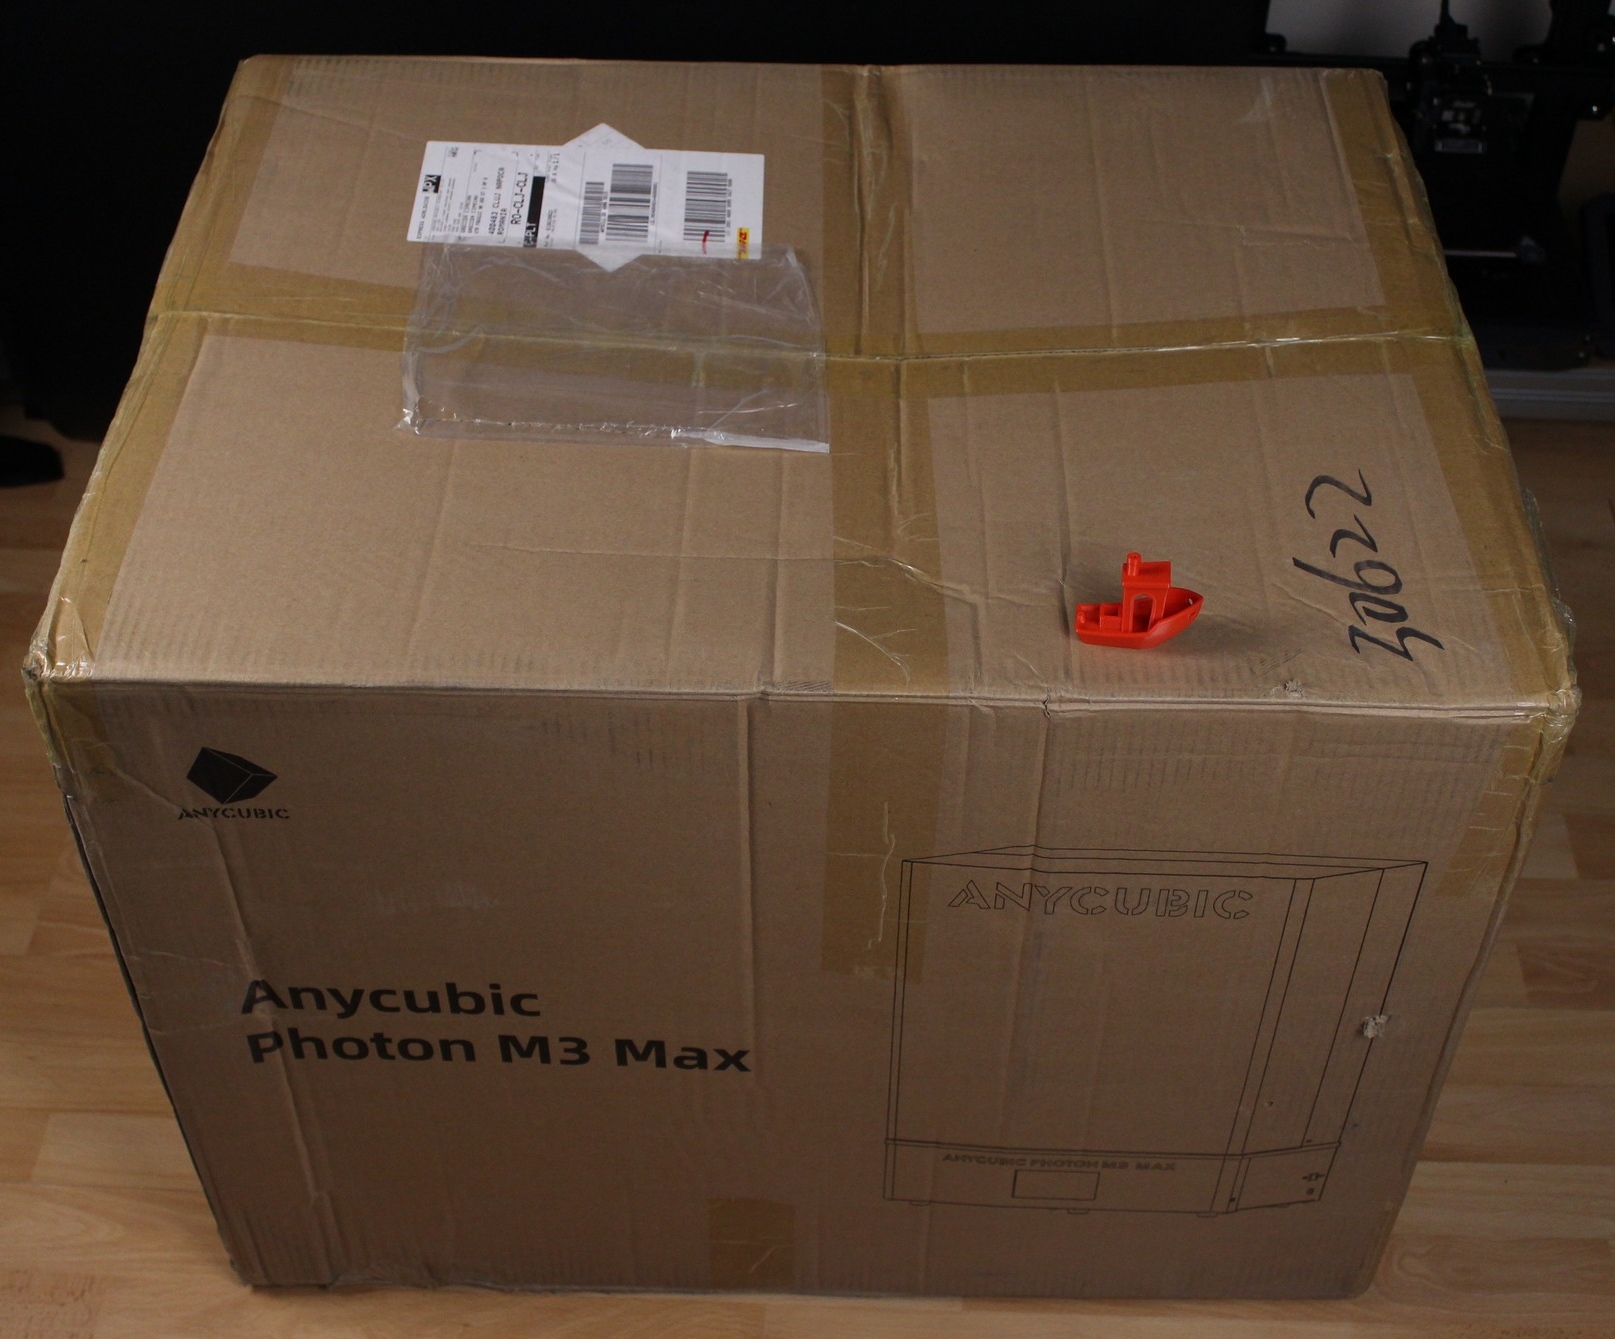
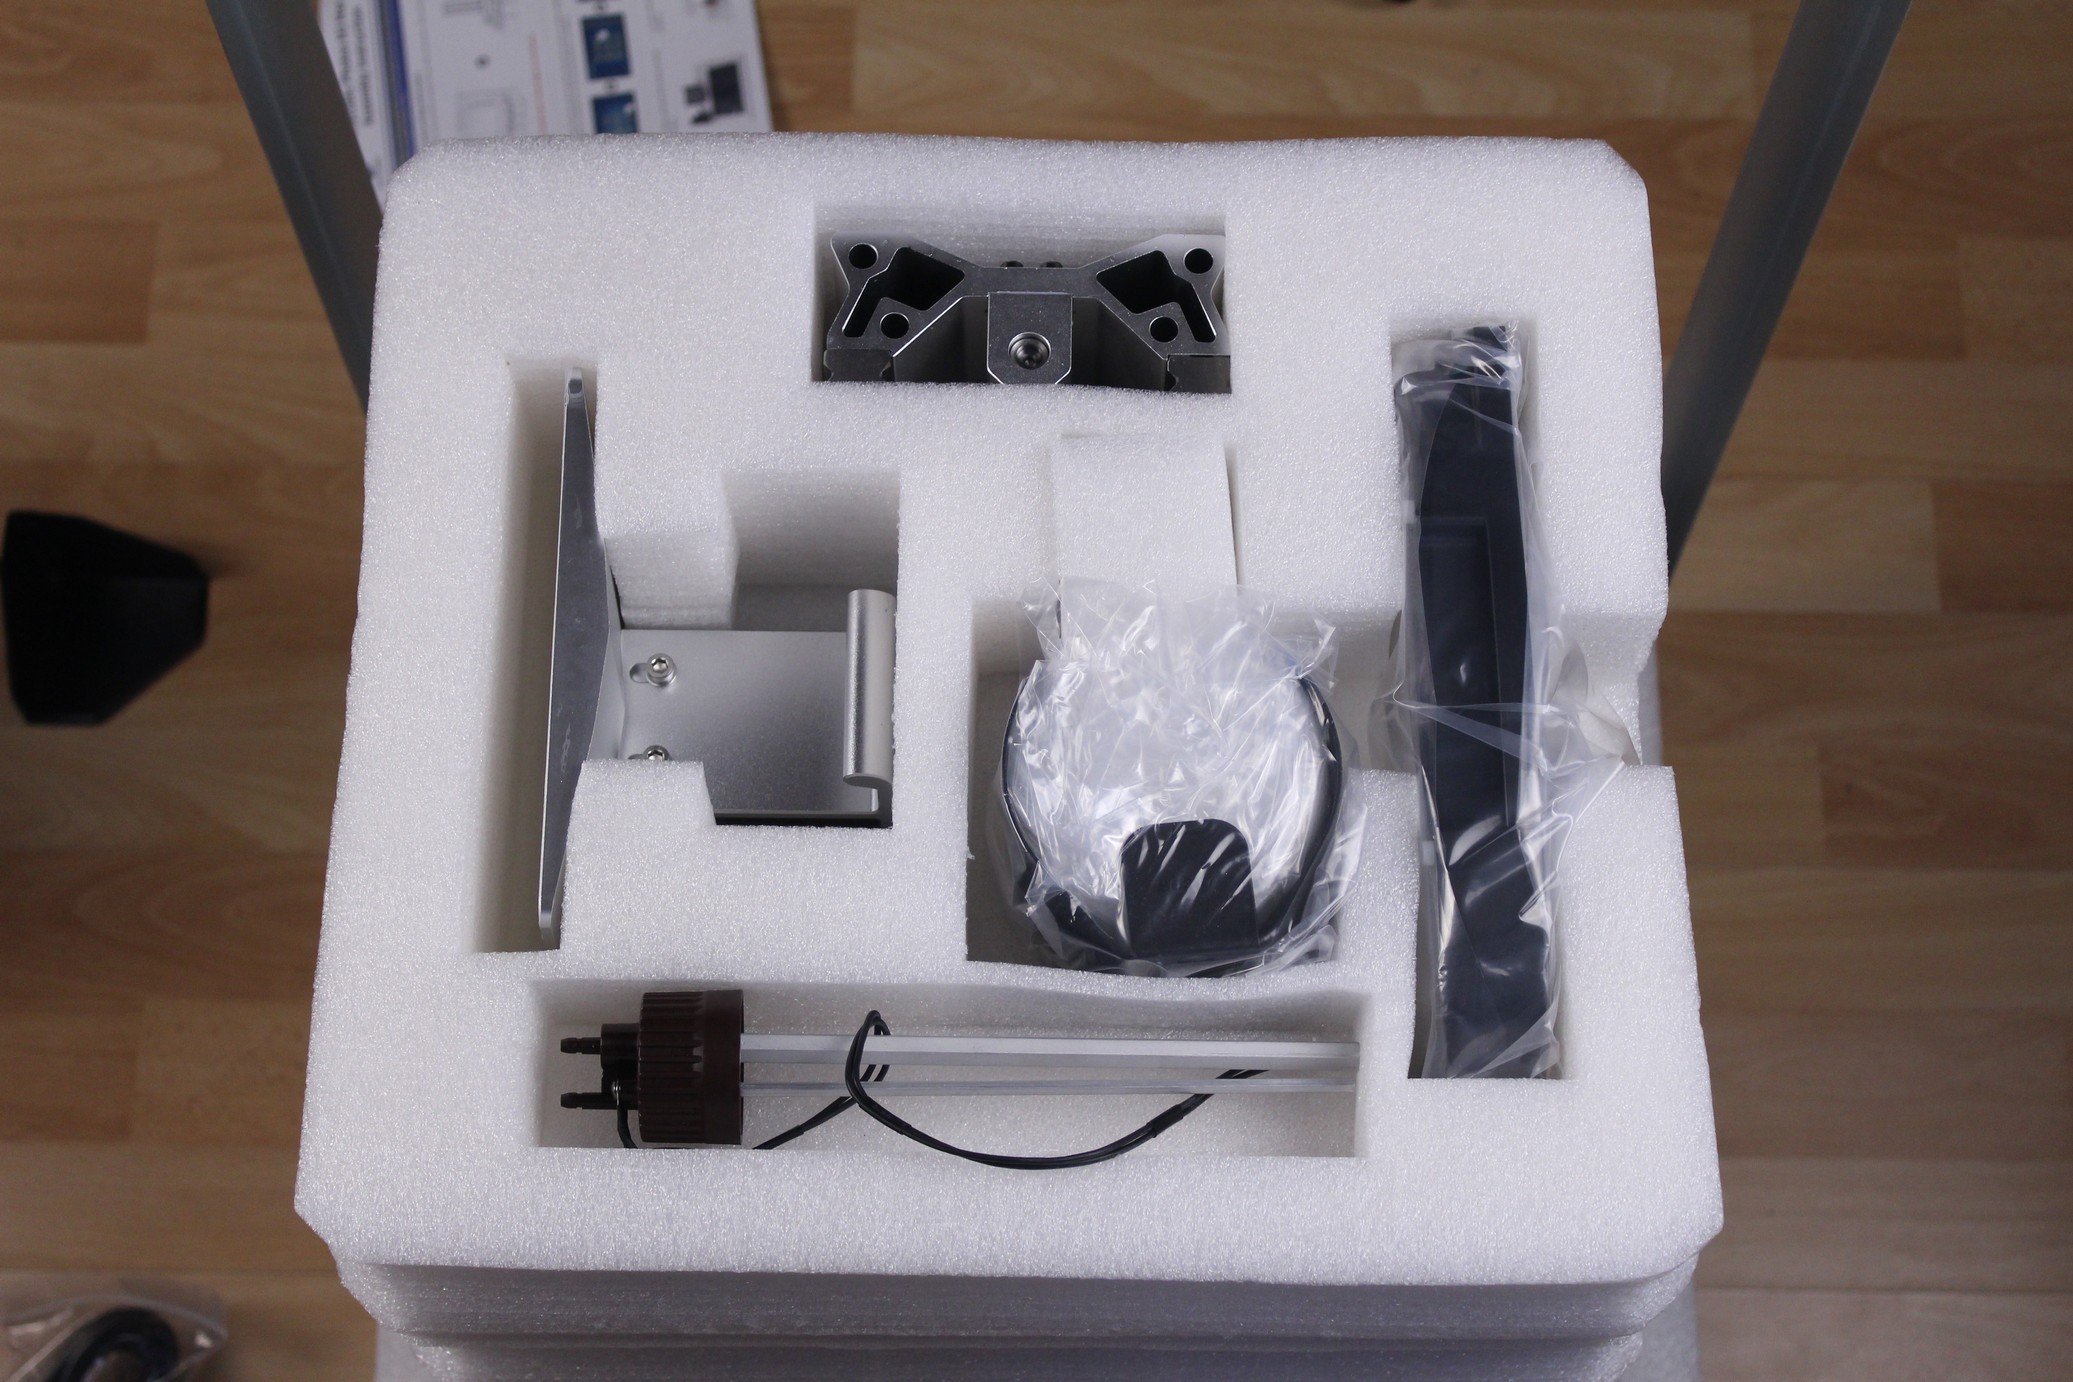
The Anycubic Photon M3 Max is a big printer, but the box in which it’s shipped is HUGE. It comes with a cardboard external box but after opening up the box, I found a metallic frame that is used to protect the printer. You will spend some time disassembling the frame and unpacking this printer, and I recommend getting some help from another person. It will make things much easier.
The aluminum frame used for the M3 Max as protection is held in place by M3 screws, so with a bit of creativity, you can convert it to an enclosure for your other printer.

Anycubic Photon M3 Max Design
After the Anycubic Photon M3 Max is assembled, it somewhat looks like an oversized M3 Plus.
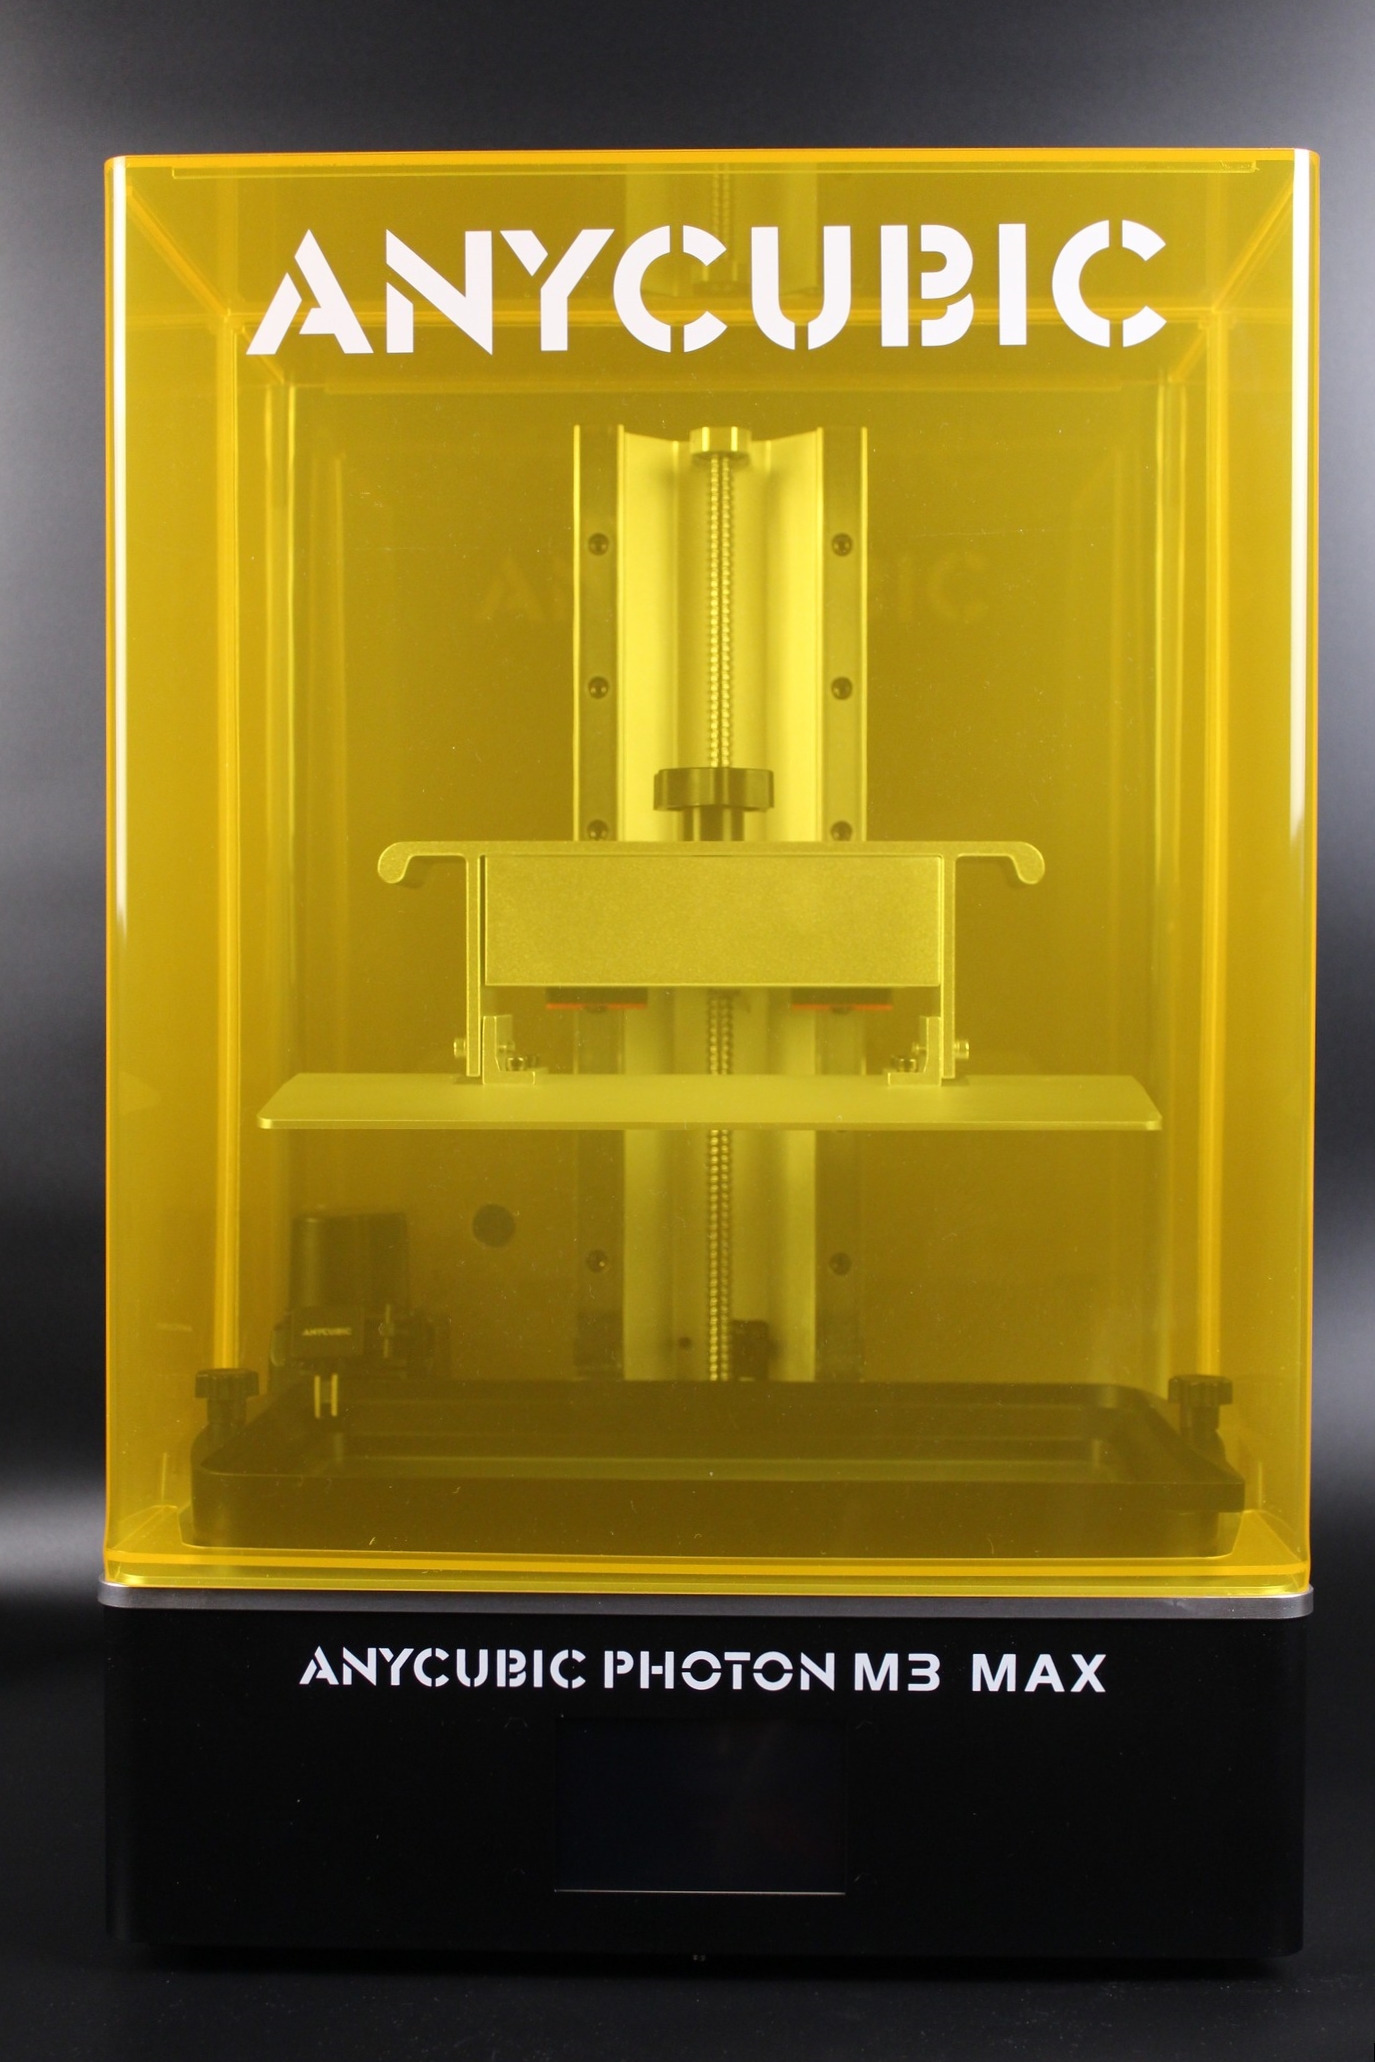
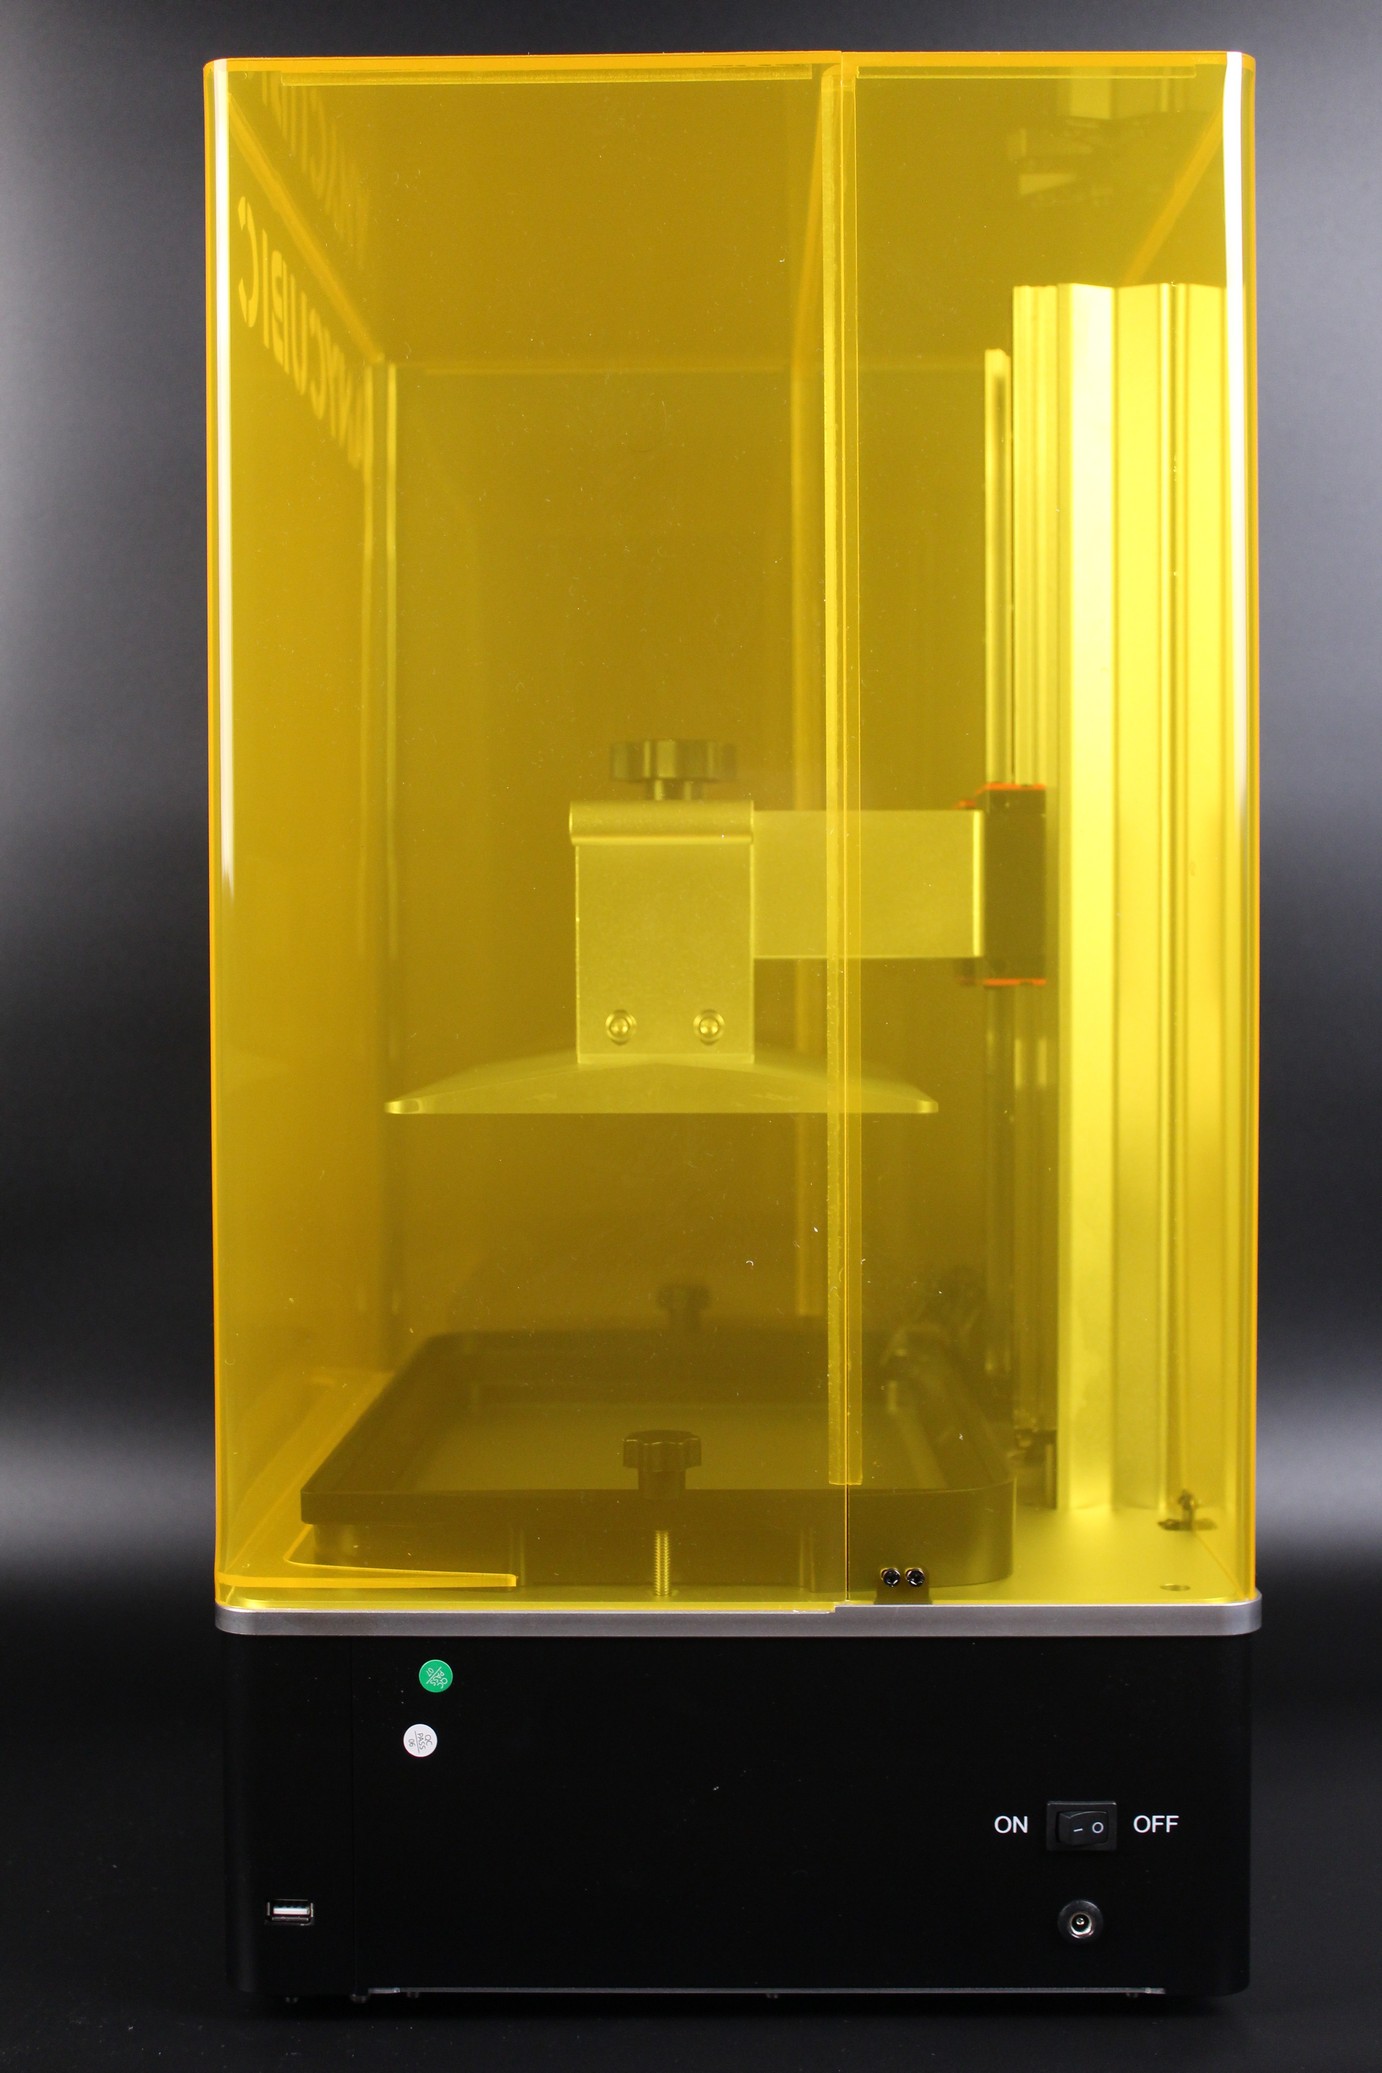
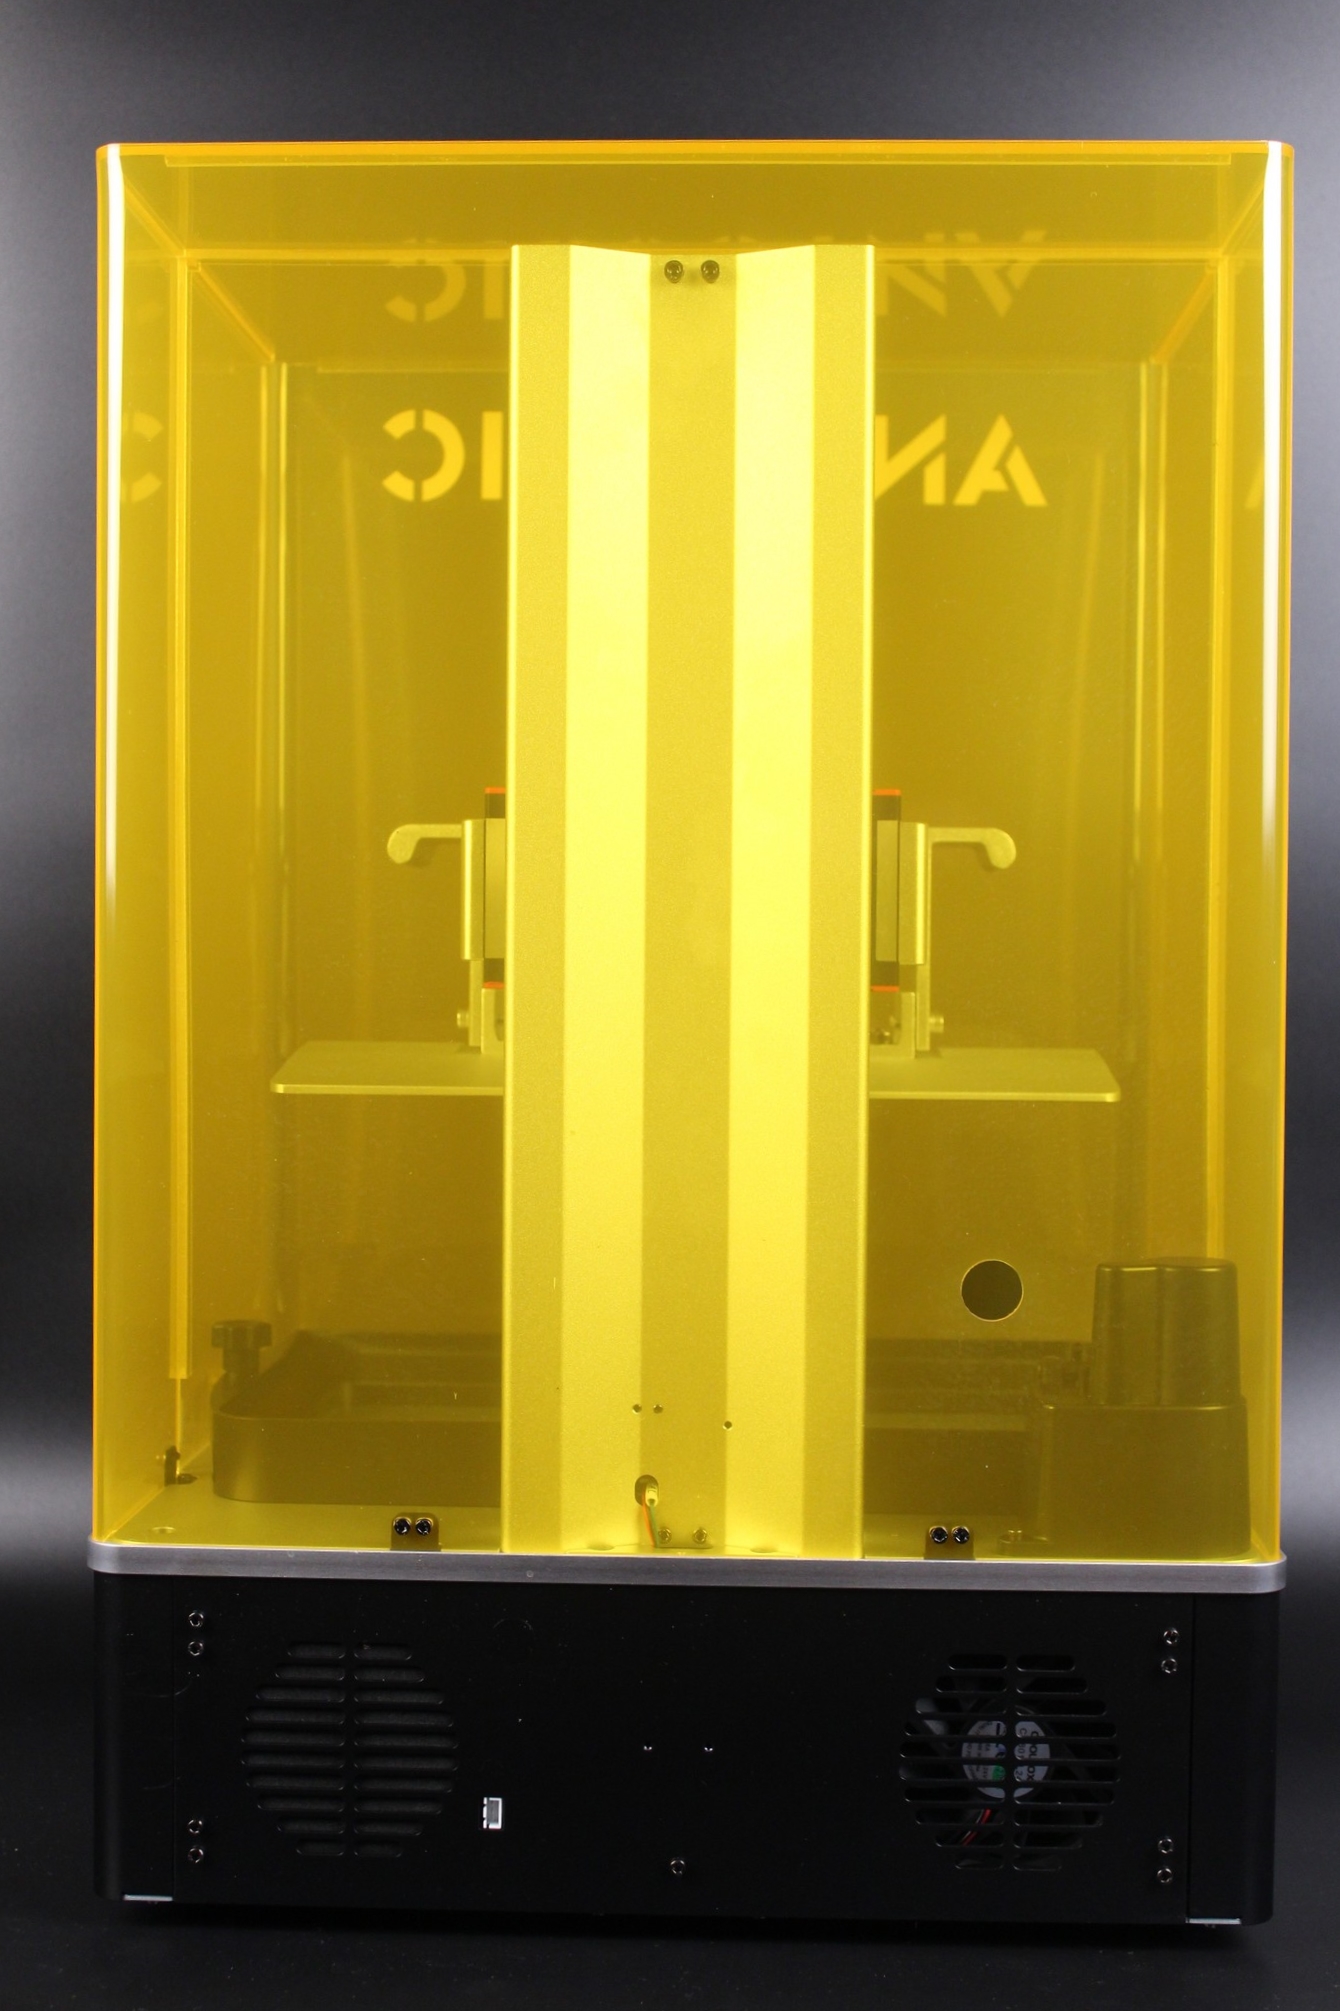
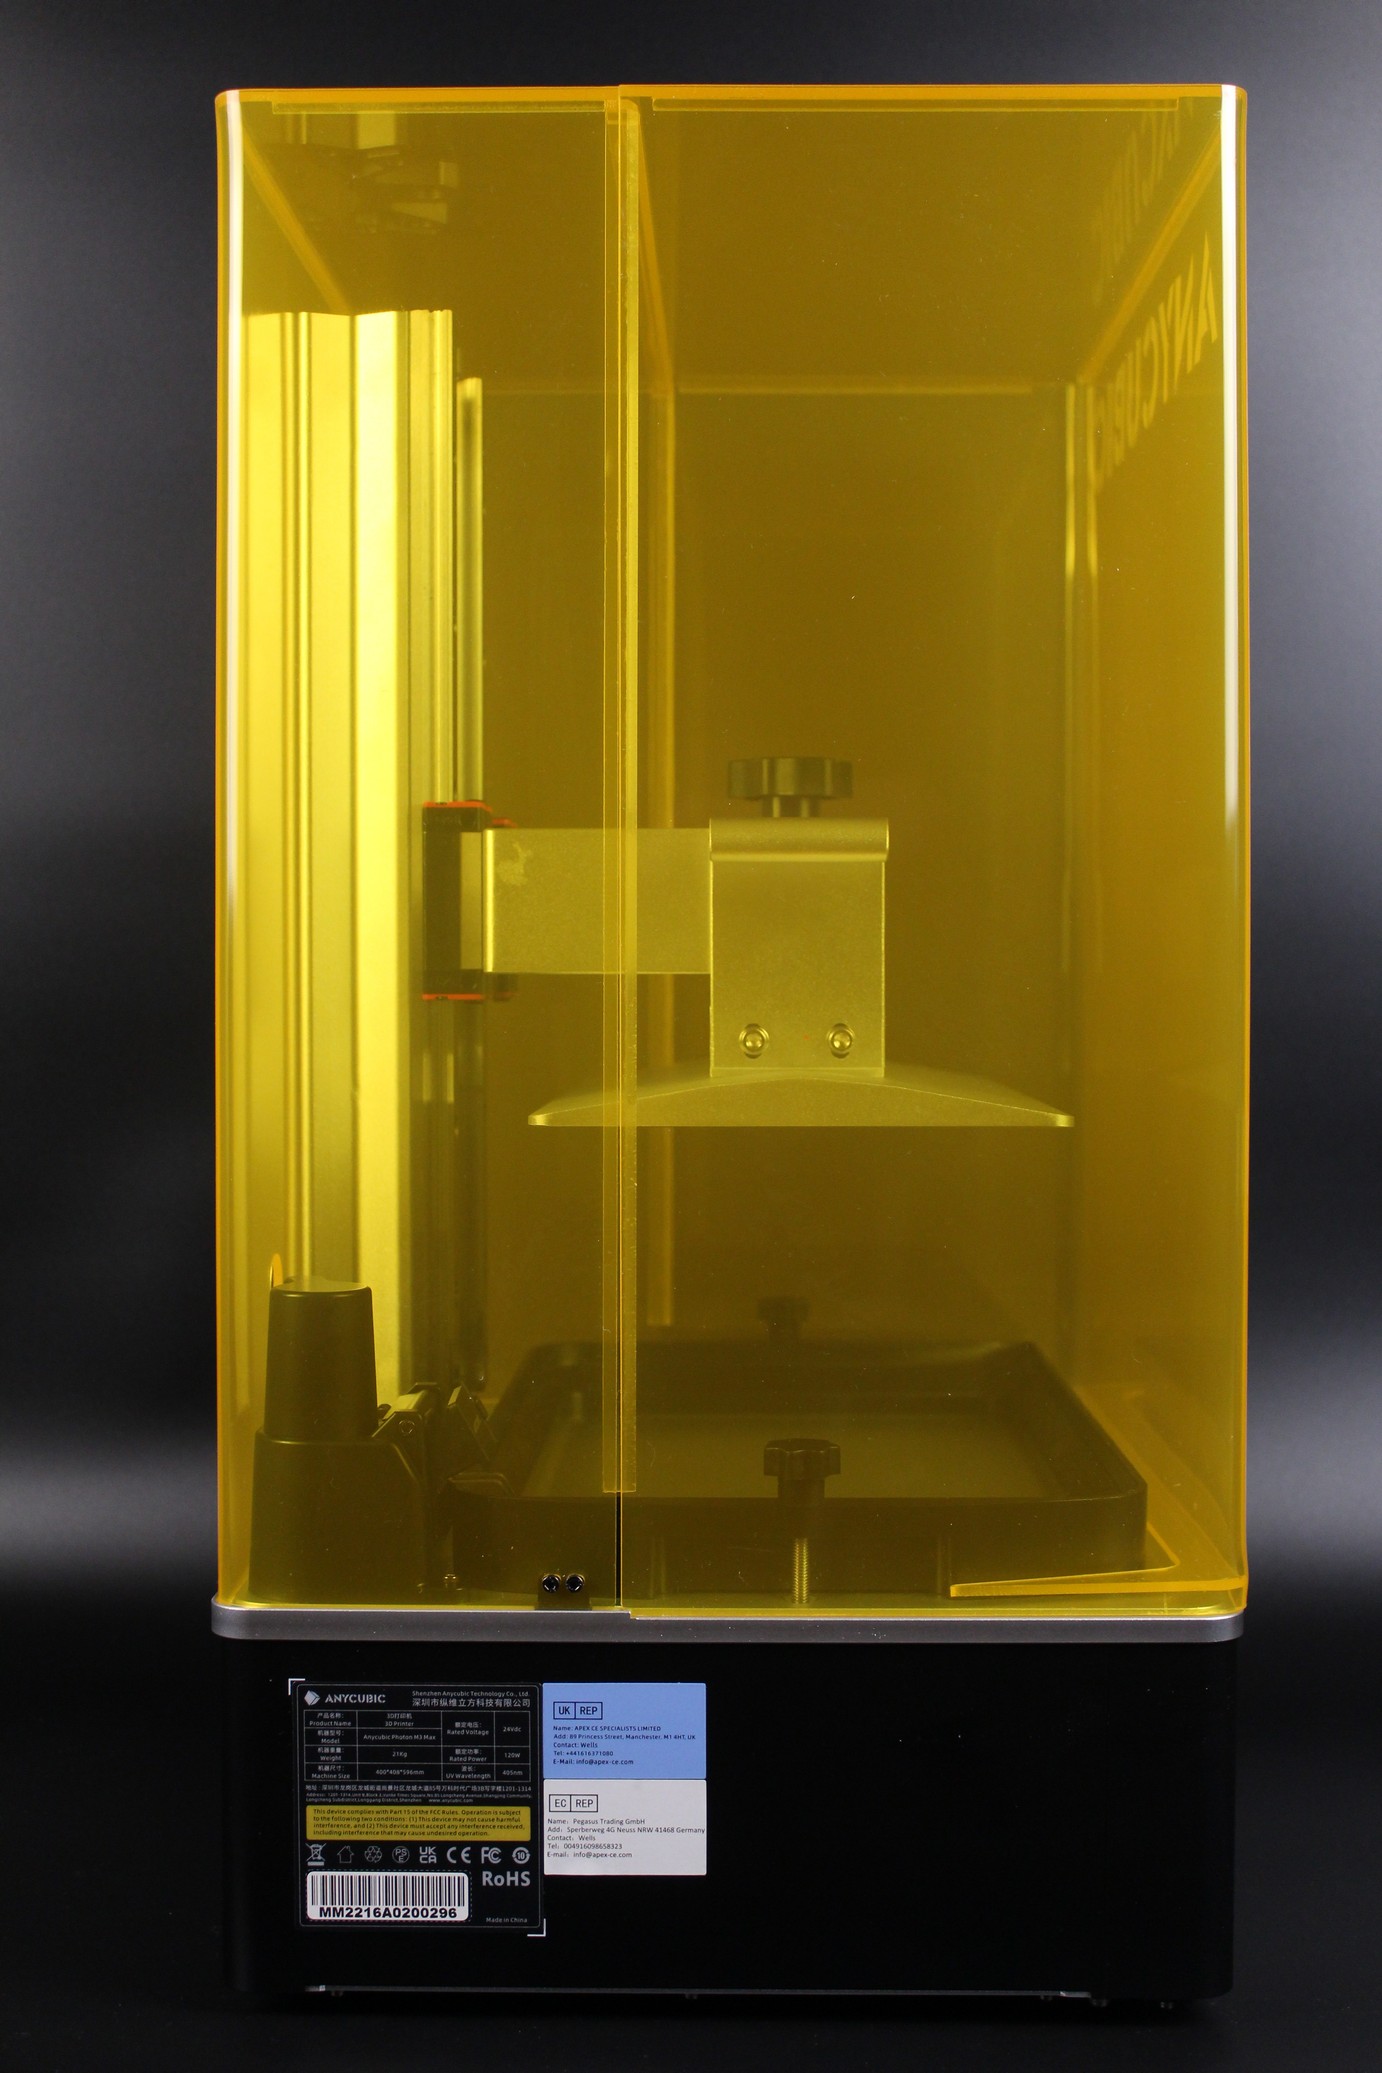
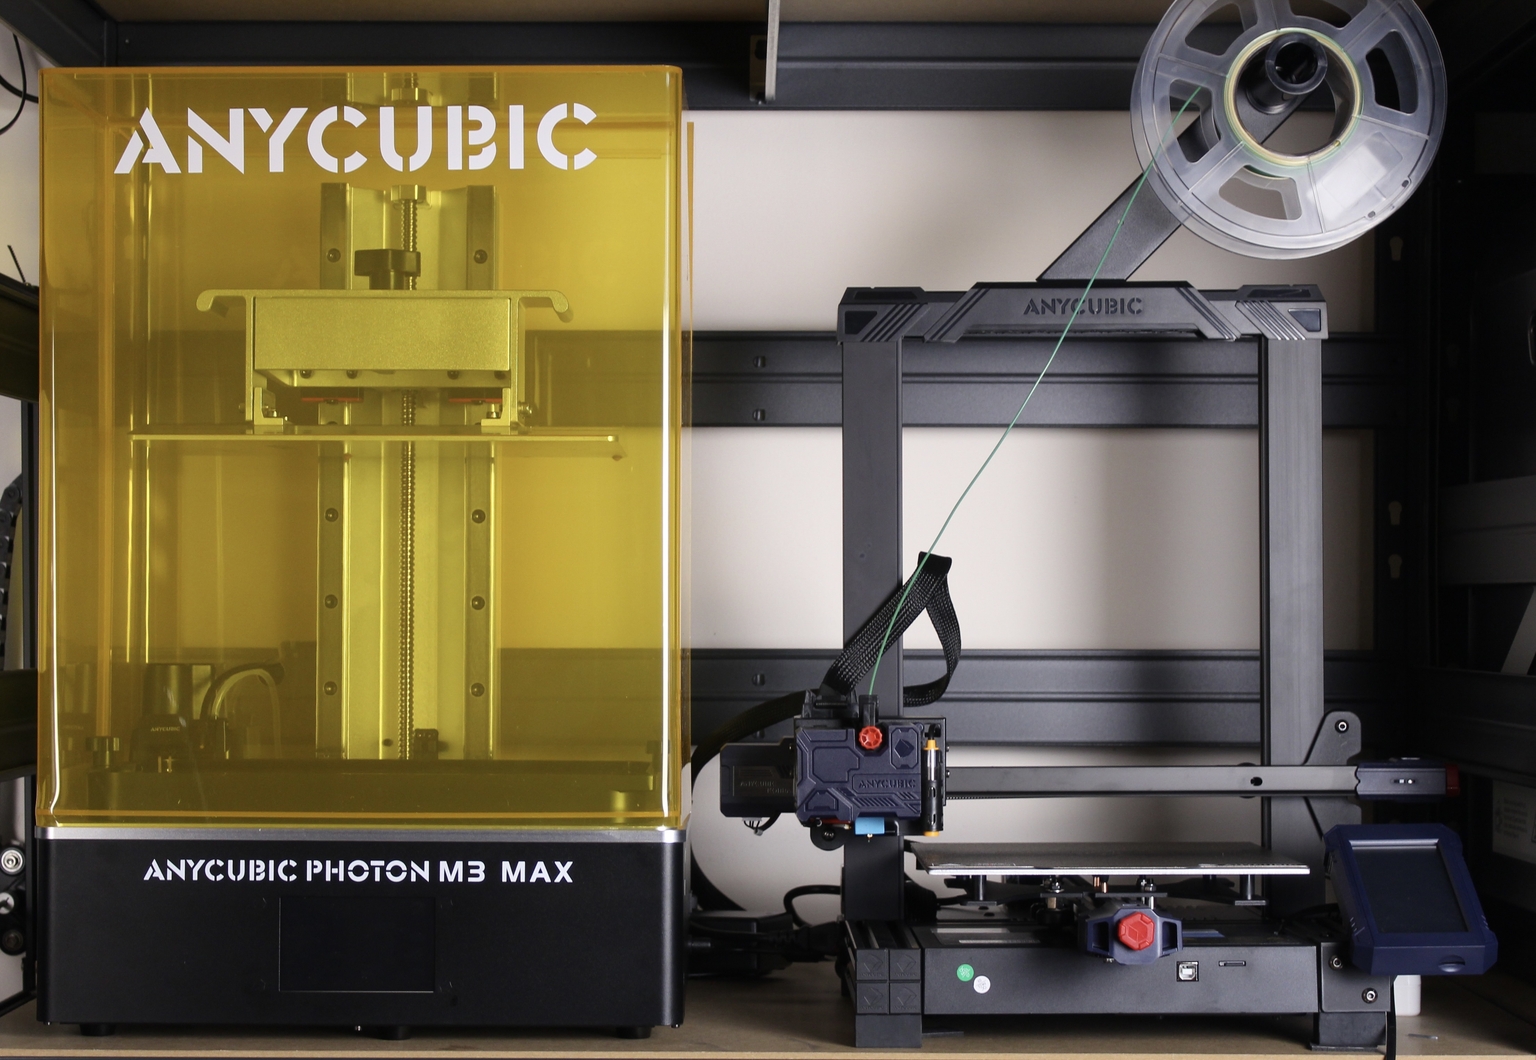
What I like best about the Max is the way you open the top cover. On most of the resin printers out there, you need a lot of vertical space to remove the cover. But with the M3 Max, you can remove the front half of the cover and access your prints. As you can see, it fits right next to the Kobra on a printer shelf.
I really hope other resin 3D printers will have a similar design in the future because it makes finding a place for the printer much easier.
Anycubic Photon M3 Max Specs
| Exposure screen | 13.6″ monochrome |
| Printing accuracy | 6,480 x 3,600 px (7K) |
| Contrast ratio | 450:1 |
| Light source | Parallel matrix (LED lights x 84) |
| Build plate | Laser engraved platform |
| Printing speed | ≤ 6 cm/hr |
| Control panel | 4.3″ resistive touch-control |
| Data input | USB-A 2.0 |
| Power input | rated 120W |
| Print size | 30.0 x 29.8 x 16.4 cm / 13.0 x 11.7 x 6.5in. (HDW) |
| Printing volume | 14.7 L / 498.5 oz |
| Machine size | 59.6 x 40.0 x 40.8 cm / 38.3 x 22.7 x 22.2 in. (HDW) |
| Machine weight | 21 kg / 46.3 lb |
13.6 inch 7K monochrome screen
Wow. That’s a mouthful. But Anycubic managed to include a high-end 7K monochrome screen with the Photon M3 Max. This means that you will be able to print large models without losing details thanks to the 6480×3600 resolution.
These monochrome screens also last for a long time, so you should be able to print for about 2000 hours before needing to replace the screen.
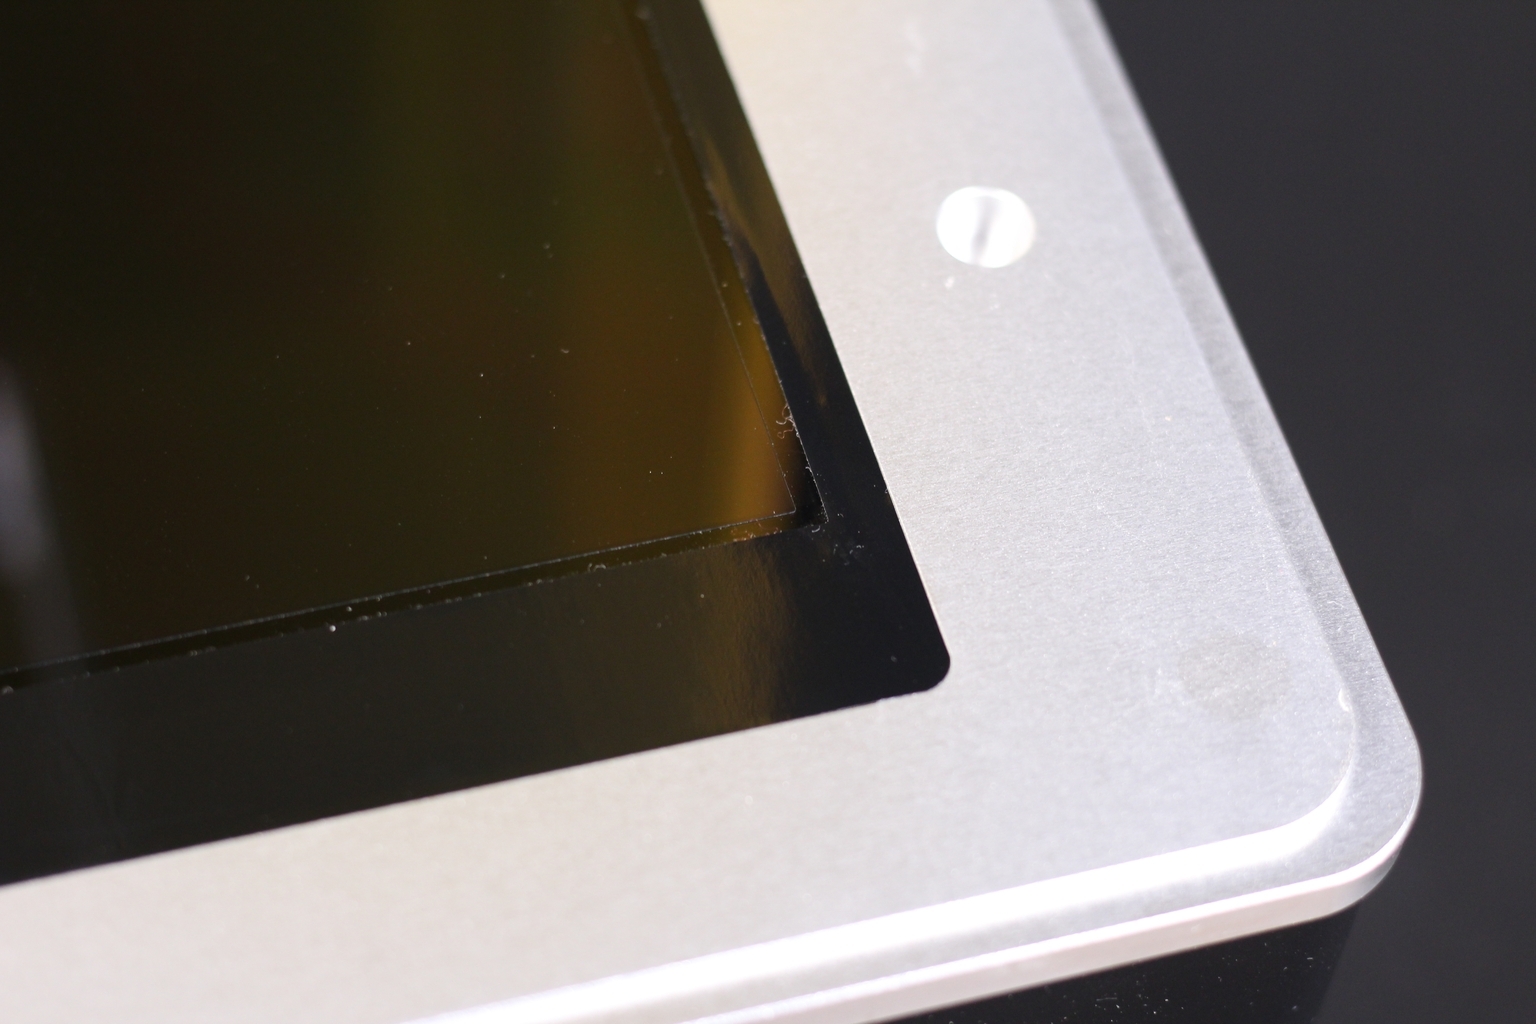
It’s worth noting that the M3 Max has a screen protector installed out of the box, which is super important for a resin printer. You don’t want to mess up that screen because it’s probably quite expensive to replace. Besides that, an extra replacement screen protector is included in the package which is great.
Laser-etched build platform
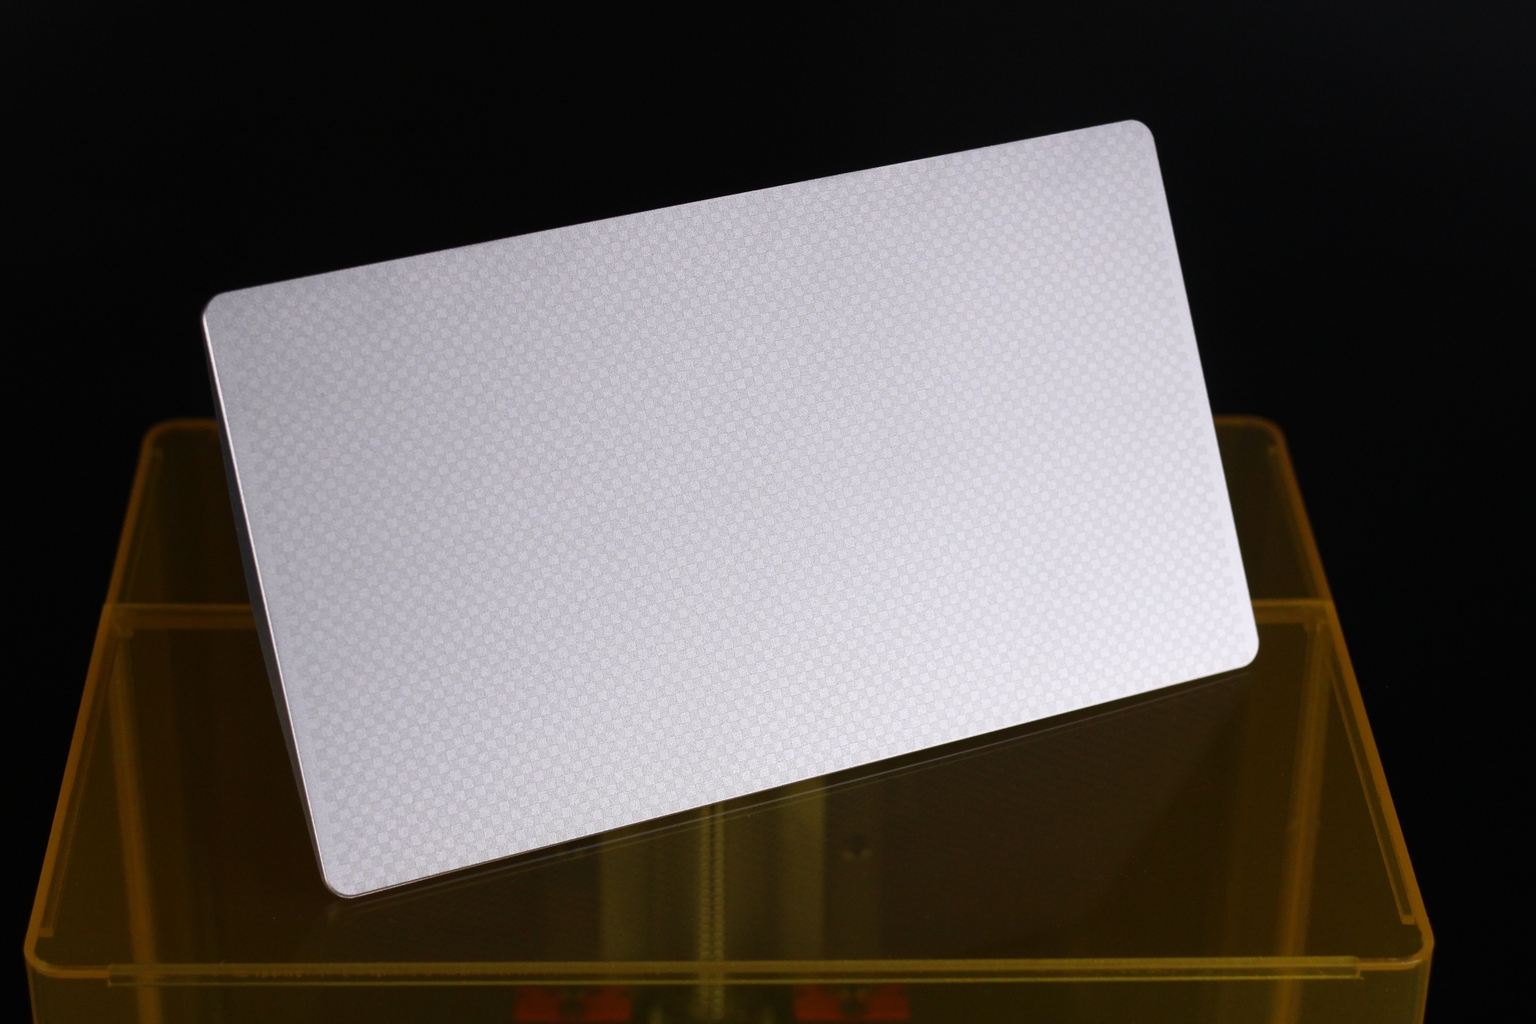
Anycubic started laser etching their build platforms starting with the Mono 6K, to improve the adhesion of the models. While I didn’t have a great experience with it on the 6K, I can’t say the same thing for the M3 Max.
Adhesion was excellent on the Photon M3 Max, and the models were easy to remove from the build plate when completed.
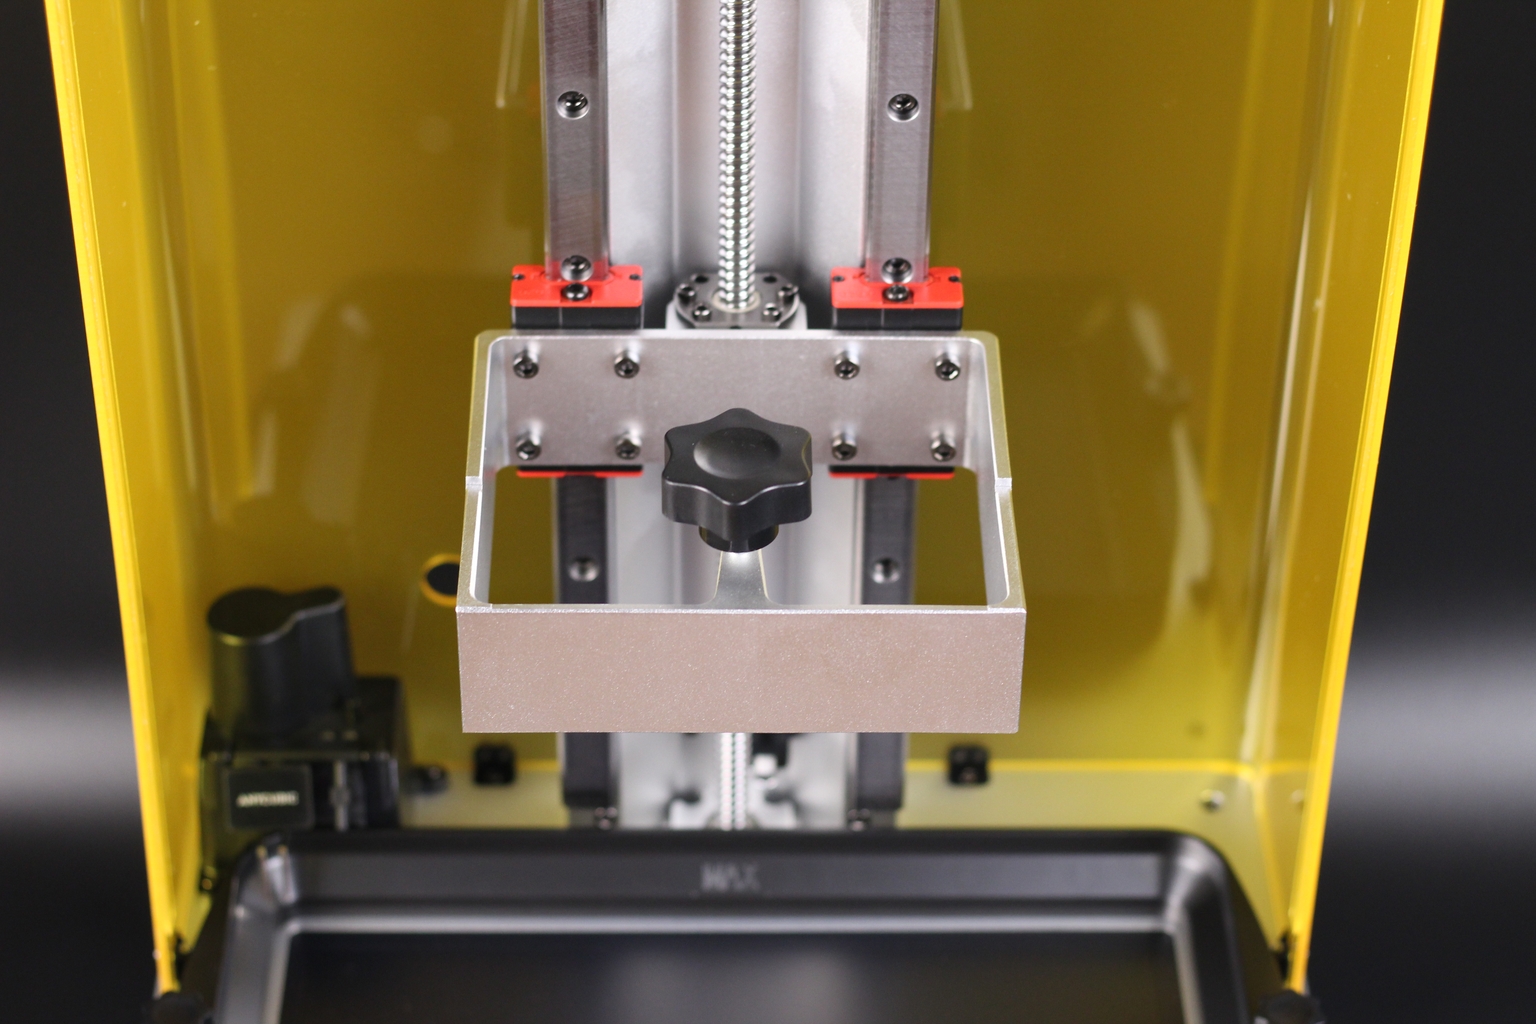
Unfortunately, I found a bit of a concerning issue with the build plate when I was leveling. As you can see in the pictures below, the bracket which holds the build plate is a bit wider than the Z mount. This allows the build plate to move slightly horizontally.
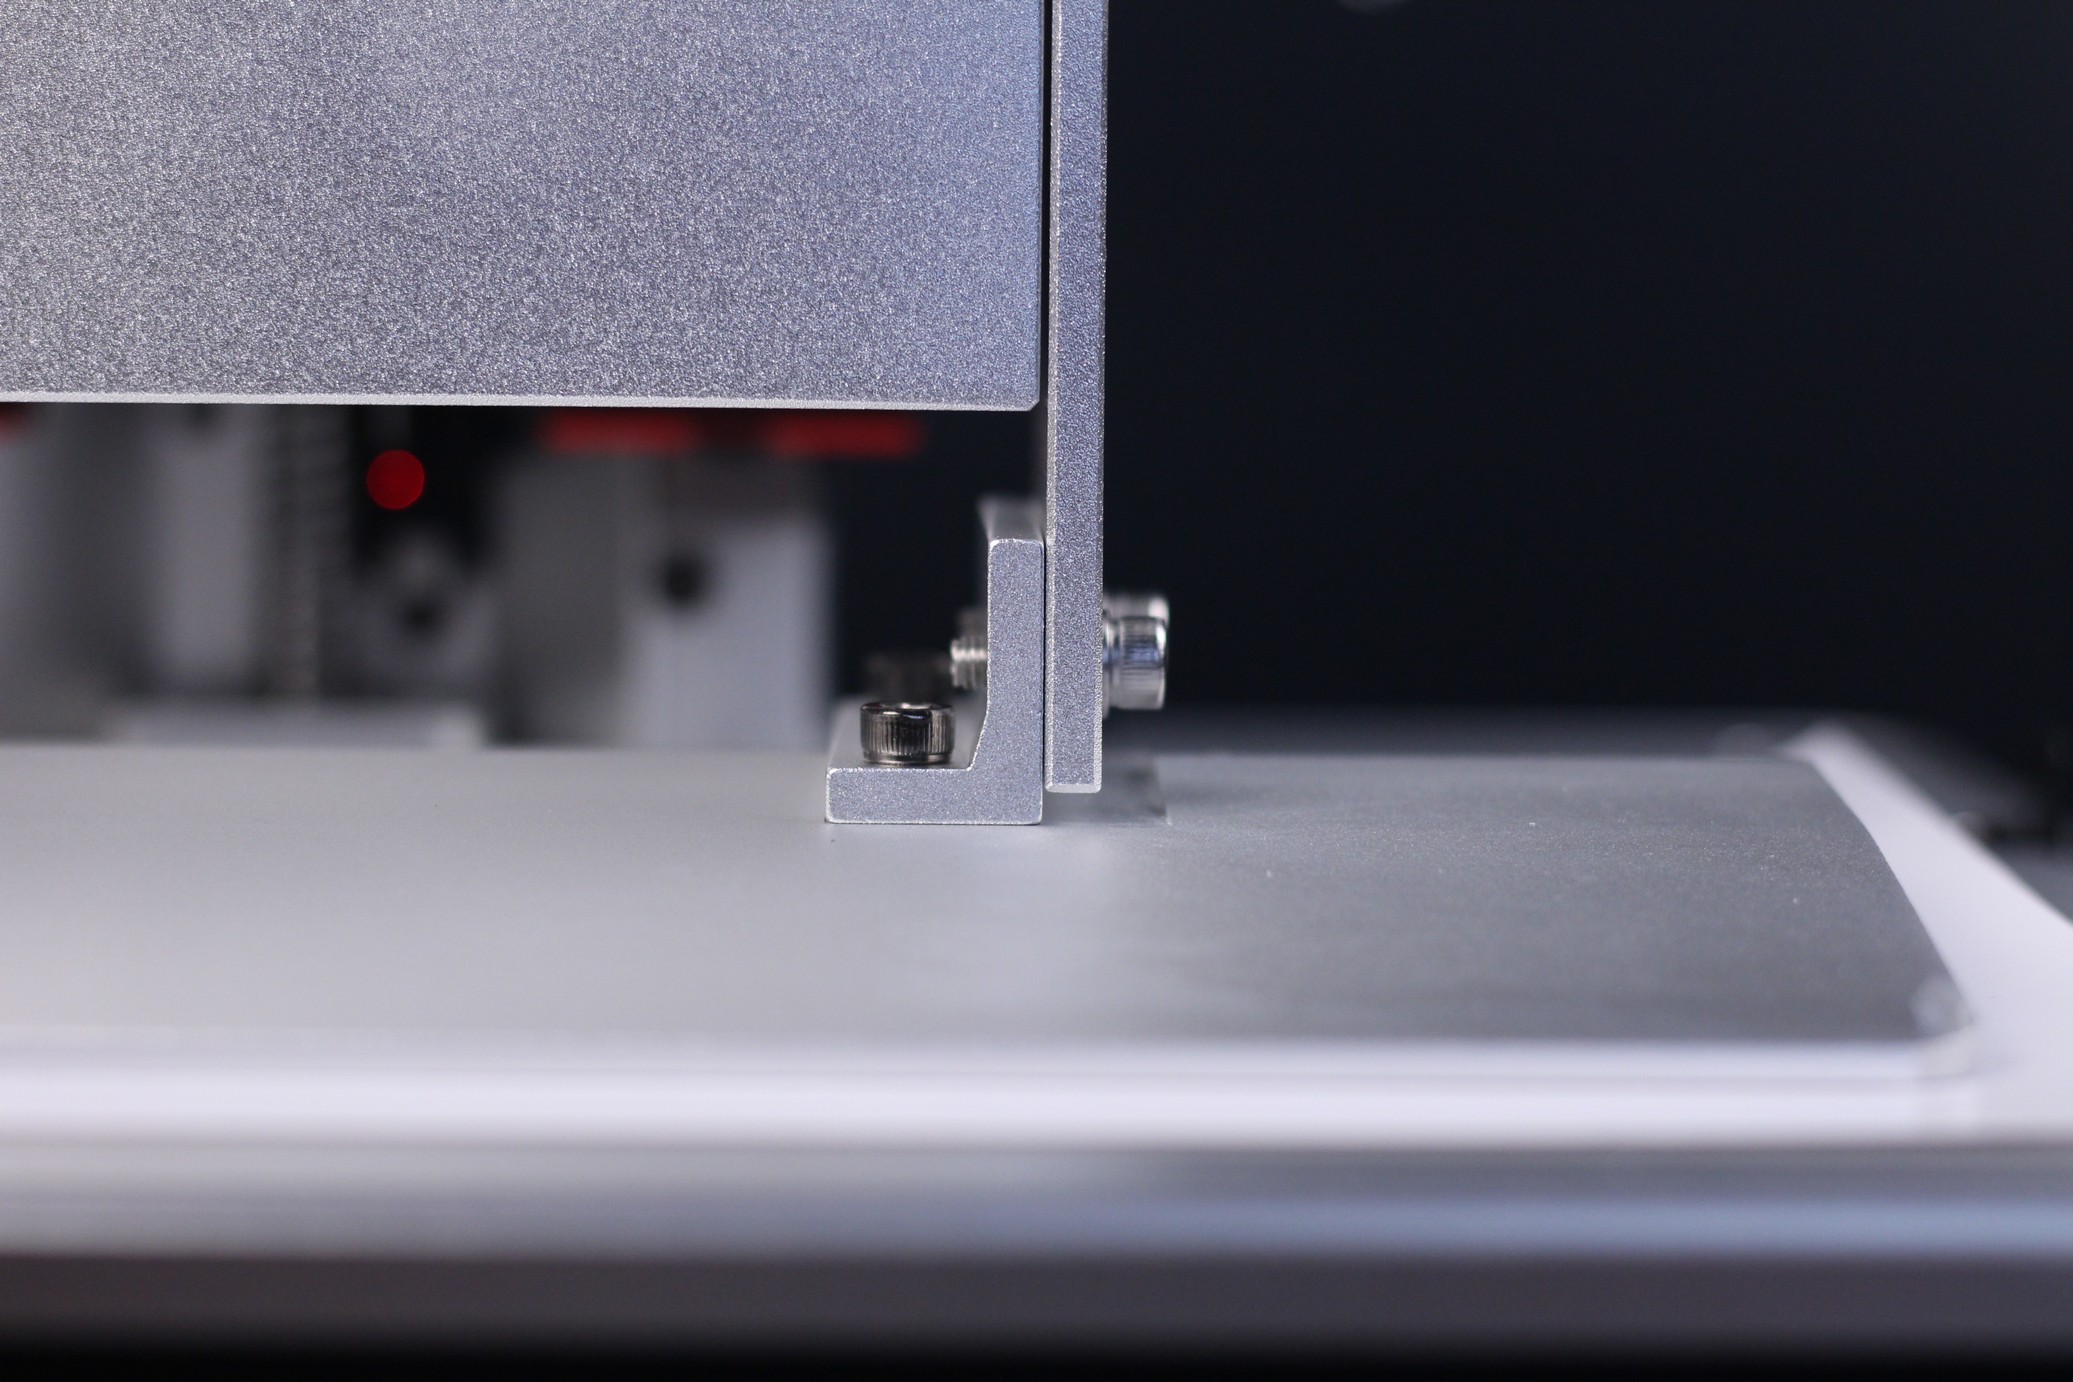
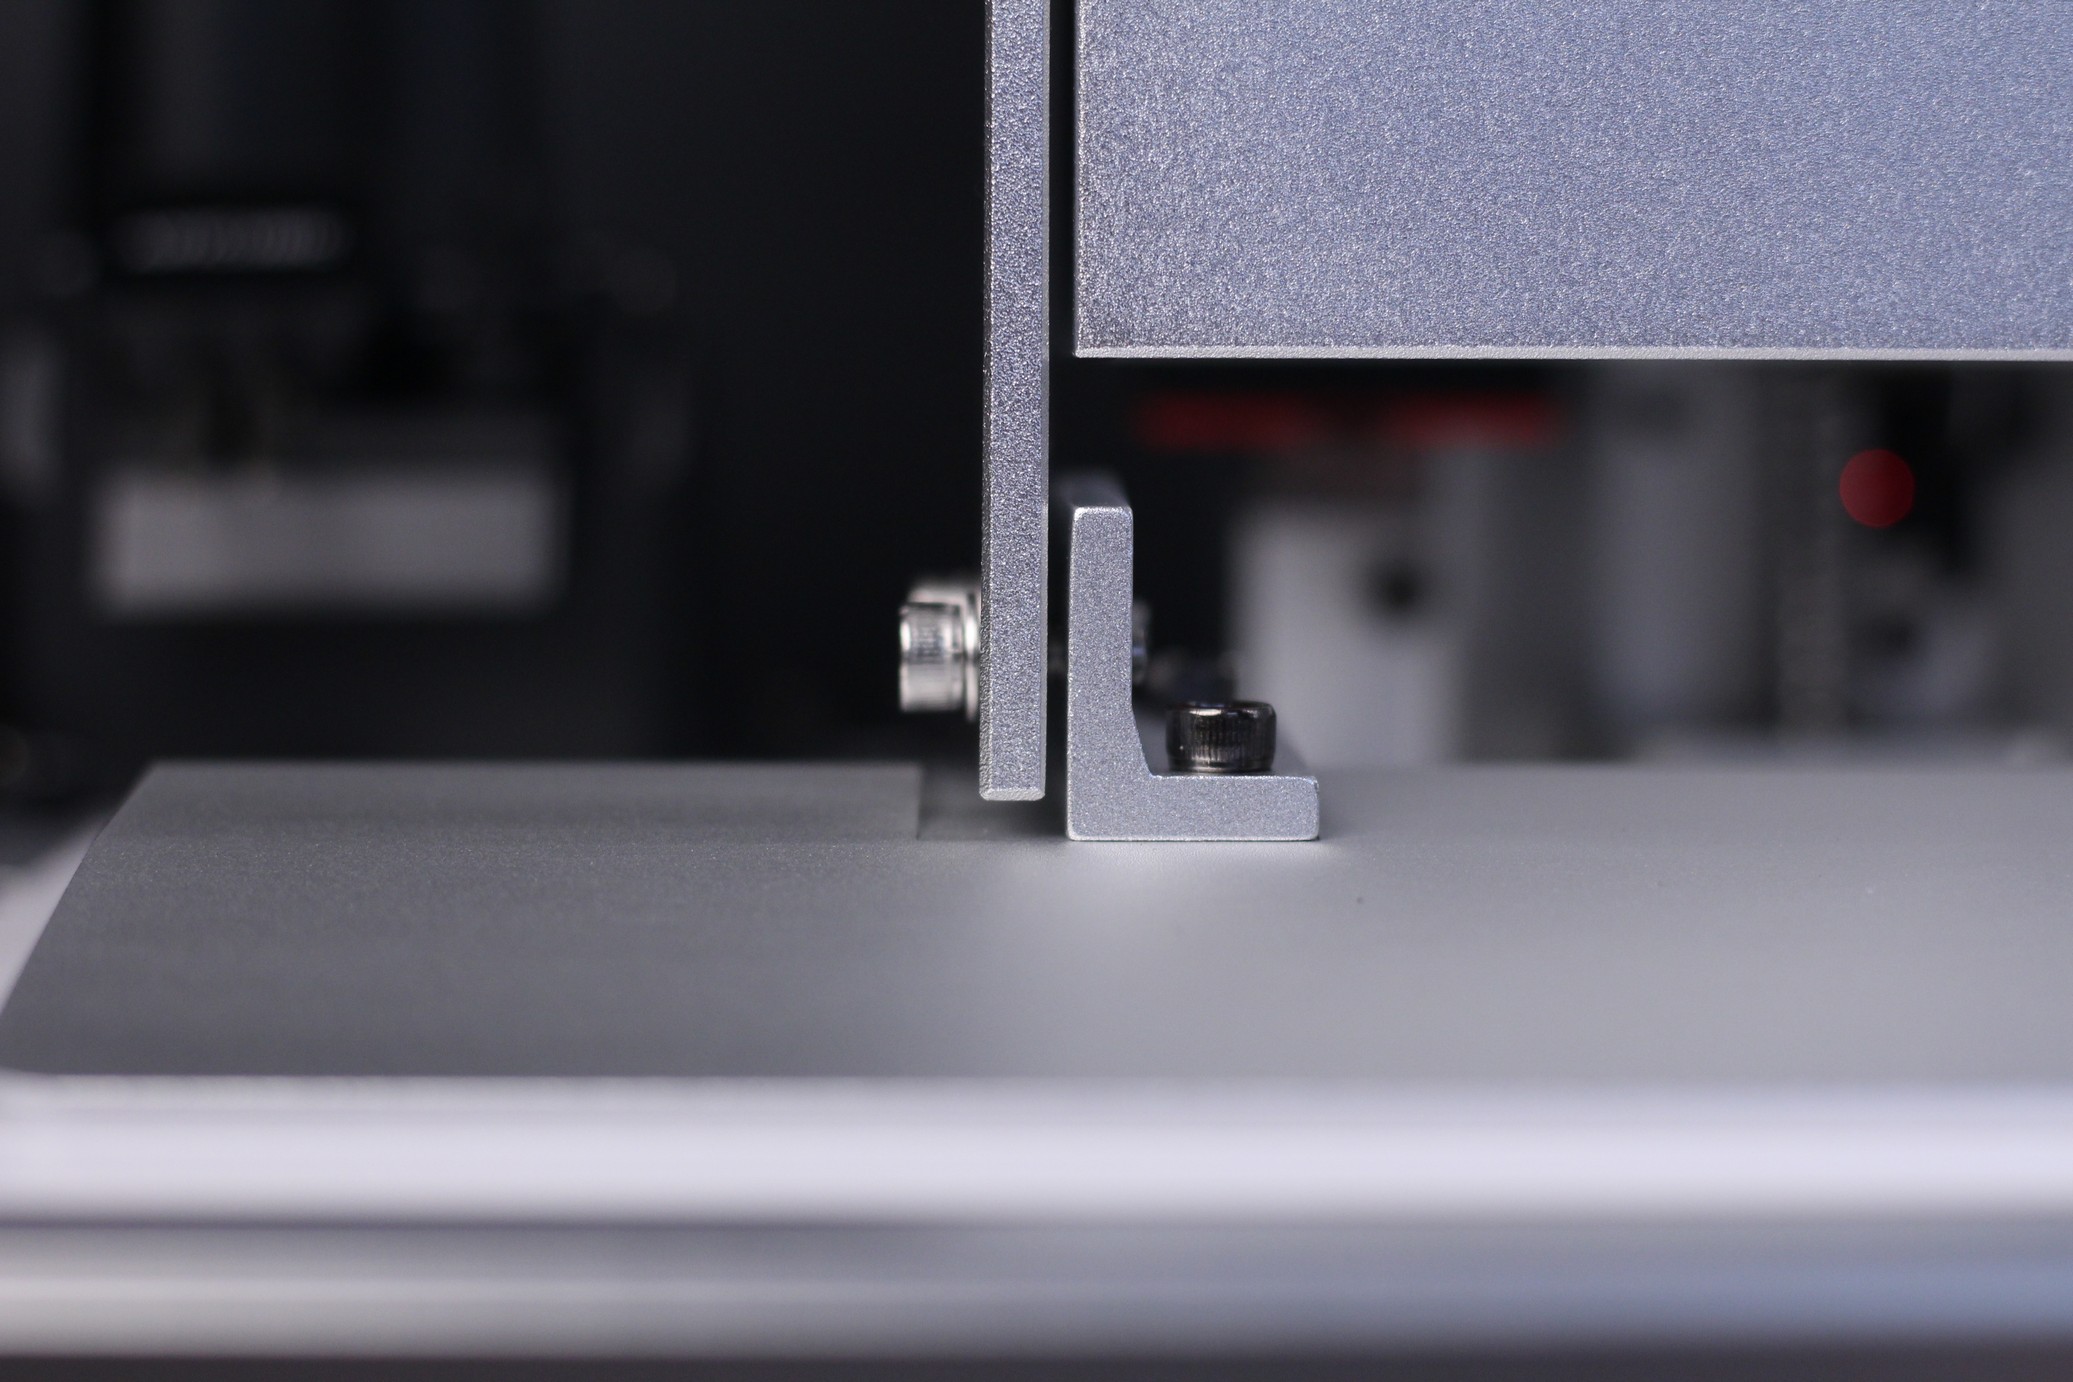
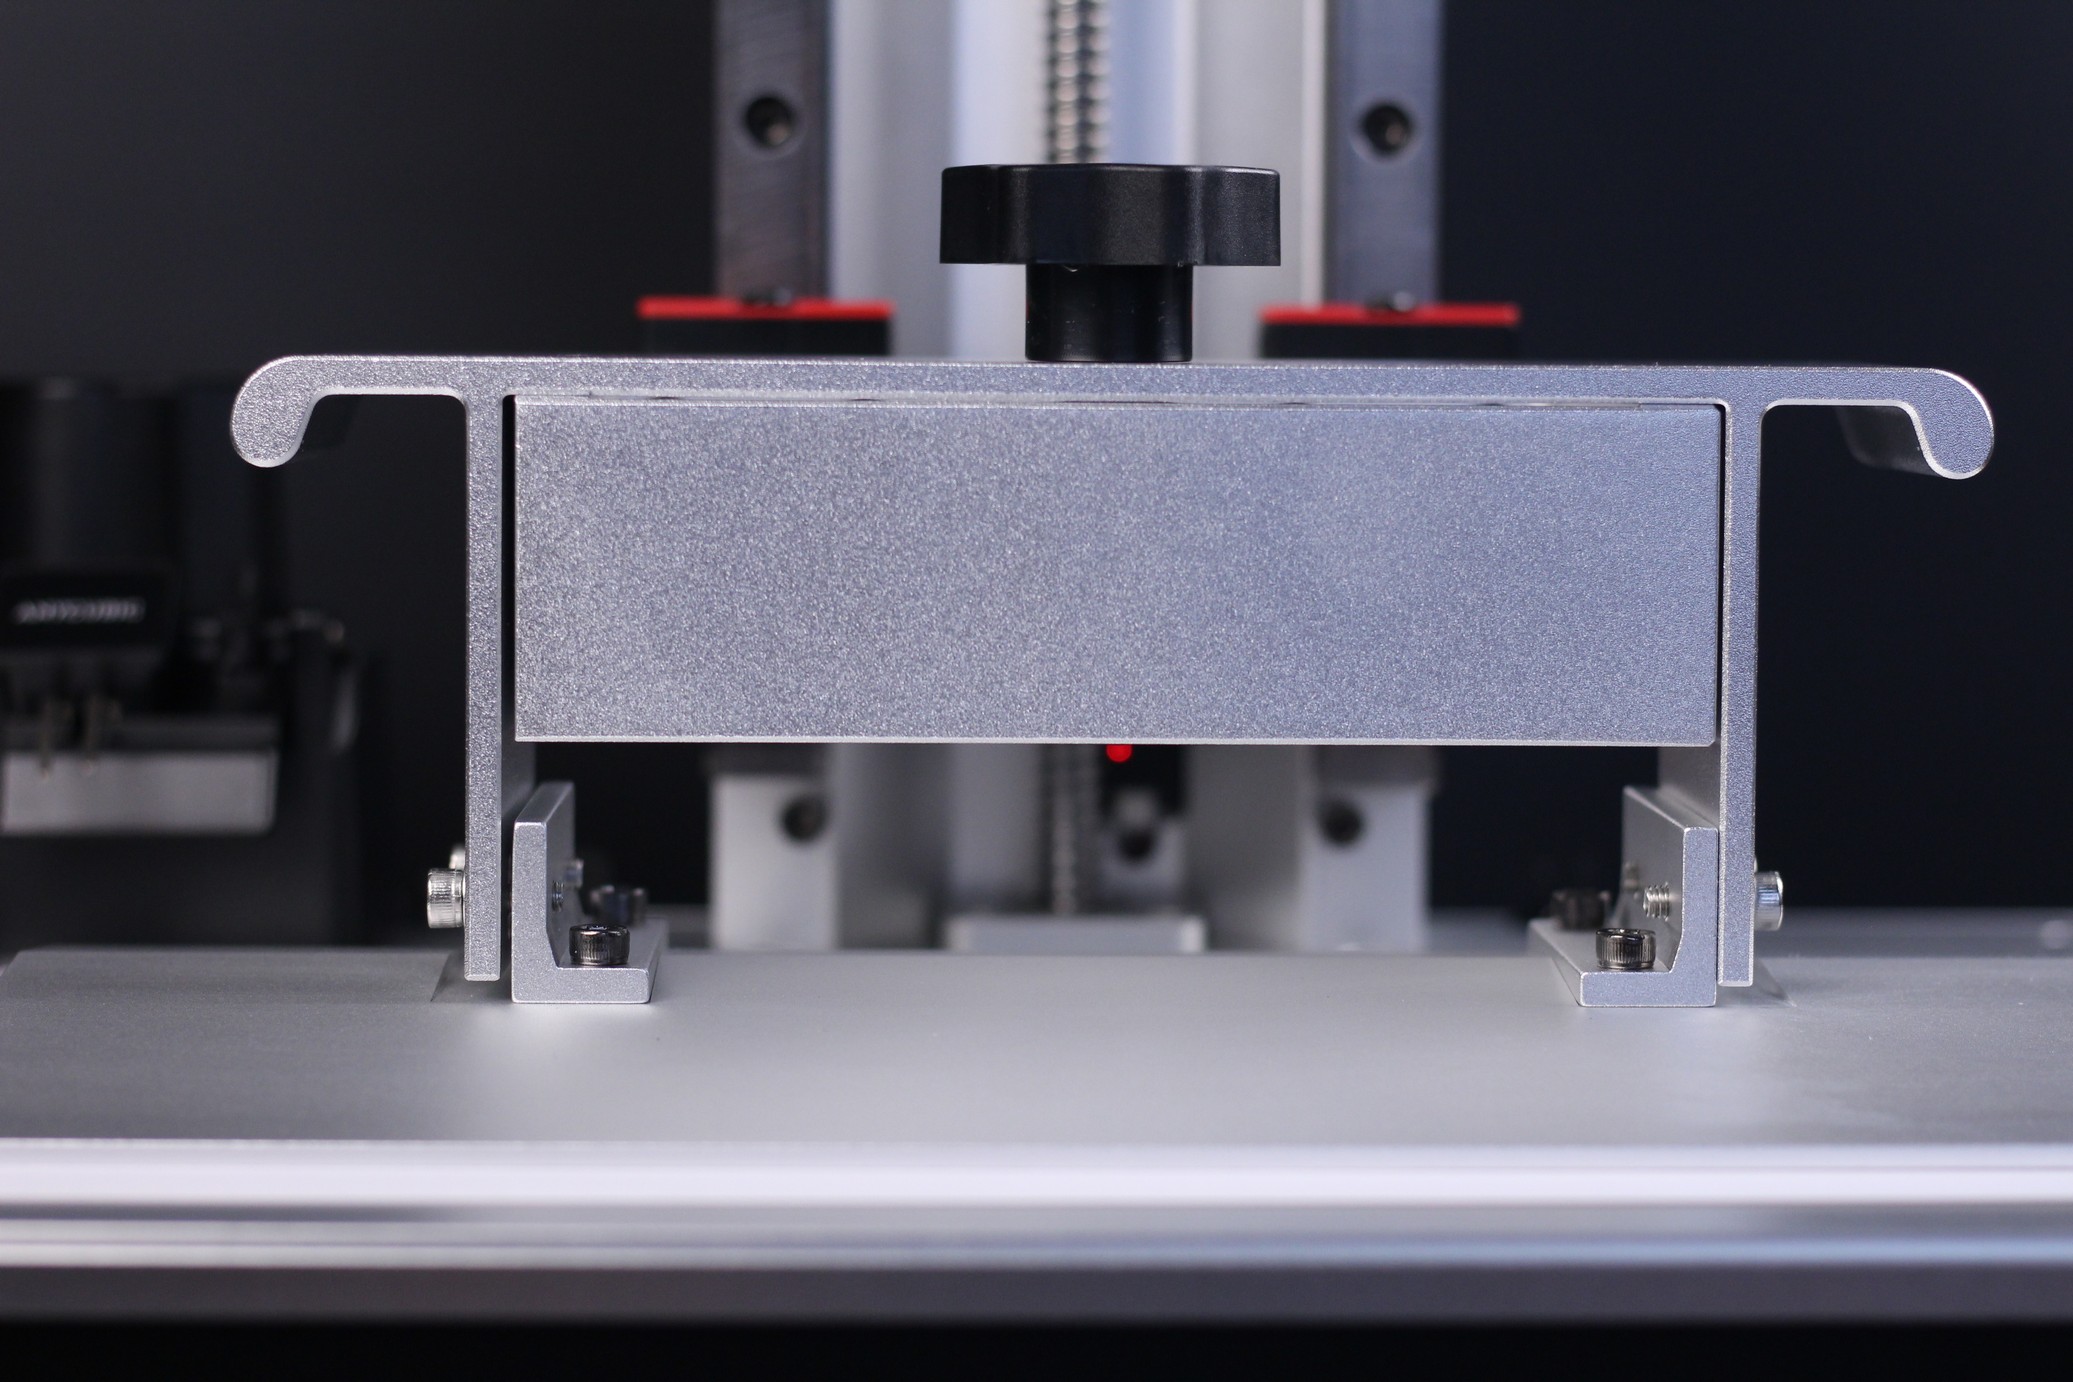
When the top screw is turned to tighten the build plate and hold it in place, the sides of the bracket extend outwards and that makes tightening the build plate screws a bit harder and not as accurate.
You can solve this issue with a pair of washers to compensate for the extra space between the bracket and the build plate, but I hope Anycubic solves this issue right in the factory and sends future machines with these issues fixed.
For now, this problem did not cause any kind of print failure or issue during operation. I will update the review if something happens after more use.
Anycubic LightTurbo 84 LED matrix lighting
The Anycubic Photon M3 Max comes with the LightTurbo 84 LED matrix which is said to be better than what they previously included in other resin 3D printers increasing the print speed up to 6 cm/hour which is impressive.
In the marketing materials, Anycubic mentions that the interval between the matrix light source UV lamp and lens has reached 32-40mm while the industry level is 16-28mm. This should improve the LED passthrough by about 10%.
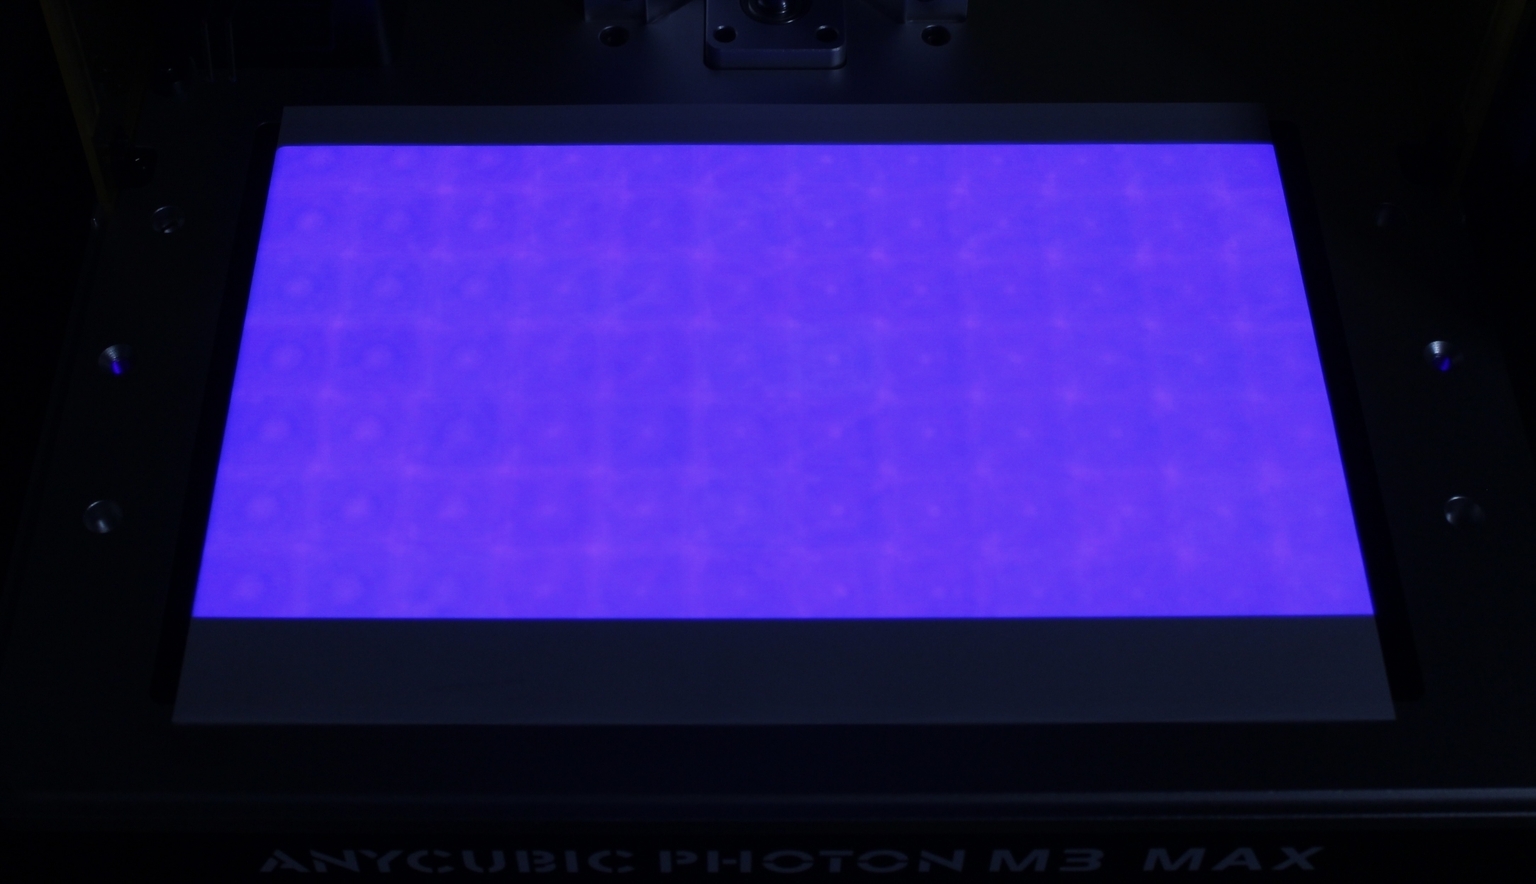
But in my testing, I found the LED matrix to be powerful but with a less than ideal light uniformity. Some of those small shadows between the LEDs can be seen on completely smooth models, like the base of a figure, or a box.
The print speed is also something I was not able to reach using the stock slicer profile, but I was promised a pre-sliced model or more information on how to reach the advertised speeds.
If that happens, I will update the review.
Ball screw and beefy linear rails
Such a big resin 3D printer needs a sturdy configuration for the Z movement, and the Photon M3 Max doesn’t fail in this area. The linear rails are attached to a massive aluminum extrusion and it’s rock solid. Including a ball screw is also a good decision for improving the Z movement accuracy.
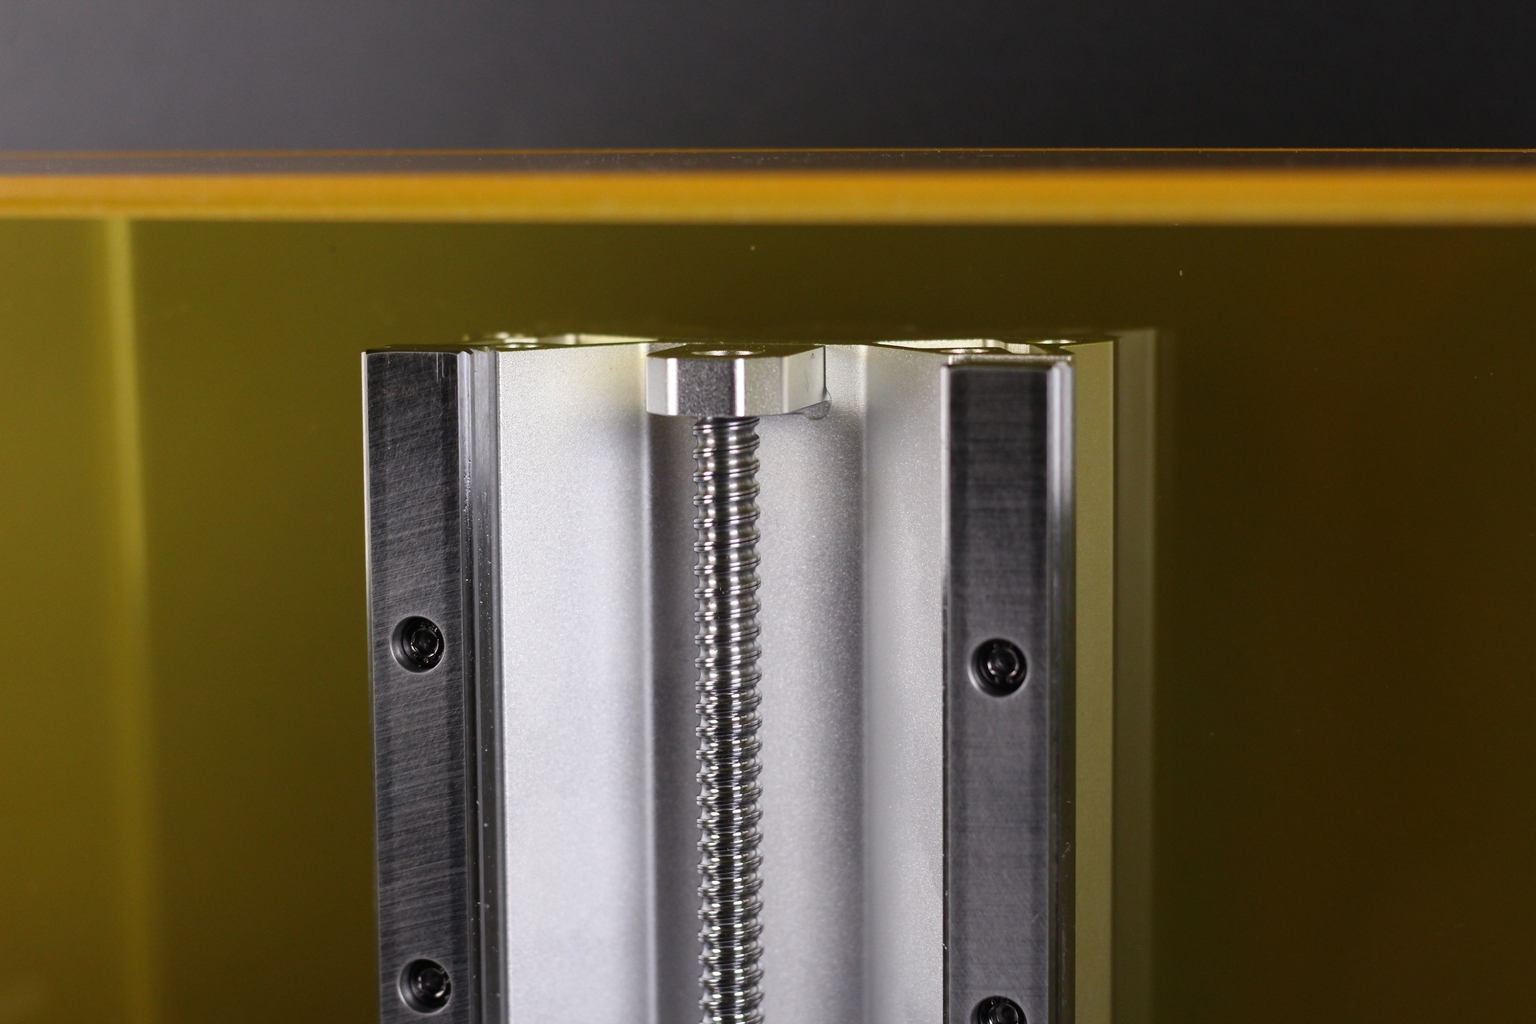
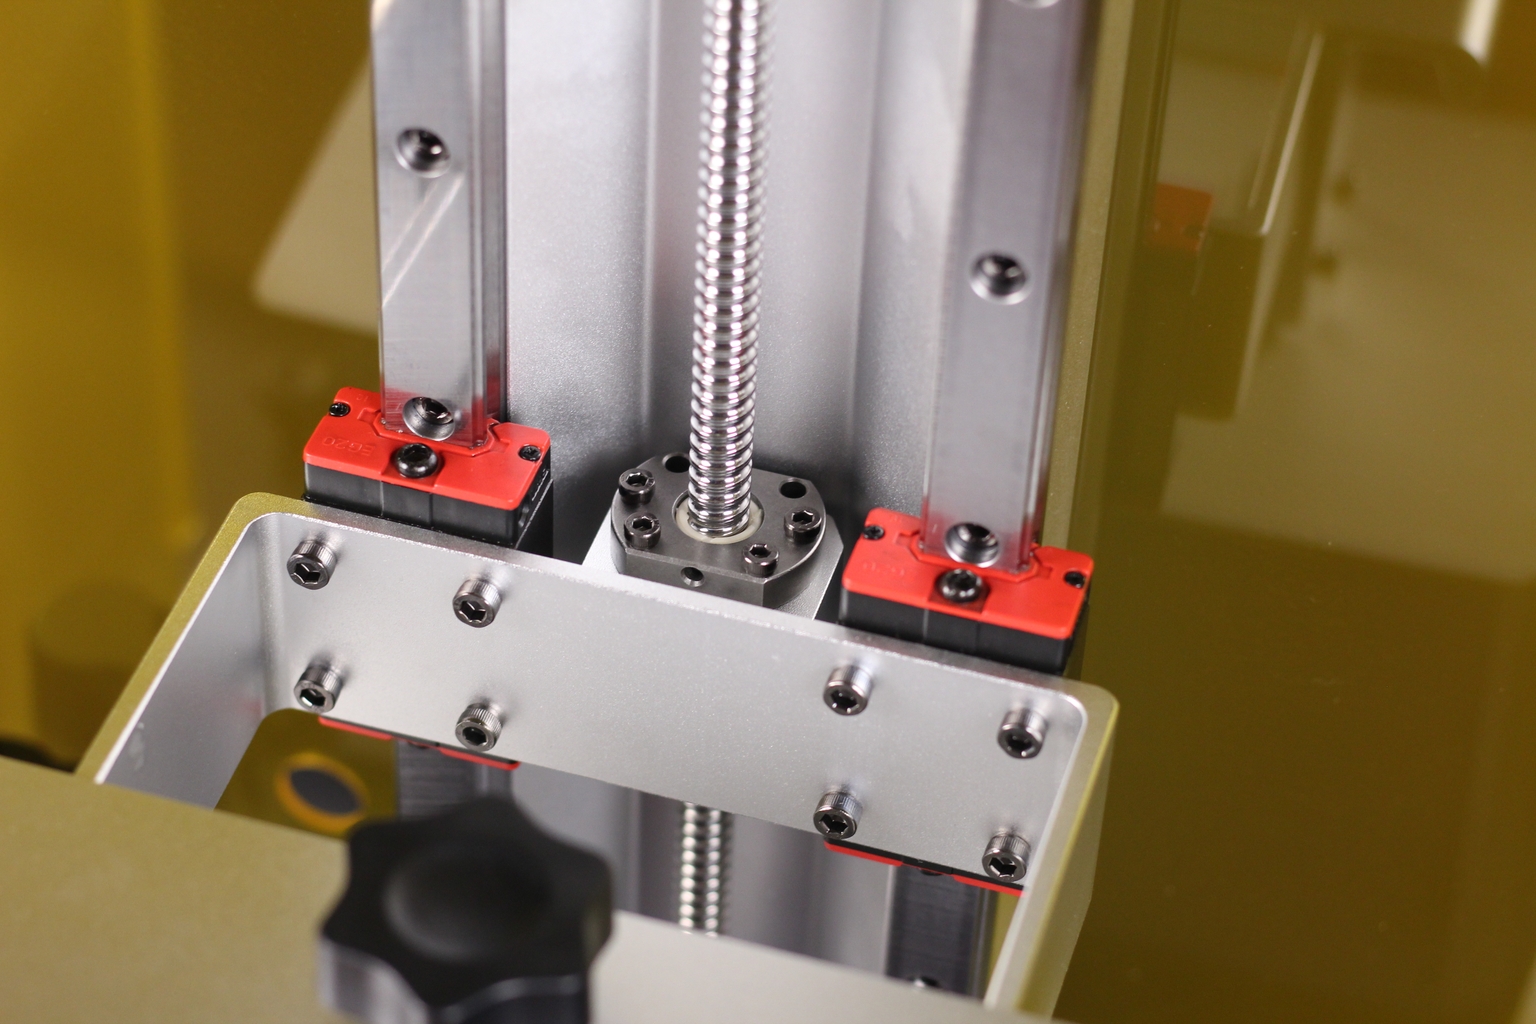
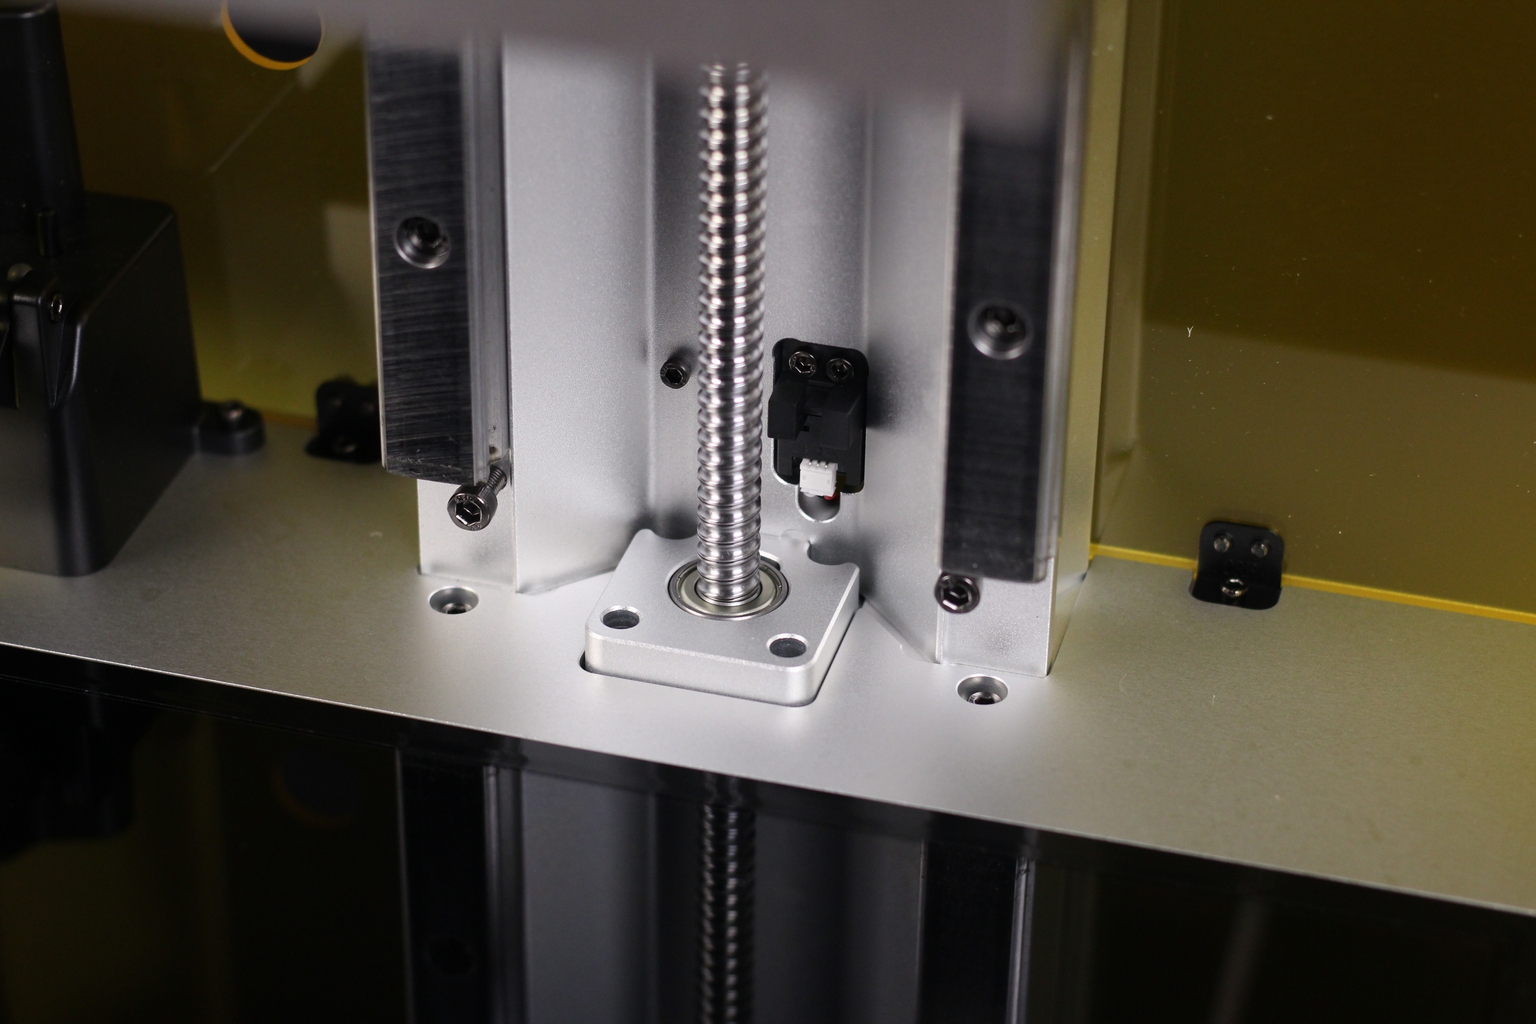
The only section in the Z-axis setup which seems a bit less sturdy is the aluminum bracket that attaches the print surface to the rails. I would have expected to see something a bit more beefy and for it to have some reinforcements to it. But considering that there’s not a lot of FEP adhesion, I think it’s good enough. And my prints are a testament that this setup works.
Metallic vat with frosted FEP
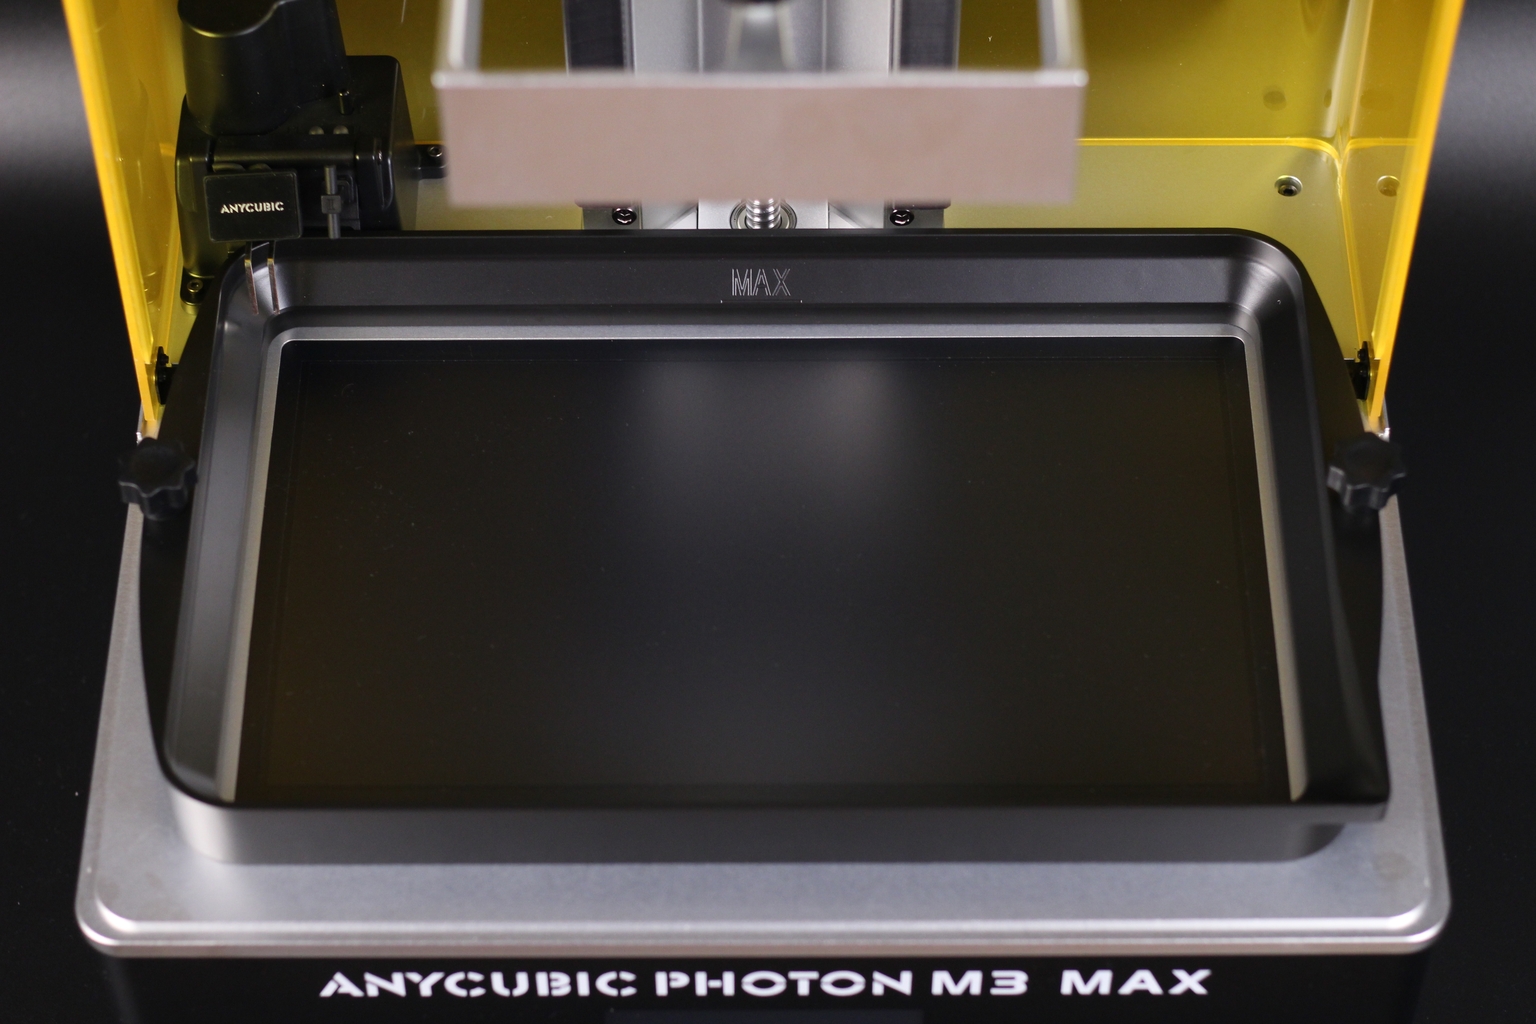
The huge vat included with the Anycubic Photon M3 Max is made from aluminum and it has a slightly better dripping corner compared to other vats they made in the past which is actually usable. The bottom has four plastic standoffs which help with centering the vat and also keep the FEP protected.
We got the same screws as with other Anycubic resin printers, which work just fine, but they can be annoying to use sometimes.
One of the most interesting features in the M3 line is the inclusion of a new frosted FEP sheet which seems to be working much better compared to the old FEP sheets we got used to.
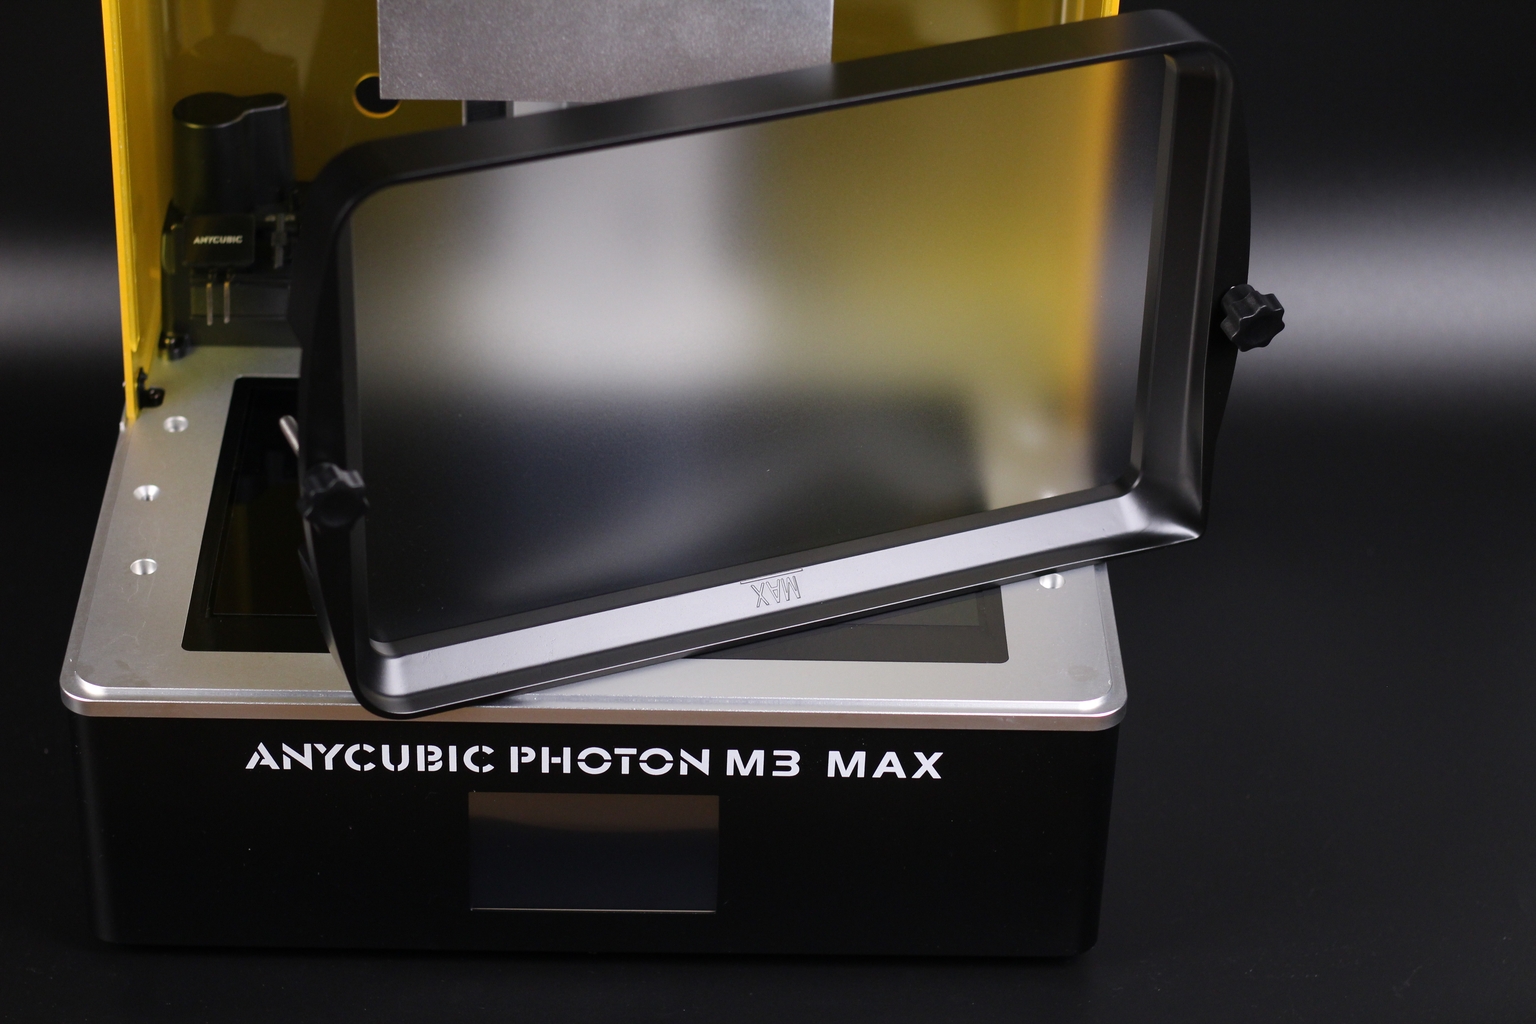
The resin doesn’t stick as well to it as it did on the smooth variant, so don’t expect to hear the specific “peeling” sound. At first, I was a bit anxious as I could not hear the sound I was mentioning and that’s usually a sign of a failure. But I’m happy to report that the new FEP works great.
Anycubic did not include any spare FEP in the package. It would have been super nice to have one at hand if something were to happen to the preinstalled FEP.
Resin pump with automatic feeding system
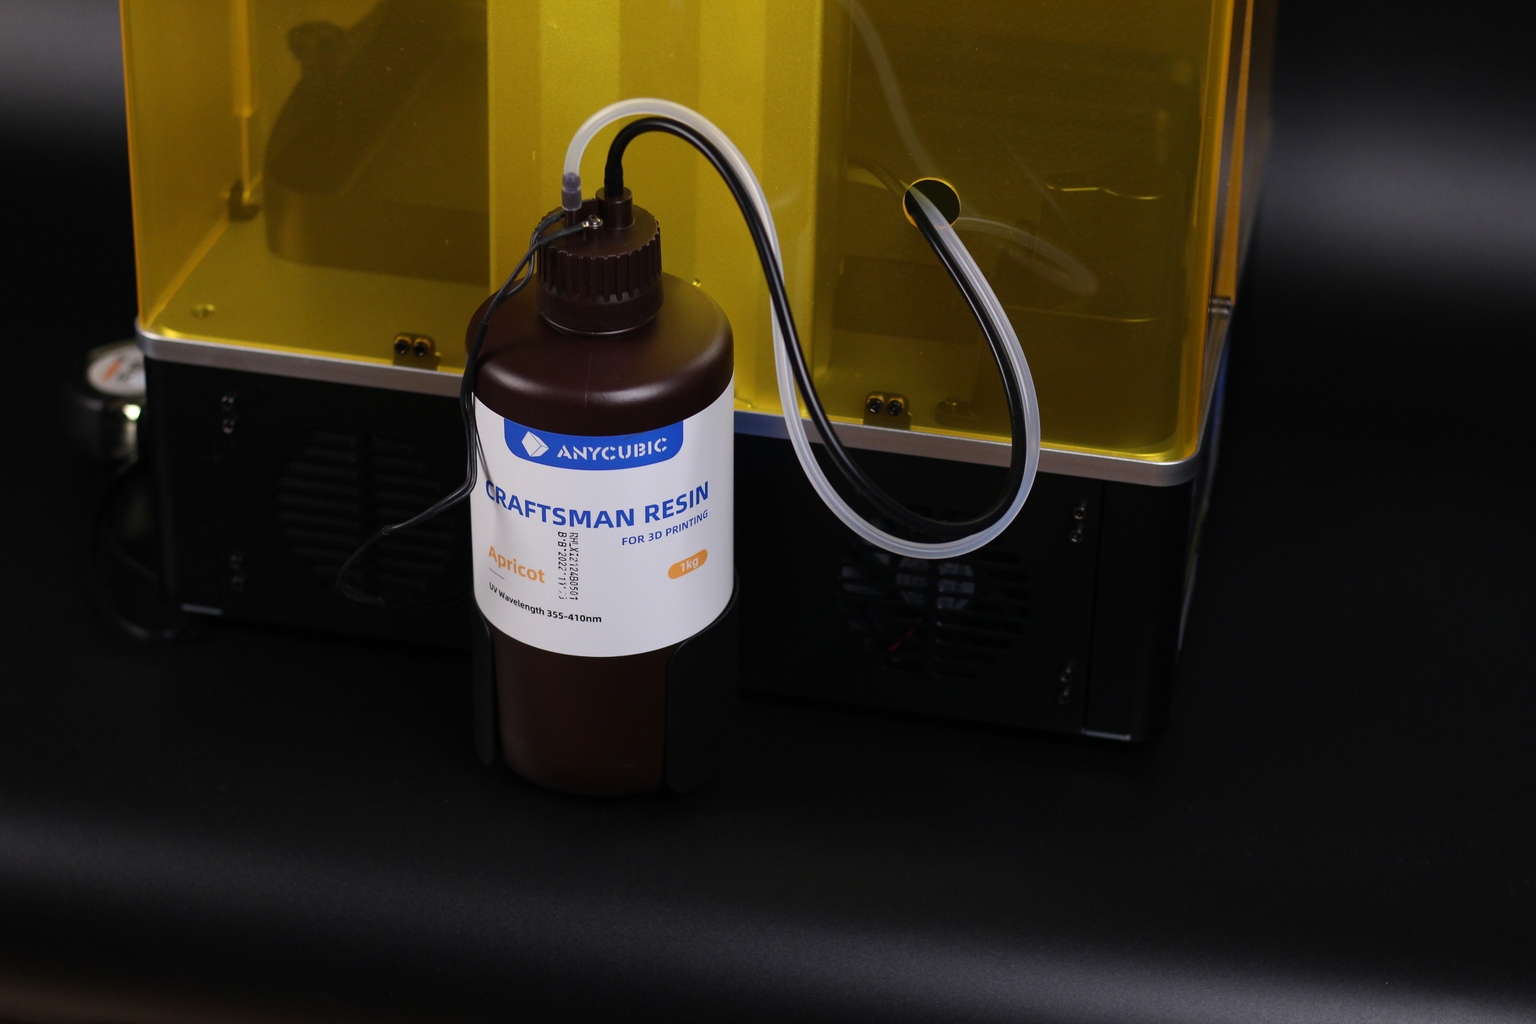
The larger format resin printers in the M3 line come with an automatic resin feeding system. While the Photon M3 Max can hold almost 1 liter of resin in the vat, that amount is not enough if you plan to do a large print.
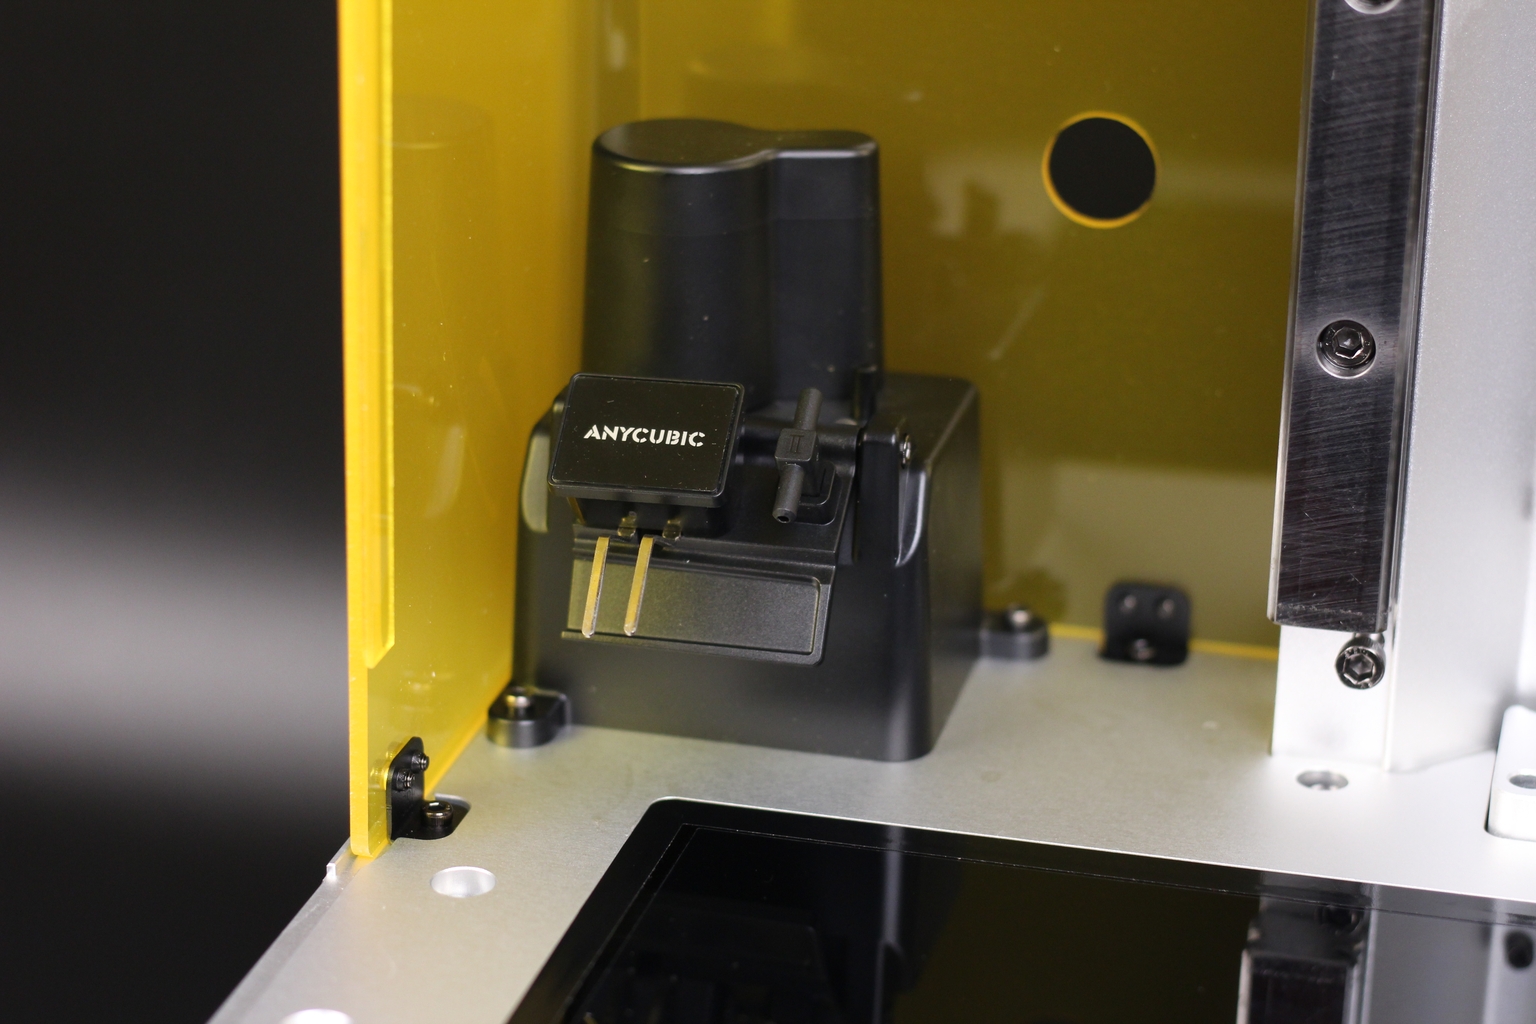
After you install the bottle of resin in the back of the machine and attach it to the air pump, you now have an extra liter of resin which will start feeding into the vat when it gets lower.
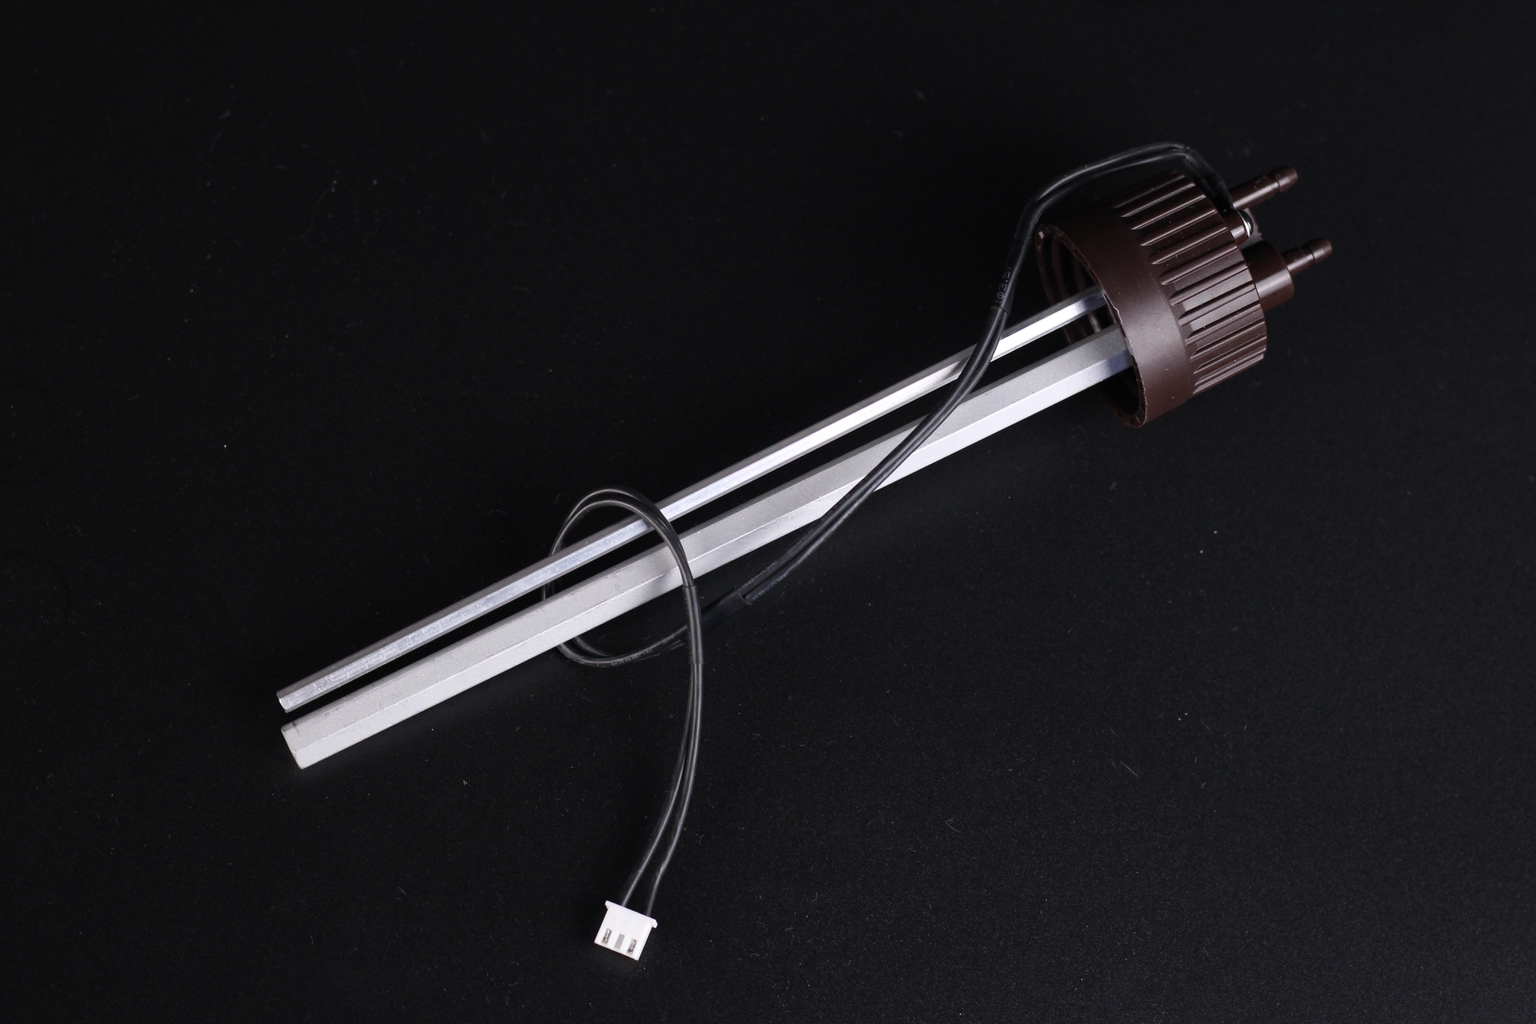
When I first saw the aluminum resin tubes which go inside the bottle, I thought the printer would also heat the resin. This capability would have been really awesome to have, but unfortunately, this is not available. Maybe it’s something we might see in the future but right now, these probes are only used to detect the resin level inside the bottle.
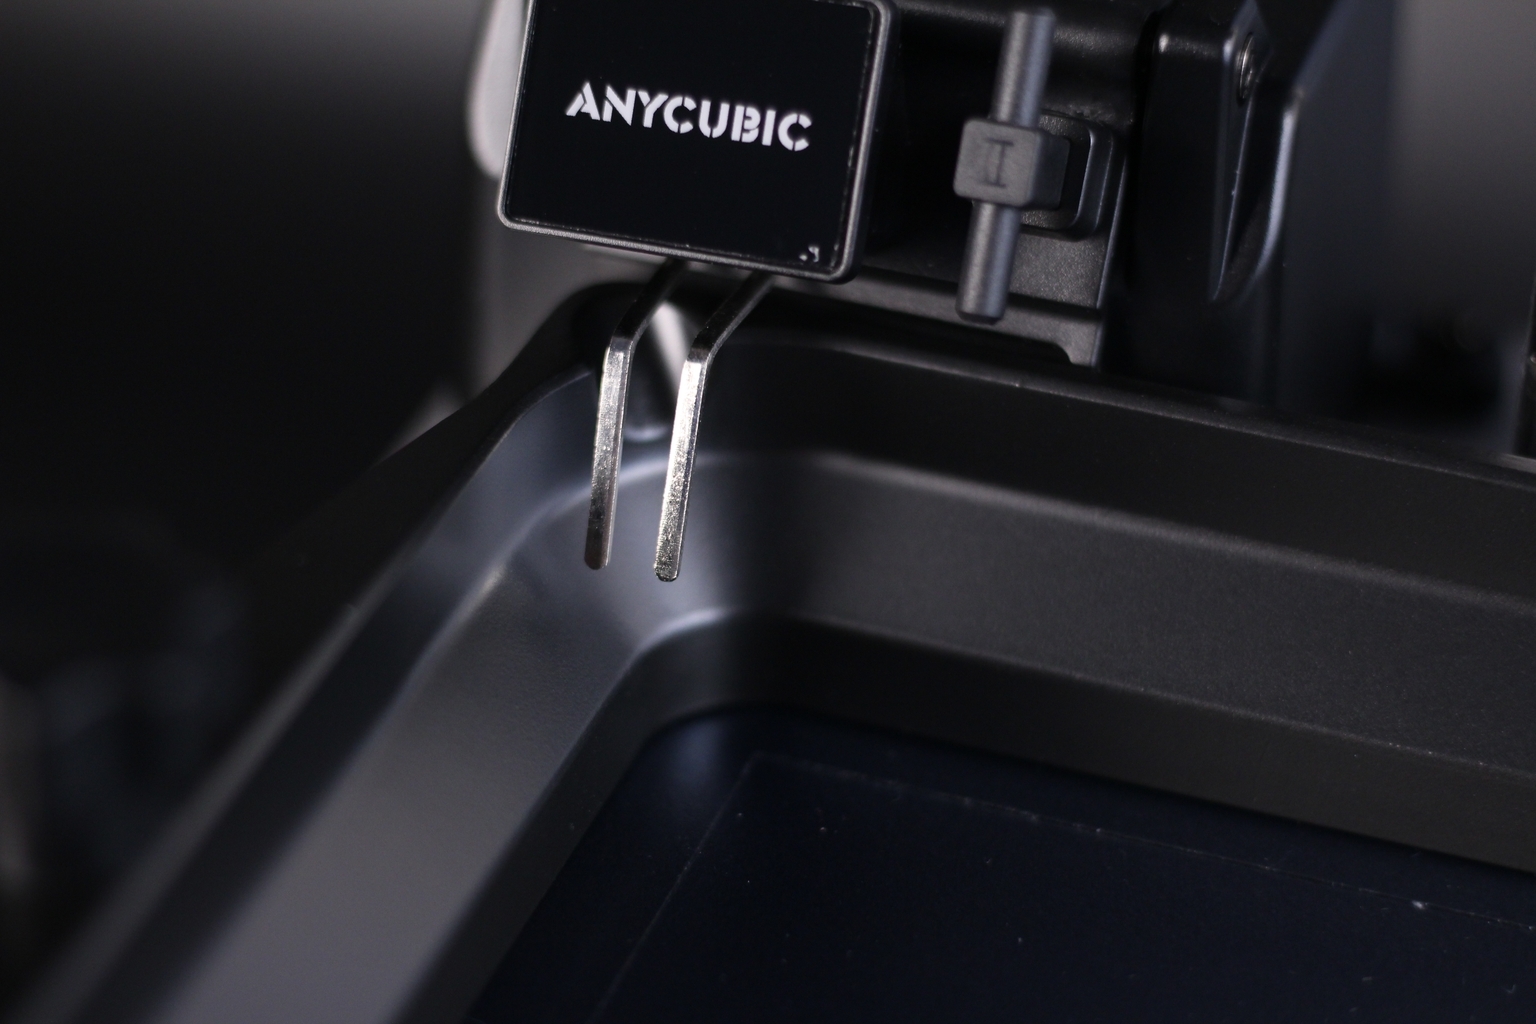
The level of resin in the vat is detected by two metallic probes which detect when a contact is being made by the resin. When this contact is detected, the pump starts pushing air into the resin bottle and the resin starts to flow in the vat.
The system works well, but I recommend checking the metallic sensor probe when you get the machine. If they are raised too high, too much resin can flow into the vat and you risk a spill when the build plate homes and the print starts. You might need to bend them to shape.
My only concern about this setup is the small possibility of buying a bottle of resin that hasn’t been extruded properly, the pressure would crack the bottle and cause a mess. Maybe I’m just paranoid about this, but it’s still something I fear a bit.
I would have liked to also have the possibility of manually starting and stopping the feeding process. That way, you could control the amount of resin you choose to add to the vat instead of always filling it.
Another small issue is the matter of compatibility of this system with other resin manufacturers. You are mostly stuck with using Anycubic resin because the top cap is not compatible with other types of bottles from other manufacturers. Of course, you could repurpose used resin bottles, but that adds extra overhead in an already complicated workflow and it’s another way for Anycubic to raise the fence a bit higher to their walled garden.
If you are also wondering how much resin is this pump feeding, and how noisy the pump is, check out this video:
Limited firmware capabilities
The Anycubic Photon M3 Max comes with the same firmware as the Mono 4K and Mono 6K, with the extra functionality for controlling the resin pump.
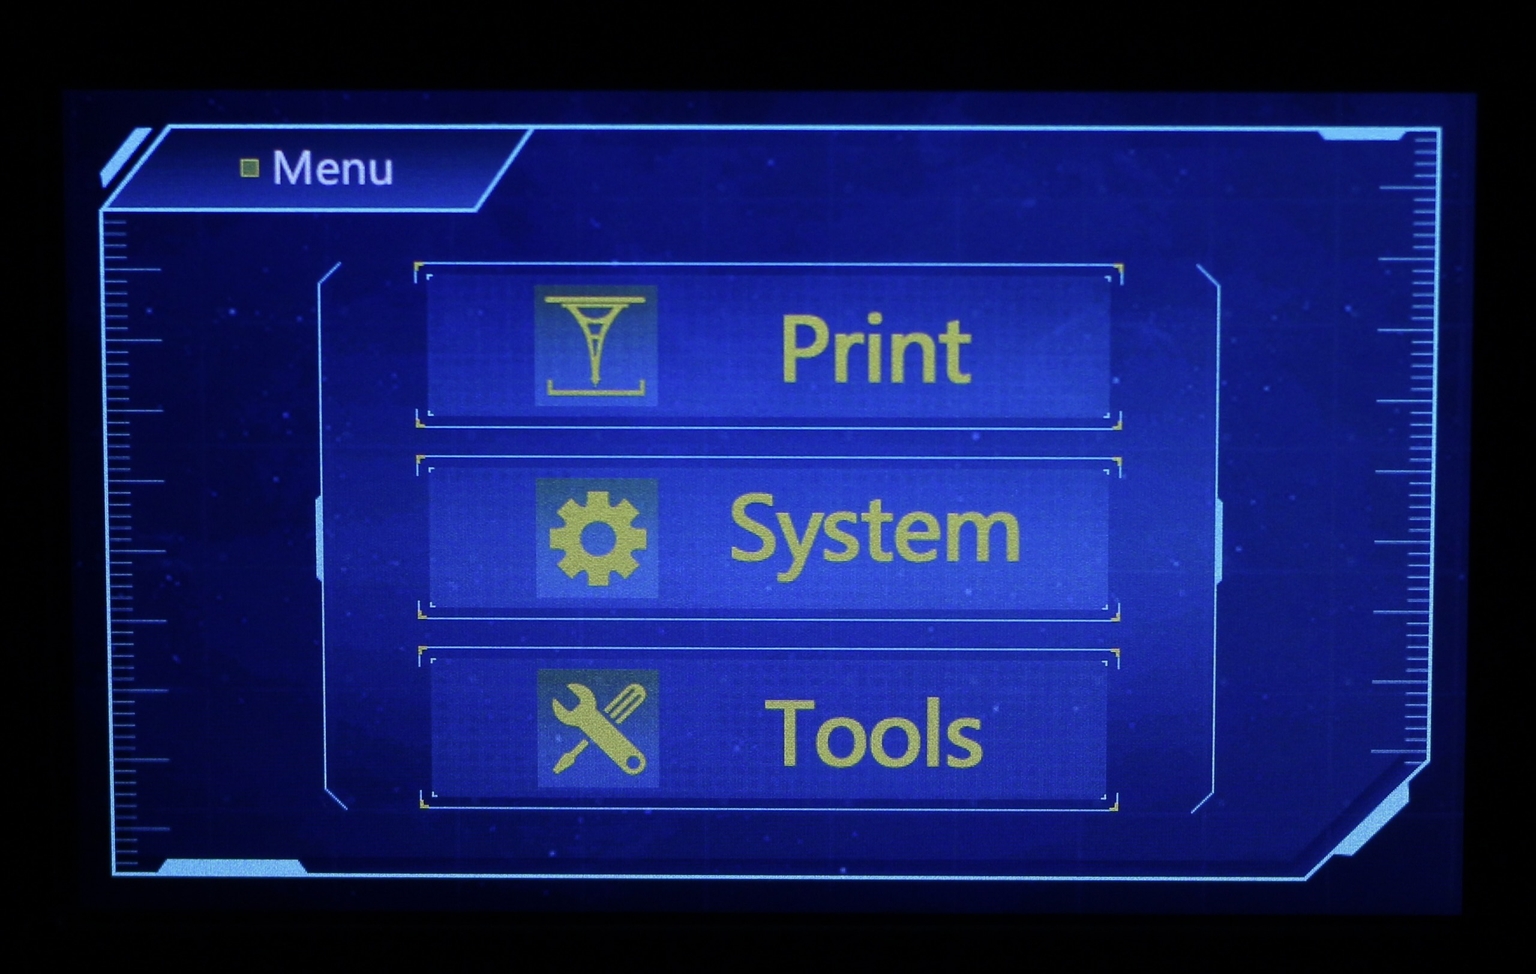
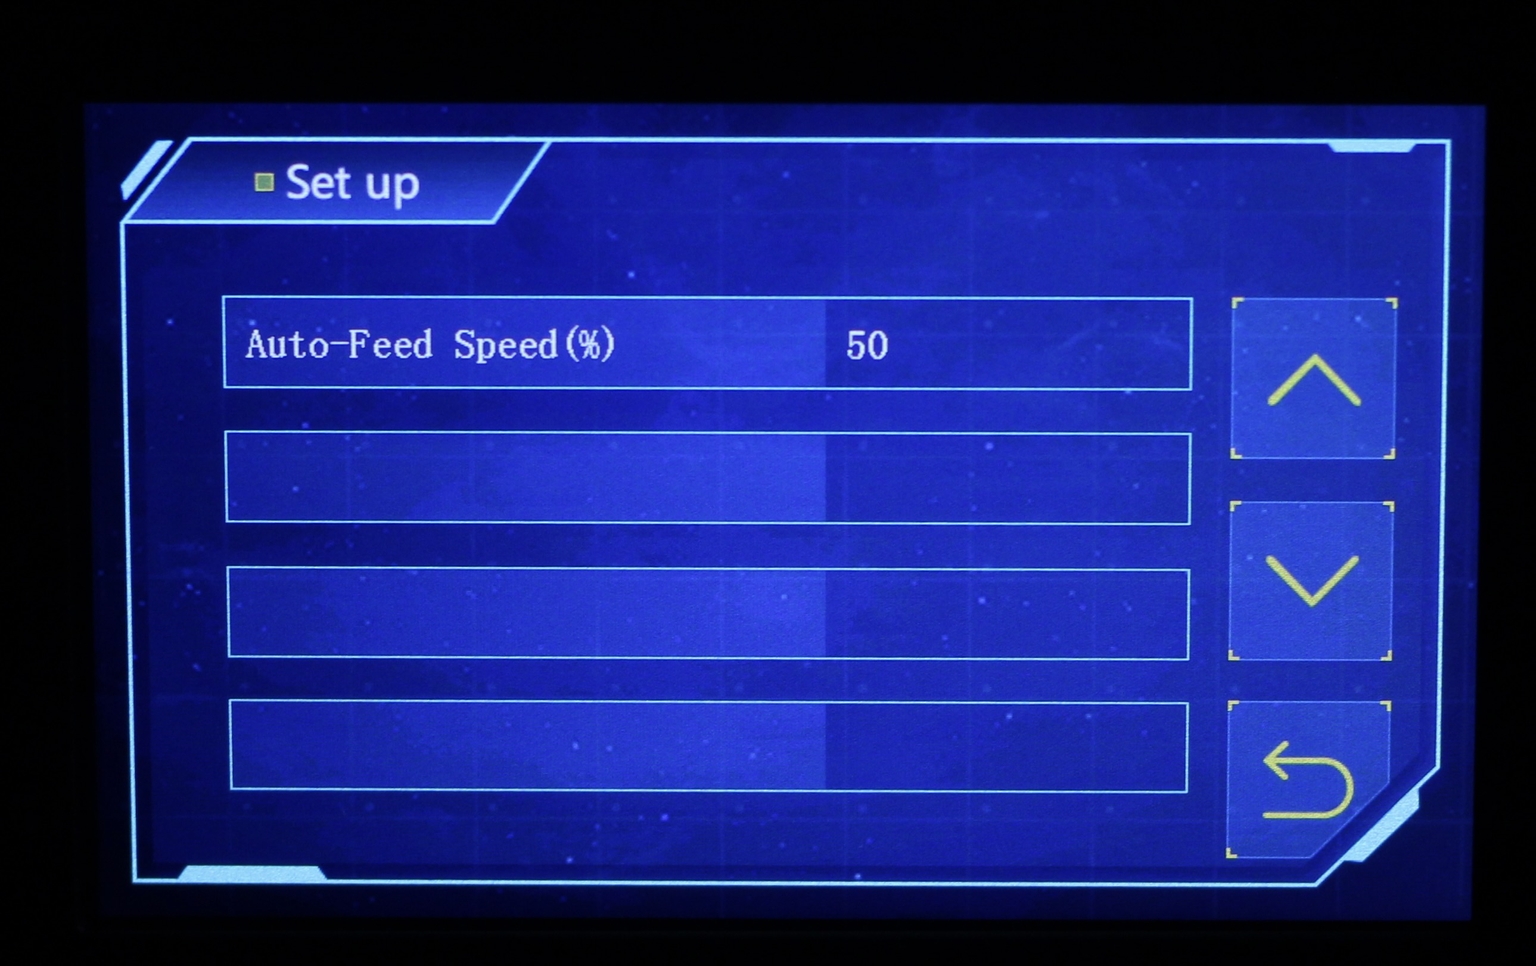
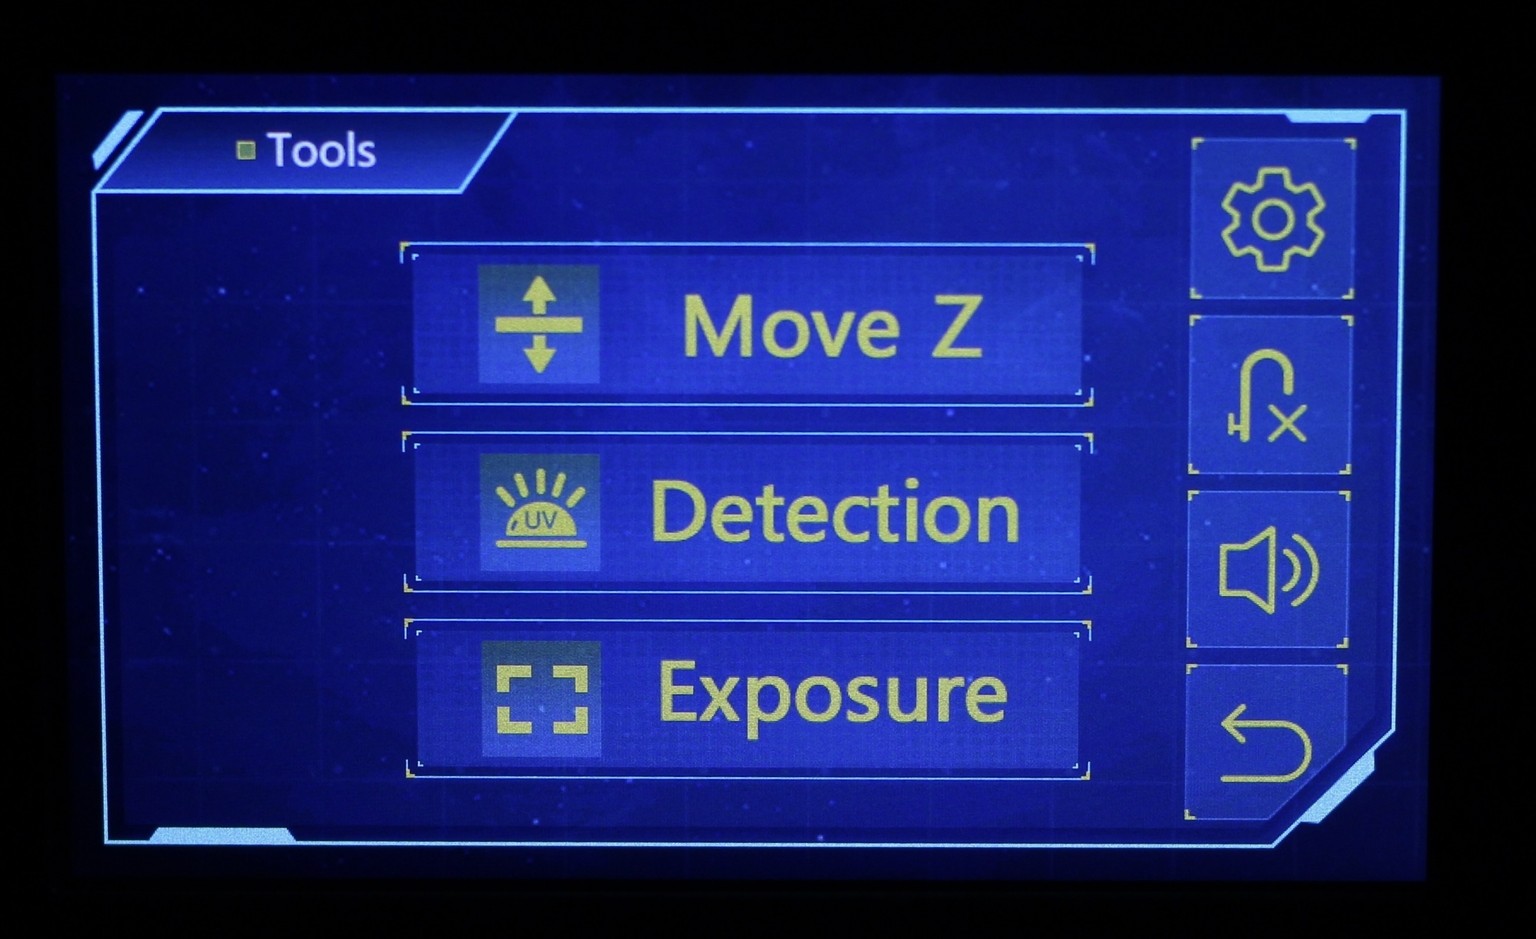
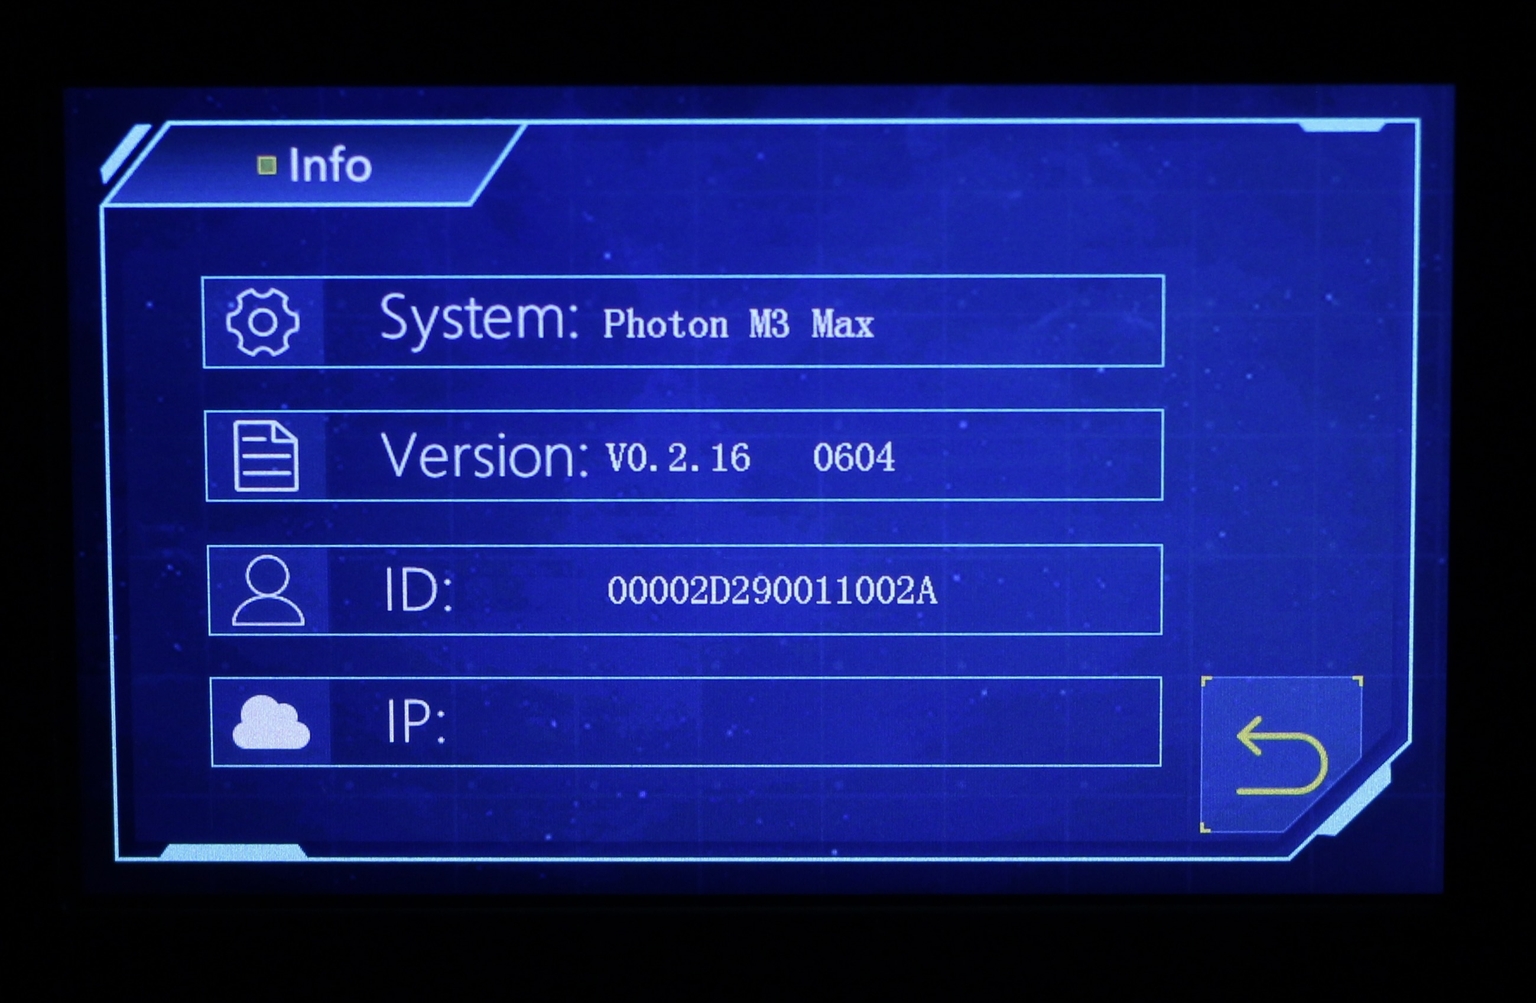

I was hoping to see the same firmware capabilities as we got with the Photon M3 Plus, but that’s not the case.
Power consumption
Idle power draw is around 10W. When the printer has the LEDs on to cure the resin layers, power consumption is about 90W which is lower than expected.
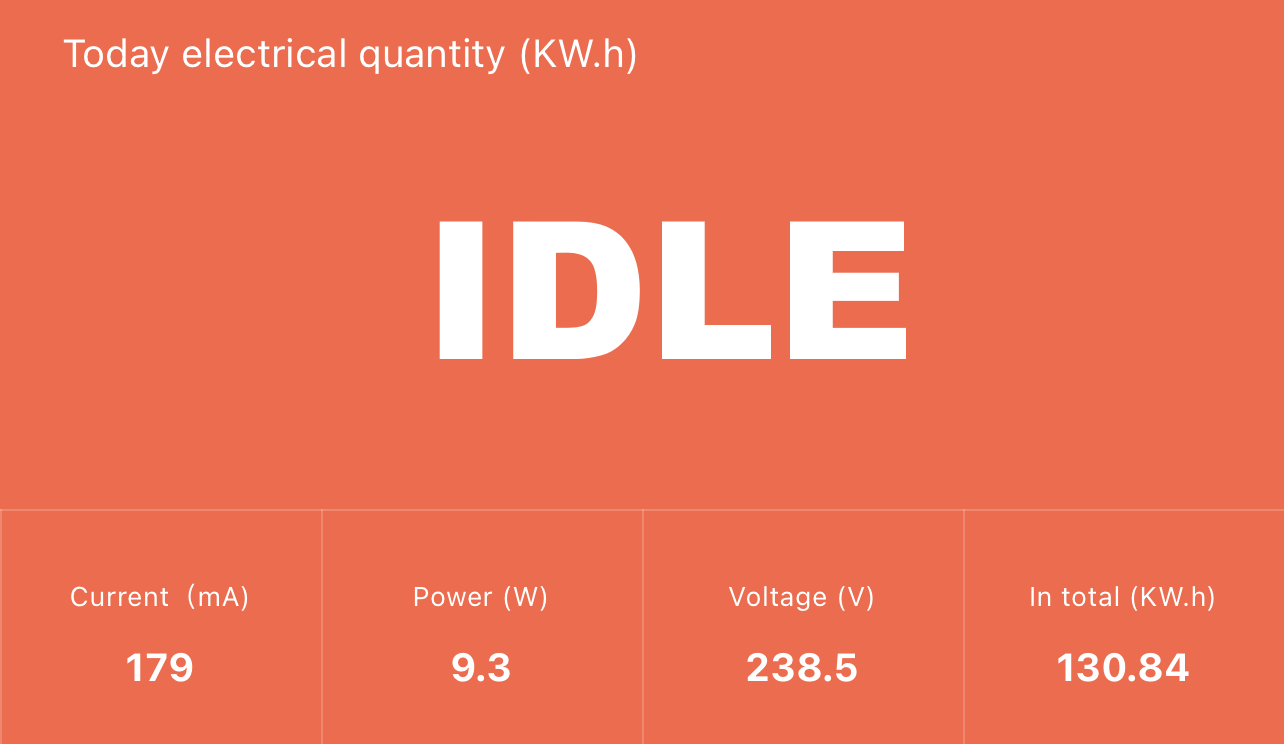
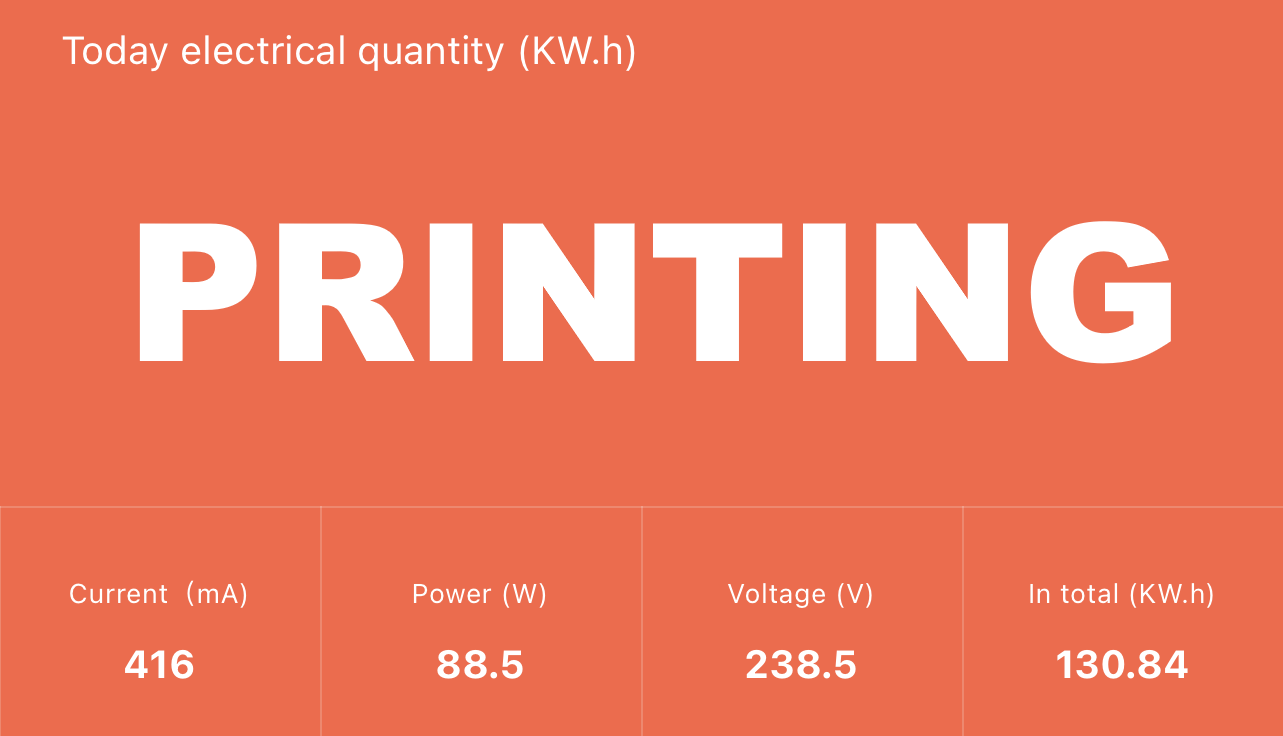
All these measurements were taken with a Blitzwolf smart power socket which indicates the power draw, and it can also be used for remotely powering on and off the printer.
Anycubic Photon M3 Max Noise Levels
Another area where the Anycubic Photon M3 Max excels is in the noise department. The fan noise is much lower than I was expecting considering my previous experiences with the Mono X line and even the M3 Plus.
While the fan speeds are not adjustable like with the Anycubic M3 Plus, the sound produced is not annoying. The loudest sound is coming from the printer during movement on the Z-axis. The motor and stepper driver generate a louder noise, but as mentioned, nothing to write home about. It’s fine.
Probably the noisiest part of this machine is the air pump when the resin feeder is running.
Print Settings for Anycubic Photon M3 Max
All the prints in this review were sliced using the stock Anycubic Photon slicer without even having to calibrate the exposure time which really amazed me. There is no Lychee slicer support right now, but it should be available in a week or two.
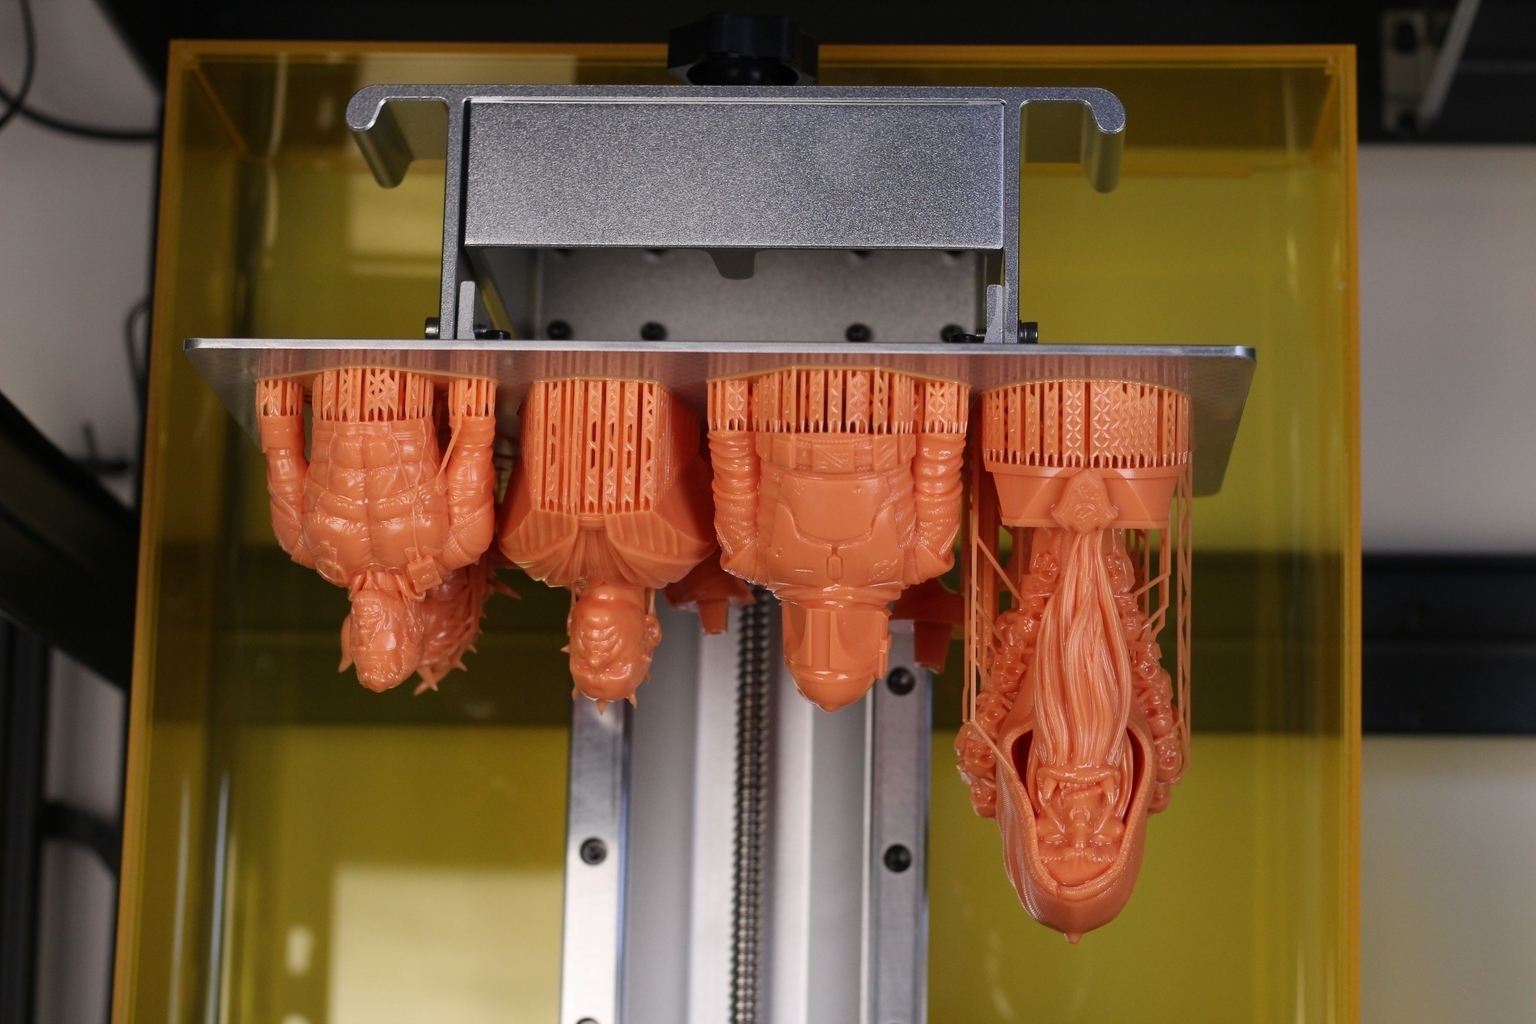
Some of the models were printed at the same time, and the results are great. Here’s one example of a full build plate.
You will also see a lot of Fotis Mint models printed for this review, so make sure you check out his Patreon. He has some amazing models with excellent pre-supported variants ready to be printed.
Test prints on Anycubic Photon M3 Max
Demon Hunter
This Demon Hunter model was printed in a few pieces, then glued together with resin. I really like how it turned out, and the pre-supported version worked great. I don’t need to go in talking about the print quality, because as you can see, it’s perfect.
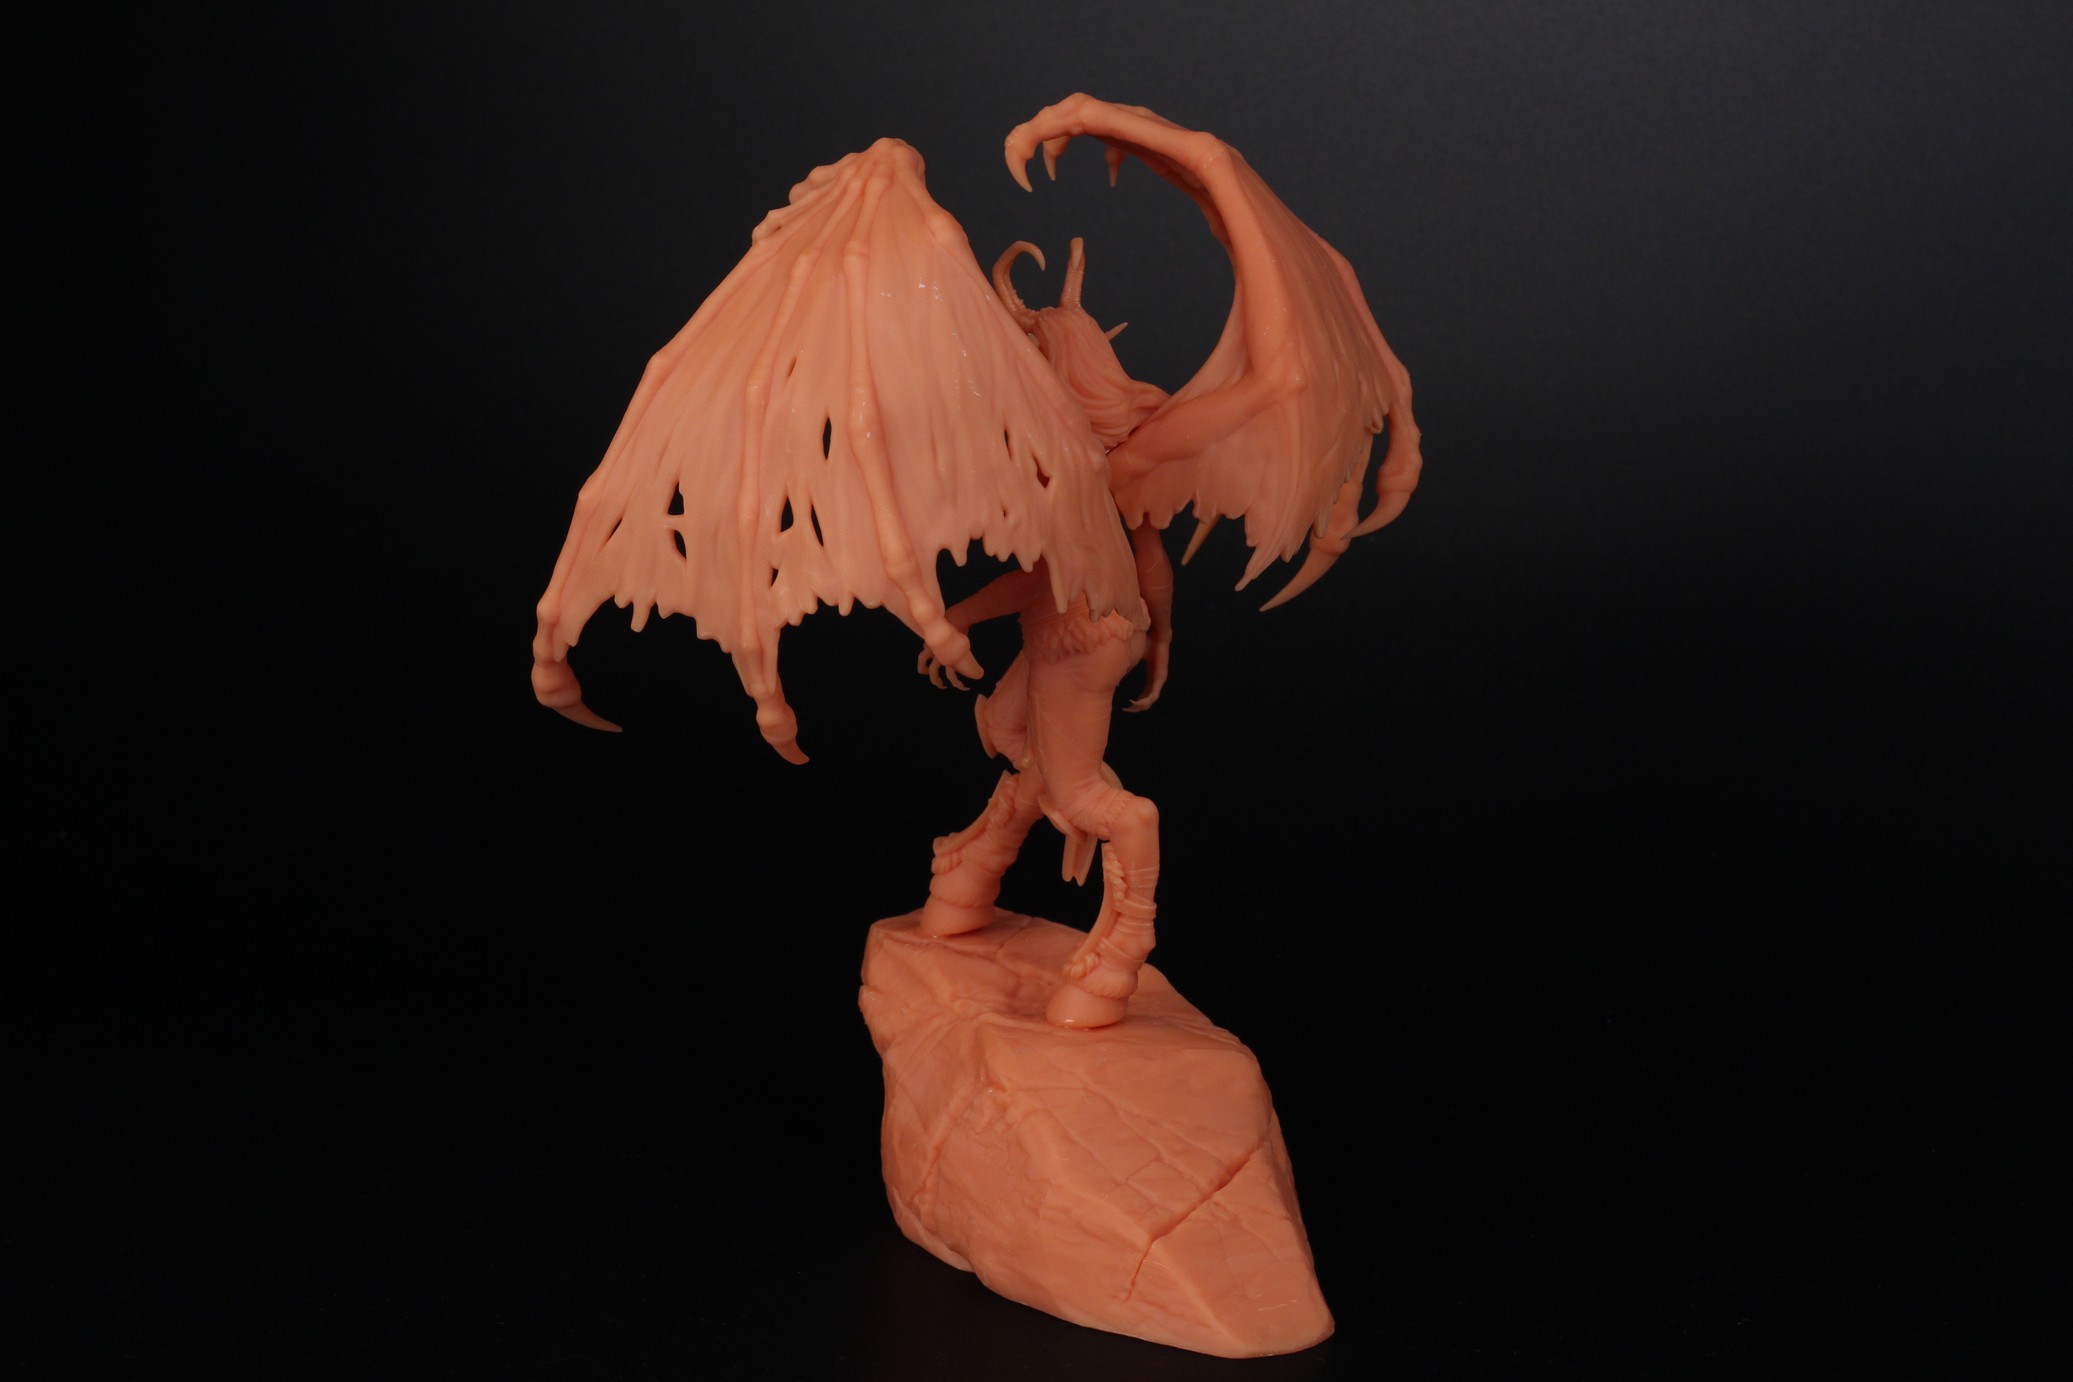
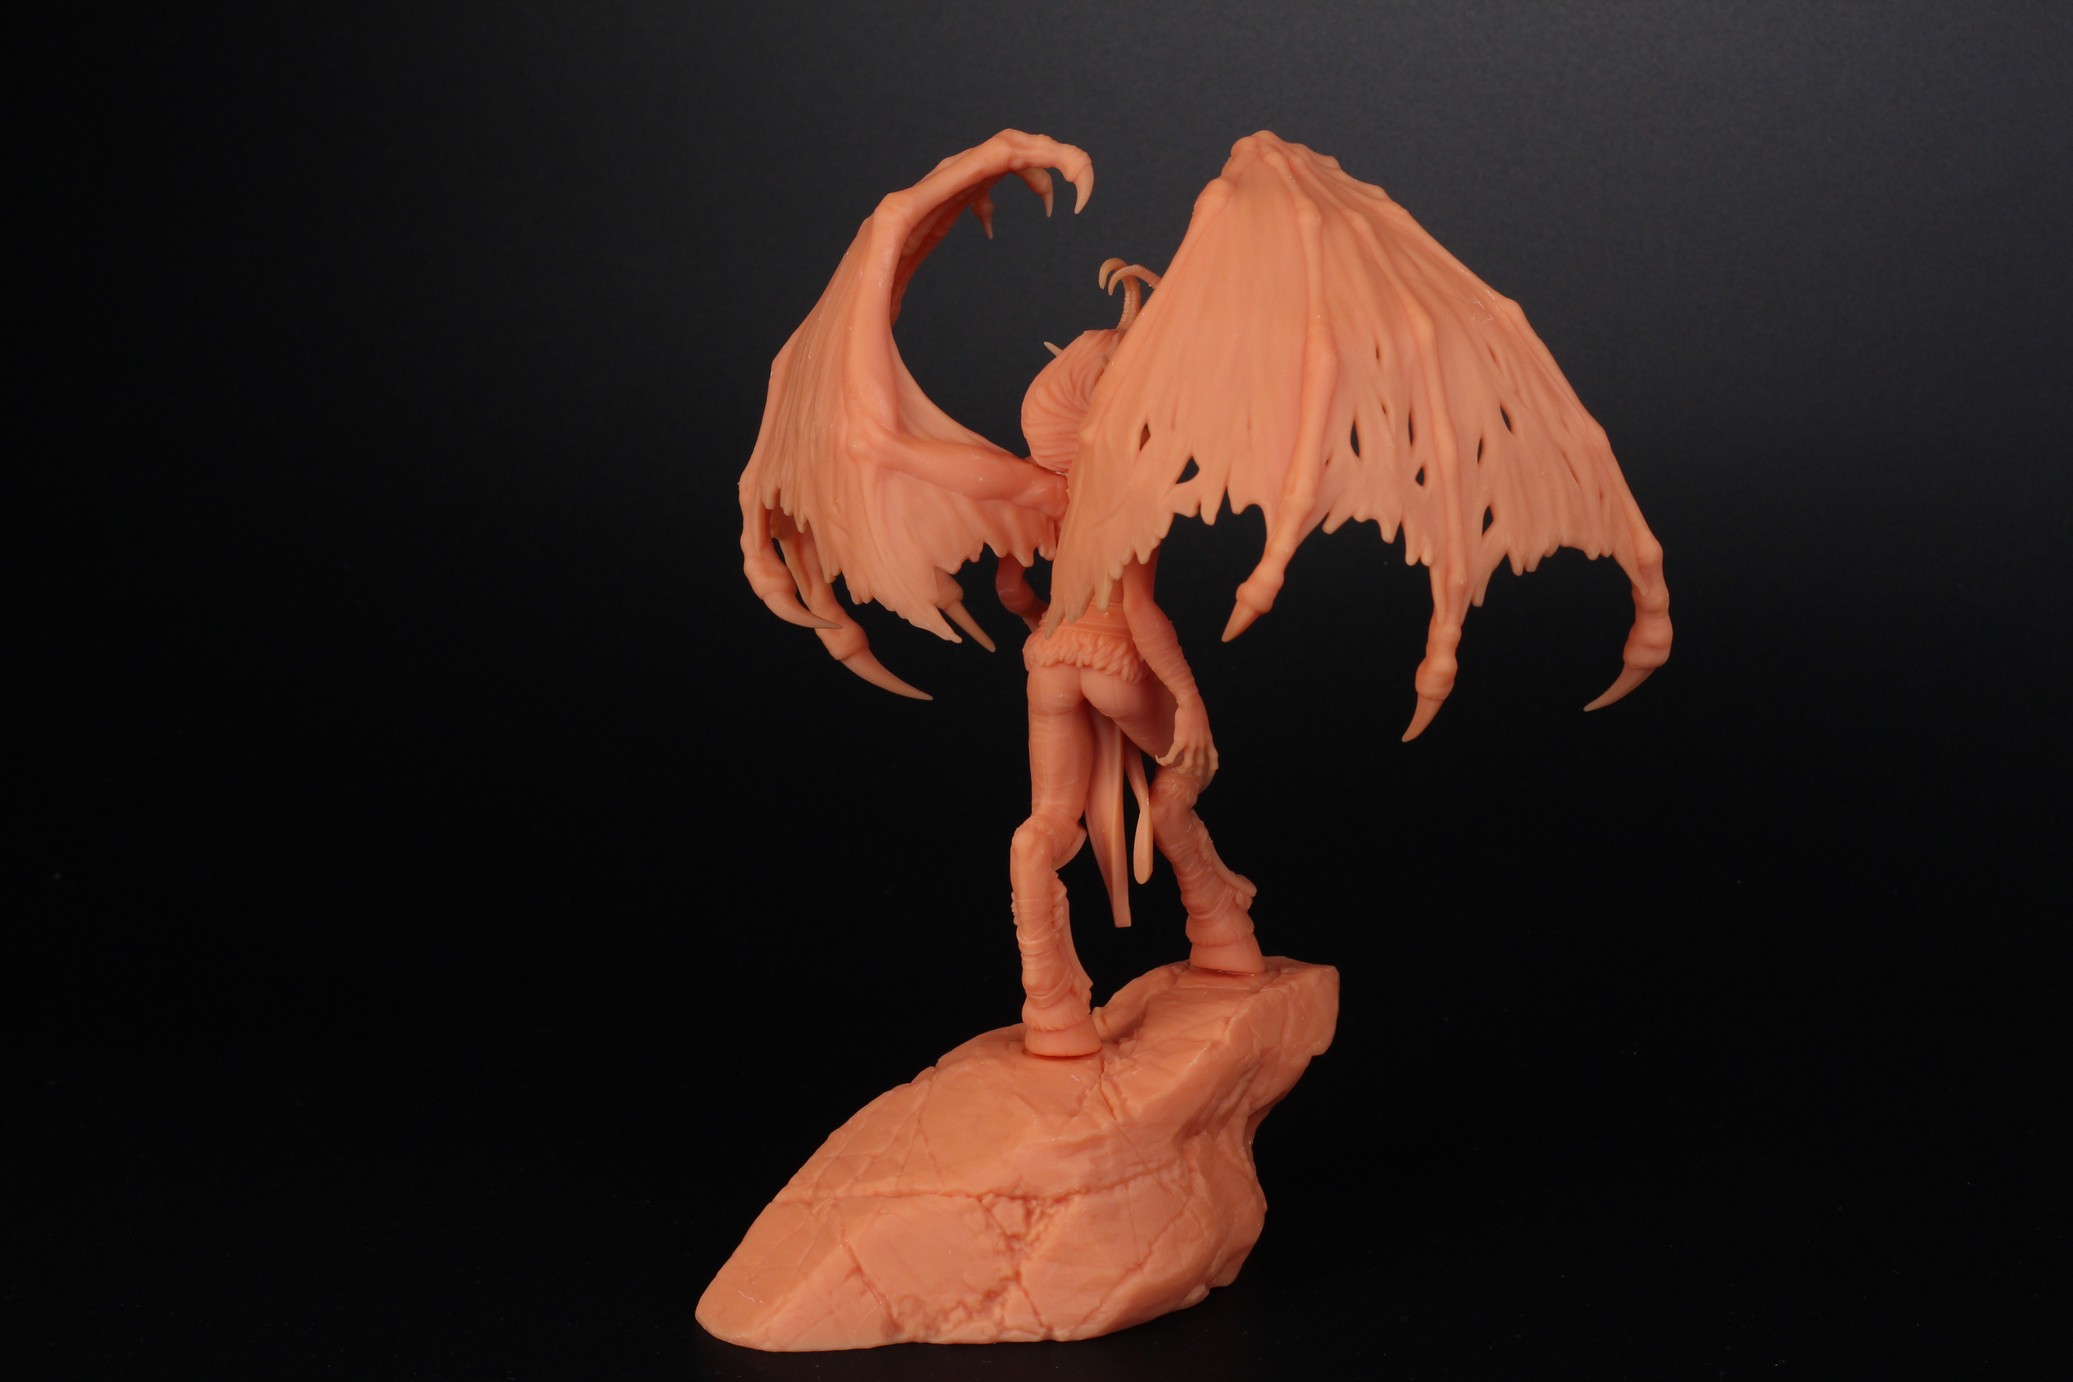
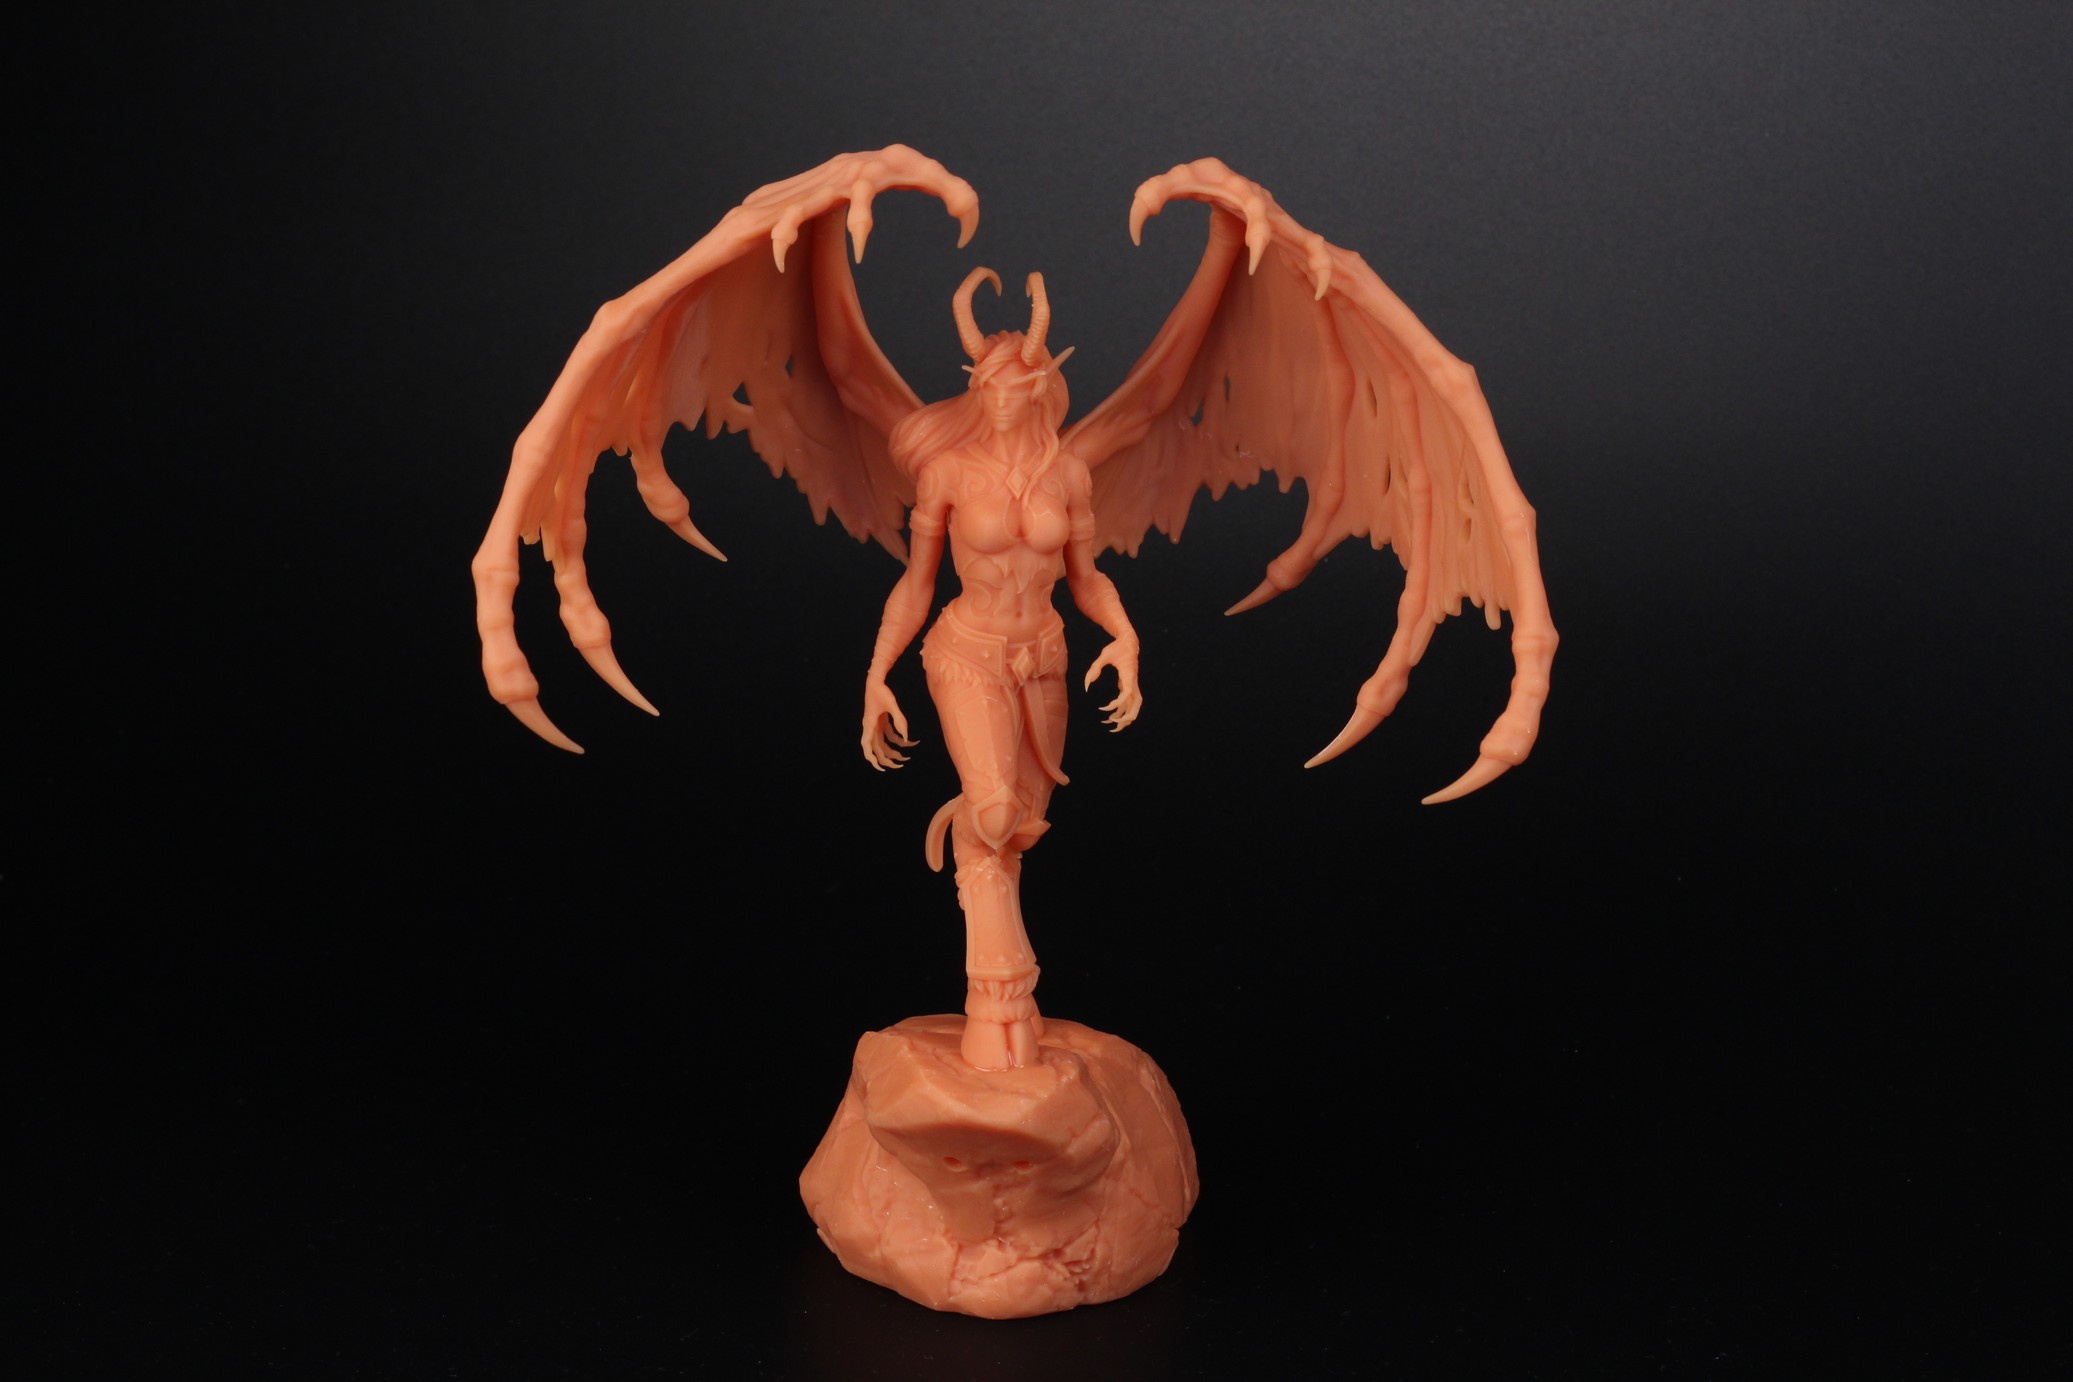
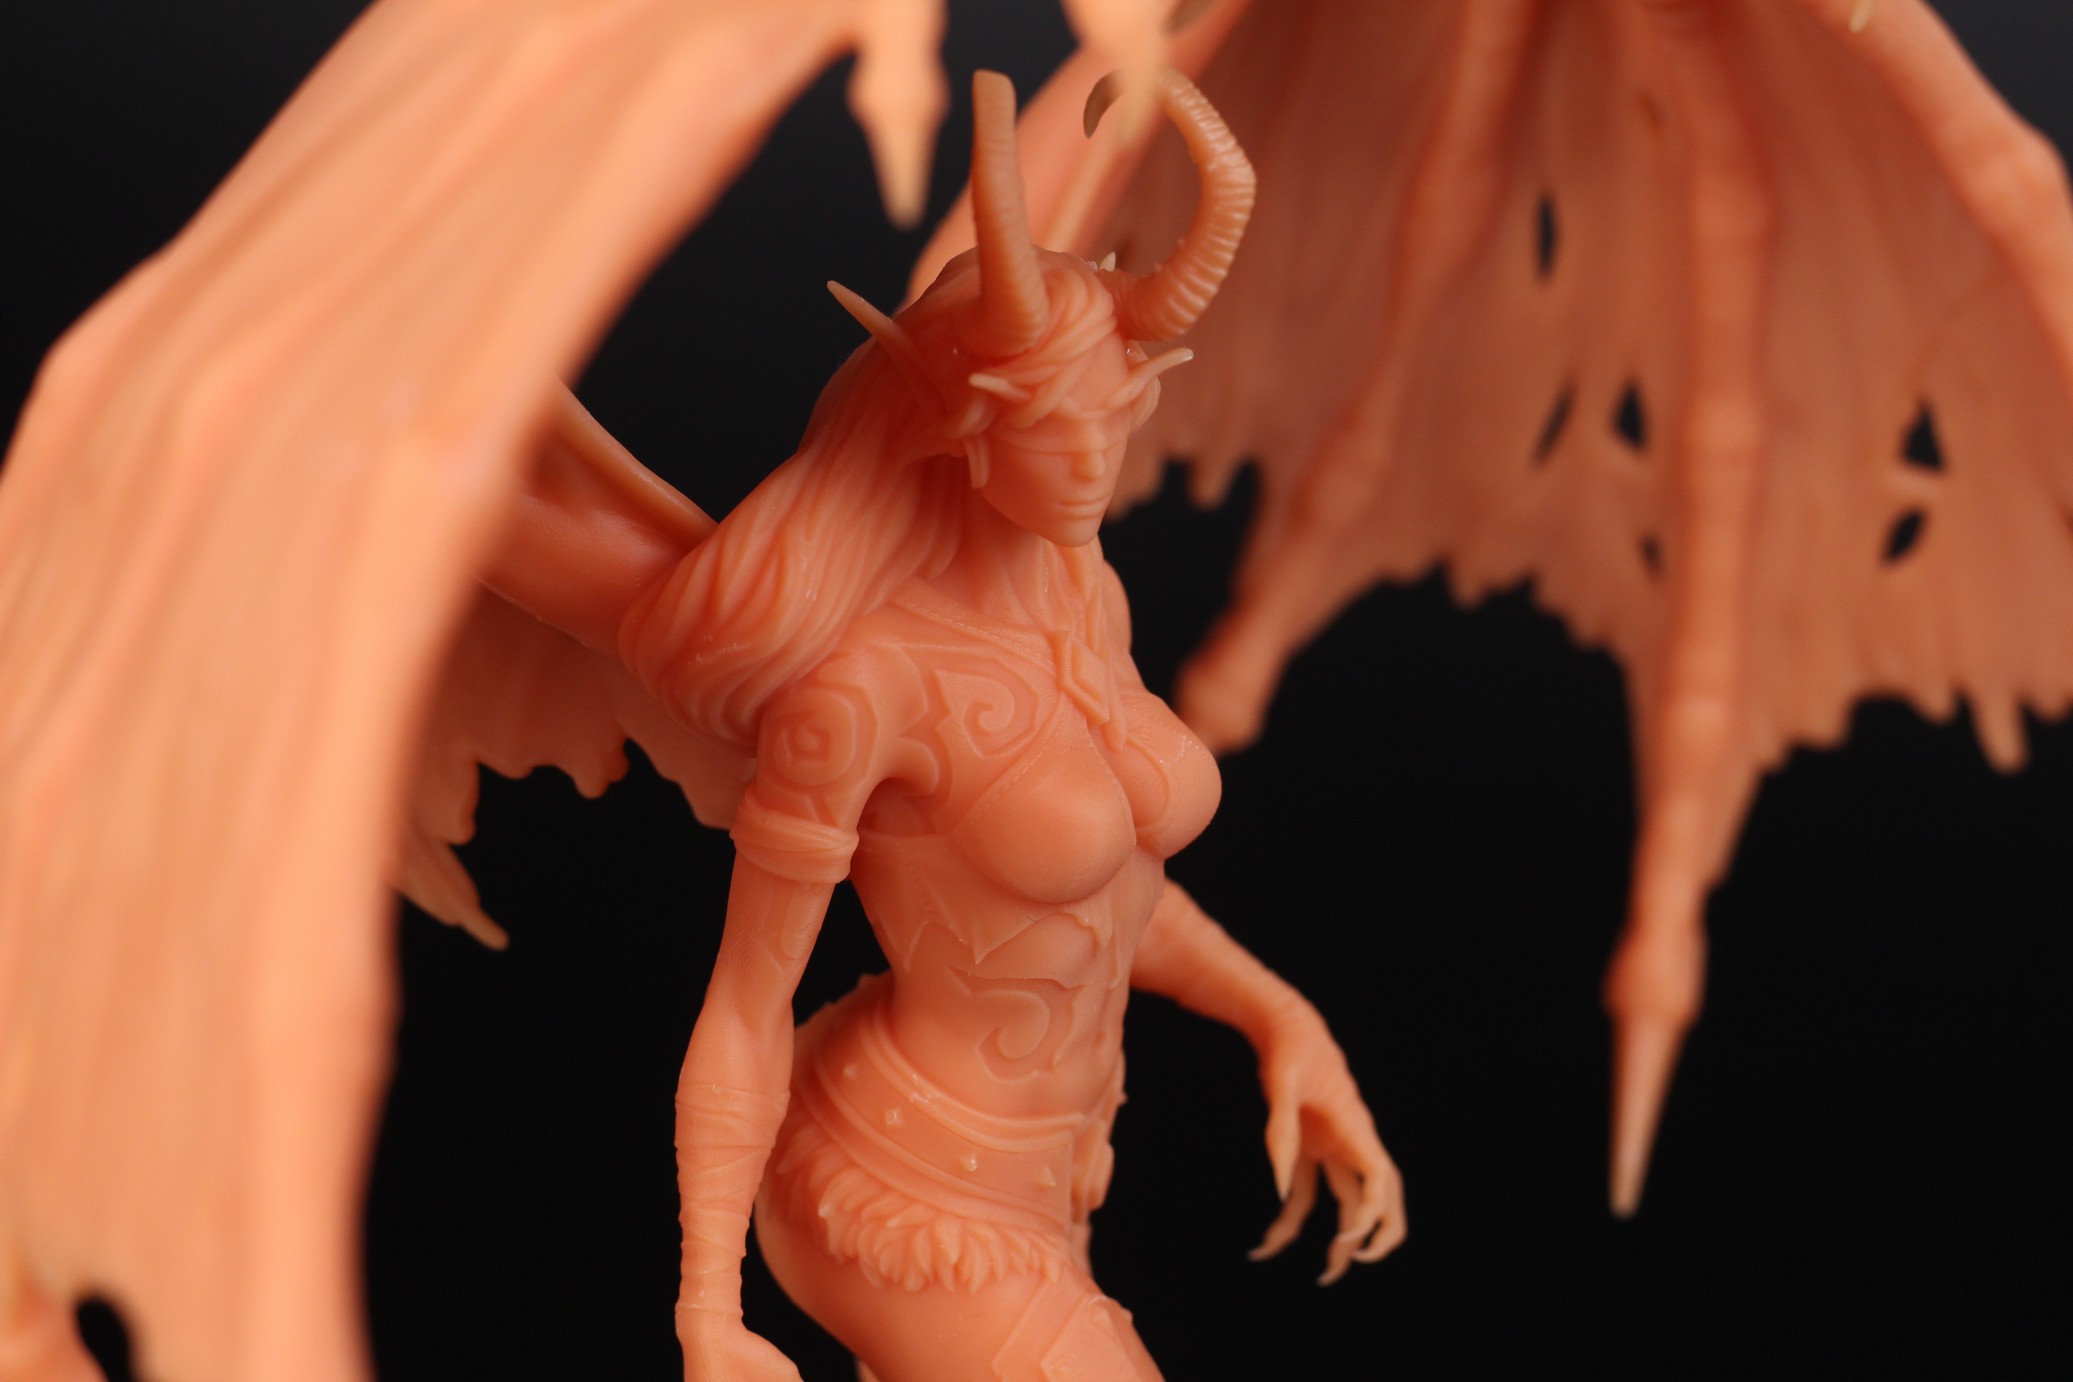
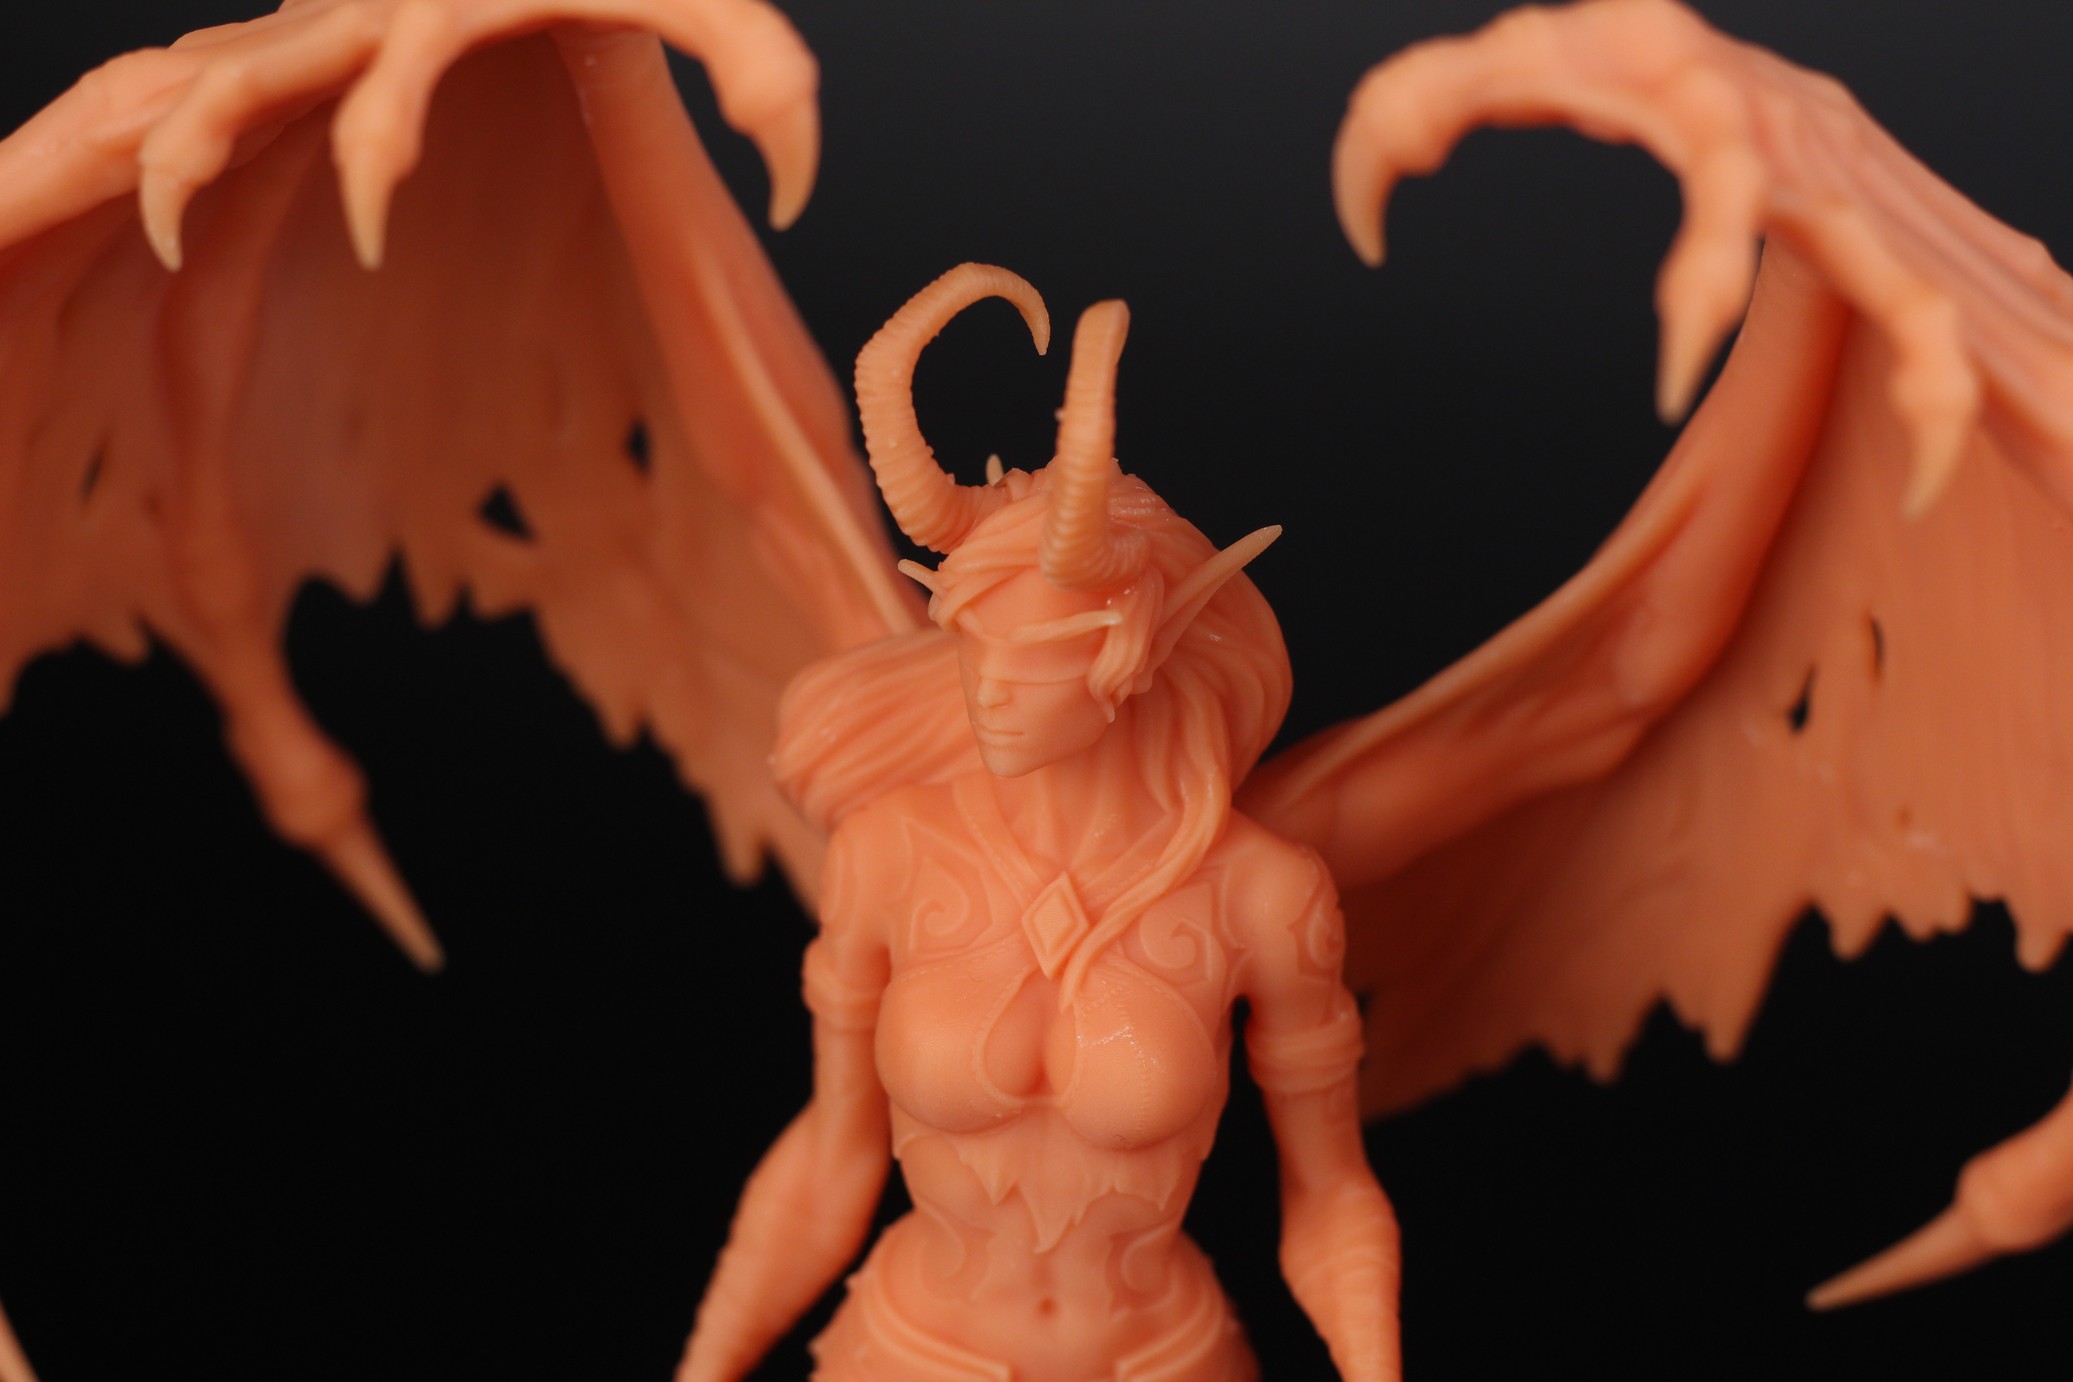
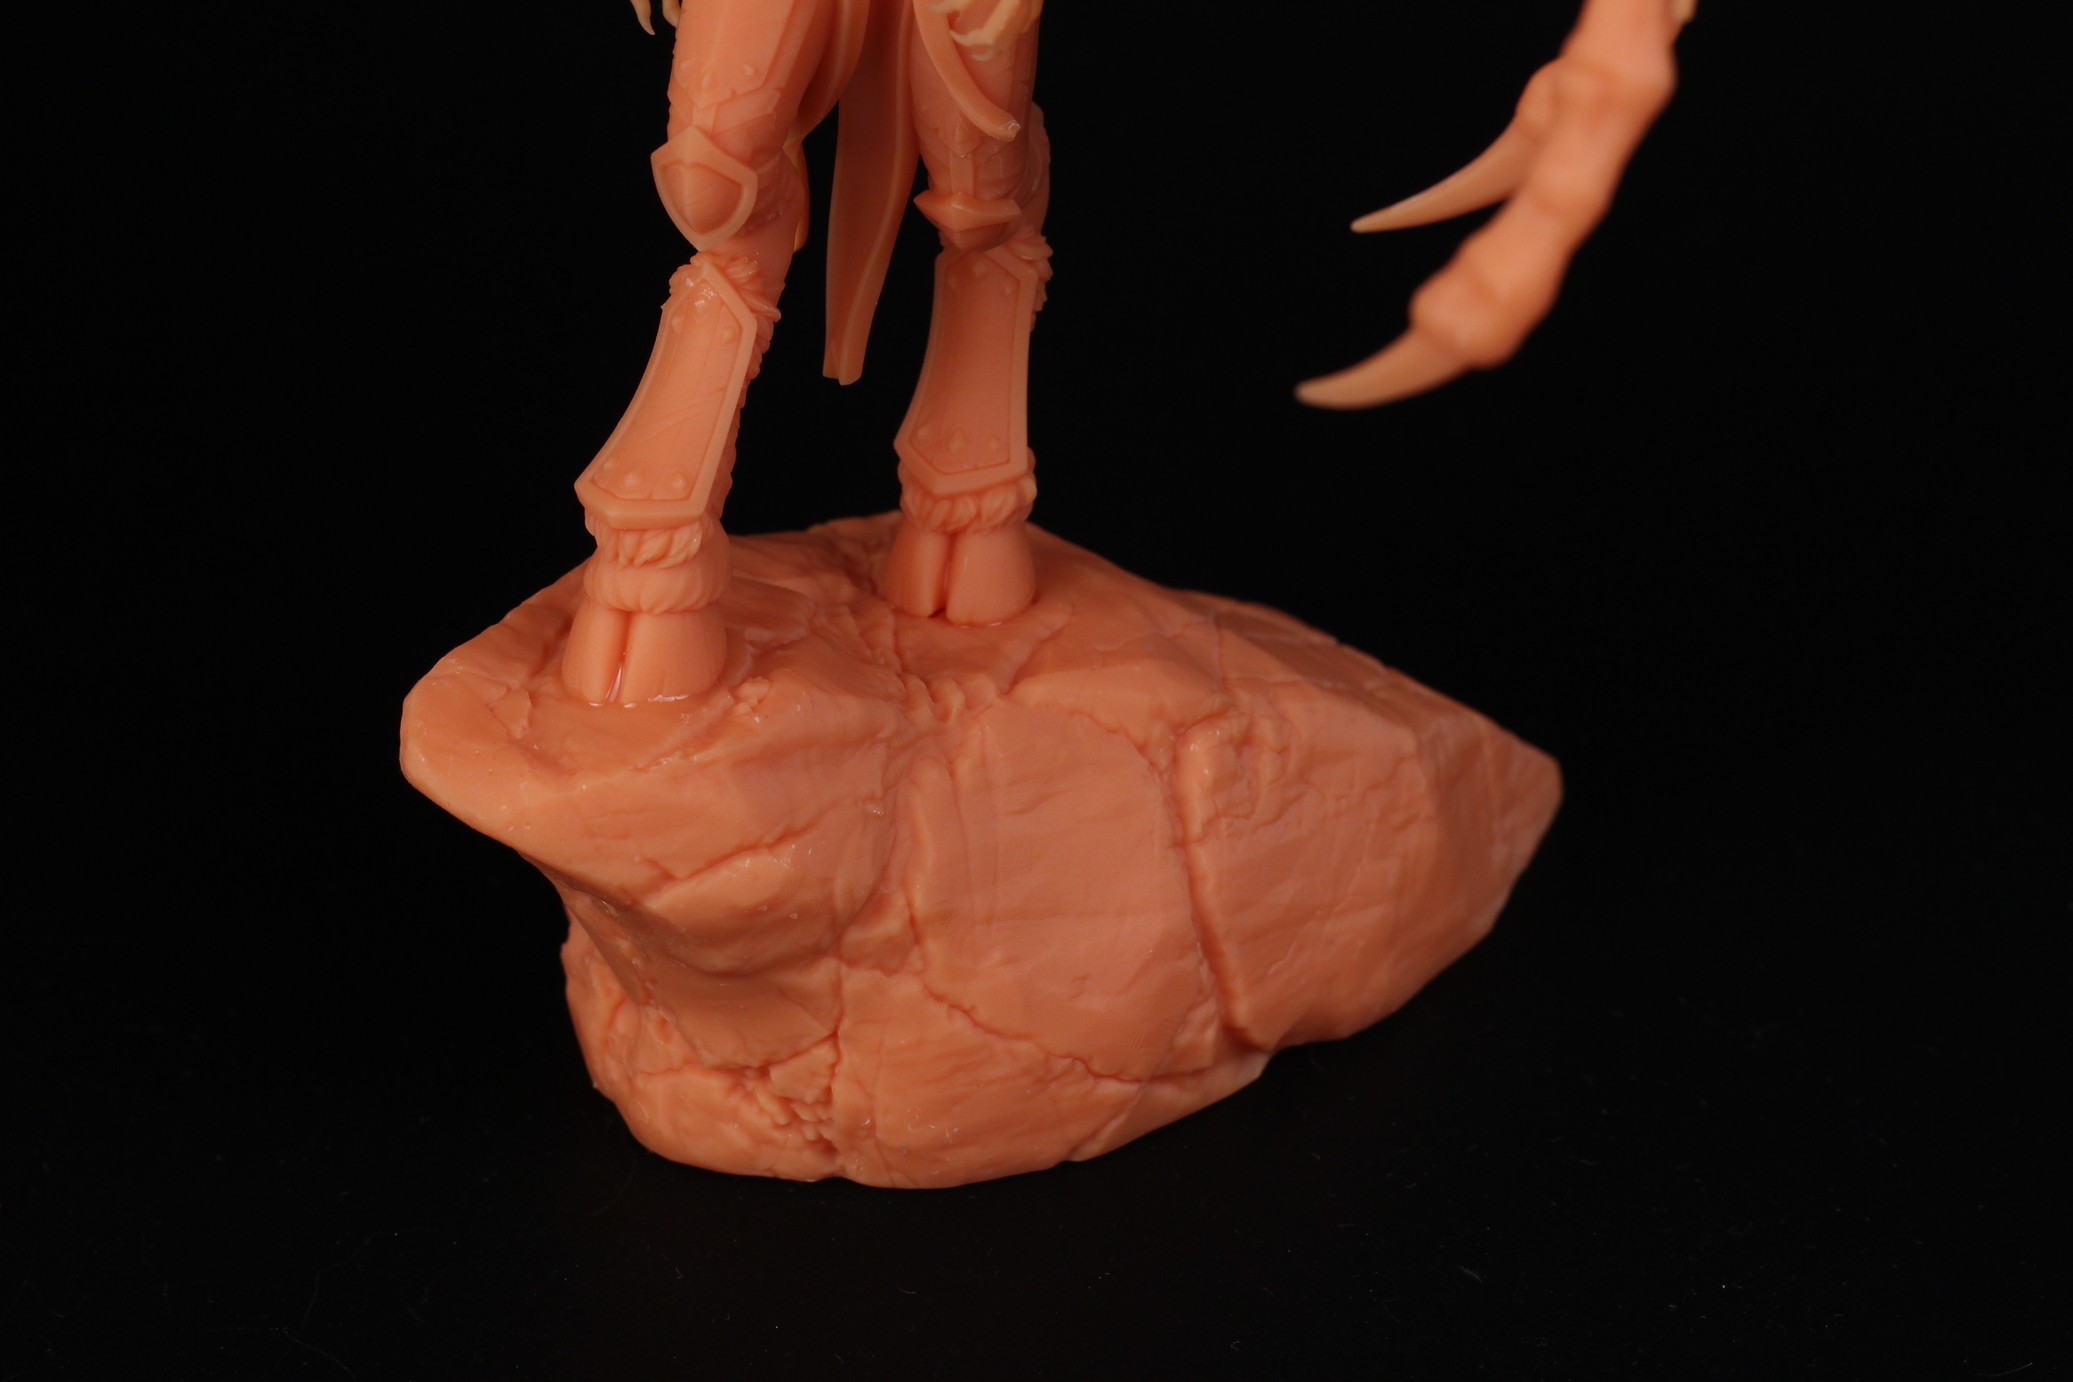
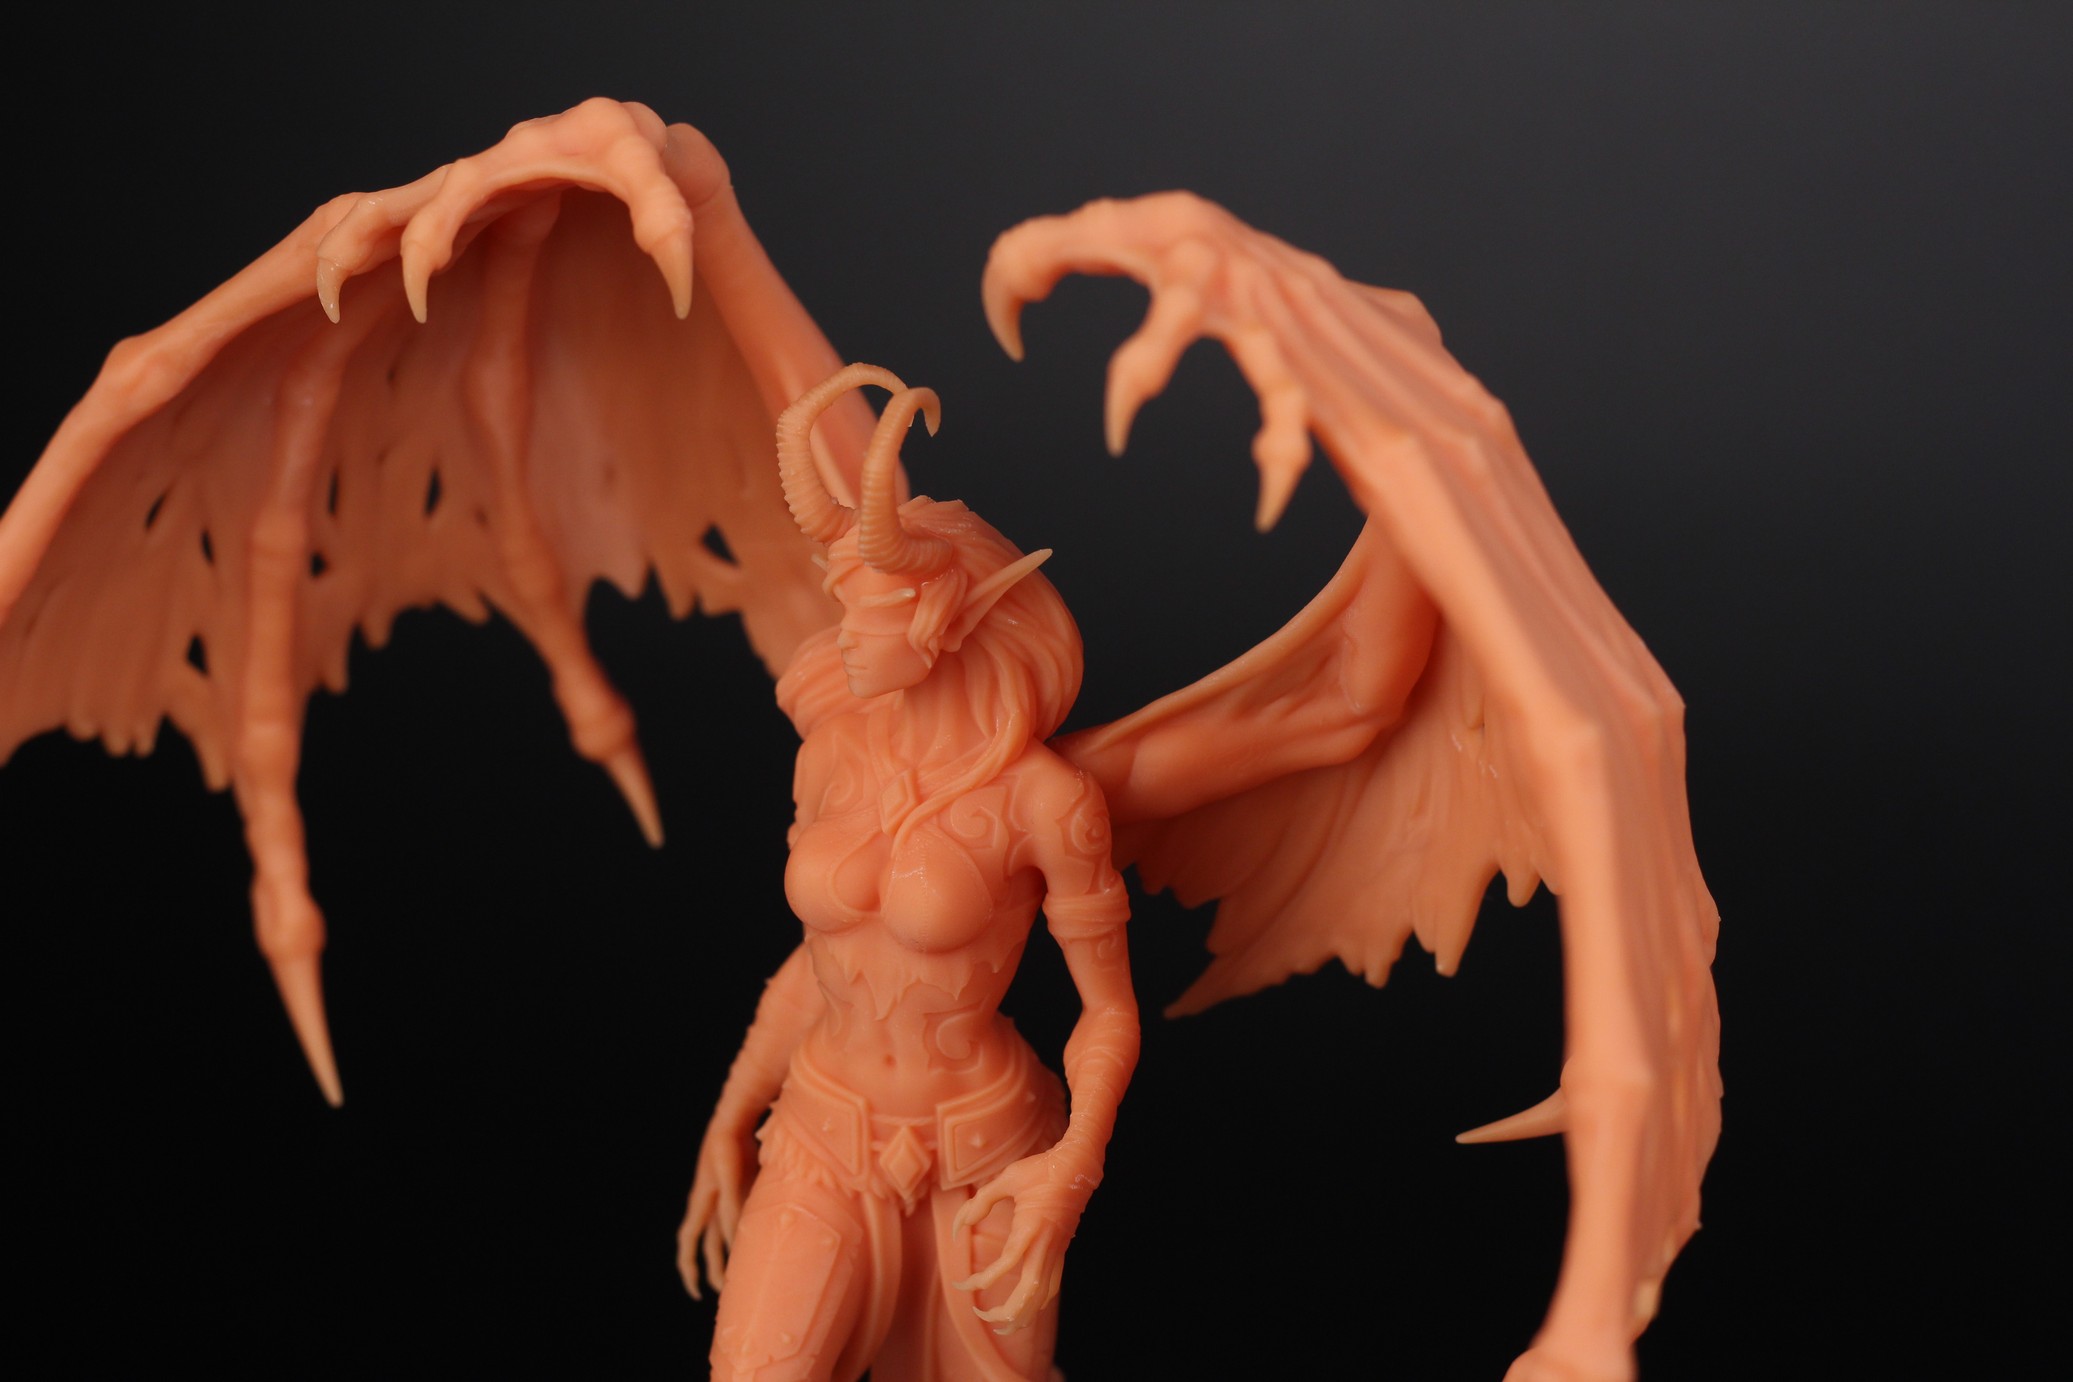
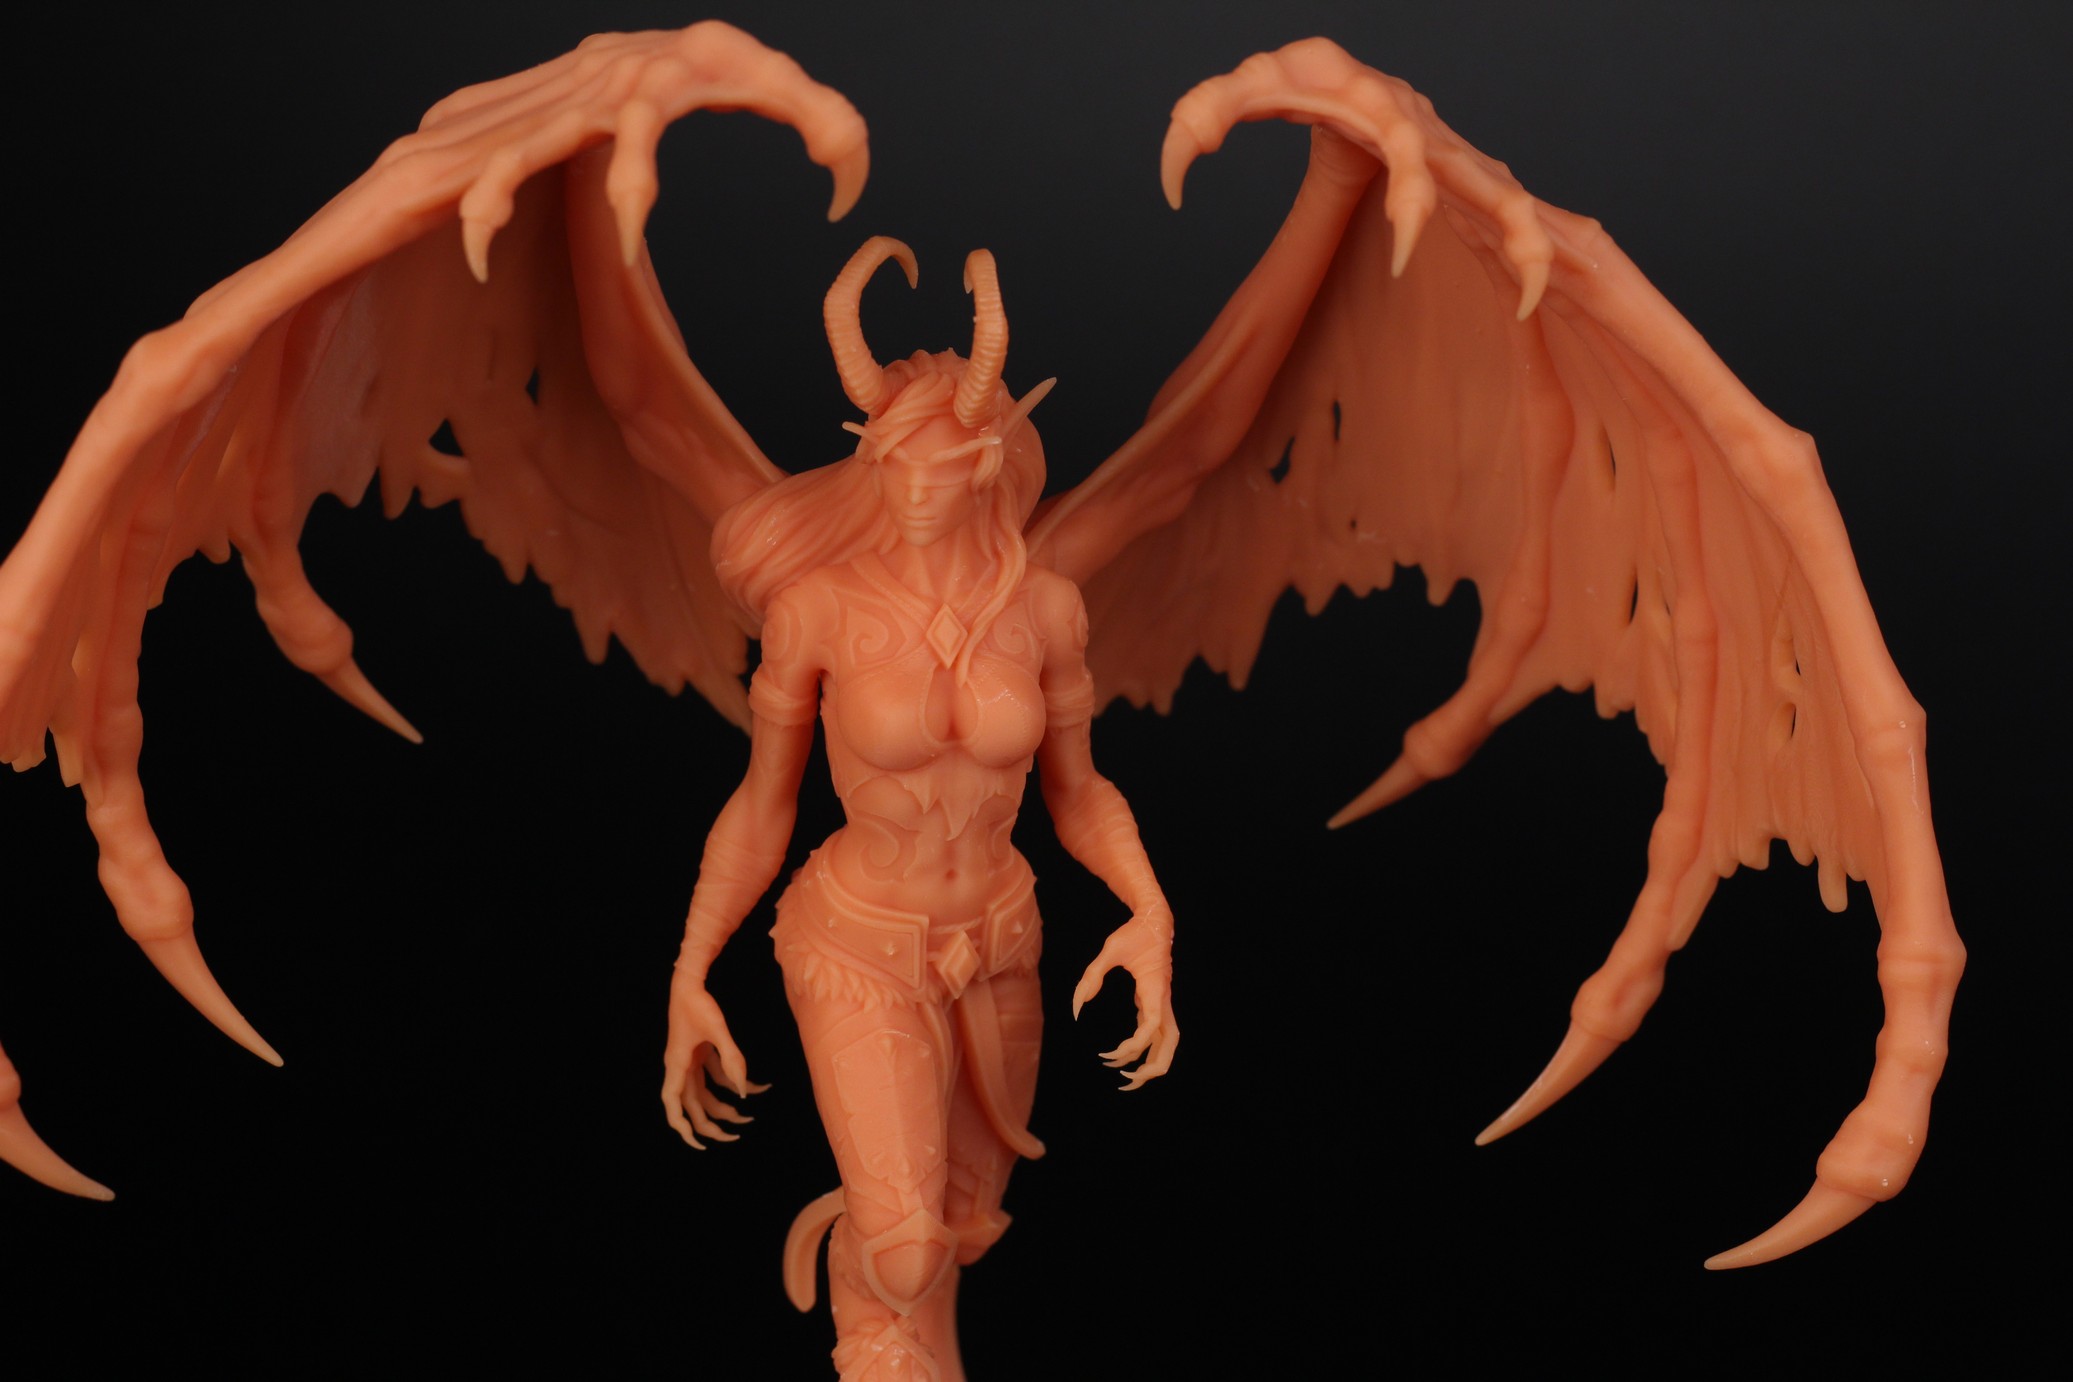
- Material: Anycubic Craftsman Apricot
- Layer Height: 0.05mm
- Layer Cure Time: 3s
Predator Bust
The Predator Bust came out almost flawless. Fotis did an excellent job in adding a lot of detail to the model while the Anycubic Photon M3 Max was able to accurately reproduce it with ease.
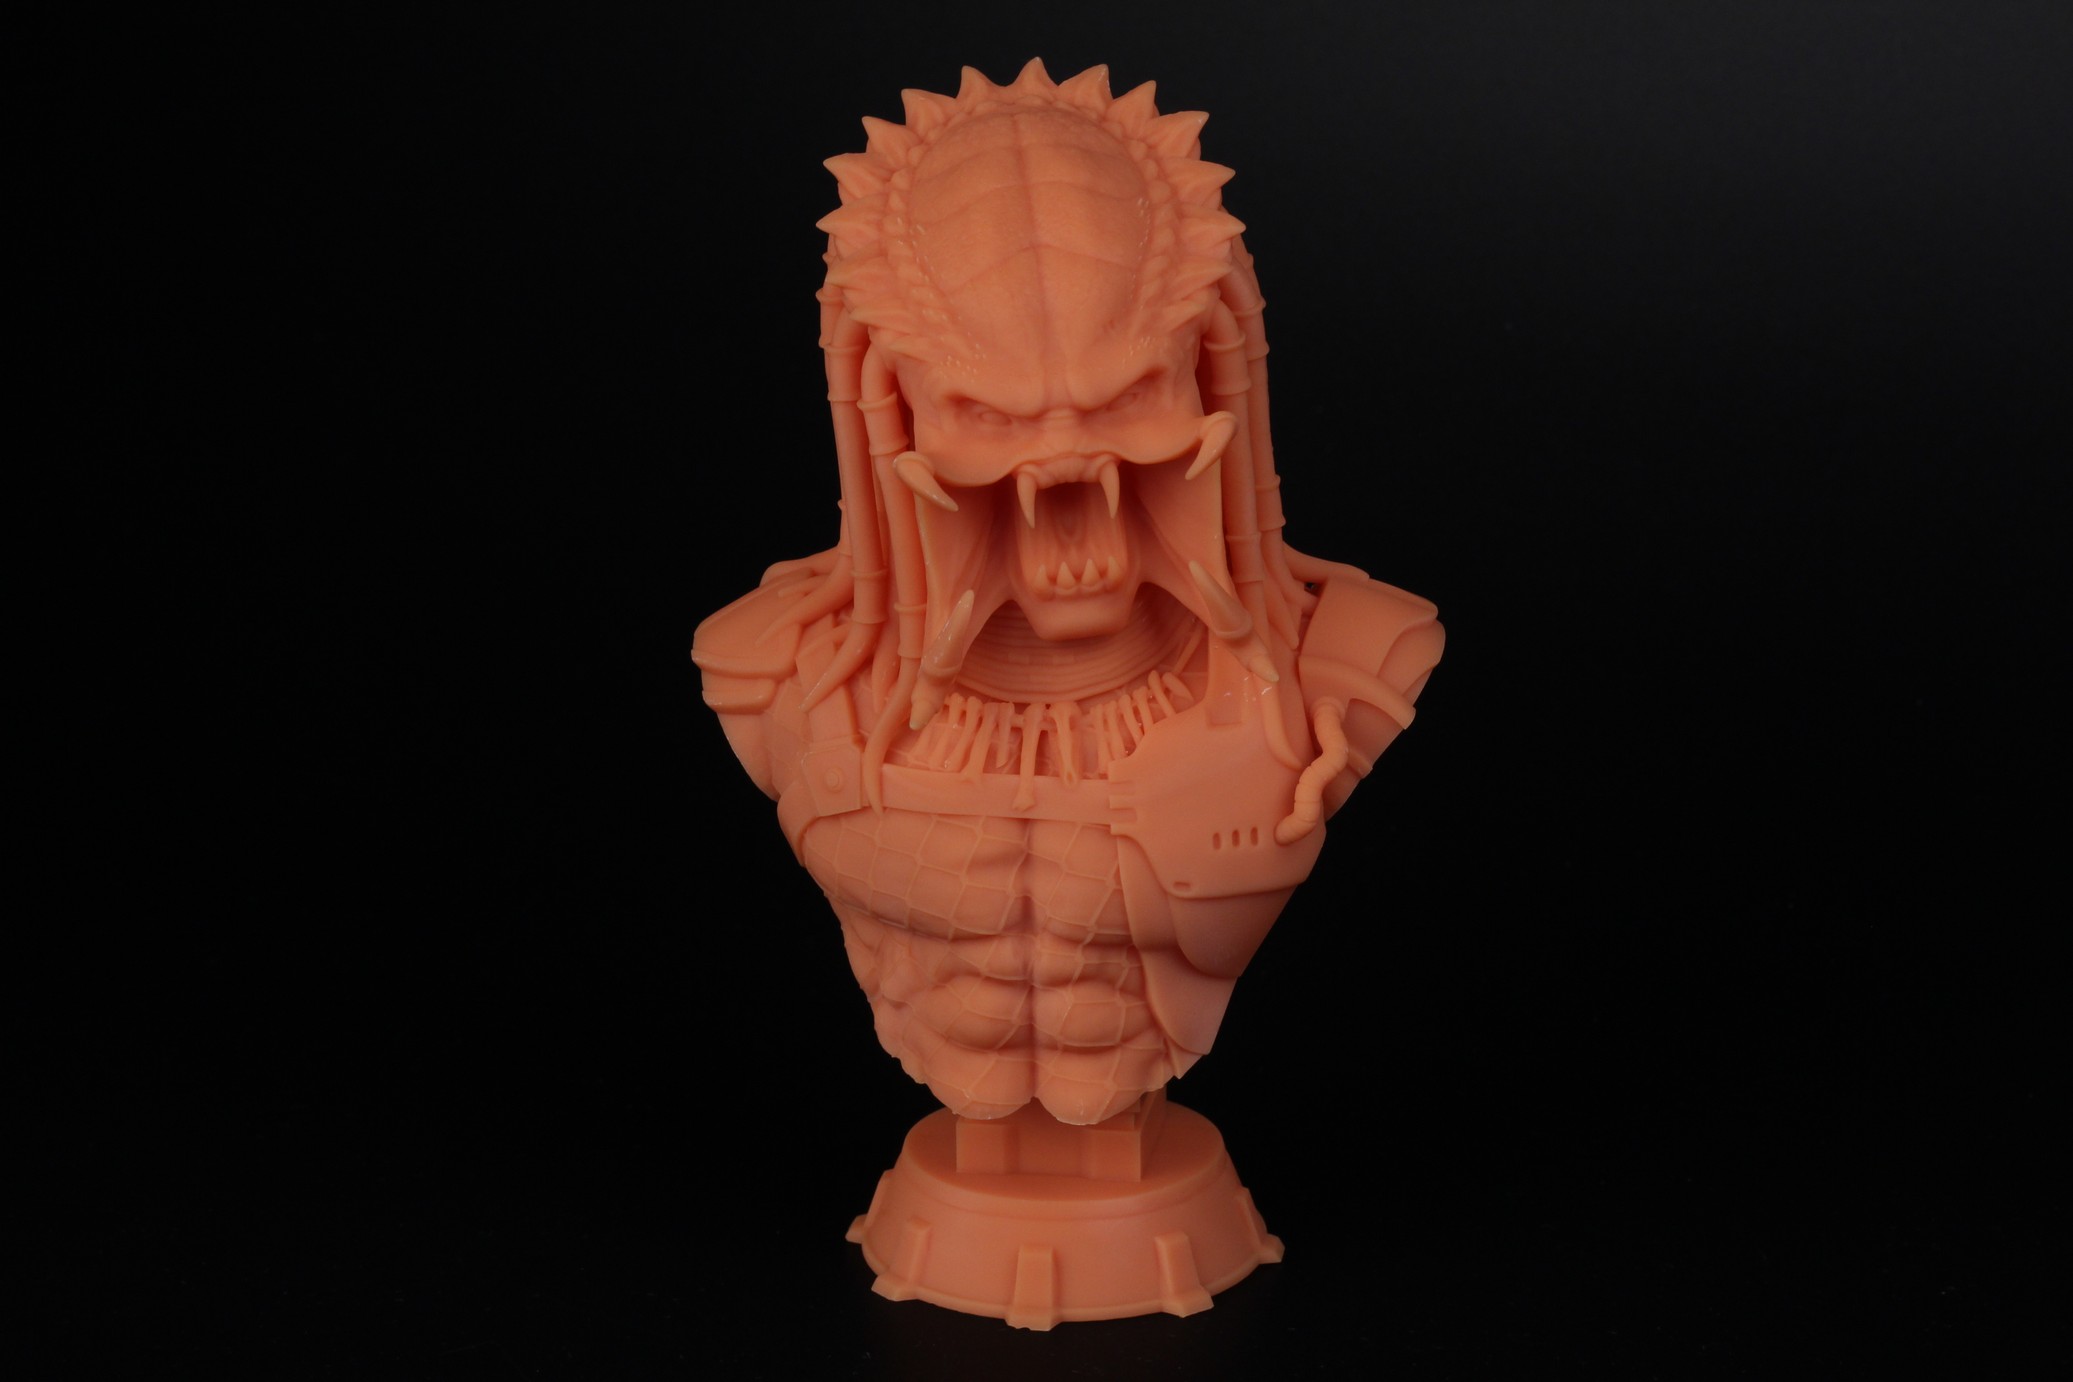
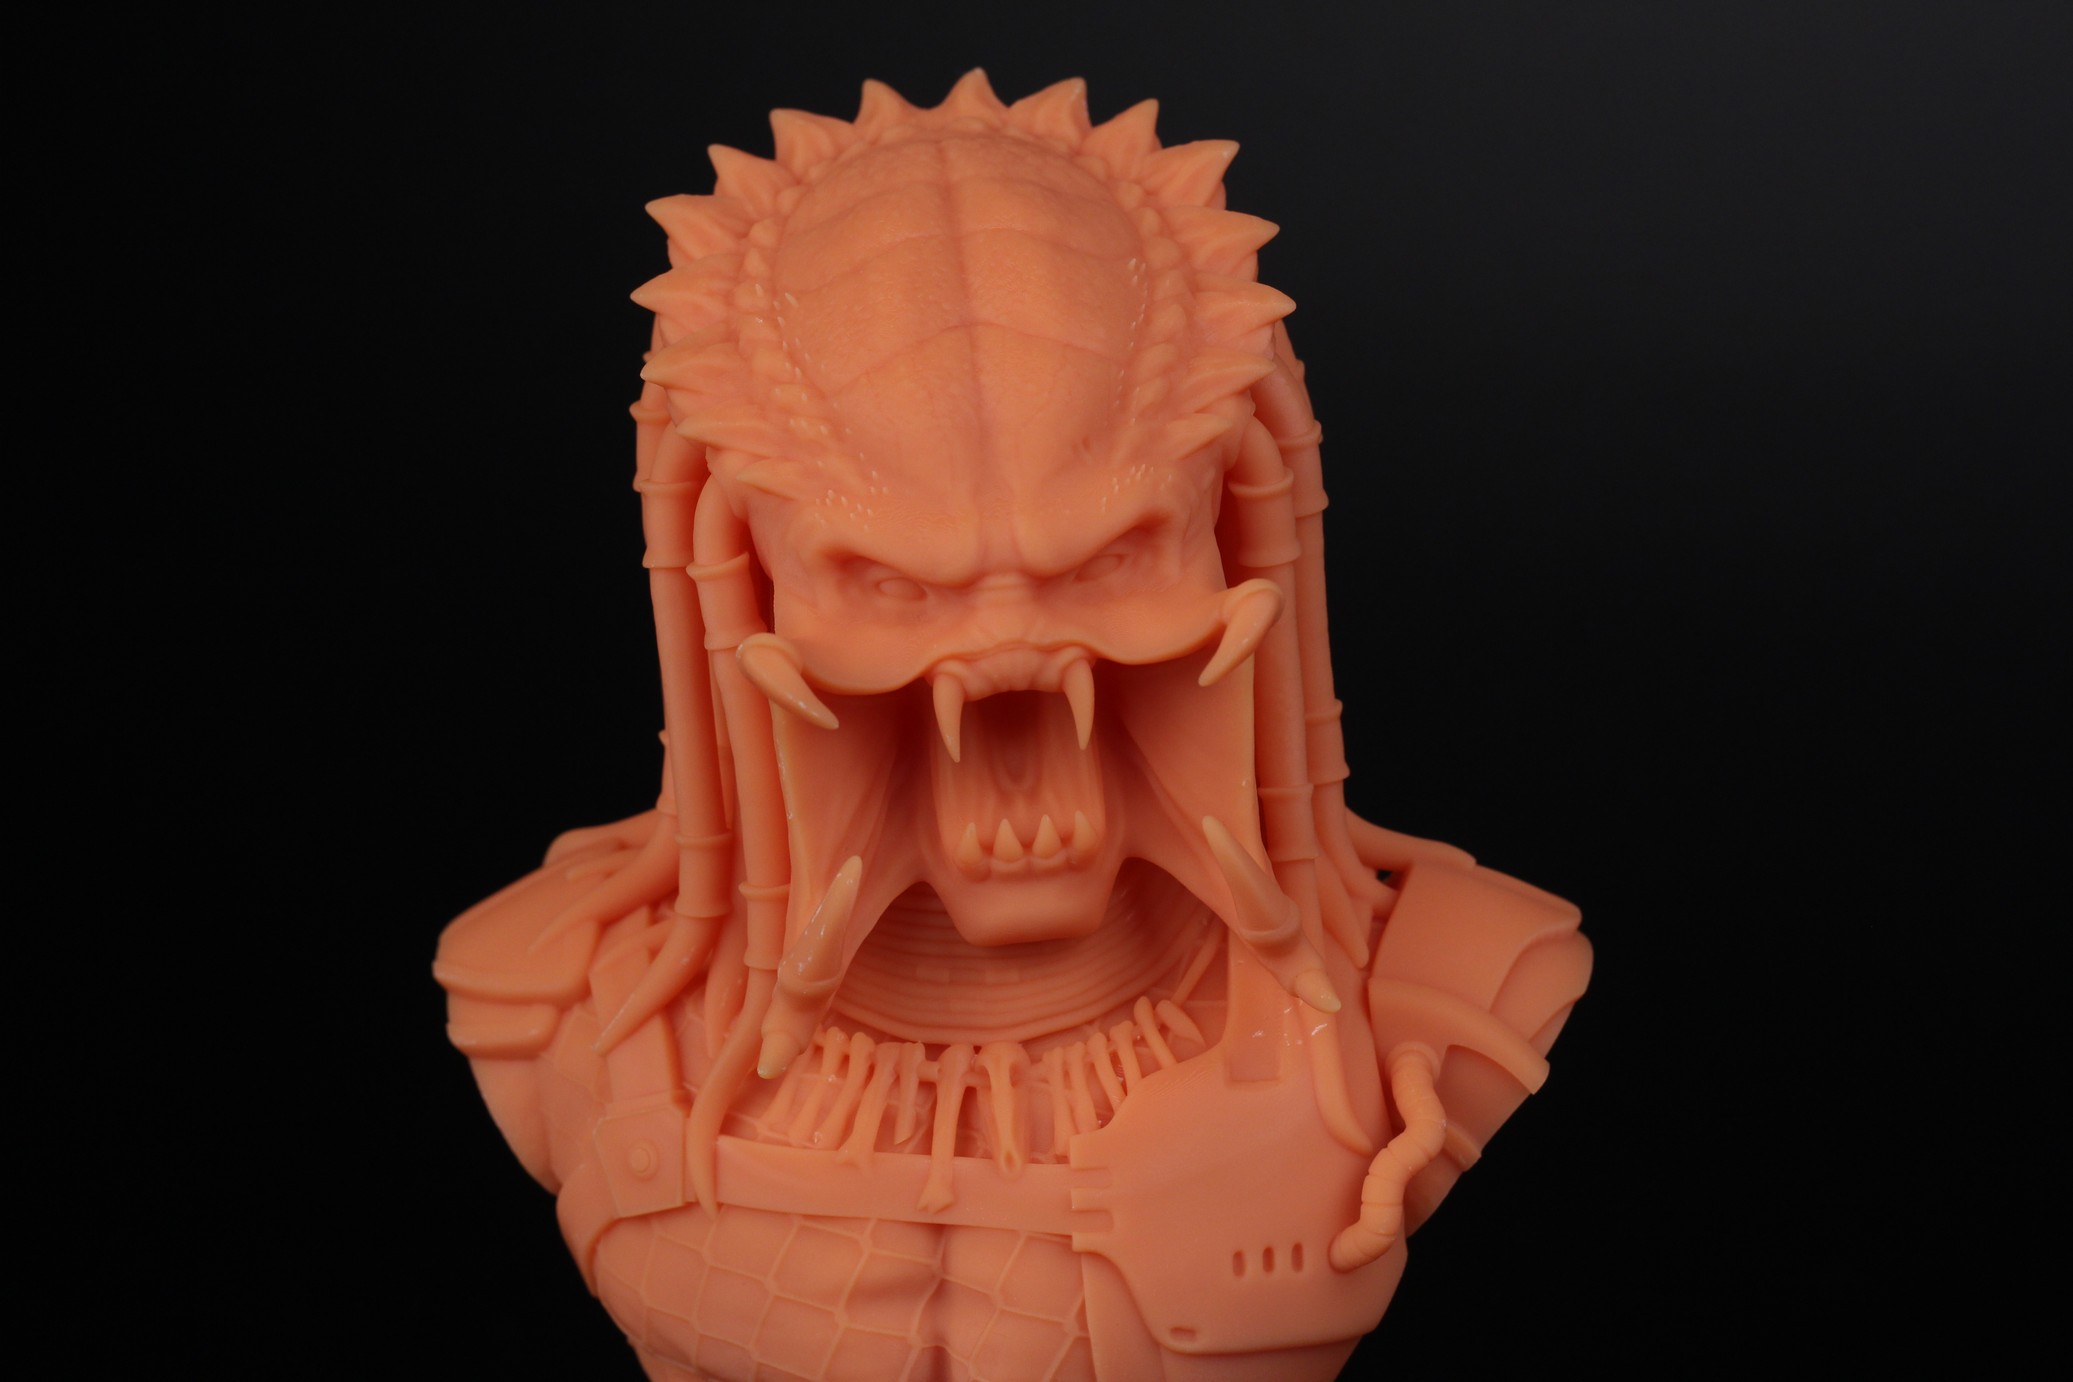
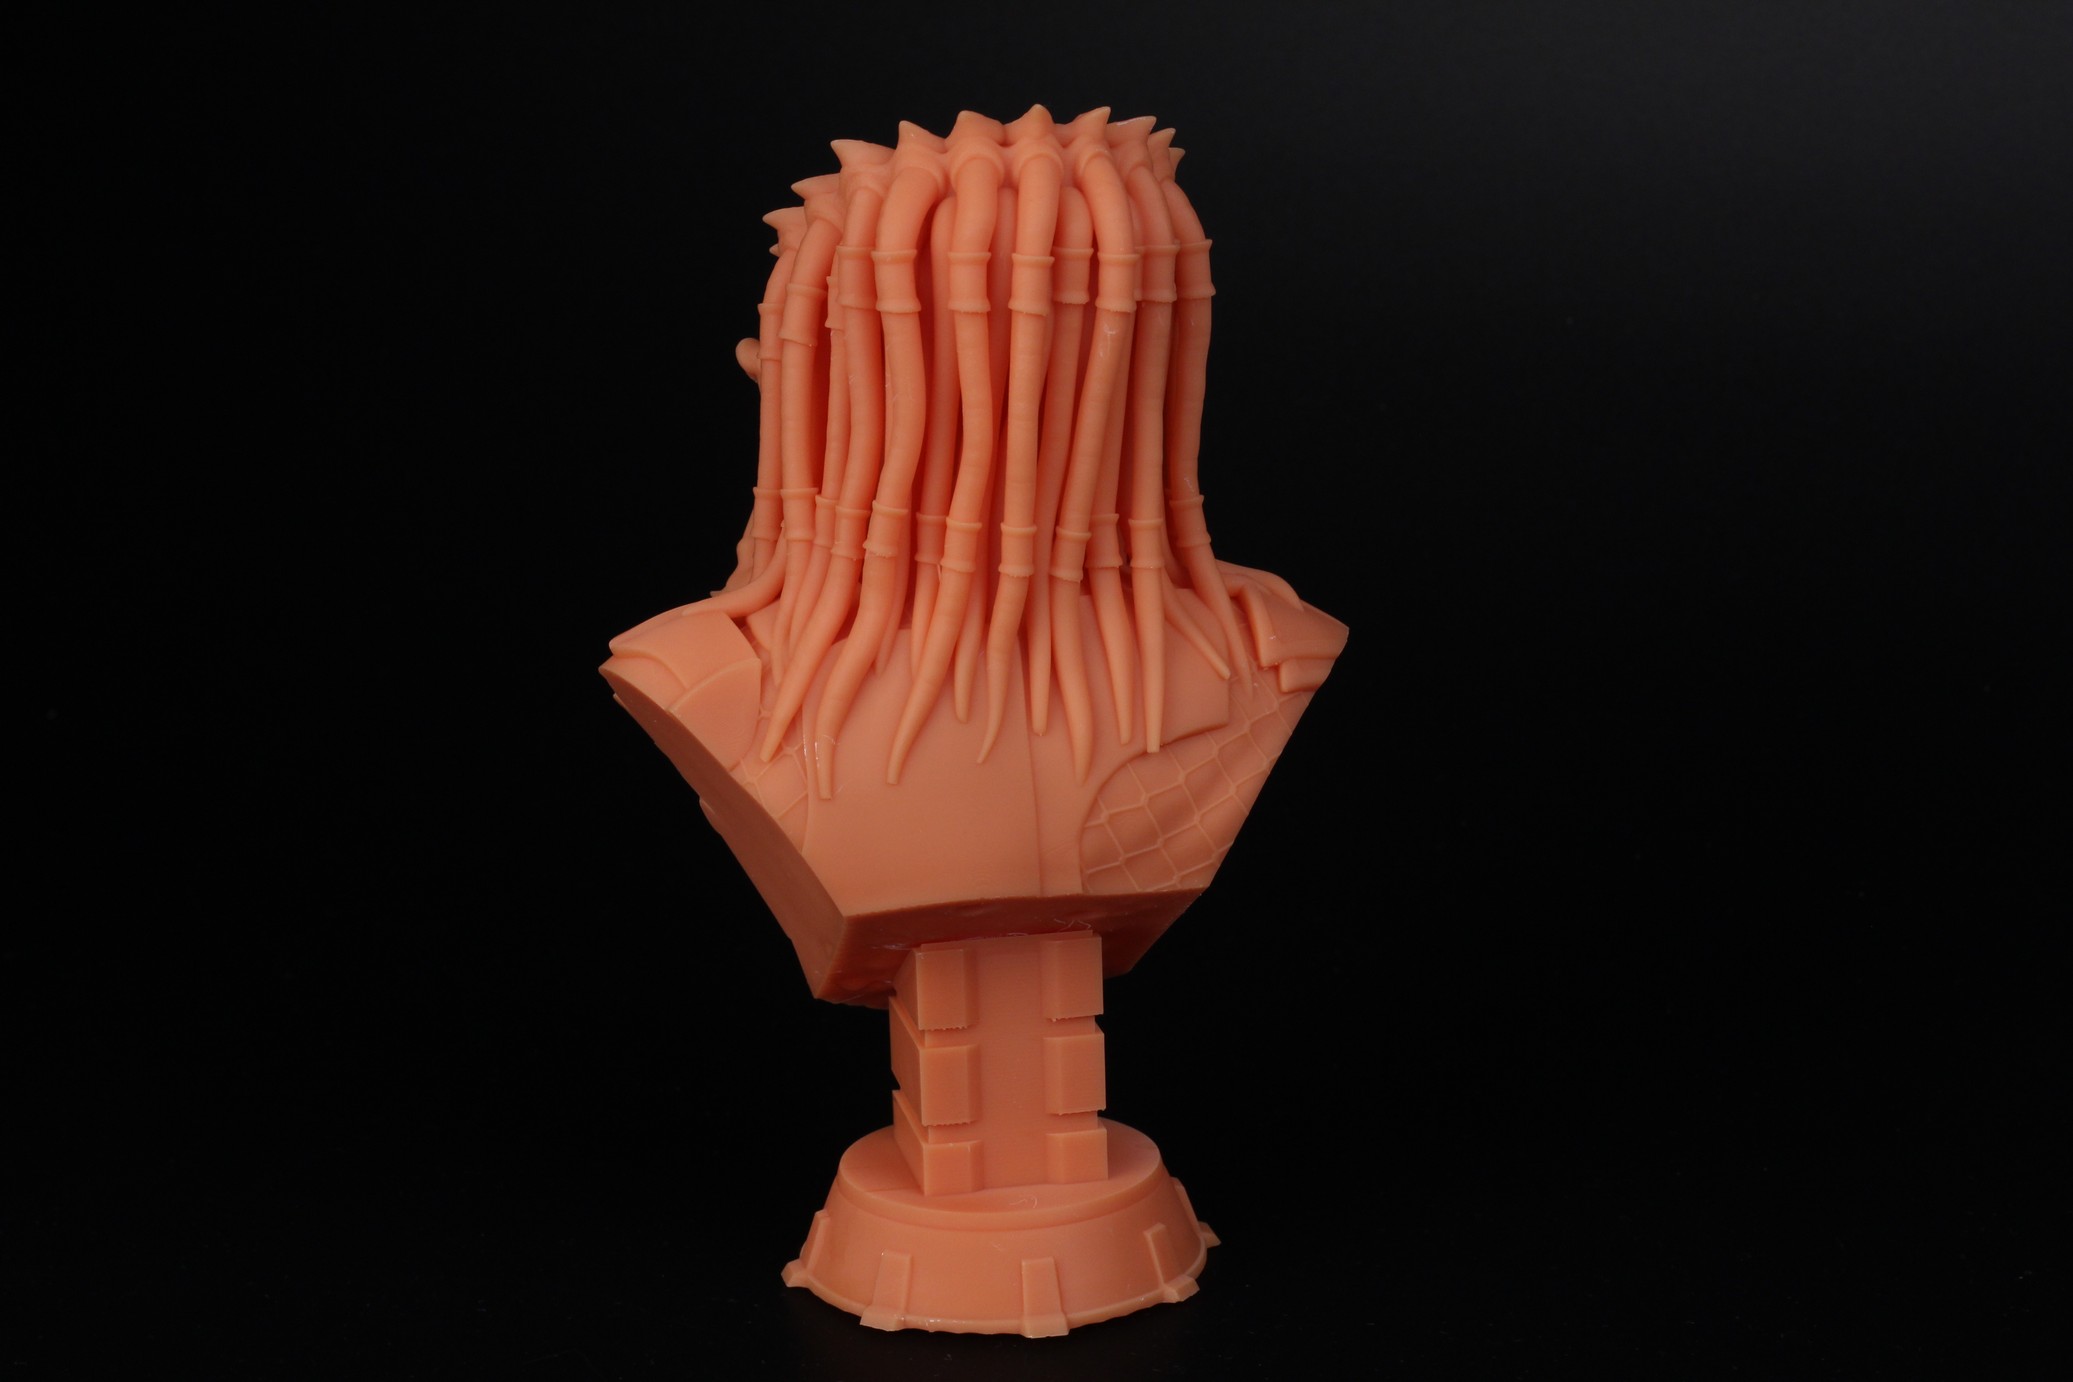
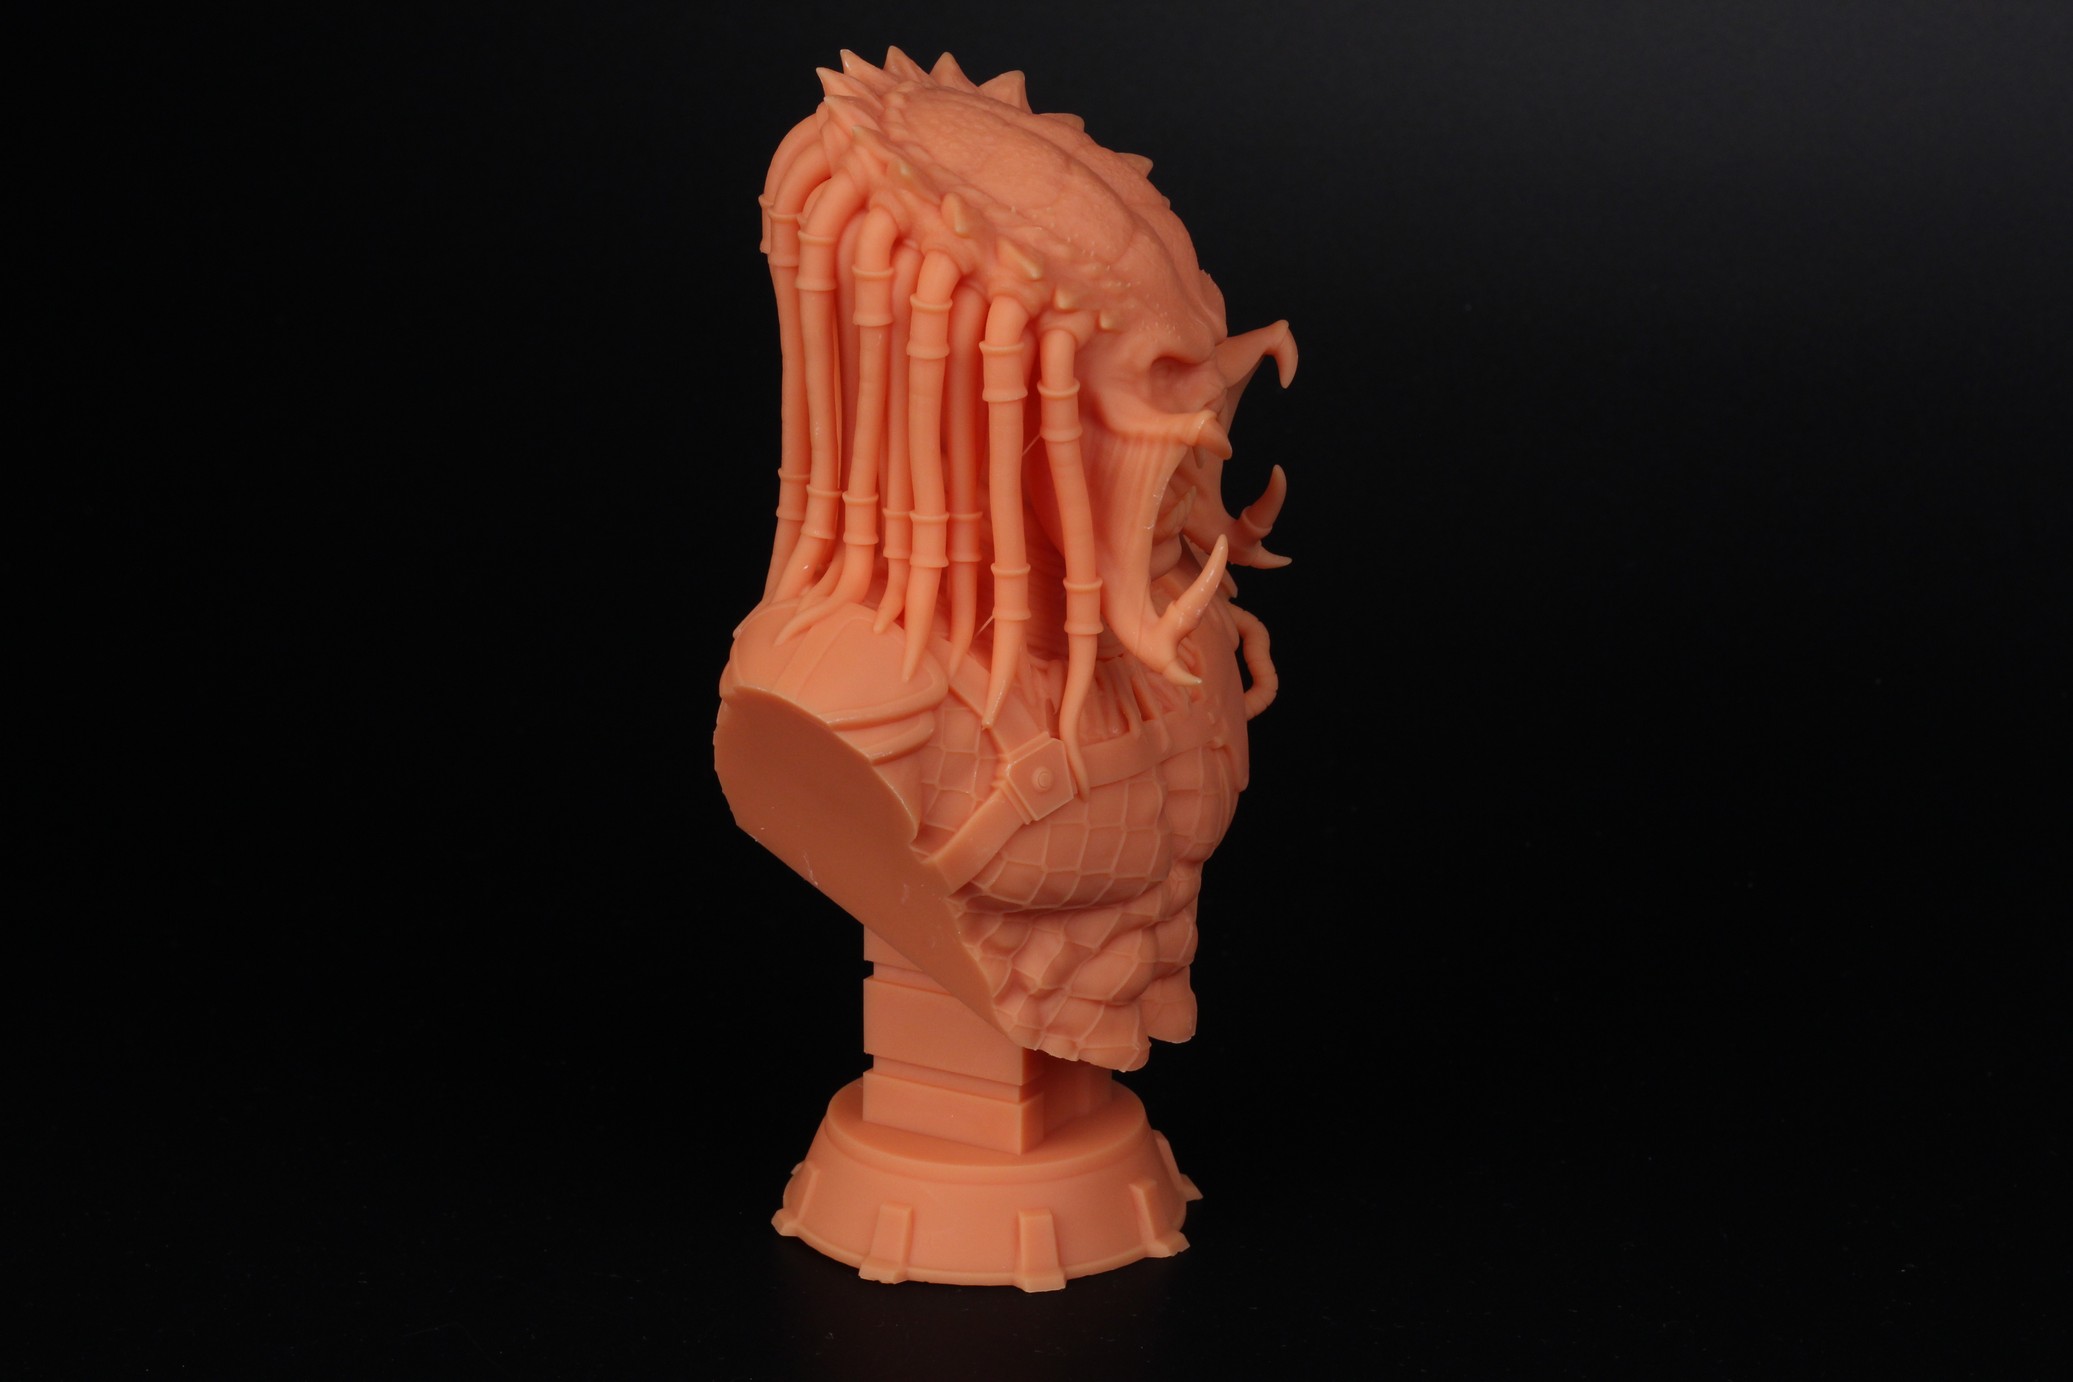
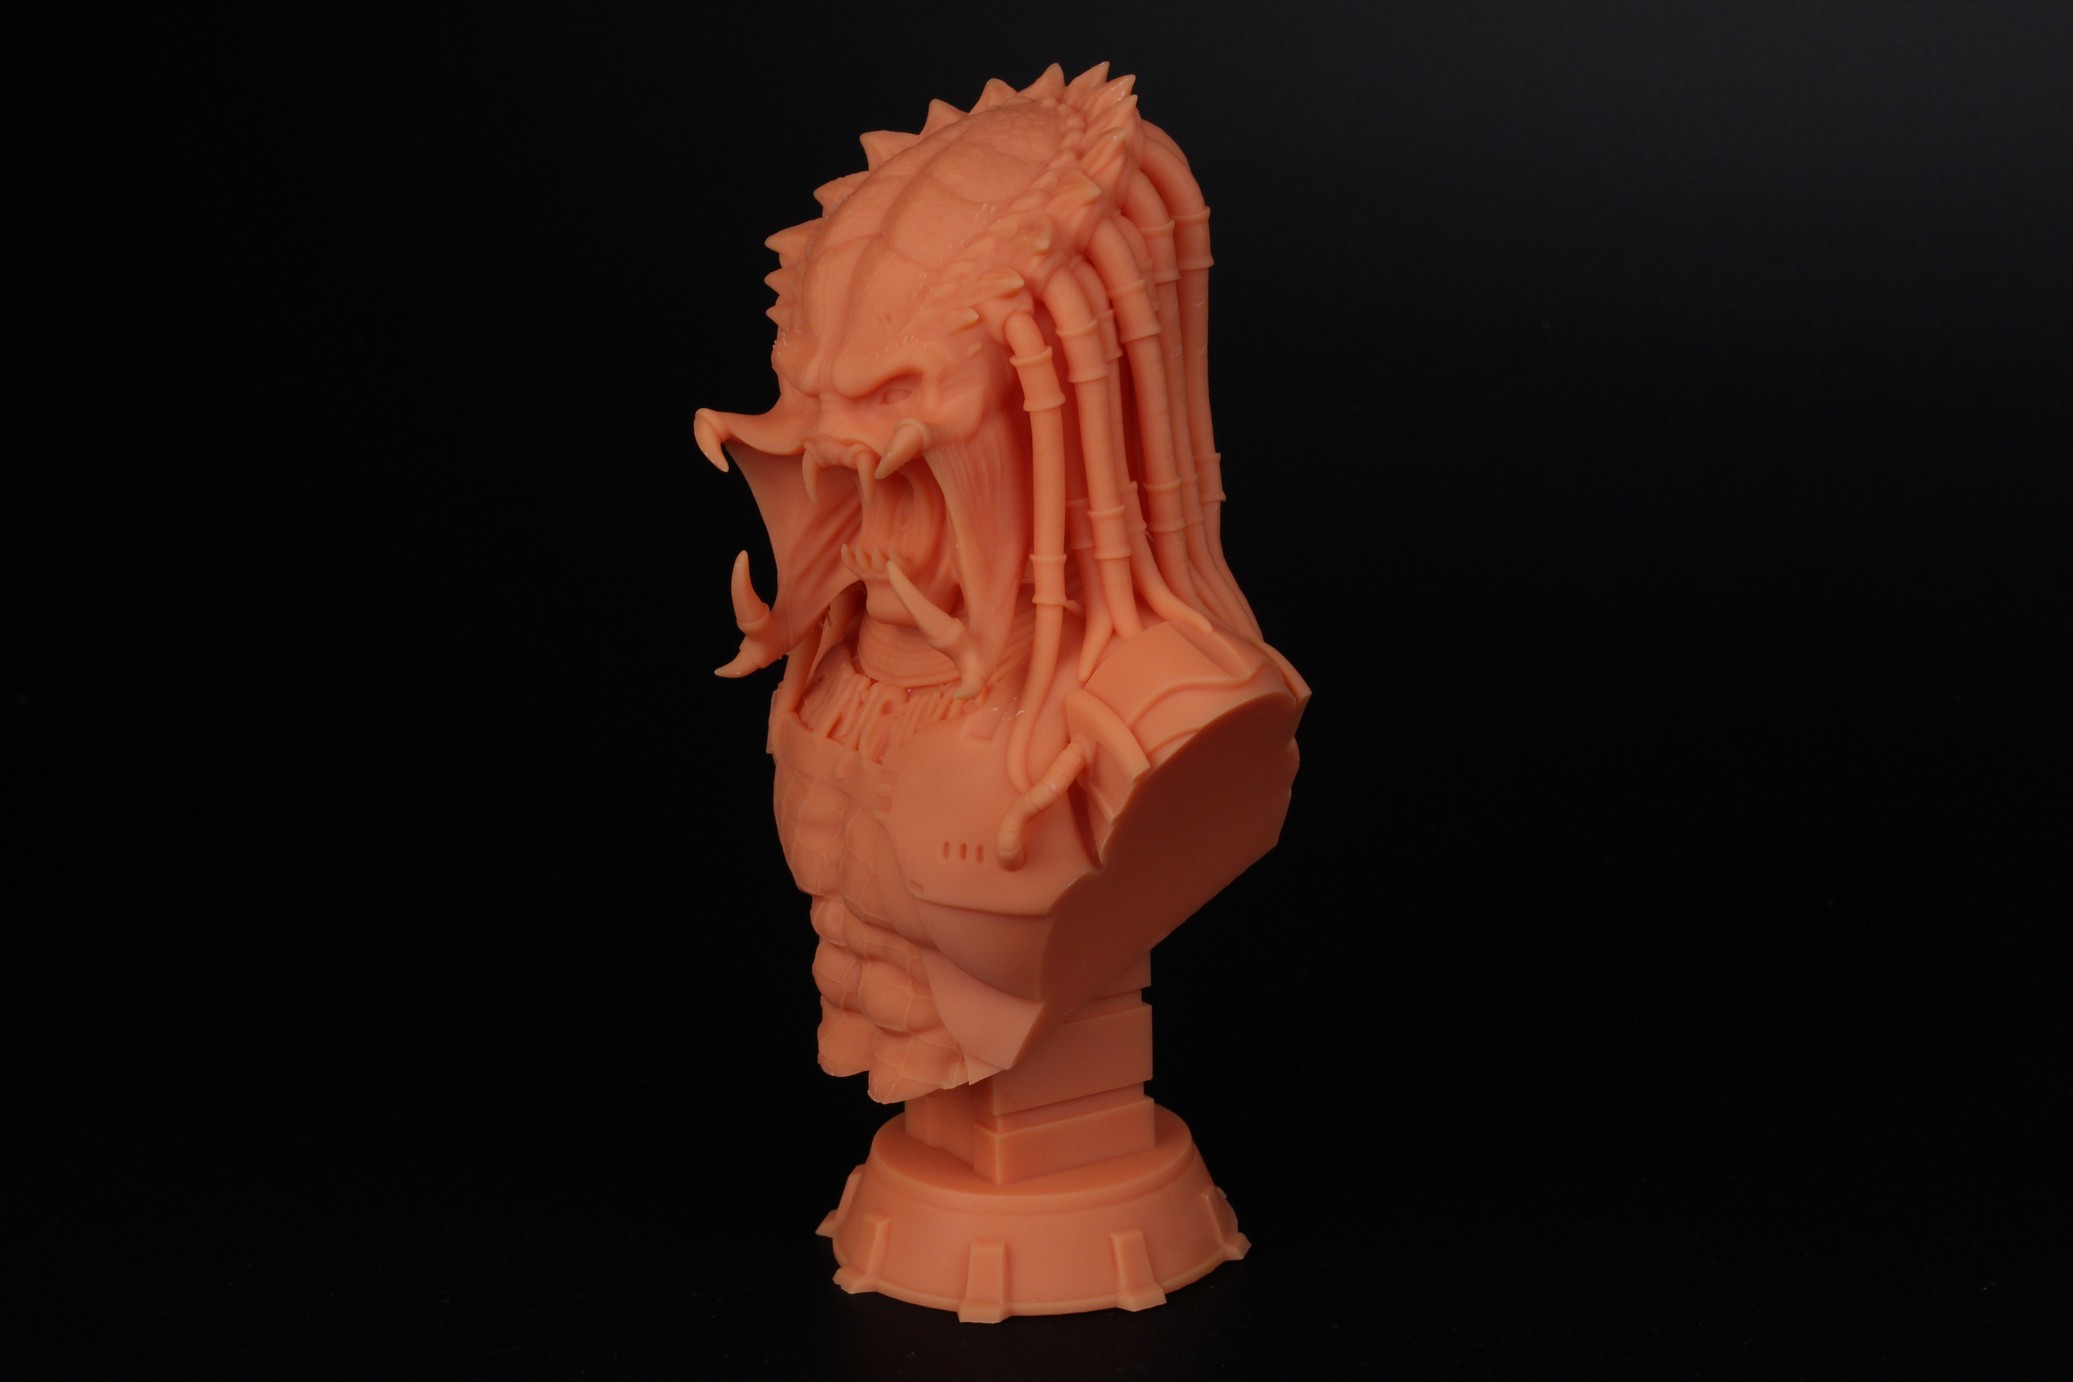
- Material: Anycubic Craftsman Apricot
- Layer Height: 0.05mm
- Layer Cure Time: 3s
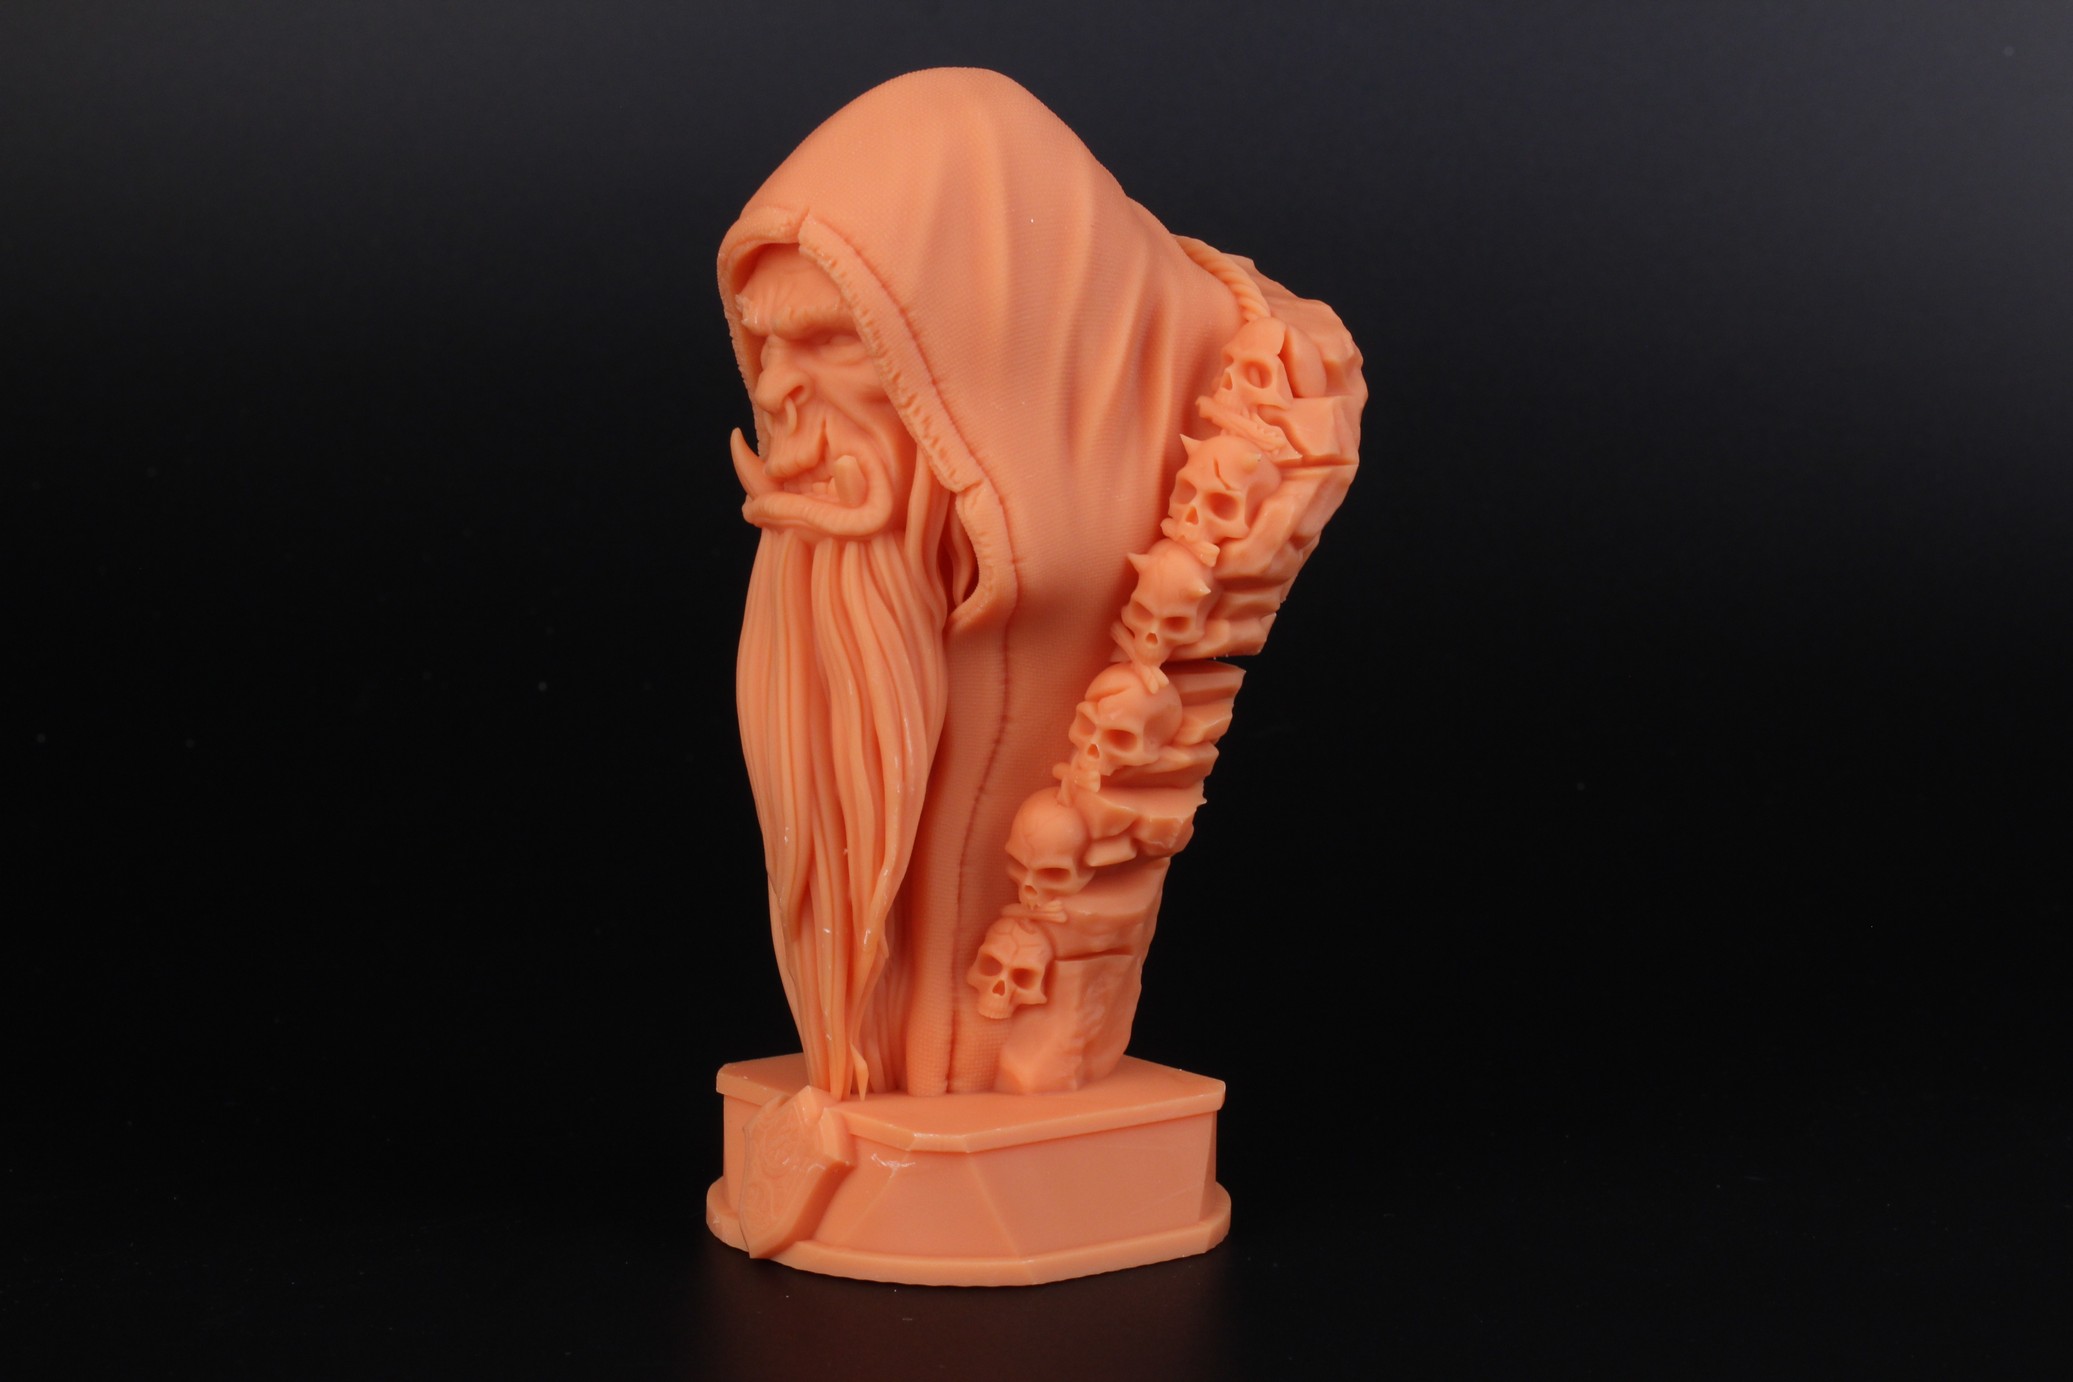
Gul’dan Bust
Another excellent model which printed out great. I really can’t see any issues with the model, other than a tiny little line in the back of the base, where I think there was a slicing error.
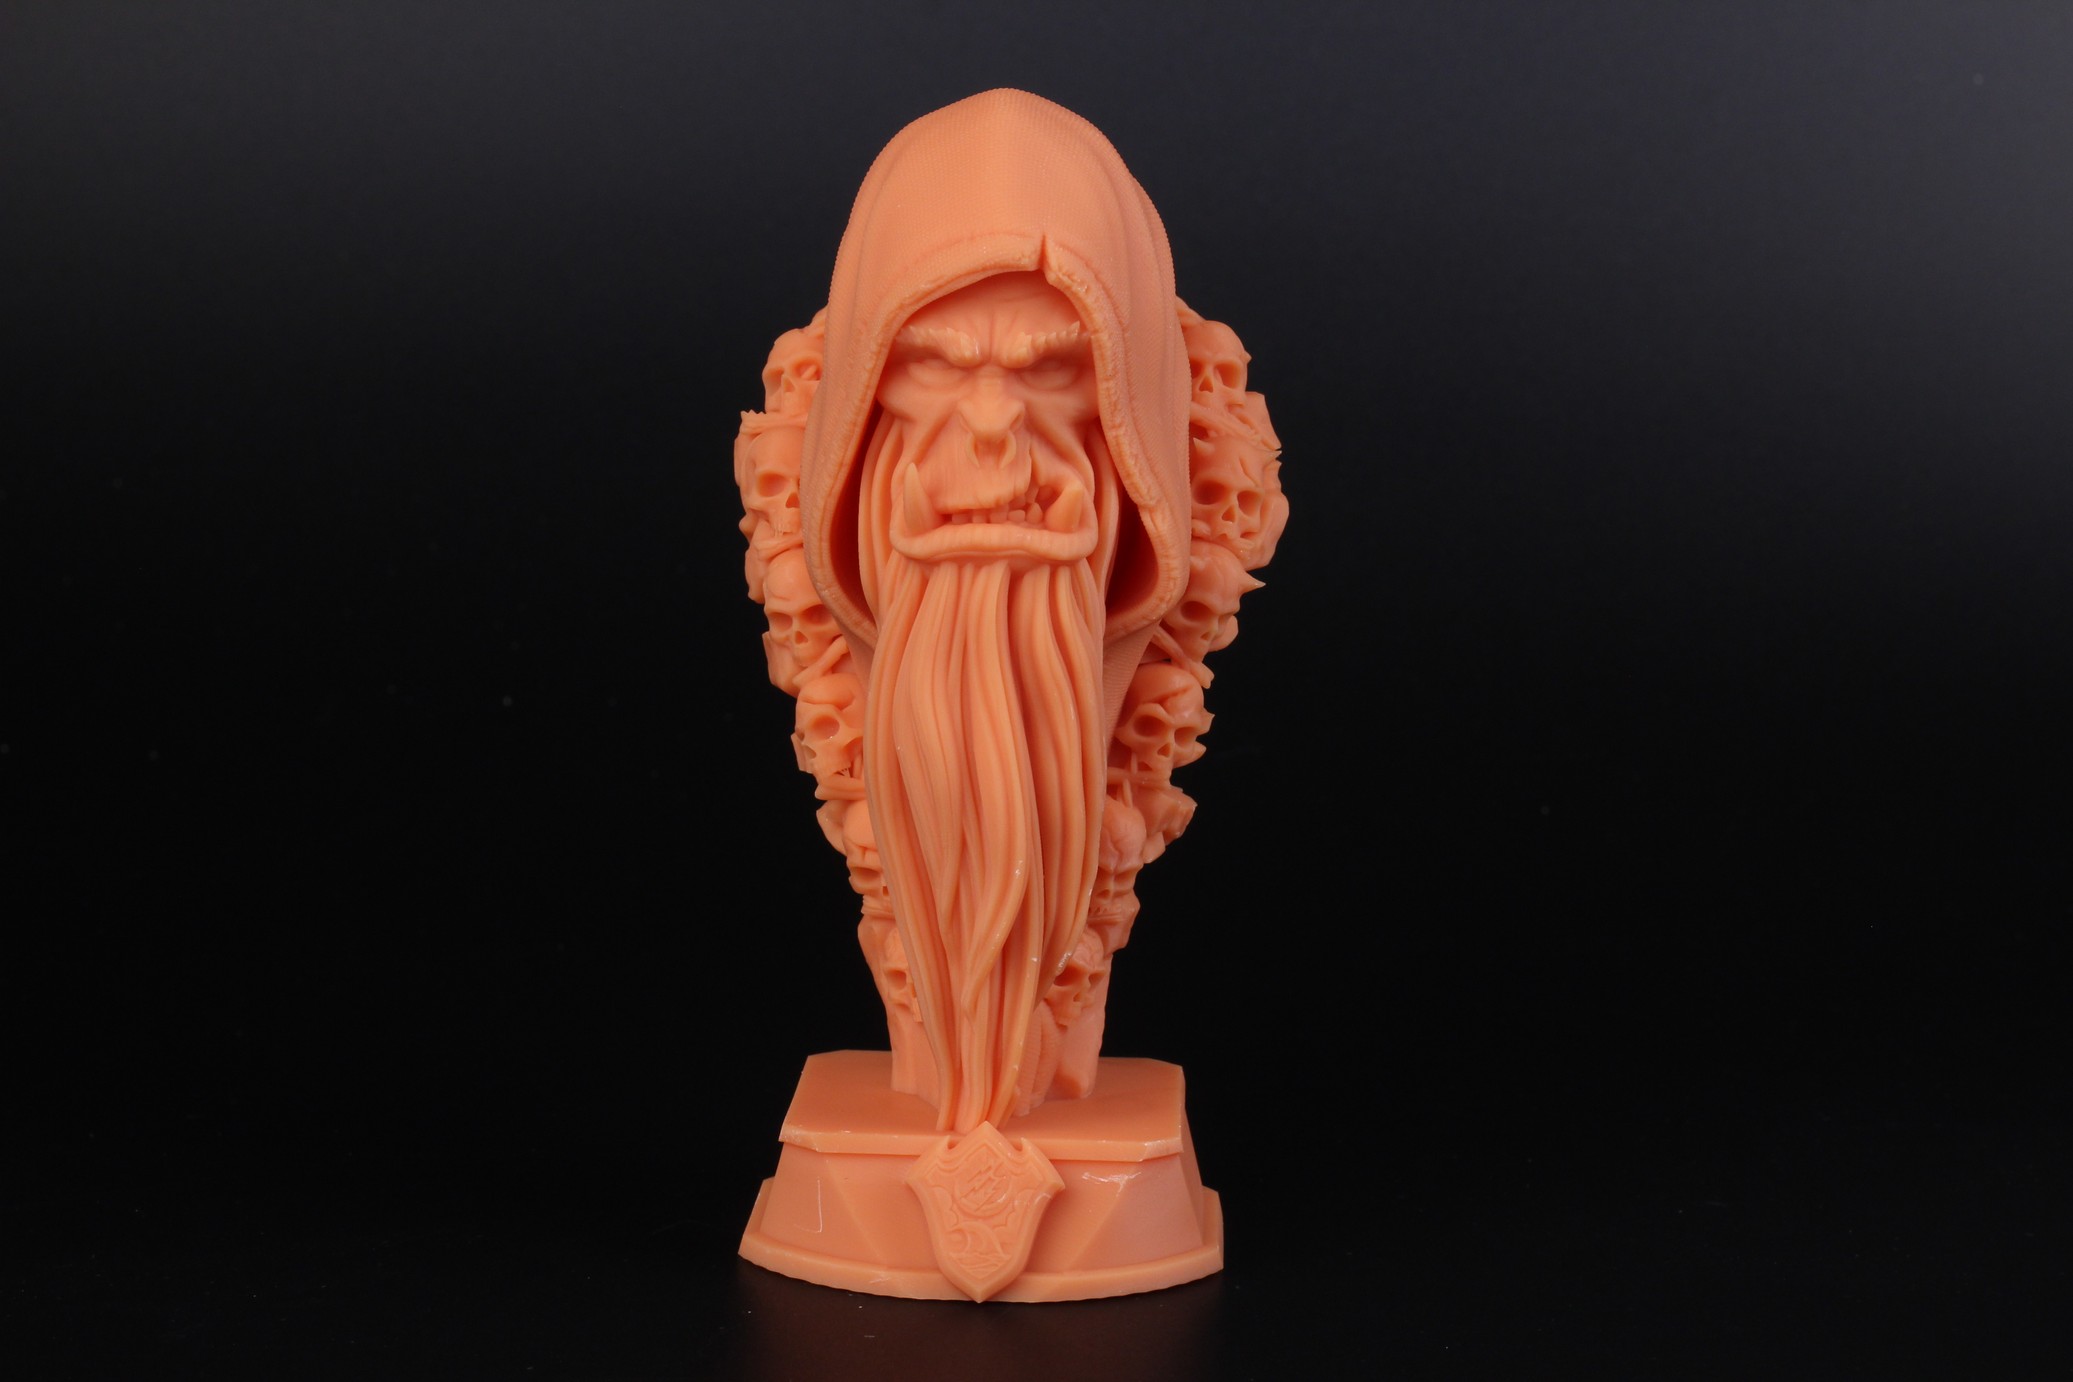
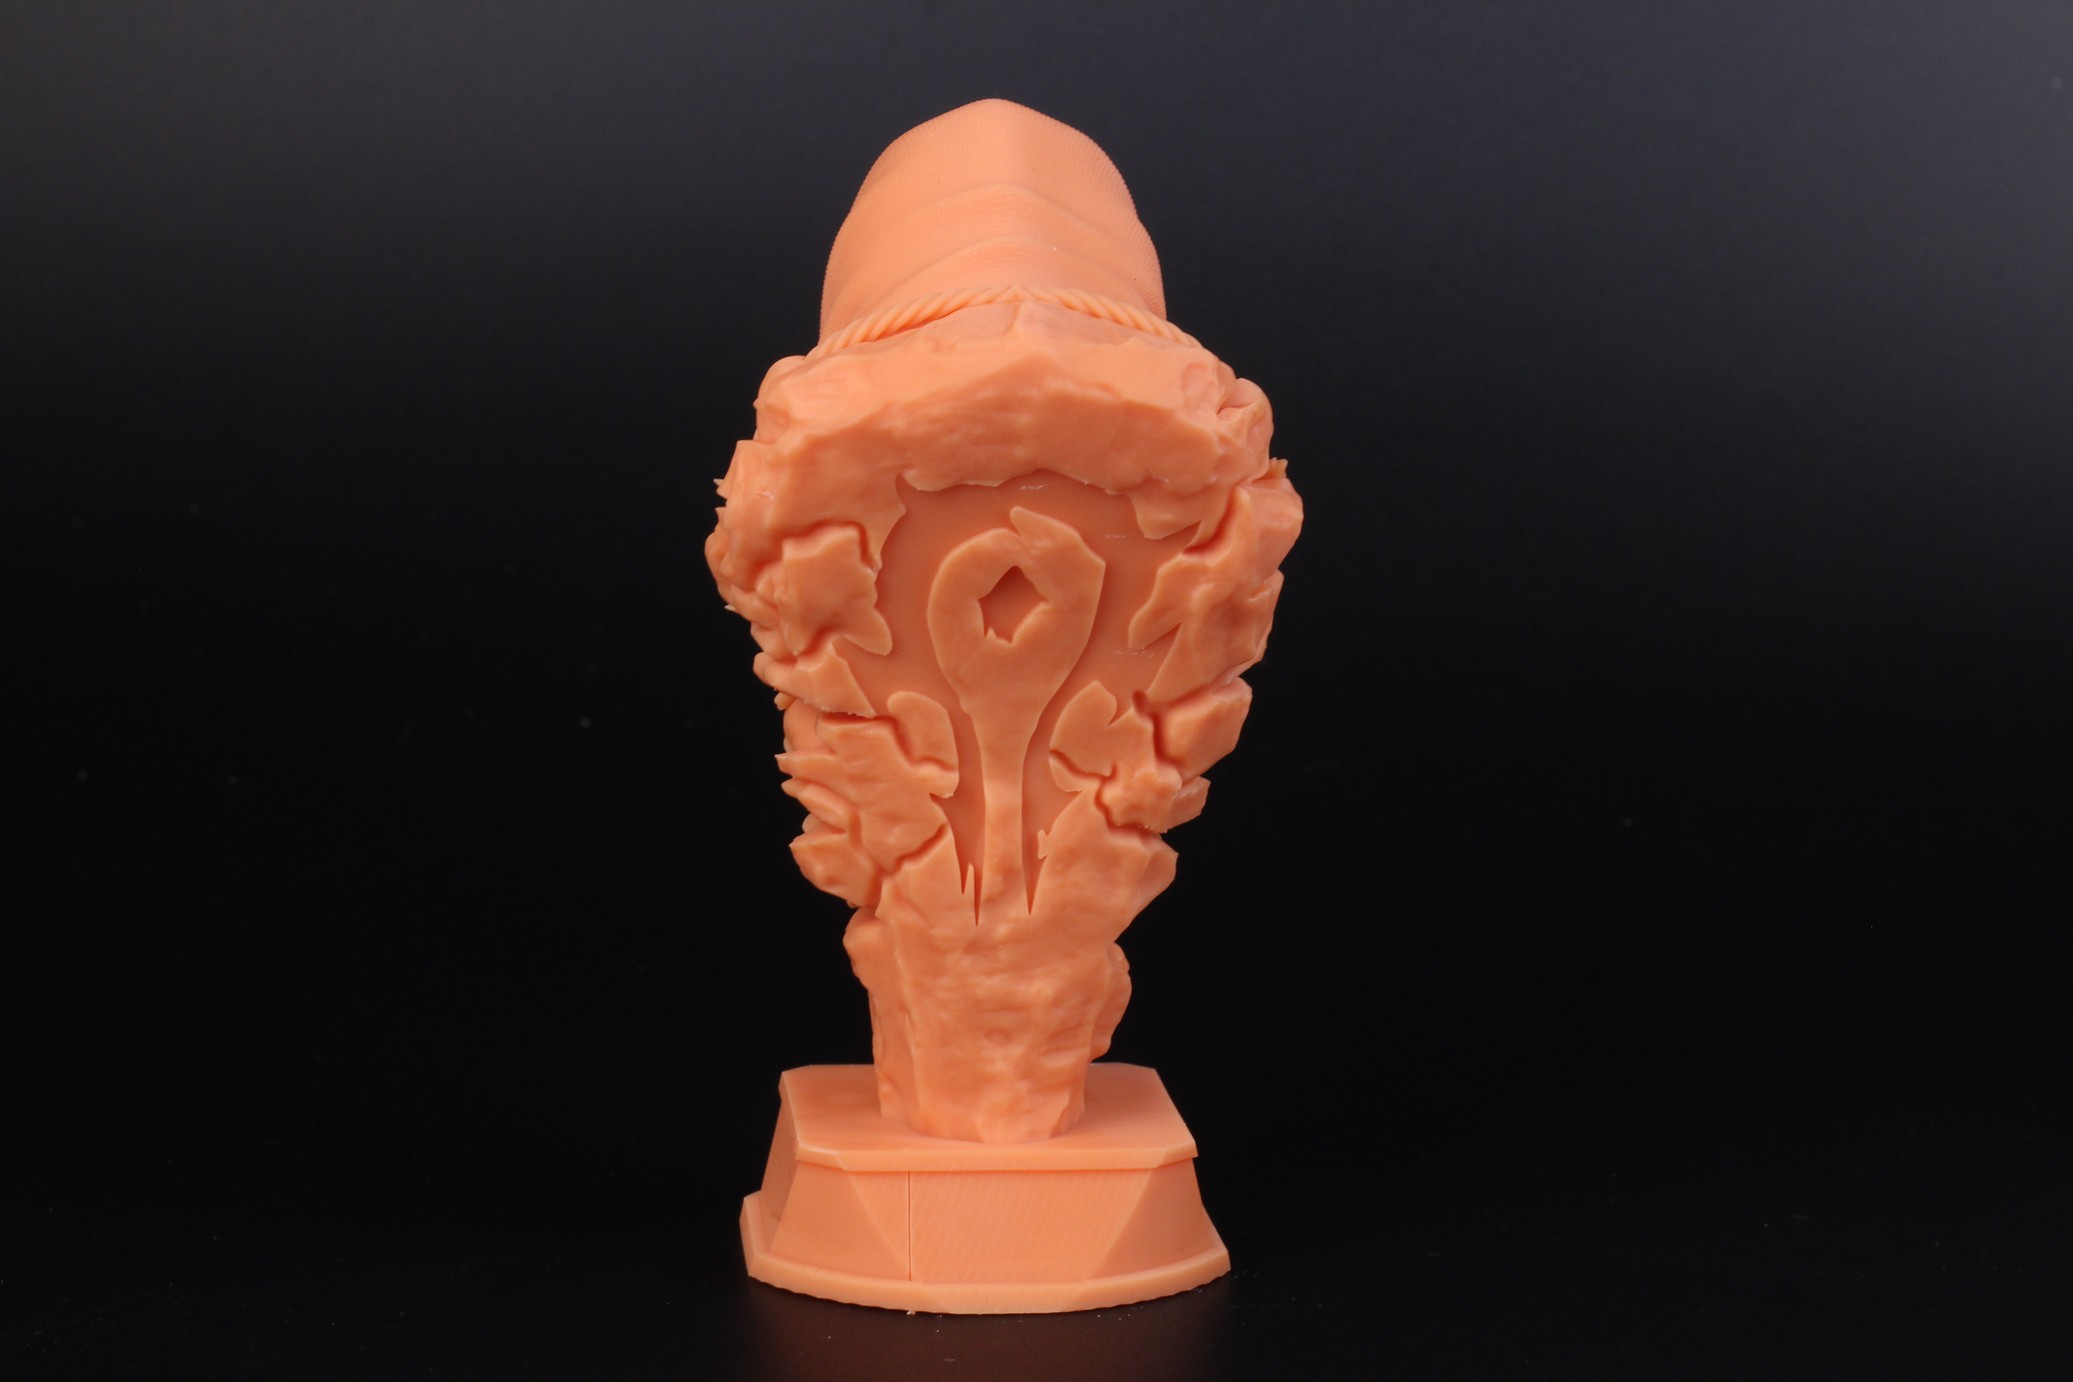
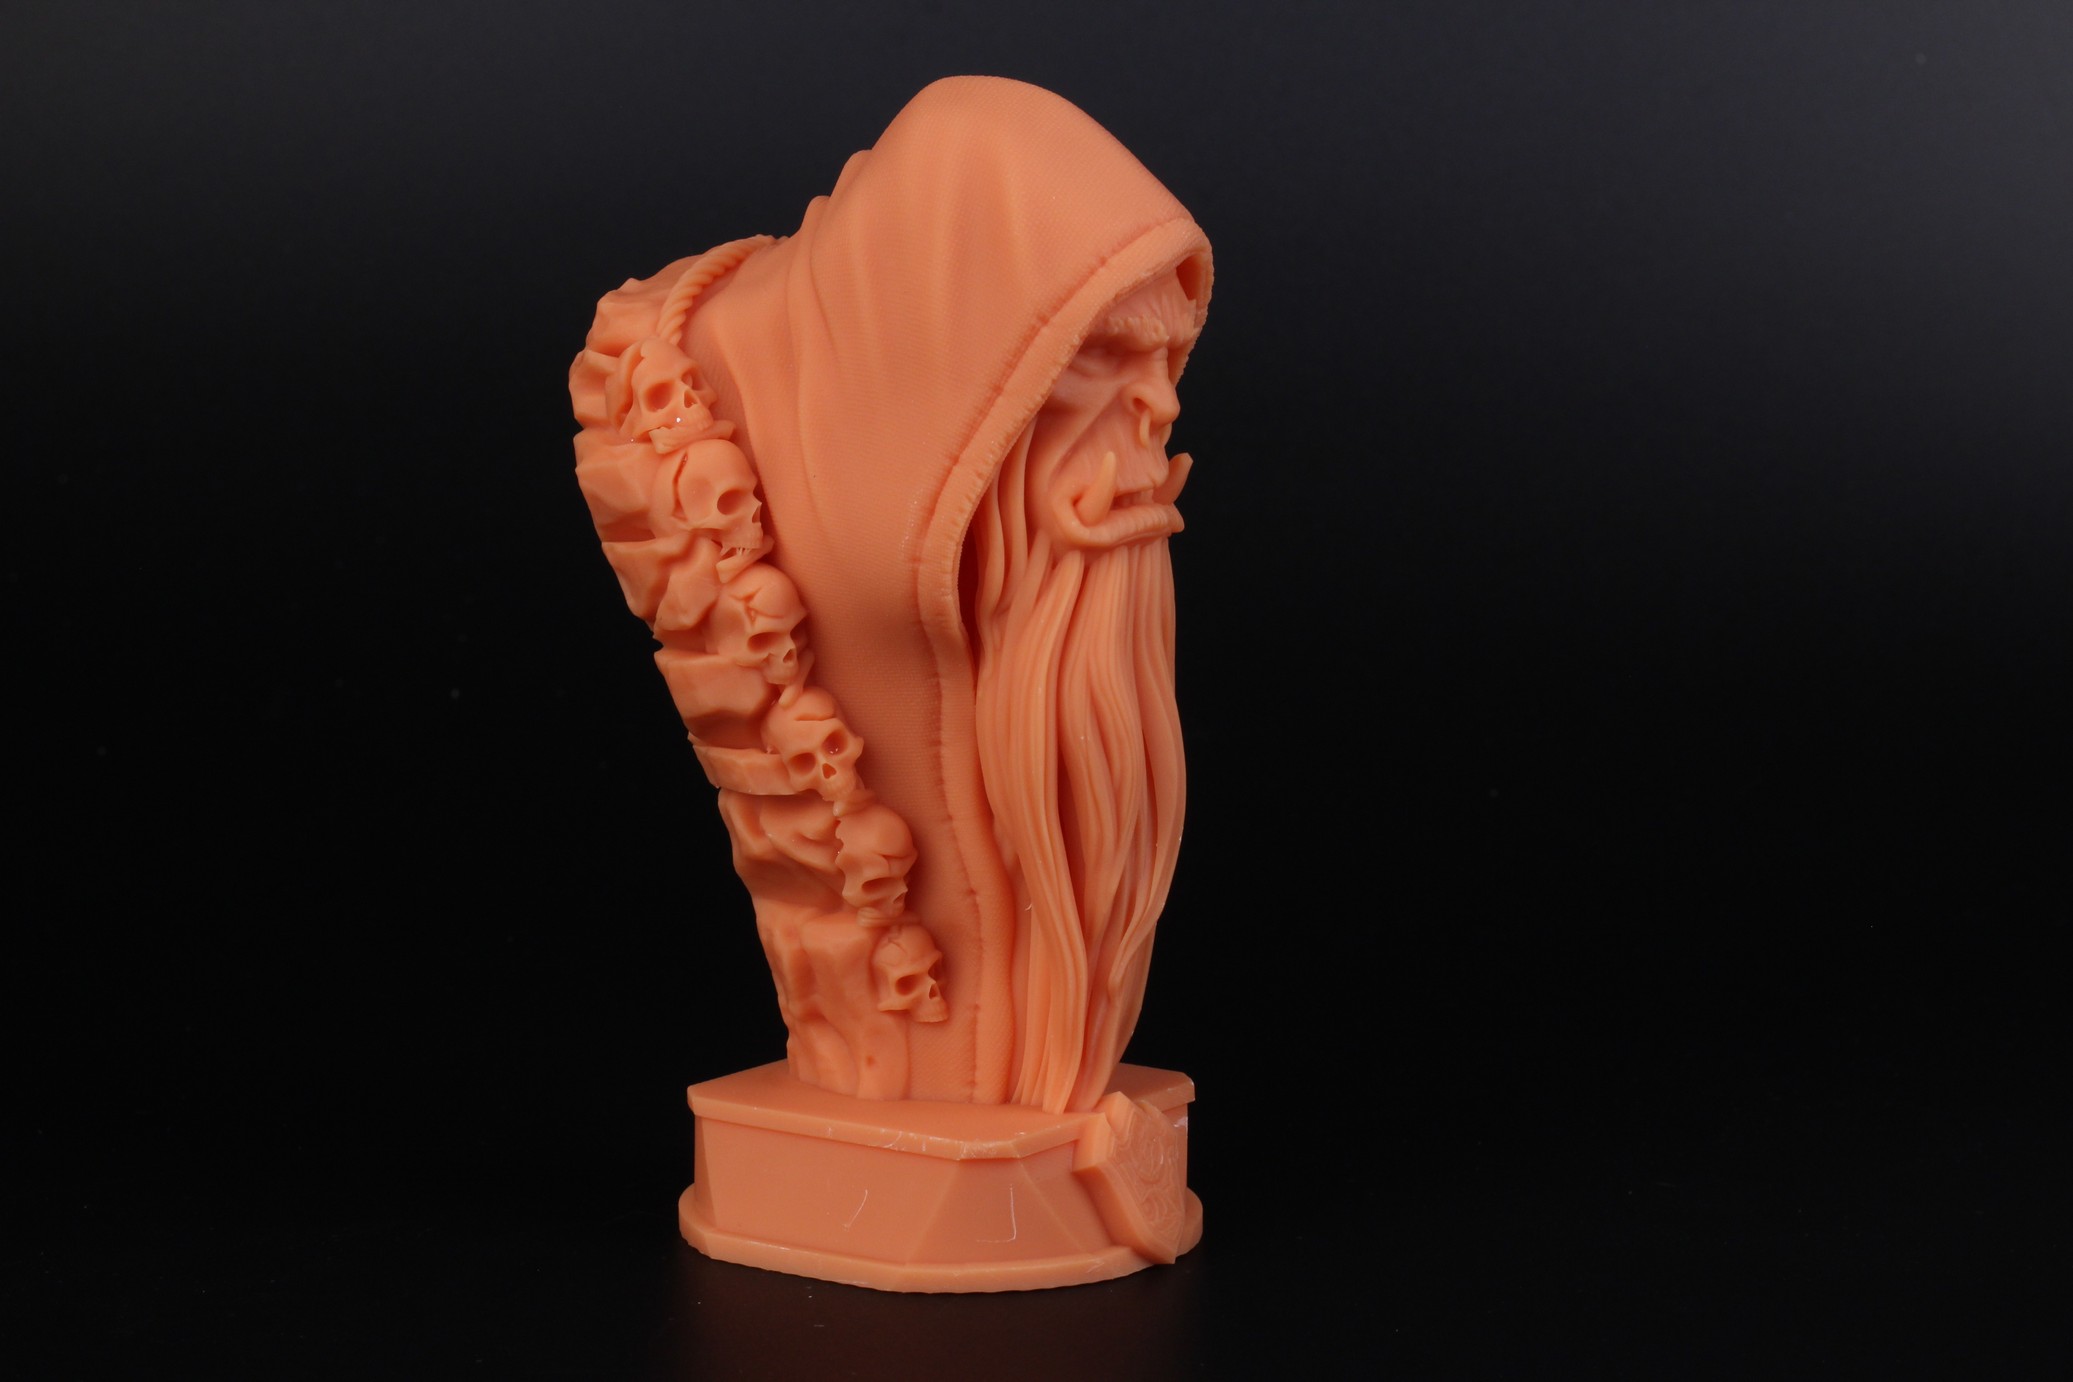
- Material: Anycubic Craftsman Apricot
- Layer Height: 0.05mm
- Layer Cure Time: 3s
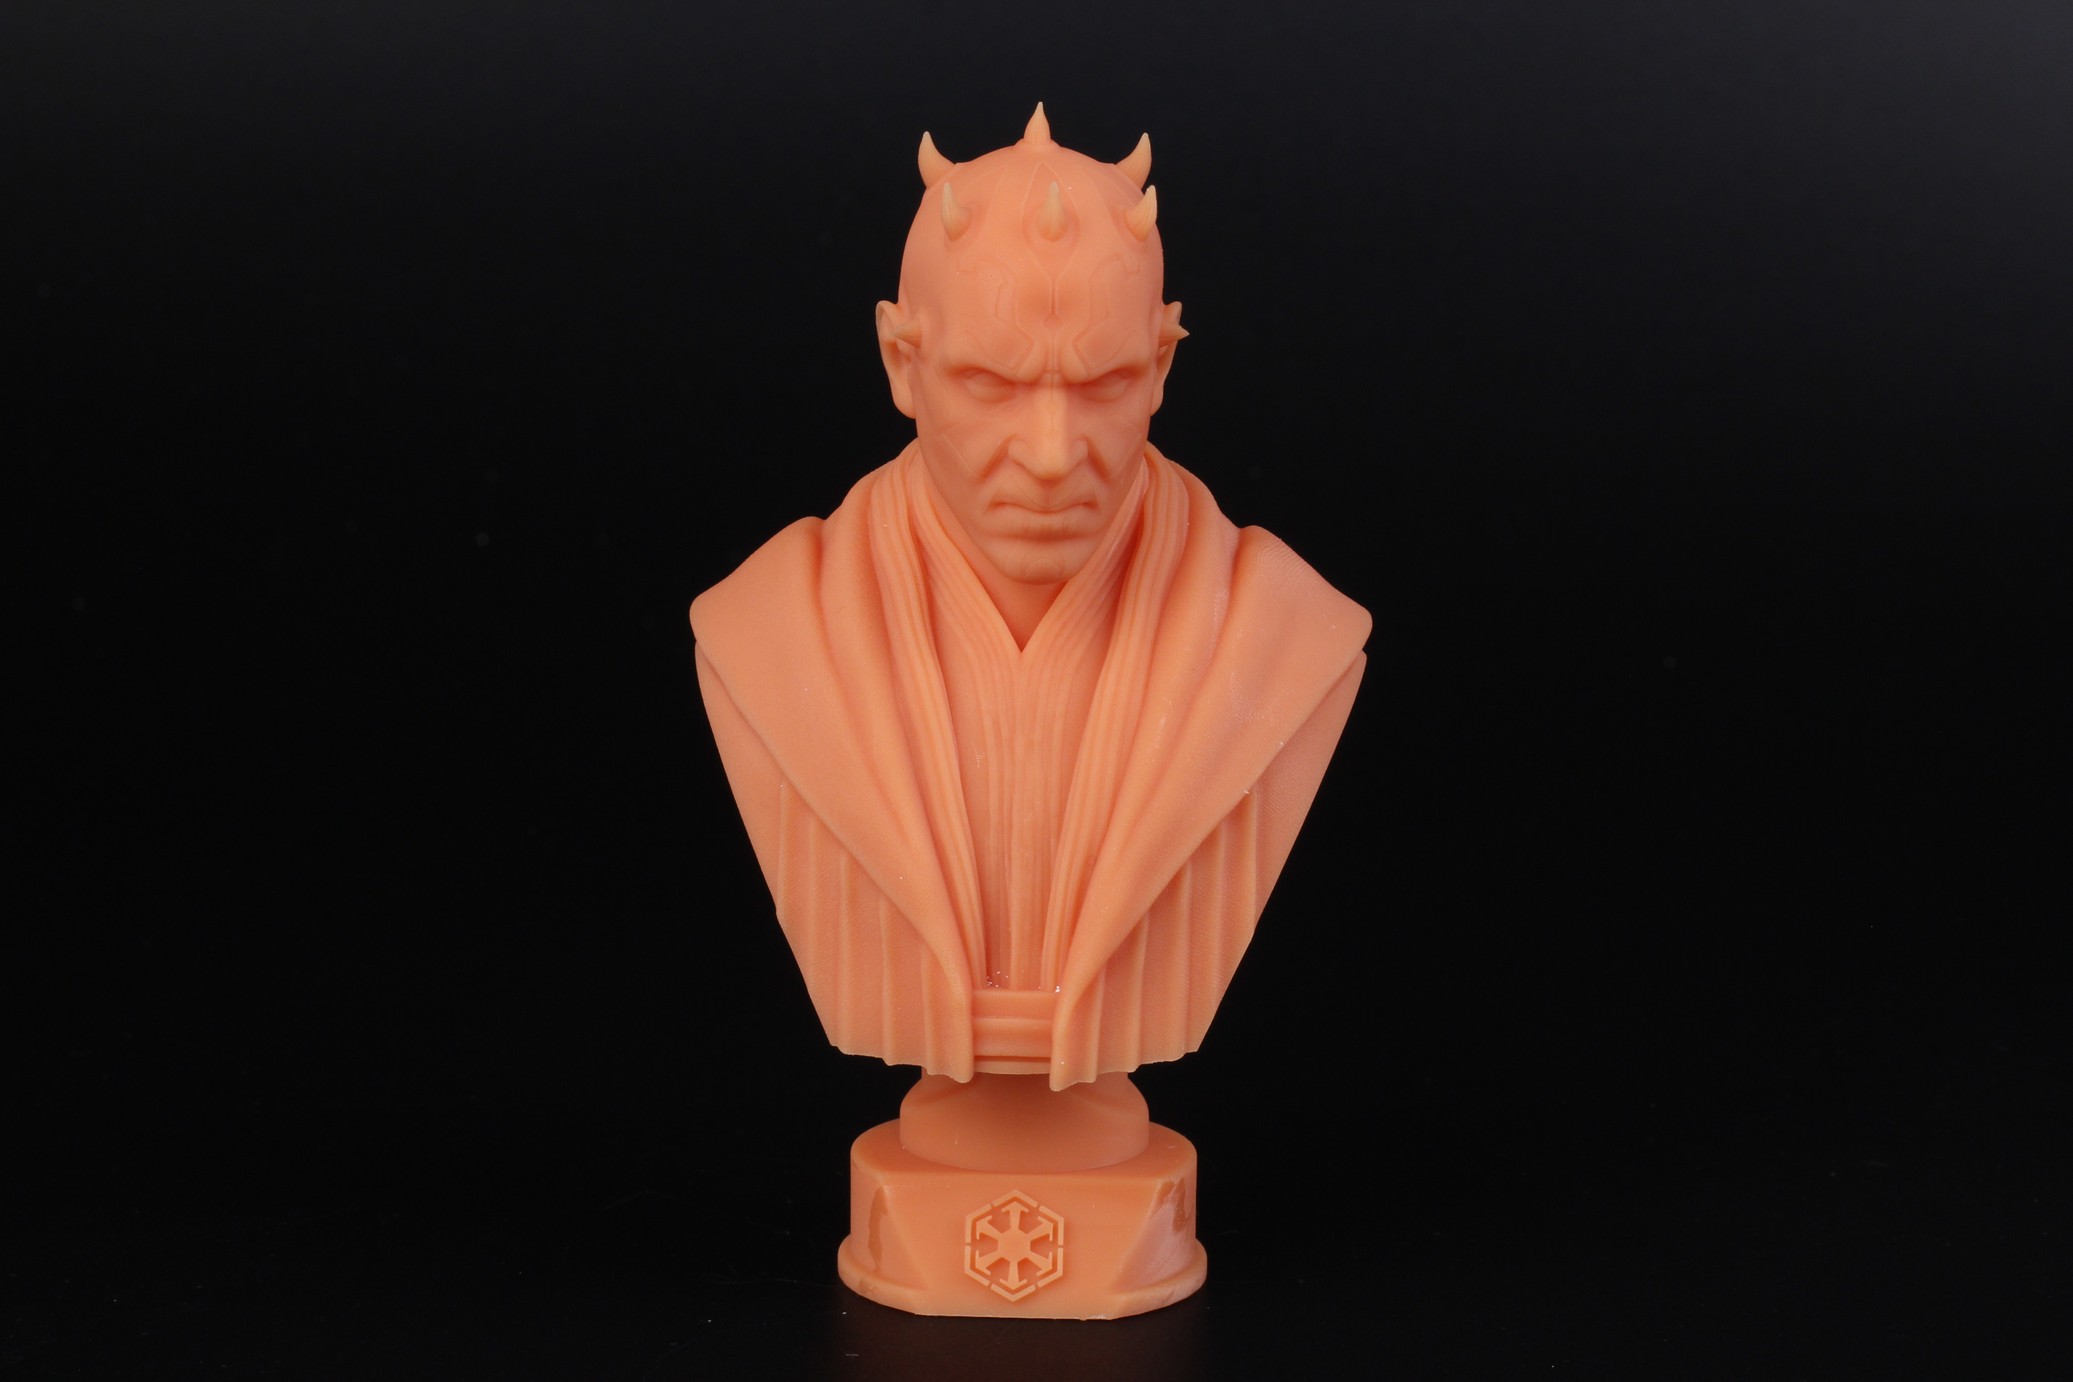
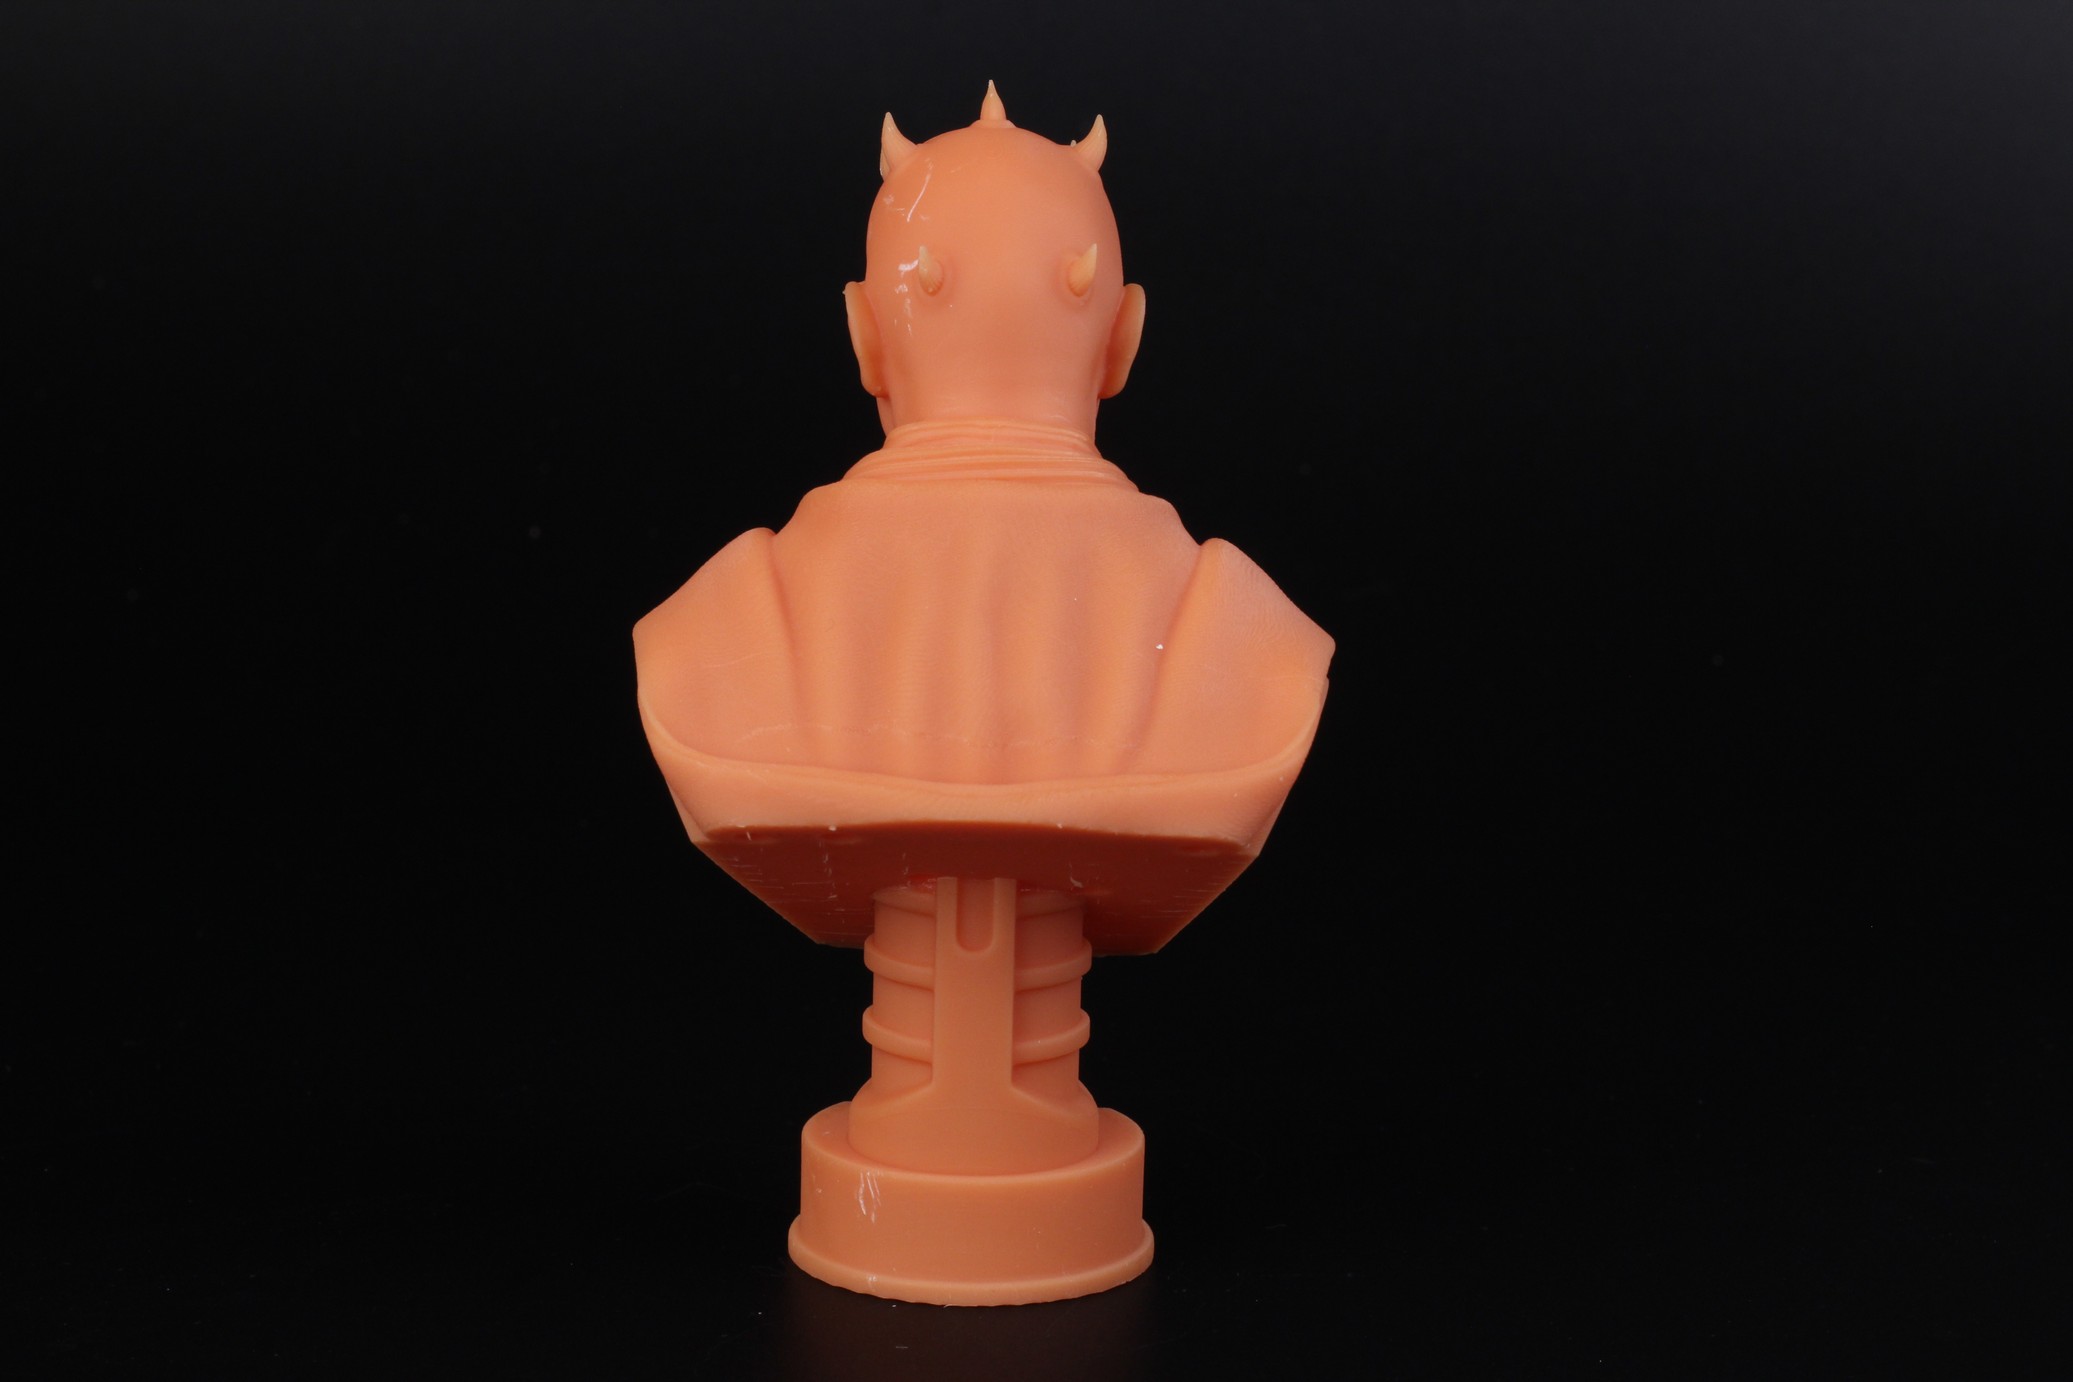
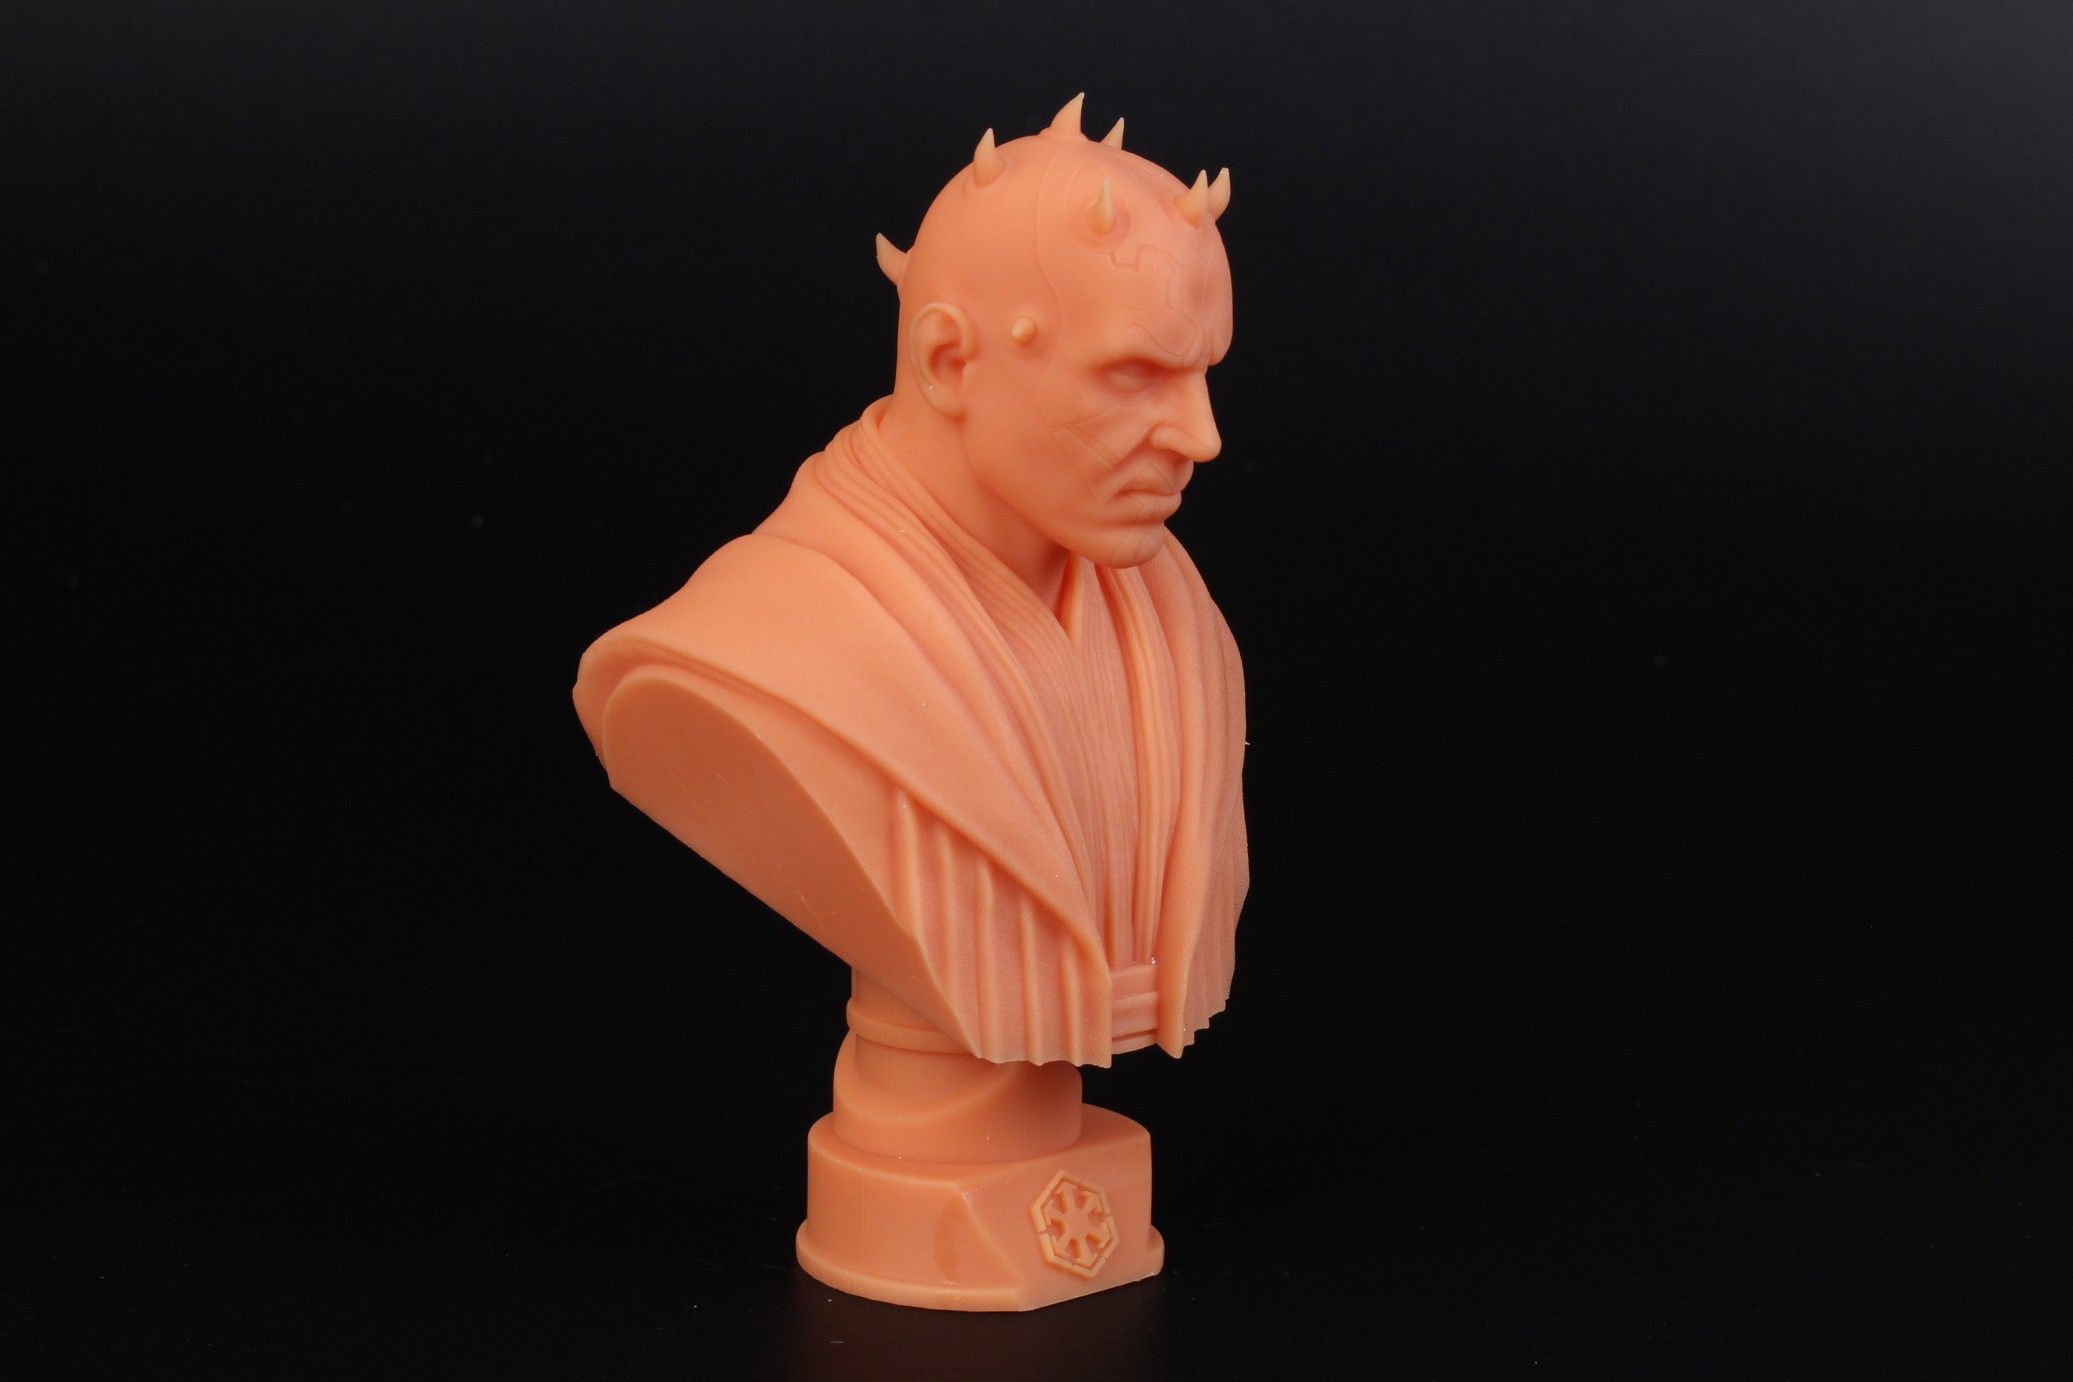
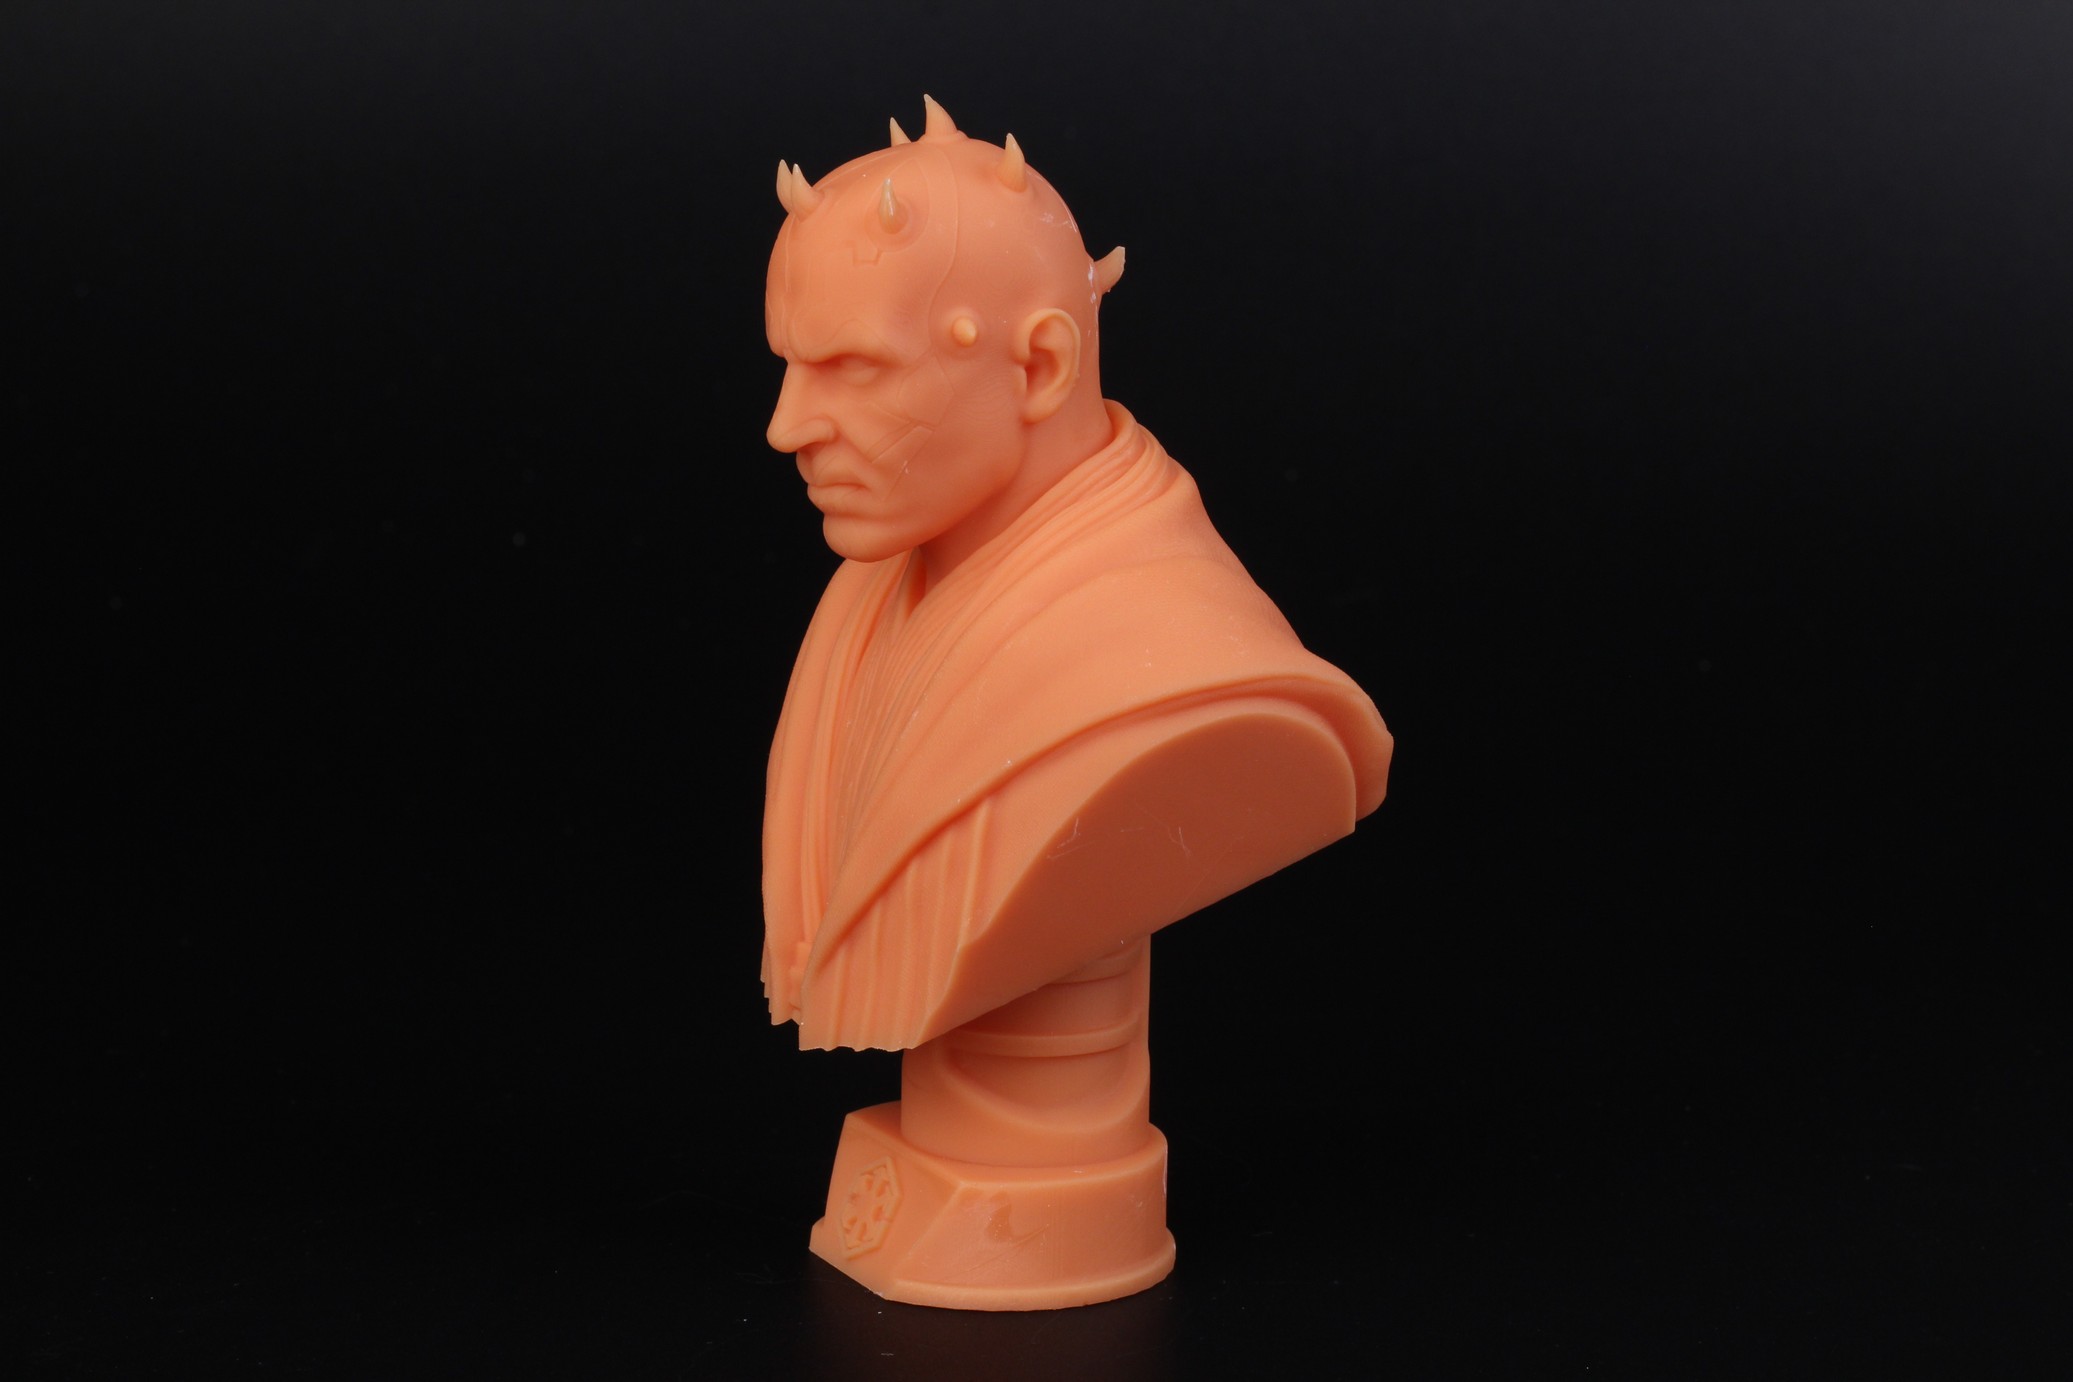
Darth Maul Bust
While this Darth Maul bust has some minor scars generated during the wash cycle, the print quality is excellent. Every little fine details can be observed and I can’t find any print issues with this one.
- Material: Anycubic Craftsman Apricot
- Layer Height: 0.05mm
- Layer Cure Time: 3s
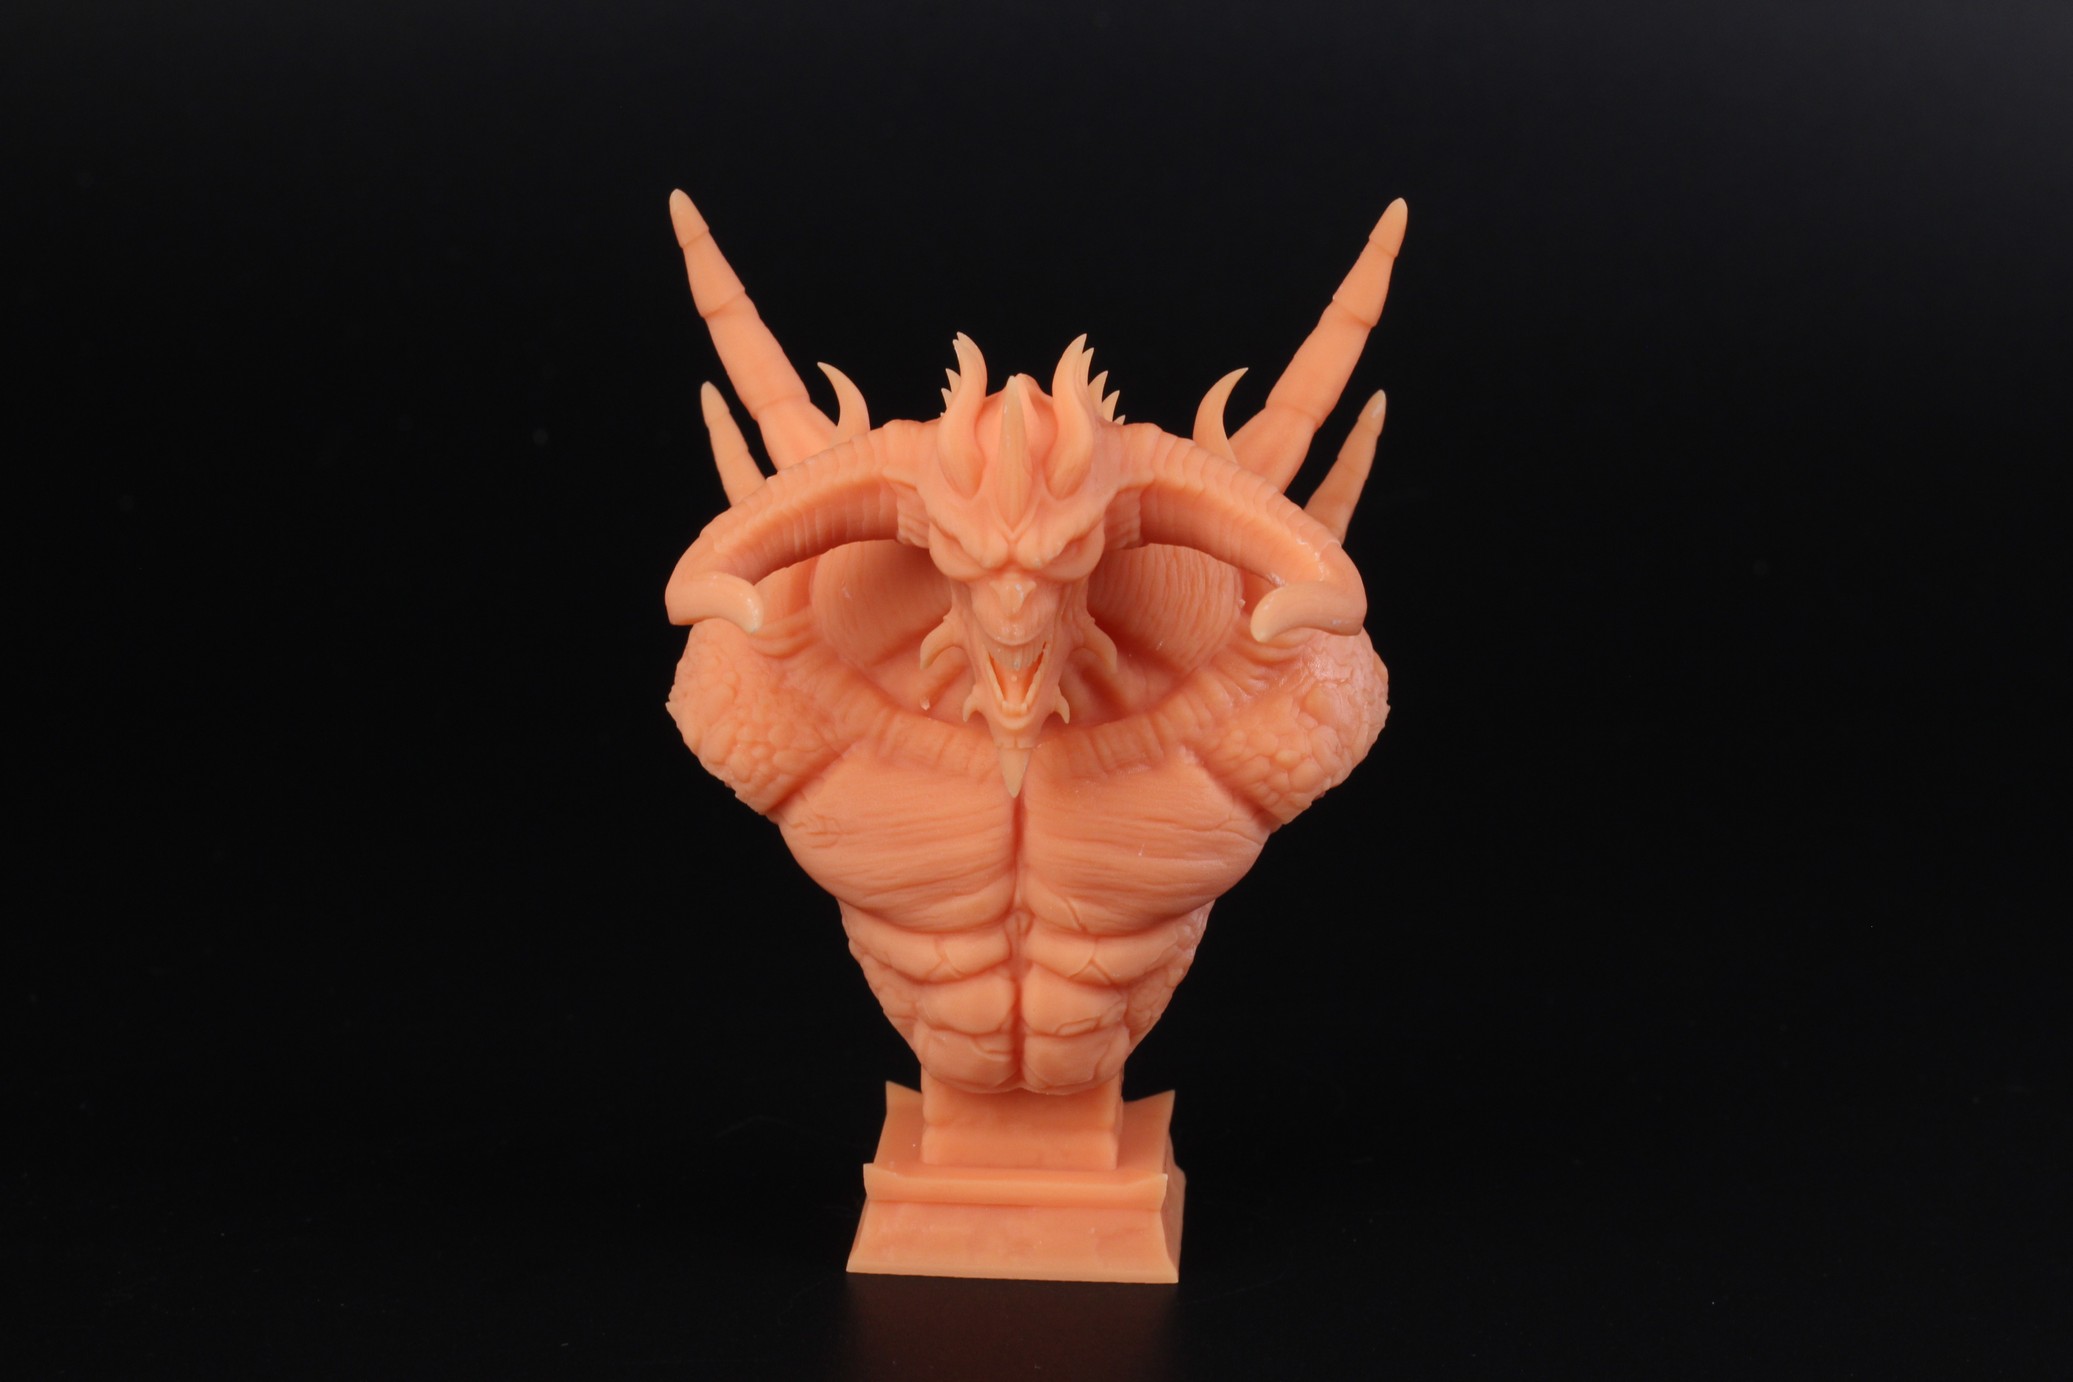
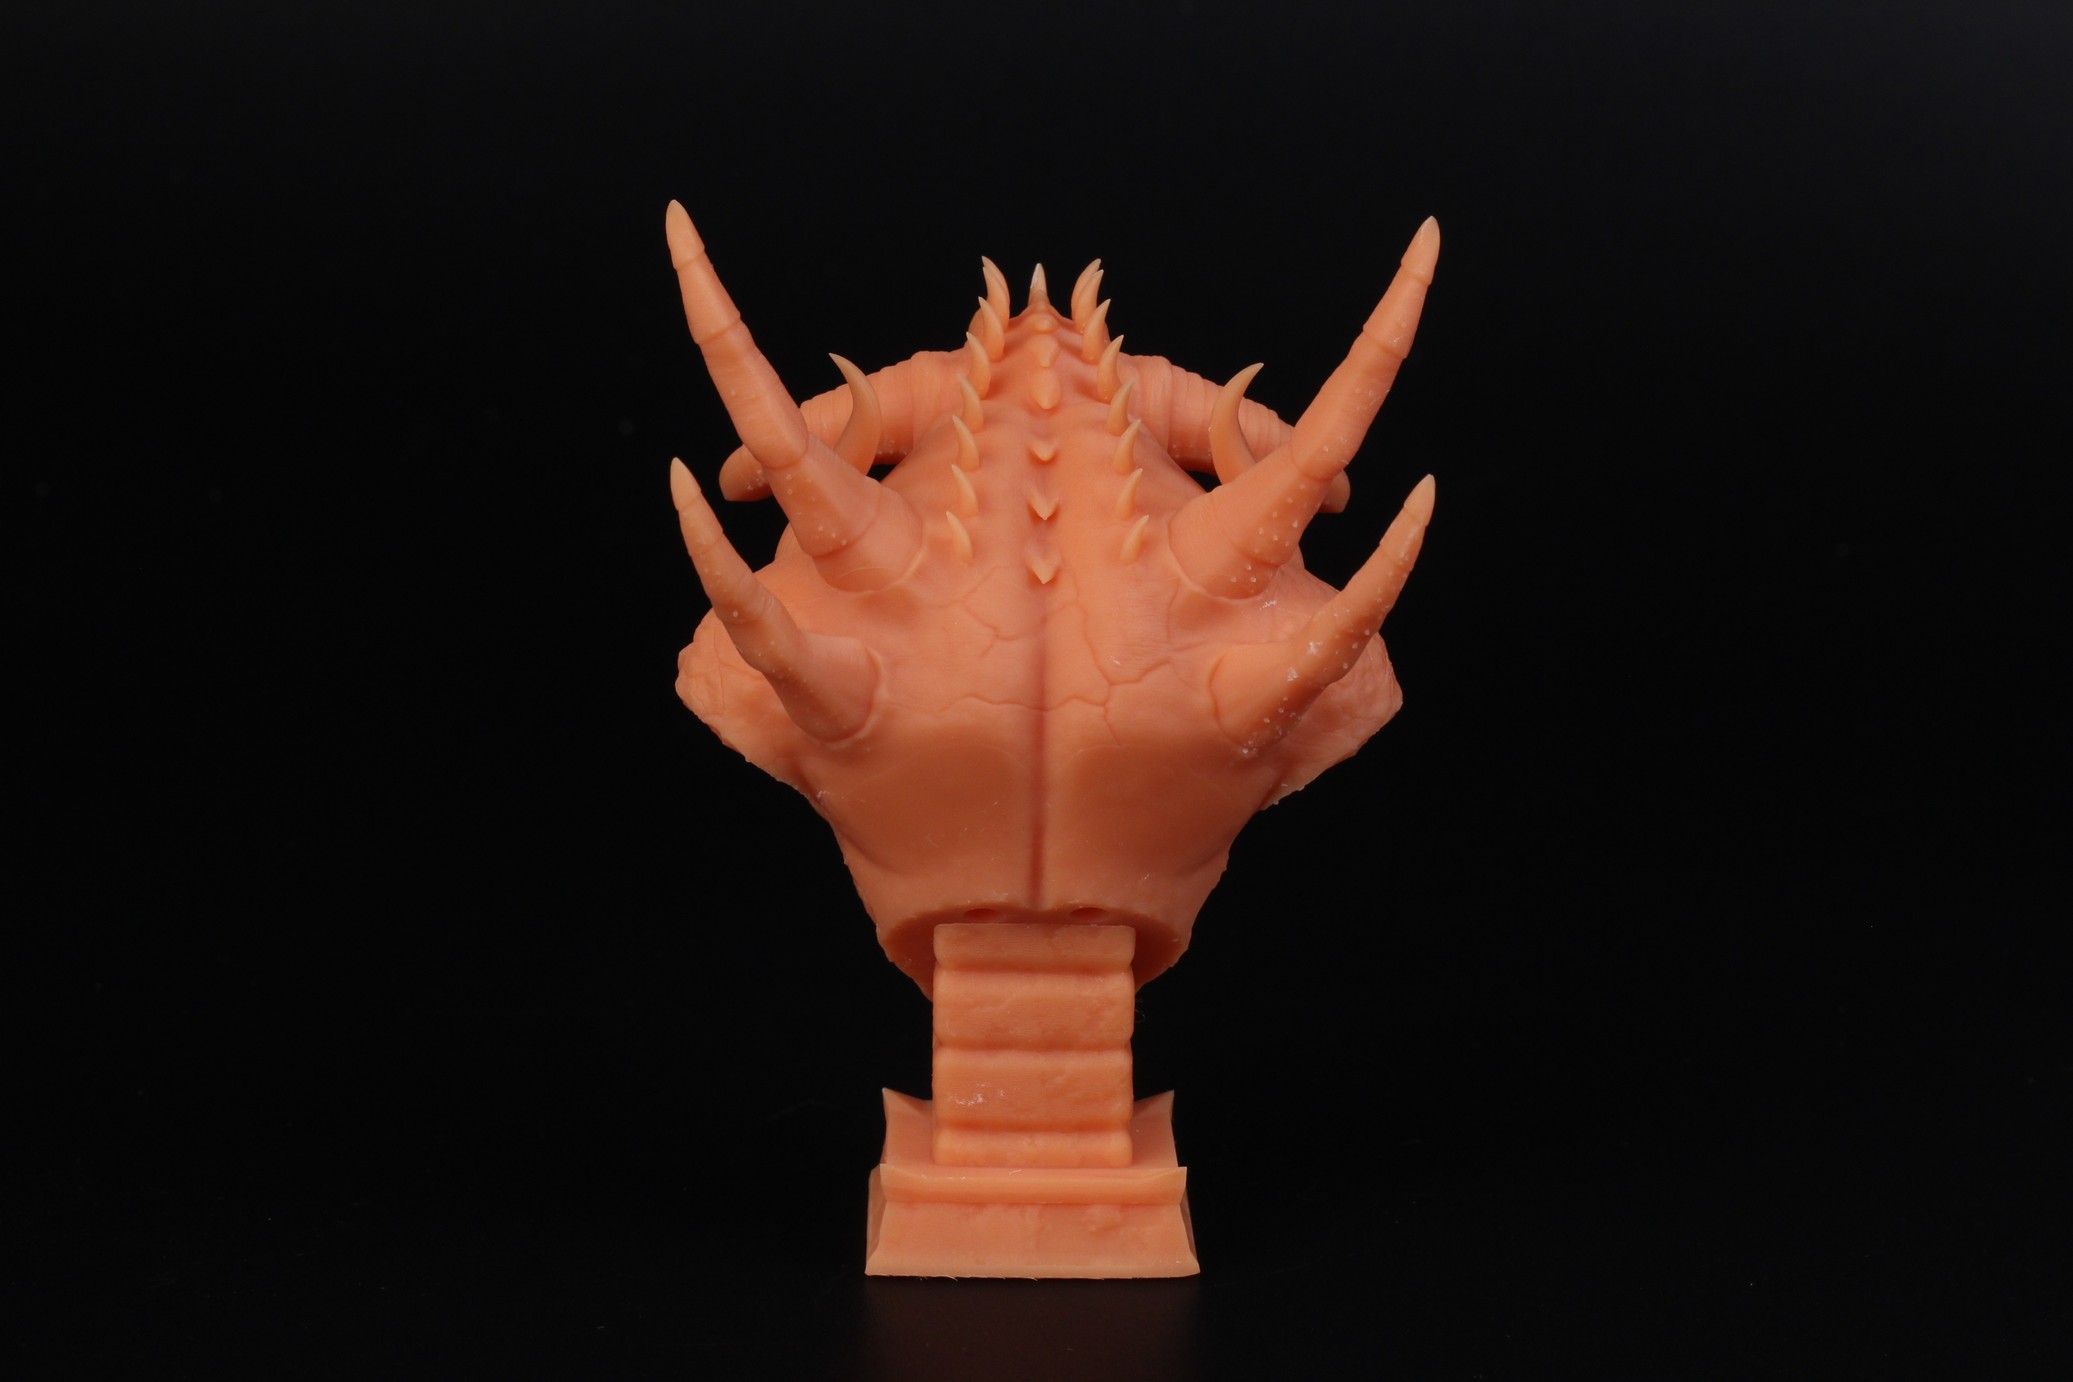
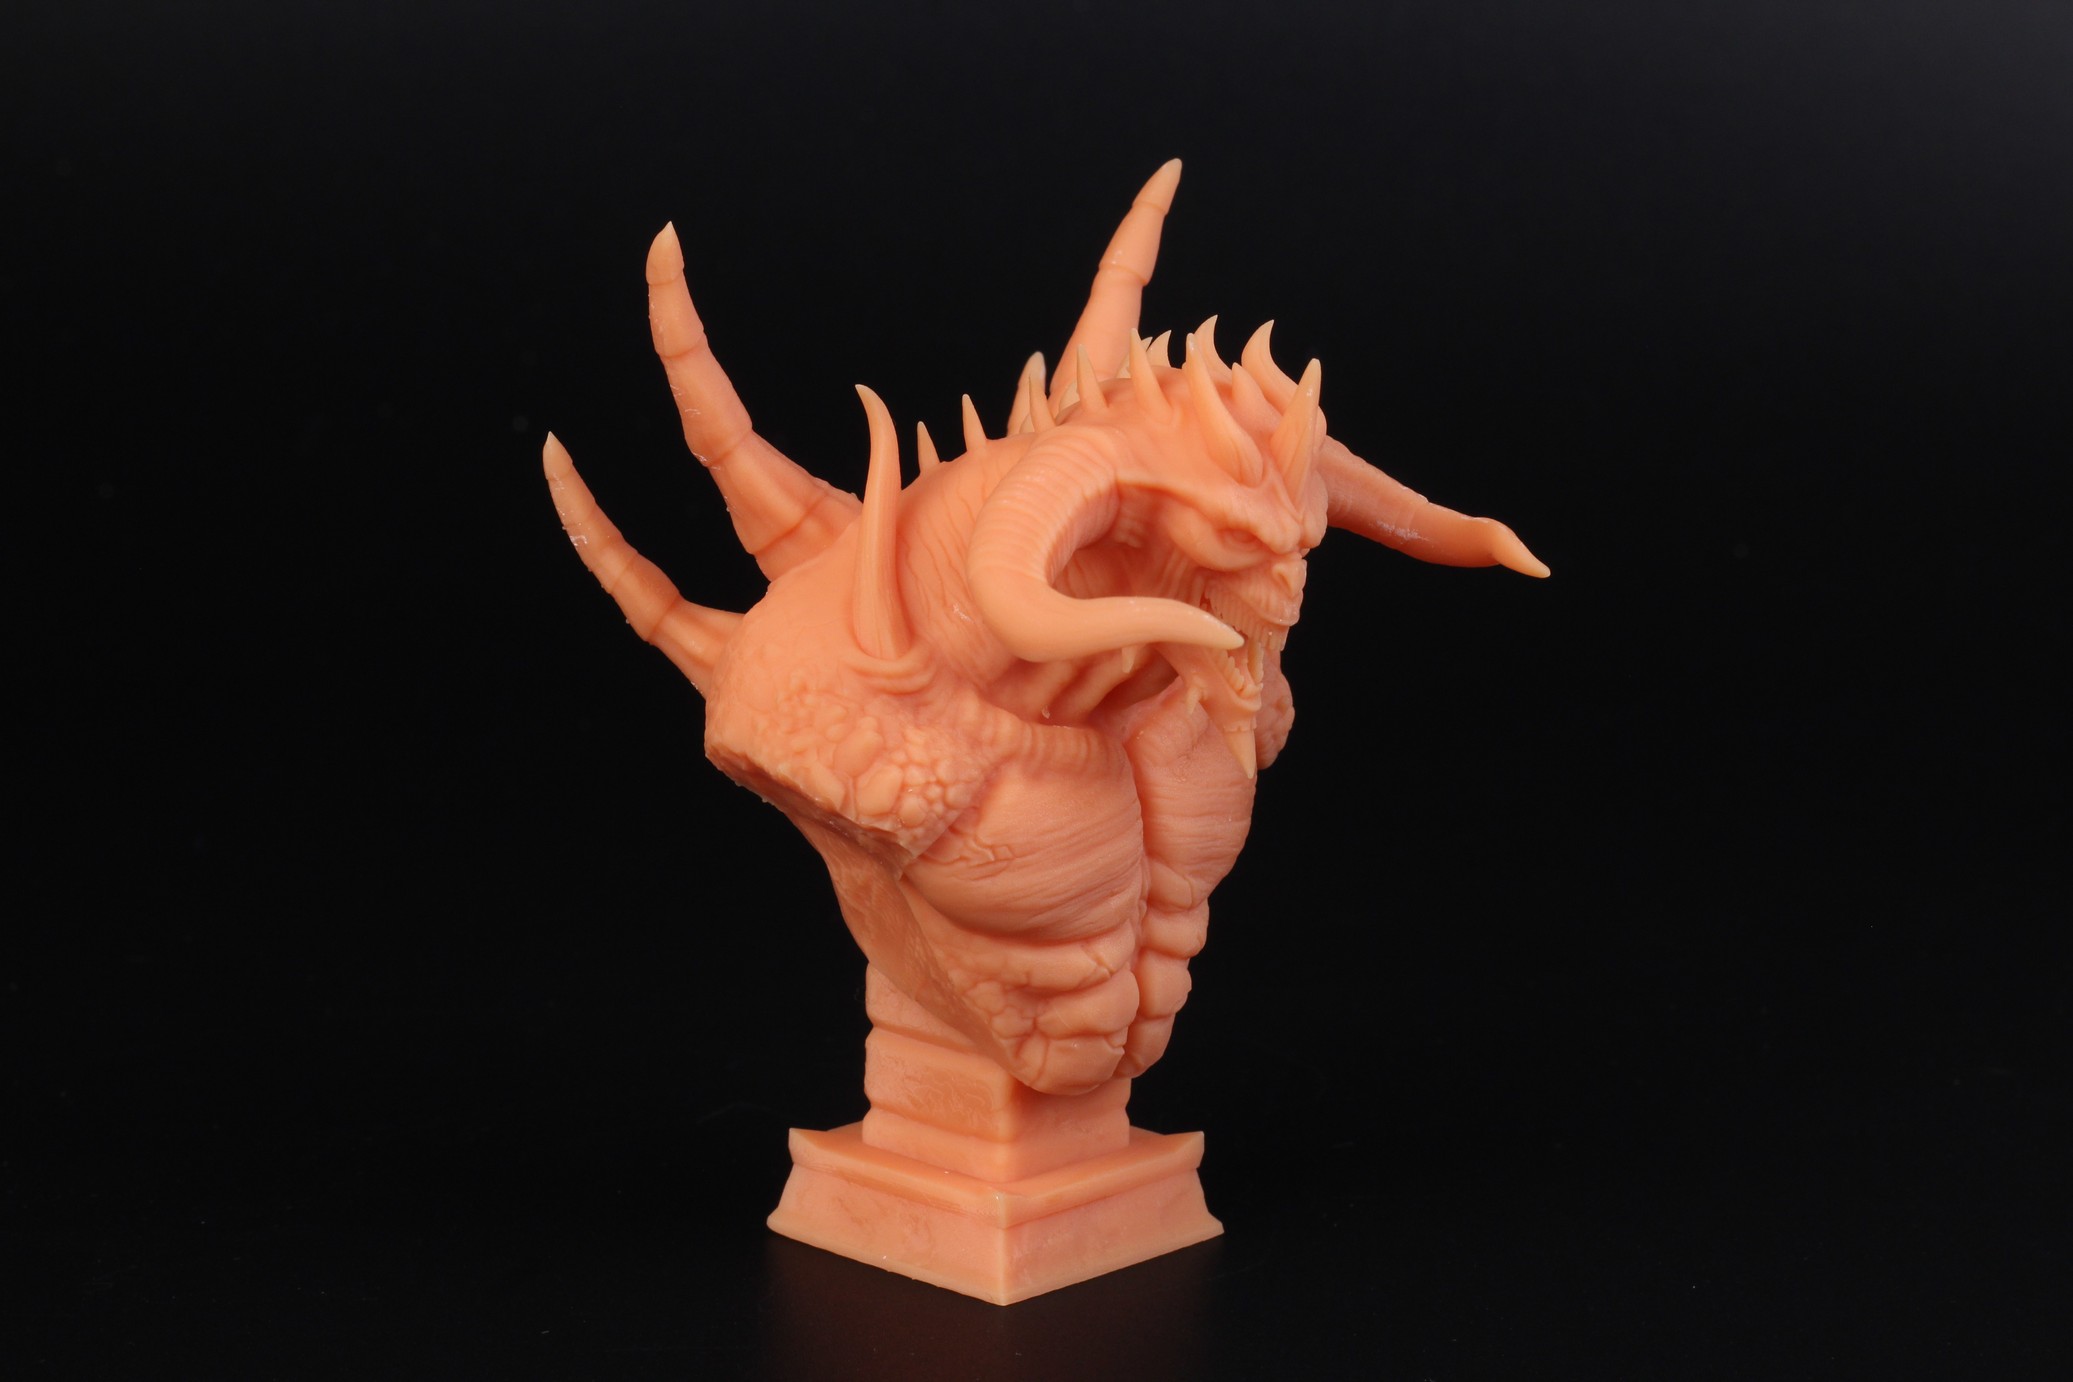
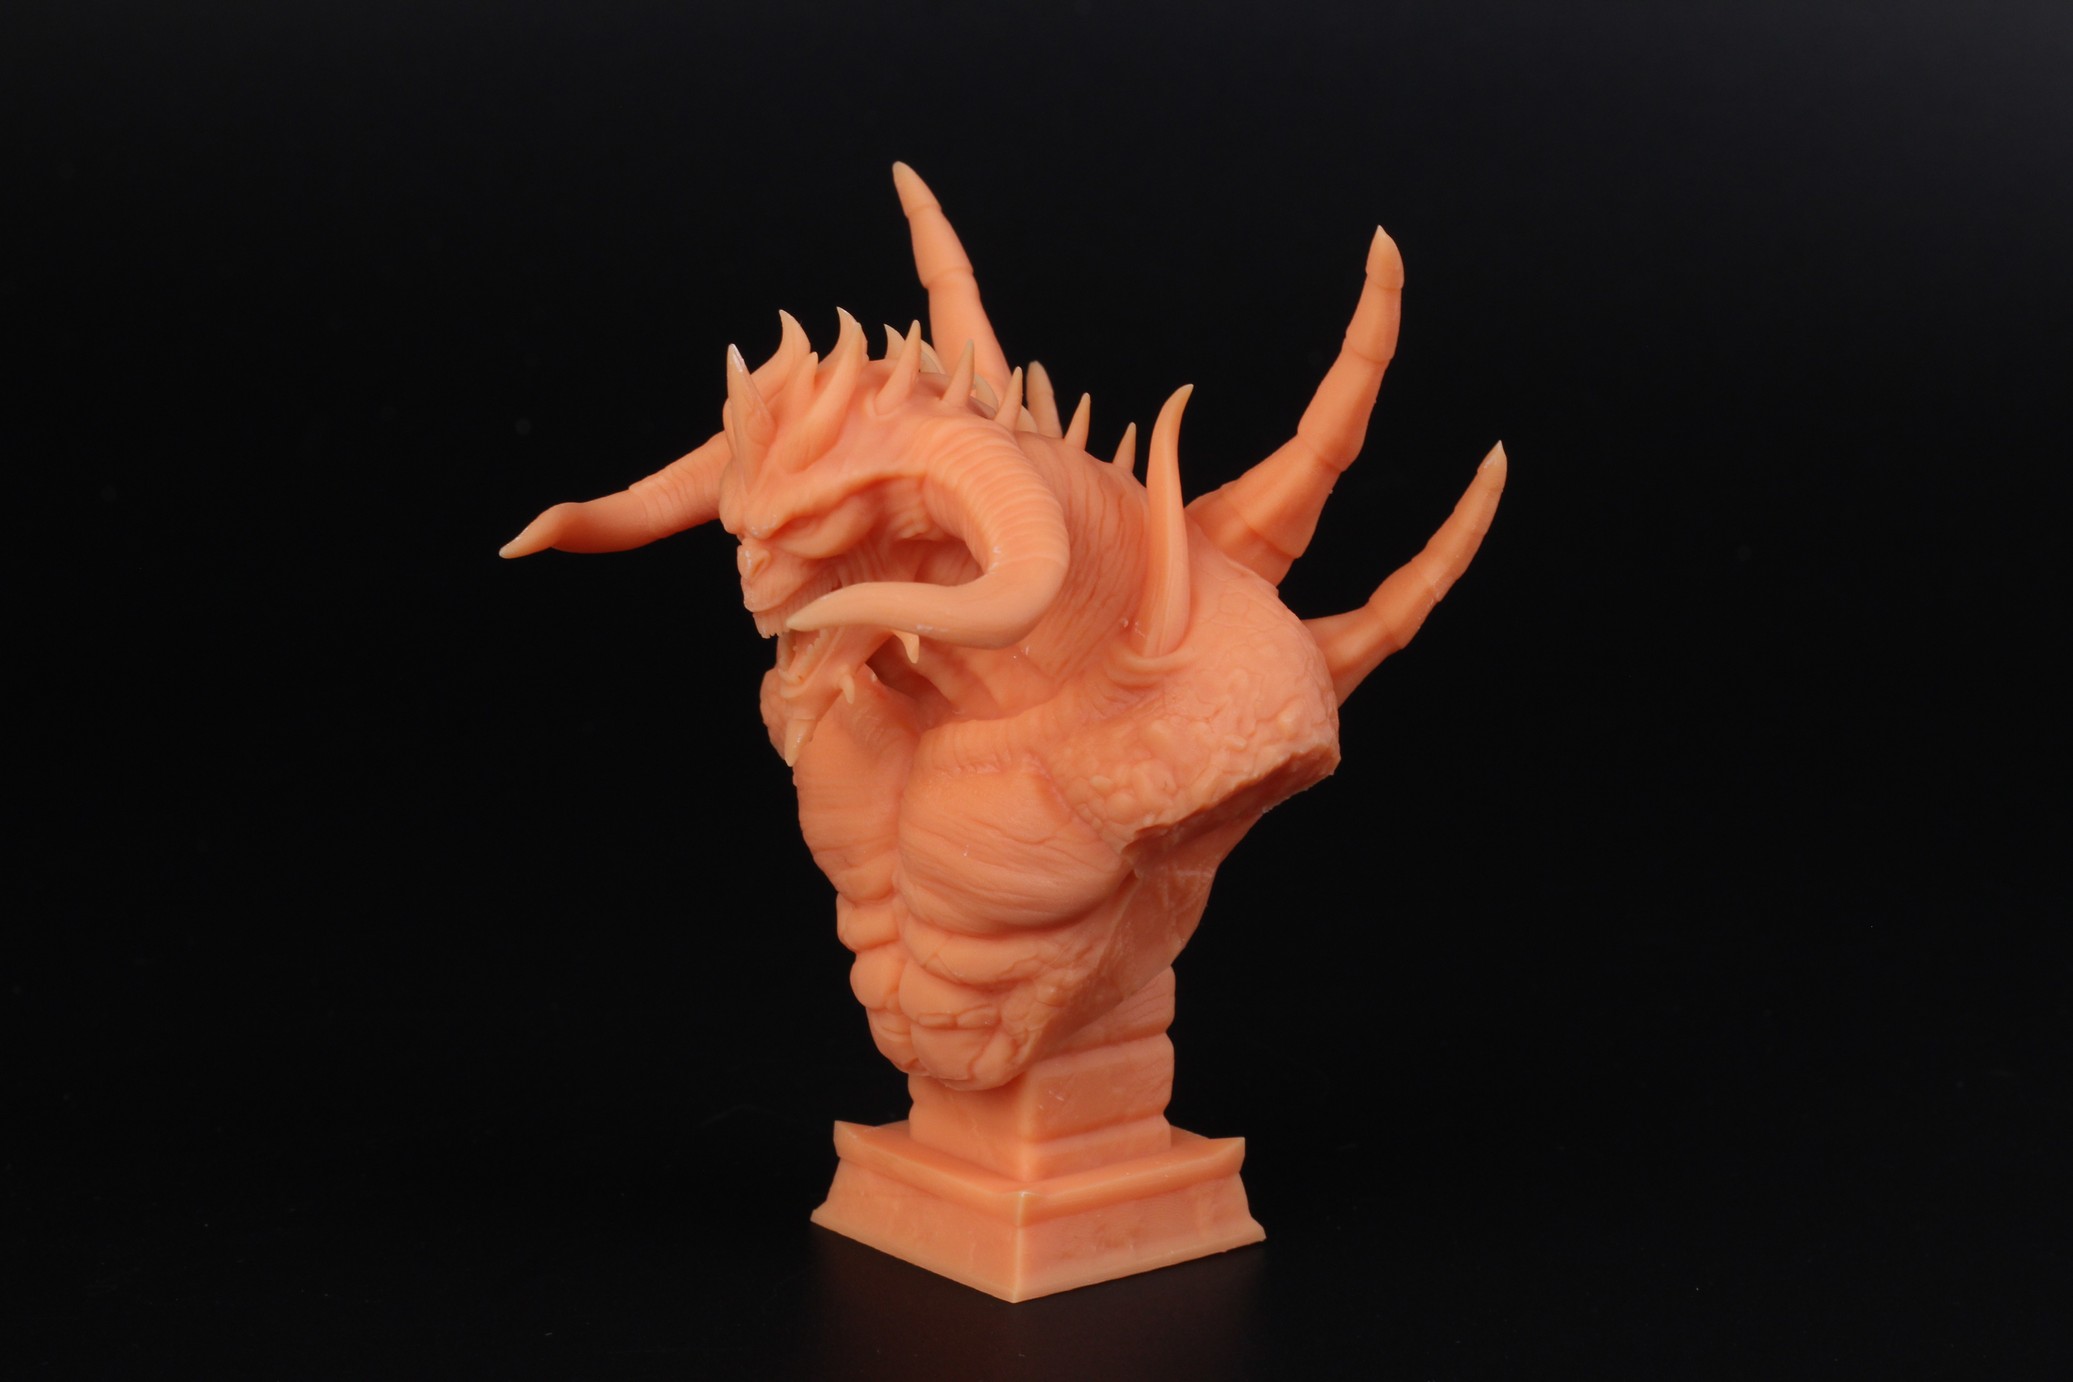
Diablo Bust
Printing this Diablo figure is somehow a stress test for the machine because it needs to print tiny details of the model. But I think you can agree that the M3 Max managed to do this easily. Some small support marks in the back, but otherwise another great model.
- Material: Anycubic Craftsman Apricot
- Layer Height: 0.05mm
- Layer Cure Time: 3s
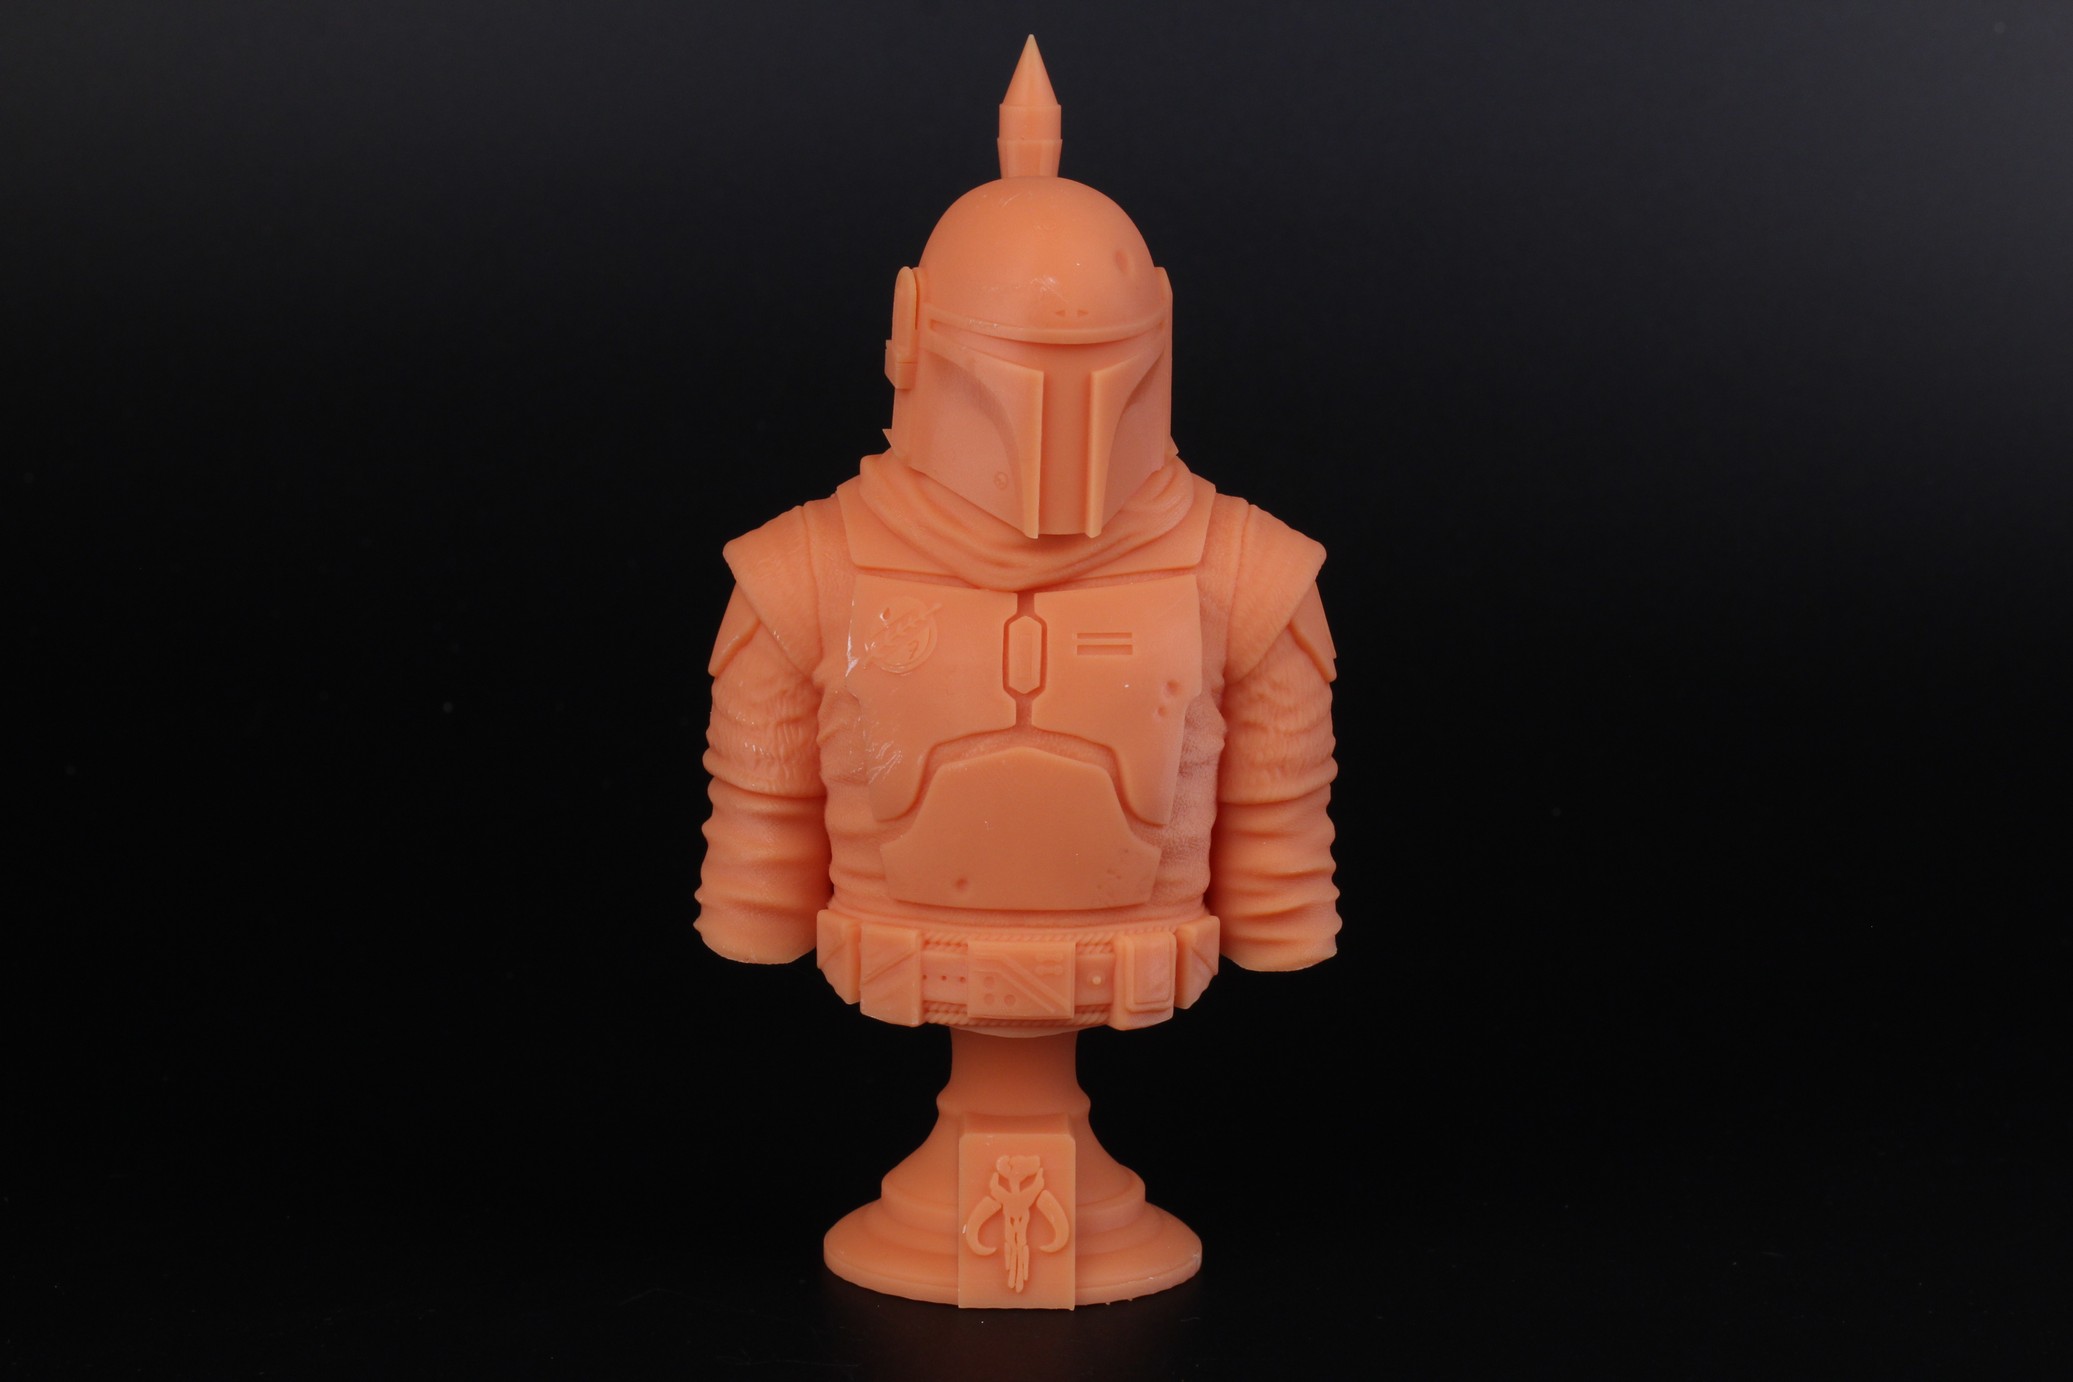
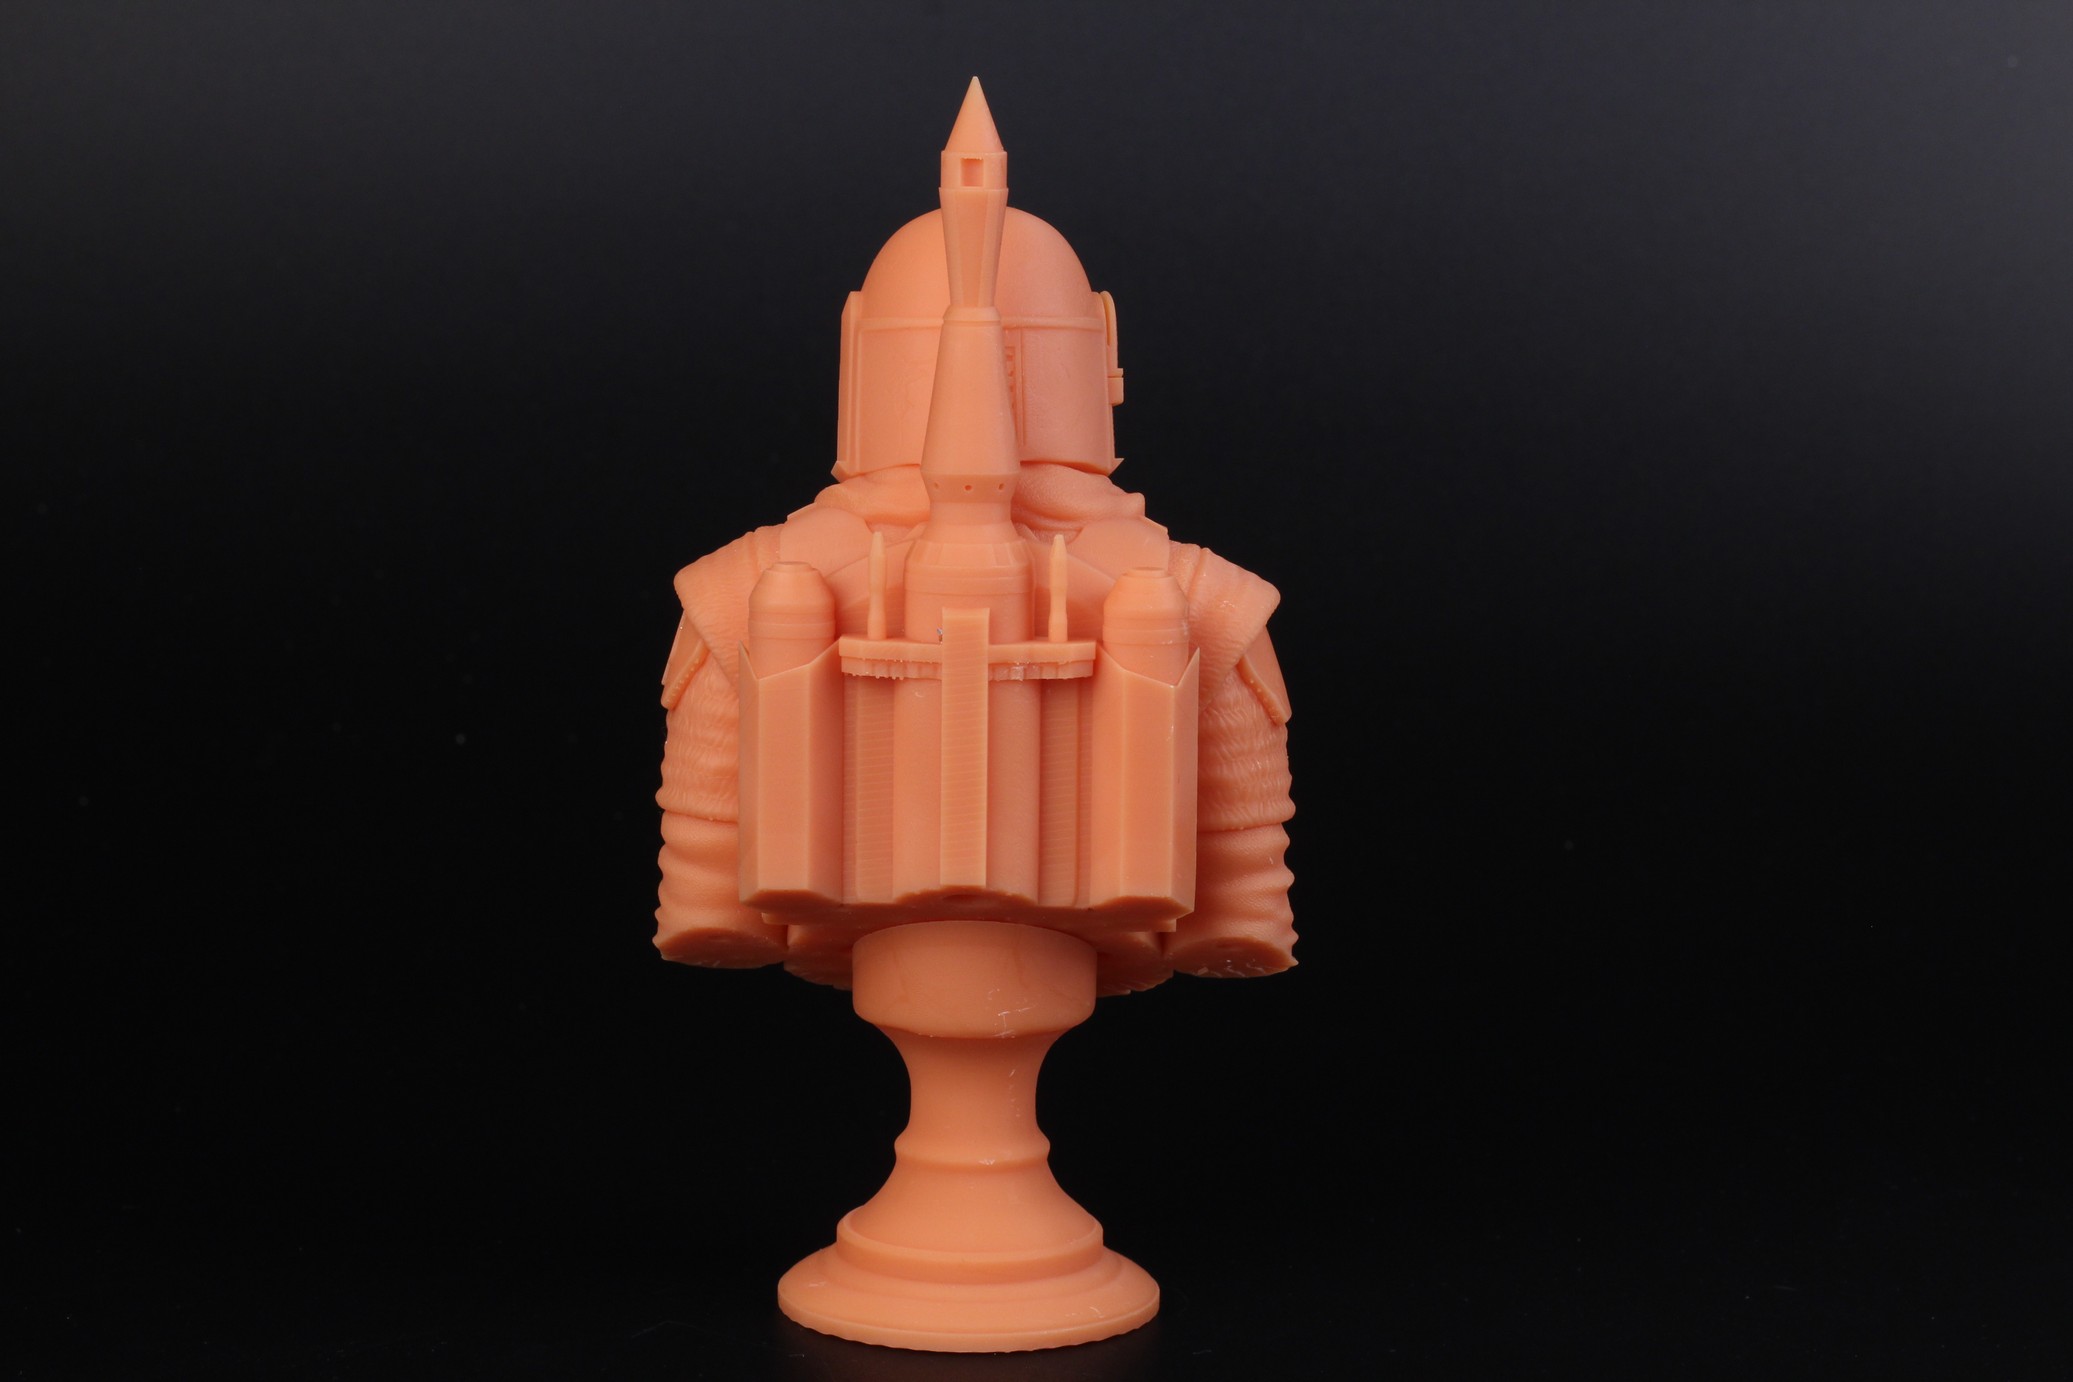
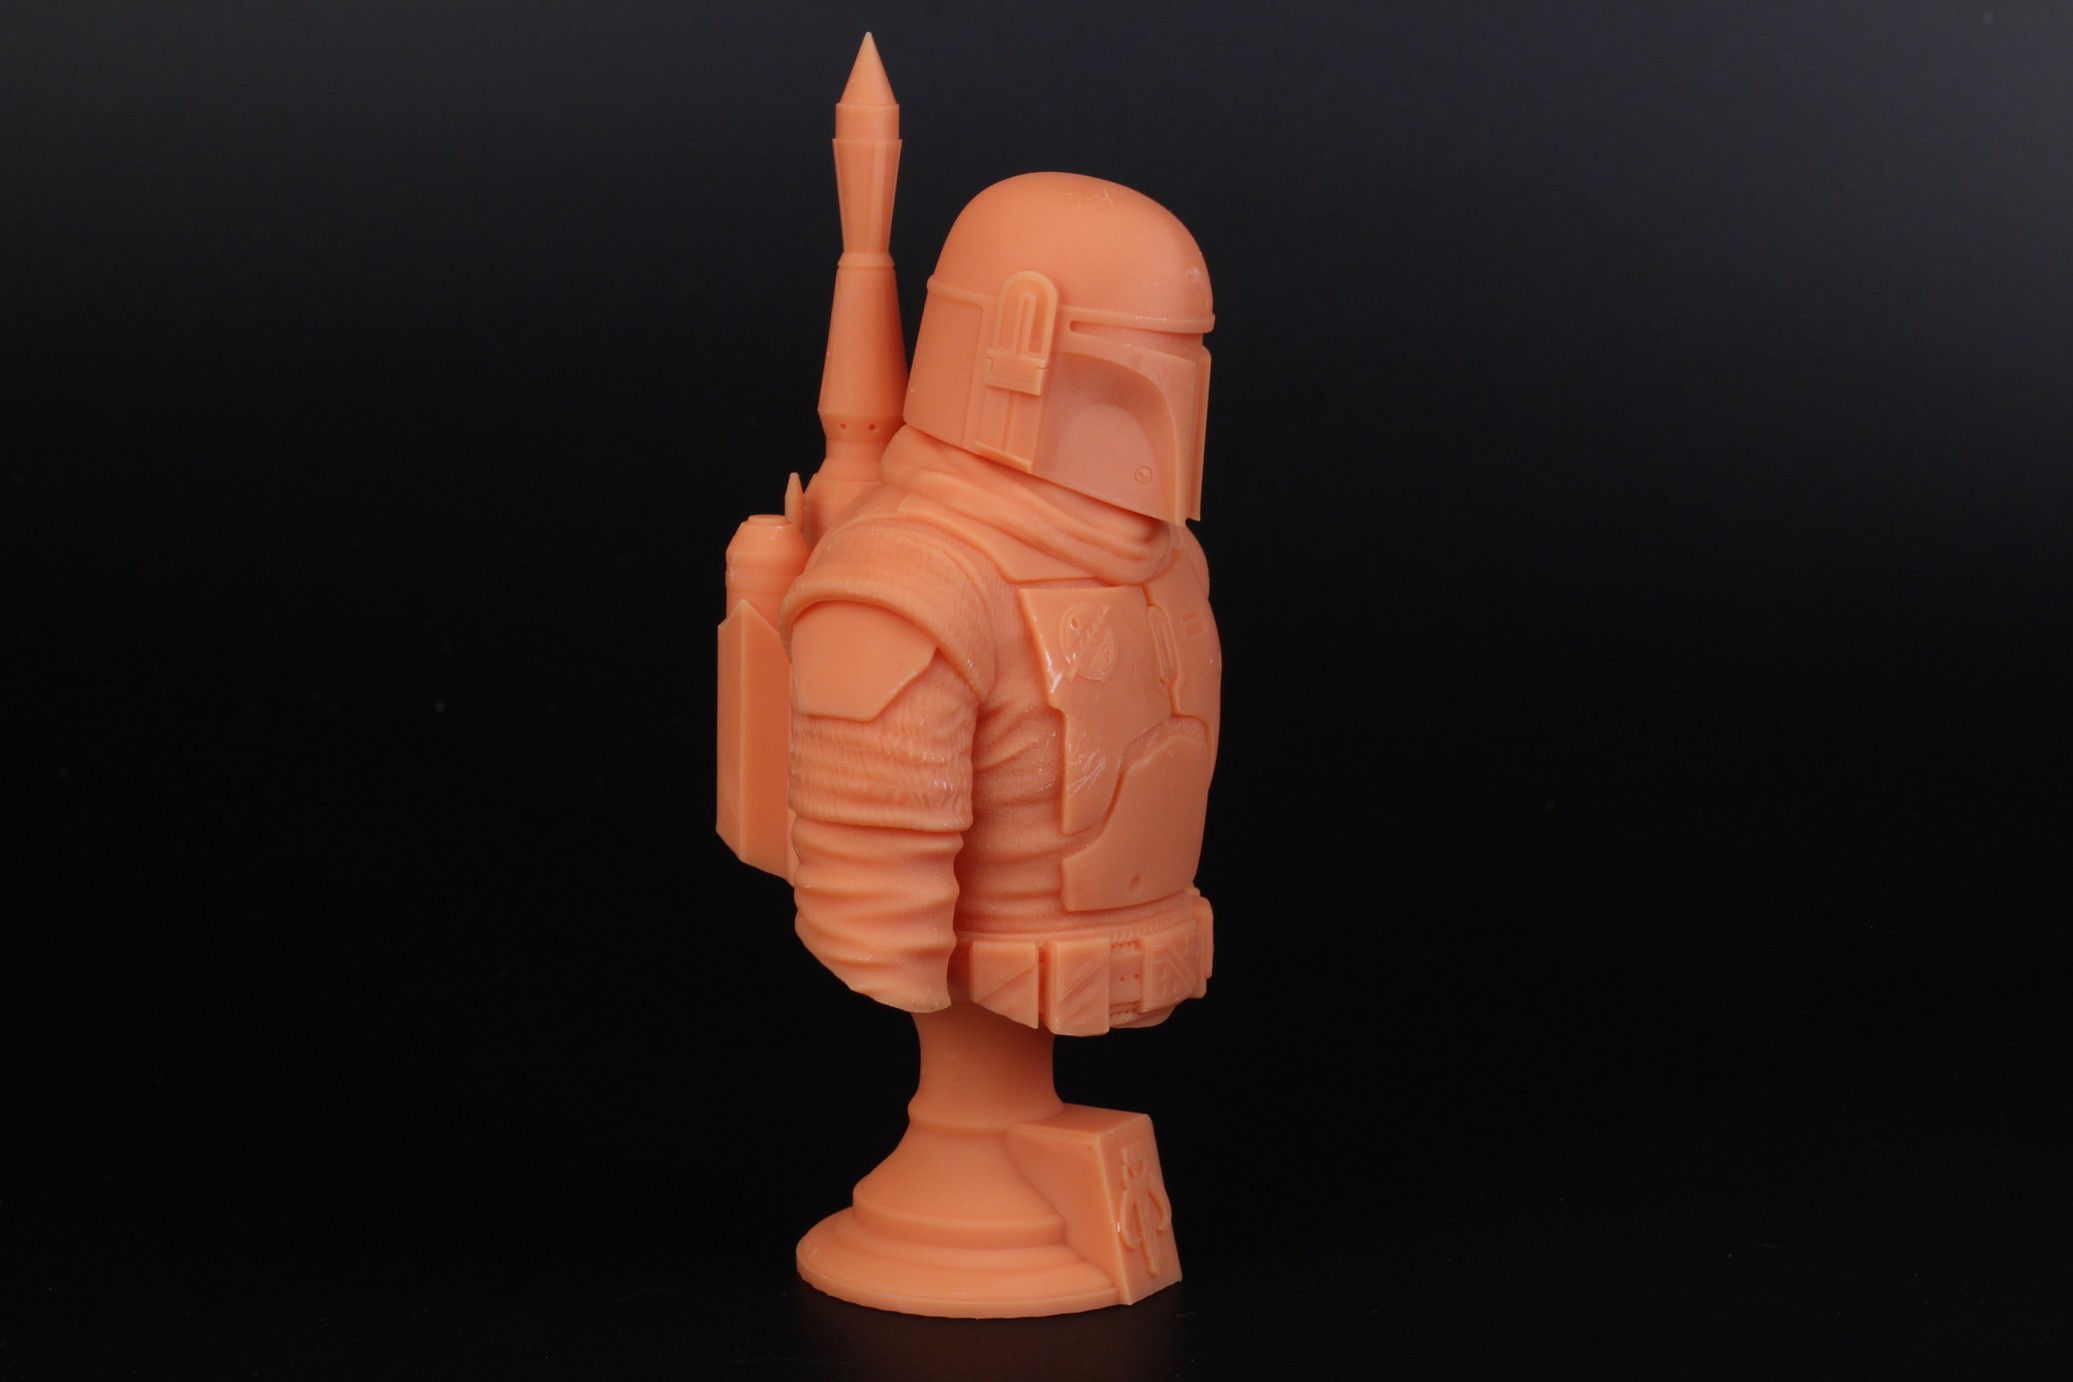
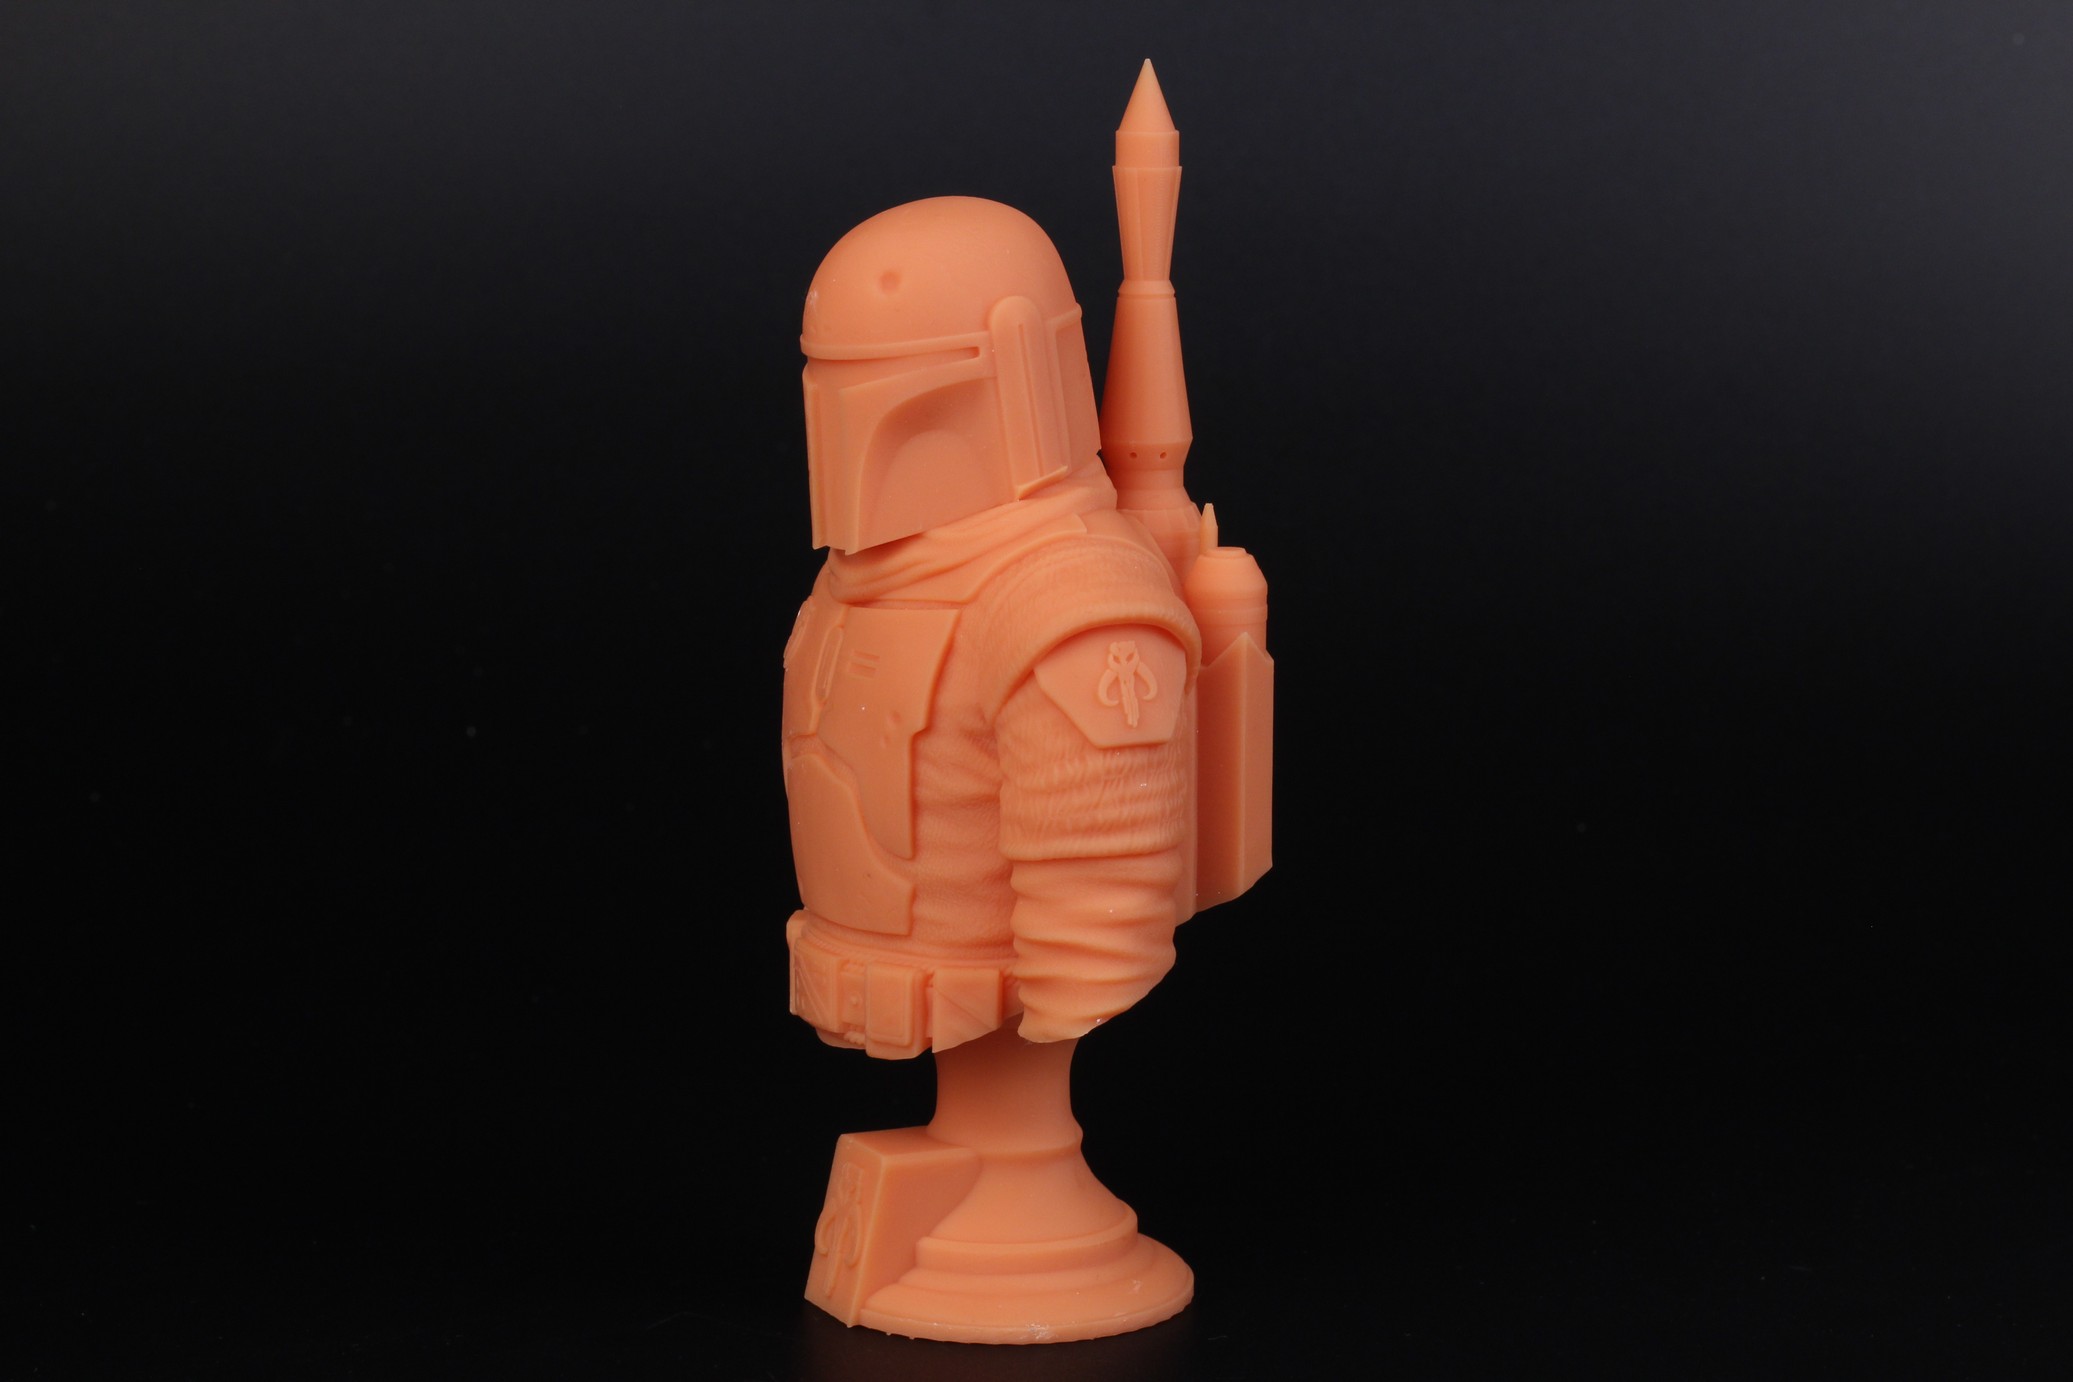
Boba Fett Bust
Another Star Wars model printed with the Photon M3 Max where I can’t find any printing issues for the Photon M3 Max. Every detail was accurately printed and I’m really happy with how these models turned out.
- Material: Anycubic Craftsman Apricot
- Layer Height: 0.05mm
- Layer Cure Time: 3s
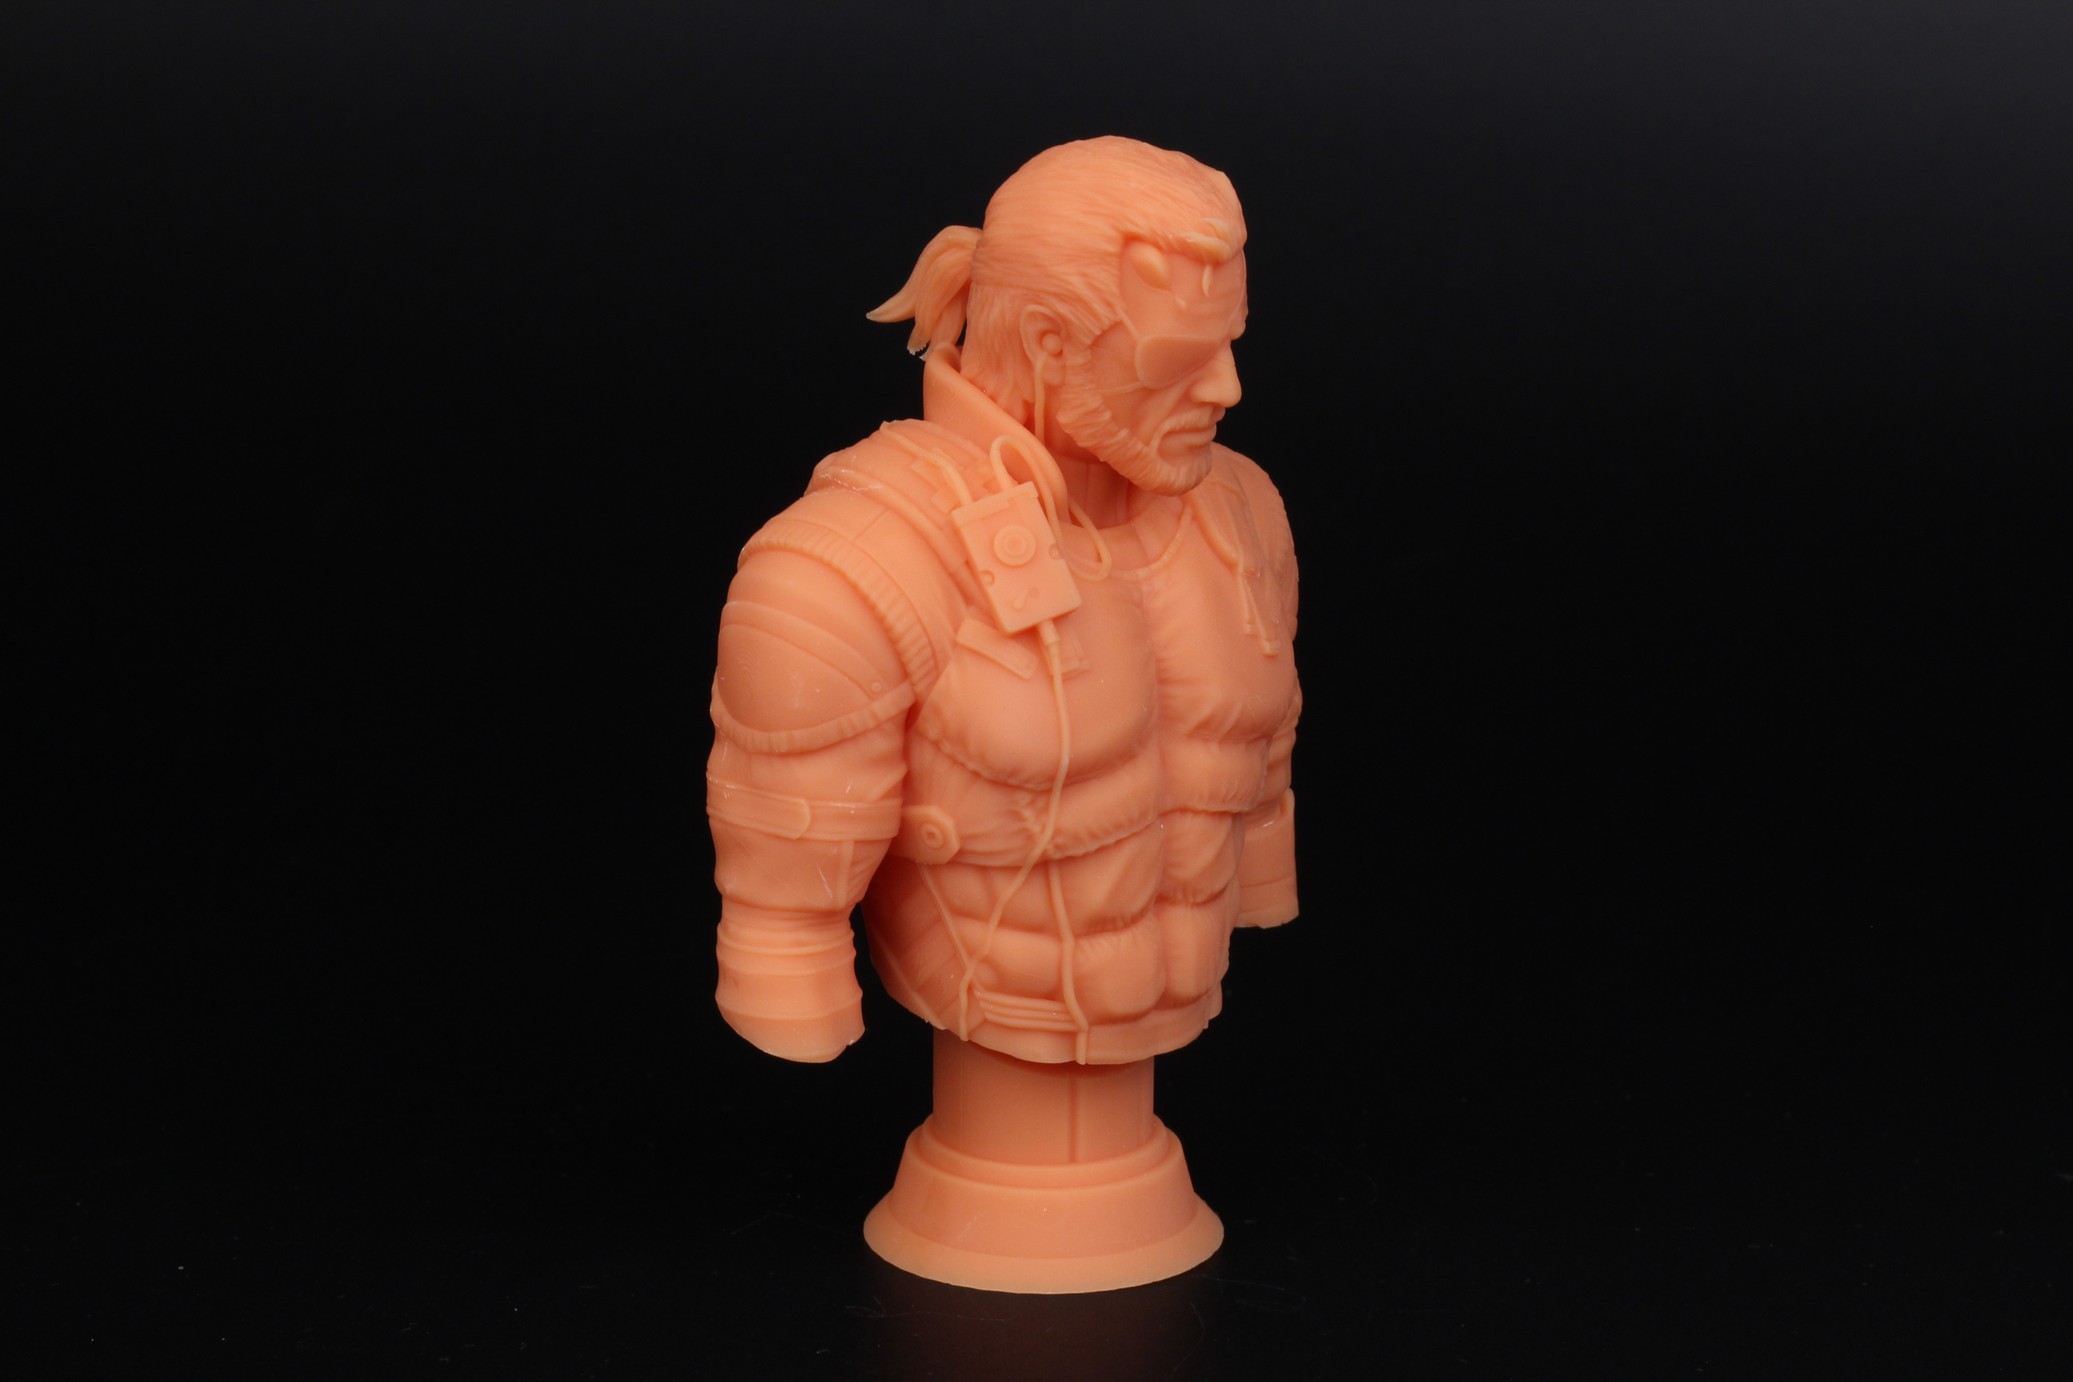
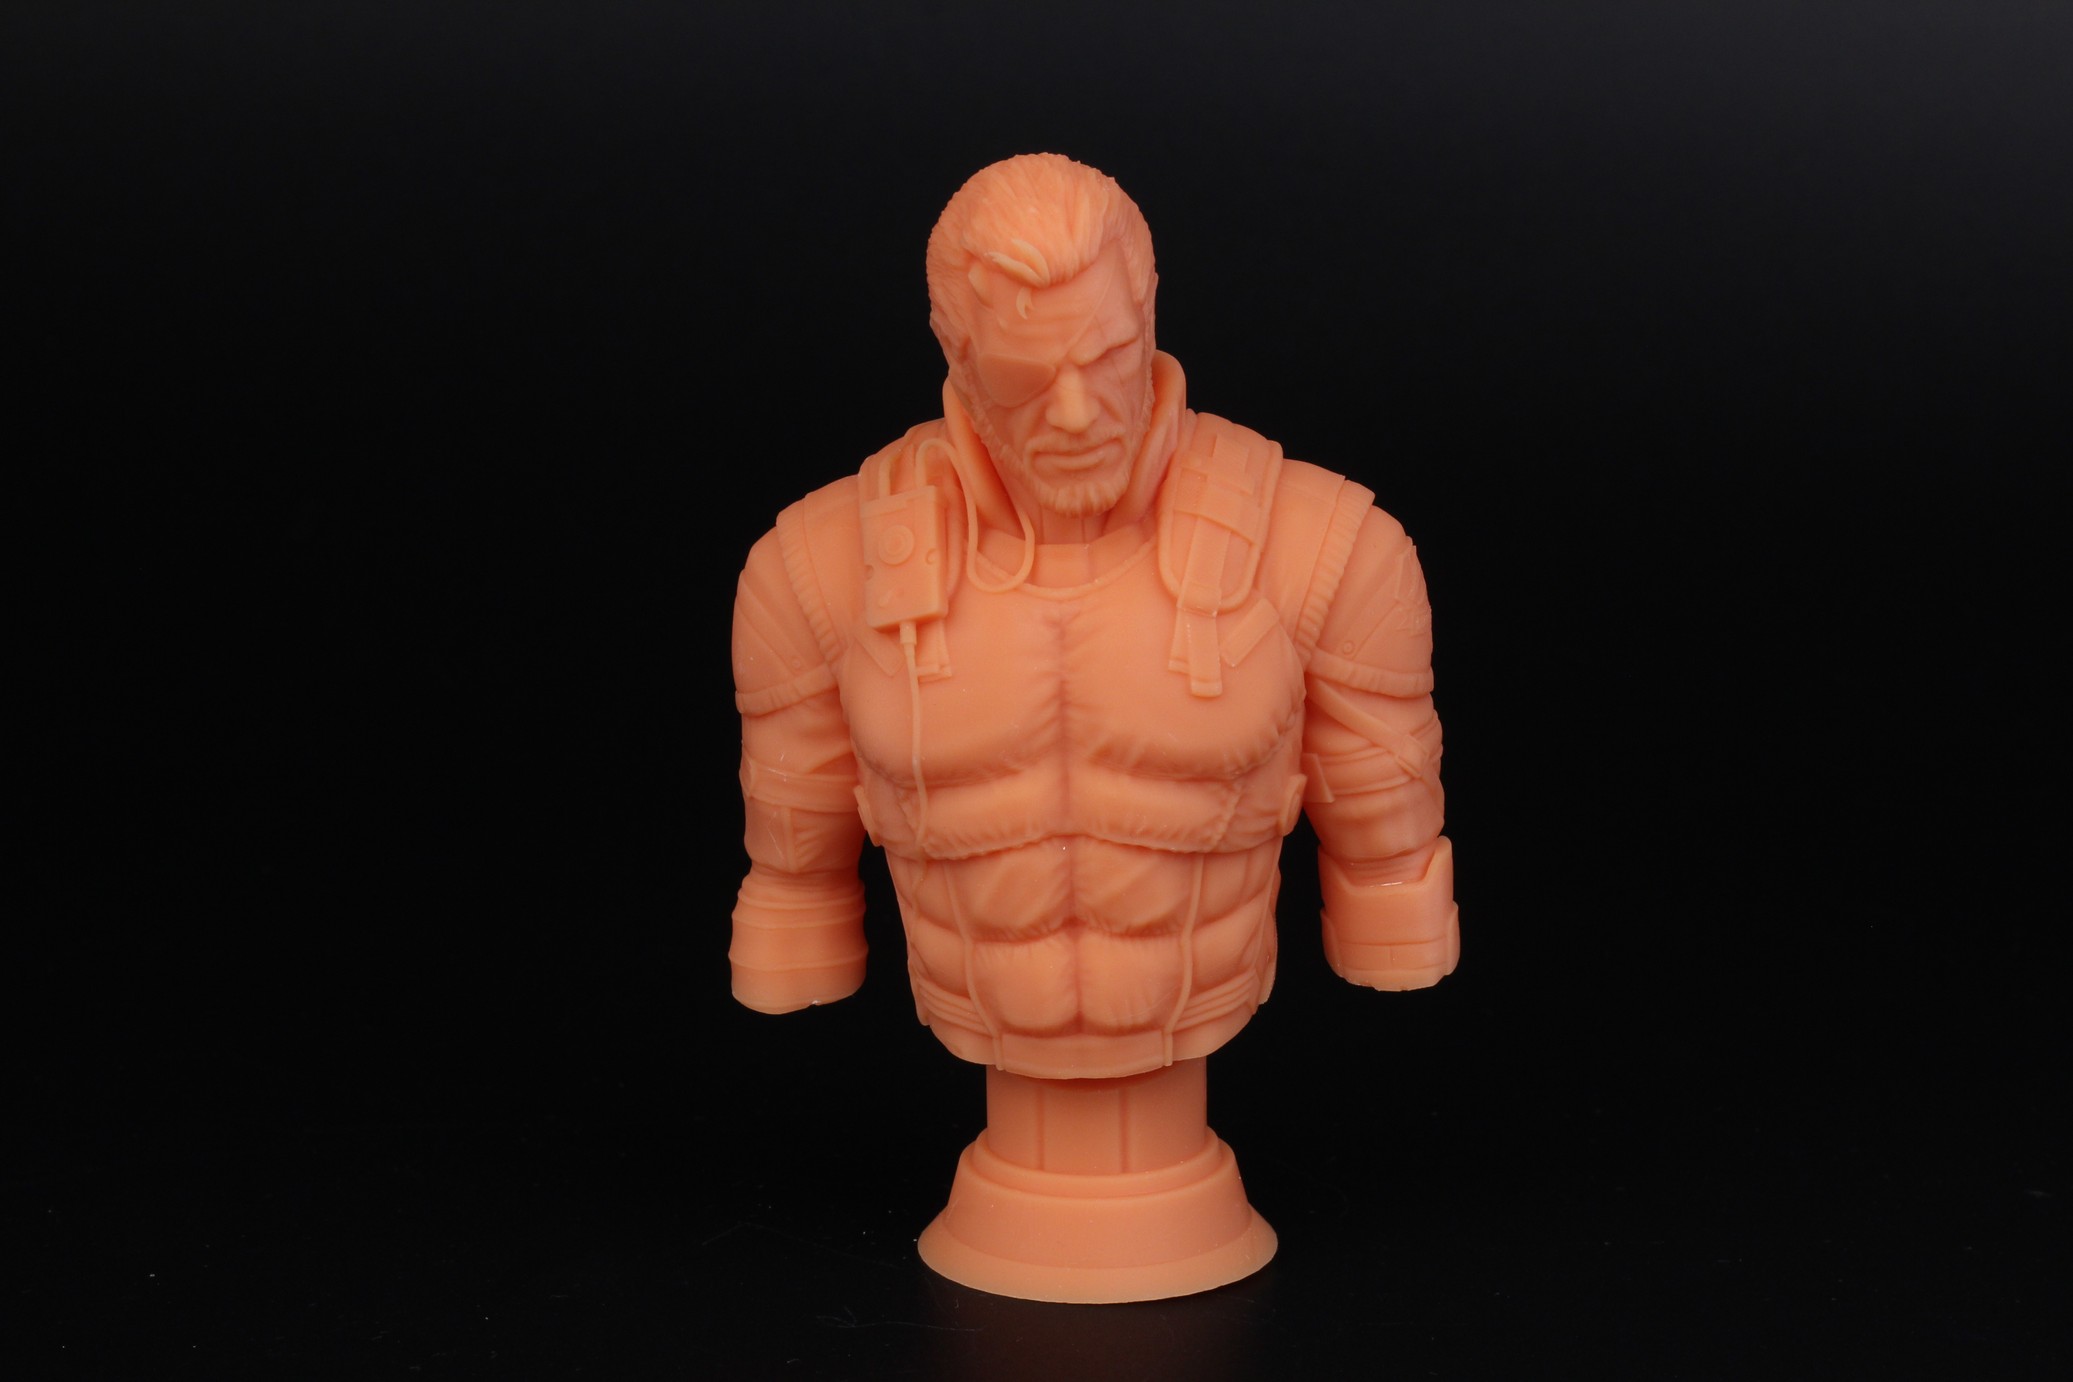
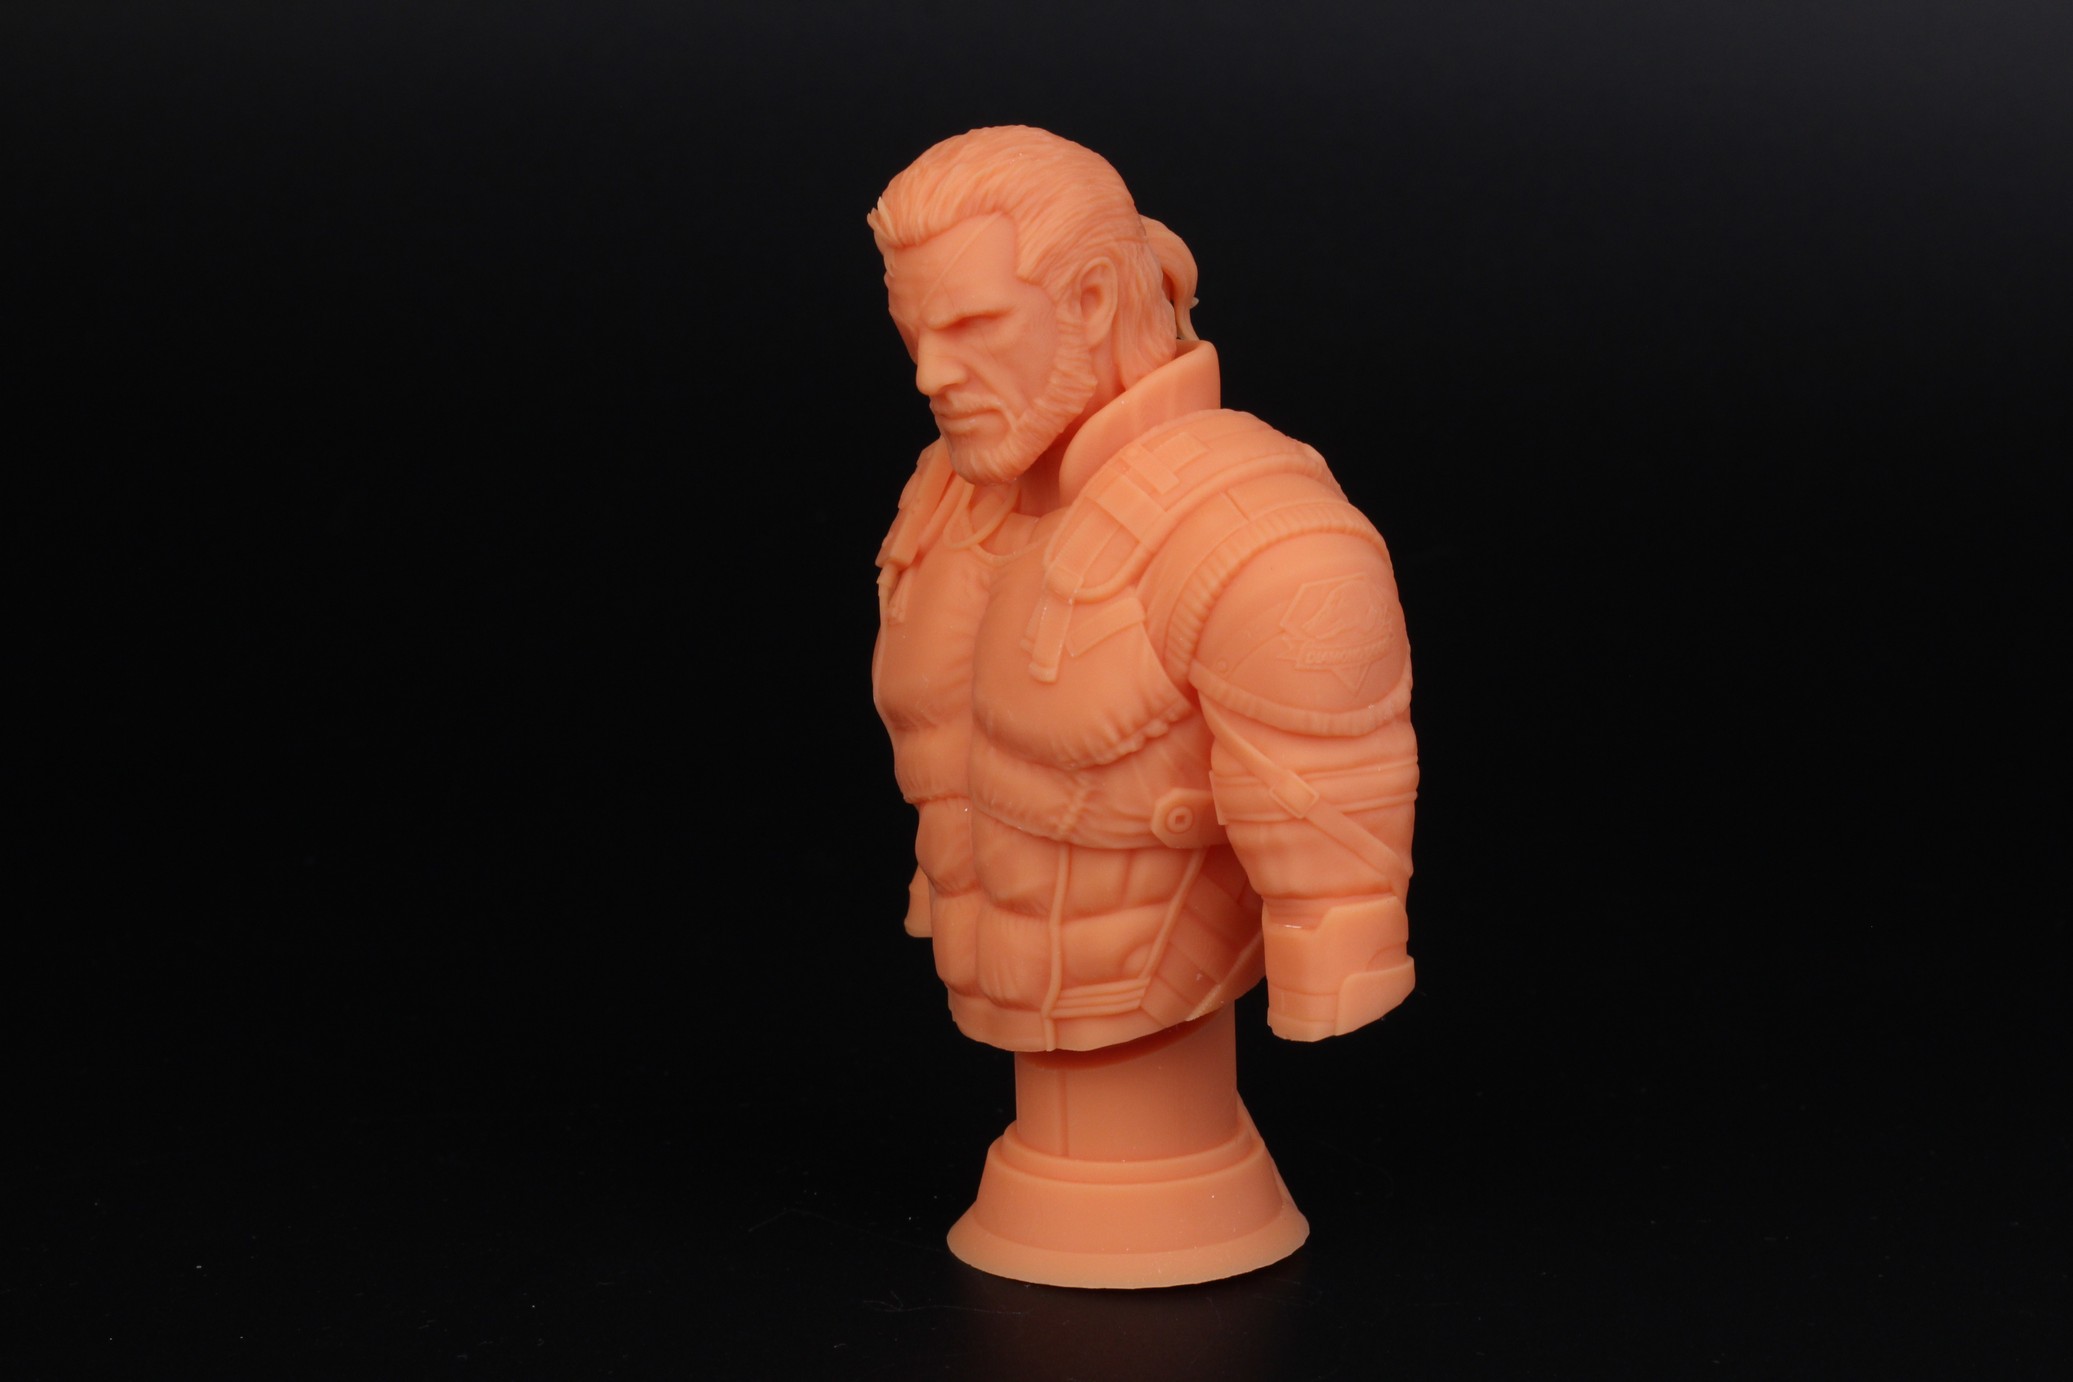
Venom Snake Bust
The final bust printed on the M3 Max is the Venom Snake Bust, which is also the only model which had a small print issue. This mode was not sliced well, and a few pixels were turned on on the section where the base was printed which made it a bit harder to connect with the bust. It worked out in the end, but I think it’s worth mentioning that the Photon M3 Max is not completely flawless right now.
- Material: Anycubic Craftsman Apricot
- Layer Height: 0.05mm
- Layer Cure Time: 3s
Articulated Dragon
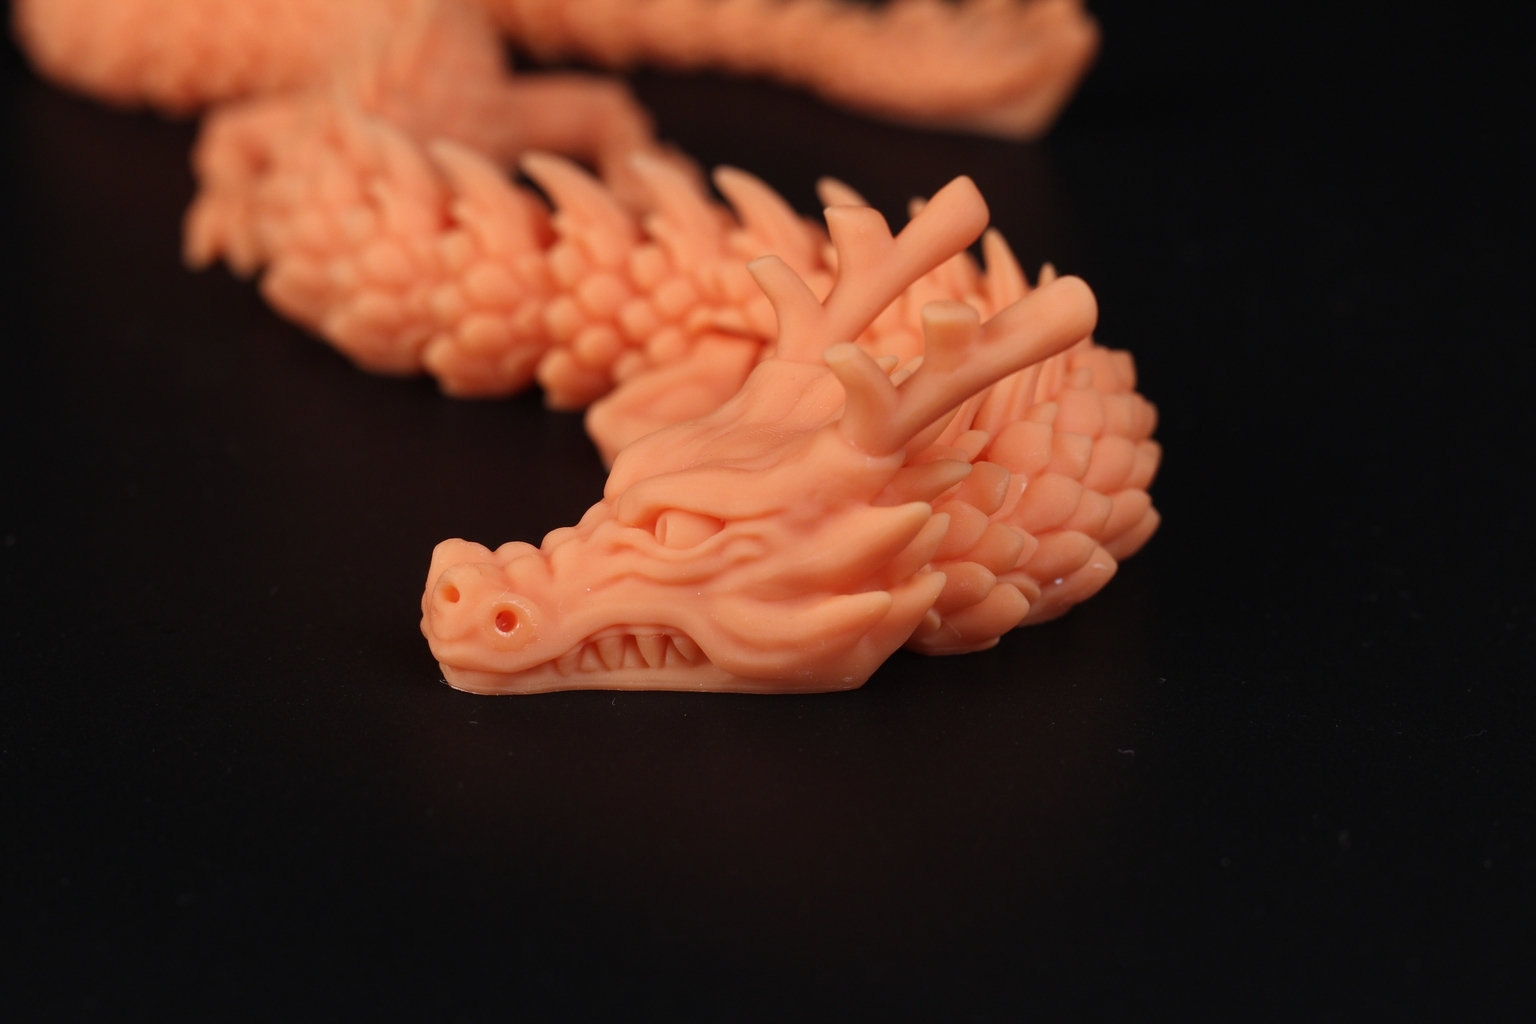
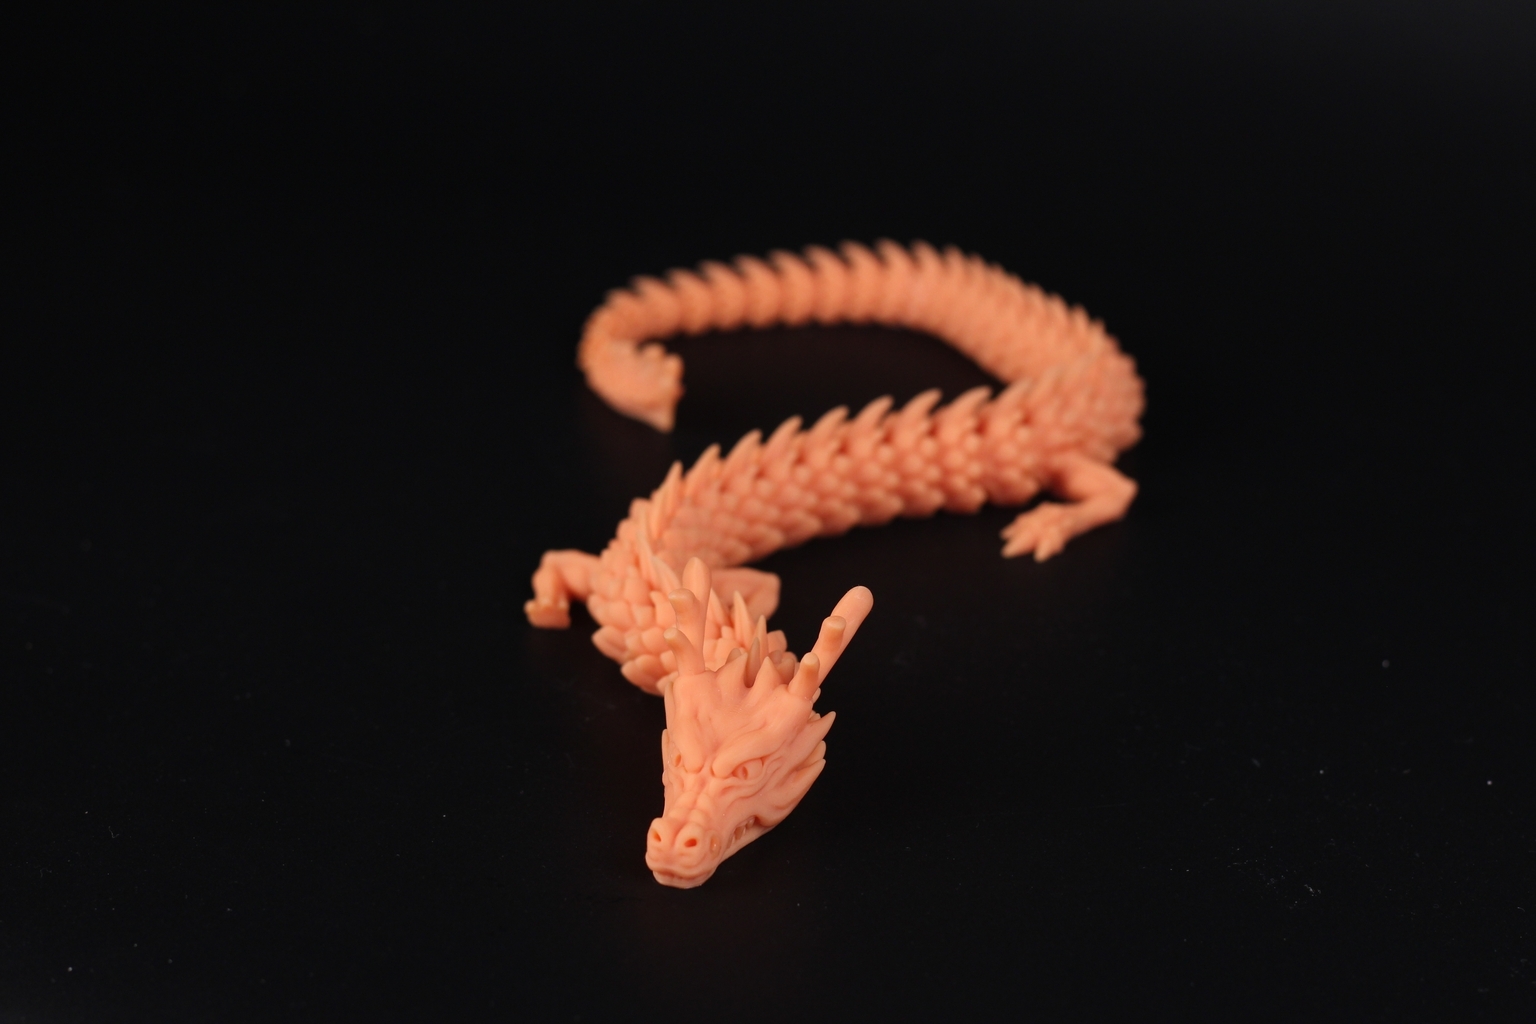
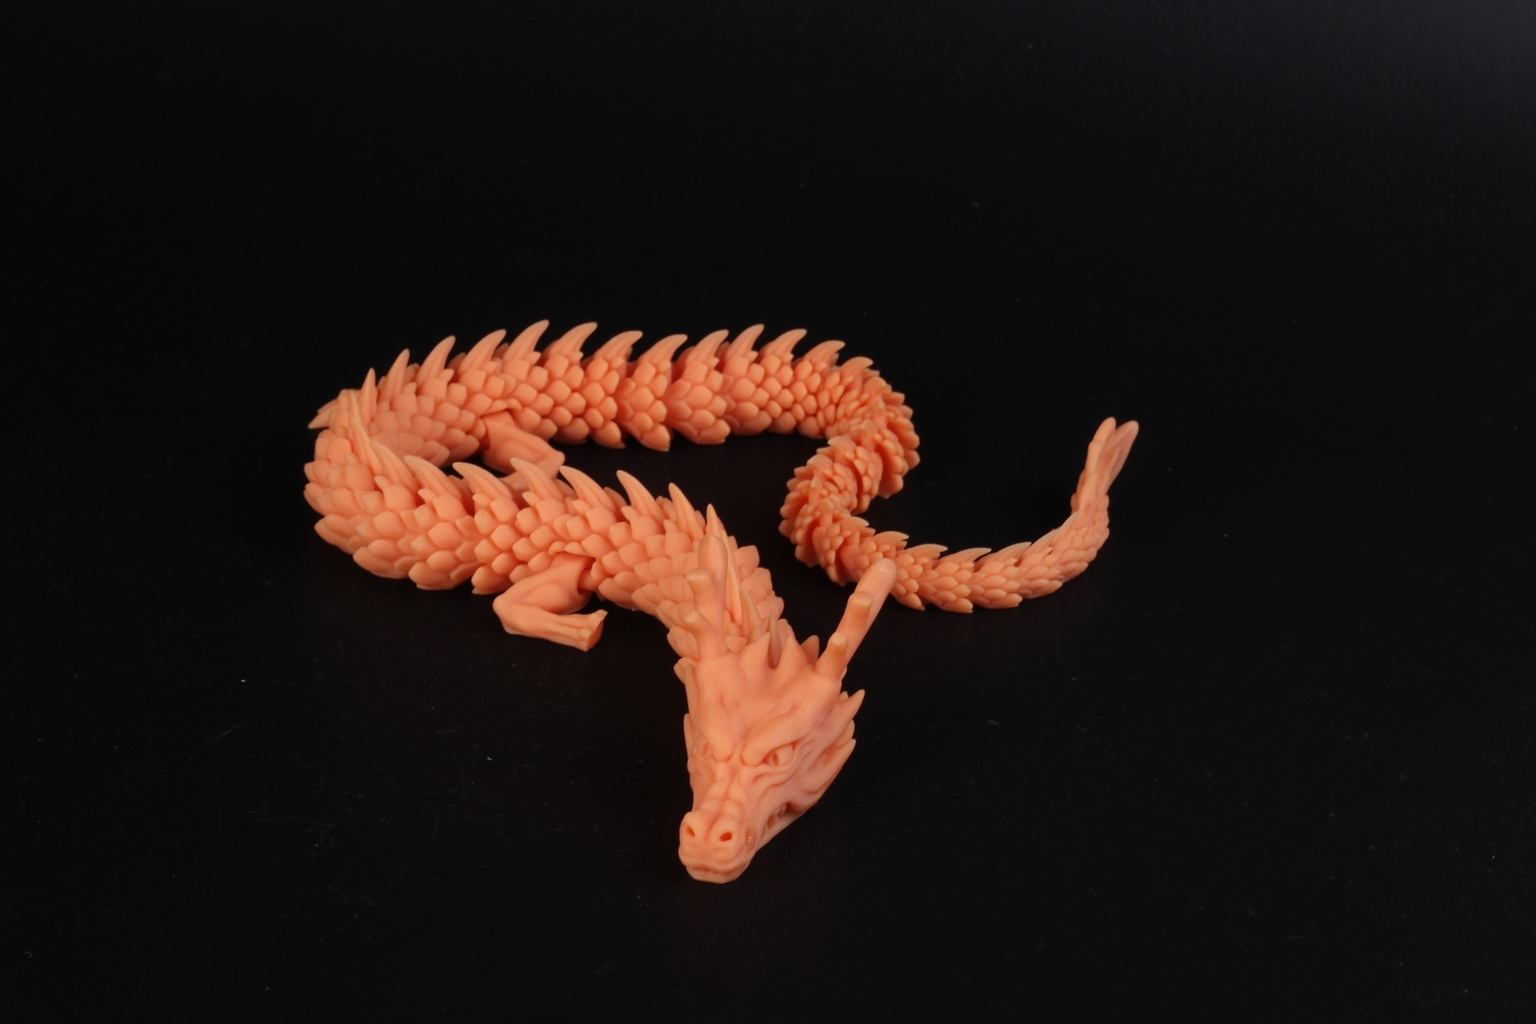
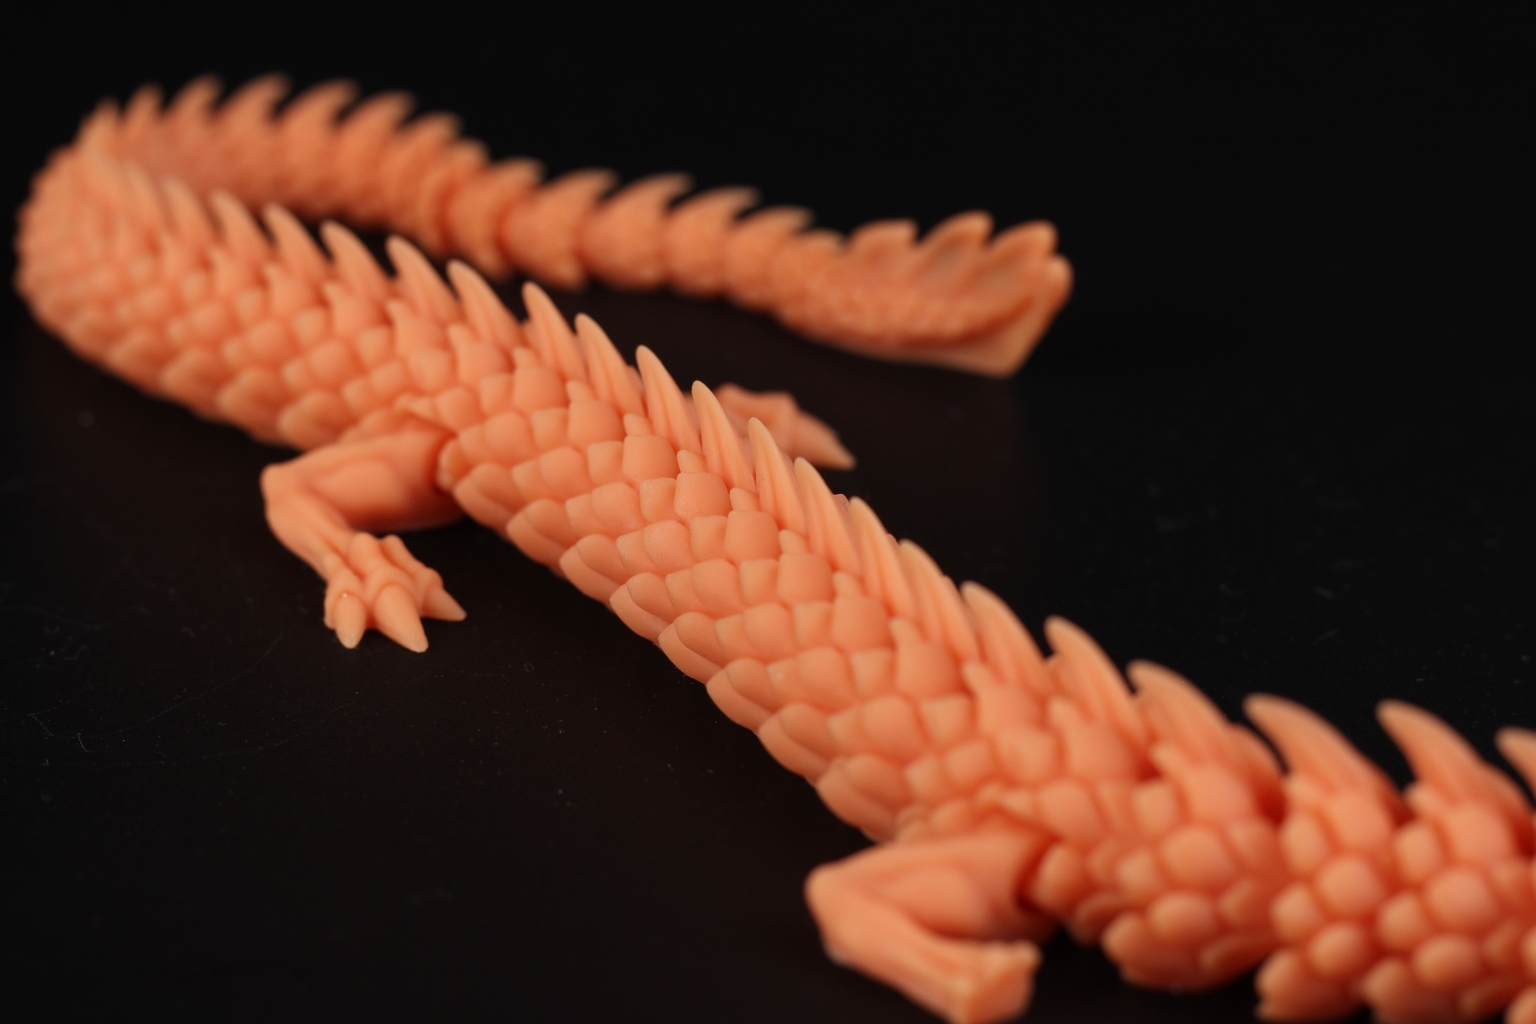
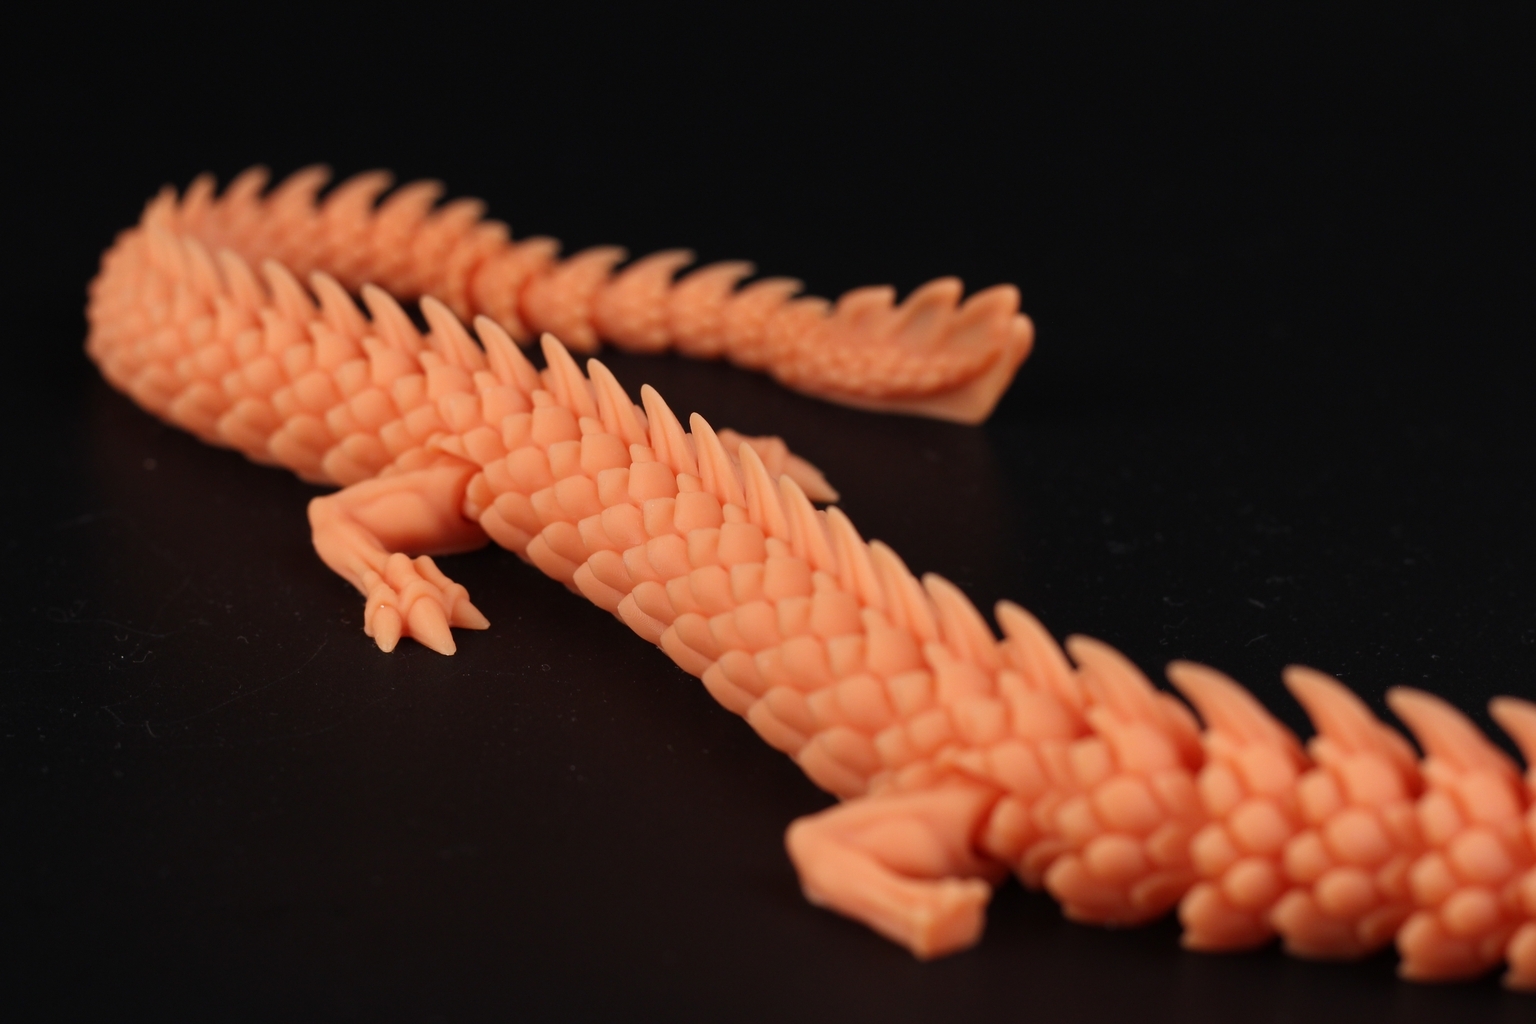
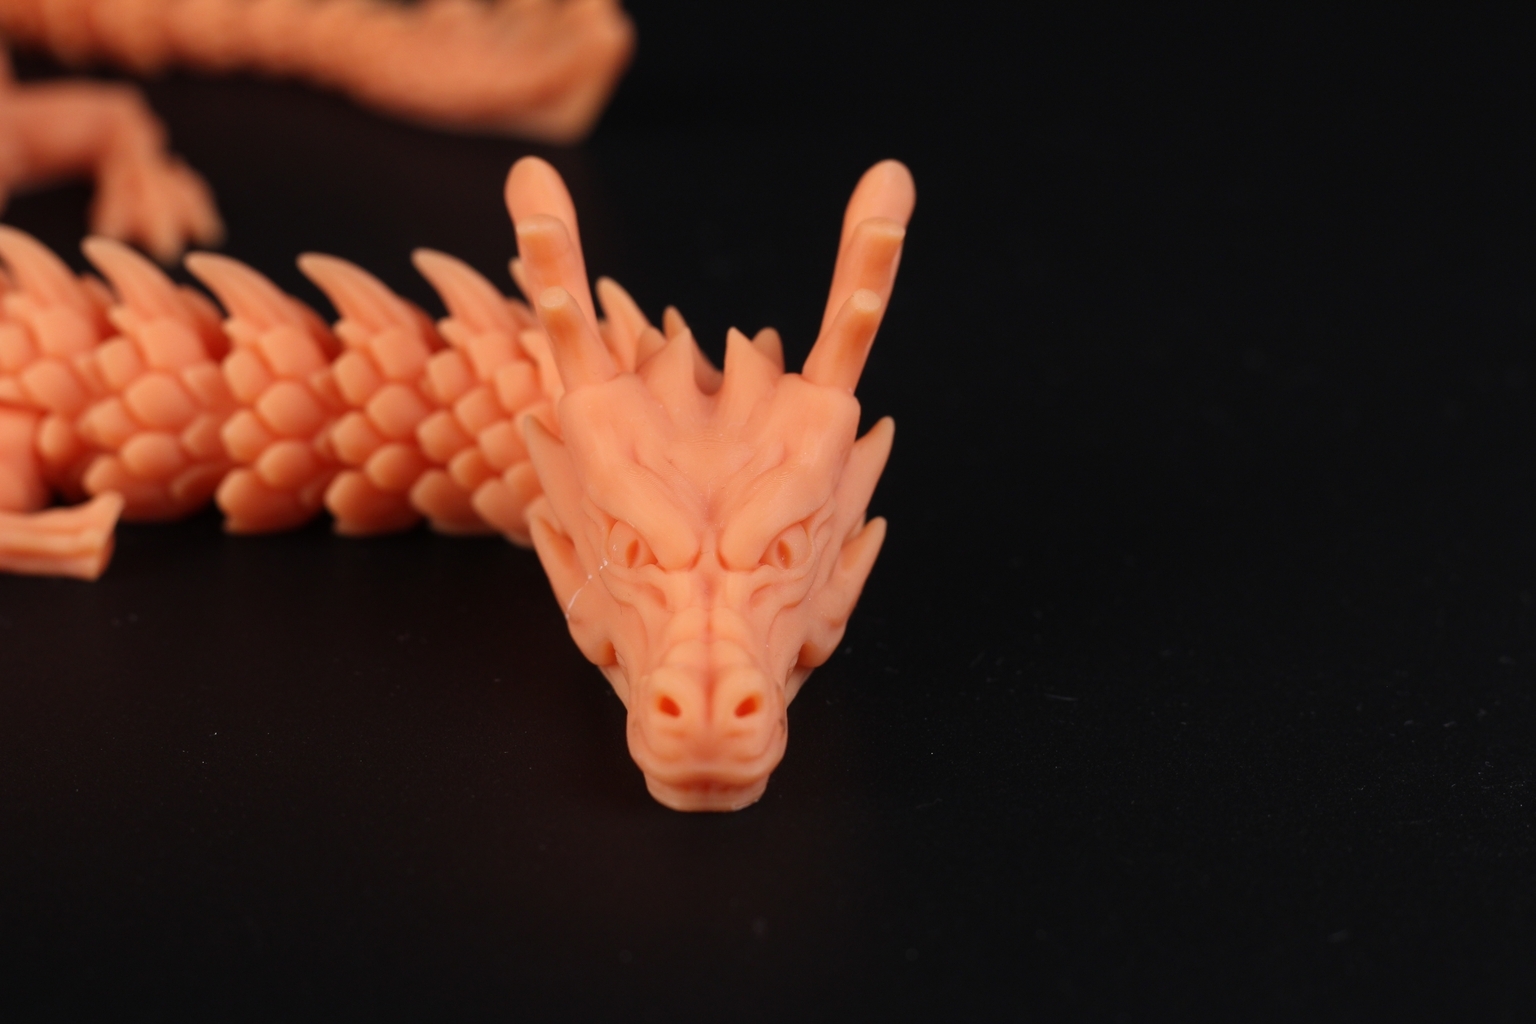
To test the adhesion for the Anycubic Photon M3 Max I also printed the Articulated Dragon from McGybeer. It printed flawlessly, but I managed to break the front claws when I removed the model from the build plate. And this happened mostly because I was being impatient, and not because the model was stuck to the build plate.
- Material: Anycubic Craftsman Apricot
- Layer Height: 0.05mm
- Layer Cure Time: 3s
Conclusions: Is the Anycubic Photon M3 Max worth it?
If you have the budget for it, then I don’t see a reason not to recommend the Photon M3 Max. It performed really well for me during my review period and I didn’t have any failures. The print quality is great and all the new features work as expected.
Having such a big resin printer really speeds up the production rate, especially considering that you don’t need to monitor the resin level anymore. You just start a print and come back the next day to handle the post-processing tasks.
And talking about post-processing, this needs to be something you think about when getting this printer, because the Wash and Cure Plus won’t fit a full-plate model and as far as I know, Anycubic doesn’t have any plans to launch a “Wash and Cure Max” too soon.
The Anycubic Photon M3 Max is one of the best large-format resin 3D printers you can purchase right now, and the price seems fair for what’s offered.
I’m still amazed at how fast these printers evolve and how the costs get lower with time. I’m sure that in a few years FDM will be outdated and most of us we’ll have a large resin printer at home. But time will tell…
Anycubic Photon M3 Max Rating
Design
Specs
Noise levels
Ease of use
Print quality
Price
The Anycubic Photon M3 Max is able to deliver excellent print quality while also keeping the costs low, compared to the competition. If you're looking for a large resin 3D printer, then I don't think you can go wrong with the M3 Max.
Where to buy the Anycubic Photon M3 Max?
The Anycubic Photon M3 Max can be purchased from the following sites:
Anycubic
Aliexpress
Banggood
Amazon
Geekbuying
I recommend checking out the Discount Codes page before purchasing. I regularly update the article with discount codes for various online shops, and you might find one for this particular model.
The Anycubic Photon M3 Max was provided free of charge by Anycubic for the purpose of this review. While the article includes affiliate links, all opinions are my own. Nobody reviewed the article before it was posted, following the Review Guidelines.
Liked it?
|
|





You can leave a comment for this article on the 3DPrintBeginner Forum