Resin 3D Printing for Beginners: From Zero to Hero
Resin 3D printing is quite different from regular FDM printing, and it requires a lot more post processing when the print is finished.
In this guide, I will share some information about resin 3D printing which should help beginners start their journey. Without further ado, let’s get started.
What are Resin 3D Printers?
A resin 3D printer uses ultraviolet light to cure photosensitive resin, layer by layer. The ultraviolet light is partially blocked by a screen, and the exposed resin layer hardens.
Compared to a regular FDM 3D printer, where the plastic filament gets extruded trough a nozzle, a resin printer cures an entire layer at once, allowing for faster 3D printing in some cases.
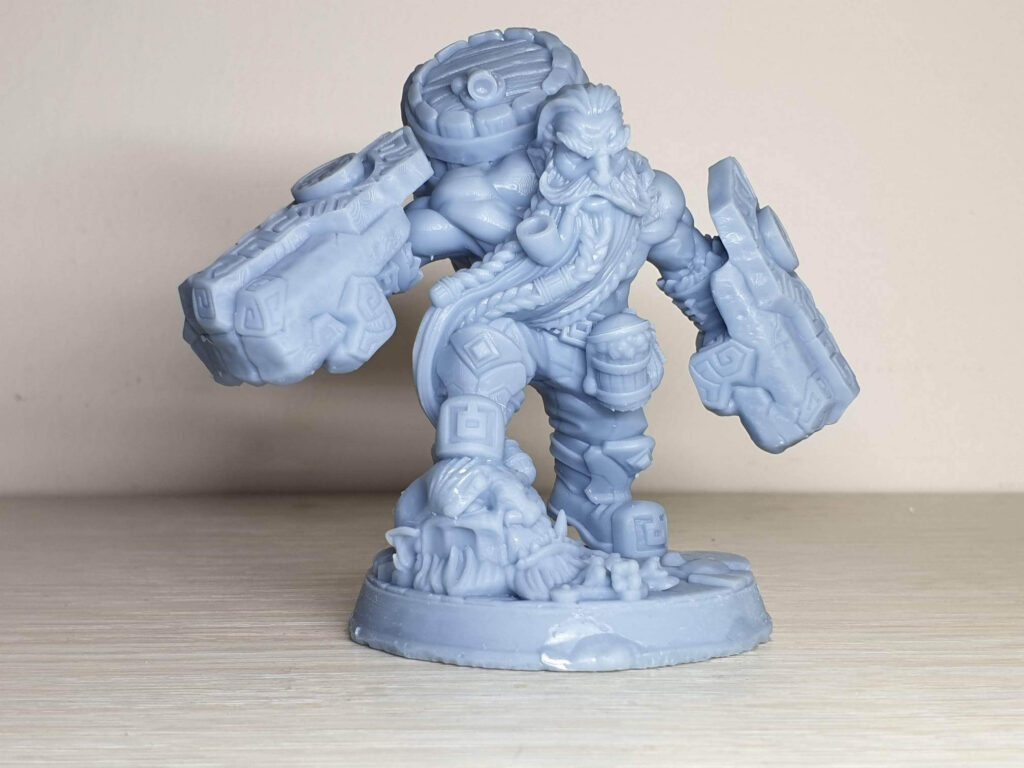
The main benefit of using a resin 3D printer is the print quality you can get.
With a resin printer, you print layers as thin as 0.05 mm, while on a regular FDM 3D printer, it’s a bit hard to go under 0.1 mm.
Unfortunately, there’s also a few drawbacks when dealing with resin 3D printers. The main drawback for me is the need to clean the printed models from the remaining resin, which requires chemicals like Isopropyl alcohol or acetone, and protective gear. After cleaning the models, you also need to cure the models further with UV light
All these extra steps can be cumbersome, compared to a regular FDM 3D printer where most of the prints can be used right off the build plate, without too much post-processing.
Safety Precautions for Resin 3D Printing
Resin 3D printing is more dangerous compared to regular FDM 3D printing and should be treated with the respect it needs when it comes to safety.
Avoid contact with uncured resin
Every time you handle uncured resin, it’s imperative to use protective gloves. Avoid touching uncured resin, and always handle resin bottles with care.
Uncured resin can cause burns or irritations to your skin, so if you happen to touch uncured resin, use soap and water to clean the affected area as soon as possible.
Use a well-ventilated space
When printing with resin, it’s important to have a well-ventilated space. Fumes from resin and cleaning chemicals are harmful and should not be inhaled. Using a face mask will help you minimize the effects of any remaining vapors.
Even though some resin 3D printers have carbon filters, or good insulation, it’s not a clever idea to use a resin printer in the same space where you live/work. If possible, try to use your resin printer in a separate room with good ventilation.
If this is not possible, I recommend printing when you are not in the same room. I usually print overnight when I’m not in my office. This way, in the morning I can simply remove the finished print and post process it, while properly ventilating the room. I also take extra precautions of adding another insulation layer to my resin printer so most of the smell stays inside the enclosure.
Deciding what Resin 3D Printer to buy
If you have decided to purchase a resin 3D printer, you need to think about what kind of models you are looking to print, then chose the appropriate machine for your needs.
DLP resin 3D printers
If you are looking to get one of the very best options for resin 3D printers, you could look into getting a DLP version.
A DLP resin 3D printer uses a digital projector to cure liquid resin into solid objects, layer by layer. Unlike SLA printers, which use a laser to trace each layer individually, DLP printers project an entire layer at once using a digital light source. This means that DLP printers can achieve faster print speeds since they cure entire layers simultaneously rather than point by point.
DLP printers use DLP 3D printer resin, which is a type of liquid photopolymer specifically designed to harden when exposed to projected UV light. Composition of DLP resin can vary depending on its intended use, with specialized resins available for applications requiring toughness, flexibility, biocompatibility, or high-temperature resistance.
Usually, DLP resin 3D printers are more expensive, but you could also find options like the Anycubic Photon D2 which is more accesible.
Small format resin 3D printers
A small format resin 3D printer is excellent if you plan to print small objects, like miniatures or jewelry and you don’t plan to print a high number of models at the same time.
These printers are excellent for hobbyists or people who just want to get started with resin 3D printing. By choosing a small format resin 3D printer you save money and space.
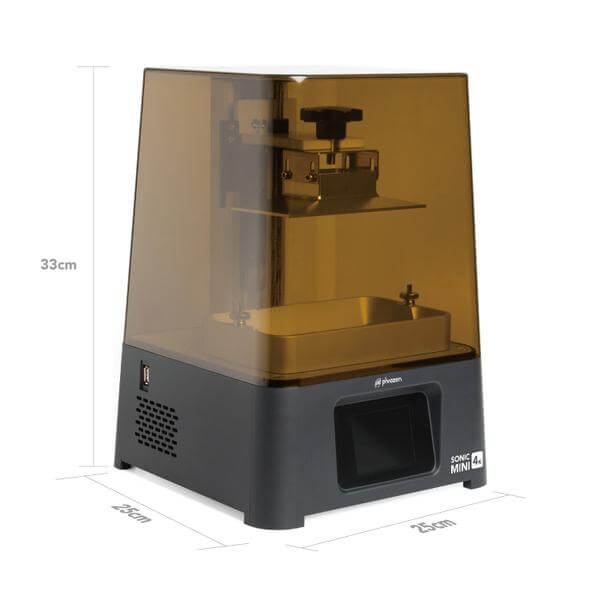
Phrozen Sonic Mini 4K
The Phrozen Sonic Mini was my first monochrome resin 3D printer, and I was quite happy with it. Now, the mini has been upgraded with a 4K screen and currently it’s probably the most capable small format resin printer out there.
It has a high-resolution 4K resin screen which produces excellent details while still keeping the cost of purchase reasonable. I haven’t had the time to try it out, but there are a lot of happy owners.
You can purchase the Phrozen Sonic Mini 4K from the following websites:
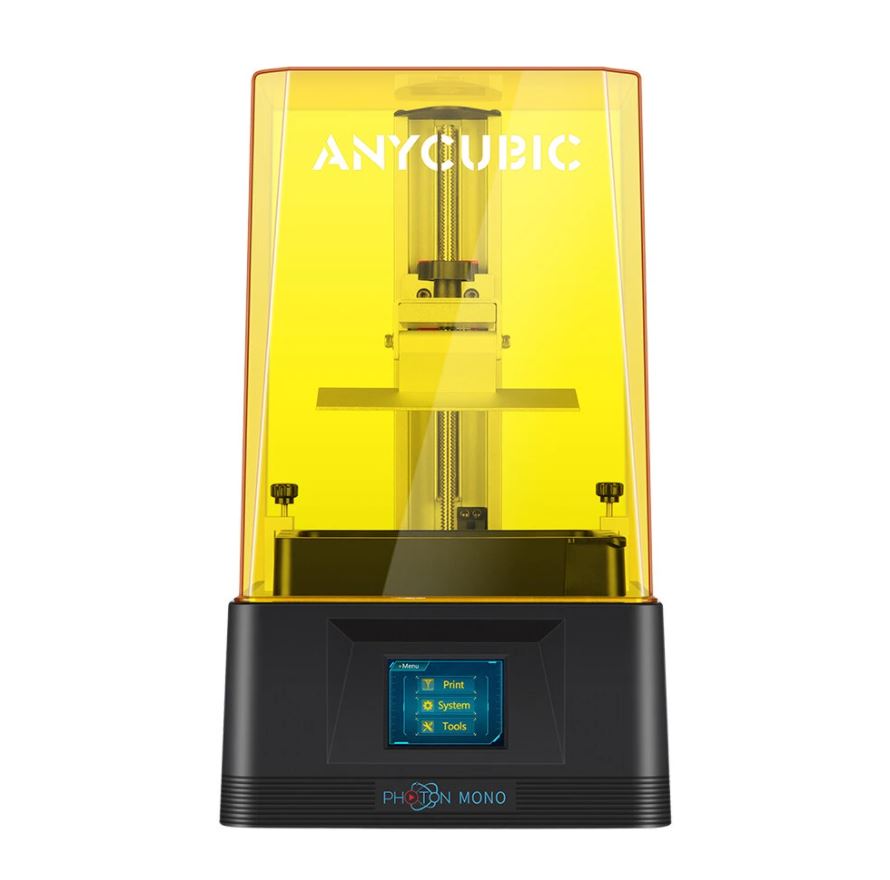
Anycubic Photon Mono 2K
I haven’t had the chance to test the Photon Mono 2K from Anycubic but in my experience, most of their printers are ok. This is the updated version of the old Anycubic Photon, which has a monochrome 2K screen that is more than enough for its print volume.
You can purchase the Anycubic Photon Mono 2K from the following websites:
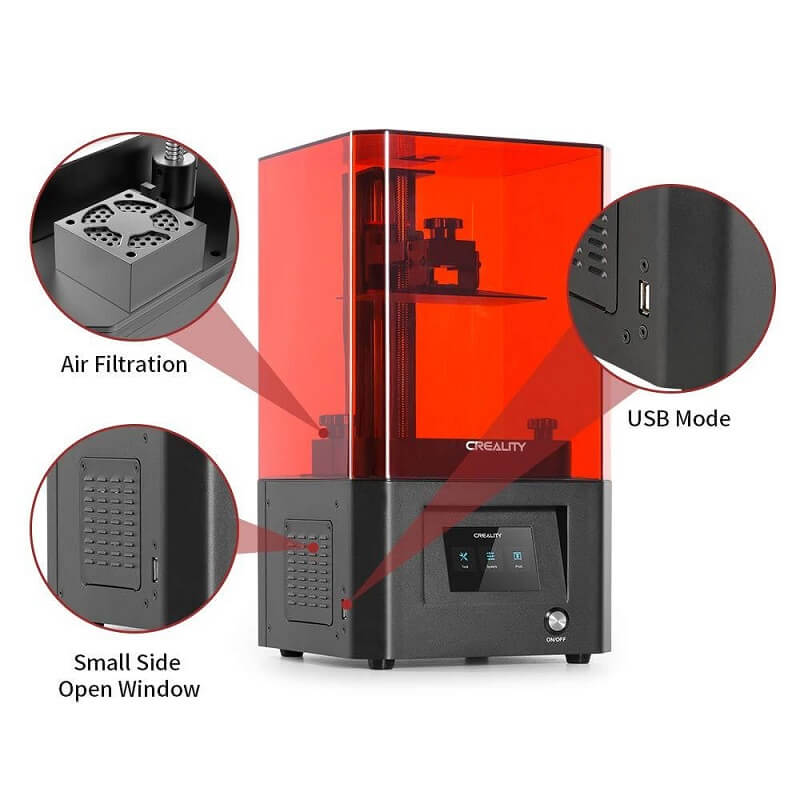
Creality LD-002H
The Creality LD-002H is excellent for a beginner. It’s basically the same printer as the Creality LD-002R I reviewed a few months ago but with a monochrome screen which will print about 2 times faster, while it lasts 4 times longer. The price is quite good for a machine of this size, and it also looks great in my opinion.
You can purchase the Creality LD-002H from the following websites:
Large format resin 3D printers
A large format resin 3D printer is great when you need to scale up production or print bigger models which wouldn’t fit on a small printer.
These printers have a larger build plate which allow you to print a larger number of small models increasing the yield and production capacity.
They’re also great for people wo are looking to print big models in a single piece, without needing to split them in multiple parts.
Because of the higher price, most of the large format 3D printers are bought by people who use them as a production machine for their business, or by 3D printing enthusiasts who are looking to up their resin printing game.
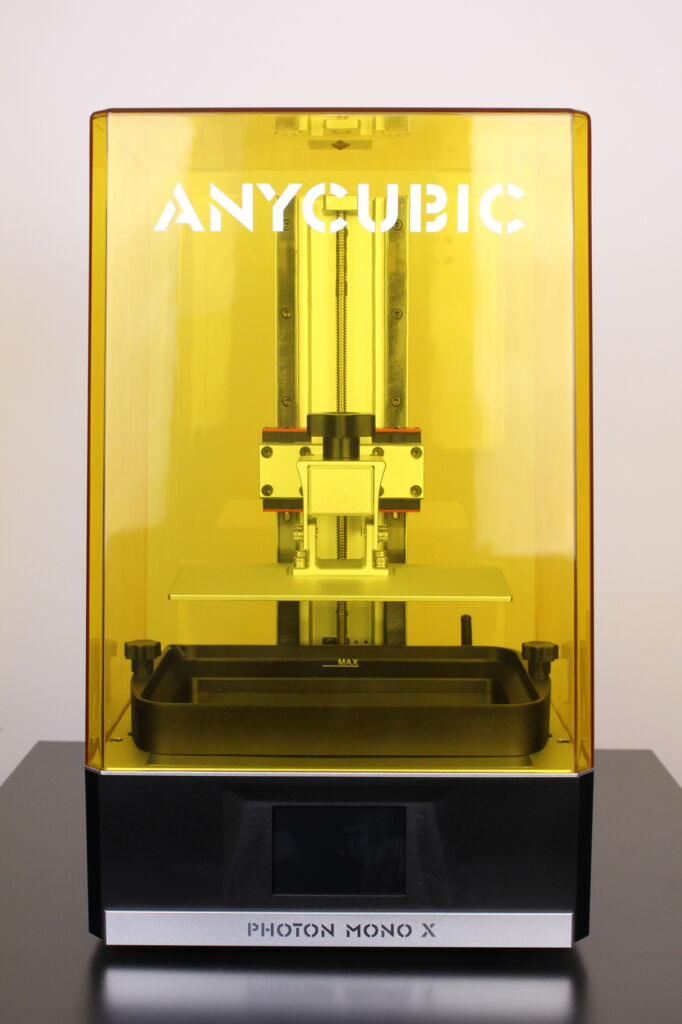
Anycubic Photon Mono X
The Anycubic Photon Mono X is my biggest resin printer currently. It performed admirably during my review period and I strongly recommend getting one, if you need the volume.
Read more about it in my Anycubic Photon Mono X review, where you can also check out a few printed models to judge the quality.
You can purchase the Anycubic Photon Mono X from the following websites:
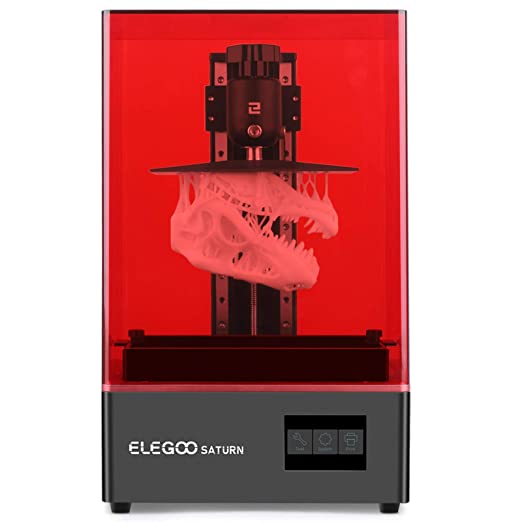
ELEGOO Saturn
The ELEGOO Saturn was the first on my list when it comes to large format resin 3D printers, because it promised a huge print volume for a small price. I liked it so much that I also wrote a preview at the time when it was announced.
Unfortunately, they were not able to keep up with the demand, and at the time of writing this article, the Saturn is still hard to get. From time to time, it shows up on Amazon in limited quantities.
If you are lucky enough to snatch one, then I don’t think you can go wrong with it. Price is good, and it mostly has the same features as other large format resin printers.
You can purchase the ELEGOO Saturn from the following websites:
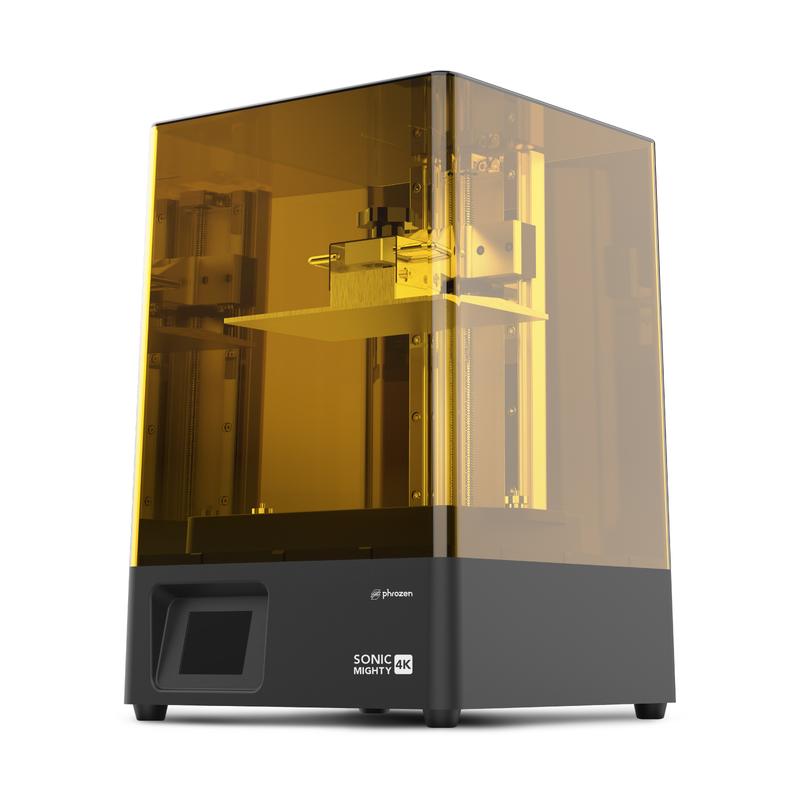
Phrozen Sonic Mighty 4K
Another popular option when it comes to large format resin 3d printers is the Phrozen Sonic Mighty 4K. It’s the “big brother” for the Sonic Mini 4K but it’s not as popular.
Unfortunately, Phrozen doesn’t have local warehouses to send their printers from, so most of the time you need to pay extra for shipping and customs. This increases the price, making it a less attractive product, compared to the Mono X.
You can purchase the Prozen Sonic Mighty 4K from the following websites:
Post Processing Tools
Wash and cure stations
Buying a wash and cure station is strongly recommended because it will make the whole post-processing work a lot easier. One of the most annoying things for me when printing with resin printers is cleaning up the models. It’s such a messy process, and without a dedicated solution, it also takes a lot of space.
Most of the models available for purchase are two-in-one machines, which besides washing your models, are also capable of curing them after cleanup. Really, there’s no reason not to buy one.
For small format 3D printers, one of the most popular wash and cure stations is the Anycubic Wash and Cure, which works best with Anycubic resin printers.
The ELEGOO Mercury Plus is similar to Anycubic’s offering with the same wash and cure features in a single machine, but mostly made for Elegoo resin printers in mind.
Creality also has the UW-01 machine that works with their line of printers.
You might think that these wash and cure stations are made specifically to be used for the same brand resin printers, but this is not completely true. By pairing your resin printer with a same-brand wash station, you get the possibility of also attaching the model directly from the build plate.
Keep in mind that these wash and cure stations are best suited for smaller resin printers. For large format resin printers, we are still waiting for a few models to become available for purchase.
Required Consumables for Resin 3D Printing
Resin
As the name suggests, resin 3D printers use photosensitive resin as a build material. Resin is available in a wide range of colors and each type of resin has different proprieties.
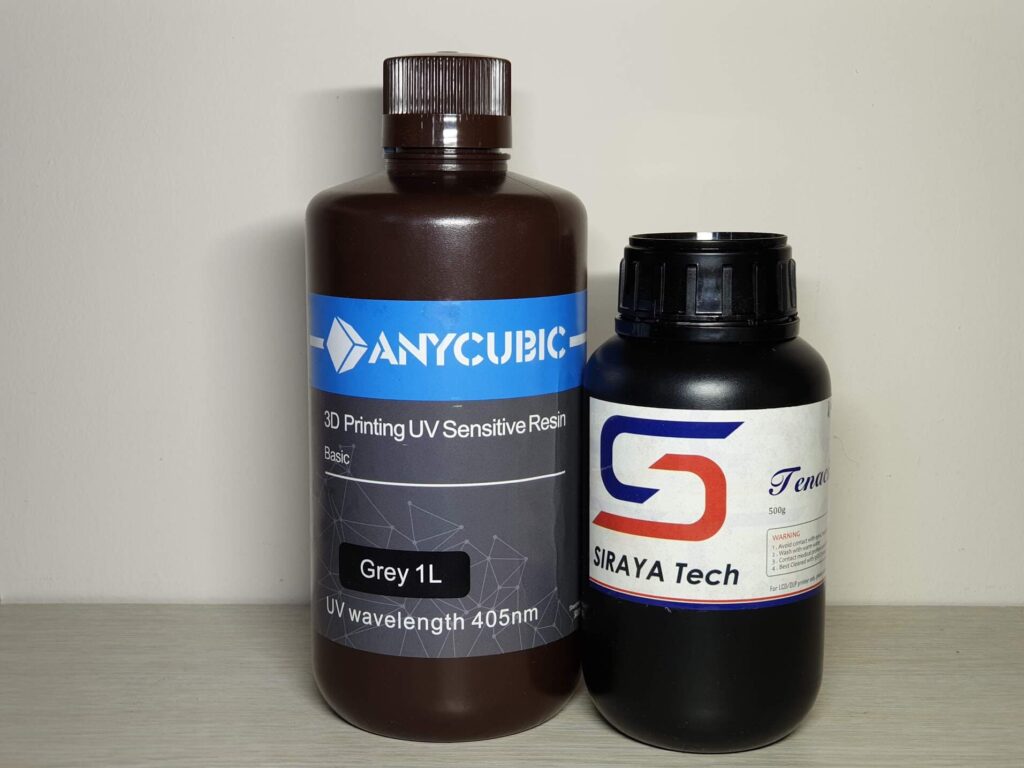
For example, there’s regular resin like the Anycubic Basic resin which is mostly used for miniatures and generic resin objects. It doesn’t have any kind of “special ability”. It’s just a resin good for day-to-day prints.
Recently, water washable resin is starting to get popular because it’s marketed as a resin that can be post processed only with water, eliminating the need of IPA or other chemicals. In my tests, this type of resin performed quite bad, and I don’t really like it.
Besides that, it also gives people the impression that this resin can be washed under running water, but this is not the case. Water washable resin should be treated like any other resin and should be properly disposed.
We also have resins with special proprieties, like the Siraya Tech Tenacious which is a flexible resin. This is mostly use as an additive for other resins to improve their strength, but it can also be used “as is” for specific projects.
Siraya Tech also makes one of the strongest resins available, in the form of the Siraya Tech BLU. Some people used this kind of resin to print gun silencers, which is quite impressive.
Finally, there’s also casting resin which can be used to print negatives of models which will be later casted in other materials.
FEP films
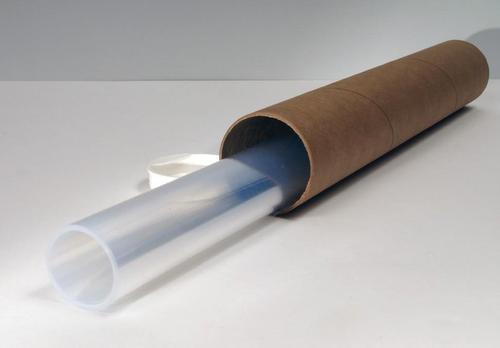
The FEP film is the transparent sheet from the bottom of your resin printer’s vat. This is considered a consumable because after a while, it can get damaged or worn out. It’s a good idea to check the FEP integrity after each print, to avoid leaks.
I strongly recommend in buying a few FEP sheets as a backup, because most of the resin 3D printers don’t come with spares and it’s better to have them at hand when you need them, instead of waiting for them to be delivered.
You can purchase pre-cut FEP sheets specifically for your machine, or you can buy larger sheets then cut them to size.
Resin printer screens
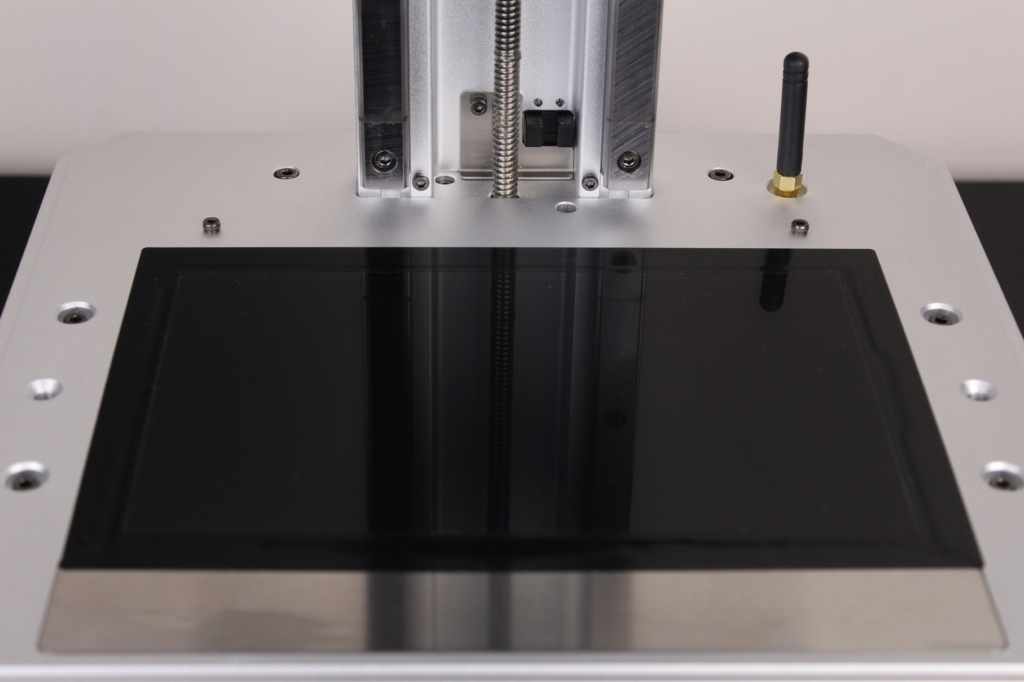
Monochrome resin 3D printers require less maintenance because the screen will last a lot longer compared to the old screens. But sometimes you might need to replace it if it failed, or if the FEP film was damaged and resin cured on your screen.
I don’t have spare screens because I think this risk is quite low, but if you are using your printers for production then it might be worth it having one at hand, ready to be replaced.
Cleaning solutions
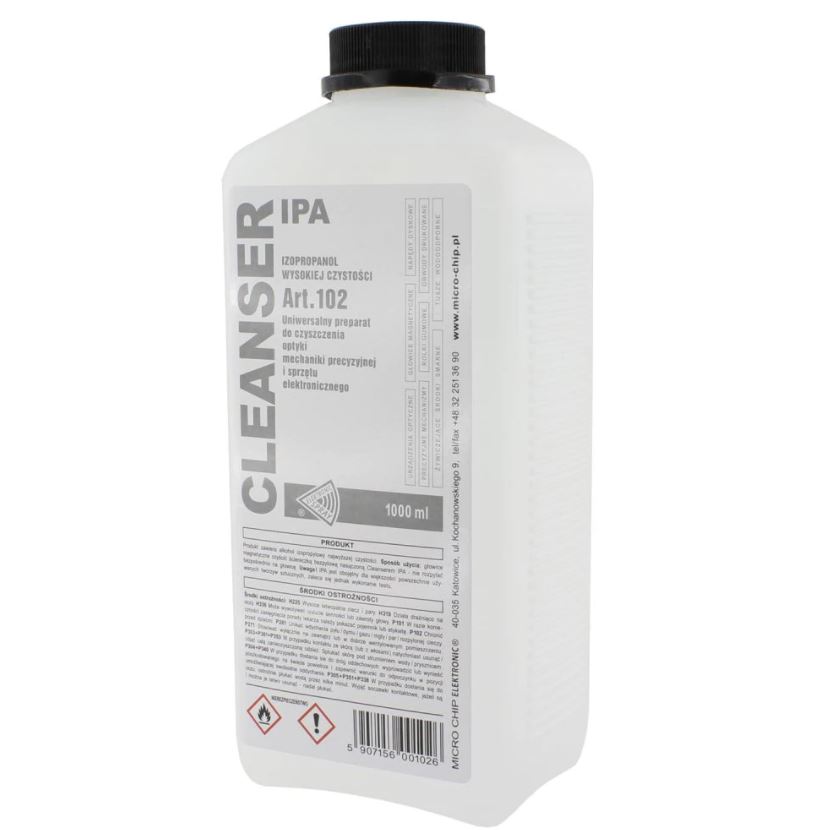
Isopropyl Alcohol
One of the most common solutions for post processing resin 3D prints is Isopropyl Alcohol also known as IPA. This chemical is great because it’s mostly safe (with the proper precautions and protection) and can be used with other cleaning tools without affecting them.
IPA can be reused if you keep it in a enclosed transparent container. The used IPA needs to be exposed to UV light and in a few weeks, the uncured resin will start to cure and drop on the bottom of the container while the IPA starts to clear.
Acetone
Another chemical which can be used to clean resin prints is acetone. Using acetone is a bit more dangerous compared to IPA because it evaporates much faster and it’s also more flamable.
You cannot use acetone with wash stations because it starts melting most of the plastic containers in just a few minutes so it’s only good for manual washing.
Cleaning your finished prints with acetone is much faster compared to IPA, but long exposure of finished models to acetone can make them brittle. It’s recommended not to expose the models for more than 45 seconds to 1 minute.
Printed upgrades for resin 3D printers
After you receive your resin 3D printer, I recommend you look for some upgrades you can print to make your resin 3D printer a bit better.
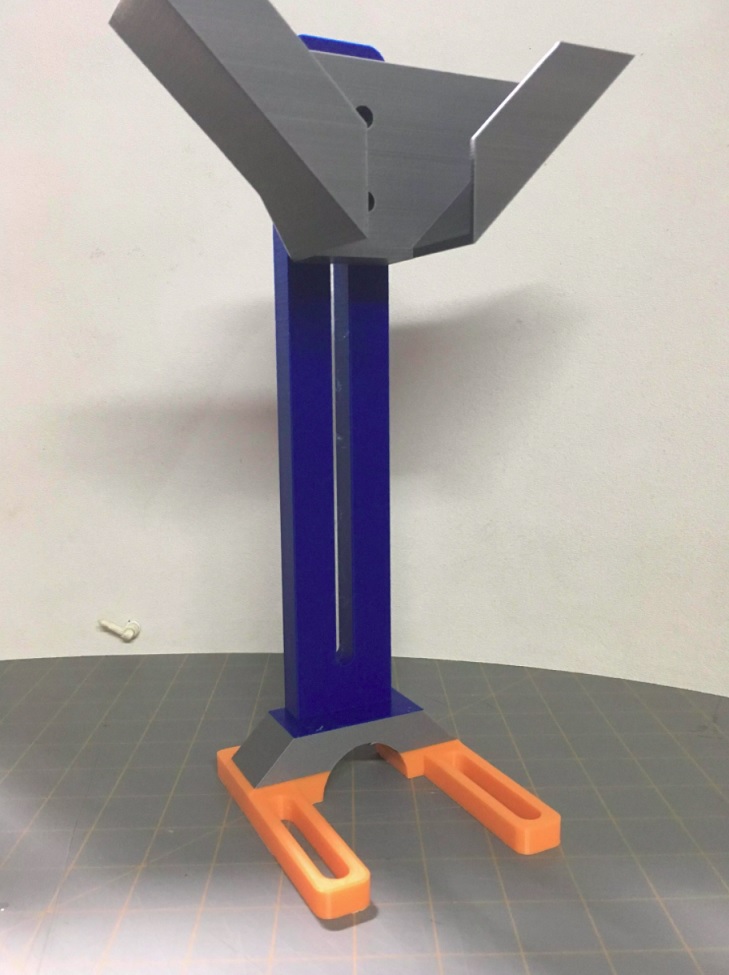
Dripping mount for the vat
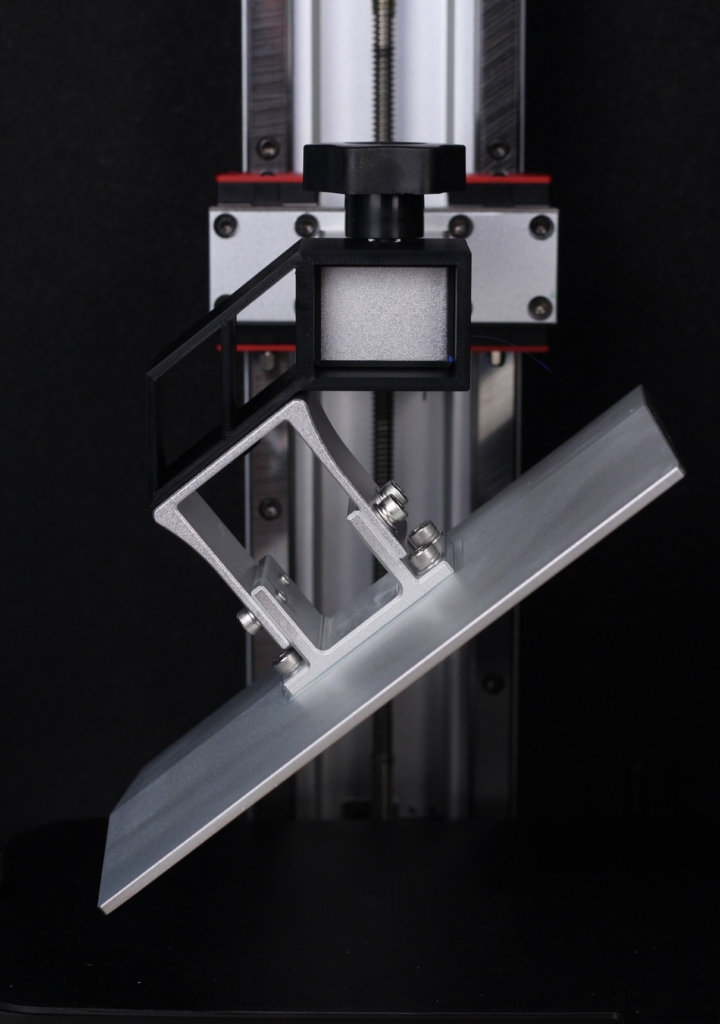
If your printer doesn’t already have a way to mount the build plate onto the printer and leave the model to drip all the resin, then I recommend you look for one online and print it.
This will allow you to attach the build plate in an angled position, and then leave it for 10 to 20 minutes for all the resin to start dripping from the top of the plate, and from the model.
Doing this will help you save a bit of resin and will also make the cleaning process a bit easier.
Vat cover
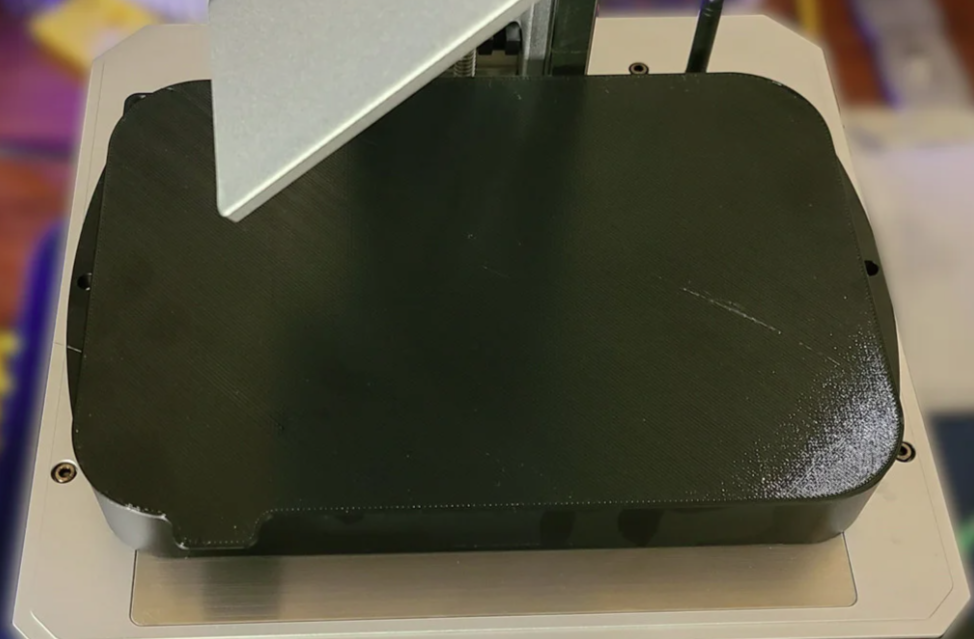
Adding a vat cover is also important because it will help trap most of the resin smell right in the vat, and you will also protect the resin from UV light and dust.
You need a vat cover if you do a print, and then leave the remaining resin inside the vat for the next time.
Usually, it’s not a big issue to keep the unused resin in the vat for a short period of time (~1 month) but if you don’t use the printer for longer periods, it’s always a good idea to empty the vat and clean it.
Remember to always stir your resin before starting a new print, to make sure it’s properly mixed. After sitting for a while, you will notice that the resin starts to separate so don’t skip this step.
Vat dripping holder
Emptying the vat from resin is a process I sort of hate because it’s always messy. But you can ease this pain by printing a vat dripping holder which will allow you to mount the vat in an angled position over your resin bottle.
That way, you can empty the vat completely and clean it with much less effort.
Find the best settings for your resin
A good trick about resin 3D printing is to look for resin spreadsheets on groups where people are talking about the specific printer you are using.
For example, I found this resin spreadsheet for the Anycubic Photon Mono X where people contributed with their resin settings. You can then pick the settings used by others for the same resin you are using and start from there.
Most of the times, the settings are ready to go, but from time to time you will need to perform some small adjustments to get everything just right.
Preparations before printing
Level the build plate
To ensure good adhesion for the model on the build plate, it’s crucial to have it properly leveled. This translates into having the build plate parallel to the screen, so an even amount of resin is between them.
Different resin 3D printers have different solutions for leveling the build plate, but most of the times, it’s an easy process which will be described in the user manual of the printer.
To do this on my printer, I need to loosen the four screws holding the build plate. I place a piece of A4 paper between the bed and the screen then carefully lower it.
While the build plate is laying on the screen, you need to press the build plate on the screen then start tightening the screws to hold it in place.
Elegoo has a good video about this, but this process will be different from printer to printer.
Fill the vat with resin
Before starting your resin print, you need to fill the vat with resin. Every resin 3D printer has a maximum volume of resin, and you should never overfill the vat. Always consider the displaced resin when it will lower itself to print.
If you do this for the first time, and your build plate doesn’t have a marking to indicate the fill limit, I recommend you home the printer then pour resin in the vat.
Print Process for Resin 3D Printing
Decide what model you want to print
This step is probably the easiest when it comes to resin 3D printing. Most of the people who are looking to get into resin 3D printing already have a few models which they want to print with high detail.
The best places for finding models are Myminifactory, Thingiverse, and Cults. On these websites, you can find models specifically made for resin 3D printers. Some of them are free, some are paid but there’s a wide variety from where to choose.
Besides these websites, a lot of Patreon pages showed up which offer premium 3D models for resin printing, for a monthly fee. Most of the times these premium models also come with pre-made support making your resin printing a lot easier.
Slice the model
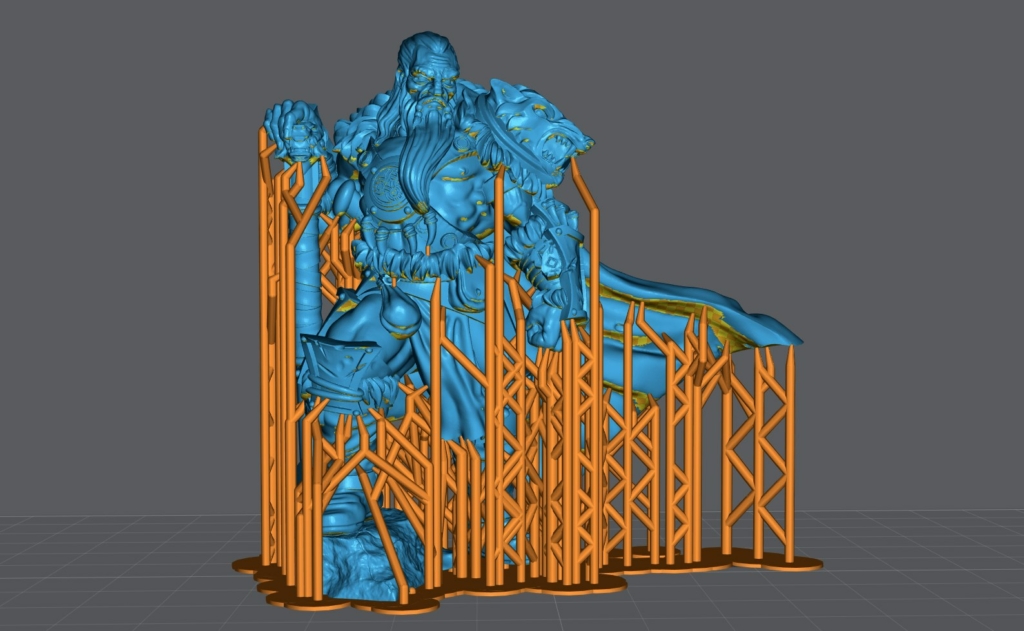
After getting the model, we need to first slice it with a dedicated program. Chitubox is probably the most popular slicing software, but Lichee Slicer and even Prusa Slicer are good alternatives.
I used Lychee Slicer a lot lately and it never produced a failure. It’s also quite easy to use and there’s a free version which is more than capable to slice your resin files. I will cover it in a dedicated article soon.
The automated support feature in Lychee slicer allowed me to improve my success rate to ~90% since I started using it, compared to the ~70% success rate with other slicers. It makes the whole slicing process much better.
There’s also the possibility of using the slicer software included with your 3D printer, like Anycubic Workshop or Creality Slicer but these are usually lacking features compared to the previously mentioned slicers.
Print the model
Printing the model is the easiest part of the whole process. Just copy the exported file from your slicer to a USB drive, then insert it on your printer.
Next, take your resin bottle and shake it for about a minute to make sure it’s properly mixed, then pour some of it in the resin vat.
Finally, start your print and wait for it to be completed. Easy, right?
It’s also important to note that resin doesn’t print that great with low environment temperatures so make sure your printer sits in a place where the temperature doesn’t go under ~20C. If the temperature is higher, then the resin will print better.
Wash the finished model
If you don’t have a wash and cure station, the post processing task will be the most annoying task when it comes to resin 3D printing (at least for me).
But you can make this task a bit easier if you have a few containers where you add IPA to do the cleaning process in stages.
First, you do the first wash in the first container to clean most of the resin present on the model. You can use a brush, but I had great results with a toothbrush too.
After you thoroughly clean the model, you move to the second container where the IPA is cleaner to start removing the remaining resin off the model.
Finally, you can move to a third container to repeat the process and ensure your model is thoroughly cleaned and there’s no more uncured resin on the model.
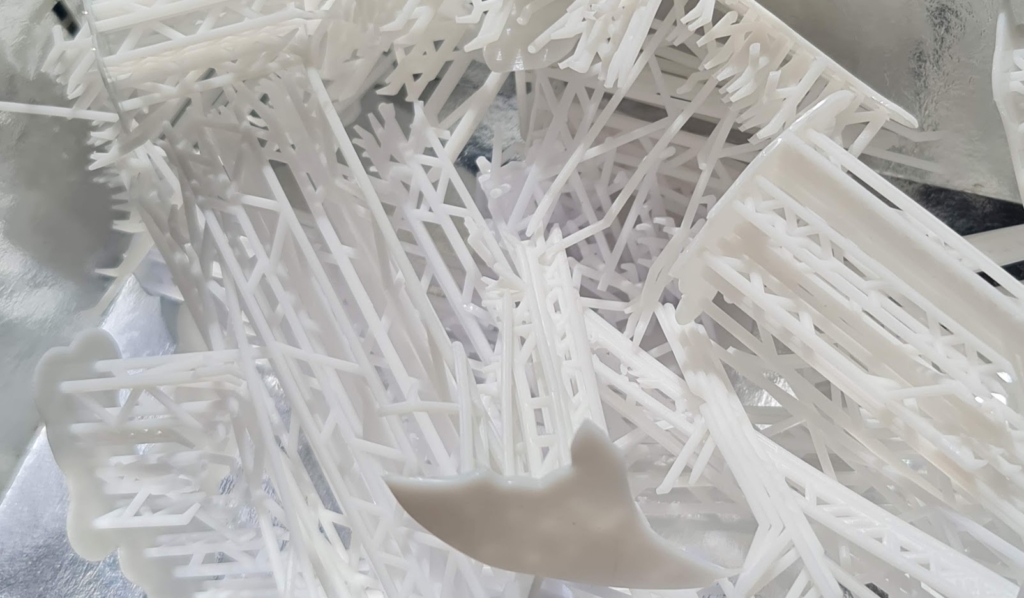
Remove the supports
Some people like to remove the supports after curing the model, but I found out that removing them in advance produces better results and less scarring on the model. There’s also a trick to do this.
After I thoroughly clean the model, I submerge it for a few minutes in hot water (~60C-70C). This will allow you to easily remove the supports with next to no damage to the model.
Please note that if the water is too hot, or you leave the model in hot water for a prolonged period of time, you can damage the small features of the model, so don’t keep it submerged more than 2 minutes.
Cure the washed model
Finally, the model is now cleaned, supports are removed so we can move on the last step, which is curing.
Depending on what curing solution you choose, and the intensity of your UV lights, the final curing time might vary.
I use the Phrozen Cure V2, and I cure the models for around 2 minutes. This amount of cure time works best for me, but you need to do some testing for various resin types. For example, the Siraya Tech BLU resin needs to be cured for around 6 to 8 minutes for it to keep its proprieties.
Please note that if you over-cure your models, you risk making them more brittles and “burn” your resin, causing it to become less transparent (for translucent resin) or to darken (for white resin).
It’s a matter of trial and error, but you can also check out the resin printing groups to see what curing times other people use, so you don’t start from scratch.
Wrapping up
Hopefully, the information in this article will make your resin 3D printing a bit easier. I would love to hear from you if this article helped you, and don’t be shy of showing off your print results in the comment section. Sharing this article with others also helps.
If you find some missing information, please let me know and I will update the article accordingly, to make it easier for beginners to start printing with resin.
If you have questions, feel free to leave a comment or join the 3DPrintBeginner Forum where there’s a dedicated category for Resin 3D printers.
Liked it?
|
|



Very nice article! I have looked for data on dimensional stability over time, but have found none so far. Is there a risk for precision parts to start rattling? Will interference fit parts start slipping further ahead?
Also, about over-curing. If resin printed parts is placed in daylight, sooner or later the odd UV-ray will hit the part. Given long time enough, the part will be more exposed than optimally designed for. Has anyone pondered about that?
Thanks, really helpful article for beginner like me, especially part about curing models. Do you have any tips of how to easily and in low labor way cure prototype models where i don’t expect high quality of model? Could i just drop it to the IPA, wait for a while and then put it under sunlight?
Sure