Extruder Tension Calibration Guide
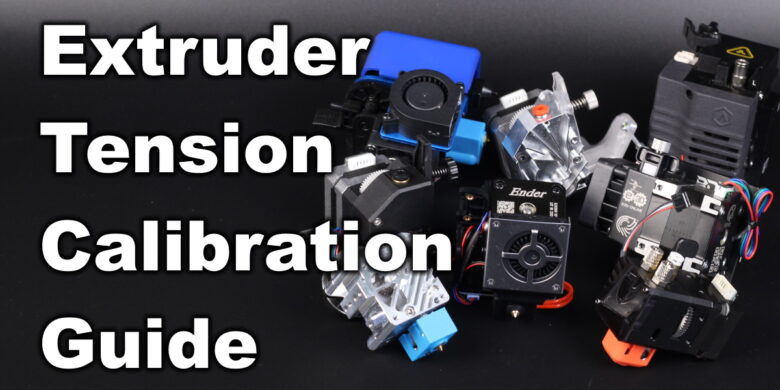
The extruder tension calibration is a topic that hasn’t been discussed too much, so I think it’s worth bringing to attention because it can have a significant impact on the quality of your prints.
The first time I shared information about the idler extruder tension and how to calibrate the extruder tension was in my Sidewinder X1 calibration guide. In that article, I shared pictures of the filament after going through the extruder gear and what’s the best amount of tension.
I will try to do the same today, by sharing a few results from the wide range of extruders I have at my disposal.
Why calibrate extruder tension?
When you adjust the extruder tension, you are basically changing the amount of pressure applied to the filament by the extruder gears. When this happens, multiple factors change:
Flow Rate
The first thing I notice when adjusting the extruder tension is the flow rate changing. Depending on the amount of tension applied to the filament, you will notice more filament or less filament flow through the hotend.
This change in flow occurs because the grip on the filament changes with the amount of tension applied by the idler or gear. Usually, when more pressure against the filament is applied, there is more grip so the flow rate increases a bit. When the extruder tension is less than ideal, the gears can slip against the filament and the torque is not correctly transferred to it.
Of course, this change will be different between different types of extruders, gears, and hotends used. I will explain this a bit later.
Filament shape
The second factor that changes when adjusting the extruder tension is the filament shape. In an ideal world, the filament should be round with a 1.75mm diameter across the whole spool. Unfortunately, we are not living in an ideal world so the diameter has a tolerance of about ±0.02mm to 0.05±.
When too much tension is applied to the filament, the extruder gears sink into the filament and actually crush it changing its diameter and shape. Instead of a nice round shape with a 1.75mm diameter, you can “deform” your filament into a saw-like squared piece of filament that has variable density across a specific length.
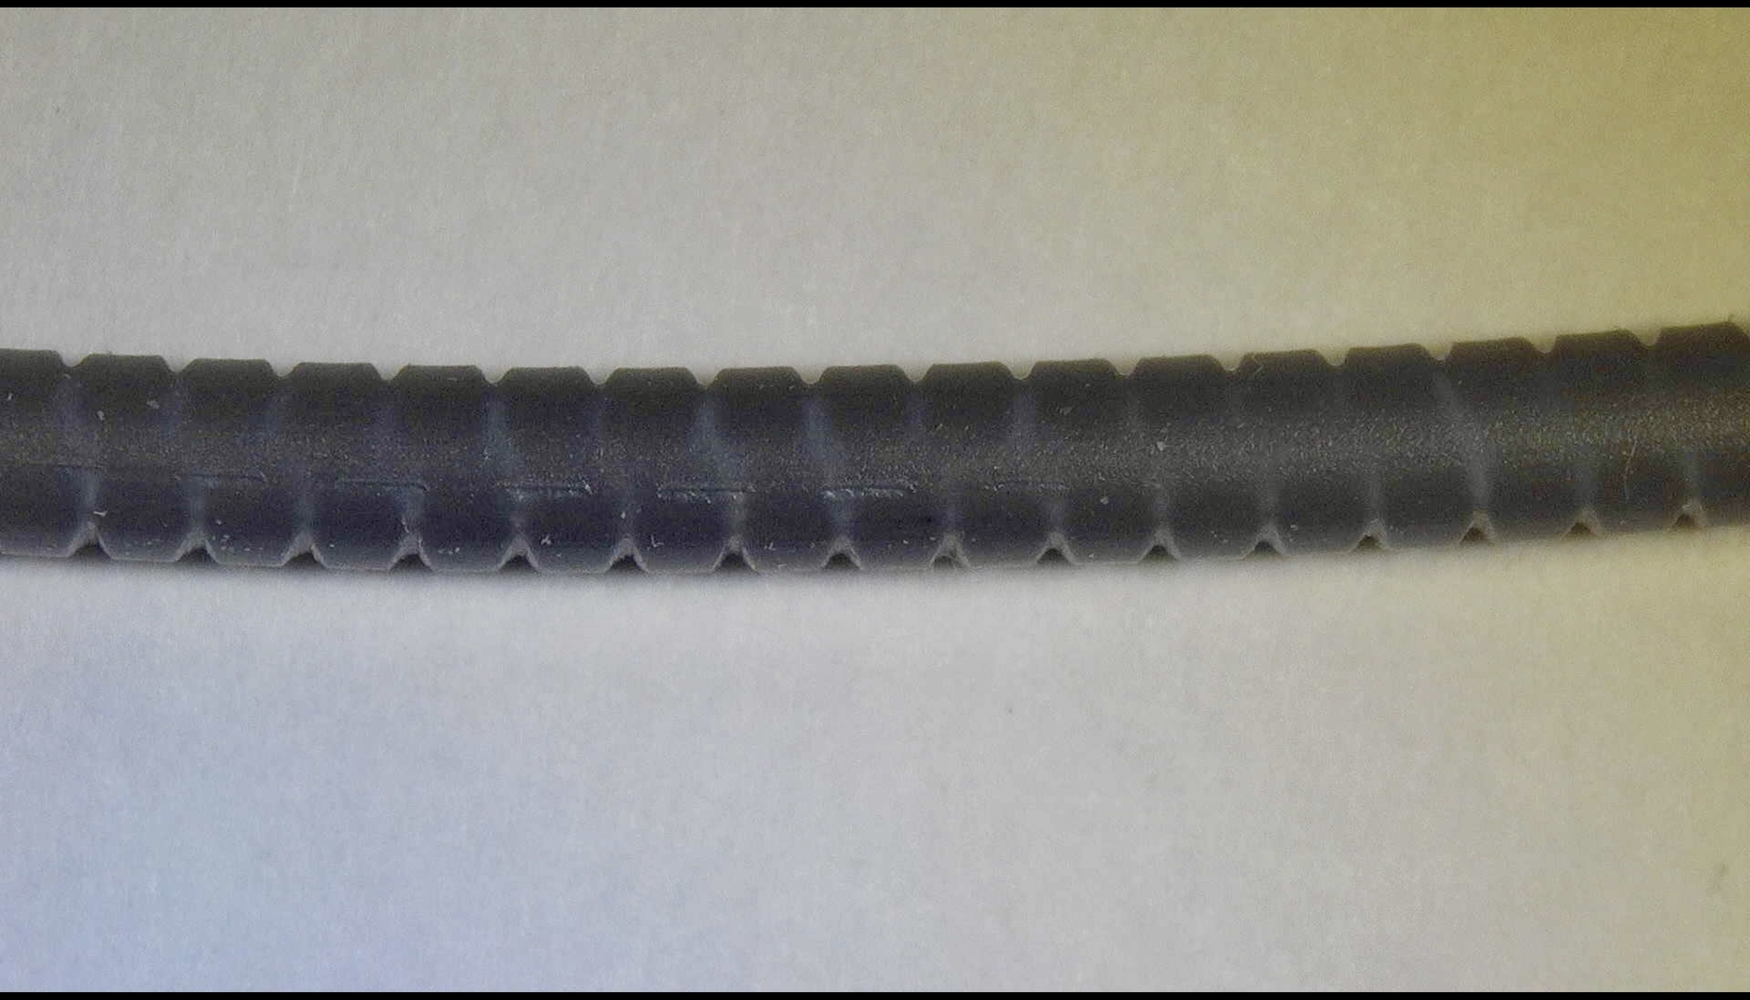
In this case, the flow rate will also change depending on how much the shape of the filament changes.
Prerequisites for a successful extruder tension calibration
To ensure an accurate calibration for the extruder (tension, e-steps, and flow rate) you need to ensure that the filament path is clear and the filament can move freely until it reaches the nozzle.
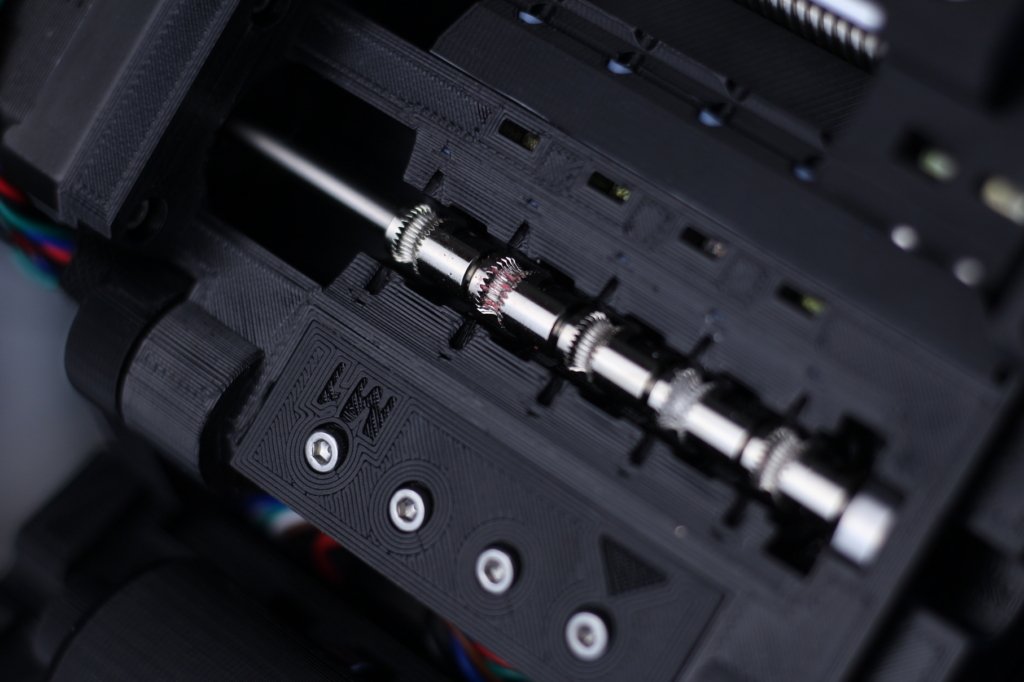
I also recommend ensuring that the extruder gears are clean and free from plastic accumulation. Over time, the gears can slip and filament can build up onto the gears.
How to calibrate extruder tension?
My main reasoning when calibrating the extruder tension is to have a good enough grip on the filament so the gears don’t slip while keeping the deformation on the filament as low as possible. There are a few dozen different extruders out there, so it’s hard to give a unique answer but here’s how I recommend doing this:
Loosen the extruder idler tension to the minimum value
I do this in order to ensure that the filament has a smooth path from the extruder to the nozzle. When the hotend is heated to the correct temperature, (ex: 215C for PLA) I manually feed the filament through the nozzle. The filament should be easy to feed and no blockage should be present in the filament path.
Begin tightening the extruder idler tension
Now that we confirmed the filament can be fed easily through the hotend, and the filament path is not obstructed, we can begin tightening the extruder idler. Adjust the tensioning knob on your extruder until pressure is applied to the filament and start extruding some filament. You can do this using the on-screen options of your 3D printer or a program like Pronterface.
During the extrusion process, try to slightly pinch the filament between your fingers just before it enters the extruder. This will add a bit of resistance and if your extruder doesn’t have enough grip, the filament won’t be fed continuously and the gears will start to slip.
At this point, you can start increasing or decreasing the pressure applied onto the filament by tightening or loosening the tensioning knob/screw of the extruder. Remember that we want our extruder idler tension to be just a bit higher than the amount needed to consistently pull the filament from the spool.
Check the gear marks on the filament
The final step when adjusting the extruder idler tension is to check a piece of filament that has already been pushed by the extruder gears. In the image below, you can see an example of the ideal extruder marks you want to see on the filament, without deforming it.
Examples of extruder gear filament marks
To give you a visual representation of how various extruders impact the filament integrity, I took some filament and ran it through a few of my different extruders.
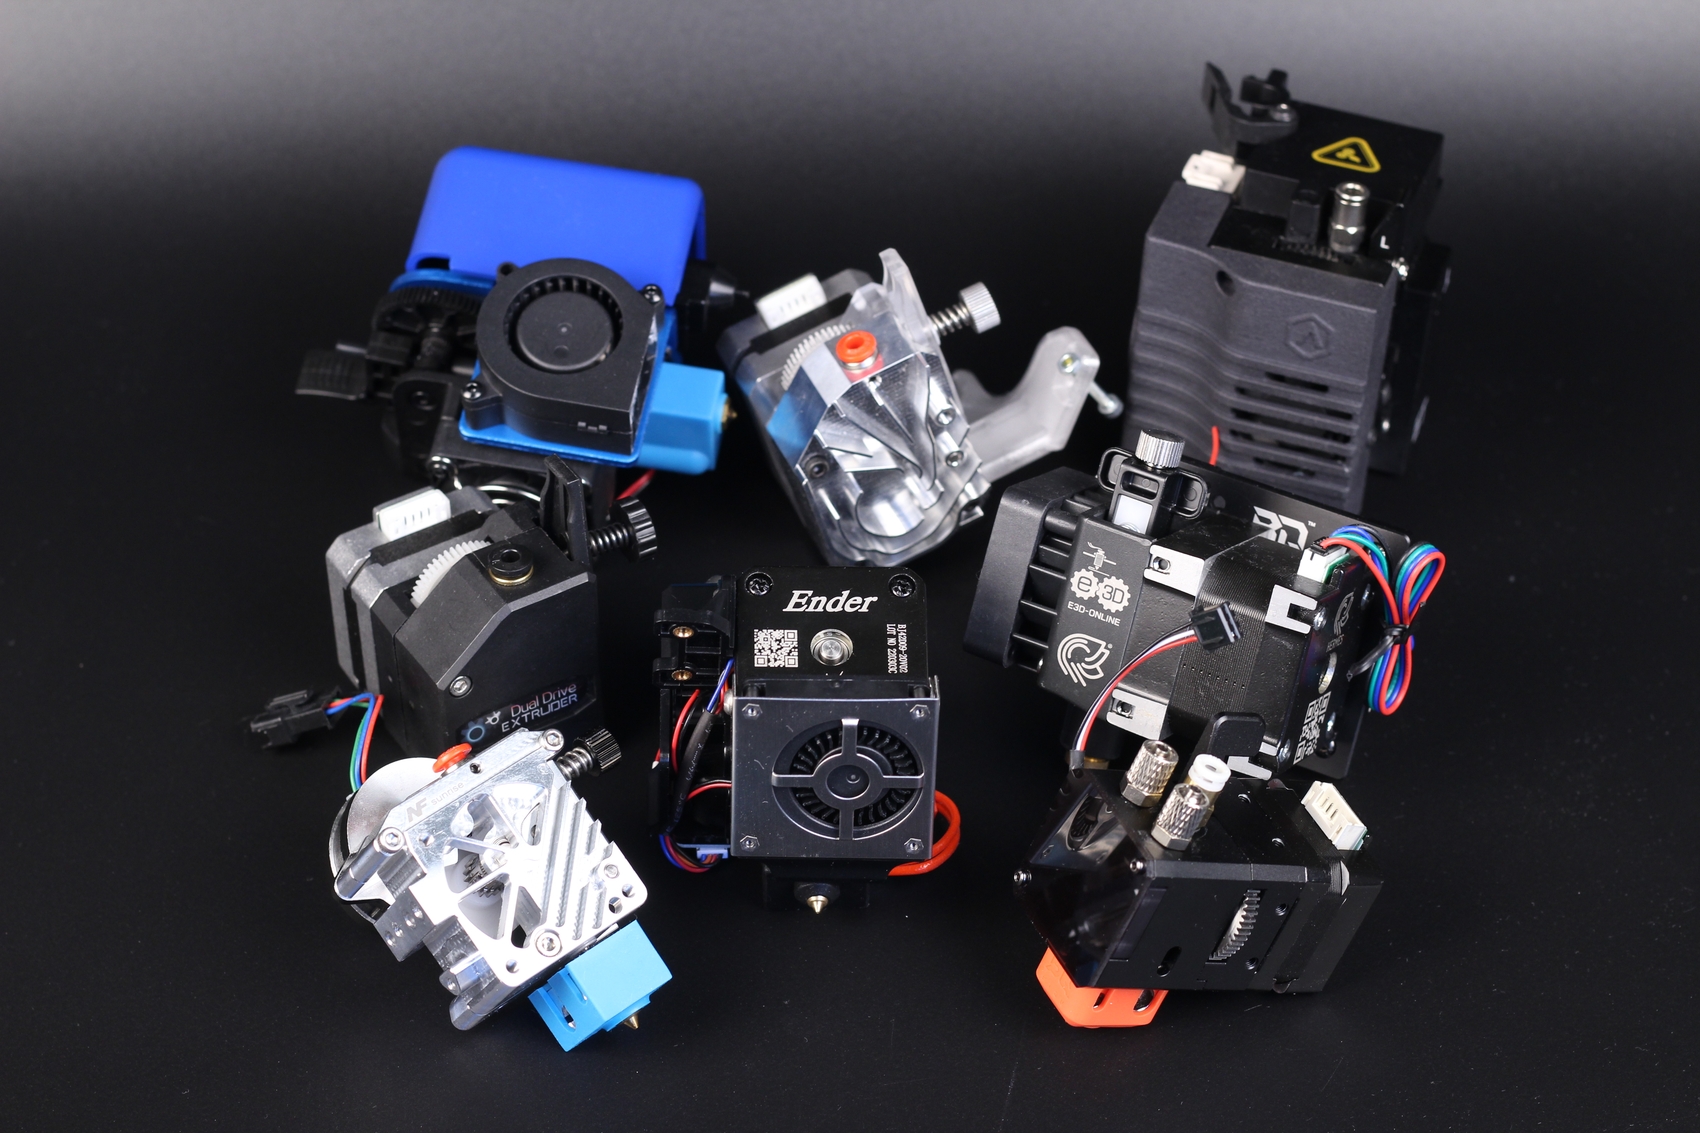
This should help you understand what you can expect from various extruders. Please remember that the images below don’t have an example of ideal tension on the filament, but just a visual representation of how the extruder gears affect the filament with various pressure.
E3D Hemera
The E3D Hemera extruder is one of the best extruders out there and that’s mostly because of the hobbed gears it uses. In the images below, you can see how sharp the gears are and how close these markings are compared to the other extruders.
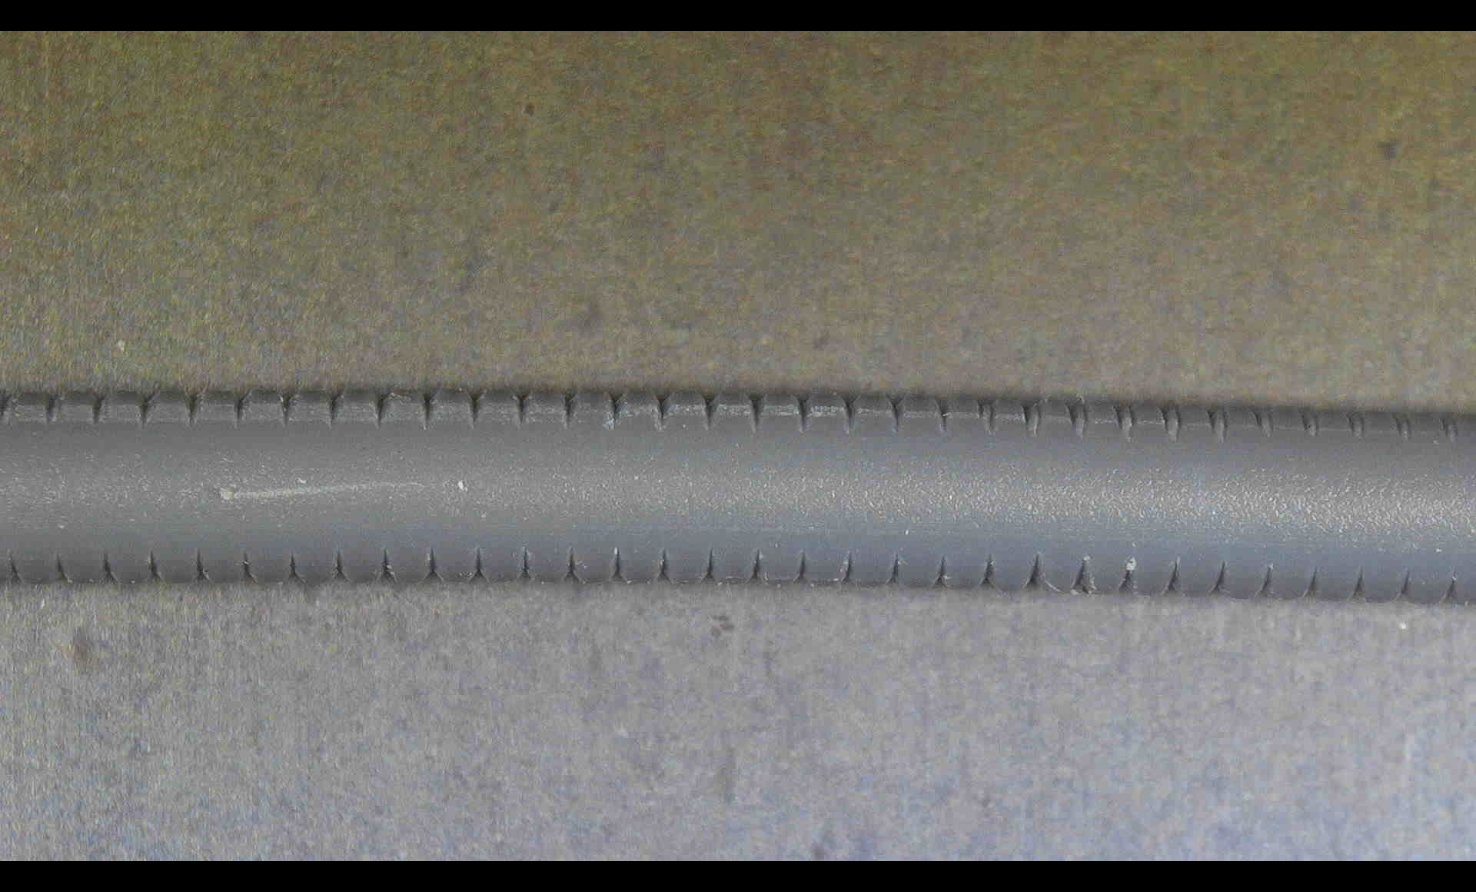
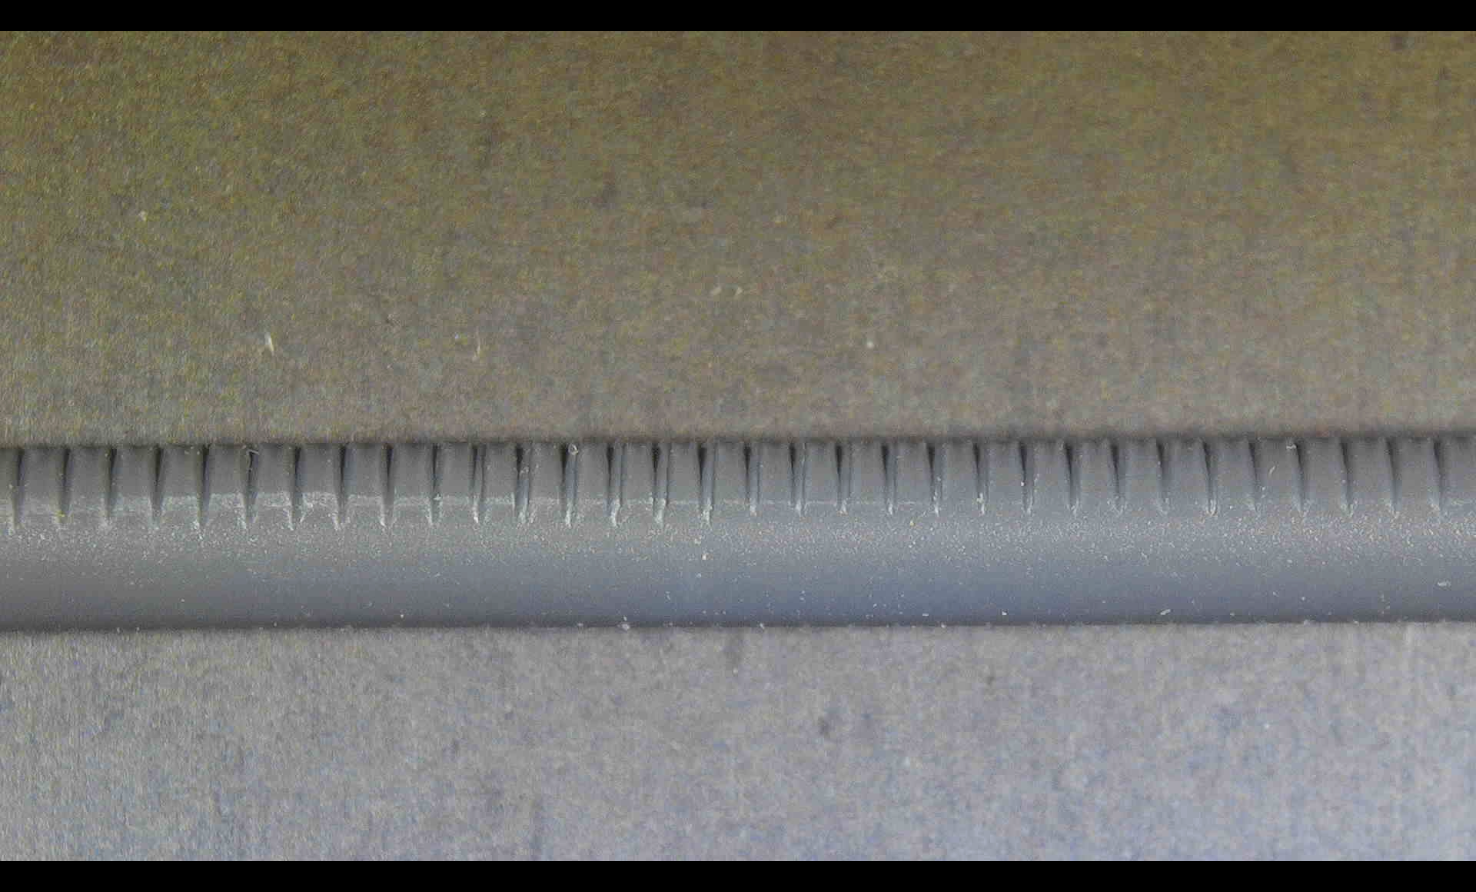
Having larger gears than a BMG while also having sharp cuts in the gear allows the E3D Hemera to have a powerful grip on the filament, without actually deforming it.
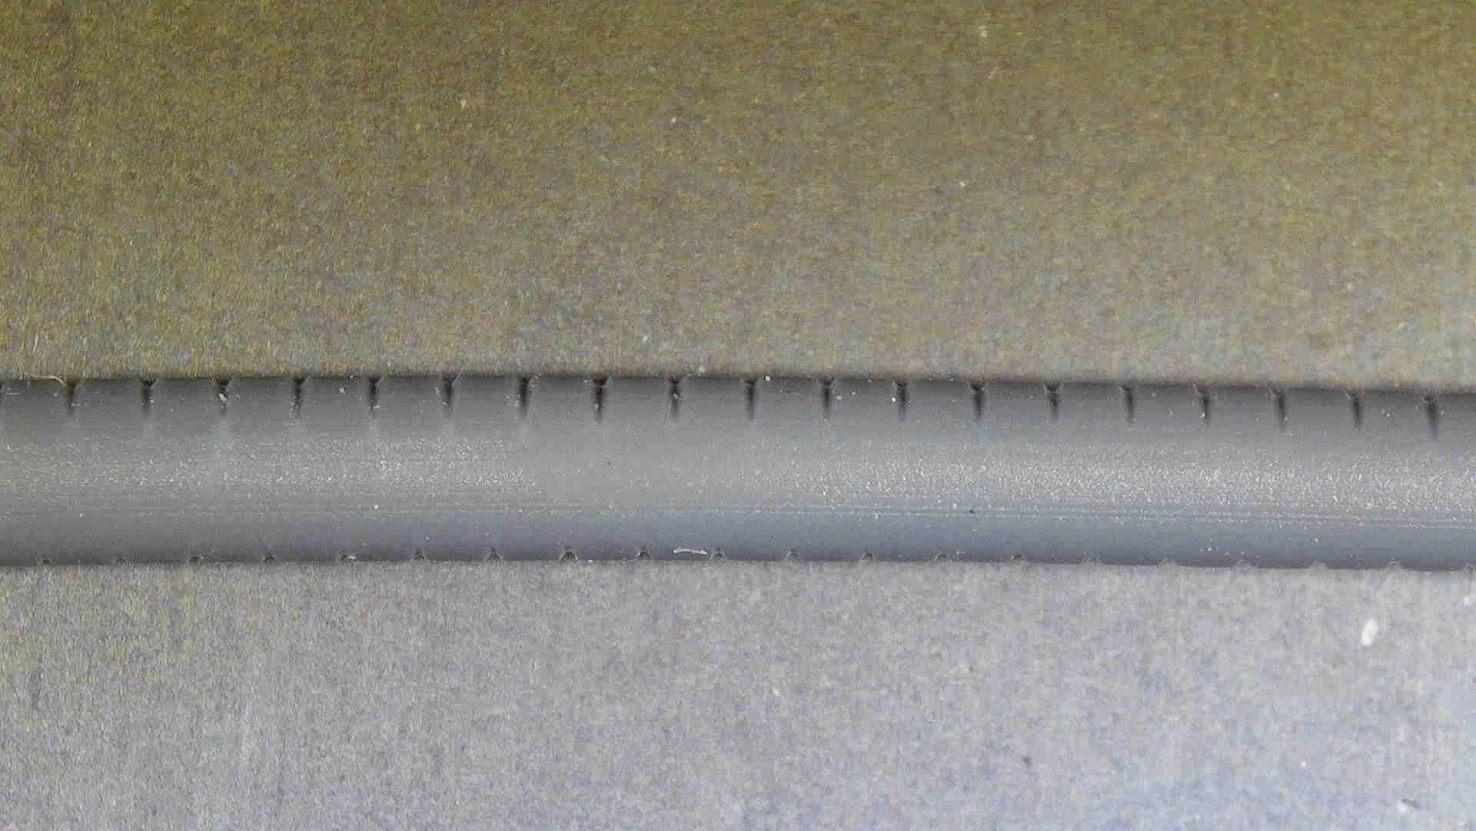
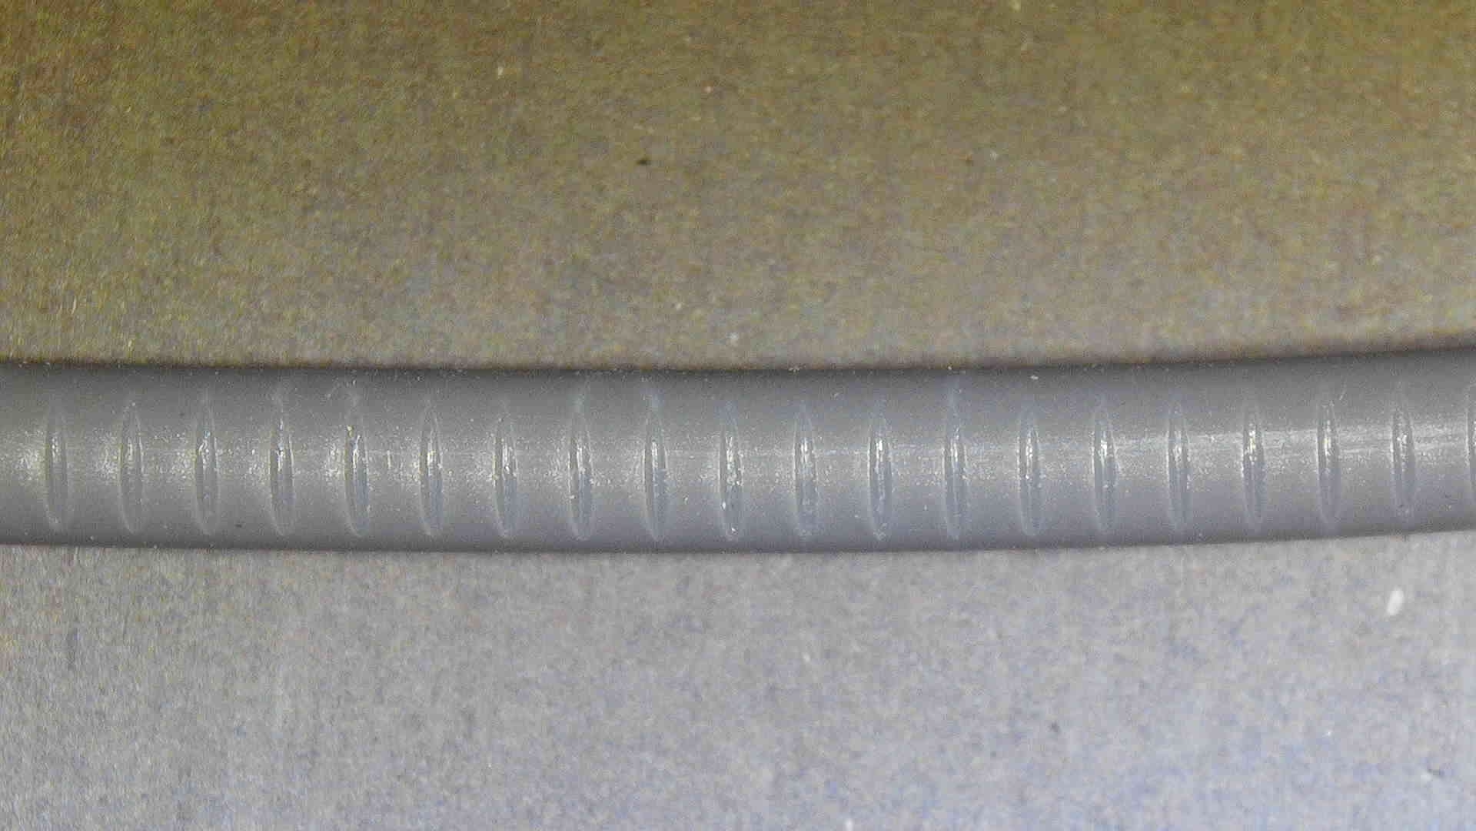
Bondtech LGX
Another high-performance extruder is the Bondtech LGX. This one has larger gears to allow an even better grip on the filament. While the gear markings on the filament are not as dense as with the Hemera, the added contact surface of these gears and the possibility of manually adjusting their position helps a lot with ensuring a consistent grip without deforming the filament.
Trianglelab TBG Lite
A good mix between grip mark density and pressure on the filament is delivered by the Trianglelab TBG Lite which probably has the closest to ideal grip effect on the filament. It has a higher contact surface, similar to the LGX but it also has sharper and denser grip marks.
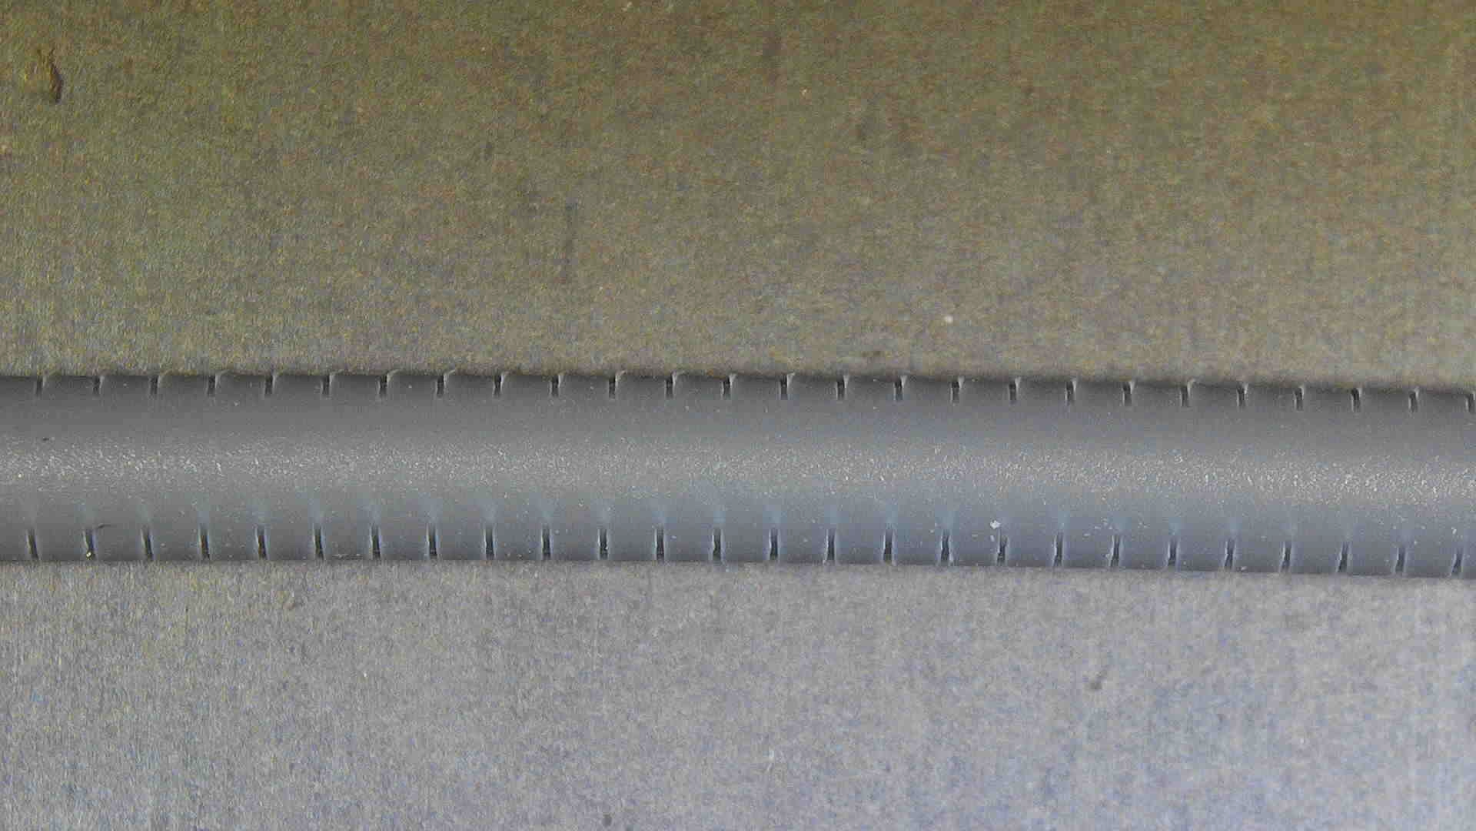
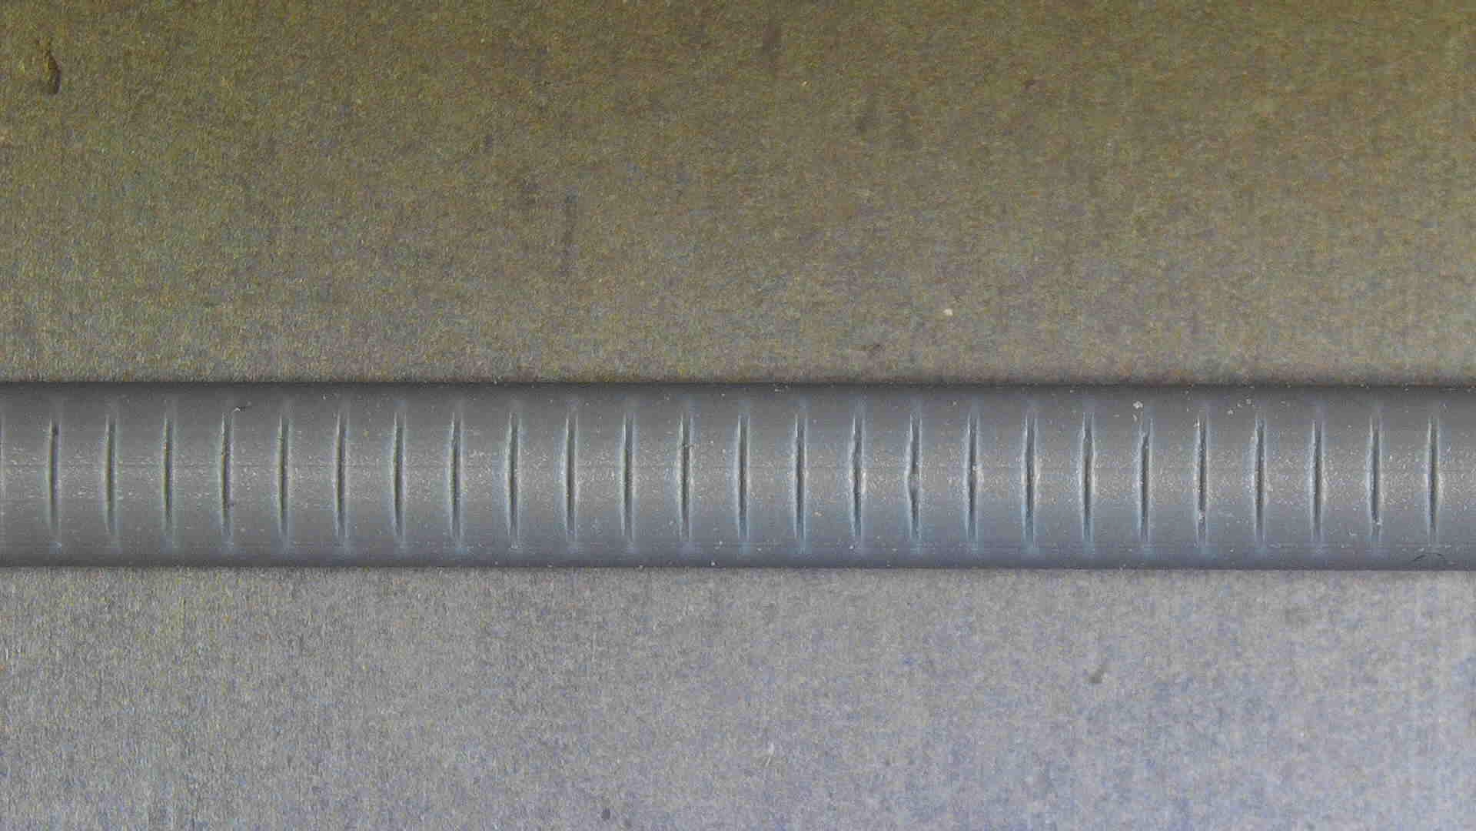
It’s worth mentioning that these results are with the idler tension close to the maximum. I wanted to see how much pressure the gears apply to the filament in the worst conditions but it seems that it is well-tuned in this regard.
Creality Sprite Extruder
Most of the time, the Creality Sprite Extruder comes with the tensioning screw too tight, and that causes a big deformation on the filament, You can check more pictures with it in my review.
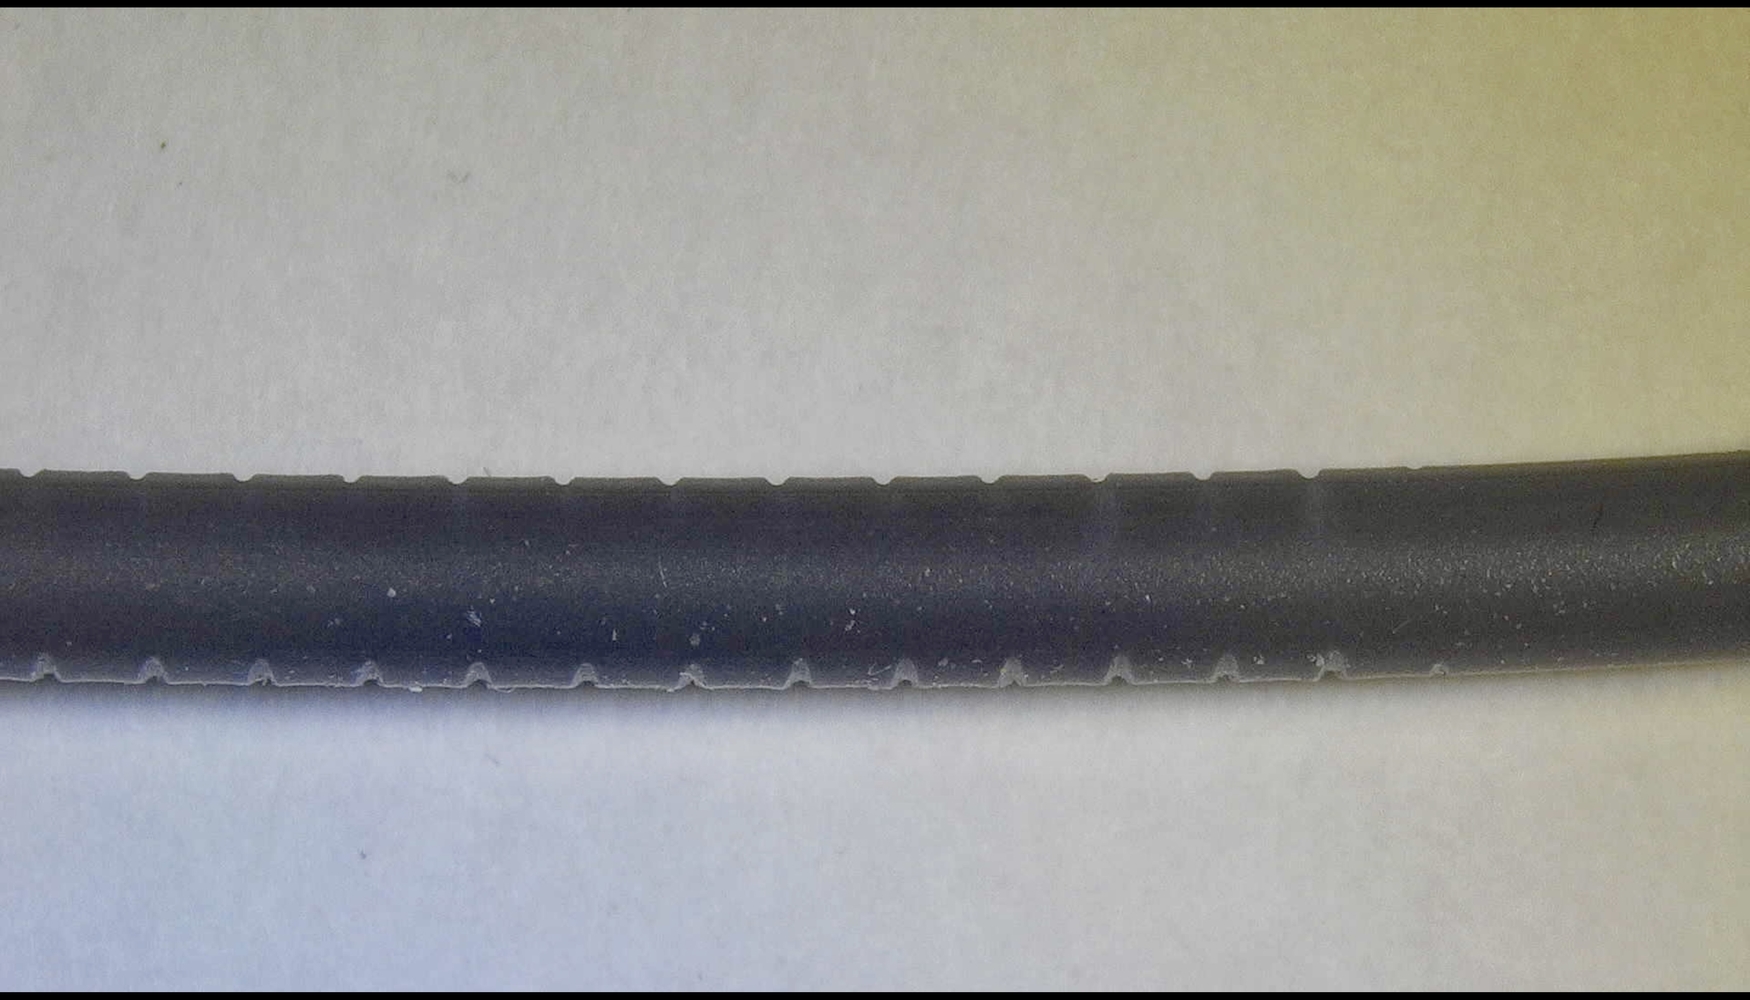
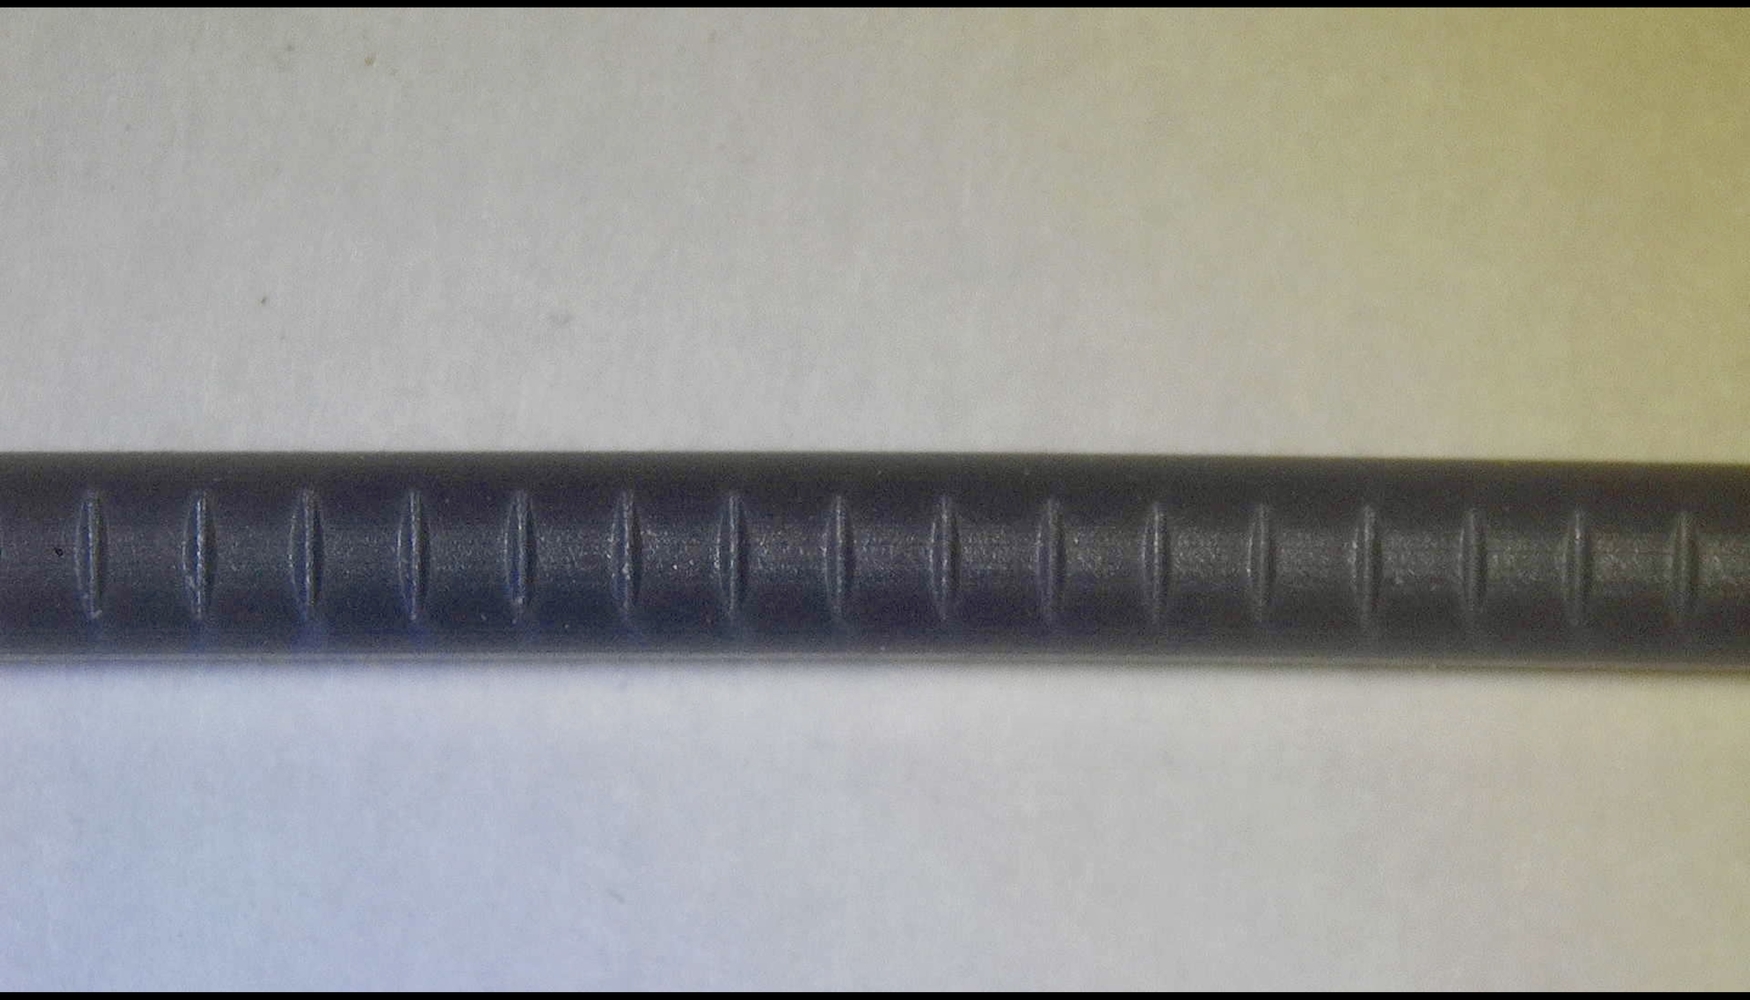
After adjusting the idler screw, the results can be seen in the images above.
Raise3D E2 Extruder
The extruder on the Raise3D E2 is single-geared meaning that the idler is a smooth bearing. Most of the time, this means that you will need to add a bit more tension to the idler to ensure smooth feeding of the filament, which might also generate filament deformation.
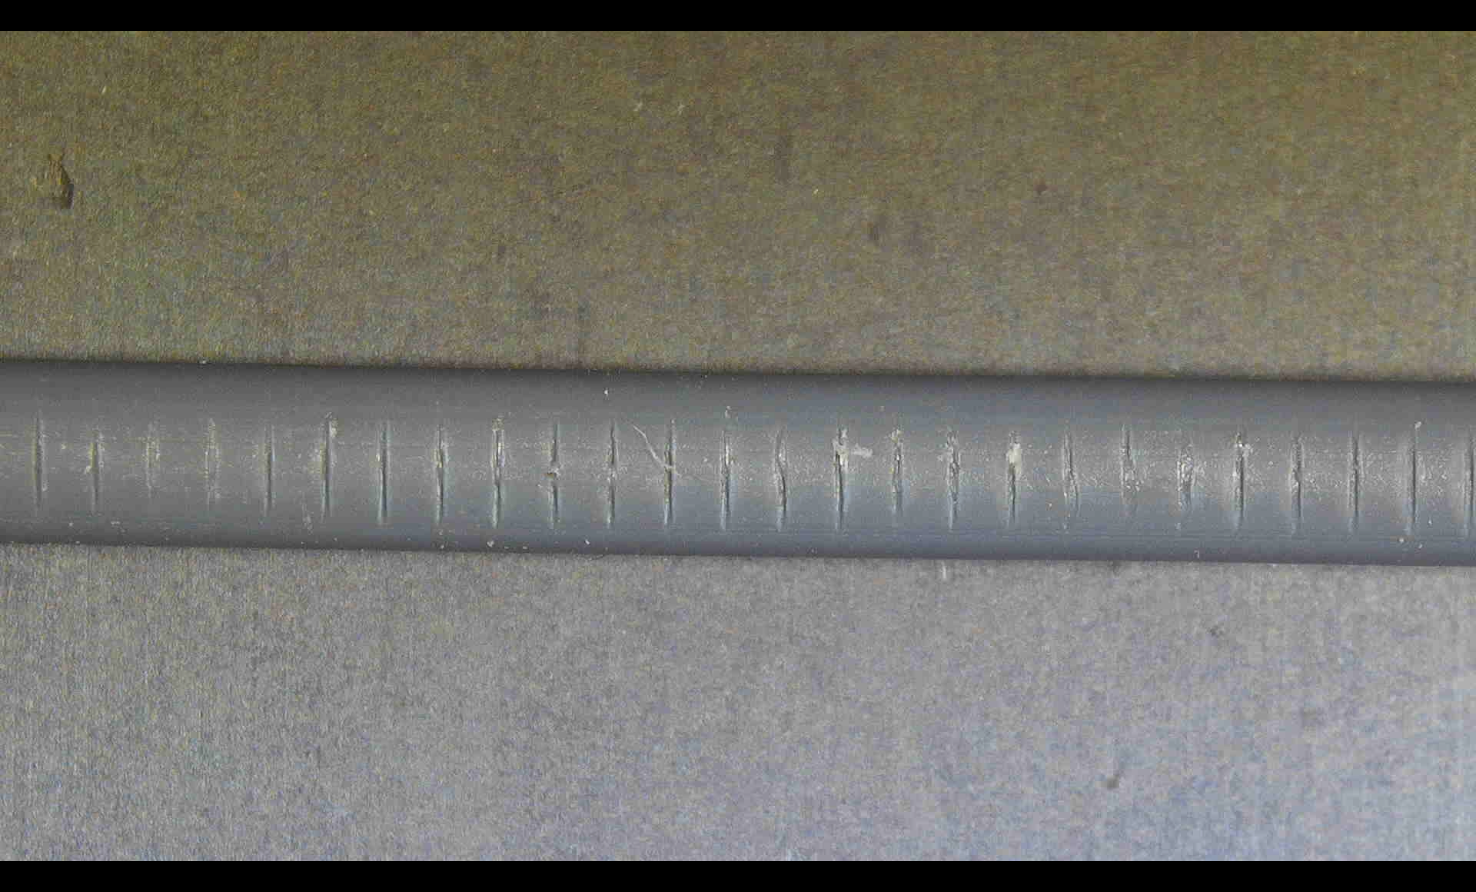
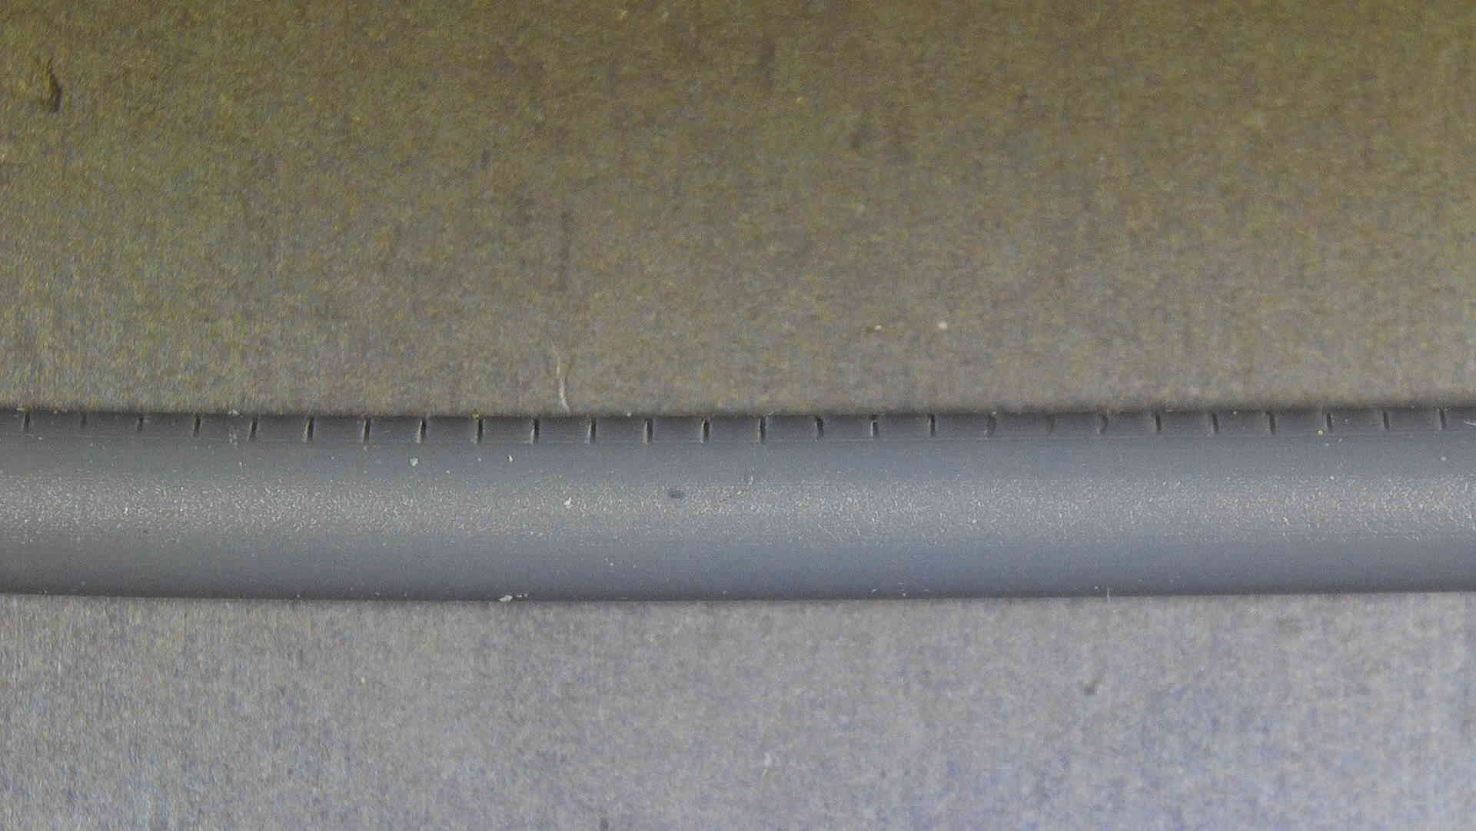
In the case of the E2 extruder, even when the idler screw is tightened close to maximum, the filament doesn’t deform, but I can’t really say the grip on the filament is great either. It works, but it’s not as good as other extruders.
NF Sunrise
Another extruder that performed better than expected is the NF Sunrise from Mellow. I reviewed this extruder a while ago, but I haven’t had the chance to use it too much because of the awkward part cooling setup.
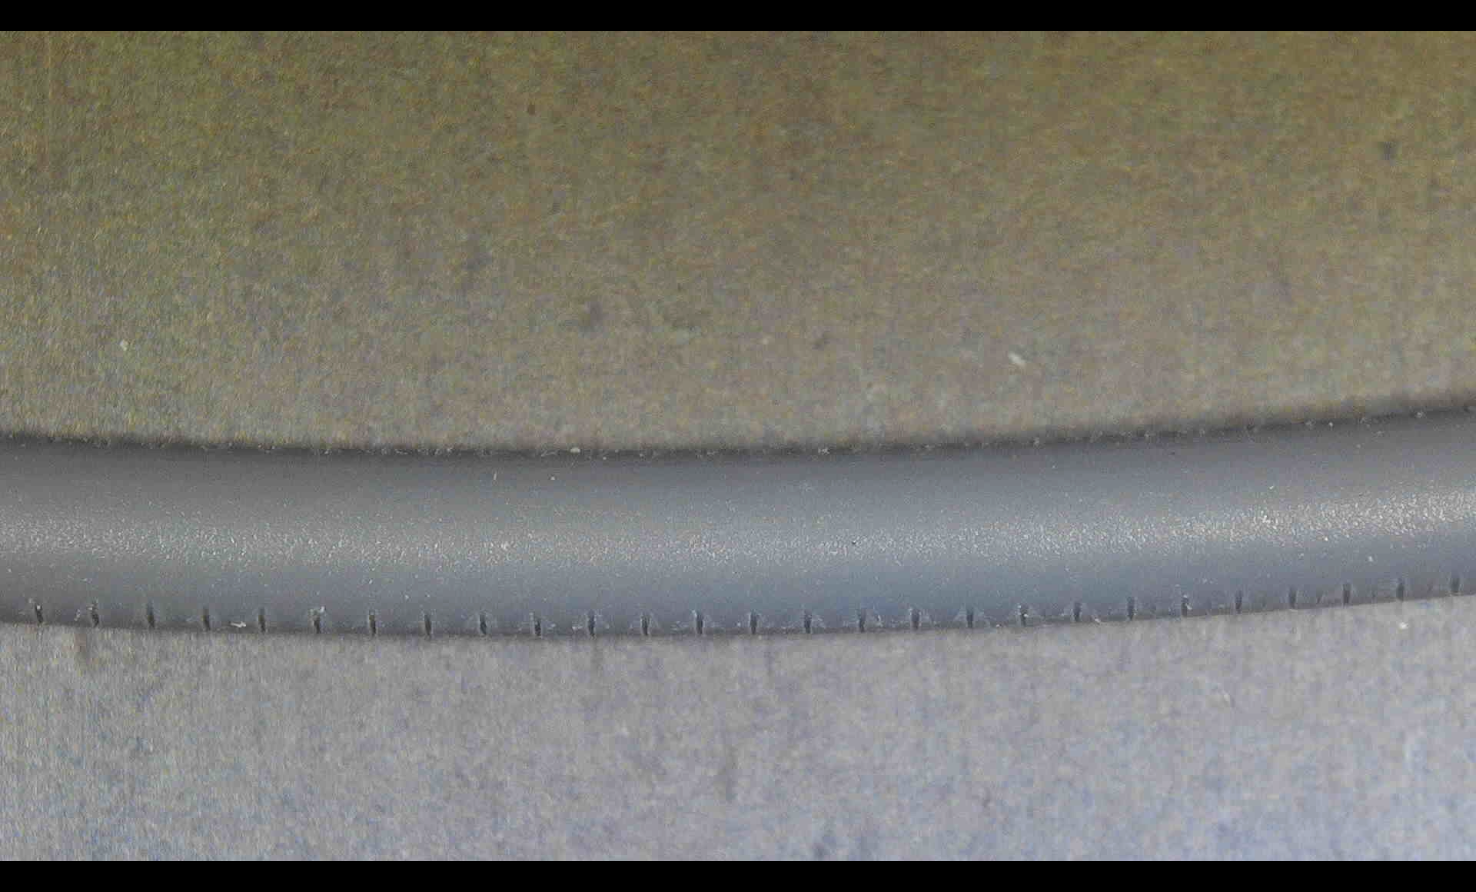
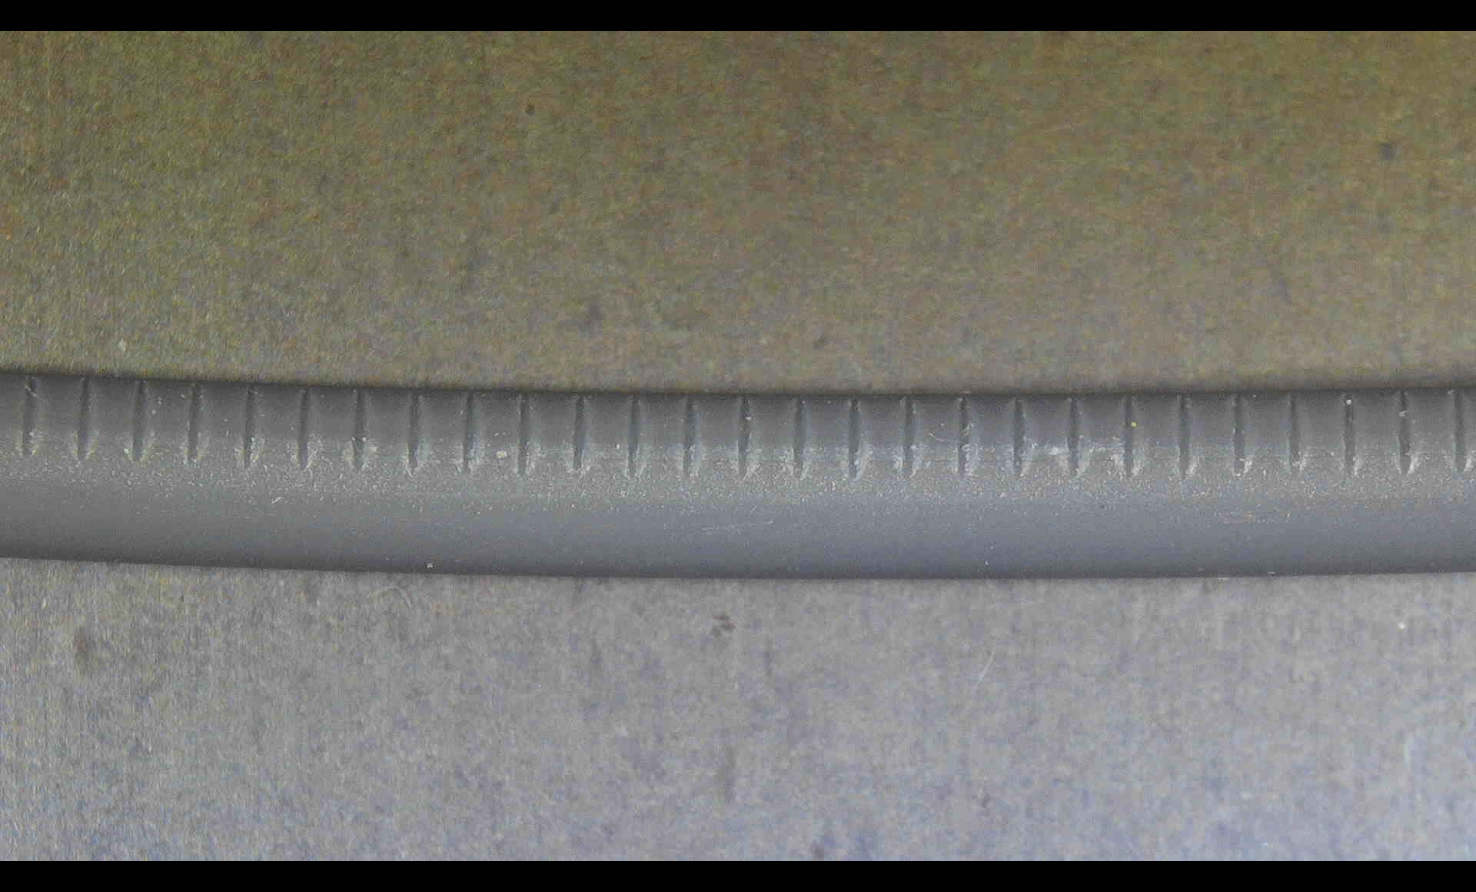
Fortunately, the grip on the filament is better than expected, and even with the idler screw torqued more than you should, the filament has not deformed in a significant way, and the marks on the filament are pretty sharp.
BMG Wind
In the images below, you can see how extreme tension on the filament can damage it significantly, changing its shape and density. The BMG Wind can be adjusted for less pressure, but even when loose, the stock spring can apply a bit too much against the filament.

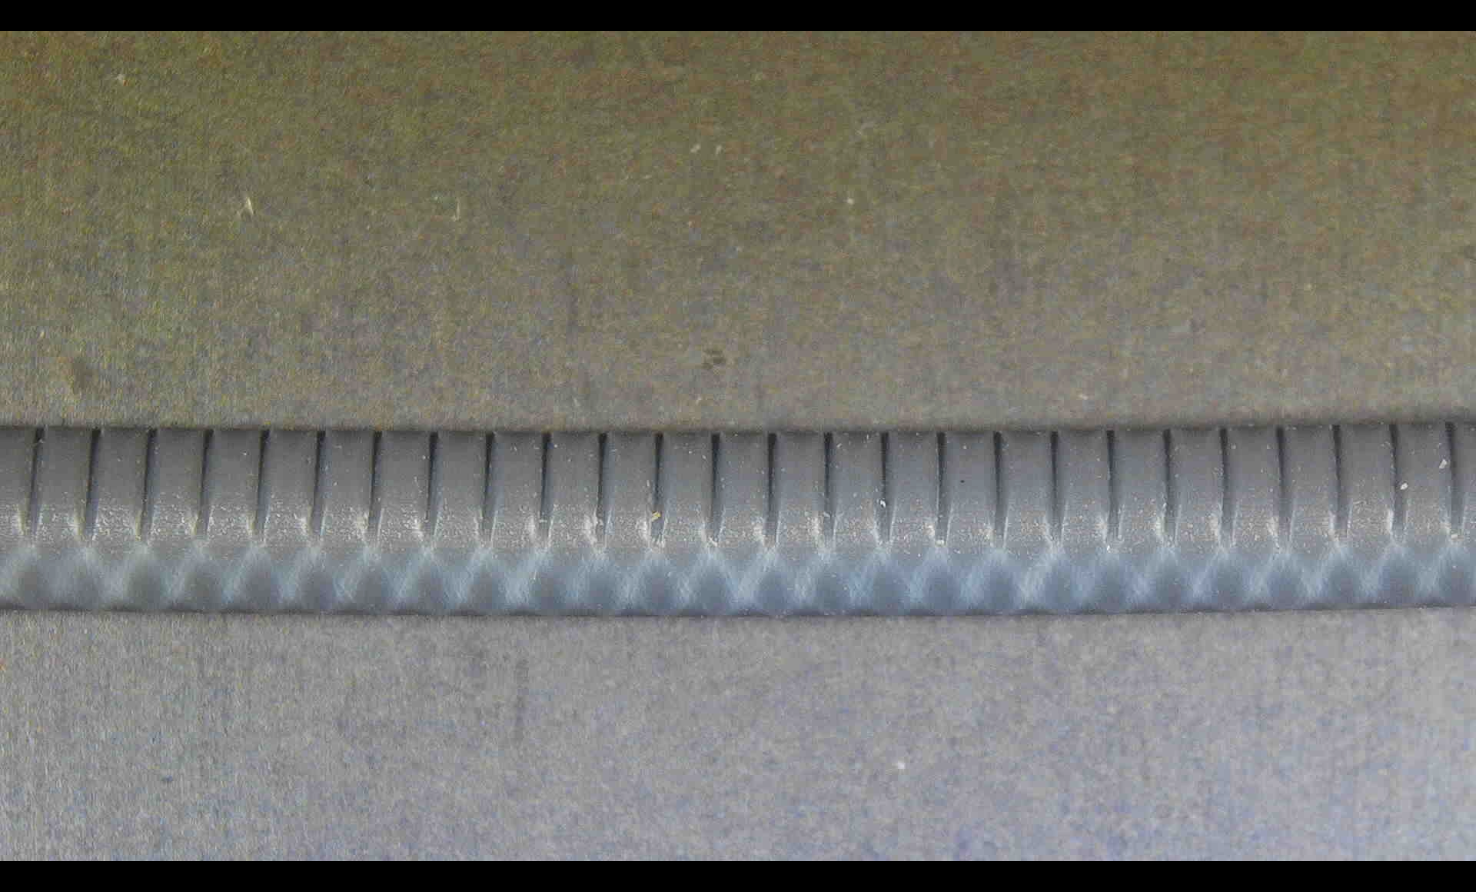
Either way, please take this with a grain of salt because my BMG Wind has gone trough a lot, and I am not sure if this is still the stock idler spring it had when I got it.
BIQU H2O
The BIQU H2 extruder is really compact and became a popular alternative when converting a printer to Direct Drive. Unfortunately, the idler tension is not adjustable, but it seems that with the stock configuration, it does a decent job of gripping the filament without deforming it.
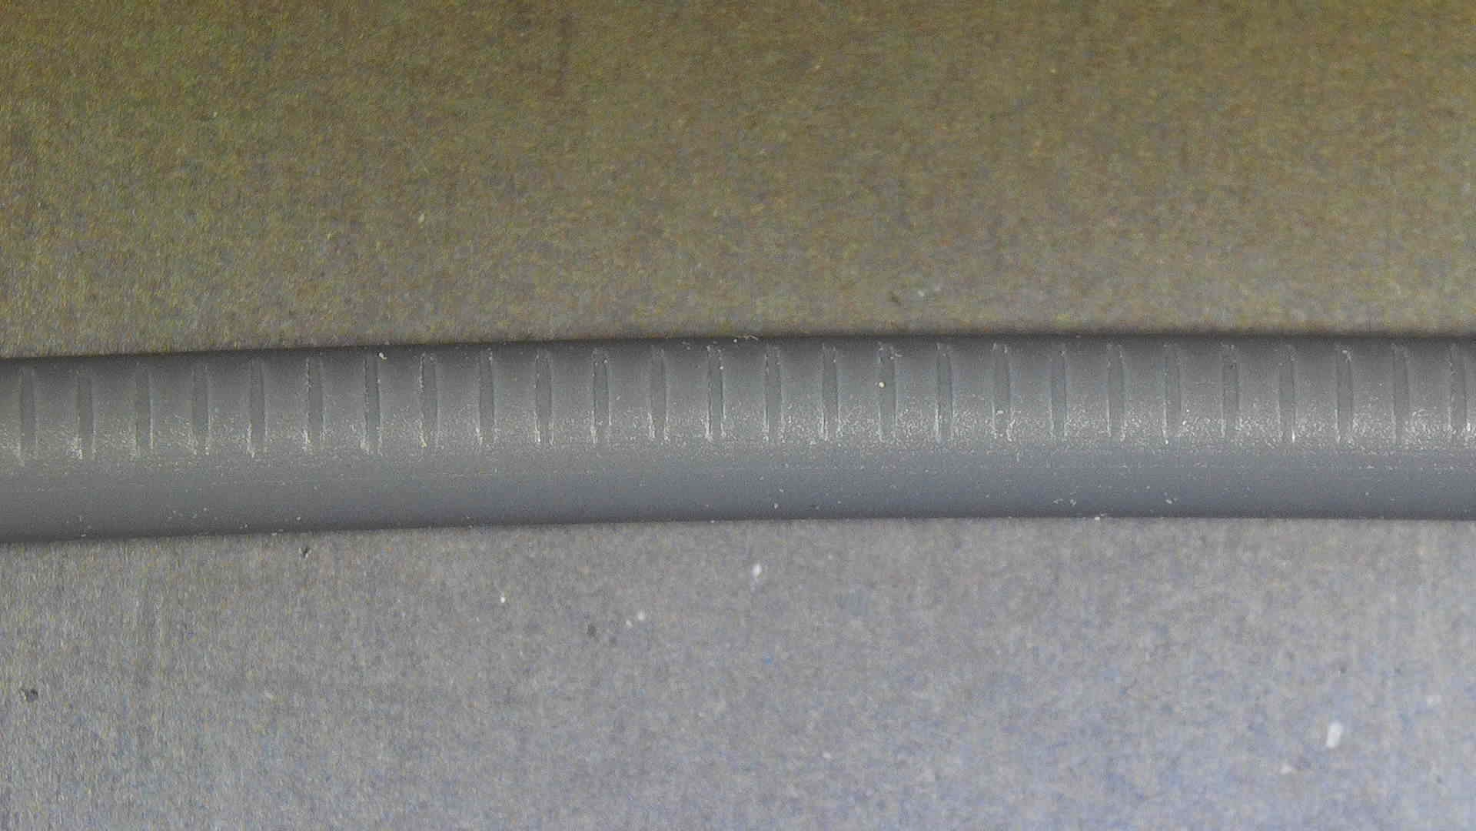
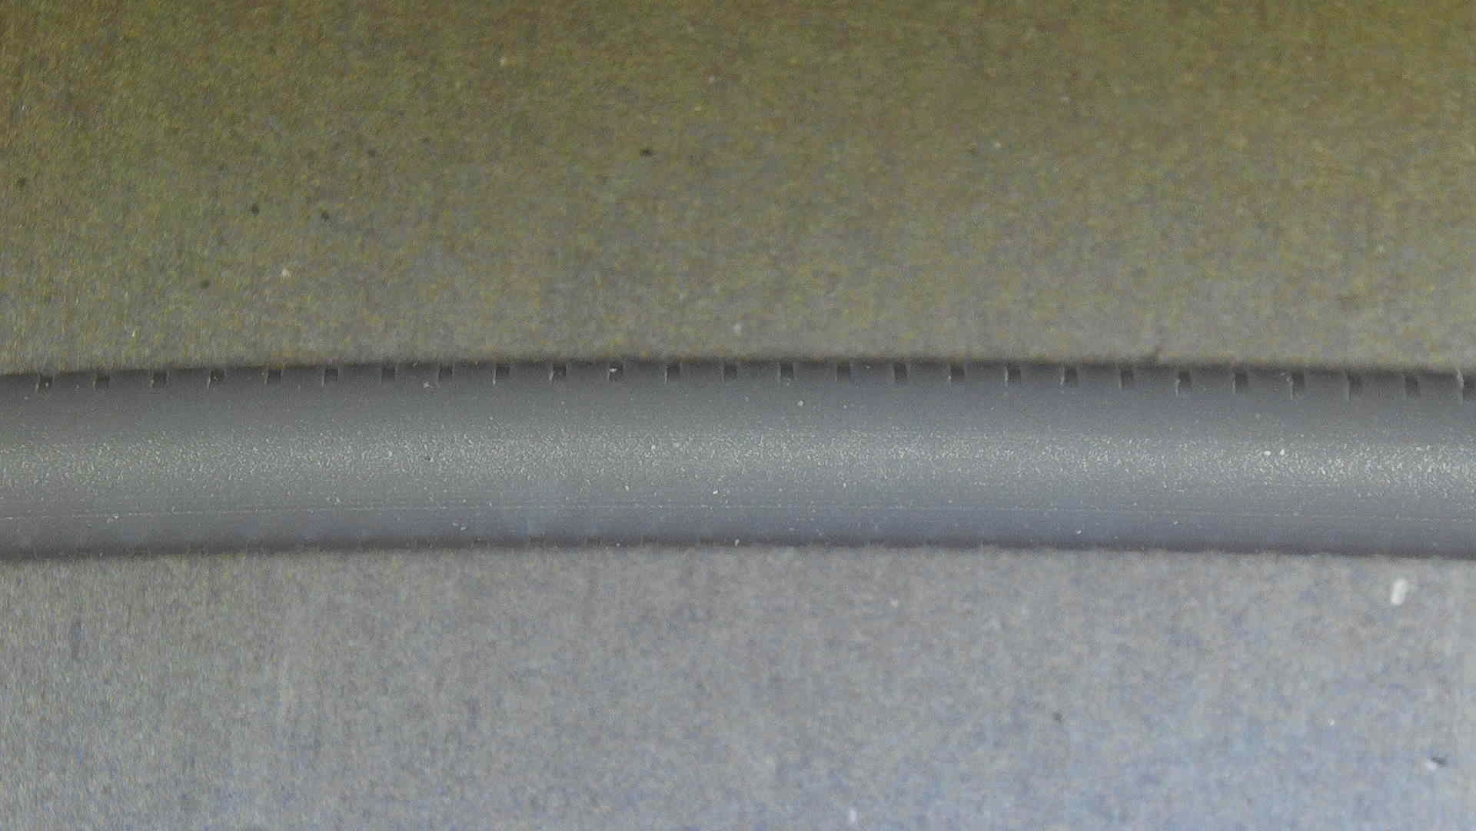
I am testing this on the new H2O extruder and I am quite happy with the results. Even TPU works fine with this kind of preload on the extruder gears.
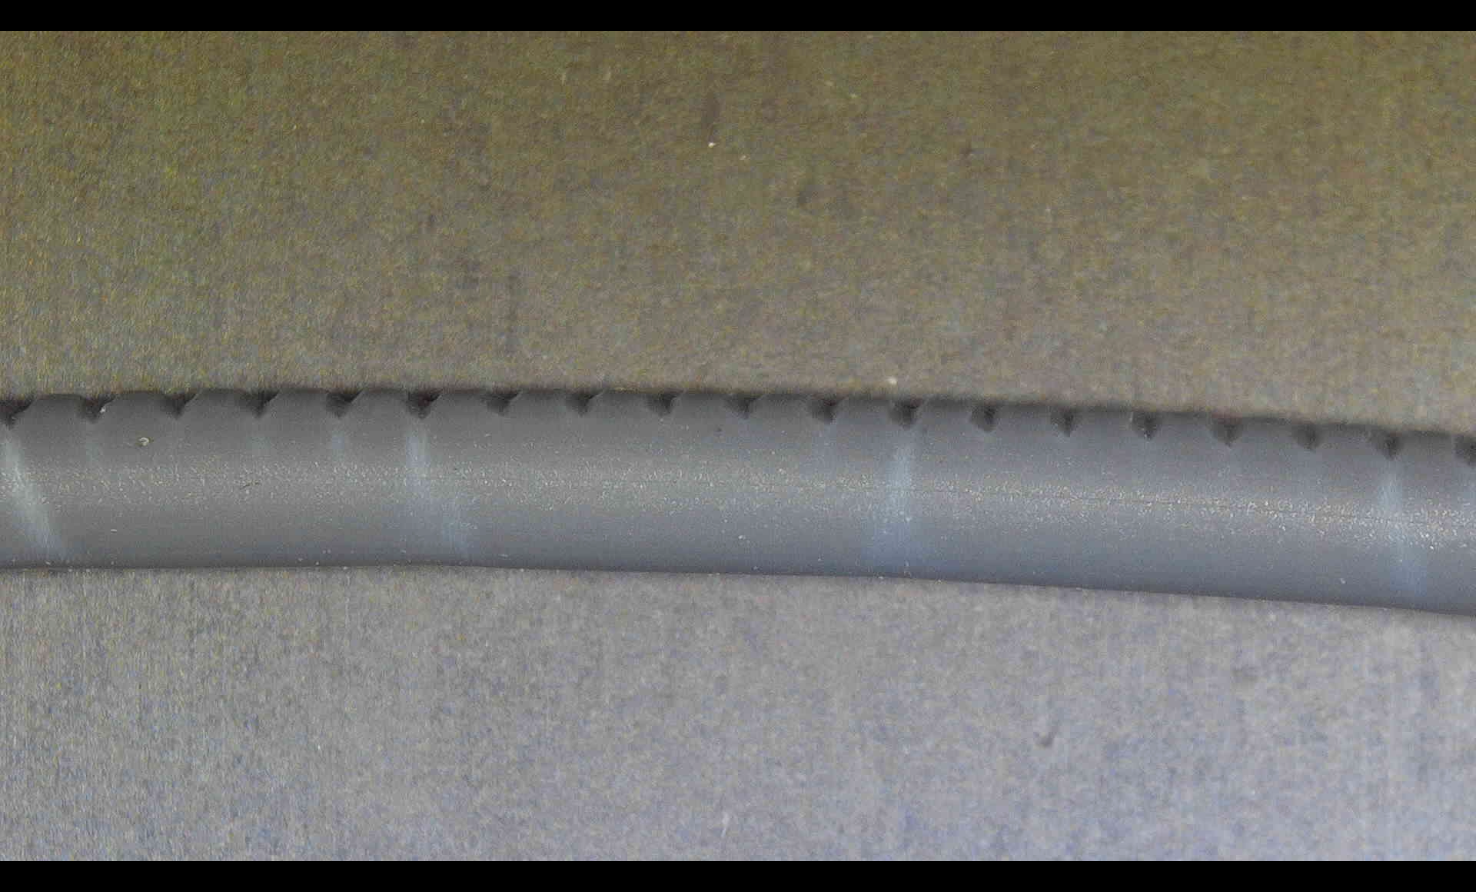
Sidewinder X2 Titan Aero Clone Extruder
The Sidewinder X2 comes with a Titan Aero Clone extruder, which only has a single gear for gripping the filament. The grip marks on the filament look good when calibrated correctly, even though the gear indentations are not as sharp as I would like.
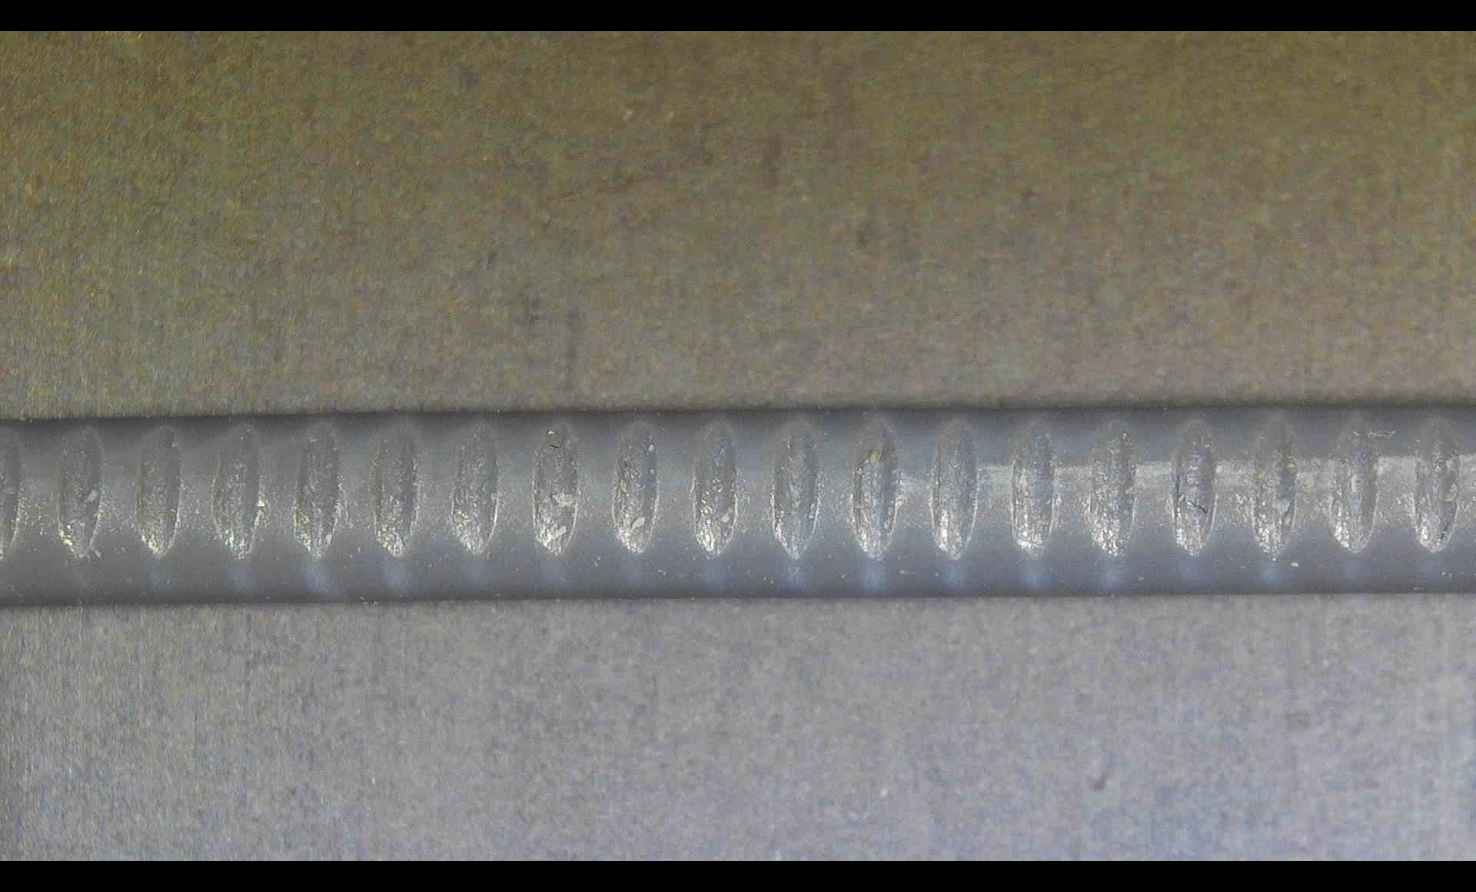
Prusa Mini Clone Extruder
I also thought about adding a sample from the Prusa Mini Clone extruder. The grip on the filament is decent, even though it’s single-geared. Unfortunately, the gear marks are not sharp so it’s relatively easy to make the extruder skip steps if the pull on the filament is too much.
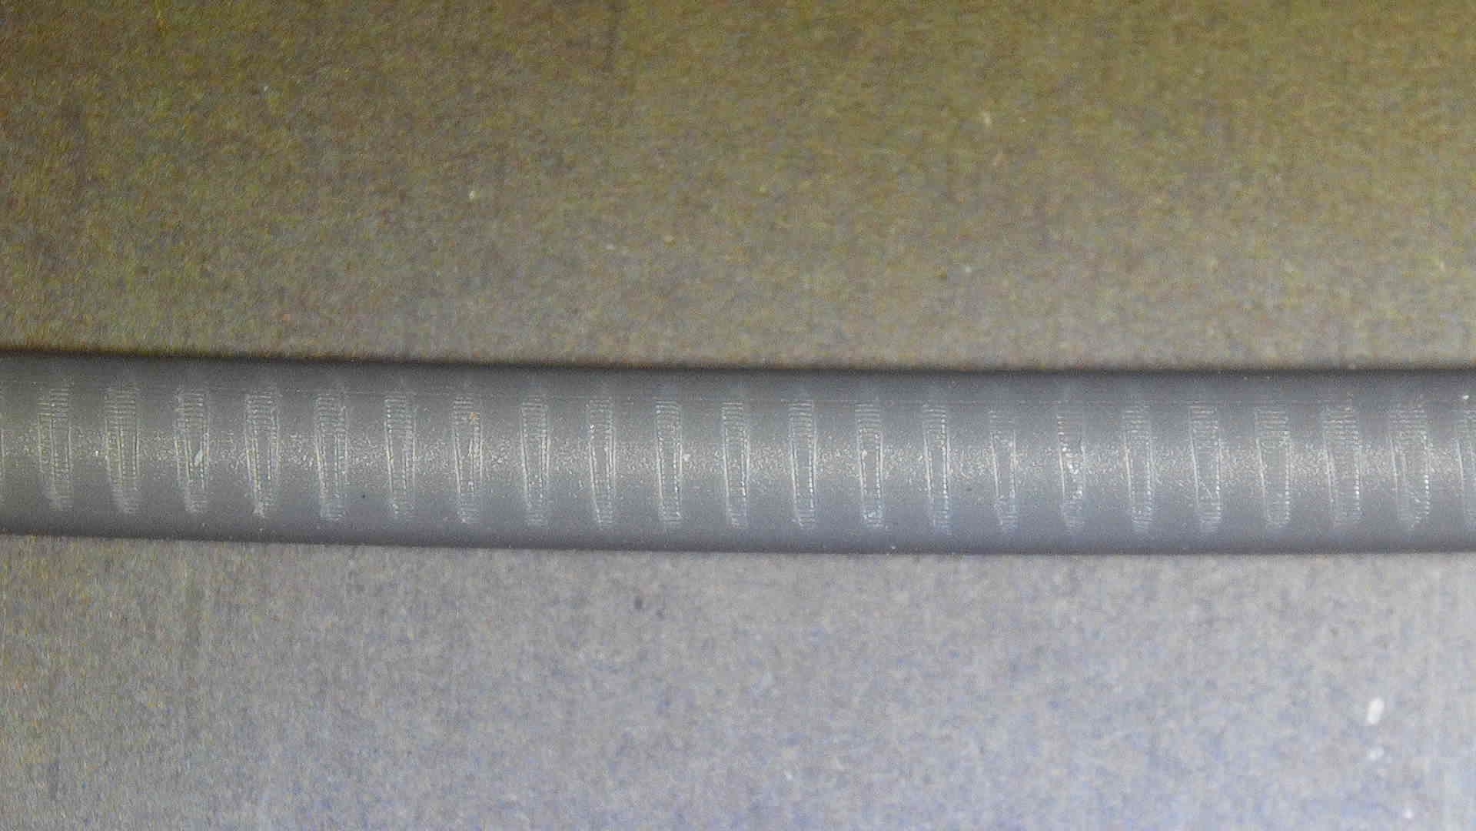
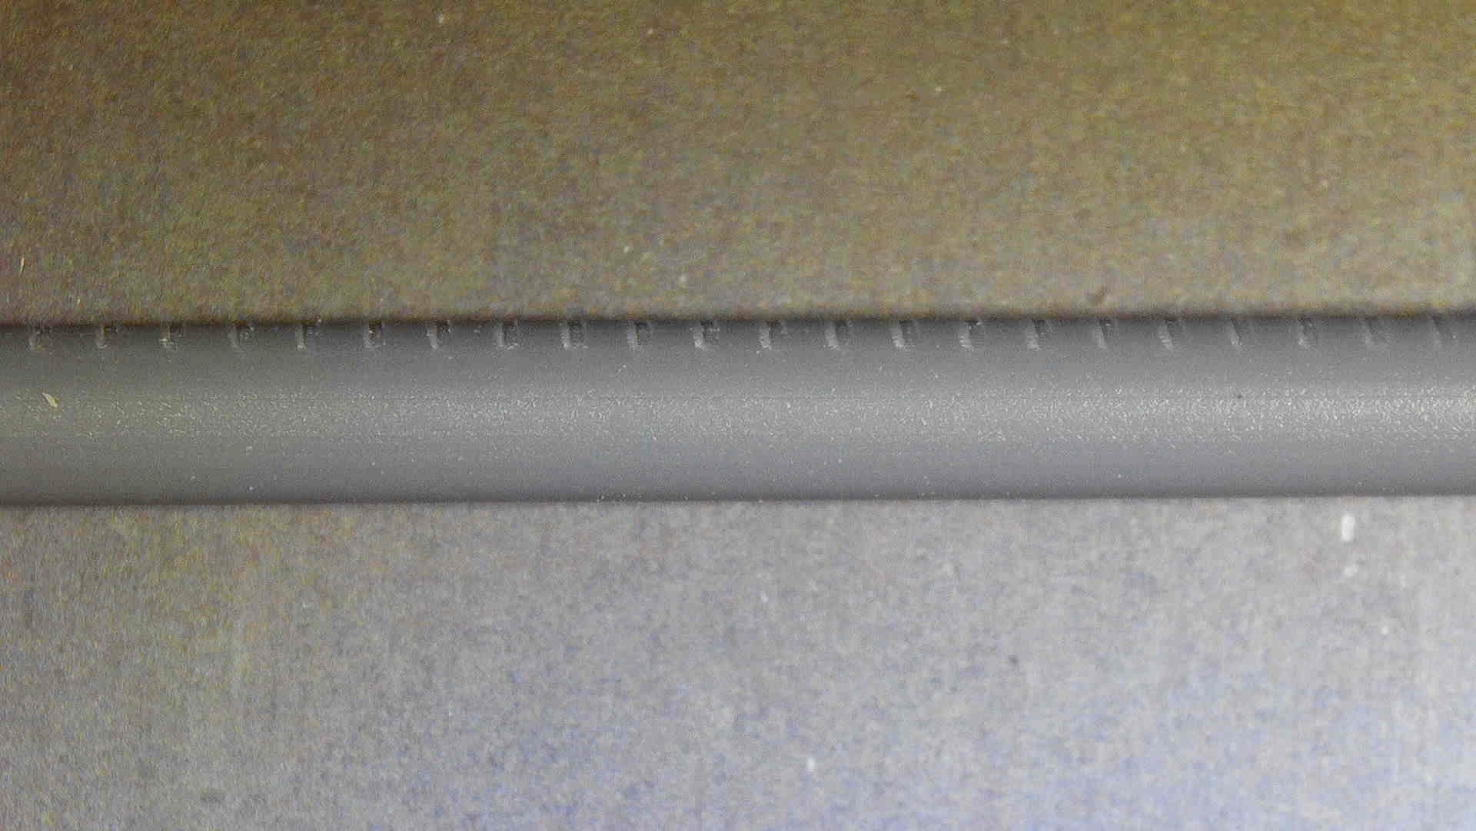
I can’t compare this to an original Prusa Mini extruder, but I sort of understand why purchasing a dual-gear extruder is a popular upgrade for it.
Snapmaker A350 Extruder
I am not that impressed with the Snapmaker A350 extruder because it’s a single drive setup, and it also doesn’t have a way to adjust the tension for the filament. But in real life, it works decently well with good grip without deforming the filament significantly.
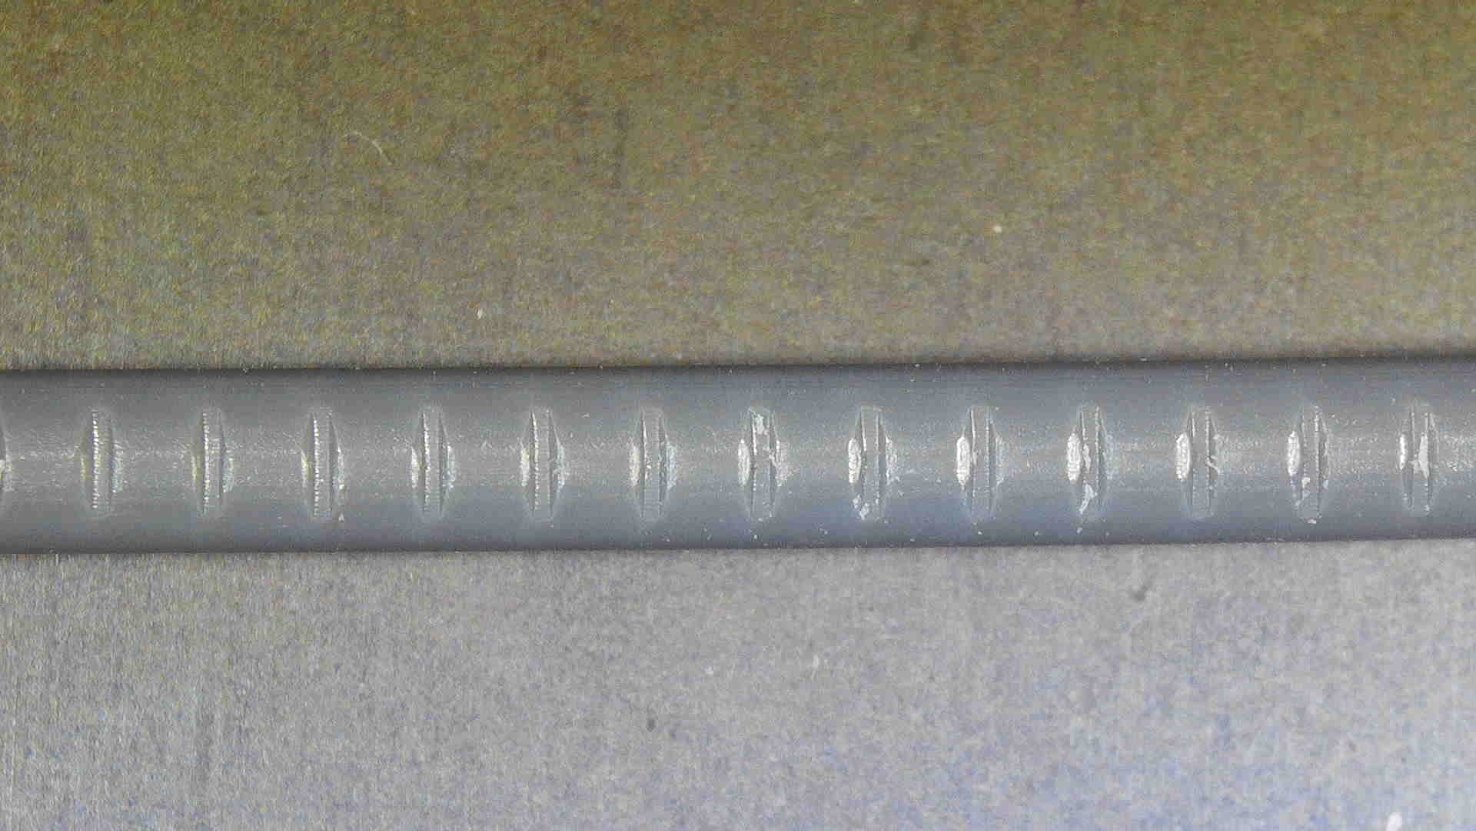
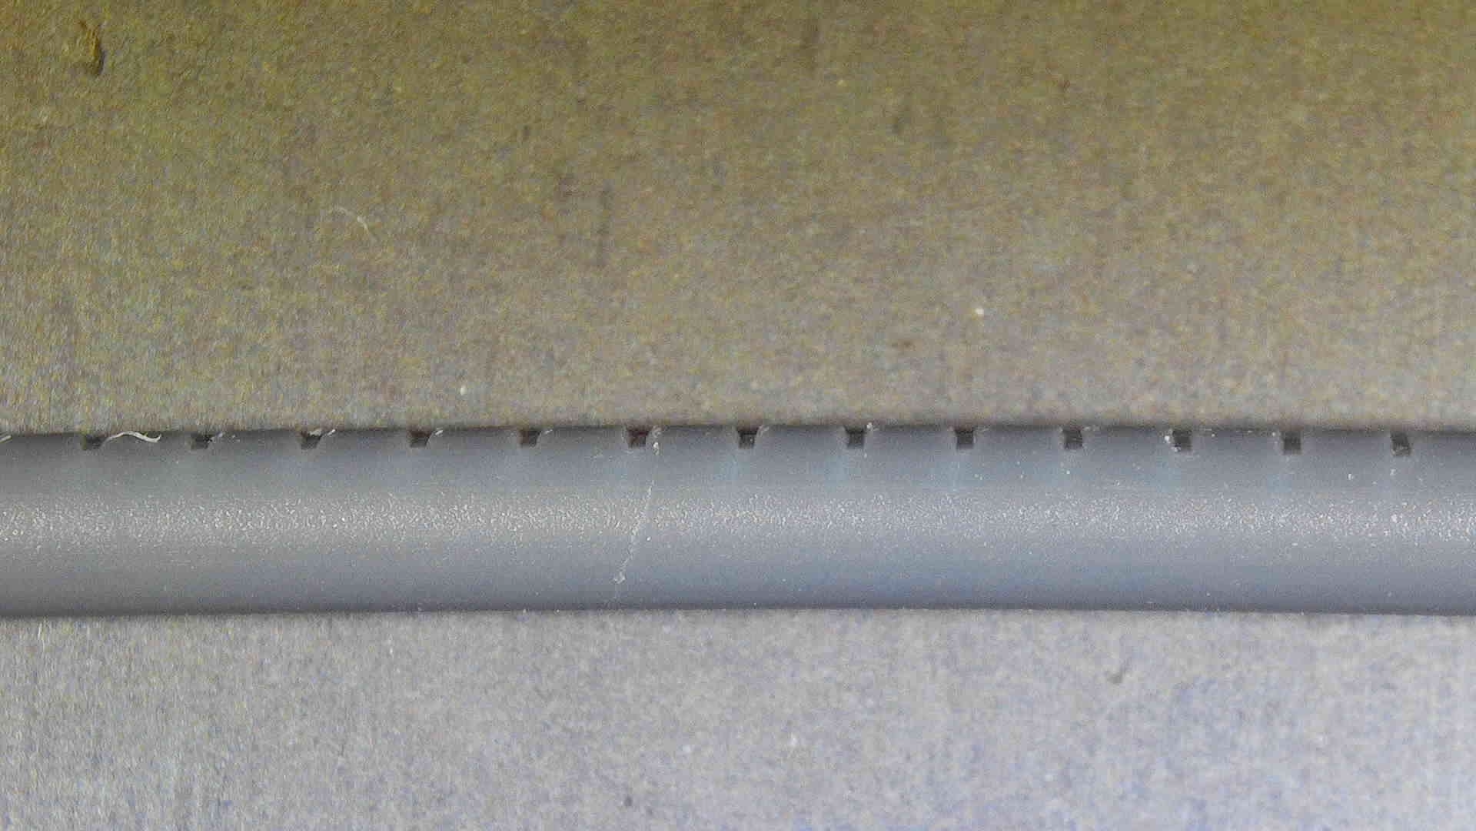
Sharper gears would be better, or even a dual-gear extruder. But right now, this is what you get, and I don’t think it’s super easy to do an upgrade on this machine.
Other information about Extruder Tension
CNC Kitchen managed to share his video about this topic before I was able to finish my article and I recommend you watch it. It has more useful information about extruder tension and how important it is.
Wrapping up
I hope this quick Extruder Tensioning Guide has been helpful for you. If you recently adjusted the extruder tension, I also recommend double-checking your e-steps and calibrating the flow rate for perfect results.
If you have another way of calibration for the extruder idler tension, then please leave a commend on the forum. I would love to see how other people do it.
Liked it?
|
|



You can leave a comment for this article on the 3DPrintBeginner Forum