Flow Rate Calibration – Improve Print Accuracy
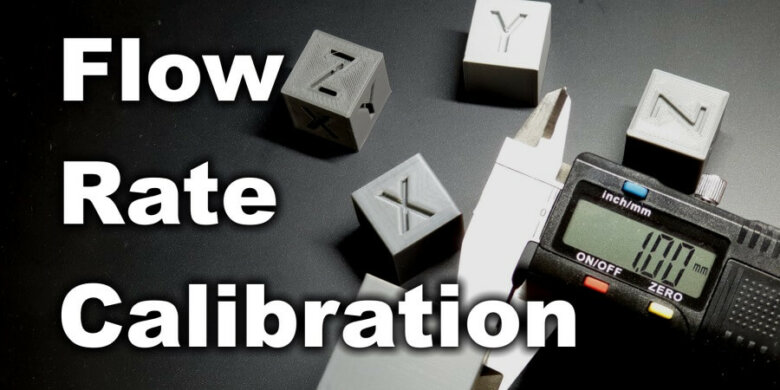
To get a good finish and accurate dimensions of your printed parts, the flow rate of the printer needs to be properly calibrated. I put together an easy-to-use flow rate calculator which should help with flow rate calibration.
Why do the Flow Rate Calibration?
The flow rate calibration is done in order to fine tune the amount of plastic extruded by the printer. Also known as Extrusion Multiplier, by calibrating the flow rate you can fix issues caused by under-extrusion or over-extrusion. Besides this, flow rate calibration can also improve retraction values a bit and help with bulging corners and layer seam.
If the extruder steps are properly calibrated, the flow rate value should be really close to a single digit value (1.00).
Flow Rate Calibration Prerequisites
In order to do an accurate flow rate calibration, the Extruder E steps need to be calibrated first. I covered the extruder calibration process in this article.
Sometimes, printers come with a good-enough E-step value, but in order to get accurate prints it’s recommended to double-check this.
When performing the Flow Rate Calibration, you need to have a caliper for measuring the wall thickness of the printed part.
You can get one from Amazon, Aliexpress or Banggood. When buying a digital caliper, I recommend getting one capable of double-digit measurement. This allows for more accurate measurements, and it will improve the results when doing the flow rate calibration.
If you haven’t performed this during the e-step calibration, I strongly recommend performing the Extruder Tension Calibration if your extruder supports this. It has a big impact on the flow rate calculation, and you should do it before calibrating the flow rate.
How to do the Flow Rate Calibration?
1. Measure the Filament Diameter
Before we start the flow rate calibration, we need to make sure the filament size value is correctly set in your slicer of choice. The most common filament used in 3D printing has a thickness of 1.75 mm with small variations caused by the manufacturing process.
Quality filament has a variation of less than 0.02 mm, while cheaper filament usually has a 0.05 mm variance in the thickness.
Grab your filament, and measure 5 sections of the filament at a distance of around 10 cm between measurements. When using the caliper, make sure you don’t apply to much pressure. Use the thicker part of the caliper and keep the filament straight. This will ensure you get a good measurement.
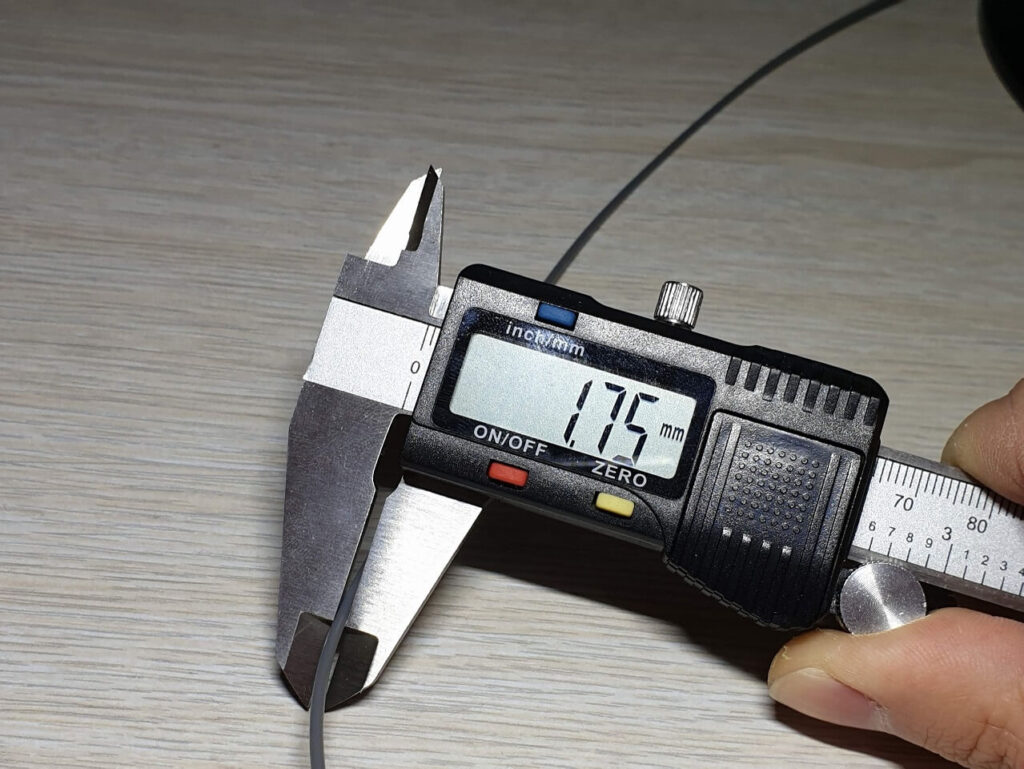
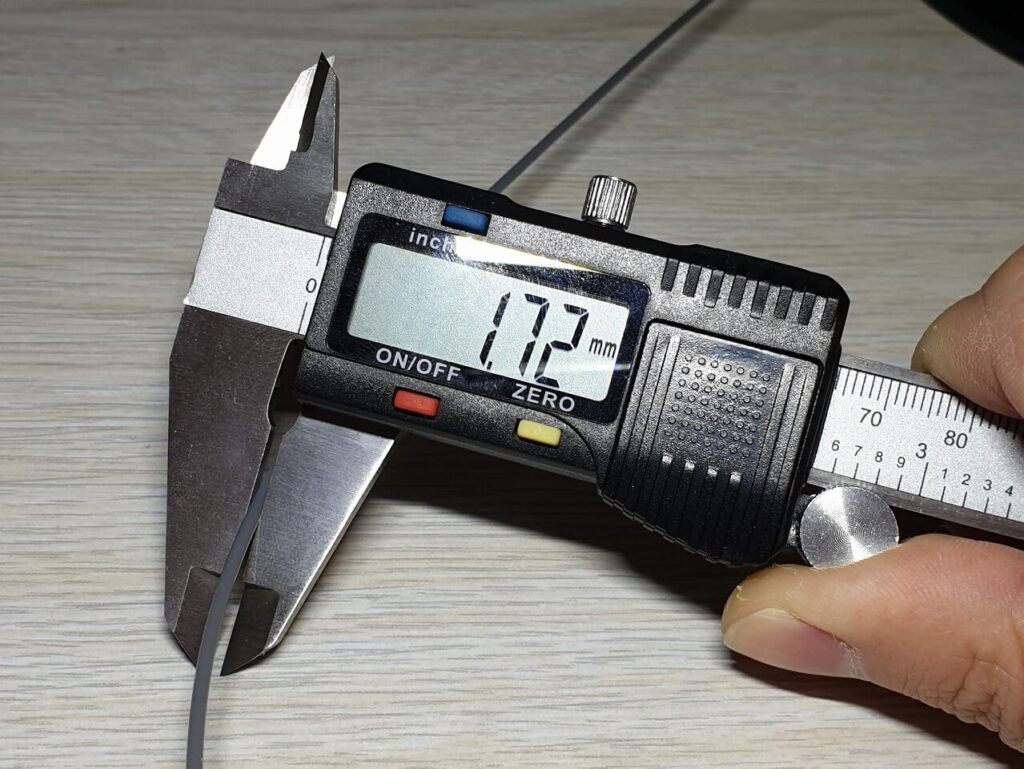
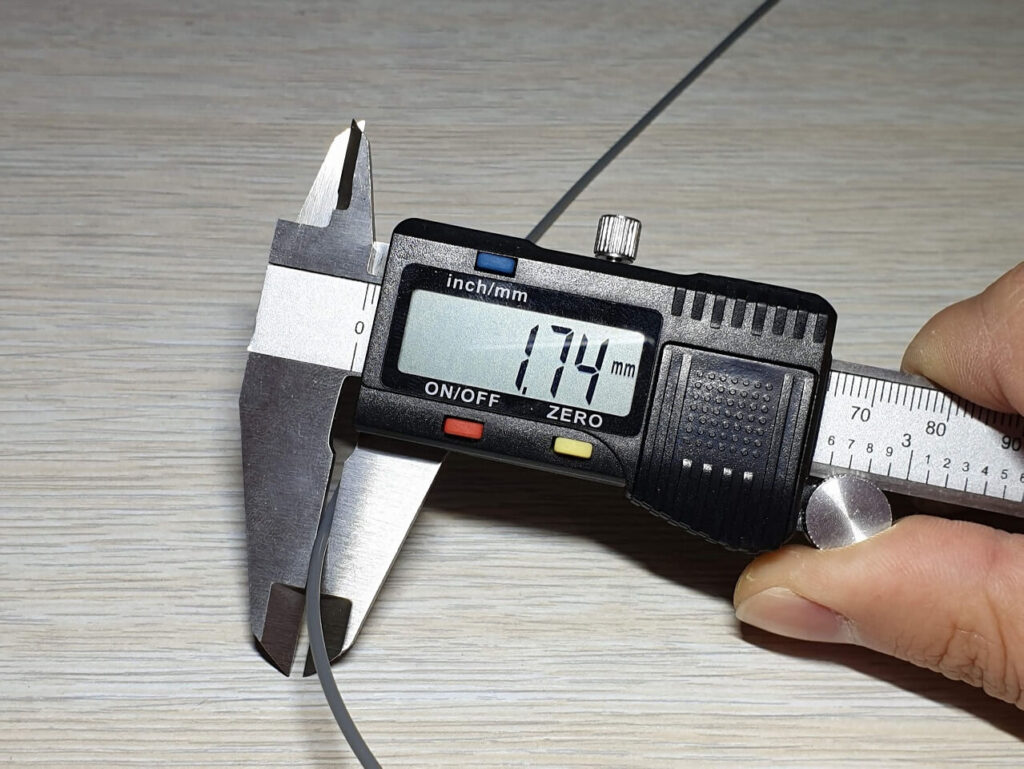
As you can see, my filament has small variations from the expected 1.75 mm diameter.
Enter the values in the calculator below. Use only the first two digits of your measured filament diameter.
The result of the measurements needs to be entered in the slicer.
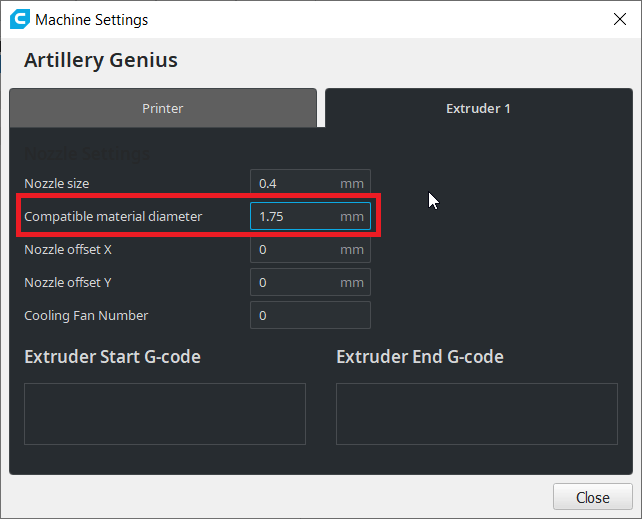
In Cura, you set the filament diameter in the Machine Settings section. This is under Preferences -> Printers -> your printer -> Machine Settings -> Extruder 1
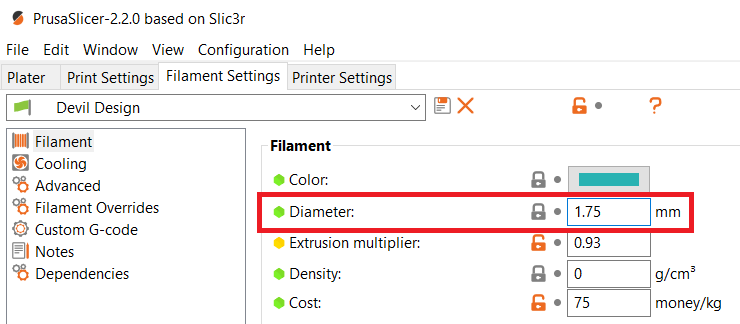
In Prusa Slicer, you set the filament diameter under Filament Settings. This is under Filament Settings -> Filament -> Diameter
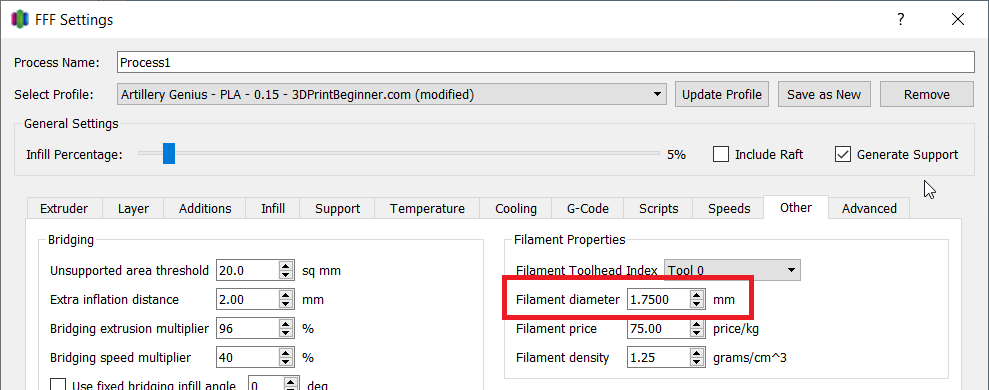
In Simplify 3D, you set the filament diameter in the Other tab in the print process. This is under Edit Process Settings -> Other
My filament diameter values differ depending on the brand of filament i use. For Devil Design and Sunlu filament, i get a value of 1.74mm or 1.75mm.
On cheaper filament i used 1.73mm. But this value is specific to your filament and it can differ even between spools.
2. Print a Hollow Test Cube
The next step for flow rate calibration, is getting the current measurements of the walls. I say “walls” because it’s important to use two walls when calibrating the flow rate. This allows you to accurately get good measurements and it also includes the wall overlap value from the slicer.
Download the test cube and open the file in your favorite slicer. We need to slice the cube with the following values:
- Layer height – 0.2 mm
- Perimeters – 2
- Top layers – 0
- Bottom layers – 1
- Infill – 0%
- Speed – 50 mm/s (This value is recommended to be as close as possible to the usual printing speed).
- Temperature – 195C for PLA / 225C for PETG (value is set according to your filament specs).
- Cooling – 100% for PLA / 30% for PETG (value is set according to your filament specs).
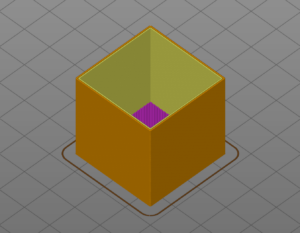
If the cube is sliced properly, this is how it will show up in the print preview.
Start your print and go to the next step when finished.
3. Measure the Cube Walls
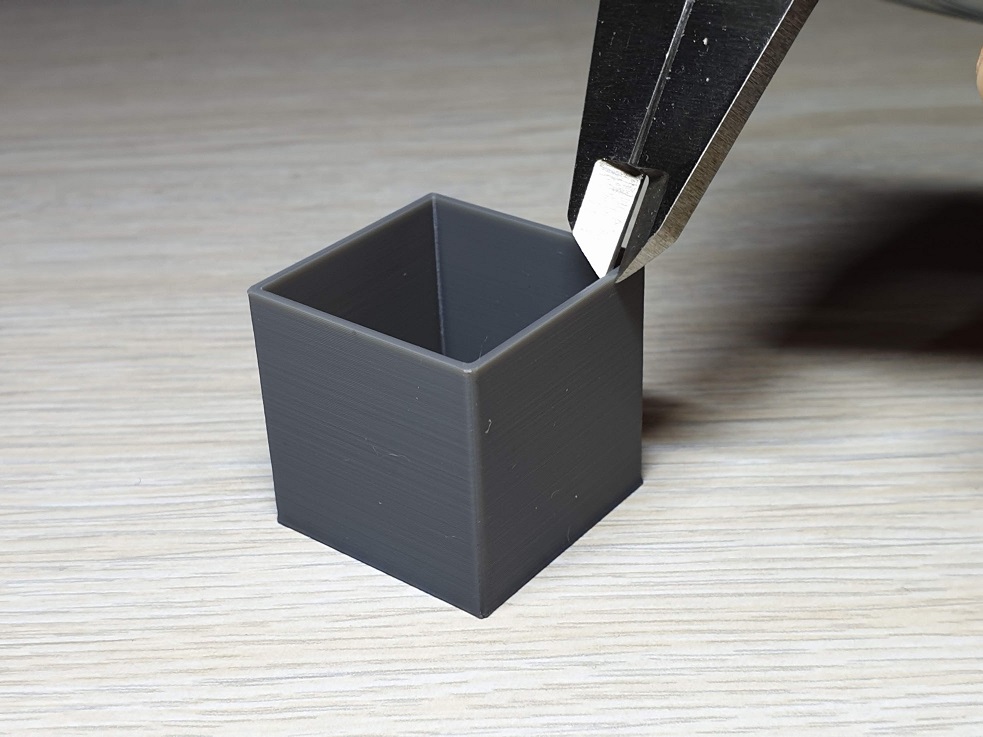
Now that the print is finished, we can start measuring the dimensions of the cube walls, to get the current values. Get the caliper and measure the wall thickness of each side of the cube.
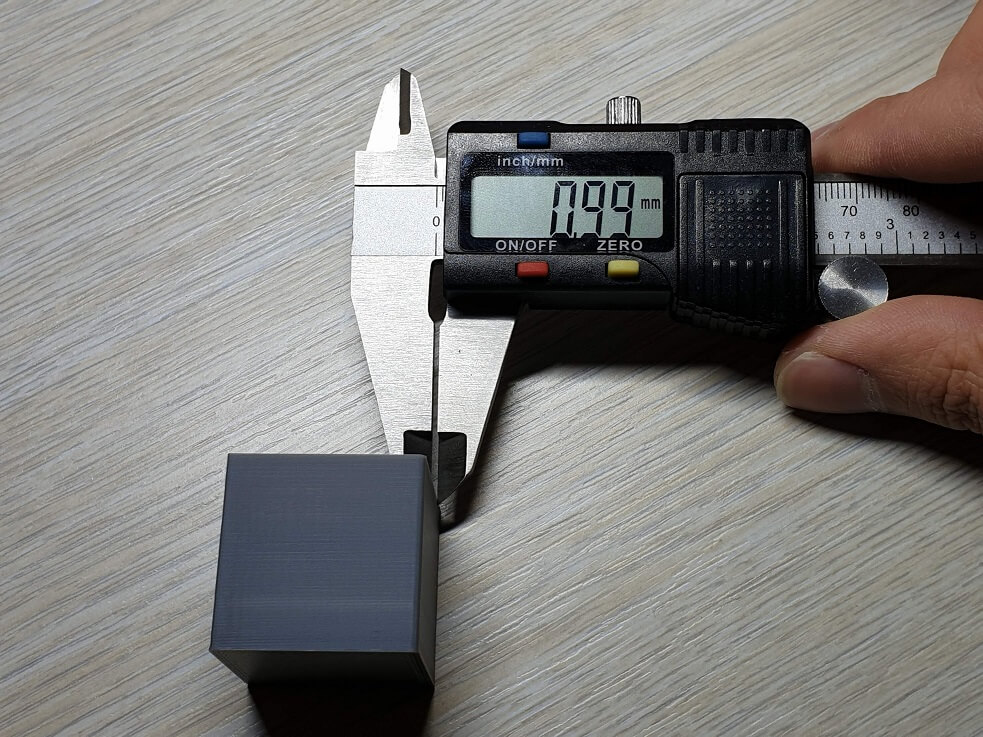
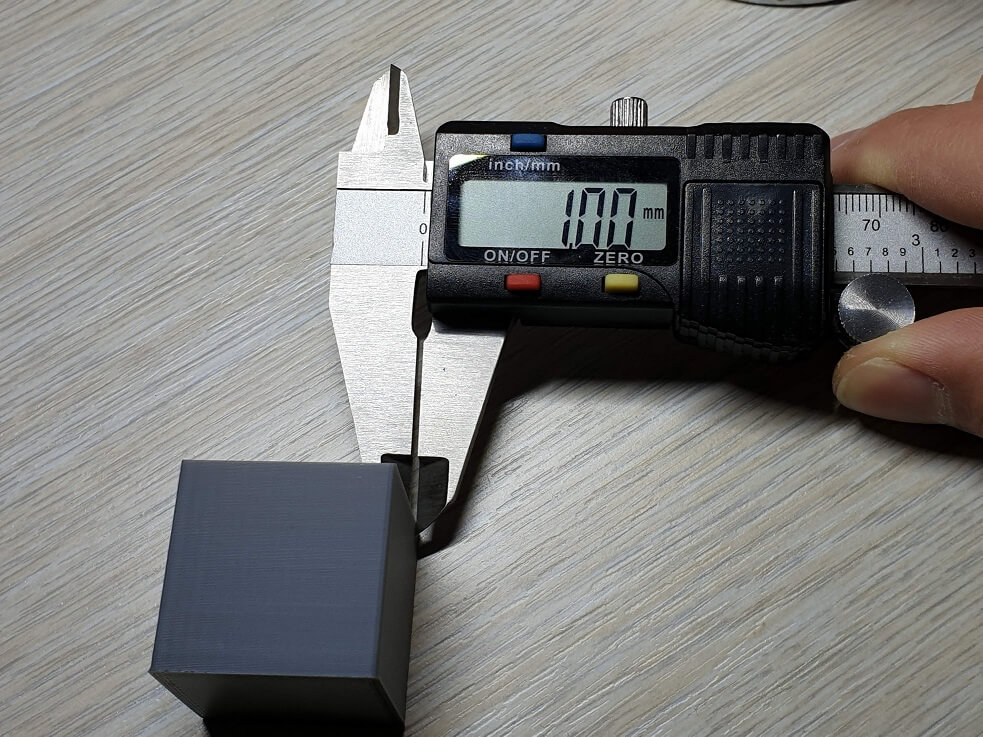
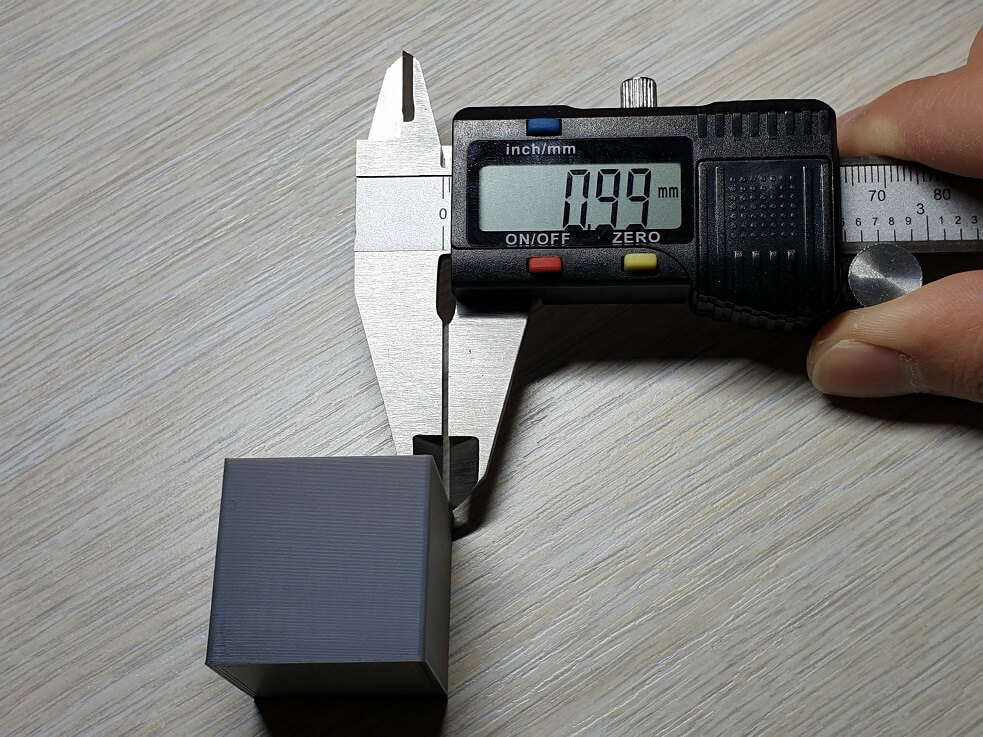
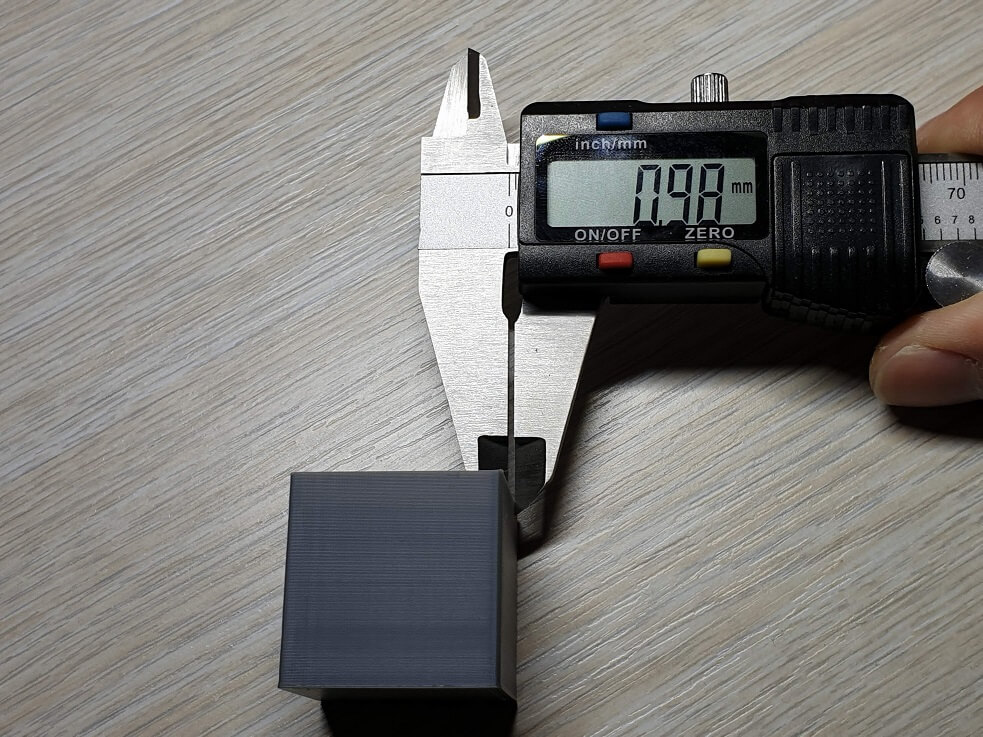
As you can see, my wall width is really close to the ideal size. I used a 0.5 mm extrusion width, so when I measure two walls, the value is really close to the ideal 1 mm.
It’s really important to use the calipers correctly, and not apply to much pressure. Measure only the last few layers, to account for any wall imperfections and enter the values in the flow rate calculator below. The caliper should be placed close to the end of the wall, to account for any difference in the nozzle pressure.
Please clear your browser cache and refresh the page if the calculator does not show up.
4. Enter the new Flow Rate value in your slicer
Now that you have the new flow rate value calculated, go back in your slicer and save the new value. Use only the first two digits of your calculated flow rate.
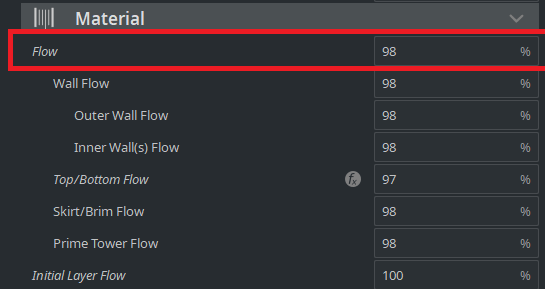
In Cura, you need to edit the Flow value. This is represented as a percentage, so enter the value accordingly.
In Prusa Slicer, you need to edit the Extrusion Multiplier value.
In Simplify 3D, you need to edit the Extrusion Multiplier value.
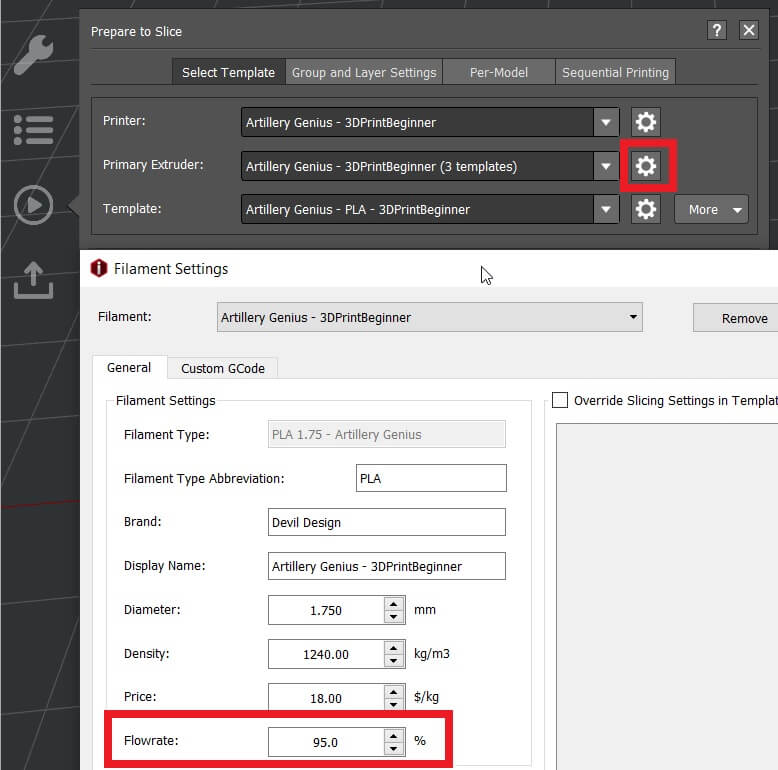
In IdeaMaker, you need to edit the Flowrate under Primary Extruder -> Filament Settings -> Flowrate
It is recommended to repeat step 2 and 3, to make sure the new flow rate value is correct, and the measured wall size is close to the expected value.
Wrapping Up
Now that the flow rate calibration is completed, your prints should be more accurate, and the finish will be improved.
A few things to keep in mind:
- Don’t try to have perfect dimensions of the walls. Because of the nature of FDM printing, it’s close to impossible to have exact dimensions. Besides that, double digit values can be inaccurately measured. Just try to get as close as possible to the desired size.
- While flow calibration helps a lot, I don’t do this calibration for each spool of filament. I do it once for PLA / PETG / ABS / TPU and maybe do it once in a while, if I notice I get different results in my prints. While this is recommended, I prefer doing prints instead of continuously calibrate my printer.
If you are looking to calibrate your 3D printer further, then check out the 3D Printer Calibration Guide using IdeaMaker. For printer upgrades, you can also check out my Ultimate 3D Printer Upgrade Purchase Guide article where I go over a lot of hardware which can improve your print quality.
You can also join the 3DPrintBeginner Forum where there’s a dedicated category for FDM 3D printers.
Liked it?
|
|

