3D Printer Maintenance Tips: Service Checklist
Most of the time, we get busy with 3D printer calibration and tweaking, but after a few hundred hours of printing, we need to perform some 3D printer maintenance tasks. This will ensure that your 3D printer will run well, and you will decrease your chances of failed prints.
In this article, I will share some 3D printer maintenance tips and a service checklist which should help to keep your 3D printer in excellent working condition.
Check the V-slot wheels
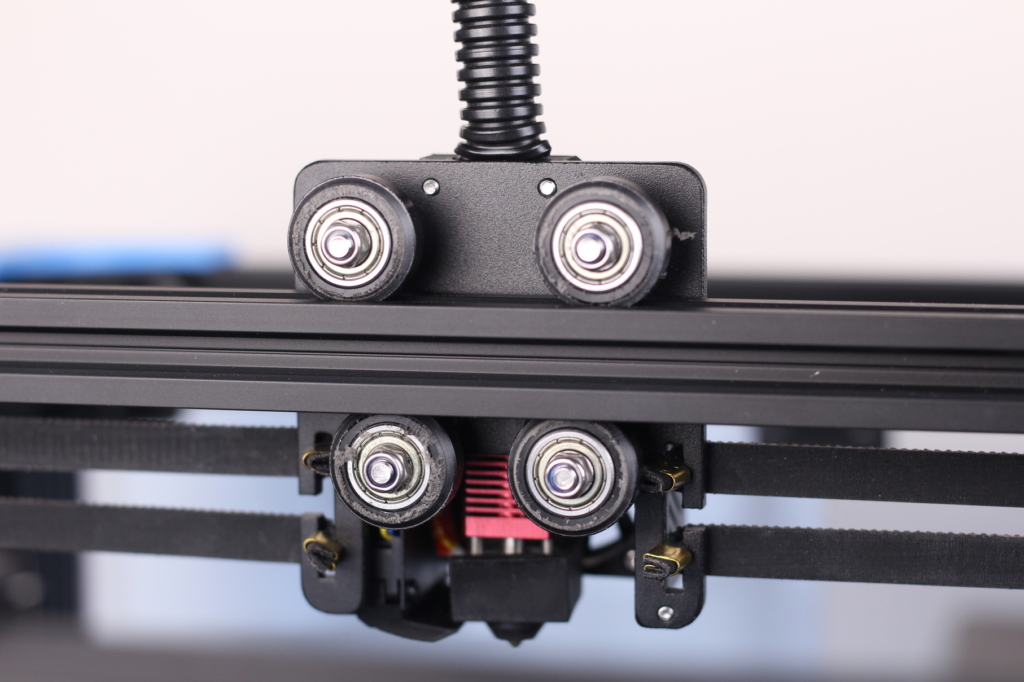
After a few hundred hours of printing, it’s a good idea to check the V-slot wheels. Over time, these wheels can get loose degrading the print quality. Try to spin the wheels manually and see if they can be turned or not. If you can easily spin them, then they are probably loose, and you need to tighten the eccentric nut.
I usually tighten these wheels until I am not able to spin them freely, but not tight enough so they develop flat spots. A good measure of “tightness” is to spin the wheel and see the gantry moving. Or tighten them until the wheels require a bit of force to spin them manually.
If the wheels are tightened too much, you will notice some “dust” accumulating on the wheels causing them to wear out prematurely. You can also upgrade the regular POM wheels with PC V-slot wheels which are stiffer and have a longer lifetime.
Check the PTFE tube
If you are using a PTFE lined hotend (like most of the budget 3D printers use) then it’s a good idea to also check the PTFE tube from time to time. Because the PTFE tube touches the nozzle, a small section of the tube starts to degrade, and this can cause printing issues. If you have issues with stringing, or clogs, it’s most probably time to remove the tube and cut a small section, then insert the tube back into the hotend.
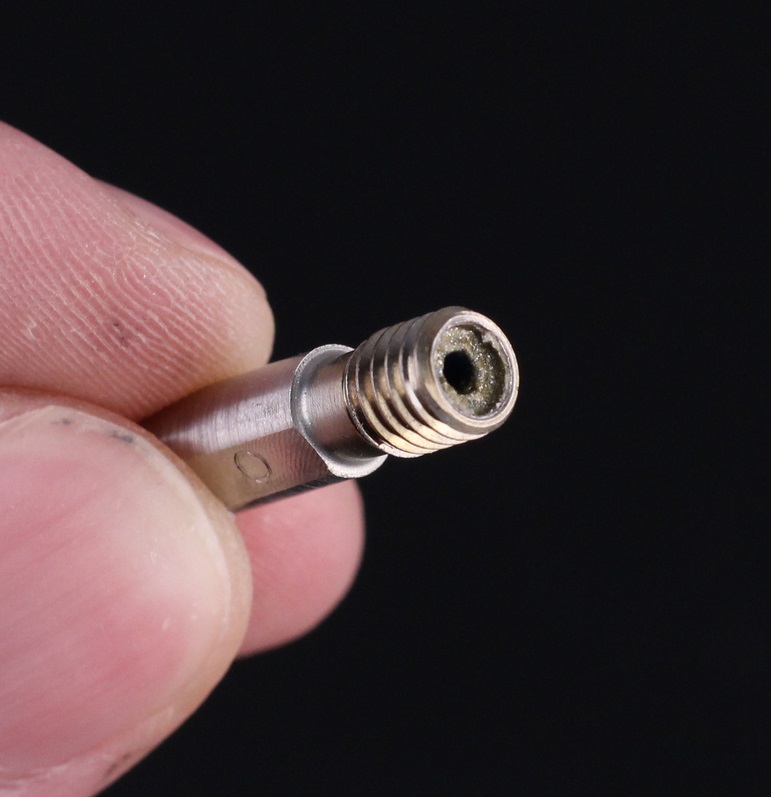
It’s crucial to cut the PTFE tube at a 90-degree angle so it sits flush to the nozzle, to avoid having a small gap between the nozzle and the tube, which can lead to clogs. In the image below, you can see that the PTFE inside the heat break was not touching the nozzle having a small space where filament can get stuck.
Usually, after cutting the PTFE tube, I first unscrew the PTFE coupler about half a turn, insert the PTFE tube as much as possible, then I tighten the coupler to add a bit of pressure to the tube. This ensures that there is no gap, and the filament gets pushed well trough the hotend.
On some hotends like the Creality hotend used by a lot of budget 3D printers, there are PTFE hotend fixes available which use a small piece of PTFE tube inside the hotend to minimize clogging issues. Do some research online and see if your printer has something like this available and perform this mod for consistent 3D print quality. Here’s a good video explaining the issue.
Grease the Z leadscrews
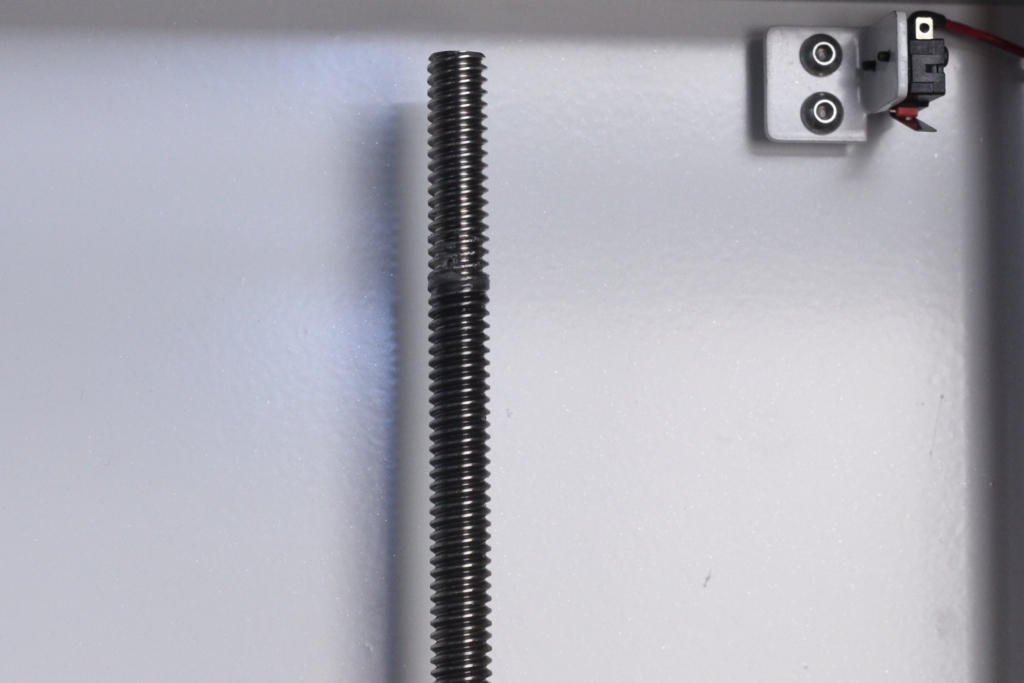
Greasing the lead screws is another 3D printer maintenance task that should be performed regularly. If the lead screws are not properly greased, movement is not as smooth and Z banding can become more apparent. Besides that, the leadscrew nuts will start to degrade and cause small backlash. We don’t want that.
If your lead screws don’t show any signs of wear, like a darkened layer between the leadscrew steps, then it’s good enough to just simply add a bit of grease and perform a few movements to make sure it’s spread well. For this task, I use a paintbrush and I “paint” some grease across the full length of the lead screw.
If you see signs of wear, then I recommend taking out the lead screws and thoroughly clean them using an old toothbrush and isopropyl alcohol. You might want to repeat this process until they look like new. After cleaning the lead screws, you can install them to the printer, and grease them.
If you don’t want to do this 3D printer maintenance task in the future, I strongly recommend upgrading to POM nuts. This type of nuts doesn’t require any kind of grease and usually they have better tolerances compared to the regular brass nuts. Besides that, they are really cheap, so there’s no reason not to perform this upgrade.
Grease the bearings and clean the linear rails/rods
Some printers use linear rods and those needs to be greased too. They are a bit harder to grease because you need to remove the rods, clean them and the bearings, then grease everything before installing them back to the printer. Usually, you need to do this after maybe 1000 hours of use, but if you notice movement issues you might want to do this quicker.
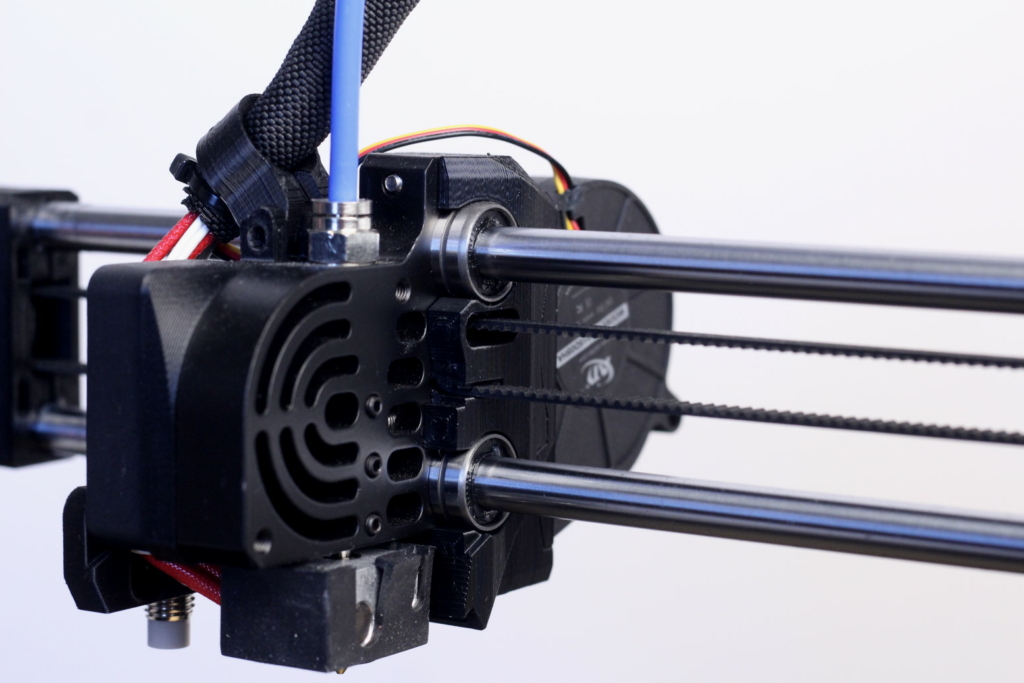
There are various solutions for greasing the linear rods, but the most popular is Super Lube.
Clean the fans
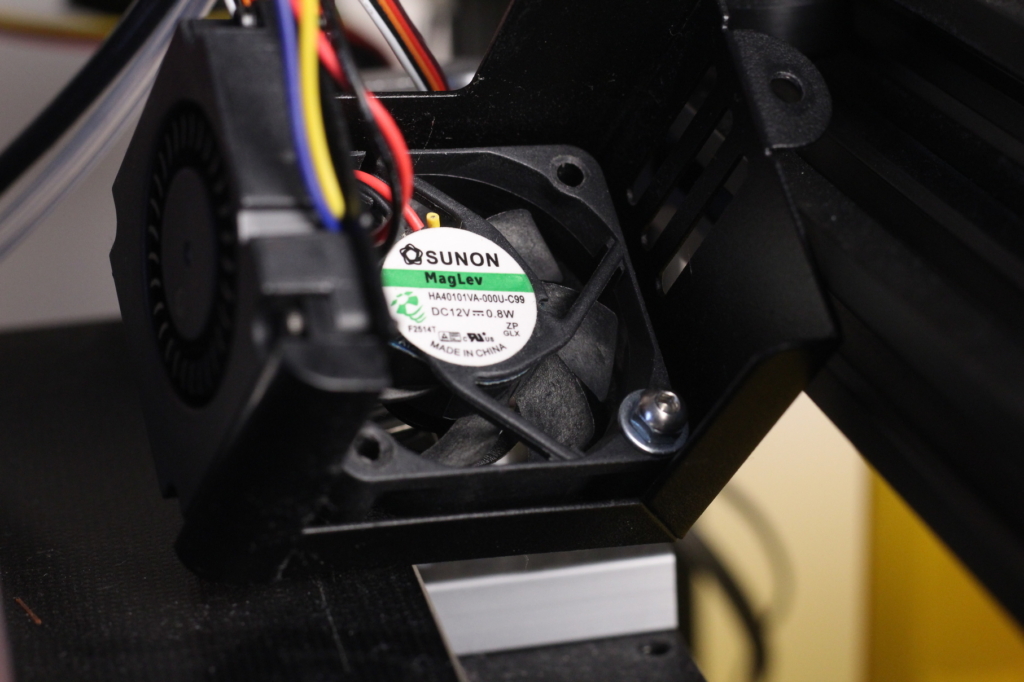
It comes as no surprise that the 3D printer fans need to be cleaned from time to time, just like you do on your computer. Cleaning the fans for your 3D printer is an important 3D printer maintenance task which is usually ignored but it might have a big impact on the cooling performance.
For example, a dusty hotend fan can cause an increased temperature for the heat break which leads to stringing and even clogs. Regular fan cleaning also prolongs the lifetime of the fans saving you money over time.
I use a can of compressed air and blow over the fan blades until they are clean. When you do this, it’s important to keep the fan in place so it doesn’t spin during cleaning to avoid decentering it. If the blades have a lot of dust which can’t be removed with a compressed air, then I recommend you clean them with some cotton swabs and isopropyl alcohol.
If you notice that the fans make noise and don’t spin like they used to, you might need to replace them. I recommend buying double bearing fans because they have a higher lifetime.
Clean your extruder gears
Cleaning the extruder gears is an important 3D printer maintenance tip which can be easily ignored. during printing, the filament can get stripped and some small chips of filament can get stuck on your extruder, especially on the extruder gears that grip the filament. This can cause inconsistent extrusion and filament slippage, so make sure you check the extruder from time to time.
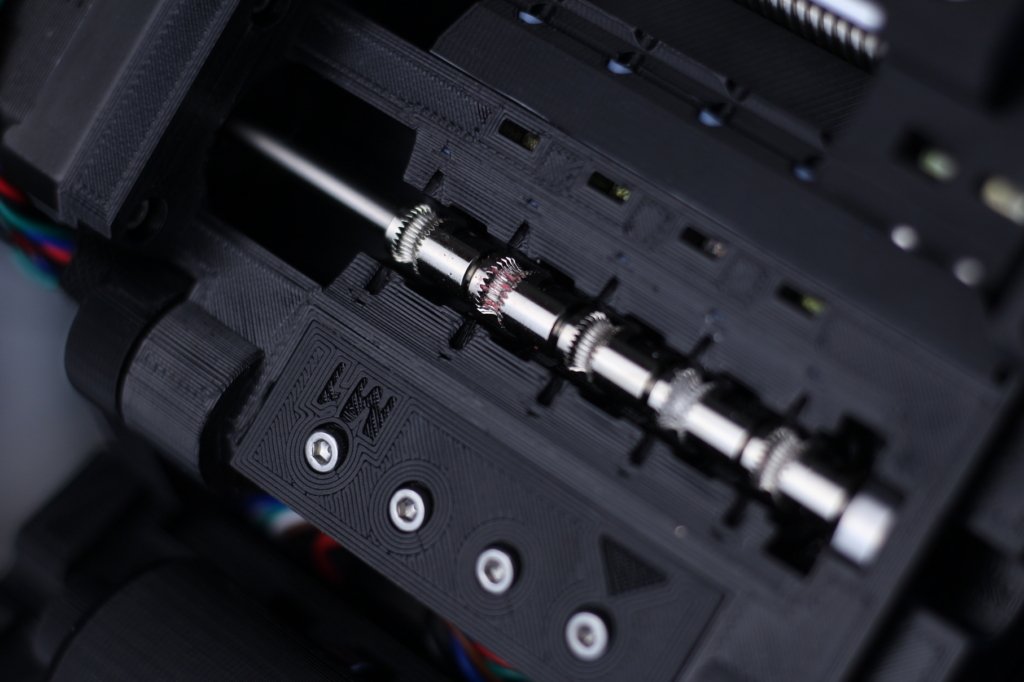
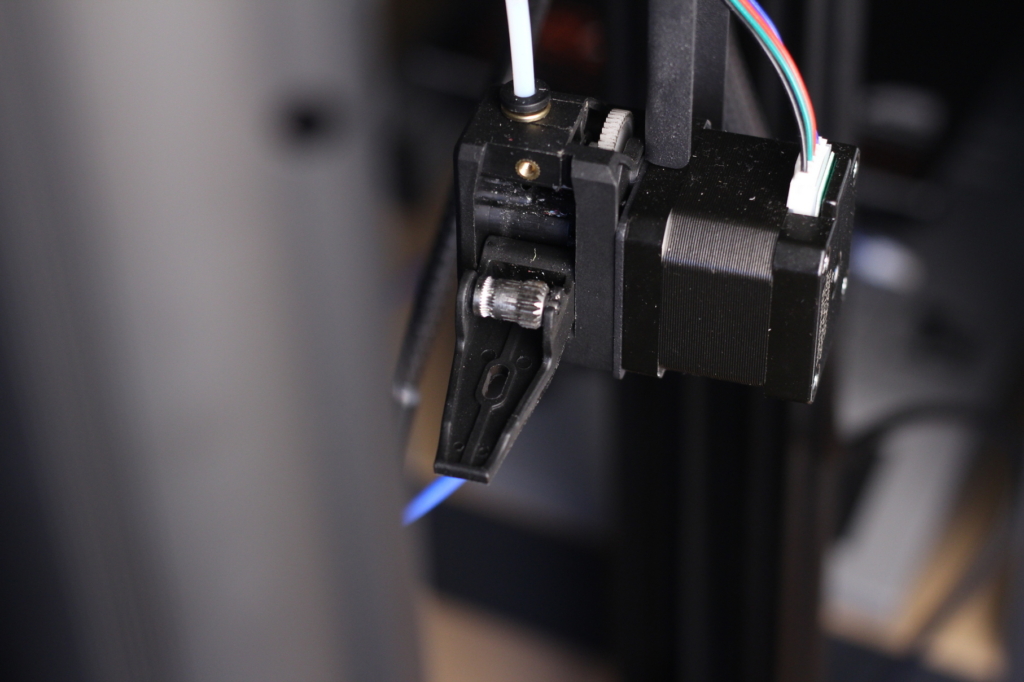
Some extruders will require you to disassemble it to reach the gears, but others are easier to clean. You can use an old toothbrush to clean the gears and remove the stuck filament, then using the compressed air can can blow any remaining chips out of the extruder, ensuring reliable performance over time.
Clean your nozzle
Another important 3D printer maintenance tip is to keep your nozzle clean. If your nozzle accumulates plastic, it might ooze over your model during printing, and can cause failed prints. I usually clean my nozzle after each print by heating it up to ~230C and rubbing it with a piece of paper towel. If you do this, make sure you take the necessary precautions and avoid touching the nozzle directly because you can easily get burned.
I don’t recommend using a wire brush for cleaning the nozzle because you will scratch the nozzle and the nozzle hole can get damaged causing other small print defects.
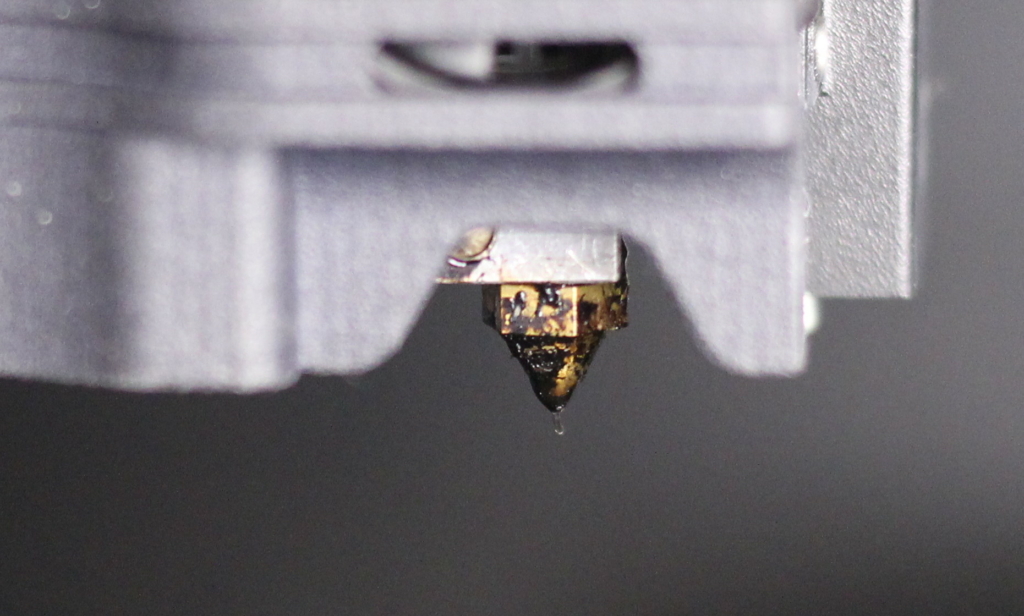
Adding a heatblock silicone sock usually helps keep the nozzle and hotend clean, while also insulating the heat block to keep a constant temperature during printing.
If your nozzle starts to get messy, it might be a good idea to just replace it completely. There are a bunch of excellent quality nozzles that don’t break the bank, so replacing the nozzle from time to time can also bring back the original print quality with little effort. I have a nozzle comparison article which you should check if you’re looking for good quality cheap nozzles.
Clean your print surface
There’s A LOT of reports online where people are having trouble with first layer adhesion. Most of the time, this is caused by improper bed leveling but maybe half of those adhesion issues are caused by not cleaning the print surface properly. If you touch the bed, small amounts of grease get on the print surface and the melted plastic doesn’t adhere well. Cleaning your print surface is one of the most important 3D printer maintenance tips you can get, because it’s often ignored.
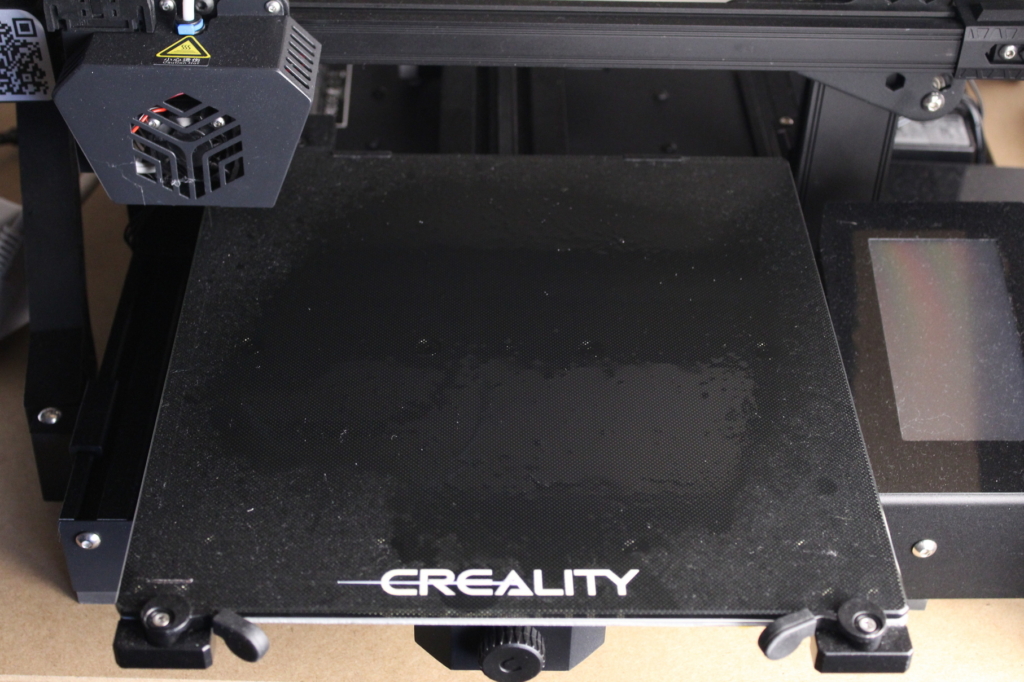
First, remove any remaining filament you have on your bed, like leftover skirts. You can use the included metallic scraper to gently remove them. Using a scraper will also help remove some of the adhesion solution you might use like glue stick, but make sure to gently scrape in order to avoid print surface damage.
Next, I recommend using a solution of water and soap, and spread that using a kitchen sponge over the bed, then scrub it for a minute. If you get a kitchen sponge that has a rough texture, this will also scuff the bed helping with adhesion. Don’t press too hard on the print surface with the rough part of the sponge because you can damage the print surface.
Finally, using a paper towel, I dry out the bed, then with a separate clean paper towel I clean the bed using isopropyl alcohol to make it ready for printing. This process of cleaning the print surface works best for me and I never had adhesion issues after doing this.
Check the printer screws
3D printers have moving parts and running them for a long time can cause some screws to get loose. It’s a good 3D printer maintenance tip to check the screws from time to time, and ensure they are properly tightened.
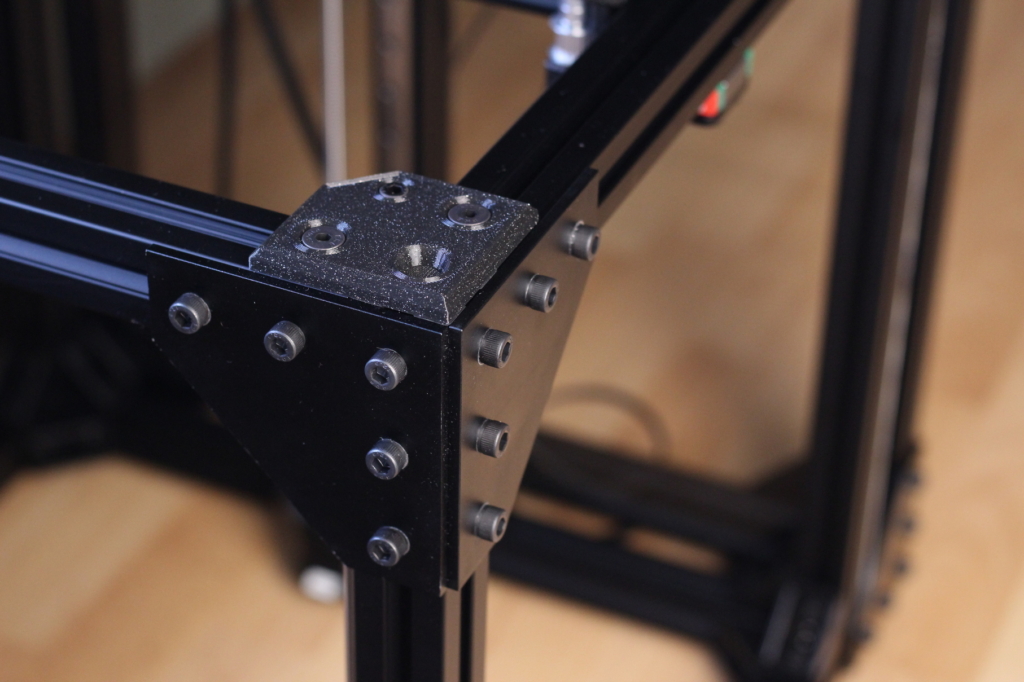
Besides the screws used on the frame, I also recommend checking the small screws on your motor pulleys. I’ve seen a couple of issues online where people had issues that seems to be layer shifts, and those were caused by the pulley screws loosening. As always, don’t overtighten the screws because you can cause other 3D printing issues.
Check the belt tension
Belt tension is another thing to check from time to time. In a perfect world, these belts should remain tight for a long time and shouldn’t require tensioning after the initial setup. But if your printer doesn’t have belt tensioners, or the screws holding the belt tensioners in place are not tight, you might notice your belts getting loose.
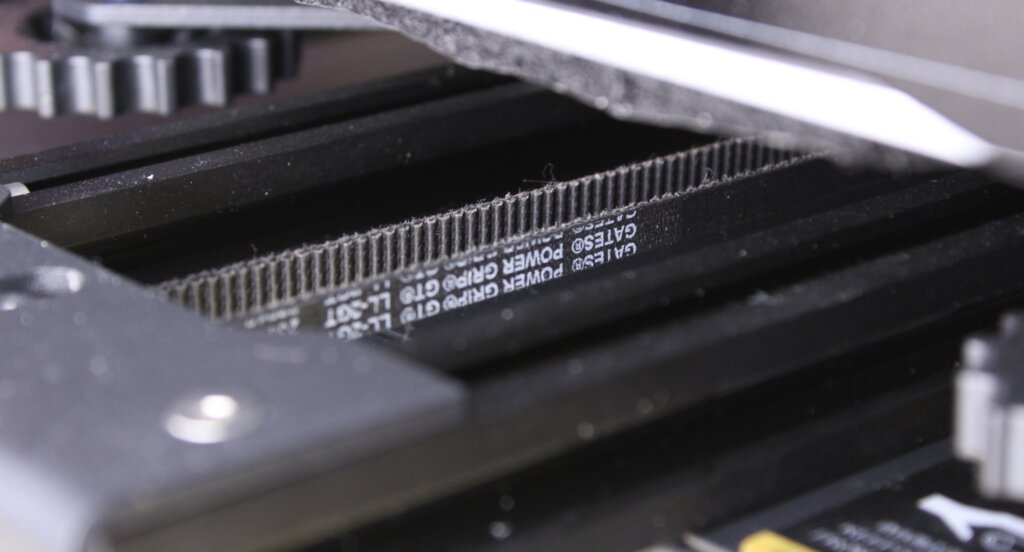
Don’t go overboard when tightening your 3D printer belts because you might cause more harm than good. If you overtighten the belts, you add excessive strain on it and also on the idler bearings shortening their lifetime. Besides that, printing artifacts can show up on the external walls of your model.
Tighten the belts just enough so they have a good grip on the belt pulleys, so they don’t skip. I know there are some recommendations online where people tell you to tighten the belts until they can be plucked like a guitar string, or until the sound produced has a specific frequency but I don’t agree with them. I had good results with my way of tightening these belts and I think you should do it the same way.
Check the cables
Another important 3D printer maintenance tip is to check your 3D printer cables from time to time, especially the ones used on your heated bed and on the hotend. These cables are constantly moving during printing and if no strain reliefs are used, they will quickly start to degrade.
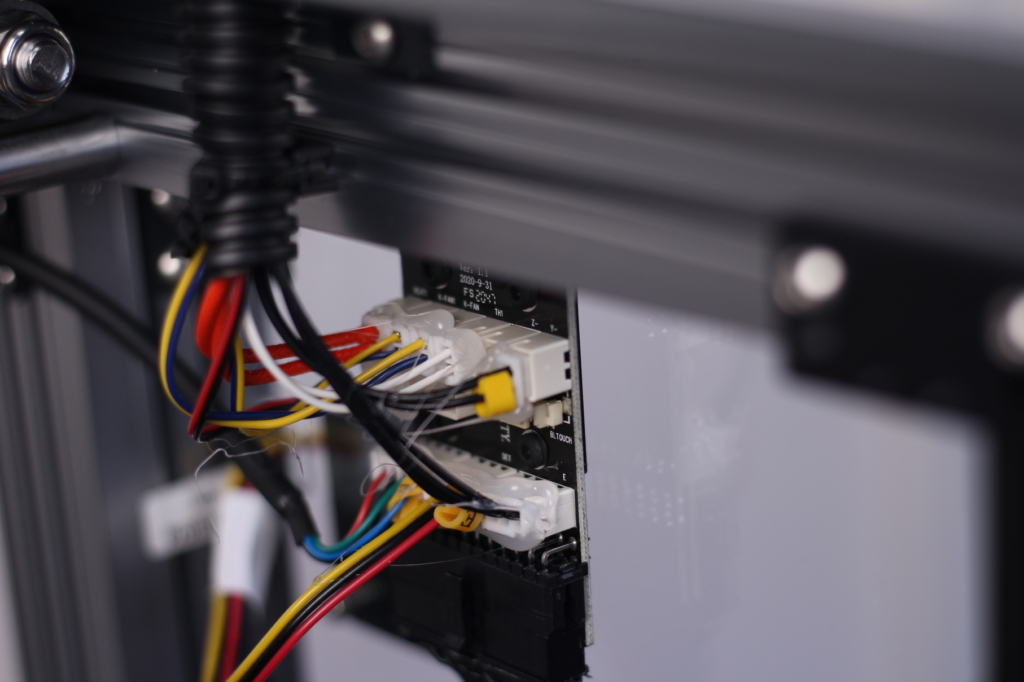
The best example is the power cable for the heated bed used on the Artillery Sidewinder X1 and Genius. These printers are running 220V or 110V which is dangerous. Because the wires don’t have a good strain relief, the repeated bending can cause those wires to get damaged and that’s a huge risk which can start a fire, or even electrocute the user.
On other printers, the 24V doesn’t have the same risk of electrocution, but the fire hazard is still there, so make sure you check your printer cables from time to time to avoid this.
Update your firmware
On cheap 3D printers, you don’t often get firmware updates, but it’s worth checking online from time to time if upgrades are available for your particular printer. Companies often launch updated firmware packs that fix some of the issues that might have been present in previous versions. Besides fixing issues, in some cases you might get new features added to your printer with a firmware update.
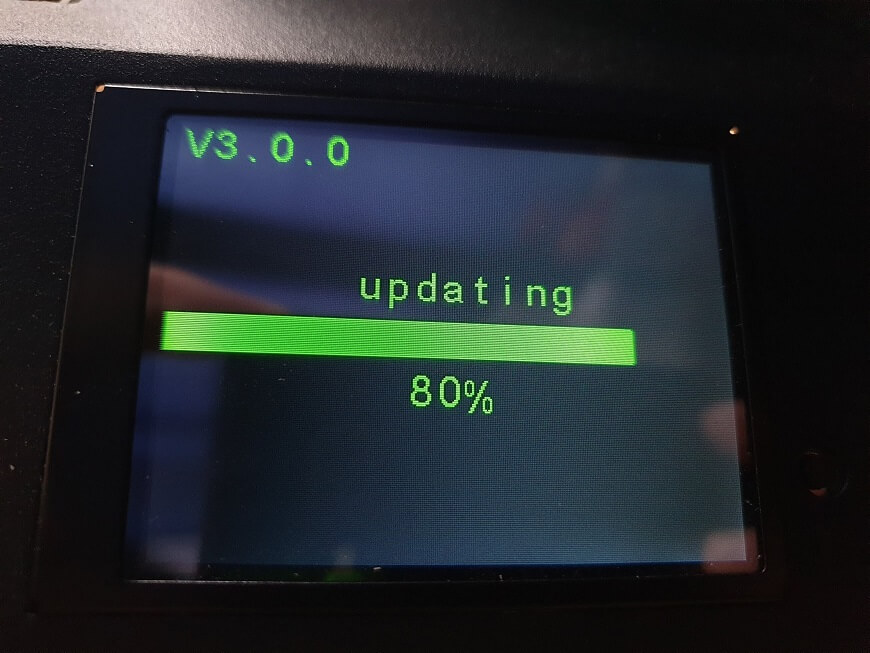
You can also check for “aftermarket” firmware builds made by the community which include newer Marlin builds and added features. But before you jump into this topic, make sure you take your time to document yourself about the process of updating the firmware, and also the way of flashing the original firmware back on your printer if something goes wrong.
Wrapping Up
I hope these 3D printer maintenance tips help you keep your 3D printer running in tip-top condition. Now that your printer is properly maintained, but you still experience some 3D printing issues, then check out my other article where I share some tips on how to improve the print quality of your 3D printer.
You can also join the 3DPrintBeginner Forum where there’s a dedicated category for FDM 3D printers.
Liked it?
|
|

You can leave a comment for this article on the 3DPrintBeginner Forum