Raise3D E2 Review: IDEX Production Machine
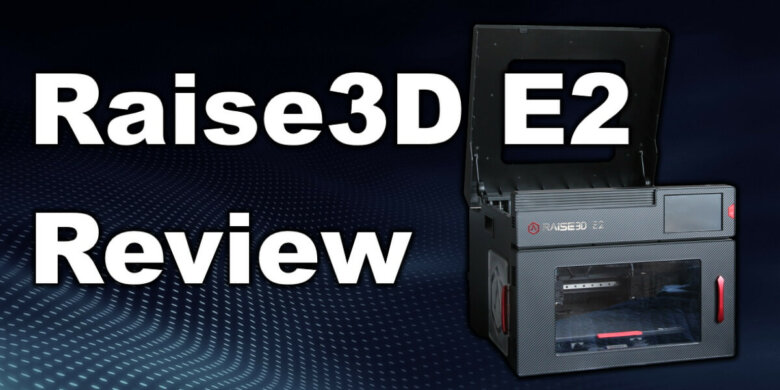
I always wanted to test an IDEX machine, so I got a Raise3D E2 printer to play around with. It’s a premium 3D printer made for schools and companies who are looking for an IDEX production machine or for enthusiasts who want to focus more on printing, and not on troubleshooting issues or calibration.
Let’s put it through its paces and see if the Raise3D E2 is worthy of its price tag.
Raise3D E2 Shipping and Packaging
The Raise3D E2 ships on a wood pallet and it’s huge! It was a challenge to unload it and get it to my apartment considering it’s about 45 Kg.
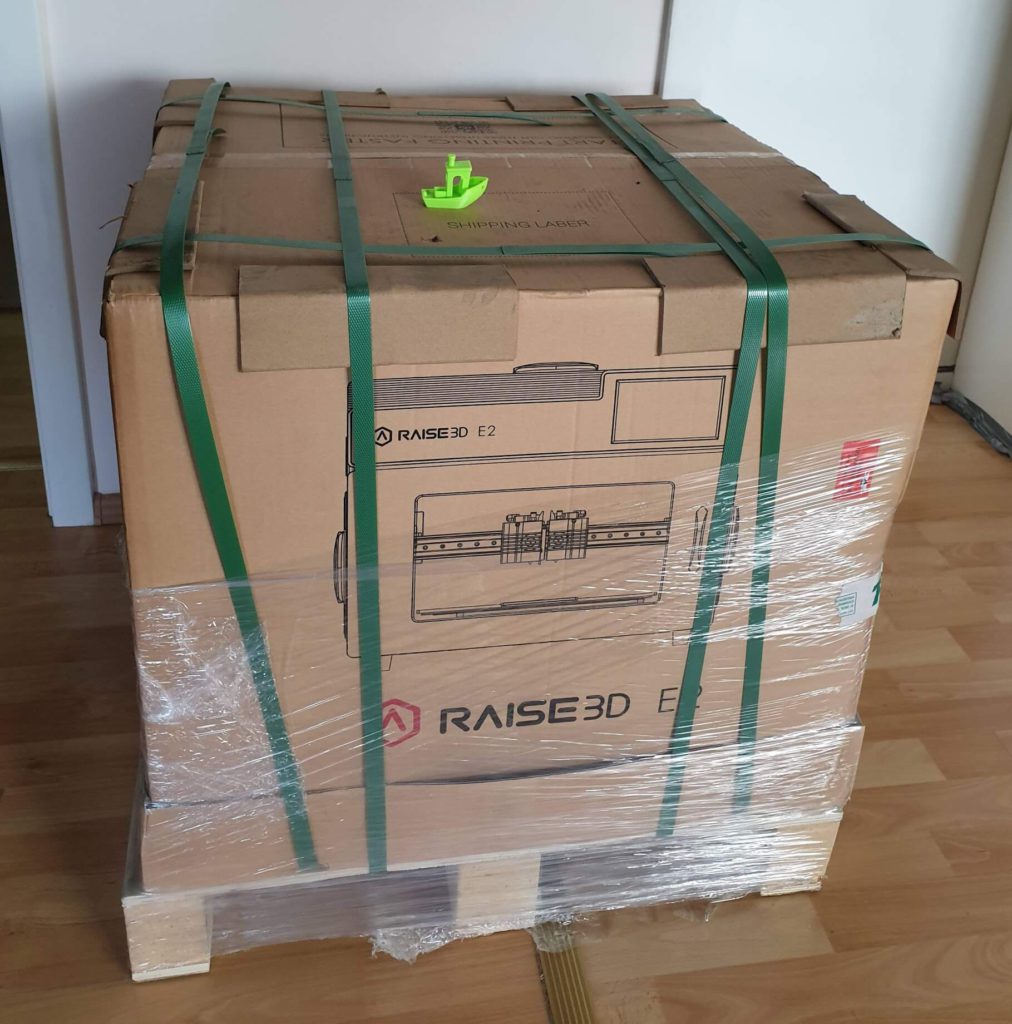
The carboard box is thick and the whole printer is covered in ample foam protection so I don’t think anybody will have issues with the delivery. Inside the printer there’s a box with accessories surrounded by more foam.
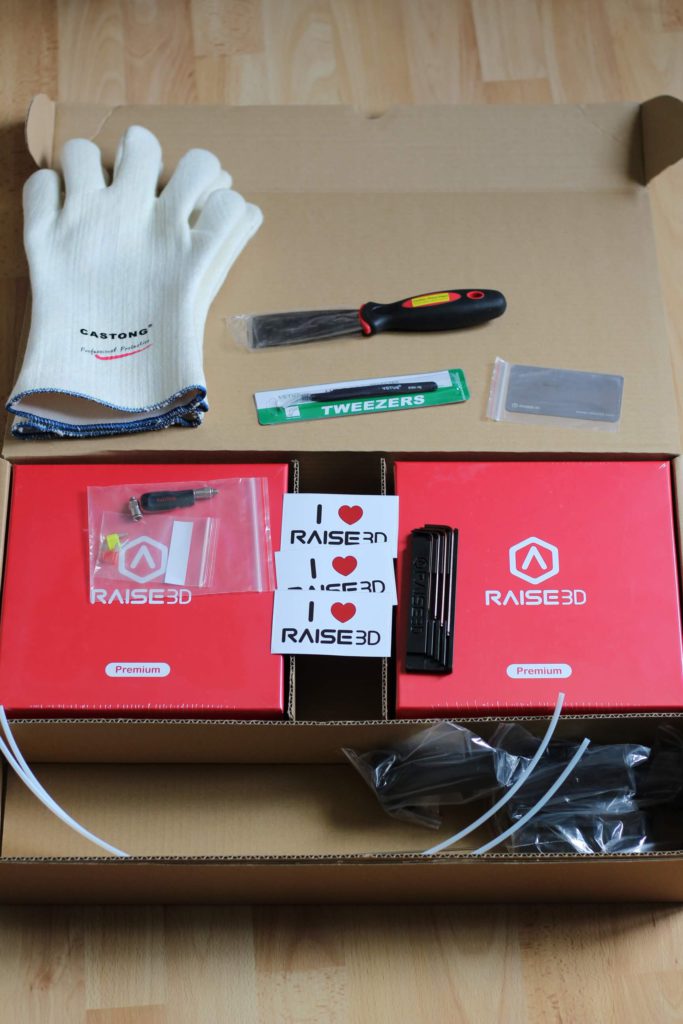
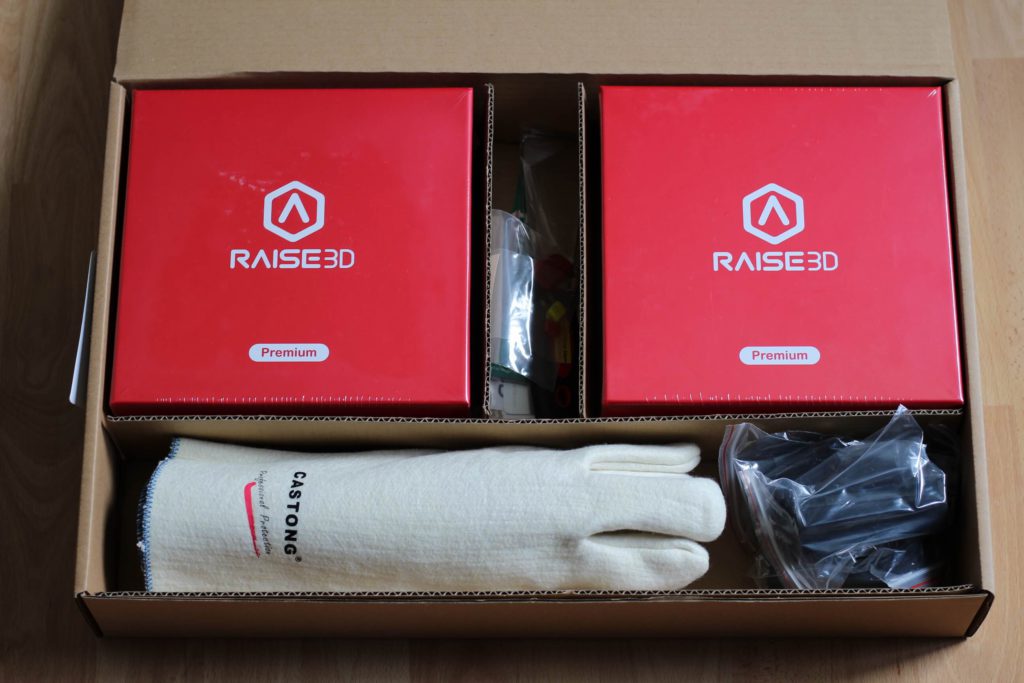
Inside the accessories box, you get the following:
- Two spools of Raise3D Premium PLA (helpful if you remove a print right after its finished because the flex plate can get hot)
- A pair of heat resistant gloves
- Scraper
- Tweezers
- A pair of spare PTFE tubes with couplers
- Set of hex wrenches
- Metallic leveling card
- The spool rollers
- A pair of fuses
- 8GB Sandisk USB drive
- A metal rod used for unclogging the nozzle (helpful tool)
Overall, it’s a good accessories box which should help you keep the printer on if there are some issues along the way.
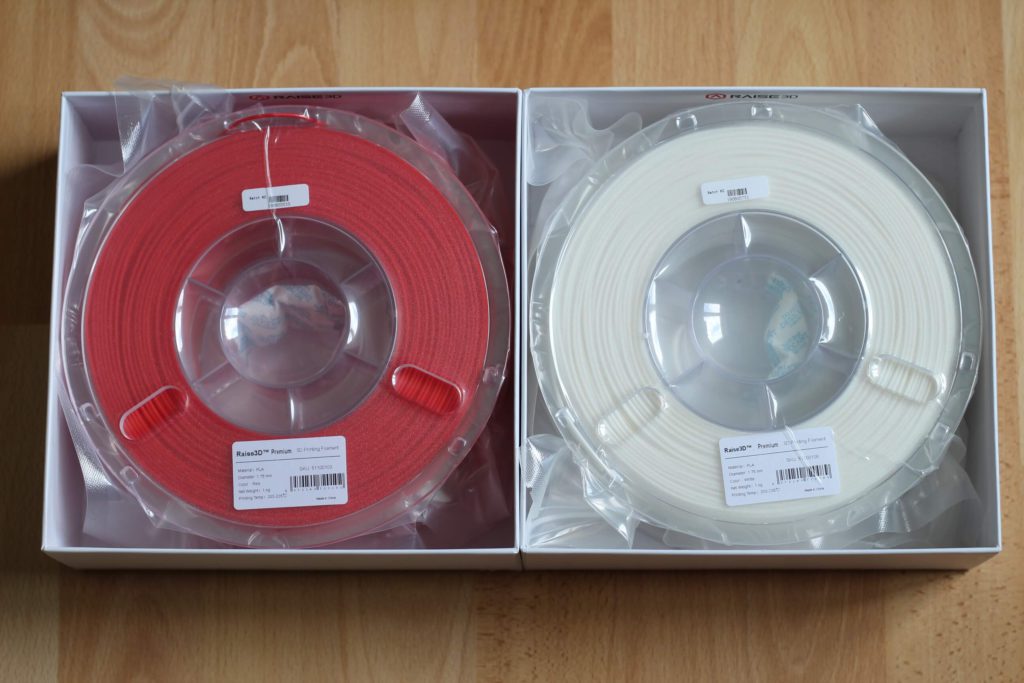
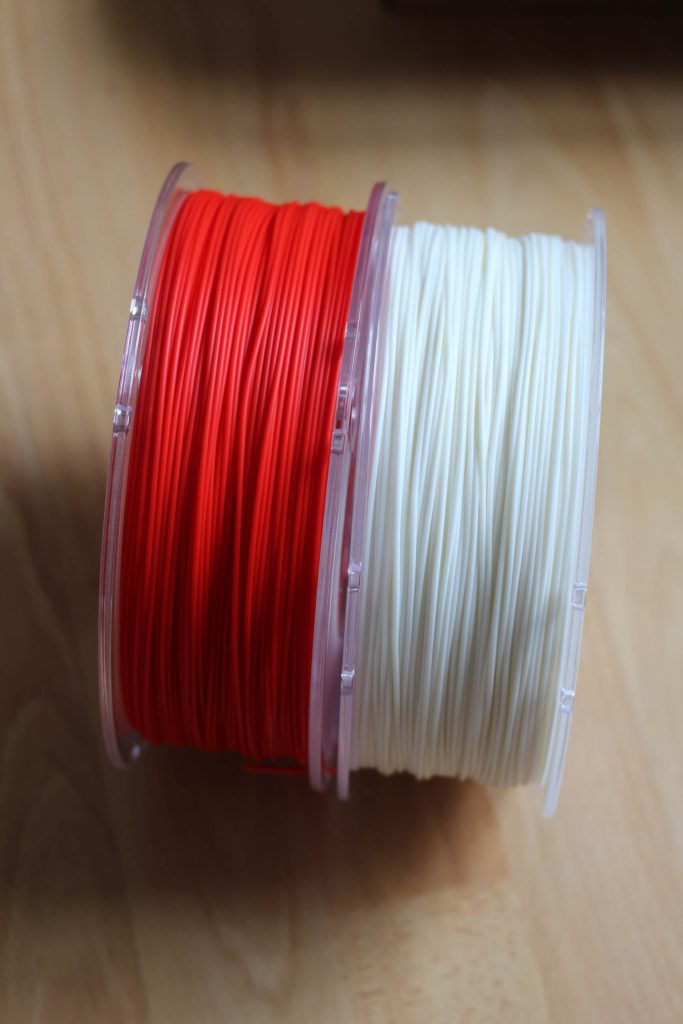
The included filament is really superior quality. I am not a huge fan of expensive filament because I often use cheap materials and I get good results, but I can confirm that this premium filament contributes to the overall quality of the finished print.
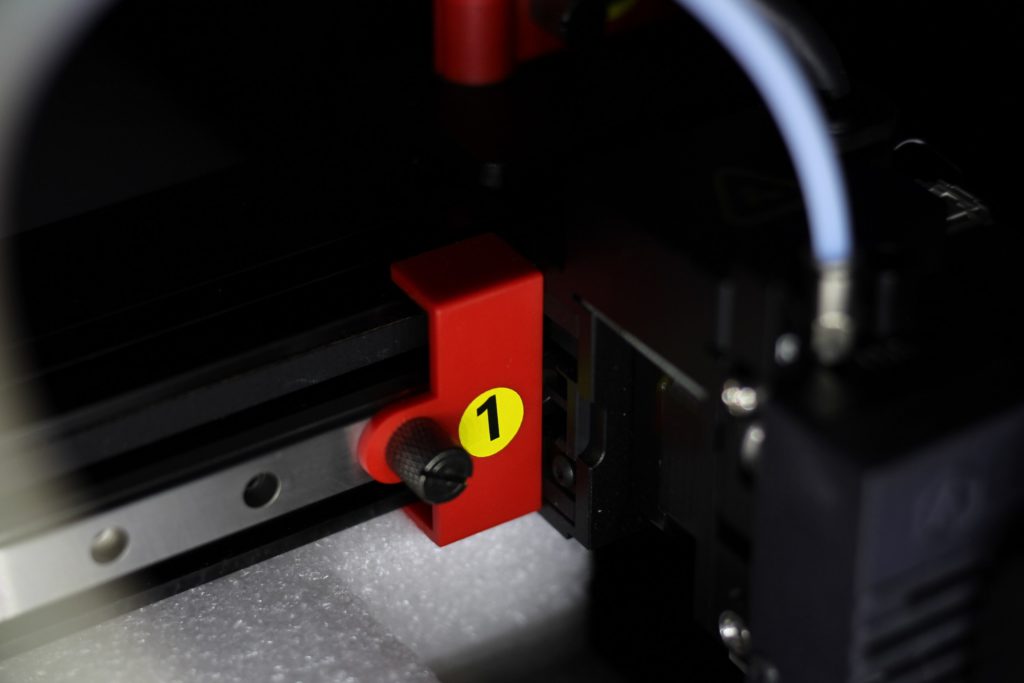
The printer comes with four plastic retainer brackets which hold the X gantry in place during shipping to prevent any kind of damage or misalignment. These need to be removed right after unboxing the printer.
Raise3D E2 Printer
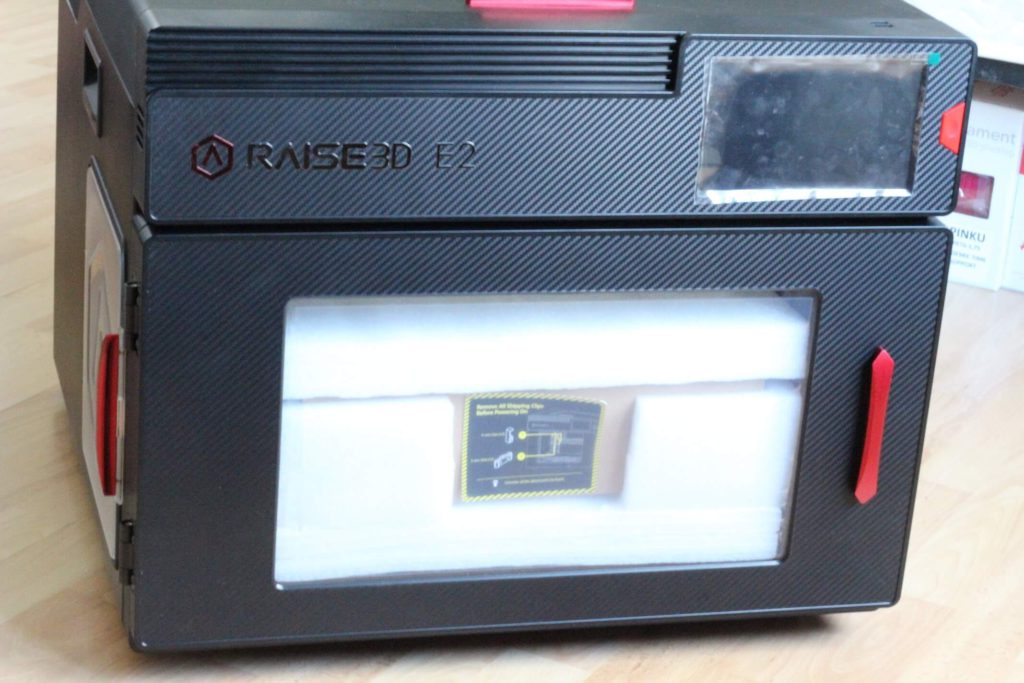
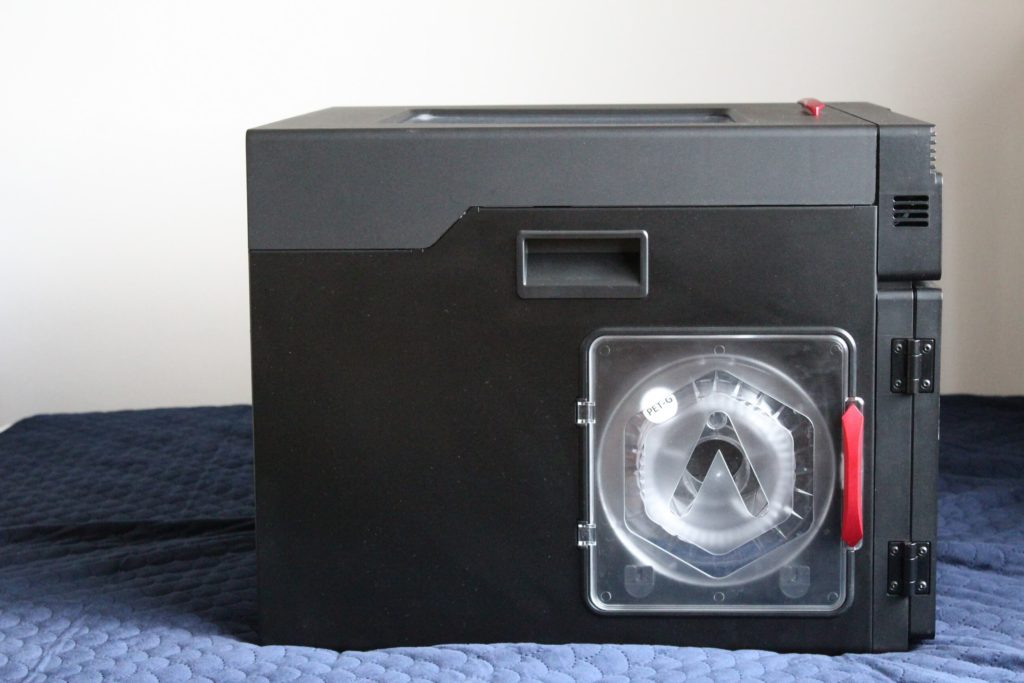
This is the E2 in all its glory! A heavy box which takes 2 people to move it around.
The front has a carbon fiber finish which looks futuristic, and I love the red accents. Besides that, the magnetic door can be locked or set to stop the print if it’s opened, and it also has a window to monitor prints.
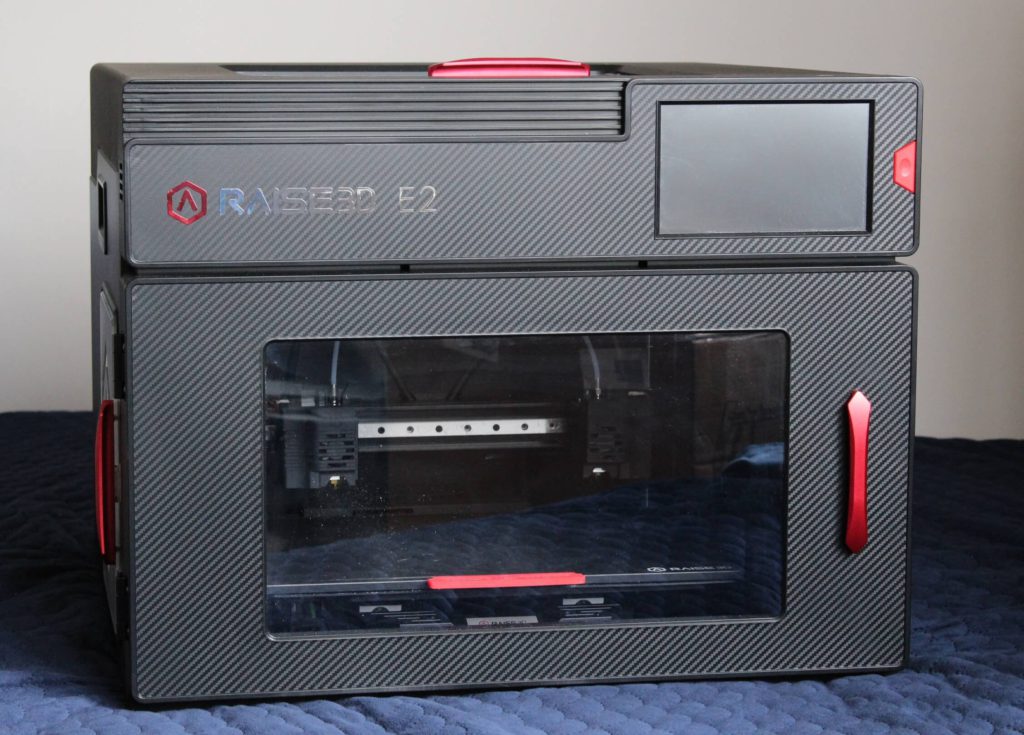
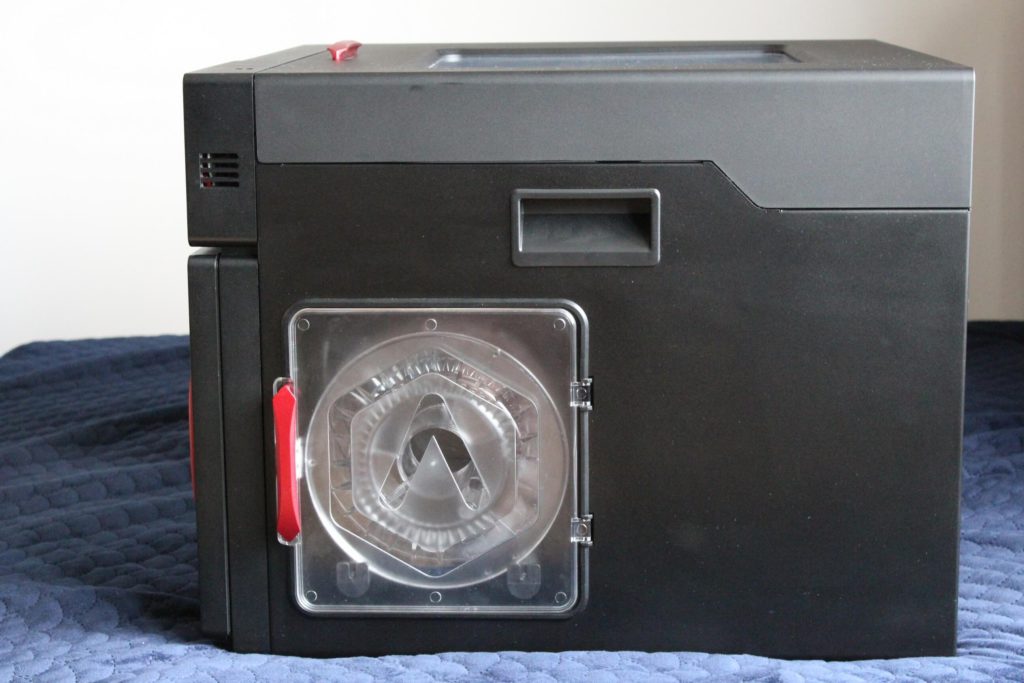
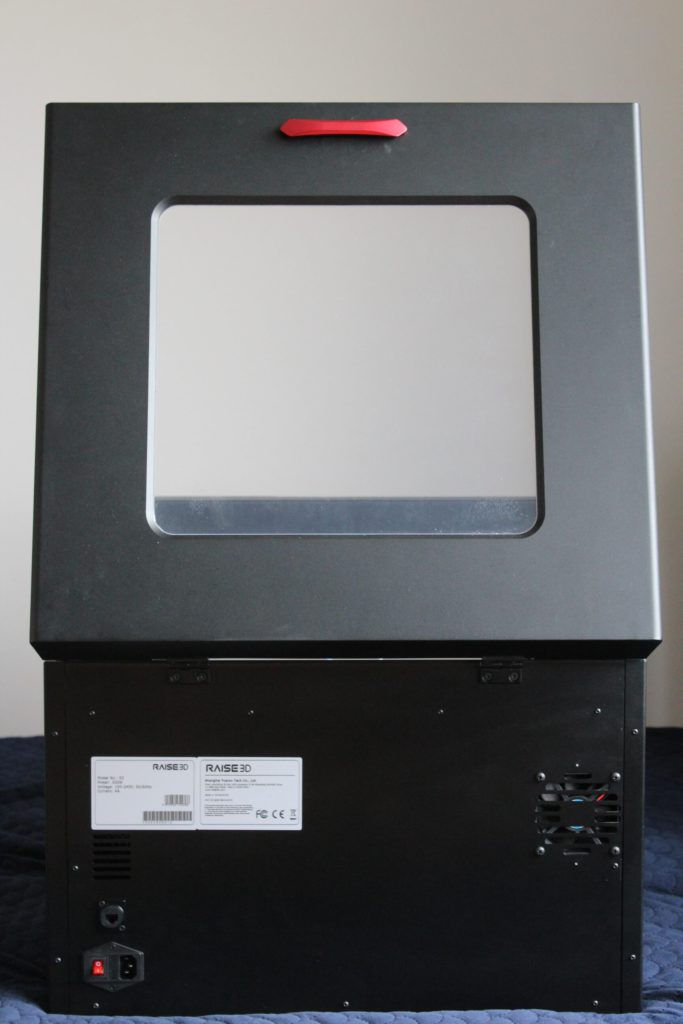
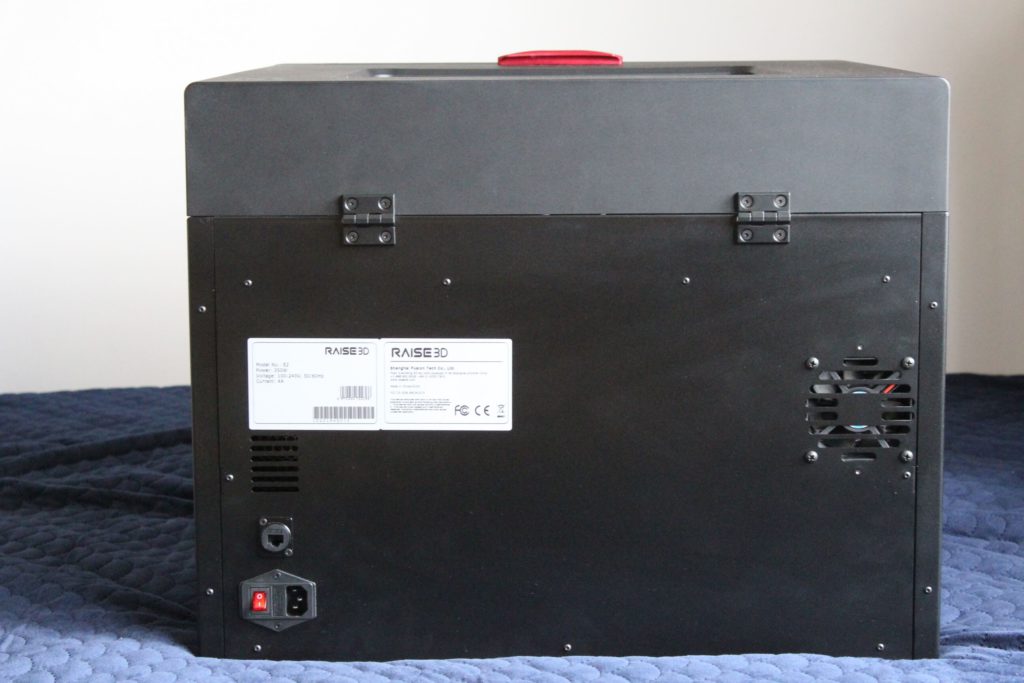
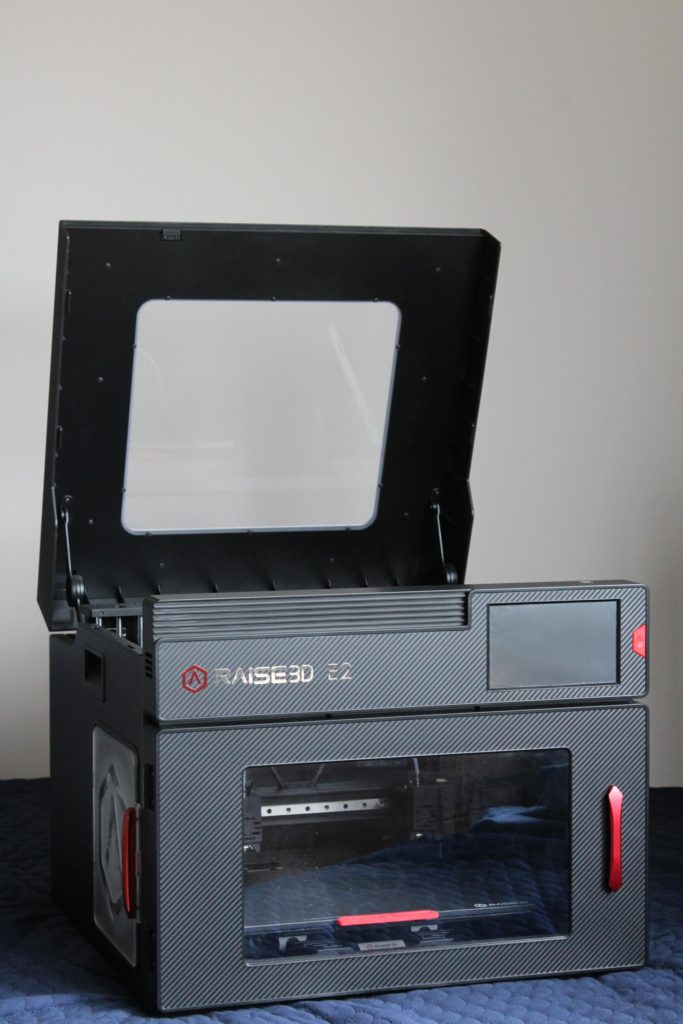
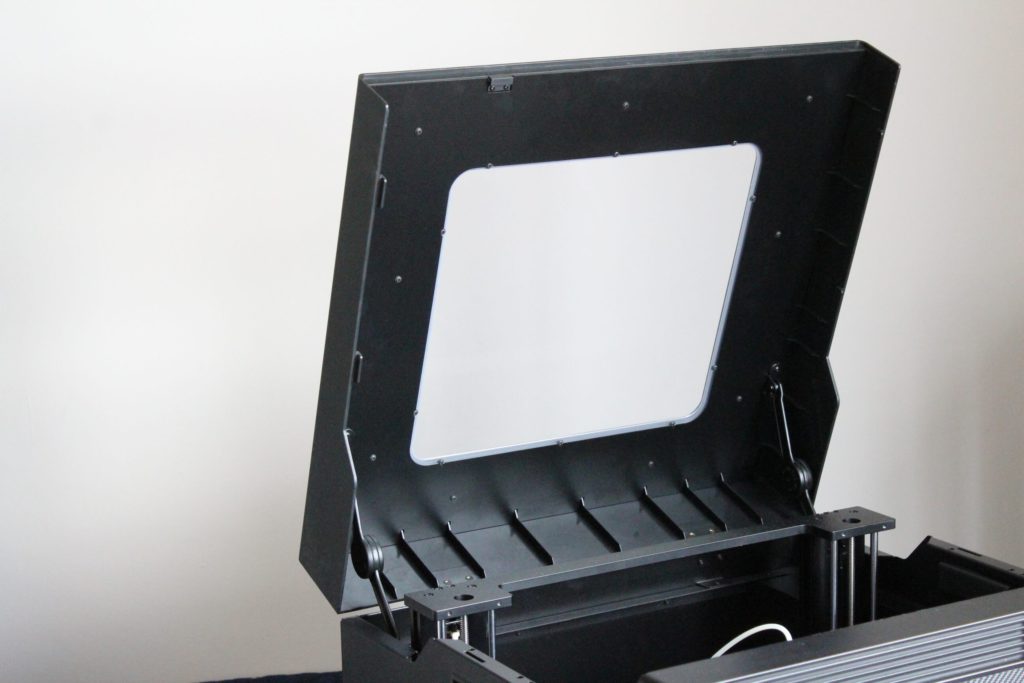
The top cover opens just like a car’s bonnet and can also stand open by itself thanks to the spring arms in the back. It’s really useful to access the printer from the top and I like that with the E2 you have this option.
Of course, this door also has a transparent window to monitor your prints from the top.
Raise3D E2 Specs
| Build Volume (single extrusion) | 330×240×240 mm |
| Build Volume (dual extrusion) | 295×240×240 mm |
| Machine Size (W×D×H) | 607×596×465 mm |
| Print Technology | FFF |
| Print Head System | Independent Dual Extruders |
| Filament Diameter | 1.75mm |
| XYZ Step Size | 0.78125, 0.78125, 0.078125 micron |
| Print Head Travel Speed | 30-150 mm/s |
| Build Plate | Flexible Steel Plate with Buildtak |
| Max Build Plate Temperature | 110 ℃ |
| Heated Bed Material | Silicone |
| Build Plate Leveling | Mesh-leveling with Flatness Detection |
| Supported Materials | PLA / ABS / HIPS / PC / TPU / TPE / NYLON / PETG / ASA PP / PVA / Glass Fiber Infused / Carbon Fiber Infused / Metal Fill / Wood Fill |
| Layer Height | 0.02 – 0.25 mm |
| Nozzle Diameter | 0.4 mm (Default), 0.2/ 0.6/ 0.8/ 1.0 mm (Available) |
| Hot End | V3P (V3 hotend with PTFE version) |
| Max Nozzle Temperature | 300 ºC |
| Connectivity | Wi-Fi, LAN, USB port, Live camera |
| Noise Emission (Acoustic) | <50 dB(A) when building |
| Operating Ambient Temperature | 15-30 ºC, 10-90% RH non-condensing |
| Filter | HEPA filter with activated charcoal |
| Net Weight | 35 kg |
| Slicing Software | ideaMaker |
| Power Supply Input | 100-240 V AC, 50/60 Hz 230 V @2 A |
| Power Supply Output | 24 V DC, 350 W |
| User Interface | 7-inch Touch Screen |
| Screen Resolution | 1024×600 |
| Motion Controller | Atmel ARM Cortex-M4 120MHz FPU |
| Logic Controller | NXP ARM Cortex-A9 Quad 1 GHz |
| Ports | USB 2.0×2, Ethernet×1 |
Big magnetic heated bed
The heatbed is made from a tick piece of aluminum with 10 magnets which hold the steel sheet in place. They are very strong, and you won’t have any kind of issue with the plate moving during printing.
The heated bed is mounted on two linear guides. When the bed moves fast on the Y axis there’s more noise than I would expect but nothing major.
Unfortunately, the heated bed in not powered by an AC heater and this translates in slower heating. Raising the bed to 60C takes around 5 minutes, but I was expecting a bit more performance from a premium machine. Considering that the printer works really well, this is not a major issue because you can easily start a print then leave so there’s no need to wait and check if the first layer sticks well. It’s guaranteed to adhere well.
Besides that, the heatbed temperature is constant and I could not see any difference in temperature during printing. This is helped by the thermal mass of the bed.
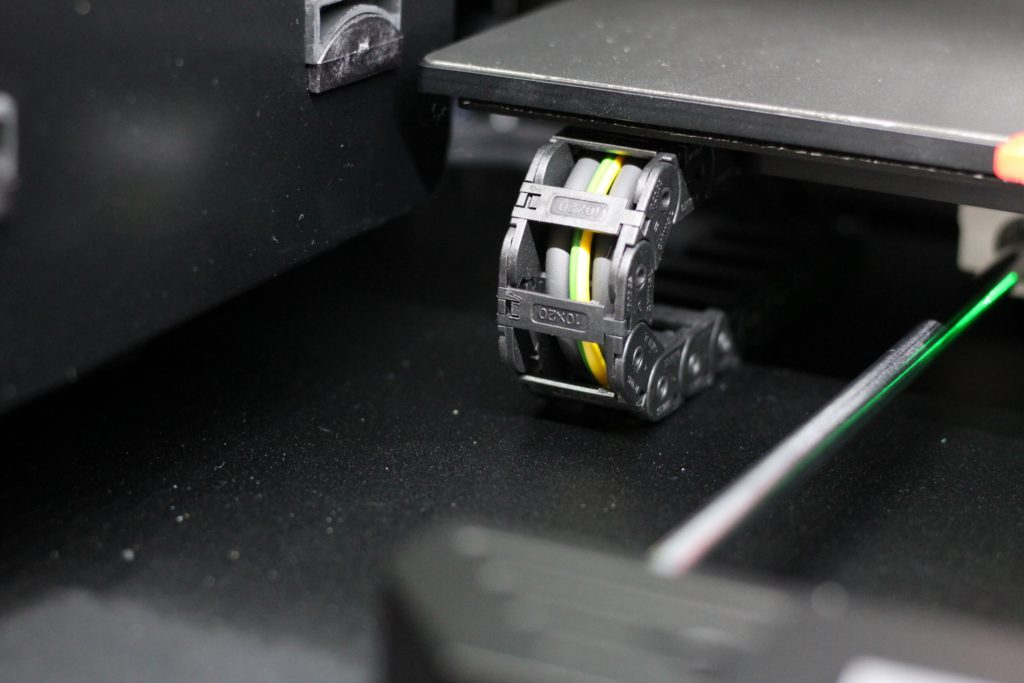
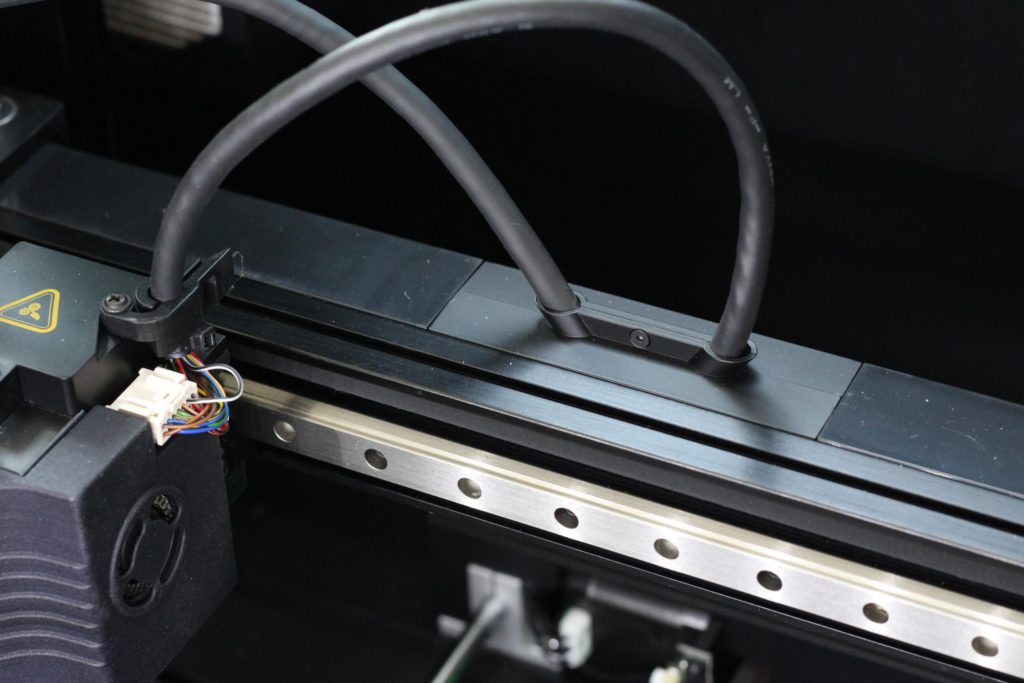
Wiring for the bed is managed through a cable chain to minimize the war from repeated movements.
Flexible print surface with BuildTak
On the top of the steel sheet there’s a BuildTak sticker which works well. The first layer adheres well on it and when the print is done it’s easy to remove with just a slight bend.
I noticed that the steel sheet is not as flexible as other PEI flex plates I tested in the past (it’s a thicked steel sheet) and if you flex it too much it maintains its flex. But there’s no need to flex it hard to remove your print and the magnets keep the plate flat to the heatbed.
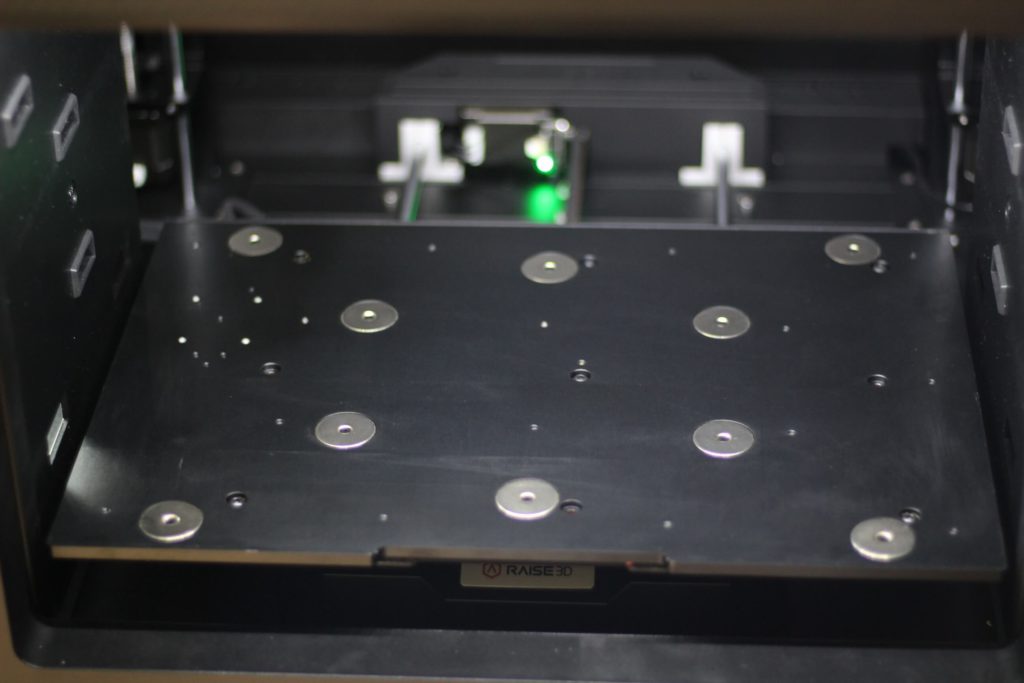
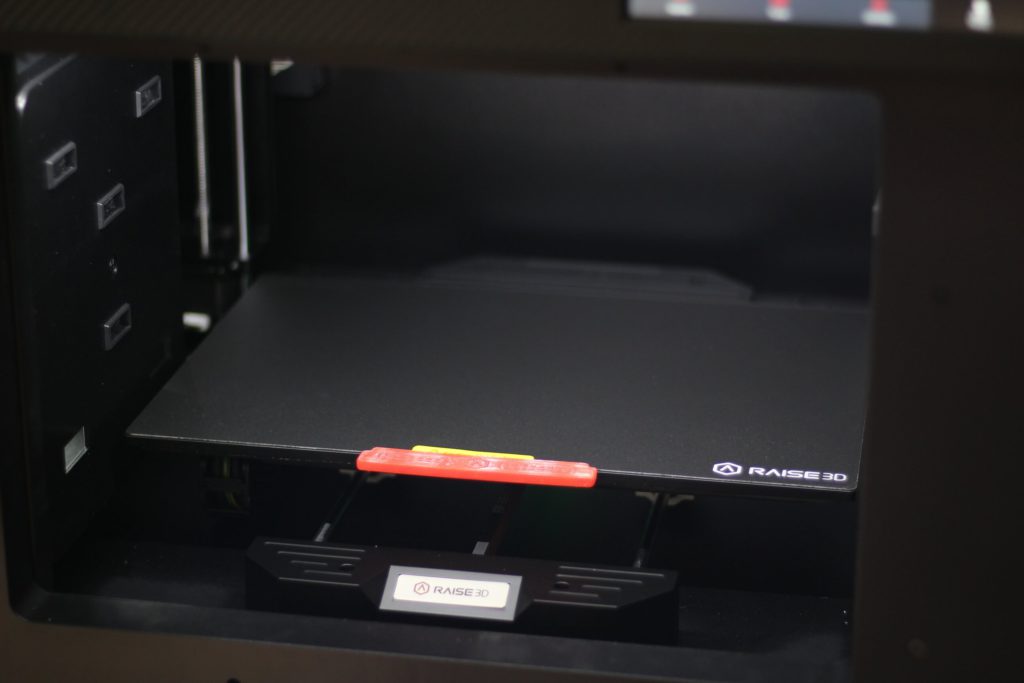
It was interesting to see that the handle for the flex plate is 3D printed in TPU. Currently, Raise3D will ship newer printers with a molded handle. This happened because they got some reports of the TPU handle starting to melt on high temperature prints.
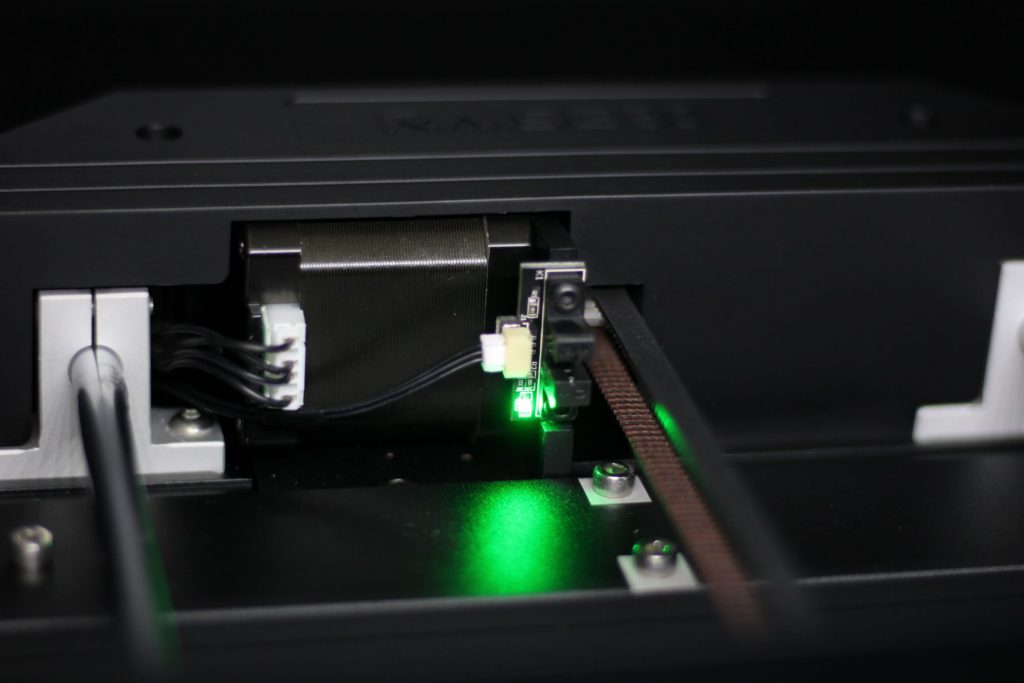
The Raise3D E2 uses optical end stops and for alignment it uses sensorless homing on the Z axis. During the first calibration the X gantry is raised to the top until both sides reach the end and the motor starts losing steps.
On both sides of the machine there’s a “box” for a roll of filament which feeds trough a PTFE tube until it reaches the hotend. The filament roll stays on two plastic rollers and the filament enclosure are covered by a door and while they are not completely sealed, I don’t think there will be any issue with filament moisture.
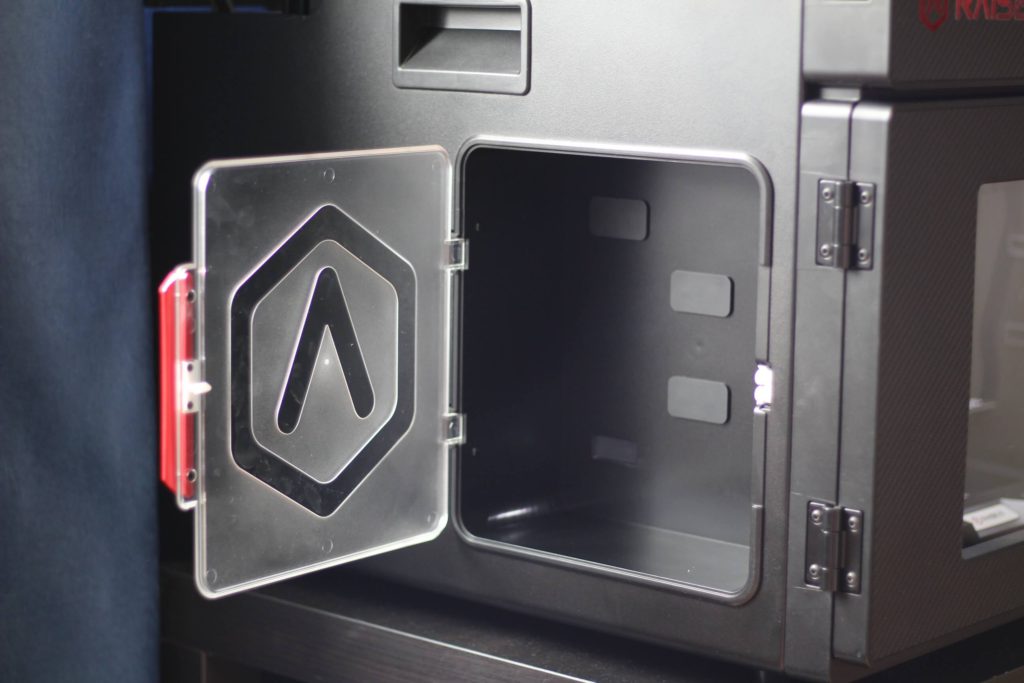
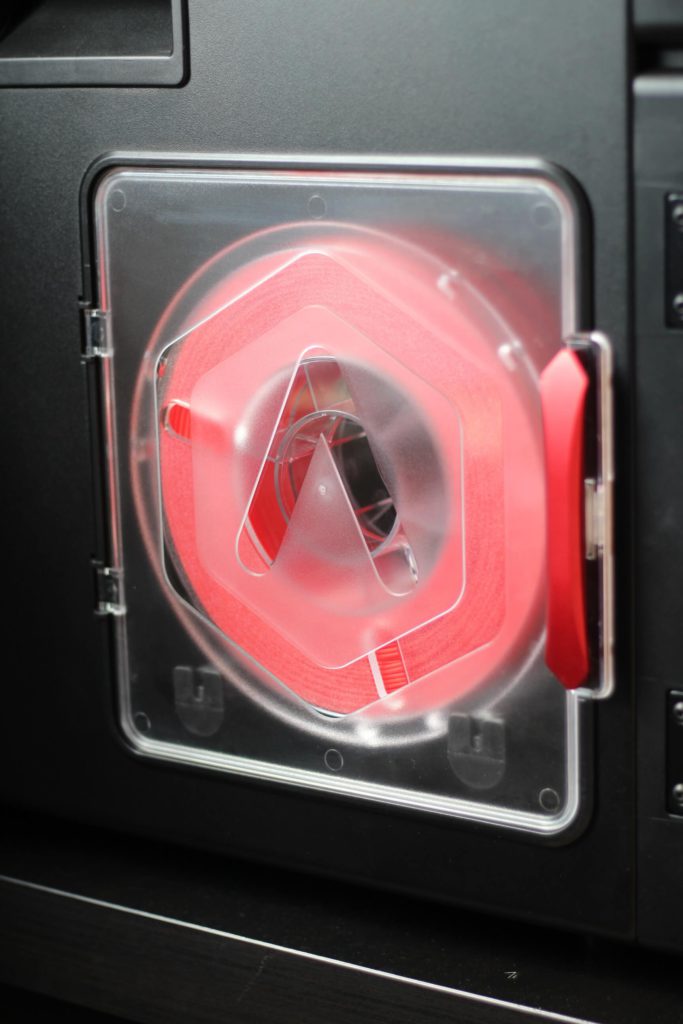
Considering that the heat from the enclosure will also raise the temperature a bit in the filament chamber, the filament should stay dry.
The left extruder has an auto bed leveling sensor somewhat similar to a BLTouch. It has a pin which drops and probes the bed in 63 points when using the advanced probing option. This takes around 15 minutes but after you do it once the bed is rock solid and there was no need for me to re-level the bed.
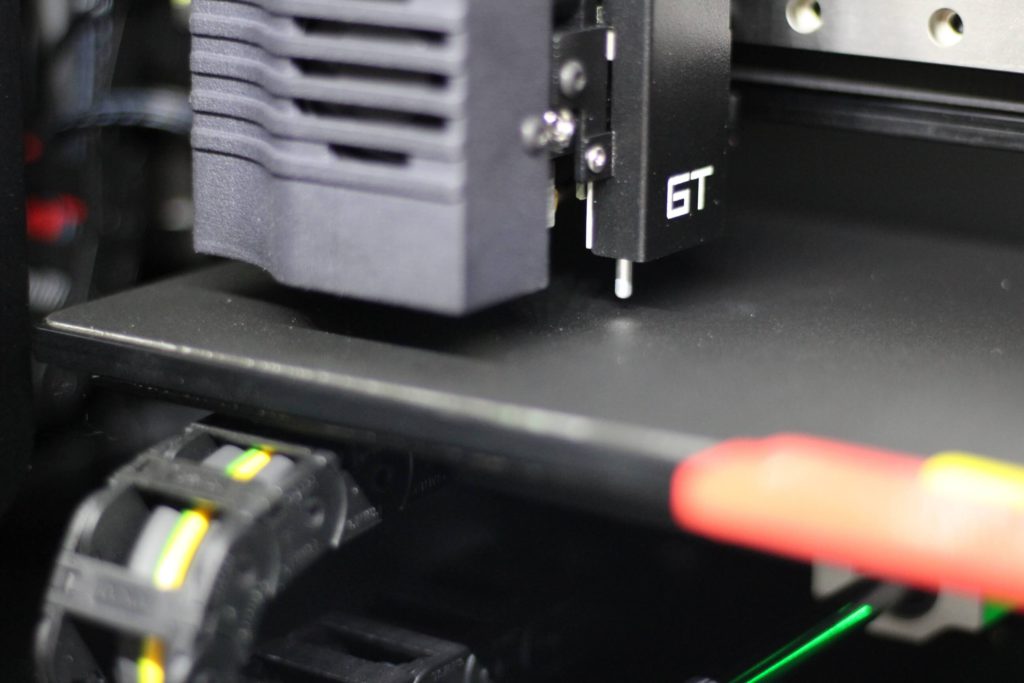
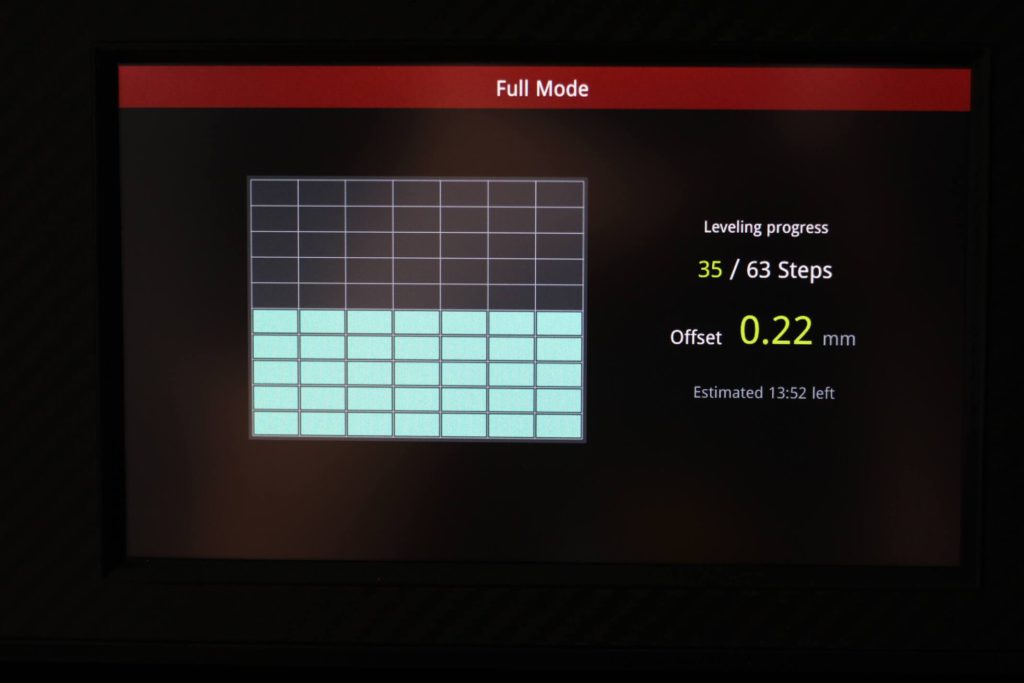
After the latest firmware upgrade, I noticed that the printer does a bed measurement for the area where the printer will lay its first layer which is nice. This feature ensures that you will have the best possible adhesion without adding extra time to the print process with probing the whole print surface.
Compact Direct Drive extruders
In the images below you can see how the extruders look. The heat break is cooled by a 30mm fan with decent airflow but I wouldn’t mind to have more powerful fans even if that would add a bit more noise. On the left side of the extruder there’s also a 40mm radial fan with excellent airflow (I was impressed on the quantity of air this small fan can move).
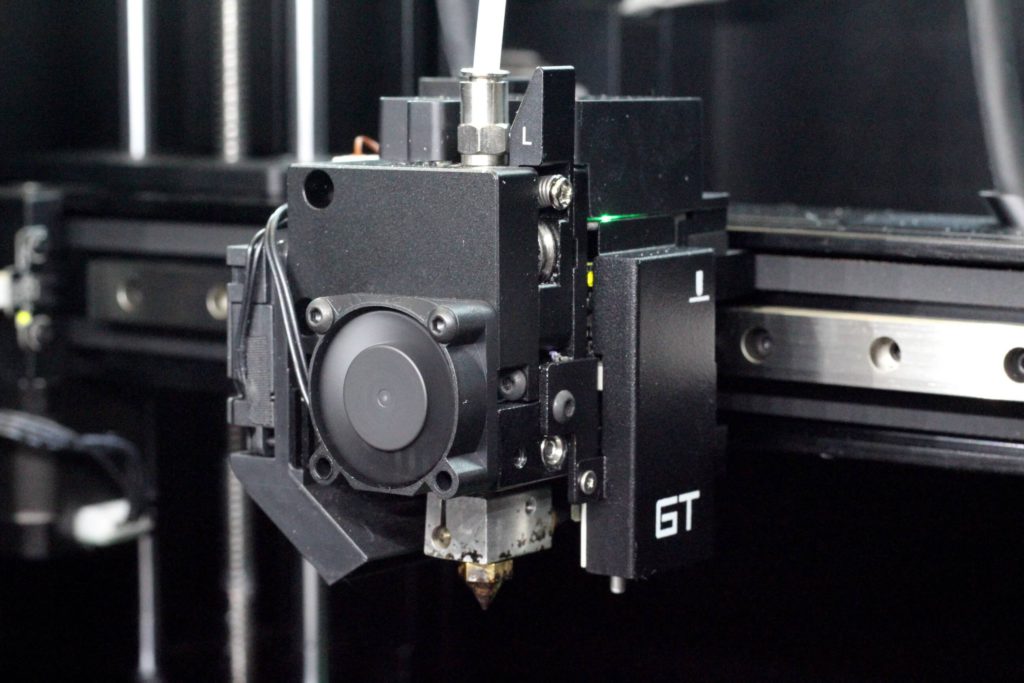
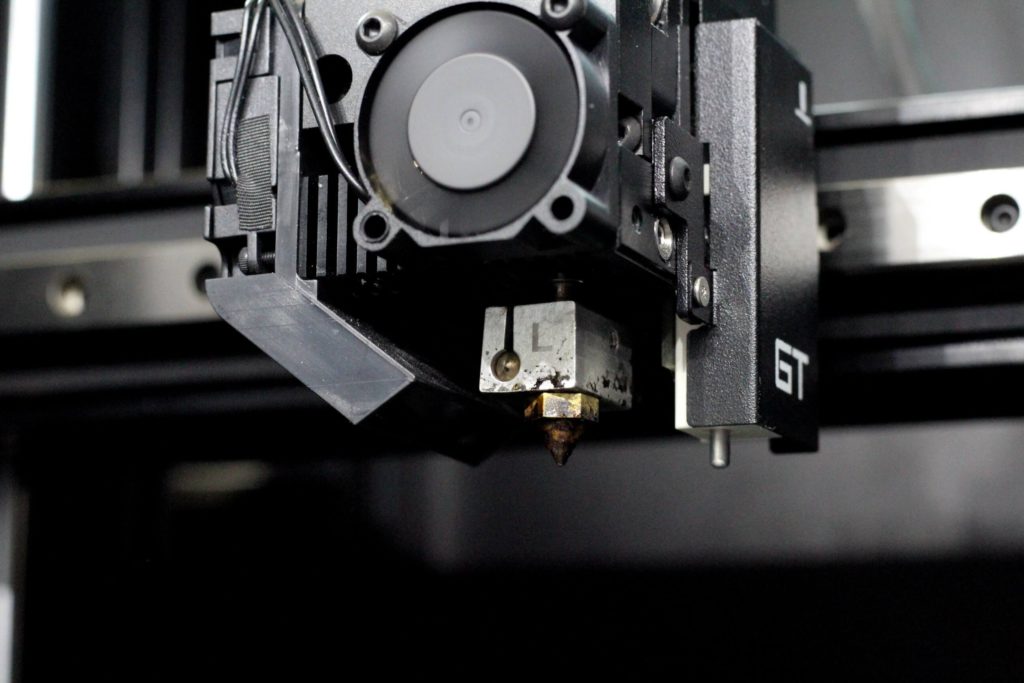
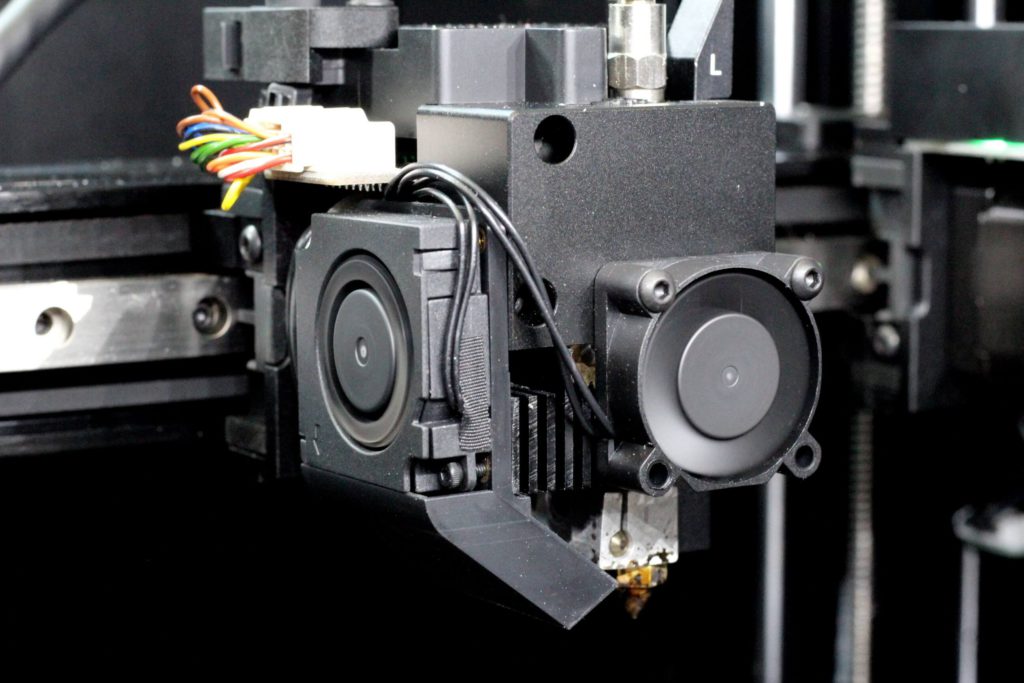
On the left side of the extruder, there’s a metal arm with a smooth idler which presses on the single gear extruder. The tension on this idler can be adjusted using a Philips screw. While dual gears would grip the filament better, I haven’t had any issues with filament skipping, so it works well.
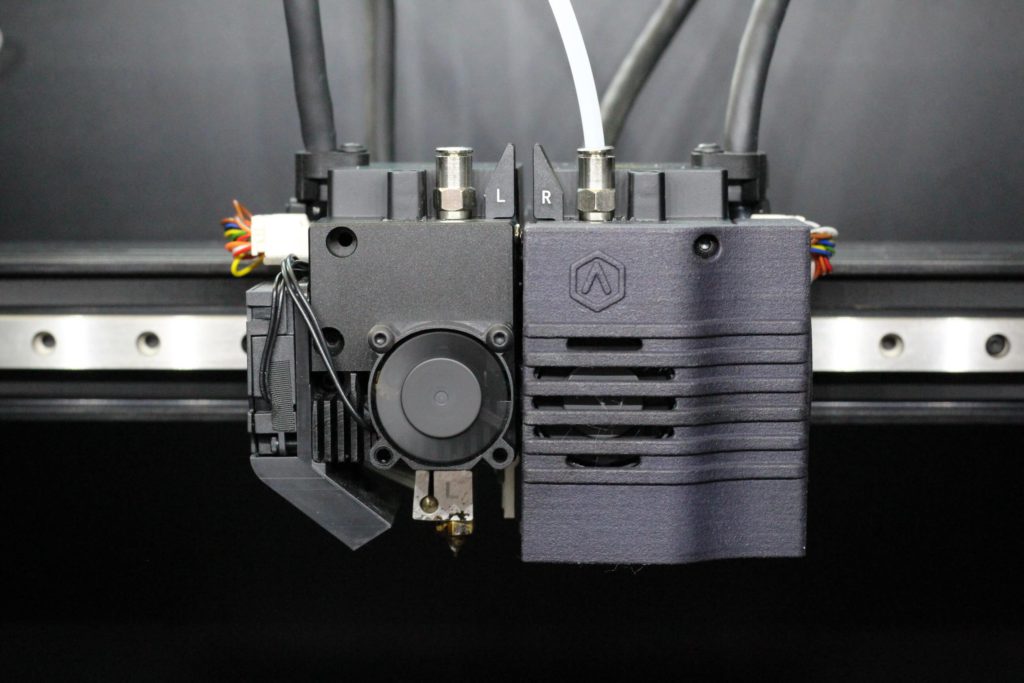
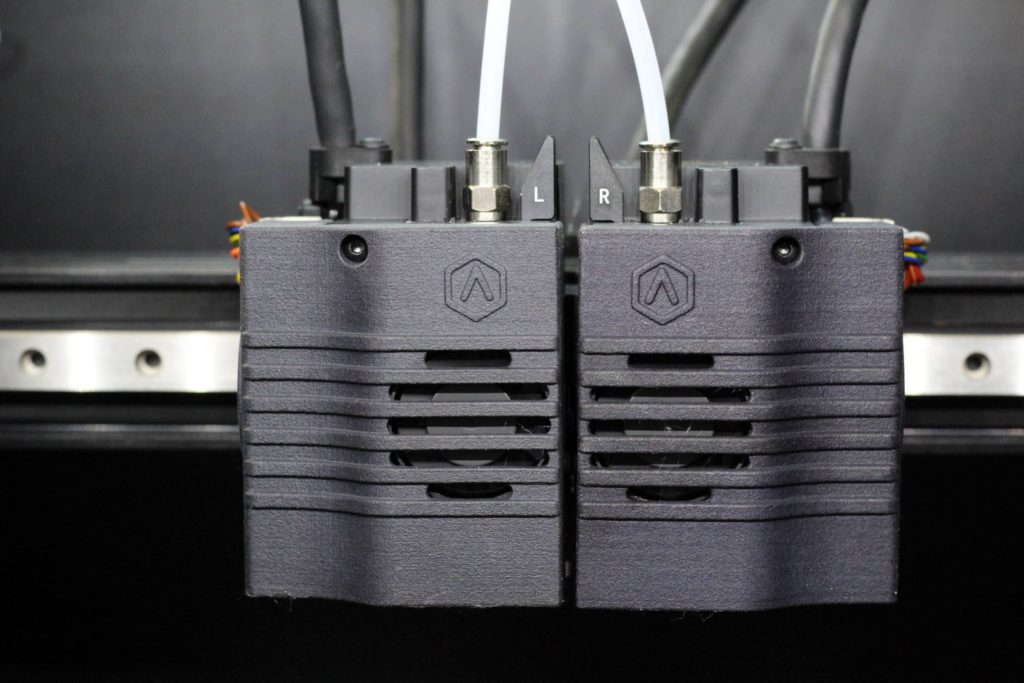
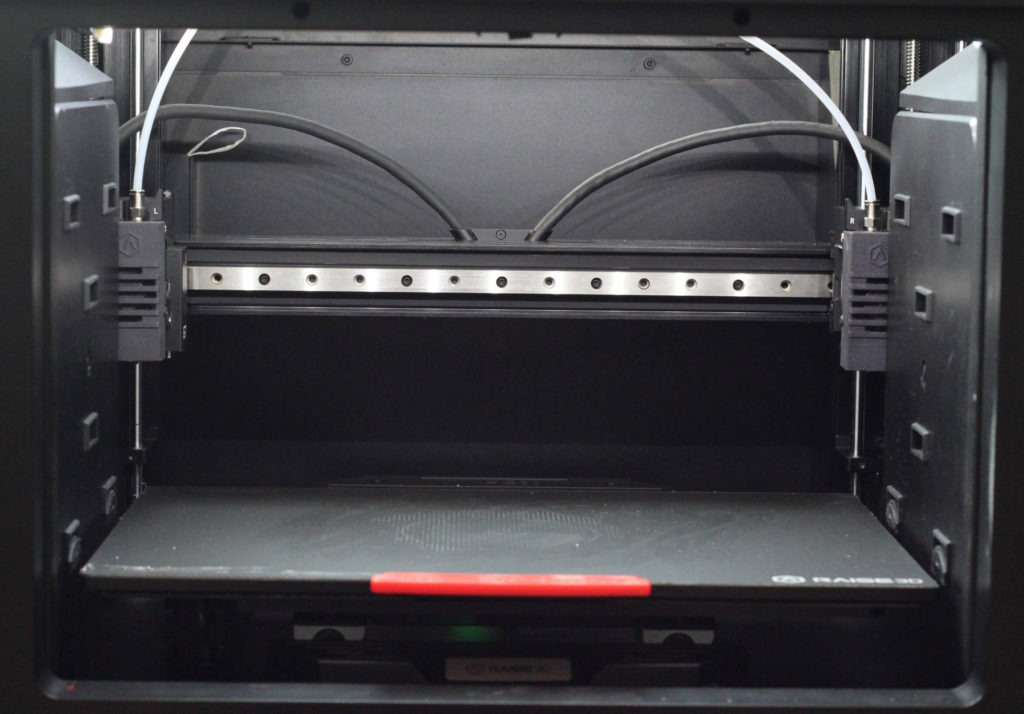
Both extruders are placed on a linear rail which ensures an accurate movement of the hotends.
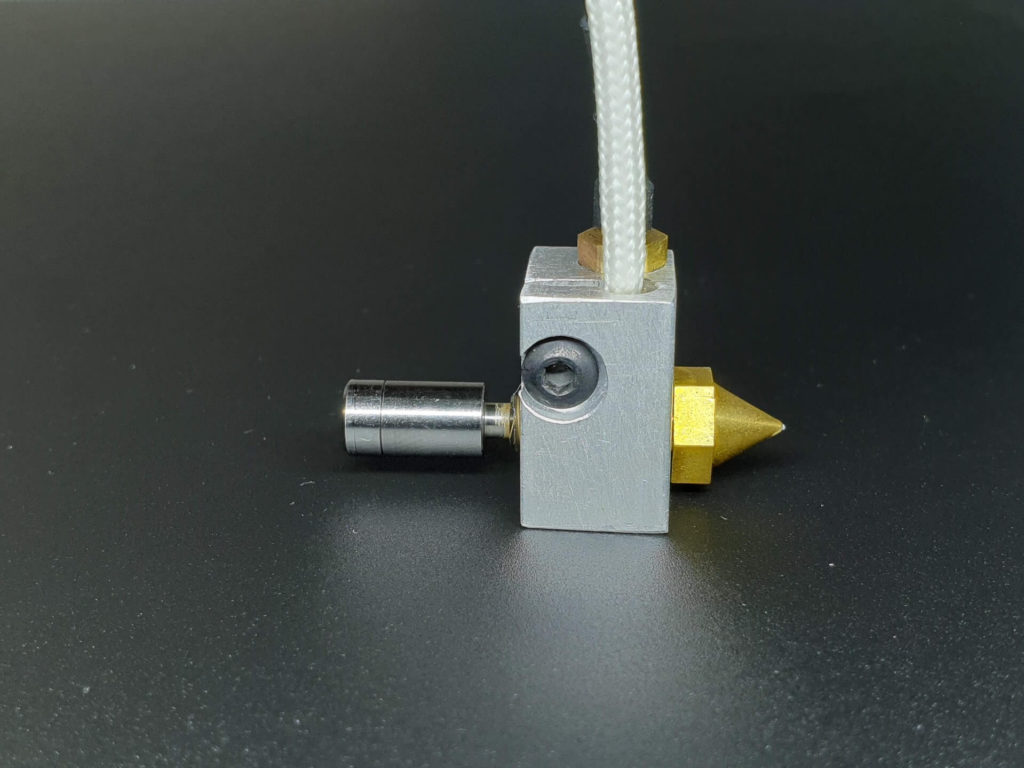
Aluminum heat block on the hotend
The hotend uses a proprietary aluminum heat block and a brass nozzle. The heat break is all-metal which allows the hotend to reach up to 300C during printing.
The heat break is really interesting. It’s made from a titanium alloy which unscrews to reveal a small piece of PTFE tube to further insulate the filament.
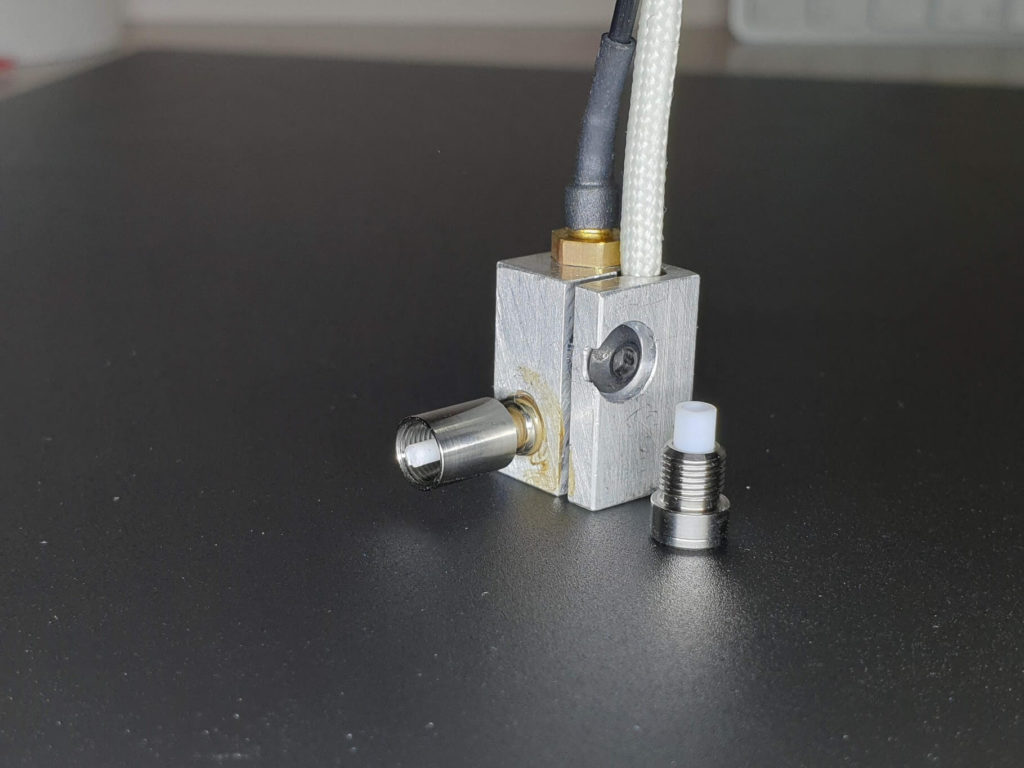
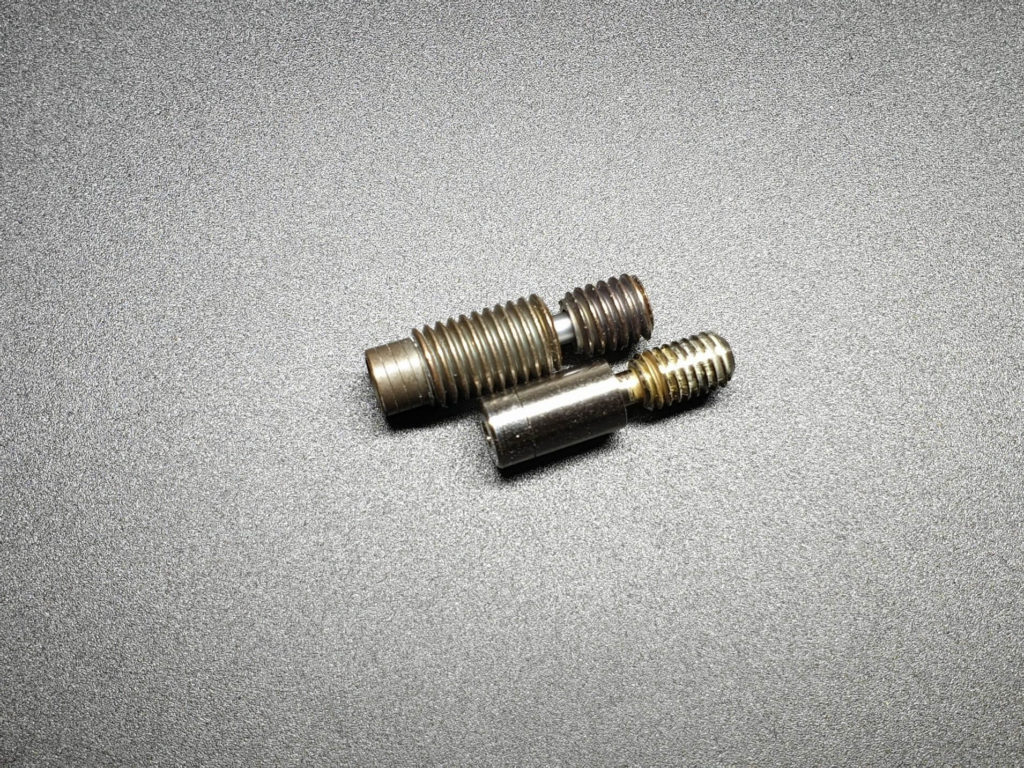
When printing PLA it’s important to have the printer cover open to eliminate issues during printing. Because PLA has a lower melting point, the filament can get soft inside the heat break and clog the nozzle. I’ve learned this the hard way.
This happens because the temperature inside the printer can raise up to 40-45C during printing (if using a heated bed). PETG and ABS don’t suffer from this, so you can print with the cover on (which is also recommended for good prints.
The Z motors have integrated lead screws which should be more accurate compared to having motor couplers.
Gates belts
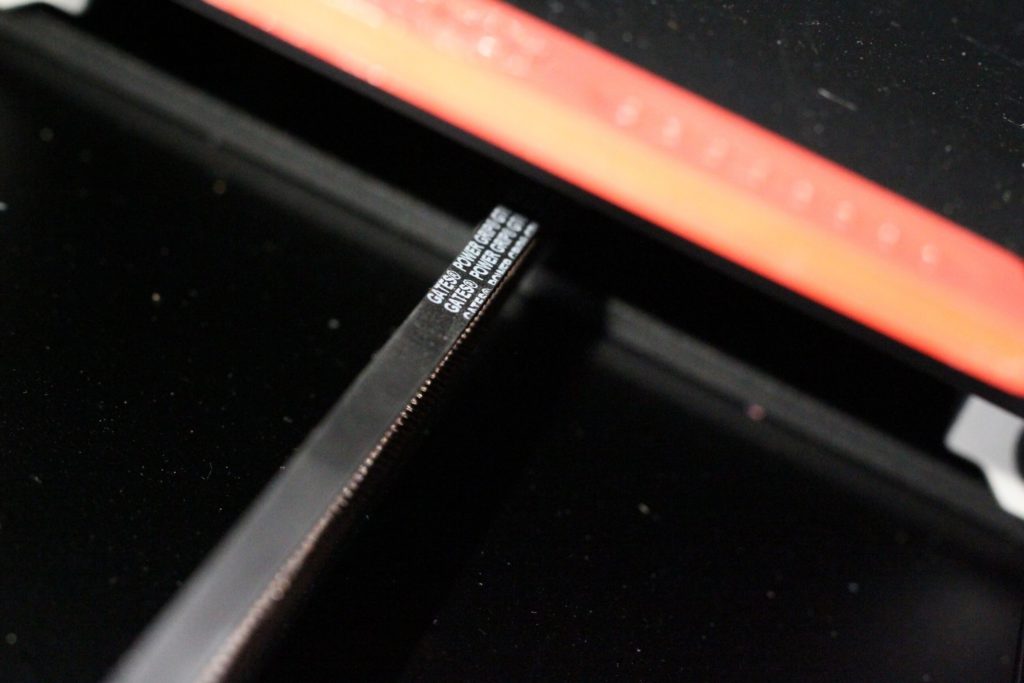
It may come as no surprise that the printer uses GATES Power Grip belts which are considered to be really good quality.
Not the most silent operation
The Raise3D E2 is extremely silent when idle because all the fans turn off. During printing, there’s a bit of noise coming from the printer, mostly from the exhaust fan and the movement of the bed and print heads on the linear guides. It’s not the loudest printer and I don’t think anyone will have issues with this but you will know when it’s printing. Don’t put this in a library.
When printing with the cover on, the printer is more silent, and you can hear it in this video. (although, it’s not the best video to judge the sound profile of the printer).
Webcam and lights for remote monitoring
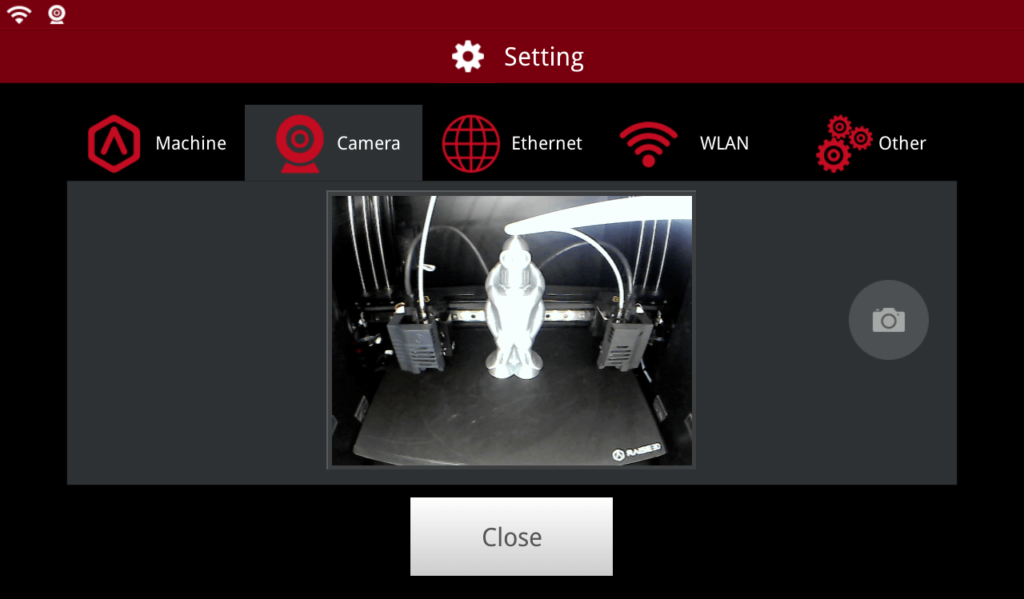
The Raise3D E2 also includes a nice webcam which can be used to monitor your printer remotely, with an LED strip that can be controlled.
Unfortunately, the quality is not that good, allowing for resolutions of up to 800×600 and frame rates up to 10 fps. This is low for 2020 and I would have liked to see a better solution considering that you can get more quality from a regular webcam with Octoprint. Maybe this will be improved in the future.
You can set the E2 to do a time lapse automatically for every print, which is helpful for troubleshooting if you get failures during printing, but don’t expect to use the footage for anything else.
Excellent touch screen
The included 7 inch capacitive touchscreen is just awesome. It’s one of the best screens I have ever used on any kind of 3D printer. But this is all made possible by the firmware running on it. The whole interface is really easy to use, with a nice dark theme and red accents. And the best part is that you can control it remotely from ideaMaker. This also allowed me to take good pictures of the interface.
I love the 3D representation of the printed model where it starts as a gray “ghost” which gradually fills in red during printing to show how much of the print is completed. You can control any feature available on the printer, and even start new prints from RaiseCloud without ever touching the computer.
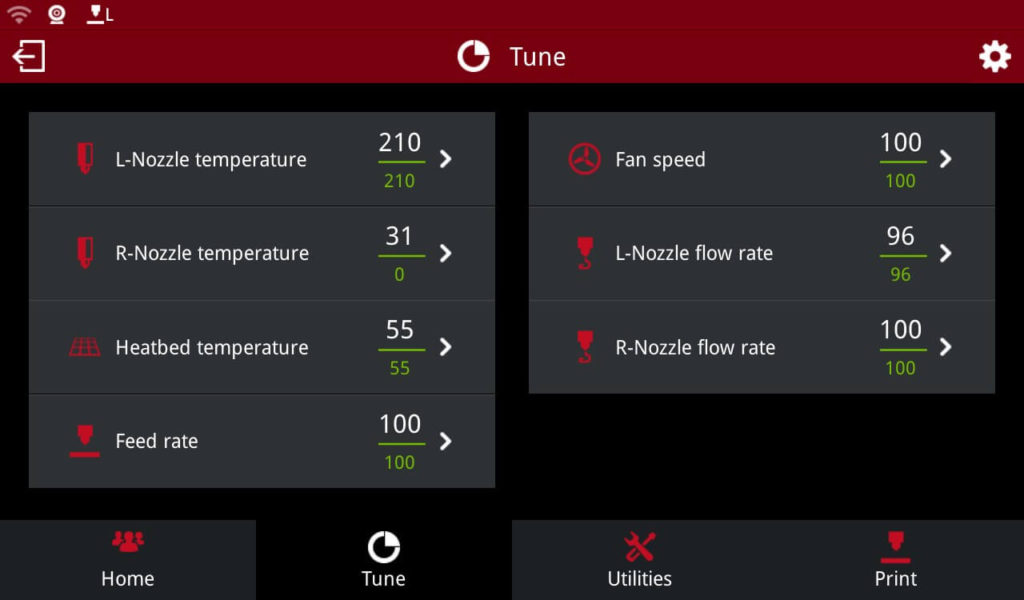
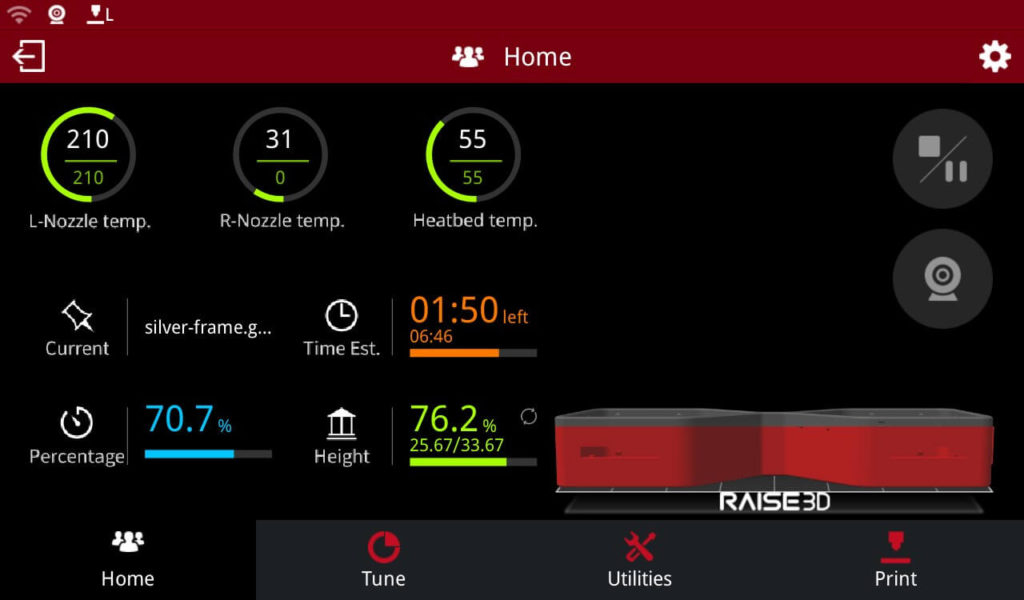
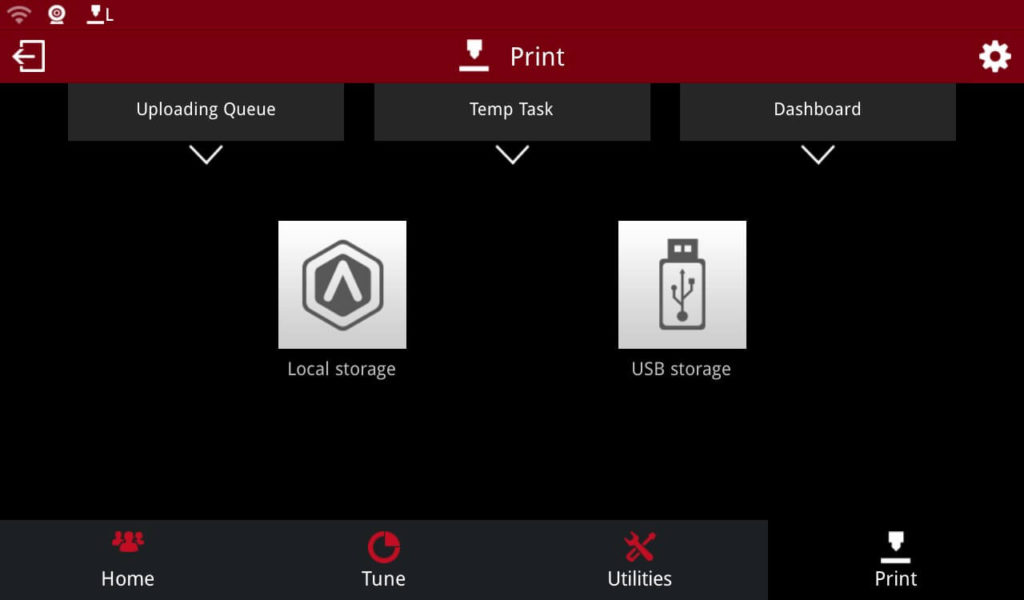
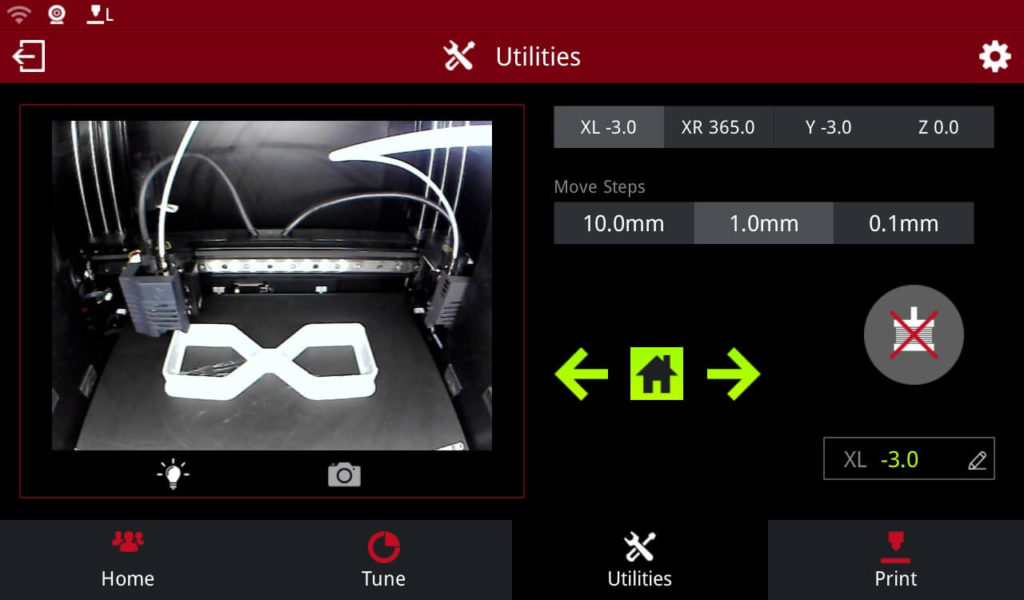
In the Settings section, there’s also a lot of functionality. You can calibrate the printer, change various printer settings, connect it to the network and even update the firmware over the air.
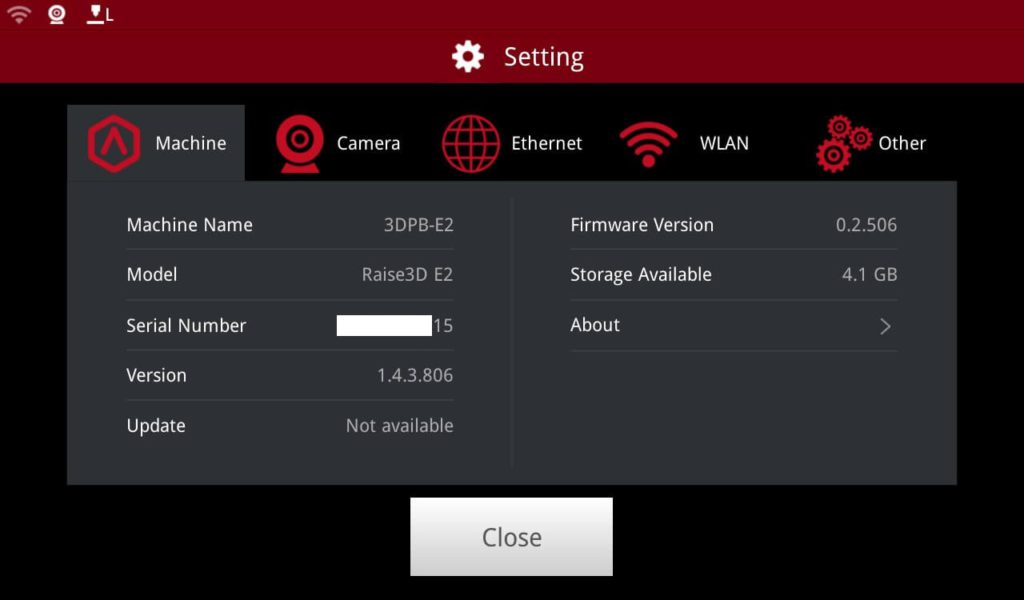
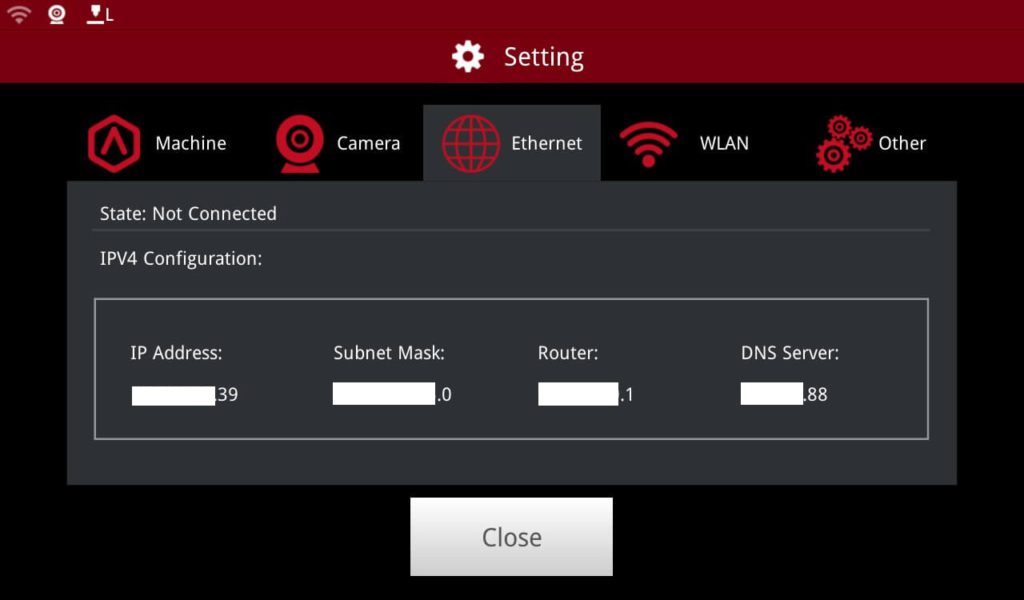
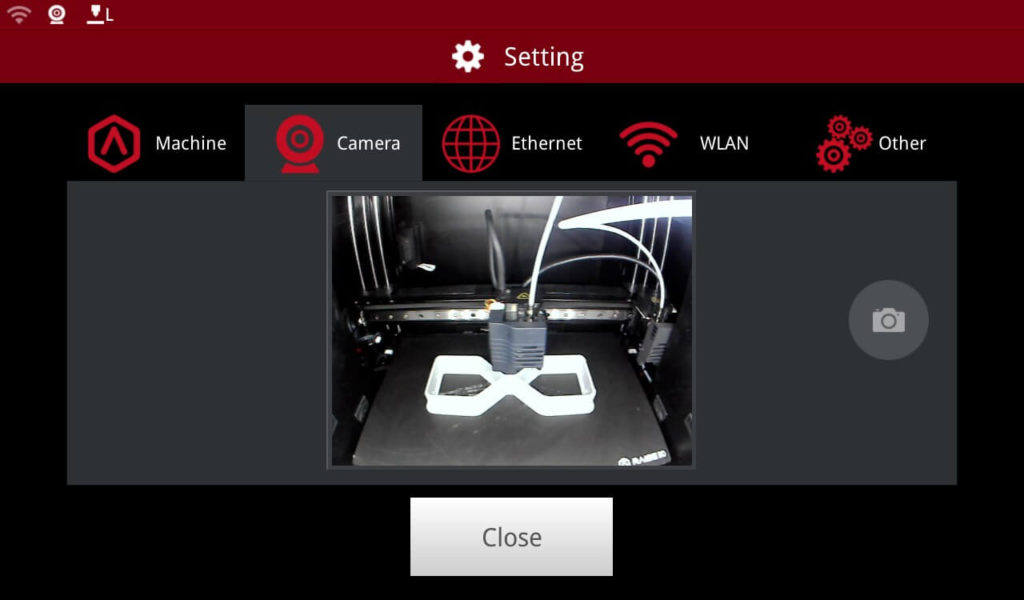
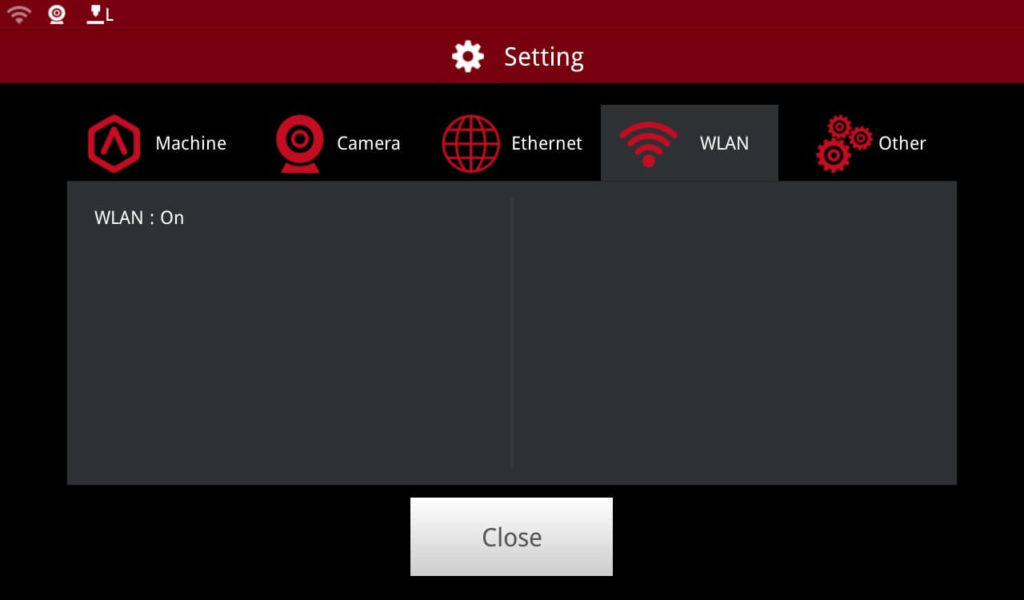
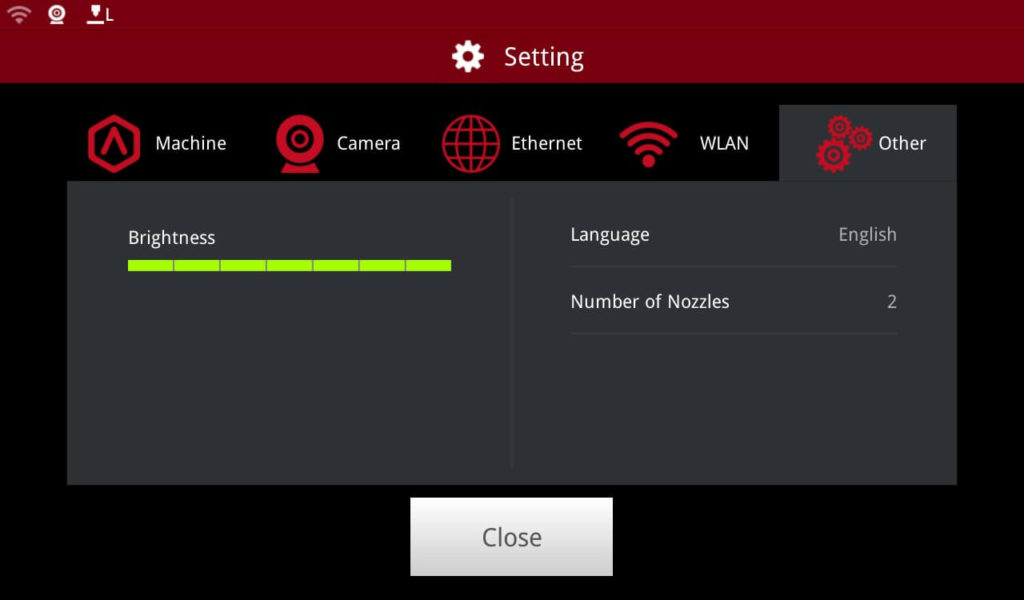
I also found a small drawback which seems a bit odd: You can’t export the G-code files uploaded to the printer, so if you would like to grab a previously printed G-code and move it to another printer, that’s not possible. It seems like a missed feature and I would love to see this implemented in a future firmware update.
Charcoal filter
To eliminate bad odor and some fumes, the Raise3D E2 comes with a Charcoal filter which manages to filter the ABS smell. I was skeptical when I tried it because most of the time these don’t work that well but I’m happy to report that it does the job.
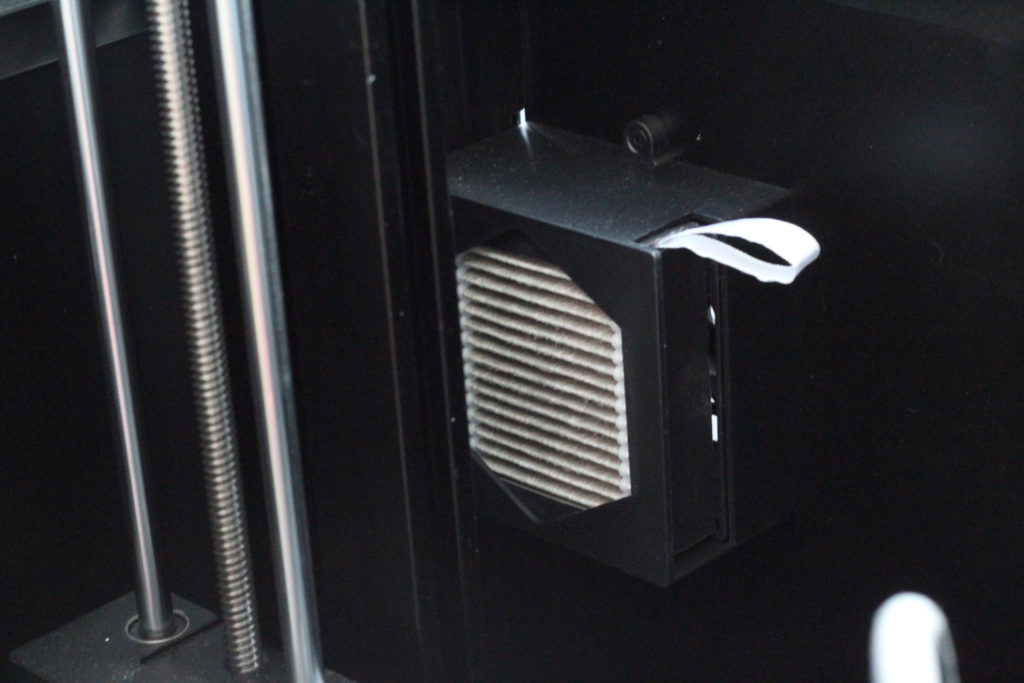
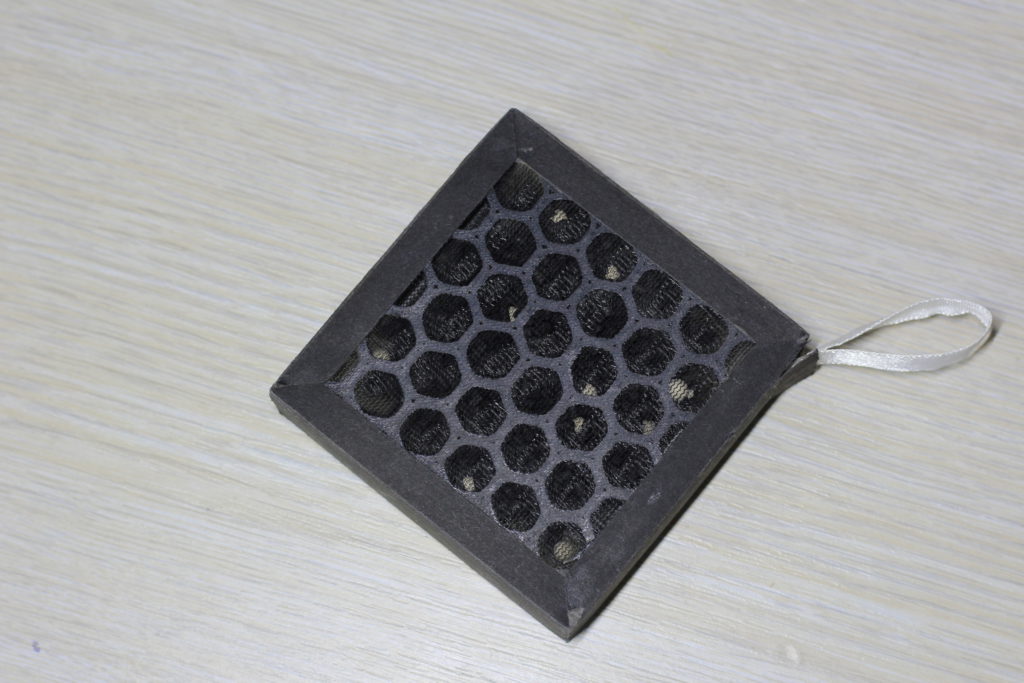
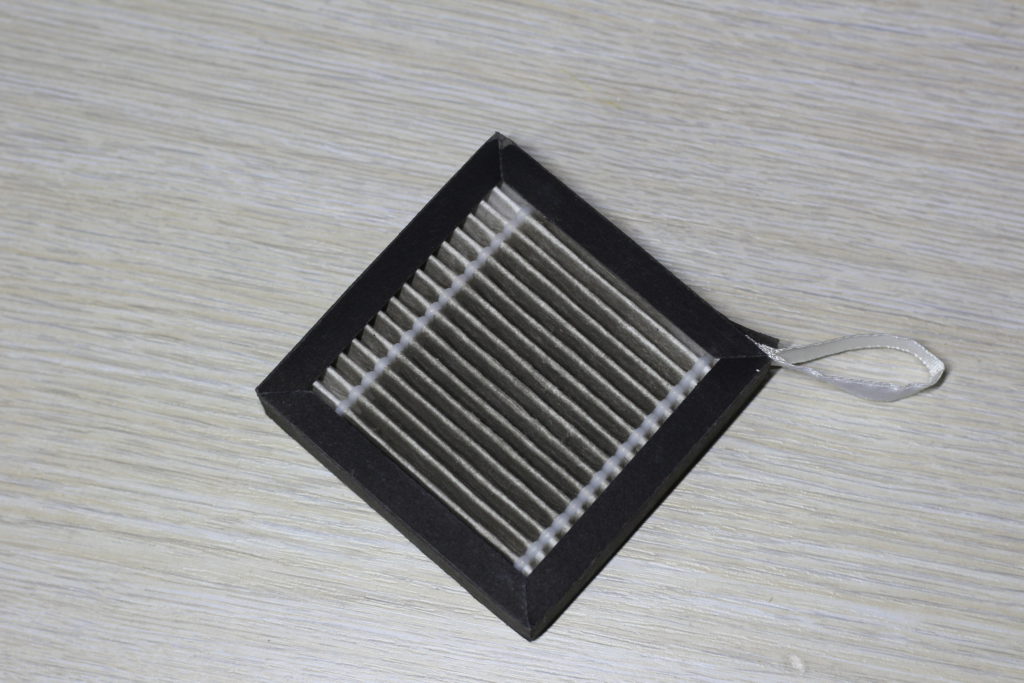
Even though the printer has this filtering system, I would recommend against doing long ABS prints if the printer is not located in a well-ventilated room.
Missing purge buckets
I would have liked to see a pair of purge buckets and maybe brushes for the hotends. This addition would have eliminated the need for purge blocks and retractions could be set lower when changing between nozzles.
It’s not a big issue, but cheaper IDEX printers already have something like this so maybe there will be some upgrade added in the future.
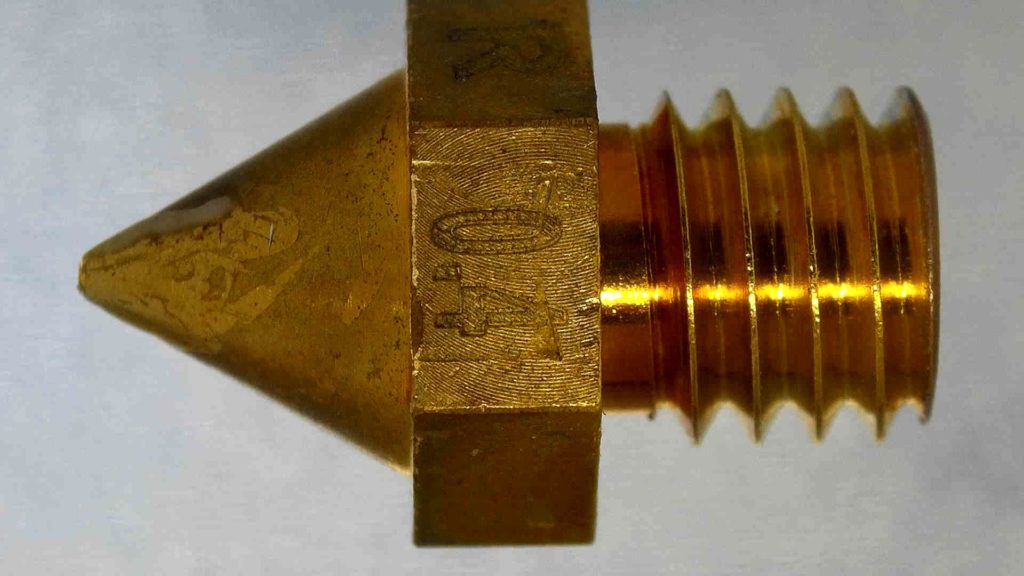
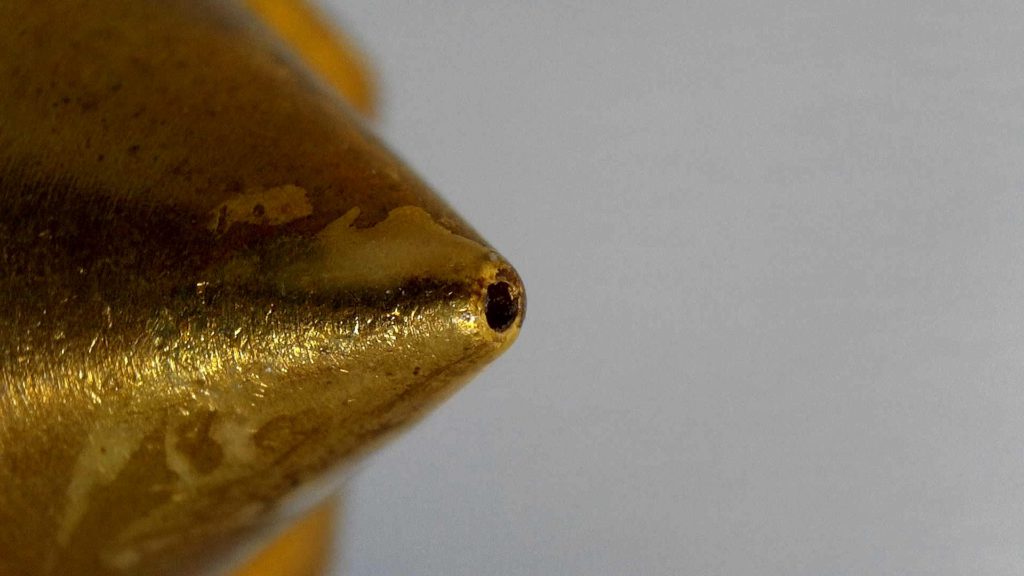
Raise3D E2 Brass Nozzle
This is the stock brass nozzle you are getting with the Raise E2 printer. It’s sharper than other nozzles, but it uses the same M6 thread as a regular V6. There’s also a small particularity in the point of contact of this nozzle to the heat break which sort of makes the nozzle to be proprietary and not compatible with other nozzles available on the market right now.
The overall quality seems fine, but nothing to write home about and I would have expected a better finish from a 25$ nozzle.

Raise3D E2 Calibration process
One of the most interesting features of the Raise3D E2 is the assisted calibration. When you get the machine, it’s recommended to go to trough this calibration process to properly set the Z offset for both hotends and calibrate the dual-color printing capabilities.
There are 5 steps that guide you through the calibration process where the Z offset is calibrated for both print heads and where you also calibrate the offsets for dual-color printing.
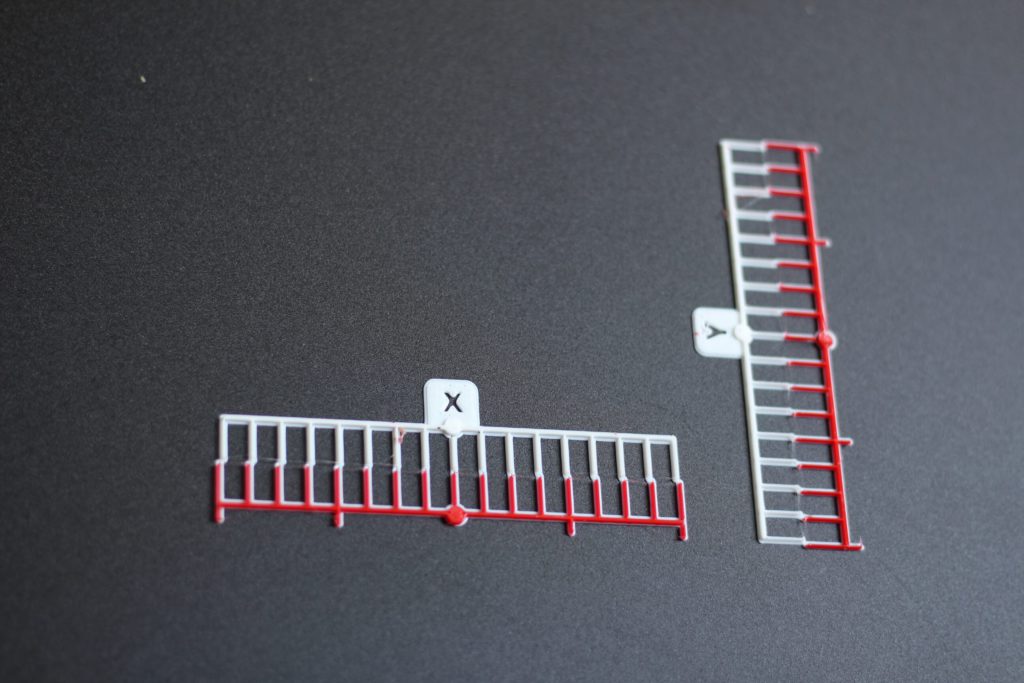
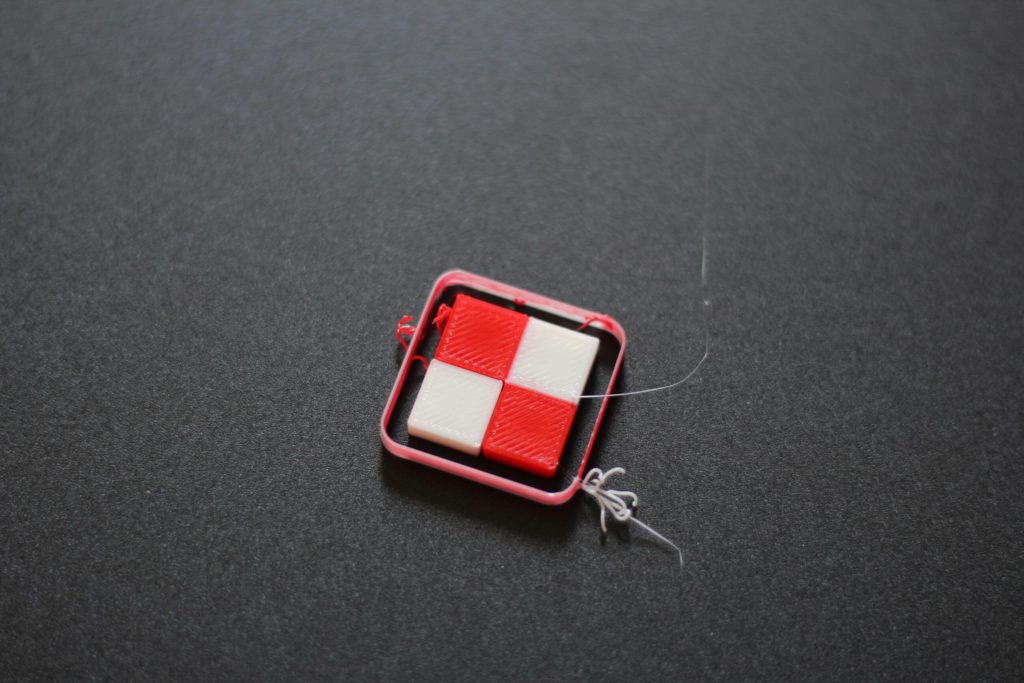
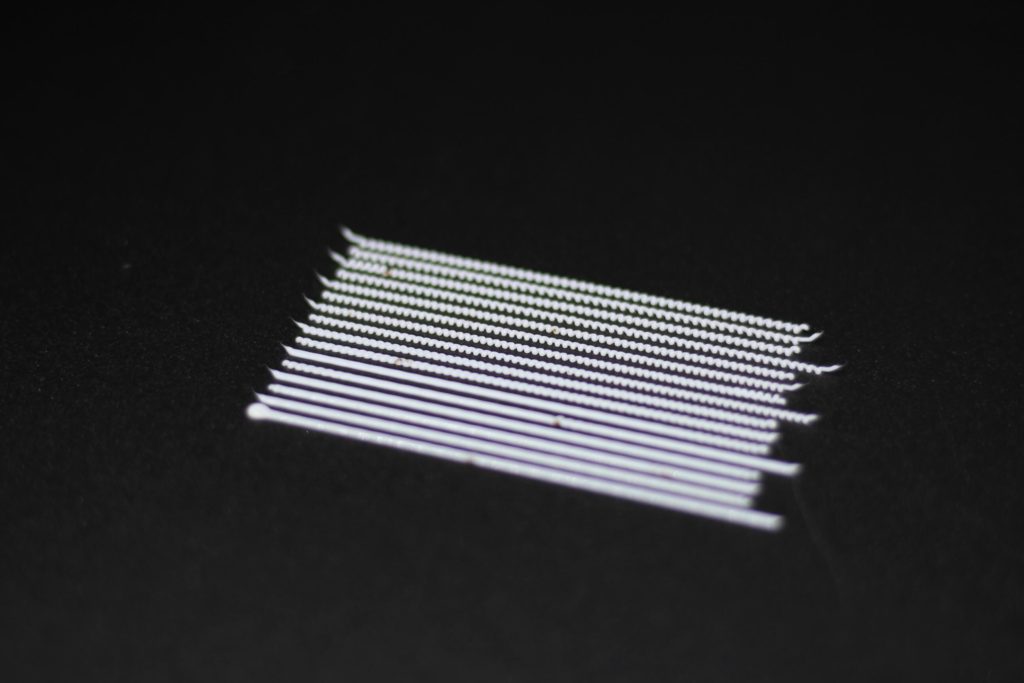
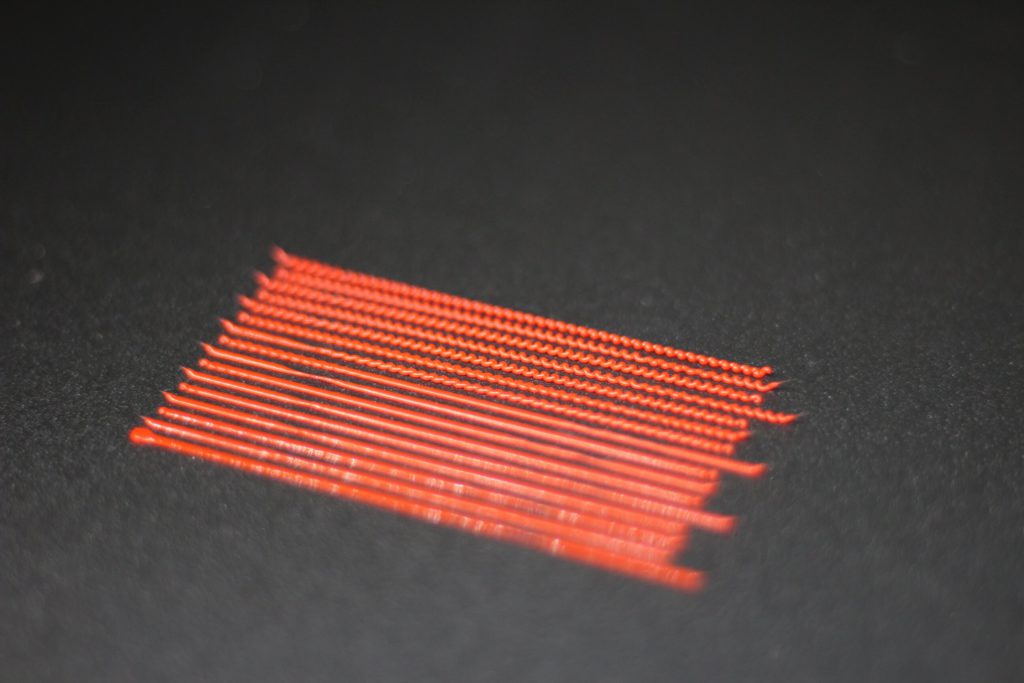
The whole process takes about 1 hour and it is really user friendly with a lot of guidance on the screen in the form of small clips to understand what you need to do.
My only issue was with the Z offset calibration. For some reason, the calibration sets the nozzle just a bit too high from the build plate (probably to protect it) and you are recommended to use a raft for bigger prints. But this is easily fixed by editing the offset in the calibration menu.
Dual-color calibration is a bit tricky and I recommend you take your time to properly align the offsets. This is a critical step in order to get good dual-color prints.
Print Experience with the Raise3D E2
The Raise3D E2 is a joy to use. It’s the first printer I could operate remotely using RaiseCloud without worrying if the first layer would stick or if the print will be completed successfully. It’s really nice to be able to just focus on printing and not “work for the printer to work”. But this lasted for about 100 hours.
After the initial period, I started getting clogs from time to time when printing PLA. Even with the cover off, or at a lower environment temperature, clogs would occur after about 10 hours of printing. Below, you can see a dual-material print with PLA and TPU where the hotends clogged.
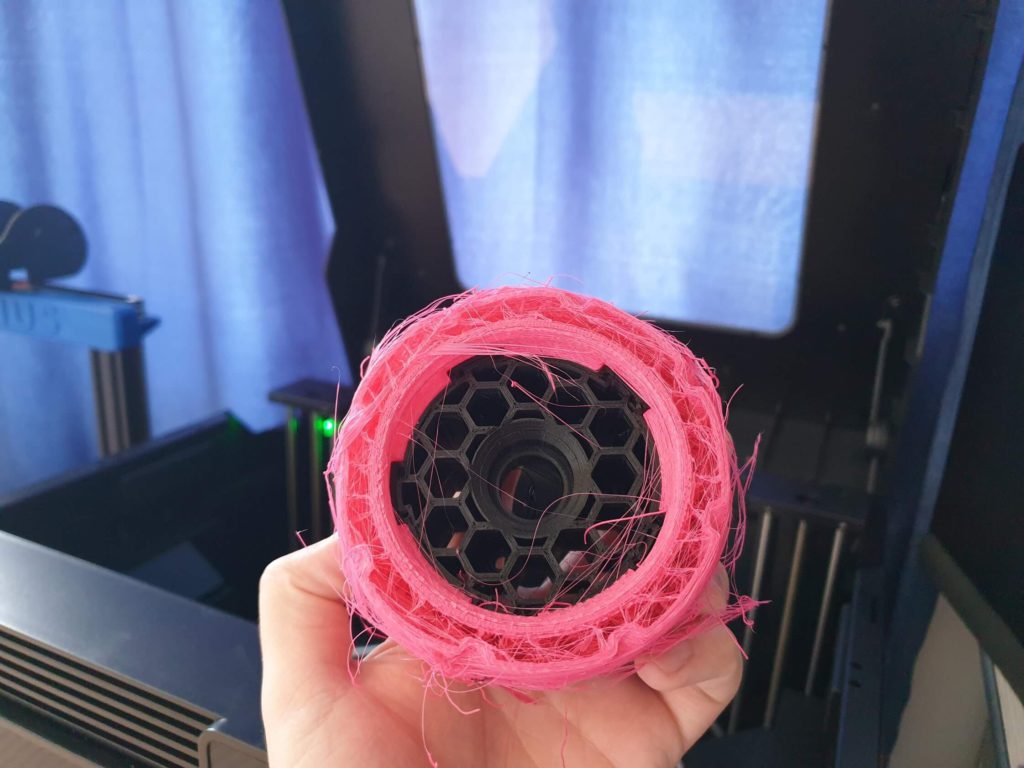
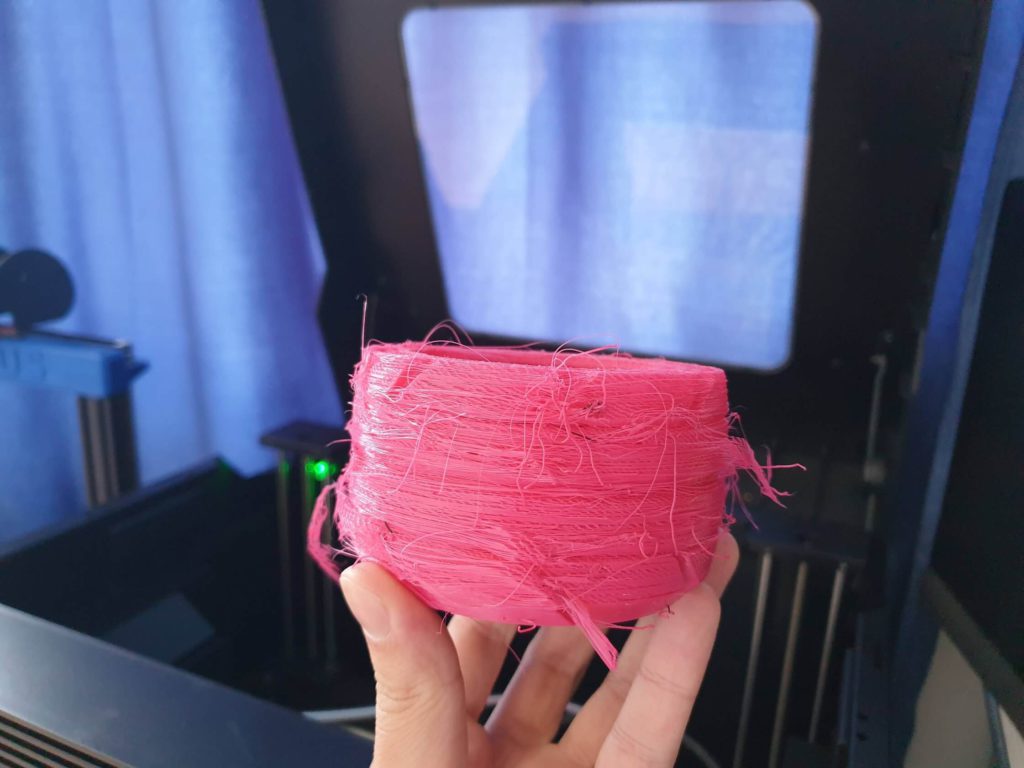
I contacted Raise3D support and they were helpful in helping me troubleshoot and find the cause of the problem.
They concluded that there’s something wrong with the hotend assembly and I was sent replacements to change the faulty one and I’m happy to report that this fixed the issue and the printer started to be reliable again. I had two other clogs with the new print heads but these were caused by the high idle temperature used when changing colors. When the print head is idle, it holds the hotend temperature to 180C. This was too high for my filament and it was starting to expand and clog the hotend. After changing to 100C during color change, the clogs disappeared.
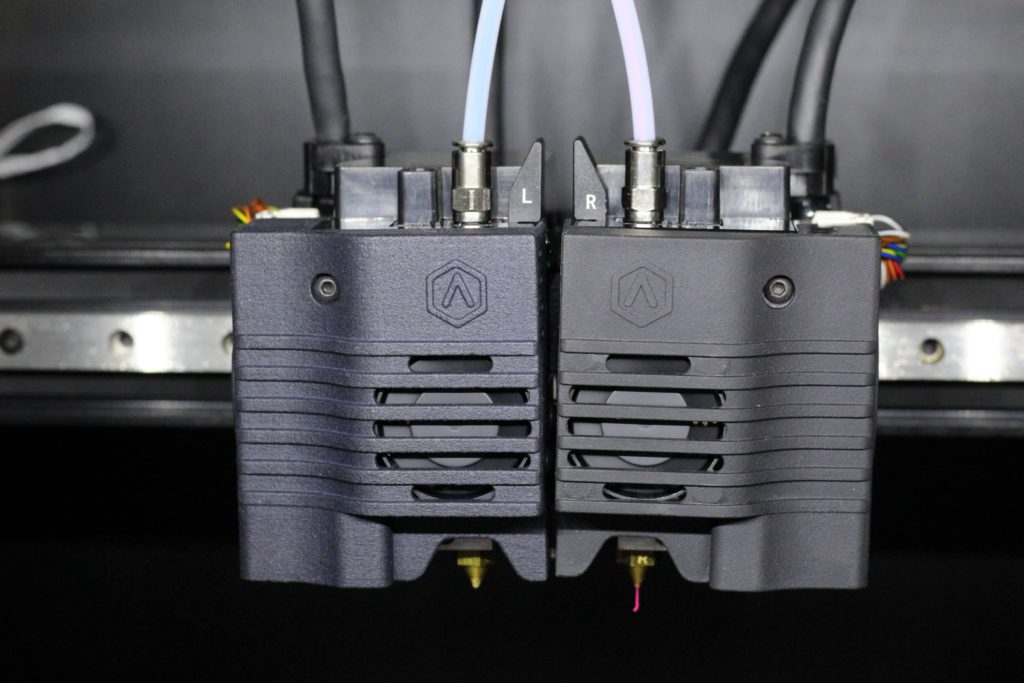
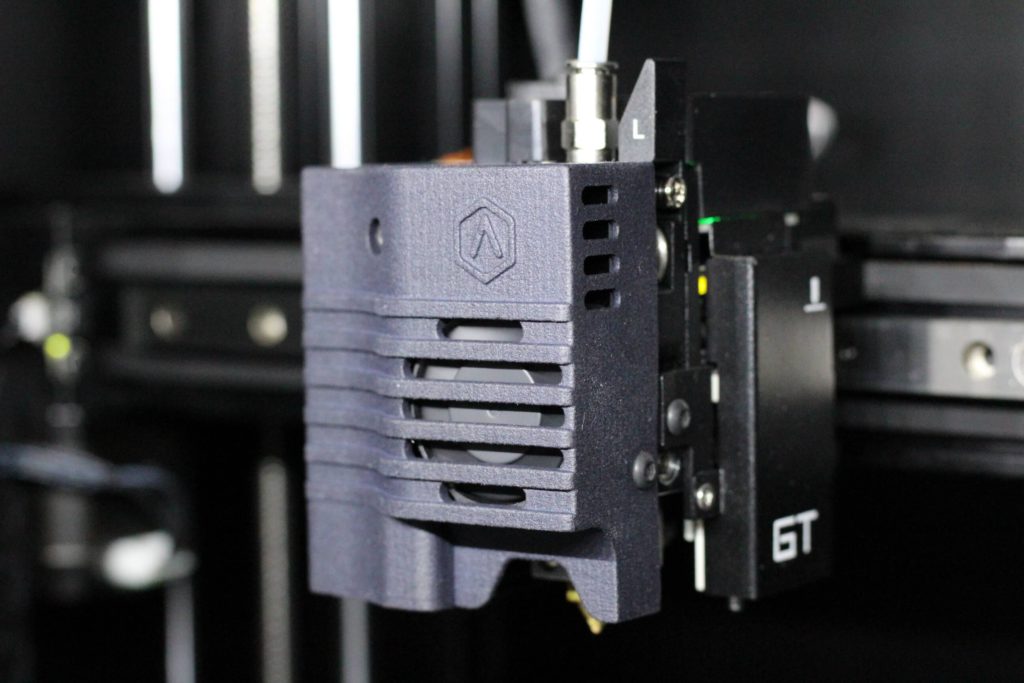
The new print heads have an updated cover design. There’s now a cutout in the top for better airflow and another cutout around the nozzle which provides more visibility. The replacement took less than 10 minutes for both print heads, and I followed this guide.
PETG, ABS, HIPS and ASA printed beautifully on the Raise3D E2 and I did not encounter any kind of issues with them. The heated chamber works well, and I would totally recommend the E2 for any high-temp printing.
Test Prints on Raise3D E2
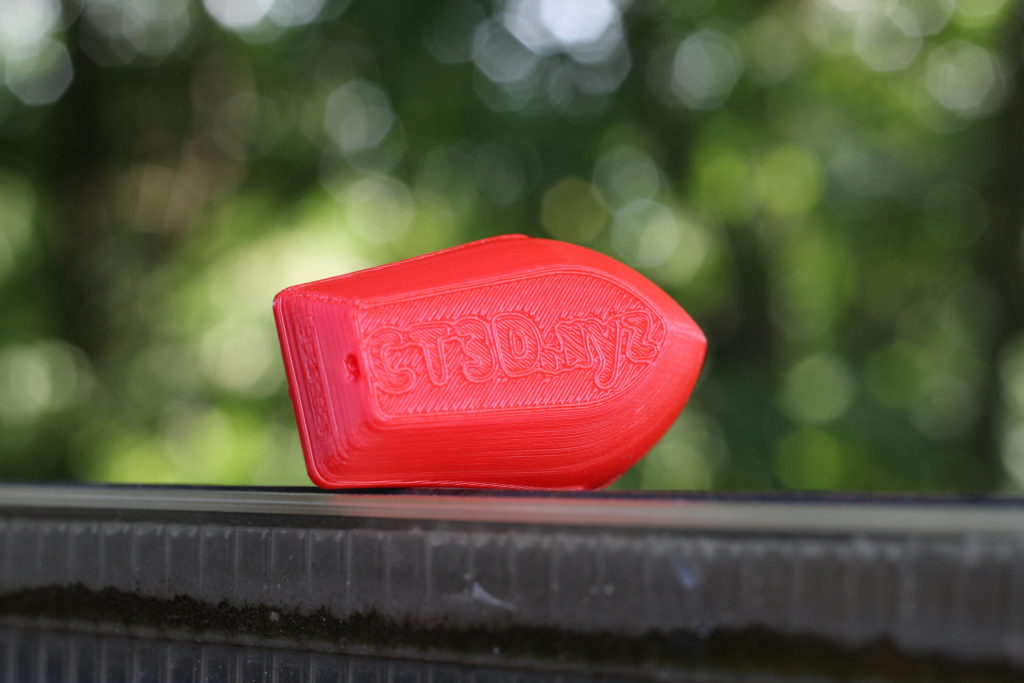
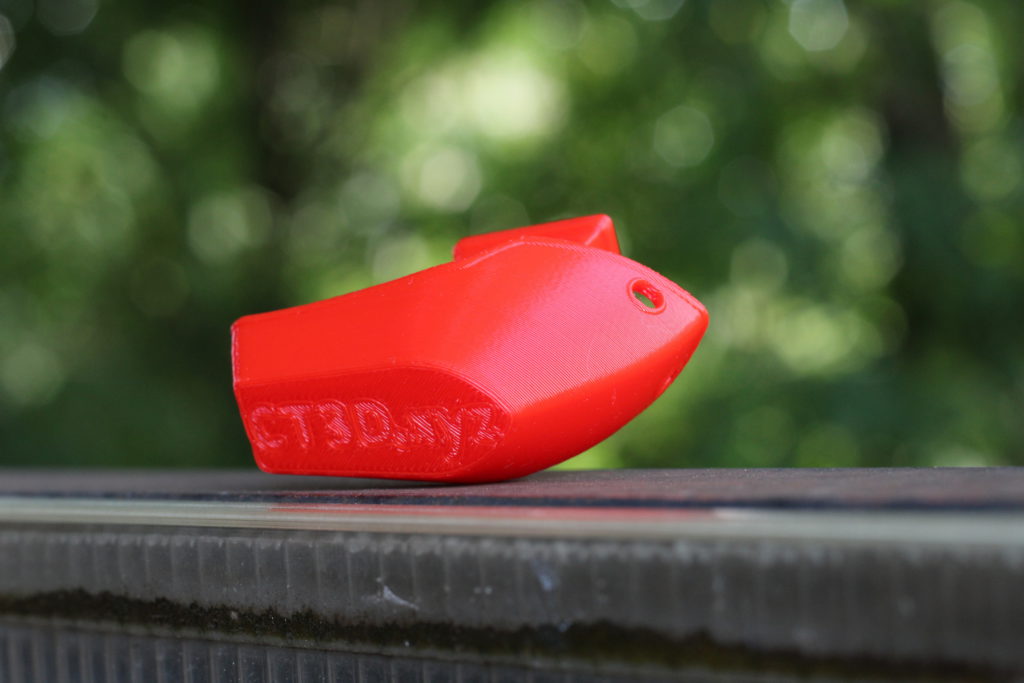
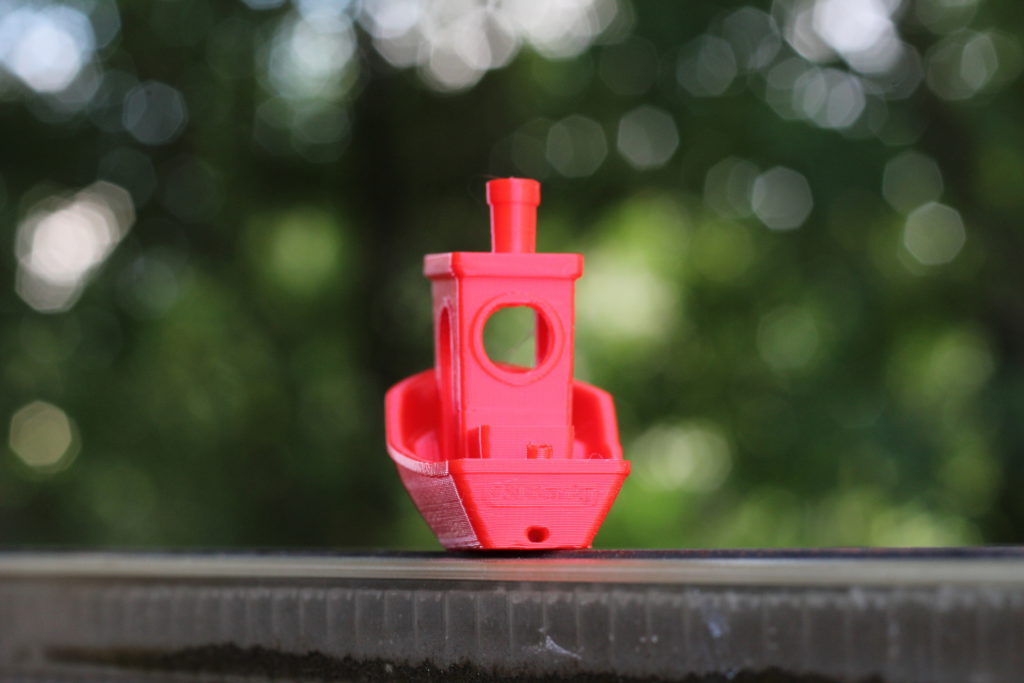
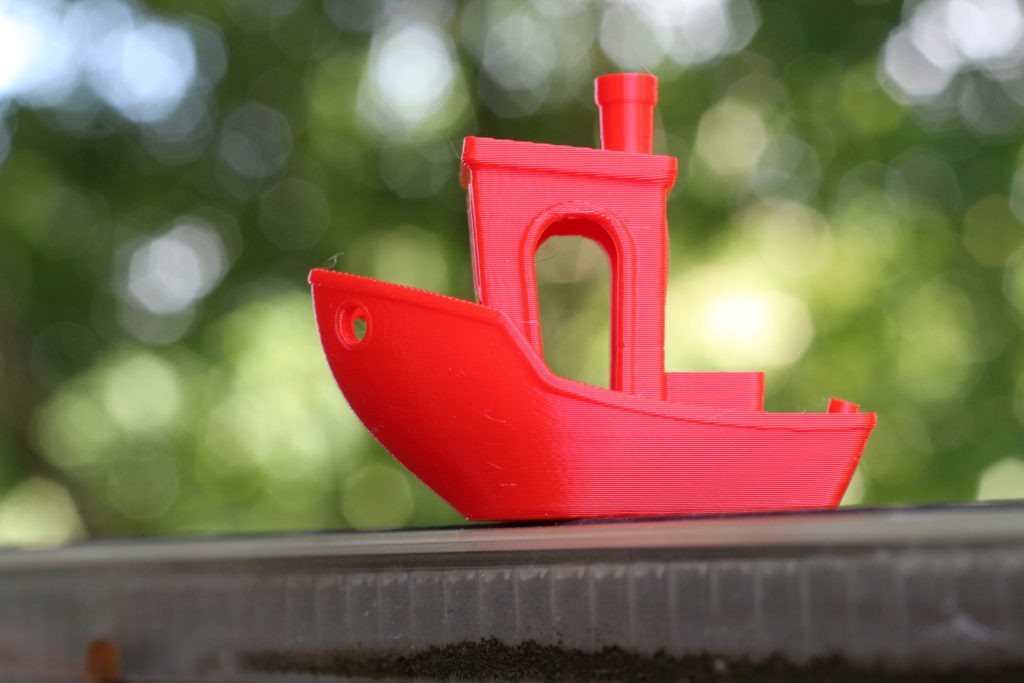
3D Benchy Mirror Print
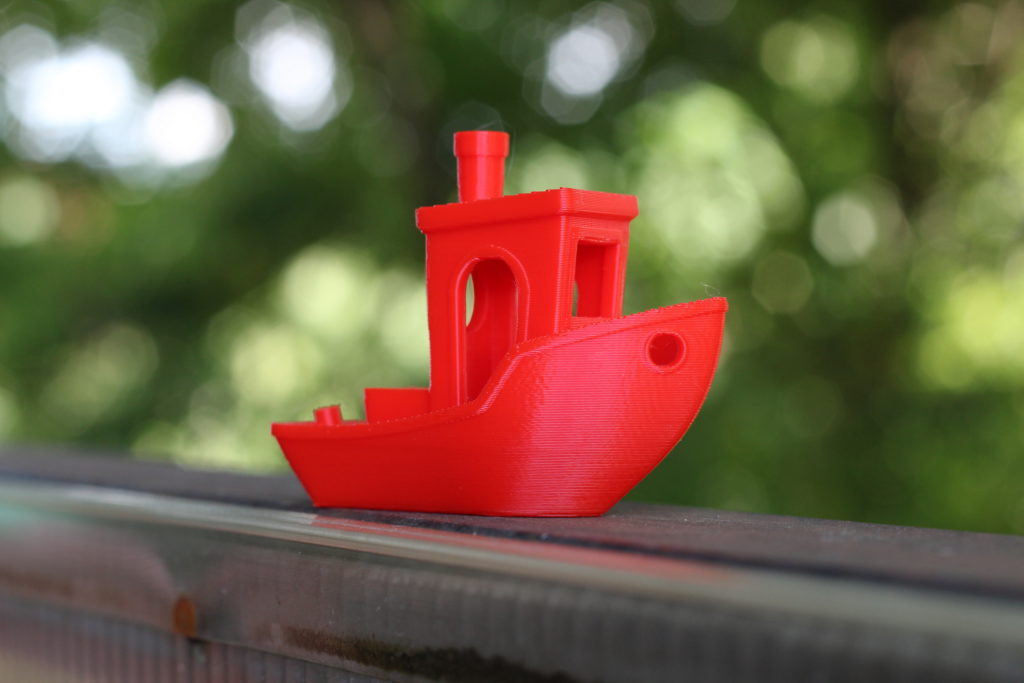
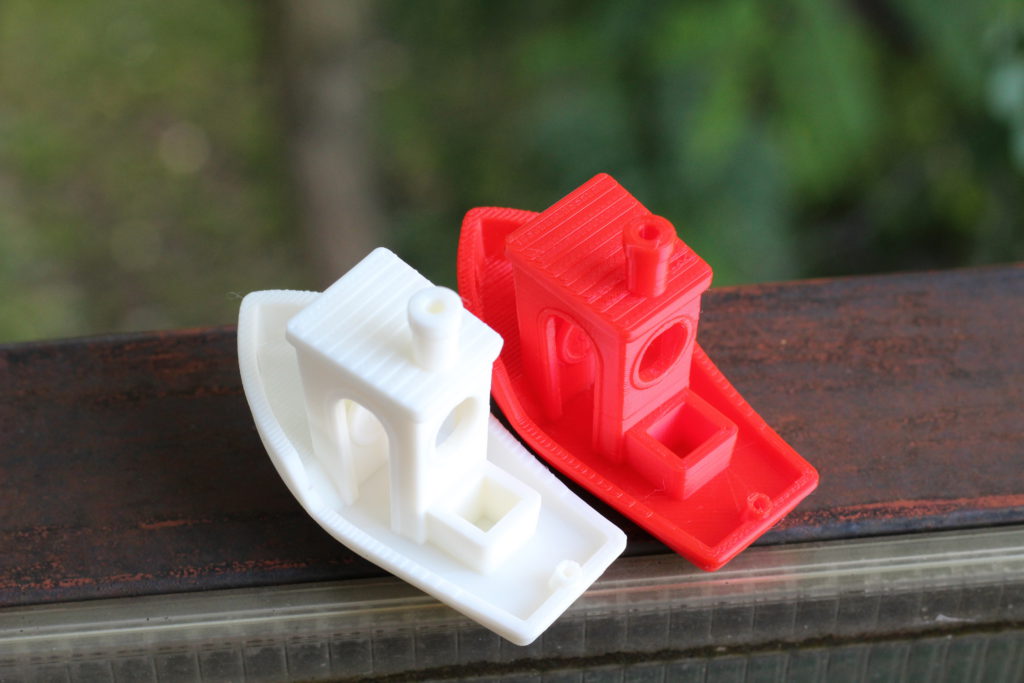
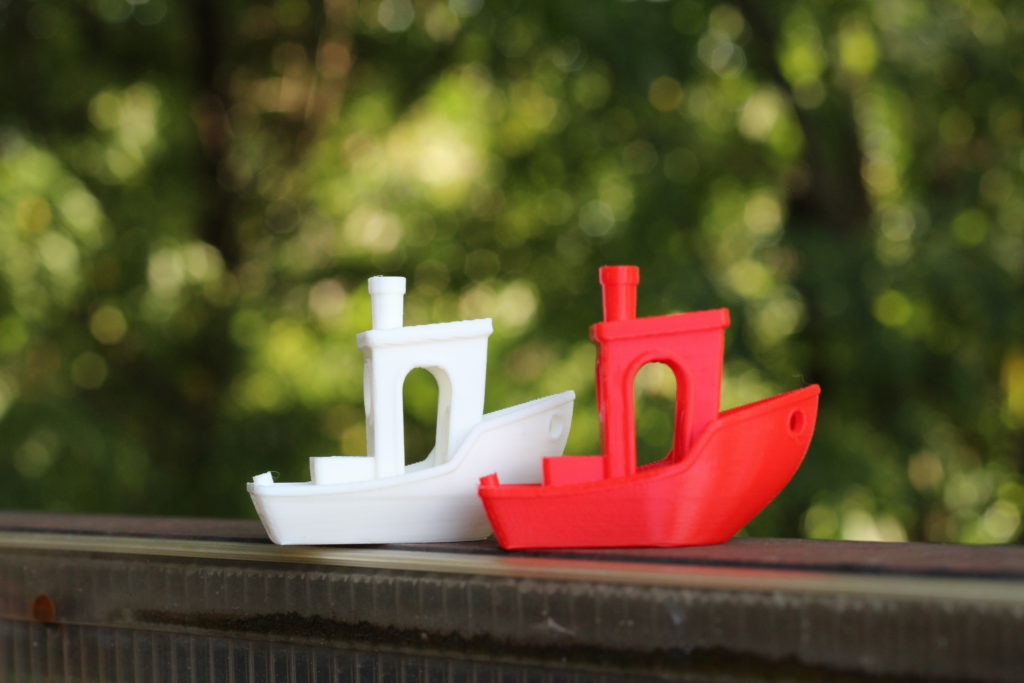
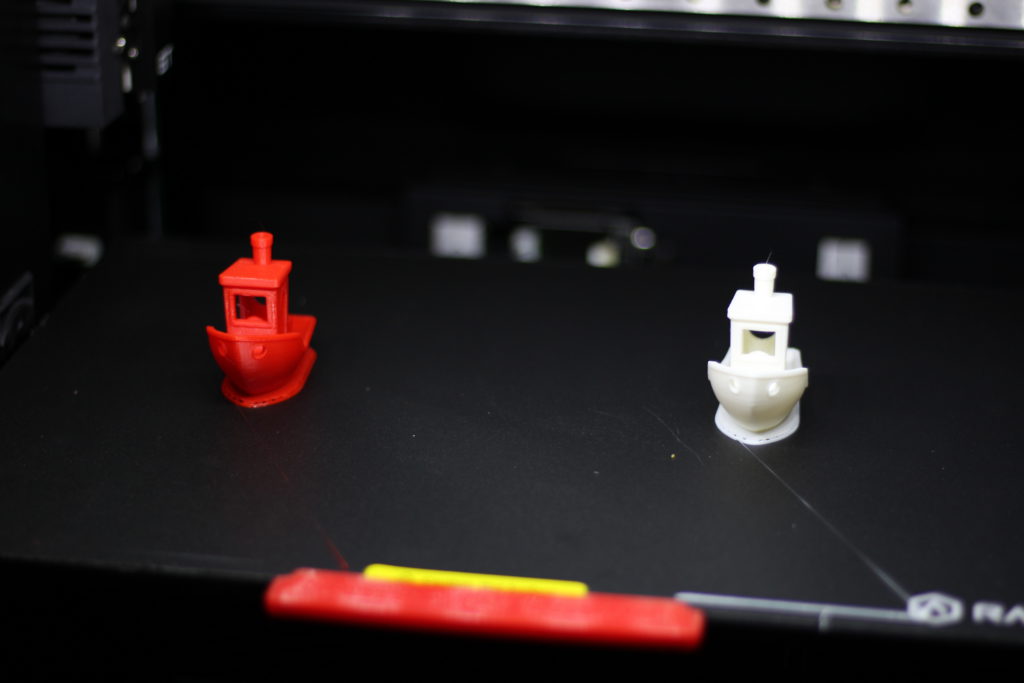
Of course, the first print will be a 3D Benchy. But the Raise3D E2 is an IDEX printer, so why not print a pair at the same time?
Well, that’s exactly what I did. I quickly sliced a pair of 3D Benchies in IdeaMaker and started my first print which came out better than I hoped.
Besides the initial calibration, I did not perform any other modification or calibration. I just used the stock slicer profiles from IdeaMaker with excellent results. I also spent about 20 minutes watching the printer because seeing an IDEX printer work in duplication mode is mesmerizing.
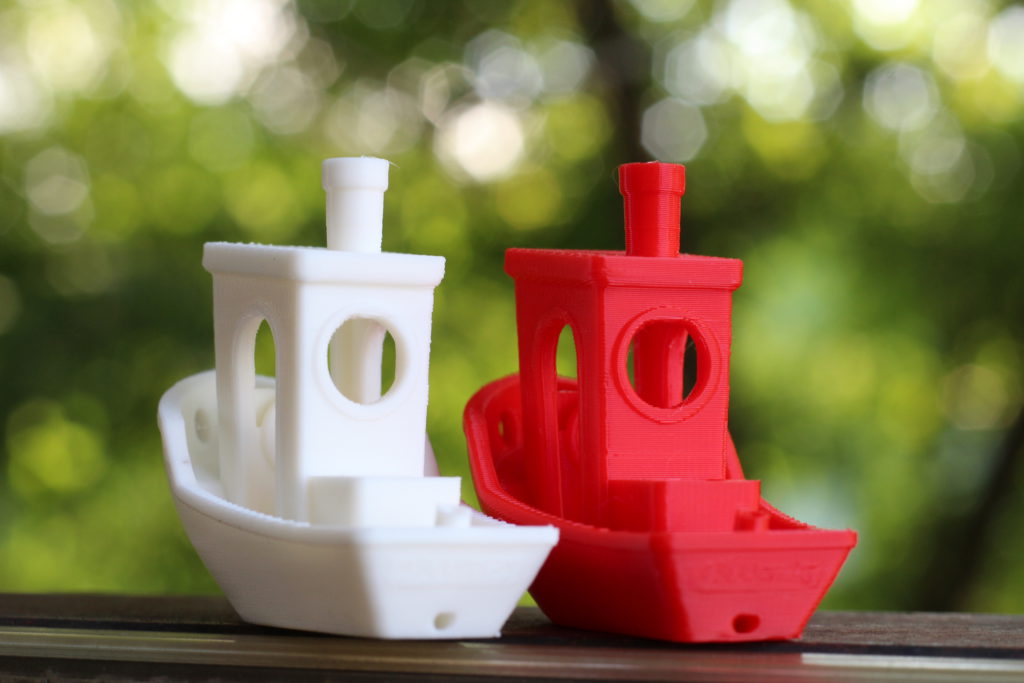
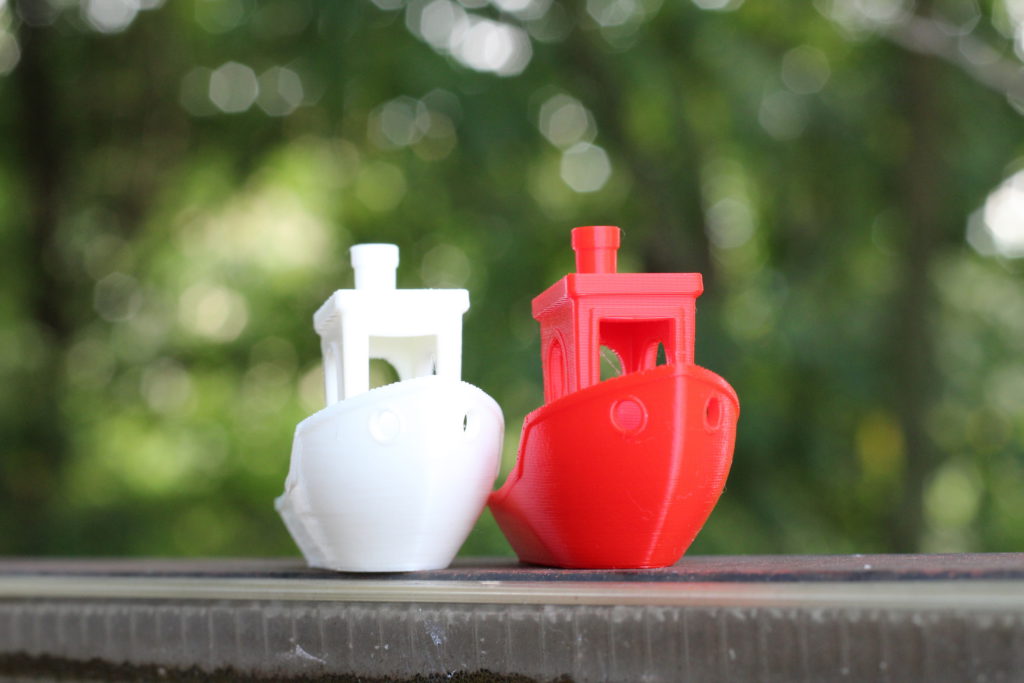
- Material: Raise3D Premium PLA Filament
- Layer Height: 0.15mm
- Nozzle Temperature: 210C
- Bed Temperature: 50C
- Print Speed: 50 mm/s
Wowstick Bits Holder
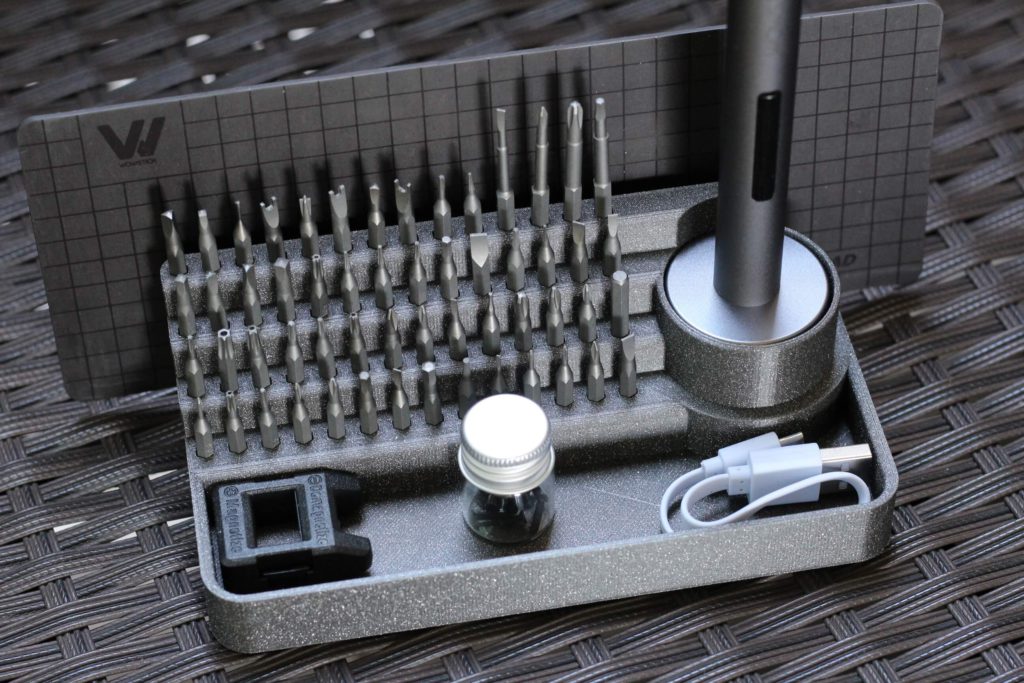
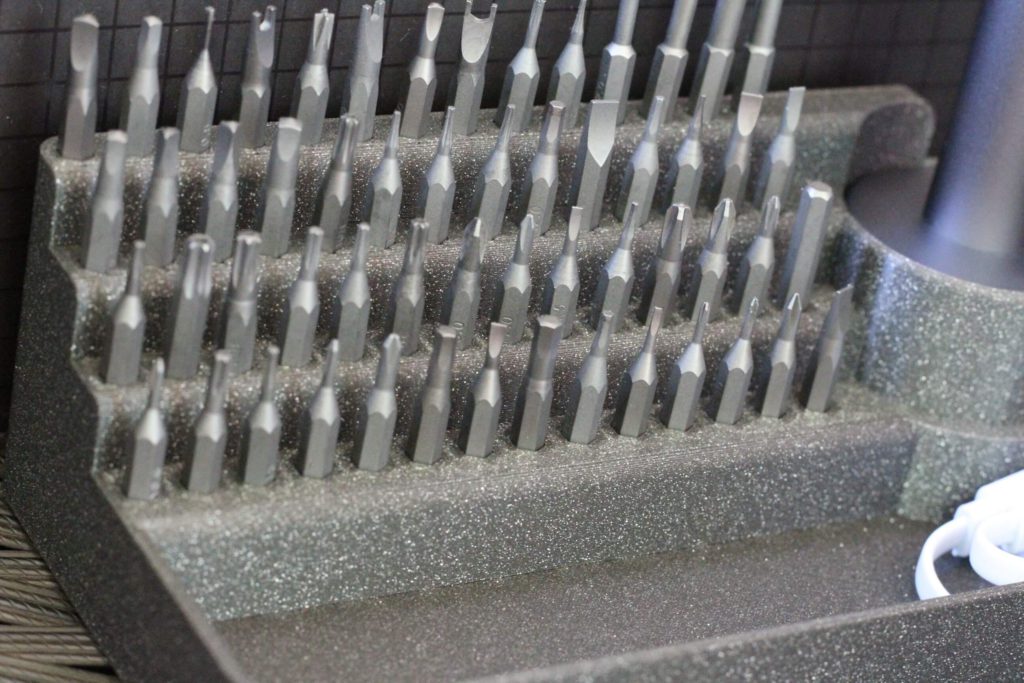
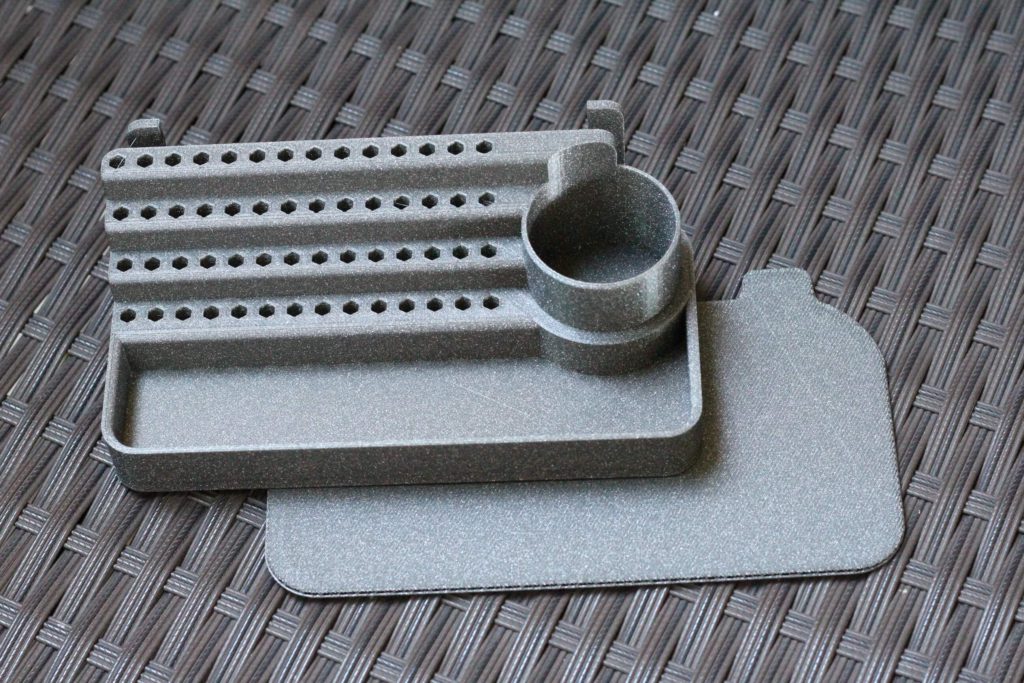
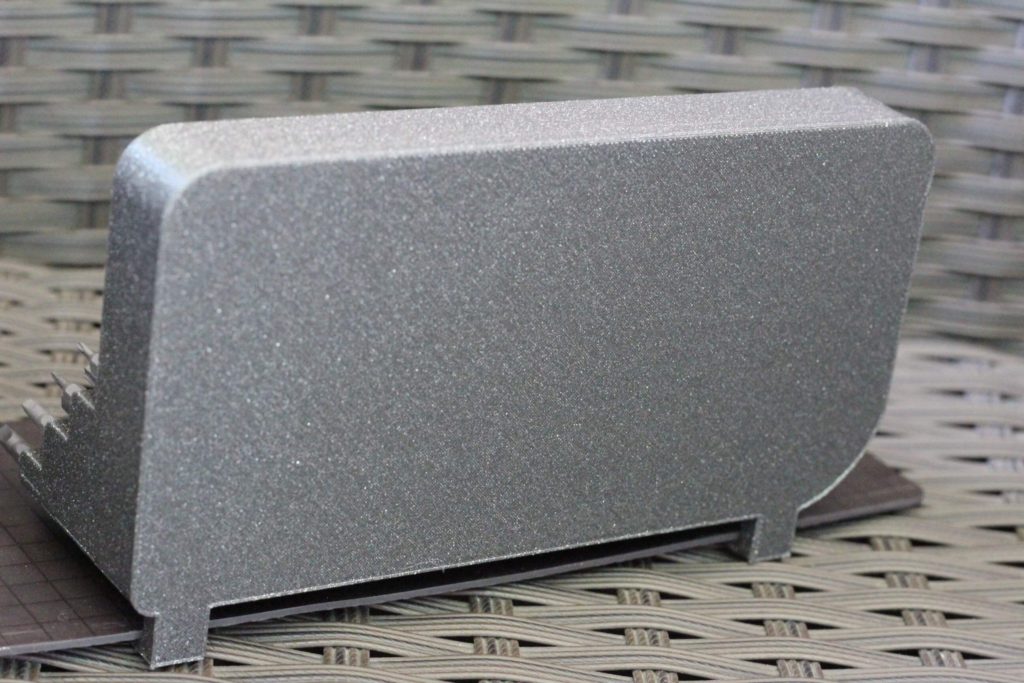
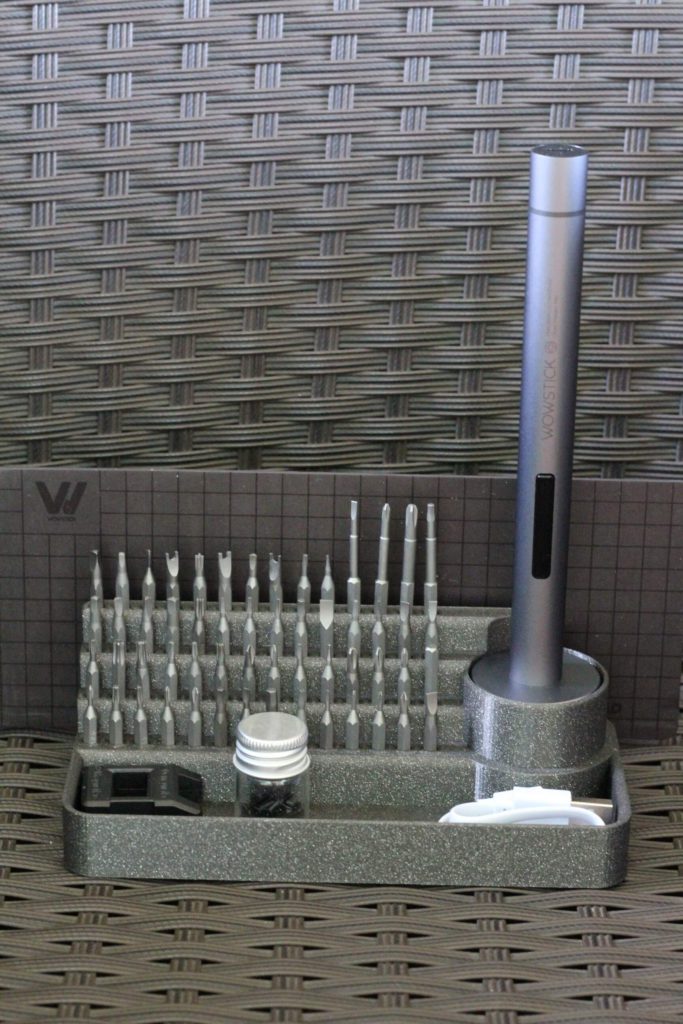
I ordered this awesome Wowstick Electric Screwdriver a few weeks ago, but I didn’t like the way it held the bits. I needed a better way to organize them, so I found this awesome bits holder on Thingiverse which was printed on the Raise3D E2.
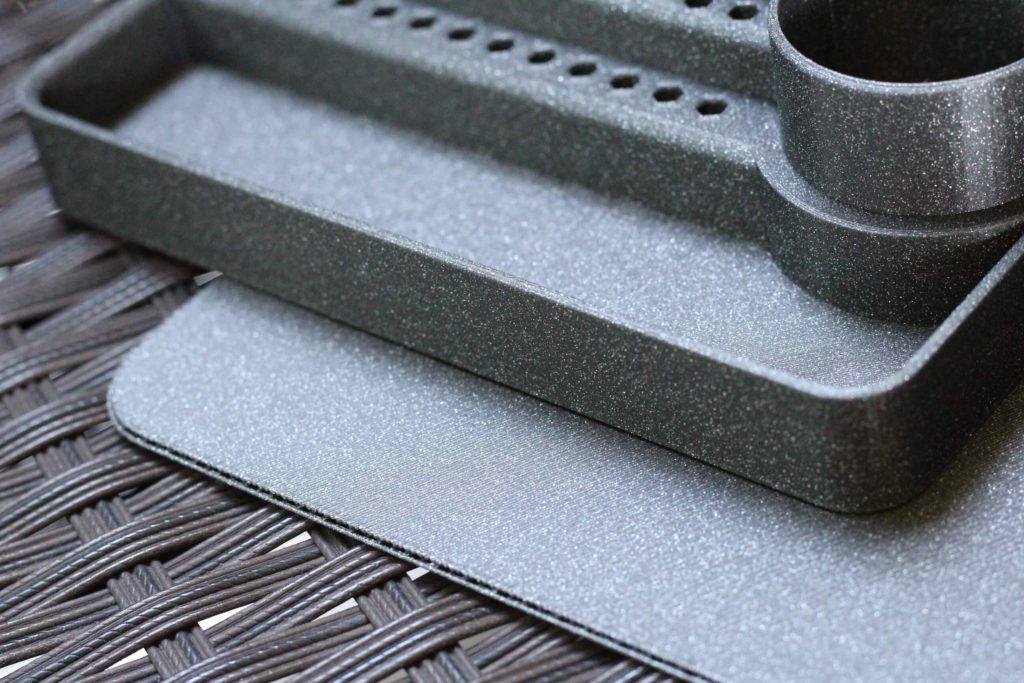
I was amazed about the quality of the print. It almost looks like a molded part ready to be bought from a store. It came out so good that a friend also asked me to print one for him, and he was happy with it.
This is just proof that the Raise3D E2 is a capable machine which works really well for functional parts.
- Material: FilamentOne PLA Glint Gray, Raise3D Red PLA,
- Layer Height: 0.1mm
- Nozzle Temperature: 210C
- Bed Temperature: 50C
- Print Speed: 50 mm/s
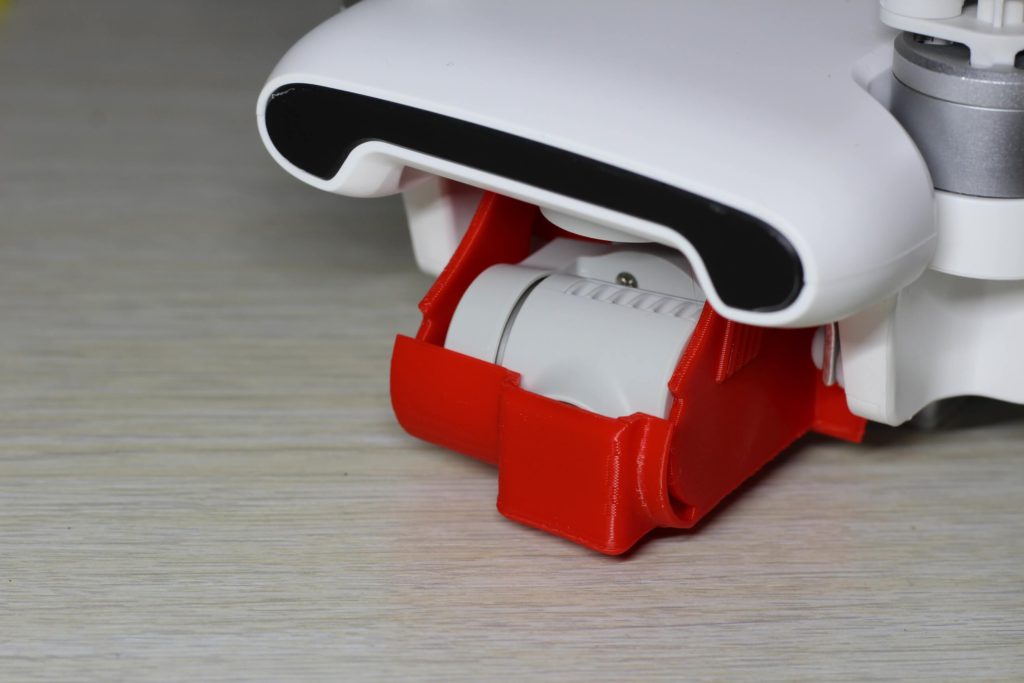
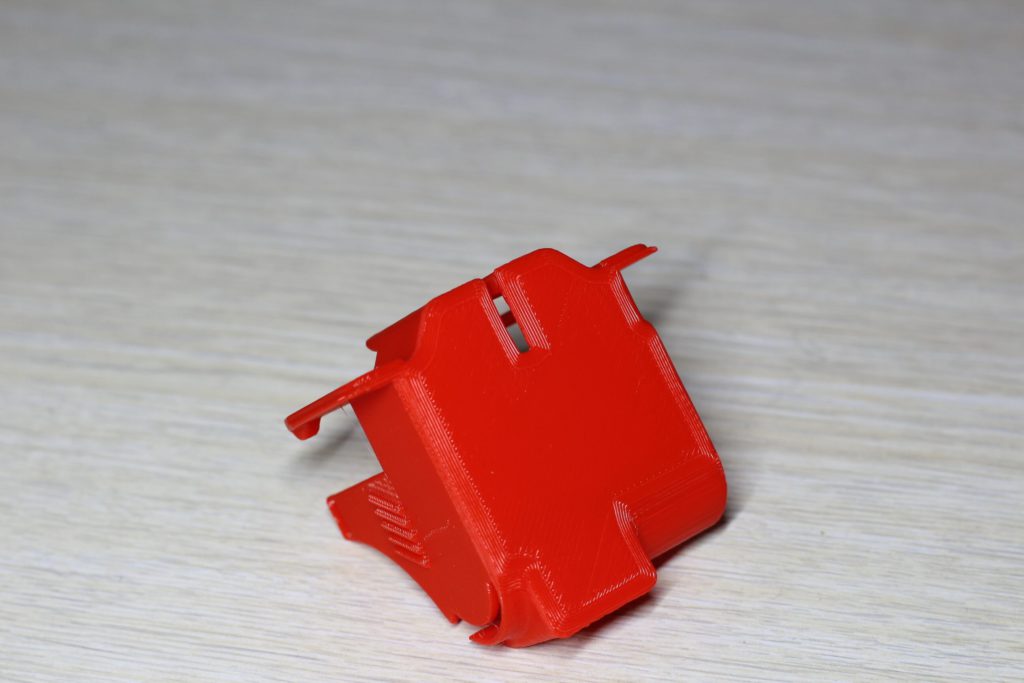
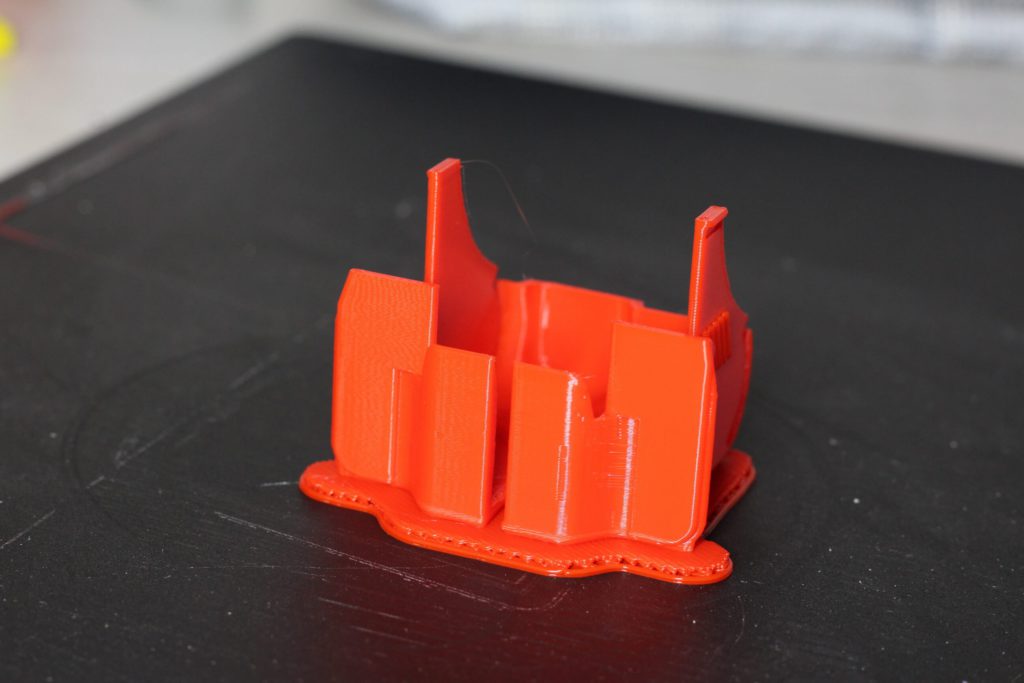
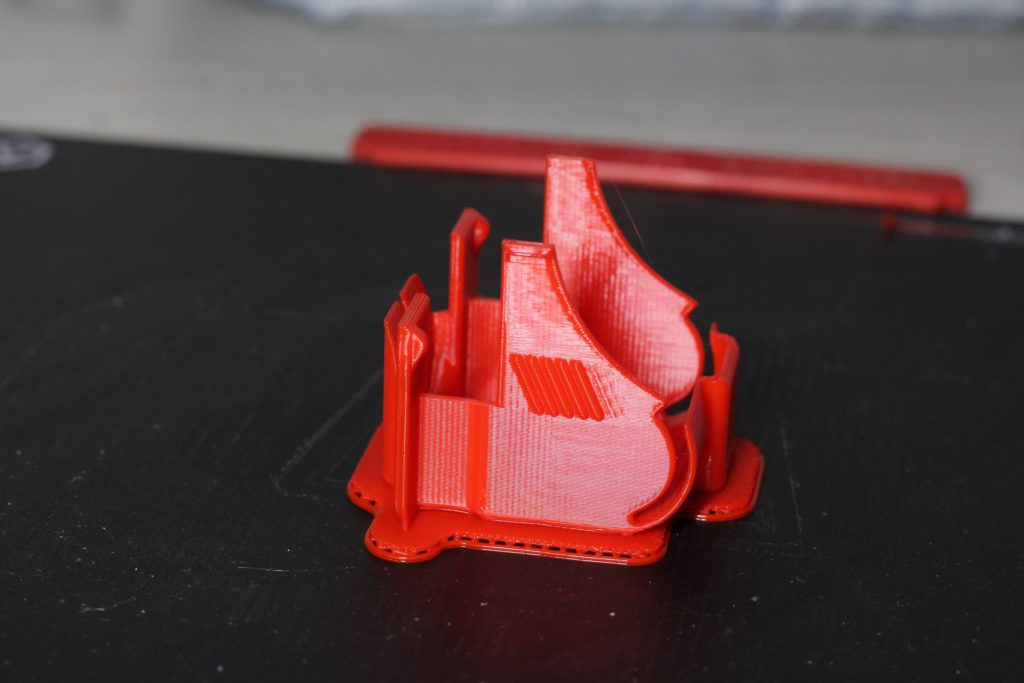
FIMI X8 2020 Camera Cover
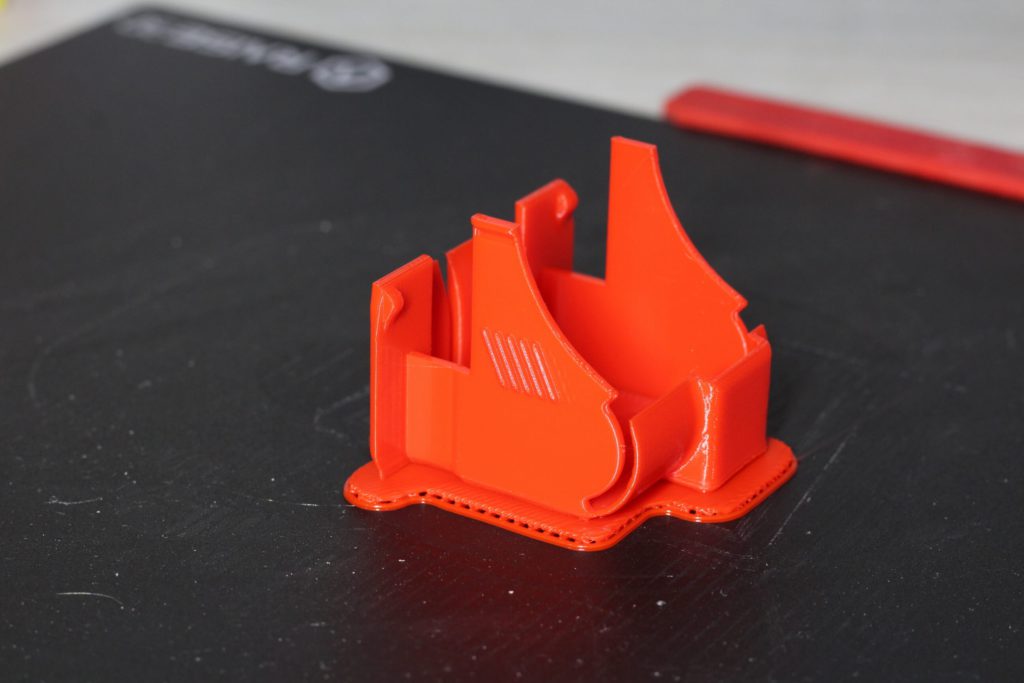
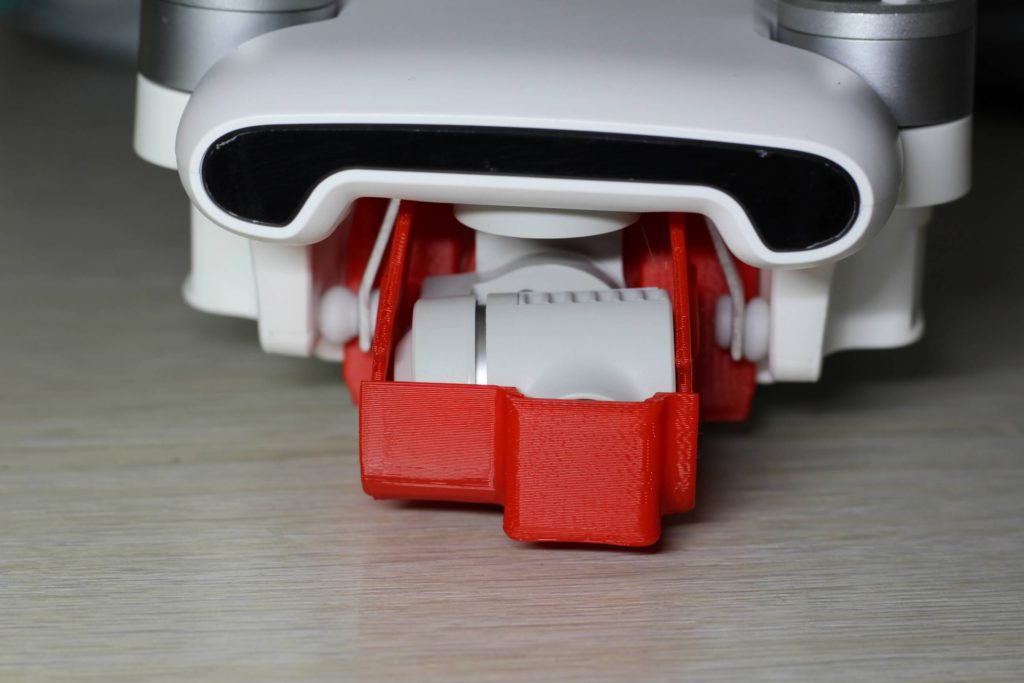
I printed this functional print in Raise3D Premium Red PLA because I noticed it’s a bit more flexible compared to other PLA filaments and I thought it’s a good color for the drone. It printed in about 1 hour and I’m happy with the results.
I used it a few times now and it works great.
- Material: Raise3D Premium PLA Filament
- Layer Height: 0.2mm
- Nozzle Temperature: 210C
- Bed Temperature: 50C
- Print Speed: 50 mm/s
Edd Harris as The Man in Black
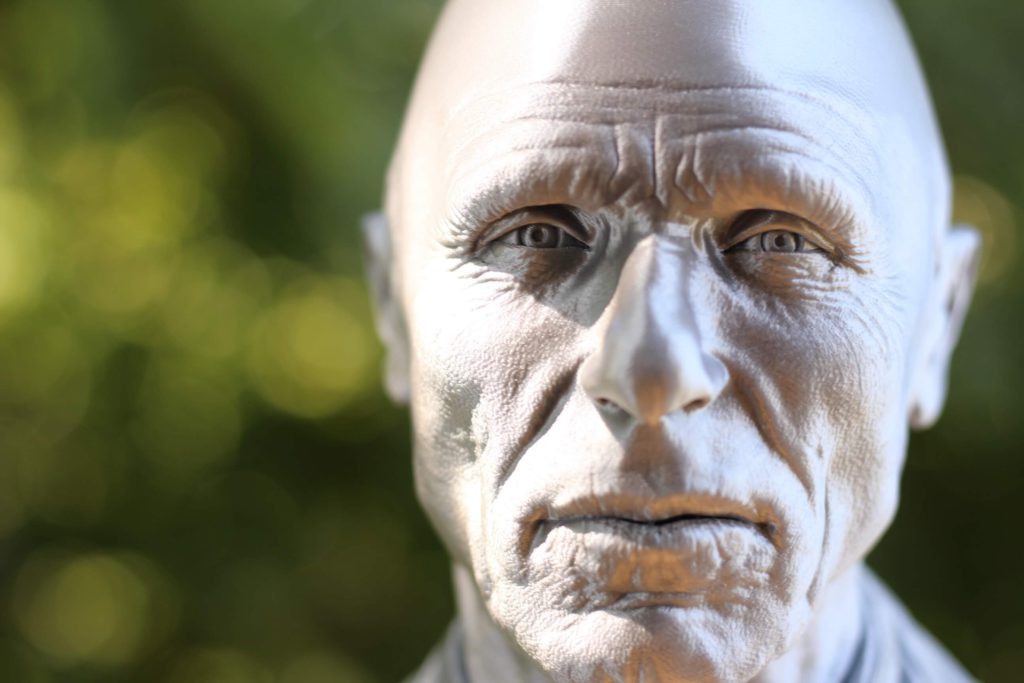
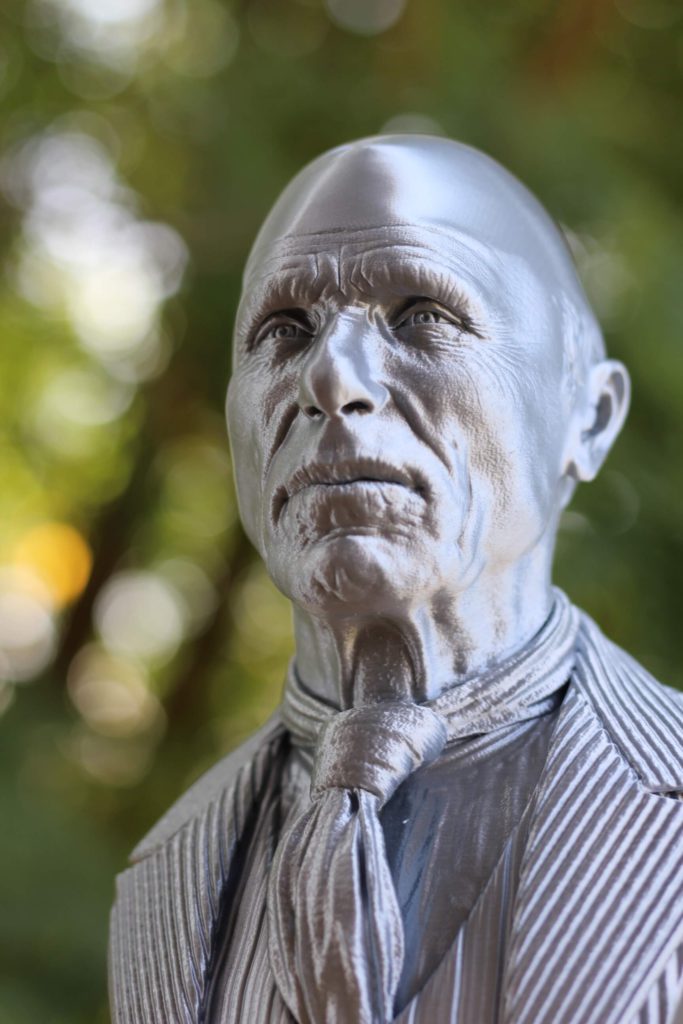
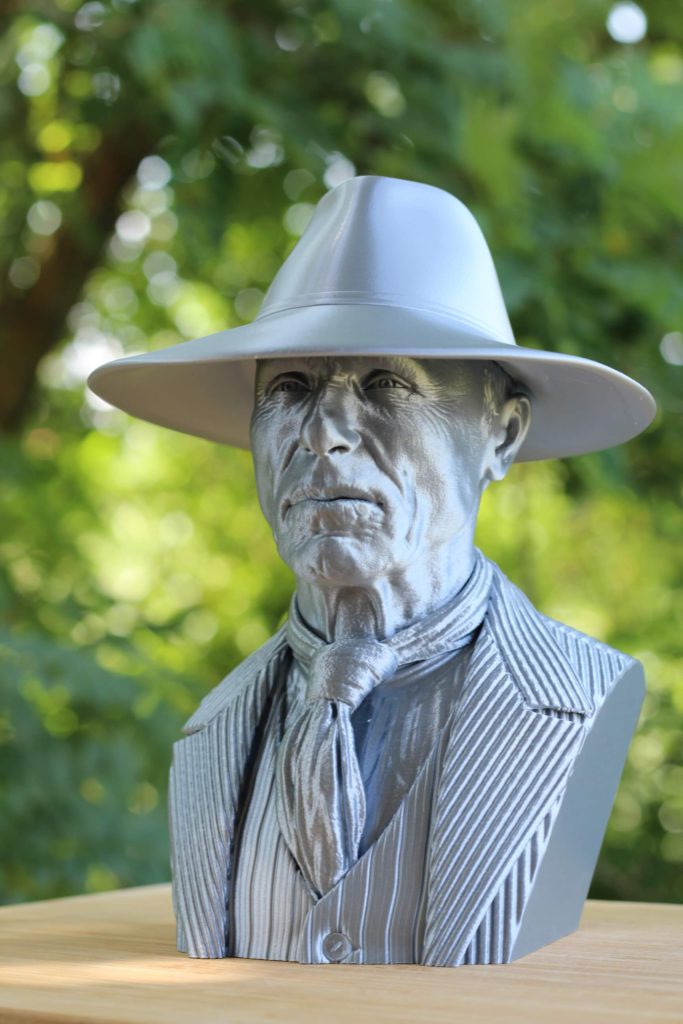
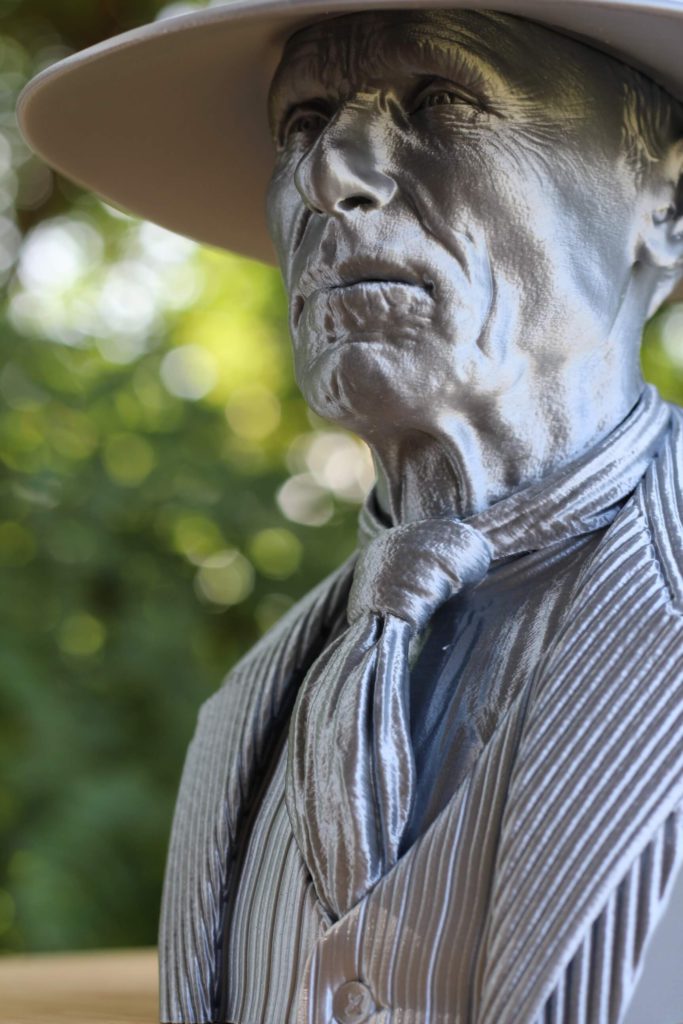
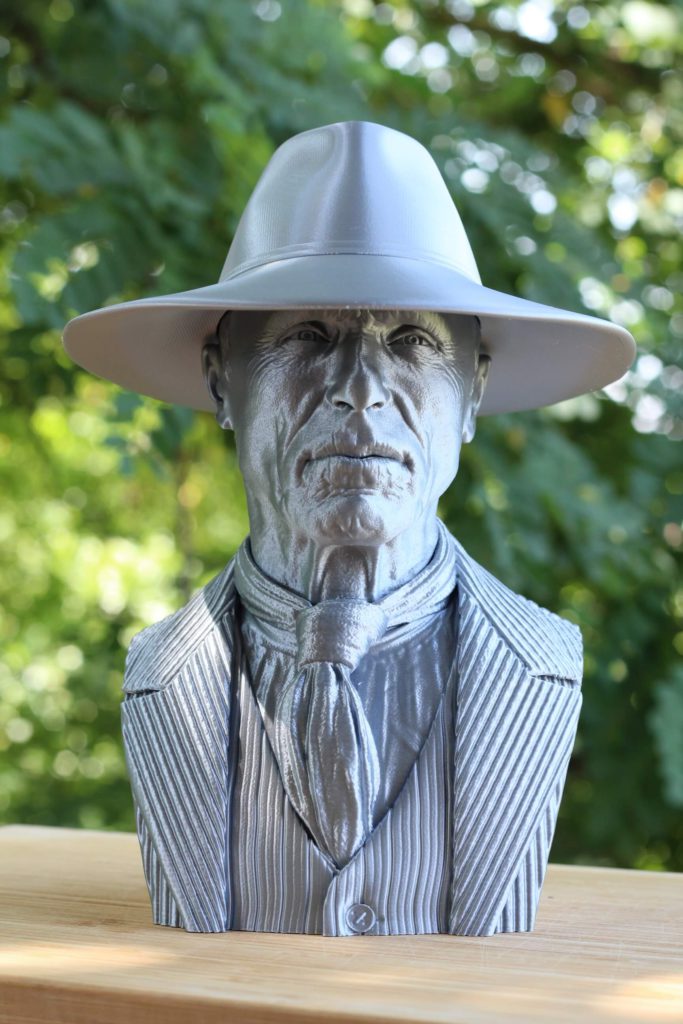
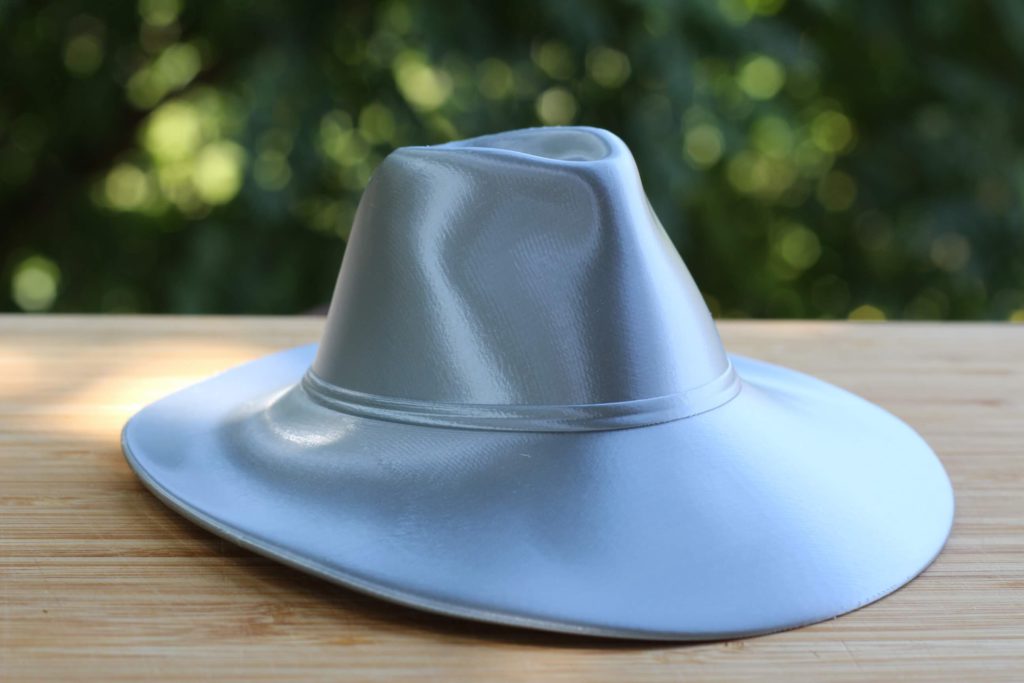
This amazing model of Edd Harris made by SidNaique was printed on the Raise3D E2 in about 70 hours. It took some time, but as you can see in the images below, the quality is amazing. It’s probably one of my best prints to date.
Every small and intricate details was perfectly reproduced, and I don’t have any kind of complaints for this print even though it was printed with cheap filament.




- Material: Gembird Silk PLA
- Layer Height: 0.15mm
- Nozzle Temperature: 210C
- Bed Temperature: 50C
- Print Speed: 50 mm/s
Scorpion
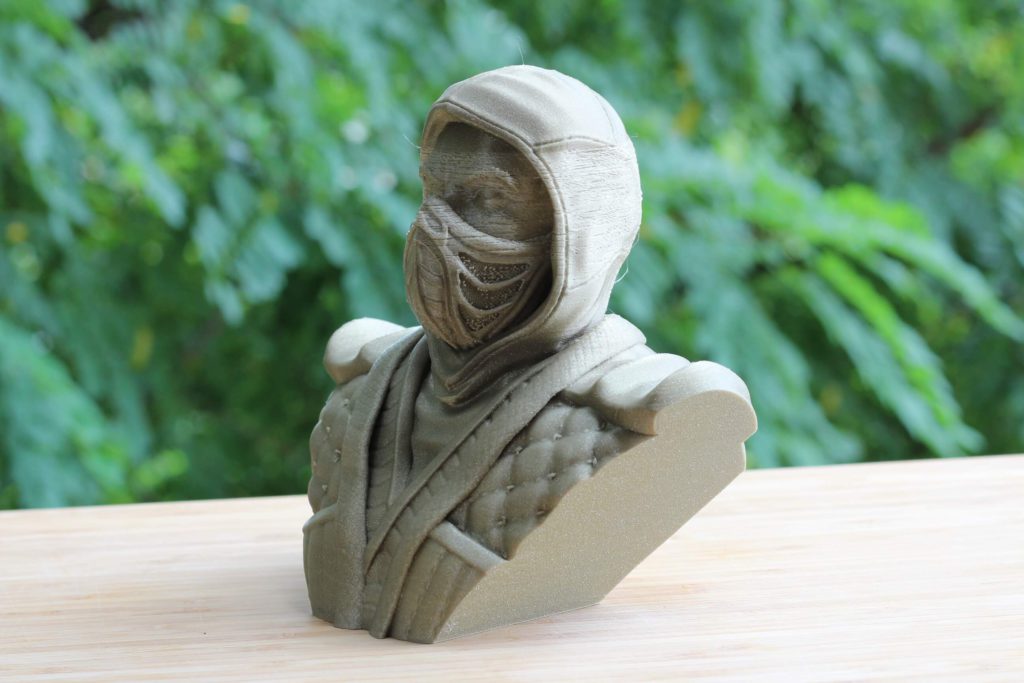
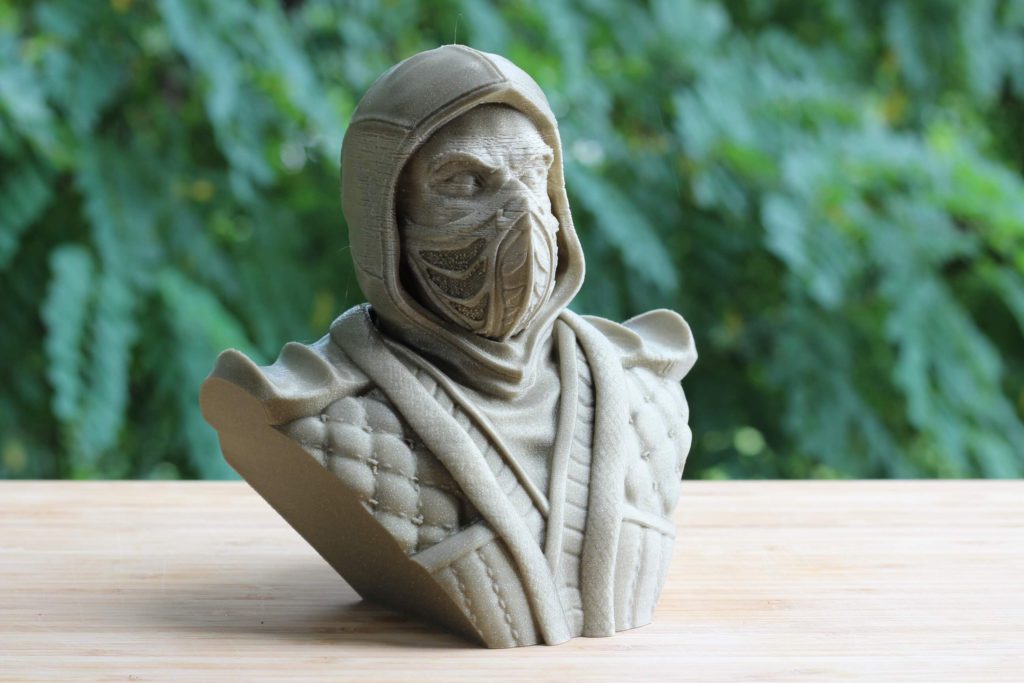
This Scorpion bust made by Wekster was the first time I encountered issues with the Raise3D E2. I made the mistake of starting a PLA print with the top cover on and because of this, the hotend clogged.
I had this issue because PLA has a lower melting temperature and if the temperature inside the heatbreak gets higher than ~50-60C, the filament expands and causes a clog. So, I recommend you only print PLA with the cover off.

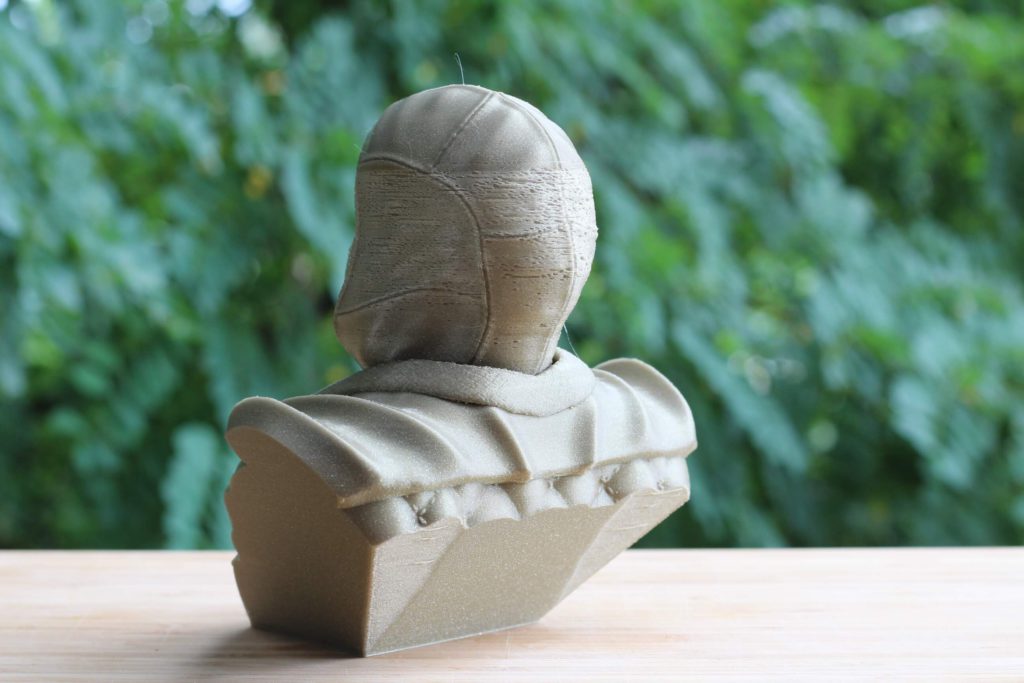
- Material: FilamentOne PLA Glint Gold
- Layer Height: 0.12mm
- Nozzle Temperature: 210C
- Bed Temperature: 50C
- Print Speed: 60 mm/s
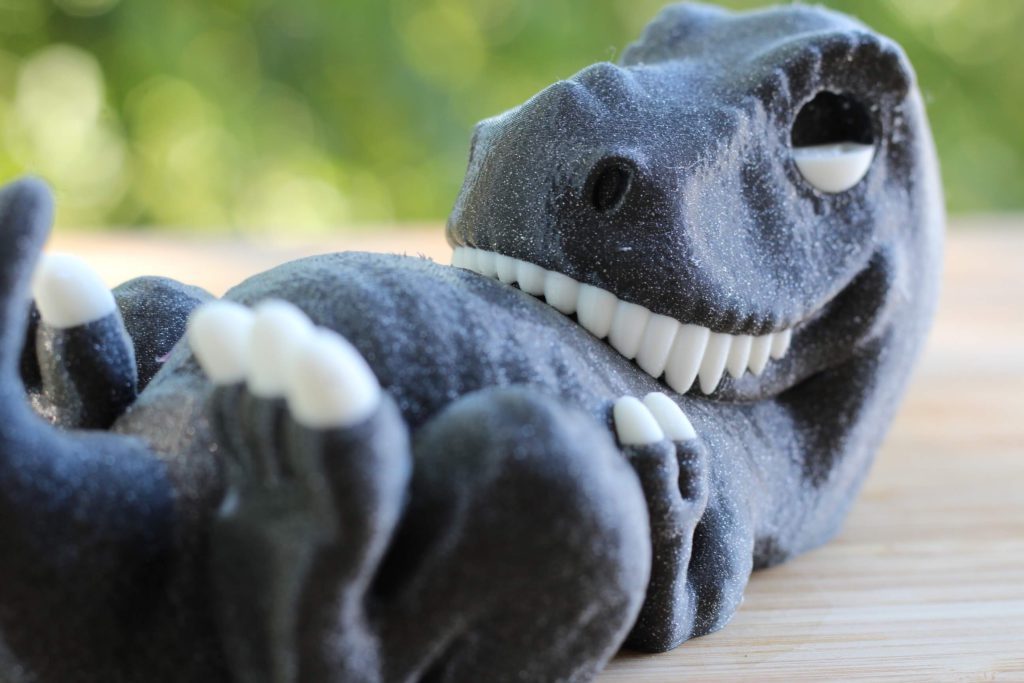
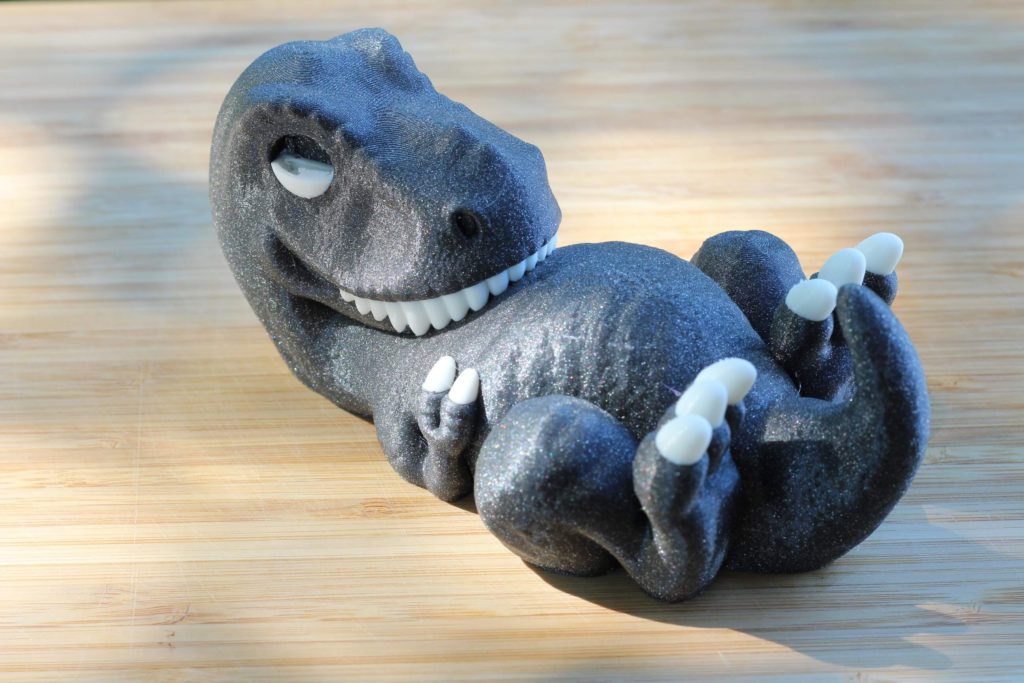
T-Rex (dual color)
This T-Rex remix for dual color was my first “real” dual color print where I used the IDEX capabilities of the printer. As always, the print quality is excellent, but I had a small issue with the purge tower which got knocked out during printing. because of this, there were some missed layers around the eyes, and they were not completed successfully.
But hey, not bad for a first dual color print!
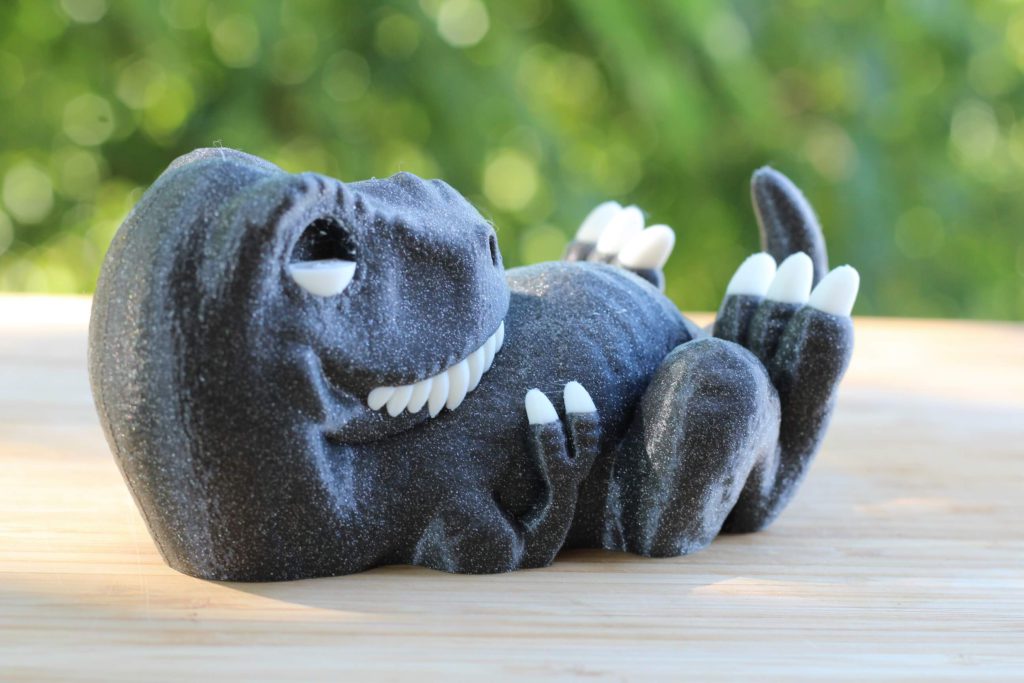
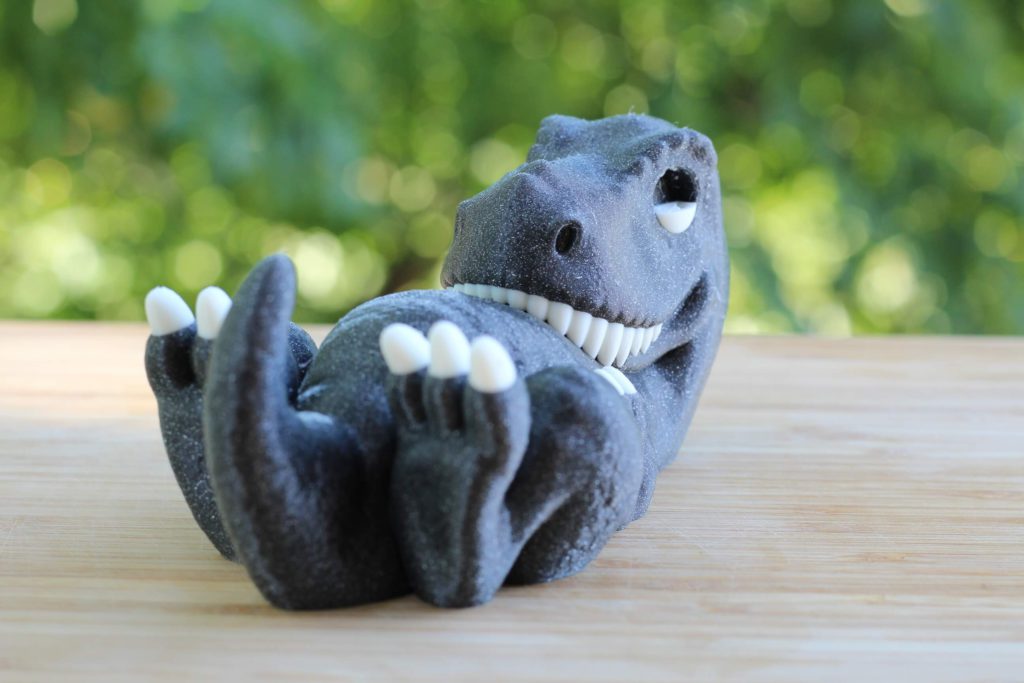
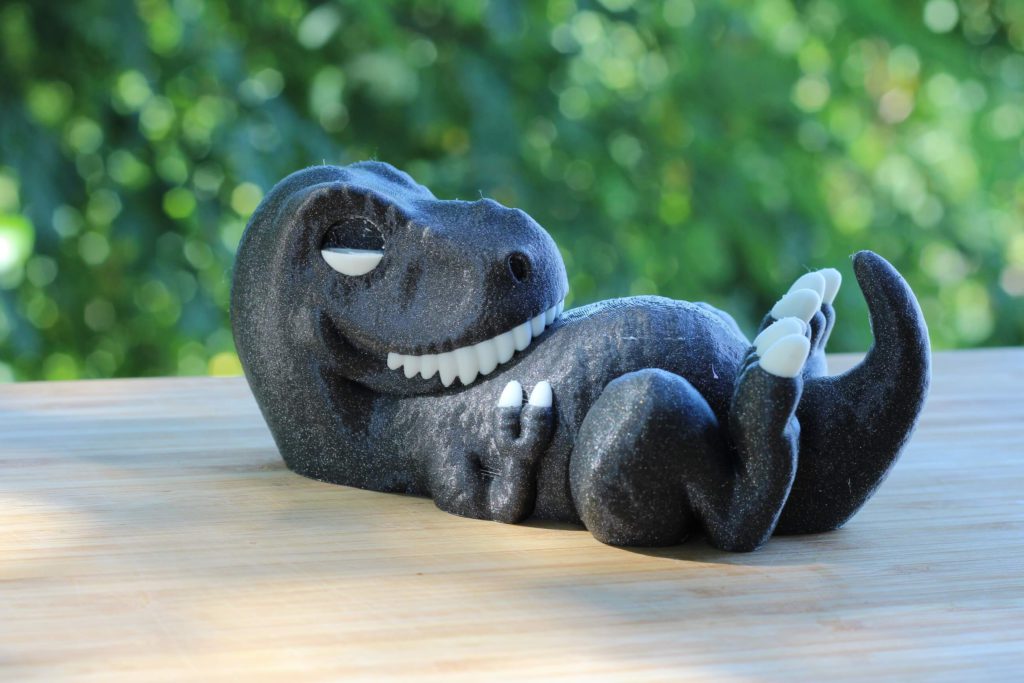
- Material: FilamentOne PLA Glint Gray
- Layer Height: 0.15mm
- Nozzle Temperature: 210C
- Bed Temperature: 50C
- Print Speed: 60 mm/s
Stargate (dual color)
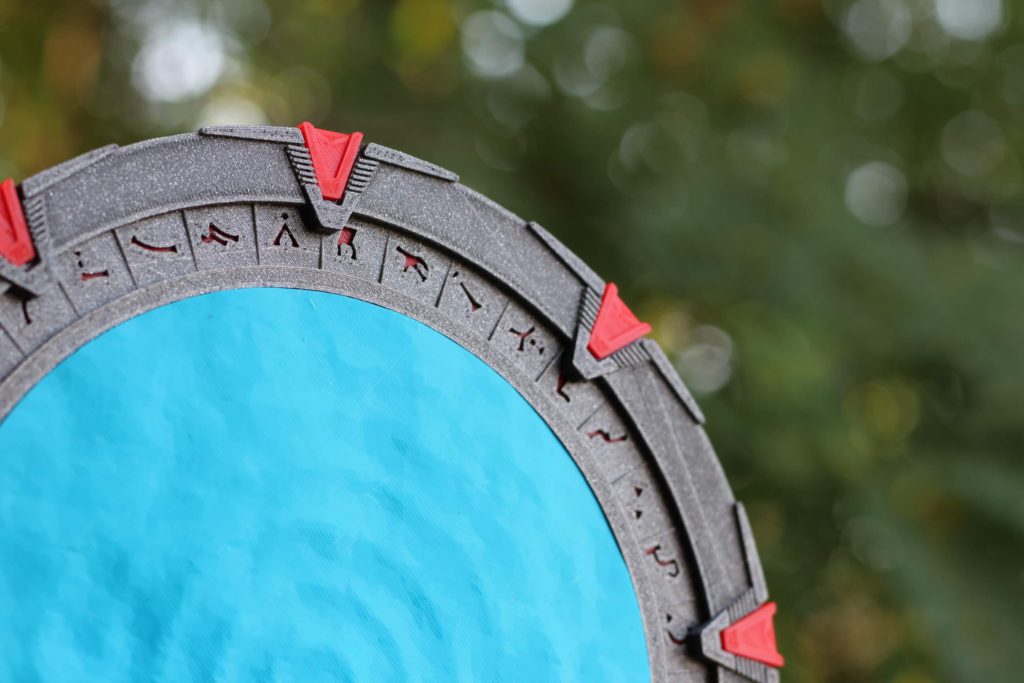
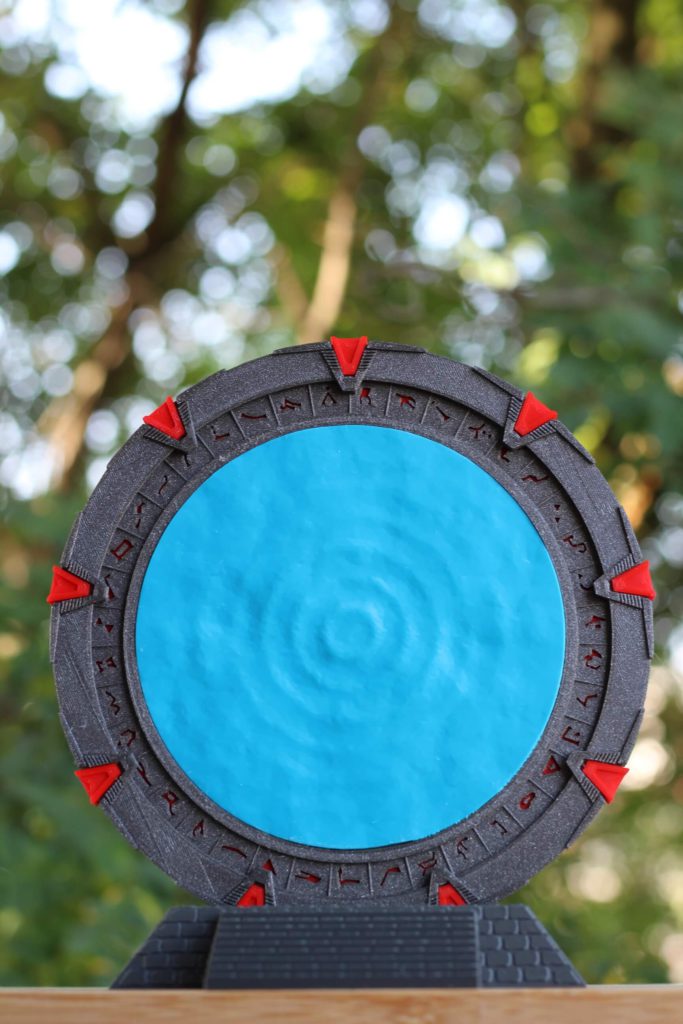
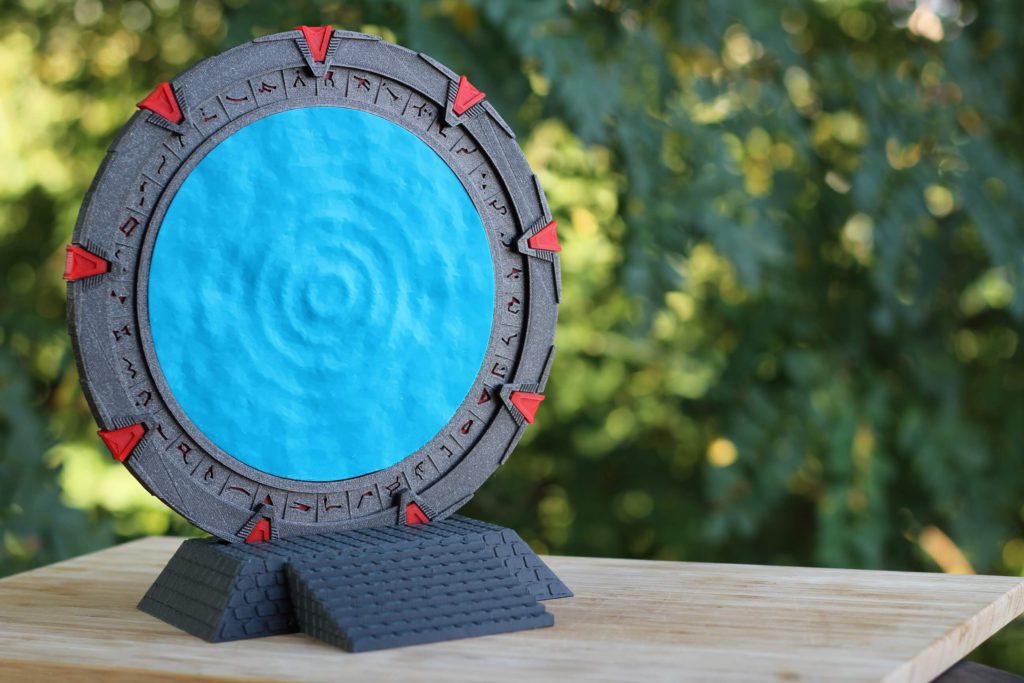
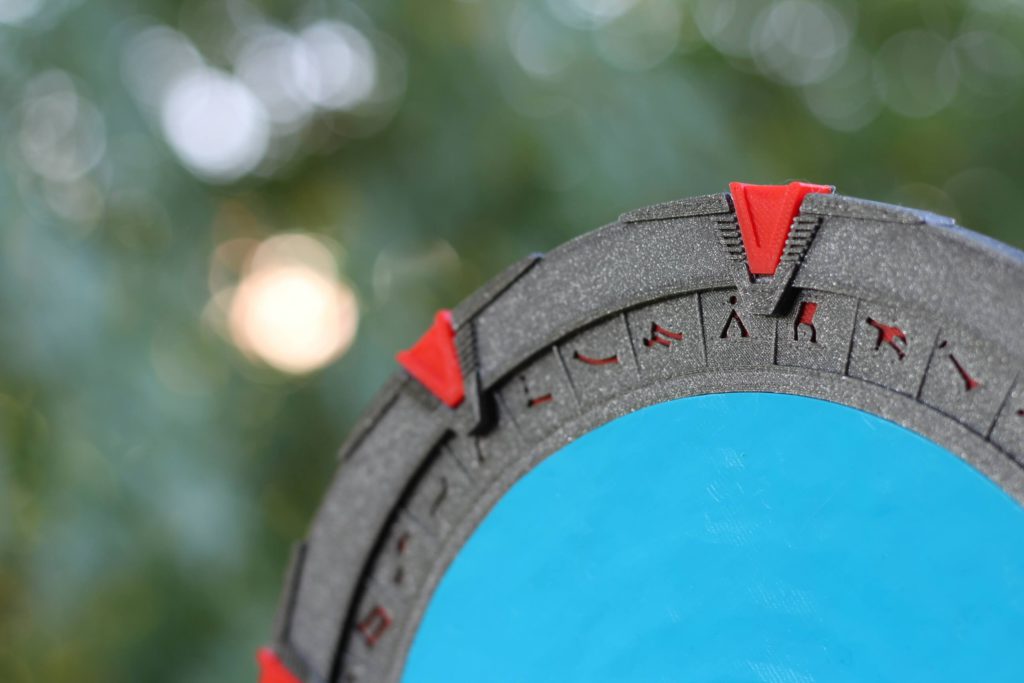
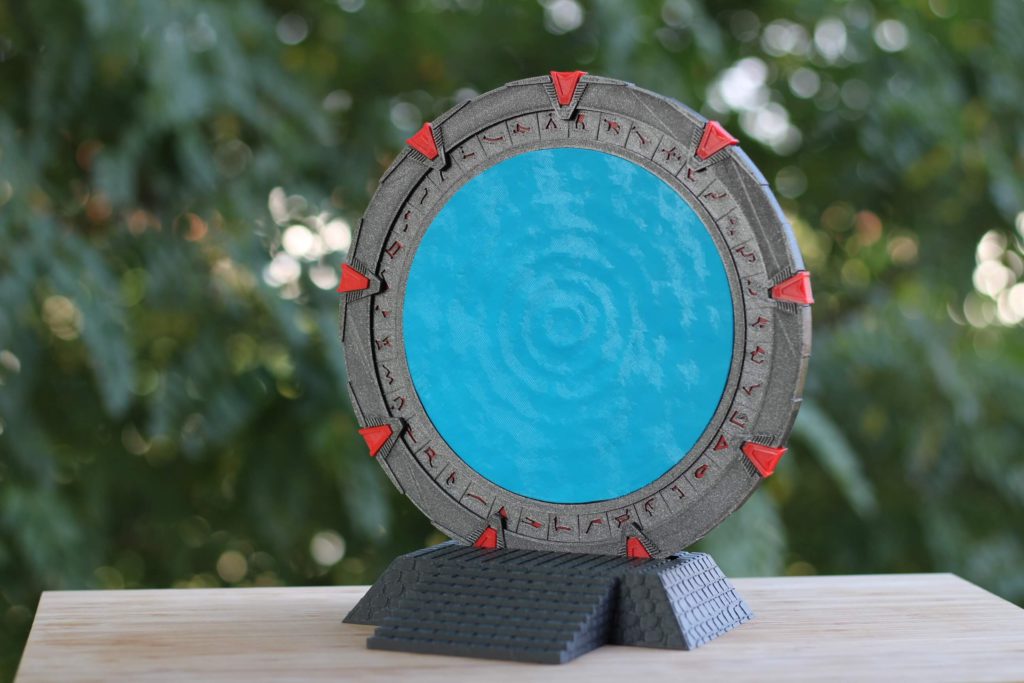
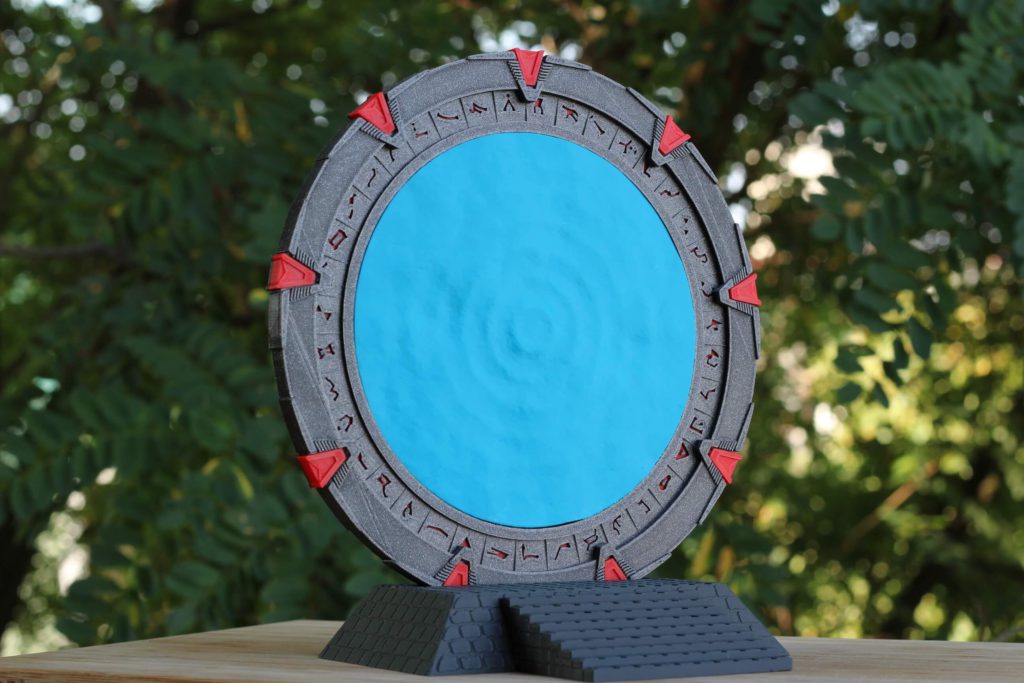
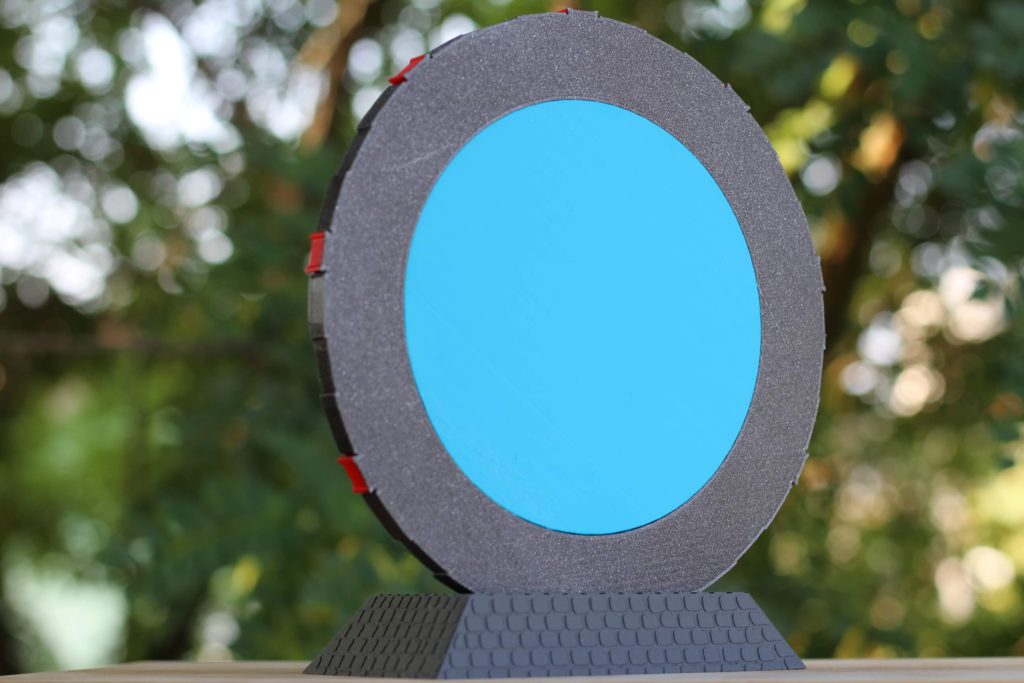
The Stargate was the print which took me about 5 tries to complete it. This is where I found out the issue with the extruder and I was forced to re-start different parts of the print multiple times.
The ring was printed in dual-color mode and as you can see the results are excellent. The “puddle” was printed in PETG and it came out amazing in a single try. Most of my issues occurred when printing the stairs, and after a few failures I just decided to print it on a different printer (the Flsun Q5). I could have waited for the replacement print head, but I was really looking forward to finish this model.
- Material: FilamentOne PLA Glint Gray, Raise3D Premium PLA Filament
- Layer Height: 0.1mm
- Nozzle Temperature: 210C
- Bed Temperature: 50C
- Print Speed: 50 mm/s
Phil-A-Ment (dual color)
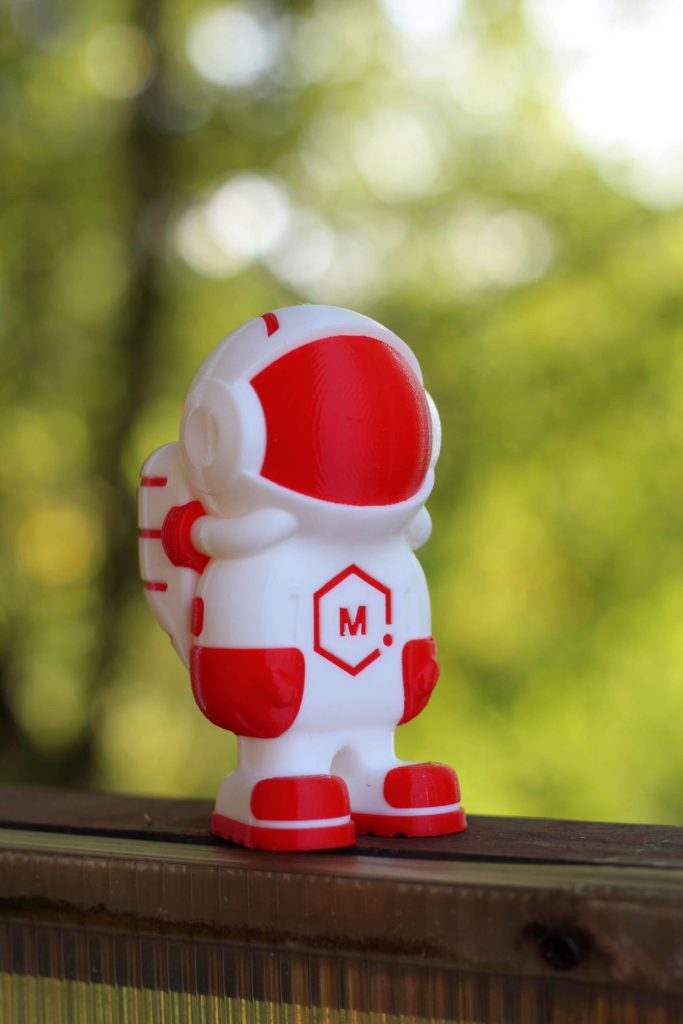
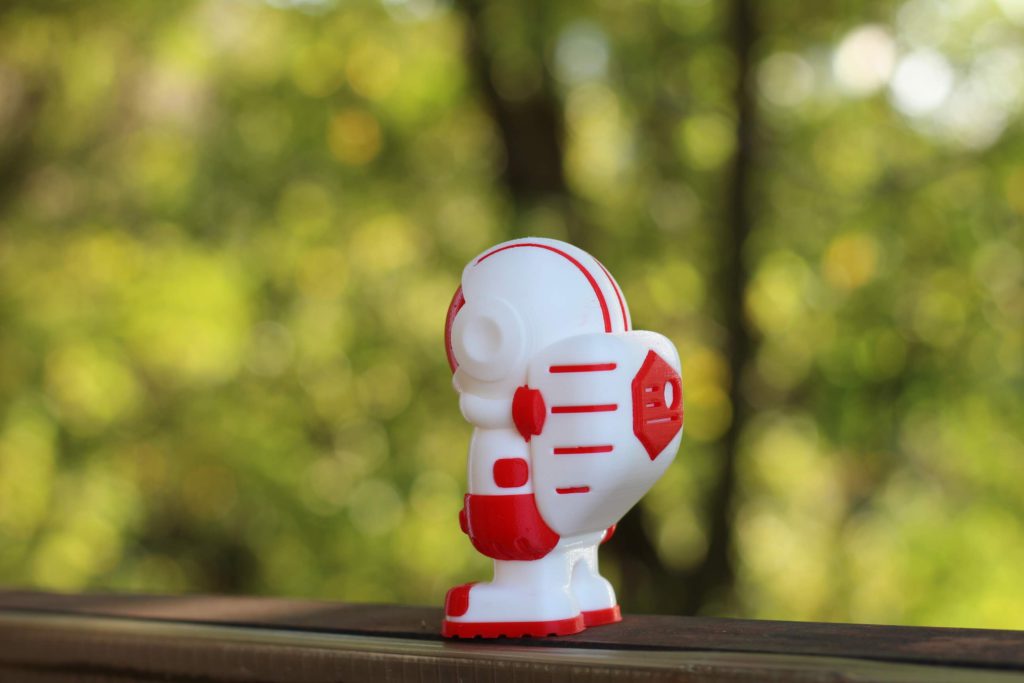
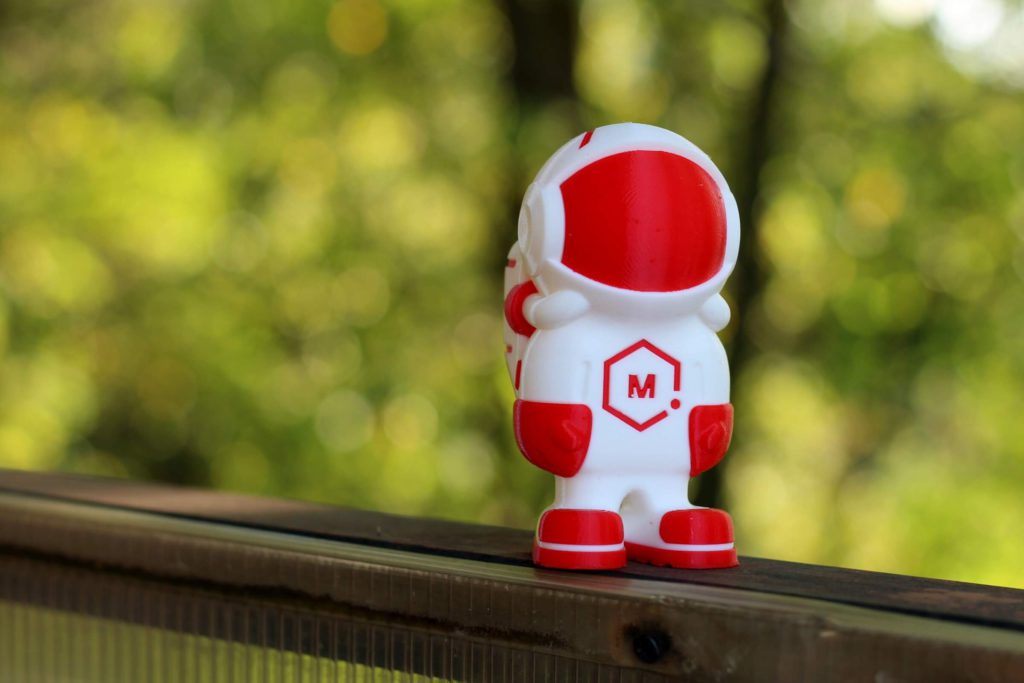
Phil was the first dual color print which was printer perfectly in my opinion. I had no issues with it and as you can see the results speak for themselves. The color separation is excellent, and this is I’m happy with it. This was printed with the new print heads and with a slightly tweaked profile.
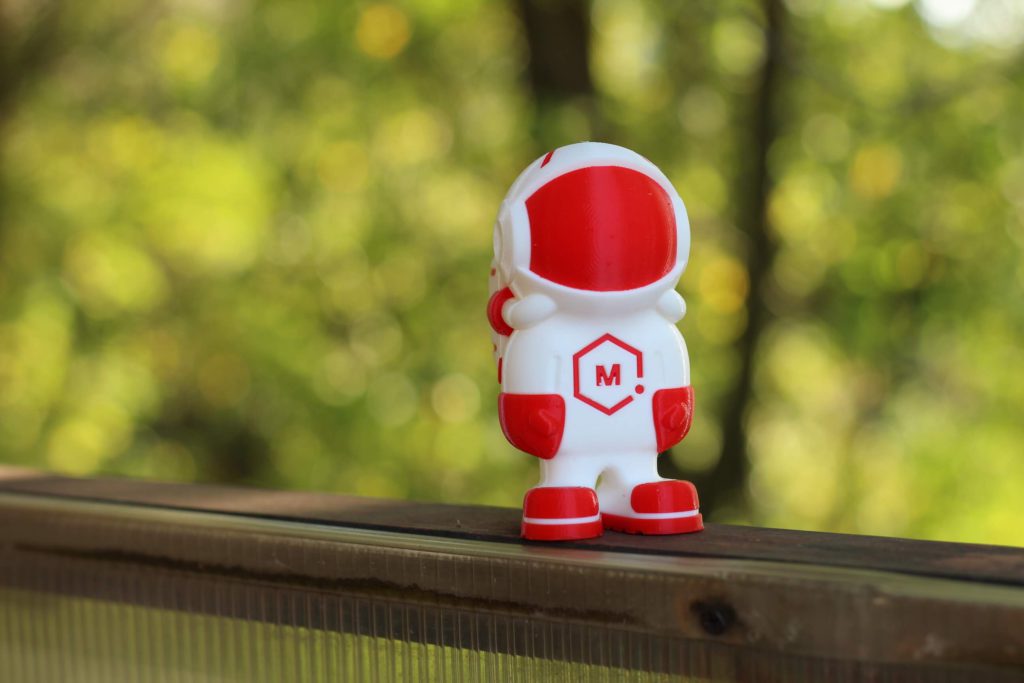
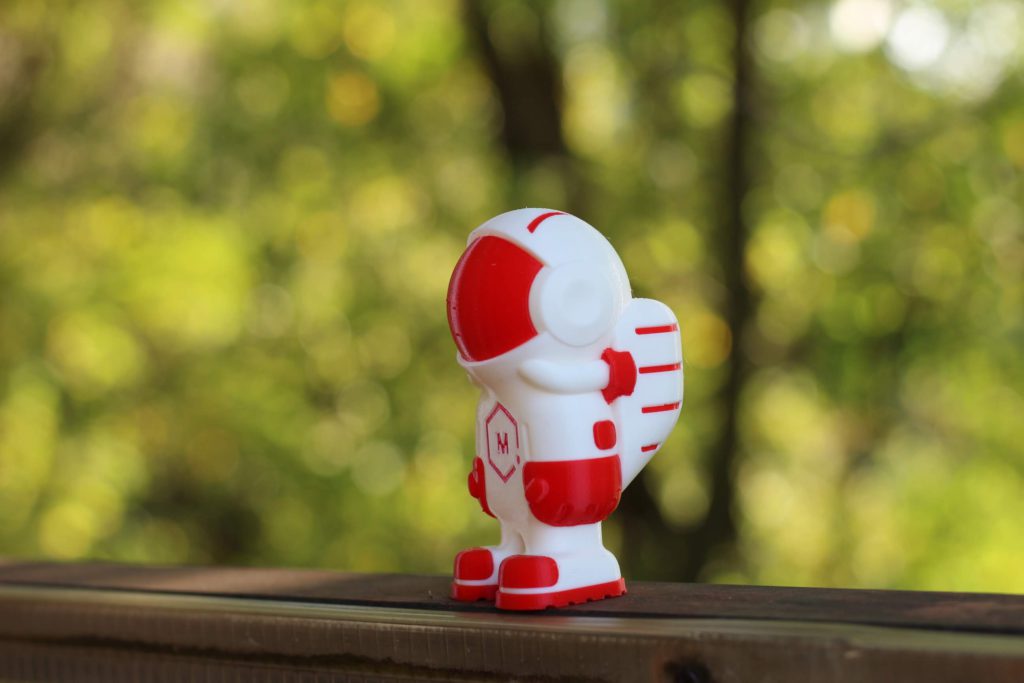
- Material:Raise3D Premium PLA Filament (red and white)
- Layer Height: 0.15mm
- Nozzle Temperature: 210C
- Bed Temperature: 50C
- Print Speed: 50 mm/s
Street Wheel for Longboard (dual material)
To really stress test the new hotends, I tried to print the same wheel which previously failed. This time, It was printed successfully (even though the quality is not the best). The ideaMaker profile was not perfectlyu tweaked for dual material printing so you can see some small bumps where the layers start. I will further tweak the profile and share it with the community soon.
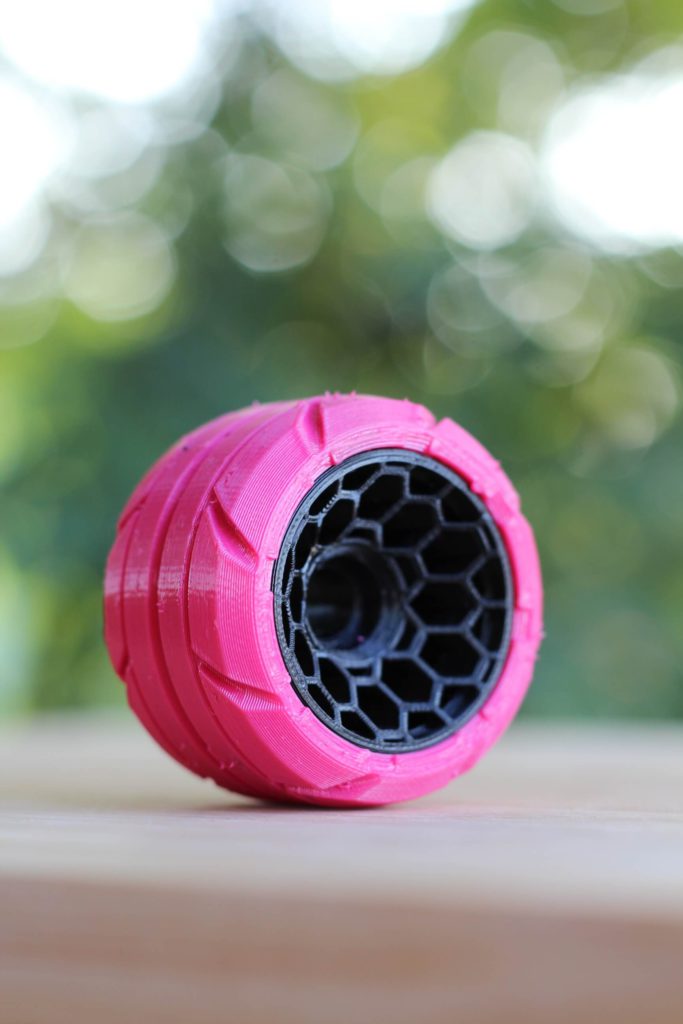
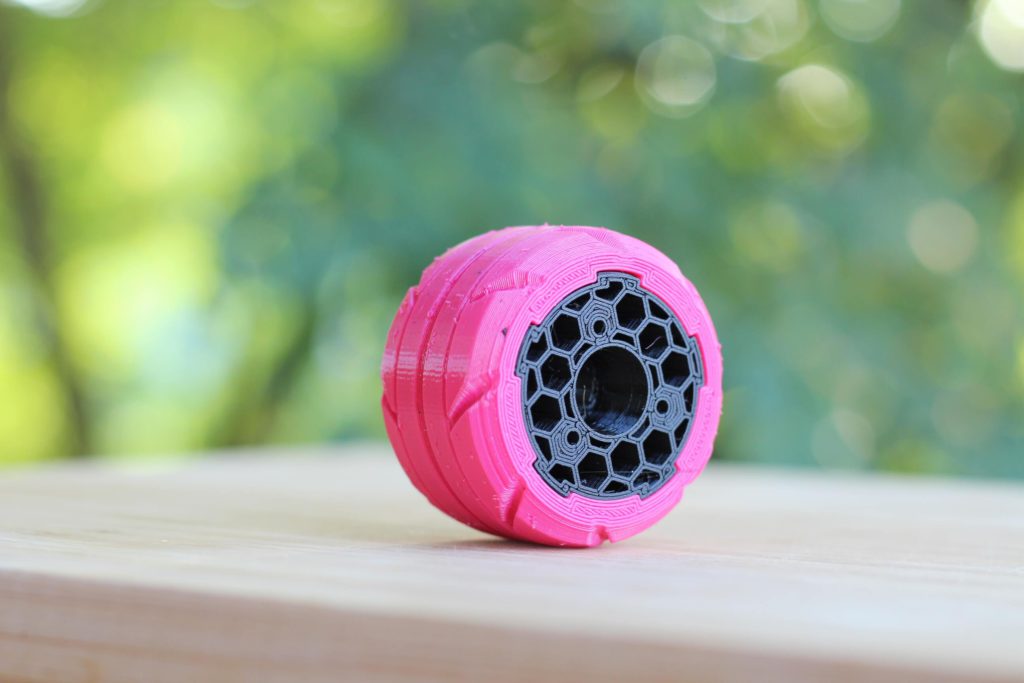
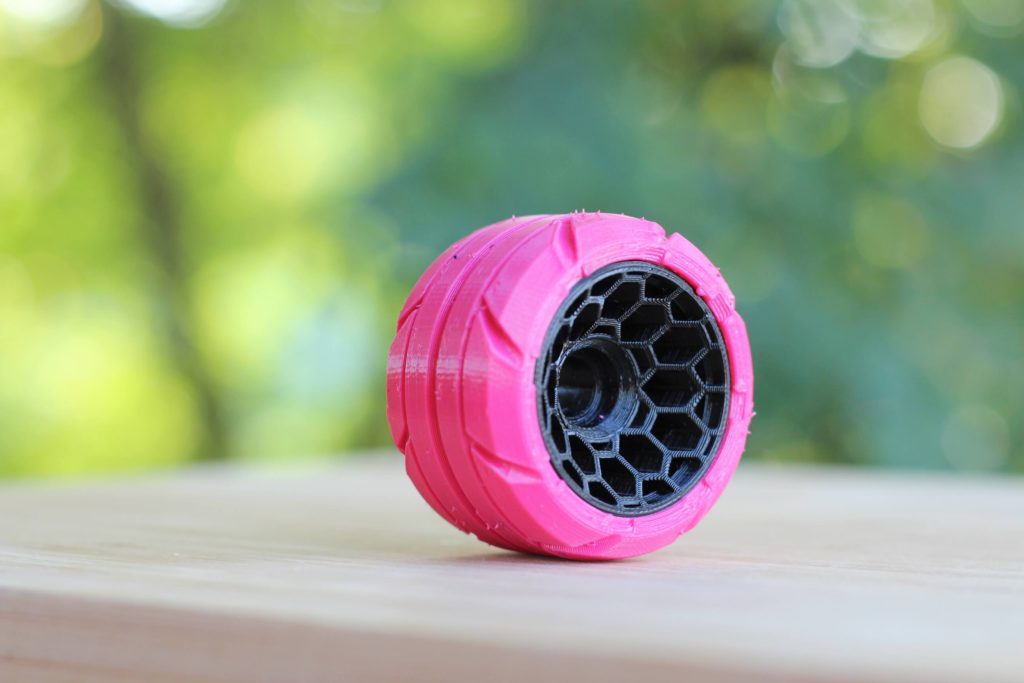
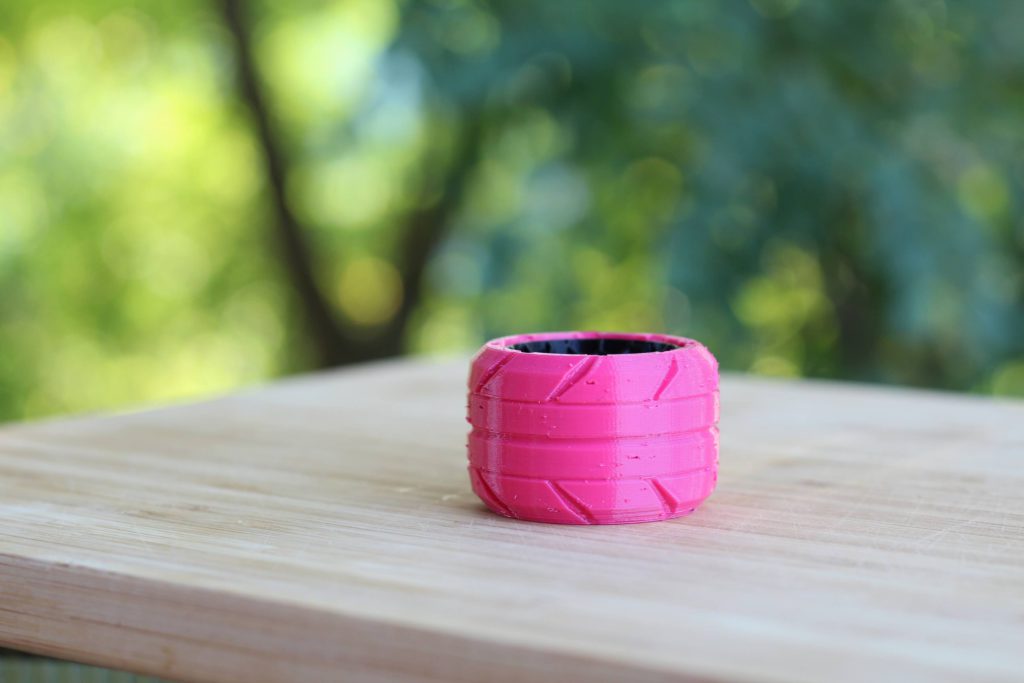
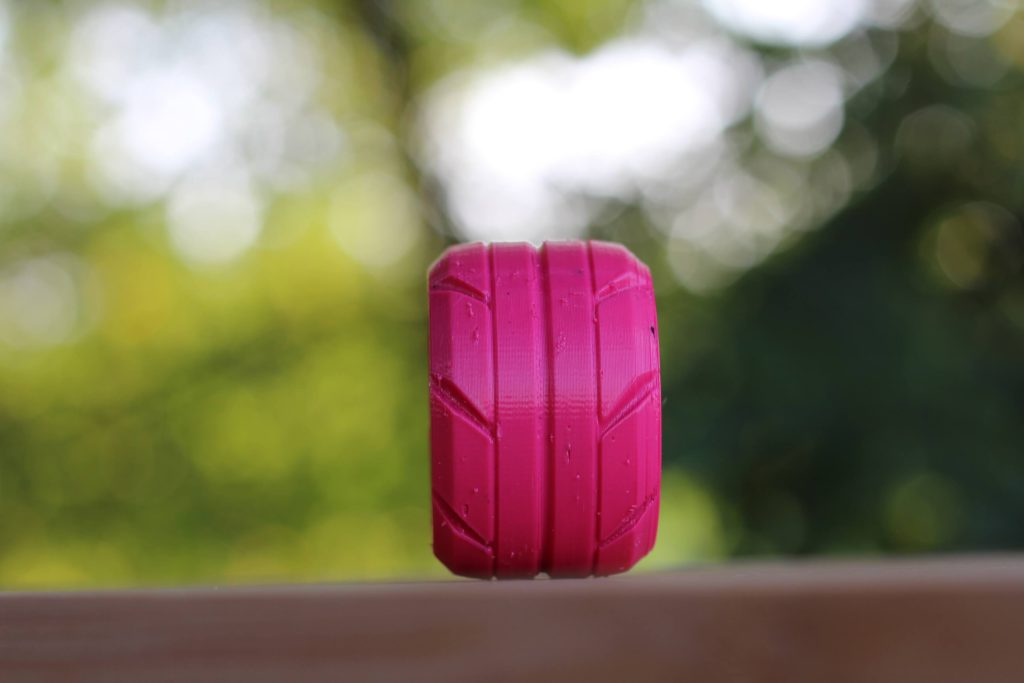
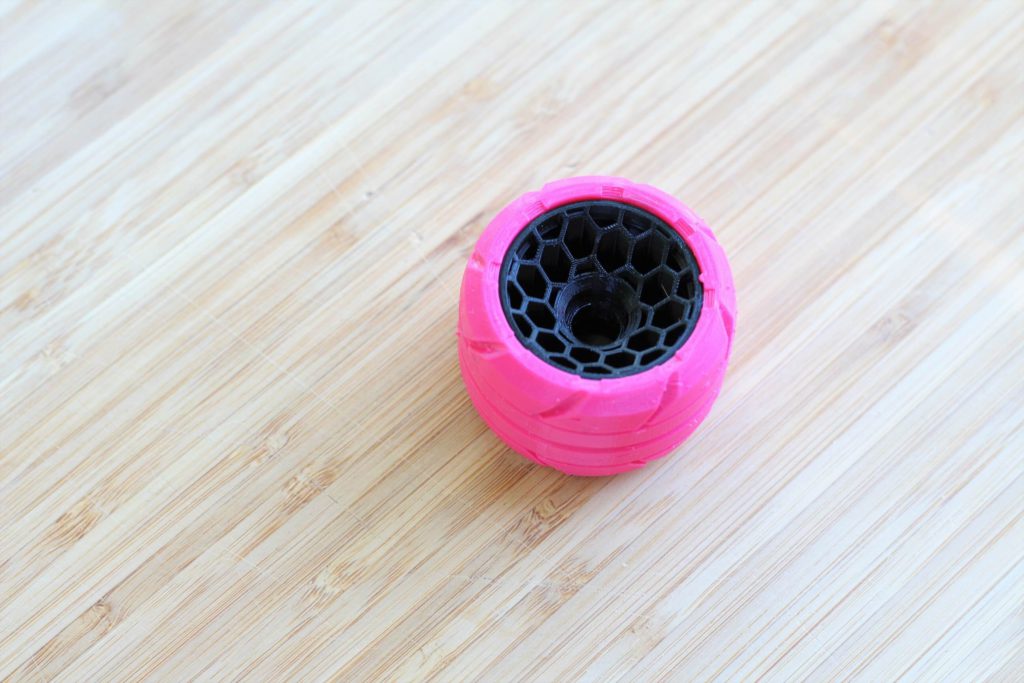
- Material: Devil Design Pink TPU and Black PLA
- Layer Height: 0.2mm
- Nozzle Temperature: 215C
- Bed Temperature: 50C
- Print Speed: 50 mm/s
Conclusions – Is the Raise3D E2 worth it?
It’s hard to answer this question. Mainly because the Raise3D E2 is a premium printer with a premium price tag, available for ~3500$. To better answer this question, we need to understand that this printer is targeted for professional environments like a business or a school.
Considering that for these business applications you want maximum reliability and safe operation, the Raise3D E2 is an excellent choice. It’s able to produce reliable results repeatedly and the integration with RaiseCloud is a benefit which adds a lot more value to the printer. It’s able to print most of the filaments available in the market, it can print in dual color or dual material and the level of support you get is excellent. I’d say 90% of the time you can “click and print” any kind of model using the included printer profiles without requiring too much knowledge about 3D printing.
The IDEX capabilities can really speed up the printing process if you are producing a lot of identical parts because it cuts the print time in half allowing for increased production.
If you are thinking about buying this as an individual and use it as a hobby machine, need dual-extrusion capabilities and you can afford it, I’d say: “Go for it!”. It’s an expensive printer but you get what you pay for. Good print results constantly.
But if you don’t need all those extra features the Raise3D E2 can offer and you are on a budget then you could go for a Prusa MK3S, or even cheaper machines. But be prepared to do some troubleshooting from time to time and learn more about 3D printing to be able to maintain the same print consistency.
You can achieve the same print quality with cheaper machines and regular filaments, but that takes time to dial in the printer, and invest time in learning more about 3D printing.
Where to buy the Raise3D E2?
I recommend checking out the Discount Codes page before purchasing. I regularly update the article with discount codes for various online shops, and you might find one for this particular model.
The Raise3D E2 was lent by Raise3D for the purpose of this review. While the article includes affiliate links, all opinions are my own. Nobody reviewed the article before it was posted, following the Review Guidelines.
Liked it?
|
|

