Mycusini Chocolate 3D Printer Review
I was looking for a food 3D printer and I stumbled upon the Mycusini chocolate 3D printer. It seems like a great little printer for the kitchen because it’s compact and easy to use.
Let’s see if the Mycusini chocolate 3D printer is good enough to make you ditch your diet.
Mycusini Shipping and Packaging
The Mycusini chocolate 3D printer is packaged in two boxes for increased protection. The machine is not that heavy, and there’s ample protection around it. I don’t think there will be any issues from shipping.
It comes pre-assembled so you can use it right out the box, but I recommend you clean it before using just to make sure it’s food safe.
Mycusini Specs
Included in the box, you get the following accessories:
- Stainless steel cartridge
- Silicone mat
- Card reader
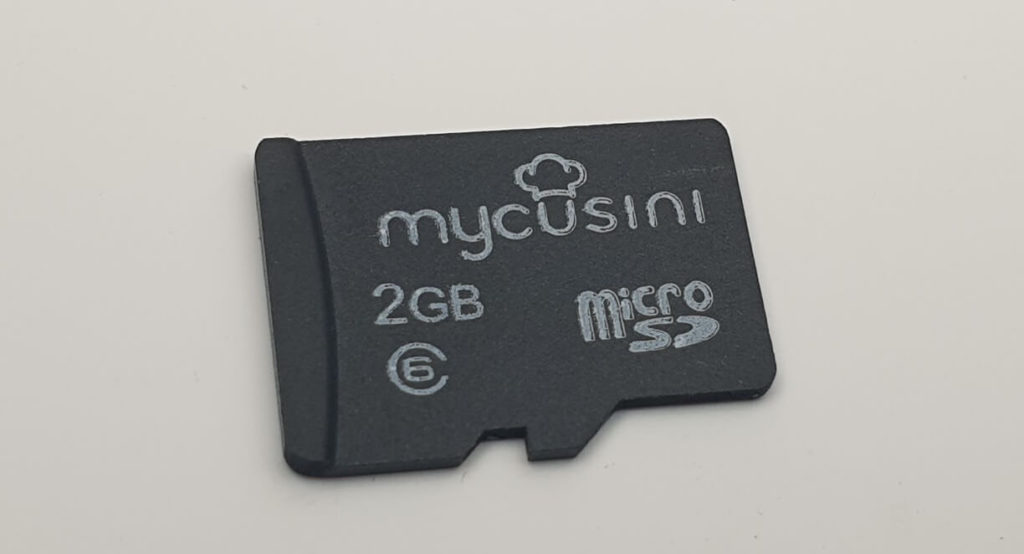
- 2GB MicroSD card with 3D models
- Plastic tweezers
- Power supply
- Quick guide
- Template catalog for models
Compact size with plastic frame
The Mycusini chocolate 3D printer is compact, measuring only 19.5x19x25cm so it can be easily fitted in any kitchen. Even though it’s made entirely from plastic, the printer is sturdy enough. There’s a small backlash on the X axis where the extruder is mounted, but this does not impact print quality.
The build volume is not that generous as you might find on other FDM 3D printers but it’s good enough considering the type of prints made with this printer. You can print 3D models up to 105x70mm.
It’s build size and plastic frame makes me think about the Longer Cube2 Mini I reviewed a while ago.
The main limiting factors are the capacity of the chocolate cartridge and the size of the whole chocolate extruder which takes most of the space.
SD card with pre-sliced models form the template catalog
What makes the Mycusini chocolate 3D printer a joy to use for any user is the inclusion of over 800 pre-sliced models available on the SD card. You can choose any model from the template catalog, select it from the printer menu and start printing it right away.
Mycusini Club
Besides the huge selection of pre-sliced models, you can also print your own 3D model trough the Mycusini Club. After you sign up to the website, you will be able to simply drag and drop a model on the website, and it will be sliced automatically with the correct settings for the Mycusini.
The whole process of importing a STL and exporting it takes less than 5 minutes, so you can quickly generate your own models to be printed on the Mycusini.
Chocolate fillings
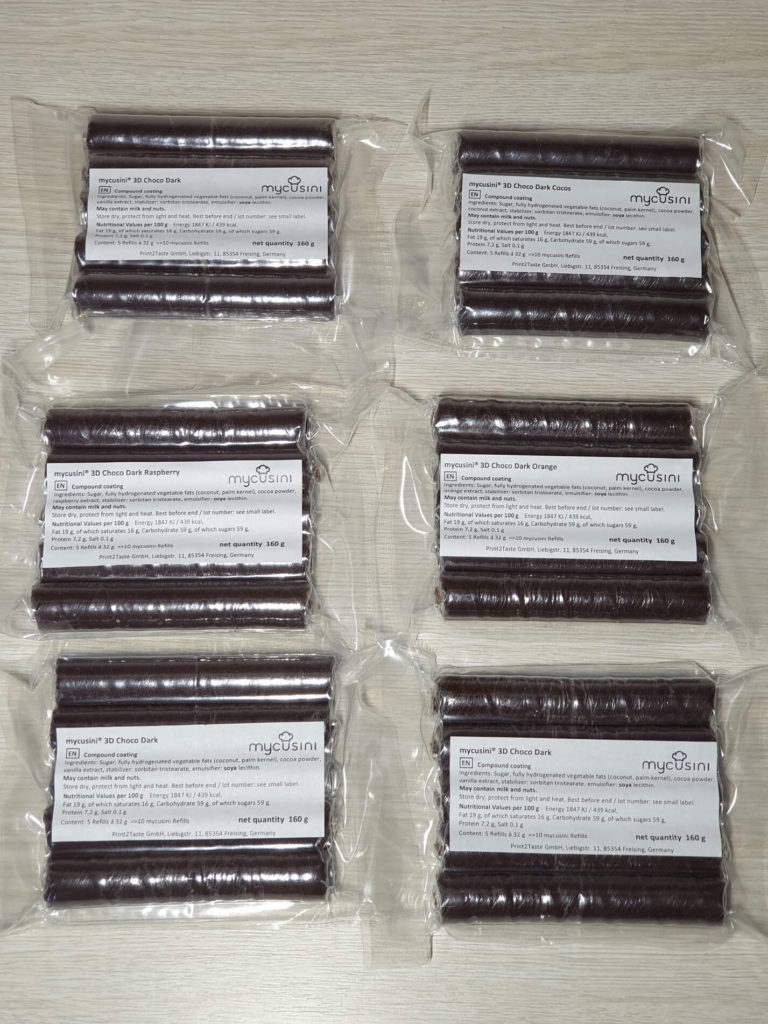
The chocolate used in the Mycusini chocolate 3D printer comes in the form of 5 bars which are good for 10 refills. Each bar is about 32 grams and a refill should be good for producing between 3 to 10 chocolate prints, depending on the model selected.
The chocolate fillings are available for purchase from the Mycusini shop and they cost between 7 and 9 Euro which in my opinion is a fair price. There is a wide selection of flavors to choose from, ranging from regular dark chocolate, to orange, coconut, raspberry, and they recently launched white chocolate.
Printing experience with Mycusini
Using the Mycusini chocolate 3D printer is really easy. You start by removing the cutting one of the chocolate cartridge fillings in half then you insert it in the stainless cartridge making sure that it’s properly inserted with a little bit of space left on top.
The cutting step is really important because if the chocolate filling is not cut to size correctly, then it will be impossible to install it on the extruder. In the box you also get a template guide to help with the cutting which is helpful in minimizing waste.
Next, you insert the stainless cartridge into the plastic holder and install it on the extruder.
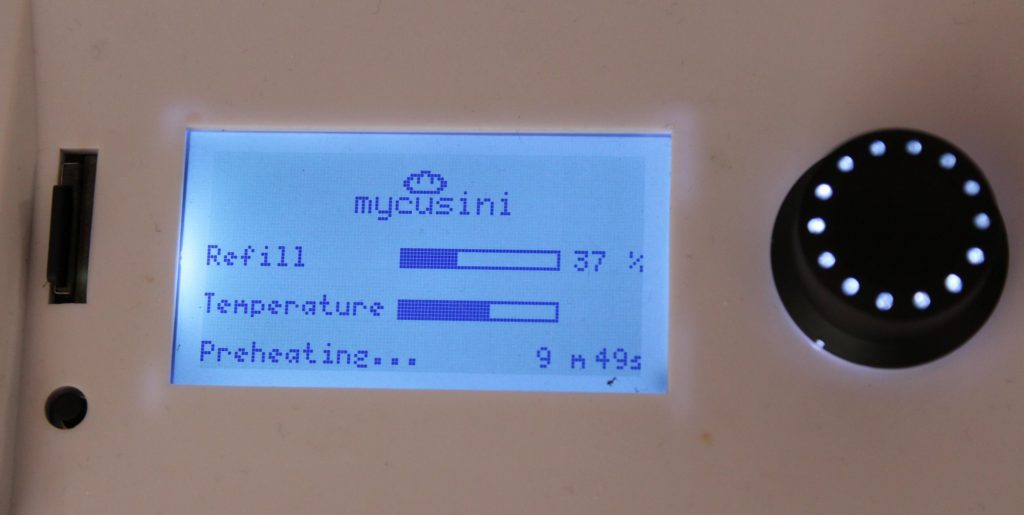
Finally, you start the pre-heat from the printer’s menu and wait for 10 minutes. After the chocolate is pre-heated, you can start a new print and watch the magic happen.
I found out that after a print is finished, it helps putting it for a few minutes in the fridge to properly harden the chocolate. That way, you will be able to take off the model from the silicone mat without damaging it.
During printing, the machine is a bit noisy, mostly because the stepper drivers used are the old A4988. If you’ve heard an Ender 3, then you know what to expect.
But considering that prints don’t take a lot of time, this issue can be easily ignored.
Test prints on the Mycusini chocolate 3D printer
Most of the models I printed were successful, but there were some issues from time to time for some.
Successful Chocolate 3D Prints
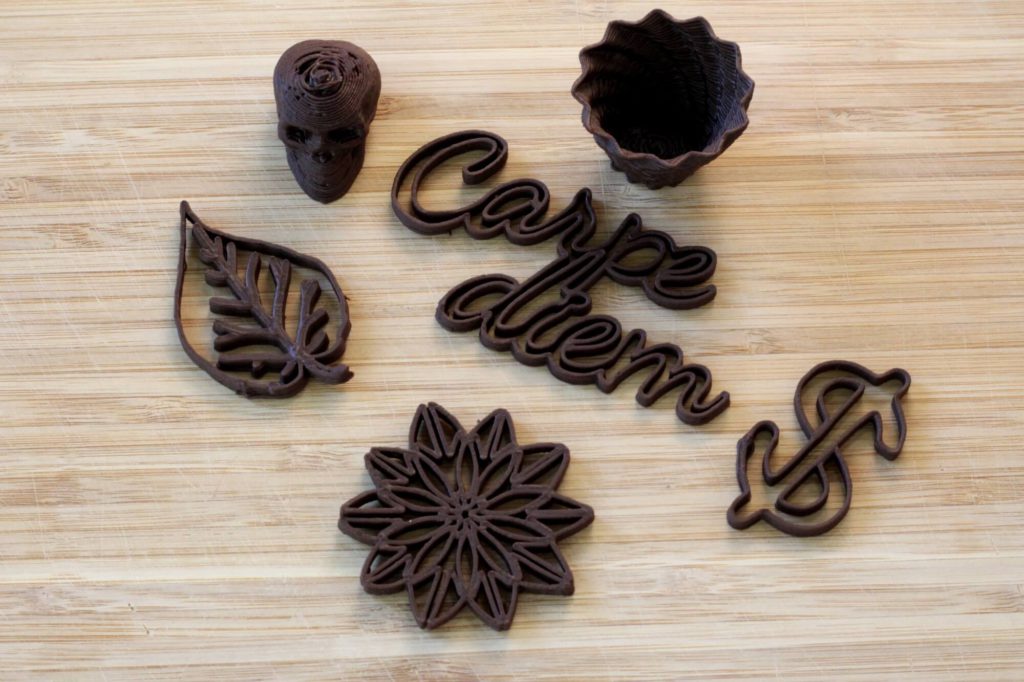
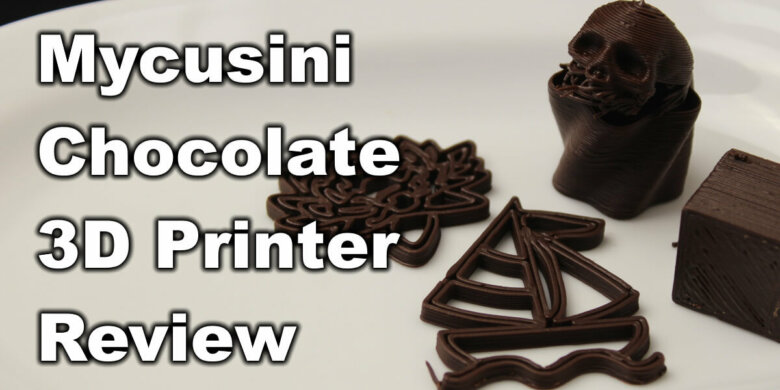
As you can see in the images below, the Mycusini can produce quality chocolate 3D models and the entire process was easy. Just start the print, wait for the printer to heat-up, choose the model and wait for it to be finished. Prints take between 5 to 15 minutes to finish.
Chocolate 3D Benchy
I even tried to slice and print a 3D Benchy, like I do with my other 3D printers, but unfortunately the chocolate filling is not enough to print a chocolate 3D Benchy at full scale. Even so, I think the quality is great considering it’s made from chocolate. I used other FDM printers which printed worse.
Partial Failures
During my testing, I also had a few partial failures. I think this is caused by the chocolate not extruding consistently.
This issue only occured right after replacing the chocolate filling, and I probably needed to extrude a bit more before starting a model.
Conclusions: Is the Mycusini chocolate 3D printer worth it?
Right now, the Mycusini chocolate 3D printer can be bought for 339 Euro for the starter pack, which includes the printer and 5 bars of chocolate good for 10 refills.
The price is a bit high for a regular users which will probably use it from time to time for random prints. But if you are a business owner which plans to use this for adding a special touch to your products, then the cost is well worth it. After the initial investment you will be able to print a lot of 3D chocolate models for less than 30 cents a piece.
The Mycusini is really easy to use and I don’t see any reason why not to recommend this printer to anyone. Anybody can print chocolate 3D models with no previous experience in 3D printing.
Where to buy the Mycusini chocolate 3D printer?
The Mycusini chocolate 3D printer can be purchased from the following websites:
The Mycusini Chocolate 3D Printer was provided free of charge by Mycusini for the purpose of this review and all opinions are my own. Nobody reviewed the article before it was posted, following the Review Guidelines.
Liked it?
|
|


