TRONXY CRUX 1 Review
It’s no secret that I love small 3D printers, so I was very interested in reviewing the TRONXY CRUX 1 because it seems to be a great alternative to the popular Kingroon KP3S V3 which is one of my favorite small format 3D printers.
The TRONXY CRUX 1 has similar features, with a build volume of 180x180x180mm, linear guides for X and Y axis, and a direct drive extruder. Let’s see how well it performs, and if it’s worth purchasing instead of the KP3S.
TRONXY CRUX 1 Shipping and Packaging
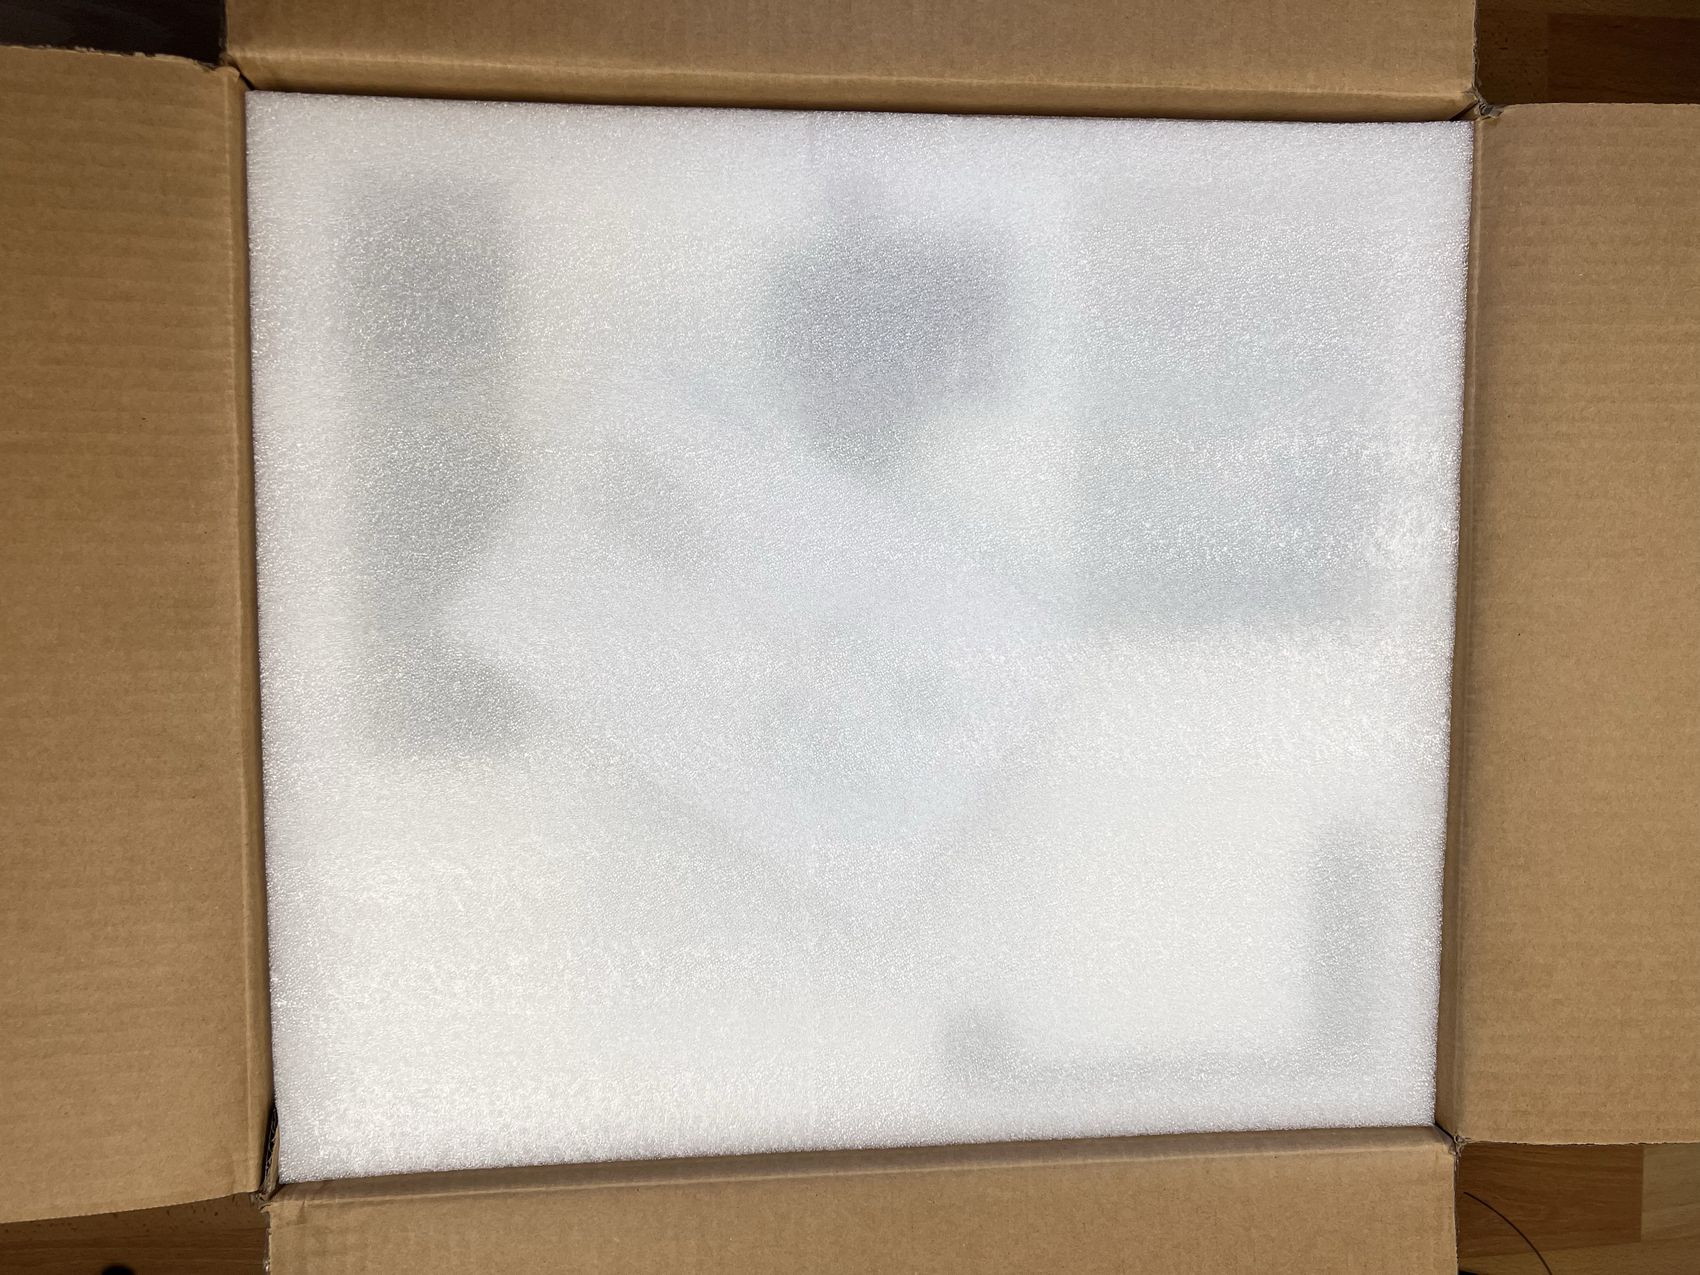
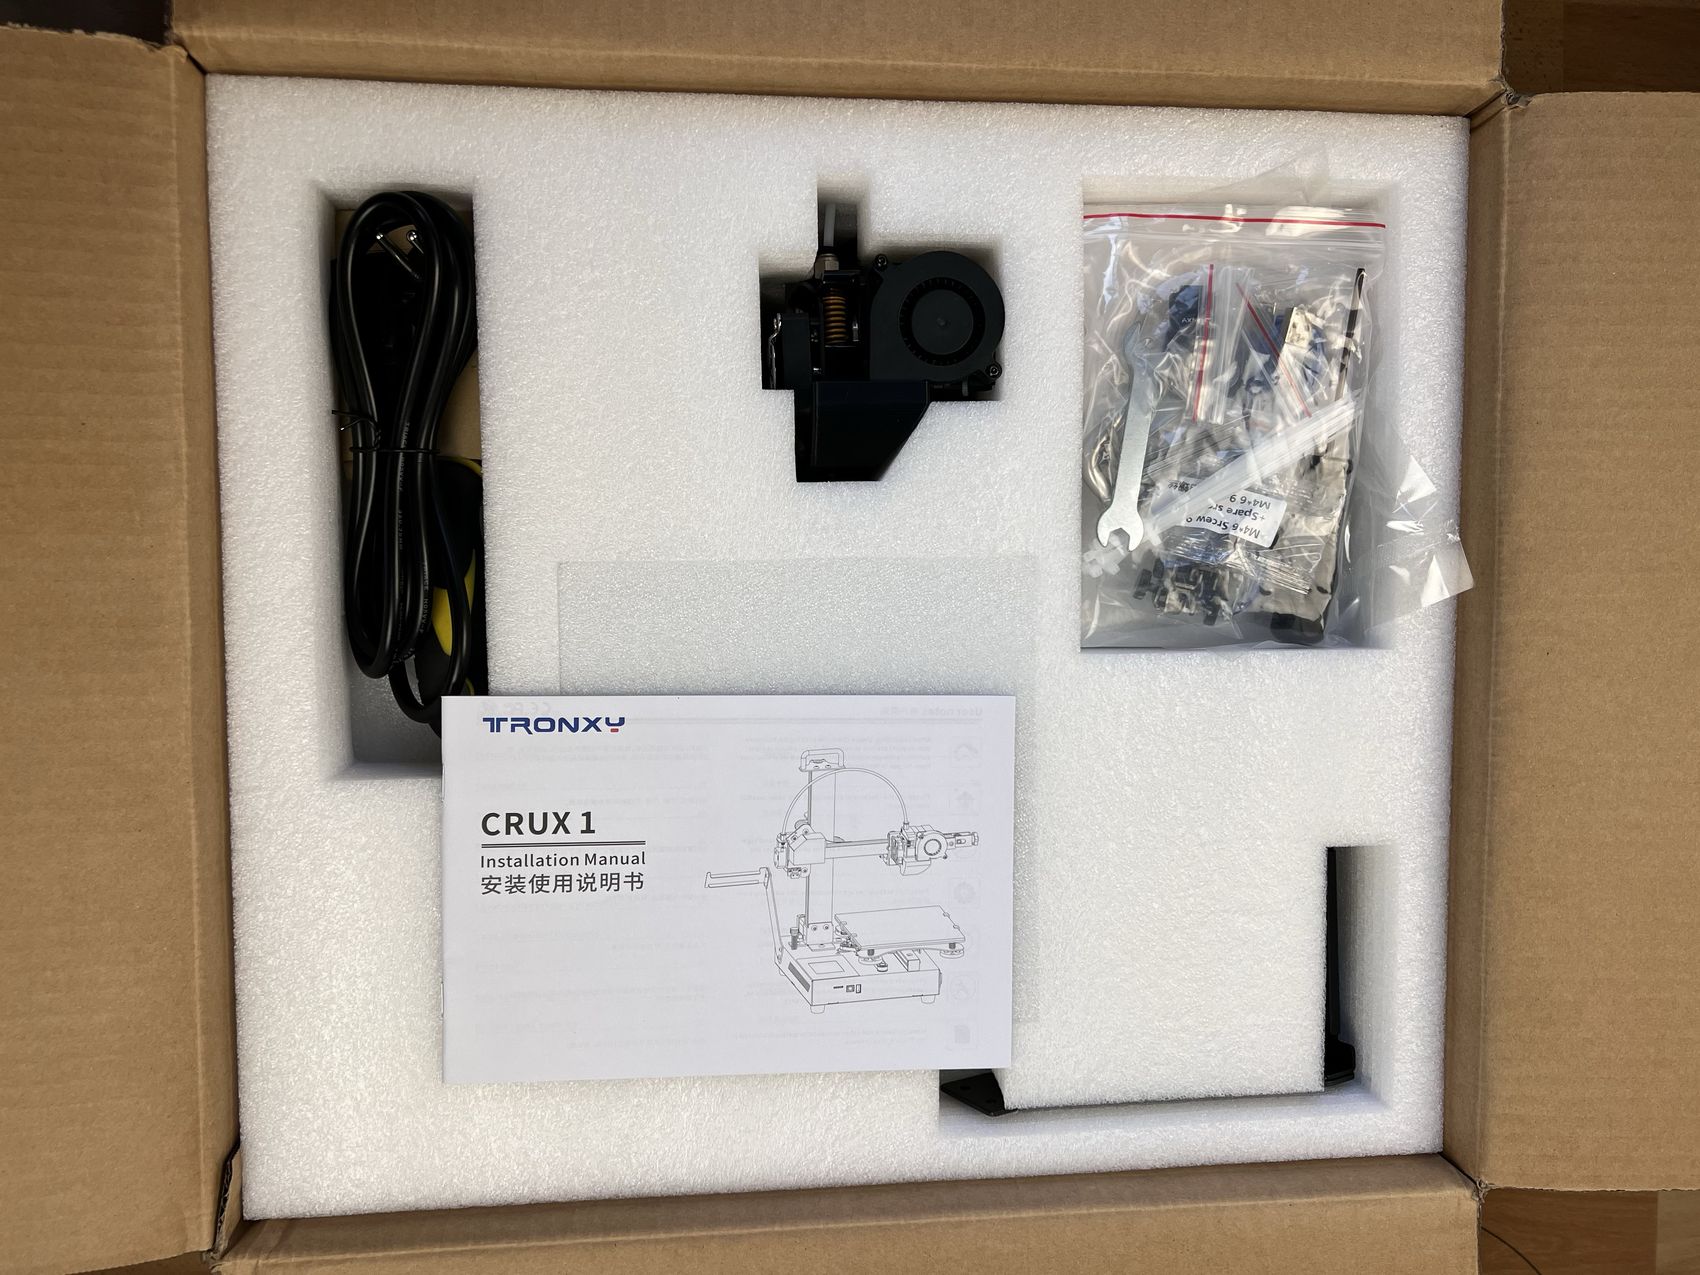
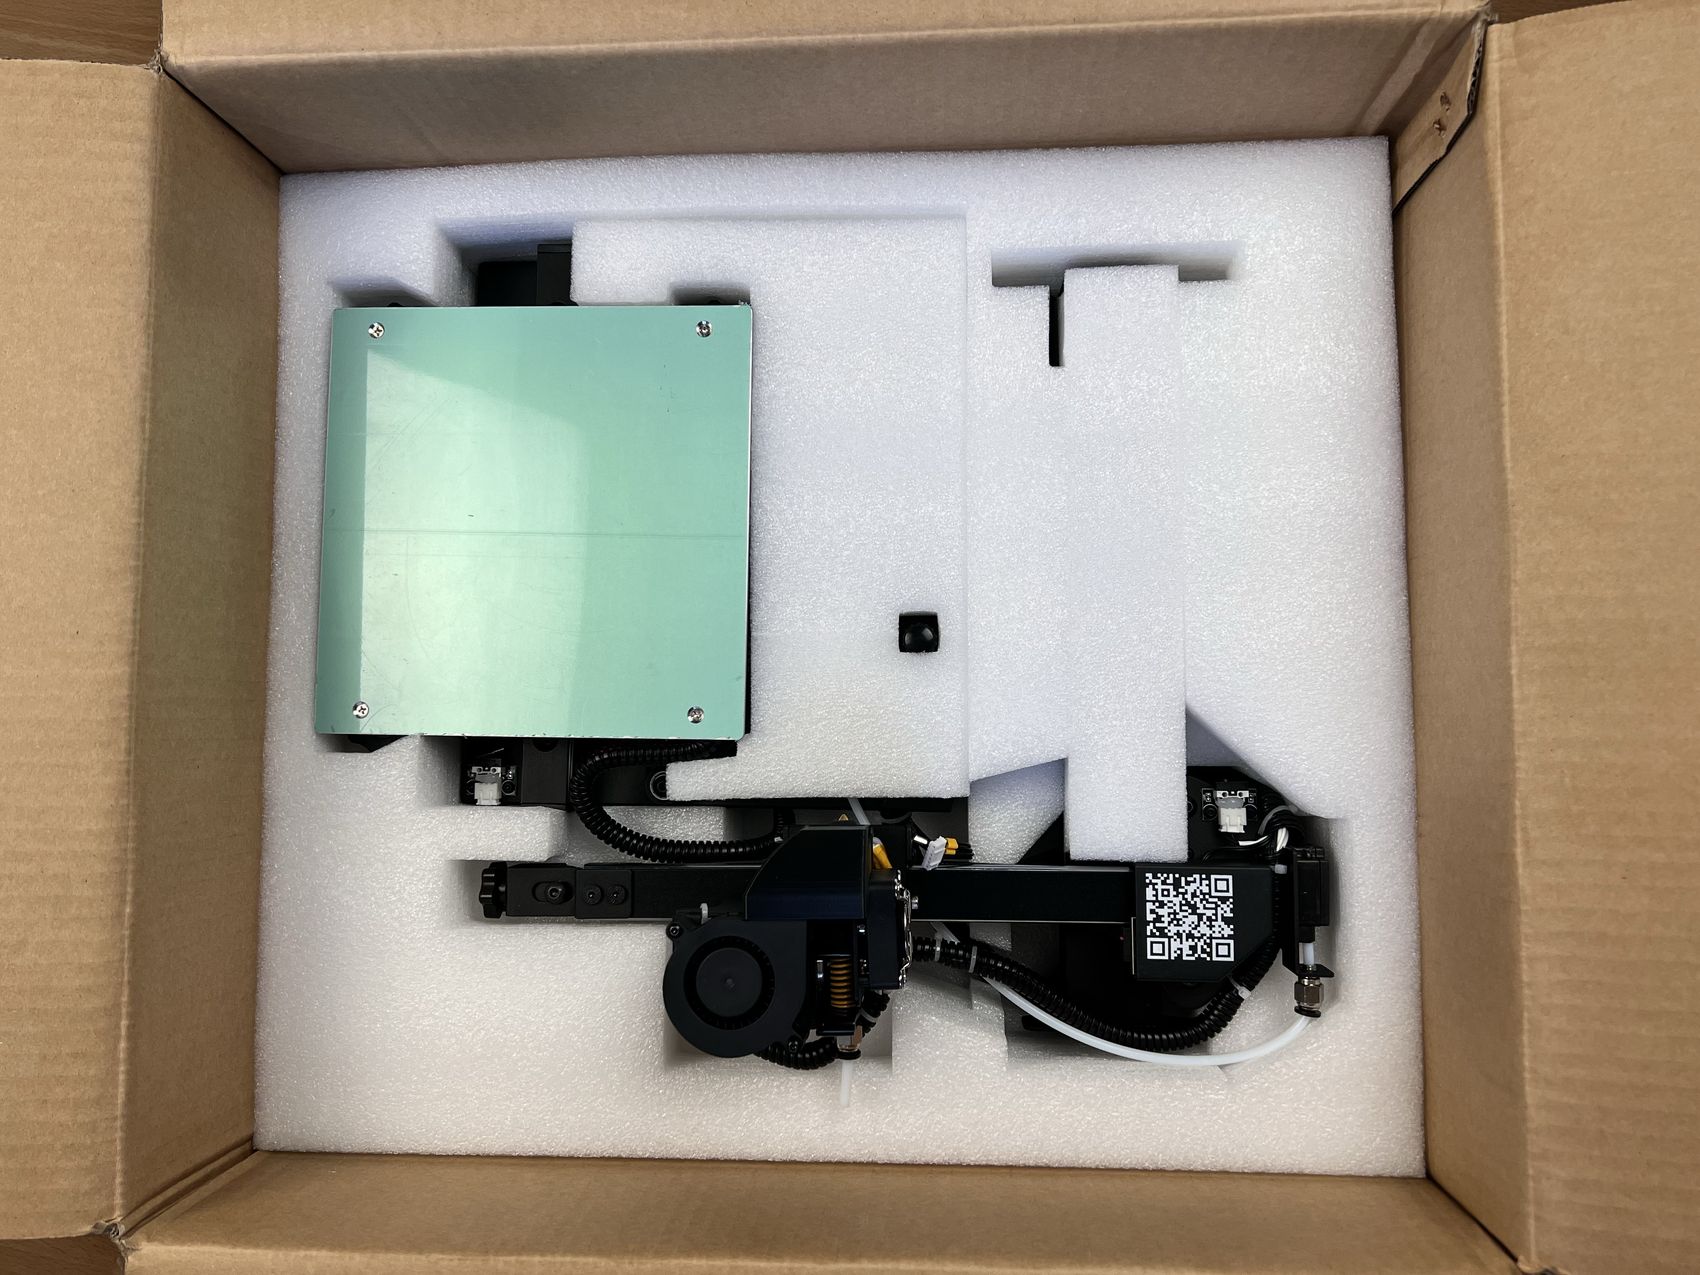
The TRONXY CRUX 1 comes in a relatively small cardboard box, with the printer surrounded by foam protection on the sides, so there shouldn’t be any problem during shipping.
Because the CRUX 1 is partially assembled, it’s super easy to put together and you only need to use five screws for attaching the gantry to the base. Then, the spool holder also needs to be attached to the top using two scores.
TRONXY CRUX 1 Design
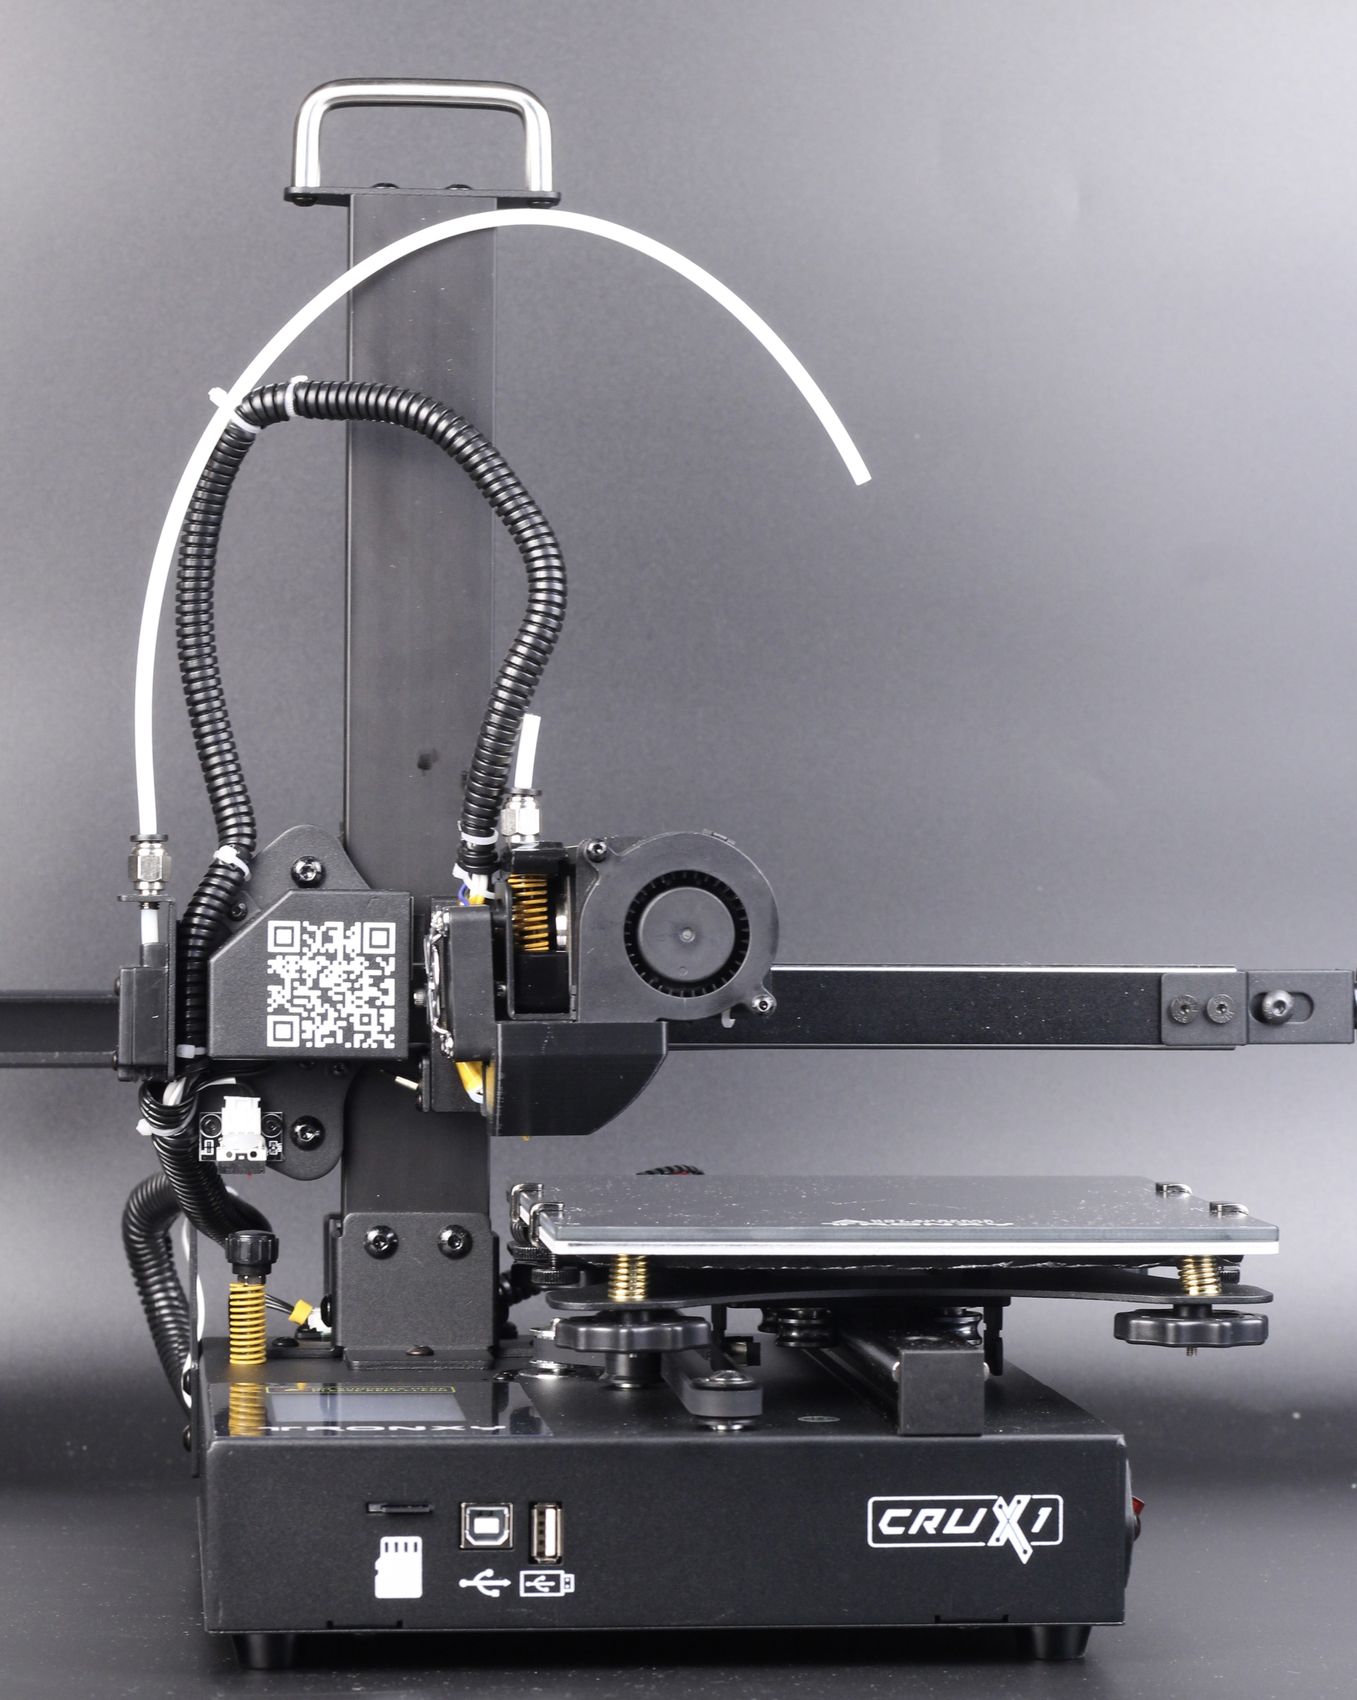
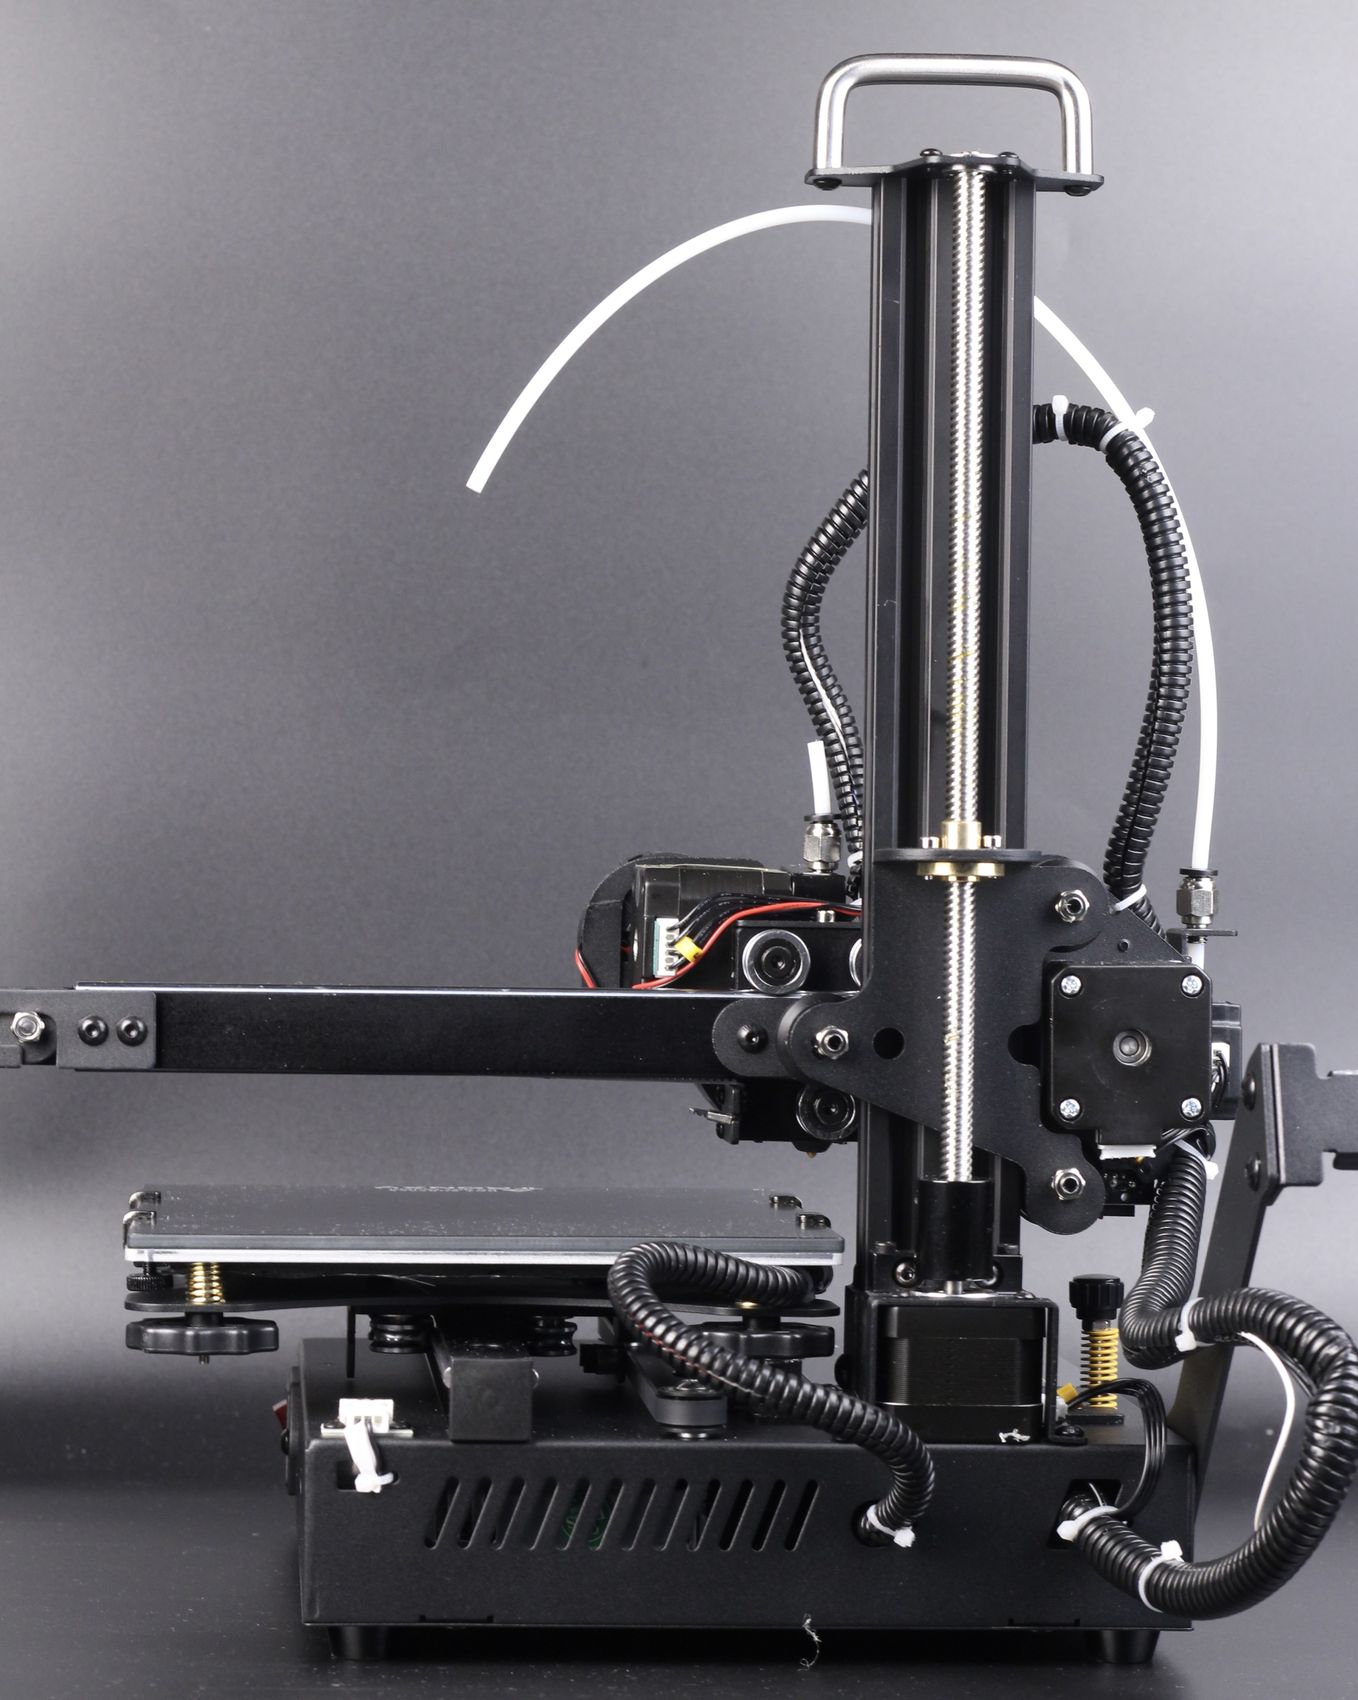
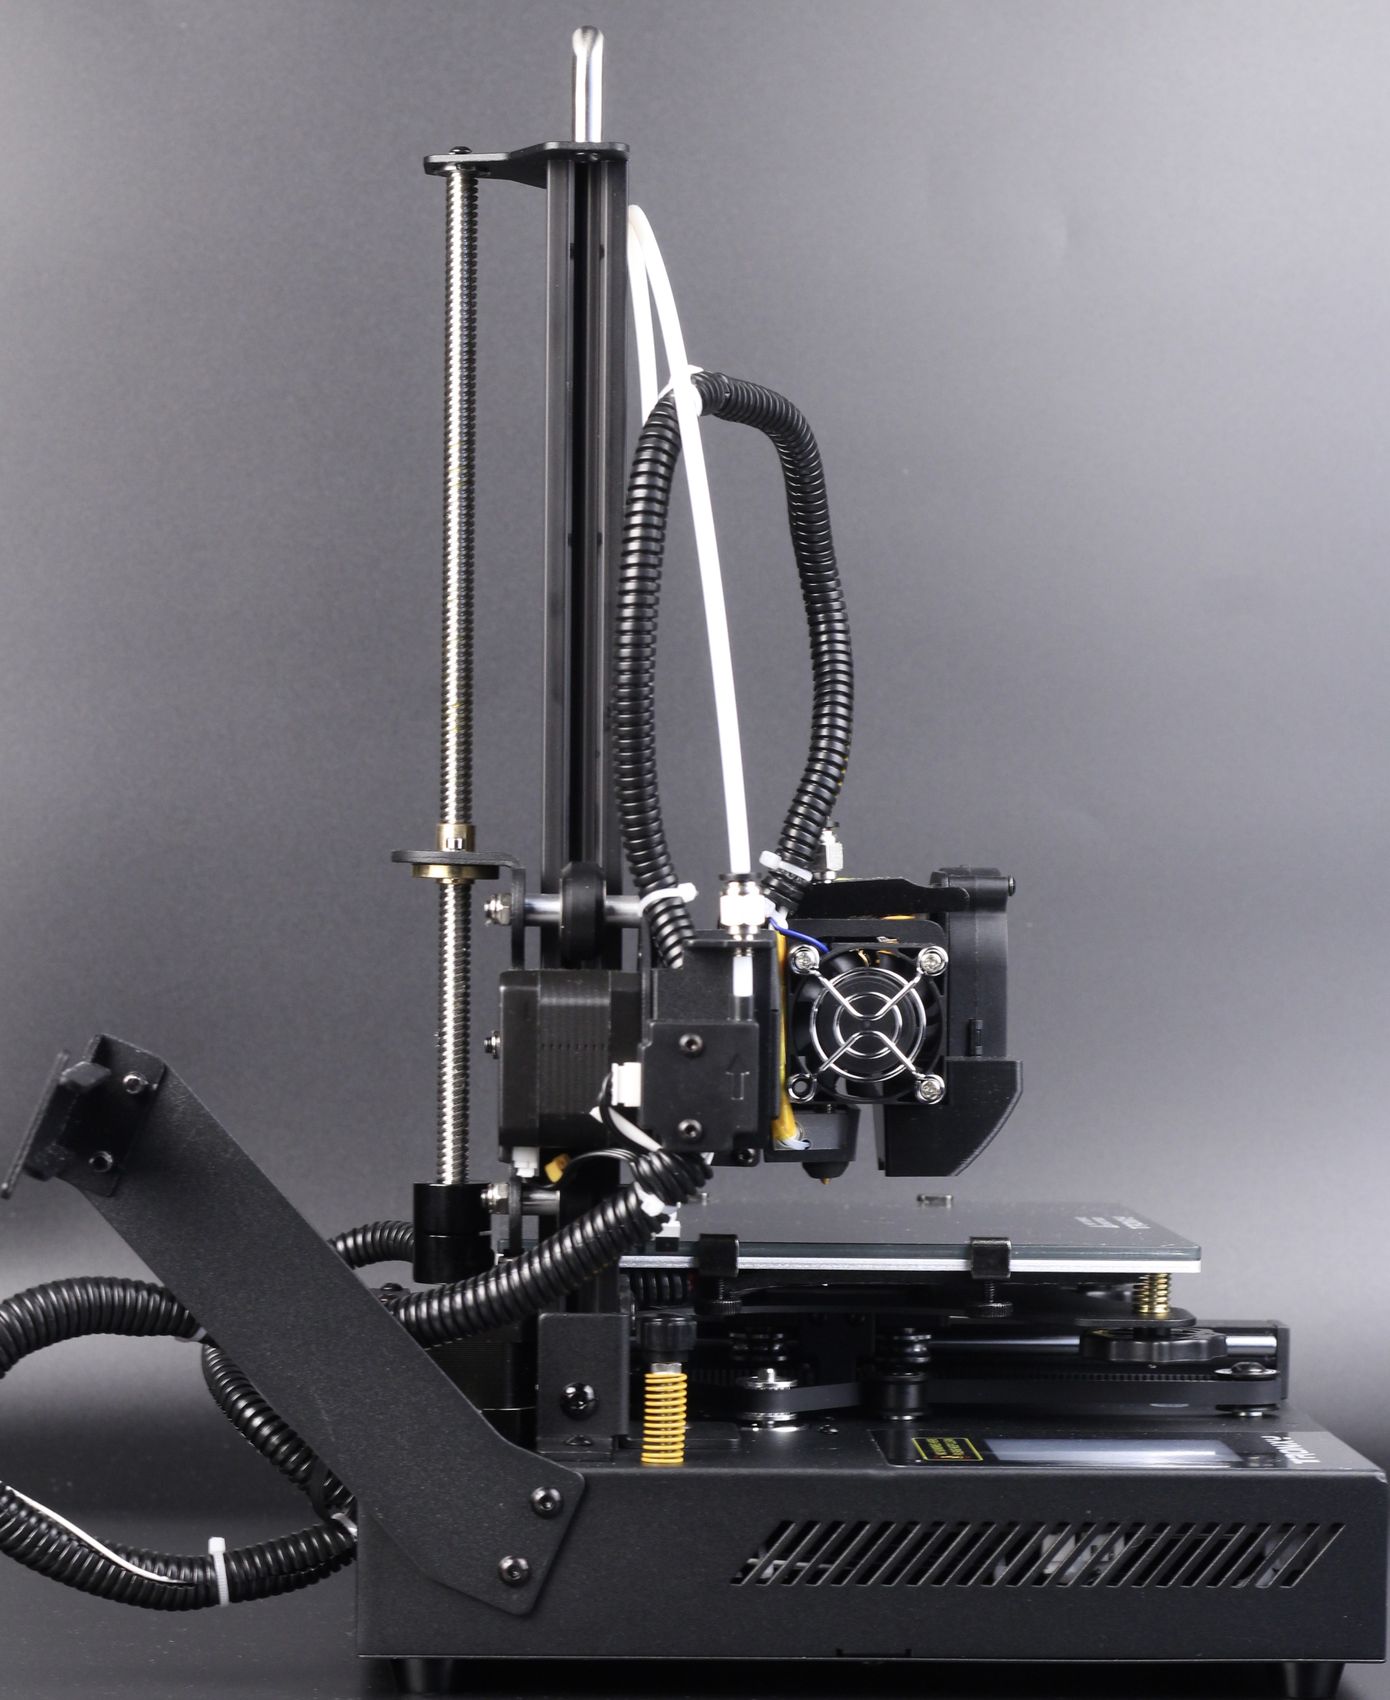
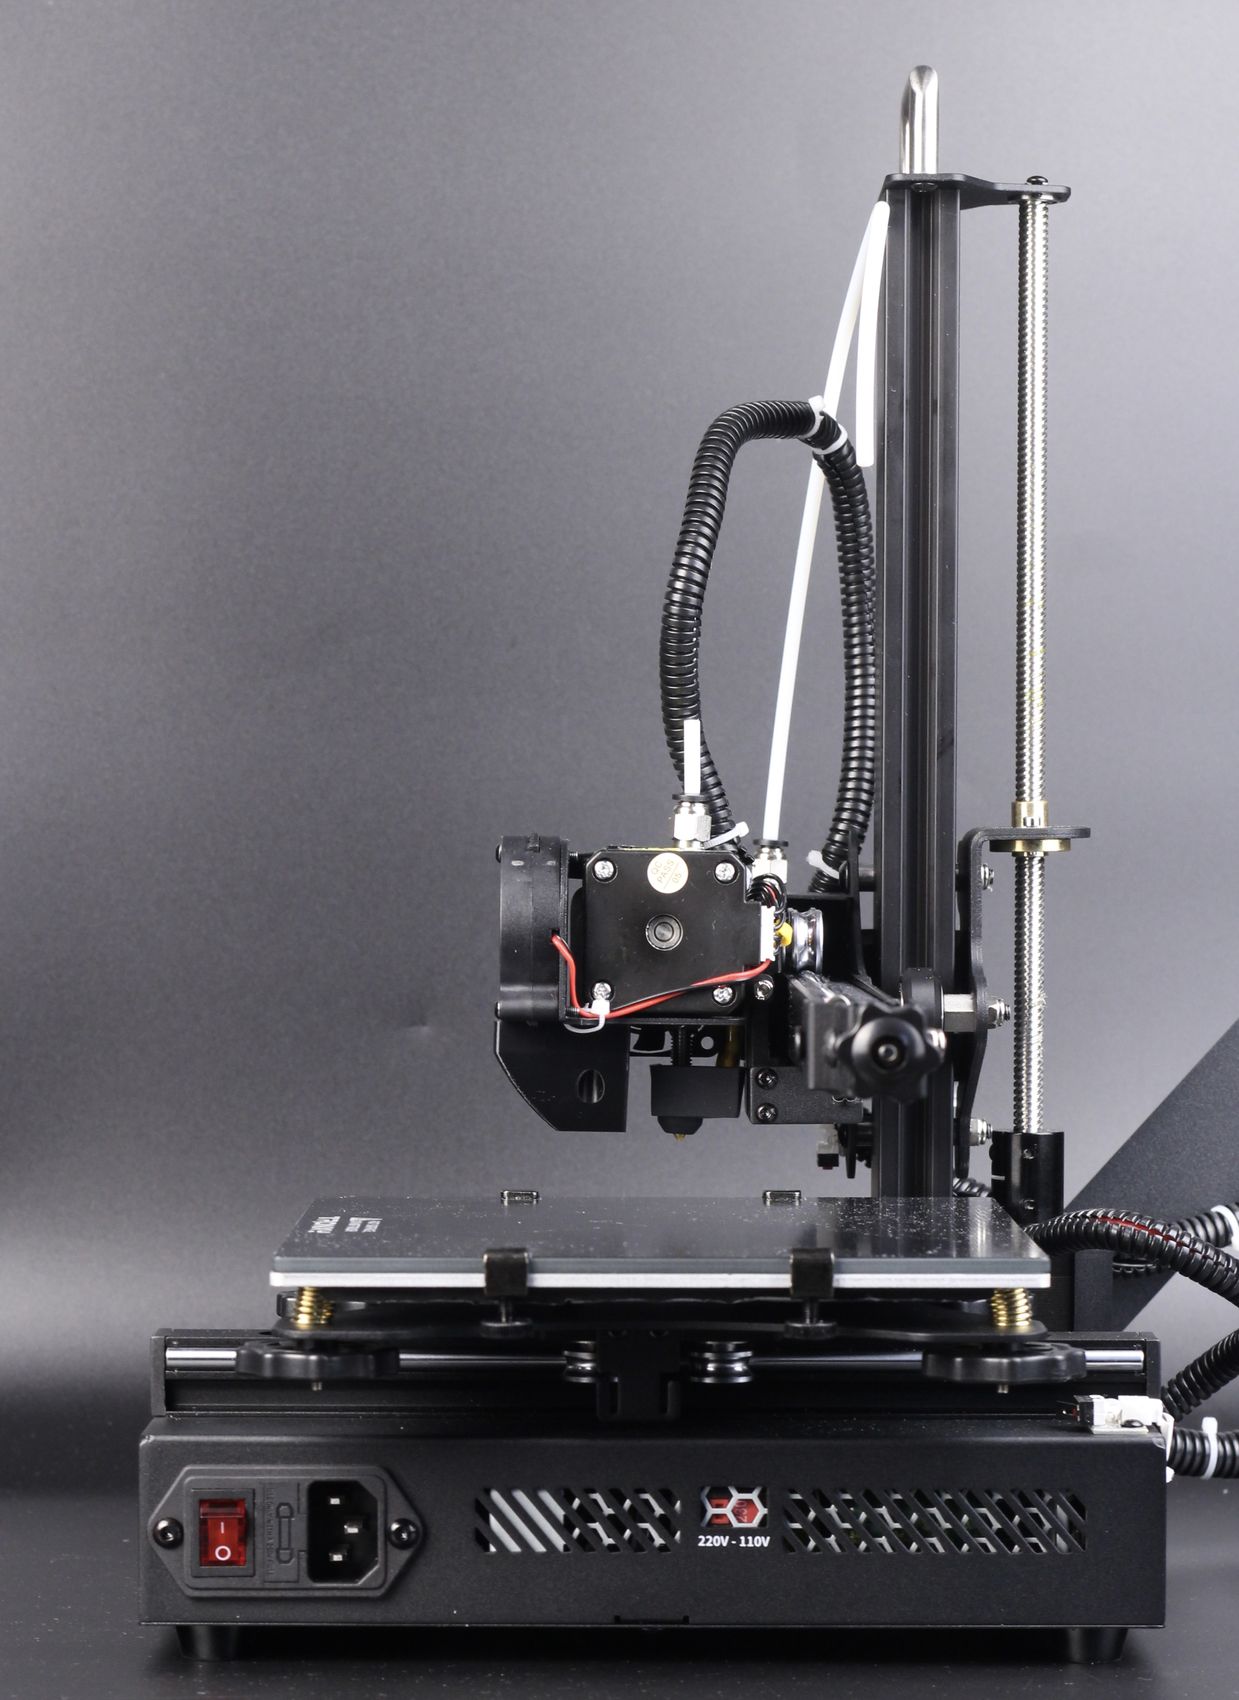
The TRONXY CRUX 1 design is quite similar to other cantilever small form-factor 3D printers but it also has some nice additions that make it better. I like the handle on top, the integrated power supply, and the spool holder on the side.
TRONXY CRUX 1 Specs
| Model Number | CRUX 1 |
| Build Size | 180*180*180mm(7.08*7.08*7.08 inch) |
| Technology | FDM |
| Nozzle Quantity | 1 |
| Nozzle Diameter | 0.4mm |
| Print Precision | 0.1-0.3mm |
| Filament Diameter | 1.75mm |
| Instrument material | Aluminum profile, sheet metal |
| Applicable Filament | PLA/WOOD/TPU/PETG/ABS |
| Nozzle Temperature | ≤275℃ |
| Hotbed Temperature | ≤110℃ |
| Print Speed | 20mm-150mm/s(Suggest 60mm/s) |
| Connection | USB Cable/SD Card |
| Supported File Types | STL/Obj/Gcode |
| Slicing Software | Cura/Simplify3D |
| Screen Language | CN/DE/EN/RU/JP/FR/SP |
| Machine Power | 240W |
| Input Voltage | 110v-220v |
| Power Supply | 24V 10A |
| Resume printing after a power | Yes |
| Net Weight | 5.8kg |
| Machine Size | 462*246*410mm(18.18*9.68*16.14 inch) |
| Packing Size | 425*415*155mm(16.73*16.34*6.1 inch) |
| Gross Weight | 7kg |
180x180x180mm Print Volume
The TRONXY CRUX 1 has a print volume of 180x180x180, but that’s partially blocked by the metallic holders for the glass bed.
On the left side of the machine, we also have a handy little knob used to manually adjust the Z offset. After you correctly set it up, it remains consistent and I didn’t have any issues with changing the offset during my time with the printer.
Direct Drive Extruder
While the TRONXY CRUX 1 comes with a direct drive extruder, I can’t say is a great one, but it does the job. It’s a single gear extruder similar to what you would get with some Creality printers with a regular-size stepper motor.
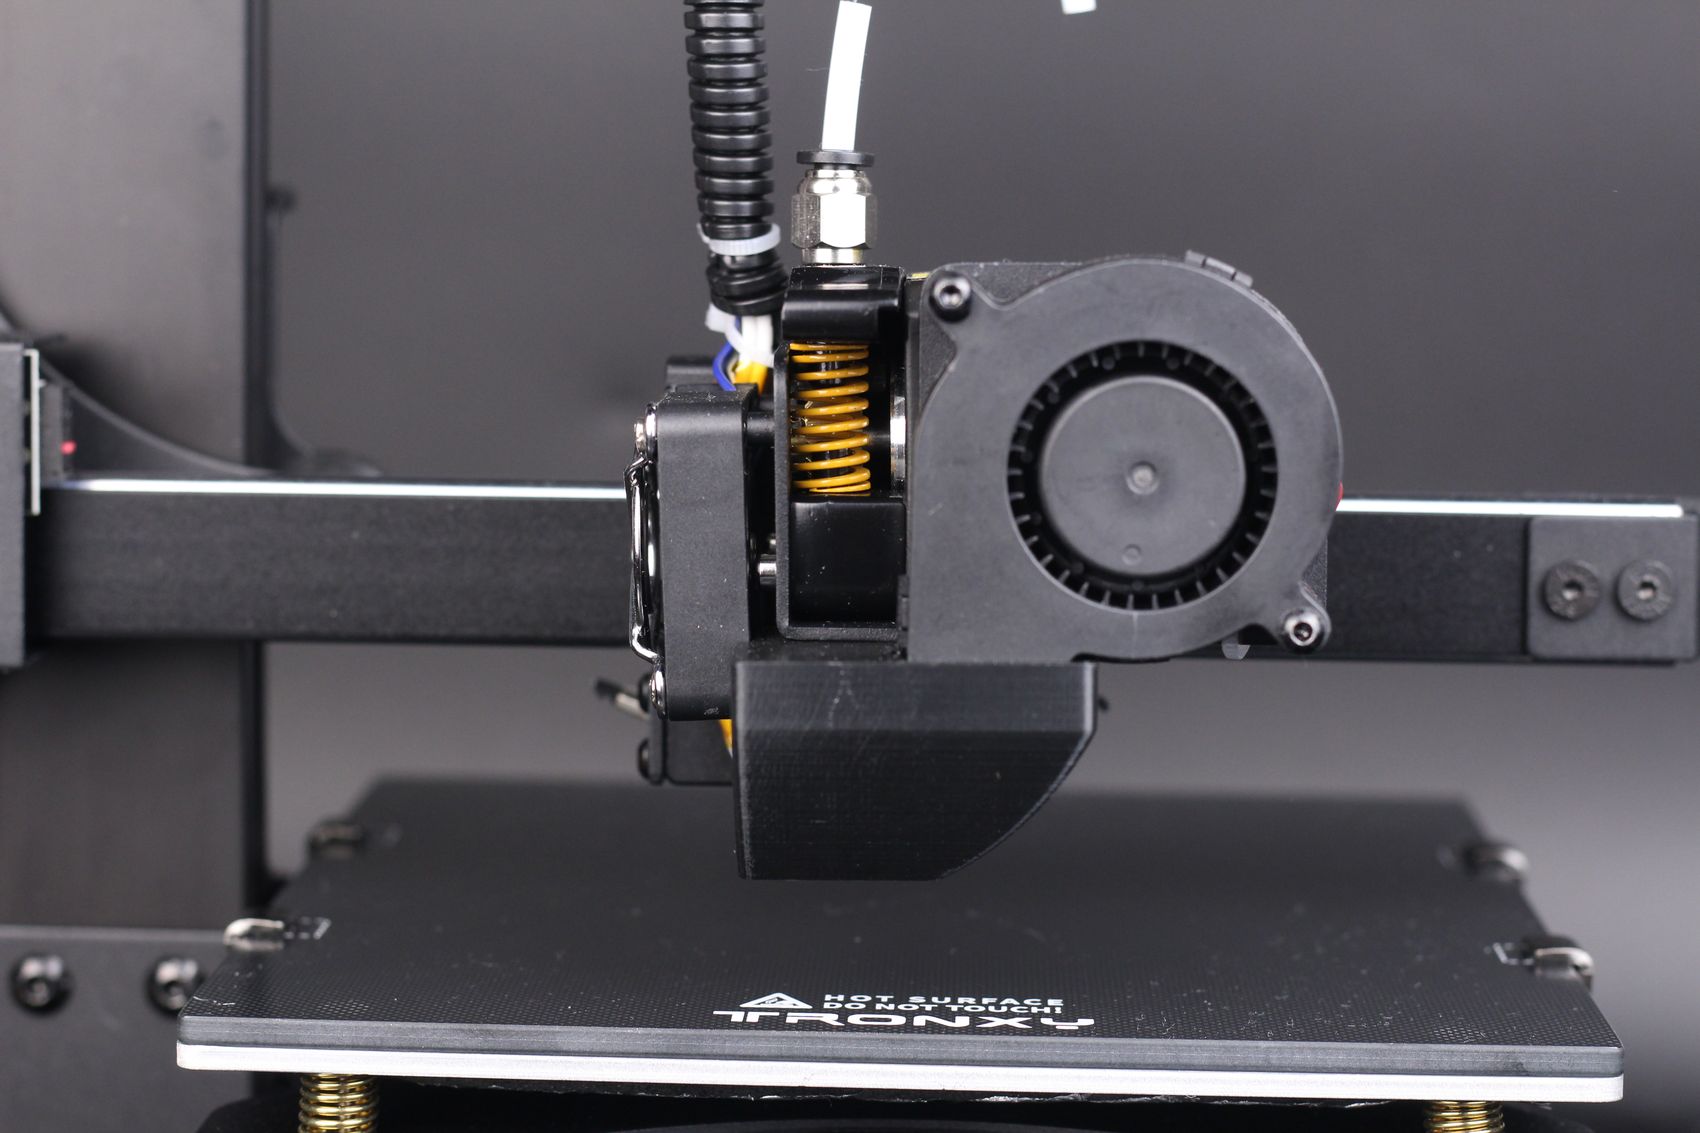
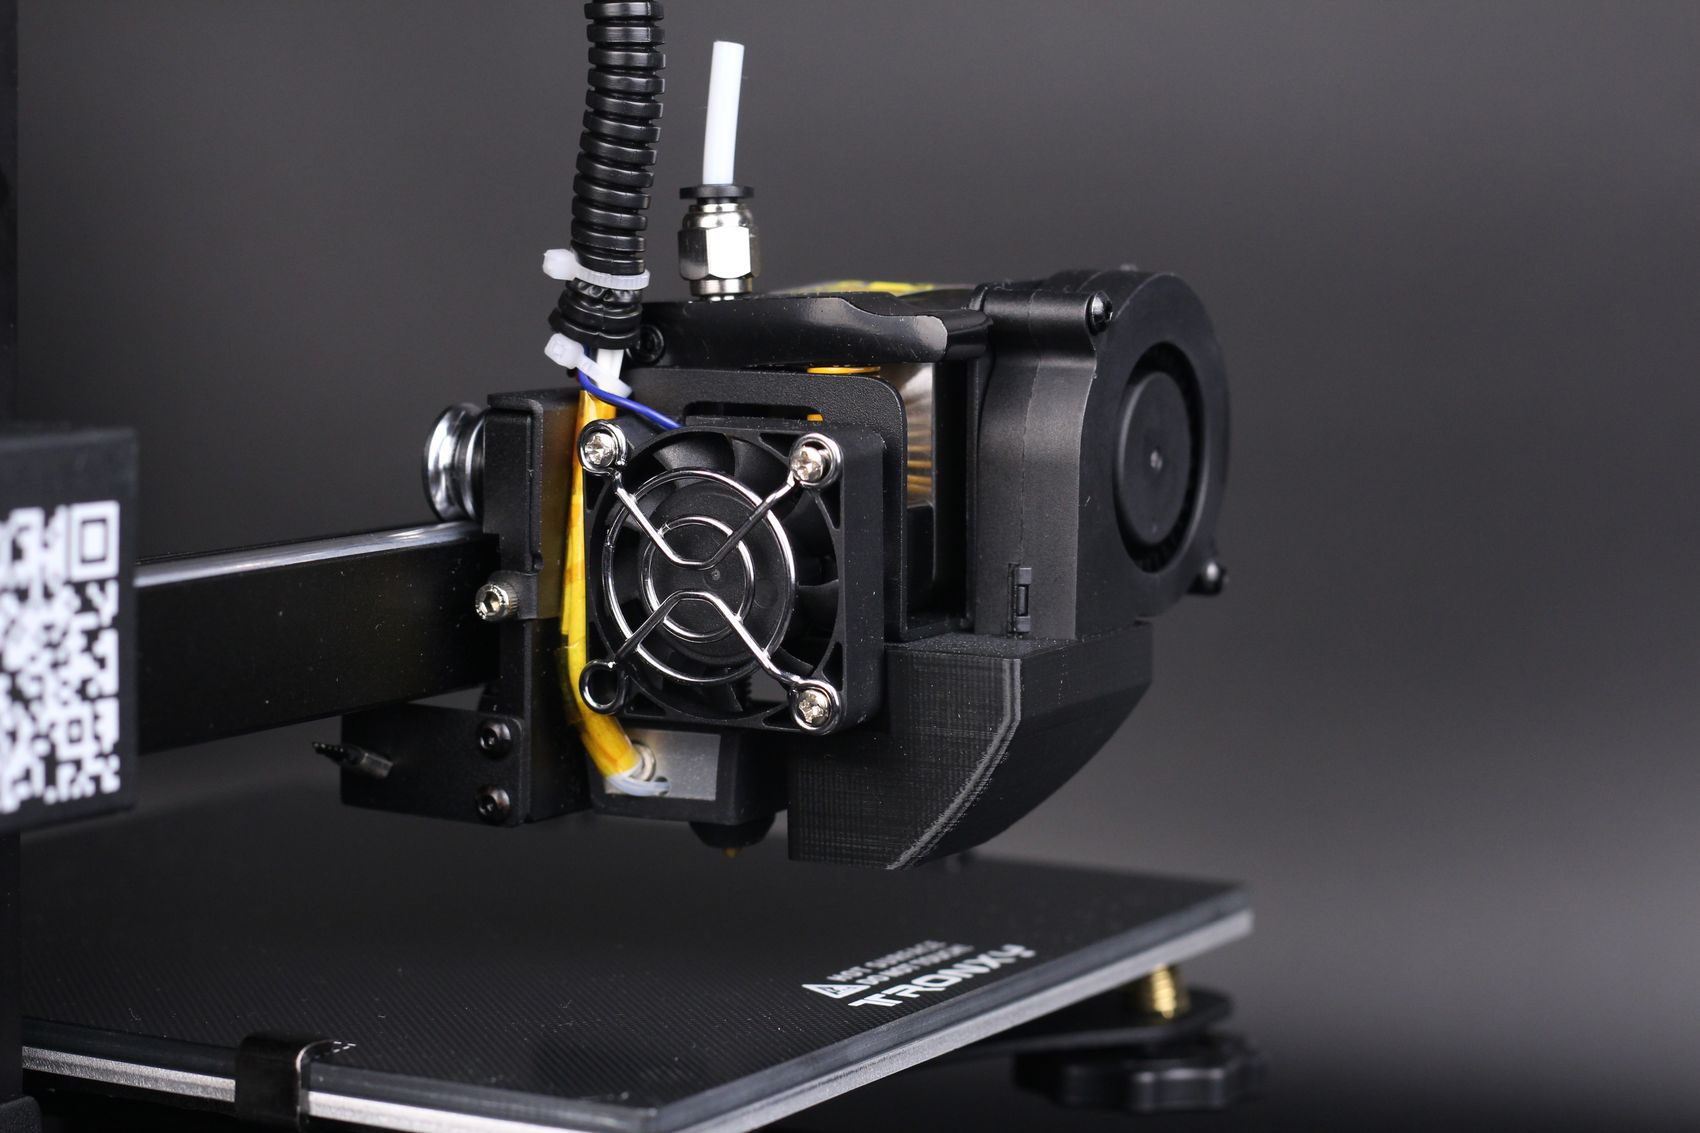
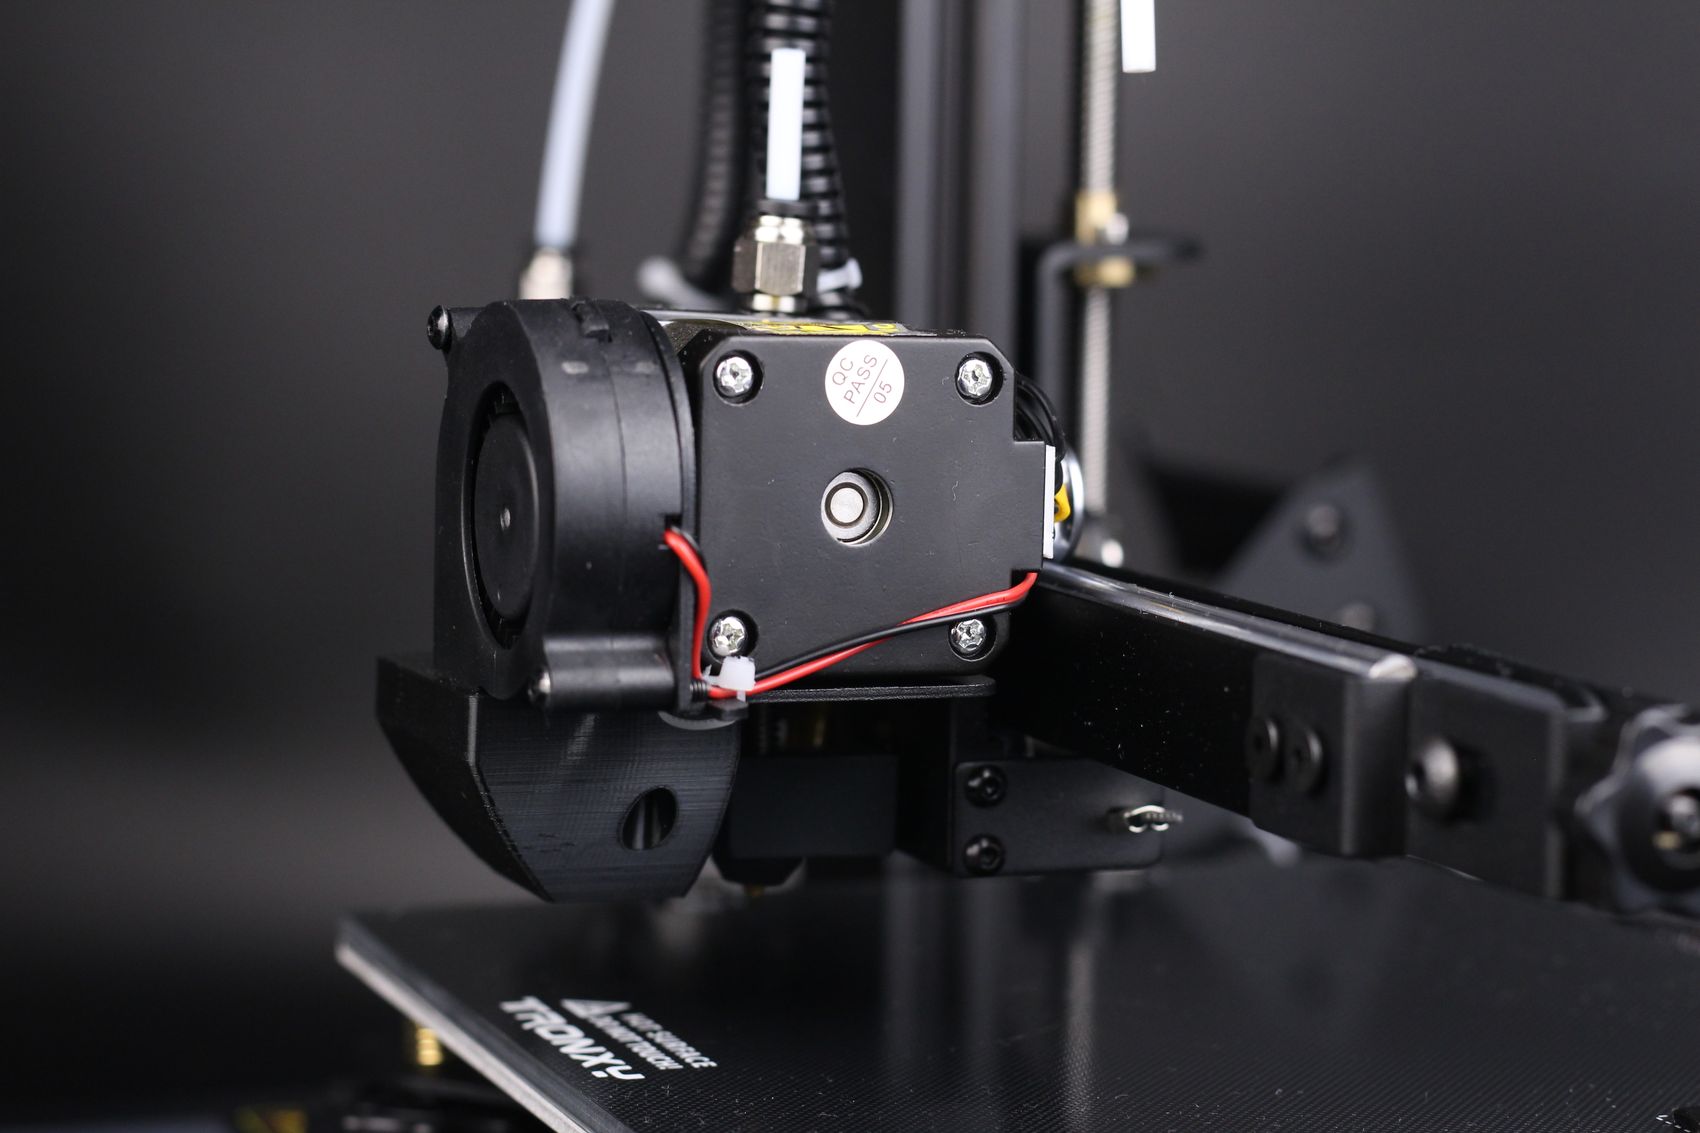
This extruder and the hotend setup remind me of the ANET A8 direct drive setup, which was not great or terrible but there are other extruders out there with more precision that use smaller stepper motors.
I like that we get a 5015 radial fan with a good part cooling duct that manages to provide adequate layer cooling during printing.
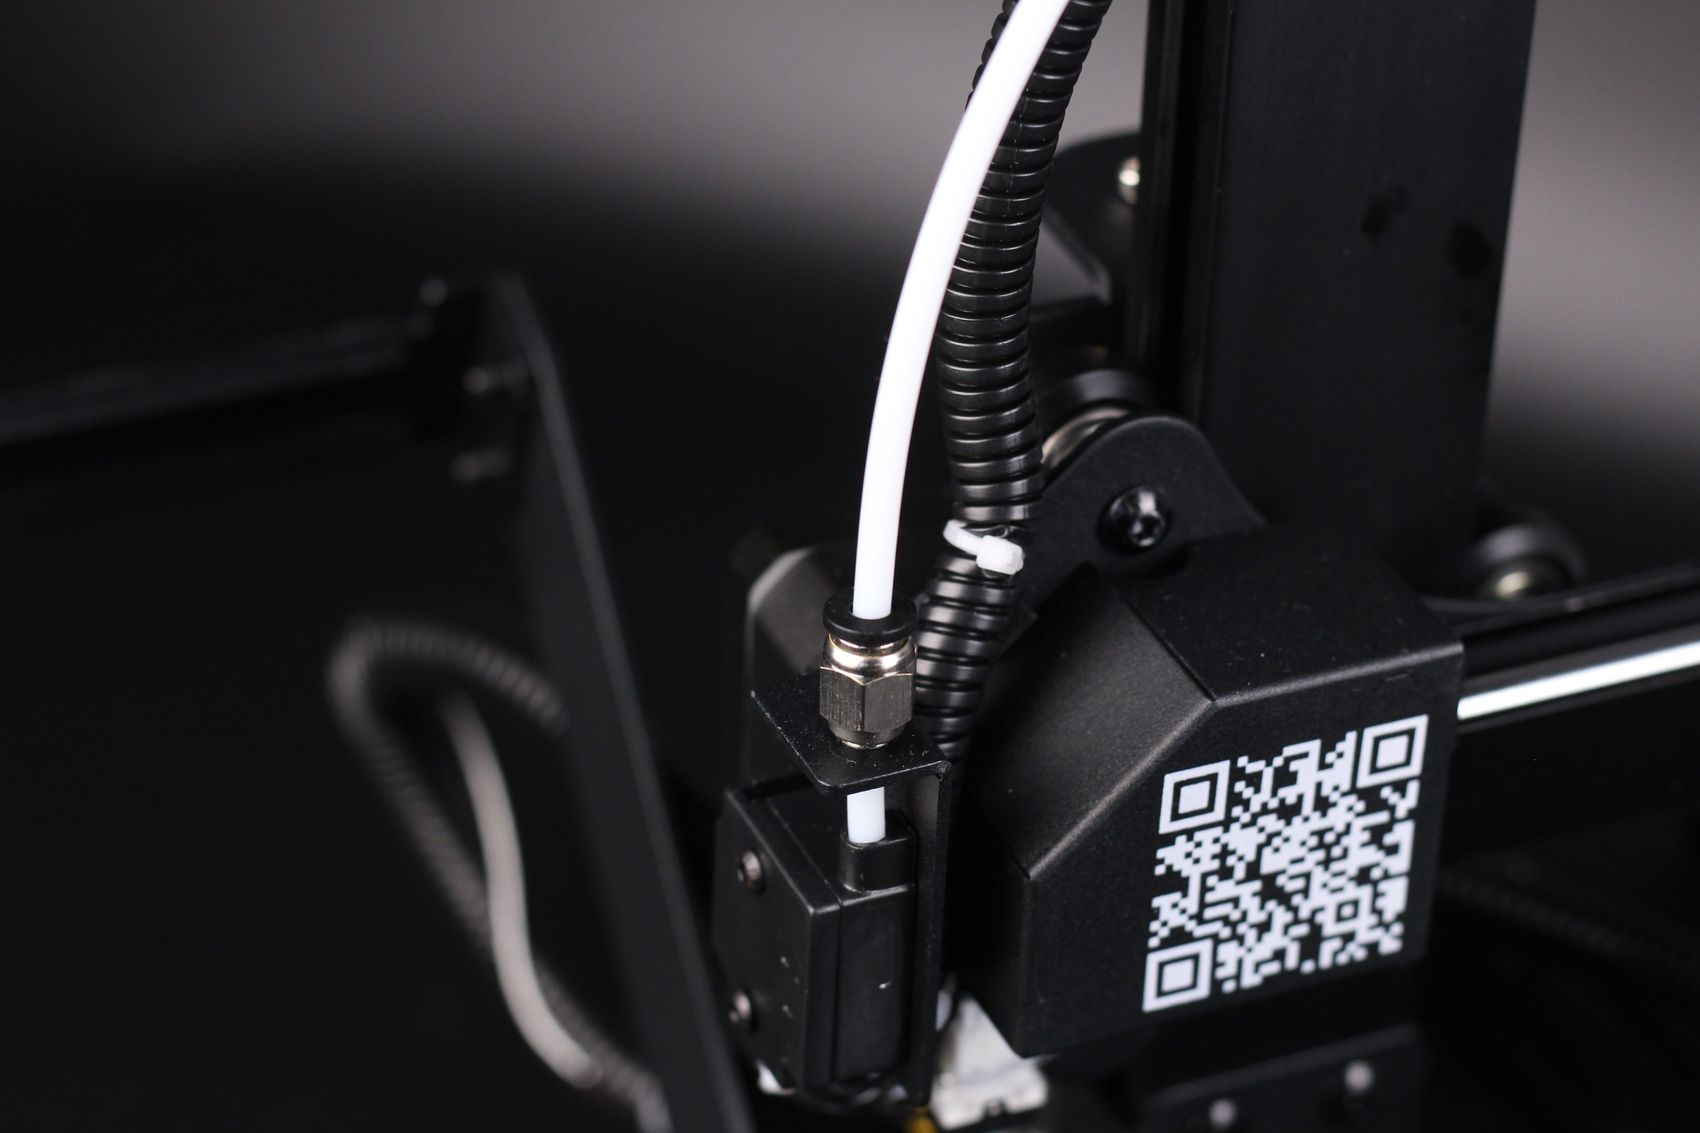
On the left side, there’s the spool holder and a filament sensor in front of a PFTE tube that is set up in a remote bowden setup for feeding the filament to the extruder, keeping things looking clean.
PTFE Lined Hotend
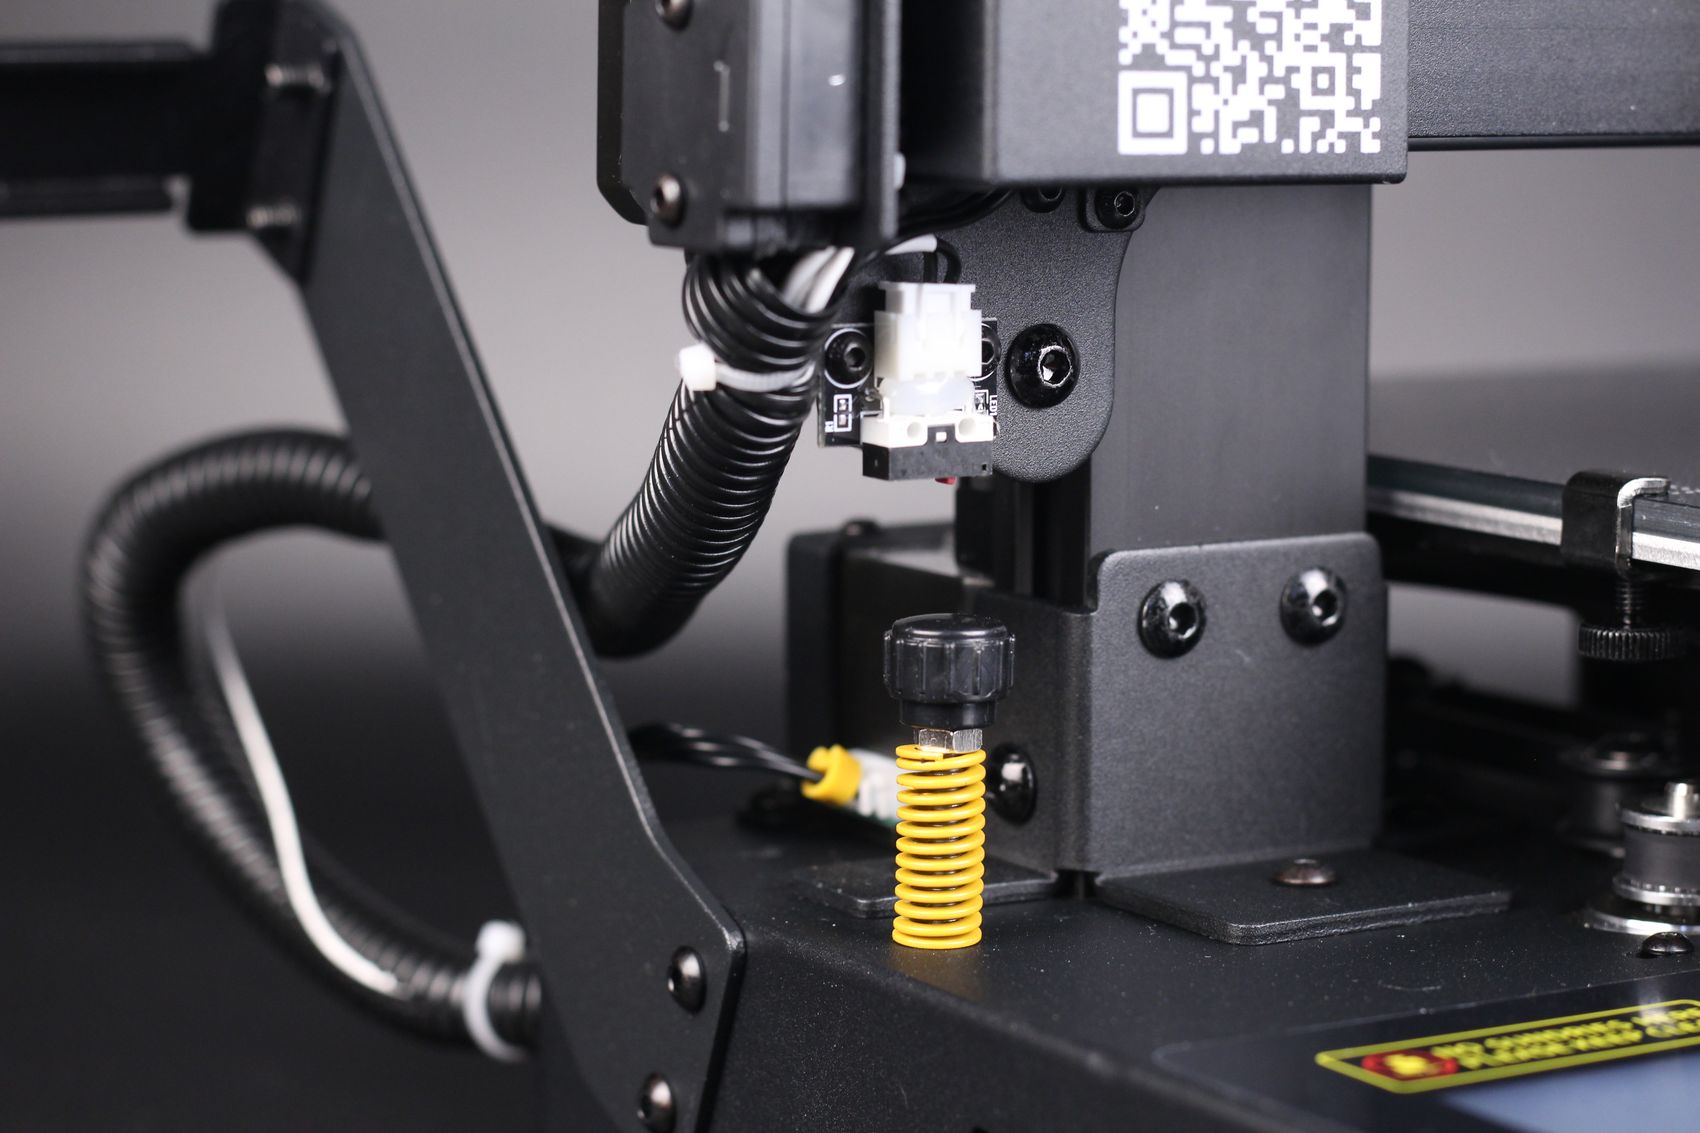
As previously mentioned, the entire print head of the TRONXY CRUX 1 reminds me of the ANET A8 direct drive extruder, as it uses a similar setup for the hotend, heartbreak, and cooling. The CRUX 1 is one of the last printers to have an MK8 PTFE lined heat break held in place by a simple nut.
The good news is that you could replace it with a Copperhead MK8 bi-metal heat break from Slice Engineering, but the bad news is that you might not want to do that, as replacing the extruder would probably give you slightly better results.
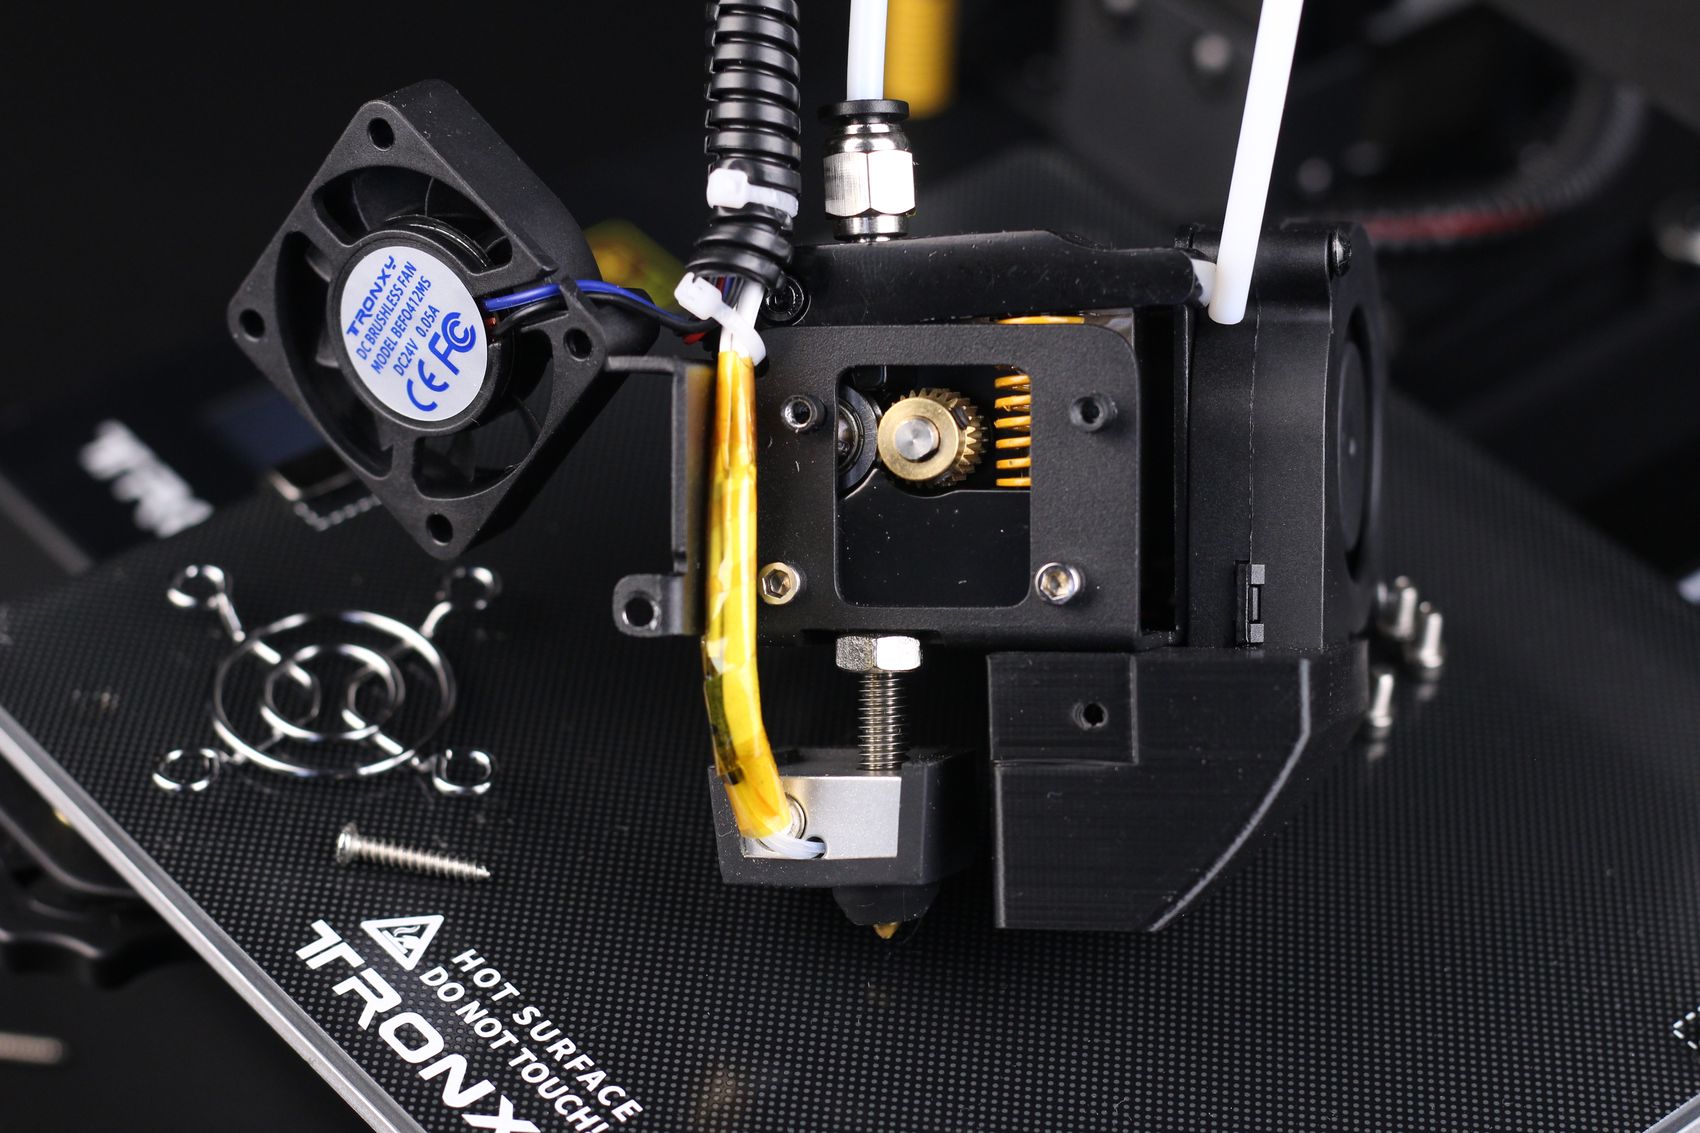
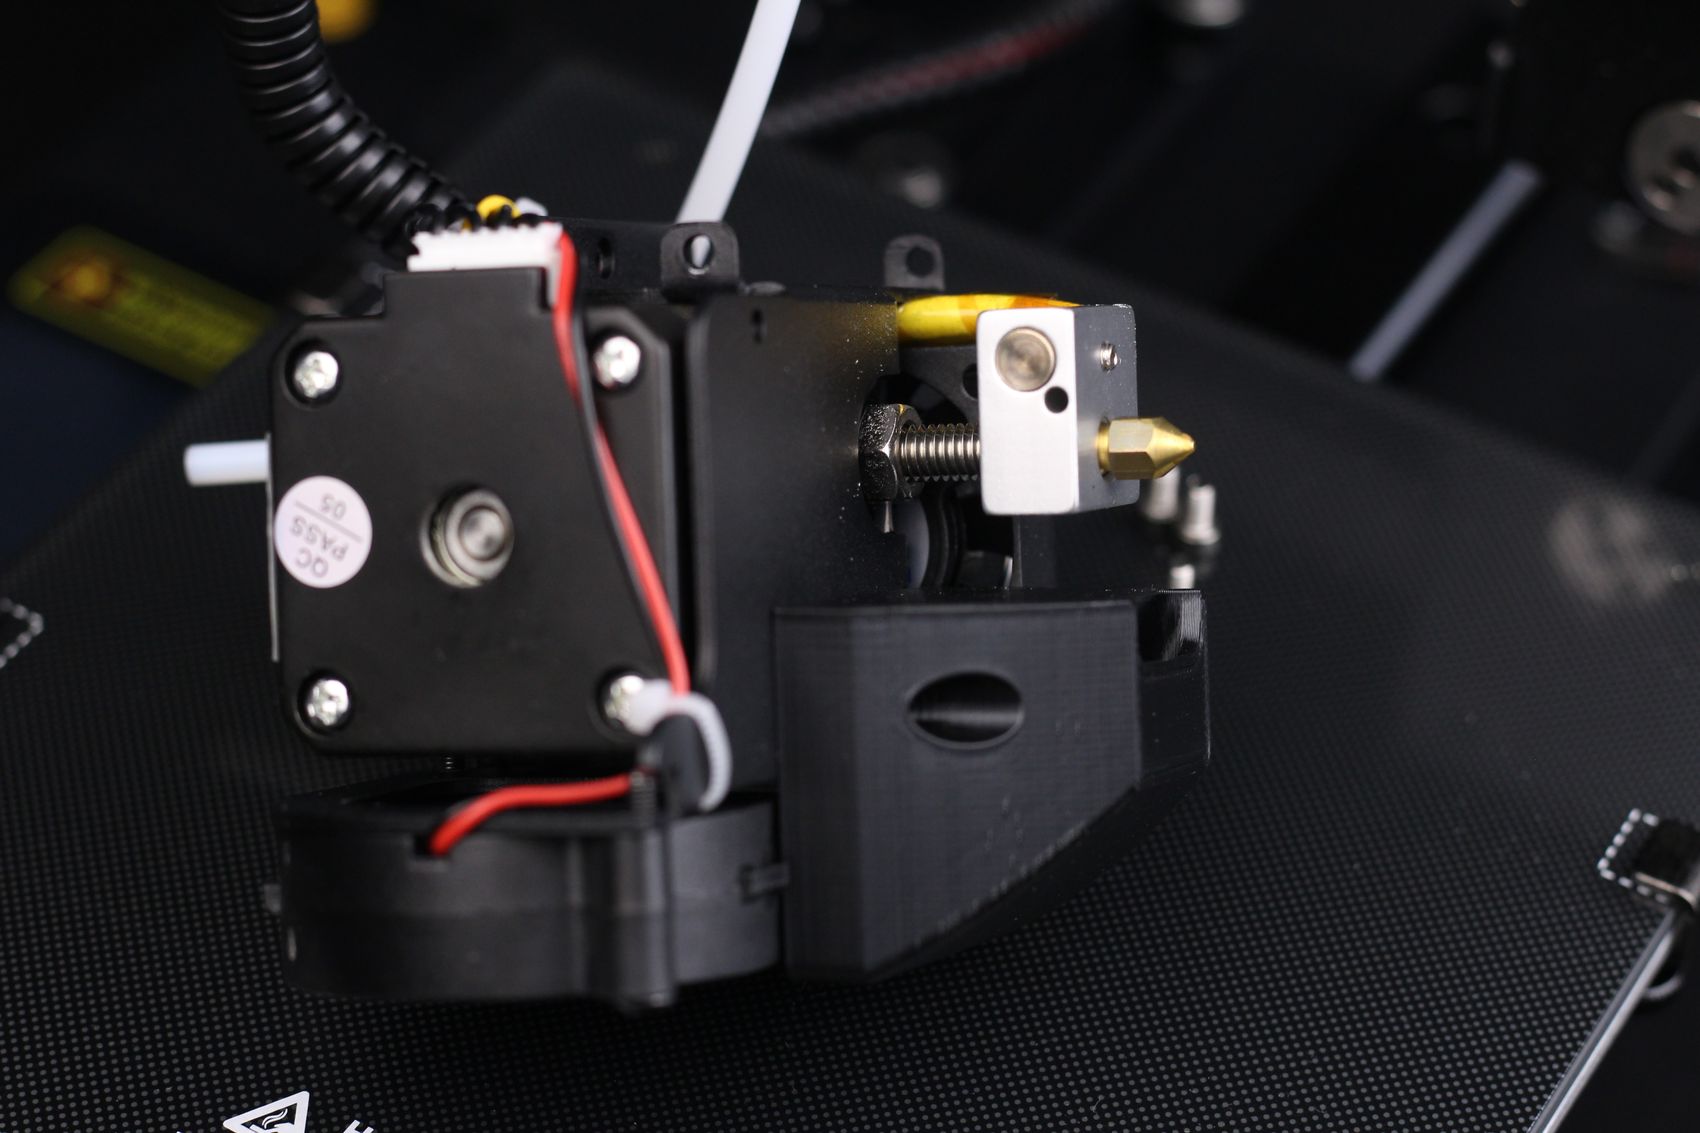
For this type of heat break, you won’t be able to print for longer periods of time over 240C as the PTFE tube inside will start to degrade and release harmful fumes. Besides that, there’s a large section of the heat break which is not in contact with the metal of the extruder meaning that the temperature transition zone is not as sharp as you would want it to be for best results.
When compared to the KP3S from Kingroon, it’s clear that it has a better Direct Drive setup compared to the CRUX, considering that it uses Titan Extruder clone with a 3:1 gear ratio.
Still, the CRUX 1 manages to provide good print results even with this extruder, as the extruder steps are correctly calibrated which is nice. The only annoying thing is the stringing problem present on most prints I did which are probably caused by the lack of proper cooling for the heat break.
Linear Guides for X and Y axis
I first used this type of linear guides on the FLSUN V400, and it’s nice to see a similar setup on the TRONXY CRUX 1. Having these linear guides should allow the printer to move faster on the X and Y axis without worrying if the wheels are correctly tightened like in the case of V-slot wheels.
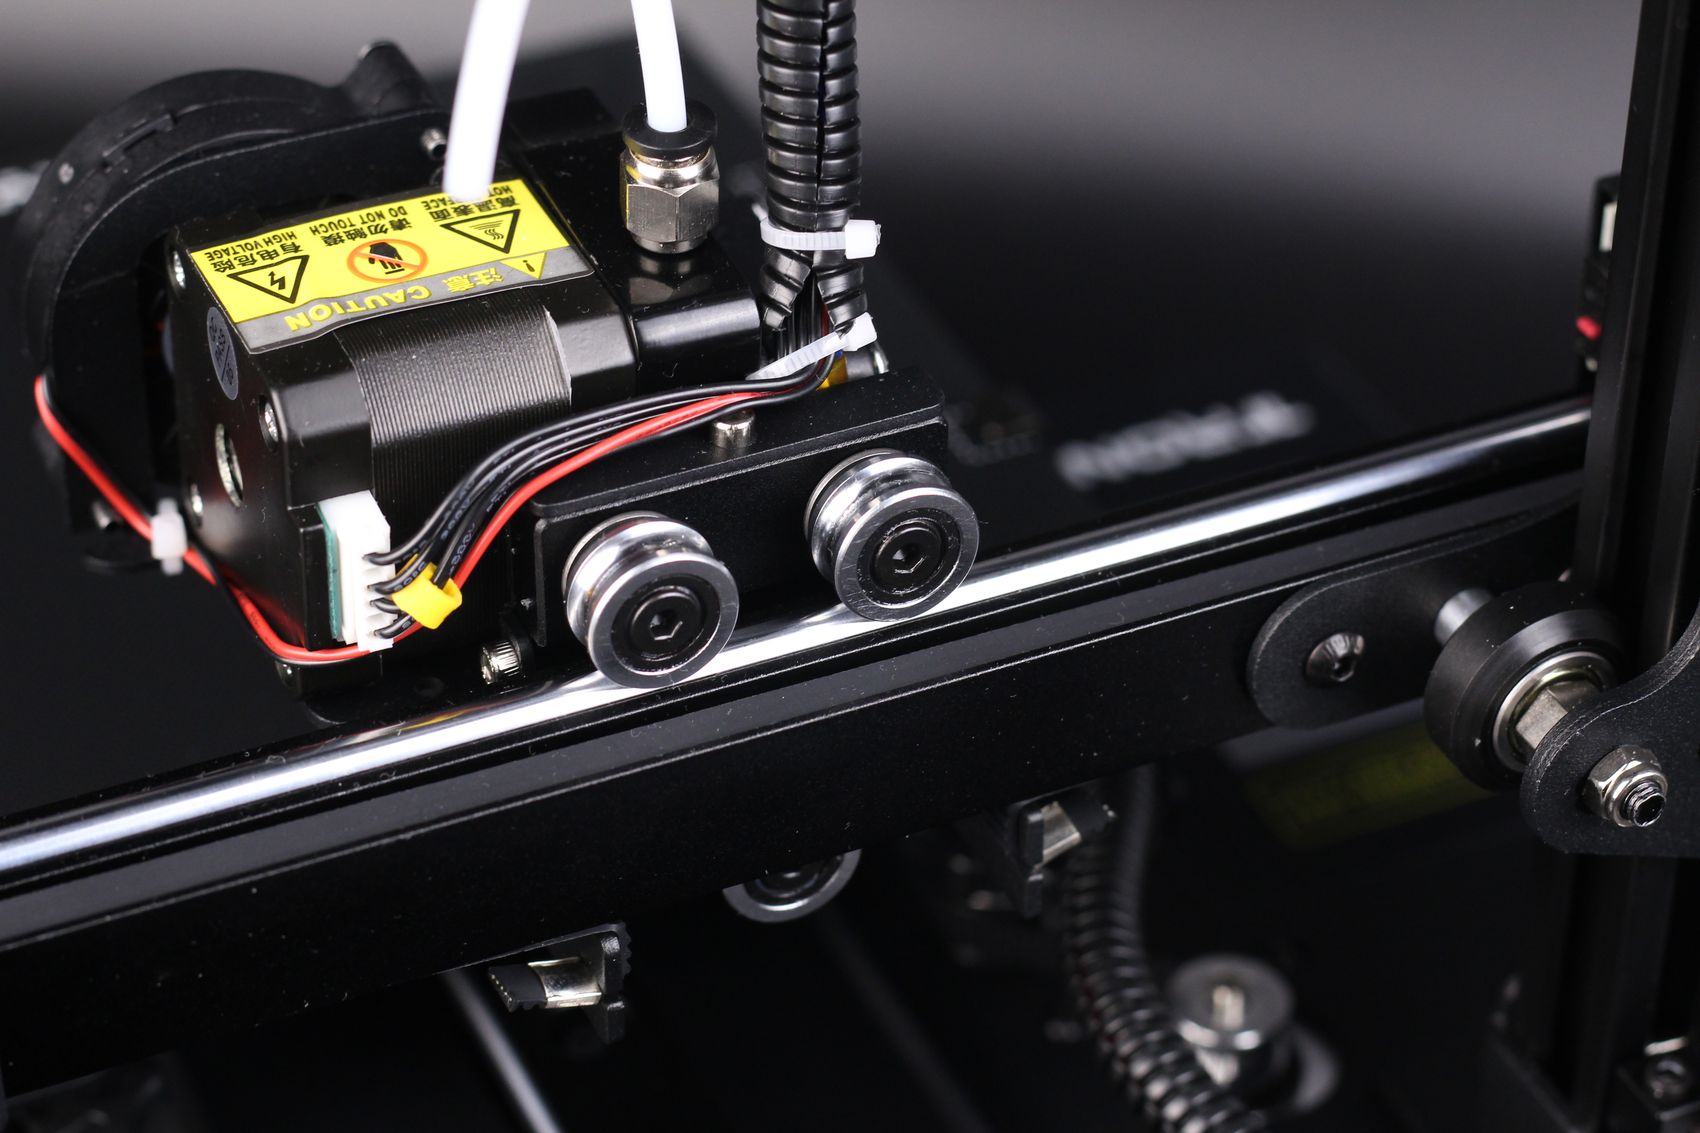
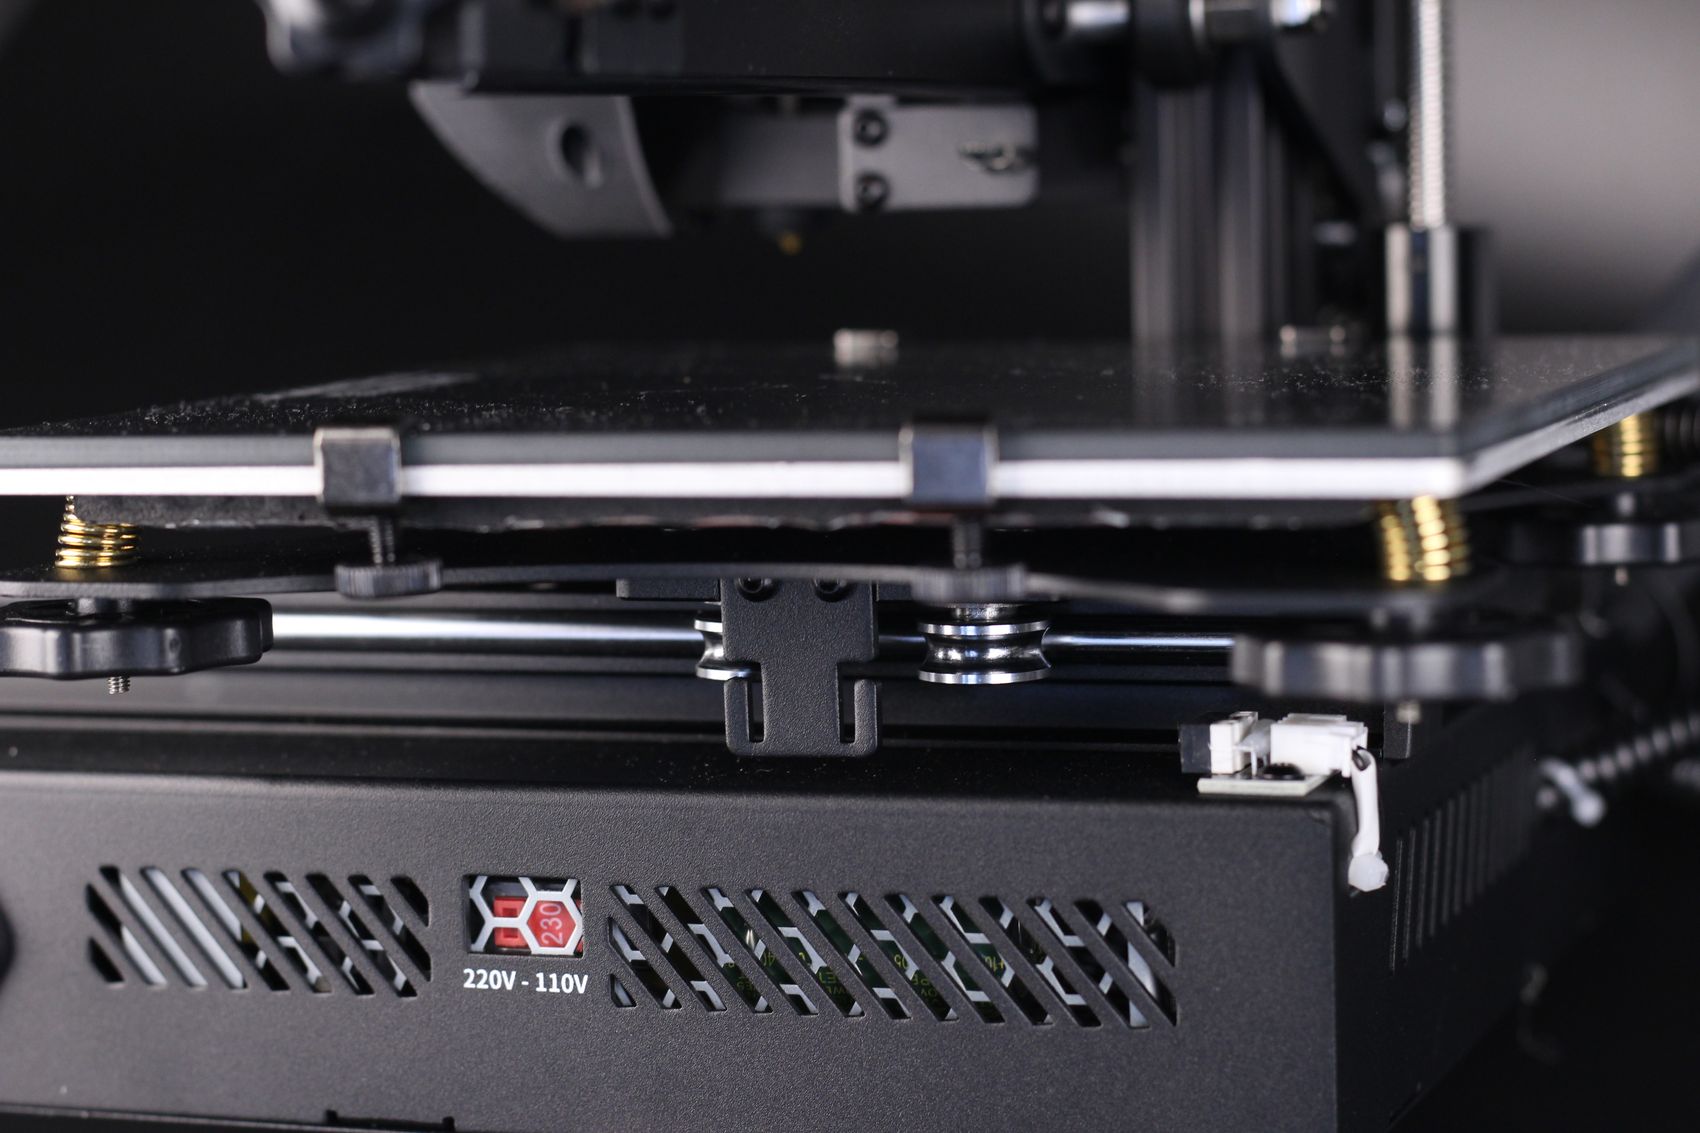
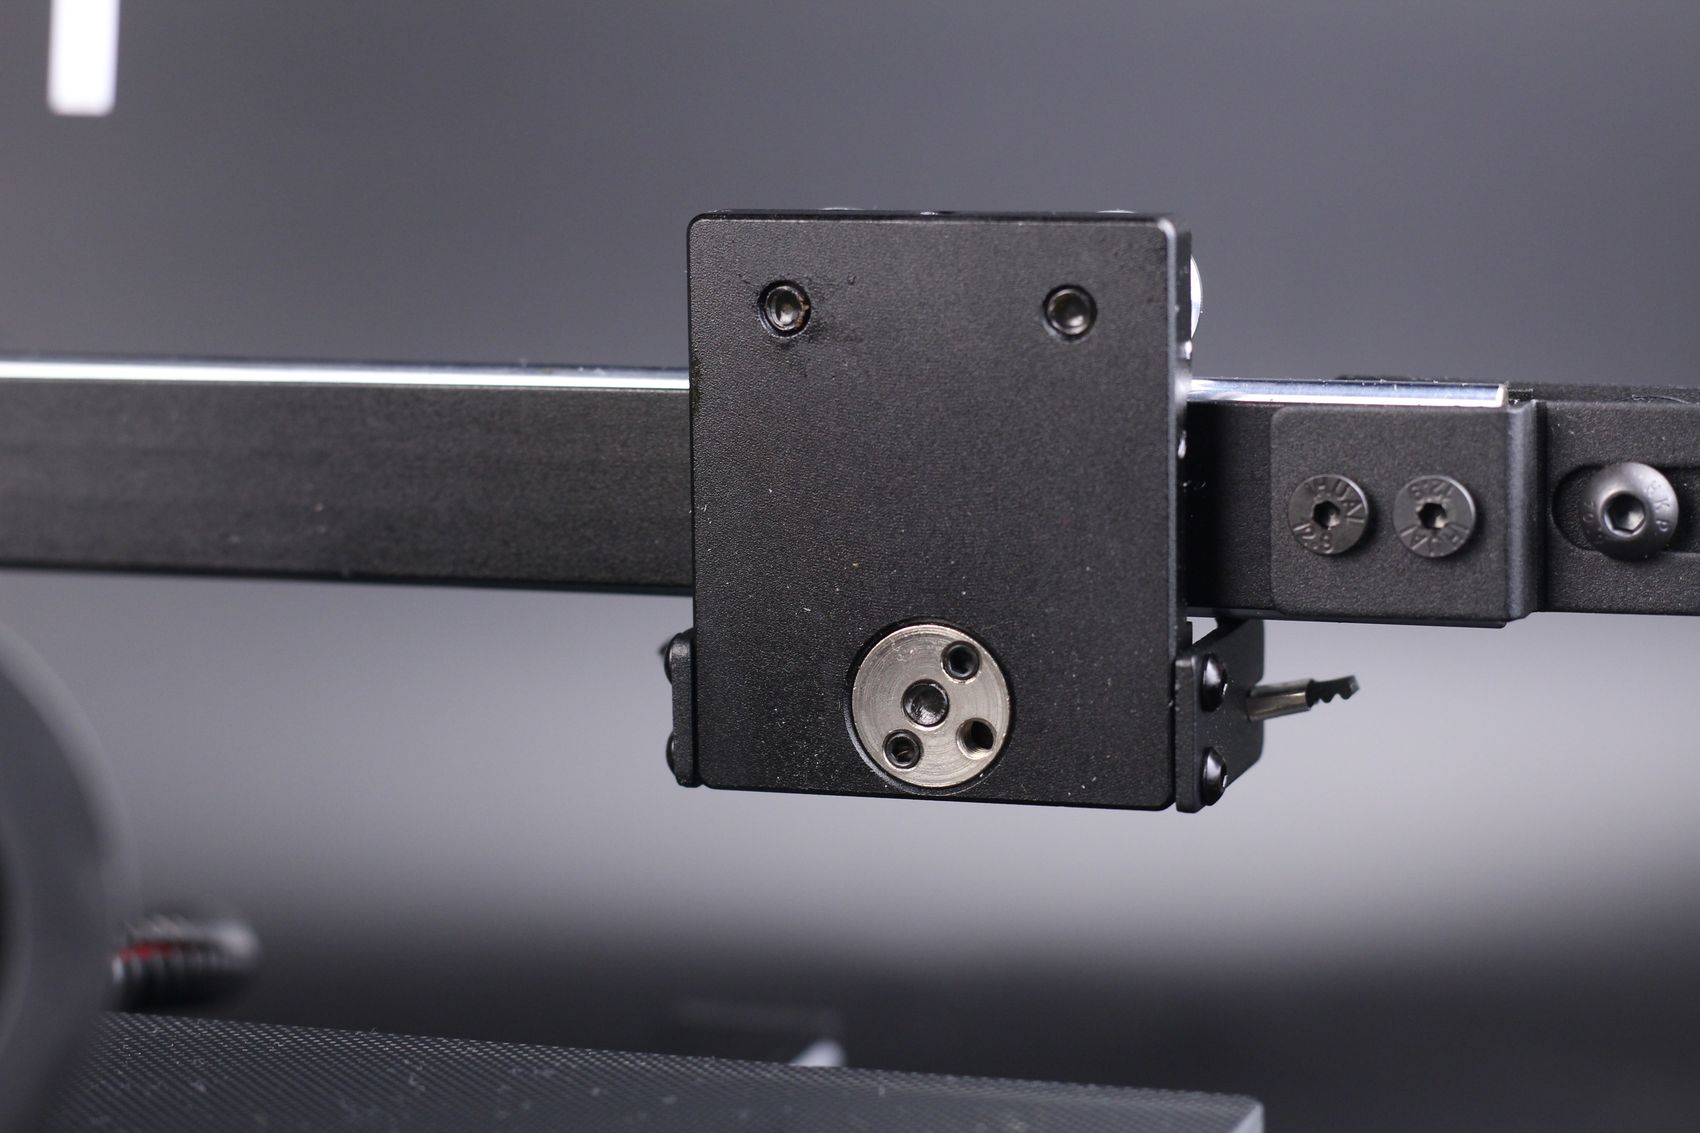
Talking about V-slot wheels, they are present on the Z axis of the printer. I would have liked to see the same linear guide setup but TRONXY chose V-slot wheels probably to keep the cost down.
I can’t really say if this setup is better or worse compared to the KP3S, as I haven’t used these linear guides too much, but for now they seem a good alternative to linear rails for this application.
32-bit board with silent stepper drivers
In the electronics department, we get a CXY-446-V10-220413 board which is made by Tronxy. It has a STM32F446ZET6 32-bit chip and silent stepper drivers.
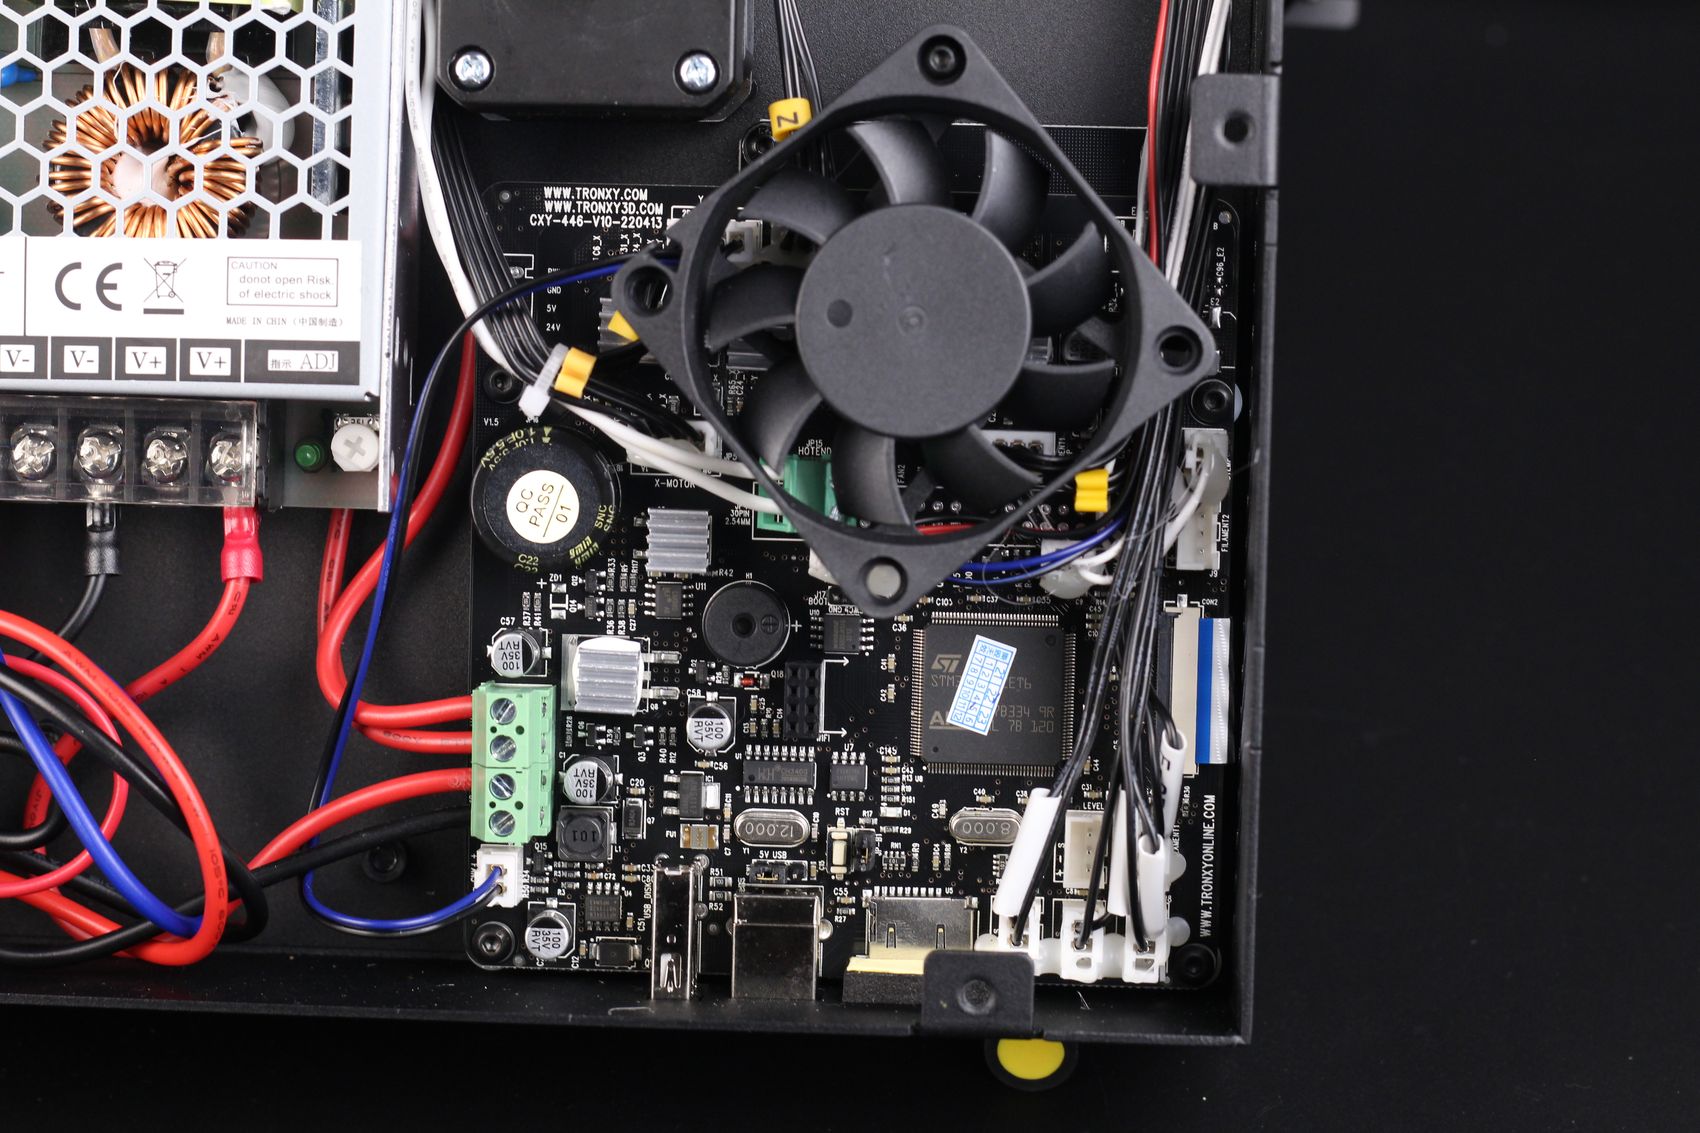
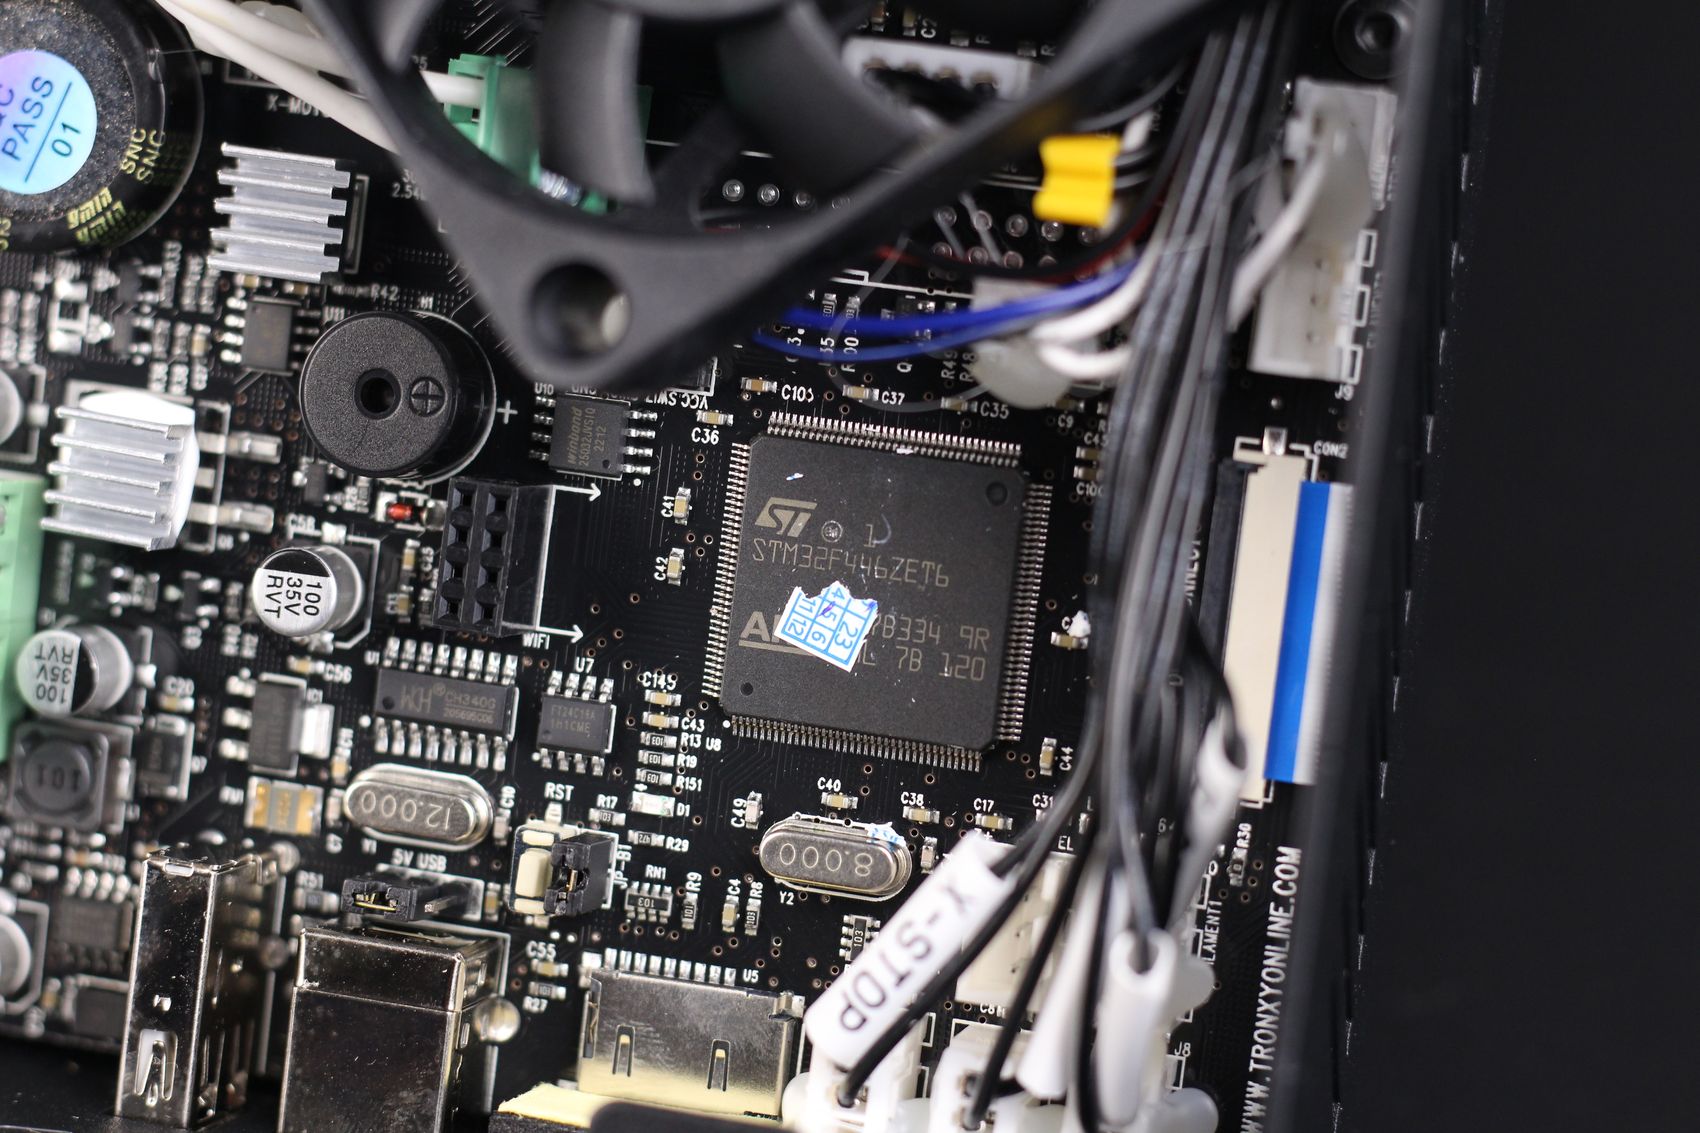
What I love about the TRONXY CRUX 1 is the possibility of using both a micro SD card and a full-size USB drive. While the micro SD cards are fine, it’s much easier to use a regular thumb drive for moving the sliced files between the computer to the printer.
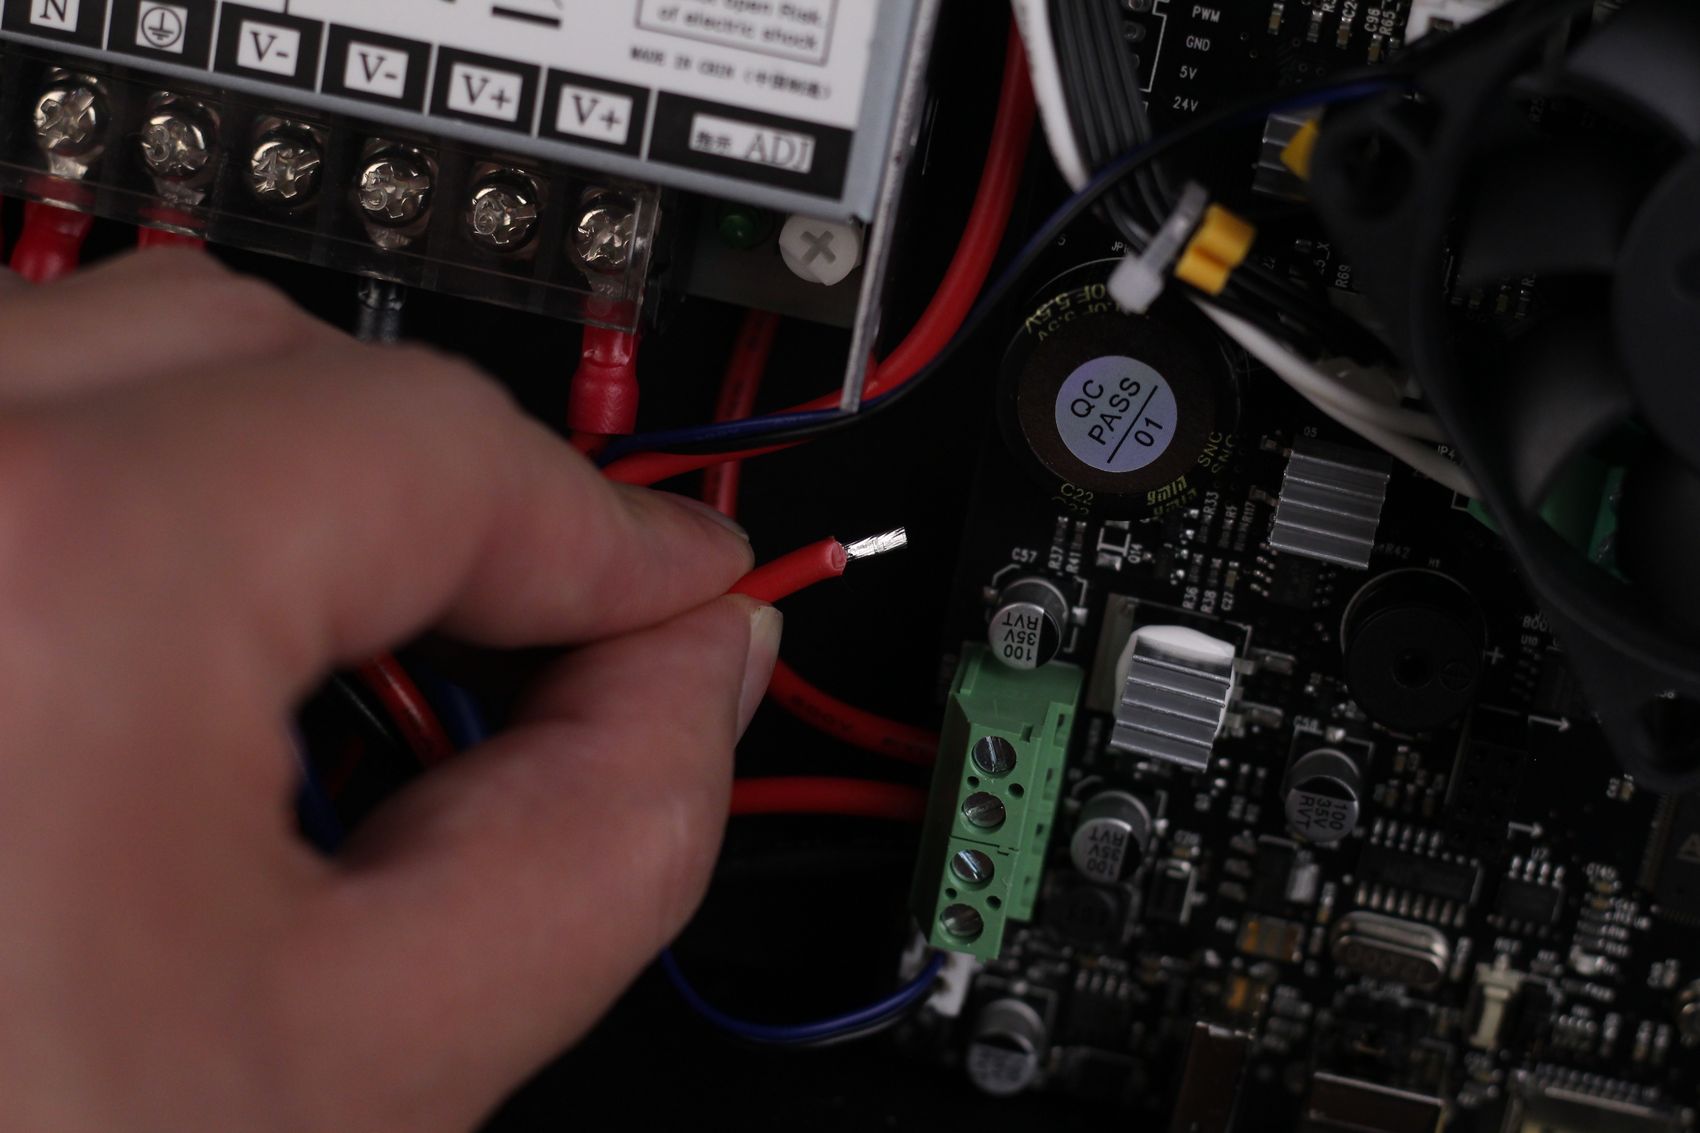
What I don’t like that much is the use of tinned wires in the power terminals, which are not advisable as they could cause problems over time. Proper ferules would have been better.
2.8-inch touchscreen
Another hardware decision that I don’t really like for the CRUX 1 is the touchscreen. It’s one of the worst touchscreens I have used.
The view angles are not great, the icons are low resolution and the theme is also not very nice. But these could be looked over if the touch controls would work well. Unfortunately, there is a touch layer over the screen which is hard to press and doesn’t register touches as well as other screens out there.
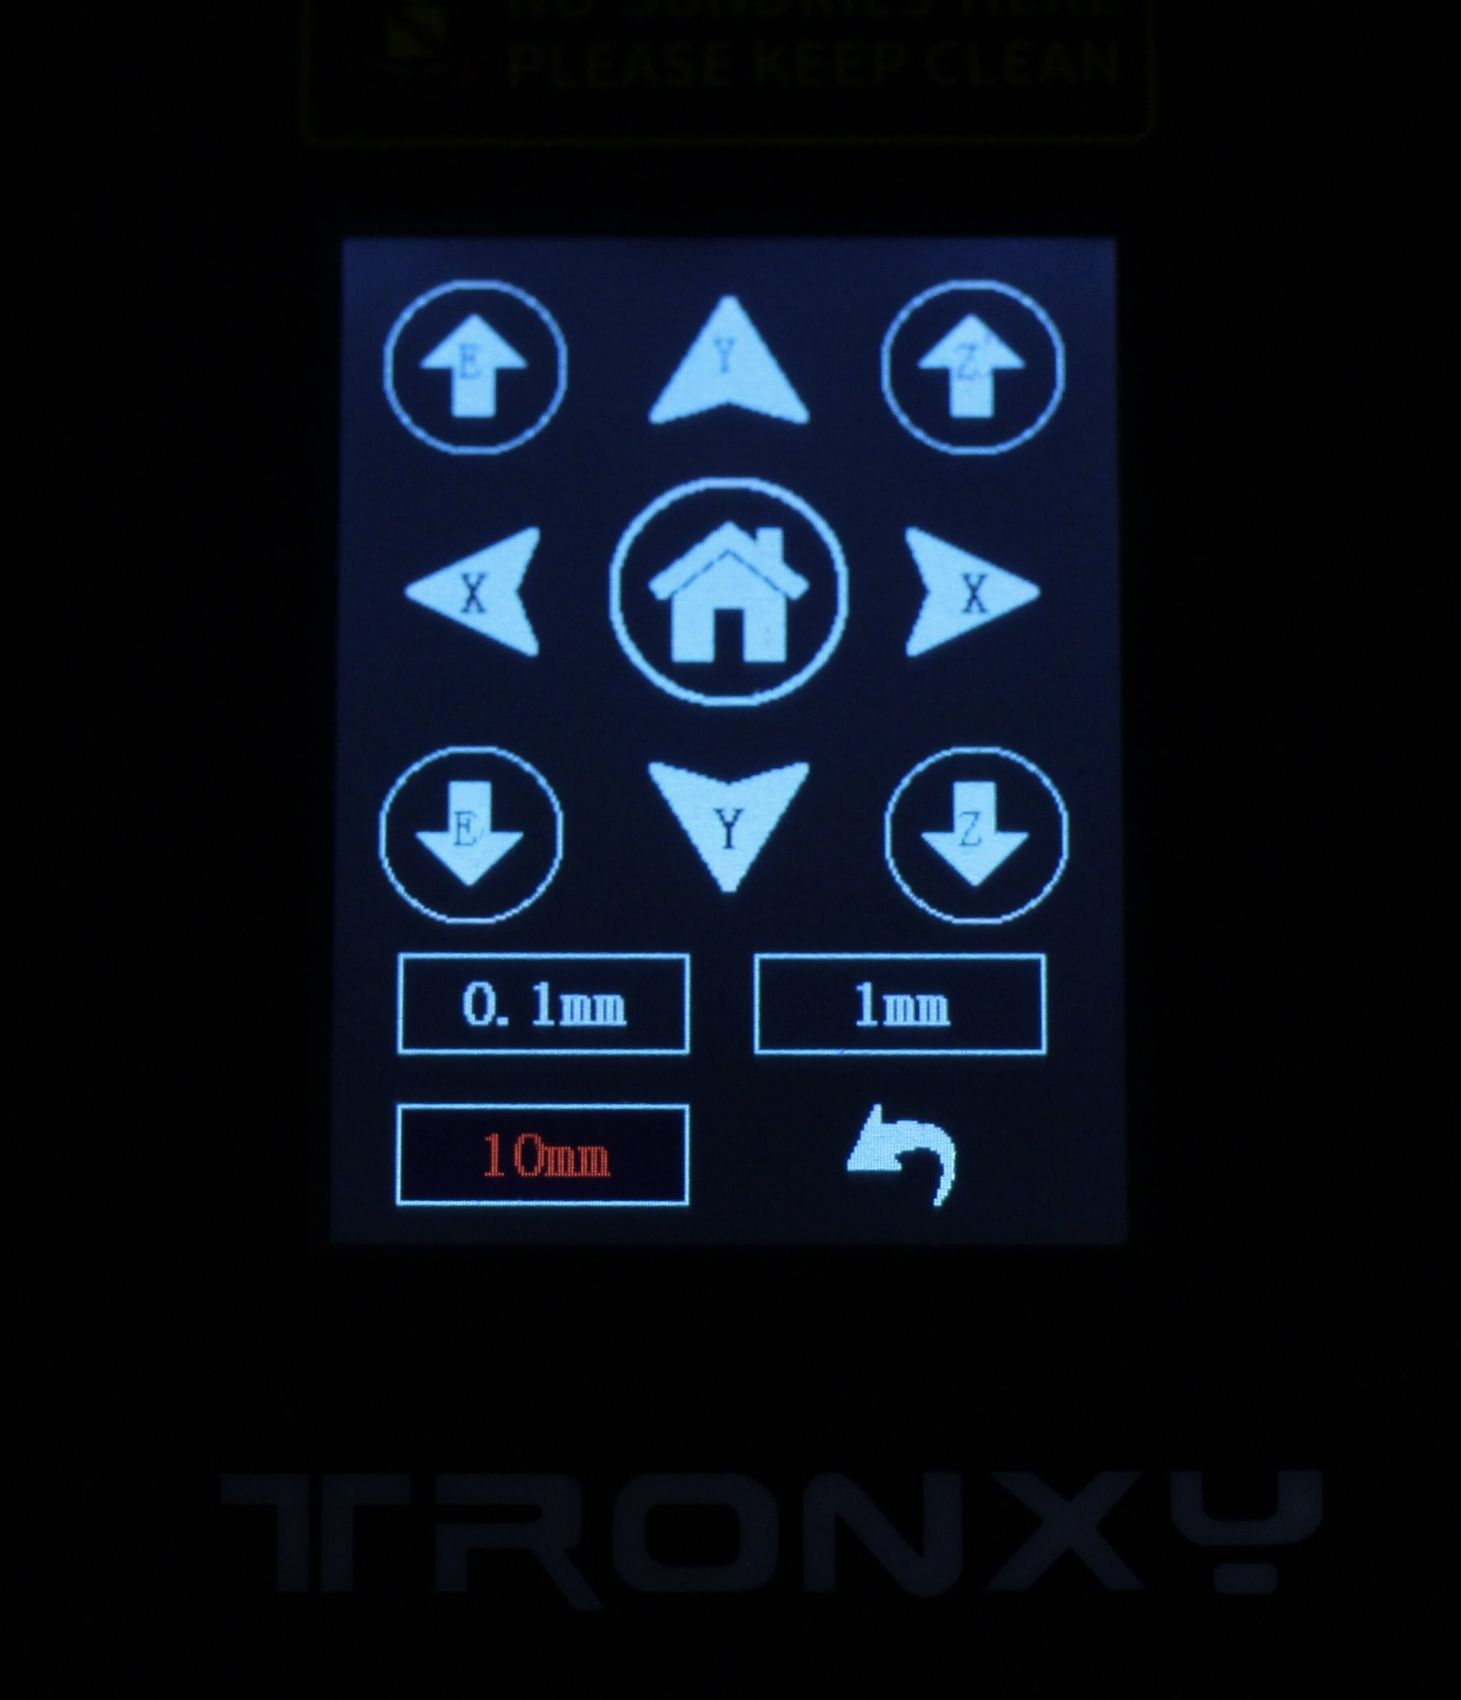
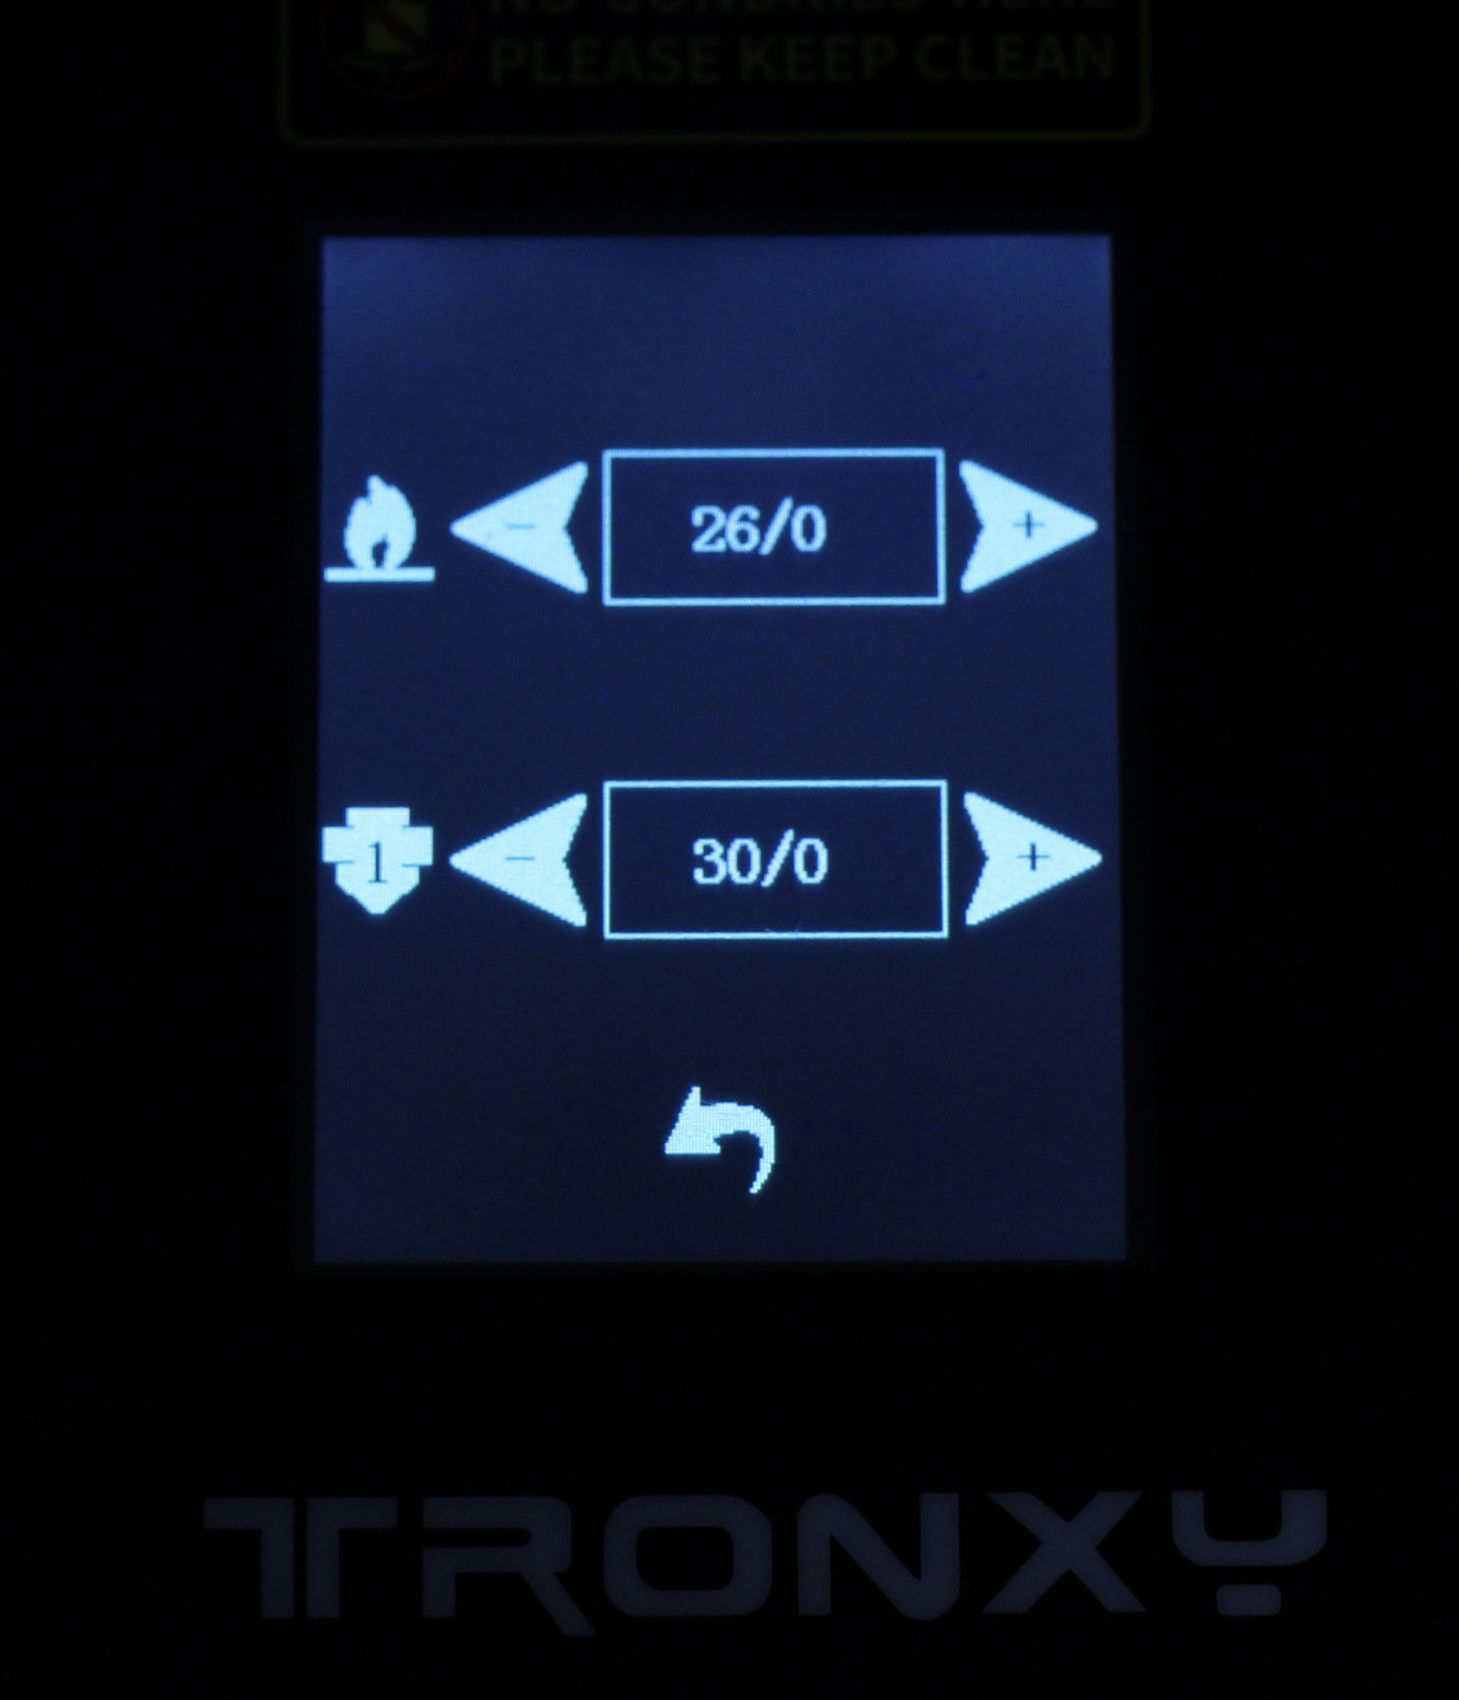
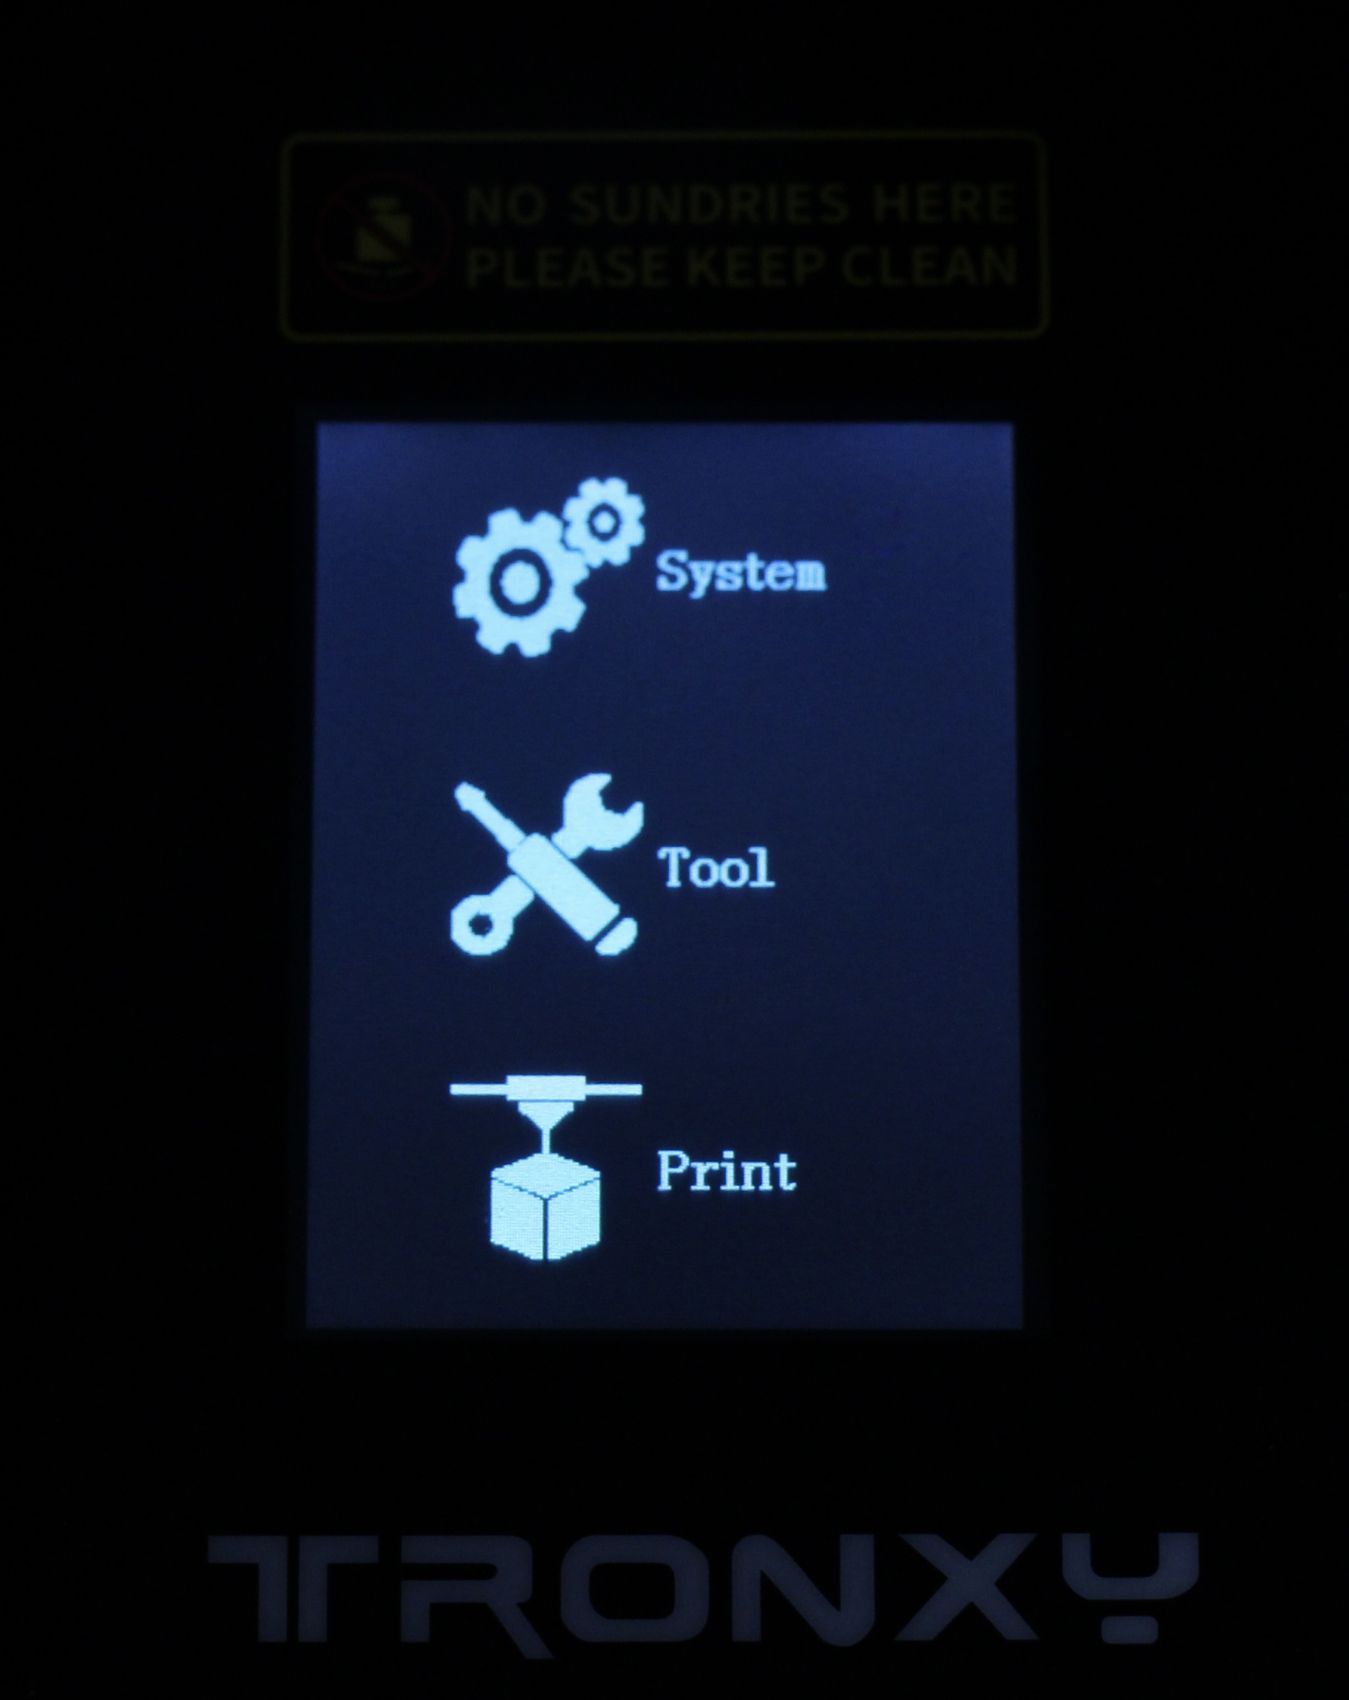
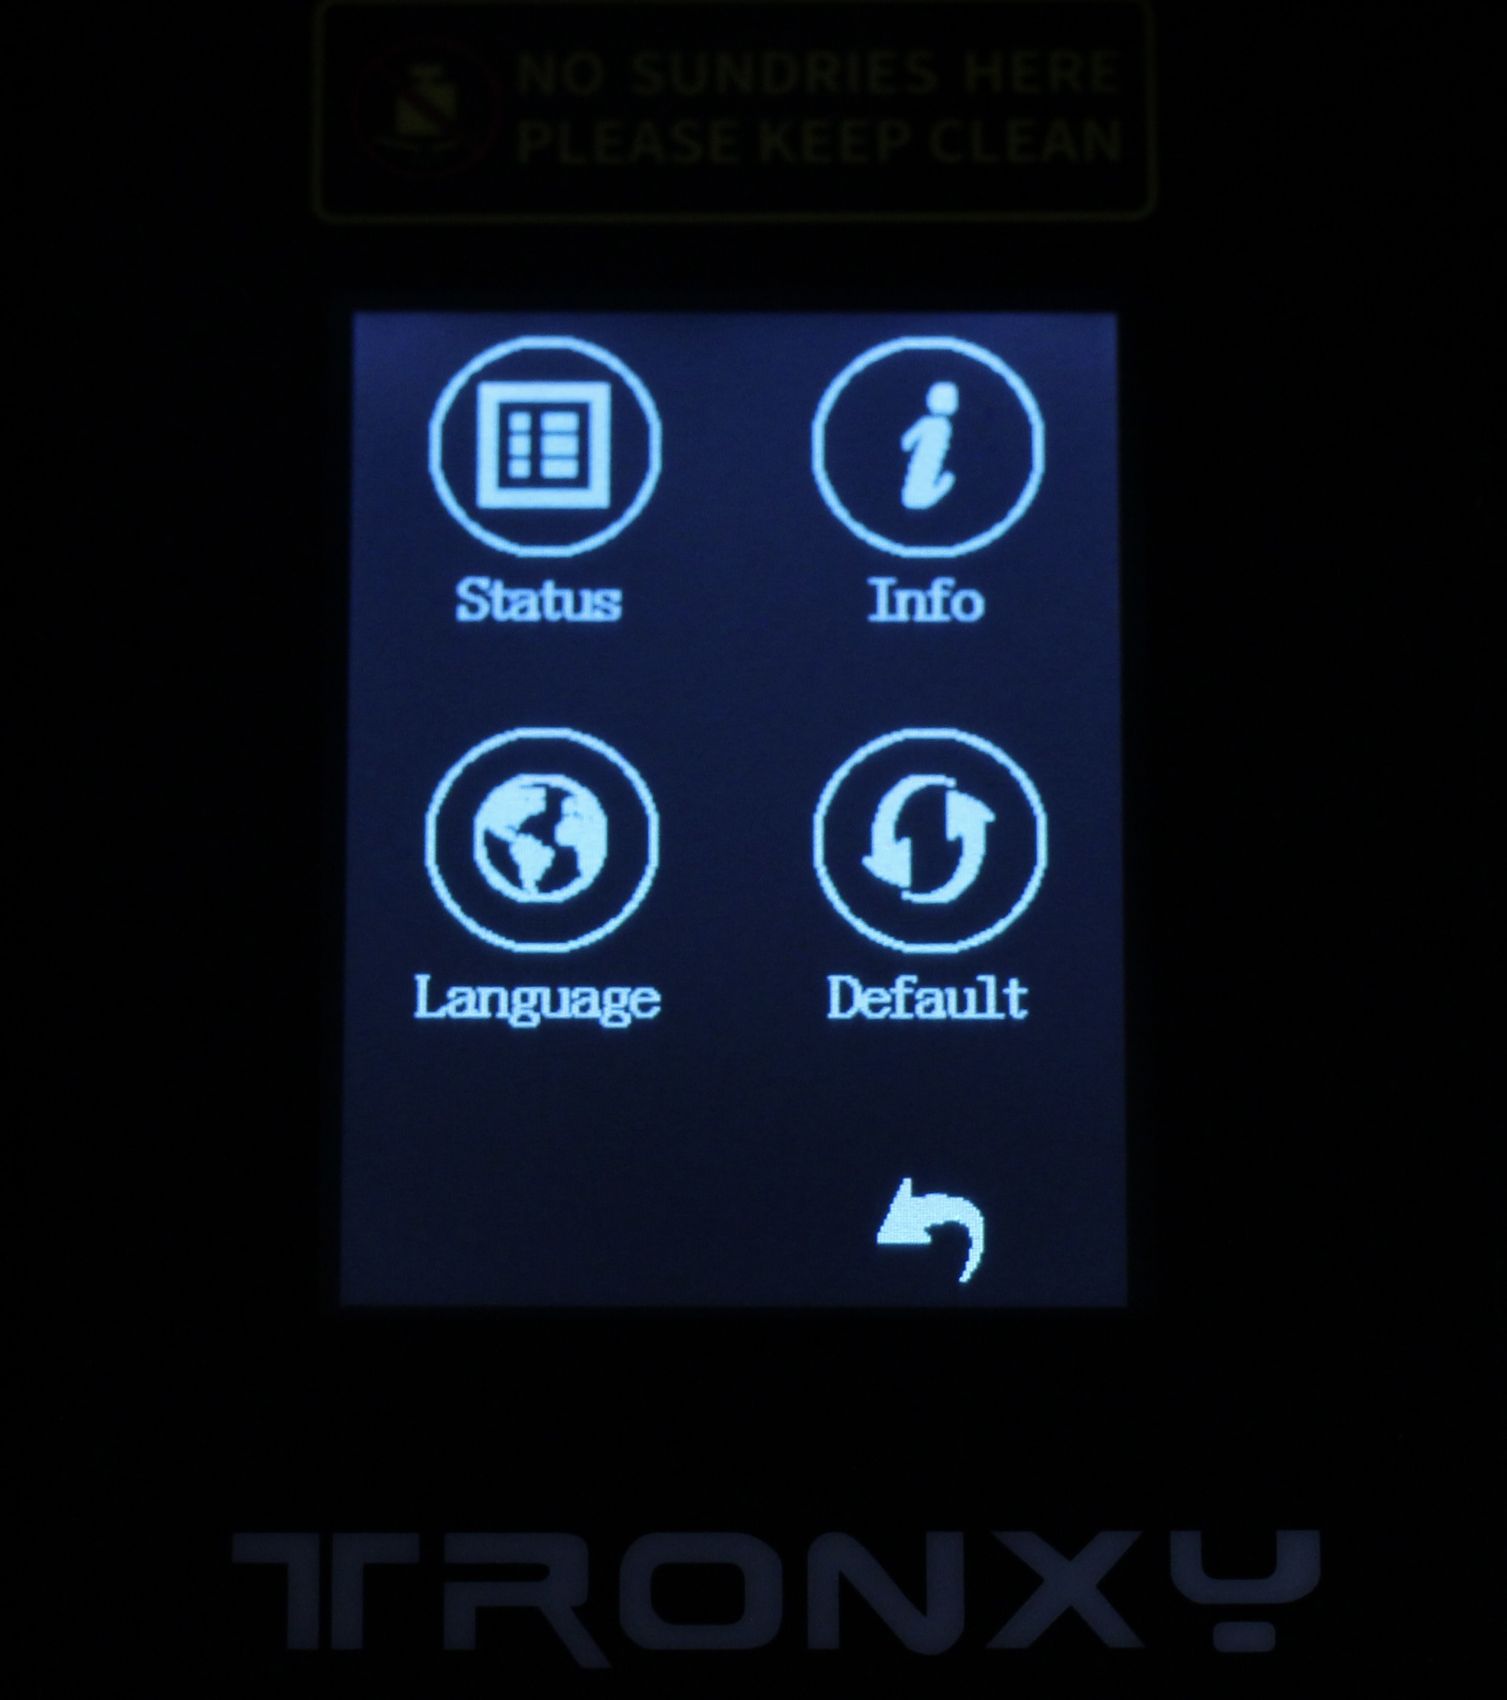
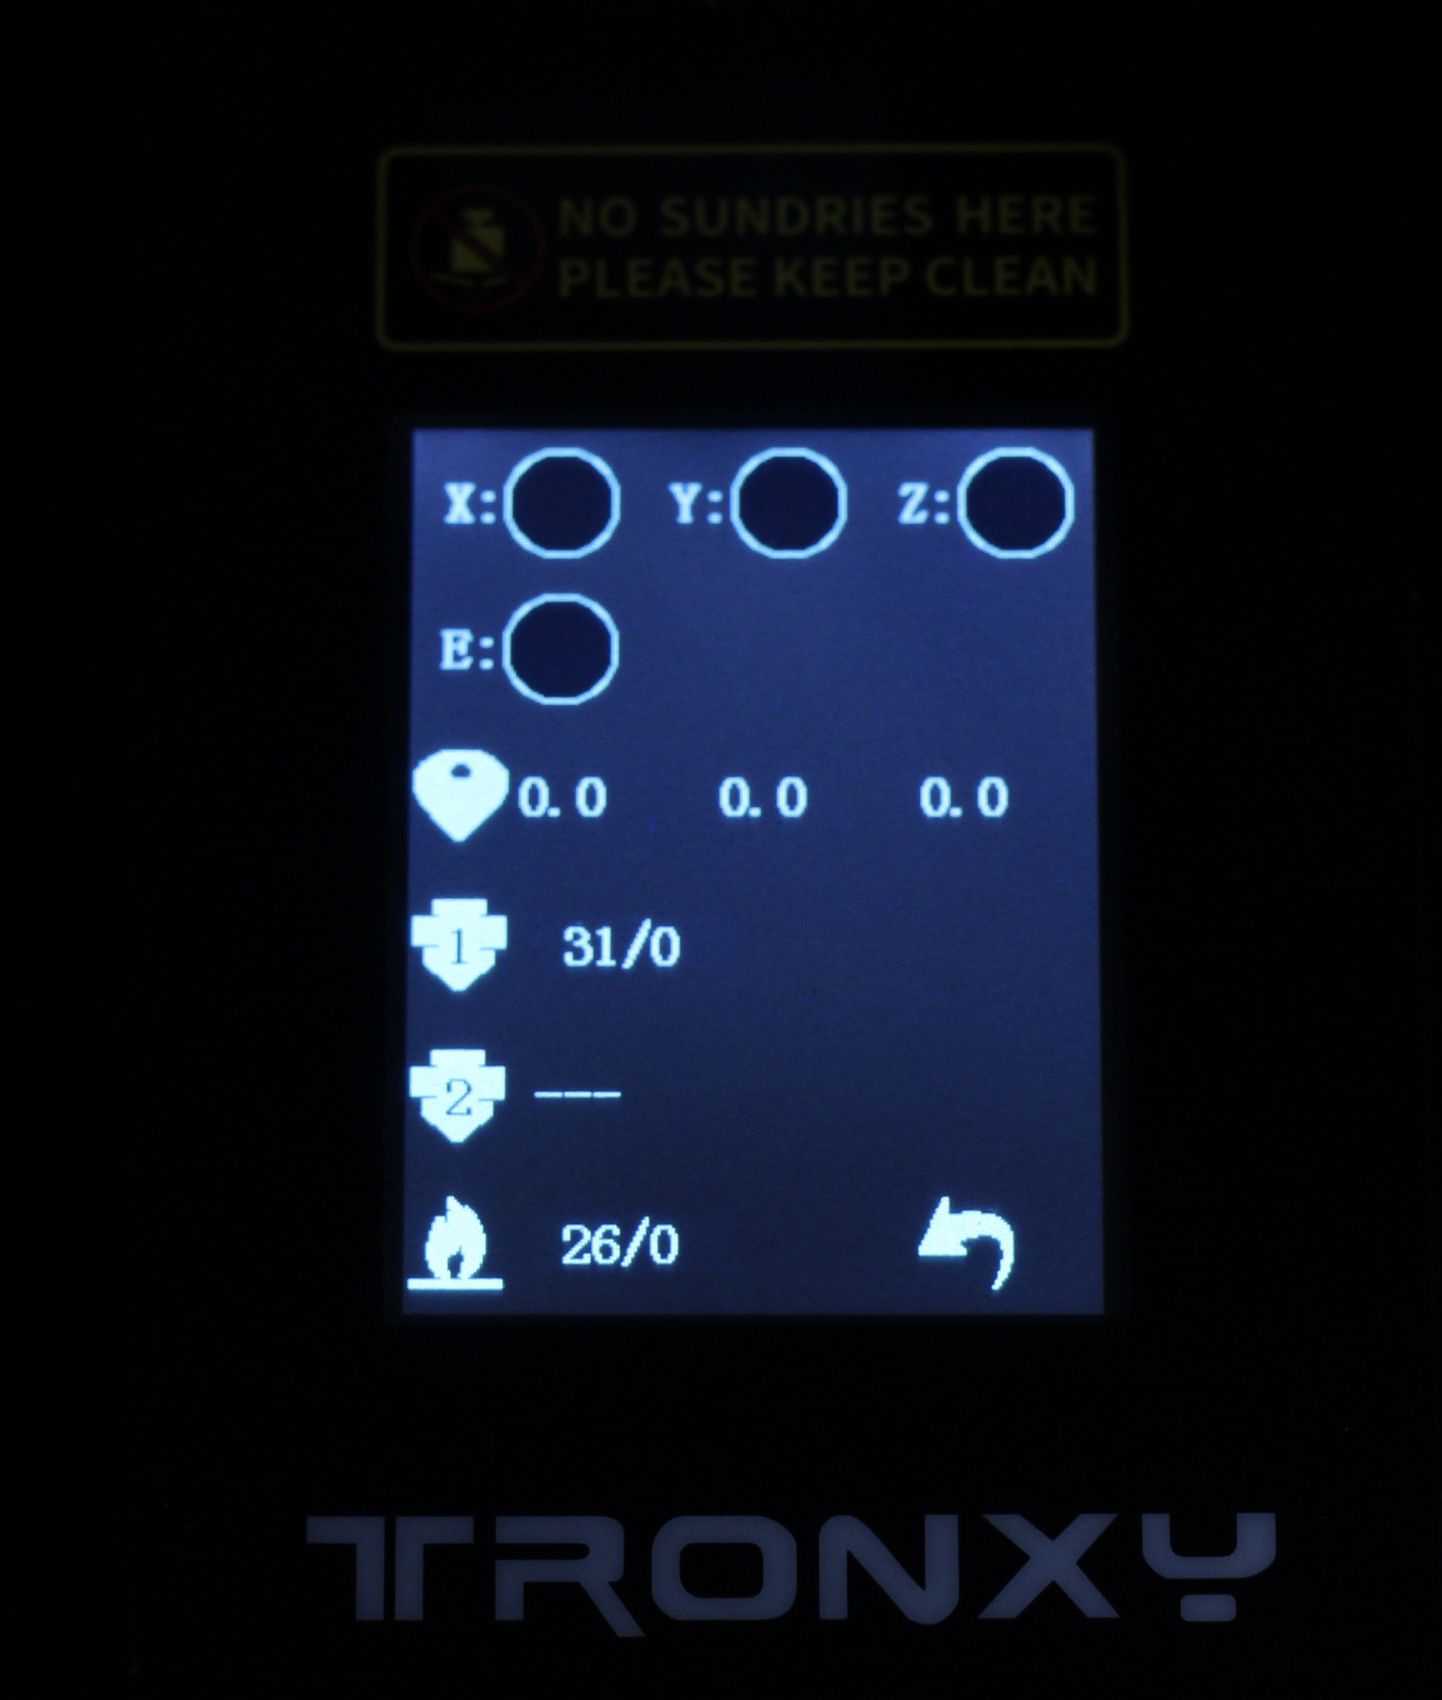
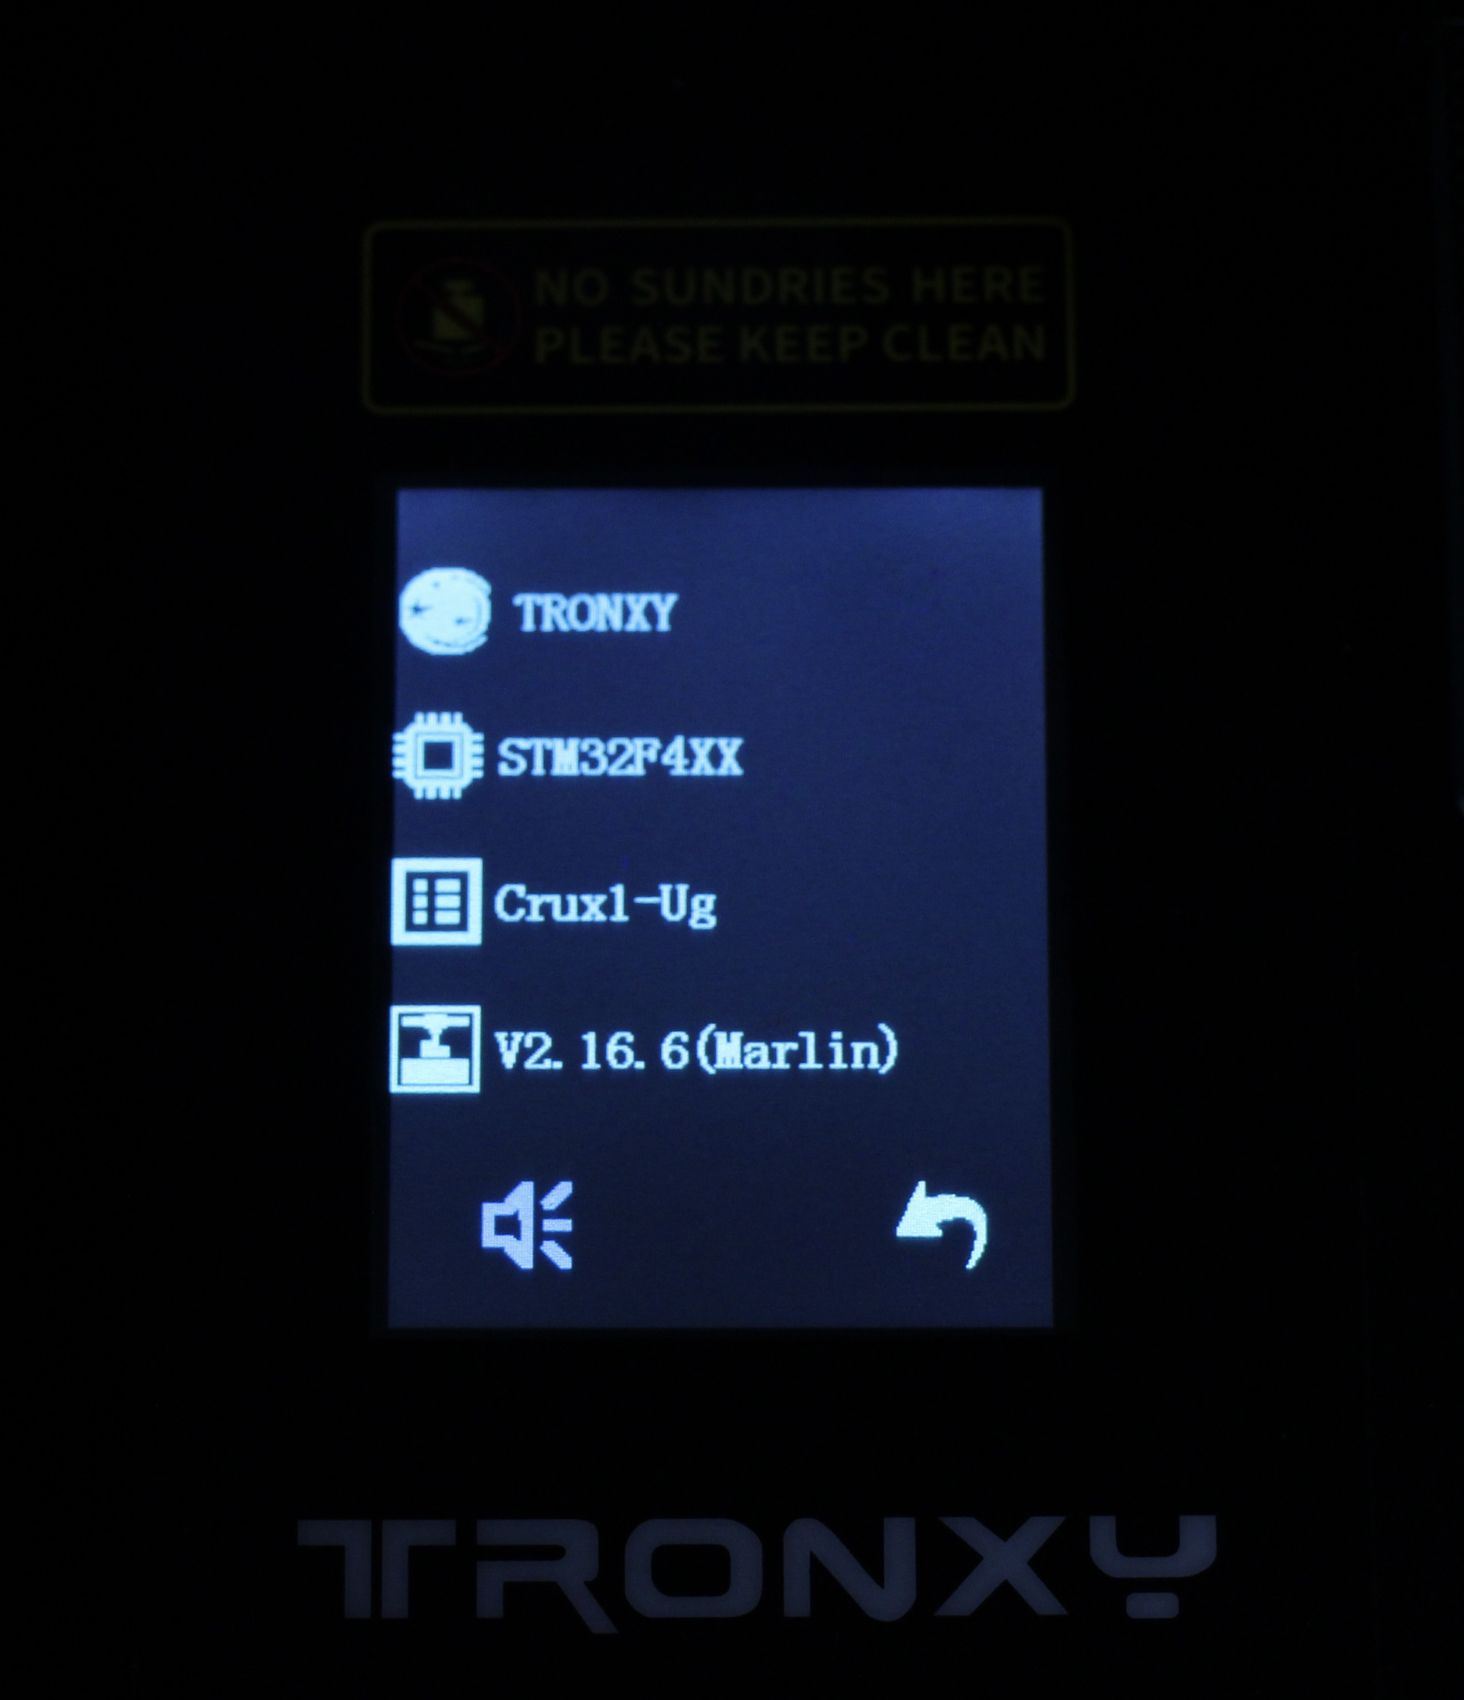
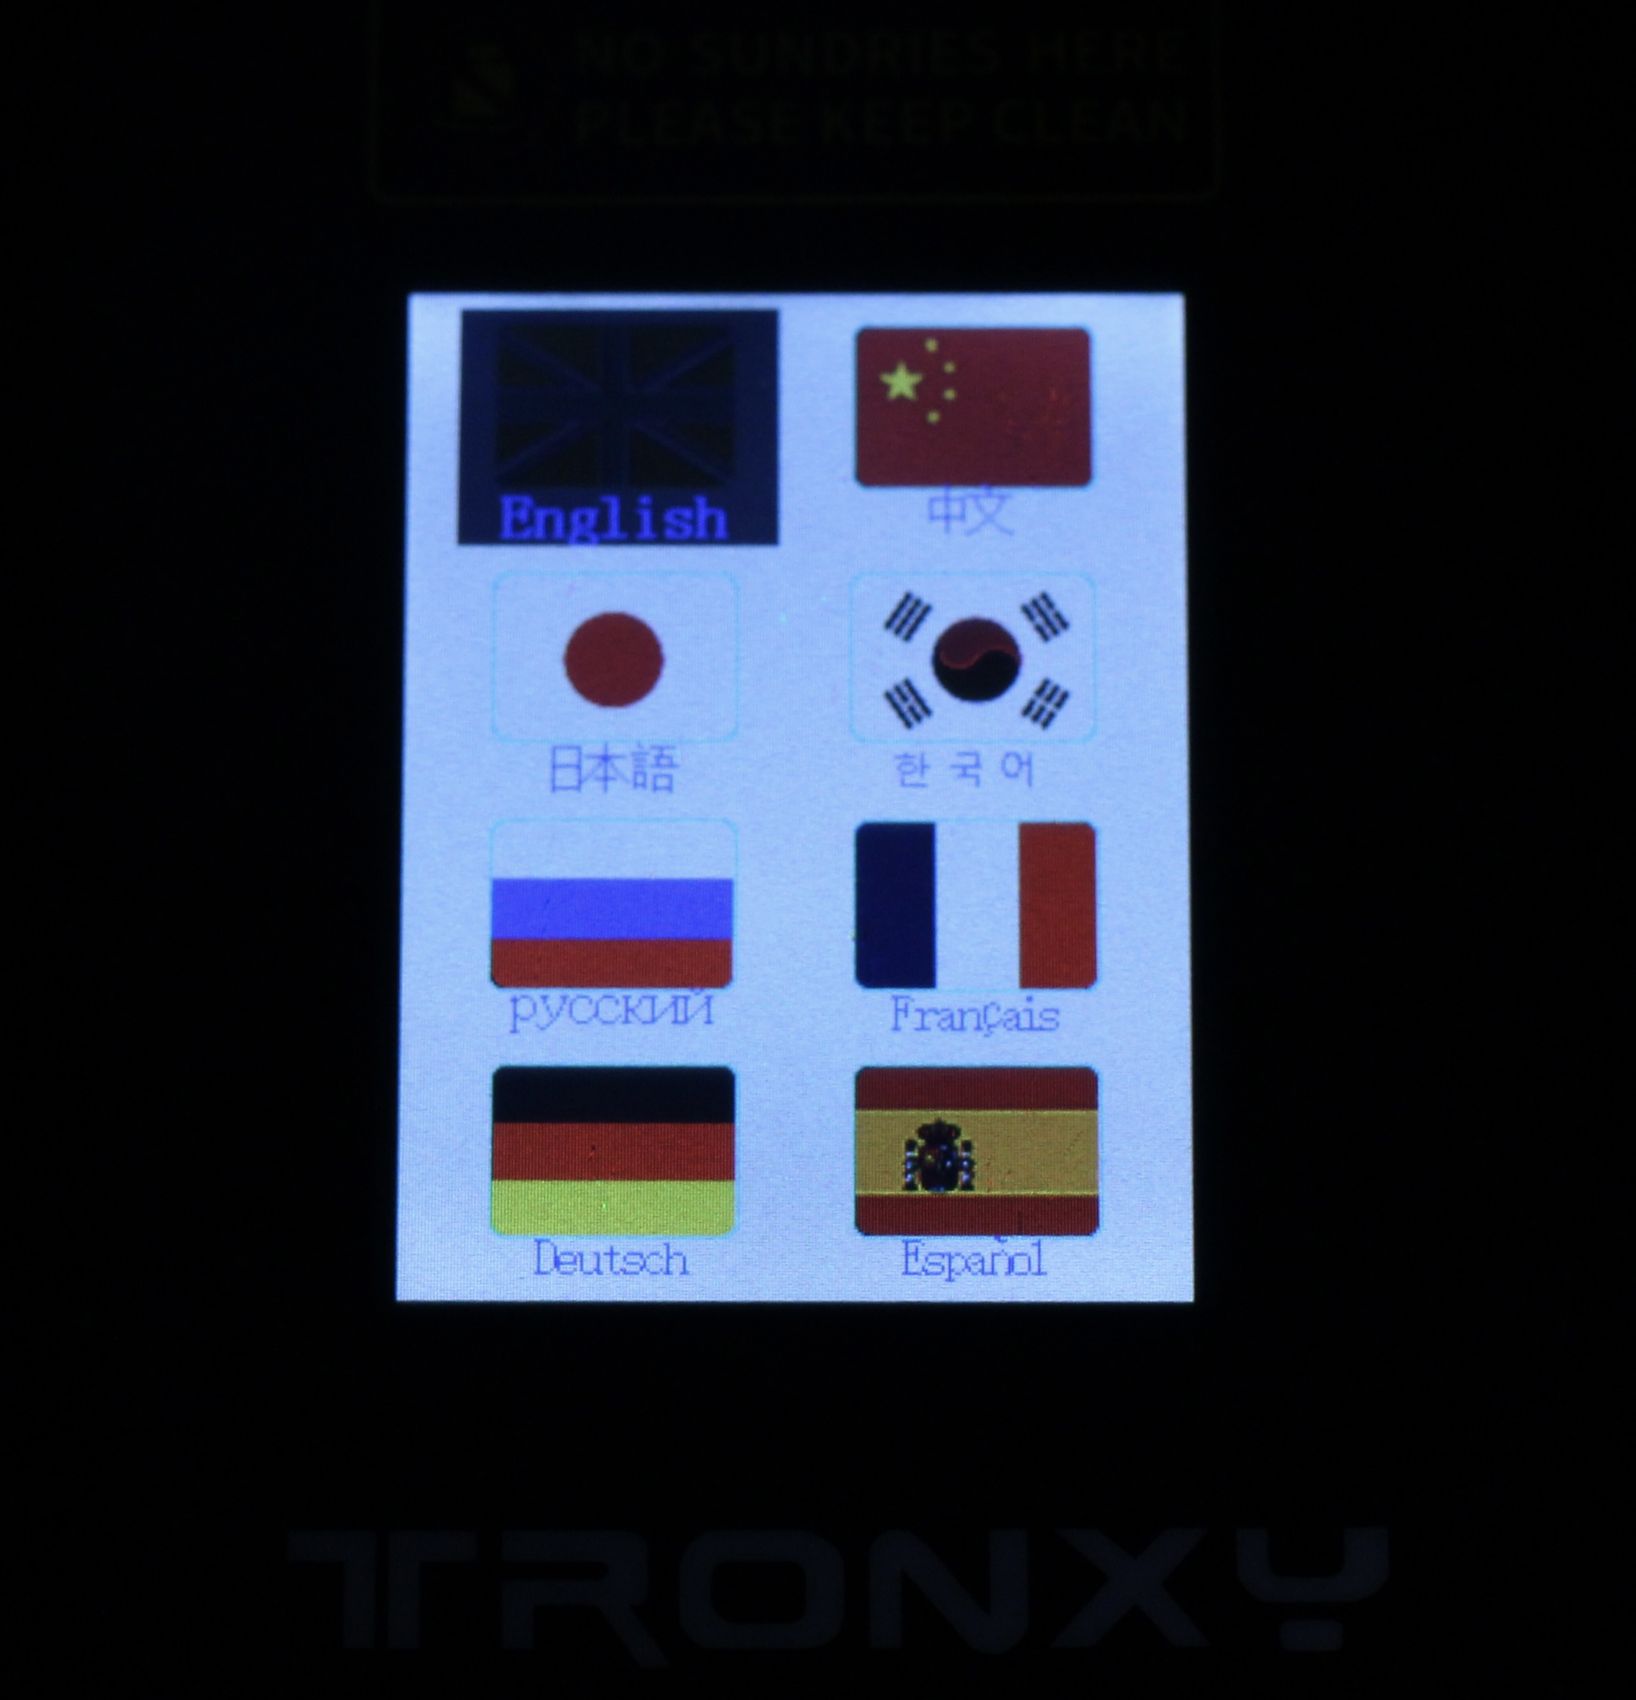
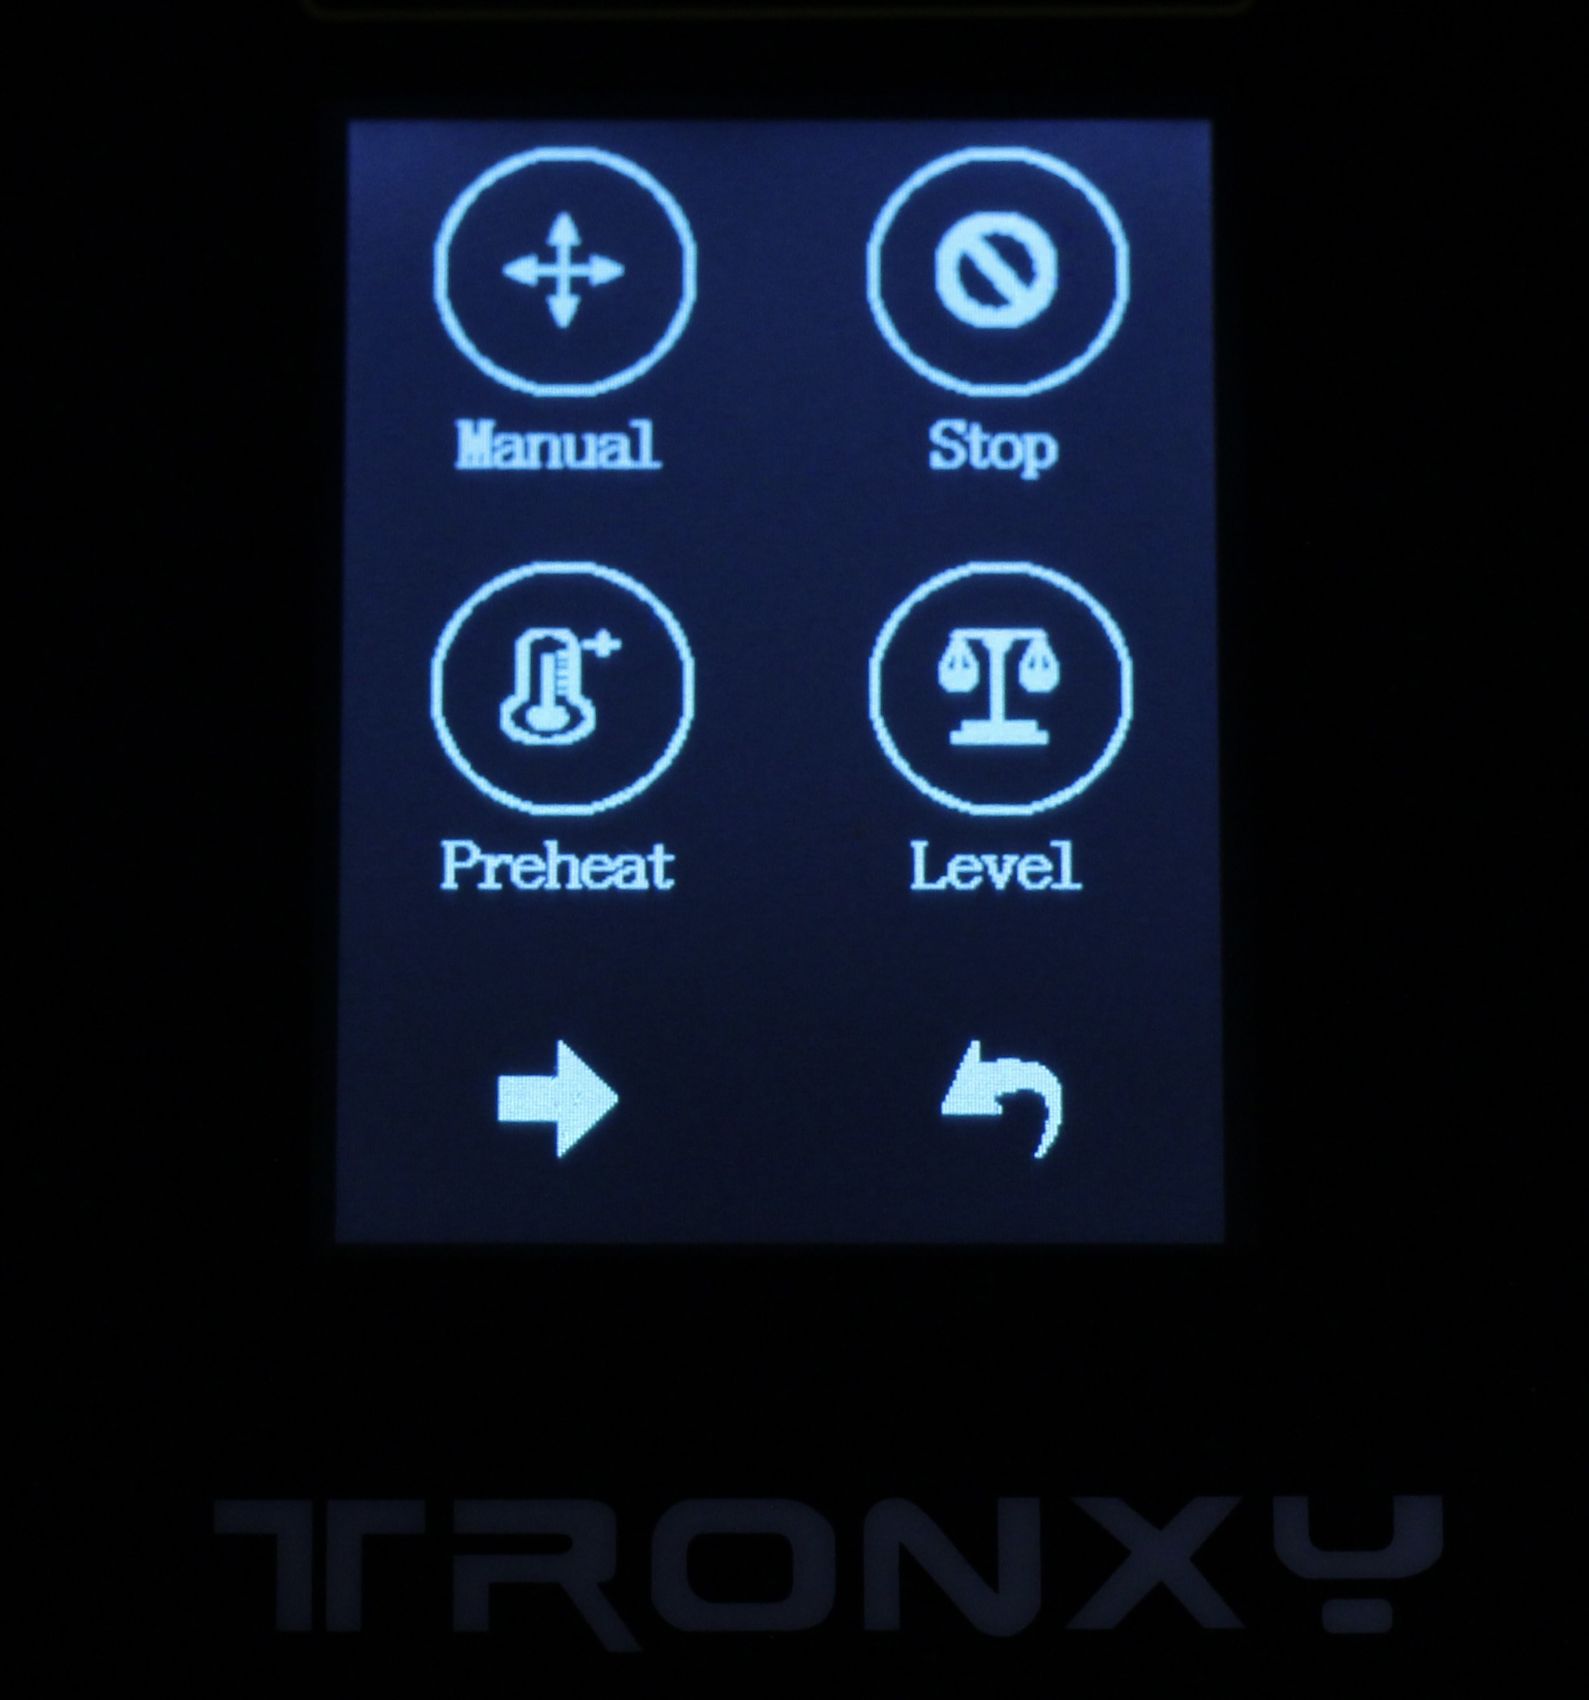
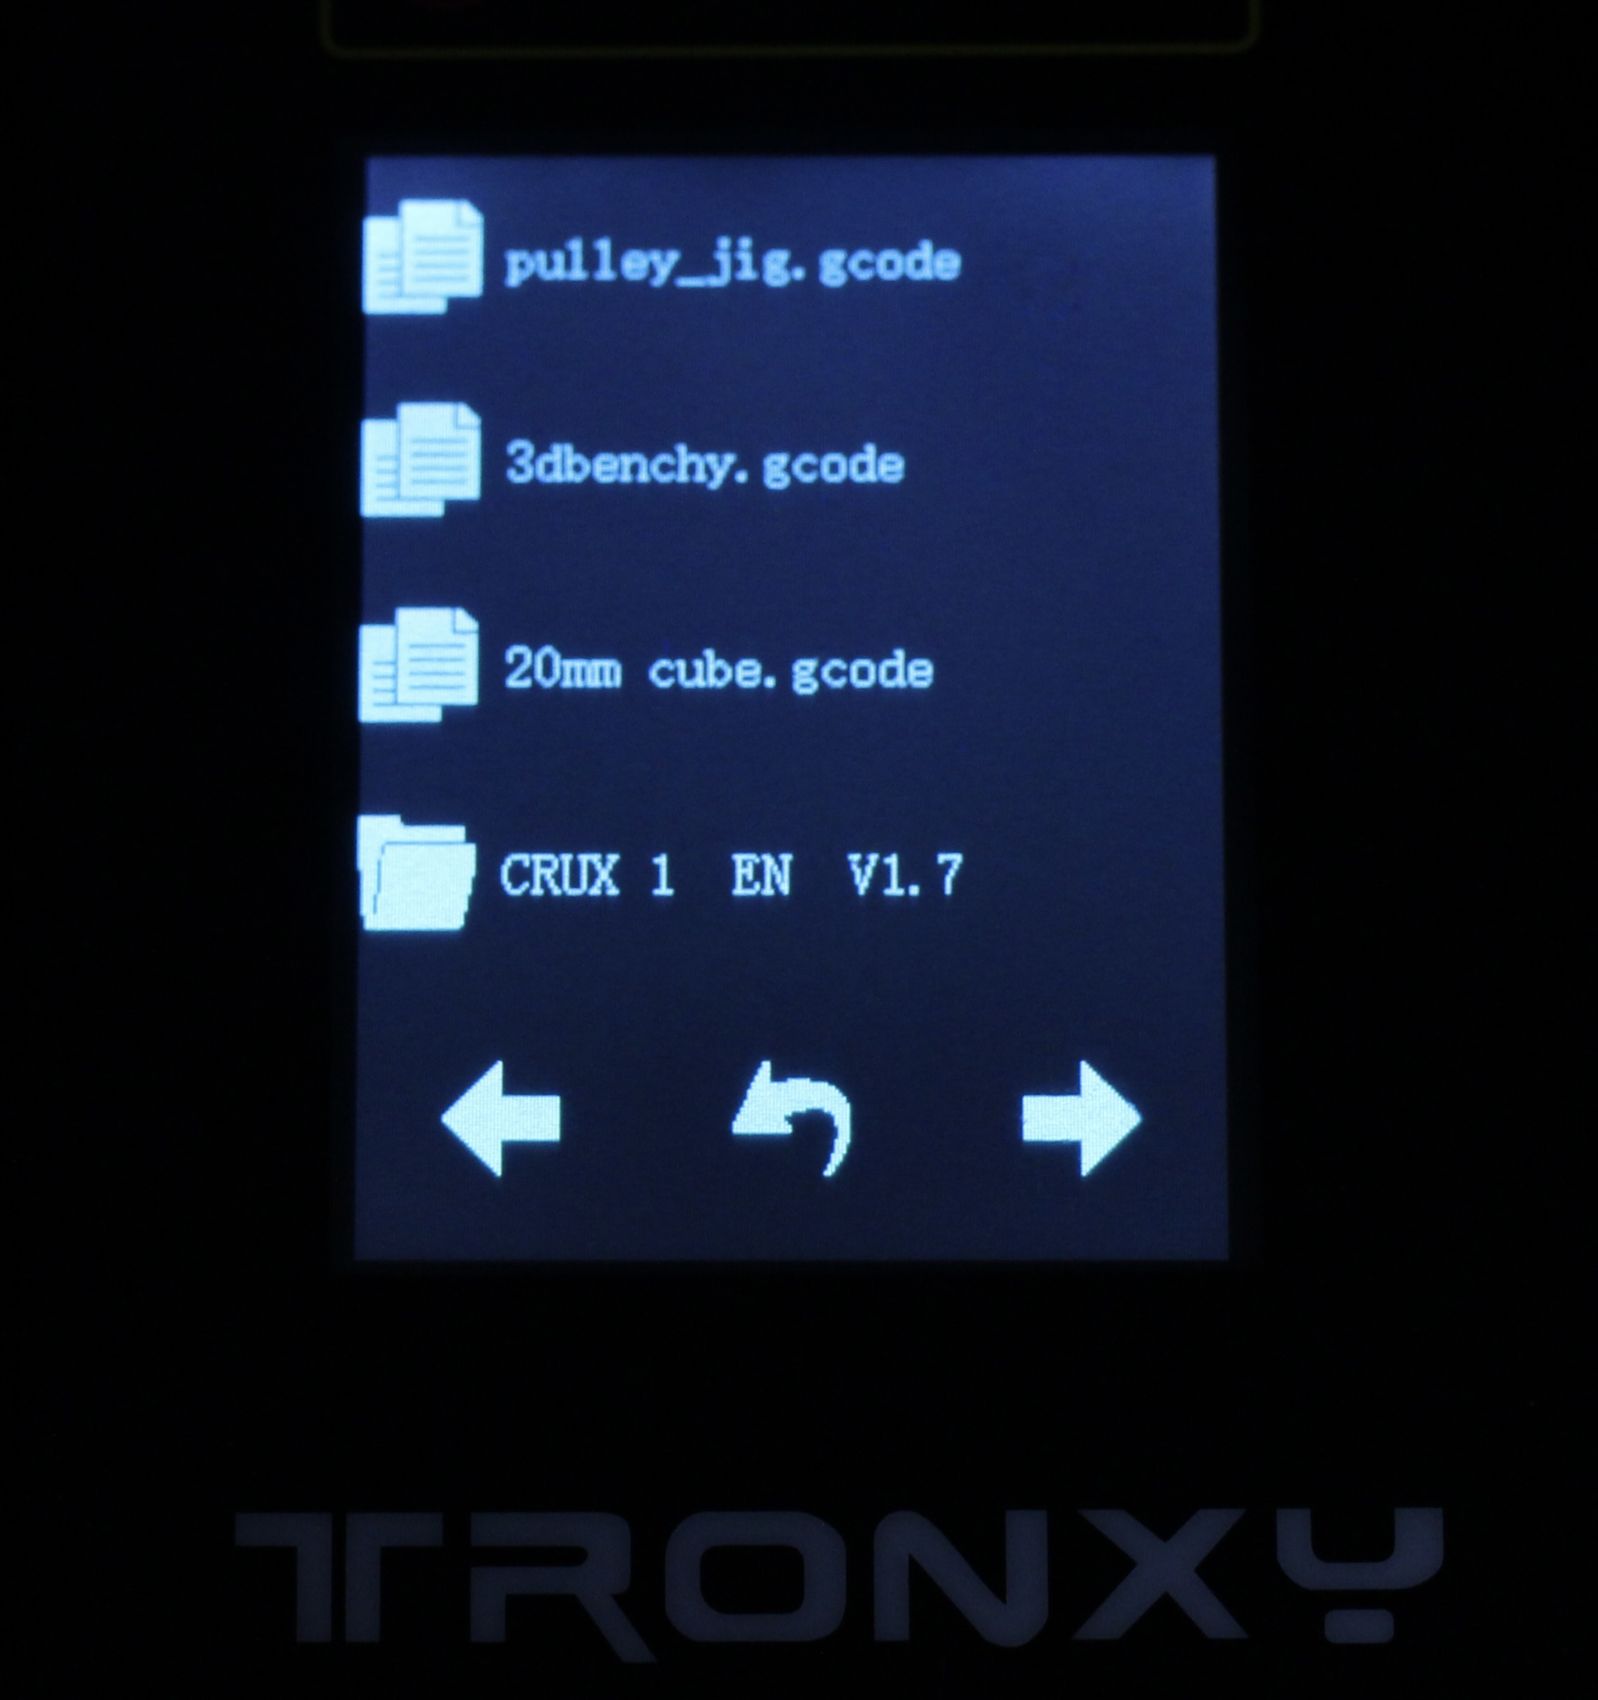
The good news is you won’t have to use it too much, as starting a print takes just a few taps, but this touchscreen is one of the downsides of the printer.
24V 240W Fanless Power Supply
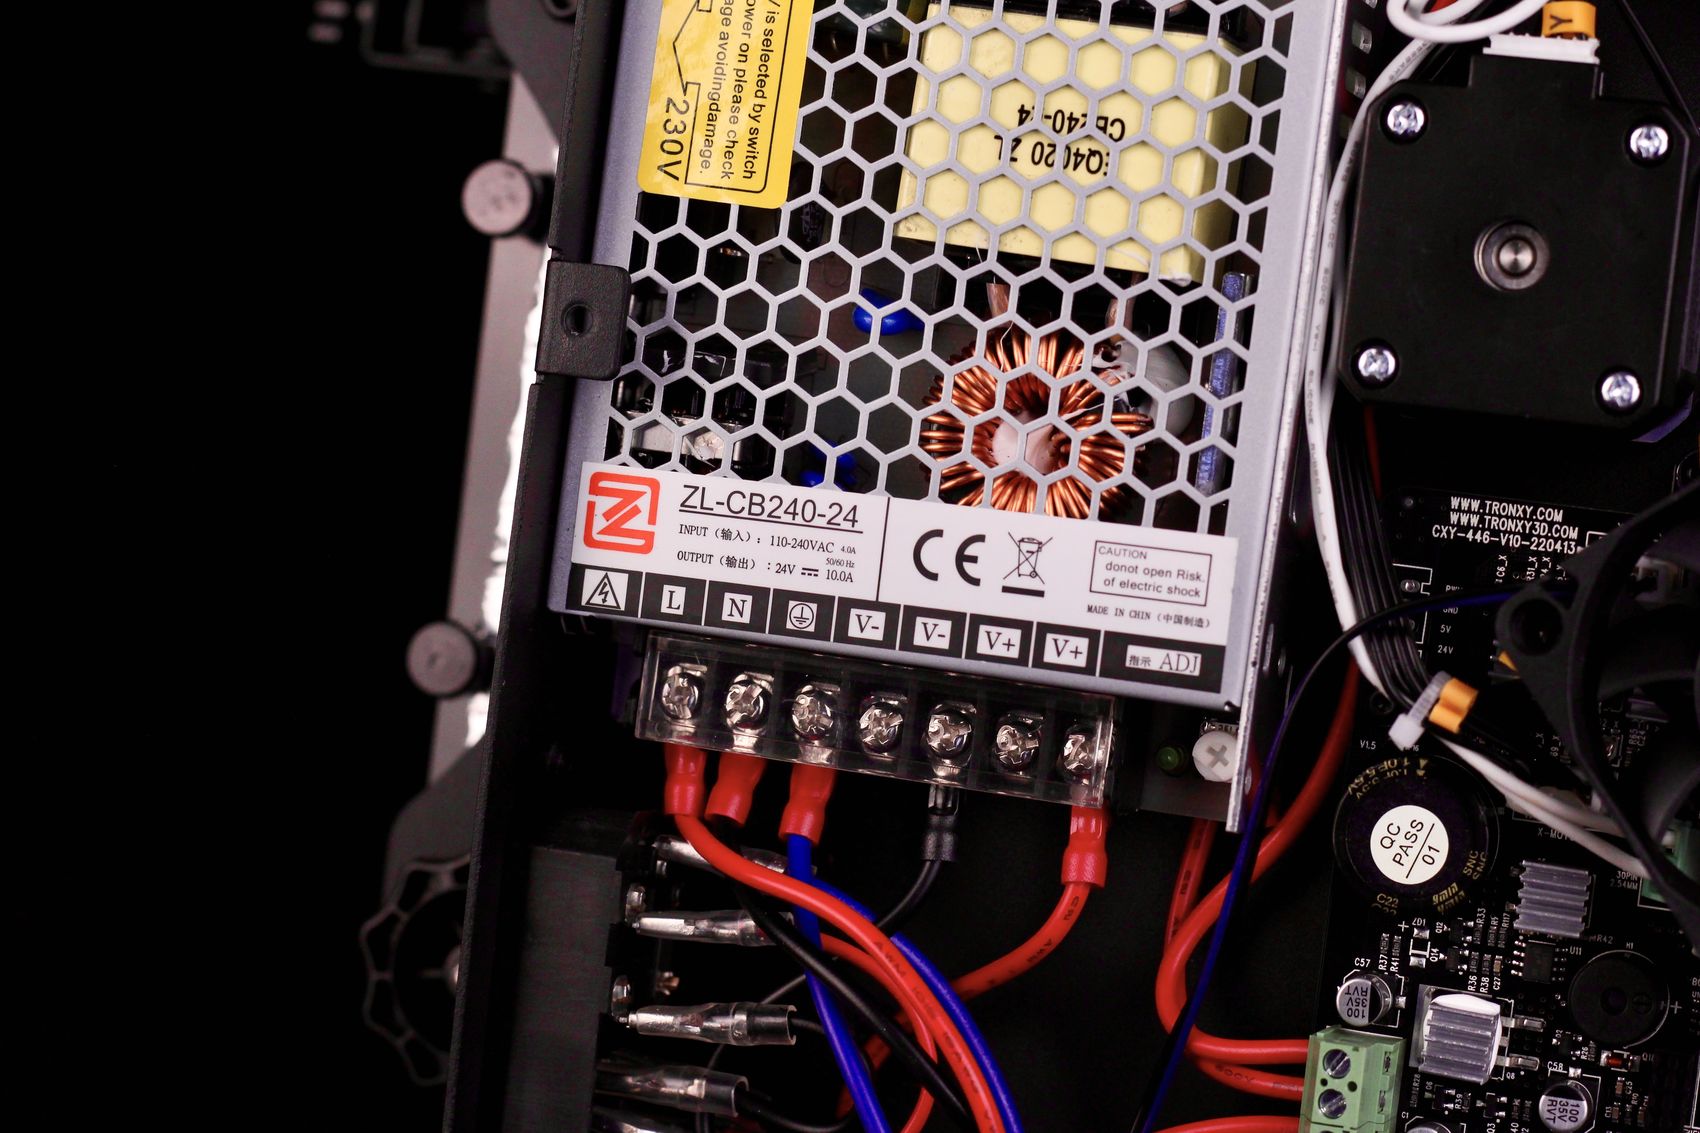
I like that the TRONXY X1 is relatively quiet, and that’s partially thanks to the use of a fanless power supply with the ZL-CB240-24 part number. It’s 240W which might seem low, but considering the power requirements for the hotend and the small heatbed, it should be enough.
Lattice Glass Printing Surface
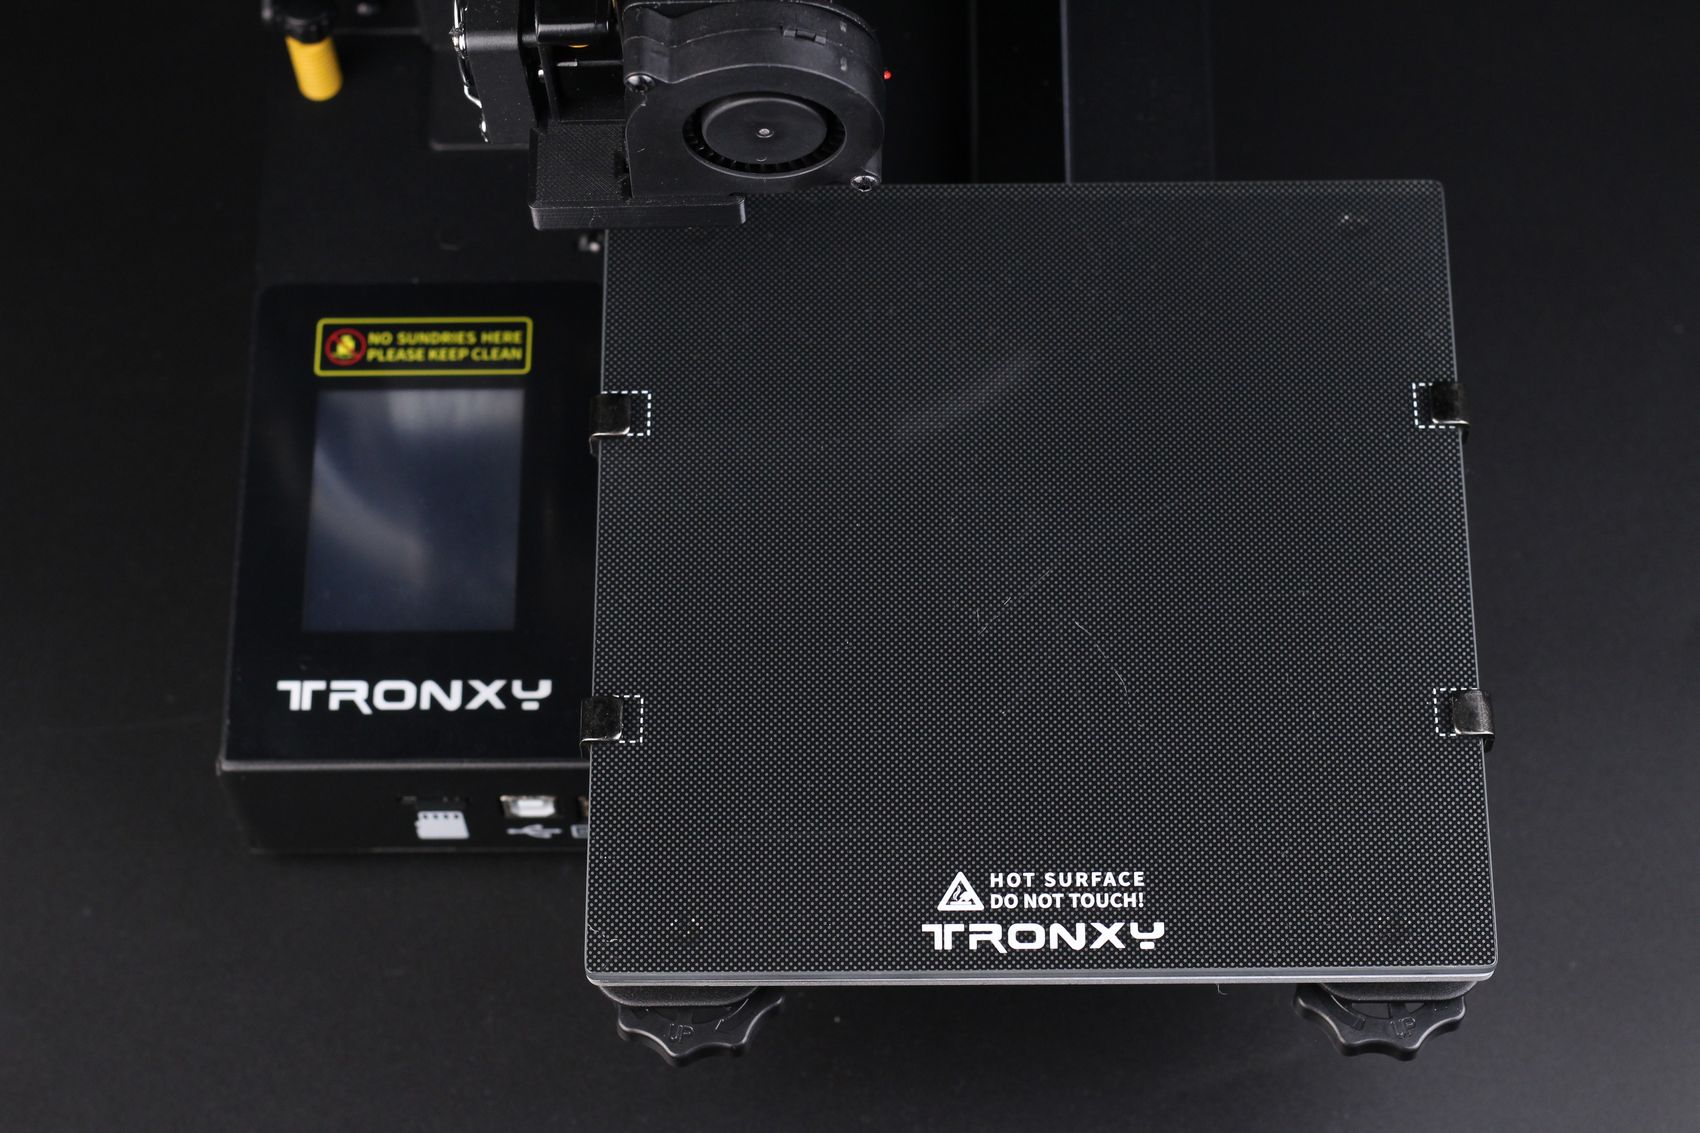
There are two variants to choose from when buying the CRUX 1. The cheaper variant has a lattice glass print surface as shown in the image below, and the slightly more expensive variant comes with a magnetic sticker and a PEI flex plate.
While the glass surface works pretty well, the PEI flex plate is much better as it is removable and eliminates the need of using these metallic anchors for the glass print surface that are heavy and also eat away from the maximum printing volume on X and Y-axis.
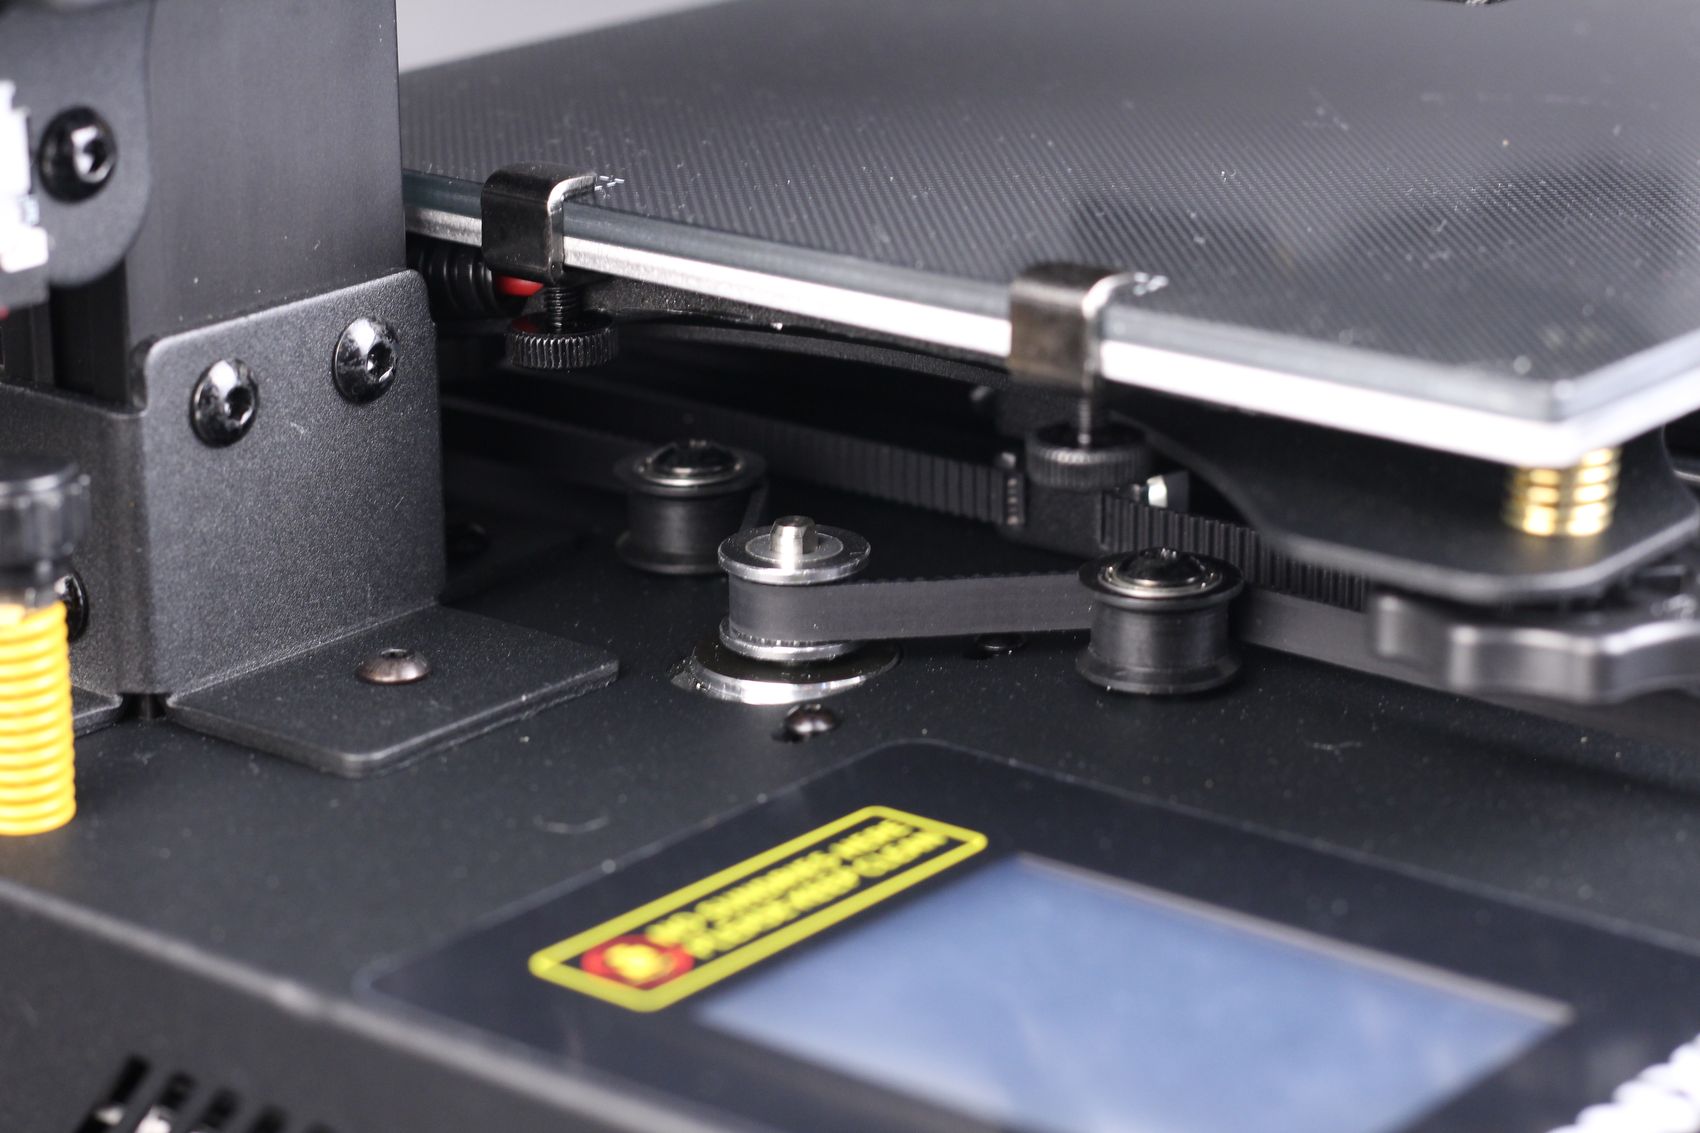
Underneath the bed, we can see the Y-axis motor which can be moved to adjust the belt tension. It’s not as easy as a dedicated tensioner like on the X axis, but it works if needed. The printer belts came well tensioned from the factory, so you shouldn’t need to fiddle with them.
Metallic Handle
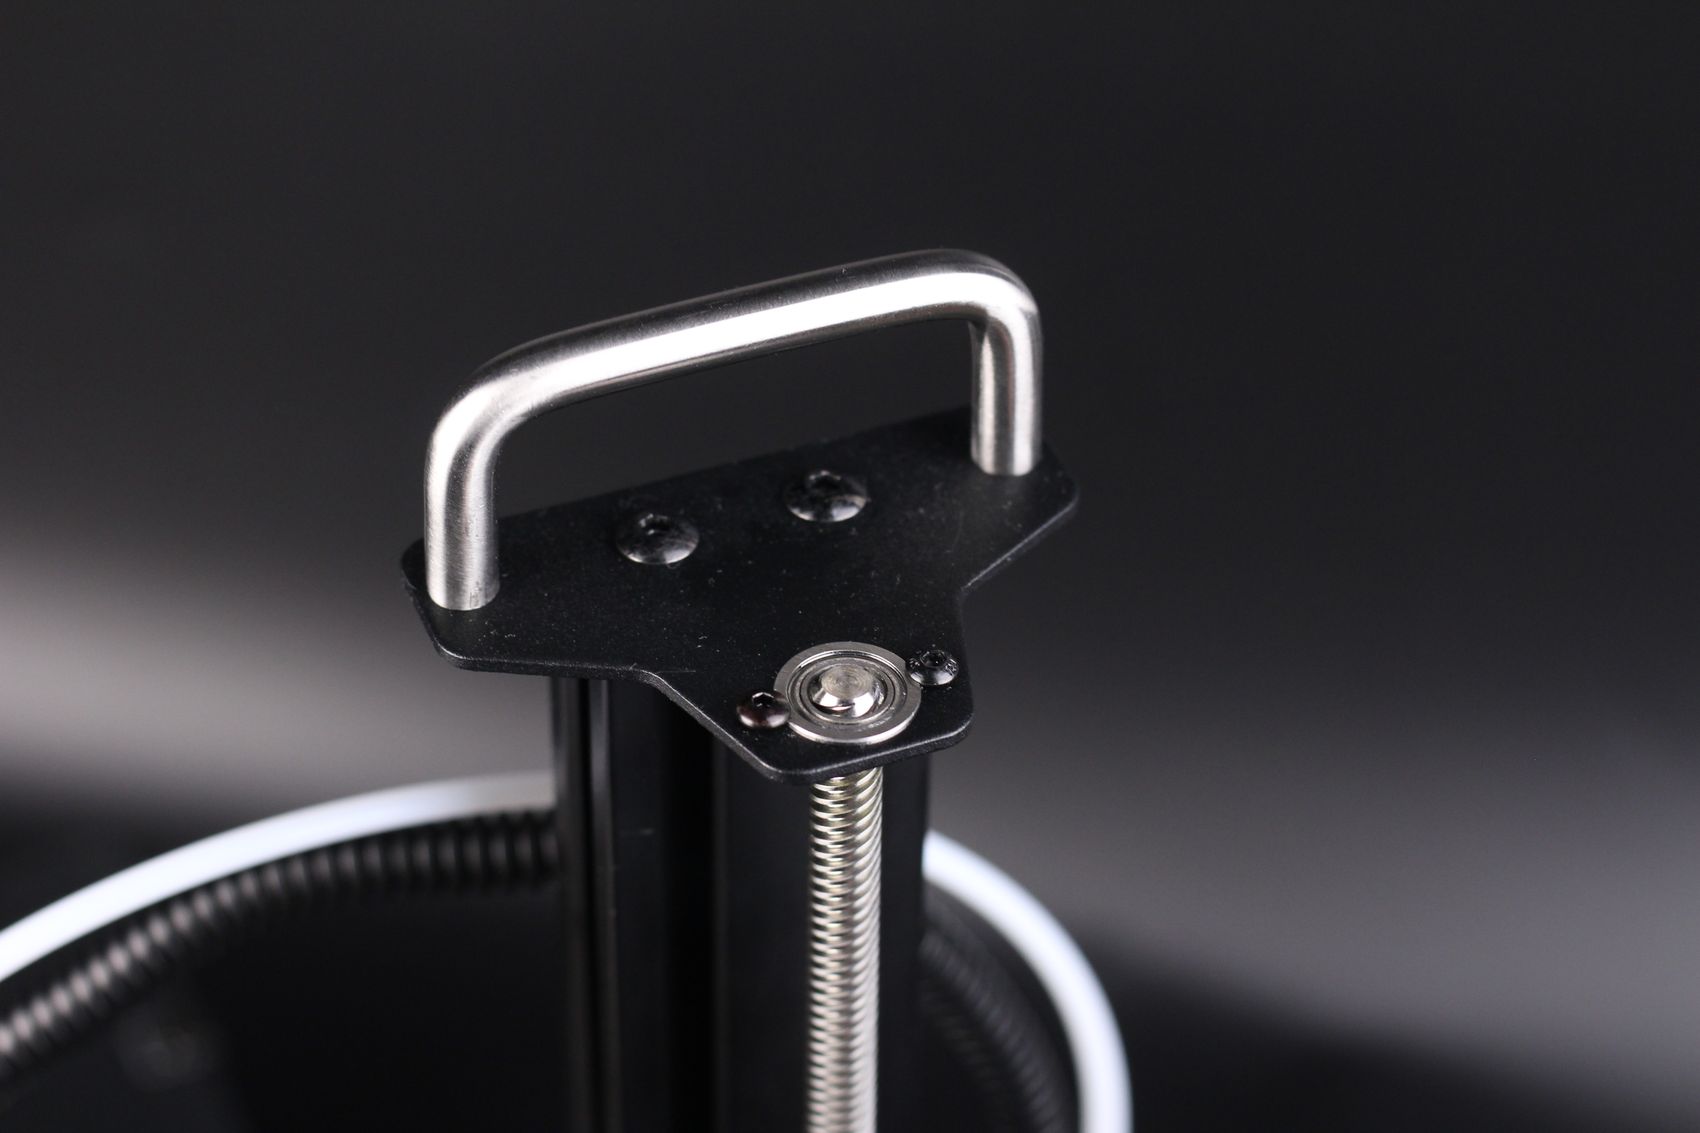
Finally, there’s also a metallic handle on the top of the printer that allows you to easily grab it and move the printer if needed. It helps with portability and it’s a nice touch.
Heating time and power consumption
Hotend
- 200C in 1 minute and 10 seconds
- 250C in 1 minute and 35 seconds
Heatbed
- 60C in 2 minutes and 25 seconds
- 100C in 7 minutes and 15 seconds
Power Draw.
Idle power draw is around 6W. When the hotend and heatbed are heating up, the TRONXY CRUX 1 draws around 190W. After it starts printing, the power draw stabilizes to around 130-150W.
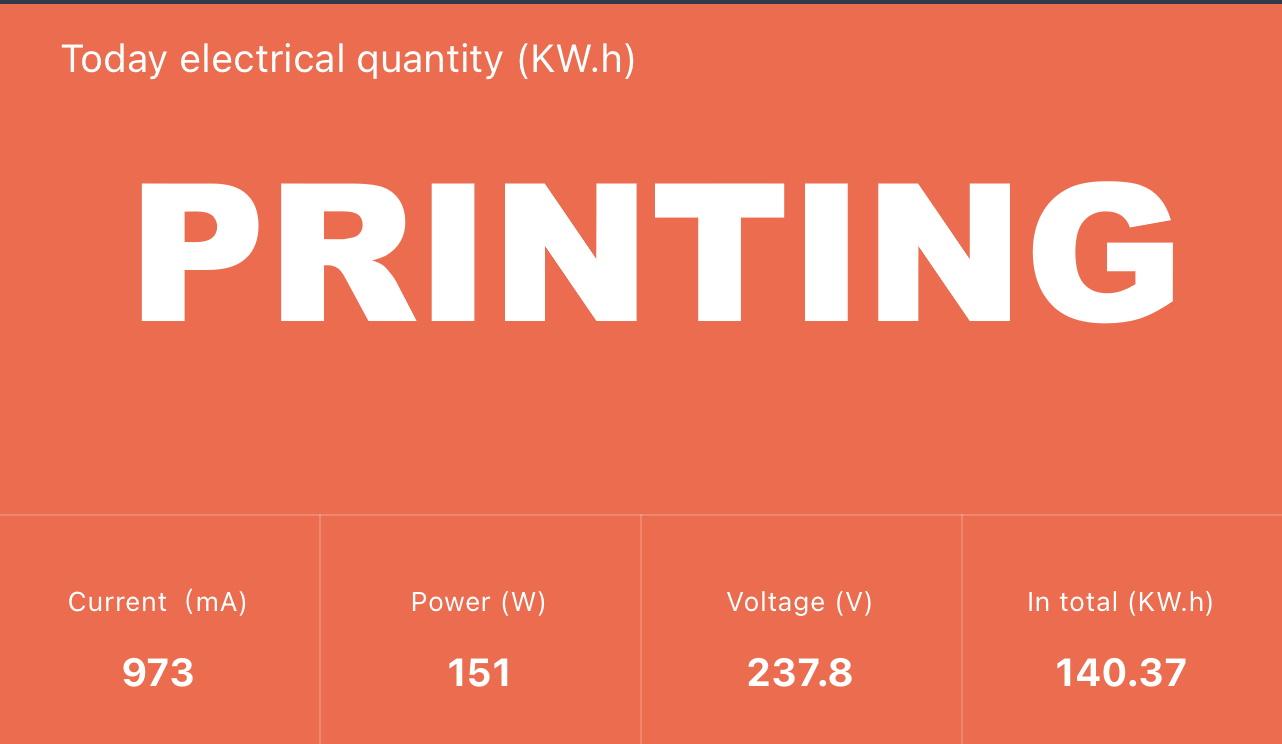
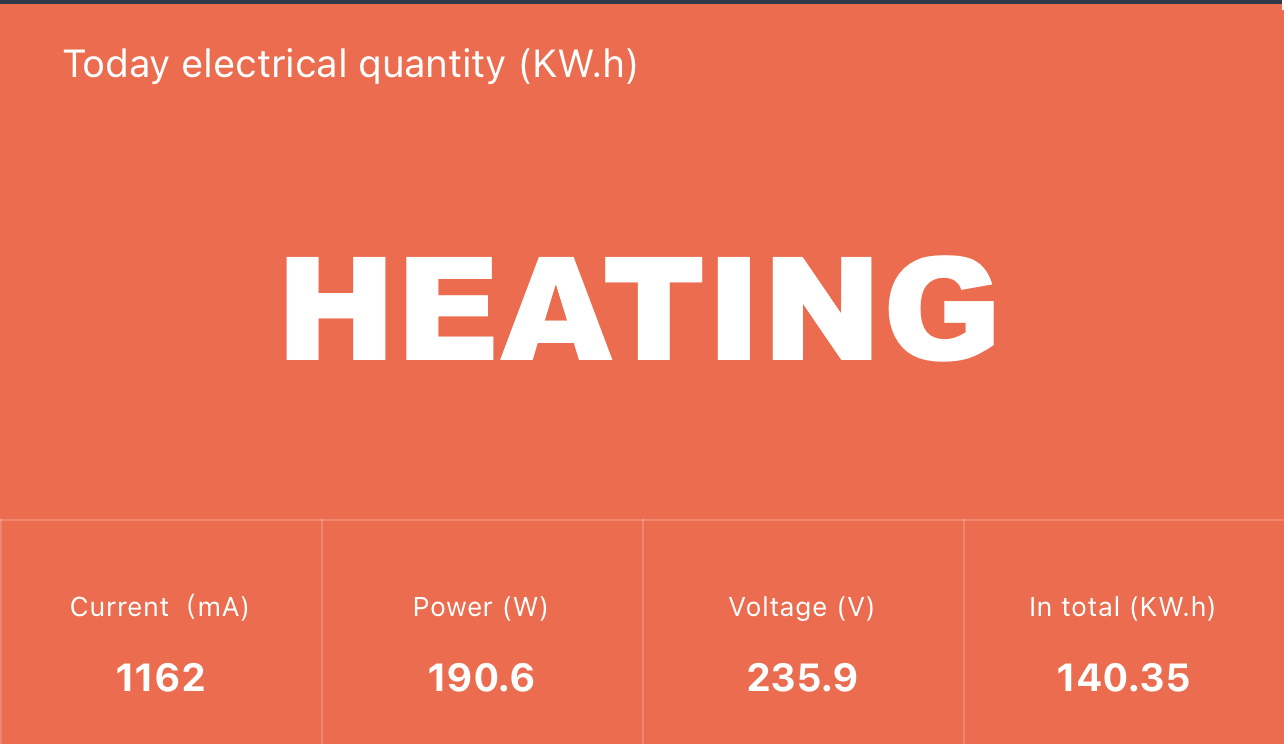
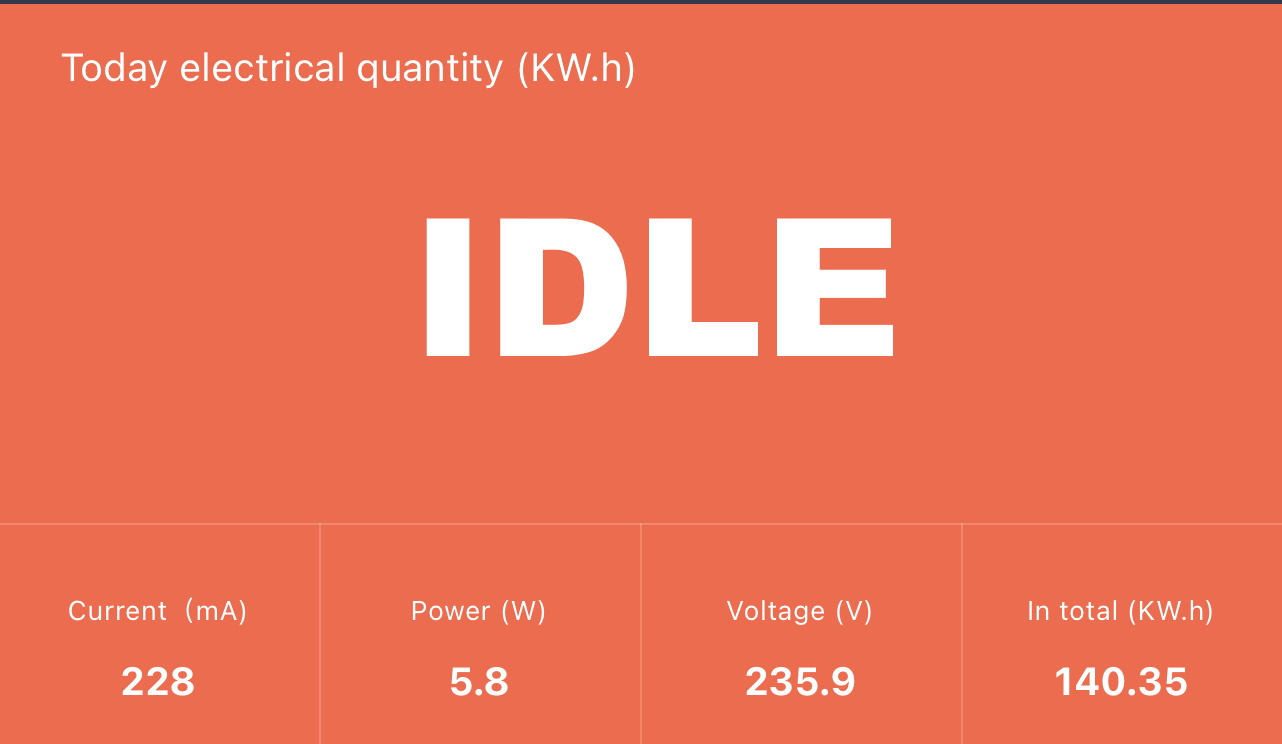
All these measurements were taken with a Blitzwolf smart power socket which indicates the power draw, and it can also be used for remotely powering on and off the printer.
Bed Temperature Uniformity
I tested the temperature uniformity for the TRONXY CRUX 1 bed with the FLIR Camera installed on the CAT S62 Pro. The bed has been set to 60C and I waited 2 minutes for the temperature to stabilize.
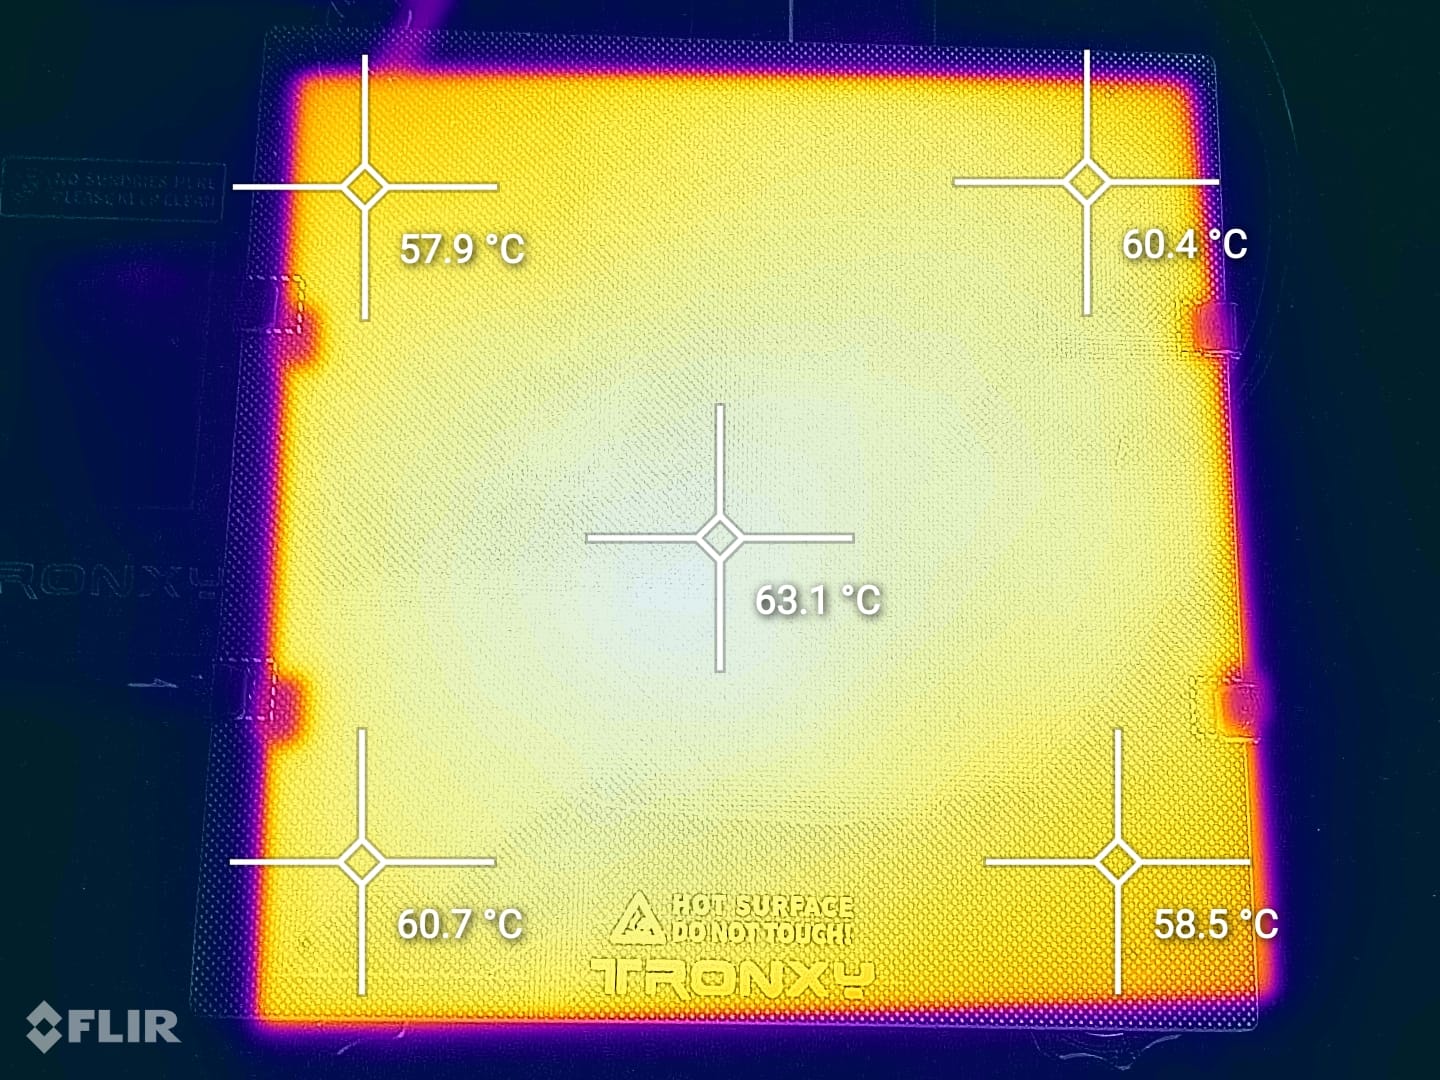
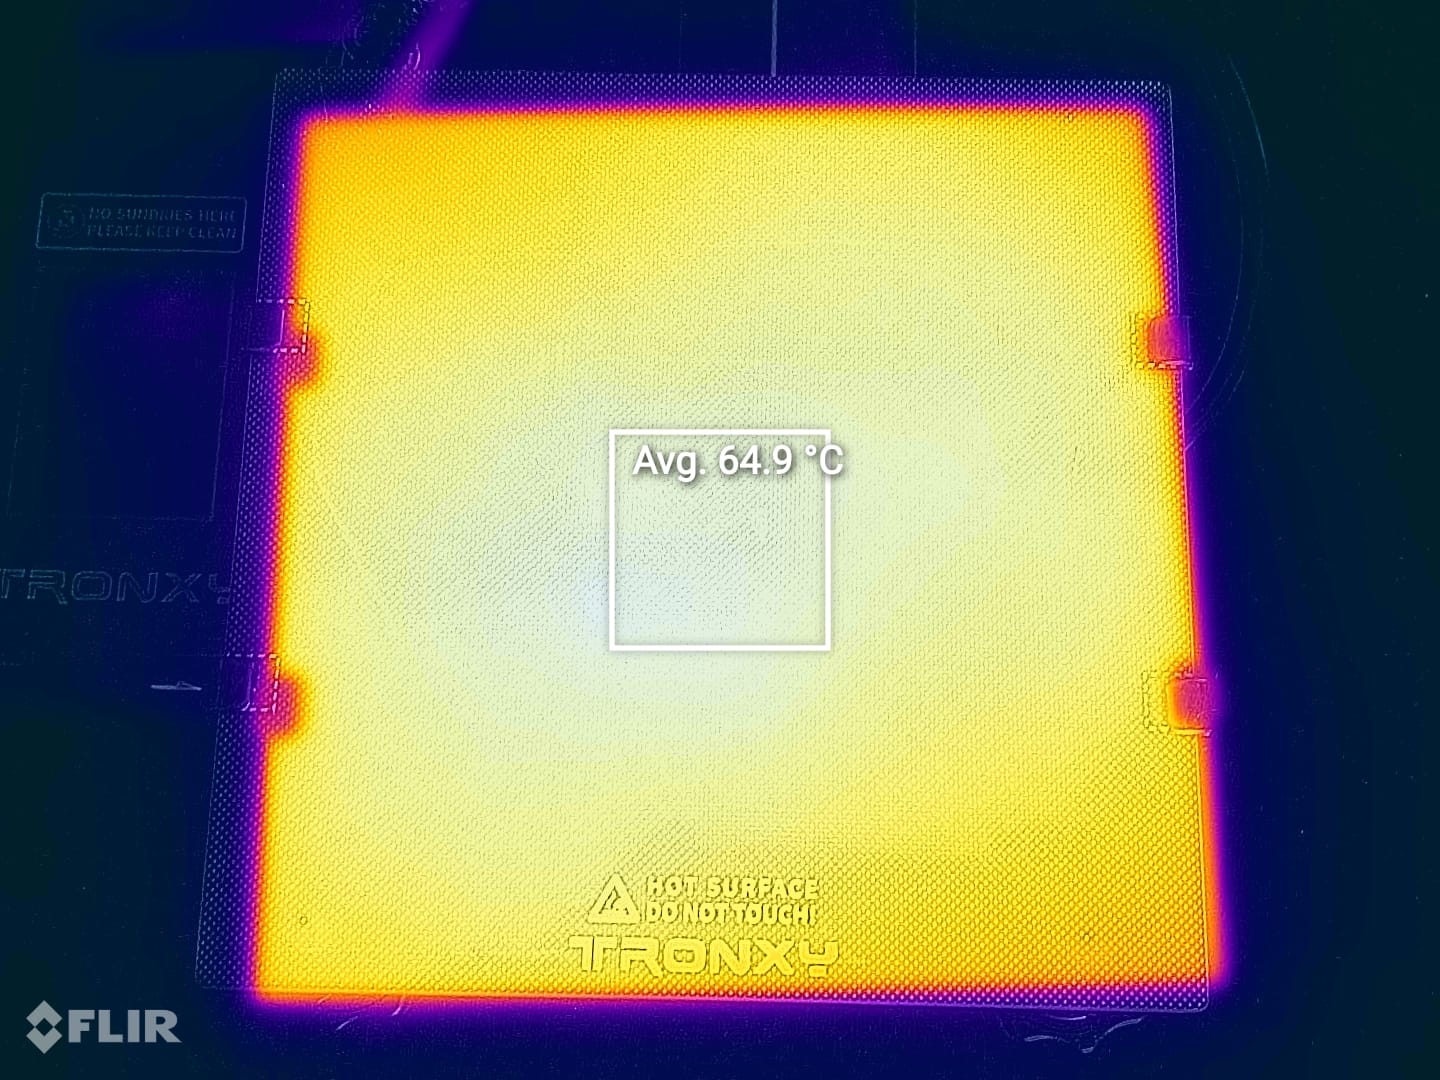

The bed hearing uniformity is ok, with a temperature difference of a few degrees in some places. The middle of the bed has a temperature of about 4 degrees higher than the one shown on the display, but it should be good enough for most models you plan to print on it.
TRONXY CRUX 1 Noise Levels
The TRONXY CRUX 1 is pretty silent during operation, but it has a very annoying beeping sound when the axis home on X Y, and Z that cannot be disabled. Otherwise, the fan noise isn’t disturbing.
But the annoying thing is the noise developed by the fans after a while. The extruder and board cooling fan broke down and started vibrating generating noise. Replacing them would solve the problem, but it’s not normal to see this after a short use time.
Prusa Slicer profiles for TRONXY CRUX 1
During my time with the printer, I tuned a few Prusa Slicer profiles for the TRONXY CRUX. These profiles are tuned for the stock printer and are available to my Patreon supporters. Considering the print quality I got with the TRONXY CRUX, I am not sure if the profiles will apply to your printer as well as the stringing issue is not easily fixable with a slicer profile.
Test prints on TRONXY CRUX 1
3D Benchy
I started with a 3D Benchy, as I usually do. The results were decent, but there are small amounts of stringing in some places. In this case, there are not a lot of strings, as it seems that the PLA Plus I have been using is less stringy than other materials used. Pretty acceptable benchy, but I’ve seen better results
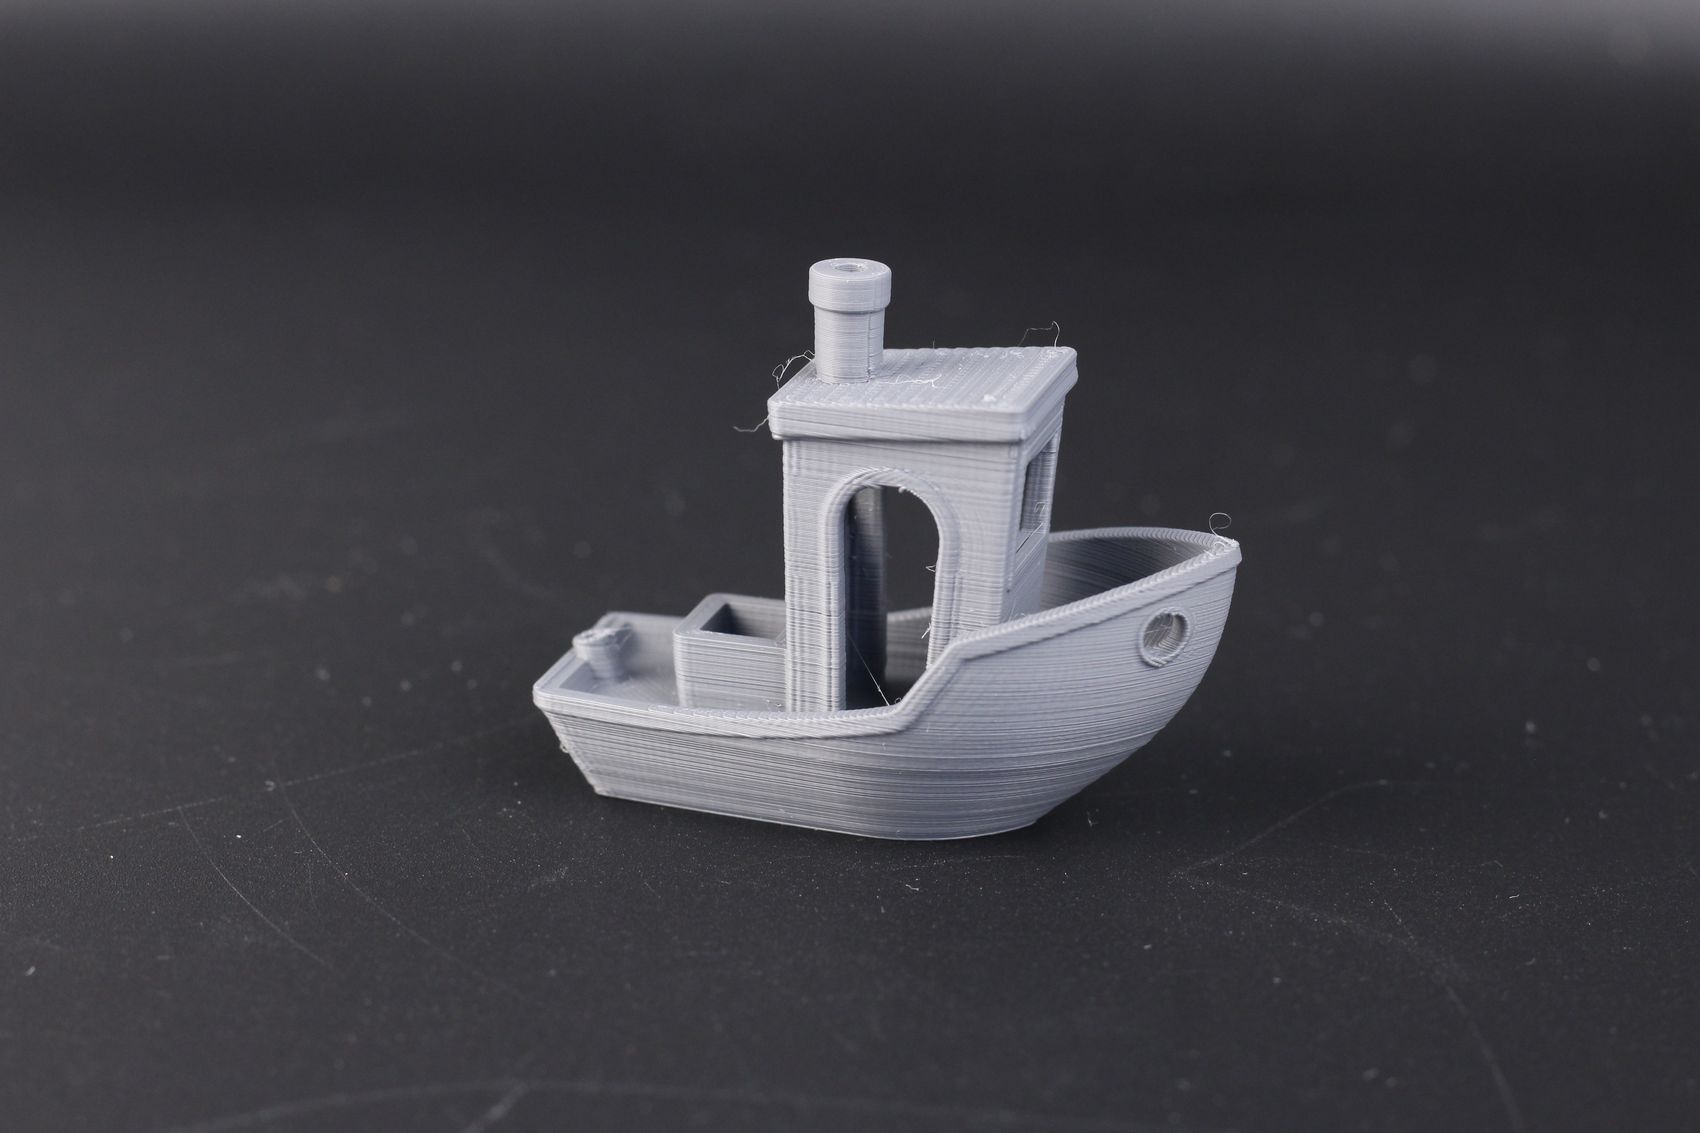
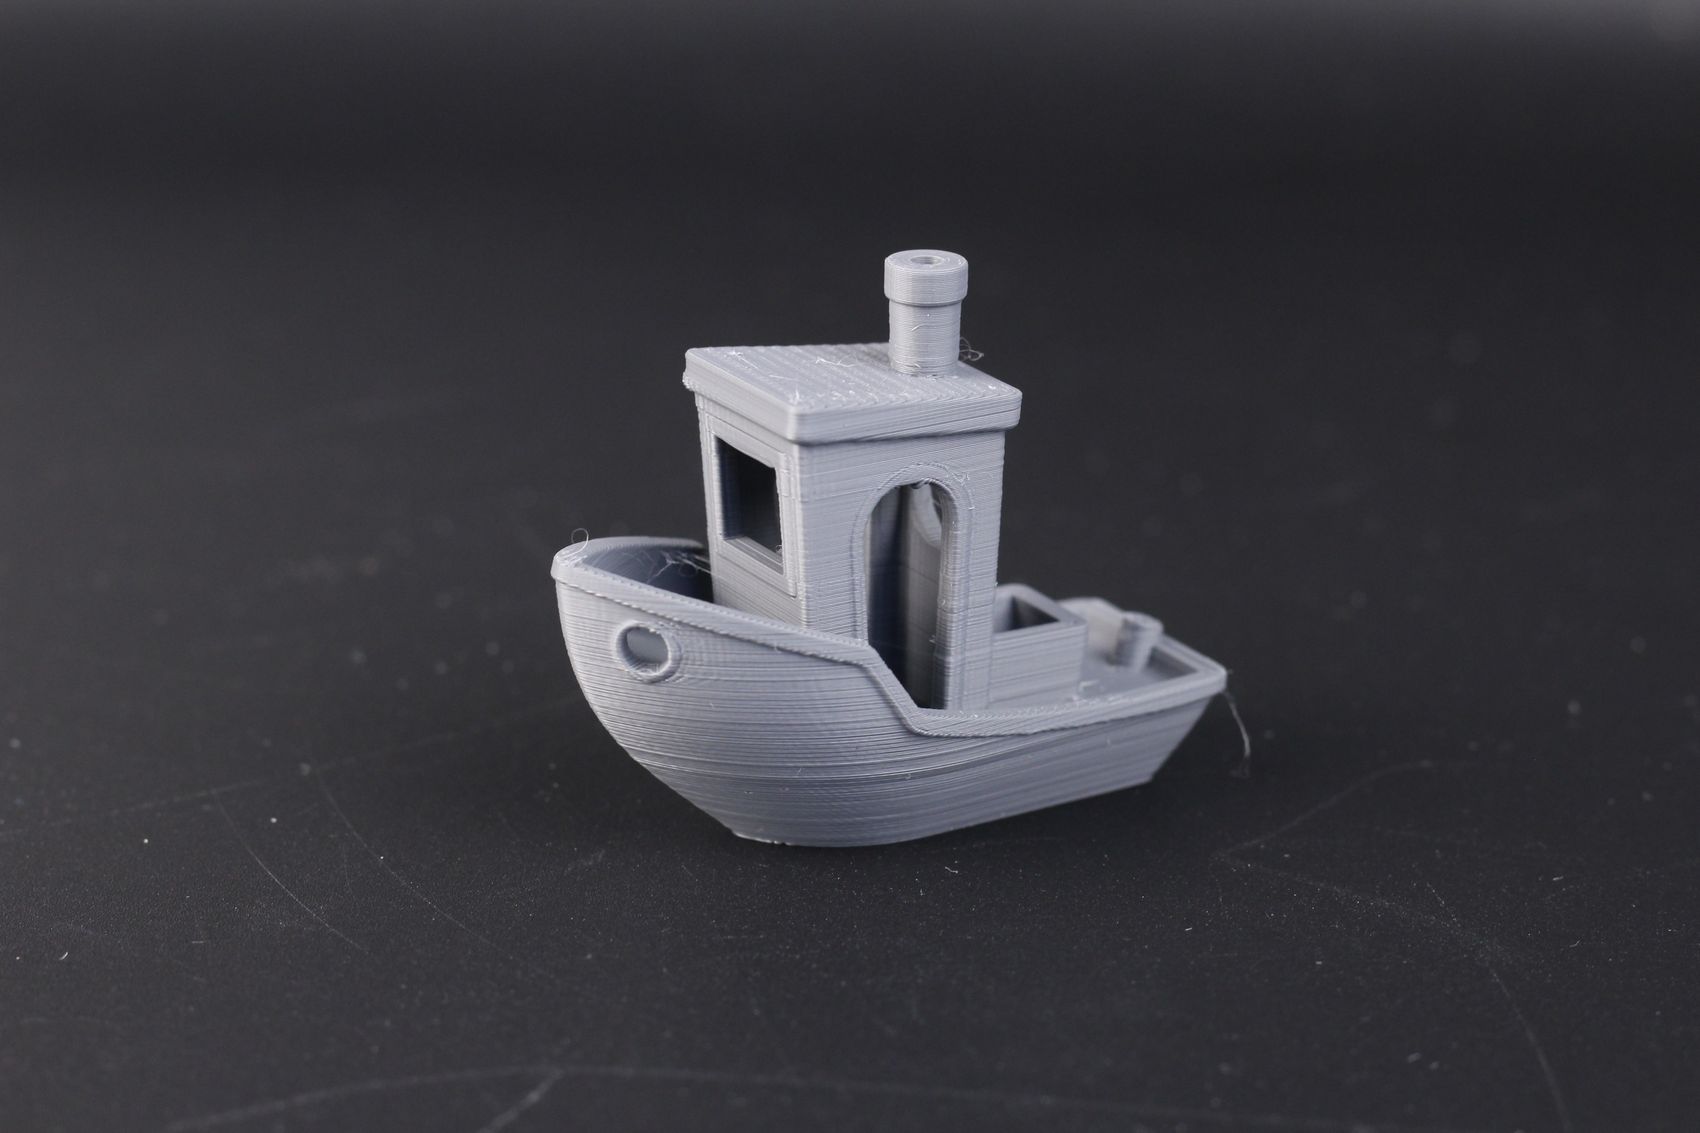
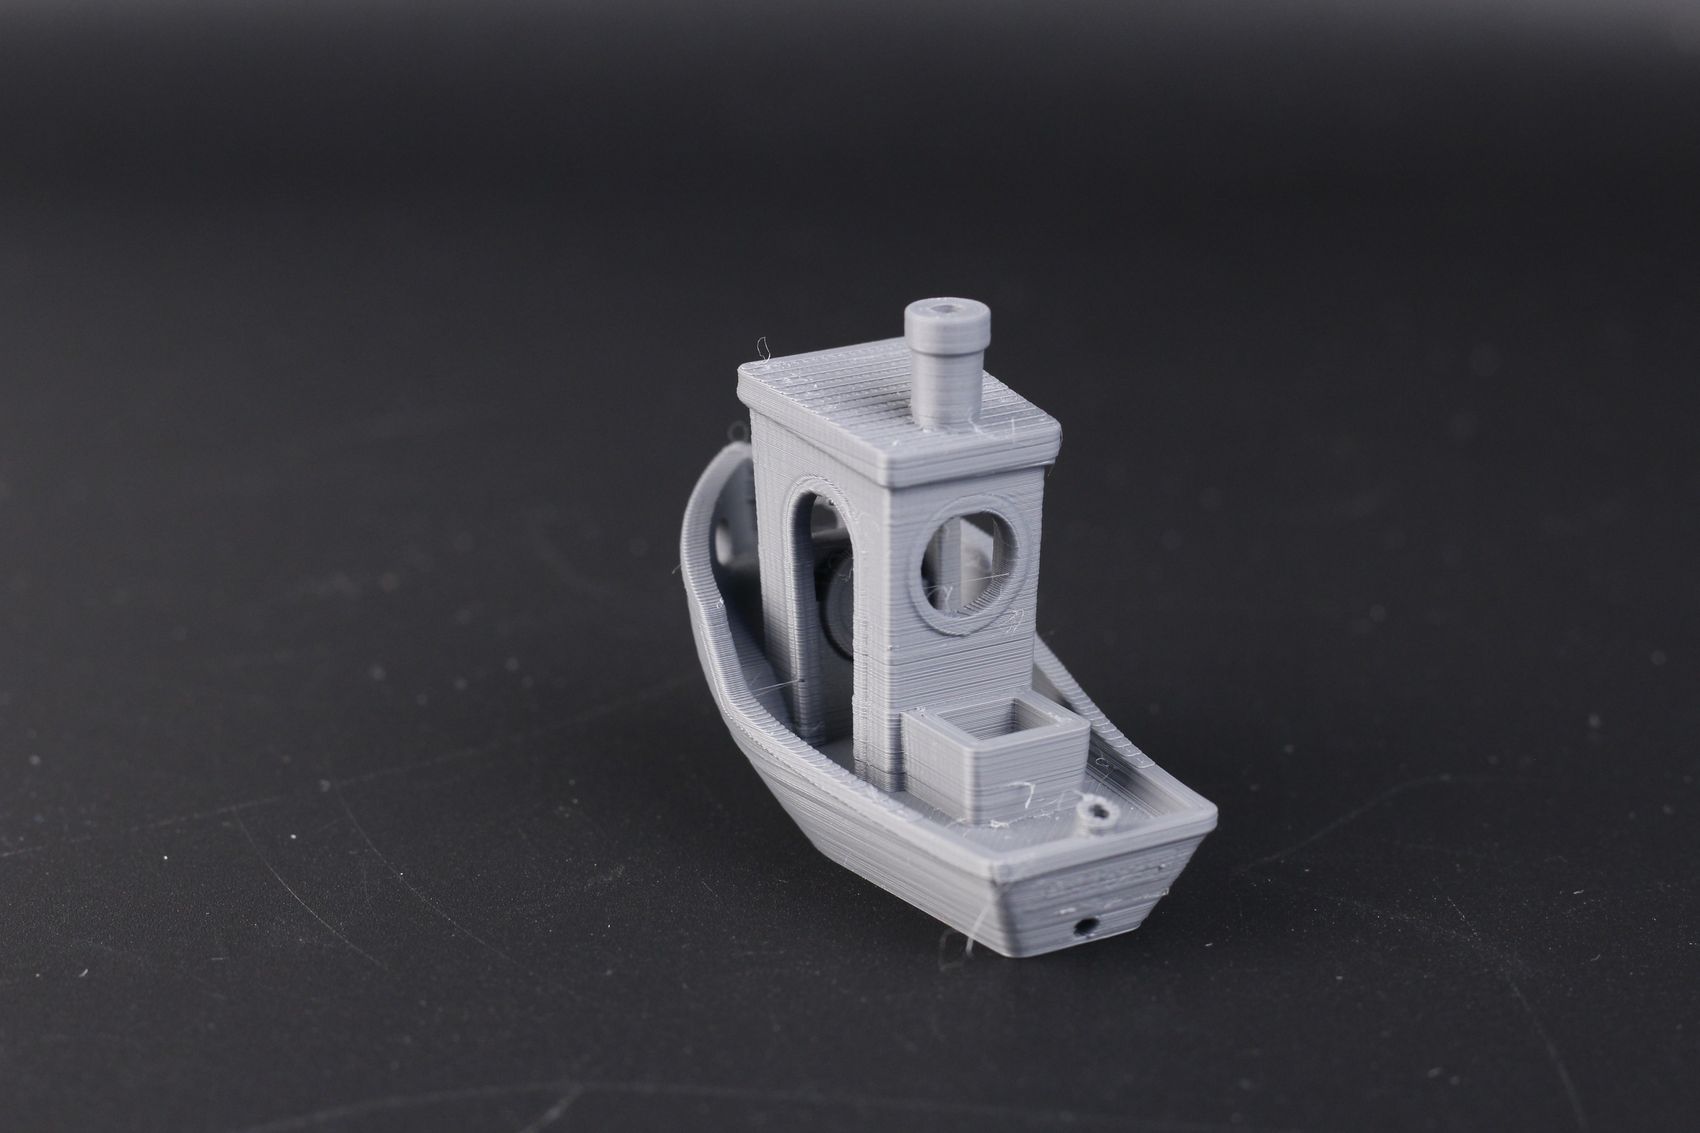
- Material: Prima Select PLA Pro
- Layer Height: 0.2mm
- Nozzle Temperature: 215C
- Bed Temperature: 60C
- Print Speed: ~50 mm/s
200% Calibration Cube
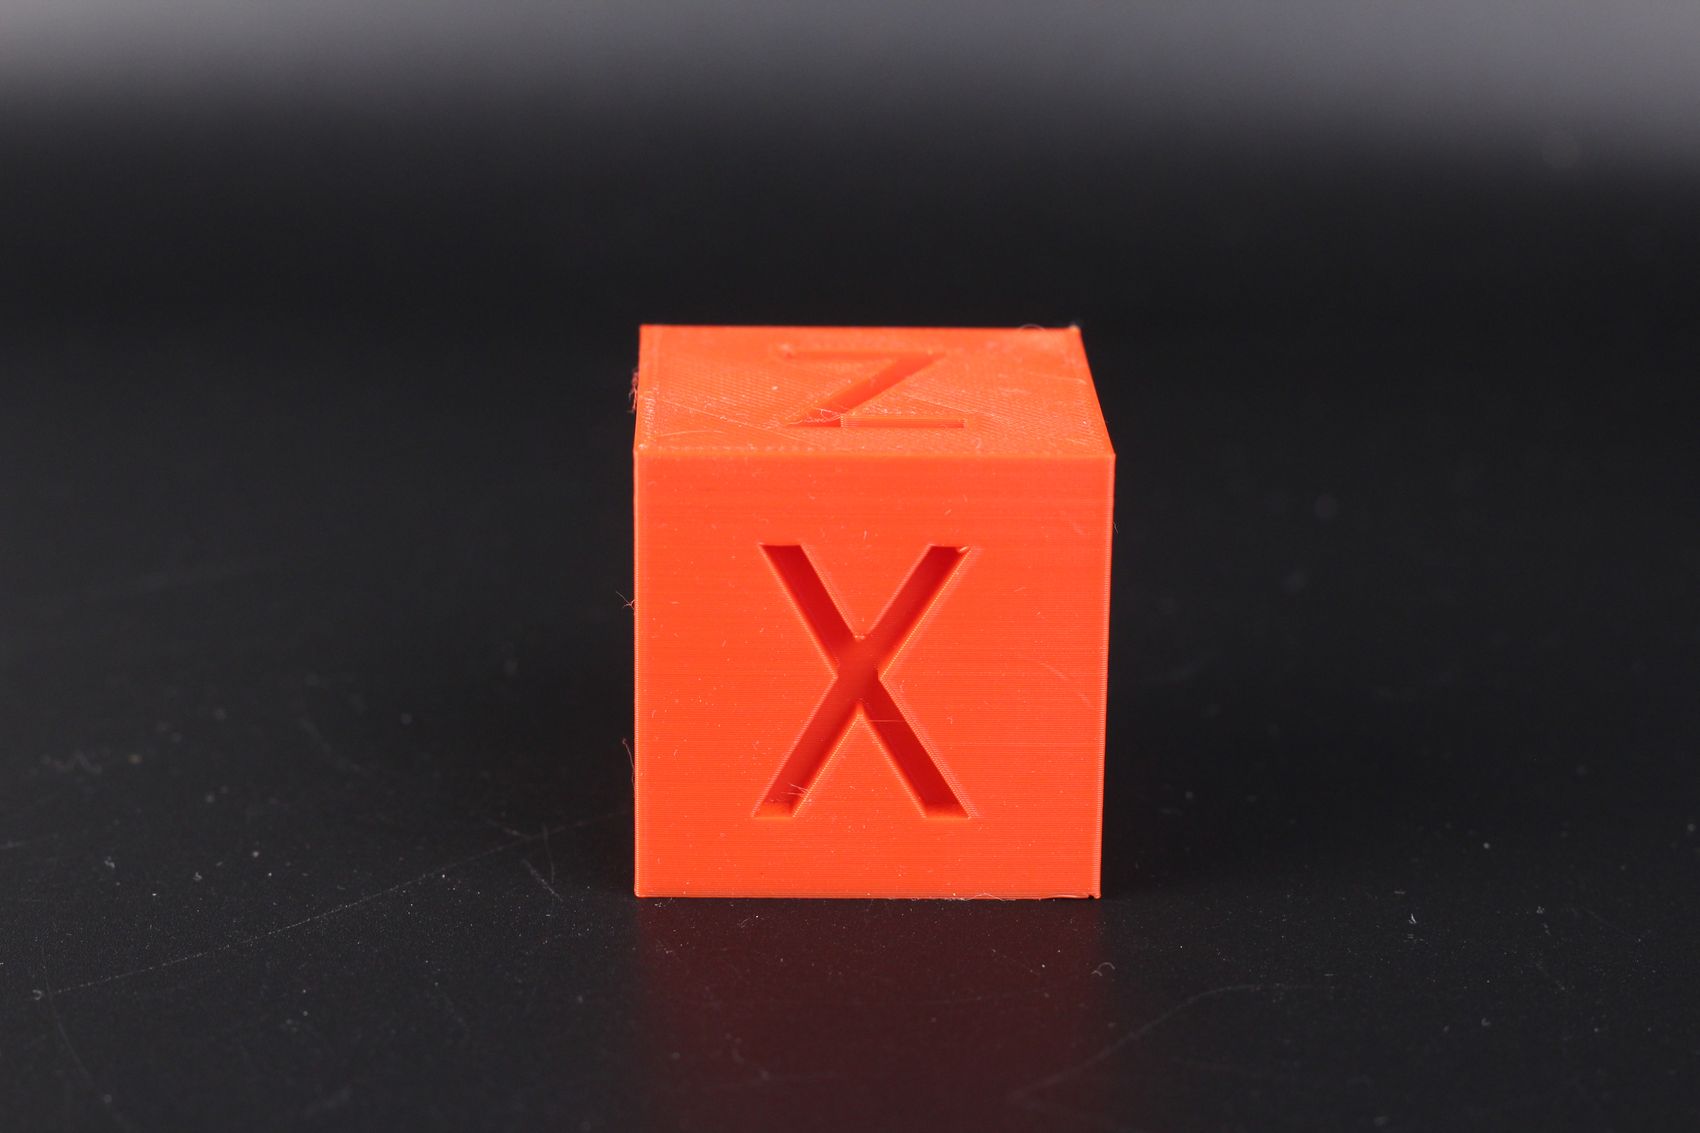
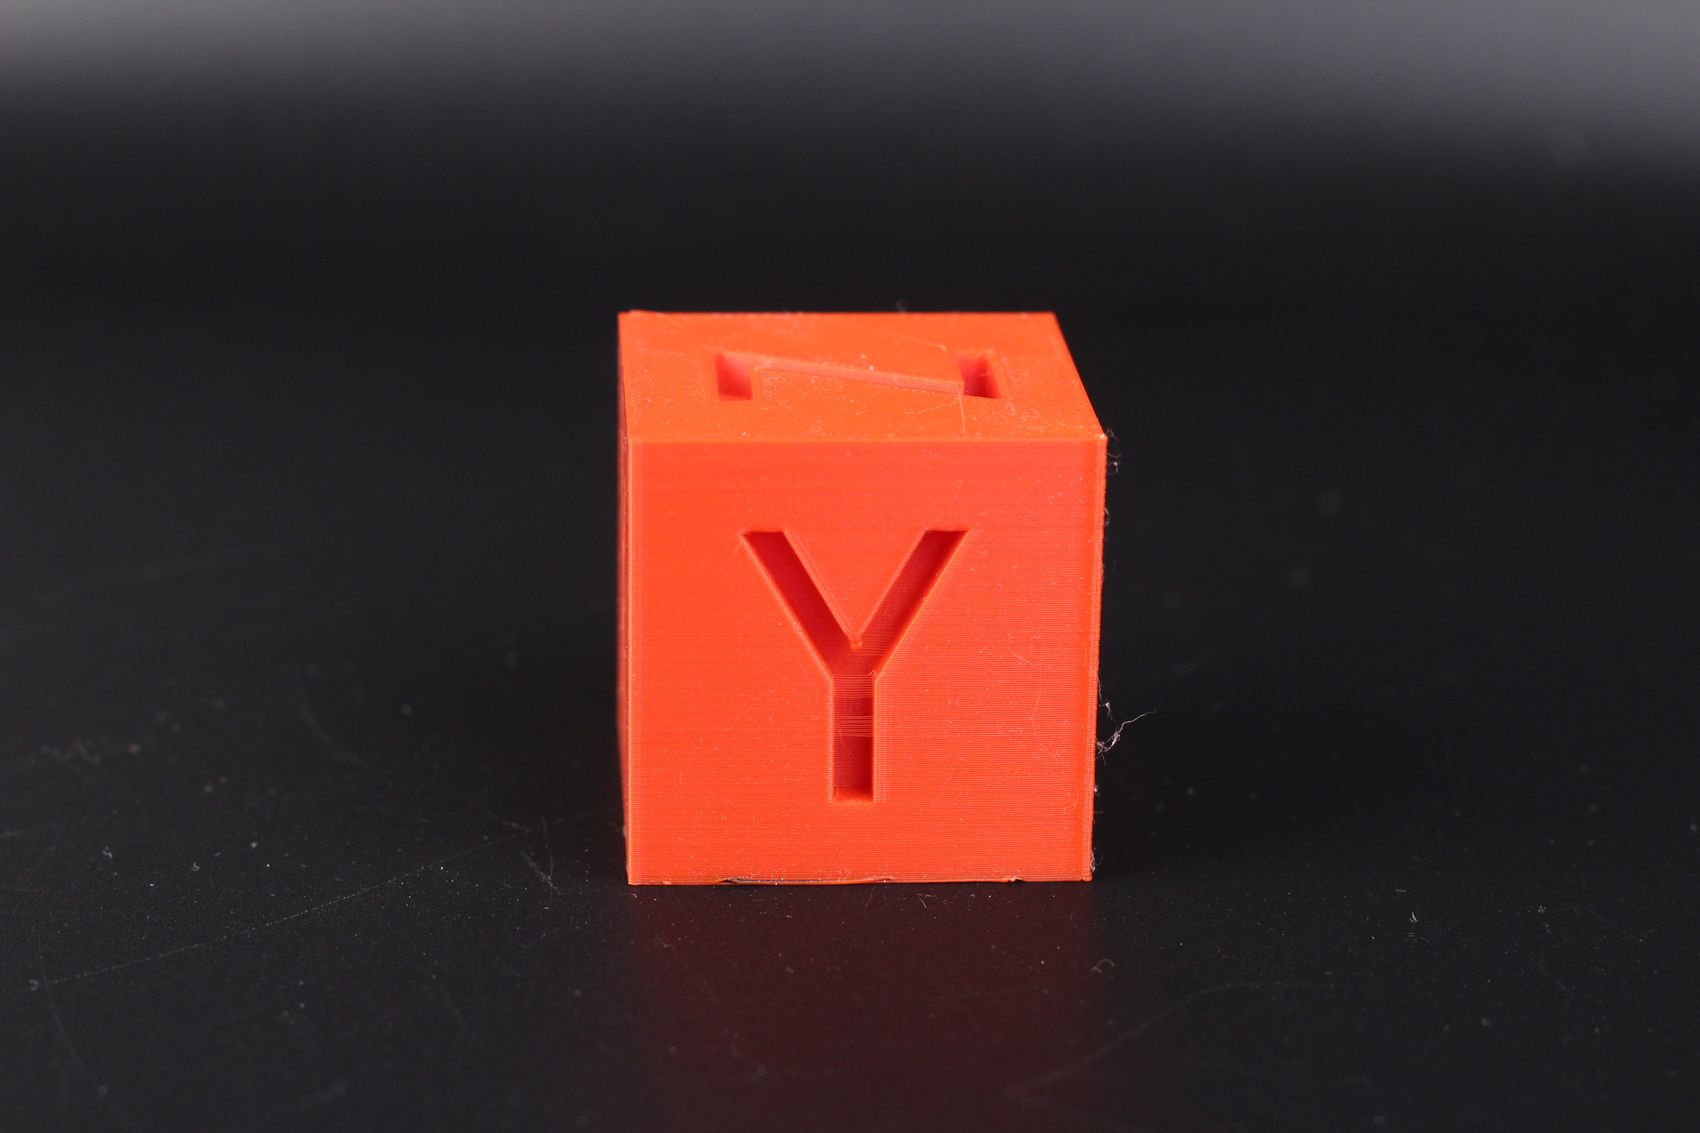
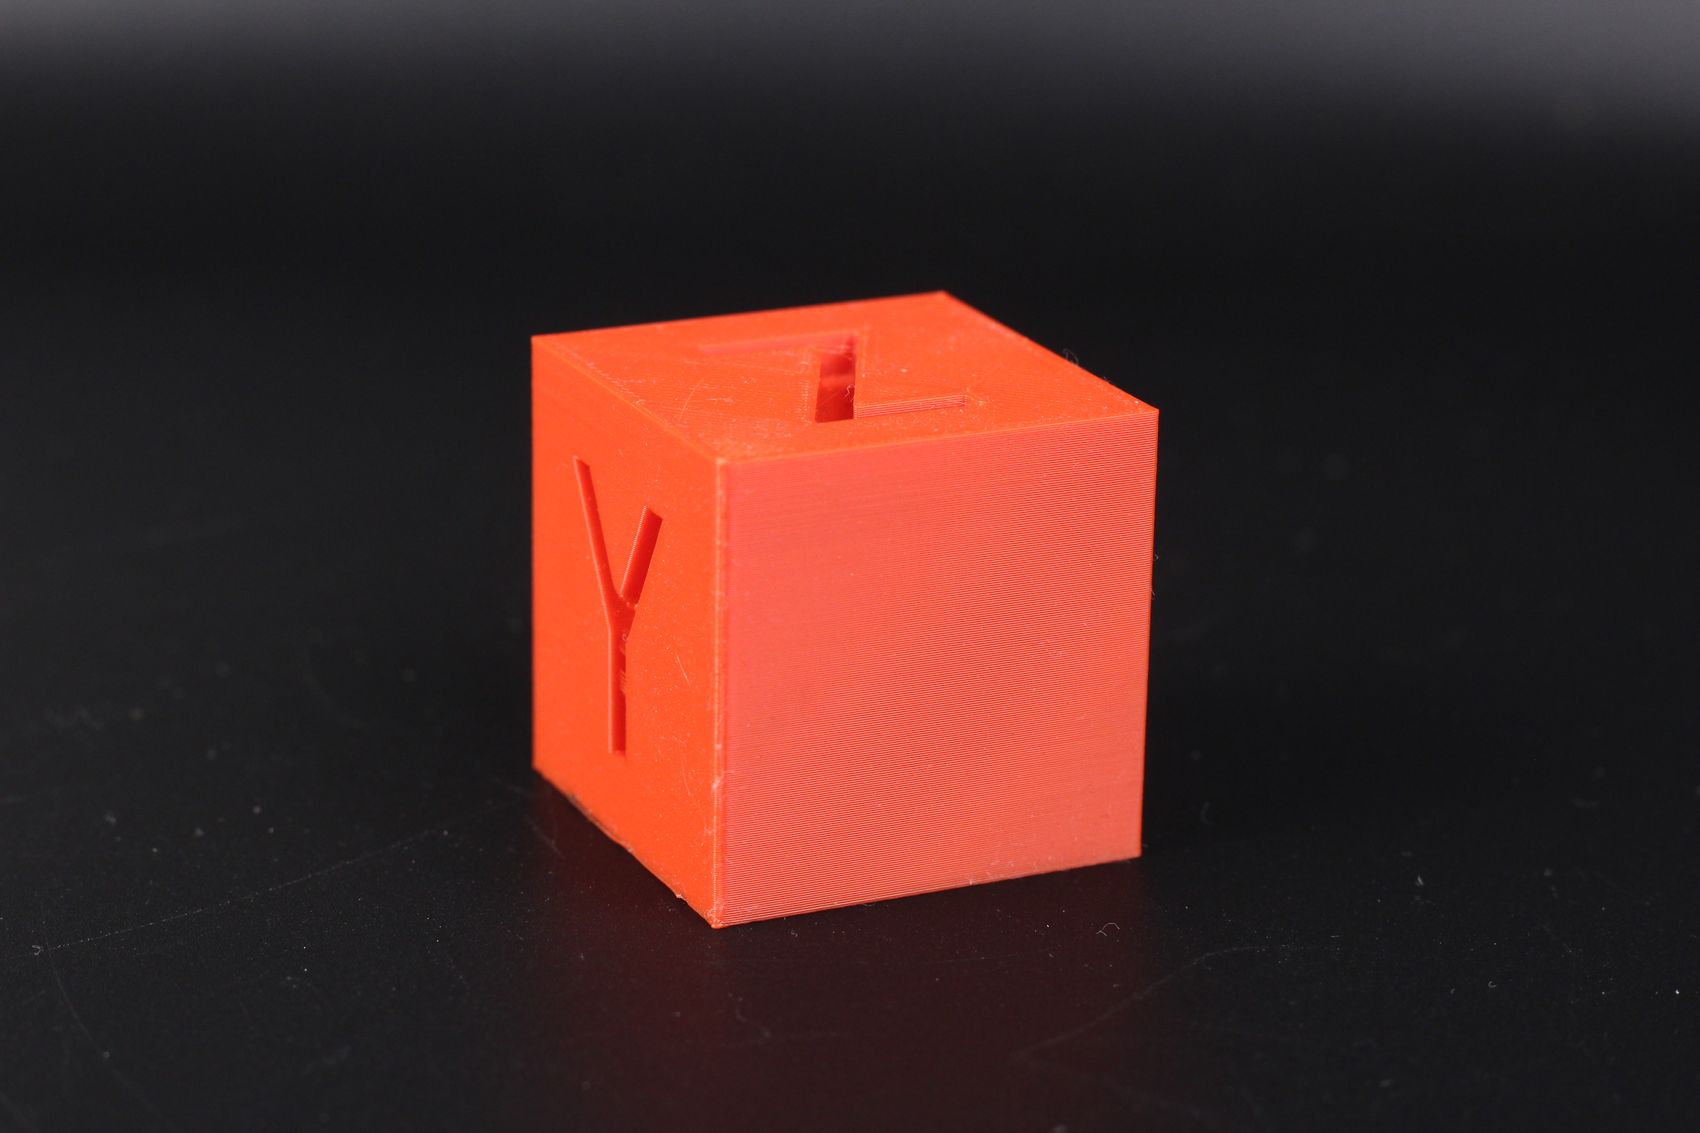
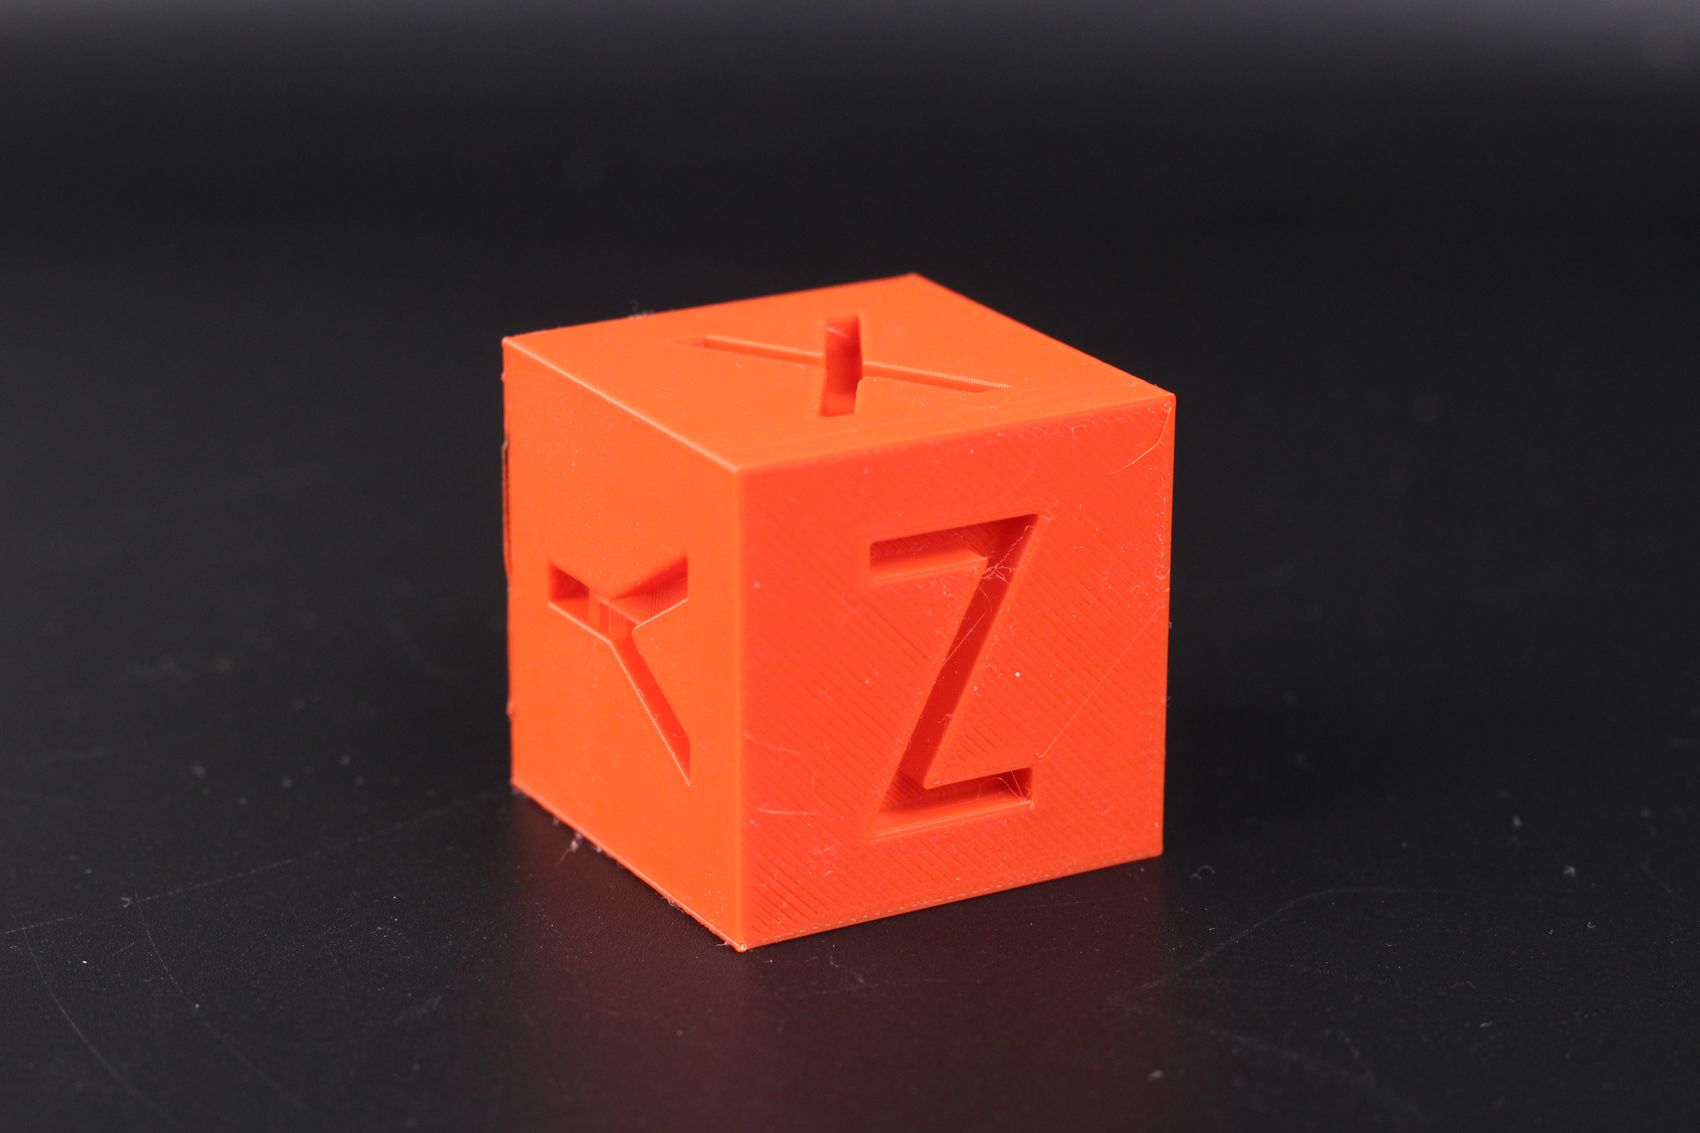
Next, it’s the usual 200% Calibration Cube printed in PLA. The model came out good with some tiny stringing present on the Y axis. There’s also a bit of under-extrusion on the top layers, but other than that, it’s a pretty respectable calibration cube.
- Material: Sunlu Red PLA PLA
- Layer Height: 0.2mm
- Nozzle Temperature: 210C
- Bed Temperature: 60C
- Print Speed: ~50 mm/s
Cali Dragon
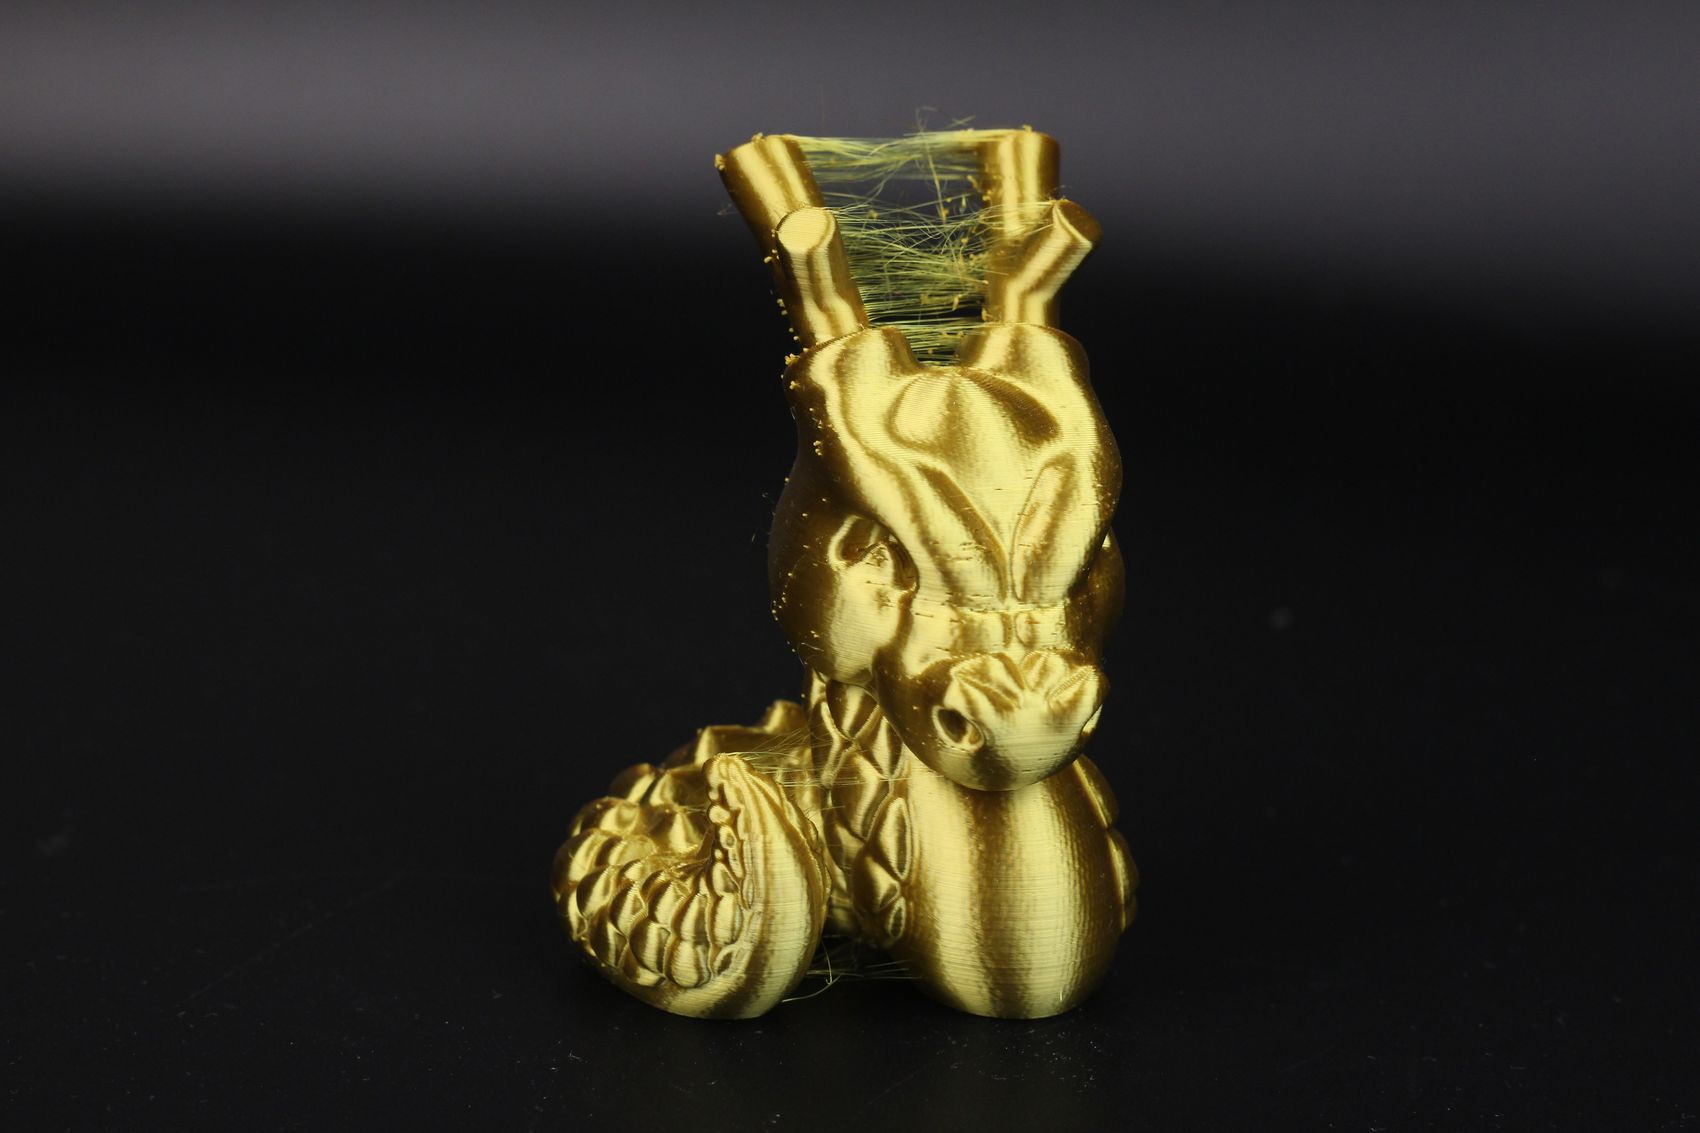
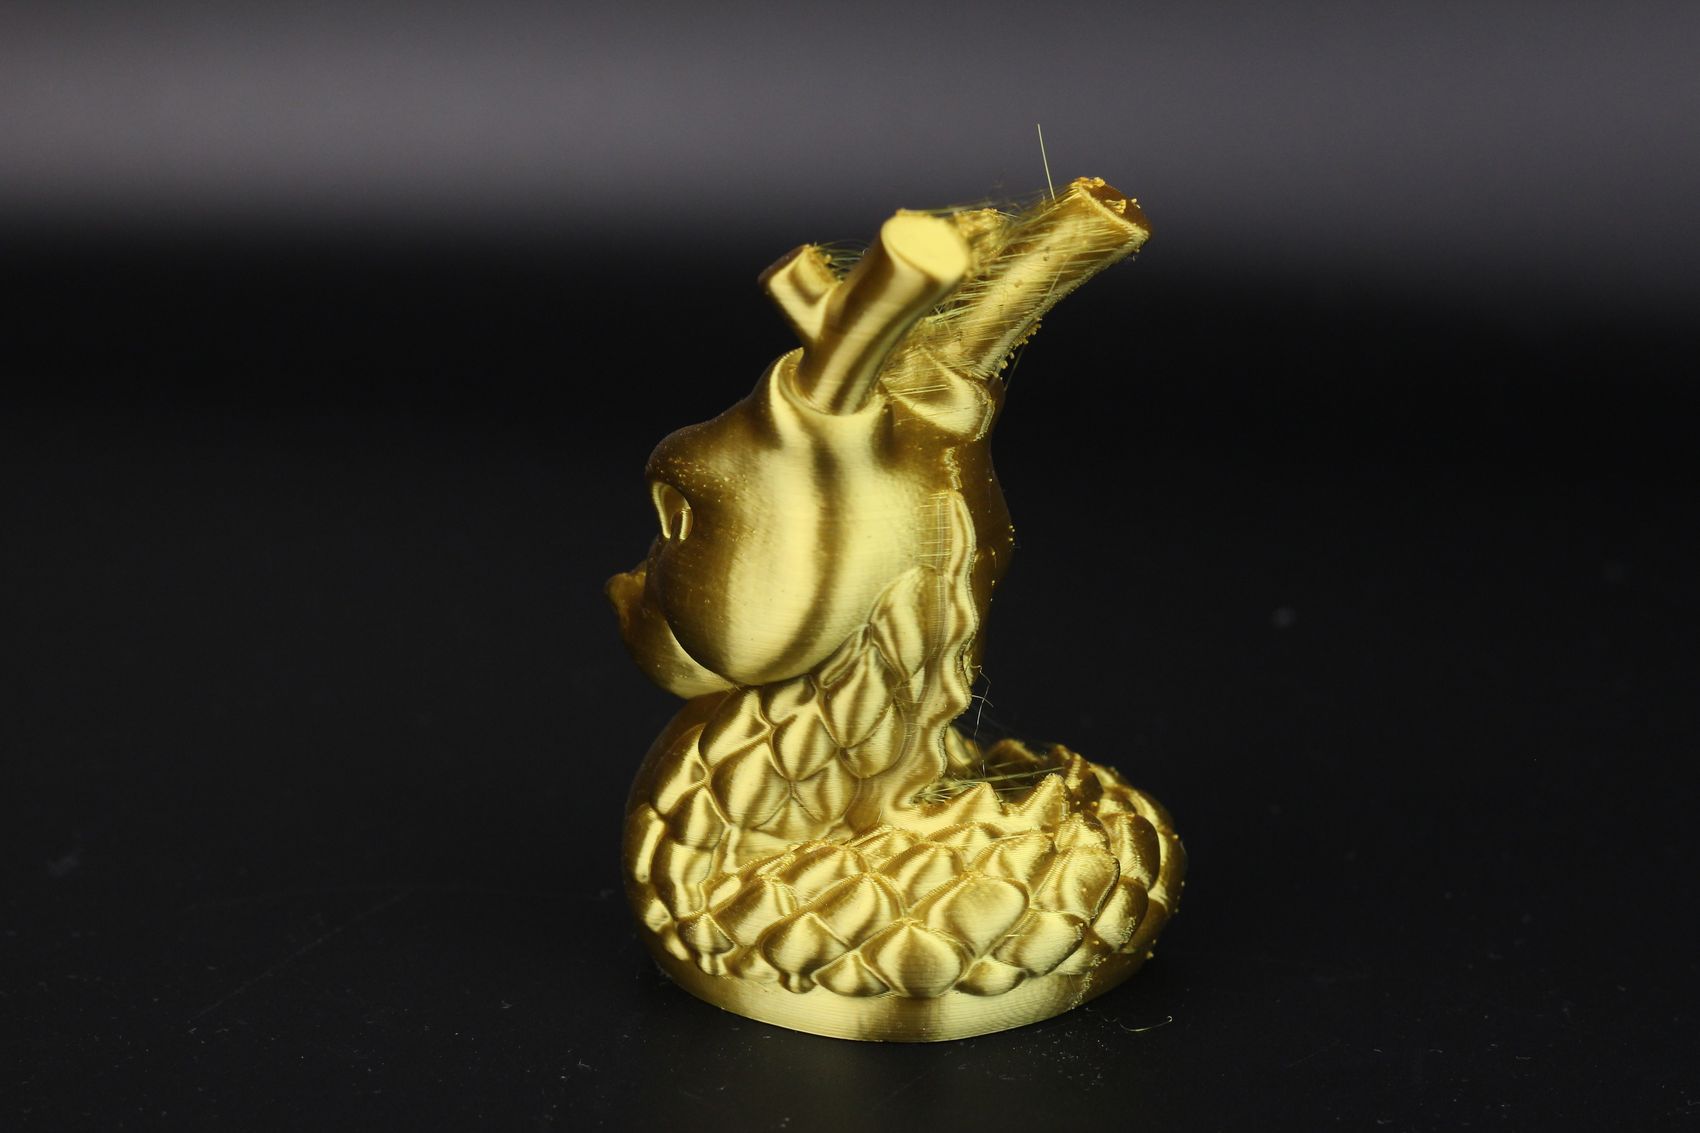
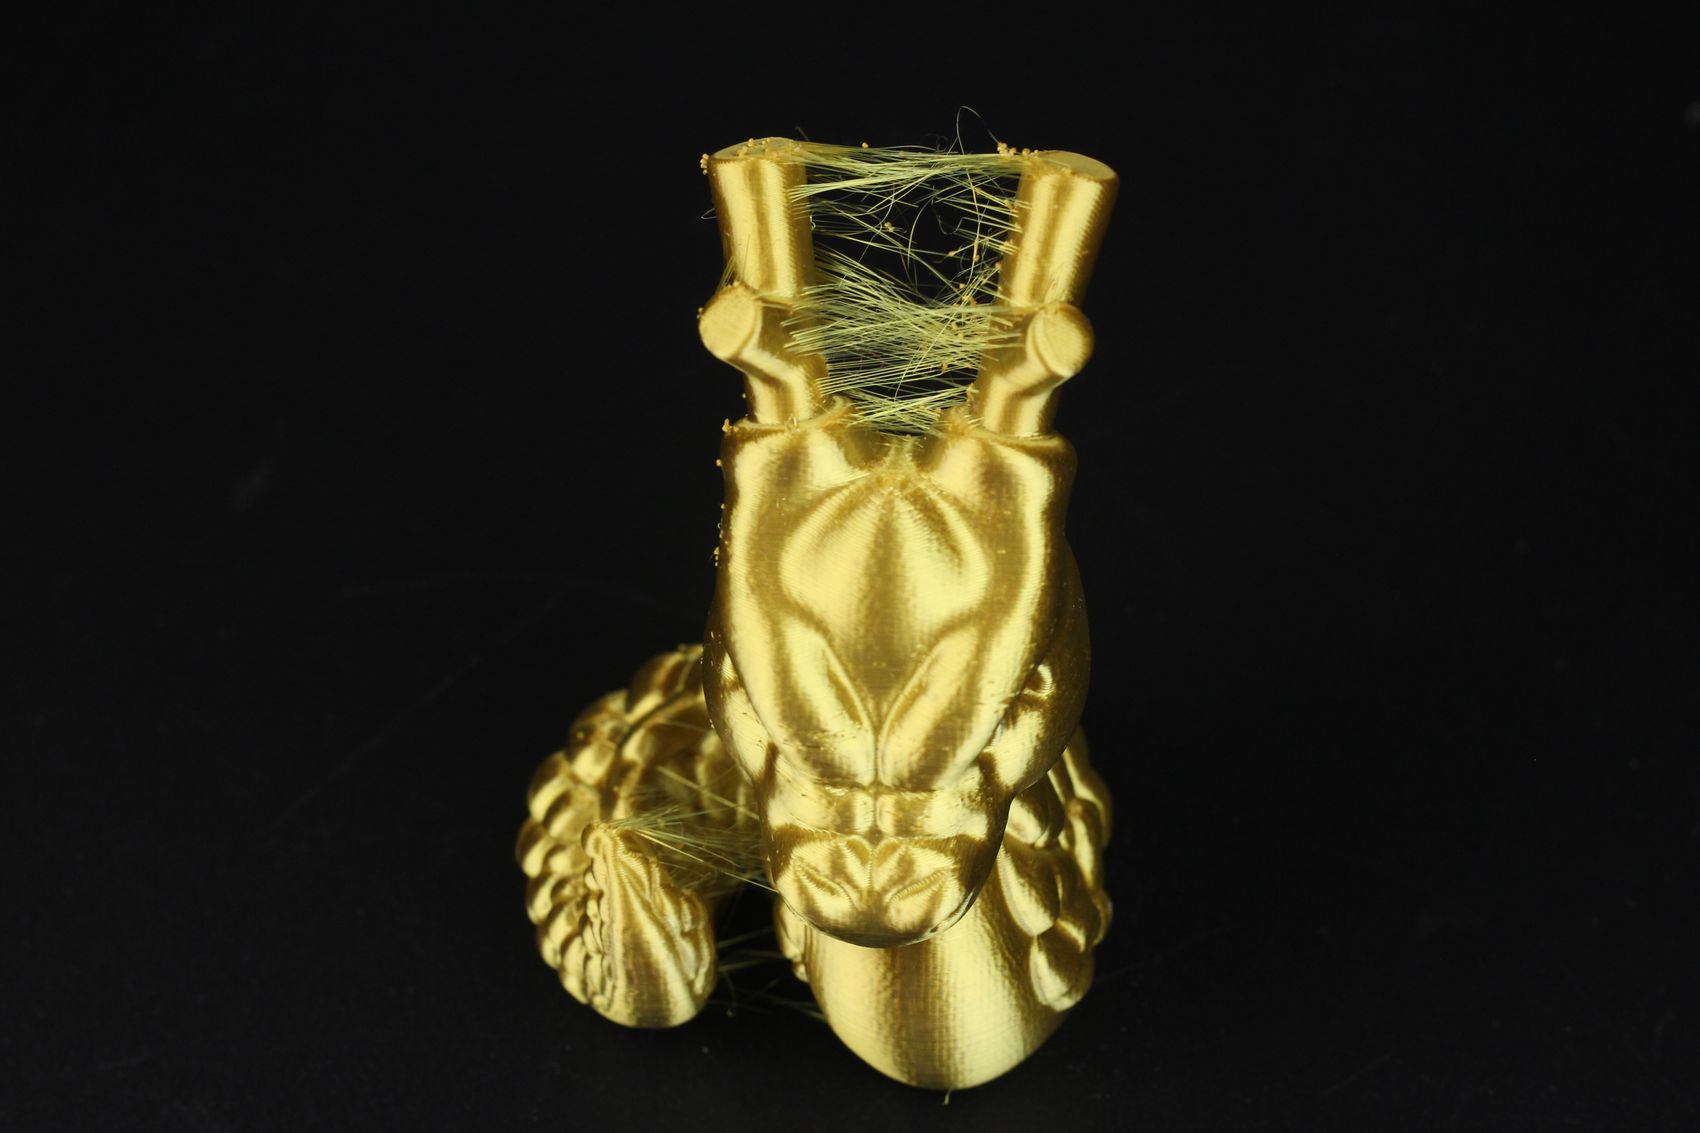
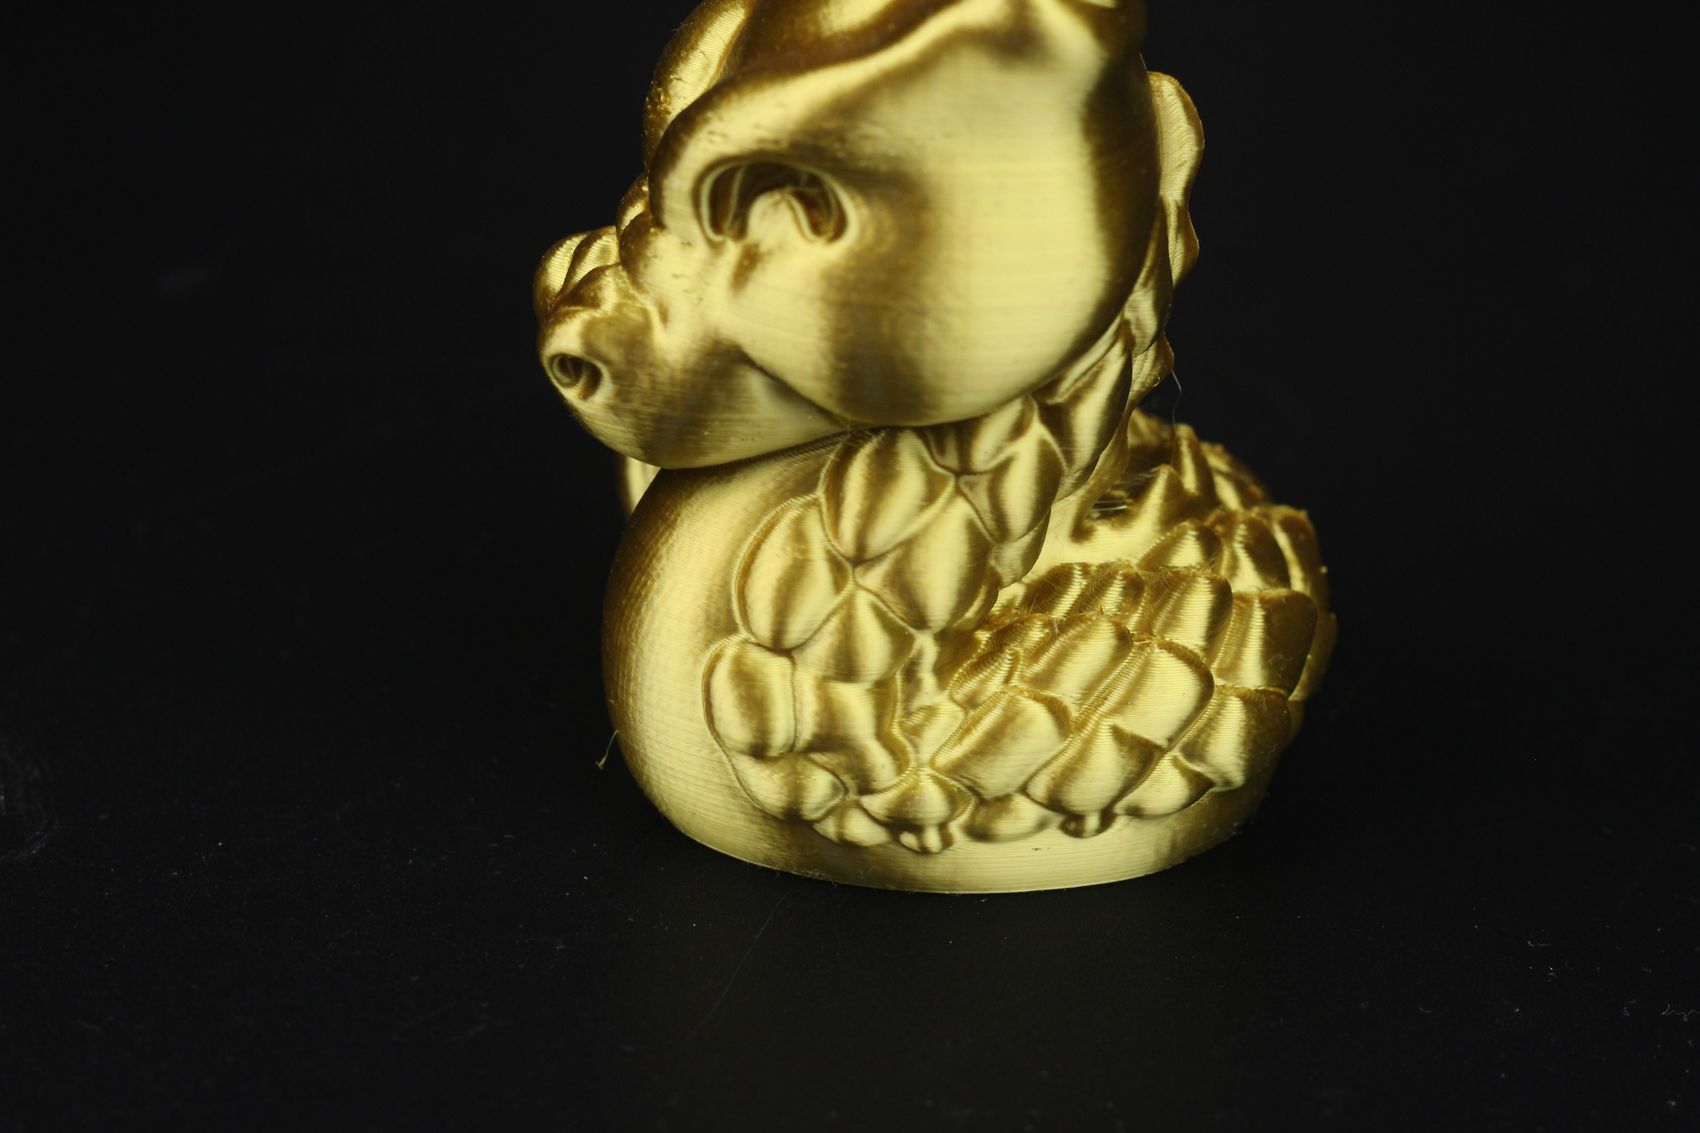
I also printed a scaled-up version of the Cali Dragon from McGybeer in silk PLA. As you can see, there’s quite a bit of stringing between the horns, and this is because of the oozing from the nozzle. The heat break can get quite warm so it’s hard to ensure a clean retraction, especially with silk filament.
Other than that, the print looks pretty good but the retraction issue will be a problem with my next prints too.
- Material: Devil Design Silk Gold PLA
- Layer Height: 0.15mm
- Nozzle Temperature: 215C
- Bed Temperature: 60C
- Print Speed: ~50 mm/s
Phil-A-Ment
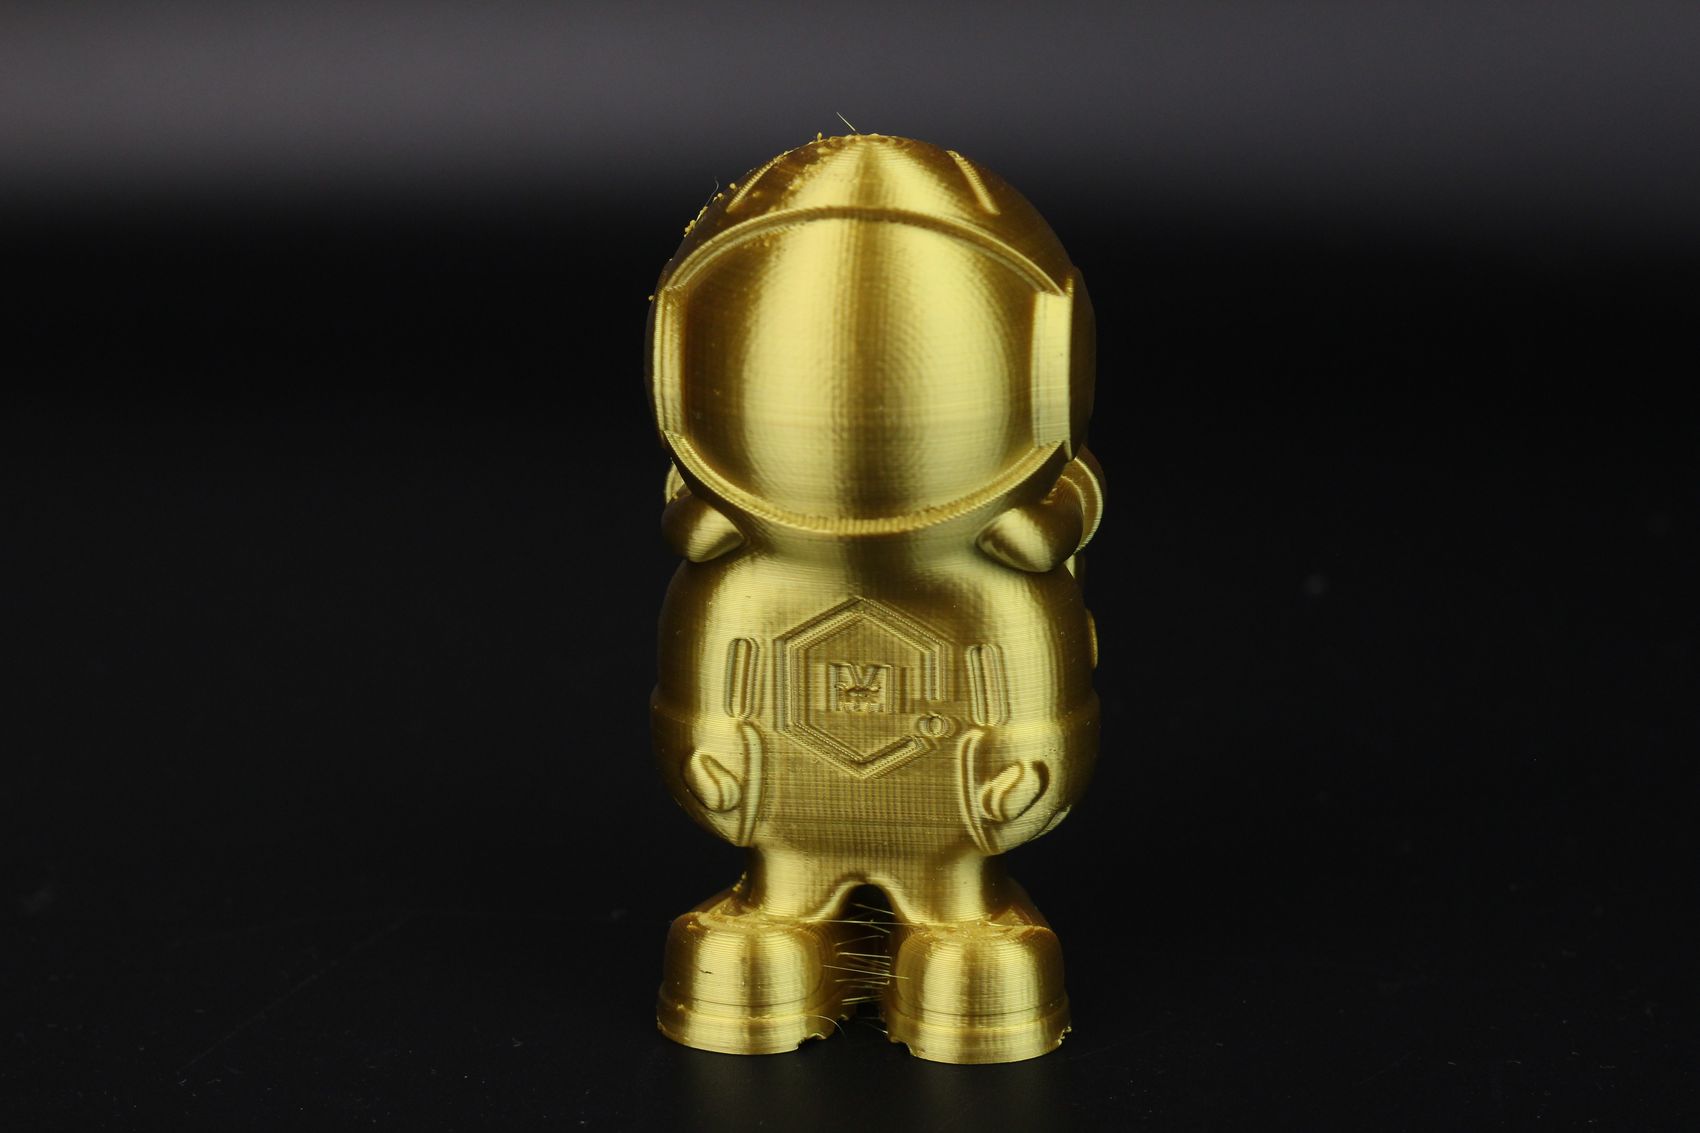
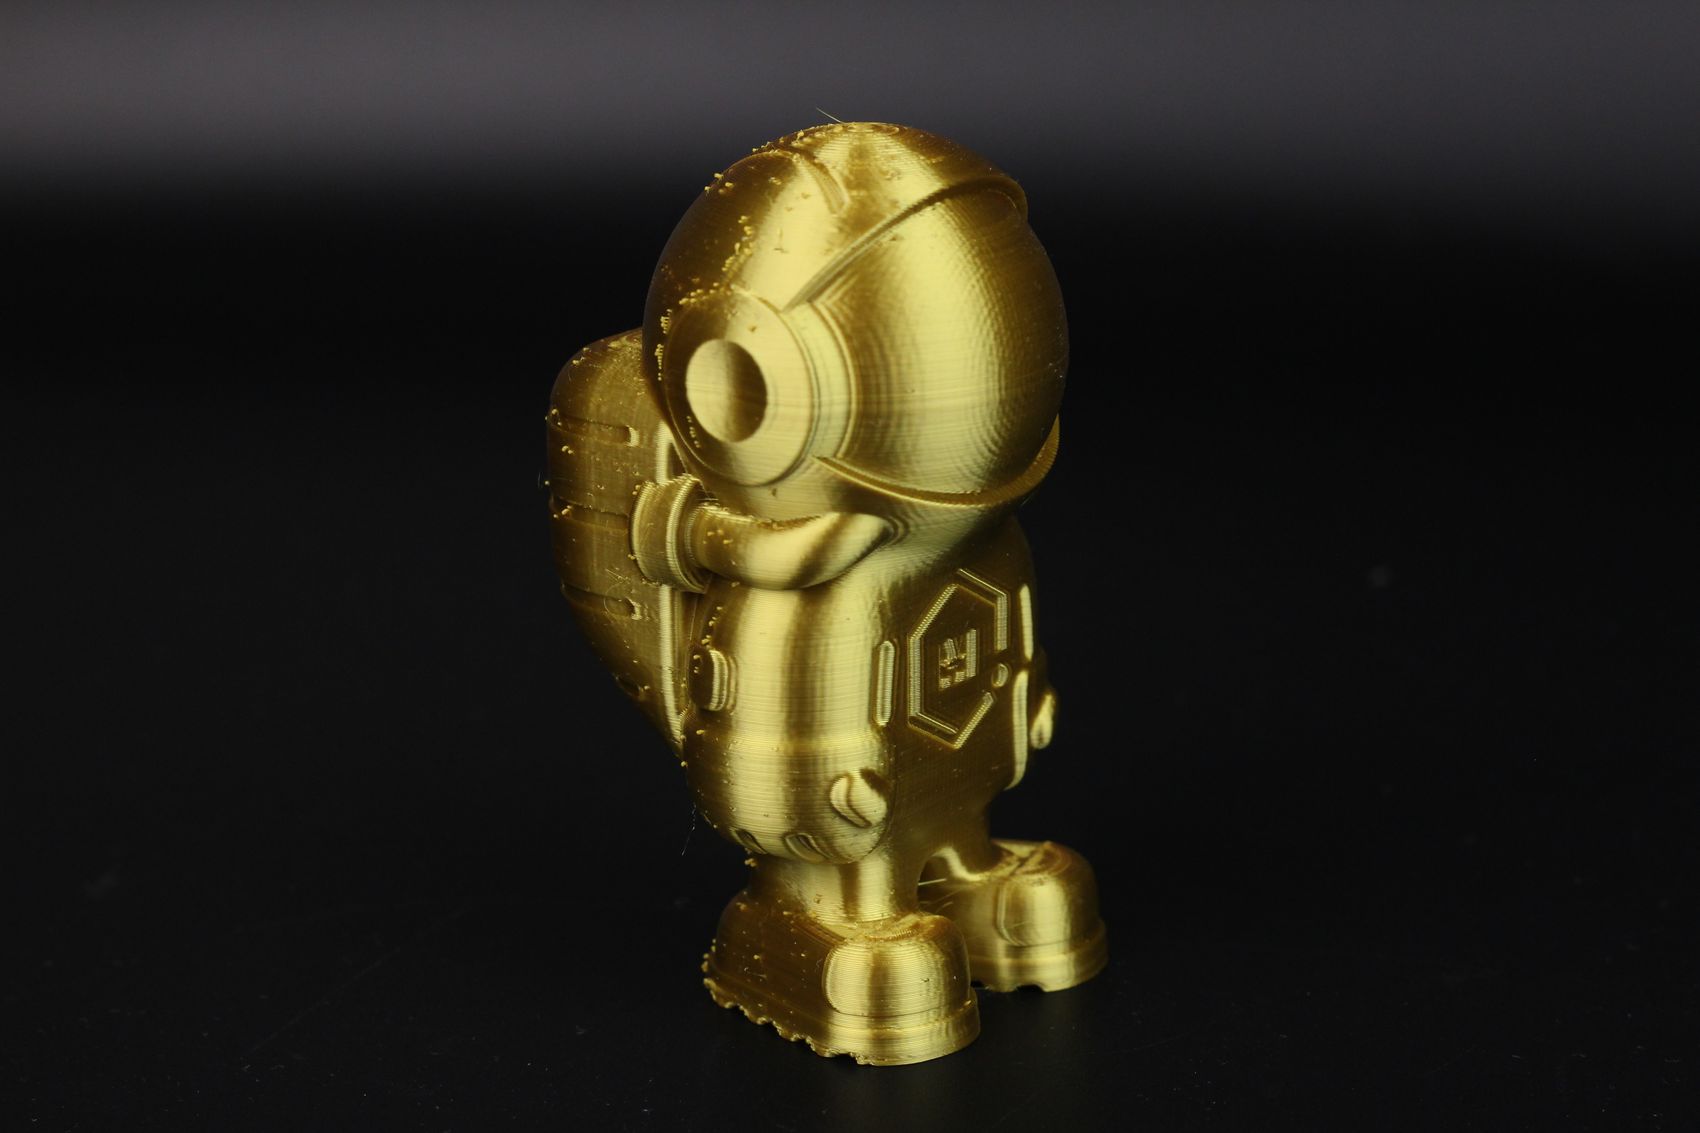
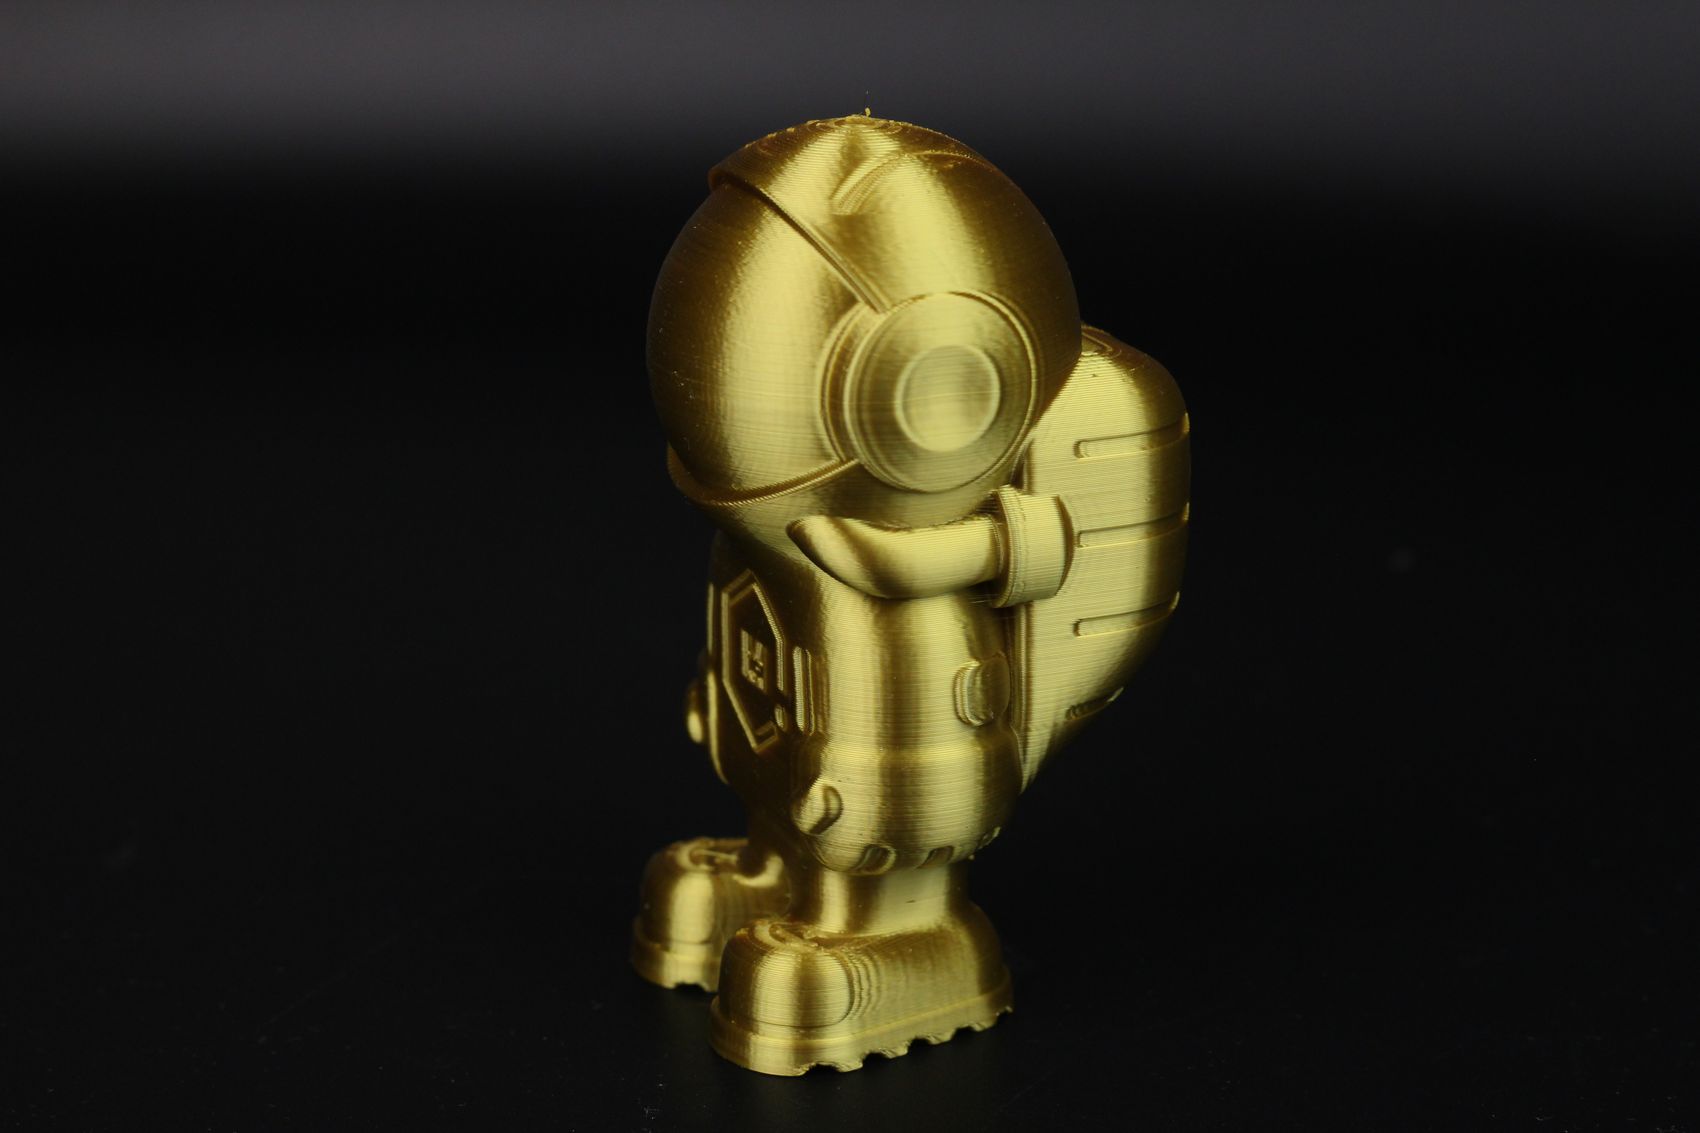
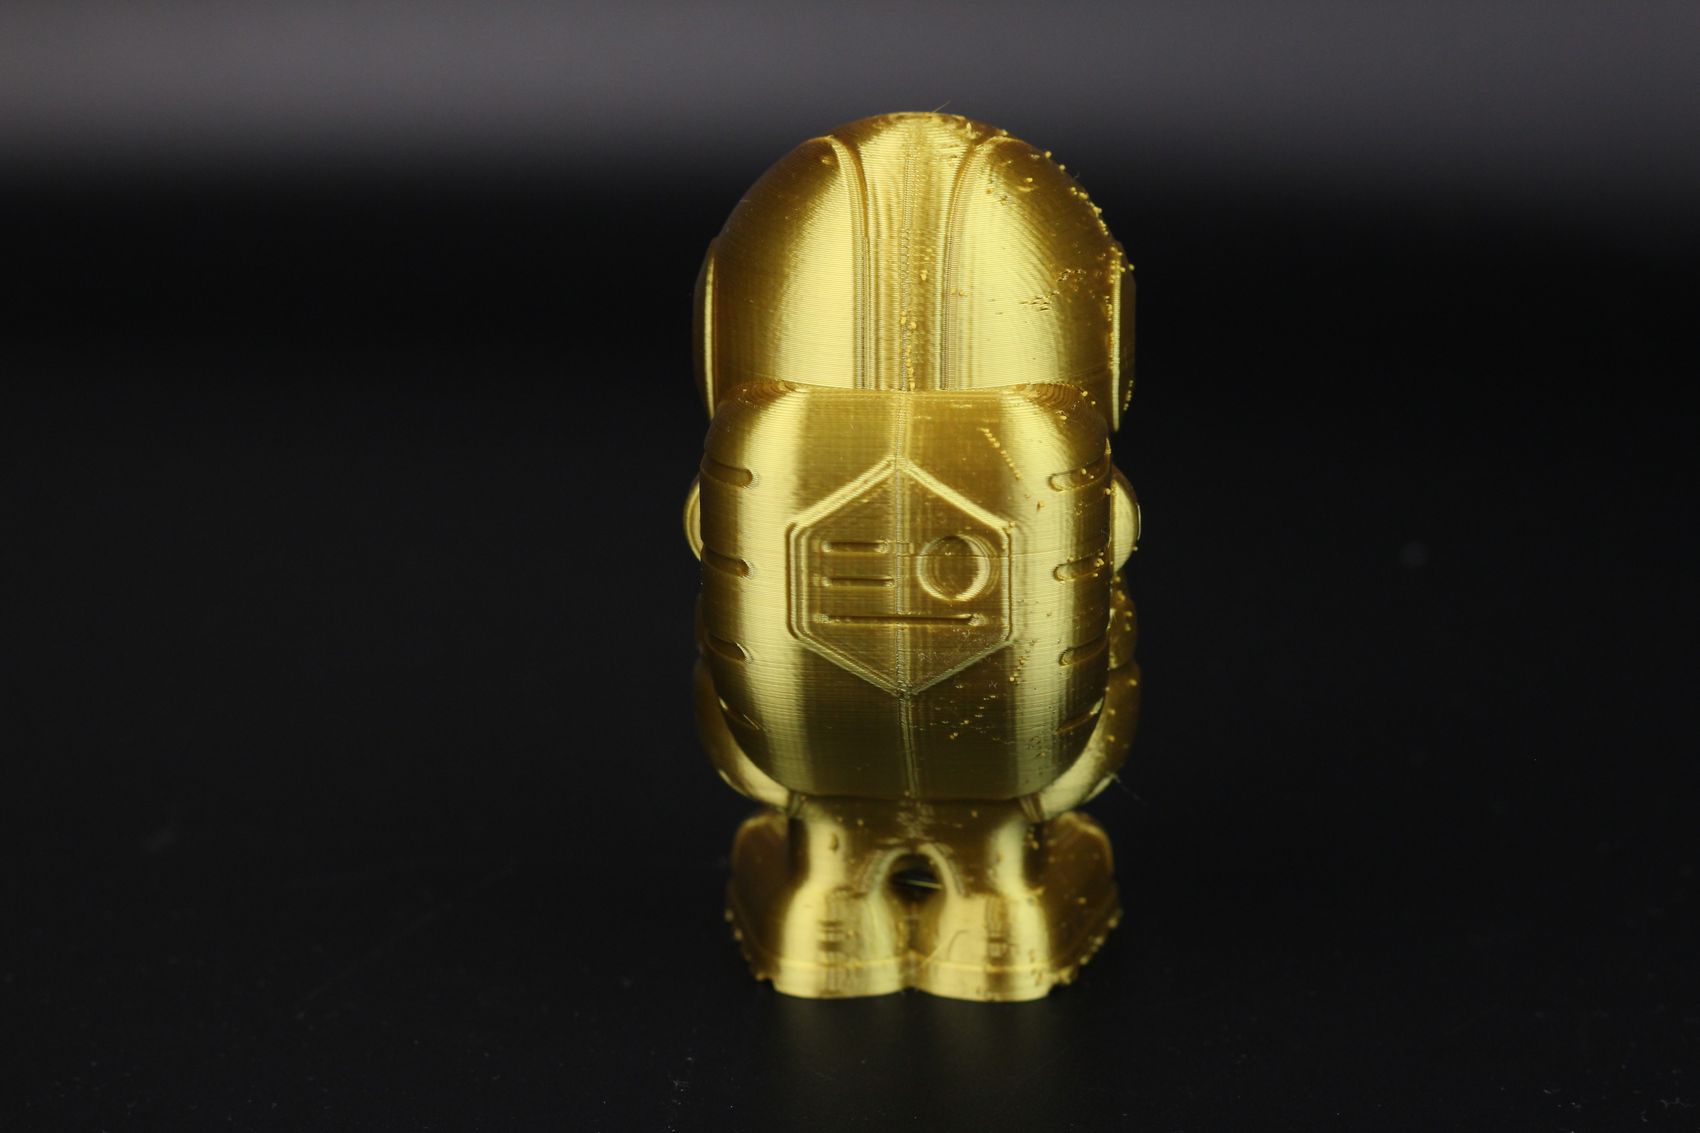
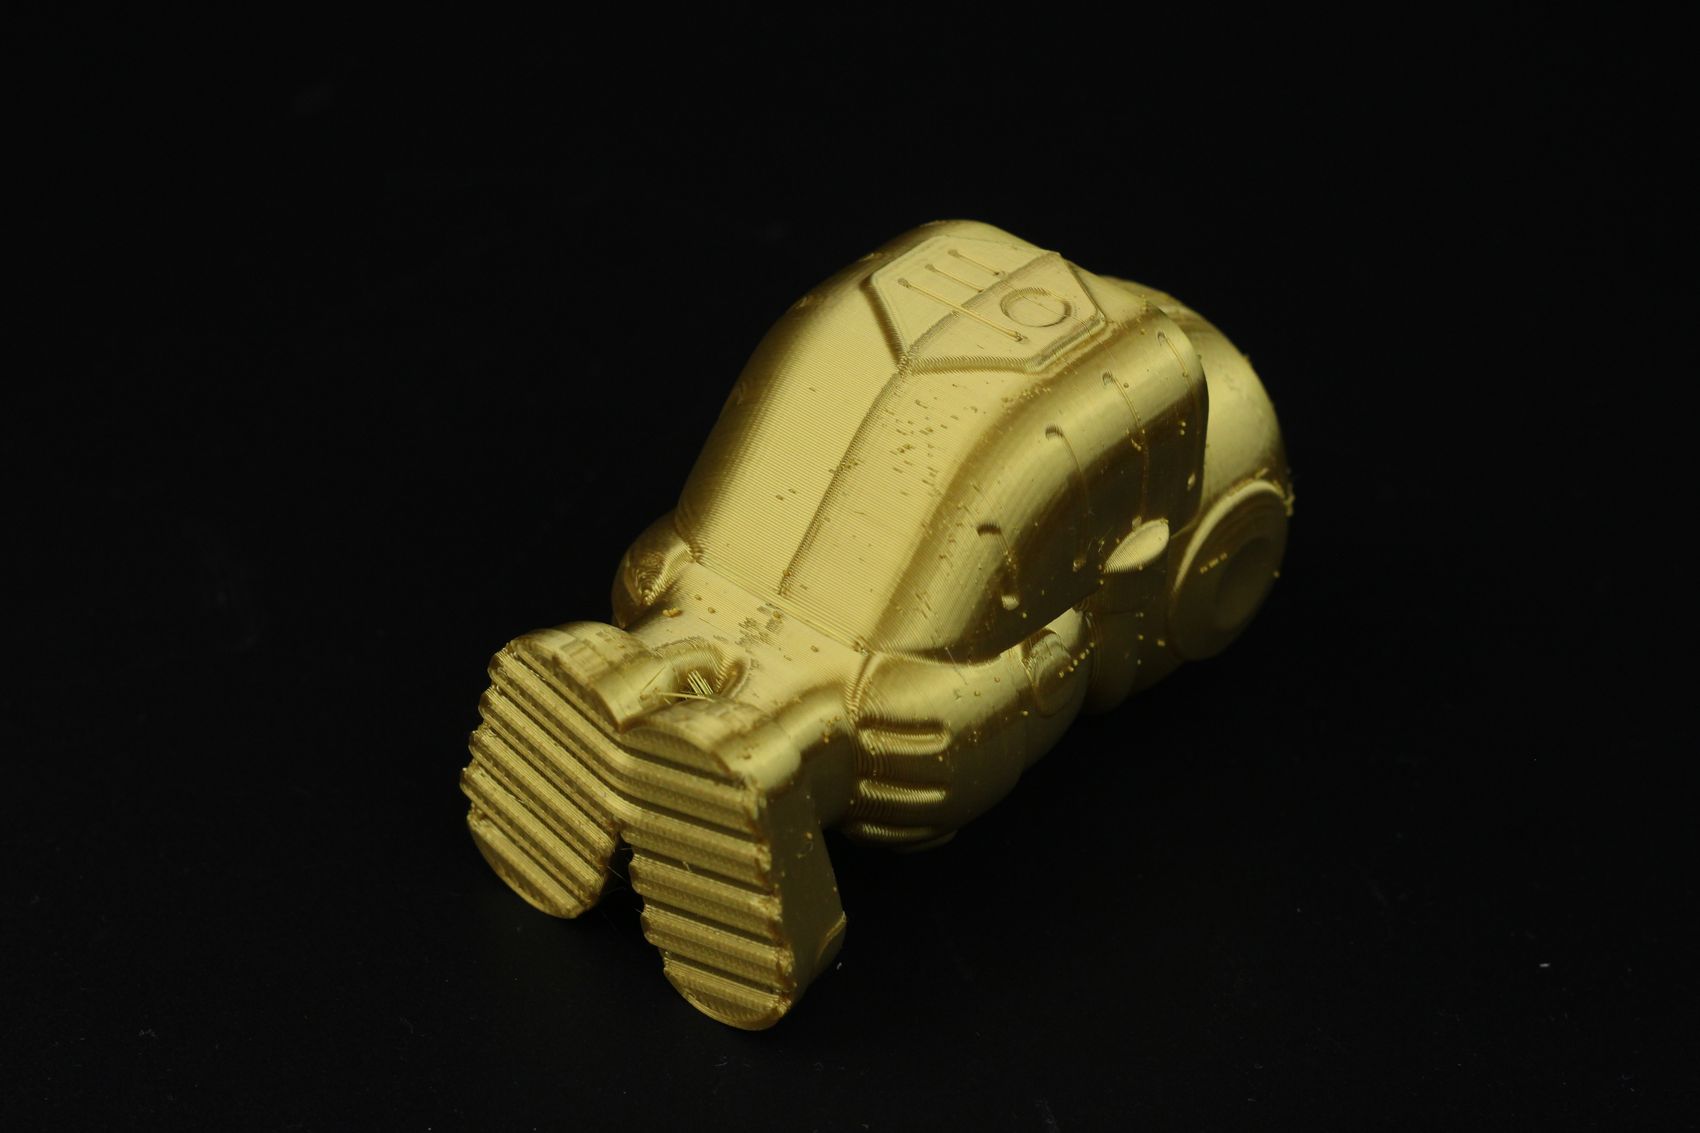
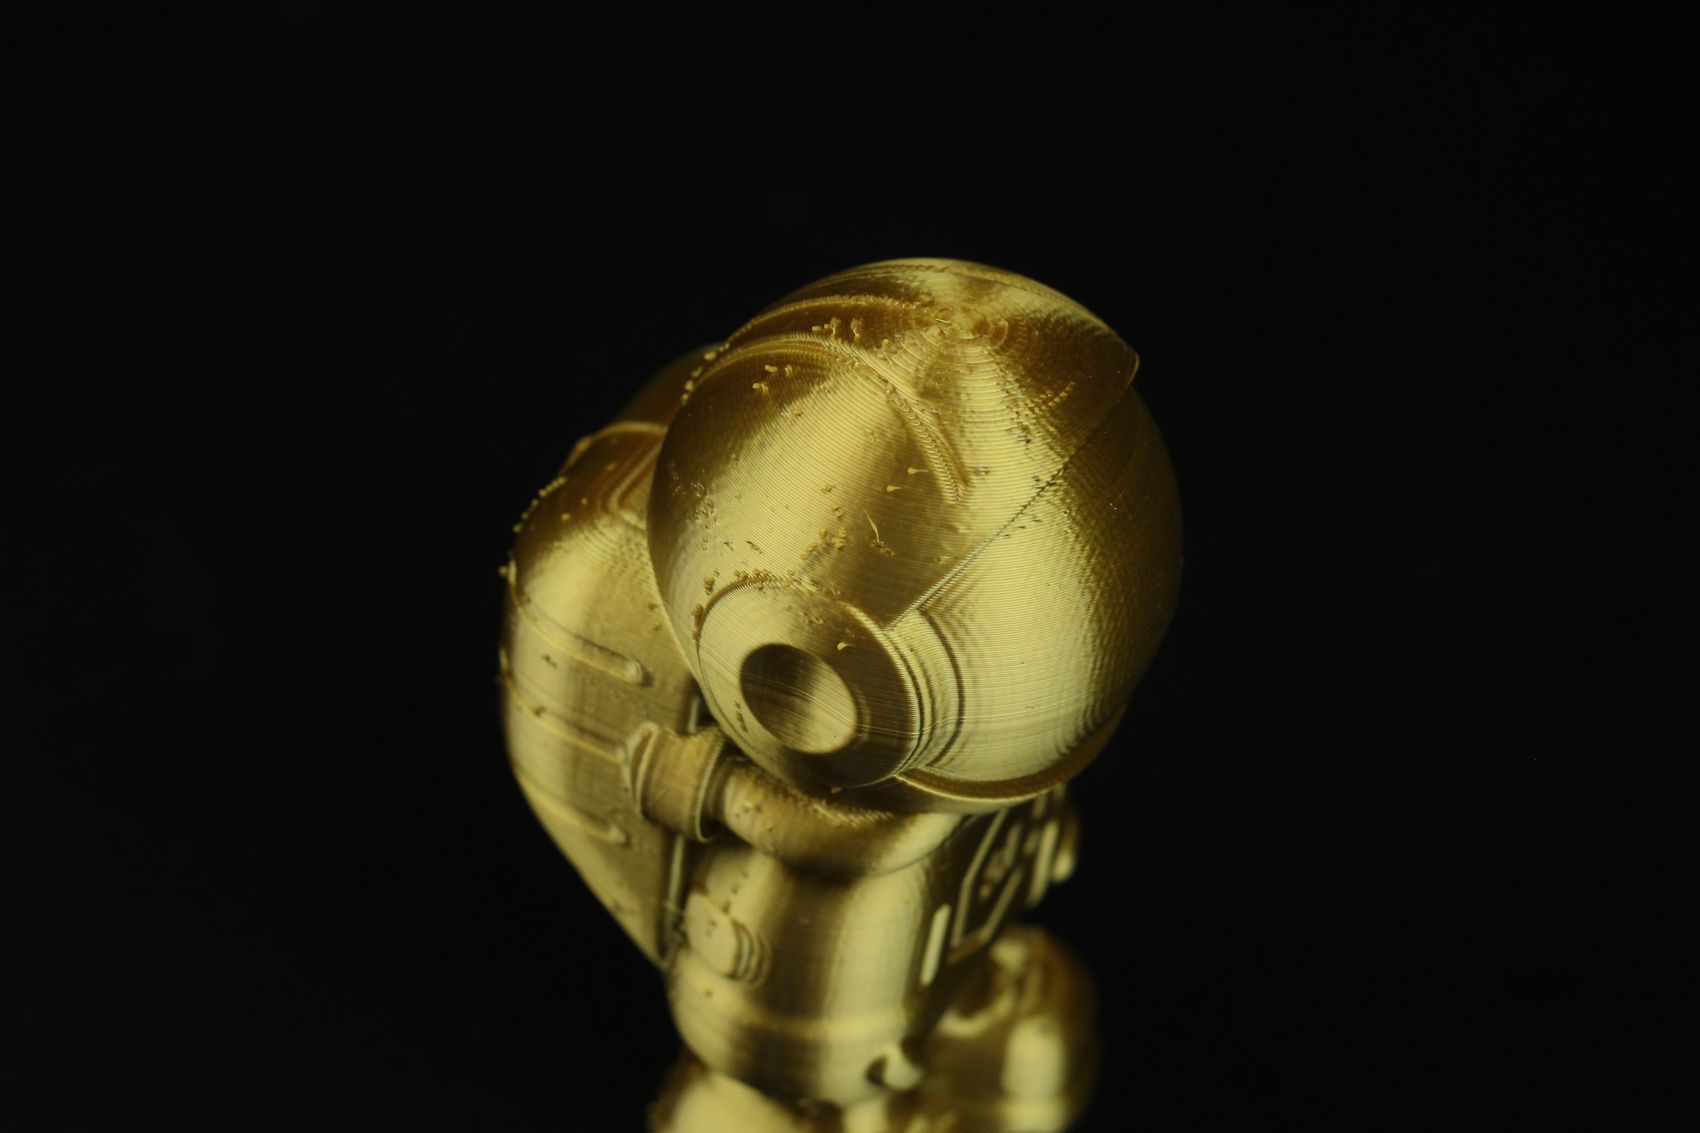
I also print this Phil-A-Ment model in most of my reviews as it can provide quite a bit of detail when it comes to overhang performance and print quality. The TRONXY CRUX 1 managed to print this pretty well, with good overhangs. A tiny amount of stringing can be seen between the legs, but other than that, it’s a decent print.
Please ignore the small filament blobs on the side of the model. They are generated by the movement done when testing the Mintion Camera I reviewed a few weeks ago. The oozing when traveling to the back corner of the bed generated them, so if you don’t do timelapse videos, they will not show up.
- Material: Devil Design Silk Gold PLA
- Layer Height: 0.2mm
- Nozzle Temperature: 215C
- Bed Temperature: 60C
- Print Speed: ~50 mm/s
Gorr
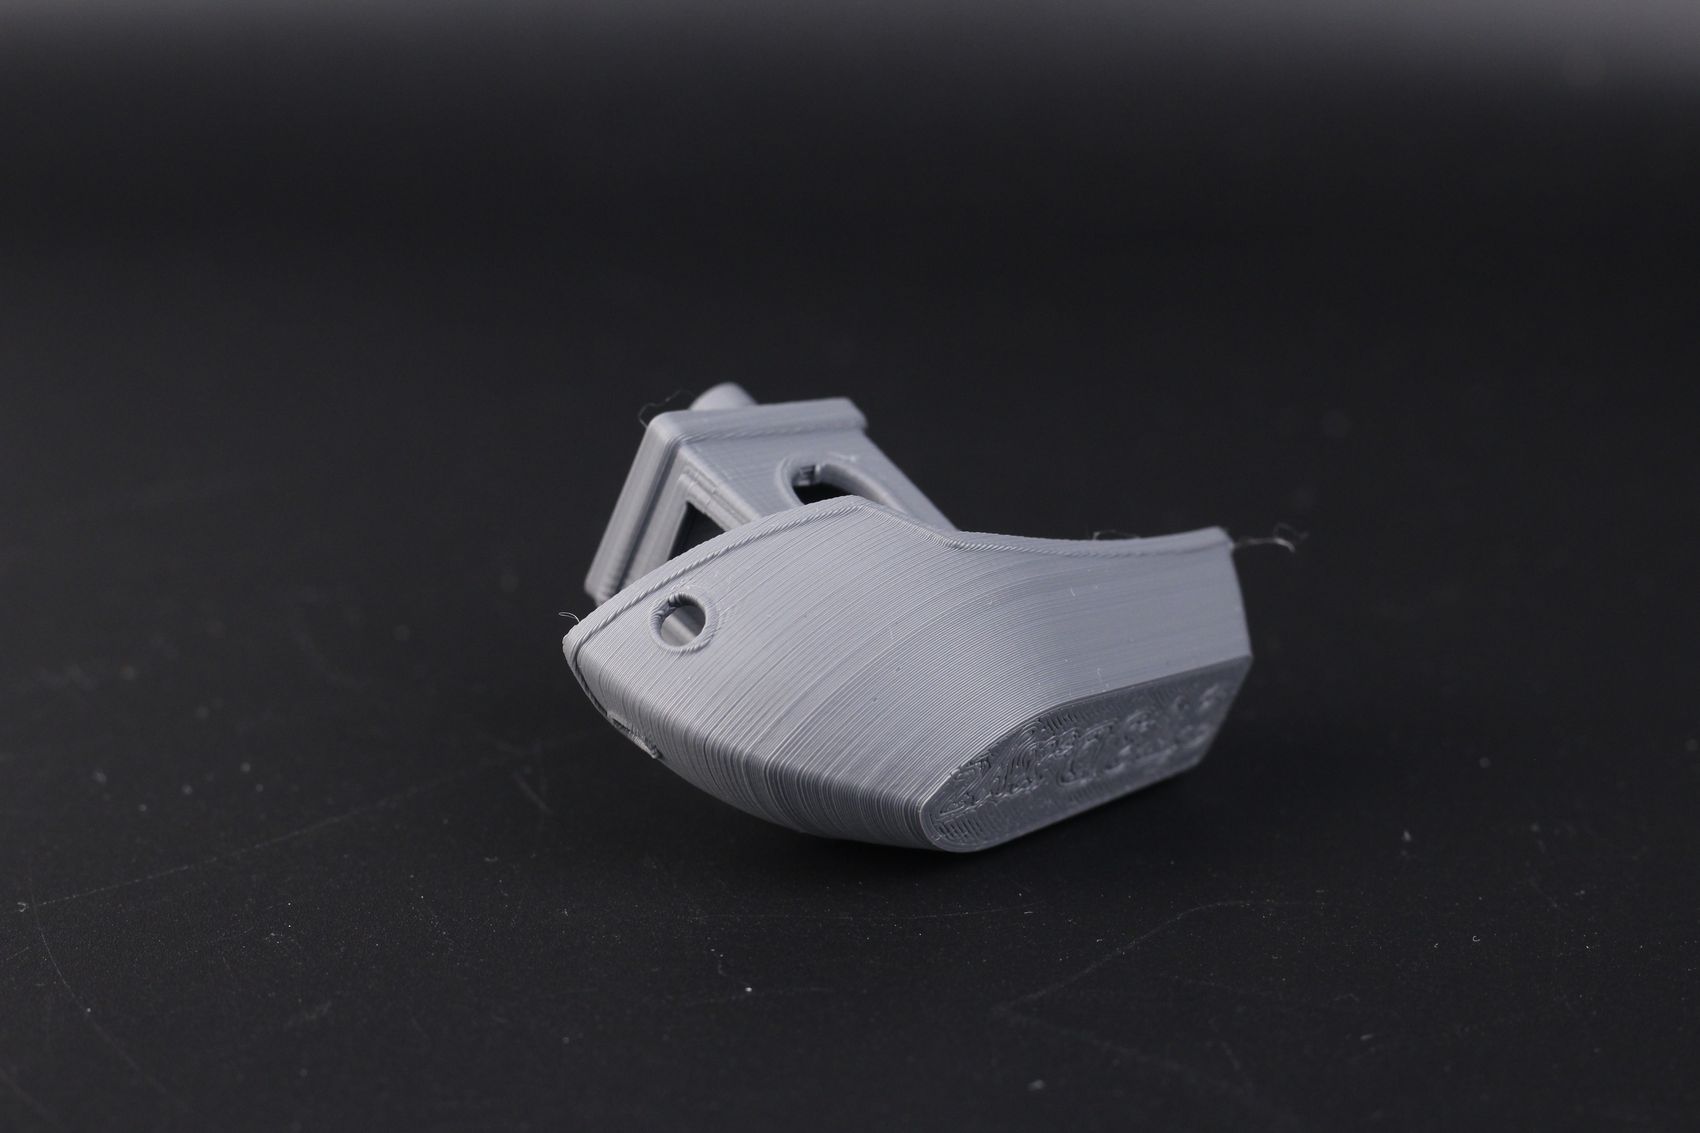
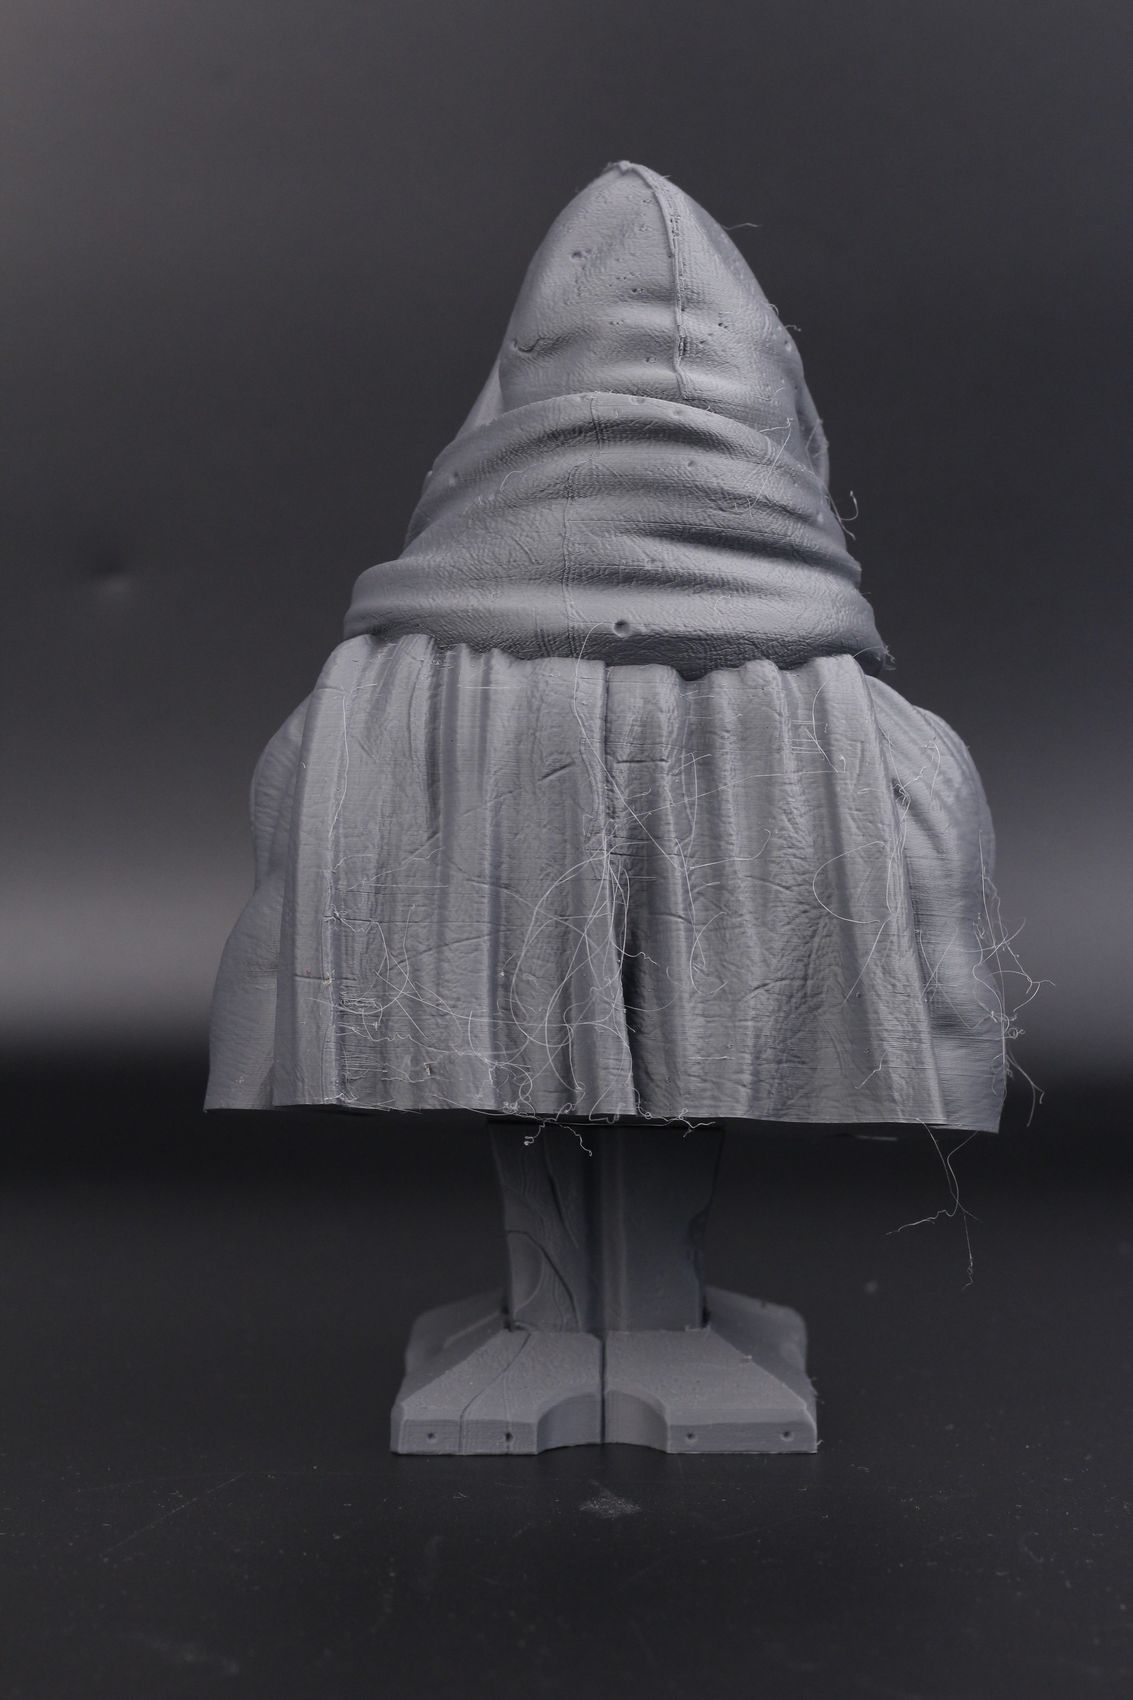
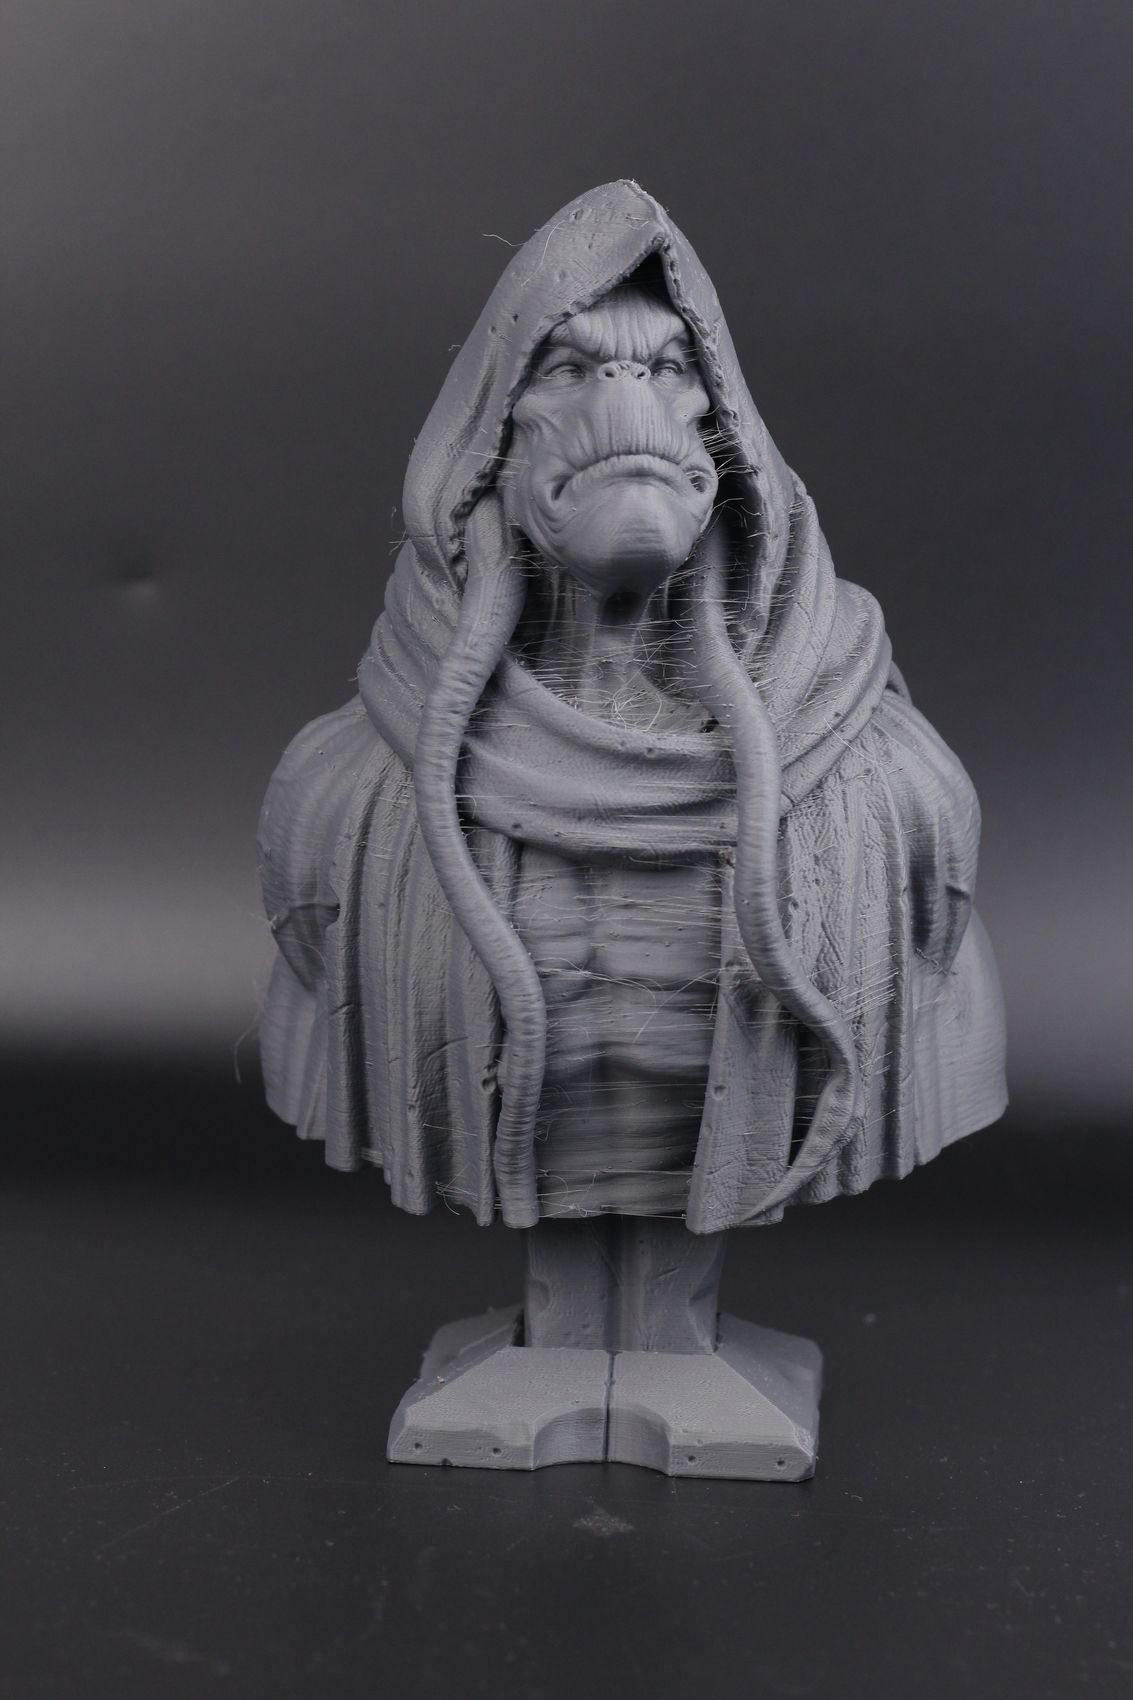
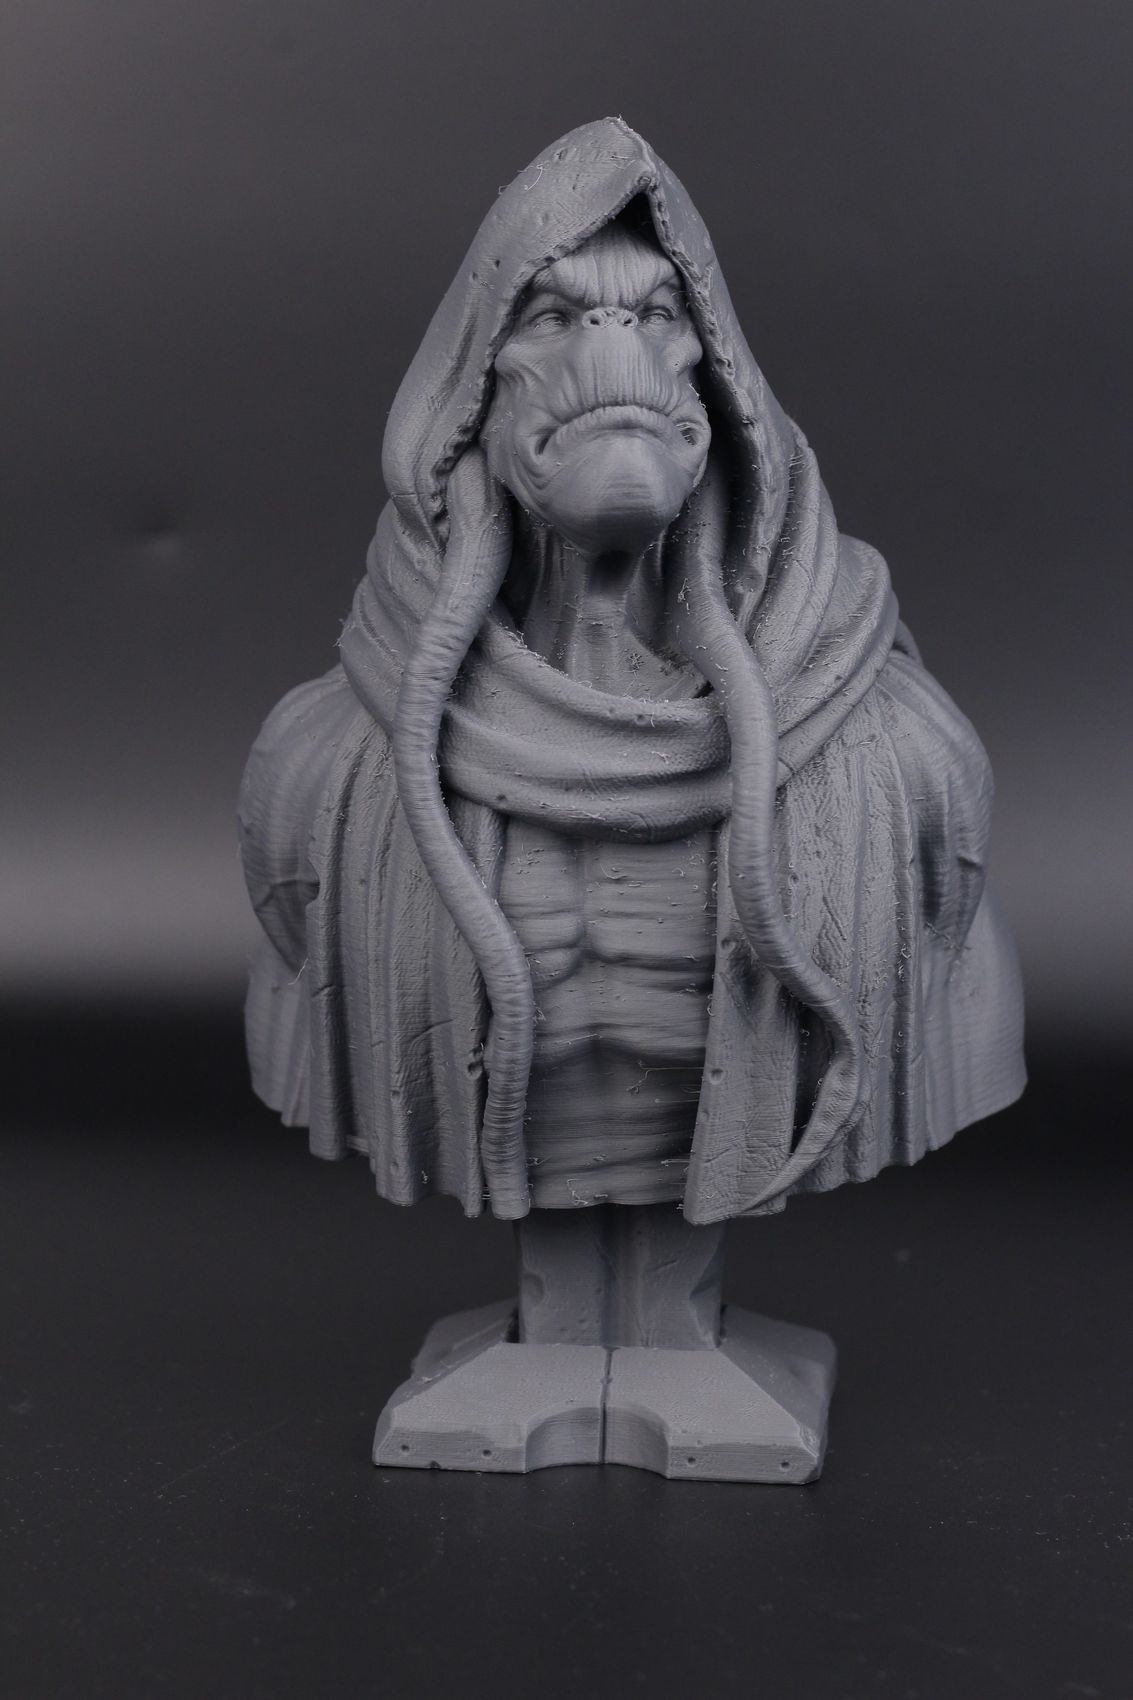
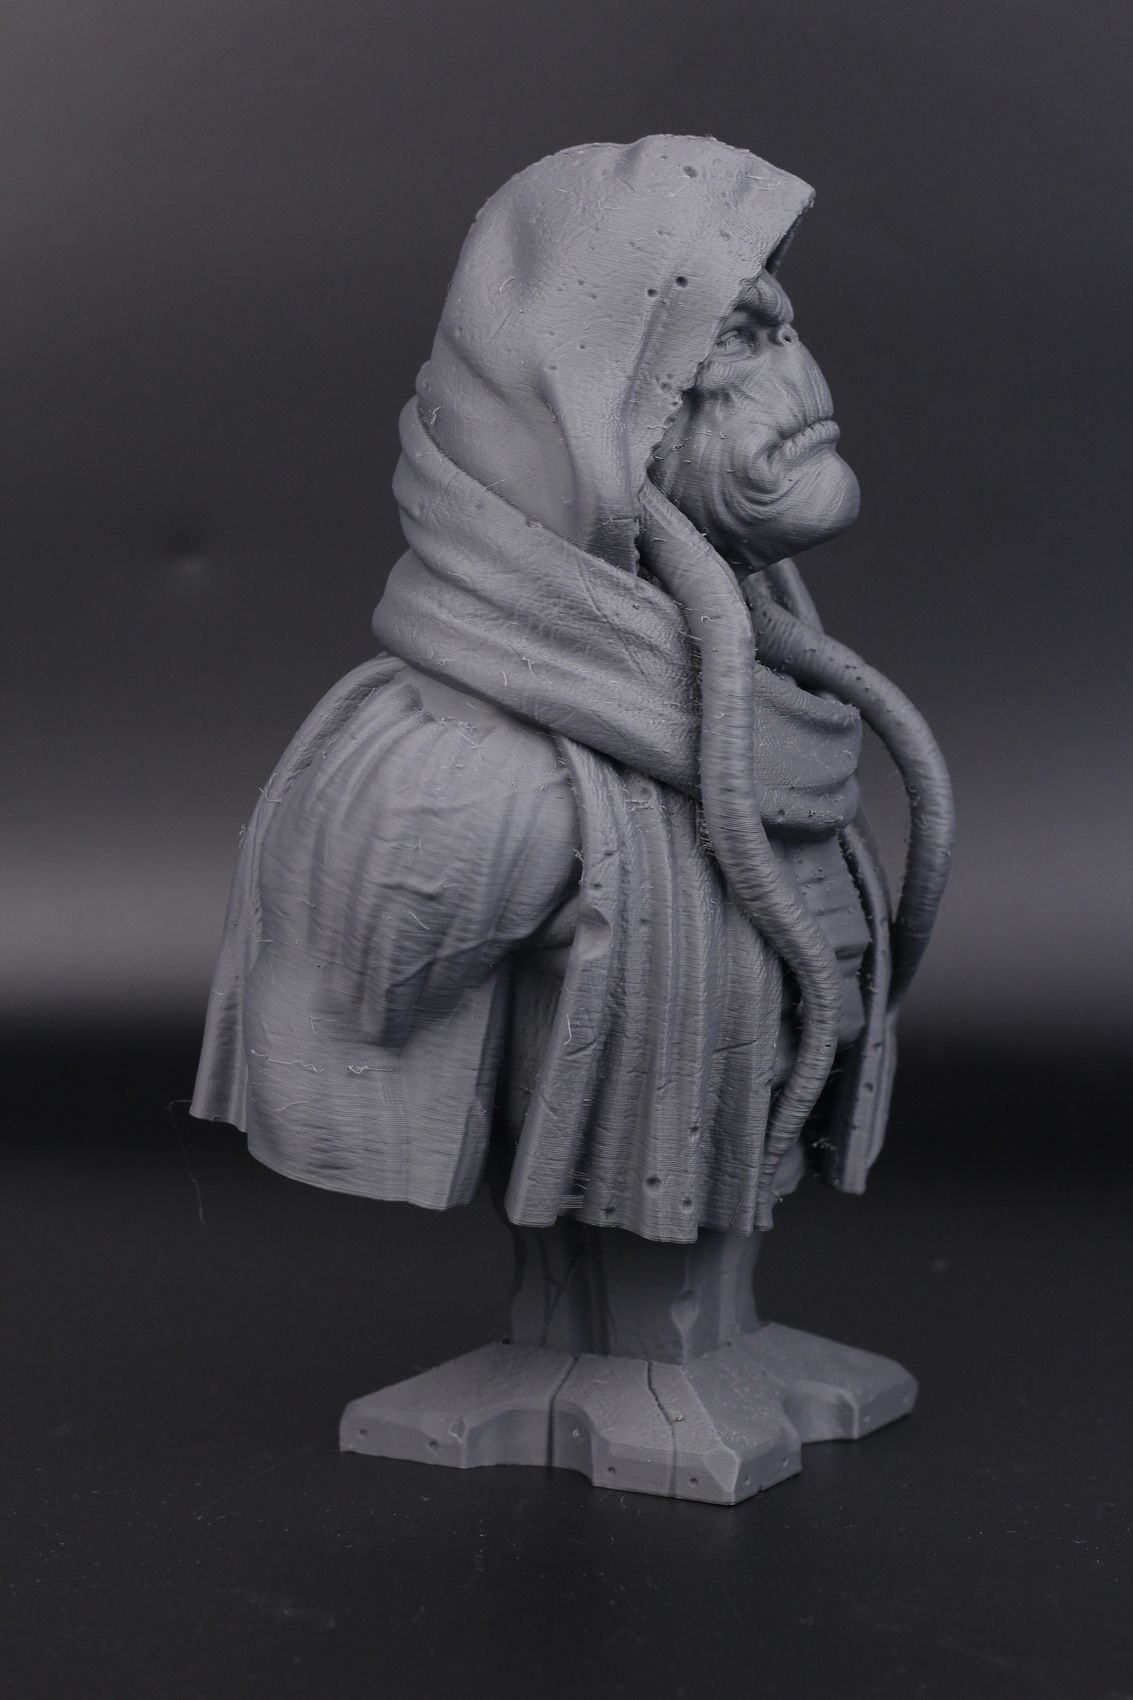
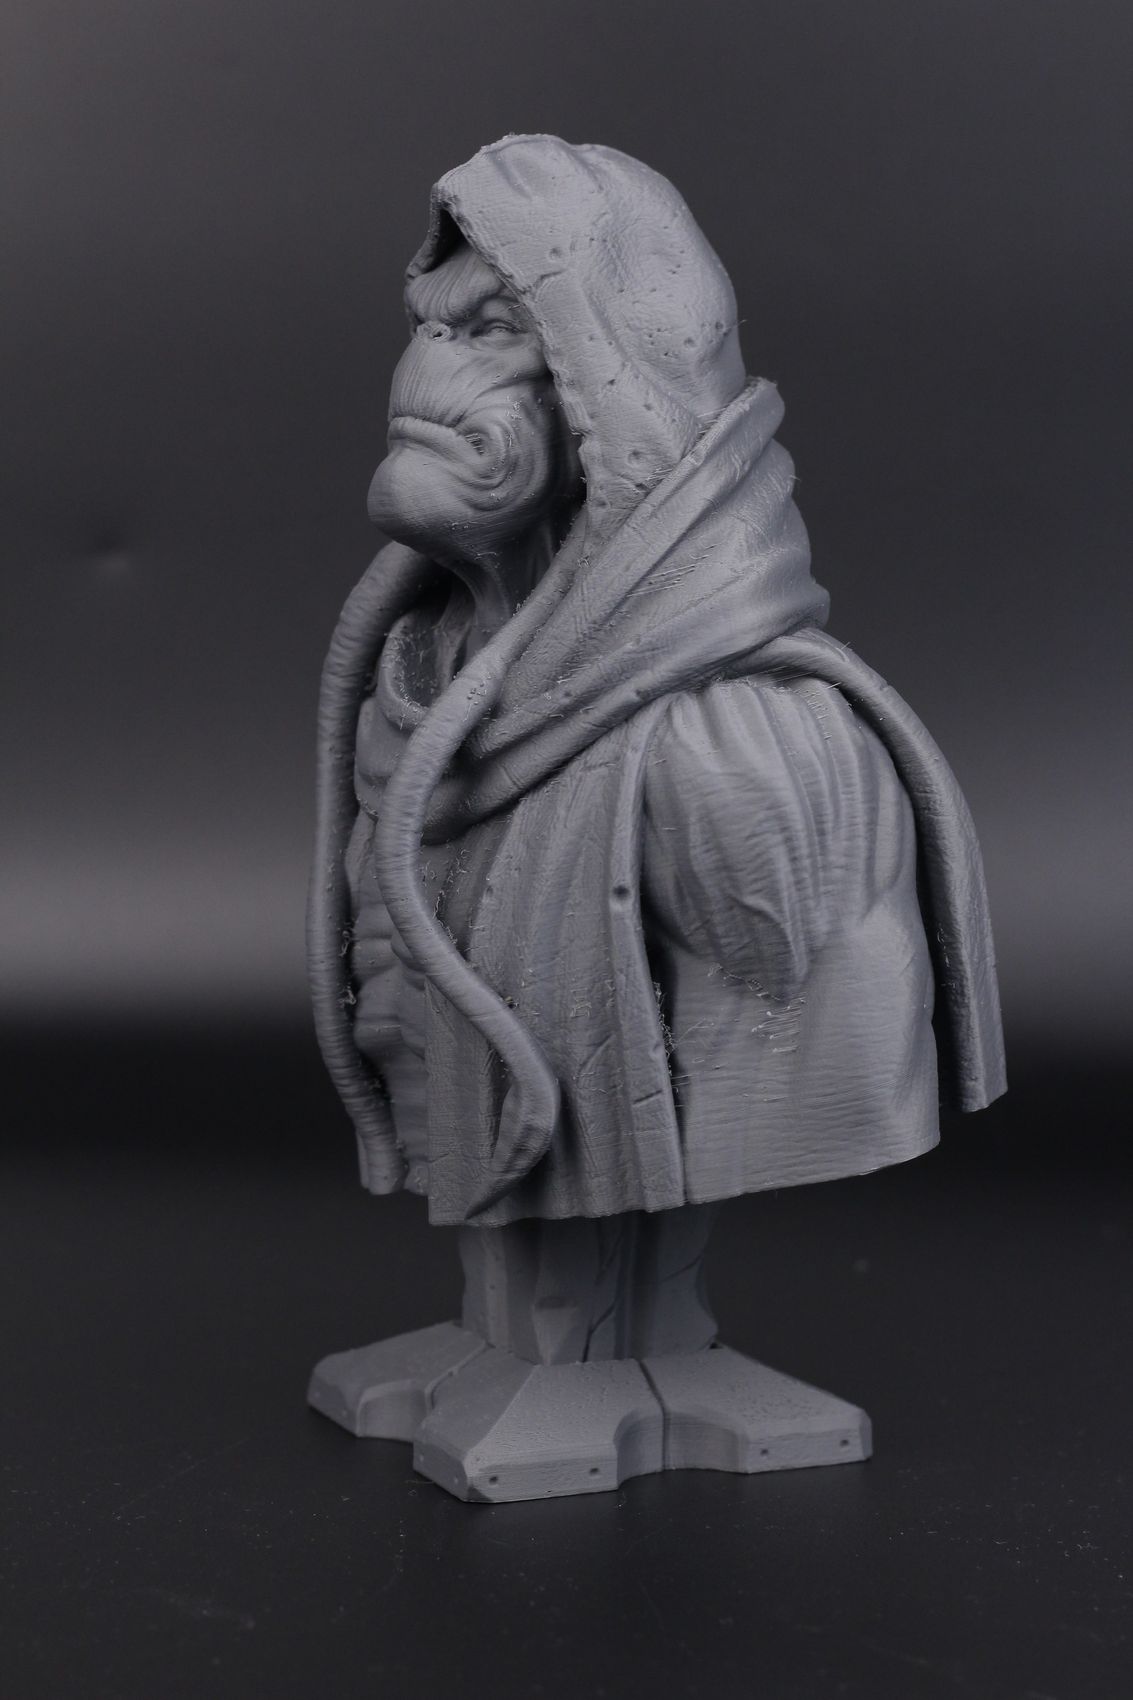
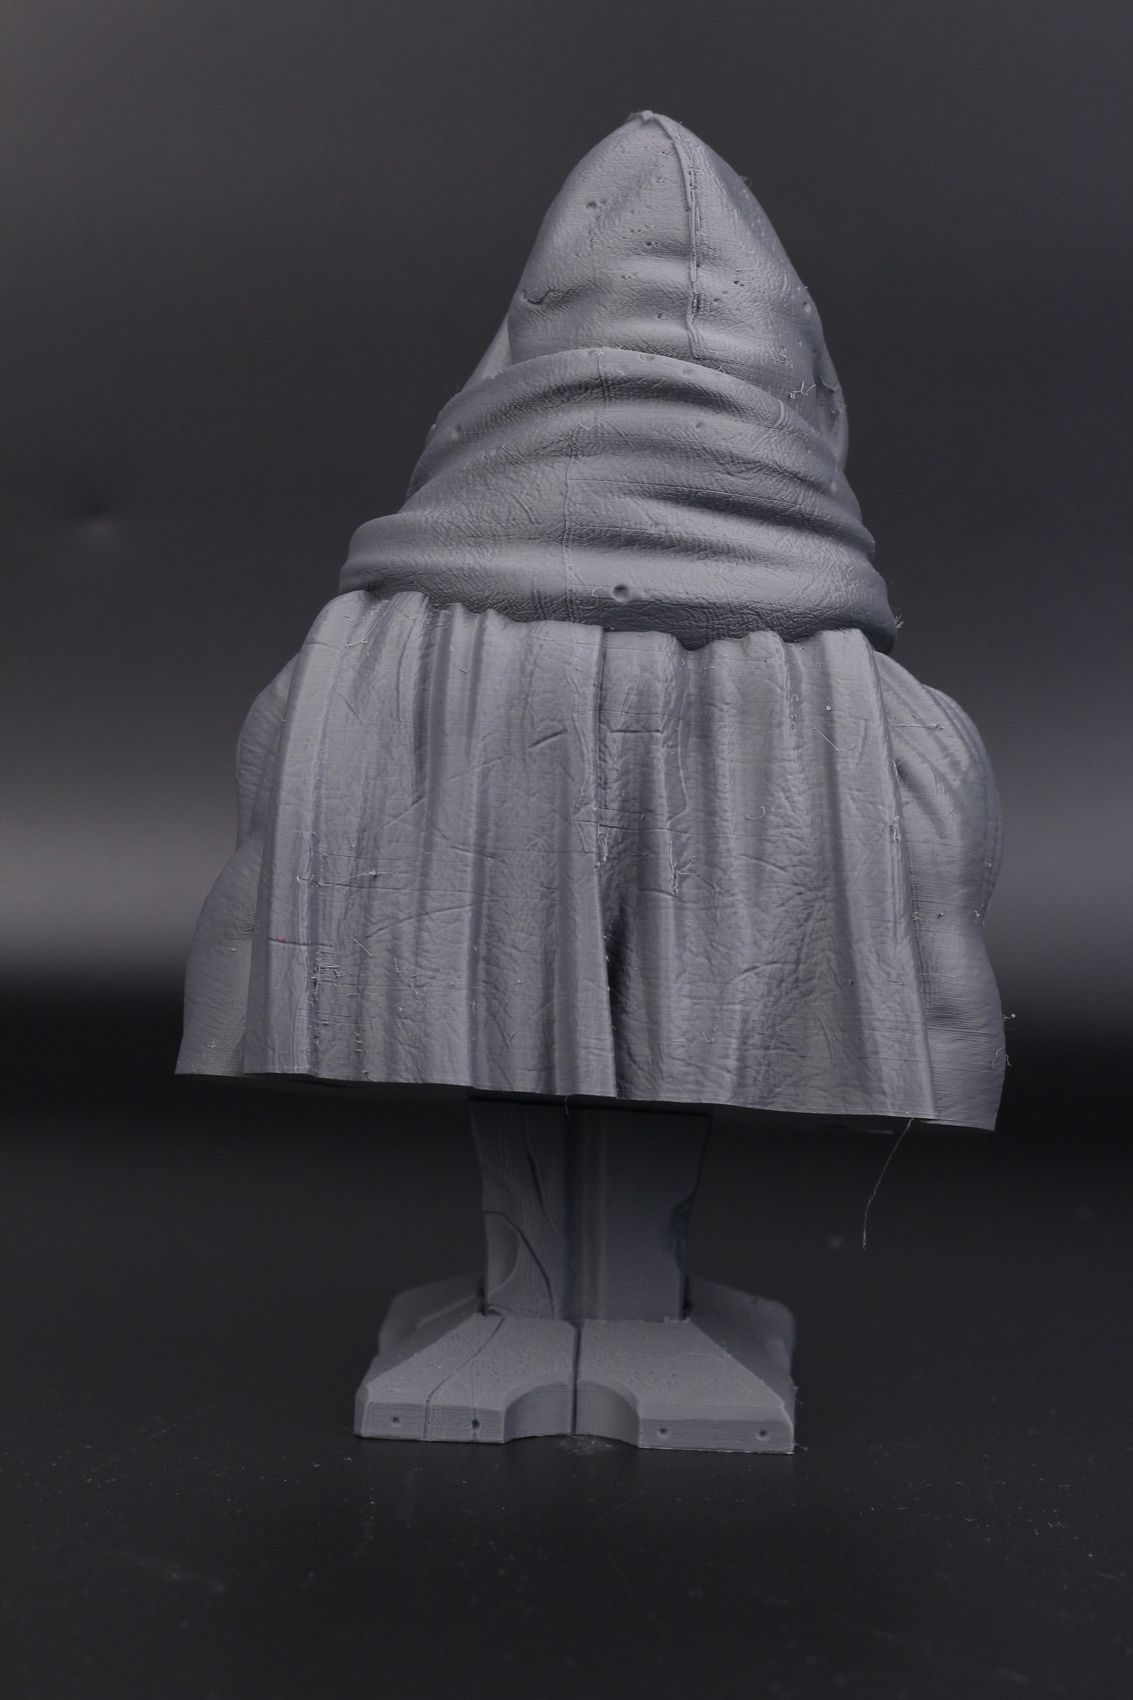
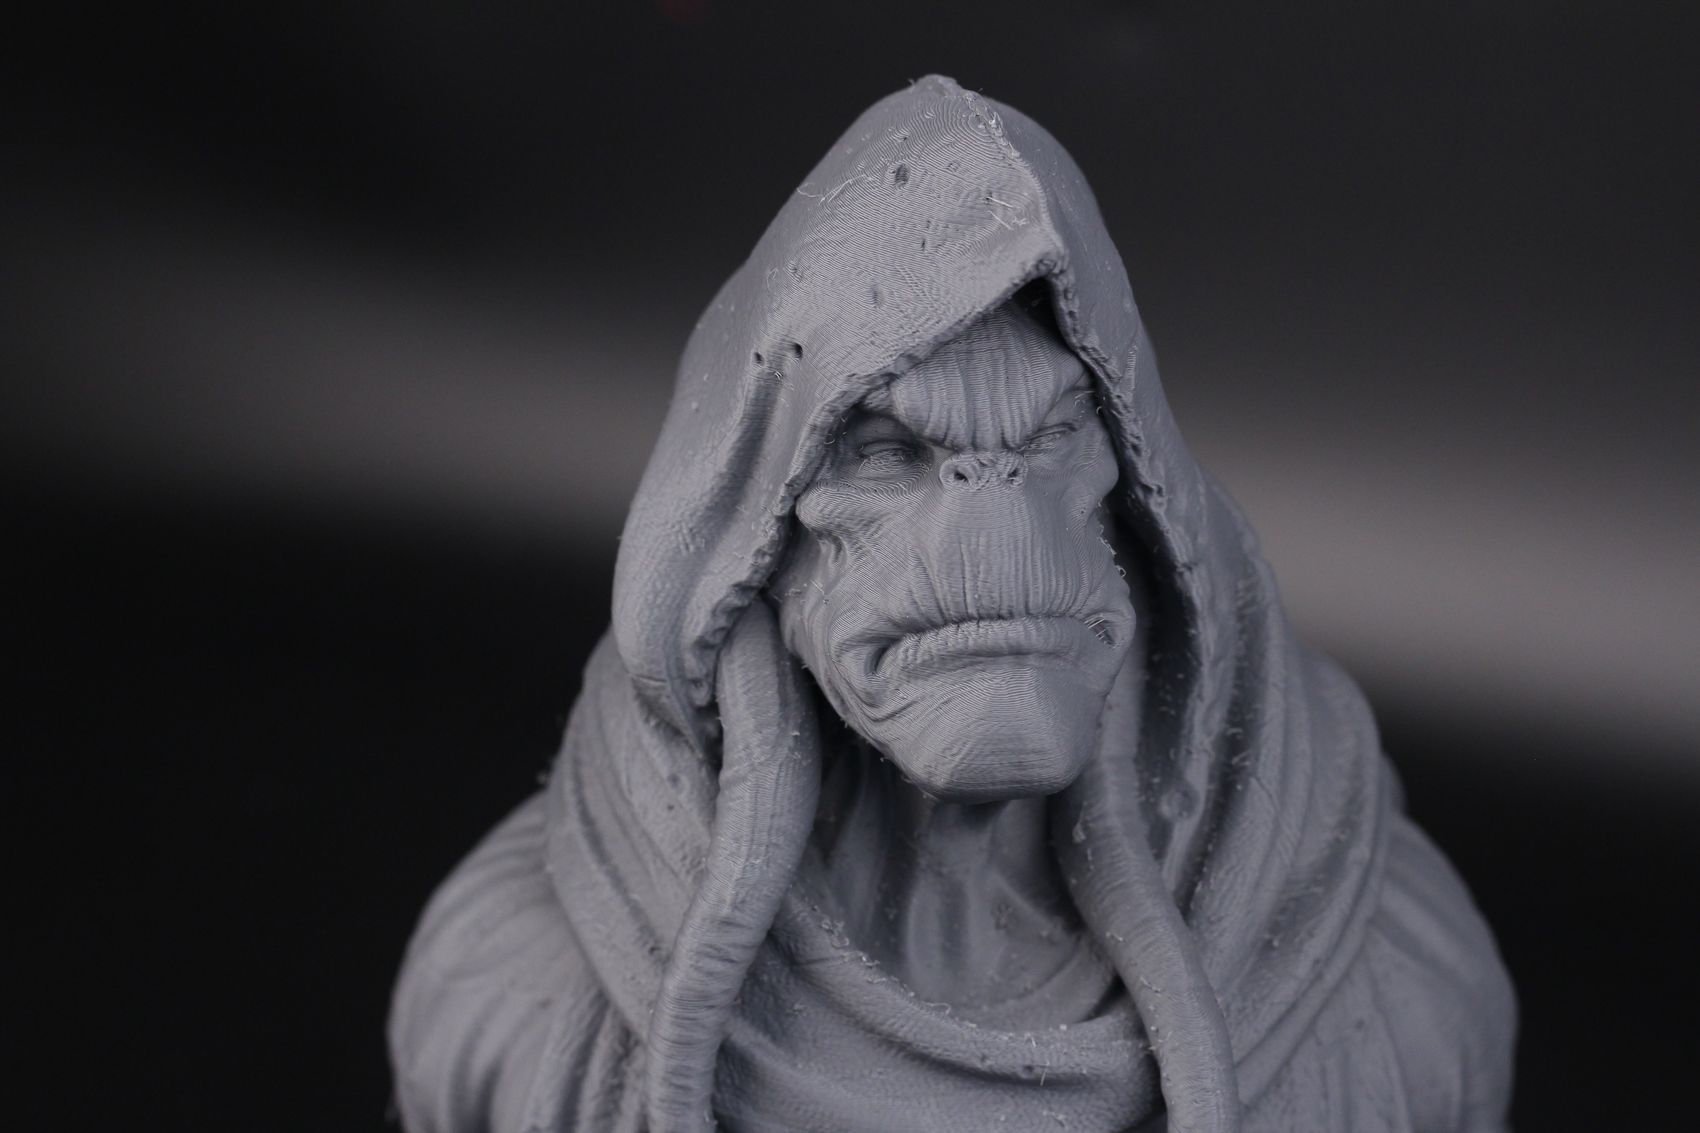
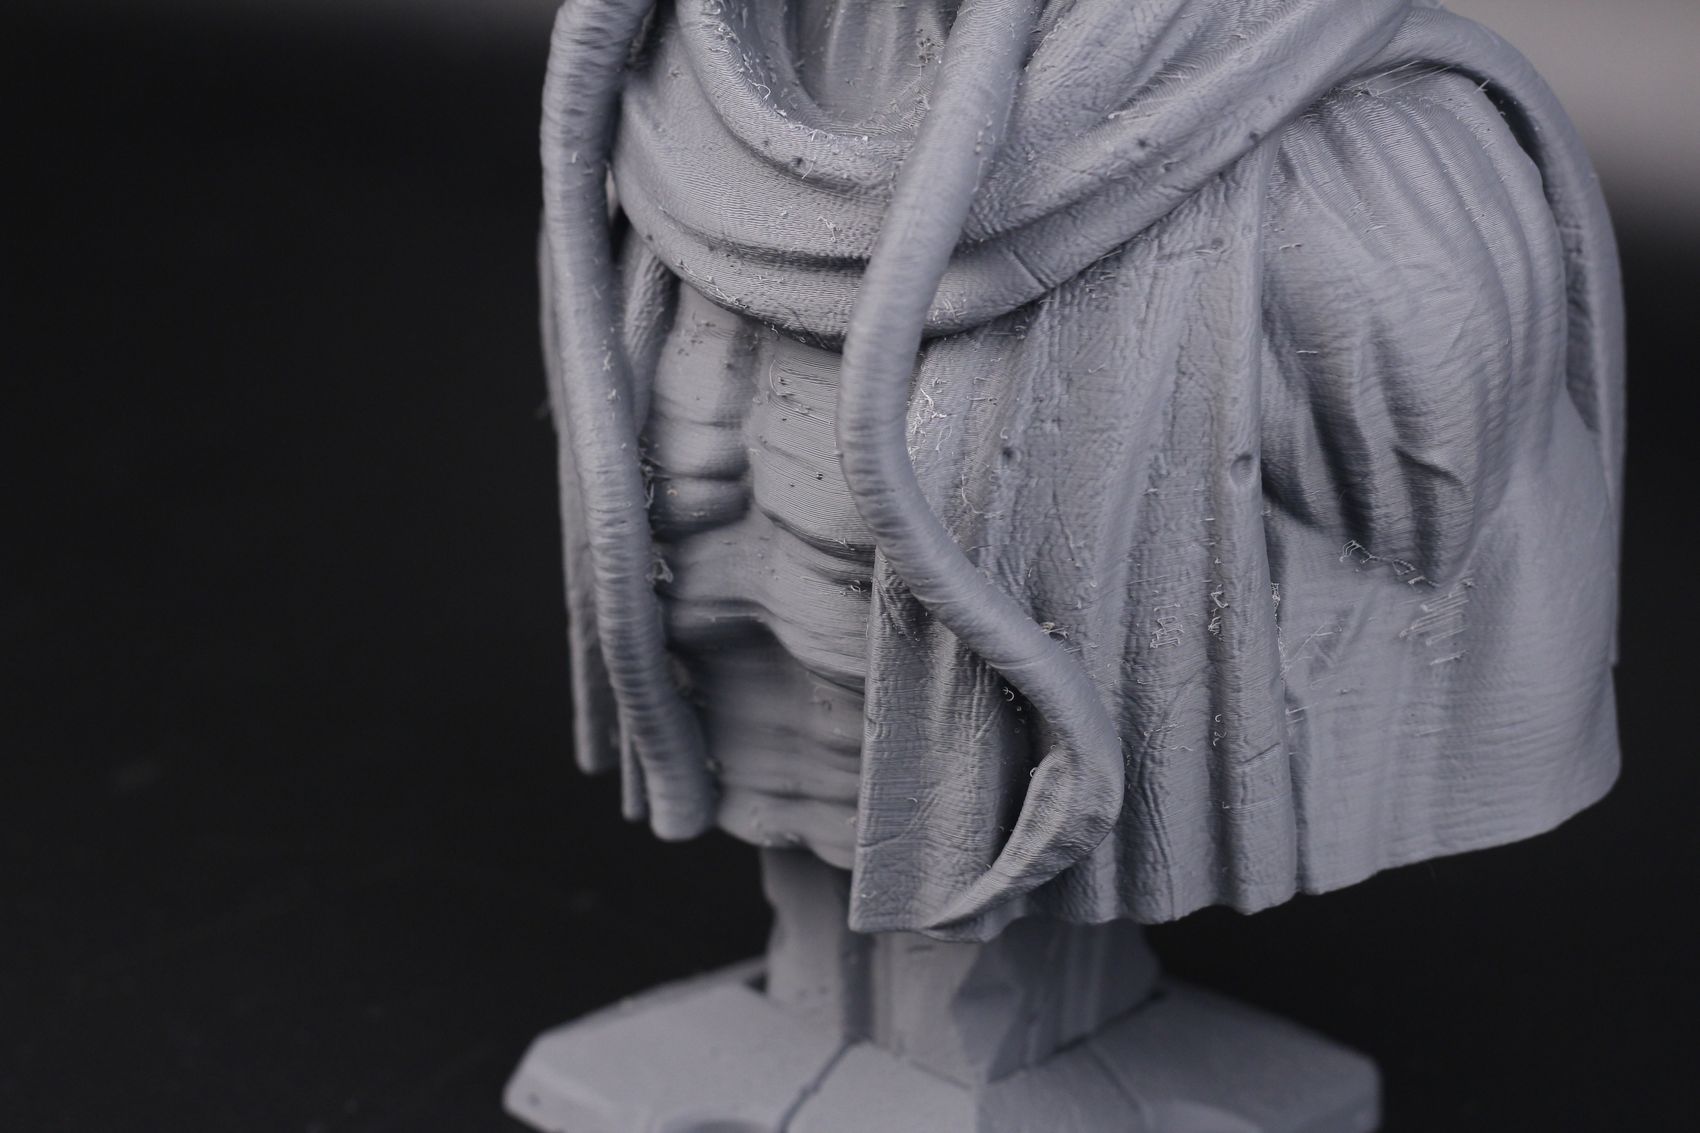
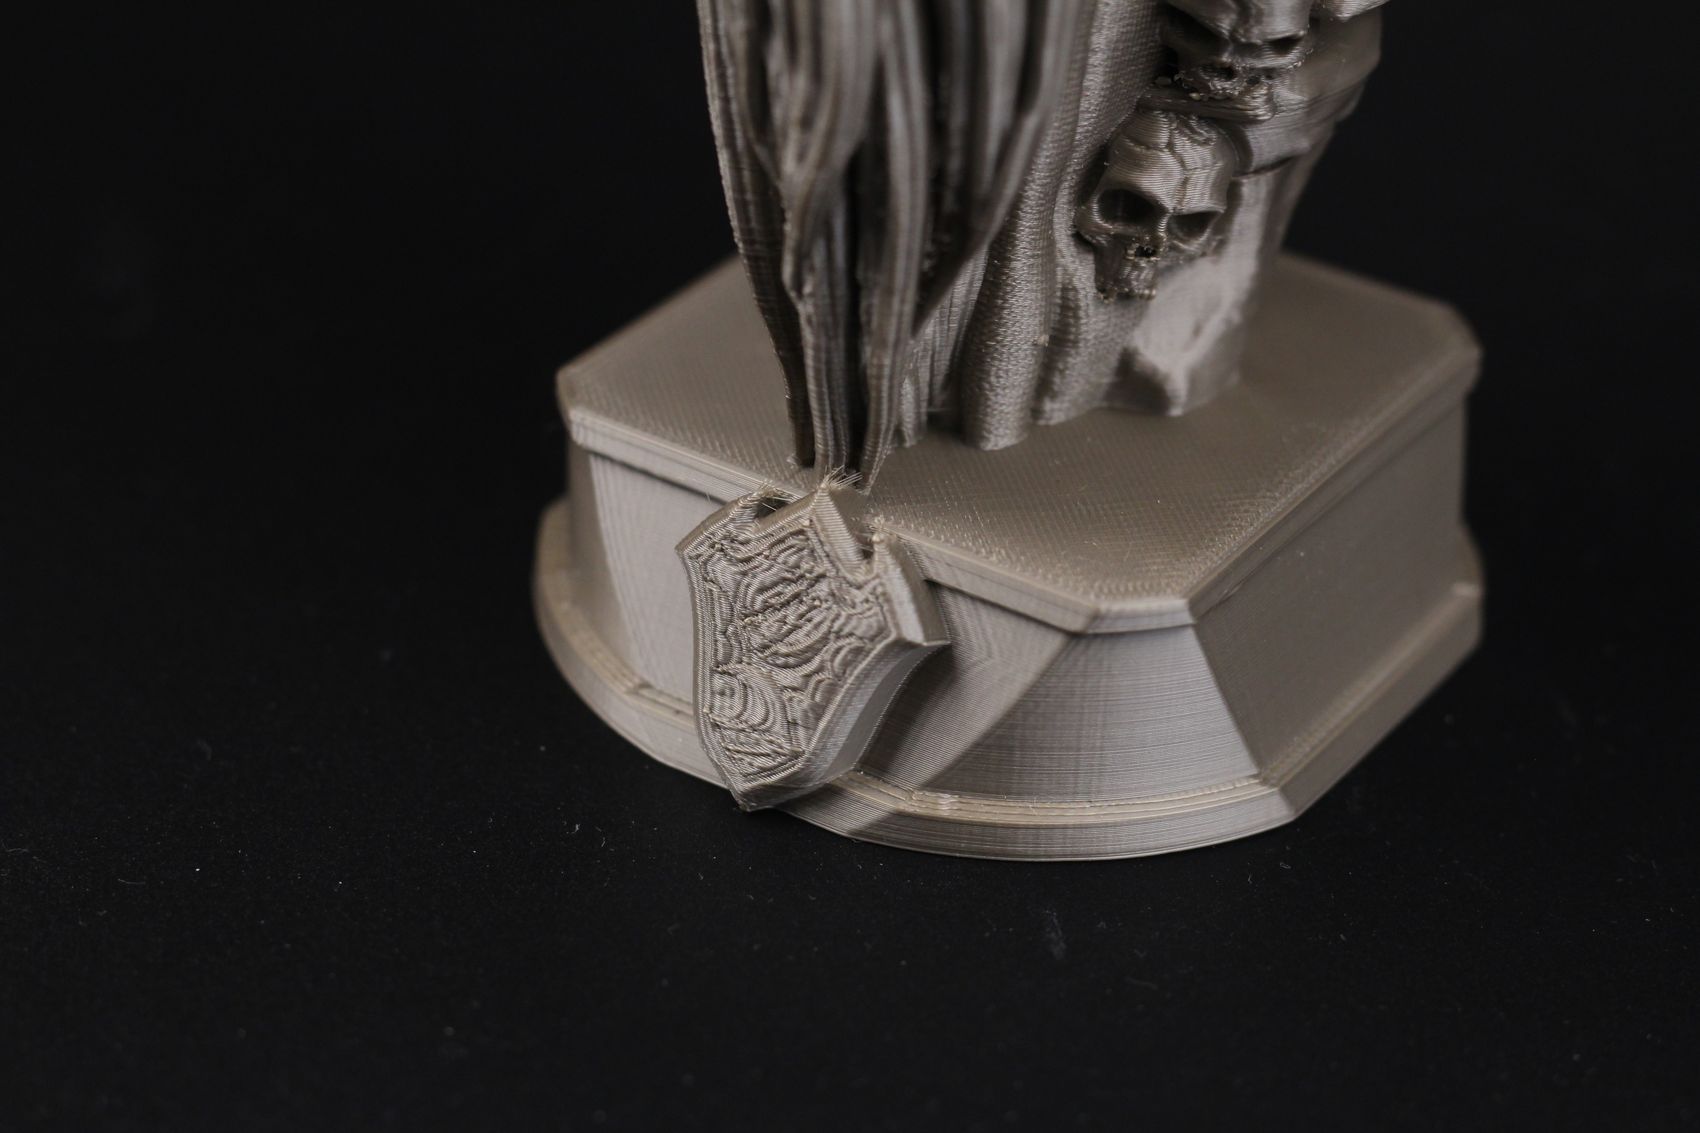
Printing this excellent Gorr bust from Eastman was a breeze. The print quality is quite good, especially with grey filament that shows any kind of small defect in the print. But as shown in one of the pictures, this model also came out with a lot of stringing issues that are very annoying.
You can get rid of them with a blow torch, but there are still some small imperfections remaining, and to completely solve the problem you would need to either replace the heat break with a bi-metallic version, or replace the entire extruder with one that has a better hotend setup.
- Material: Prima Select PLA Pro
- Layer Height: 0.15mm
- Nozzle Temperature: 215C
- Bed Temperature: 60C
- Print Speed: ~50 mm/s
Gul’Dan
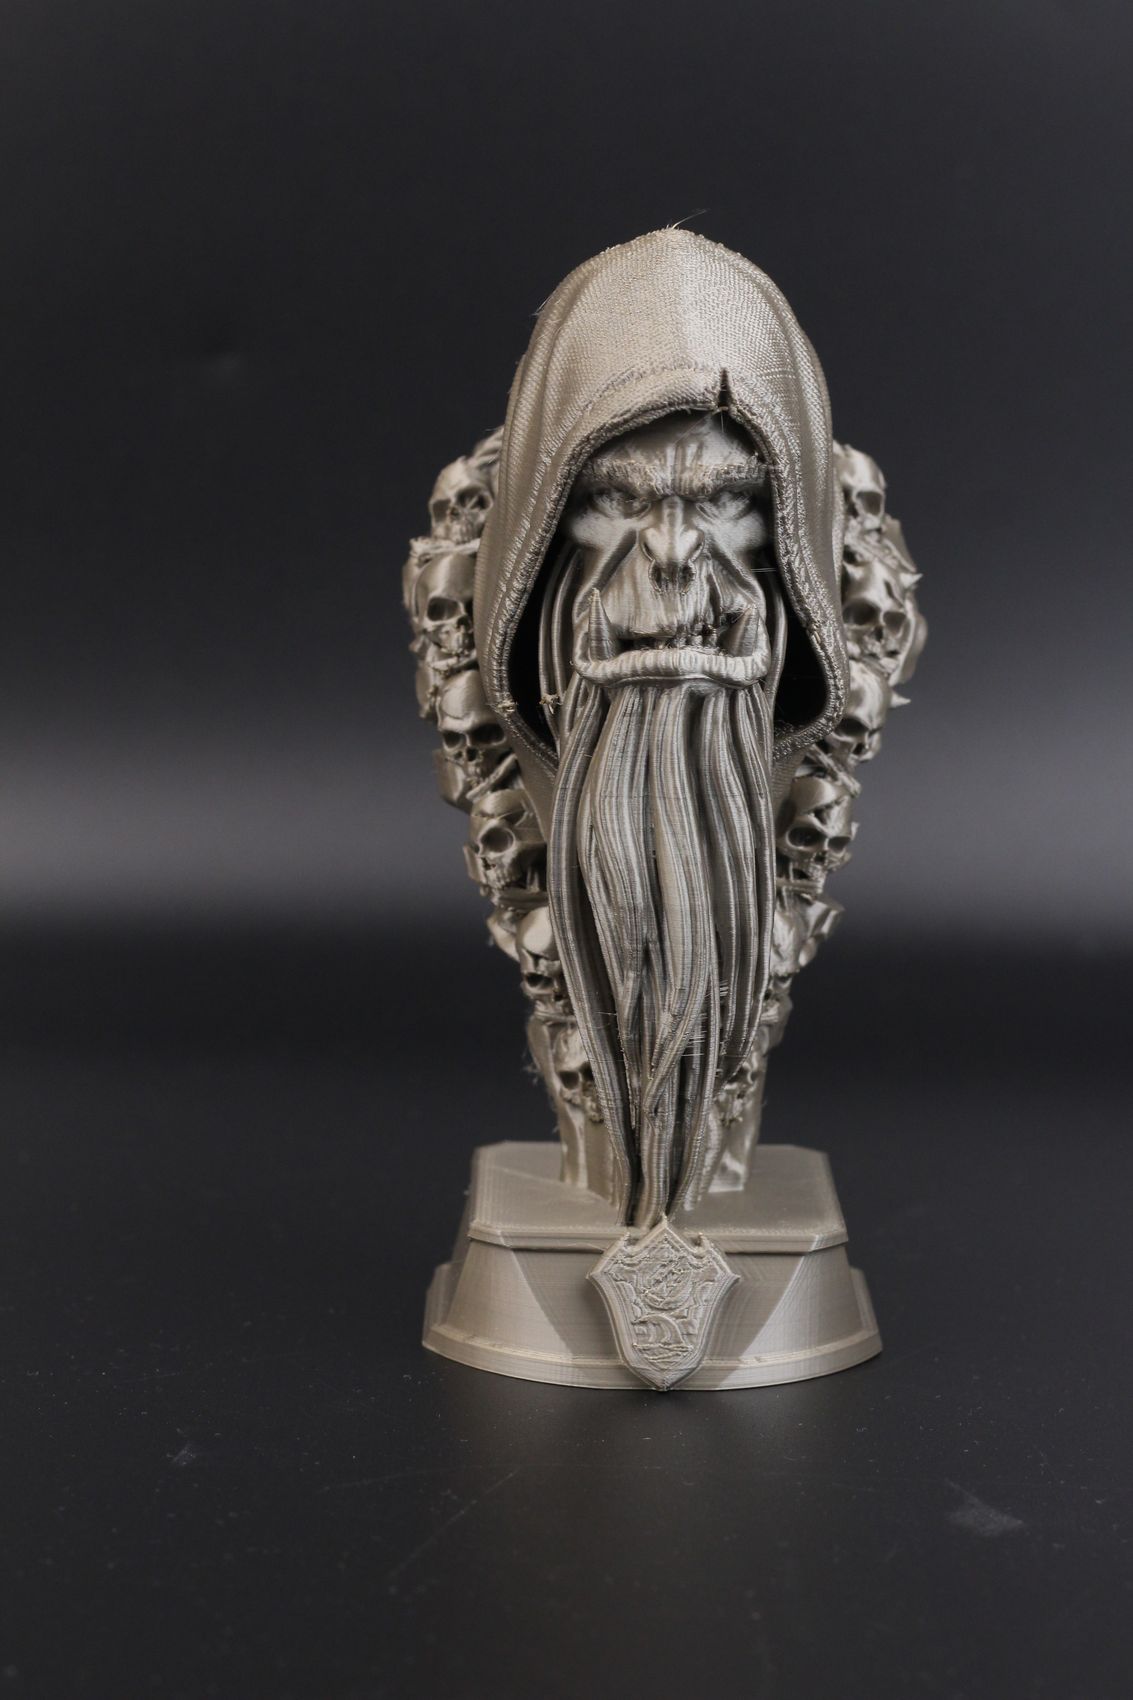
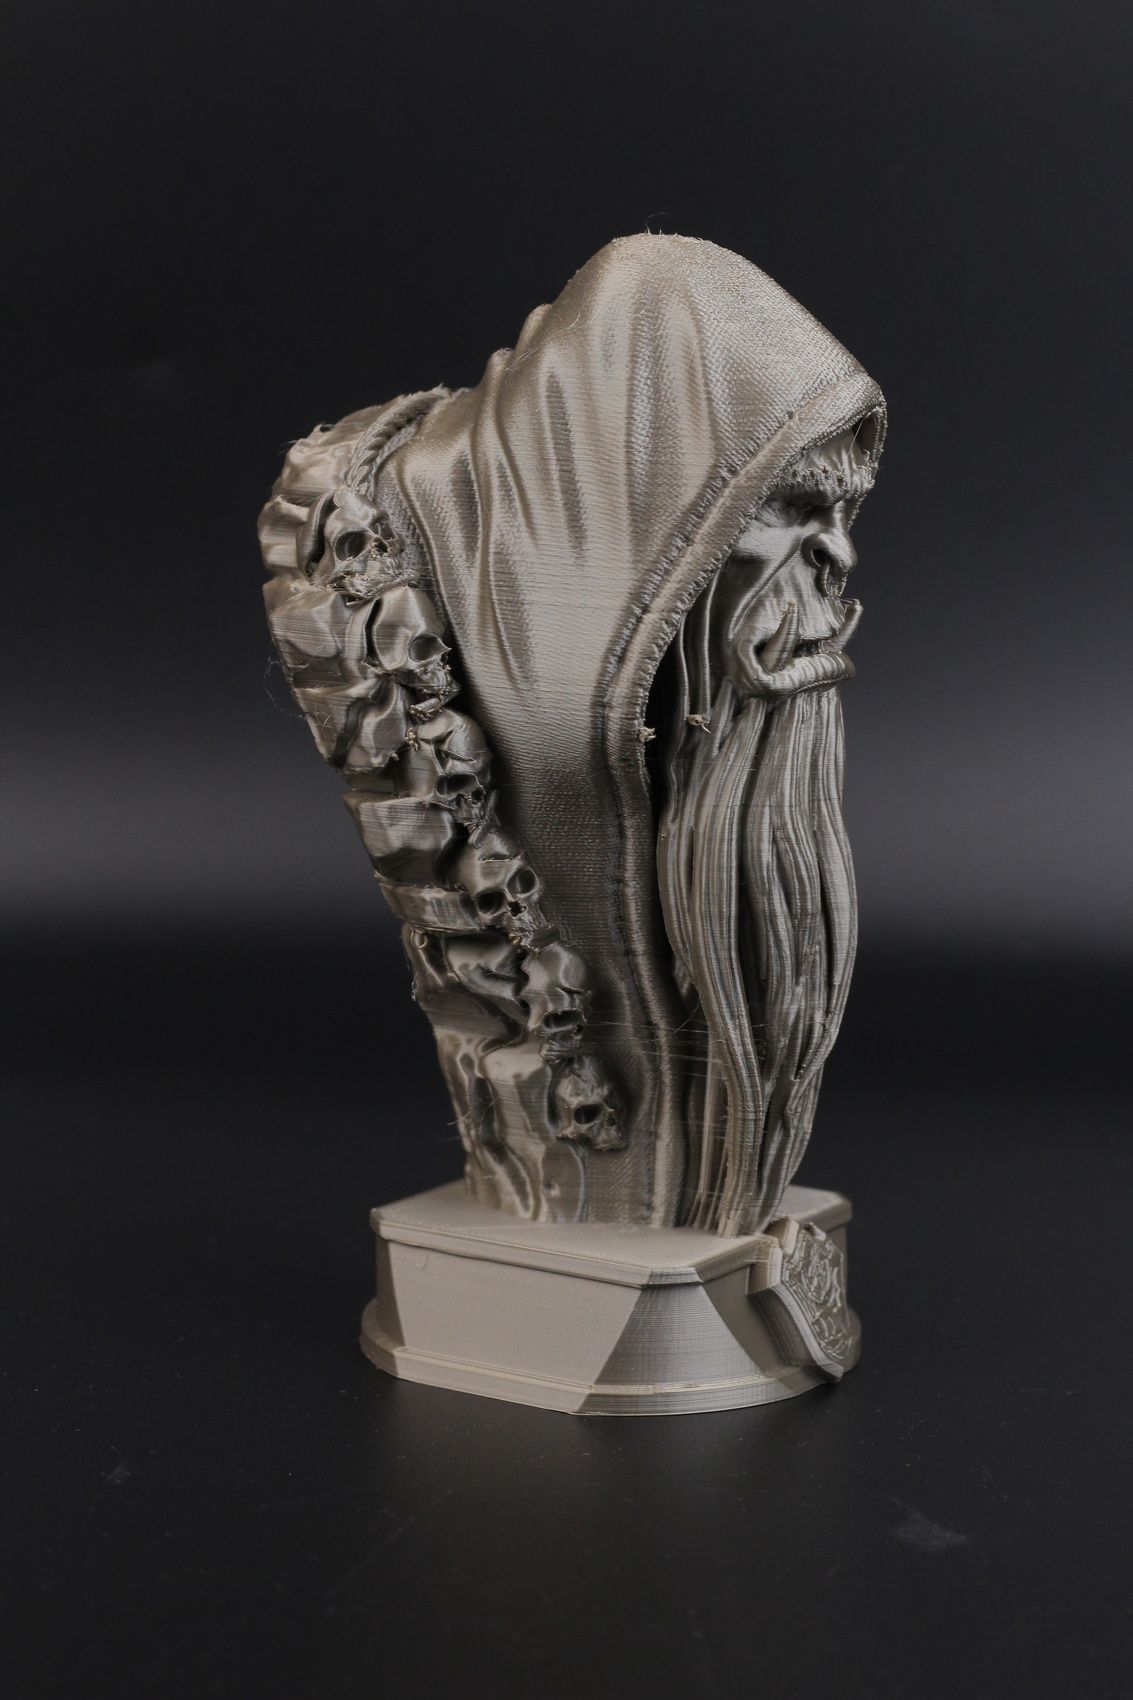
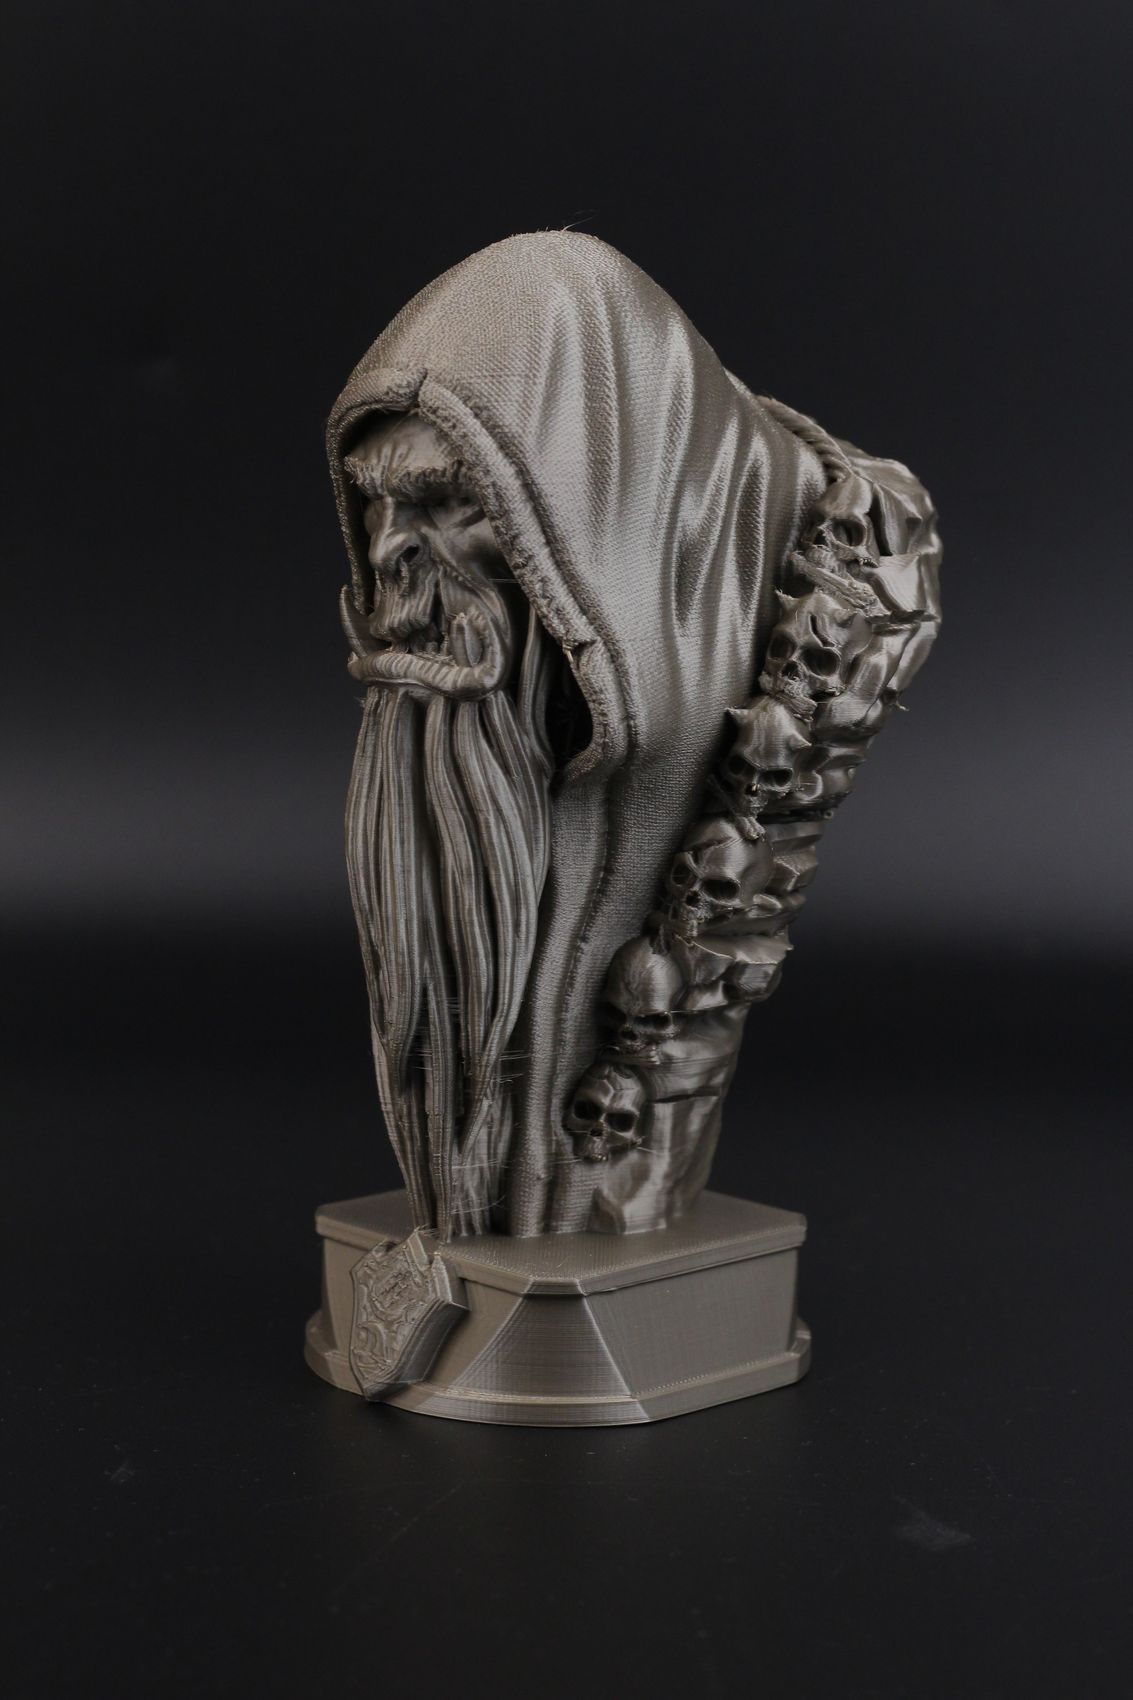
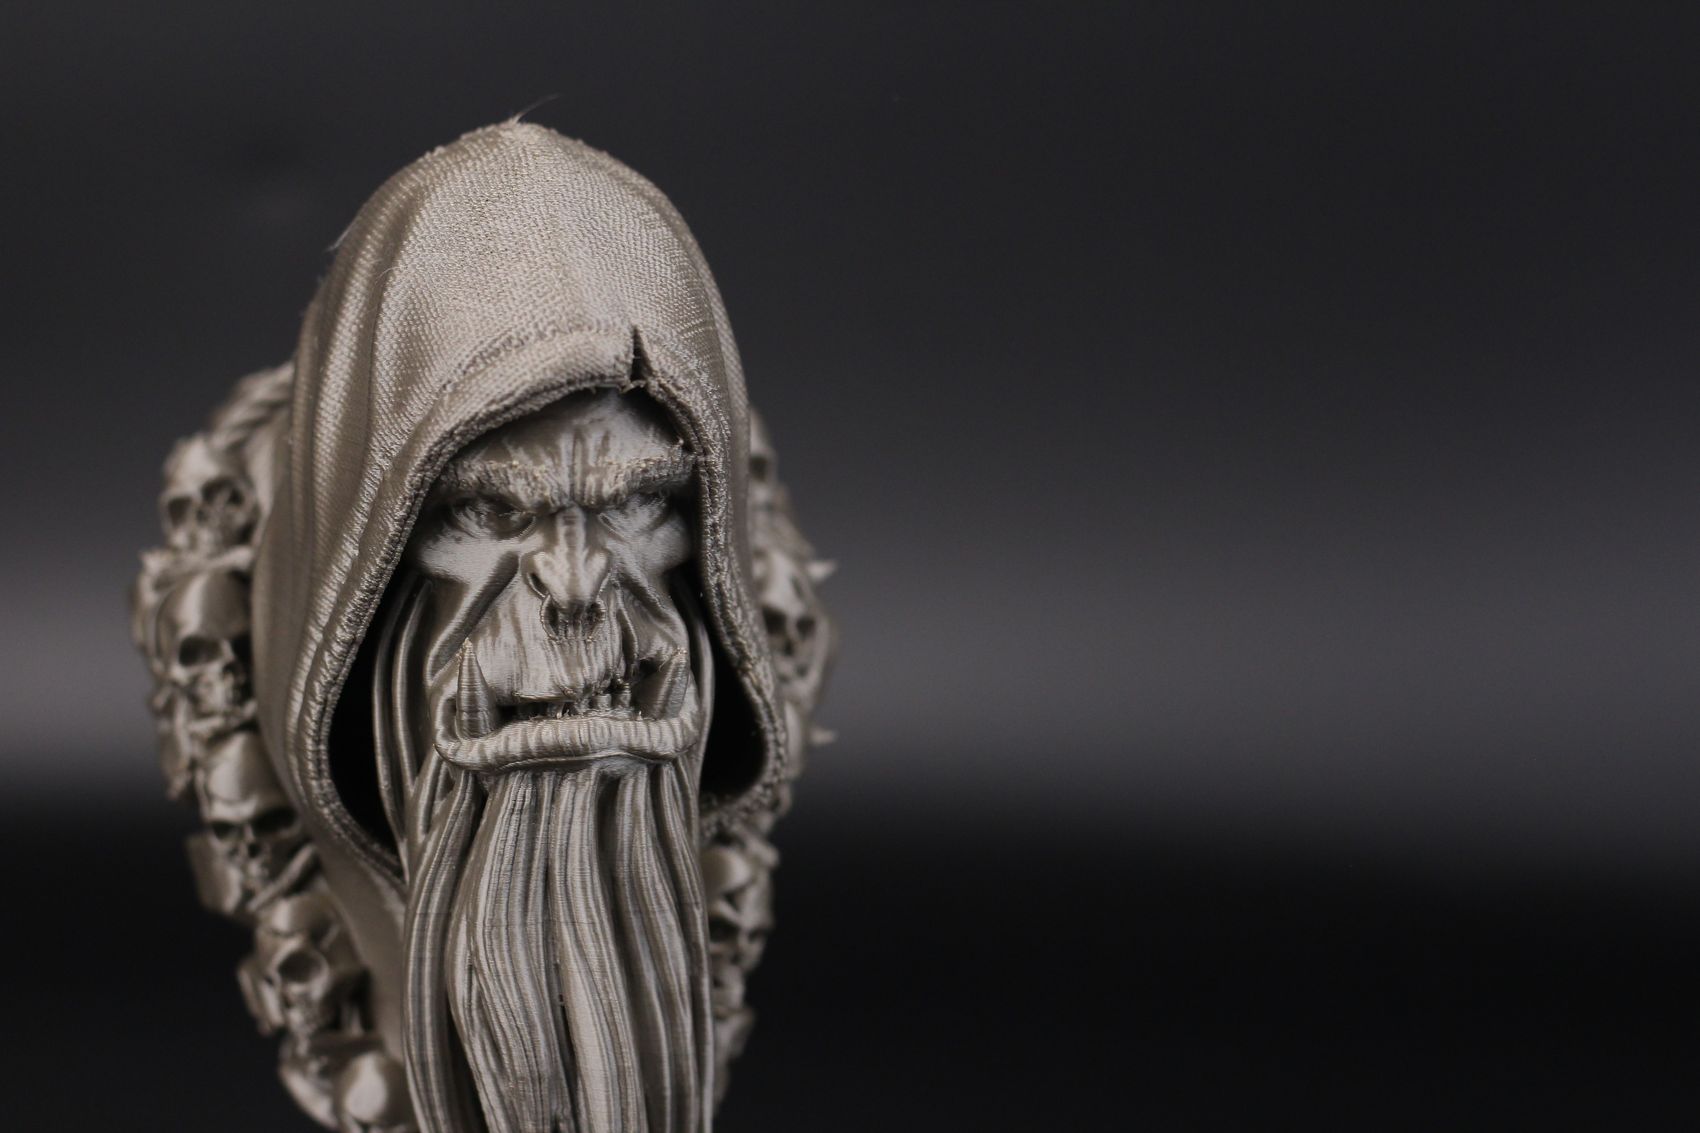
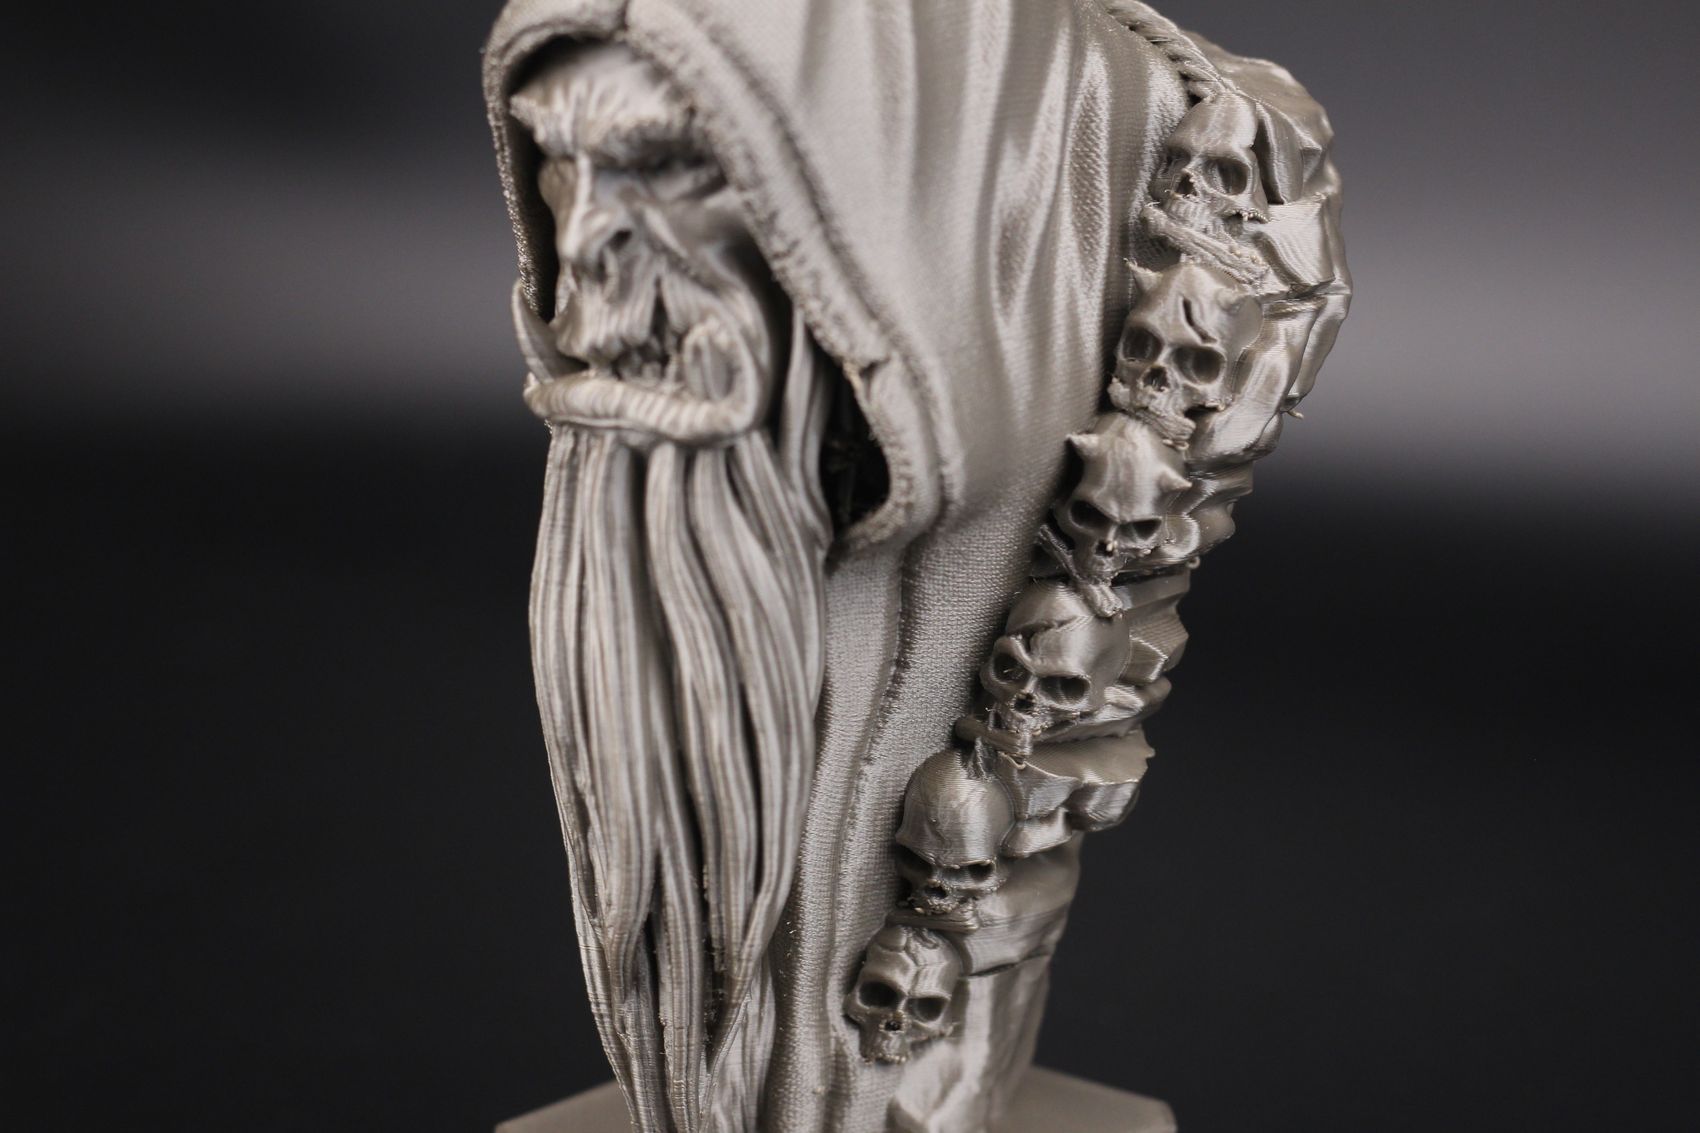
I also printed this Gul’Dan bust from Fotis Mint to check the overall performance of the machine when it comes to printing tiny features. And I must say, the print quality is quite good.
Of course, the same stringing issues can be seen on this print too, but it’s not as significant as when printing with silk PLA.

- Material: Gembird Gold PLA
- Layer Height: 0.2mm
- Nozzle Temperature: 210C
- Bed Temperature: 60C
- Print Speed: ~50 mm/s
Flexi Fox
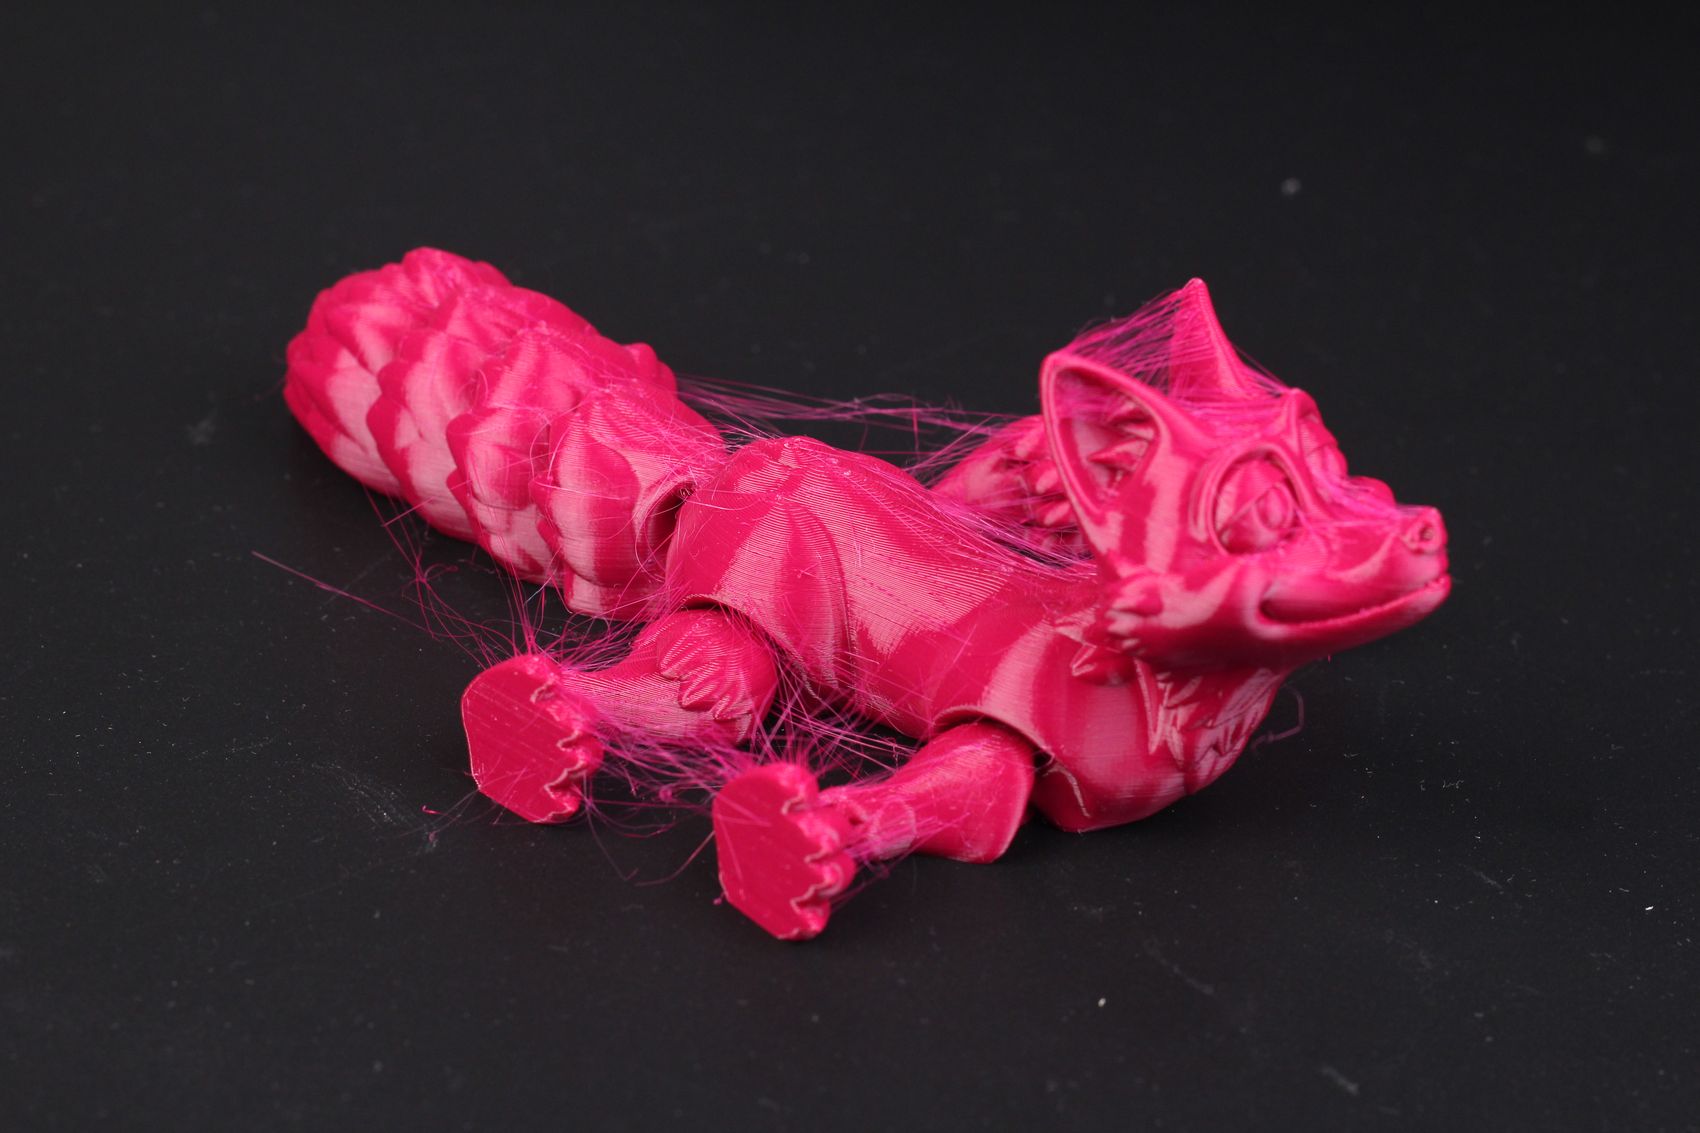
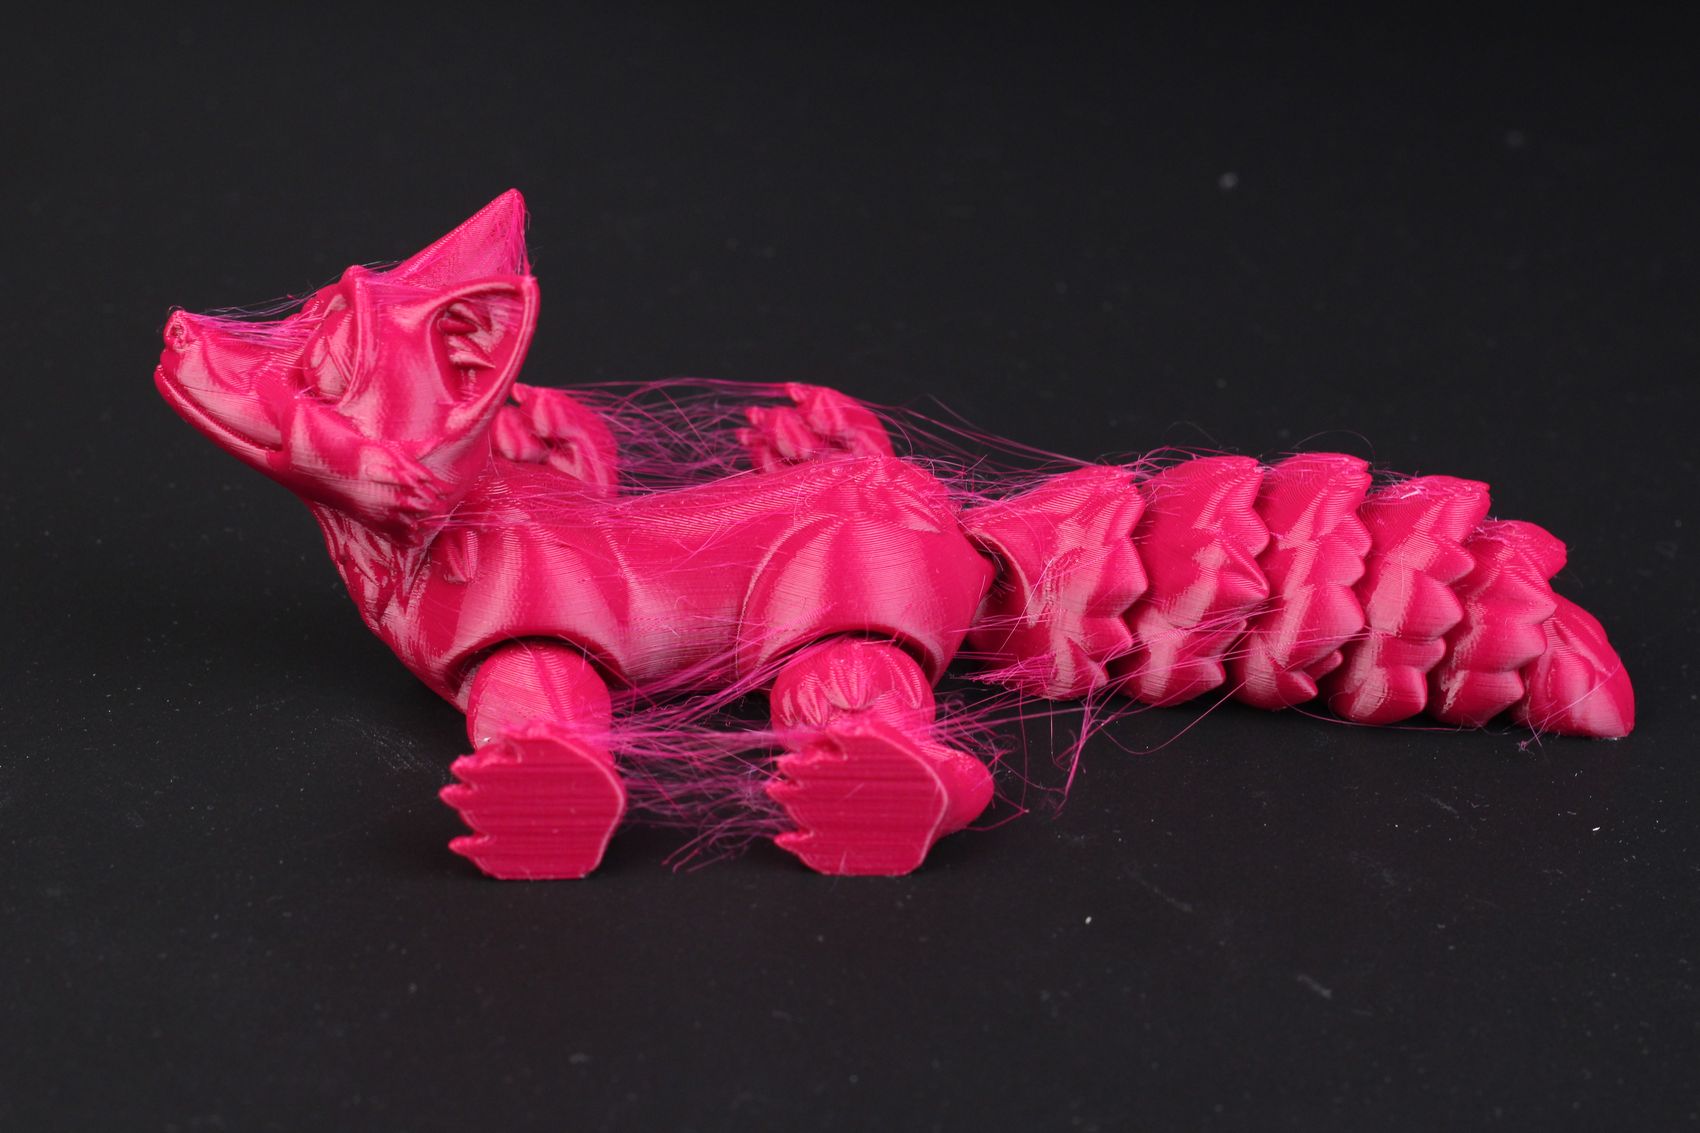
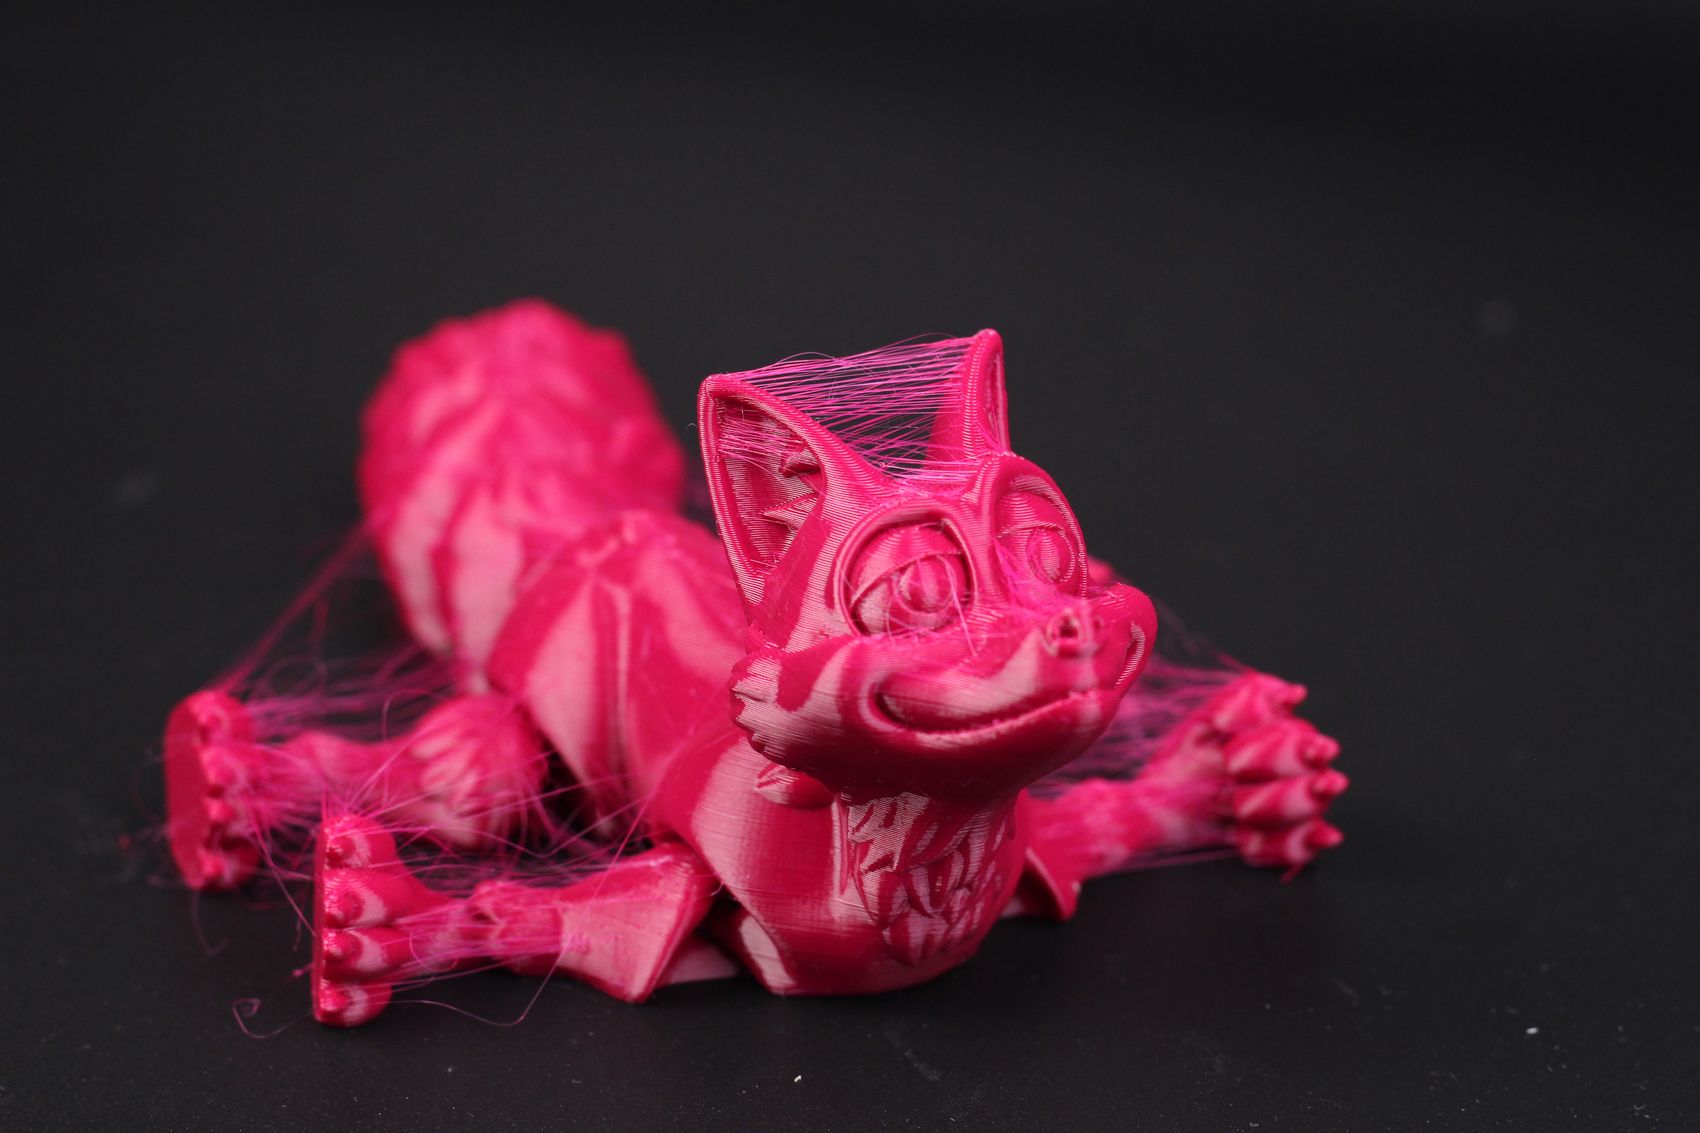
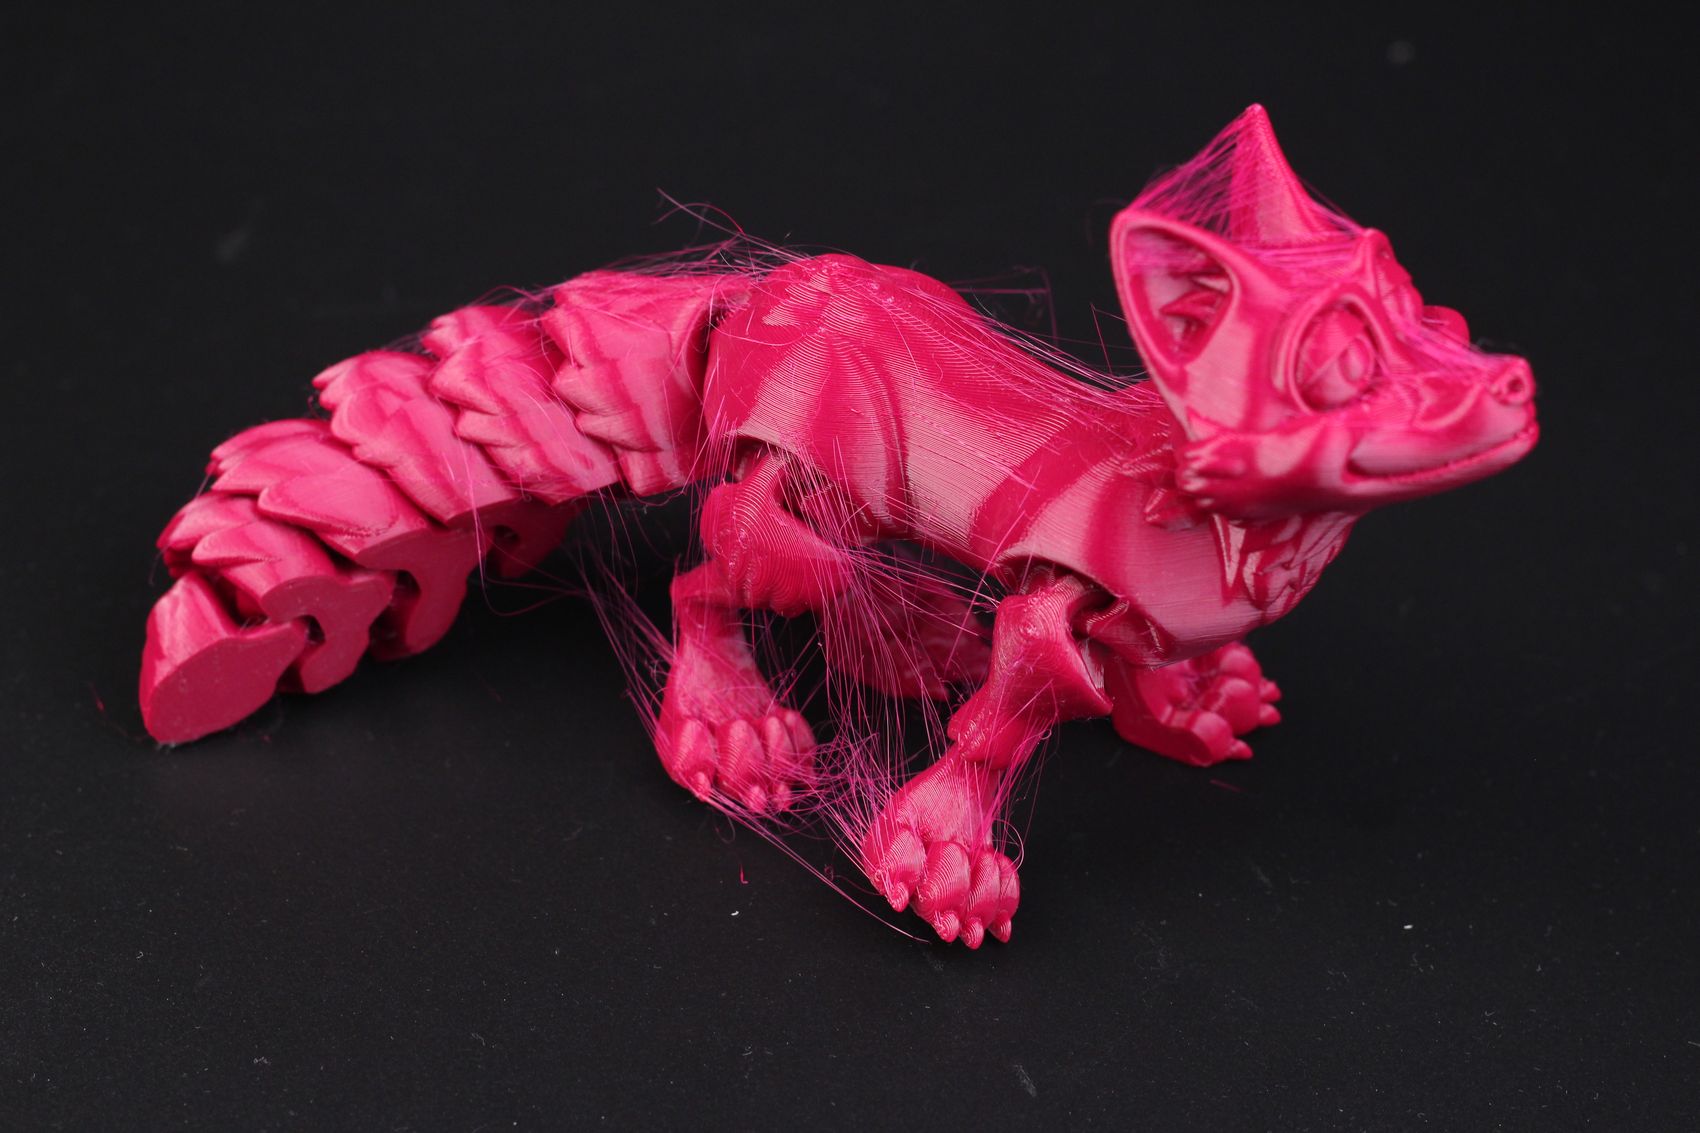
Finally, to test the bed adhesion, I always print this Flexi Fox from Cults as it is a good benchmark for PETG, stringing, and adhesion. While the print was completed successfully, the amount of stringing in this model is very high and I can’t say it’s a successful print. Even after cleaning the strings, the model looks bad as small blobs of filament are shown on the surface of the model.
The CRUX 1 can print PETG, but not as well as you might expect.
- Material: Devil Design PETG
- Layer Height: 0.2mm
- Nozzle Temperature: 235C
- Bed Temperature: 80C
- Print Speed: ~50 mm/s
Conclusions: Is the TRONXY CRUX 1 worth it?
I think that the TRONXY CRUX 1 is a pretty good compact 3D printer, but it falls short when we compare it to other similar machines like the Kingroon KP3S and Creality Ender 2 Pro. The print quality is good, but the direct drive extruder is somewhat outdated and the touchscreen is quite bad.
The stringing issue is also something I am not happy with, and I think if a better extruder/heat break would be used, the machine would greatly benefit from that. I don’t see how you could use this printer successfully without replacing the heat break or doing some mods to it to mitigate this problem.
I am also not a huge fan of the glass printing surface and the way it’s attached to the printer, as I think they should have sold a single version of this machine with the PEI sheet even though the price would be 10$ higher. A PEI sheet simply offers a nicer experience when printing.
With that said, the price of the TRONXY CRUX 1 of around ~180$ is pretty good but if I were in the market for a small FDM 3D printer, I would still choose the KP3S as most of the time you can get it for about the same price and it comes with a PEI sheet, a better direct drive extruder and a better touchscreen.
But if you want an all-in-one design, and don’t like the external power supply on the KP3S, the CRUX 1 could be a good alternative. If you can find it during a sale, it might be an even more attractive offering but just remember about the stringing issue and the recommendation of replacing the bad stock heat break.
TRONXY CRUX 1 Rating
Design
Specs
Noise Levels
Ease of use
Print Quality
Price
The TRONXY CRUX 1 is a nice little 3D printer, but it's held back by the extruder and hotend performance which generates quite a bit of stringing and lowers the print quality.
Where to buy the TRONXY CRUX 1?
The TRONXY CRUX 1 was provided free of charge by Geekbuying for the purpose of this review. While the article includes affiliate links, all opinions are my own. Nobody reviewed the article before it was posted, following the Review Guidelines.
Liked it?
|
|




Hey, nice review, I got mine a few weeks ago. Do you think that replacing the fan by a 4020 would reduce the stringing ?
Thanks
The biggest issue is the heat break. Upgrading that part will solve stringing
Could you please give me other alternatives than the SliceEngineering one ?
It’s really expensive (25-30% of the price of the printer shipping included)
I am not sure if there are alternatives in this case.
You might be better off replacing the entire extruder with one that also has a bi-metal heat break.
https://www.aliexpress.com/item/1005004508869819.html
https://www.aliexpress.com/item/1005004523350019.html
I found those two bi-metal heatbreaks, they seem to be compatible with the M6 thread on the Crux 1.
Would they be able to reduce the stringing ?
Thanks
Considering the price, you could try one and report back.
They should work
Ok I have to make sure that the Crux1 heatbreak is 26mm long and not 30mm before ordering.
By the way, what made you think that the heatbreak was the reason of the stringing on this printer ?
Experience
And the fact that the heat break doesn’t have any kind of proper heatsink as it’s only a fan blowing air on a piece of metal.
Hello!
Thank you for the detailed review. Based on what you said here, and the price I was able to get this machine for, I purchased a Crux 1 as my first 3d Printer. I’m hoping it will arrive this Saturday.
I have not had any luck finding guides or downloads to get a Firmware update for this machine. Can you advise on this?
Also, another review I watch suggested that since this has no Cura profile that you would use the Kingroon KPS3 profile and then change the retraction settings. Do you happen to know what retraction settings worked for you with this Printer for PLA? I’m just trying to get as close as possible to have a starting point before I dive in and start tinkering with settings after my first few prints.
I have also read the other comments here about replacing the Heat break. Do you know of any guides where one could see how this is done? How do I tell what length (26mm or 30mm) I would need for the Crux 1?
Thanks in advance. Your content has been great for me to start learning basic 3d printer concepts before my first printer arrives!
Hi,
I am not sure if there is a firmware update available, but the stock one seems fine.
I am not using Cura so I can’t advise on that, but the KP3S profile should be fine. You can tune the retraction based on the needs of the filament, but about 2mm should be good.
I haven’t upgraded the heat break but there’s a comment above from a user that found some alternatives.
Thanks