Artillery Sidewinder X1 calibration guide
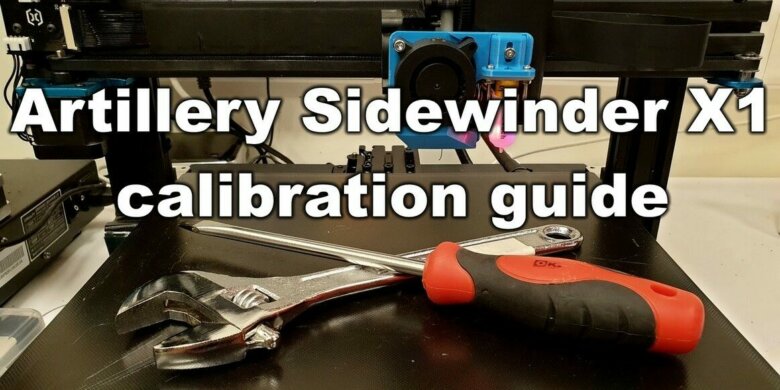
I noticed that there are a lot of people who experience Z banding, inconsistent extrusion or other issues in their prints. In my Sidewinder X1 review I went over some first checks a user should do when receiving and installing the printer for the first time.
In the following Sidewinder X1 calibration guide I will try to go over some of the tweaks I did to get consistent results and nice finish on my prints.
Calibration checklist
Extruder screw is too tight / too much pressure on the filament
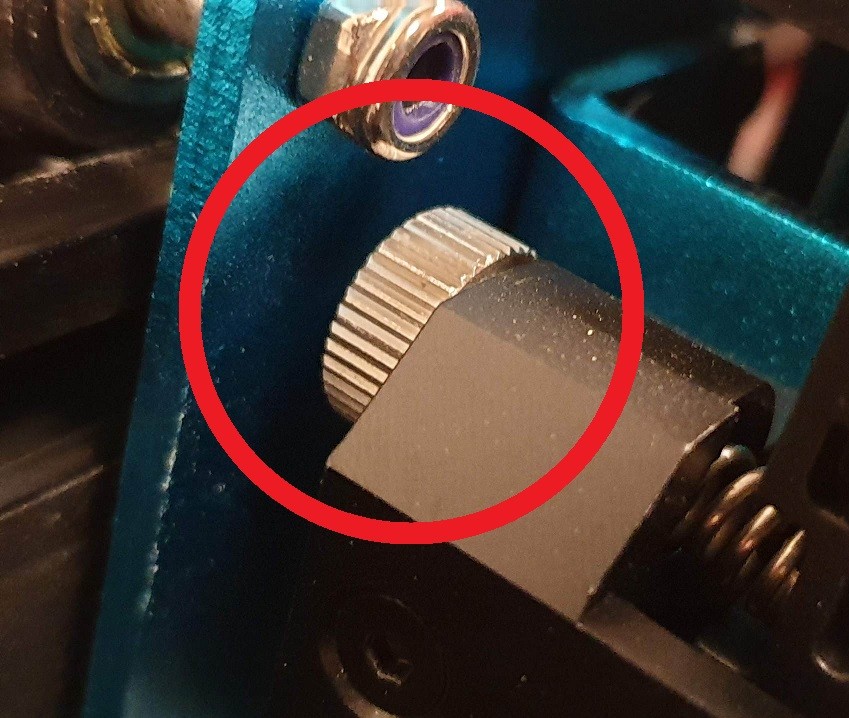
A common issue I noticed on the Sidewinder X1 is the amount of pressure the idler lever puts on the filament. This is also the cause for a lot of broken extruder idler levers I see online.
The screw from the extruder should be tightened just enough so the filament does not slip from the gear.
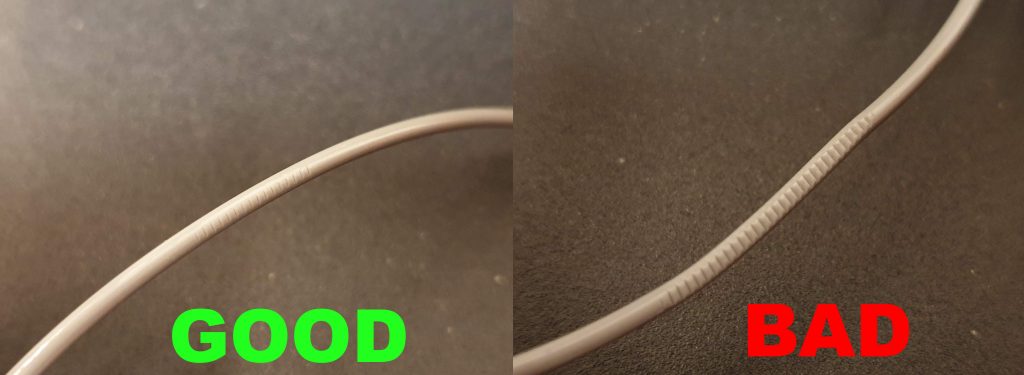
A good indication that the extruder has enough pressure for the filament is when you try to pull it out without pushing the lever. If the extruder gear is also spinning, then it’s good enough. The gear marks caused by the compression on the filament should be barely visible.
It is important to check the idler lever screw before performing the extruder calibration as this can have an effect on your results.
I would also recommend printing the Extruder Lever Brace from Thingiverse. I noticed my lever is not really stable when printing. It was not causing issues, but after printing this fix, the lever is a lot more stable.
Extruder calibration
Another important step in the Sidewinder X1 calibration is the extruder. I wrote a complete guide on Extruder Calibration, which you should follow. It includes an easy to use Extruder Calibration Calculator, and some extra information on how to complete the calibration successfully.
The original firmware has EEPROM save disabled, but this value can be set at slicer level in the start G-Code.
I use this value for the extruder: M92 E445.18
Flow rate calibration
Next thing on the list is calibrating the flow rate. This operation further calibrates the extrusion amount and contributes to having good dimensional accuracy of the prints. I did an extensive guide on how to easily calibrate flow rate and get accurate prints. It includes an easy to use calculator that determines the correct flow rate to use with your Sidewinder X1.
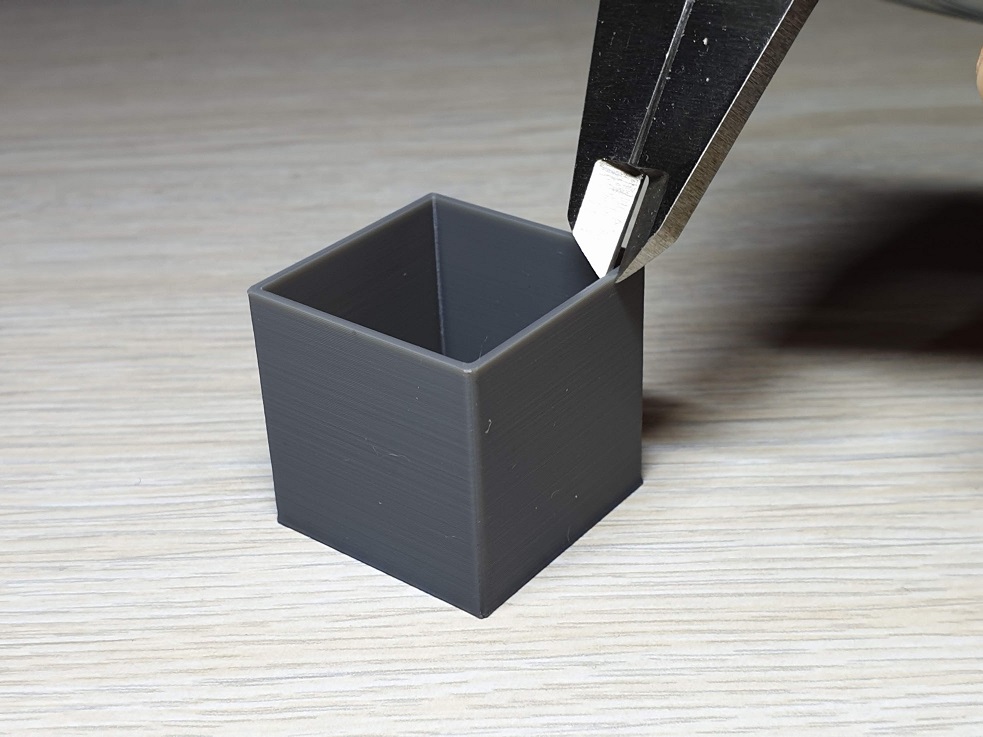
It is important to use the same settings for the flow rate calibration, just as you would when printing other items. That way you get a consistent result.
I also recommend measuring the cube walls twice and entering the values in the calculator. That way, you get more accurate results by minimizing measuring errors.
On my profile, I use 0.5 line size and after calibration the flow rate I get is 0.97 and I set it in my slicer.
Check for binding or bent Z rods
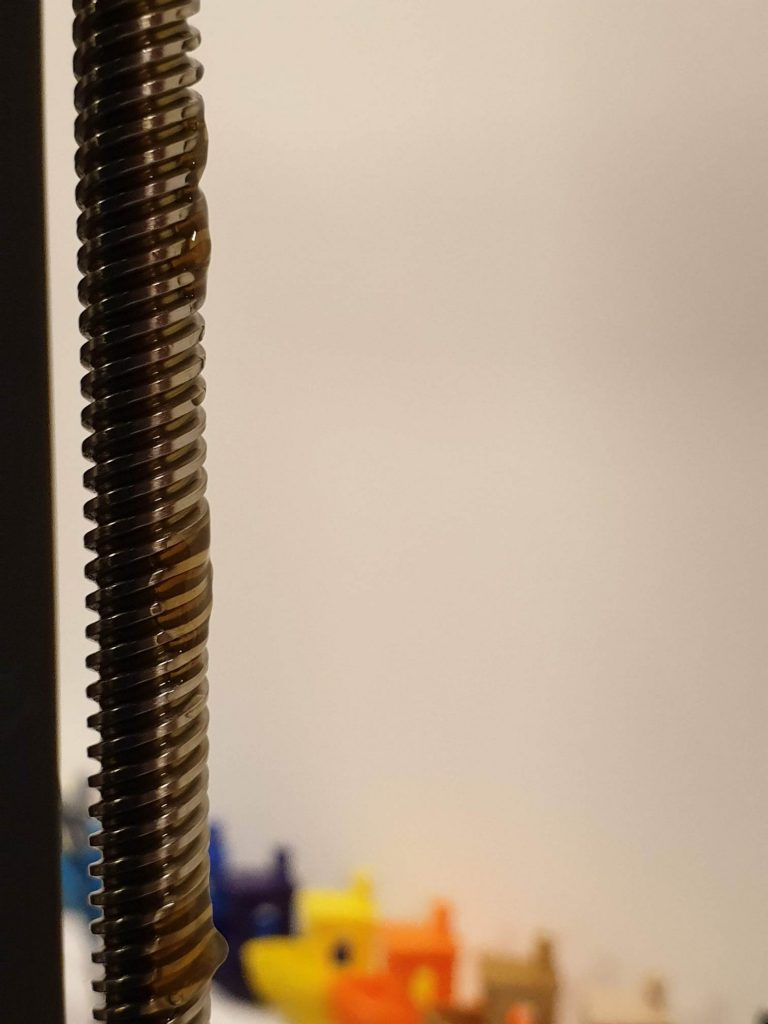
For quality prints and good layer lines the Z rods need to move freely. This can be achieved by having them properly lubricated and making sure there is no binding in their movement. On each of my printers, lubricating the rails is one of the first things I do.
I take some lubricant on a piece of filament or tooth pick and carefully put some on the Z rods.
With the X gantry homed, I apply lubricant on both rails then raise the gantry to the top of the machine. Then, I apply some lubricant again and lower it.
To make sure everything is greased properly I perform this movement a few times. Please note that the lubrication is done only on the first movement. The rest of the lubrication movements are done without adding more.
After this process is finished, I disable the motors and manually spin the Z rods. You can easily feel if there’s any binding if you spin the rods slowly.
If after the lubrication you can feel a bit of binding, I recommend you remove the Z rods from the printer and visually inspect them to make sure they are straight. You can also take the rods and try to roll them on a flat surface (like a glass table). If the rods are not rolling freely it means that there’s a bow in them and you can try to straighten them.
The X axis is not parallel to the bed
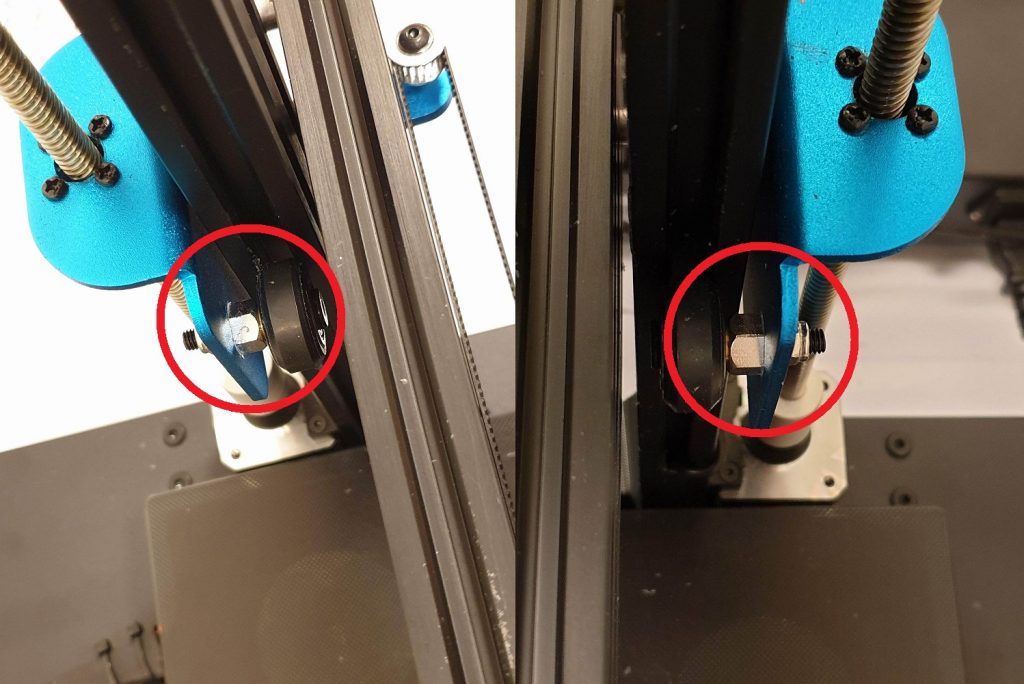
Inconsistent layer lines can be also caused by the X axis not being parallel to the print bed. If the Z nuts are not installed at the same height on both ends of the gantry, the X axis will not be level.
In order to fix this, and make sure the X axis is level, I used the Z-Height Blocks I printed for my CR-10s PRO.
First, the screws from the synchronization belt pulleys should be loosened in order for the Z rod to spin freely.
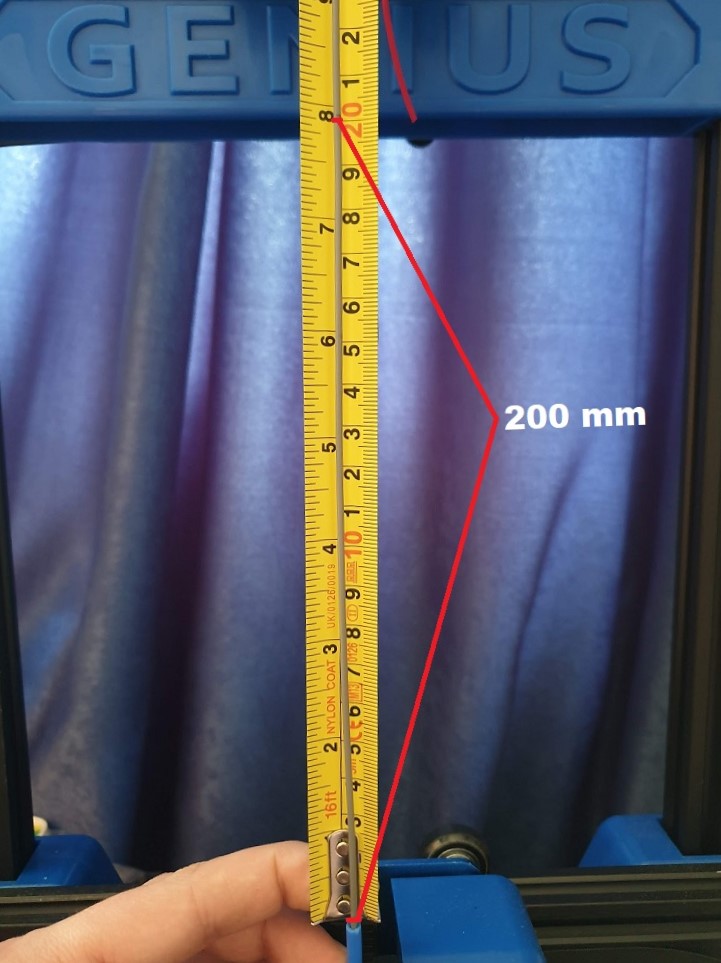
Next, the Z-height blocks need to be seated on both ends of the X gantry making sure they touch the bottom part of the extrusion. It is recommended to place the block next to the bed, on top of the metal base.
If the gantry is not flush with the blocks, then you need to adjust the eccentric nuts. Make sure you don’t over-tighten the wheel on the extrusion. The wheel should put pressure on the extrusion just enough so you can hardly spin it with your fingers.
This applies to all of the wheels installed on the printer. Finally, when everything is level, re-tighten the belt pulleys and level the bed.
The stepper motor couplers are not installed properly
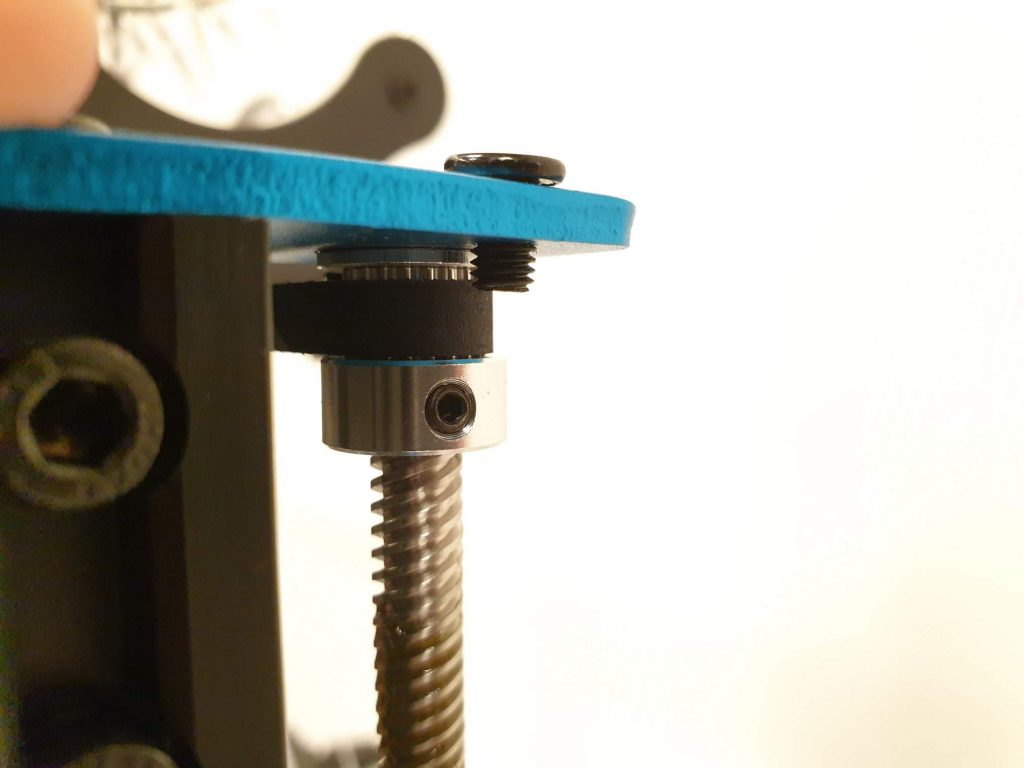
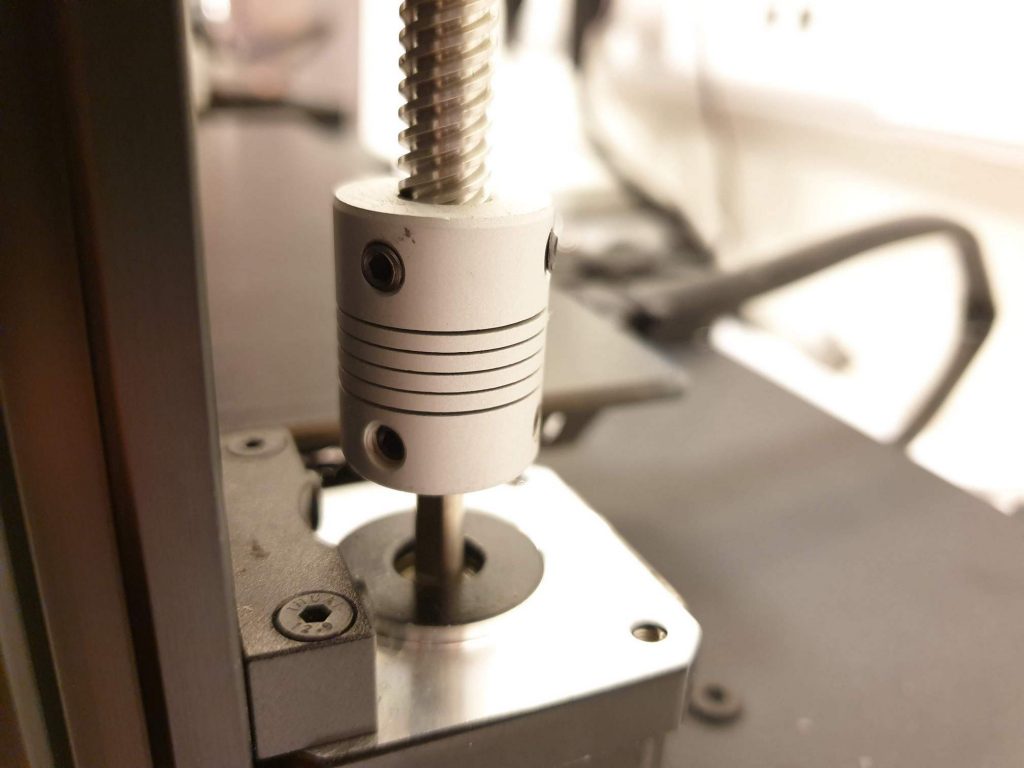
When I received my Sidewinder X1 I noticed that the stepper motor couplers were not installed correctly from the factory. The flexible couplers are designed to allow some deviation between the motor shaft and the Z rod and compensate for the misalignment of the two.
On my printer, the Z rod and the motor shaft were touching and the couplers were not doing their job.
In order to fix this issue, you need to loosen the screws from the couplers and manually raise the Z rods for about 0.5 mm, then tighten the screws again.
If the operation is done correctly, you should be able to manually compress the coupler and see some movement.
This is an important step on making sure that the Z rods are properly installed and the stepper motor vibration or misalignment is not translated directly into the Z axis.
Temperature variations caused by improper PID tuning
If all of the previous steps were checked, a PID tuning needs to be performed. I covered this topic in a previous article where I covered the hotend and heatbed PID tuning process.
The end result should be a constant temperature of the hotend nozzle and bed. Variations in these temperatures can lead to having layer lines that look different.
The values I use for the hotend: M301 P14.74 I0.99 D54.66
The values I use for the heatbed: M304 P244.21 I45.87 D325.08
Printing temperature is not set properly
The Sidewinder X1 comes with a Volcano hotend. This improves performance when printing fast with a large nozzle size. But when printing PLA, the Volcano can be a bit too much.
The added length of the nozzle can melt filament better, so you may be surprised that your filament can print better if you lower the temperature a bit.
On my other printers, I print Devil Design PLA at around 200C-205C depending on the speed. On the Sidewinder X1 I noticed that I can get better results when printing at 185C-190C.
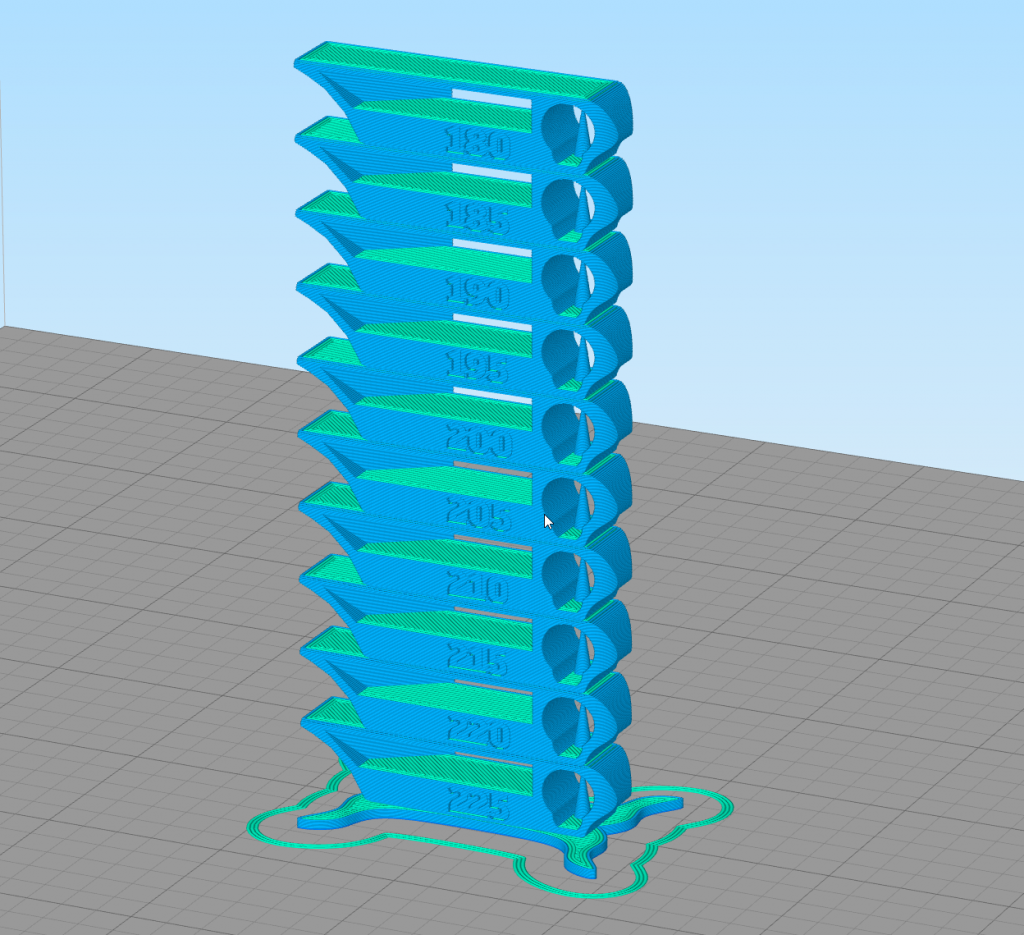
In order to get the best possible results, you need to print a temperature tower and choose the best temperature according to the print quality.
I prepared a G-Code file that can be printed directly from the Sidewinder X1. The temperature will change gradually from 180C to 220C.
When the print is finished, choose the temperature with best surface finish, overhang and bridging.
To get the most accurate results, you should print this temperature tower after calibrating extruder and flow.
Feed rate and Acceleration are set too high in the firmware
Setting the feed rate and acceleration settings properly is another important step in the Sidewinder X1 calibration process. The default values that come from the factory are a bit too much, and I lowered them a bit.
The values I use for the feed rate: M203 X200.00 Y200.00 Z20.00 E40.00
The values I use for the acceleration: M204 P1000.00 R10000.00 T2000.00
Setting a proper Linear Advance Value
Linear Advance is a feature from Marlin firmware that improves extrusion quality and eliminates over-extrusion at the end of a layer line. It also allows faster printing with maintaining good quality.
Unfortunately, this option is not enabled in the stock firmware and in order to use it, a custom firmware needs to be installed.
Teaching Tech made a really nice video covering Linear Advance so I recommend you watch it to properly calibrate this feature.
I found out that a value of 0.13 works best for me. This can be added in the start G-Code of your slicer with the M900 K0.13 command.
Replace the nozzle with a better one
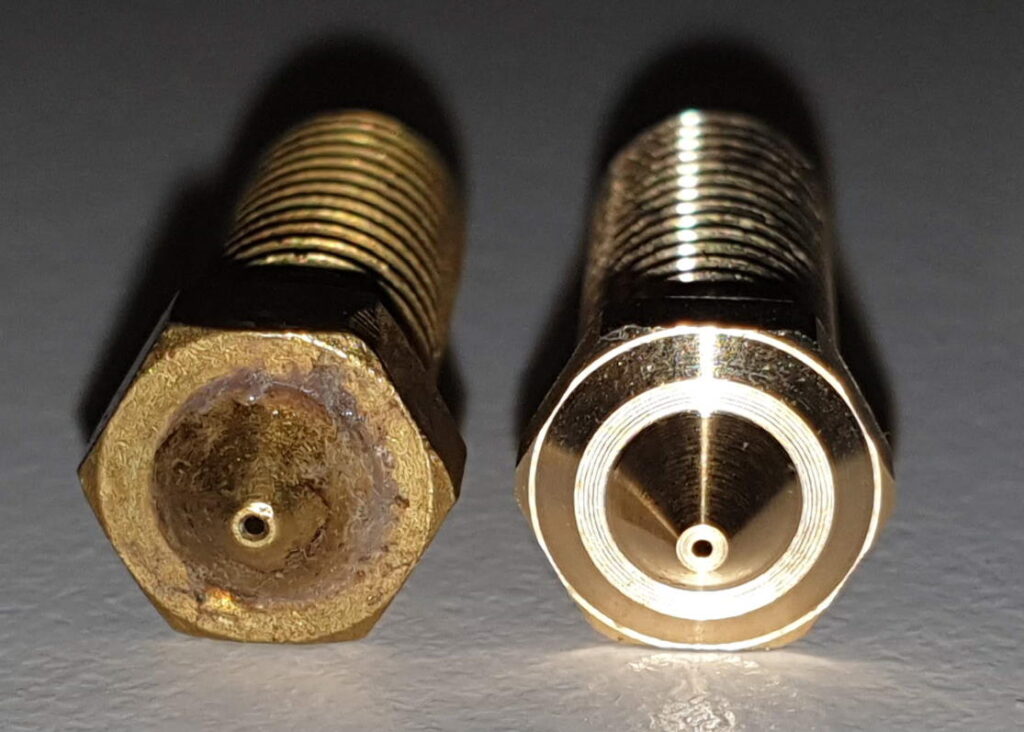
The stock nozzle you get with the Sidewinder X1 is not that great and I recommend buying a better Volcano nozzle like the NF-V6 Sharp Volcano from Mellow. For less than 3$, the nozzle hole is more accurately cut and this can bring an improvement in your prints. You can clearly see in the photo attached the difference in the machining.
On the left, the stock nozzle. On the right, the NF-V6 Sharp nozzle from Mellow. Of course, the original nozzle is not brand new, but this is how it looks after just 24 hours of printing.
For a bit more money you can also get the T- Volcano Plated Copper Nozzle from Trianglelab, which has better thermal conductivity and a non-stick coating.
If you need nozzles faster, then you can order the Micro Swiss plated nozzle or an E3D Volcano brass nozzle.
The Nozzle-X from E3D is one of the best nozzles you can buy currently, if you don’t mind spending a bit more money.
If you want to learn more about the quality differences between nozzles, make sure you check my Ultimate 3D Printer Nozzle Comparison.
Sidewinder X1 Custom Marlin Firmware
Most of my recommendations and calibration tips involve modifying values in the EEPROM. Unfortunately, the Sidewinder X1 arrived with EEPROM disabled and this makes things a bit harder to setting the machine properly.
You can check the Sidewinder X1 Firmware with Marlin 2.0.5.3 article where I uploaded the latest version of Marlin Firmware for the stock X1 printer configuration/
Please note that installing a custom firmware involves removing the printer cover, so a bit more experience is needed. Besides that, warranty will be void if you open the cover.
Printing after Sidewinder X1 calibration
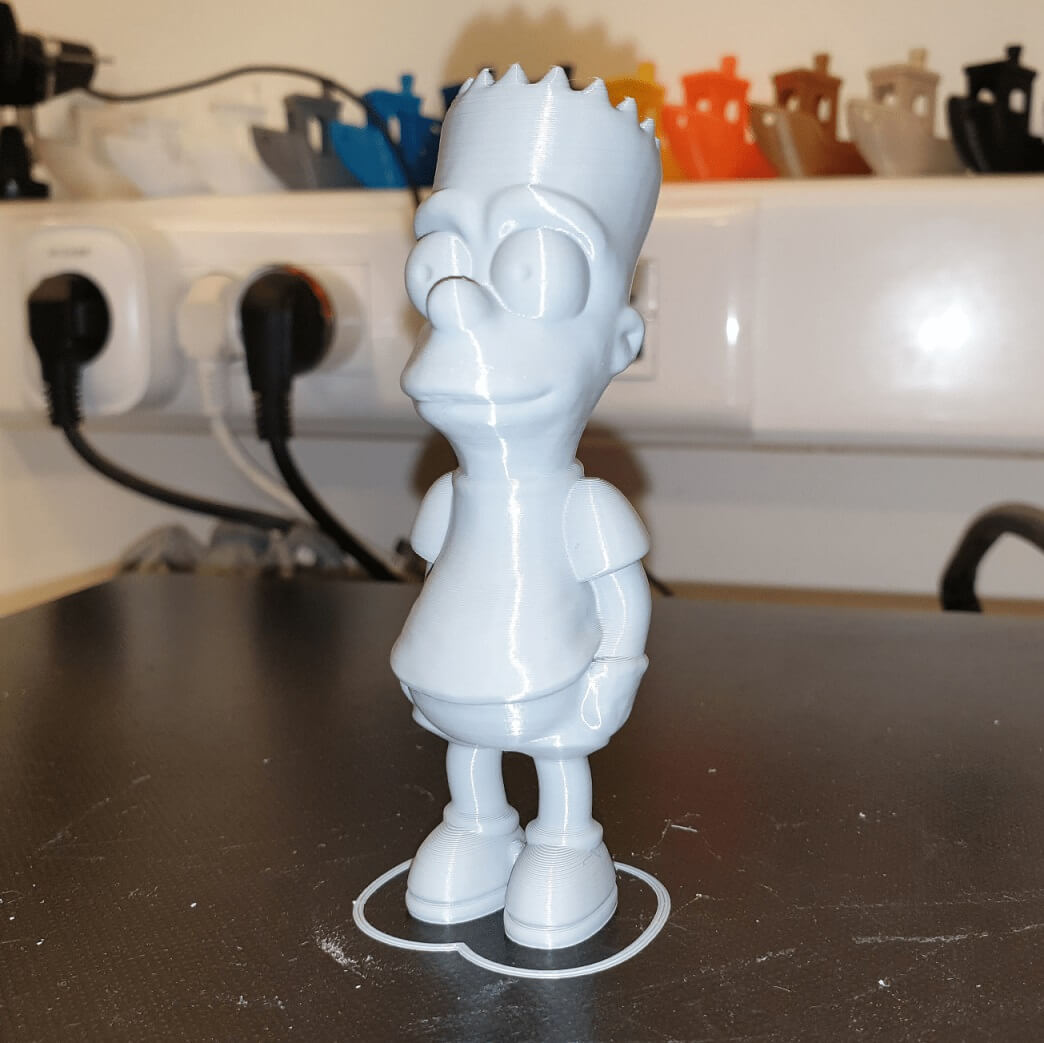
After you complete the Sidewinder X1 calibration, your printer should work much better and be more accurate. Here’s a video of my Sidewinder X1 printing Phil-A-Ment from Matterhackers at 50mm/s, at 0.15mm layer height in Devil Design Grey PLA (190c).
Sidewinder X1 Upgrades – Paid and Free
Now that you calibrated your Sidewinder X1, you may want to look for upgrades you can do to it. I put together an article with the upgrades I did to mine.
You can check it out here: Sidewinder X1 Upgrades – Paid and Free
Before adding any upgrade, you should consider what benefits it brings to your printer, and if you really need it. If you want to go all in, then ignore me.
But note that printer upgrades can become an addiction. Look at me 😀
3D printer calibration with IdeaMaker
If you find the whole process of calibrating your printer a bit daunting, then check my 3D Printer Calibration Guide with IdeaMaker where you can learn how to calibrate your Sidewinder X1 directly from the slicer.
Slicer profiles for Sidewinder X1
My main slicers are Prusa Slicer and IdeaMaker. You can find the IdeaMaker profiles or Sidewinder X1 in this article. The Prusa Slicer profiles I shared for the Genius are compatible with the X1. Just edit the bed size configuration.
You can also join the 3DPrintBeginner Forum where there’s a dedicated category for Artillery 3D printers.
Liked it?
|
|

