Creality Sprite Pro Extruder Review: Full Upgrade Kit
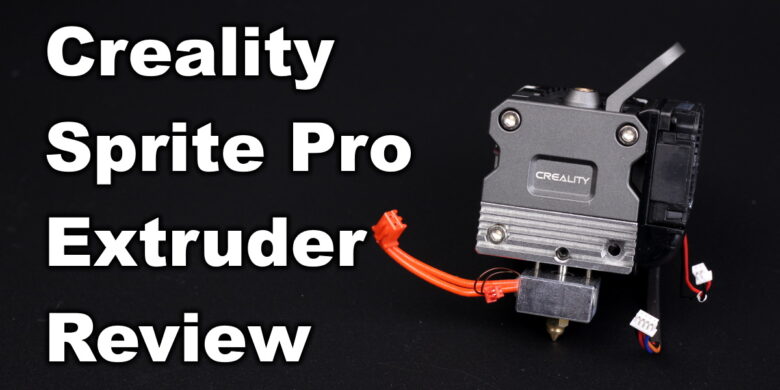
One of the hardware features which makes the Ender 3 S1 such a good machine is the Sprite Extruder and Creality is also selling this as an upgrade for other machines.
In this article, we will check out the Creality Sprite Pro Extruder Full Upgrade Kit which is the all-metal variant installed on the Ender 3 S1 Pro and CR-10 Smart Pro but with some extra accessories to make upgrading other printers easier. Let’s see if this extruder is worth purchasing instead of other direct-drive extruders out there.
Creality Sprite Pro Extruder Packaging
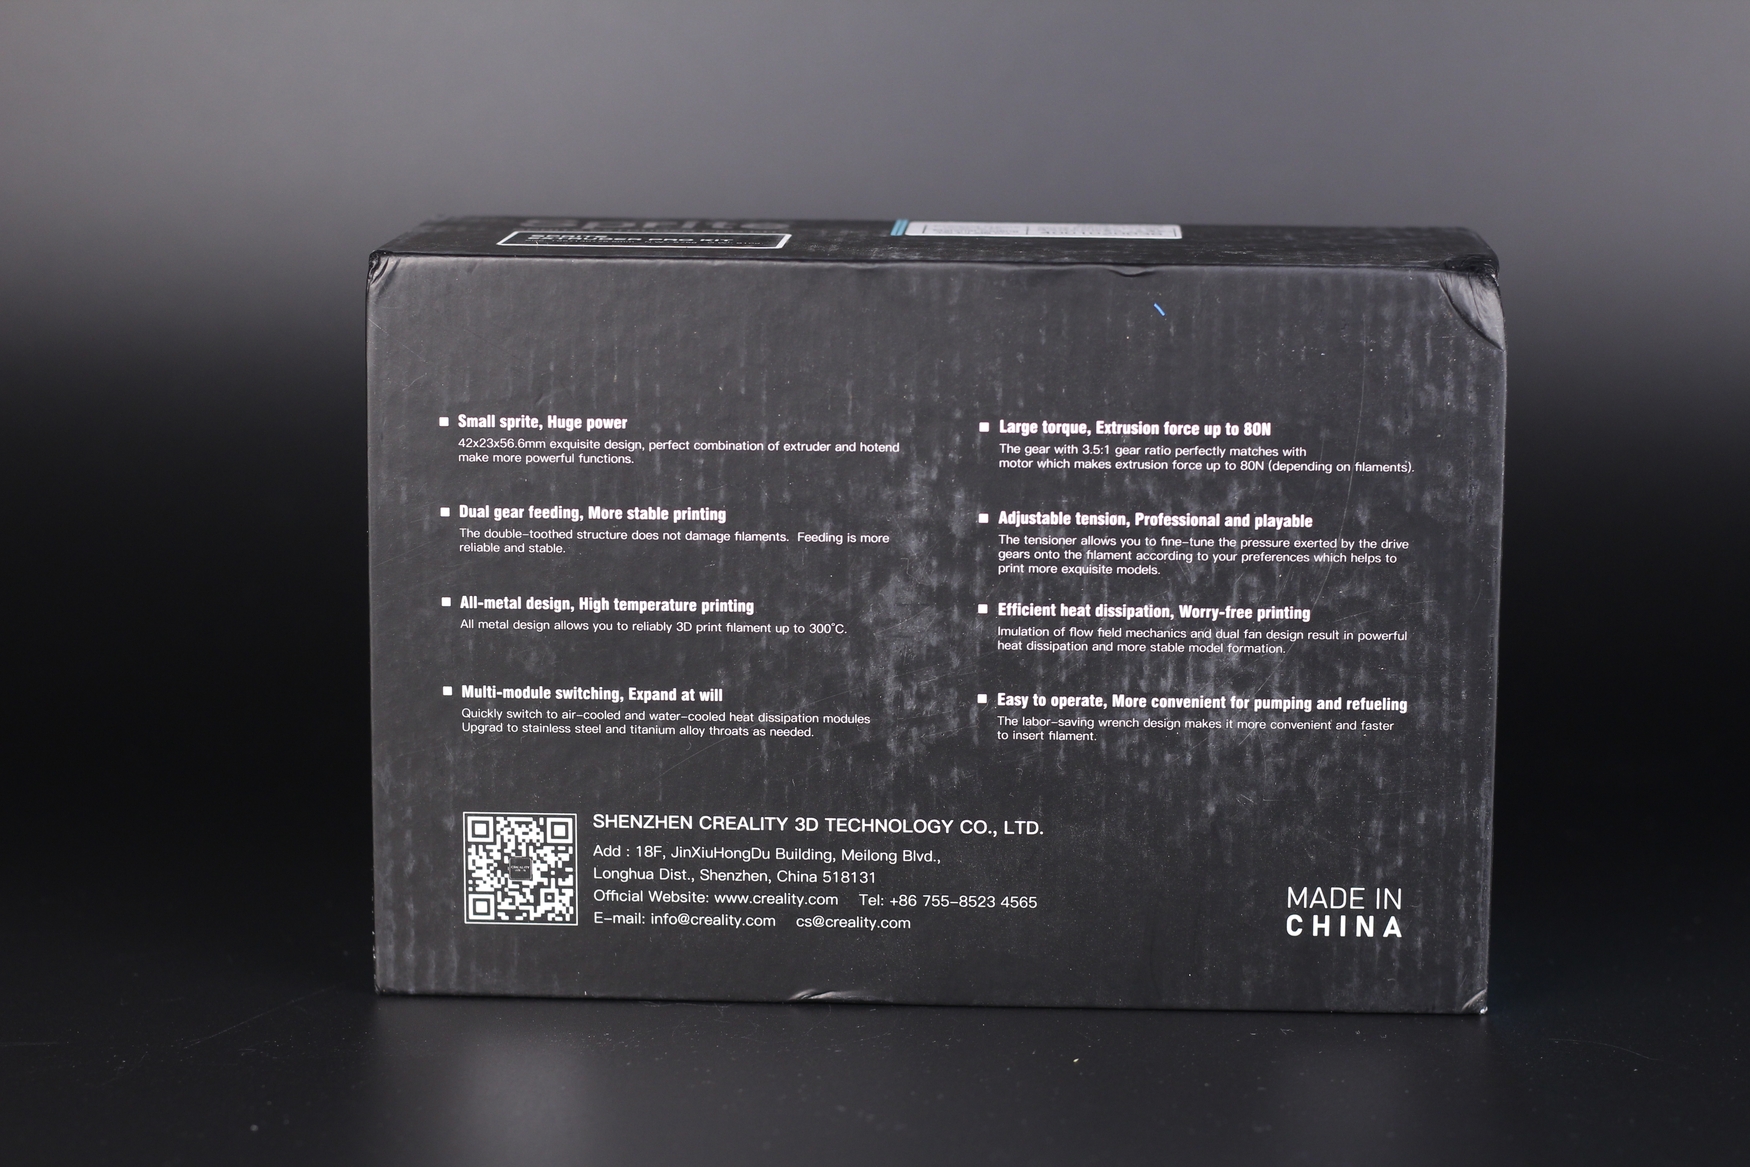
The Creality Sprite Pro Extruder comes in a nice box with foam protection all around. On the back, we get a list of the main features of this extruder. The lid of the box is magnetic, and overall it’s a nice unboxing experience but if you ask me, it’s a bit wasteful and probably increases the cost of the extruder slightly.
I’m not a fan of fancy boxes because I usually just take out the product and discard the packaging.
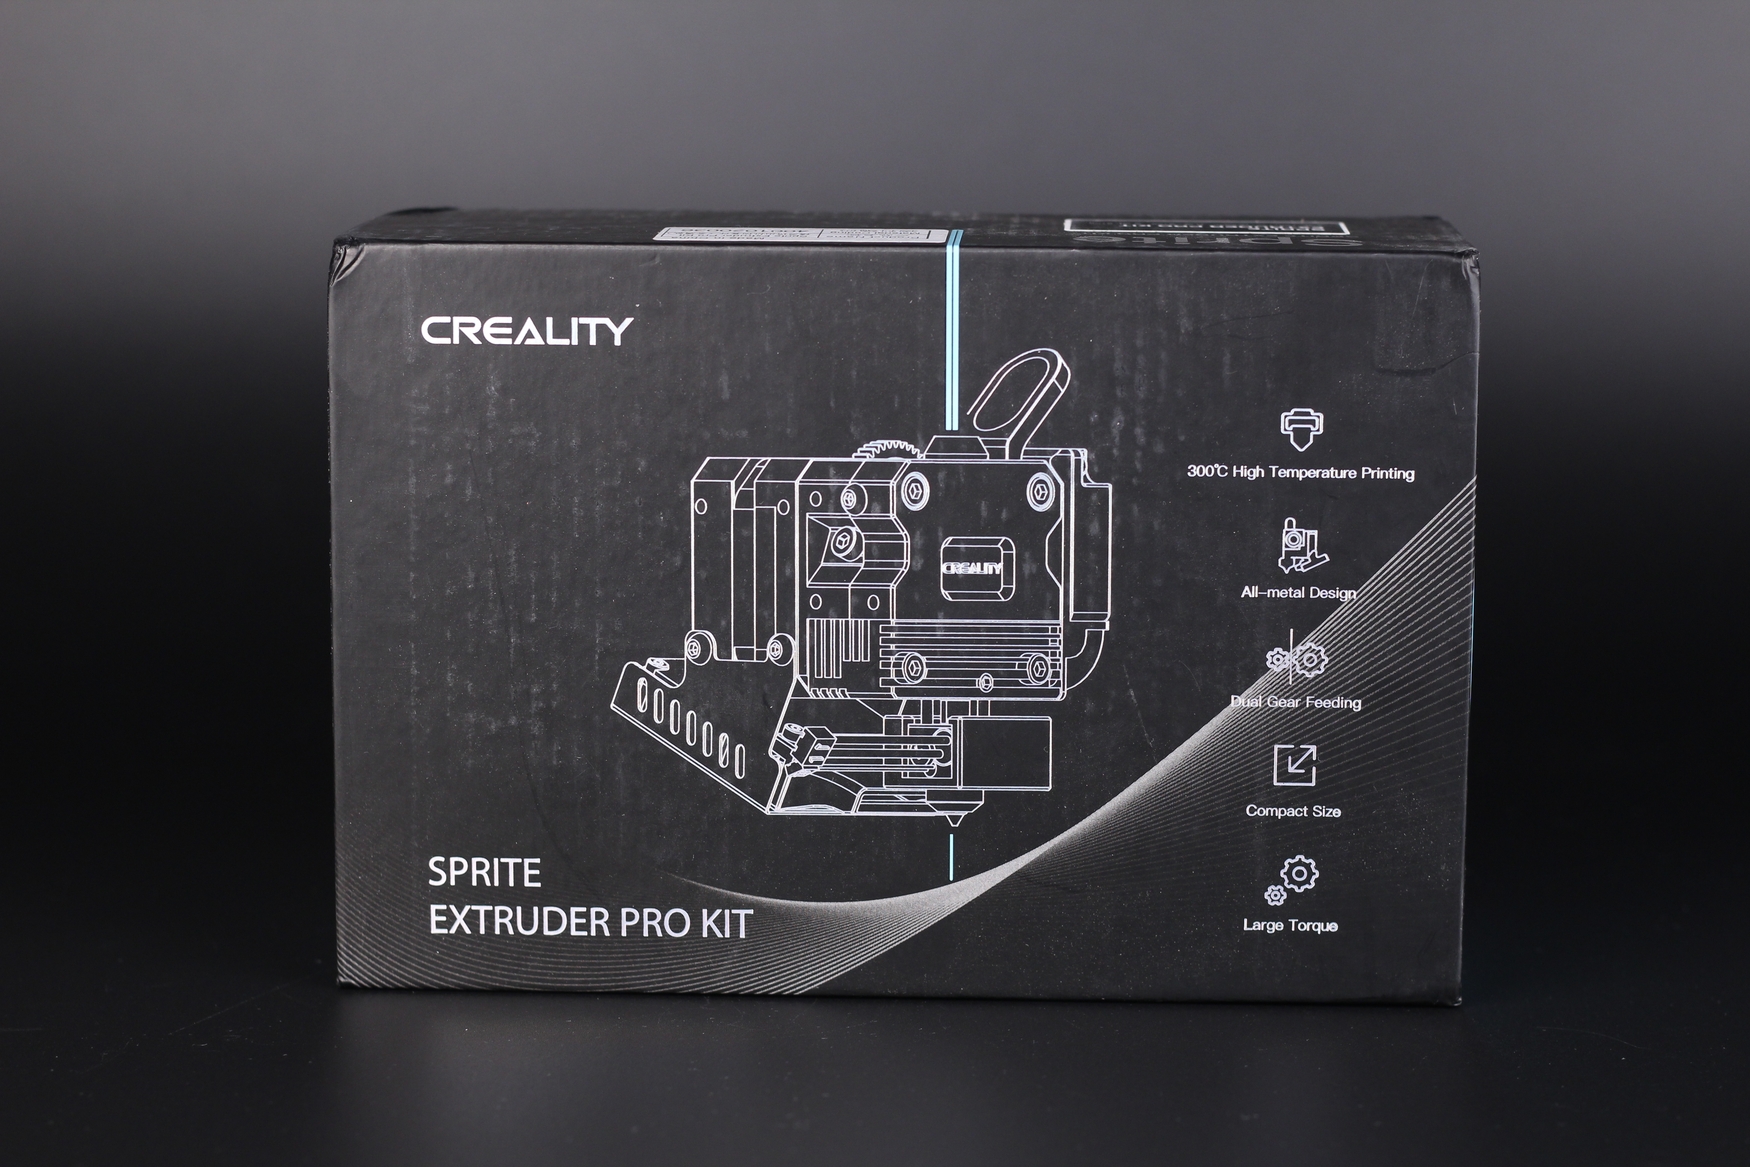
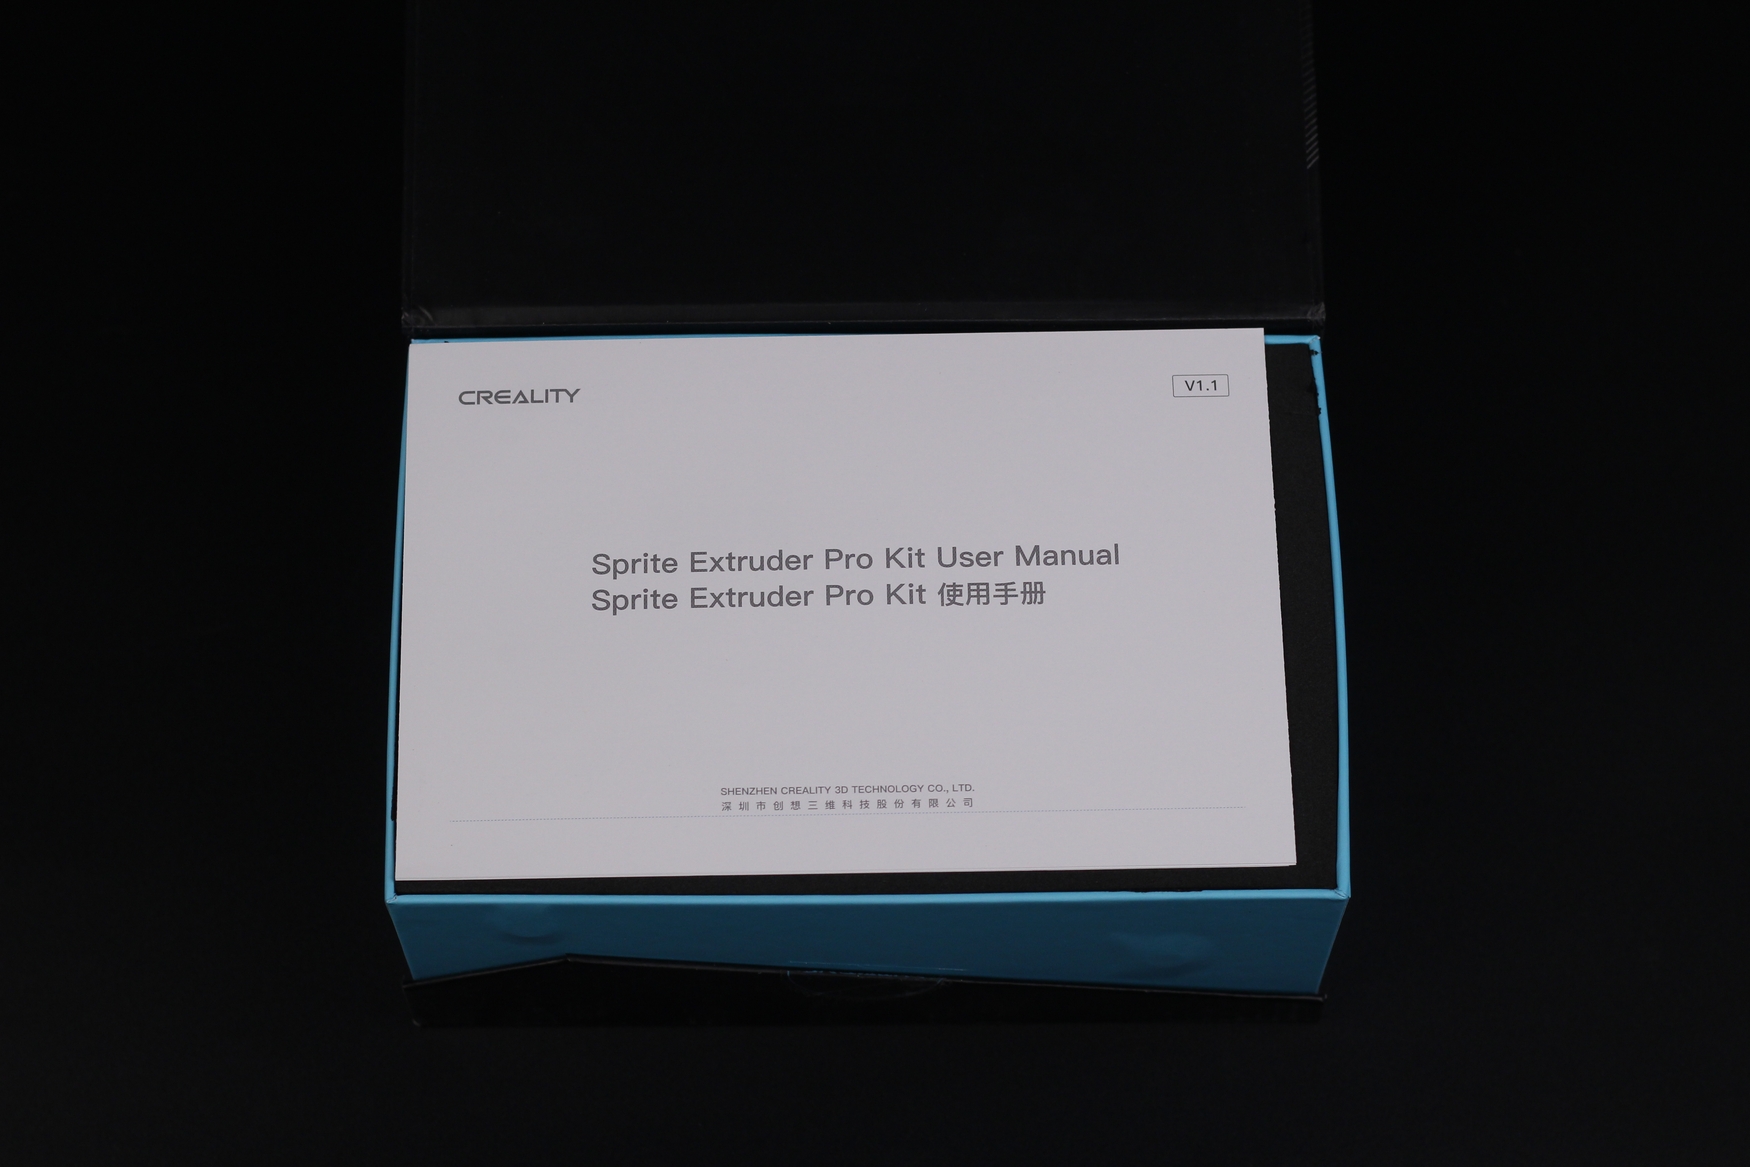
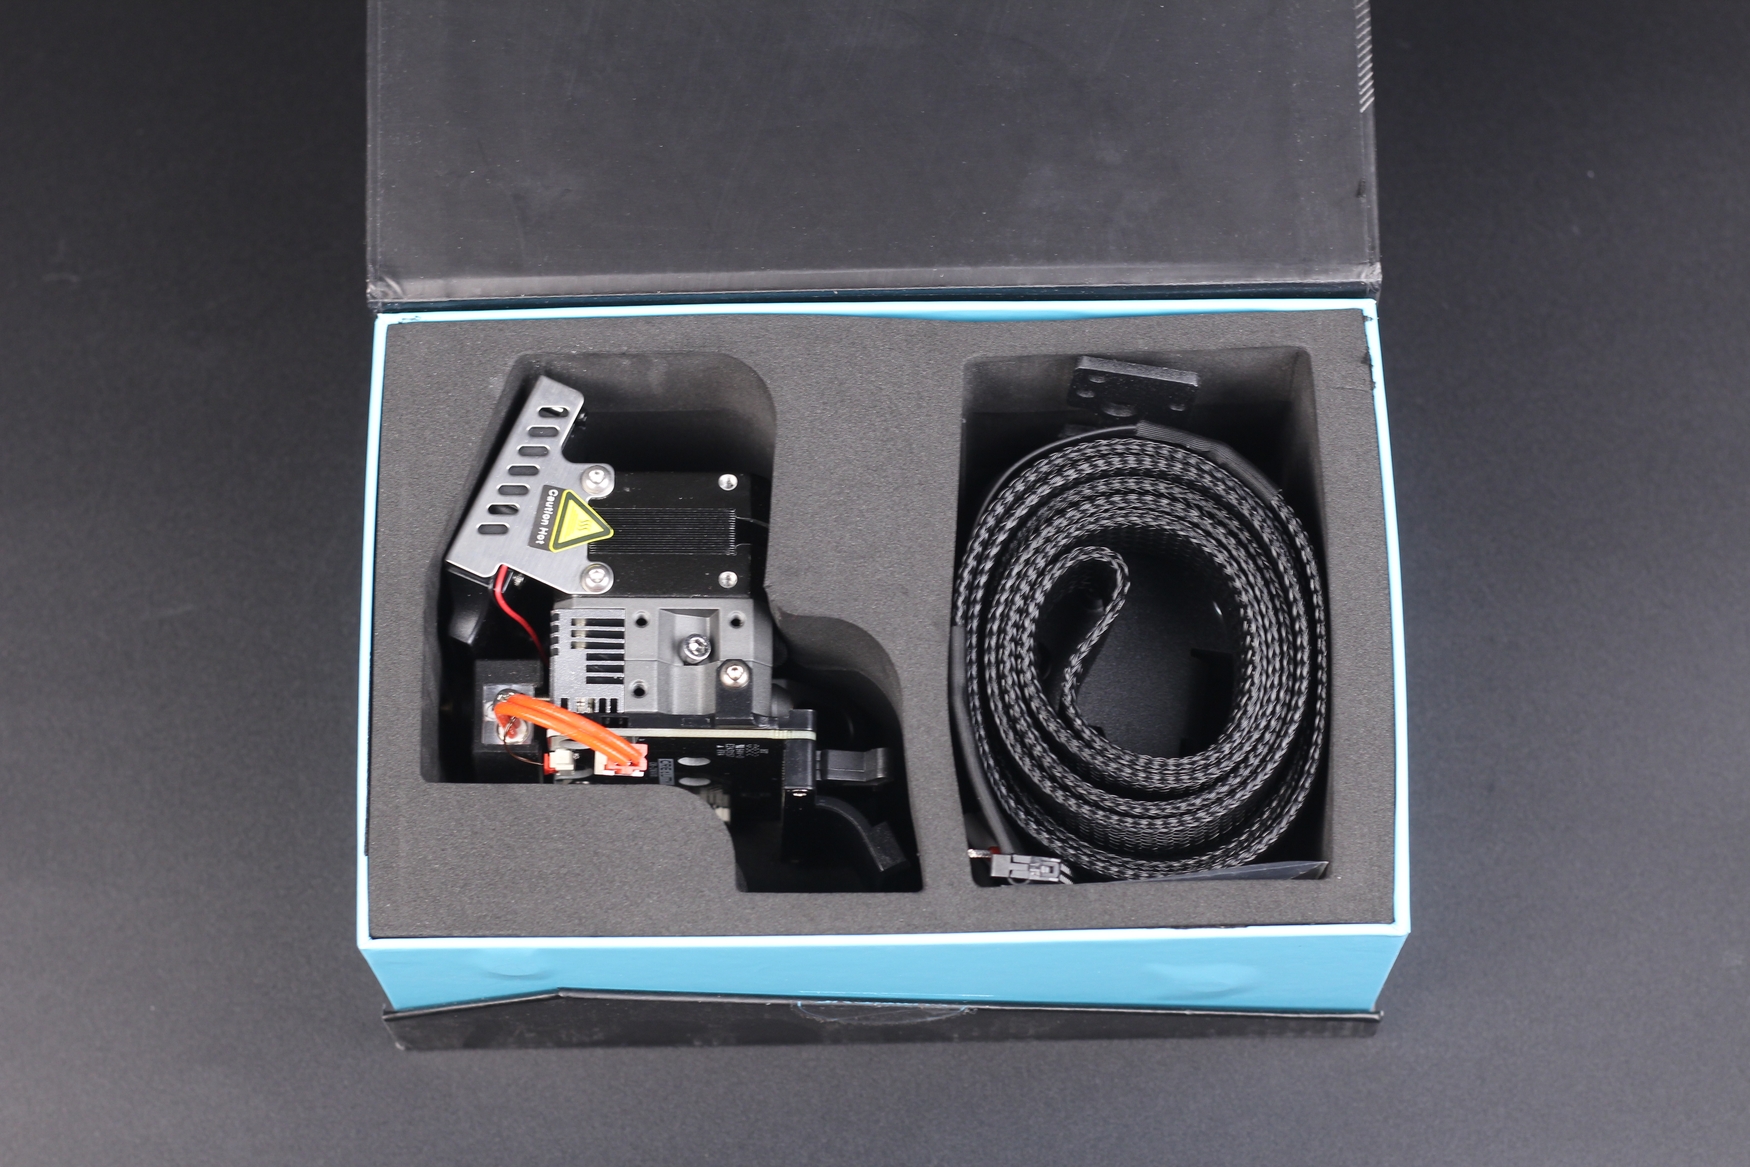
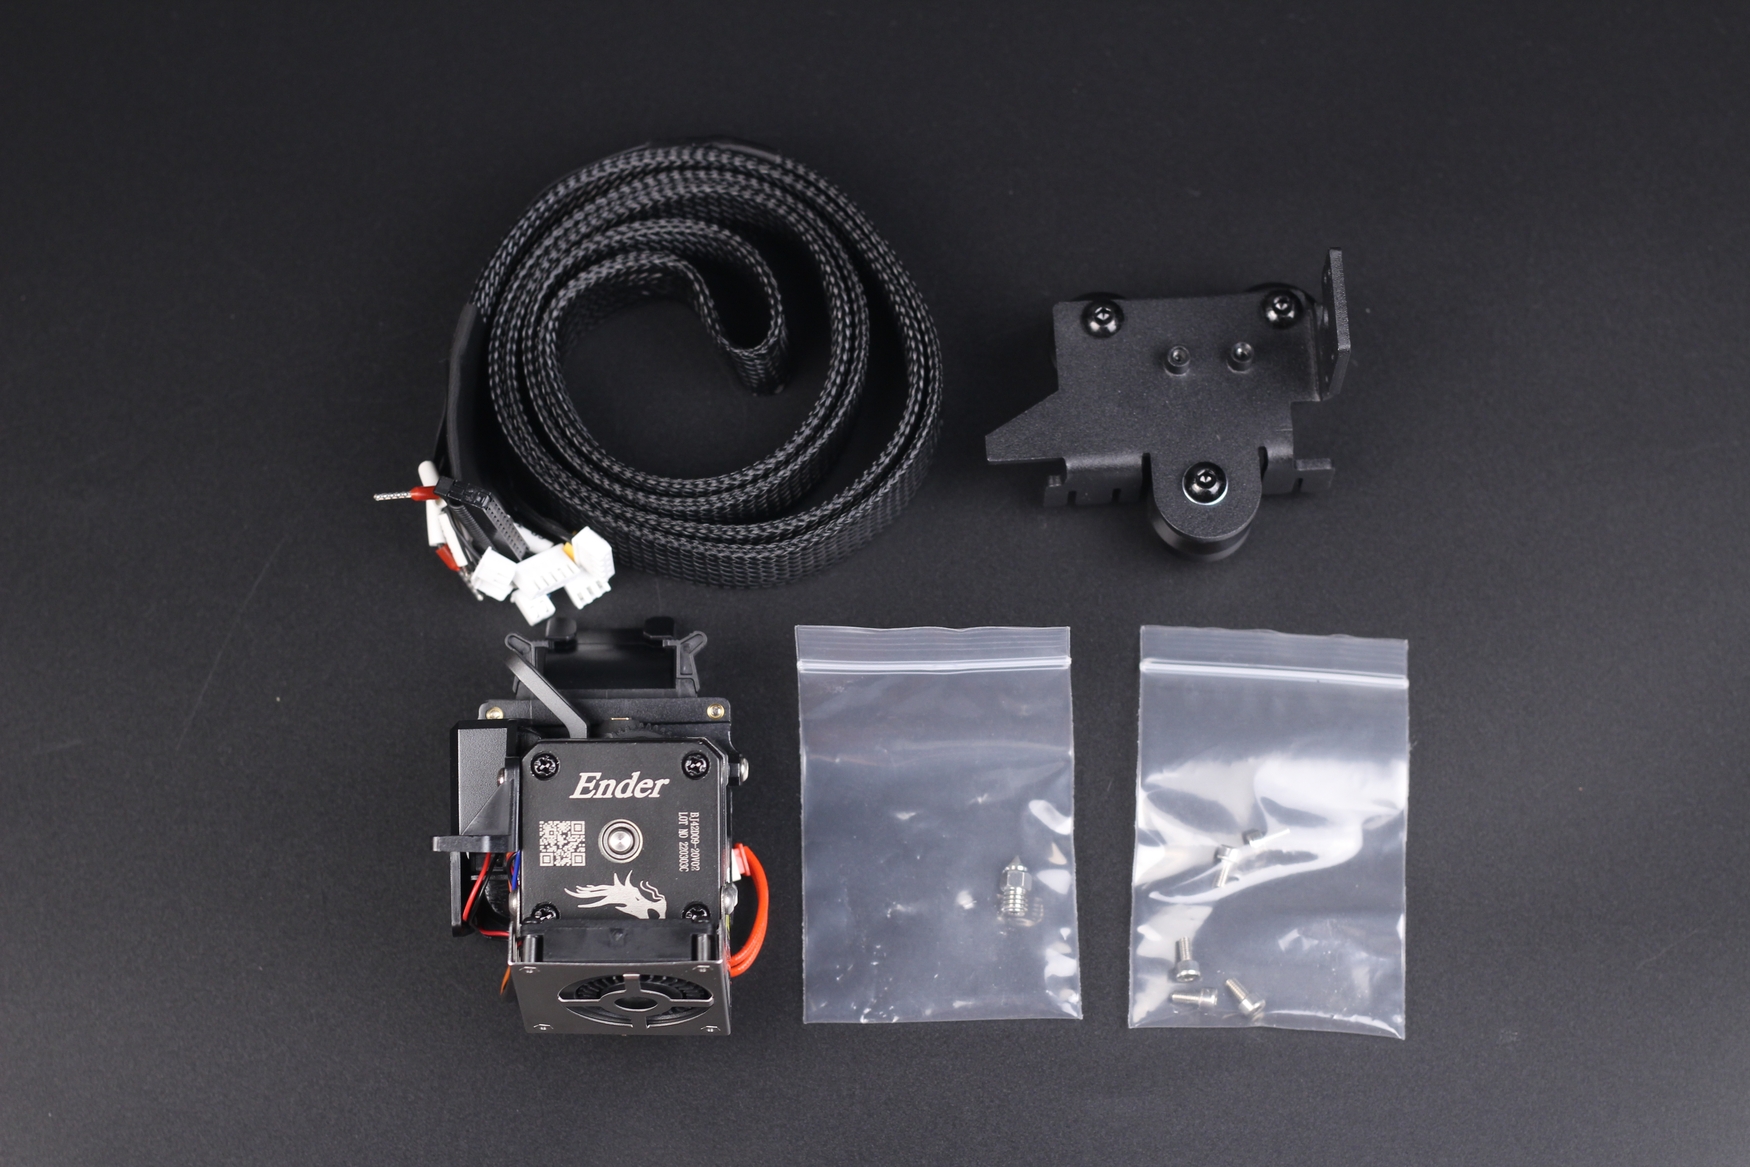
Inside the box, we get the Creality Sprite Pro Extruder with a wiring ribbon cable, the V-slot mounting bracket, screws, and a spare copper plated nozzle. There’s also a handy user manual that takes you through the process of installing the extruder on a printer then adjusting the steps.
Even though the manual assumes you are running an Ender 3, the information is a lot more helpful compared to getting no information, like with the Artillery All-Metal Extruder.
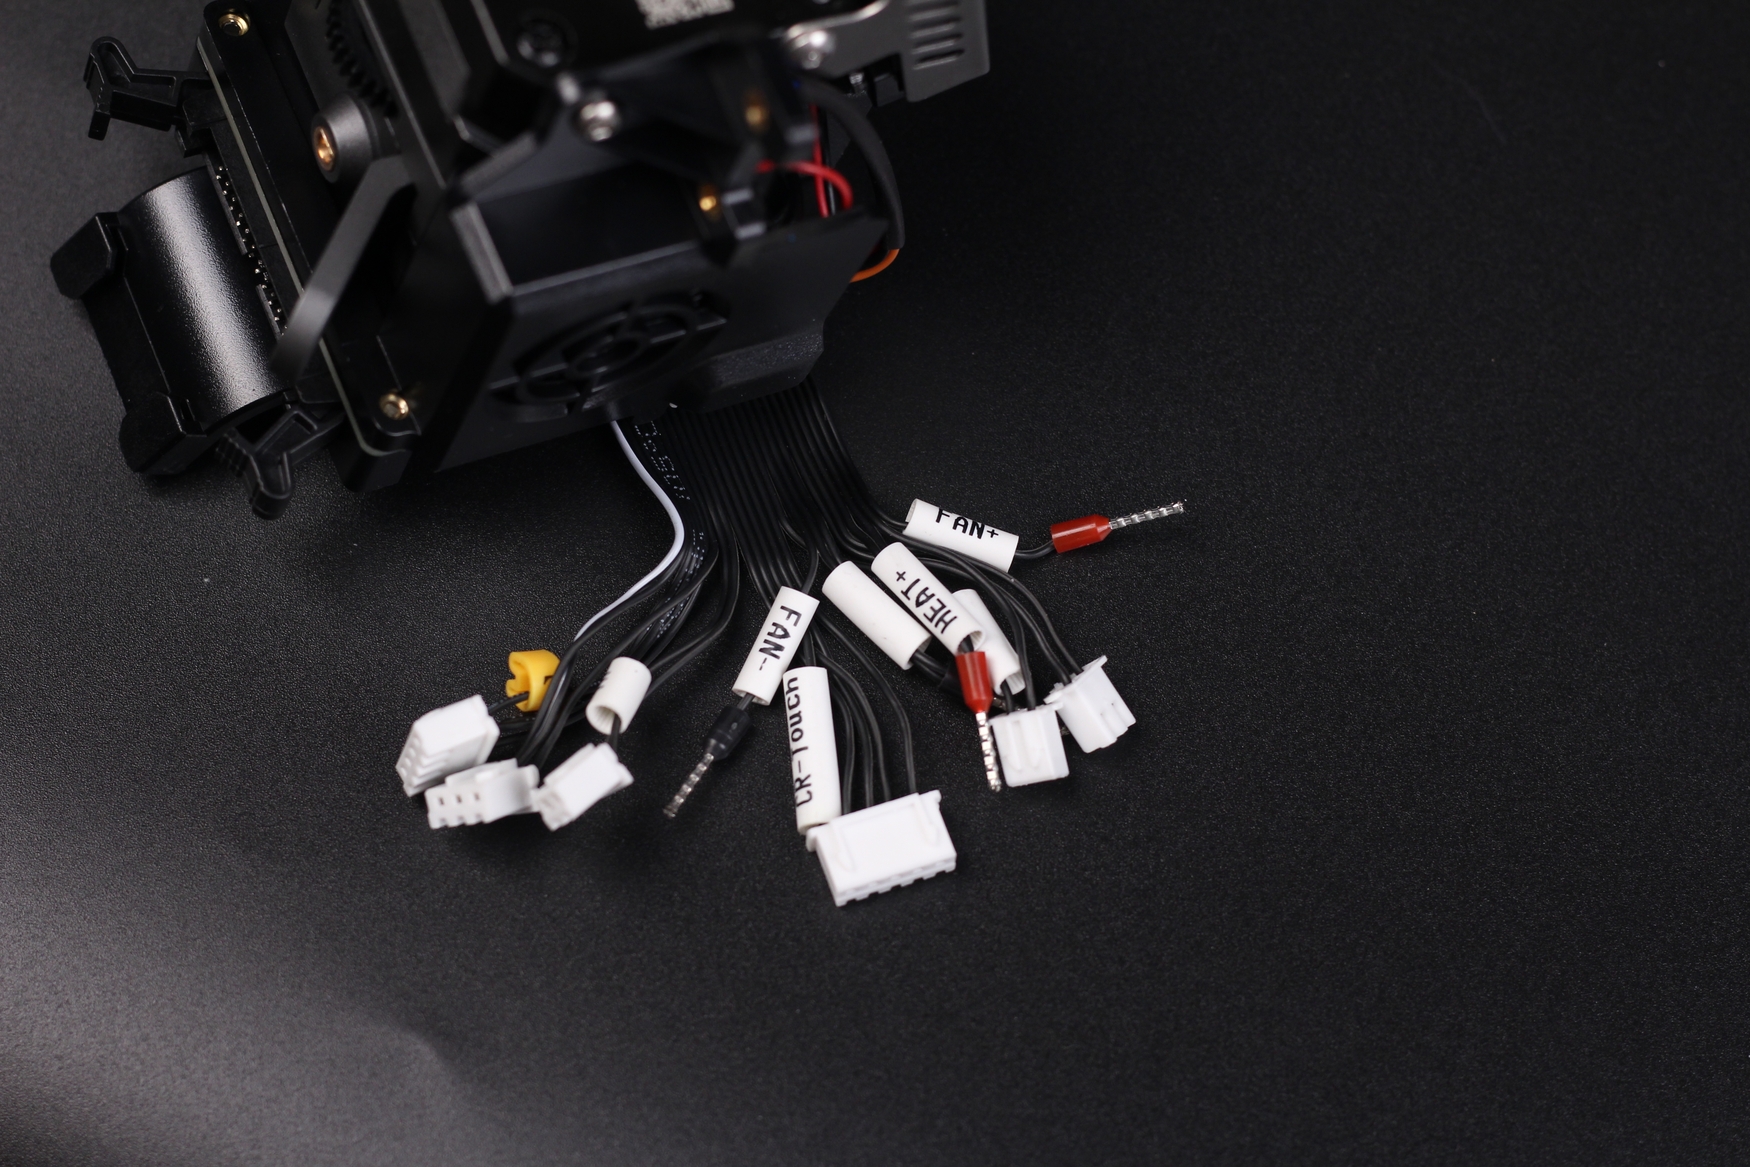
I like that the ribbon cable has the ends nicely terminated with ferrules and labeled connectors for easy installation on almost any printer. It’s also 130cm long meaning that you won’t have a lot of issues when upgrading most printers out there. It also has a connector for the CR-Touch sensor in case you want to add one along the way.
Creality Sprite Pro Extruder Specs
| Creality Sprite Extruder Pro Kit | |
| Size | 54*50*64mm |
| Package Weight | 810g |
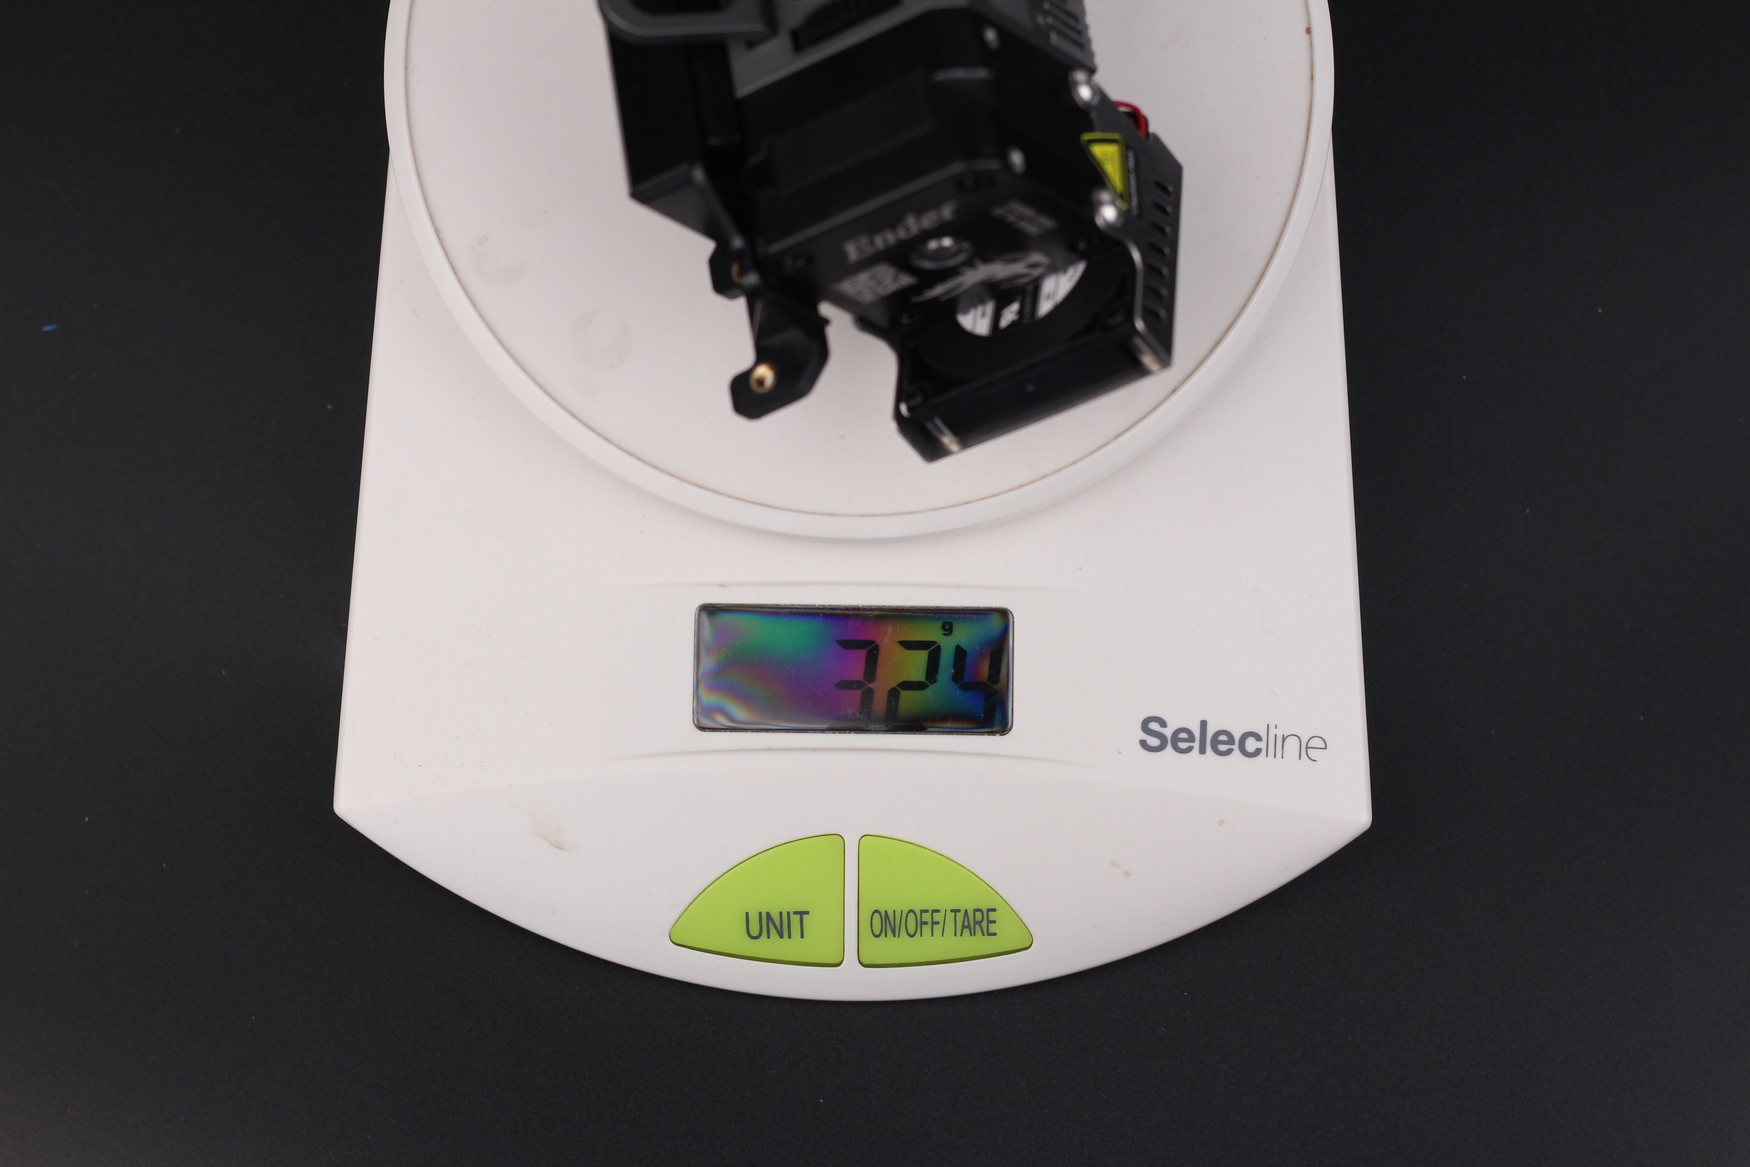
| Net weight | 324g |
| Rated voltage | 1.4V DC |
| Rated current | 0.8A |
| Drive | Dual gear drive |
| Reduction ratio | 3.5:1 |
| Maximum extrusion force | 80N (depending on filament) |
| Retraction distance | Max 3mm |
| Hotend kit | High-temperature hotend kit(≤300℃) |
| Supportable filaments diameter | 1.75±0.05mm |
| Supportable filaments | PLA,ABS,PA,PC,TPU |
| Compatible models | Ender-3/Ender-3 Pro/Ender-3 Max/Ender-3 V2 |
Creality Sprite Pro Extruder Design and Features
One of the most attractive features of the Creality Sprite Pro Extruder is its weight and size. Yes, there are lighter and more compact extruders out there, but the Sprite Extruder comes with a more powerful Nema 17 extruder motor and the hotend is included in the extruder design.
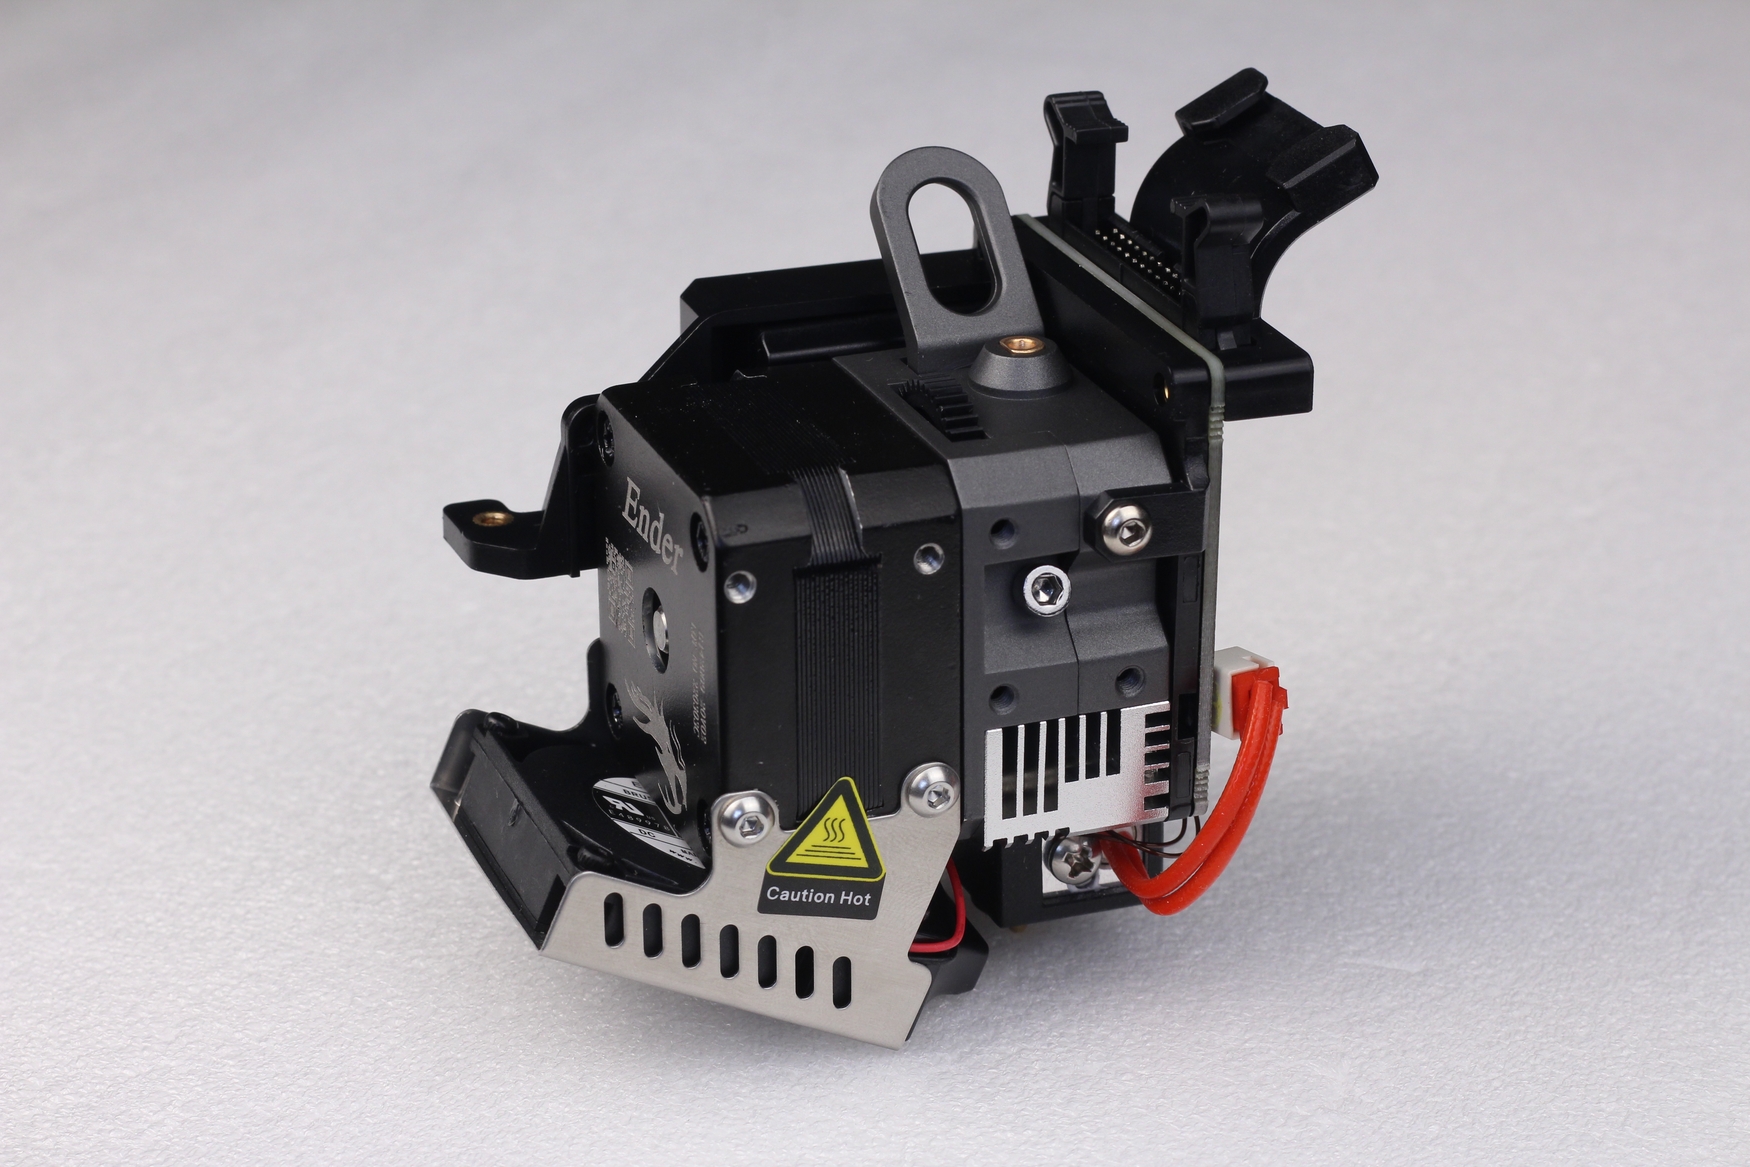
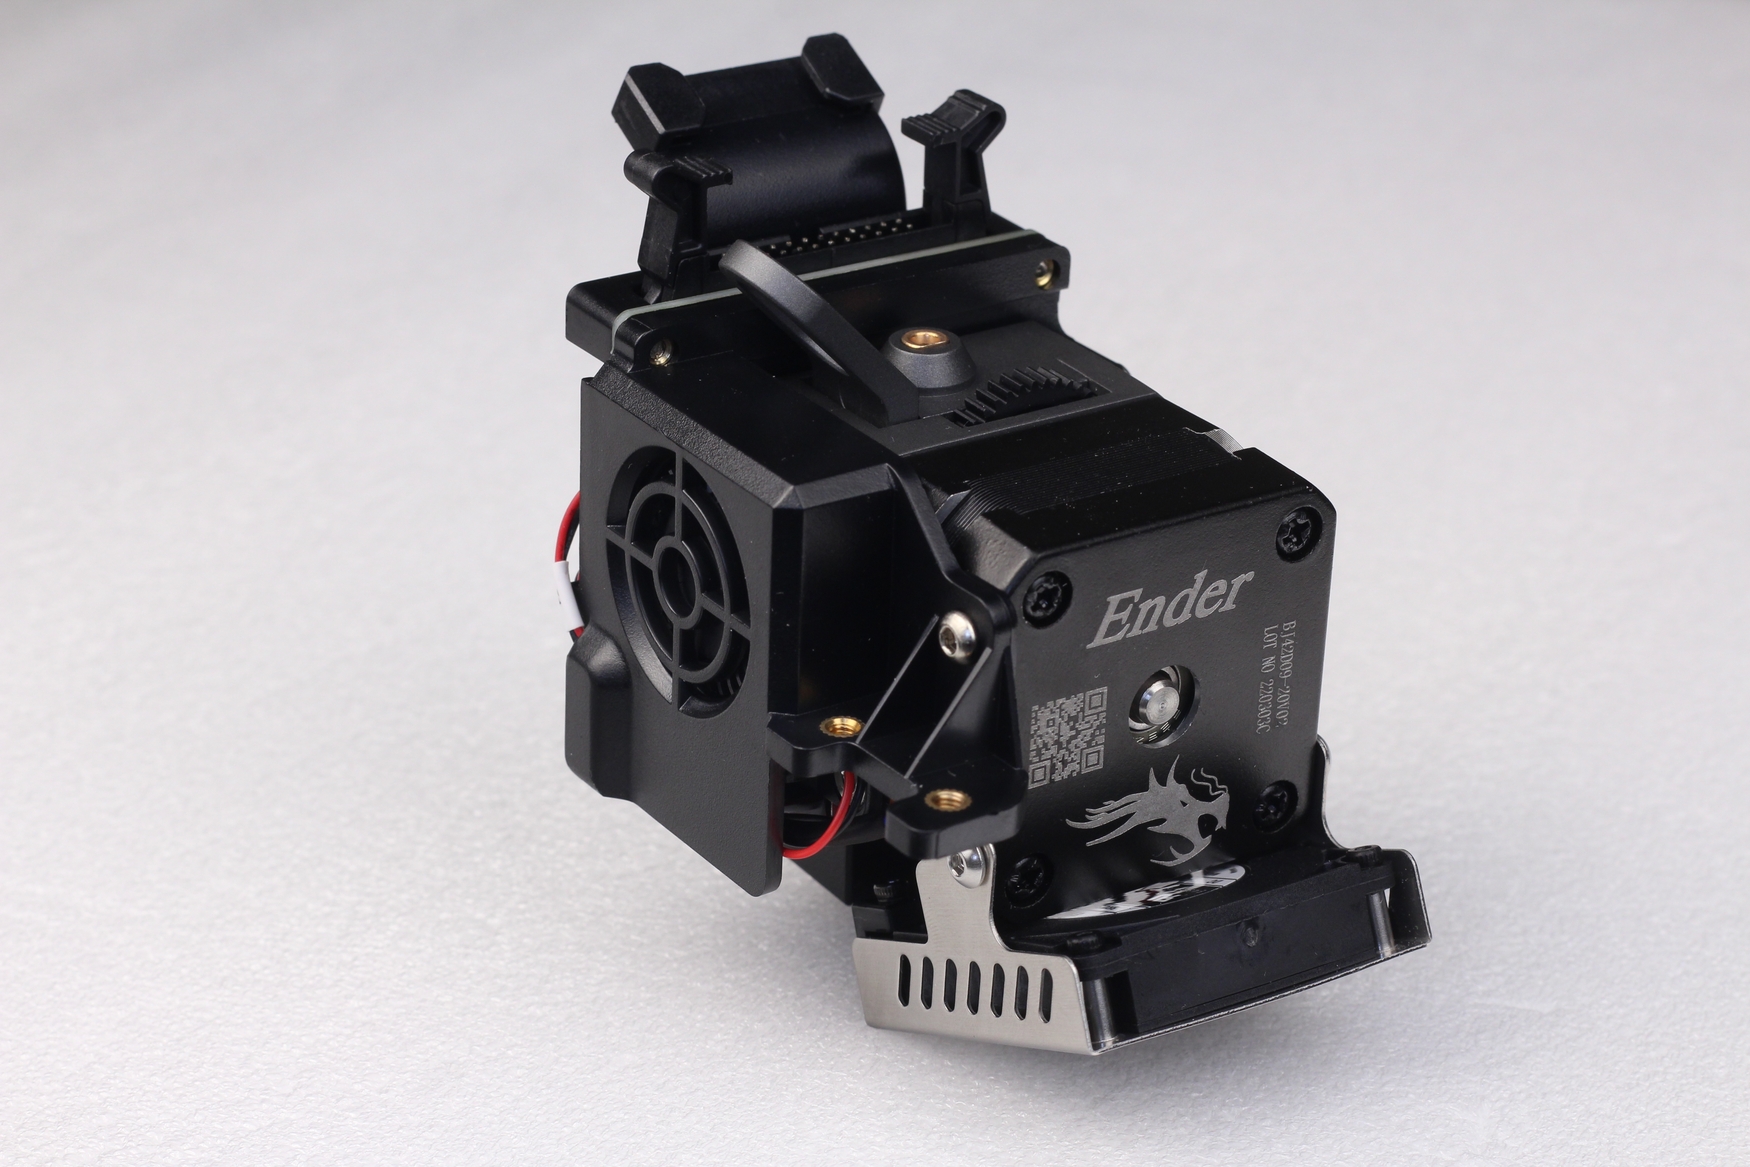
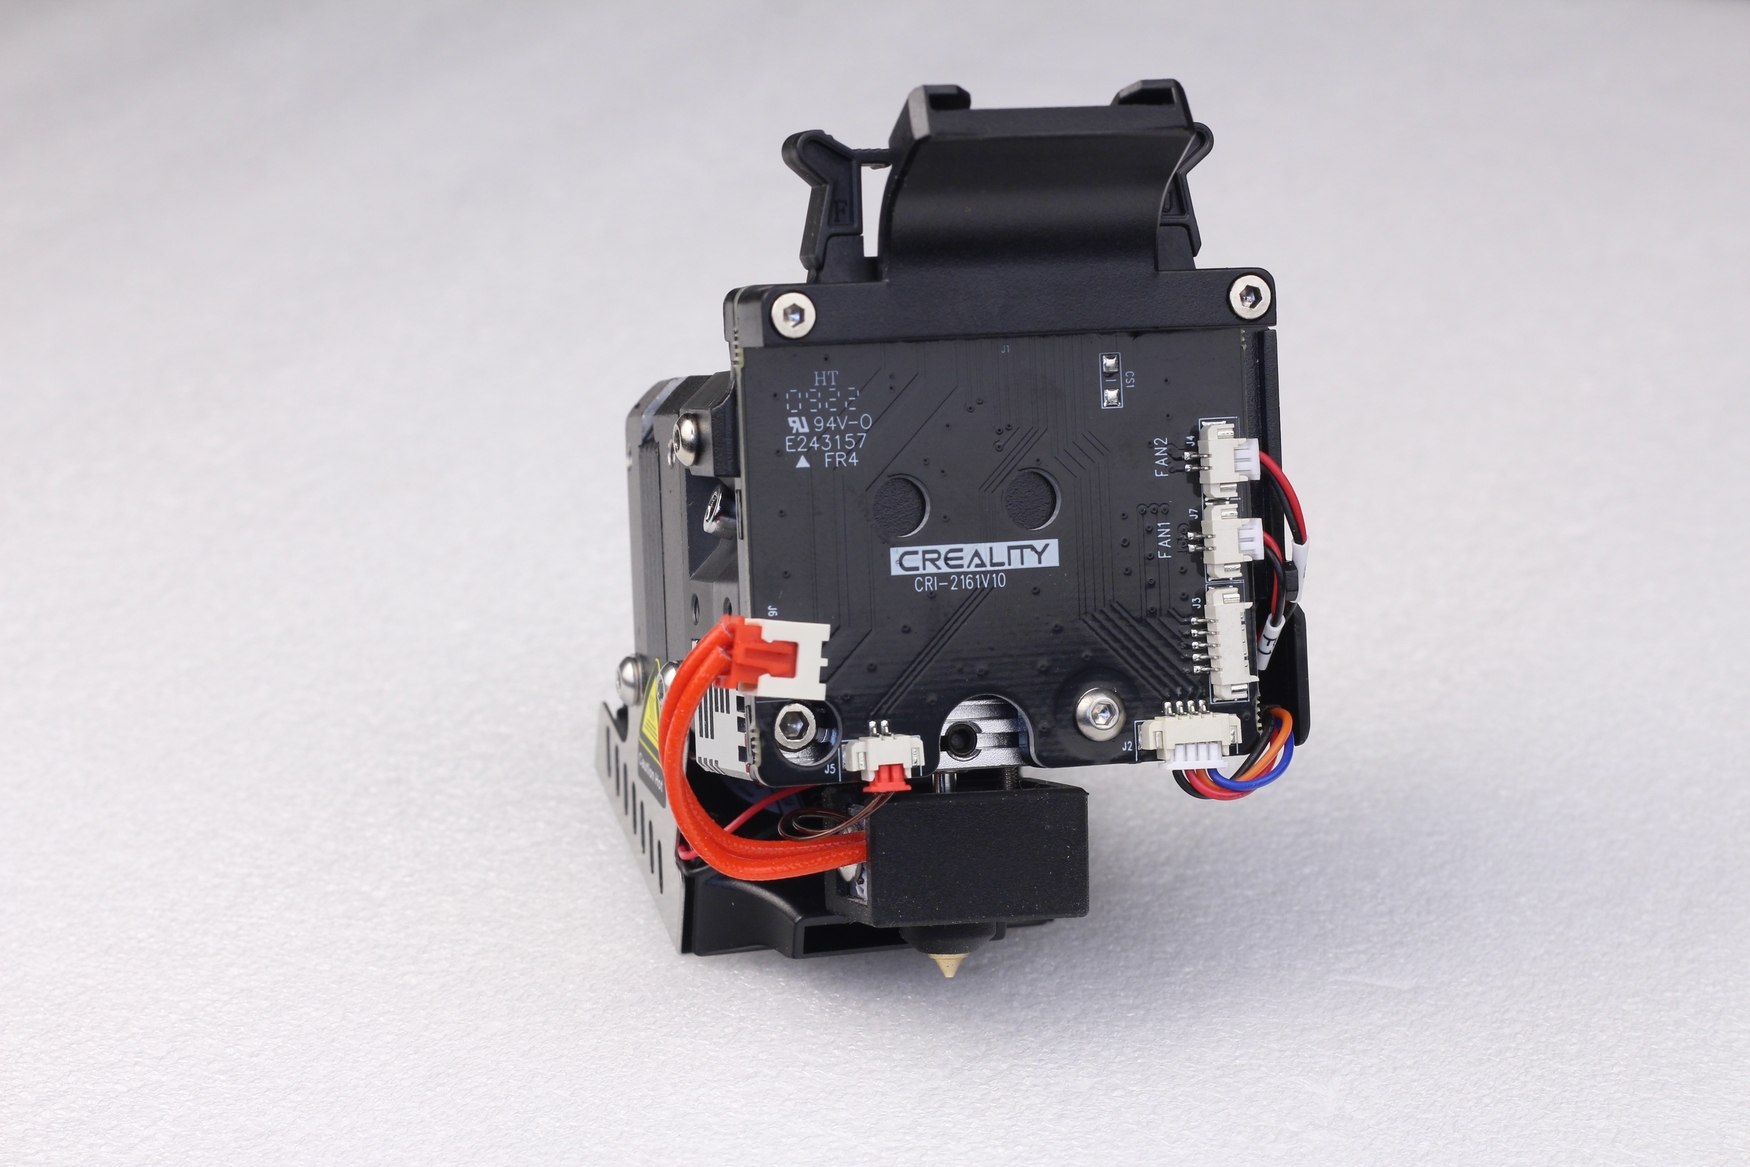
It weighs 324g which is a bit heavier than other extruders, and about, but still decent. Considering that most of the people buying this Sprite Pro extruder will install it on a Cartesian printer, weight is not a differentiating factor because almost every time the heatbed will be heavier and that will be the limiting factor when printing fast.
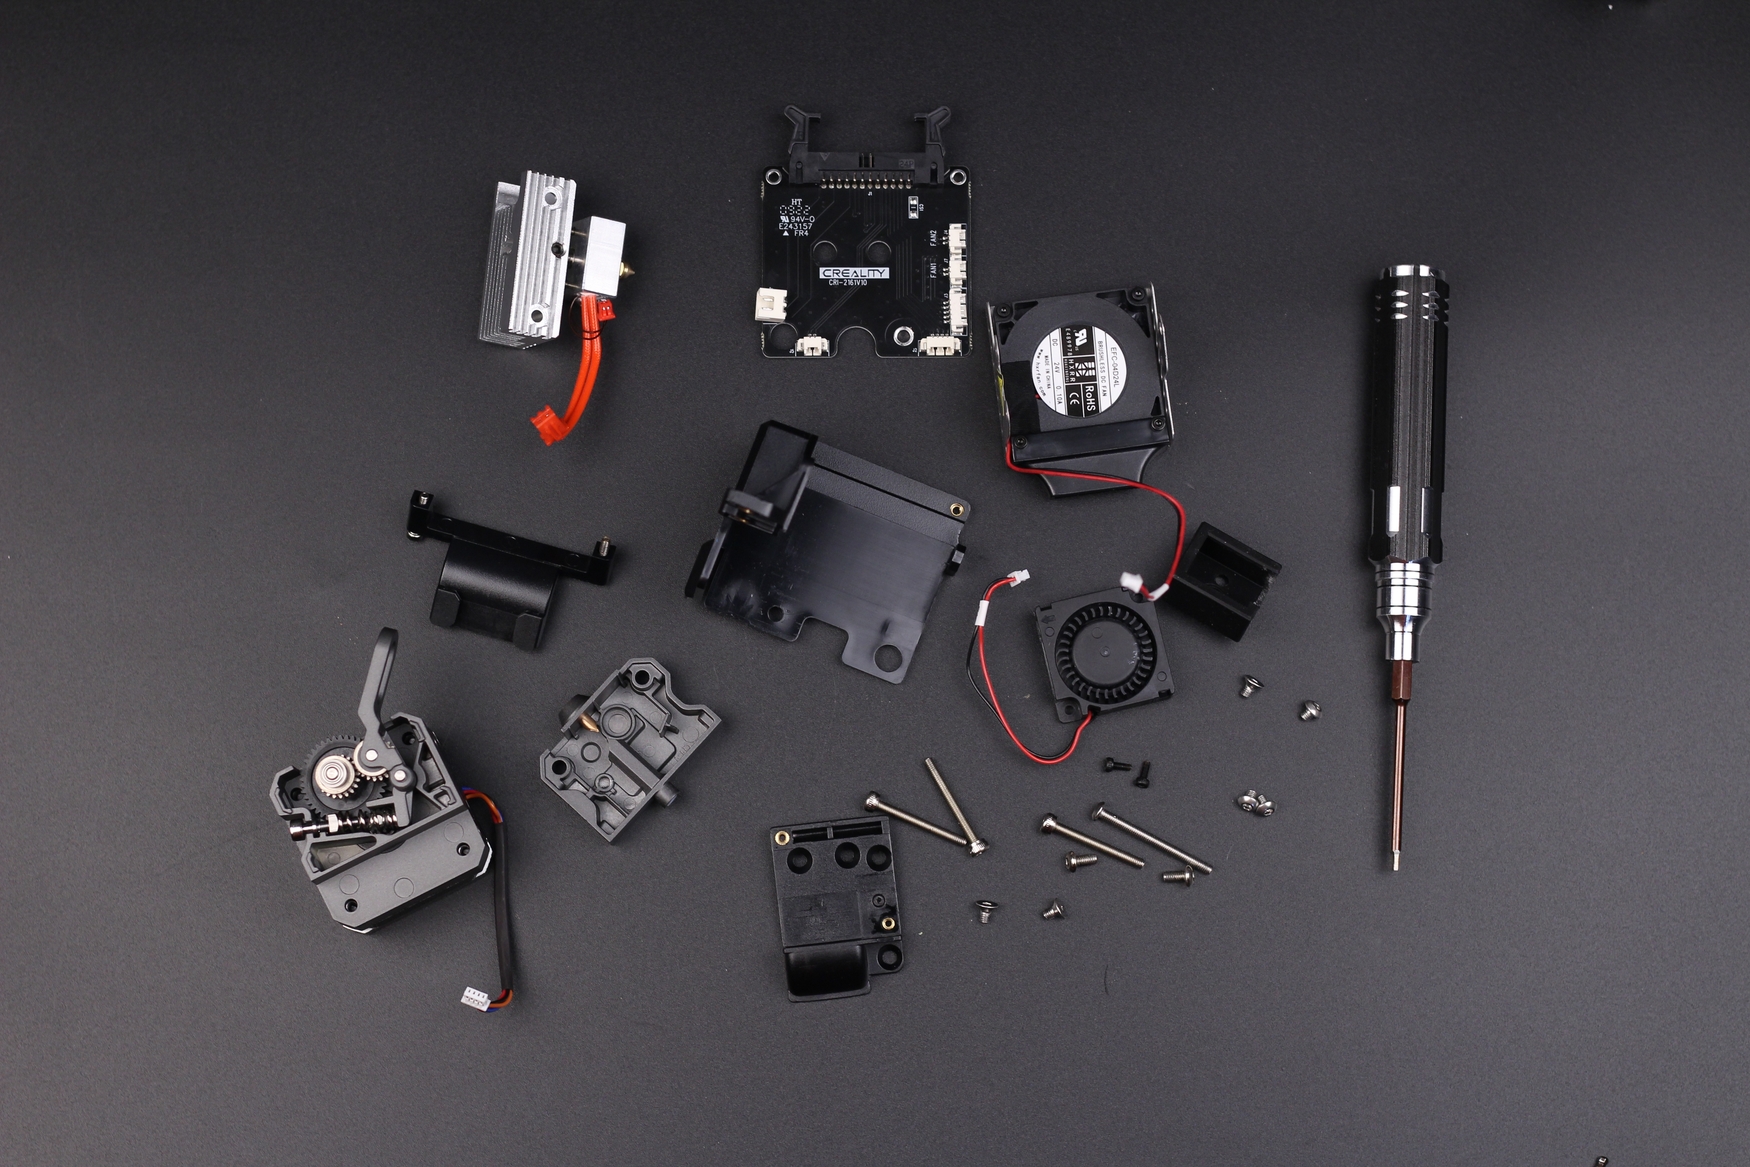
Of course, we want to dig a bit deeper inside and see what makes this extruder tick, so I disassembled the Sprite Pro Extruder to its base components. As you can see, this extruder has a lot of parts and screws.
First, let’s talk about the hotend part. In the case of the Sprite Pro Extruder, the heat break is made from titanium and it’s all metal. The heatsink is made from aluminum and it’s cooled by the tiny radial fan on the side. Honestly, this design is pretty smart and I found that it works quite well during operation. Thermal shots are available below, to also judge the thermal efficiency of this solution.
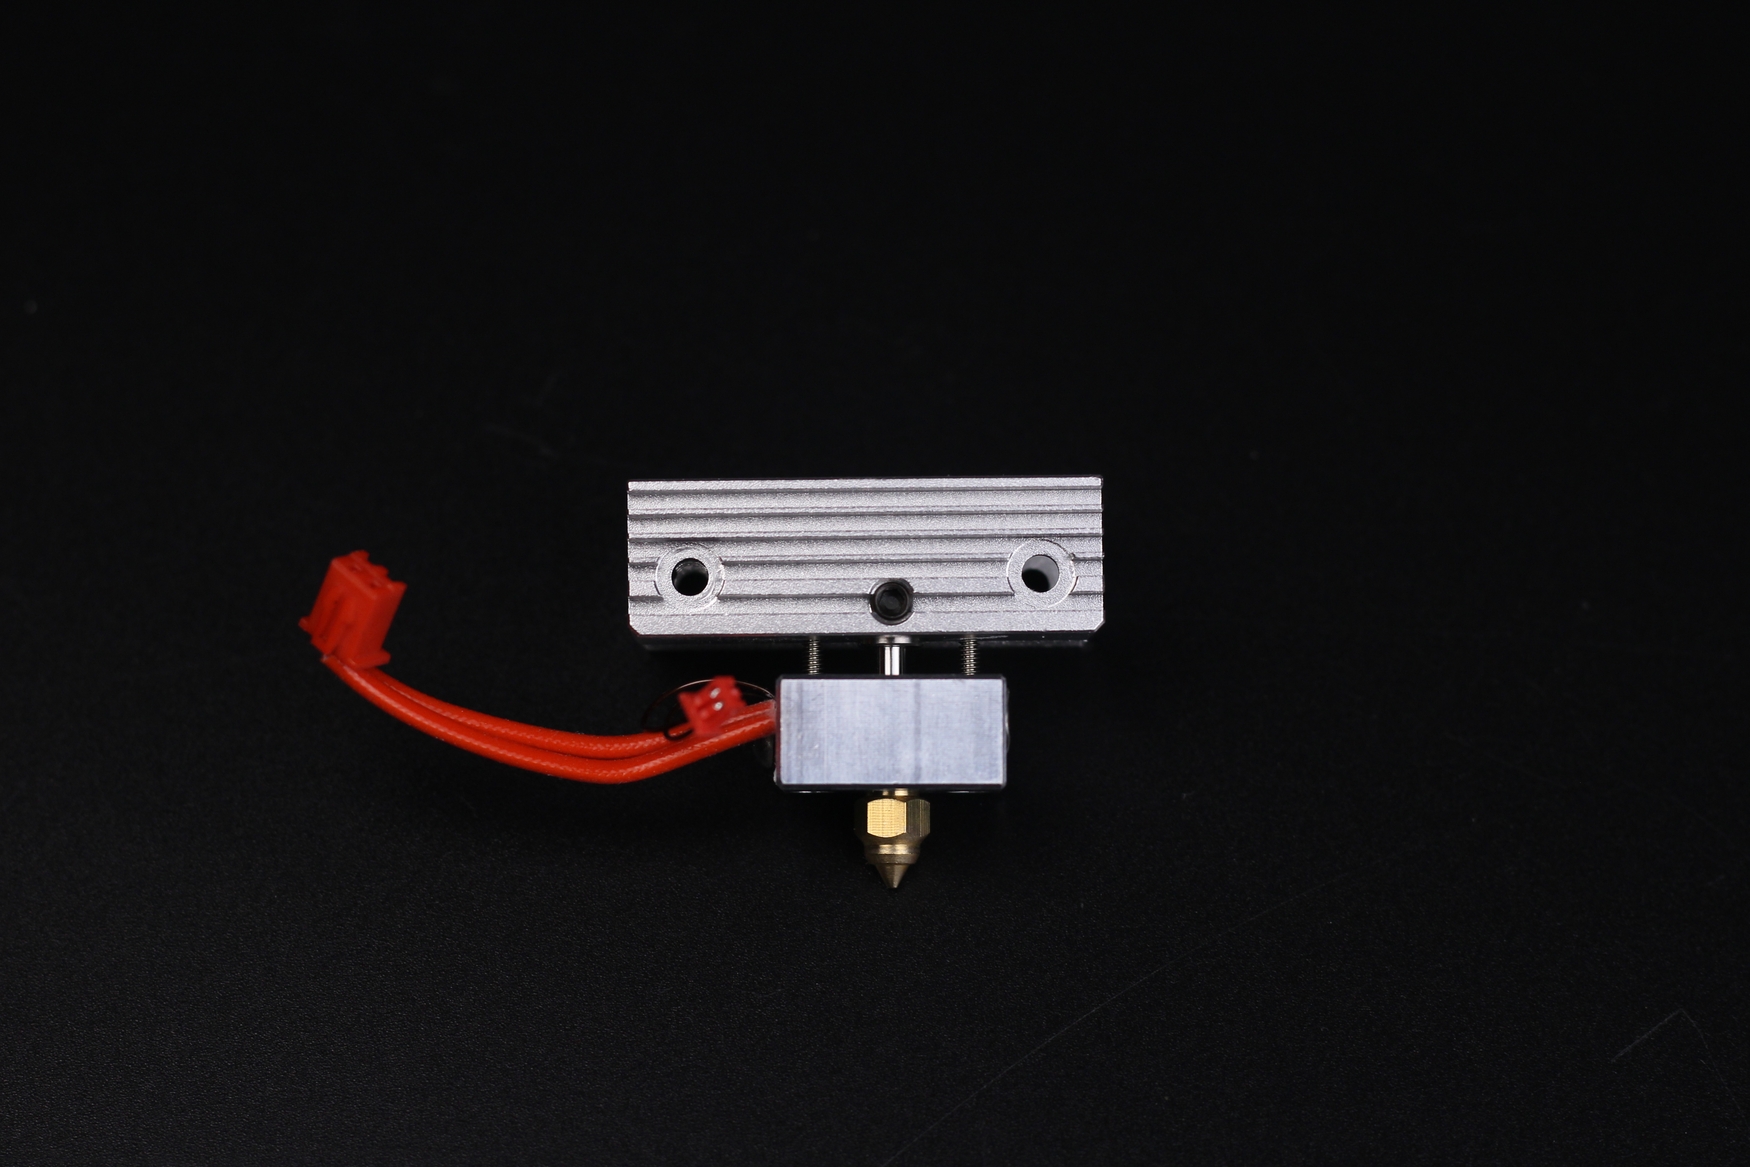
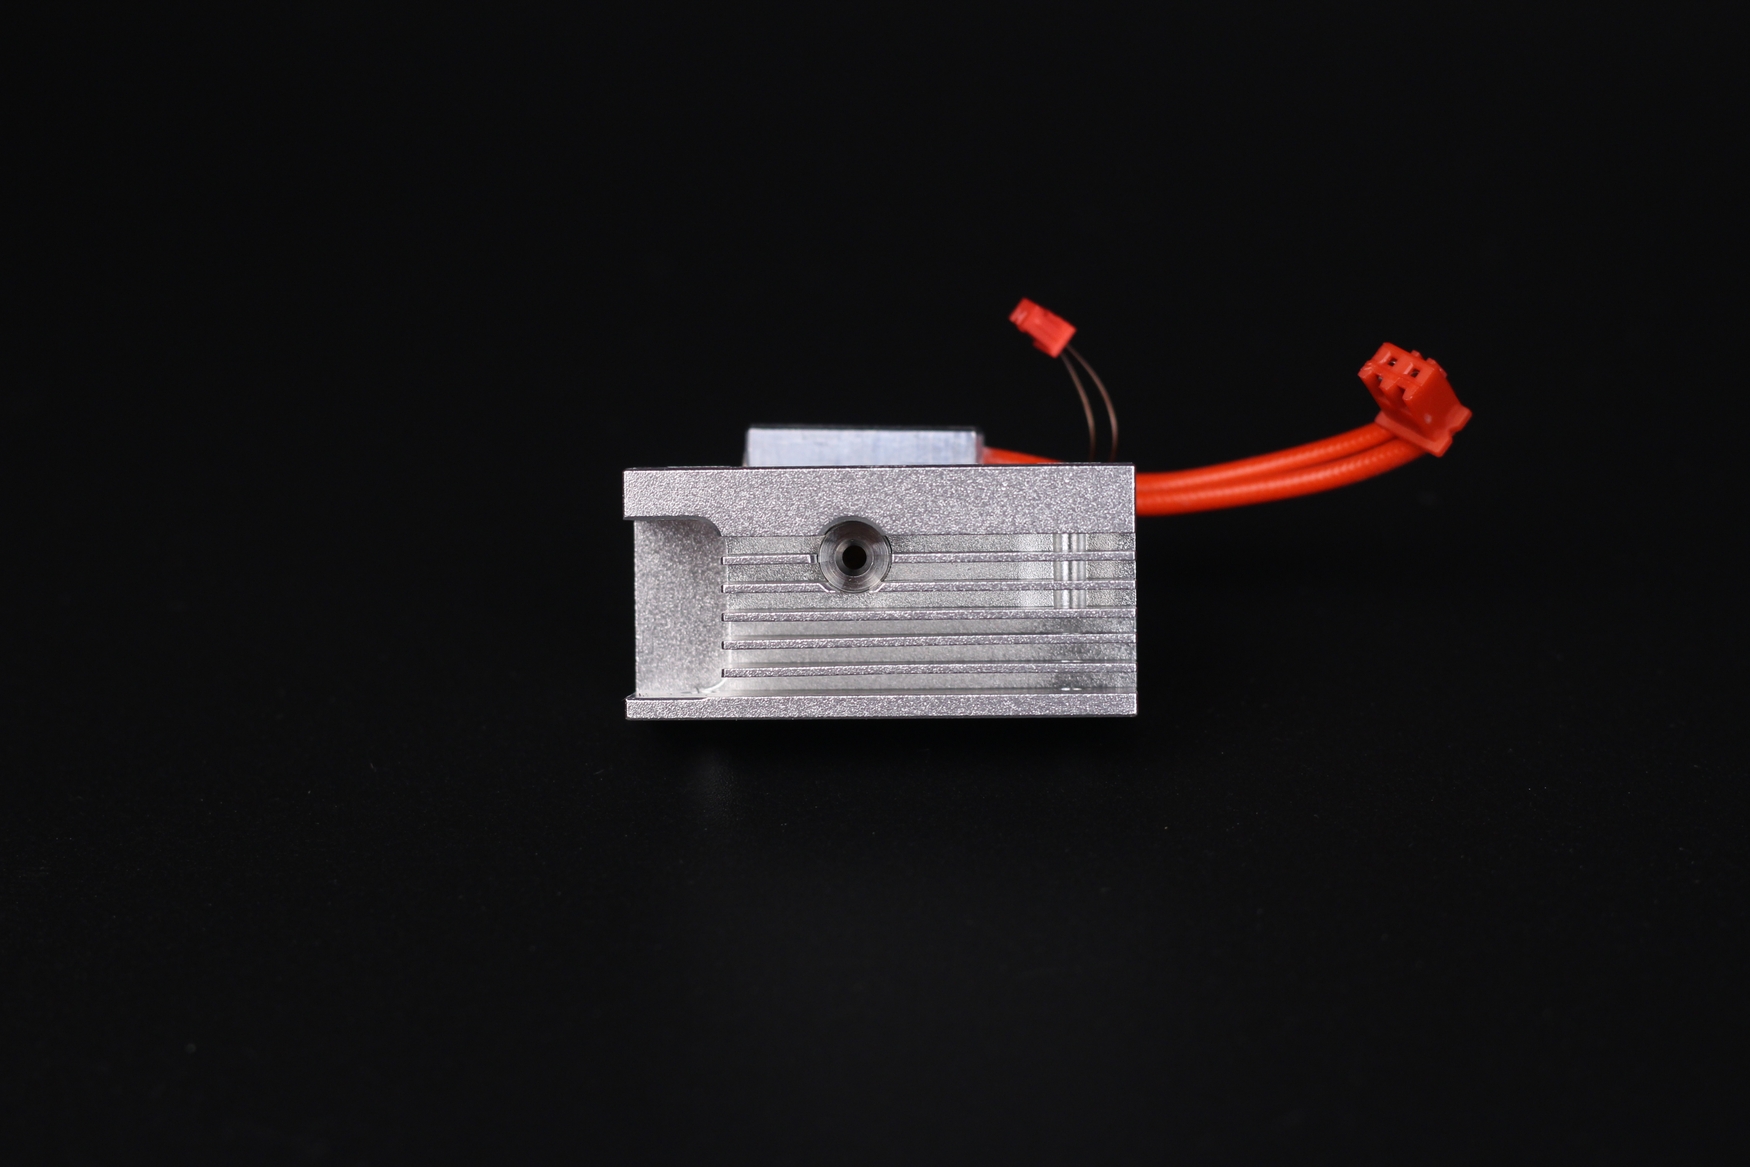
The heatblock is also made from aluminum and it’s secured in place with a pair of small screws to make nozzle swaps a bit easier. I wouldn’t recommend trying to do a one-hand nozzle swap like you can do on a Mosquito Hotend because the screws are not strong enough. But having them helps quite a lot so that’s nice.
In the future, this aluminum heatsink can be replaced with a water-cooling attachment for the hotend, for really toasty environments. Right now, that attachment is not available for purchase, but it’s nice to have watercooling compatibility.
You can see a piece of PTFE tube at the bottom of the extruder but that’s installed to guide the filament to the nozzle, and it doesn’t reach the hot side.
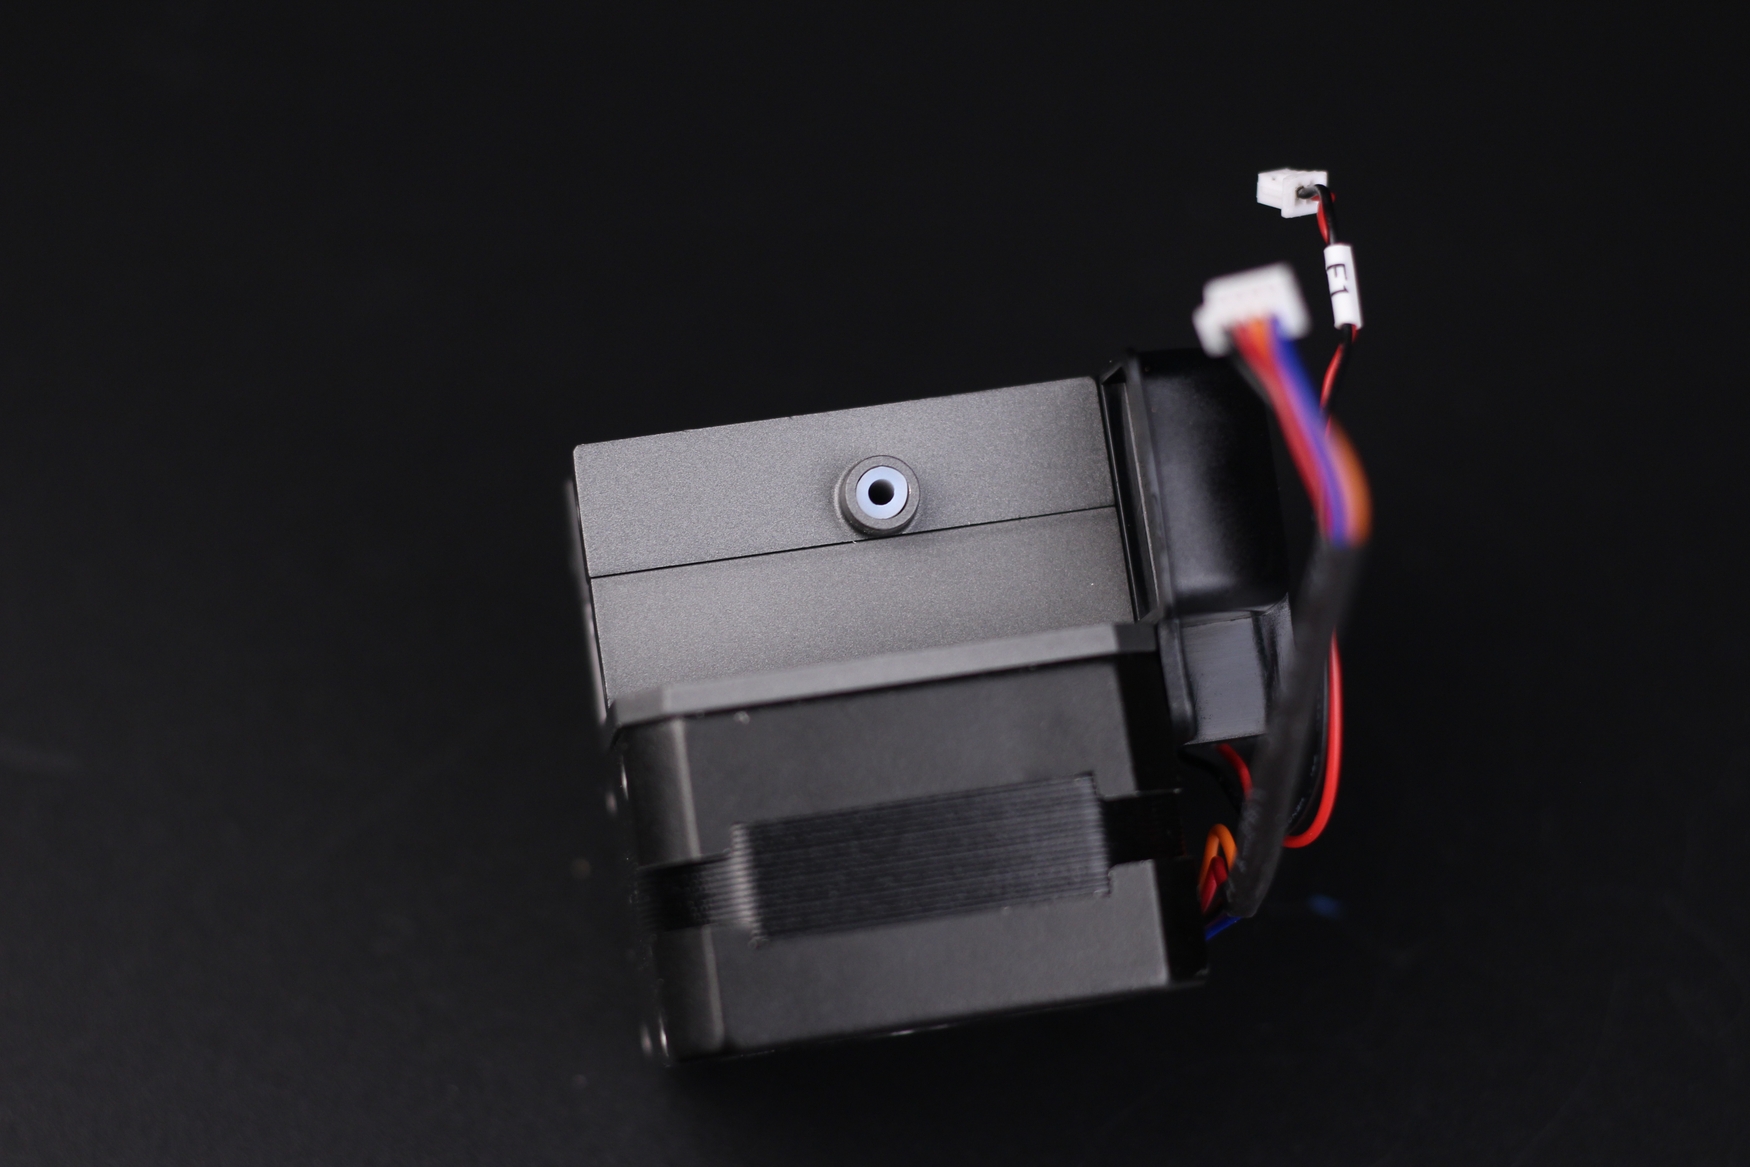
The Sprite Pro Extruder body is also made from cast aluminum for more resistance to heat and maybe make it a bit stiffer. Filament path is correctly constrained, and paired with the short distance from the gears to the nozzle makes the Sprite Extruder a good performer when printing TPU filament.
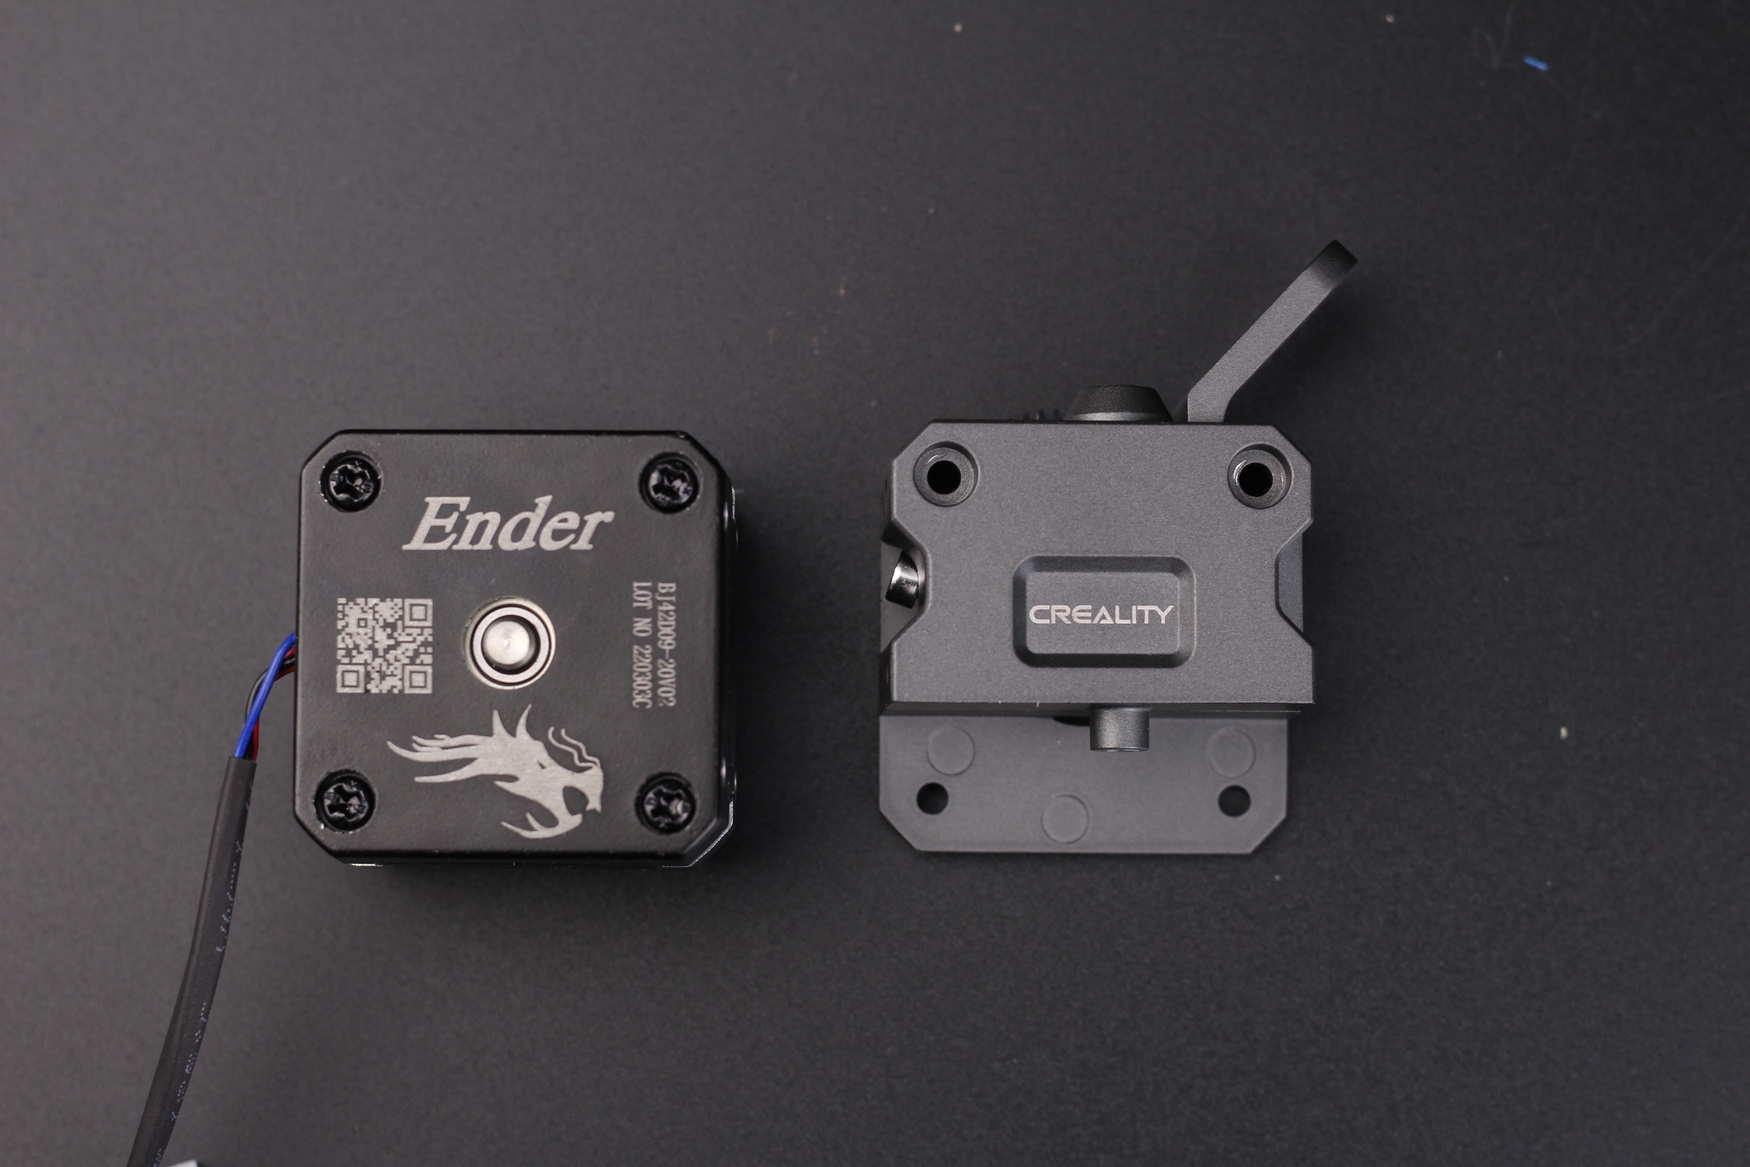
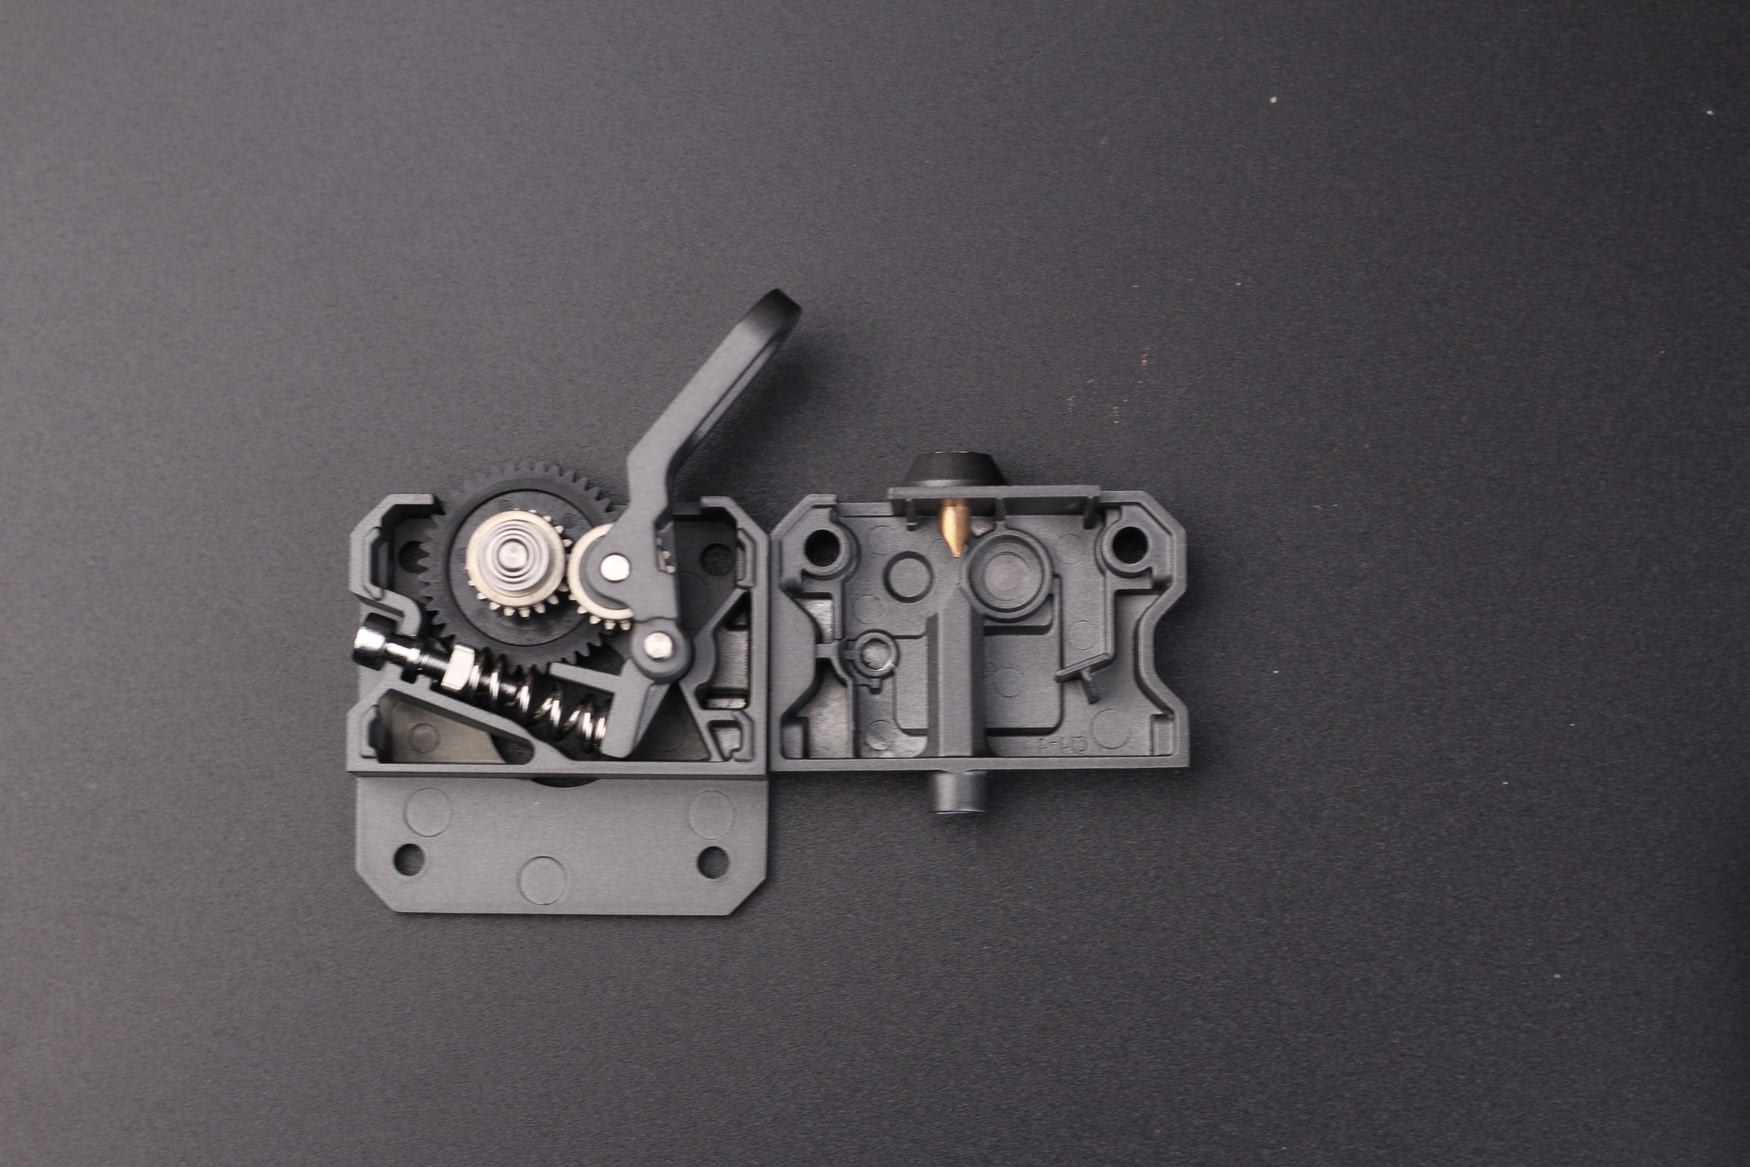
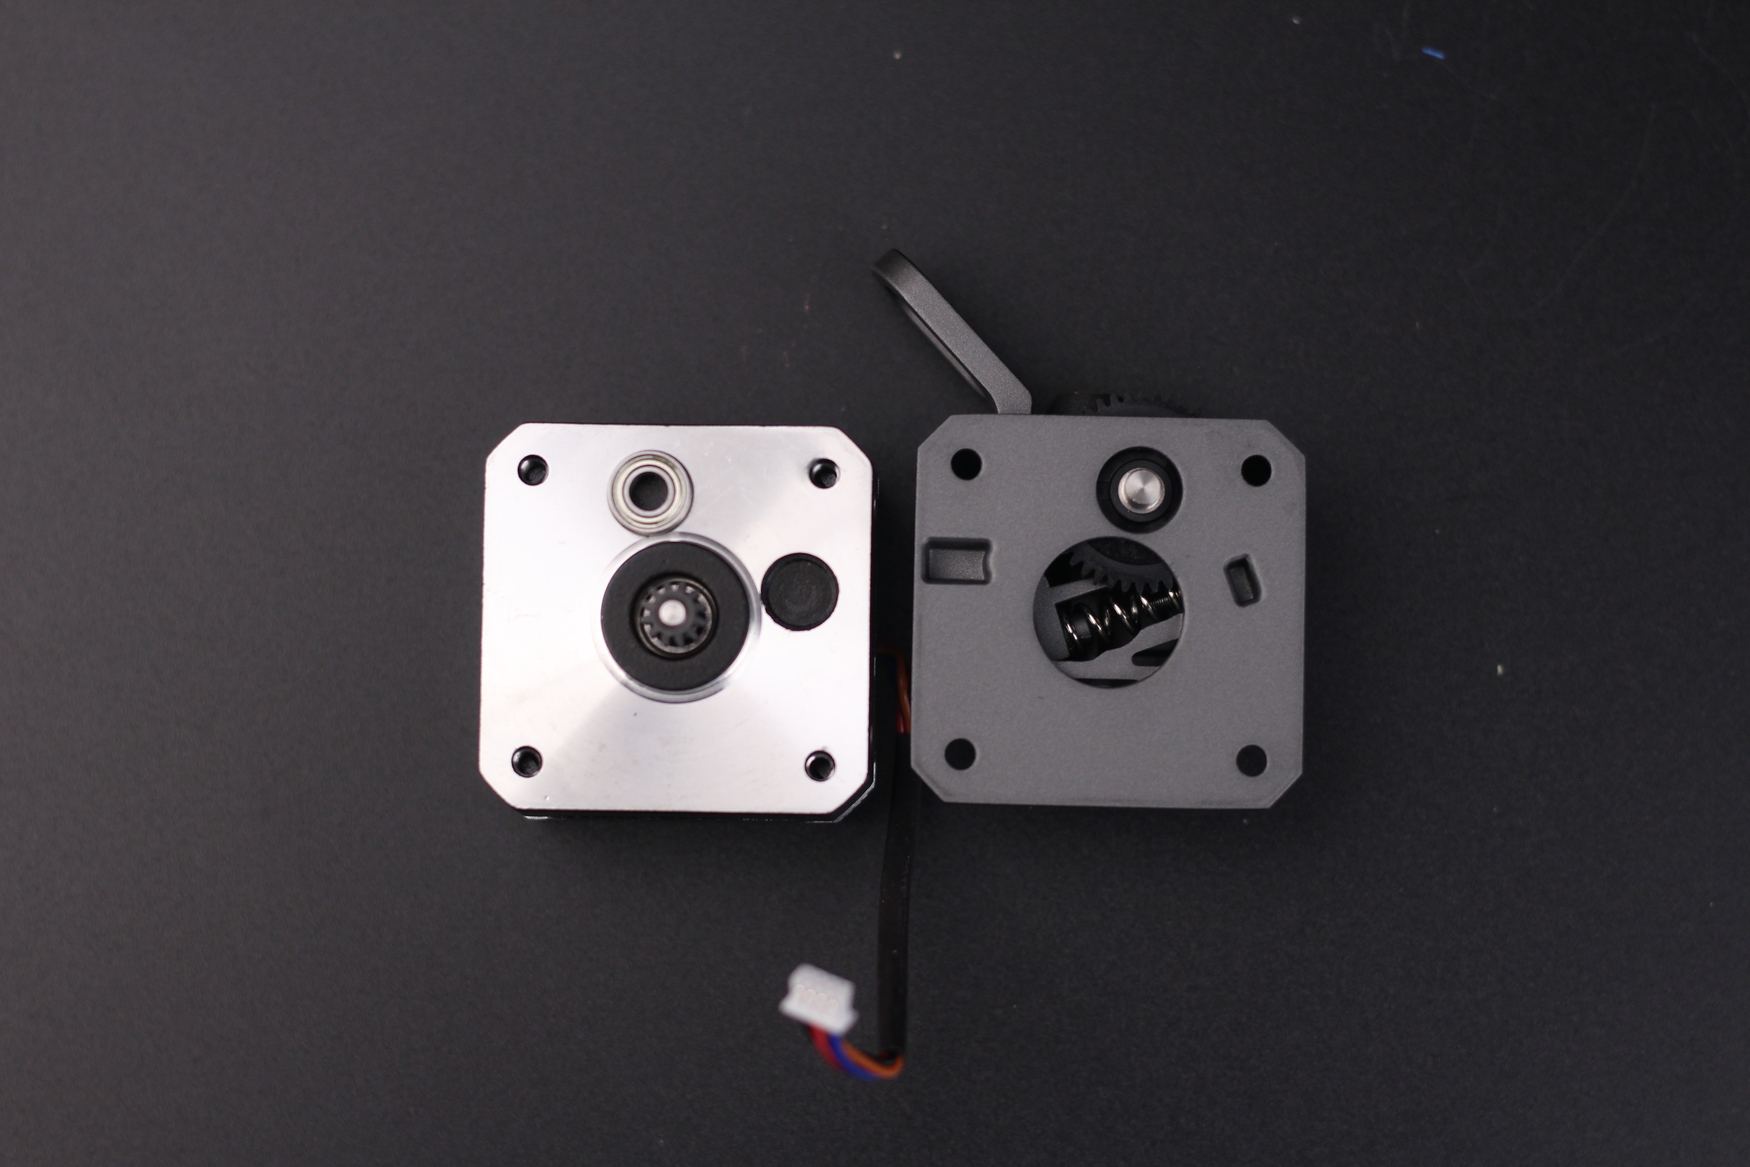
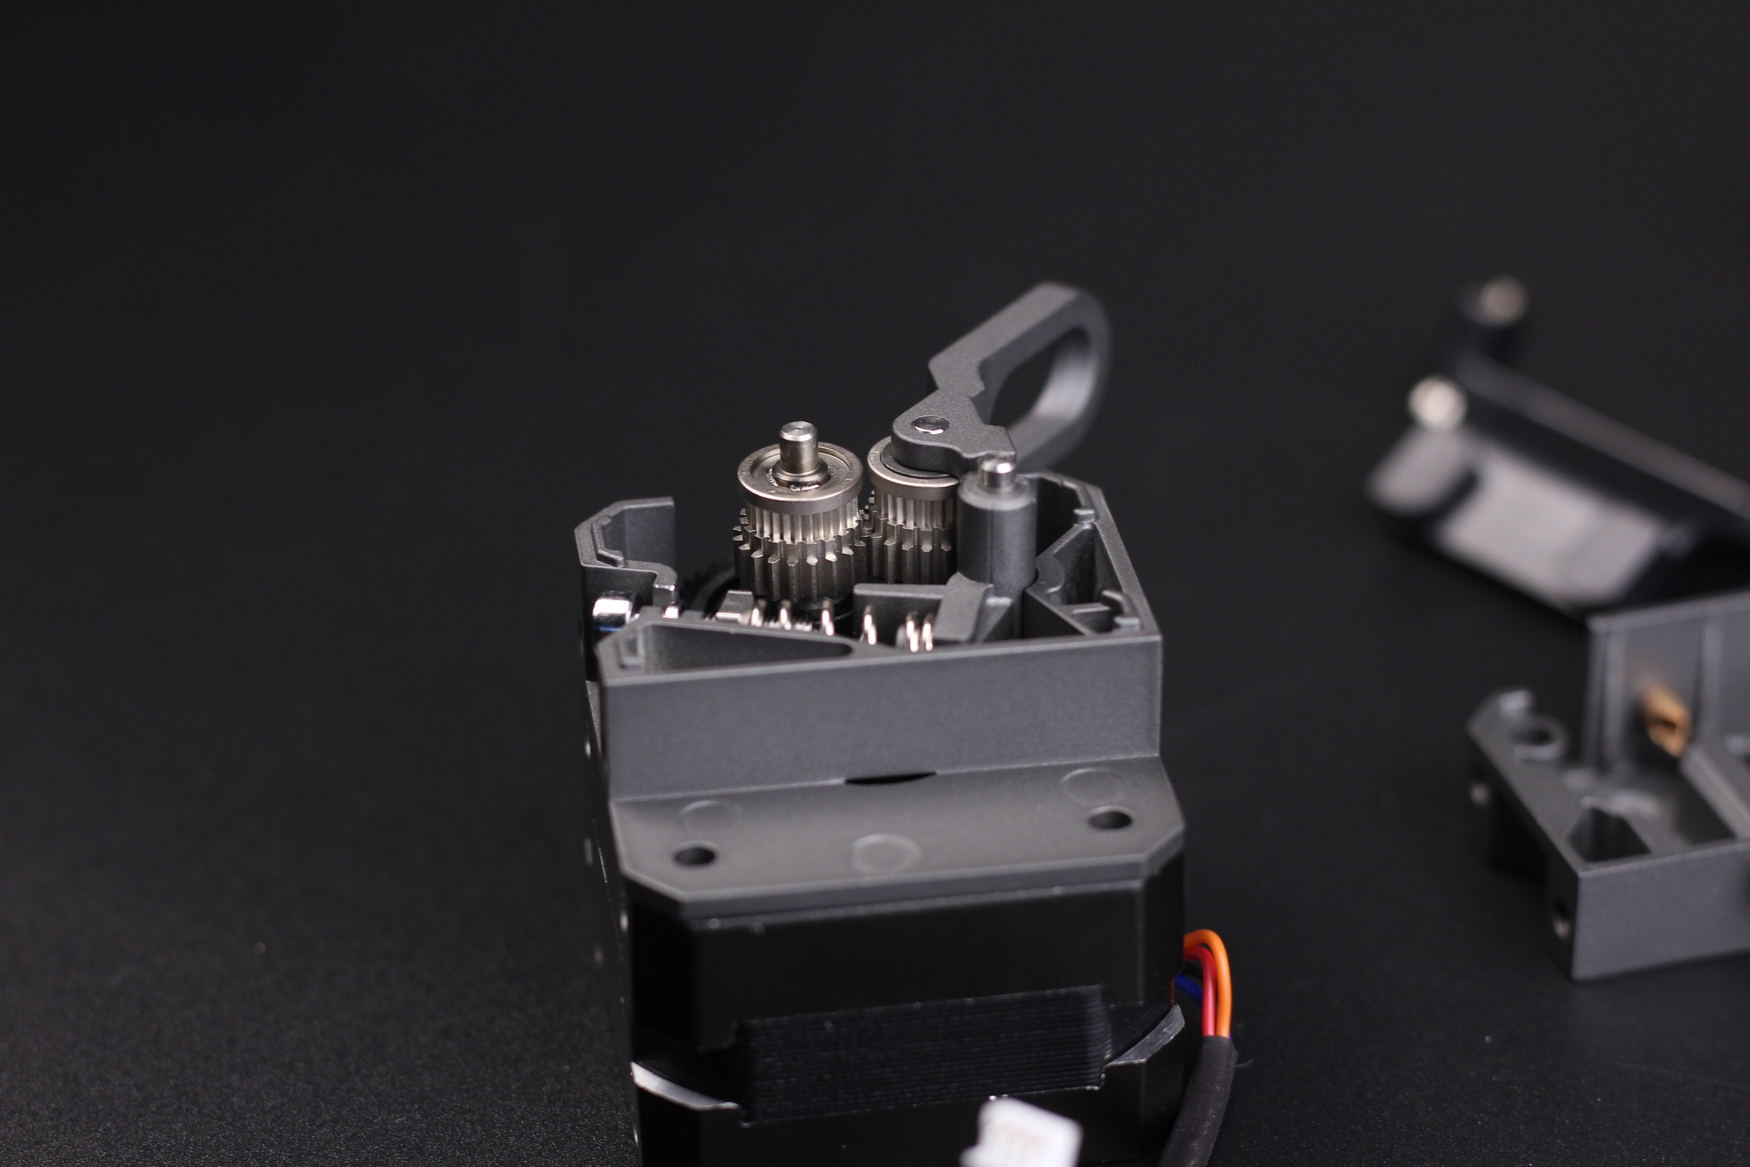
As you can see, the Nema17 pancake stepper motor is customized for the Sprite extruder with slots for installing the bearing that keeps the gear aligned. In the images below you can see that the filament path and gears are not correctly aligned, but this is caused by the pressure made by the spring which holds the idler. When the extruder is coupled with the motor, everything lines up correctly.
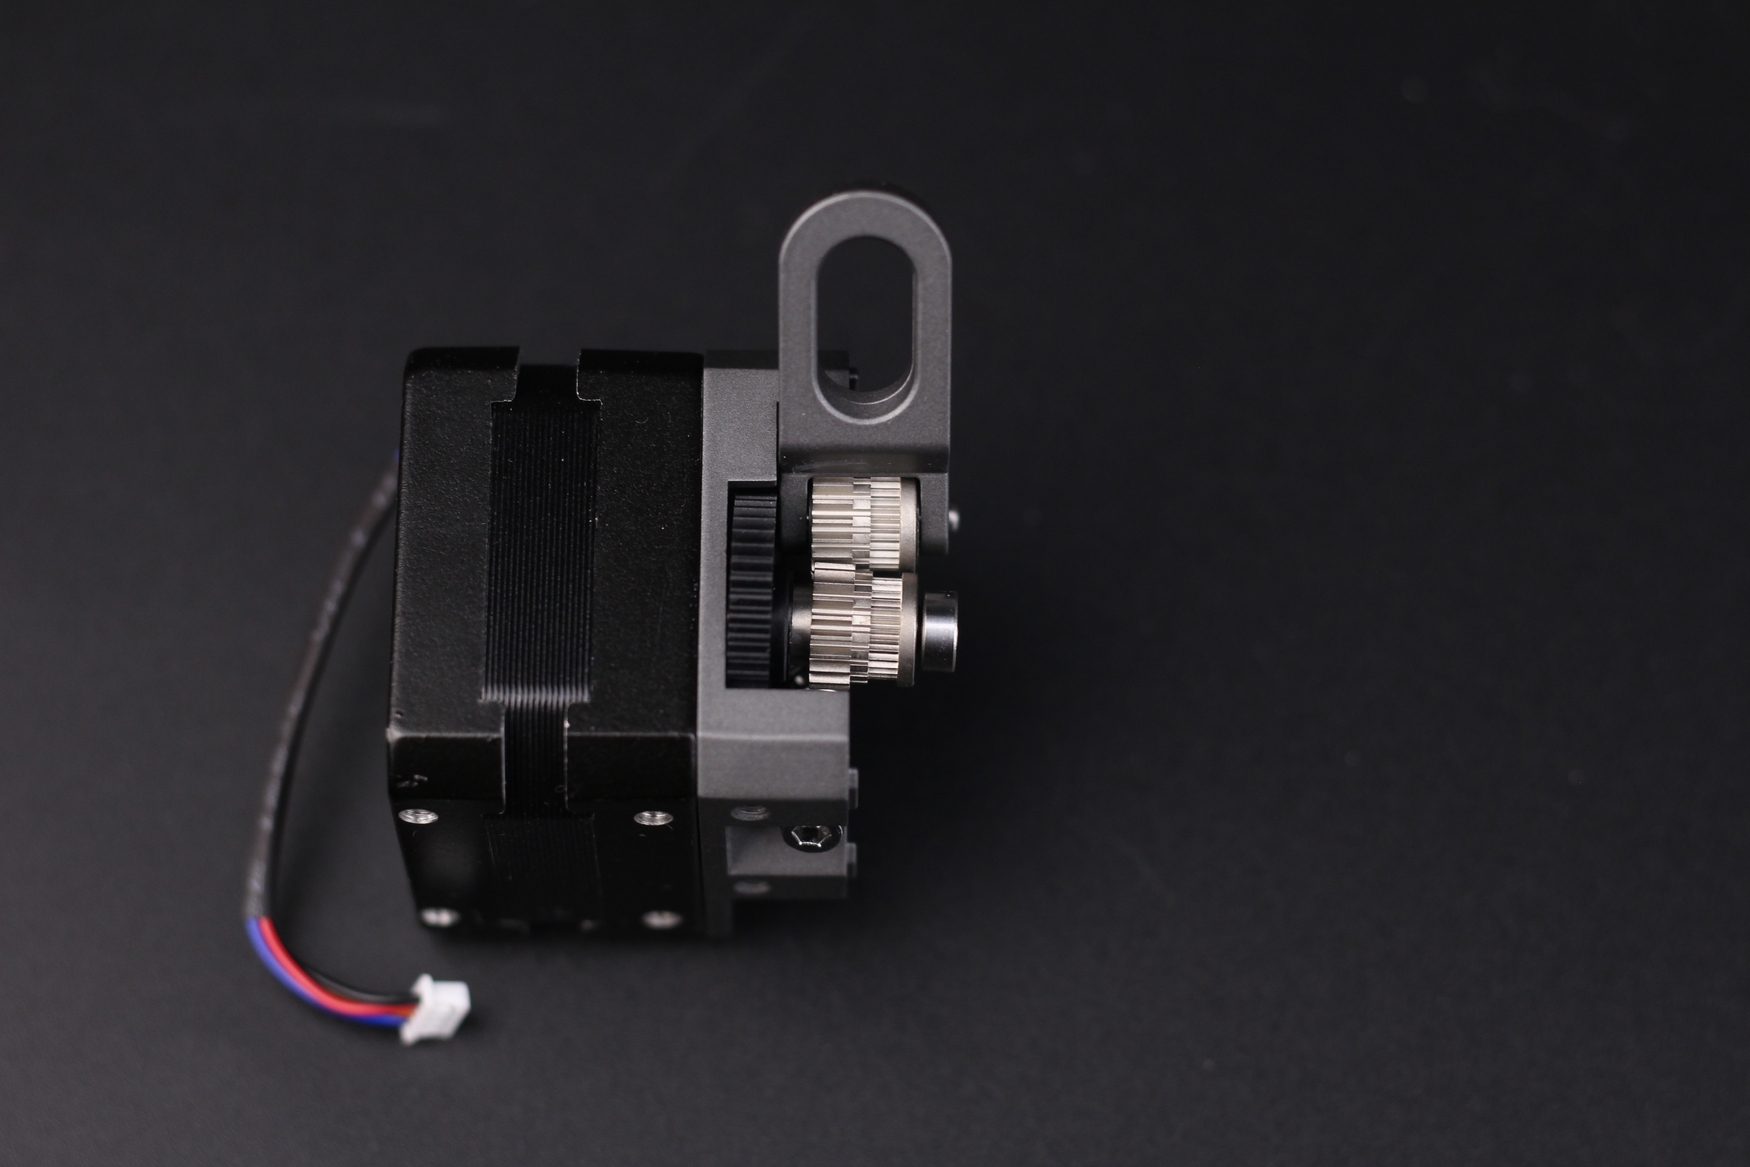
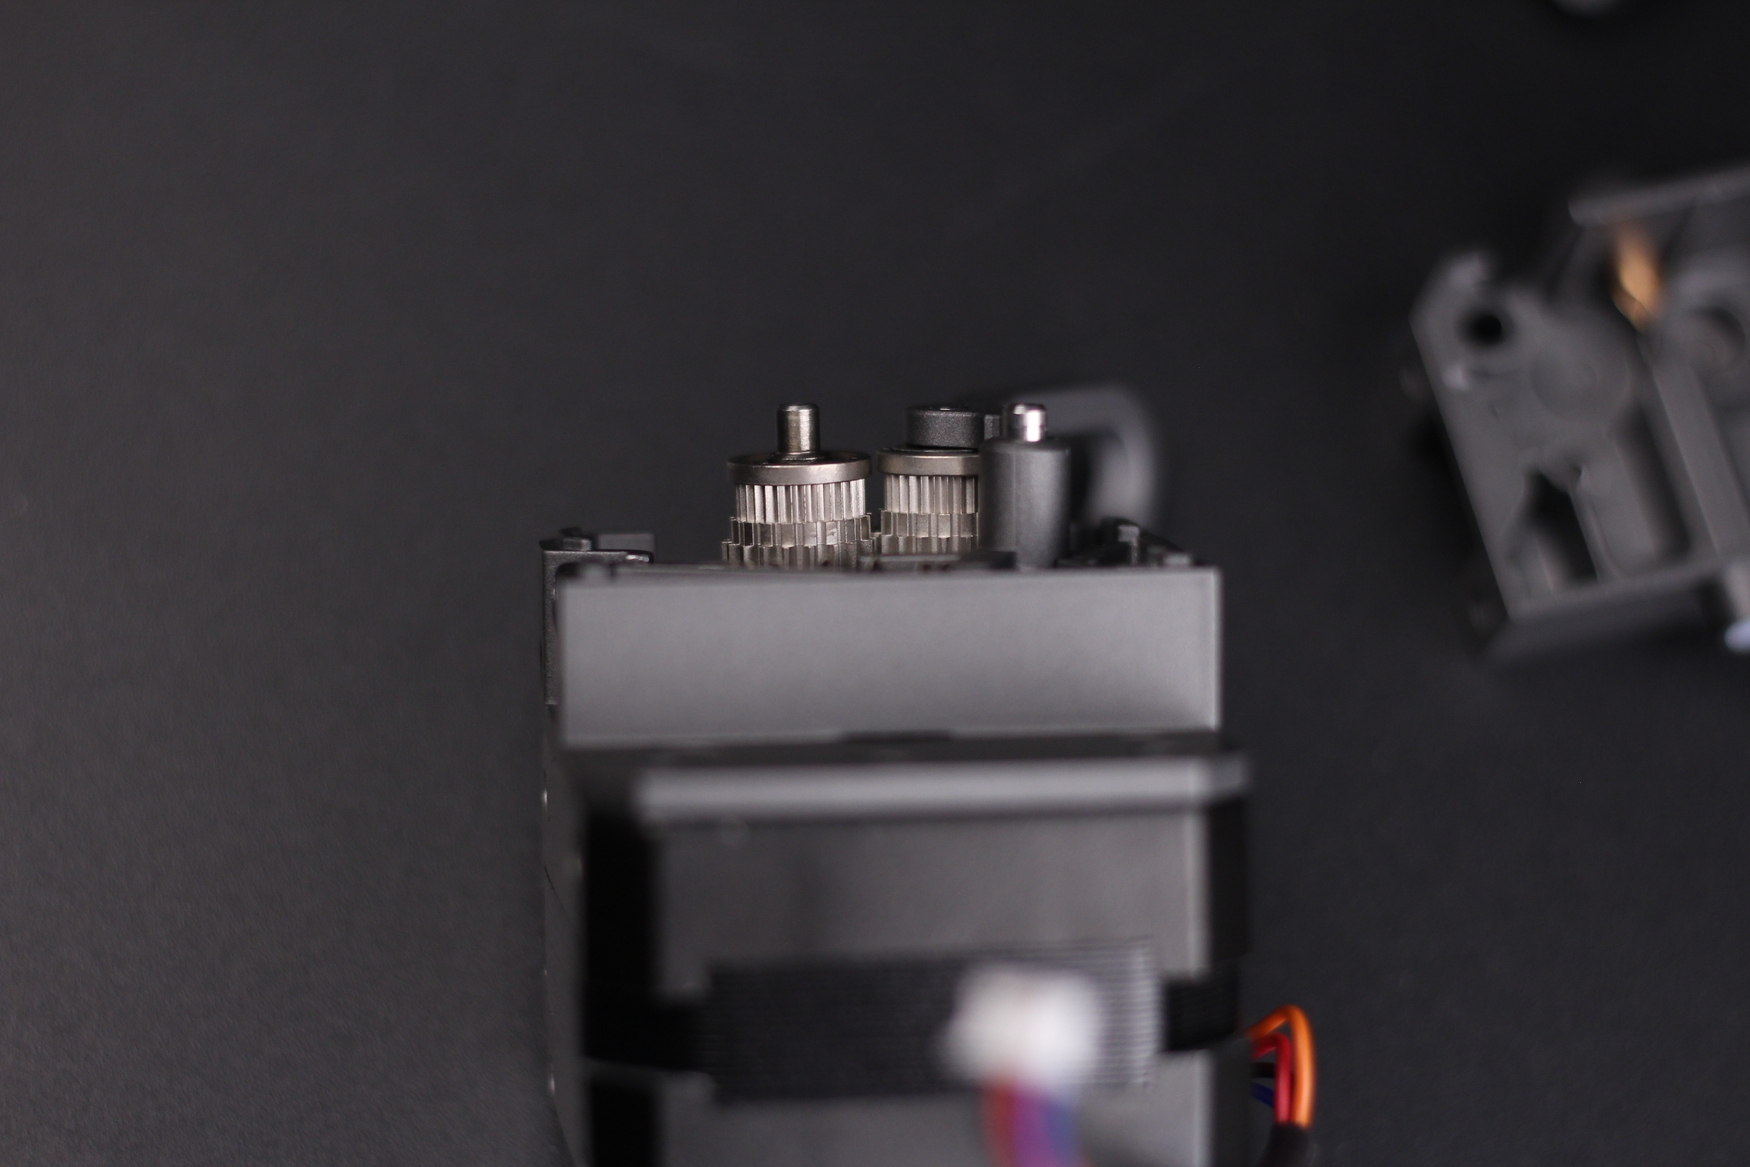
Speaking about the gears, these are not the regular BMG cloned gears. It seems that Creality designed their own gears which are a bit larger and they don’t have the rounded profile for gripping the filament more efficiently. At first look, they remind me of the gears used on the Orbiter Extruder.
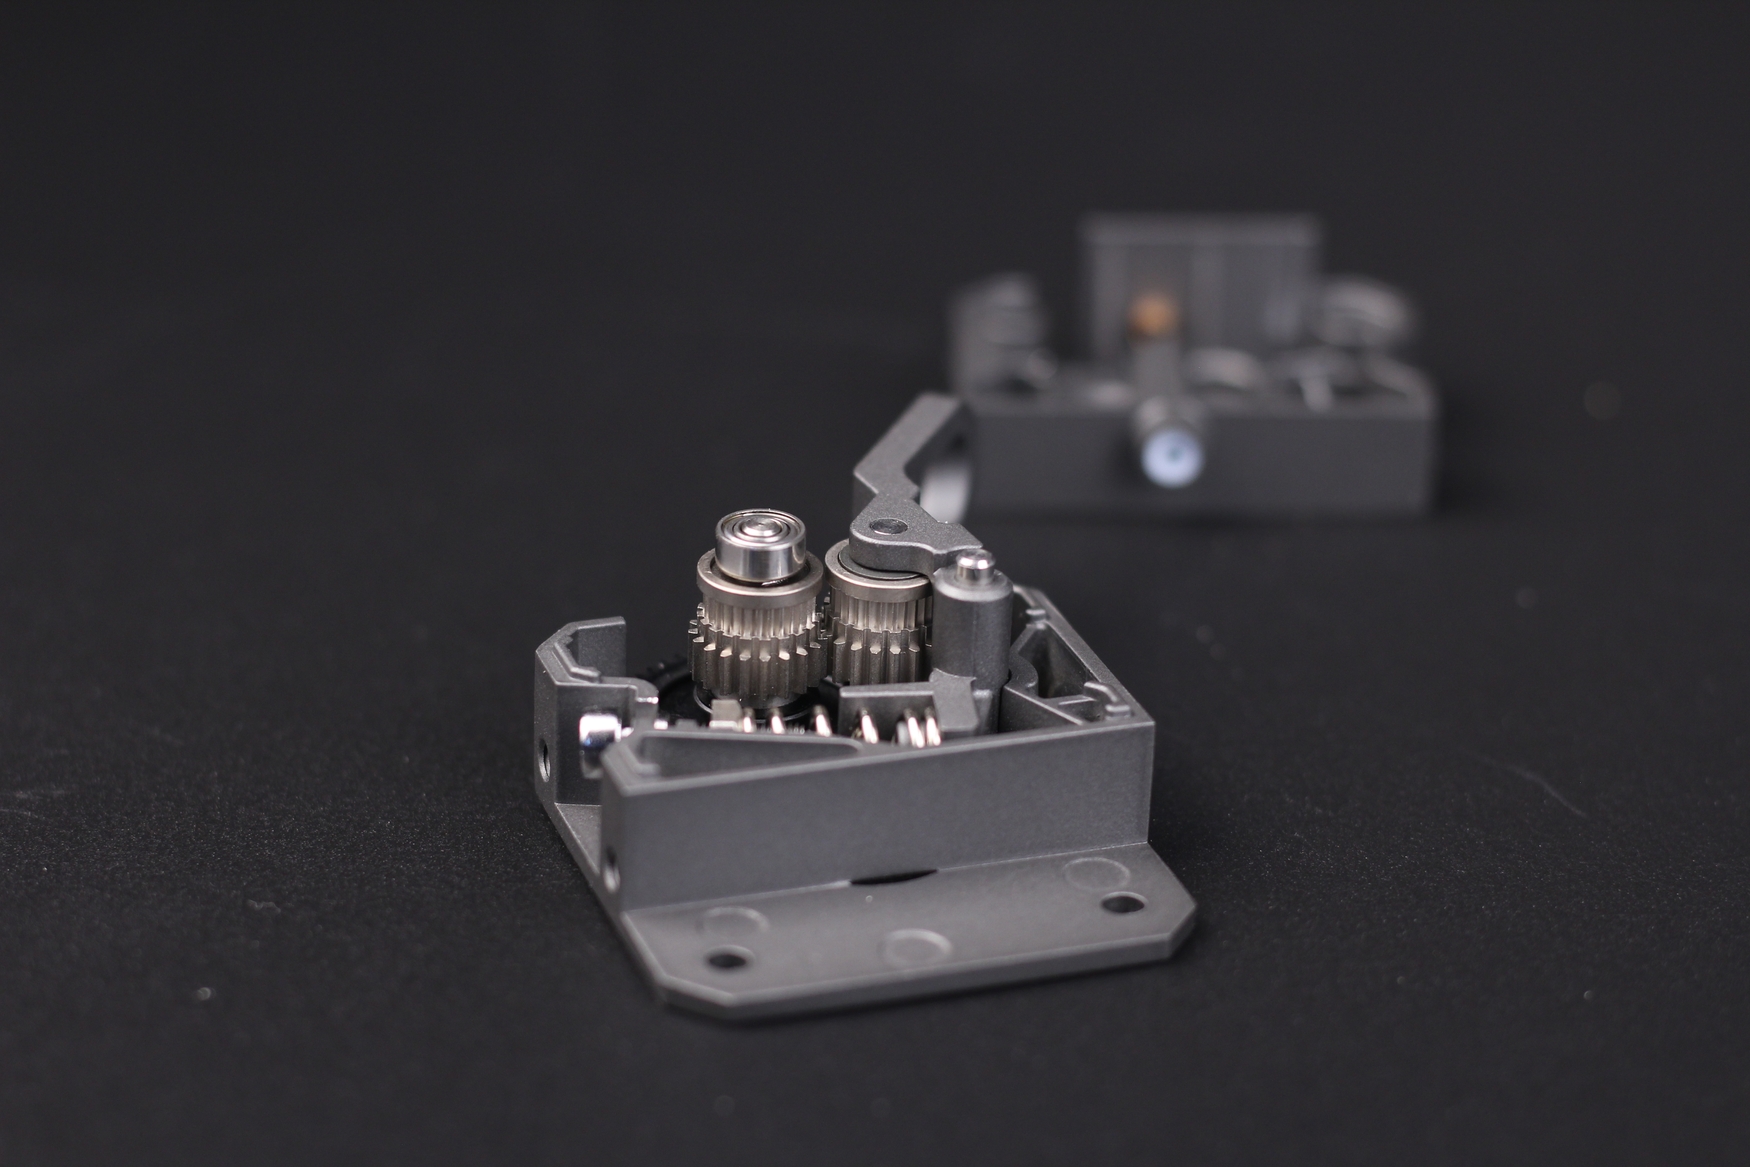
The gears have sharp teeth that sink into the filament when turning meaning that you need to make sure the tensioning screw for the idler is not too tight.
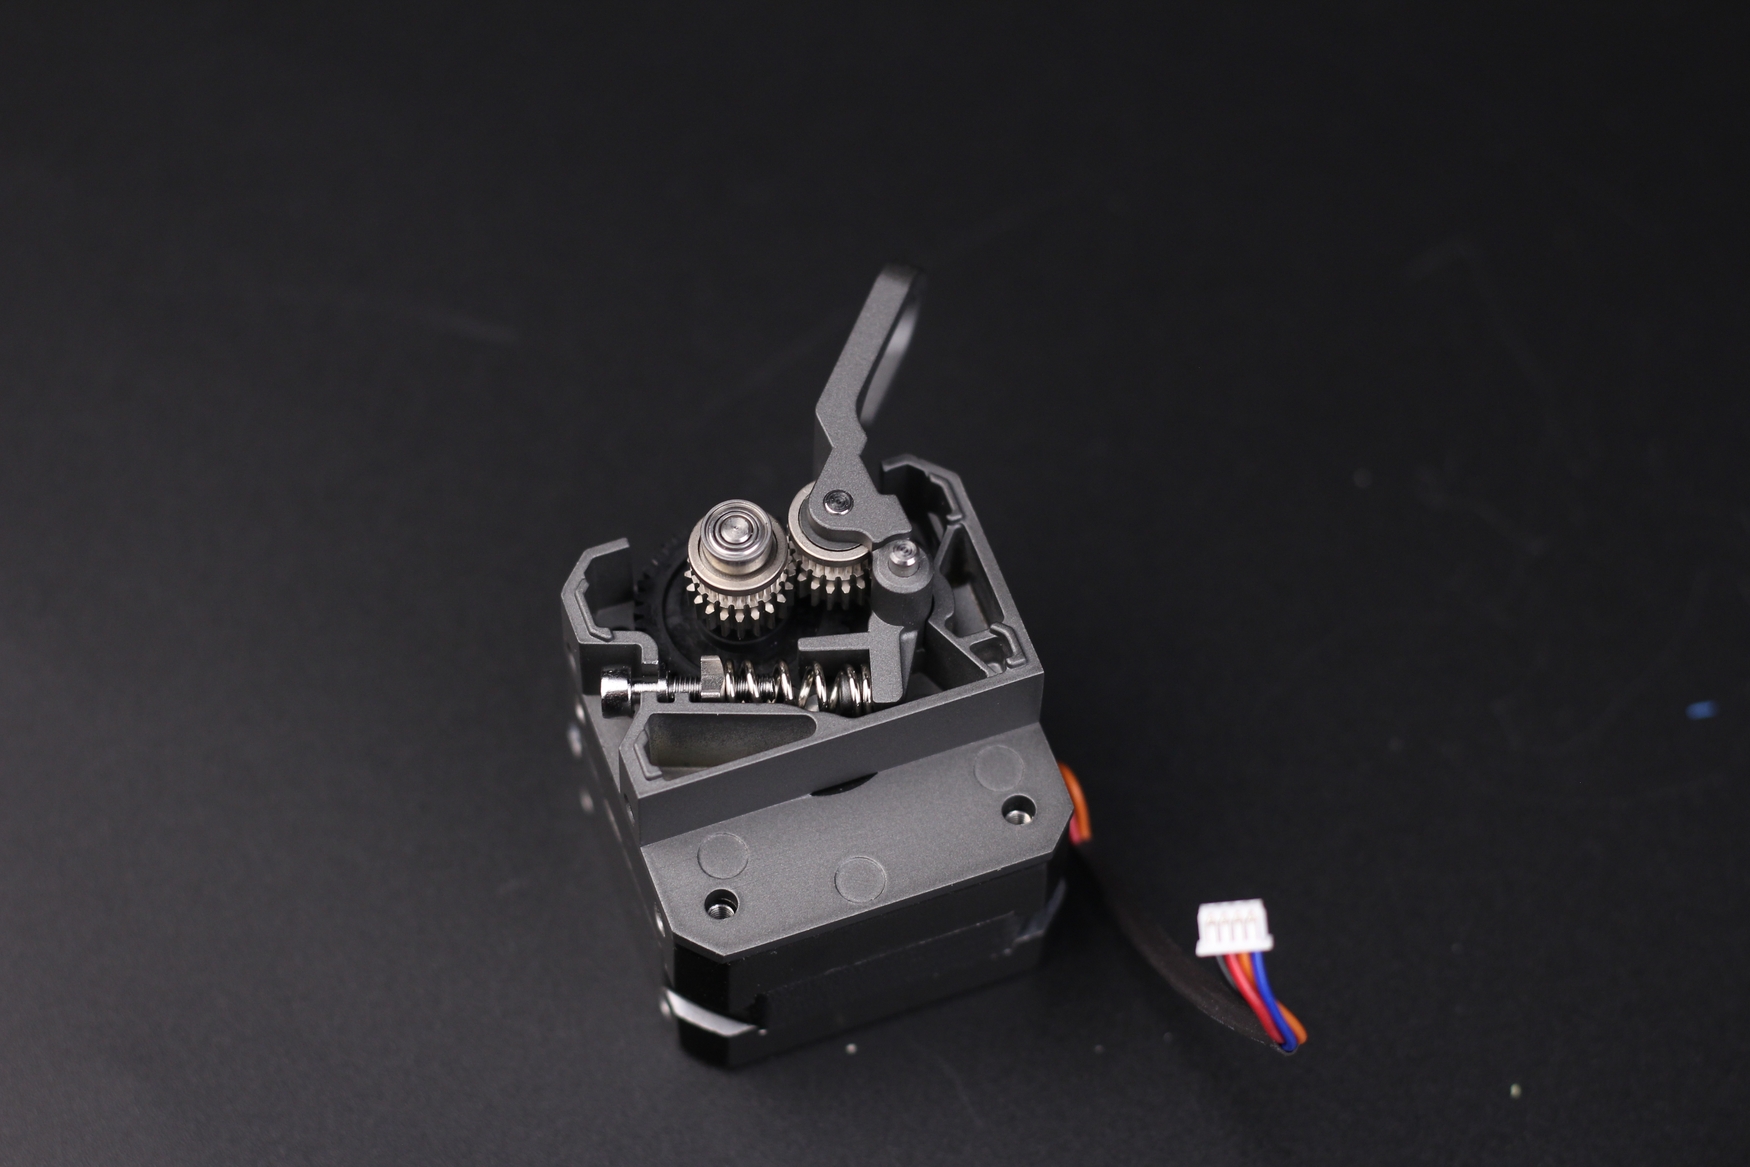
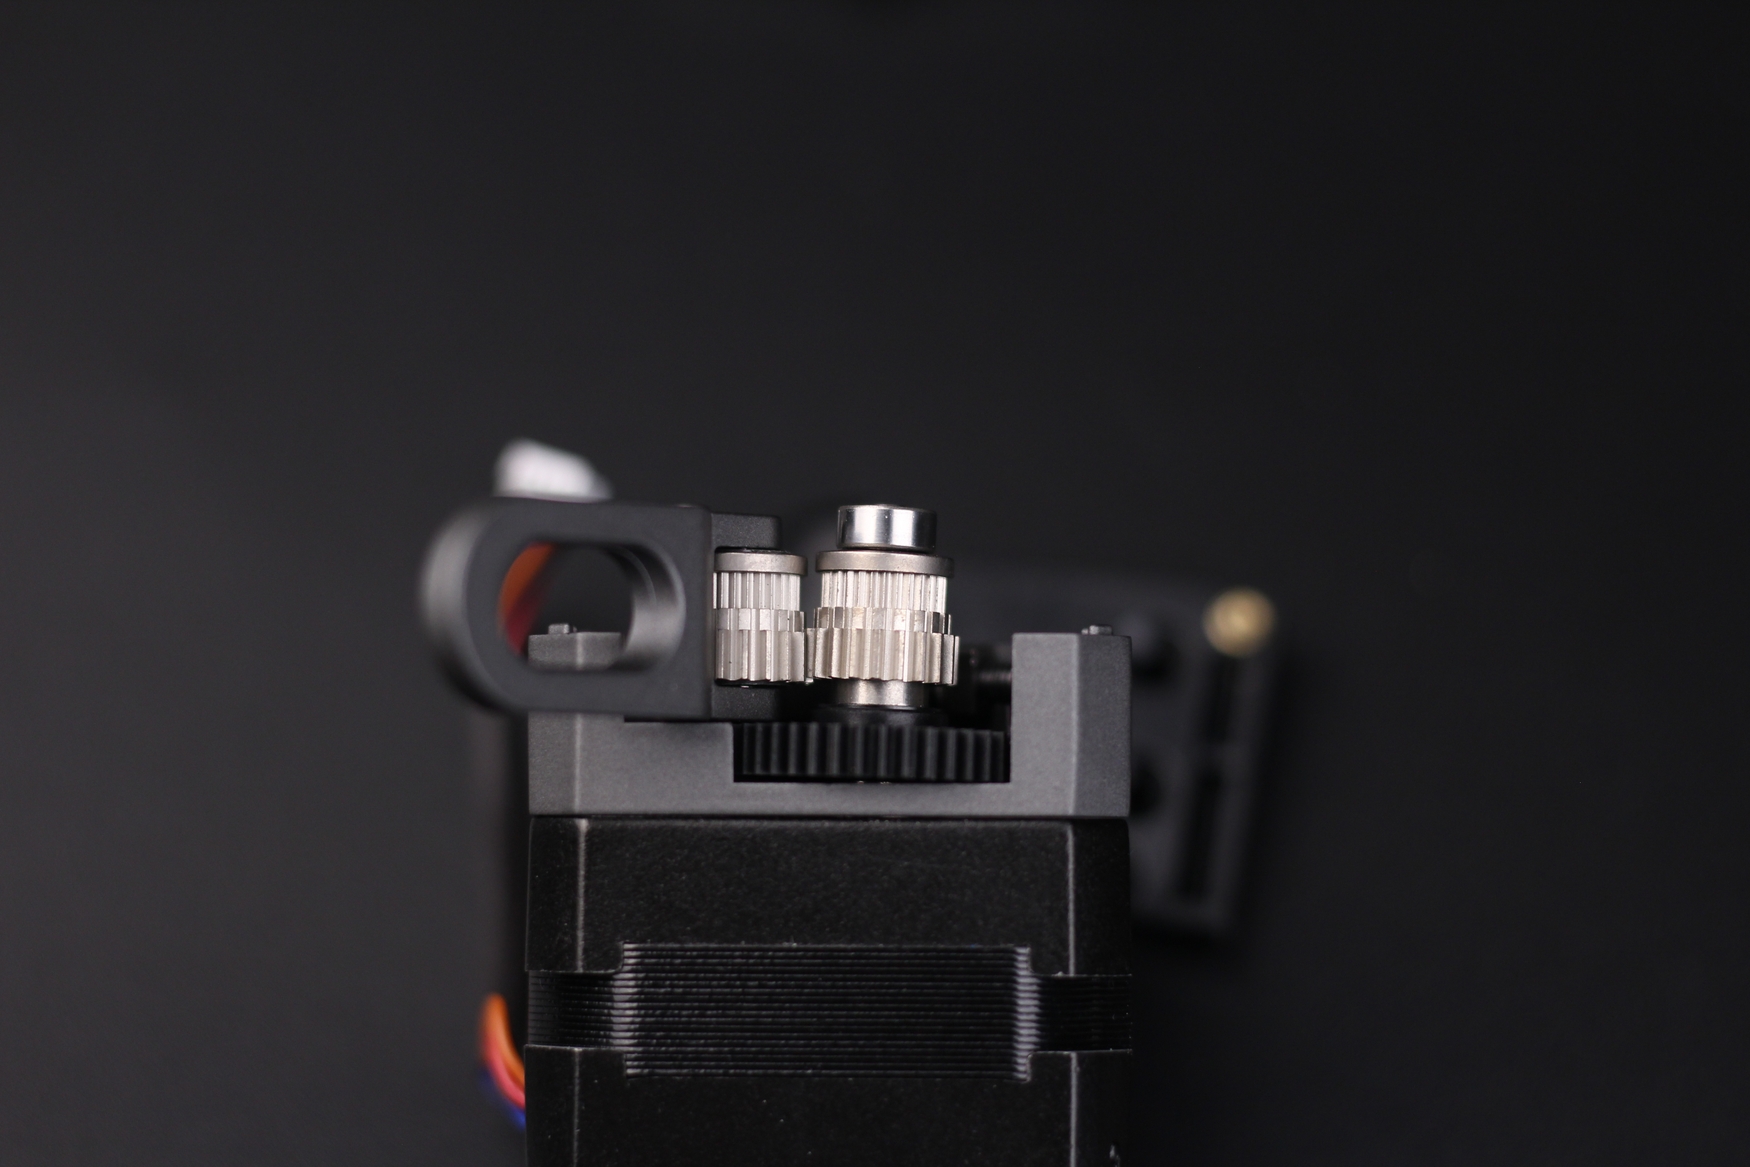
If you tighten it too much, it will deform the filament and the flow rate will suffer. You need to find a good balance between idler tension and filament grip. In the images below you can see how big the filament deformation can be if the idler tensioning screw is too tight.
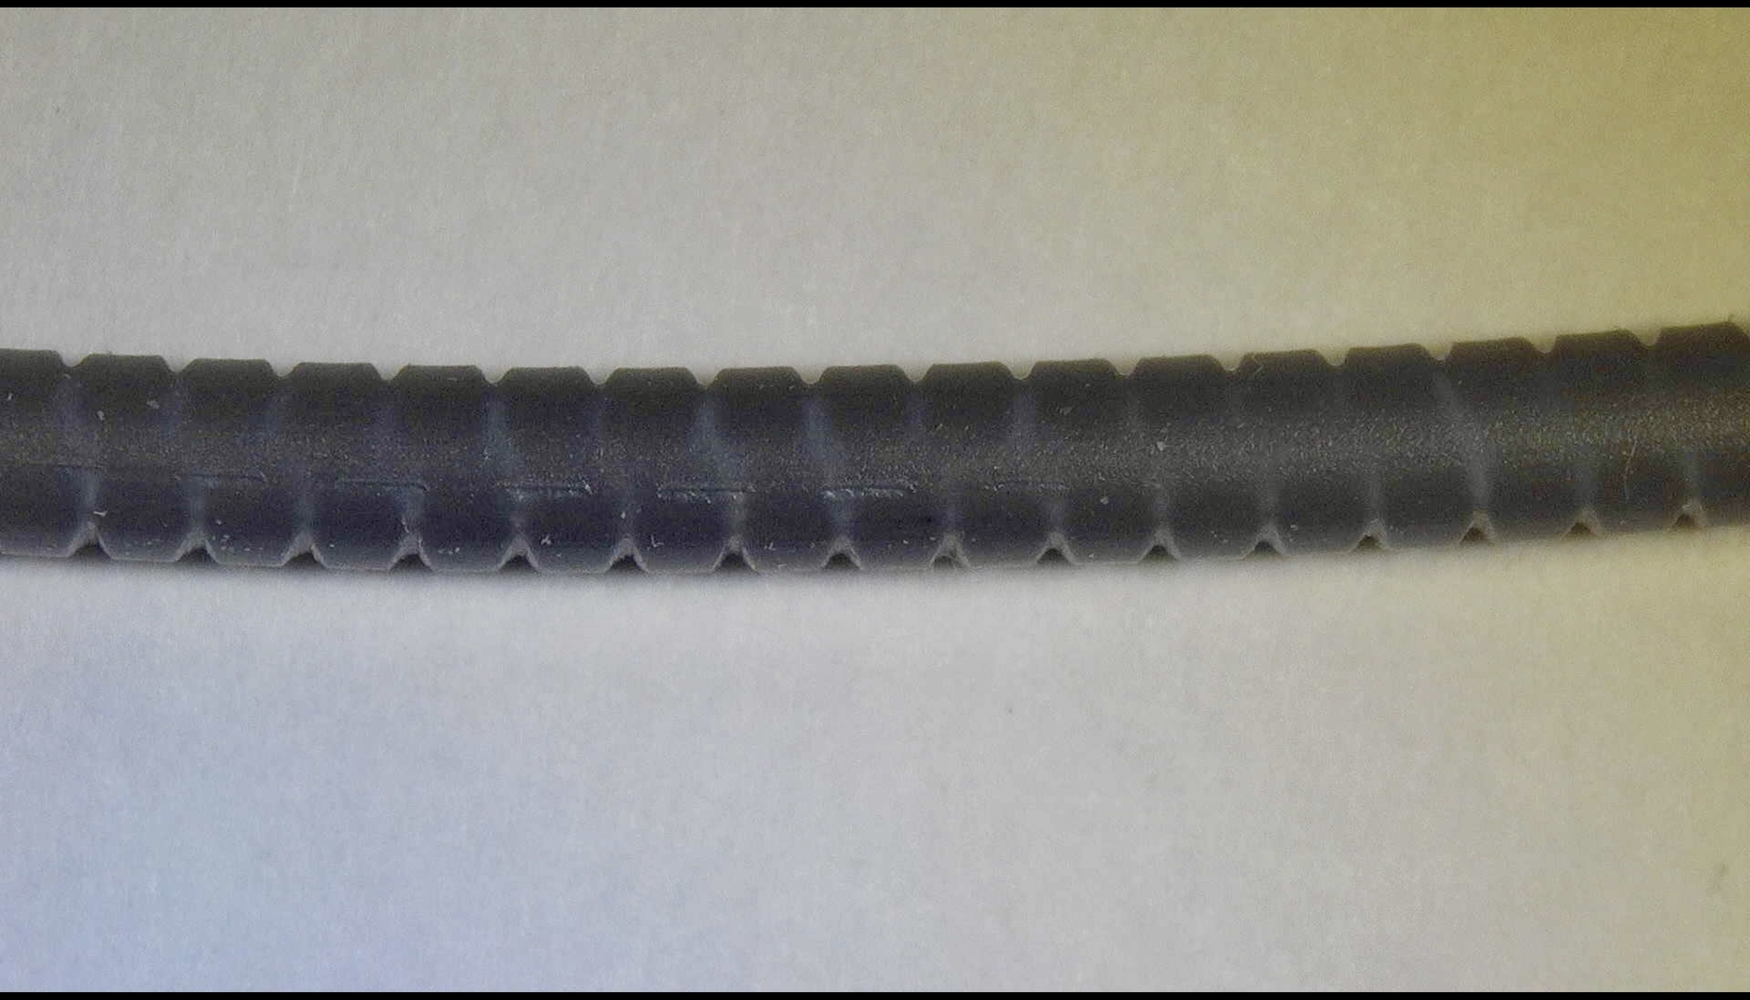
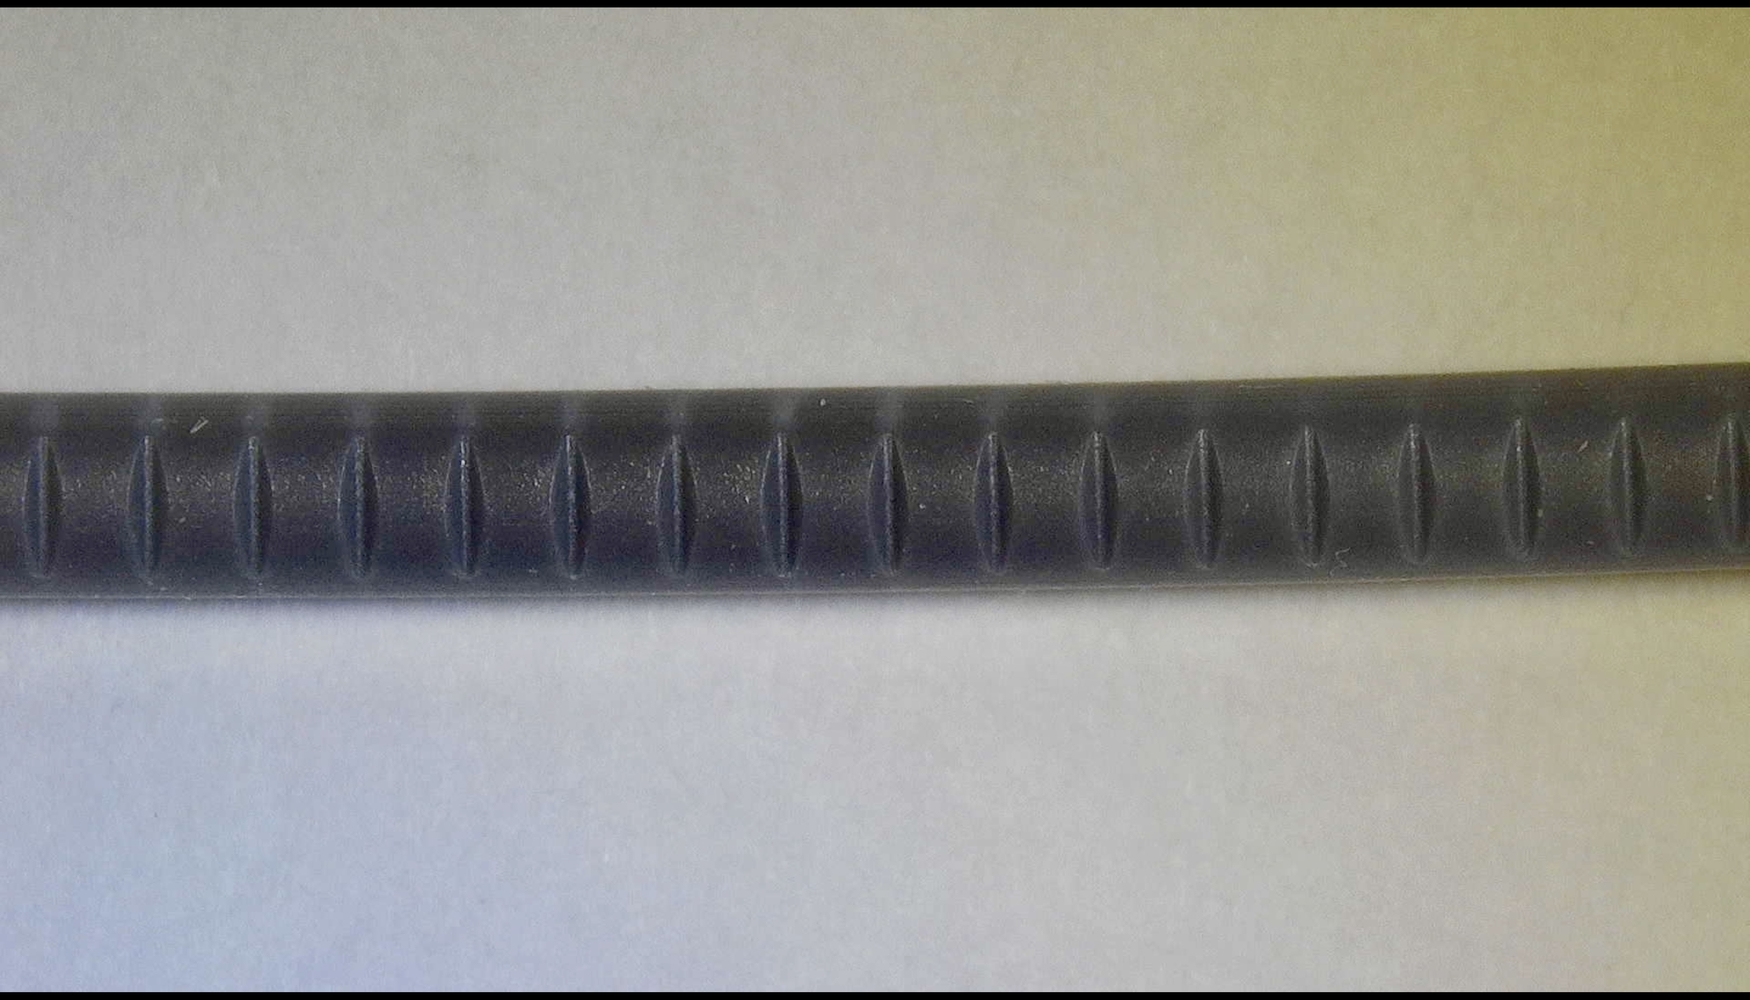
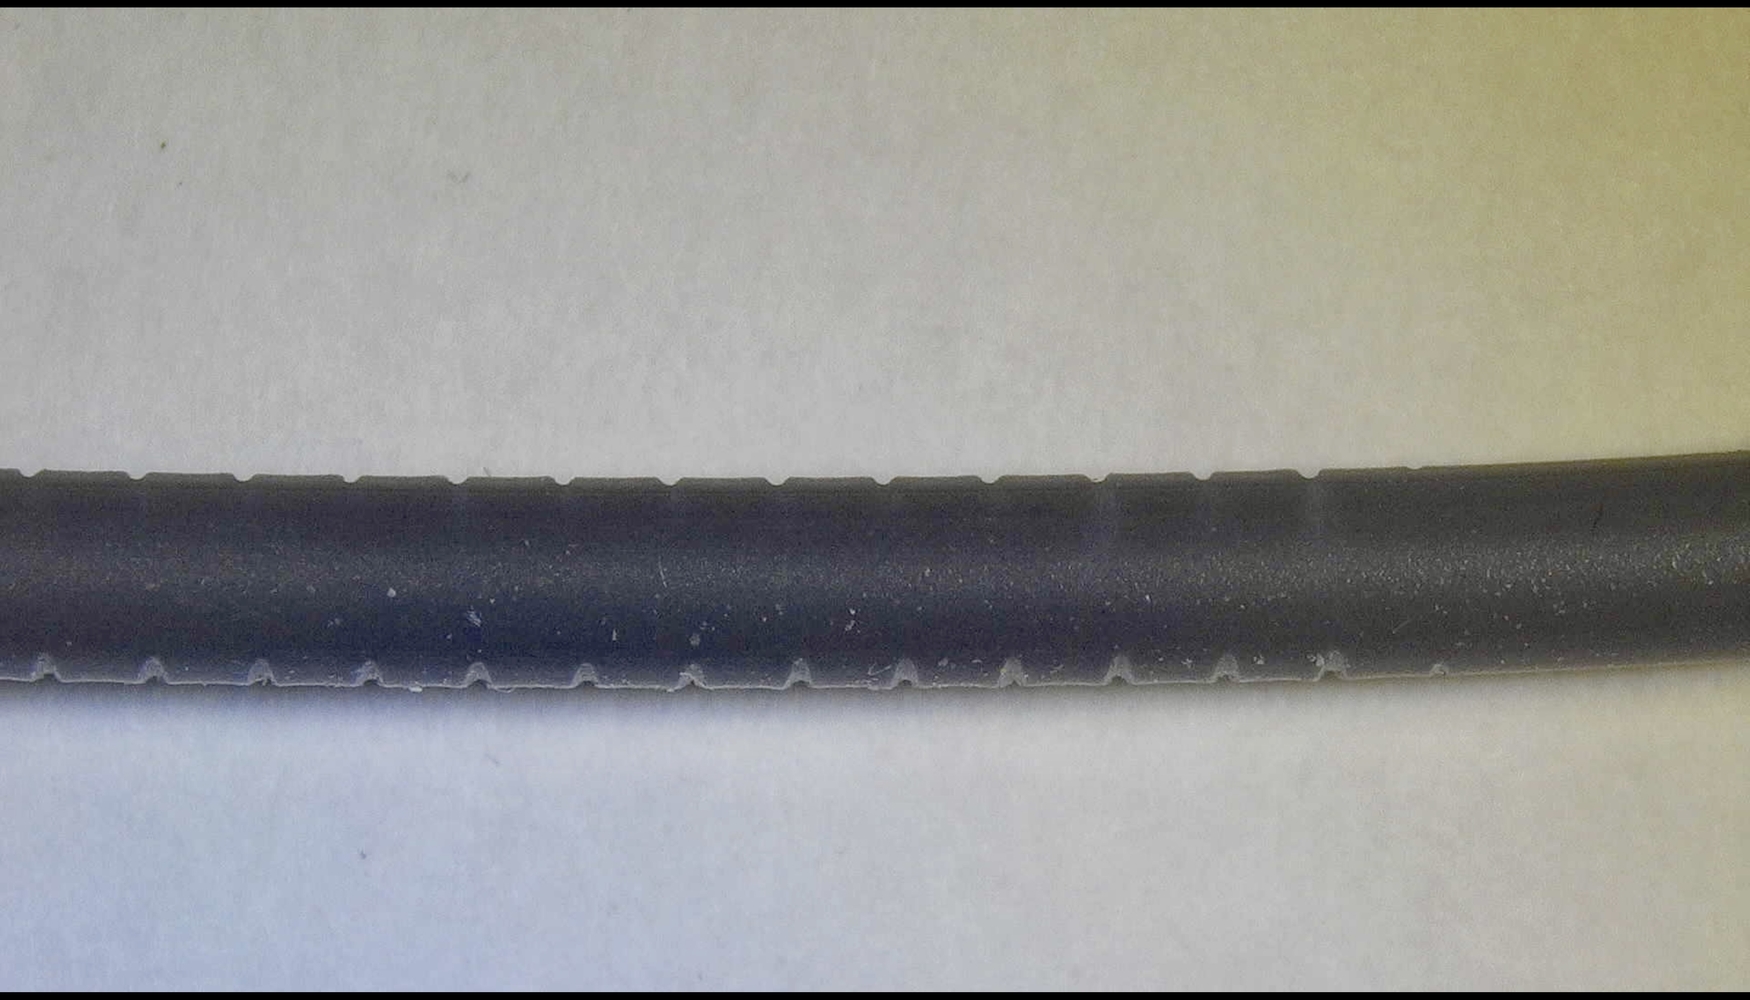
This is what the filament looks like after the idler tension has been adjusted correctly. Much less filament deformation
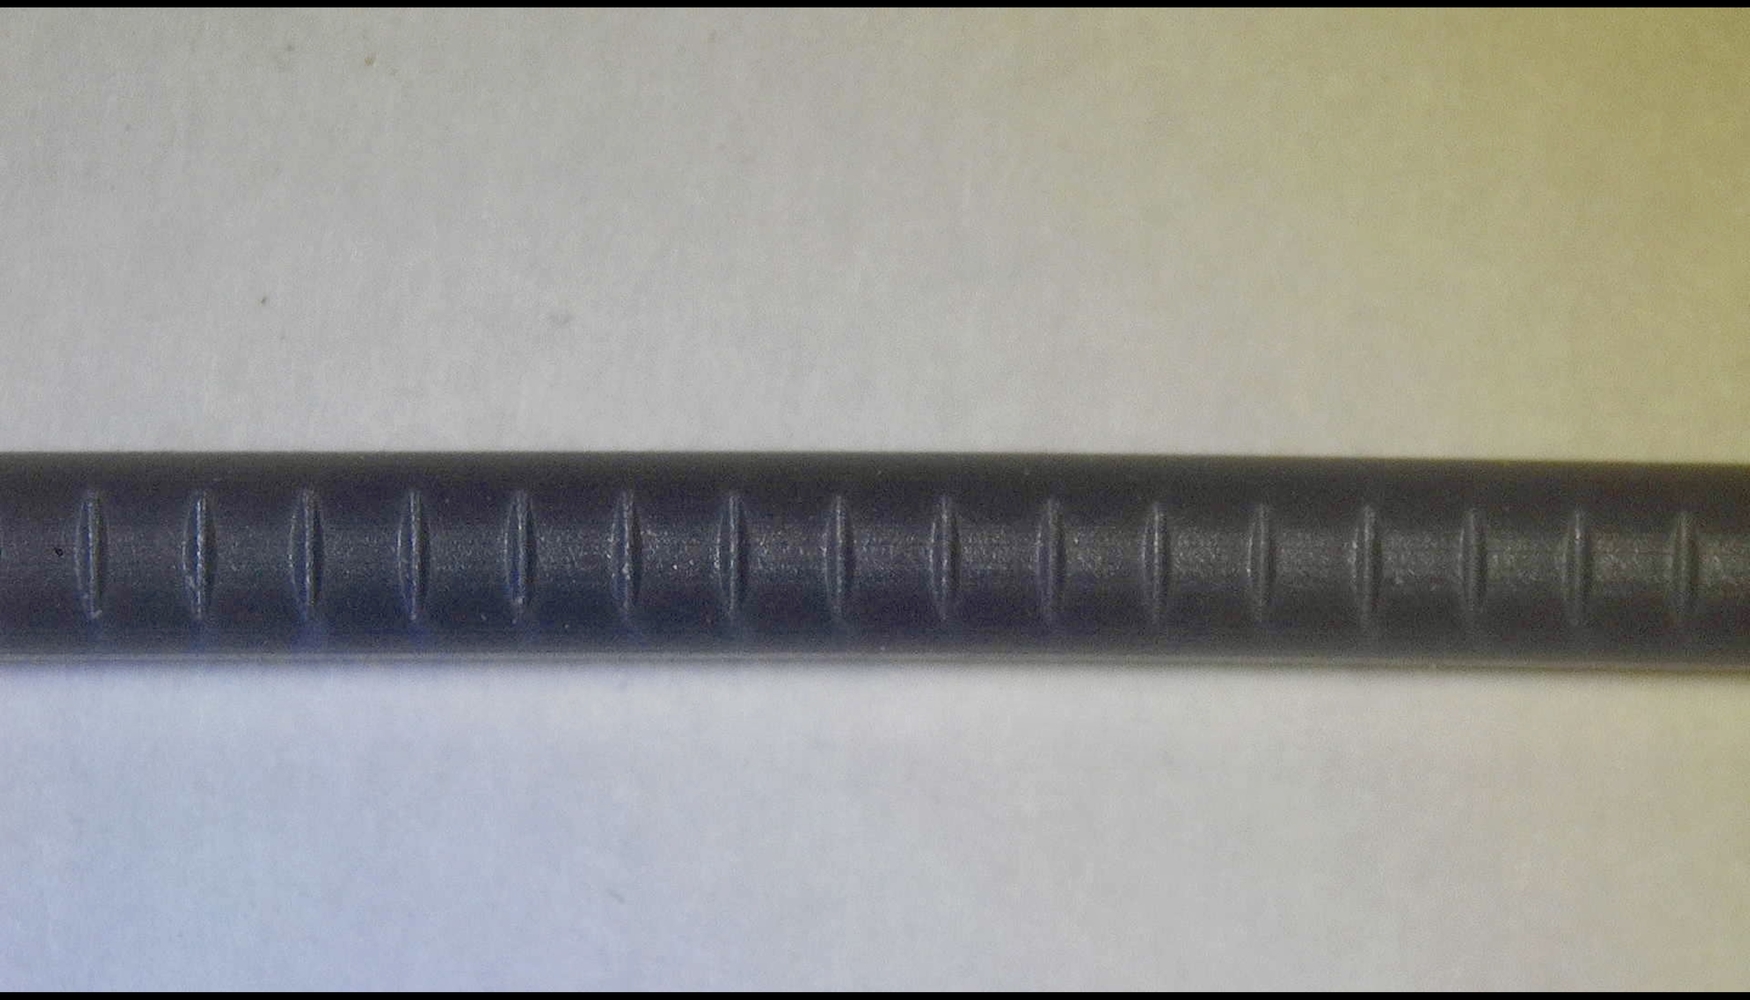
Keen eyes will also see that the main gear is press fit and soldered on the metal shaft. This means that you won’t be able to remove it and if the POM gear gets damaged over time, you will have to purchase the whole assembly including the filament gear.
Creality Sprite Pro Extruder Thermal Performance
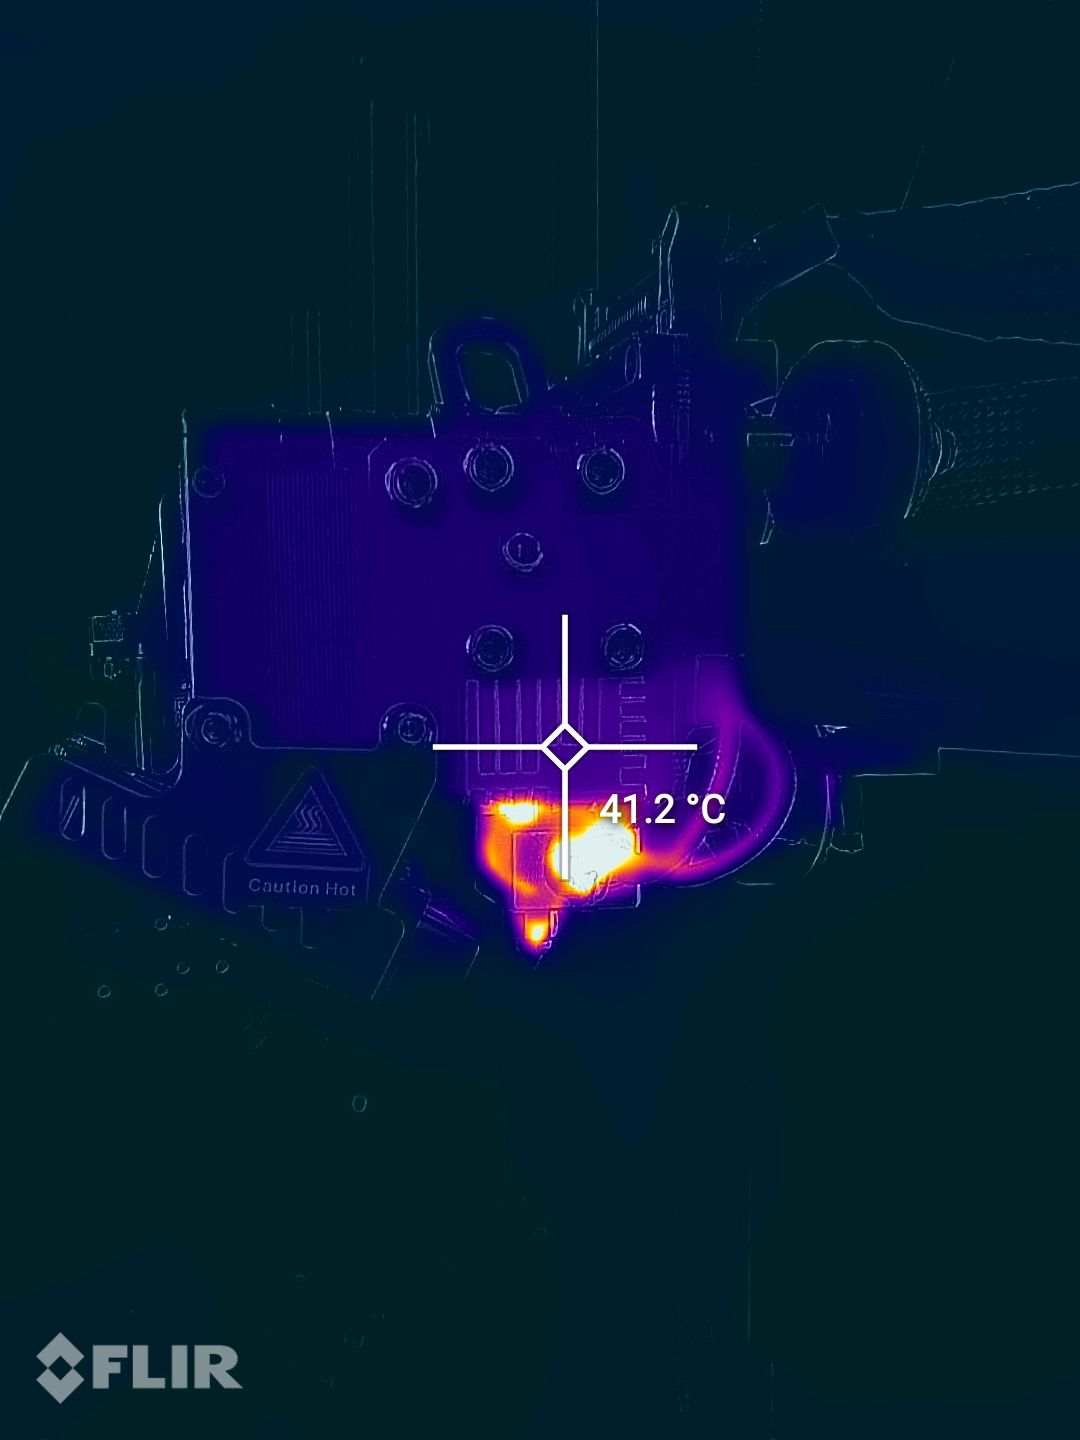
I was also curious to see what’s the thermal performance of the Creality Sprite Pro extruder. So I set the hotend temperature to 300C, and waited for 15 minutes before measuring the temperatures with the FLIR Camera installed on the CAT S62 Pro
As you can see in the images below, the heat break heatsink reached a temperature of ~41C which is better than I was expecting. It seems that the tiny radial part cooling paired with the airflow over the heatsink gives excellent results. The environmental temperature was ~21C.
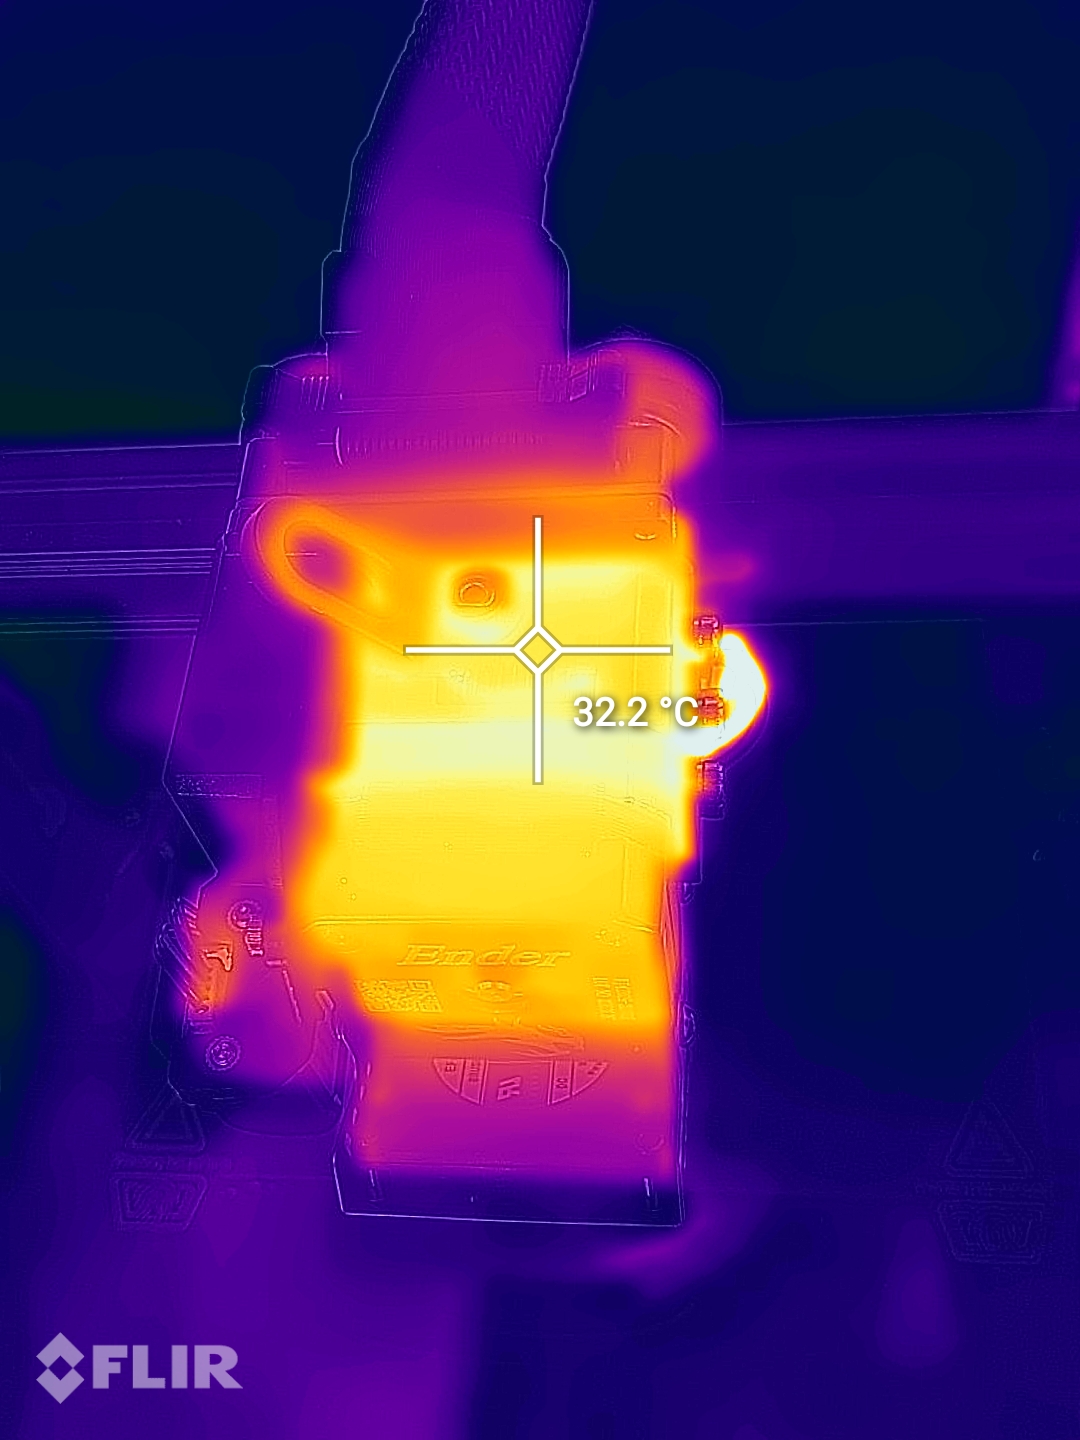
The body of the extruder is barely warm to the touch, reaching around 32C. Overall, great thermal performance for high-temp filaments.
Creality Sprite Pro Extruder vs regular Sprite Extruder
When it comes to how well these extruders are built, they are quite similar. The main difference between Sprite Pro and the regular Sprite extruder is the body of the extruder and the heat break.
For the Sprite Pro extruder, you get the aluminum body with a titanium heat break while on the regular extruder you get a plastic body and a PTFE lined heat break.
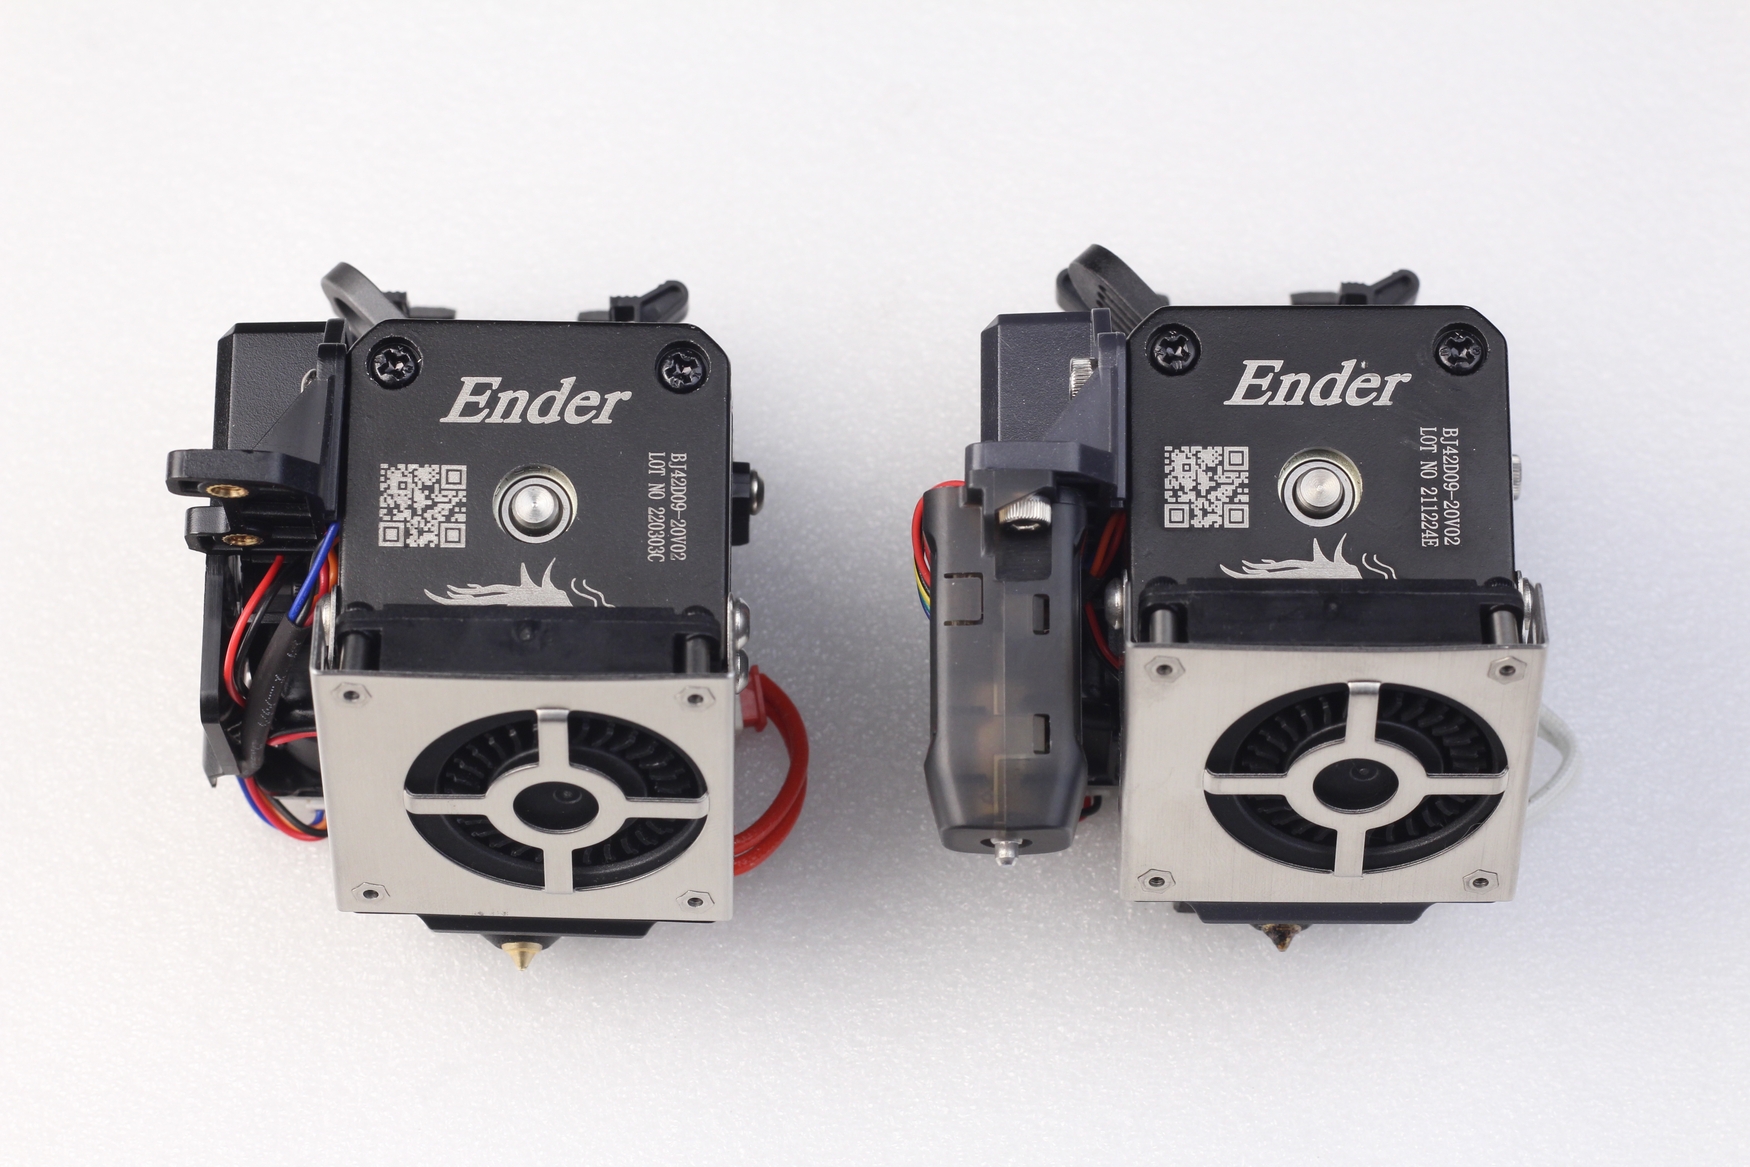
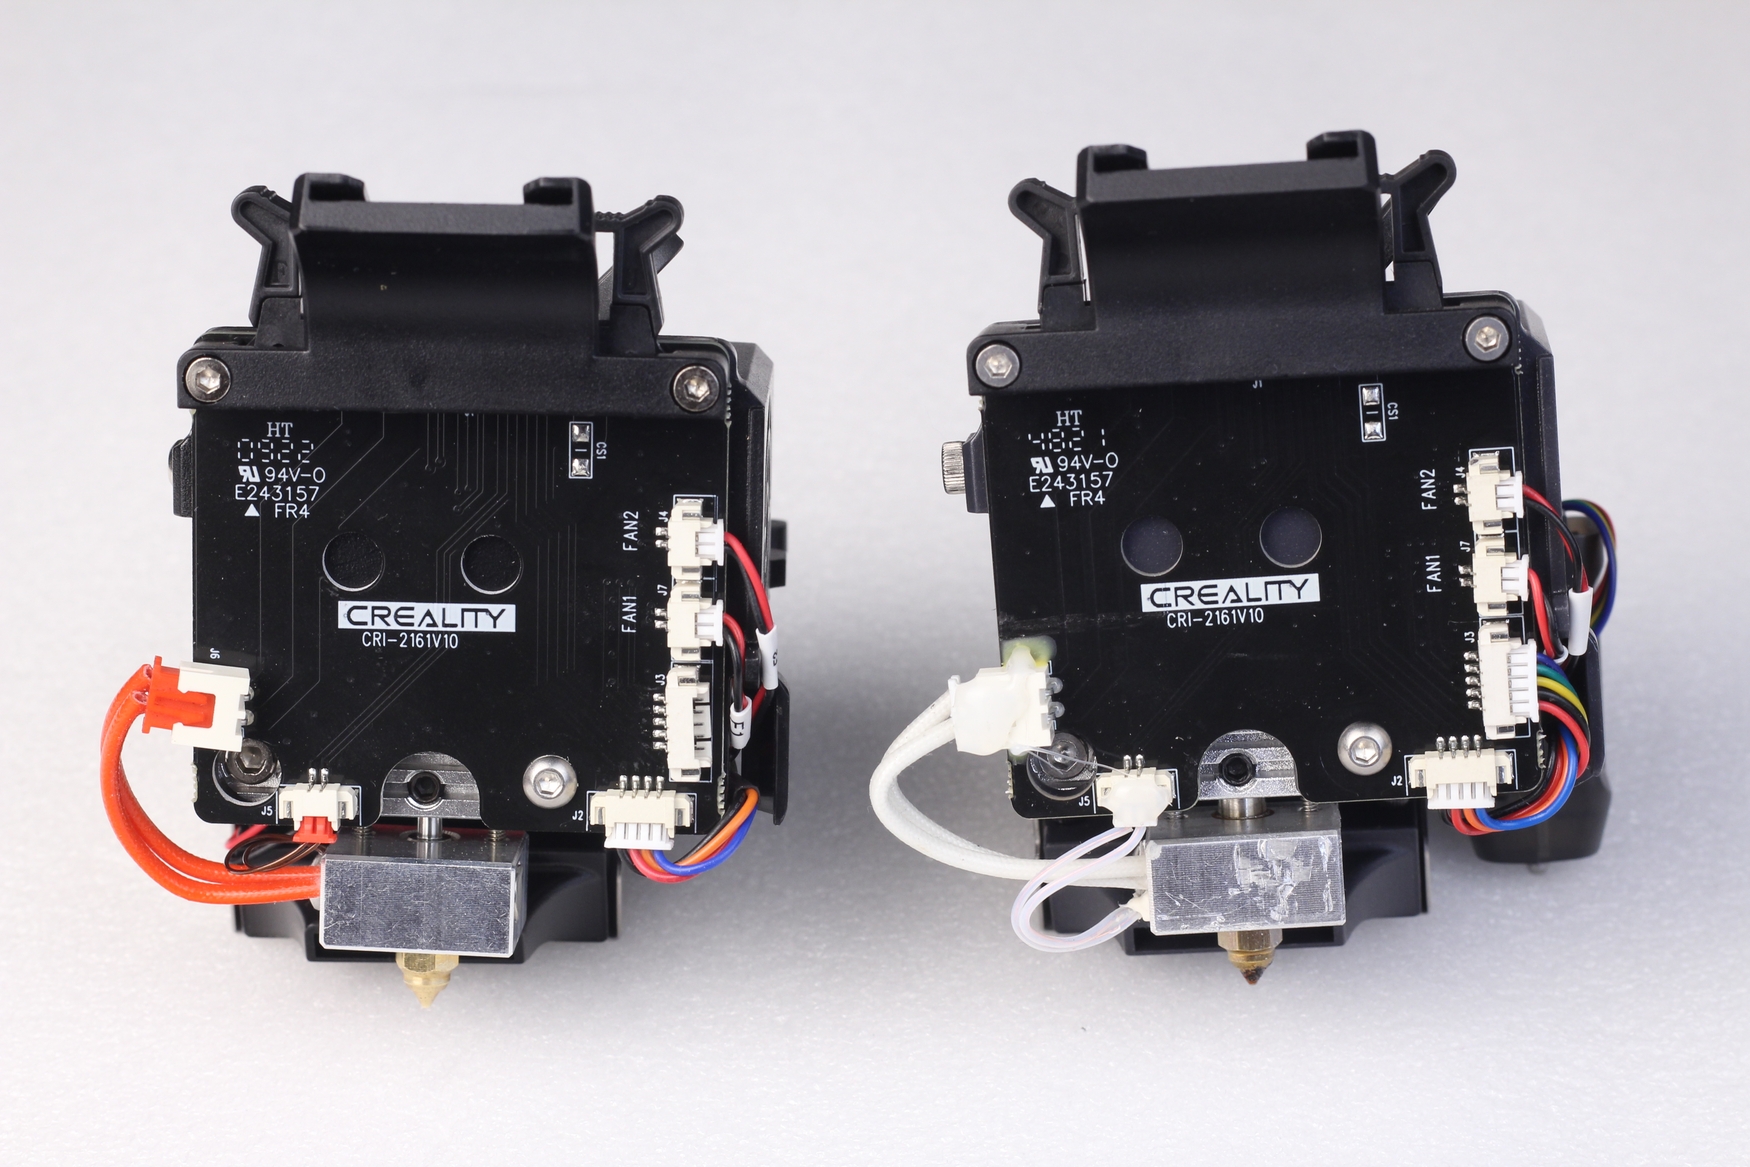
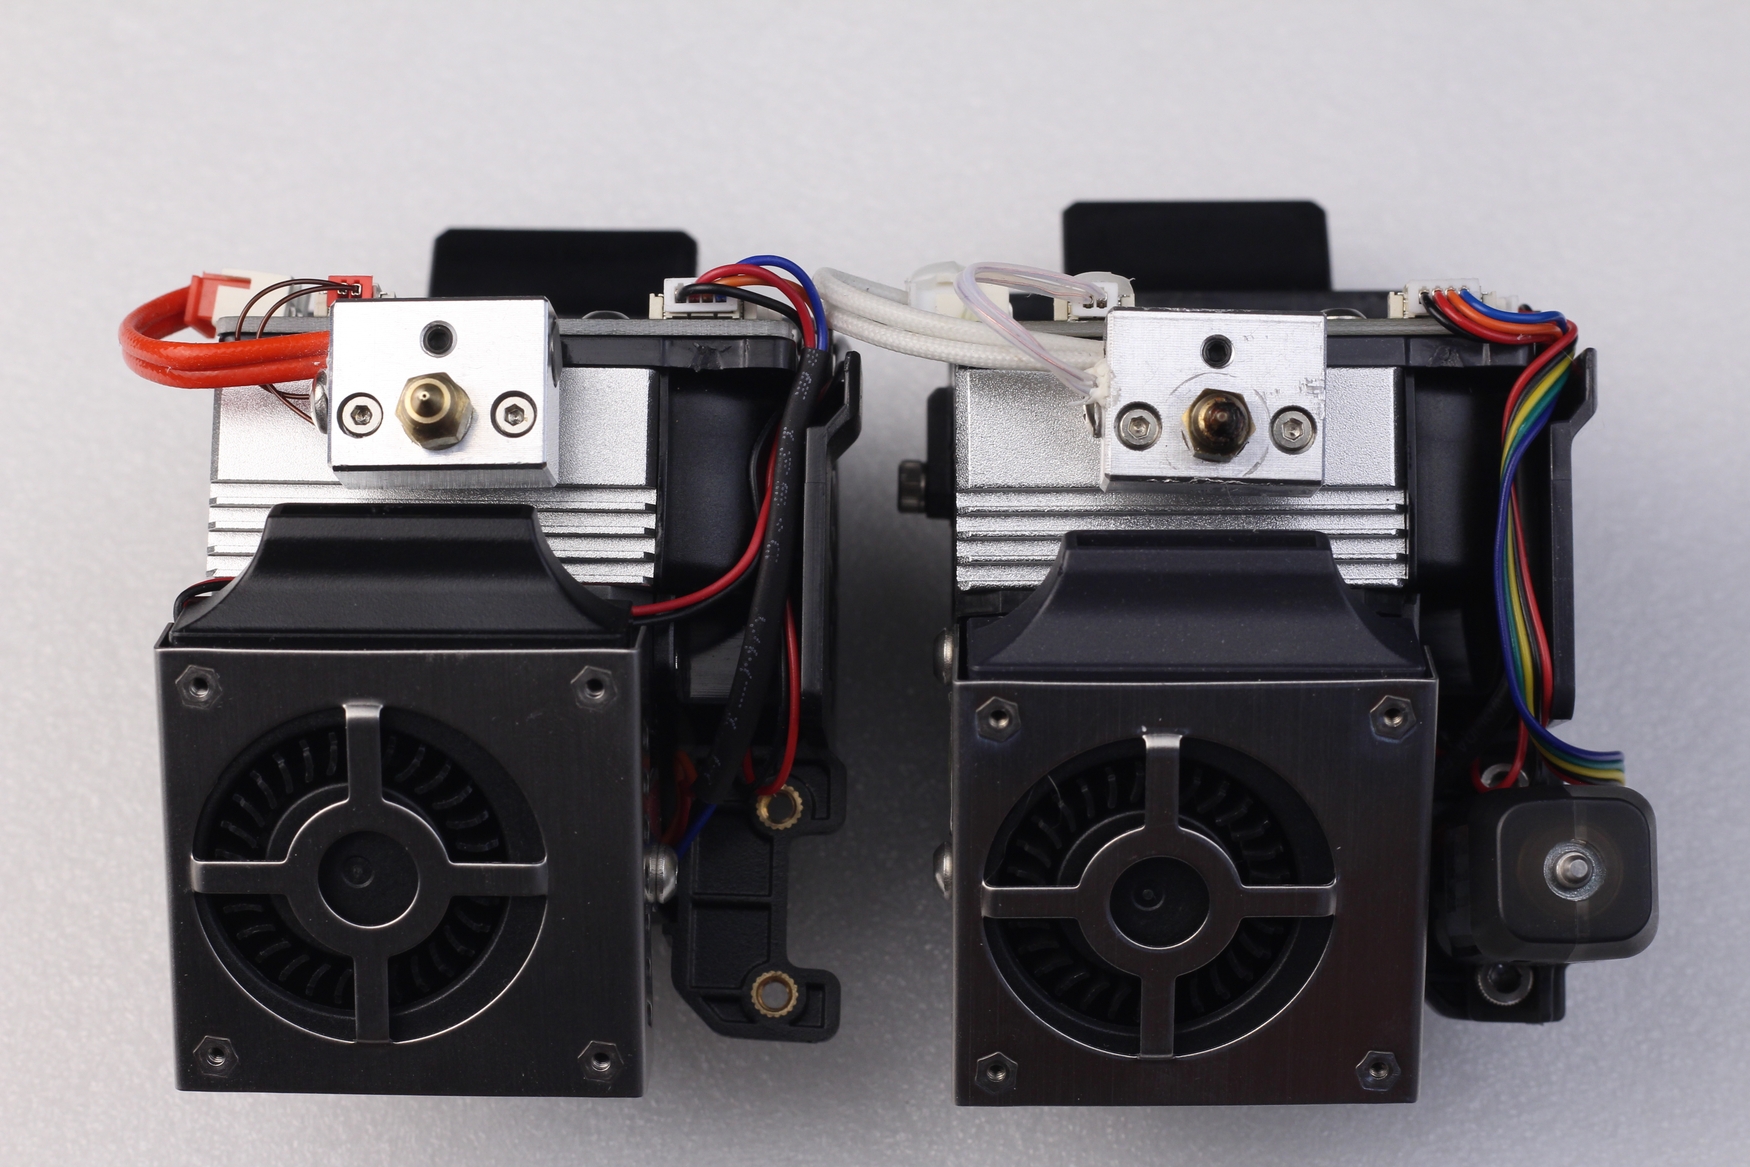
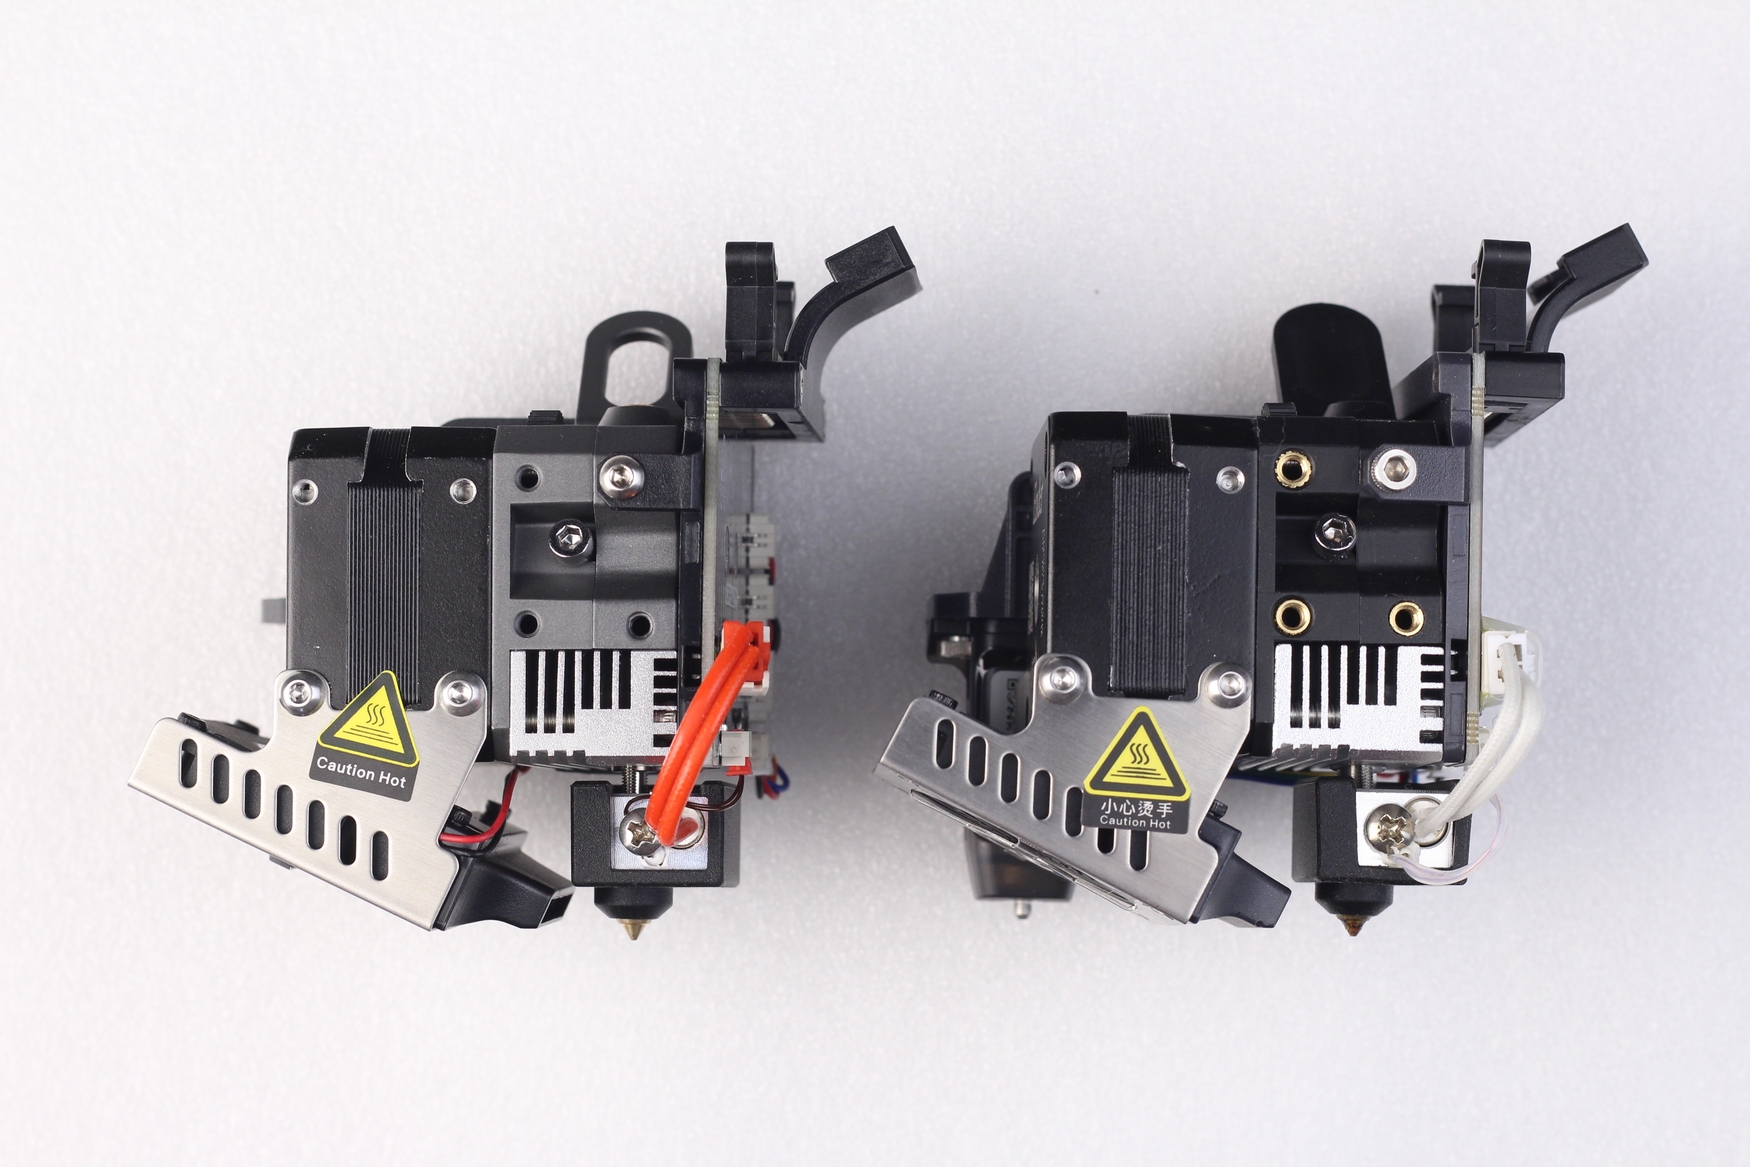
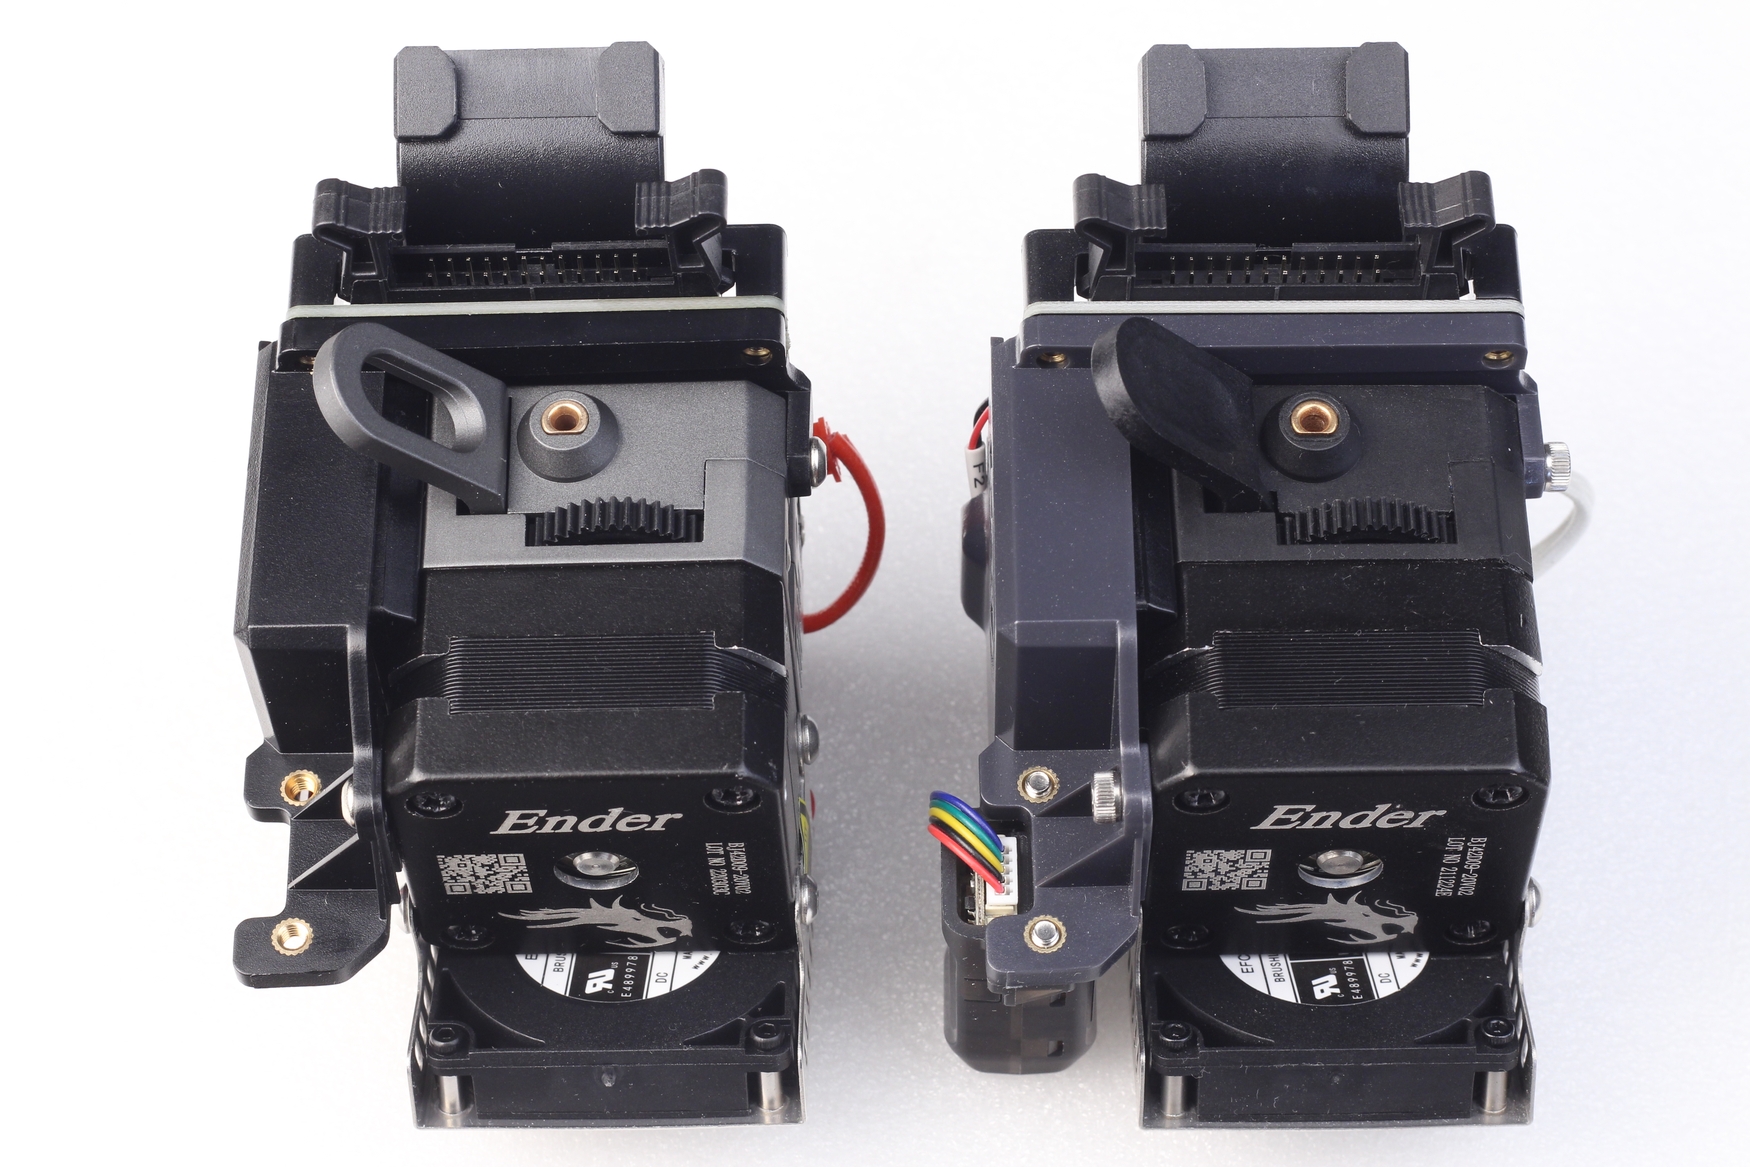
If you already have an Ender 3 S1 printer, and want to upgrade your machine, I recommend checking my Ender 3 S1 Upgrades article.
There is no reason to replace the whole Sprite extruder with the Pro version if you only want to improve thermal performance and eliminate maintenance from time to time, to replace the PTFE tube.
Instead, I recommend simply purchasing a bi-metal or titanium heat break and performing the upgrade. You can get the whole hotend assembly which comes with a copper-plated heat block if you want to do the swap easier or have a spare.
Of course, there’s no reason to purchase the regular extruder if you have a different printer, and you want to upgrade to the Sprite Extruder. The Pro version is worth the price difference for a new user.
Printing Performance of the Sprite Pro Extruder
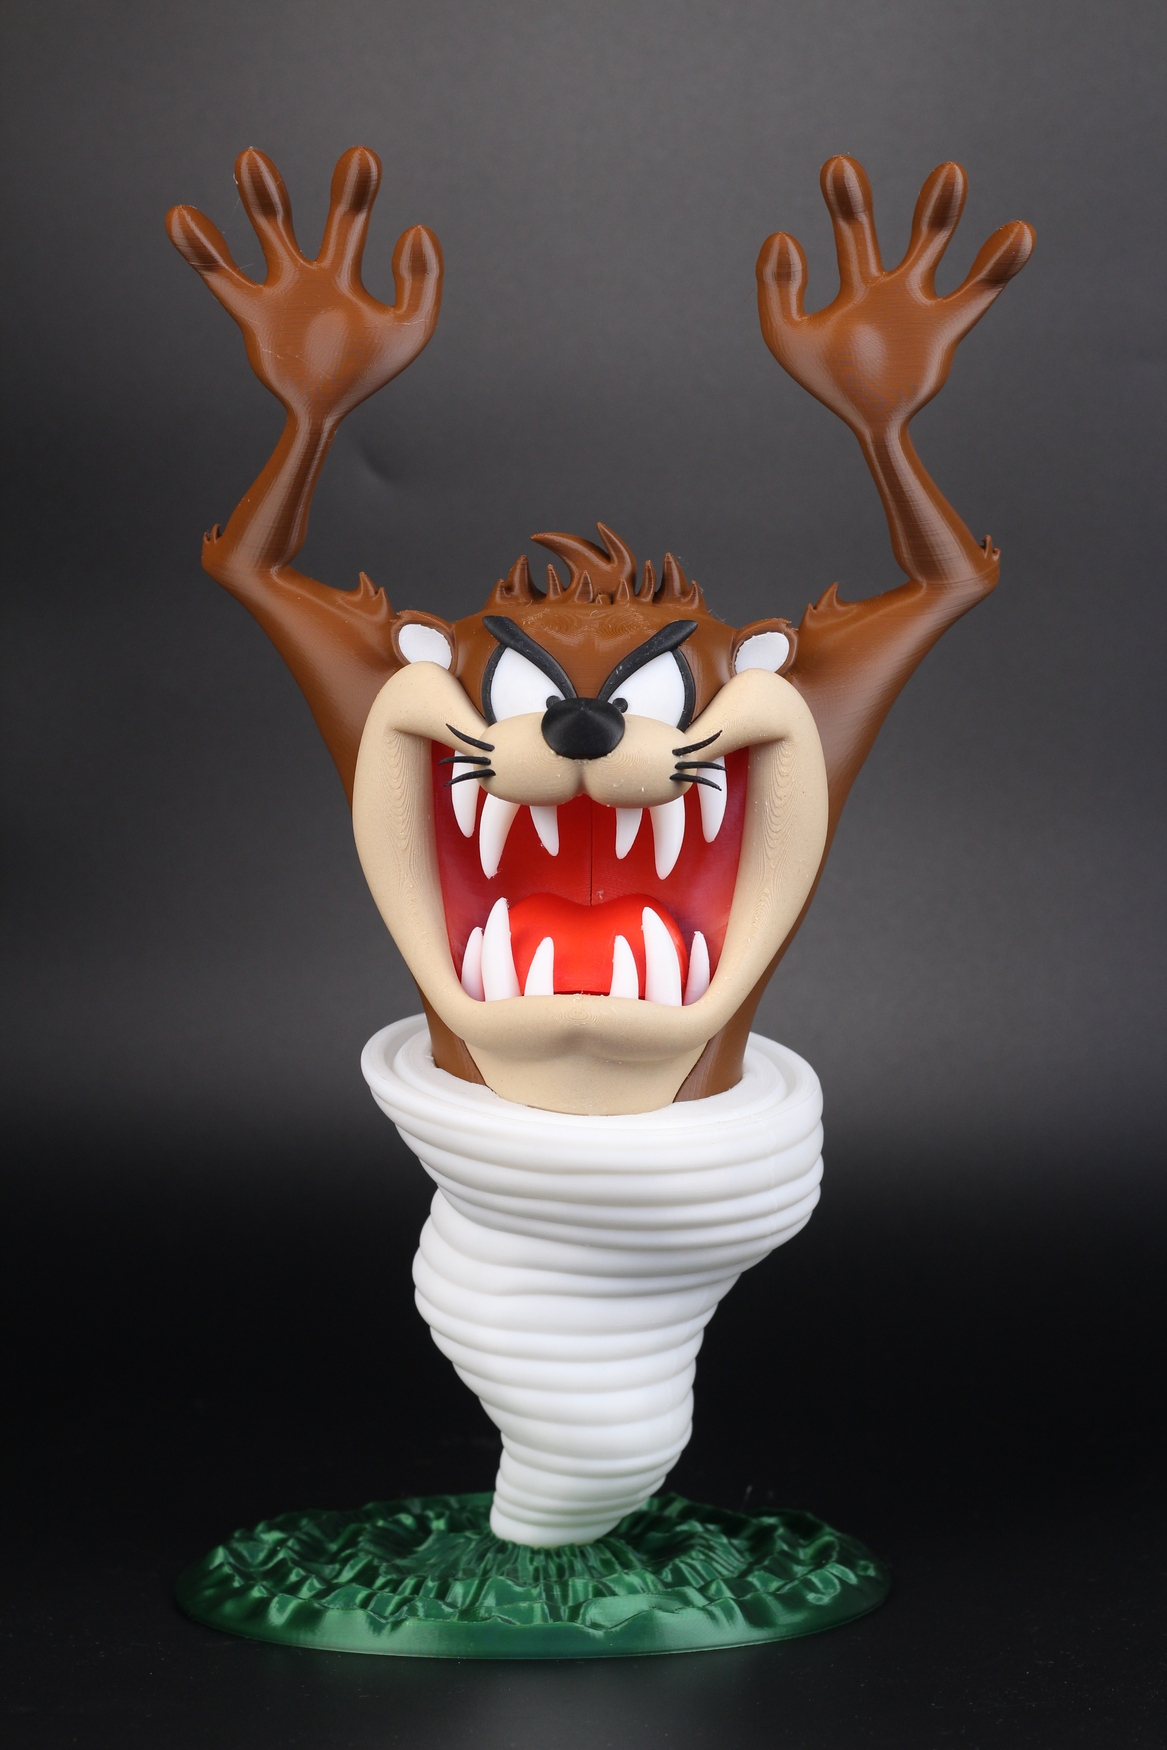
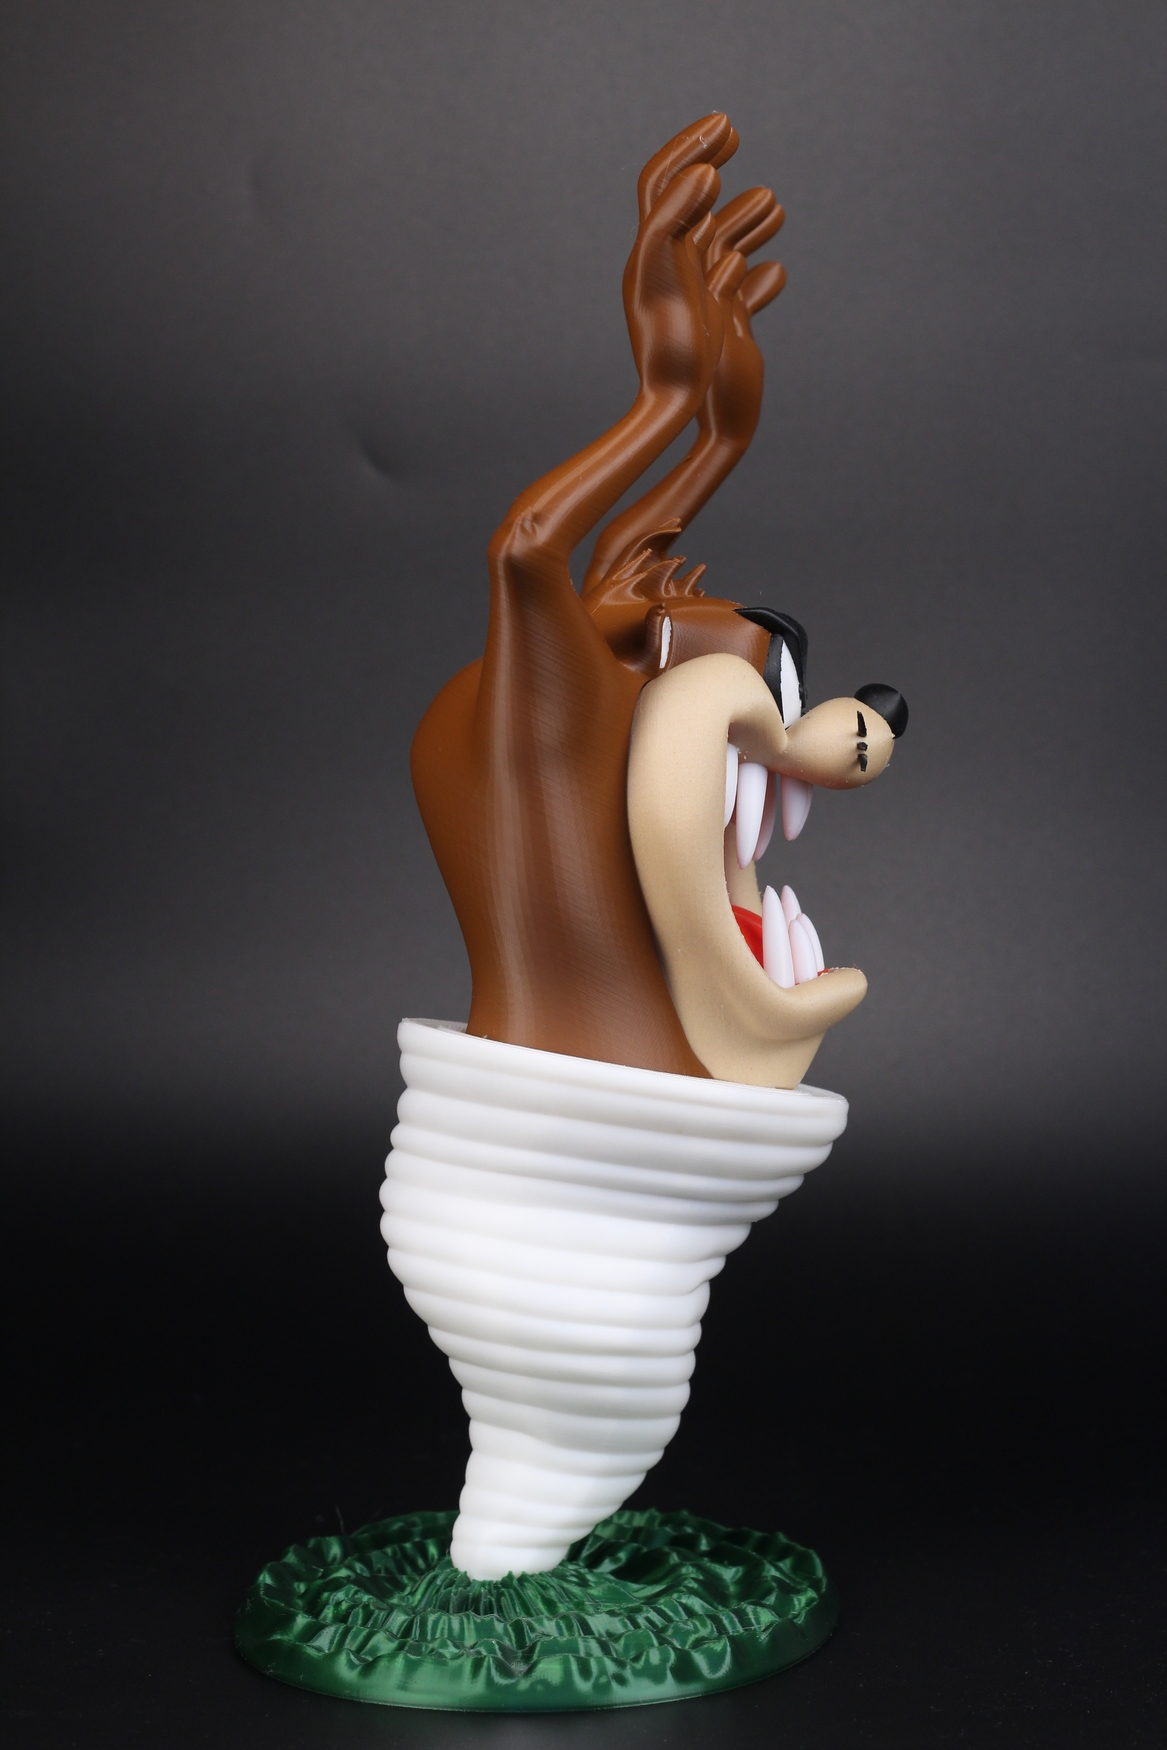
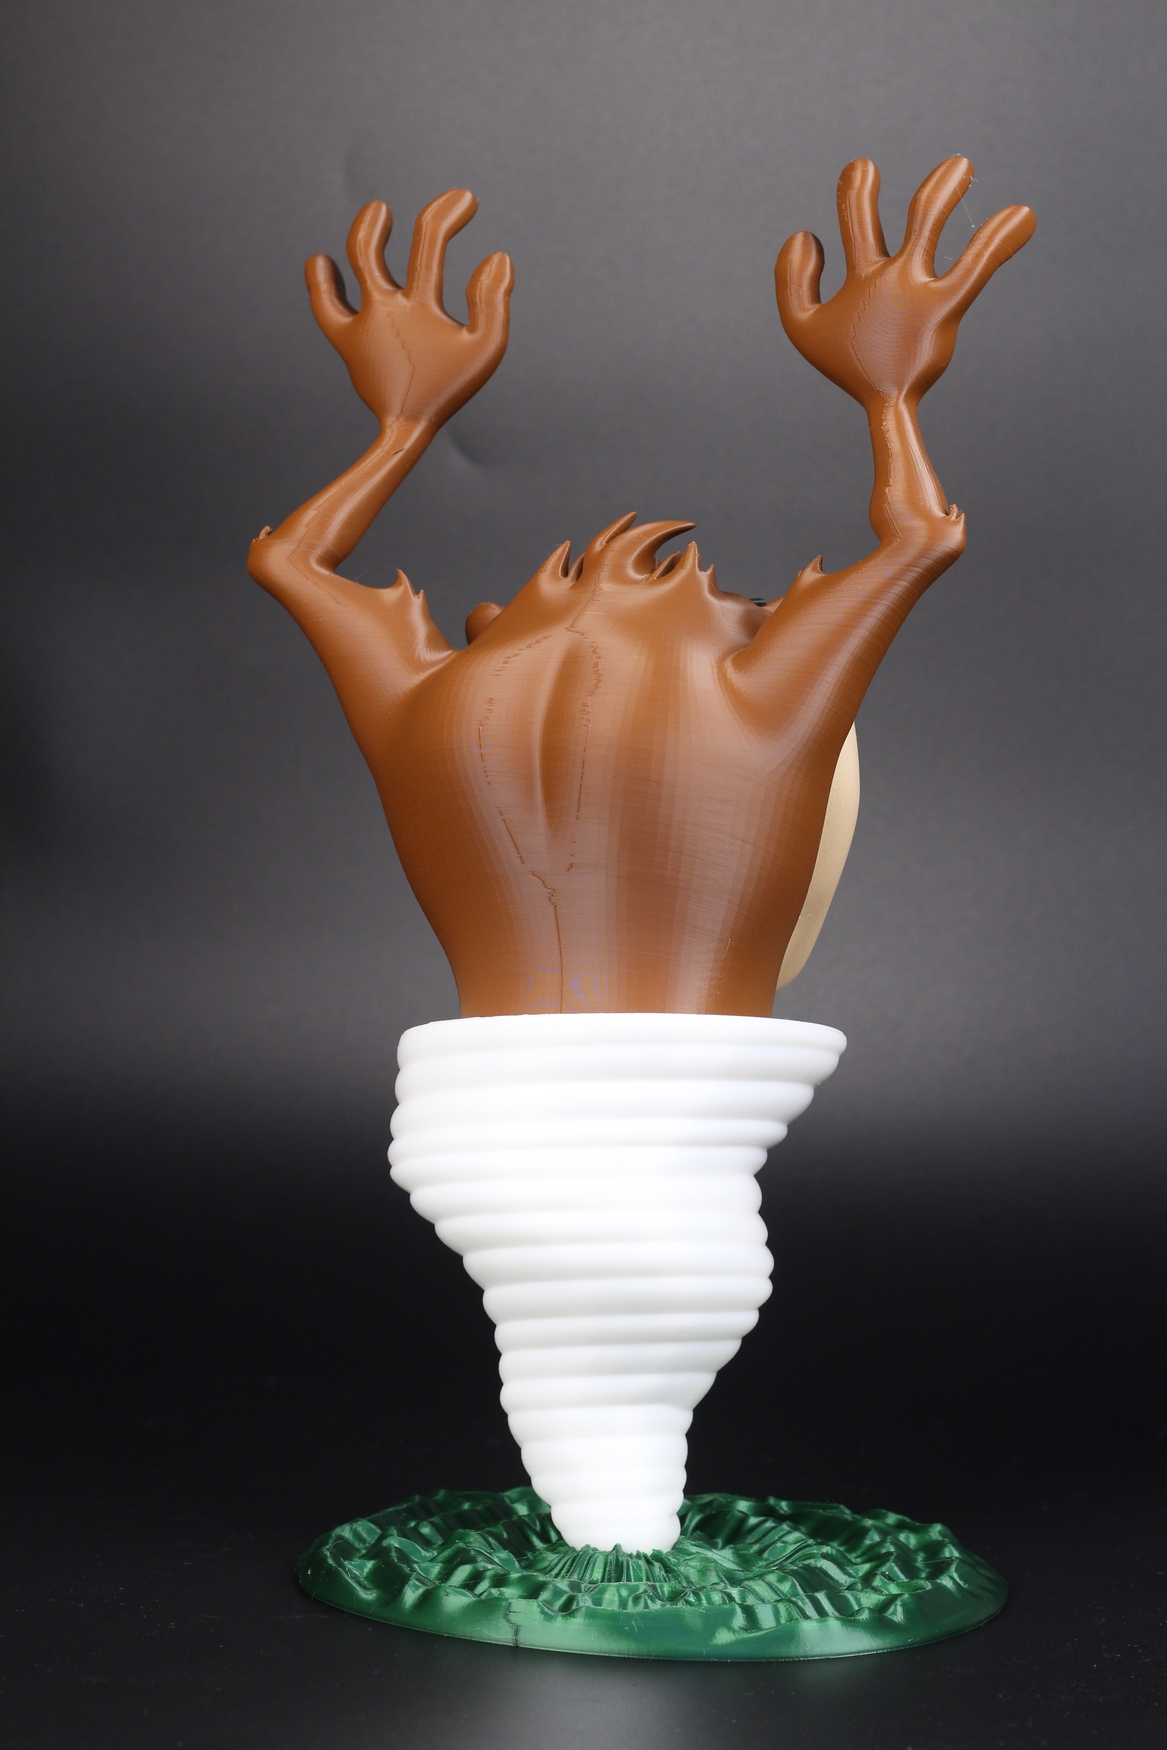
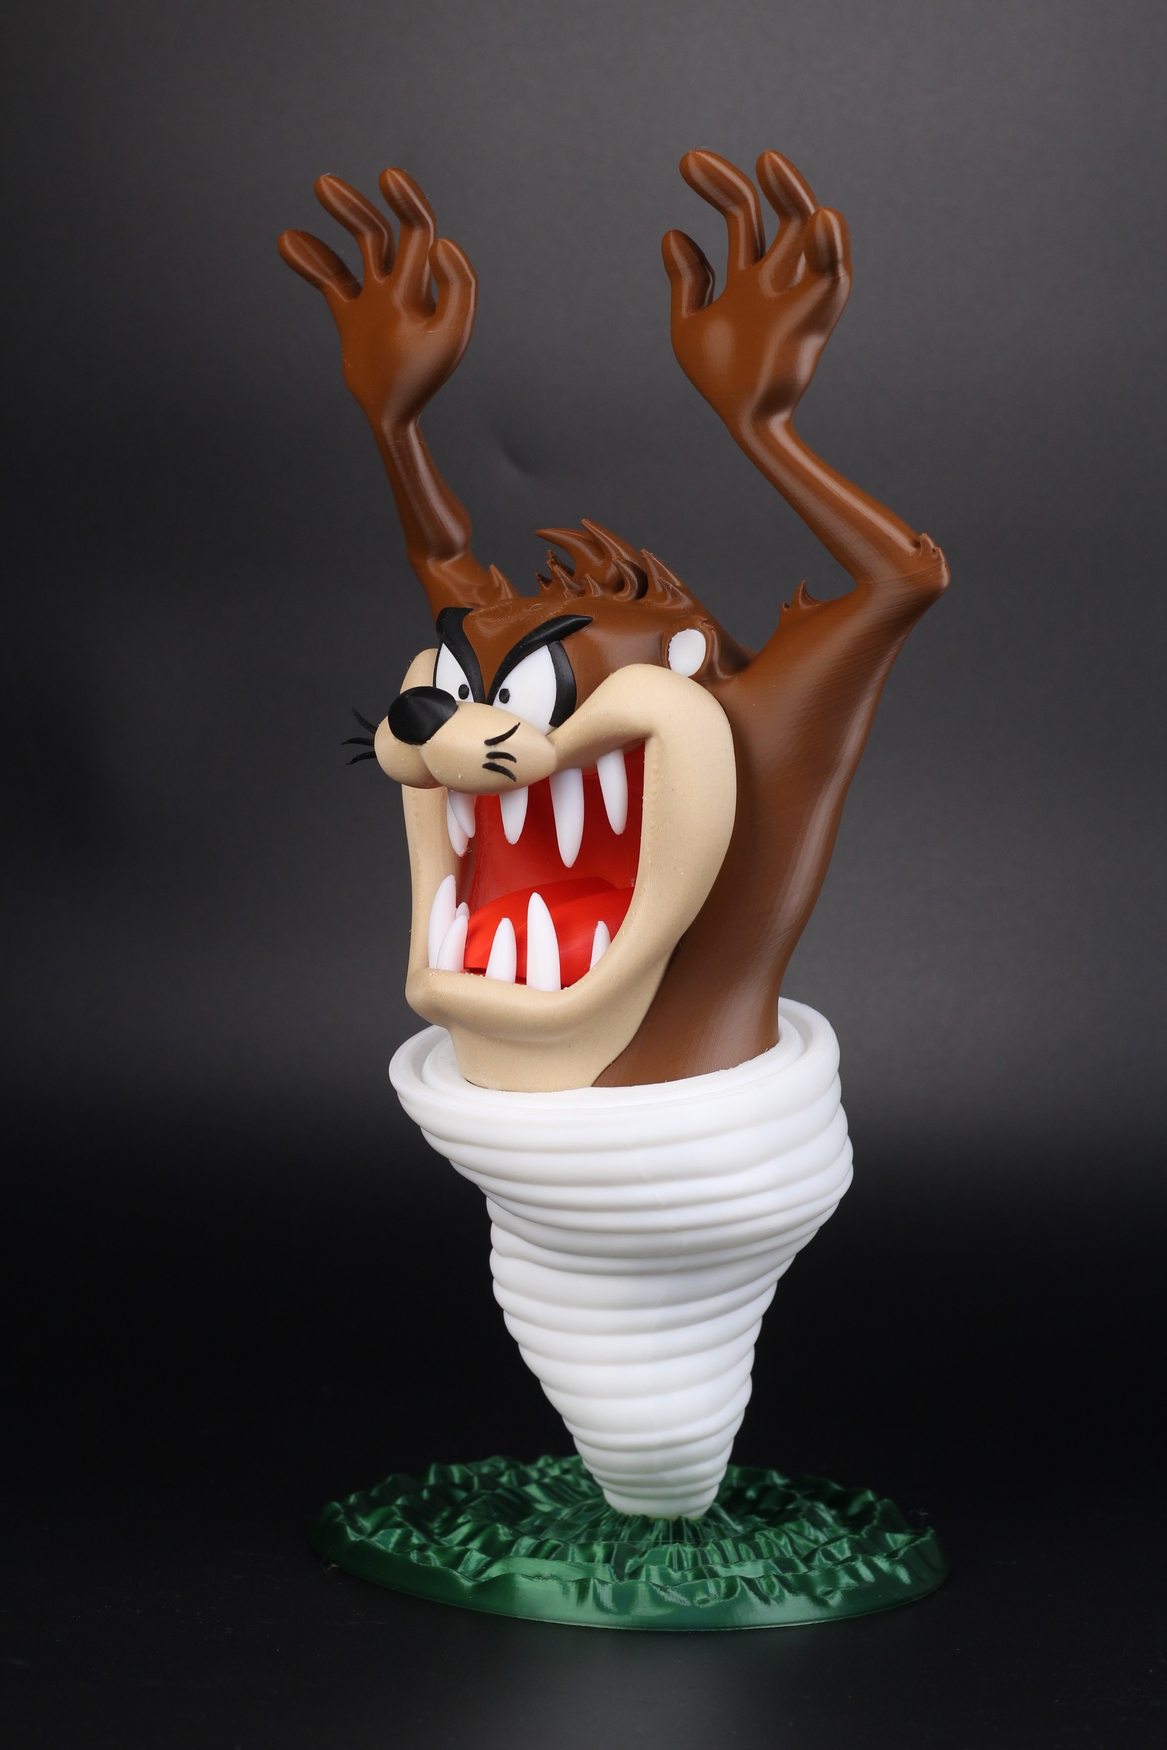
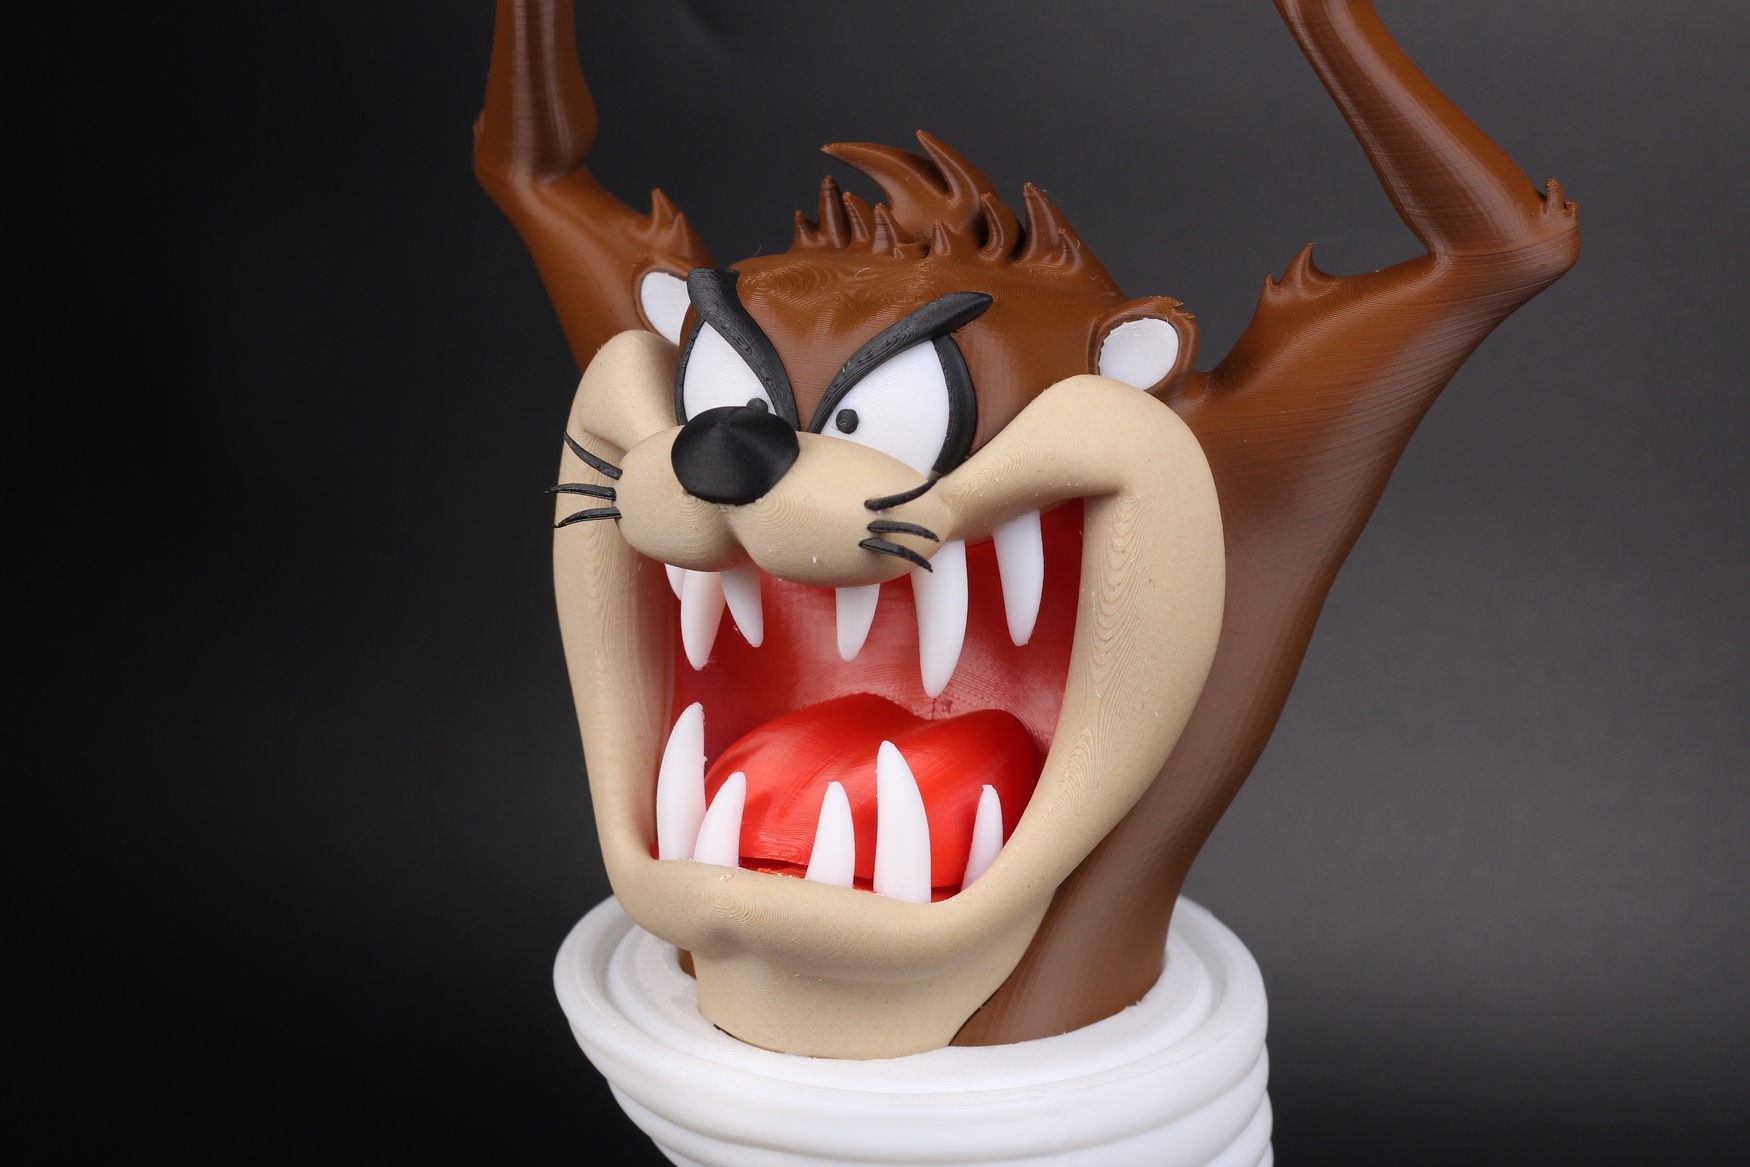
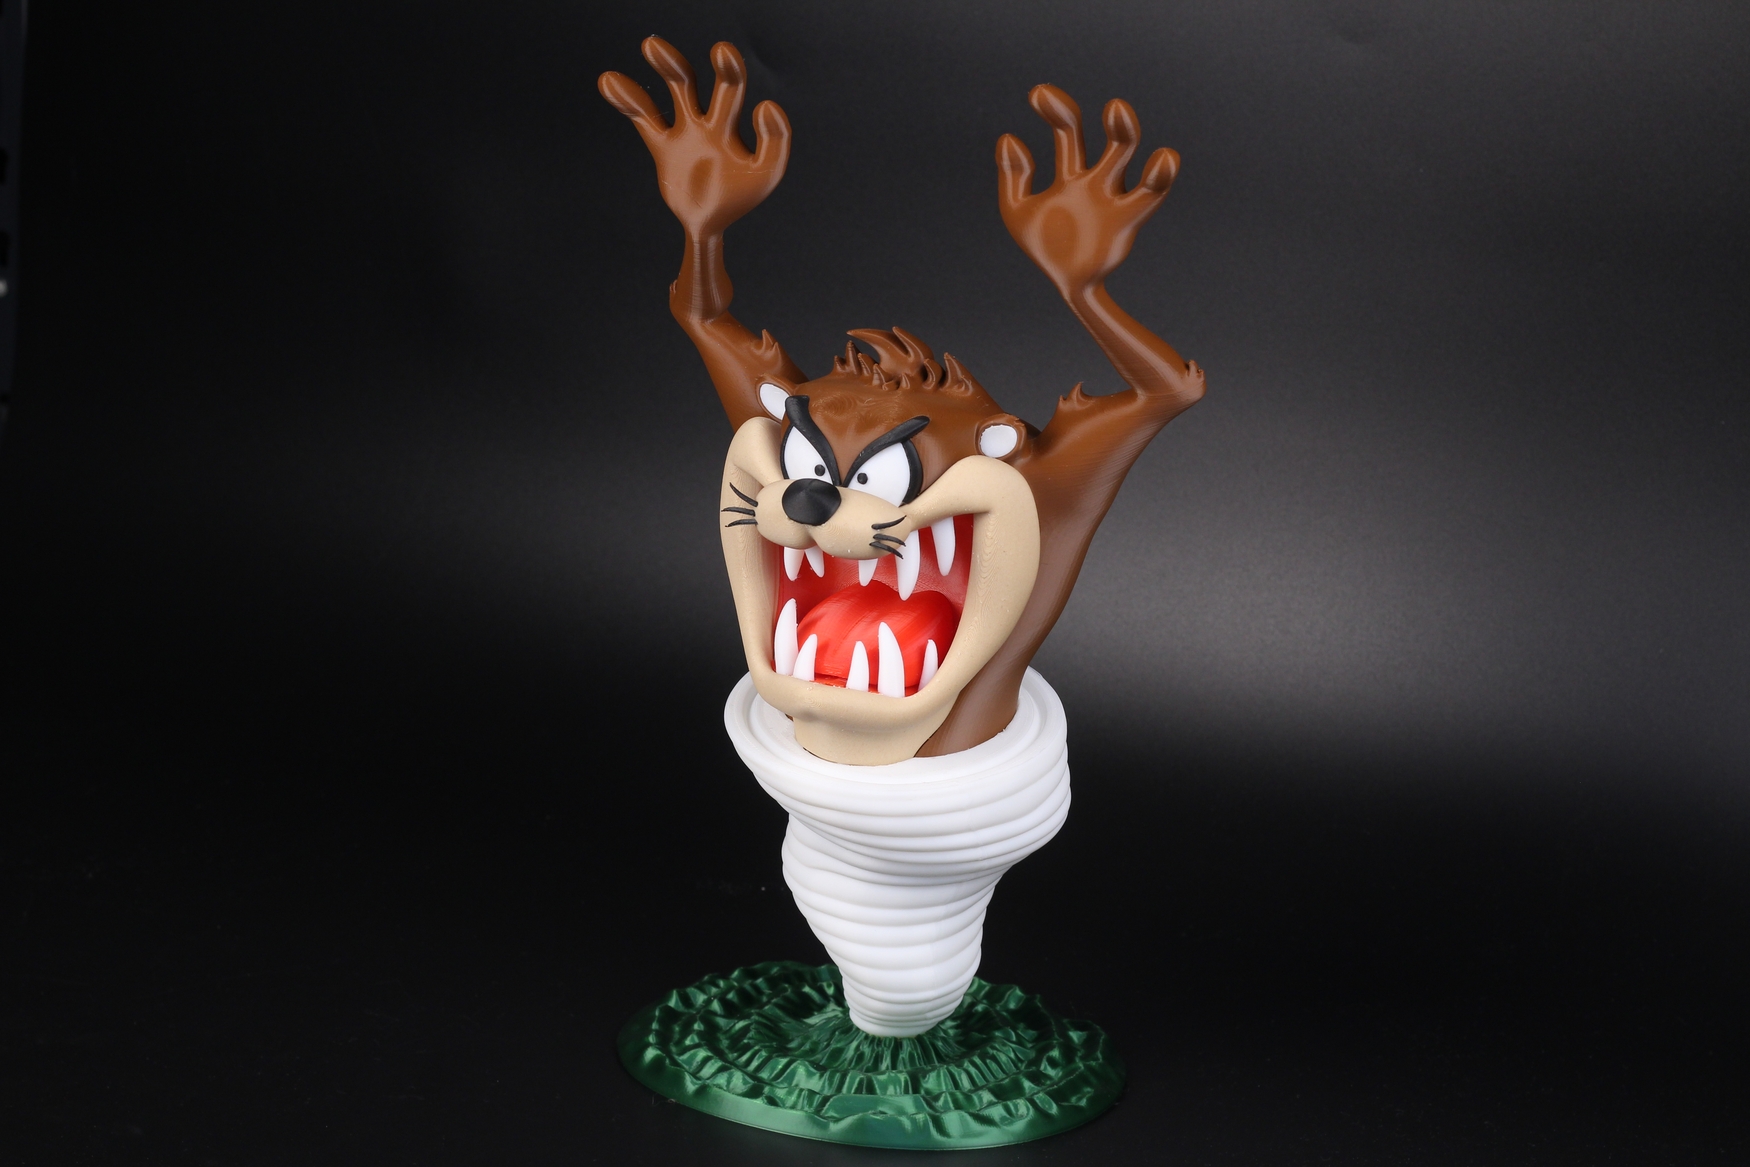
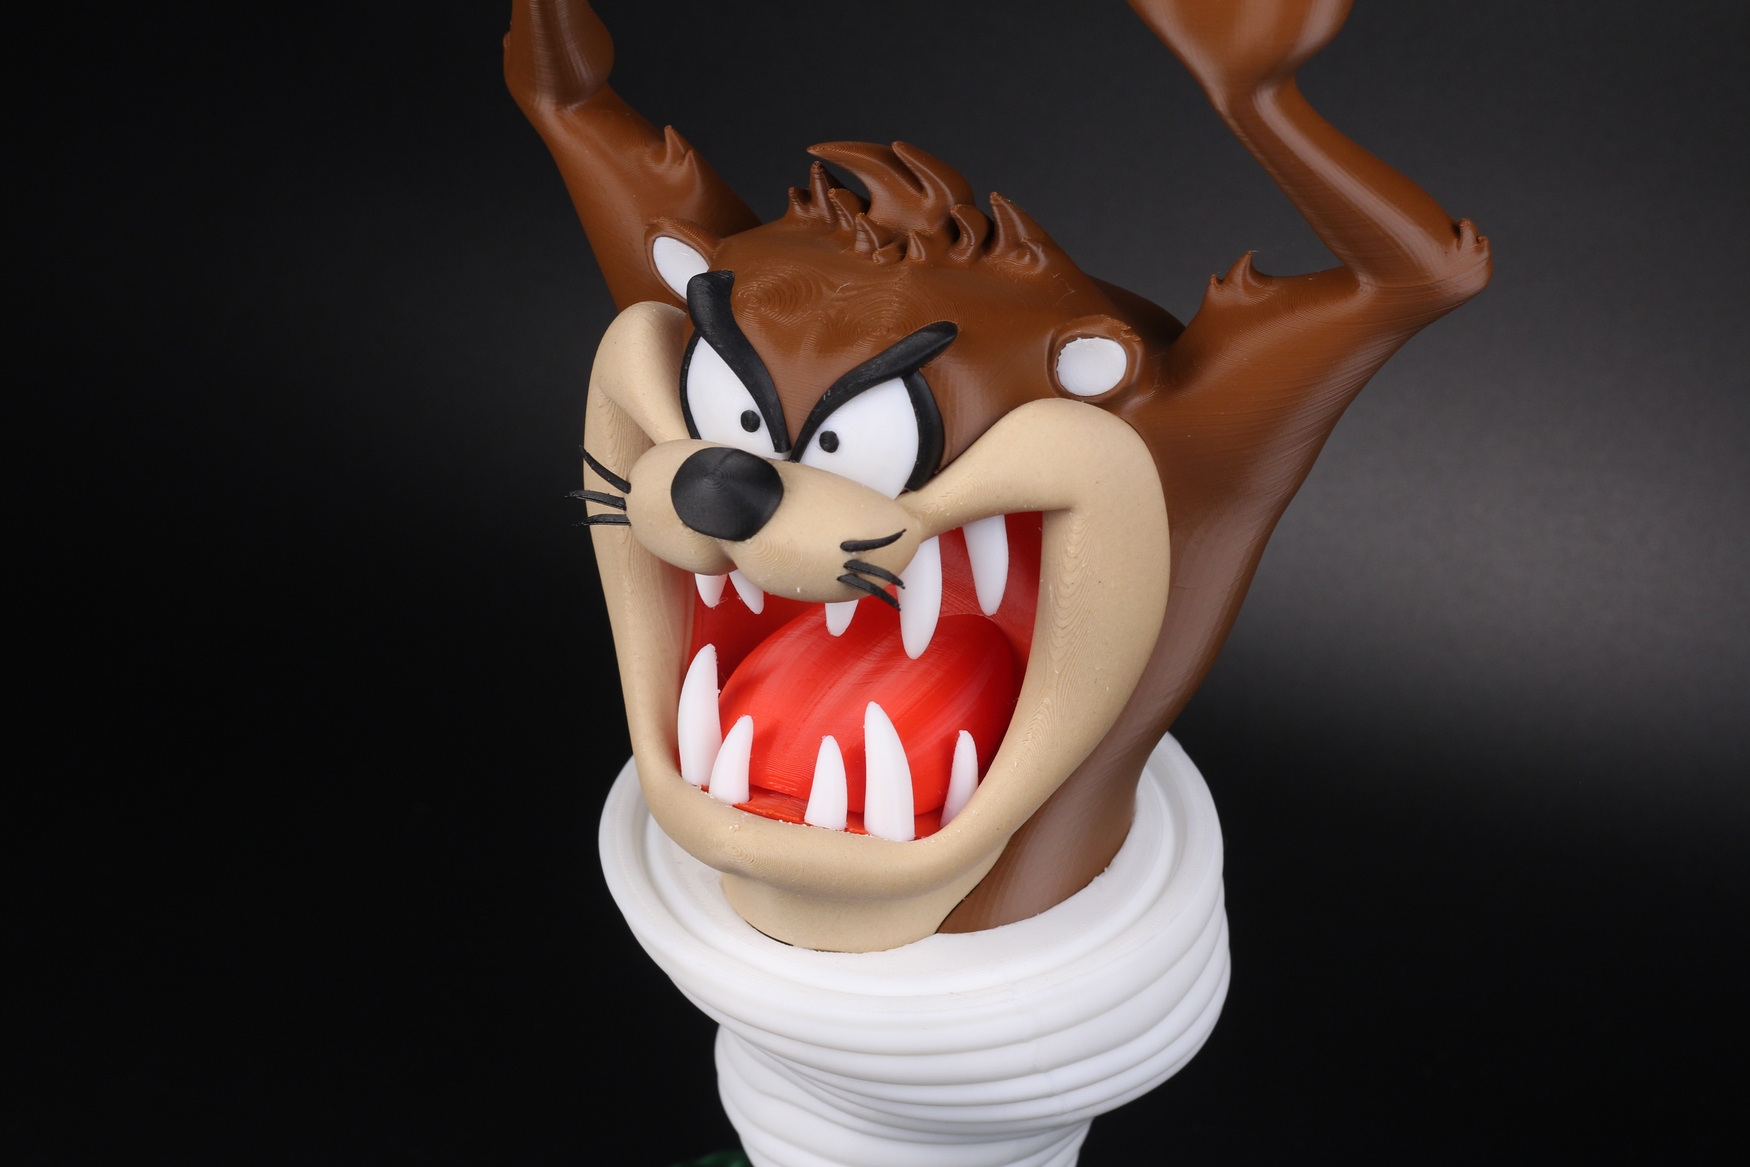
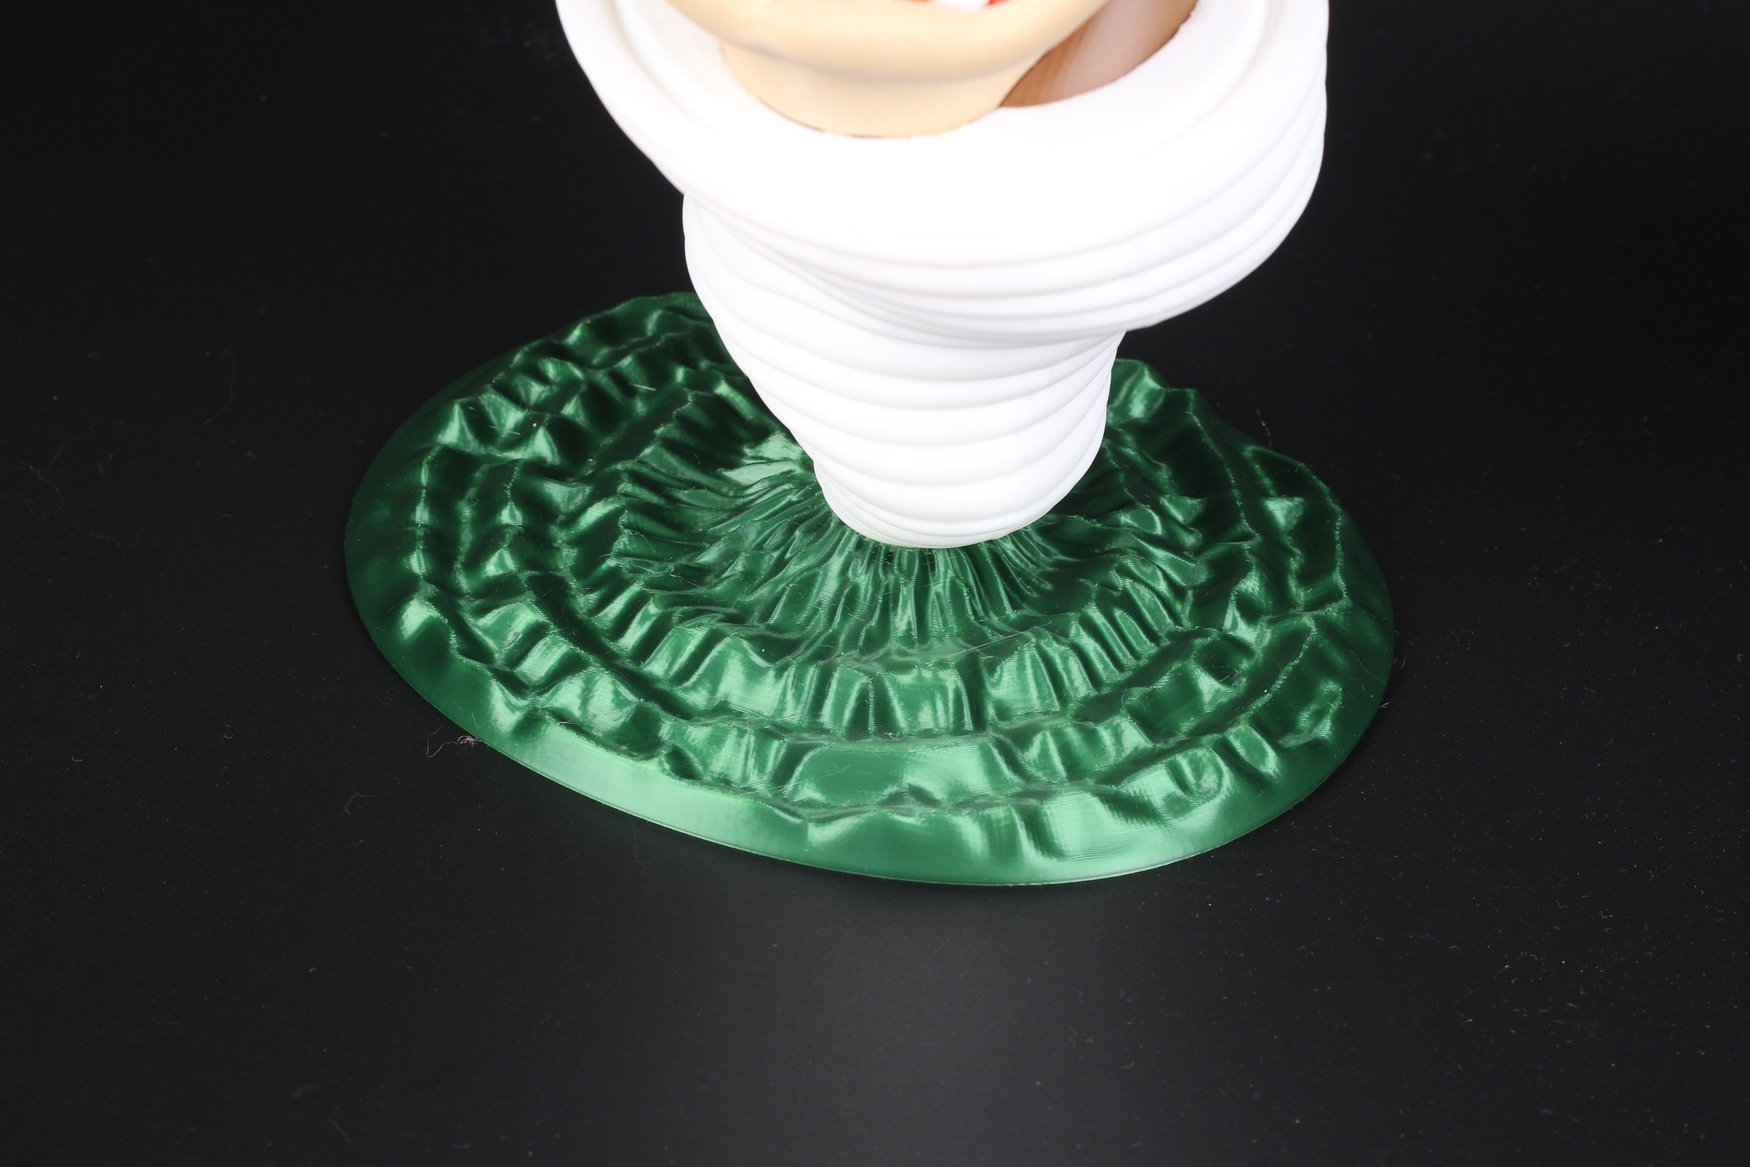
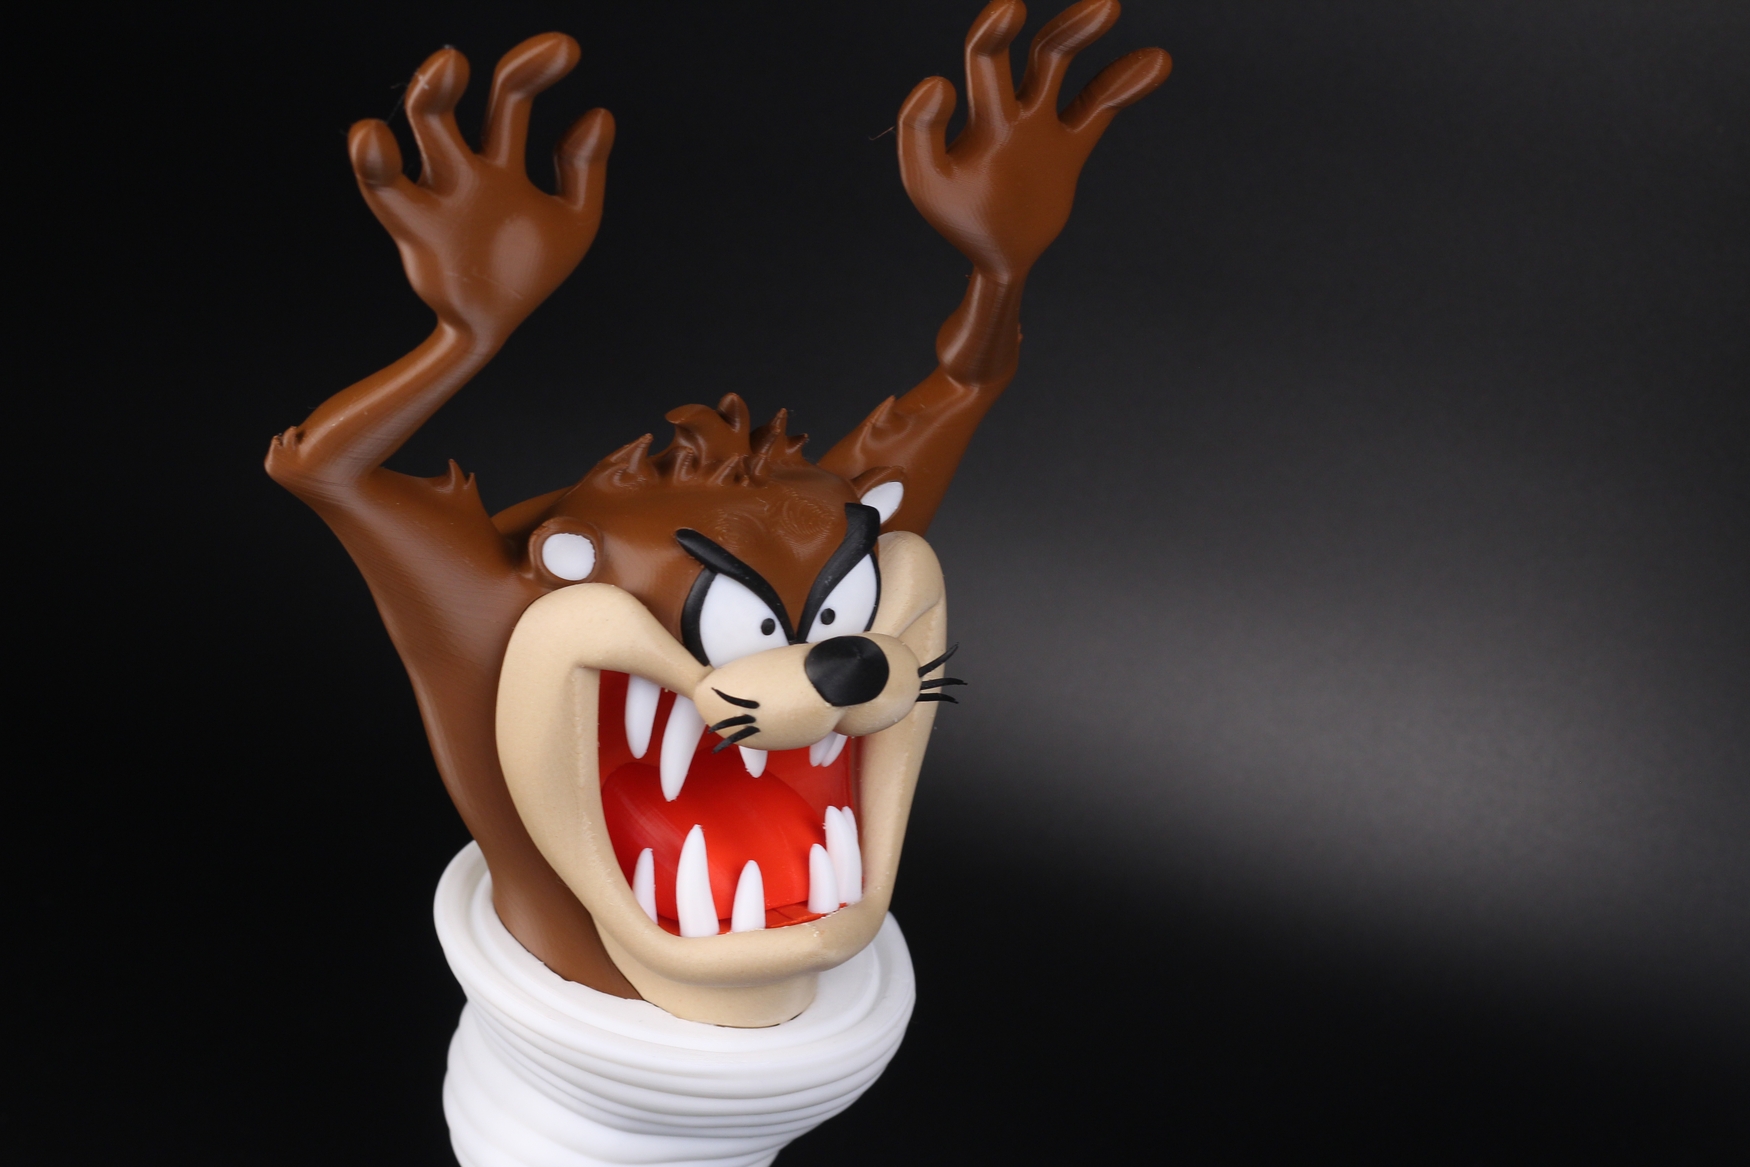
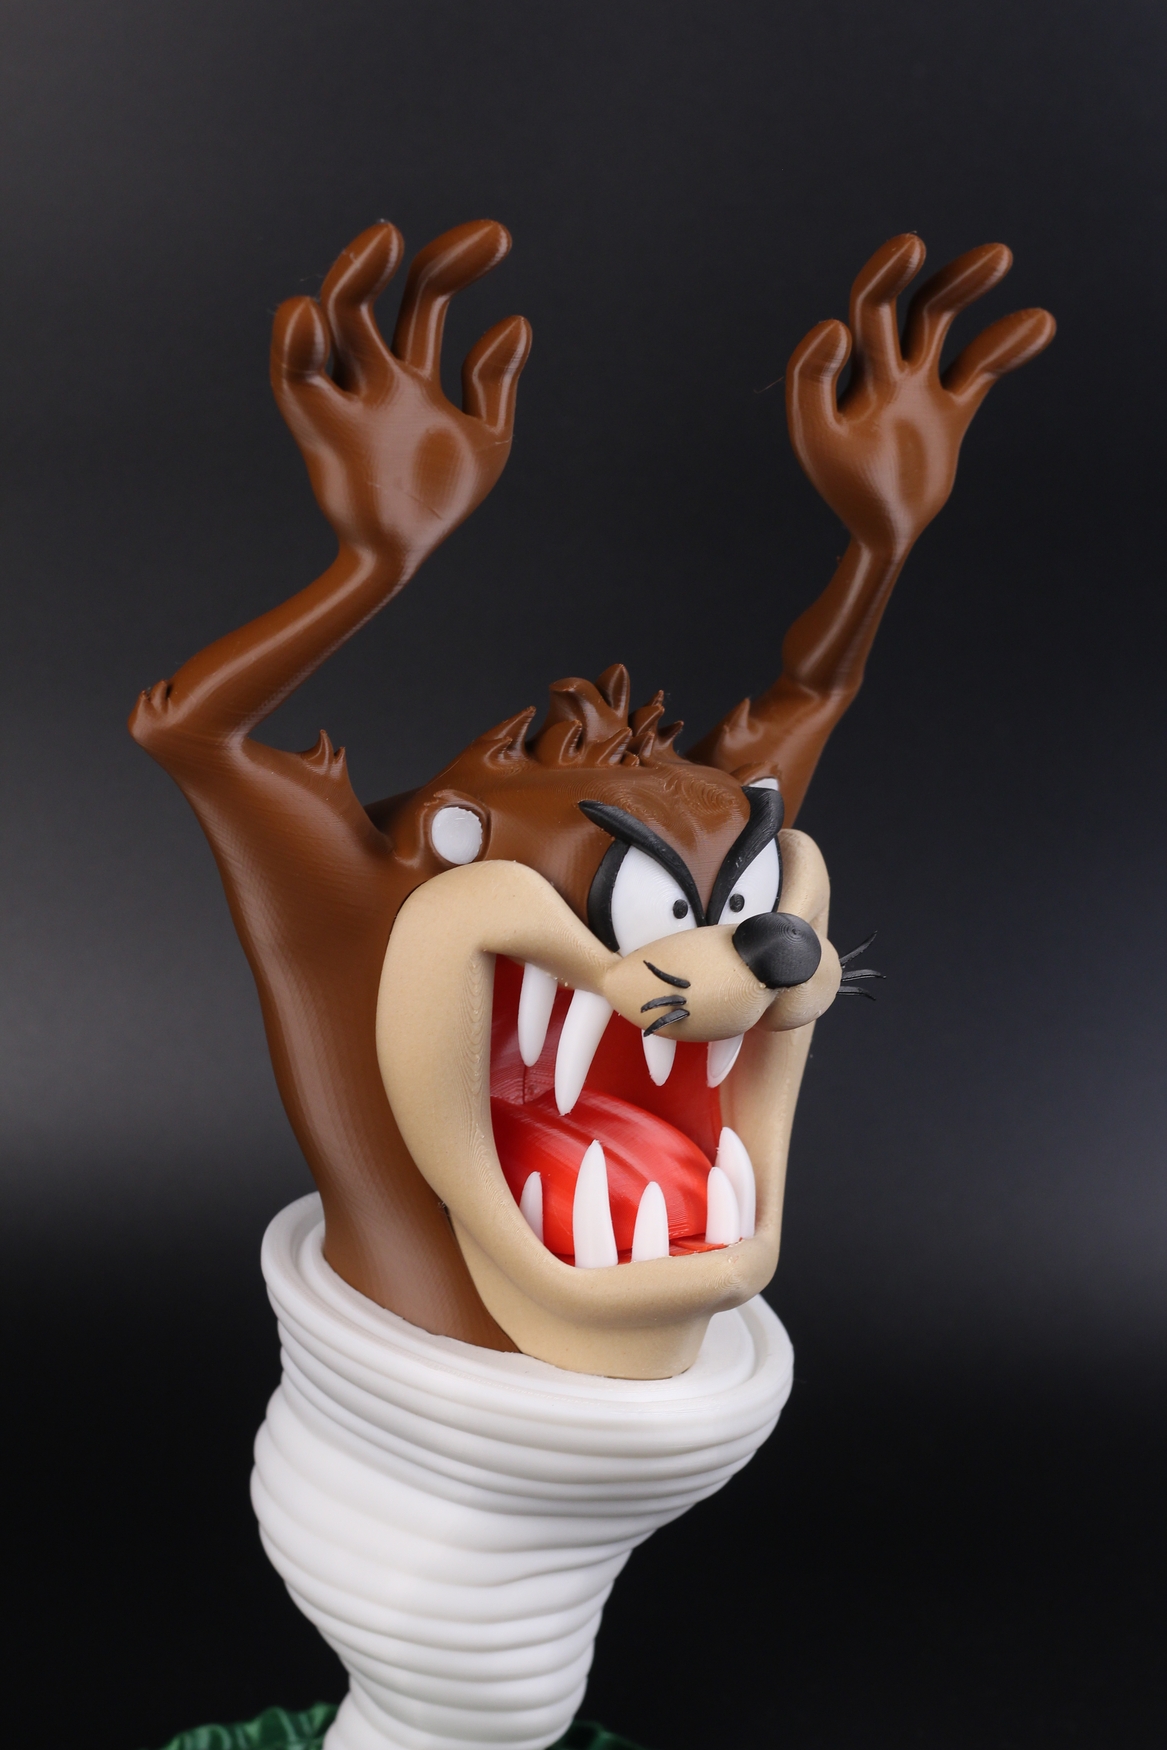
To test the extrusion performance of the Creality Sprite Extruder Pro, I printed this awesome Tazmanian Devil from reddadsteve on Printables. I used a range of PLA filaments with various layer heights, from 0.12mm to 0.2mm.
As you can see, the extrusion is very consistent and the results are excellent so there’s no denying that this extruder does a good job. There are some sections with inconsistent extrusion sections, but we’ll talk about those in another article. It’s not an issue generated by the extruder.
Conclusions: Is the Creality Sprite Pro Extruder worth it?
Right now, you can get the Creality Sprite Pro Extruder with the upgrade kit for about 100 USD, and the standalone extruder for about 85 USD. It’s not cheap, but considering that you get a well-made extruder with pre-made wiring and an installation bracket, it’s kind of a fair price for the upgrade kit. The price for the standalone extruder is somewhat similar to other direct-drive extruders like BIQU H2 or NF Sunrise
It’s a complete direct drive print head with good printing performance, capable of reaching up to 300C. And probably the most important feature is the easy upgrade path for Creality machines. You can easily install this on most Ender 3s in less than 30 minutes. On other machines, the time required for the upgrade should be similar and you will probably spend more time building a new firmware to accommodate the changes.
I will use the Sprite Pro Extruder for a longer period of time, and I will update the article if I find other issues. But right now, I think it’s a great direct drive extruder upgrade for any Creality printer.
I will probably follow up with an installation guide on one of my bowden 3D printers to guide you with the installation steps.
Creality Sprite Pro Rating
Design
Performance
Ease of use
Price
The Creality Sprite Pro Extruder is a good upgrade for most Creality machines running a bowden setup, improving extrusion quality and printing temperature without breaking the bank.
Where to buy the Creality Sprite Pro Extruder
The Creality Sprite Pro Extruder can be purchased from the following websites:
AliExpress
Amazon
Creality3DOfficial
Geekbuying – Discount Code – GKBCA04 and GKBCA05
I recommend checking out the Discount Codes page before purchasing. I regularly update the article with discount codes for various online shops, and you might find one for this particular model.
The Creality Sprite Pro Extruder was provided free of charge by Creality3DOfficial for the purpose of this review. While the article includes affiliate links, all opinions are my own. Nobody reviewed the article before it was posted, following the Review Guidelines.
Liked it?
|
|




The plastic body from regular sprite extruder can cause some problema?
Is it important to change to metal version?
I don’t think there’s a reason to change it. Maybe because if you print in an enclosure, but even then, the plastic should withstand it.
Purchased the sprite kit for my Creality 3 Pro. It is installed easily, but when the extruder is attached (using the four screws provided) it is turning about 4 degrees clockwise (left side pulls away), so it is not square with the backboard. It appears the mounting arm is bent to the right. New out of the box.
Is this able to be retrofitted. to a cr-10 smart, and if so any tutorials?
You should be able to install it on any printer, as long as you wire it correctly.
But I have no guide for that unfortunately
Put it in a vise to make it square. This should not be required with a new product.
I am also planning to install it on a CR10V3. The first problem I see is actually the long cable, 1.3m or so.You end up with 80cm of slack if you connect it the same way as the original one is. I am thinking about just cutting it the right size and connect it the same way as the genuine one(when/if i get it eventually). Does anyone has a good idea?
Do the heat break mounting diameters differ? The PTFE lined vs all-metal?
Does anyone have the lengths/ thread/ pitch of the bolts that hold the break out board onto the back of the extruder assembly/ heat sink? The other 3 screws all seem to be the same length, but 1 is longer. I’m thinking M2.5 x maybe 30/32mm? I literally only need 1 and don’t want to buy the wrong one multiple tiems at the hardware store (Lowes/HD)