Creality Ender 3 S1 Upgrades: Make it Pro
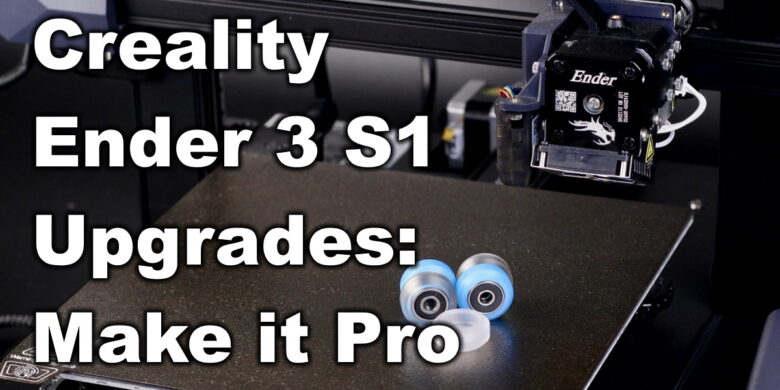
After my Ender 3 S1 review, I concluded that the S1 is a great choice when it comes to buying a 3D printer because it’s really well made and easy to use. But Creality thought it can make it even better so the new Ender 3 S1 Pro is now available.
Honestly, I think this is not a very consumer-friendly action from Creality, releasing the Pro version shortly after selling the regular S1. But it is what is. So if you are looking to upgrade your regular Ender 3 S1 and get it closer to the Pro version, then you’ve come to the right place.
In this article, I will share a few Ender 3 S1 upgrades to make your printer even better than the Ender 3 S1 Pro. But before you do any upgrade to your machine, I recommend checking out this article: 3D Printer Upgrades for Beginners: When and Why?.
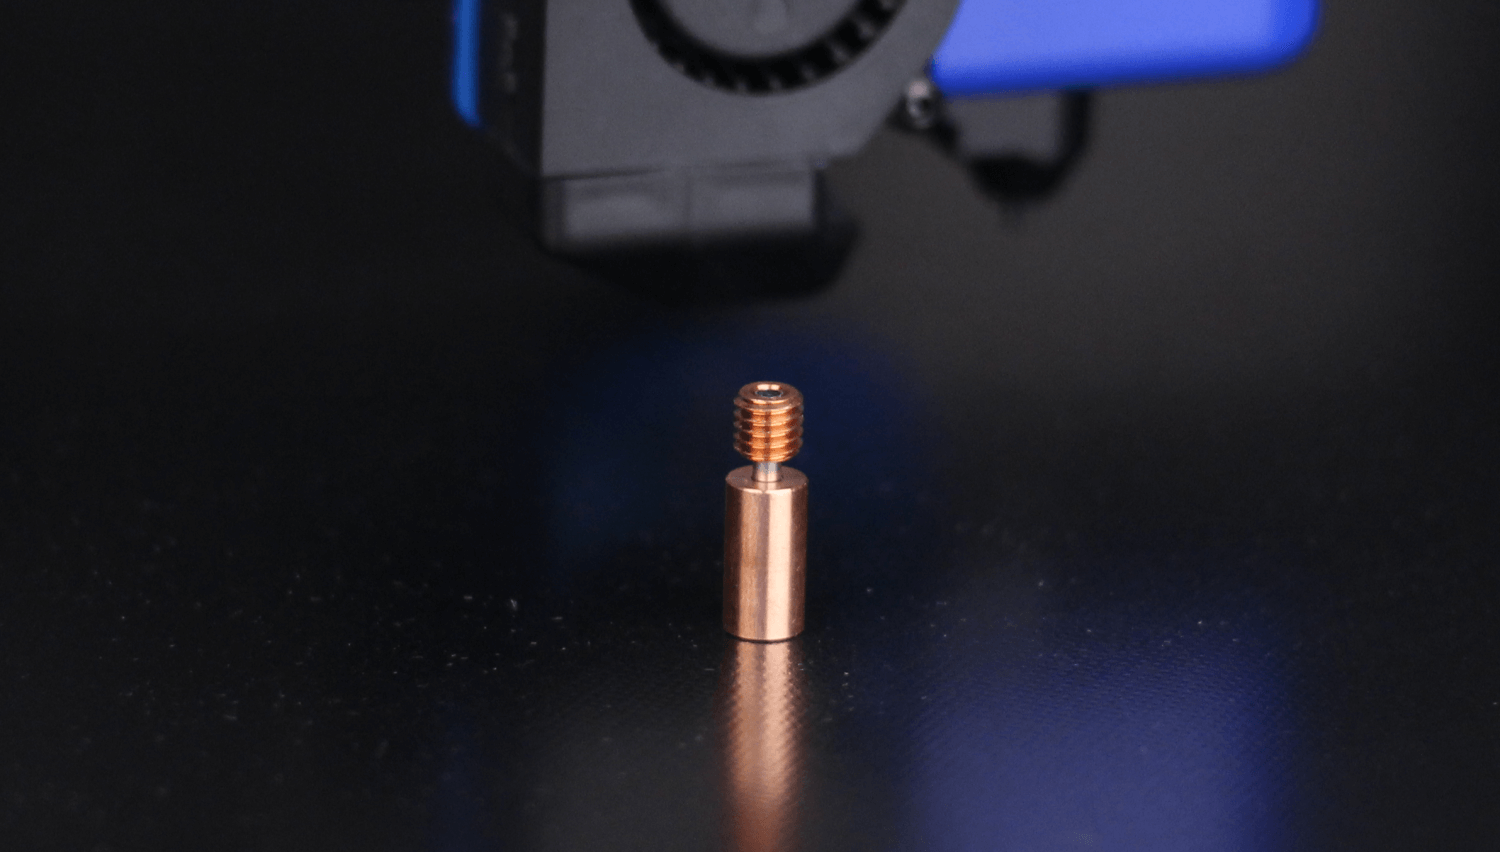
Upgrade heat break to all-metal
As you might know, the Ender 3 S1 comes with a PTFE-lined heat break, which works fine for PLA, but the tube can start to degrade after being exposed for longer periods of time to the high temperatures inside the heat block.
The main difference between the Ender 3 S1 and the Pro is the Sprite Extruder. On the S1 Pro, we get the Sprite Pro extruder which is all metal. This means that the body of the extruder is also made from metal, while the heat break is made from titanium alloy.
You could simply order the Sprite Extruder Pro and replace it (I published the Sprite Pro Extruder Review here), but a cheaper alternative would be to simply replace the heat break. Ender 3 S1 all-metal heat breaks are available as a separate purchase, bi-metal heat breaks are also available, and you can also buy the entire hotend assembly which also comes with the heater, thermistor, and a better nozzle.
This swap is easy to do and I think it’s one of the best Ender 3 S1 upgrades. After upgrading the heat break, you will be able to print higher-temperature materials without worrying about the PTFE getting damaged over time.
If you plan to only purchase the heat break, I recommend considering the copper plated heat block too. Some people report that it’s a bit hard to replace the heat break in the stock block. I had no issues doing that after I heated the block, but your mileage might vary.
Ender 3 S1 heat break links:
Amazon
AliExpress
Geekbuying
Install an LED light bar
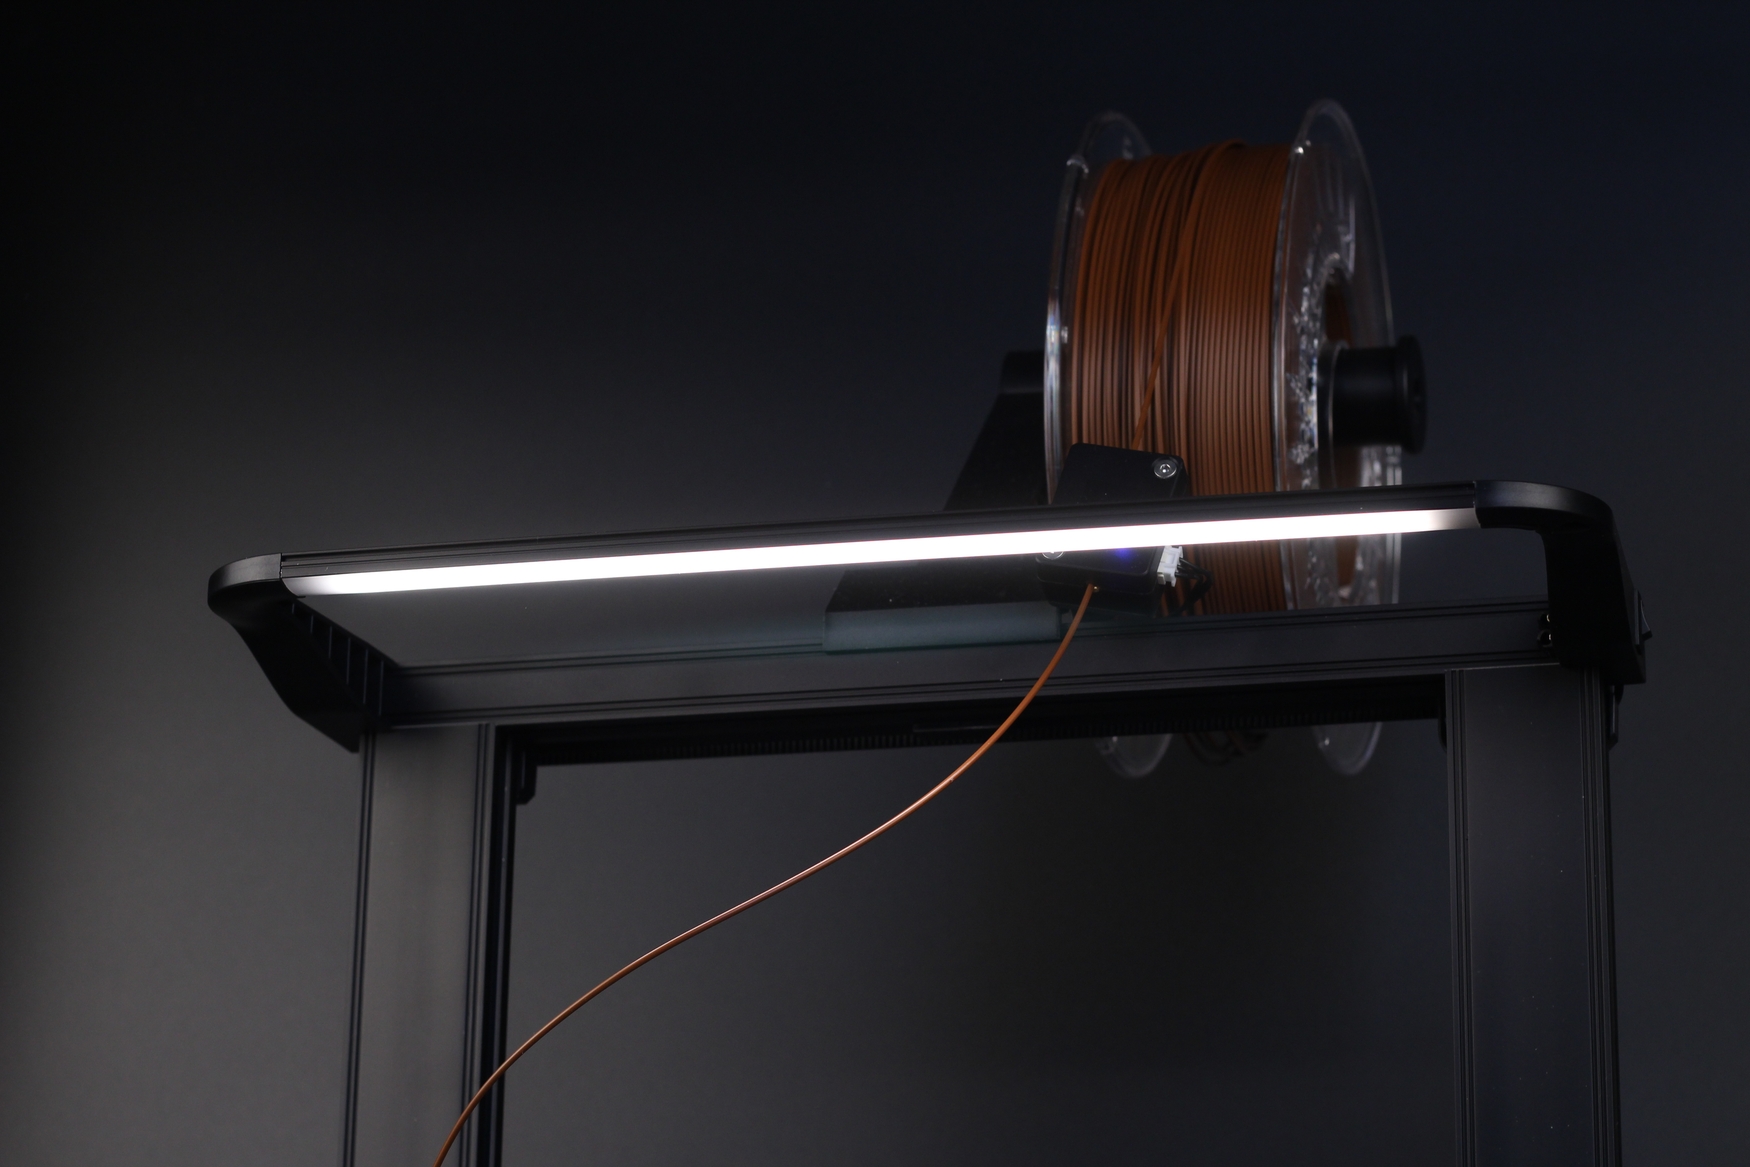
Another attractive feature of the Ender 3 S1 is the inclusion of an LED light bar. This allows you to easily turn it on during operation if you need a bit of light over the printer. It’s also great if you do timelapse videos because it’s attached to the printer, and it doesn’t use a lot of power.
Fortunately, the LED light bar is available to purchase, and you can install it on the Ender 3 S1. It should connect to the dedicated connector, but I haven’t tried it yet on the S1. If you do the upgrade, please leave a comment so others know about it.
There’s also the possibility of making your own LED light by printing this Ender 3 S1 Light Strip holder and combining it with a 24V LED strip. You just need to consider where you want to power it from. If you do it with the spare port, you should check the power draw.
Ender 3 S1 Pro Light Bar links:
AliExpress
Amazon
Upgrade to PEI flex plate
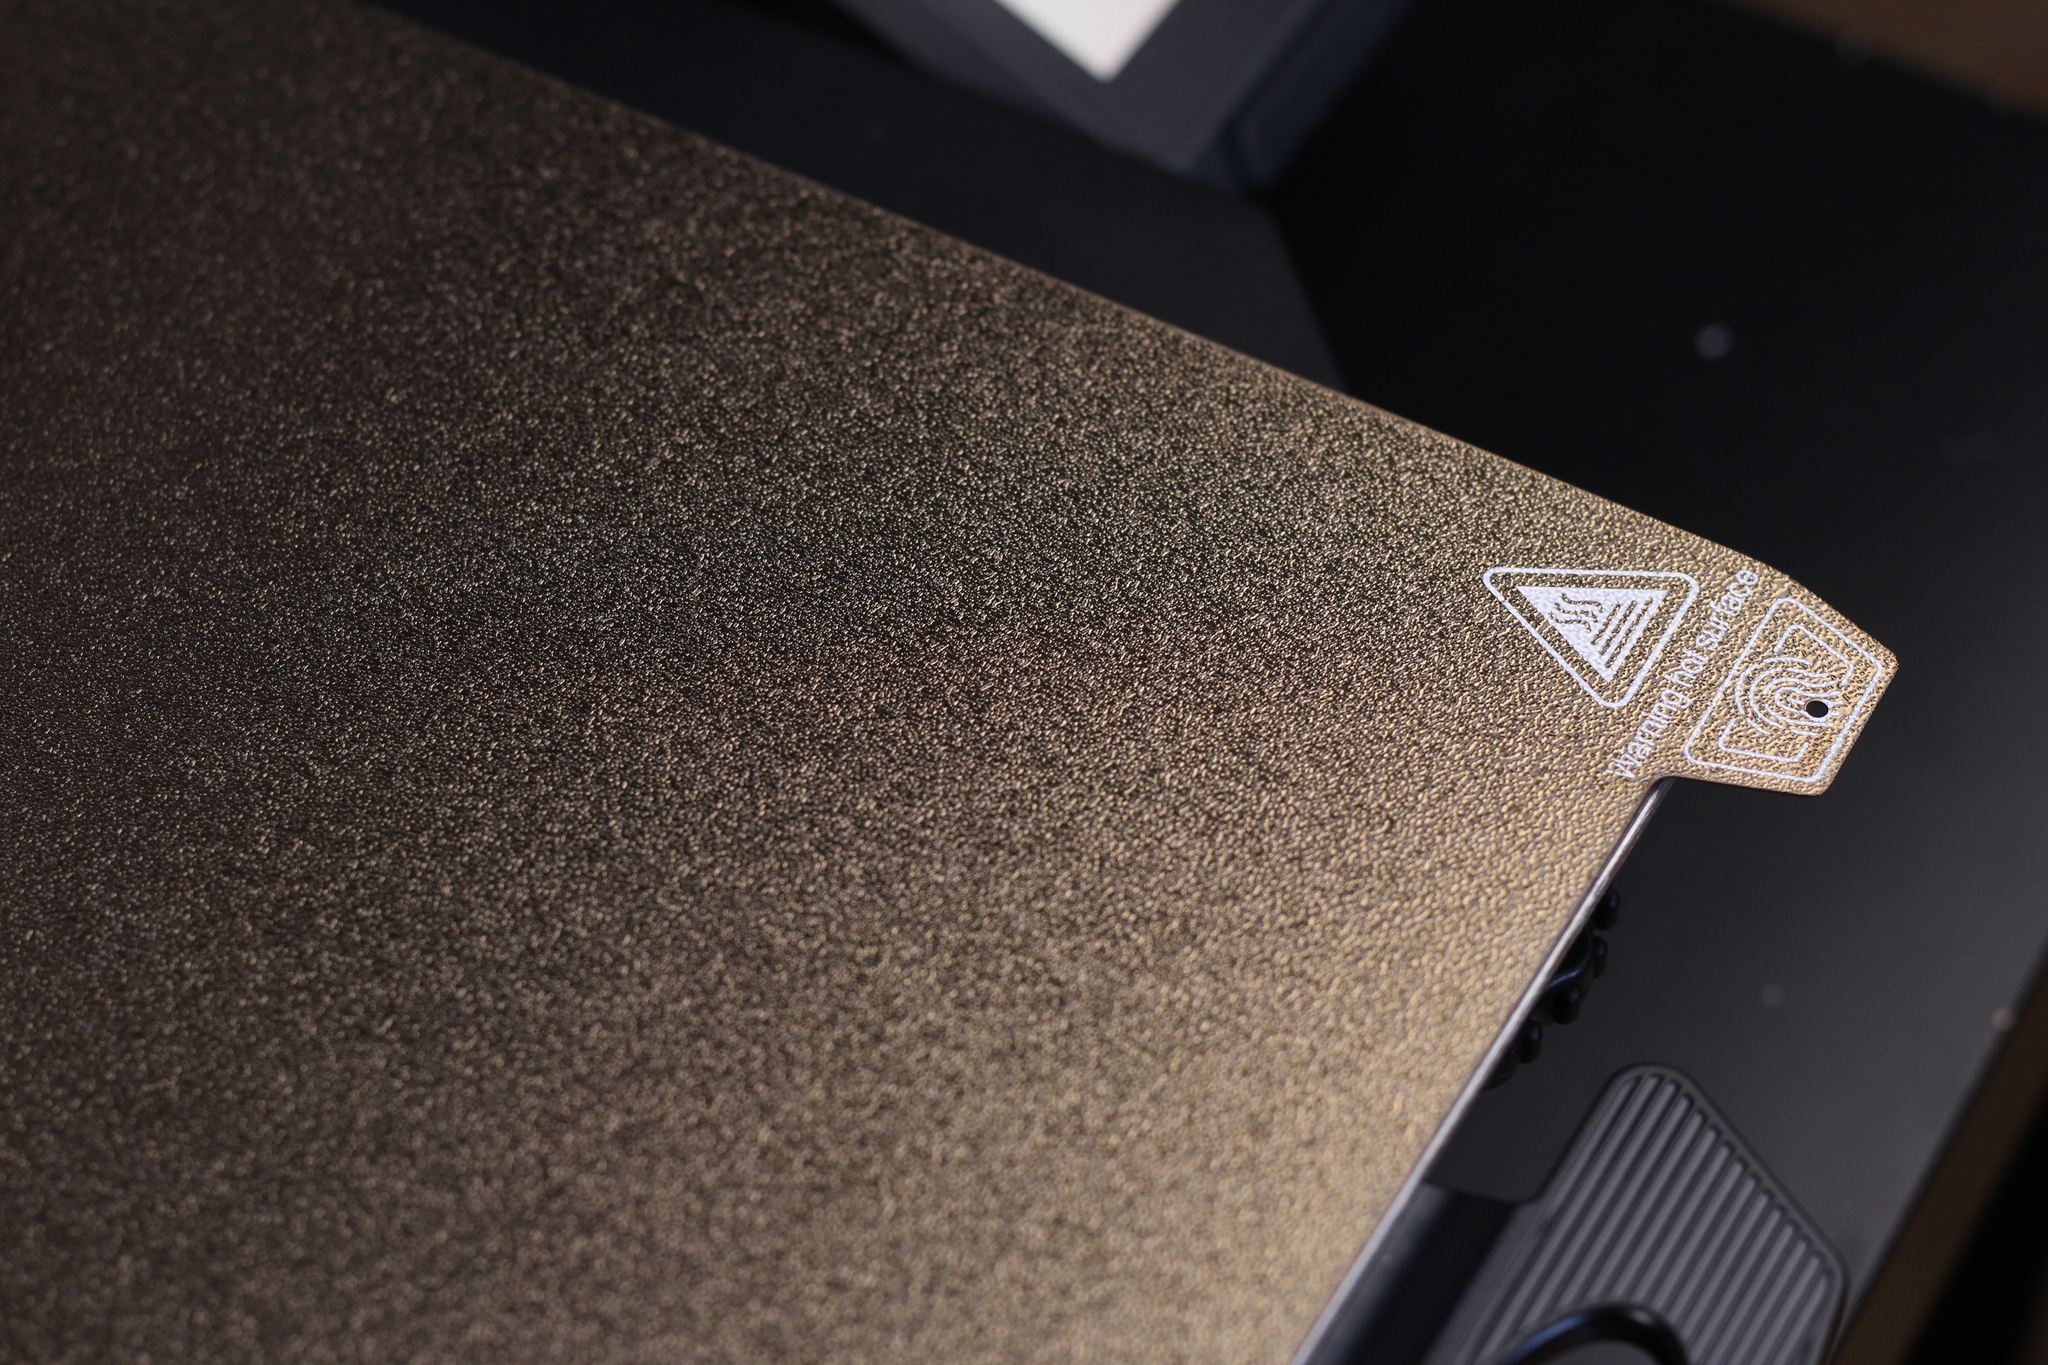
Another attractive feature of the Ender 3 S1 Pro is the inclusion of a PEI flex plate instead of the PC flex plate on the regular Ender 3 S1. This PEI fled plate is a better print surface if you print higher temperature materials, and it’s also textured which leaves a nice pattern on the bottom of your prints.
You can purchase a PEI magnetic flex plate made by Creality and upgrade your Ender 3 S1, but there are multiple alternatives out there. For example, I would recommend getting the double-sided Energetic PEI sheet because it’s one of the best print surfaces right now, and it has a smooth surface beside the textured surface. Just remember that any flex plate will work, as long as it’s 235×235 mm.
Ender 3 S1 PEI Flex Plate links:
AliExpress
Amazon
Banggood
Install heatbed insulation material
The regular Ender 3 S1 doesn’t include heatbed insulation material. This makes the printer a bit less efficient compared to the Ender 3 S1 Pro which has this installed from the factory. I covered the heatbed insulation topic in this article where I found a ~50% saving in power usage after doing the upgrade
Honestly, the S1 Pro insulation material seems to be installed just to have another checkmark on the spec sheet because it’s not big enough to cover the entire heated bed, but it still works as intended.
An easy upgrade would be to get a regular 235x235mm heatbed insulation material, and install it underneath the Ender 3 S1 heated bed. That way, the bed will heat up a bit faster and you will save money when it comes to electricity usage. It will probably pay for itself after 2 days of printing so it’s a great Ender 3 S1 upgrade in my opinion.
Heatbed insulation material links:
Amazon
AliExpress
Banggood
Spool holder with bearings
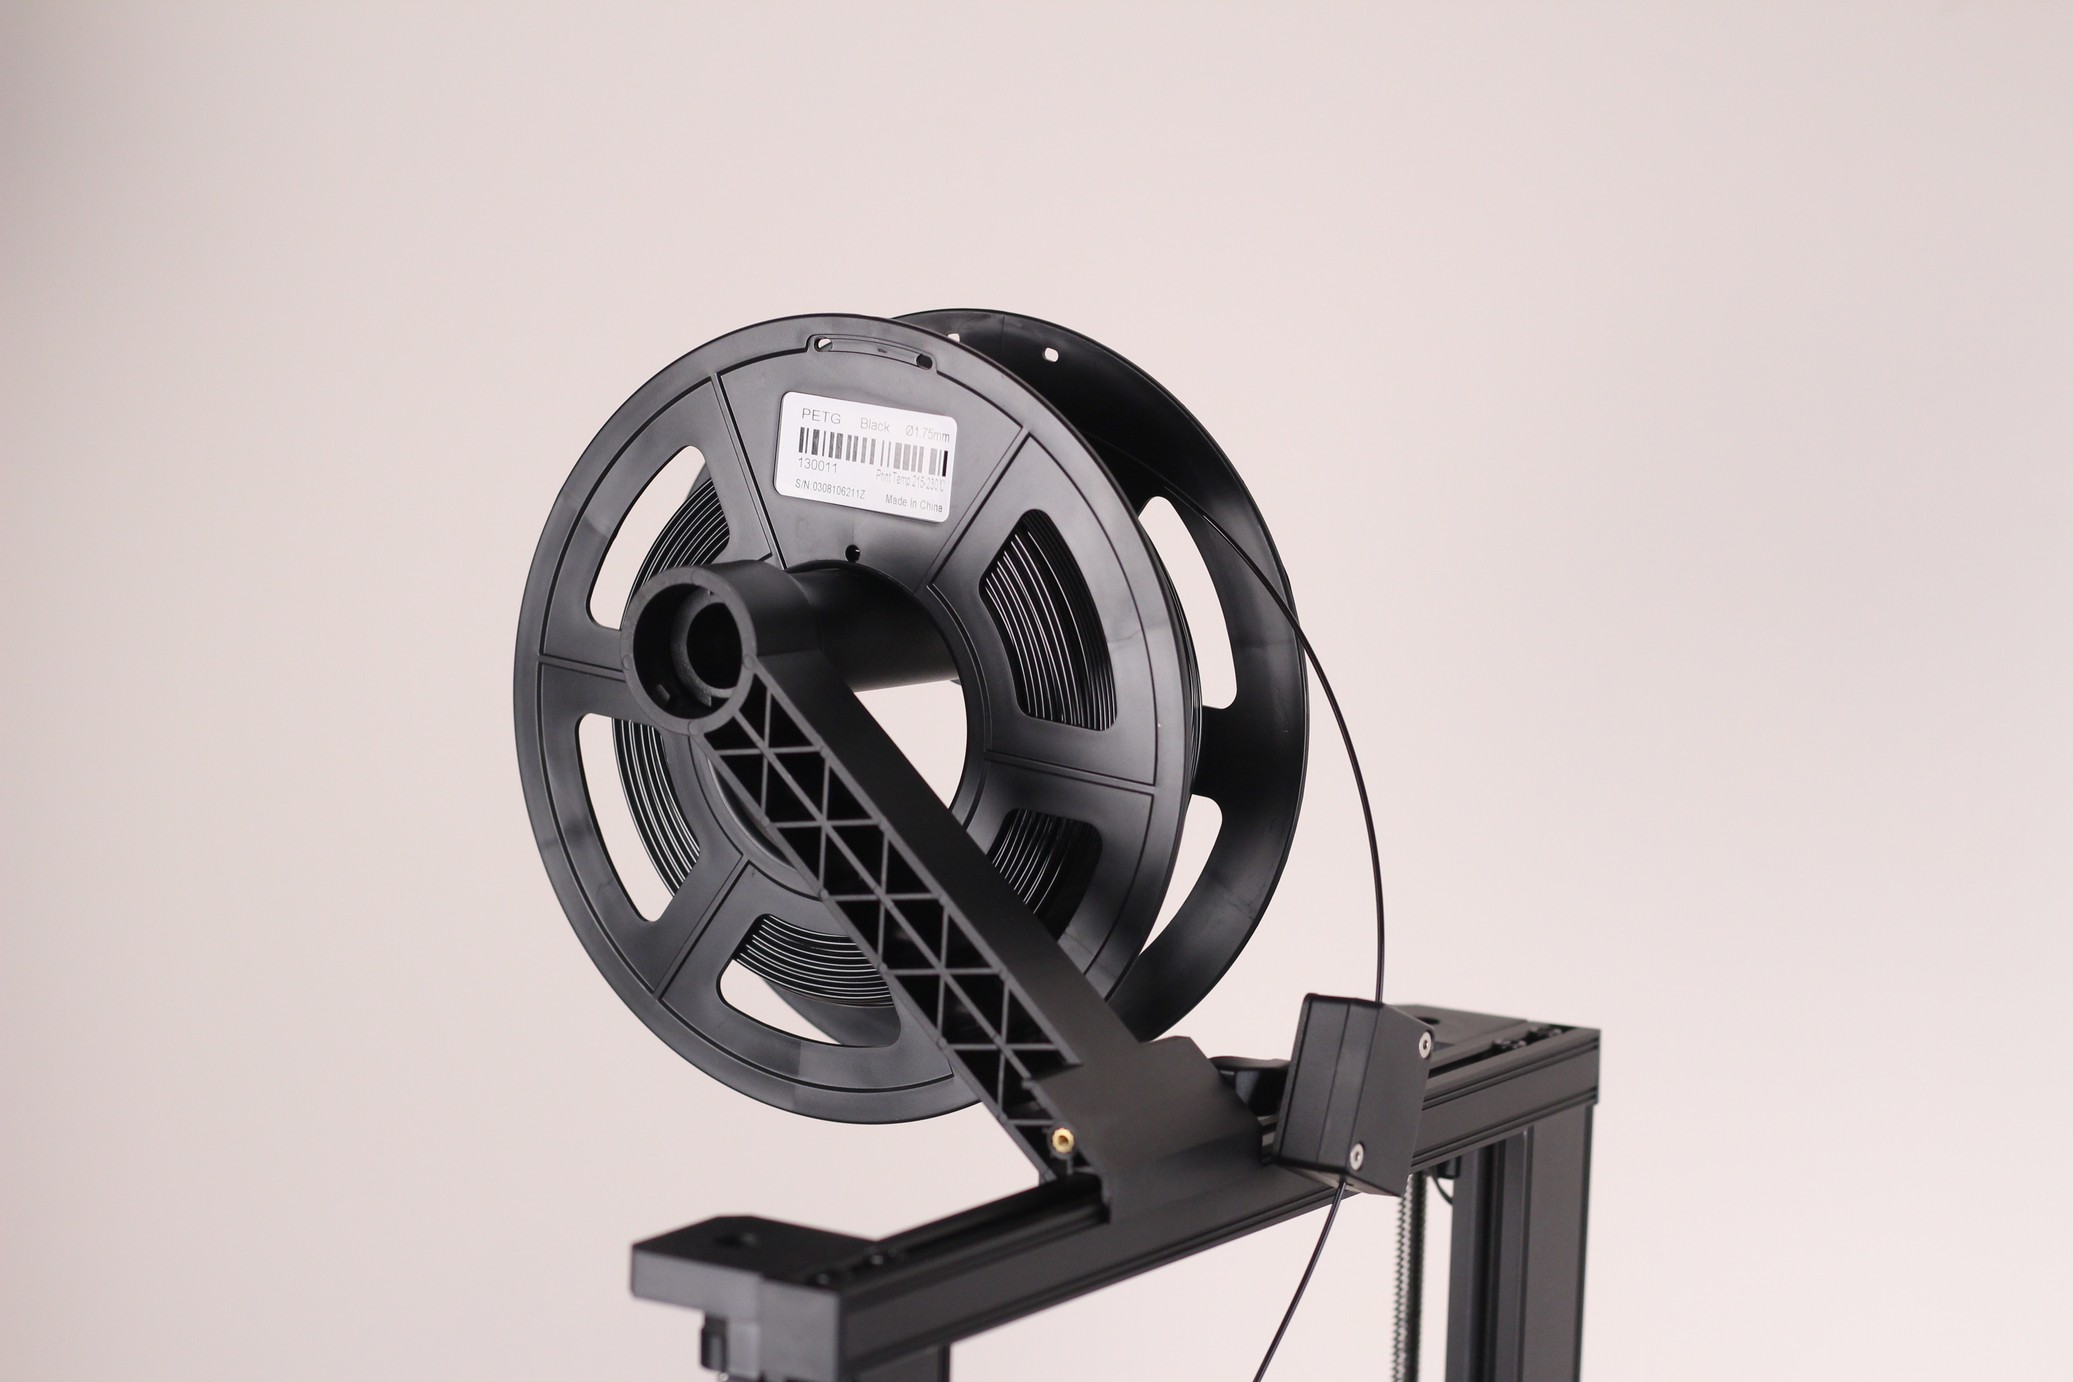
The Ender 3 S1 Pro comes with an upgraded spool holder which runs on bearings making it much smoother than the stock Ender 3 S1 version. In my opinion, the bearing spool holder doesn’t really improve print quality but if you really want this upgrade, there are alternatives out there that can be purchased.
There’s also the cheaper alternative where you can make your own bearing spool holder by printing the Filler spool holder. I have a few of these printed for other printers, and they work just as good as the upgraded spool holder I was mentioning.
Spool holder links:
AliExpress
Amazon
Convert to fixed bed with silicone stands
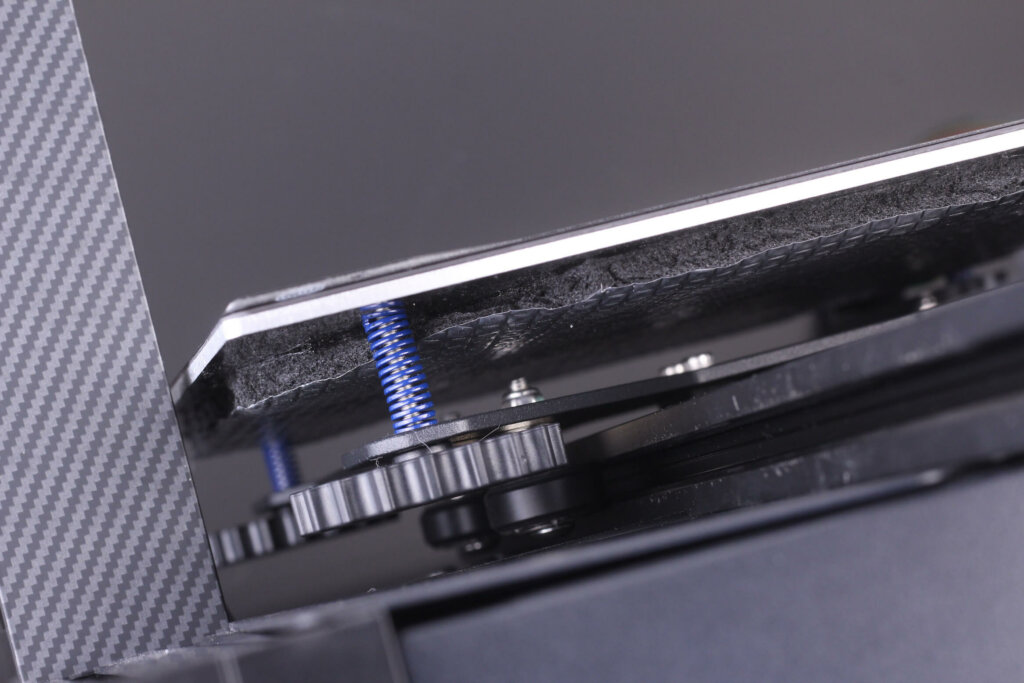
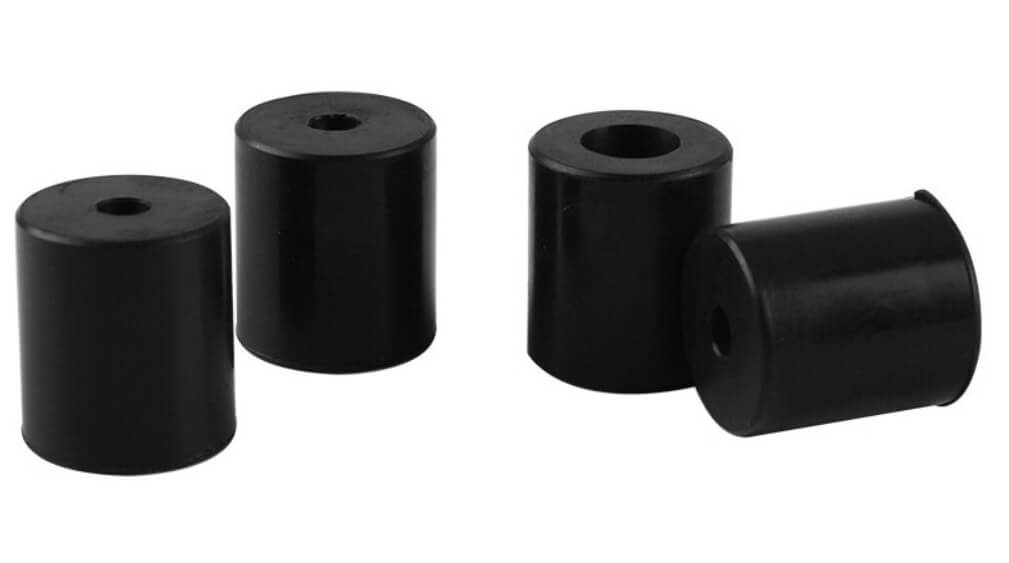
An interesting upgrade for both the Ender 3 S1 and the Pro is installing silicone spacers instead of the springs for your heatbed. After you do this upgrade, the bed will remain level for a longer period of time and it won’t flex as easily.
Considering how cheap is this upgrade, I think it’s a no-brainer because it really makes manual leveling a thing of the past. You won’t have to mess with the leveling knobs for a while.
Silicon Bed Stand links:
AliExpress
Amazon
Banggood
Upgrade to Klipper Firmware
One of the best Ender 3 S1 upgrades is to upgrade to Klipper Firmware. I covered the Klipper installation for Ender 3 S1, and the process is quite easy. You can also check what kind of print speed and quality you can expect from the stock machine, with Klipper:
After you do this upgrade, your Ender 3 S1 will be able to print much faster without loss of print quality.
You only need a Raspberry Pi (or any other computer which runs Linux) and some time to spend installing it. You can even install Klipper on an old Android phone.
I know that Raspberry Pi boards are hard to come by currently, so make sure you check out the Raspberry Pi Alternatives for Klipper and OctoPrint article.
I would also recommend downloading and printing this awesome Klipper Box if you plan to use a Raspberry Pi Zero. It makes everything look much cleaner.
Unfortunately, it is not possible to install Klipper on the STM32F104. This is a new CPU that comes installed on newer batches of Ender 3 S1 and S1 Pro machines. When possible, I will make sure to update the installation guide accordingly.
Install PC v-slot wheels
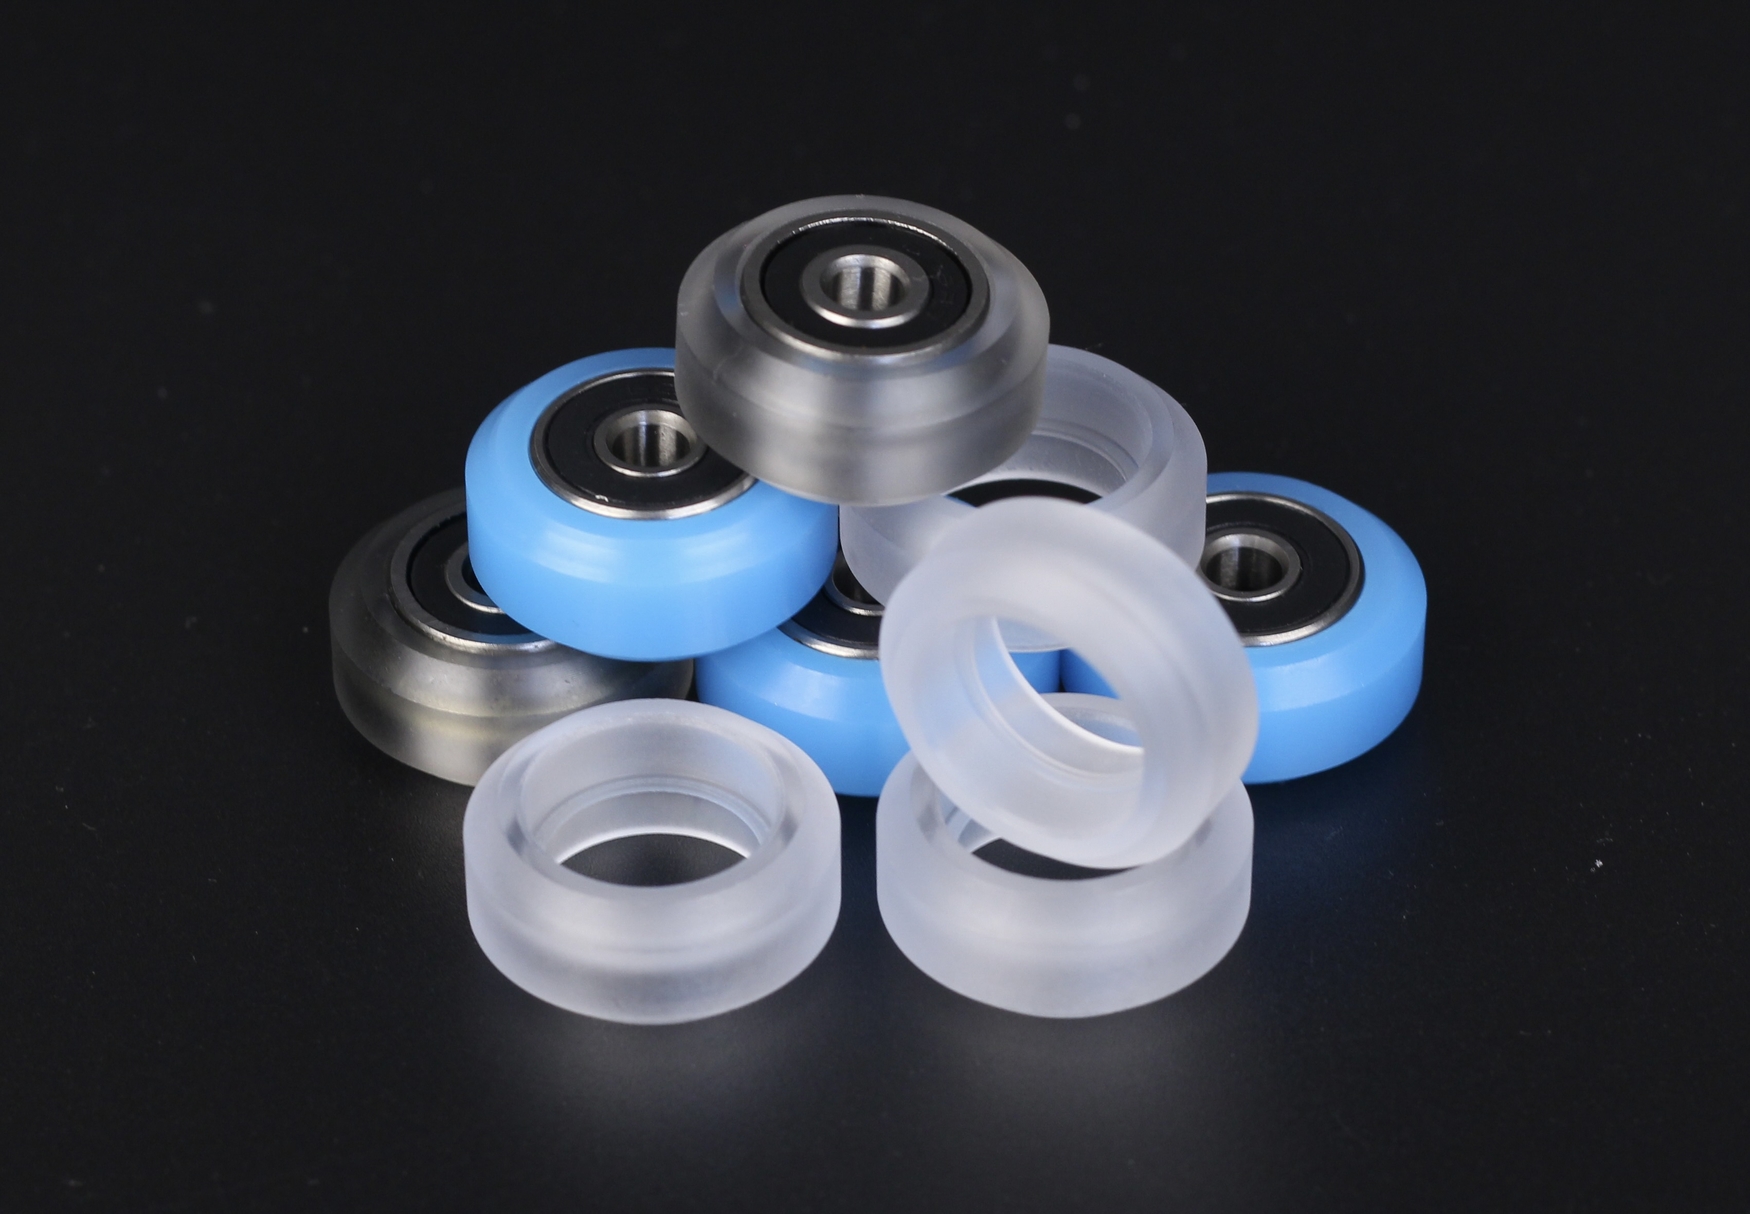
If you upgrade to Klipper Firmware, or you have some wear on the POM v-slot wheels included with the Ender 3 S1, you can upgrade to wheels made from Polycarbonate. They are stiffer and last longer compared to POM, so they might be a good upgrade. You can either get the “A” version with bearing, but if you want to save money, just order the no-bearing version and reuse the bearings from your printer.
Mellow Store also has some PT-wheels available to purchase, which I used for a while, but I can’t really say they are better than PC. I can’t find any reason to spend more money on those.
The stock wheels worked great for me, so I didn’t make the upgrade yet, but I will in a few months. The stock wheels already show some wear after a lot of fast printing tests.
Wrapping up
I hope this article helped you find some useful Ender 3 S1 upgrades suited for your machine, to make it just like the Ender 3 S1 Pro. If there’s any useful upgrade I’ve missed, feel free to leave a comment below.
Liked it?
|
|




Nice tutorial…
But, I have 2 doubts, the first one is how to set up new temperature limits on original marlin firmware and the second is how can I identify what is the cpu that came in my printer? I’m new in the 3d printer universe and I don’t know how to get this information…
so…I found out what the cpu is. I took the printer apart and I was able to see what the cpu is.
I even have the possibility to install Klipper, but I don’t have any raspberry…so I’m going to stick with Marlin anyway. However, my question about how to change the printer’s configuration parameters remains. How can I do this? Is there a tutorial on how to do this? Thanks if anyone can send the link.
You need to re-compile Marlin firmware if you want to change temperature limits
recompile a firmware…ok.
But how can I do this?
I found some topics to compile firmware for other printers, however, I don’t know where to get the source code for ender 3 S1.
I thought of a hypothesis and I don’t know if it would work. Is it possible to install ender 3 s1 pro firmware on ender s1?
If a raspberry here in my country wasn’t so expensive I would prefer to use Klipper.
I saw your article about installing Klipper on ender s1 and I thought it was amazing. In fact, the printing speed it achieved was sensational. Congratulations for the article and the tutorial.
here in my country I have to pay about U$600 for a raspberry PI 4…
and about 520 to $550 for a Pi3.
so, it is an expensive option and in this case, it would be better to buy another printer.
when I said source code, I thought of creality’s official source code for the ender 3 s1…
however, what shocked me the most was the level of support from creality.
sell the product as a specific upgrade for the ender 3 s1 itself to work at higher temperatures and do not provide the necessary subsidies for this.
The worst, I bought the sprite extruder pro and it arrived broken. The fan air duct was broken.
Man, think of my frustration…
I shared an article with alternatives for raspberry pi. Feel free to check it out.
I also have the Pro extruder on the way, and I will check how easy it is to perform the upgrade. But if yours is broken, just check with Creality and return it.
I always recommend buying from Banggood/Geekbuying/AliExpress/Amazon because you get much better support if there’s a problem.
P.S. Try to post your comment in a single post. It is easier to follow
Hi,
I wonder if it is possible to replace the wheel screen of the Ender 3 S1 by the touch screen of the Ender 3 S1 PRO, the motherboards being the same on both printers.
Where to find in Europe or China a touch screen of Ender 3 s1 PRO ?
I think you can, but not sure why you would do that. I am not sure it’s worth it.
I have both S1 ( stm32f103 ) and S1 Pro ( stm32f401 )
they both running klipper! I tweaked your printer.cfg a little and its working flawless Thanx !