Creality Ender 6 Review: Semi-Enclosed Core XY 3D Printer
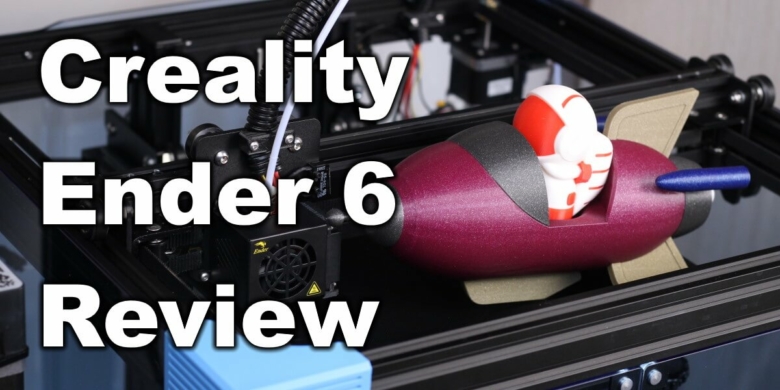
The Creality Ender 6 is the first CoreXY printer from their lineup, which uses 10mm belts and is also partially enclosed. This should make it quite fast during printing and it being enclosed should allow higher temperature material printing.
Let’s put it through the regular tests and see if the Creality Ender 6 is worth buying.
Creality Ender 6 Shipping and Packaging
The Ender 6 comes in a big and heavy cardboard box, with all the components tightly packaged with foam protection on all sides. There’s a bit less foam on the top and bottom compared to other printers I received, but it should be good enough to withstand any kind of shipping abuse the printer is put through.
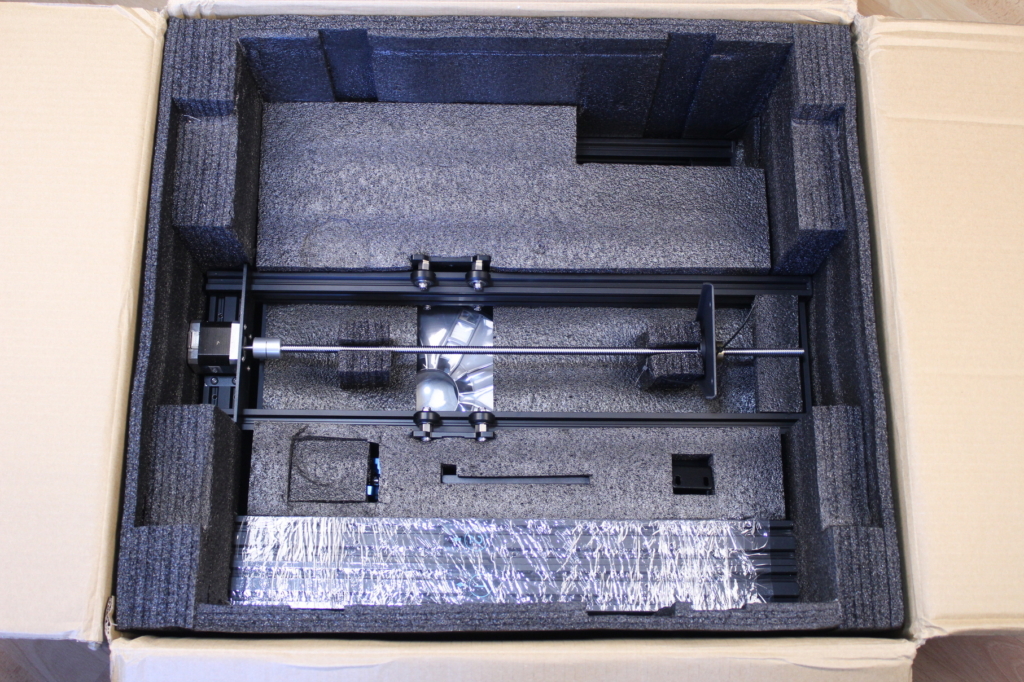
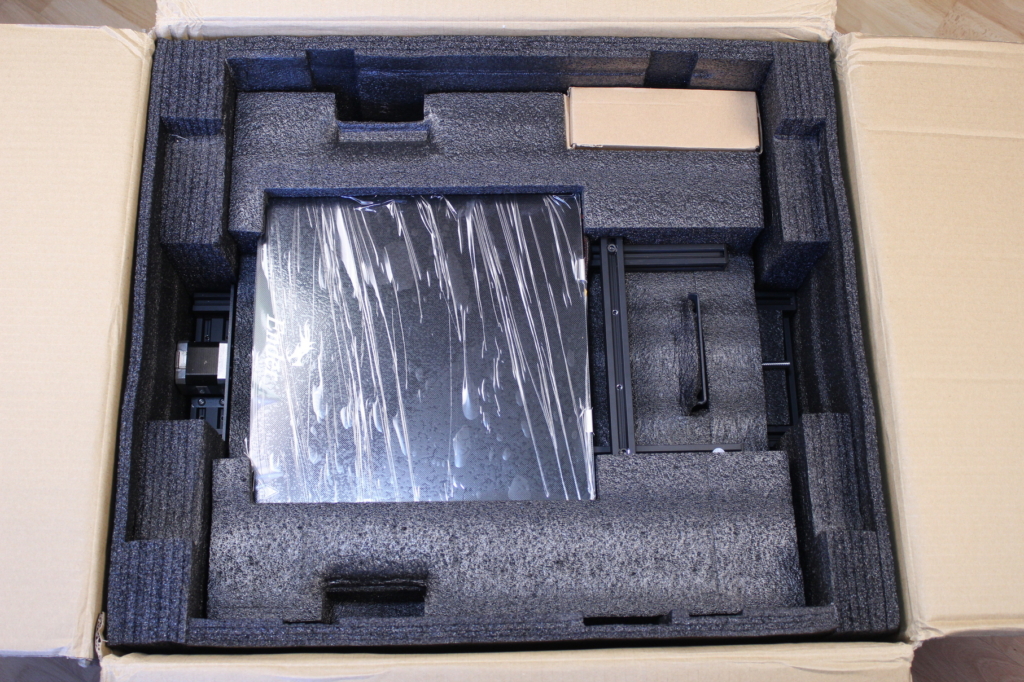
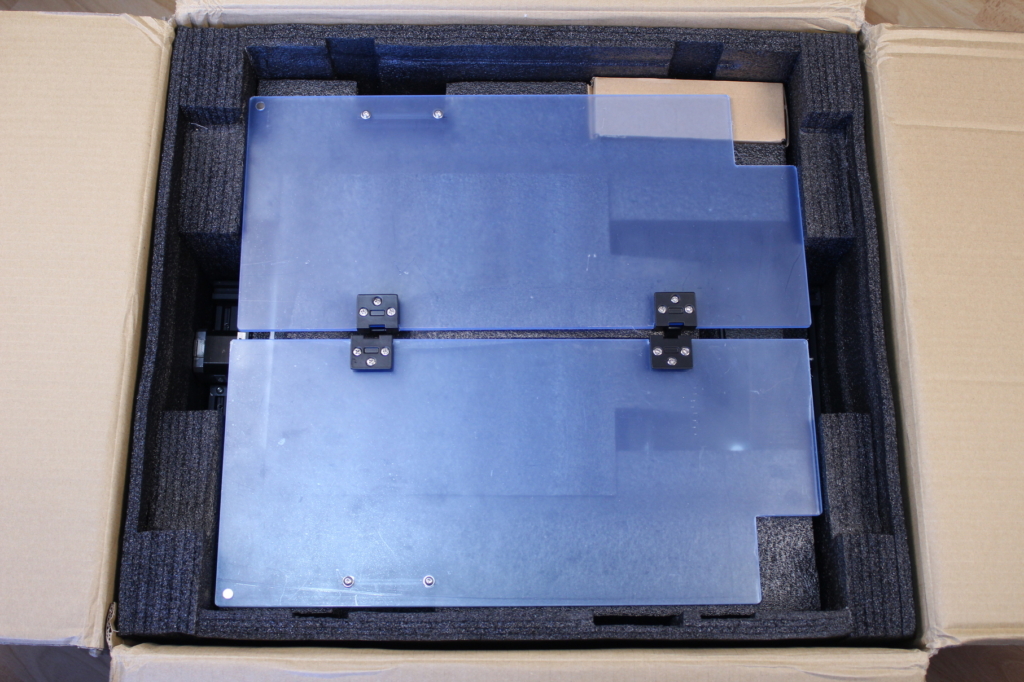
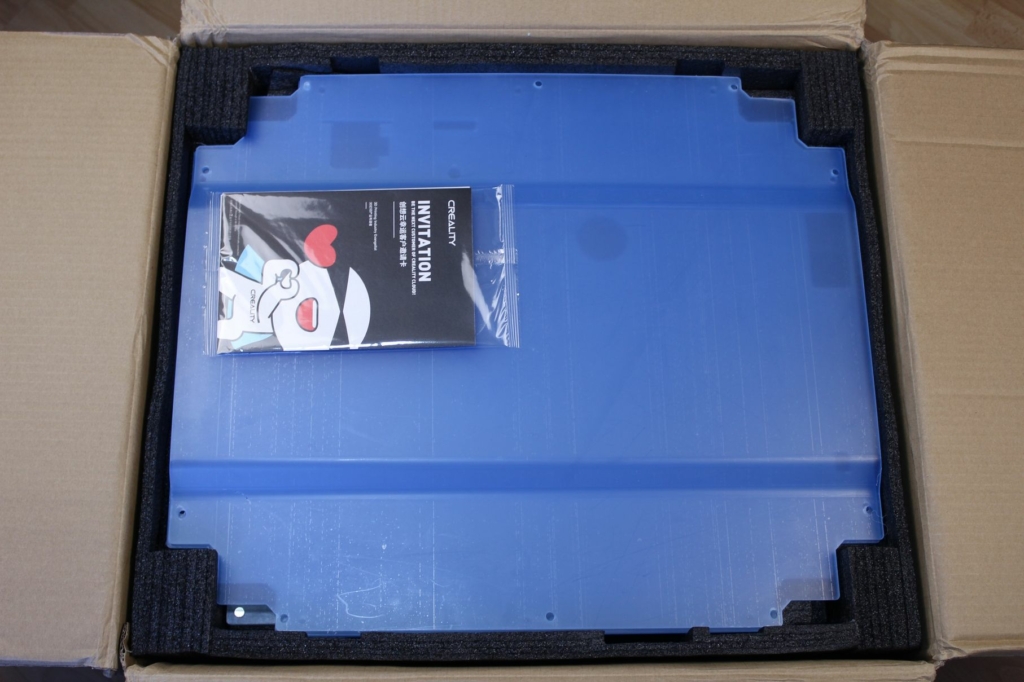
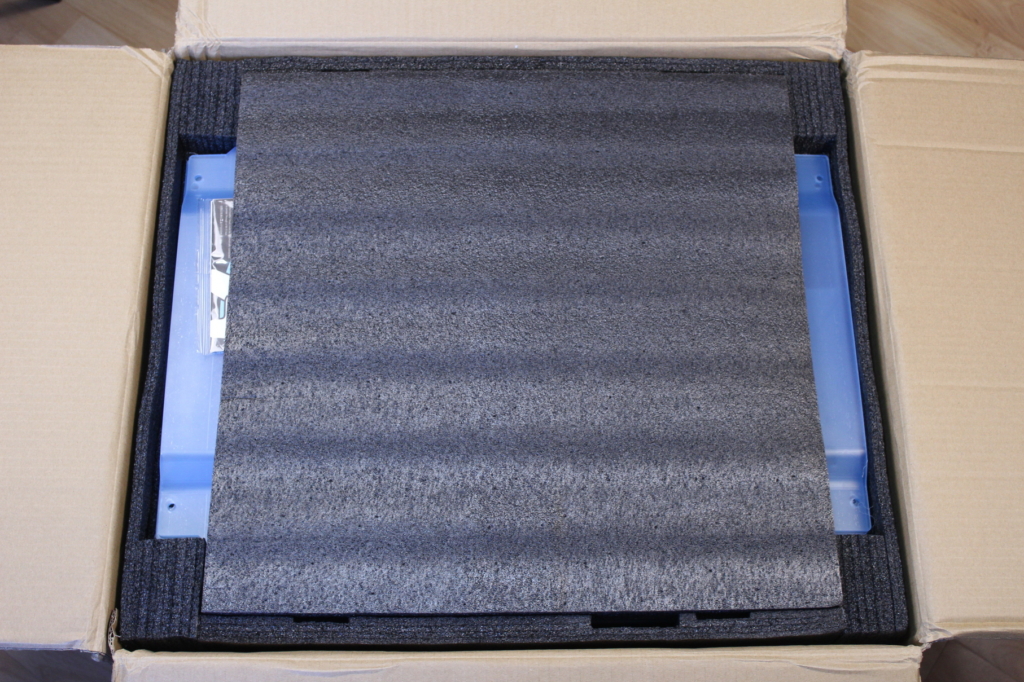
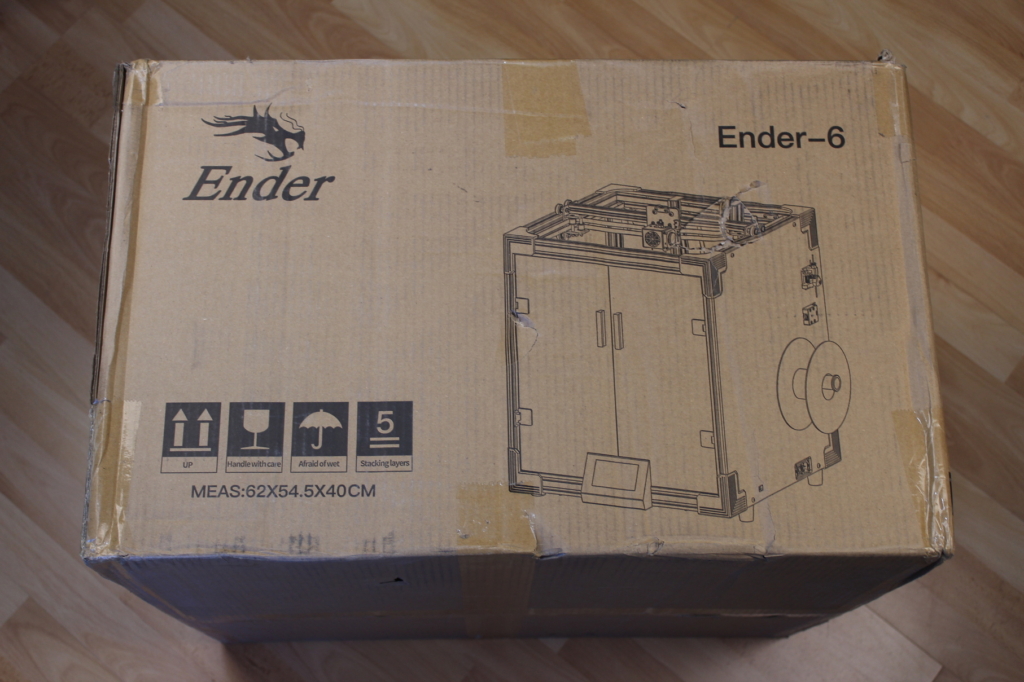
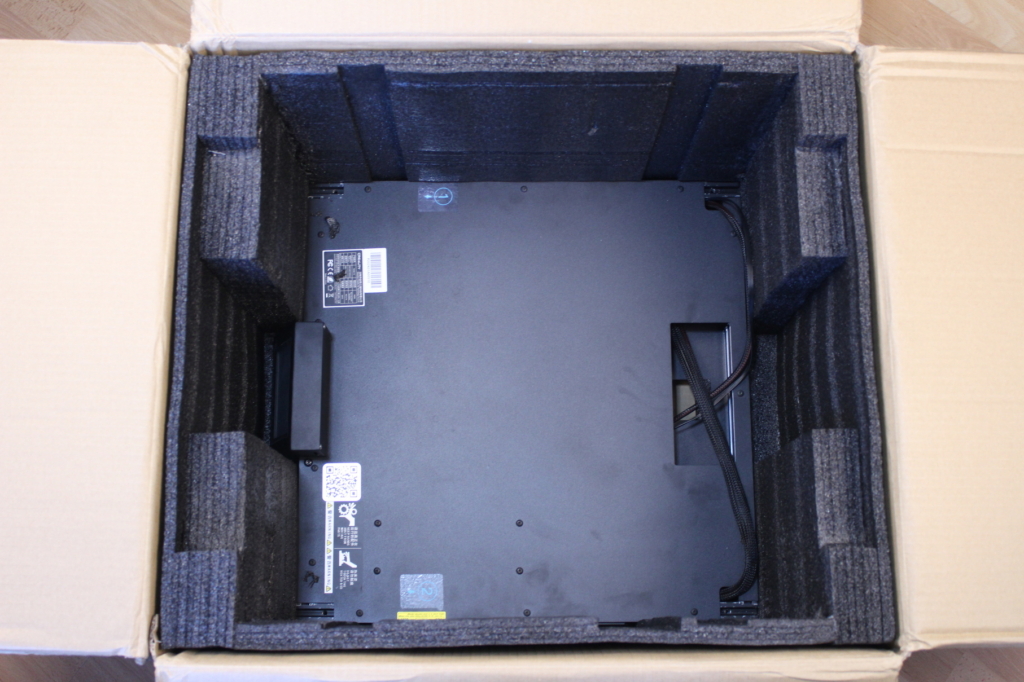
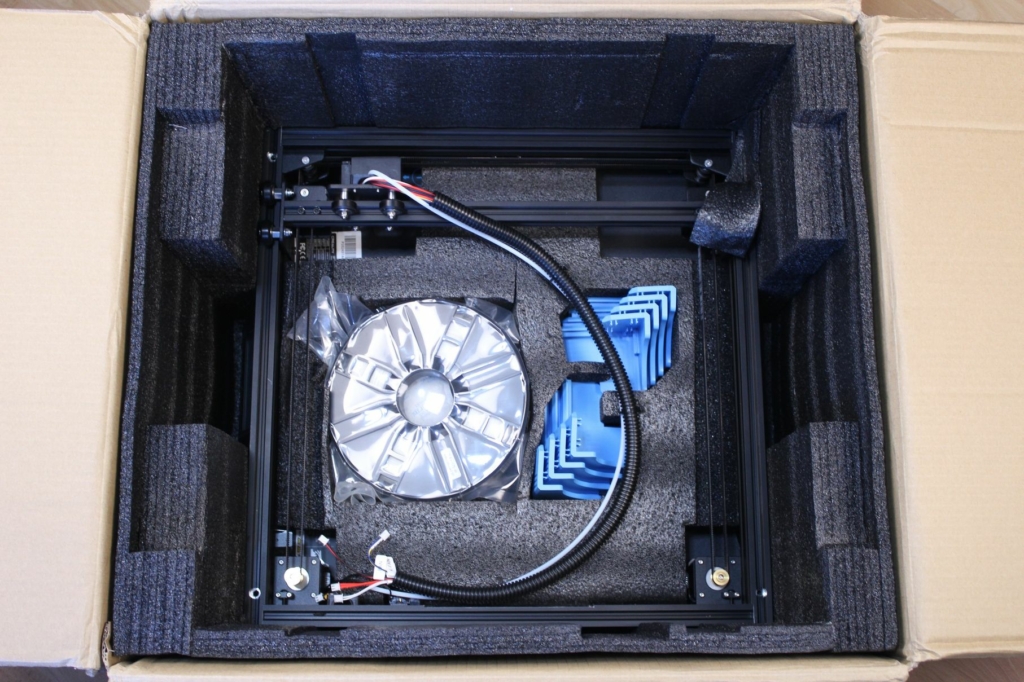
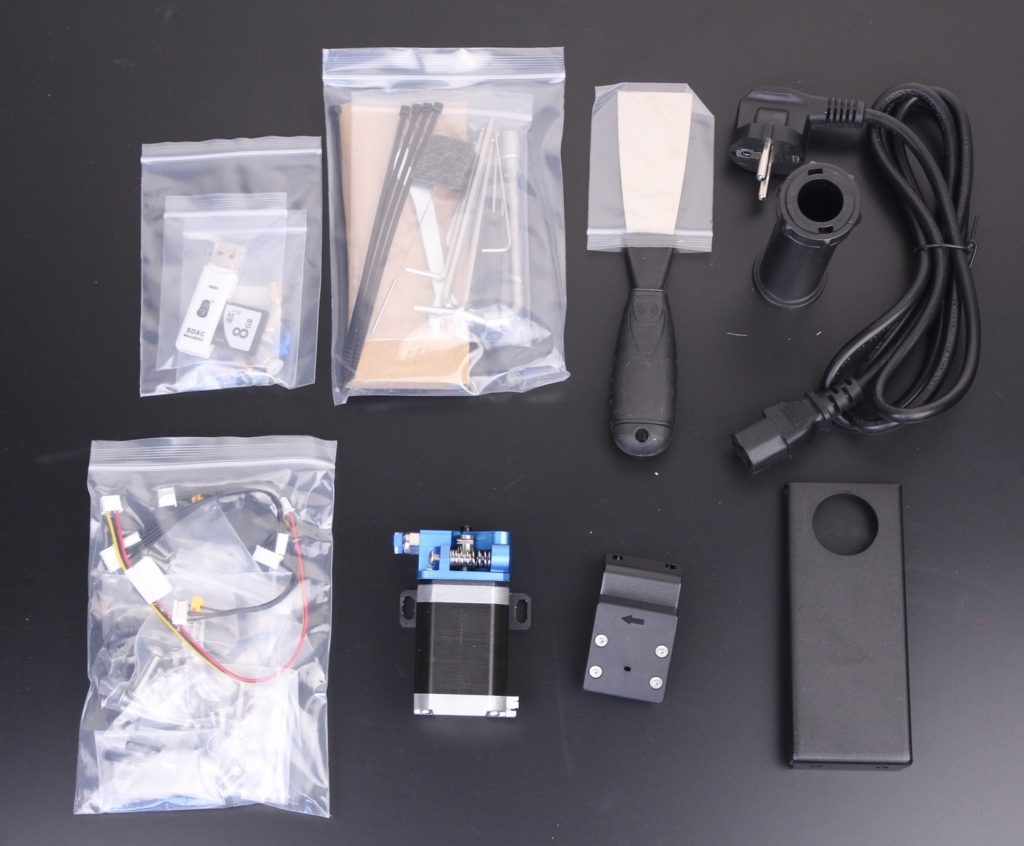
With the Ender 6, you get the following accessories:
- 500g spool of white PLA filament
- Manual
- Spool holder
- Clippers
- PTFE tube spacers
- Spare nozzles
- Spare PTFE couplers
- Needle for nozzle clogs
- USB Card Reader with 8GB SD Card
- Bag of screws and wires
- Scraper
- Hex wrenches
- Zip ties
- Power cable
Assembly of the Ender 6
While partially assembled, the Creality Ender 6 comes as a kit that needs to be assembled and I recommend around 2 hours for this task. You might be able to assemble it quicker, but I recommend you always take the time to carefully put it together and make sure everything is square because CoreXY 3D printers are much more sensible to misalignments.
Assembly steps are nicely described in the manual, and all the screws are properly labeled making the assembly process of the Ender 6 quite easy.
About 30 minutes of the assembly time were spent removing the protection stickers from the panels. If you want to remove the protection easily, I recommend you disassemble the door handles and supports in advance. That way you will be able to remove the protection completely.
It’s worth noting that the four aluminum extrusions are mounted with only a single screw on each side to keep them in place. During assembly, this raised some concerns about the stiffness of the whole printer, but after installing the acrylic covers it’s safe to say that the solution works. It doesn’t have the same “tank” feel as the CR-5 Pro, but I don’t think anyone can complain about how well everything holds up.
Creality Ender 6 Design
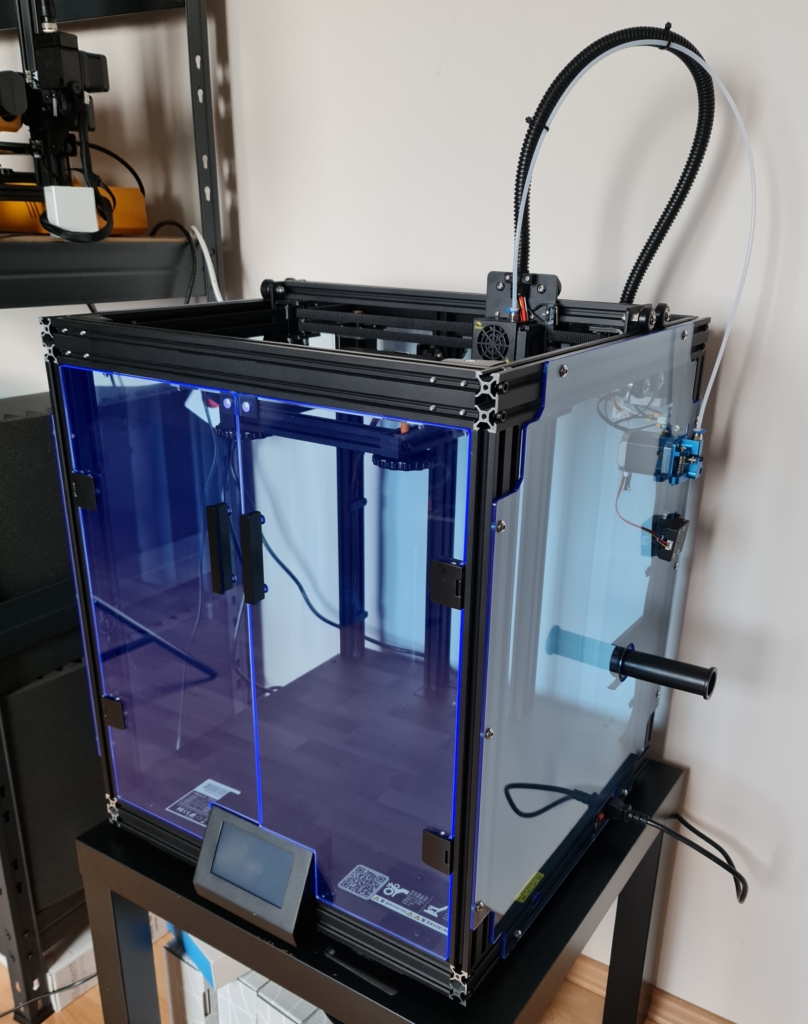
The Creality Ender 6 is what you would expect: A sturdy machine with blue corner inserts and transparent acrylic panels. I’m not a huge fan of the blue corners, but you might like them. If you want, you can always print them in another color, to keep the color theme consistent or even skip the installation step. They don’t add any functionality to the printer, other than covering the extrusions.
When assembled, the printer looks really nice, and it’s one of the better-looking printers out there.
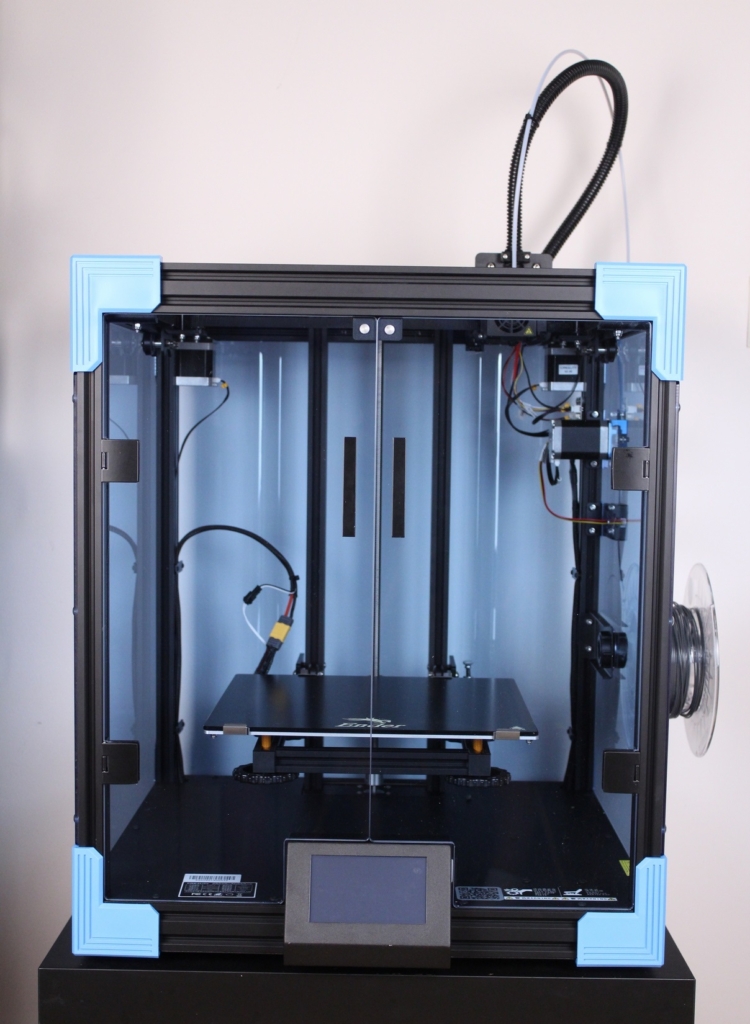
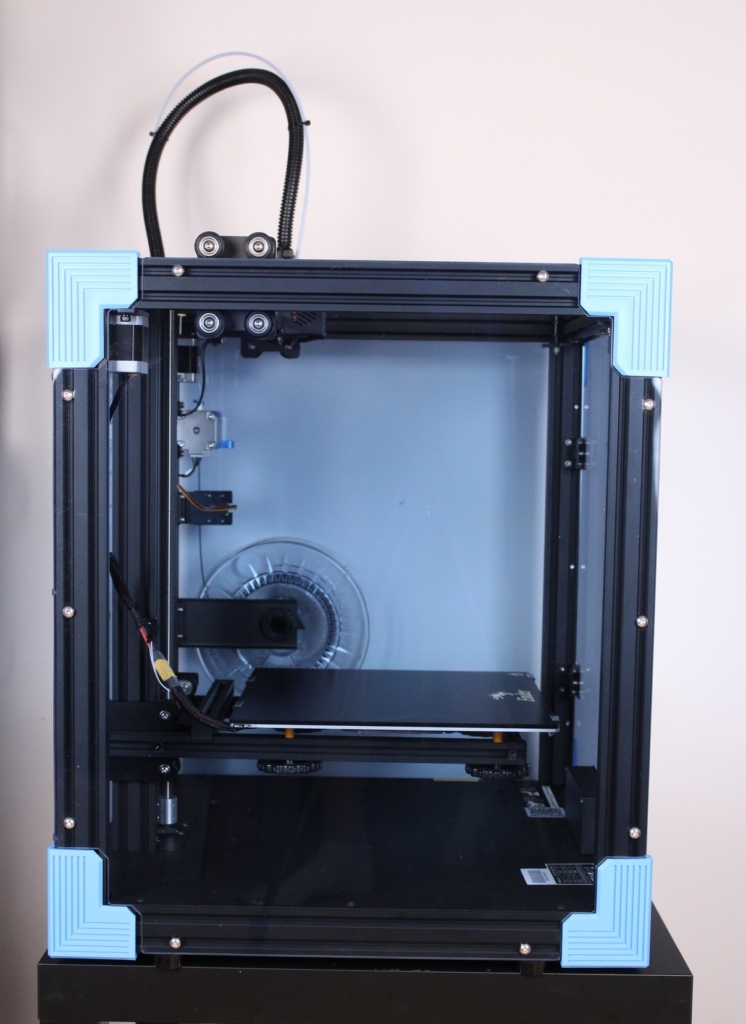
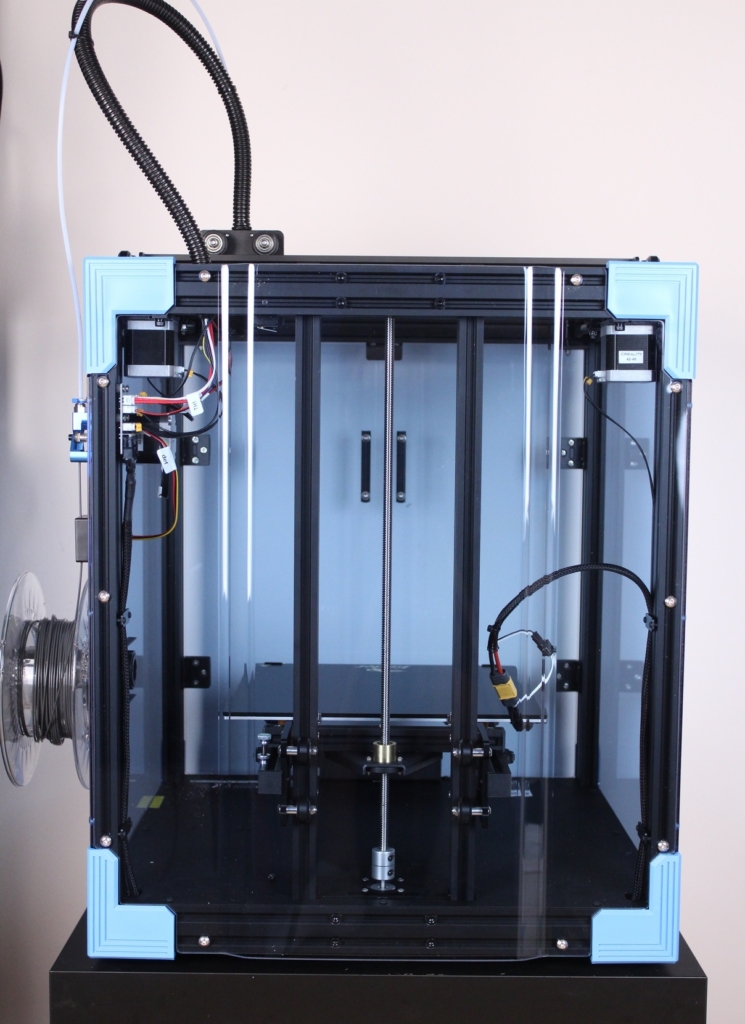
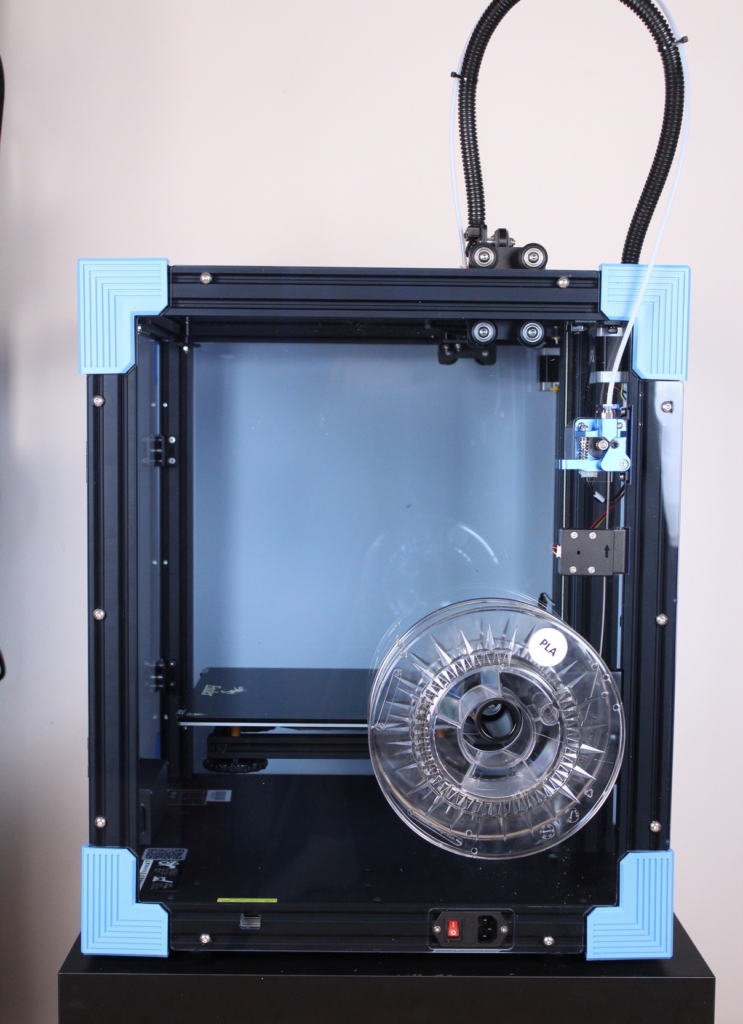
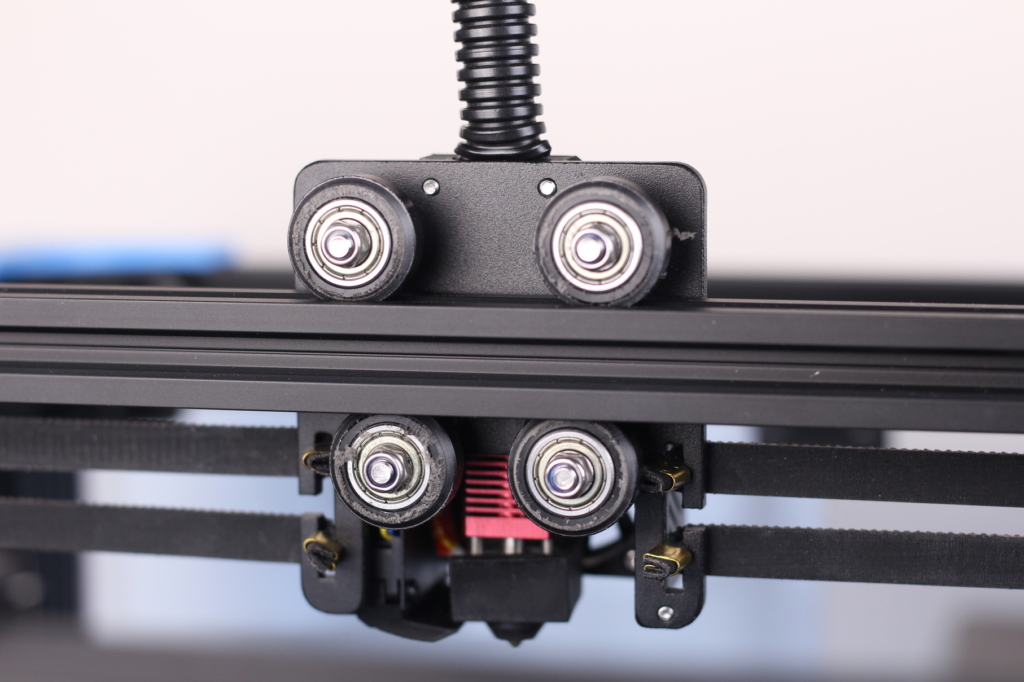
As always, double check all the V-slot wheels to make sure they are tightened correctly. On my unit, most of the V-slot wheels where over-tightened and this caused some flat spots which can add some artifacts on the finish of the print.
After correctly adjusting the eccentric nuts, and doing a test print, the wheels returned to their original form.
Ender 6 Specs
| Mechanics | CoreXY |
| Frame | 2020 and 2040 profiles |
| Linear motion | V-wheels |
| Printing speed | up to 150 mm/s |
| Build volume | 250x250x400 mm |
| Machine size | 495x495x650 mm |
| Extruder | Bowden |
| Build platform | Cantilever bed |
| Stock accuracy | 0.1 mm |
| Layer height with stock nozzle | 0.1-0.4 mm |
| Control display | 4.3″ touch screen |
| Stepper drivers | TMC2208 |
| Silent operation | Yes |
| Filament runout sensor | Yes |
| Printing resume function | Yes |
| ABL function | N/A |
| Print surface | Carborundum glass |
| Enclosure option | Yes, semi-enclosed with acrylic sheets |
CoreXY setup with V-Slot Wheels
With the Ender 6, Creality is delivering probably their first printer which uses a Core XY belt path. Having a bowden setup with a light hotend allows this printer to reach higher printing speeds without losing quality.
It’s marketed as being able to print at ~150mm/s but their hotend solution contradicts this claim because the plastic won’t be melted quick enough to support “real” 150mm/s printing.
I am a bit concerned about the POM V-slot wheels used on the Ender 6 because they might start to degrade quicker when printing at higher speeds. I will continue to use the printer and I will report back if the wheels need to be replaced. When the time comes, I will look to change them with polycarbonate V-slot wheels which are stiffer and will not deform as easily.
There’s also the possibility of converting the Ender 6 to linear rails, but this adds to the cost of the machine and I’m not sure if it will improve the print quality significantly to make it worthwhile.
Generic Creality Hotend
I’m not that surprised to see that the Ender 6 hotend has the same generic Creality setup like other machines. It’s the same old Creality style hotend used in the Ender lineup, which has a PTFE tube running right to the nozzle. It works, and it’s not as terrible as other hotends I’ve seen but this would be the first hardware upgrade I would do to the Ender 6.
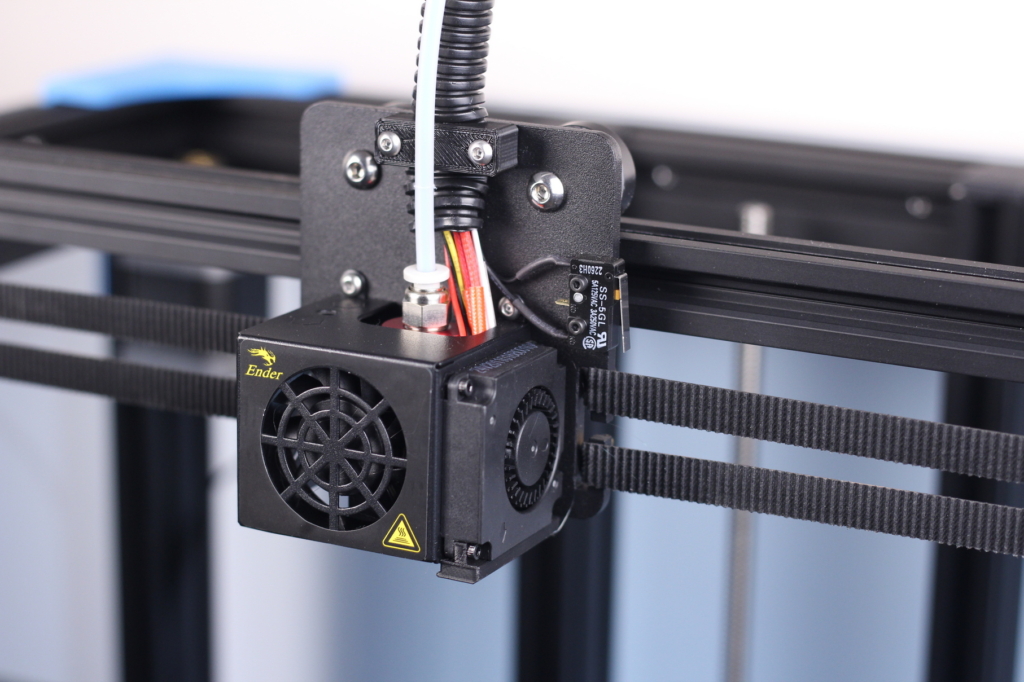
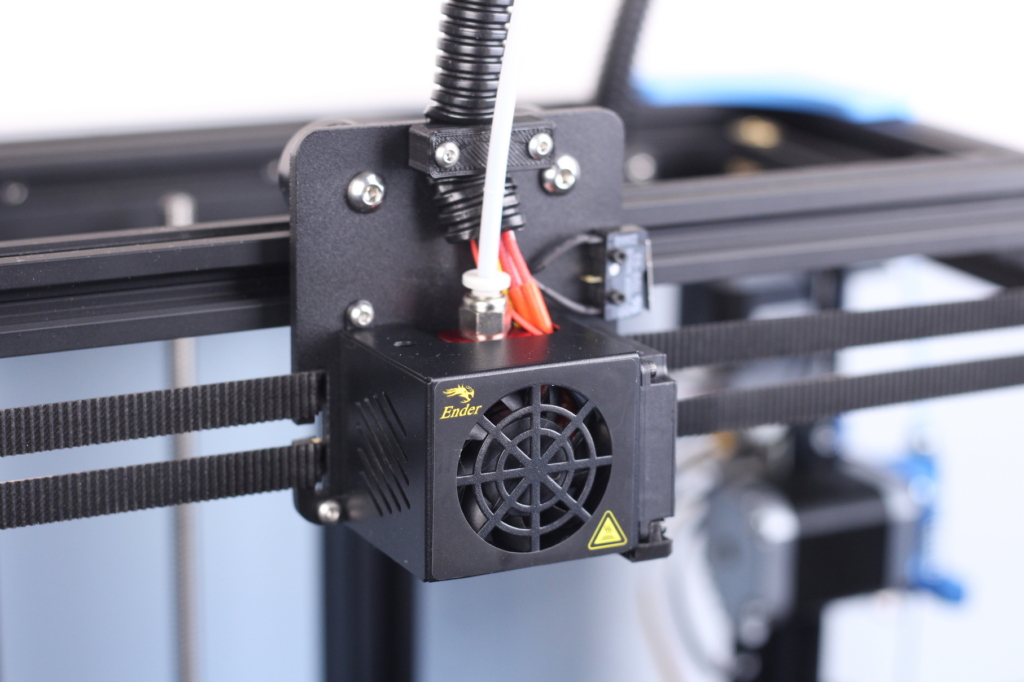
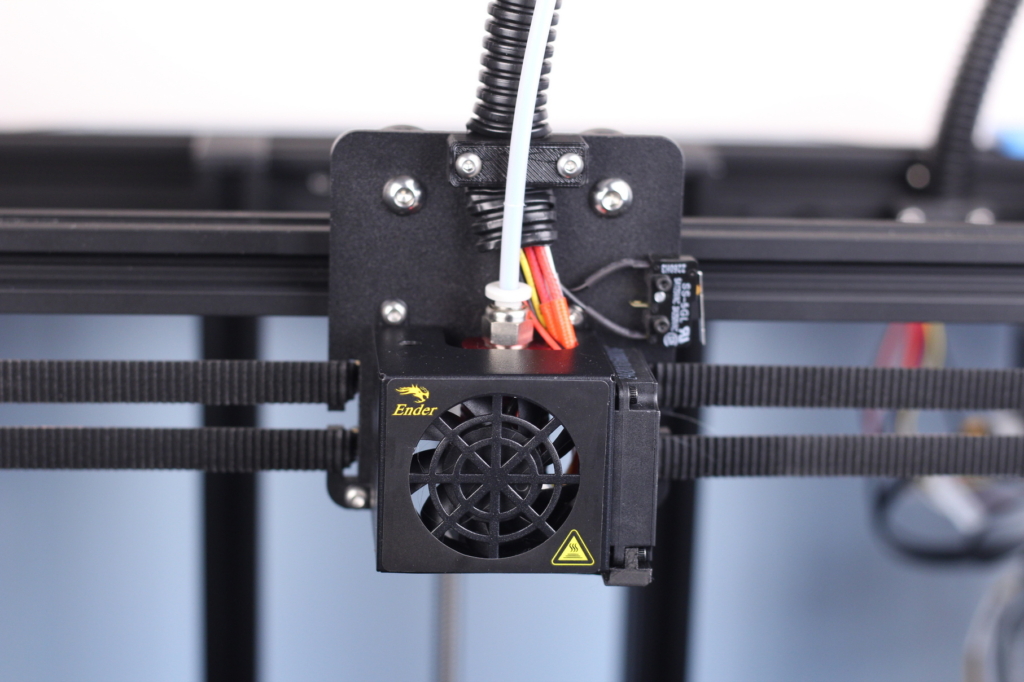
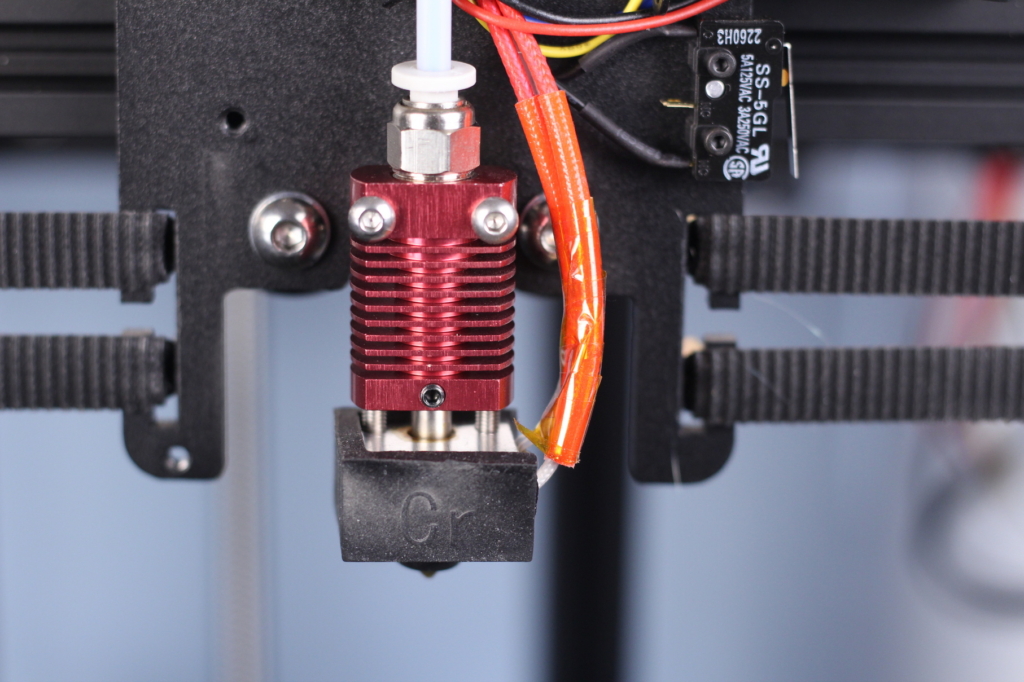
With this hotend, the printing temperatures are limited to around ~240C for the hotend. If you print at a higher temperature for longer periods of time the PTFE tube inside the hotend will start to degreade and release harmful fumes.
Fortunately, there are a lot of aftermarket hotends like the NF-Smart or the NF-Zone, out there which can improve the Ender 6 performance and eliminate headache in the future. I will install an aftermarket hotend soon, to benefit from better heat break performance and higher flow rate. Paired with Klipper, the Ender 6 will probably be able to print much faster than the stock setup with a minimal investment.
I need to mention that my stock hotend was not properly assembled and it already came with a partial clog. I discovered this after the first 3D Benchy which was showing inconsistent extrusion.
I removed the silicone cover only to be greeted by a big piece of white molten filament around the nozzle and heating block. This issue was caused by an incorrectly tightened nozzle and a PTFE tube which was not touching the nozzle, leaving a small section where filament could get stuck.
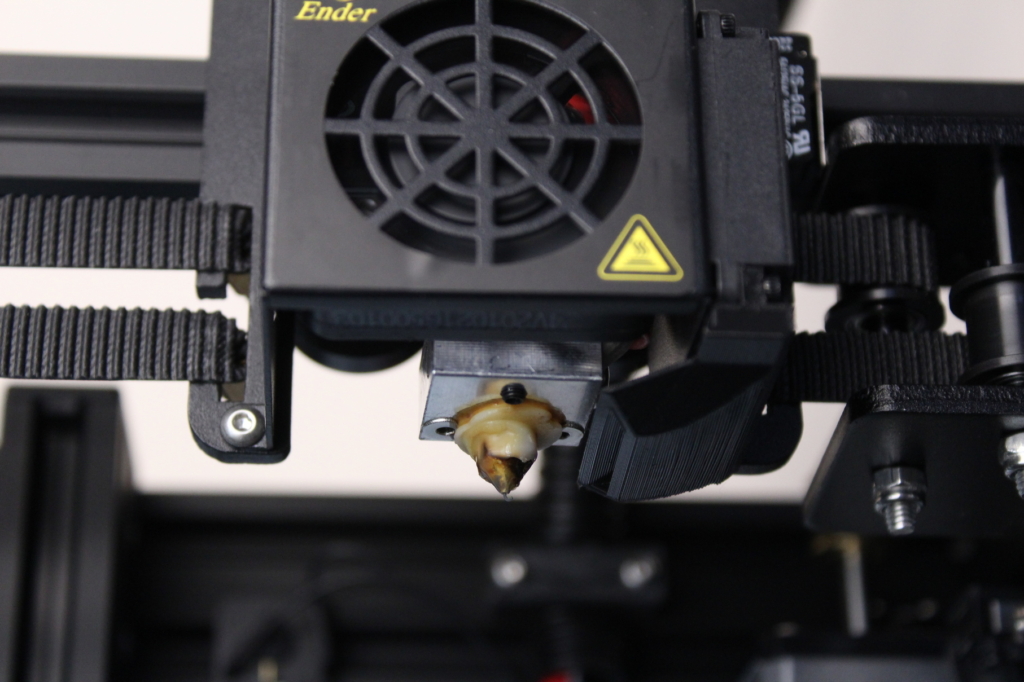
I disassembled the hotend, cut the PTFE tube and re-installed everything. This fixed the issue, but it’s a bit disappointing to see that proper quality control is still missing on some printers, and most of the time is a matter of luck.
Inside the metallic shroud of the hotend, there’s a mounting solution for adding a BLTouch. It’s a bit too close to the heat block, but I don’t think there will be any issue considering that there’s a silicone sock around the heat block.
Another issue I found with the Ender 6 print head is drafts from the hotend cooling fan. The fan moves a lot of air to keep the hotend cool and drafts of air pushed over your print. For PLA this is helpful in cooling the printed layers but it becomes an issue when printing PETG and ABS which don’t need too much cooling. Because of this, I failed to print ABS on the Ender 6 due to adhesion issues.
Partially enclosed
As previously mentioned, the Ender 6 is partially enclosed with acrylic panels on the sides to help with printing higher temperature materials. While this won’t be a great solution for printing ABS, where you need the printer to be completely enclosed, it can add some protection from drafts.
It also makes enclosing the printer completely a bit easier, because with the purchase of a few aluminum extrusions, you can easily add a cover to the Ender 6.
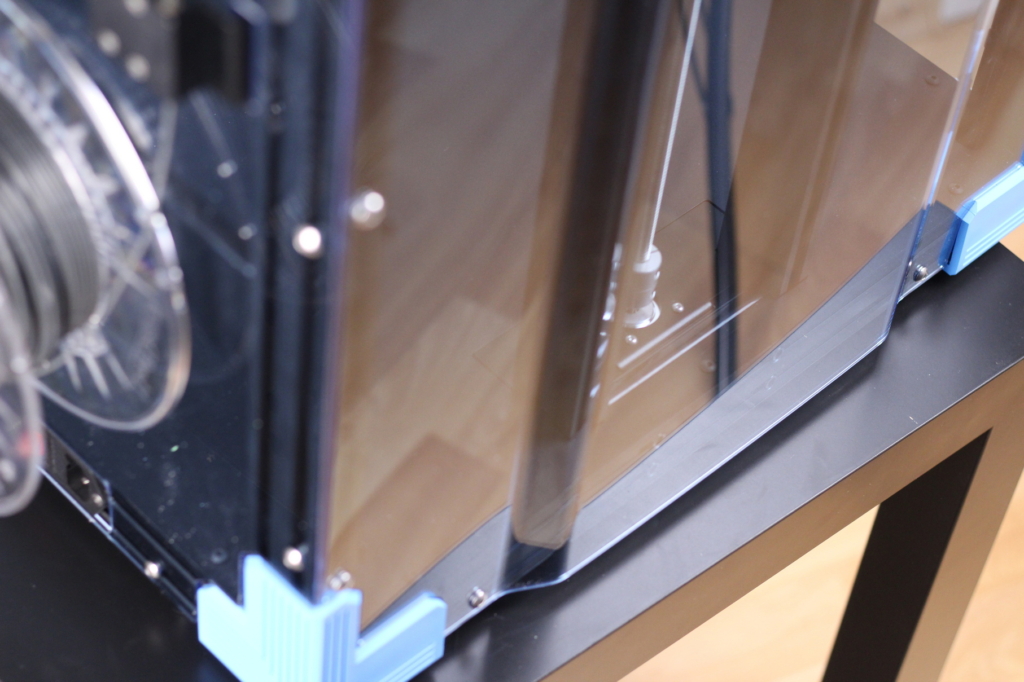
The front side of the printer has two acrylic doors held in place by magnets, for easier access inside the printer. The back side acrylic sheet is curved to make room for the bed rollers.
The acrylic panel in the back is shaped to allow more space for the bed carriage to move on the Z axis which takes a bit more room in the back side of the printer.
Creality V4.3.1 – 32-bit board with TMC2209 drivers
The Creality Ender 6 comes with a 32-bit V4.3.1 board running TMC2209 drivers.
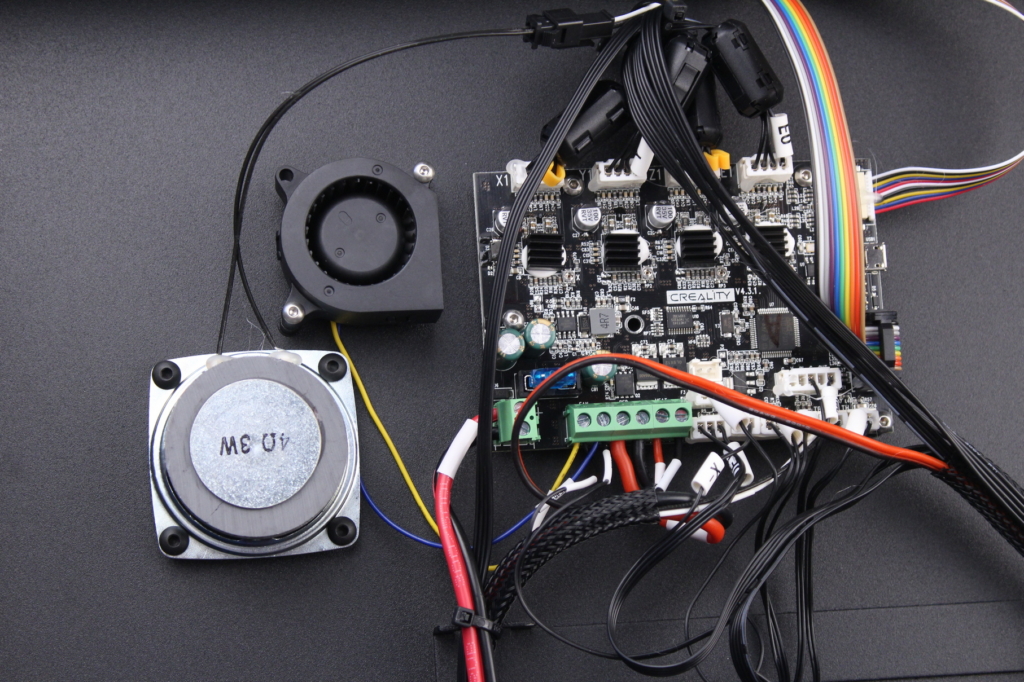
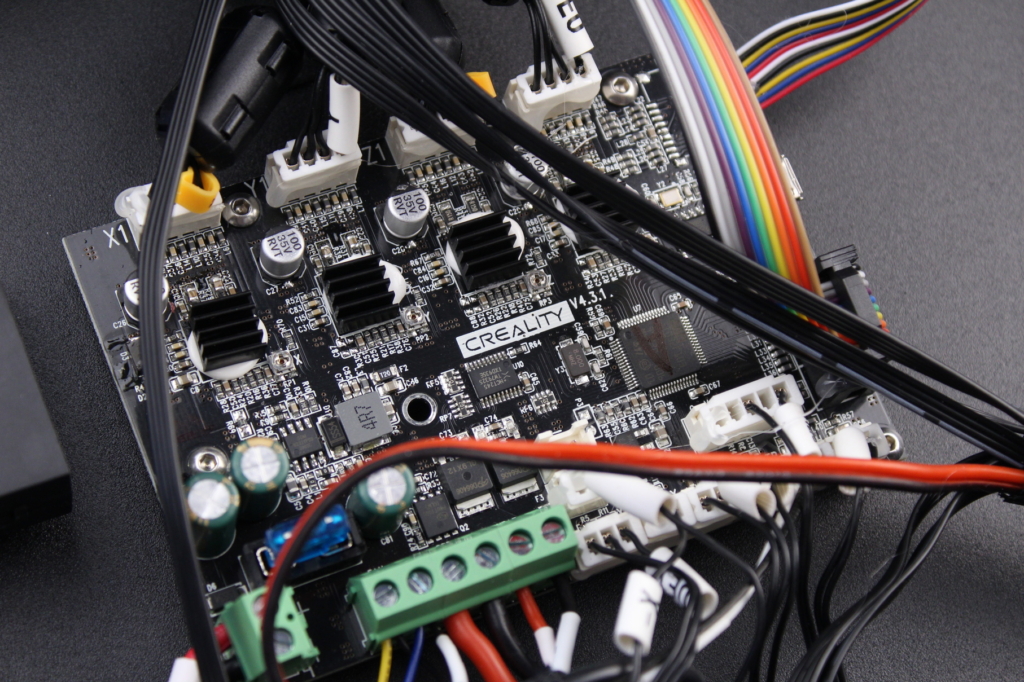
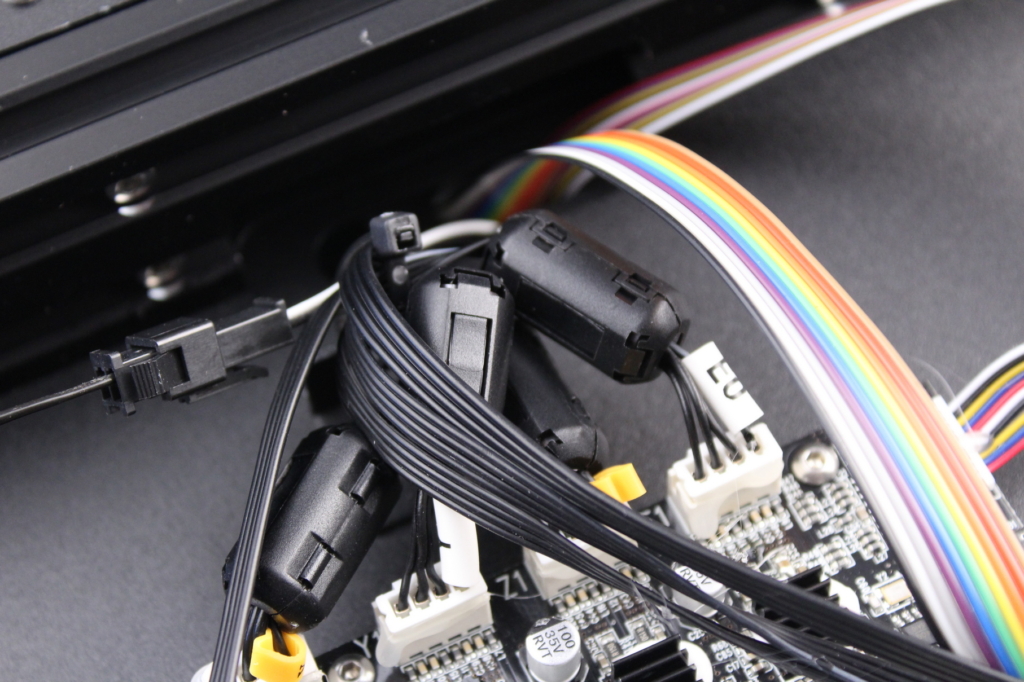
All the stepper motor wires have ferrite cores which are installed to minimize electrical interference. This is a nice feature to have because on printers like the Ender 5 Plus you might have interference that causes BLTouch measurement issues.
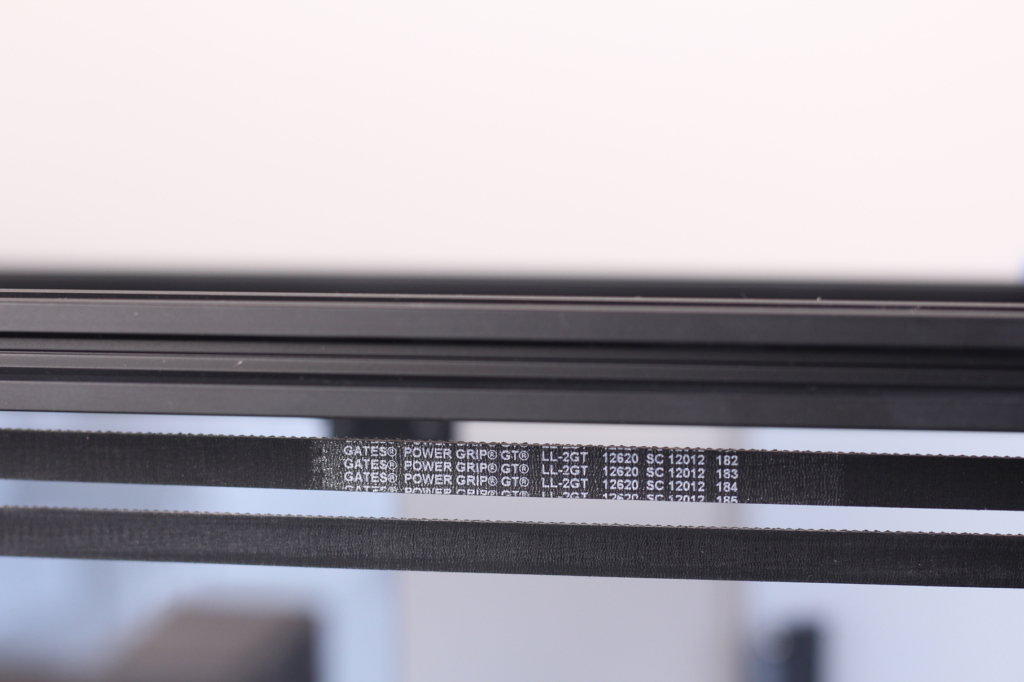
10mm GATES belts
It’s interesting that nobody mentioned in the marketing materials that the Creality Ender 6 comes with 10mm GATES belts. I haven’t seen any CoreXY printer on the market to use wider belts out of the box and I think this is one of the most attractive features.
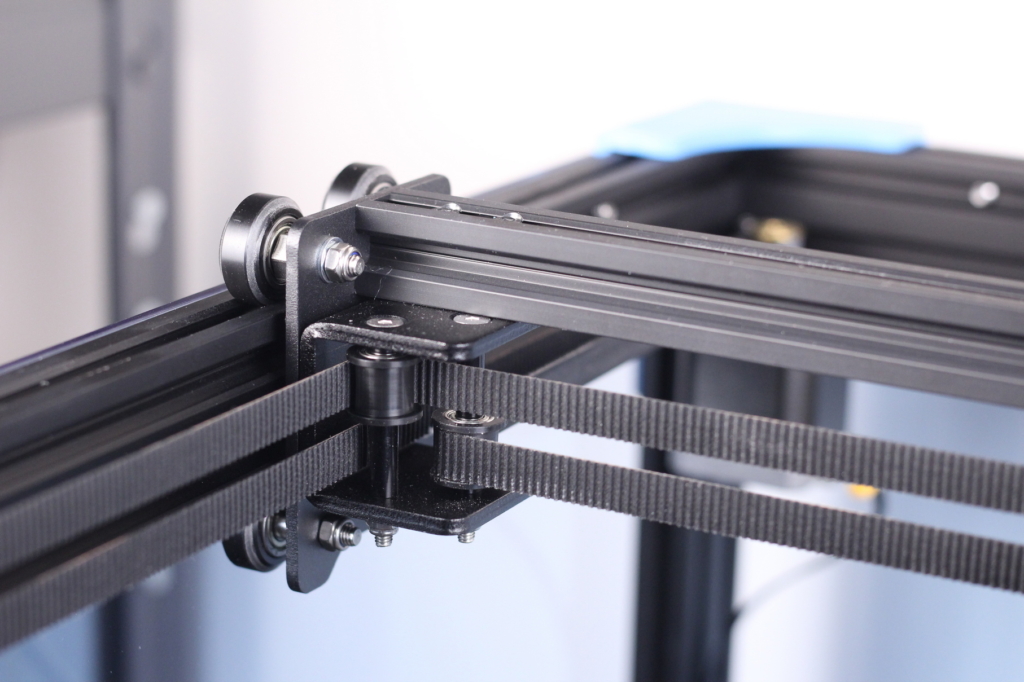
It’s crucial to have good belts on a CoreXY printer and having GATES 10mm belts makes the Ender 6 an interesting offering. You could install a direct drive extruder without worrying too much about the weight. Of course, it’s important to keep the weight of the print head as low as possible, but with the 10mm belts you will be able to push the speeds higher. Unfortunately, there’s no way to adjust the belt tension but I’m happy to report that the belts are tightened correctly out of the box, with similar tension for both axes.
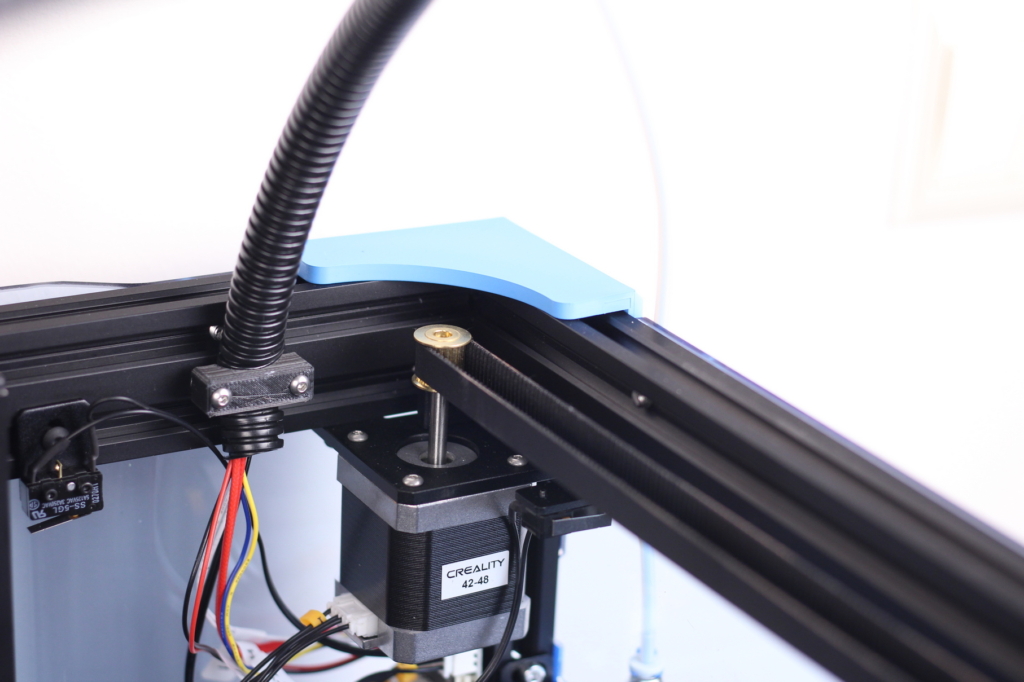
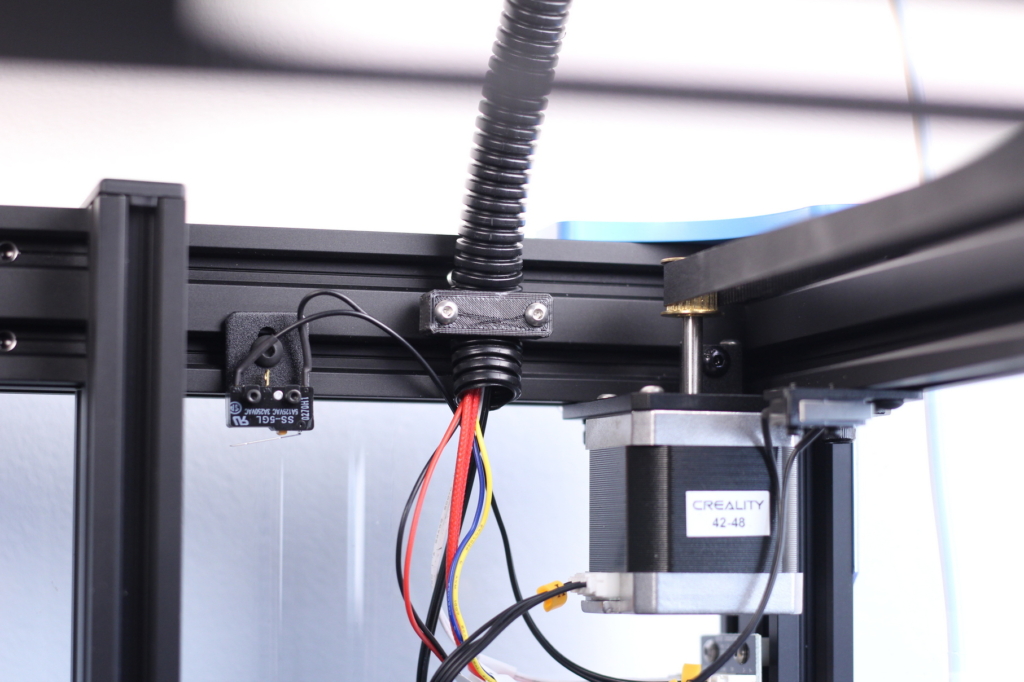
Another important thing to mention is the belt path. All the belts are parallel, and the only location where I think there might be an issue is for the Y motor. To keep the belts aligned, Creality used a motor with a longer shaft and the belt gear is installed right at the top. With too much tension, this might cause the shaft to break or get bent in the future.
For now, everything works well, and this is not a problem.
250×250 Heated Bed Cantilever Bed
Instead of using a pair of linear rods like they used on the Ender 5, this time Creality chose to move the bed on the Z axis with the help of eight v-slot wheels running on dual 2020 aluminum extrusions.
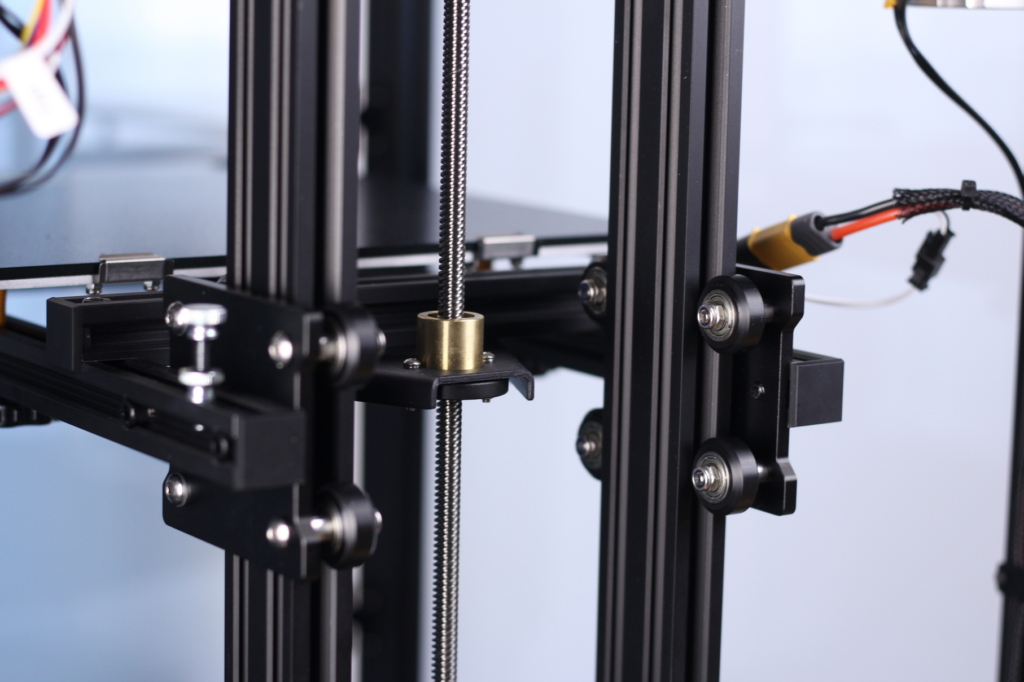
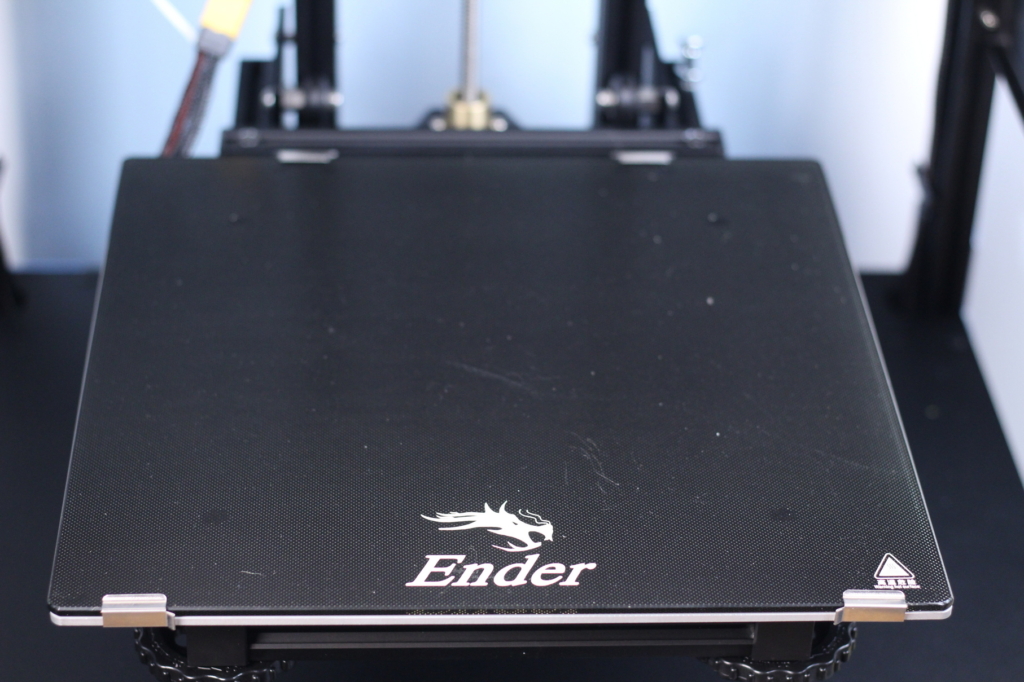
During my time with the printer, this setup performed well, and the bed is stiffer than I was expecting, but I fear that the weight of the bed will cause flat spots on the wheels if it’s not used for a longer period of time even though they are properly tightened. Only time will tell if this is true. A better solution for this would be installing polycarbonate v-slot wheels which are stiffer and don’t deform as easily as the POM wheels included with the printer.
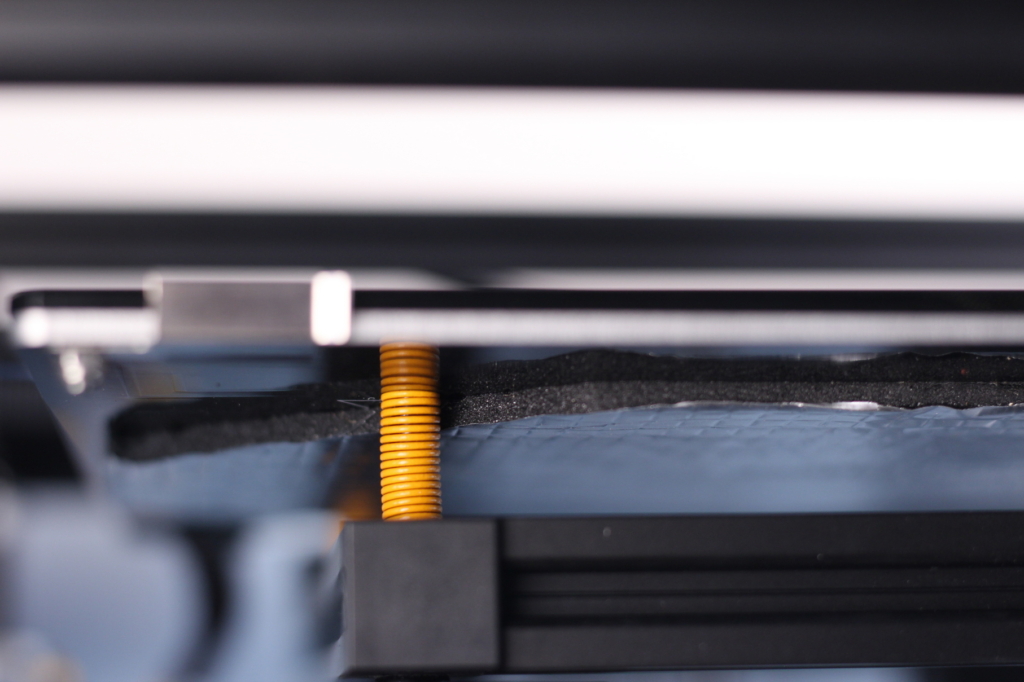
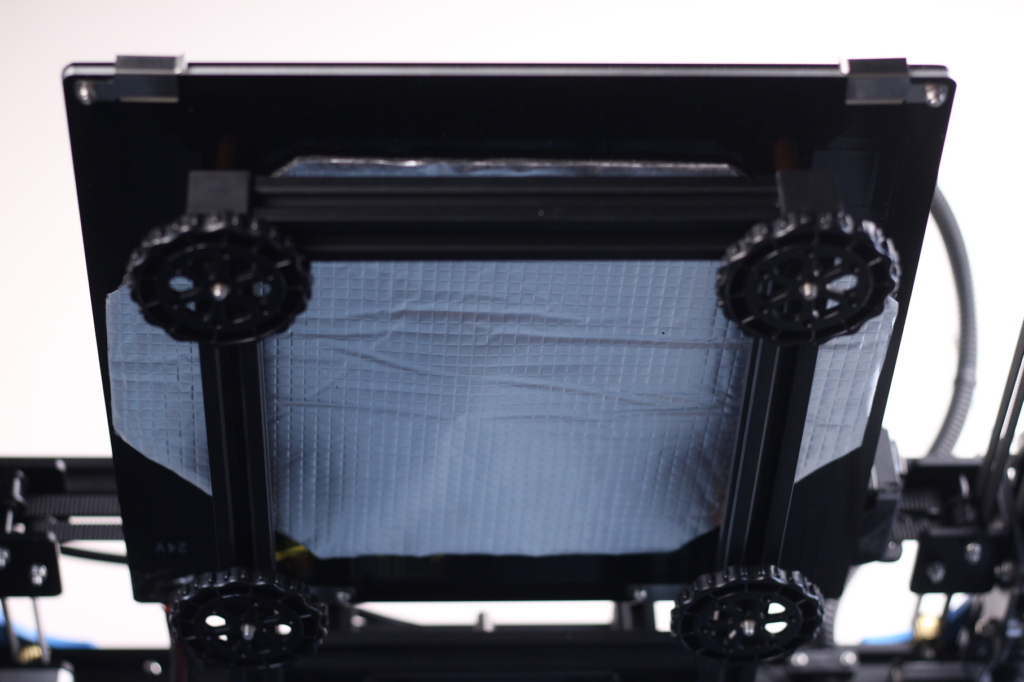
The heated bed is insulated but unfortunately the insulation covers about 70% of the bed. The edges and corners are not insulated which might cause a temperature difference. But with the glass print surface, this effect is diminished, and it doesn’t have an impact on temperatures. If somebody decides to install a PEI flexible sheet directly on the aluminum bed, the temperature difference might be more significant.
I’m not a huge fan of the springs used for the bed because they are not that great when it comes to stiffness, and it makes leveling a bit harder.
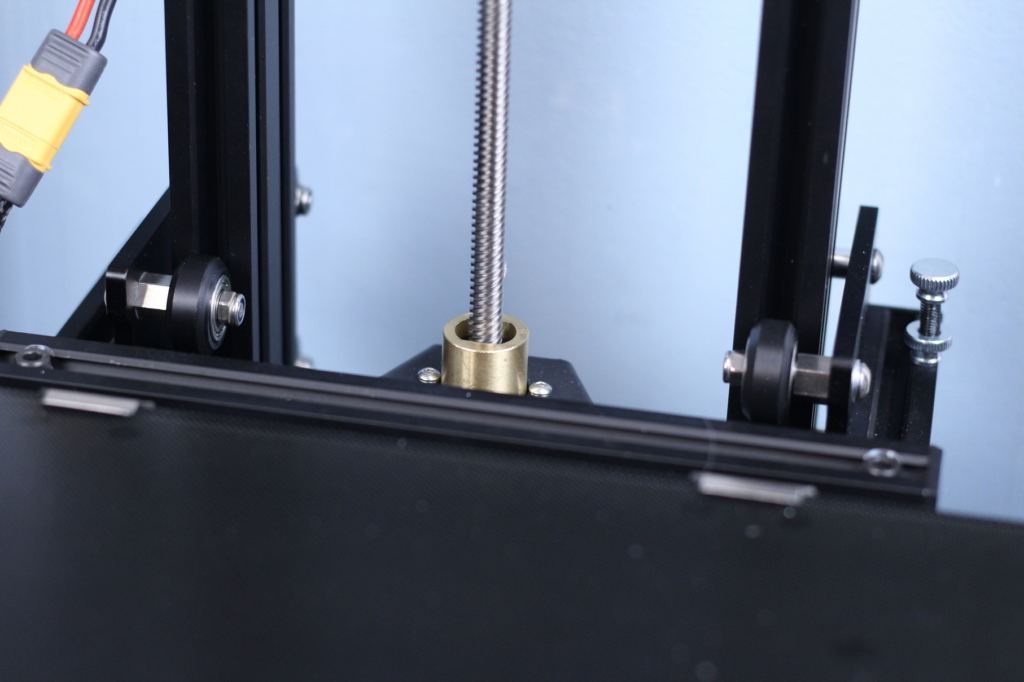
POM anti-backash nut
I was not expecting to see a POM anti-backlash nut installed out of the box on the Ender 6. I am a huge fan of POM anti-backlash nuts because they mate perfectly with the lead screw and don’t need any grease. I hope other companies decide to use these on their printers because they are cheap and offer superior performance.
The installed POM nut works really well and there is zero backlash during movement. Besides that, having the POM nut helps keep the bed in place when power is off. Of course, these POM nuts can wear out more easily and might need to be replaced in the future, but I don’t mind this considering all the benefits they provide.
360W Power Supply
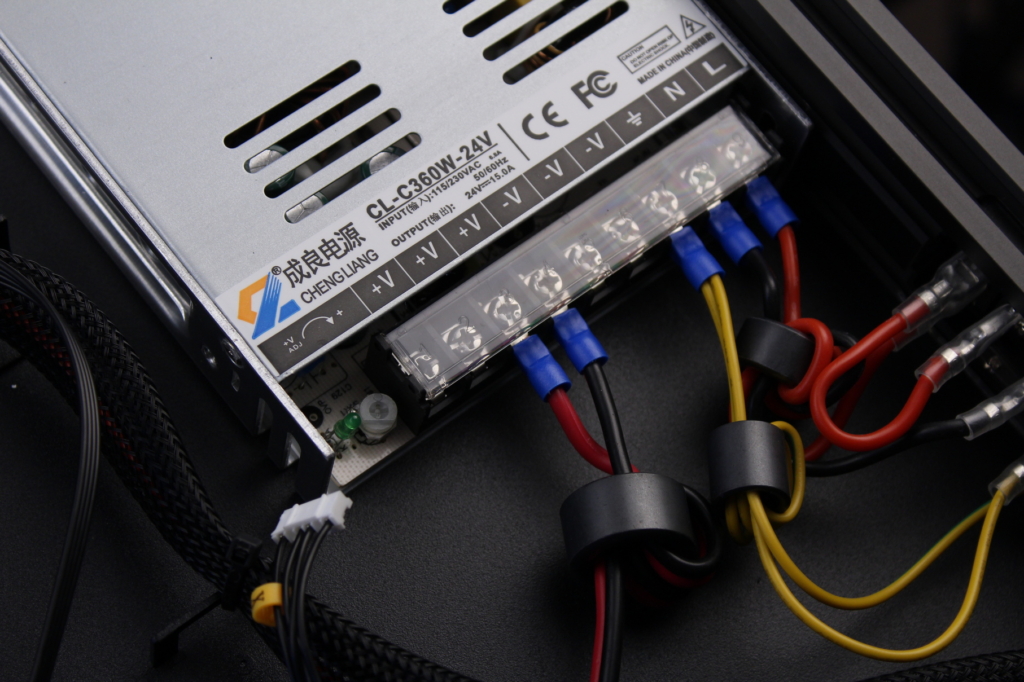
In the spec sheet, Creality markets this printer as having a “branded power supply”. This might make you think that there’s a Mean Well power supply inside, but this is not the case. It’s a Cheng Liang 360W 24V unit, and while I would have liked to see a Mean Well, it’s still decent. The fan is a bit noisy, and it runs continuously but it’s not annoying.
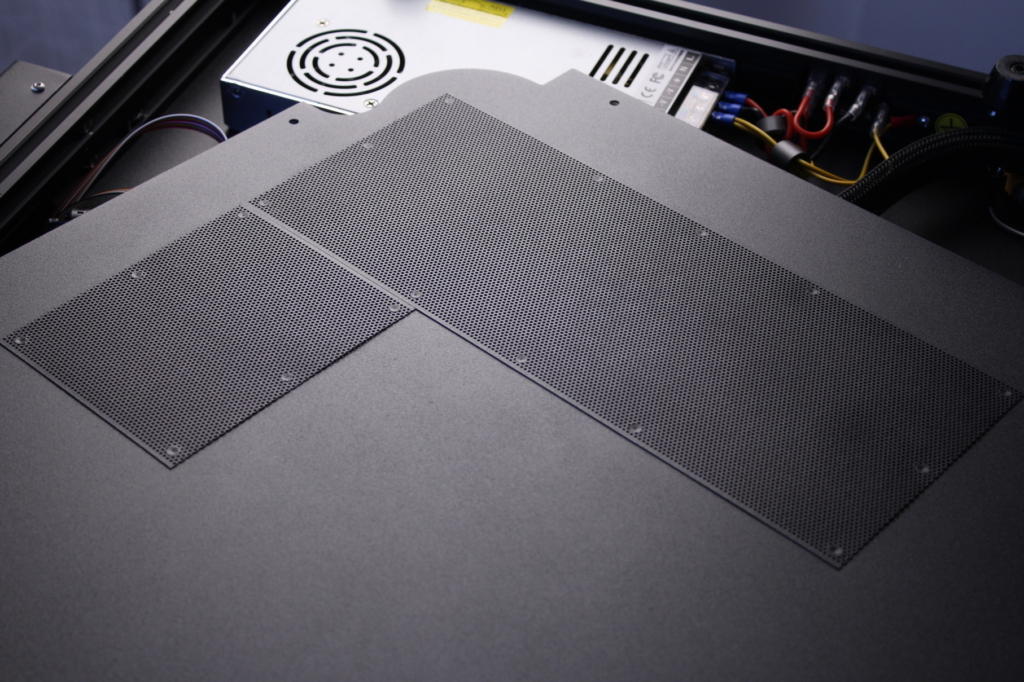
It’s worth mentioning that the Ender 6 has a mesh filter underneath to protect the electronics from dust which is nice to see.
Nice wiring solution
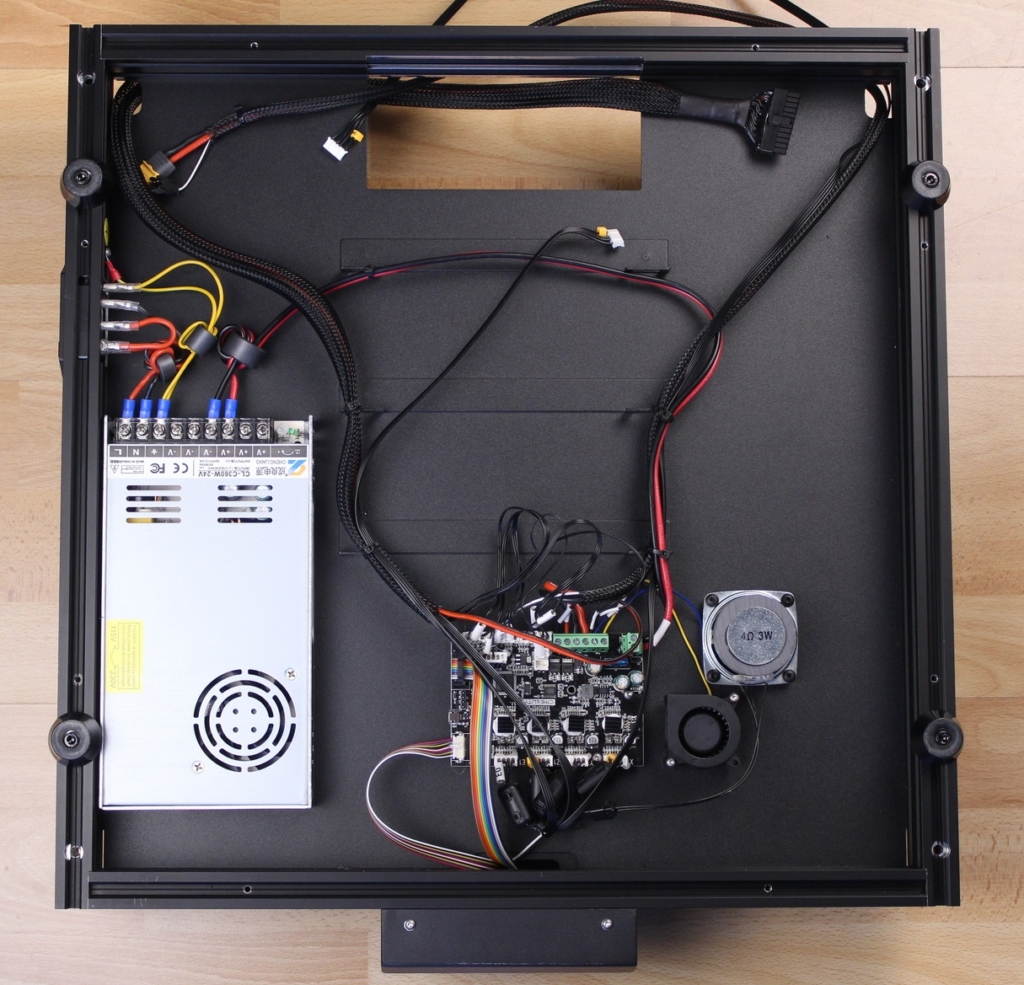
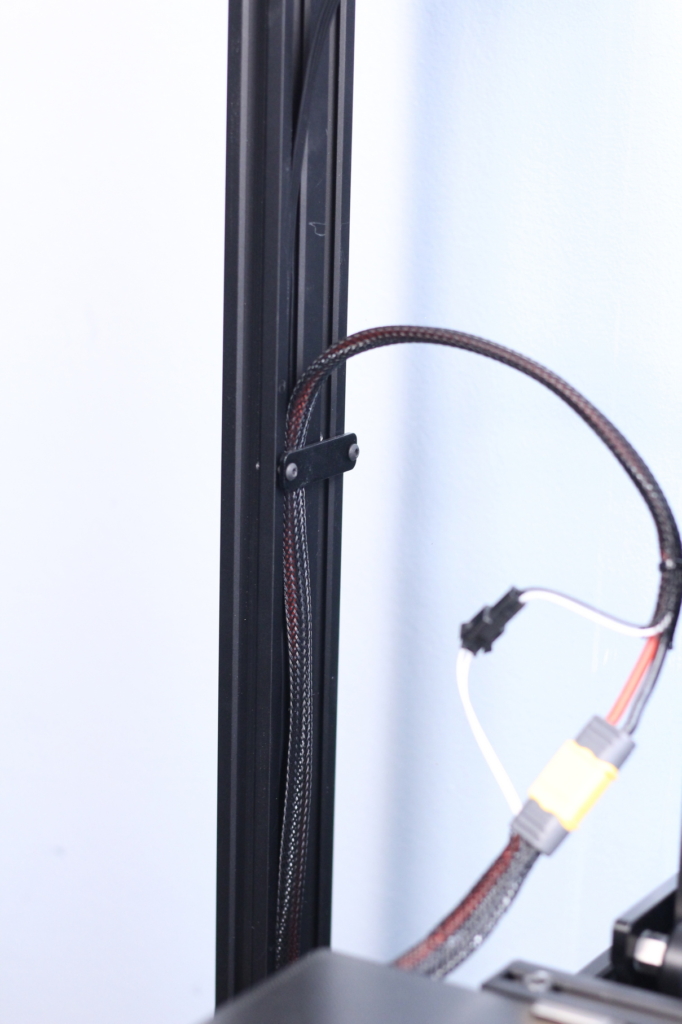
I love the wiring solution provided by the Ender 6 and it shows that Creality took their time with this one. Besides the ferrite cores we talked about, most of the wires have dedicated cable management solutions in the back of the printer to keep them nice and tidy.
One of the wires goes to the heated bed and it’s terminated in a JST connector. The second wire loom is terminated with a 24-pin ATX connector which goes into a breakout board where you connect most of the electronics (stepper motors, fans, heater and thermistor).
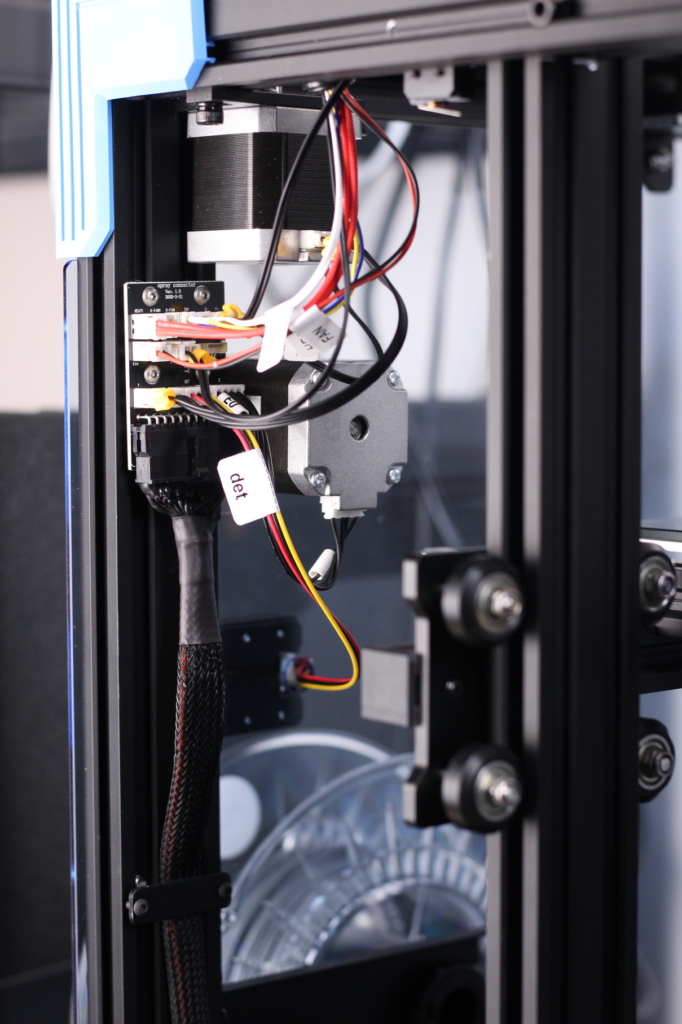
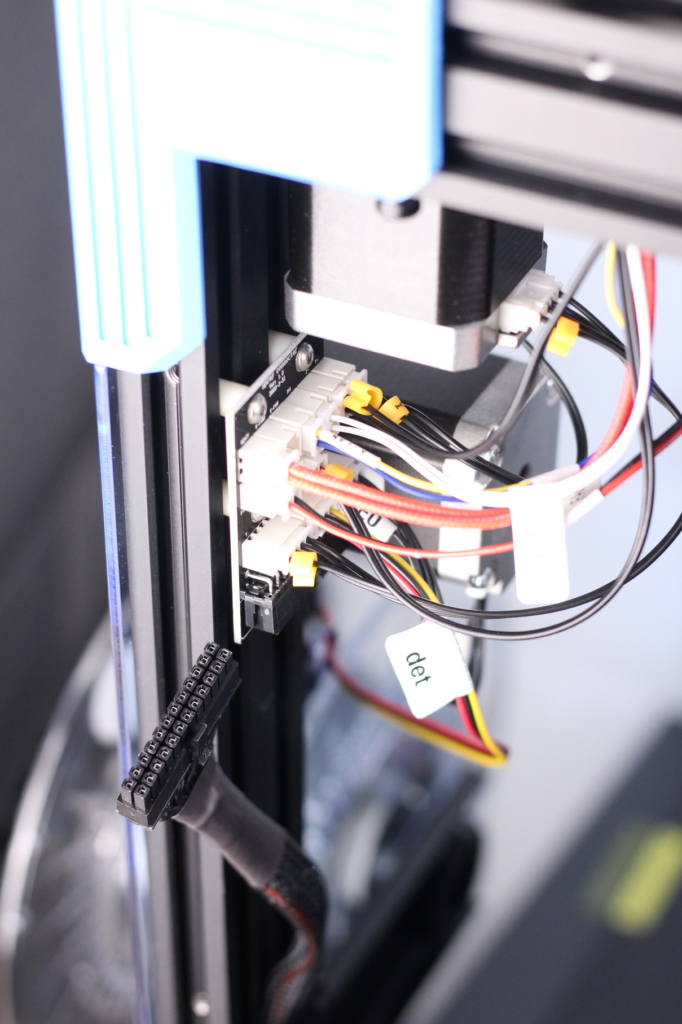

There’s also a pair of wire management tabs which can be used to attach the wire loom going to the hotend and keep it in place. Overall, the wire management is excellent on the Ender 6 and I would love to see something similar on other printers in the future.
Dual-Gear Extruder
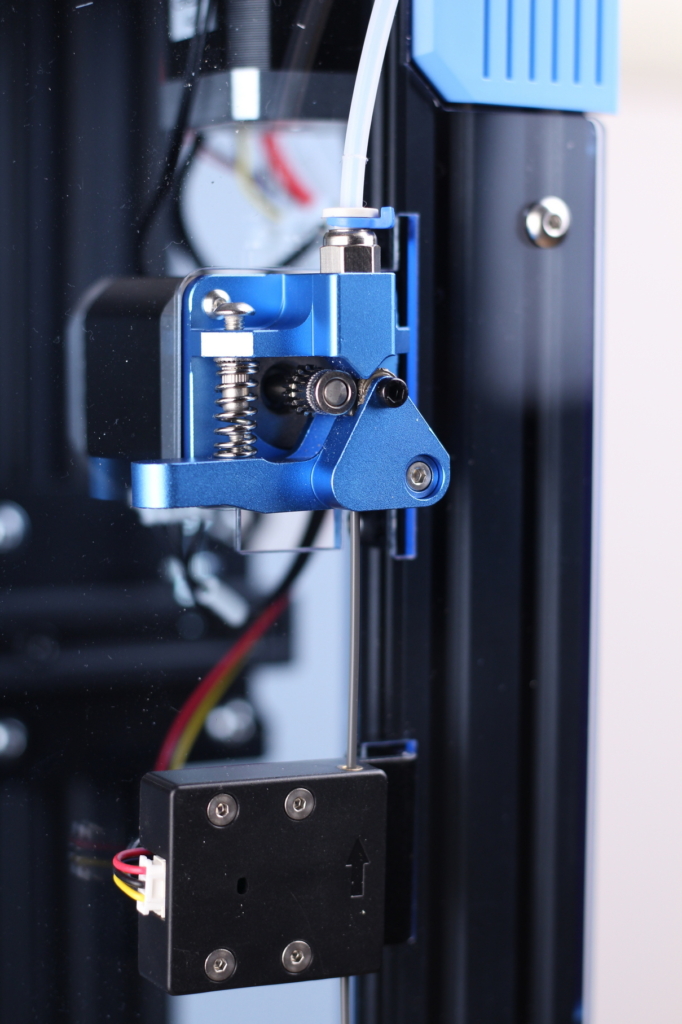
One of the most important upgrades from the Ender 5 is the addition of a dual-gear metal extruder. This is much better compared to the old-style extruder Creality is using on most of their budget 3D printers. The dual-gear setup grips the filament much better allowing for more accurate control when printing.
From time to time, I noticed that the filament can get stripped if the retraction speed is set too high, so I don’t recommend going over 35-40mm/s.
I would have liked to see an extruder with a gear ratio like the BMG, but I can’t really complain of the stock extruder performance. On all printers which used this dual-gear Creality geared extruder, the quality was good enough not to require an upgrade.
What I don’t like is the positioning of this extruder. With a bit of work, they could have inverted its position so the extruder and spool holder could be installed inside the printer saving a bit of space. I think this is an easy modification to do, and I will probably write a guide on how to do this in the future.
4.3-inch Touchscreen
The 4.3-inch touchscreen used on the Ender 6 is the same you get on other Creality printers, like the CR-5 Pro, CR-10s Pro, Ender 5 Plus. It’s nice and responsive, but it doesn’t have any kind of special features that stand out.
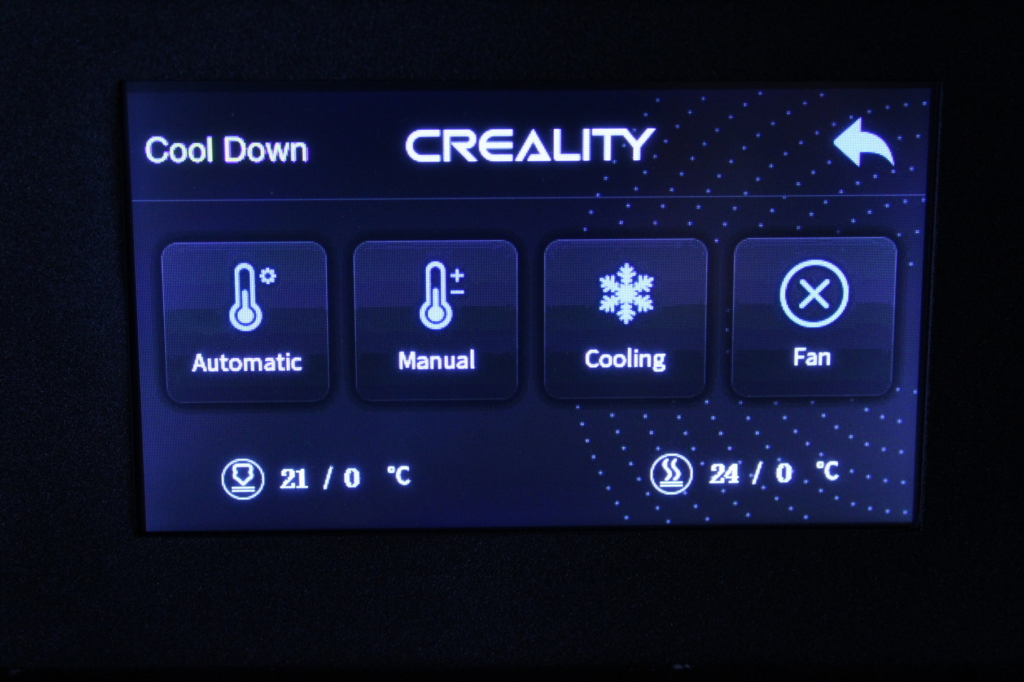
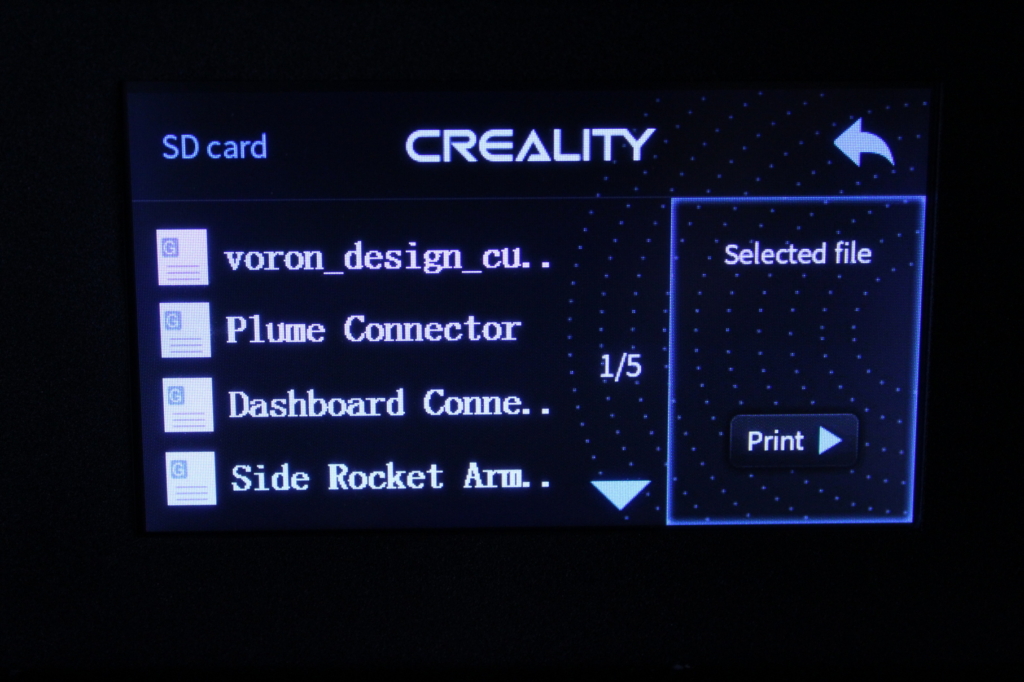
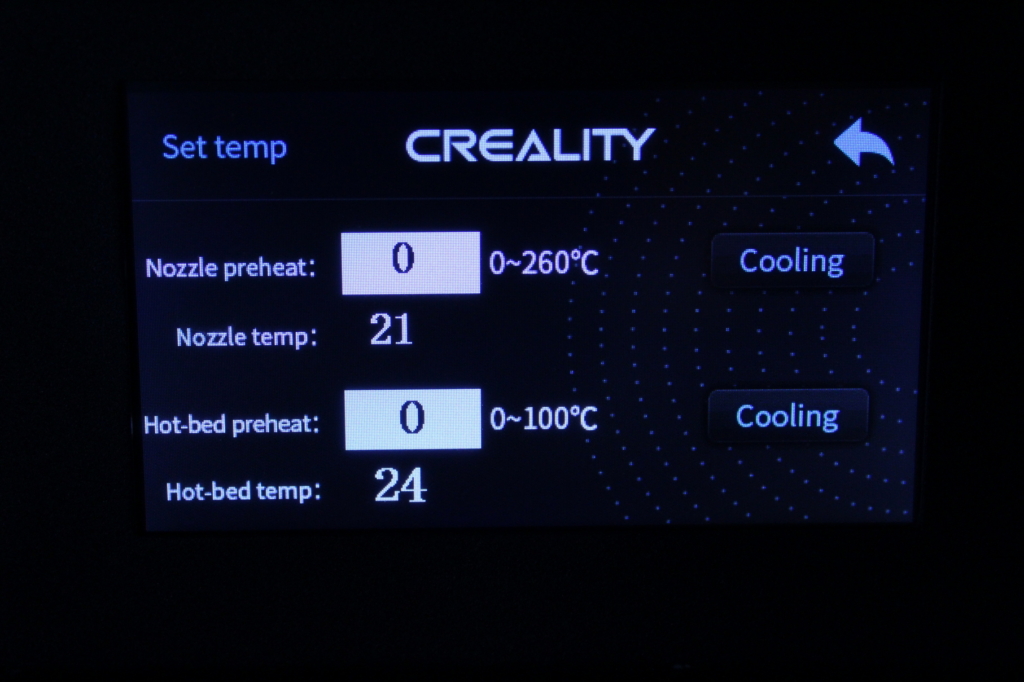
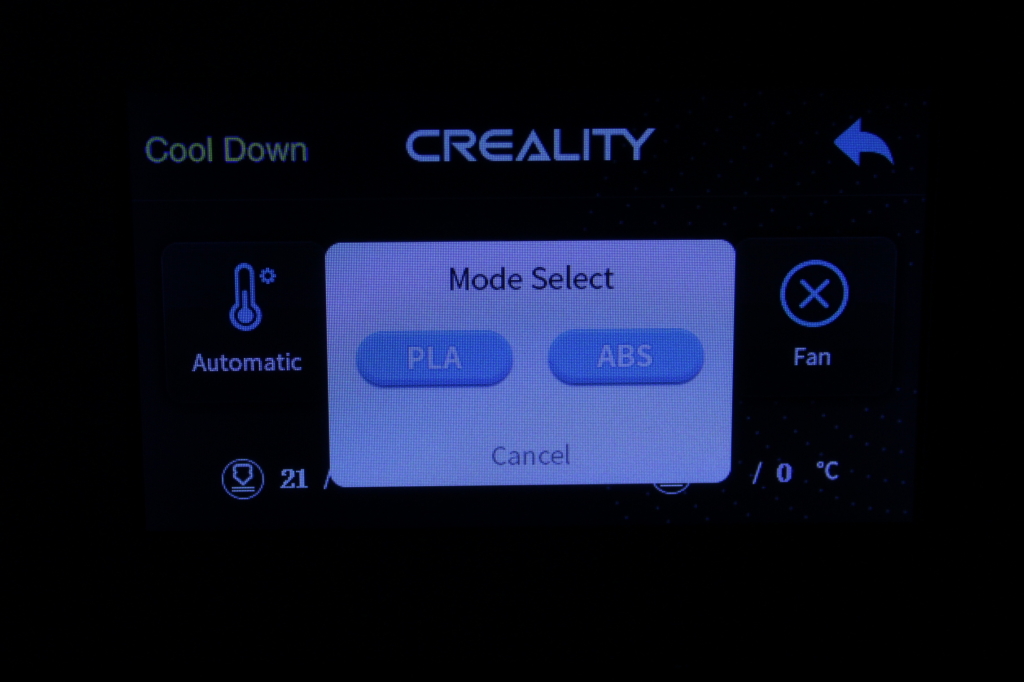
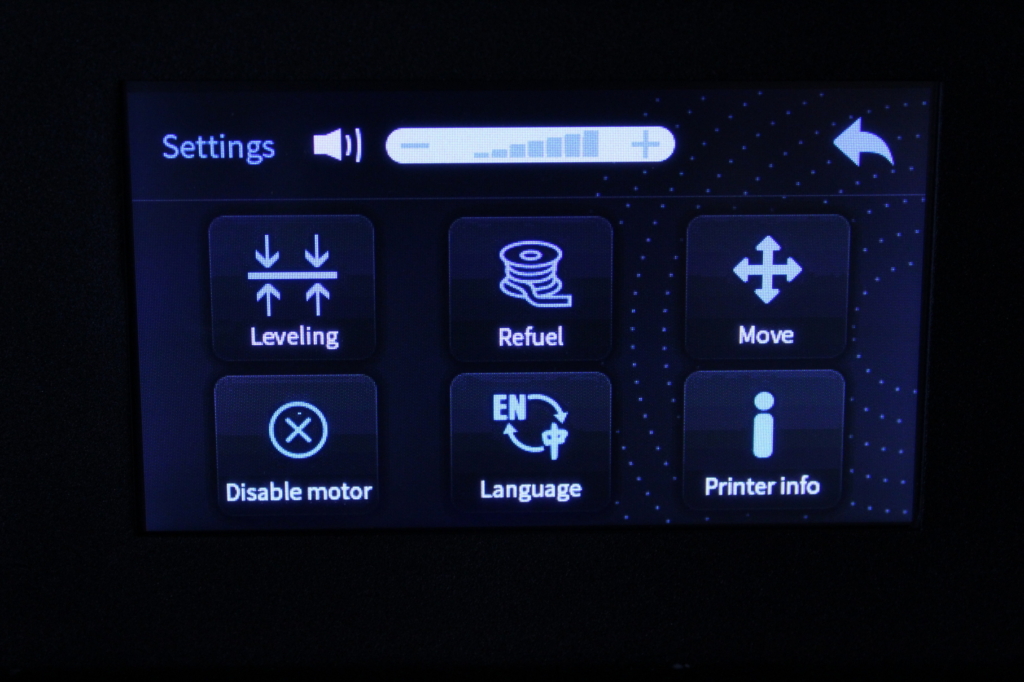
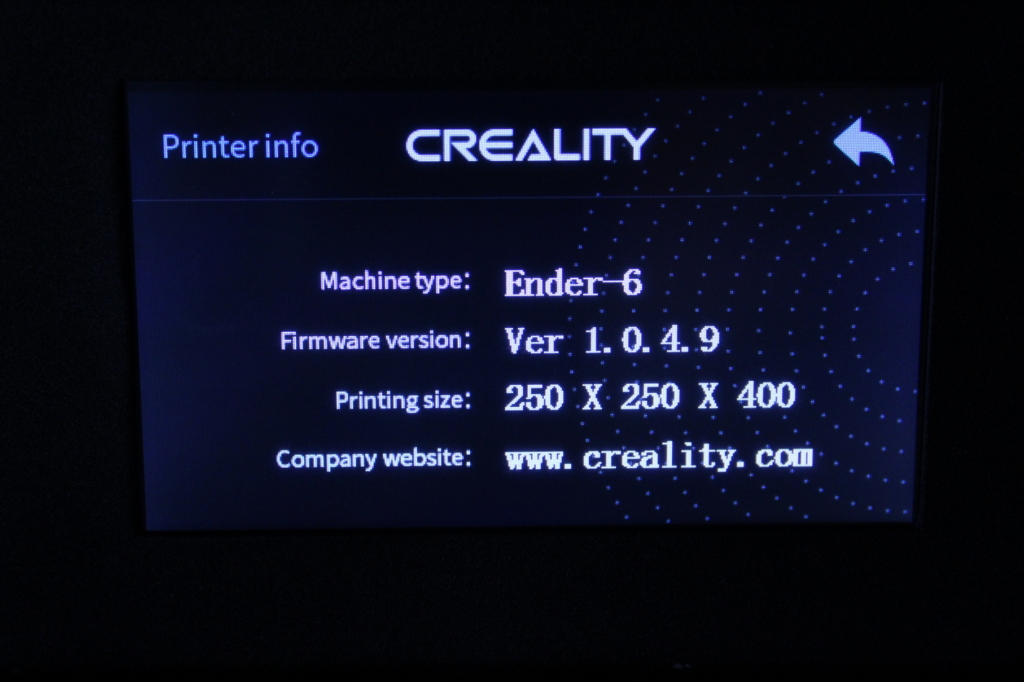
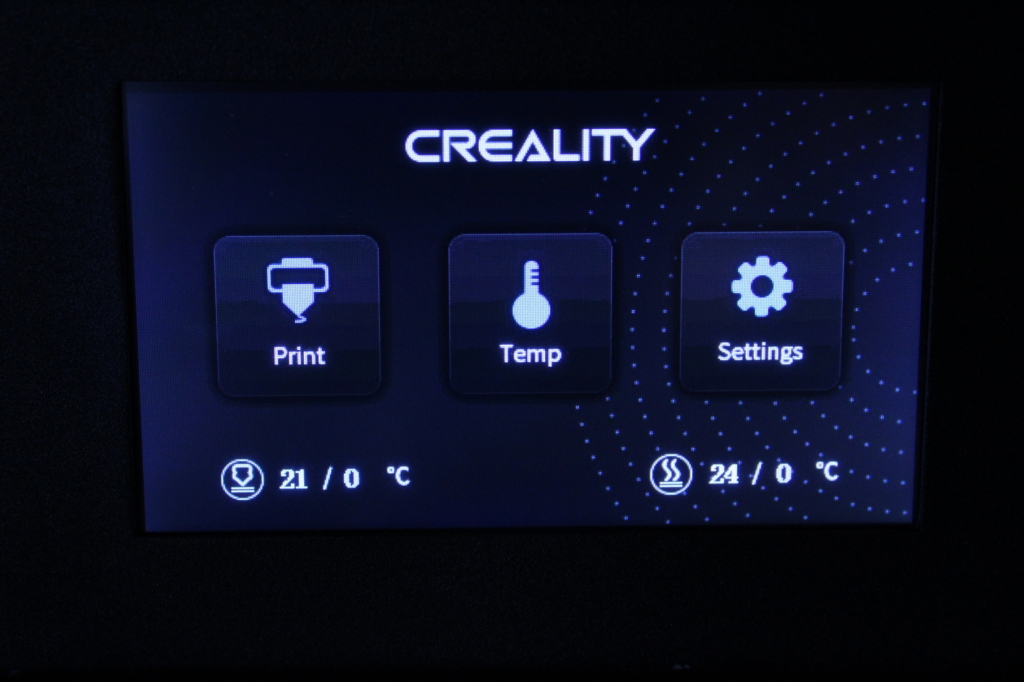
What I don’t like about the screen is the use of a huge speaker. It doesn’t have any special feature, and it’s only used for sound feedback when touching the screen. It’s too loud and the sound feedback is distorted. Because of that, I will disconnect it in the future.
Heating time and power consumption
I tested the heating time for both hotend and heat bed and here are the results:
Hotend
- 200C in 1 minutes and 50 seconds
- 250C in 2 minutes and 20 seconds
Heatbed
- 60C in 3 minutes
- 100C in 10 minutes
Power Draw
Idle power draw is around 12W. When the hotend and heatbed are heating up, the Creality Ender 6 draws around 336W. After it starts printing, the power draw stabilizes to around 125W.
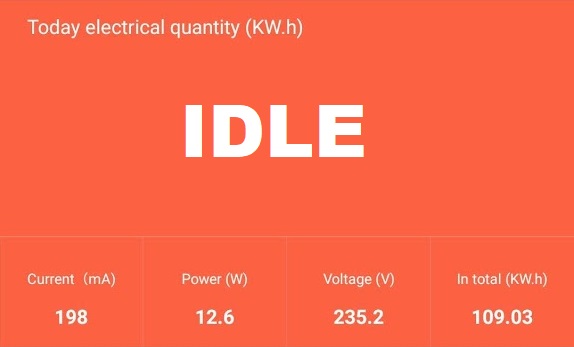
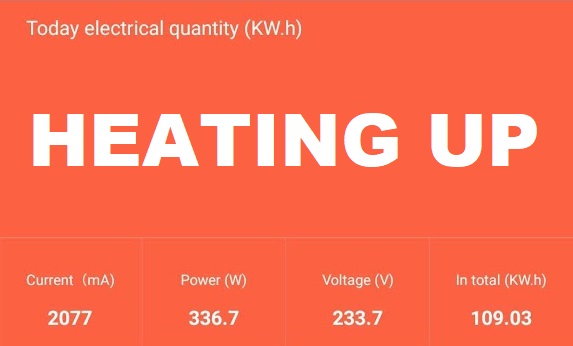
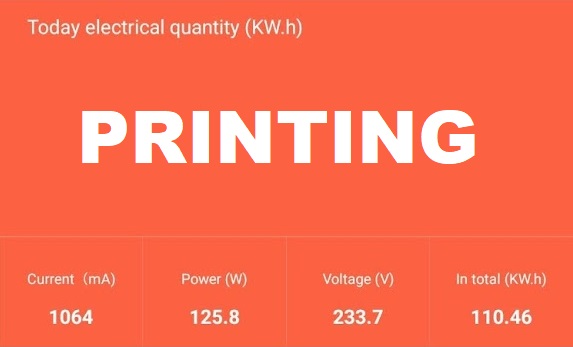
All these measurements were taken with a Blitzwolf smart power socket which indicates the power draw, and it can also be used for remotely powering on and off the printer.
Bed Temperature Uniformity
I tested the temperature uniformity for the Ender 6 bed with the Flir Camera installed on the CAT S62 Pro. The bed has been set to 60C and I waited 2 minutes after reaching that temperature for the temperature to stabilize.
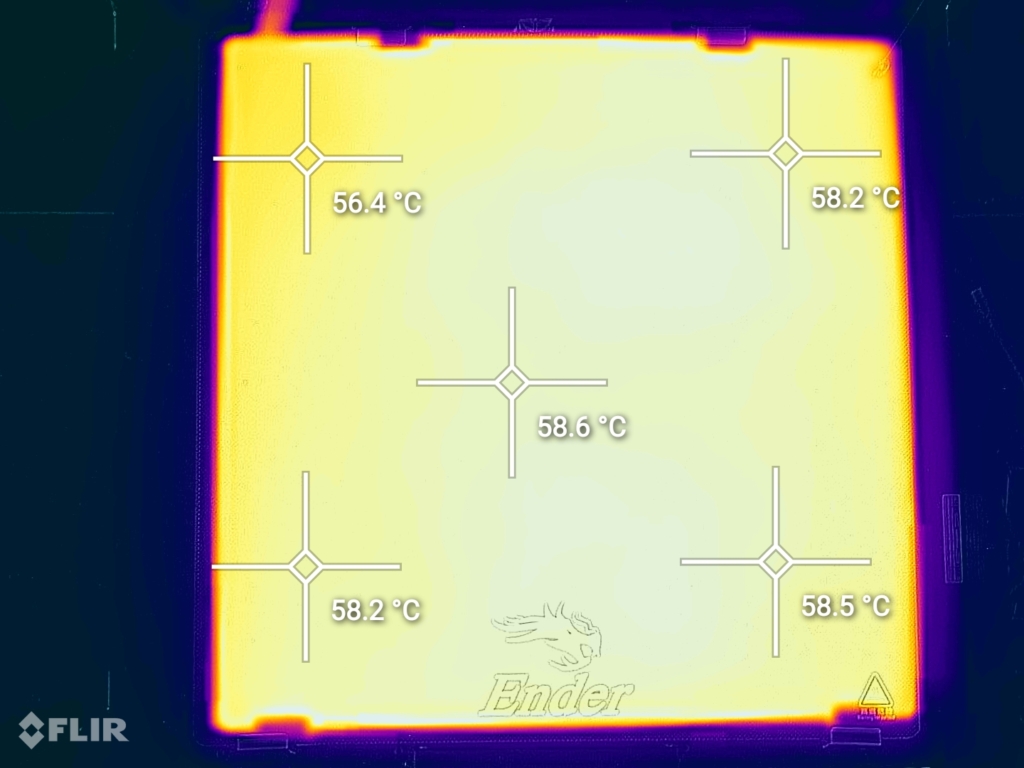
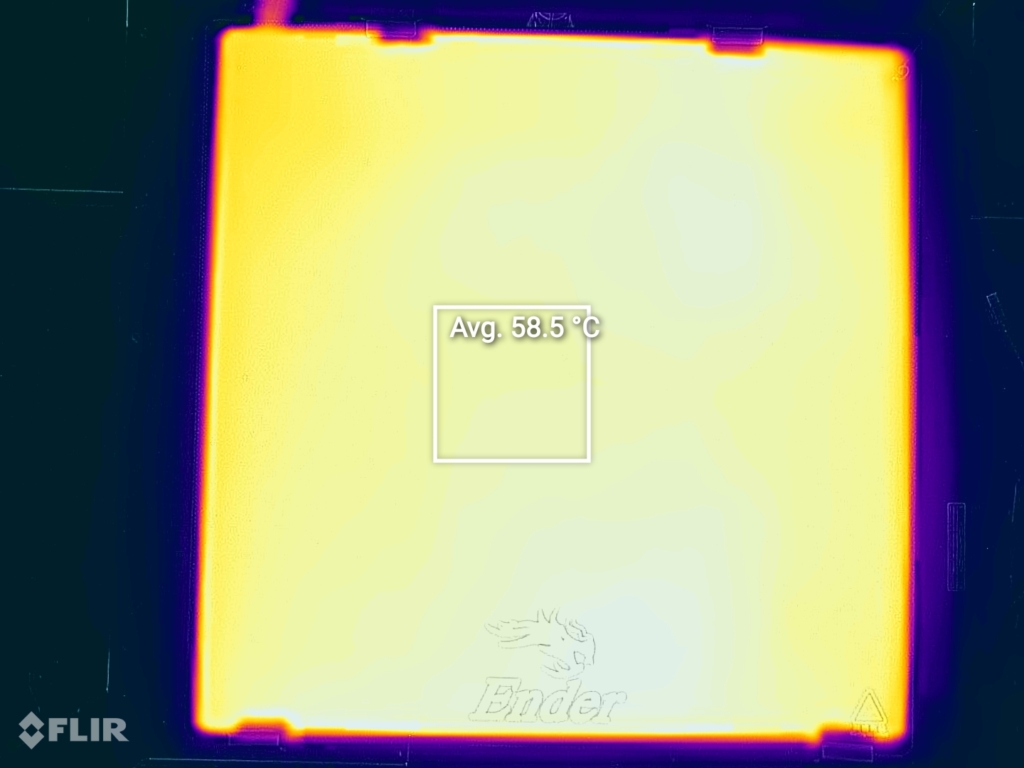
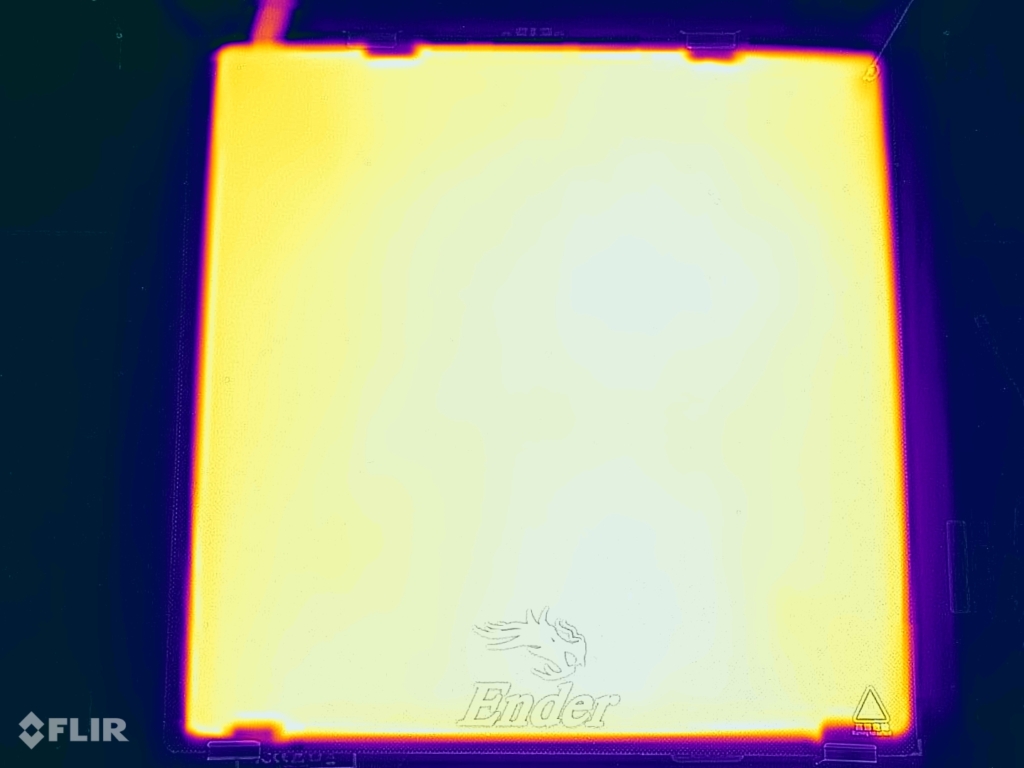
The bed has a good heating uniformity, and the temperature is mostly the same across the bed.
Ender 6 Noise Levels
As previously mentioned, the Ender 6 is mostly silent, but the fans used are a bit louder compared to what you get on other printers. Still, I can’t say that the Ender 6 is a noisy machine during operation.
IdeaMaker profiles for Ender 6
During my time with the printer, I also tuned three IdeaMaker profiles for the Creality Ender 6 using the tools available in the 3D Printer Calibration Guide using IdeaMaker article. These profiles are tuned for the stock printer and worked well for me. Feel free to give them a go.
Creality Ender 6 IdeaMaker Profile – PLA – 3DPrintBeginner
Creality Ender 6 IdeaMaker Profile – PETG – 3DPrintBeginner
Creality Ender 6 IdeaMaker Profile – TPU – 3DPrintBeginner
Test prints on Ender 6
3D Benchy
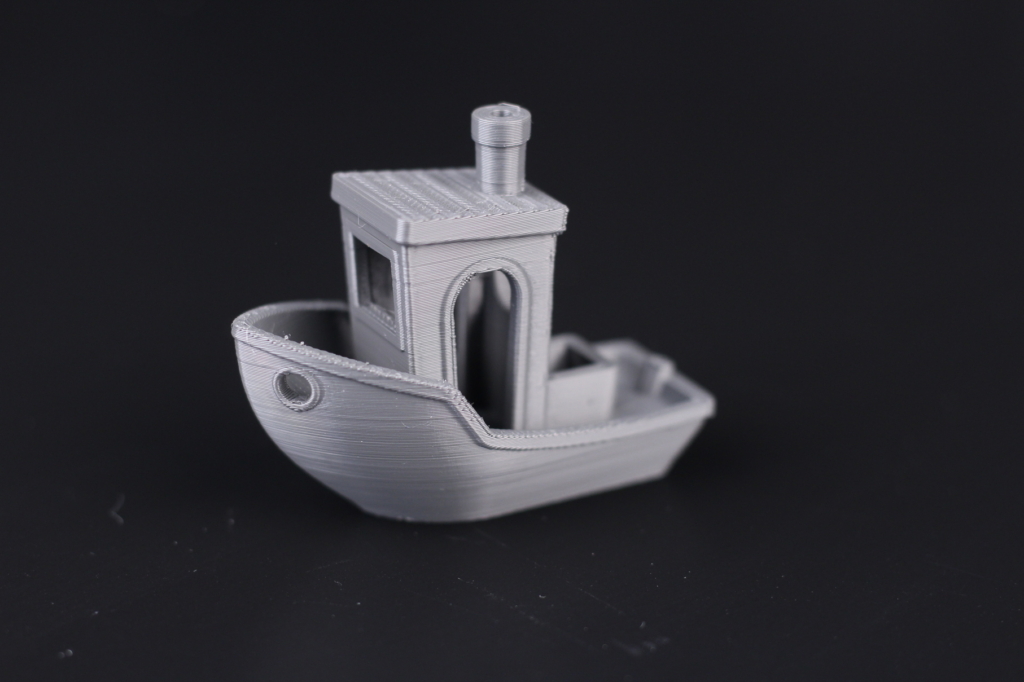
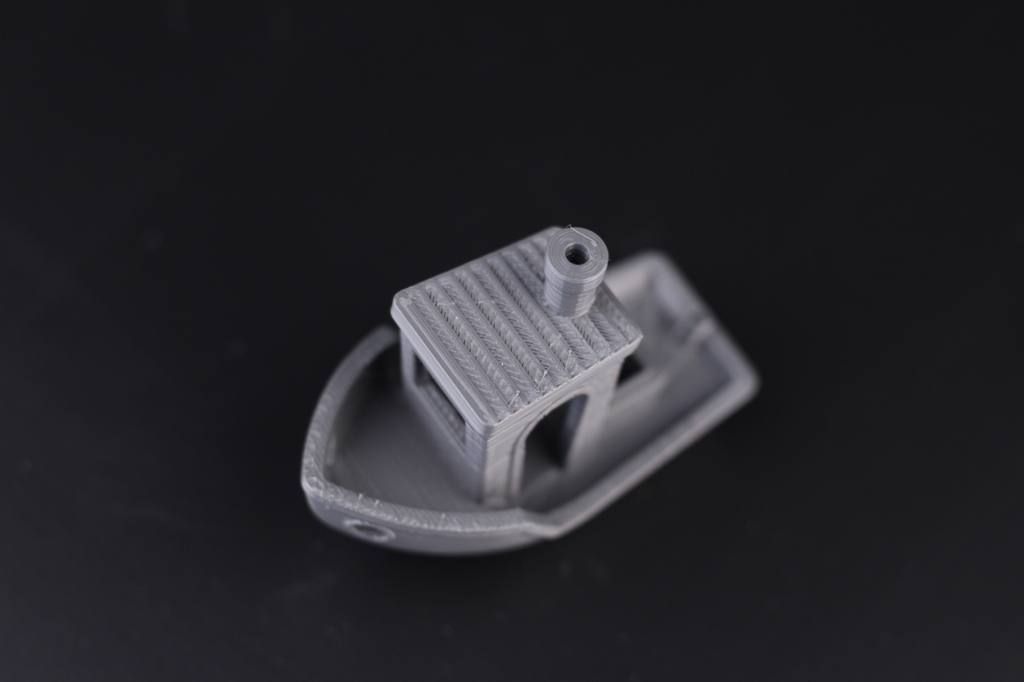
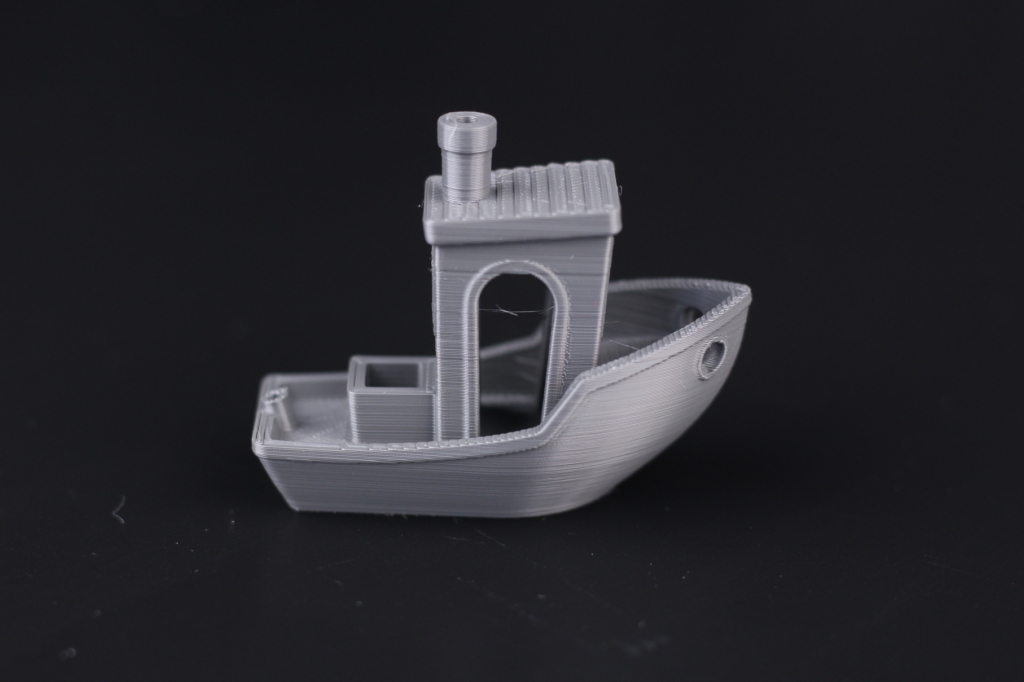
After fixing the hotend issues, the second 3D Benchy came out much better, as you can see in the images below. Can’t really complain about any printed features other than mentioning some small layer inconsistencies in some sections.
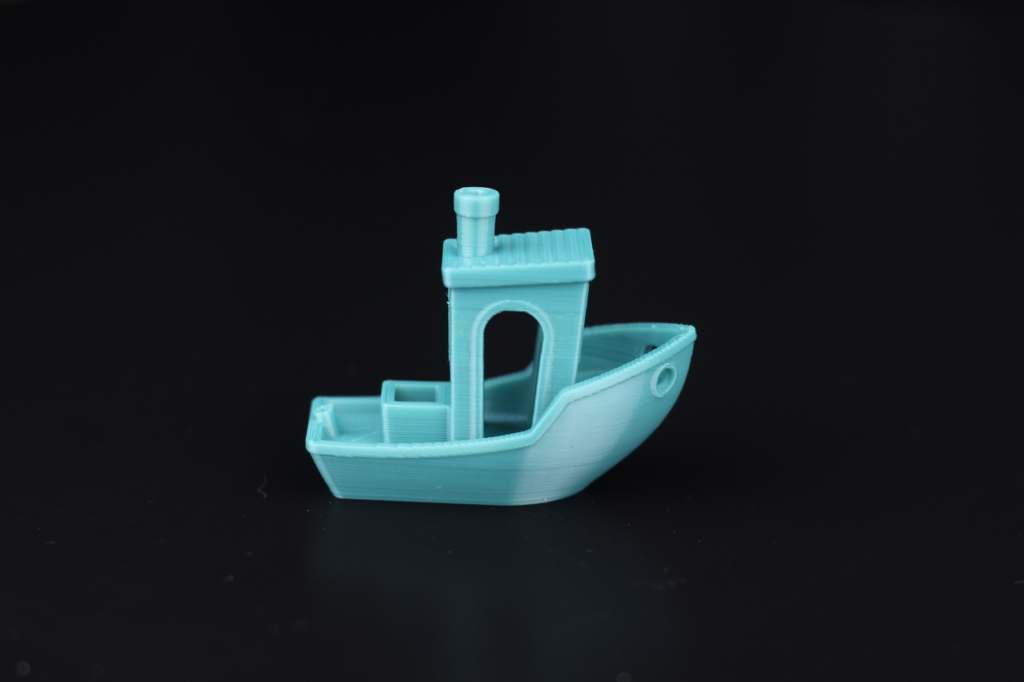
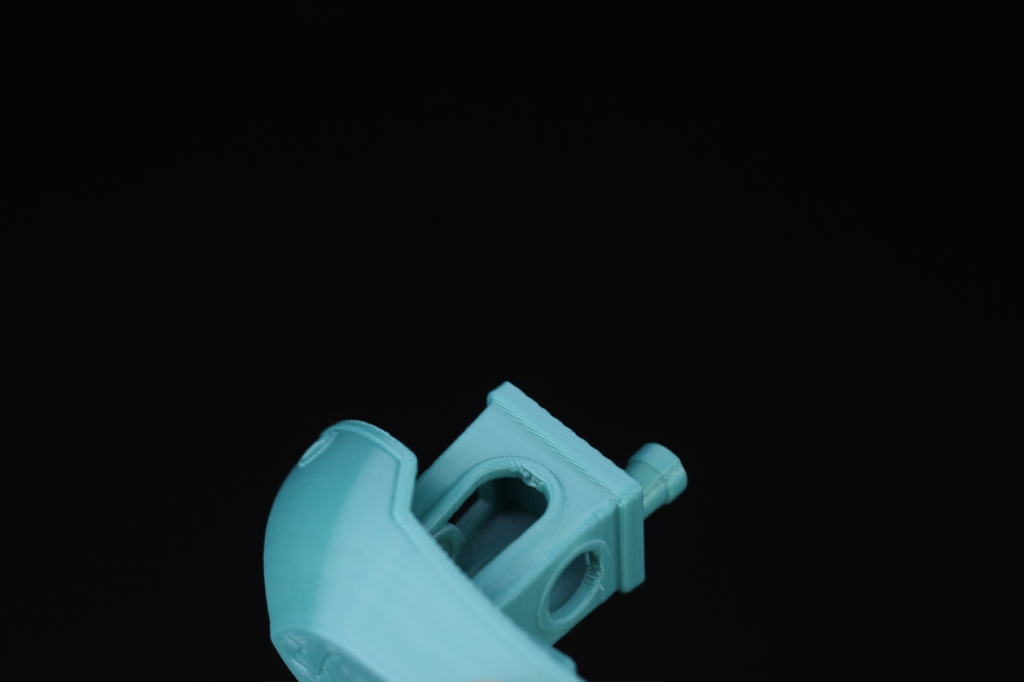
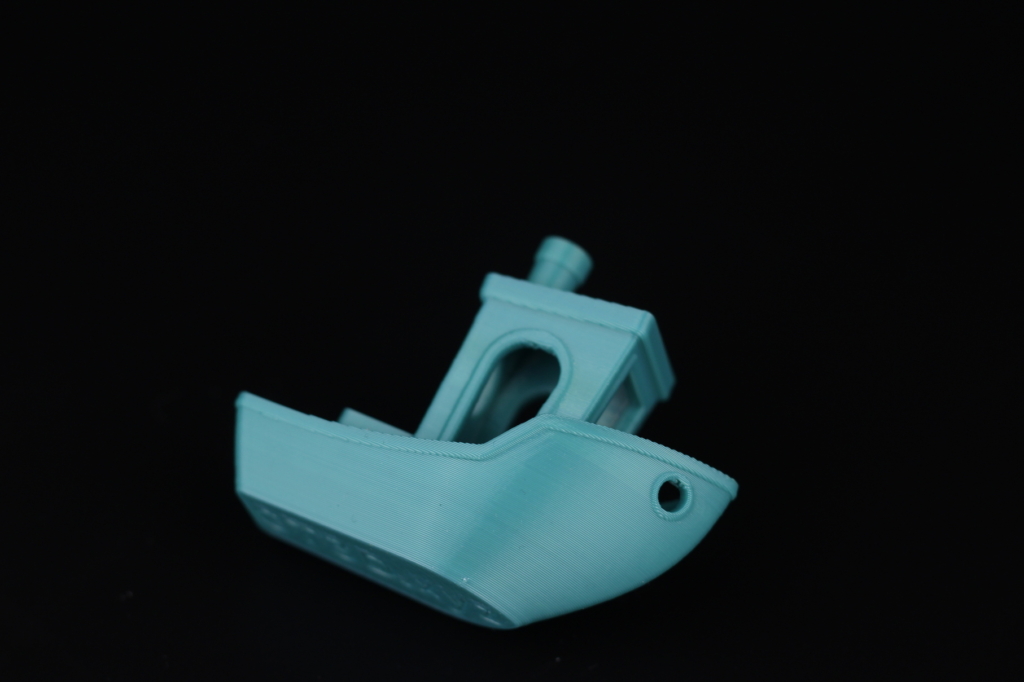
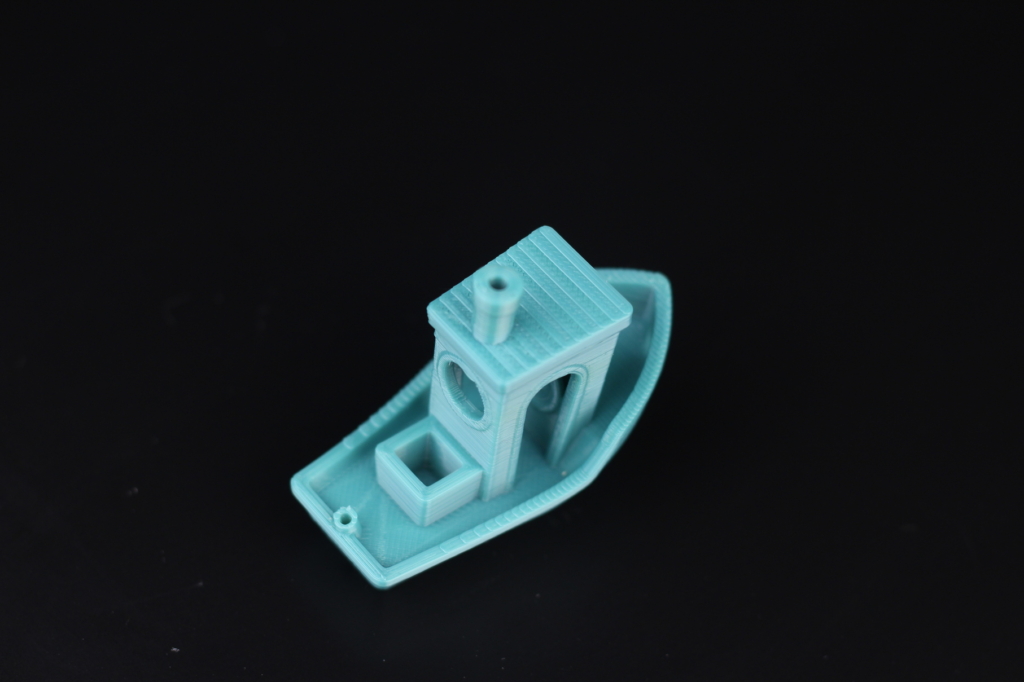
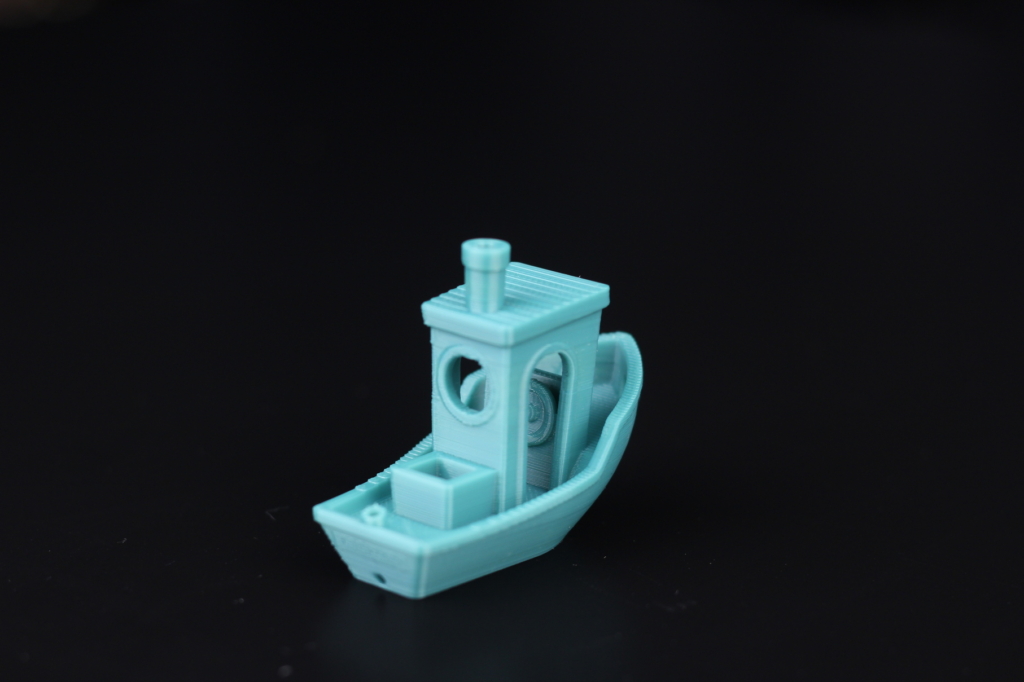
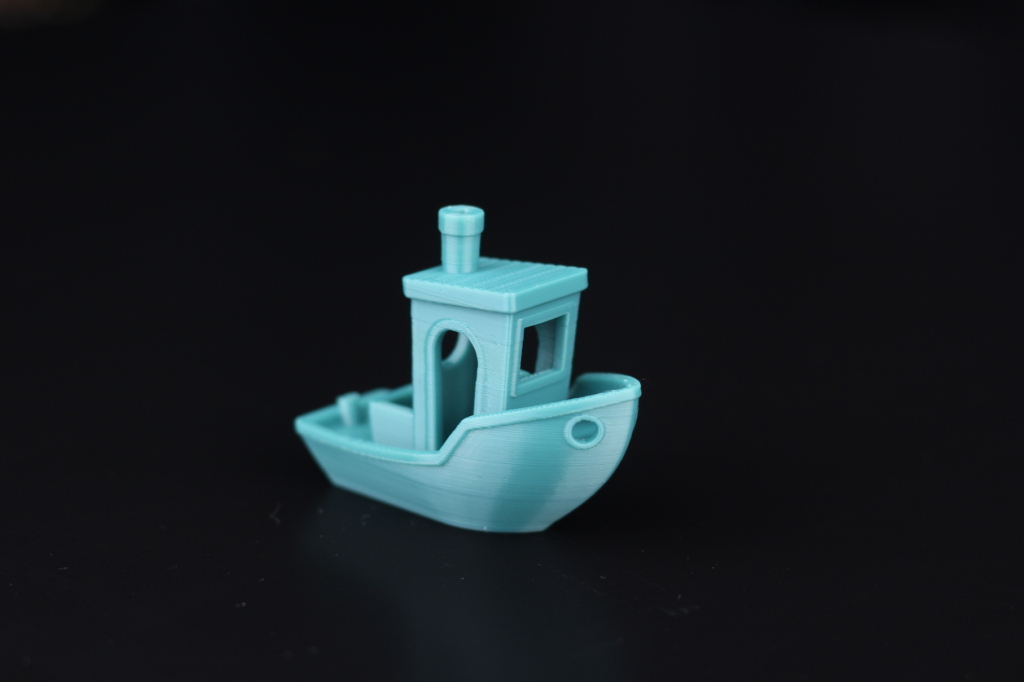
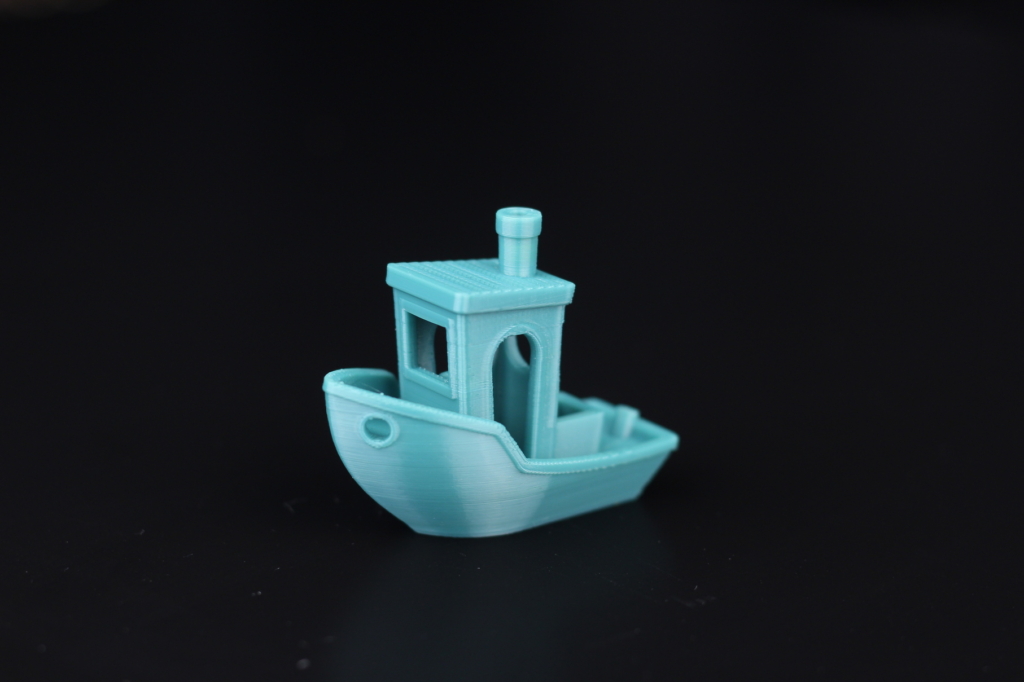
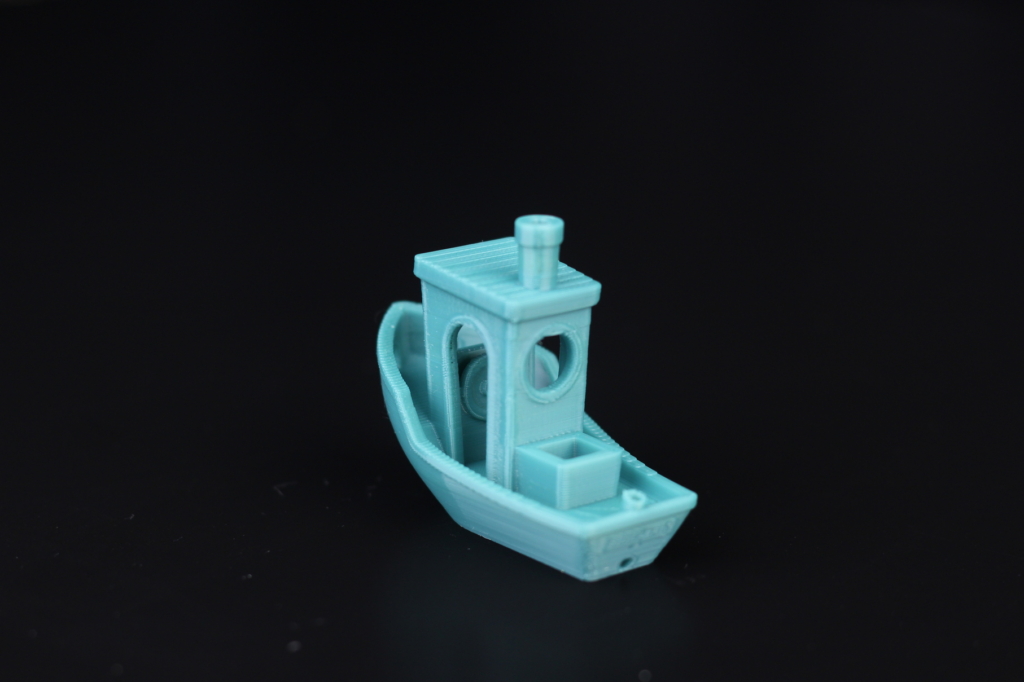
- Material: SUNLU Color Changing PLA
- Layer Height: 0.2mm
- Nozzle Temperature: 215C
- Bed Temperature: 60C
- Print Speed: 50 mm/s
Z wobble test
With this Z wobble test, I am checking if the movement on the Z axis is consistent and if the bed is stable with a tall print. As you can see, the layers look good but there are a few sections with inconsistent layers where I blame the filament consistency, because it’s not a repeating pattern.
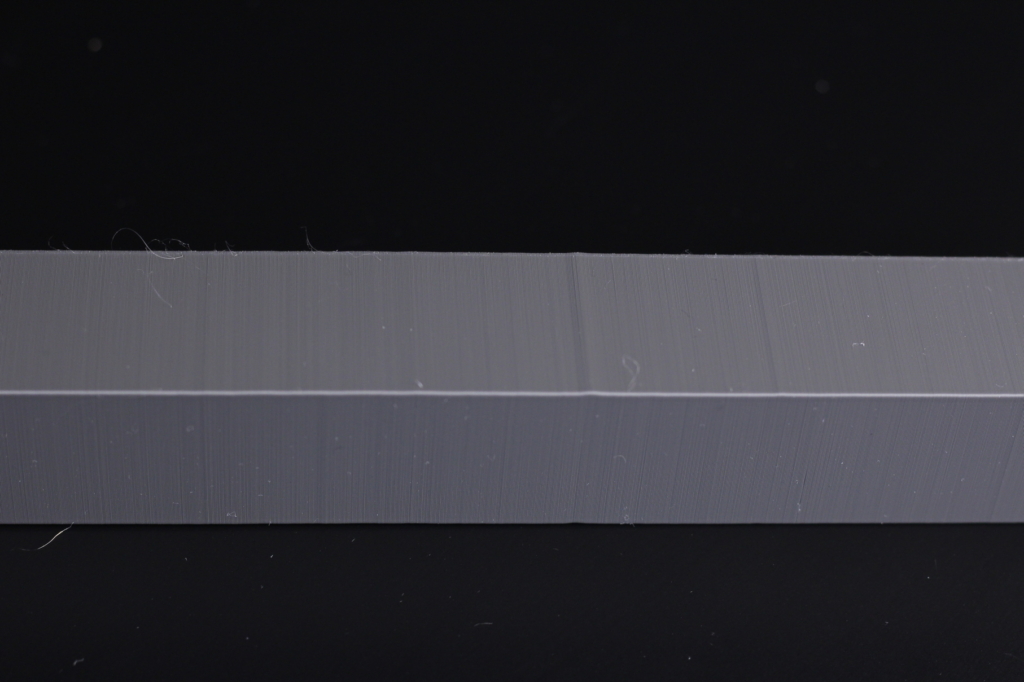
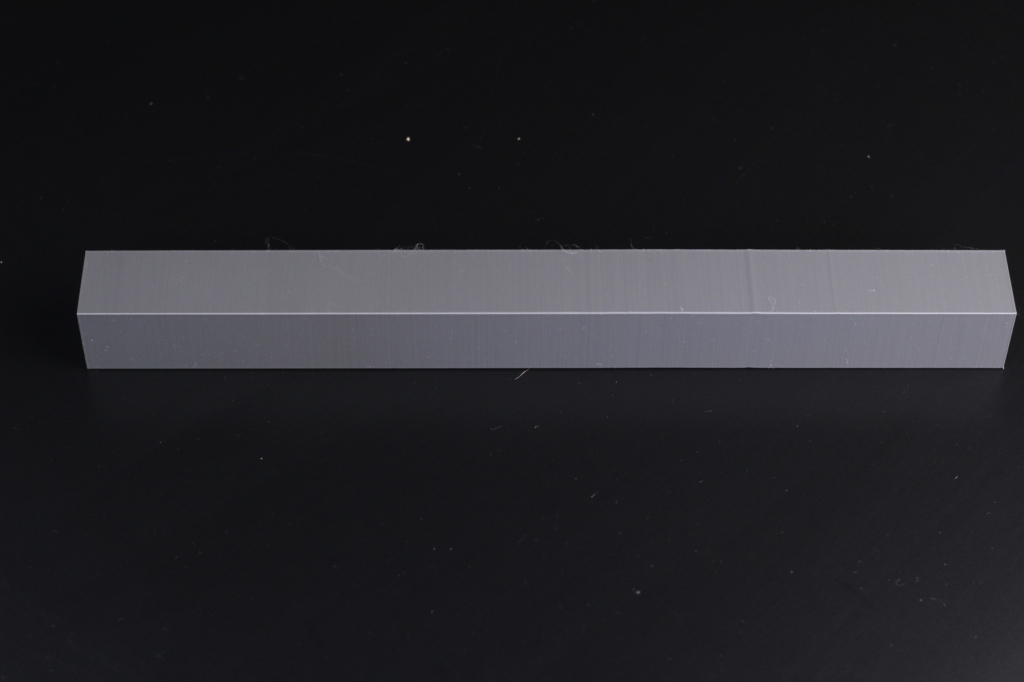
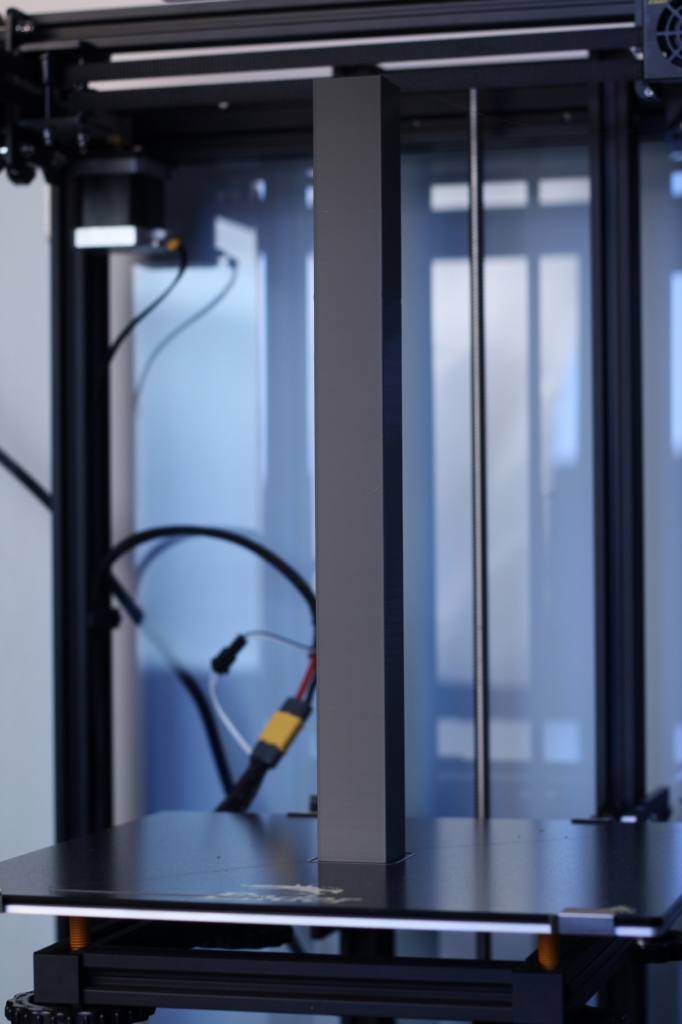
- Material: Devil Design Dark Grey PLA
- Layer Height: 0.2mm
- Nozzle Temperature: 215C
- Bed Temperature: 60C
- Print Speed: 40 mm/s
Phil-A-Ment
I printed Phil-A-Ment in PETG because it’s a good model to test print quality but also bed adhesion. I had a bit of a struggle printing this model because after the first 10 layers the model would start to peel of the bed even tough I tried using no part cooling fan.
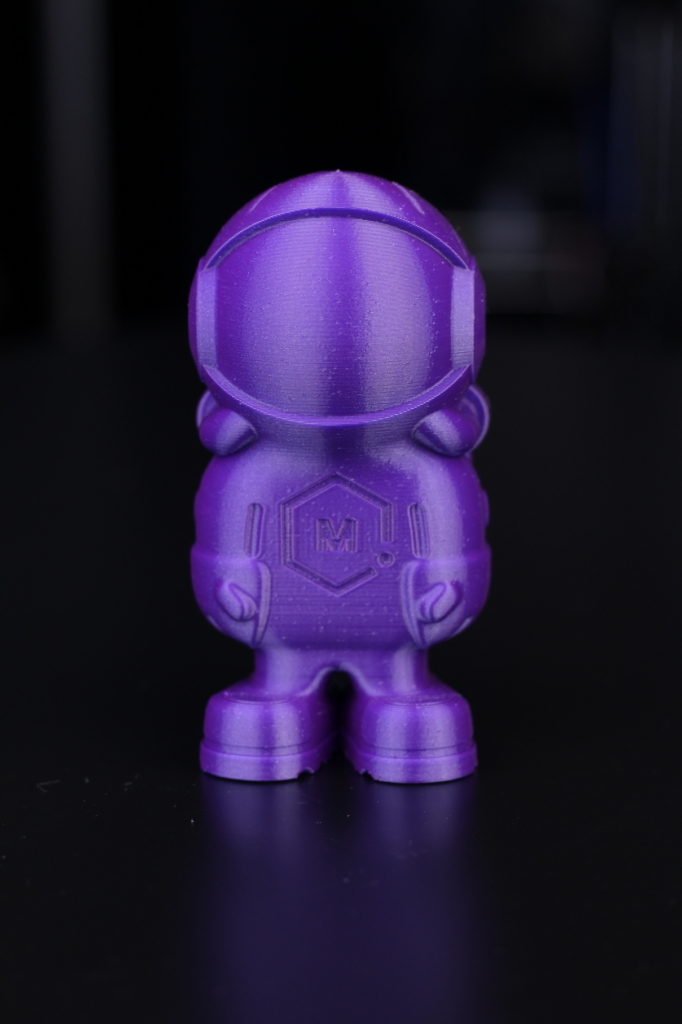
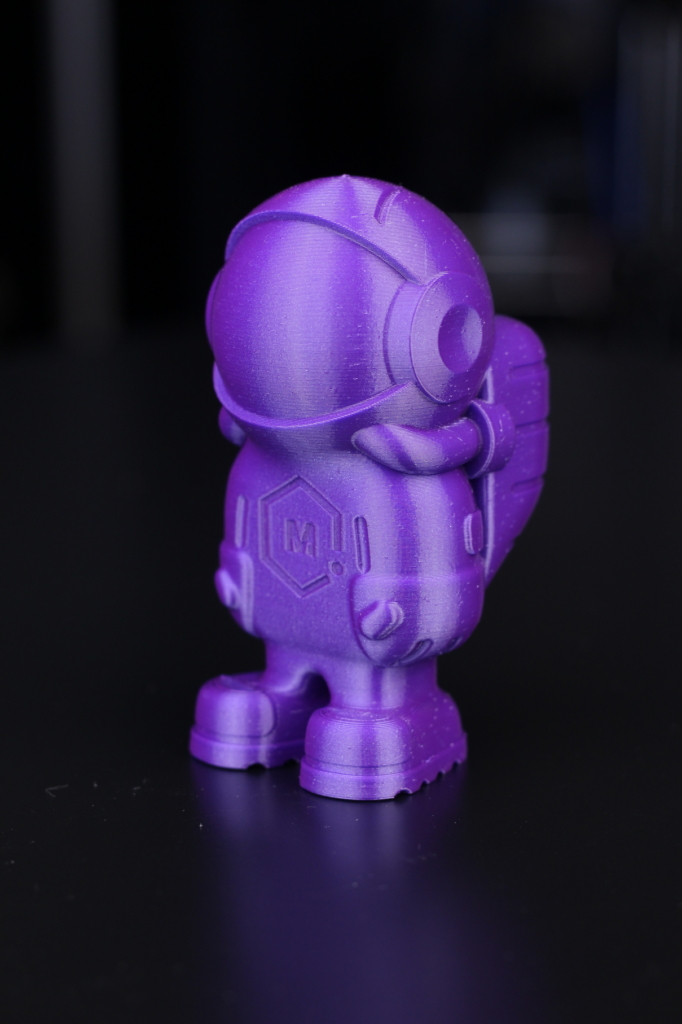
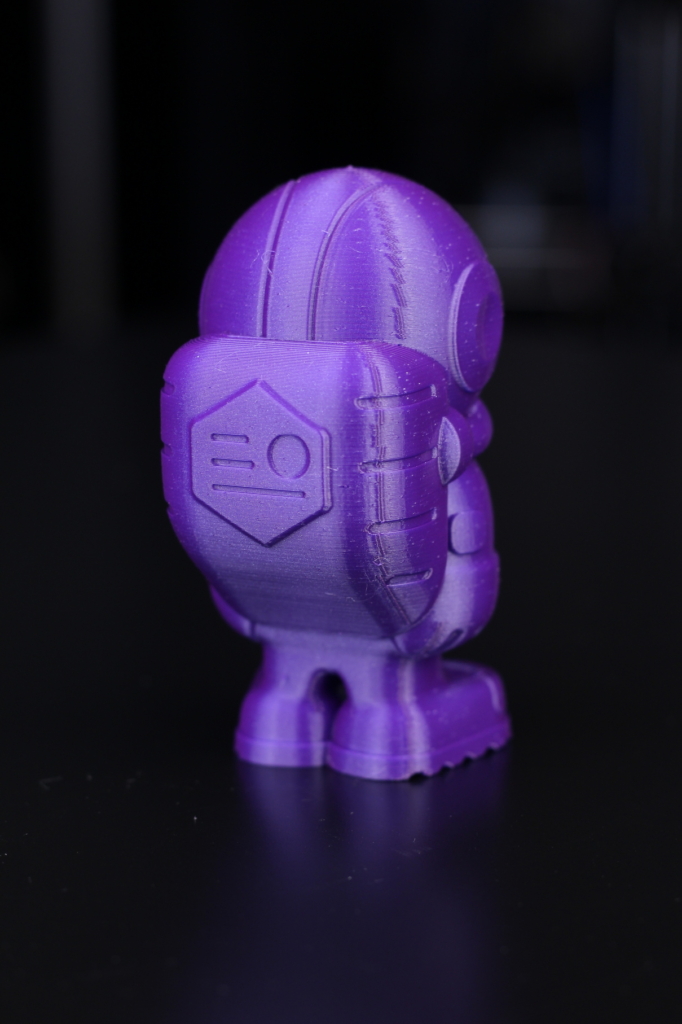
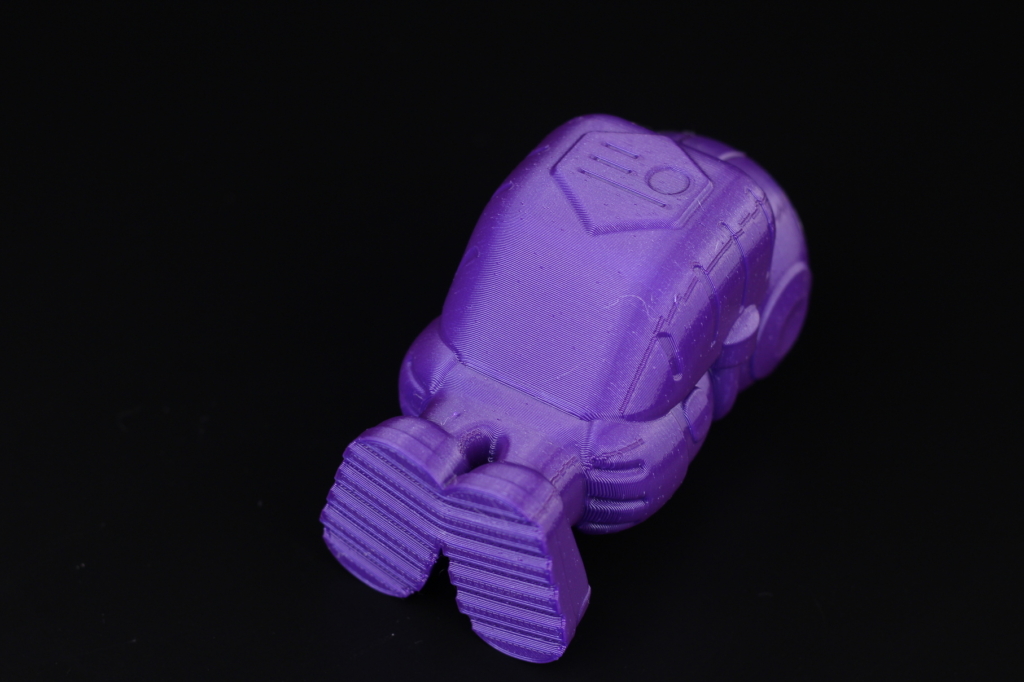
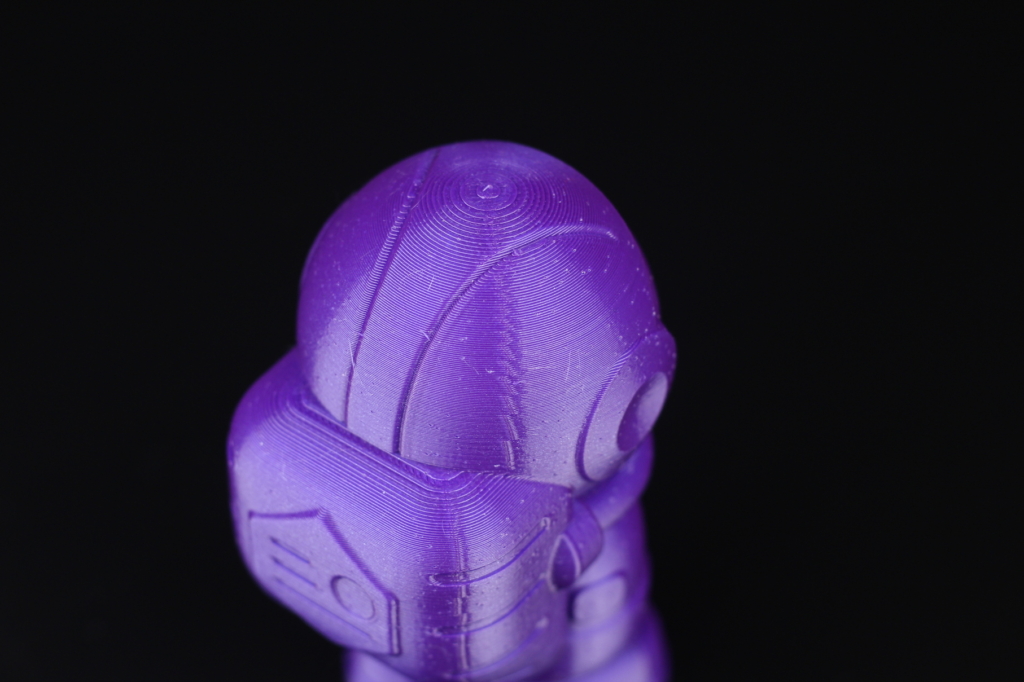
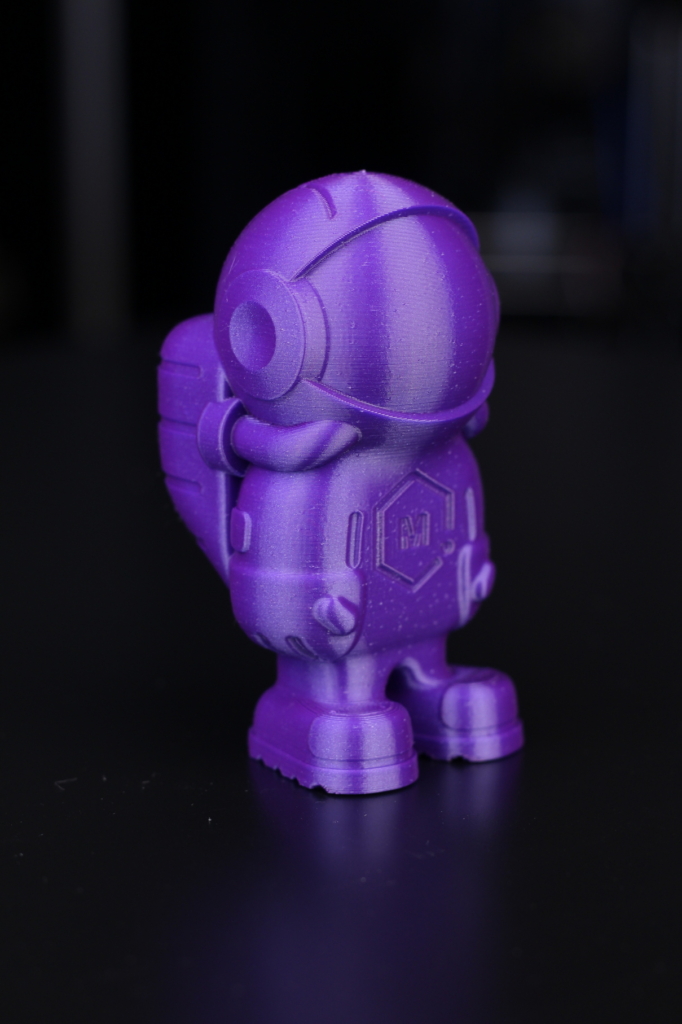
After a bit of troubleshooting, I found out that the hotend cooling fan leaks a huge amount of air which is directed to the printed layers.
- Material: Devil Design Galaxy Purple PETG
- Layer Height: 0.2mm
- Nozzle Temperature: 235C
- Bed Temperature: 70C
- Print Speed: 50 mm/s
Voron Cube
Next on the list is TPU, and I printed the Voron Cube without huge expectations. But I’m happy to report that TPU is not an issue for the Ender 6. You will need to print at a lower speed (~30mm/s) but print quality is good. There’s a small amount of stringing present but the final profile has been adjusted to fix that.
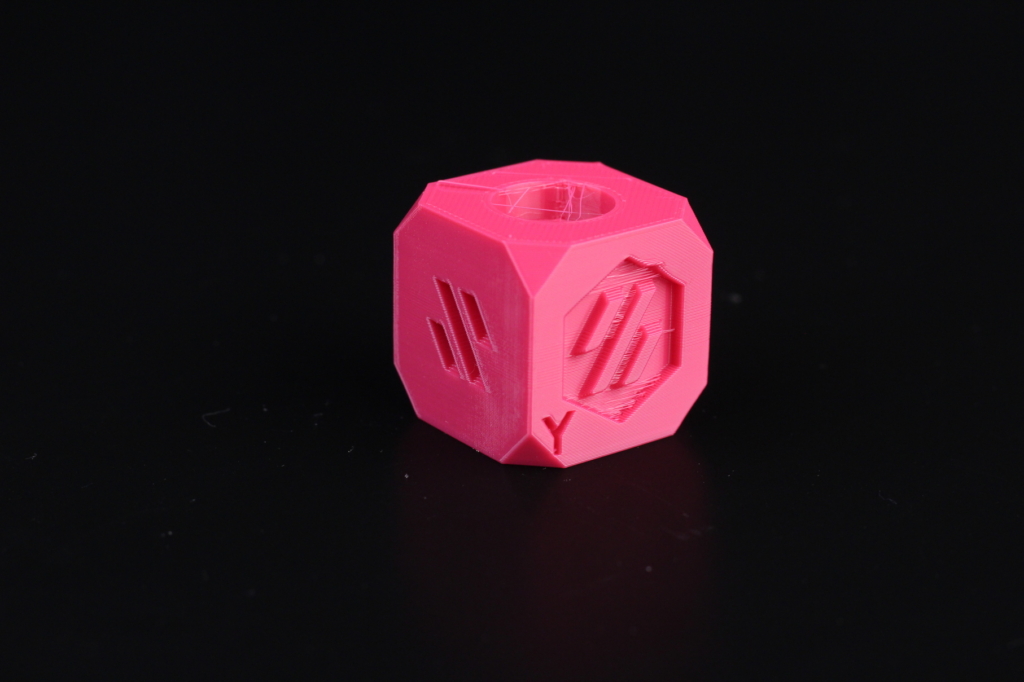
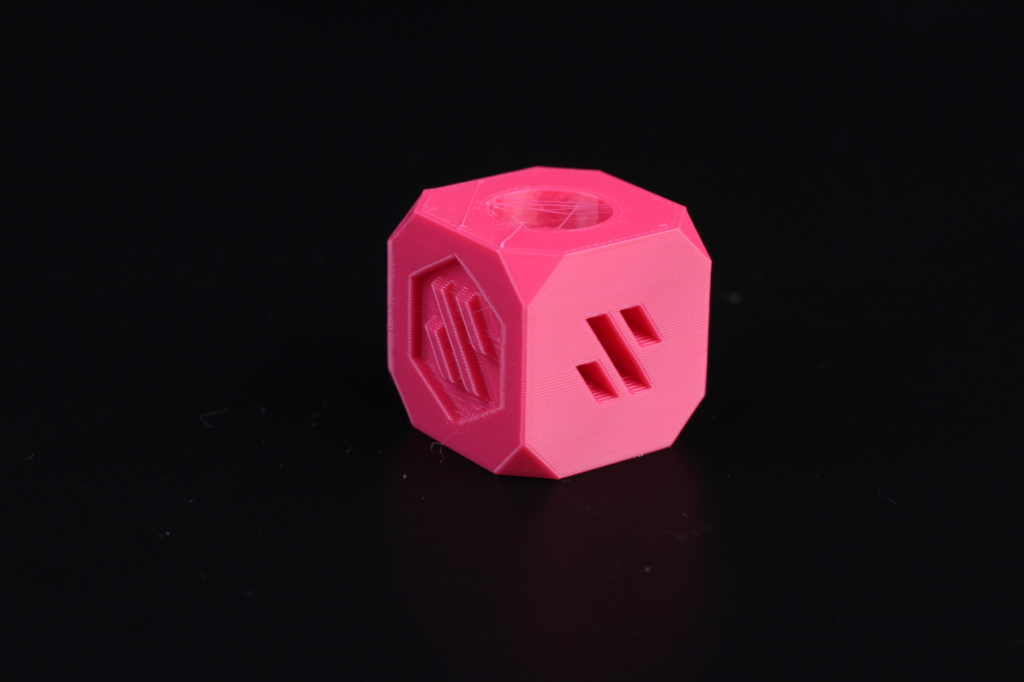
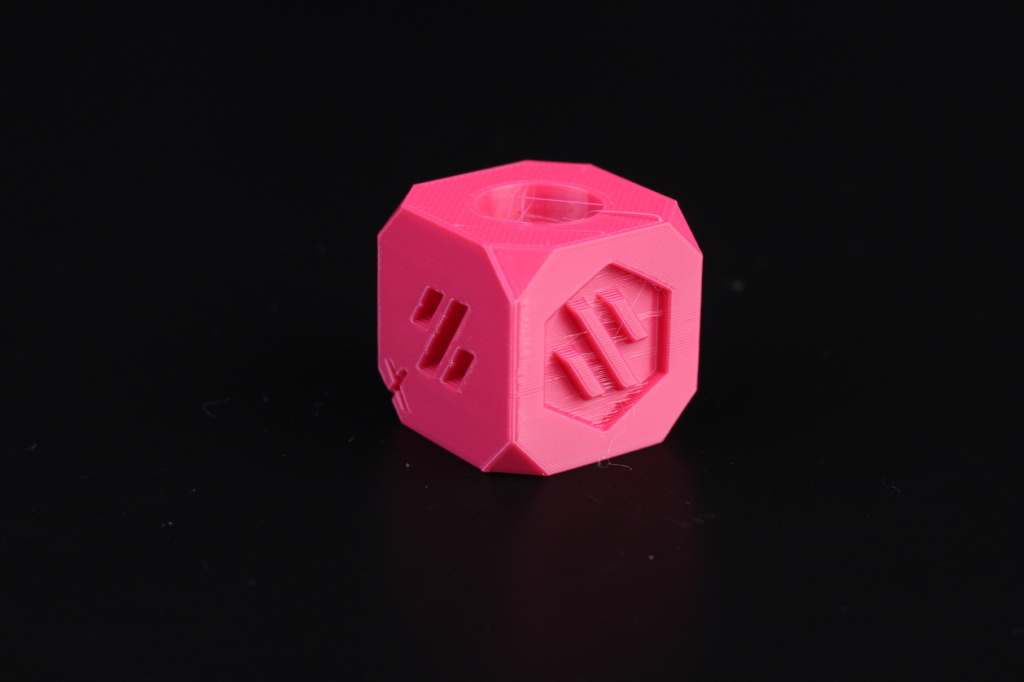
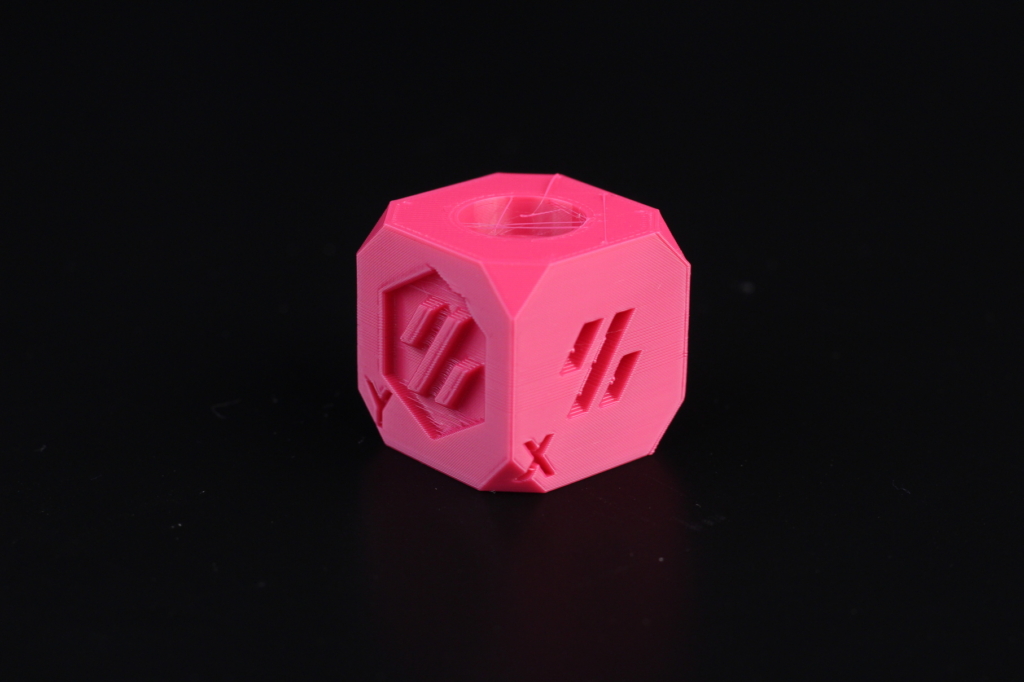
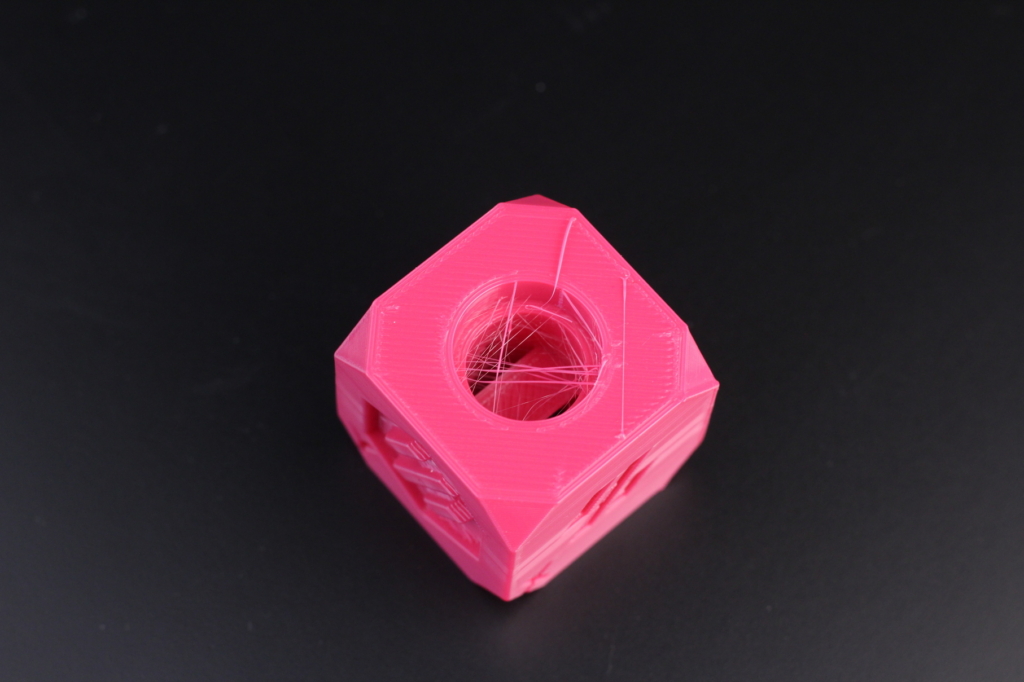
- Material: Devil Design Pink TPU
- Layer Height: 0.2mm
- Nozzle Temperature: 220C
- Bed Temperature: 50C
- Print Speed: 30 mm/s
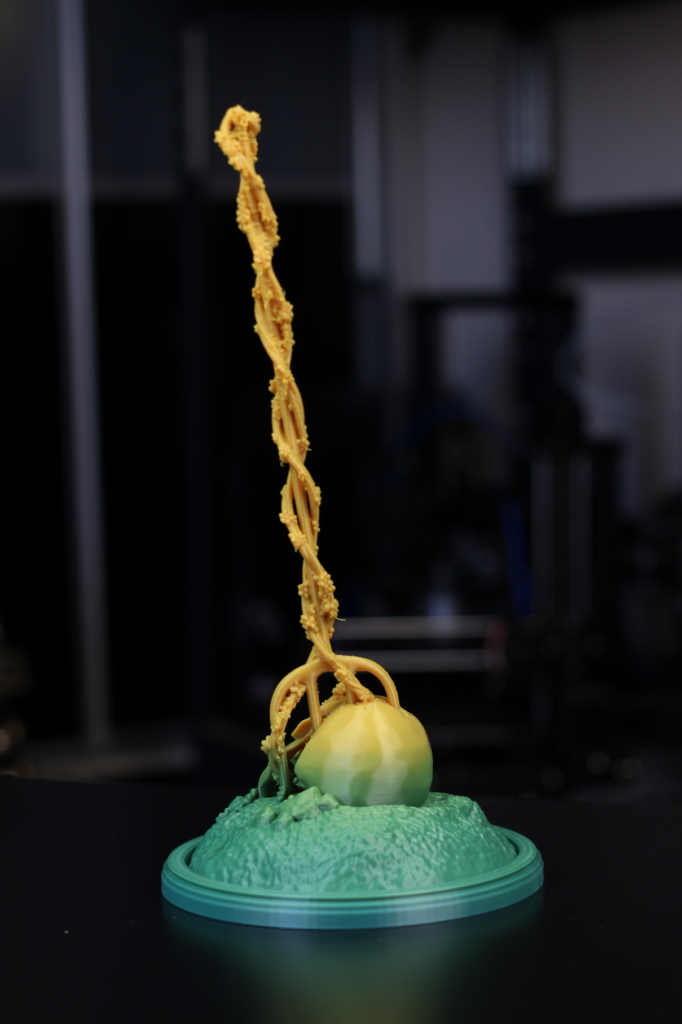
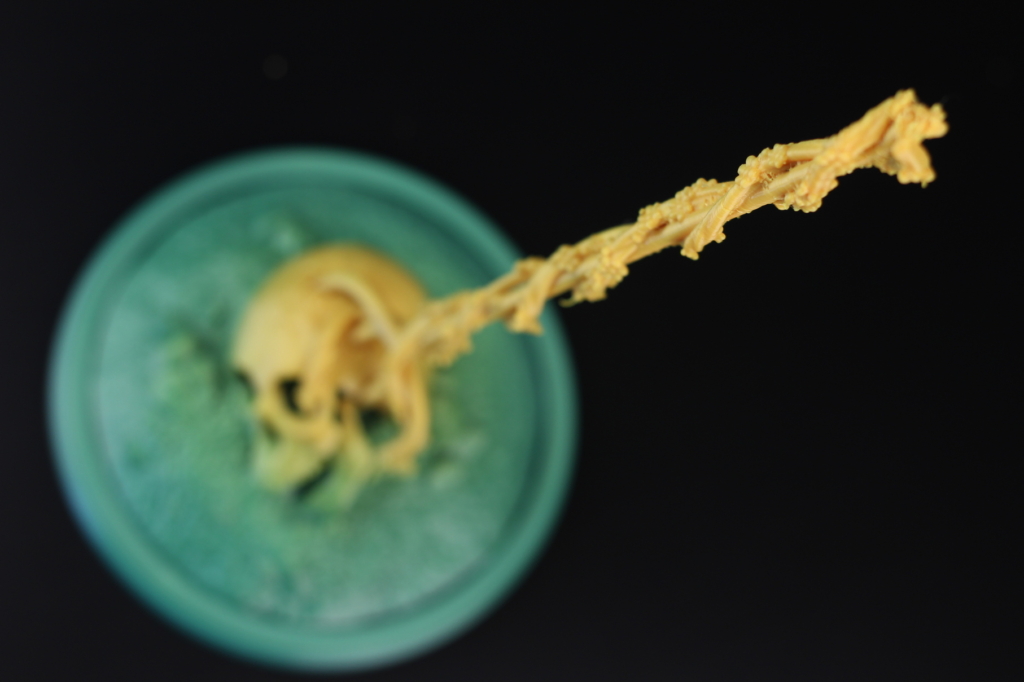
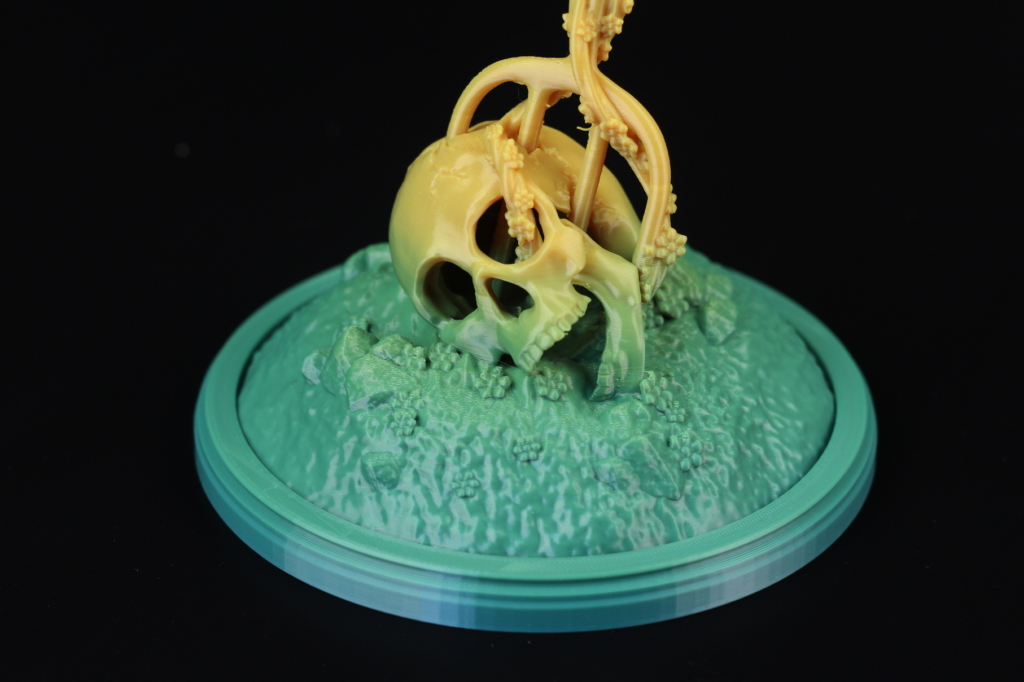
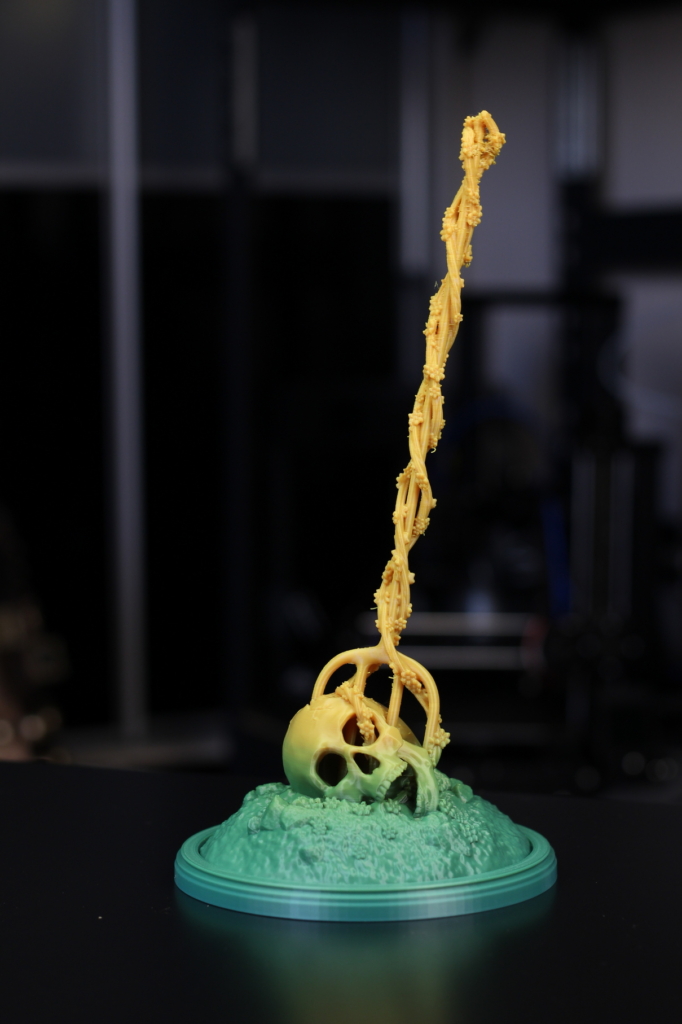
Impaled Skull
This Impaled Skull print from Jukka Seppanen is quite hard to print because of the thin section. As you can see in the images below, the print quality is great, but close to the top there are some inconsistencies. This was mostly my fault because I forgot to enable Z hop and the nozzle started to grab the print from time to time.
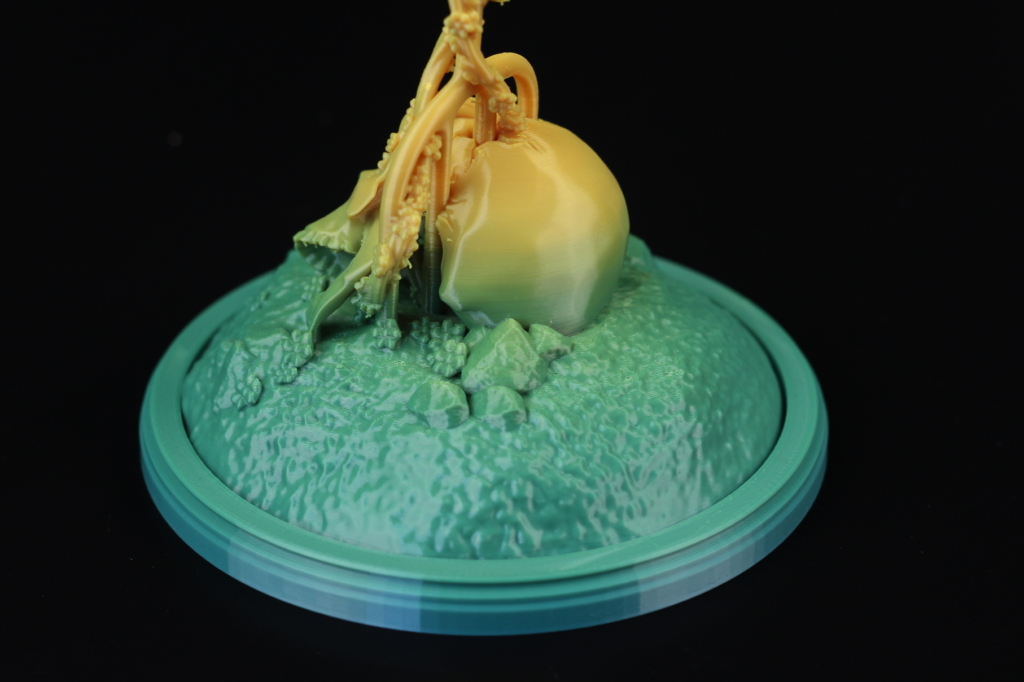
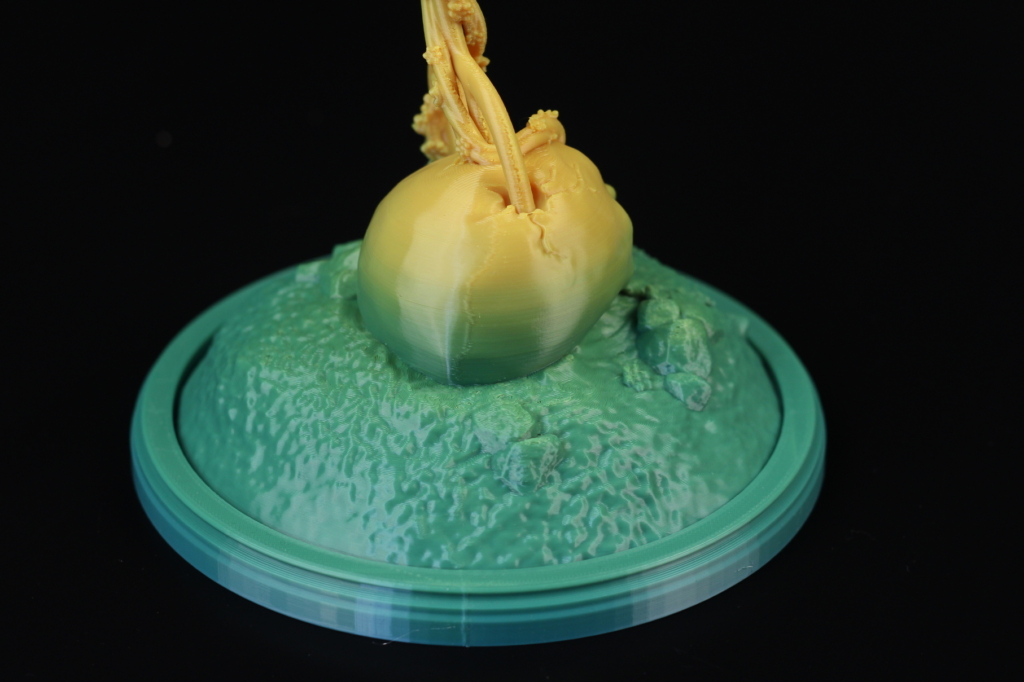
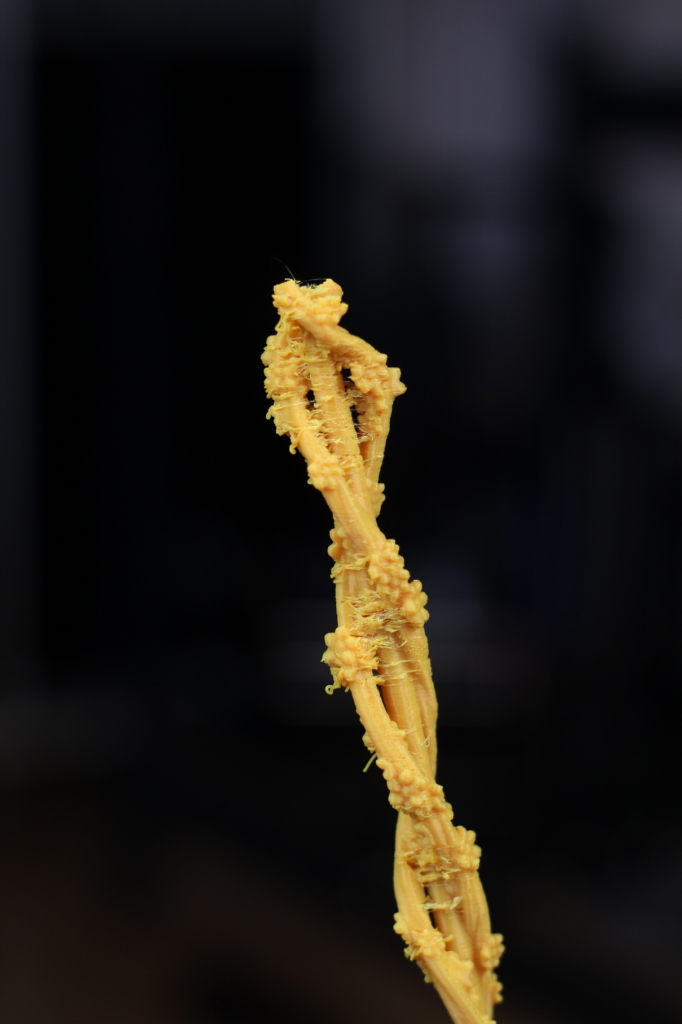
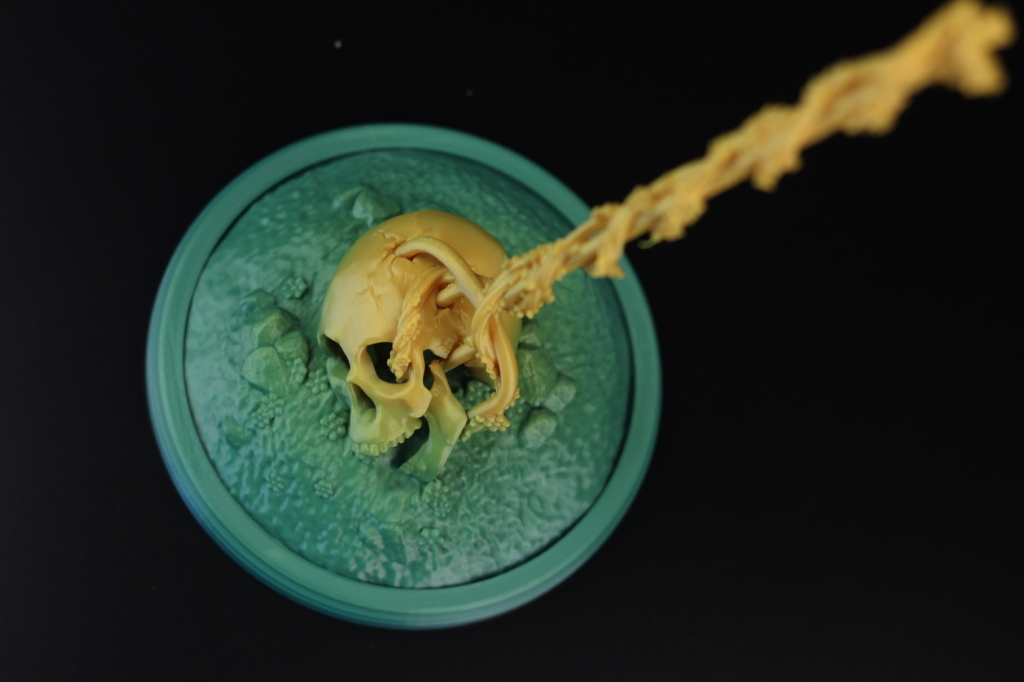
- Material: SUNLU Color Changing PLA
- Layer Height: 0.15mm
- Nozzle Temperature: 215C
- Bed Temperature: 60C
- Print Speed: 50 mm/s
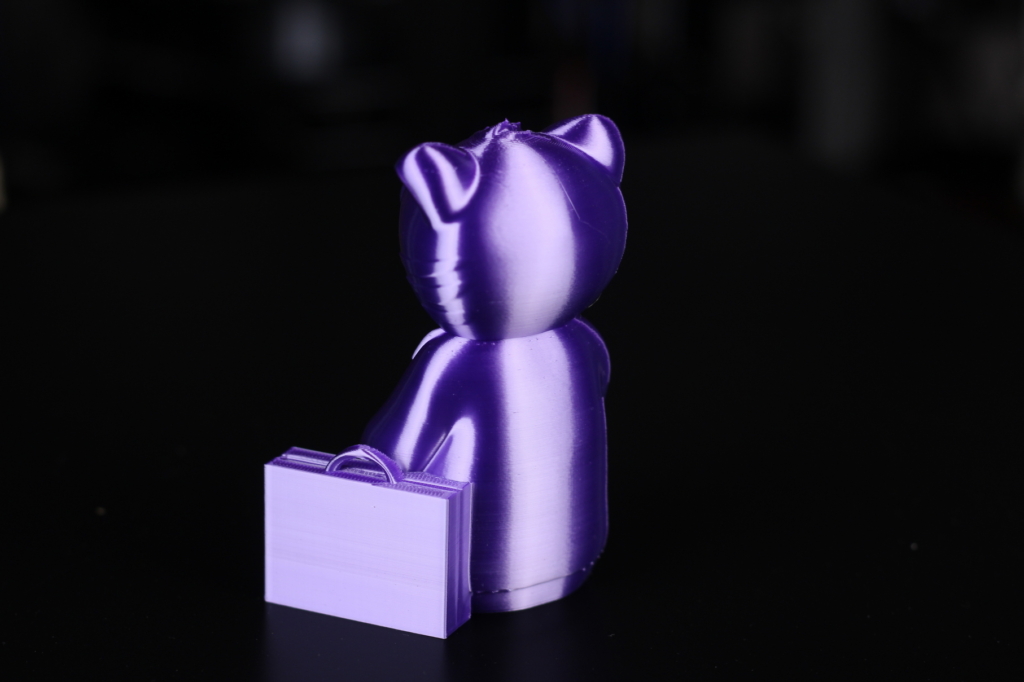
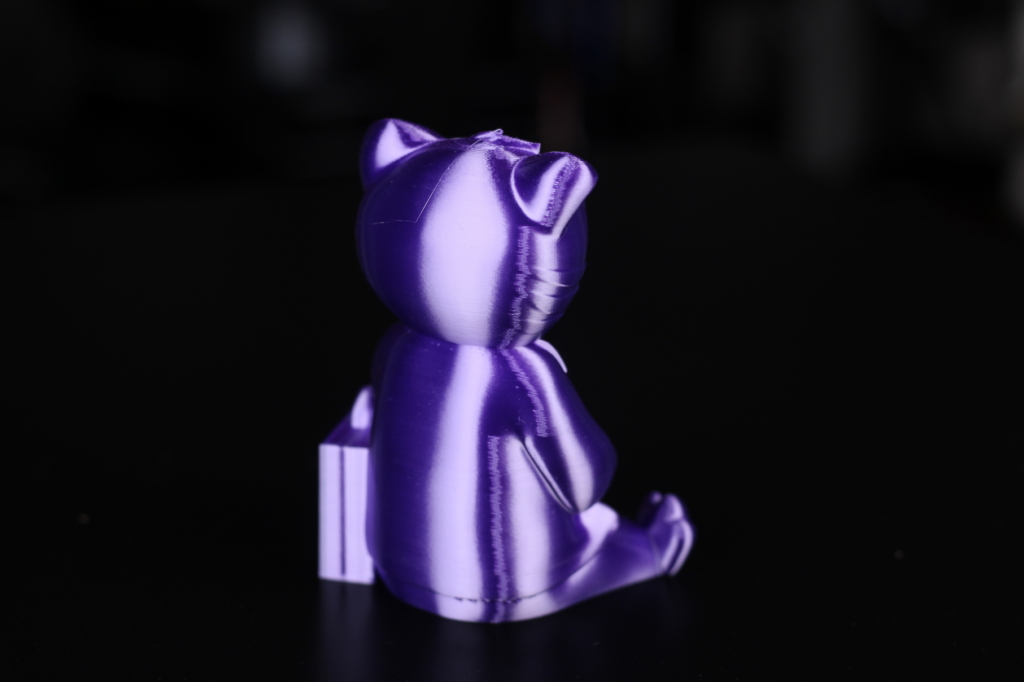
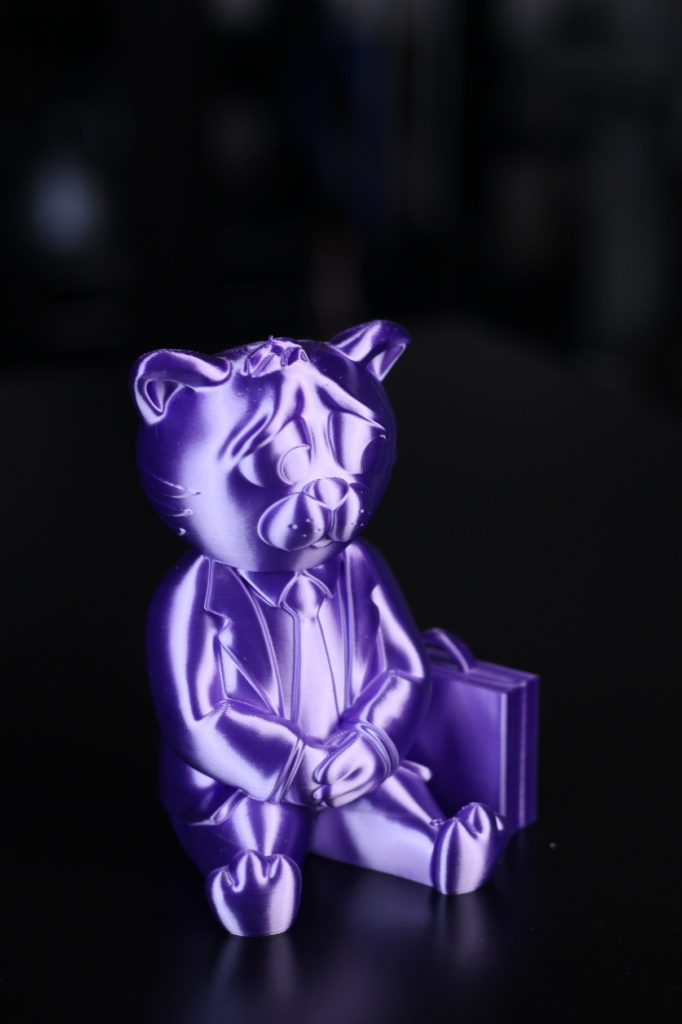
Cat Lawyer
A review is not complete without doing at least one print in silk filament, so I printed the Cat Lawyer from Thangs3D. The print is impeccable with no flaws other than the aligned Z seam, and while the finished print looks great, there were some small bits of filament dust next to the extruder. Usually this is because of the long bowden tube and low quality nozzle but the high retraction used (40mm/s) could also have an impact.
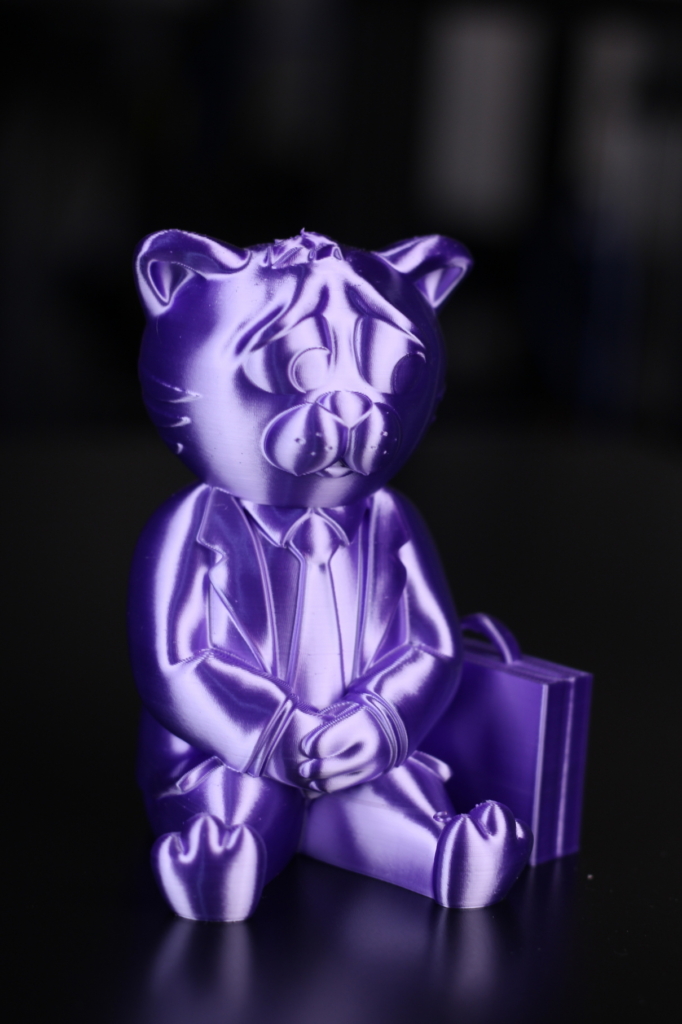
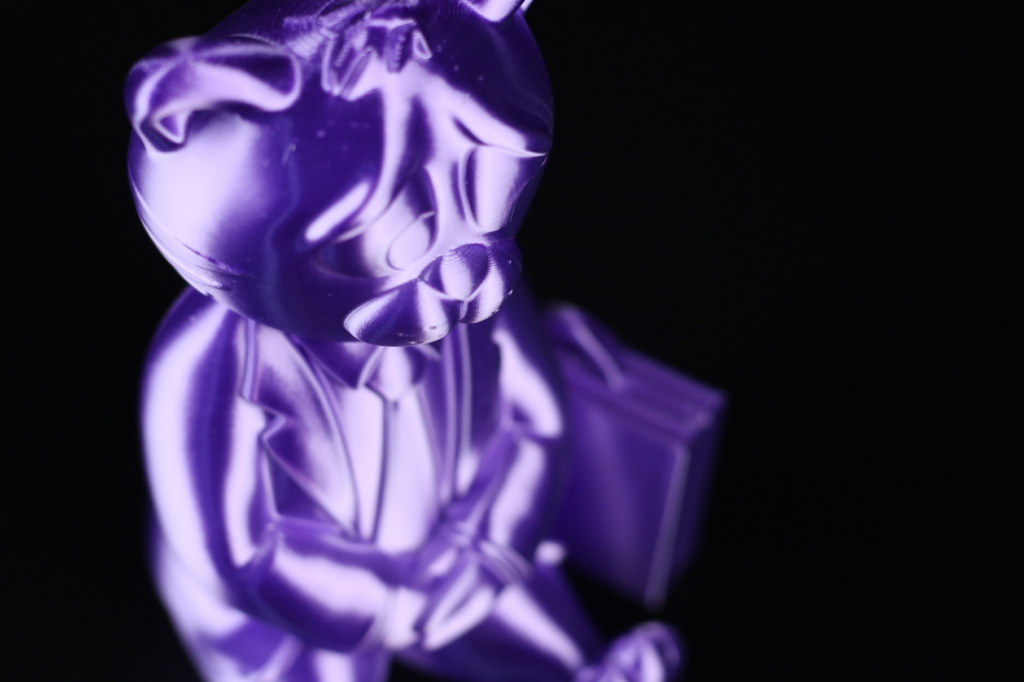
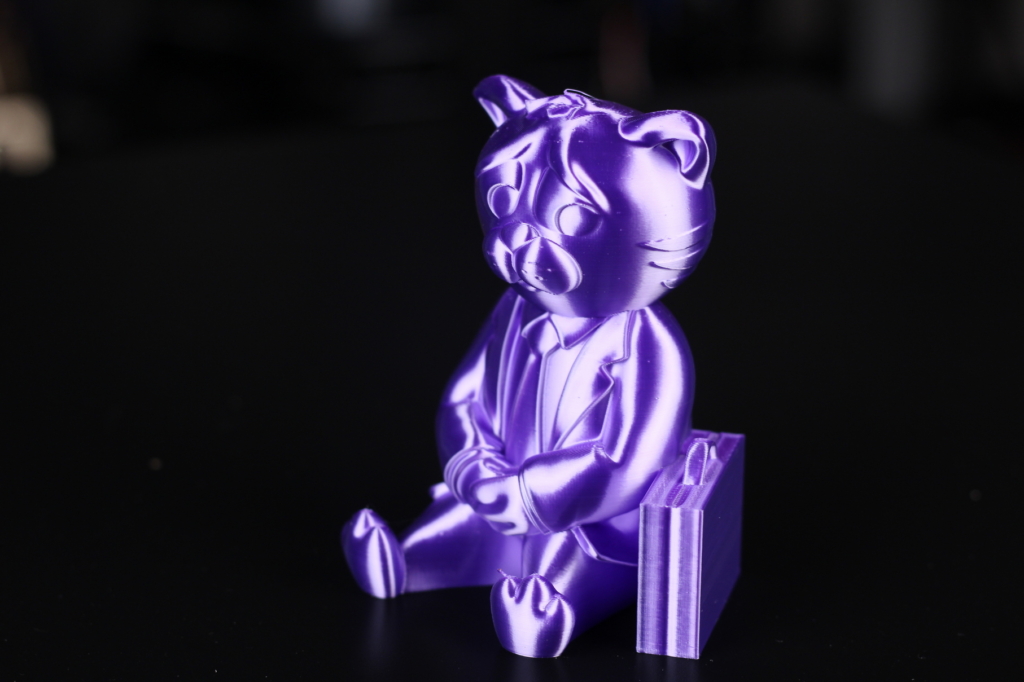
- Material: Devil Design Purple Silk PLA
- Layer Height: 0.15mm
- Nozzle Temperature: 215C
- Bed Temperature: 60C
- Print Speed: 60 mm/s
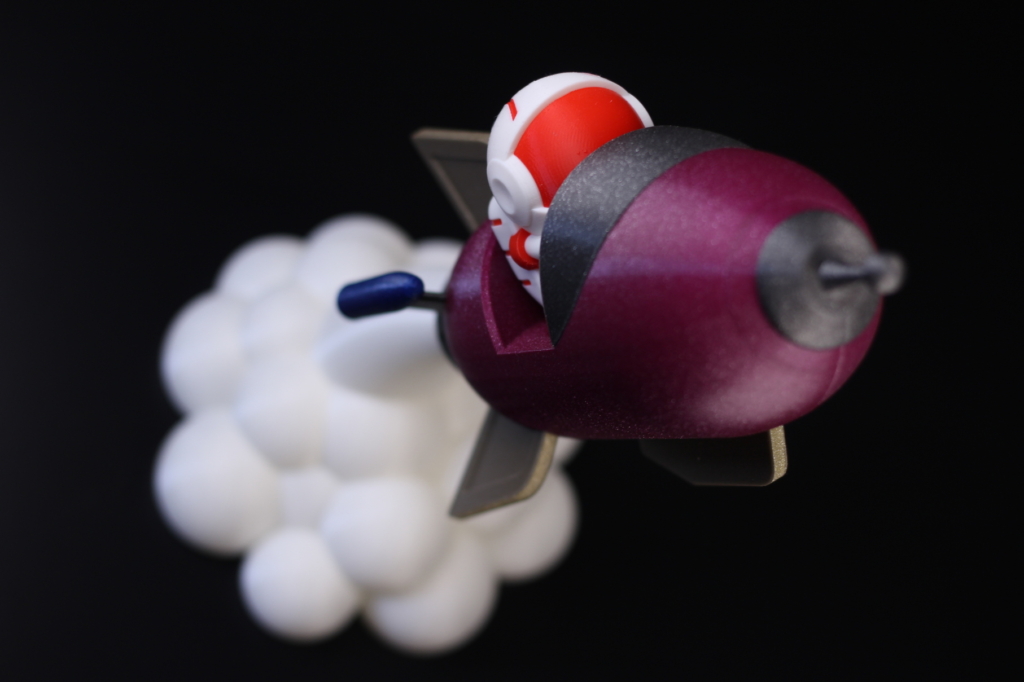
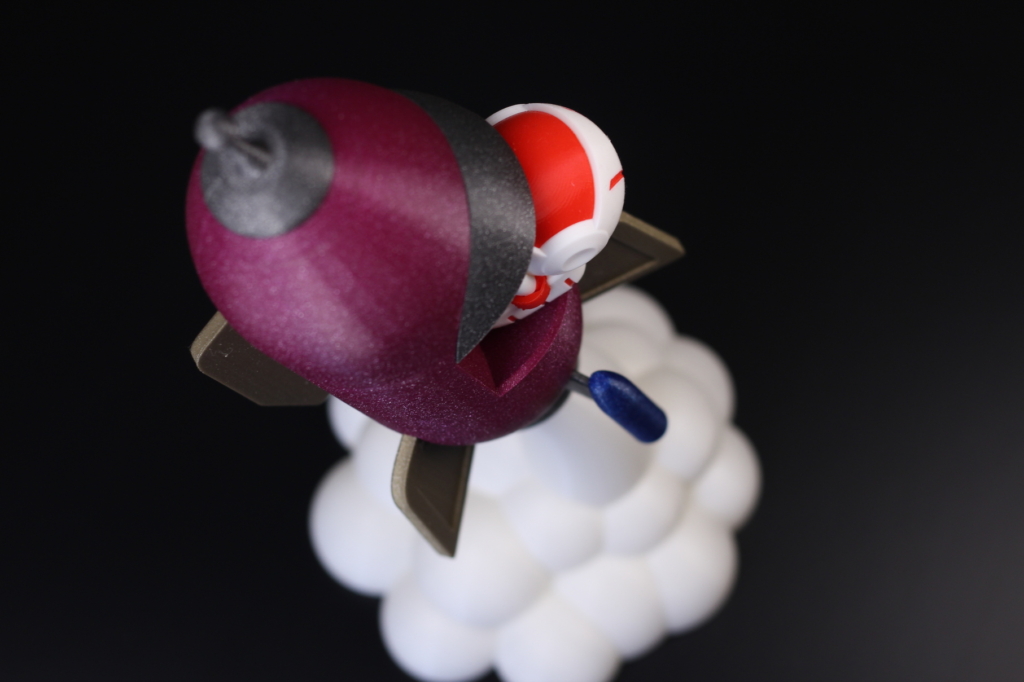
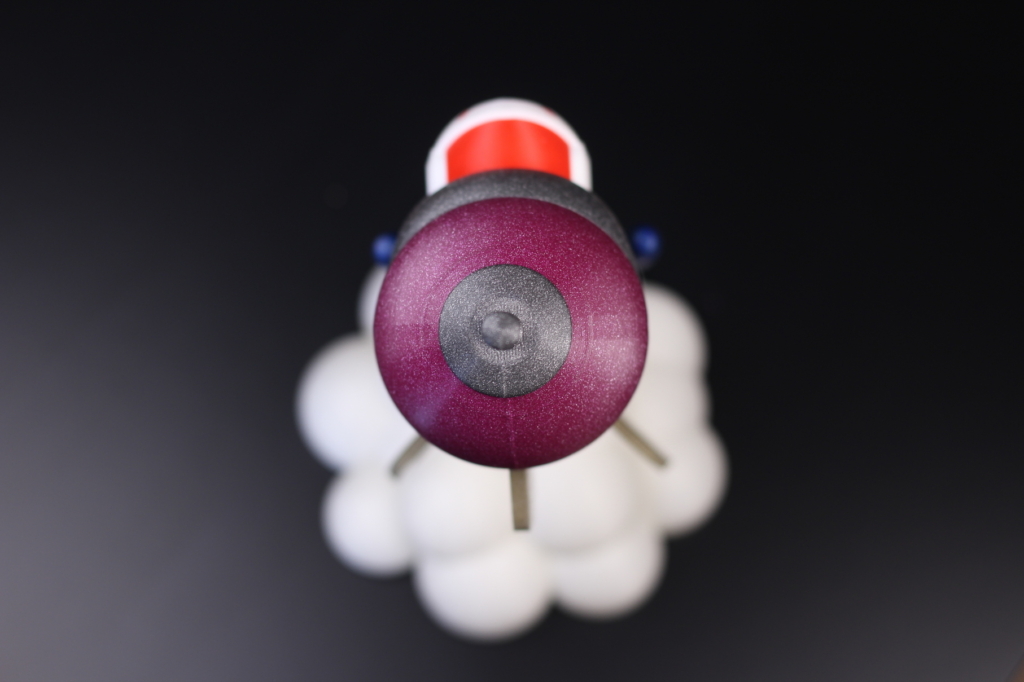
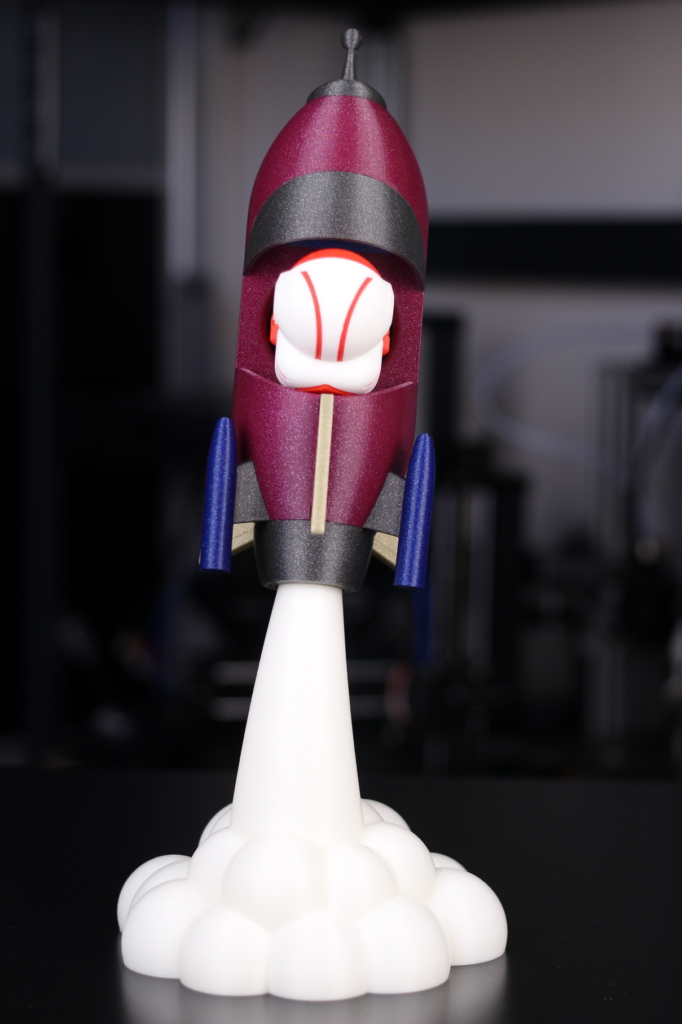
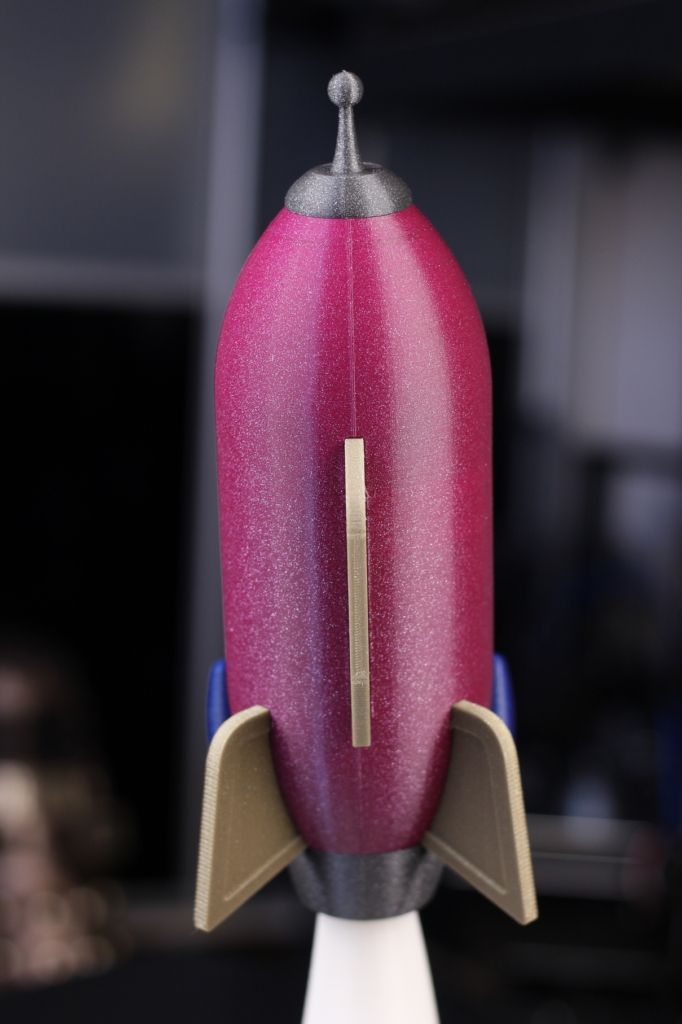
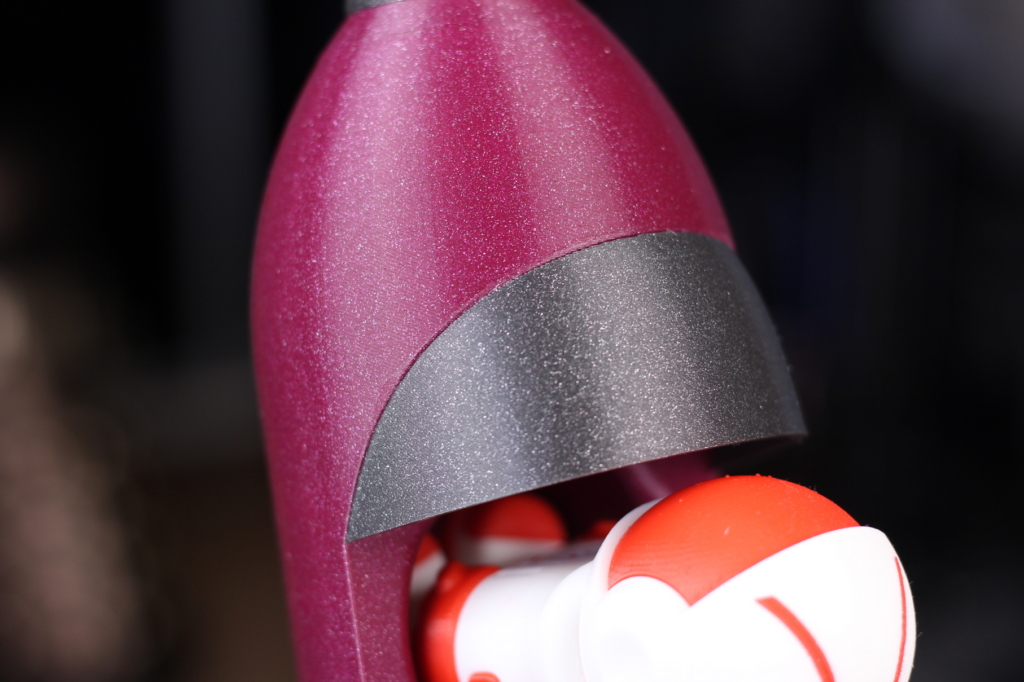
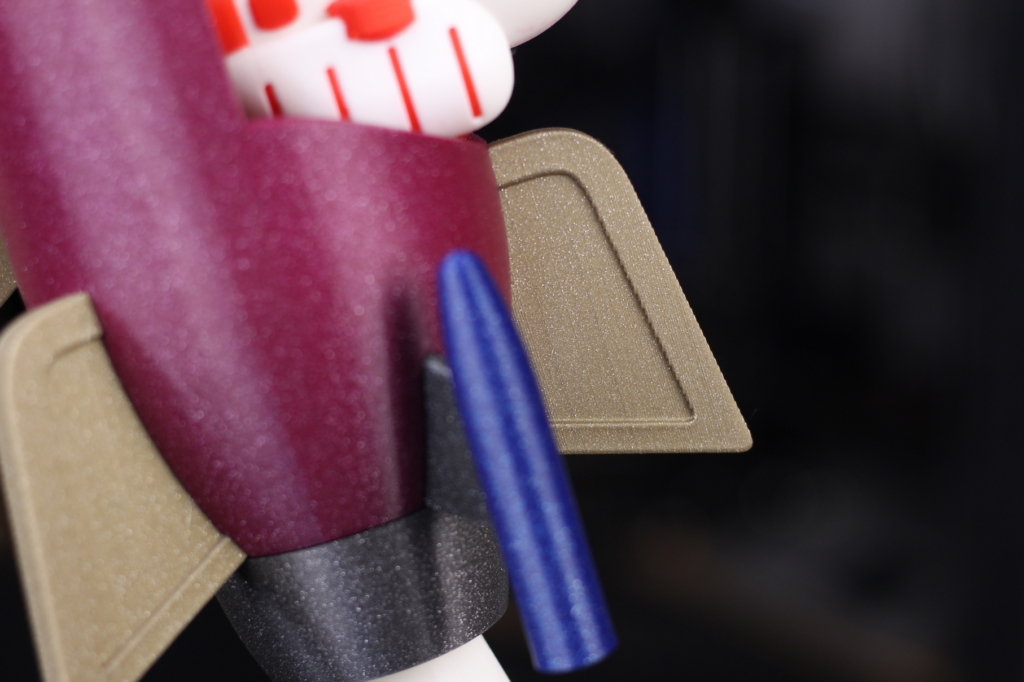
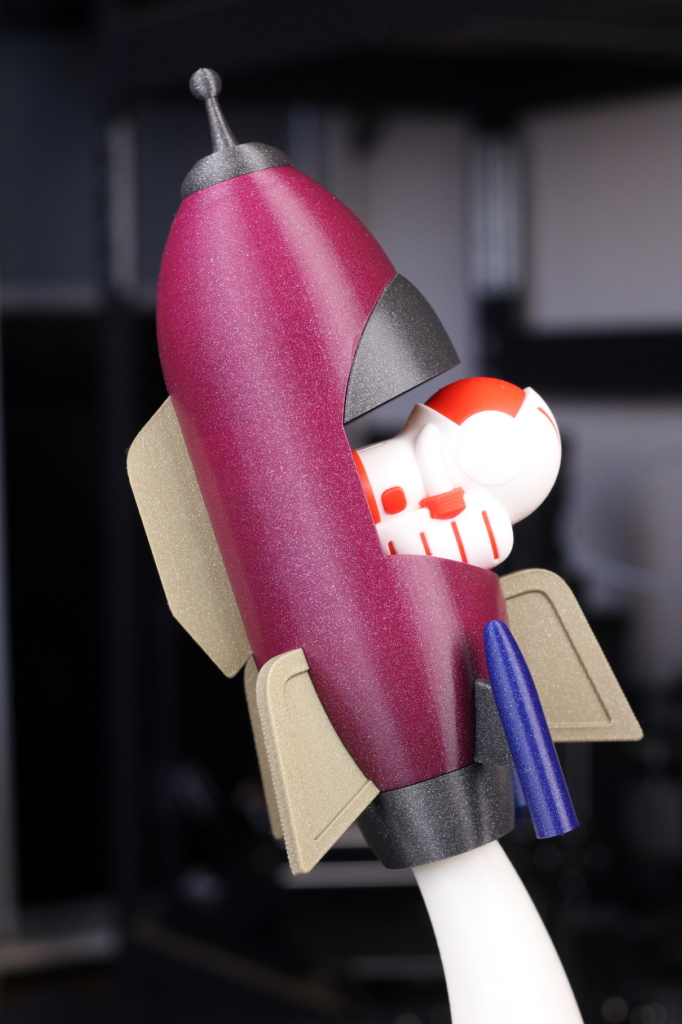
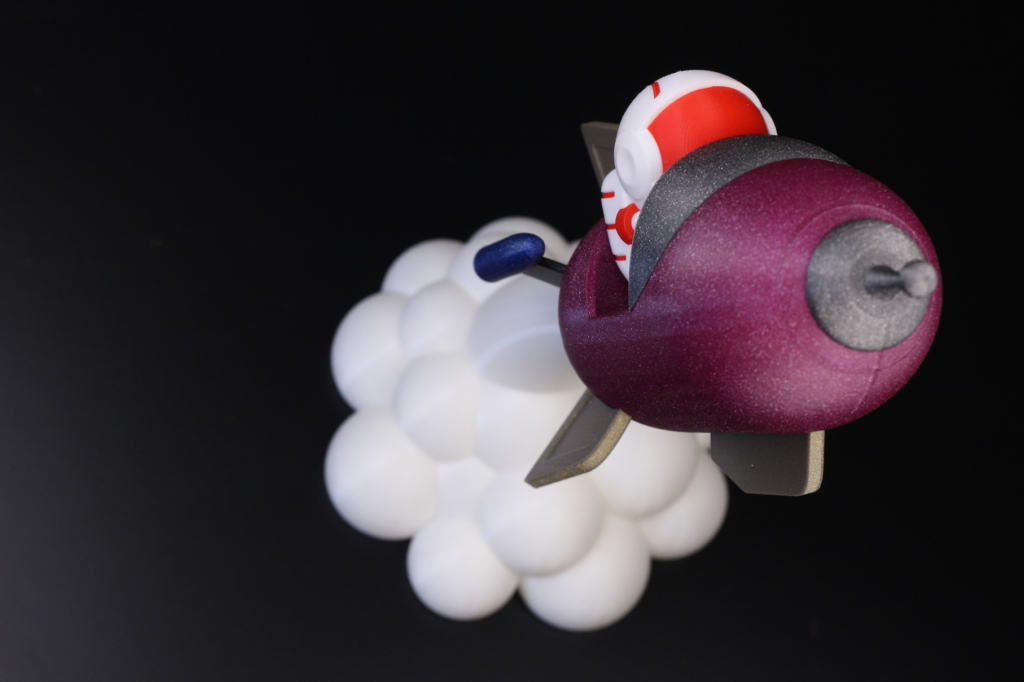
Phil’s Cruiser
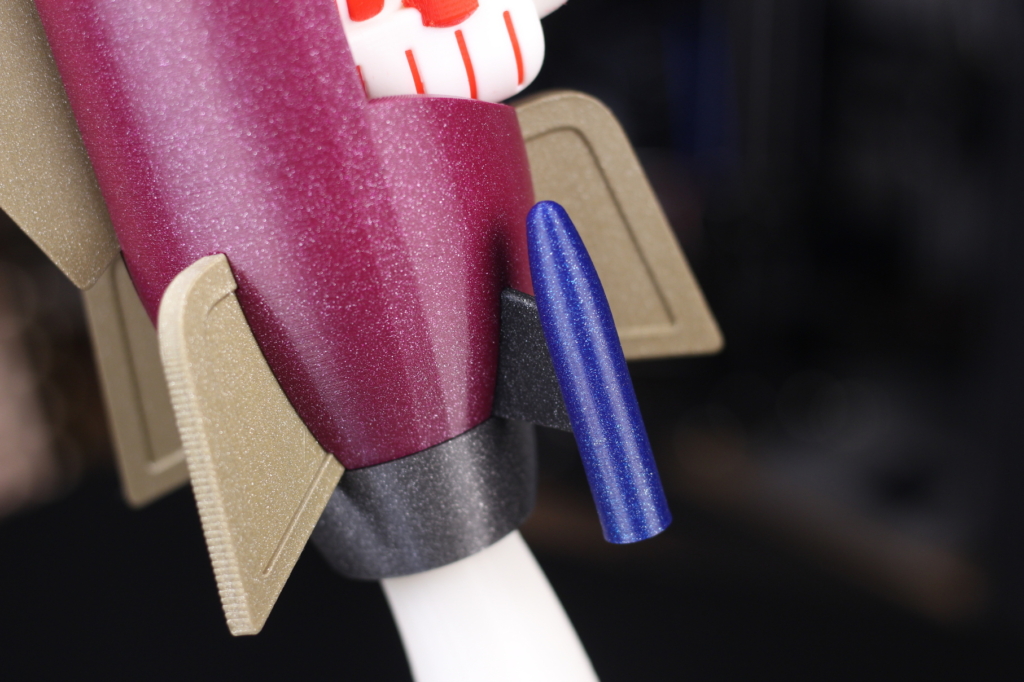
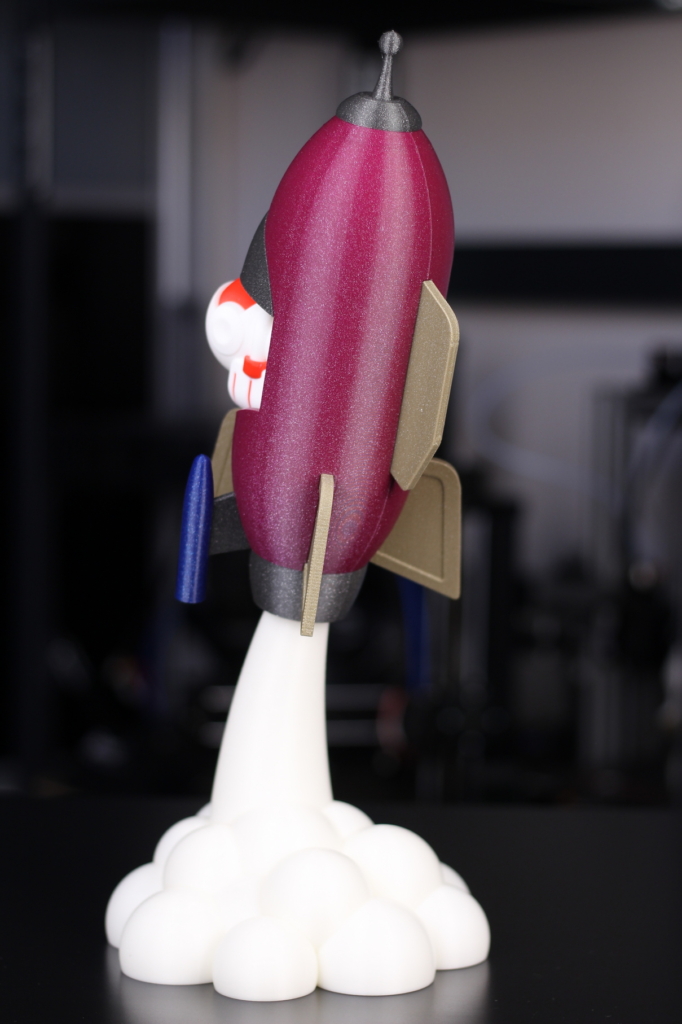
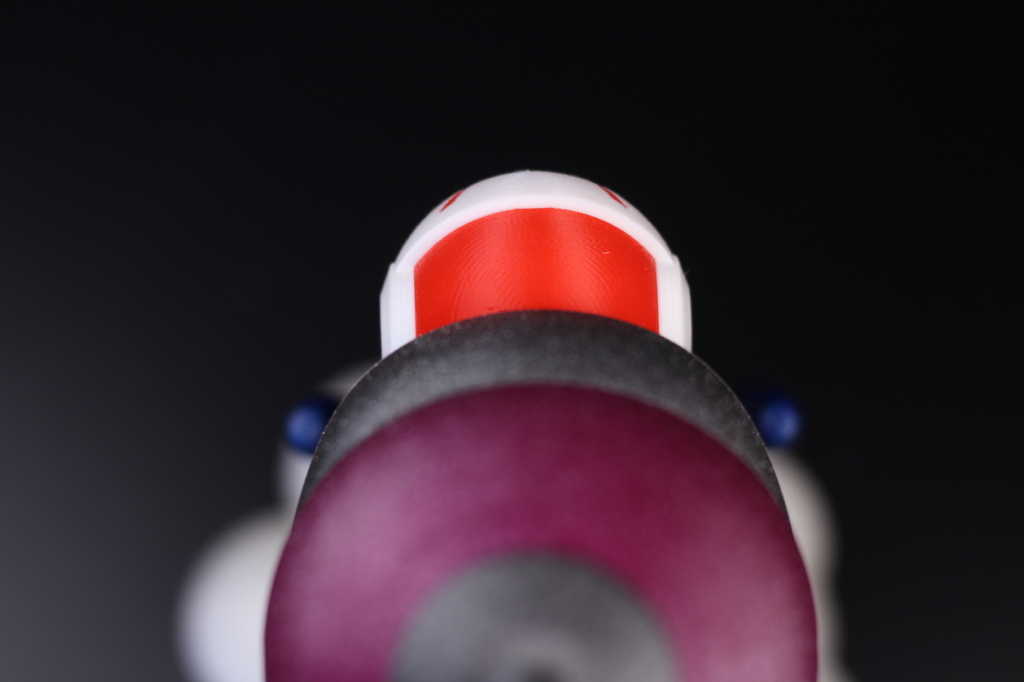
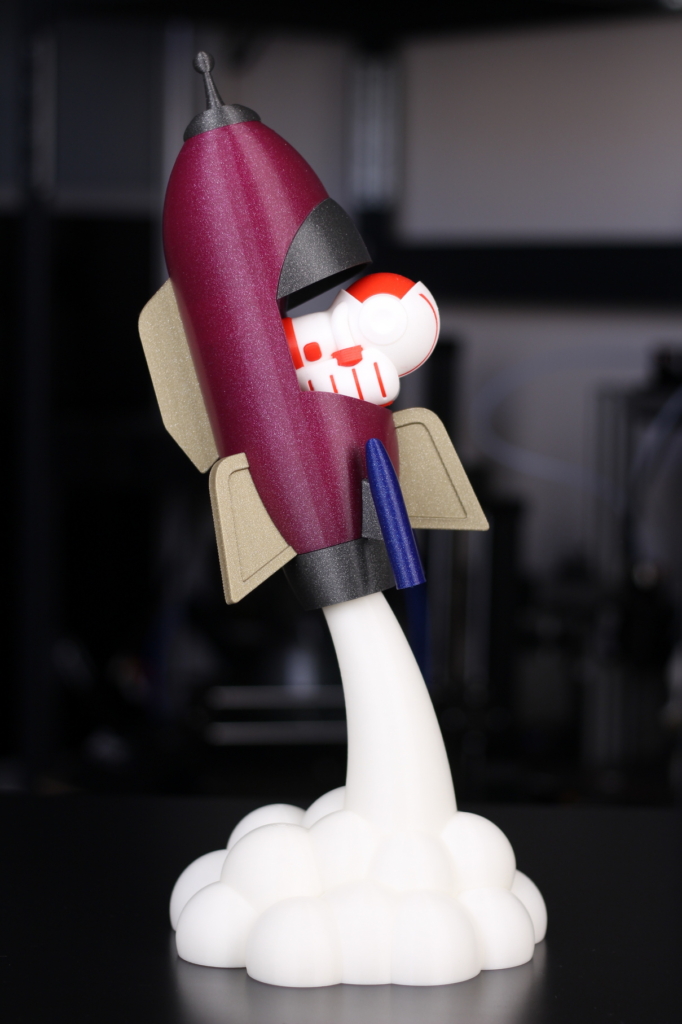
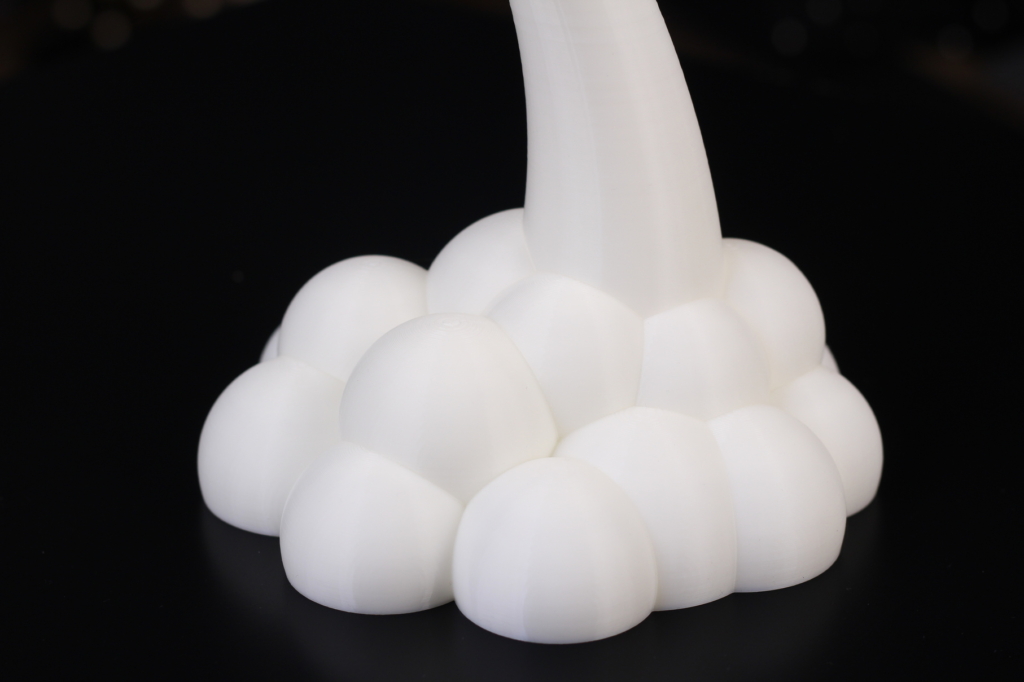
I was considering a few other models for this review, but I thought I do something a bit more complex. So, I printed the Phil’s Cruiser from MatterHackers. Most of the parts were printed using FilamentOne Glint PLA while the smoke was printed in the included Creality PLA.
The finished model came out really nice. If you look closely, you will be able to find some small imperfections, but I think the Ender 6 managed to deliver great results, especially considering that the parts were printed faster than usual.
Each printed part was accurately printed and I was able to easily install them with no post-processing required. Of course, the dual-color Phil-A-Ment was not printed on the Ender 6, so keep that in mind. The Ender 6 is not capable of multi-color printing like an IDEX.
- Material: FilamentOne Glint PLA
- Layer Height: 0.15mm and 0.2mm
- Nozzle Temperature: 215C
- Bed Temperature: 60C
- Print Speed: 60 mm/s
Conclusions: Is the Ender 6 worth it?
I think the Creality Ender 6 is a worthy evolution of the Ender 5 Pro. It comes with great upgrades like acrylic covers, stiffer bed, POM anti-backlash nuts, better wiring, and wider belts. All these upgrades make the printer a good CoreXY machine, but with an added cost.
It works well out of the box even though the hotend leaves a bit to be desired, and I think it’s also a great platform for tinkerers who are looking for a well-built CoreXY printer to build on.
There will be some of you who would like to know my opinion about the Ender 6 compared with the Sapphire Plus from TwoTrees, because they have similar price points. Overall, both printers are good and if you need a bigger print volume, then the Sapphire Plus might be a better printer for you. You might argue that the Sapphire Plus is also better because of the linear rails compared to V-slot wheels and I would partially agree with you, keeping in mind that using linear rails doesn’t always guarantee you a better print quality.
Having wider belts makes the Ender 6 a better purchase in my opinion because you will be able to install a heavier print head (ex: BIQU H2 Extruder) without the need of slowing down your prints. But this is just a guess and I need to install this extruder first, do some testing and then update the review.
Maybe in the future we’ll get an Ender 6 Pro which improves the small issues I encountered, that uses an all-metal hotend and even include a cover for ABS printing (L.E. The Ender 6 Top Cover is now available). And I can only think about what a beast of a machine we might get if the history repeats itself and an Ender 6 Max is launched.
For now, I think the Ender 6 is a good machine, and worthy of your consideration even if it’s a bit more expensive considering the build volume. It performed well during the review period and it will probably become one of my favorite printers to use (after some small alterations).
In the end, I recommend you read both reviews, check out other people who had both machines and do an informed decision based on your requirements.
The Creality Ender 6 is a worthy evolution of the Ender 5 Pro. It works well out of the box even though the hotend leaves a bit to be desired, and I think it's also a great platform for tinkerers who are looking for a well-built CoreXY printer to build on. Creality Ender 6 Rating
Design
Specs
Noise Levels
Ease of use
Print Quality
Price
Where to buy the Creality Ender 6?
The Creality Ender 6 can be purchased from the following websites:
I recommend checking out the Discount Codes page before purchasing. I regularly update the article with discount codes for various online shops, and you might find one for this particular model.
Klipper and other upgrades for Creality Ender 6
After some time with the Creality Ender 6, I found some improvement points for the printer and you can read more about my recommended upgrades in the Creality Ender 6 Upgrades article. I also wrote a guide on How to Install Klipper on Creality Ender 6 if that’s what you’re interested in.
The Creality Ender 6 was provided free of charge by Banggood for the purpose of this review. While the article includes affiliate links, all opinions are my own. Nobody reviewed the article before it was posted, following the Review Guidelines.
Liked it?
|
|


Nice article. I want to ask you if the printer has an USB port? I want to add OptoPrint on a RPi or similar device to be able to control the printer remotely.
Yes. But it is internal.
I installed Klipper on mine: https://3dprintbeginner.com/how-to-install-klipper-on-creality-ender-6/
Hi there. I’ve bought and upgraded much of Ender 6 as per your guides.
Klipper, linear rails, biqu h2.. and more… The only problem i cant seem to solve that is limiting the printer going faster are the noise the belt makes.
I notice the noise comes from the ribbed surface grinding on the flat pulley. Thats my hunch, but these noise are painful and at times causes the axis misalignment when i go about 150 ms.
Cant seem to find answer anywhere and been seeing many people with no answer to solve this.
How have you been able to push 150 ms above with 2k accel. Im afraid of losing steps and misaligning my prints.
Thanks a lot, hopefully you may be able to enlighten me.
I didn’t upgrade to linear rails, as I think the v-slot wheels are enough for the printer. And I printed faster than that without problem.
You can check the youtube videos shared.
I think your issue is caused by the linear rails not being paralel.
Thanks for the reply. Well, i didnt want to opt for linear rail but the stock pom wear out quickly.
The linear rail should be square though, as i didnt have issue printing and the noise came even before i changed to linear rail.
Like the ribbed sound of the belt, is the only problem left.
7 or 8 months ago i commented on one of Facebook’s 3D printing groups about the usage of ferrite cores in 3D printers and their pros and cons, but although i told them something i didn’t told them everything on purpose, and today i see what company catch the bait. It is fricking hilarious for me to see Creality using the ferrite cores the wrong and non proper way. This is because those are only a bunch of profiteer capitalists instead of real developers in the 3D printing world. My advice to the Chinese companies is to start doing their homework and do their own research instead of humiliating themselves like this. omg this made my day so much
Thanks for the review and the profiles. I downloaded your profiles but the pla one is pouring out filament and retraction is going crazy. I was trying to print a calibration cube. Also why is print speed only set to 50mms. Kind of defeats the purpose of the printer only printing at that speed.
Your problem might be caused by the “Relative Extrusion” option not being checked in the Advanced Printer Settings.
The Ender 6 can print much quicker, and the profile speed is to be used for the best quality printed parts and the stock config.
I can push over 150mm/s with the H2 direct drive extruder and Klipper.
Good and clear article, made myself a member of you’re patreon 🙂
Really great review. I’m actually quite impressed with the wire management here with the ferrite cores. Shame they didn’t use ferrule connections on mainboard though.
Glad I’ve read this because I’ve been having interference issues with my BLTouch on my current printer with the Hemera. Ordered a pack of ferrite rings to see if this makes my BLTouch more consistent (it works but sometimes it fails during probing every now and then).