Creality Ender 3 S1 Pro Review: The Ultimate Ender 3
I had a really nice experience with the Creality Ender 3 S1 and it’s been one of my favorite printers of 2022 until now. But I was a bit disappointed in some of the hardware choices done by Creality.
Well, now I know why some of those features were held away. The reason was to launch a new machine called the Ender 3 S1 Pro which is the “full option” variant of the Ender 3 S1. You could say that it’s a fully-loaded machine and the price tag confirms that.
Is it any good? Is it worth spending more than 100$ to get this one instead of the regular Ender 3 S1?
I will answer all those questions in this article. So let’s get right to it.
Please note that I won’t talk again about the same features present on the Ender 3 S1, and I will focus on test prints and the main differences between the printers. I highly recommend reading the Ender 3 S1 Review first, where I share more details about the S1.
Creality Ender 3 S1 Pro Shipping and Packaging
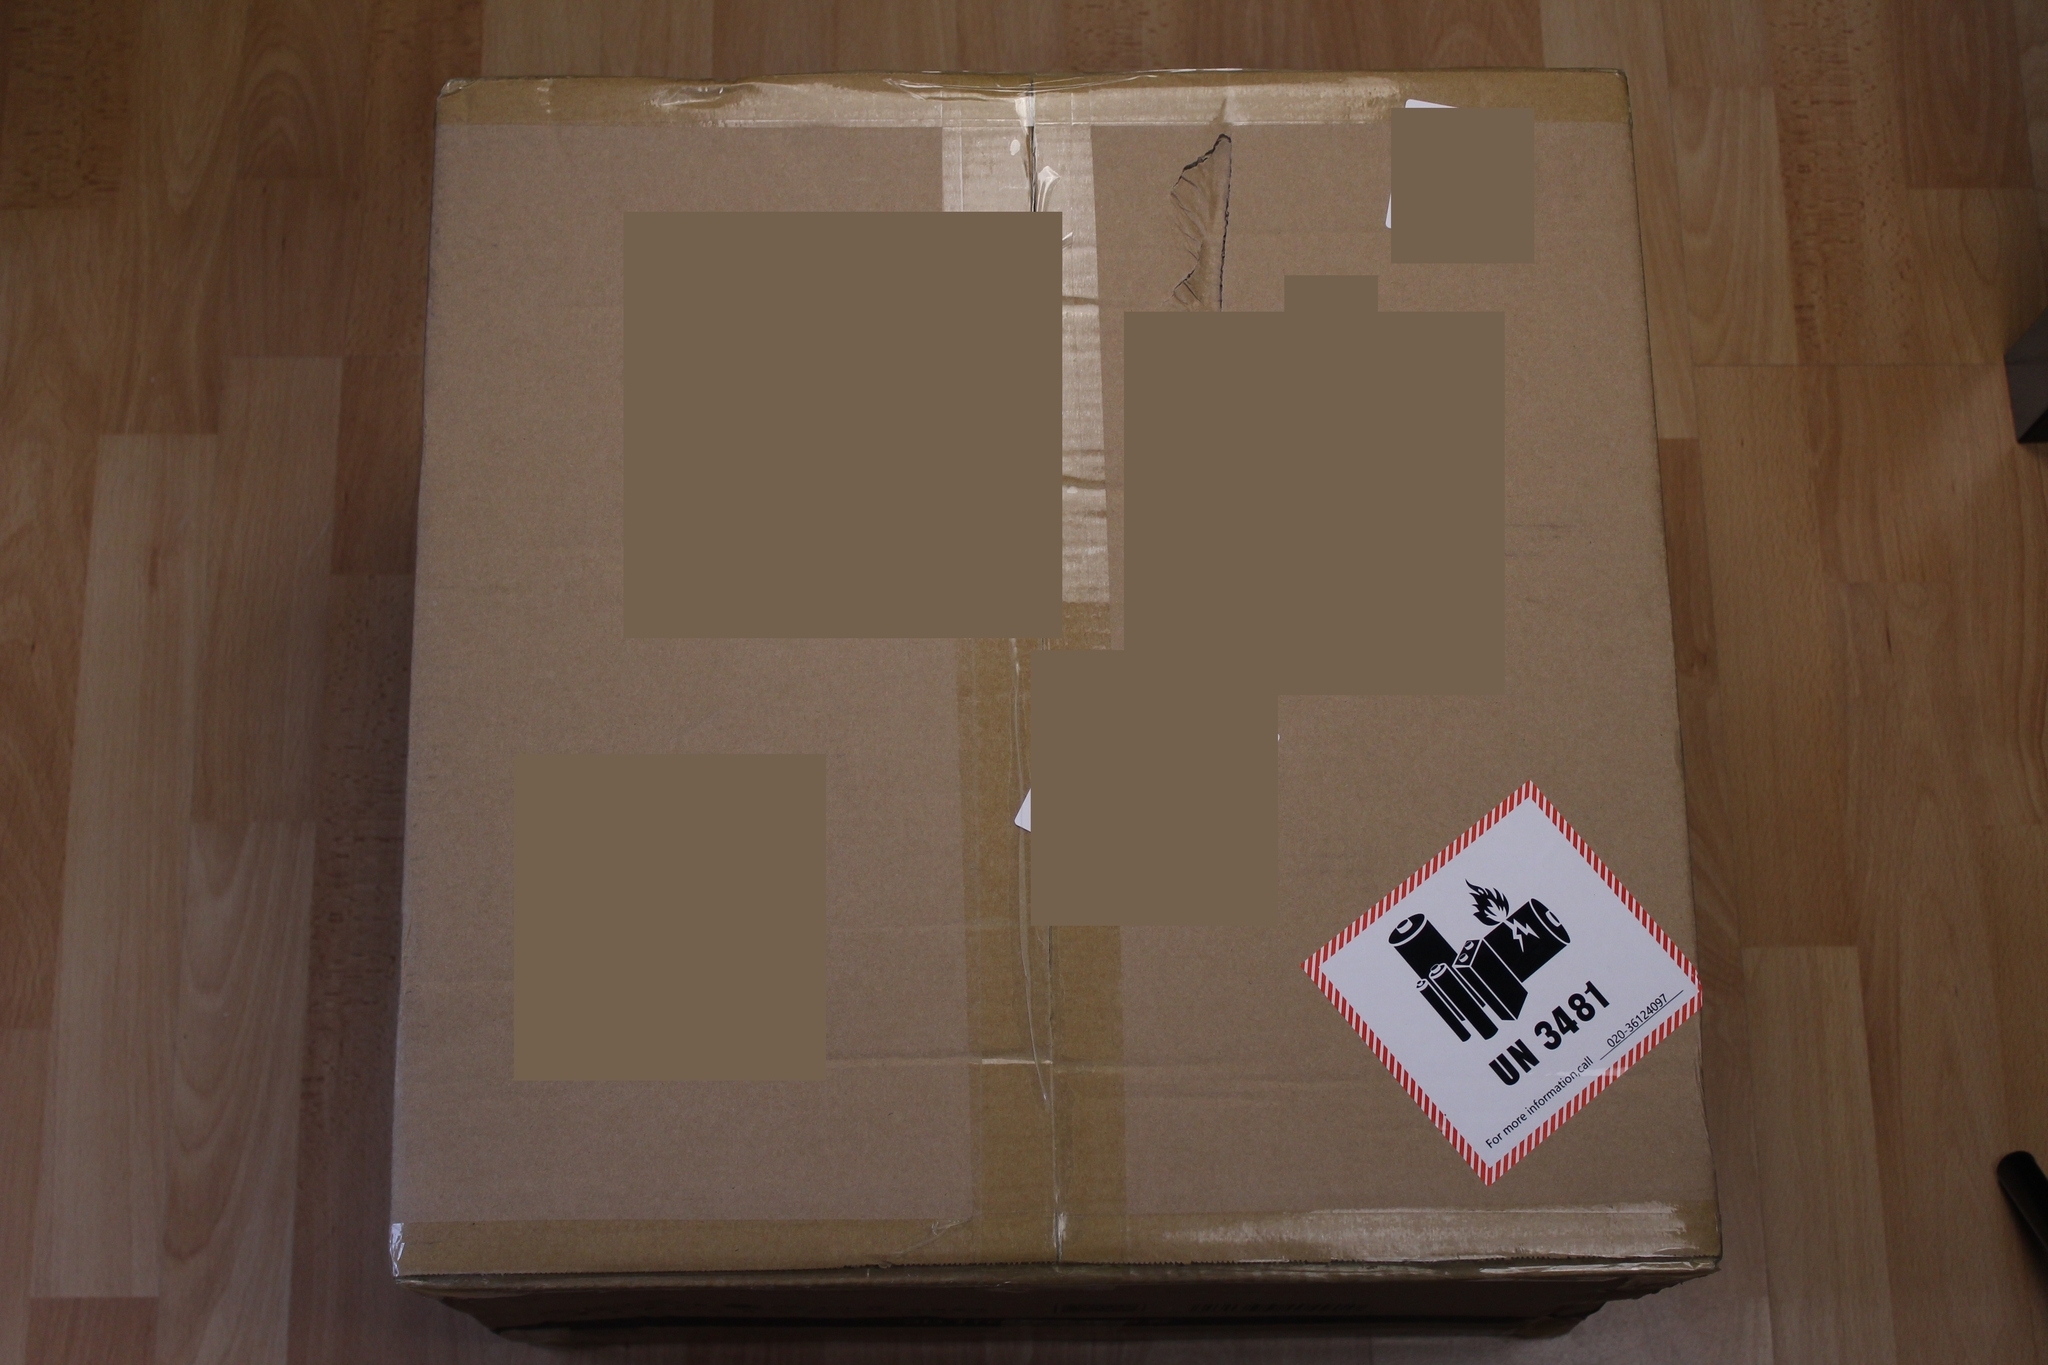
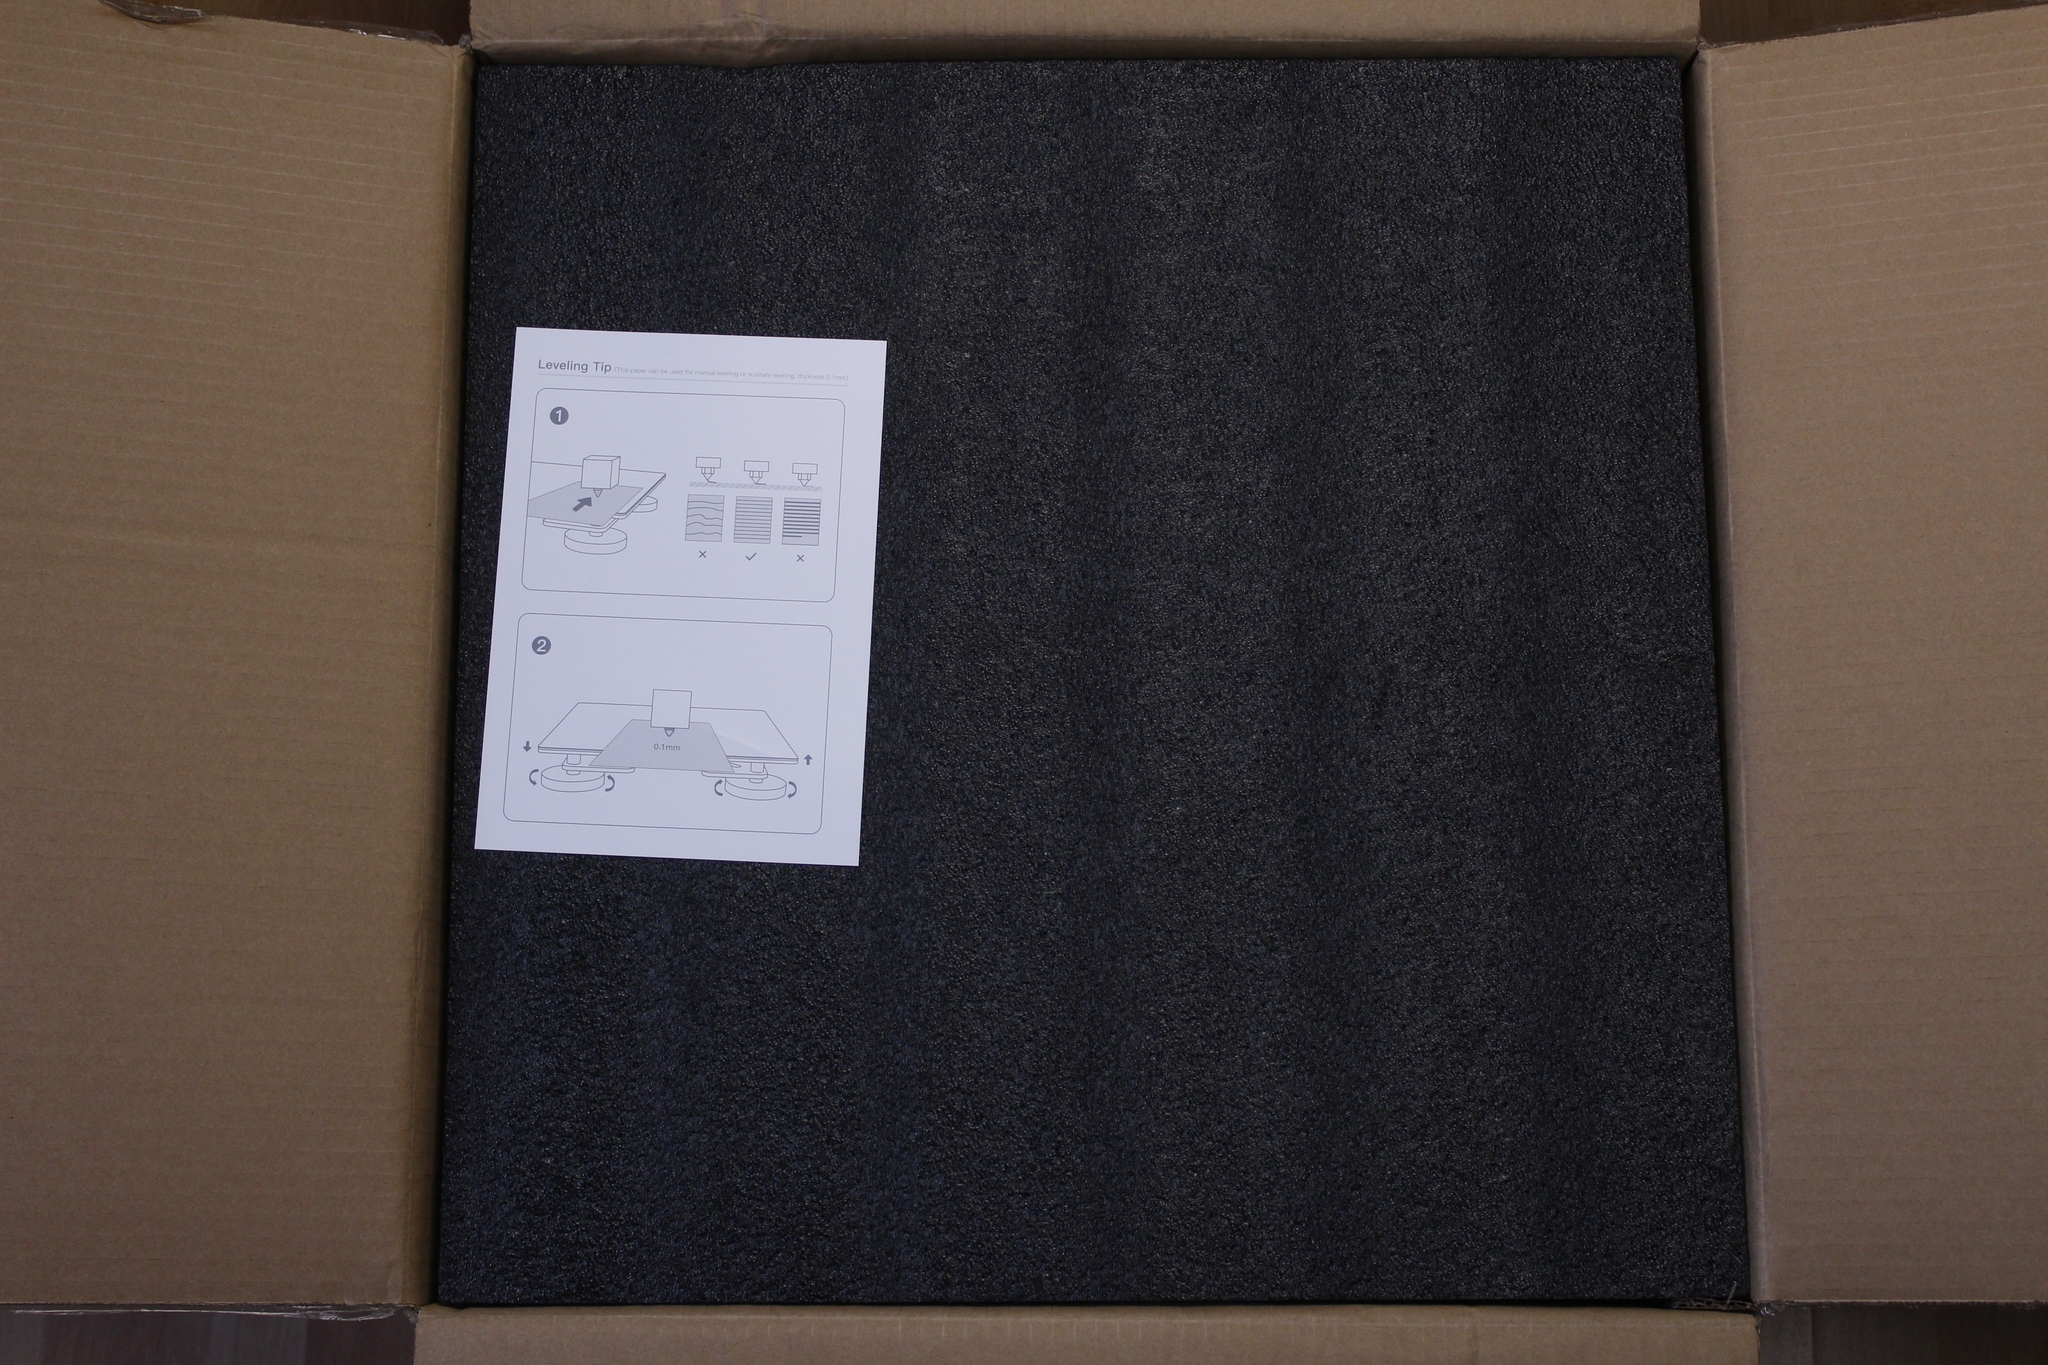
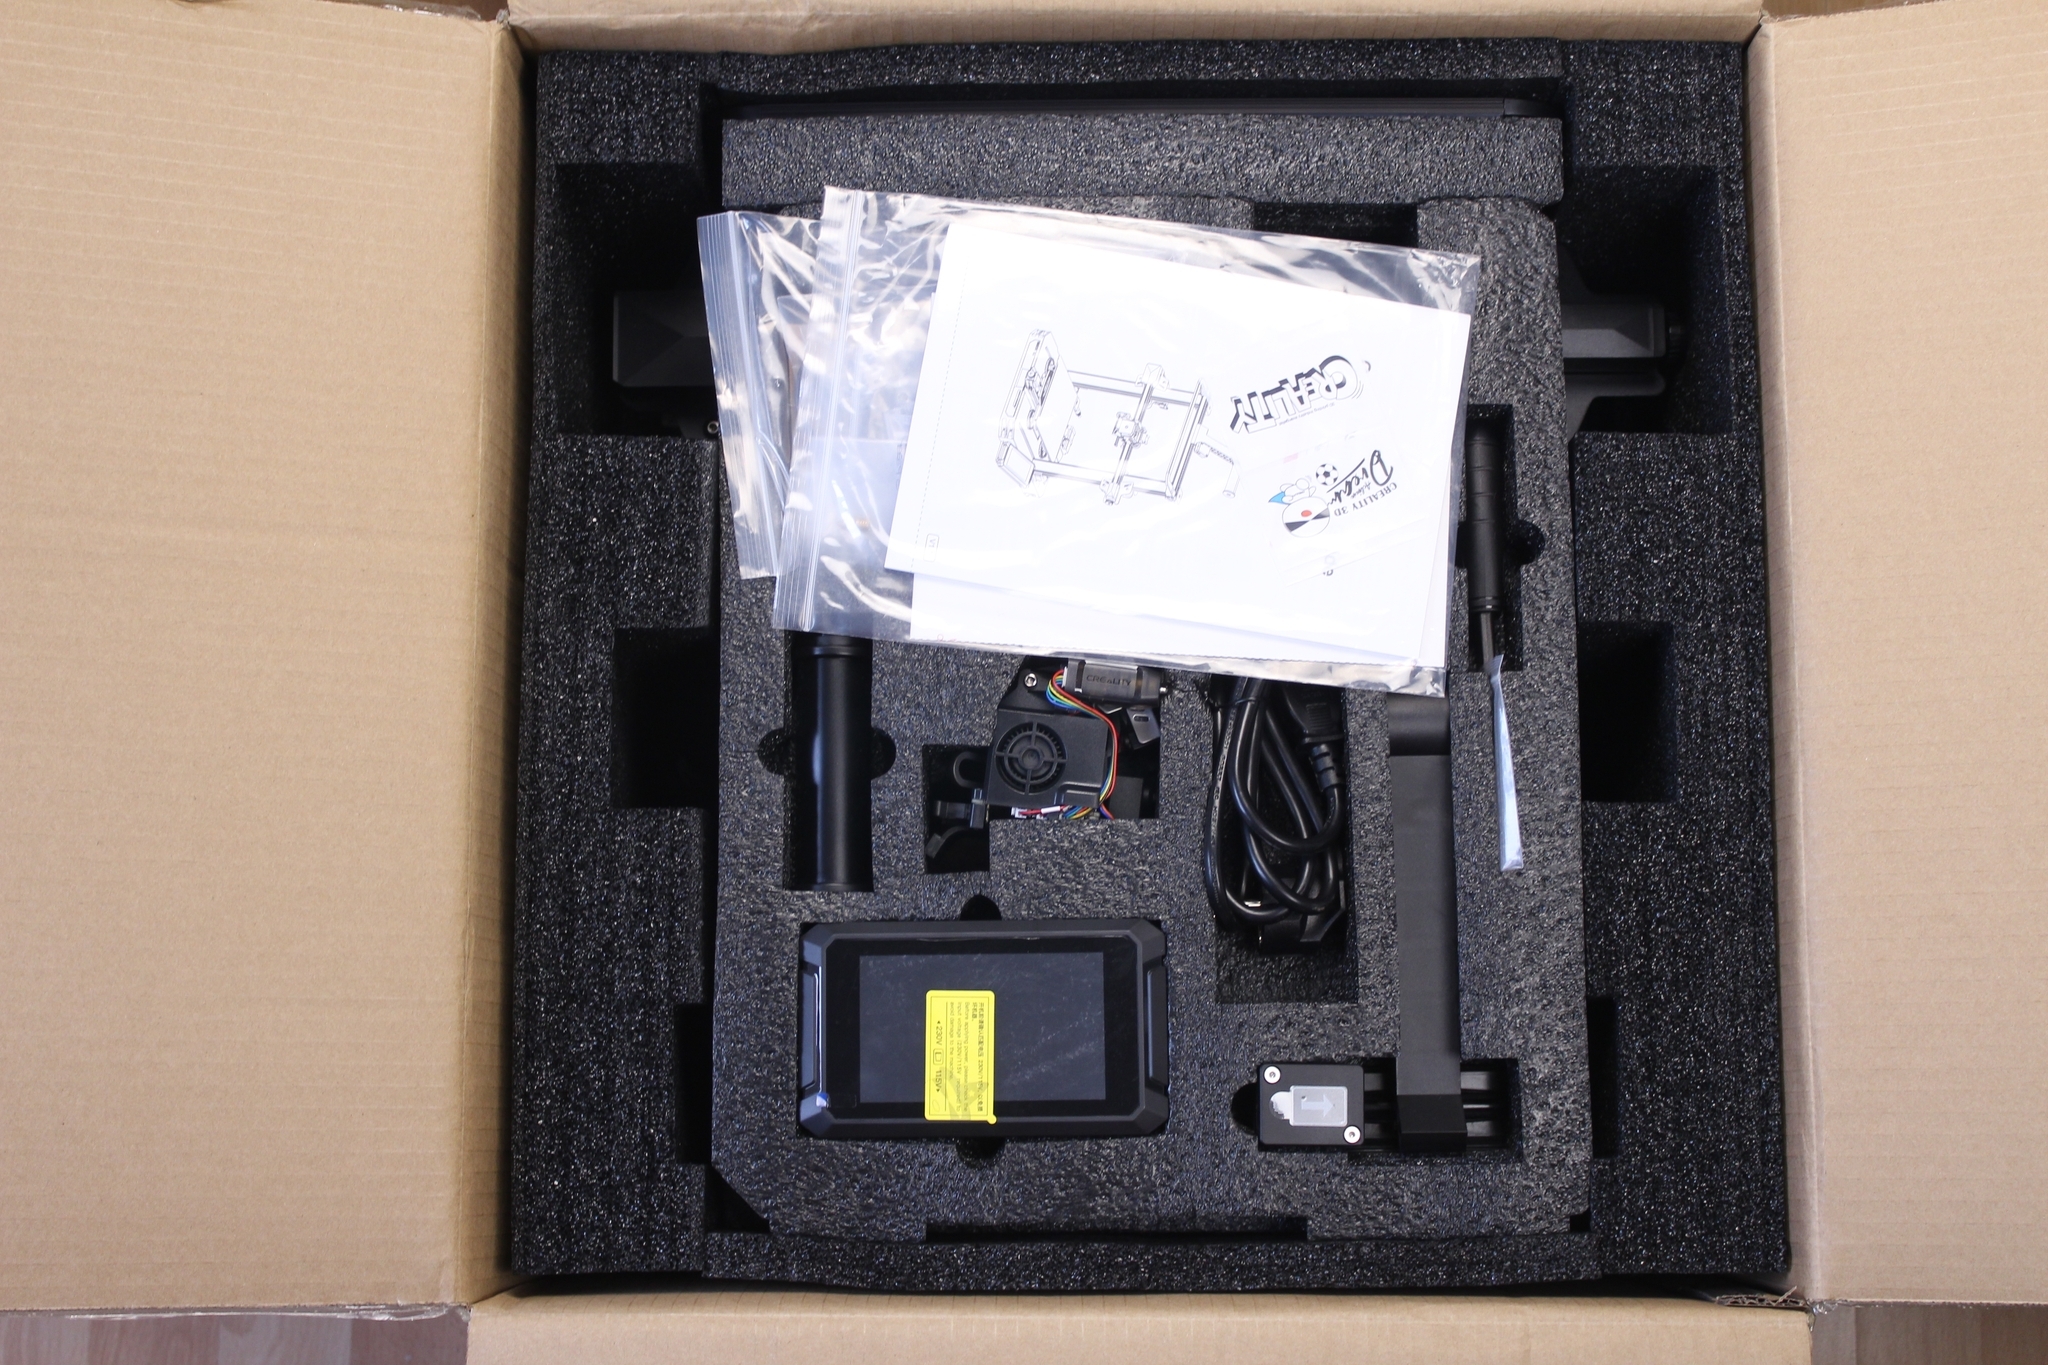
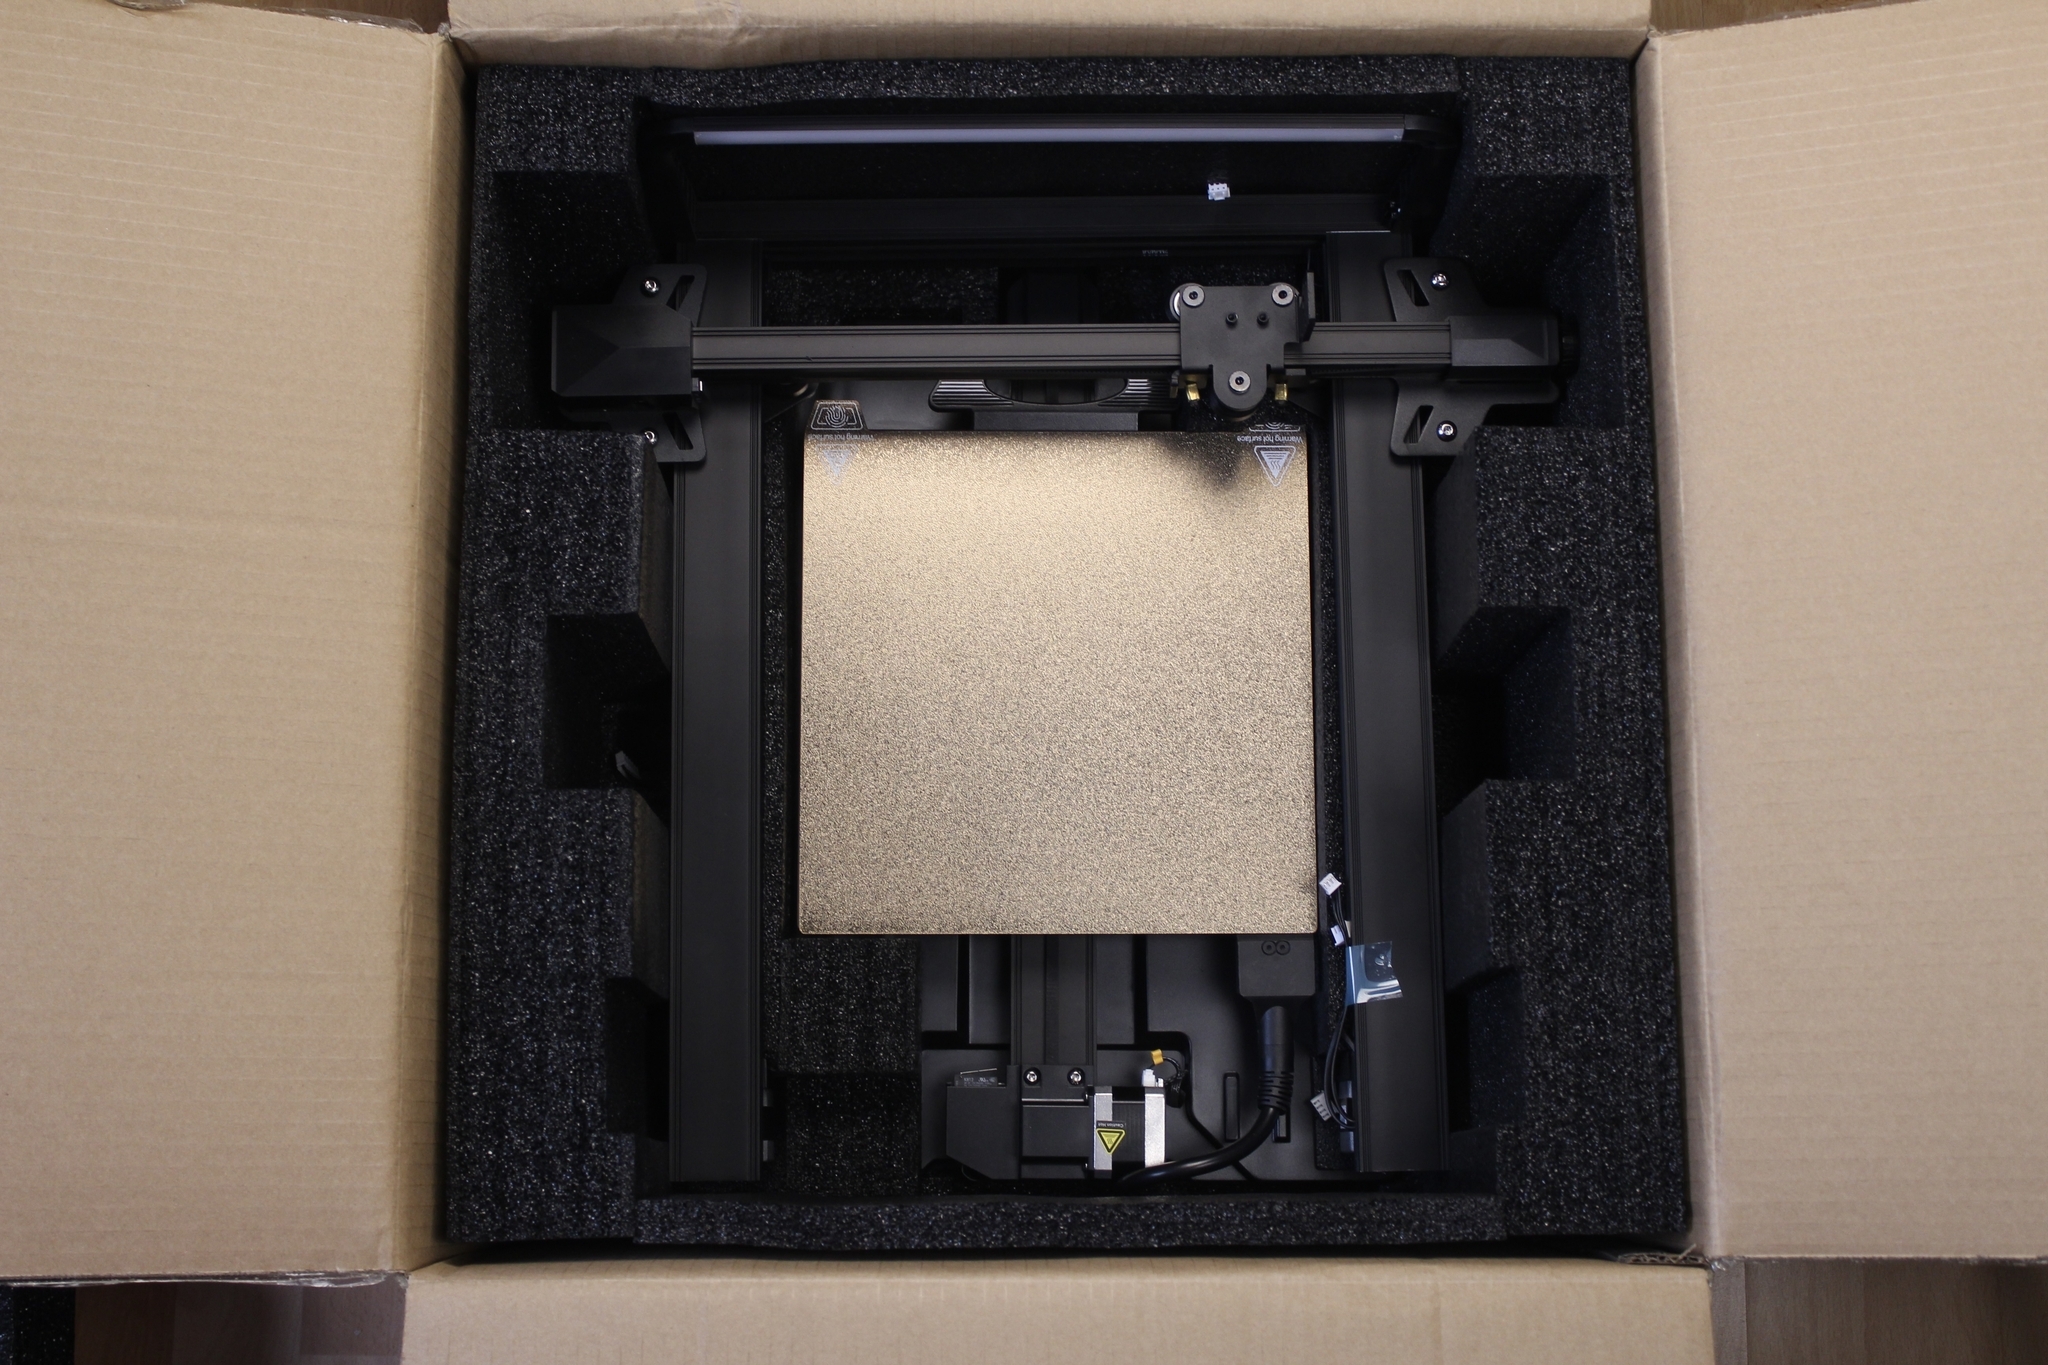
The Ender 3 S1 Pro comes in a cardboard box, just like the Ender 3 S1. There’s ample foam protection on all sides, so I don’t think there will be any kind of issues with shipping damage.

Creality Ender 3 S1 Pro Design
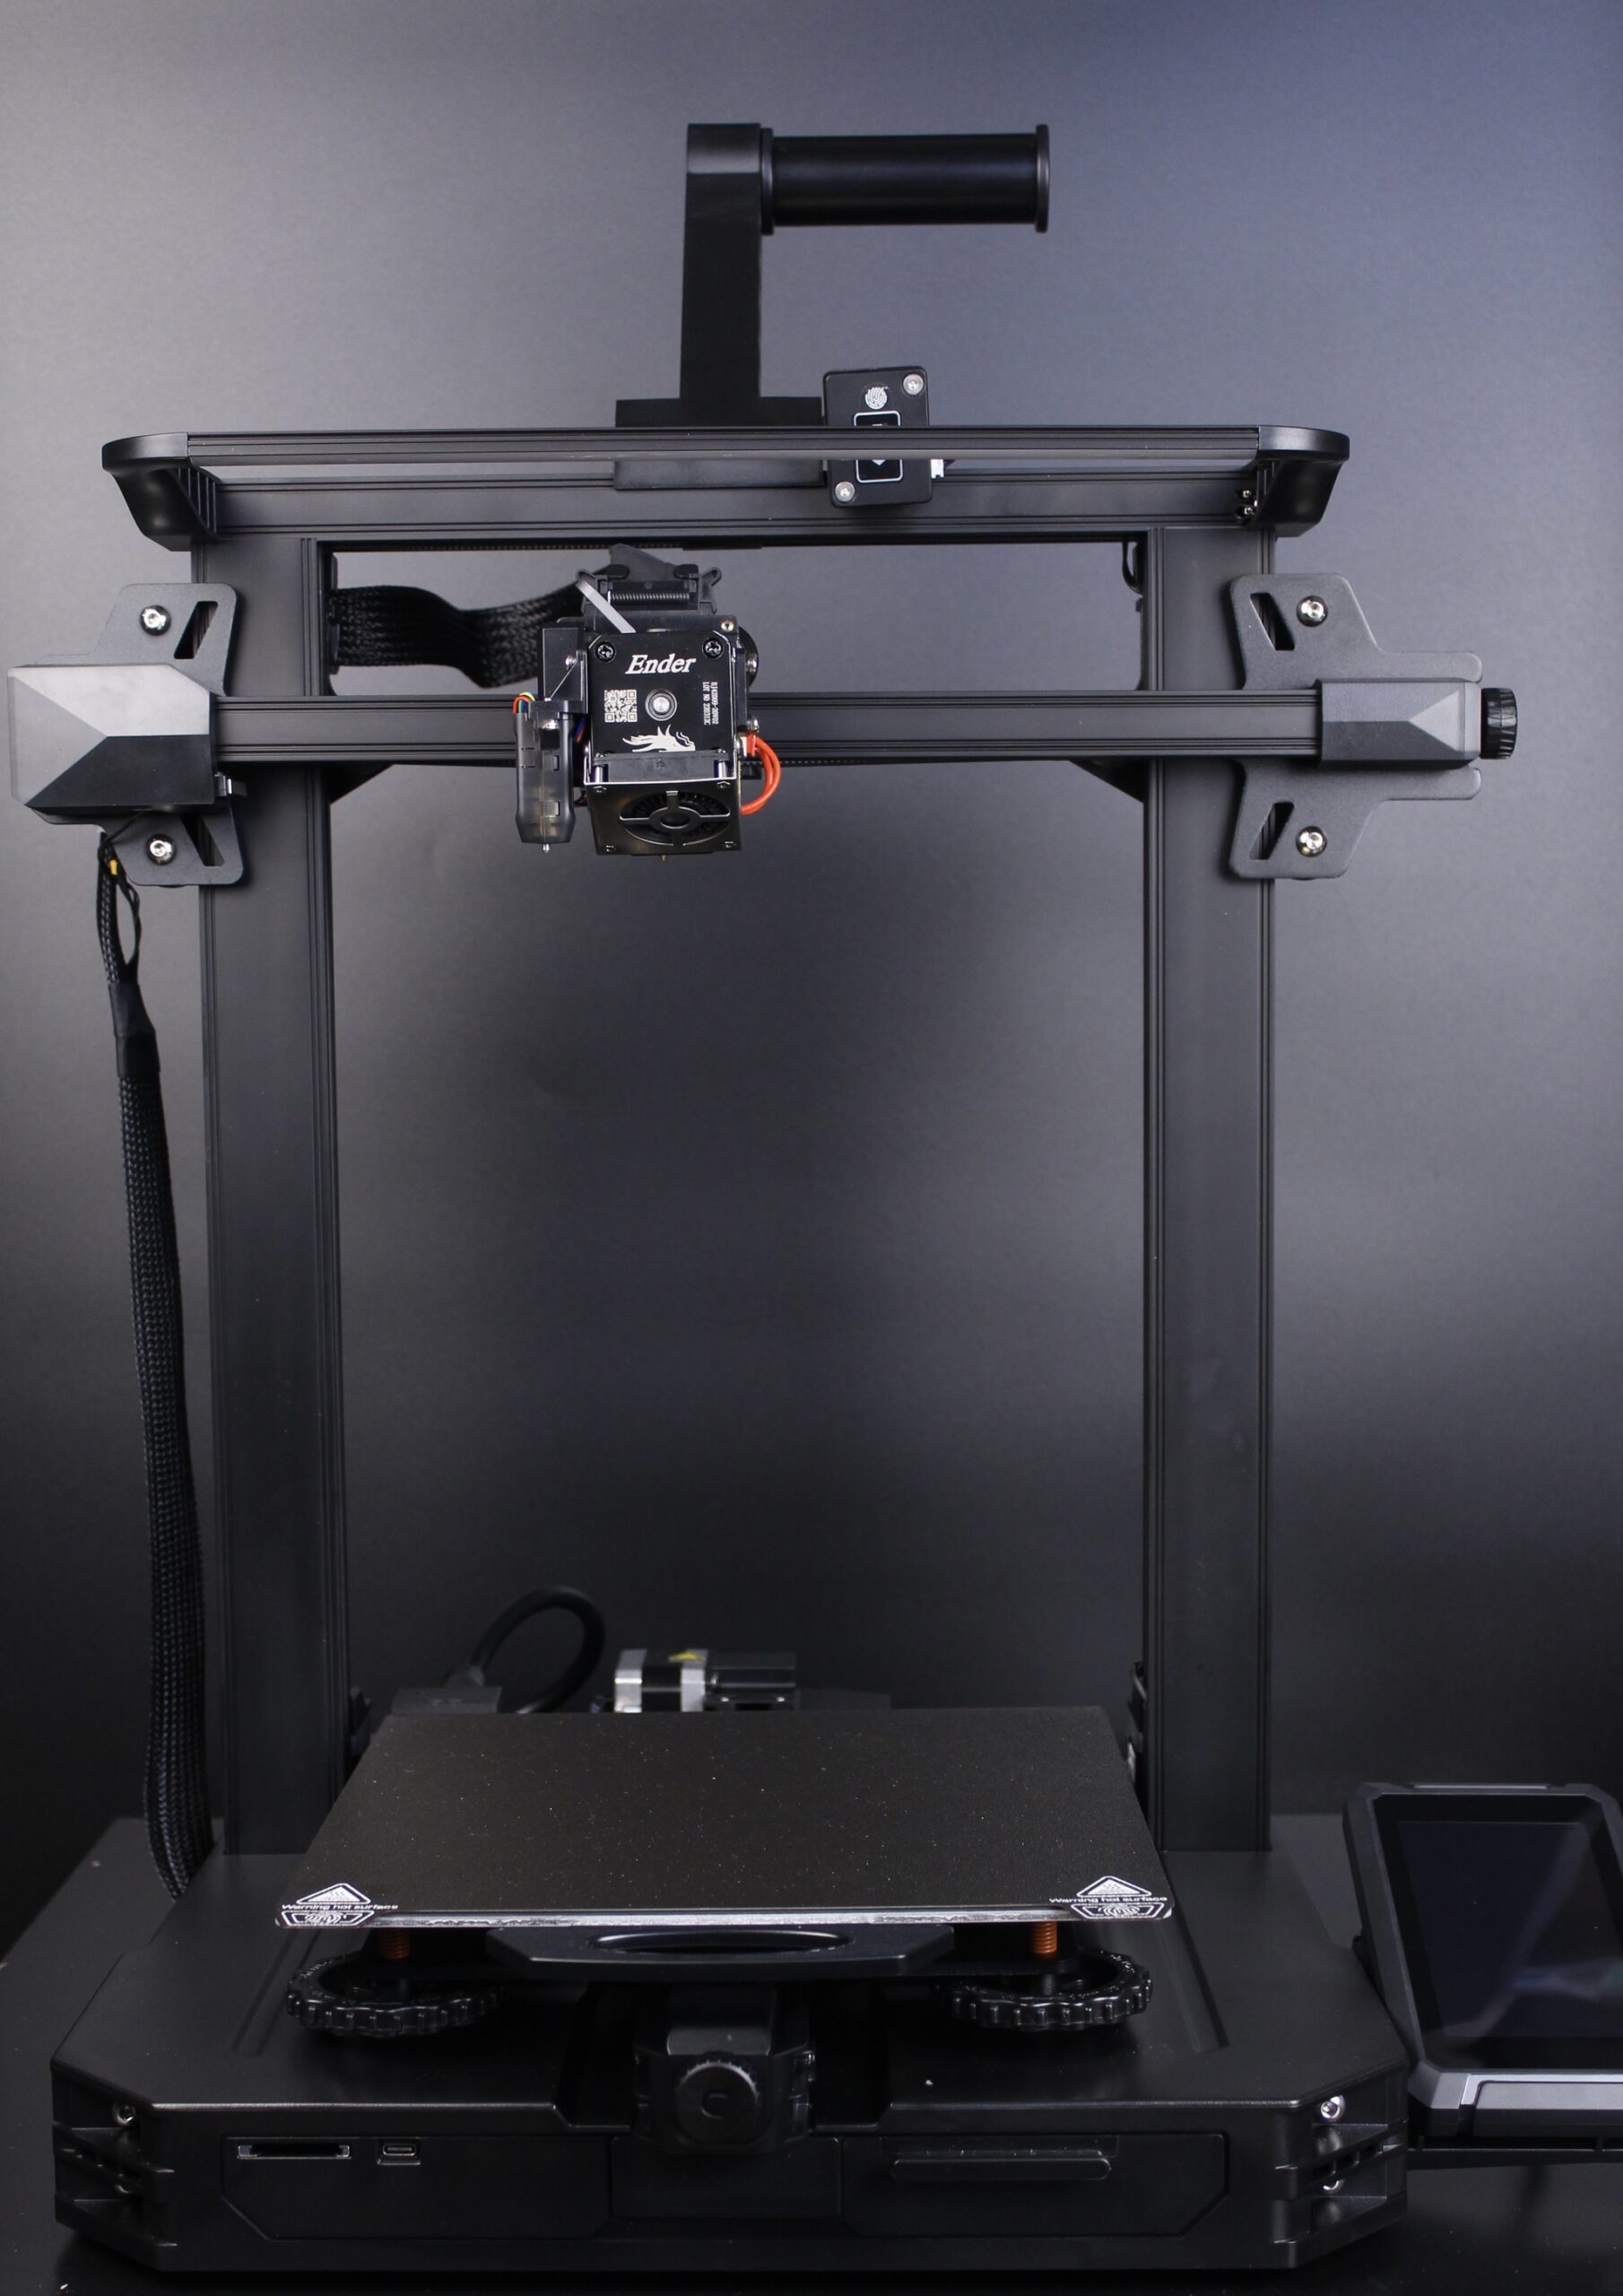
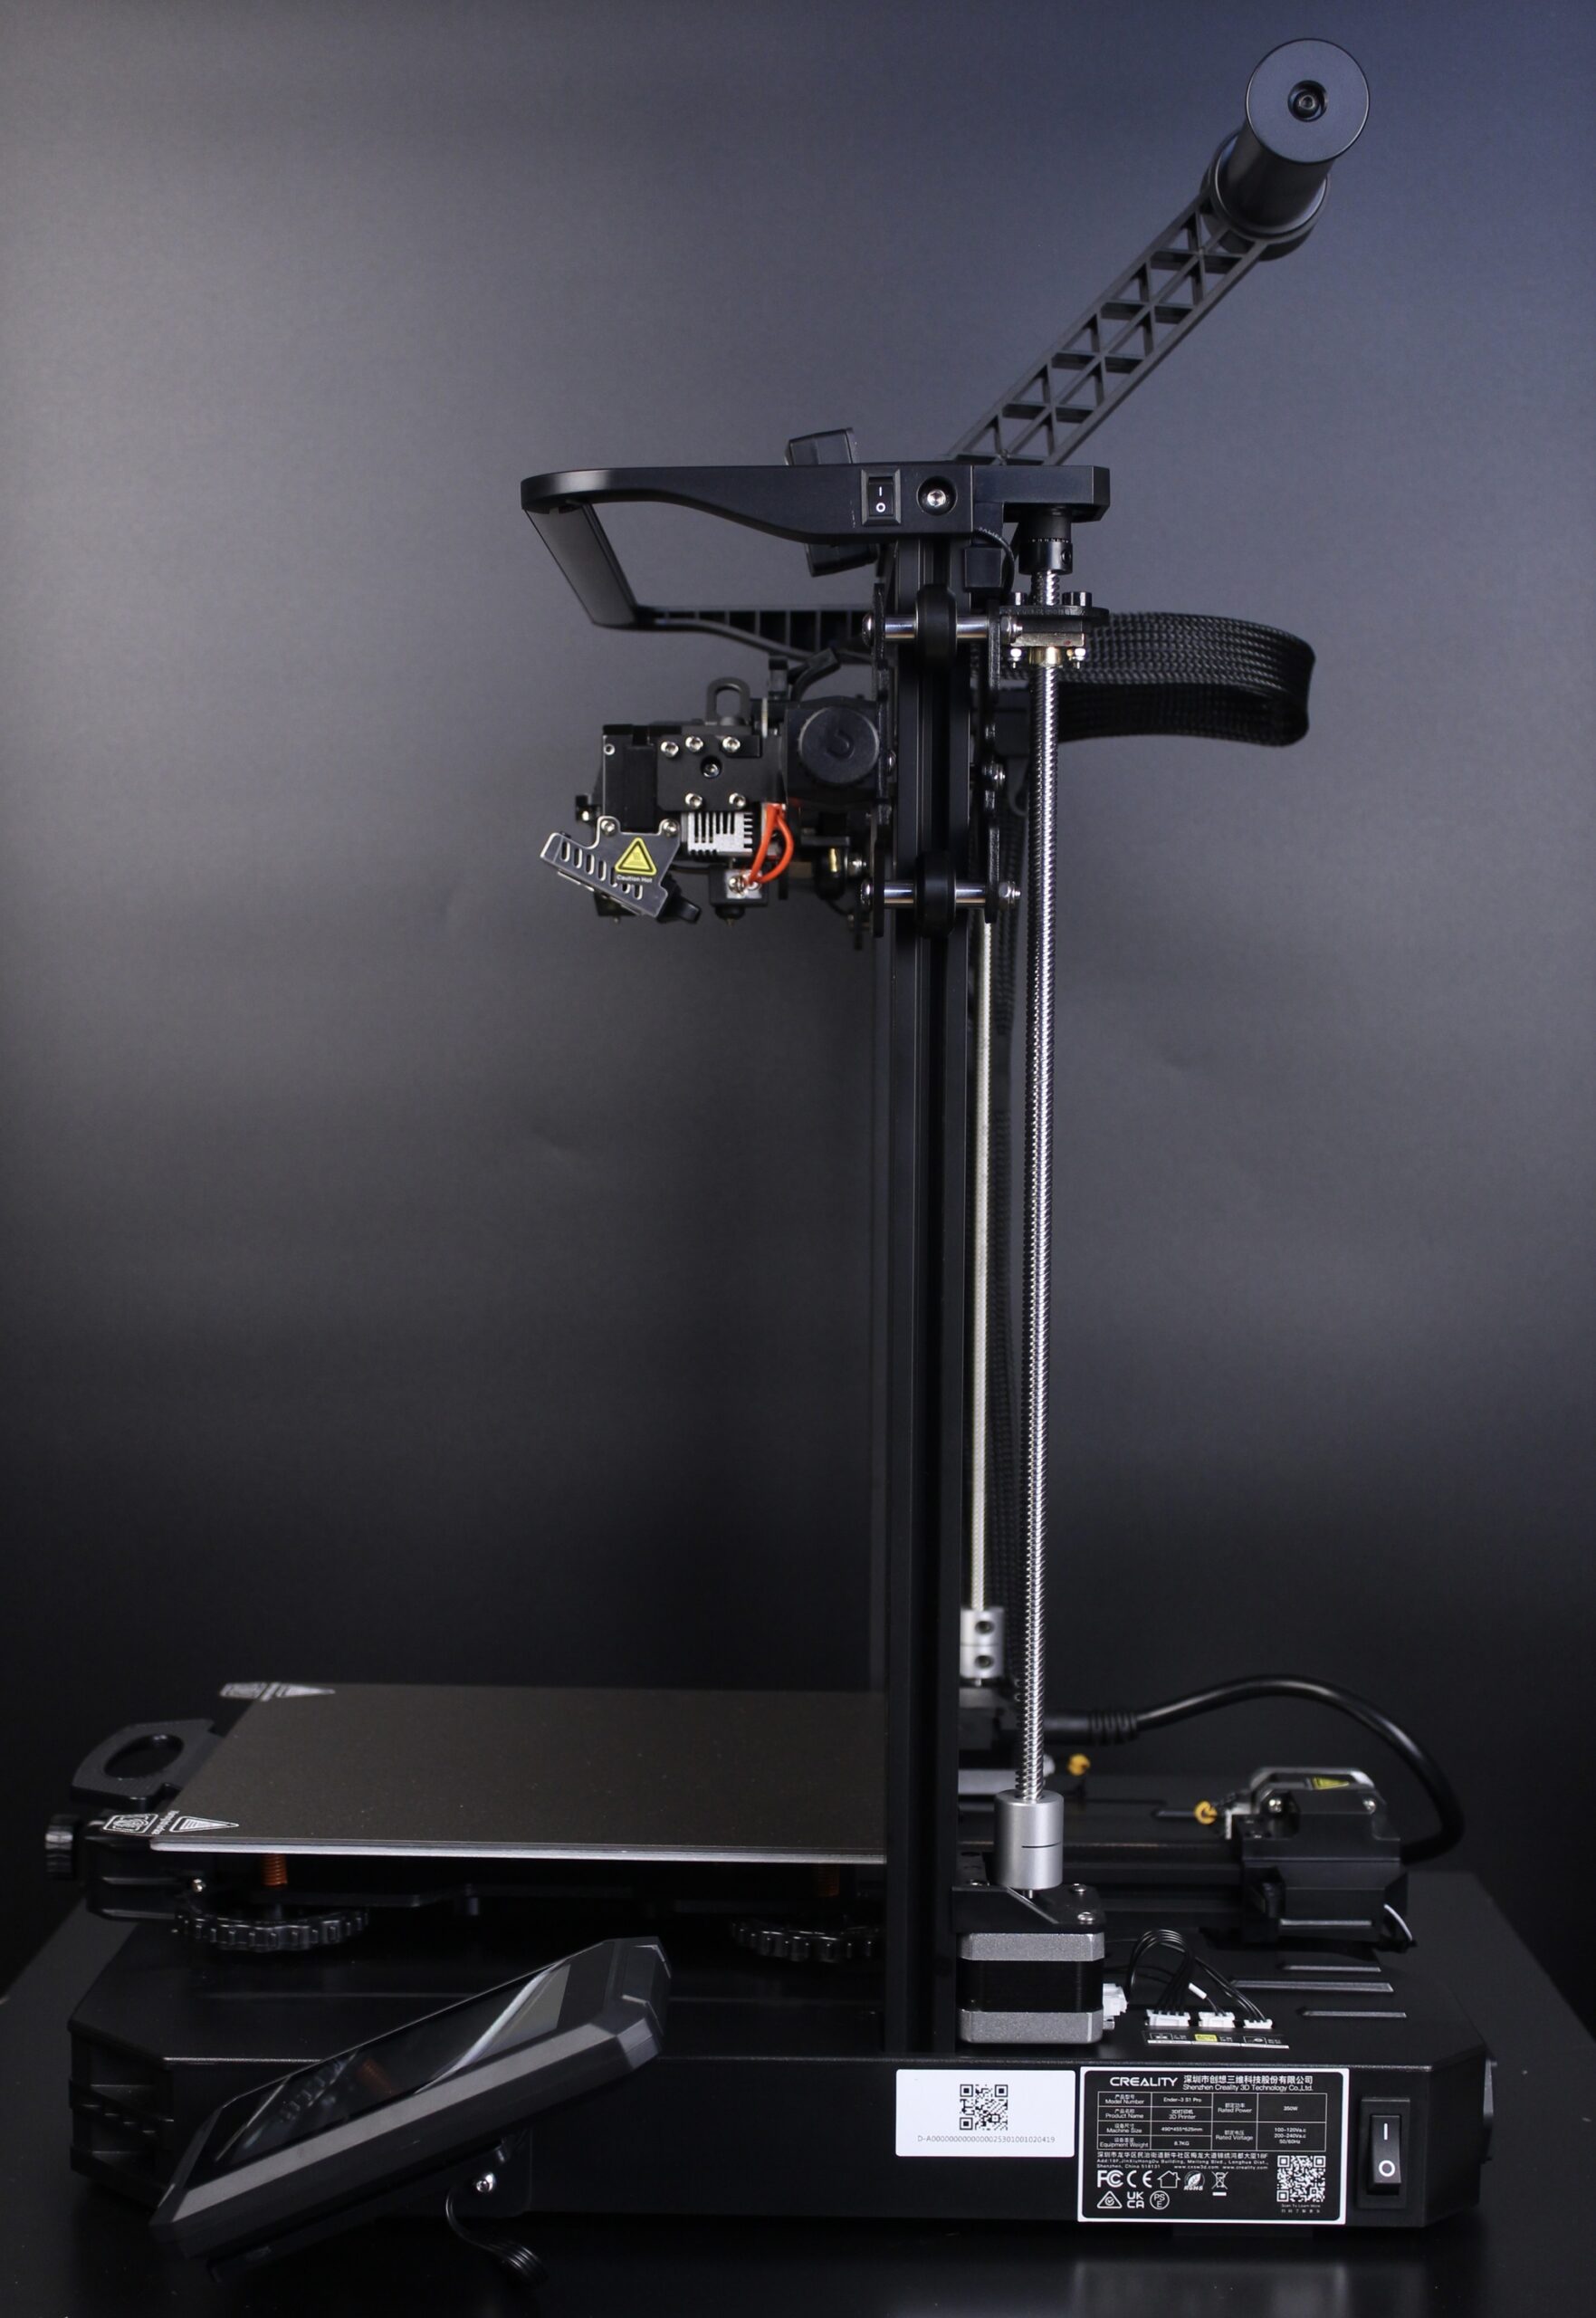
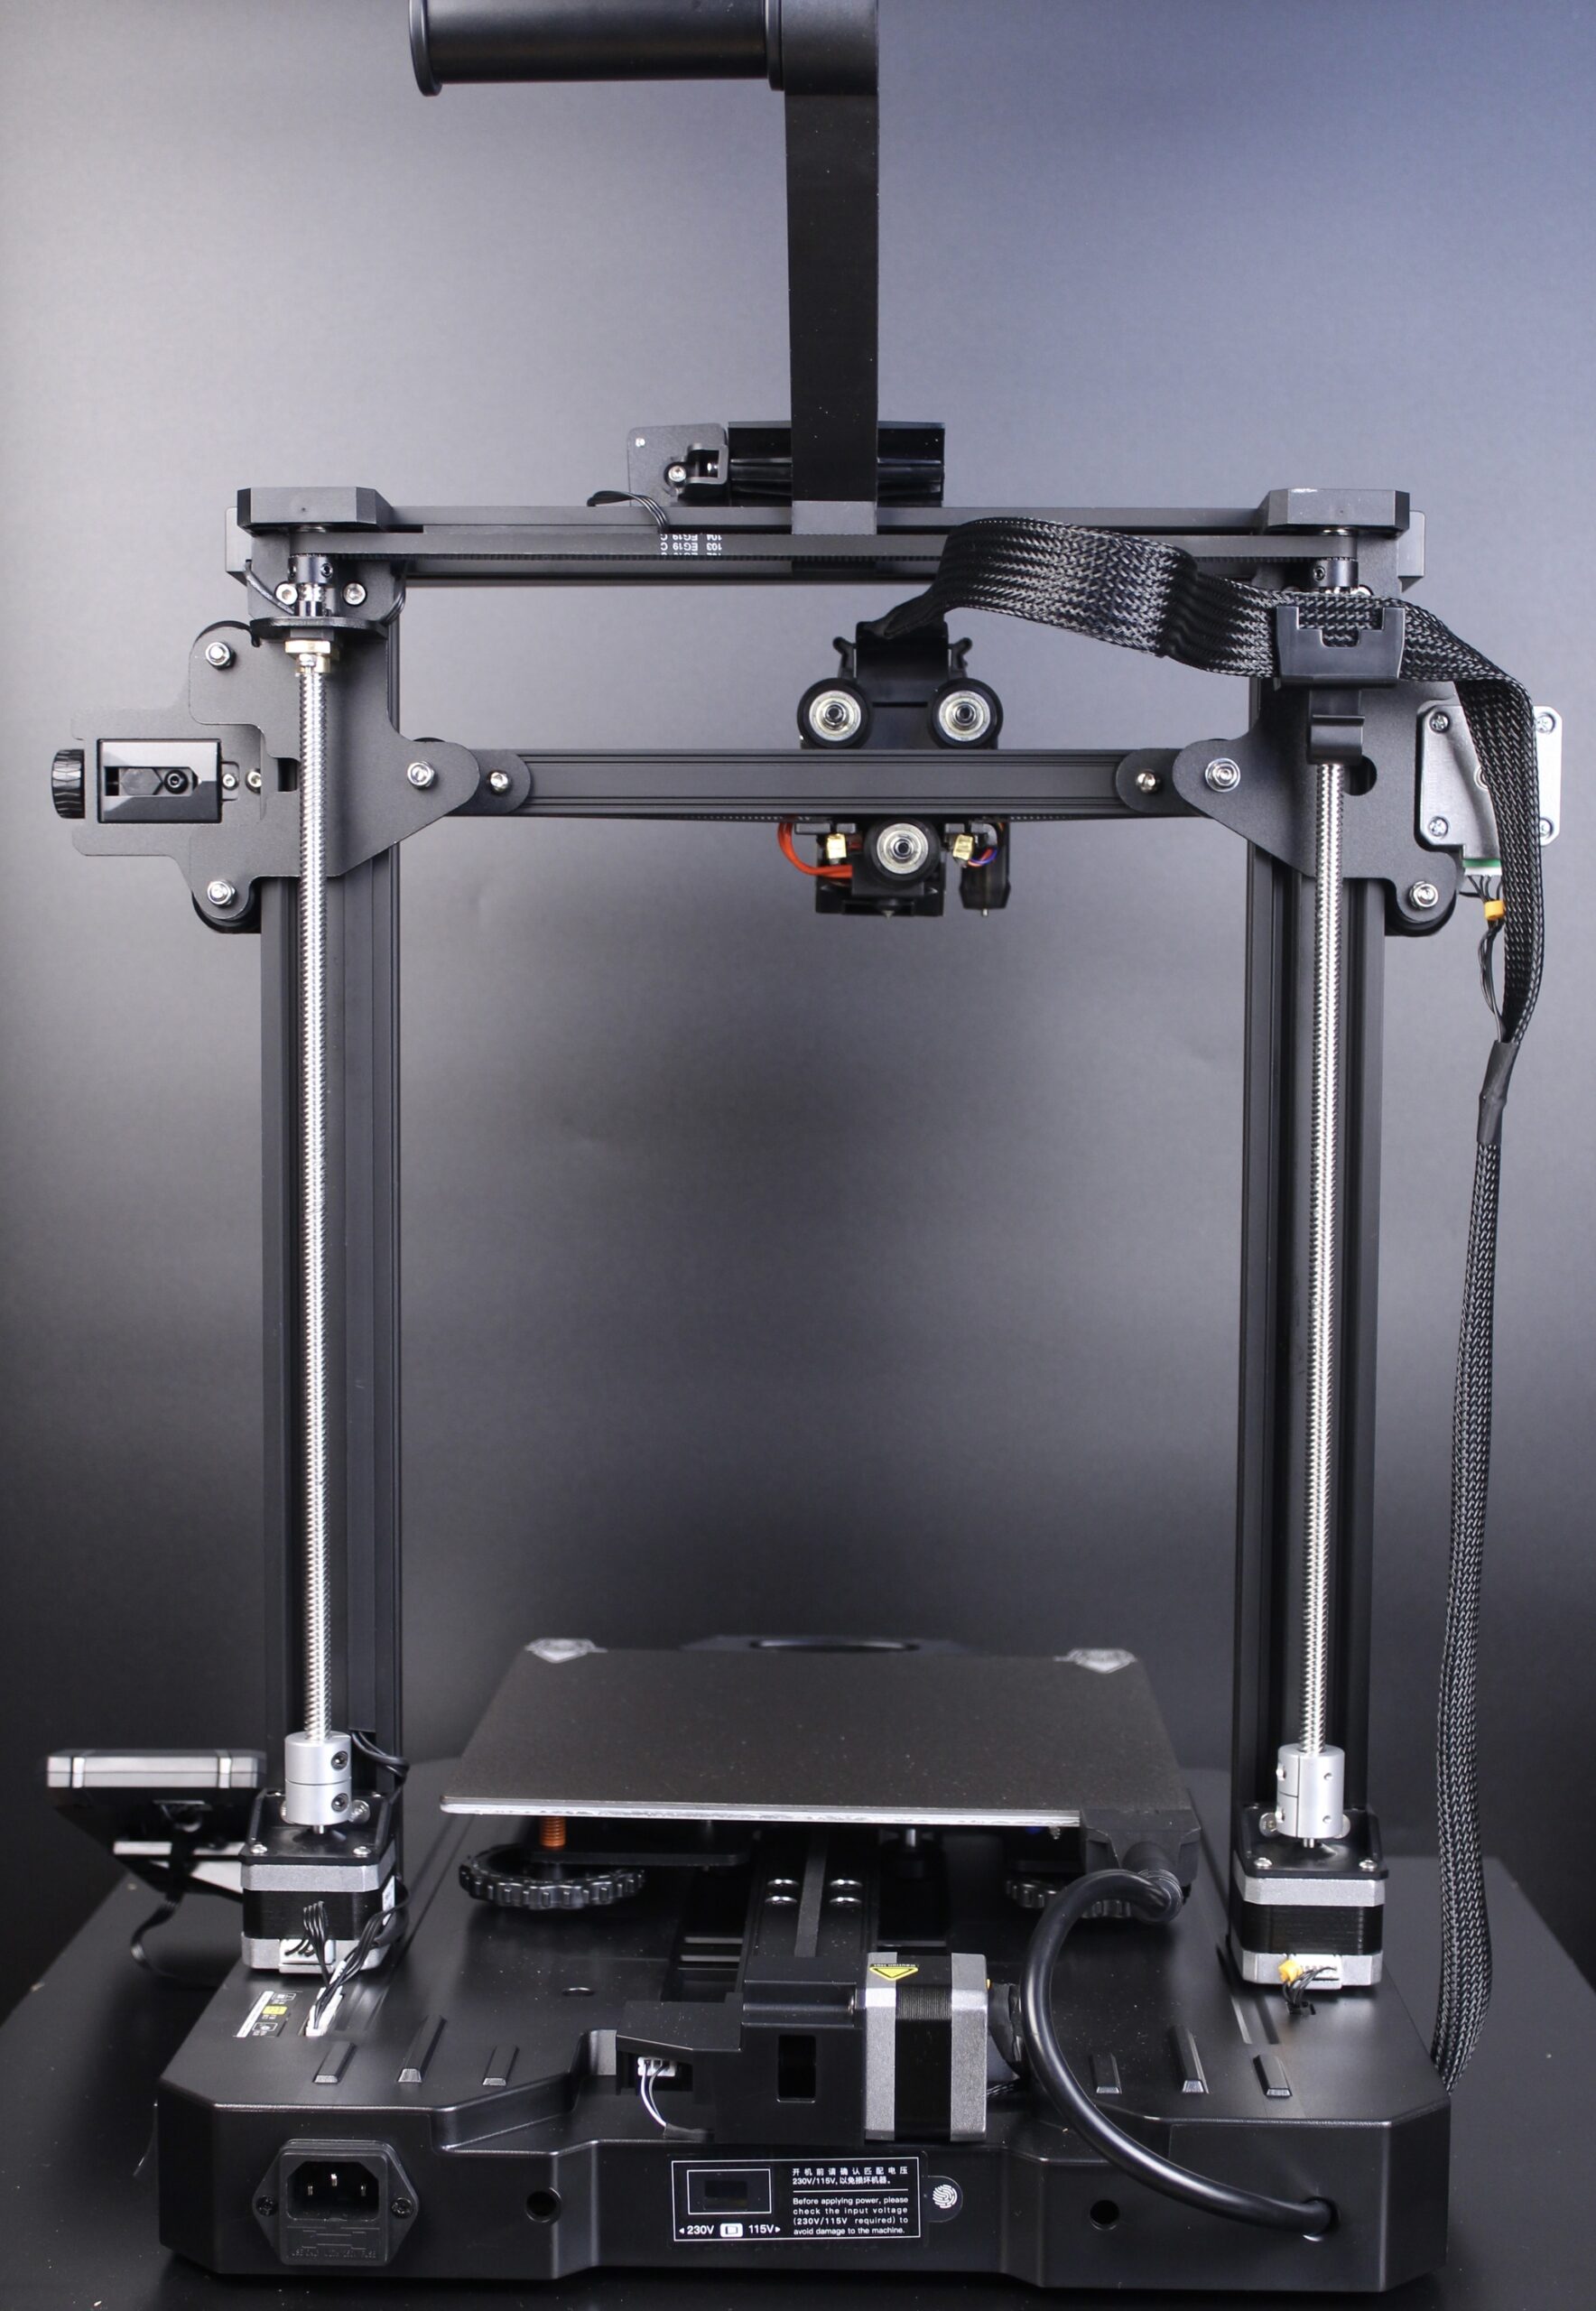
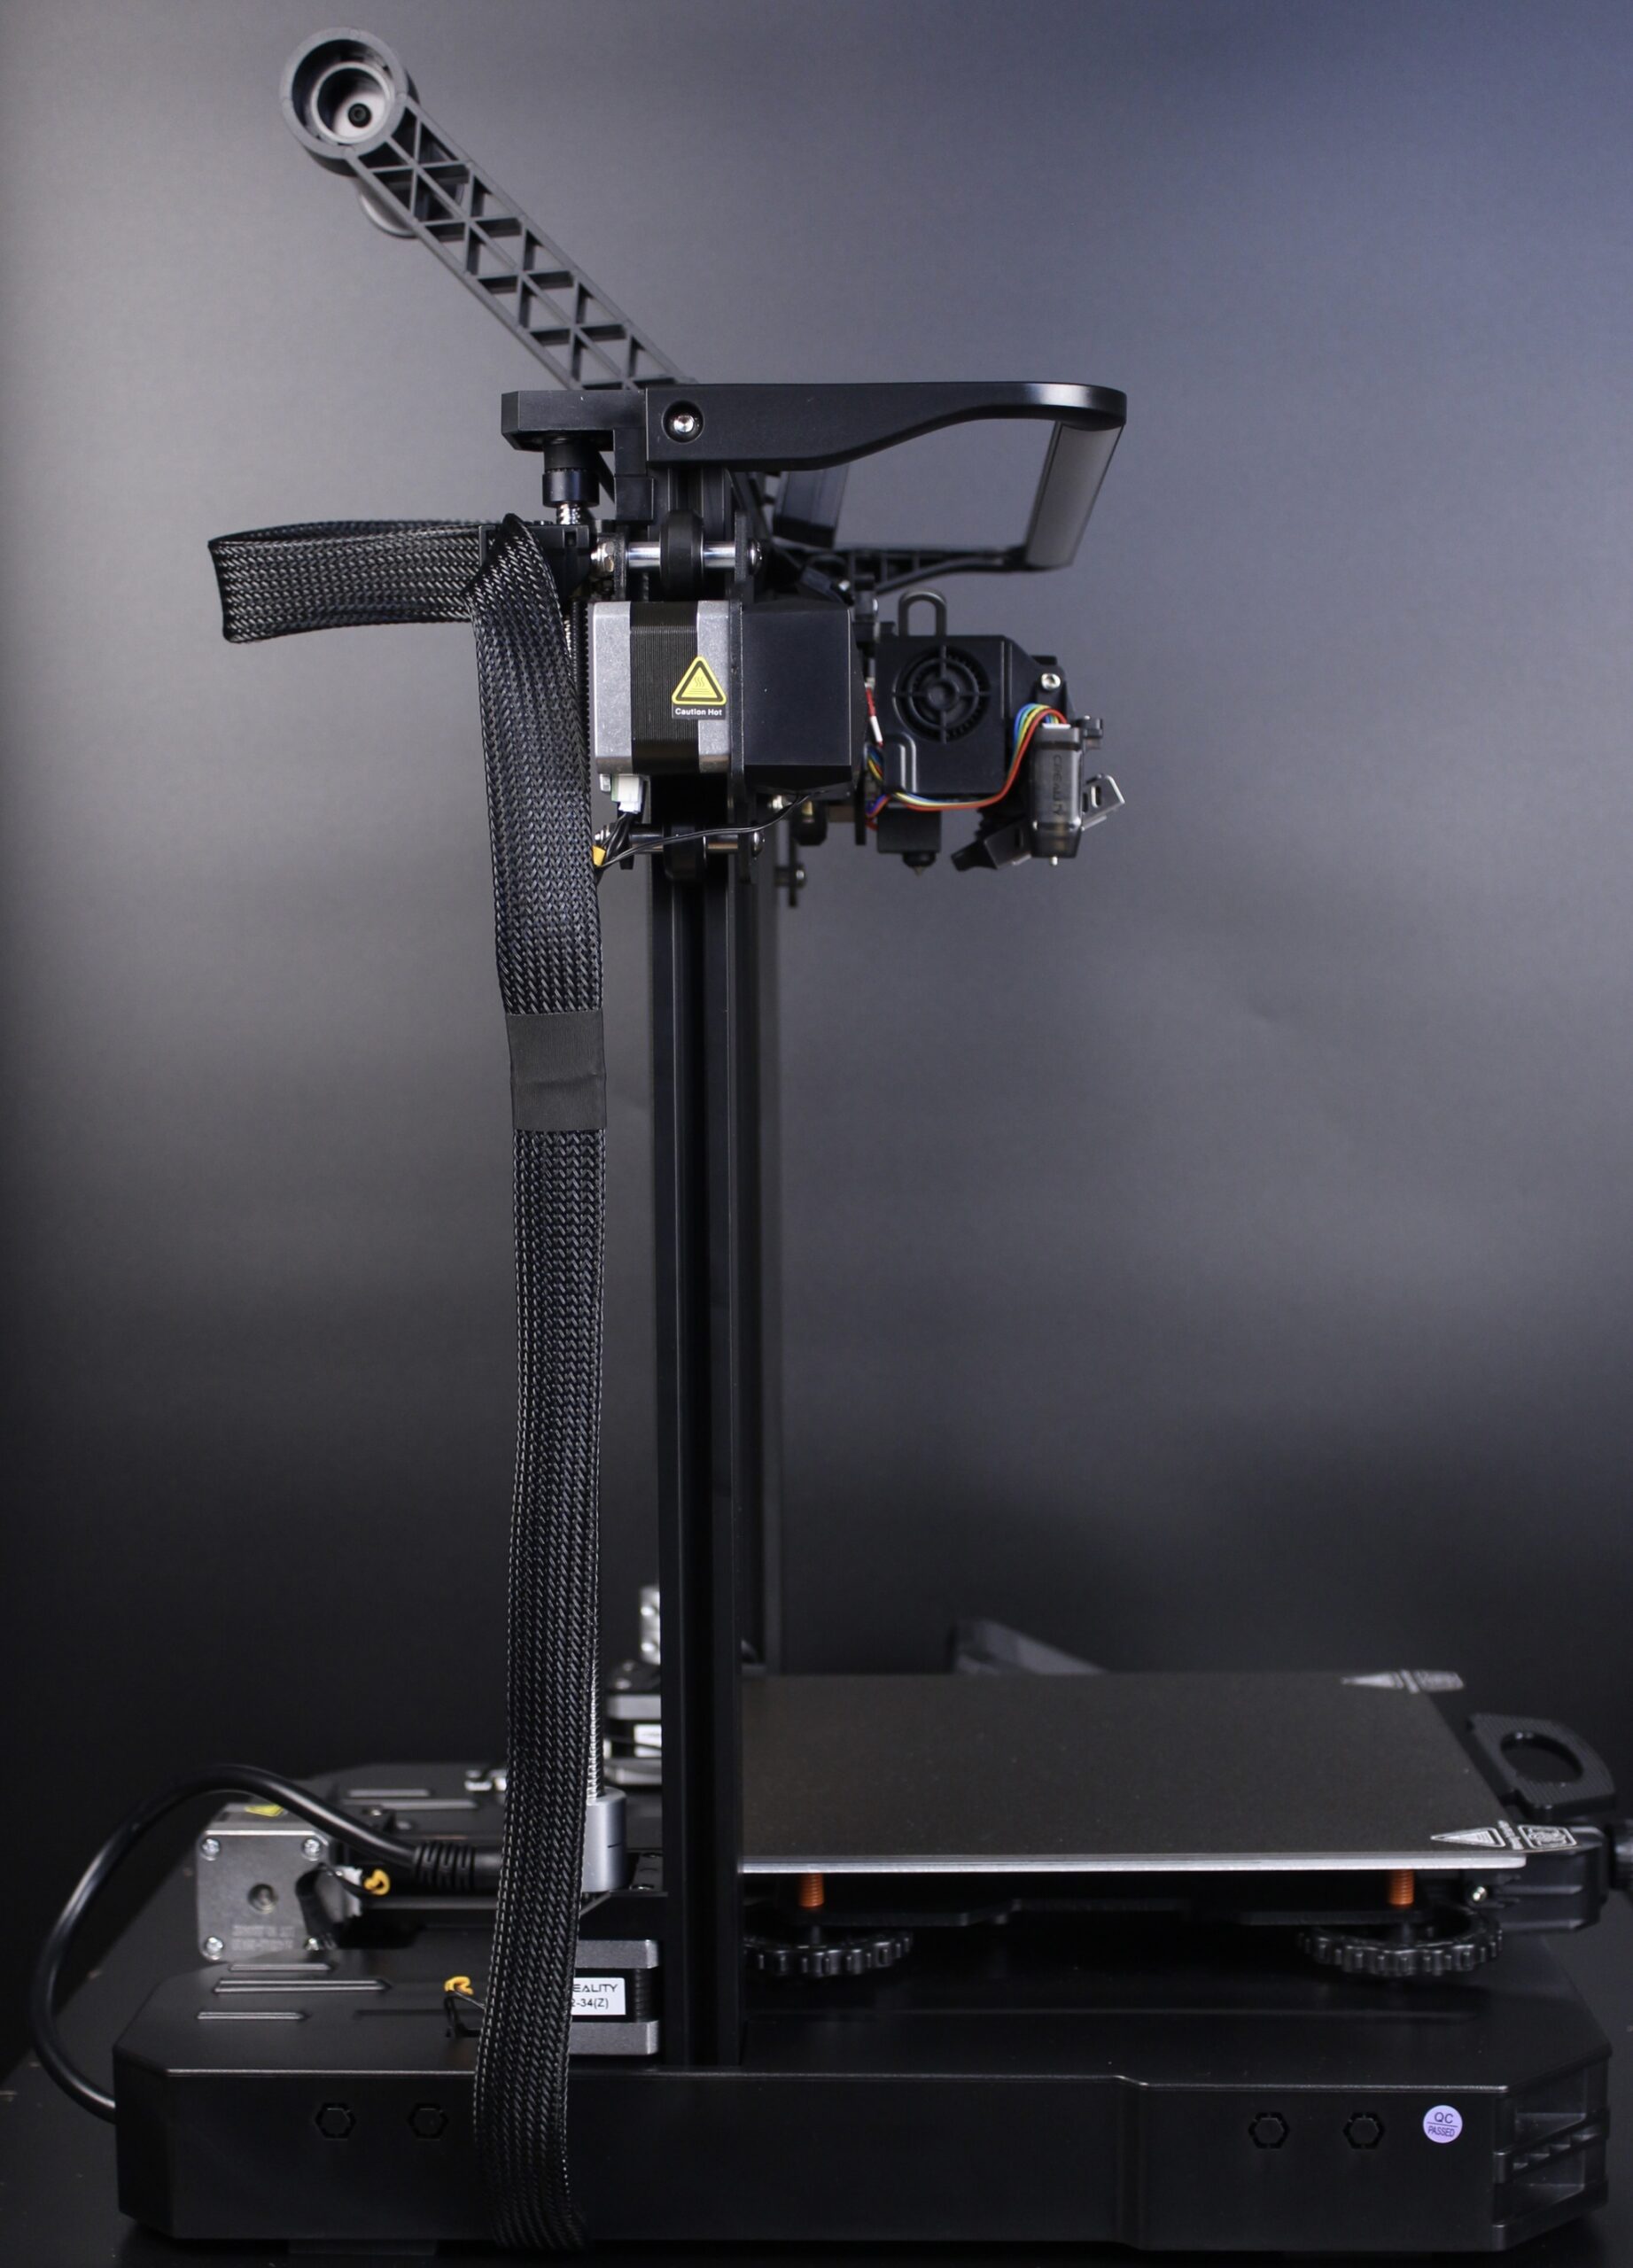
When it comes to the Ender 3 S1 Pro design, I can’t say it’s much different from the regular S1. The base of the printer comes with a different style but I like the S1 design better. There’s also the LED light at the top, but we’ll talk about that in a minute.
Creality Ender 3 S1 Pro Specs
| Molding Technology: | FDM |
| Build Volume: | 220 x 220 x 270 mm |
| Machine Dimension: | 490 x 455 x 625 mm |
| Package Dimension: | 510 x 510 x 305 mm |
| Net Weight: | 8.6 kg |
| Gross Weight: | 10.7 kg |
| Printing Speed: | Maximum 150 mm/s |
| Printing Precision: | 0.1 mm |
| Layer Height: | 0.05-0 4mm |
| Filament Diameter: | 0.4 mm |
| Nozzle Quantity: | 1 |
| Nozzle Temperature: | Up to 300°C |
| Heat Bed Temperature: | Up to 110°C |
| Leveling Mode: | CR Touch Automatic Leveling |
| Display: | 4.3-inch color touch screen |
| Motherboard: | 32-bit silent motherboard |
| Resume Printing: | Yes |
| Filament Sensor: | Yes |
| Rated Voltage: | 100-120V, 220-240V, 50/60 Hz |
| Rated Power: | 350W/24V |
| Data Transmission Method: | Type-C USB/ SD card |
| 3D File Format: | .stl/.obj / .gcode (after slicing) |
| Extrusion Force: | 80N |
| Extruder: | Sprite full-metal dual-gear direct extruder with 1:3.5 gearing |
| Slicing Software: | Creality Slicer/Cura/Repetier-Host/Simplify3D |
| Build Surface: | Spring steel PEl magnetic build plate |
| Supported Filament: | PLA. ABS, WOOD, TPU, PETG, PA |
| Supported Language: | Chinese, English, German, Spanish, French, Italian, Portuguese, Russian, Turkish |
All-Metal Sprite Pro Extruder
One of the most important upgrades for the Ender 3 S1 Pro is the inclusion of an all-metal Sprite Pro Extruder capable of printing up to 300C. There is no PTFE tube inside the heat break to get damaged over time, which is really nice. You won’t have to perform maintenance on the extruder from time to time, like you need to do on the regular S1.
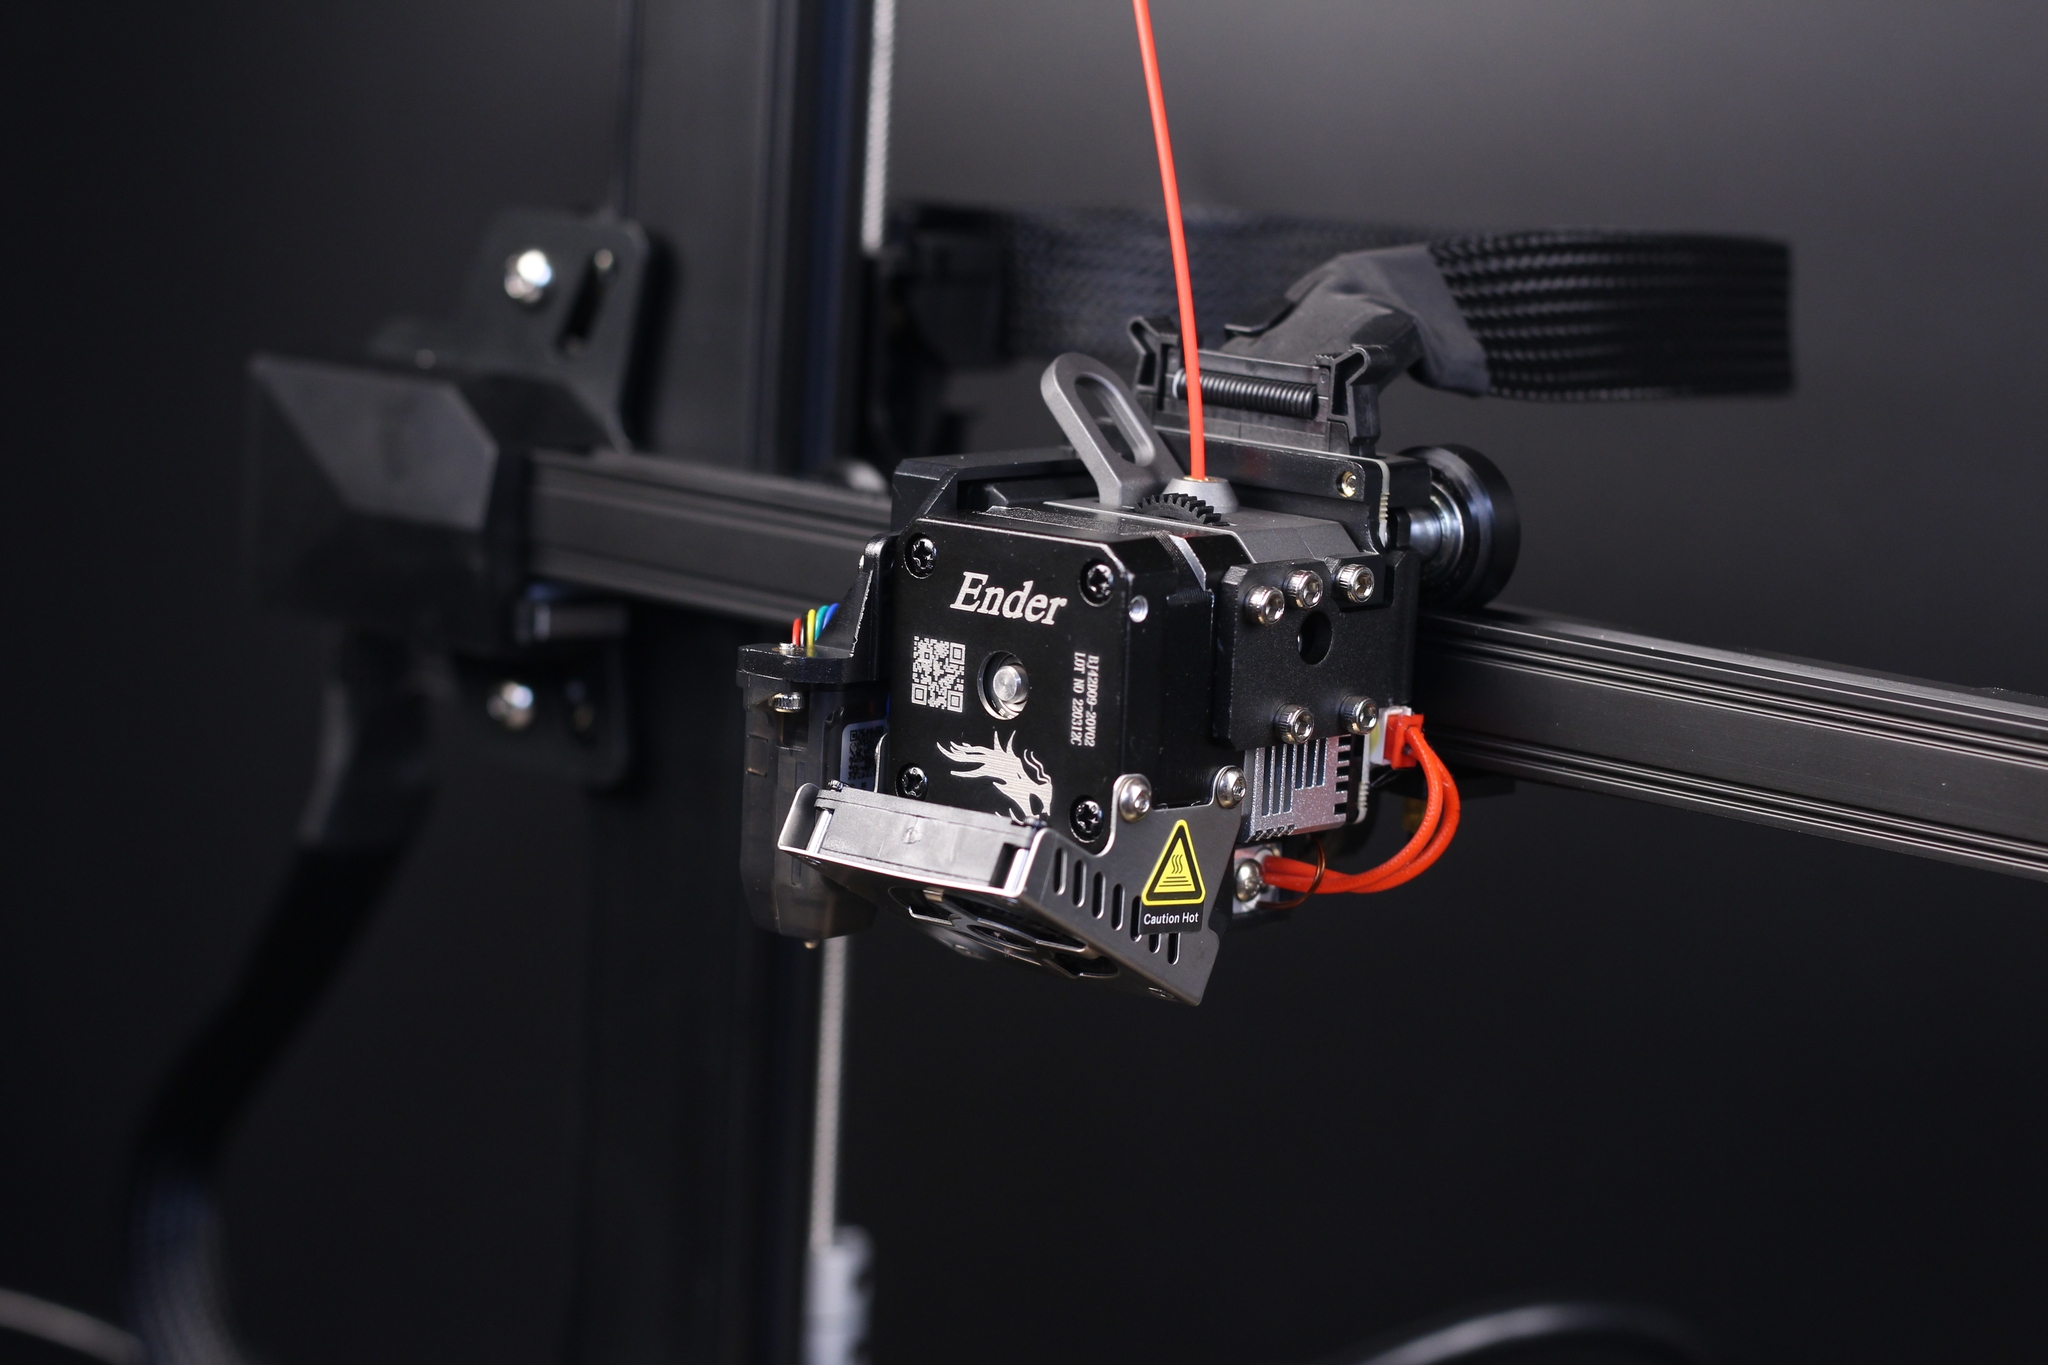
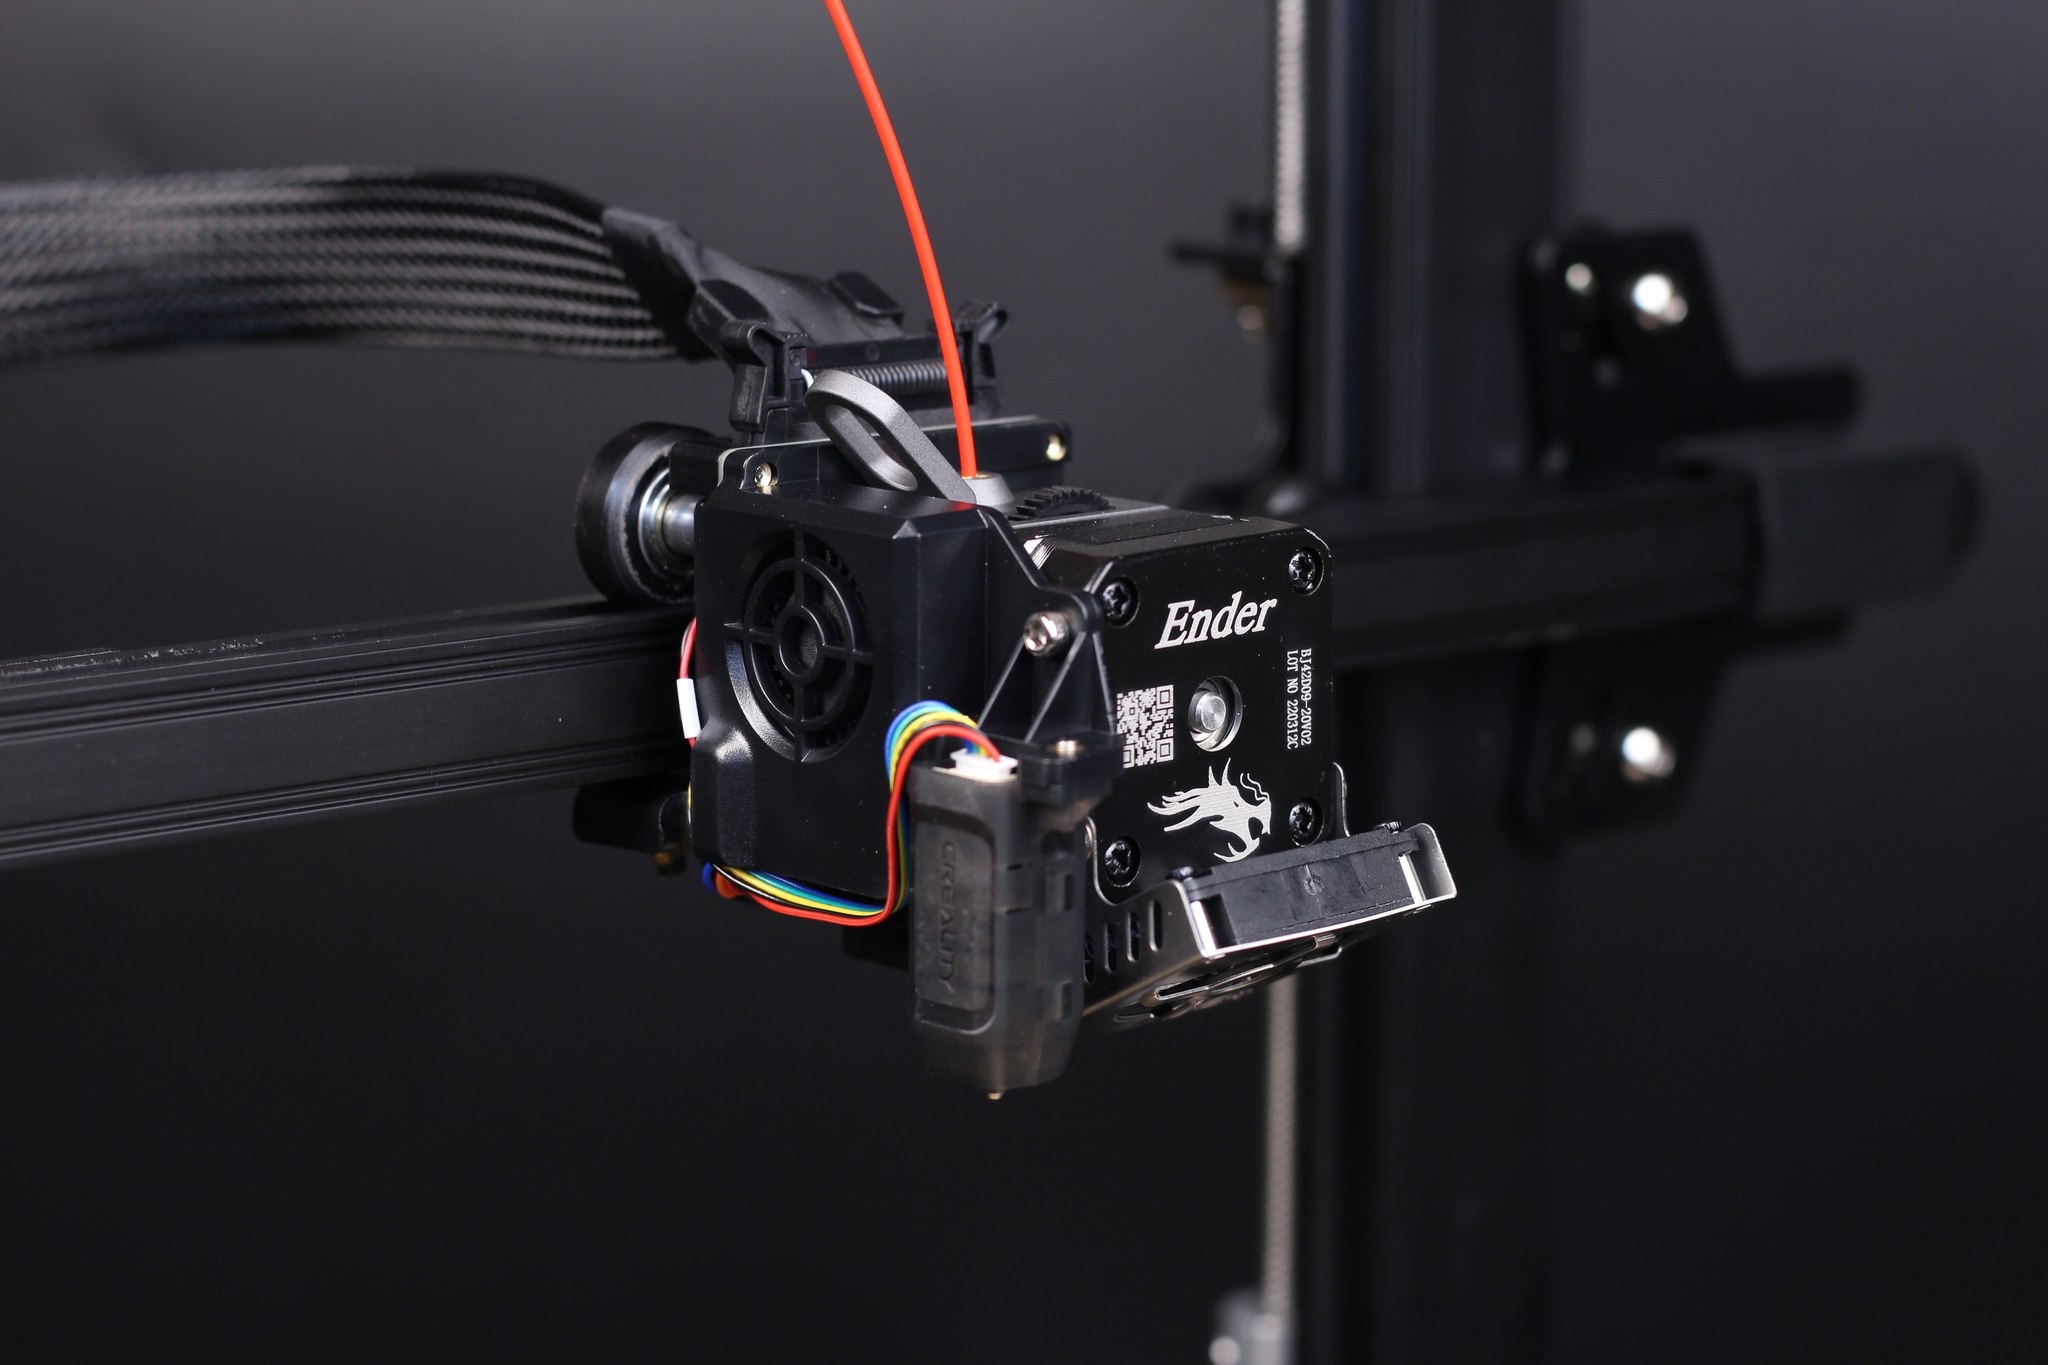
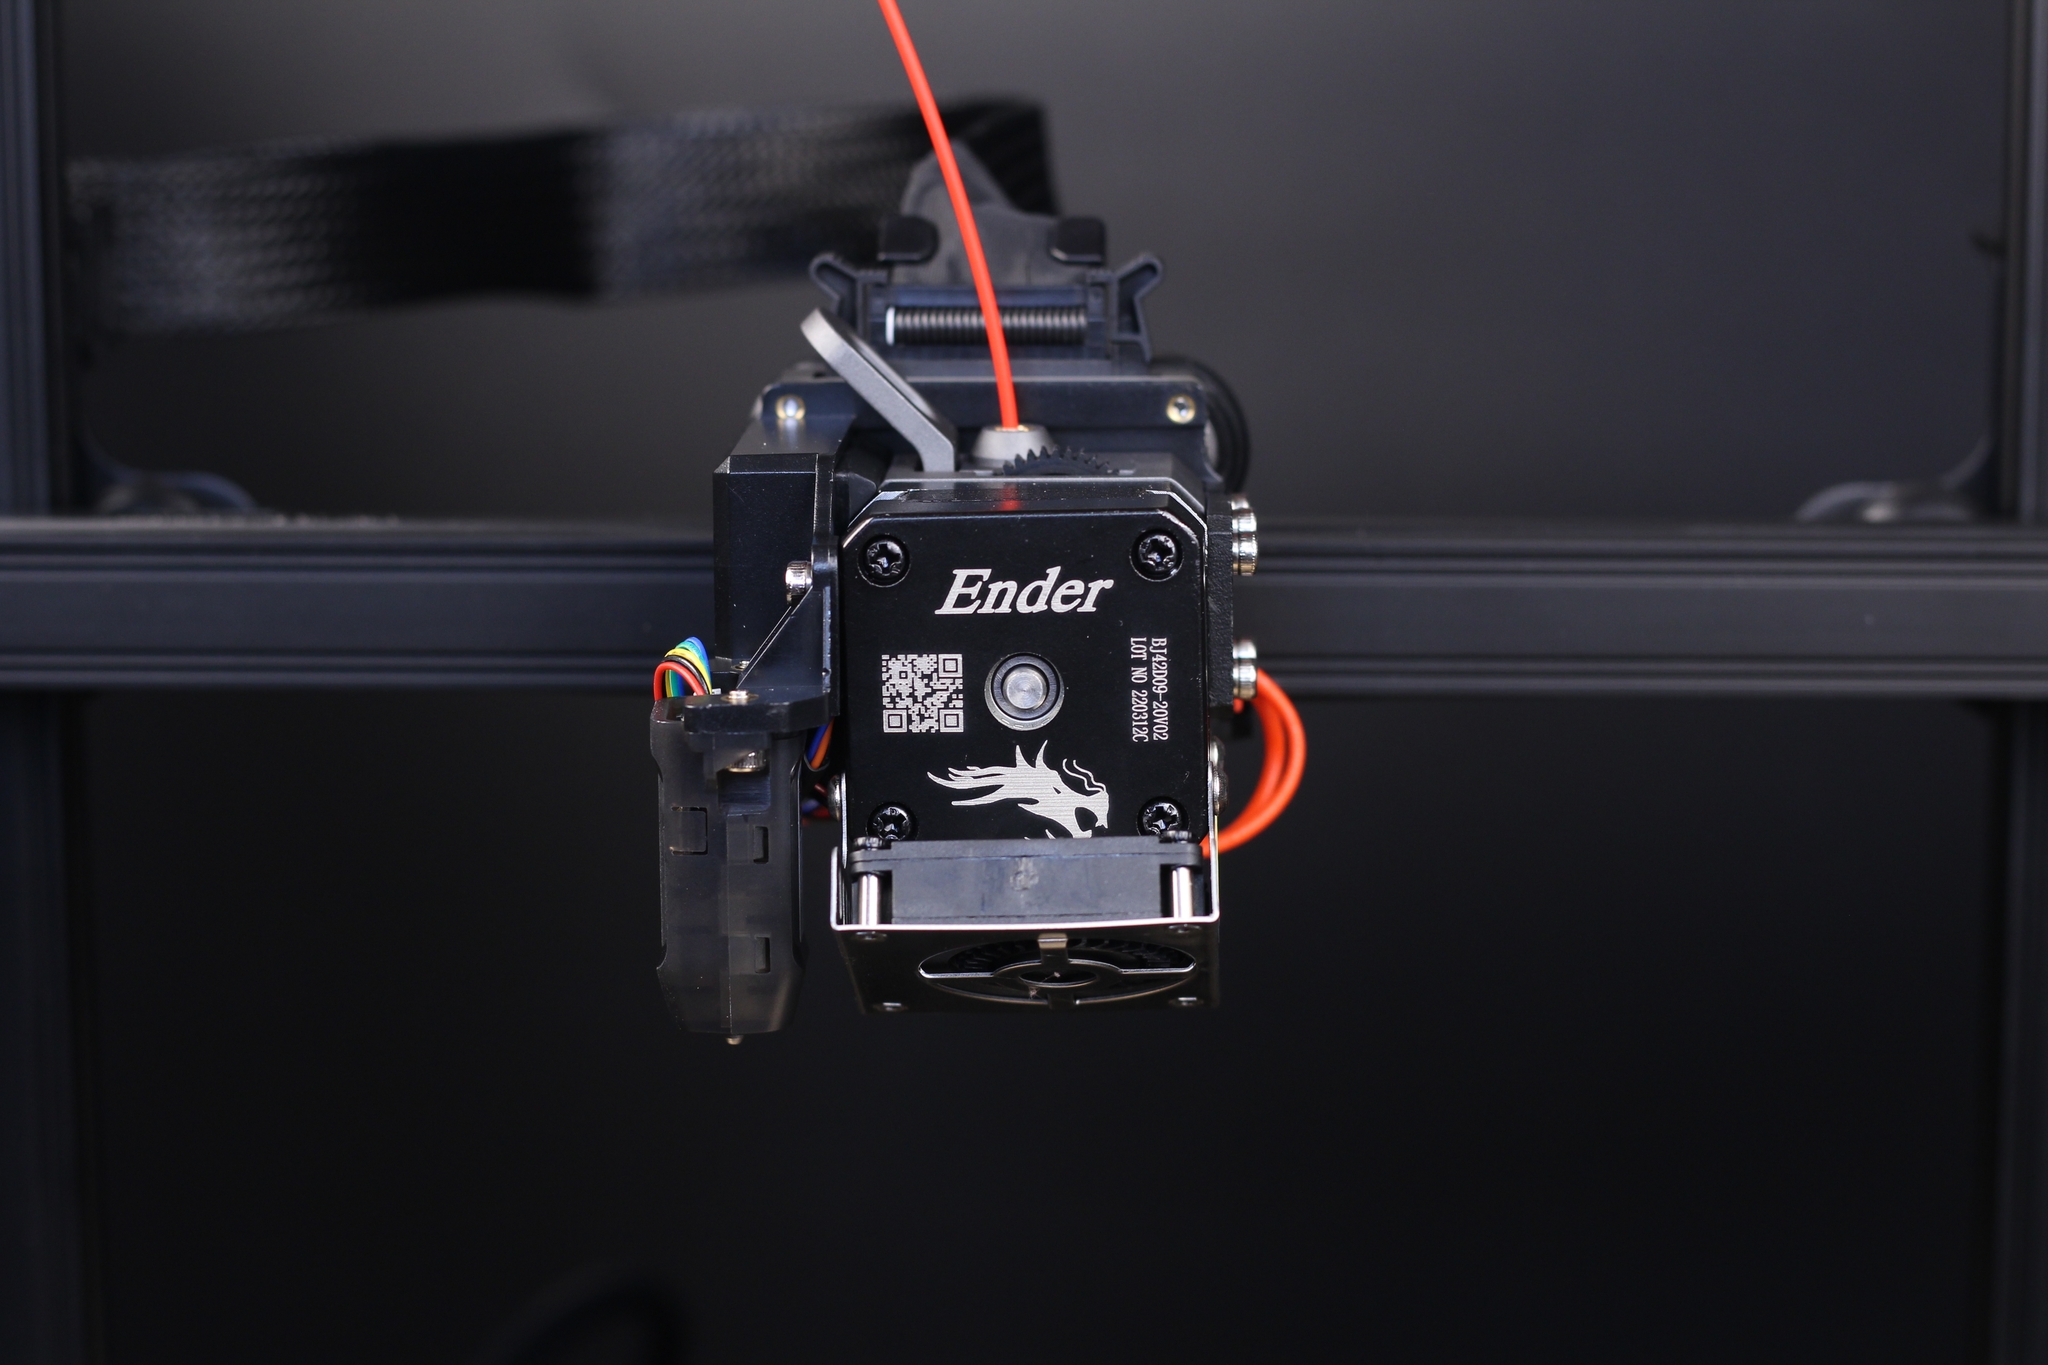
Other than that, the whole print head looks almost the same. I reviewed the Sprite Pro Extruder in a separate article, where I go over a lot more information about it, so make sure you check it out if you want to learn more about it.
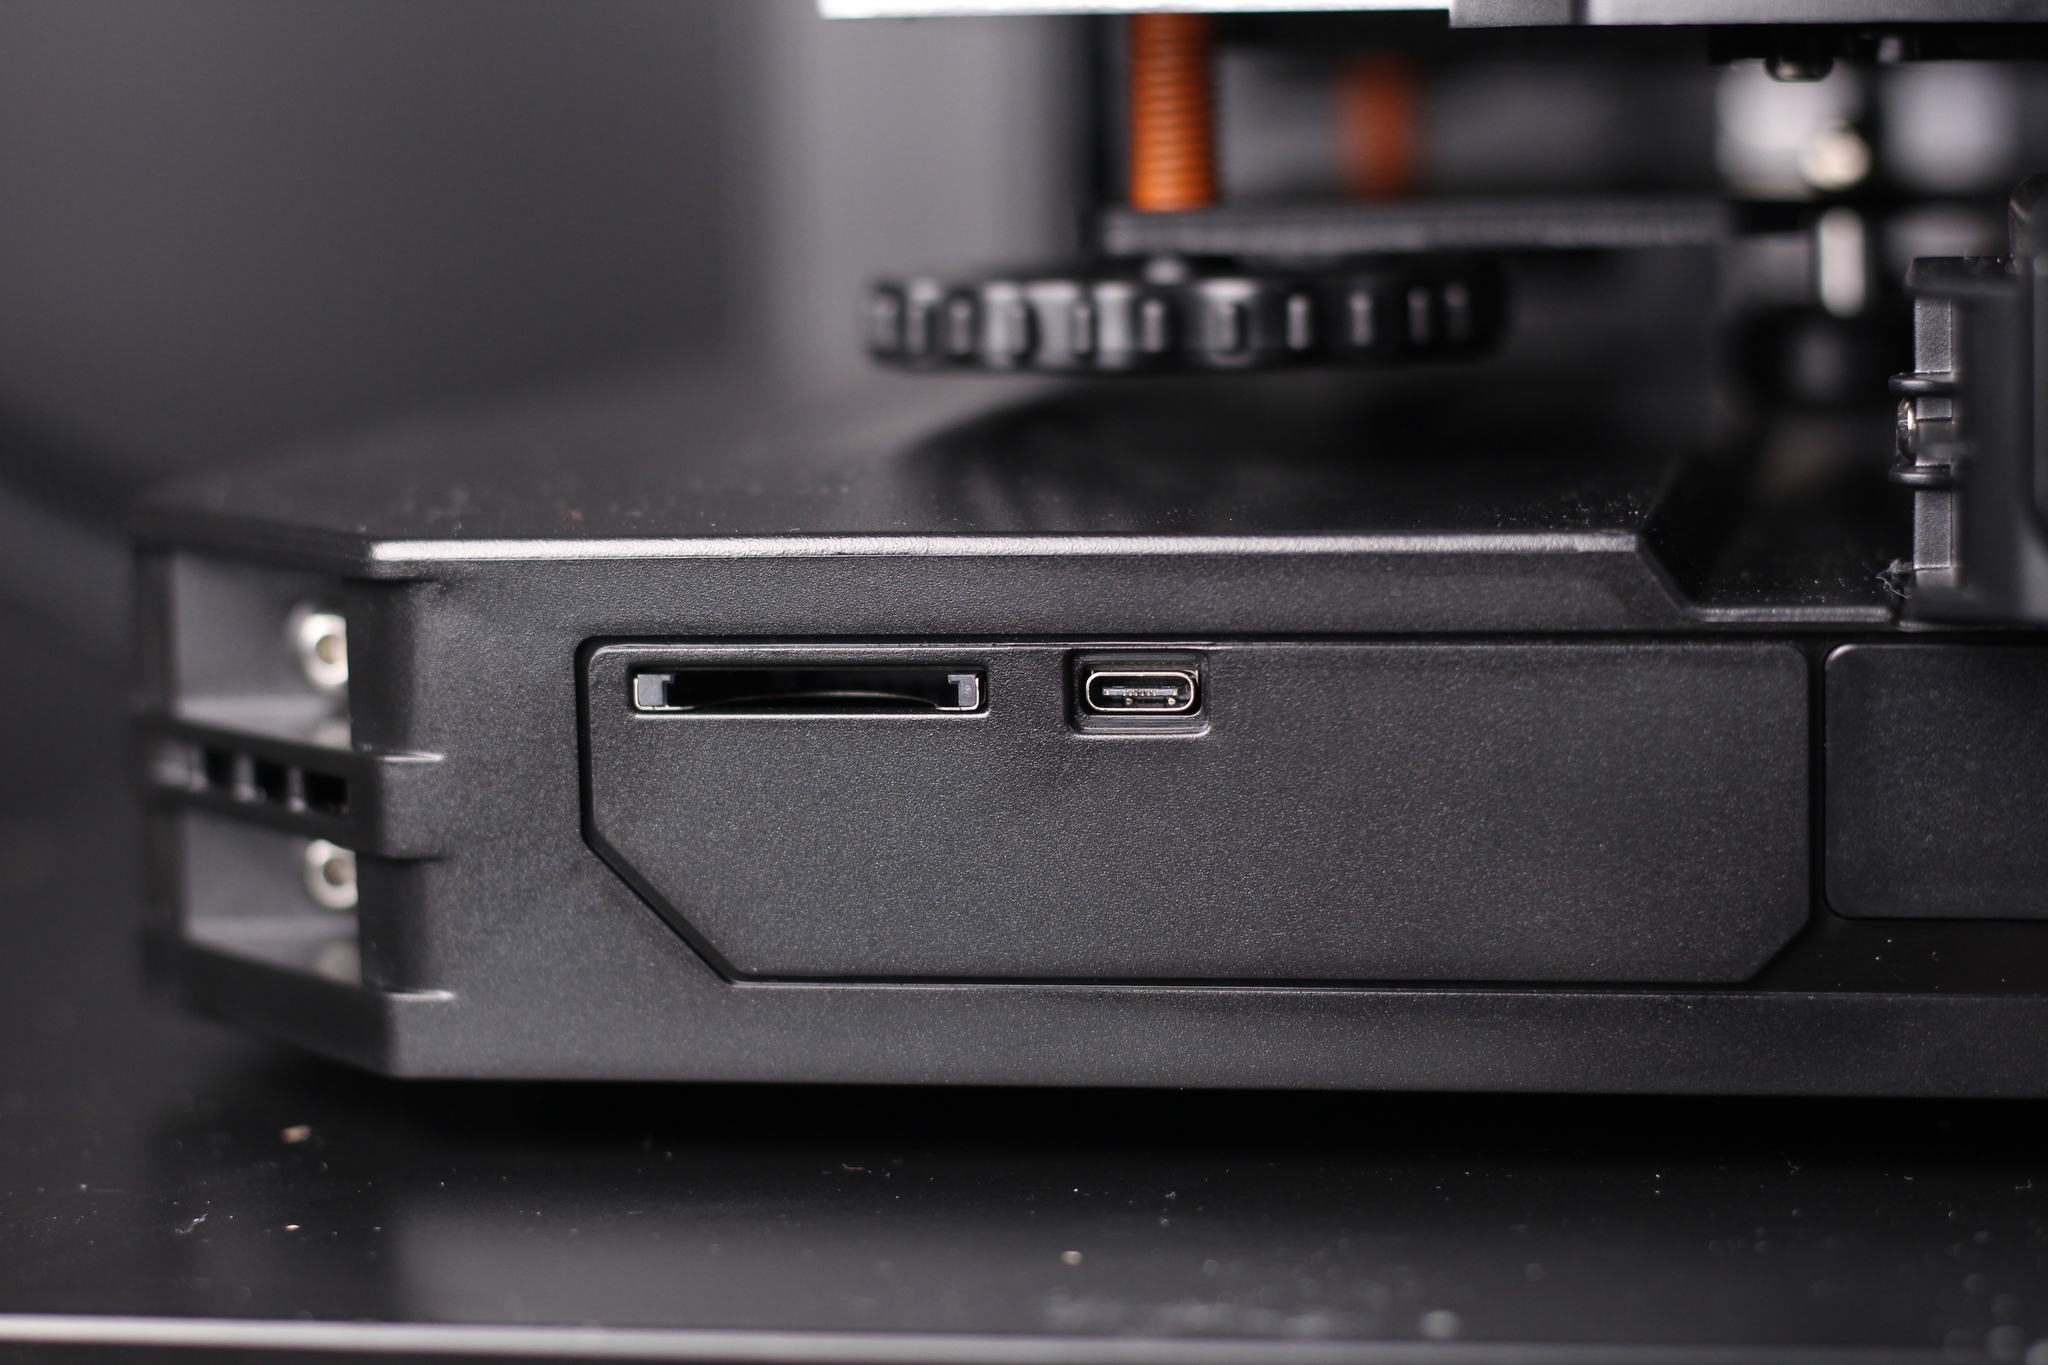
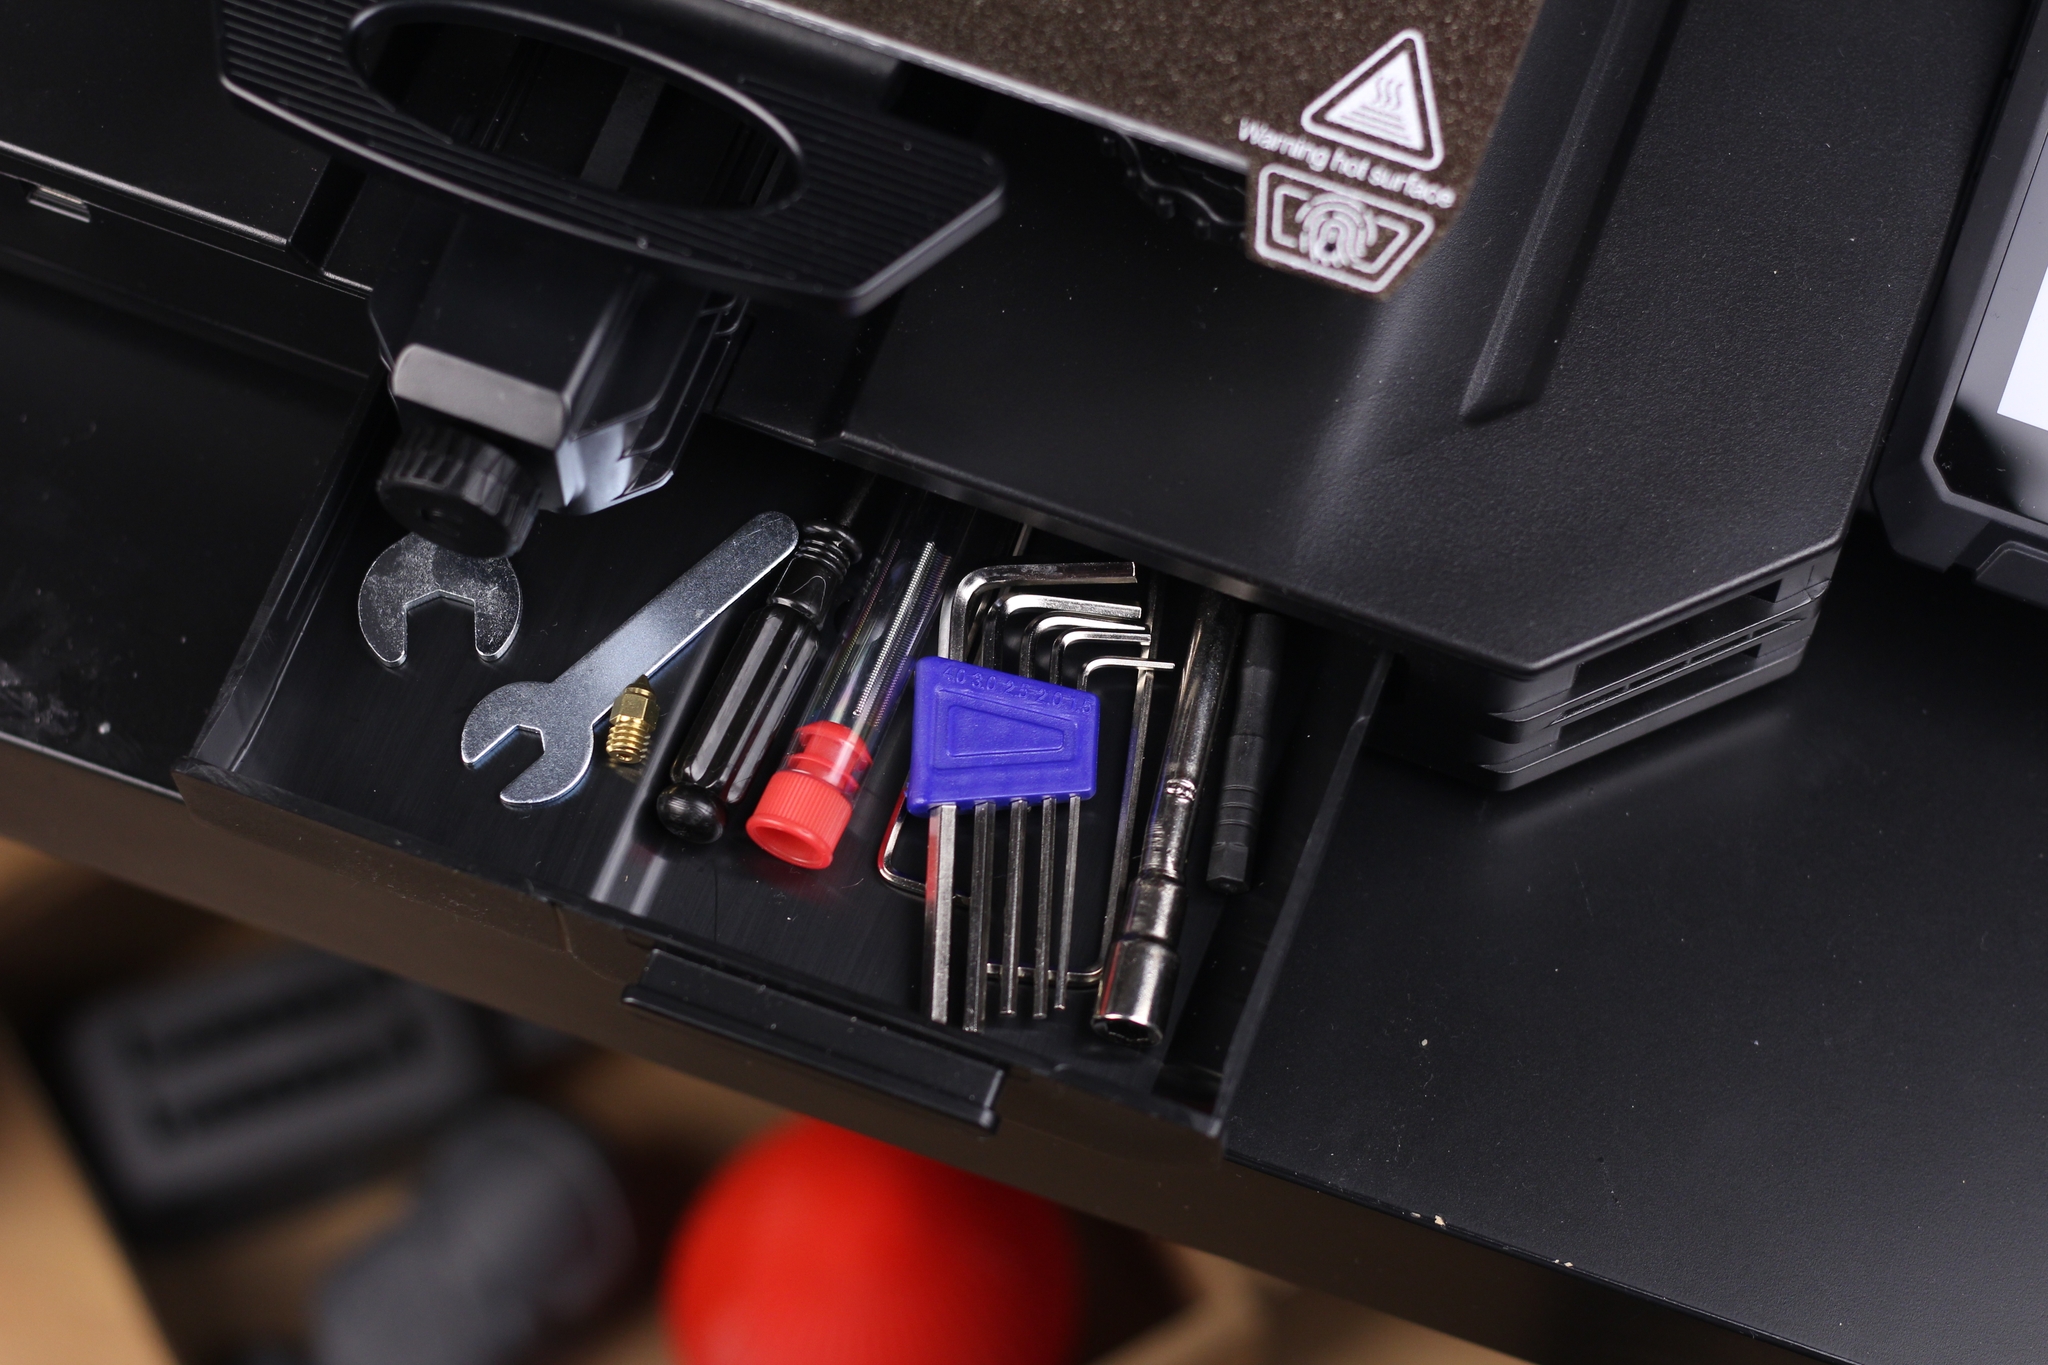
The bottom of the printer case is different from the Ender 3 S1, but only visually. The same SD card connector is present on the front left, and a Type-C connector is next to it. On the right side of the machine, there’s a drawer to hold different tools.
32-bit board with silent stepper drivers
The Ender 3 S1 Pro board is almost the same as the one included with the S1, but the main difference is the ARM STM32F401 CPU. I say that it’s different because my regular S1 came with the STM32F103 chip but I think every new S1 or S1 Pro machine will be delivered with the F401 variant from now on.
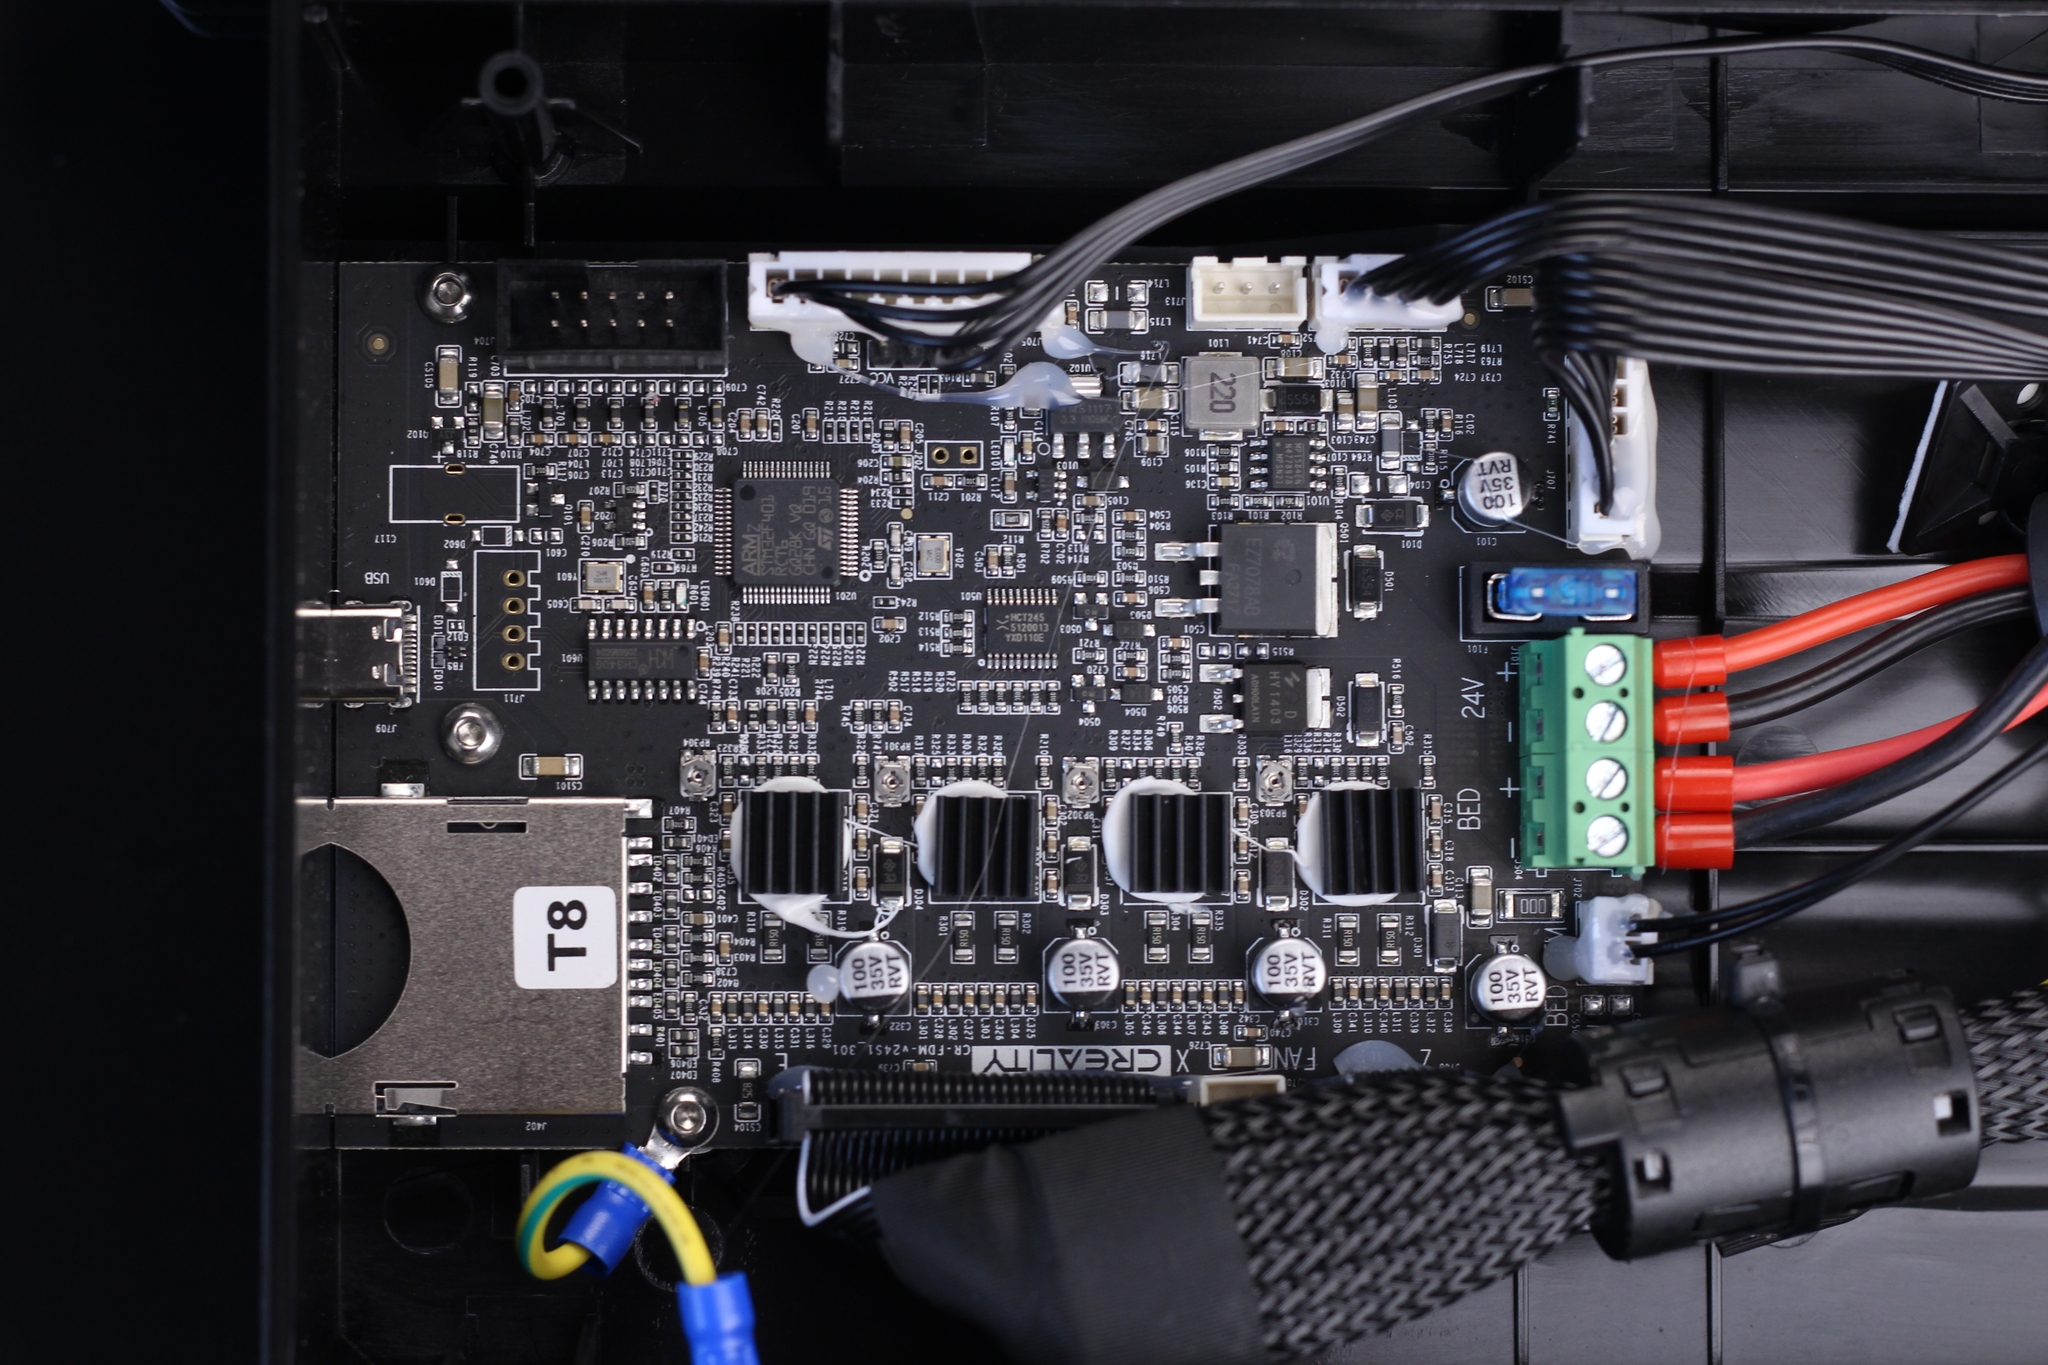
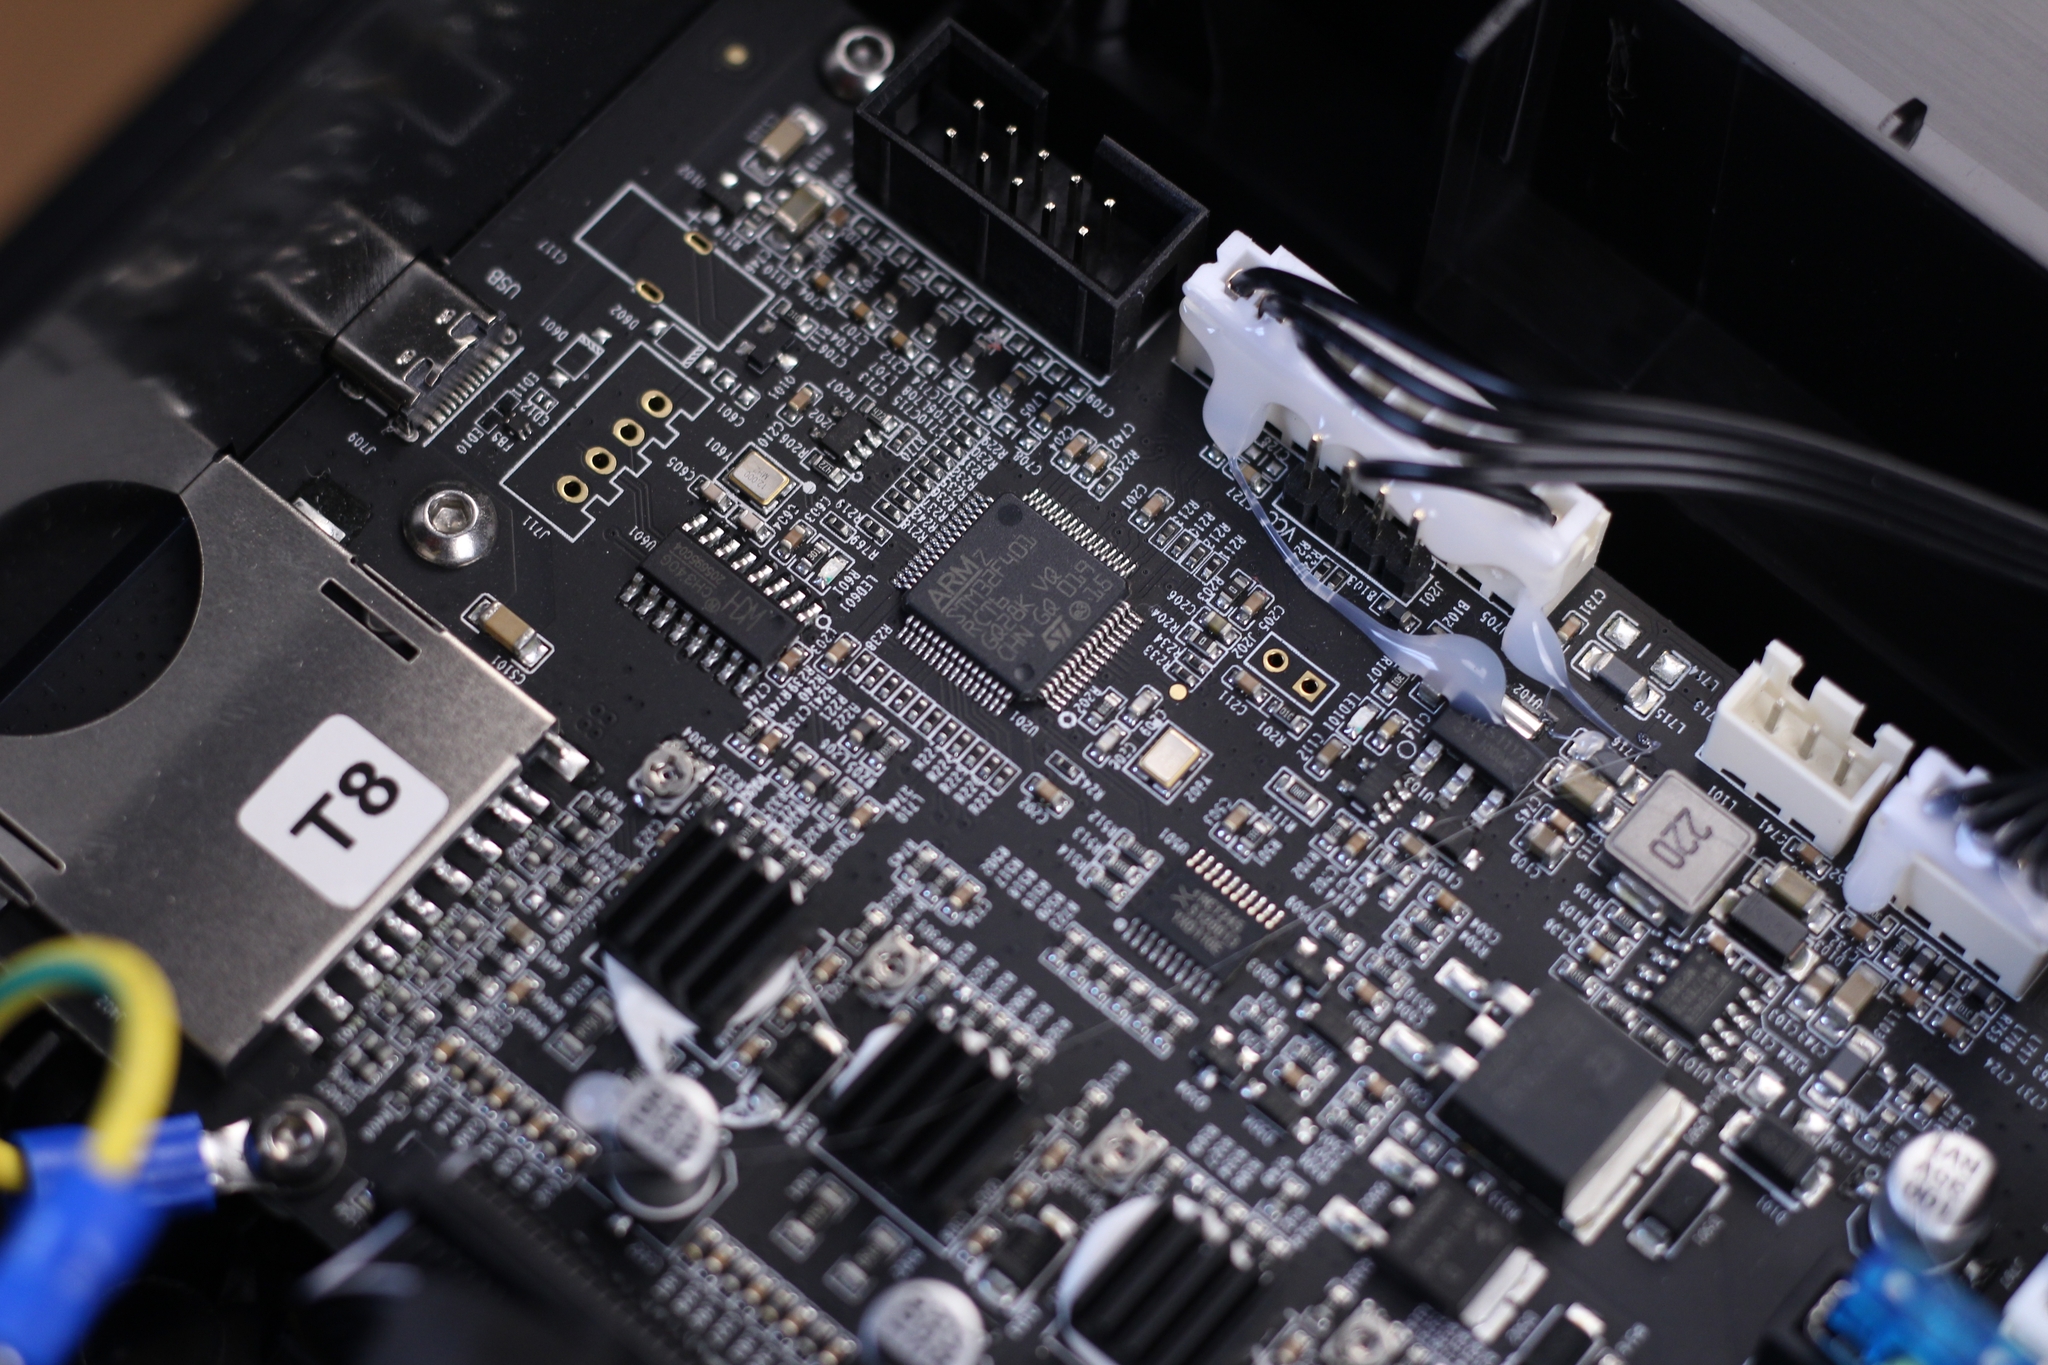
Honestly, I am sort of fed up with all these chip changes every few months, but I think this is the price we need to pay in this chip shortage situation we’re in. Hopefully, this will be better in the future, although I don’t have high hopes for this, knowing Creality.
I’m happy to report that all the wires are properly crimped, just like the Ender 3 S1 which is nice to see and should be a normal sight for any kind of 3D printer.
Powder Coated PEI Magnetic Flex Plate
Another important upgrade included with the Ender 3 S1 Pro is the PEI power coated magnetic flex plate which is clearly better than the PC sheet we get with the S1. Unfortunately, the PEI sheet is only single-sided, so you won’t be able to flip the sheet in case one of the sides gets damaged.
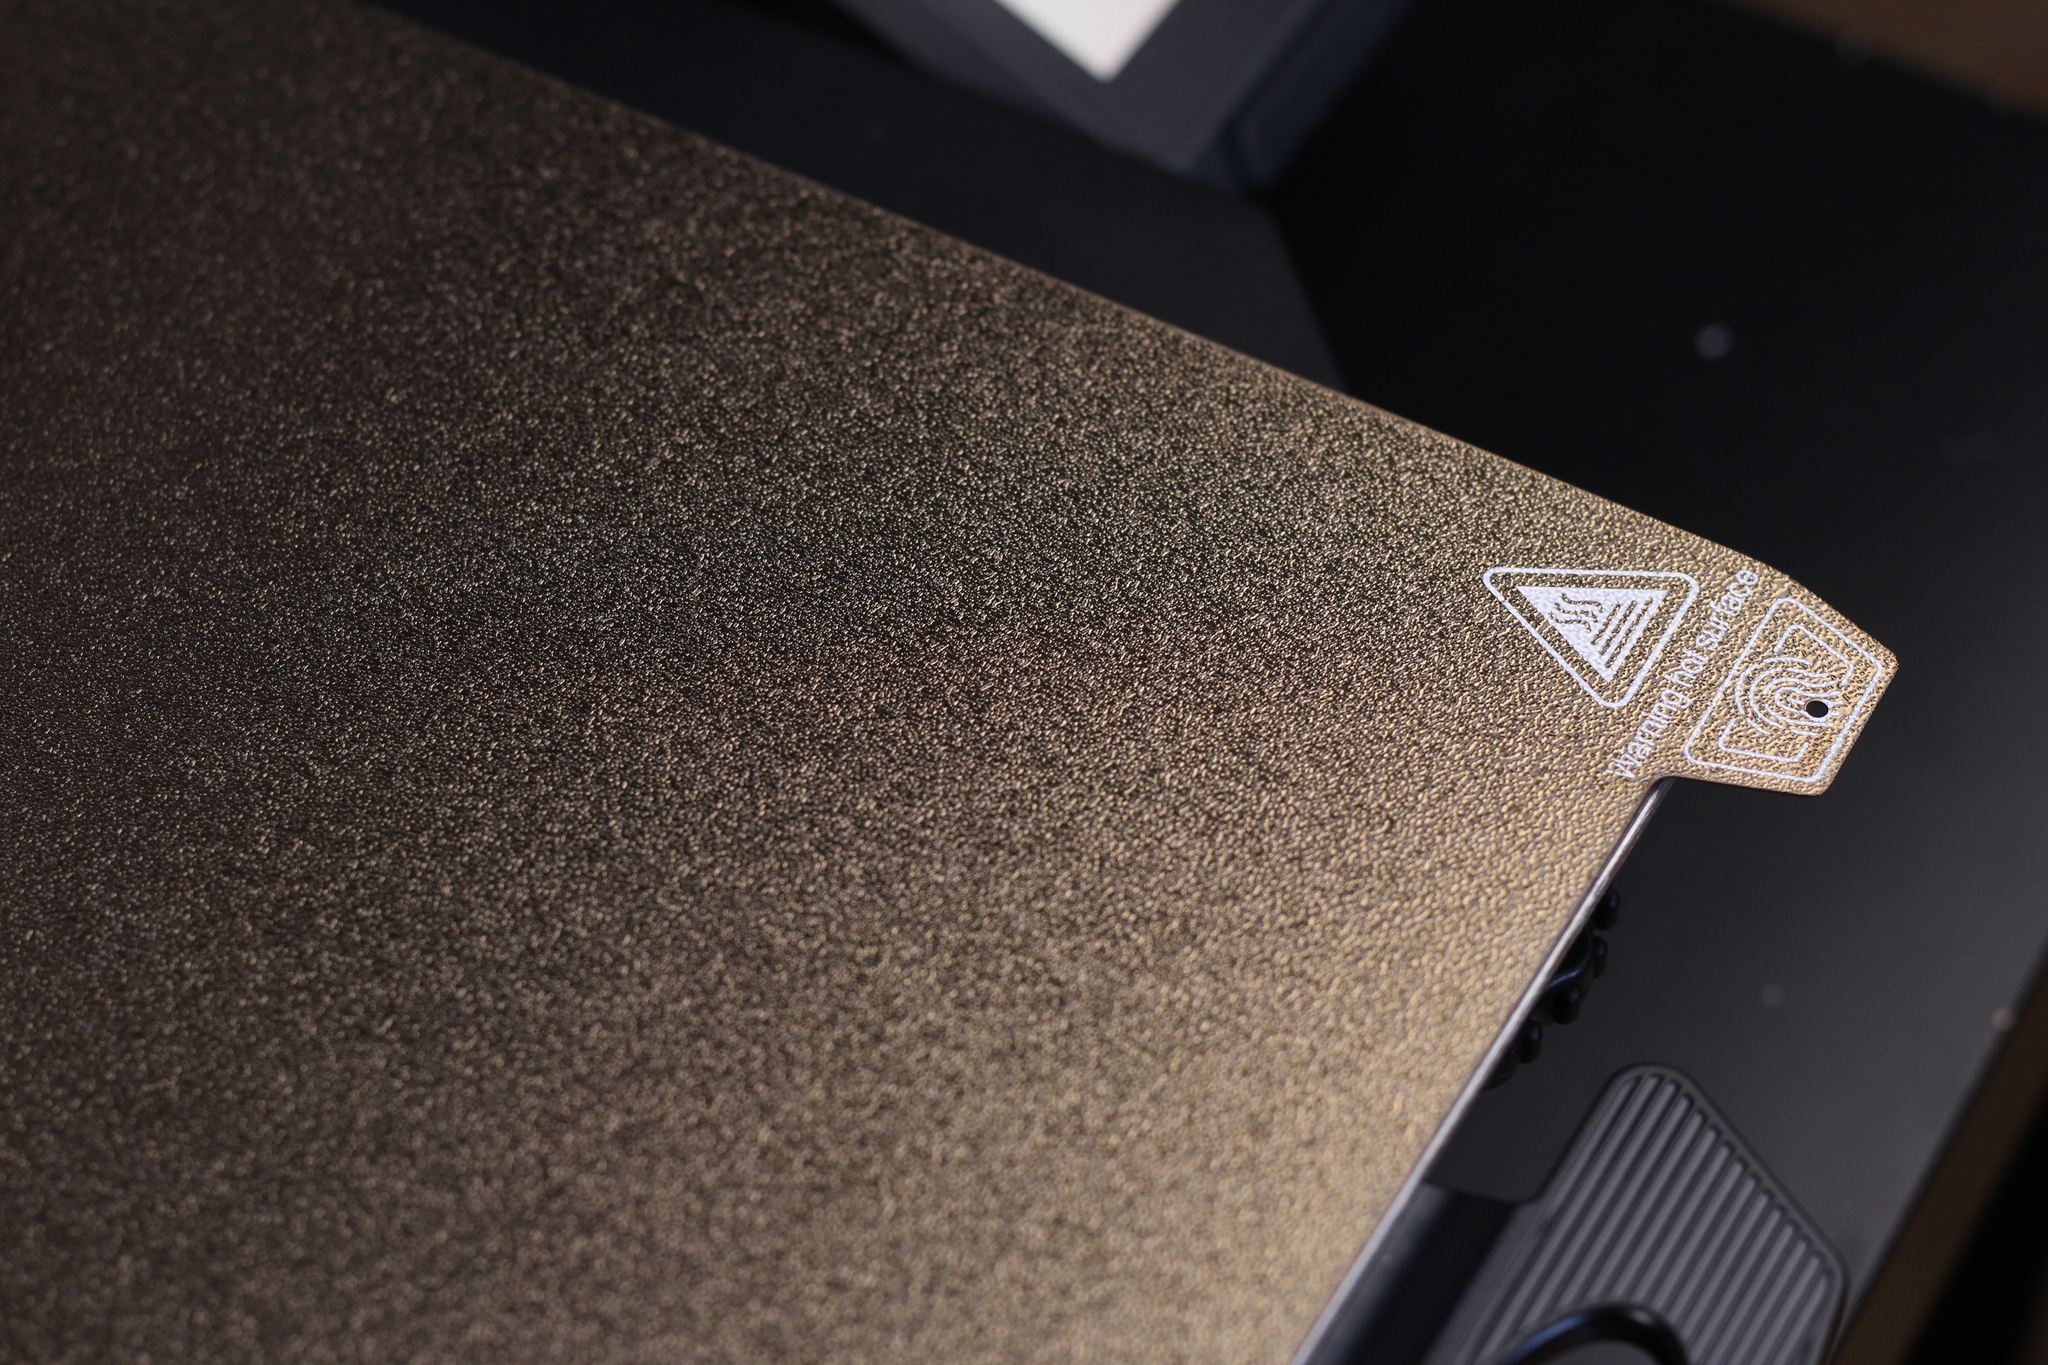
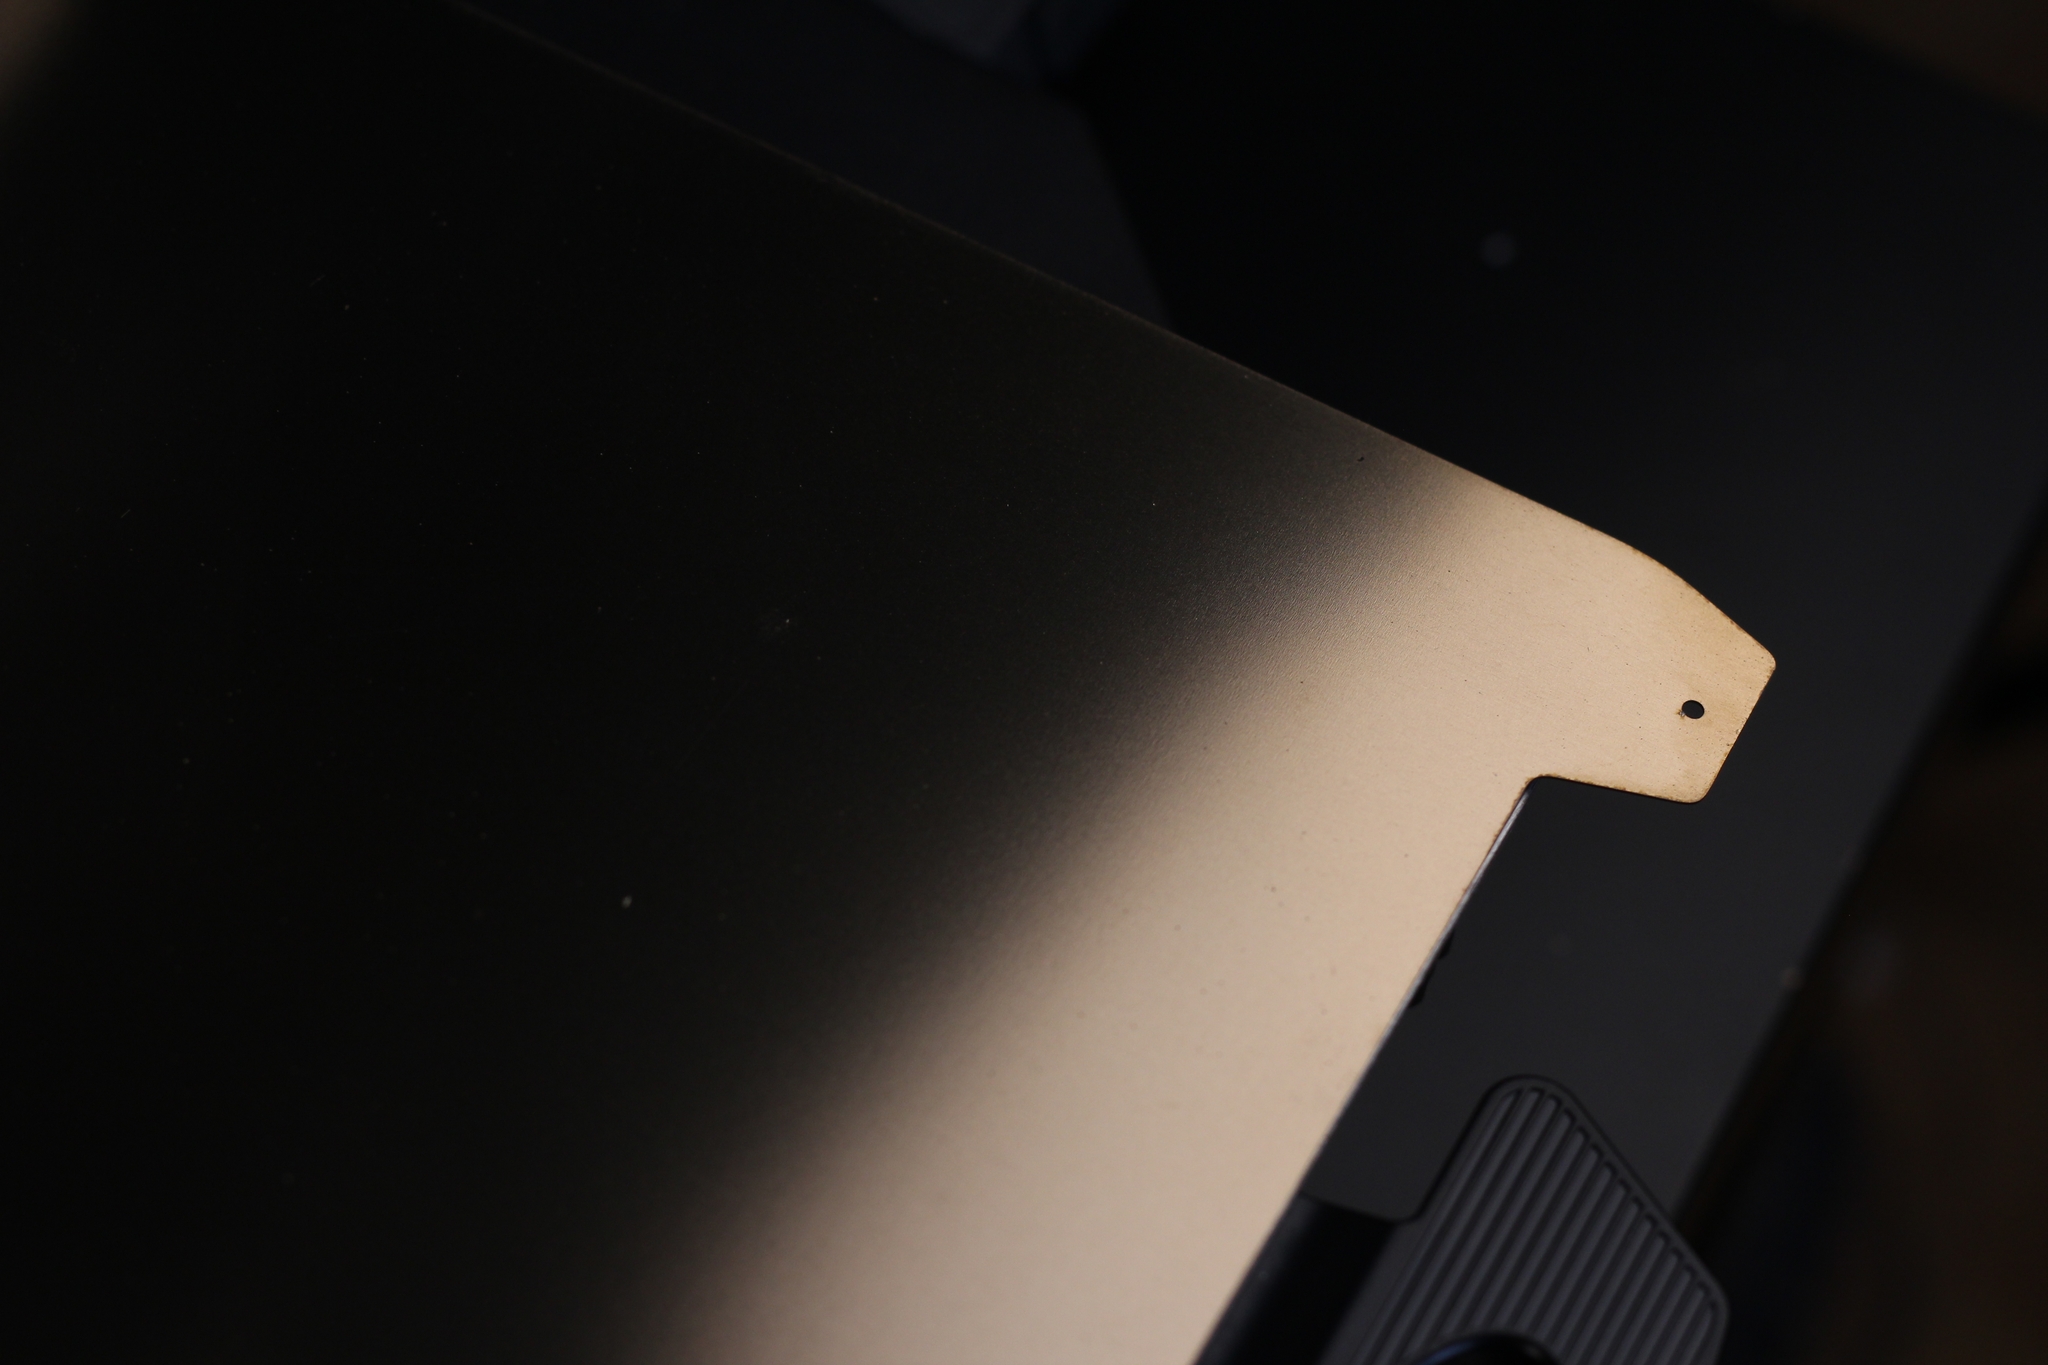
You can still print on a smooth surface in case you want to have a smooth finish on your prints, but you probably need to use some adhesion solutions for it to ensure a good grip of the model. I haven’t tested this side, so I can’t really comment about it, but the powder-coated side has excellent adhesion. Every model stuck perfectly on the sheet and released by itself after the bed cooled off. Really good performance.
LED light
I was telling you that with the Ender 3 S1 Pro we get a nice LED light over the printer. This feature can be useful if you plan to do time-lapses, or even if you need an LED light to shine over the bed when you operate it.
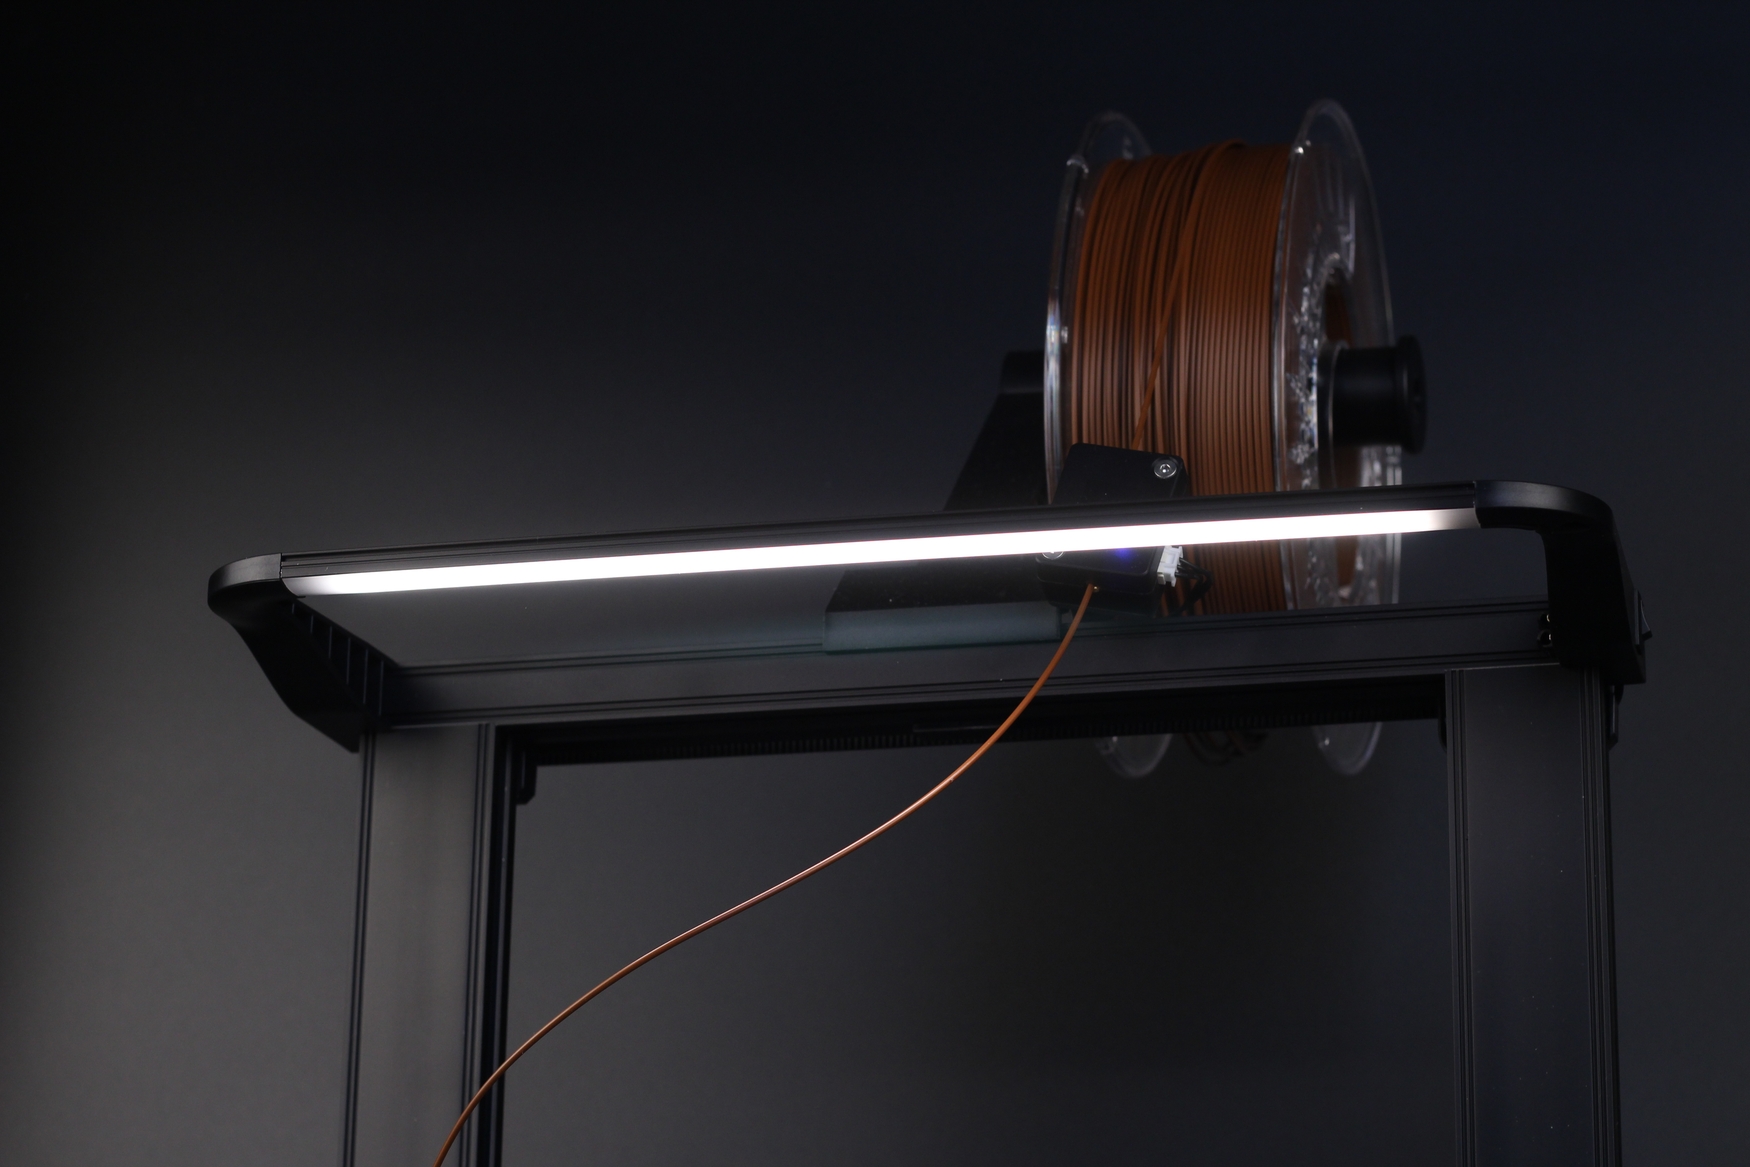
There’s an ON/OFF switch on the side of the LED light, but I was hoping to have firmware control over it. I think they did this to keep the compatibility between the S1 and S1 Pro, and I can confirm that you can purchase this LED light and install it on the regular S1 without too much trouble.
Creality CMS-350-24 Power Supply
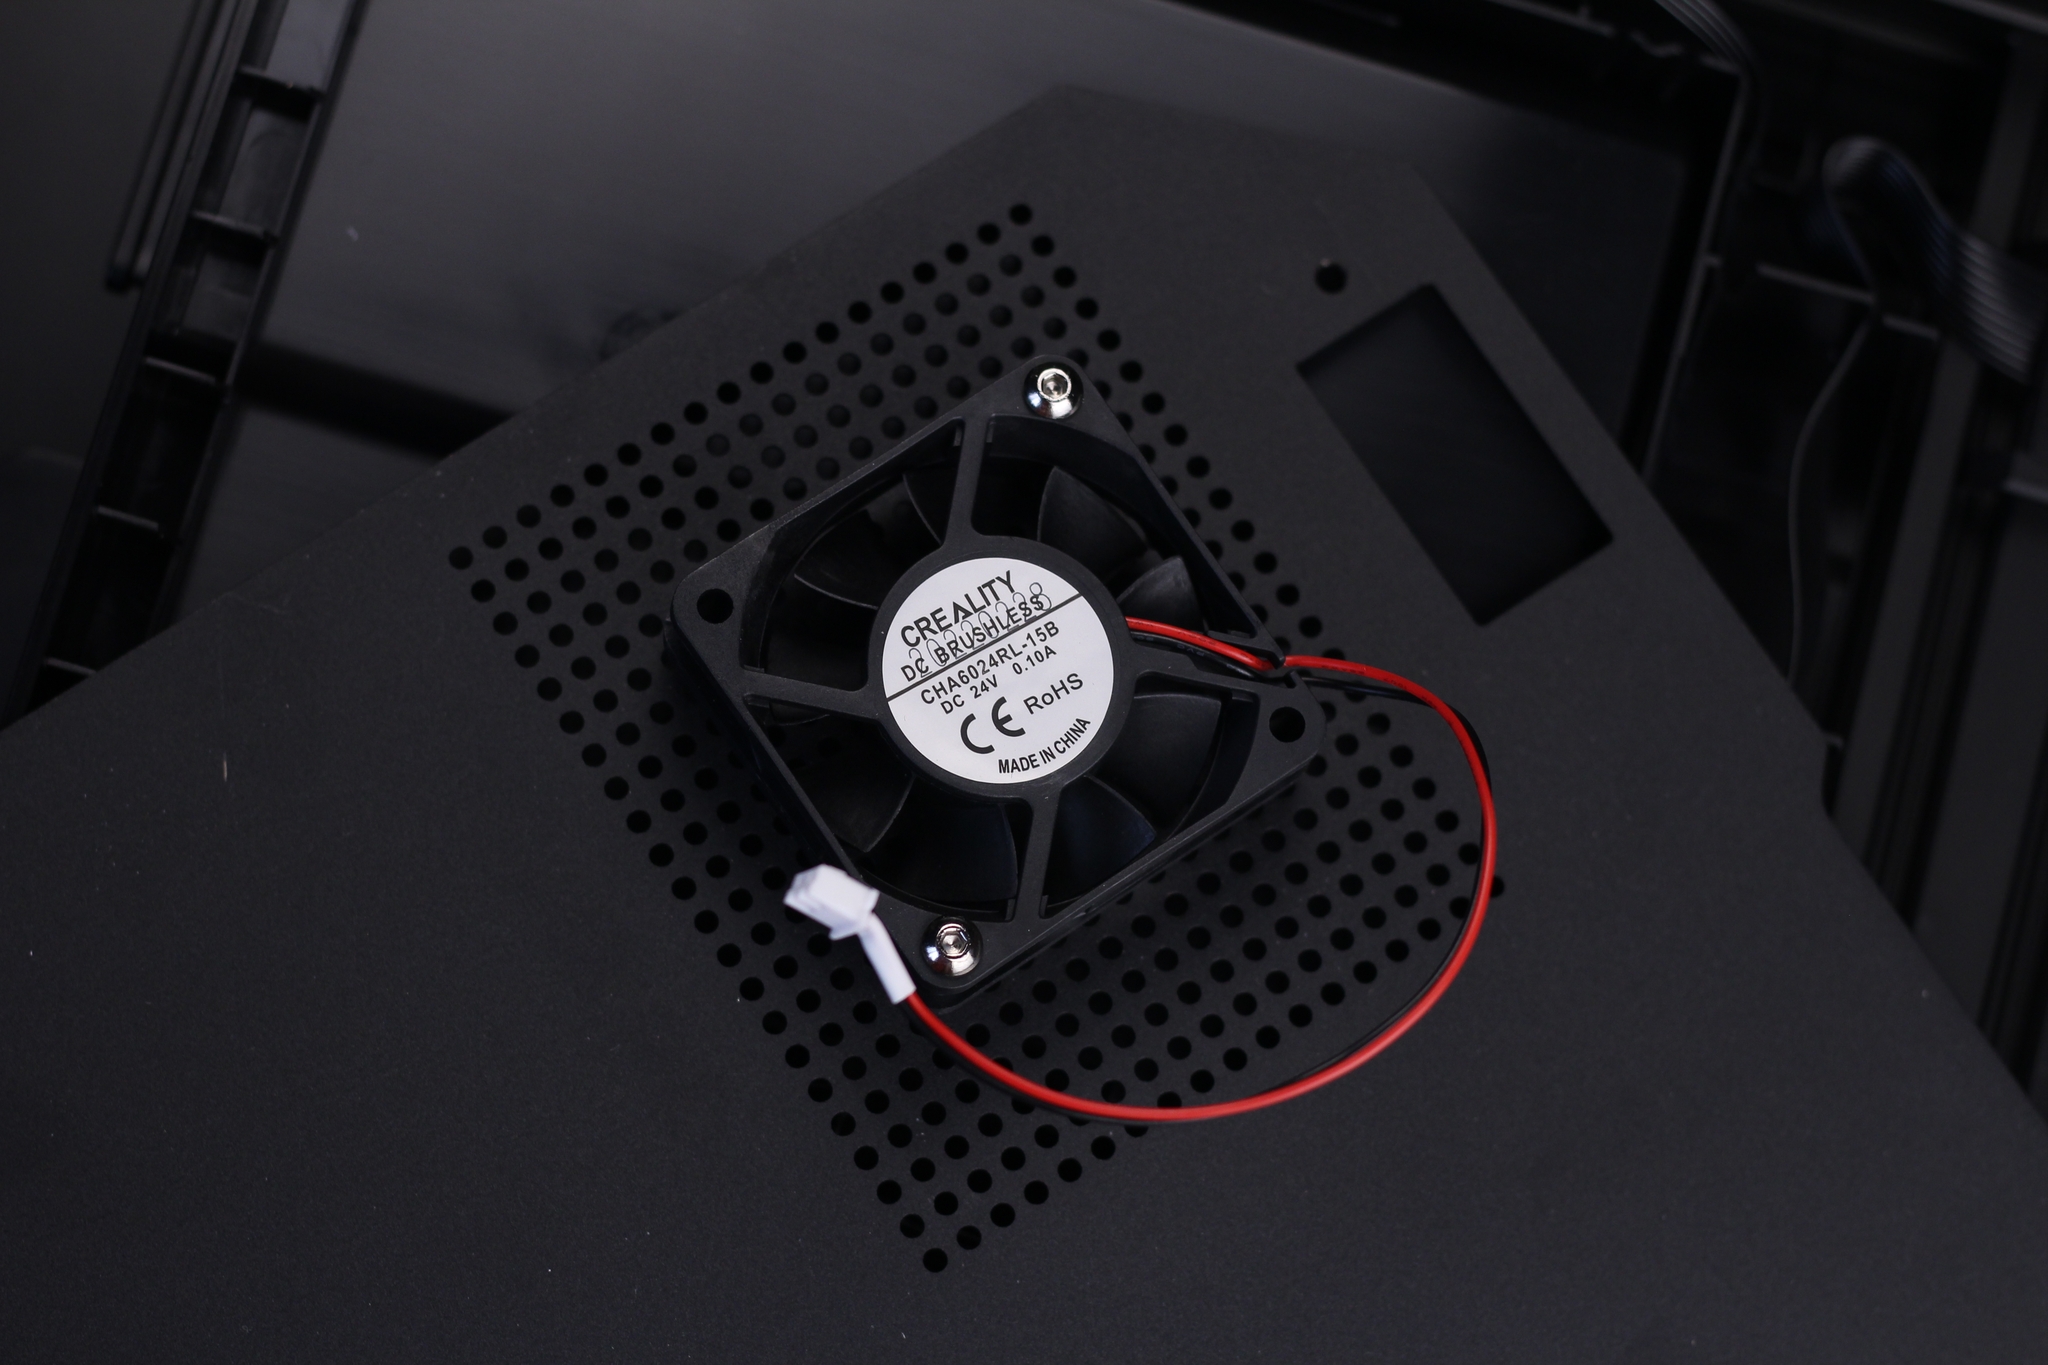
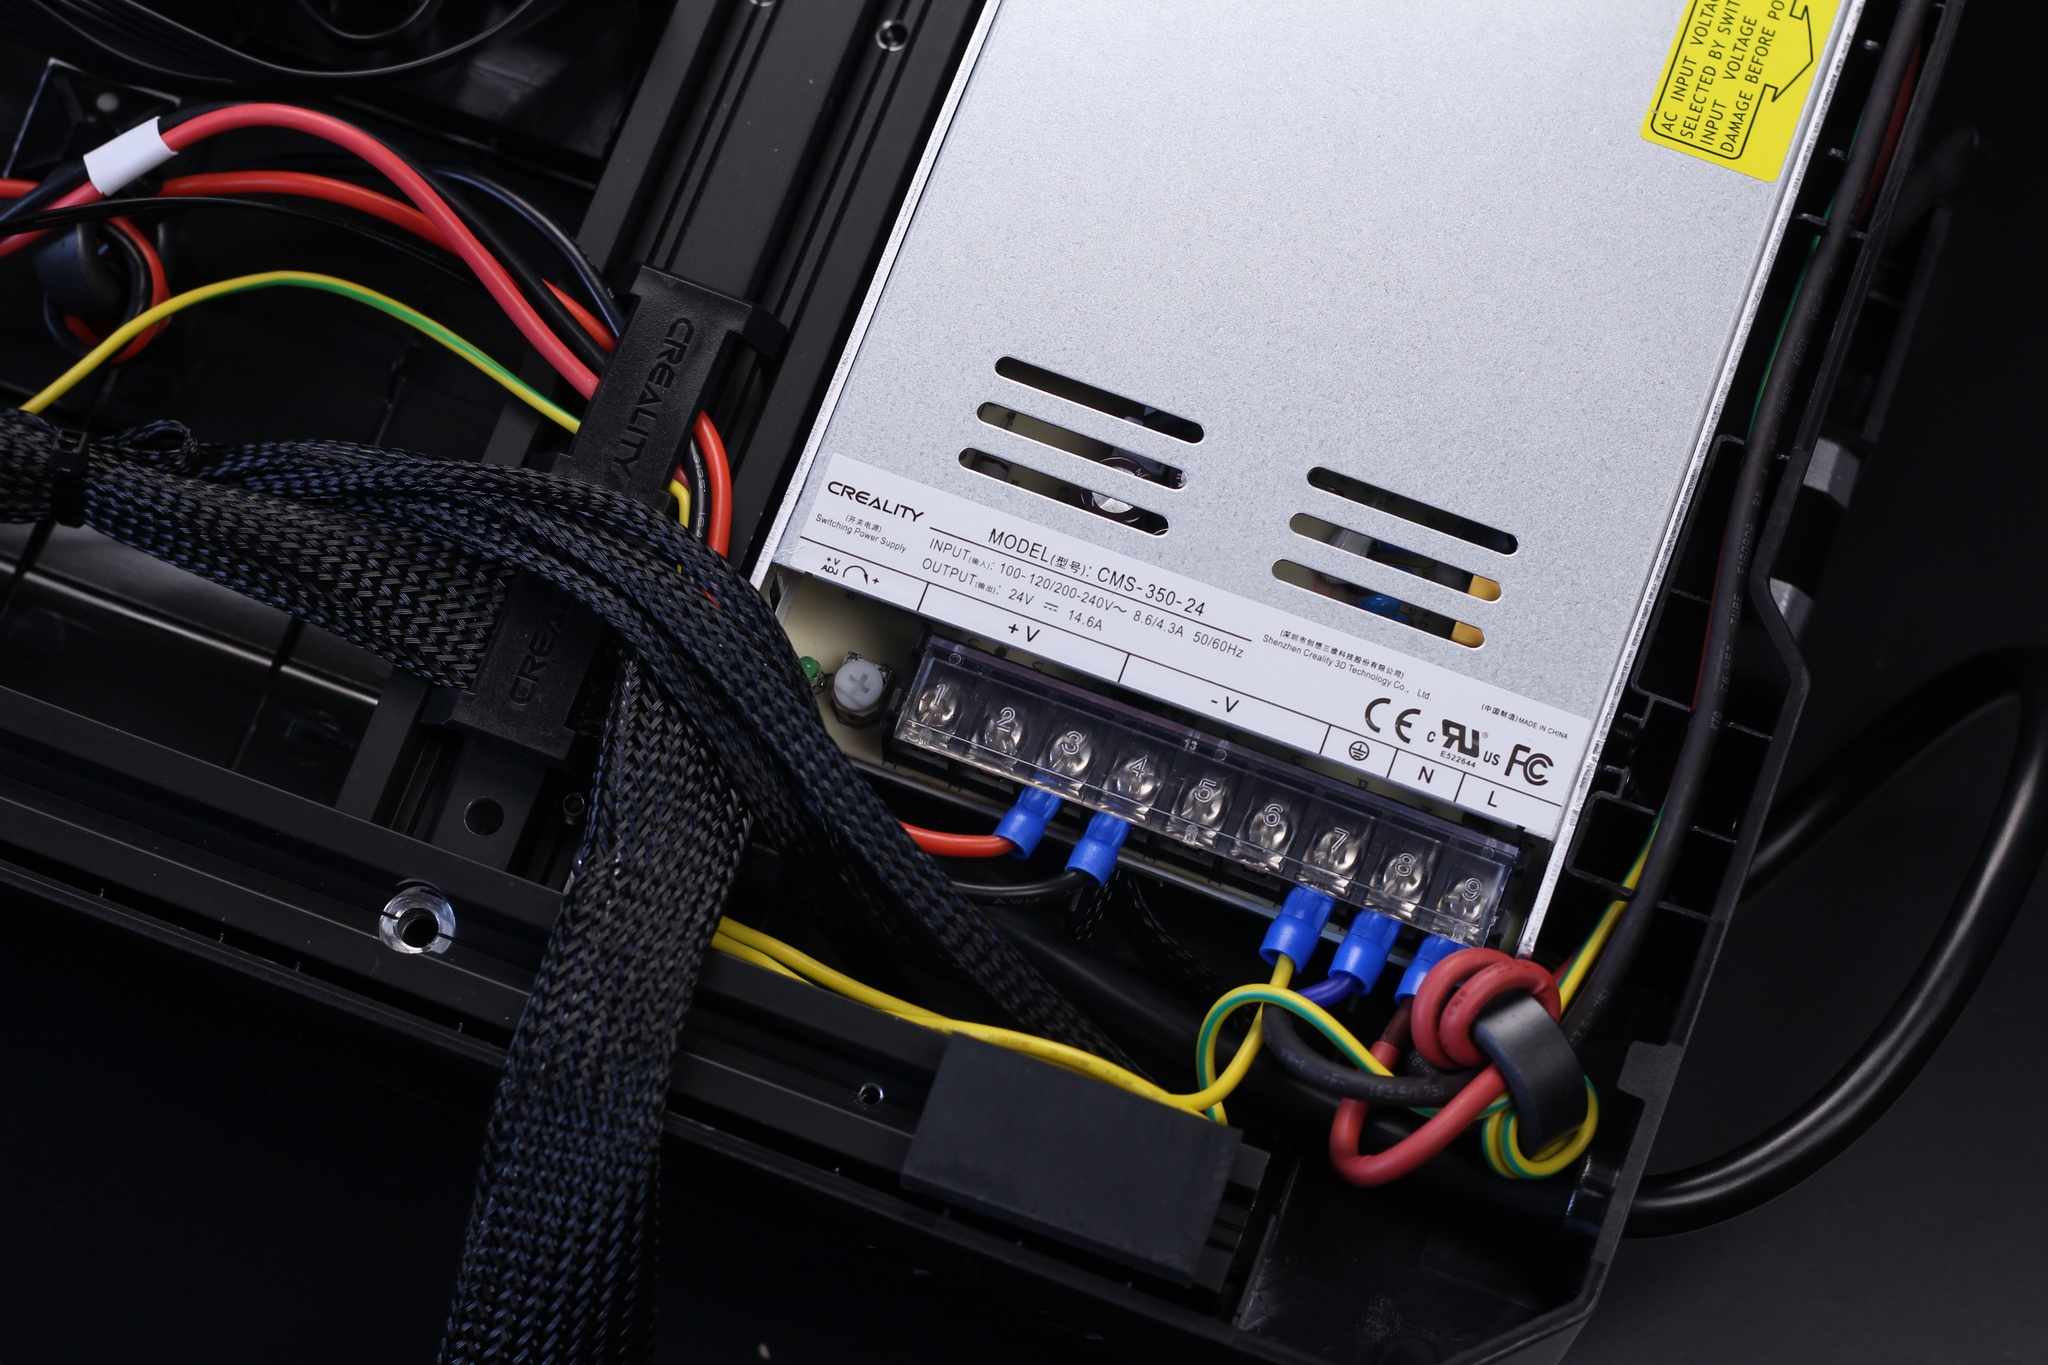
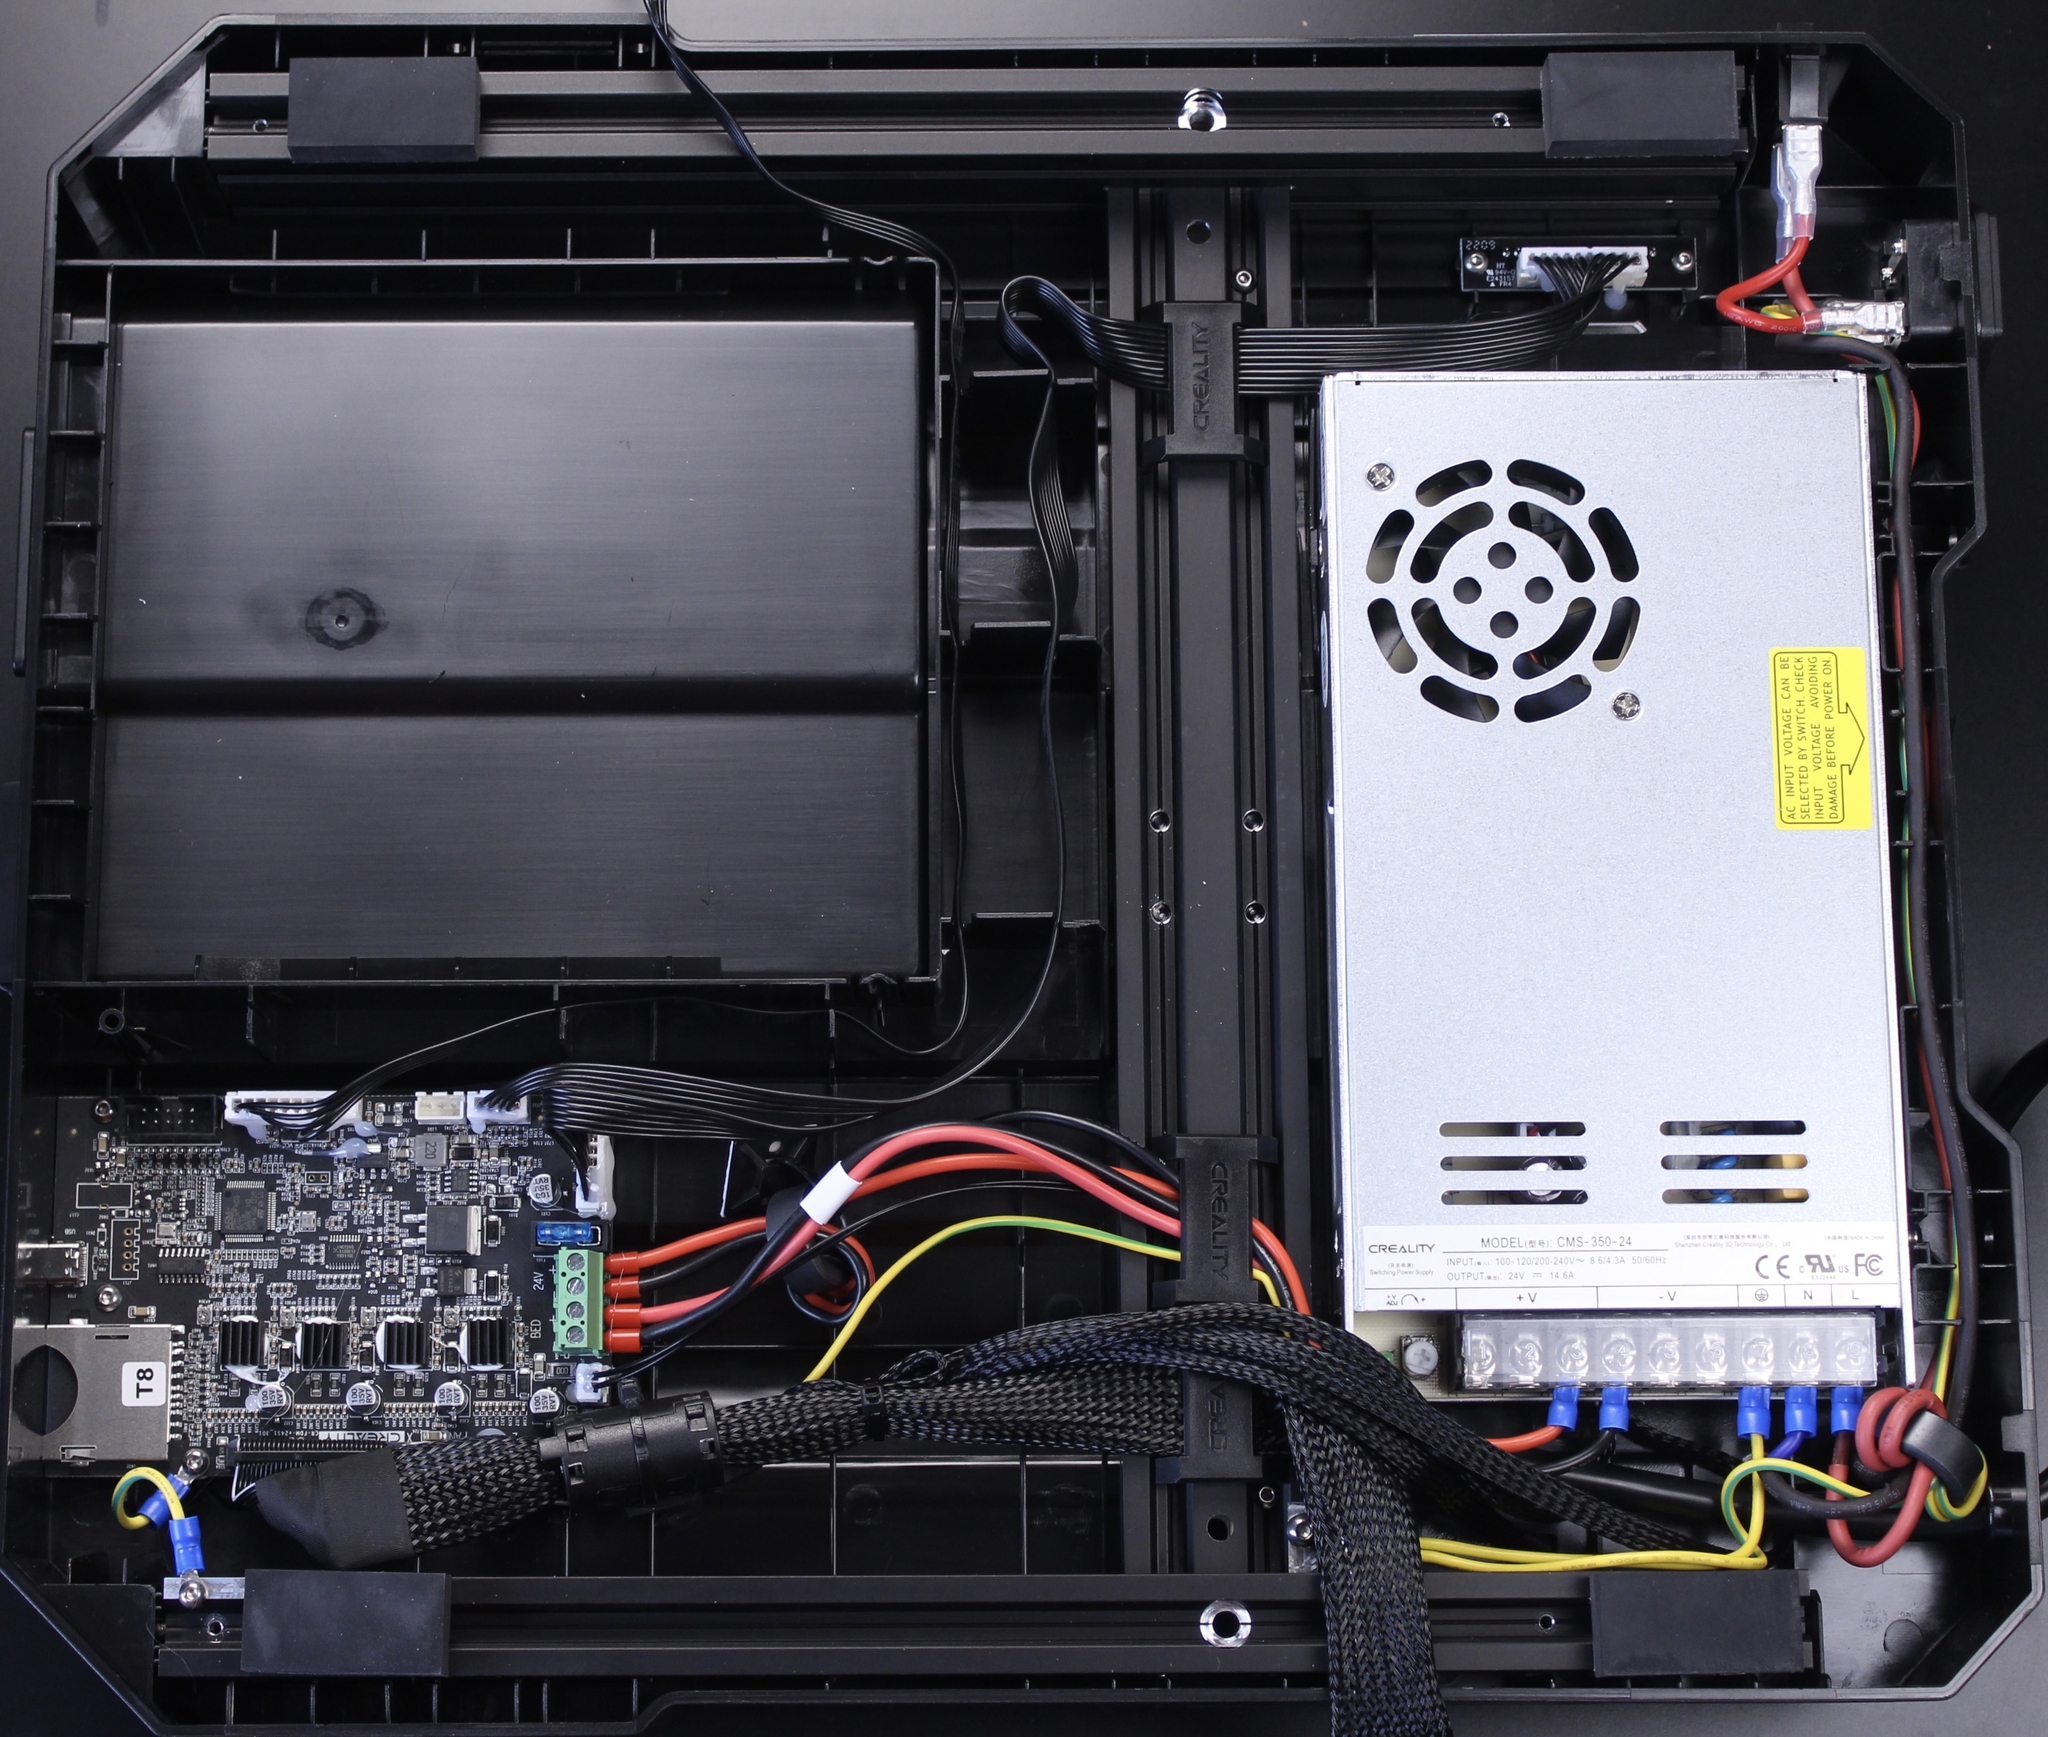
Just like the Ender 3 S1, the Pro version has the same Creality-branded power supply which is ok. The fan is not very noisy during operation (compared to a Mean Well power supply) so I can’t complain.
The other 60mm fan is used for keeping the board cool and it’s also relatively quiet. Not as silent as a Sidewinder X2, but still OK compared to other machines.
4.3-inch Capacitive Touchscreen
On the Ender 3 S1 Pro, we get an upgraded screen with touchscreen functionality and more menu features compared to the Ender 3 S1 which comes with a regular click wheel screen.,
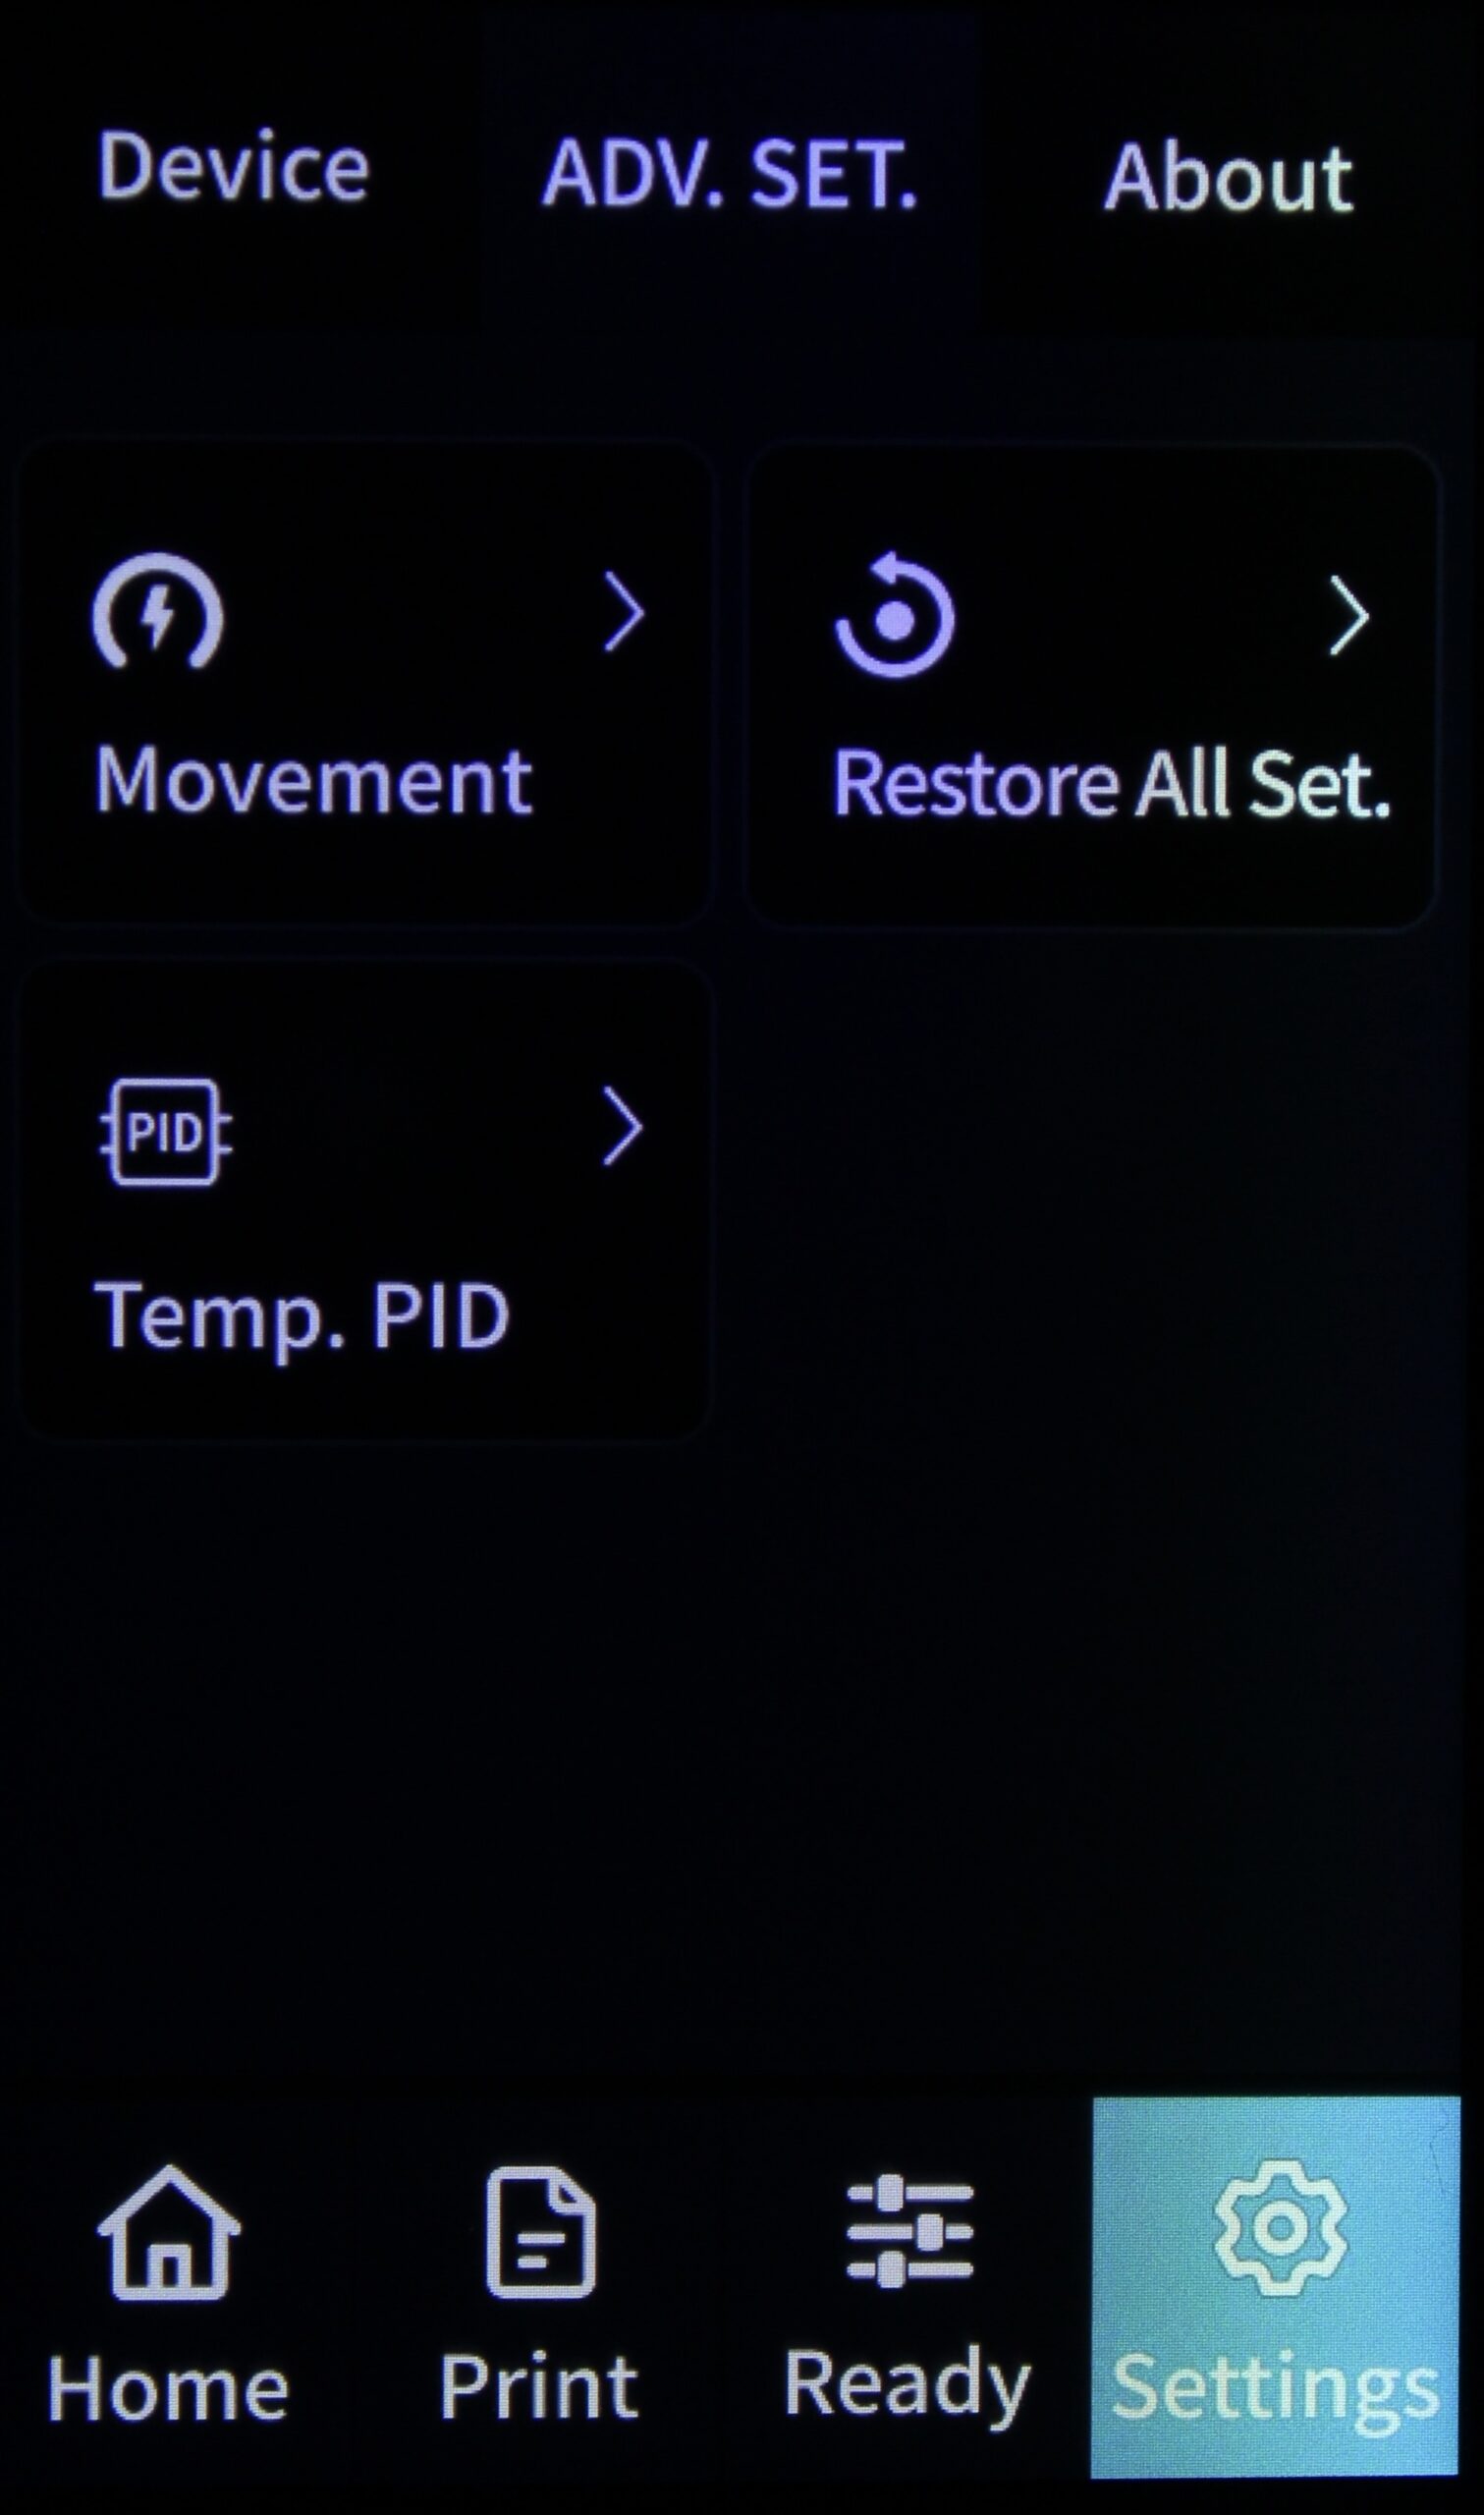
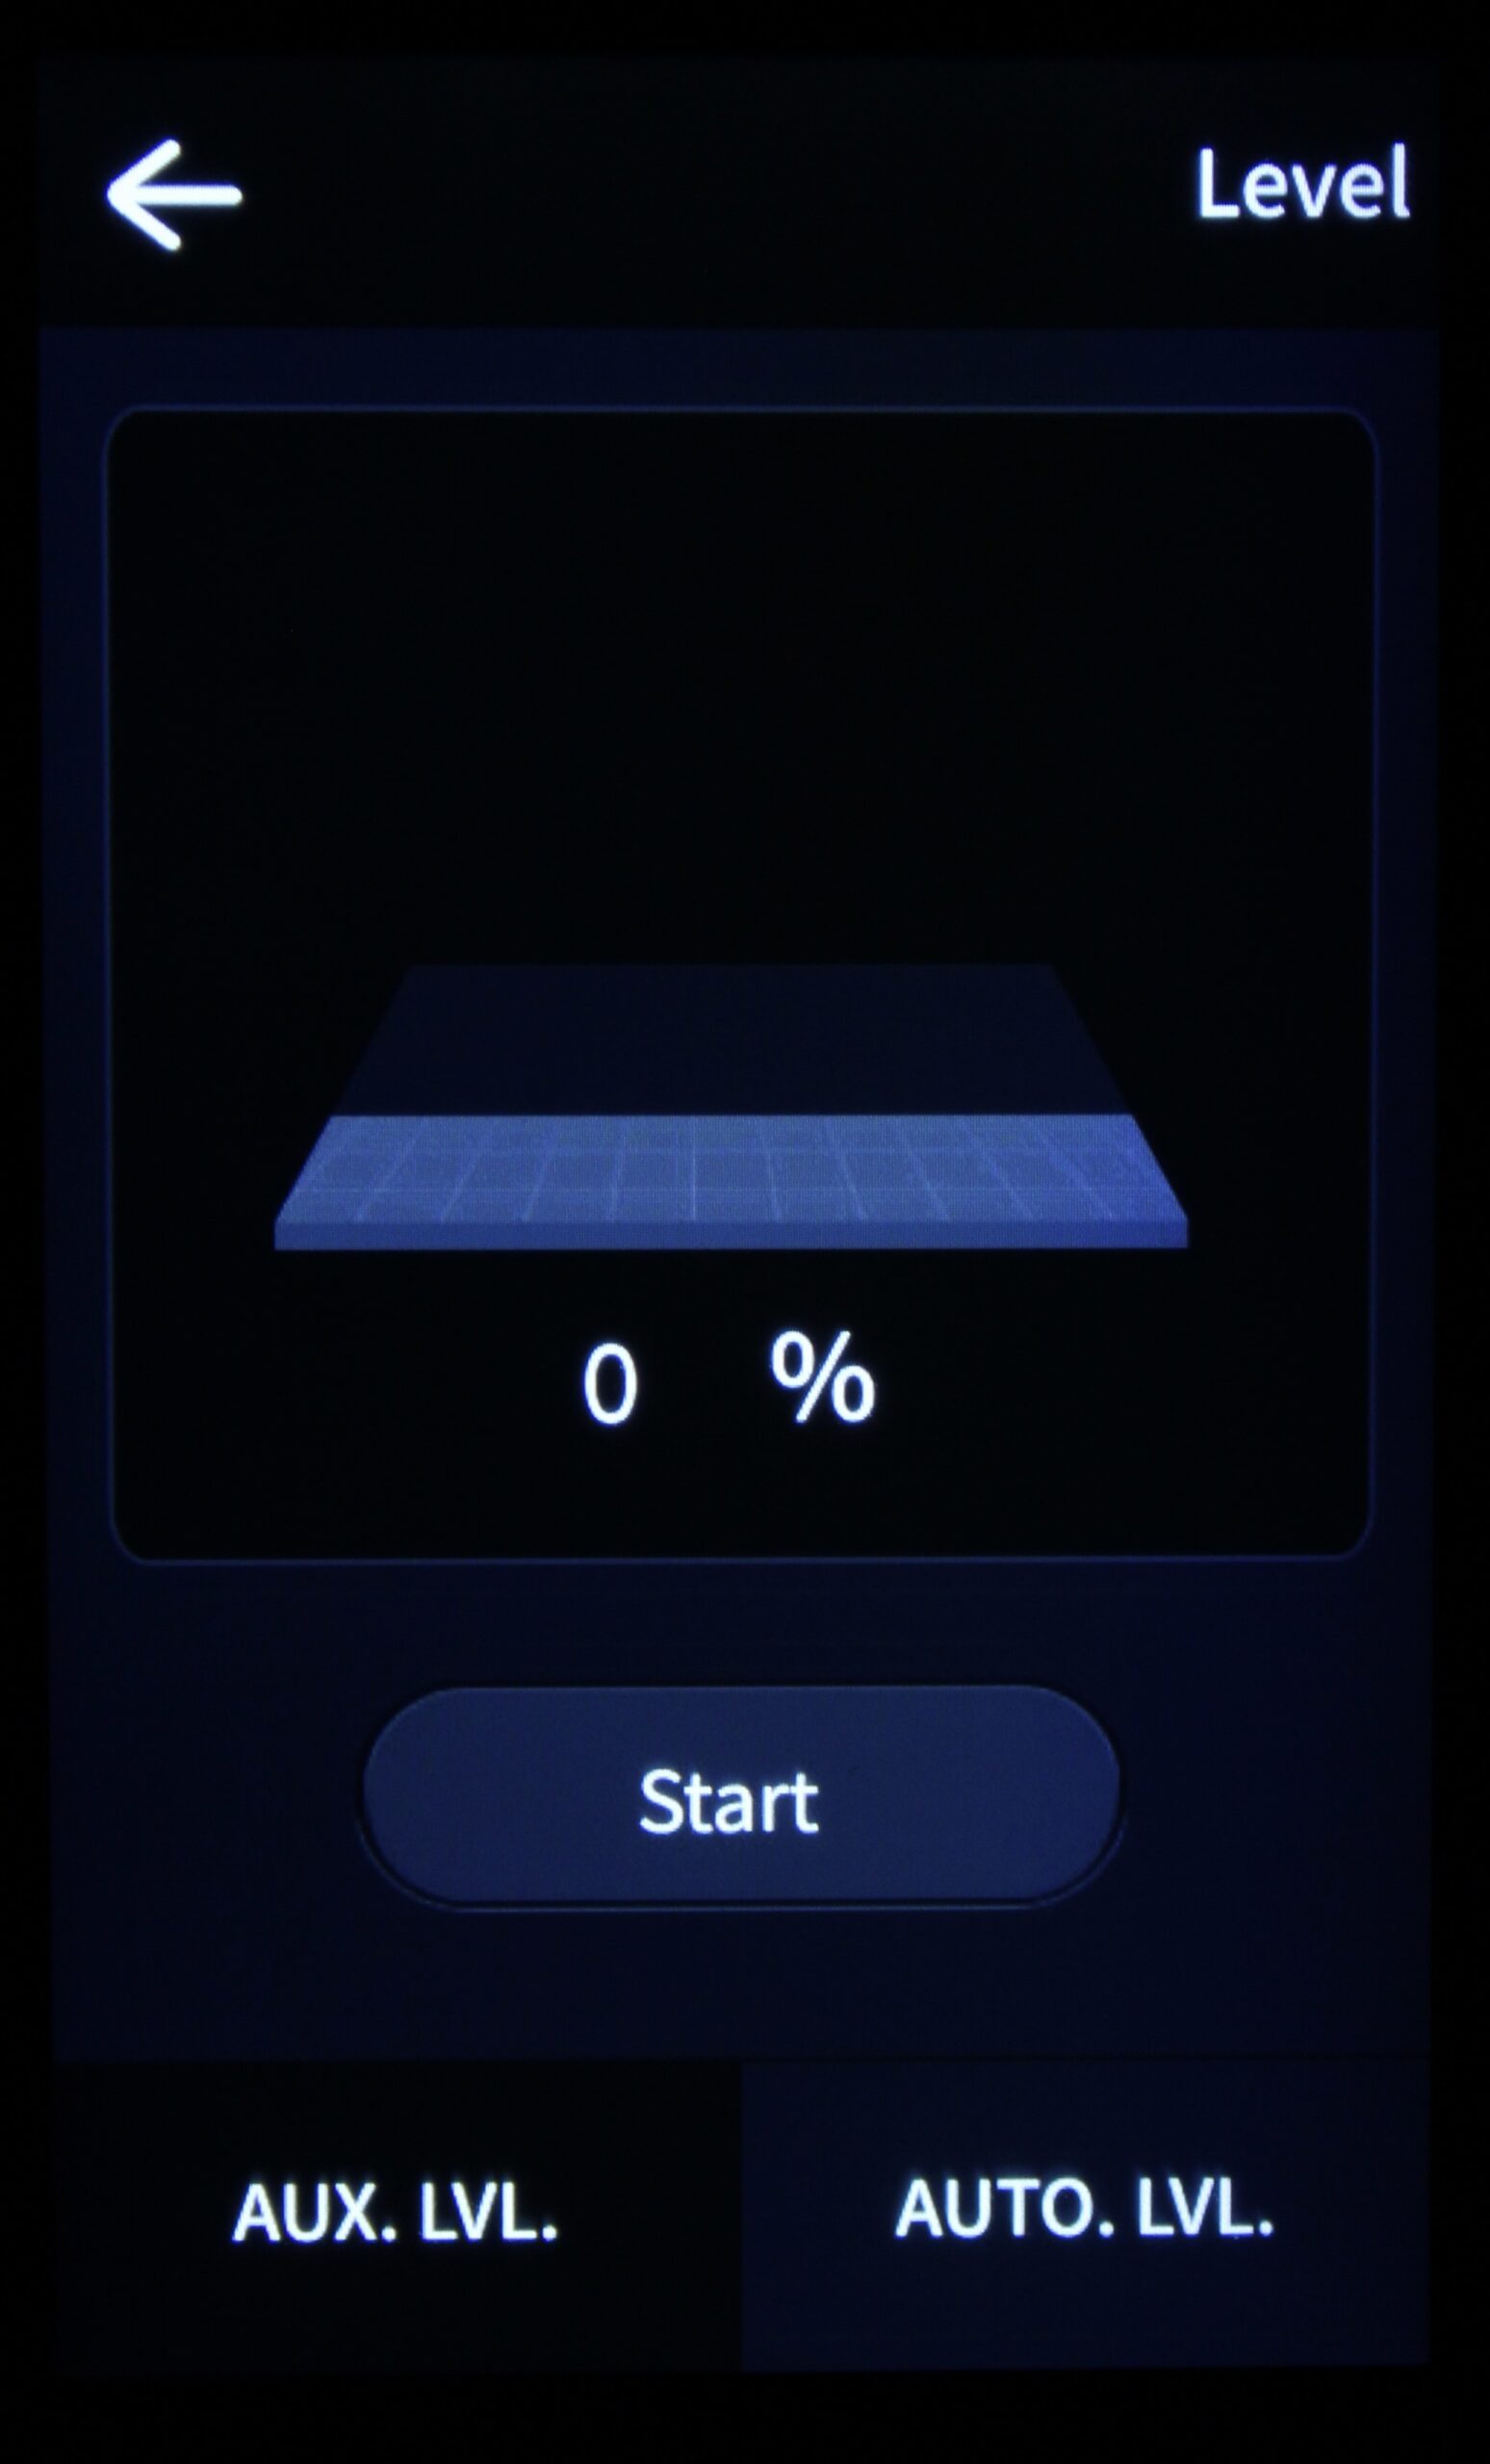
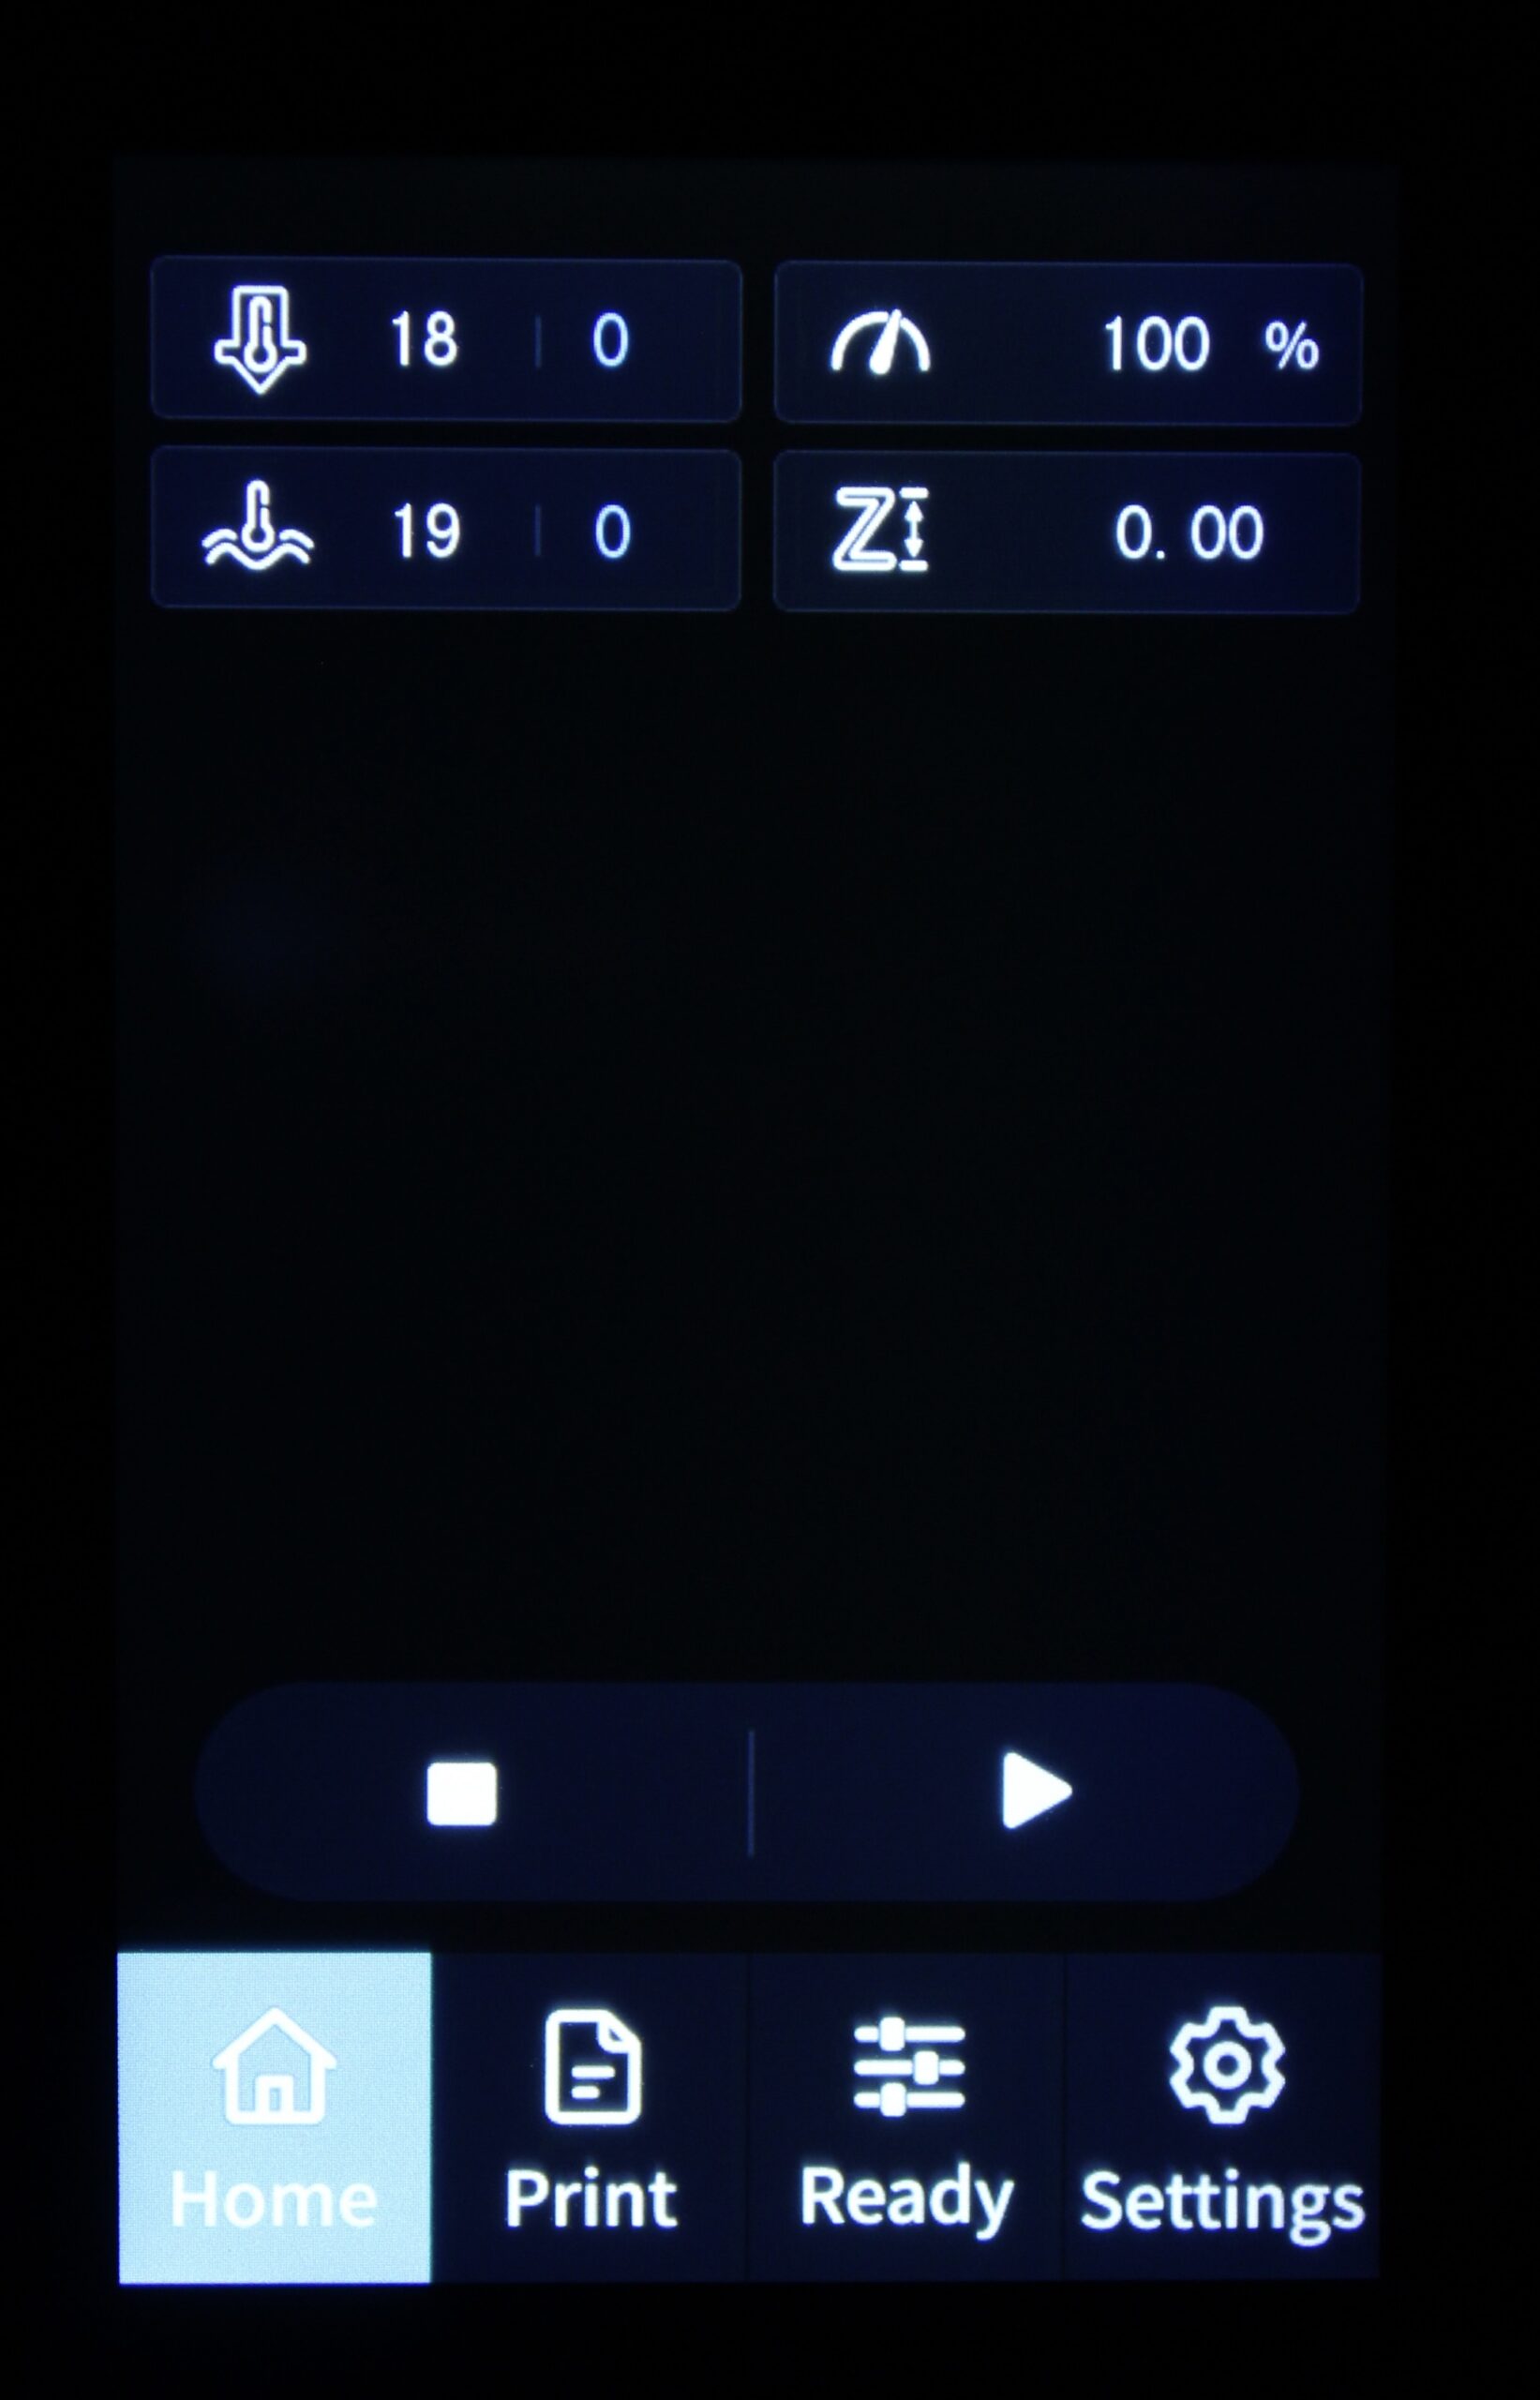
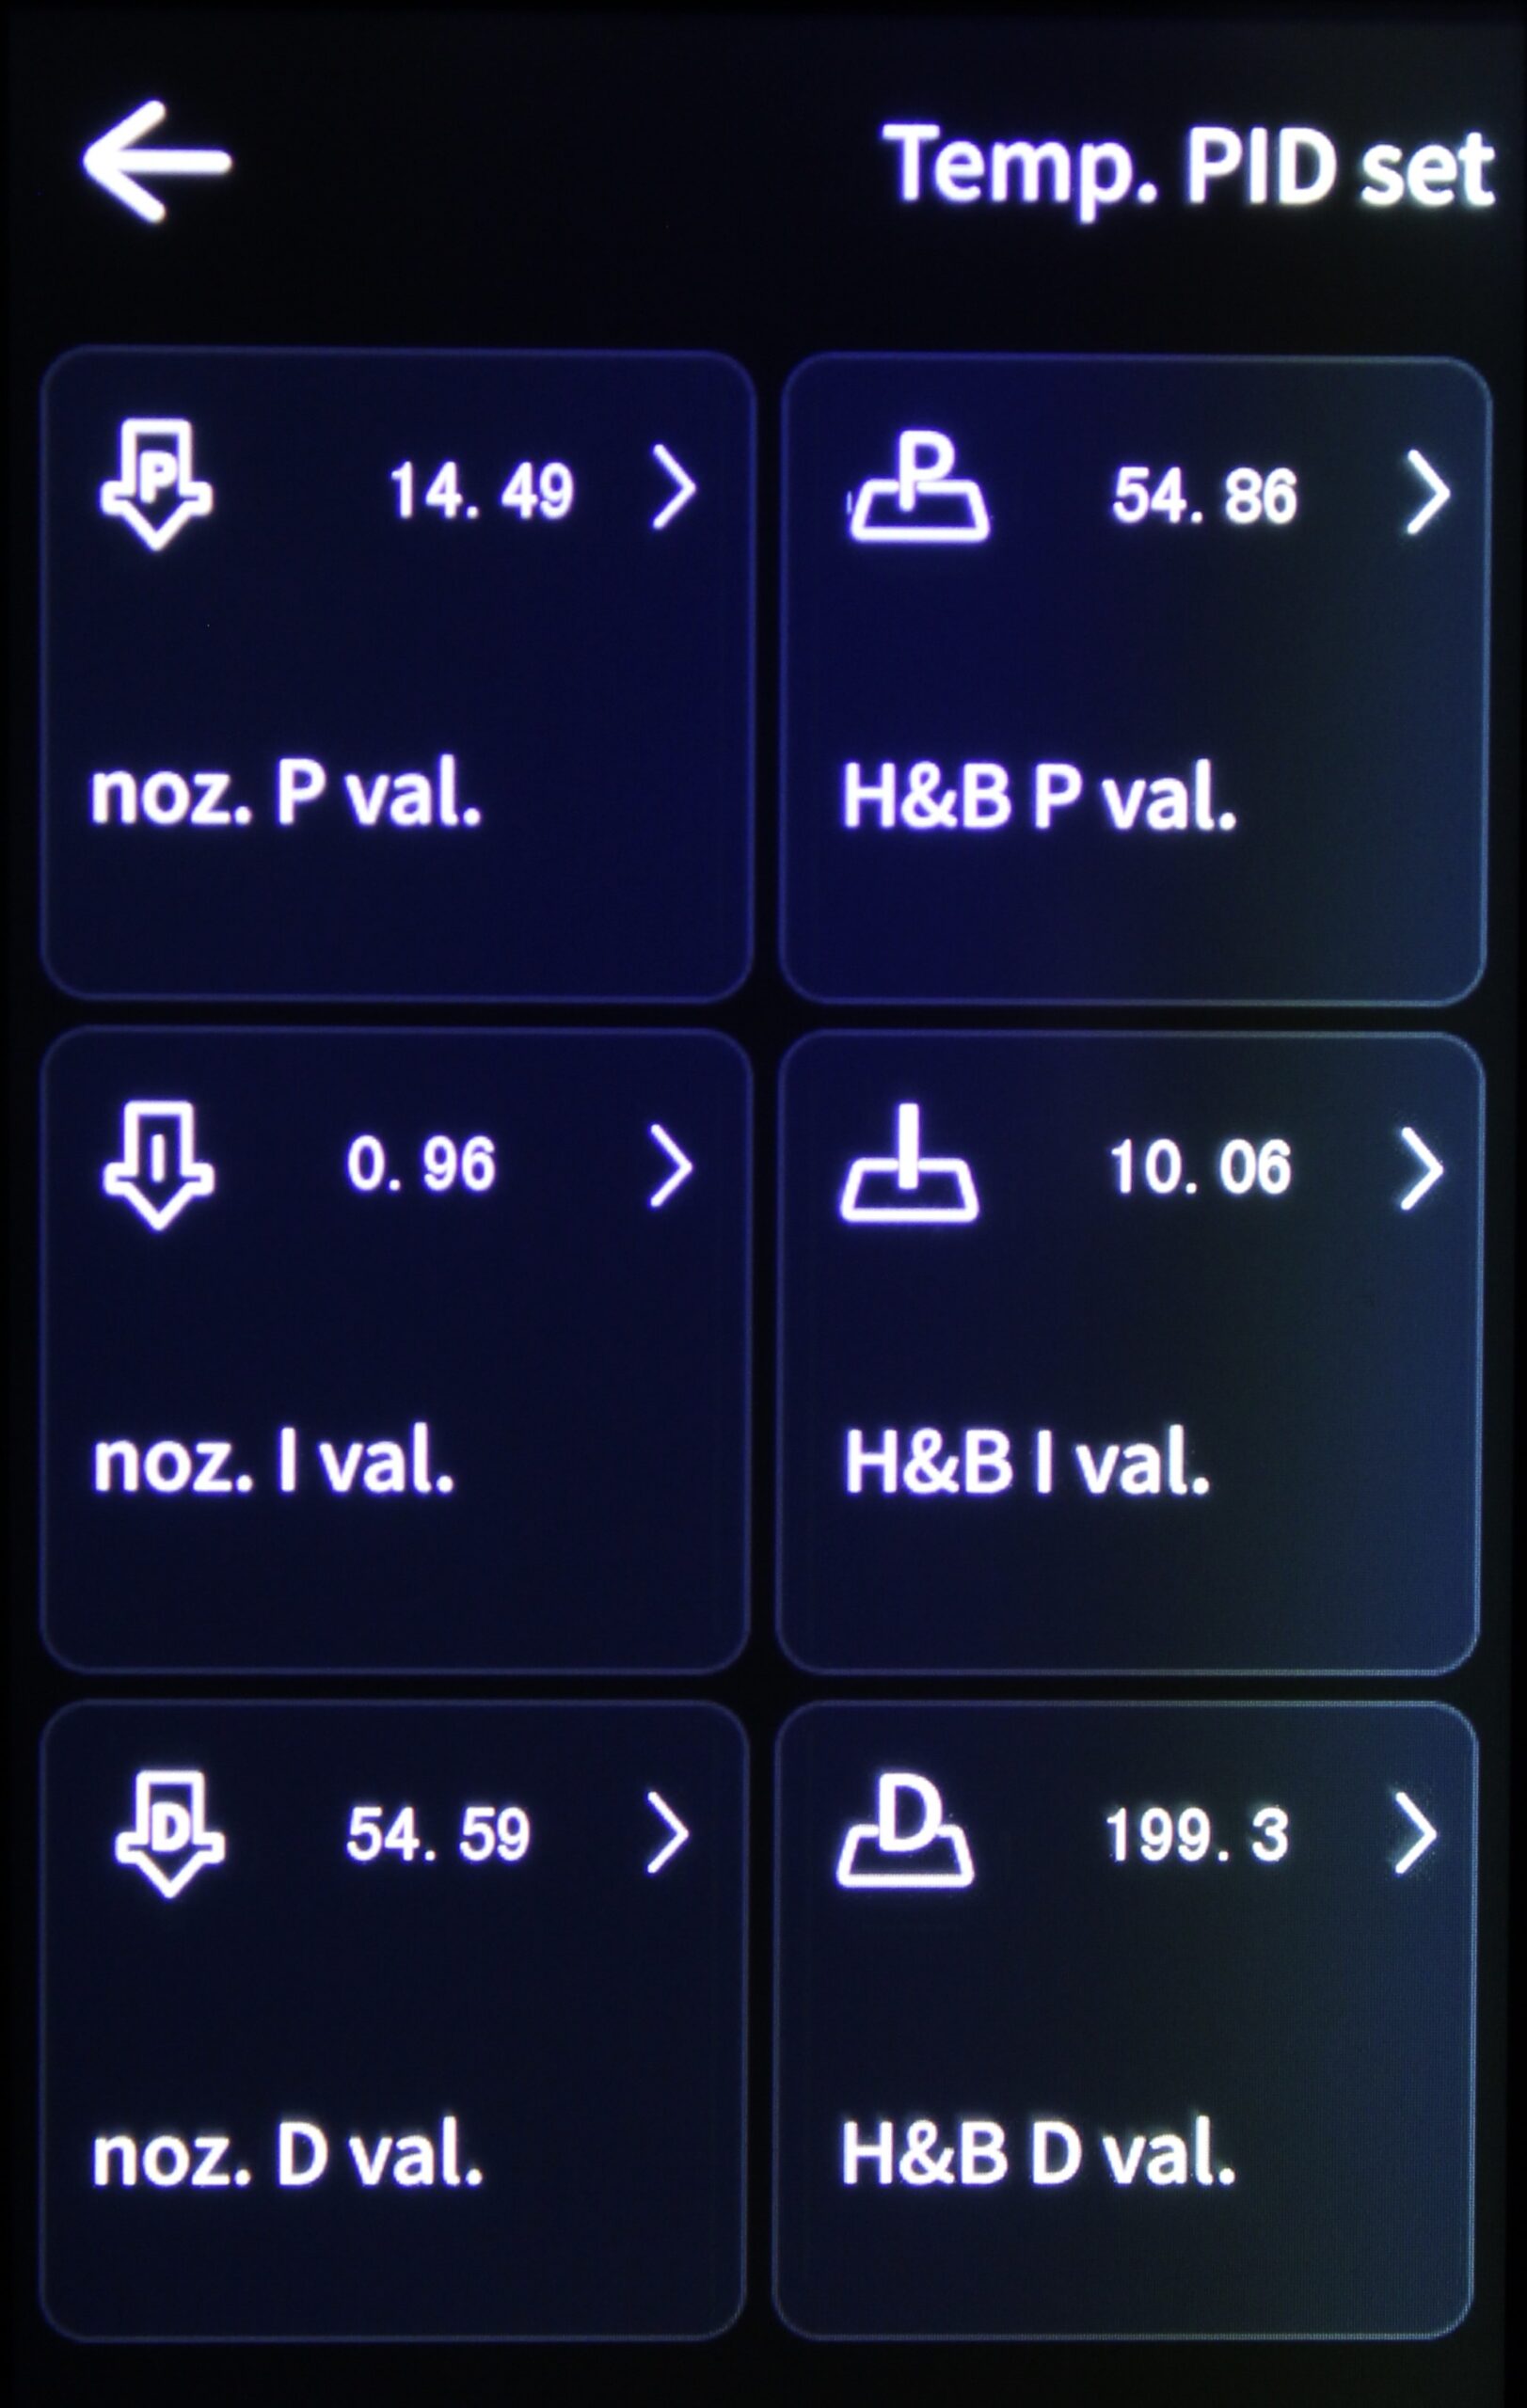
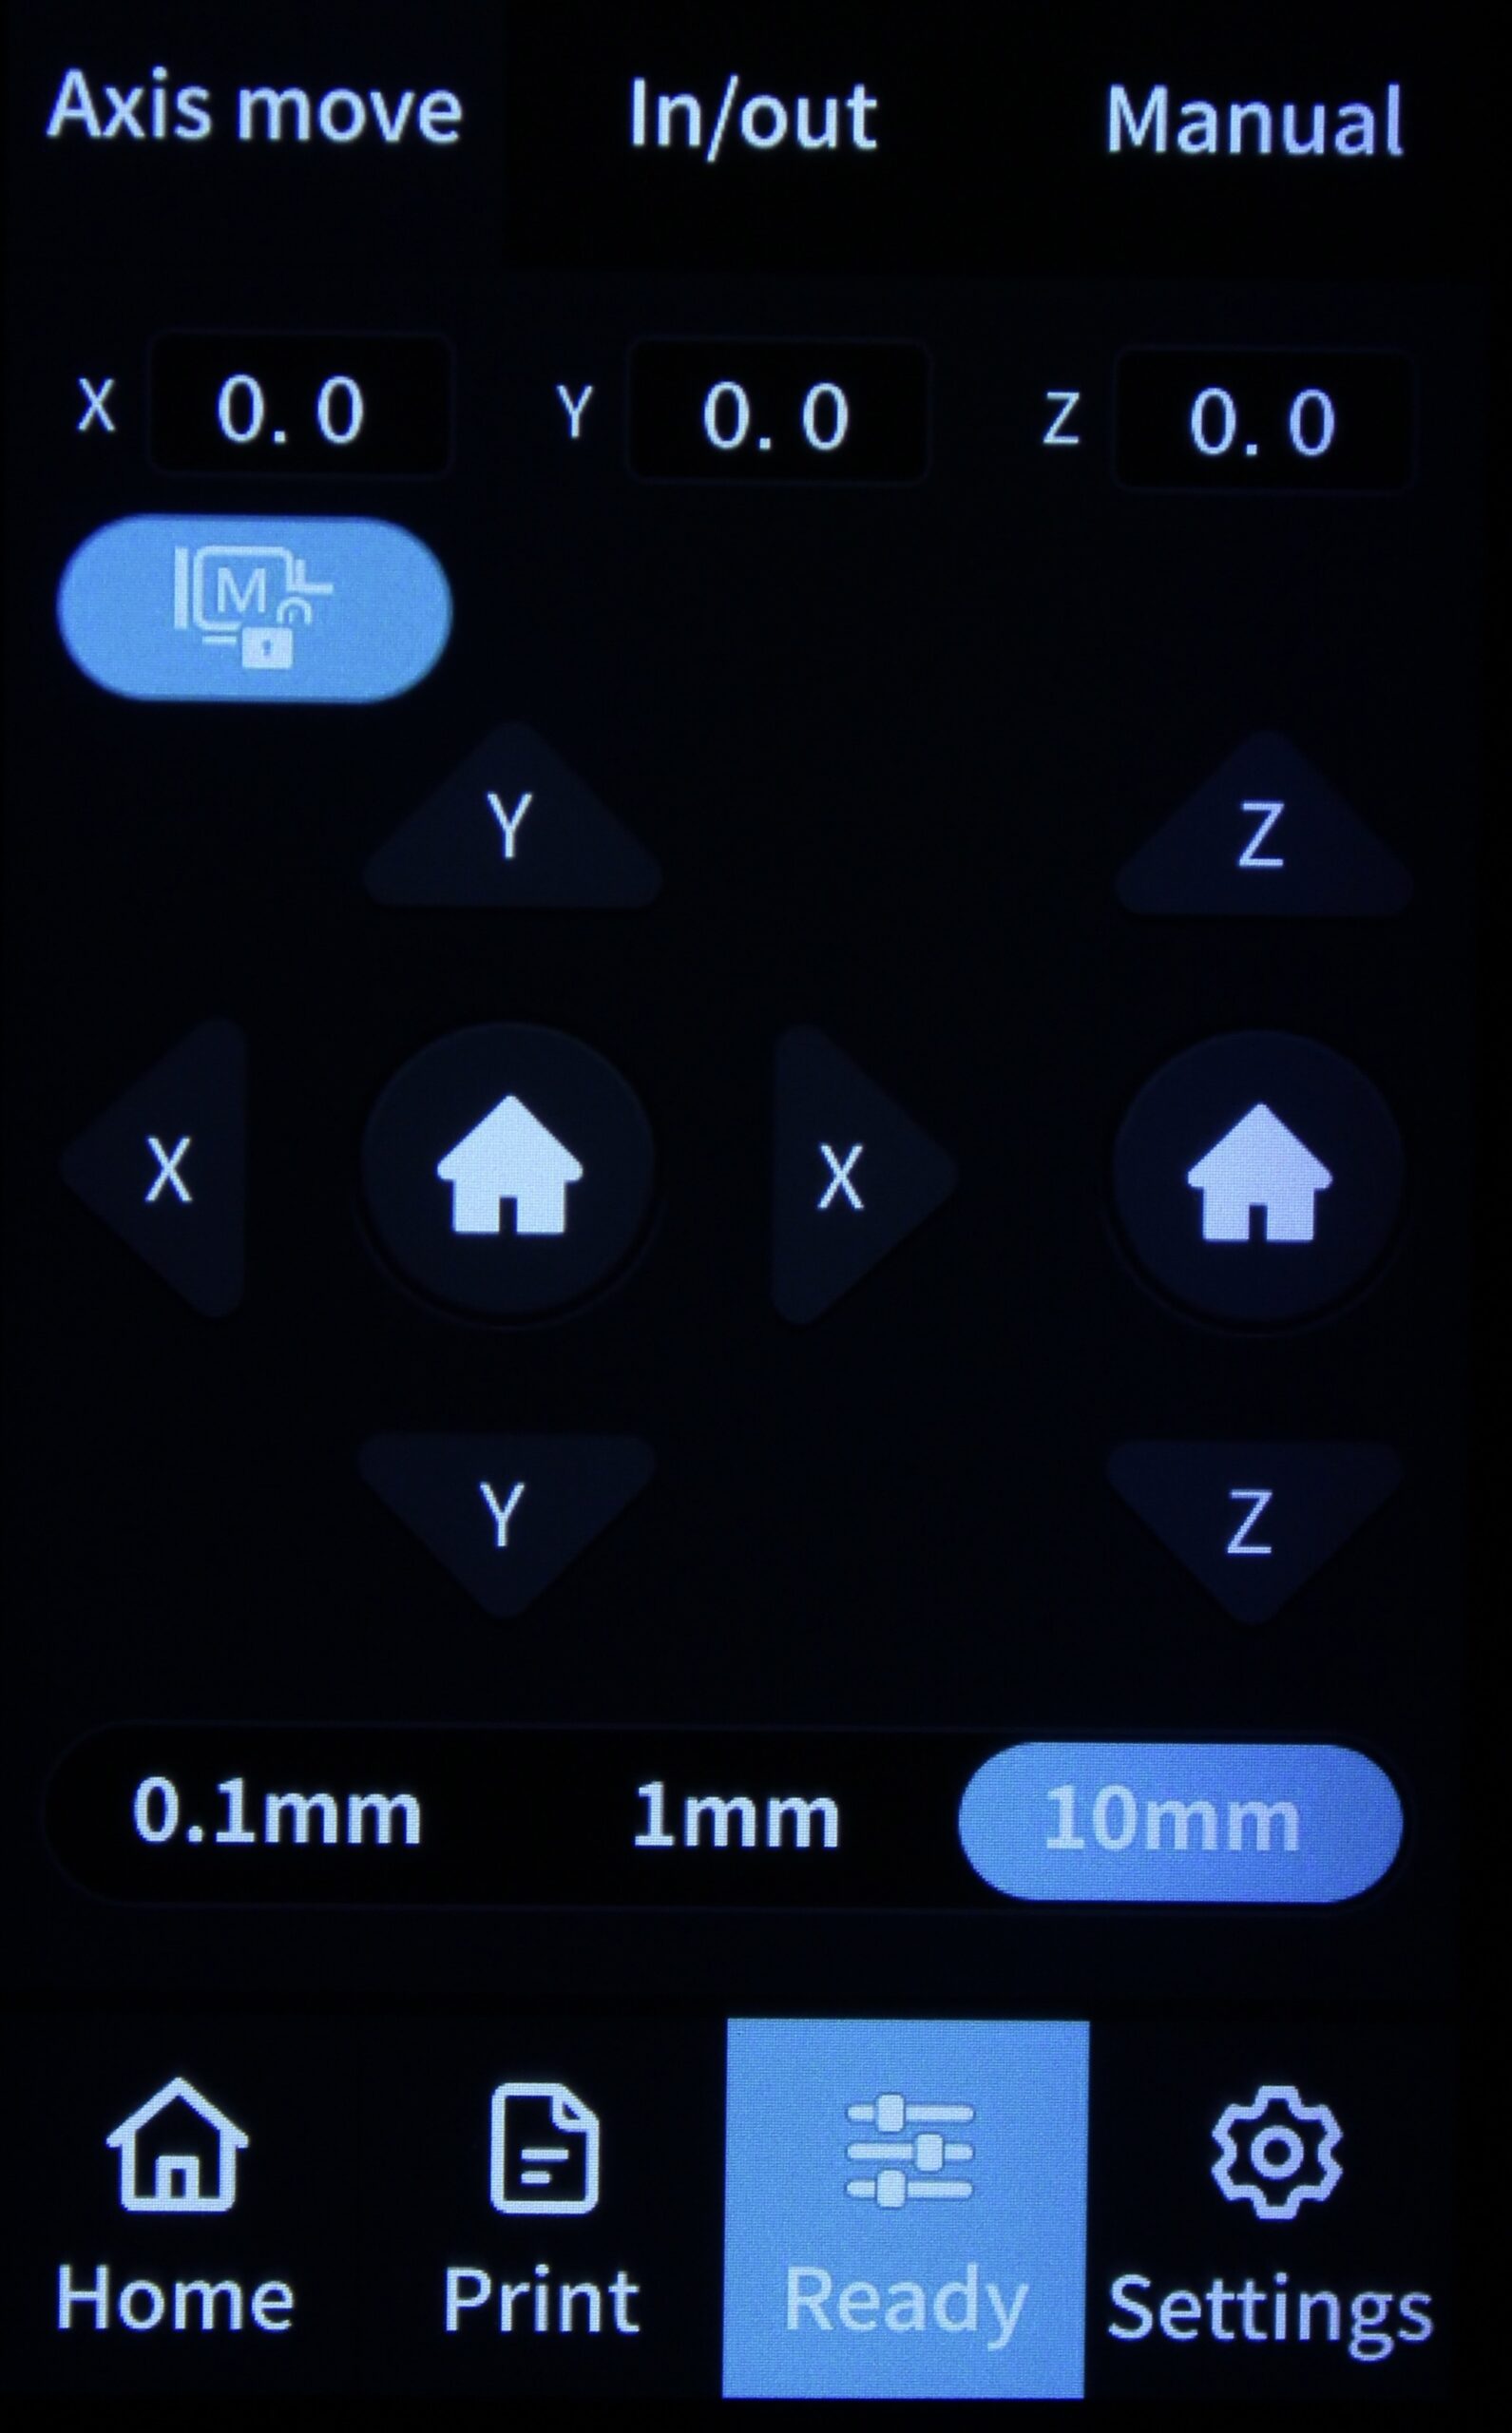
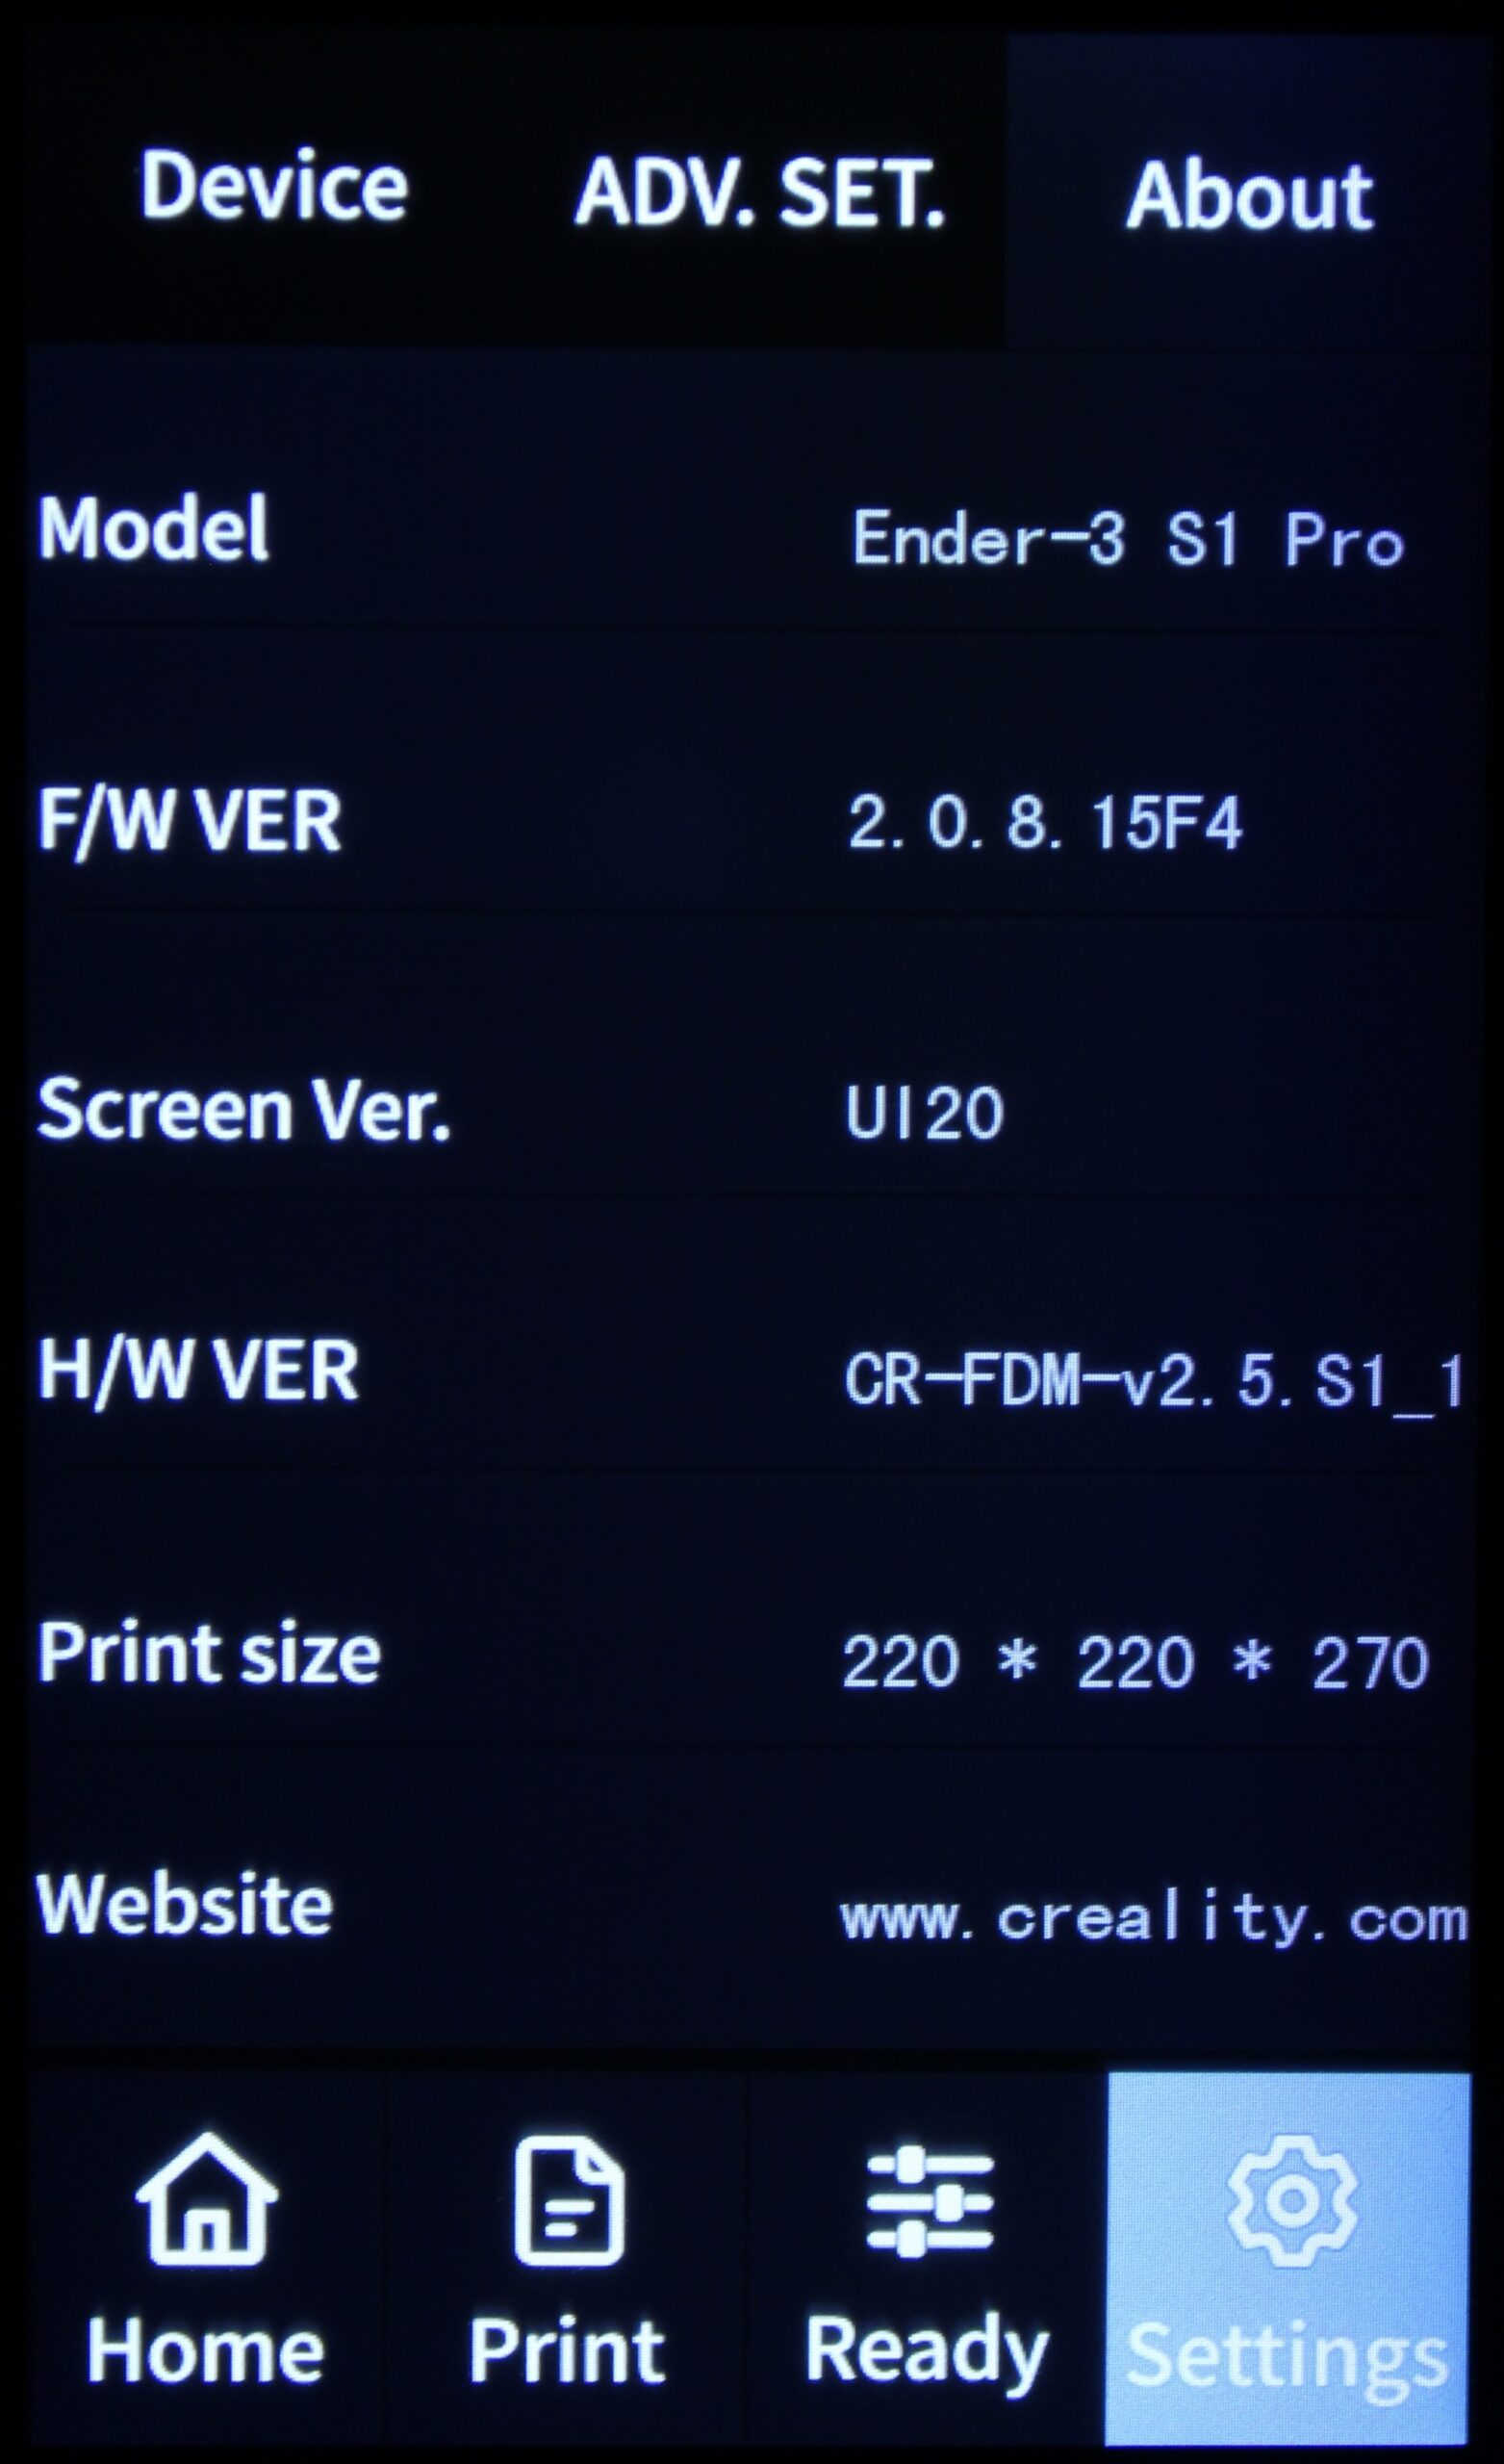
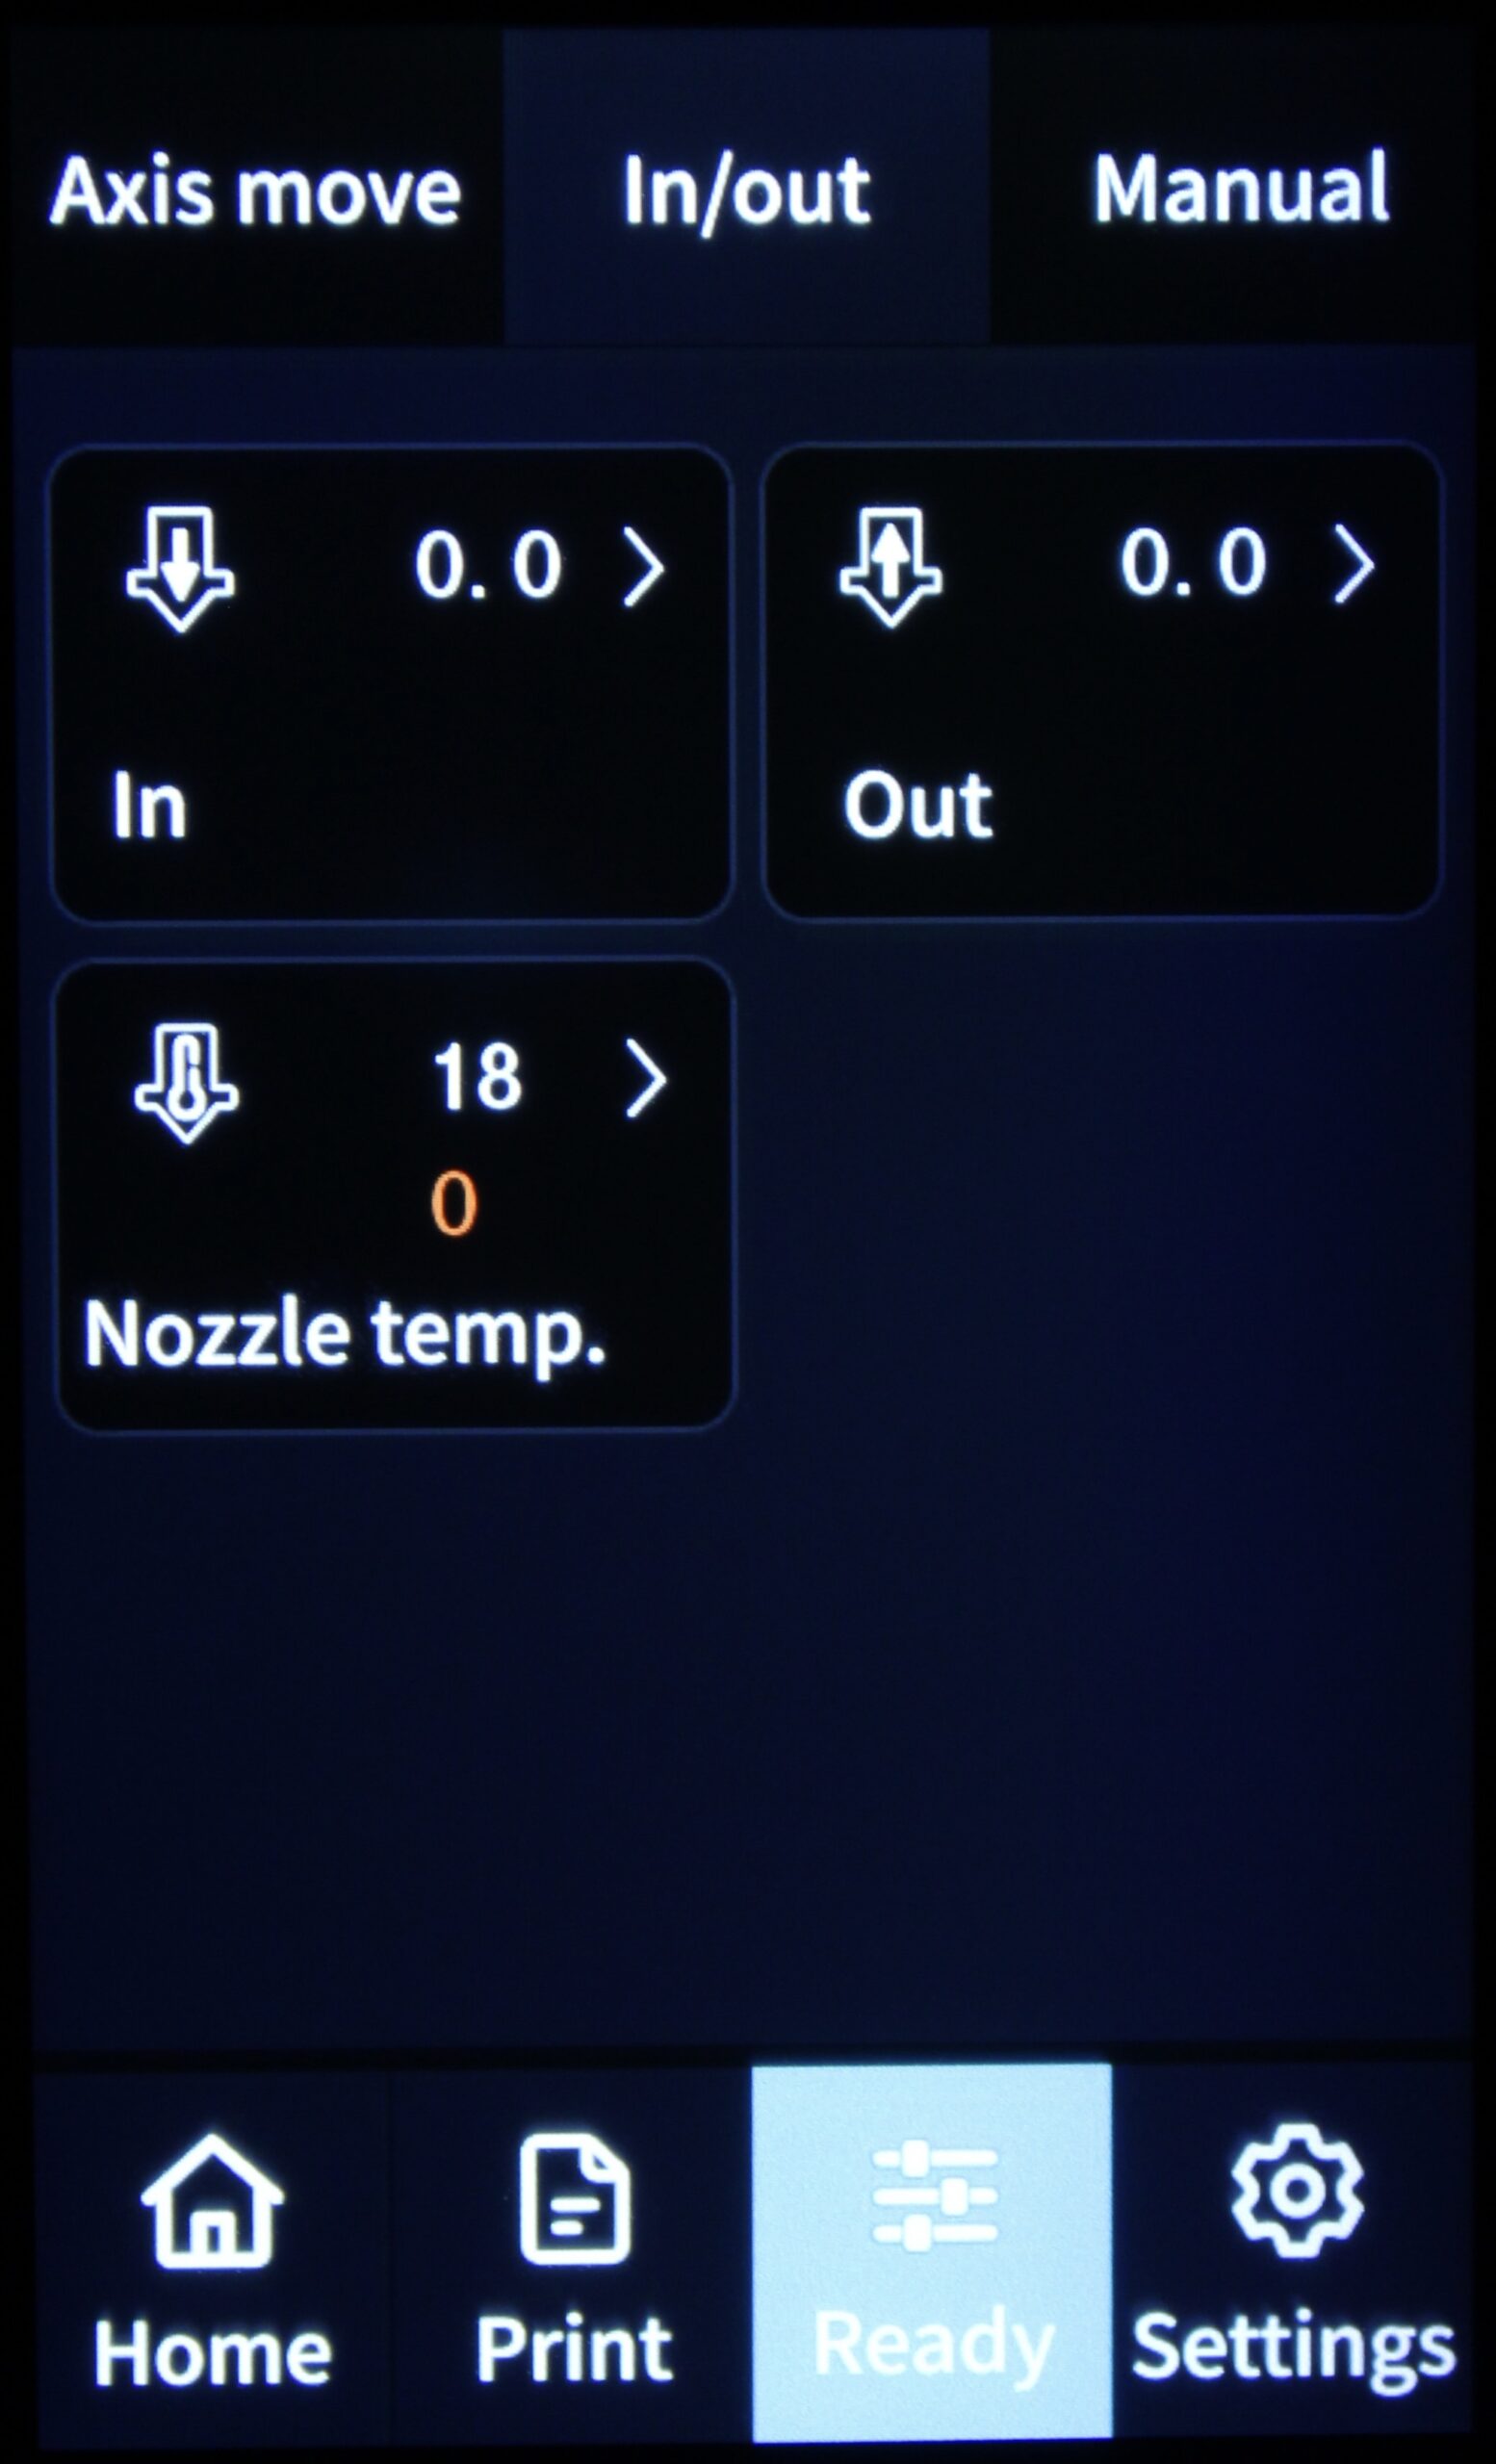
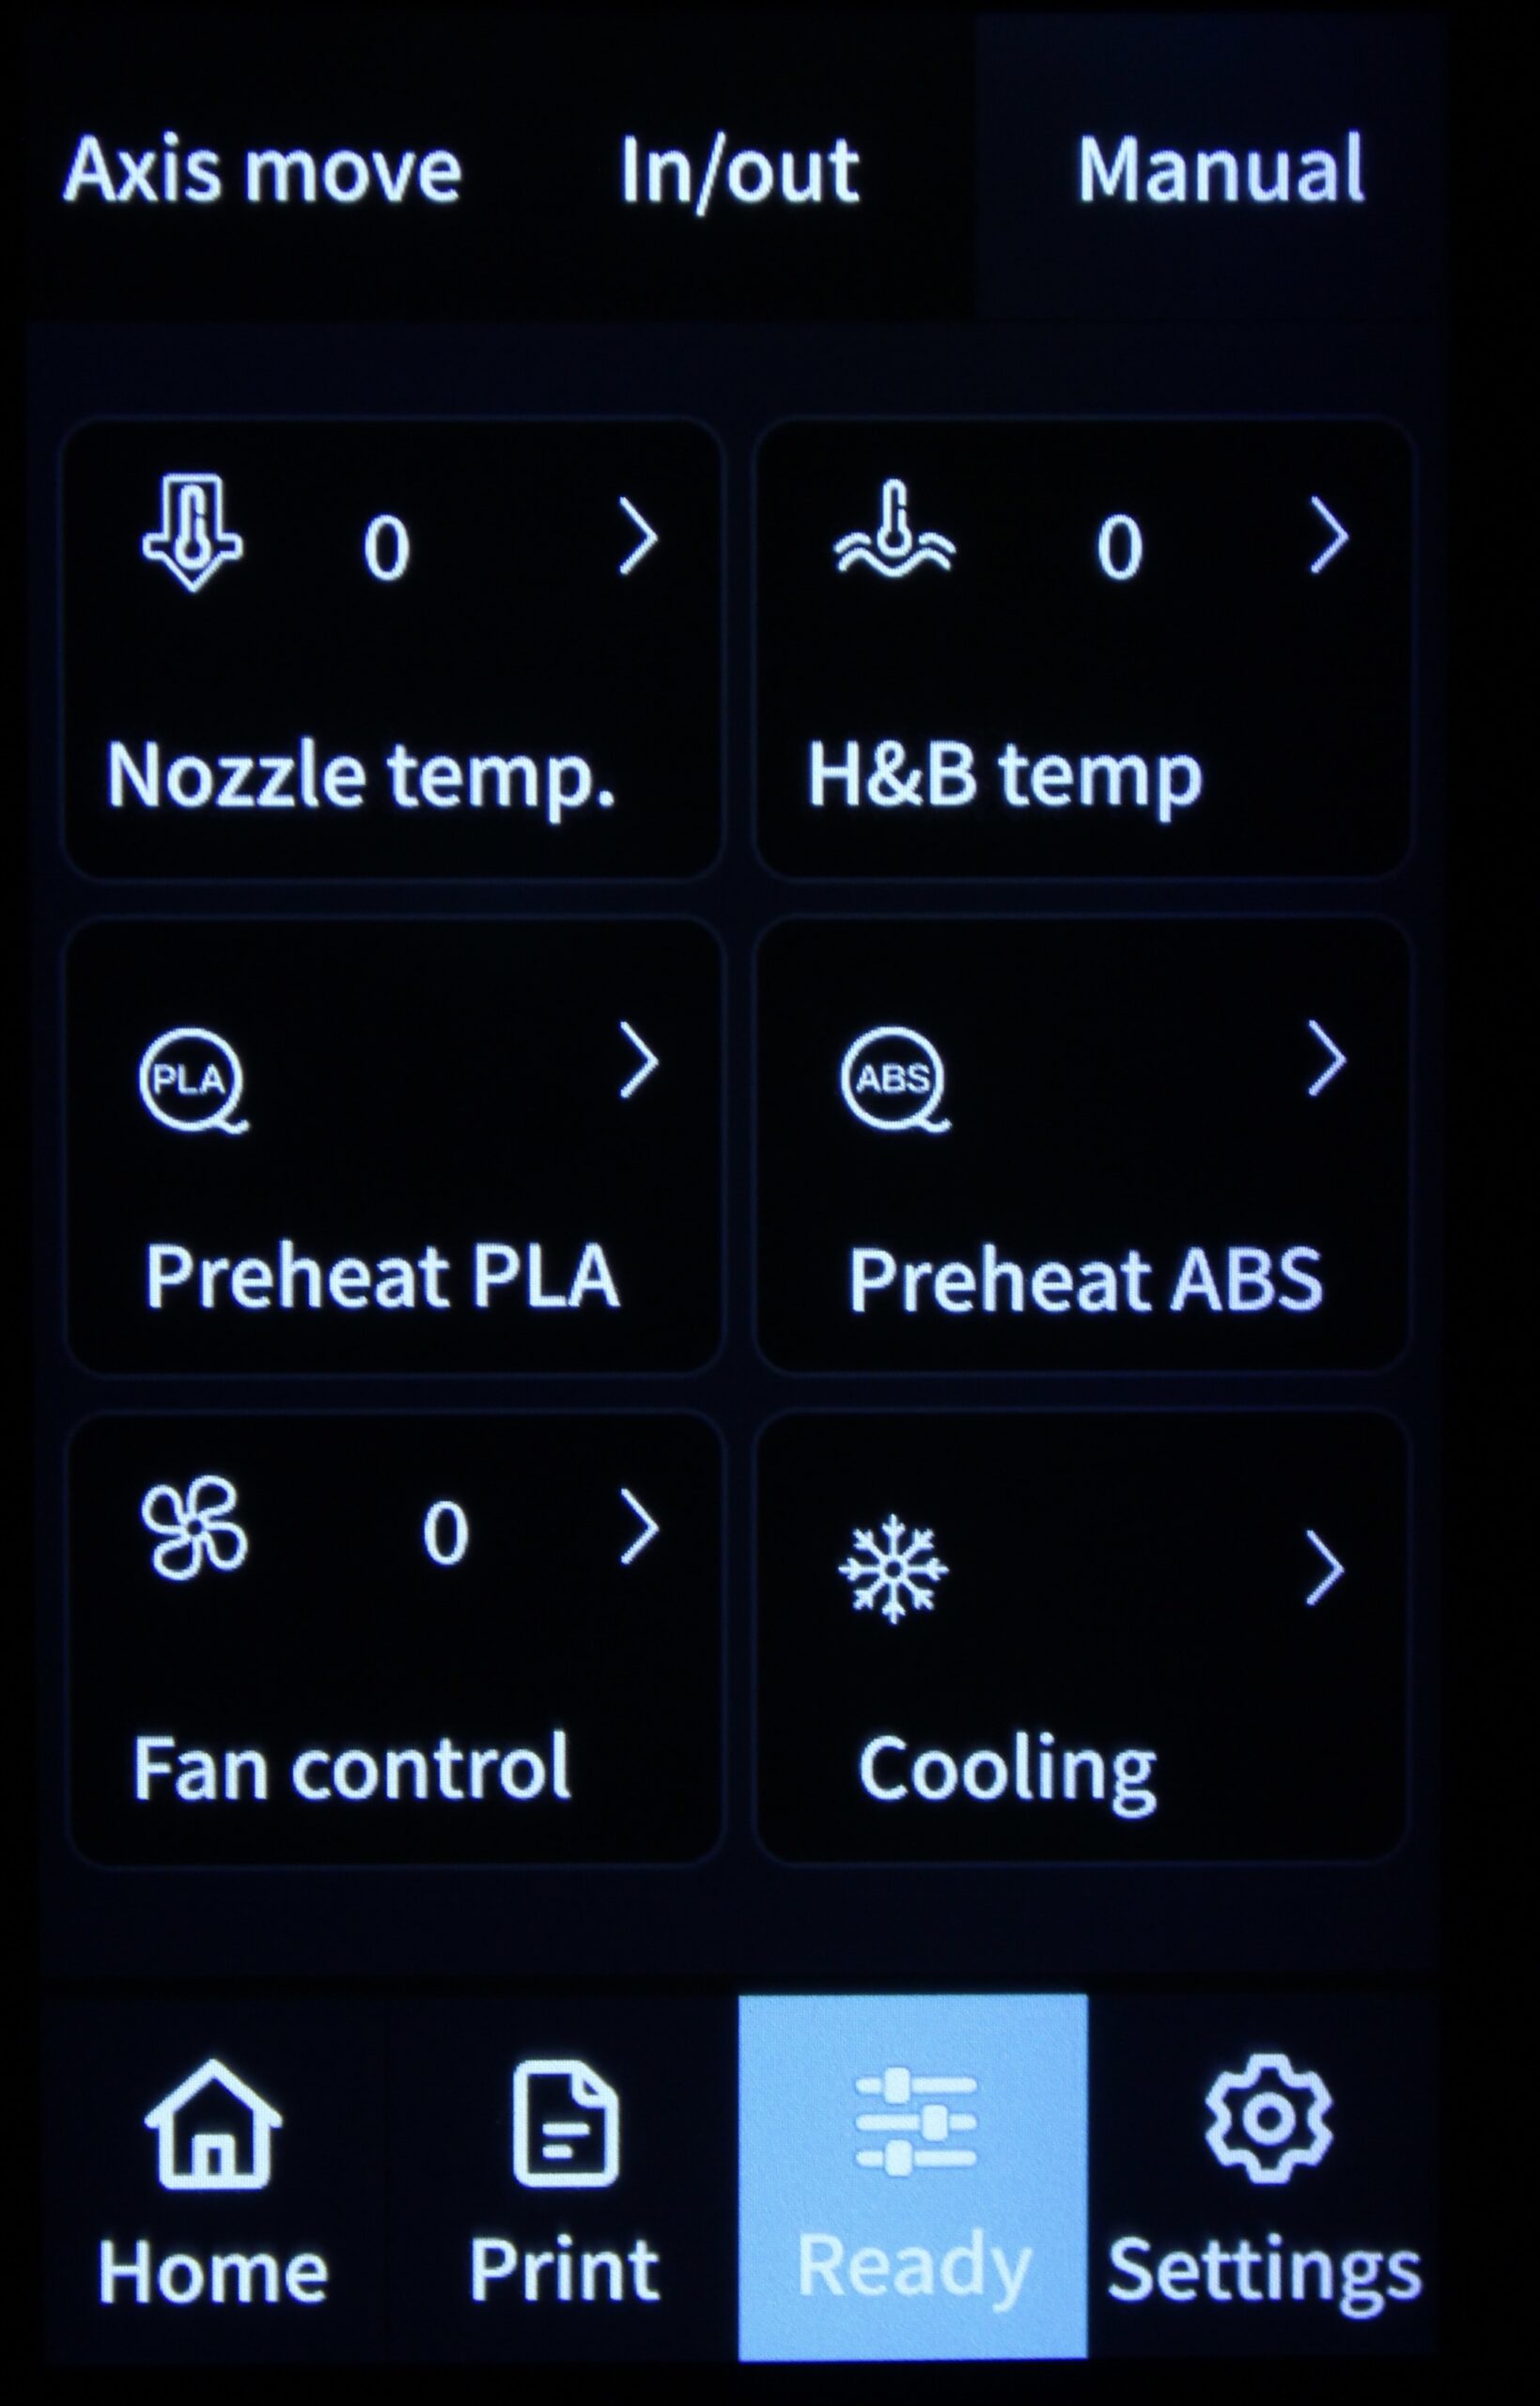
While it’s a bit easier to operate the touchscreen, I can’t say it is more useful. It has a few more settings for advanced settings like PID for the hotend and the bed but nothing amazing. Hopefully, we will get extra functionality over time.
Heating time and power consumption
Hotend
- 200C in 52 seconds
- 250C in 1 minute and 10 seconds
- 300C in 1 minute and 33 seconds
Heatbed
- 60C in 1 minute and 50 seconds
- 100C in 5 minutes 10 seconds
Power Draw.
Idle power draw is around 12W. When the hotend and heatbed are heating up, the Creality Ender 3 S1 Pro draws around 320W. After it starts printing, the power draw stabilizes to around 70W.
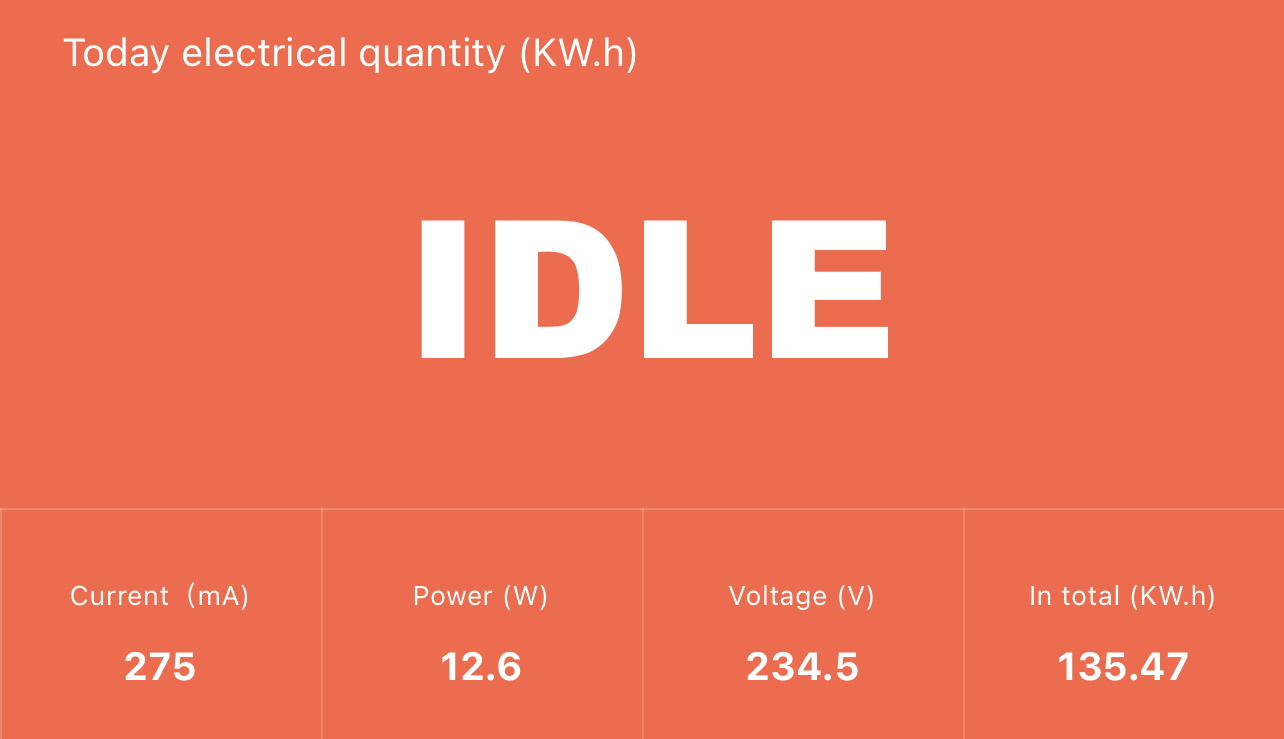
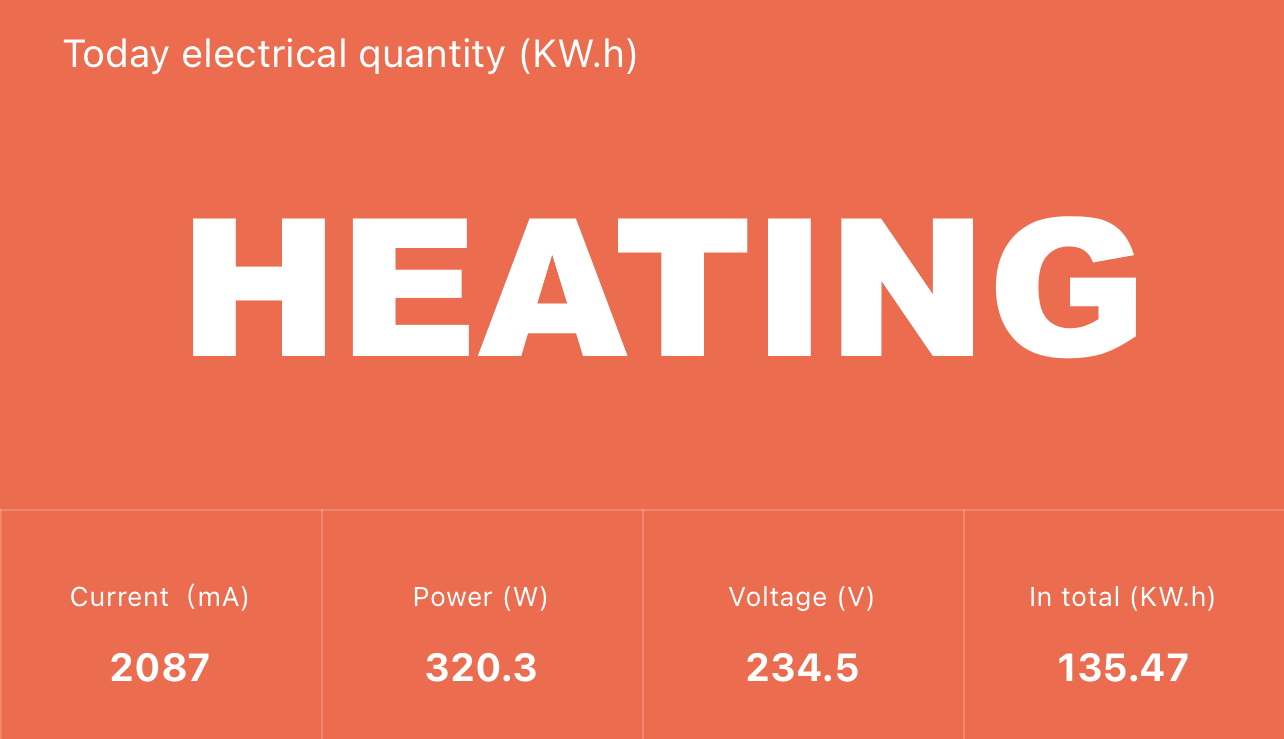
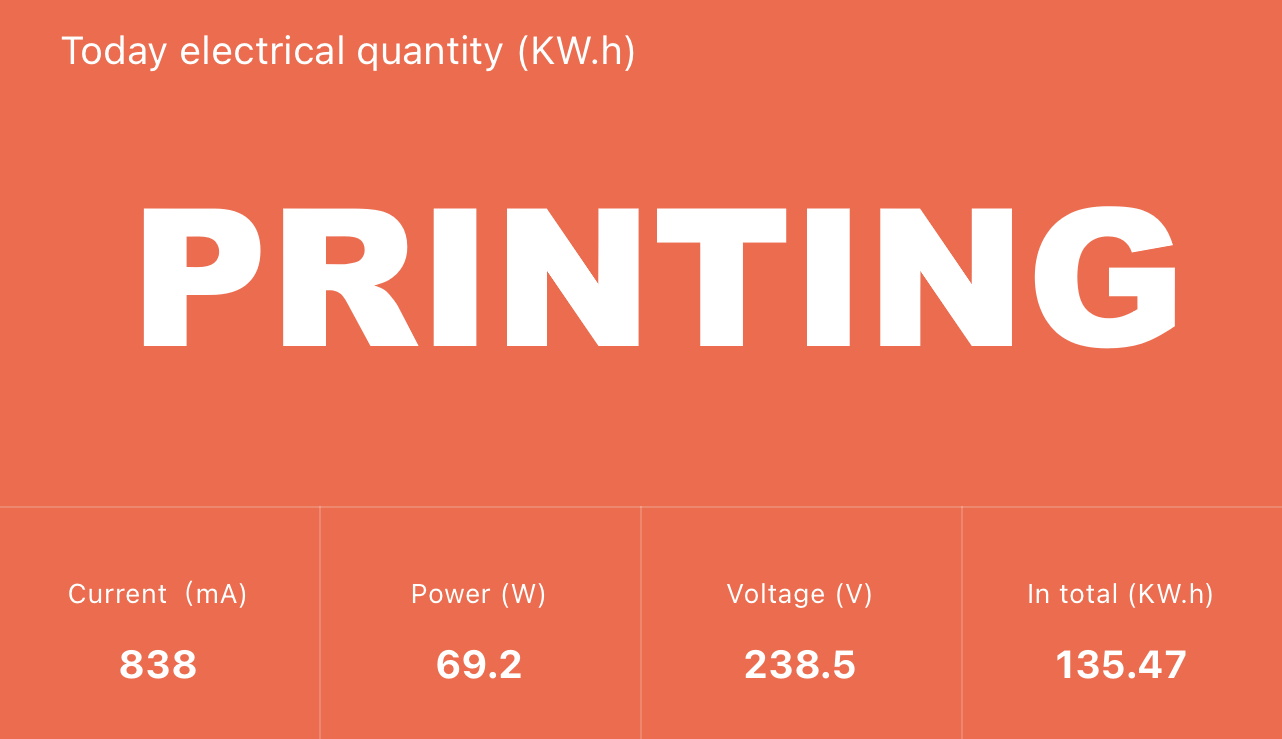
All these measurements were taken with a Blitzwolf smart power socket which indicates the power draw, and it can also be used for remotely powering on and off the printer.
Bed Temperature Uniformity
I tested the temperature uniformity for the Creality Ender 3 S1 Pro bed with the FLIR Camera installed on the CAT S62 Pro. The bed has been set to 60C and I waited 2 minutes for the temperature to stabilize.
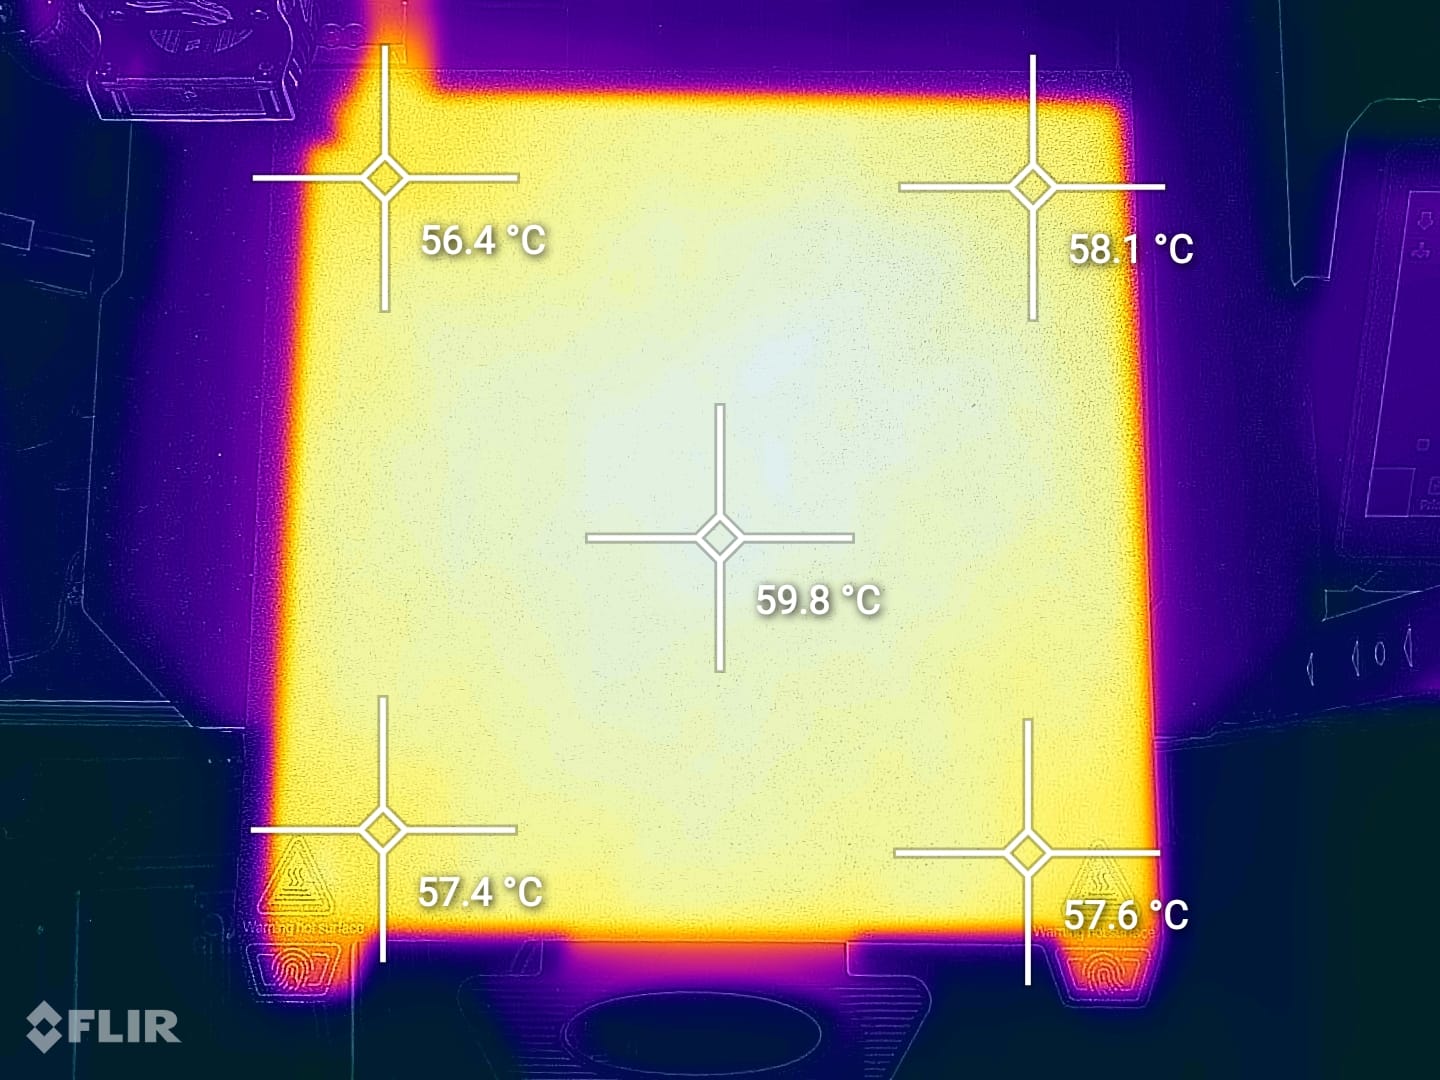
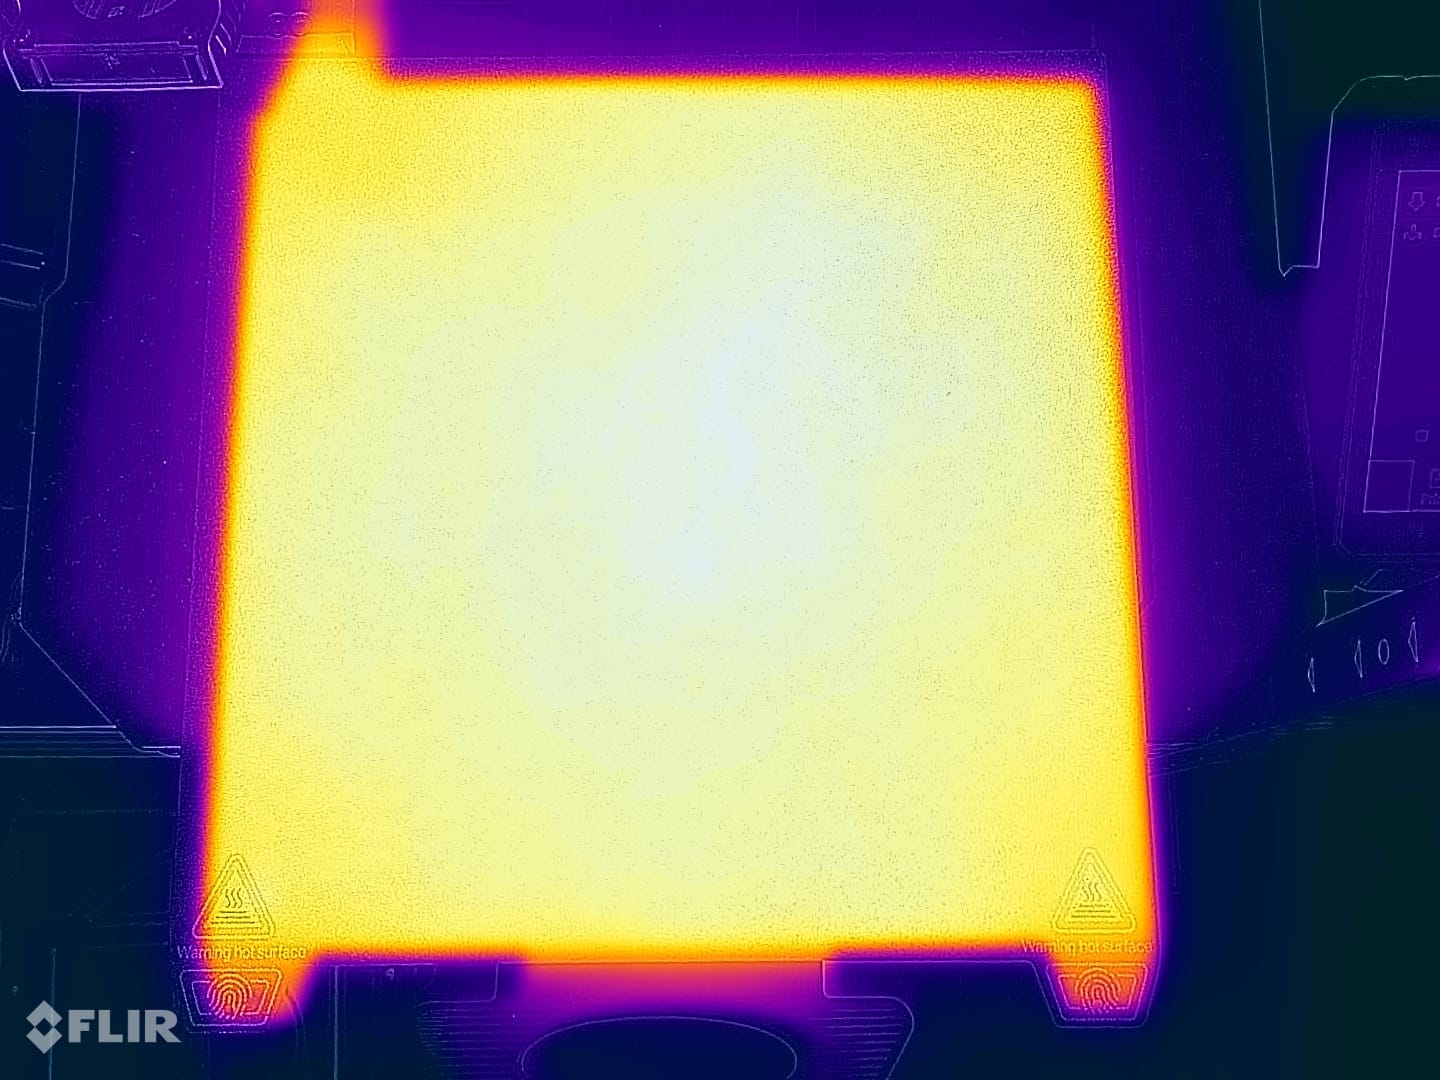
Overall, the temperature is quite good across the bed, but some small temperature differences can be seen in the corners.
Creality Ender 3 S1 Pro Noise Levels
Just like the Ender 3 S1, the Pro is not a very noisy machine, if we compare it with other printers from Creality. But I noticed that the small radial fan that keeps the all-metal hotend cool, blows a bit more air and creates a bit more noise compared to the regular extruder.
IdeaMaker and Prusa Slicer profiles for Creality Ender 3 S1 Pro
During my time with the printer, I tuned IdeaMaker and Prusa Slicer profiles for the Ender 3 S1 / S1 Pro using the tools available in the 3D Printer Calibration Guide using IdeaMaker article. These profiles are tuned for the stock printer and are available to my Patreon supporters.
As usual, the flow rate will still need to be calibrated, according to your filament.
Test prints on Ender 3 S1 Pro
Phil-A-Ment
The Phil-A-Ment test print came out fine, although a bit strong but that’s caused by the filament. For some reason, this PLA Pro from PrimaSelect has a different consistency and flexibility compared to the regular PLA I use. Even so, the overhangs look good and extrusion is consistent
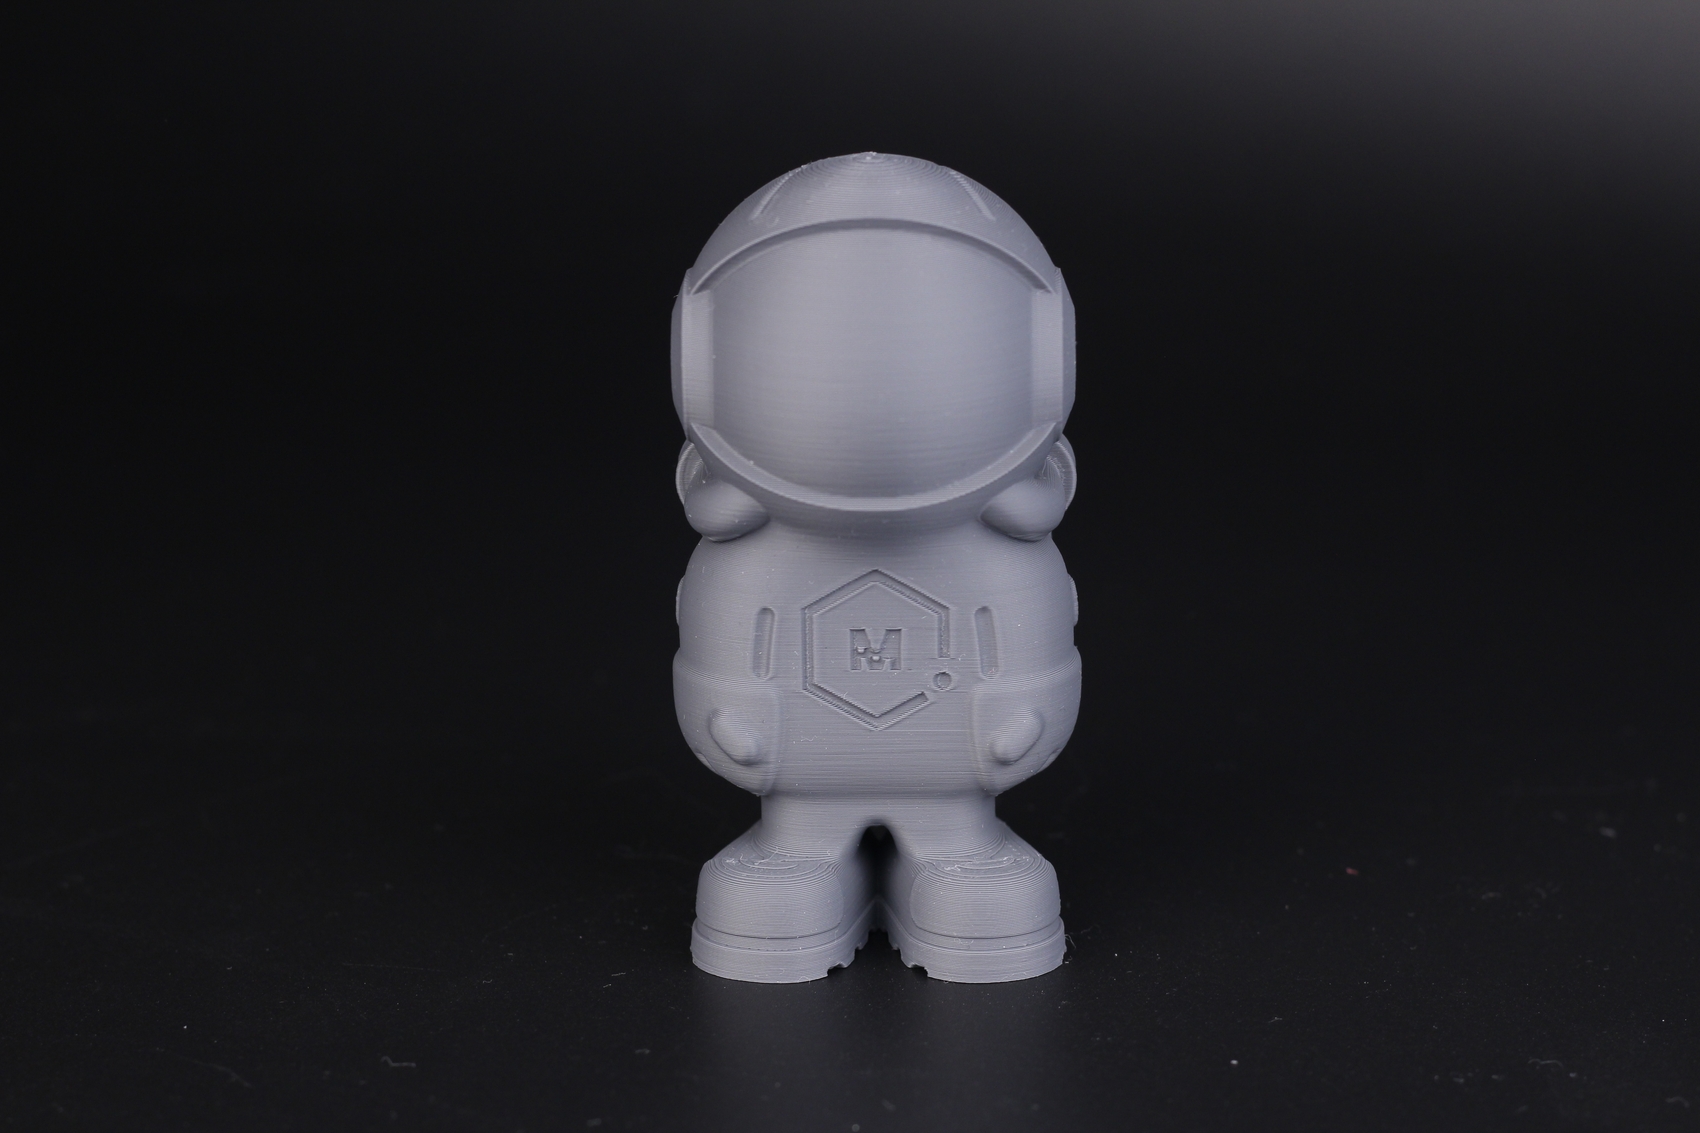
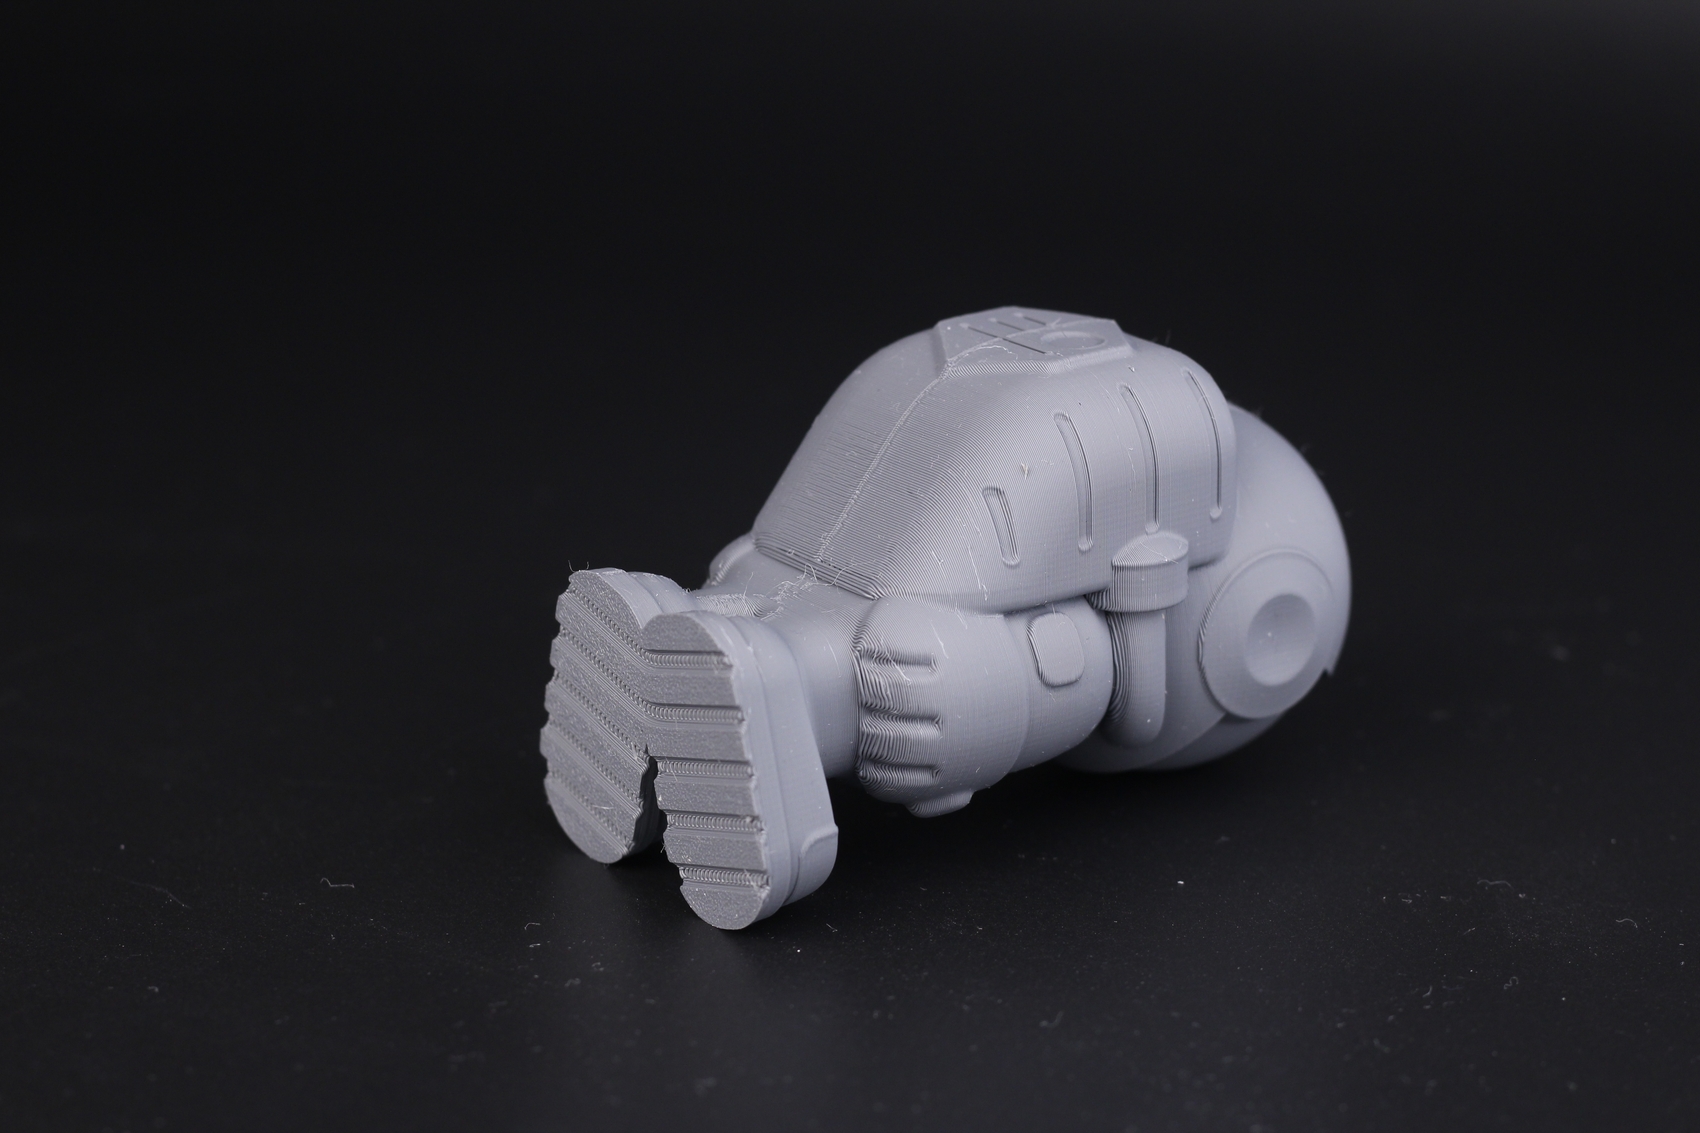
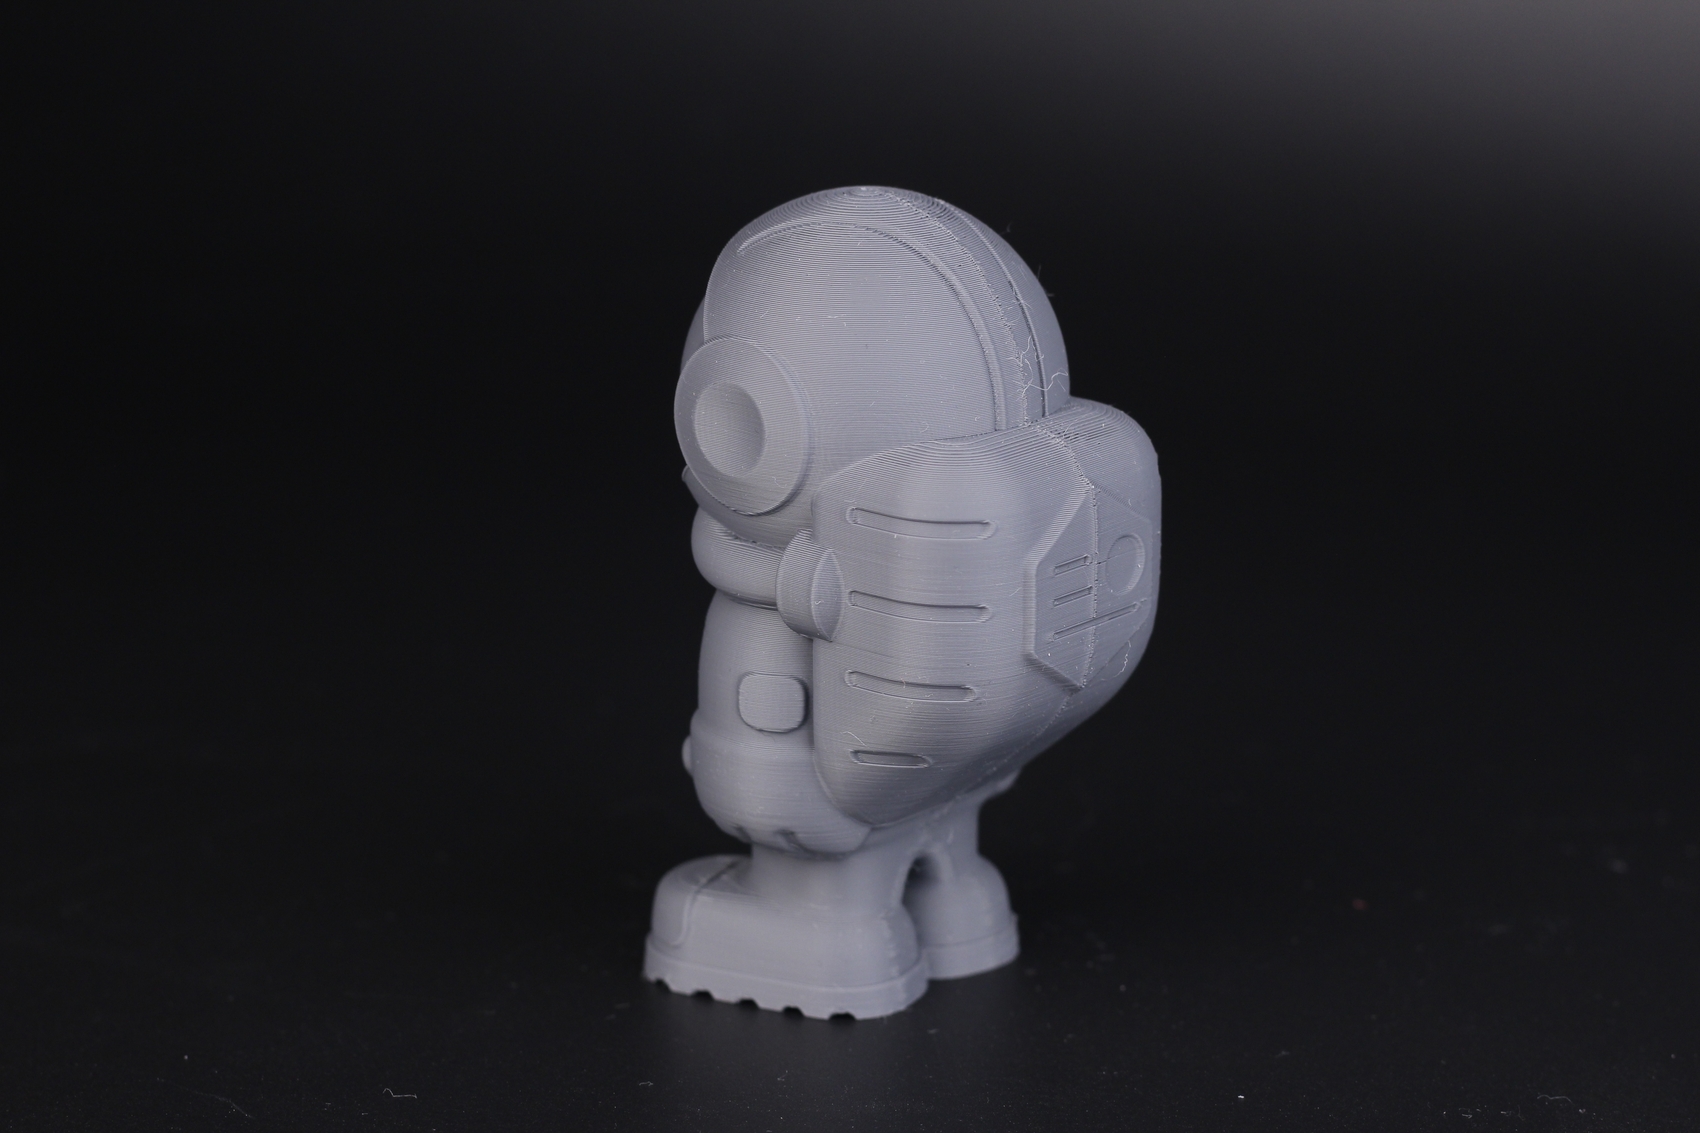
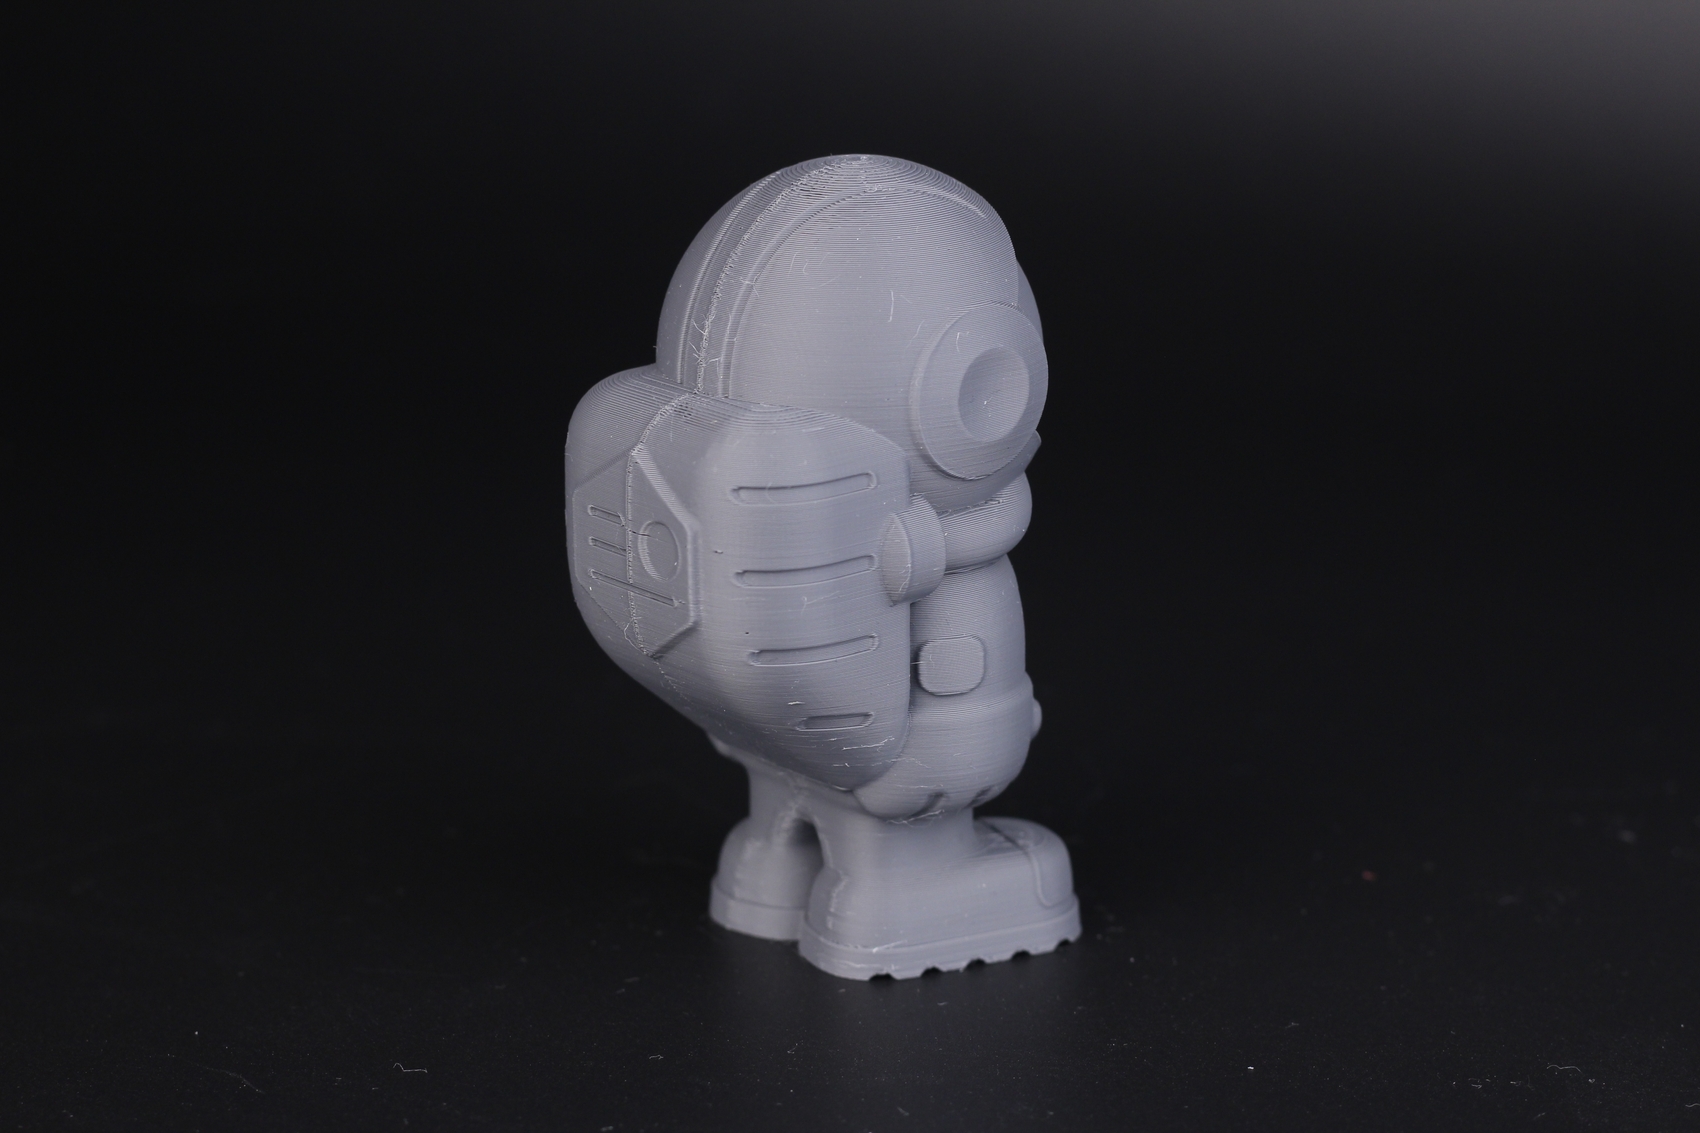
- Material: PrimaSelect Grey PLA Pro
- Layer Height: 0.2mm
- Nozzle Temperature: 215C
- Bed Temperature: 65C
- Print Speed: 50 mm/s
Stronghero3D Swan
I also printed the Stornghero3D Swan to test a taller print and check for banding. I am happy to report that everything works great, and even though I haven’t used supports for the sides, the S1 Pro didn’t care.
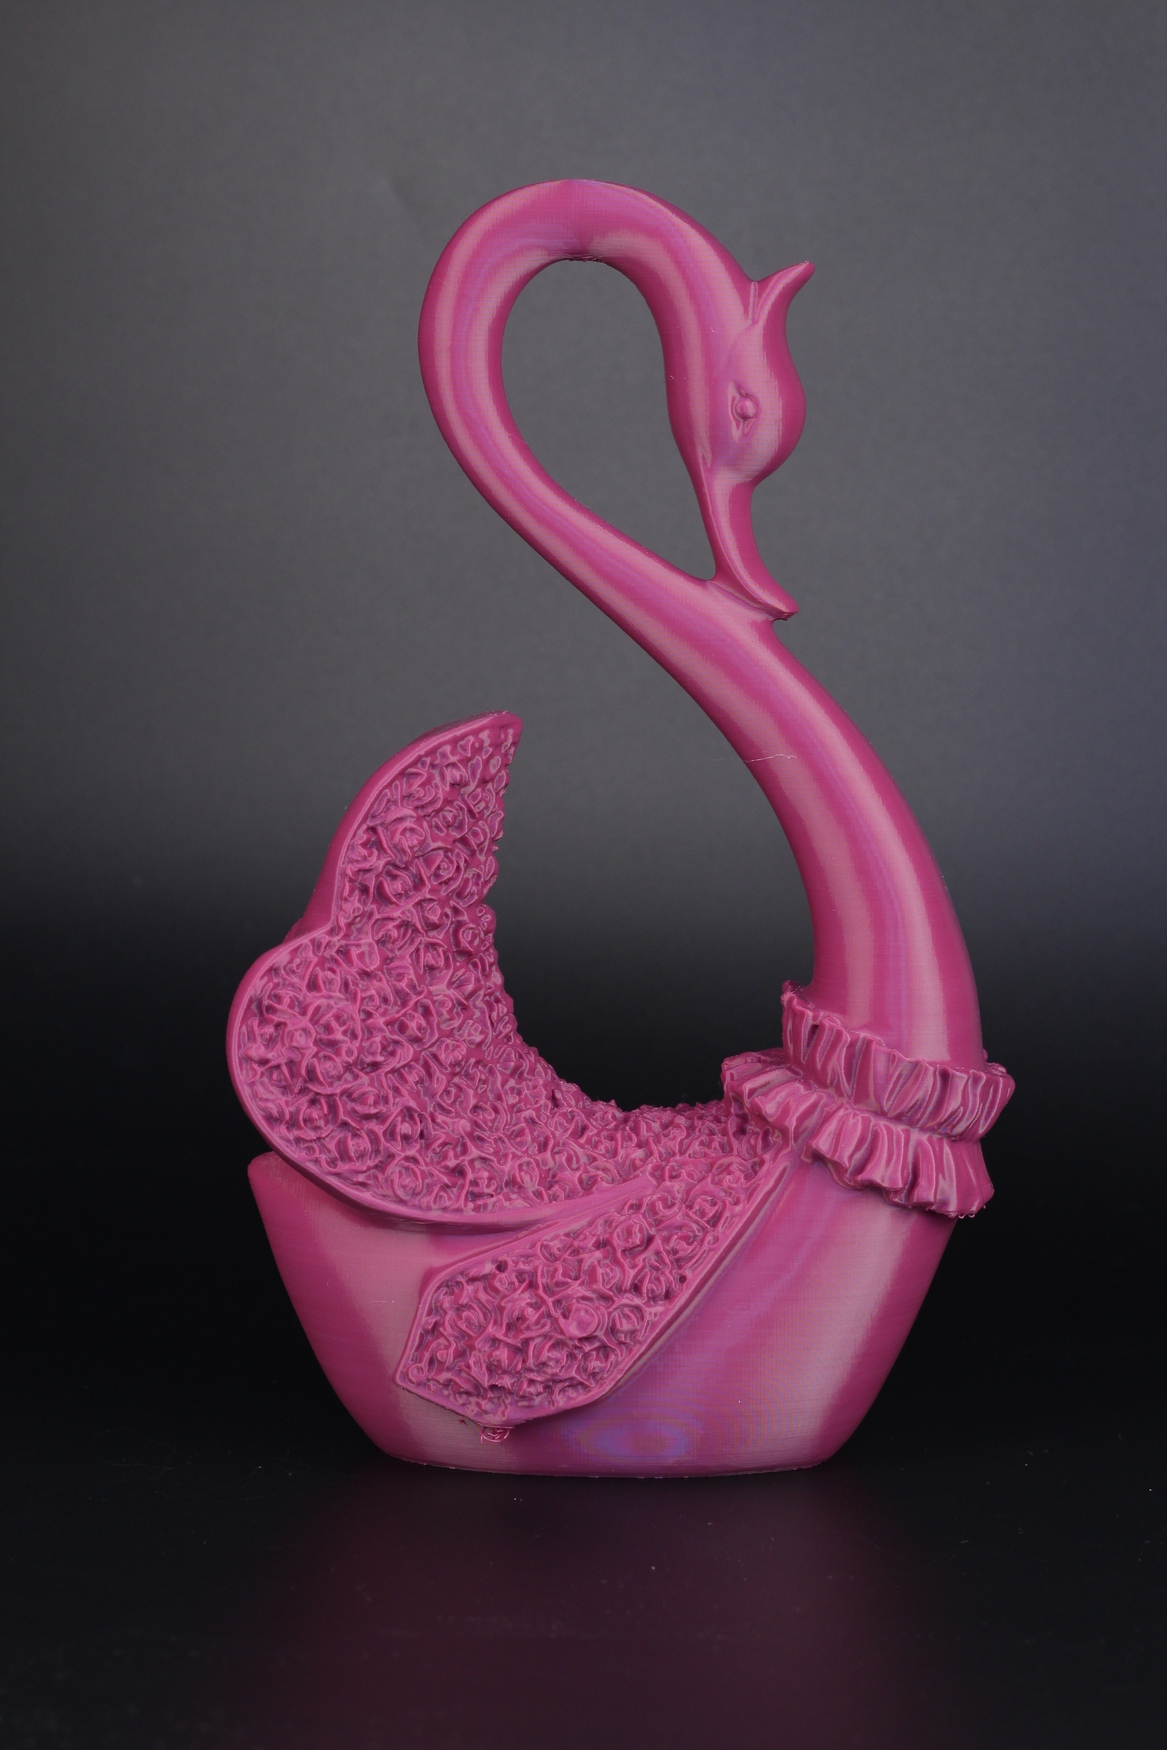
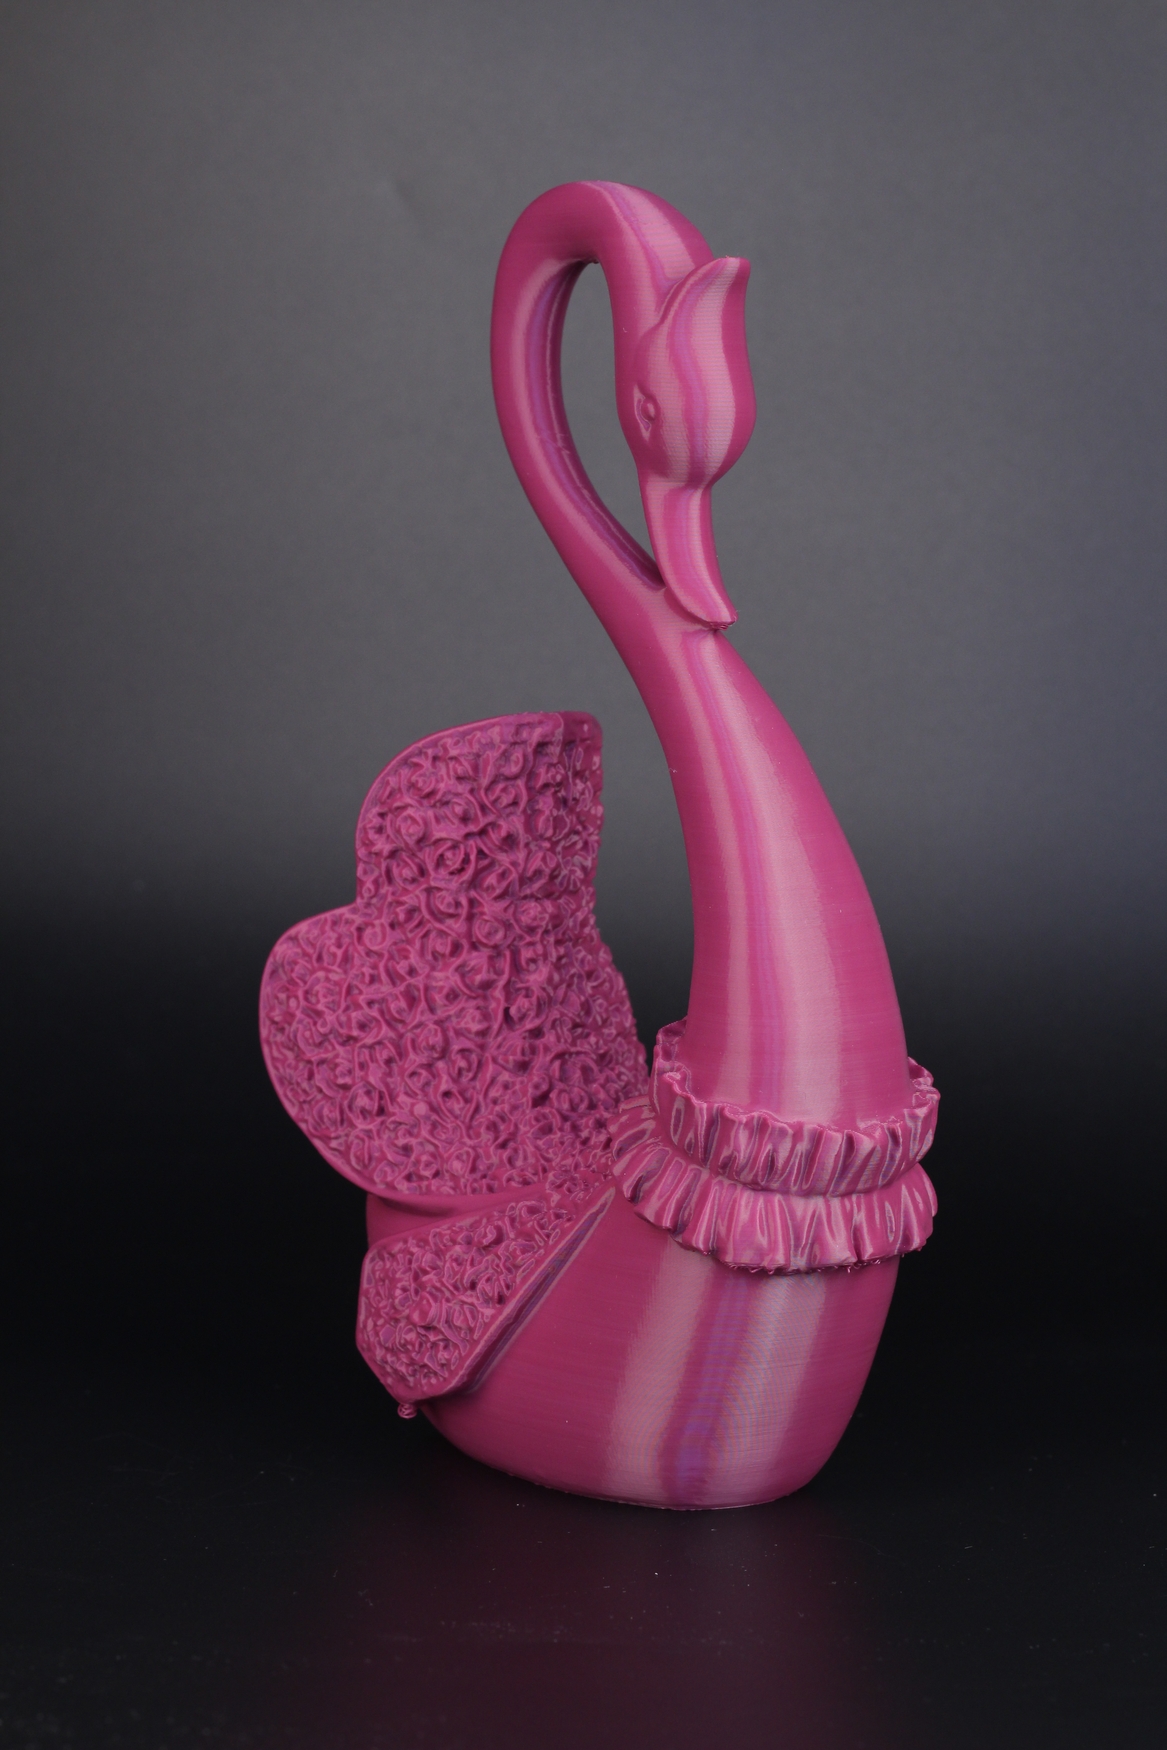
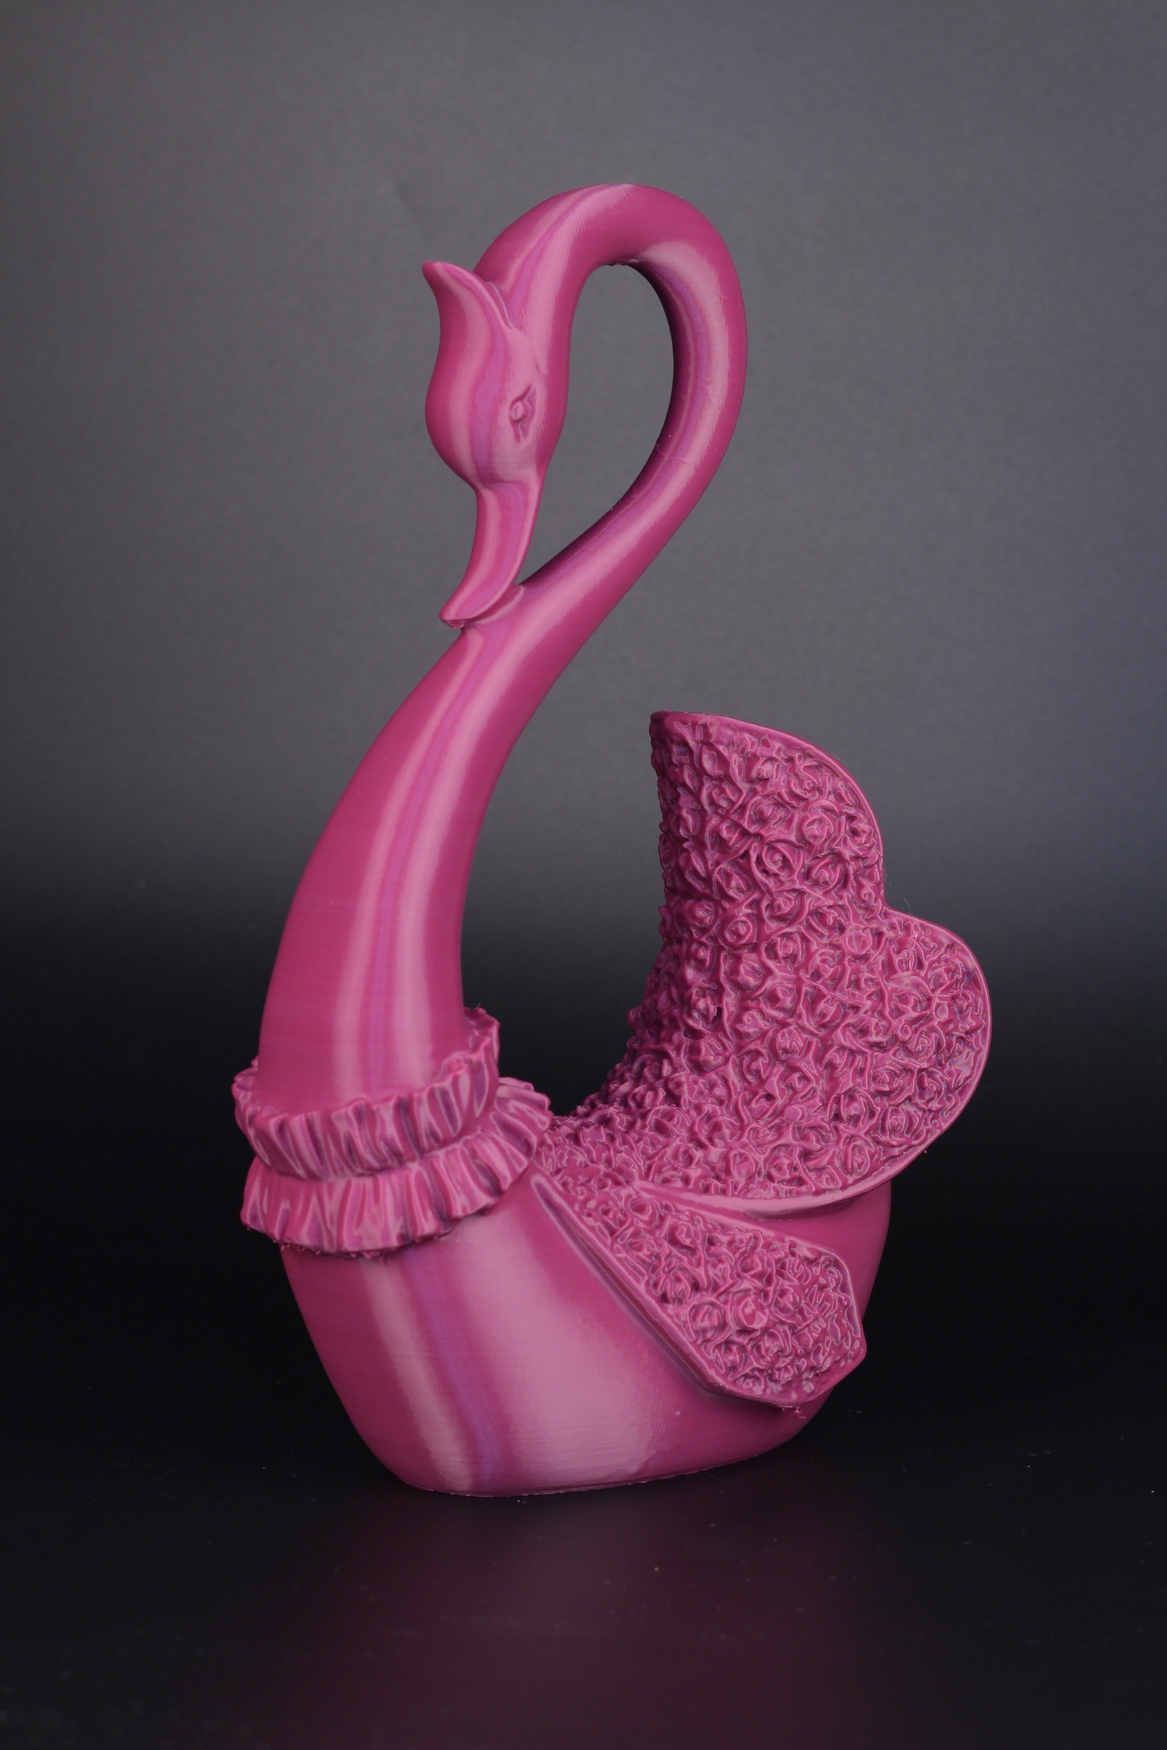
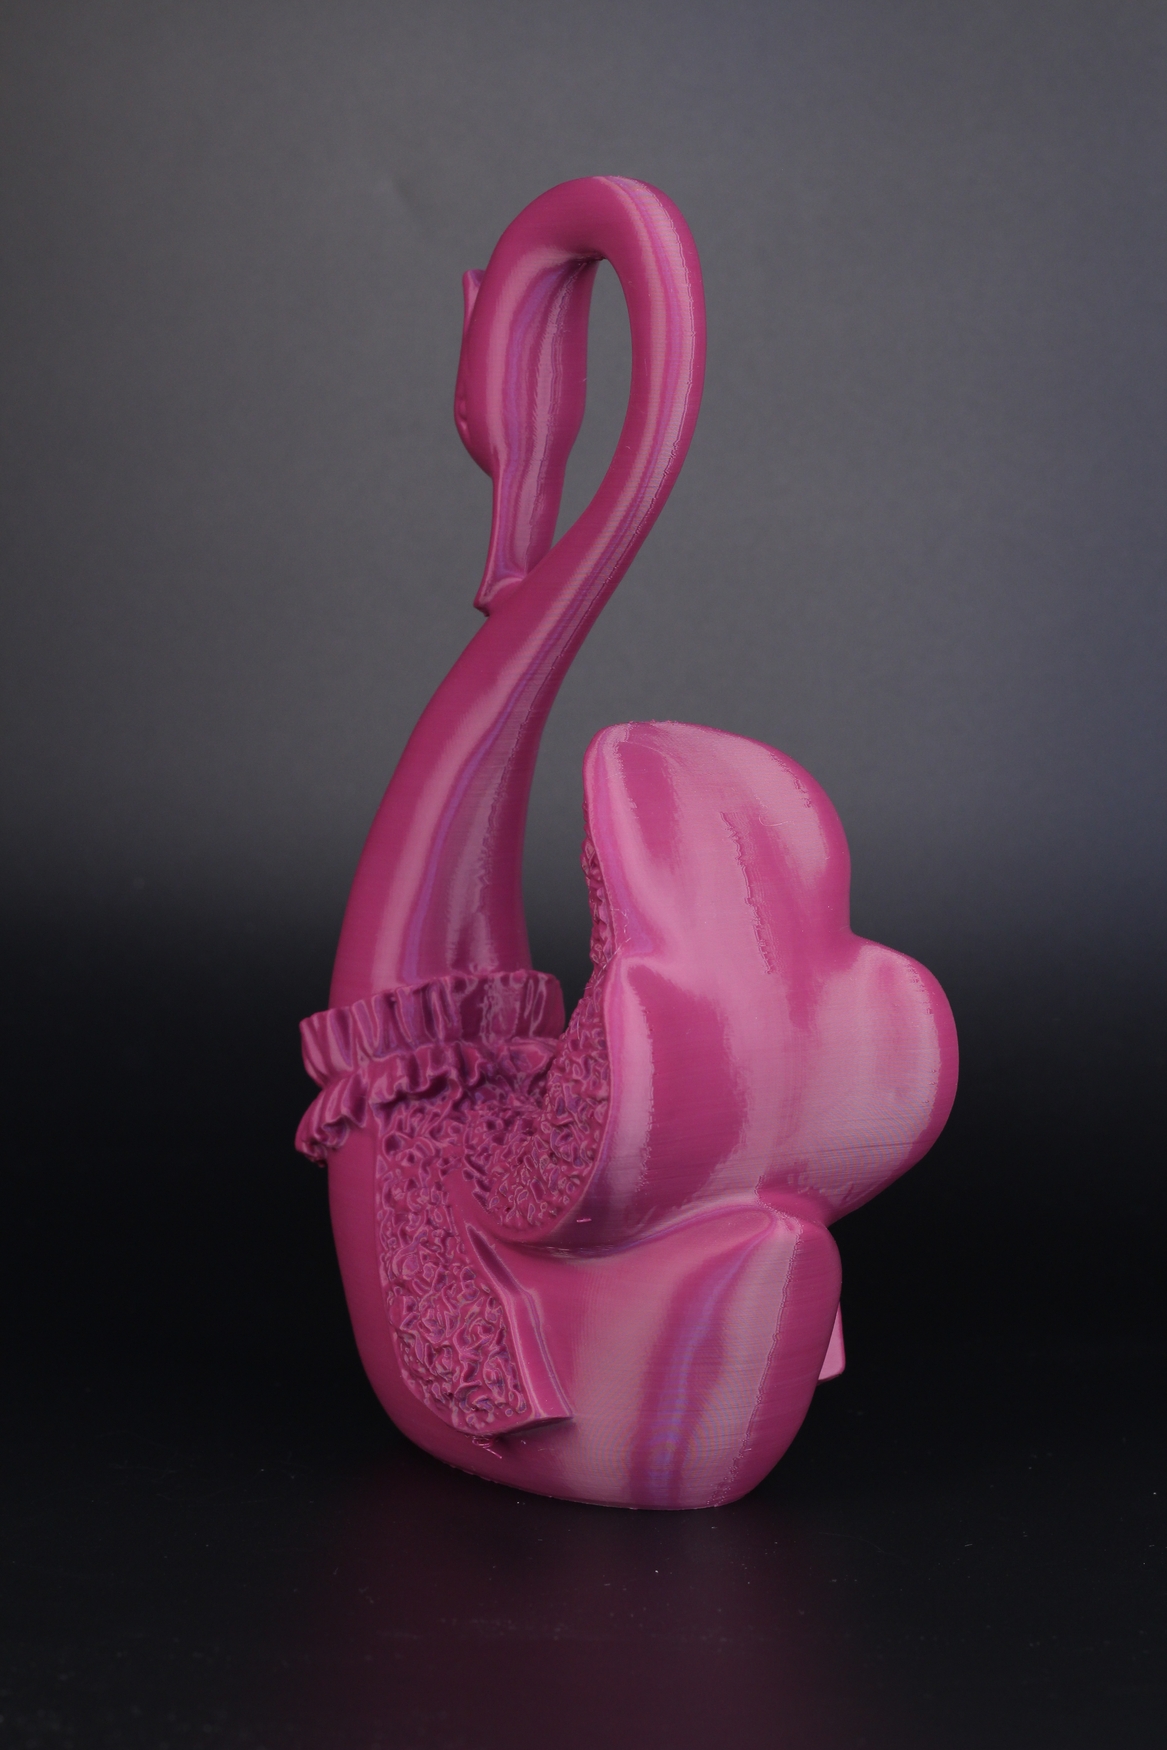
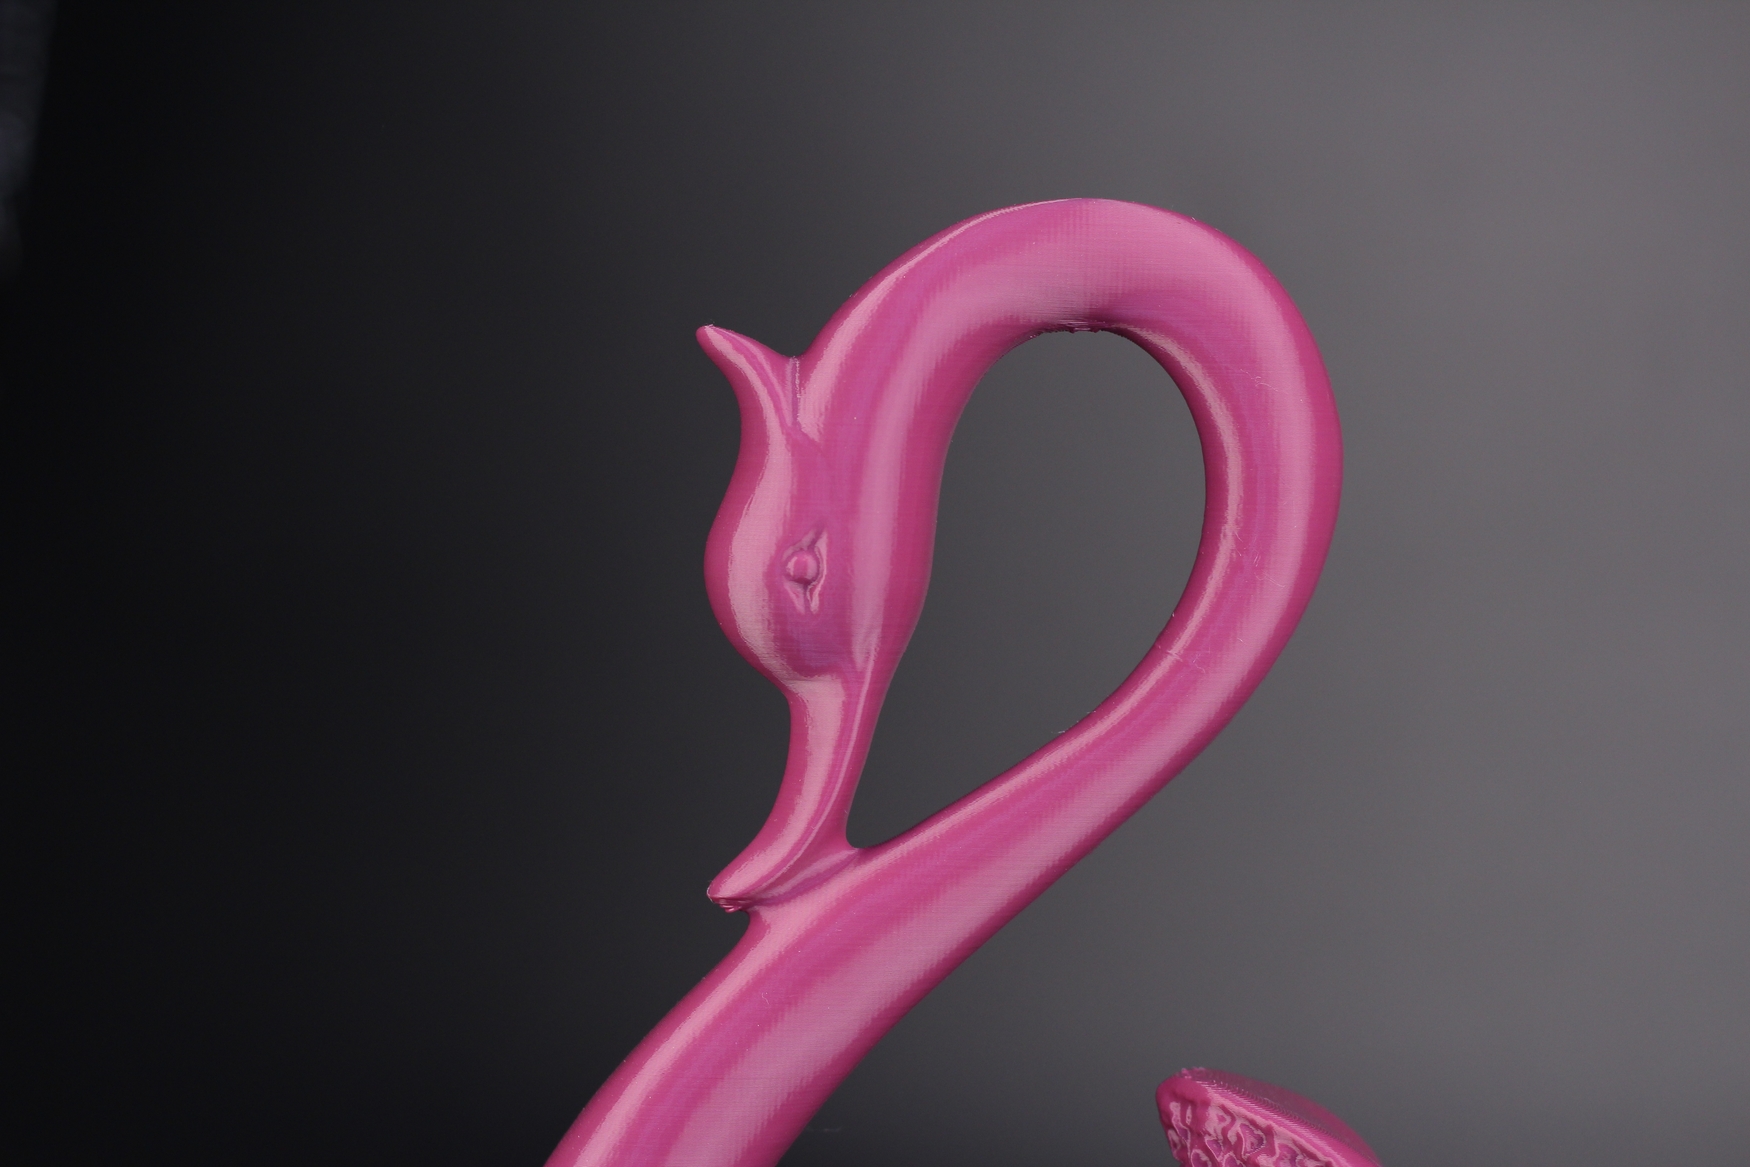
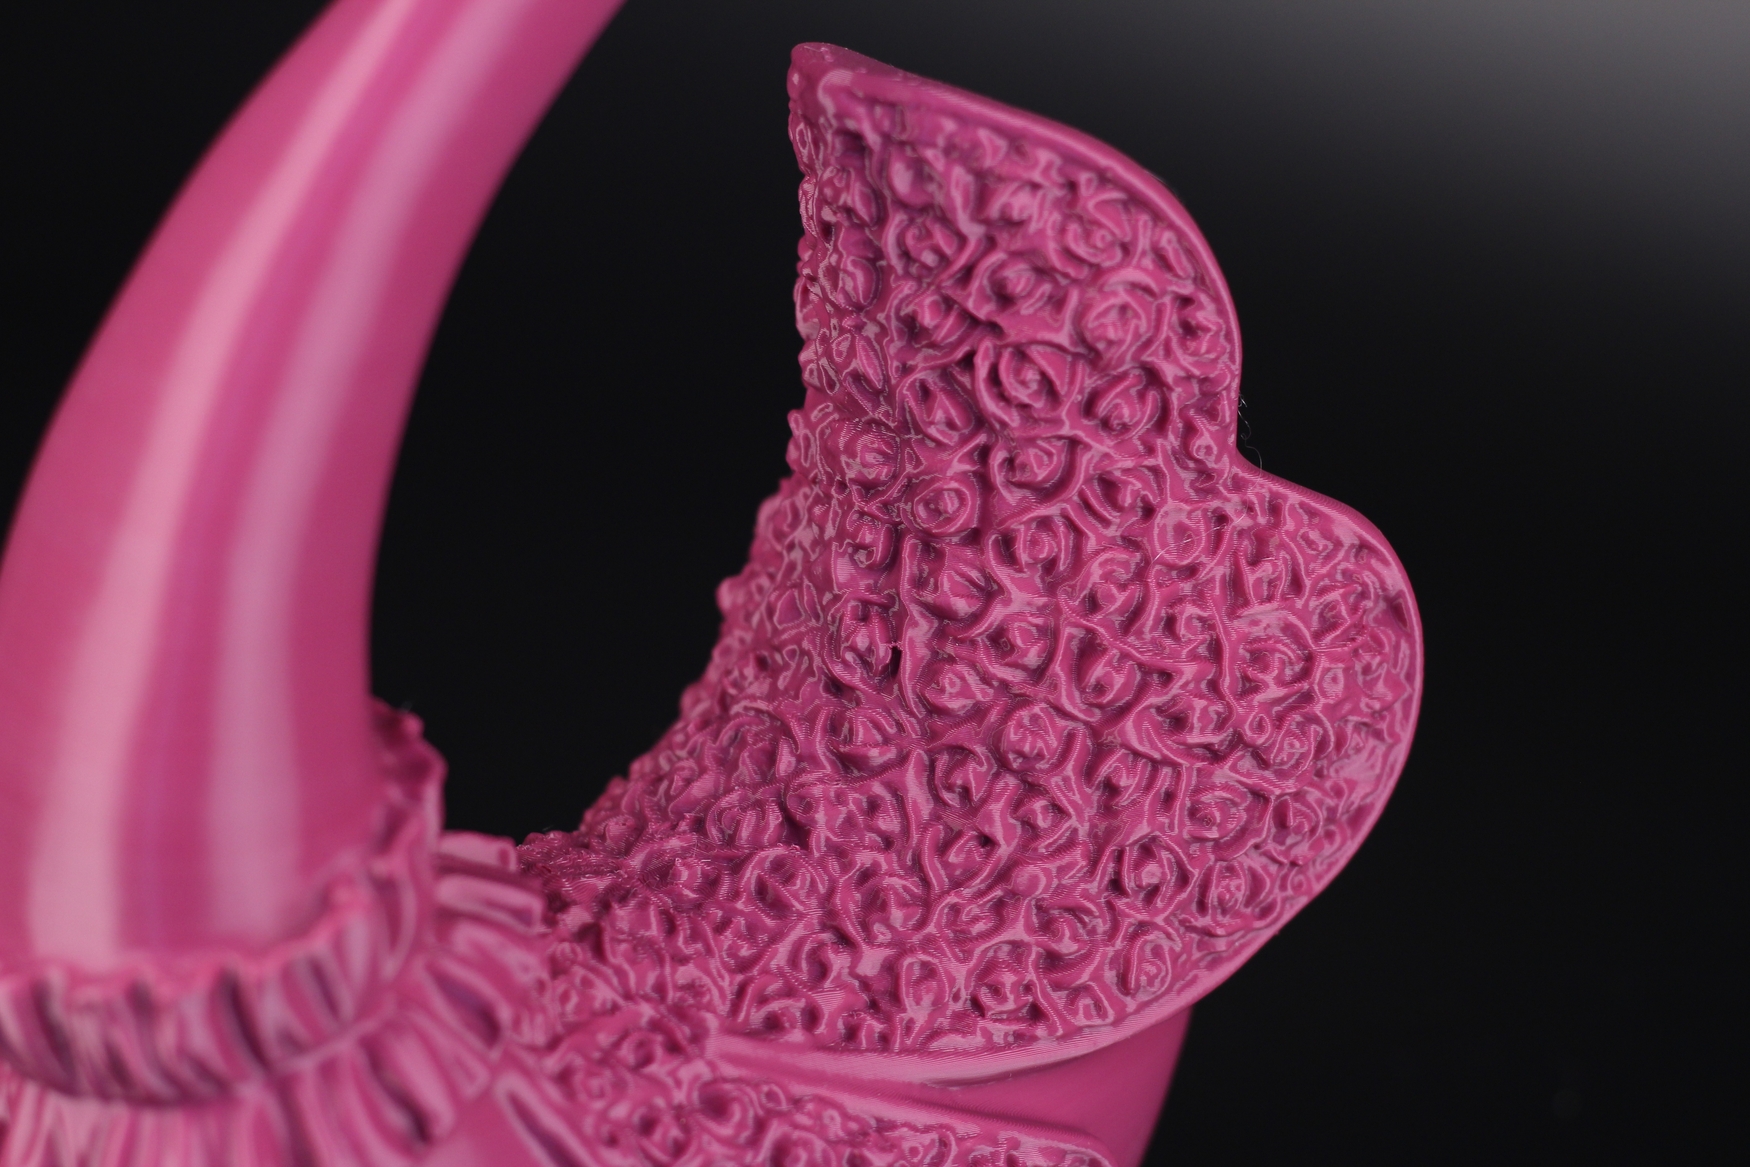
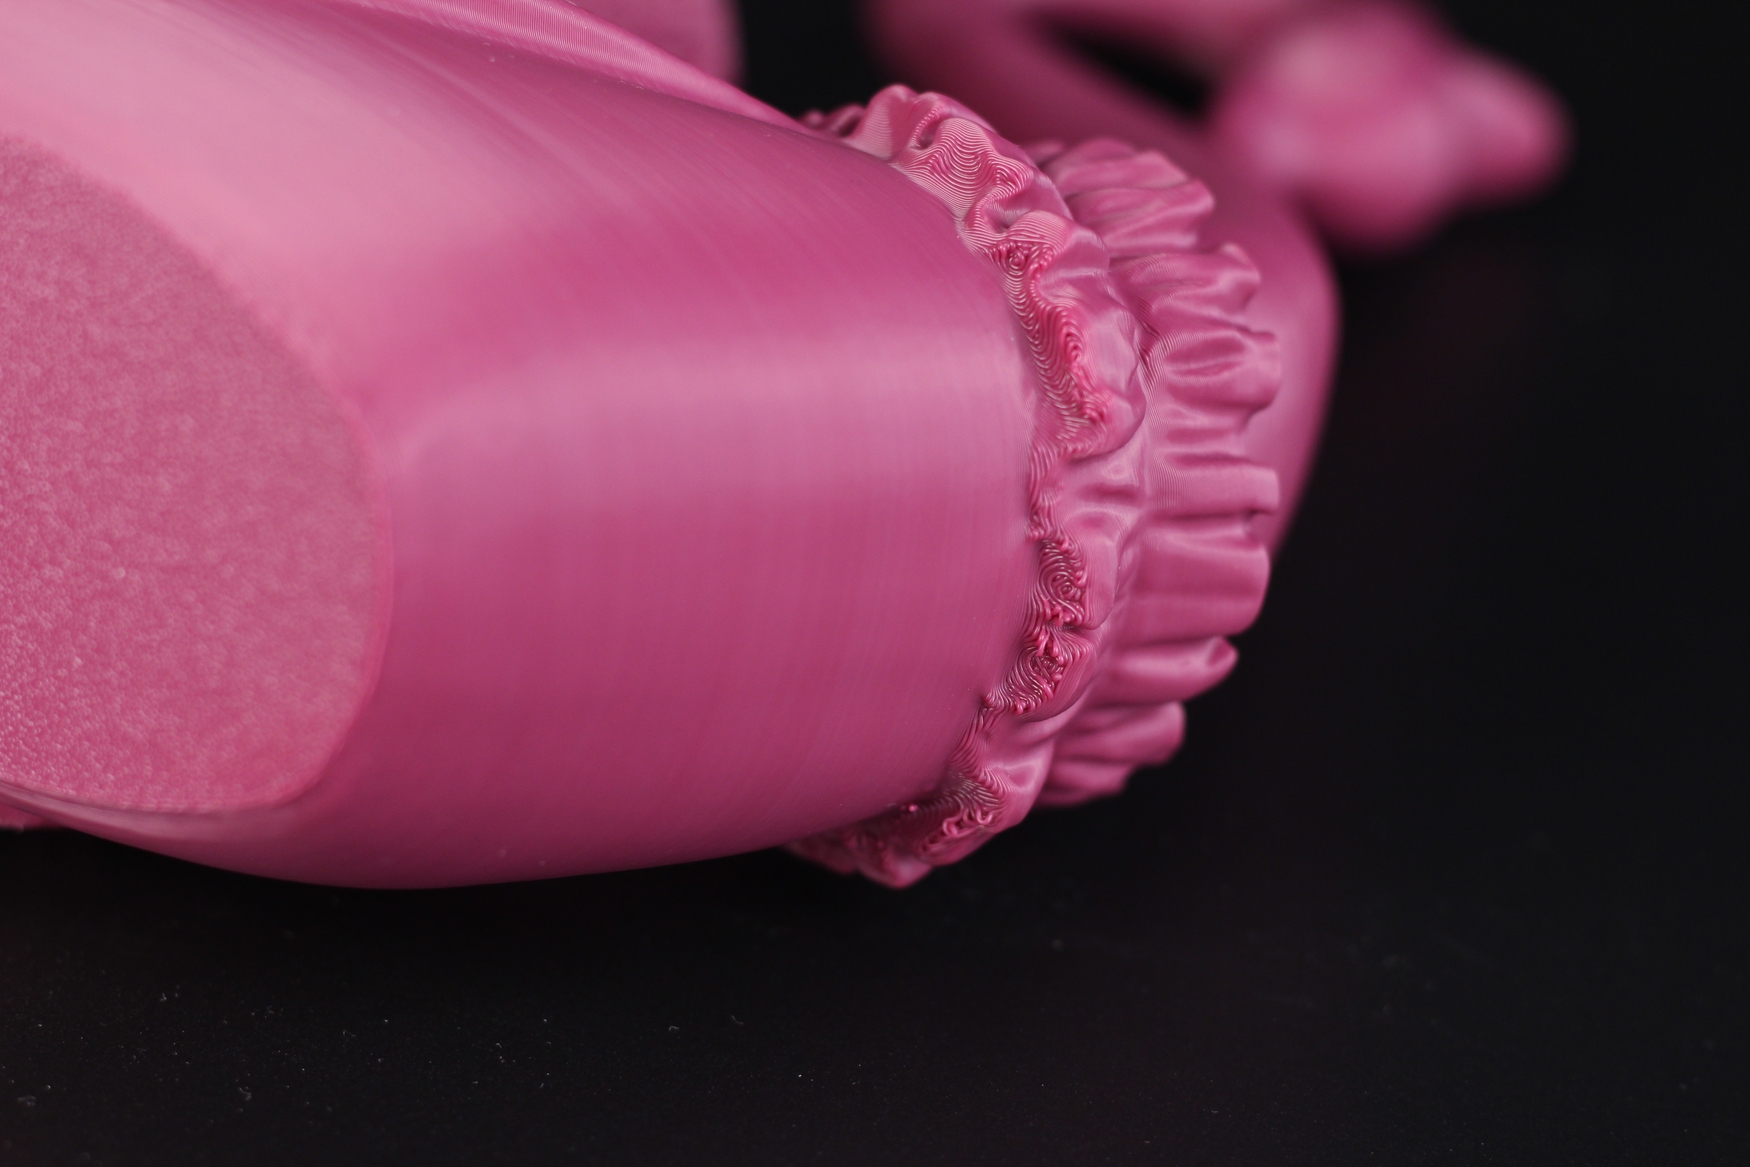
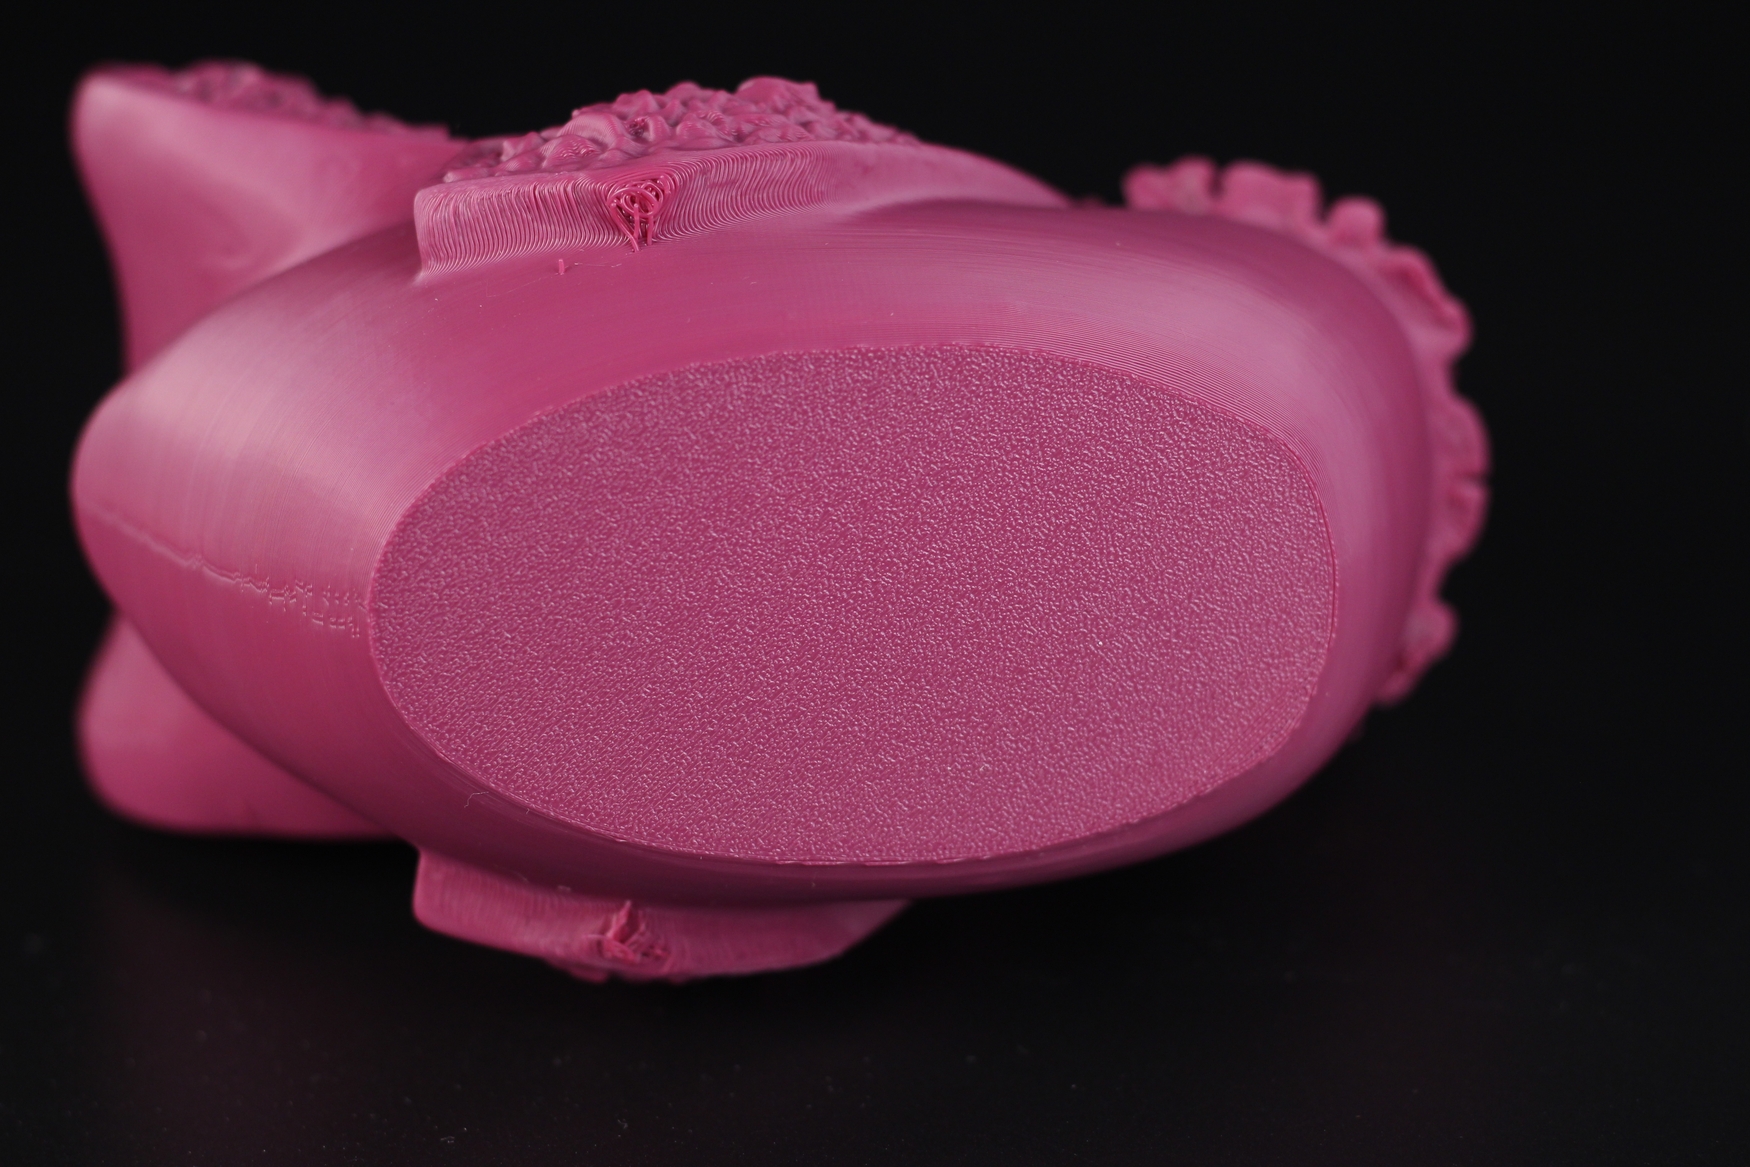
I printed a secondary swan in rainbow filament, but this one didn’t complete successfully because I hit the printer during operation and it failed. Still, could have been a nice result.
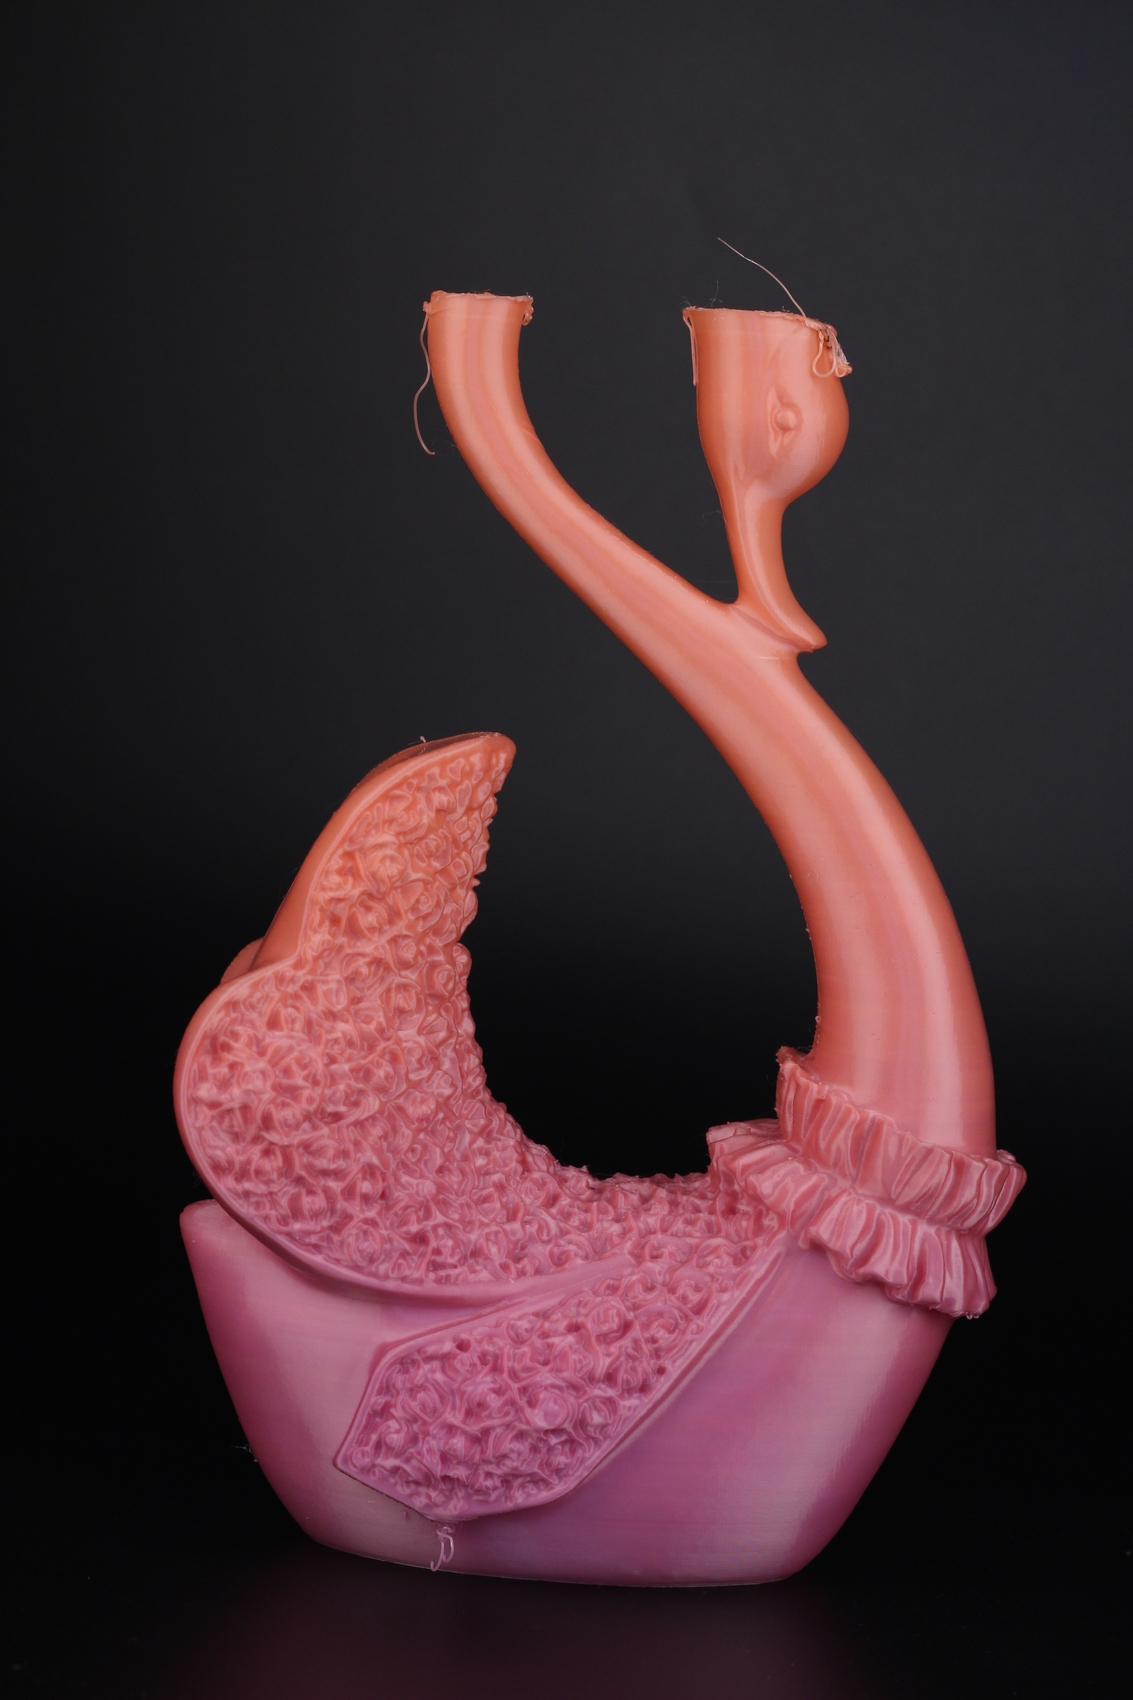
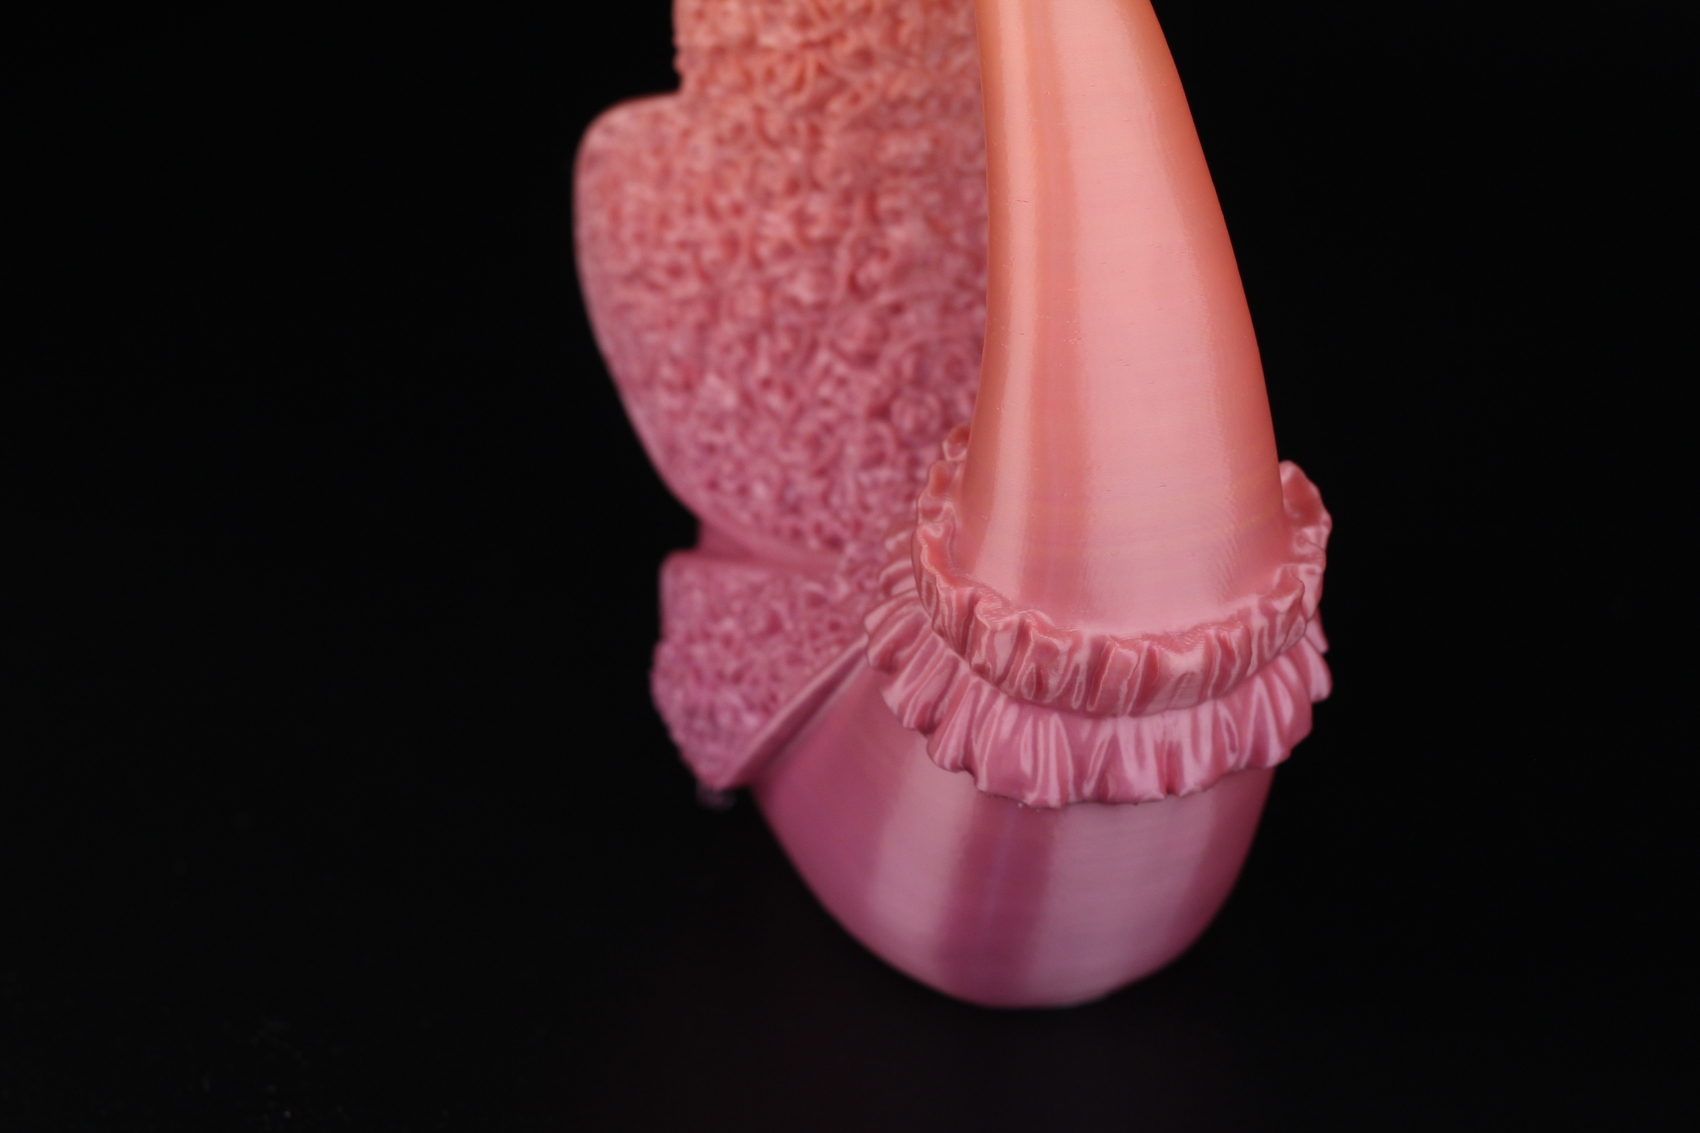
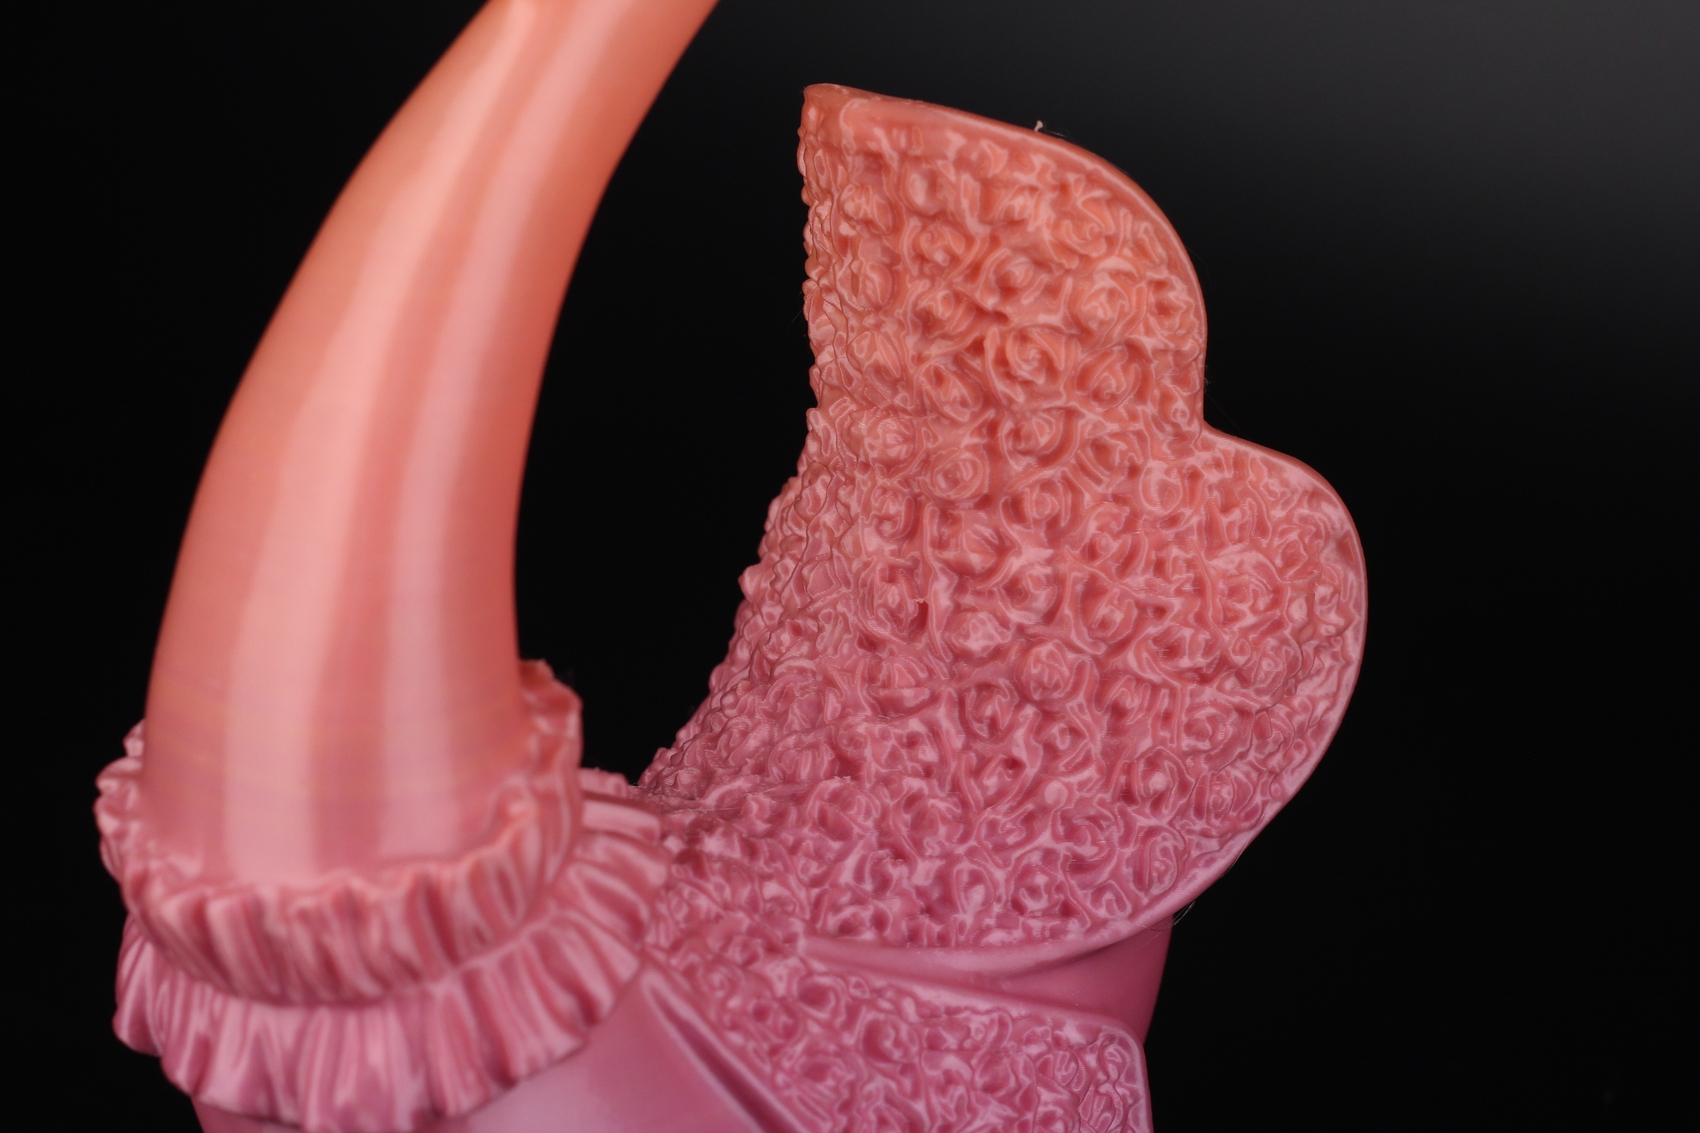
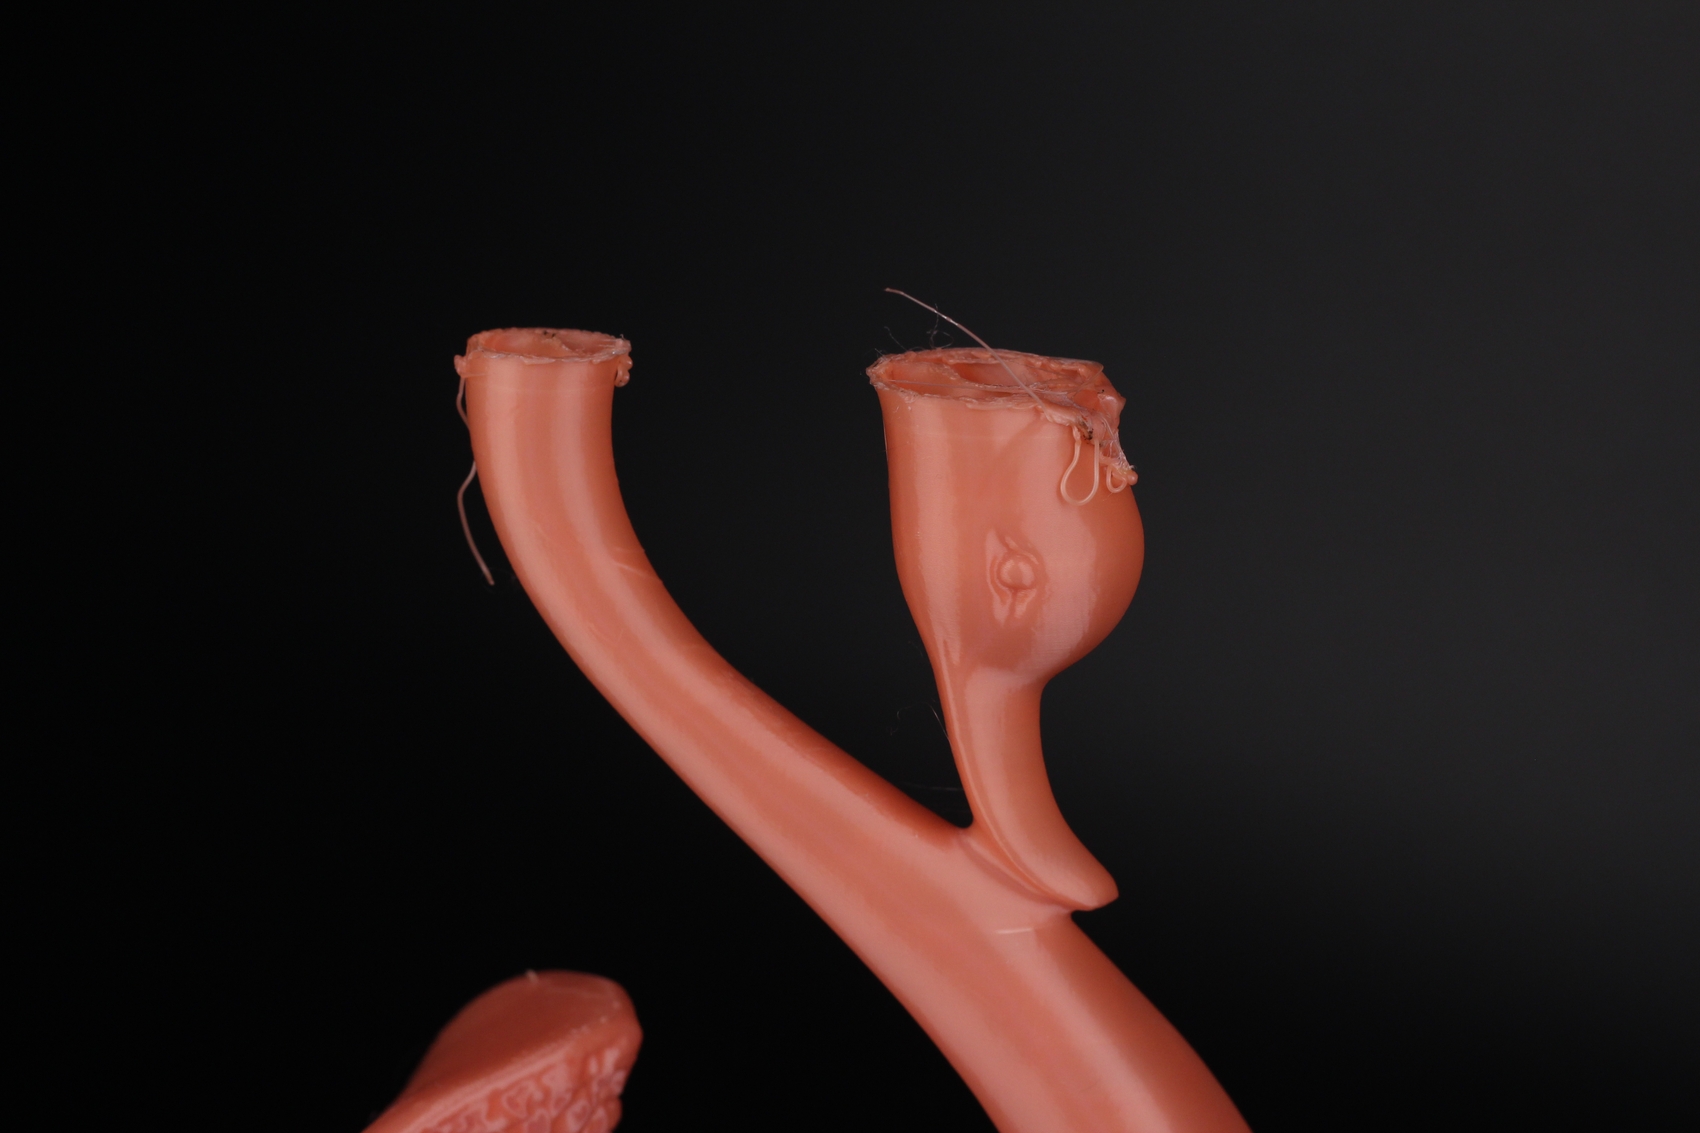
- Material: Devil Design Raspberry PLA and Creality Rainbow PLA
- Layer Height: 0.15mm
- Nozzle Temperature: 210C
- Bed Temperature: 60C
- Print Speed: 50 mm/s
Wowstick Frog Box
I needed a nice case for my Xiaomi Wowstick electric screwdriver, so I printed the Wowstick Frog Box from norkon on Thingiverse. This is another excellent print from the Ender 3 S1 Pro. It was printed on the entire bed surface in one go, and it completed successfully.
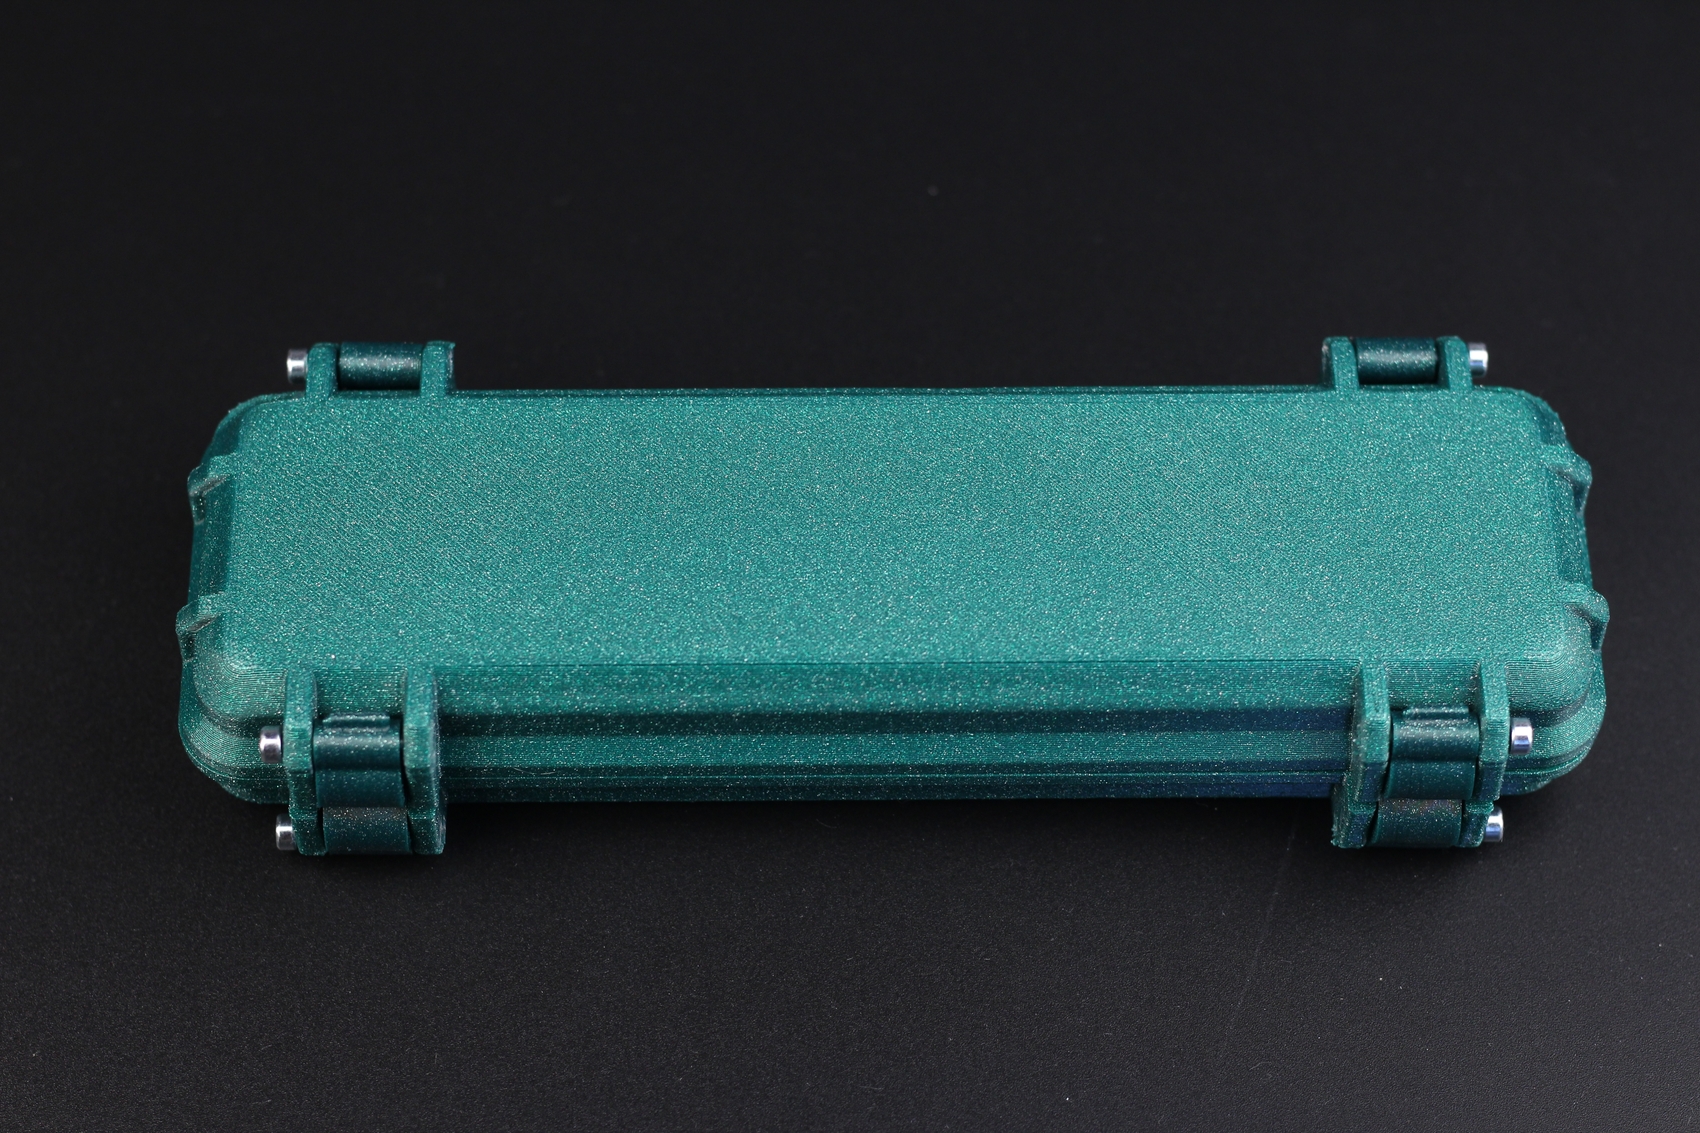
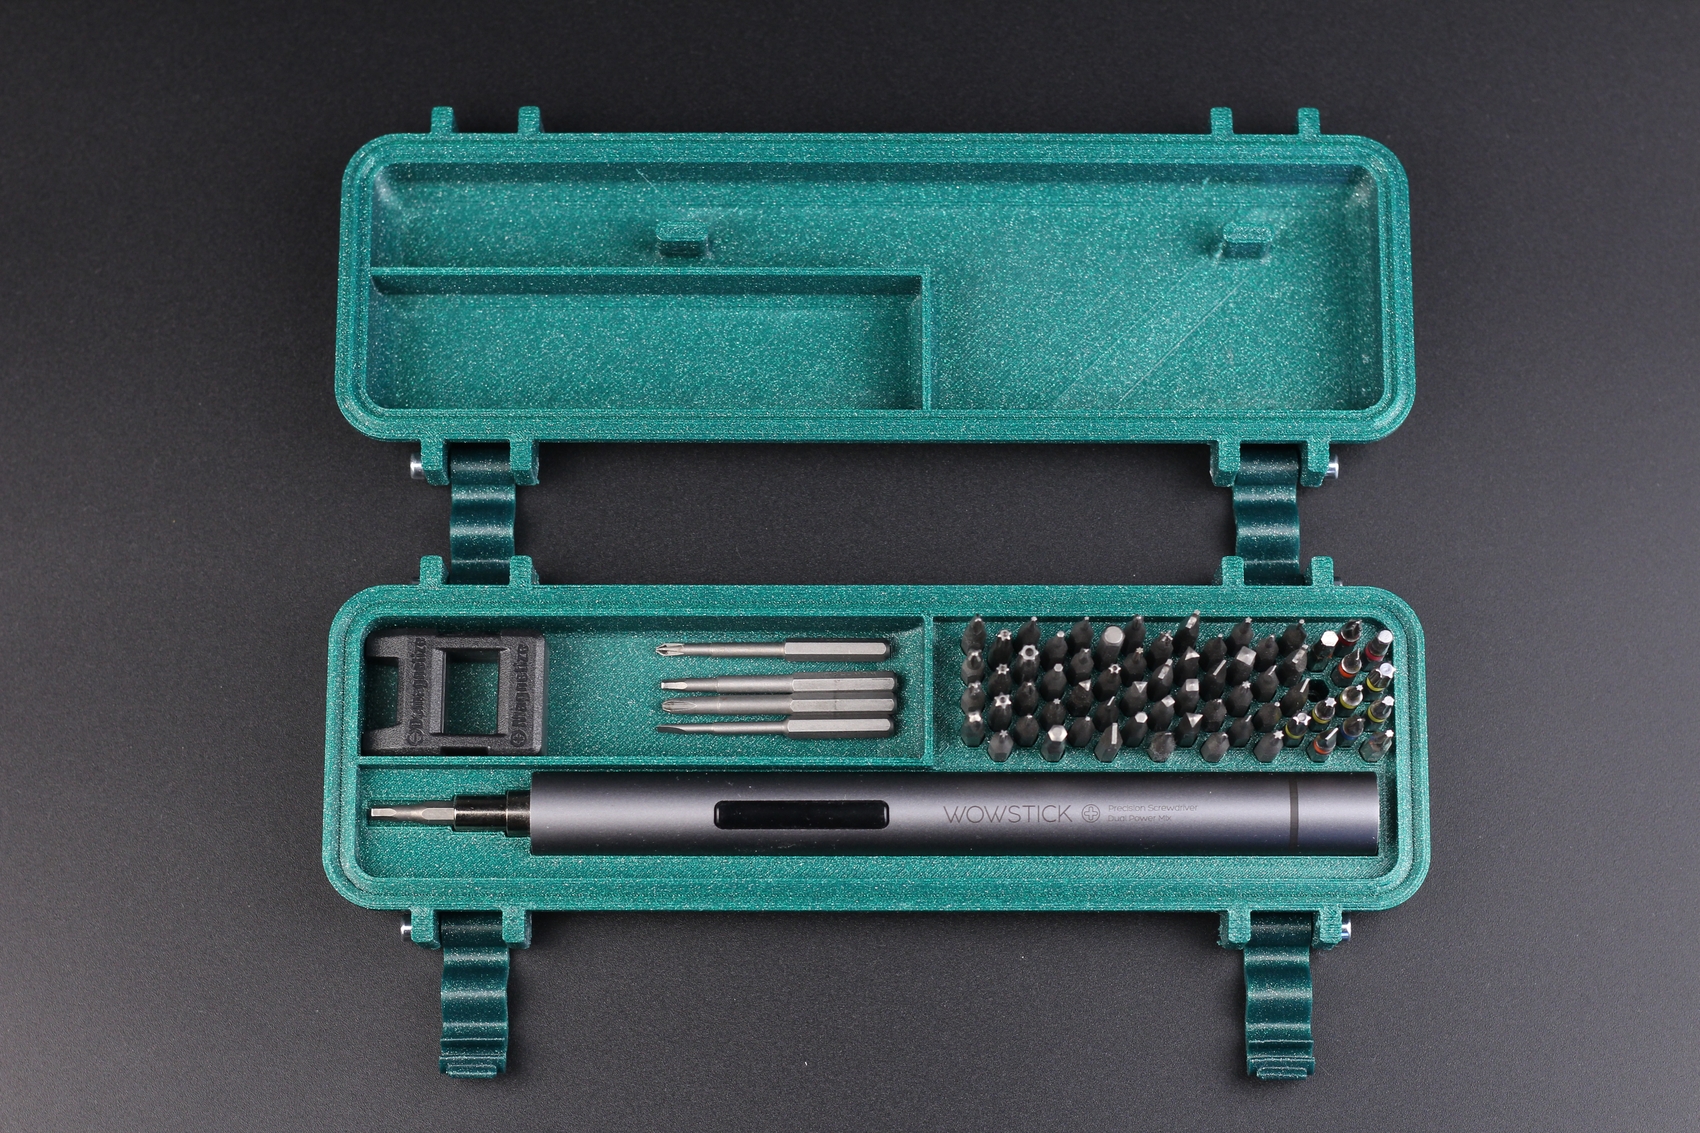
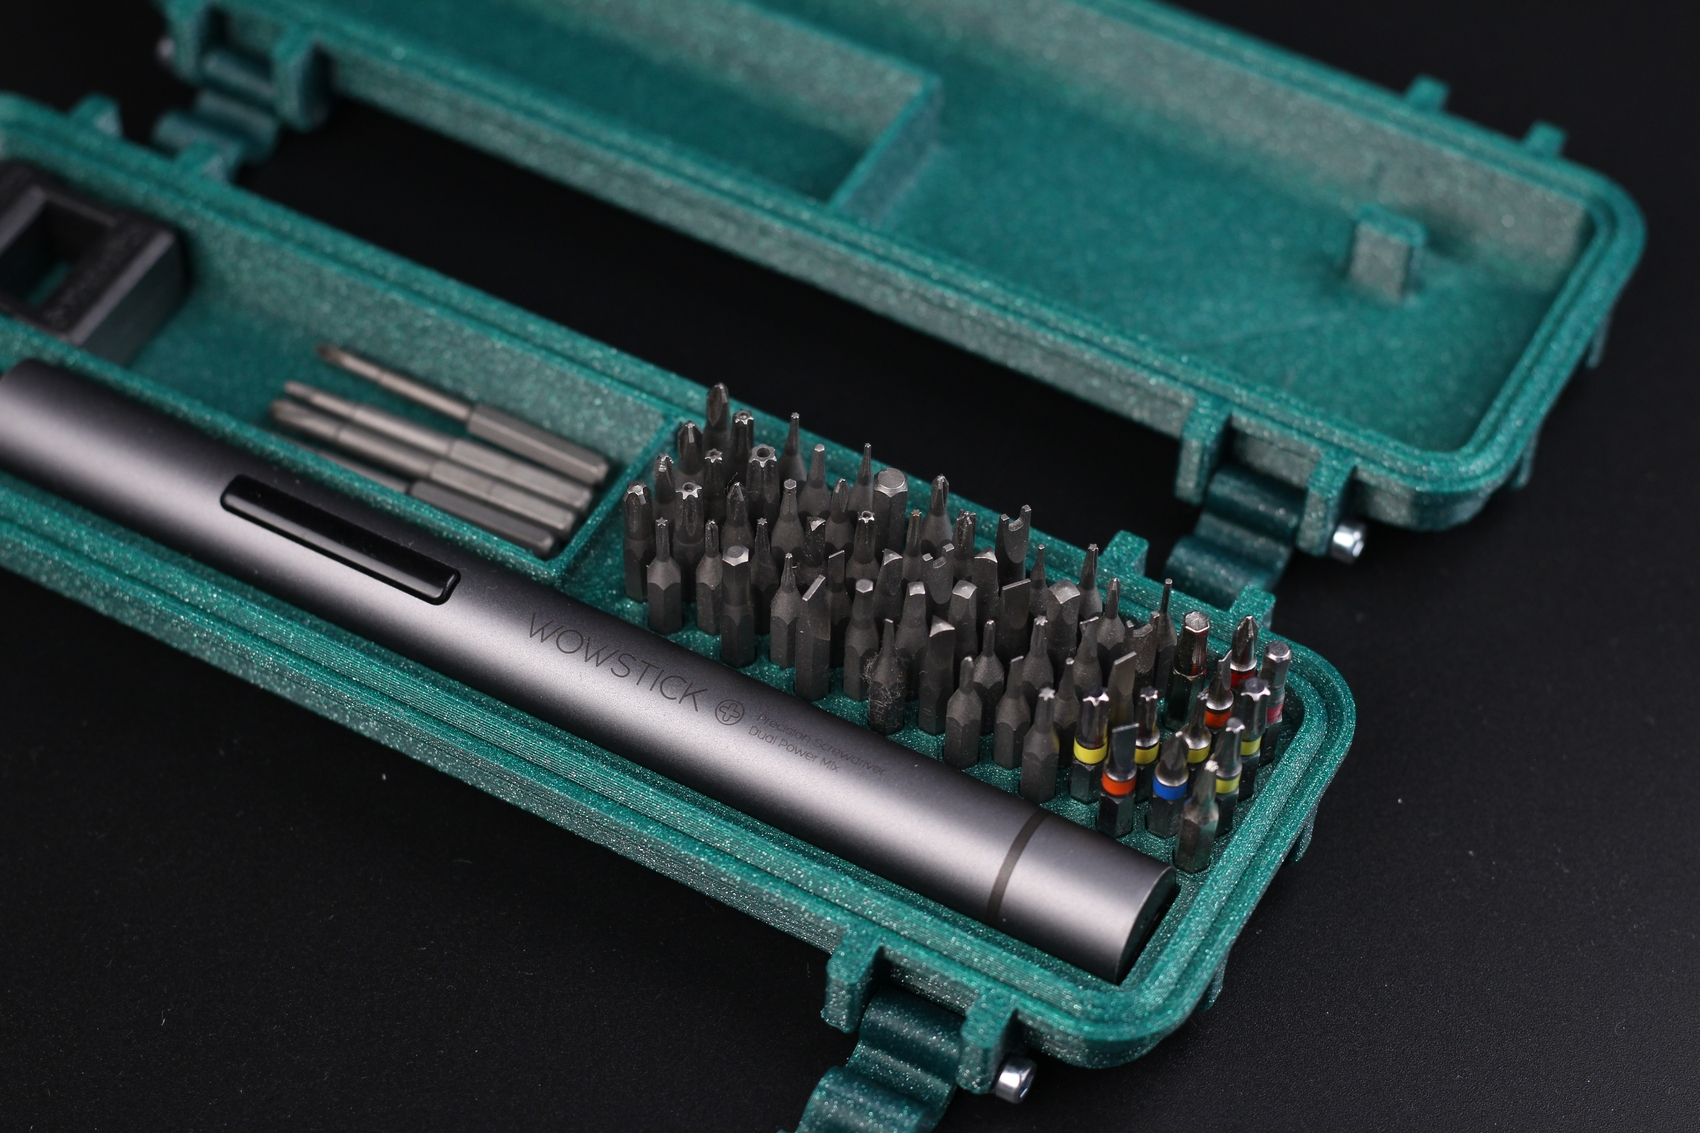
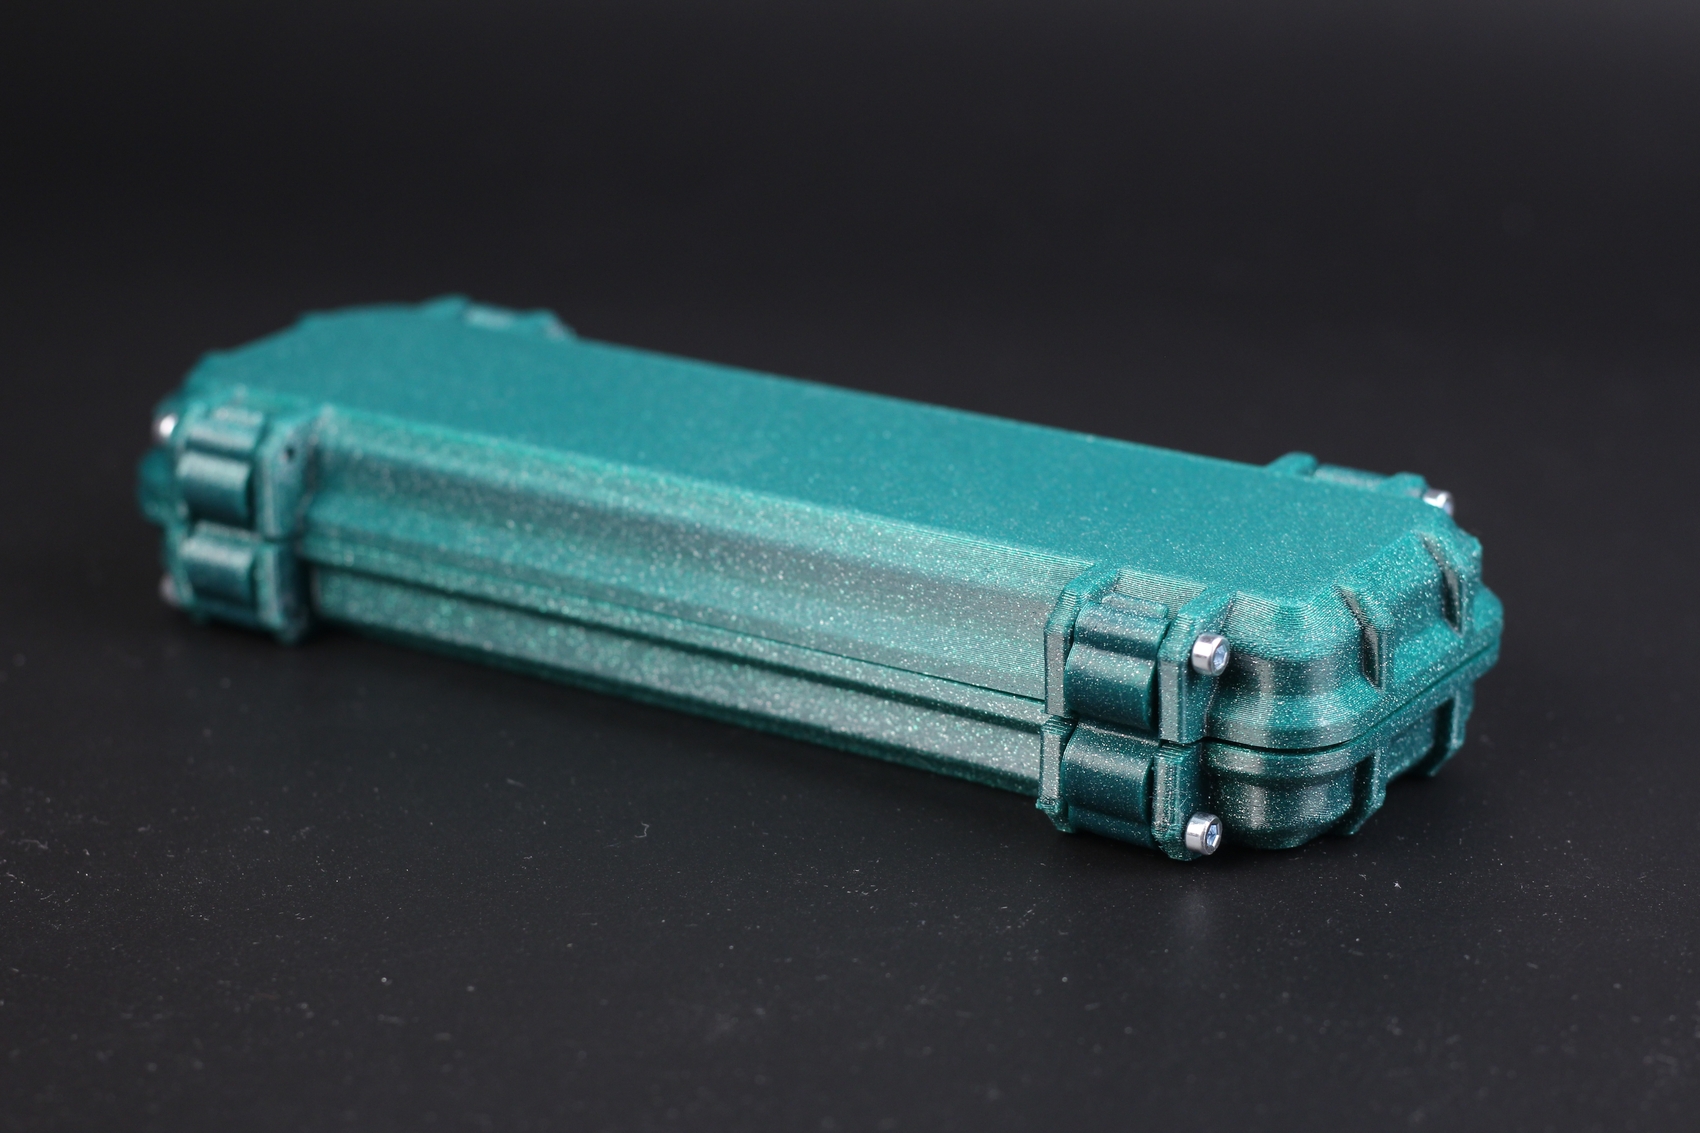
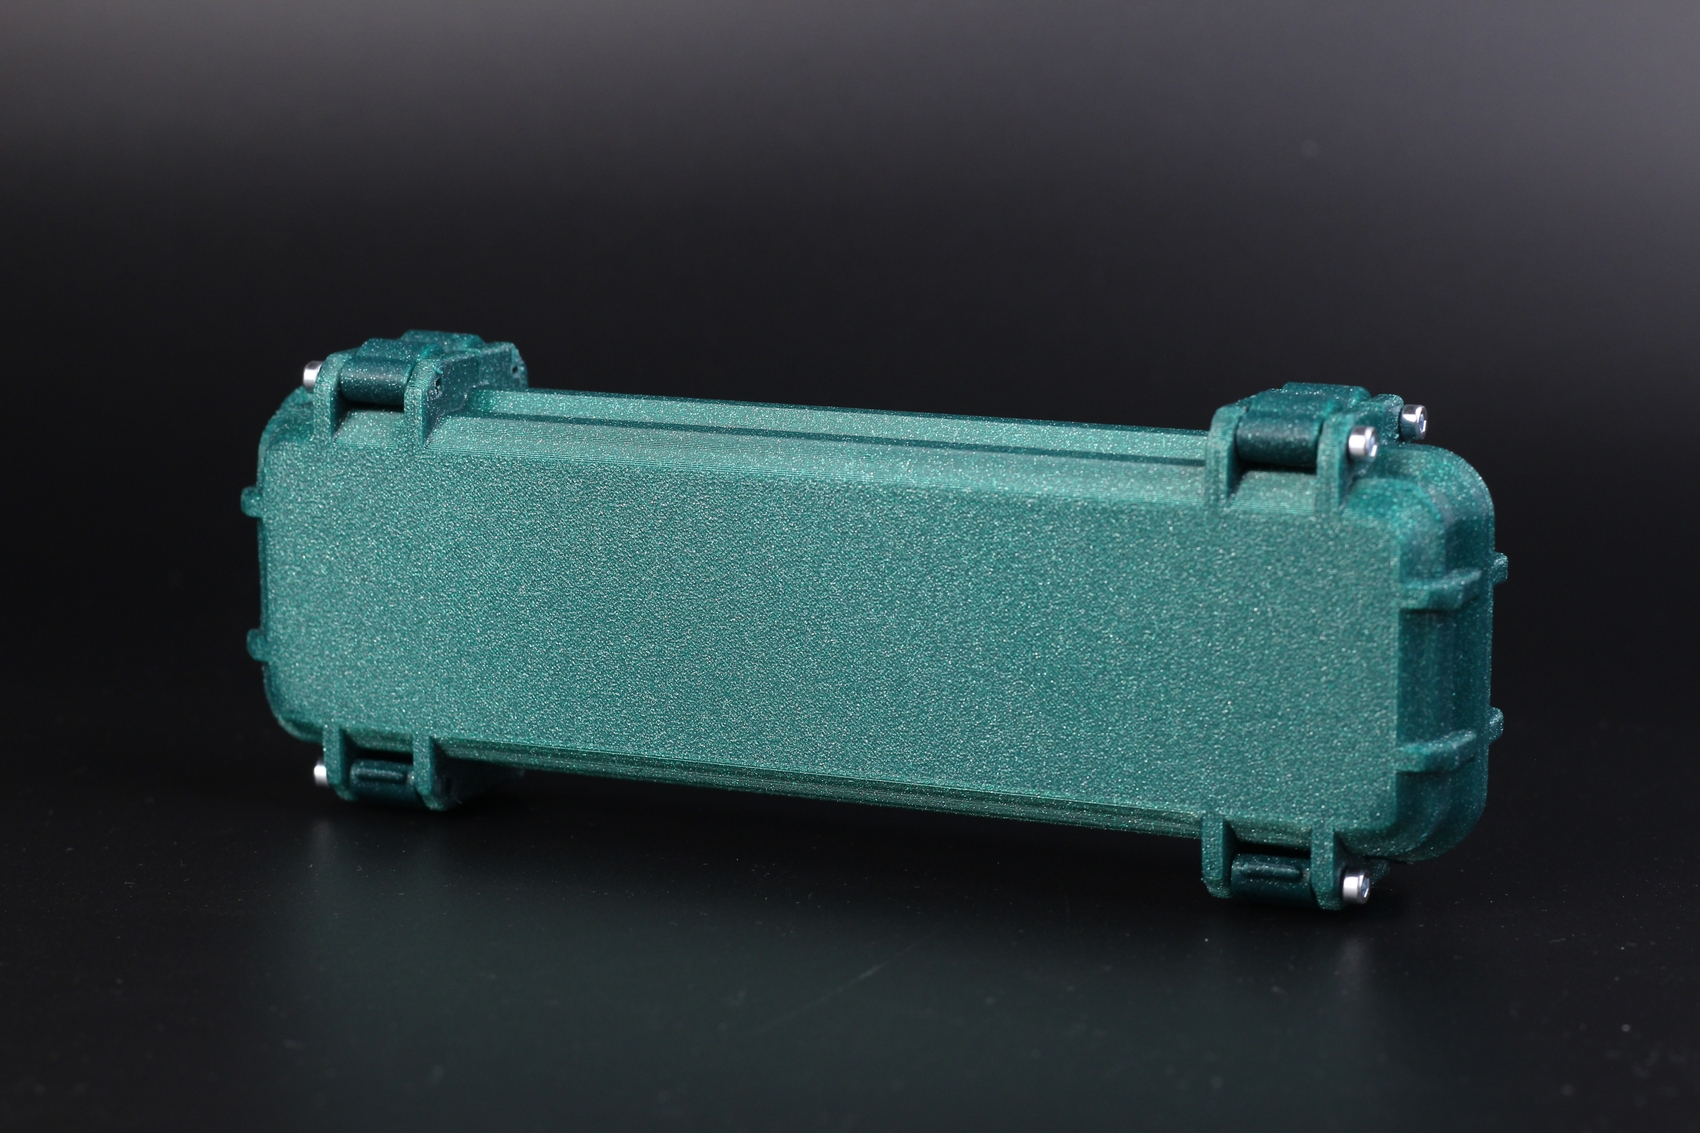
- Material: FilamentOne Glint Green PLA
- Layer Height: 0.2mm
- Nozzle Temperature: 215C
- Bed Temperature: 65C
- Print Speed: 50 mm/s
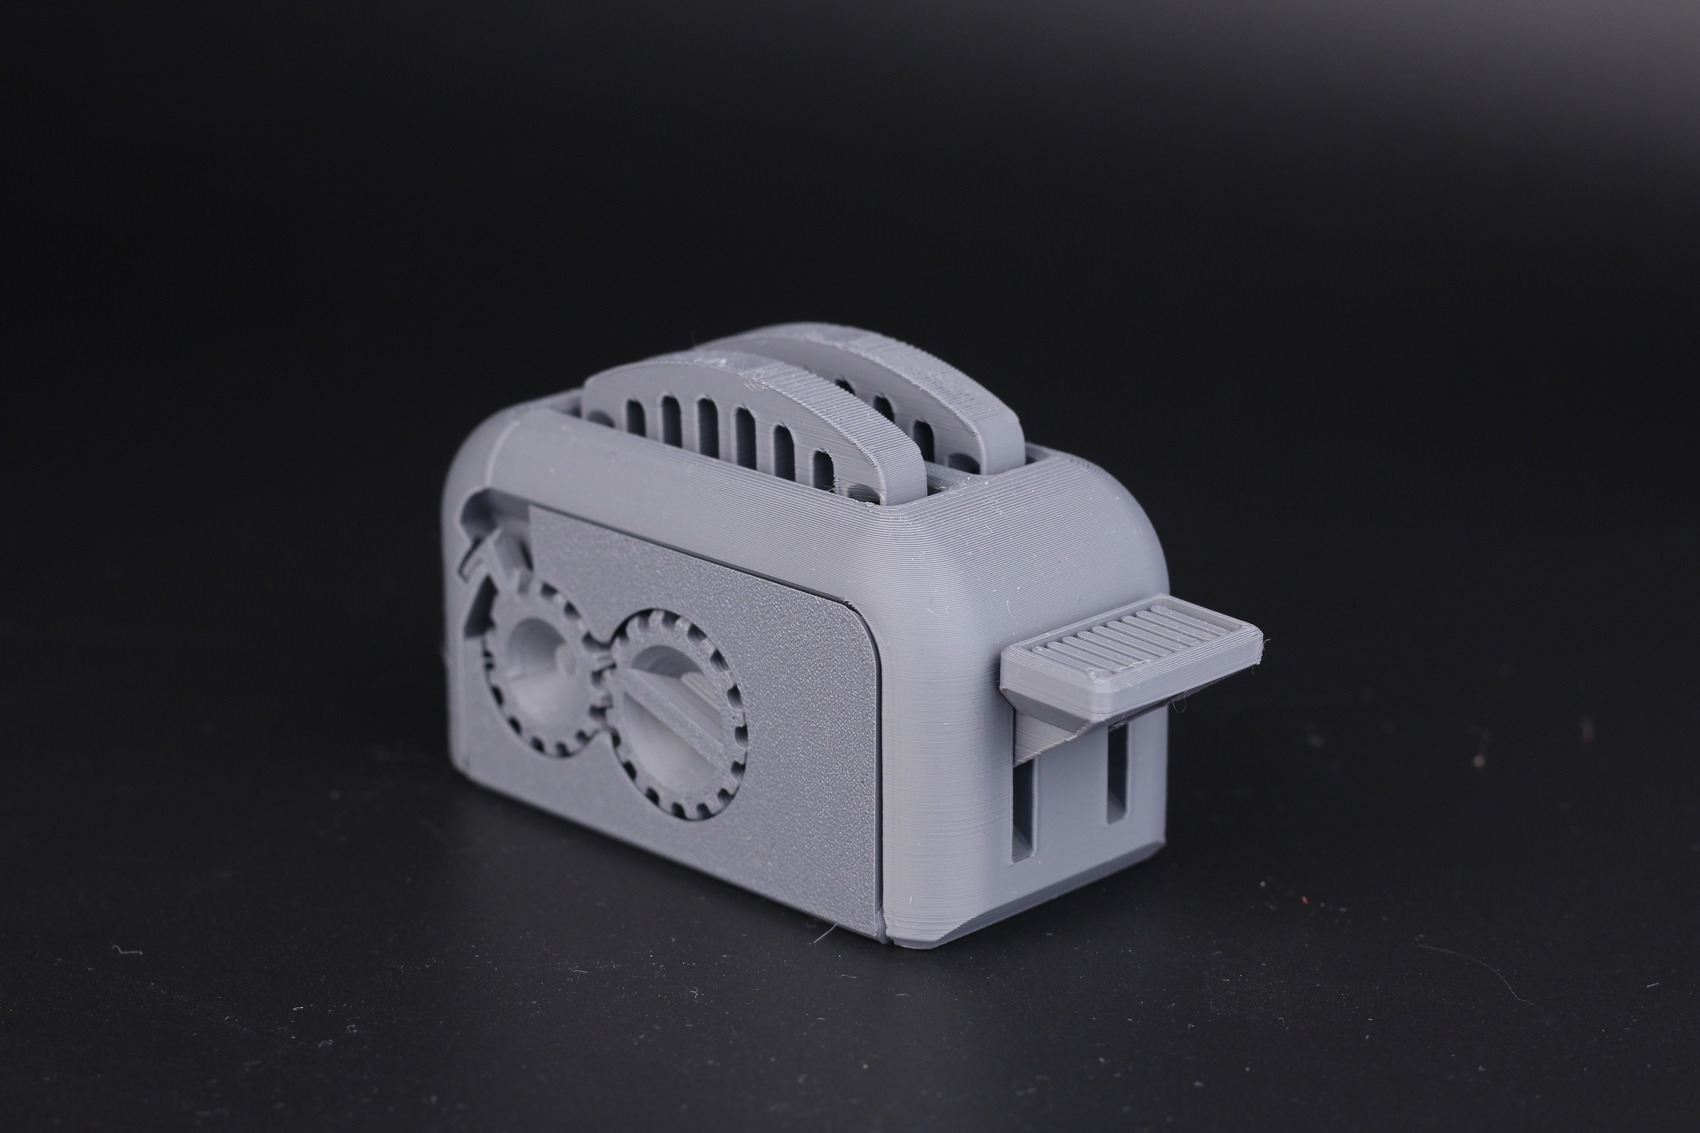
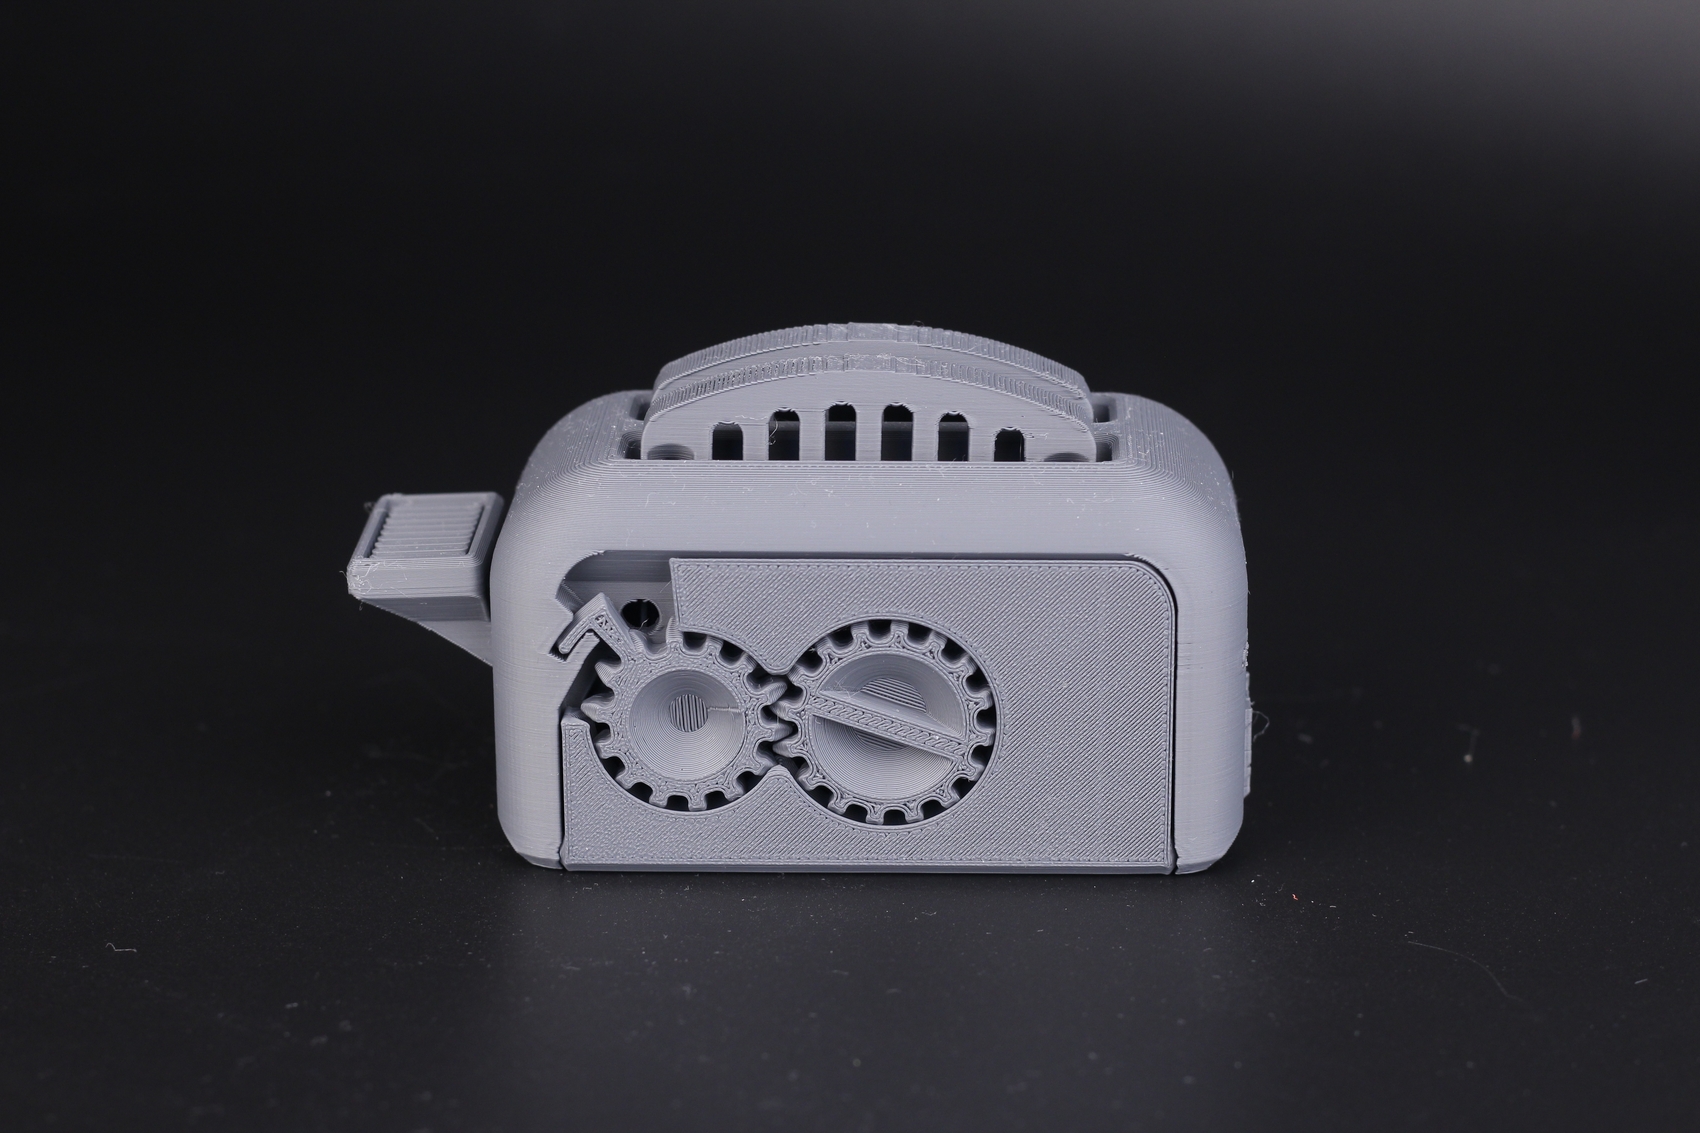
Torture Toaster
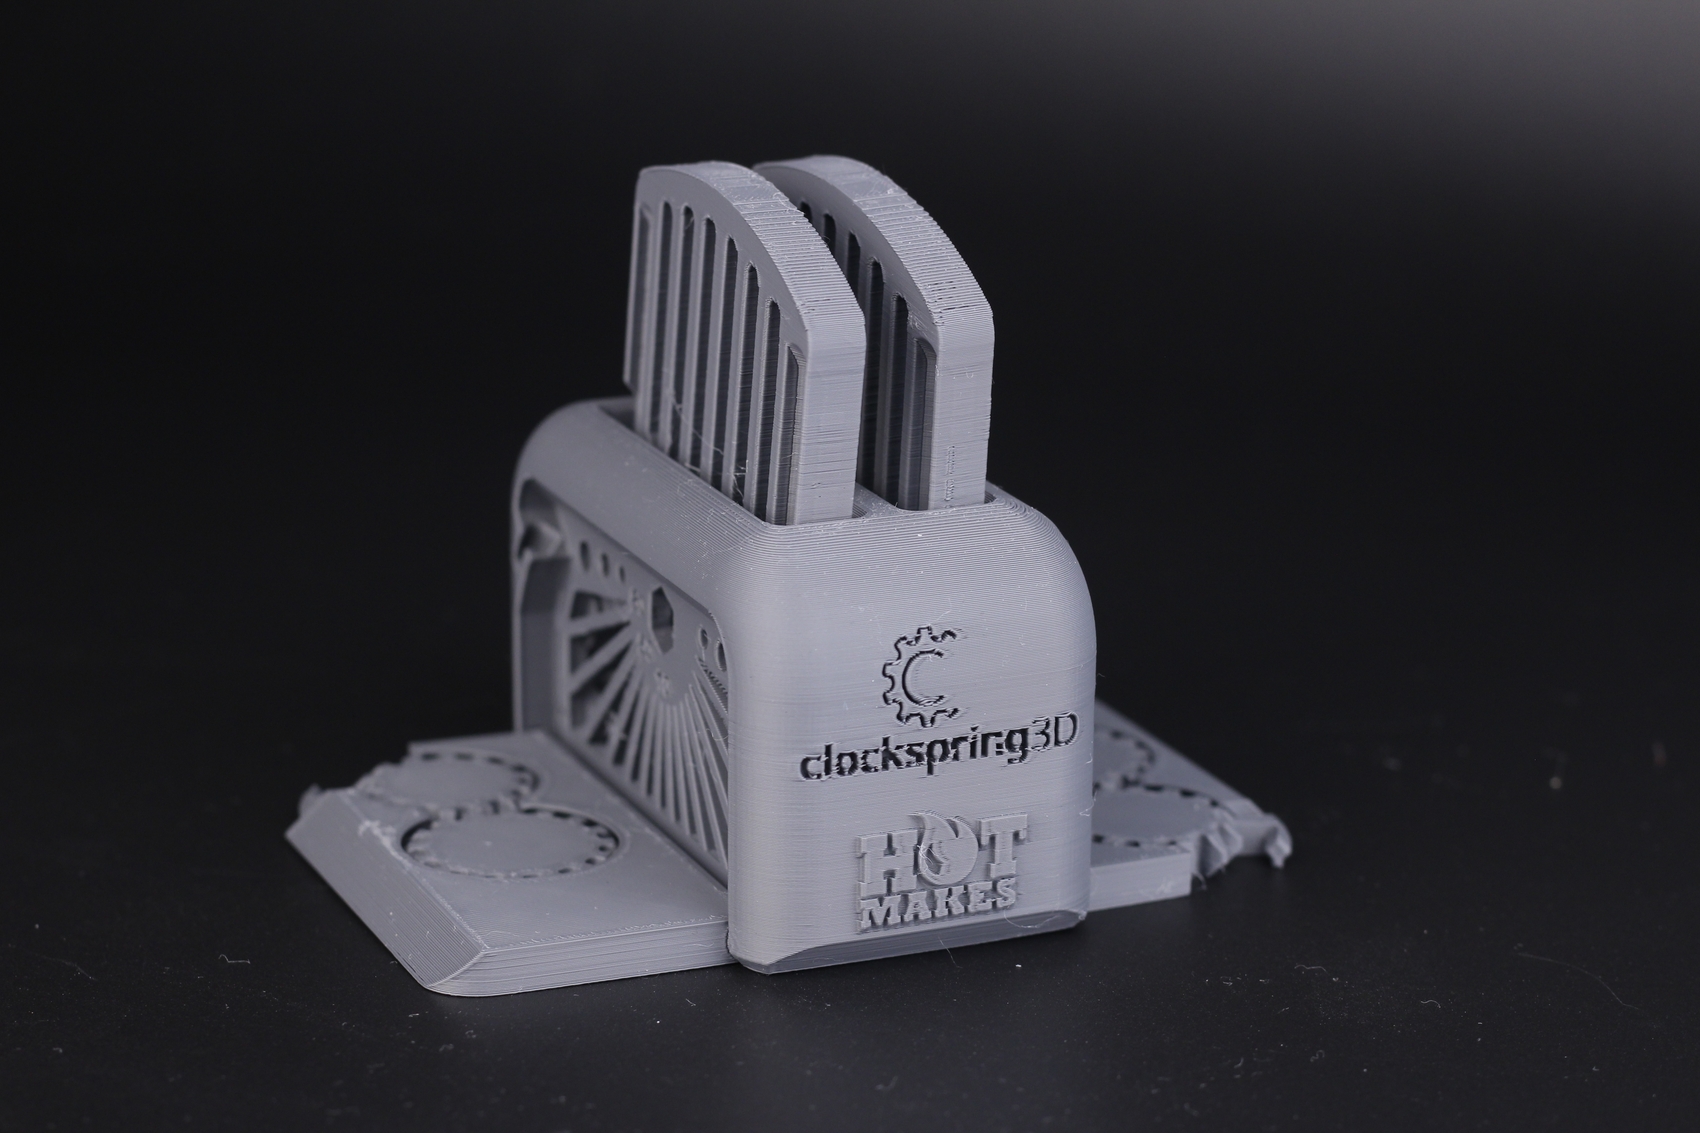
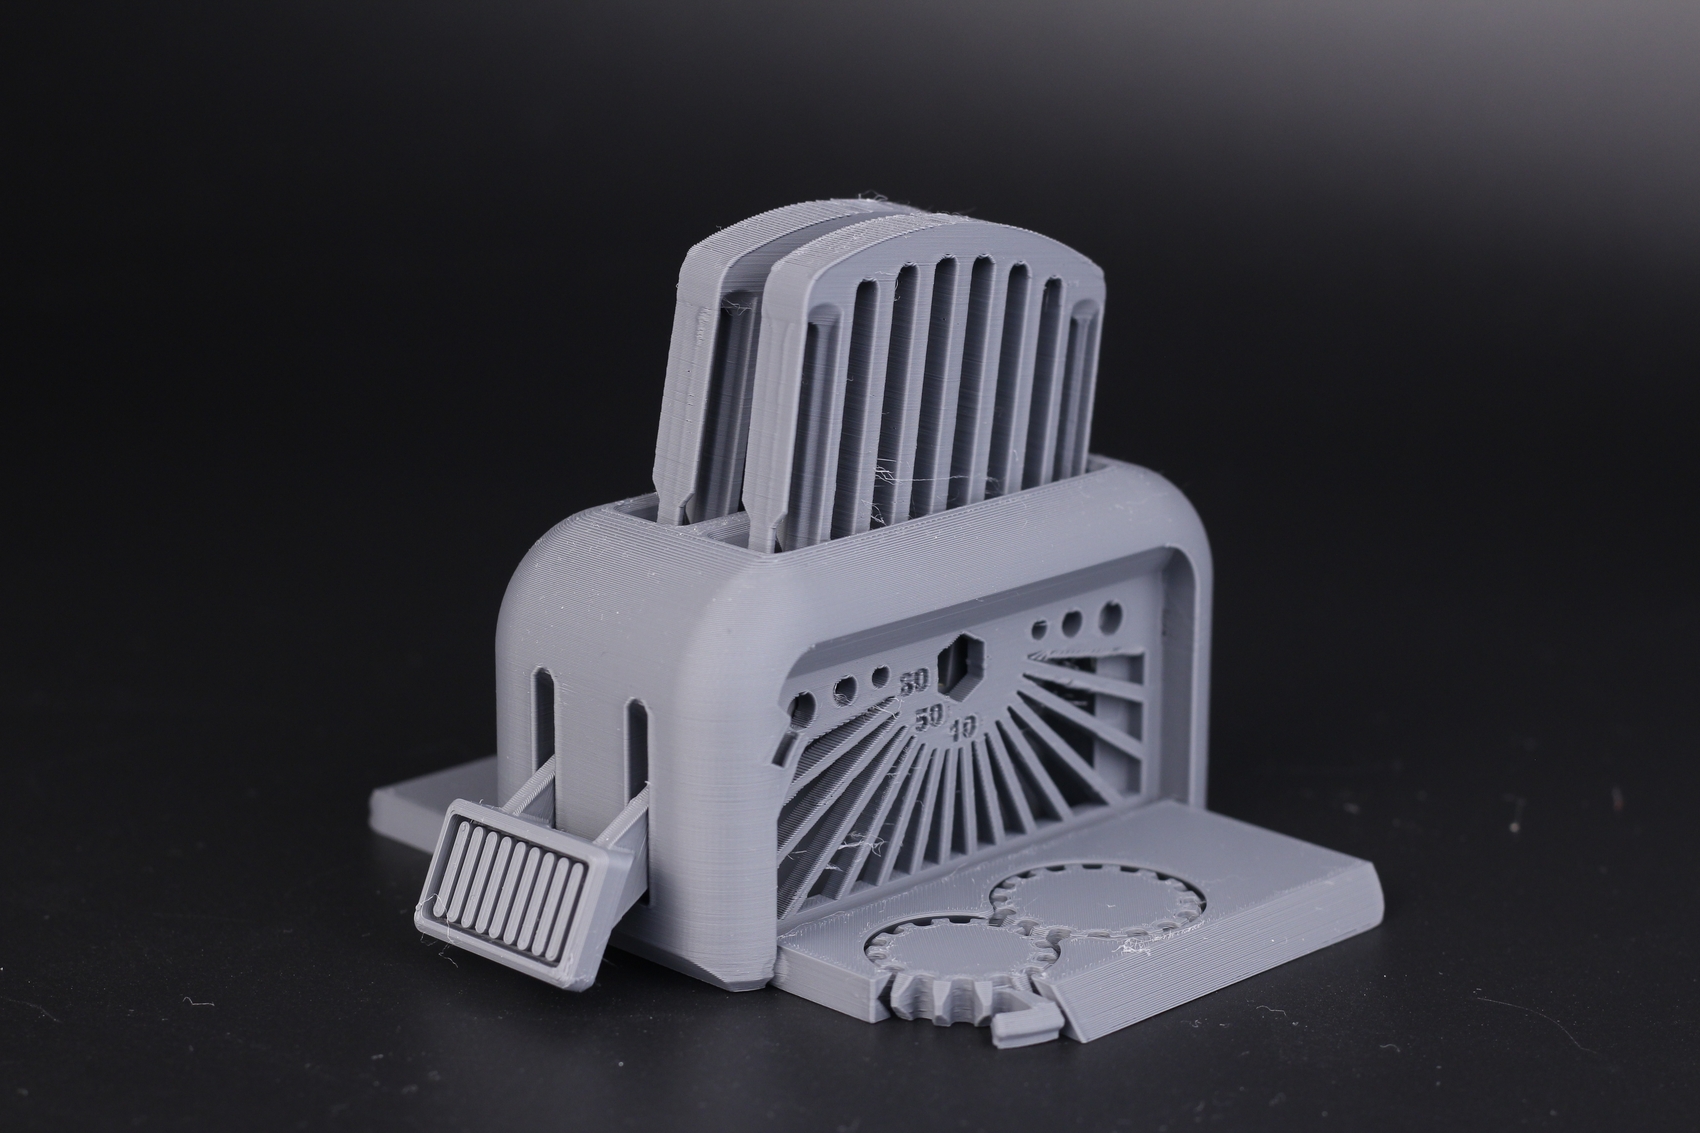
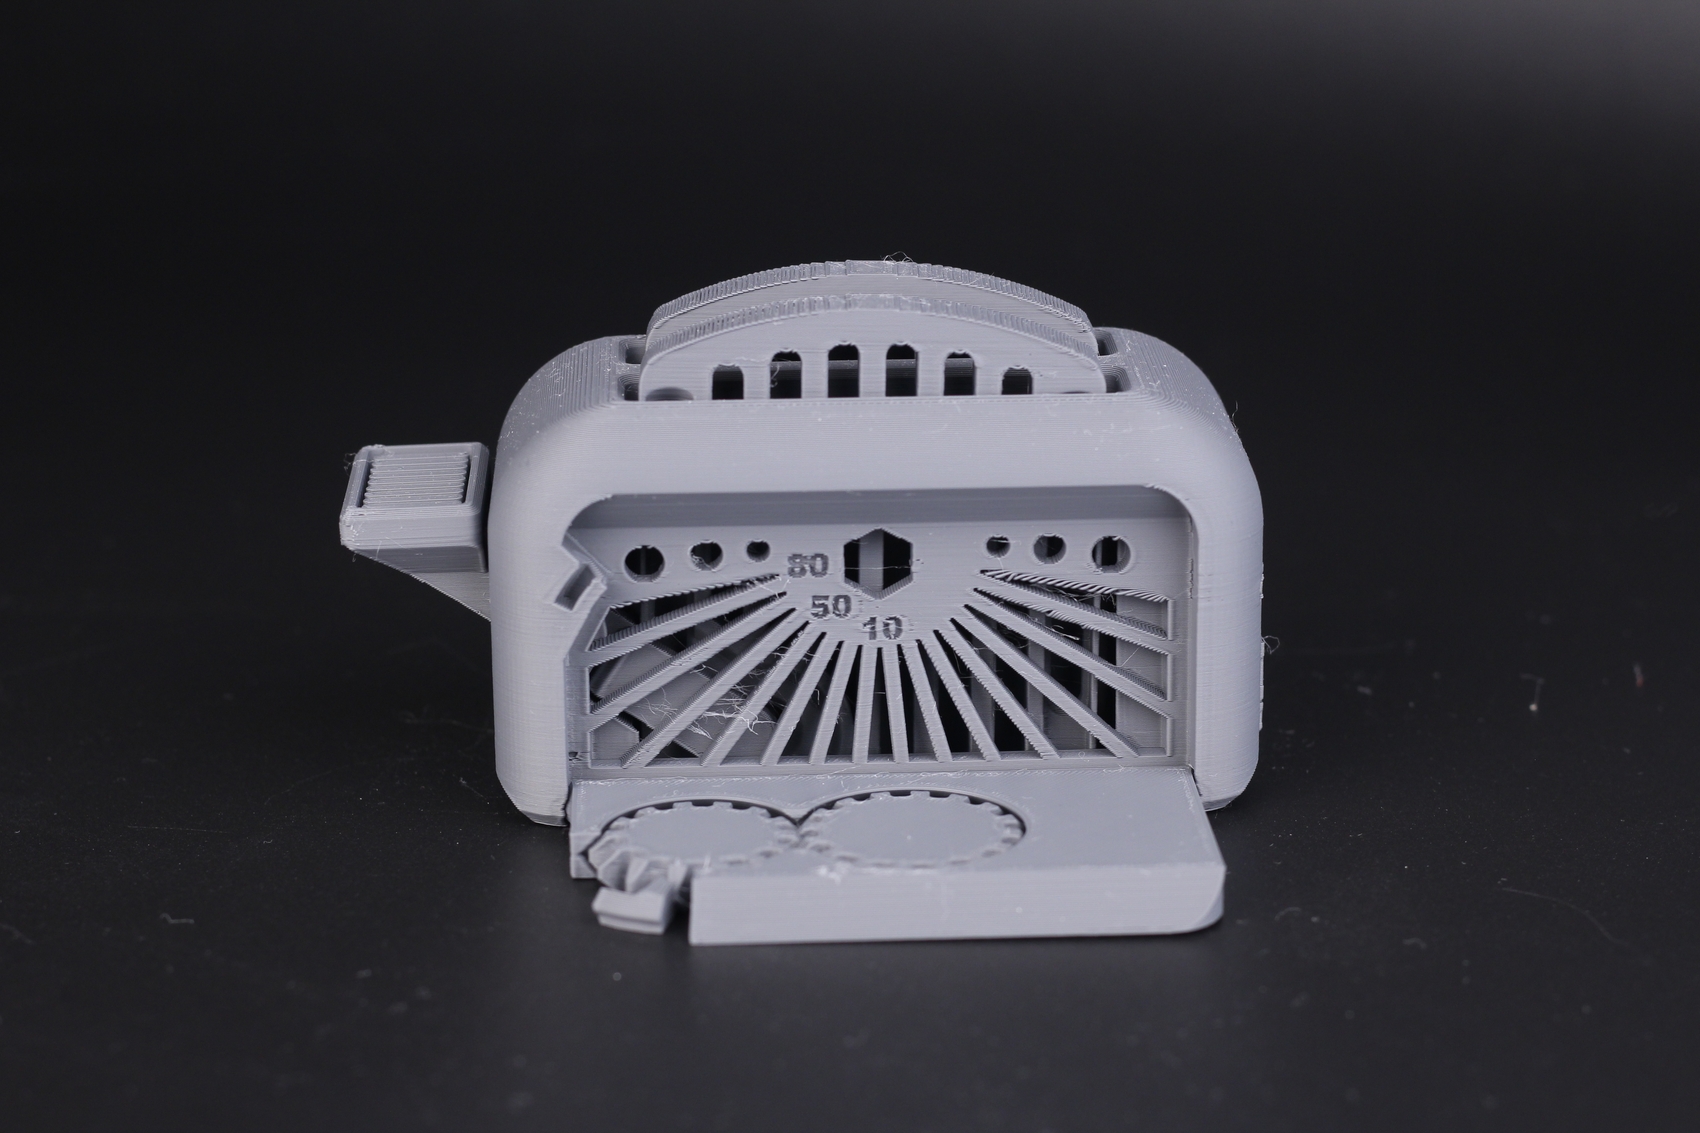
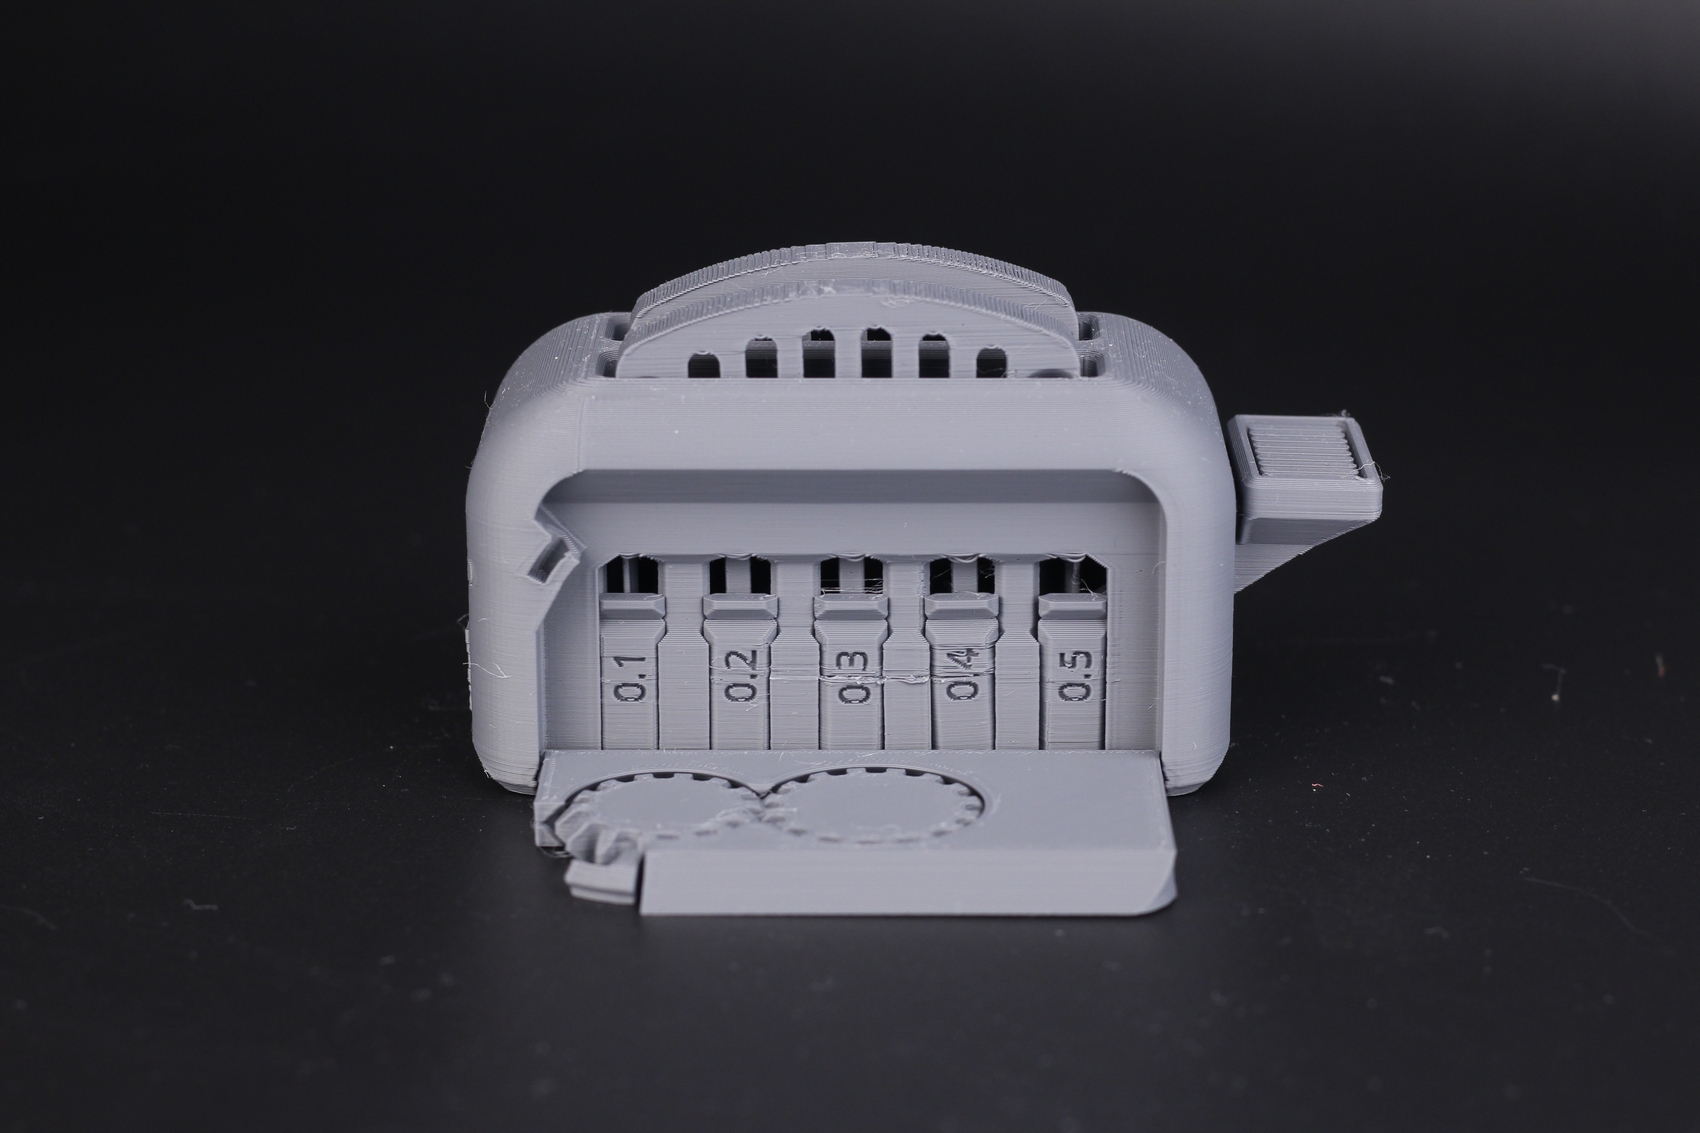
As usual, I print the Torture Toaster from Clockspring 3D to test the overhang quality and the precision of the printer. While the toaster was completed successfully, some of the tolerance flags have a few imperfections caused by the nozzle dragging onto the model.
Even so, the 0.2 mm tolerance flag can be moved, which is a very good result.
- Material: PrimaSelect Grey PLA Pro
- Layer Height: 0.2mm
- Nozzle Temperature: 215C
- Bed Temperature: 65C
- Print Speed: 50 mm/s
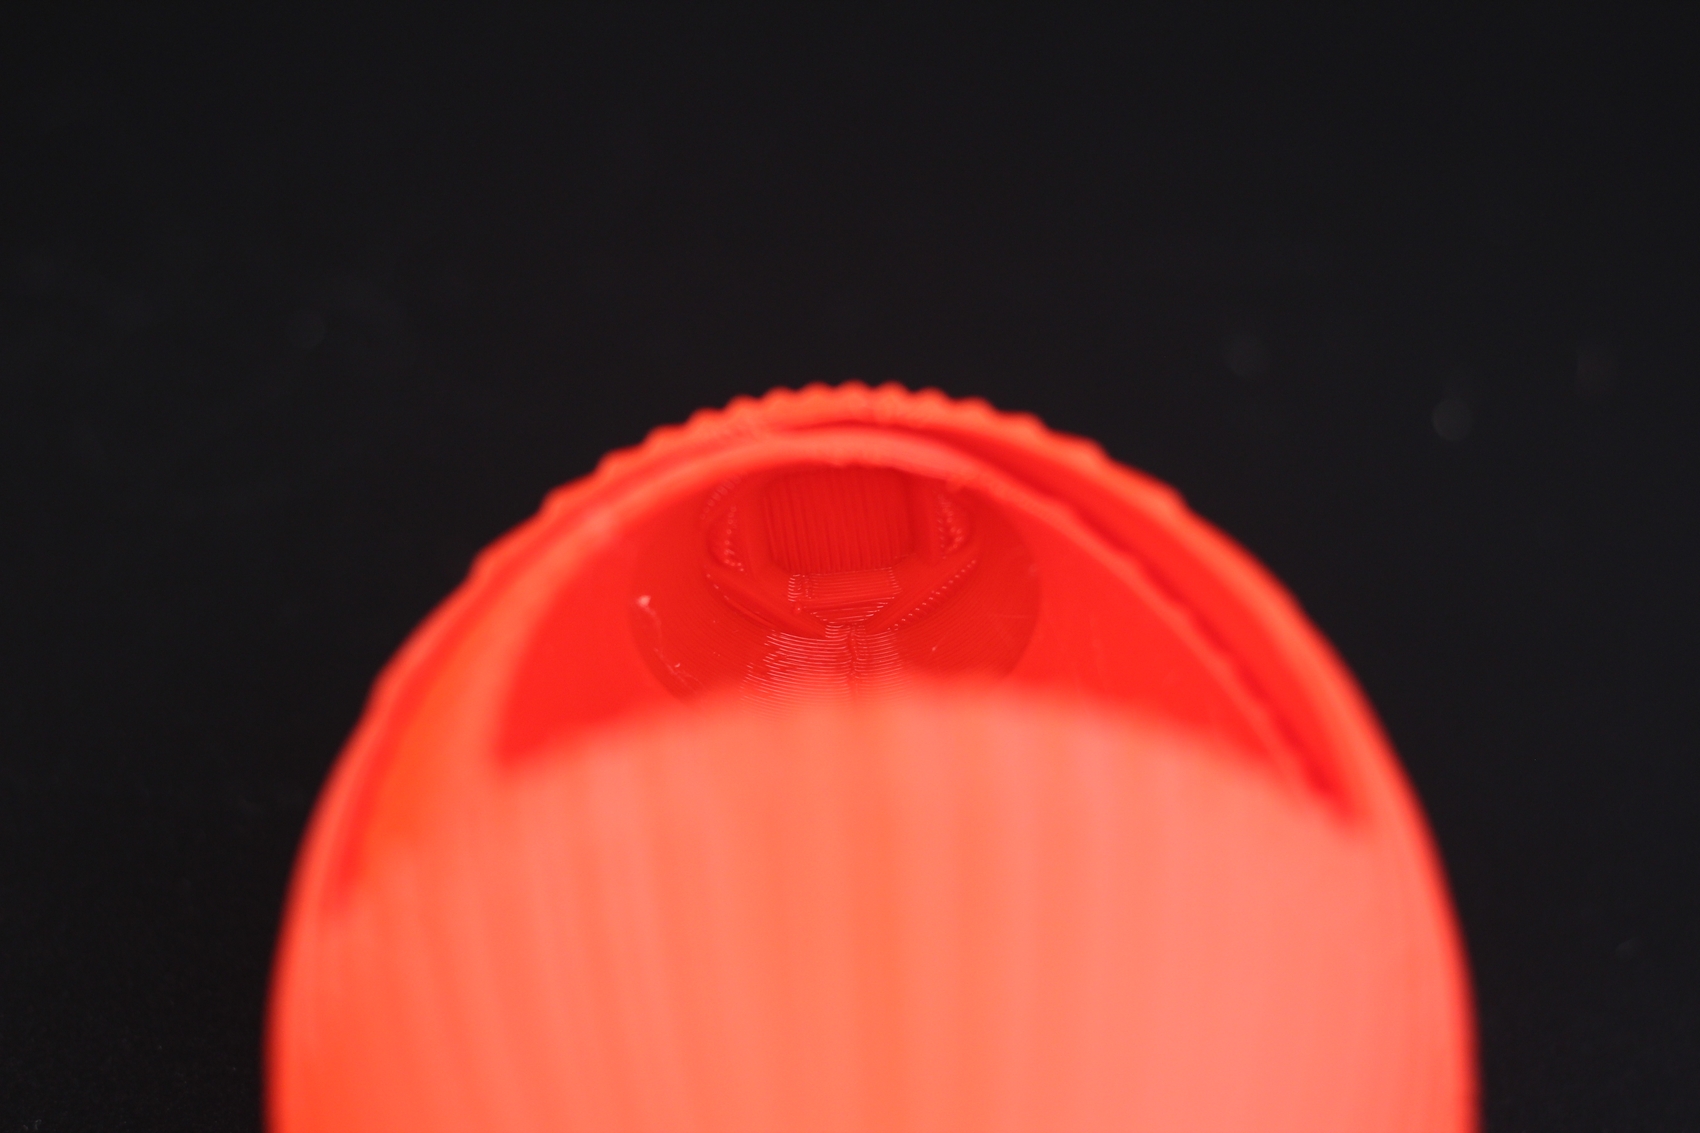
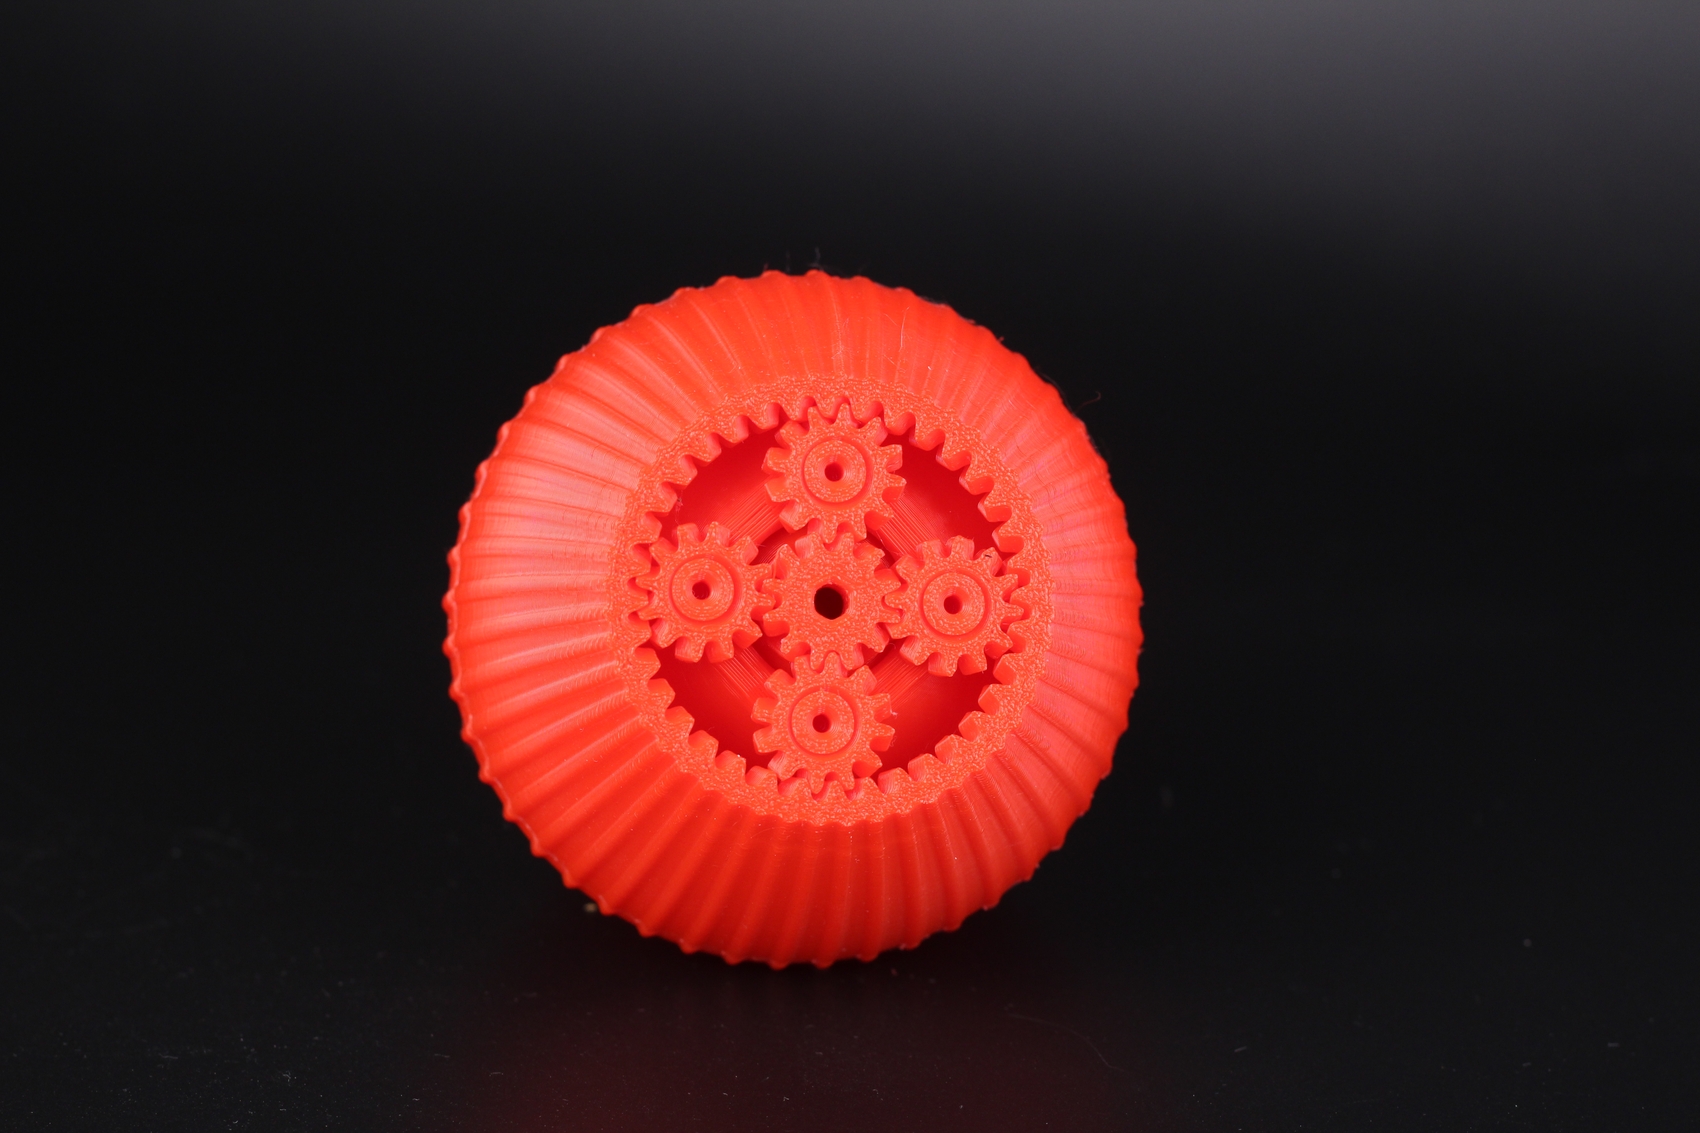
Magic Planetary Egg Container
Another test for tolerances and overhangs is the Magic Planetary Egg Container from 3dprintingworld. It printed easily and works great too! The spinning top works as intended.
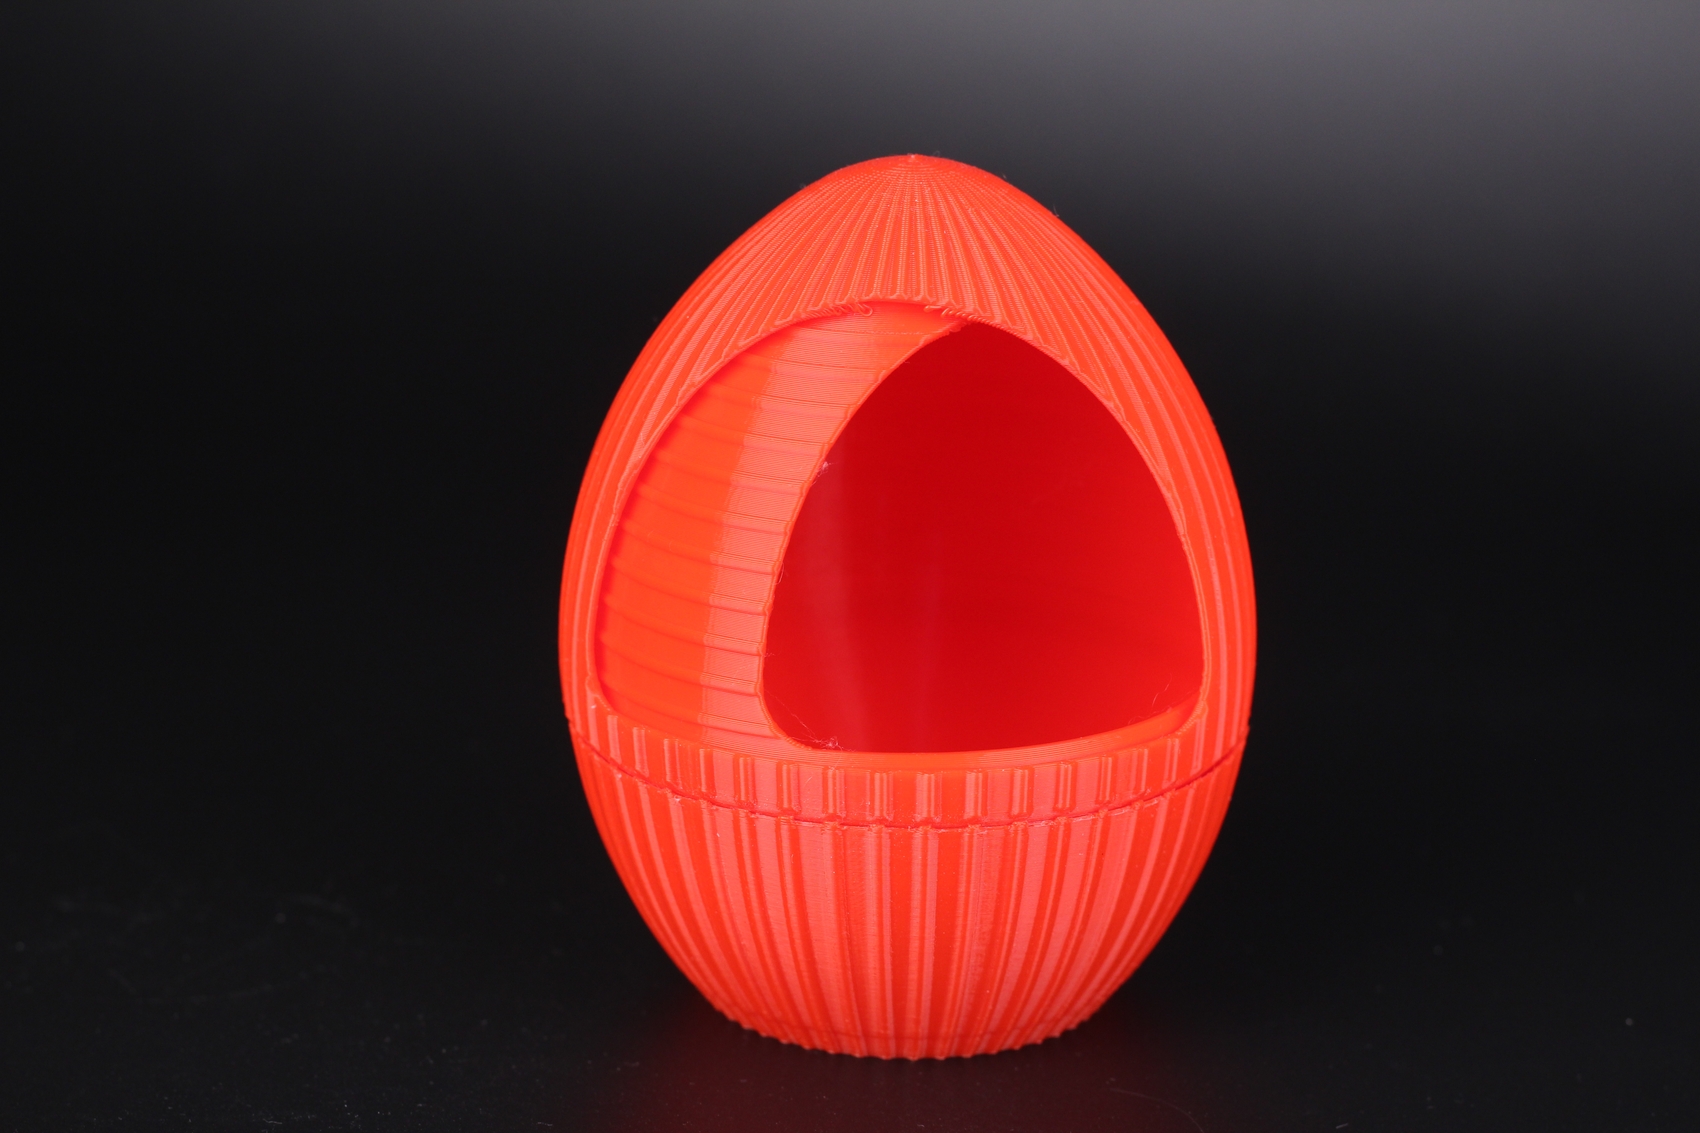
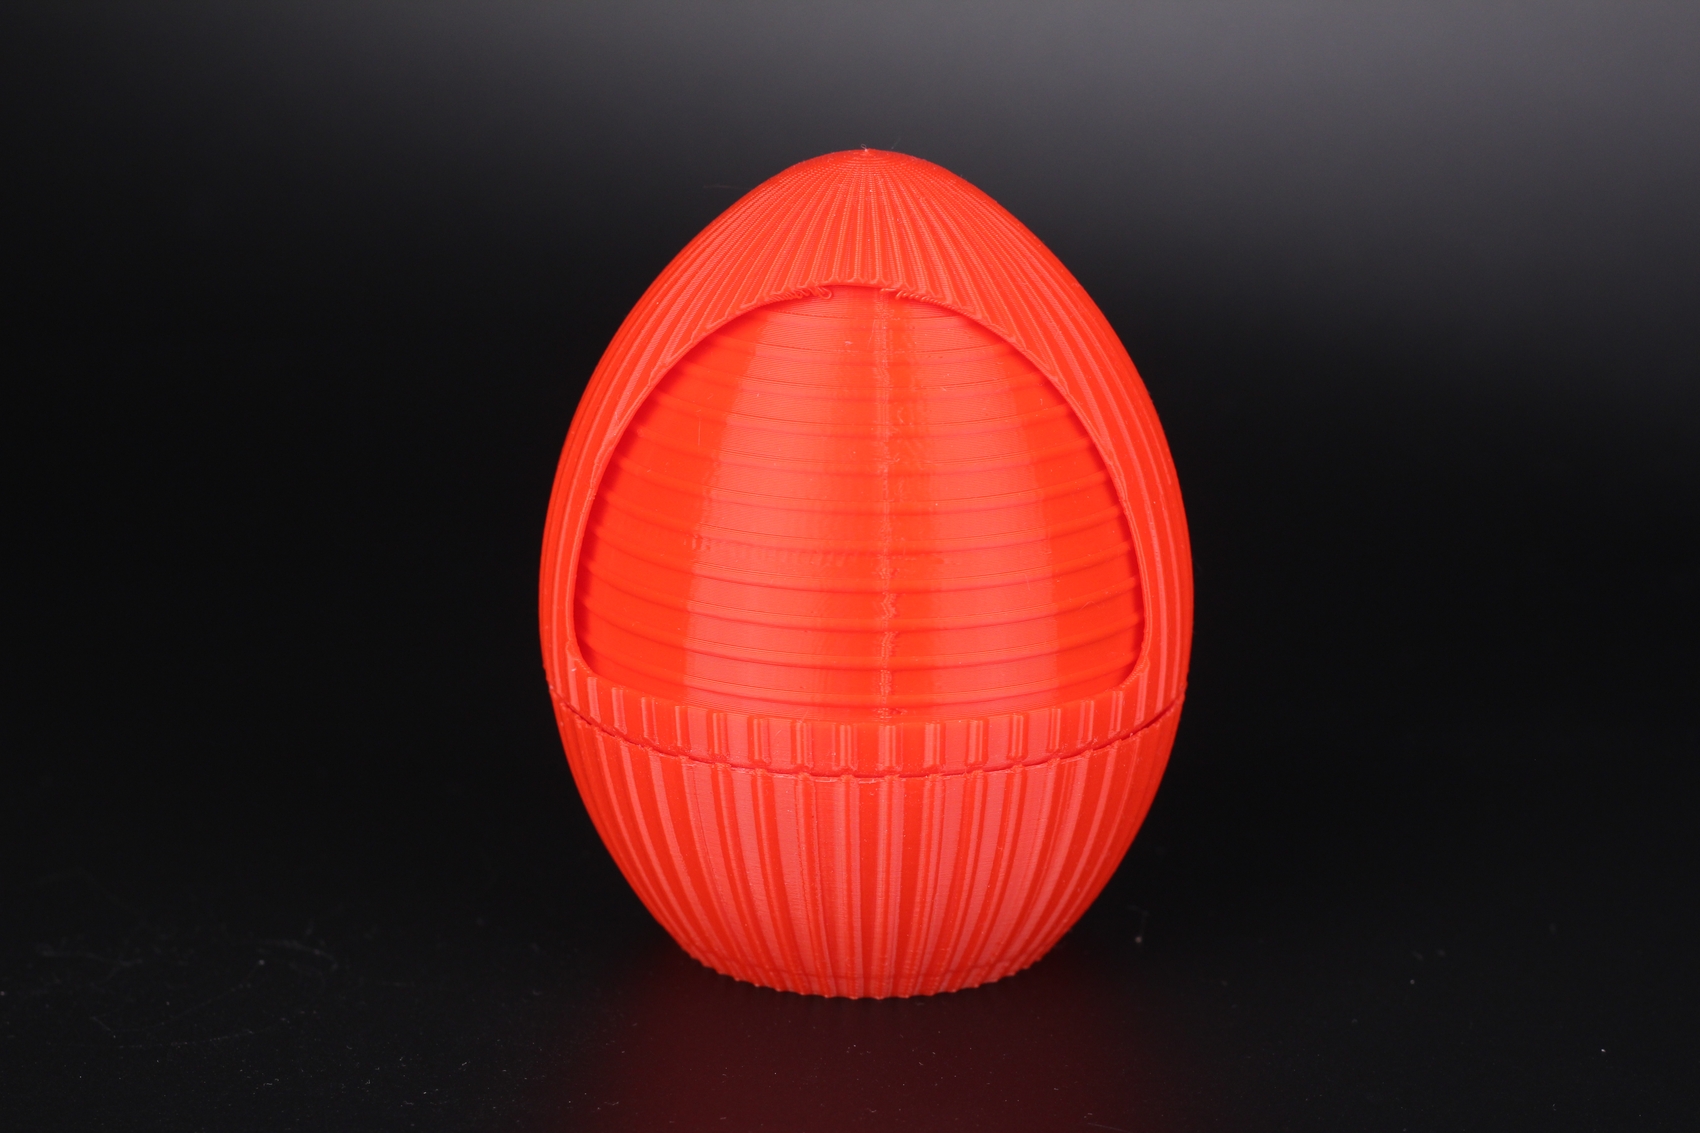
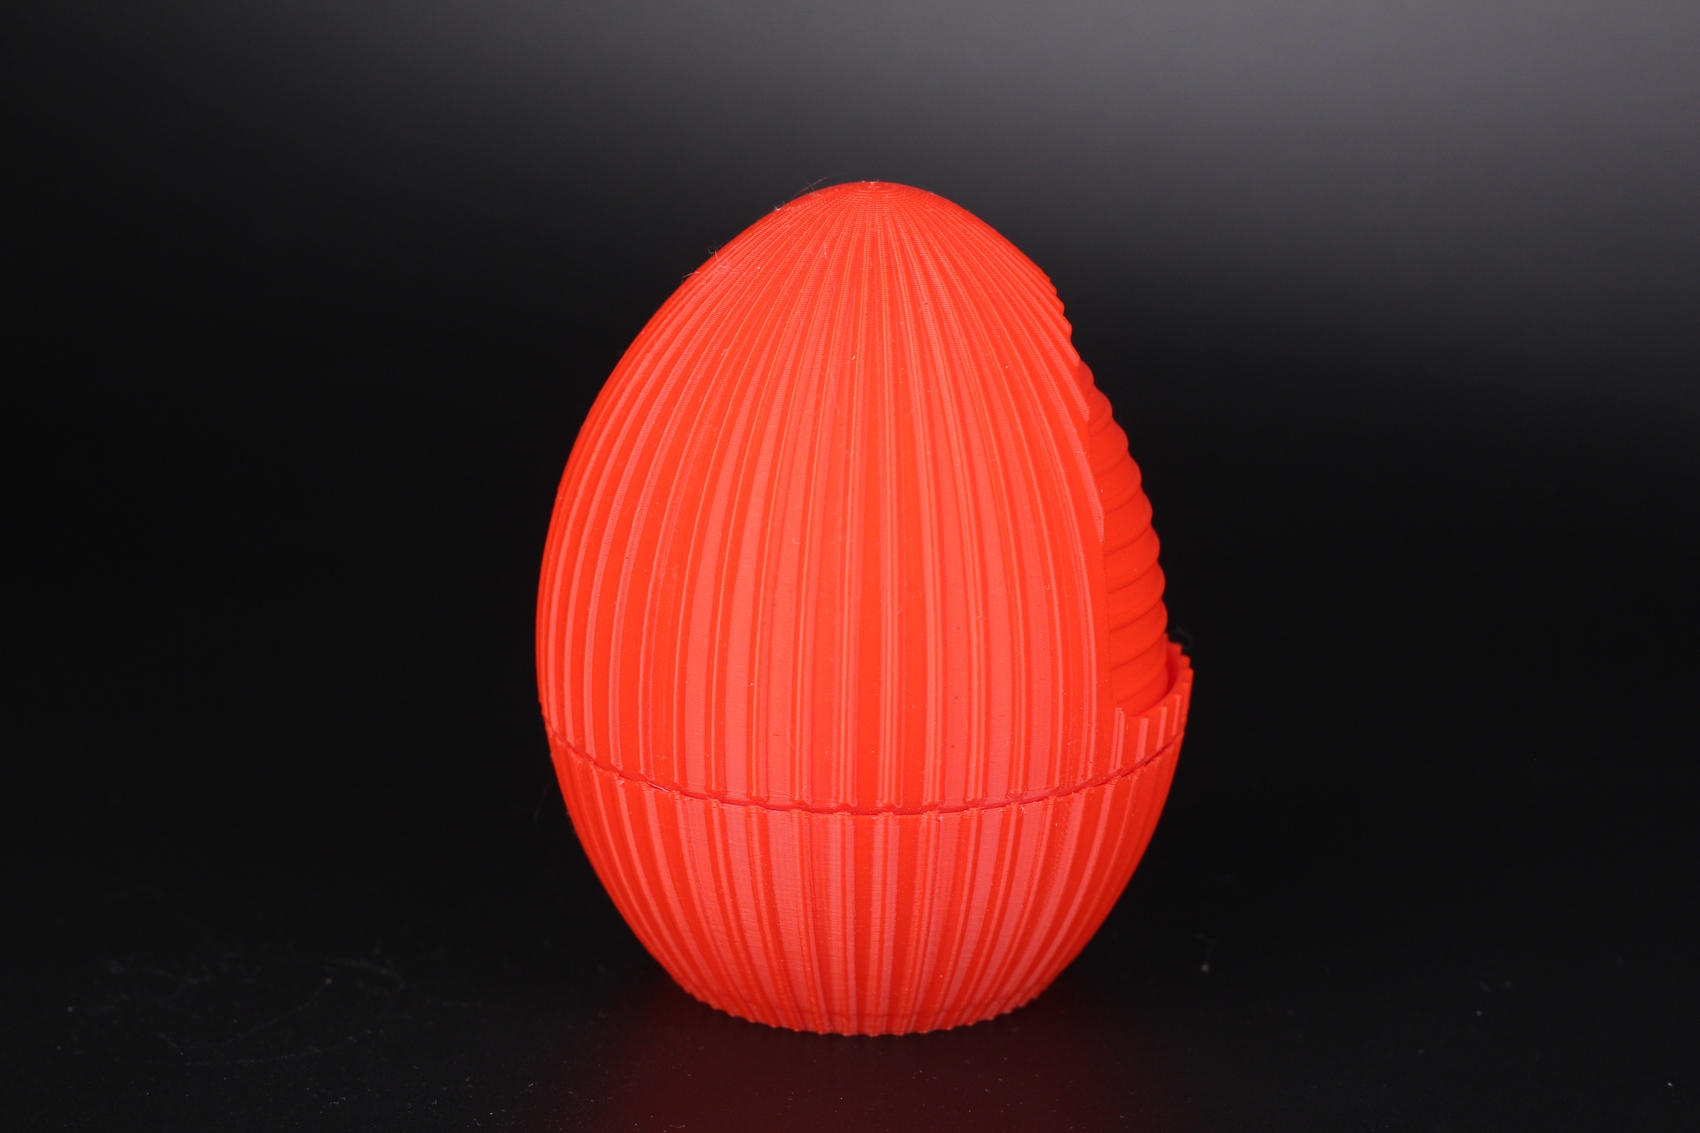
- Material: Polymaker PLA Pro RED
- Layer Height: 0.2mm
- Nozzle Temperature: 215C
- Bed Temperature: 65C
- Print Speed: 50 mm/s
Tazmanian Devil
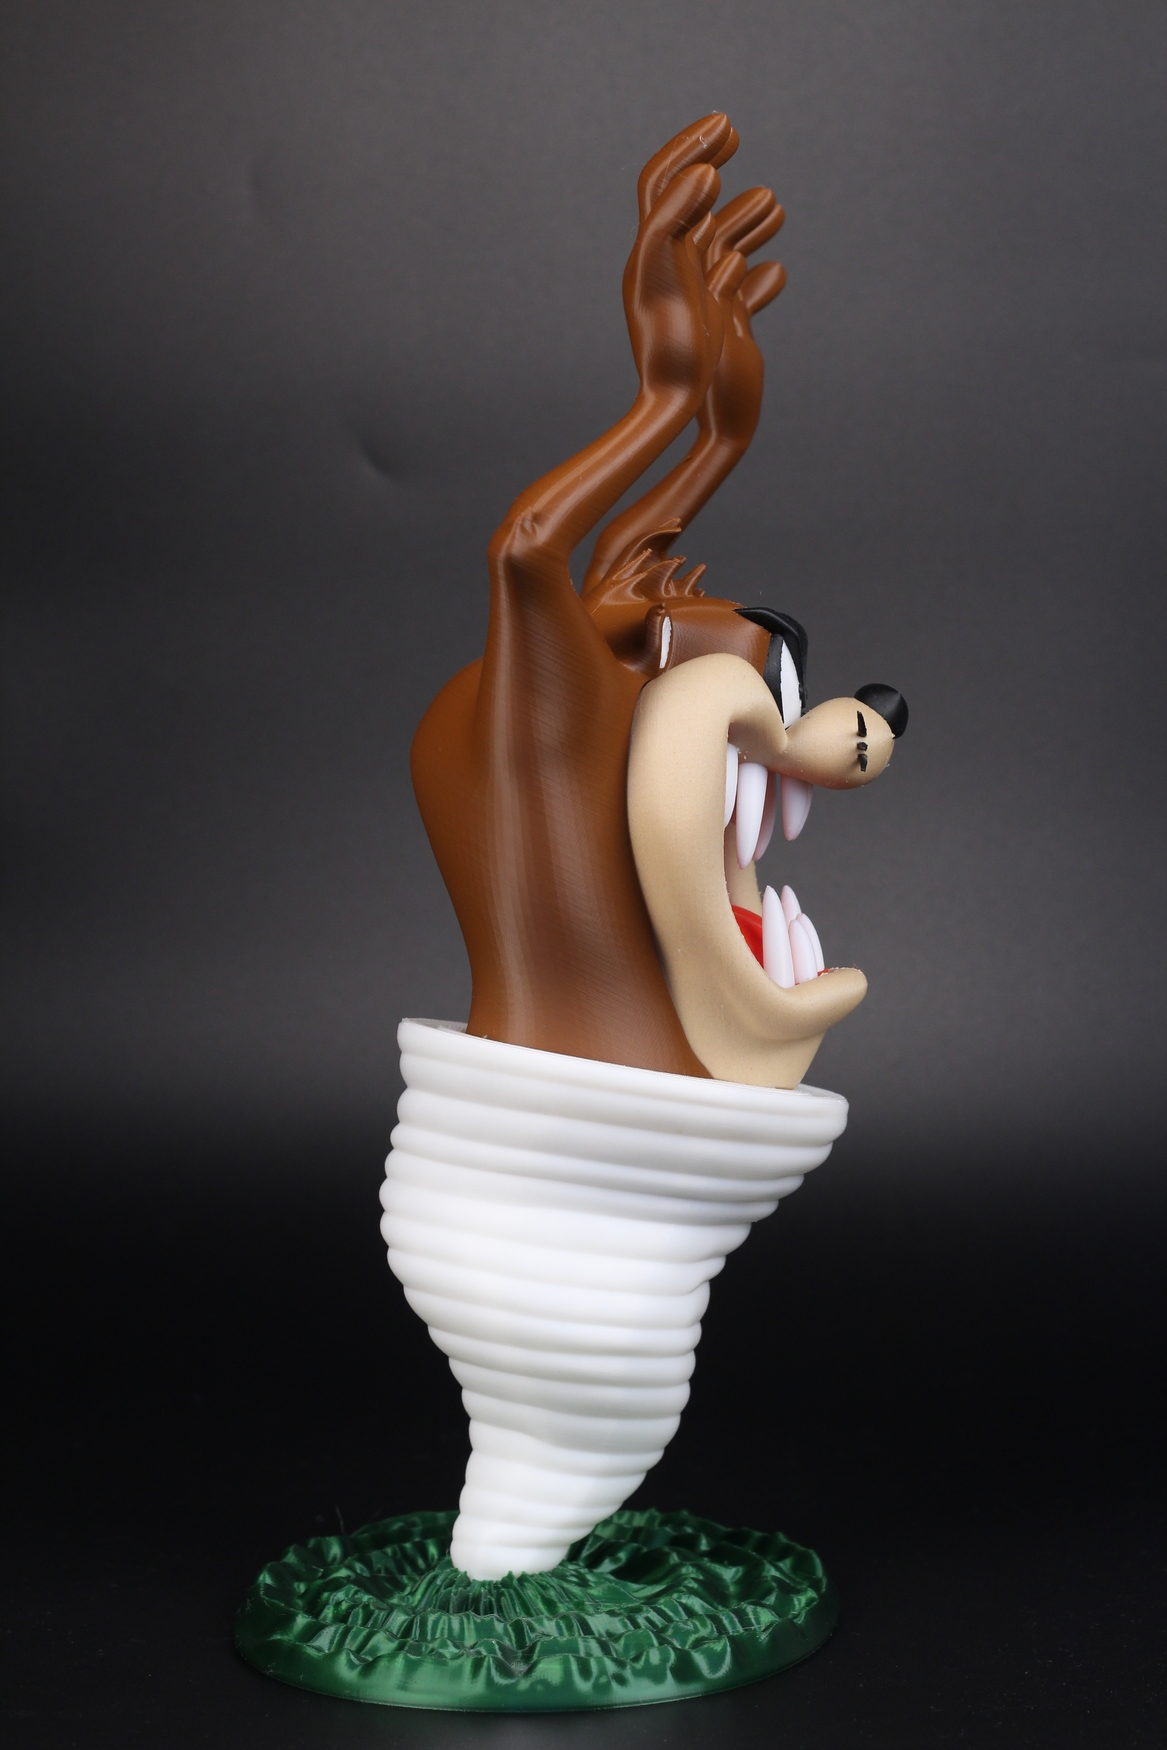
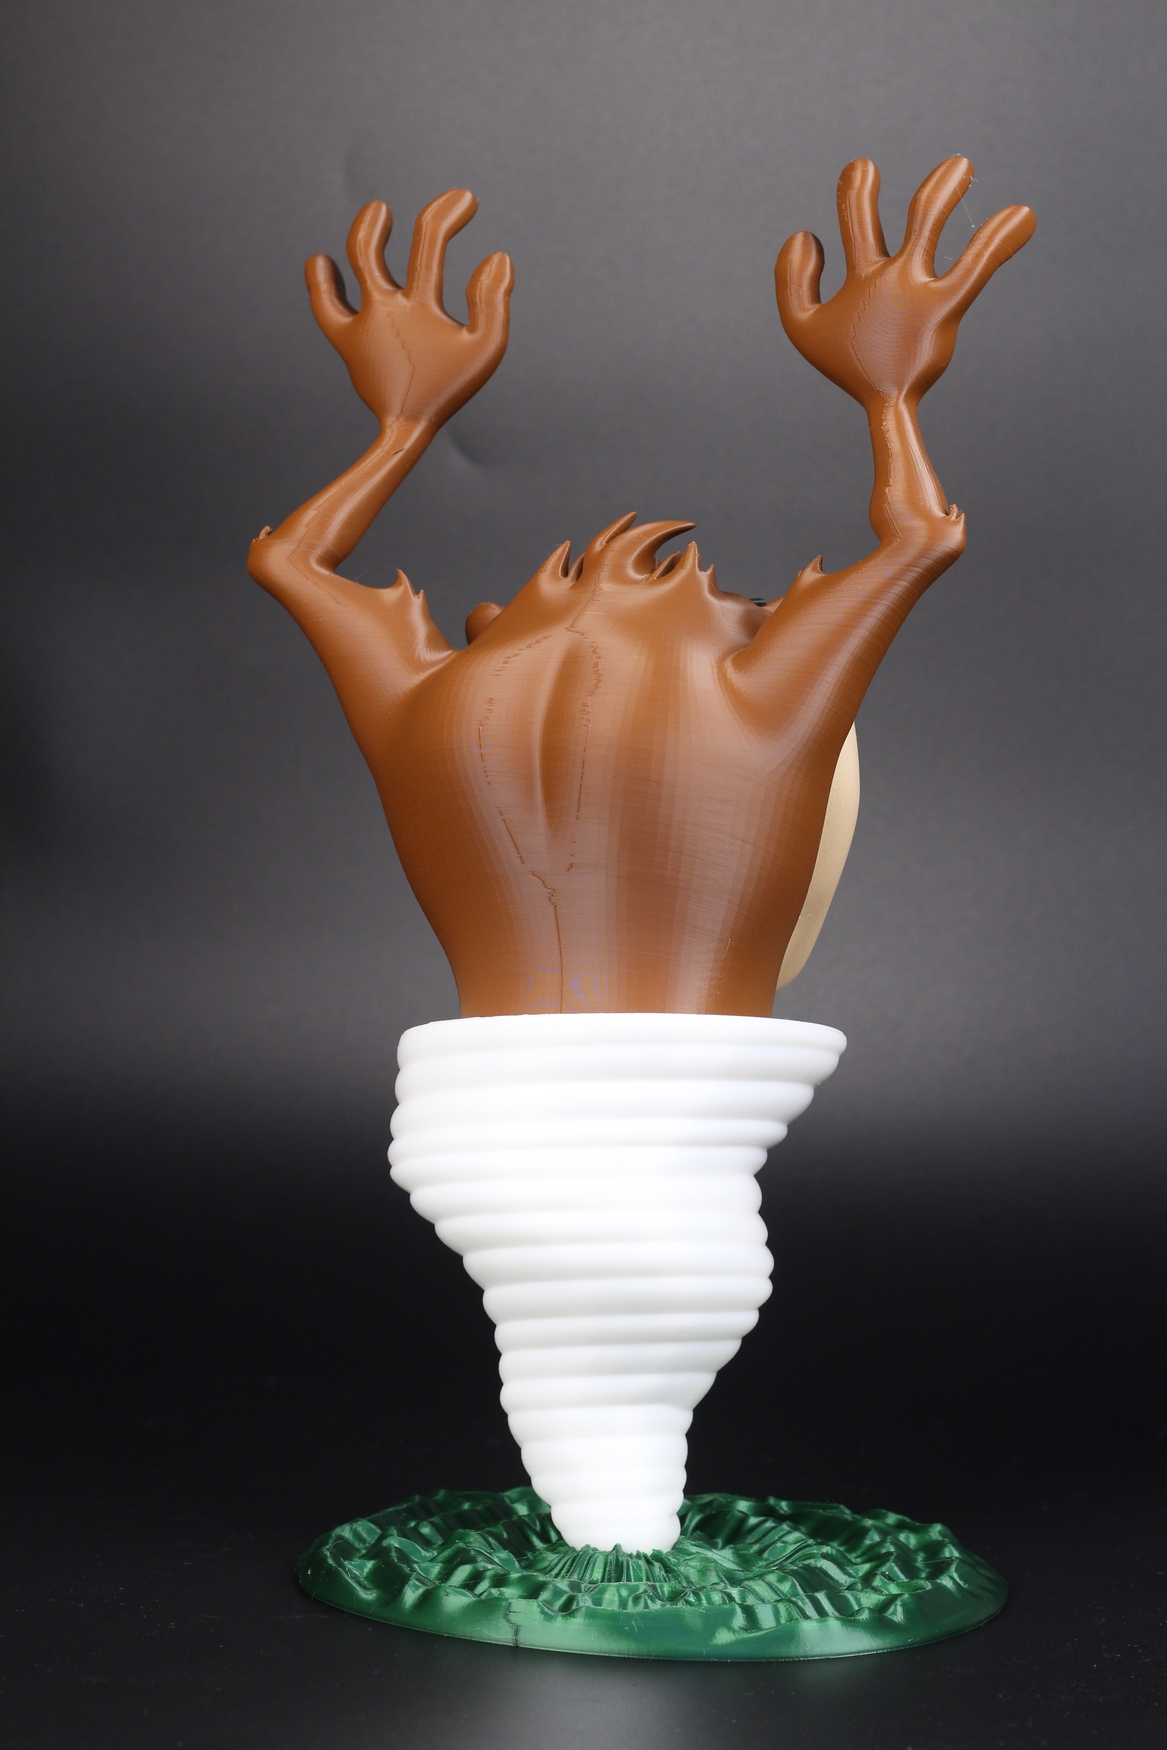
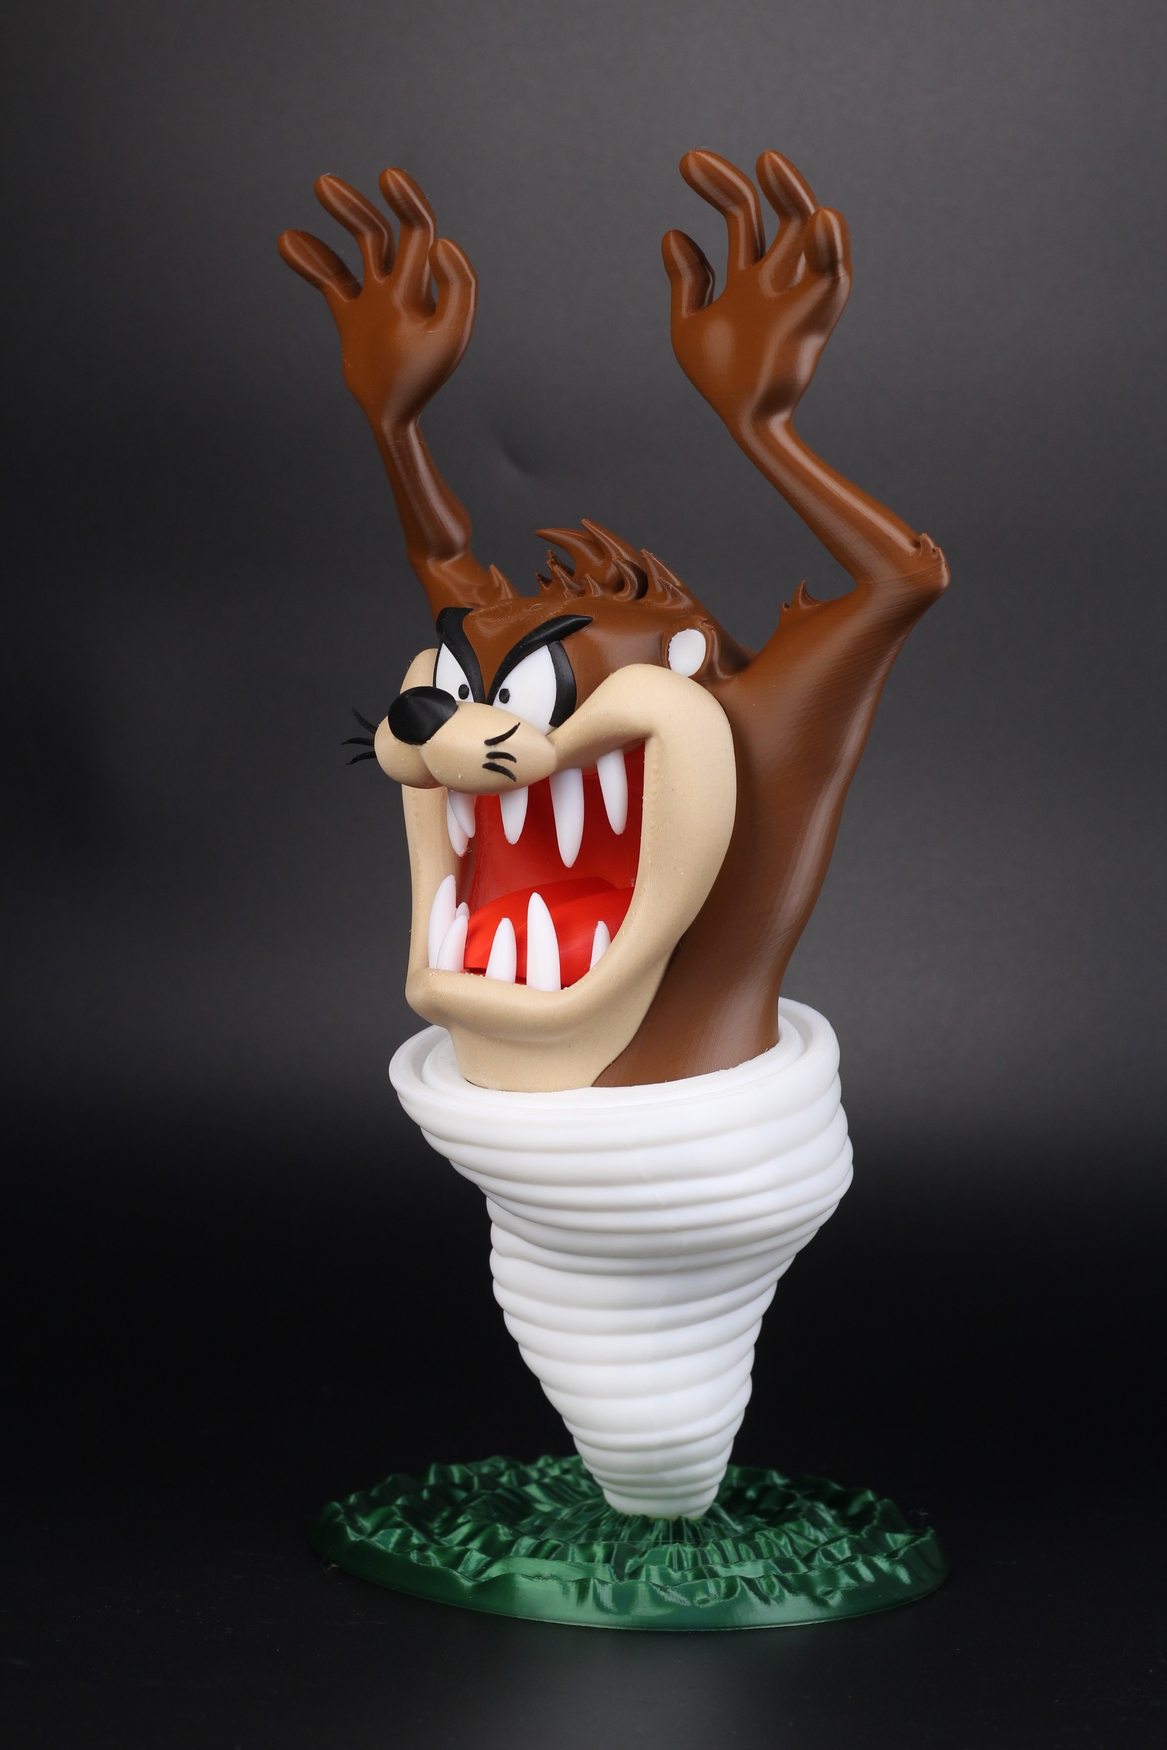
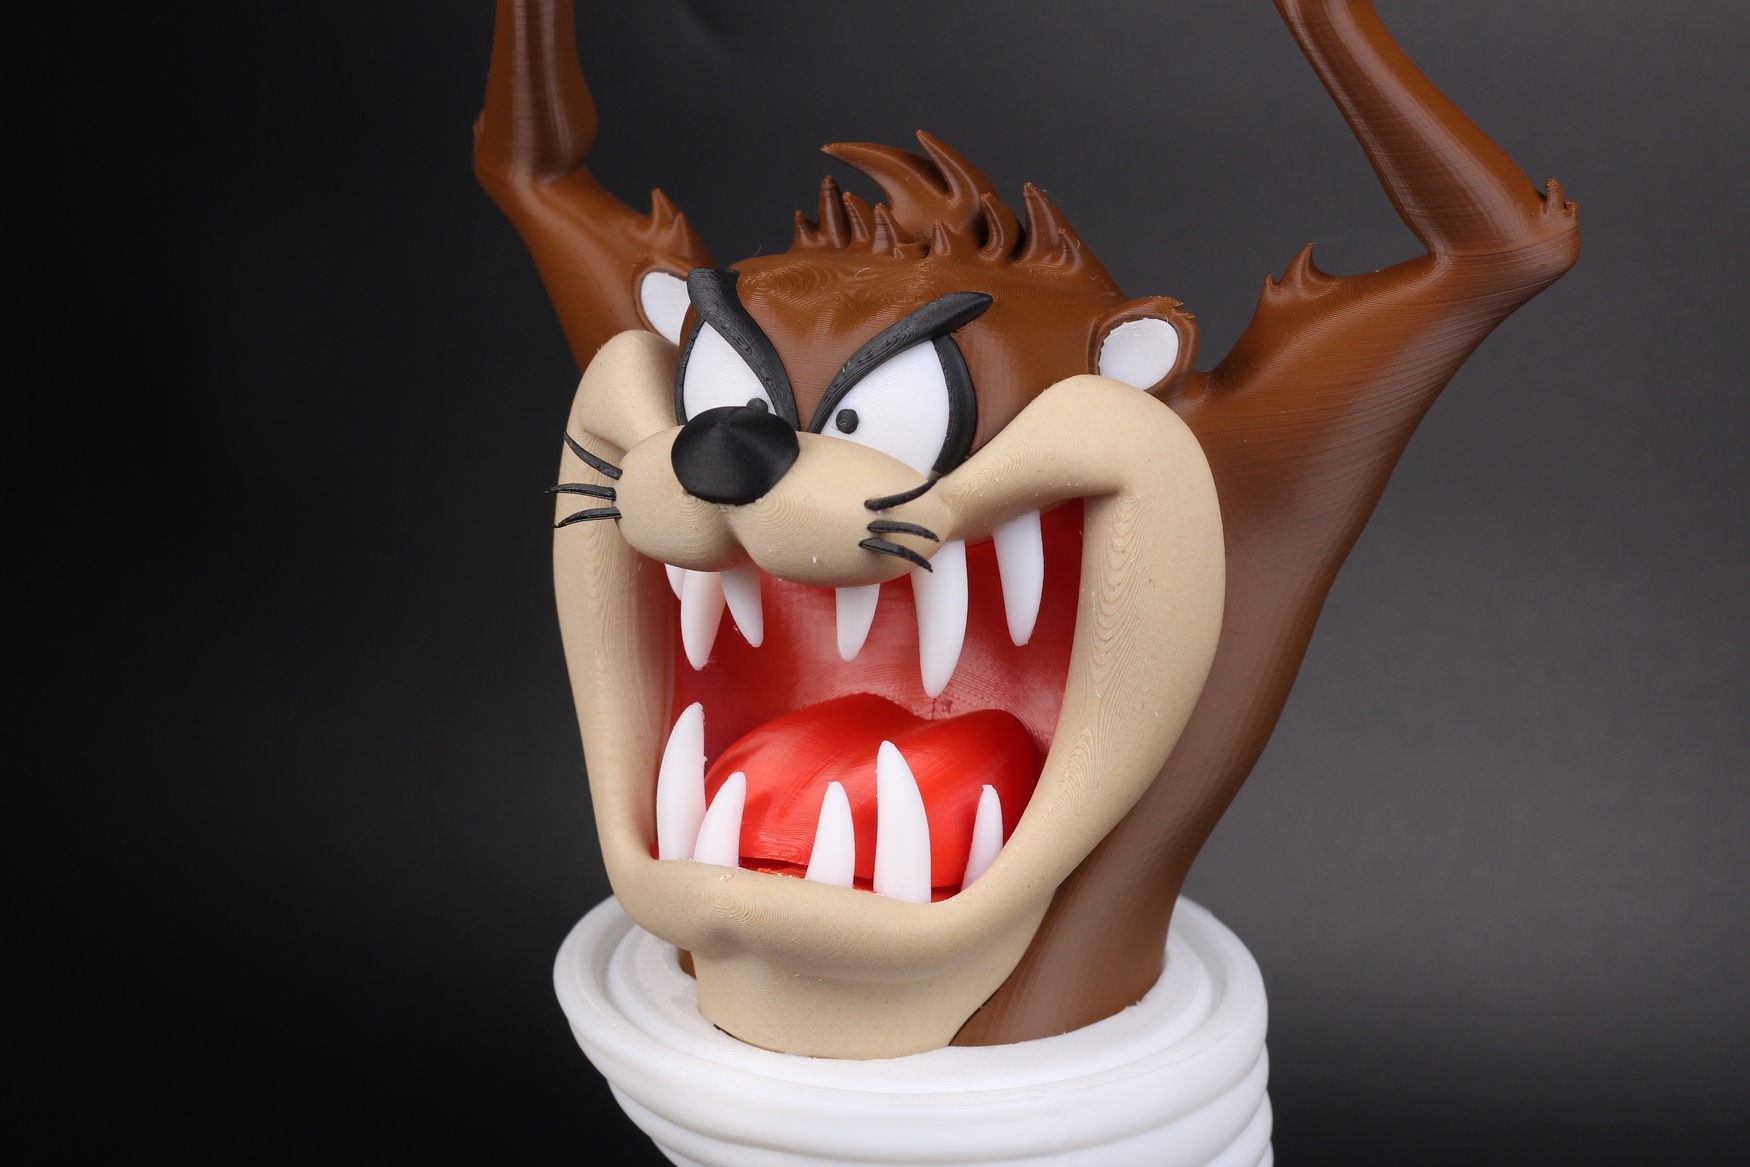
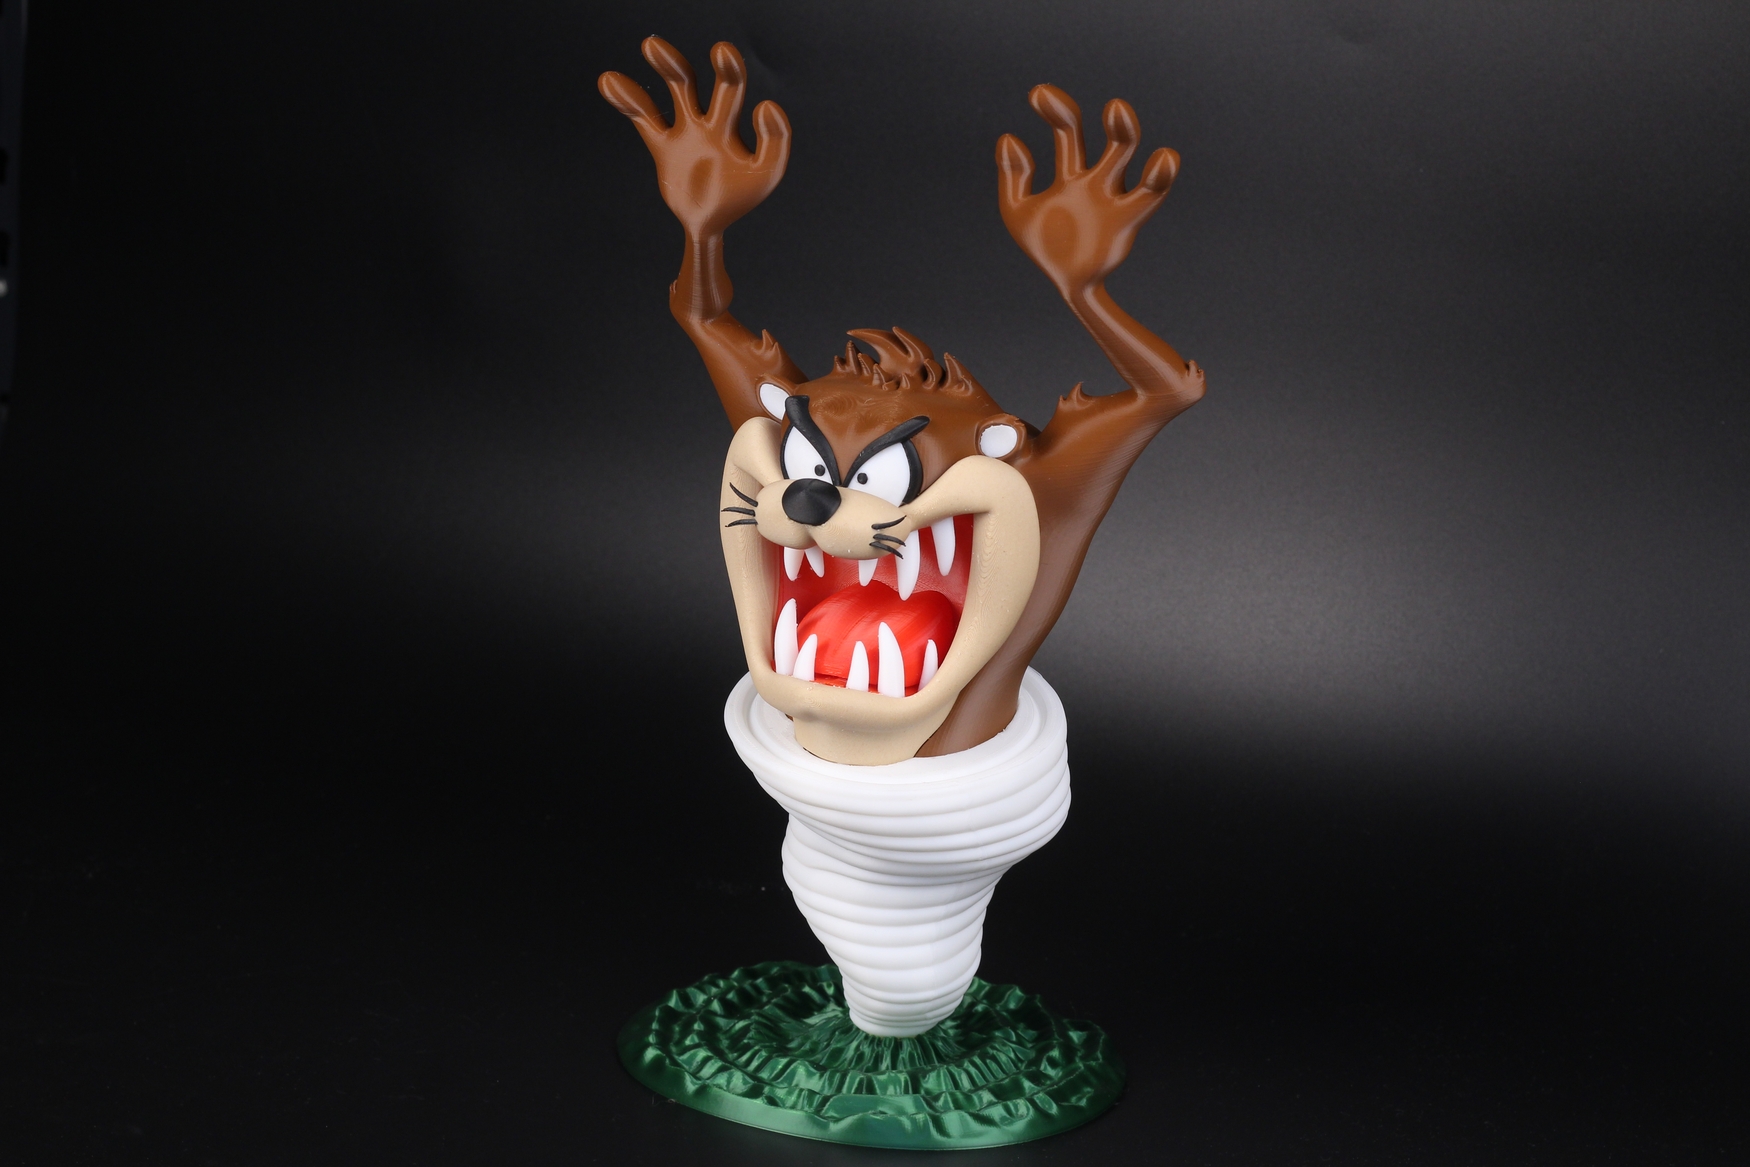
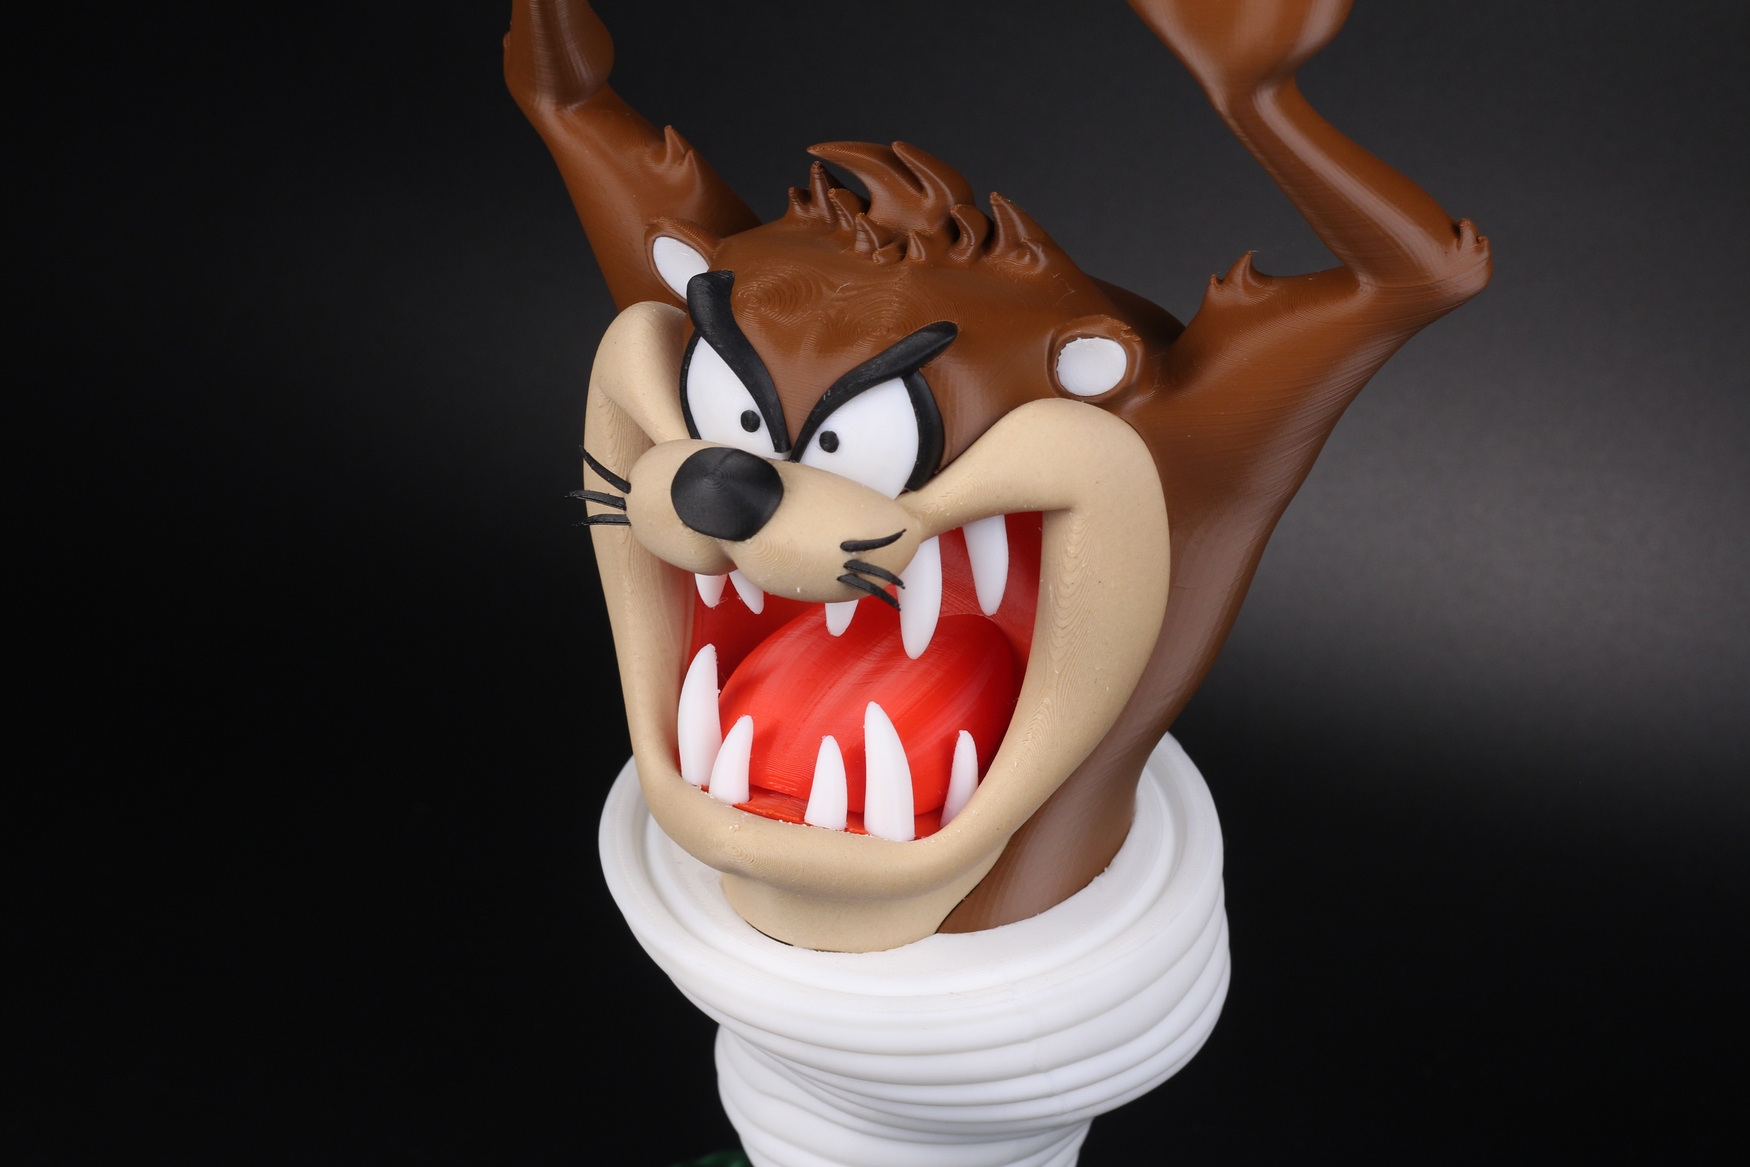
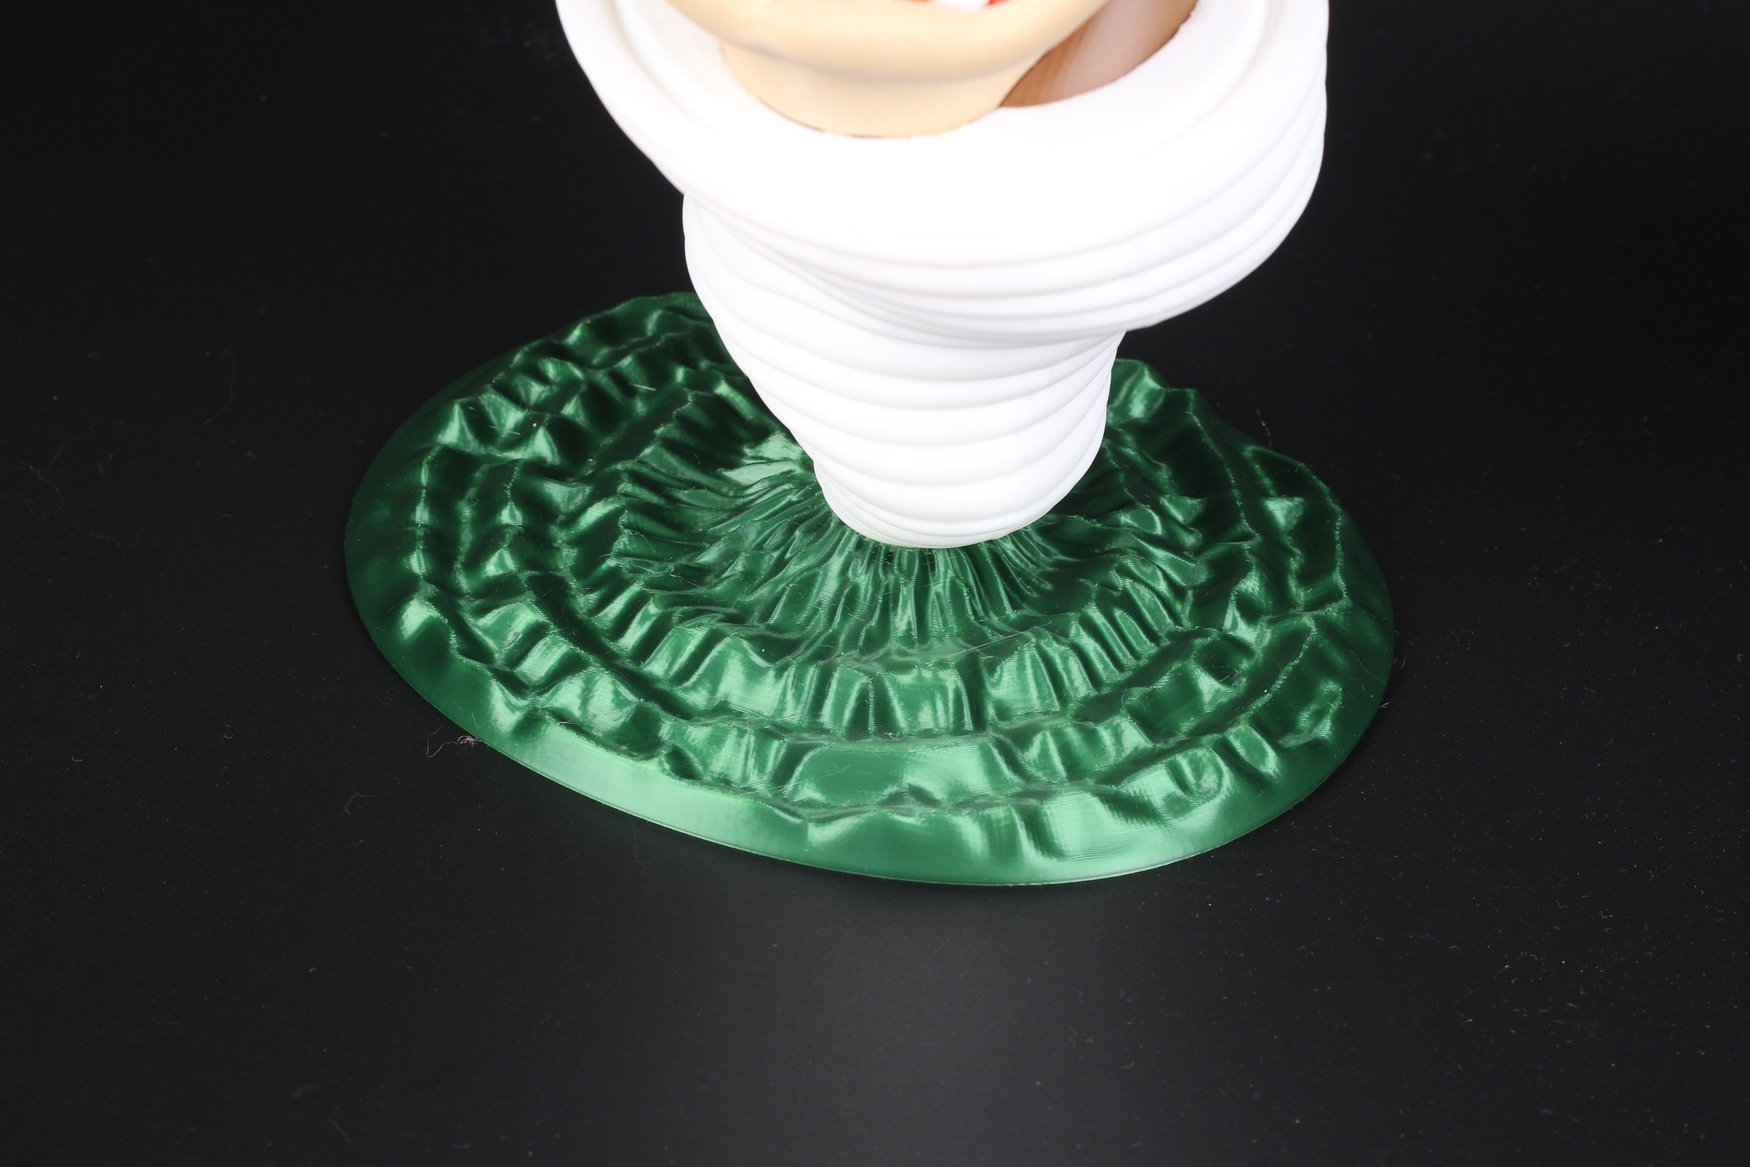
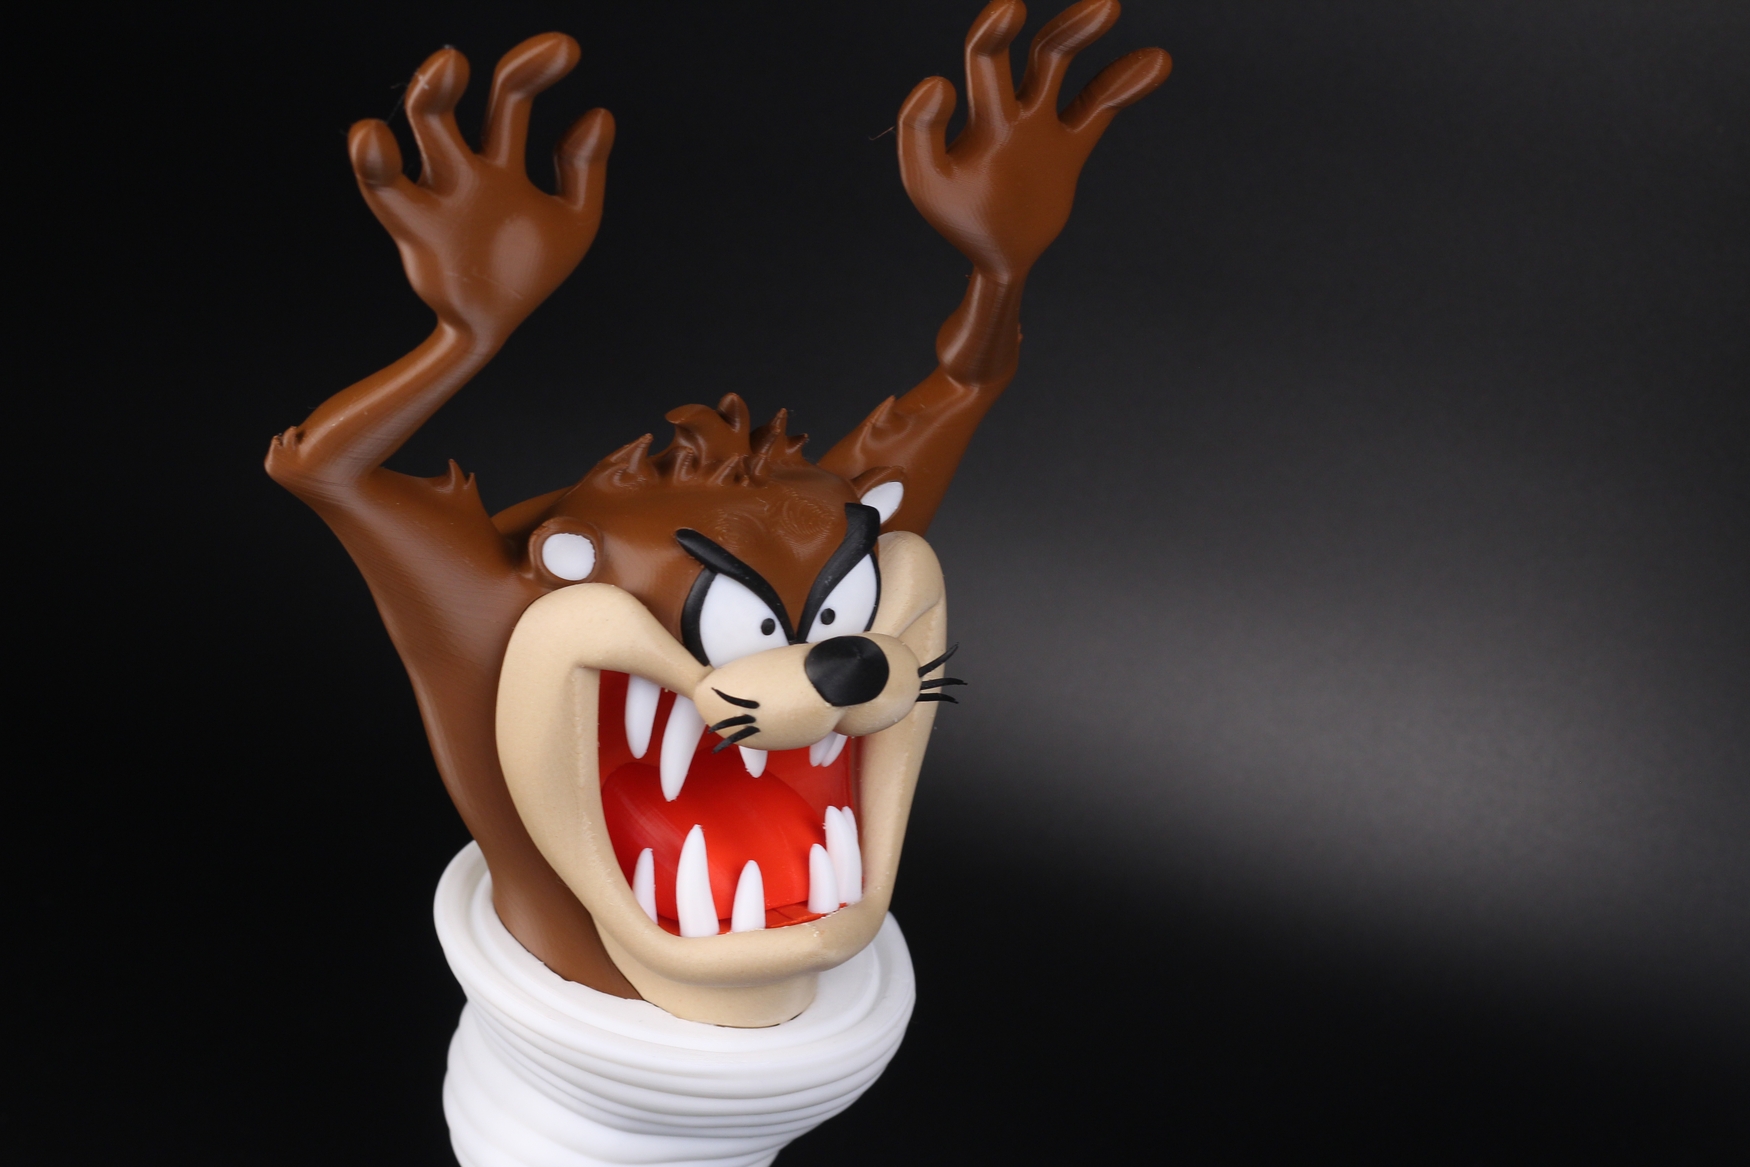
One of my favorite 3D prints to date is this awesome Tazmanian Devil from reddadsteve on Printables. It was printed fully on the Ender 3 S1 Pro using various Devil Design filaments, then glued together. The result is great.
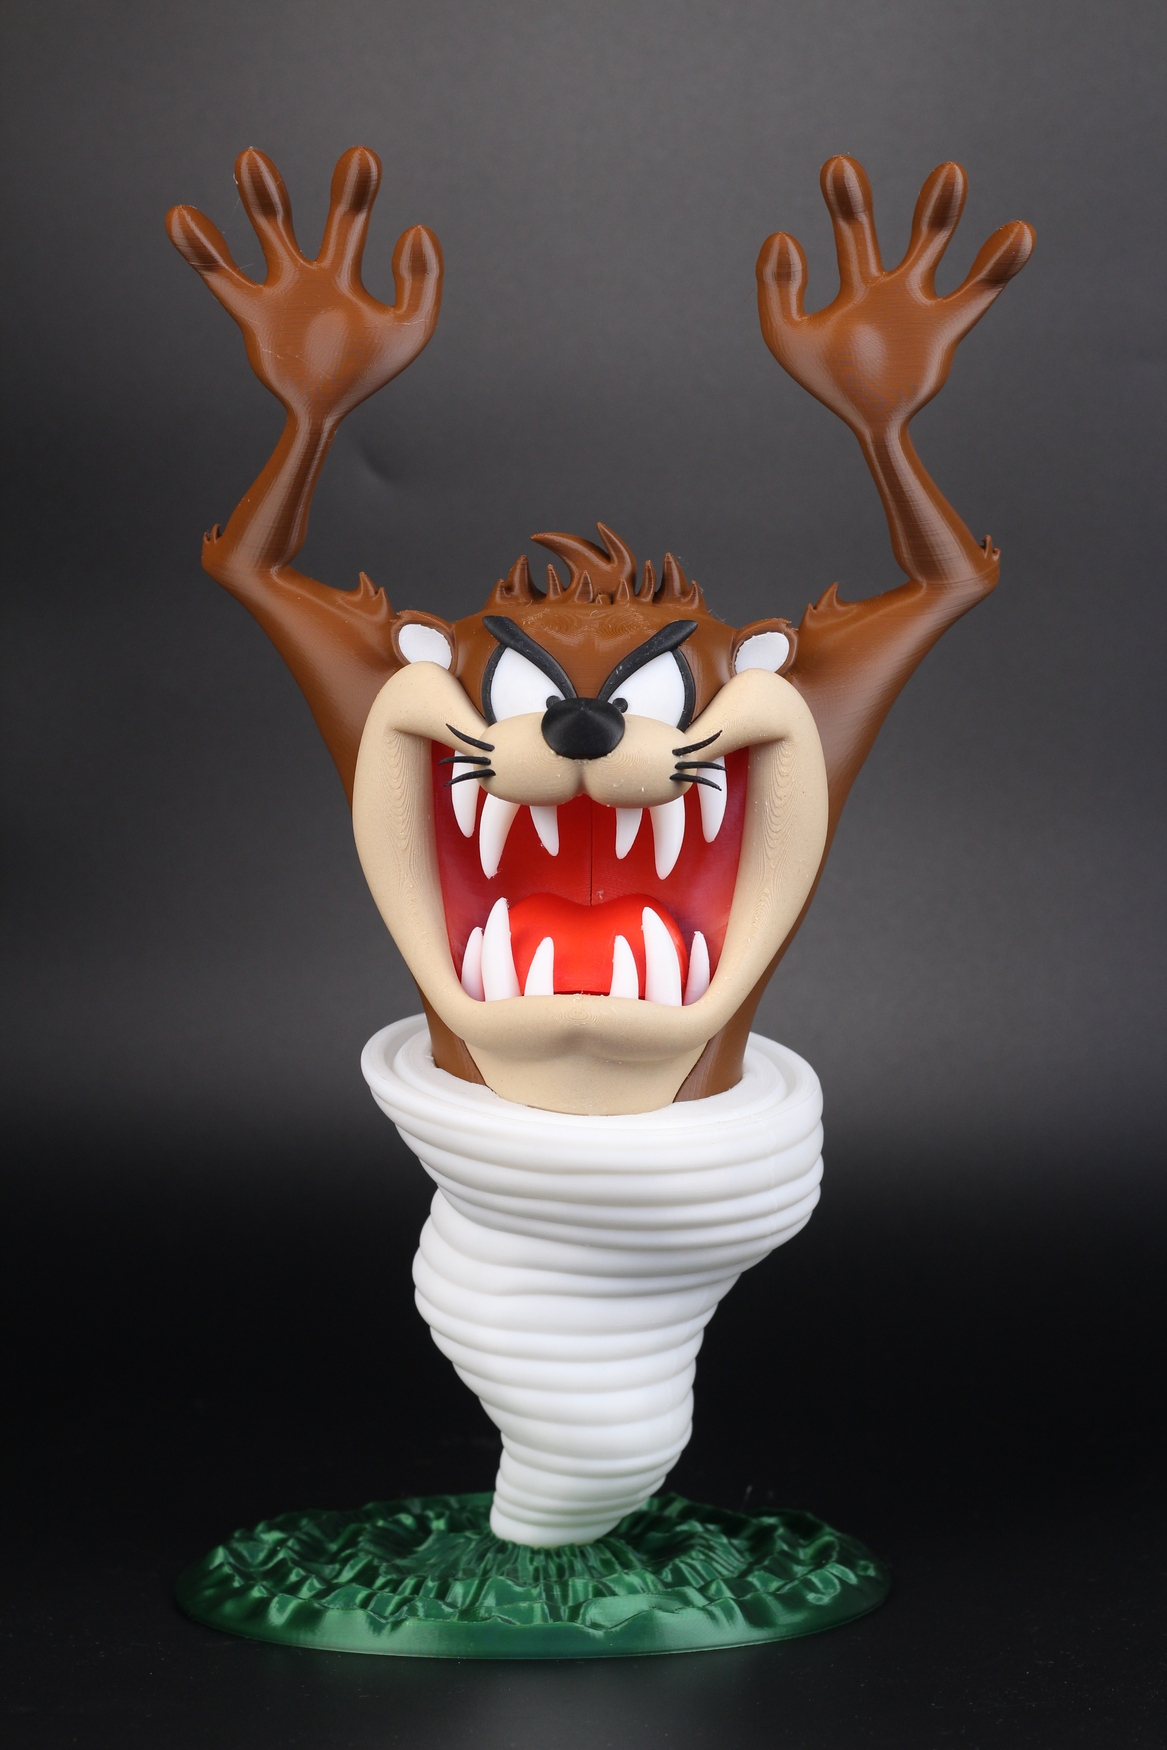
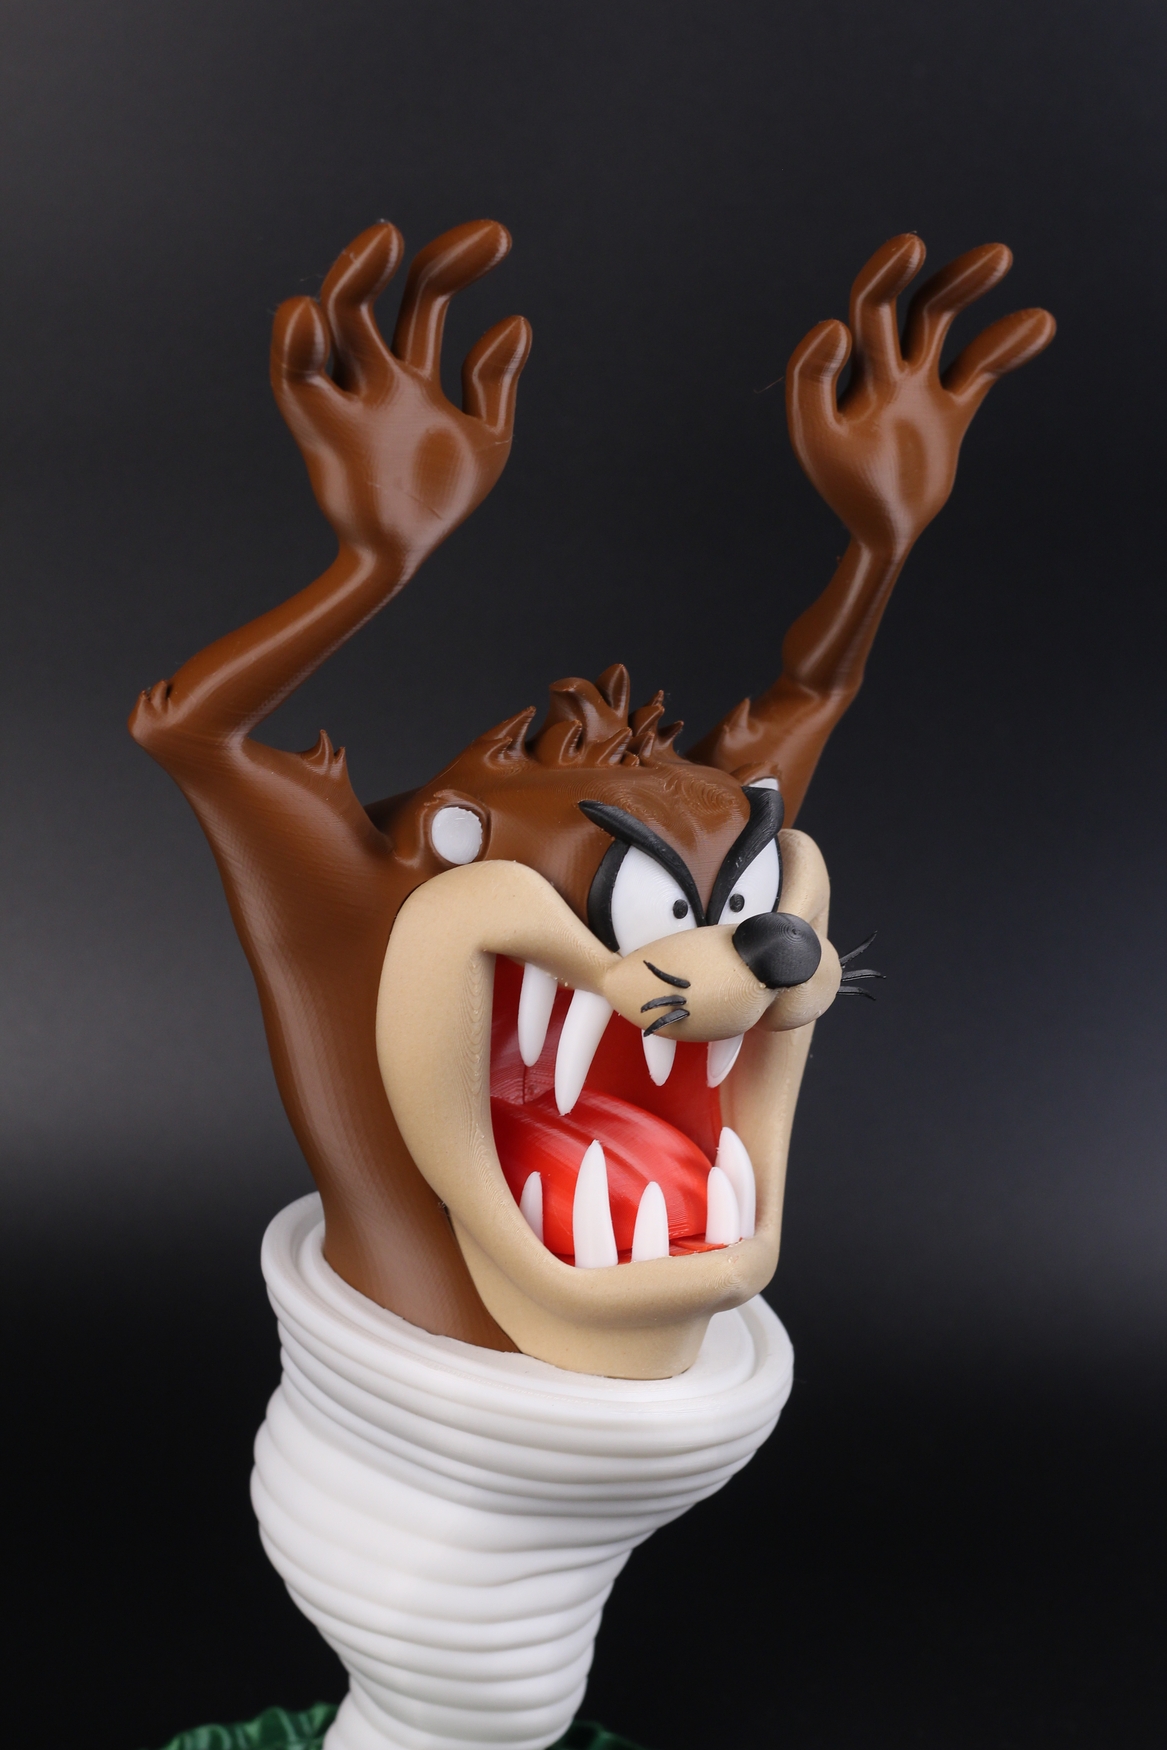
- Material: Devil Design PLA
- Layer Height: 0.12 to 0.2mm
- Nozzle Temperature: 200C-220C
- Bed Temperature: 60C
- Print Speed: 50 mm/s
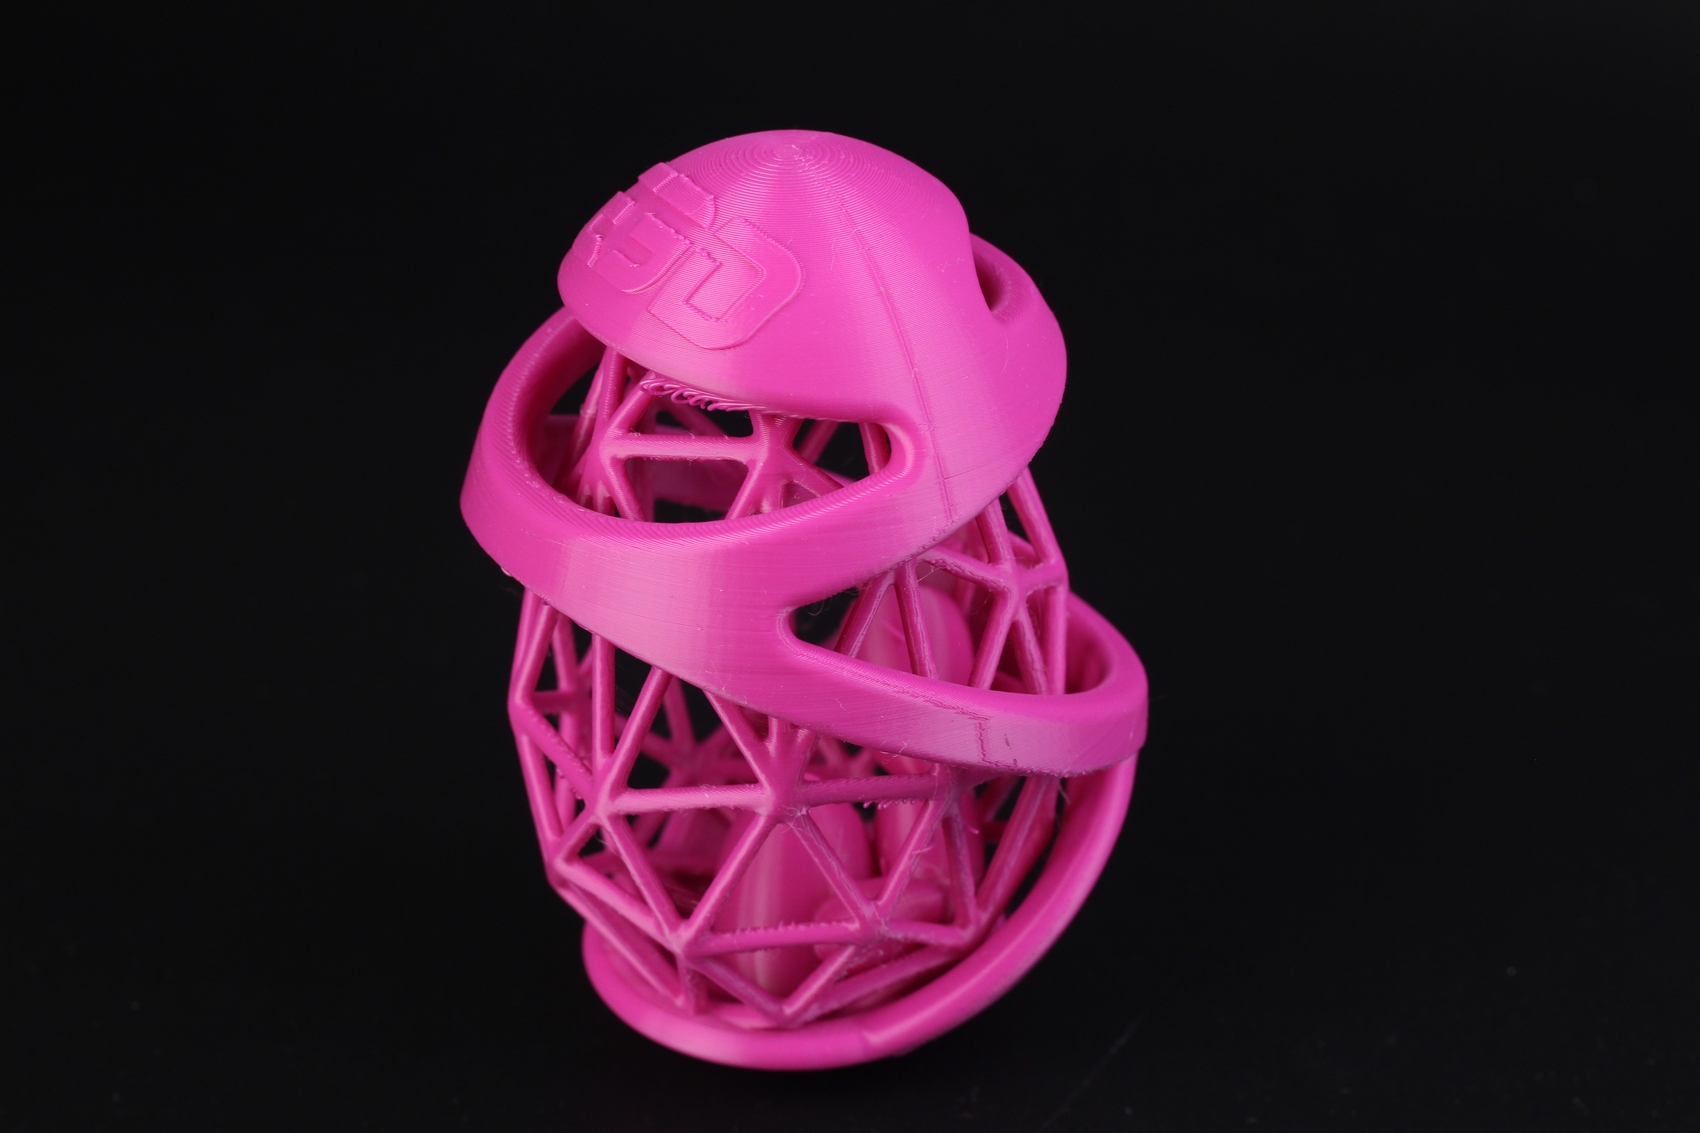
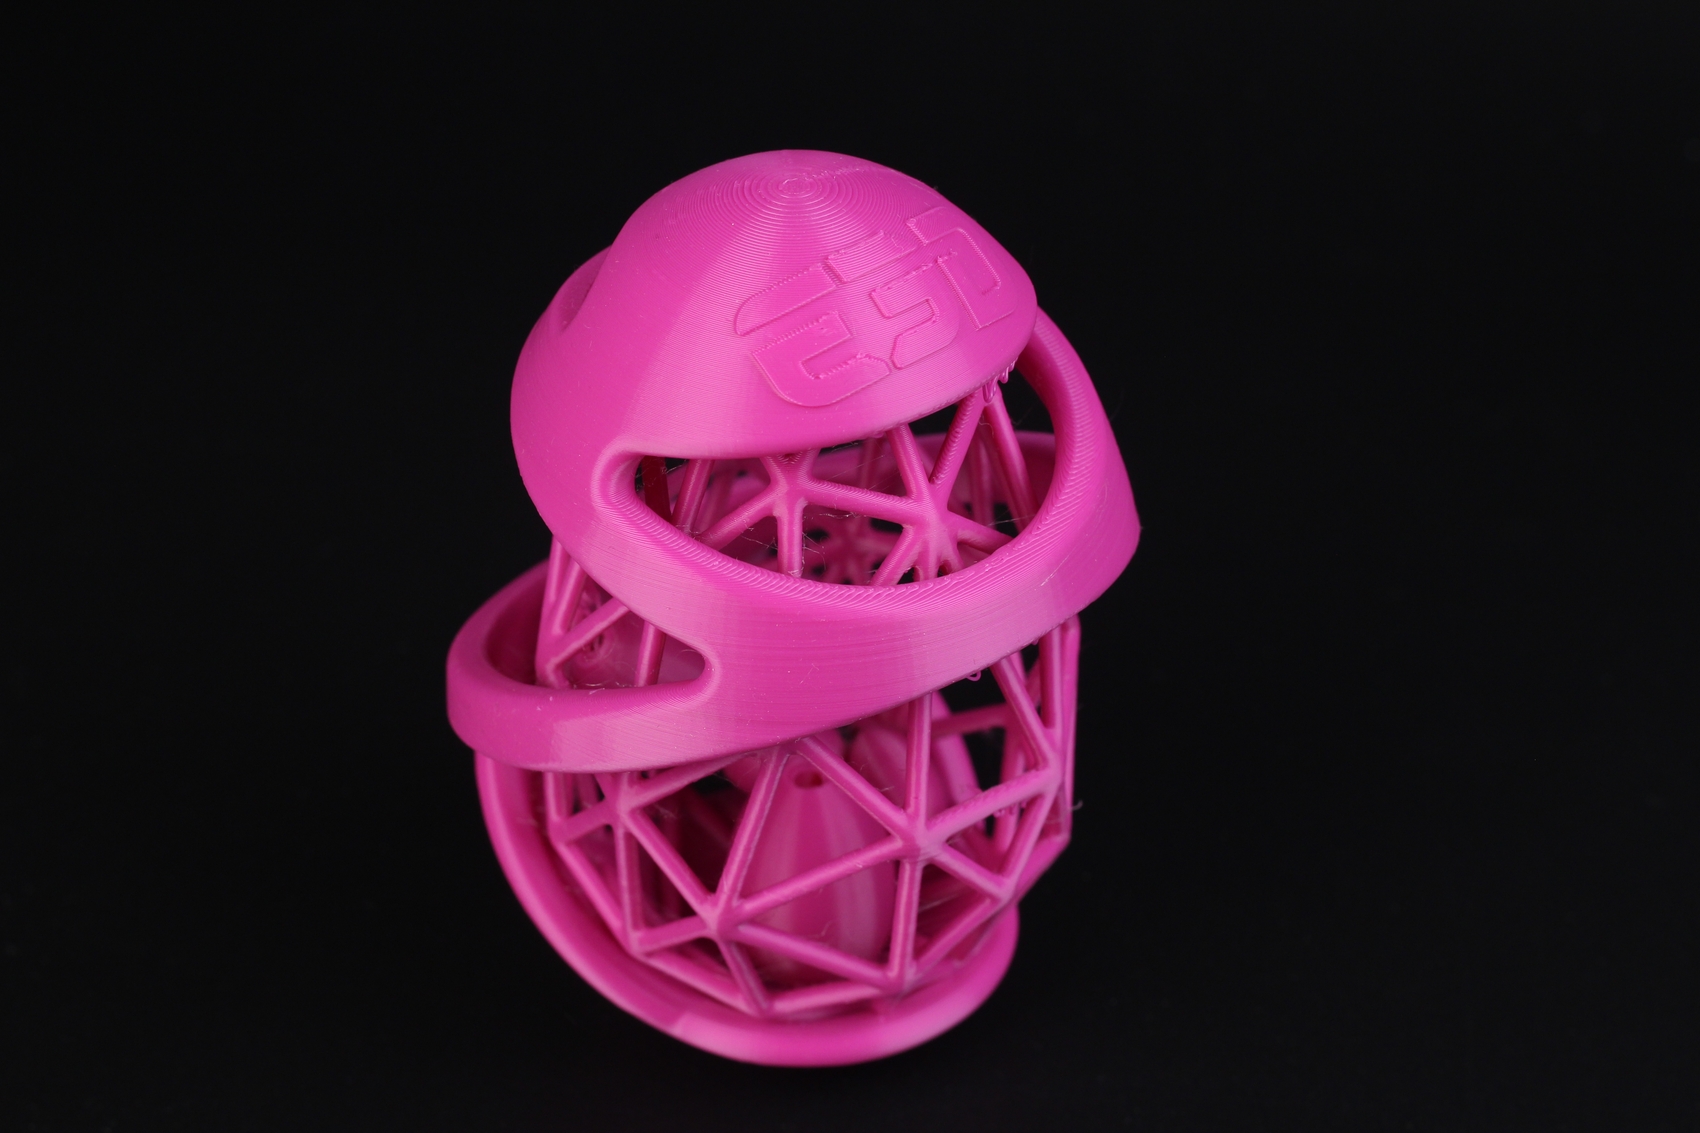
E3D Overhang Egg
Finally, the E3D Overhang Egg is a great test for retraction and printer accuracy. The small eggs inside the model came out in one piece, but I dropped the model and they broke away.
Other than that, I think it’s a good result, especially considering some of the overhangs in some parts of the model.
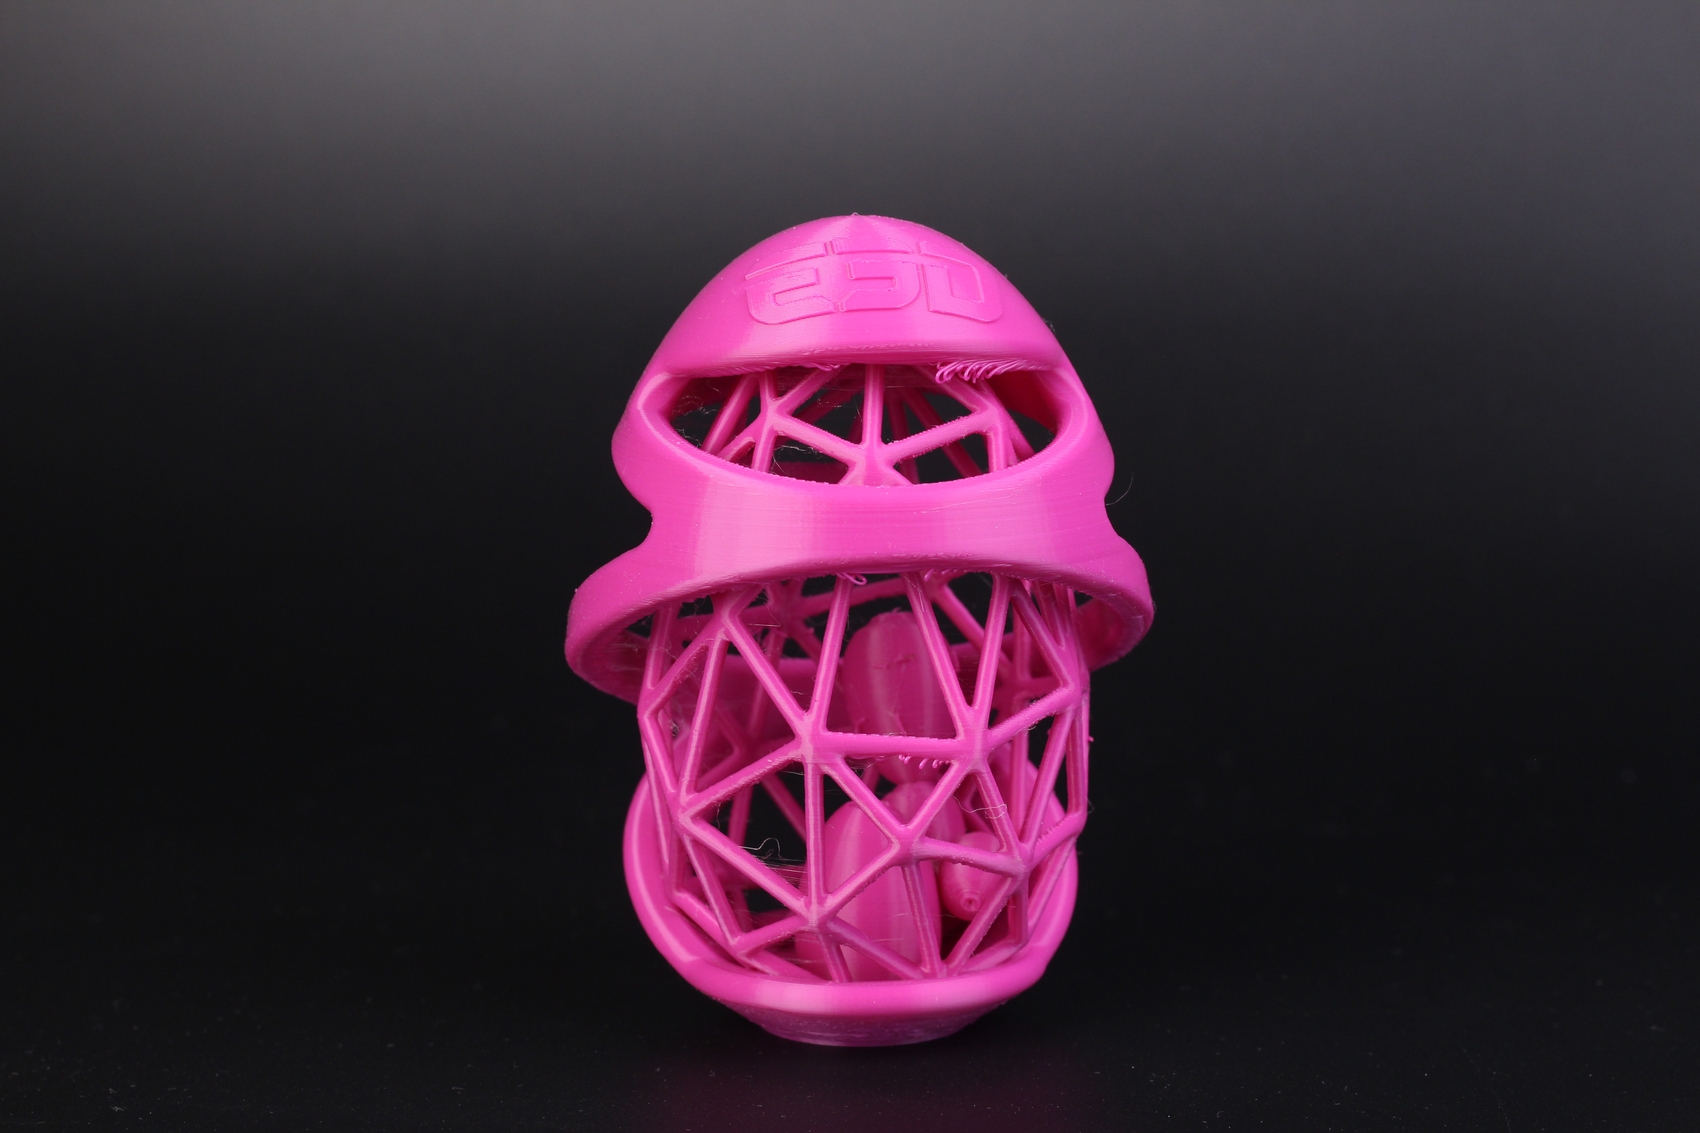
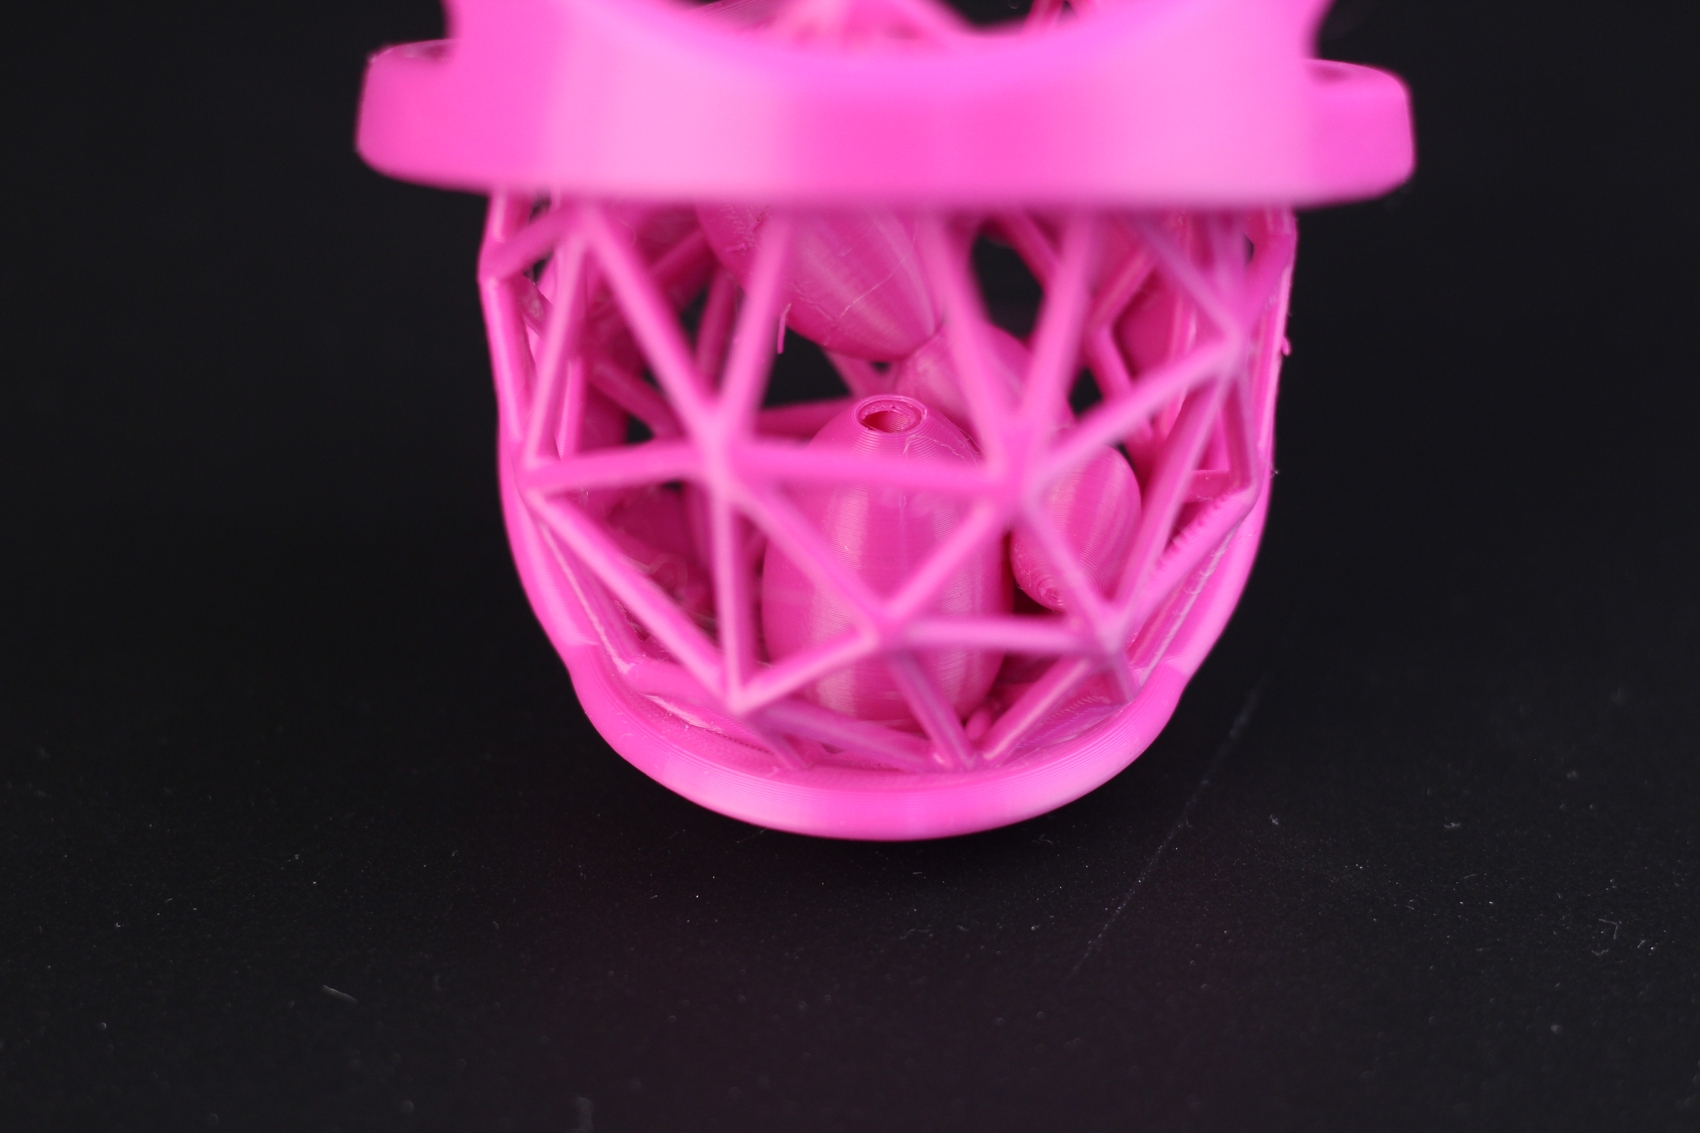
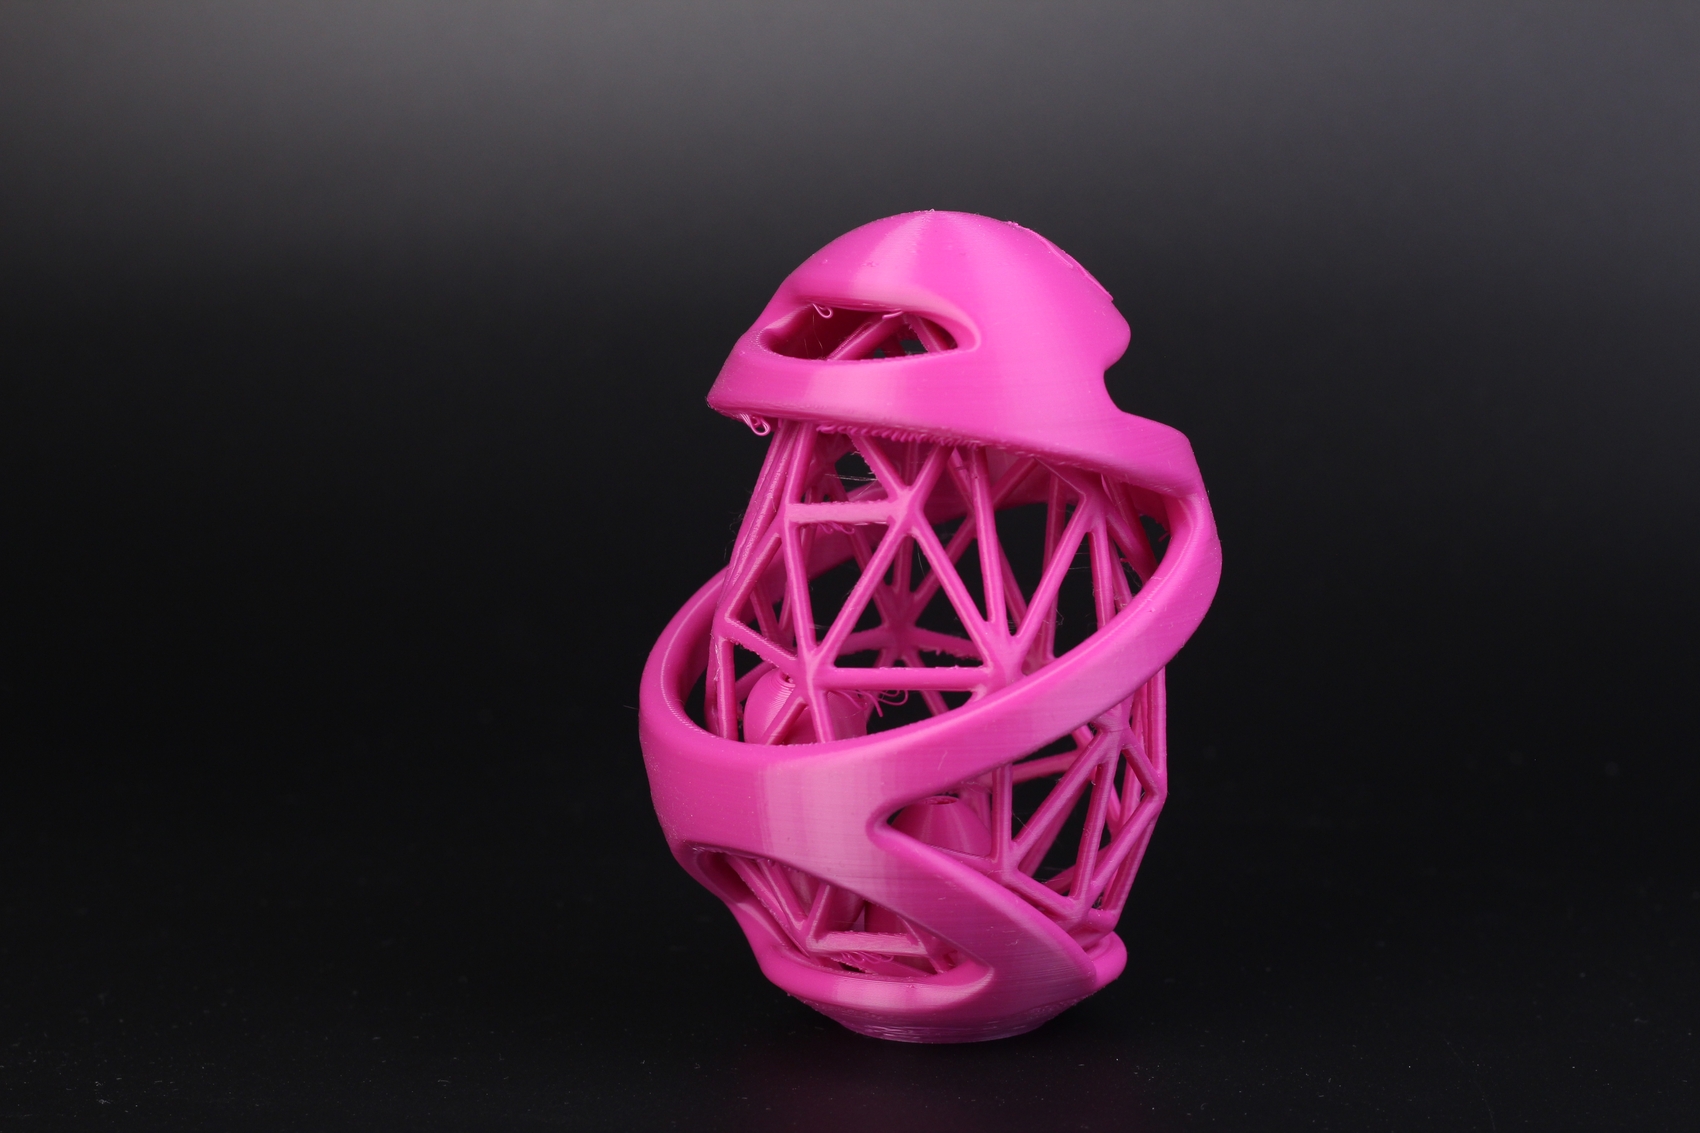
- Material:
- Layer Height: 0.15mm
- Nozzle Temperature: 205C
- Bed Temperature: 60C
- Print Speed: 50 mm/s
Conclusions: Is the Creality Ender 3 S1 Pro worth it?
The Creality Ender 3 S1 Pro builds upon the regular S1 foundation and manages to be a great 3D printer. It has most of the hardware features you could think of, but they don’t come cheap.
I said this before, but Creality should have simply launched a single S1 variant (preferably the S1 Pro) that has all the bells and whistles instead of dividing the market with so many variants of the same printer. I am sure that S1 owners are not super happy seeing that after a few short months, a new printer with improved hardware is launched.
Either way, if I strictly judge the Ender 3 S1 Pro for its features and printing performance, then I don’t have anything to complain about except price. It’s not a cheap printer at around ~500$, but you also don’t need to spend more money with it for upgrades.
If you are looking to purchase a fully-specced 3D printer that is easy to use, and delivers good print quality, the Ender 3 S1 Pro is an excellent choice. Probably the best Ender 3 yet.
But if you are one of the people who already purchased the S1, there’s no need to replace the whole printer. Just check my Ender 3 S1 Upgrades article and learn how to upgrade your current machine and make it pro.
Creality Ender 3 S1 Pro Rating
Design
Specs
Noise Levels
Ease of use
Print Quality
Price
The Ender 3 S1 Pro is currently one of the best-equipped 3D printers from Creality. Print quality is great out of the box, and it's easy to get consistent results but all that comes with a higher price tag.
Where to buy the Creality Ender 3 S1 Pro?
The Creality Ender 3 S1 Pro was provided free of charge by Creality for the purpose of this review. While the article includes affiliate links, all opinions are my own. Nobody reviewed the article before it was posted, following the Review Guidelines.
Liked it?
|
|



A major feature which I would purchase this printer for is its hot end capabilities; poly carbonate printing is to my knowledge now possible with the S1 Pro’s all metal Sprite extruder, as far as I am aware? Although I dont see it listed in this article as a supported filament type. Is there any references or articles which pertain to printing with polycarbonate filament (possibly on the lower temperature spectrum of PC filament types) which demonstrate the S1 Pro’s performance with PC filament?
You can print PC with the Ender 3 S1 but you need an enclosure for it, to trap the heat inside.
There’s slim chances of printing it successfully without it.
I have the S1 Pro and the abl is not working.
When I manually level the bed the first layer is fine but when I use abl after that the results are worse, espacially in the corners.
I saw a couple of people online having the same issues.
Can you comment anything on that?
Thanks
For me, it worked great.
Are you using the official firmware? Can you give some example of worse results around the corners?
Thanks for the reply. Hm its weird that it works for you. Yes, I am using the offical firmware.
Like I said, after manually leveling I get a pretty consistent first layer test.
After I use ABL and run a first layer test the results look like the nozzle is too far away from the bed in some areas and too close to the bed in others.
These pictures kinda show the inconsistencies I was experiencing.
Uploading: first layer.jpeg…
I think it might be caused by the PEI sheet and where the CR-touch pin drops when probing.
The textured sheet has an uneven surface. So maybe the probe points have different Z offsets depending on where it touches.
First, try flipping the sheet and level again. Maybe it helps
Thanks for the idea unfortunately it did not help.
Could it be caused by an uneven V-slot wheel on the print head?
Are you doing it like this? (but of course, with the options from the touchscreen)
If it is fine when you manually level the bed then STOP don’t use ABL Kind of like if it an’t broke don’t fix it. Yeah I know you paid for it and it should work. I had the same problem and I decided not to run the ABL works for me. Did you heat the bed and hot end when you leveled? There are reports that there is false readings going to the ABL from the wires that are not shielded. good luck
After using the auto-level, go to manual, press the 5 for the center of the bed, use a piece of paper and adjust the z offset. That’s the step everyone leaves out. Mine is -3.05 and I get great prints.