Creality CR-M4 Review: Large Format 3D Printer
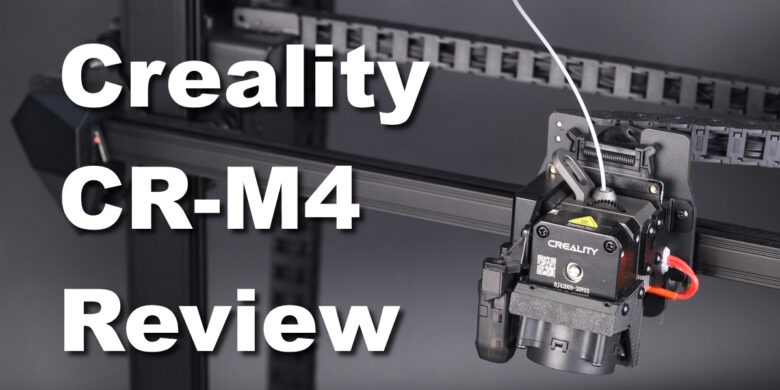
Creality just launched the CR-M4 printer which is their newest offering when it comes to a large-format 3D printer. I usually refer to printers as “large-format” for build volumes of around 300x300x400mm, but Creality pushed this size a bit further with the CR-M4 reaching a volume of 450x450x470mm.
Of course, such a big volume also comes with a higher price tag so in this review, we will test the CR-M4 and see if it’s worth the higher price tag if you are looking for a large printing volume.
Creality CR-M4 Shipping and Packaging
The Creality CR-M4 comes partially assembled in a huge and heavy box, so don’t expect it to be shown in too many “shoulder selfies” online. Because it comes partially assembled, you don’t need a lot of time to put everything together and you can expect to start printing in about 30 minutes.
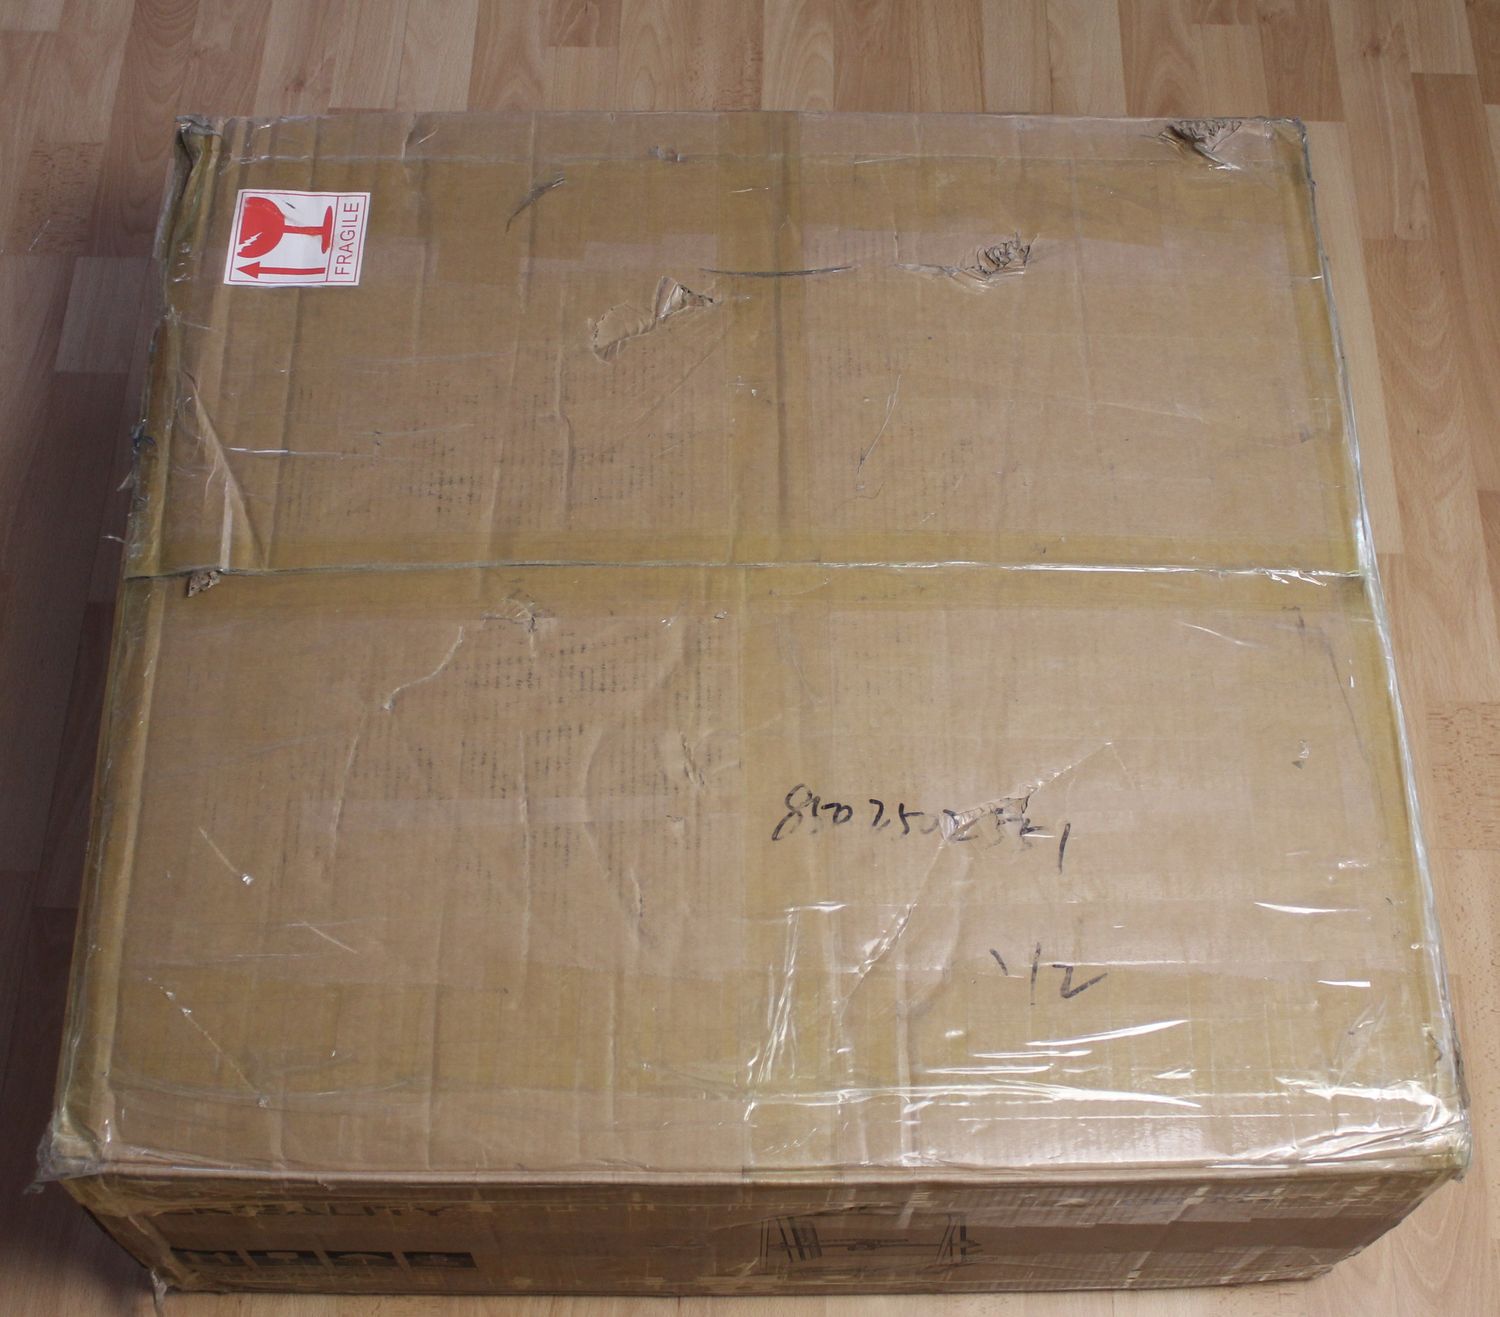
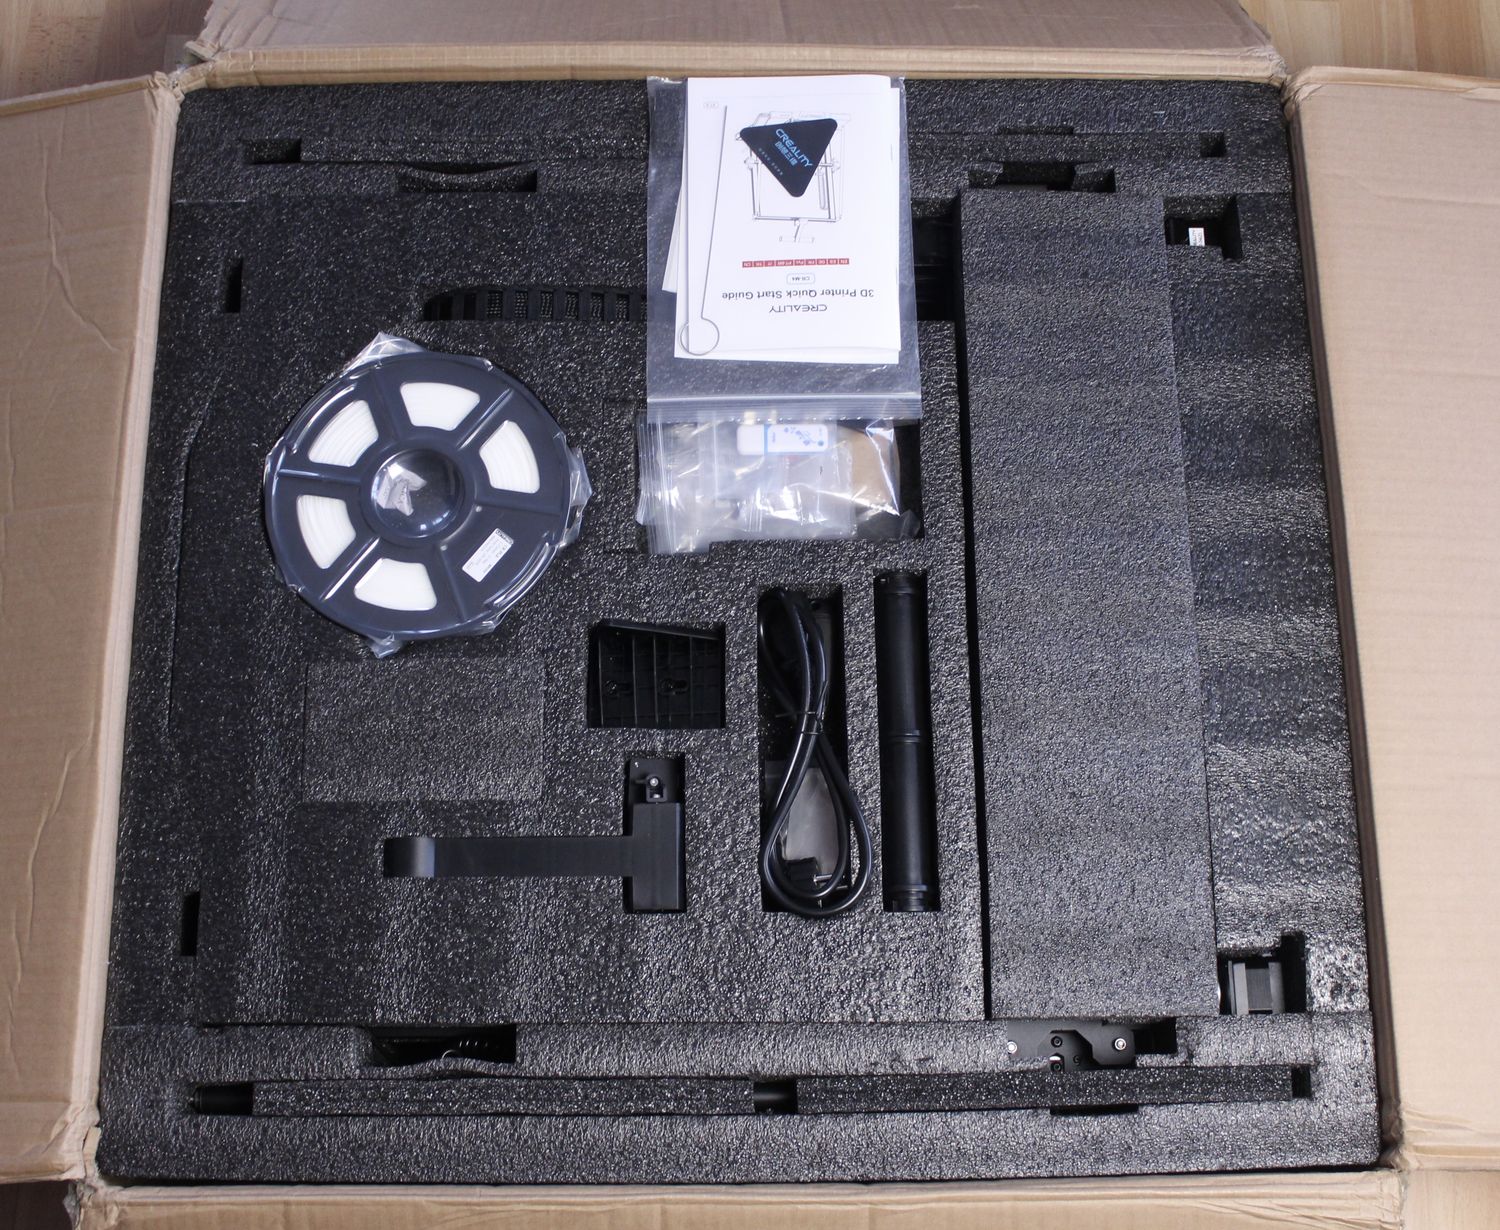
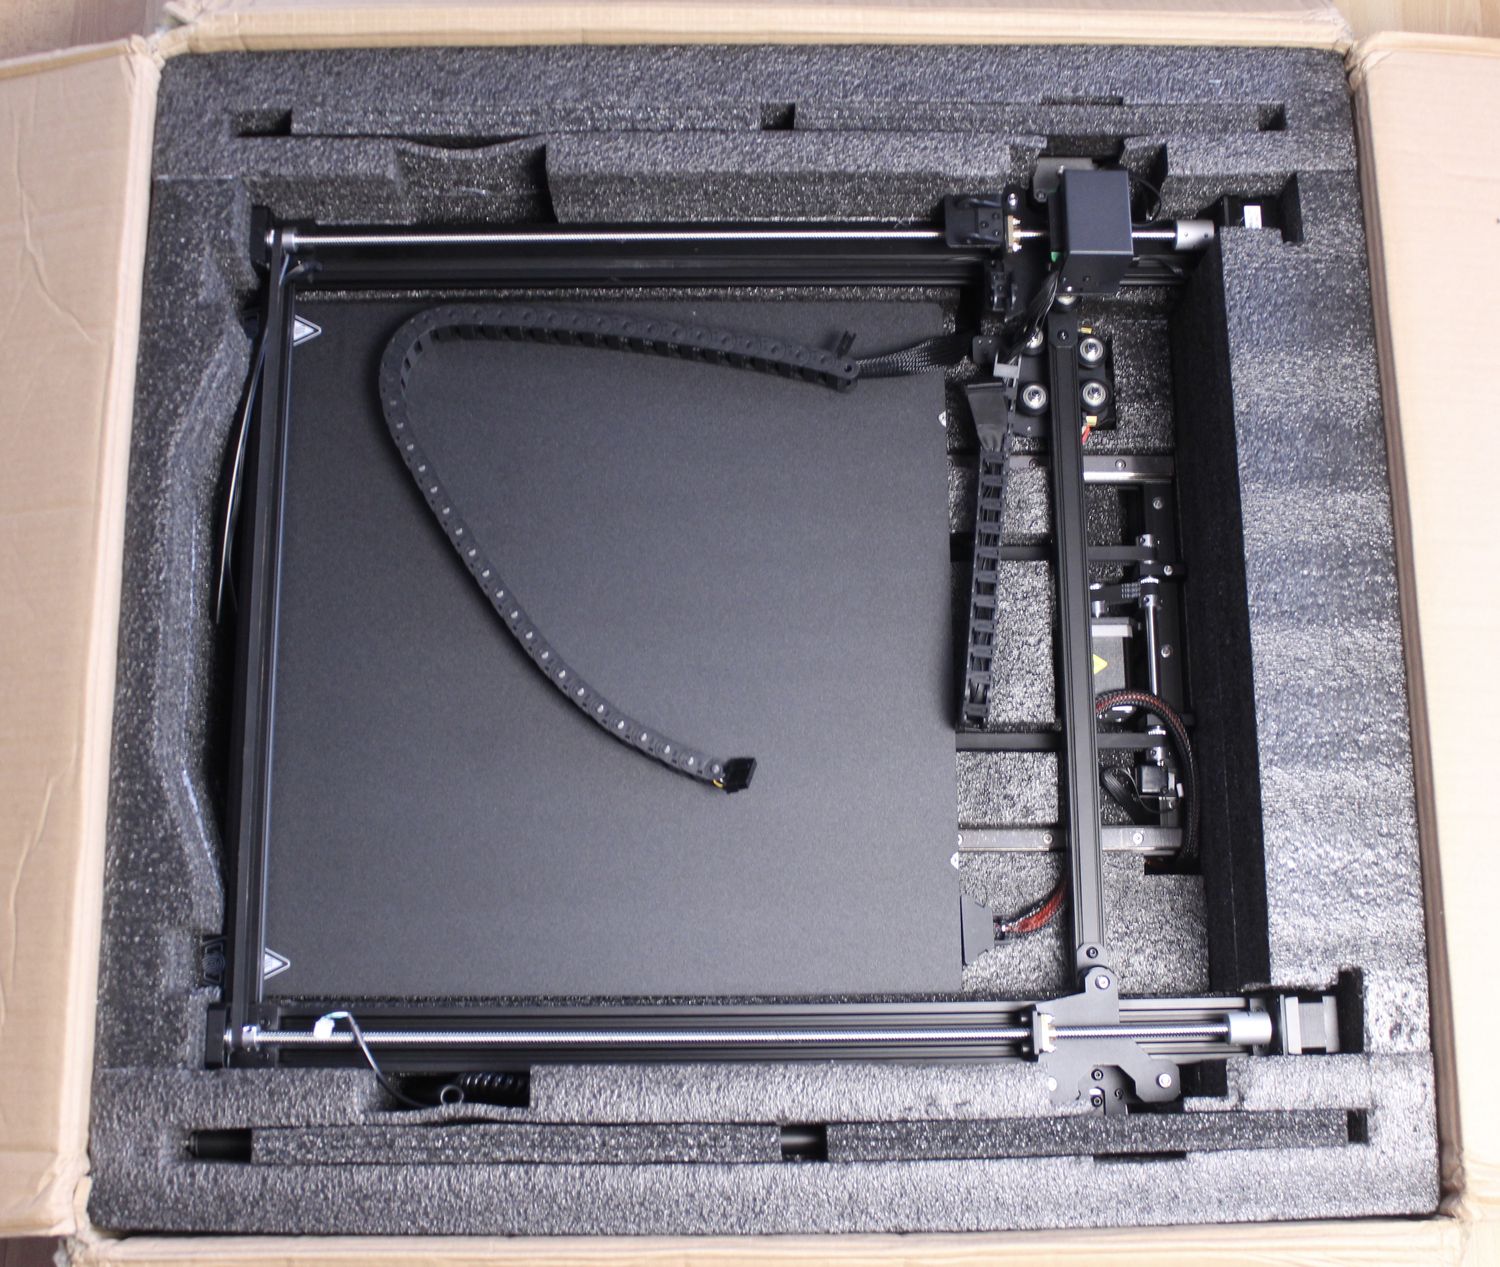
All the parts come nicely packaged with foam protection on all sides, so I do not expect them to be damaged during shipping.
Creality CR-M4 Design
I do not have pictures of the entire printer, as it is very big and hard to shoot in my small room. But I can assure you that it looks similar to how it is presented in the product listing, and I took pictures of the main printer hardware below.
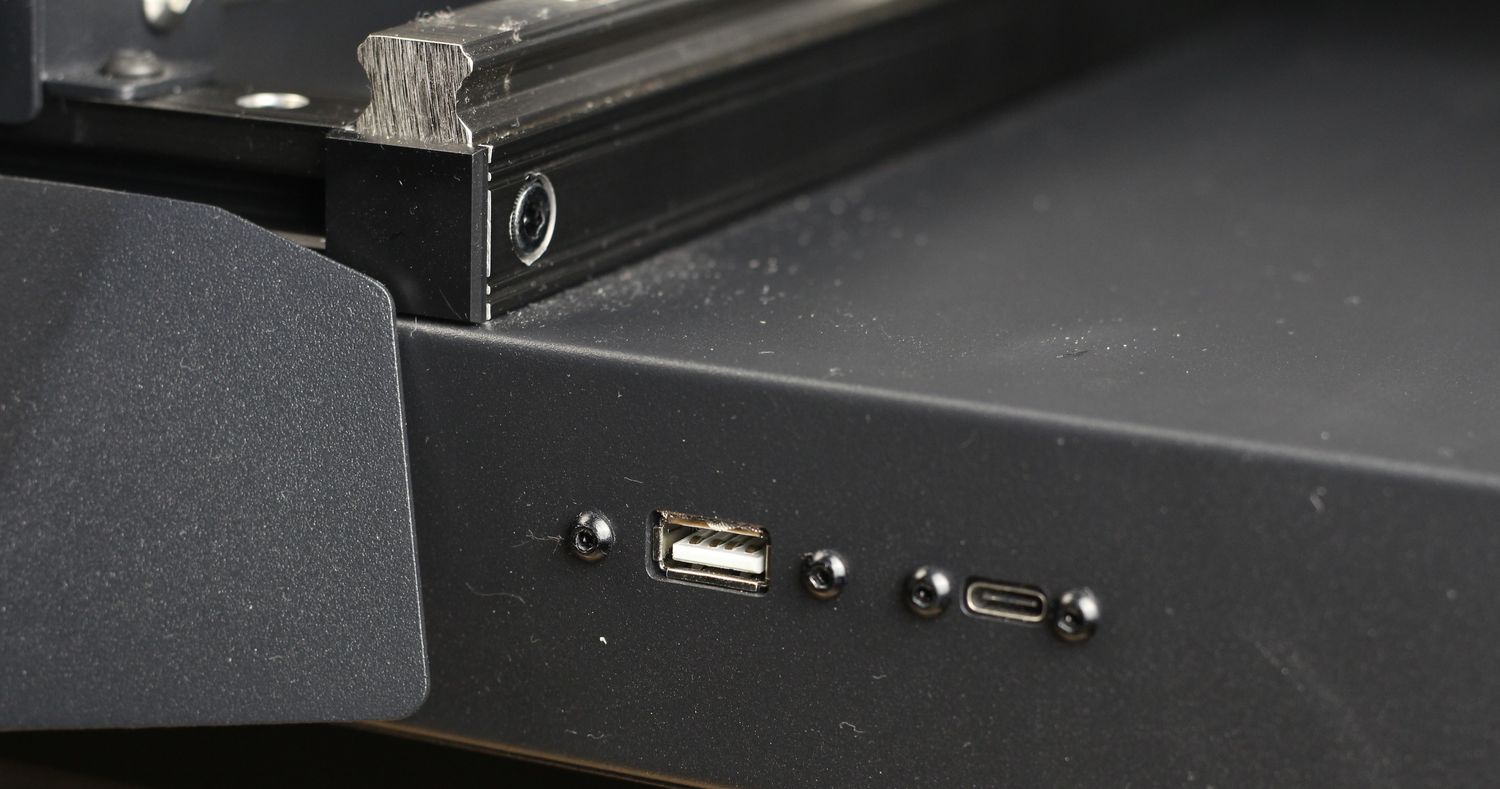
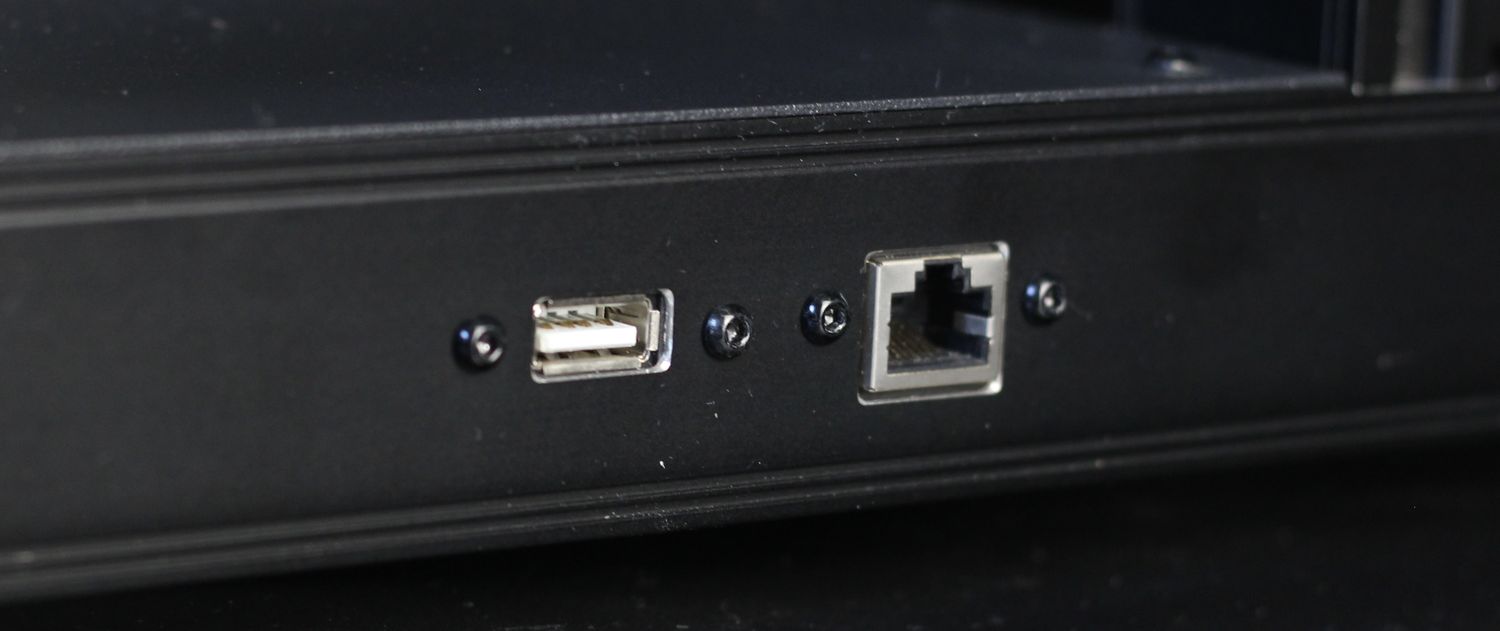
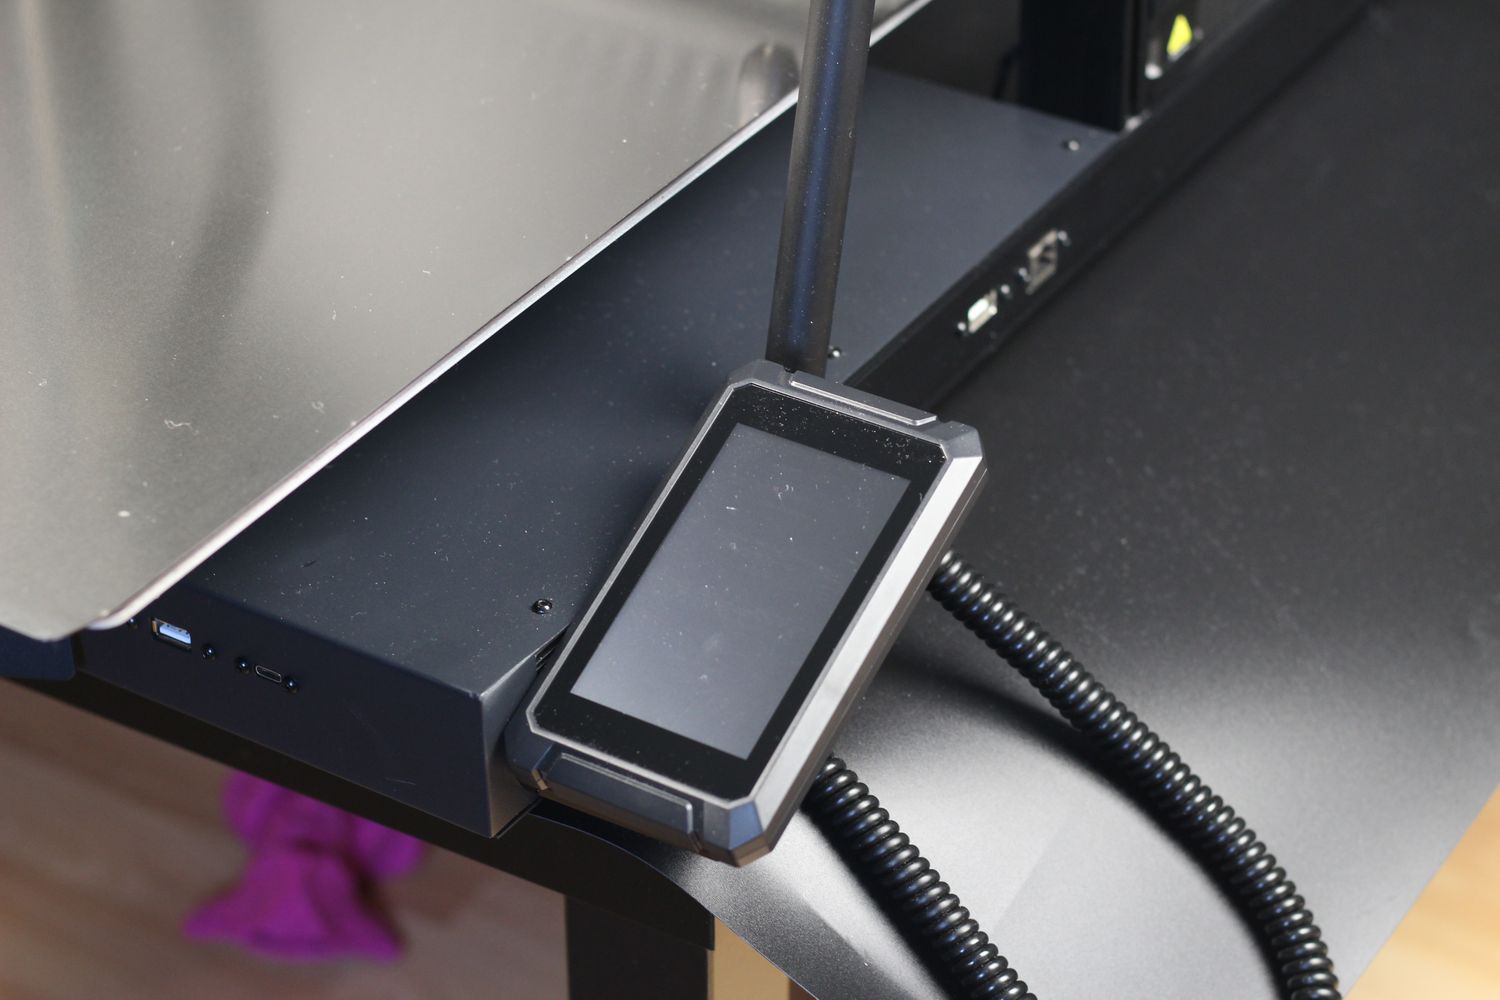
On the front of the printer, we get a full-size USB type-A port for printing from a regular USB drive, and also a USB type-C port for connecting to the printer. I like this change as it doesn’t require me to fiddle with MicroSD cards like with other printers.
Creality CR-M4 Specs
| Printing Technology | FDM |
| Build Volume | 450*450*470mm |
| Product Dimensions | 655*700*865mm |
| Package Dimensions | 790*760*300mm |
| Net Weight | 22.48KG |
| Gross Weight | 28.3KG |
| Printing Speed | ≤120mm/s |
| Printing Accuracy | ±0.1mm |
| Layer Height | 0.05-0.35mm |
| Extruder Type | “Sprite” dual-gear direct drive extruder |
| Extruder Material | All metal |
| Filament Diameter | 1.75mm |
| Z-axis Count | 2 |
| Nozzle Type | Brass nozzle |
| Nozzle Diameter | Standard 0.4mm (compatible with 0.6/0.8mm) |
| Nozzle Temperature | ≤300°C |
| Heatbed Temperature | ≤100℃ |
| Printing Technology | FDM |
| Build Volume | 450*450*470mm |
| Product Dimensions | 655*700*865mm |
| Package Dimensions | 790*760*300mm |
| Net Weight | 22.48KG |
| Gross Weight | 28.3KG |
| Printing Speed | ≤120mm/s |
| Build Surface | PC spring steel sheet |
| Leveling Mode | CR Touch auto-leveling |
| File Transfer | USB drive, WiFi, USB-C cable, RJ45 cable |
| Display Screen | 4.3-inch color touch screen |
| Mainboard | Integrated 32-bit silent mainboard |
| PowerLoss Recovery | Yes |
| FilamentRunout Sensor | Yes |
| Multi-printers Control | Yes |
| Sleep Mode | Yes |
| Rated Voltage | 100-240V~,50/60Hz |
| Rated Power | 800W |
| Slicing Software | Creality Print, Creality Slicer, Cura |
| File Formats | STL, OBJ, AMF |
| Supported Filaments | PLA, PETG, TPU, ABS, PLA-Wood, PA, PLA-CF |
| UI Languages | English, Spanish, German, French, Russian, Portuguese, Italian, Turkish, Chinese |
450x450x470 Printing Volume
As I mentioned at the beginning of this article, the Creality CR-M4 has a huge printing volume of 450x450x470mm which should be more than enough for printing very large objects. Honestly, I don’t have a use for such a big printer in my day-to-day use but it’s nice to have the possibility of printing large models without needing to split them in multiple parts.
The CR-M4 is big, and one of the drawbacks of buying one is the extra space needed for it to work. It’s still a “bed-slinger” meaning that besides the space taken by the printing volume, you also need to account for the space needed on the Y axis for the heatbed travel movement. I would recommend at least 1 meter of space to be able to use the printer.
Being a cartesian 3D printer also means that you cannot expect printing at high speeds because the large heatbed needs to be moved, and you can’t really do that fast without introducing print quality issues as the model can start wobbling.
Even though the Z axis has a pair of metallic braces similar to what you would get with a CR-10 Smart Pro, the printer can still generate quite a bit of wobble in the print, if not placed on a very sturdy surface
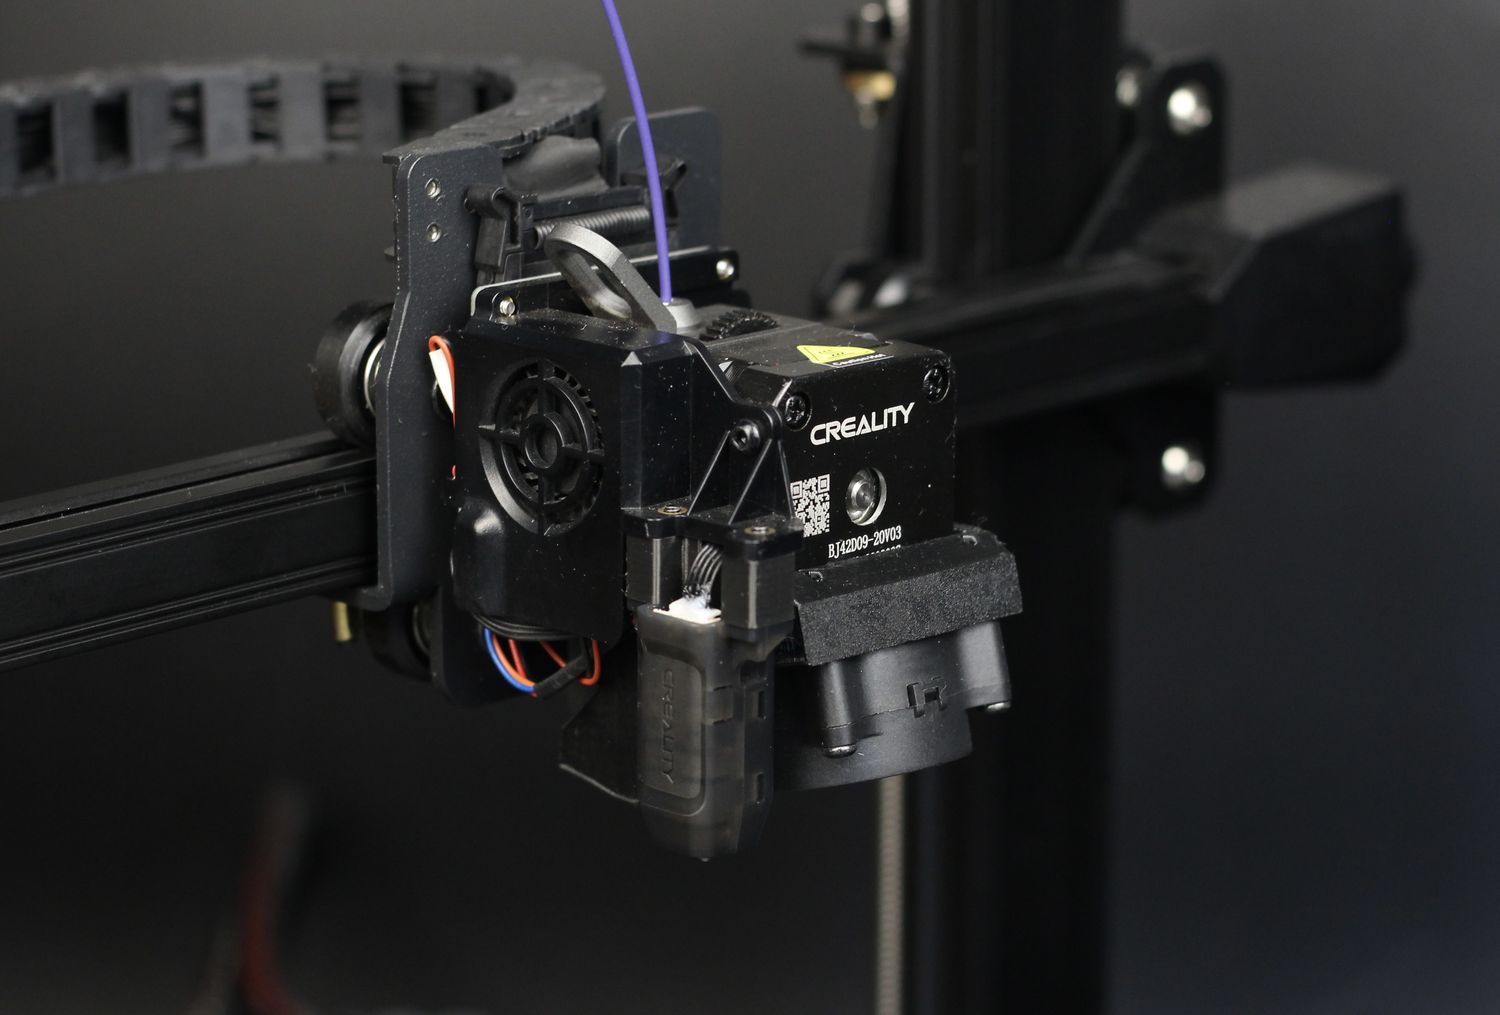
All-Metal Direct Drive Creality Sprite Extruder
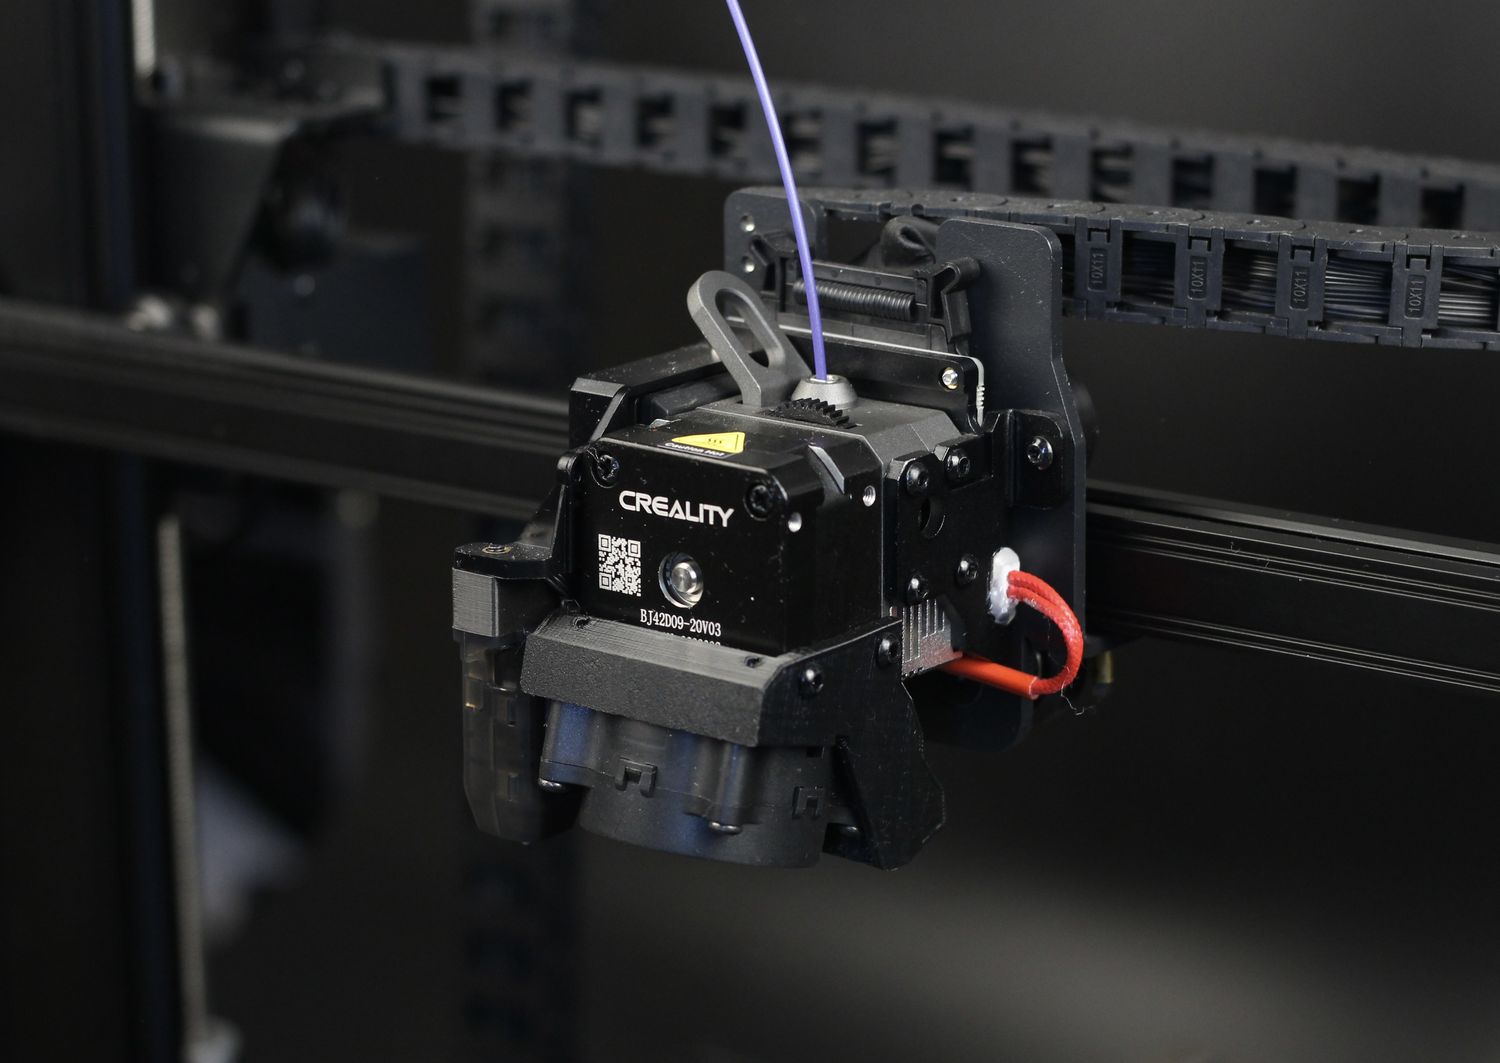
One of the most significant hardware upgrades introduced with the newer 3D printers from Creality is the Sprite extruder. I reviewed this extruder in the past, and the print quality you can get from it is quite good.
The Creality CR-M4 comes with the All-Metal version of the Sprite extruder which allows it to reach up to 300C. Due to the size of the printer and the lack of enclosure, I don’t expect anyone to actually use the extruder and the higher temperature hotend at full temperature, but it’s nice to see it out of the box.
For part cooling, we get a 4020 radial fan installed at a 45-degree angle in front of the hotend. Besides the increased cooling performance, I also noticed the improved fan duct compared to other printers from Creality, showing that they put a bit more care in designing a better airflow for cooling the printed layer which is nice to see. The air duct is 3D printed, but I don’t see this as a problem. And as a bonus, my USB drive also included an STL file which means that I can easily print another one if I ever need to.
High-Flow hotend with 50W heater cartridge
Talking about the hotend, it’s worth noting that the CR-M4 comes with a PTFE-lined hotend comprised of a heat break with PTFE inside, an aluminum heatblock, and a longer nozzle allowing Creality to name this new hotend as high-flow. I am disappointed to see a PTFE-lined heat break this time, especially considering the capabilities set in the firmware.
PTFE starts degrading over 240C and will release harmful fumes when heated past that temperature, so I think this is a big oversight that can cause problems if inexperienced users handle this printer.
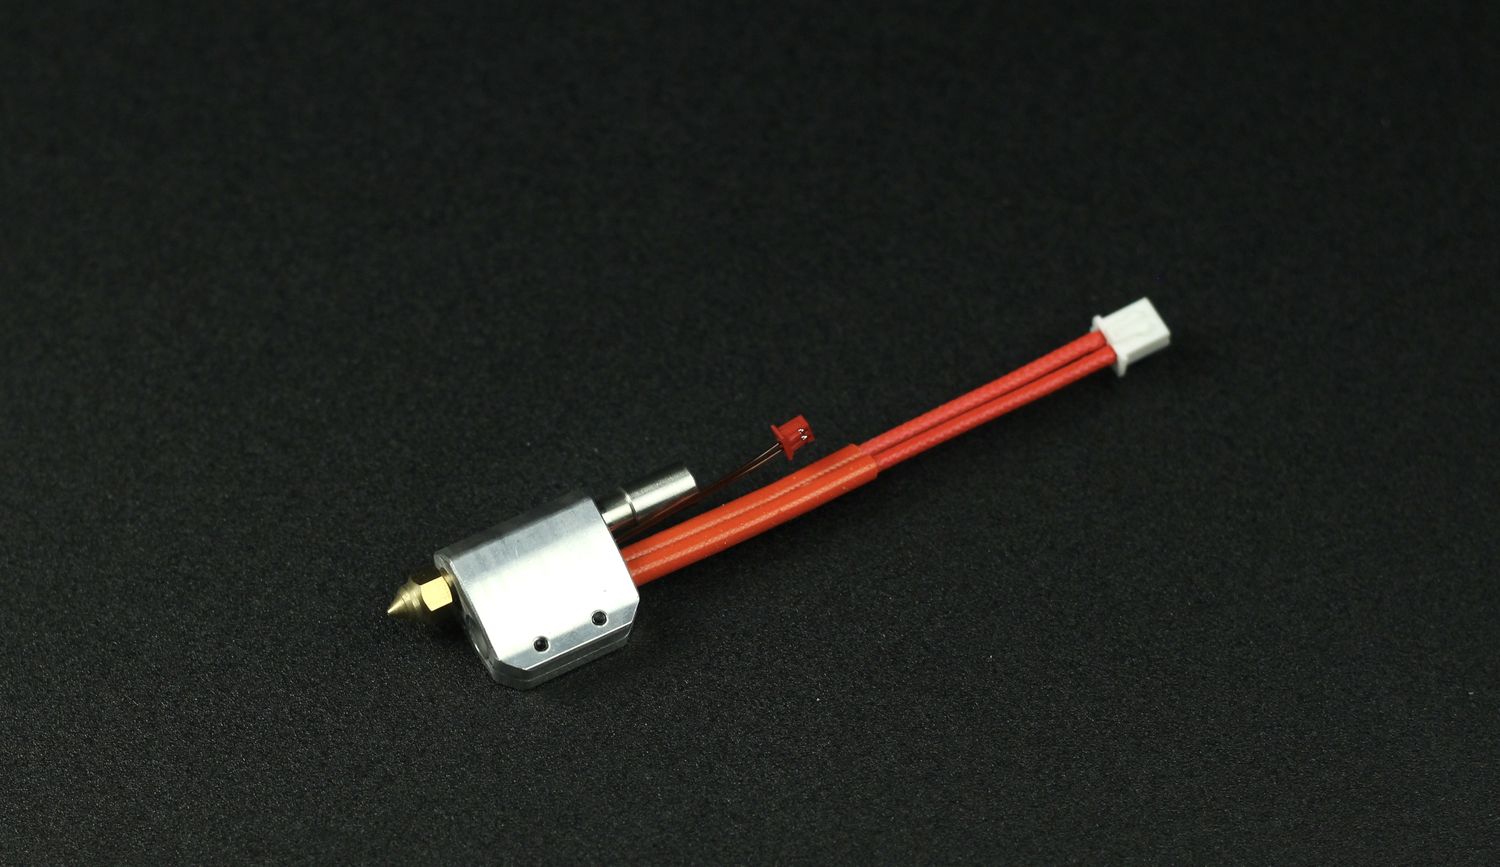
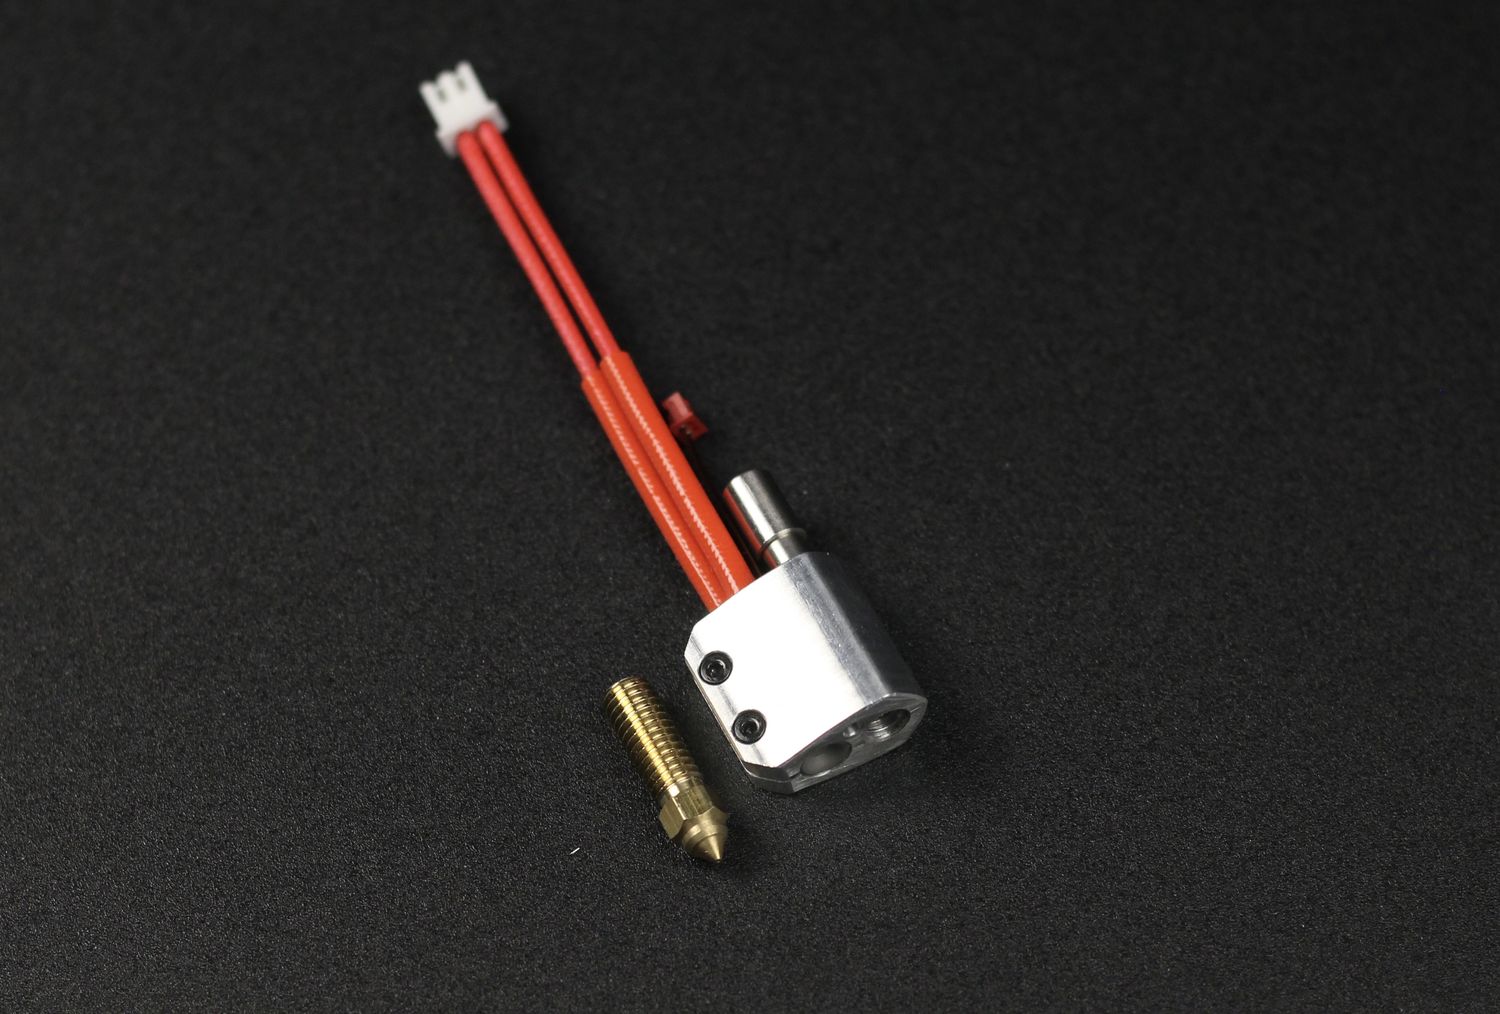
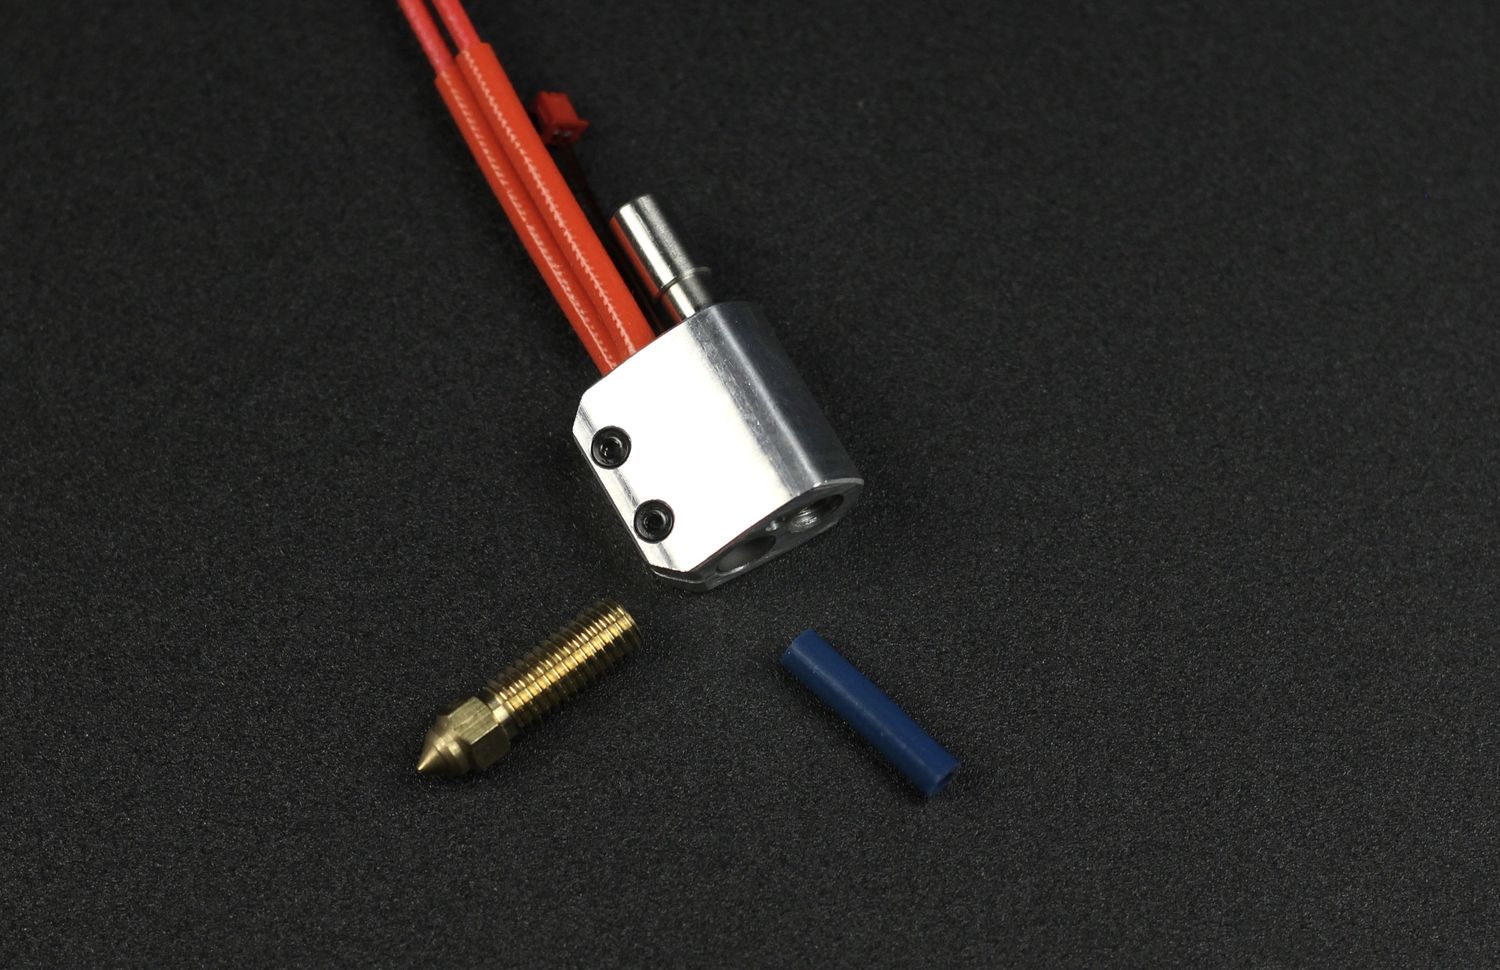
The longer nozzle used by this new hotend is similar to the popular Volcano nozzle used by printers with a Volcano hotend setup and it allows for better filament melting capabilities which is important when printing fast or with larger nozzles.
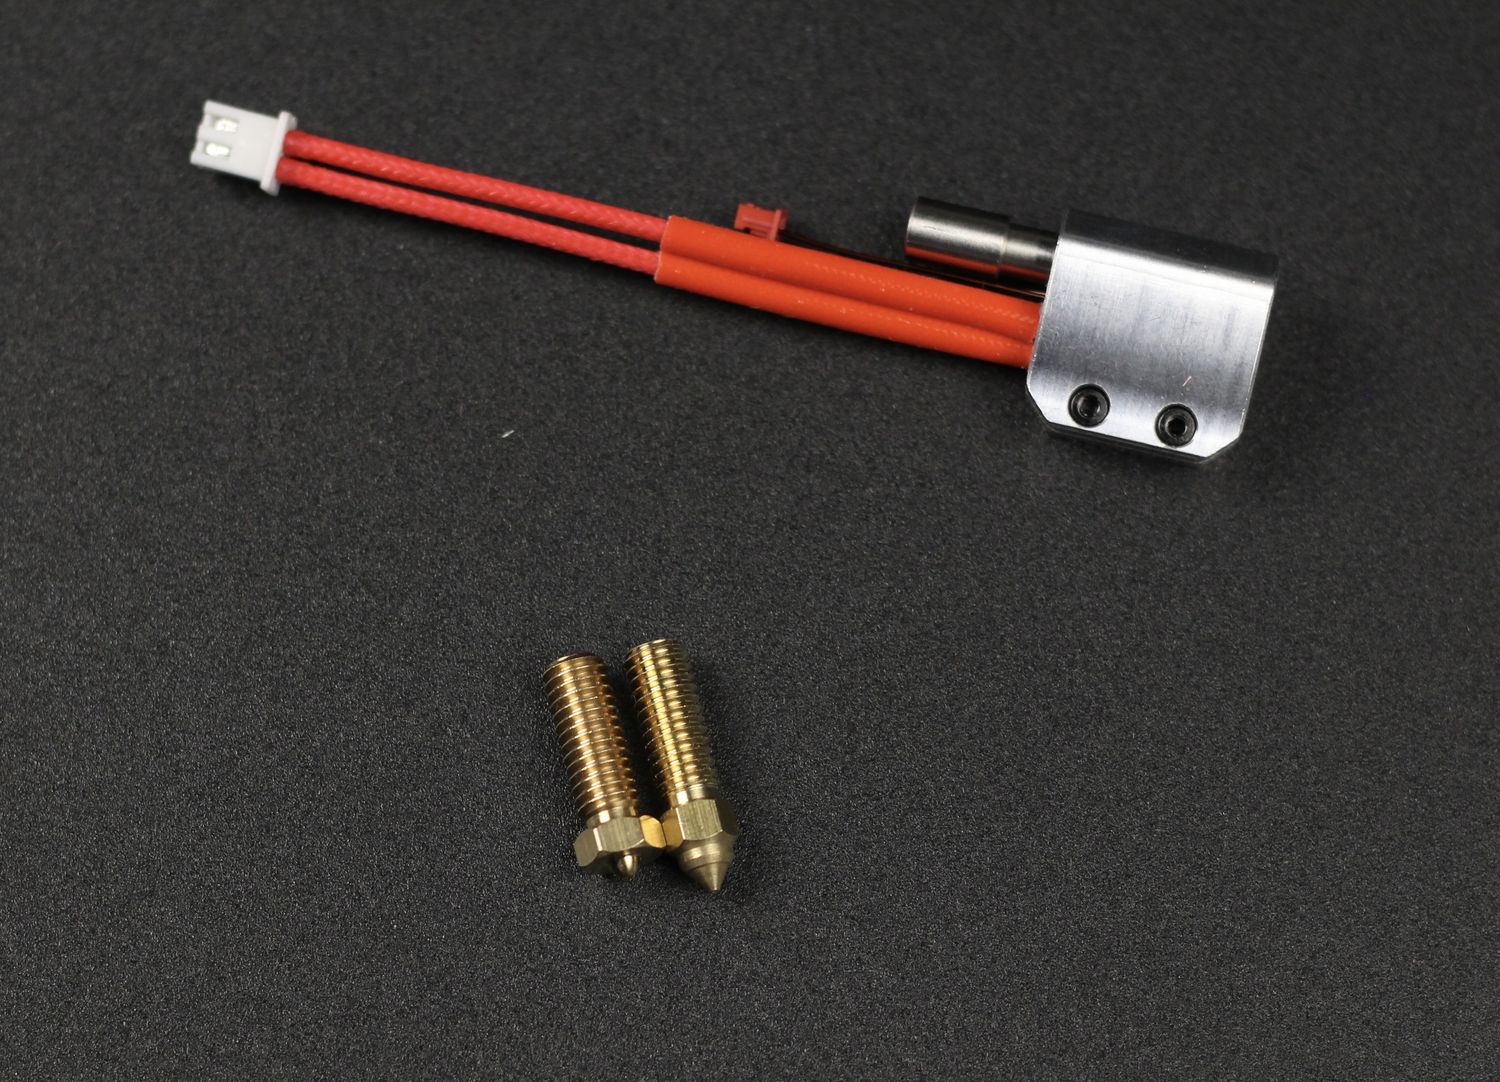
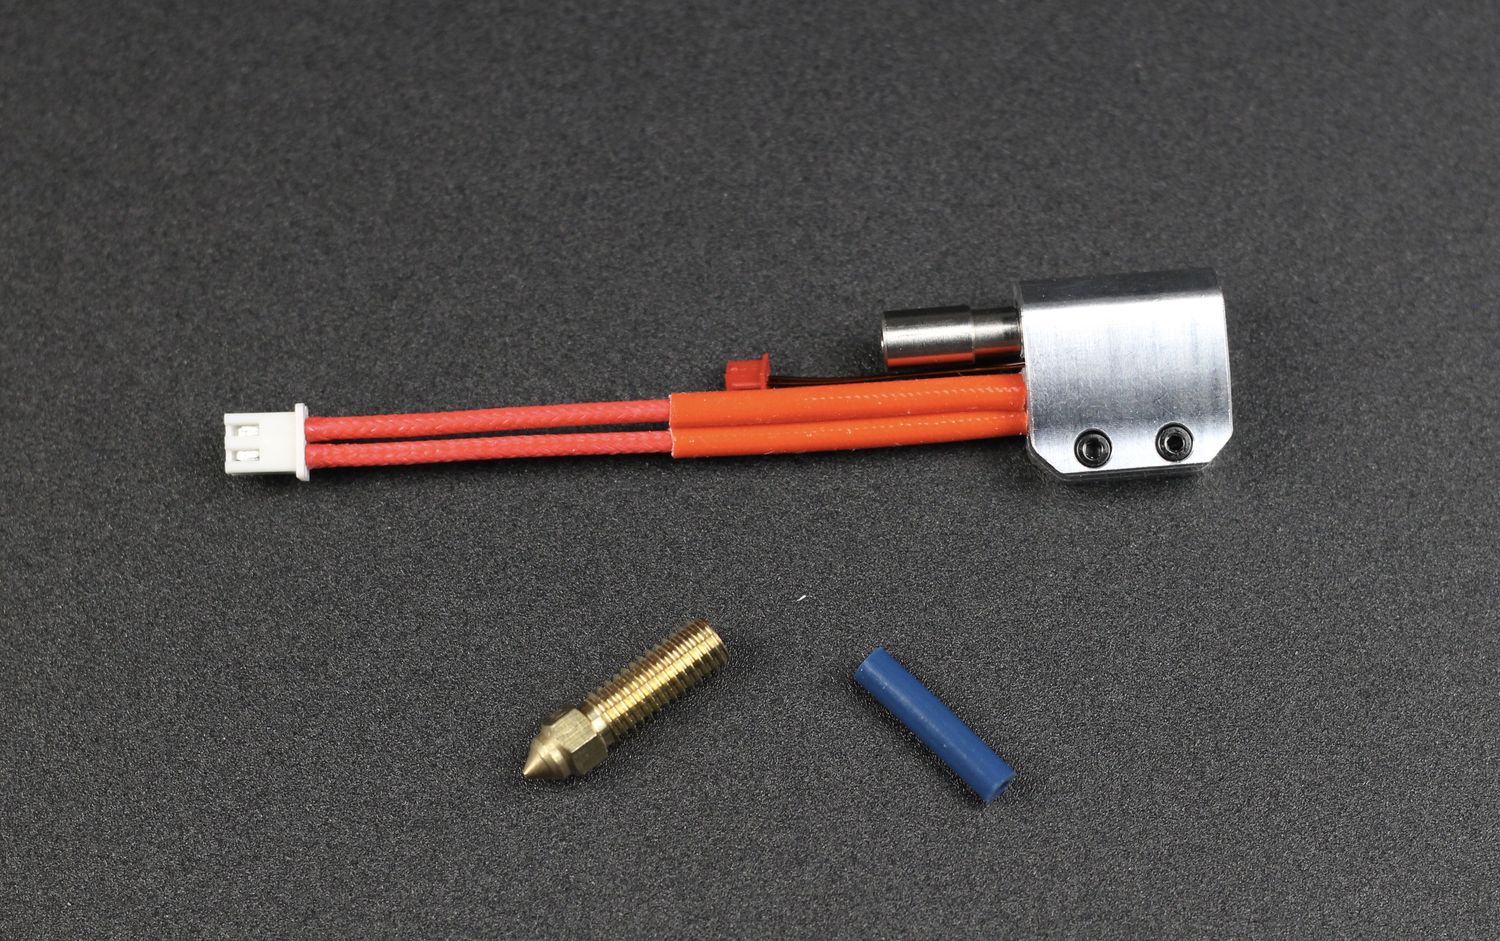
Out of the box, we get a 0.4mm nozzle pre-installed and a spare complete hotend assembly as a spare. Unfortunately, both nozzles are 0.4mm and I think that Creality really missed the opportunity of using a larger nozzle like 0.6mm or 0.8mm.
When printing with a 0.4mm nozzle at such a big volume, print time starts to be measured in days instead of tens of hours, and a larger nozzle would help slash some of that print time, but as mentioned, we don’t have something like that in the package.
In typical Creality fashion, they will probably sell larger nozzles as a separate purchase, so I don’t think it will be a problem to upgrade.
Fixed heatbed with a magnetic PC flex plate
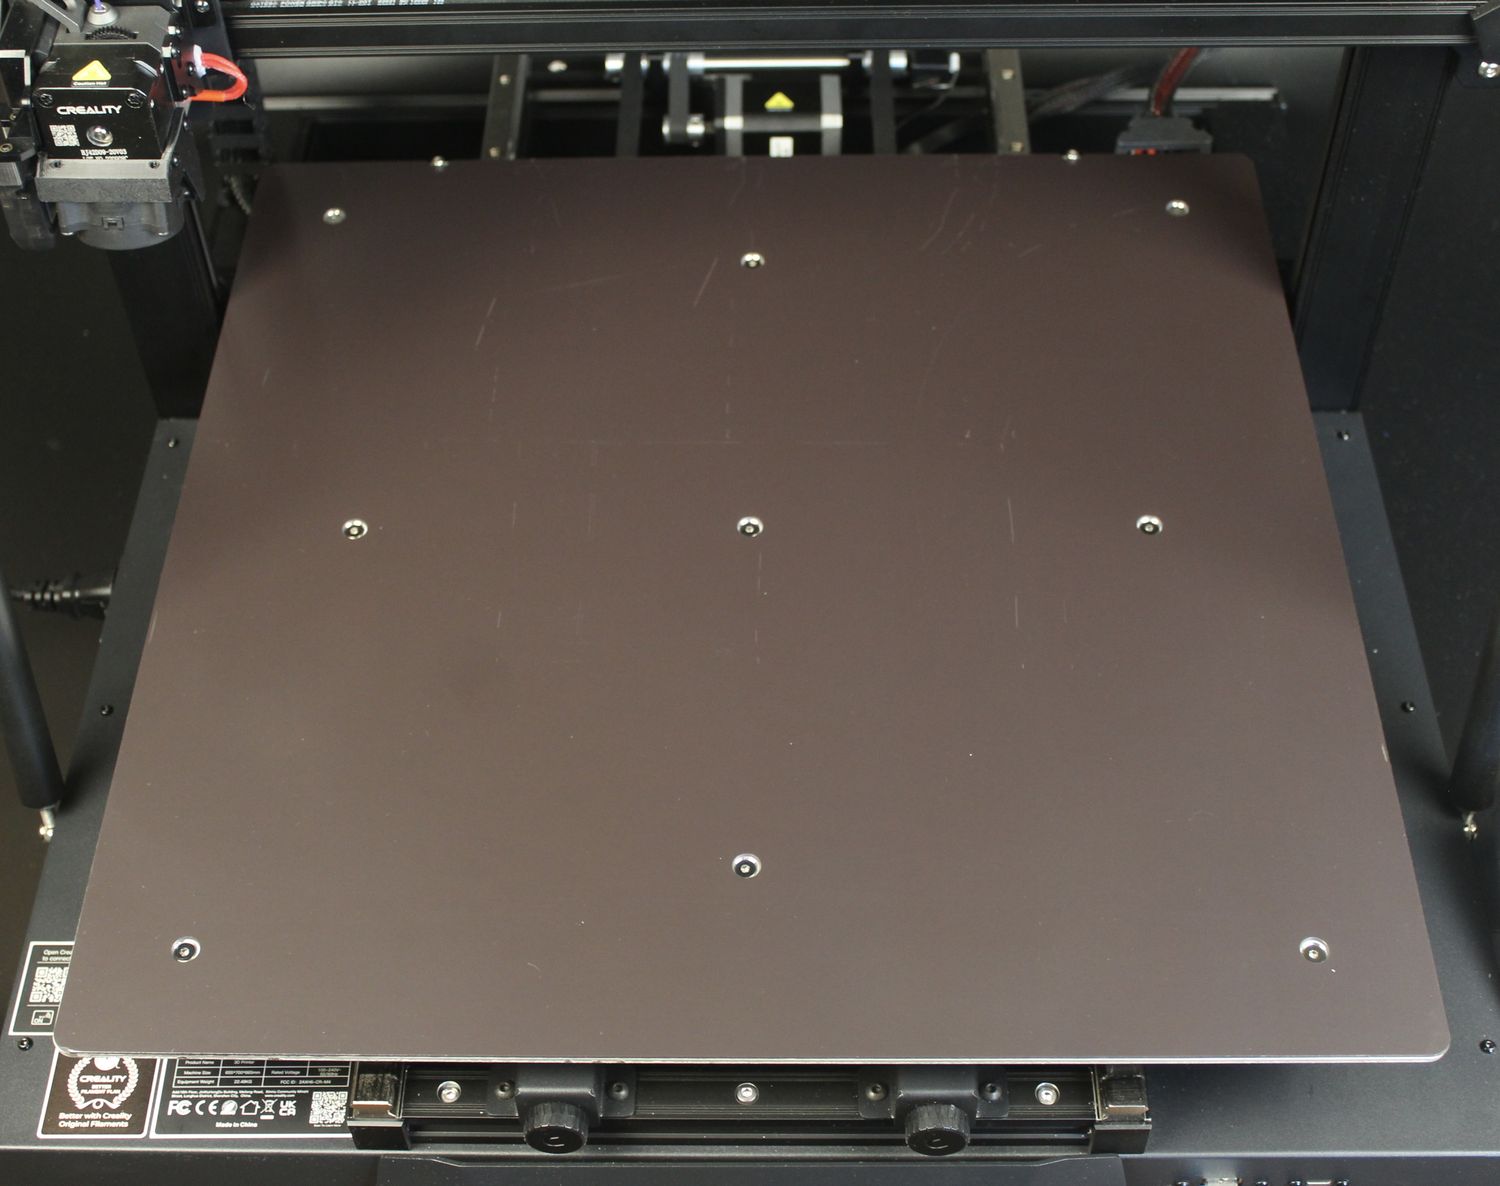
For the CR-M4, Creality decided to go with a fixed heatbed, to avoid having to tram the bed. One of the reasons for this decision is to make it easier for customers to just print, but the second reason (and probably the most important) is that an adjustable heatbed would probably not work as expected.
The main reason why this would not work is due to the extra weight a model can have and the higher wobble a spring-mounted heabed can add during printing. You could easily have a print that requires 2-3 kg of filament during a print, and over the time it takes to print the model, the extra weight can actually impact the print quality.
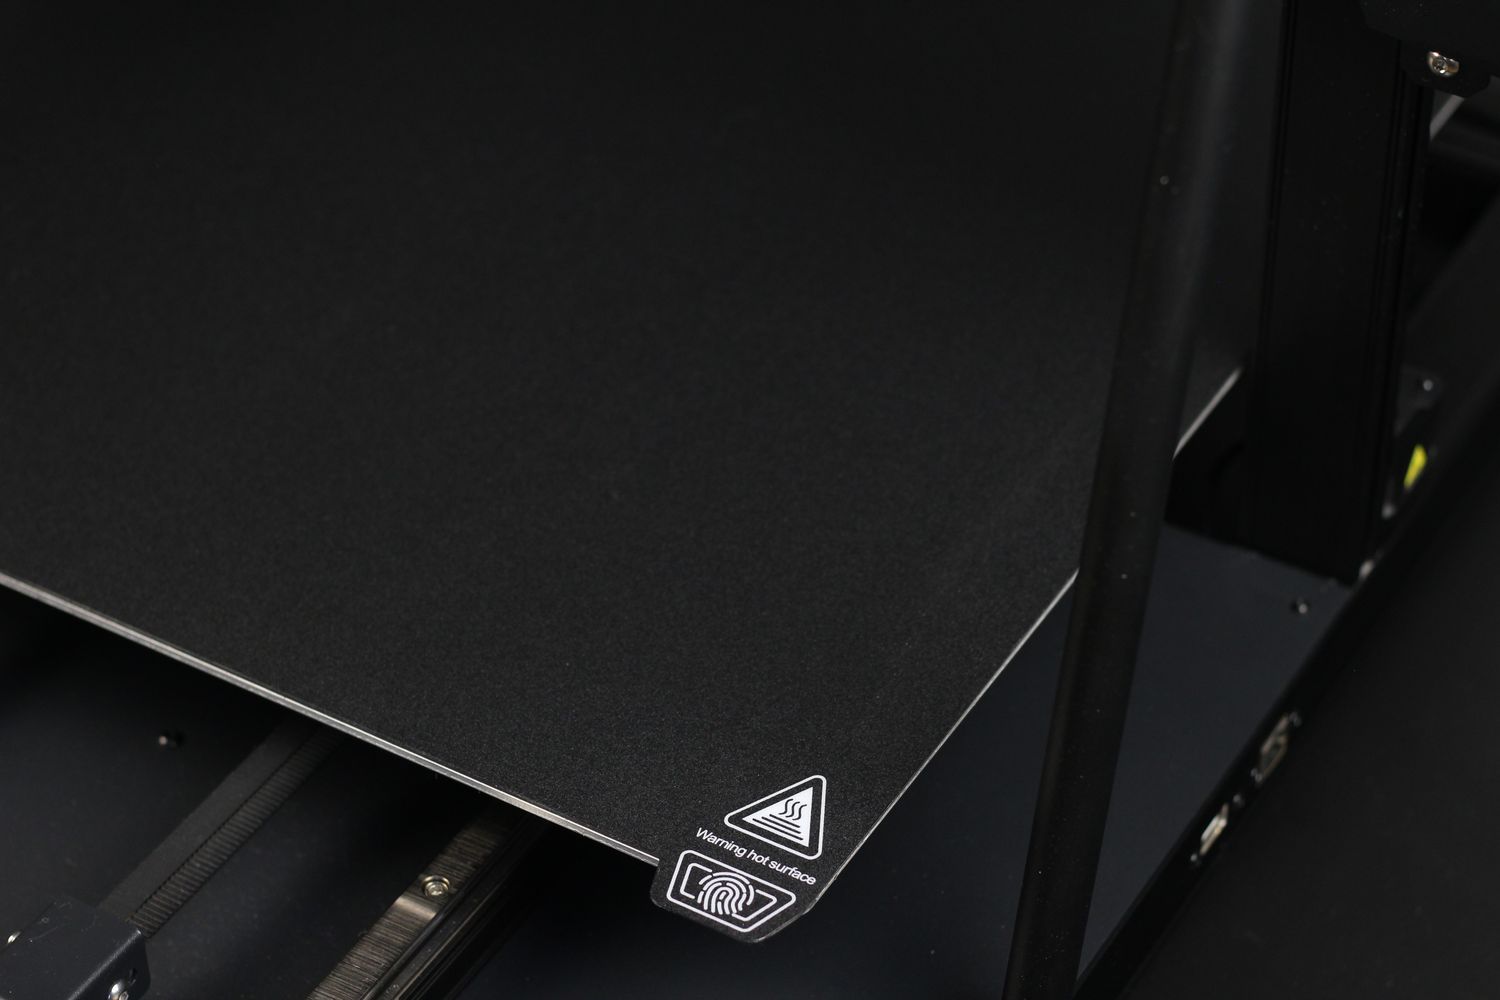
The heatbed is made from a 3mm piece of aluminum which is bolted on a metallic frame using nine fixed metallic standoffs. Over this aluminum plate, there’s a magnetic sticker that keeps the PC flex plate in place.
The magnetic attraction is decent, but for very large models made from PETG, I believe that the plate might actually get bent and disconnect from the heatbed if an enclosure is not used. And as I mentioned previously, the large volume of the printer makes it quite a challenge to enclose.
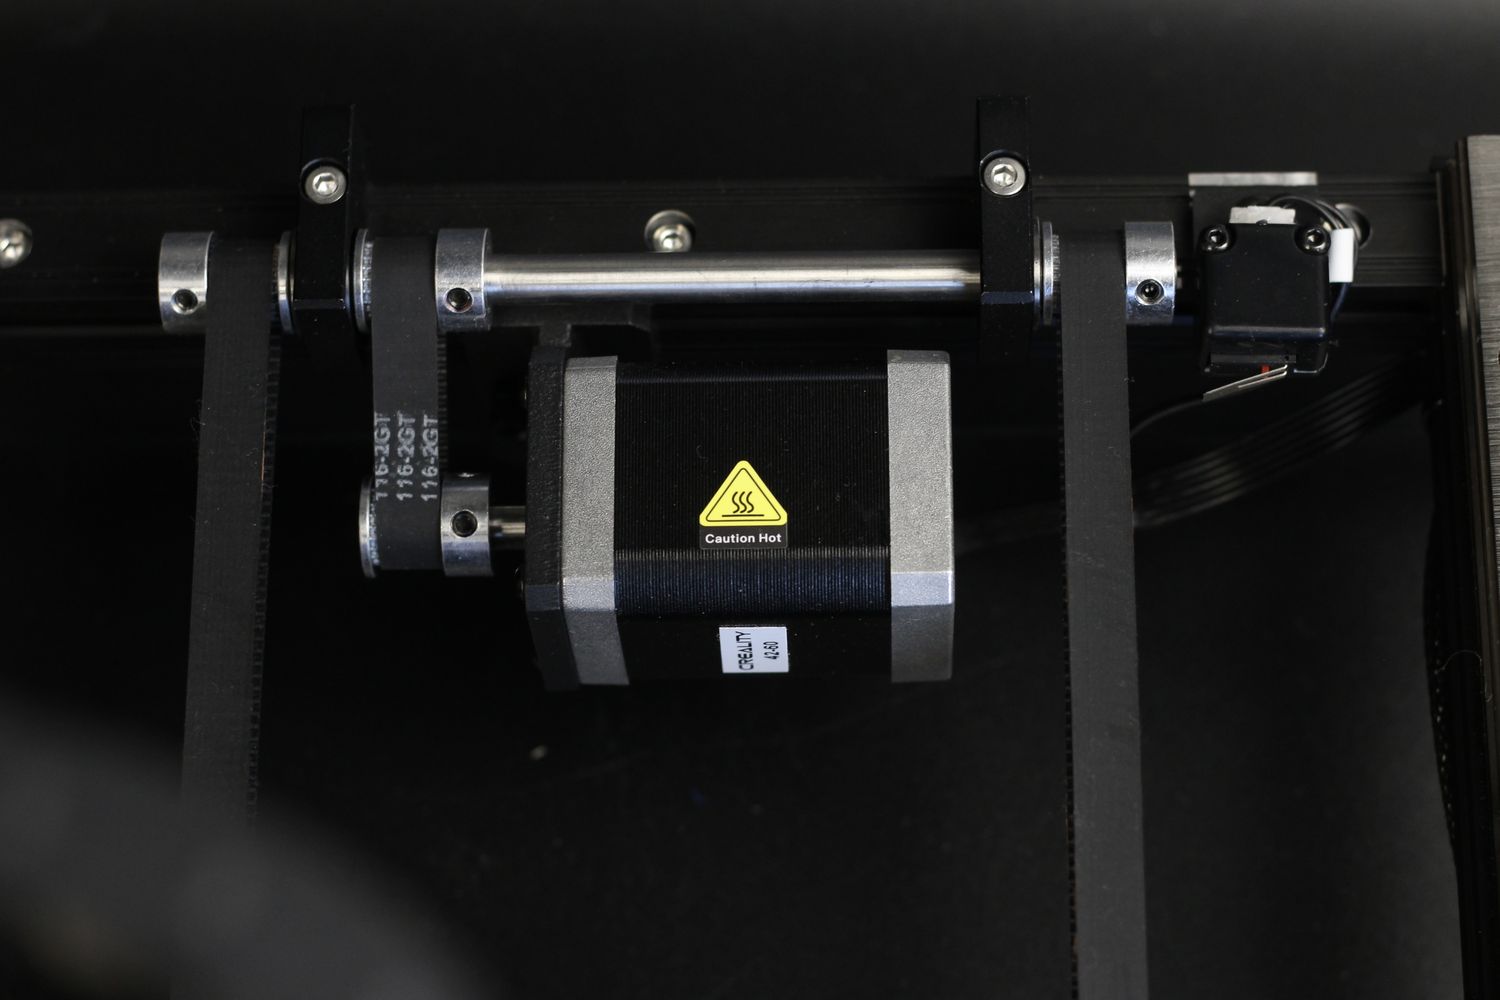
To move the heatbed on the Y-axis, we have a single large motor in the back connected with a small timing belt to a pair of 10 mm belts. There’s also a pair of large linear rails used for the Y-axis to ensure that precise movement is possible. I don’t believe that having regular V-slot wheels would have worked too well when printing large models, so I am happy to see them here.
One thing I don’t really like is the PC surface of the heatbed. While it works great when printing PLA at lower temperatures, if there’s any problem with Z-offset, or if the material you are printing has too much adhesion, you can easily damage it. A nice thing is the inclusion of a spare PC flex plate in the box, but I would have much preferred to have a PEI print surface instead of one made of the same material as it would have been a bit more versatile.
CR-Touch with 25 leveling points
As mentioned previously, the CR-M4 does not come with manual bed tramming so it relies on the CR-Touch included for auto bed leveling. This sensor probes the heatbed in 25 points to create a mesh of the slight deviation of the heatbed.
Judging from the calibration data shown on the screen, the actual flatness of the heatbed is better than expected and I was not required to do any kind of adjustments to the dual Z-axis leadscrews to ensure the X-axis is parallel to the bed.
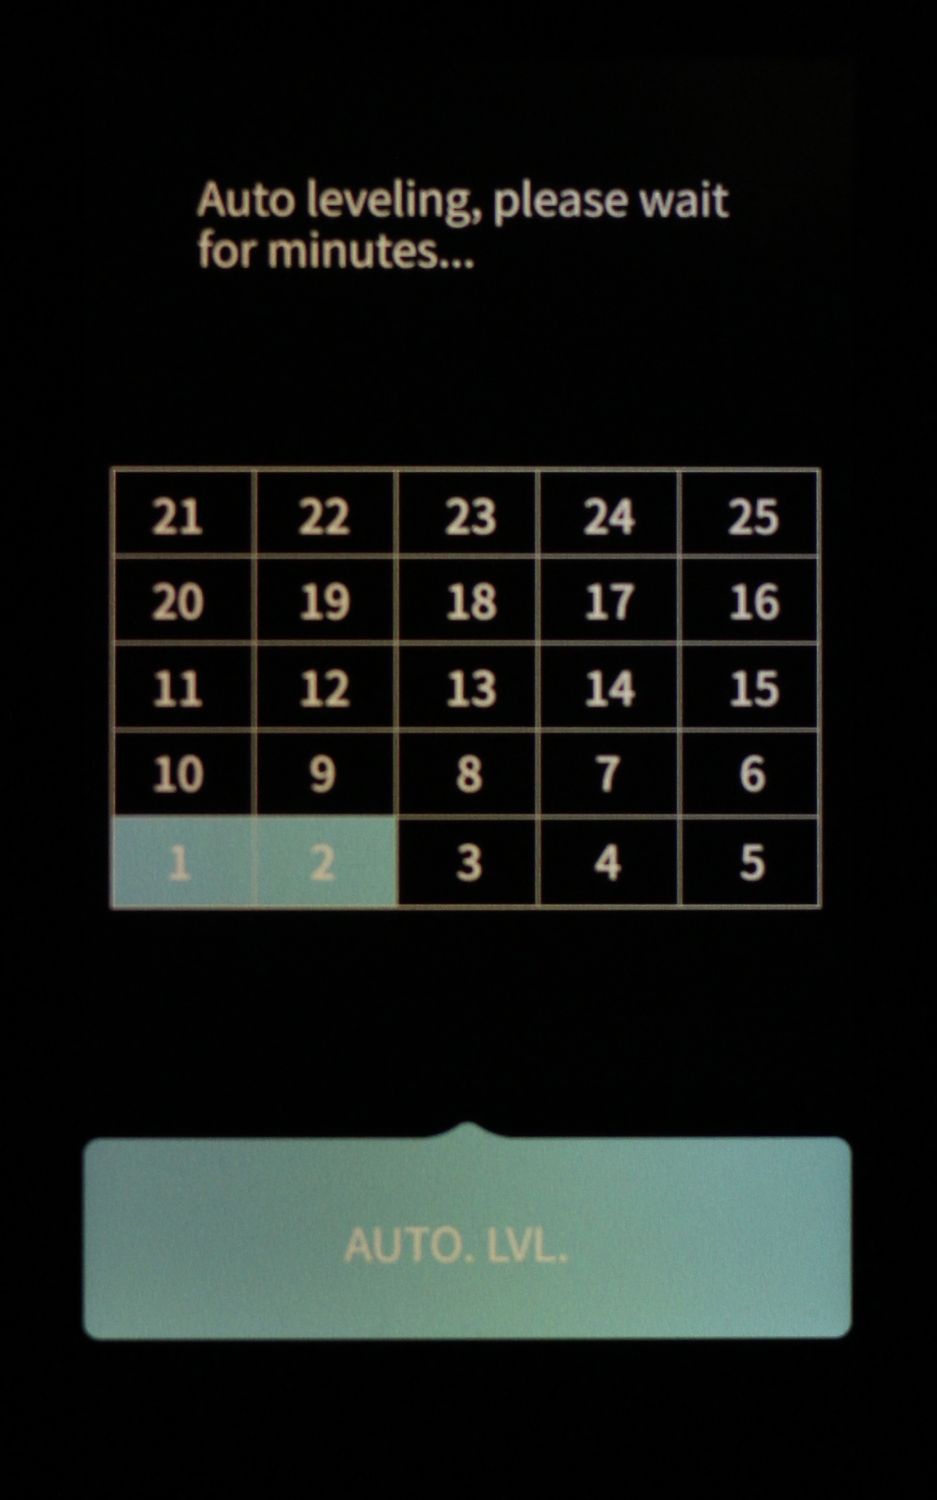
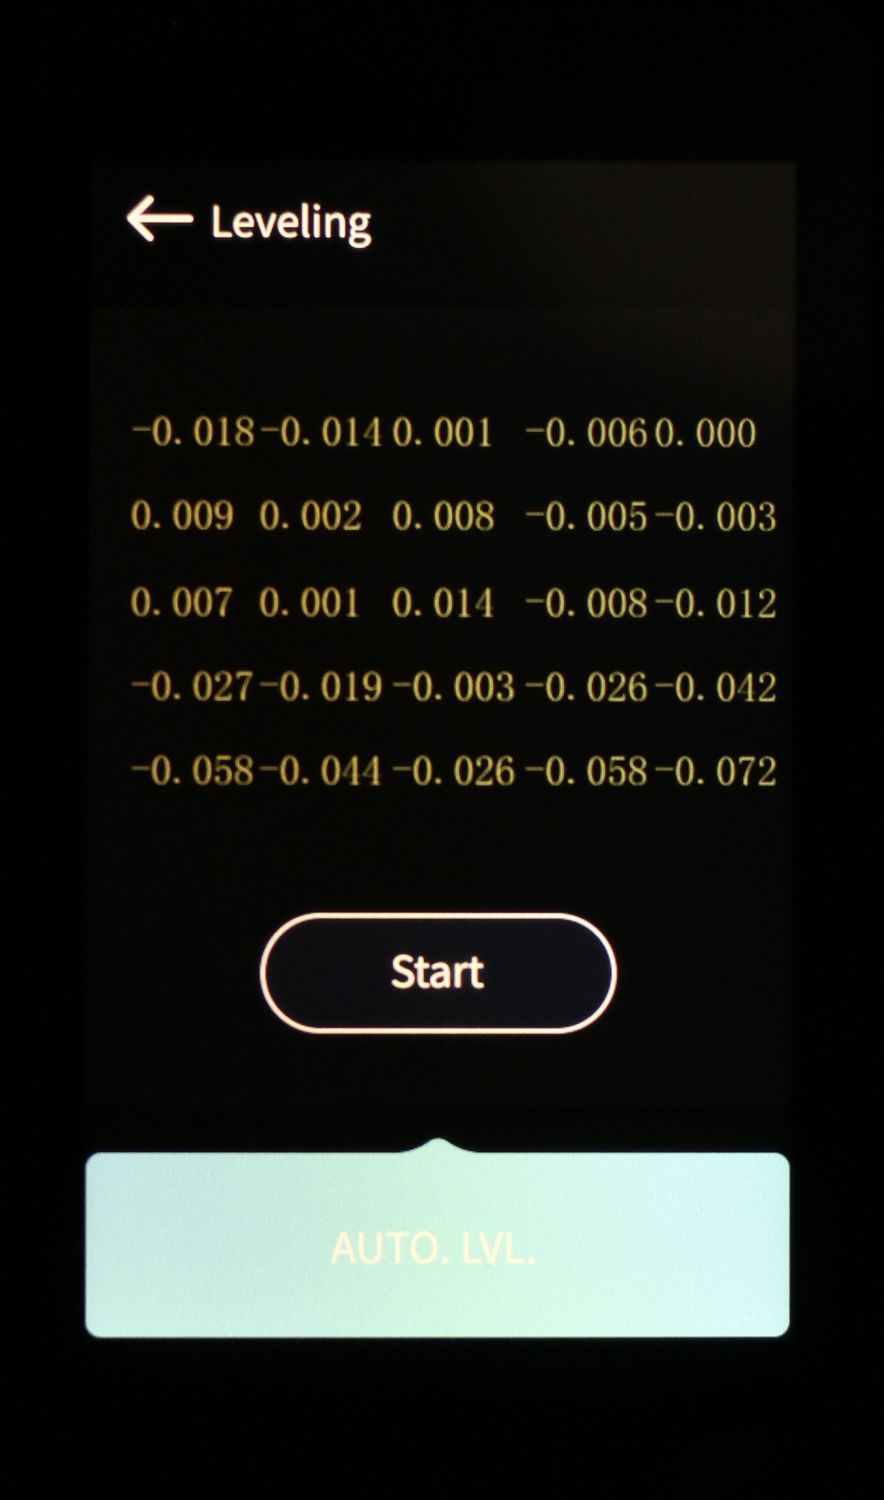
I think that it would have been nice to have the Z-axis motors be independently controlled to allow for automated X-gantry leveling, but as long as the printer comes well assembled from factory, this solution with a sync belt also works well.
Drag chains for X and Z axis
If you’ve been in the 3D printing space for a while, you might have seen the wire drag chains being popular with Voron 3D printers, as a way to keep the wires neatly organized. But with the same printers mentioned, you might have also seen that if the wires are not designed for these drag chains, you might have problems over time with the wires breaking over time.
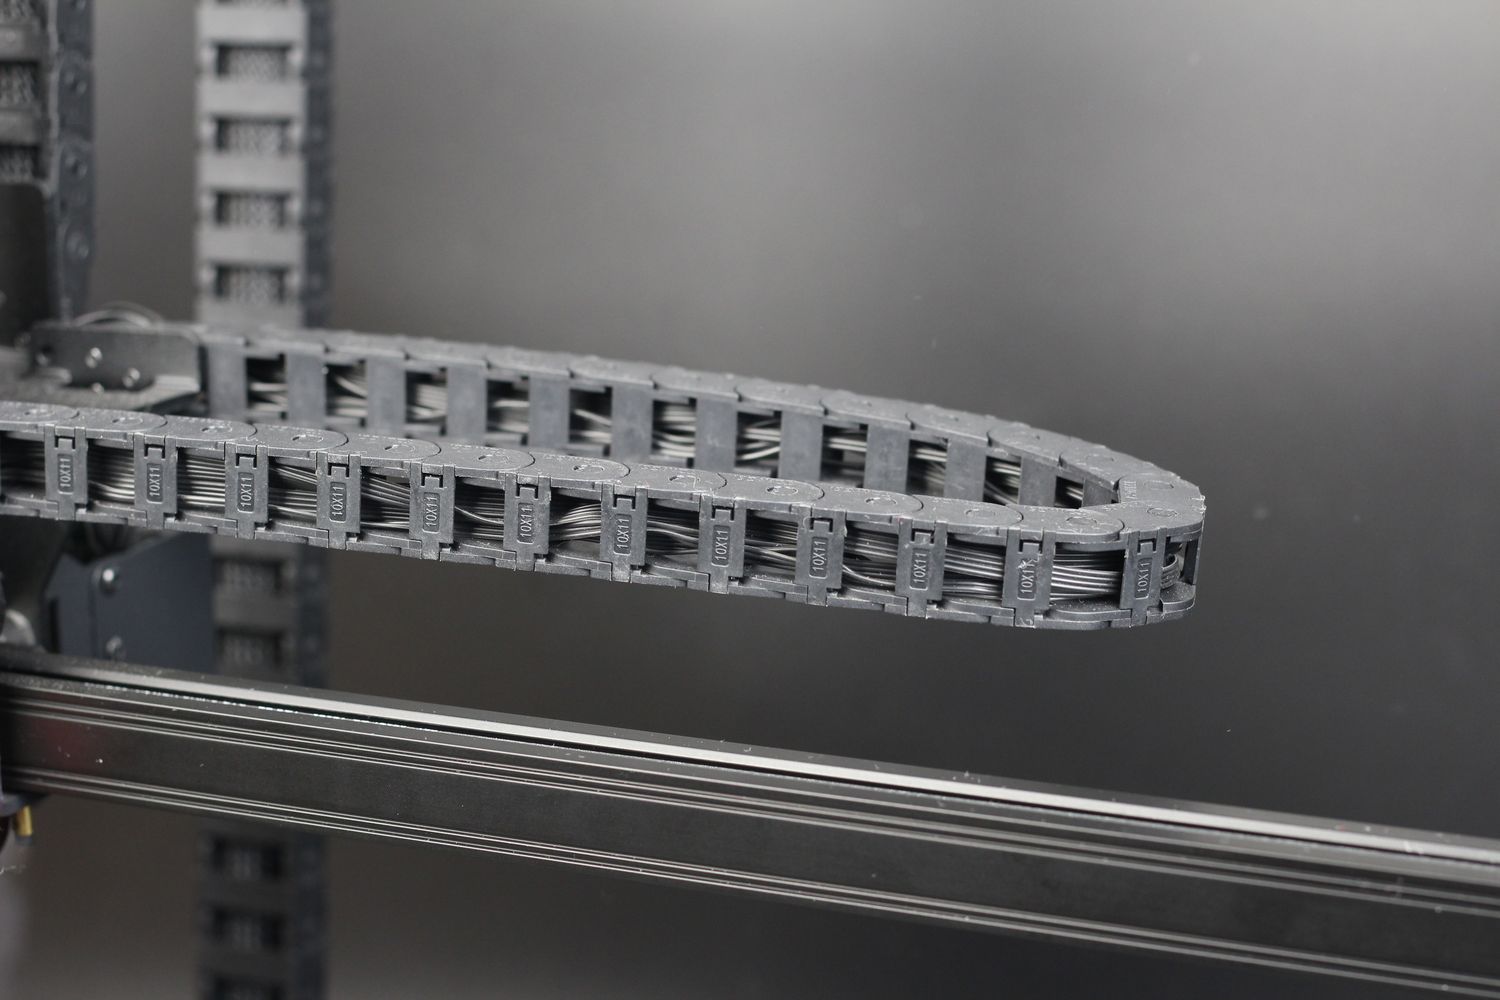
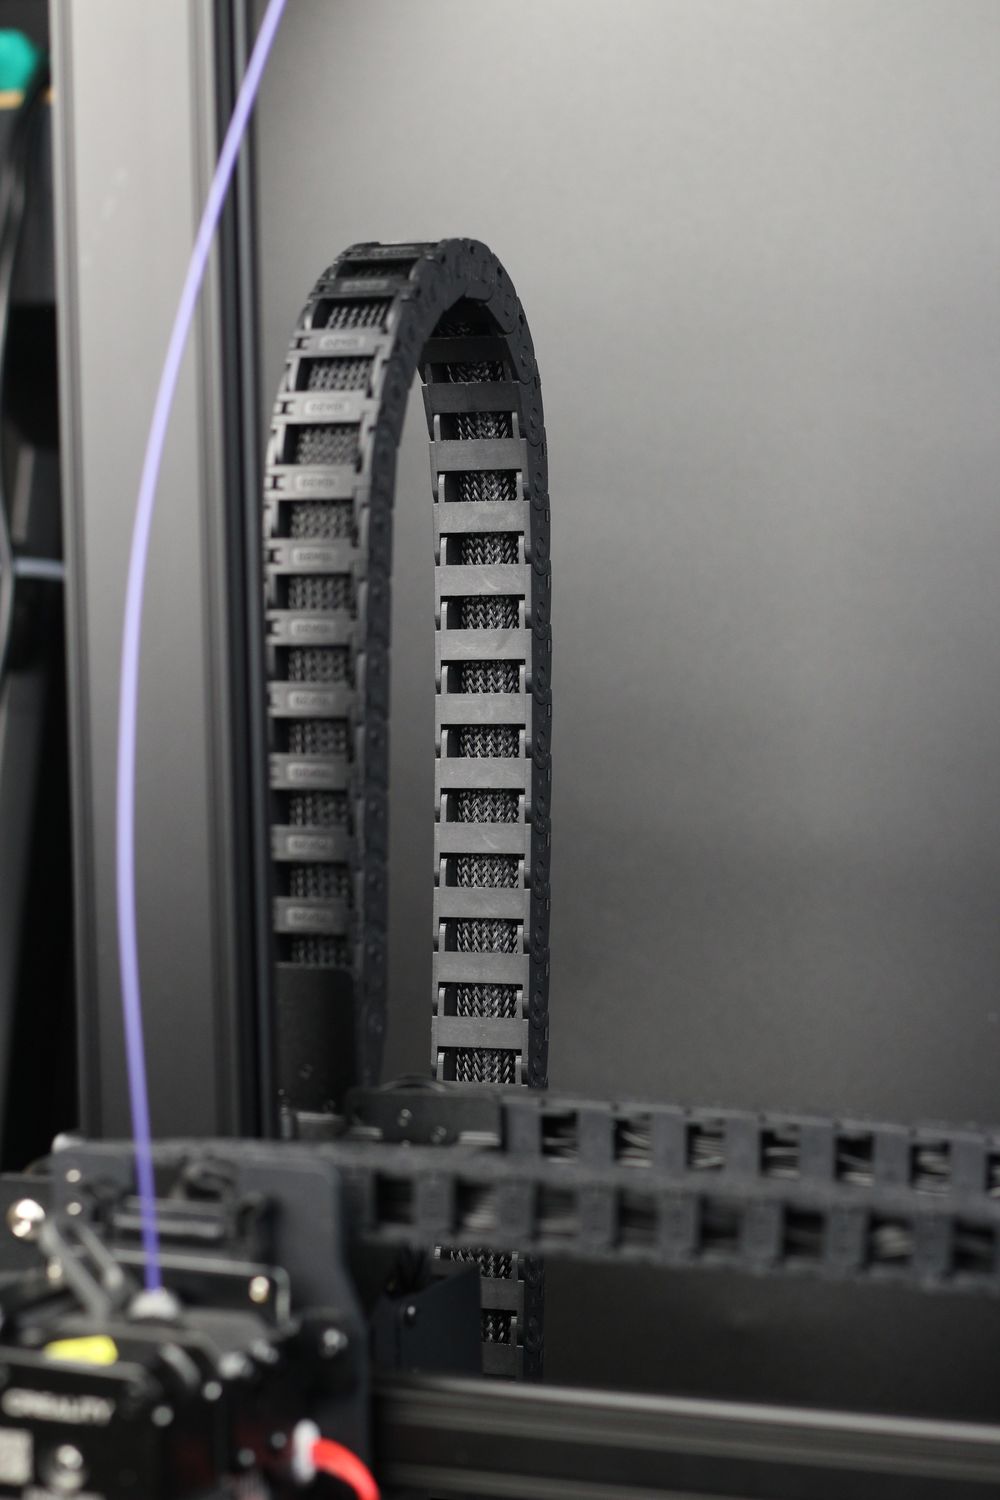
The CR-M4 comes with relatively thin wires which seem very flexible and are similar to what I’ve seen included with Voron kits like the one from the LDO Voron 2.4 I am currently building.
These wires seem to be fine for now, but at some point, I expect them to break, especially the ones on the X-axis. Hopefully, I am wrong, but we’ll see how they fair after a few hundred hours of printing.
And considering the size of the printer, I am not sure if a different design would have been possible, where the extruder wires would not dangle over the model during printing.
32-bit board with Creality Box Hardware
One of the biggest surprises I got was after I removed the electronics cover from the CR-M4. I was expecting to find a similar combo as on the CR-10 Smart Pro where a regular Creality board was paired with the CR-Box on the side but it looks like Creality designed an entirely new board for the CR-M4.
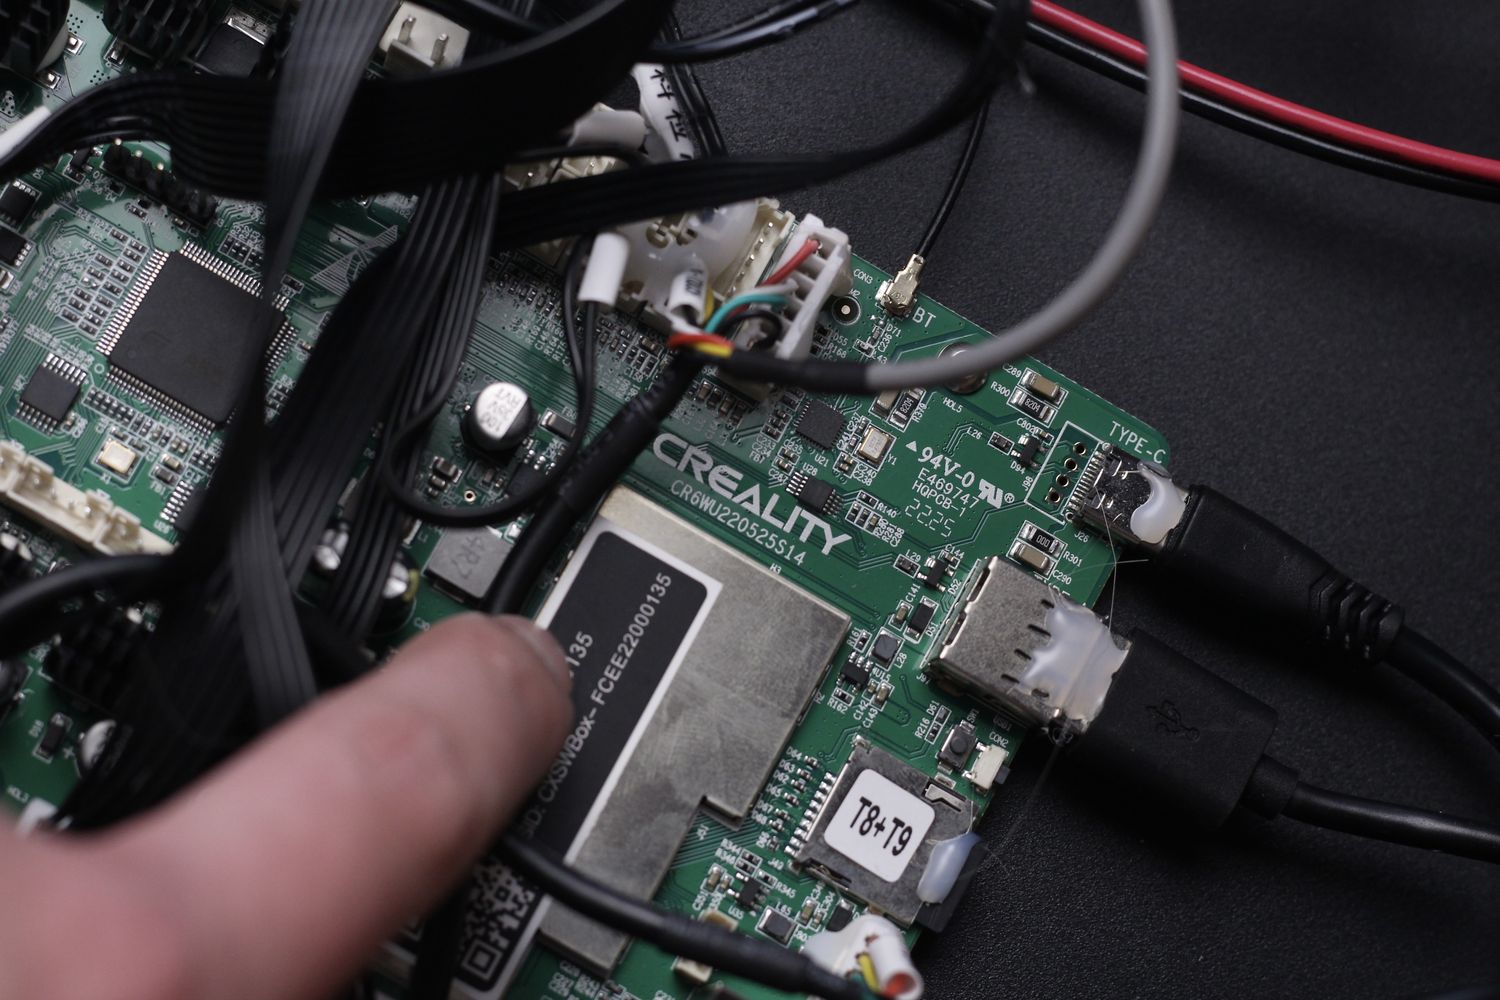
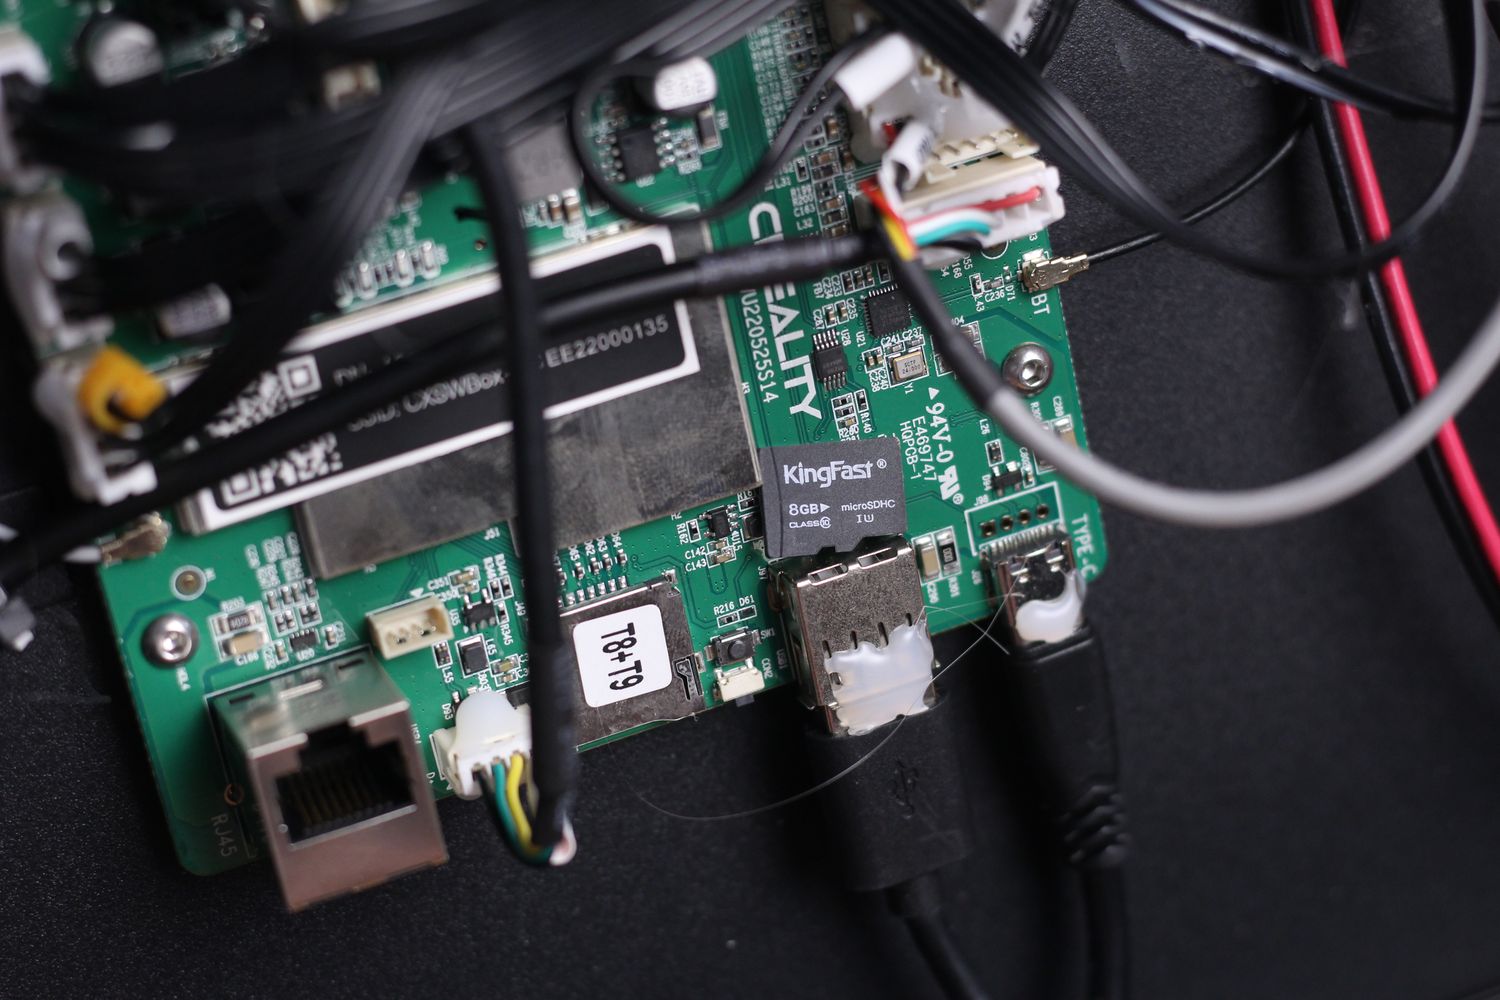
The new Creality board still uses an ARM STM32F401 CPU and integrated silent stepper drivers but it also includes all the IO ports for connecting the RJ-45 network socket and full-size USB port the printer is capable of using. This USB port can be used with a webcam to monitor your 3D prints using the Creality Cloud app on your mobile phone.
Having the Creality Box hardware on the same board also means that we get Wi-Fi connectivity for the printer to monitor the machine and control it remotely, using the aforementioned Creality Cloud app.
4.3-Inch touchscreen
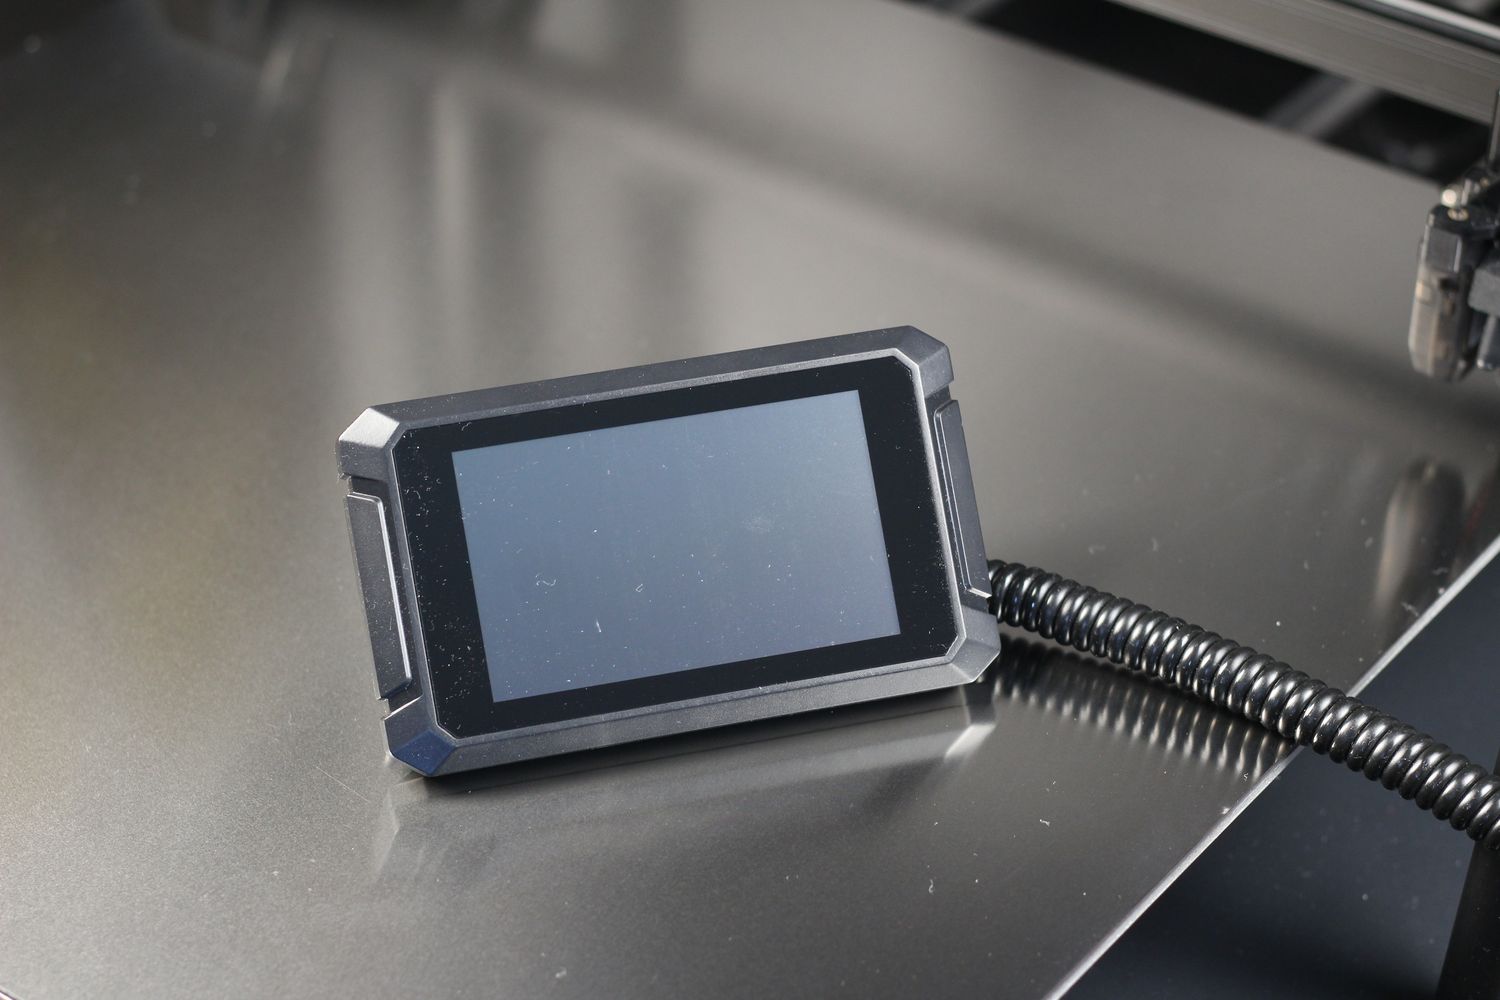
The screen included with the CR-M4 is probably the same one as what you would get with the Ender 3 S1 Pro. It’s a regular color touchscreen that works decently well, and it has a pretty good amount of controls available on the interface.
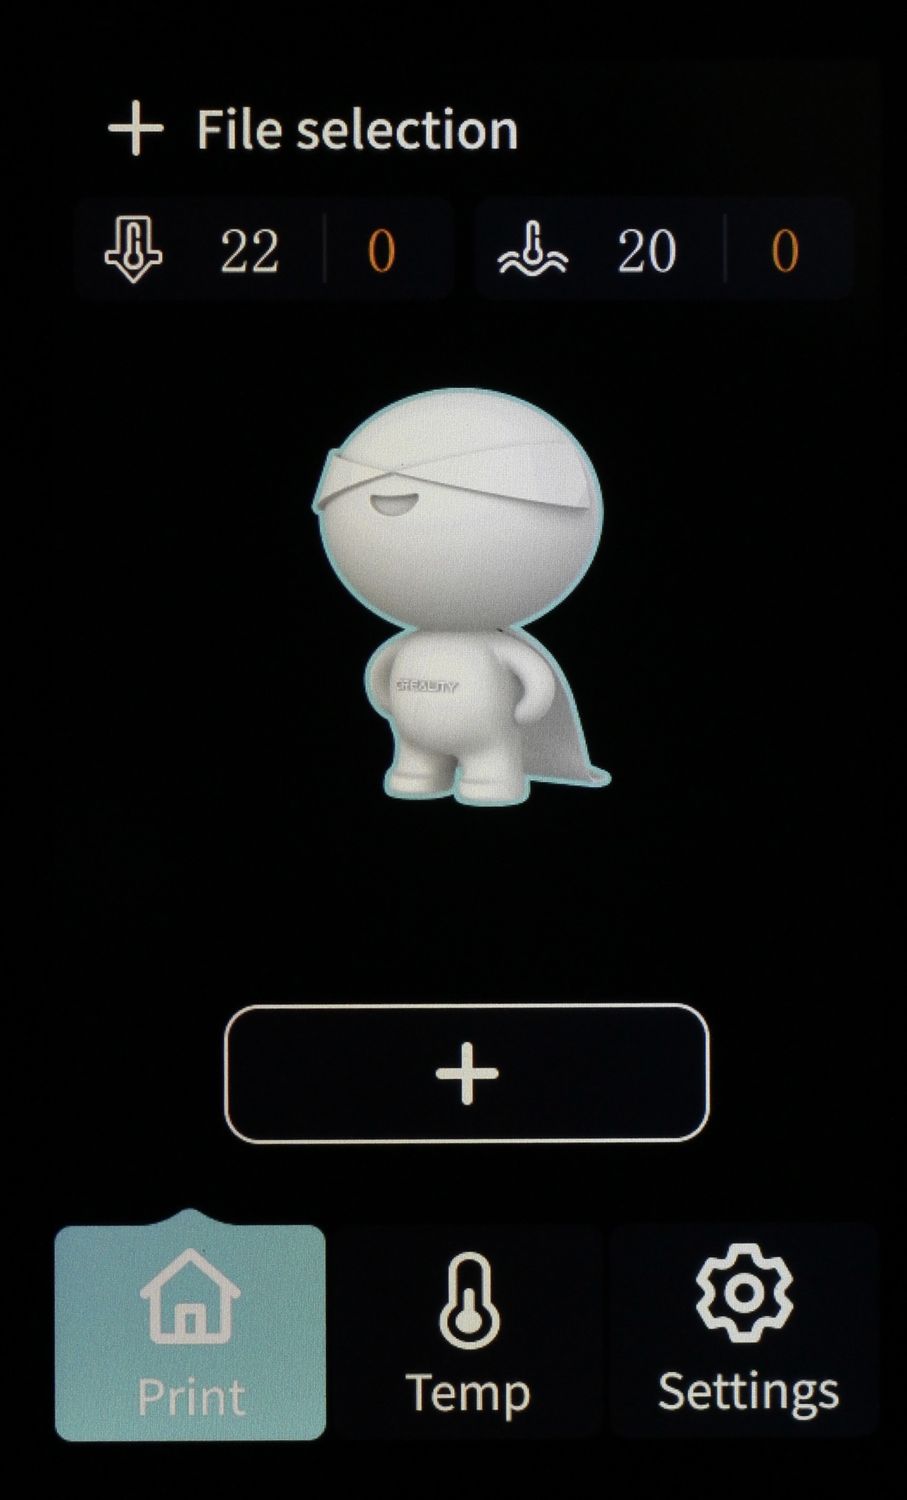
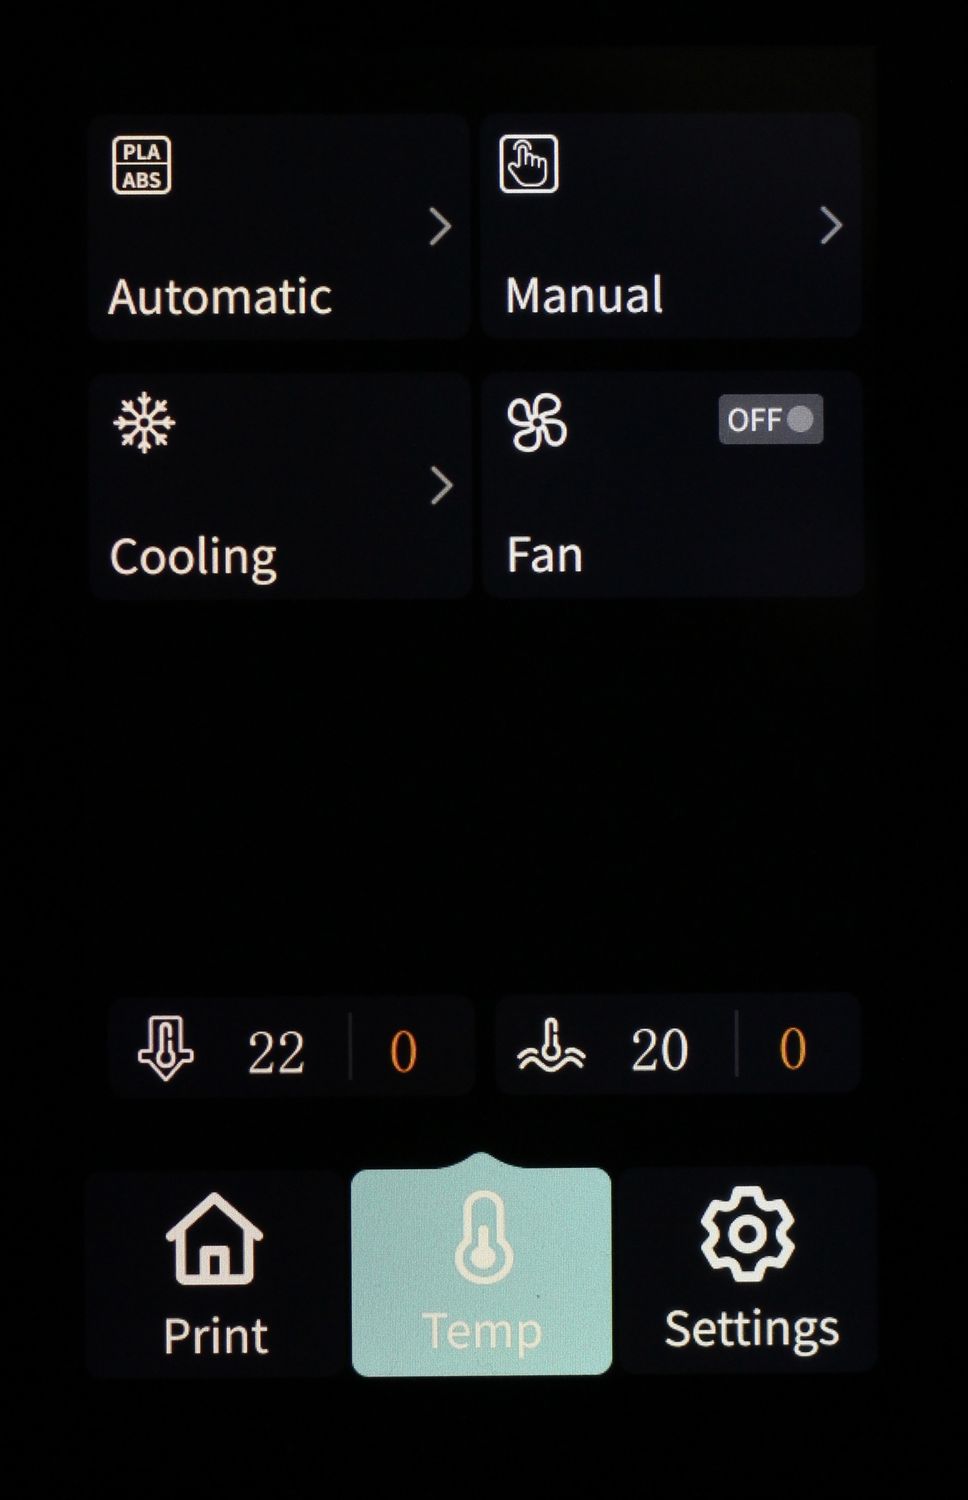
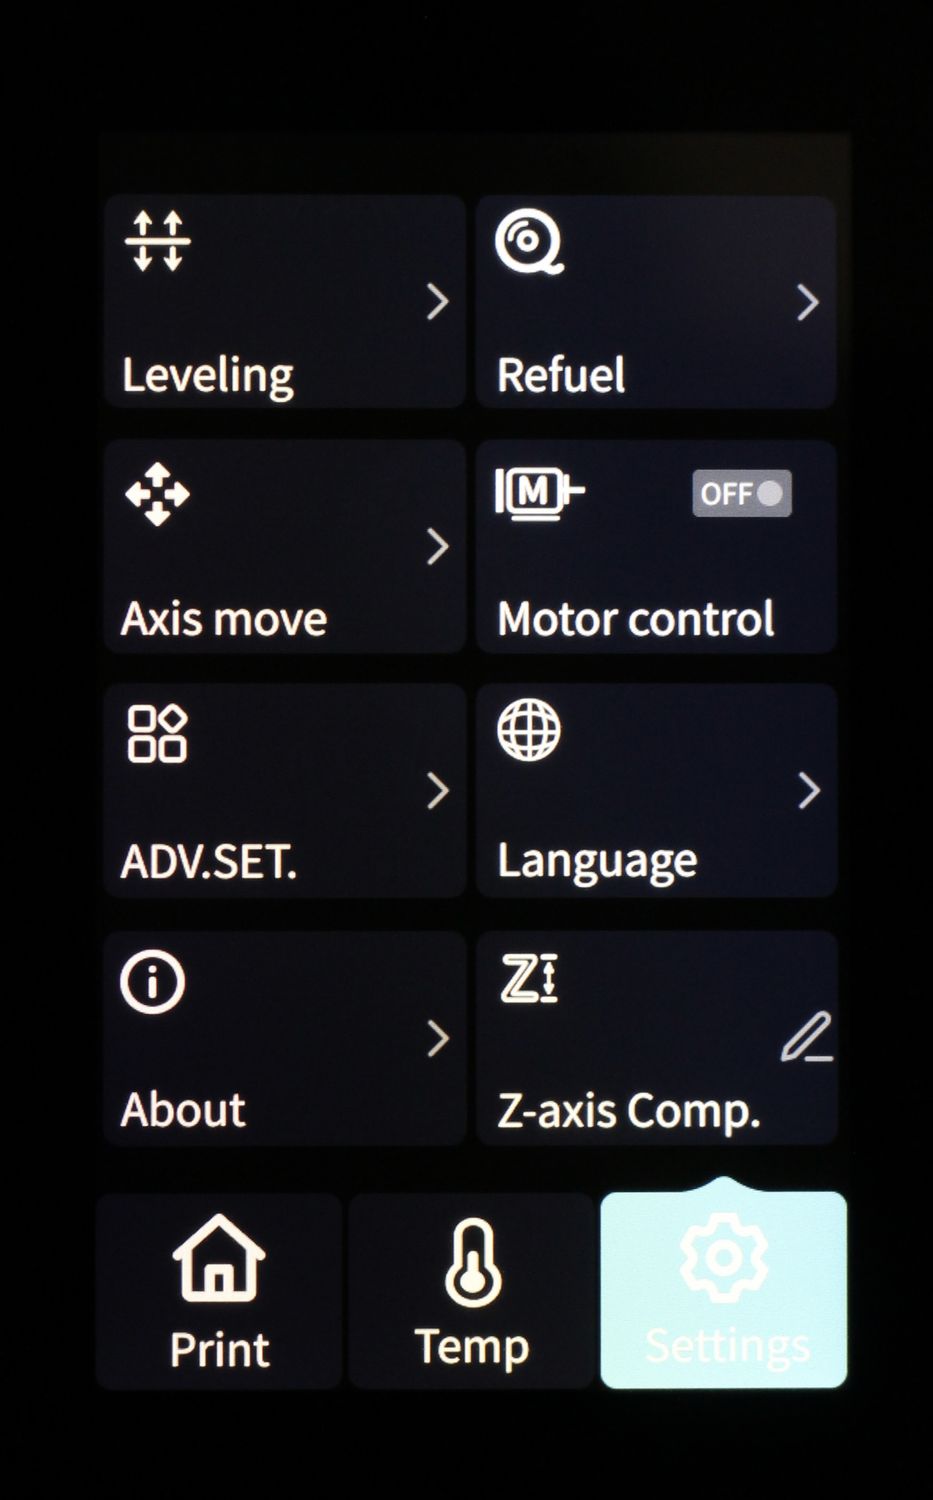
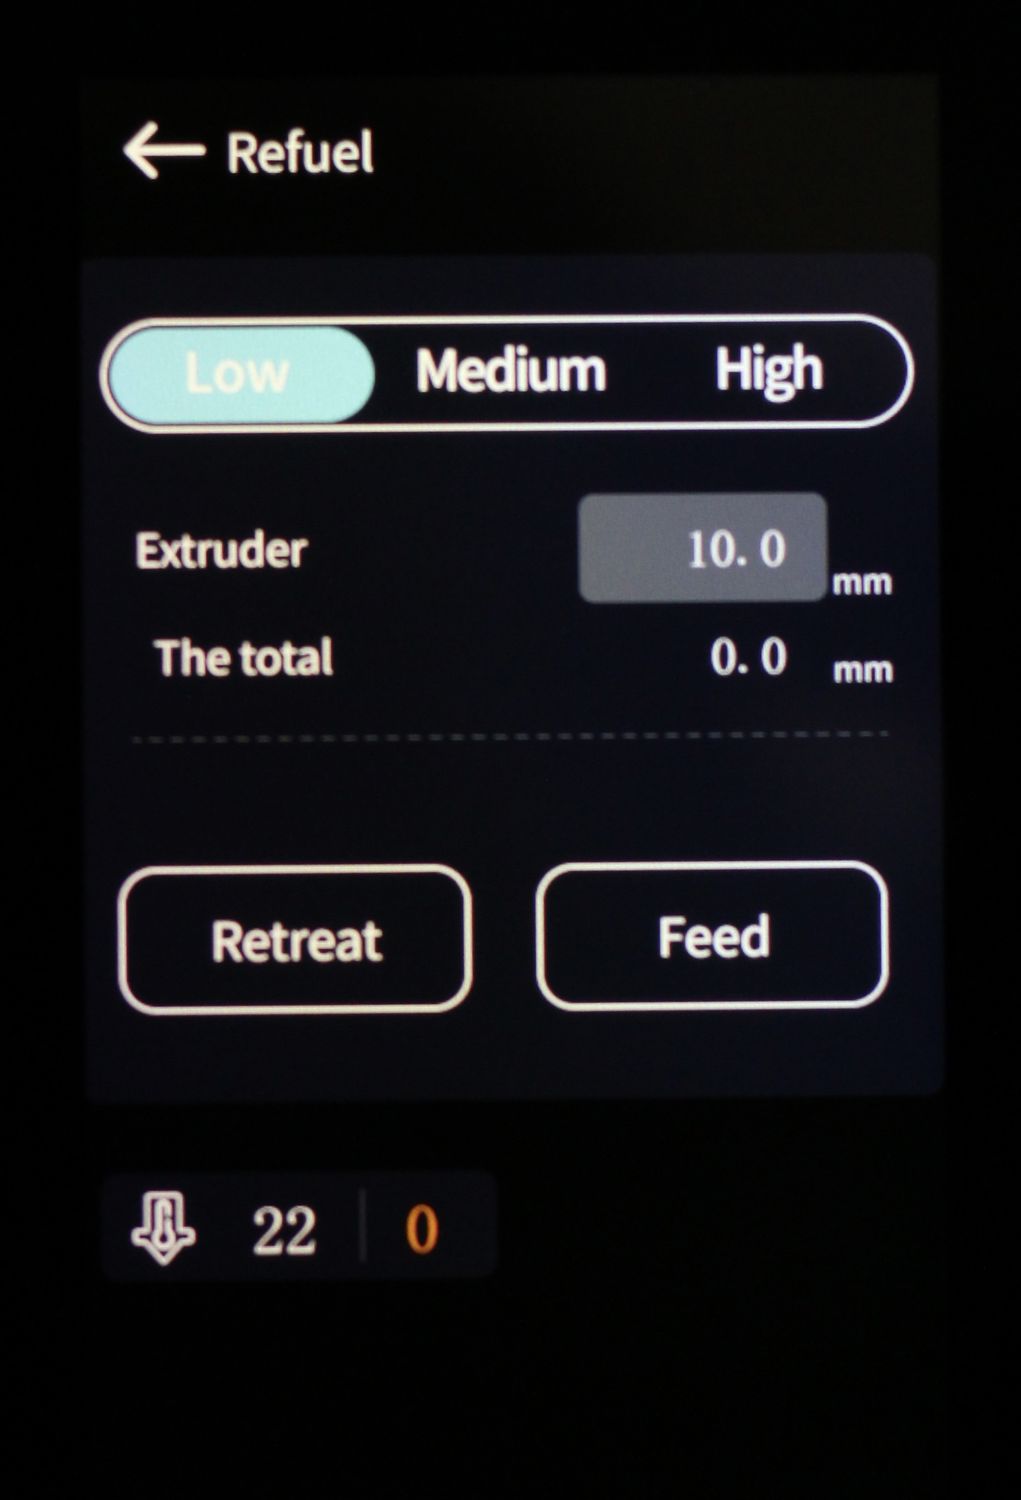
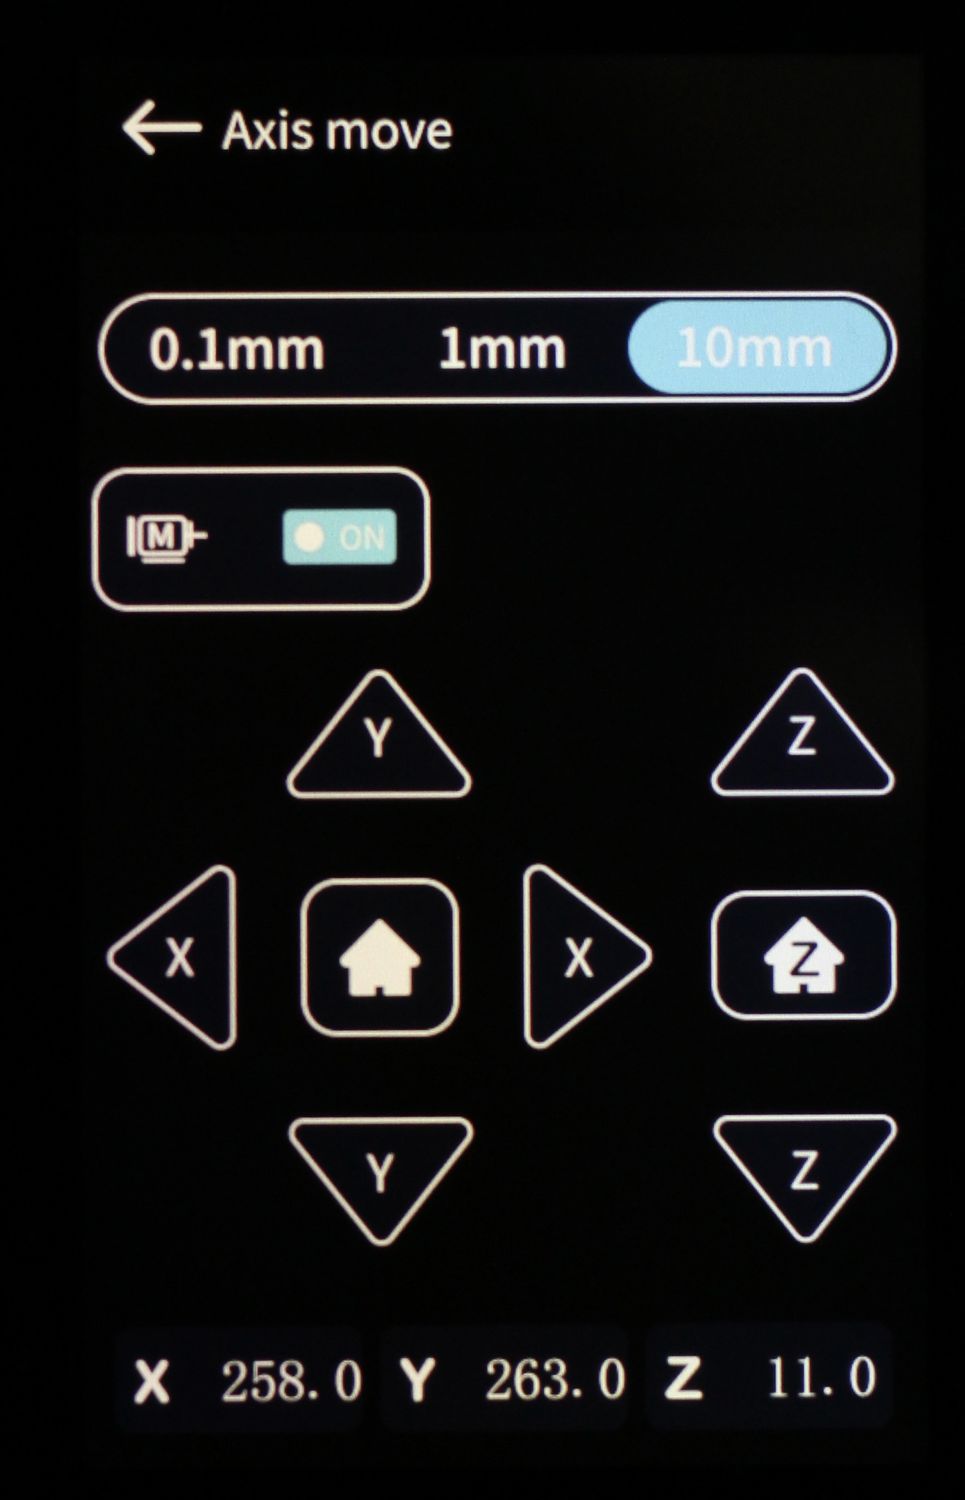

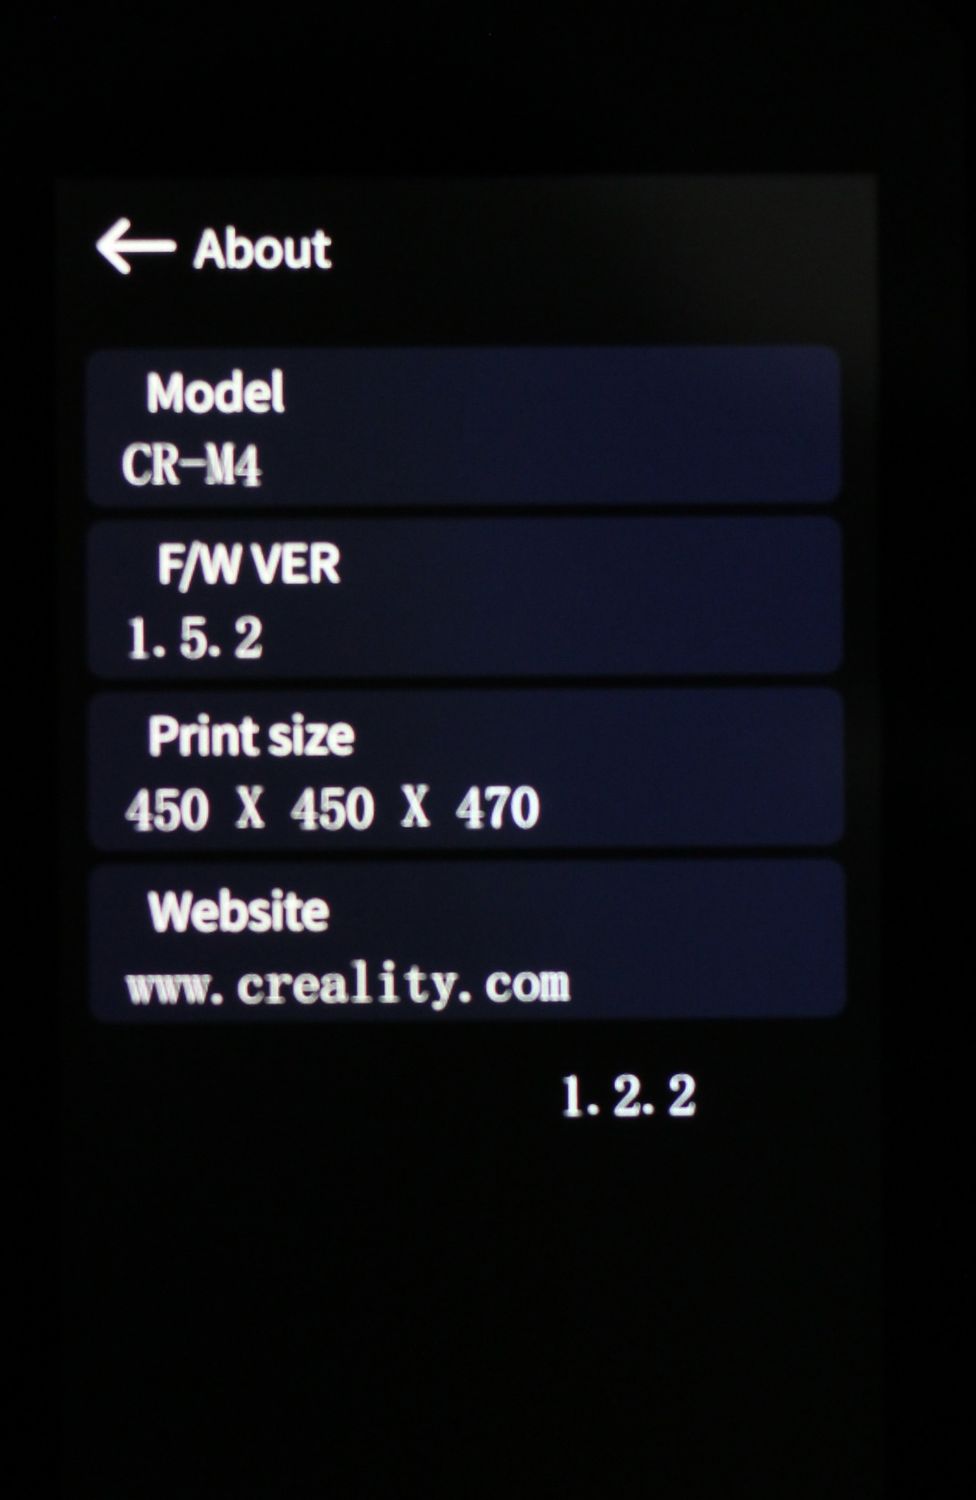
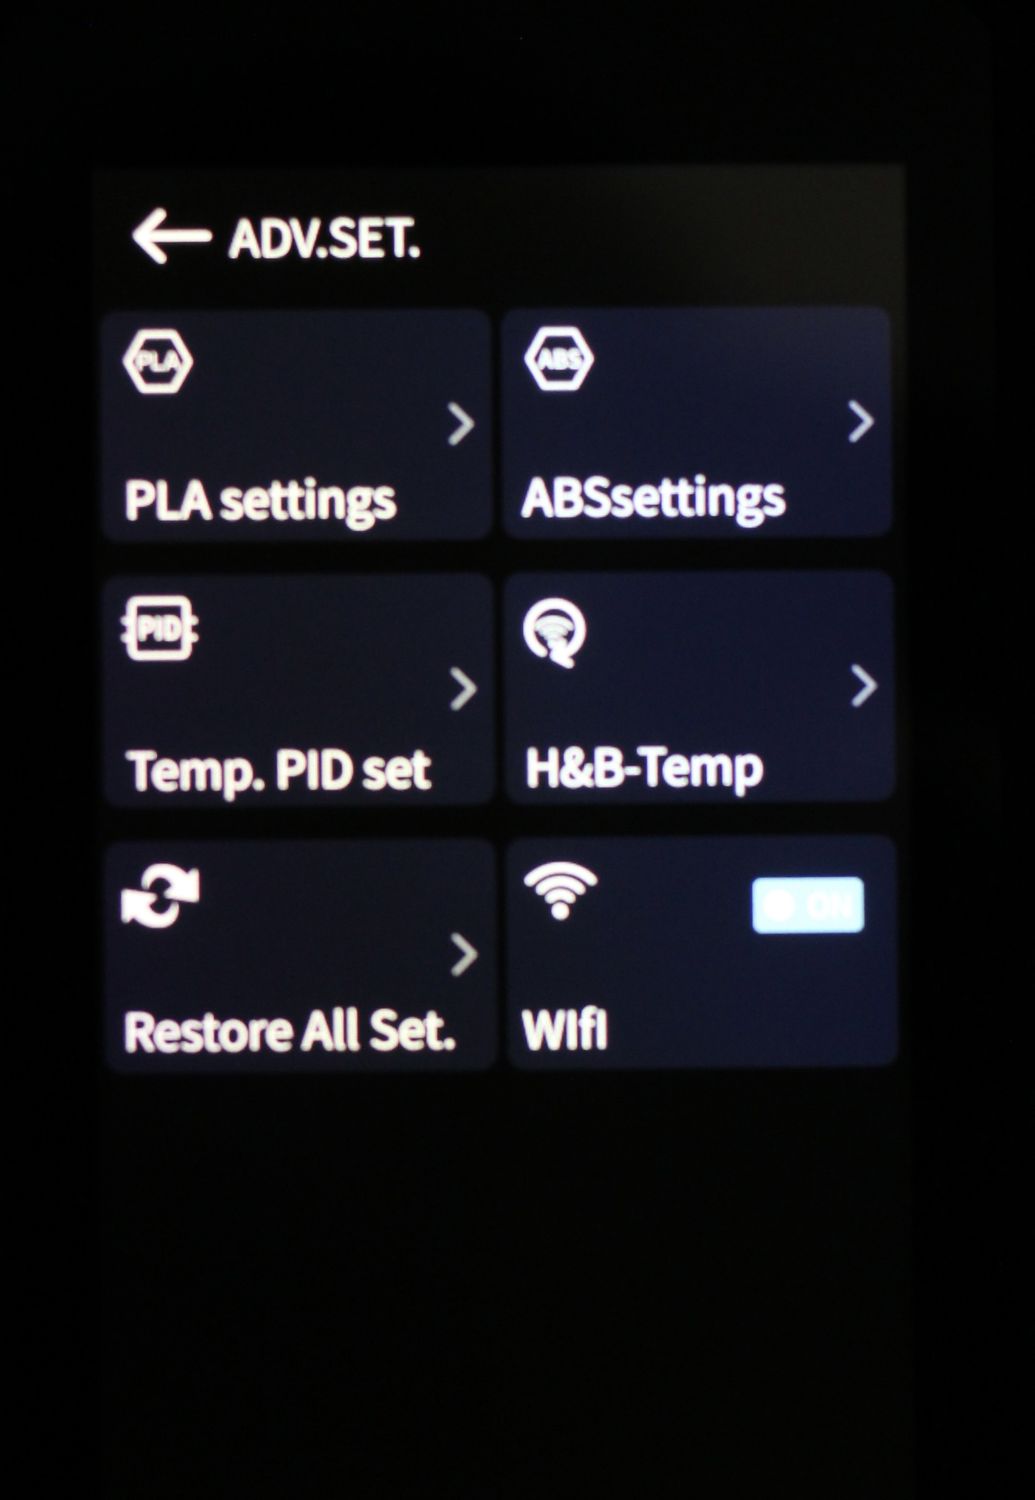
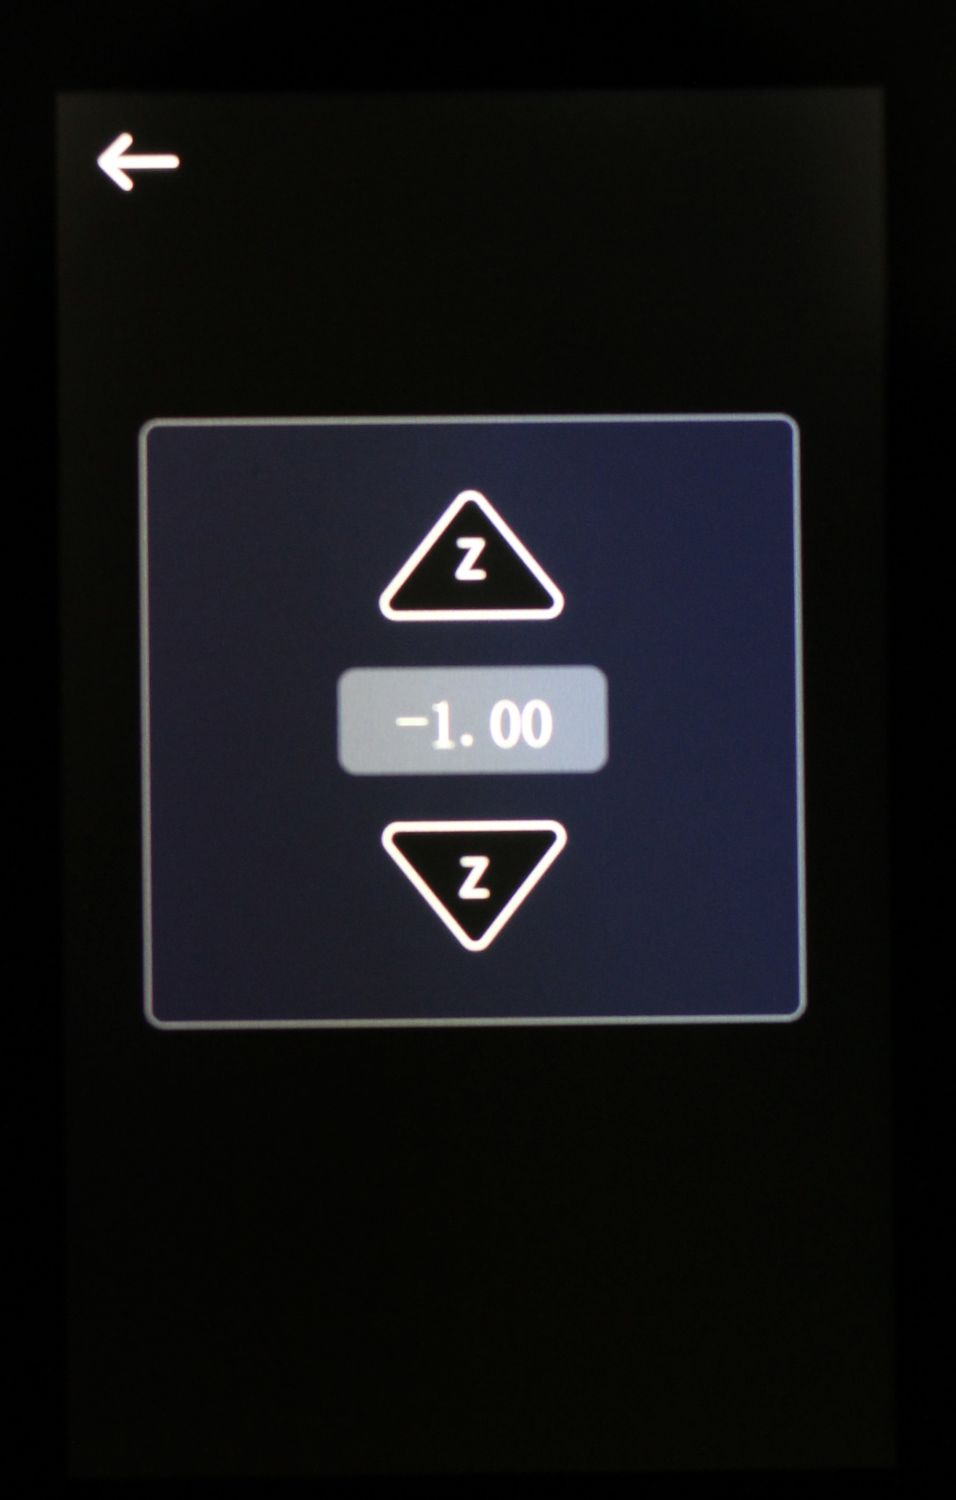
From the regular heating, cooling, and movement controls, you can also adjust parameters related to the printer
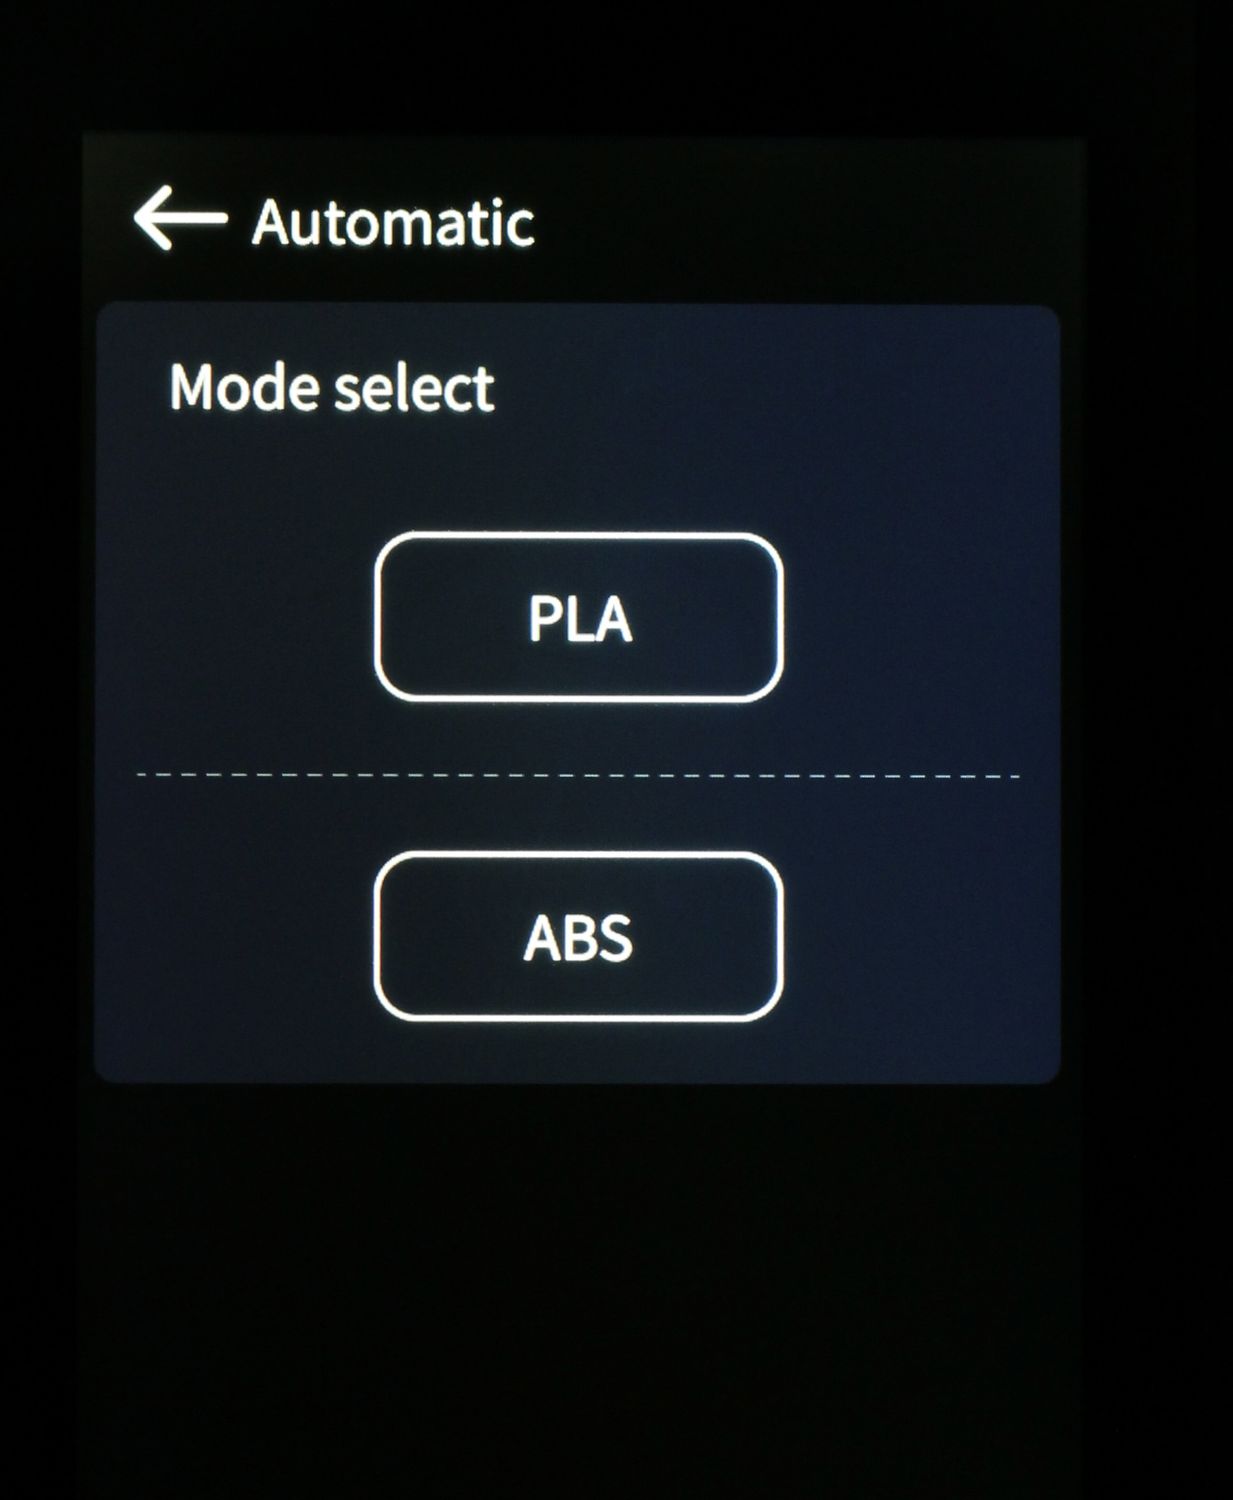
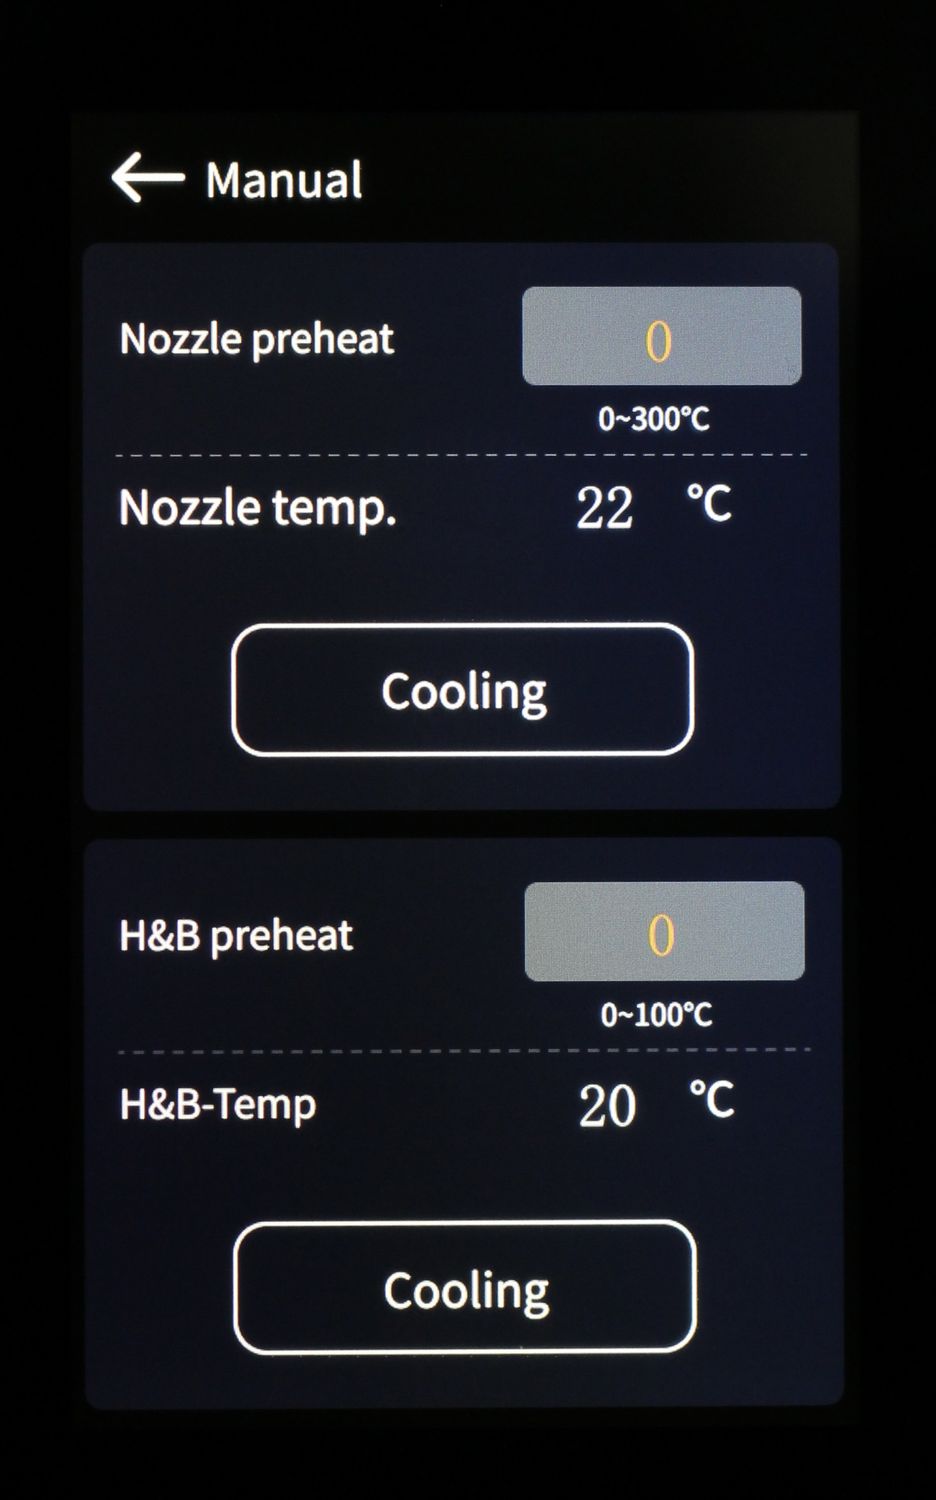
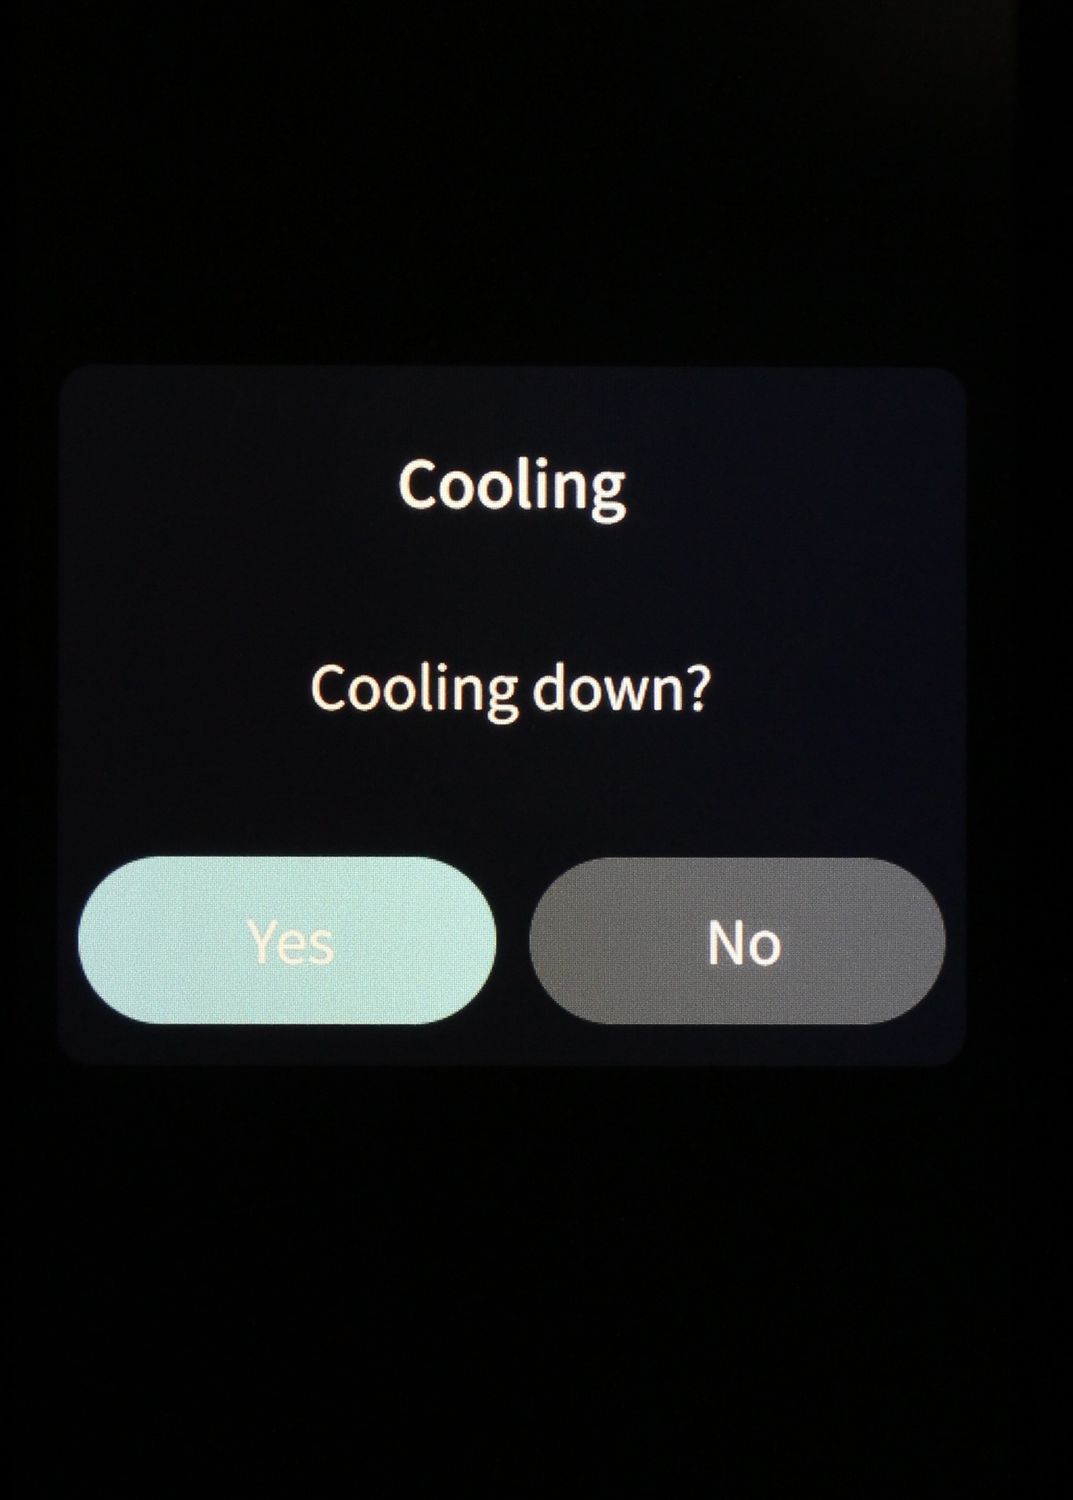
There’s also a relatively long spiral wire connected to the screen, which allows you to pick up the screen and control the printer using the screen a bit easier. But I have never used this functionality, so I can’t say I would miss it if it wasn’t already a thing.
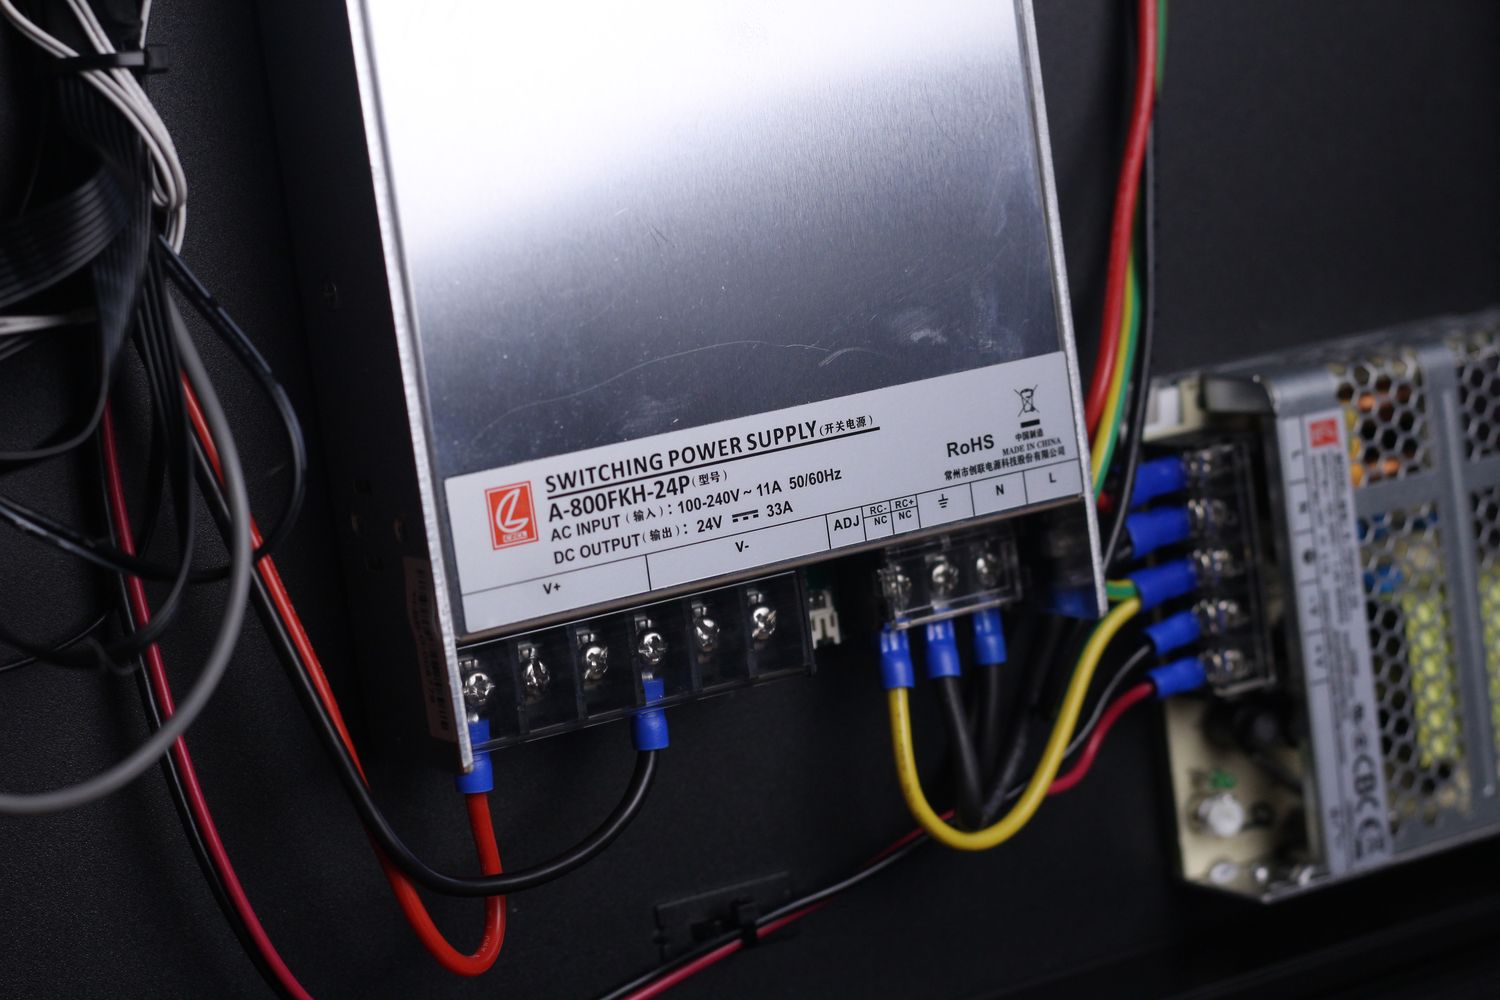
800W 24V Power Supply
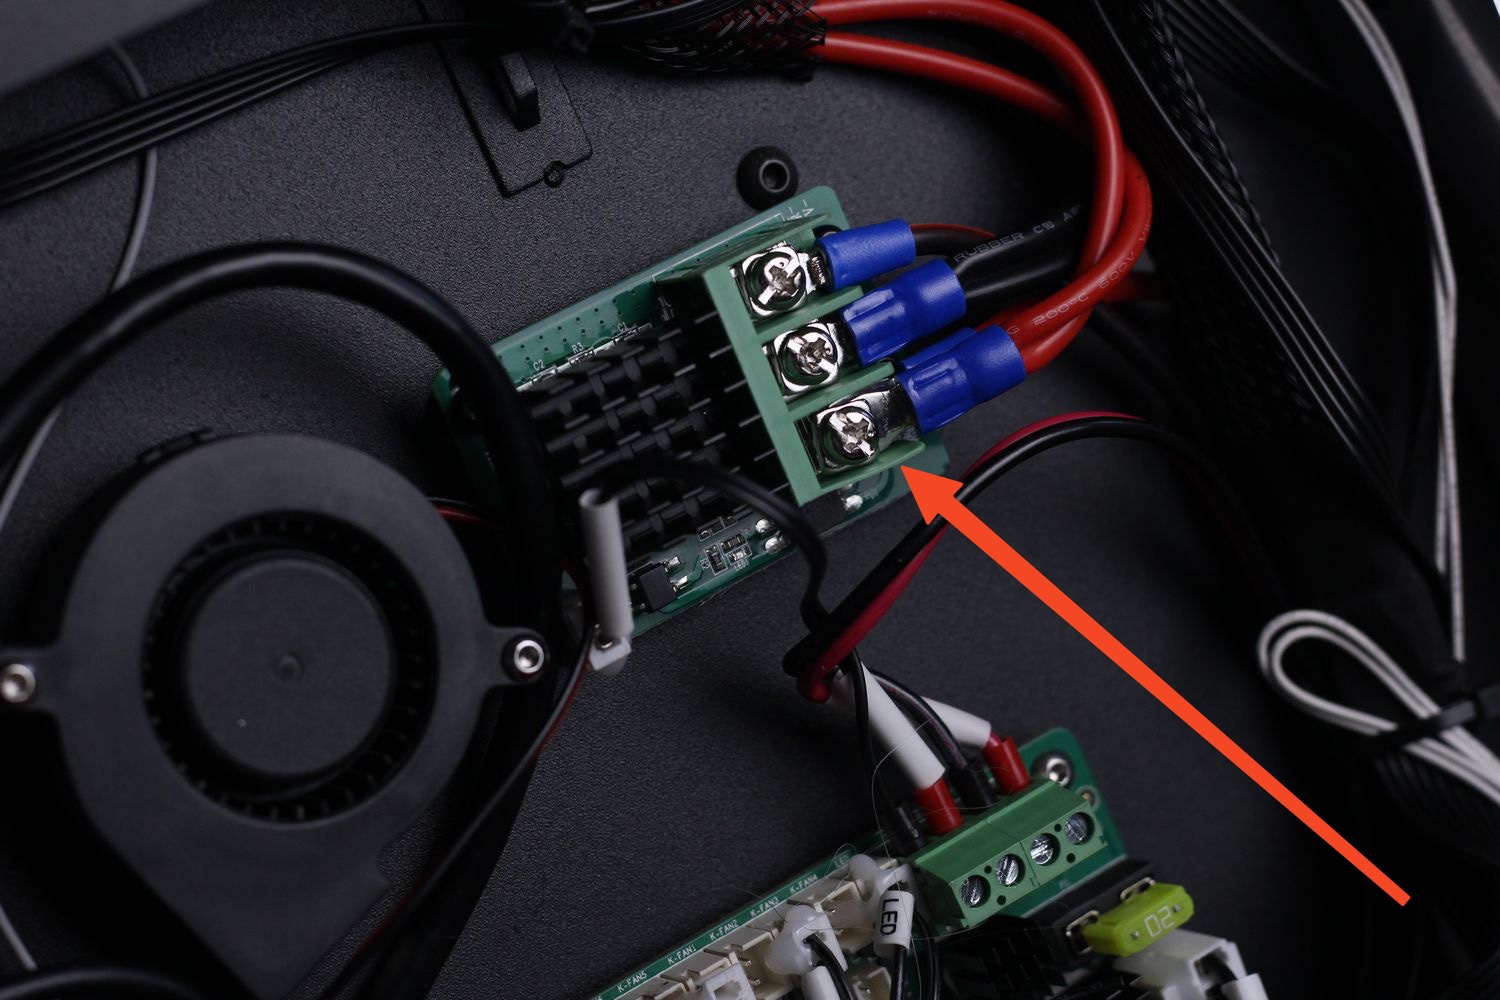
You get a very large heated bed with the CR-M4 printer and this also requires a large power supply to power it so inside the printer we get an A-800FKPH-24P power supply connected to a mosfet.
The bad news for my review unit is that one of the wires connected to this mosfet was not screwed on correctly and it had quite a bit of play which is a very dangerous thing to find. Printing with the CR-M4 means that it will spend multiple days printing unattended so if I weren’t to open the electronics and check the wires, there would have been a high chance of the wires catching fire/short-circuiting due to the imperfect contact.
Fortunately, I fixed this problem easily by simply tightening the wire back in place, but I really hope that Creality will invest enough time to check all the production printers they deliver. And if you’re getting one of these machines, I strongly recommend you double-check this, just to be safe.
Another thing to mention about the power supply is the fan noise. While it’s not very bad, it’s still more significant compared to smaller printers and I also noticed that the fan is constantly running making it not as nice in the noise department.
Heating time and power consumption
Hotend
- 200C in 49 seconds
- 250C in 1 minute and 8 seconds
- 300C in 1 minute and 27 seconds
Heatbed
- 60C in 3 minutes and 8 seconds
- 100C in 9 minutes and 55 seconds
Power Draw.
The idle power draw is around 12W. When the hotend and heatbed are heating up, the Creality CR-M4 draws around 750W. After it starts printing, the power draw stabilizes to around 200W.
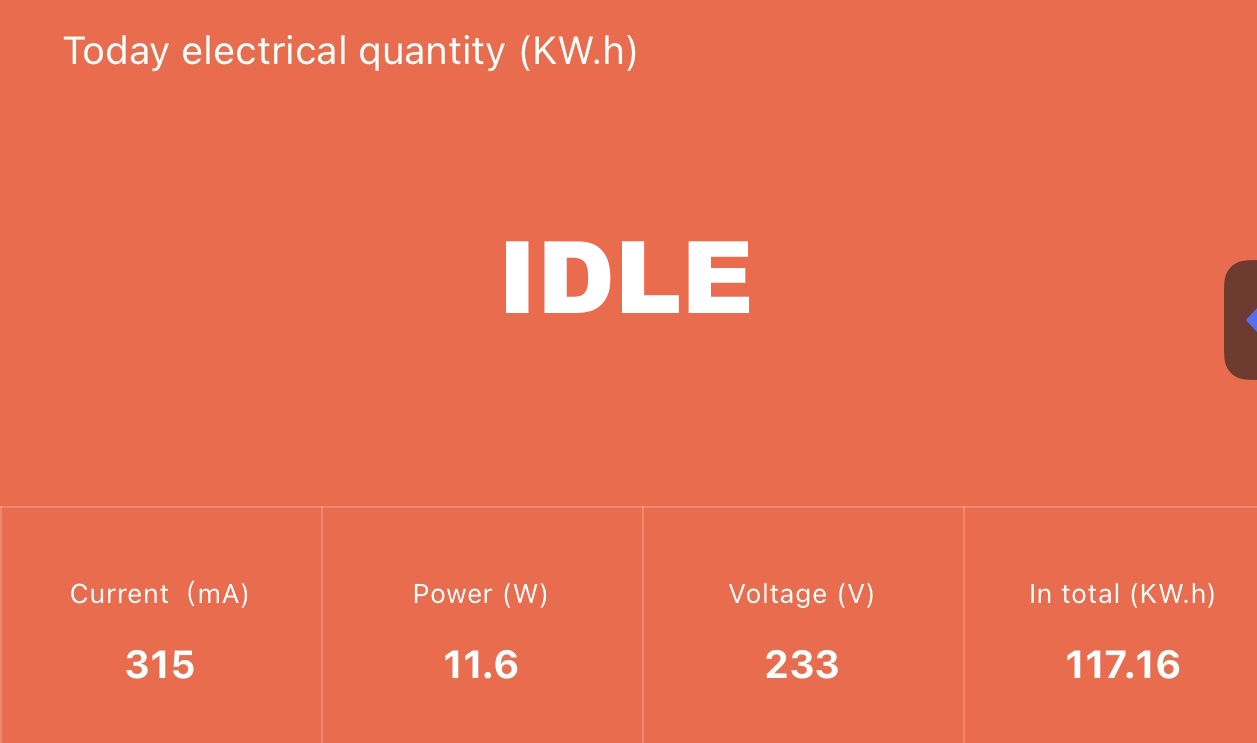
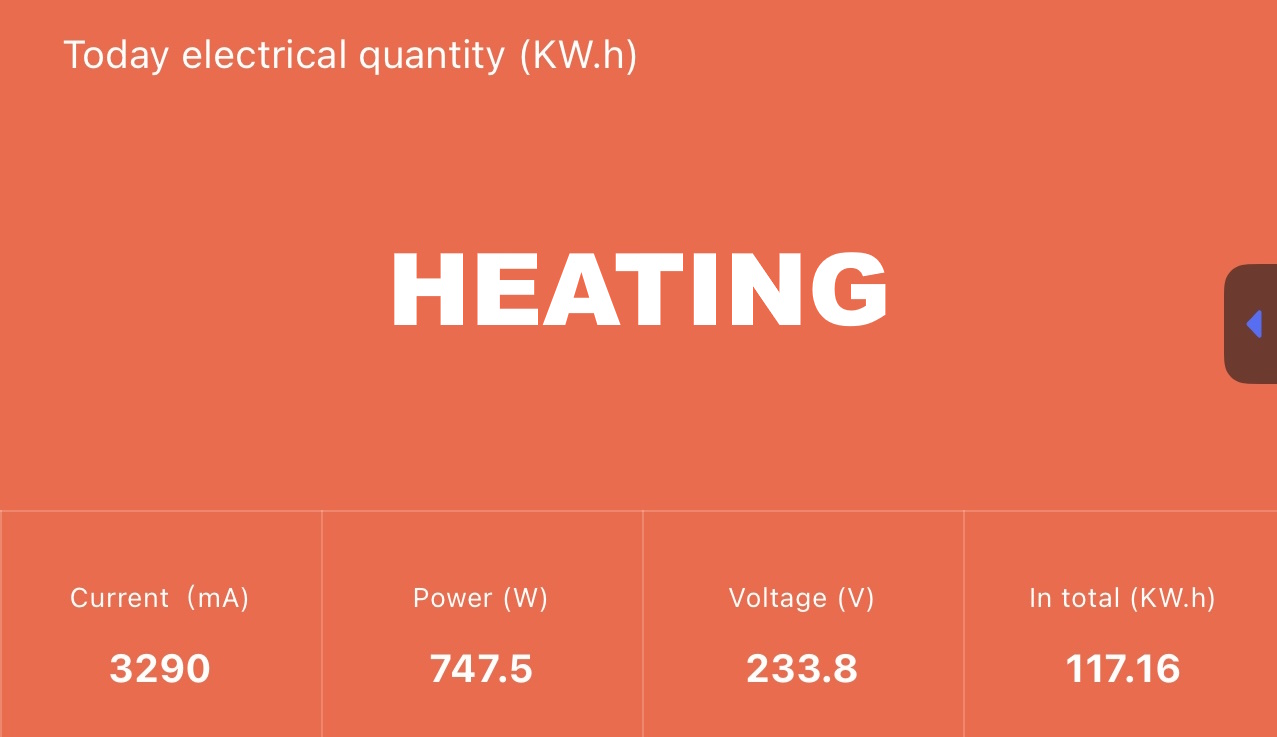
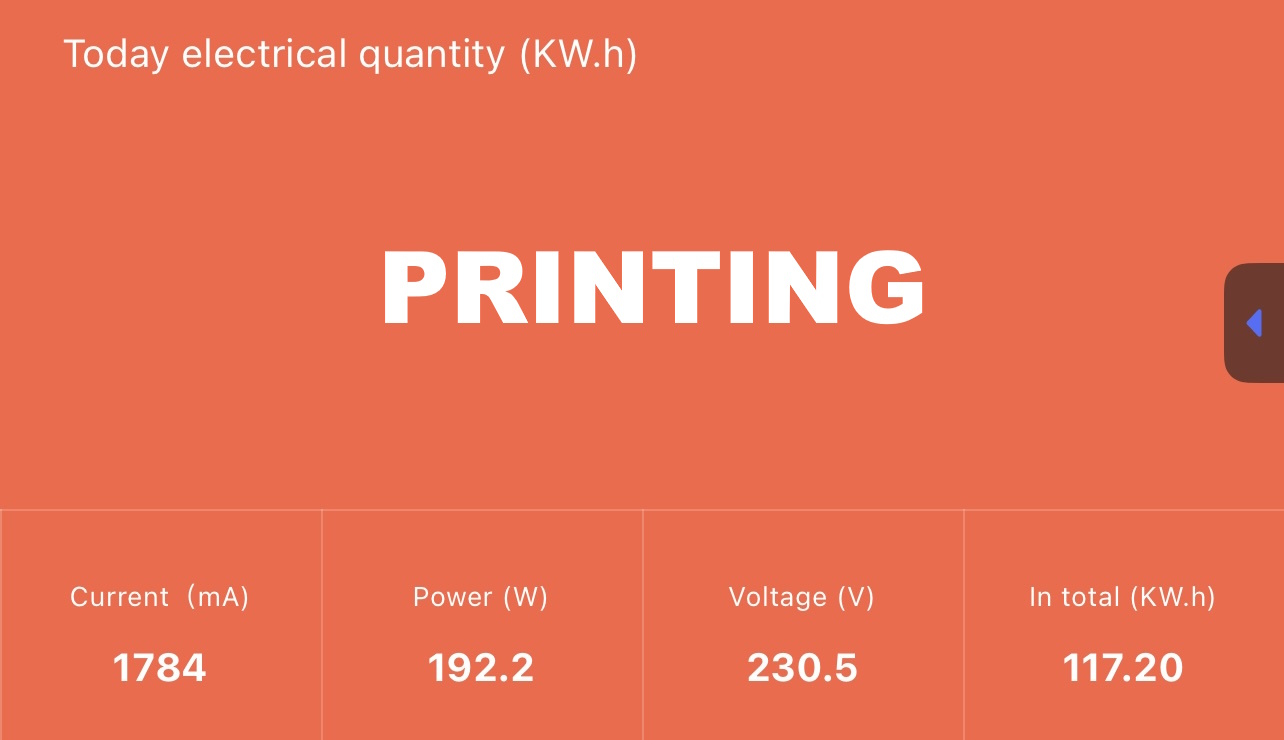
All these measurements were taken with a Blitzwolf smart power socket which indicates the power draw, and it can also be used for remotely powering on and off the printer.
Bed Temperature Uniformity
I tested the temperature uniformity for the Creality CR-M4 bed with the FLIR Camera installed on the CAT S62 Pro. The bed has been set to 60C and I waited 2 minutes for the temperature to stabilize.
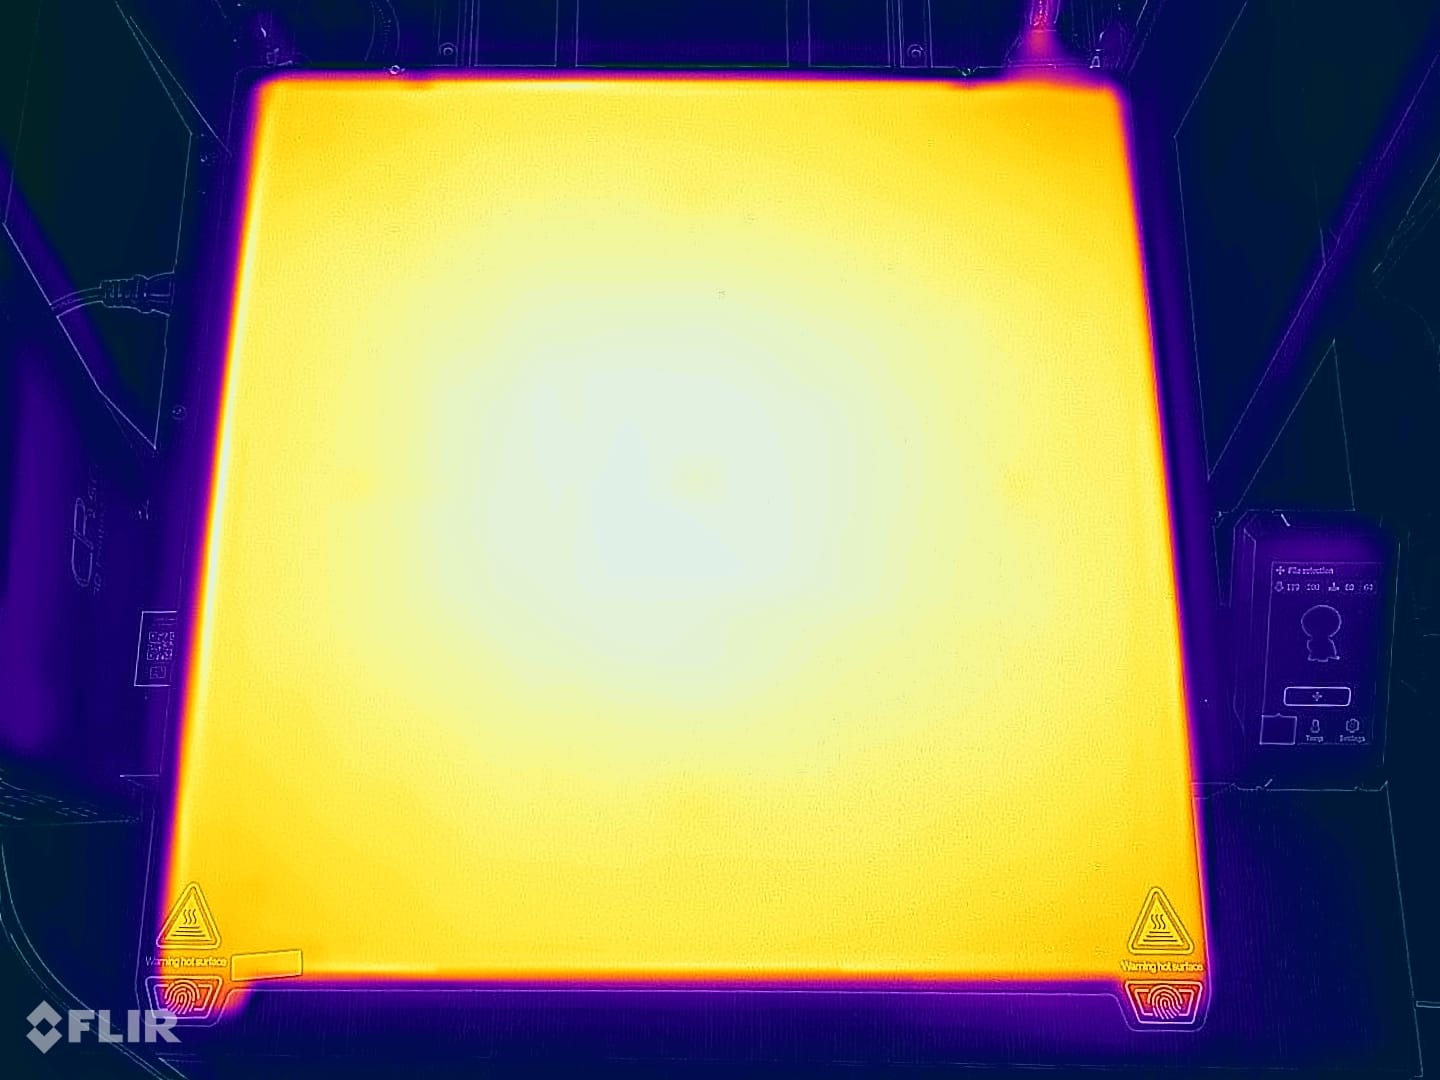
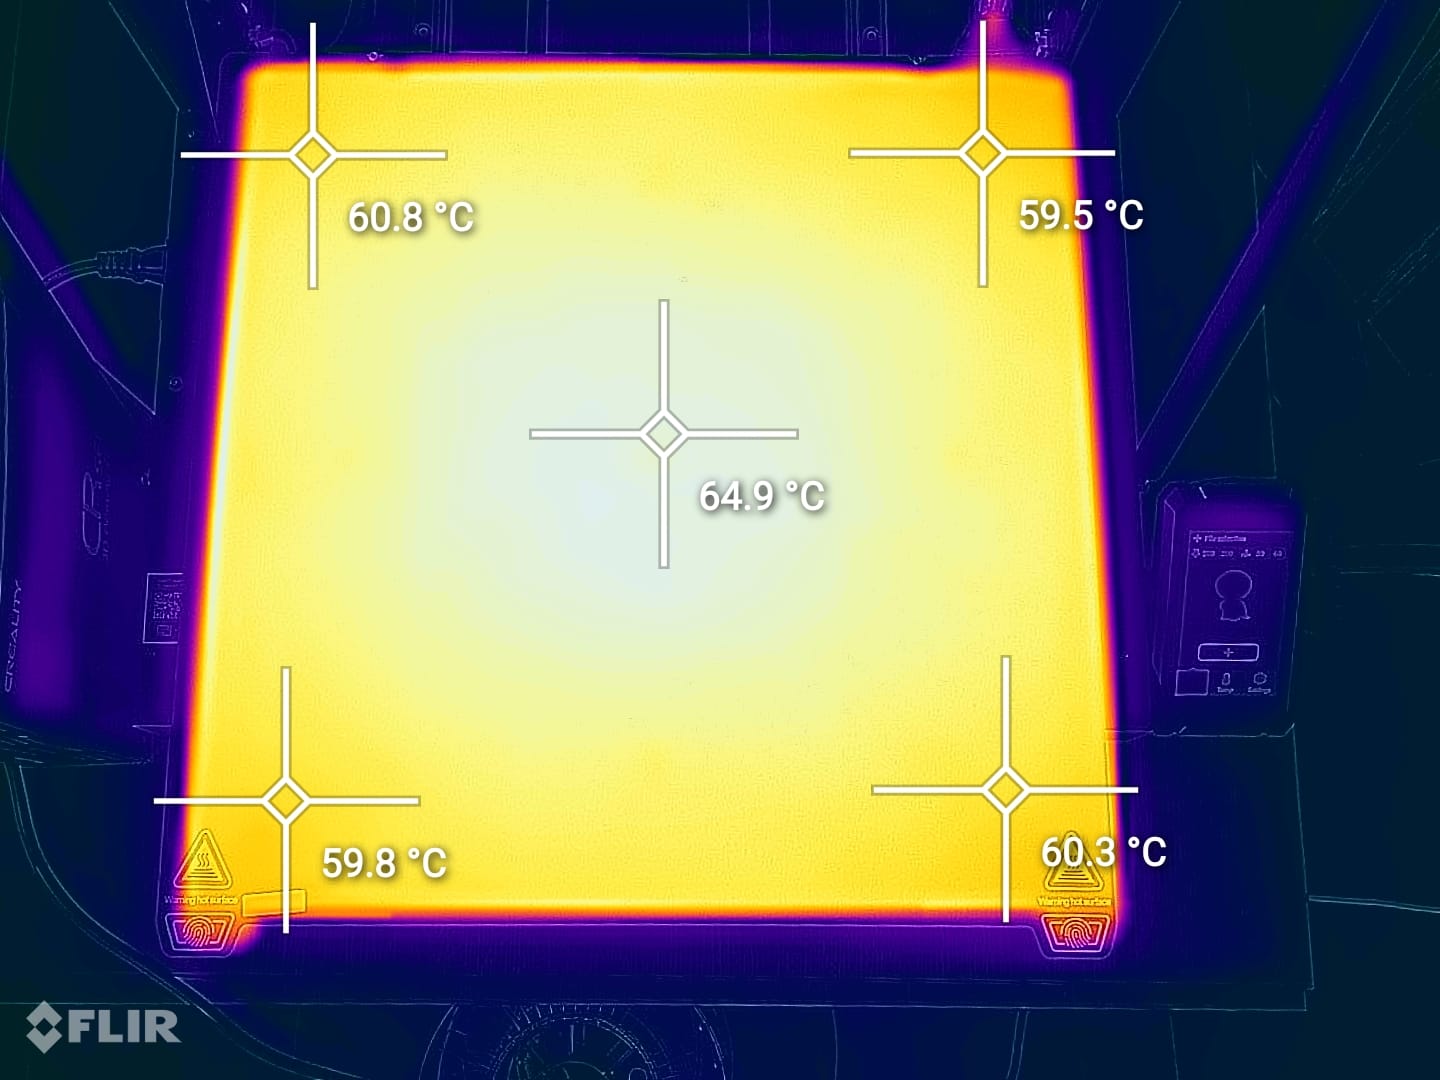
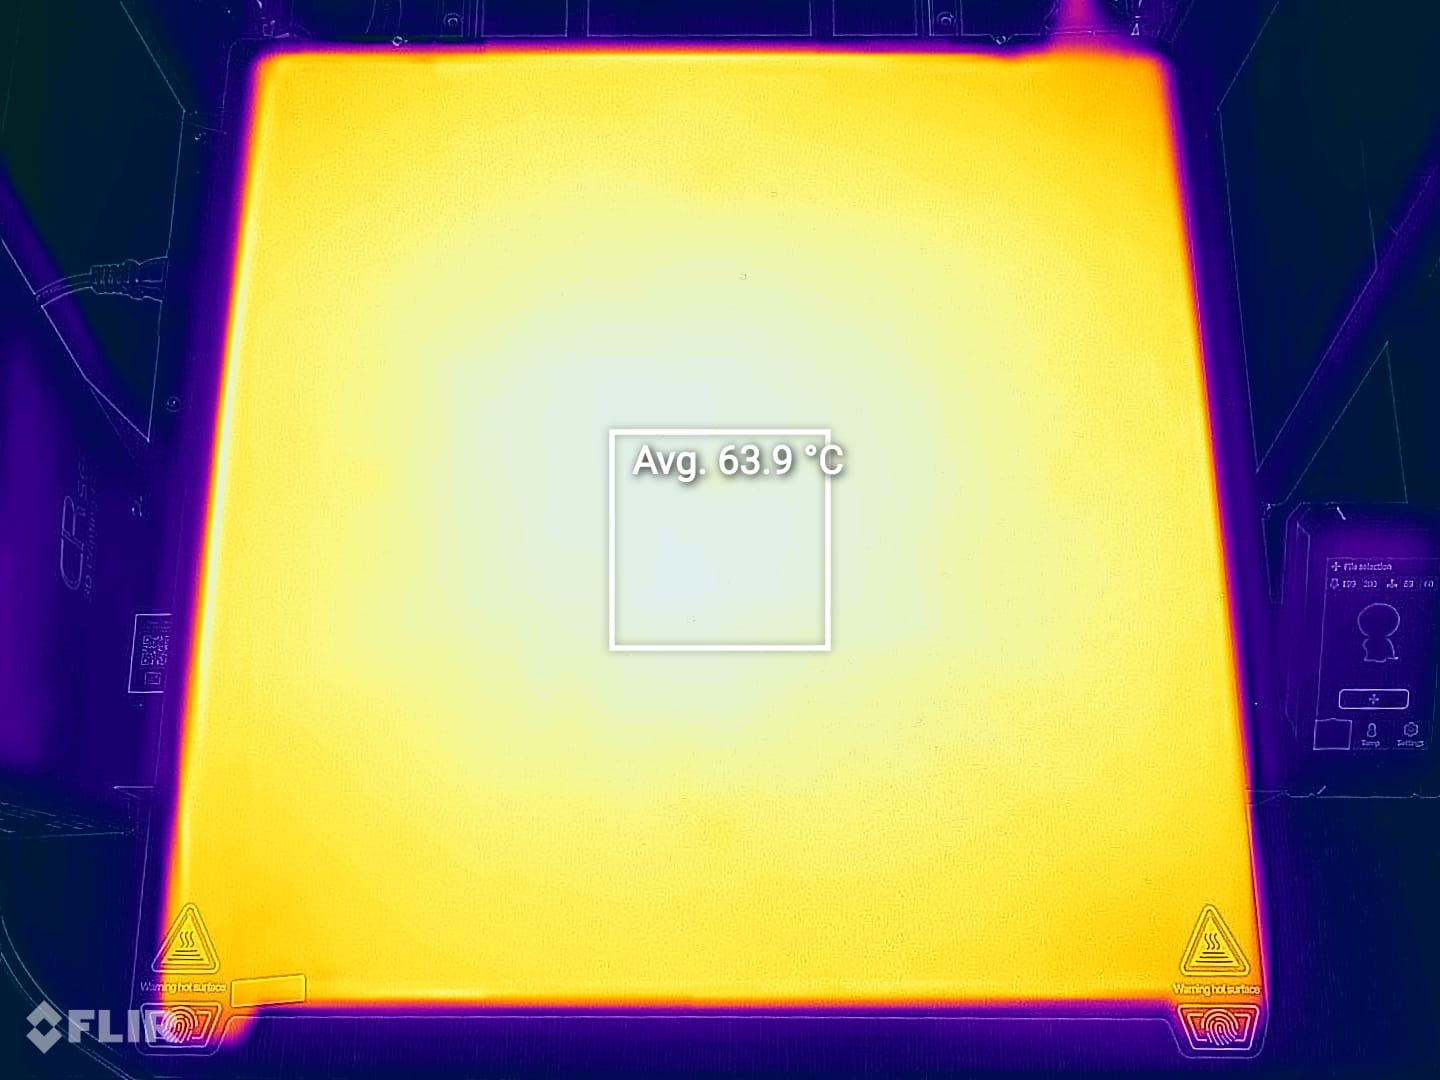
The heatbed uniformity is good and I was unable to detect any cold spots on it, after letting the temperature stabilize, which is helped by the added heatbed insulation underneath it.
Creality CR-M4 Noise Levels
Prusa Slicer profiles for Creality CR-M4
During my time with the printer, I tuned a few Prusa Slicer profiles for the Creality CR-M4. These profiles are tuned for the stock printer and are available to my Patreon supporters.As usual, the flow rate will still need to be calibrated, according to your filament.
Test prints on Creality CR-M4
3D Benchy
I have started my testing with a 3D Benchy. The print quality I got was decent, but as you can see, part cooling is not great even though the model was printed with just 205C and relatively slow. The front bow has some curling and the external walls are a bit inconsistent. Still, not bad for a first print.
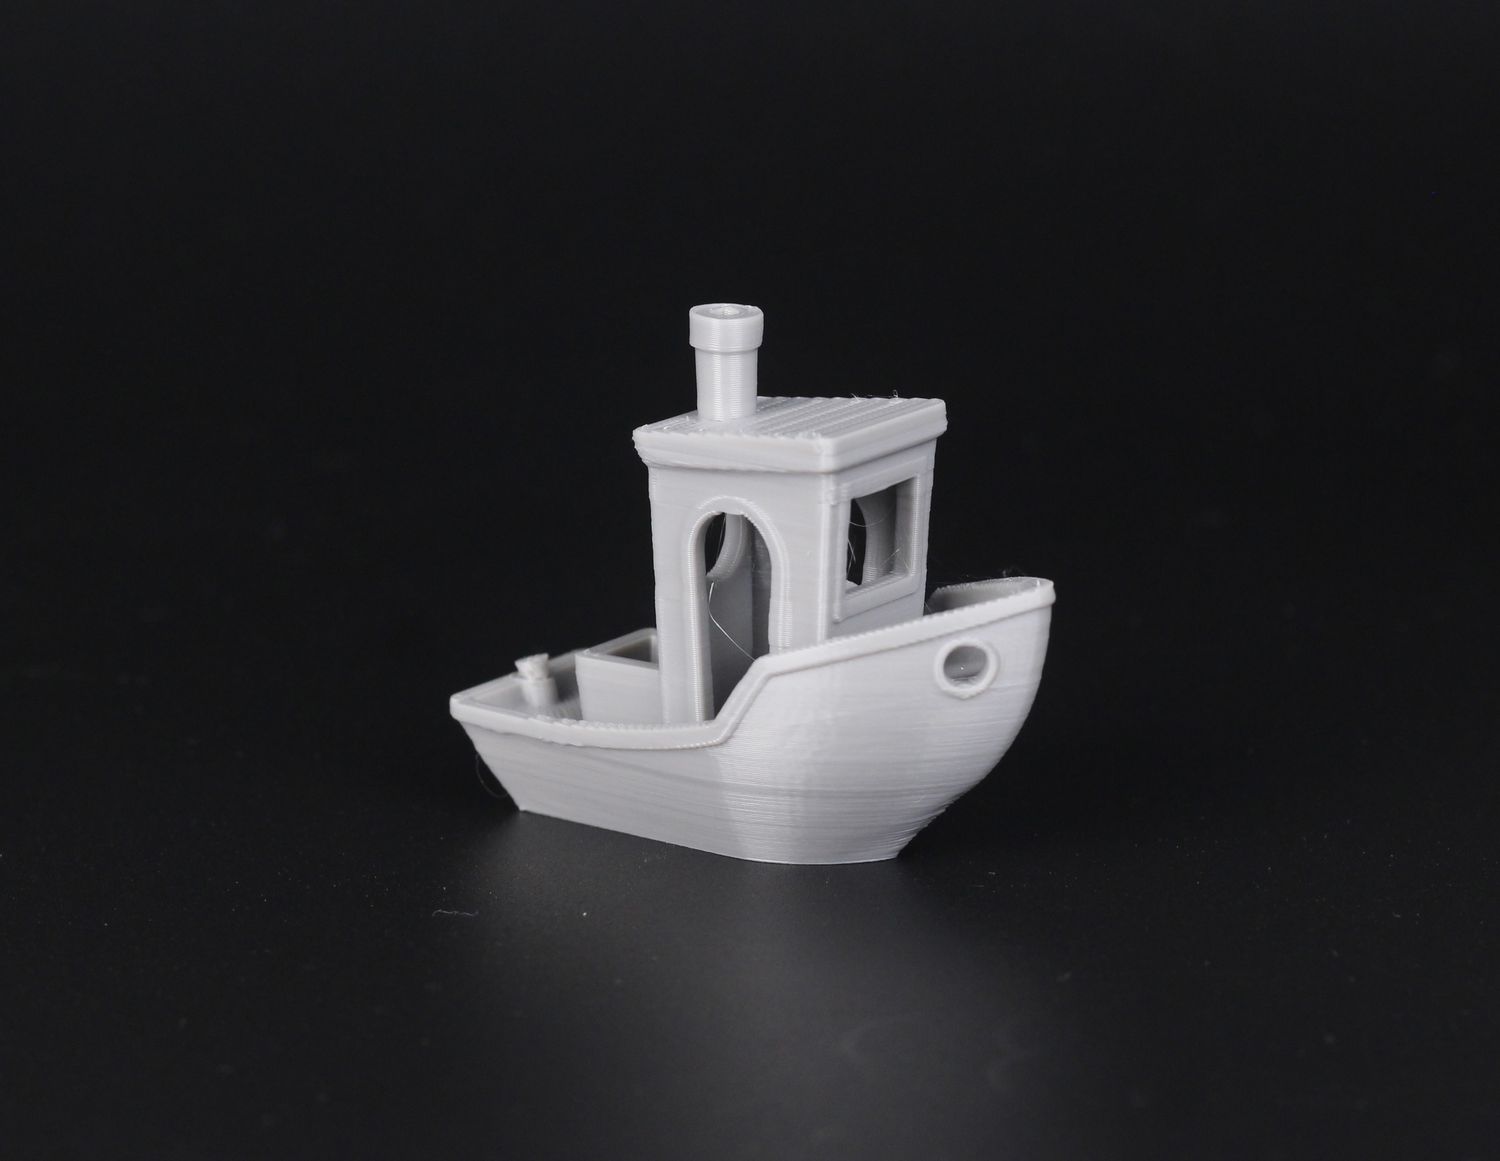
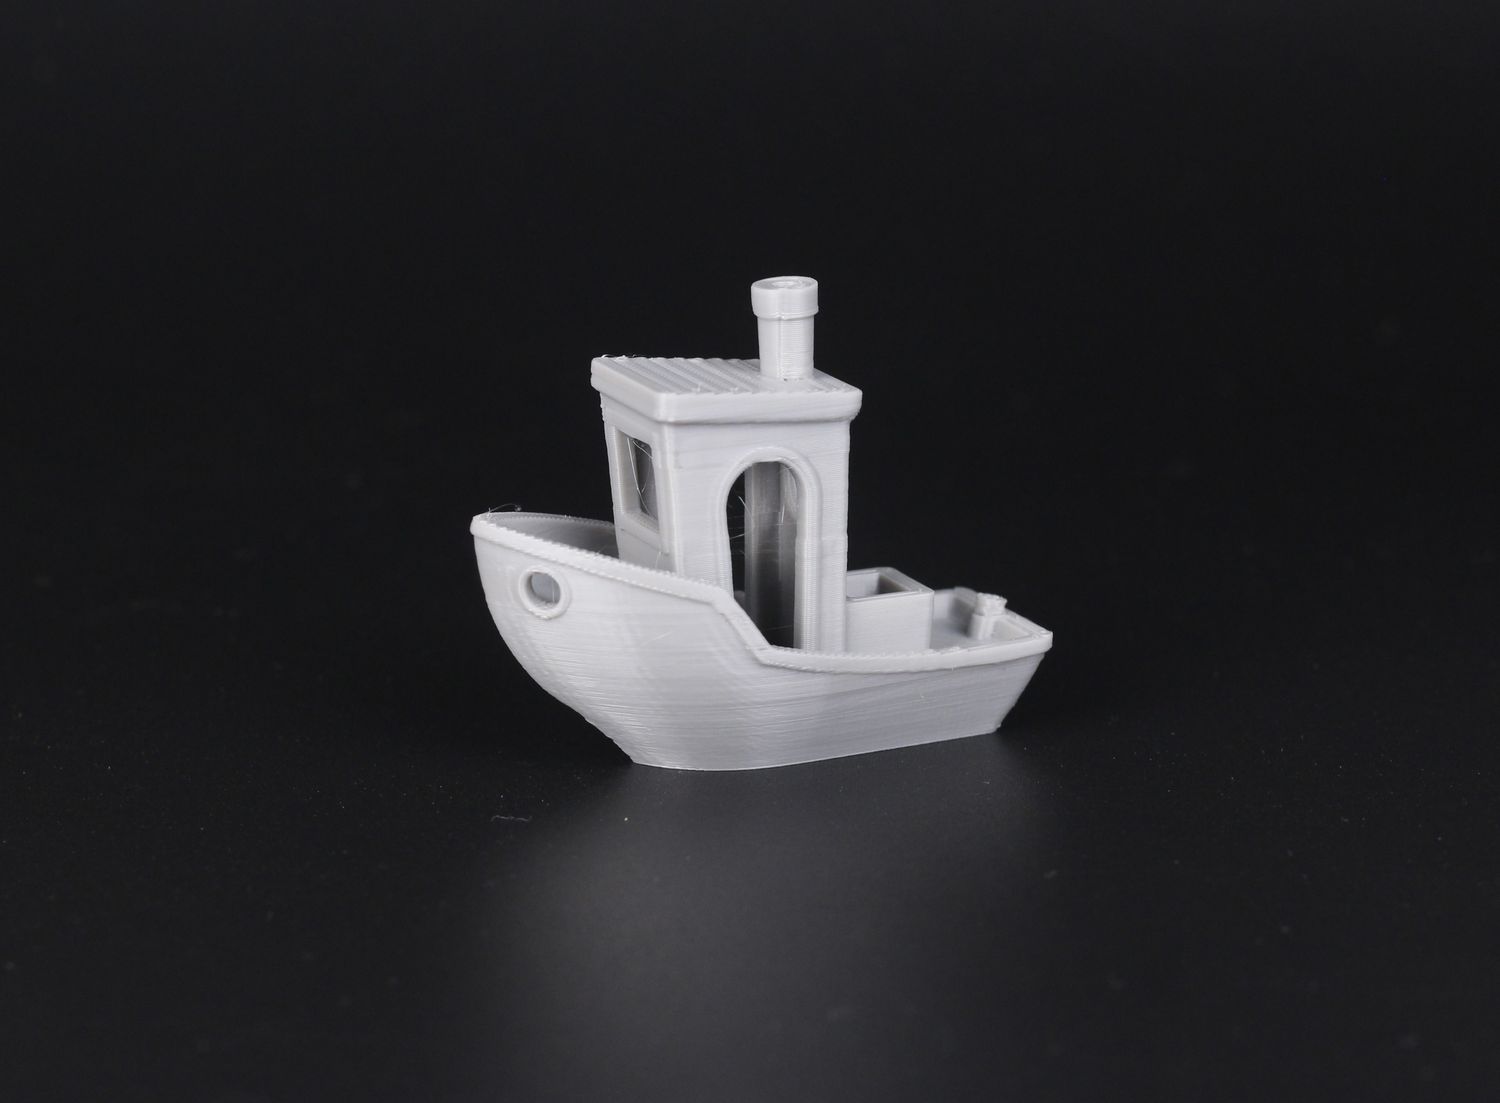
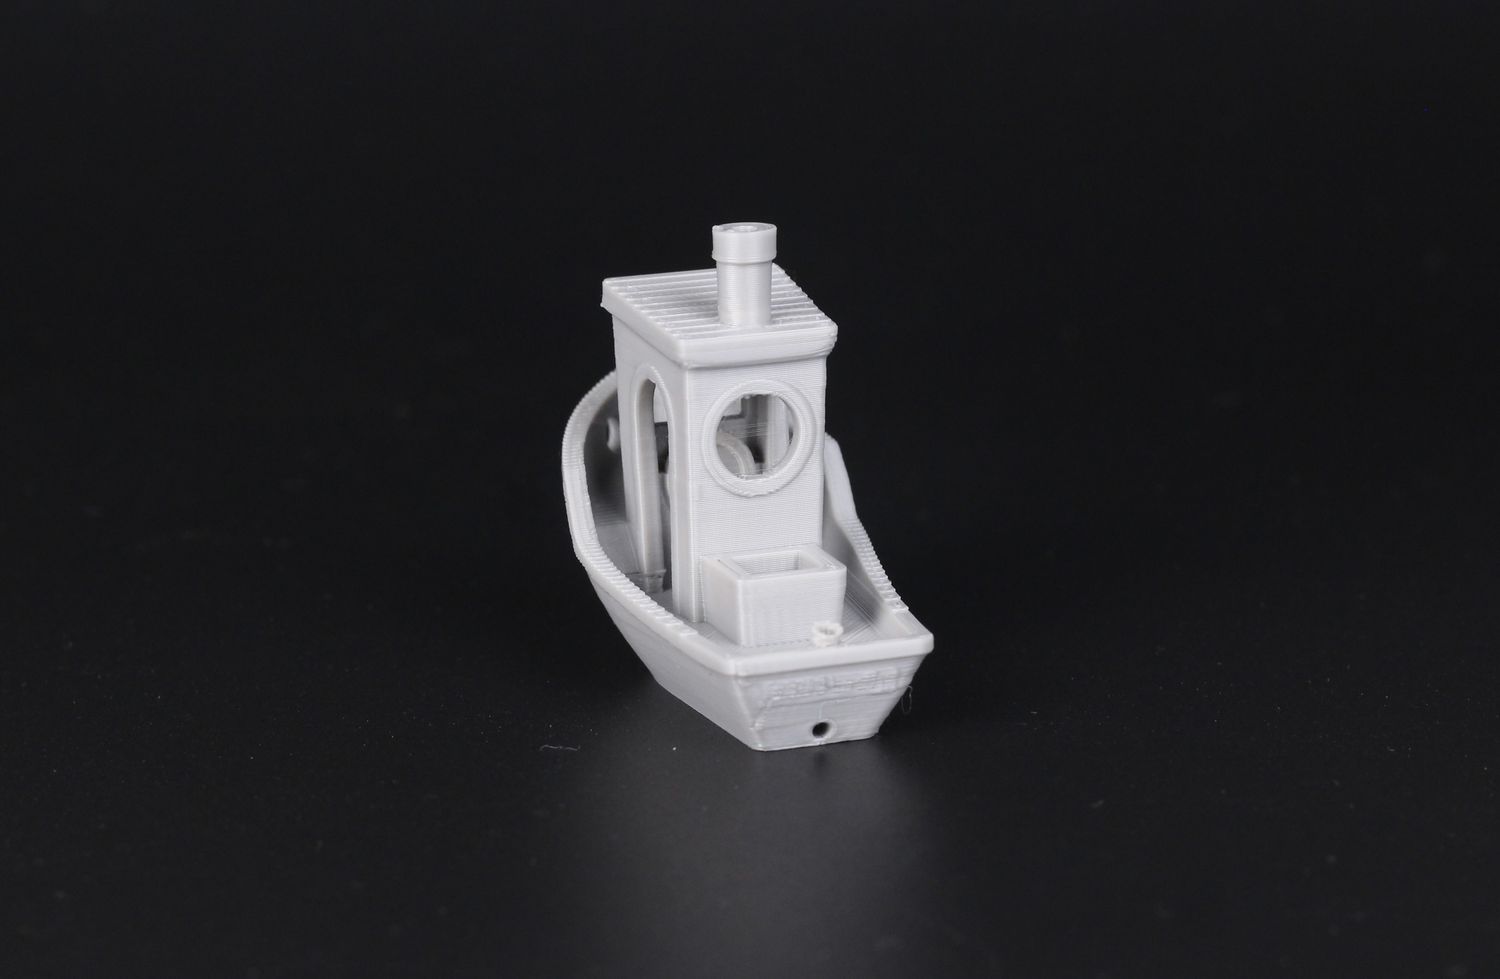
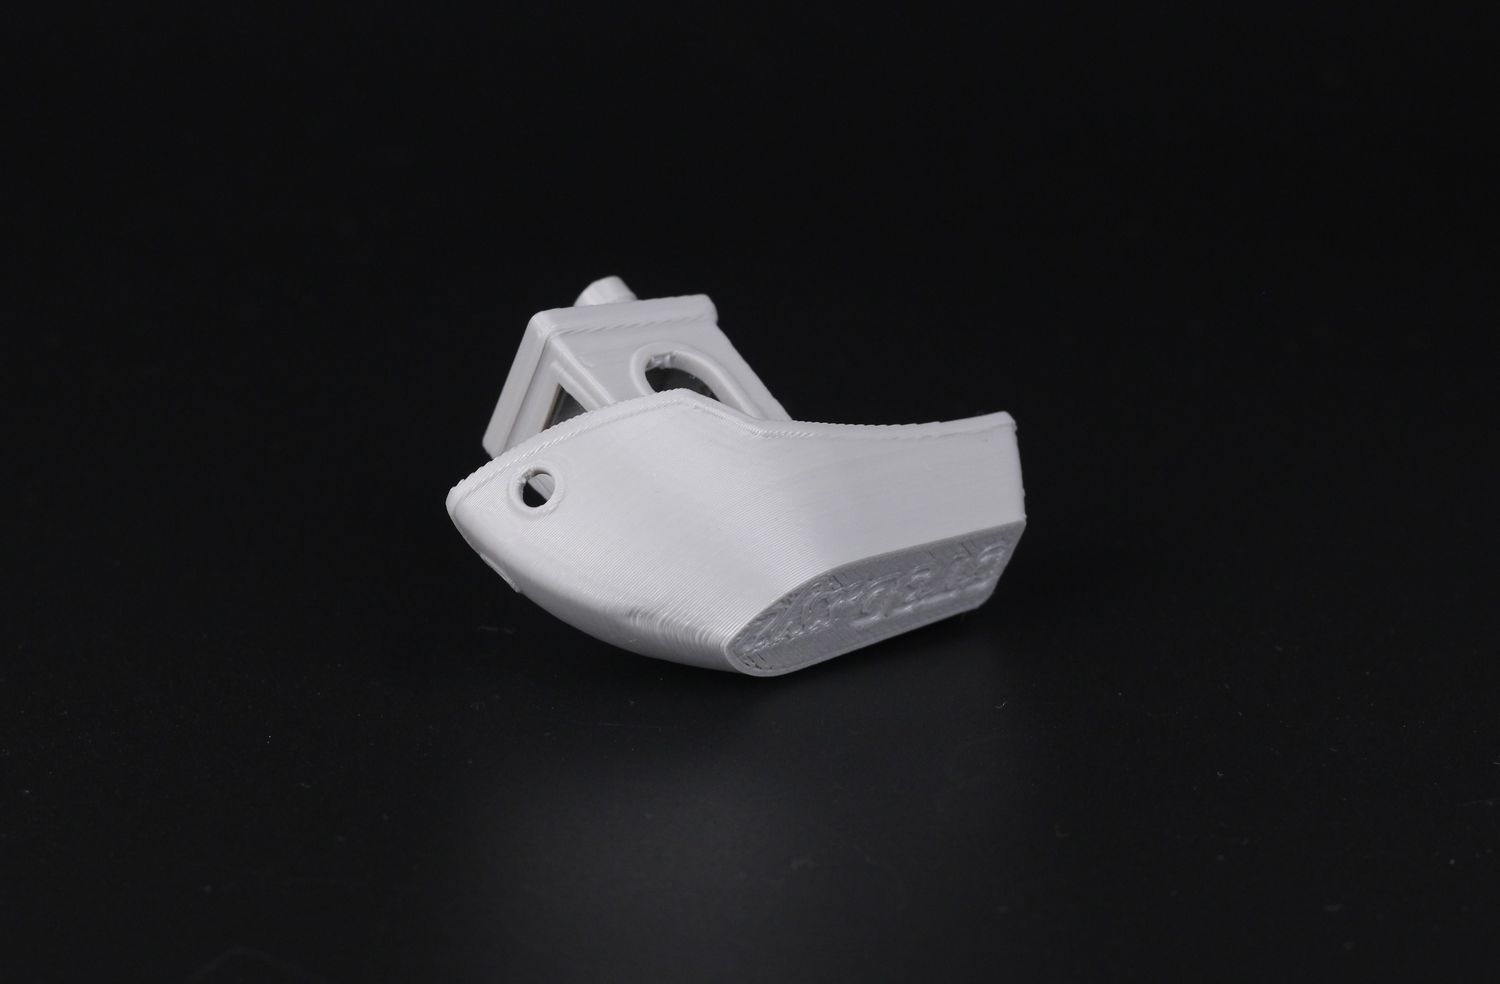
- Material: Sunlu Grey PLA
- Layer Height: 0.2mm
- Nozzle Temperature: 205C
- Bed Temperature: 45C
- Print Speed: ~50 mm/s
200% Calibration Cube
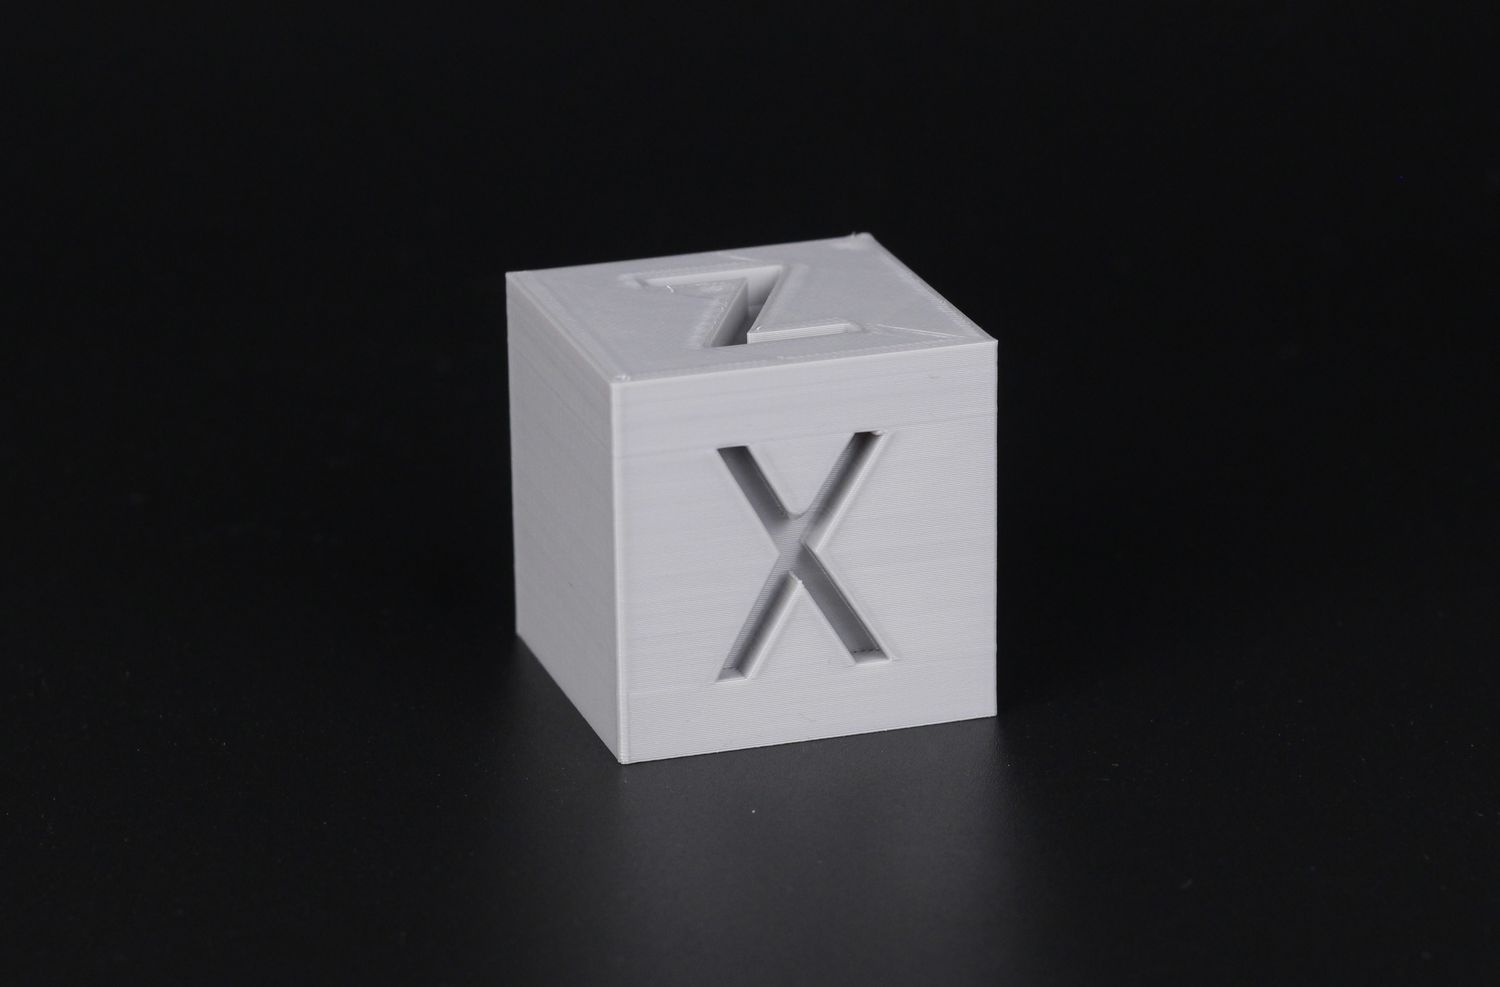
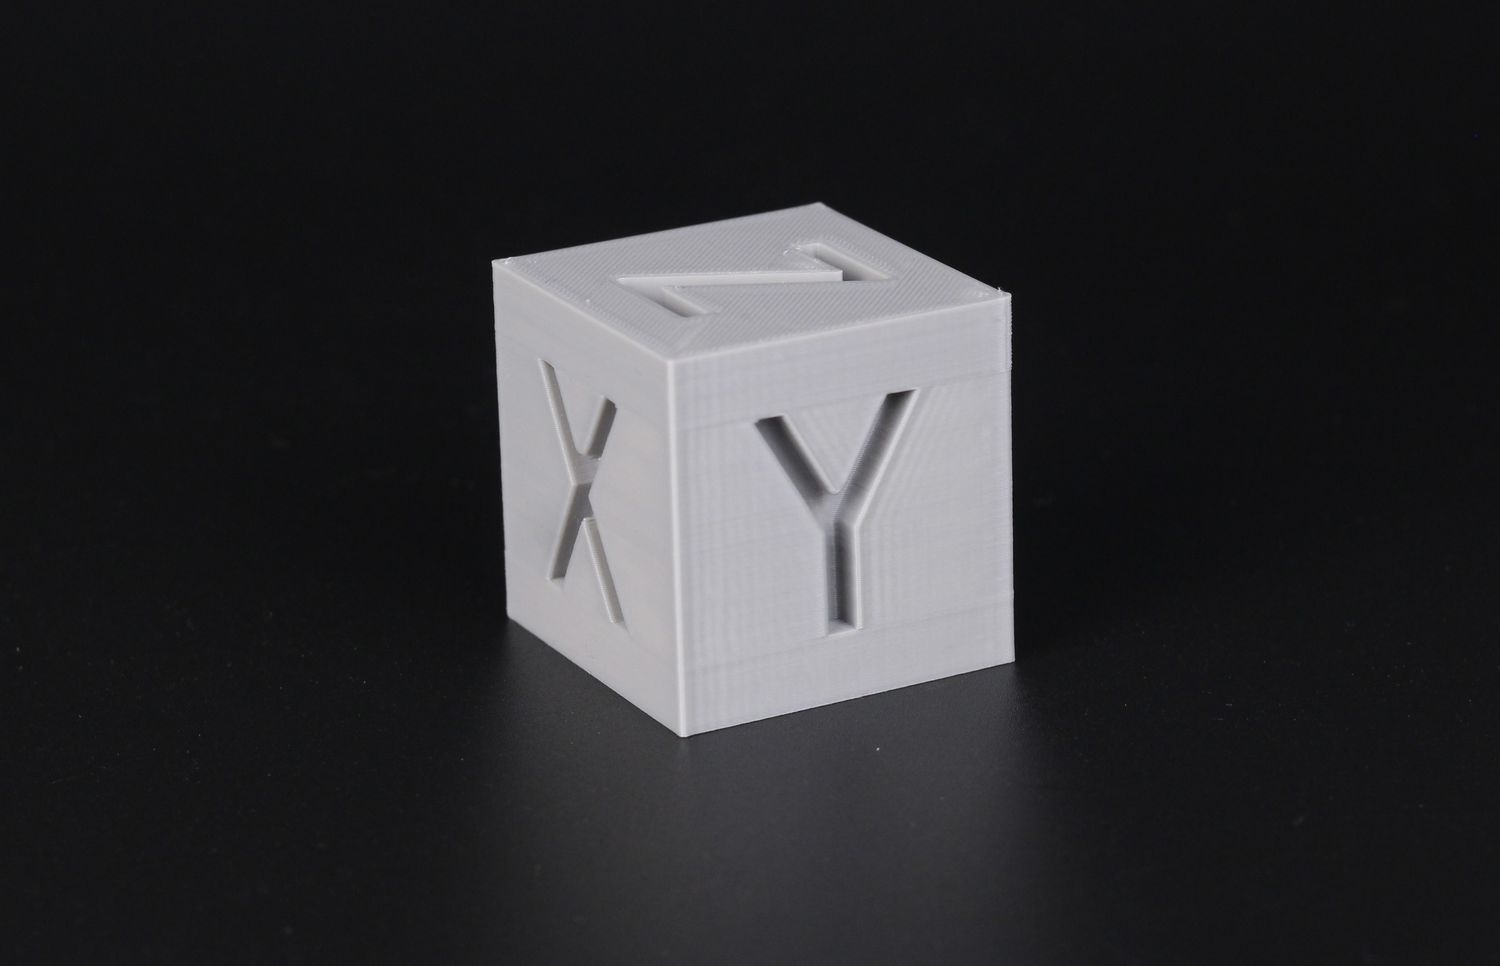
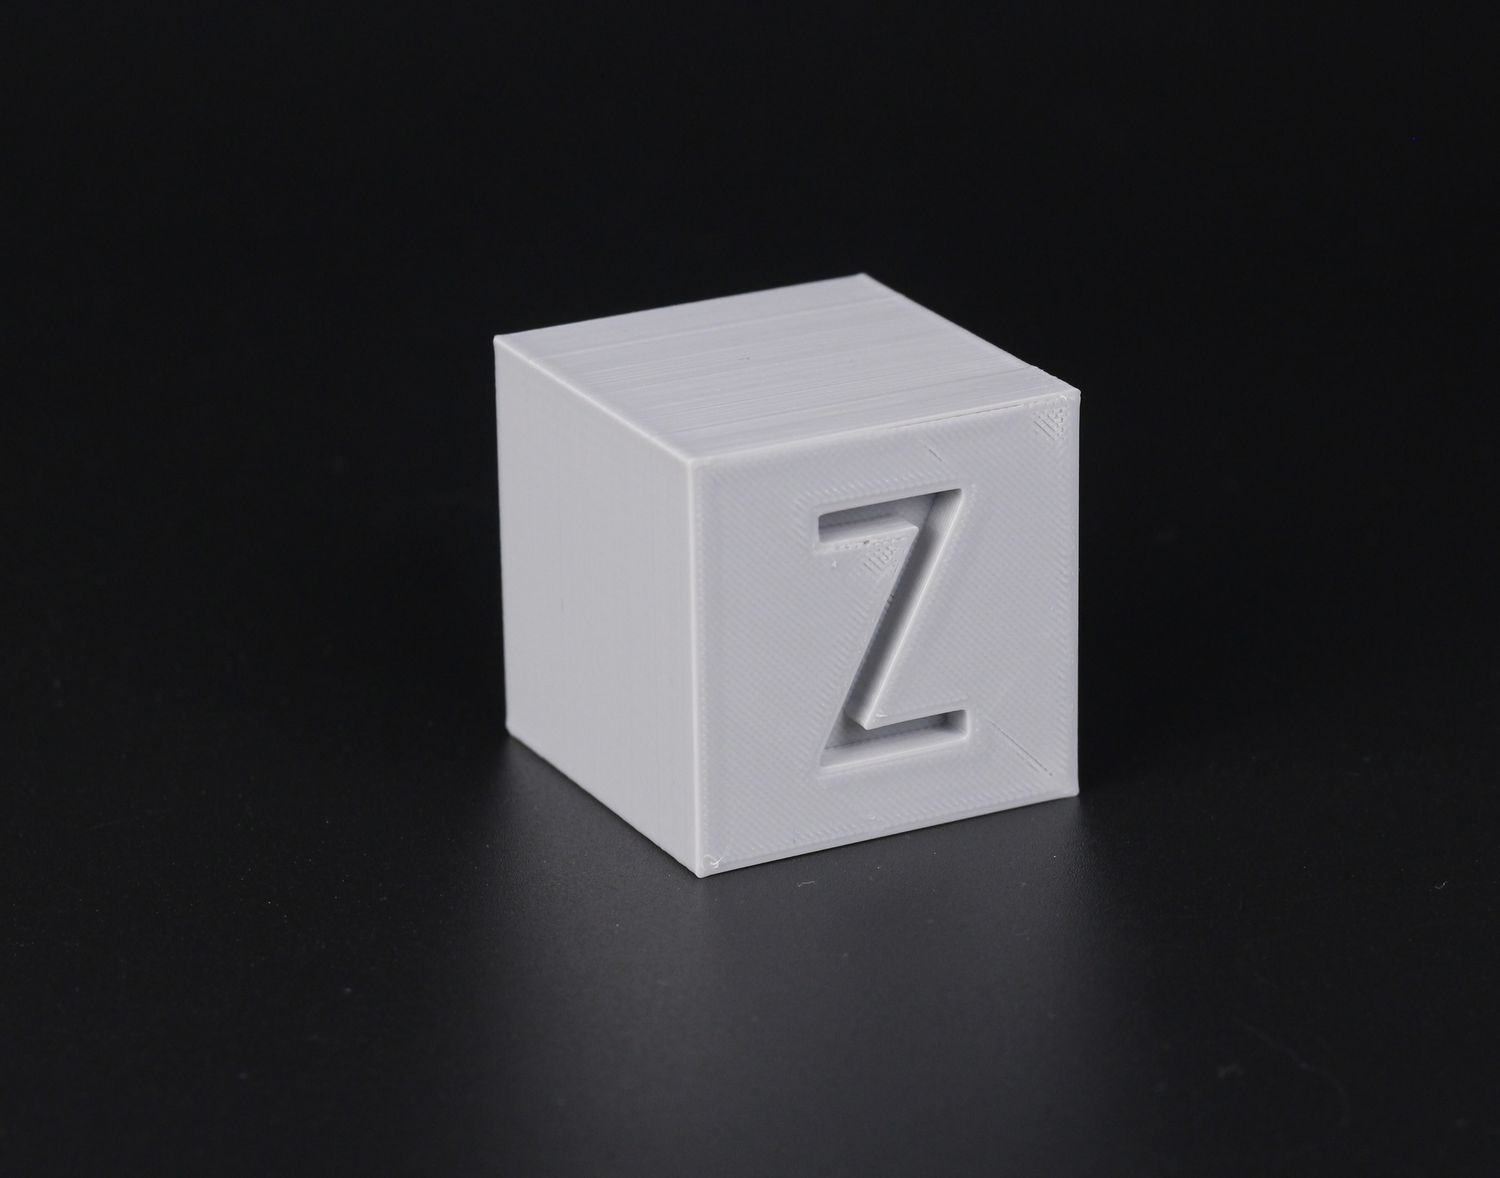
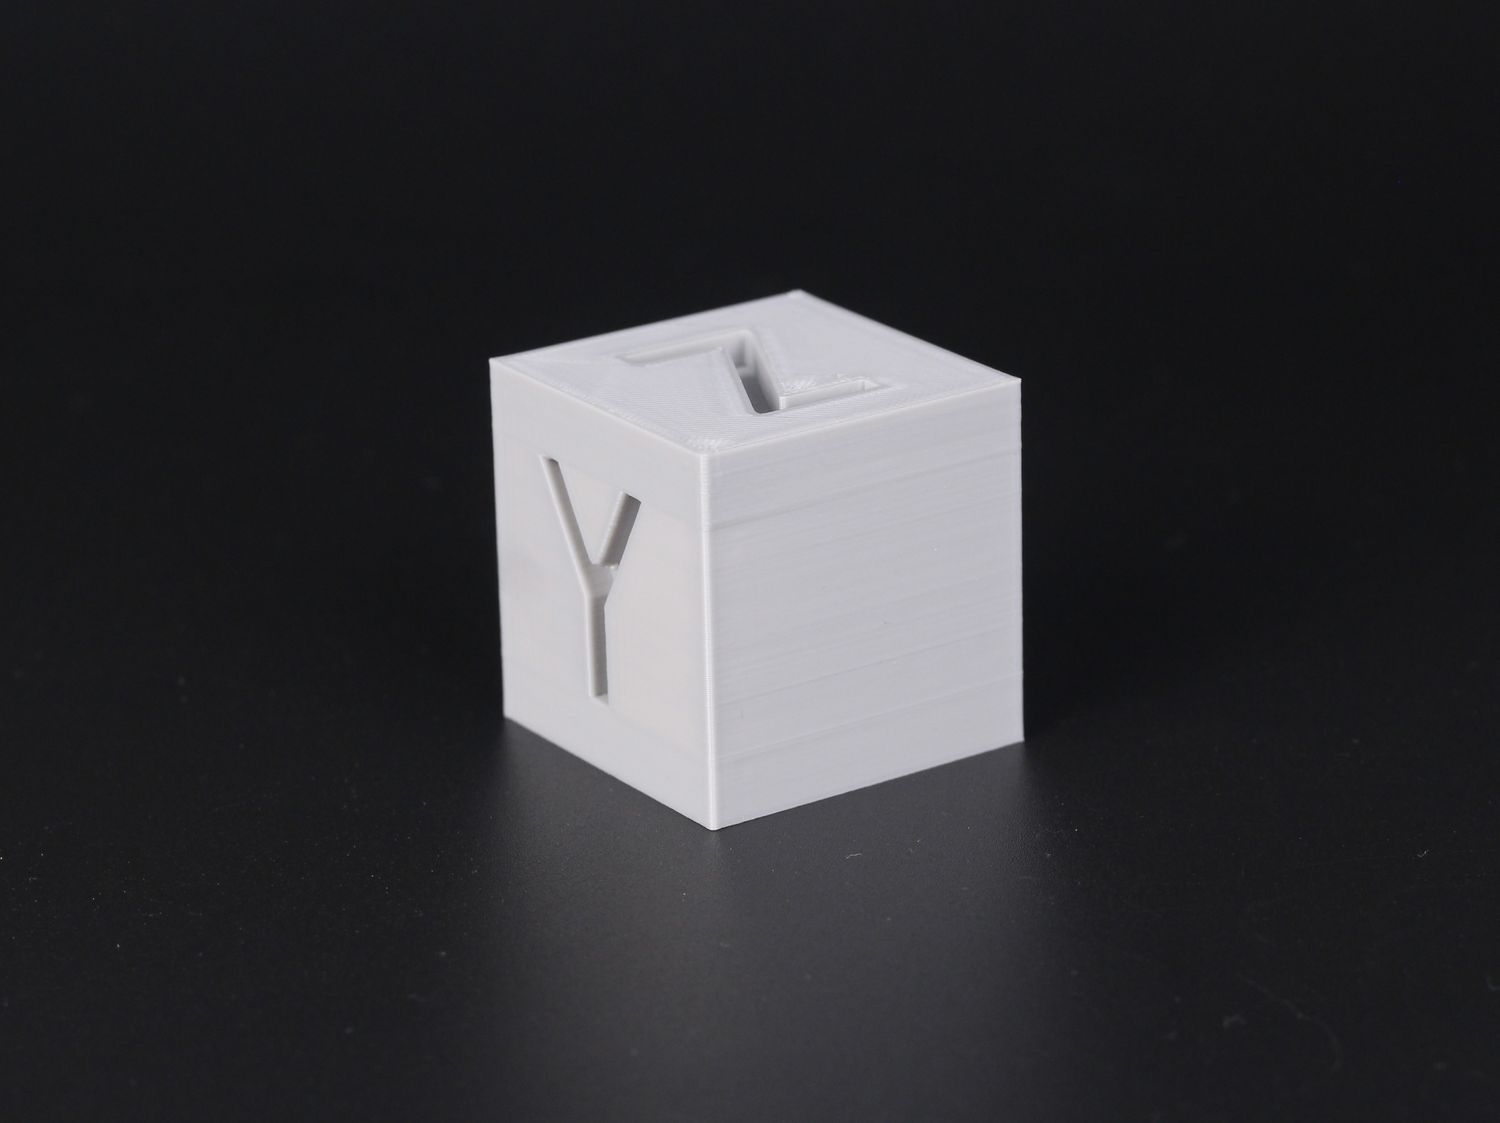
Next, I scaled up the good-old calibration cube to 200% and printed it. On this model, you can see the visible ringing on the Y-axis generated by the heavy bed. Unfortunately, there’s no good way to solve this at the moment, other than converting the CR-M4 to Klipper Firmware and use input shaper for calibration.
Other than that, the result is as expected with very faint under-extrusion on the top layers.
- Material: Sunlu Grey PLA
- Layer Height: 0.2mm
- Nozzle Temperature: 205C
- Bed Temperature: 45C
- Print Speed: ~50 mm/s
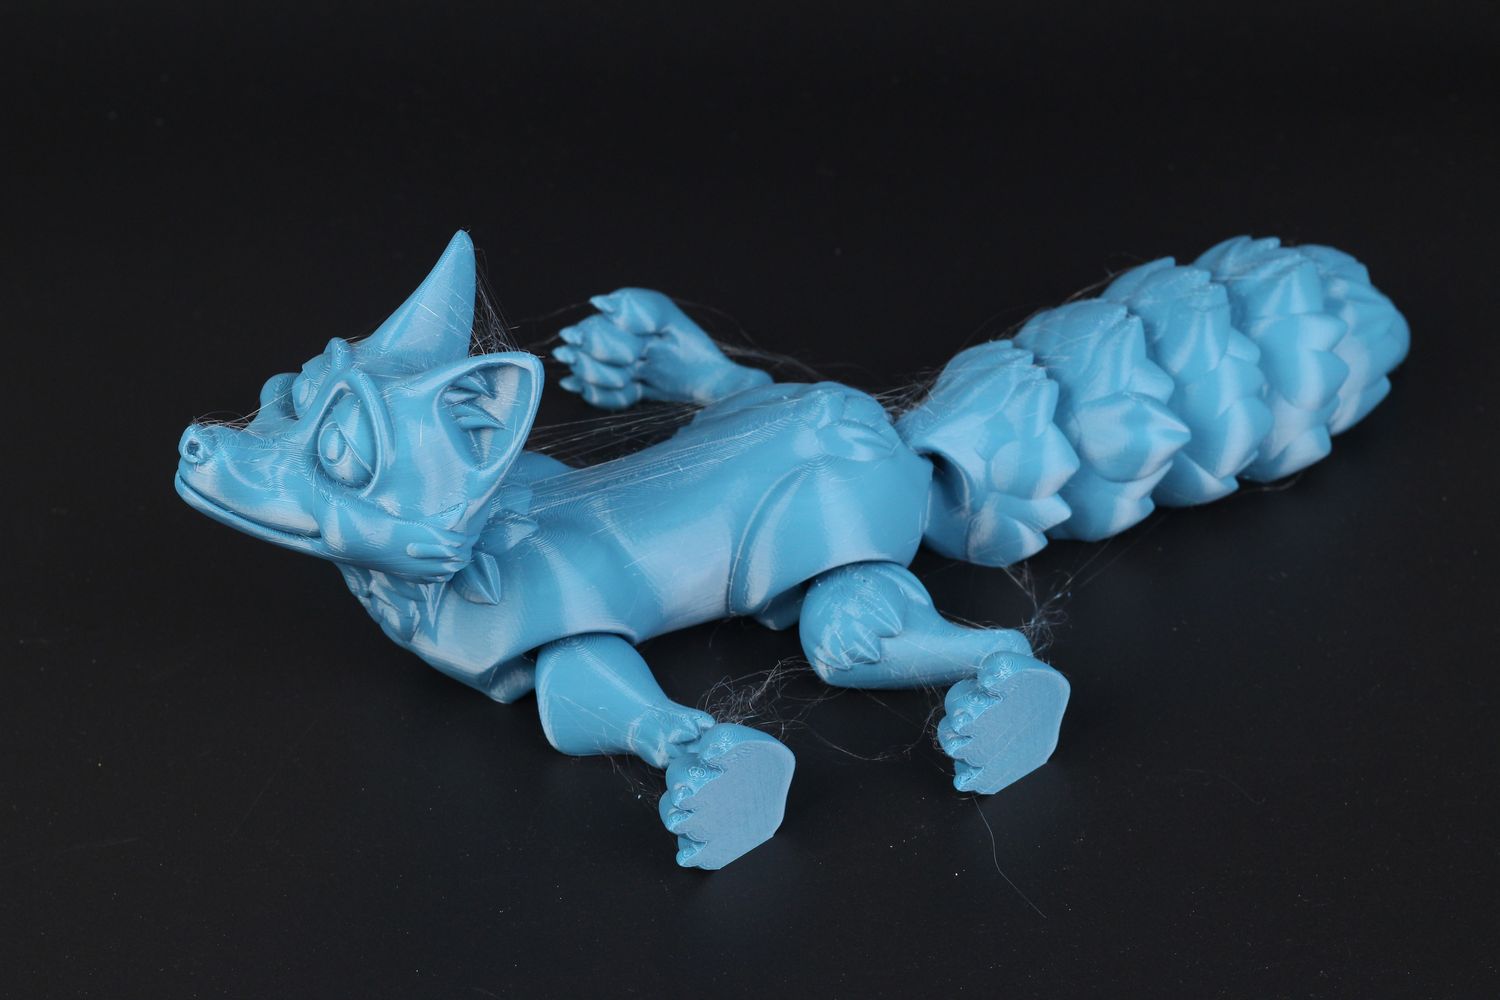
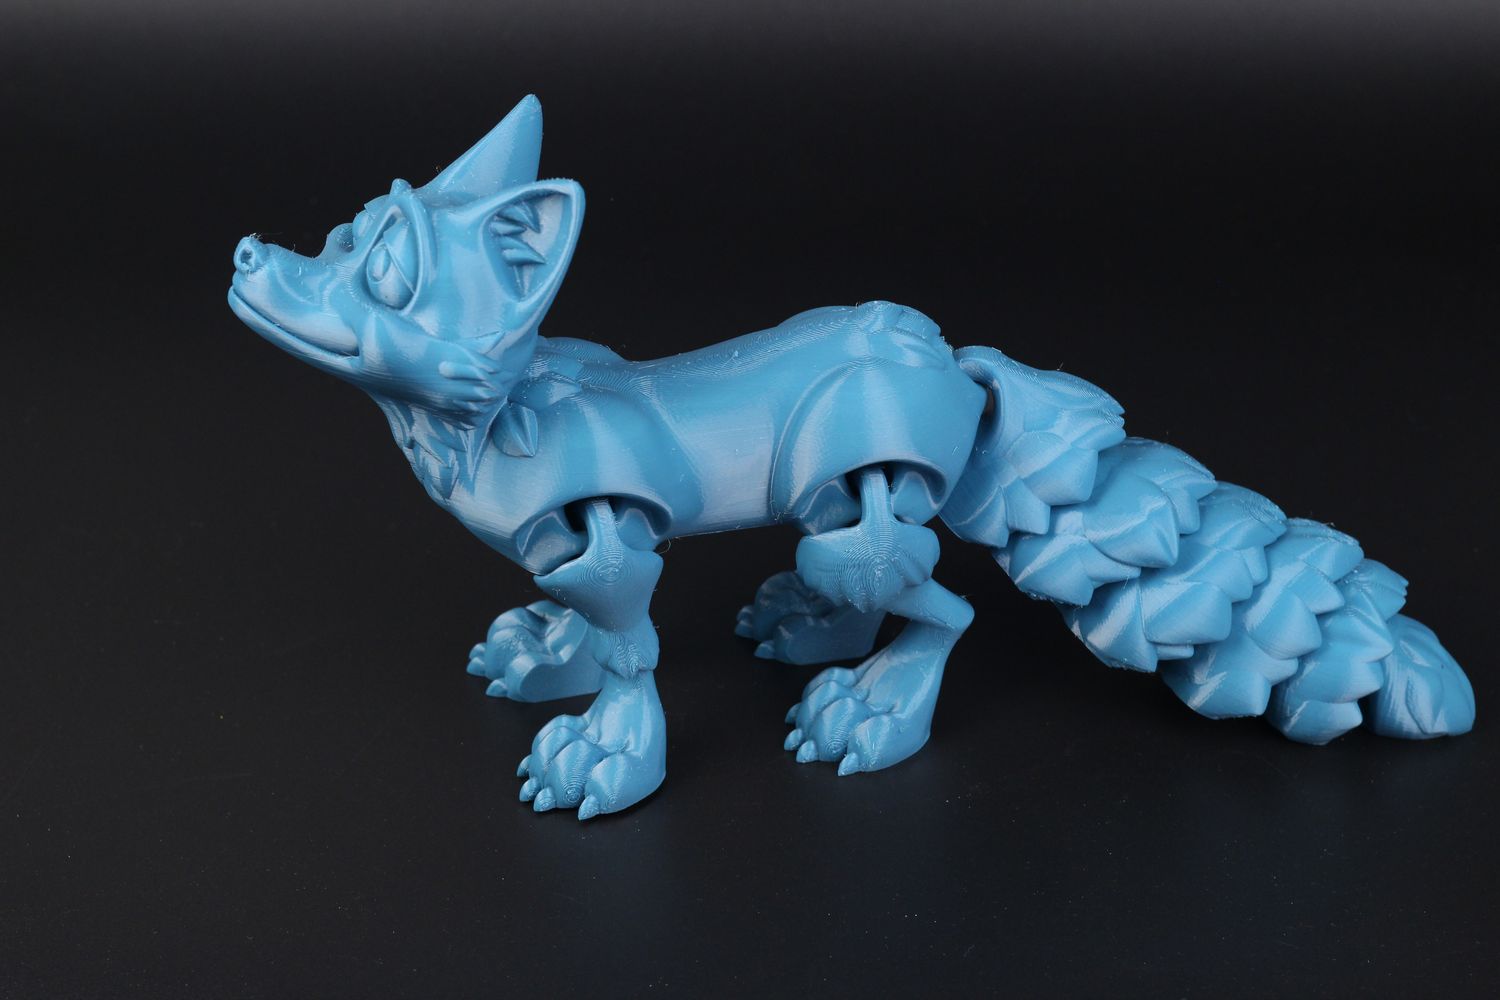
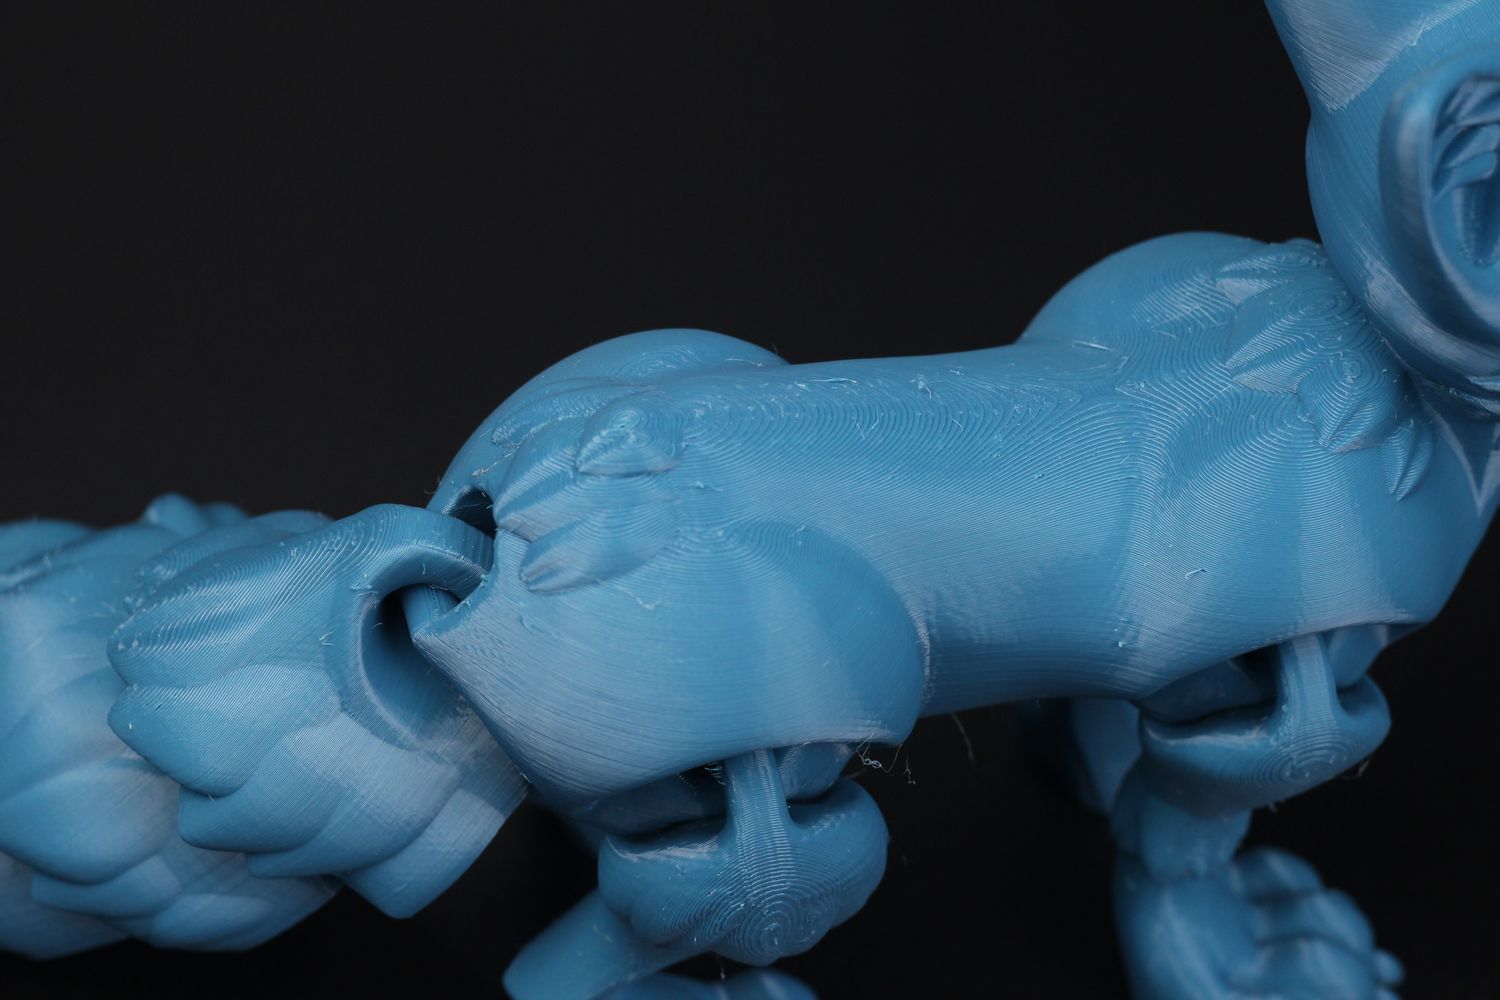
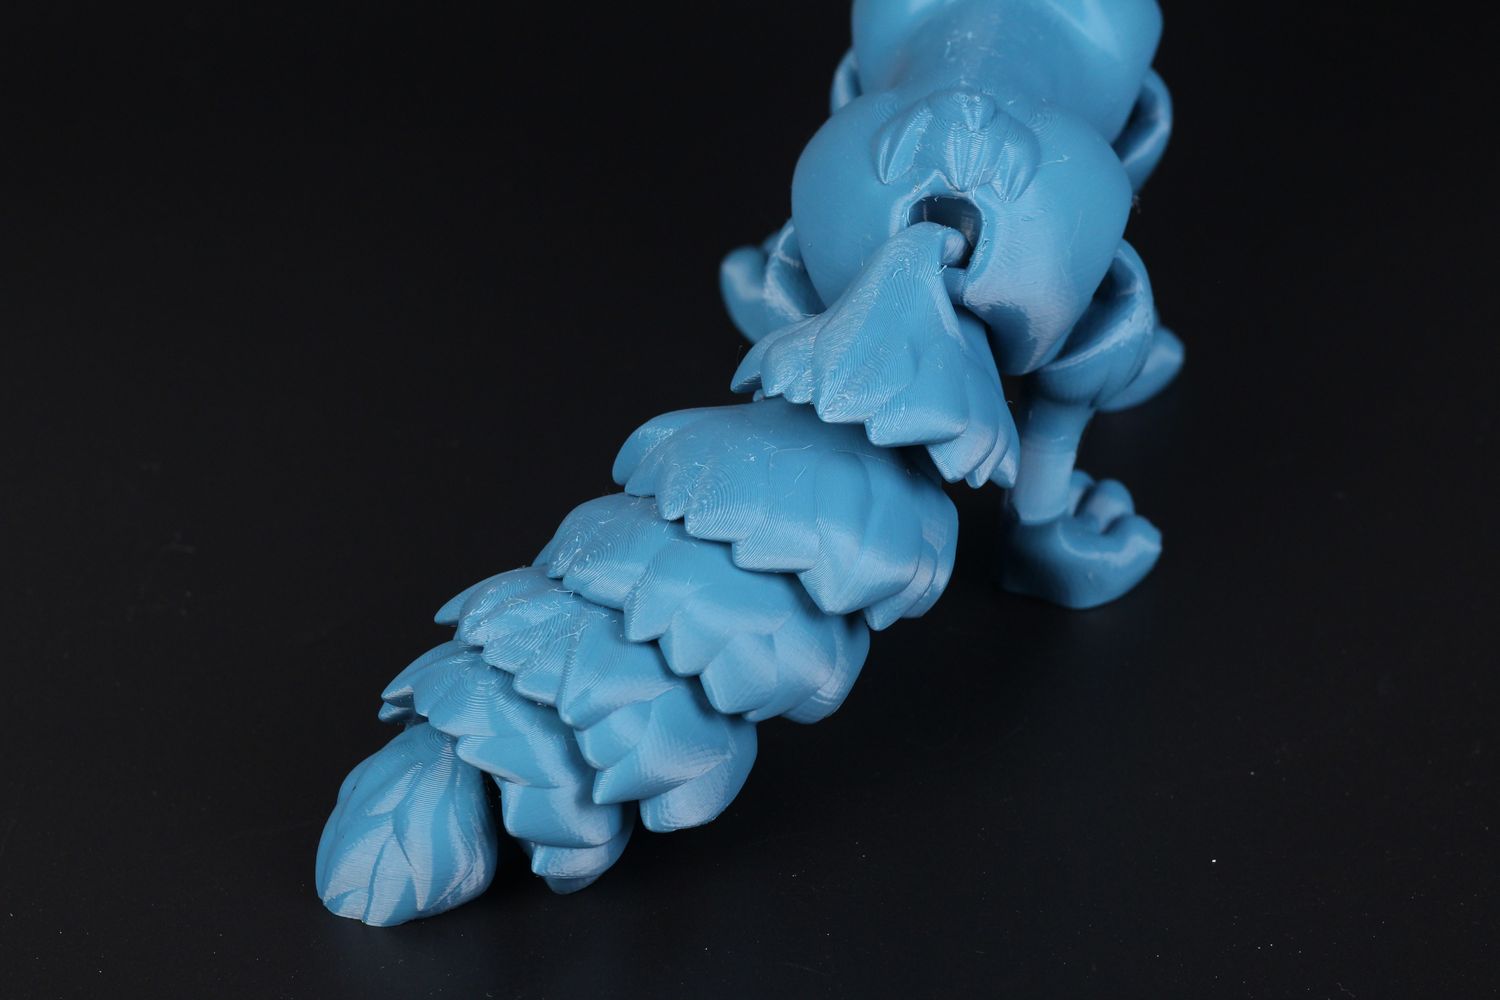
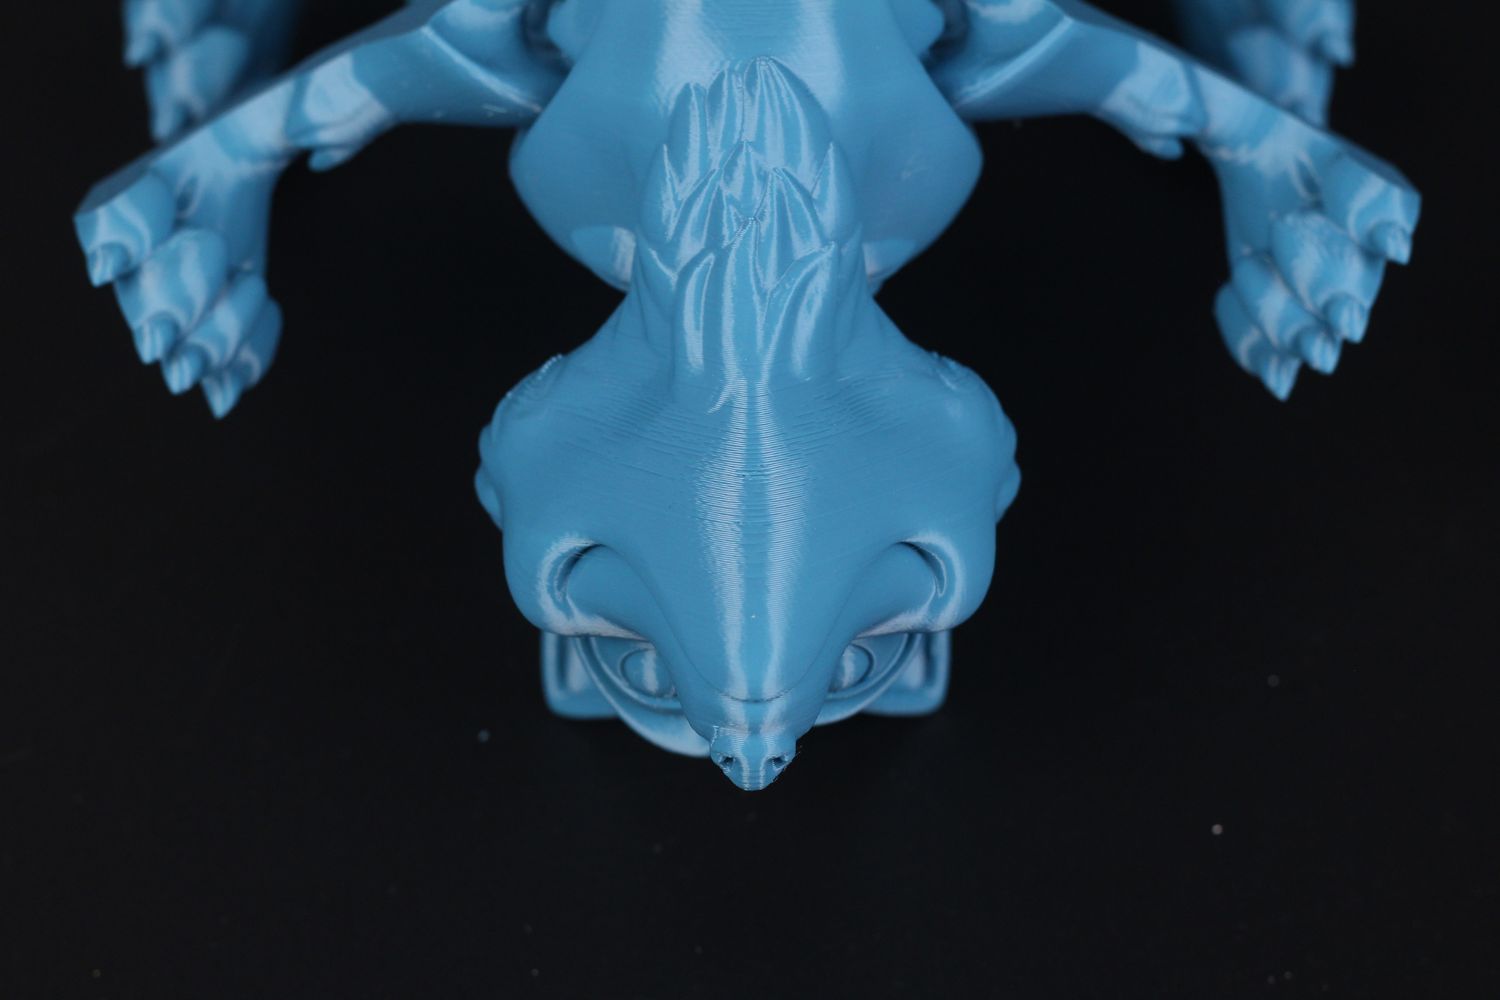
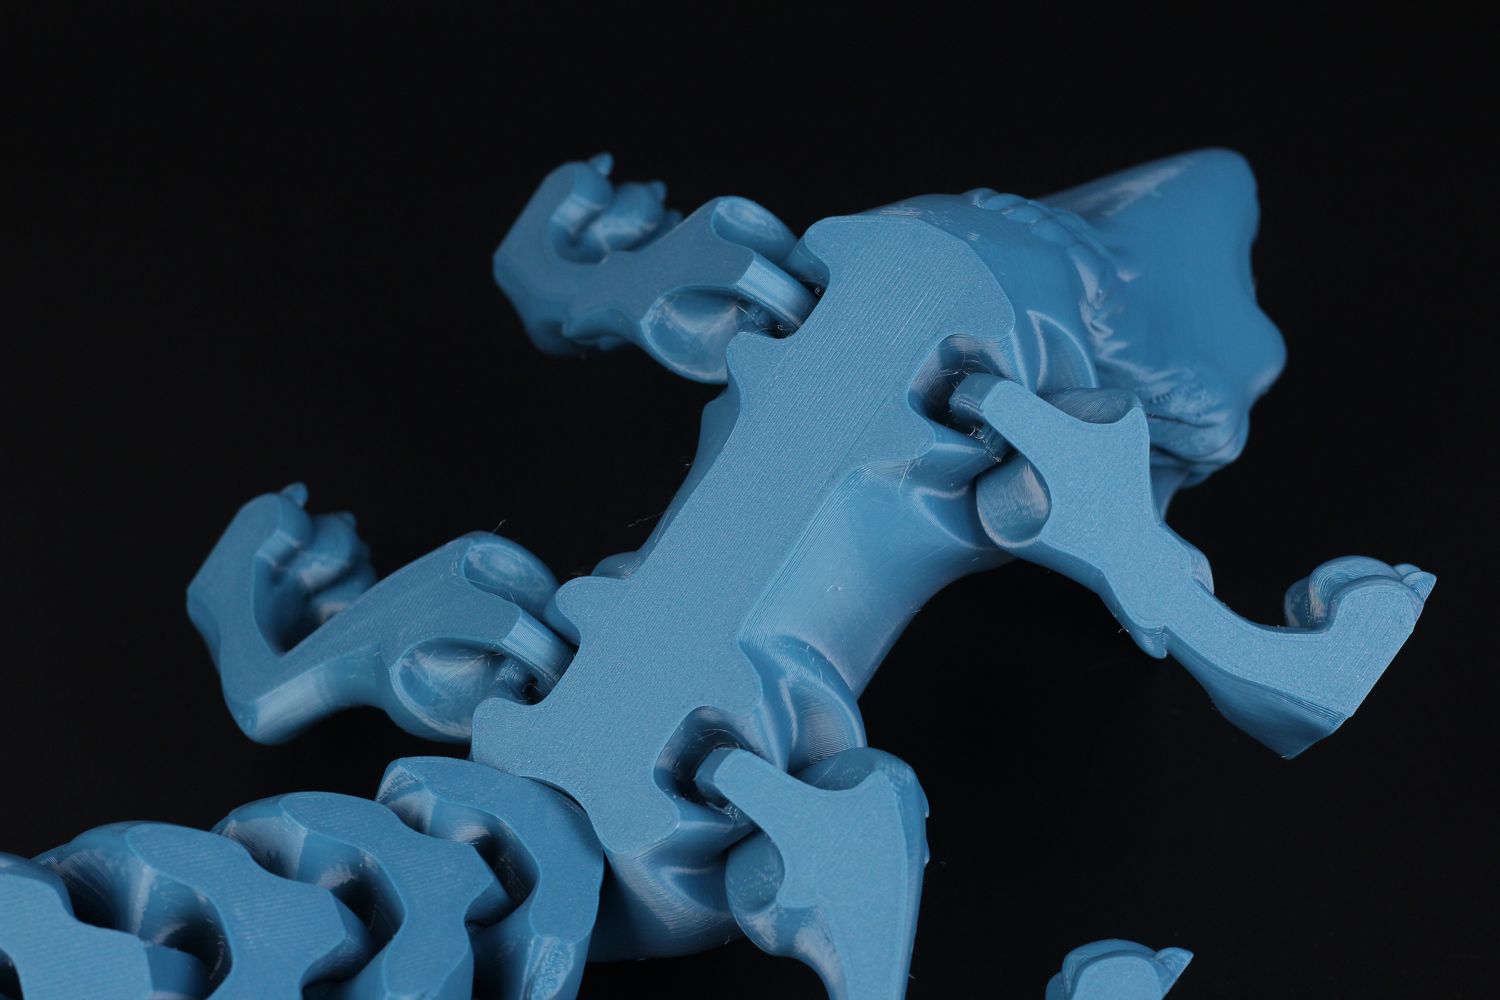
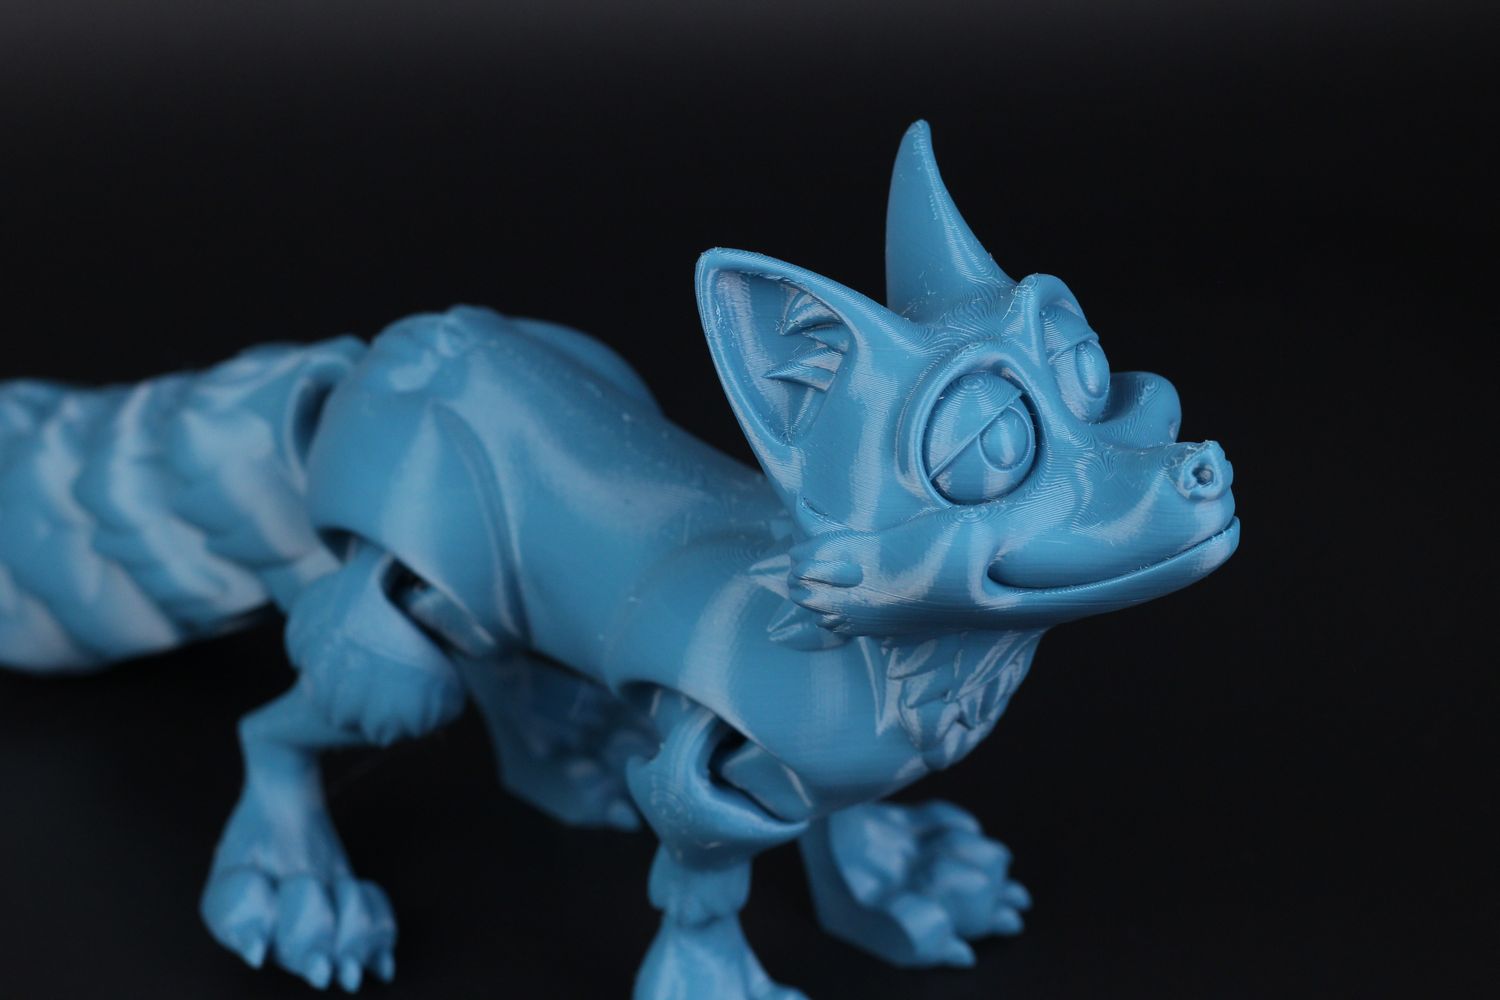
200% Flexi Fox
I also tested the Flexi Fox scaled up to 200% and printed it in PETG. There was no issue with adhesion but there was quite a bit of stringing even though the PETG spool I used was dried for 10 hours.
I have fine-tuned the settings to avoid this but I believe the temperature was a bit too high at 230C on this model, and the slower travel speed also contributed to the stringing effect.
- Material: Devil Design Blue PETG
- Layer Height: 0.2mm
- Nozzle Temperature: 230C
- Bed Temperature: 65C
- Print Speed: ~50 mm/s
Torture Toaster
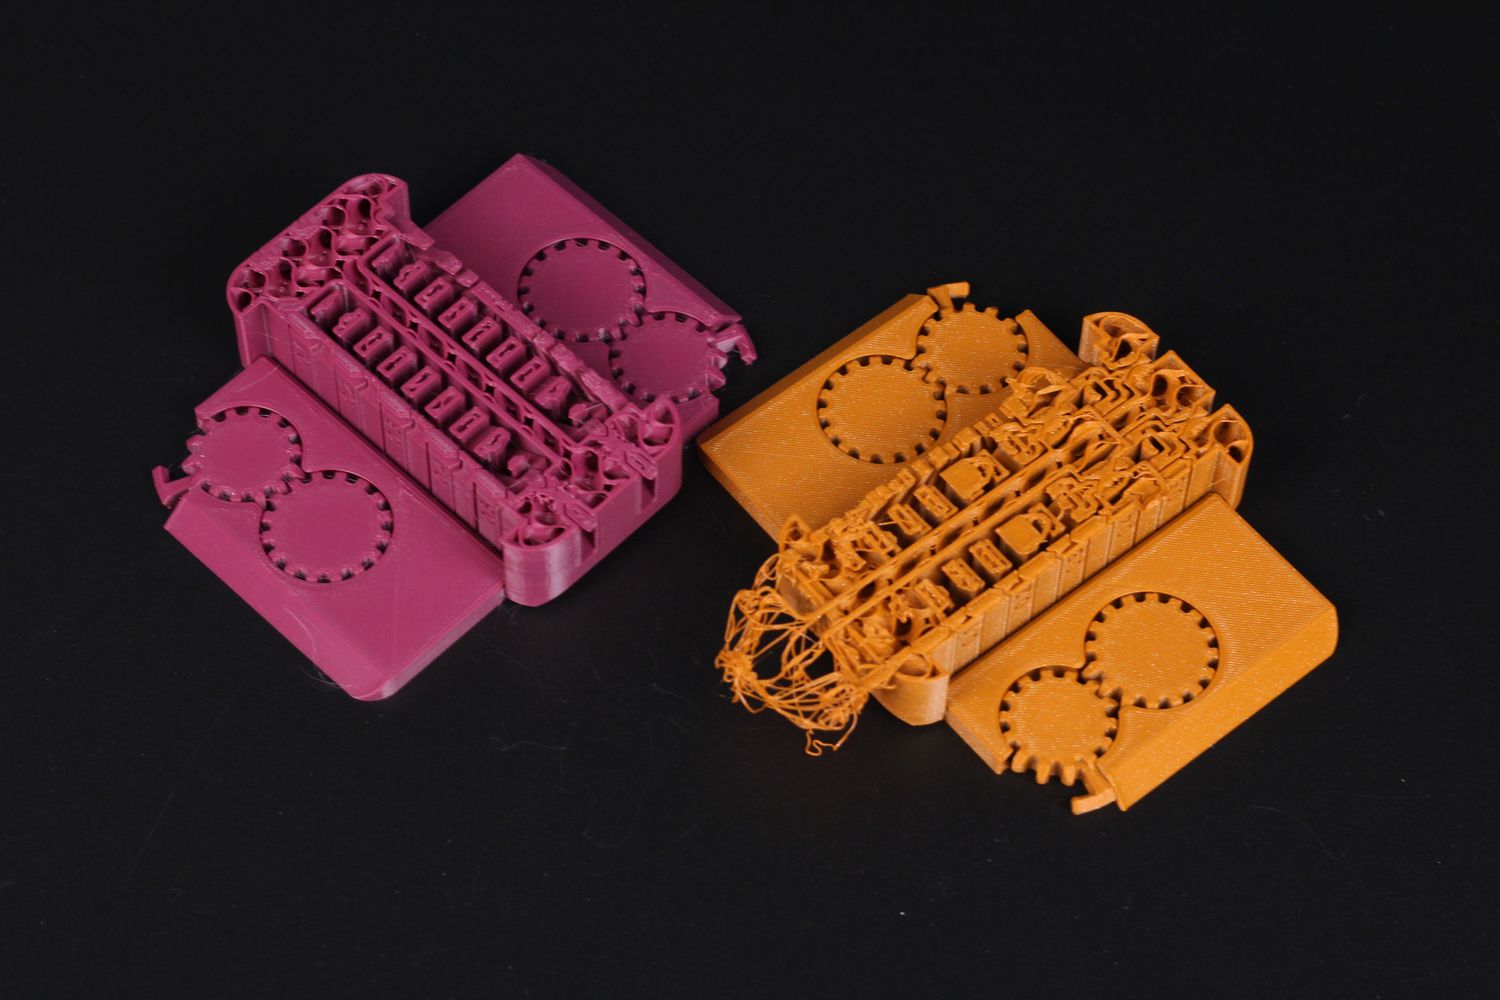
Unfortunately, I was unable to get a good Torture Toaster. This test model failed three times.
The first two failures were caused by the nozzle catching on the small pieces as part cooling was unable to cool down the layers fast enough. But after adding a 0.6mm Z hop, I was able to get close to getting a good toaster, only for the printer to stop printing close to the finish. The printer froze and I was unable to do anything about it, other than stop the print.
With that said, I think the results are ok, with acceptable performance for overhang quality (even though cooling could be better) and a 0.3mm tolerance flag working.
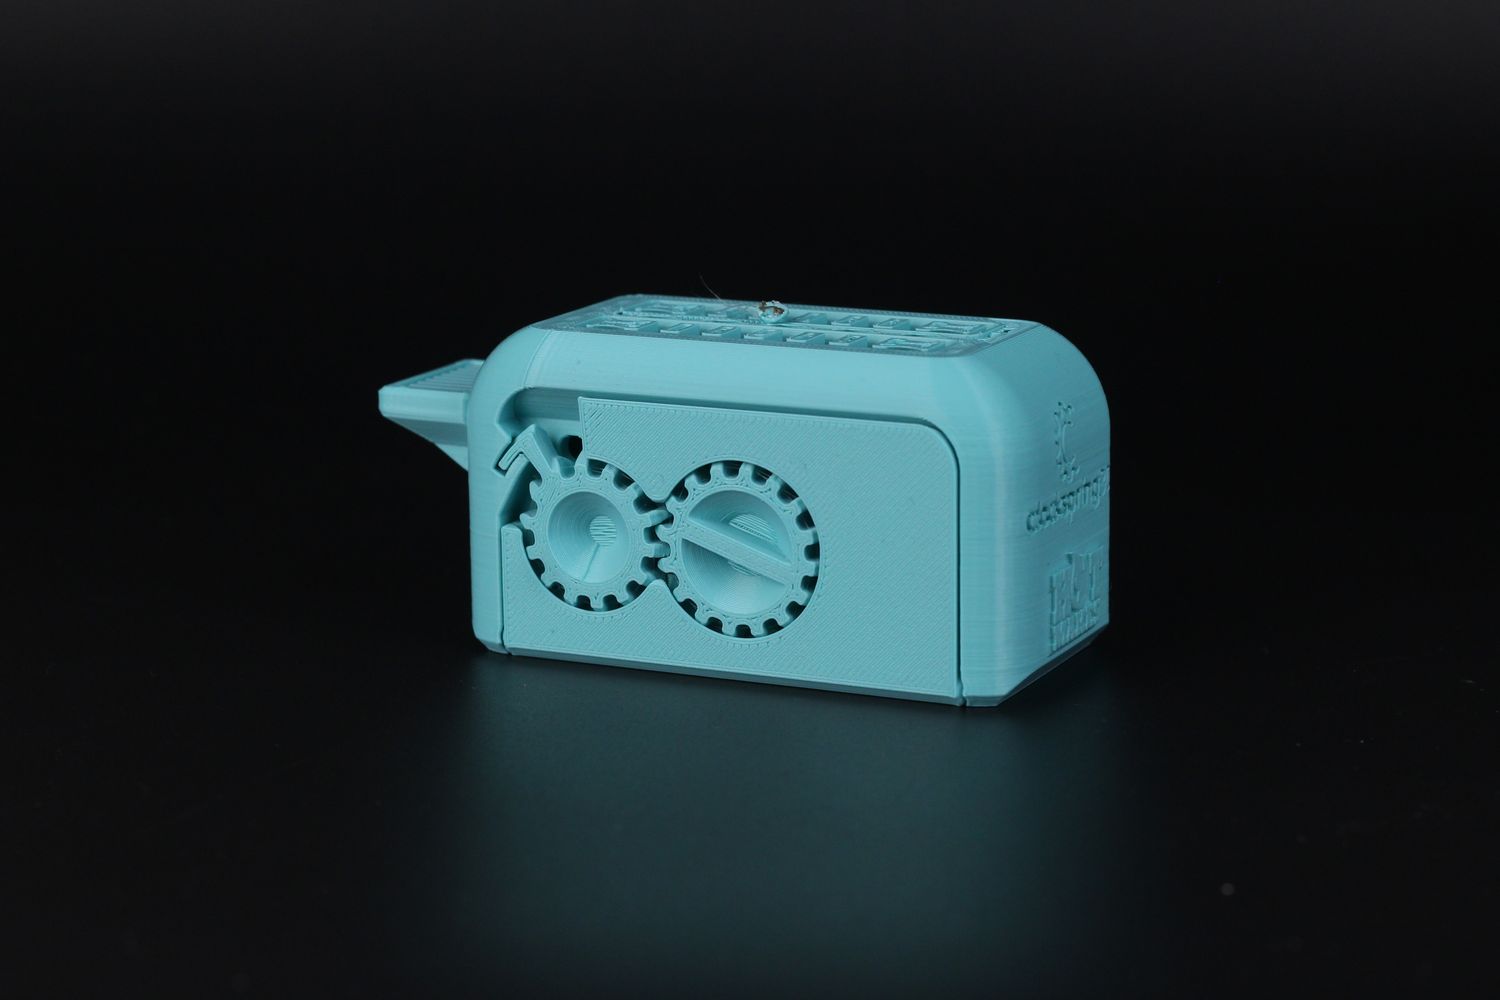
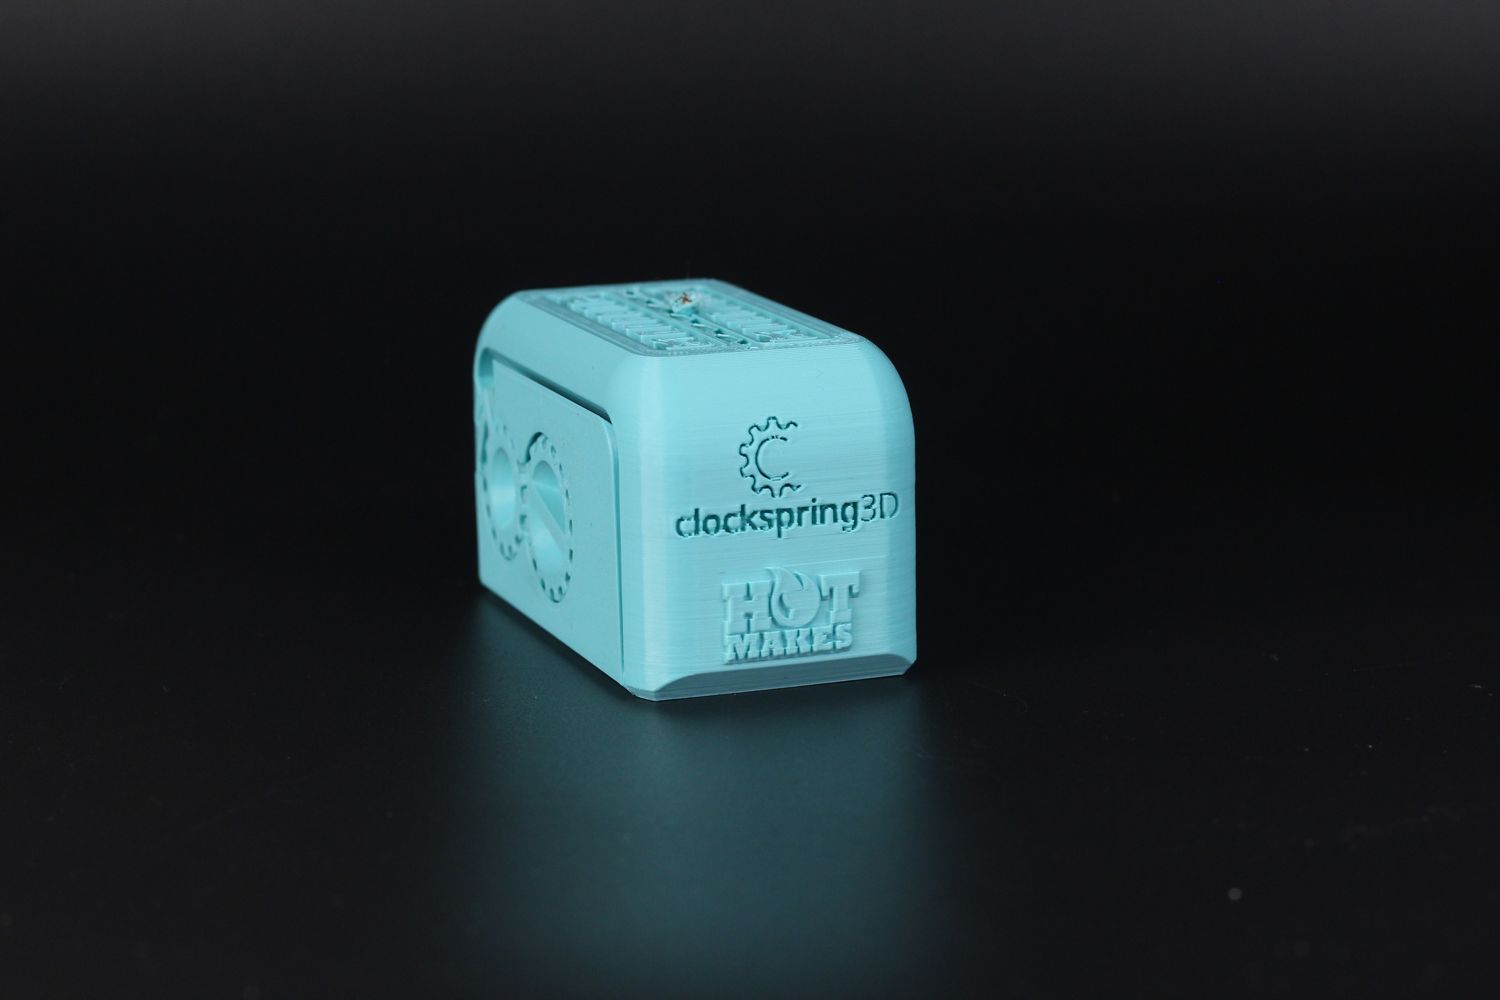
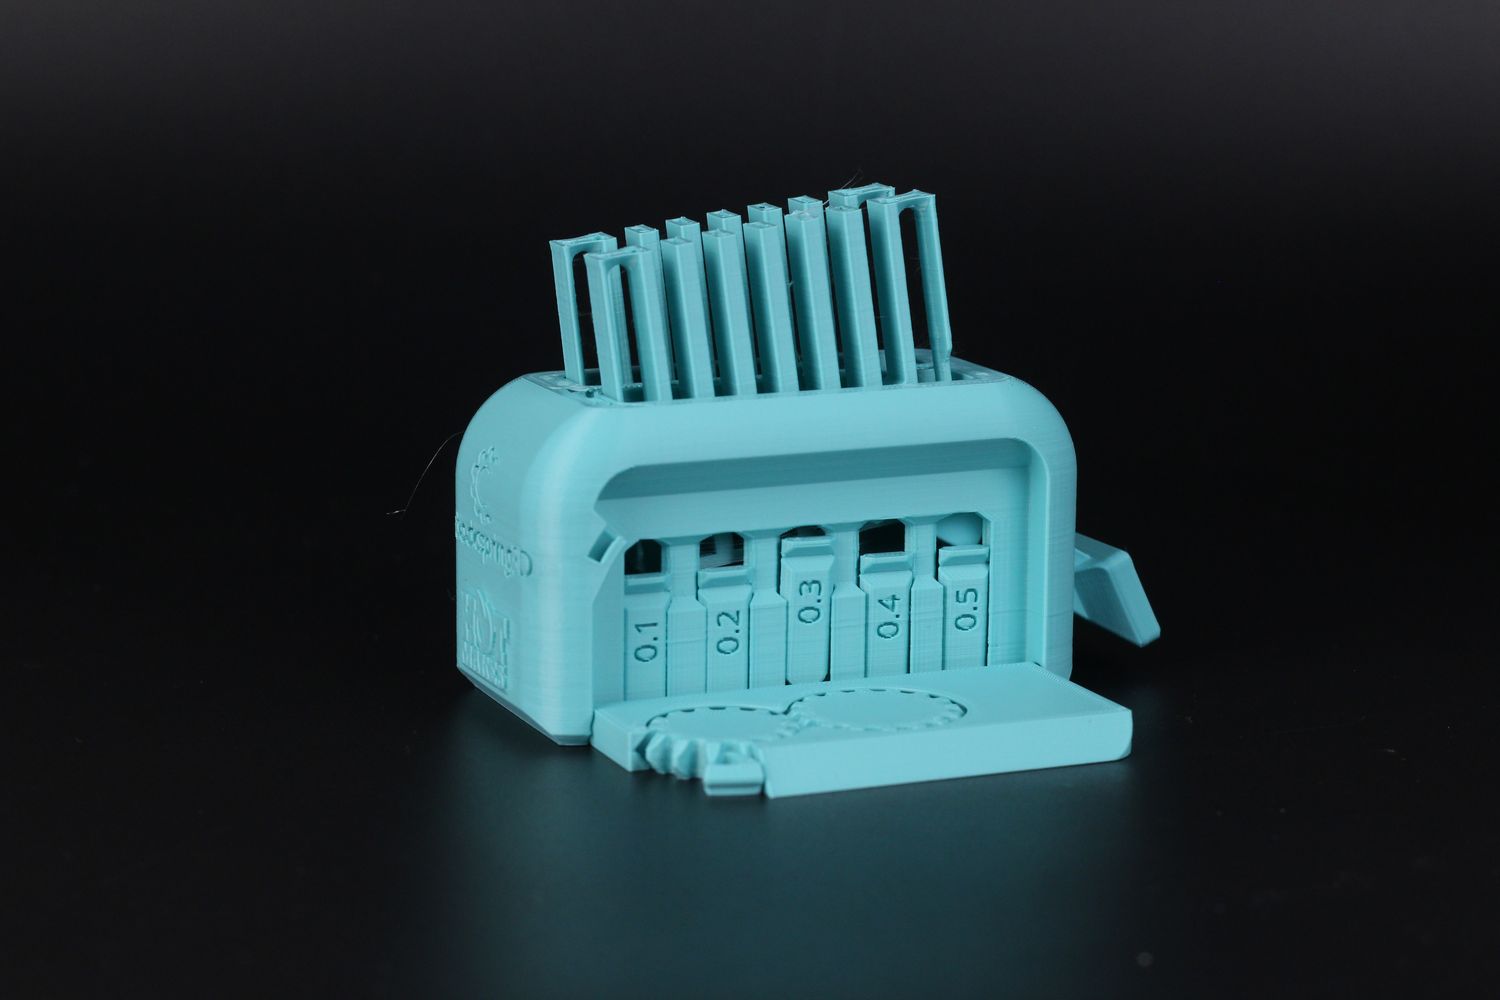
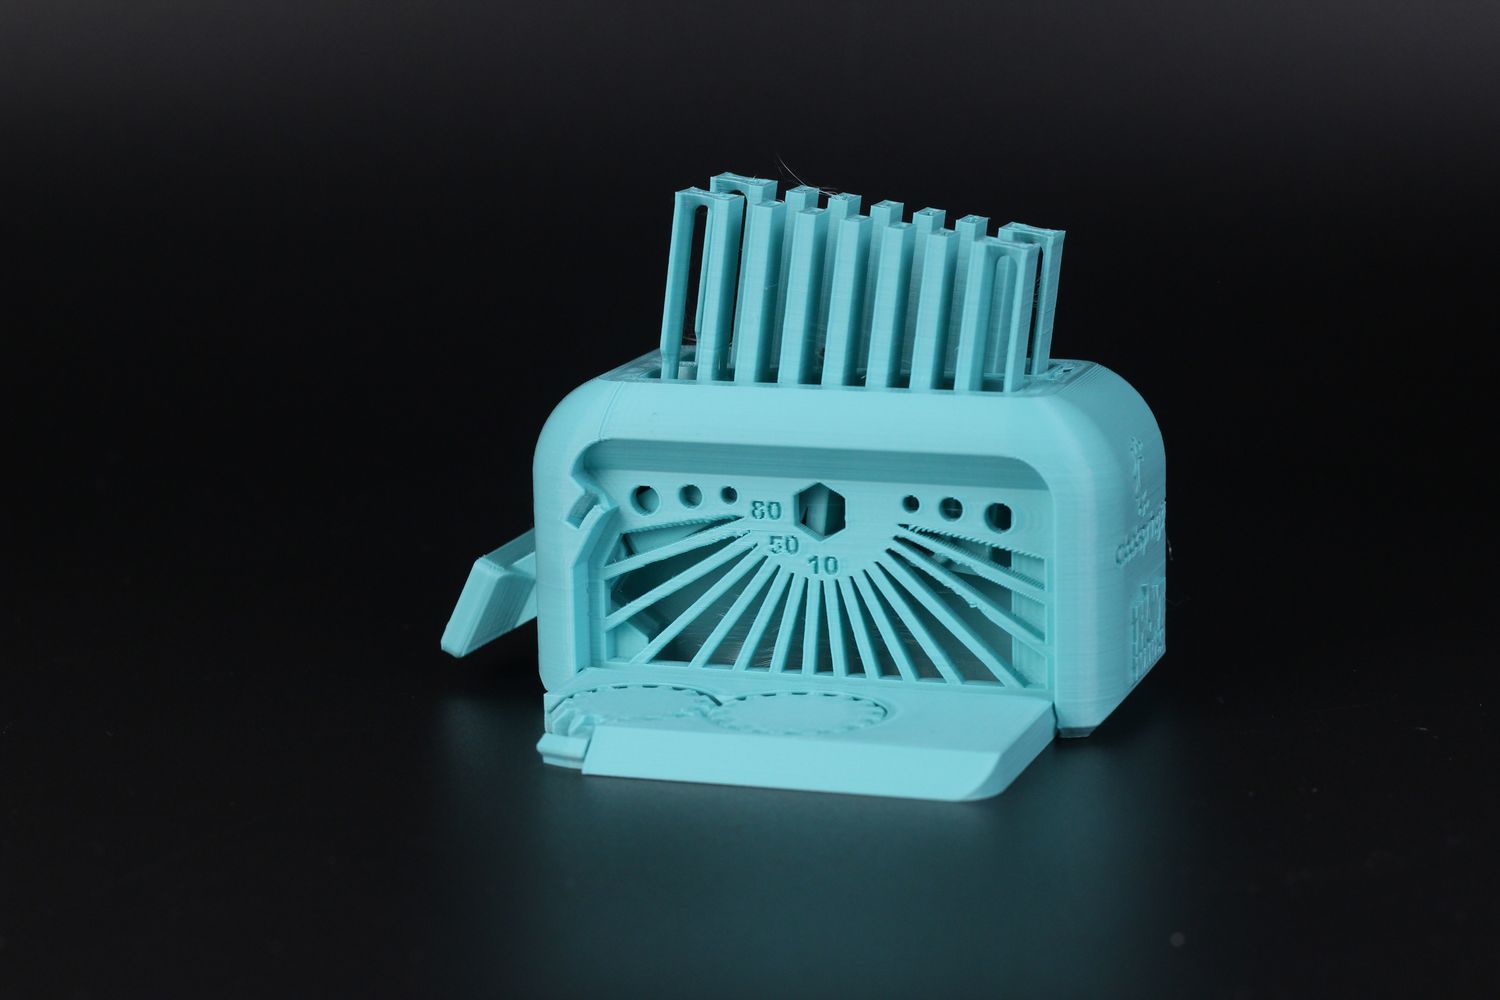
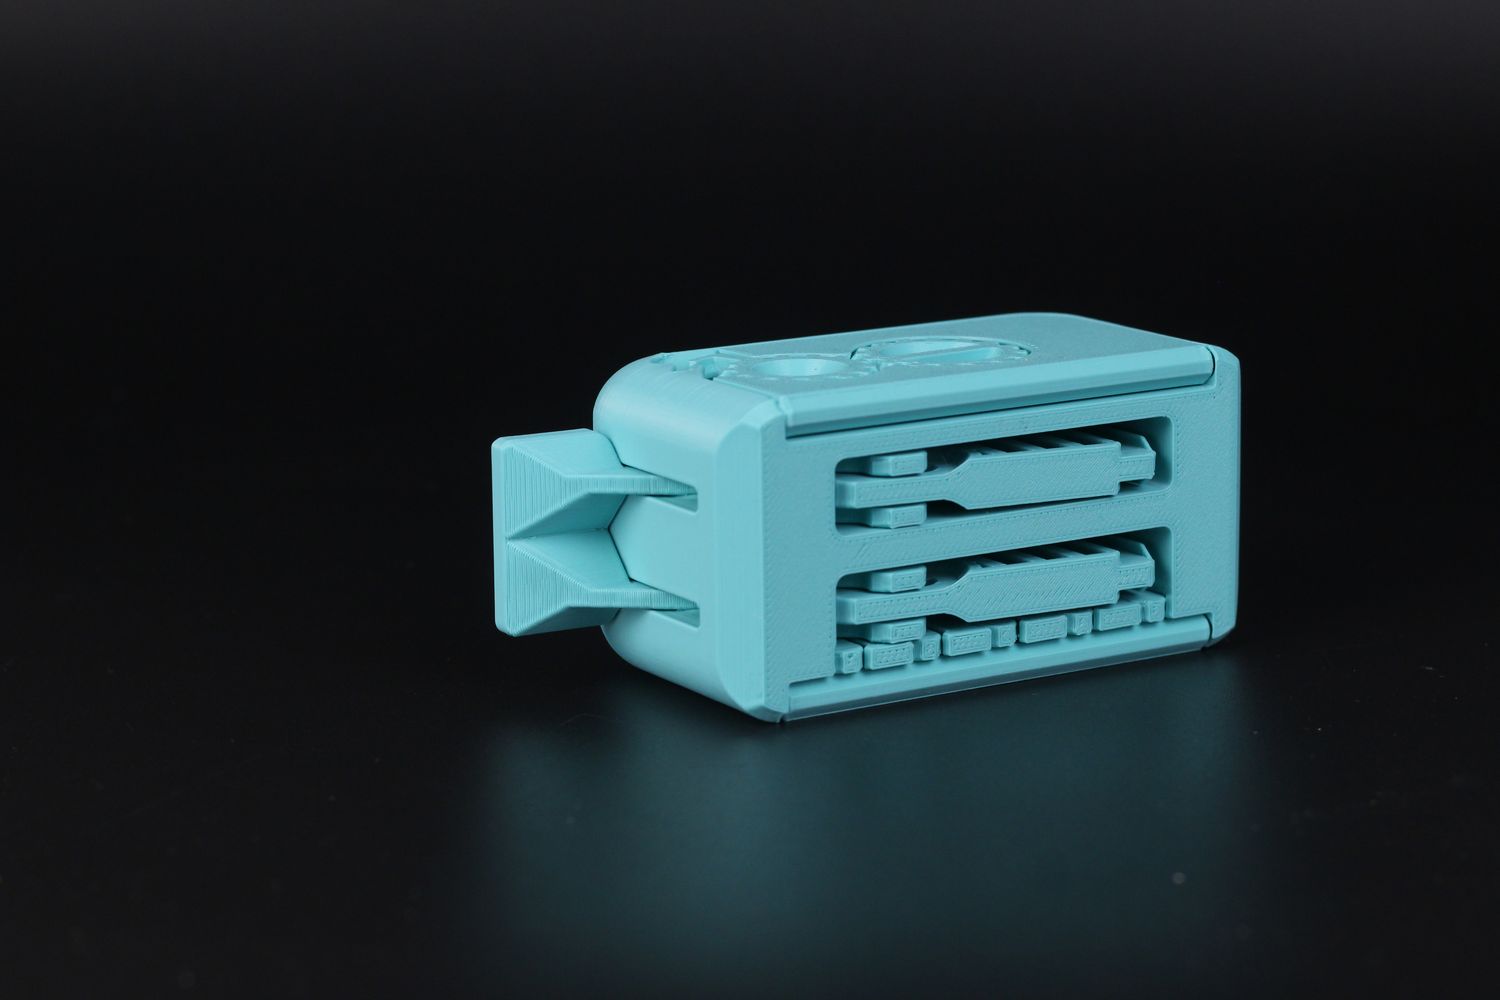
- Material: Polymaker PolyLite Teal PLA
- Layer Height: 0.2mm
- Nozzle Temperature: 205C
- Bed Temperature: 45C
- Print Speed: ~50 mm/s
Tugboat
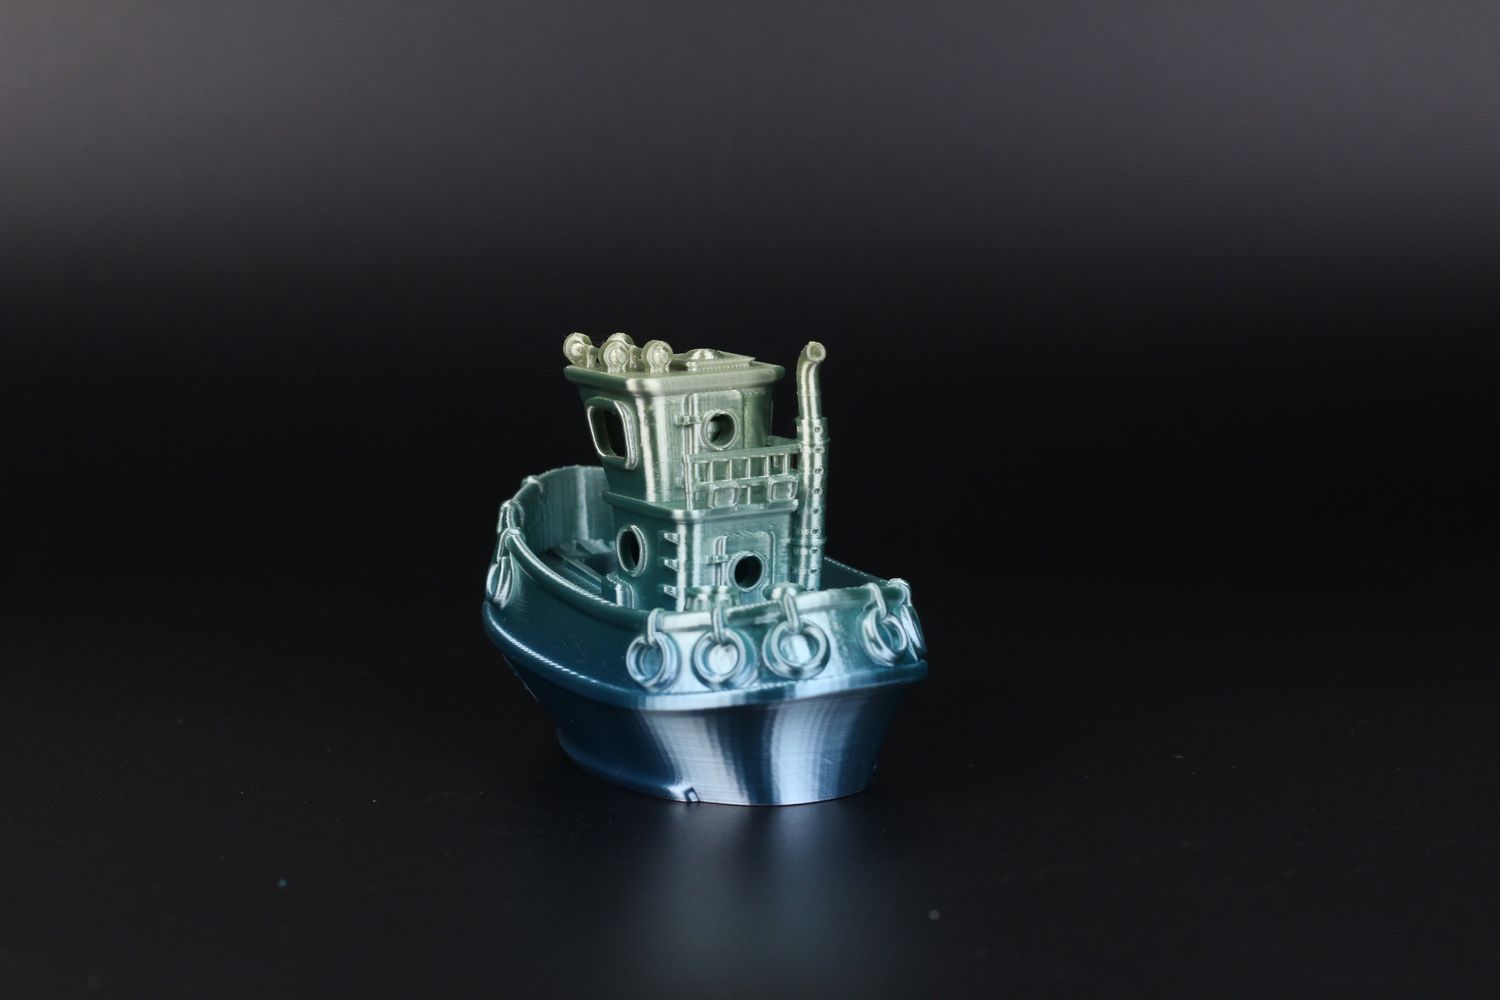
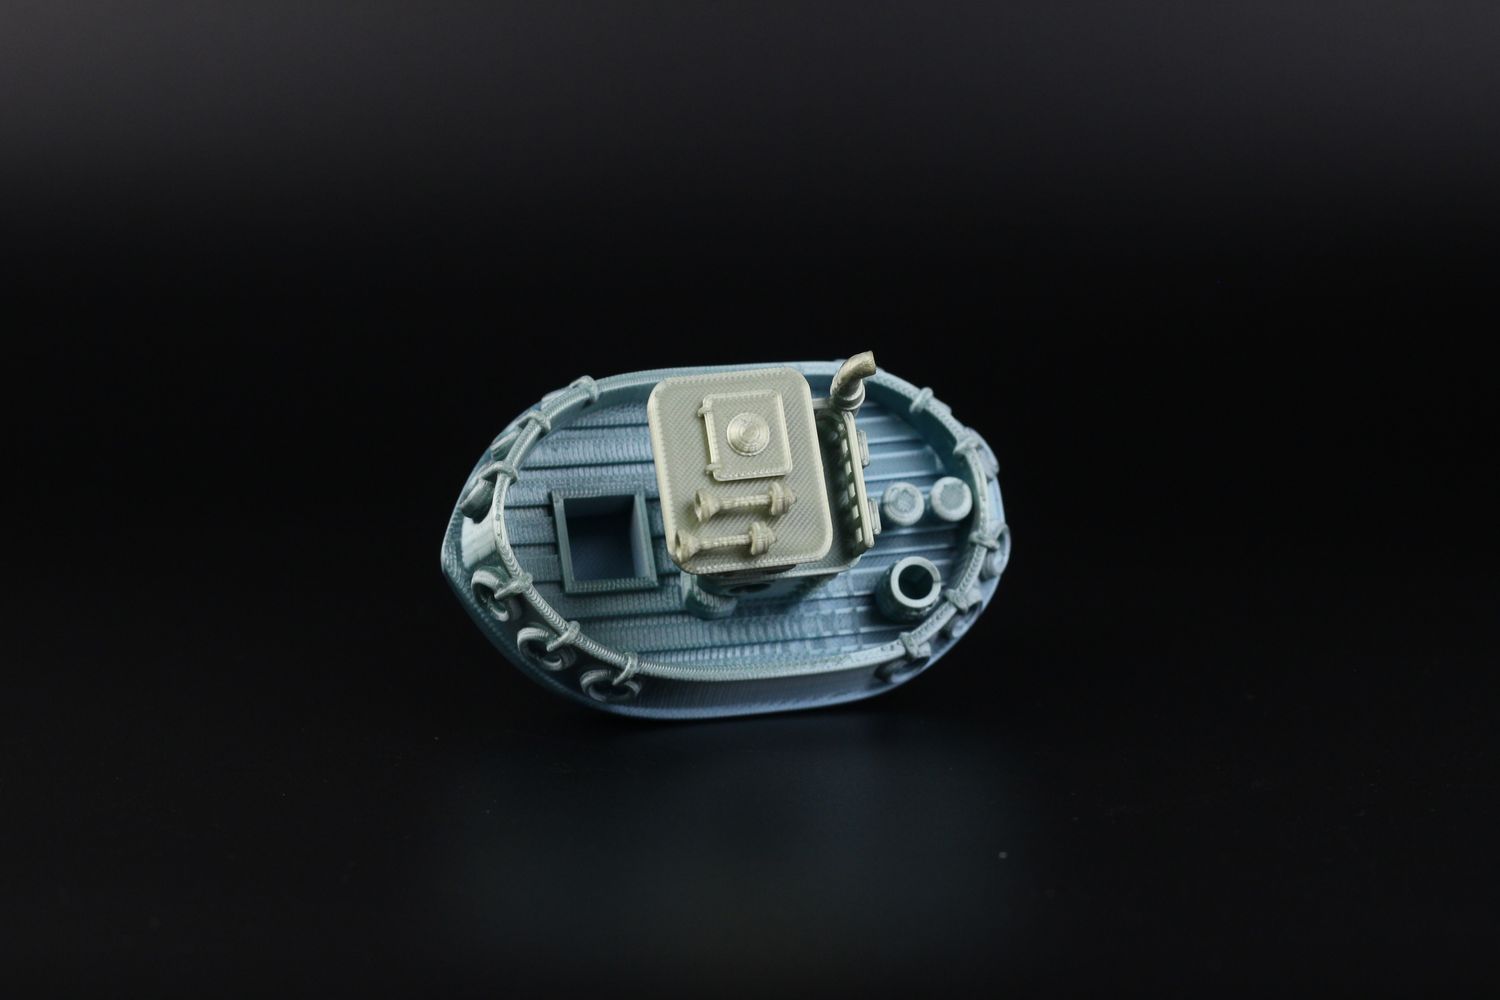
Printing a model with silk filament helps show up any imperfection on the model which can be caused by the mechanical side of the printer. And this model came out great. The only problem I can see is a very faint vertical artifact shown on the external walls of the model which can be caused by the vibrations during printing. Not a perfect print, but quite acceptable in my opinion.
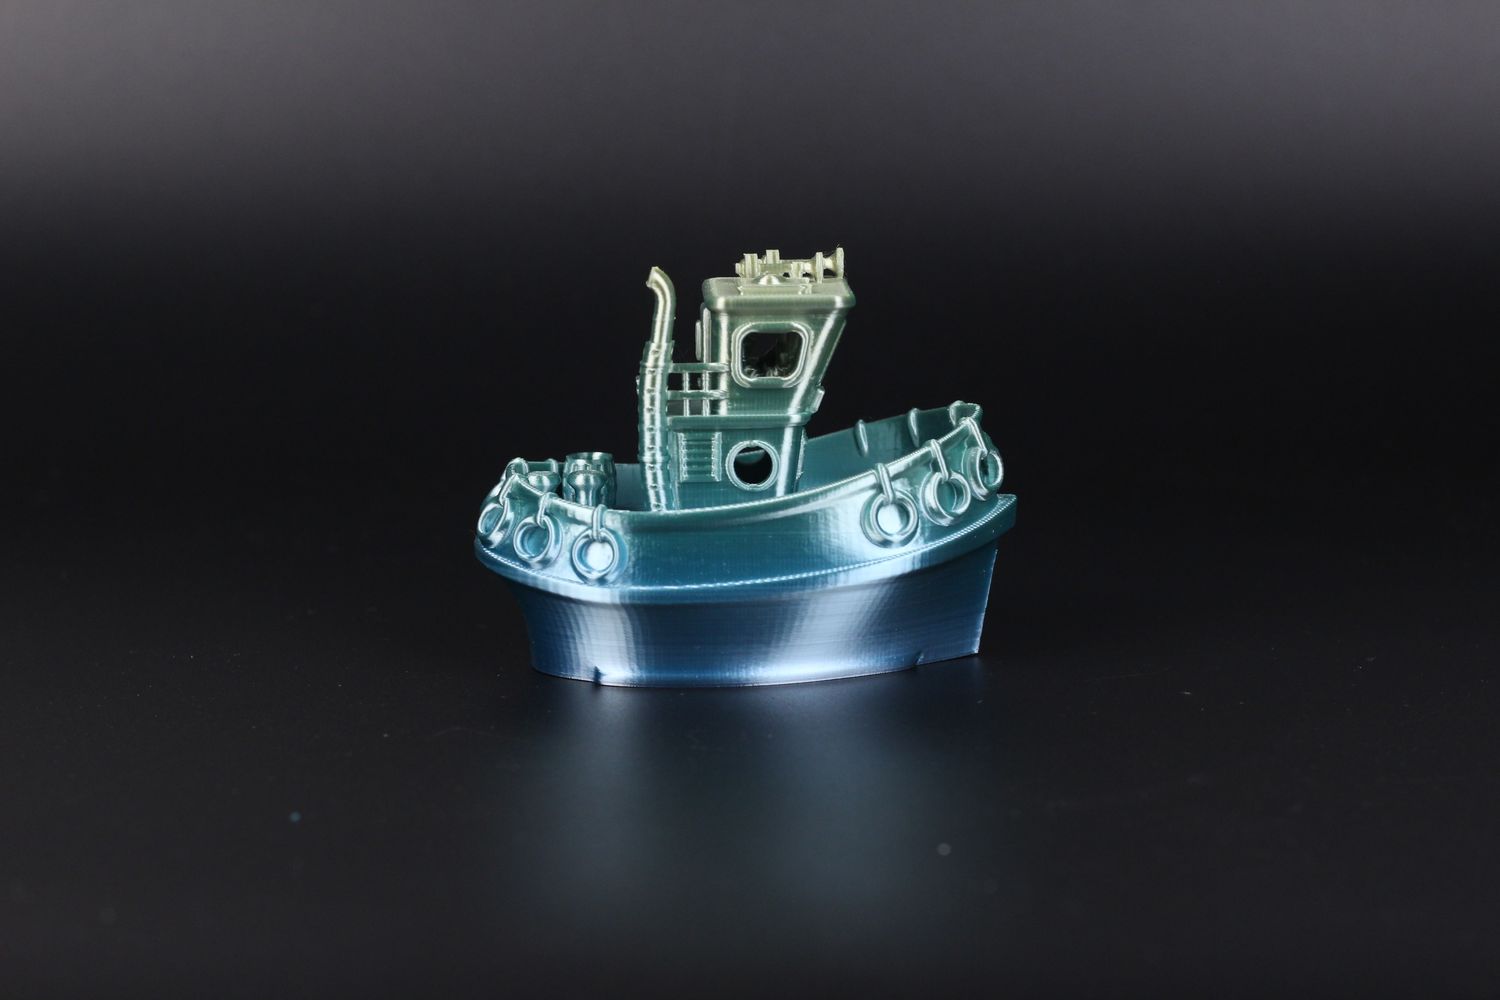
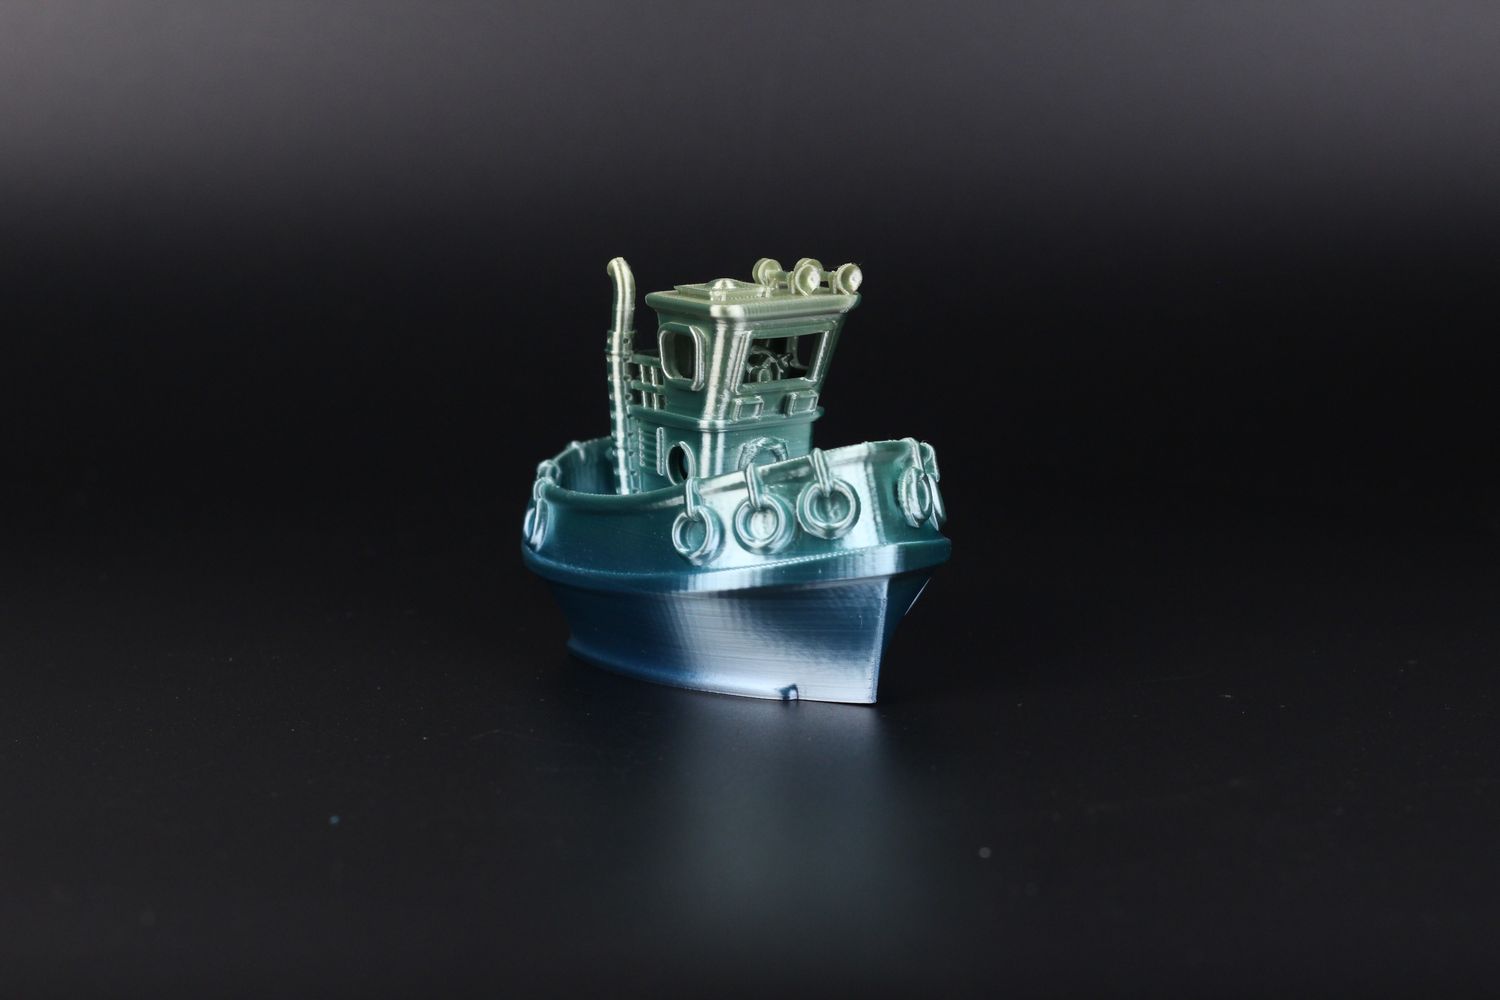
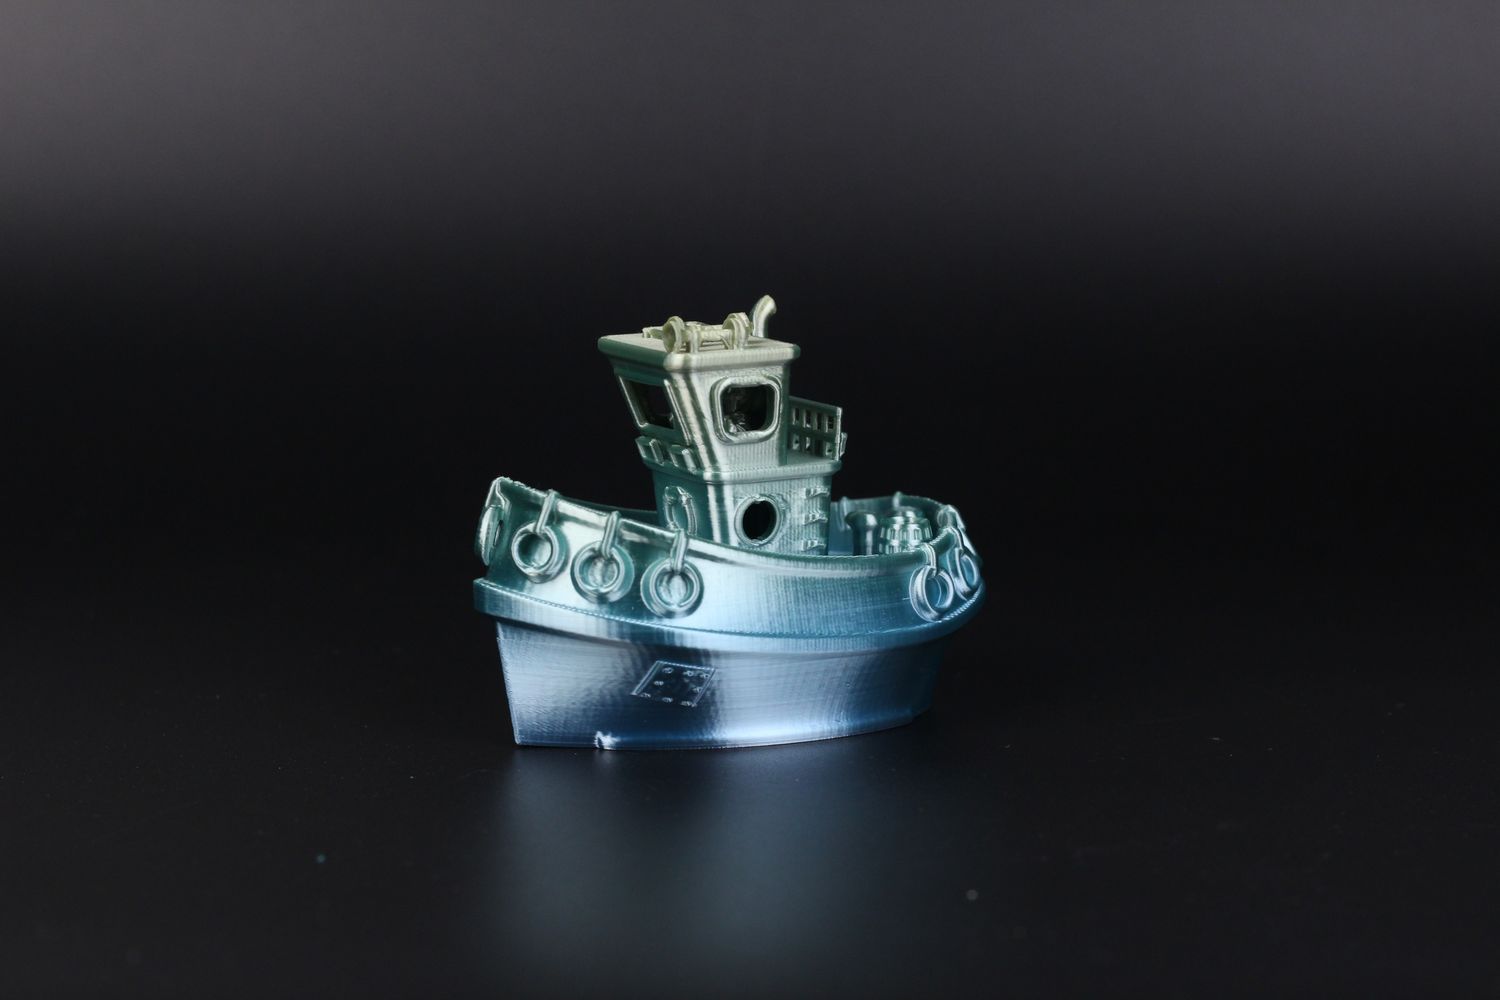
- Material: Eryone Rainbow Silk PLA
- Layer Height: 0.2mm
- Nozzle Temperature: 215C
- Bed Temperature: 45C
- Print Speed: ~50 mm/s
Prusa Rocket Engine
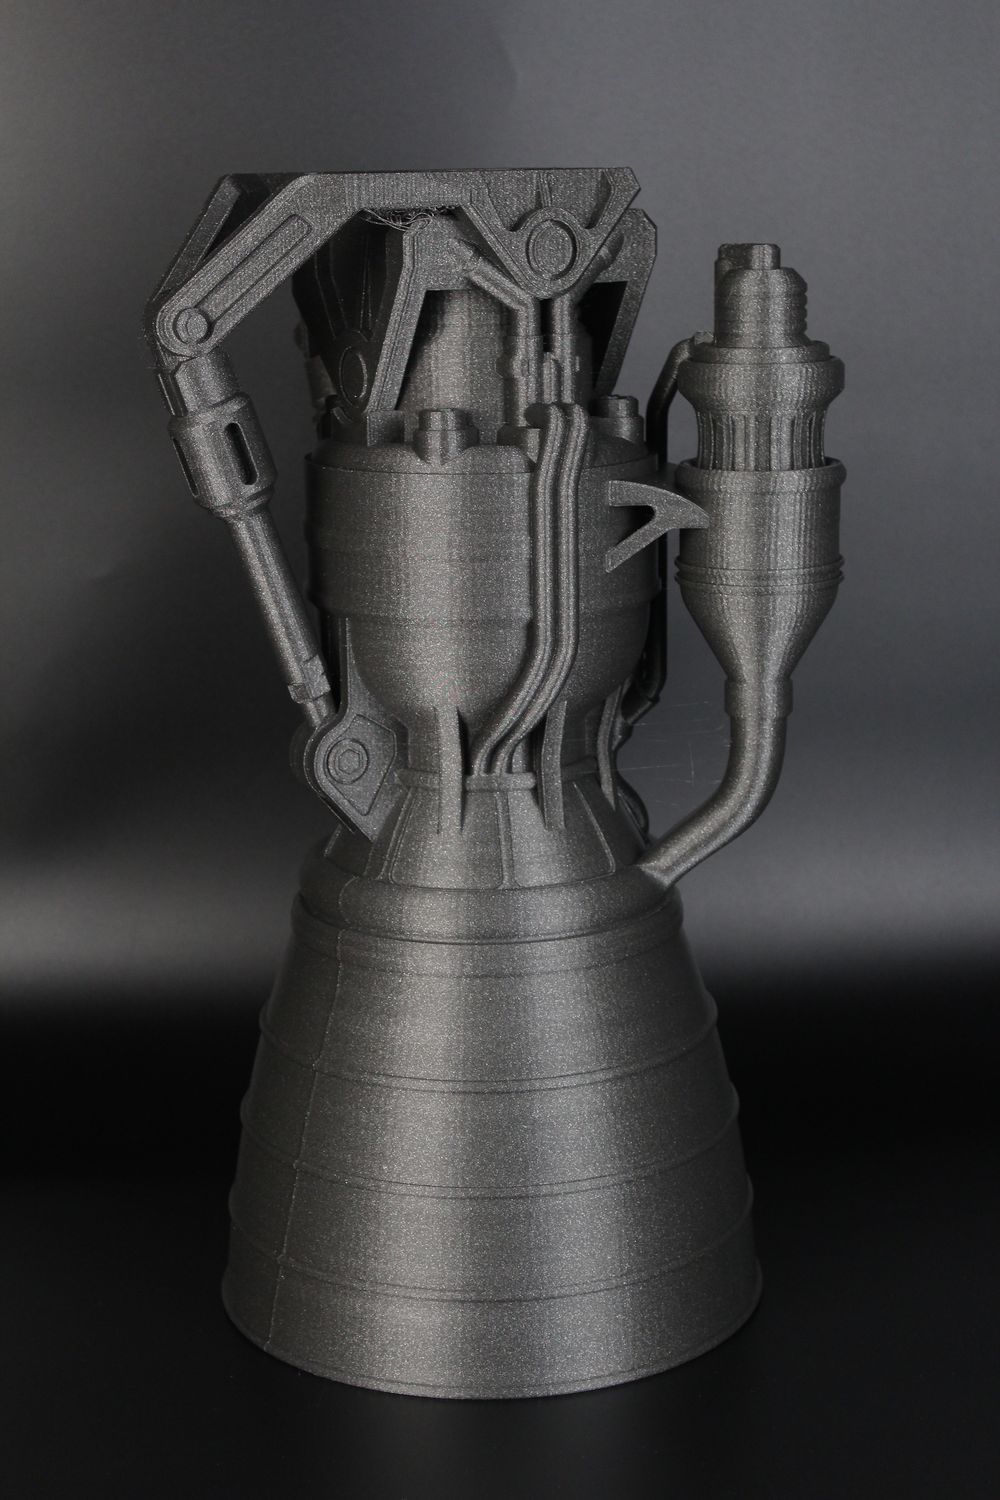
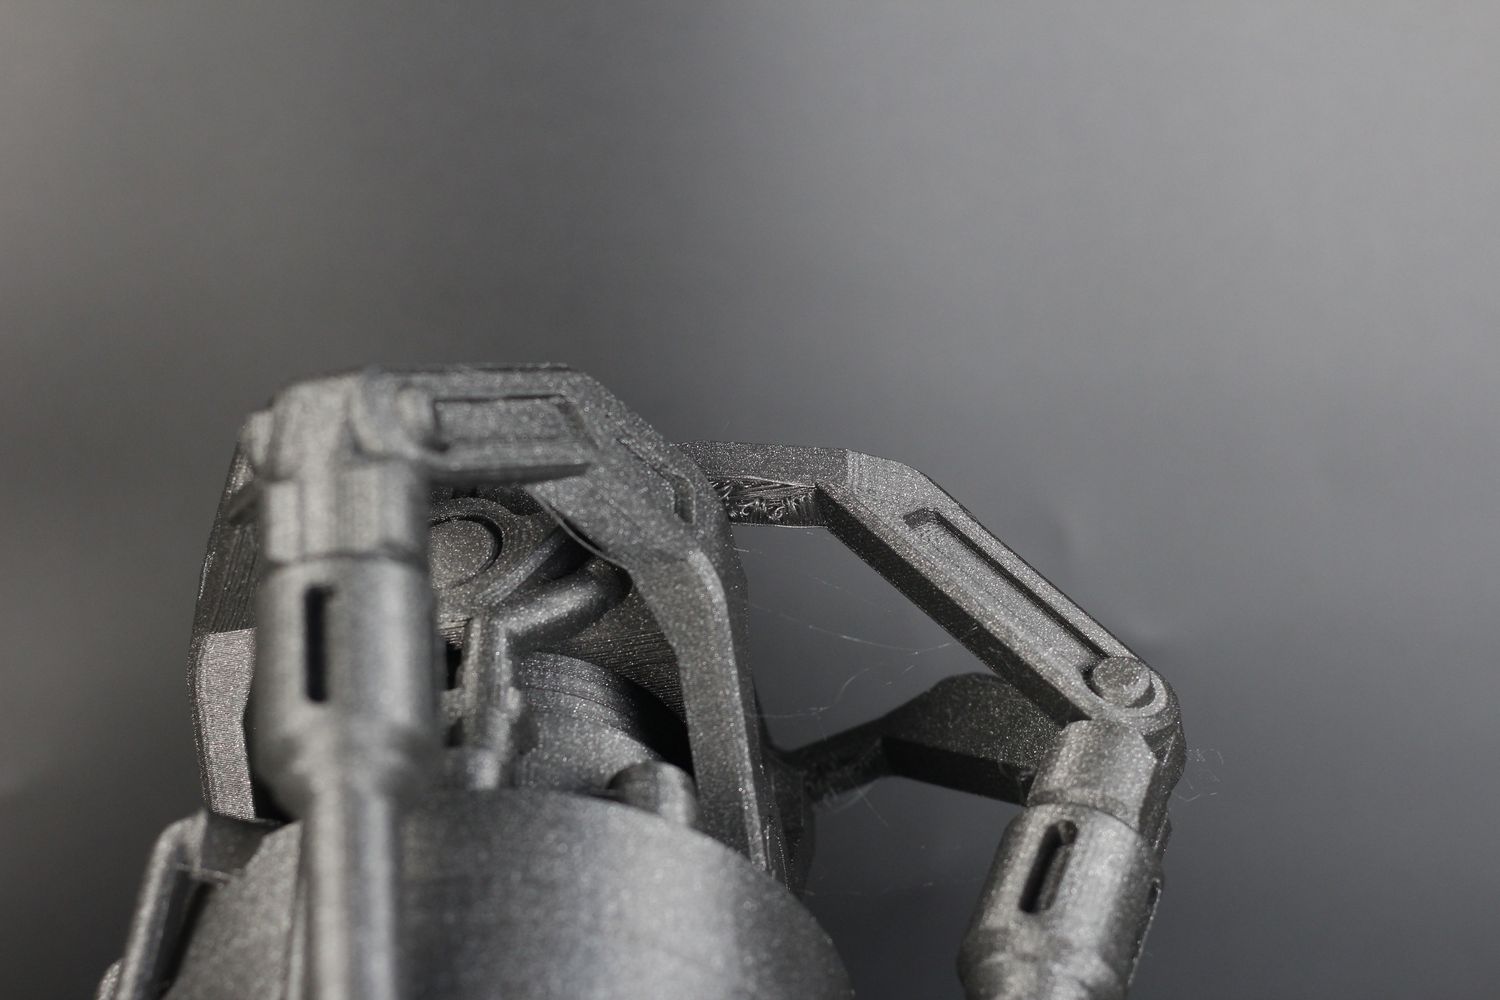
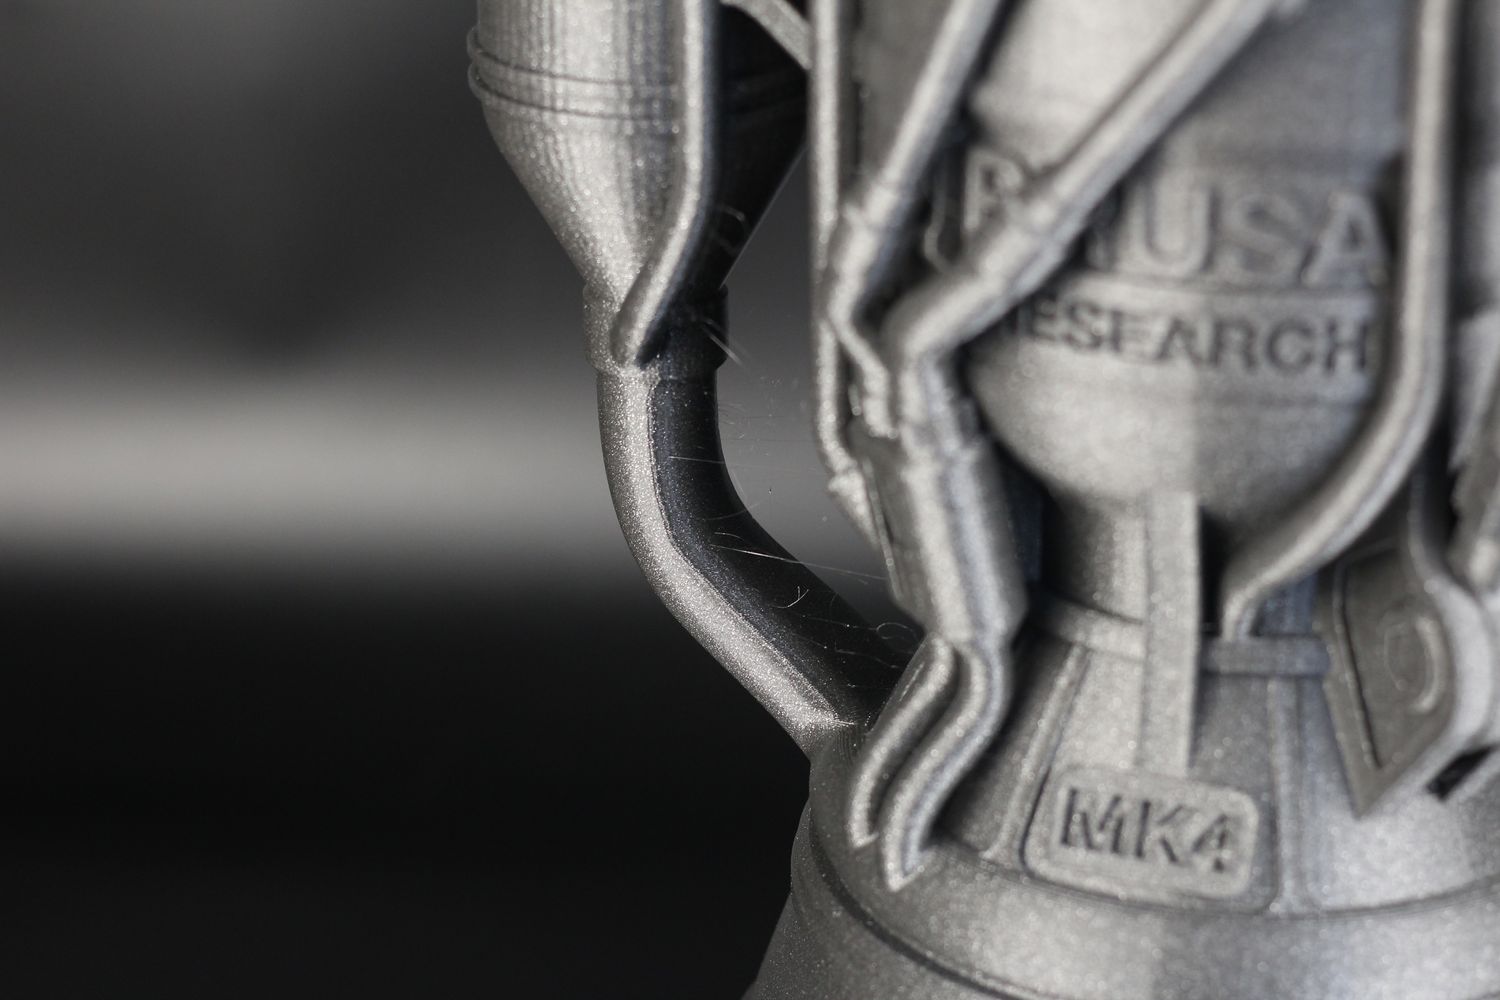
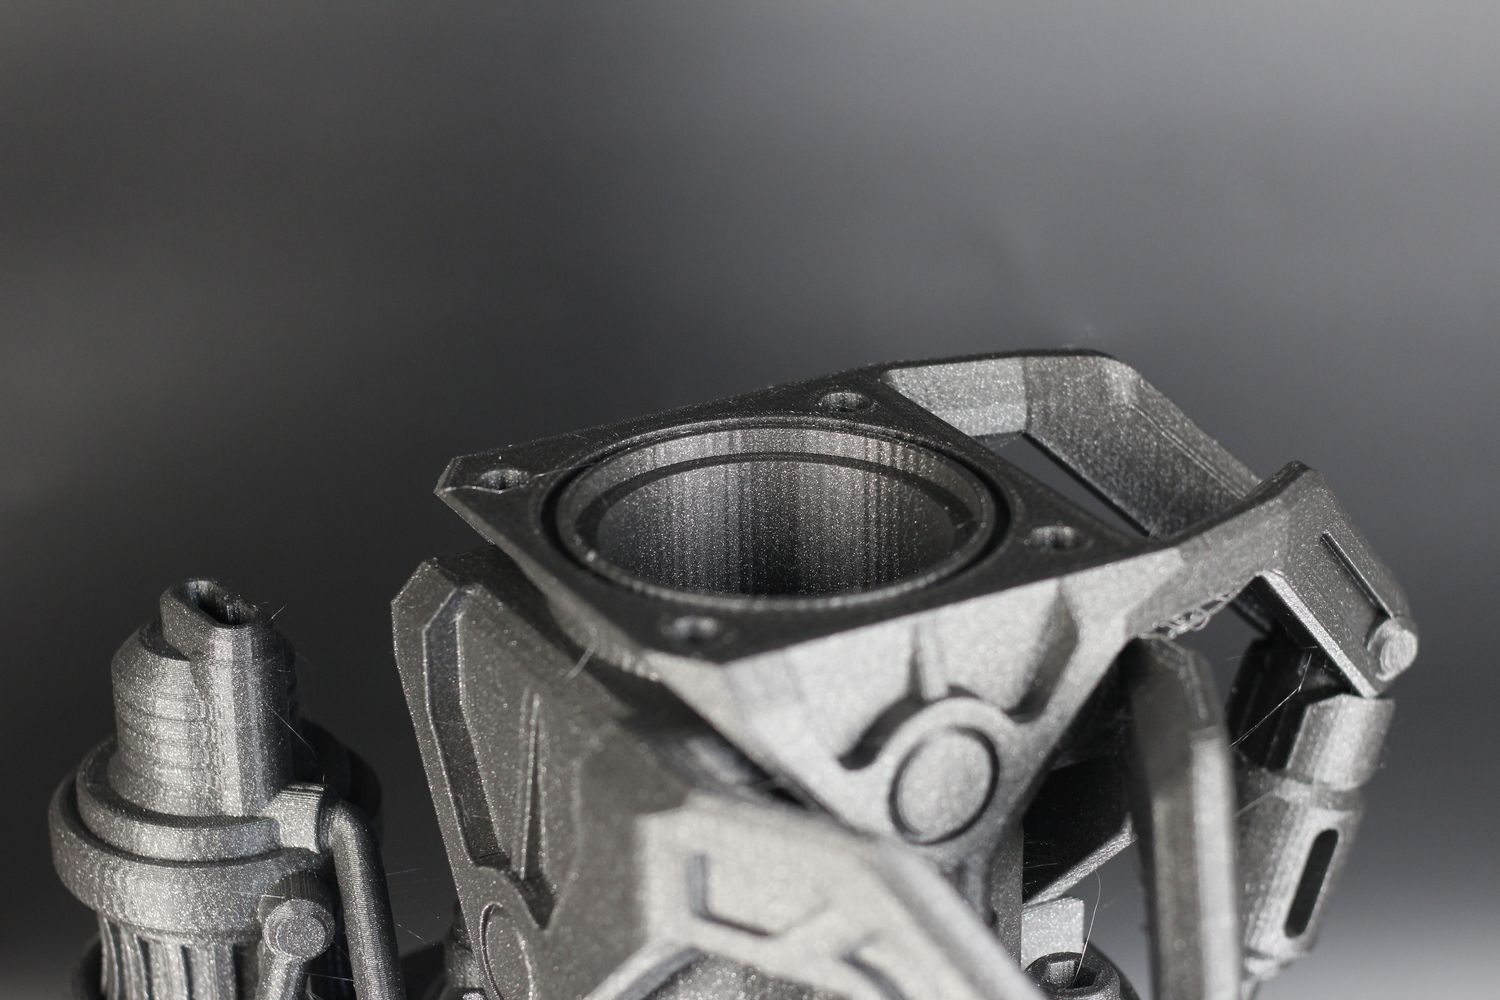
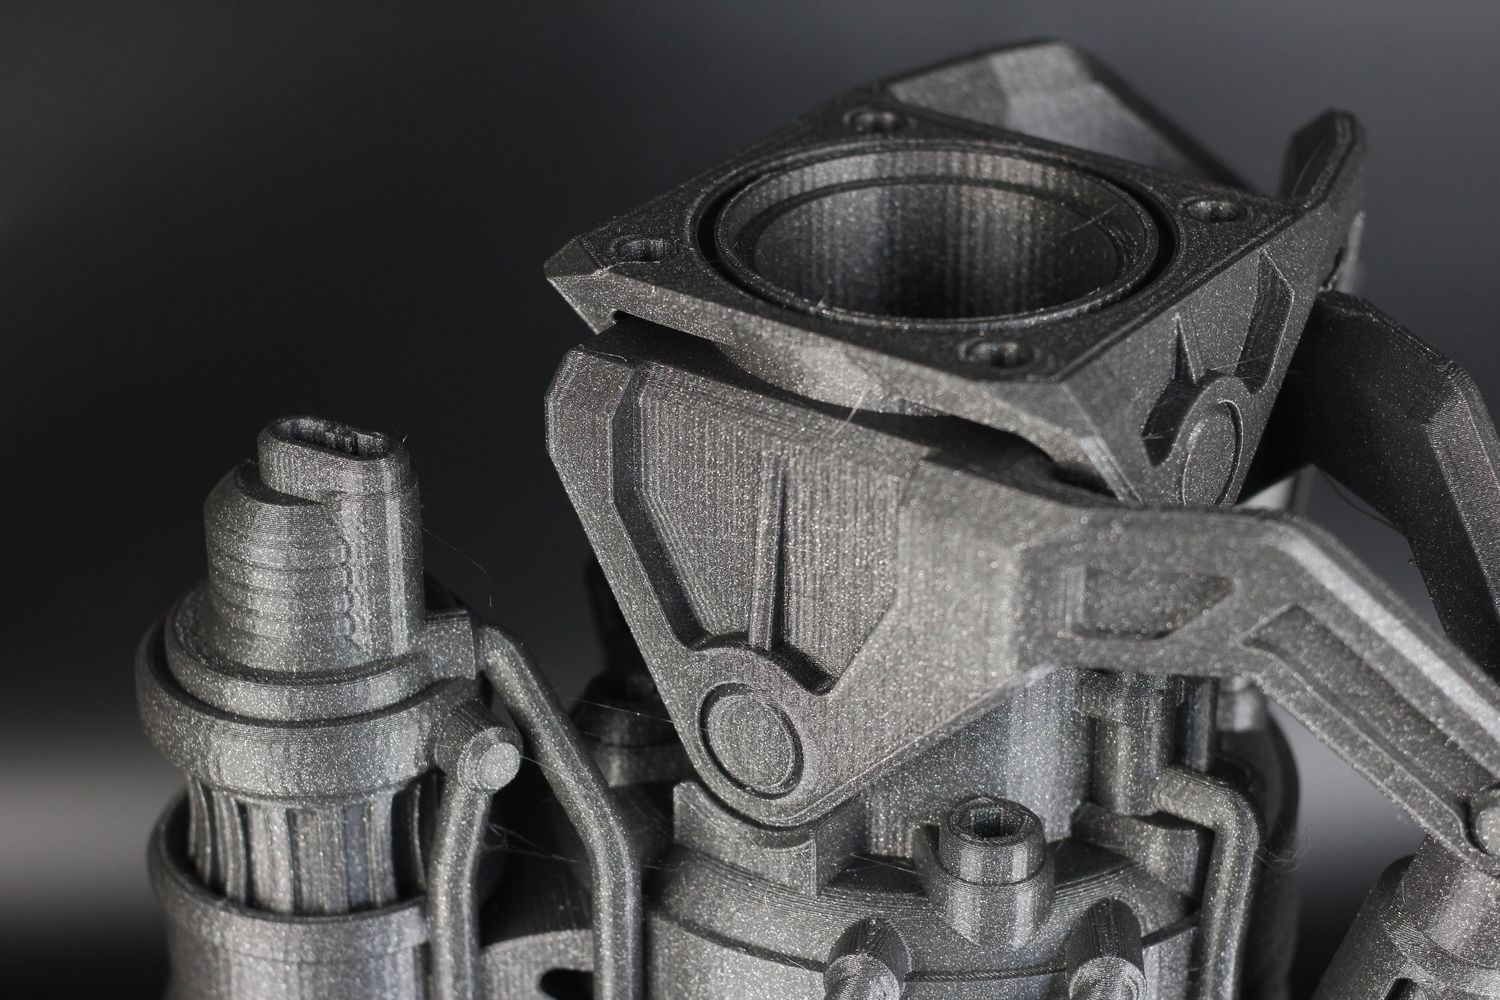
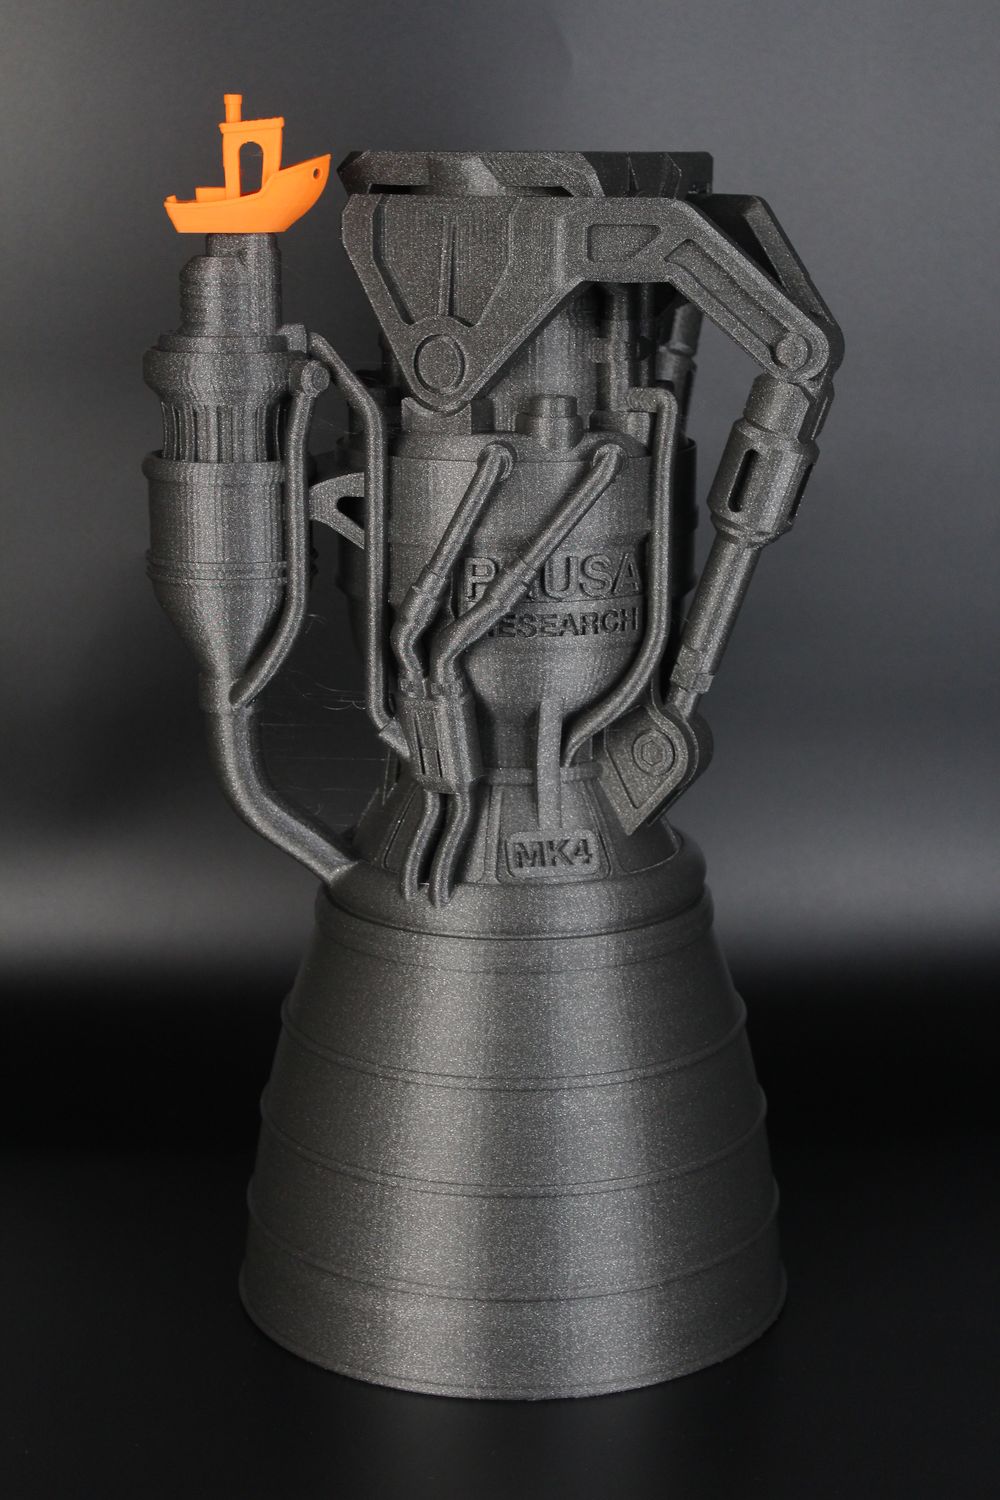
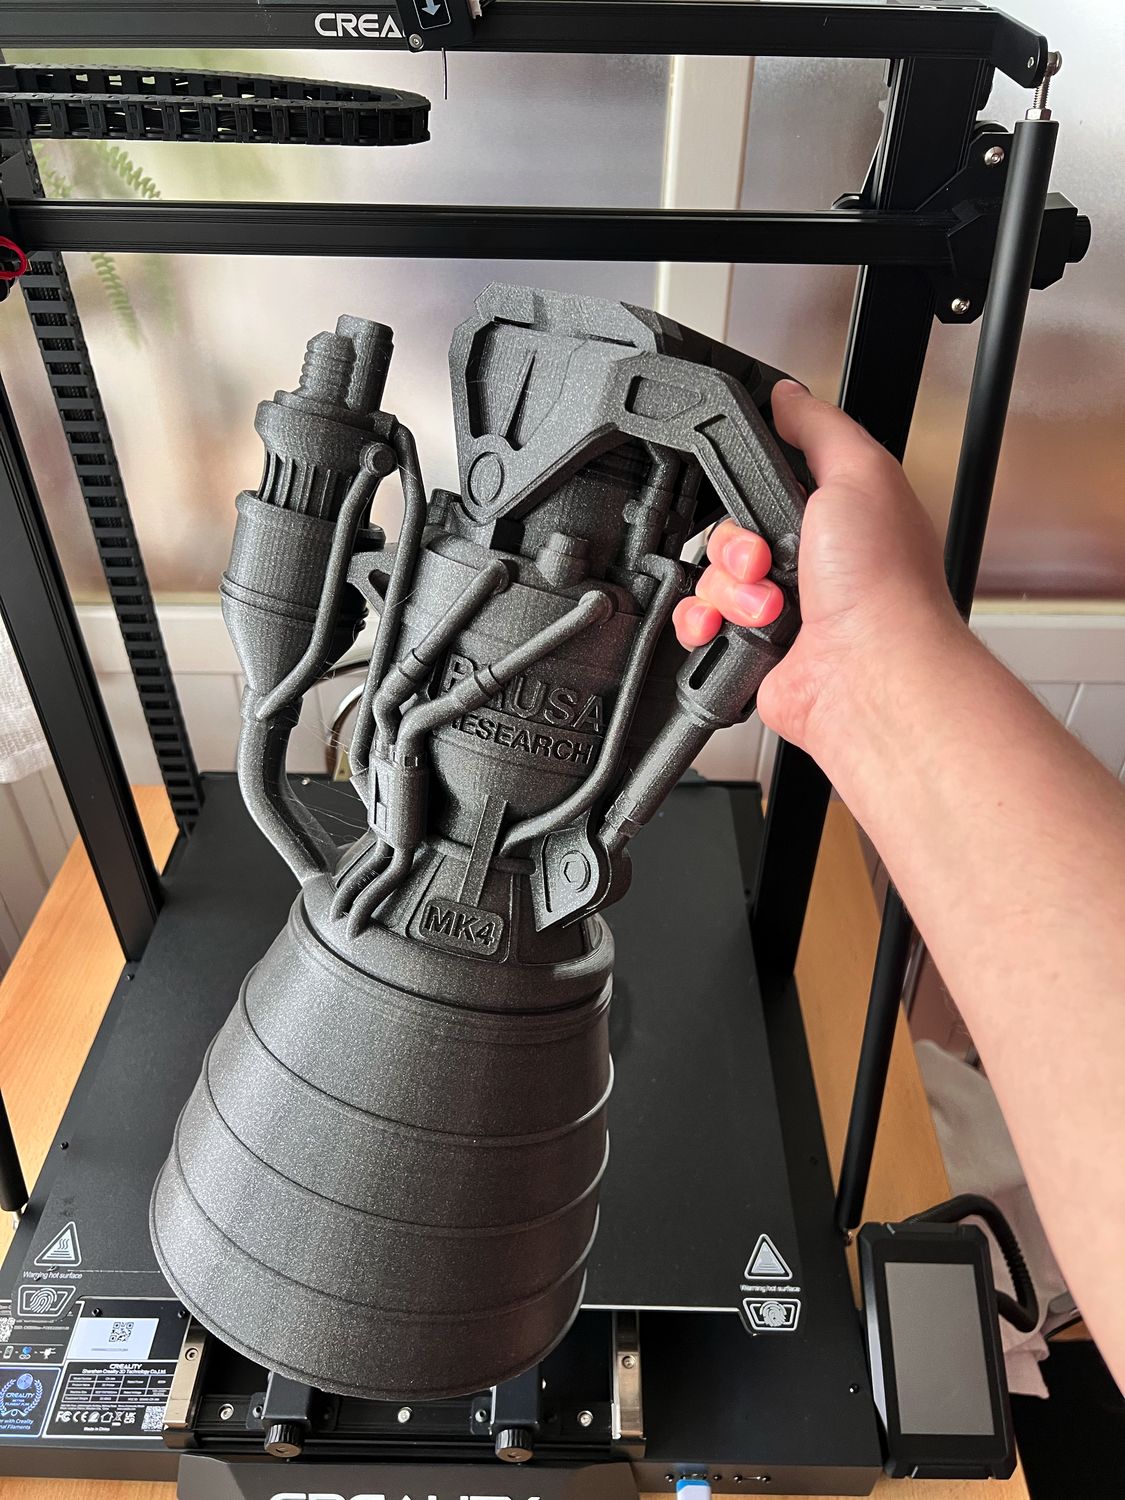
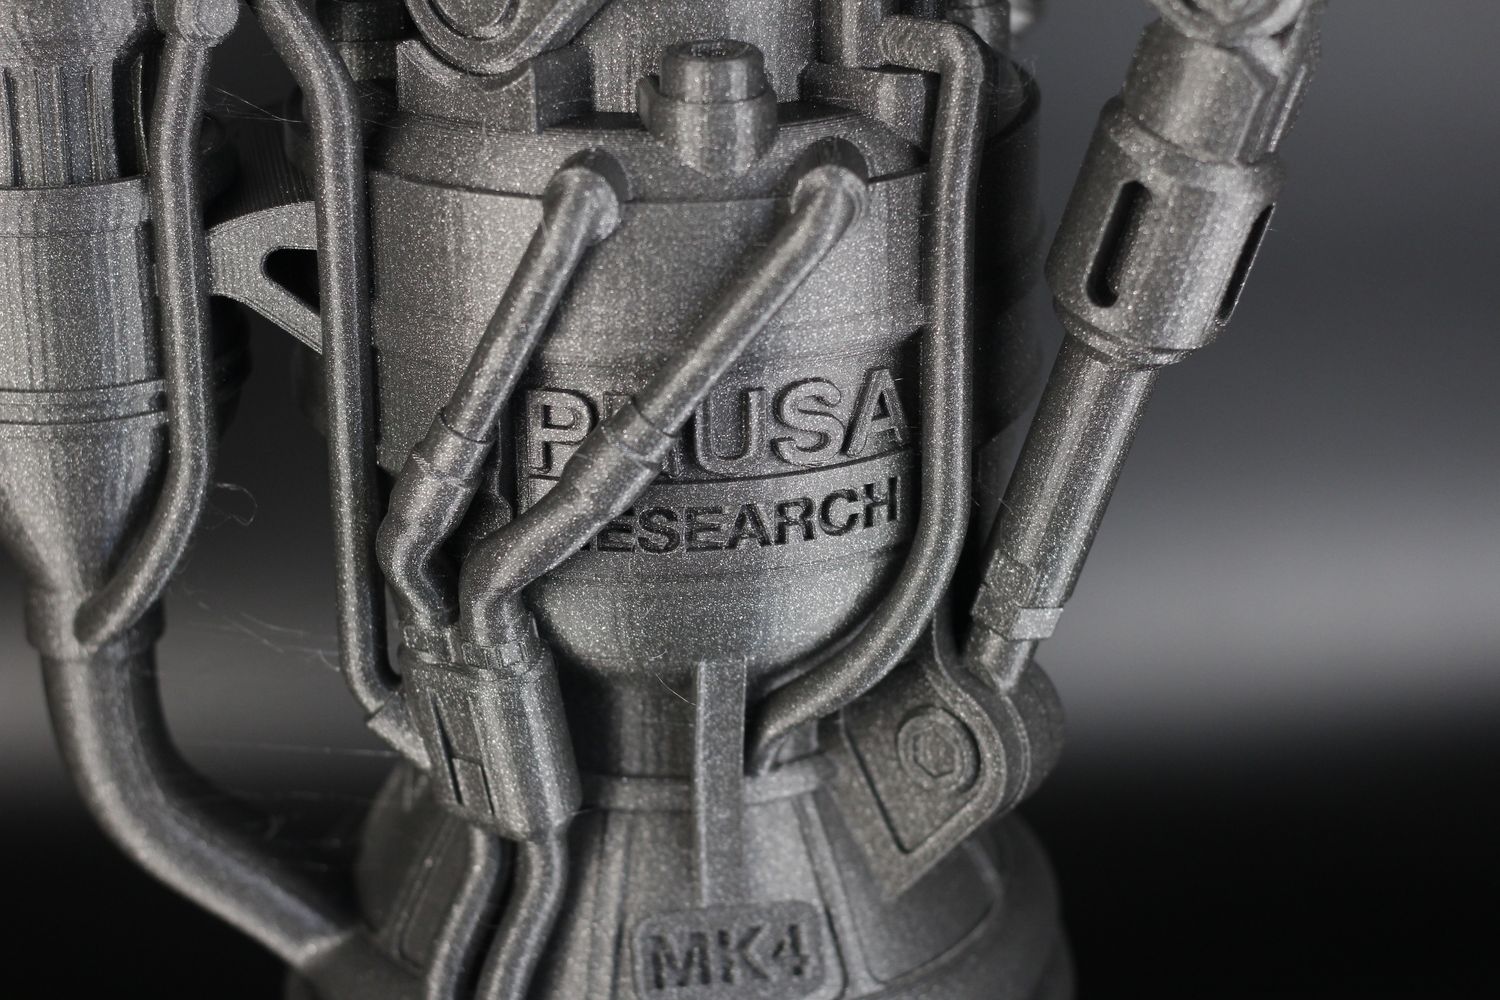
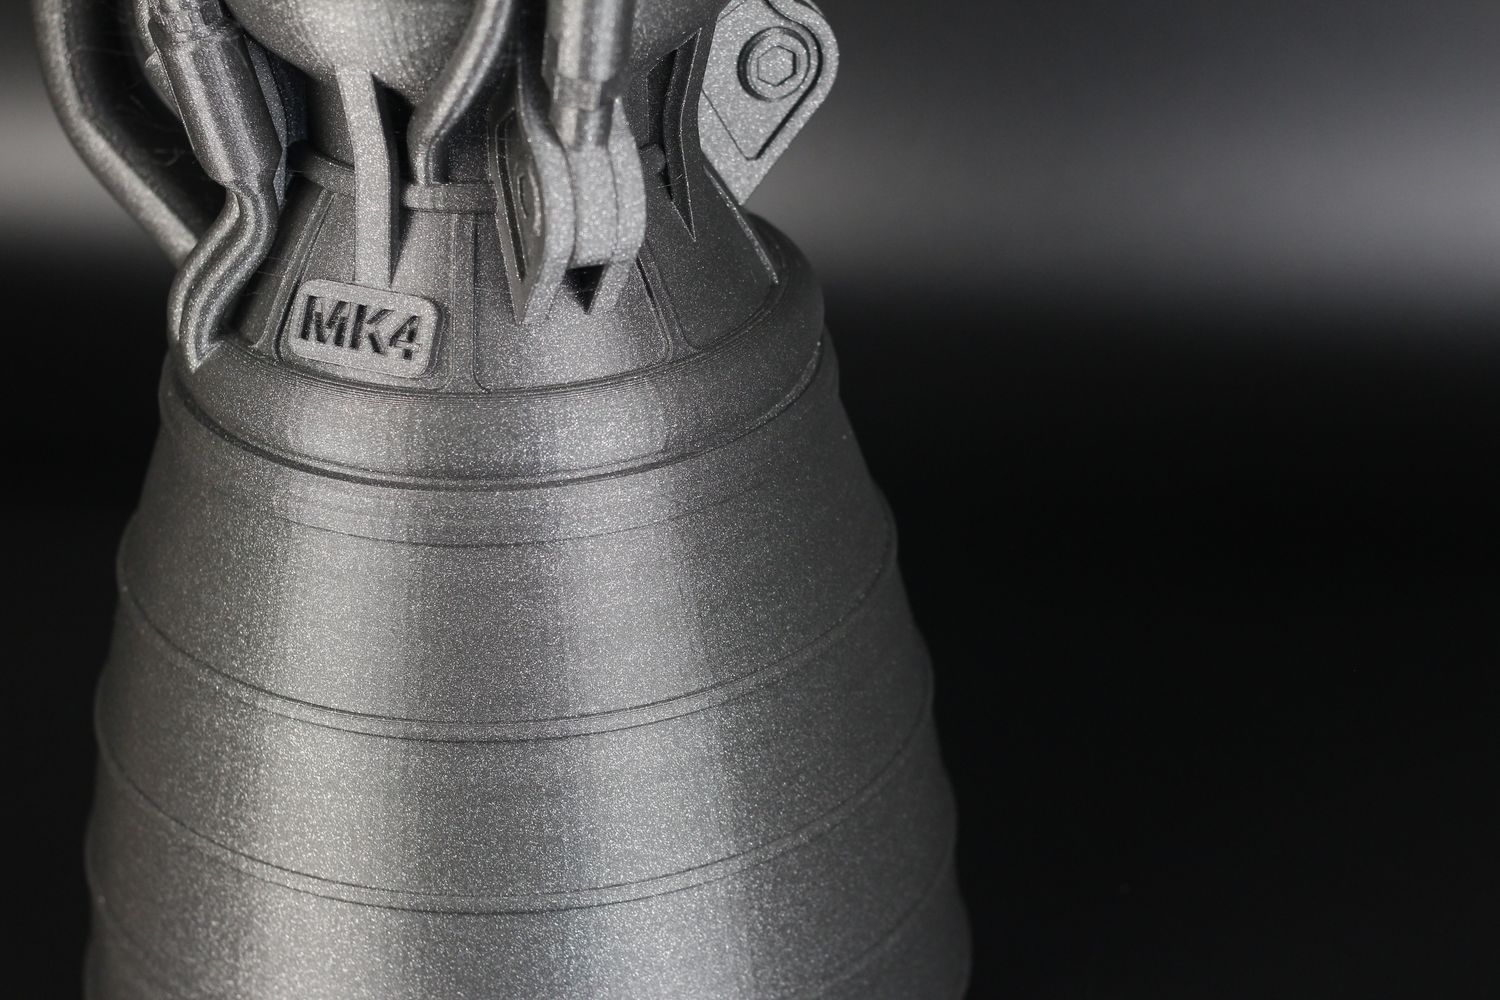
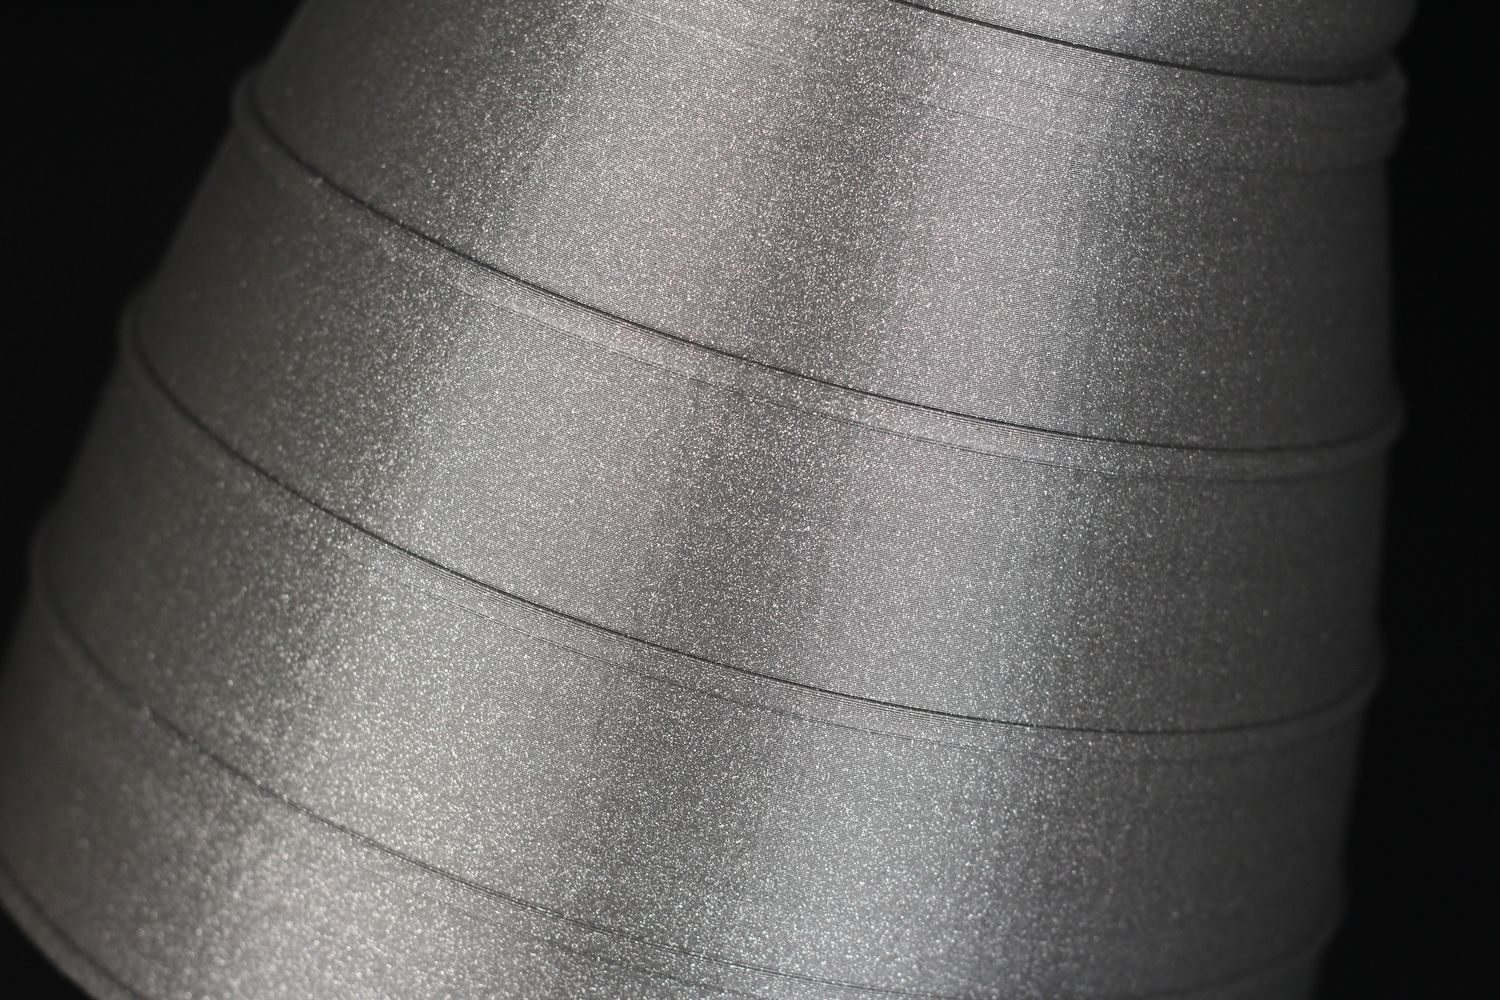
Finally, I wanted to print a model that uses the entire print volume of the printer, so I scaled up the Prusa Rocket Engine and started the print. There are some issues with bridging where the cooling capabilities of the printer are shown, but other than that, the result is quite good.
On the top sections of the print, you can see vibration artifacts which are normal for such a tall model, and printing slower could provide better results. But it’s something that will not be possible to remove completely on a “bed slinger” printer. When the model is so tall, it will always generate slight amounts of wobble during Y-axis motion, and slowing the print speed even more would make this a week-long print.
- Material: FilamentOne Glint Grey PLA
- Layer Height: 0.2mm
- Nozzle Temperature: 210C
- Bed Temperature: 45C
- Print Speed: ~50 mm/s
Conclusions: Is the Creality CR-M4 worth it?
There’s no denying that the Creality CR-M4 is a printer priced quite high compared to other similarly sized 3D printers on the market, but it also includes smart capabilities that allow you to connect to it using the Creality Cloud app. Besides that, it also has the largest XY print volume at 450x450mm put in motion on a very sturdy pair of Y-axis linear rails. But I still think that the price is a bit too high at launch.
Even so, if you really need such a large printing volume, then the price might not be the biggest hurdle. The printer works as expected, and the print quality is nice.
While the Creality CR-M4 is a nice offering from Creality when it comes to large-format 3D printers, I also recommend checking out what the competitors have to offer. The previously-reviewed Anycubic Kobra Max is slightly smaller but it also comes at a cheaper price. Of course, the printer has no smart features, a direct drive extruder, or a very stable Y-axis movement system, but it’s also about half the price so it might be a good alternative to look for.
There’s also the Elegoo Neptune 3 Max (which I haven’t had the chance to review) but judging by the spec list and the price it’s offered, might be a great alternative to look for if you are in the market for a large volume 3D printer. The only problem is that the Neptune 3 Max is hard to get as it’s mostly out of stock.
Creality CR-M4 Review
Design
Specs
Noise Levels
Ease of use
Print Quality
Price
The Creality CR-M4 is a good large-format 3D printer but it's priced much higher than competitors, making it a less attractive offering.
Where to buy the Creality CR-M4?
The Creality CR-M4 can be purchased from the following sites:
I recommend checking out the Discount Codes page before purchasing. I regularly update the article with discount codes for various online shops, and you might find one for this particular model.
The Creality CR-M4 was provided free of charge by Creality for the purpose of this review. While the article includes affiliate links, all opinions are my own. Nobody reviewed the article before it was posted, following the Review Guidelines.
Liked it?
|
|



SOMEONE ANYONE THE STL FOR THE PARTCOOLING FAN ON THE M4
ITS THE BEST DUCT FPR THE SPRITE BY FAR GOTTA UPGRADE THO TO CERAMIC HOTEND THO IT WILL HELP W THE HiGH FLO
do you have the fan duct stl?