BMG Wind Review: Sidewinder X1 Upgrade Guide
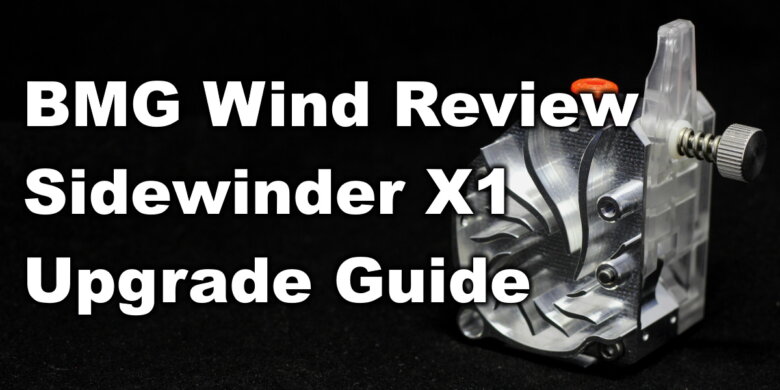
Since I found out about the BMG Wind, I wanted to test it because it looked like a really nice compact extruder. The BMG Wind is an excellent Sidewinder X1 upgrade which should improve thermal performance and flexible filament print speed.
So, without further ado, let’s see if the BMG Wind from Mellow delivers and if the performance is worth the cost of the upgrade.
BMG Wind
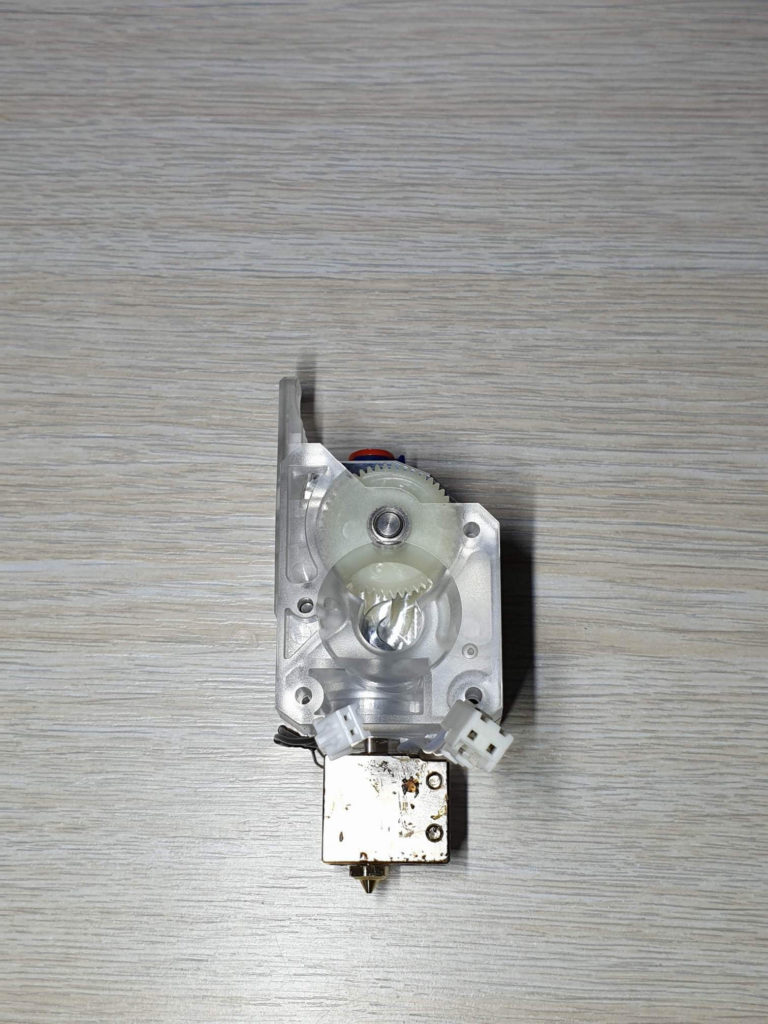
The BMG Wind extruder is a combination between a regular plastic BMG and the Hemera extruder. It’s made from the heatsink part machined from aluminum and the second half made from translucent plastic which is probably the same used in the NF-BMG extruder.
The machining quality is good and everything fits well. I was surprised by the weight. It’s only 107 grams by itself. If you also add the motor, heatblock and heat break the weight is 260 grams which is excellent for a complete extruder setup.
Because the BMG Wind uses its metal body as a heatsink, the footprint is much smaller compared to a BMG + V6 combo. It’s similar in size with a Titan Aero but with dual-gears allowing more control over the filament and better pull force.
Unfortunately, on the bottom there’s some space between the metal side and the plastic one. This confirms my guess that it’s using the Mellow BMG plastic back side. But that doesn’t have any kind of impact on the extruder and it makes it lighter.
Because of the low distance from the gears to the nozzle, and the constrained filament path, the extruder can control filament a bit better and improve overall print speed and accuracy.
To better understand the machining quality, I also took some close ups of the gears. As you can see, they are well machined and will have an excellent grip on the filament. Nothing to complain here.
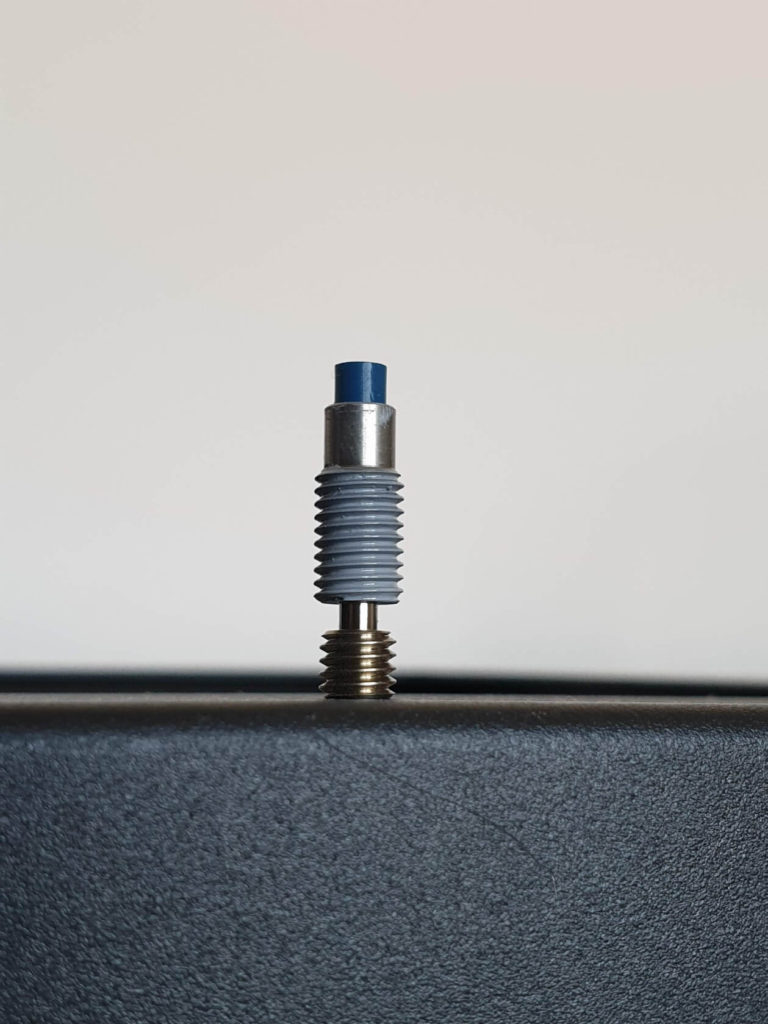
Next under the microscope is the Mellow Bi-Metal heat break which comes with the BMG Wind. It looks good but it’s under the the Trianglelab version.
There’s a small issue I found with both the Trianglelab and Mellow bi-metal heat breaks. The inside section where the cold side meets the stainless tube is machined flat. The Slice version has a small angle which helps when feeding new filament in. Because of this, you need to use a piece of PTFE tube to better guide the filament straight.
I used a small 10 mm piece of PTFE which perfectly mates the end of the heat break with the BMG Aero. Please note that this might be different for you, depending on what type of heat break you use. Some people used smaller pieces of PTFE (0.5mm to 0.7mm).
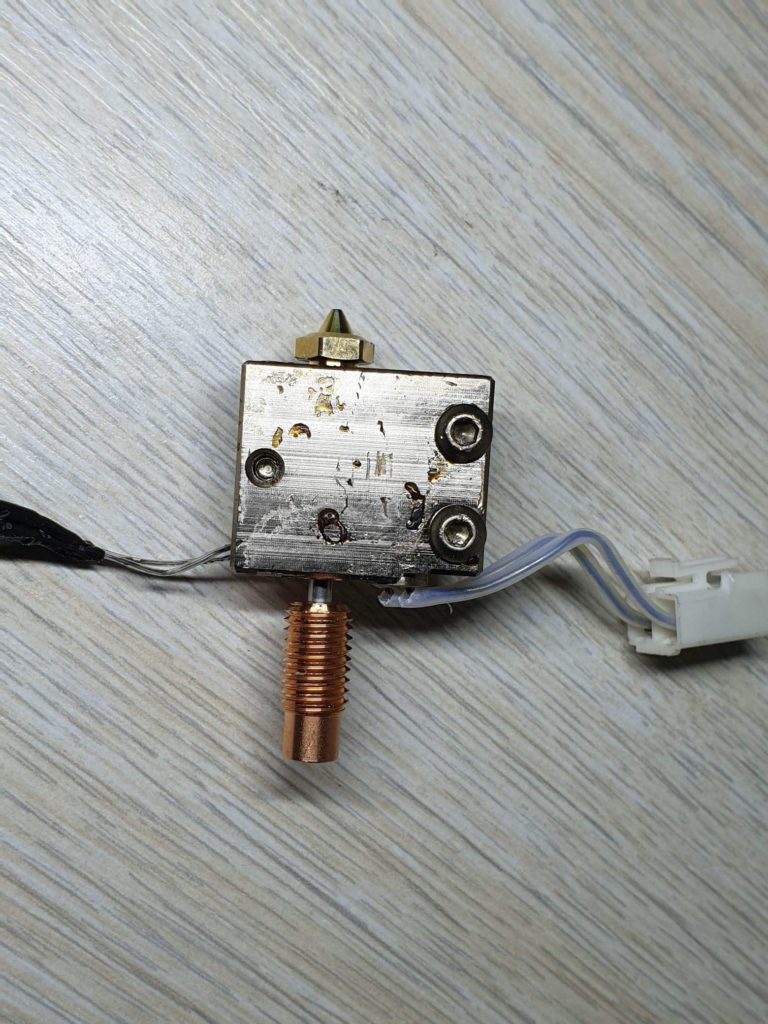
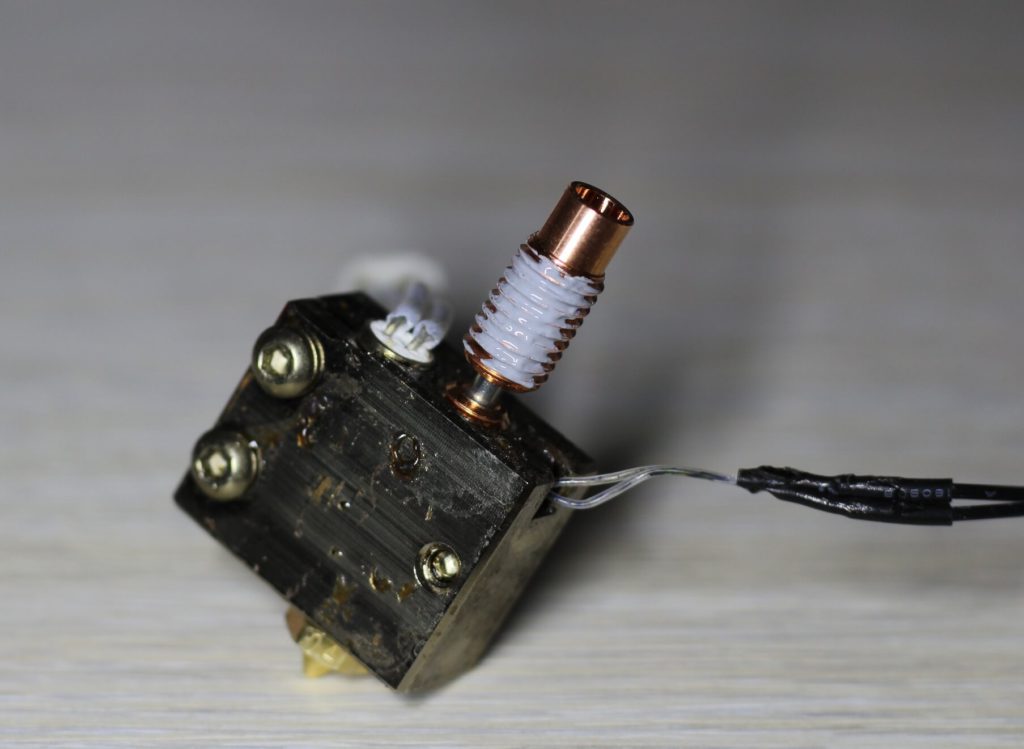
Unfortunately, after a few prints I noticed some molten filament on the top of the heatblock. After further inspection I found out that the bi-metal heat break was leaking between the copper thread and the tube. When I tried to remove it, the tube separated and I was left with what you can see in the images. Failure.
To be honest, I was expecting more from this bi-metal heat break considering that the Trianglelab version worked well for me. But it seems that the Mellow version is not as good so I can’t recommend it. Get the Copperhead heat break or the Trianglelab version.
I replaced it with a spare titanium heat break and the setup seems to work well. I can feel more heat reaching the heatsink and it’s noticeable warmer compared to the bi-metal heat break. I still recommend buying this setup with a bi-metal heat break but not the Mellow version.
BMG Wind on the Sidewinder X1
Prerequisites
In order to install the BMG Wind on Sidewinder X1, you need the following:
- The BMG Wind extruder – I recommend buying SET 1 + bi-metal heat break and use the rest of your stock hardware.
- 2x M2x10 mm screws
- 3x M3x10 mm screws
- Printed mounts (BMGAero_4020_fan_mount and BMGAero_mount_adapter)
- Air duct with support for BLTouch or ABL Mod
Before you begin

Please note that in order to install the BMG Wind on Sidewinder X1 you need some experience with 3D printers and hardware. This is not a trivial task for beginners and you may break your printer during the process.
Read the full guide carefully and install BMG Wind on Sidewinder X1 only after you properly understood all the steps involved. If you have questions before starting, leave a comment and wait for a reply.
I am not responsible for any damage you may cause to your printer by following this guide. You are doing this on your own responsibility.
Installation steps for Sidewinder X1
Disassemble the old extruder setup
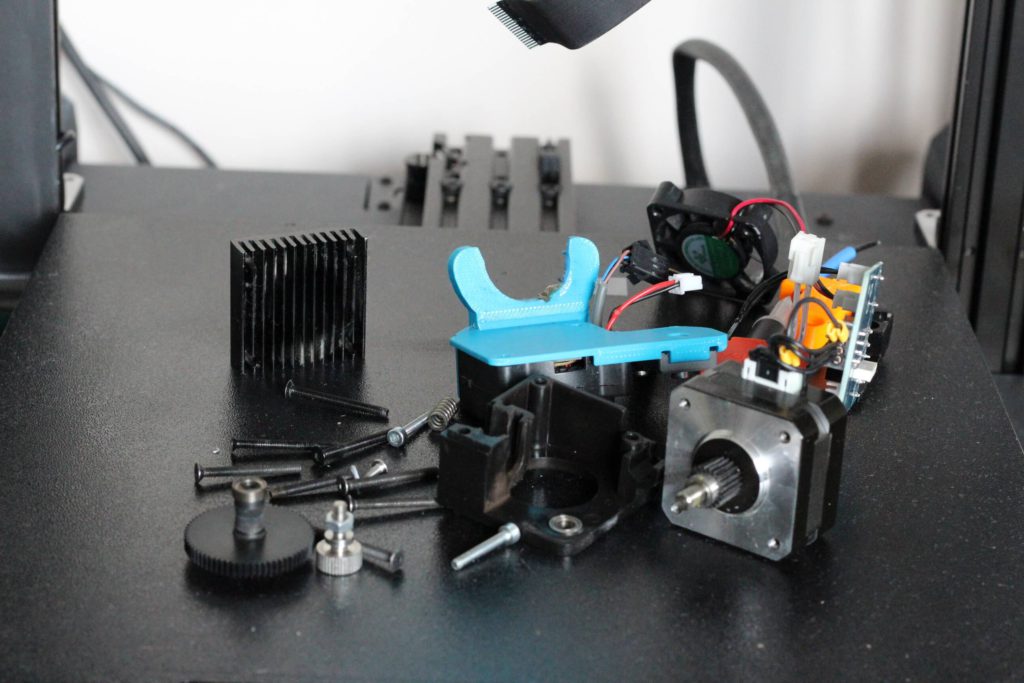
The BMG Wind installation on the Sidewinder X1 is relatively easy. First, you need to completely remove the stock extruder setup, including the metal bracket. You should be left with a bunch of parts.
From this huge pile of parts, I kept the stock motor and stock fans. If you want, you can also keep the heatblock including the heater cartridge and thermistor but I upgraded mine a while ago so that’s what I am using now. It’s the plated copper heatblock with the bi-metal heat break.
Install the printed mount
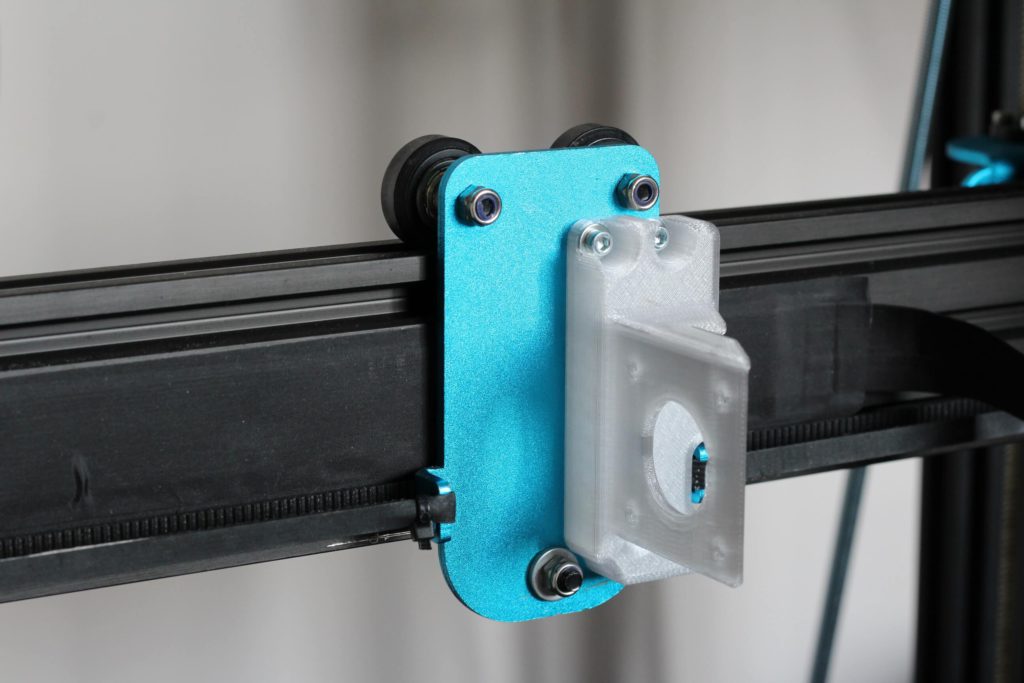
I installed the printed motor mount replacing the old metal mount. Easy process so I won’t go in much detail for this step. Now we are ready to install the extruder, but first we need to install the heatblock to the extruder.
Prepare the BMG Wind for installation
Install the heatbreak and the nozzle and make sure you leave a bit of space between the heatblock and the nozzle. This will allow you to further tighten the nozzle when hot. It’s important to make sure the nozzle and the heat break “meet” in the middle of the heatblock, then finger tight everything.
Next, apply some thermal paste on the cool side of the heat break like shown in the image. This is done to increase the thermal transfer between the heat break an the heatsink. Don’t apply too much.
Finally, screw the heatblock assembly in the extruder’s heatsink. In the end you should have something that looks like in the picture below. Don’t forget the 10 mm PTFE tube I mentioned before.
To align the tube with the extruder hole I used a piece of filament. That way, when you tighten everything up you will ensure that the filament path is straight and you won’t have any kind of issues in the future when changing the filament.
Align the BMG Wind Gears
Remove the old gear from the stock motor and install the second gear you received with your BMG Wind. The small screw from the gear needs to be tightened on the flat section of the motor shaft. Don’t over tighten this screw because you can easily strip it and it will make removal a pain.
Install the BMG Wind on the printer
With the extruder now ready, we can install it on the mount. Align the extruder with the motor then use the two bottom screw holes on the BMG Wind to connect it to the motor. Now is the time to check the alignment of the BMG Wind gears. Open the lever and check if the filament section is aligned on both gears.


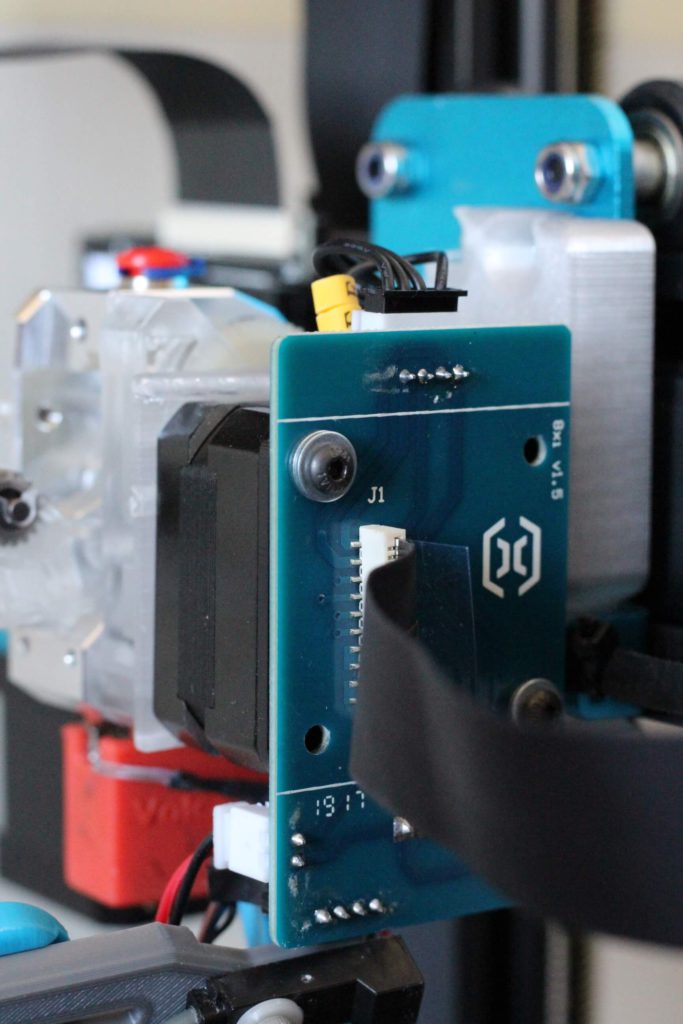
When connecting the ribbon cable board, “sandwitch” the black plastic piece from the stock extruder between the motor and the board. I also added two M3 washers on each screw to make sure I don’t damage the board and to make everything fit together nicely.
If everything is installed correctly, you can proceed with wiring the thermistor and heating cartridge. Don’t forget to also install the ribbon cable. It’s probably the right time to also do the Sidewinder X1 Ribbon Cable mod to ensure good connection. If you are using an ABL sensor or the LED light, you can also connect that now.
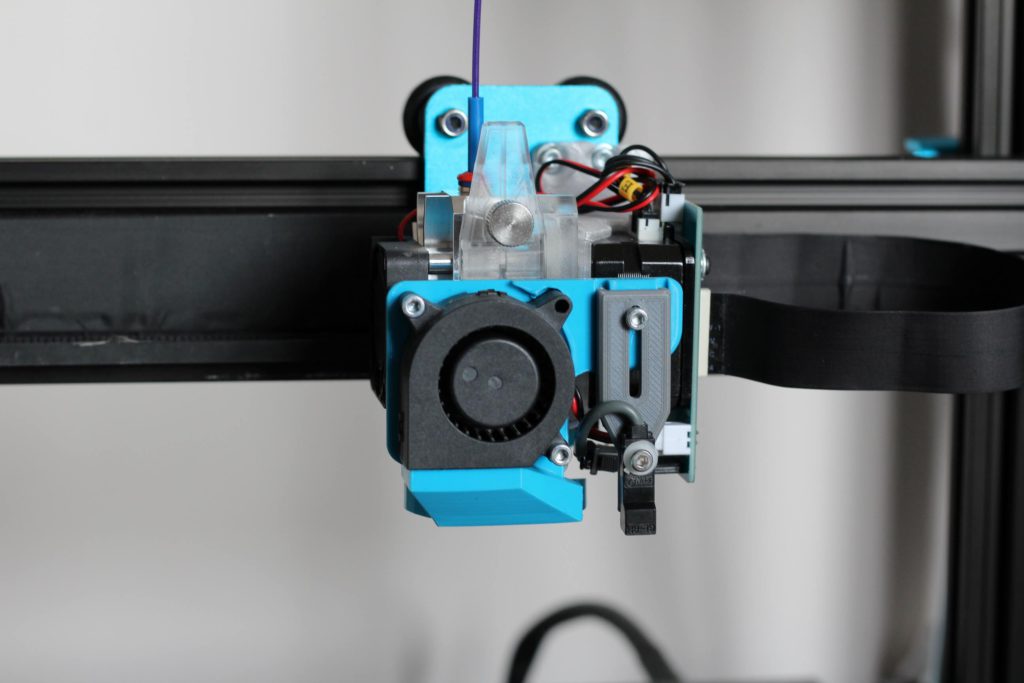
For installing the second printed mount onto the BMG Wind you will need two 10 mm M2 screws. But before you install it make sure you add two M3 nuts behind the mount. These will be later used to screw the fan assembly on.
After you install the mount, you are ready to add the part cooling fan assembly. Use two 20mm M3 screws to bolt the fan assembly on the mount and make sure the duct is not touching the head block. If everything is set, you can now connect the fan to the daughter board.
In the end, connect the extruder fan to the board and install it on the heatsink with the two top screws. Use the long 50mm screw on the left, and a small 10mm screw on the right.
Firmware changes for BMG Wind
In order to use the BMG Wind, you also need a small change in the firmware. The extruder motor direction needs to be reversed. for this, you just need to edit the #define INVERT_E0_DIR section in configuration.h then re-compile the firmware.
To make things easier, I already compiled the firmware for the Sidewinder X1 with the motor direction changed. This is made for a Stock Sidewinder X1 with the ABL mod and the BMG Wind. Download the firmware and follow this guide to install it.
Sidewinder X1 (stock with ABL + BMG)
If you are using RepRap firmware, you just need to edit the config.g file and change the S0 value to S1 on your extruder motor then restart the printer.
Test your new setup
That’s it! You can now power up the printer and heat your hotend to 270C then do the final tightening of the nozzle. Don’t overtighten it. If you need a better way to tighten your nozzle, I recommend using a torque wrench like instructed in the Nozzle Change guide.
It’s recommended to perform a PID tune to make sure the temperatures are stable. You can follow PID Tuning Guide to do this.
Before your first print it’s important to also set your offset again. For ABL users this is easy. You can follow 3DMN’s video. If you still use manual bed leveling you will need to carefully re-position the Z endstop so the nozzle stops just above the bed. The distance between the nozzle and the bed should be about 0.1 mm, so you can use a piece of paper for this.
Pro tip – When changing the filament, always heat up the nozzle to the corresponding temperature then manually feed ~1cm of filament before quickly pulling the filament out of the extruder. If you don’t do this, you can easily clog the heat break. This happens because when you pull the filament you will drag some molten plastic with the filament and that can quickly solidify inside the heat break.
Test prints with BMG Wind on Sidewinder X1
Kif Kroker
The first print after calibration was the Kif Kroker model. I managed to break its legs so now he lives in a box, but otherwise the print is good. Extrusion is consistent and considering no retraction was used, the results are great.
- Material: Gembird Silk Green PLA
- Layer Height: 0.12mm
- Nozzle Temperature: 205C
- Bed Temperature: 50C
- Print Speed: 50mm/s
Fluffy the Unicorn
The second print was Fluffy the Unicorn to test PETG performance. I the same IdeaMaker profile I shared a few weeks ago for the stock extruder and as you can see the quality is great.
- Material: Devil Design Galaxy Purple PETG
- Layer Height: 0.15mm
- Nozzle Temperature: 235C
- Bed Temperature: 70C
- Print Speed: 60mm/s
Is the BMG Wind worth it?
In my opinion, the BMG Wind is an excellent direct drive extruder upgrade for any kind of printer. If you are looking for a compact extruder with excellent filament control, then this is the upgrade to get. It can improve print quality with a small cost.
Compared to the stock Sidewinder X1 extruder I was able to lower my retraction from 1.7 mm to about 0.5 mm. If you use Linear Advance (or Pressure Advance for RRF) you can even remove retractions completely (with proper calibration).
The BMG Wind will be my go-to direct drive extruder upgrade for any printer in the future because of the reduced weight, compact design and improved performance compared to other setups.
Unfortunately, I was not able to test the cooling performance of this setup because I can’t fit the thermal probe trough the filament path as with other setups. But my “Finger-O-Meter” tells me that it works well. The radiator is just a bit hot to the touch which means the cooling works well.
I was even able to print a test cube successfully with no fan cooling the heatsink (I forgot to plug the fan) but after it was finished the filament clogged the heat-break. The heatsink was hot to the touch. So, not a good idea.
You can also check out the Trianglelab Matrix Extruder which is capable of similar printing performance and it’s a good alternative to the Wind if you are looking for a Hemera-like extruder.
Where to buy the BMG Wind?
The BMG Wind can be bought from the following stores:
Wrapping up
Hopefully, this article was helpful to you and now you have the BMG Wind installed on your Sidewinder X1. If you have any issues along the way, feel free to post a comment.
You can also join the 3DPrintBeginner Discord server where you can receive help along the way.
I would also love to hear back from you with thoughts about the BMG Wind after you tested it for a while.
Liked it?
|
|


