Fix Sidewinder X1 Ribbon Cable Connection
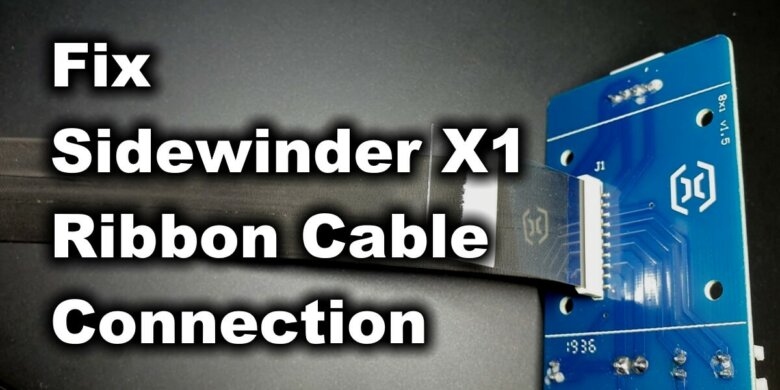
The Sidewinder X1 ribbon cable is really nice when it comes to wire management. It was introduced for both the Sidewinder X1 and Genius, and it makes the printer look a lot more polished compared to other printers.
Unfortunately, the connection is not great and because of the movement people are reporting issues with the contact between the pins and the ribbon cable.
In this article I will show you a better way of fixing the Sidewinder X1 ribbon cable connection in just a few minutes.
The Sidewinder X1 Ribbon Cable History
In the beginning, the Sidewinder X1 ribbon cable had a locking mechanism. The cable was inserted into the daughter board with a small piece of plastic pressing behind the ribbon contacts to ensure the ribbon cable is fixed. Inov3D has a great picture in their review showing the “V1” ribbon cable lock that was included with the printer.
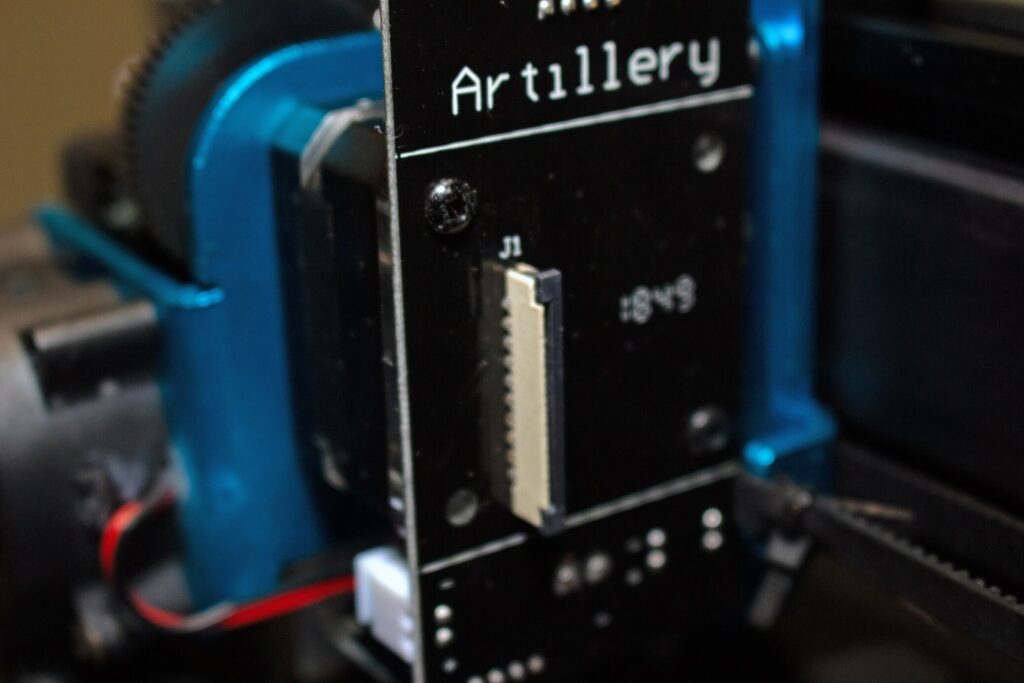
Currently, the Sidewinder X1 ribbon cable does not have the same locking mechanism. Because new users didn’t know how to use the locking mechanism, Artillery replaced the connector with a simpler version that holds the ribbon cable with a friction.
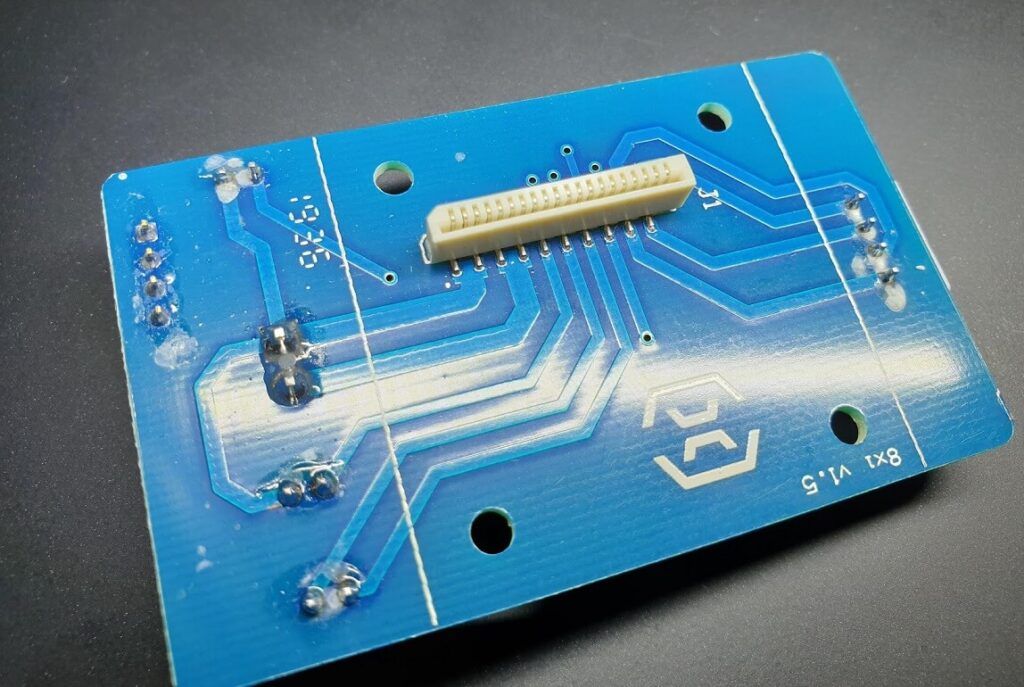
This is not that great because the movements of the printer head cause the ribbon cable to get loose and cause issue.
The most common issue on the X axis causing the Sidewinder X1 extruder to stop extruding. With this fix, the ribbon cable has a tighter connection with more pressure on the pins which should fix this issue for good.
Prerequisites for the Sidewinder X1 Ribbon Cable
In order to fix the Sidewinder X1 Ribbon, you need a pair of scissors and a piece of thin plastic sheet.
My Devil Design filament rolls have a transparent “window” in the box made from 150-micron sheet of plastic. This is great for this mod.
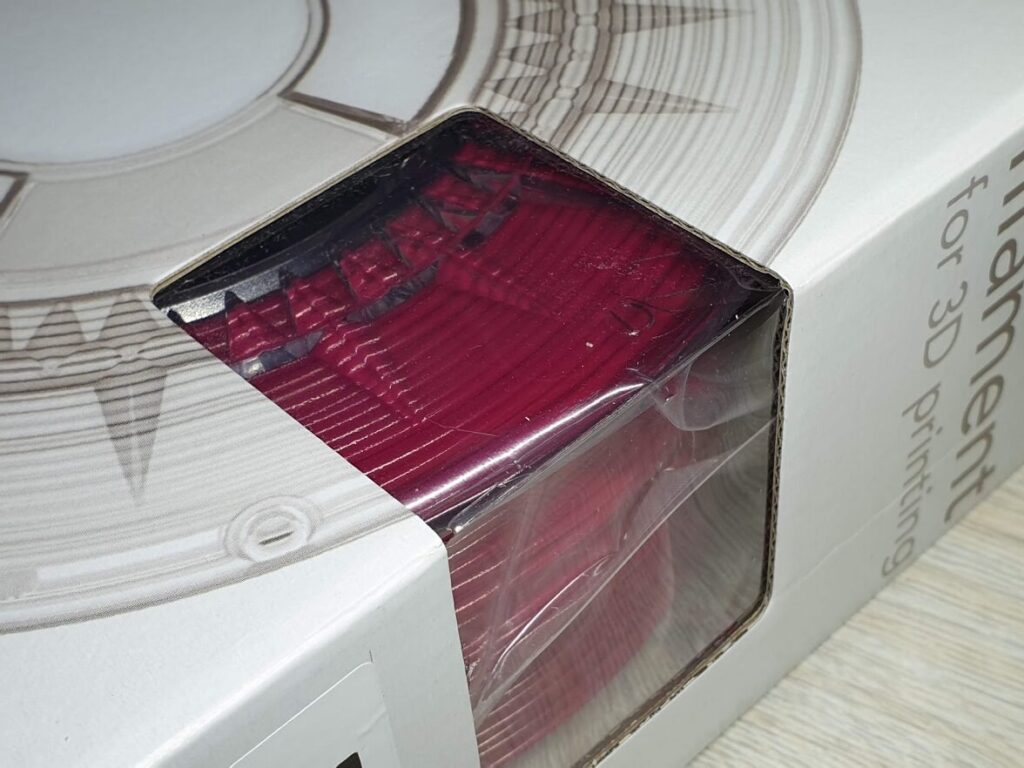
You can source this thin plastic sheet from other packaging materials. I don’t recommend using something ticker because it will be really hard to insert and may damage your connector. So, try to use something as close as possible to 150-micron in size.
In this guide, I used a spare daughter board used on the extruder assembly for showing the process. Carefully read this guide before attempting the fix, in order to avoid any damage to the printer.
How to fix the Sidewinder X1 Ribbon Cable Connection?
Source your plastic sheet
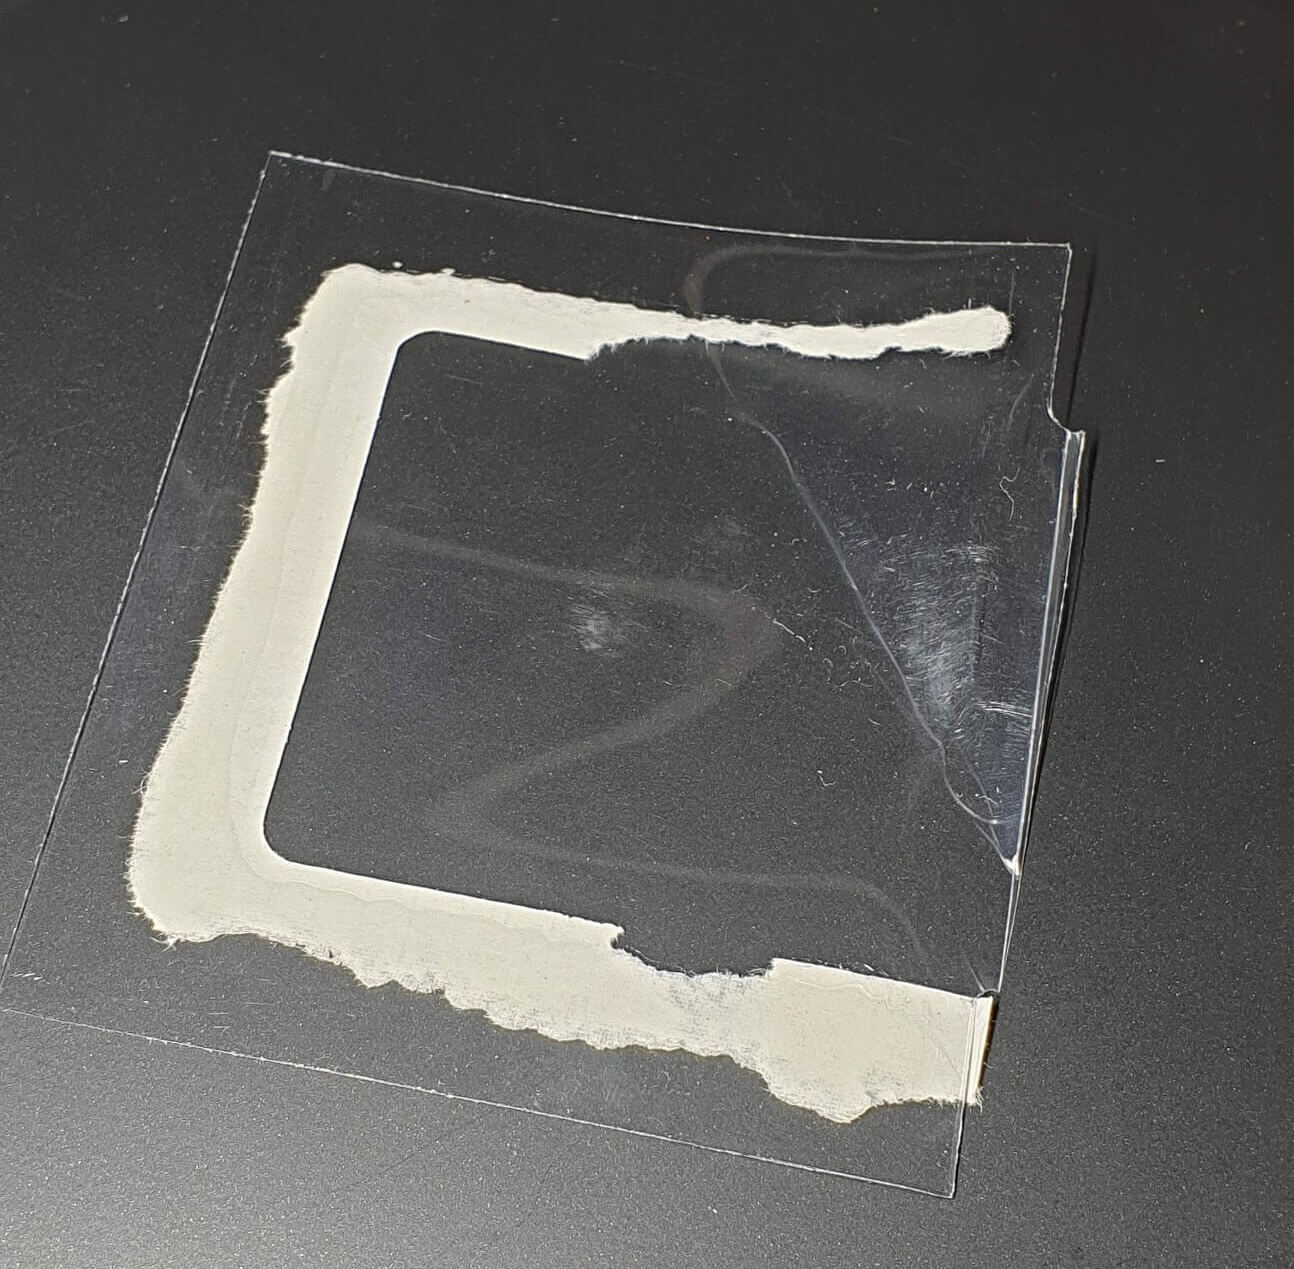
For the Sidewinder X1 ribbon cable fix, you need to grab a thin piece of plastic (150 micron).
Cut a piece of plastic sheet
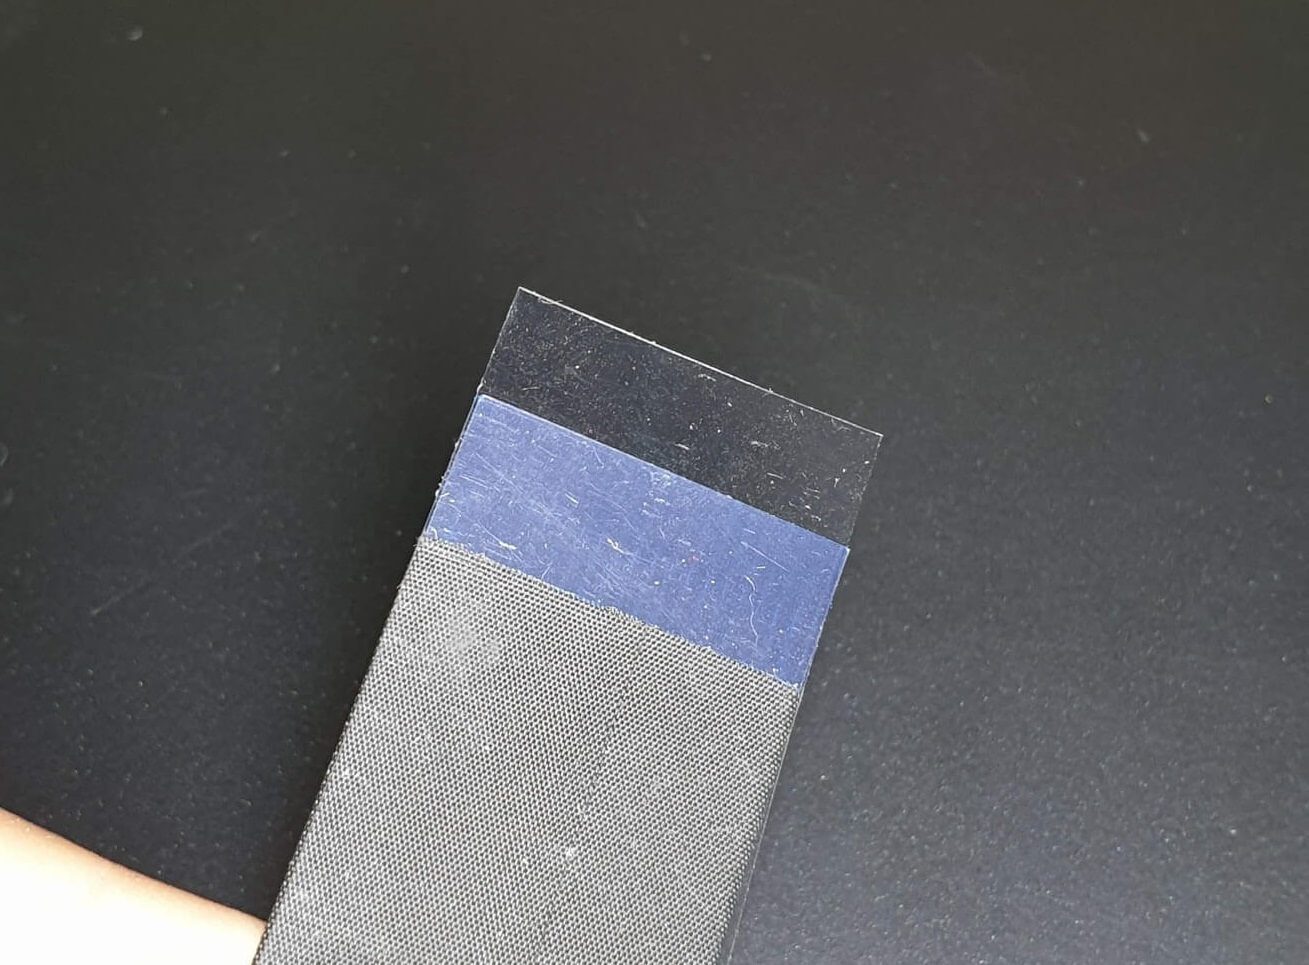
Cut the plastic sheet to the same size as the ribbon cable. I cut it 21 mm wide and 30 mm long. Also make sure you cut the end straight.
The length does not matter that much, but it will help you when installing it.
Please note that the 21 mm width applies to the extruder ribbon cable. If you want to install the Sidewinder X1 ribbon cable fix on the Y ribbon cable, the size will be different.
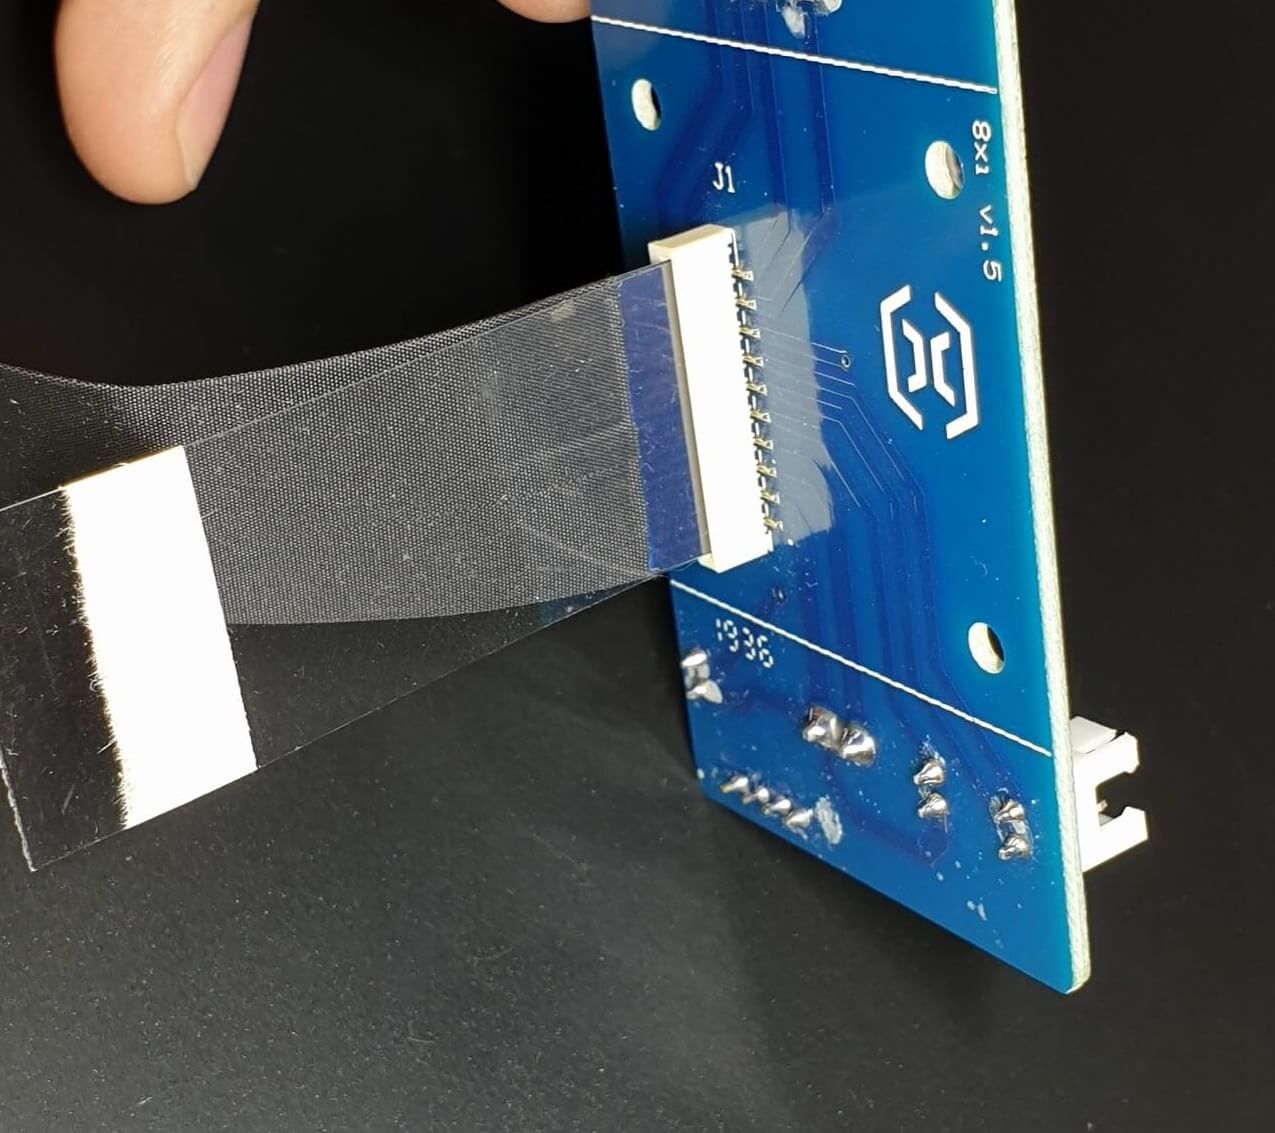
Align the ribbon cable and plastic shim
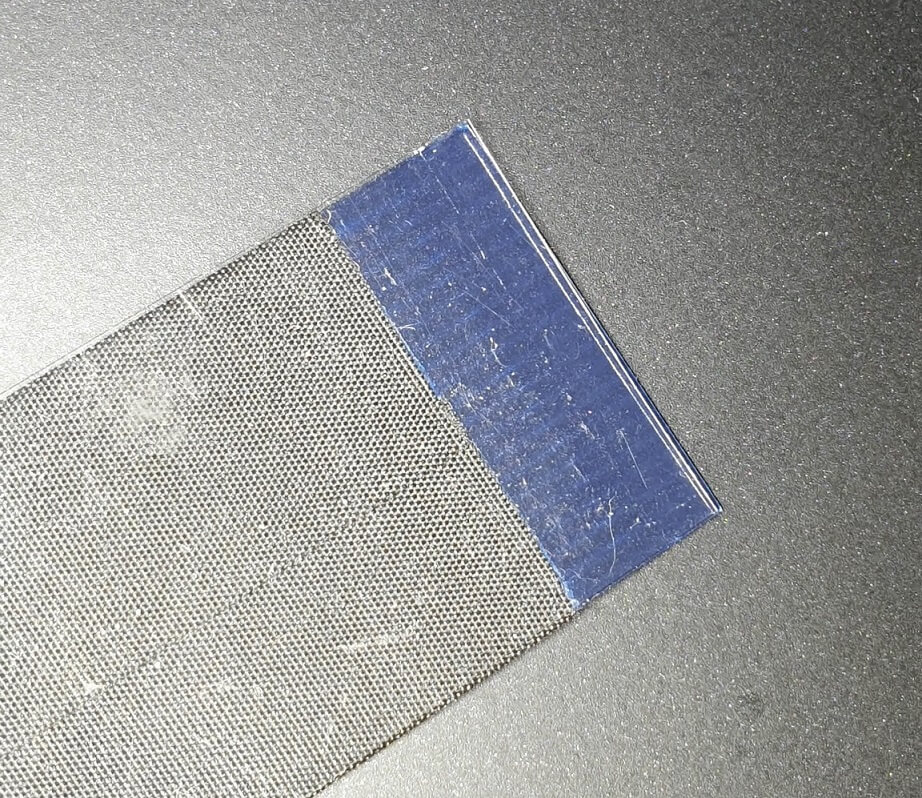
Now that we have the plastic shim cut to size, we need to align both the ribbon and the shim, as in the picture above
Install the ribbon cable and the shim

Holding both the ribbon cable and the shim, carefully insert them into the connector. Because of the added thickness, it will be a bit harder to install compared to when using only the ribbon cable.
Push it carefully until you reach the end of the connector. You will feel when the ribbon cable cannot be pushed further.
Please note the orientation of the ribbon cable. Your pins need to be in the left of the extruder.
(Optional) Install a printed ribbon cable strain relief
If you want to have another extra layer of protection, you can print the Artillery Sidewinder X1 Extruder Cable Strain Relief from Thingiverse. There are others available, so you can look around until you find your favorite.
I did not use any strain relief for the ribbon cables, and I never had any issues for over 6 moths since I installed the Sidewinder X1 ribbon cable fix.
Wrapping Up
Now that the Sidewinder X1 ribbon cable fix is installed, your connection issues should be solved. The ribbon cable will stay fixed in the connector and the printer should be more reliable now.
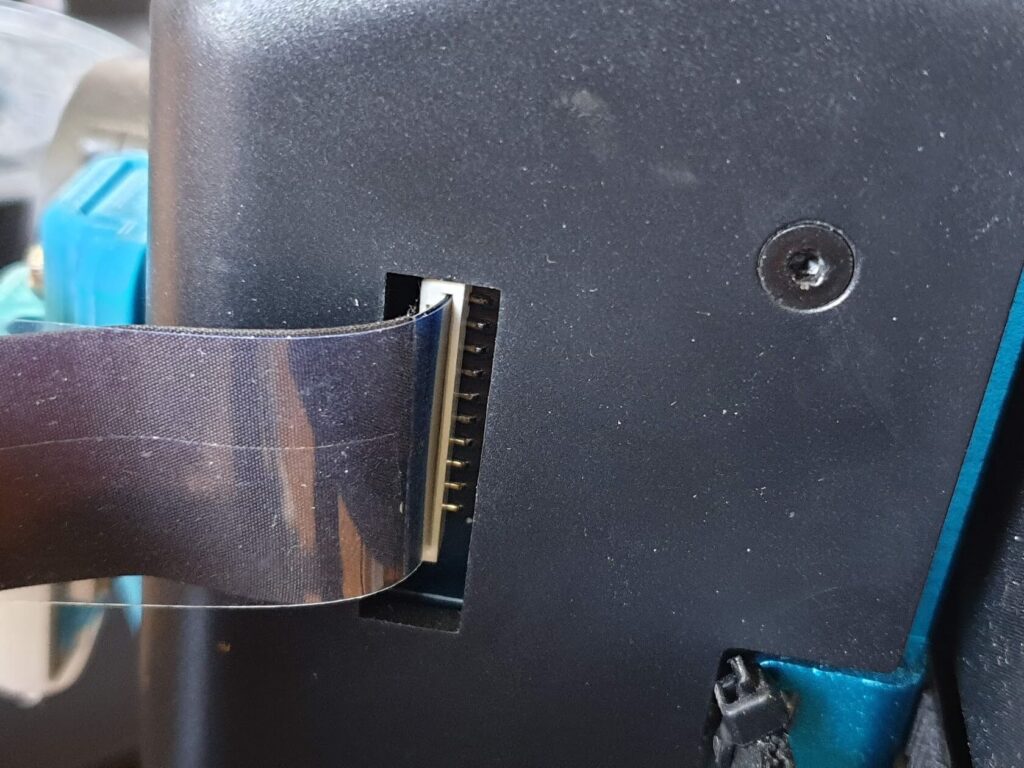
This fix can be installed on both the Sidewinder X1 and Genius.
Hopefully, this mod fixes your issues. I would love to hear from you in the comments section if this helped.
Also check my Artillery Sidewinder X1 Upgrades – Paid and Free article for more upgrades you can do to your printer.
Liked it?
|
|

