How to Install a Magnetic PEI Sheet – Artillery Hornet Print Surface Upgrade
The best way to improve your printing experience is to upgrade your print surface and install a magnetic PEI sheet. This upgrade will improve adhesion while also allowing you to easily remove the print once it’s finished.
In this article I will show you how I upgraded the stock glass print surface for the Artillery Hornet with a magnetic PEI spring steel sheet.
While this article covers the installation for the Artillery Hornet, you can use the same information for installing any magnetic PEI sheet for any printer, by just skipping the glass removal section.
Why replace the Artillery Hornet print surface?
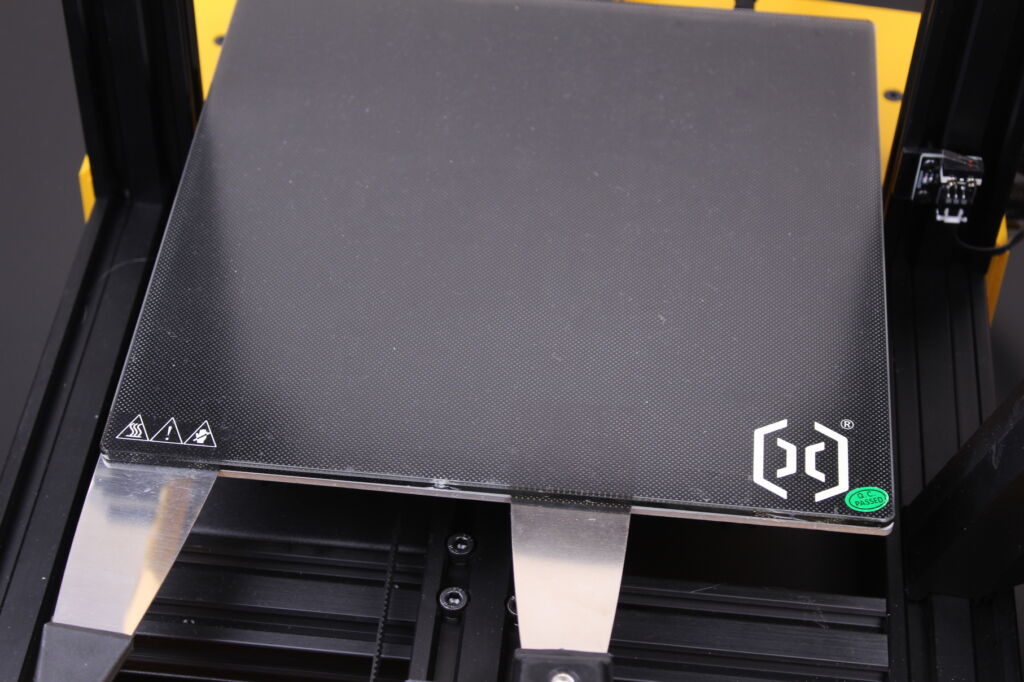
As I previously mentioned in my Artillery Hornet Review, the glass print surface is glued on the heatbed. My printer had some portions of the bed where glass was not even touching the aluminum bed. This makes the thermal transfer uneven, and you might have issues on larger prints.
If you replace the glass bed with a magnetic PEI Spring Steel Sheet, you will be able to easily remove prints without needing to wait for the bed to cool off. Just remove the PEI sheet, flex it then start the next print.
Besides all this, your bed will stay level for a longer period of time. If your print is not removed easily, and you need to use a scraper or other methods to remote your print, there’s a risk of moving the bed and messing up the first layer. When using a magnetic PEI sheet, you remove the print surface after each print and the heatbed stays at the same level.
Overall, replacing the glass surface with a magnetic PEI sheet is an excellent upgrade for the Artillery Hornet.
Weight difference
Some of you might be interested if there’s a big difference in weight after upgrading the Artillery Hornet to a PEI sheet.
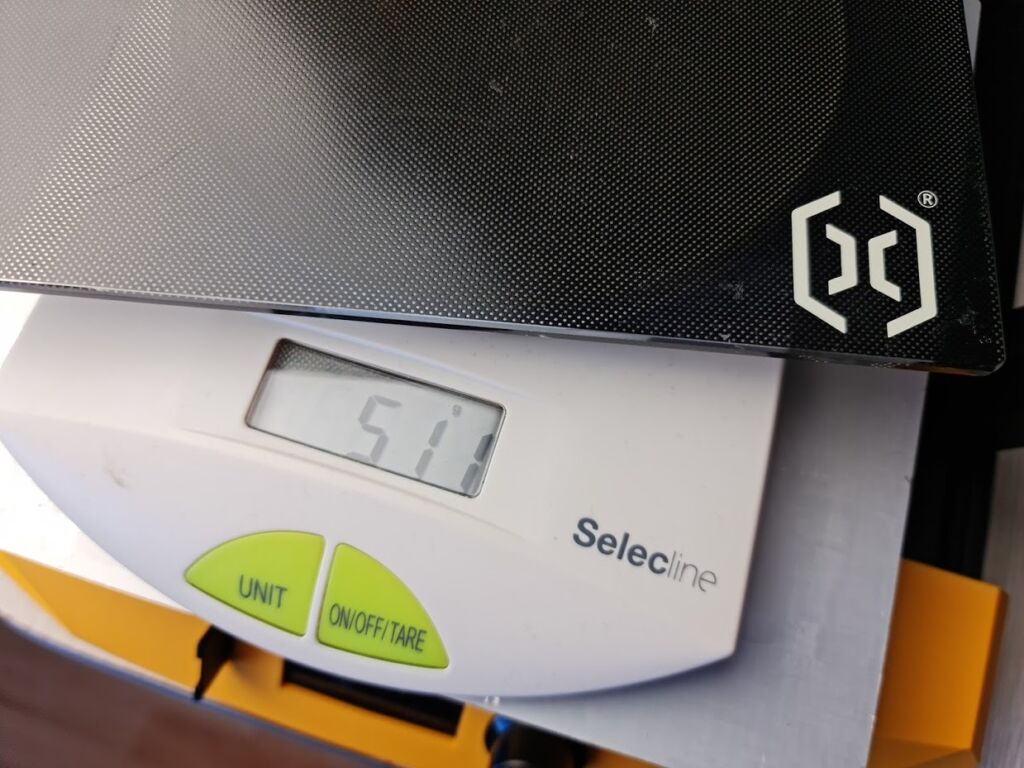
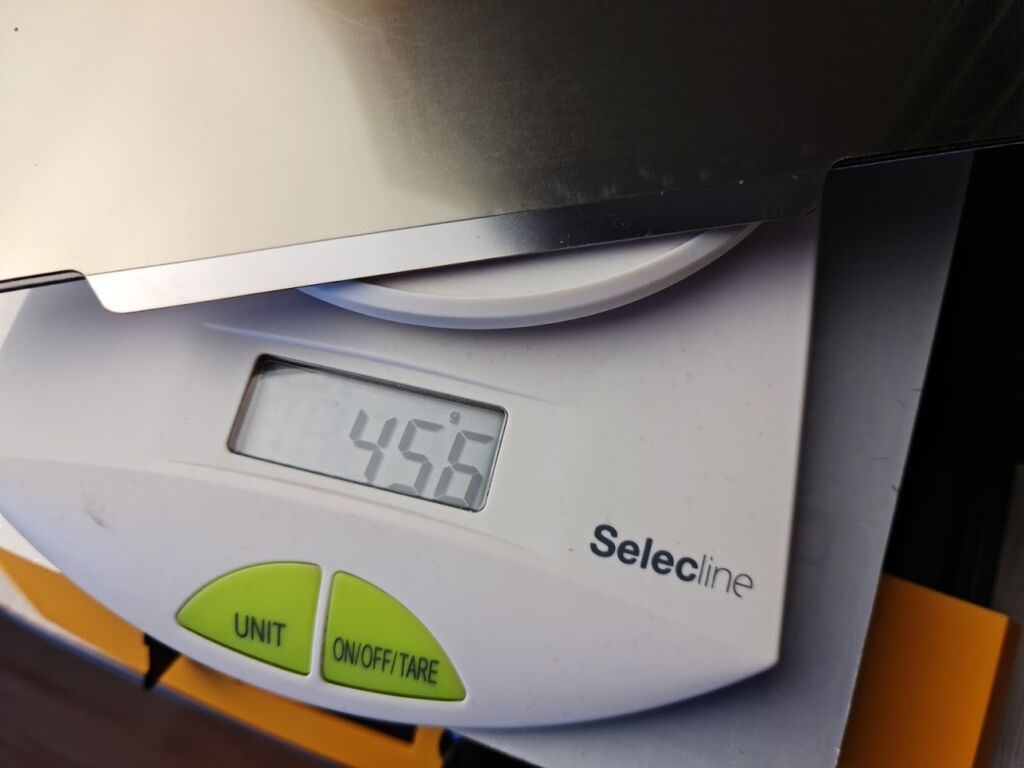
The stock glass print surface weights ~511g while the new magnetic PEI sheet and sticker weighs ~456g. The weight difference is not as high as I was expecting, so there won’t be any big improvements in print speed after the upgrade.
If you get the correct size (220×220) you might save probably ~100 grams which is ~25% lighter than the original.
Prerequisites
To replace the Artillery Hornet, you need the following:
- Safety/protection gloves
- Scraper
- Isopropyl Alcohol
- 230×230 mm PEI Spring Steel Sheet with Magnetic Sticker
In my opinion, one of the best magnetic PEI sheet available right now is the one made by Energetic, which I reviewed a while ago. But you can also look into getting the BIQU SSS which is a bit more flexible. It’s the same kind of print surface which is used by the BIQU BX.
In this guide, I used the Two Trees Magnetic PEI Spring Steel Sheet because I had a spare one. This is 235×235 mm which is a bit bigger than the bed. It’s not a problem using this size, but if possible, I recommend getting the correct size.
Before you begin
Please note that this modification to your printer invalidates your warranty.
Read the full guide carefully and replace the Artillery Hornet print surface only after you understand all the steps involved. I am not responsible for any damage you may cause to your printer by following this guide. You are doing this on your own responsibility.
How to remove the Artillery Hornet glass print surface
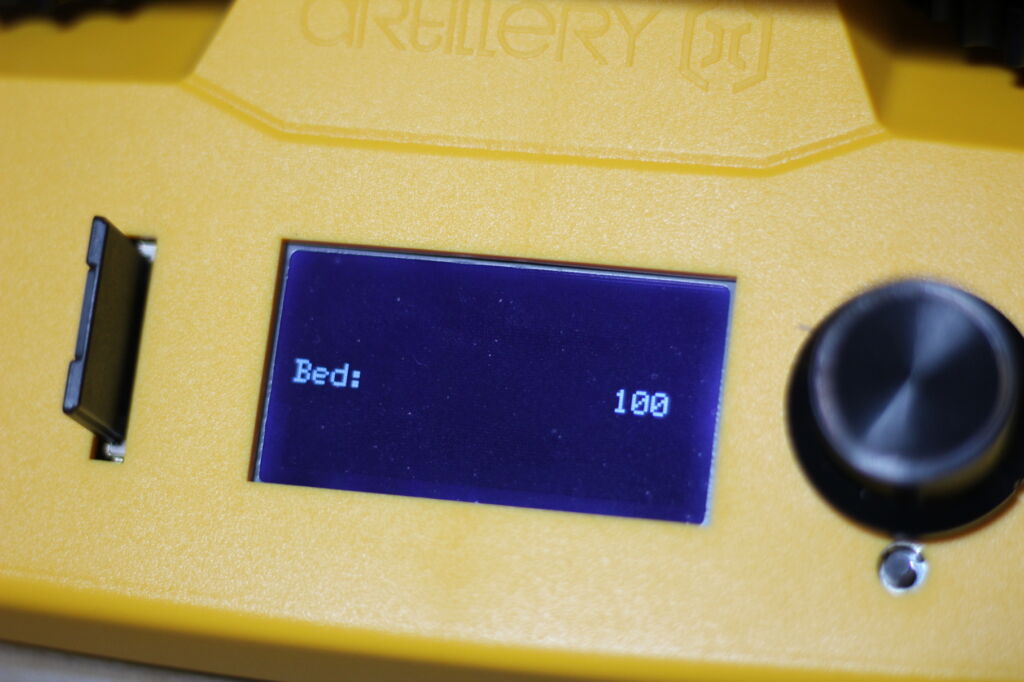
Heat up the bed to 100C
The first step would be to heat up the bed to 100C and wait about 10 minutes. We do this in order to give the glue a chance to soften and loosen up a bit. After 10 minutes, turn off the printer and remove the power cable.
Remember to use the protection gloves when moving to the next step, to avoid burning your hands or cutting yourself.
Insert the scraper between the glass and the bed
Next step is to gently insert the scraper between the glass and the bed, then work our way around to “cut” the glue from beneath the glass.
Take your time and don’t rush this. If the metallic scraper doesn’t fit between the glass and the heatbed, you can use a thinner tool, like a large cutter.
I found out that having the scraper between the surfaces and using the cutter to work your way around the build plate works best. You can also use multiple scrapers if you have them available.
Please take the required precautions when doing this because if you rush this step, there’s a risk of cracking the glass.
After a bit of work, the glass plate will come off the printer, and you can move to the next step.
Clean up the remaining glue
You will have a lot of glue residue on both the glass plate and the aluminum heated bed. To install the magnetic sticker, we need to thoroughly clean up the glue from the heatbed.
First, soak up the aluminum bed in isopropyl alcohol and leave it for a few minutes. This will soften up the glue and will make the cleaning process a bit easier.
Next, you need to use the metallic scraper to clean up the glue. Start from a corner and work your way up until all the glue is removed. Don’t push too hard on the aluminum plate because you can scratch it and we want to avoid this. While small scratches will not have any impact on the magnetic sticker, it’s always better to avoid them.
Using a sharp scraper works best. If you have a razor scraper you will be able to clean it faster, but as always, be very careful when doing this to avoid injury.
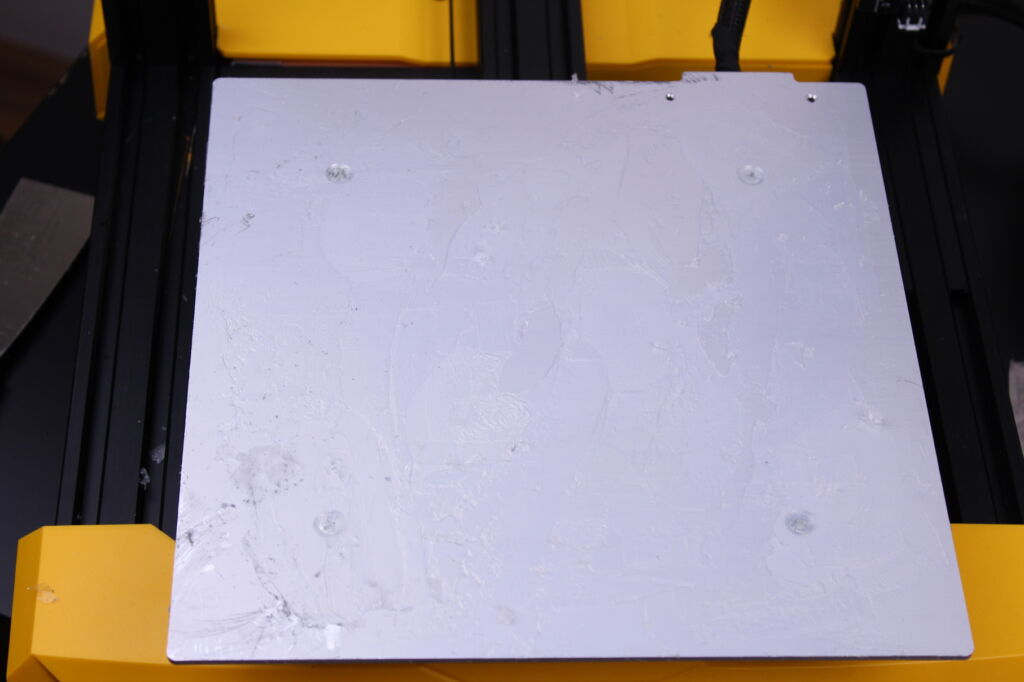
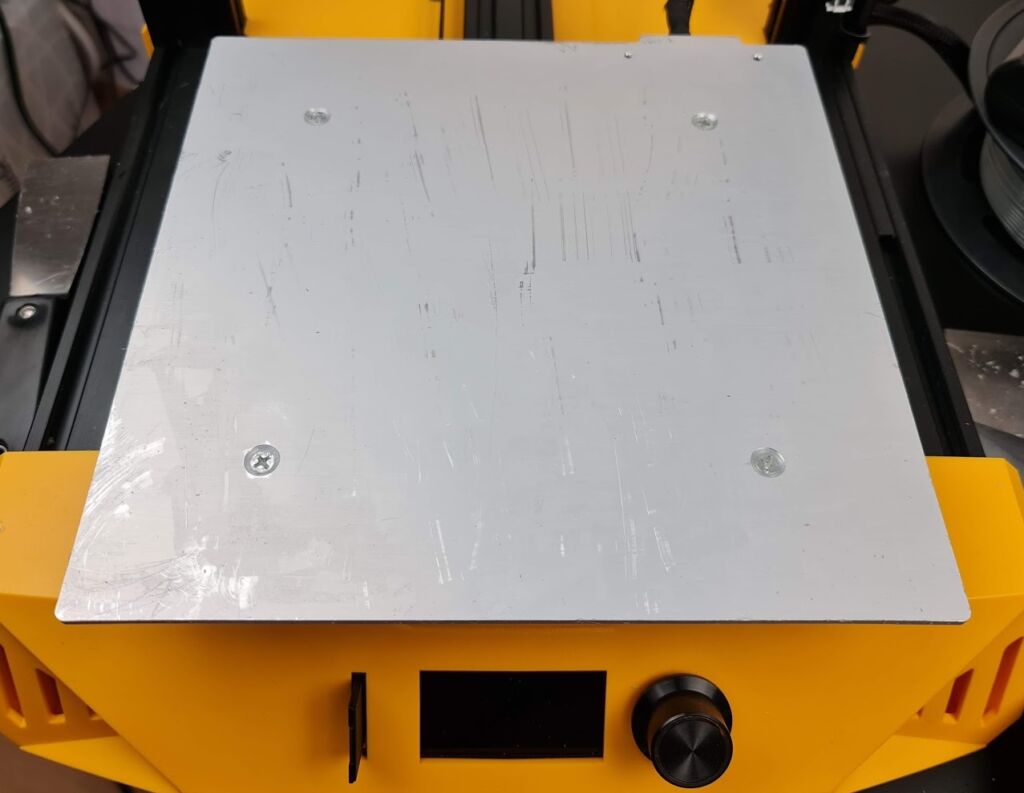
This is how the aluminum heatbed will look like with all the glue residue removed.
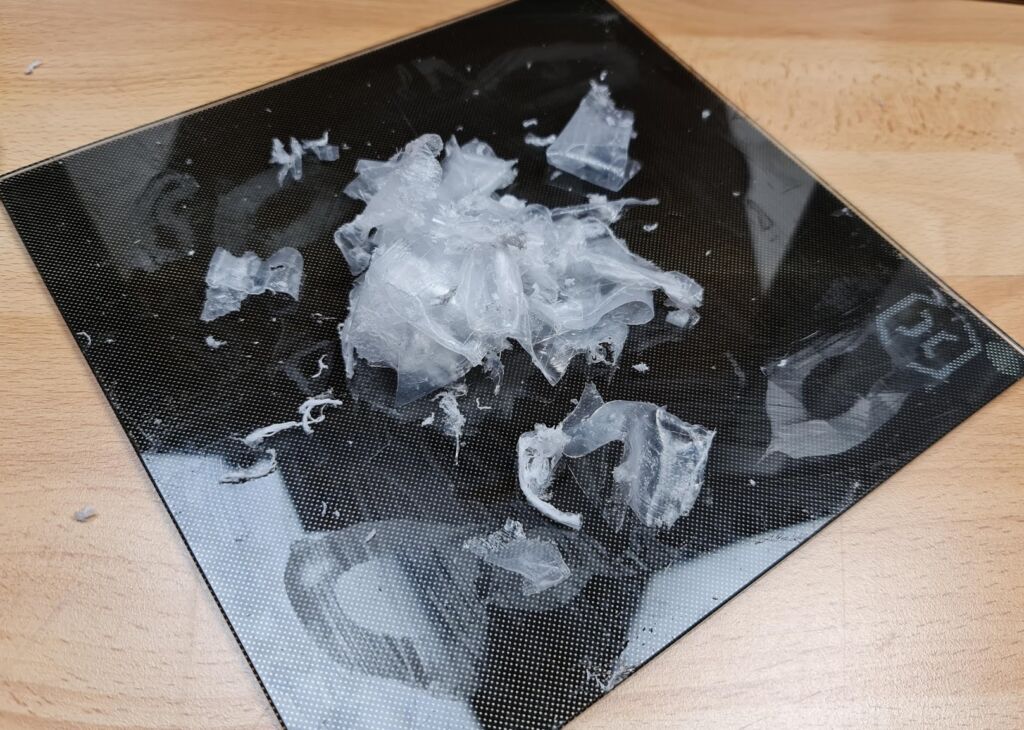
This is how much glue I managed to scrape off
When all the glue is removed you can move to the next step.
Install the magnetic PEI spring steel sheet
Apply the magnetic sticker
After doing a final cleanup with some IPA, you can start the application of the magnetic sticker.
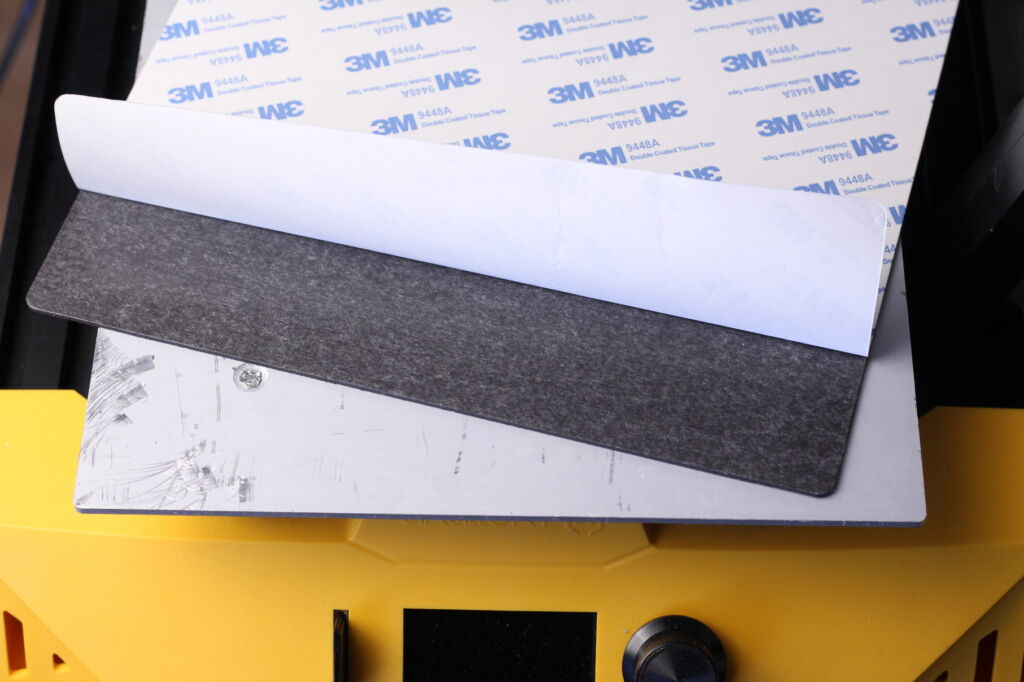
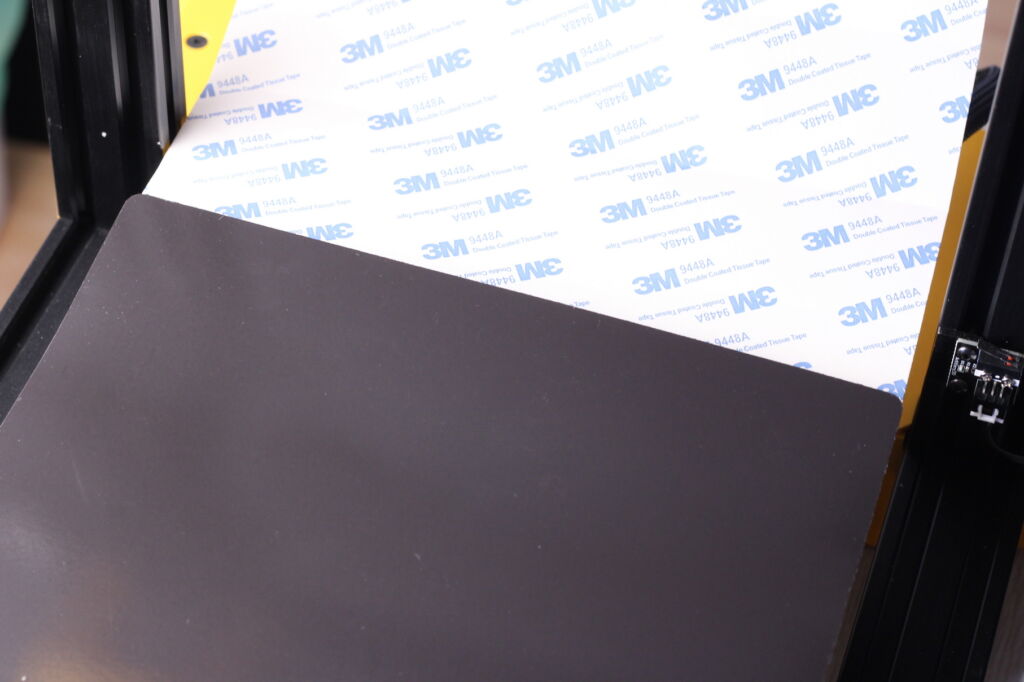
Unpeel about 3cm of the protective cover on the sticker, and carefully align it with the front of the aluminum bed. This step is important because if the front side is not aligned perfectly with the aluminum bed, your sticker will be skewed.
Gently apply pressure on the front of the sticker starting from the middle and continuing to the sides. It’s crucial to avoid trapping air underneath the magnetic sticker, so don’t rush this step
After the unpeeled section is properly adhered to the aluminum bed, you can unpeel another section of around 3cm then repeat the process. Continue to do so until the sticker is applied.
Nero3D made an excellent video where he describes the process of installing the magnetic sticker and PEI sheet on a heated bed, so make sure you also check it out for a better understanding of the process.
Complete the magnetic sticker installation
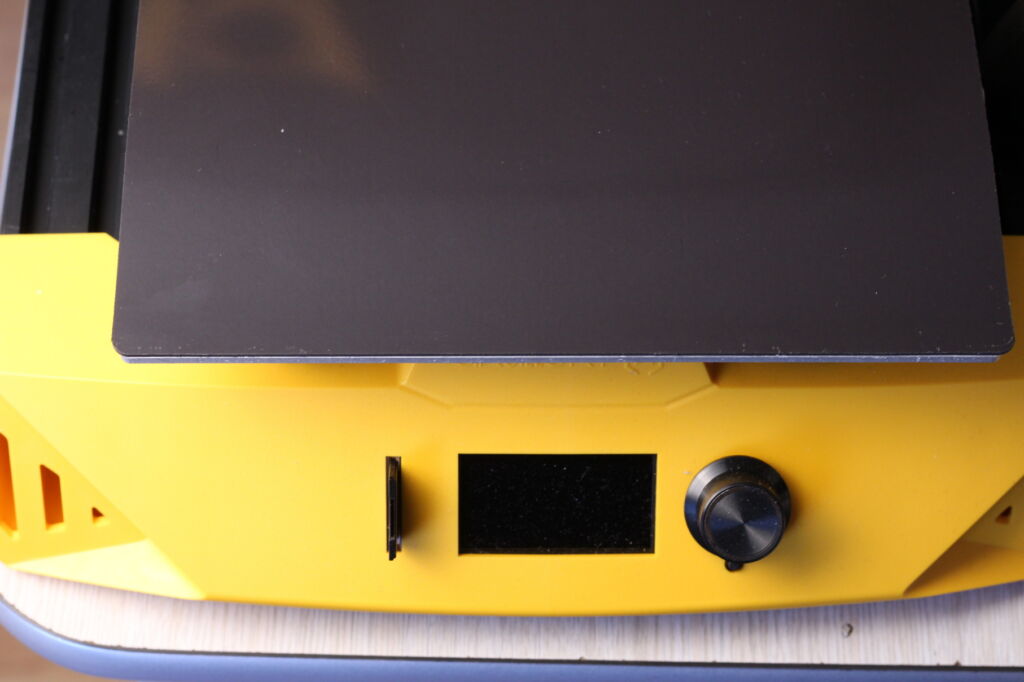
If you followed the guide carefully, and applied the magnetic sticker, you should now have it installed on the aluminum heatbed. If you trapped some air underneath it, you could use a small needle to punch a hole in the air bubble the squeeze out the air.
It’s also recommended to heat up the bed again (80C should be enough) and wipe the magnetic surface with a cloth while applying a bit of pressure. This will ensure the adhesive will properly stick to the bed.
Level the bed
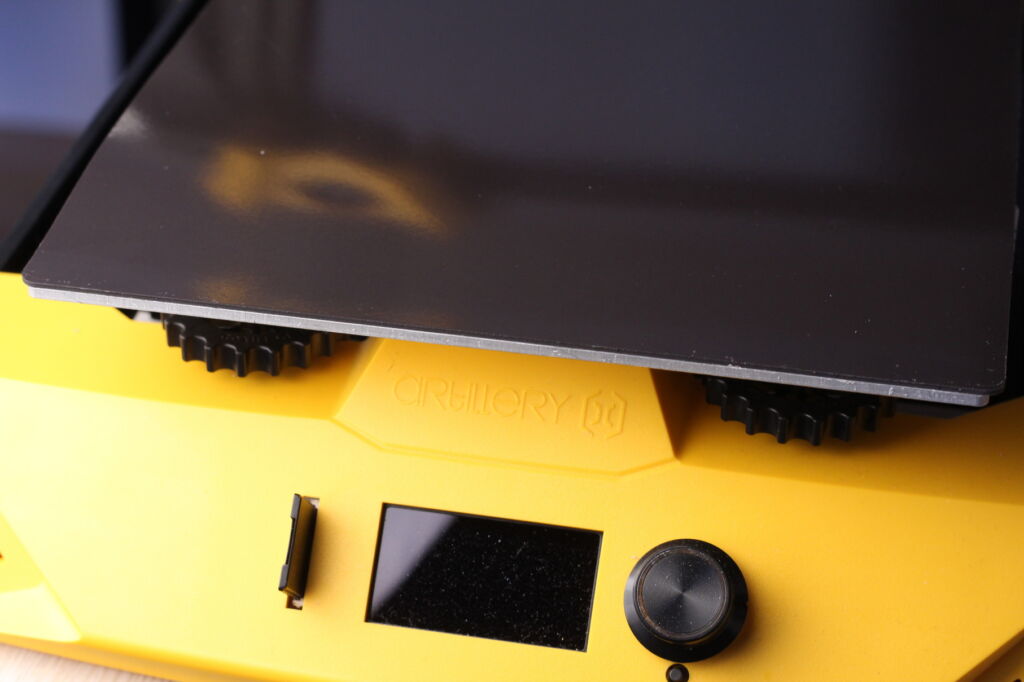
Now that the installation process is completed, feel free to attach the magnetic PEI sheet to the bed, and manually level the bed.
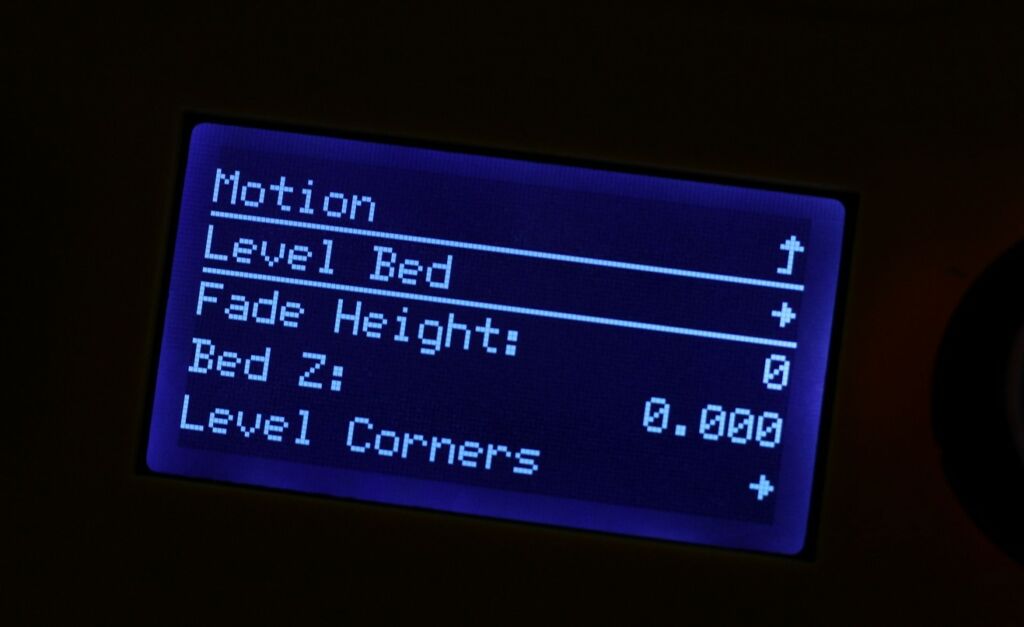
Home the printer and level all the four corners of the bed. Do this a couple of times for each of the corners, using a piece of paper, until all the corners are at the same distance from the nozzle.
Print a first layer test
To make sure the Z offset is set correctly, and the first layer is good, it’s recommended to print a first layer test. I usually just scale a calibration cube to full bed size, and set set the height to a single layer.
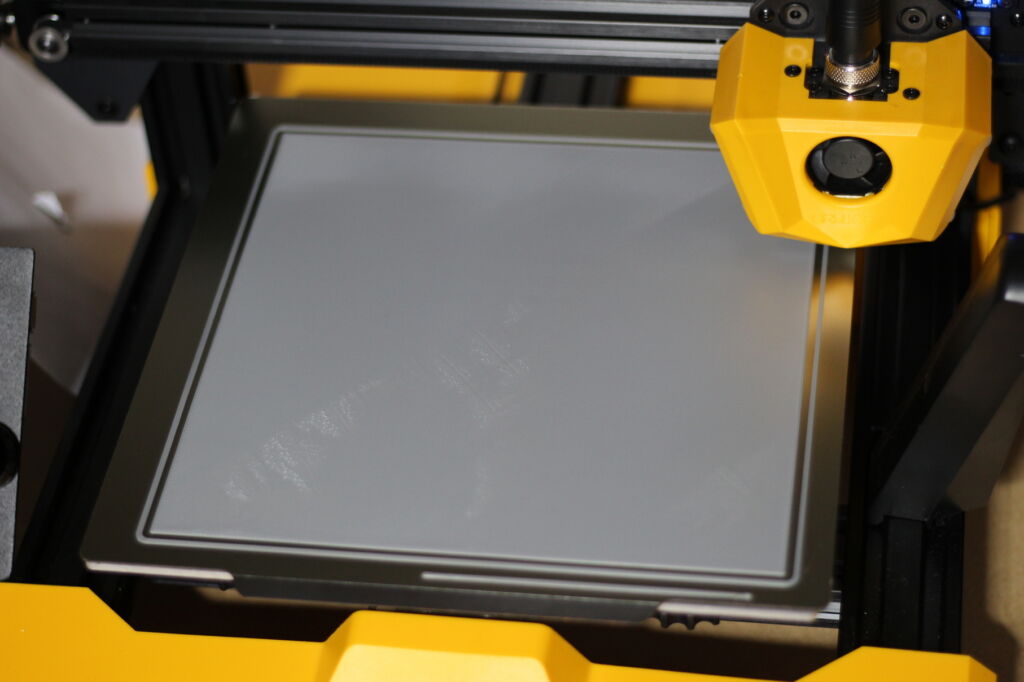
This is the result after leveling the corners. The Z offset was a bit low, which caused some uneven layers, but with a bit of tweaking you can get a perfect first layer.
Wrapping up
I hope this guide helped you successfully upgrade your Artillery Hornet glass bed with a magnetic PEI sheet.
If you encounter any issues or you have questions, leave a comment, or join the 3DPrintBeginner Discord server where you can get assistance.
Liked it?
|
|


I replaced the original glass with a Ziflex bed
I get better first layer and prints