Install Klipper on Ender 3 with BLTouch support
The Ender 3 is a really good 3D printer for the money. But if you install Klipper on Ender 3 print speed can also be improved while keeping quality. In the following guide i will show you how to install Klipper on Ender 3.
I had great results when running Klipper on Anet AM8 printer, so i decided to do the same for my Ender 3.
Why install Klipper ?
Klipper firmware was first developed because of the limitations provided by the 8 bit boards that sometimes were not able to keep up with complex geometries and high speeds. By offloading the printer movement calculation on a different computer (ex: a Raspberry Pi) Klipper can print faster and with better quality.
Besides faster printing, Klipper offers simple configuration editing with a single .cfg file. This is a much improved feature over Marlin which requires a complete recompile and flash when needing to enable or disable various settings in the firmware.
Another great feature offered by Klipper is Pressure Advance (which is similar with the Linear Advance from Marlin). When properly calibrated it reduces the need for high retraction and extruder ooze. This translates in less stringing on your 3D prints.
A complete feature list is available on the Klipper3d website.
Prerequisites
In order to install Klipper, you will need the following:
-
- Raspberrpy Pi with OctoPi installed (this can be done with any linux computer running Octoprint)
- Ender 3 printer with stock motherboard. A bootloader needs to be already installed in order to do this.
Install Klipper on Ender 3
- Login via SSH on the server
- Run git clone https://github.com/KevinOConnor/klipper
- Start the installation ./klipper/scripts/install-octopi.sh
- Navigate to the Klipper Folder cd ~/klipper/
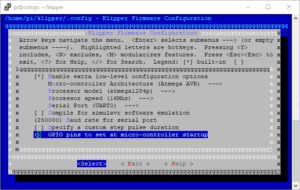
- Run make menuconfig to configure the board settings like in the screenshot below. You need to select the Atmega AVR micro-controller achitecture, with atmega1284p processor model, 16Mhz speed, then select Exit
Menu config for Klipper on Ender 3 - Select Yes when you are asked to save the configuration
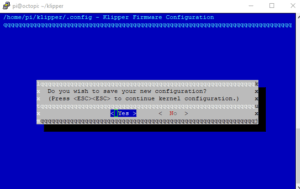
Save the configuration - Run make to compile the firmware for the Ender 3 board.
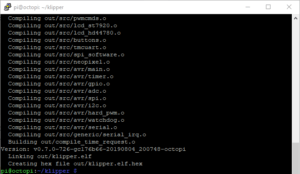
Klipper firmware compiled - In the SSH connection, run sudo service klipper stop to prepare for flashing
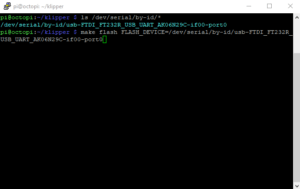
- Run ls /dev/serial/by-id/* command to list your printer’s USB port, and run the command make flash FLASH_DEVICE=the_id_received_from_the_previous_command
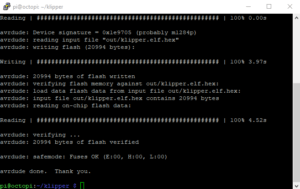
List your 3D Printer USB port - The make flash command will install Klipper on Ender 3. When the “Thank You” message is displayed, the process is finished.
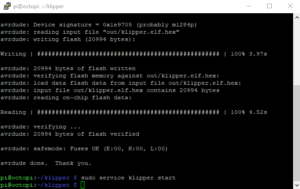
Install process of Klipper on Ender 3 is finished - In the SSH connection, run sudo service klipper start to turn on the Klipper service
Start the Klipper service - Run cp ~/klipper/config/example.cfg ~/printer.cfg to copy the default config.
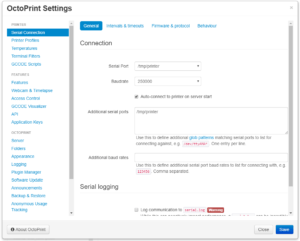
- Back on the computer, open Octoprint and under “Serial Connection” in “Additional serial ports” add the “/tmp/printer” info, like in the screenshot below.
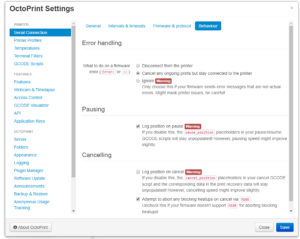
Add the additional serial port in Octoprint - Under the Behaviour tab, select Cancel any ongoing prints but stay connected to the printer then click save.
Select Cancel any ongoing prints but stay connected to the printer option - If the settings are correct, you can now connect to the firmware
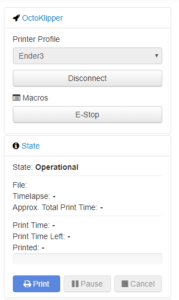
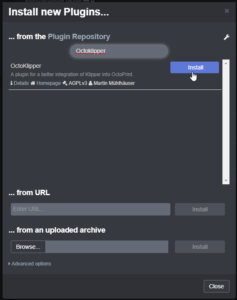
Octoprint is successfully connected to Klipper firmware on the printer - Back in Octoprint, navigate to OctoPrint Settings, and under Plugin Manager search for OctoKlipper and install it. This plugin will simplify the usage and configuration of Klipper with Octoprint.
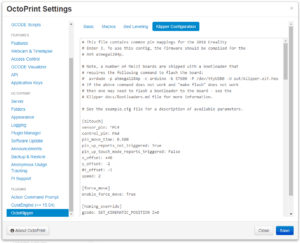
Install OctoKlipper plugin - Open OctoKlipper and navigate to the Config section, then paste the config downloaded from here
OctoKlipper config - Find the [mcu] section and paste the ID from step 9, then save.
MCU setting - To make sure everything is ready, perform a reboot on the server with the sudo reboot command and also restart the printer.
- Now you can start your first test print.
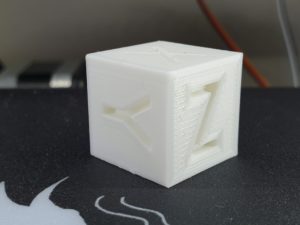
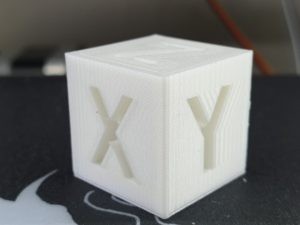
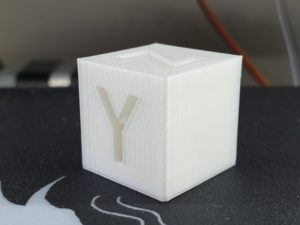
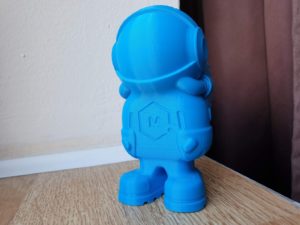
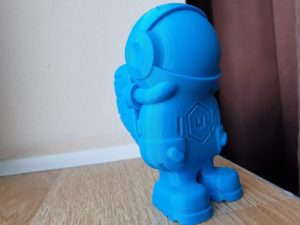
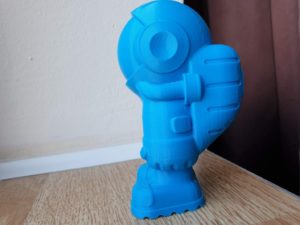
Pictures with the finish quality from Klipper on Ender 3
Calibration Cube:
- PLA
- 150mm/s
- 0.2 mm layer size
- 205C
- PETG
- 150mm/s
- 0.2mm layer size
- 240C
Videos with Kilpper on Ender 3 in action
More information about Klipper:
Chris Riley made a video guide about Klipper that you should watch:
Liked it?
|
|

