Artillery Hornet Review: Budget 3D Printer from Artillery
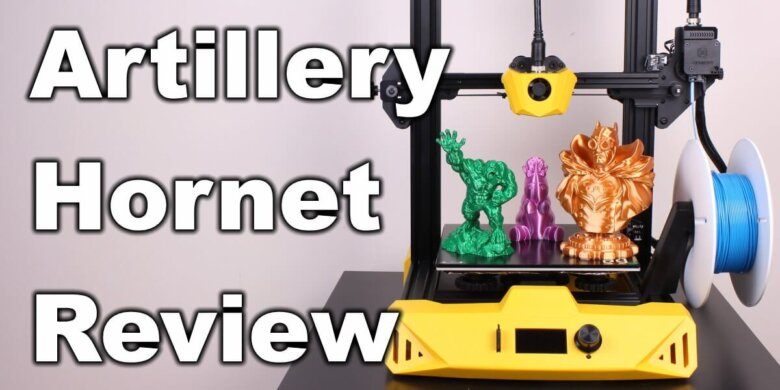
If you’ve been a regular visitor on my blog, then you know I’m somewhat of an Artillery fan. So, when I heard that about the Artillery Hornet, I immediately wanted to get my hands on it to test it.
The Artillery Hornet is the budget offering from Artillery. This printer is targeted as an Ender 3 alternative with a comparable price point and features. It’s also the first bowden setup printer produced by Artillery.
Let’s see if the Artillery Hornet is still a good buy, like their bigger brothers (Artillery Genius and Sidewinder X1) have been.
Artillery Hornet Shipping and Packaging
The Artillery Hornet is shipped in a carboard box with ample protection on all sides. The components are well packed, and they should survive most of the abuse from shipping.
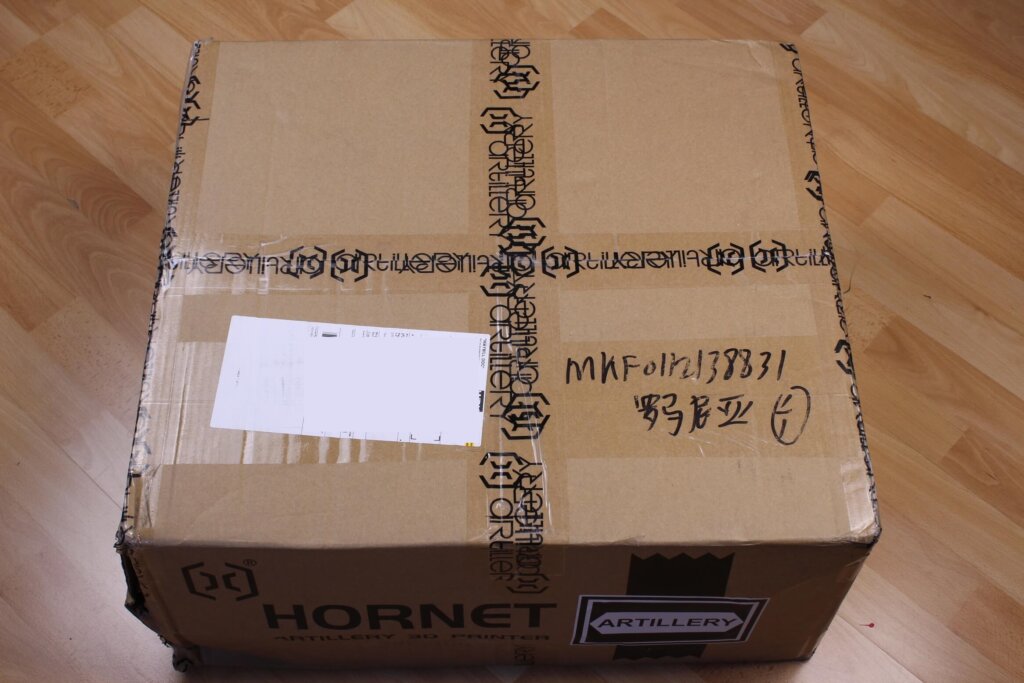
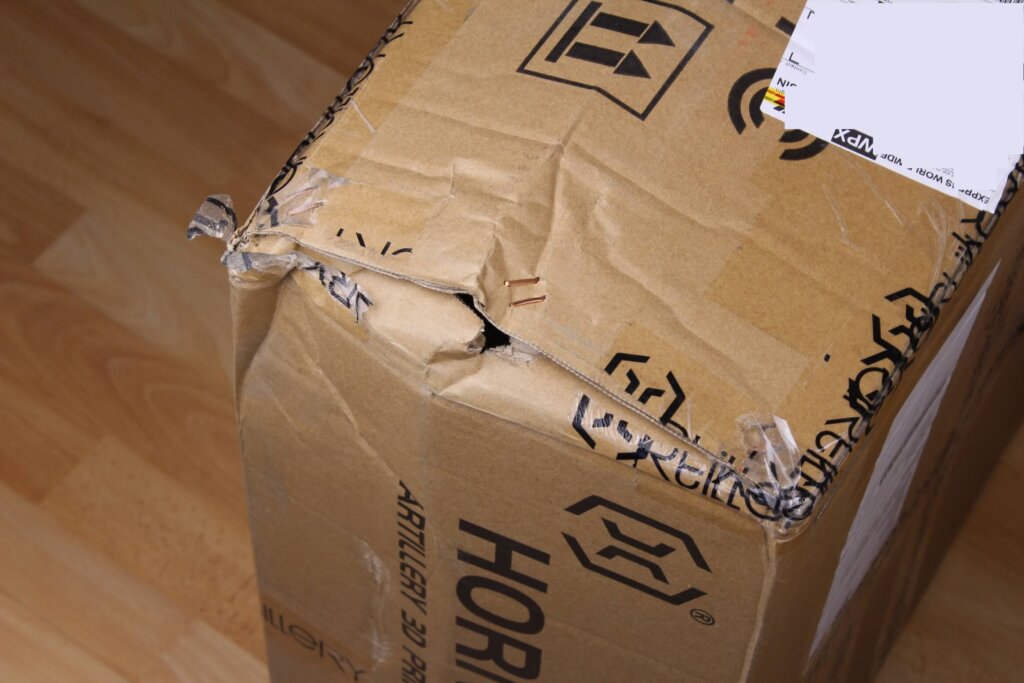
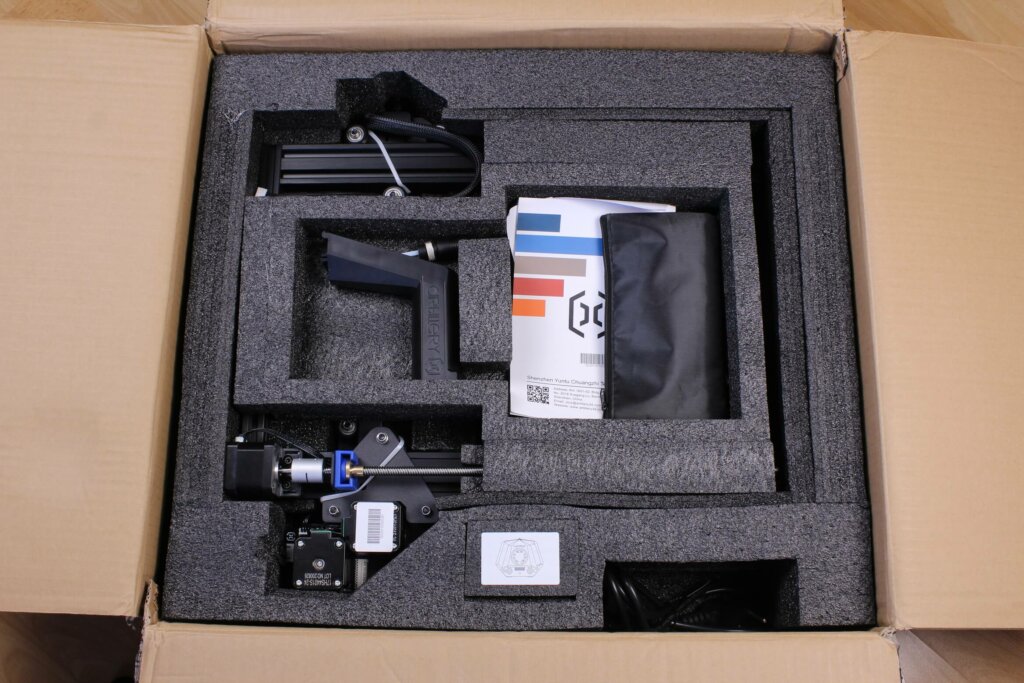
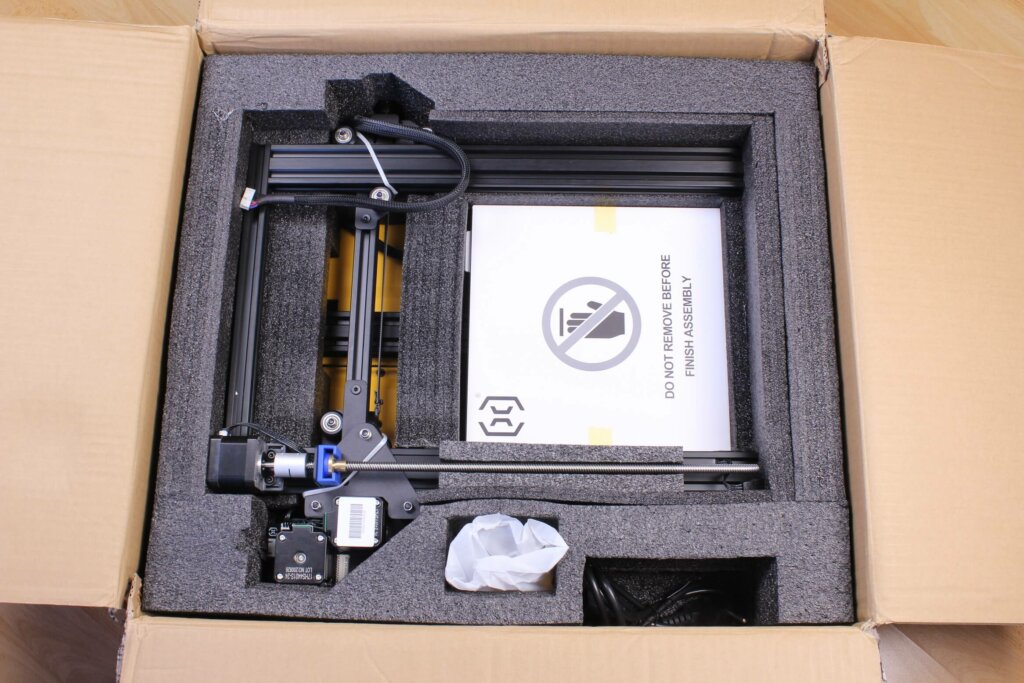
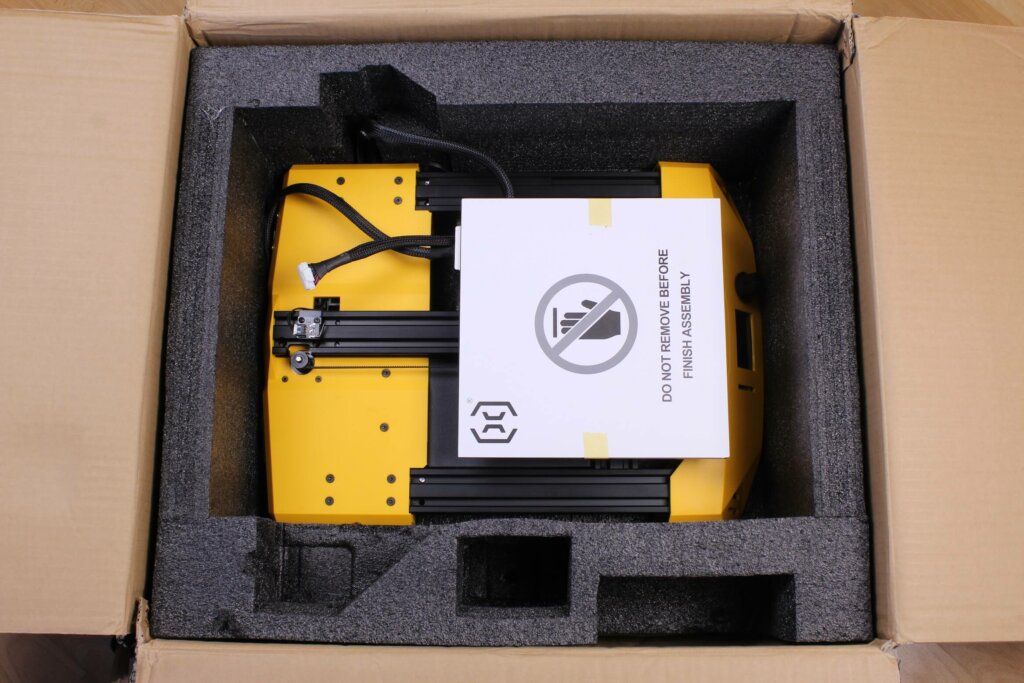
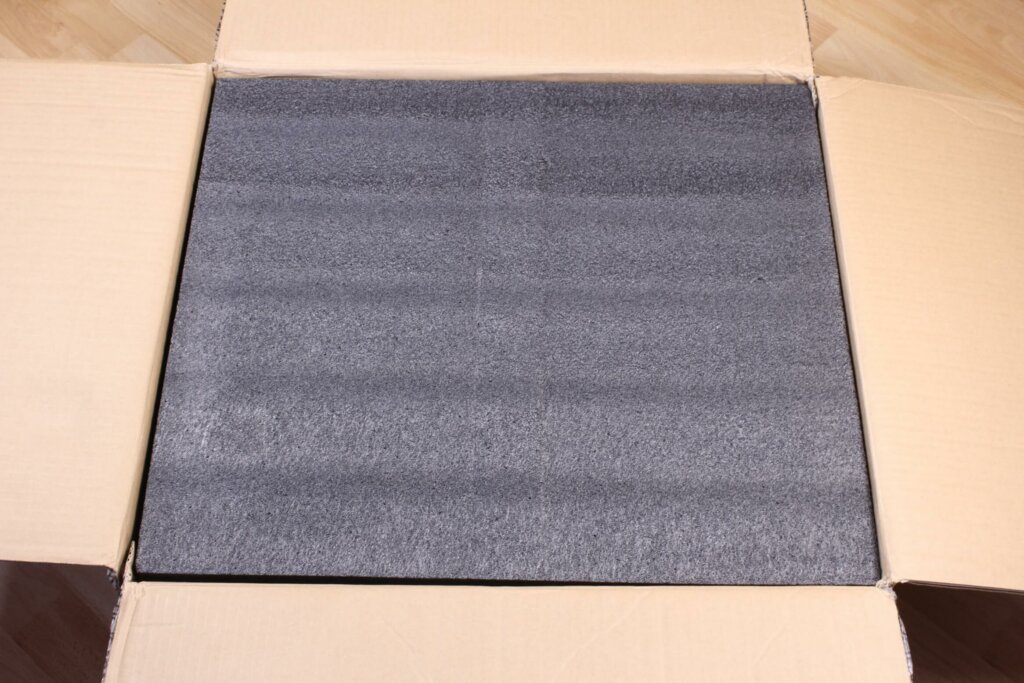
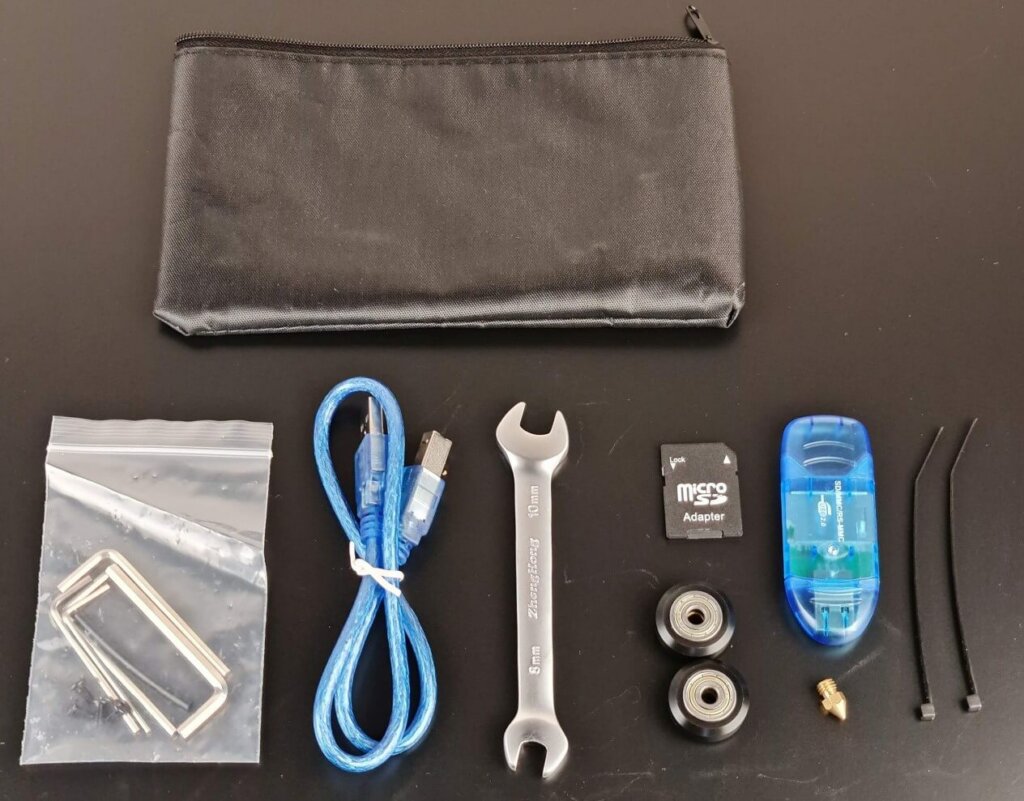
With the Artillery Hornet, you also get the following accessories:
- USB Cable
- Wrench
- Spare nozzle
- 4GB Micro SD card with adapter
- Card reader
- Hex wrenches
- Zip ties
- Spare PTFE tube
- Spare V-slot wheels
Make sure that the wheels are correctly tightened
As with any printer which uses V-slot wheels, it’s important to make sure they are properly tightened. Most of the time these wheels can become loose during shipment or improper QC.
I tightened the wheels using the eccentric nuts just enough, so they don’t slip when I try to turn them manually, but not tight enough so they can develop flat spot or get damaged during printing.
The three main locations where you can check this is the bed, the hotend and the Z wheels. Don’t skip the wheel tightening process because this can have a big impact on your print quality.
Assembly of the Artillery Hornet
I won’t go in too much detail about the assembly process because it was described well by Artillery in this video.
Artillery Hornet Specs
| Print Technology | FDM |
| Build Volume | 220*220*250mm (8.7*8.7*9.8 in) |
| Layer Resolution | 100-300 microns |
| Filament | 1.75mm (0.069 in) |
| Nozzle Diameter | 0.4mm (0.015 in) |
| Print File type | G-code |
| Material Compatibility | PLA, PETG, TPU |
| Product Dimensions | 470*410*450 (18.5*16.1*17.1) |
| Shipping Box | 560x500x255 mm (22.0×19.7×10.0 in) |
| Printer Weight | 8 kg (17.6 Ibs) |
| Shipping Weight | 9.8 kg (21.6 lbs) |
| Power Requirement | 110/220V, 350W |
| Connectivity | Memory Card, USB |
| Construction | Aluminium, ABS |
| Build Surface | Glass + Aluminum plate |
| Stepper Motors | 1.8° step angle with 1/256 micro-stepping |
| XY Positioning Precision | 10 microns |
Under the hood
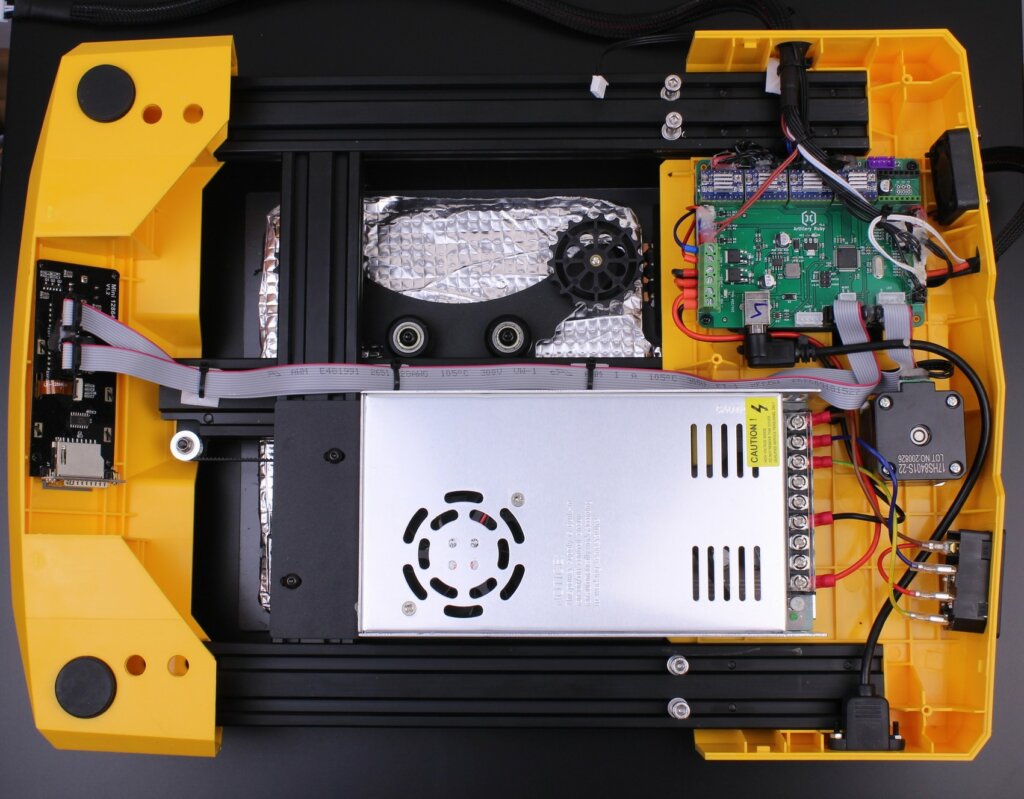
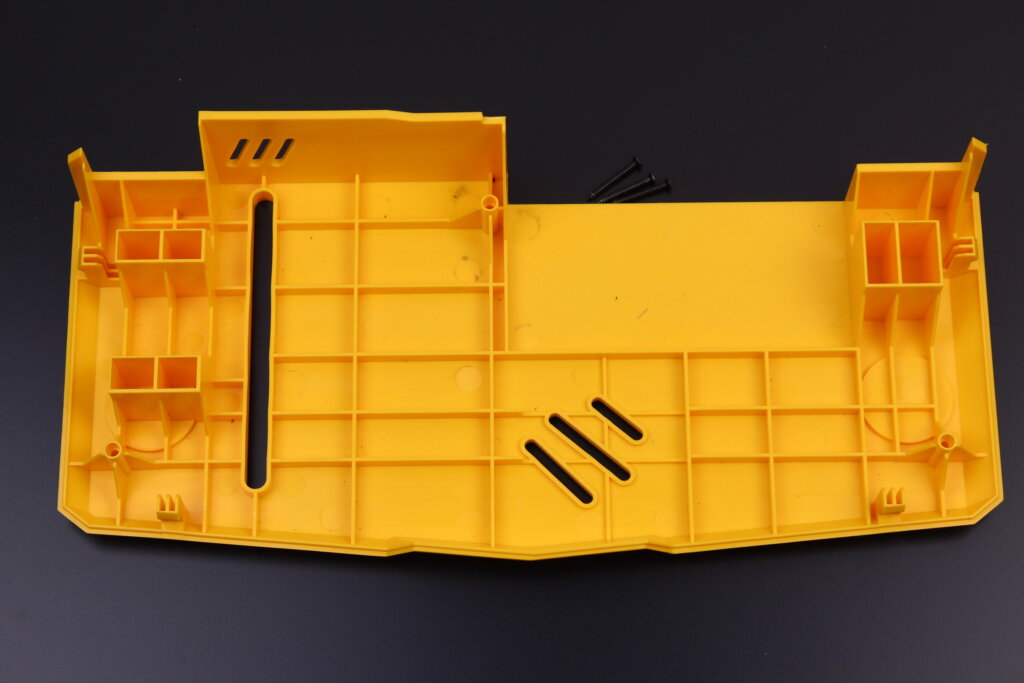
The base cover of the Artillery Hornet can be removed by unscrewing three plastic screws. Be really careful not to overtighten them when you put the cover back because if you strip the plastic thread you might have issues with putting everything back together.
Artillery Ruby 1.1 32-bit board with silent drivers
Last year’s 3D printer offering from Artillery didn’t have 32-bit boards which have been the norm lately. But this year, Artillery made the jump to 32-bit and produced the Artillery Ruby board.
It doesn’t look to have a lot of features, but at least the components chosen are good for this printer. The mosfets will be able to easily power up the bed and hotend without too much load.
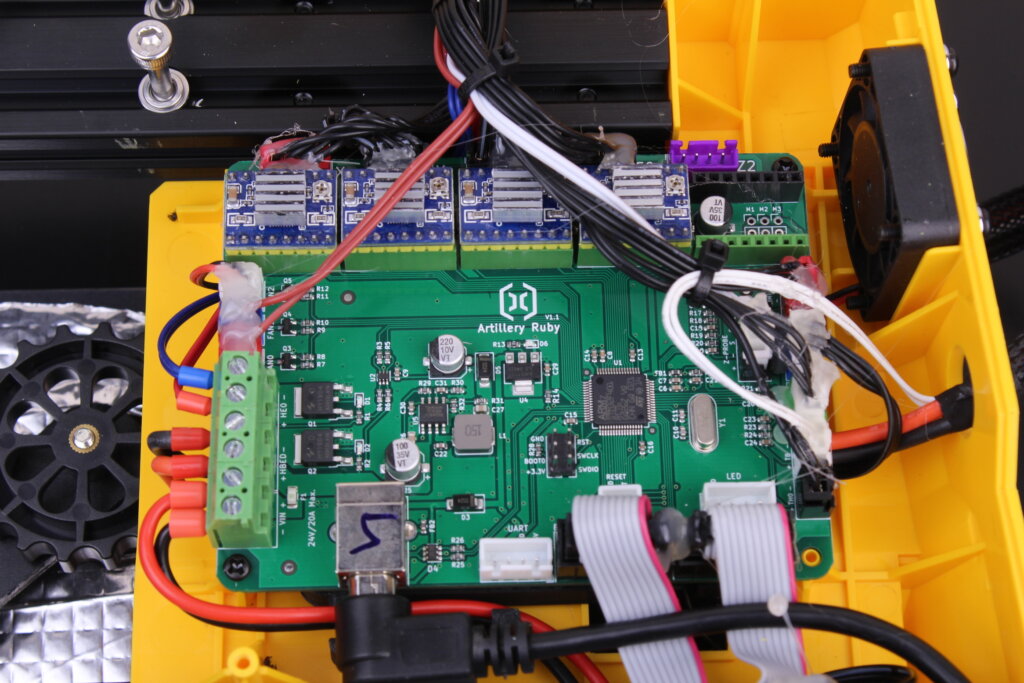
Unfortunately, Artillery still loves using a lot of hot-glue on all their connectors which is a thing I don’t really like, but it lowers the chance of having issues caused by shipping.
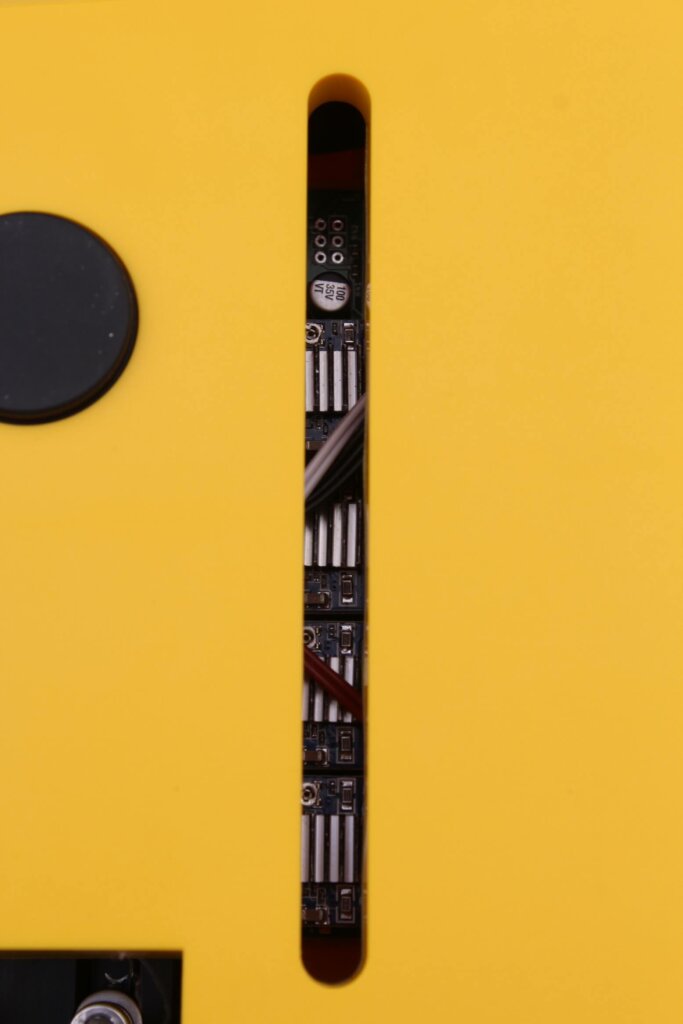
A good thing is the way they set up the airflow for the board. The 4010 fan is pulling air out from the plastic enclosure and cool air can go over the drivers trough the plastic cut on the bottom cover.
It’s a good design choice and you probably won’t have any overheating stepper drivers.
Marlin 2.0.7.2 with Manual Bed Leveling out of the box
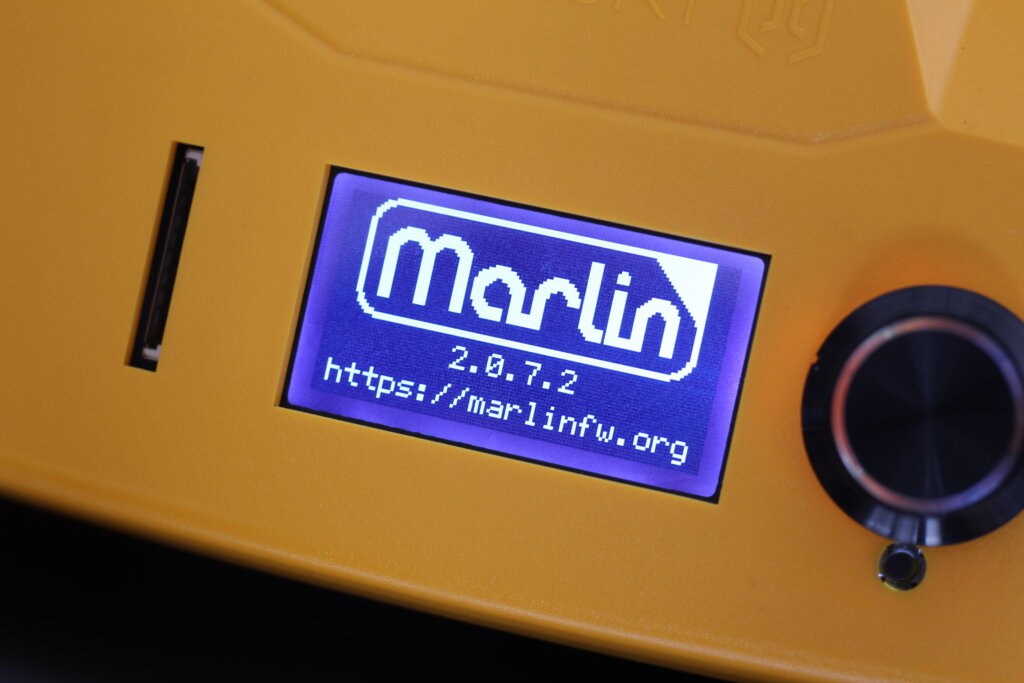
Another pleasant surprise from Artillery is the use of Marlin 2.0.7.2 firmware on the Artillery Hornet. At the time of writing this review, it’s the newest iteration of Marlin firmware, which is loaded with features.
I could not find any firmware sources online, but judging from past experiences, I am sure Artillery will release them in due time.
Titan clone extruder
The Titan extruder used by Artillery looks to be similar to the one used on previous machines and this has be worried a bit because the plastic lever doesn’t look too different.
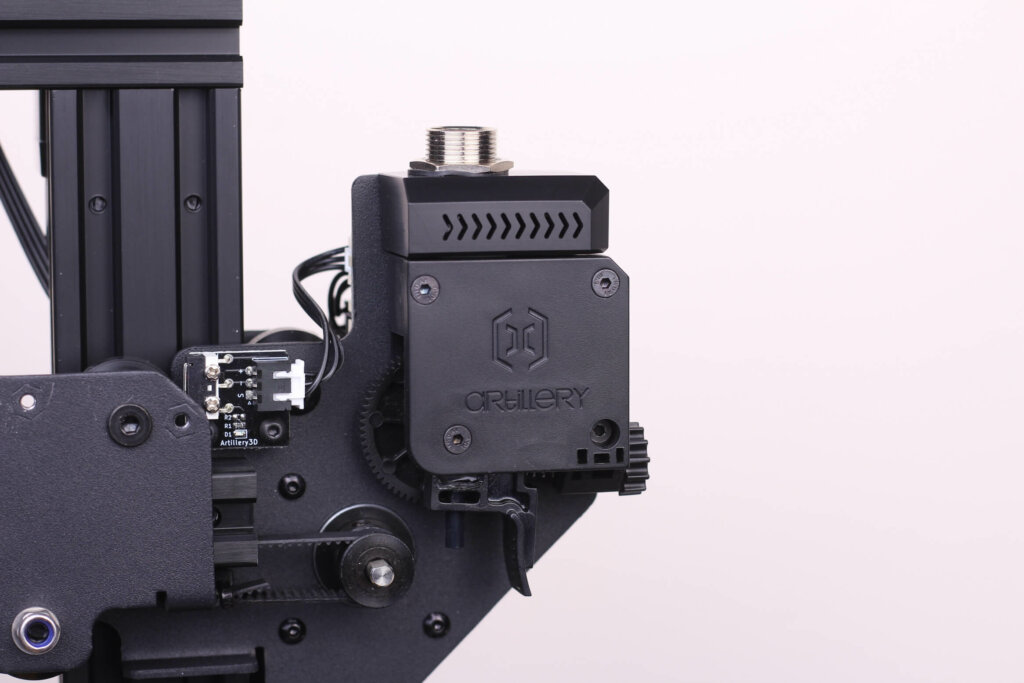
In the past, this was the main problem with most of the machines because it was breaking easily. You will have less chances of bearking this lever is you use the automated filament loading process available in the menu, but still a thing to keep in mind.
Another thing I don’t like is the way the metal screw for the bowden cable is installed on the extruder. It’s not sitting very well and I would have liked to see at least a printed mount for it to be secured well.
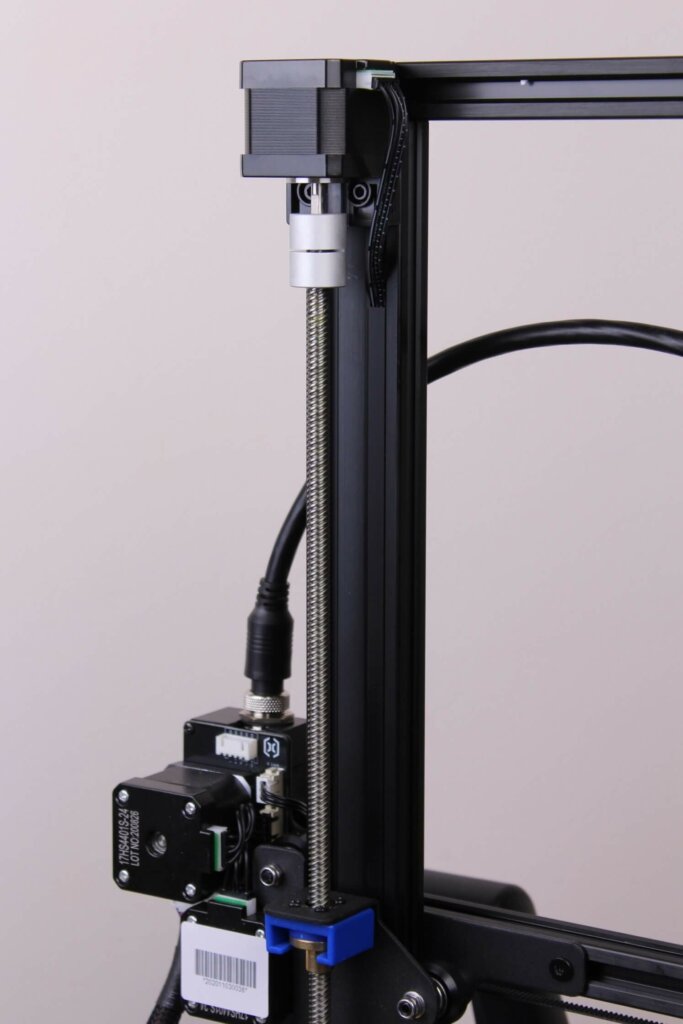
Inverted Z axis motor
The inverted Z axis motor setup present on the Artillery Hornet is something that you don’t see on a lot of printers. I’ve only seen this on the Voron
In theory, this will minimize Z wobble caused by improper alignment of the lead screw, but it can add additional banding when prints reach a higher point. In practice, this works as intended minimizing wobble and as you will see in the test I did, Z-wobble is not present on the Artillery Hornet.
Custom hotend with PTFE lined heat break
The yellow plastic cover used for the hotend looks nice. It has two 3010 radial fans used for part cooling and I’m happy to report that they’re not noisy.
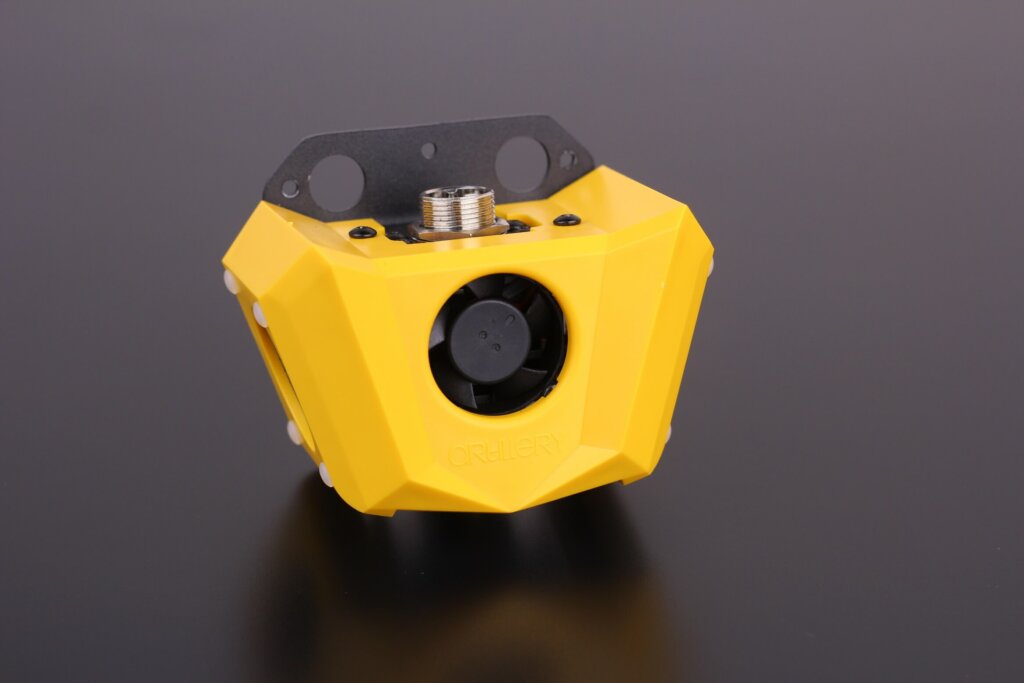
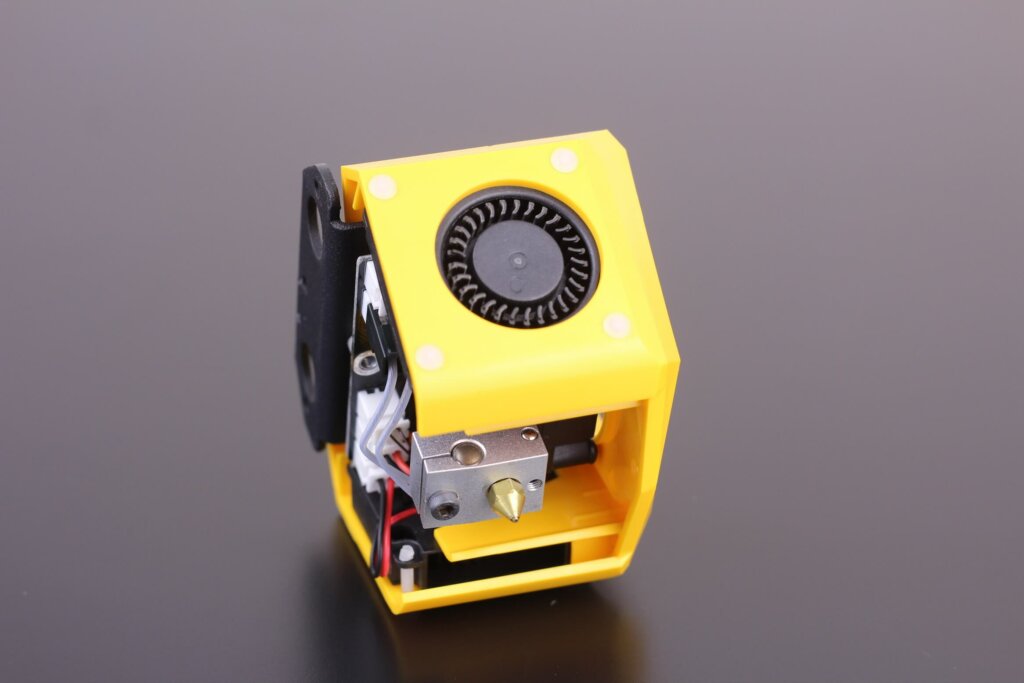
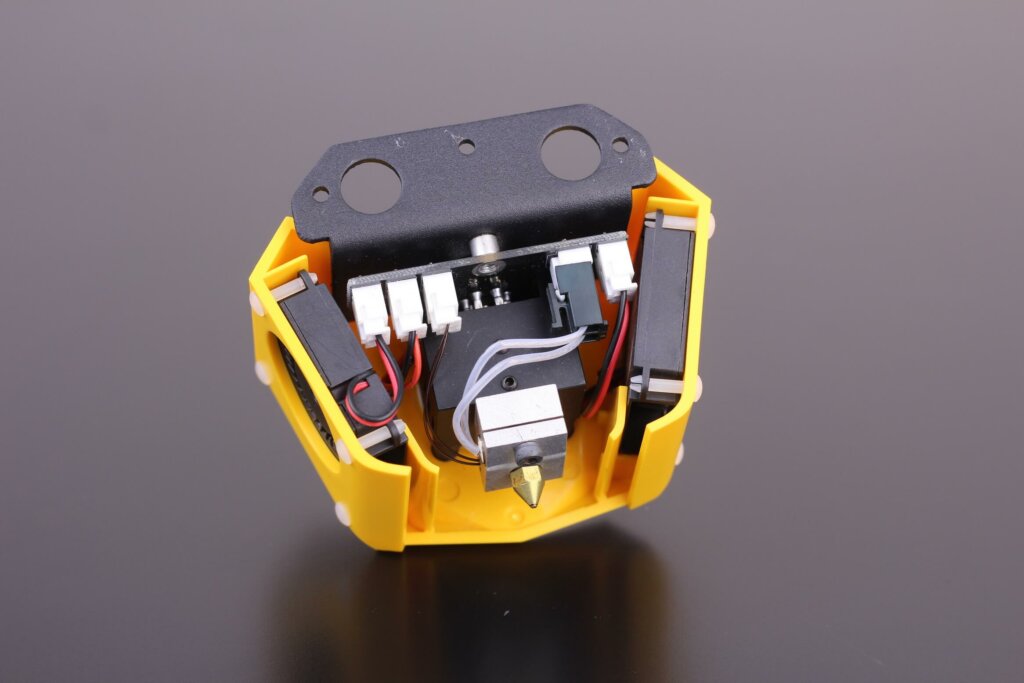
Part cooling is done with dual 4010 radial fans which do a good job of cooling the layers during printing.
Behind the yellow cover, we find the hotend and a small breakout board which connects everything. The hotend has a custom heatsink cooled by a 3010 fan, and the heatblock is similar to a V6, with a nozzle similar to the ones used in Creality machines.
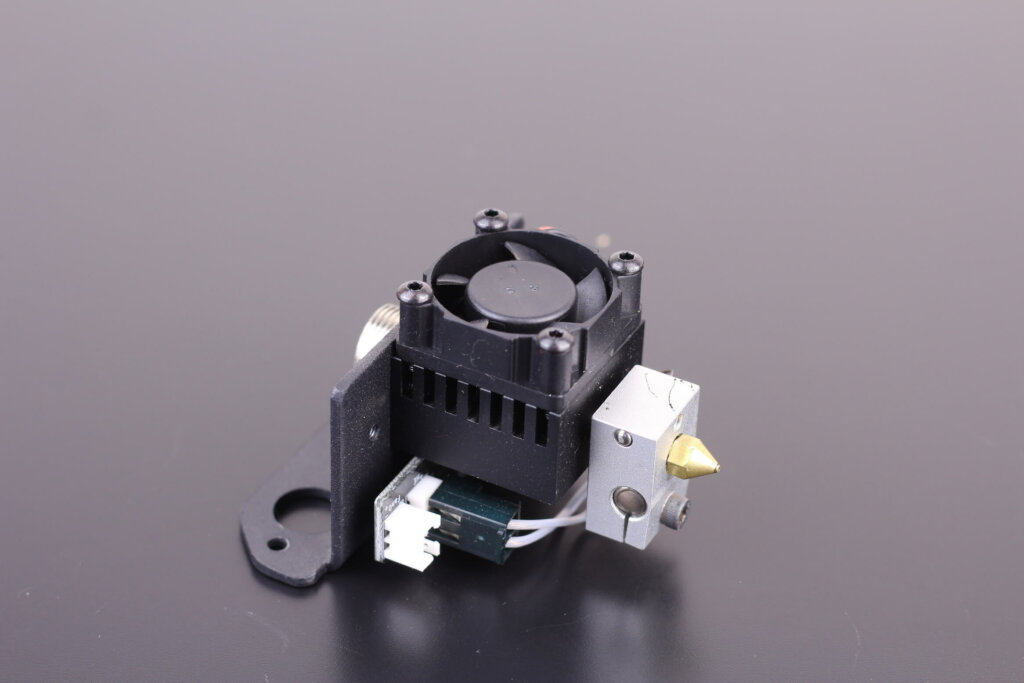

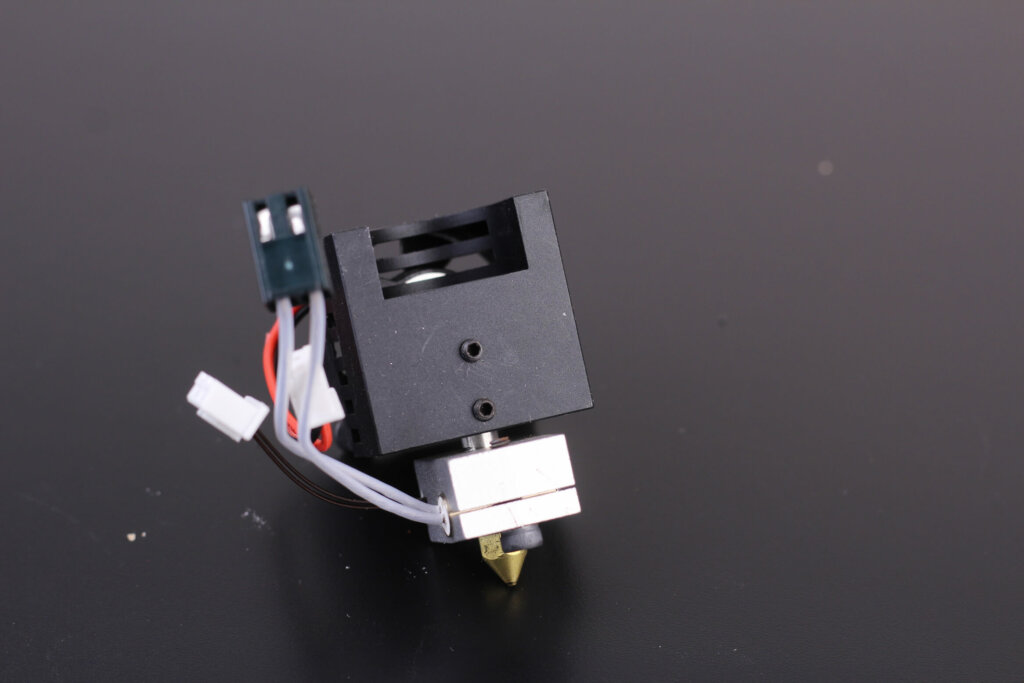
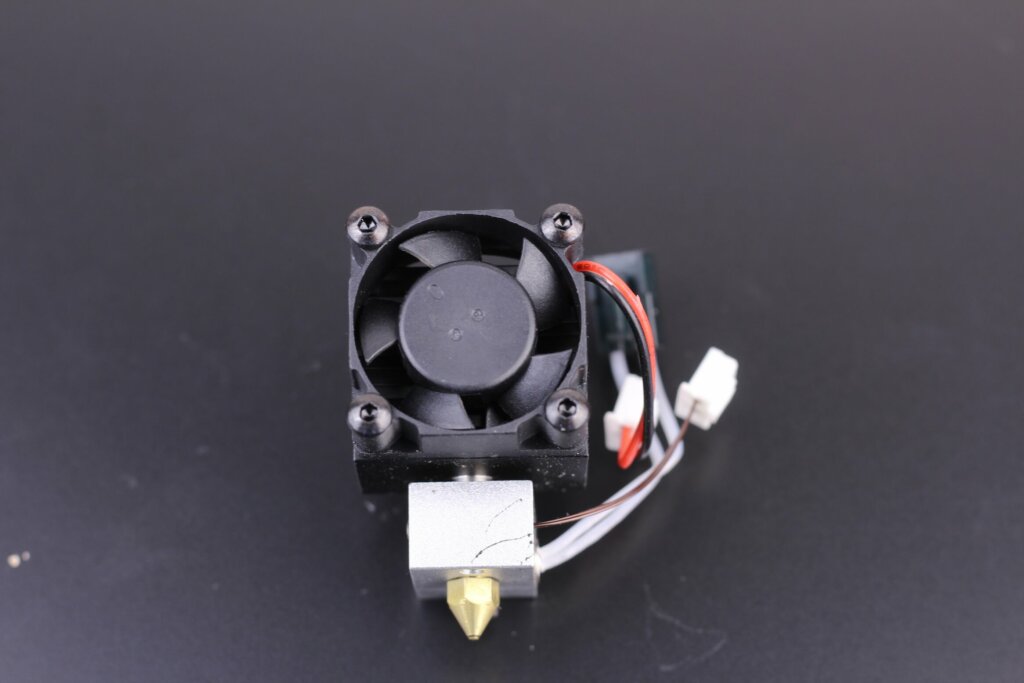
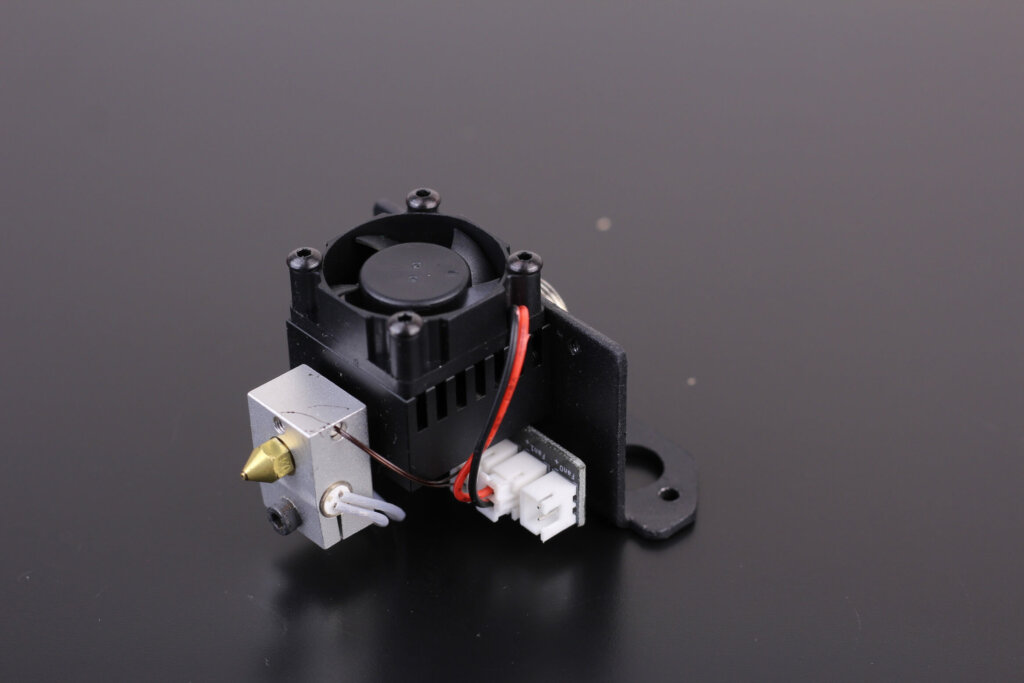
It’s not a surprise that the Artillery Hornet comes with a PTFE lined heat break. This is not an issue, especially considering that this is a budget machine, but it will limit the print capabilities to around 240C.
I don’t recommend going past that temperature because the PTFE tube will start to degrade, and you will need to change it sooner.
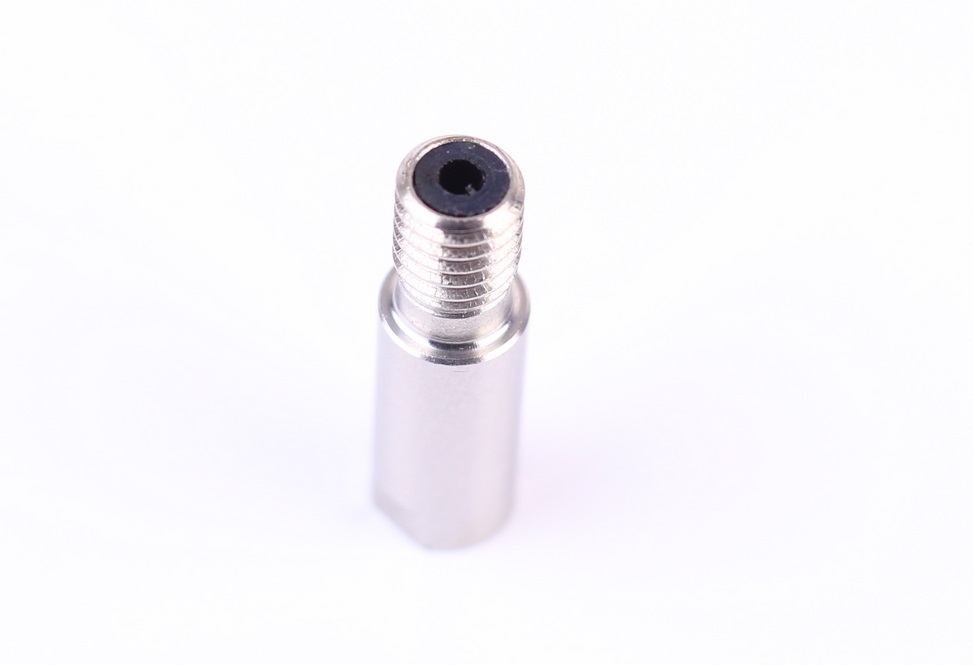
The good news is that you can easily upgrade it with a bi-metal heat break if you are looking to get better retraction performance, less stringing and print at higher temperatures. But if you mostly print PLA, this is good enough.
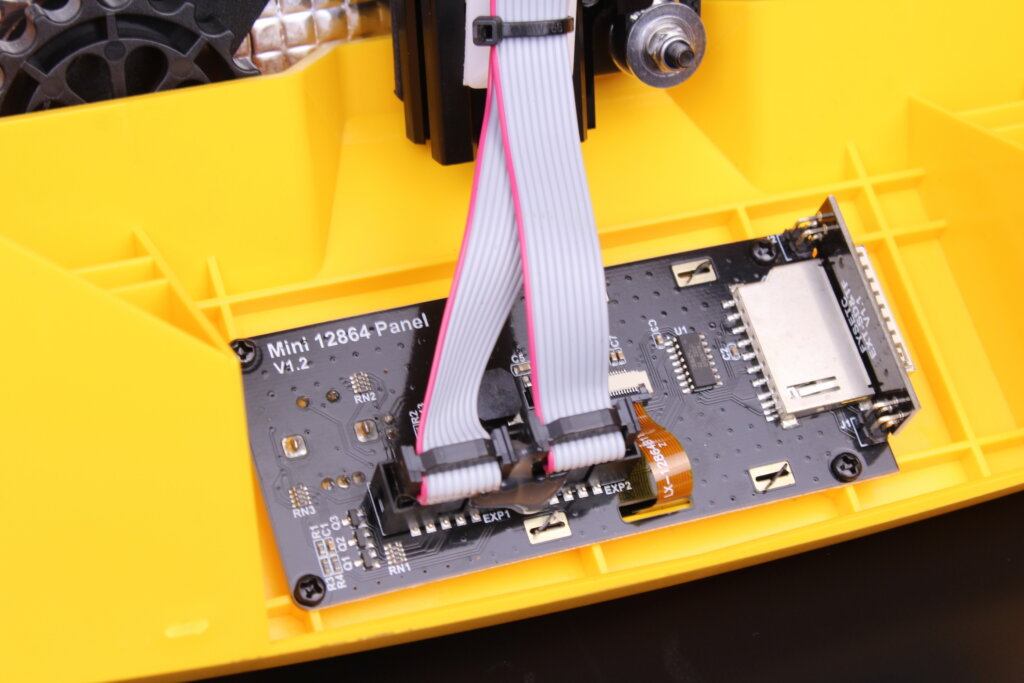
Backlit Old-school screen with SD card connection
This screen might be a disappointment for some of you, but for me, the inclusion of an old-school screen on the Artillery Hornet is fine.
While this screen doesn’t have fancy touch interactions, it compensates by its functionality. You can move through the menus using the click wheel and the added backlight will make easy to use in dark environments.
What I don’t like too much is the inconsistent backlight bleed you have for this screen. It’s not a deal breaker, but it’s a thing to keep in mind.
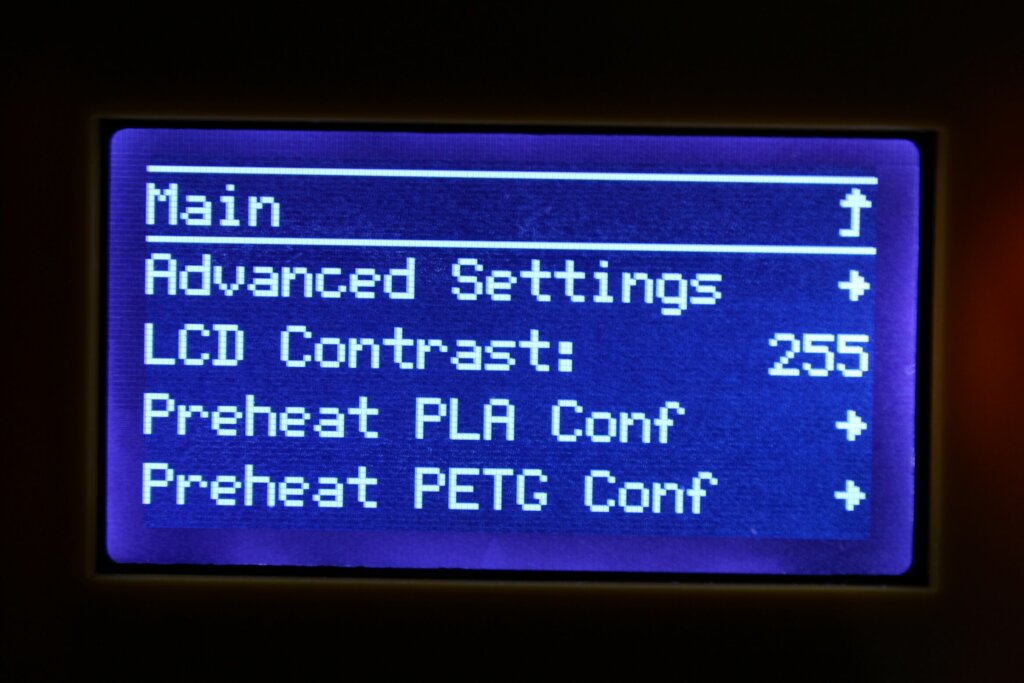
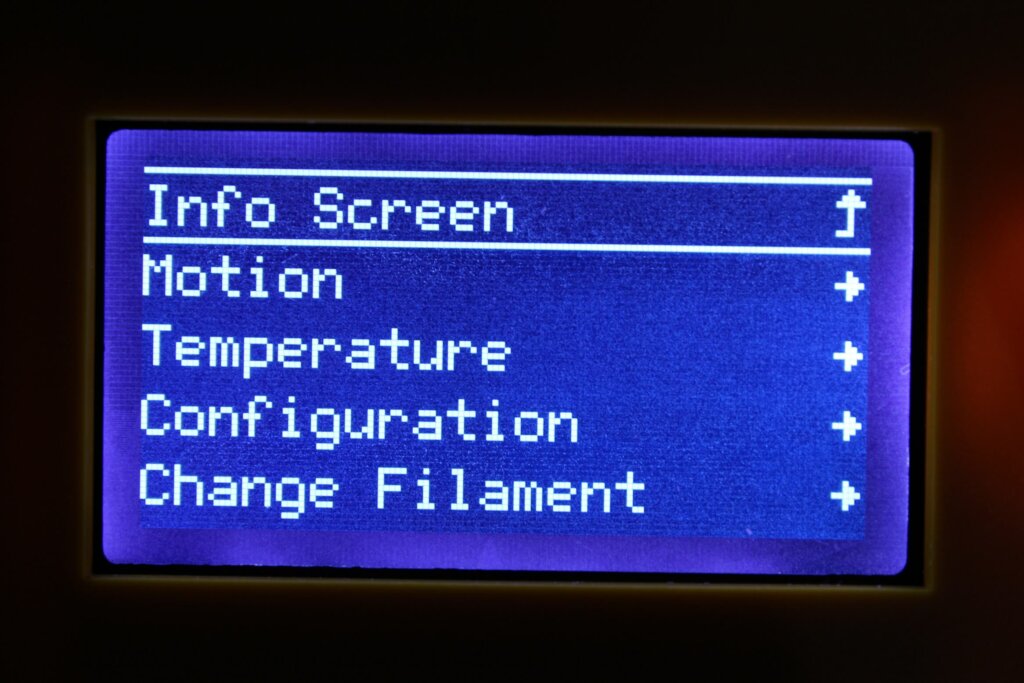
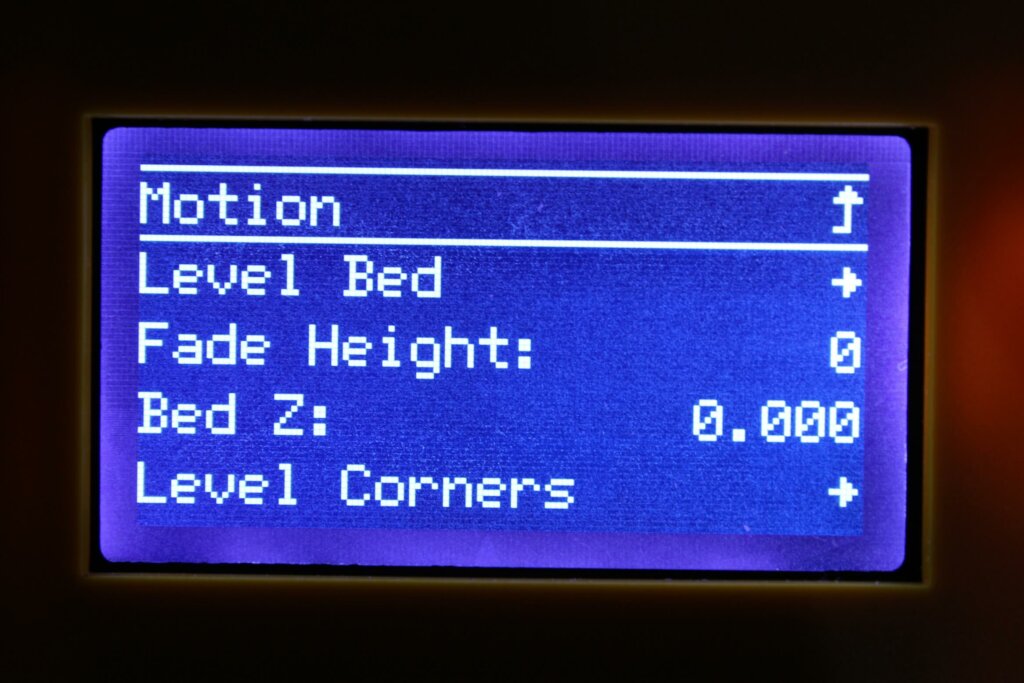
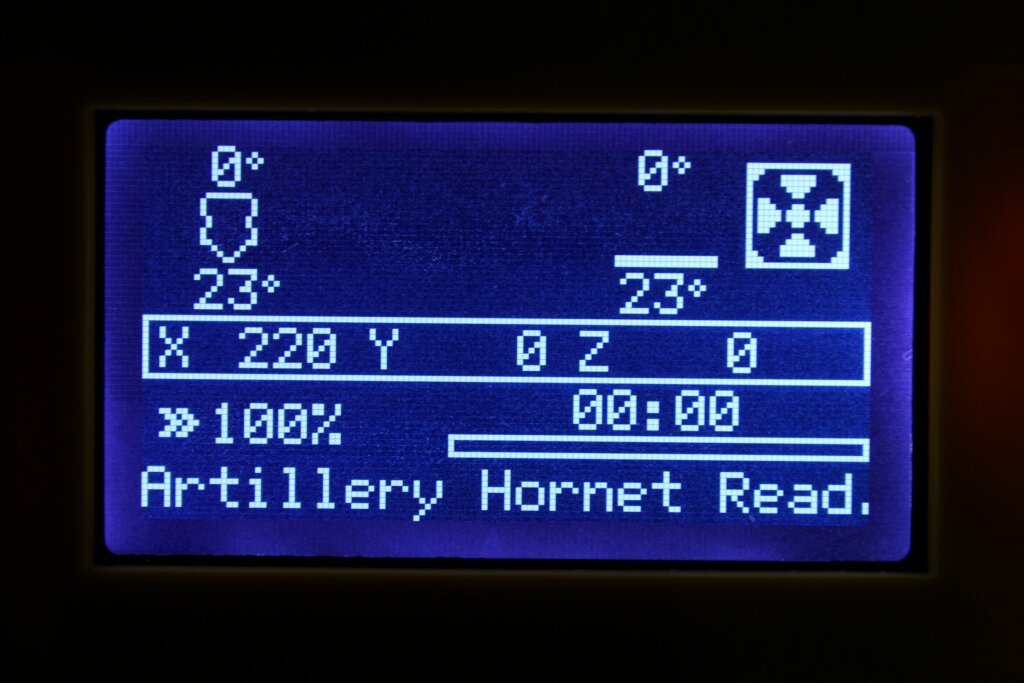
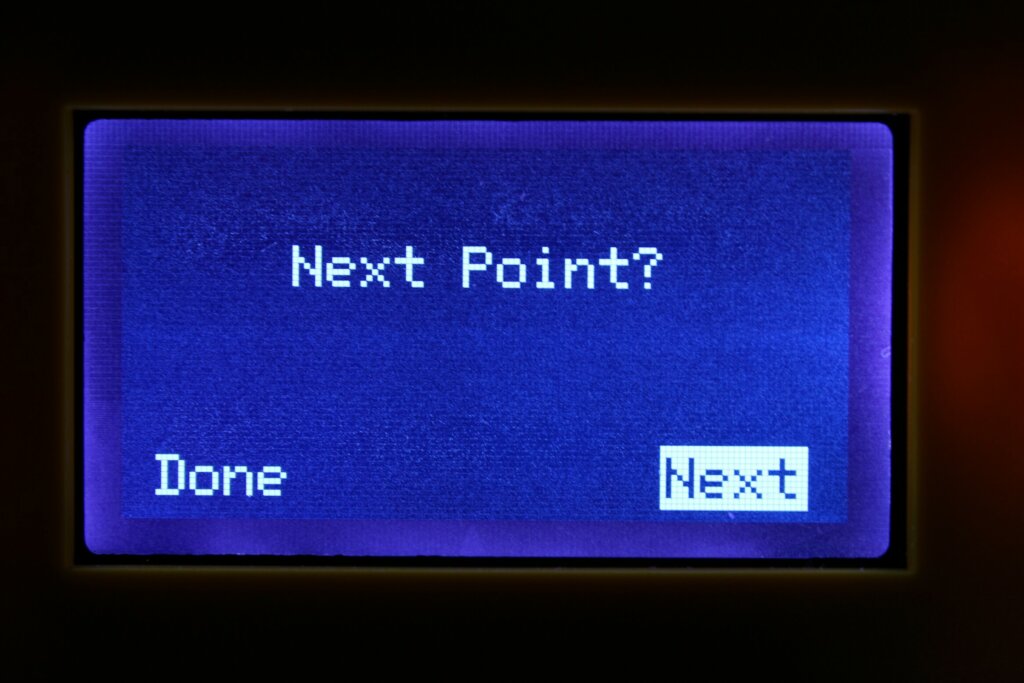
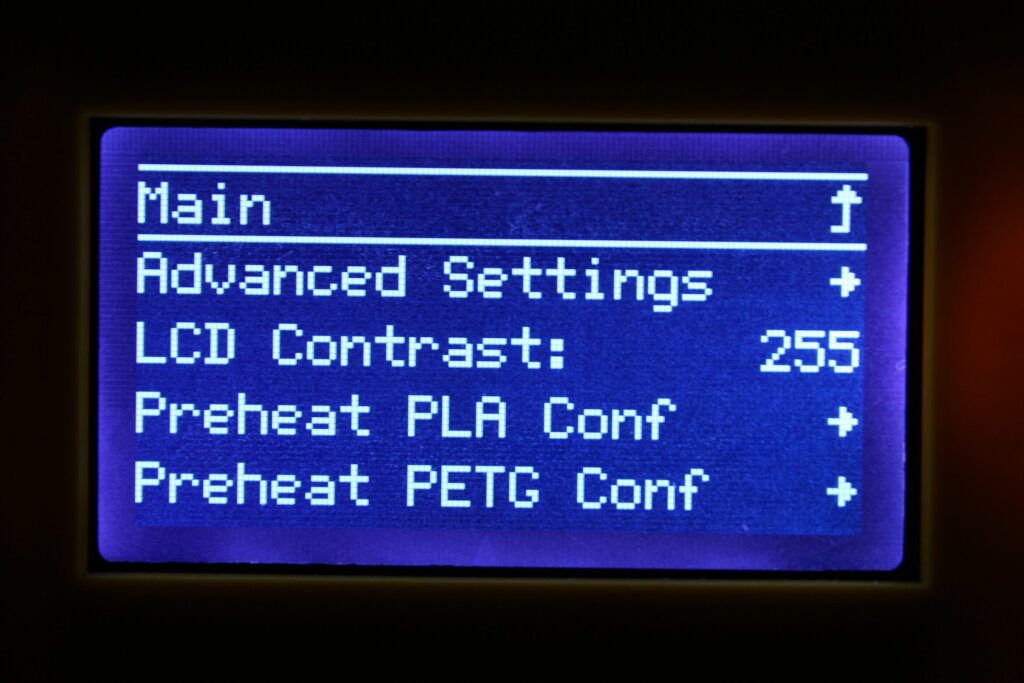
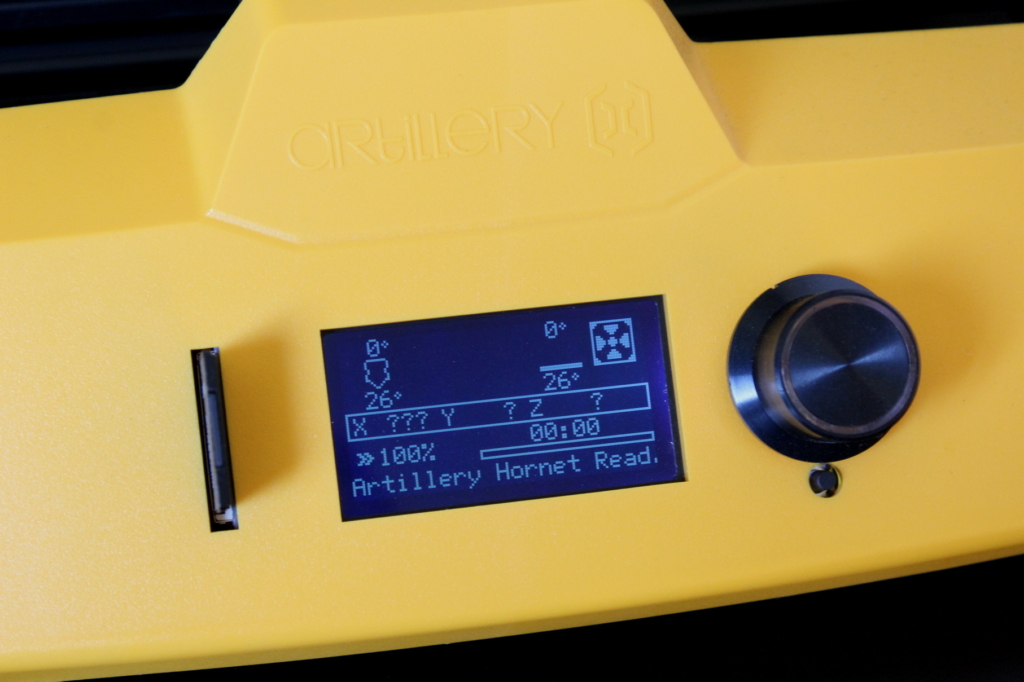
There’s also a full-size SD card slot on the left of the screen which is a nice addition. I’ve lost countless MicroSD cards over time and I always needed to use an adapter to load files on these tiny cards.
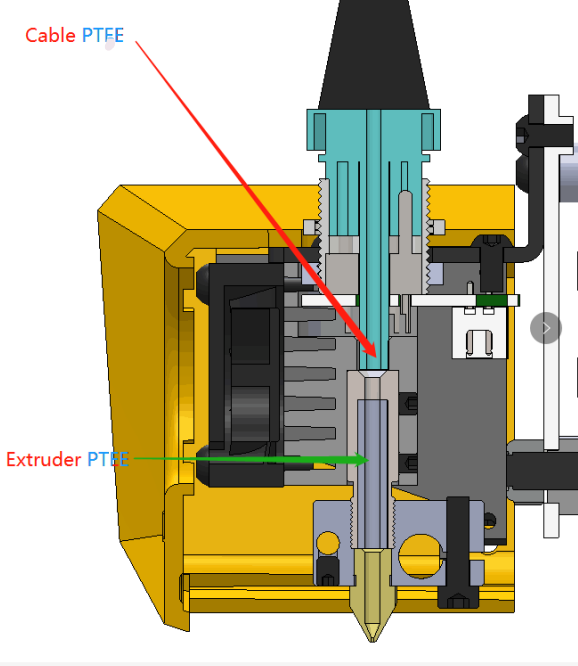
Interesting bowden setup
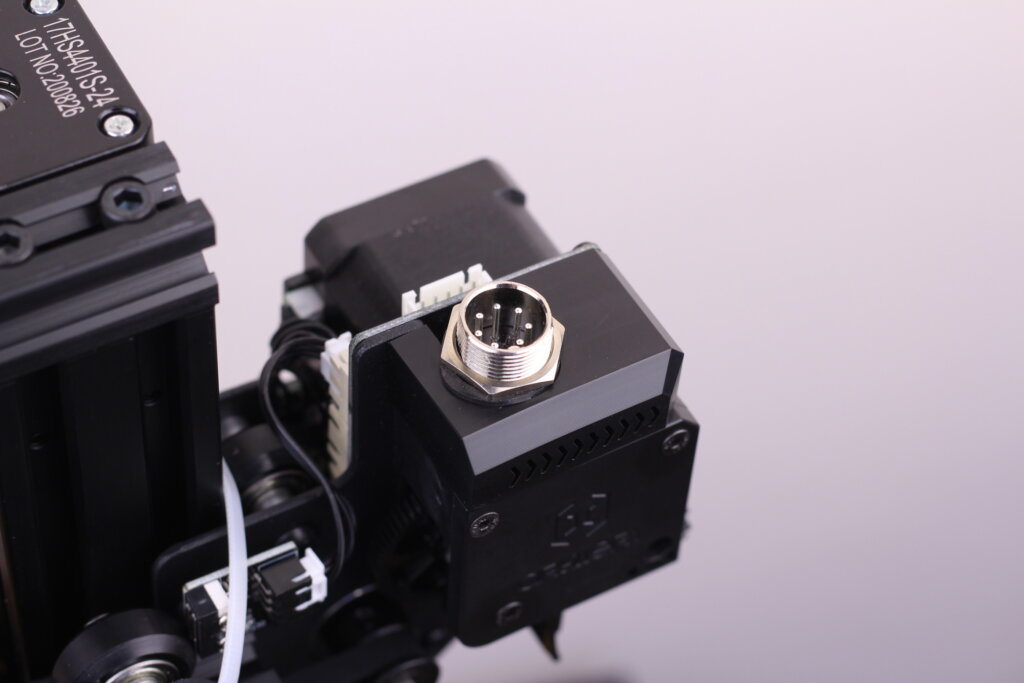
The Artillery Hornet has an interesting way of setting up the bowden PTFE tube. Compared to other 3D printers, the bowden setup on the Artillery Hornet has a tube which two connectors which get connected on the extruder and the hotend.
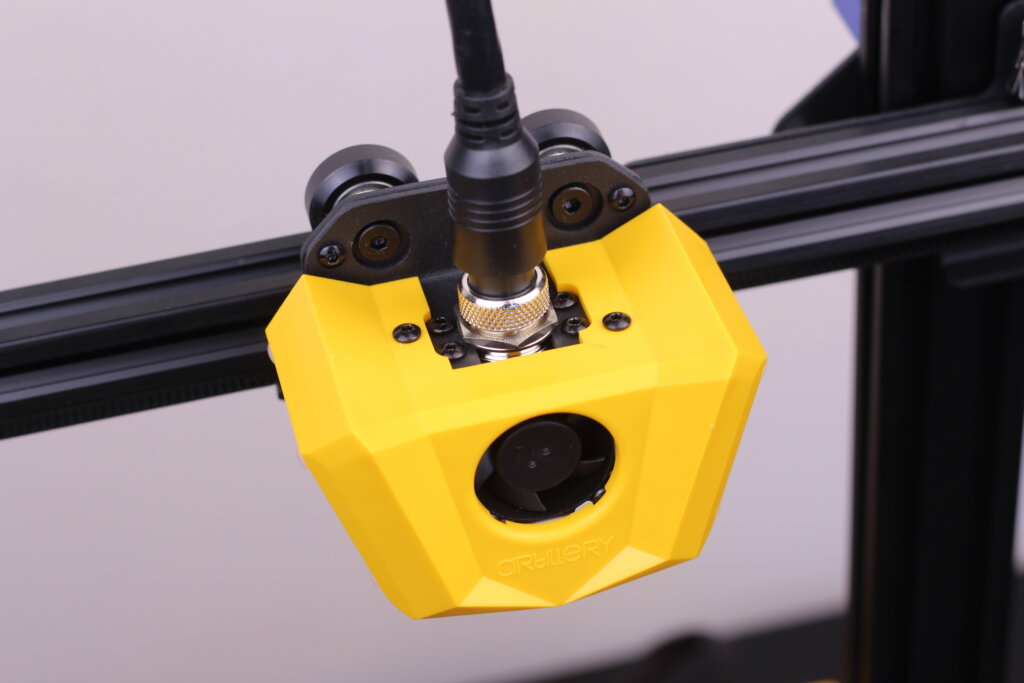
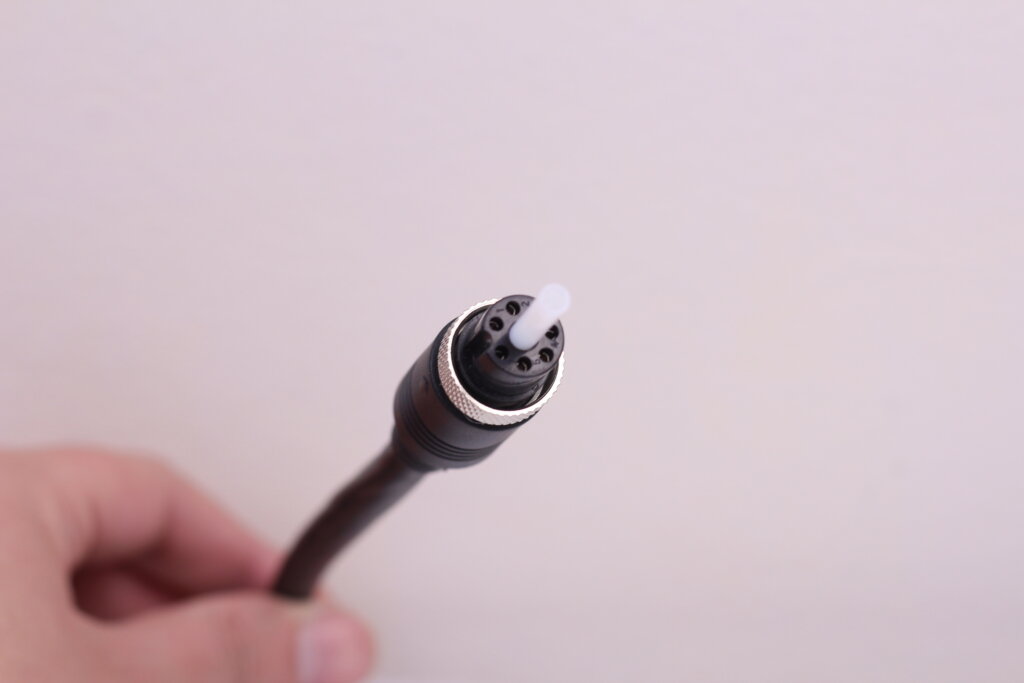
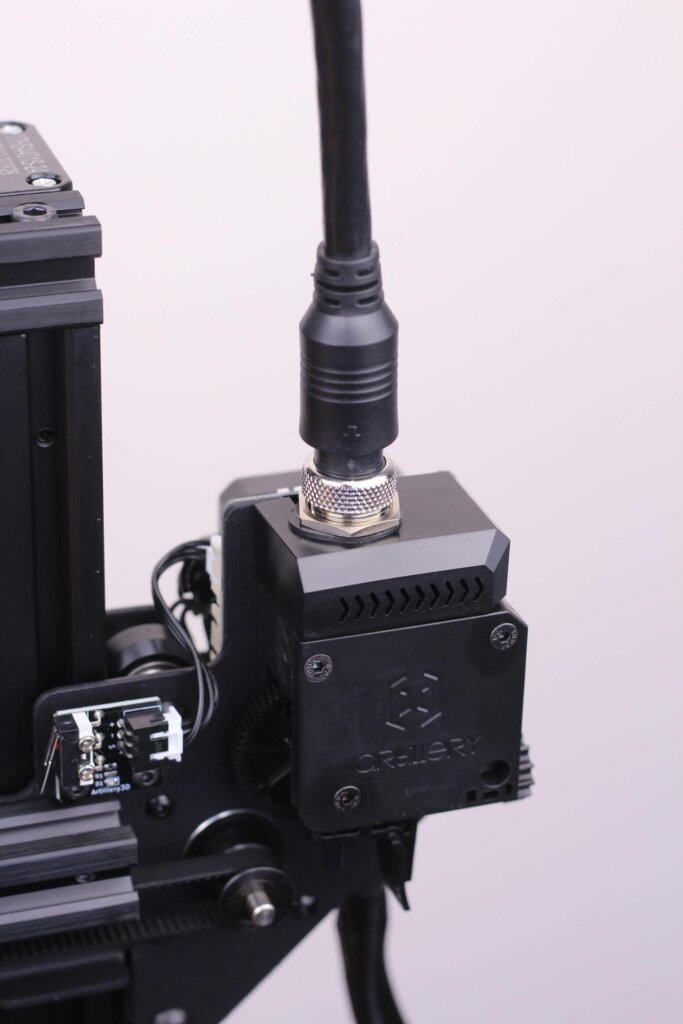
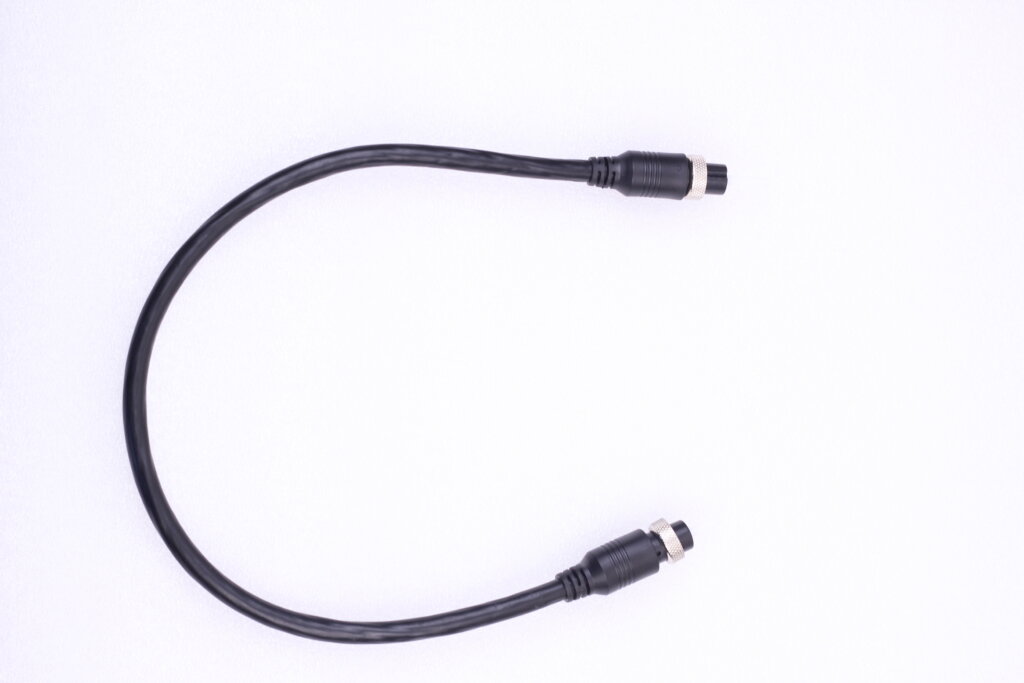
This was probably done to ensure there’s no PTFE tube movement and extrusion is more accurate. With this setup, the PTFE tube will also be constrained in a good position so, to eliminate bends and minimize friction.
At first, it might look like a remote direct-drive setup, but it’s just a single piece which has the wires and the PTFE tube combined in a single unit.
I tried to pull out the PTFE tube to see if you could easily replace it but there was some resistance so I didn’t try too hard, fearing I might damage it. Either way, even if the PTFE tube is not removable, I don’t think it’s an issue because the PTFE doesn’t go right up to the nozzle to get damaged so there’s not much reason to change it.
Adjustable spool holder
The spool holder included with the Artillery Hornet clips on aluminum extrusion on the right.
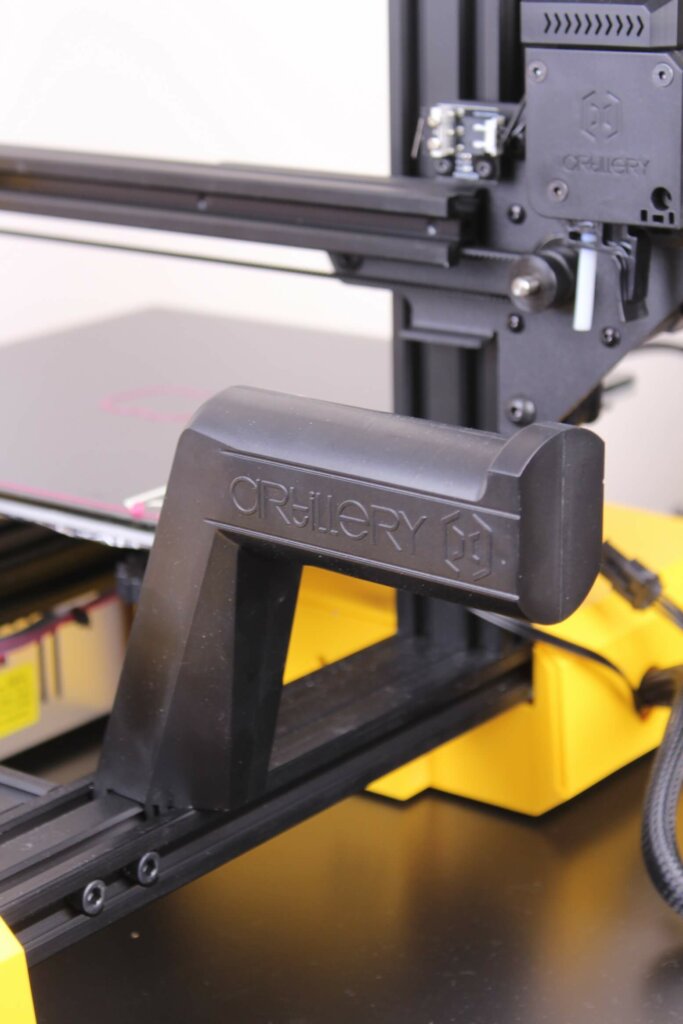
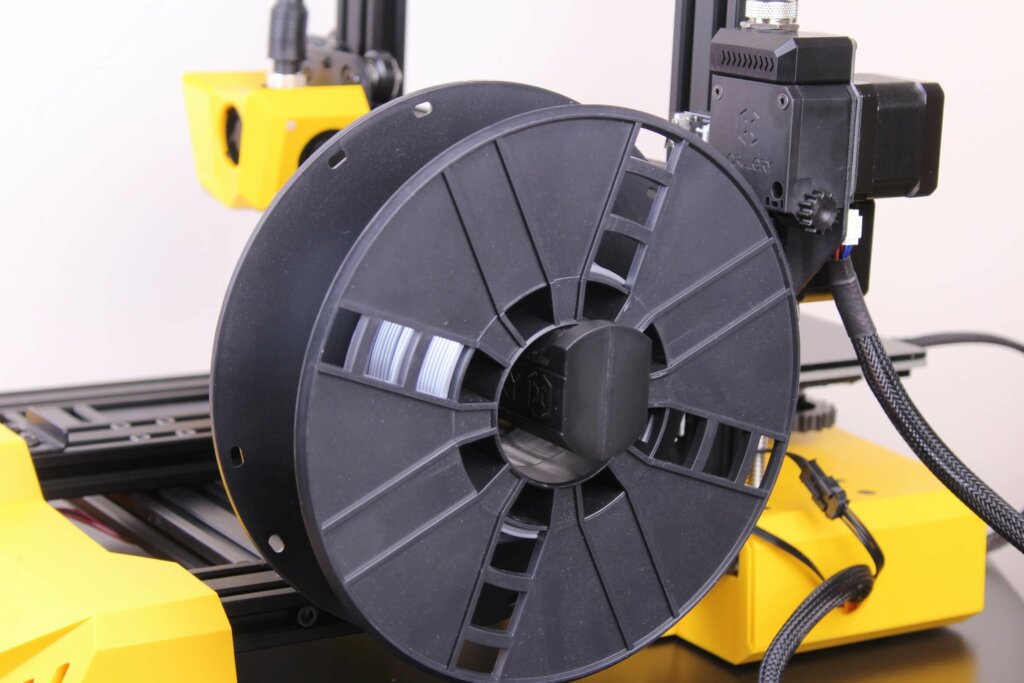
I like the fact that this spool holder keeps the printer’s center of gravity low (compared to the one used on Artillery’s other printers), minimizing wobble during printing. Besides that, it’s also adjustable on the Y axis so you can easily fit any kind of spool. Excellent design!
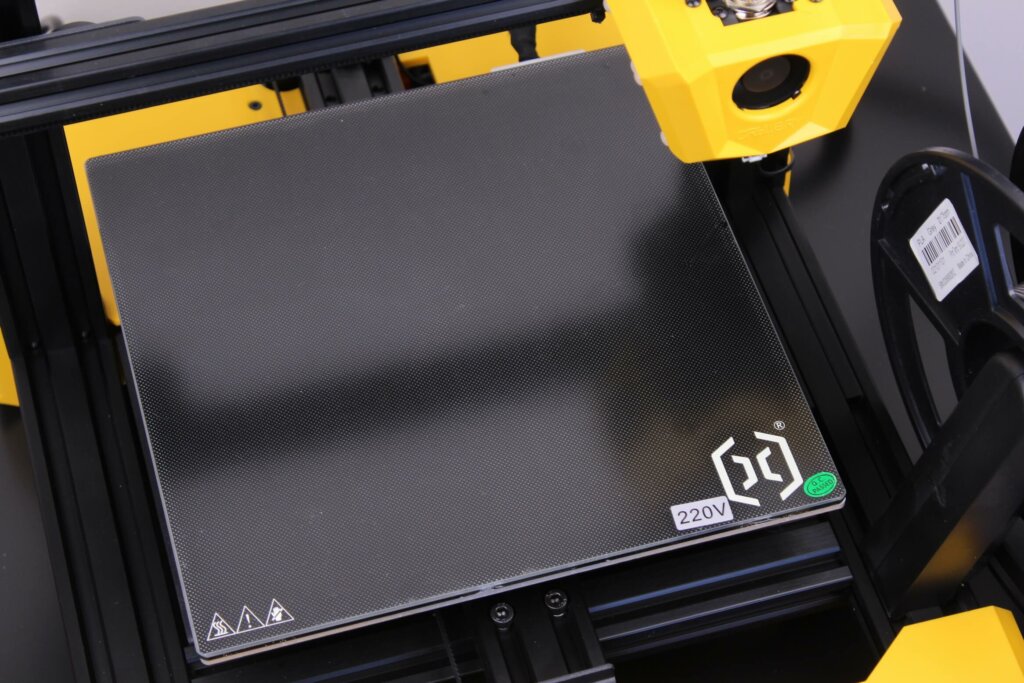
Glass build plate
The glass bed looks the same as the one present on the Artillery Genius. It’s the same piece of glass with an ultrabase coating. Adhesion is good for PLA, but not great for PETG.
Underneath the bed, there’s also some insulation material to keep the temperature constant and improve efficiency, but it’s also a small drawback because the bed takes a bit longer to cool.
What I find strange is the fact that Artillery chose to glue the glass surface to the aluminum heatbed. I don’t really understand why they did this instead of using regular metallic clips.
I’m not a fan of this glue added between the glass plate and the aluminum heatbed. The glass plate is heating a bit slower and it takes more work if you plan to upgrade to a PEI sheet (because you need to clean the glue).
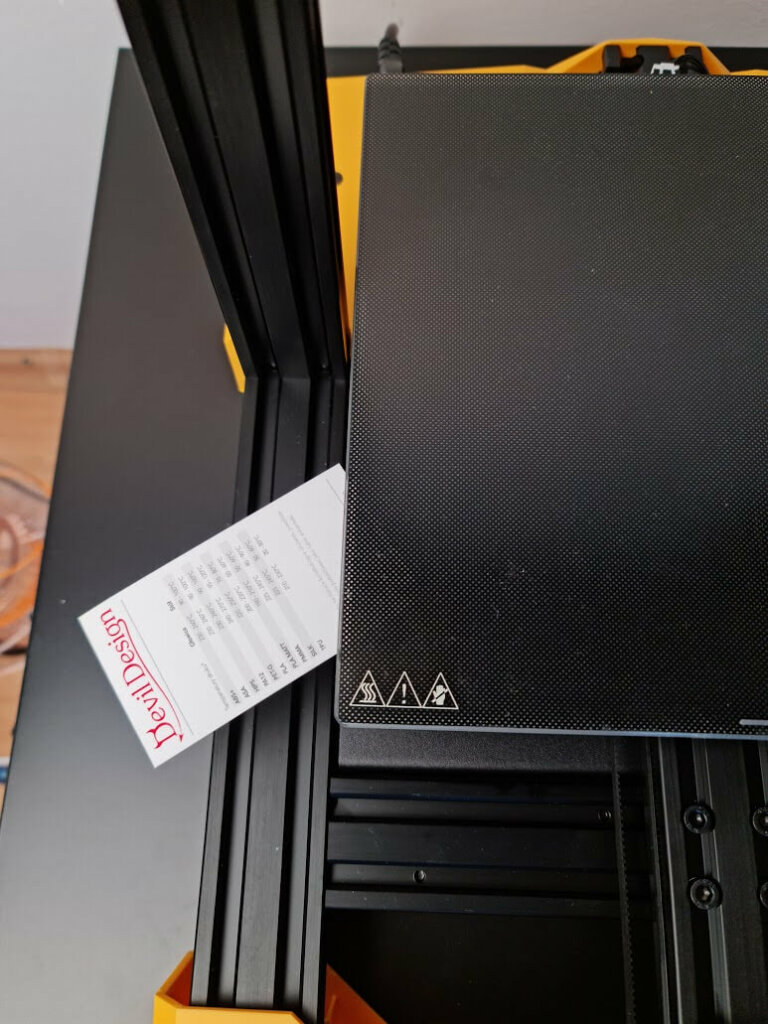
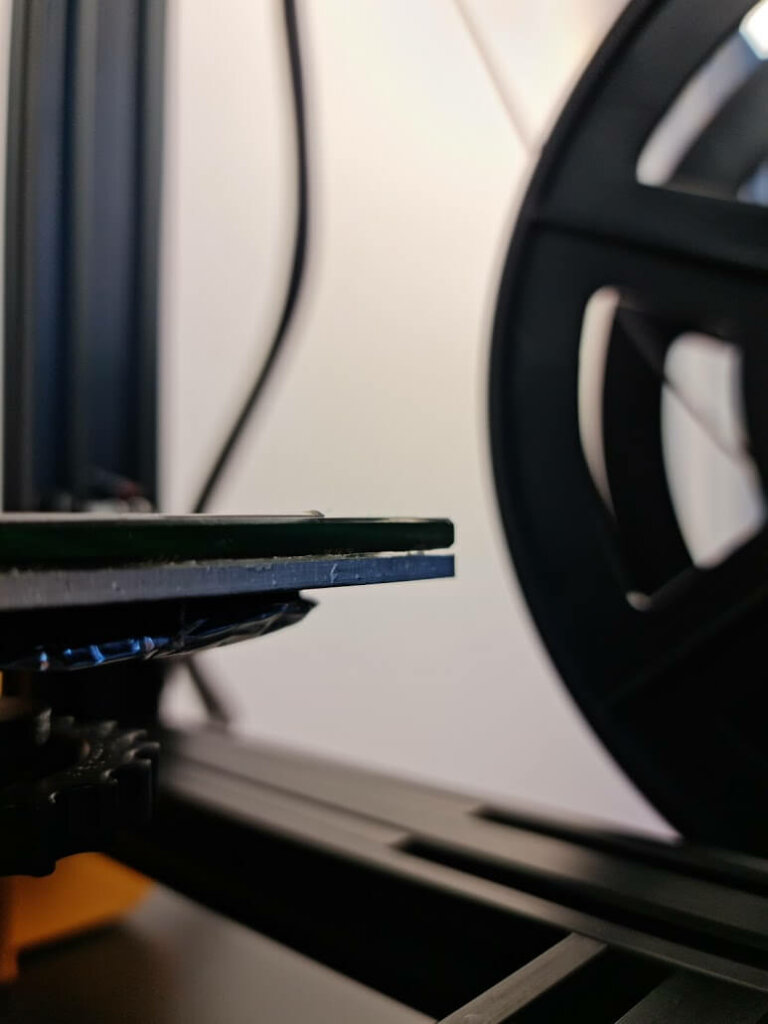
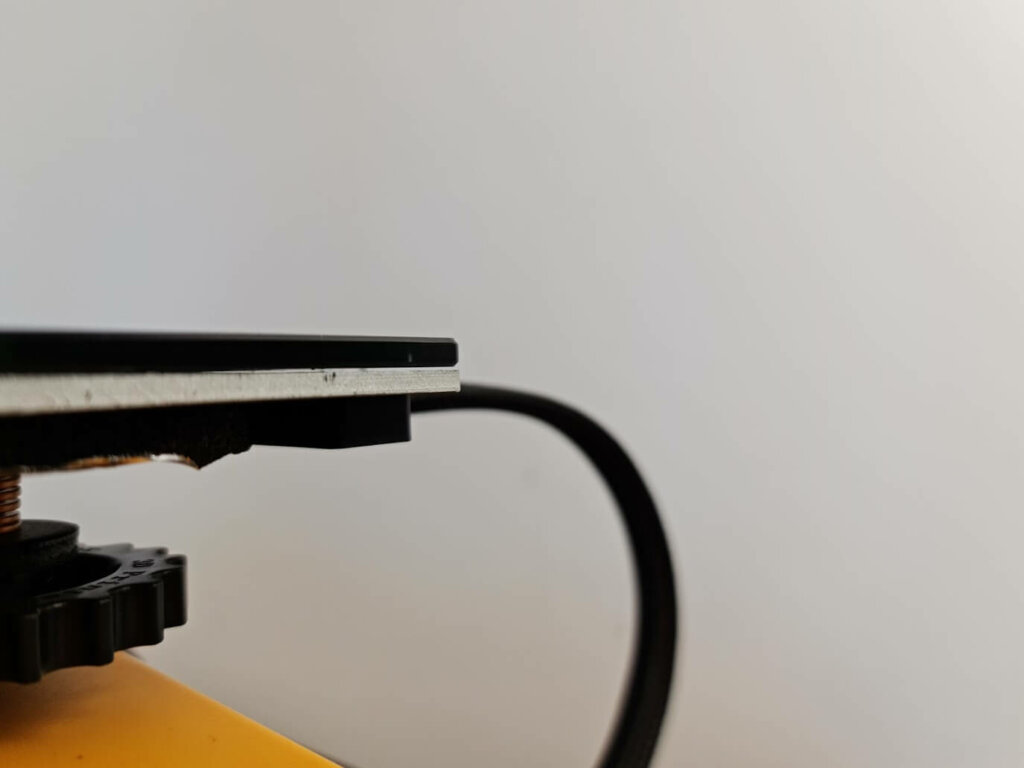
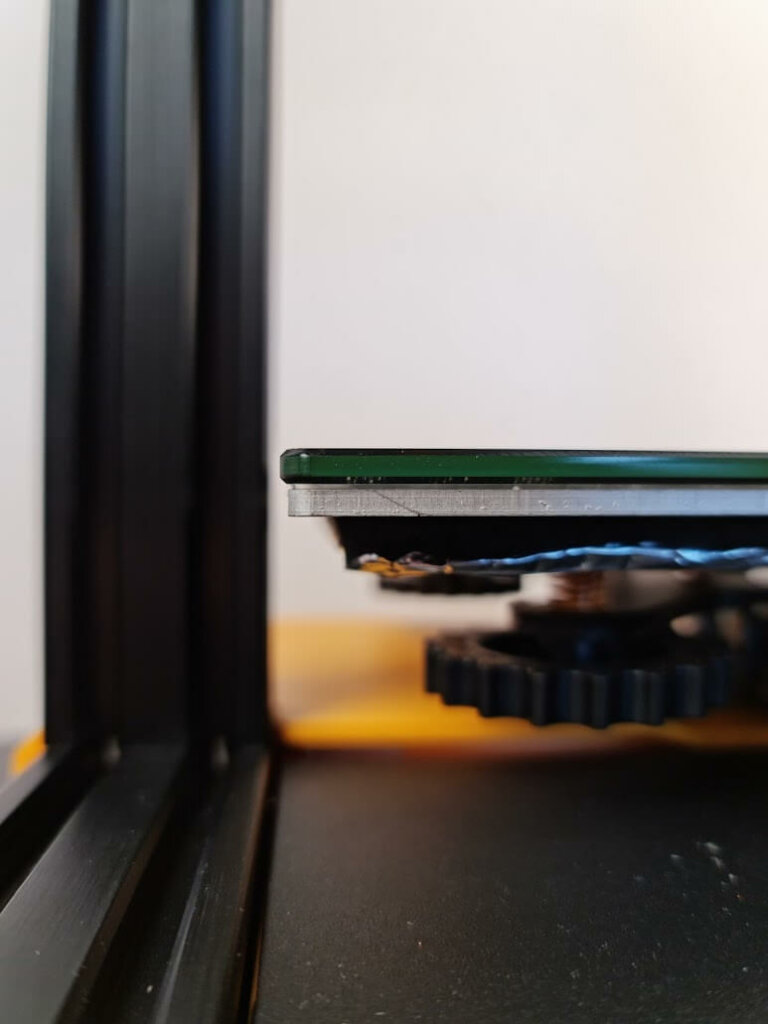
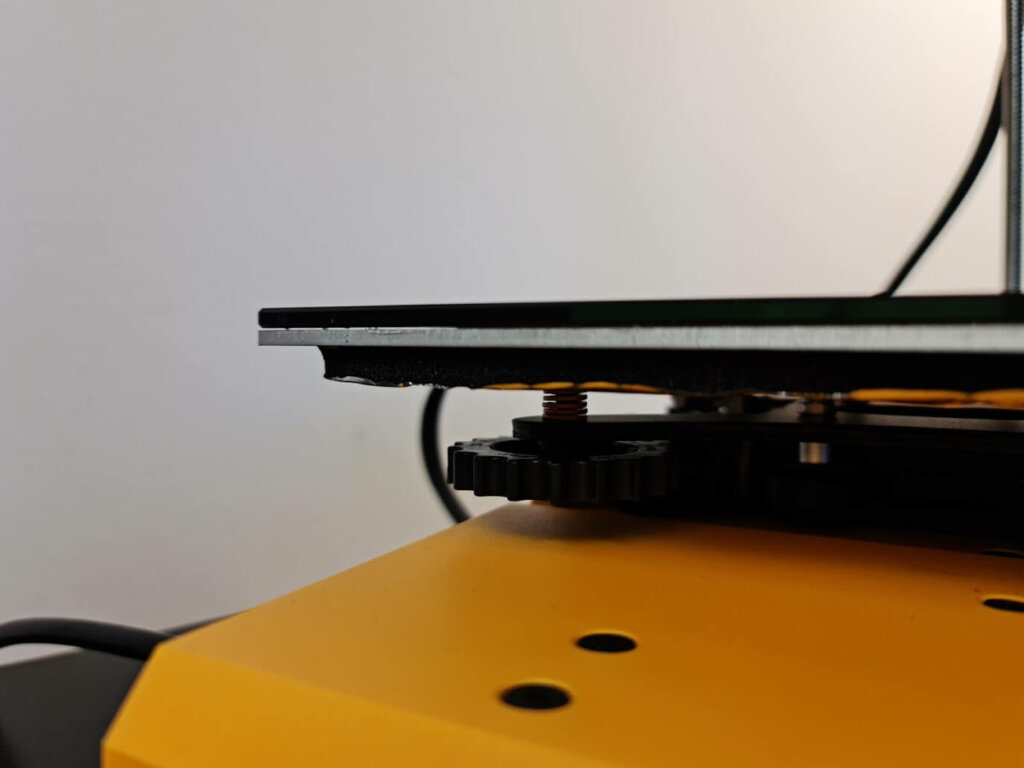
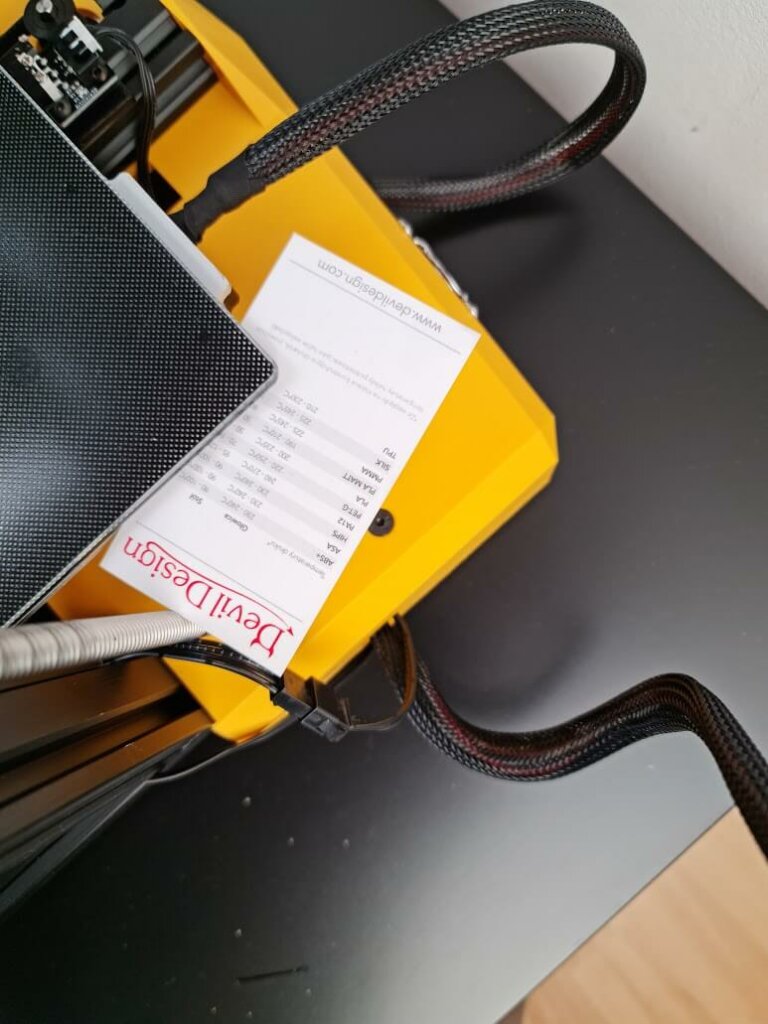
As you can see in the images, the corners are not touching the bed causing the temperature to be uneven. You can probably fix this by completely removing the glass plate, cleaning the glue then using some metal clips but I would have still preferred to see some clips instead of that glue.
Or just buy a PEI sheet like the SSS or the one from Energetic and use that instead of the glass bed. You will lower the weight of the bed, remove prints easier and you might also be able to print a bit faster with no loss in print quality.
There’s also a plastic cover for the bed power connection, but no wire strain relief in place.
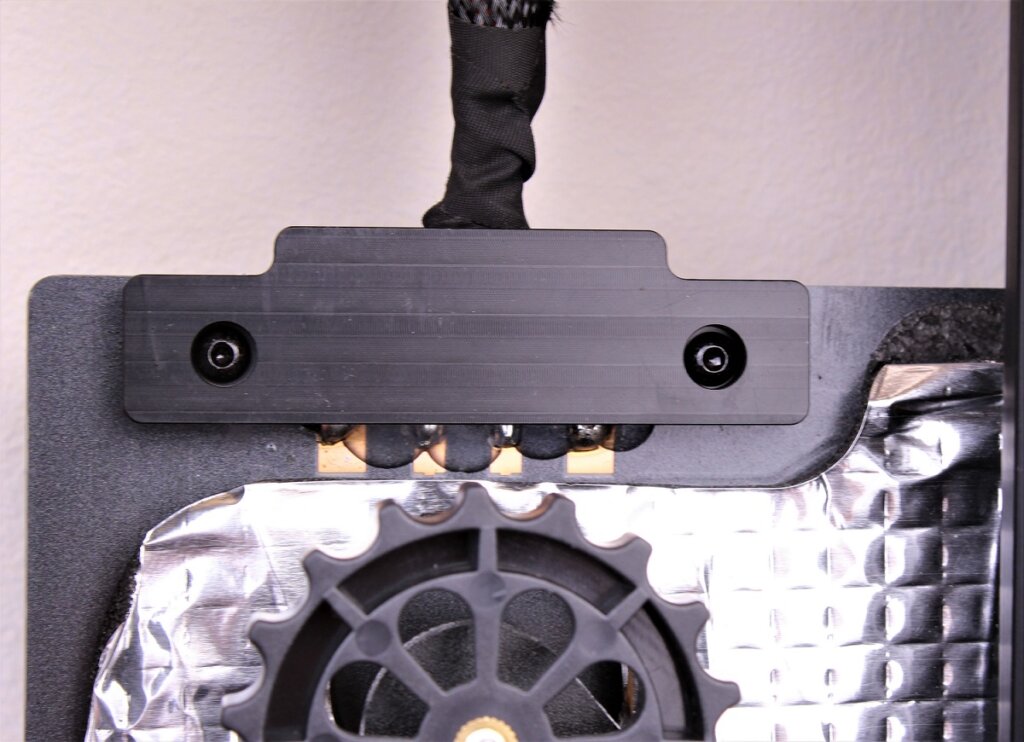
360W generic power supply
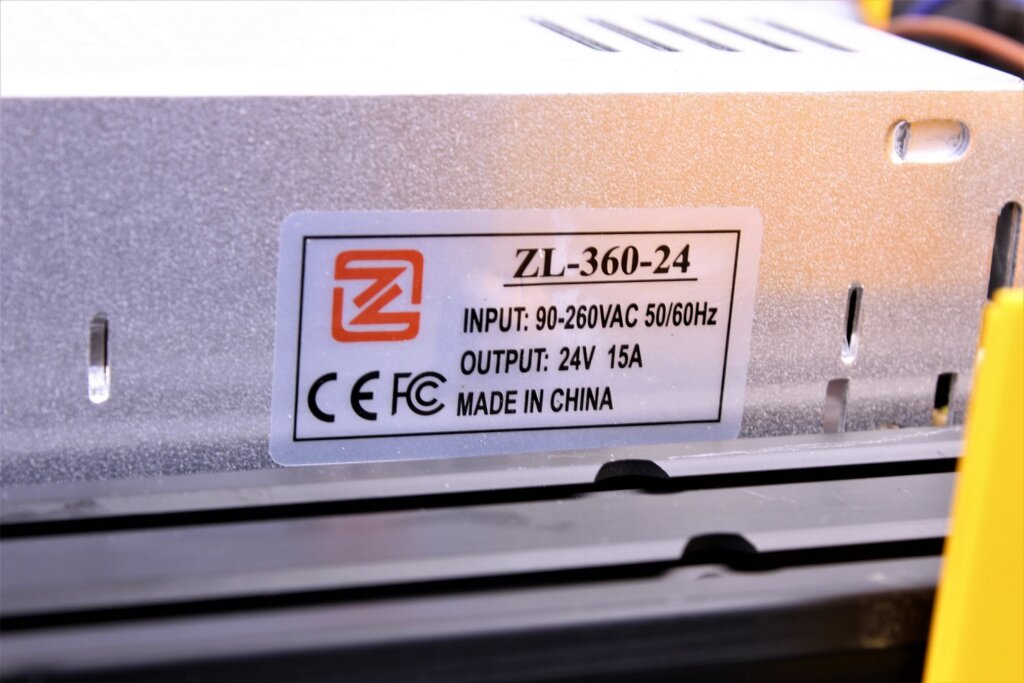
The power supply installed on the Artillery Hornet is a generic 360W. The fan is relatively silent, but I would have loved to see a thermally controlled fan. I have the same power supply on the Kingroon KP3S and it works well. This feature would have made the printer even more silent.
Belt tensioners
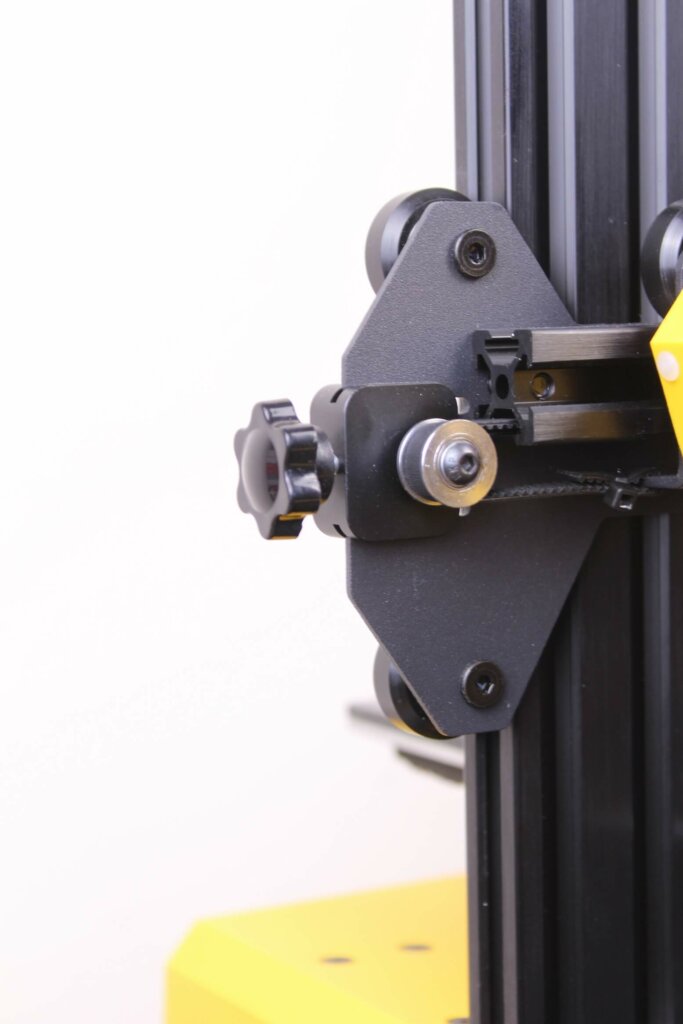
A nice addition is the integrated belt tensioner on the X axis. You can easily tighten the belt if needed with it, but the Y axis doesn’t have the same knob.
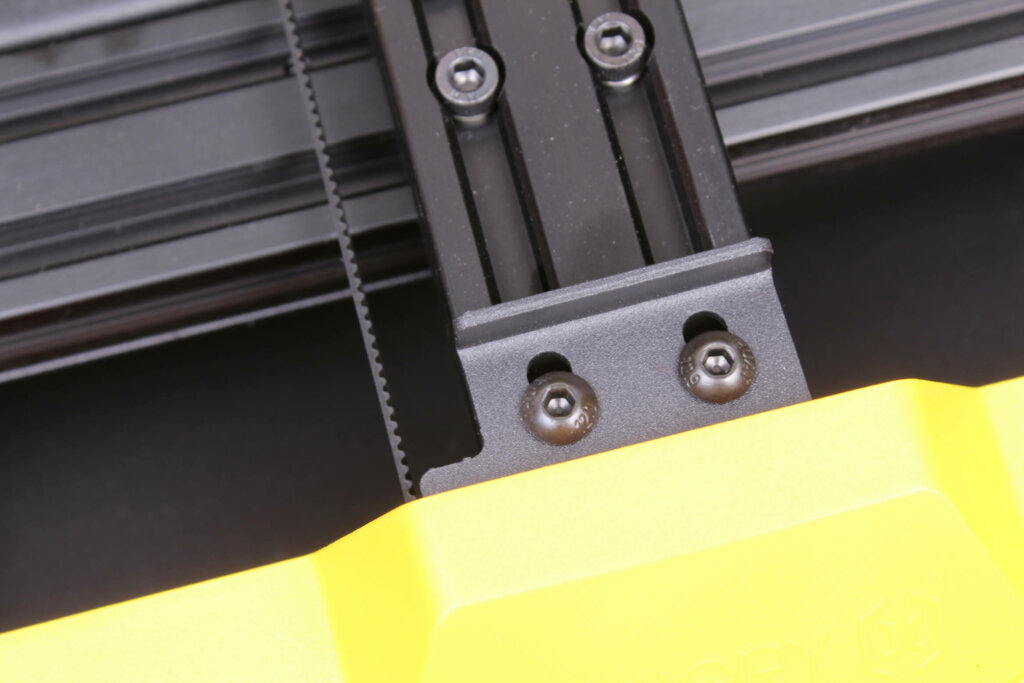
The good news is that you can also tighten the belt for the Y axis, but this will require some tools and a bit of fiddling. Anyway, not a big issue because you usually do this once.
Heating time and power consumption
I tested the heating time for both hotend and heat bed and here are the results:
Hotend
- 200C in 70 seconds
- 250C in 90 seconds
Heatbed
- 60C in 120 seconds
- 100C in 6 minutes and 30 seconds
Power Draw
Idle power draw is around 10W. When the hotend and heatbed are heating up, the Artillery Hornet draws around 245W. After it starts printing, the power draw stabilizes to around 95W.
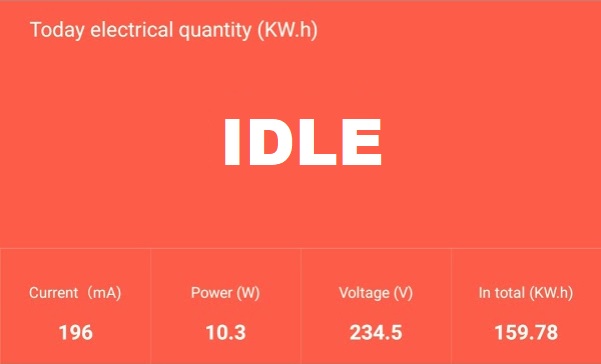
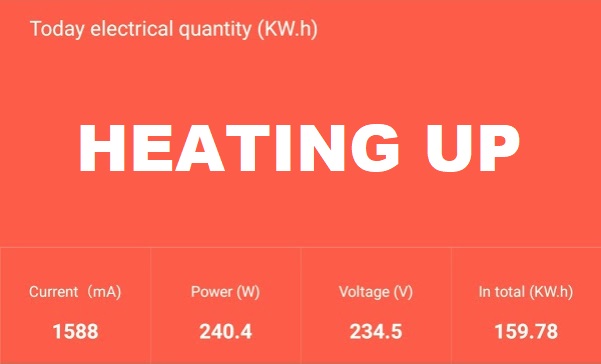
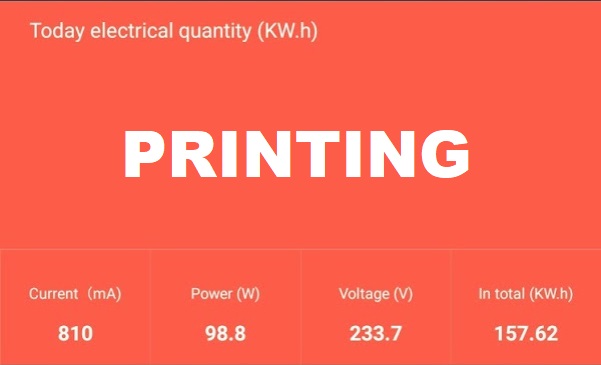
All these measurements were taken with a Blitzwolf smart power socket which indicates the power draw, and it can also be used for remotely powering on and off the printer.
Artillery Hornet Noise Levels
To better evaluate the noise levels of the Artillery Hornet, I took this video which should help you understand how noisy it is, but it is not an accurate way of measuring noise levels.
I am happy to report that the Artillery Hornet is a silent machine, with most of the noise coming out of the power supply fan.
IdeaMaker profiles for Artillery Hornet
All the profiles used in this review have been shared in the Artillery Hornet profiles for IdeaMaker article. Feel free to download them and test them out.
Test prints on Artillery Hornet
3D Benchy
As always, the first print is the 3D Benchy. The quality is not amazing, but this is what I got by using the CR-6 SE IdeaMaker profile I did a while ago.
After calibrating the extruder and flow rate, print quality improved significantly.
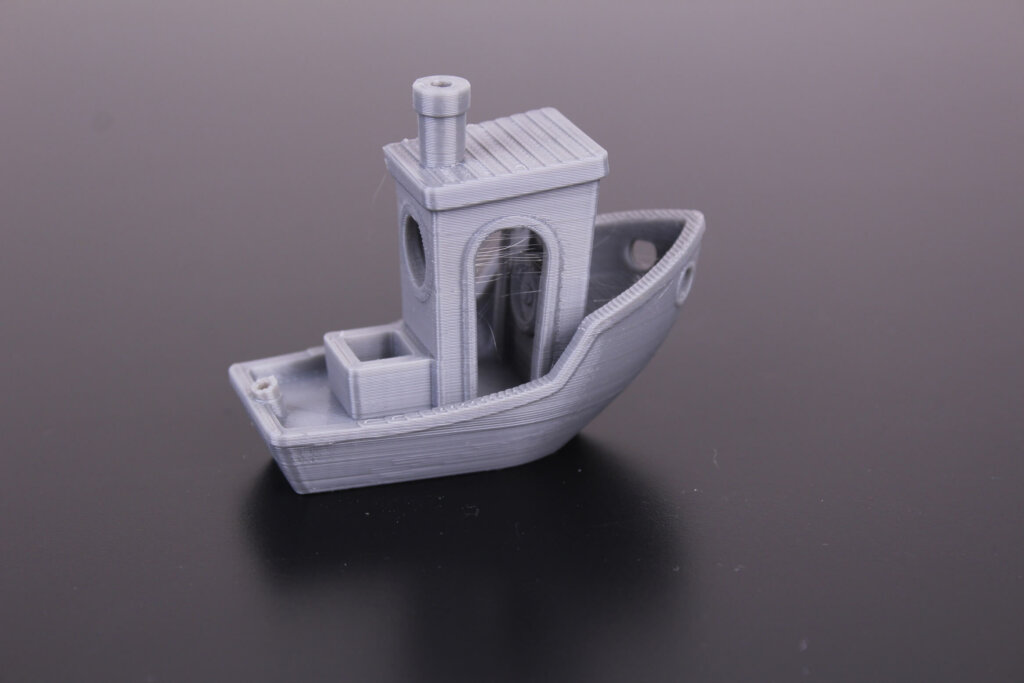
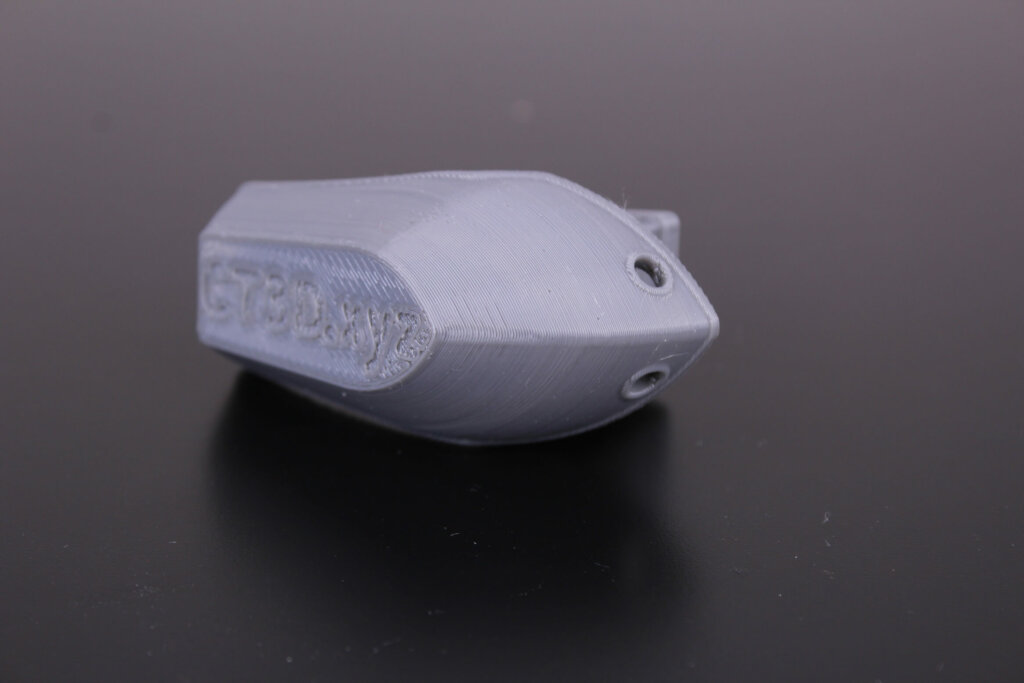
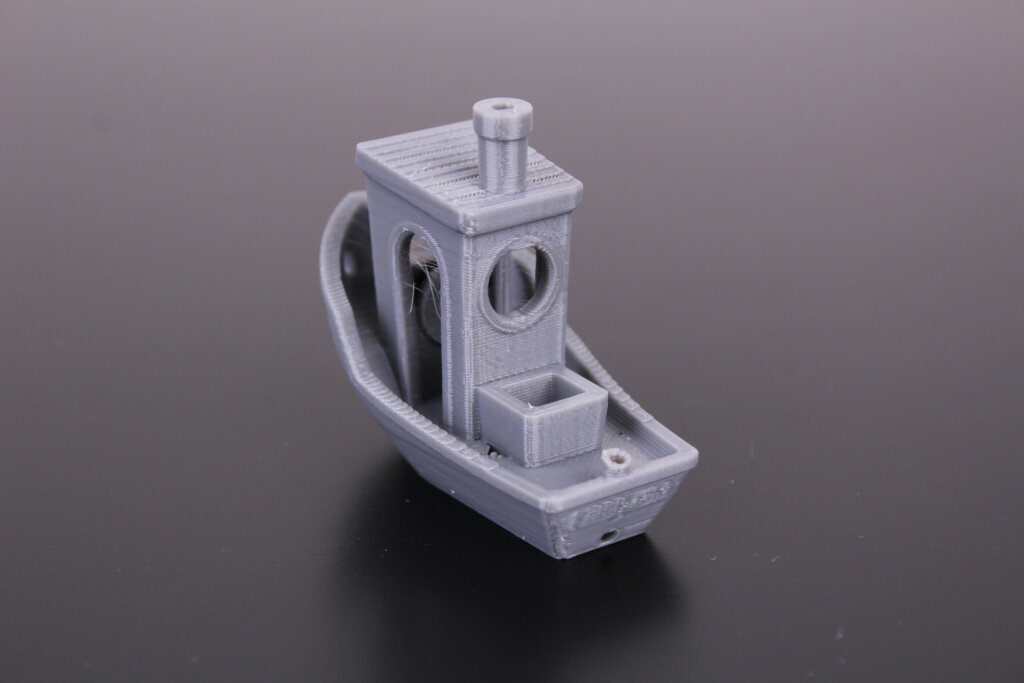
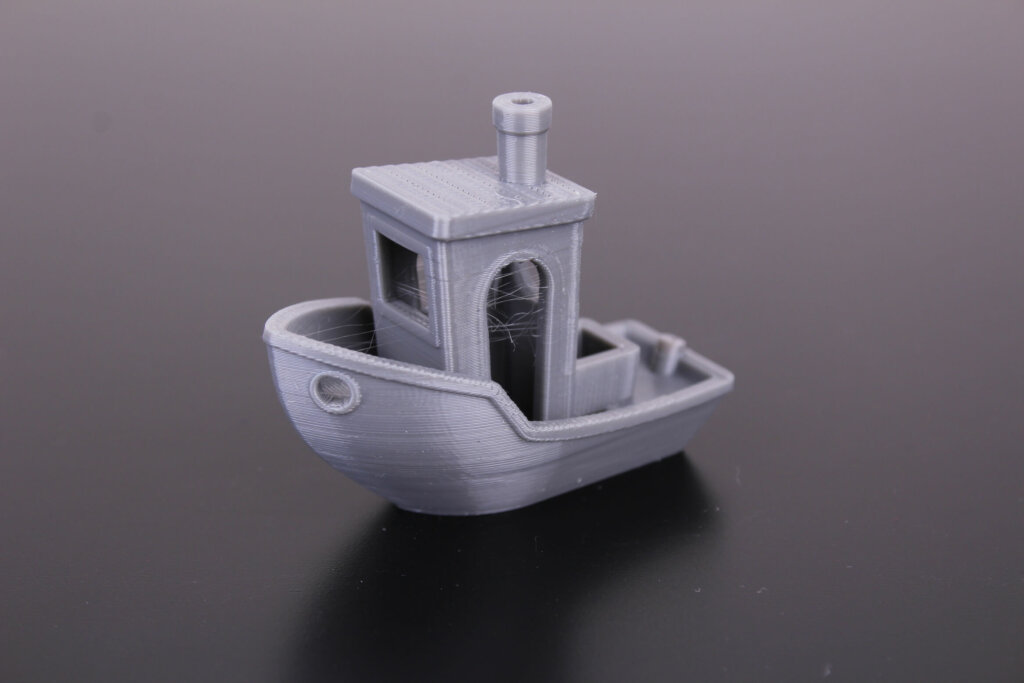
- Material: Sunlu Gray PLA
- Layer Height: 0.2mm
- Nozzle Temperature: 215C
- Bed Temperature: 60C
- Print Speed: 60 mm/s
Artillery Cube
Artillery ships their printers with a pre-sliced G-code file in the form of this Artillery Cube. Considering the print speed, the quality is good. Just a bit of over-extrusion on the top layers.
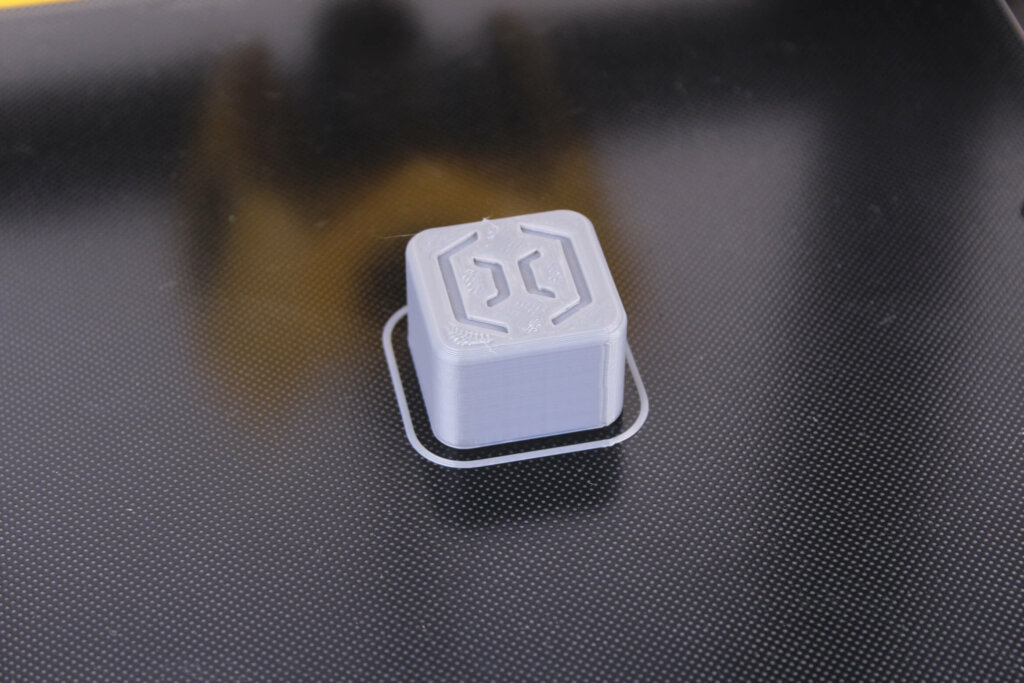
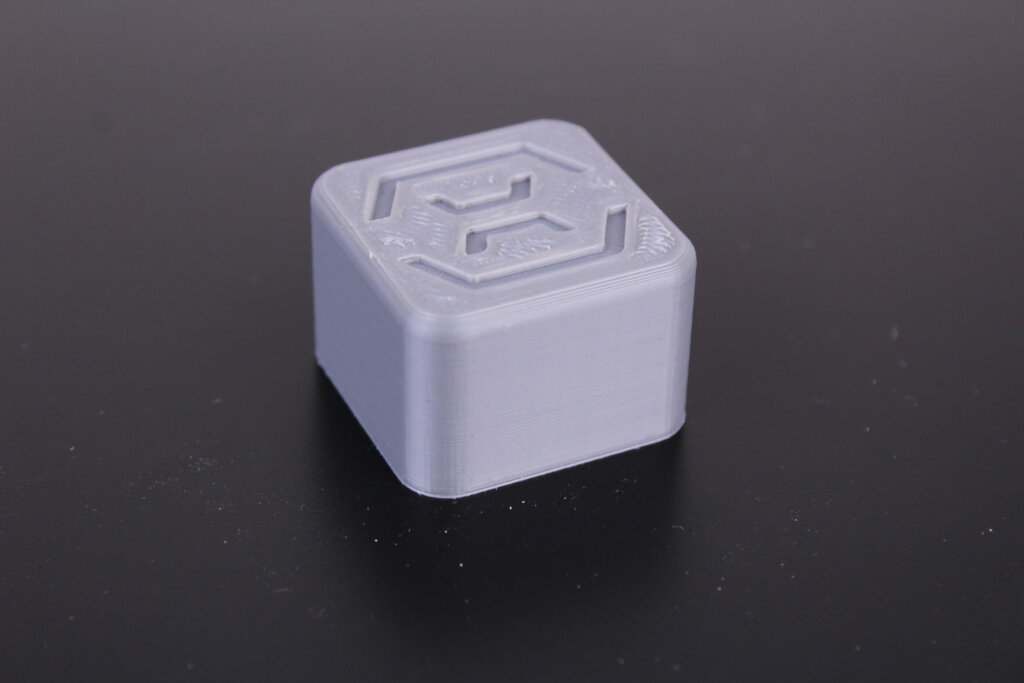
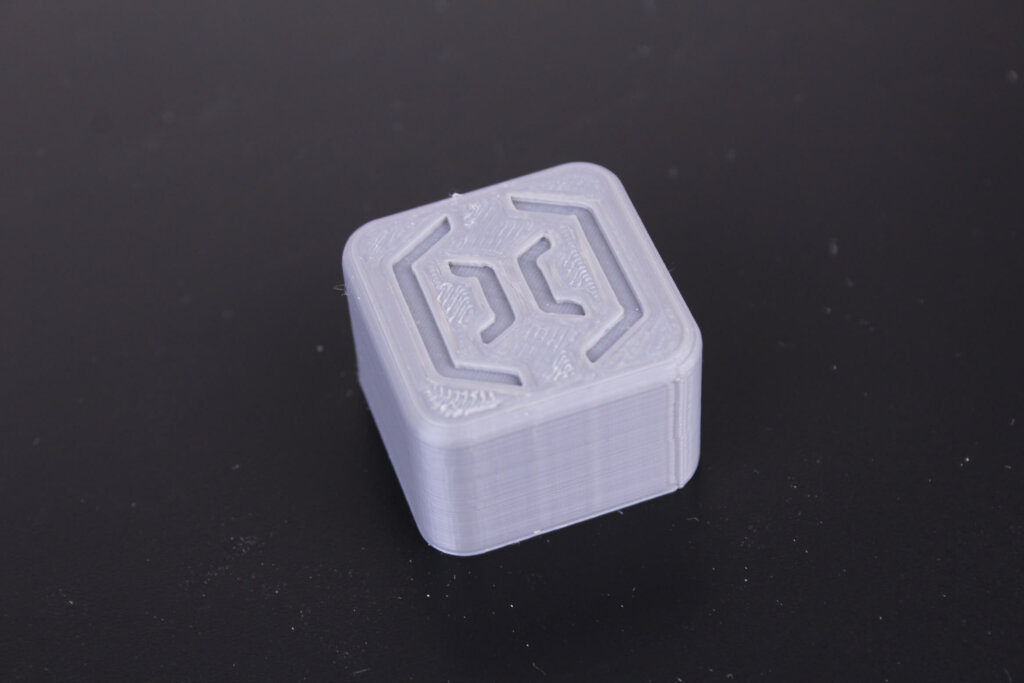
- Material: Sunlu Gray PLA
- Layer Height: 0.2mm
- Nozzle Temperature: 210C
- Bed Temperature: 70C
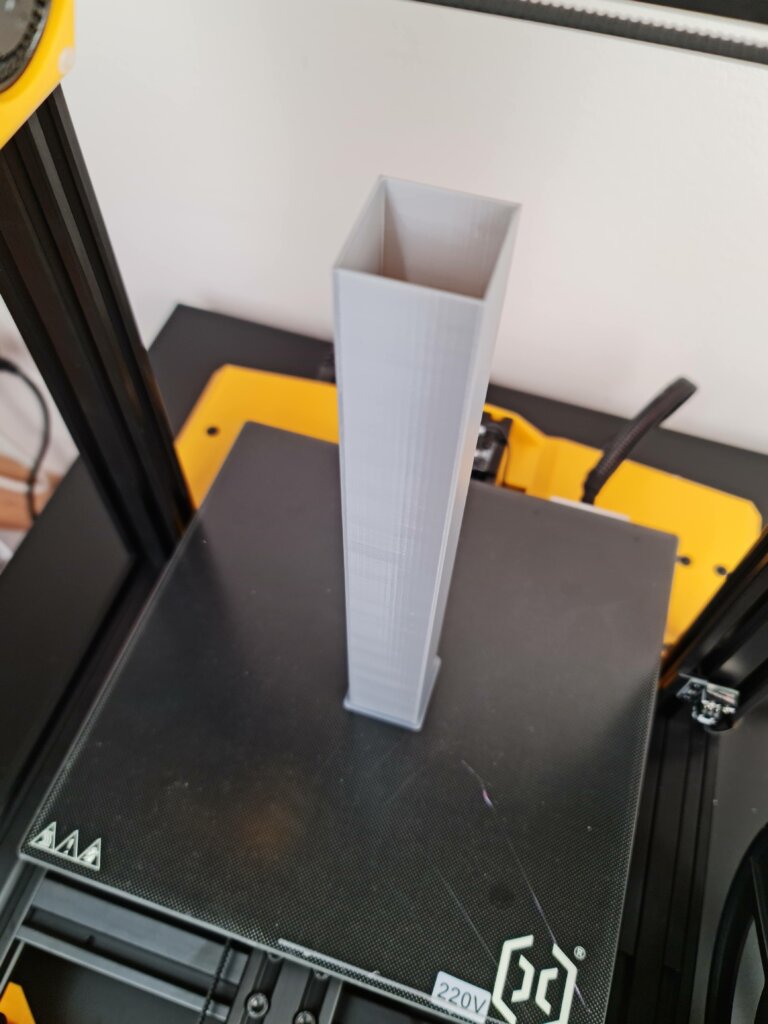
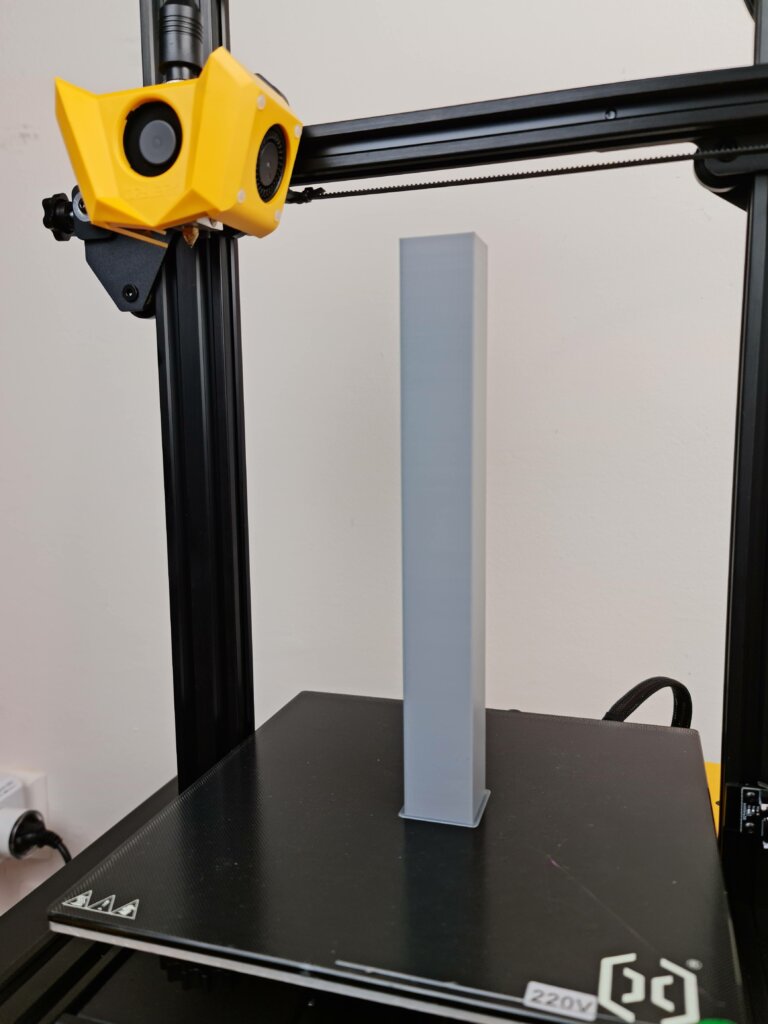
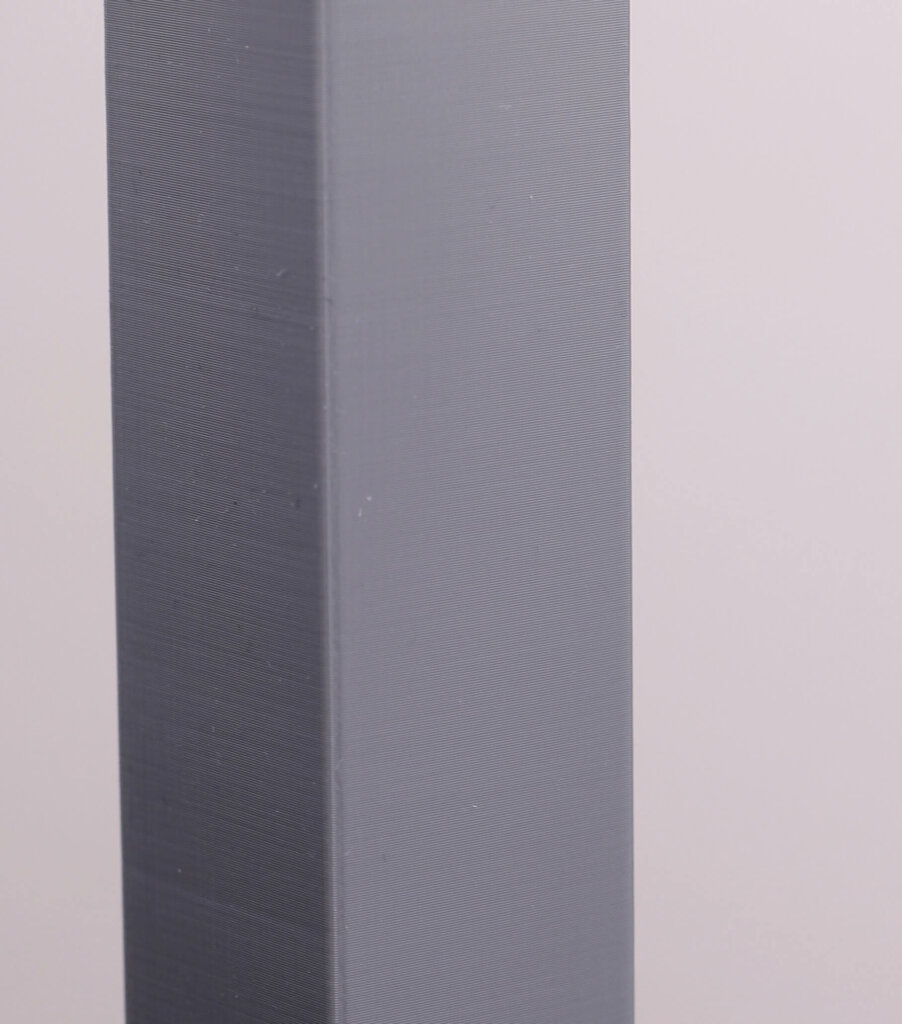
Z Wobble Test
This was an idea I got from a Discord member who asked about Z wobble. The previous Artillery machines suffered from slight (in some cases more) Z wobble.
I am happy to report that the Artillery Hornet does not suffer from Z wobble and this might be thanks to the new way of installing the Z motor.
- Material: Sunlu Gray PLA
- Layer Height: 0.2mm
- Nozzle Temperature: 215C
- Bed Temperature: 60C
- Print Speed: 40 mm/s
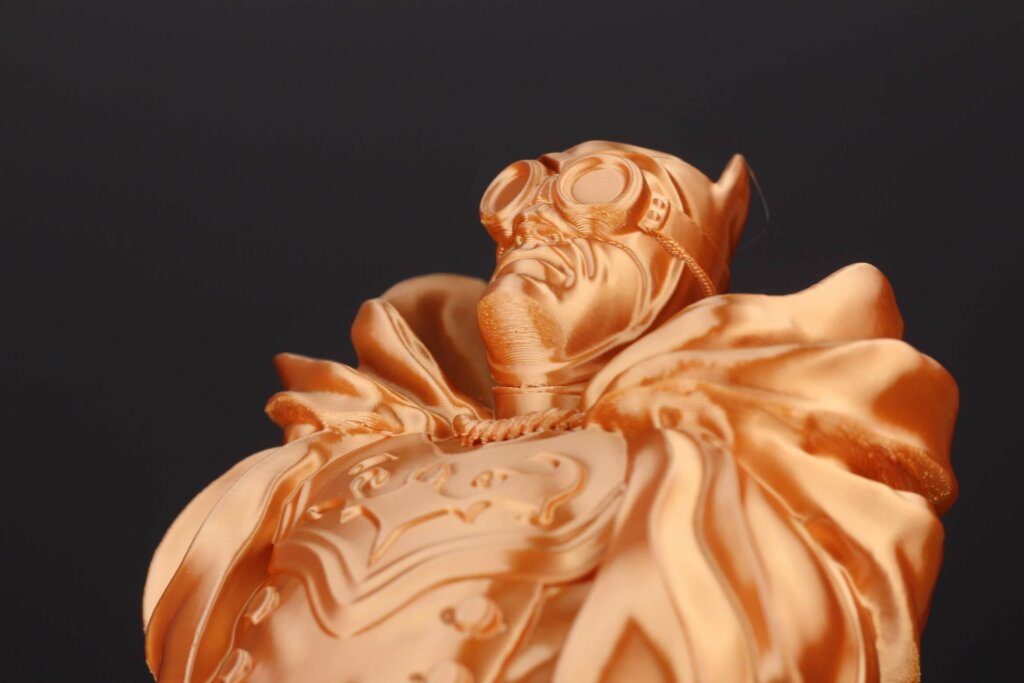
Steampunk Batman
After calibrating the extruder and flow rate, I printed the Steampunk Batman from Wekster. Quality is good, but there are some areas of inconsistent extrusion. Can’t really say why this happened but it is what it is.
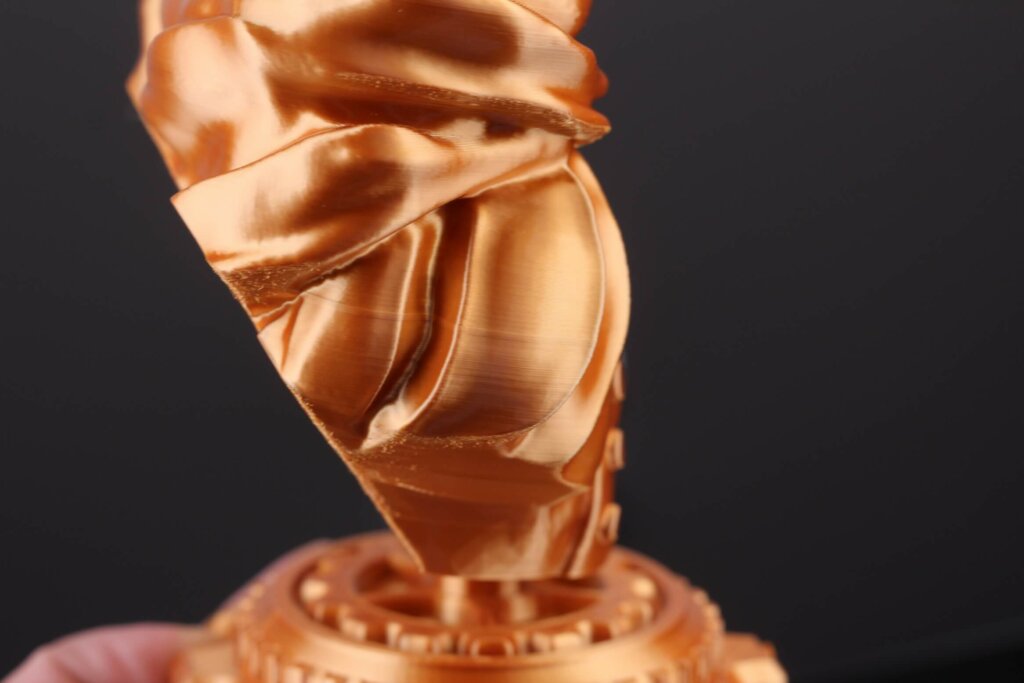
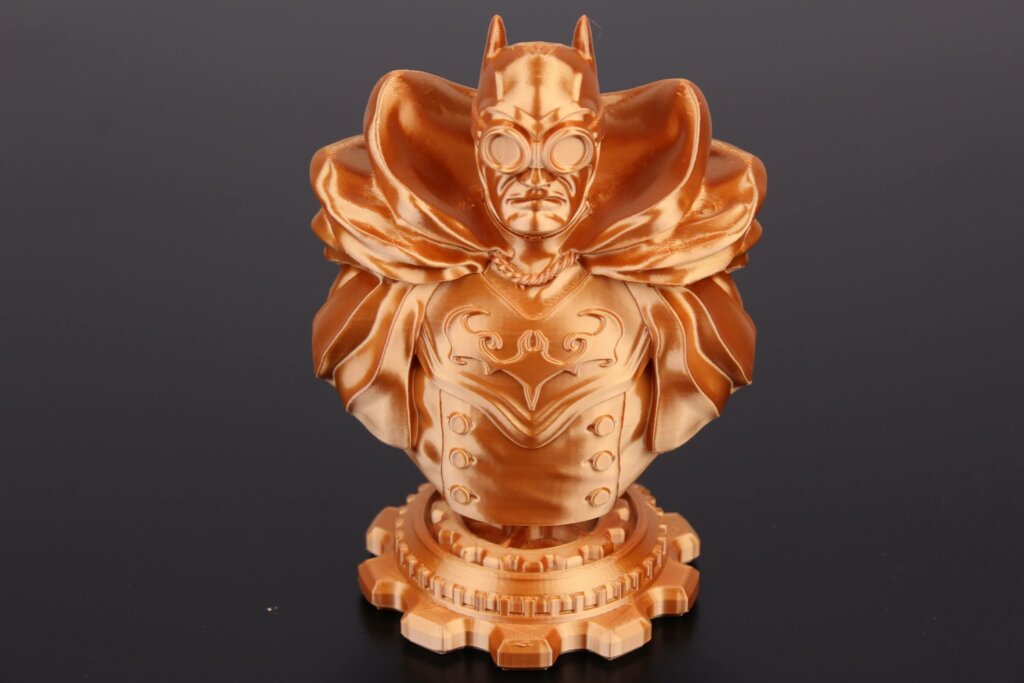
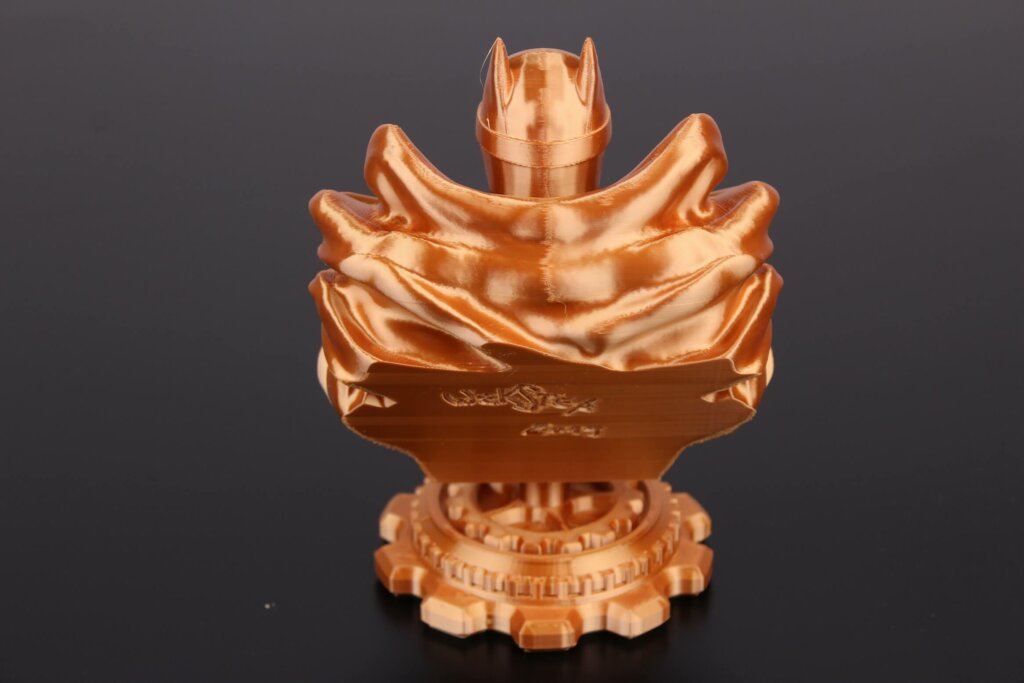
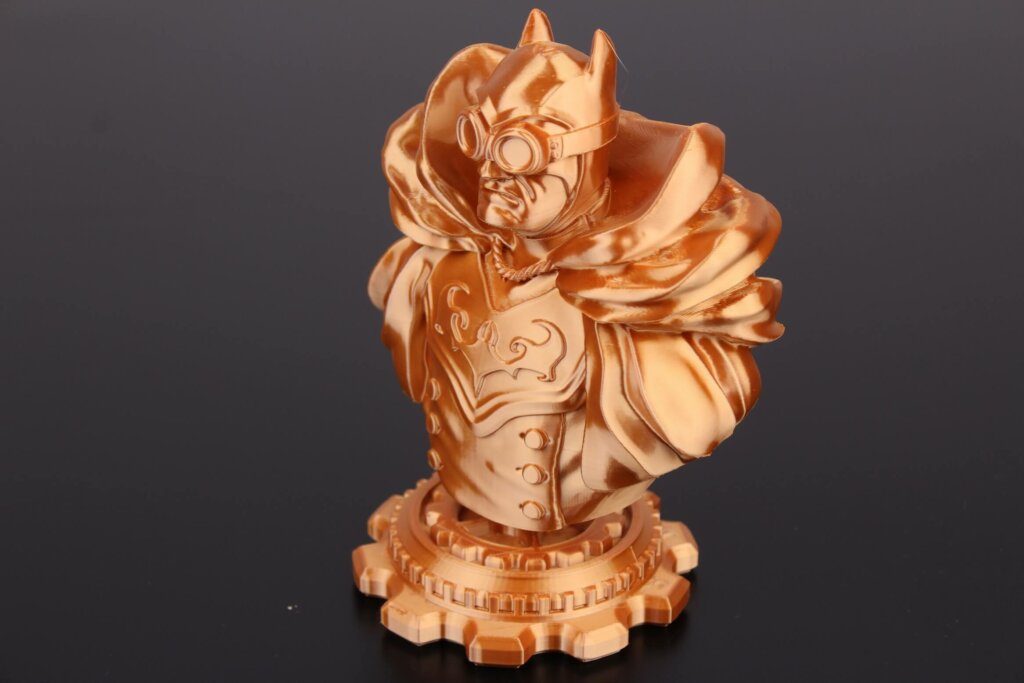
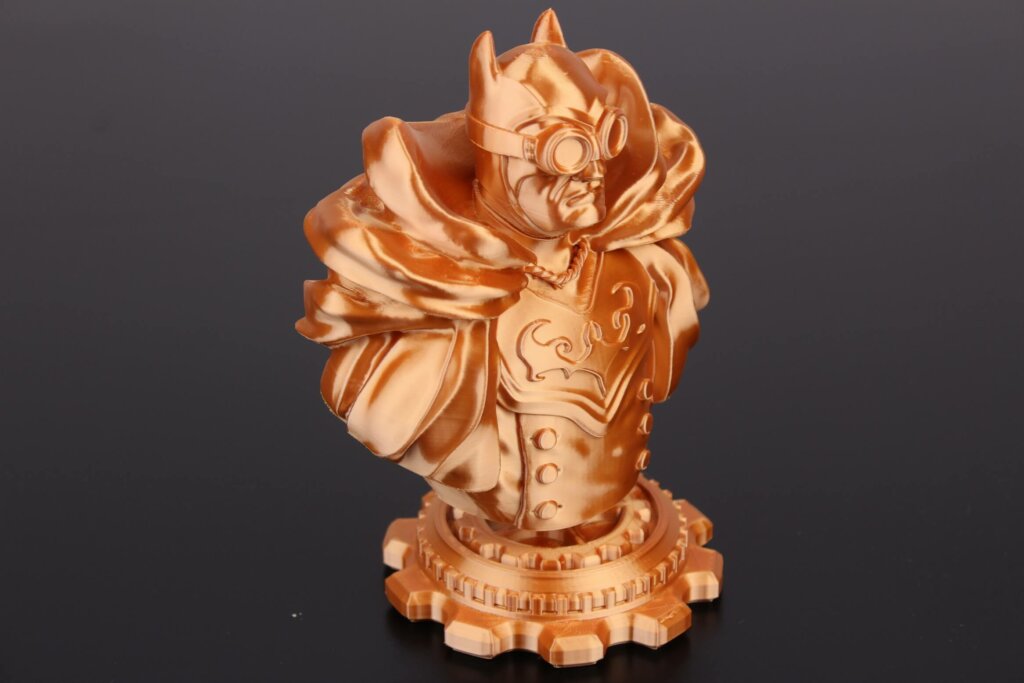
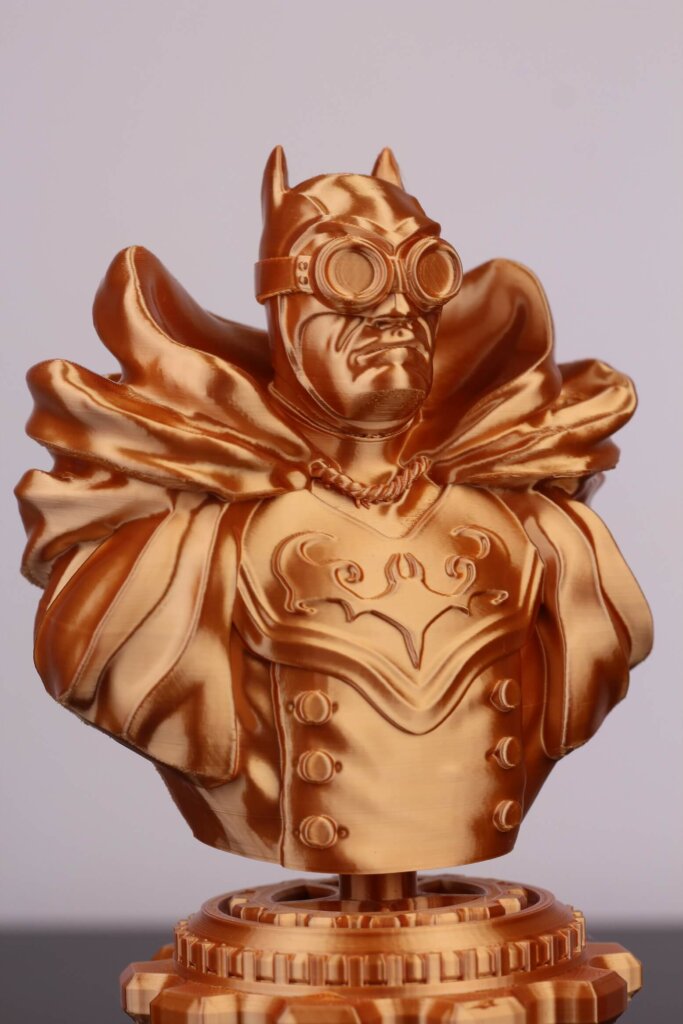
- Material: SUNLU Silk Copper PLA
- Layer Height: 0.15mm
- Nozzle Temperature: 215C
- Bed Temperature: 60C
- Print Speed: 50 mm/s
Hulk
Next print is Hulk from iczfirz on Thingiverse. I’m really happy with how this turned out because it has large overhangs which are hard to print without proper cooling. The Hornet managed to print them with no problem so that’s good to see.
Other than that, I got the same small uneven extrusion in some portions of the print.
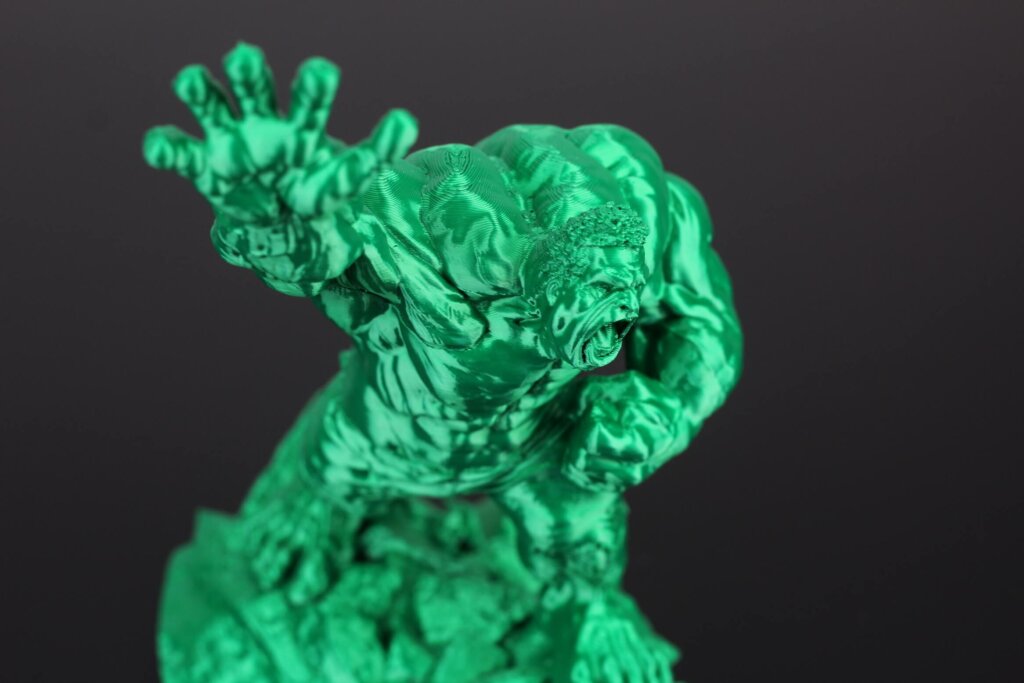
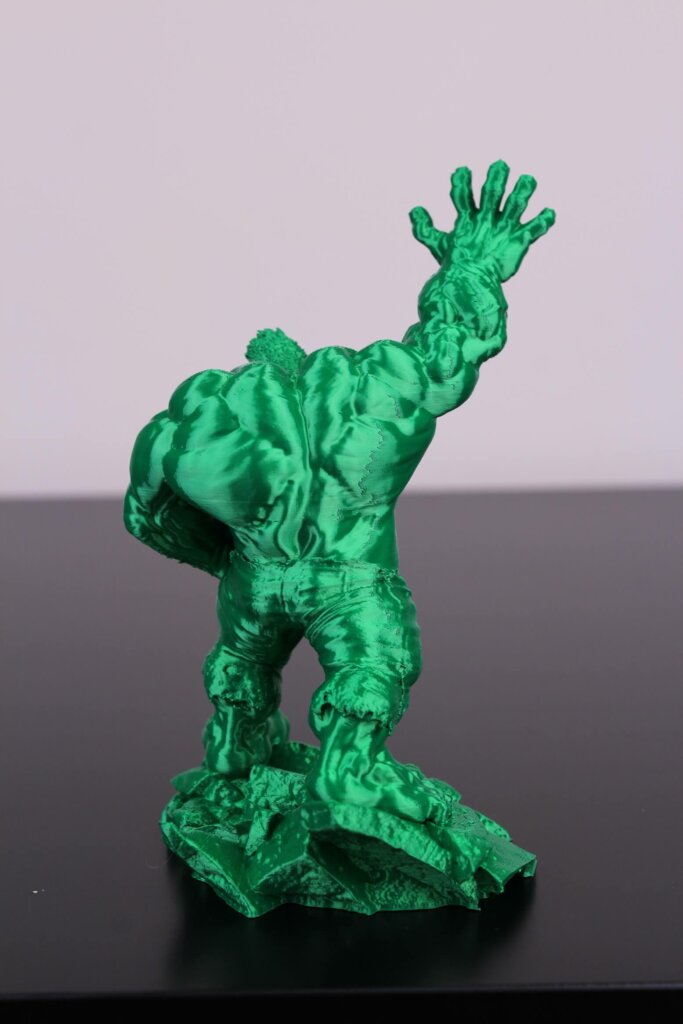
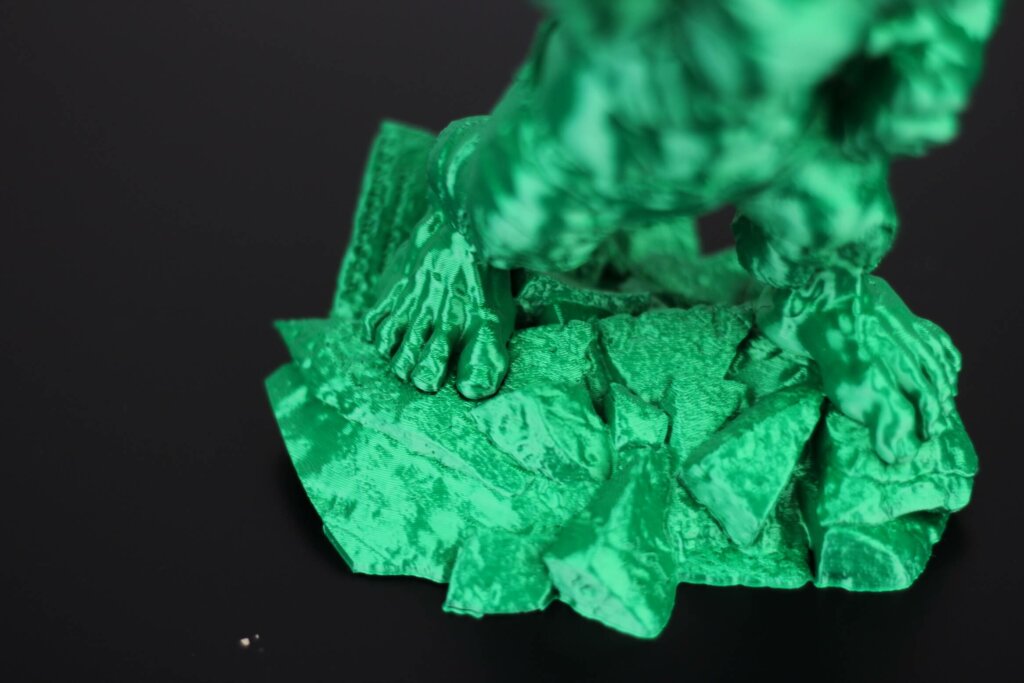
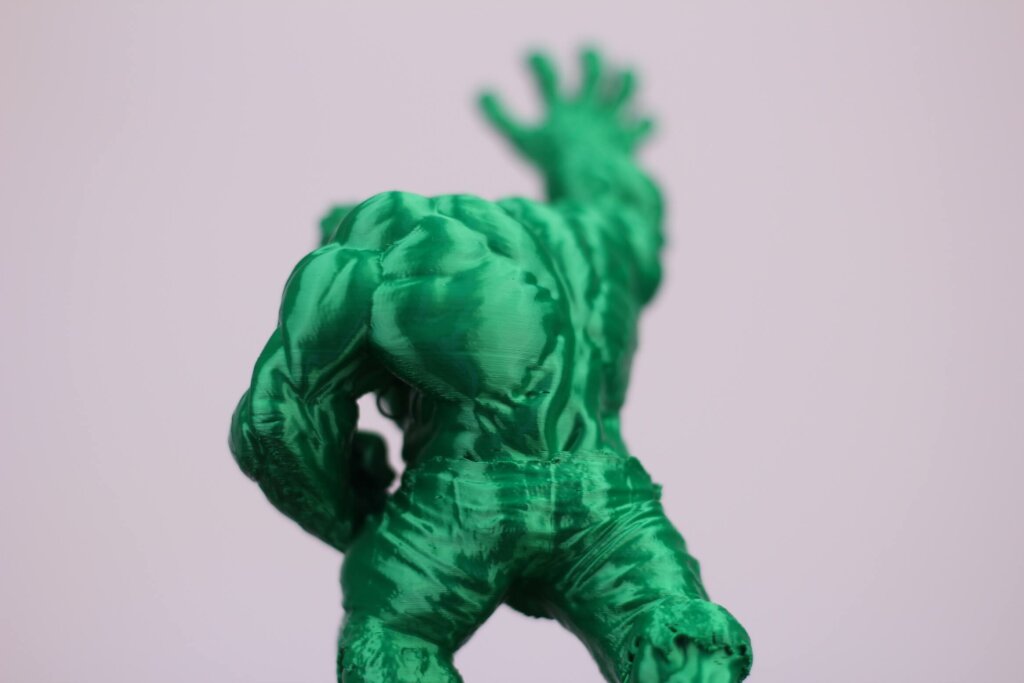



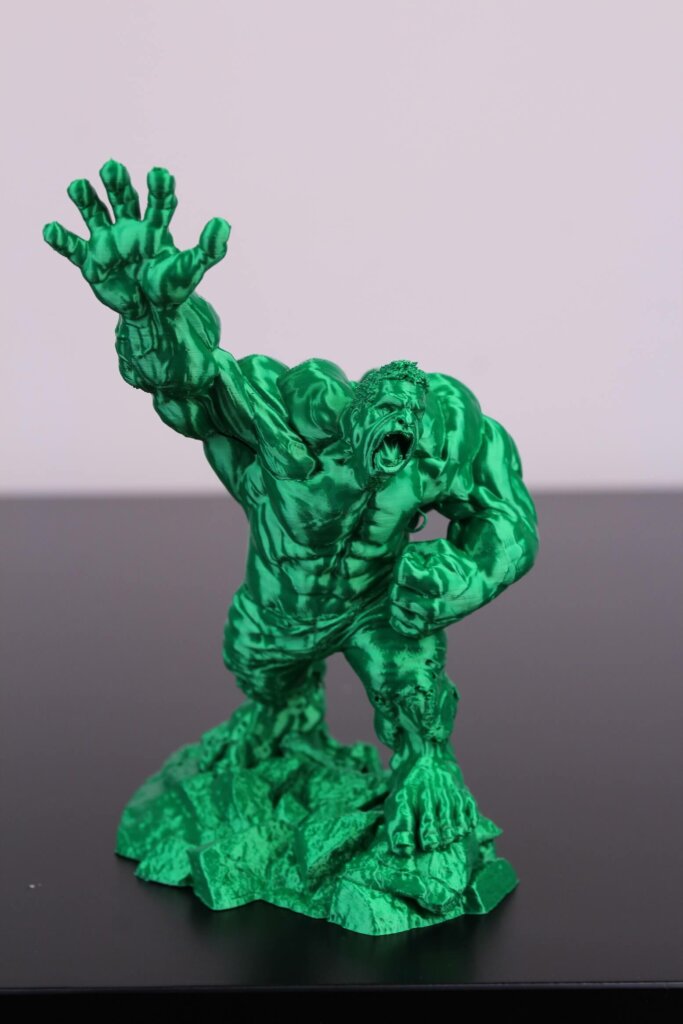
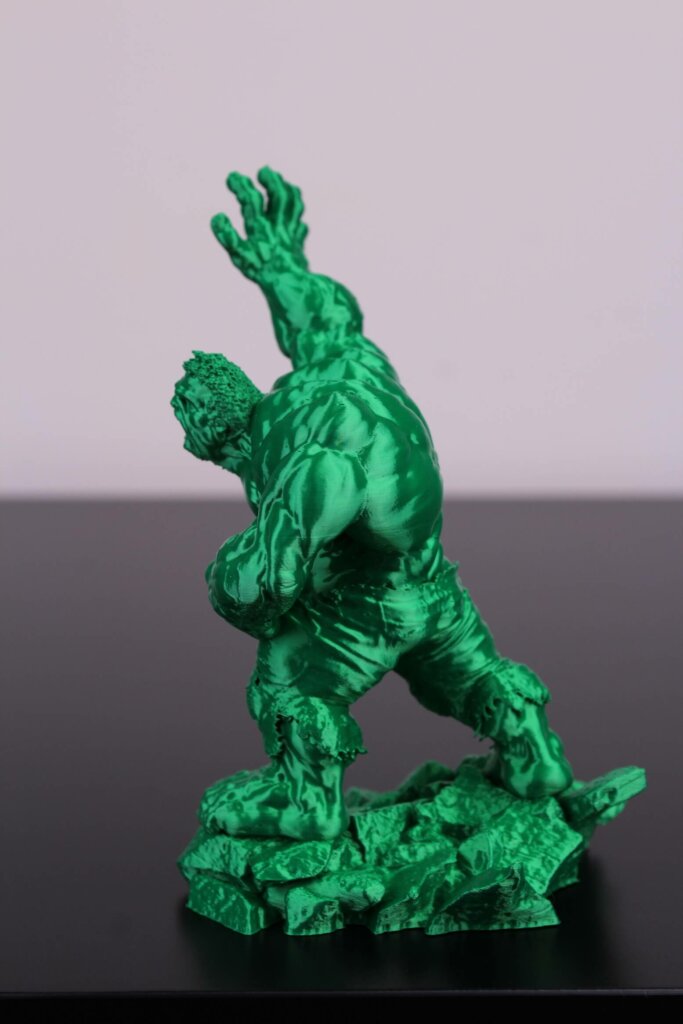
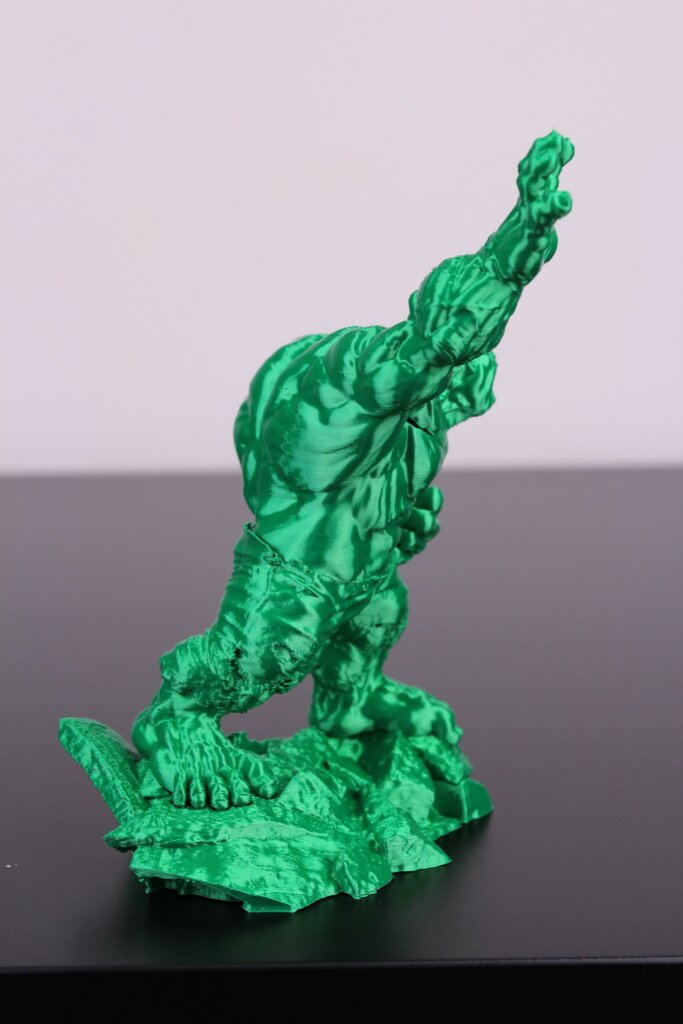
- Material: Extrudr Biofusion Reptile Green
- Layer Height: 0.15mm
- Nozzle Temperature: 215C
- Bed Temperature: 60C
- Print Speed: 50 mm/s
FillaFela
I also tested the PETG print quality with the Artillery Hornet and it’s great! Extrusion is consistent and overall, this print looks excellent considering it was printed in PETG.
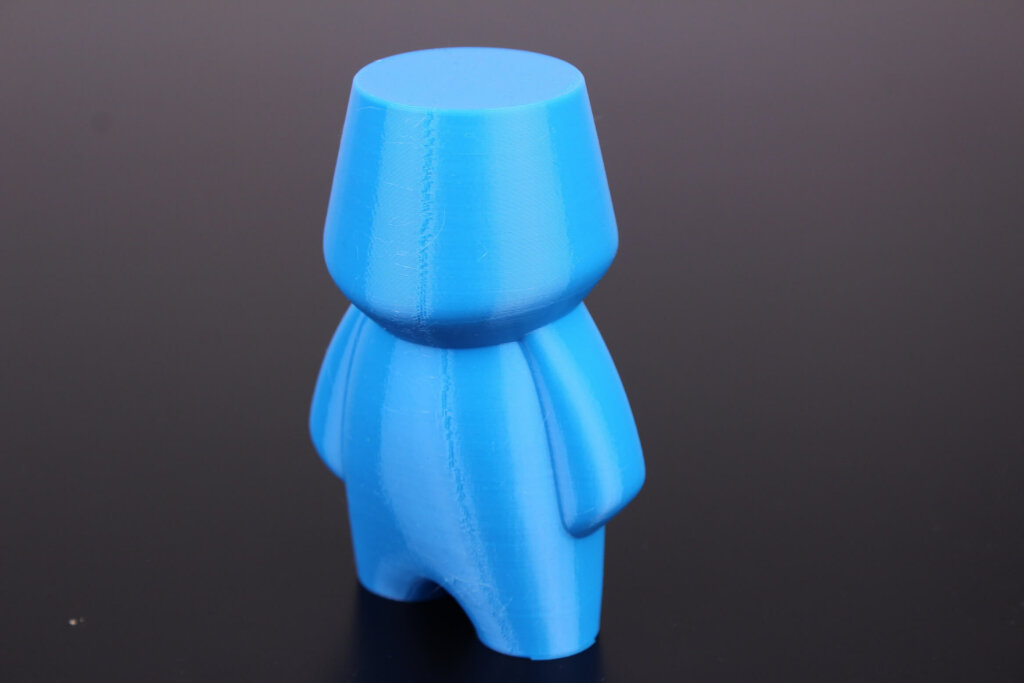
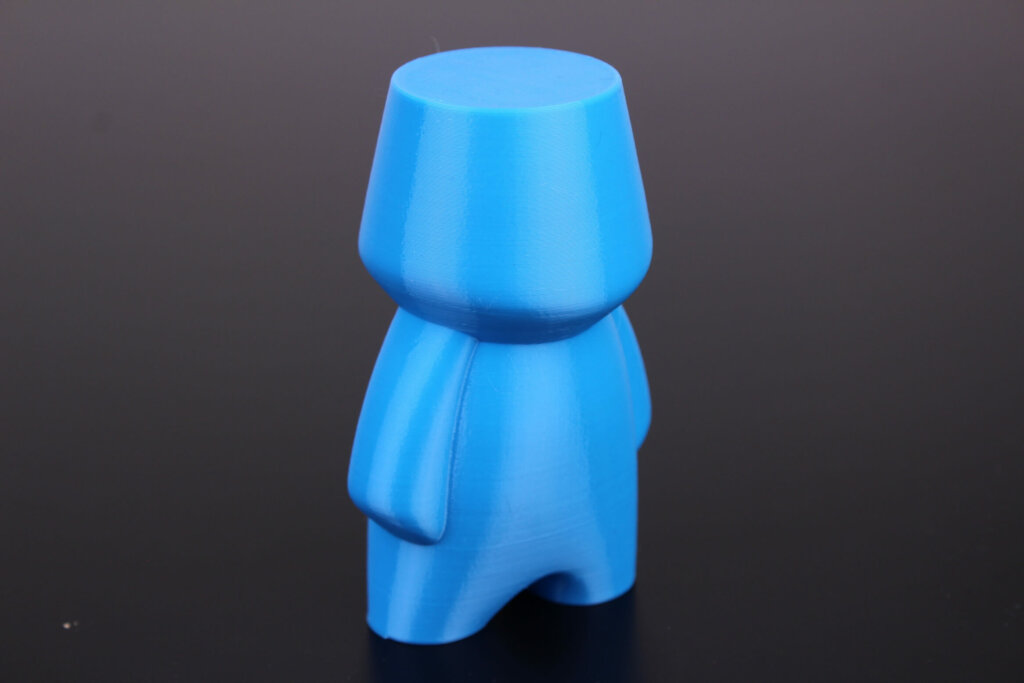
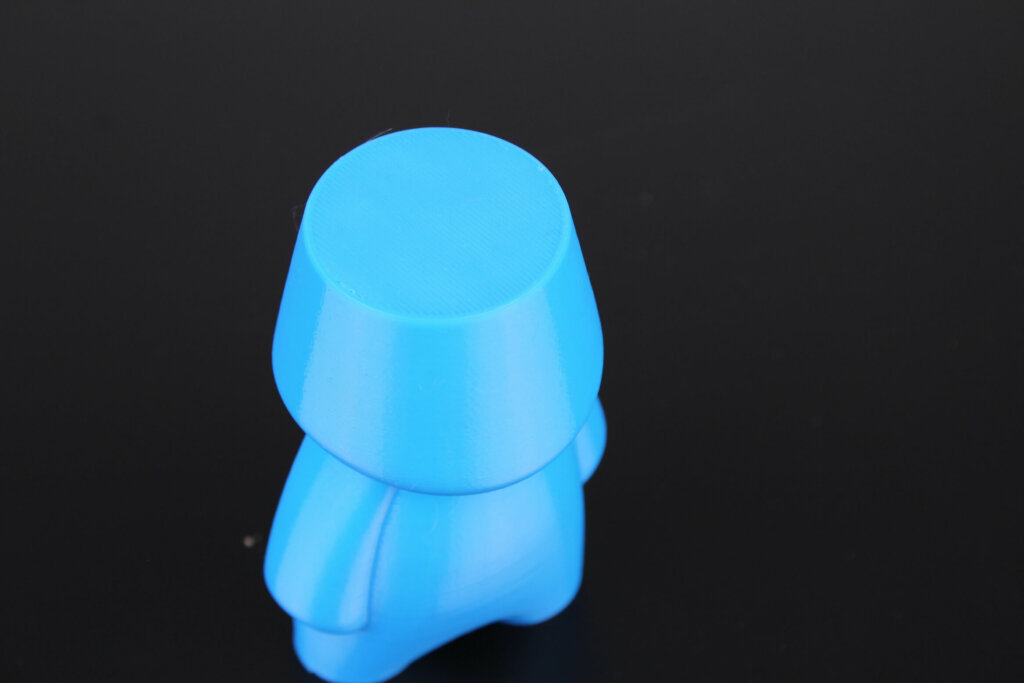
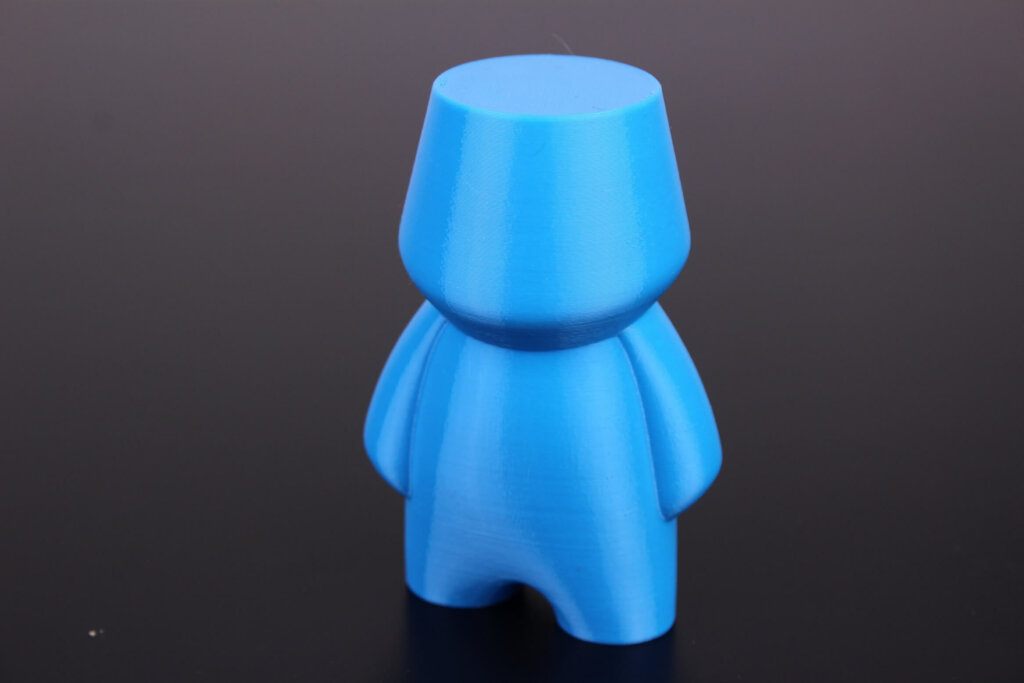
- Material: Fiberlogy Easy PETG
- Layer Height: 0.2mm
- Nozzle Temperature: 235C
- Bed Temperature: 70C
- Print Speed: 50 mm/s
Fluffy the Unicorn
Another PLA print, this time, my favorite test print from Alsamen.
The silk filament really makes this print look amazing and there’s no sign of inconsistent extrusion with this one. Some filament inconsistencies might have caused previous issues.
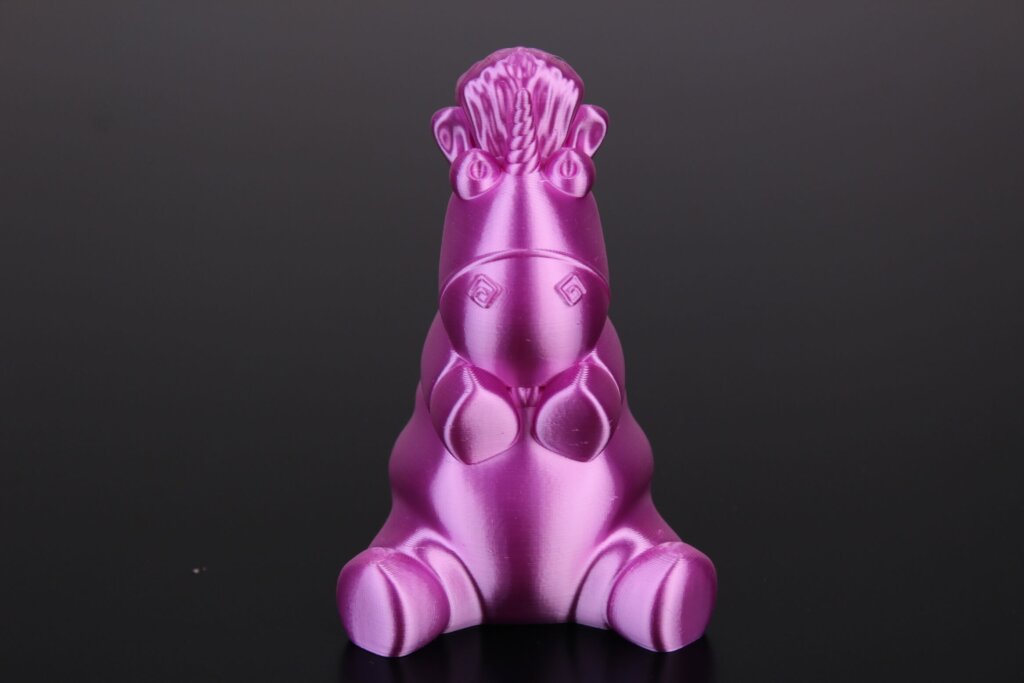
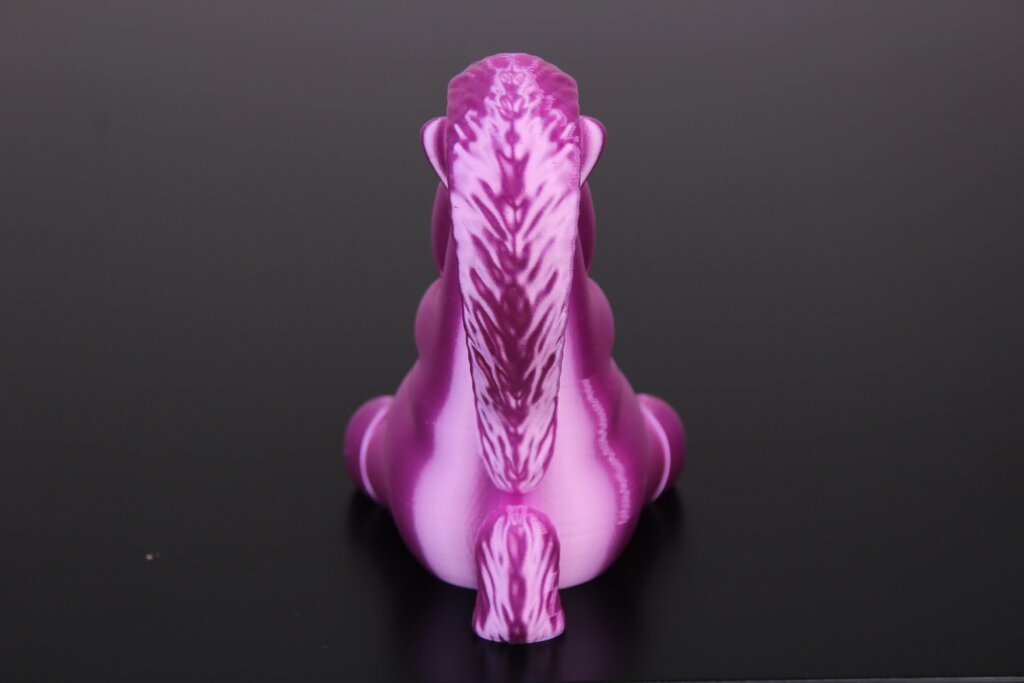
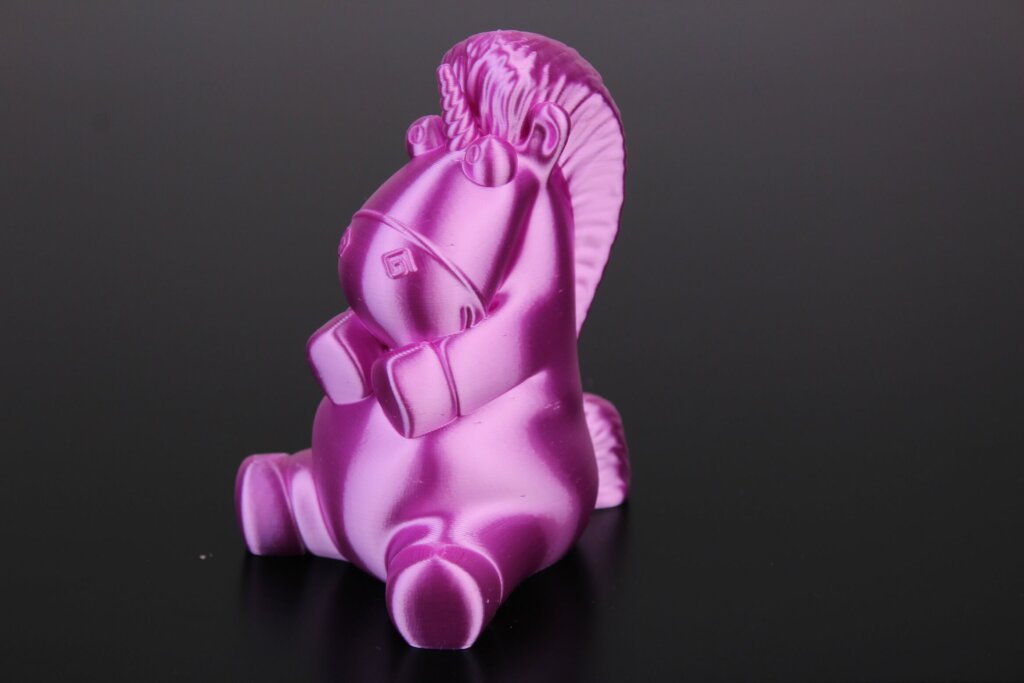
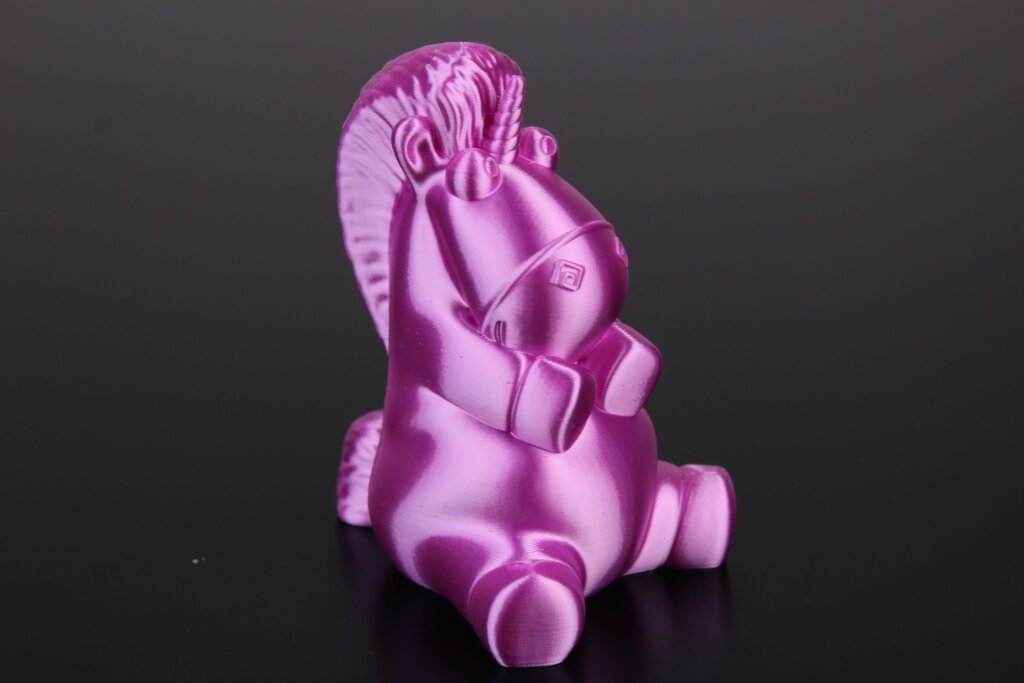
- Material: DevilDesign Silk Purple PLA
- Layer Height: 0.15mm
- Nozzle Temperature: 215C
- Bed Temperature: 60C
- Print Speed: 50 mm/s
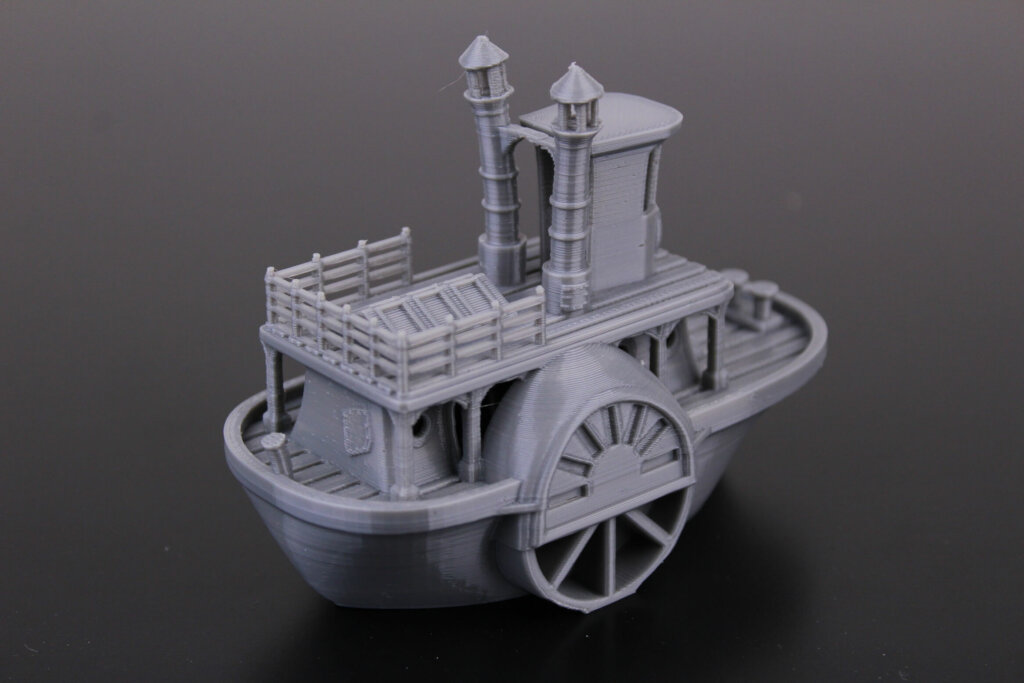
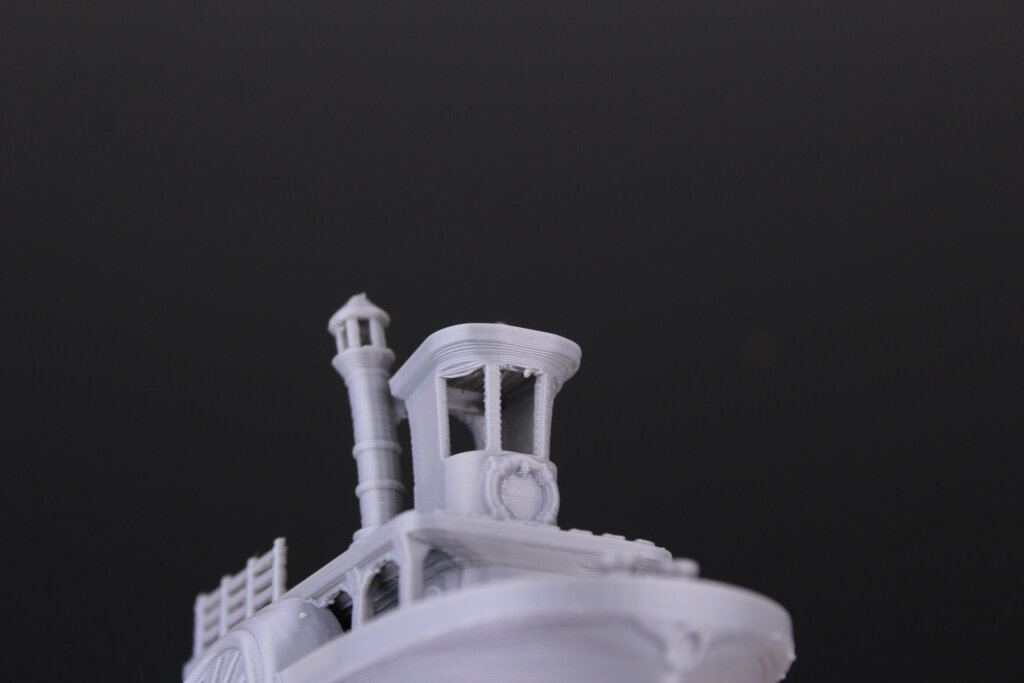
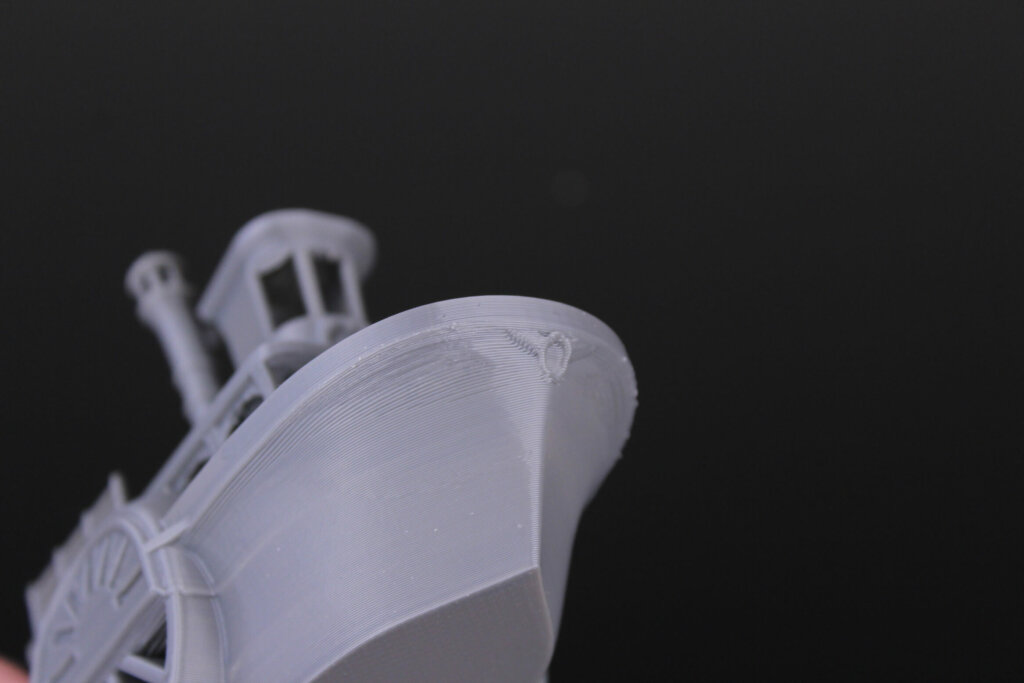
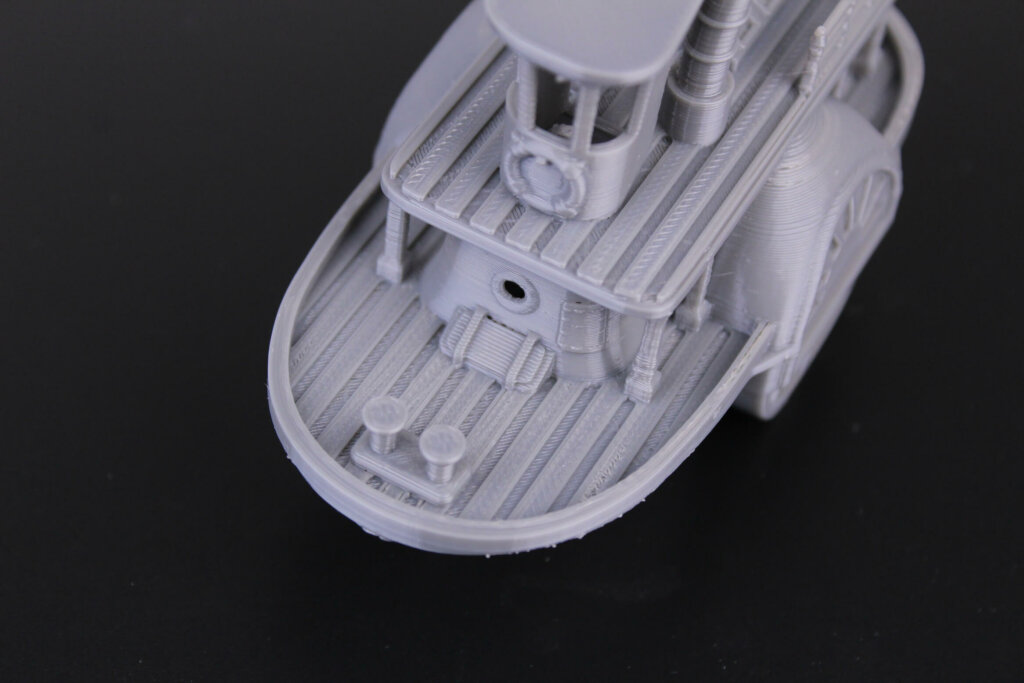
Old paddlewheel steamboat
I like to print this little steamboat because you get a lot of information about the printer performance and calibration. The print quality is good, all the small features have been printed successfully but there are some minor layer inconsistencies on some sections.
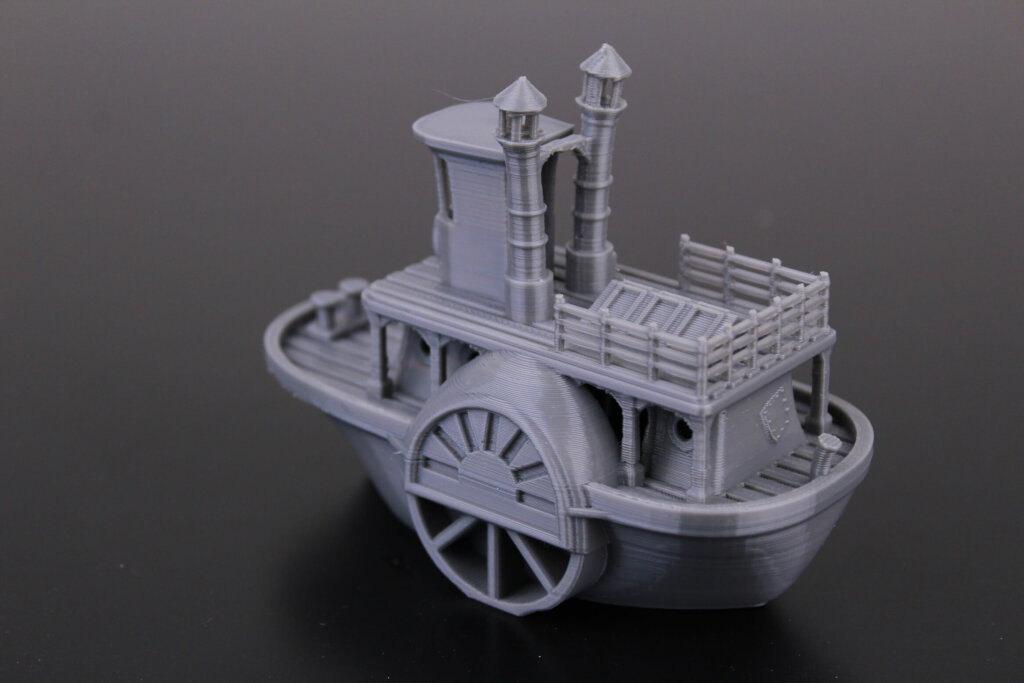
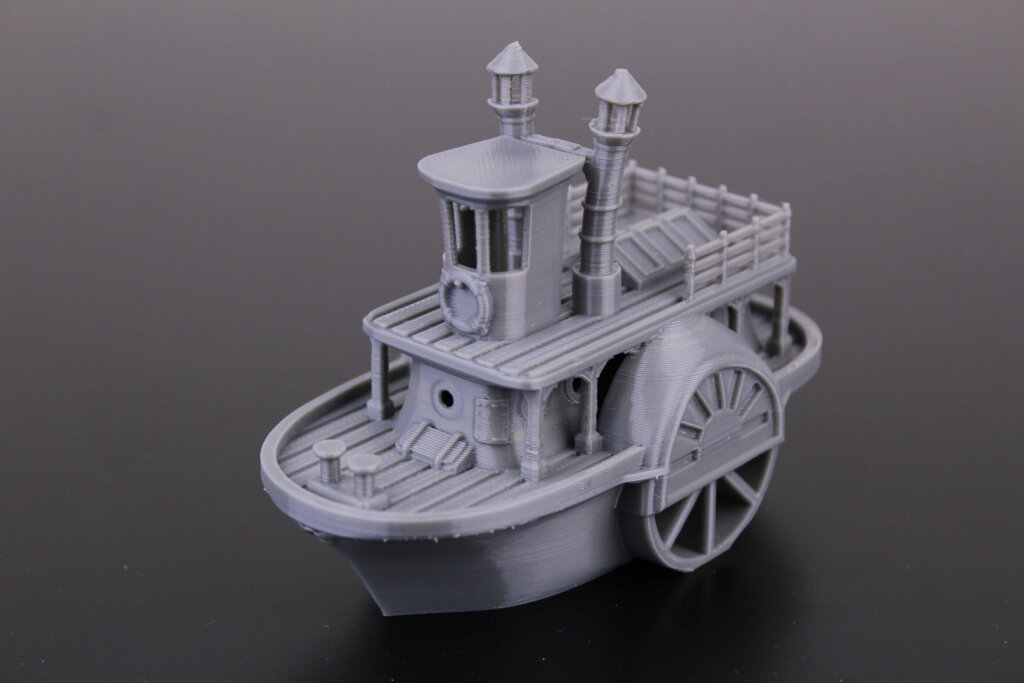
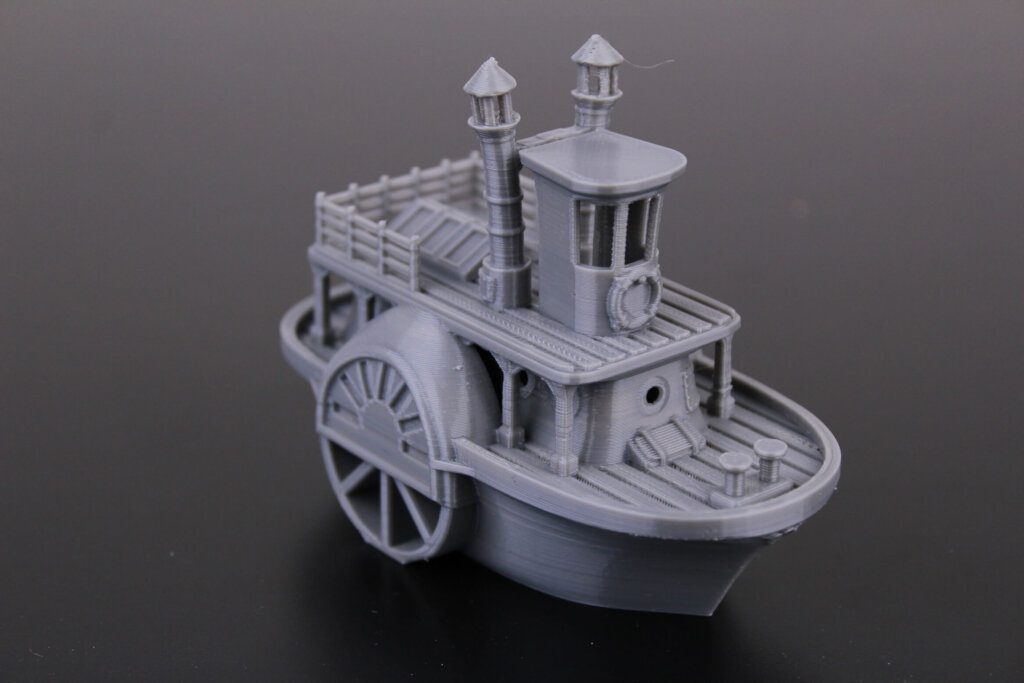
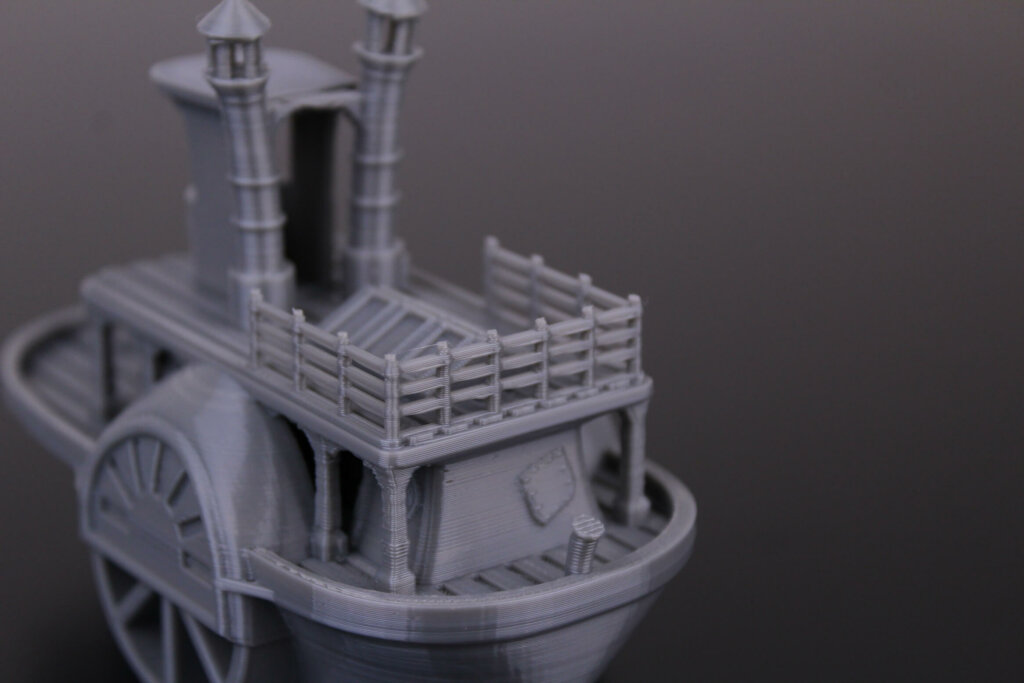
- Material: Sunlu Gray PLA
- Layer Height: 0.2mm
- Nozzle Temperature: 210C
- Bed Temperature: 60C
- Print Speed: 50 mm/s
Phil-A-Ment
While this is a bowden machine, I thought I give TPU a go even though my expectations of a good print were low. But you can see that the print quality is excellent.
Sure, this was printed at a lower speed (30mm/s) which is somewhat the norm for bowden machines, but excellent results, nevertheless.
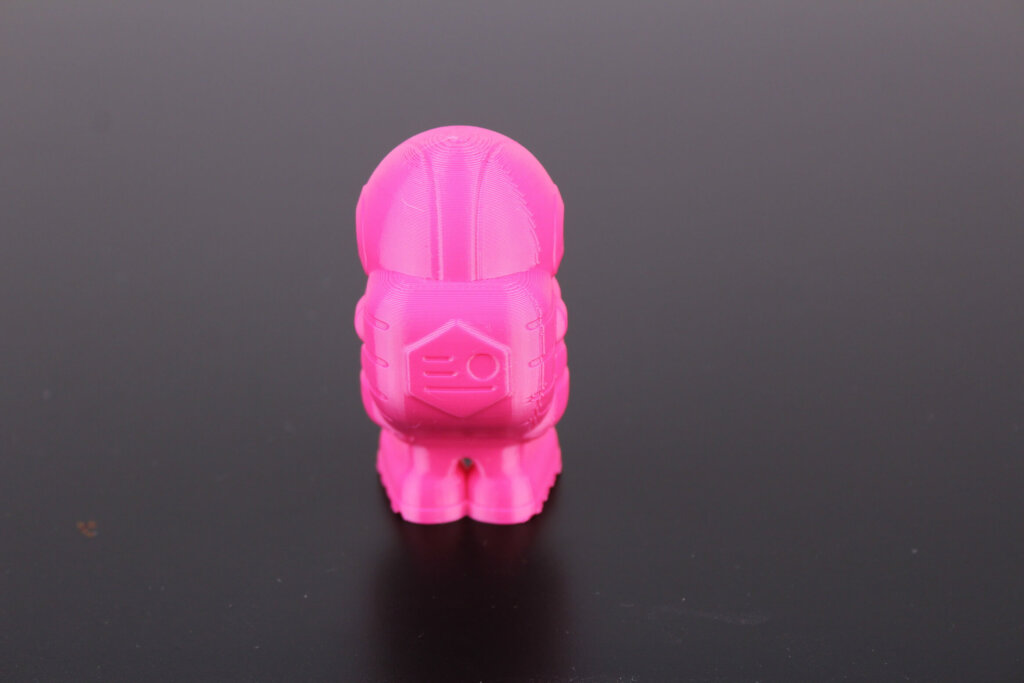
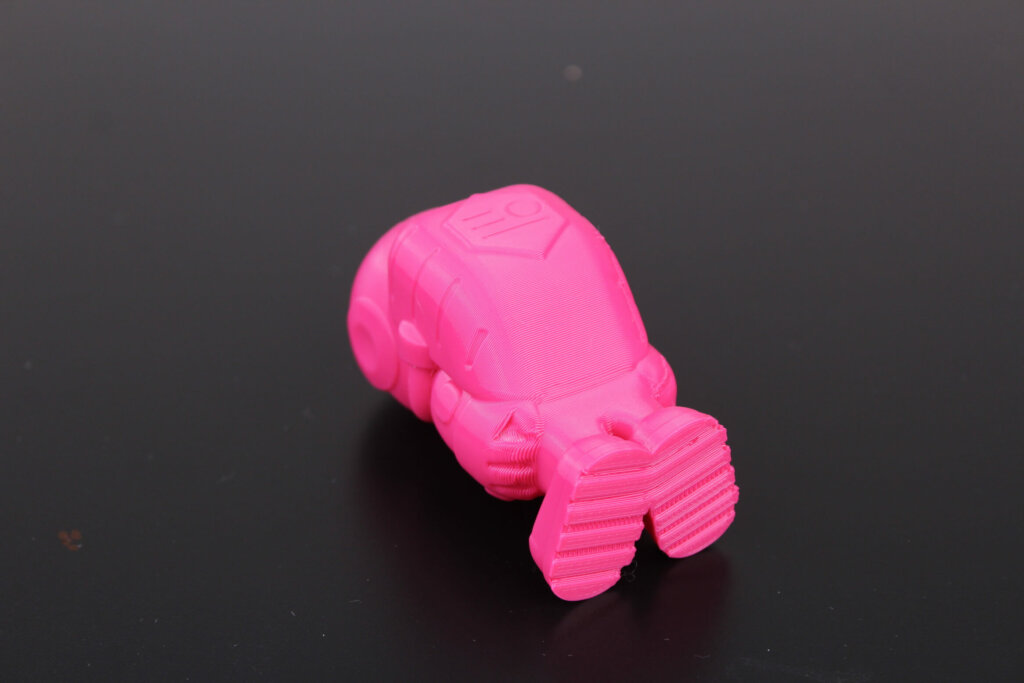
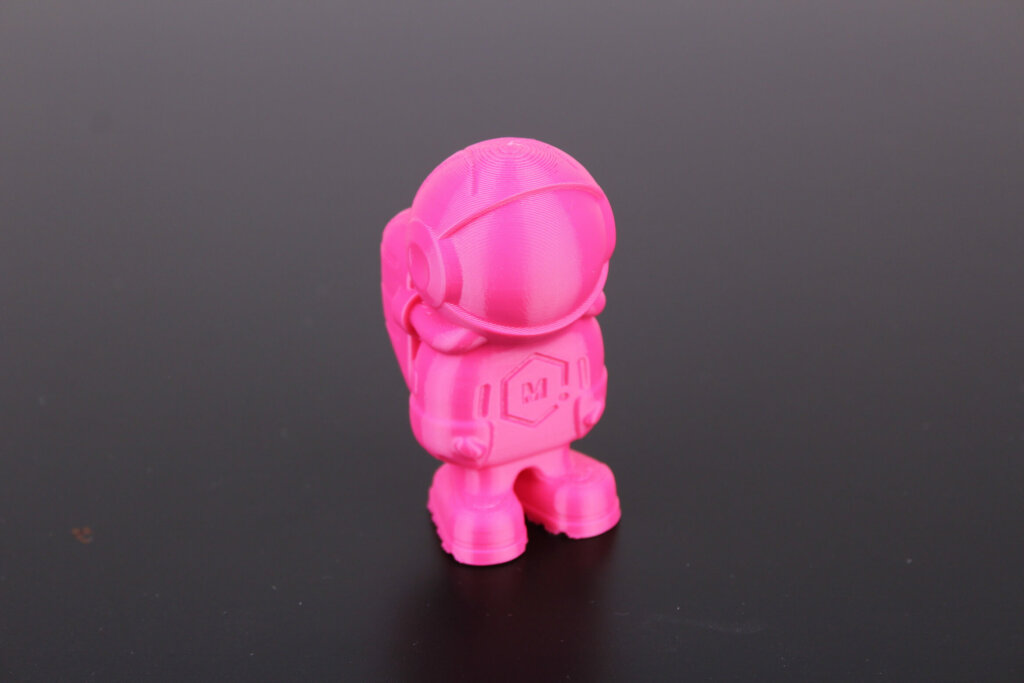
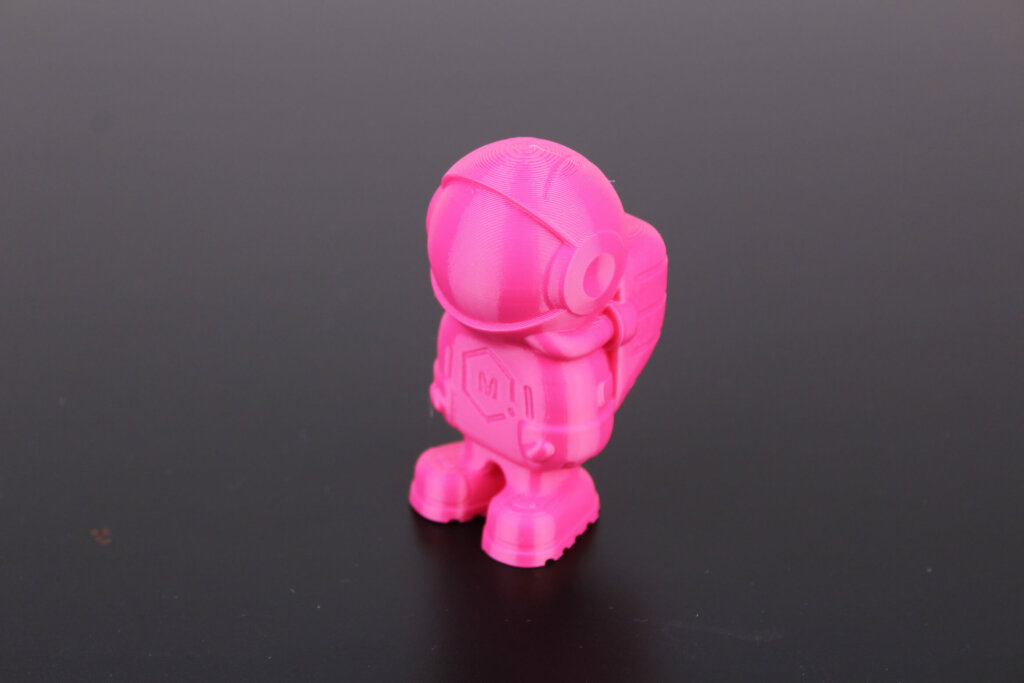
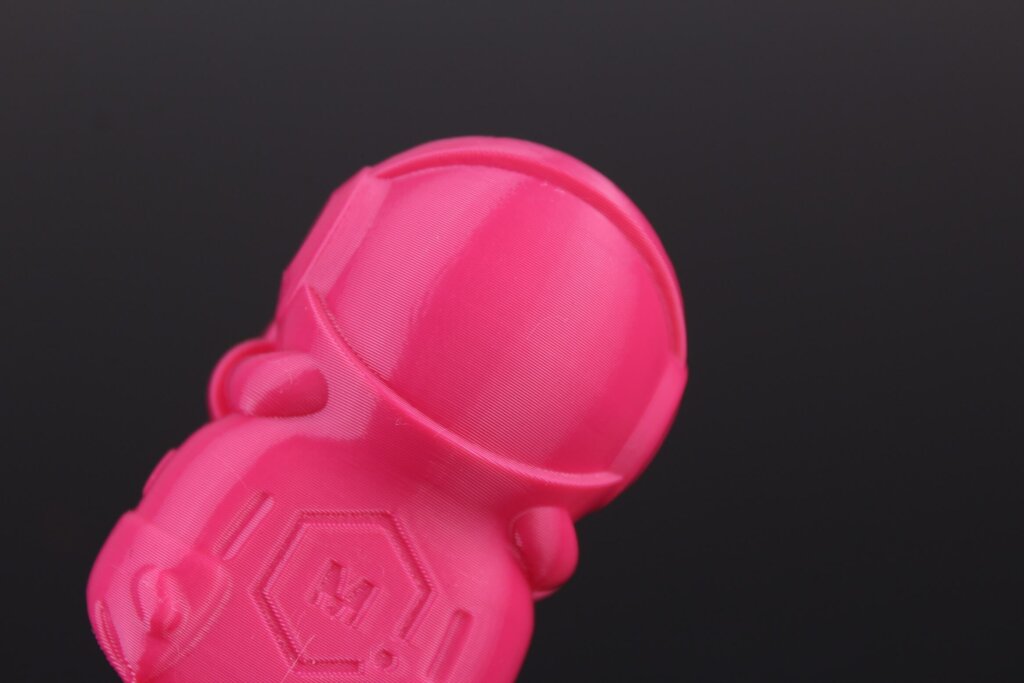
- Material: Devil Design Pink TPU
- Layer Height: 0.2mm
- Nozzle Temperature: 220C
- Bed Temperature: 60C
- Print Speed: 30 mm/s
Conclusions: Is the Artillery Hornet worth it?
The Artillery Hornet is a nice machine capable of producing quality prints, but unfortunately, I don’t think it has the same value as the Artillery Genius.
At the time of writing this article, the Artillery Hornet is priced at around 260$ being just a bit cheaper than the Artillery Genius which has better features in my opinion.
To wholeheartedly recommend the Artillery Hornet, the price should be much closer to the 200$ mark, to make it a good budget purchase. This is because I need to take a few bonus points from it for the use of glue under the bed making it one of the drawbacks of this printer. This issue might get fixed in the future.
For an extra 30$, the Artillery Genius gets you dual Z axis, sturdier frame, a direct drive extruder with a volcano hotend, AC heating for the bed and overall a cleaner look.
The main upgrade for the Artillery Hornet is the 32-bit board, and maybe the use of regular cables instead of the ribbon cable present on the Genius (which some users have issues with) which don’t necessarily offer better print quality, but it might be more reliable. Other than that, its mostly lacking features compared to the Genius.
I can’t say the Artillery Hornet is a bad machine because the print quality will contradict me. Overall, it’s a great alternative to the Ender 3 V2 which is probably its main competitor, and if you look at the Hornet from this perspective, is a great budget machine and the winner in this comparison. But if you like the Artillery Hornet and you plan to purchase it, I highly recommend you also check the Artillery Genius before ordering because you might find the ladder to be a bit more feature-rich and availability is currently better.
The Artillery Hornet is an excellent printer if you can purchase it for less than 200$. The print quality is good, it's silent and doesn't need any tinkering out of the box. Artillery Hornet Rating
Design
Specs
Noise Levels
Ease of use
Print Quality
Price
Where to buy the Artillery Hornet?
The Artillery Hornet can be purchased from the following websites:
Amazon
Banggood
AliExpress
TomTop
Geekbuying
I recommend checking out the Discount Codes page before purchasing. I regularly update the article with discount codes for various online shops, and you might find one for this particular model.
The Artillery Hornet was provided free of charge by Artillery for the purpose of this review. While the article includes affiliate links, all opinions are my own. Nobody reviewed the article before it was posted, following the Review Guidelines.
Liked it?
|
|

