IdeaMaker Angled Supports: Save Time and Money
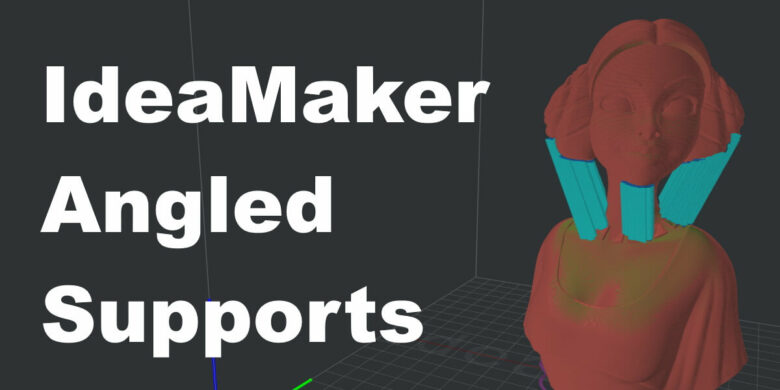
I know a lot of people love Cura for their Tree Supports, bud did you know about the IdeaMaker Angled Supports? It’s not a named feature in the slicer, but a trick which you can use to minimize waste.
As you might know, I’m a big IdeaMaker fan because it’s one of the best slicers out there, and one which I have been using for more than 2 years. I got so used with the interface and controls, that it’s hard for me to switch. But I still dabble with the excellent Prusa Slicer from time to time.
In this article I will show you a handy little trick to generate angled supports in IdeaMaker.
Why use Angled Supports in IdeaMaker?
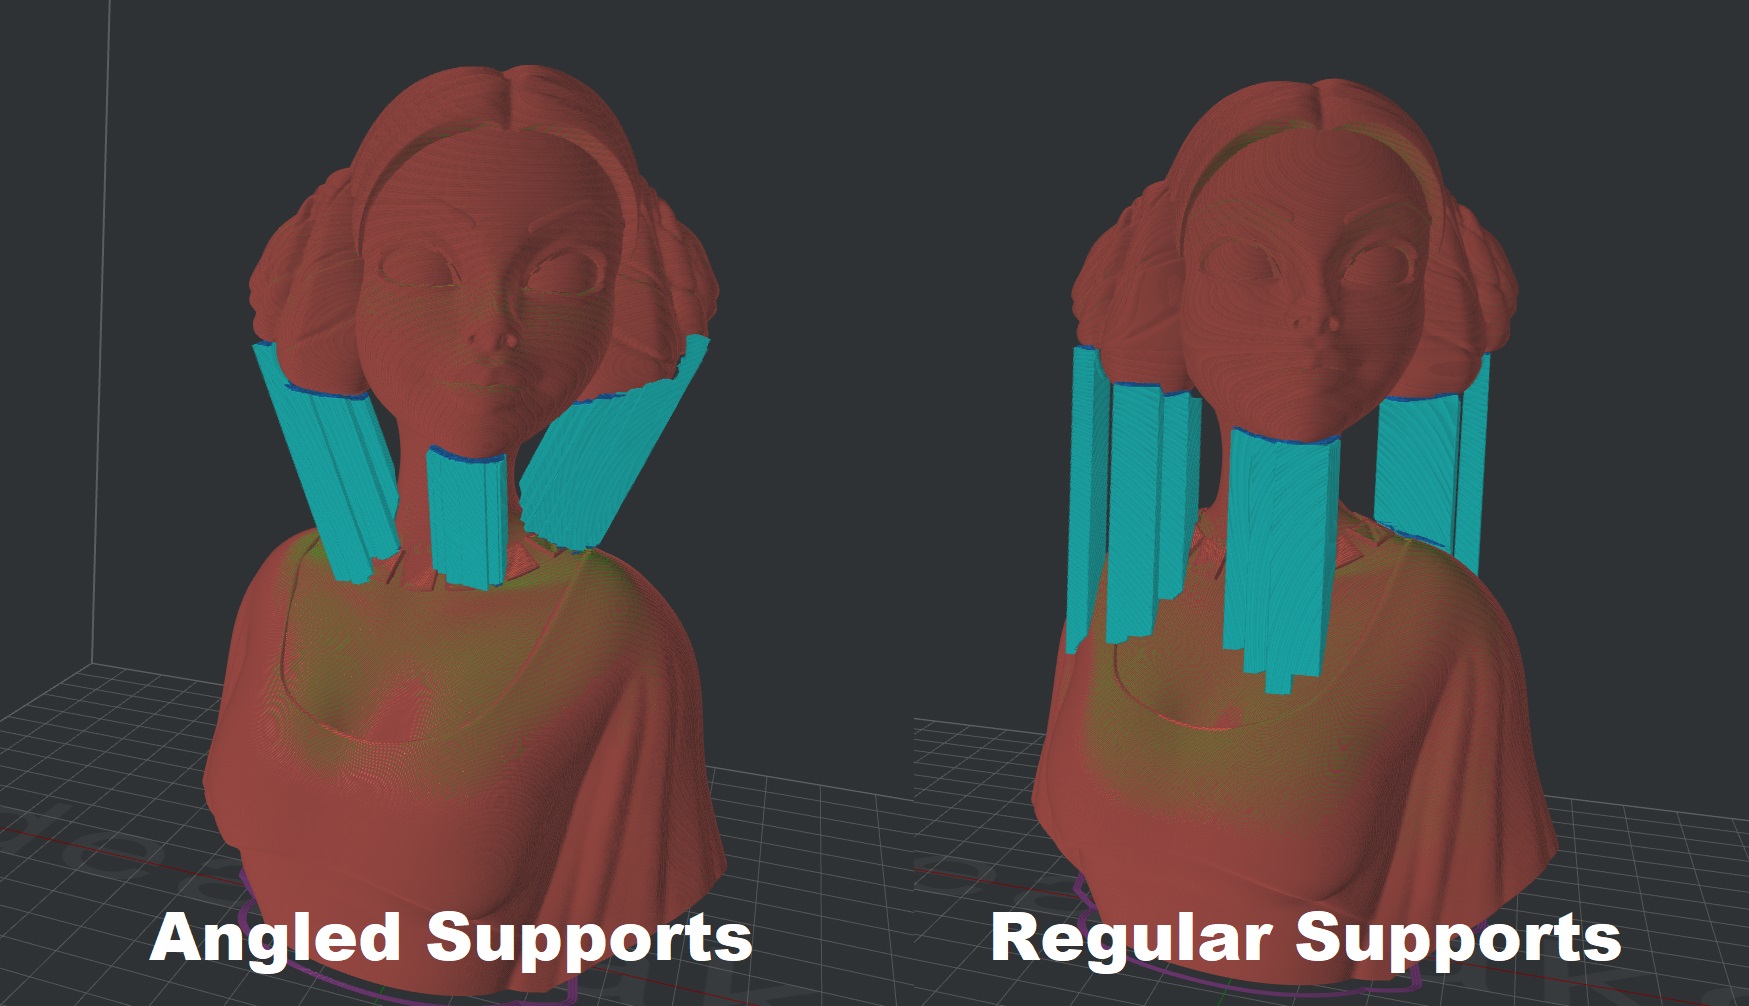
If you decide to use Angled Supports, you will be able to finish a print faster and waste less filament, saving you time and money. Besides that, you also get less contact scar points on your model if you use angled supports.
In the image below, you can see that the amount of supports needed for this model is reduced with Angled Supports. The print time is also reduced with over 2 hours in this case.
What do you need for IdeaMaker Angled Supports?
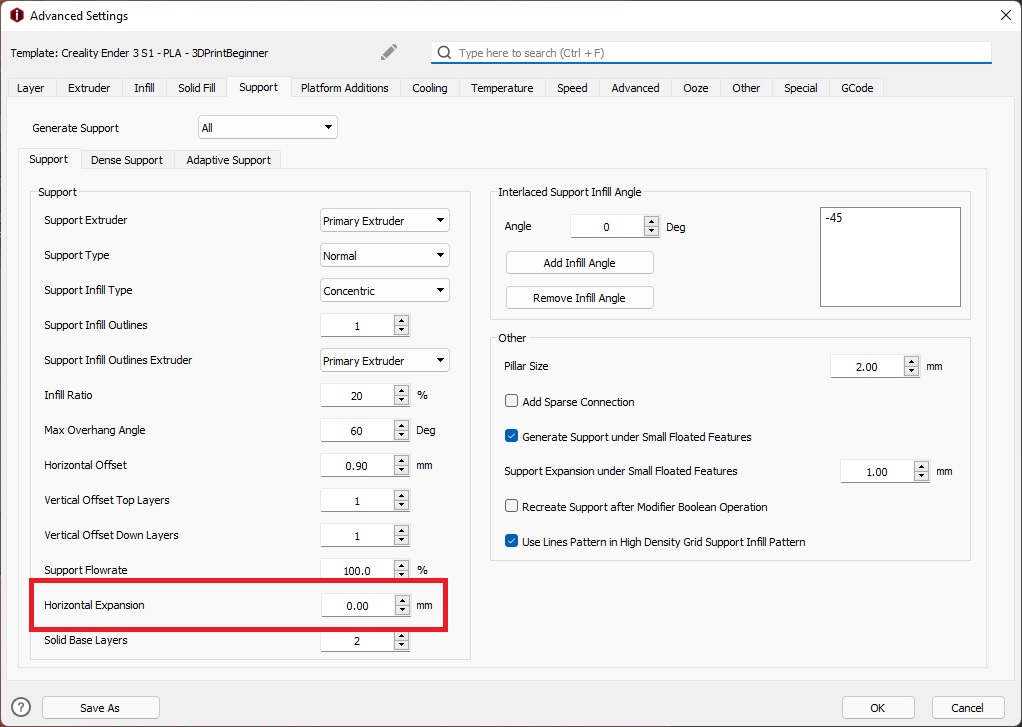
Before starting, make sure you set the Horizontal Expansion value to 0 in IdeaMaker. You can find this option under Advanced Settings -> Support -> Horizontal Expansion. ithout this option, you will not be able to use angled supports like I show you in this guide.
Besides this option, I recommend testing the current support settings with a different print. The supports need to be firmly attached, but still easy to remove when the print is completed. I shared a few tip for excellent support quality in the 3D Printing Tips to Improve Print Quality article.
How to add Angled Supports in IdeaMaker
Import a model
First step in this process is importing the model. In this example, I will use the Princess Leia bust from Inspyre3D because it’s the perfect candidate for angled supports.
Please note that this trick works best where the supports have enough room to be angled. On smaller models, you might not be able to do this.
Find the areas that need supports
If you look closer to the model, it’s easy to identify the locations where supports are needed: under the chin and under the hair braids.
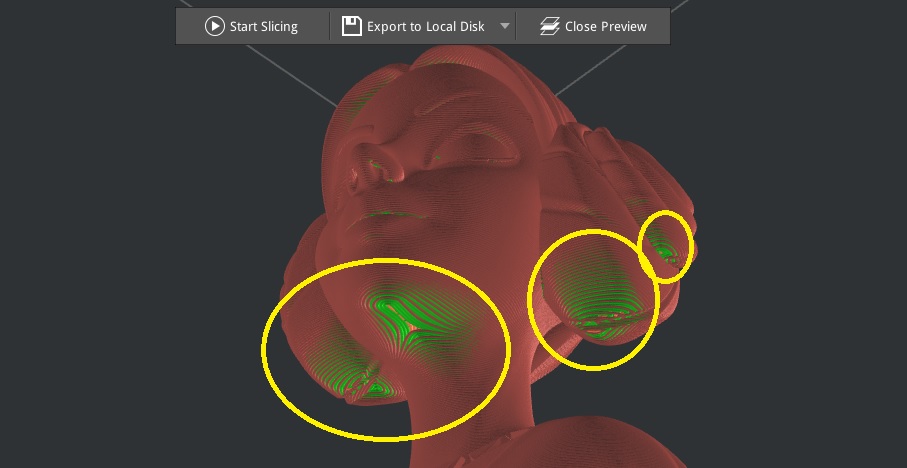
I usually just slice the model without supports, because it makes finding the support contacts easier.
Angle the model and add the supports
Now we need to angle the model so that the support lines up with the area that needs support. Let’s start by adding supports under the chin.
Select the Rotate button, and rotate the model on the X axis. The idea is to angle the model just enough so that the support pillars can contact the surface where you need to add, but you shouldn’t go over 45 degrees, to avoid printing issues. For this model, -30 degrees is enough for the chin.
Now, select the Support button, and start adding supports under the areas which we found in the previous step. This is how the support looks like for the chin:
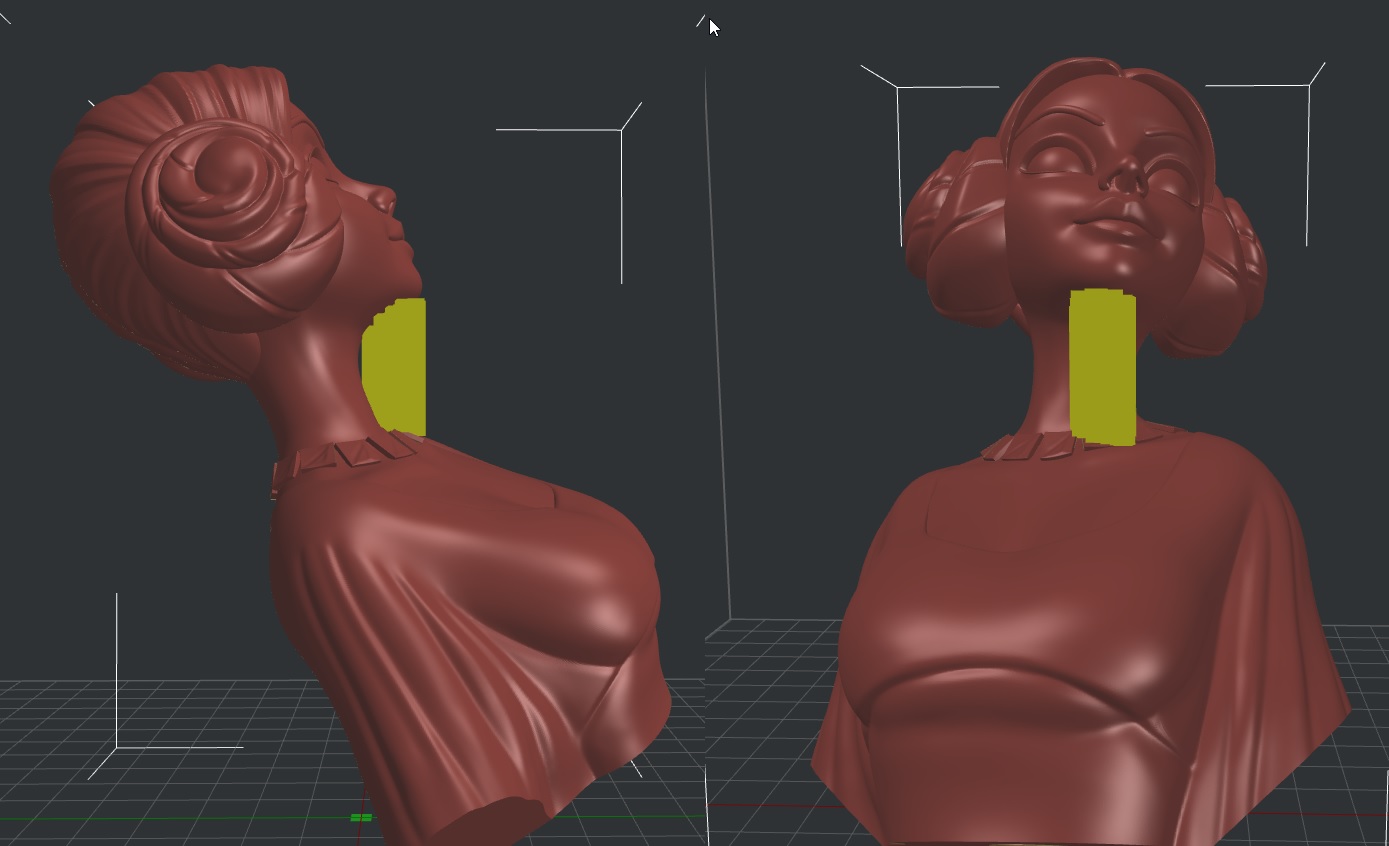
After attaching the supports, revert the model back to the printing position.
Repeat the process for every section
You can repeat the same process for the rest of the sections where the model needs support. Here is how I angled the model on the Y axis to add angled supports on the hair.
When you finished adding the required supports, remember to restore the model back to its original printing position, and slice the model.
Use the Preview to check the model
As always, I recommend checking out the Preview before starting a print, to ensure that the supports are printed correctly. In some cases, you might need to make small adjustments to the angle. This is how the model will look like when sliced.
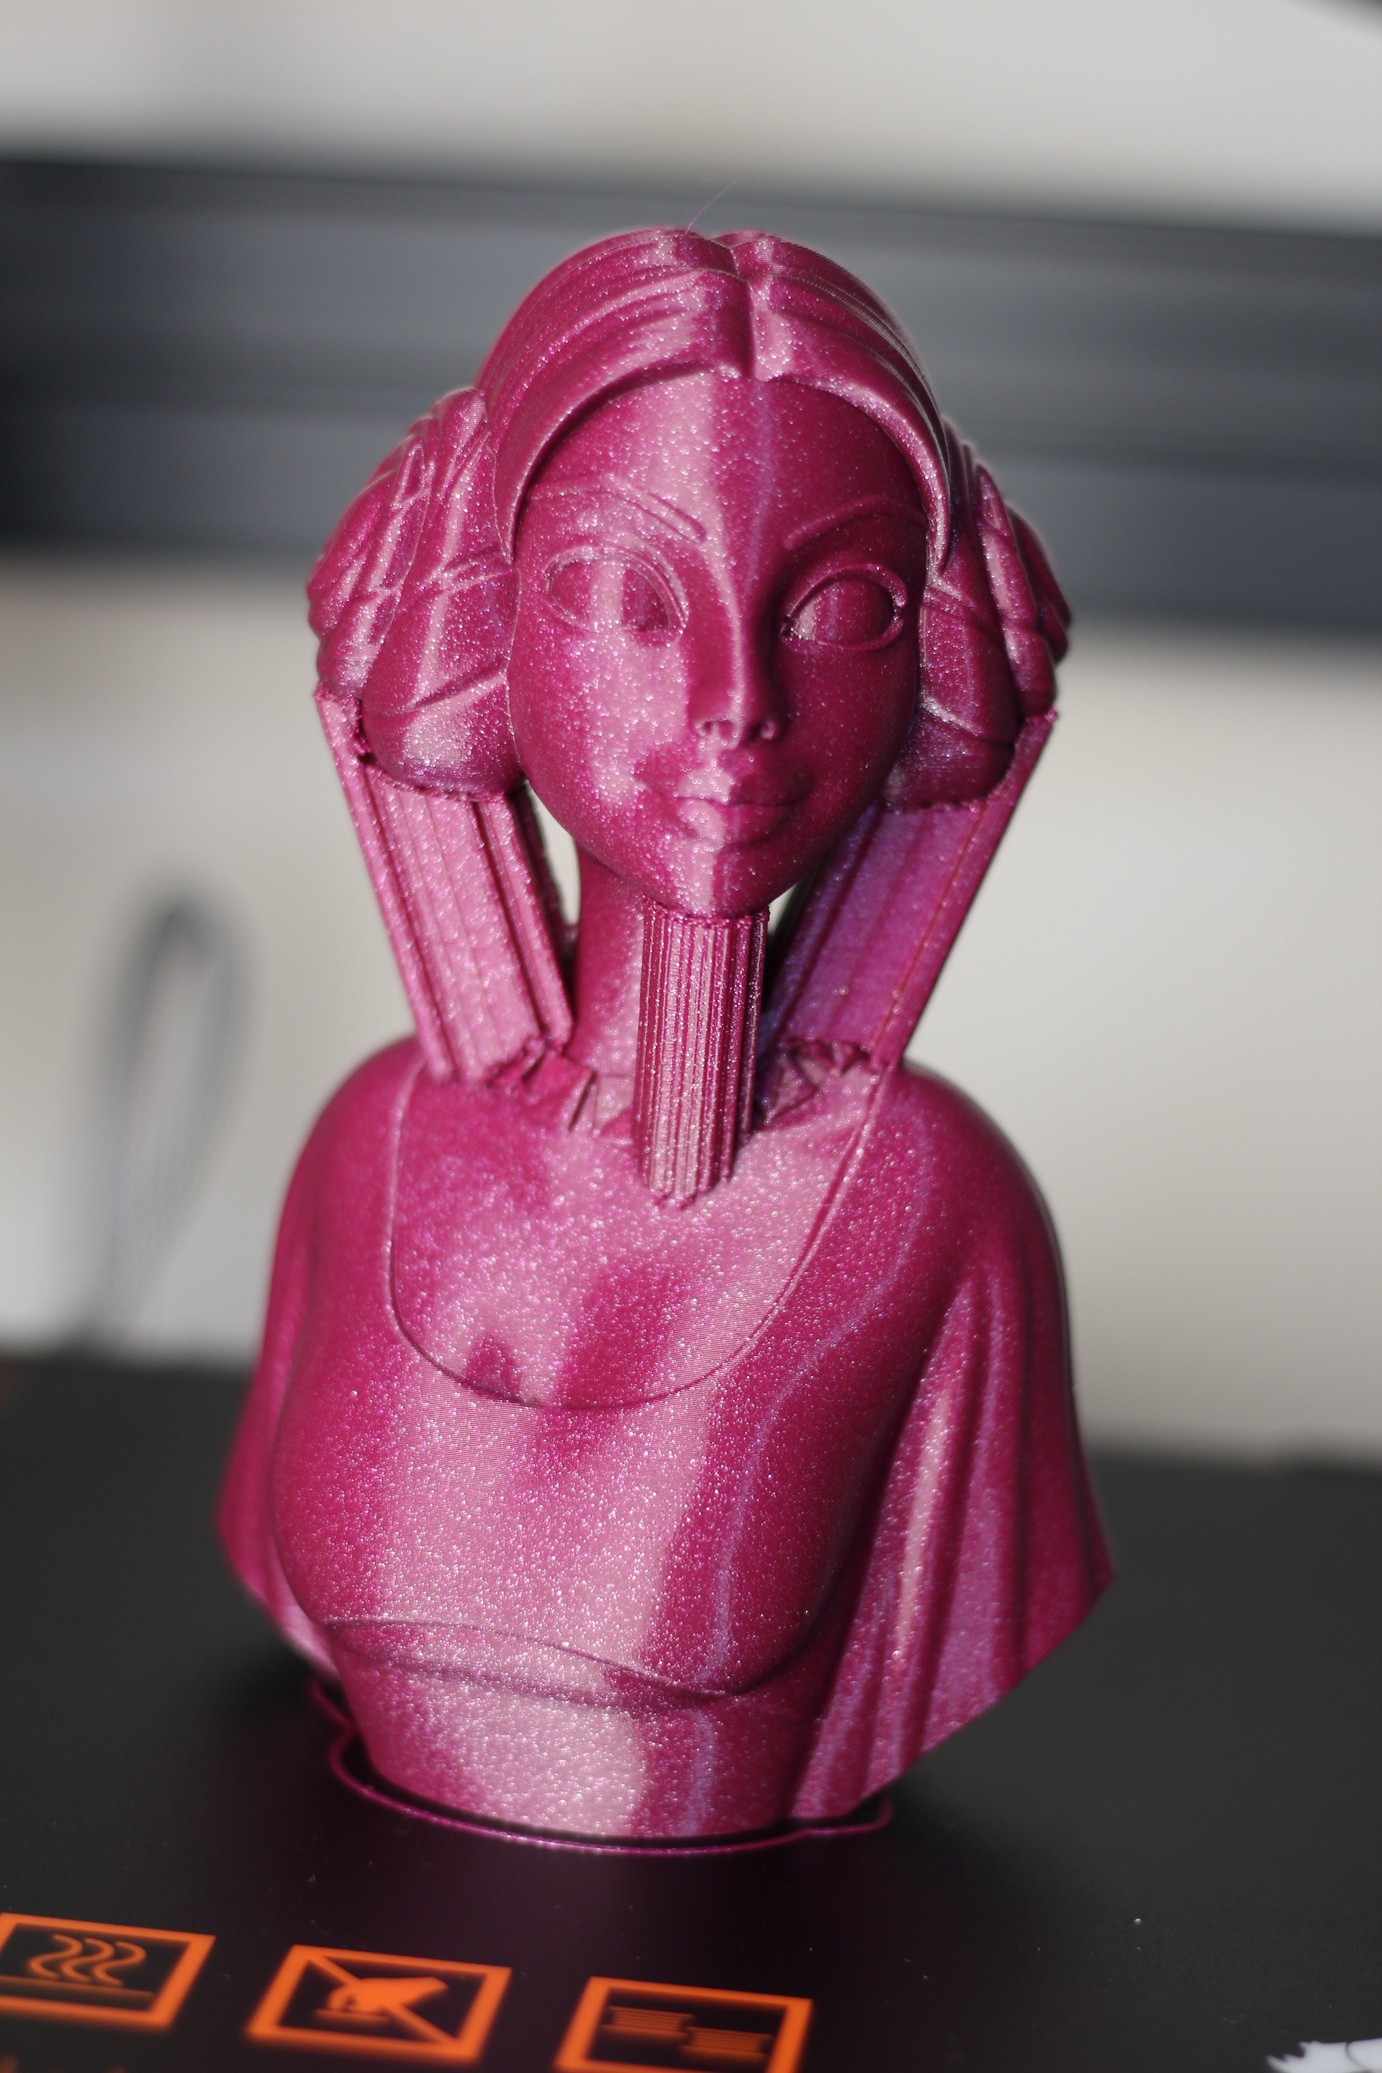
When the print is complete, this is how the model looks like.
Wrapping Up
I hope this article was helpful for you. If you are looking for other articles about IdeaMaker, make sure you check out my 3D Printer Calibration Guide where I use IdeaMaker to calibrate various slicer settings for perfect 3D printing quality. If you are feeling adventurous, you can also check the guide on Multi-Color 3D Printing Using IdeaMaker.
You can also join the 3DPrintBeginner Forum where there’s a dedicated thread for Klipper Firmware, with Klipper enthusiasts ready to help.
Liked it?
|
|







That is exactly what I do NOT want.
“Angled support creates support on body surfaces, which leads to unclean surfaces.
I always want support only from the bed – even if it means more printing time and material consumption. And that is obviously only possible with something like “Tree Support”.
Cura has been able to do this for a long time, and it has been in the development pipeline at Idea-Maker for even longer. But that will probably come to nothing….
would be nice if they had tree supports , seen people asked them years ago and they said they working but still nothing…
Thanks 3DPrintBeginner! I didn’t know you could do this. It reminds me of a guide on getting the same supports from PrusaSlicer’s resin profile into regular FDM files where you render it, then save with supports, then import it back under FDM.
IdeaMaker seems to have the most easily removable supports for me. I even manage to be able to print supports with PETG sometimes that can come off with only my fingers and nails. It’s everything else that seems to fall a little short. The slicer itself is very clunky to use. I wish it had a complete GUI overhaul.
Why is “Primary Extruder” filled only with filaments? Is this field really necessary?
Why are there so many useless profiles that cannot be removed (I’ve tried even at the file level)?
Why do I have to hit so many buttons to slice or send to printer?
It’s a lot of little things, but it’s still the best slicer in terms of settings.
You can customize IdeaMaker to have most of the important settings in the left menu panel. And for slicing, you just click on the slice button at the top.
It’s fast and easy to use after you learn the basics.
Nice explication…but by the looks of it its a bit like a crutch..ideamaker should come up with something more convinient to use….and thats coming from a Ideamaker fan 😉
We are close to getting an update. But until then, this one will work fine 🙂
lol ive heard that more than 2 years ago, when someone asked on forum
no draft shield either … but at least we have textures that no one uses =)