3D Printing Tips to Improve Print Quality
I get a lot of questions daily where people ask me about my prints, and how they can improve print quality for their 3D printer. I also get asked about how I manage to reach the level of quality often seen in my printed models.
Because it’s hard to handle all those messages in private, I thought it would be a good idea to share some 3D printing tips and tricks I use in a single article which hopefully will help others understand the entire process a bit better and improve print quality of their 3D printers.
Here are a few sample prints which were printed using the tips and tricks I share in this article:
Most of the recommendations below will work for any 3D printers and you should be able to improve print quality without needing to spend any money for upgrades.
Good bed leveling is important
The first thing I start with when I get a new printer, is make sure the bed is properly leveled. It’s crucial to have a good first layer because all the other layers are somewhat dependent on how the first layer is printed. Leveling your bed is probably one of the most common 3D printing tips out there.
Of course, after the first 5 to 10 layers, the rest of the layers start to recover and will print better but take your time to level the bed and dial in the first level right at the start.
Ensure the X axis is square to the frame
A crucial step before leveling your bed is to ensure that the X axis is square to the rest of the frame. If you level the bed with a skewed X axis, your whole print will be skewed a bit, and layers will not lay perfectly one over another.
Most of the time, the X gantry is skewed on printers which have a single Z screw (Ender 3, BIQU B1, Artillery Hornet, etc) but you can also have similar issues with dual Z printers.
I have a pair of printed leveling blocks at hand that make this process a bit easier, but if they are not printed well, then your X axis leveling will not be correct. You can use any pair of items you have around your house, as long as they are the same height.
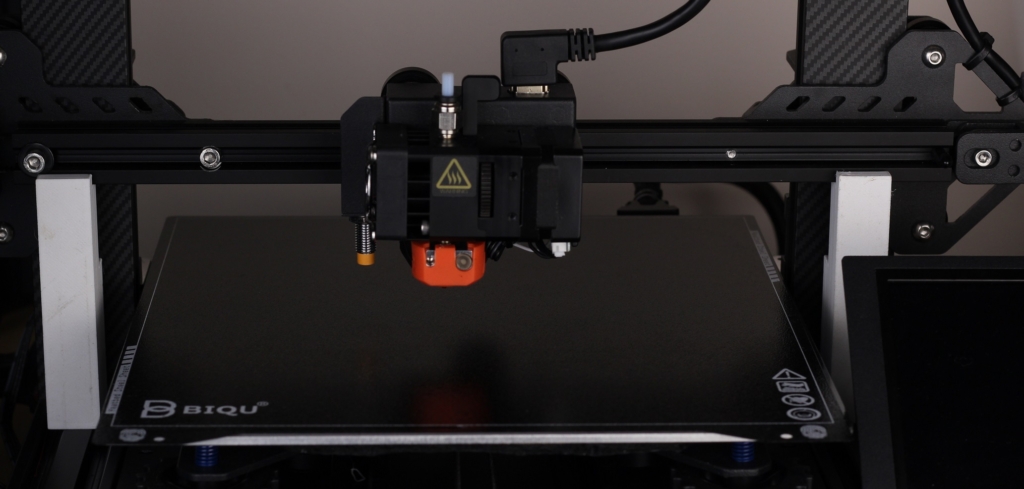
Put one of the squares on the left side of the gantry, then the second one on the right side of the gantry. Then, manually lower the X gantry until both sides of the extrusion touch your leveling blocks. If this is not happening, you might need to check the eccentric nuts on the Z axis and adjust them accordingly.
The whole idea is to have both sides of the X gantry at the same height in relation to the printer base frame.
Manually level the four corners
To get a good bed leveling, I first home the printer and manually level the four corners of the bed by adjusting the bed leveling knobs on each corner.
First, make sure that the bed and nozzle are clean. Remove any filament inserted in the nozzle, to avoid oozing during the leveling process.
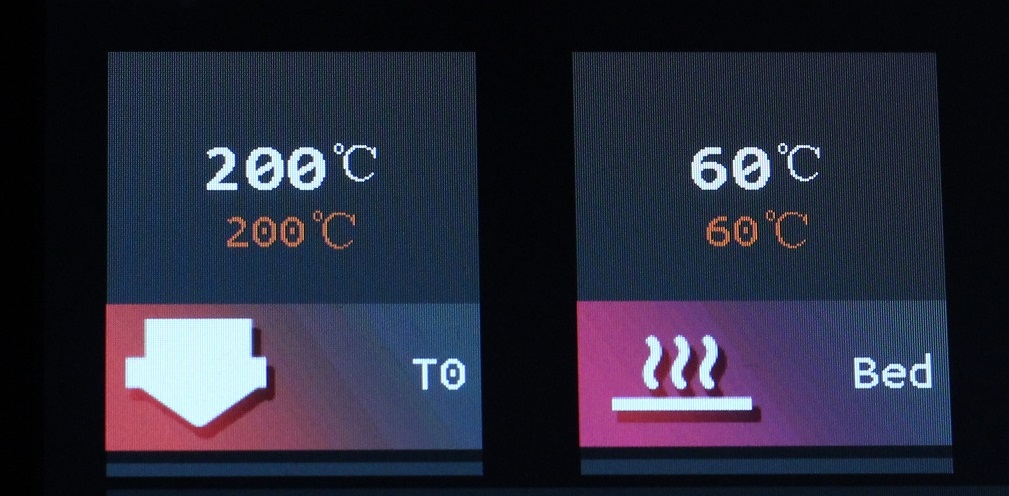
Heat up the bed to ~60C and the nozzle to ~200C. By doing this, you are performing the adjustment with the same conditions as when printing. The bed and the nozzle expand by a small amount when hot.
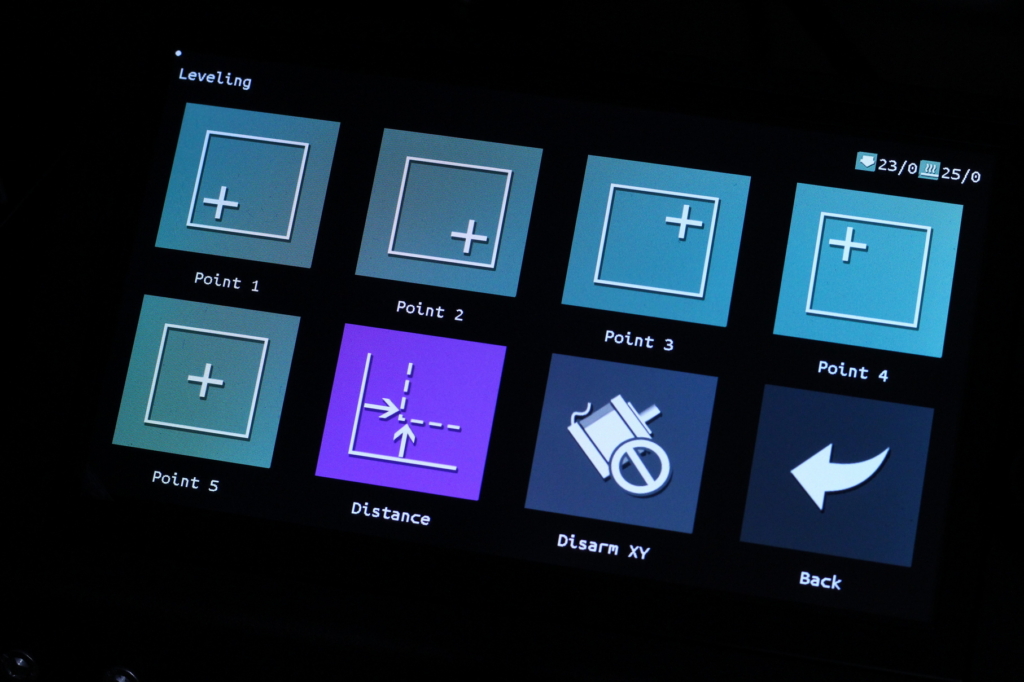
Some printers have an assisted bed leveling feature, where you can control the print heat and automatically move it to each of the four bed corners. If your printer does not have this feature, you can just home the printer, turn of the power then manually move the print head over the four corners of the bed.
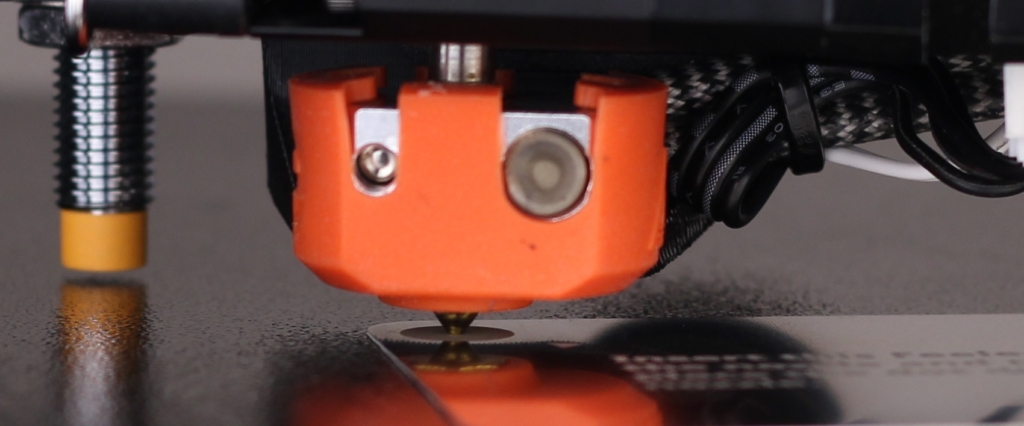
I have an aluminum card which is exactly 0.2 mm thick, which I place between the nozzle and the bed, then I carefully adjust the knobs until the nozzle barely touches the card (you can also use a feeler gauge if you have one).
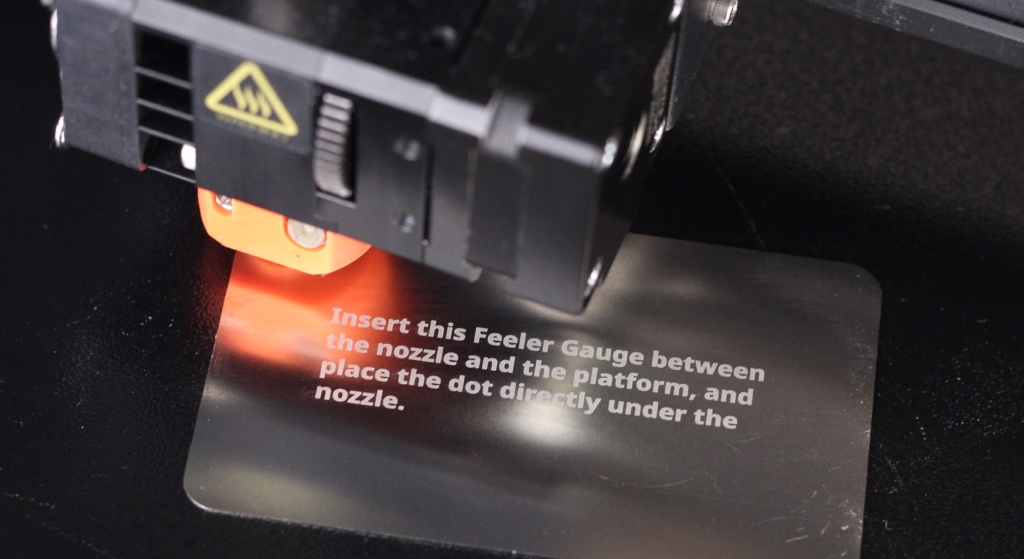
I constantly move the card between the nozzle and the bed and when I feel the nozzle touching the card, I move to the next corner.
You can also do this with a piece of paper, like other guides show you but I found it a bit harder to detect the nozzle distance using this method.
Do this for all the four corners, then repeat the process again. Usually, doing it two to three times is enough to get the same height for all the corners. If your printer also has a fifth point of leveling, don’t bother trying to get it level, because you will impact the rest of the leveling points.
When you are more experienced, you can also jump into more advanced mods like fixing the position of your bed, so you don’t need to adjust it in the future.
Auto Bed Leveling
You might think that if you already have a bed leveling probe installed on your 3D printer, there’s no reason to invest time in manually leveling your bed, but this is wrong.
A bed probe can help if you have an uneven print surface, and compensate for the small variations on your bed, but it can’t magically fix your issues.
For best results it’s important to always level your bed manually before doing an automated bed leveling with the probe. It’s one of the most important 3D printing tips for BLTouch users. This will lower the compensation your printer will need to do during printing and will also make your prints a bit more accurate.
Calibrate the Z offset
Now that the bed is correctly leveled, we can move to the step which is calibrating the Z offset. Some printers have a Z offset calibration in their menu which makes this process a bit easier, but I usually do it by following the excellent guide from 3DMakerNoob.
As a reminder, I recommend you do the Z offset calibration with your nozzle and bed heated to the same temperatures as when you leveled your bed.
Don’t overtighten the belts
Another common mistake I found some users do is to overtighten the belts. If you stretch them too much, you start getting a pattern on your side walls and you also stretch the belt too much. It’s a common recommendation to tighten your belts but this can be easily overtightened.
I always tighten the belts just enough so they don’t slip from the motor pulleys and the belt is stretched. Some people do all kind of measurements on the sound frequency made by the belts, but I always had satisfactory results with simple tightening.
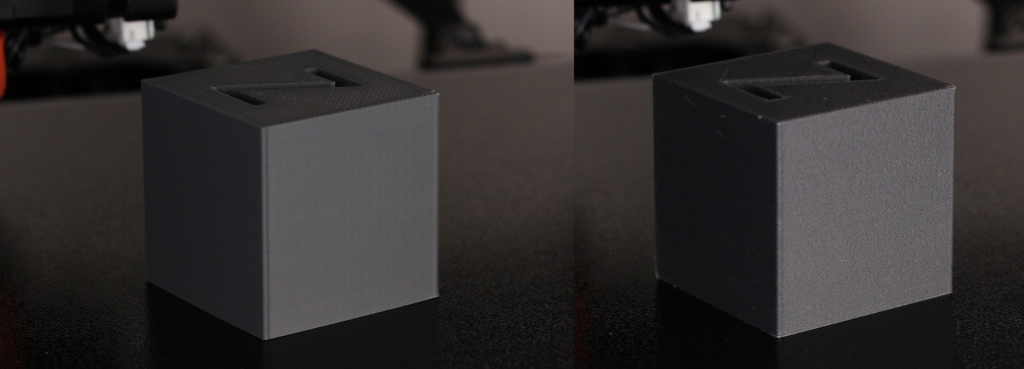
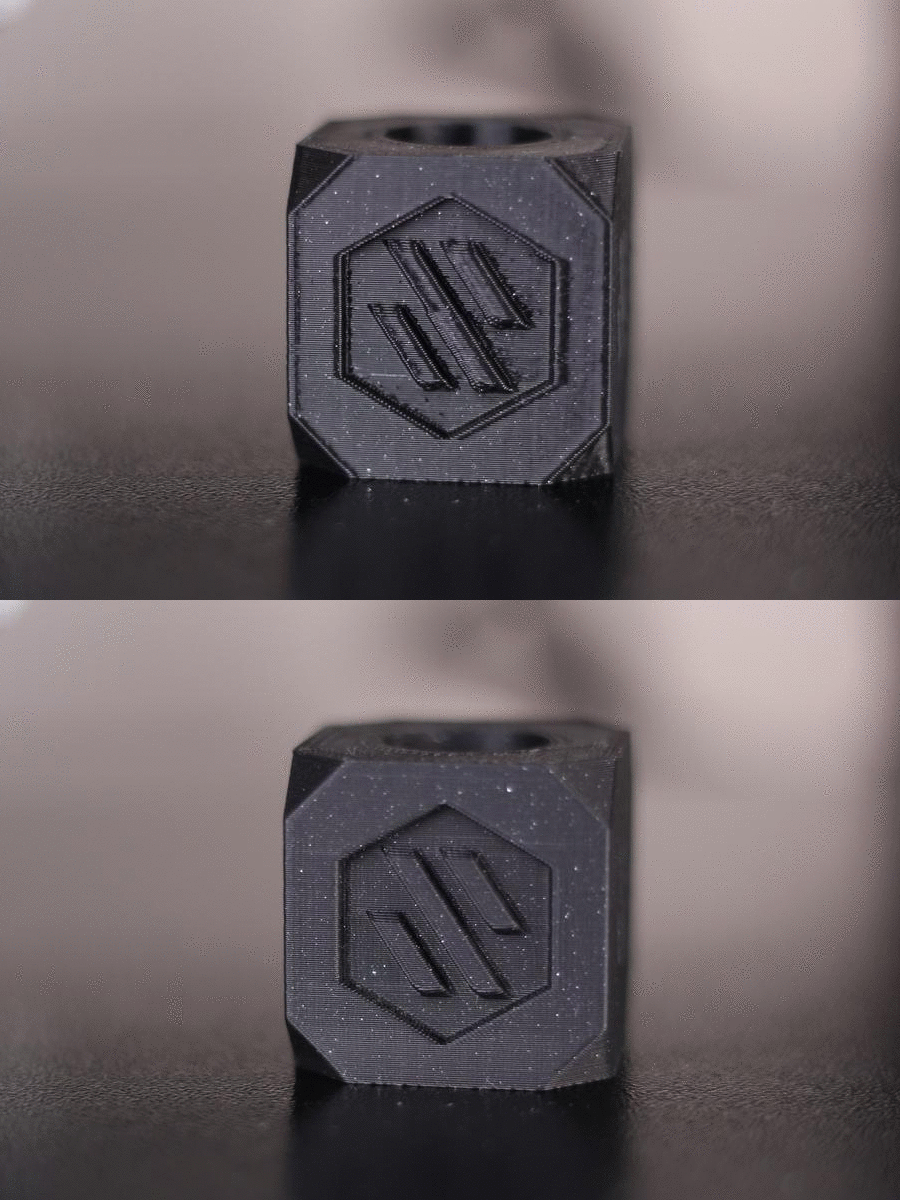
In the image below, you can see the effect I am talking about. Please note that those cubes were printed with different materials, and the image should be used only as a reference.
Besides the belt tightening issue, this kind of VFA effect on the external walls can appear because of micro stepping issues and stepper motors which don’t move uniformly. 0.9 degree stepper motors can lower this effect, especially on round surfaces but if vertical banding shows up, double checking the belt tension would be one of the first tips I would recomend.
Slicer profile tips and tricks
A lot of people just download a slicer profile online, and expect it to magically work with their machine, but even with a perfectly dialed in profile, there’s still some small tweaks to be done to ensure perfect quality prints.
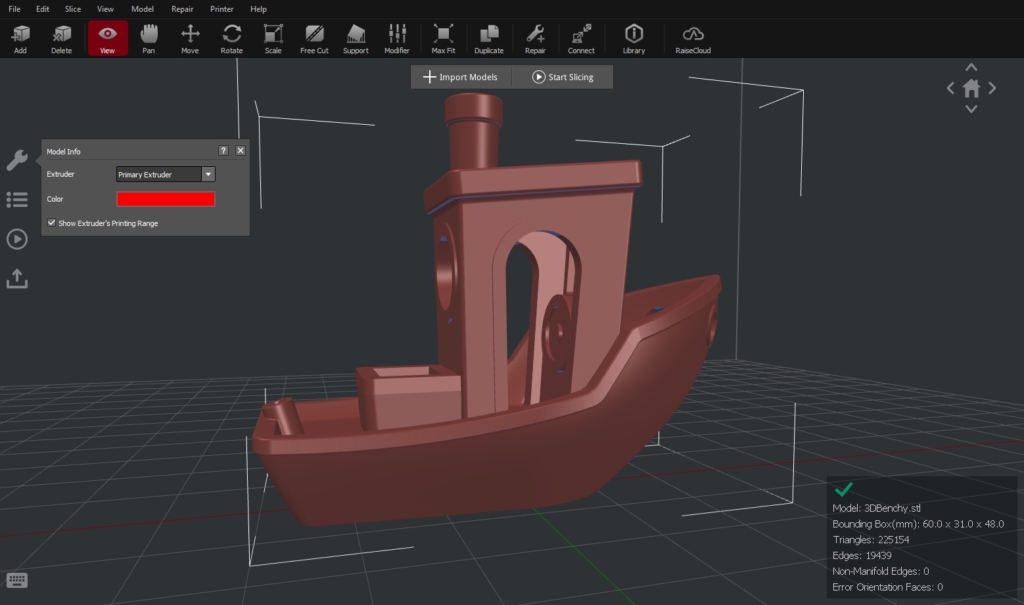
You probably know that my slicer of choice is IdeaMaker because it allows me to adjust firmware values directly from the slicer without messing around with re-compiling the firmware. This also allows me to generate printer profiles that work best with a stock machine so people using them get comparable results without performing the full set of calibration tasks right out of the box.
Of course, I strongly recommend double-checking some of the calibration values from my printer profiles, just to ensure that your 3D printer performs similarly to the one I did the profile on.
Calibrate extruder and flow rate
With the bed leveled and the Z offset dialed in, you need to check if the extruder steps are correctly set, and the extruder is pushing the correct amount of plastic trough the nozzle.
I previously covered the extruder calibration, so take your time to read that article to ensure that your extruder is working properly. Most of the time the extruder steps are right, and the fine adjustments need to be done by adjusting the flow rate. If you have big differences in extruder values between stock and your measured values, then double check if there aren’t any mechanical issues on your extruder.
The flow rate calibration is also covered in a dedicated article. Read it, perform the necessary adjustments, and come back after you have dialed it in.
Calibrated retraction is a must
Of course, good print results are hard to achieve without a properly dialed in retraction. You can follow the retraction calibration process I shared, to generate a calibration tower and find the best value for your printer. But do it only after you find the best temperature for your filament.
Don’t be afraid to go in more detail and adjust the retraction speed, restart amount value, and coasting because it can help you get cleaner retractions and even lower the retraction value overall. But first, get a retraction value that works, then start tweaking.
If your retraction is not consistent, and you use a bowden setup, check your couplers during retractions, and see if the tube is moving. It’s crucial to have the PTFE tube fixed in the coupler, so any movement needs to be fixed for consistent results.
Good first layer tips and tricks
The first layer can be improved by tweaking the first layer height, flow rate and extrusion width in your slicer. Using a 0.25 mm layer height with a 120% flow rate and 120% line width works best most of the time. Play around with these three settings until you find a good value for your printer.
First layer lines need to touch one another, and there should be no space between them. If your first layer flow rate is too high, too much filament will be extruder and the printed lines will be lower in the middle, and higher on the sides generating a noticeable pattern. Besides that, you will also generate an elephant’s food effect on your first few layers of your model.
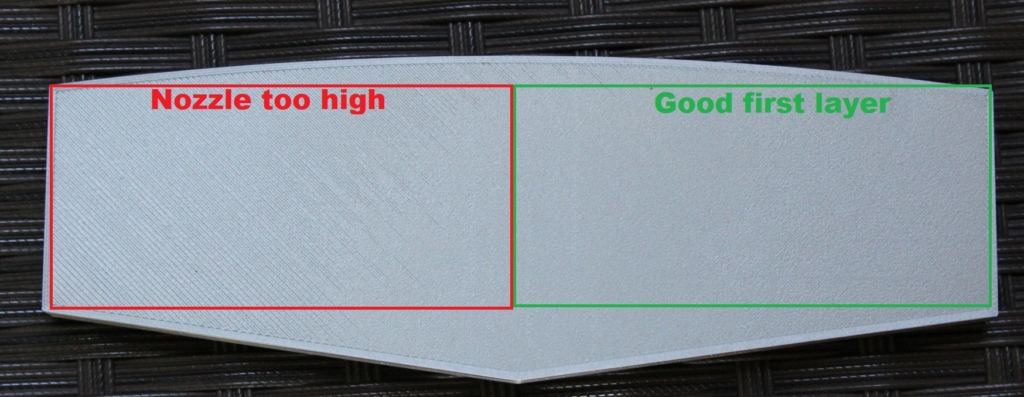
Printing too low, or with too much flow rate can also make your prints stick too well on your build plate potentially damaging your print surface. At the same time, printing too high from the print surface will cause adhesion issues and your model will detach from your bed during printing.
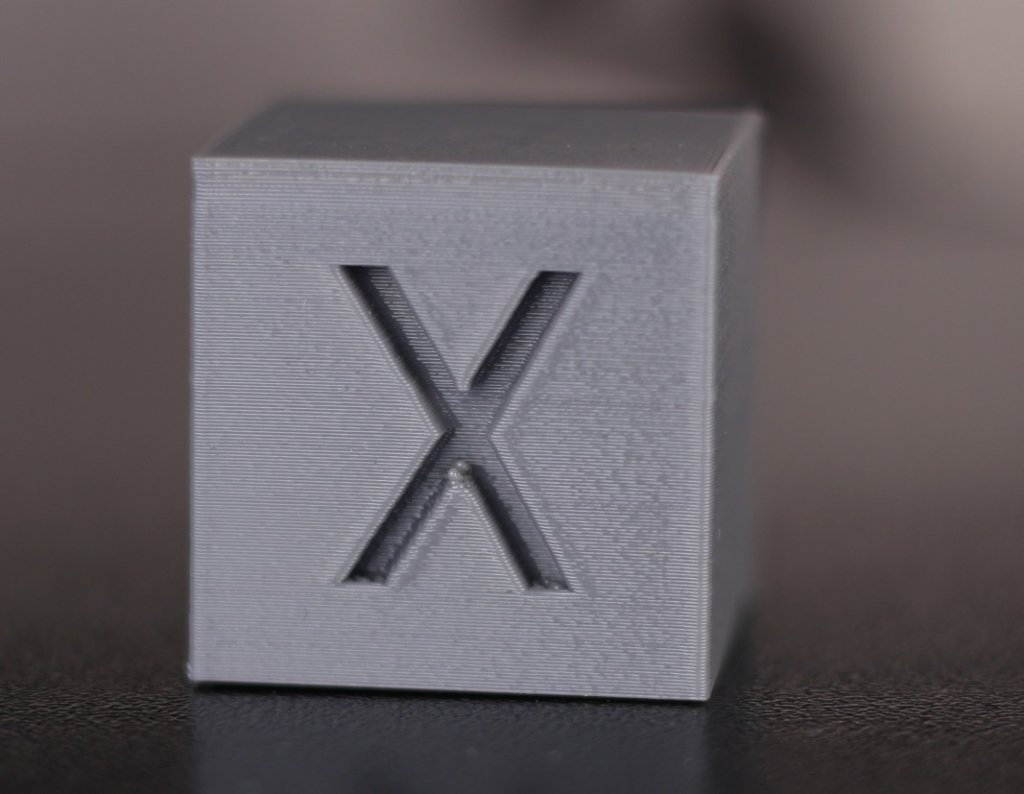
In the image below, you can see that in the left side of this print the nozzle was too high, and on the right side of the print, the first layer is just right.
Dry filament is crucial for consistent results
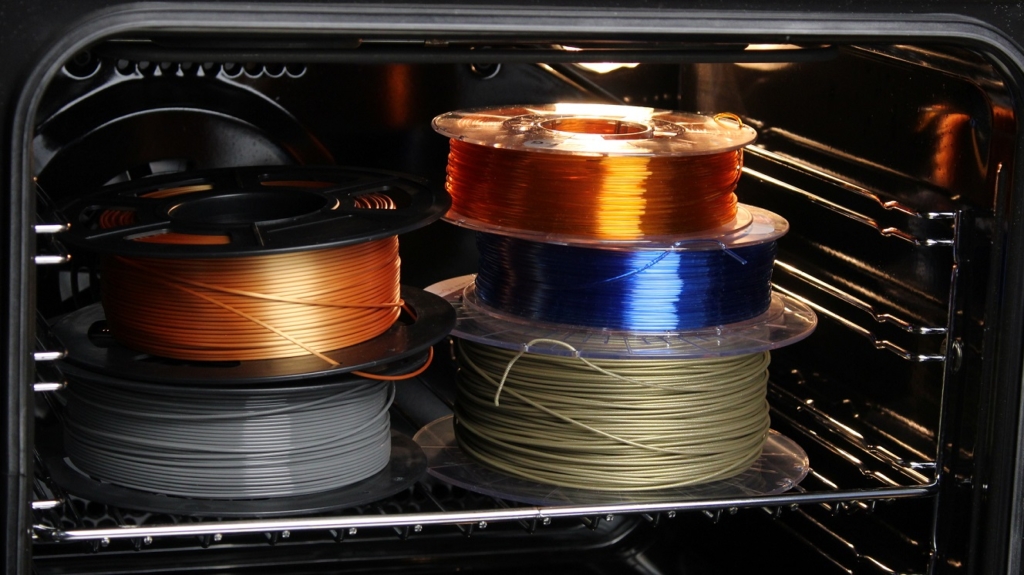
It’s hard to get good looking prints if your filament is not dry. Moisture can get inside the filament over time (especially if you store it in a humid environment) which will affect your print quality.
Some filaments can have moisture even if it’s brand new and opened fresh, so make sure you check out my article on How to Dry Your Filament. You will learn how to detect if your filament has moisture, and also how to dry it according to the filament type.
Here’s an example where you can see the effect wet filament can have on your printing quality
Temperature and cooling
Tuned filament temperature improves print quality
The temperature reported by the thermistor from a printer’s hotend is not as accurate as you might expect. Sometimes, the real temperature inside the heatblock can range between 10C to 15C from the one reported by the thermistor. Besides that, using nozzles with different materials (copper, hardened steel, brass) can impact the temperature you need to use for some filaments.
This is the reason why filament manufacturers often provide a temperature range with their spools, to cover the small variations in temperature for different hotends and thermistor readings.
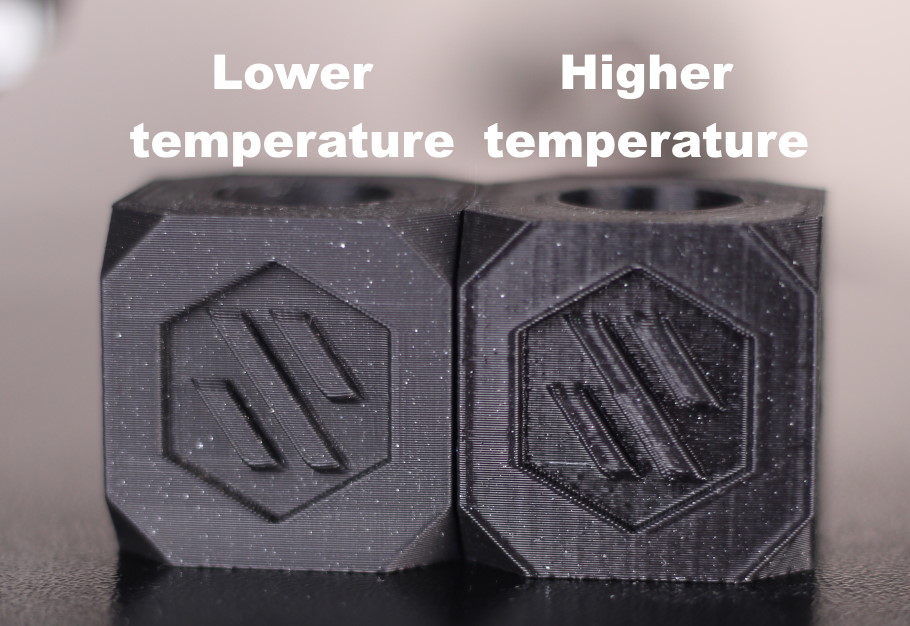
Different nozzle temperatures can also have a different finish for the same filament. For example, in the image below you can see how using a lower temperature can produce a matte finish and a higher temperature can produce a shinier print.
I covered the temperature calibration process using IdeaMaker in a separate article, so print a temperature calibration tower and find the best temperature for your specific filament and use the one which gives you the best finish while also retaining good layer adhesion.
Having a well-tuned filament temperature will also improve your overhang print quality, when paired with good part cooling and properly dialed in speeds.
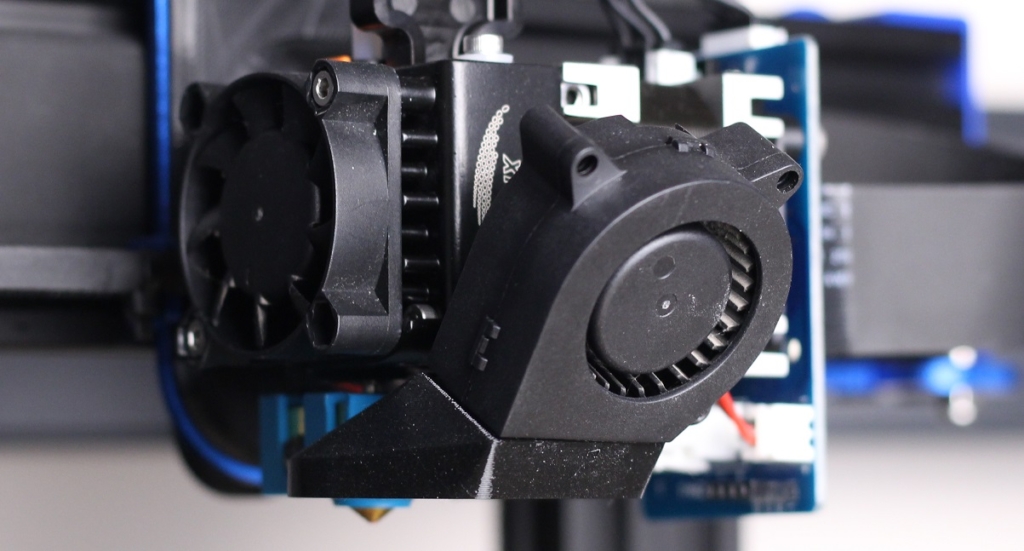
Good cooling will improve print quality
Cooling is also another key point to keep in mind when trying to get perfect prints. PLA filament benefits the most from ample amounts of airflow to cool it right after it gets extruded.
Most people fall into the trap of adding multiple high-powered fans to their print head, thinking this will solve their problems but this is not always the case.
Cooling requirements are directly linked to the filament extrusion temperature, print speed and model size. For example, you need more cooling if your printed model is small, and layers don’t have enough time to cool properly before the second layer is printed over.
In other situations, when the printed model is larger, too much cooling can have a negative effect on layer adhesion, and you might see that lowering your part cooling fan speed will produce stronger models.
PETG usually doesn’t need too much cooling, and I usually set the fan between 30%-50% depending on how effective the cooling solution is on that specific printer, and on the size of the model. But make sure you enable cooling only after the first few layers are printed, to avoid adhesion issues.
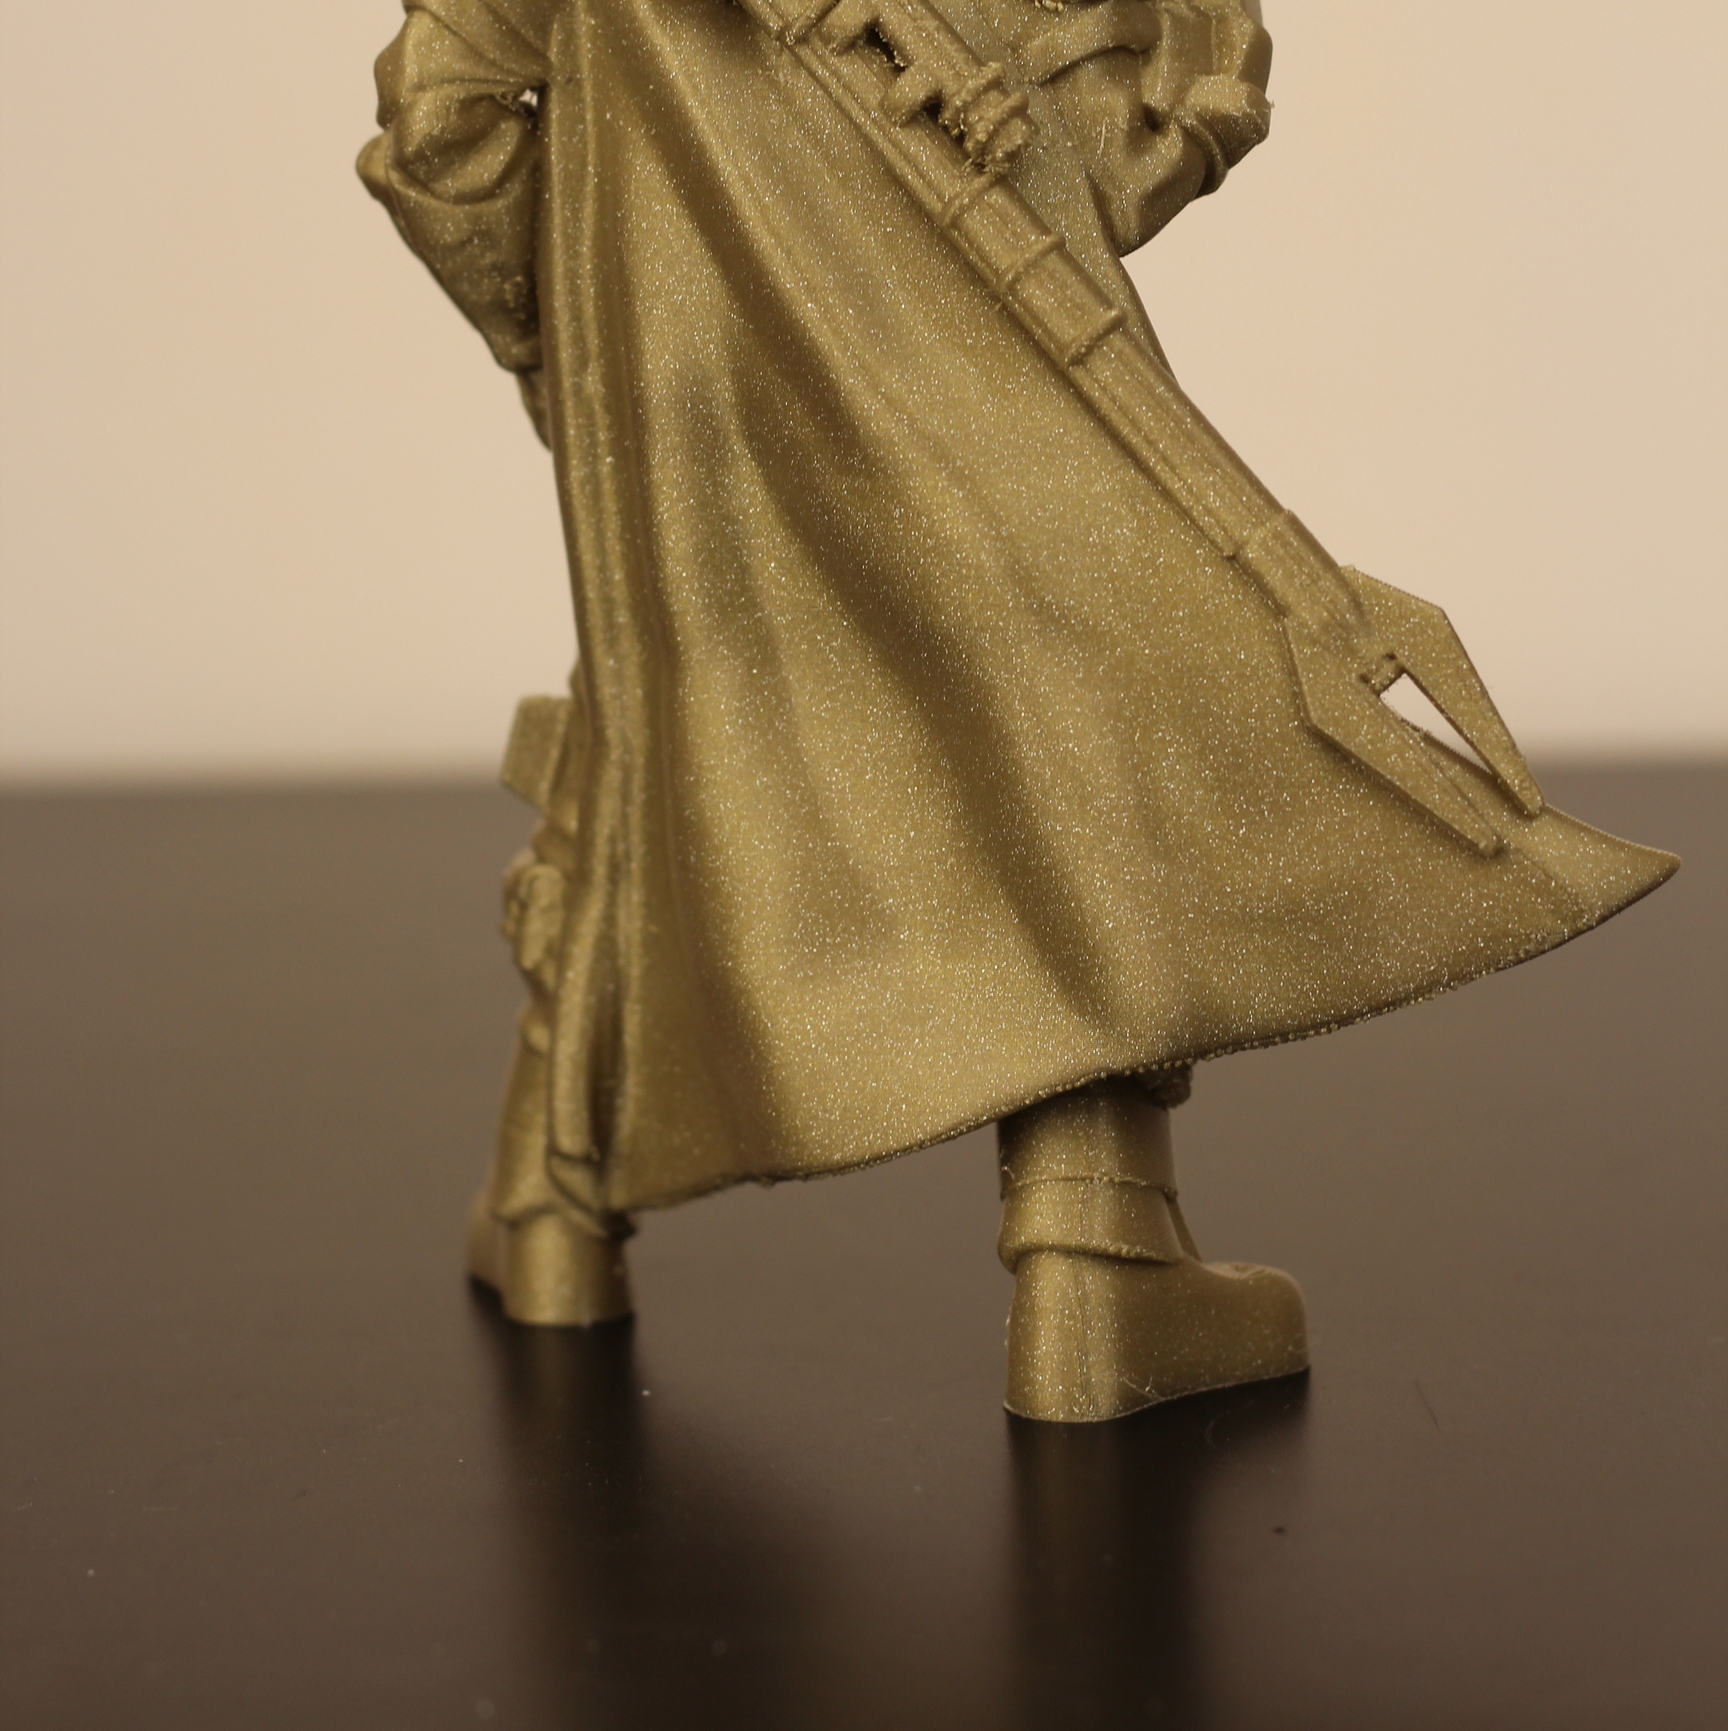
Having good cooling also allows you to print models with steeper overhangs without supports. In some cases, I can go up to ~80 degrees if cooling is good and correctly directed to the model.
In the image below, you can see a steep overhang which was printed with no support, but with good cooling.
Always orient your model with the highest overhang facing the part cooling fan duct, to get the most efficient cooling.
Support tricks for easy removal and good contact finish
Print dense support layers slower
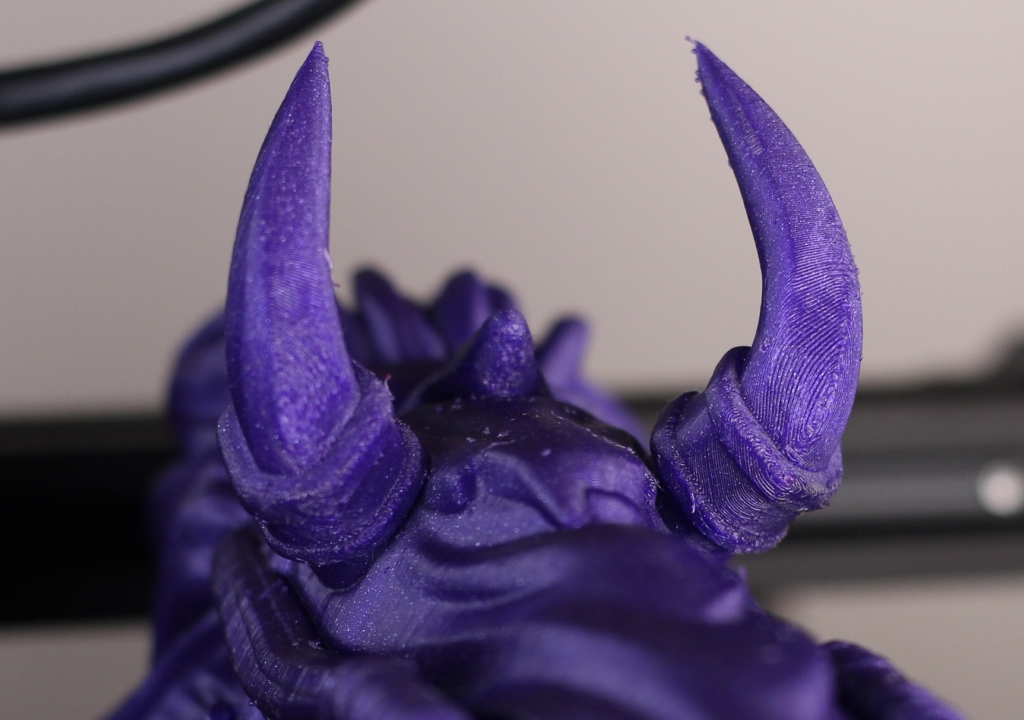
On most of the available slicers, you can control the speed for the interface layers printed between the supports and the models. I like to print this interface layer slower to give the part cooling fan more time to properly cool those layers.
If the interface layers are properly cooled, when the first model layer gets printed on the dense support layers, they will have less adhesion to it allowing for cleaner and easier support removal when finished.
This is usually half the speed of the print speed I use for the internal walls, but this might need to be adjusted according to your machine.
In the image below, you can see the portion of the print where the model touched the support interface.
Lower flow rate for supports will make them easier to remove
Another trick I found useful is to lower the flow rate for the supports. Most of the time, you don’t need your supports to be as strong as the printed model, because they will be harder to break away when your print is complete.
By lowering the flow rate for supports, you will under extrude, and the layers won’t have the strongest bond between them. It’s best to do a few tests and find what value works best for your specific filament type, but I’ve had great results with a flow rate value between 80% and 85% for PLA, PETG and ABS.
Try a few values until you find the one which offers good support for the model, but also break away easily when it’s time to remove them.
Constant printing speed improve print quality
You might find yourself finding that your printed models have a good overall external finish, but there are some layer inconsistencies at some points. Or you might see some under extruded sections in your infill.
This might be caused by inconsistent extrusion when print speed is changing according to your settings. Some people like to have different speeds across various sections of the print, but I found out that keeping an overall constant speed during printing provides the best print quality.
Sure, the model will take a bit more time to print, but I always choose a good-looking model over one which completed an hour quicker.
You might be able to see these layer inconsistencies if you also use a high minimum layer time and low minimal printing speed. This slicer value will instruct the printer to slow down the speed for some layers if they are completed faster than the set value
It’s best to set a reasonable value which doesn’t have a big impact on your prints. I usually set it between 6 to 8 seconds.
The Minimal Printing Speed should be set as close as possible to the external layer printing speed to avoid inconsistent layers.
Slower speeds for external walls
Most of the printers produce the best quality when models are printed slowly, but there are diminishing returns printing slower than ~25-30 mm/s.
What I like to do on most of my slicer profiles for all printers is to have a slower speed set for the external wall, to get the best compromise between print speed and print quality.
Usually, this is about 10 mm/s to 20 mm/s second lower than the speed for the internal wall. If the internal wall speed is set to 40 mm/s, 25 mm/s should work best. But for smaller models, you can also set it to ~30 mm/s to keep the speed difference as low as possible.
Having a lower speed for external walls is especially important for silk filaments because printing them slower allows the filament to be properly heated up and show a uniform color and shine.
Good nozzles can make a difference
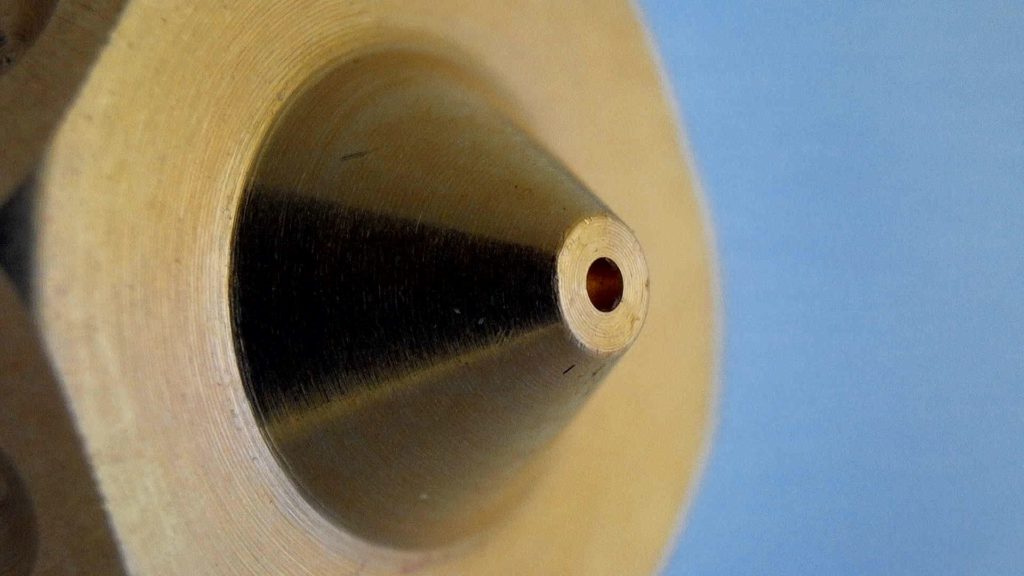
Having a good quality nozzle with a well machined tip is also quite important for good quality prints. The whole of the nozzle needs to be round, and the section around the whole needs to be flat.
When printing, all the slicer values are set, and extrusion is calculated with the nozzle size in mind. The slicer presumes that the nozzle is correctly machined, and the hole is cut to the exact size.
If the nozzle hole is oval, or not perfectly cut, then the extrusion will not be the one which is calculated by the slicer.
On each layer, the slicer also takes into account the small part around the nozzle hole which lightly drags over the extruded layer to smooth it out for the next one. If this is not smooth, then it can also have a small impact onto your layer quality.
You can check out my Ultimate 3D Printer Nozzle Comparison article where I took close ups of various nozzles currently available on the market, and you can see which ones are best.
Most of the time, you don’t need to spend a large amount of money for good nozzles. Even 2$ nozzles can sometimes be much better compared to stock nozzles you get with some printers, so check the tip of your nozzle and if that doesn’t look that good, replace it with something better.
Always print on a stable surface
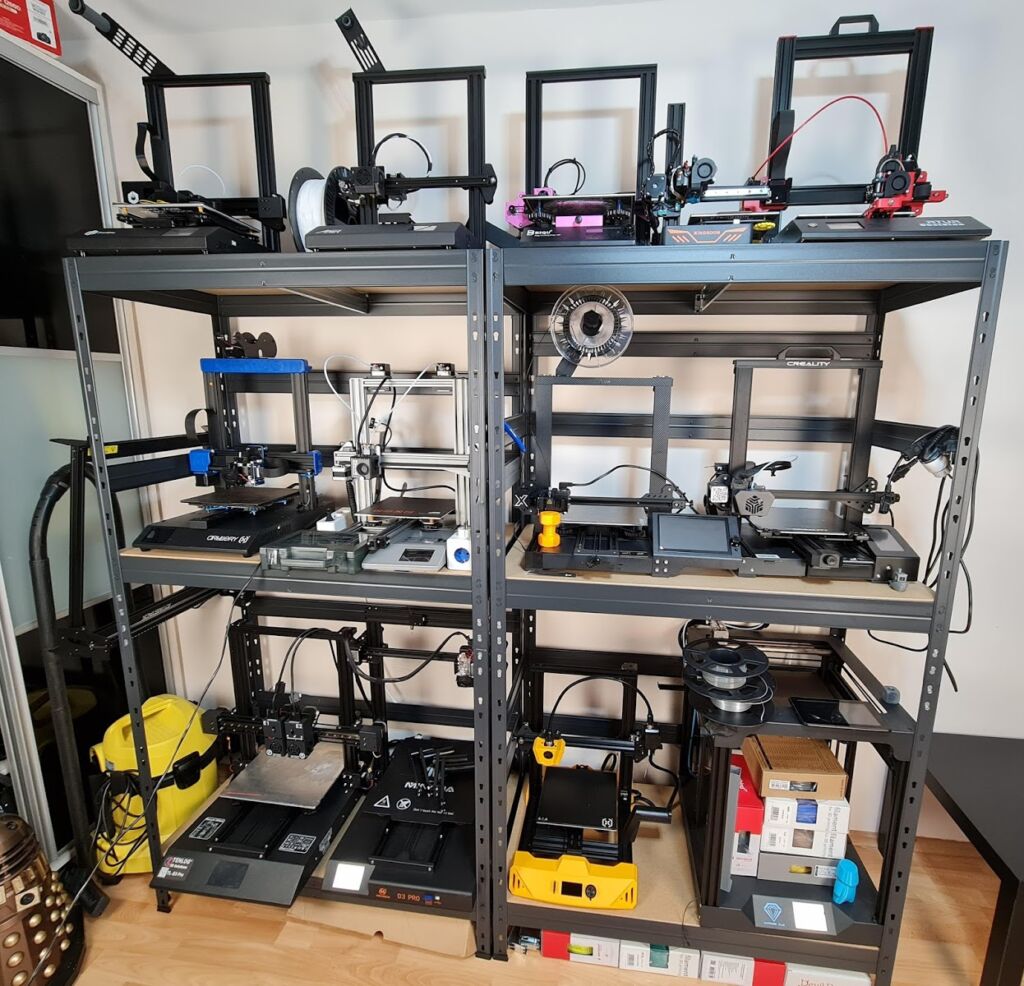
This information is probably common knowledge, but I feel I need to re-iterate. It’s important to install your printer on a stable surface which doesn’t move easily. I keep some of my printers on two metallic shelves which are braced to keep them steady.
I also have a few IKEA LACK tables where I print from time to time, but I noticed that the worst looking prints were caused by the lack of sturdiness of those cheap tables.
If you currently have your printer installed on a wobbly surface, you will be able to improve print quality by moving the printer on a more stable surface. This change will translate into less movement and wobble for your printer which will generate better quality 3D prints.
Firmware features to improve print quality
Linear Advance / Pressure Advance
Marlin Firmware is probably the most popular printer firmware currently available, and it has a feature called Linear Advance. This feature controls the filament pressure inside your hotend and adjusts it during printing to provide you with better quality prints.
For example, after tuning Linear Advance you will be able to get cleaner and sharper edges for models, more even extrusion during printing and lower retraction values.
The same feature is present in RepRap Firmware and Klipper under the name Pressure Advance. While the name is different, the effect is mostly the same.
You can calibrate Linear Advance using the Linear Advance Calibration Pattern, and Chris does a great job in detailing the entire process in his video. There’s a different guide available for RepRap Firmware but the process is somewhat similar.
Please keep in mind that this is a firmware feature that needs to be enabled in your firmware, and you should only do it after you have dialed in your other printing parameters.
Wrapping up
I hope these 3D printing tips and tricks covered in this article helped you improve print quality of your 3D printer. I would love to hear from you if this article helped you, and don’t be shy of showing off your print results in the comment section. Sharing this article with others also helps.
Some of the information shared in this article might not be the same information shared by others, but this is what works well for me. For some parts, I don’t think there’s a good or bad way of doing stuff as long as the end results are what we expect.
If you have questions, feel free to leave a comment or join the 3DPrintBeginner Forum where there’s a dedicated category for FDM 3D printers.
Liked it?
|
|









It’s interesting to know how to use a 3D printer and get prints with better quality. I heard my cousin wants to use 3D printing technology to create prototypes of his new product. I think he’ll benefit from reading your insight about temperature ranges for a 3D printer.
Unlike aluminum or other materials, glass has less of a tendency to deform under pressure. Printing on an ideal flat surface like glass ensures the bed remains level after each print job.
Very nice and helpful writeup ! Kudos !!
As always your article is well writen !