Artillery Sidewinder X2 Review: A Refined Sidewinder X1?
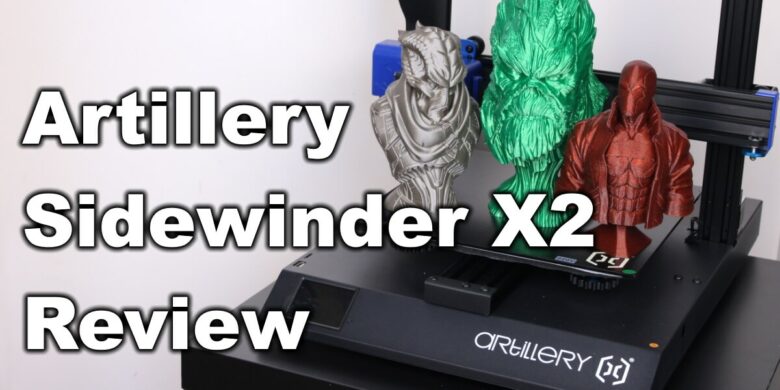
After the huge popularity gained by the Sidewinder X1, Artillery launched the new and improved Sidewinder X2. There’s much to talk about in this Sidewinder X2 review, so let’s get right to it.
Artillery Sidewinder X2 Shipping and Packaging
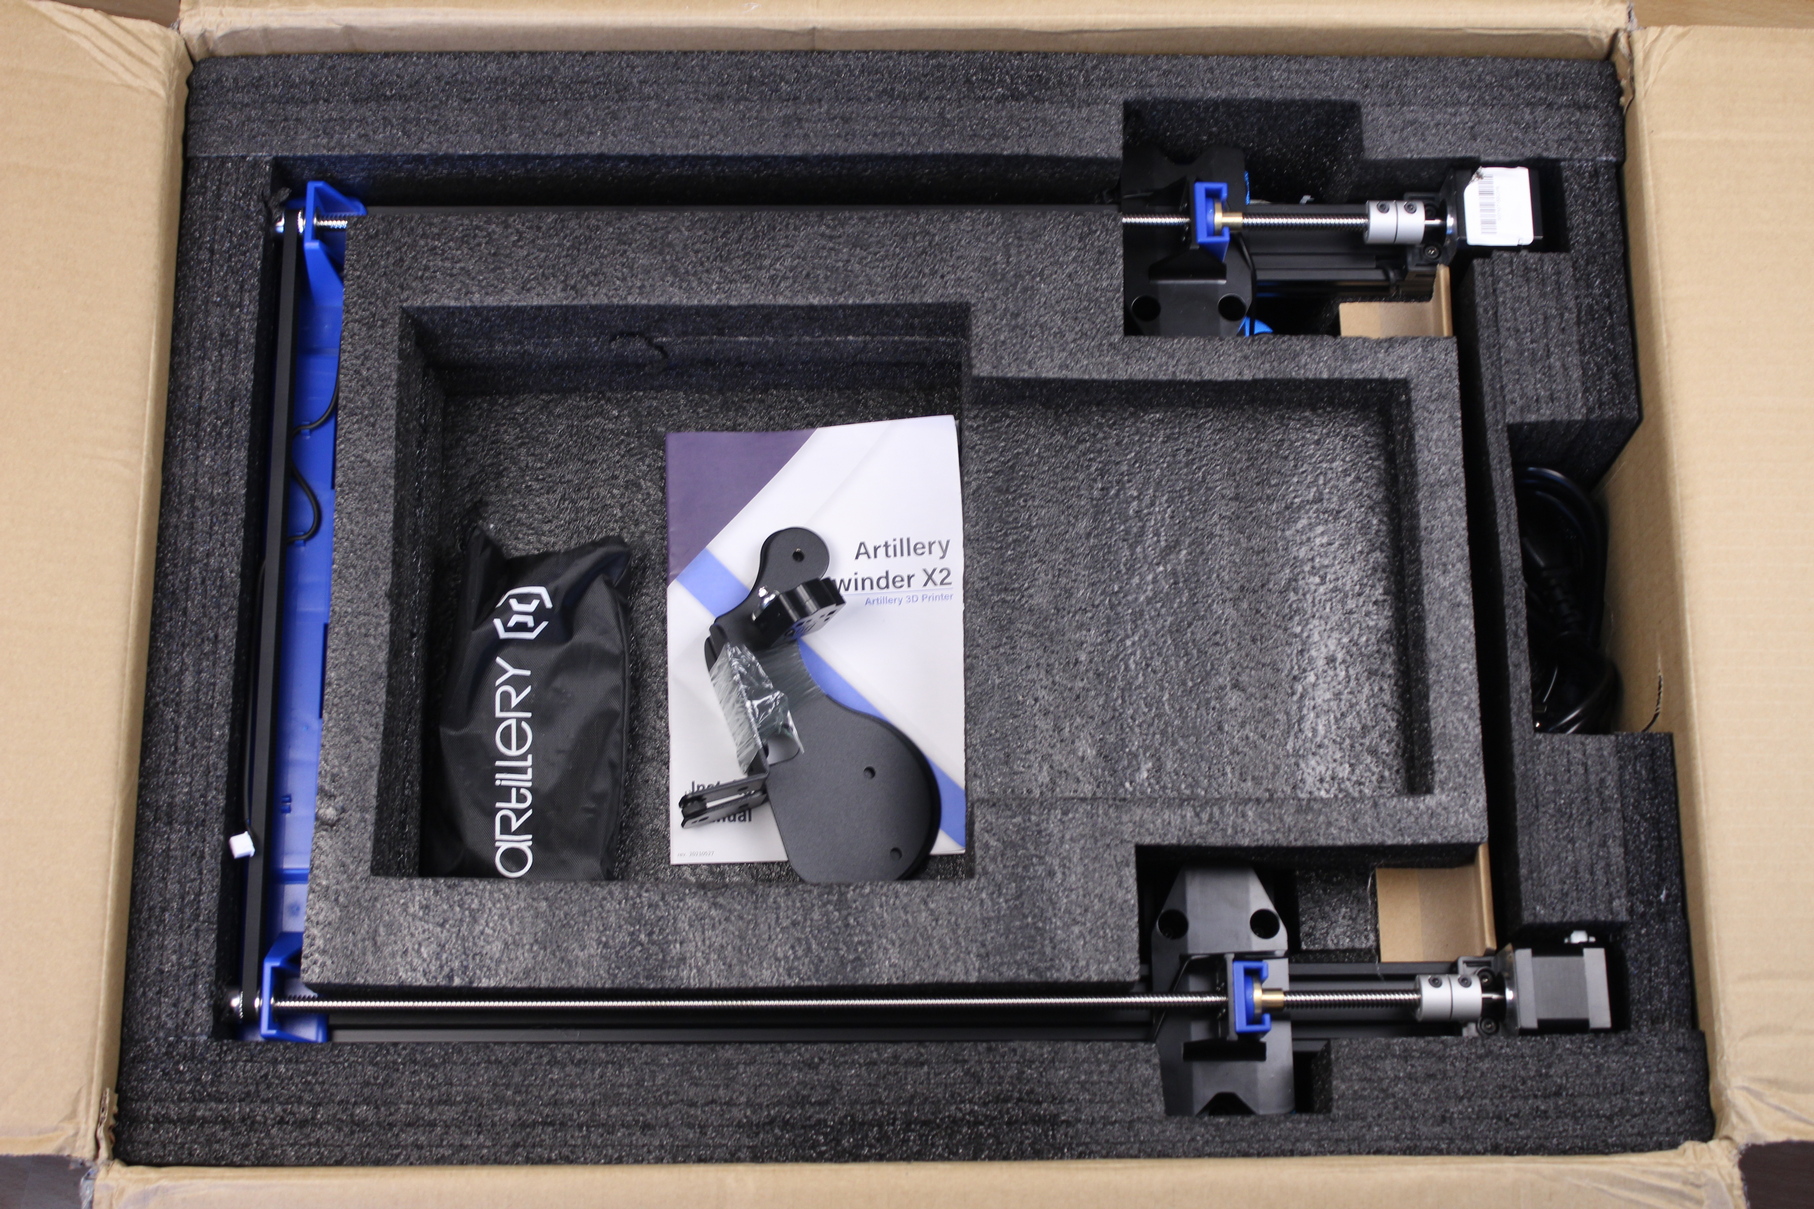
The Artillery Sidewinder X2 comes in a cardboard package similar to the one used for the X1. The printer components are nicely packed with foam, offering good protection during shipping.
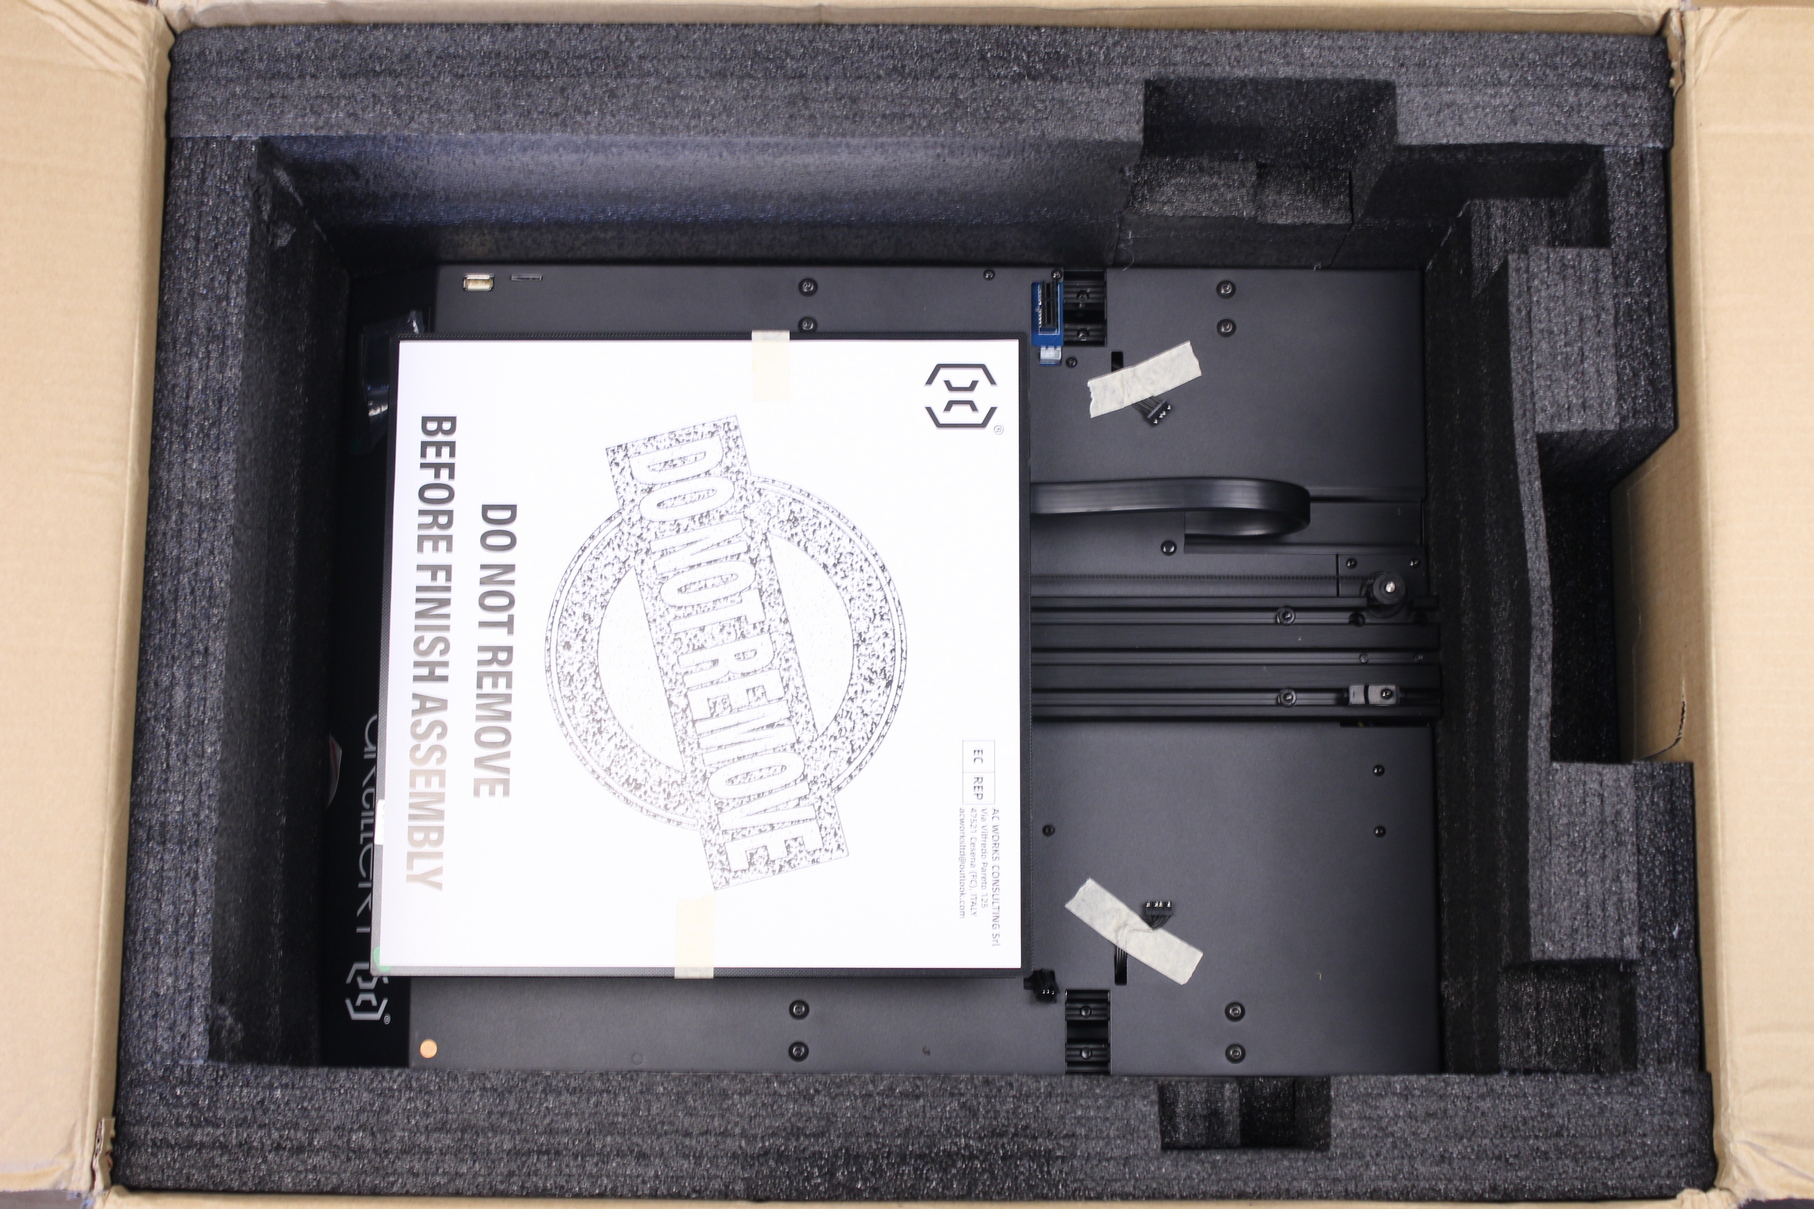
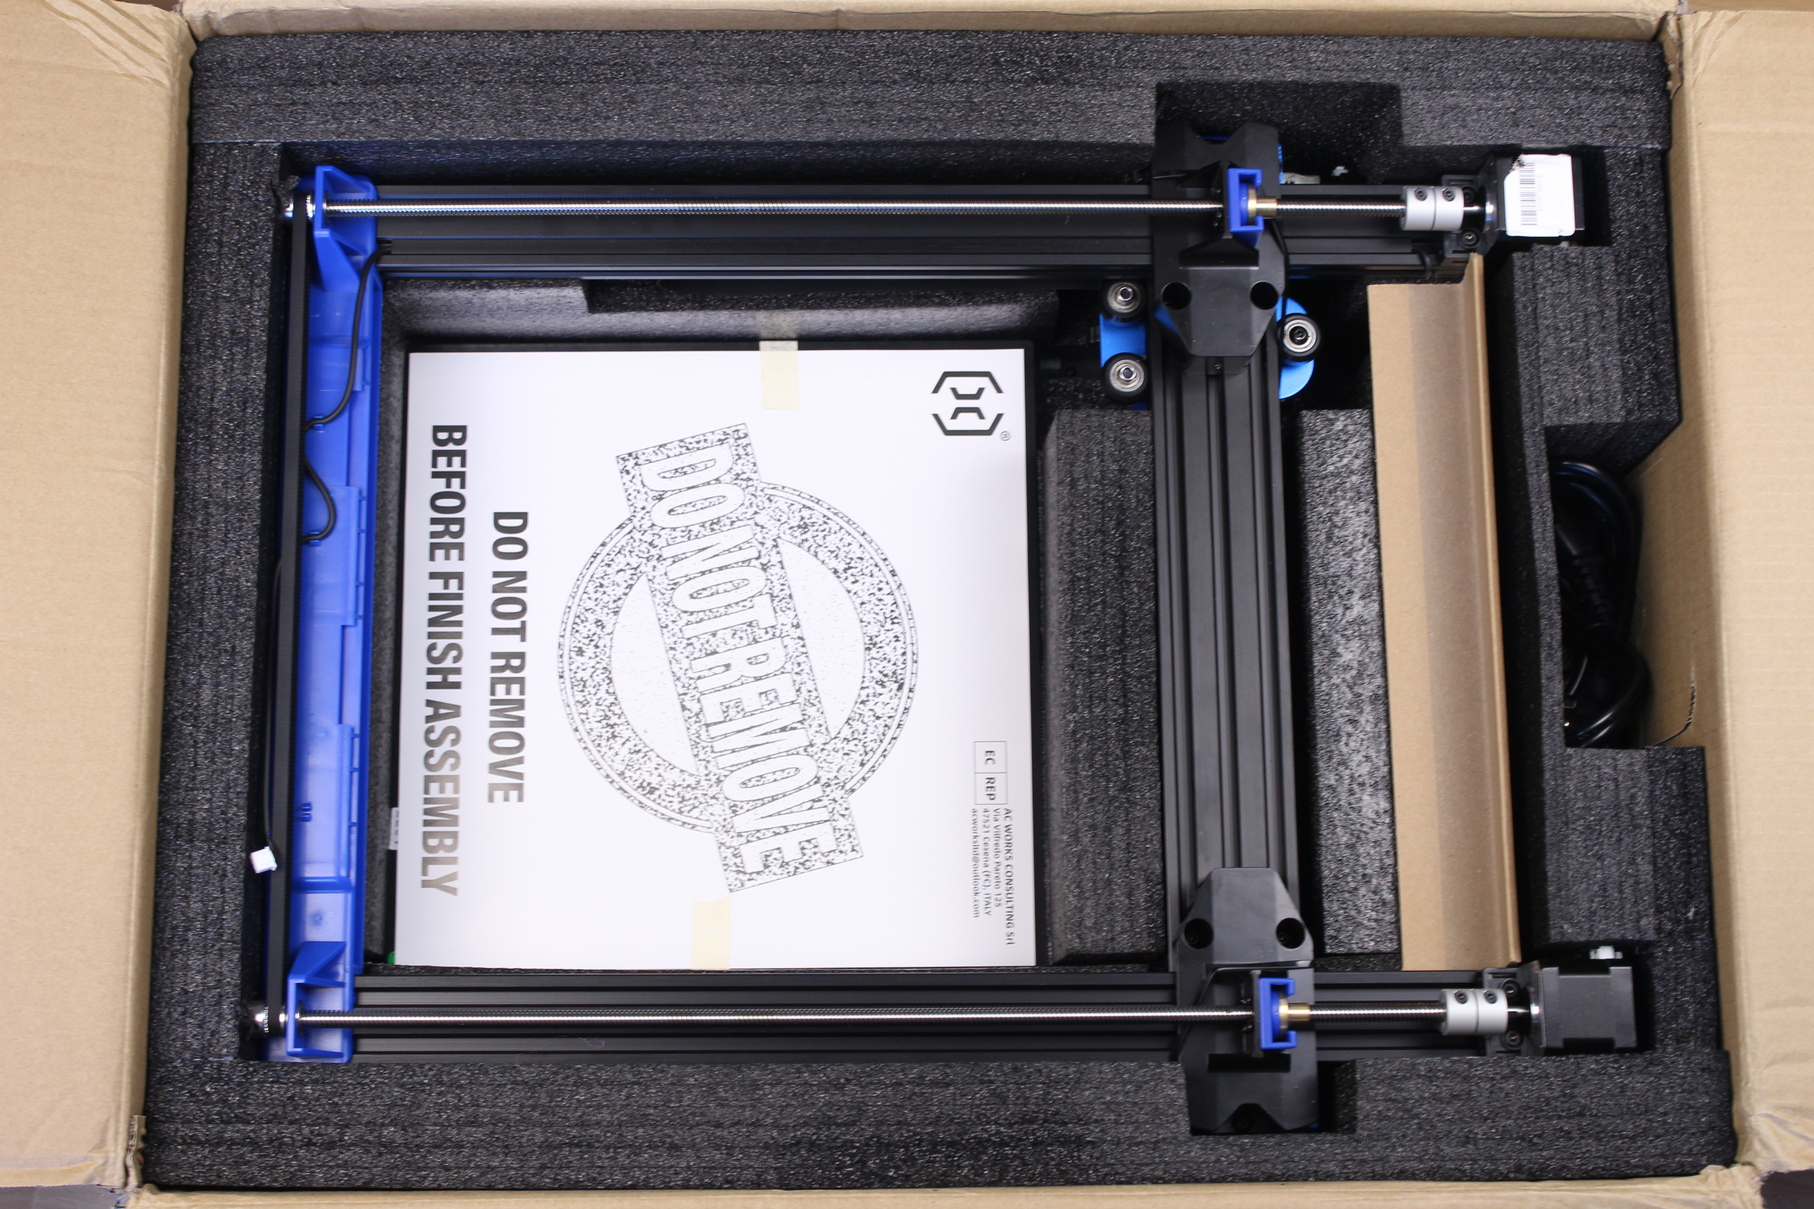
Artillery Sidewinder X2 Design
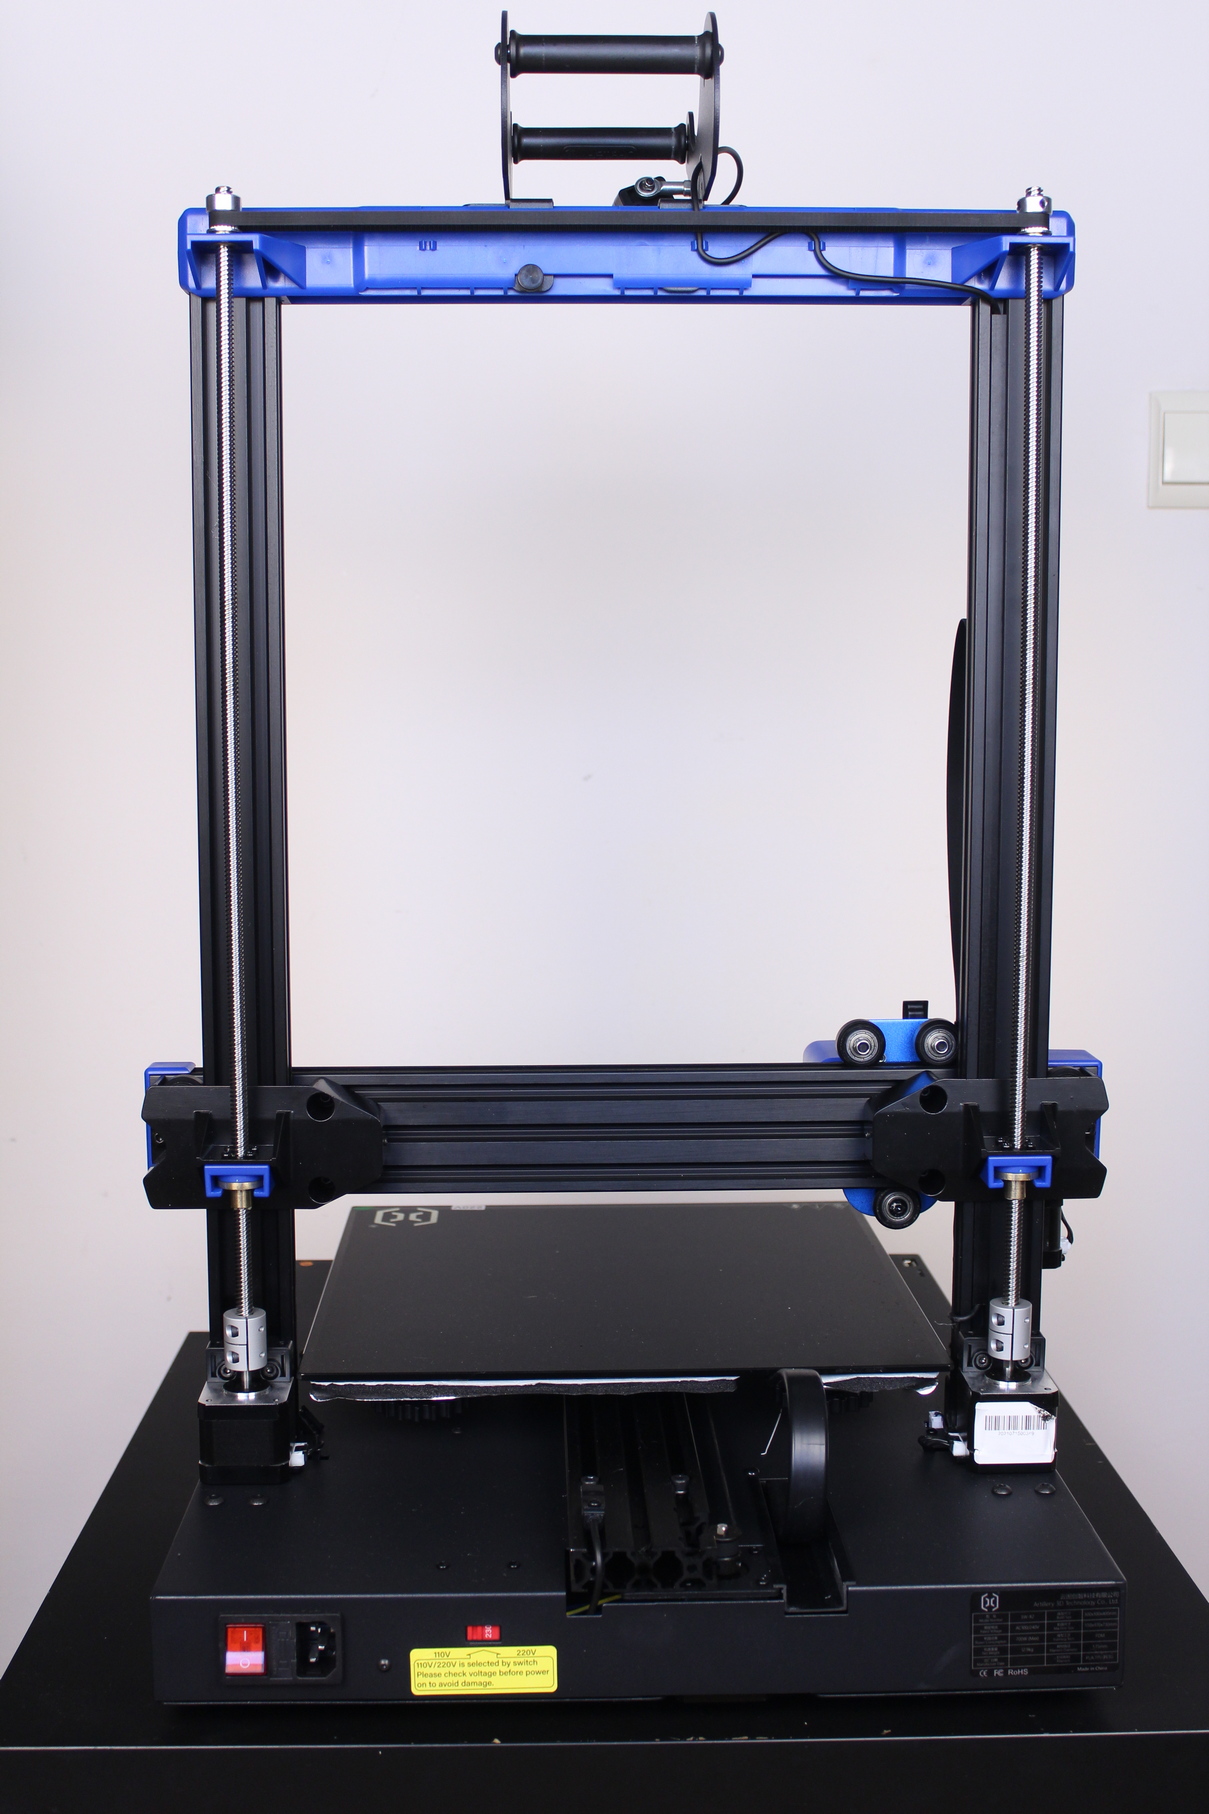
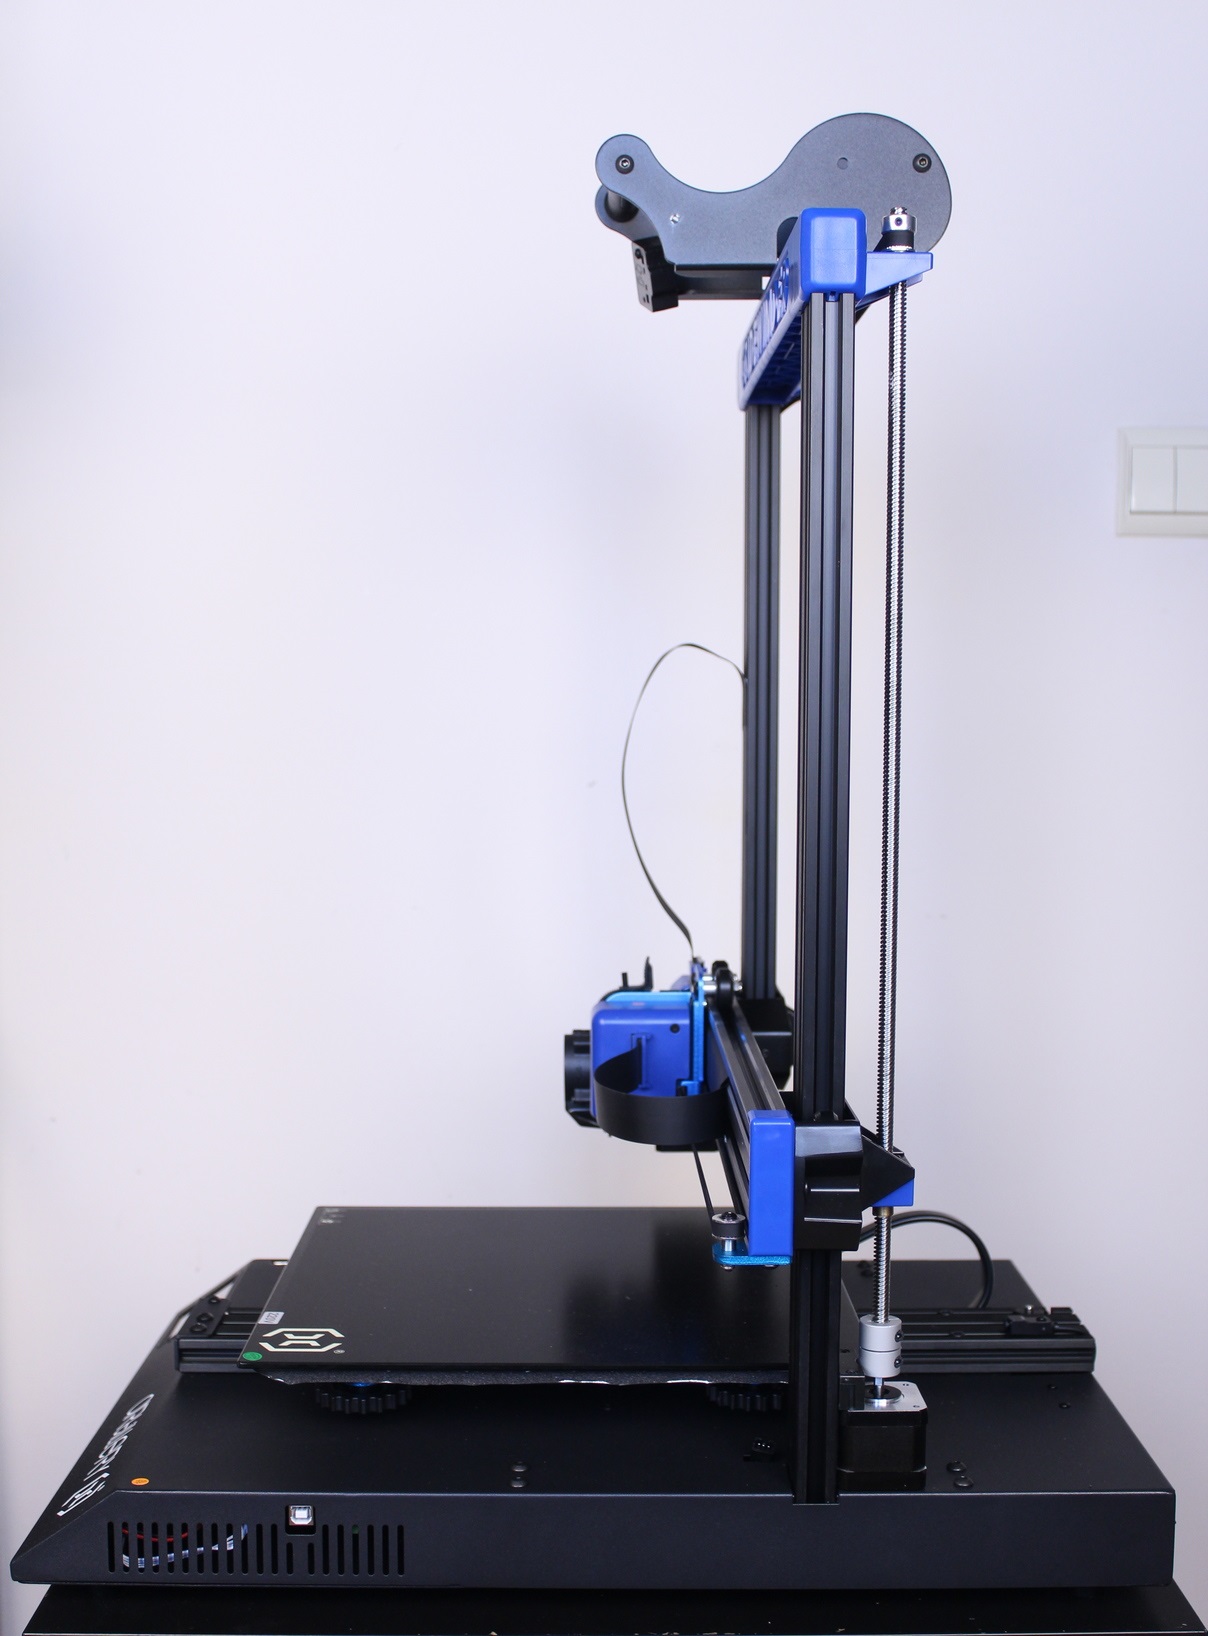
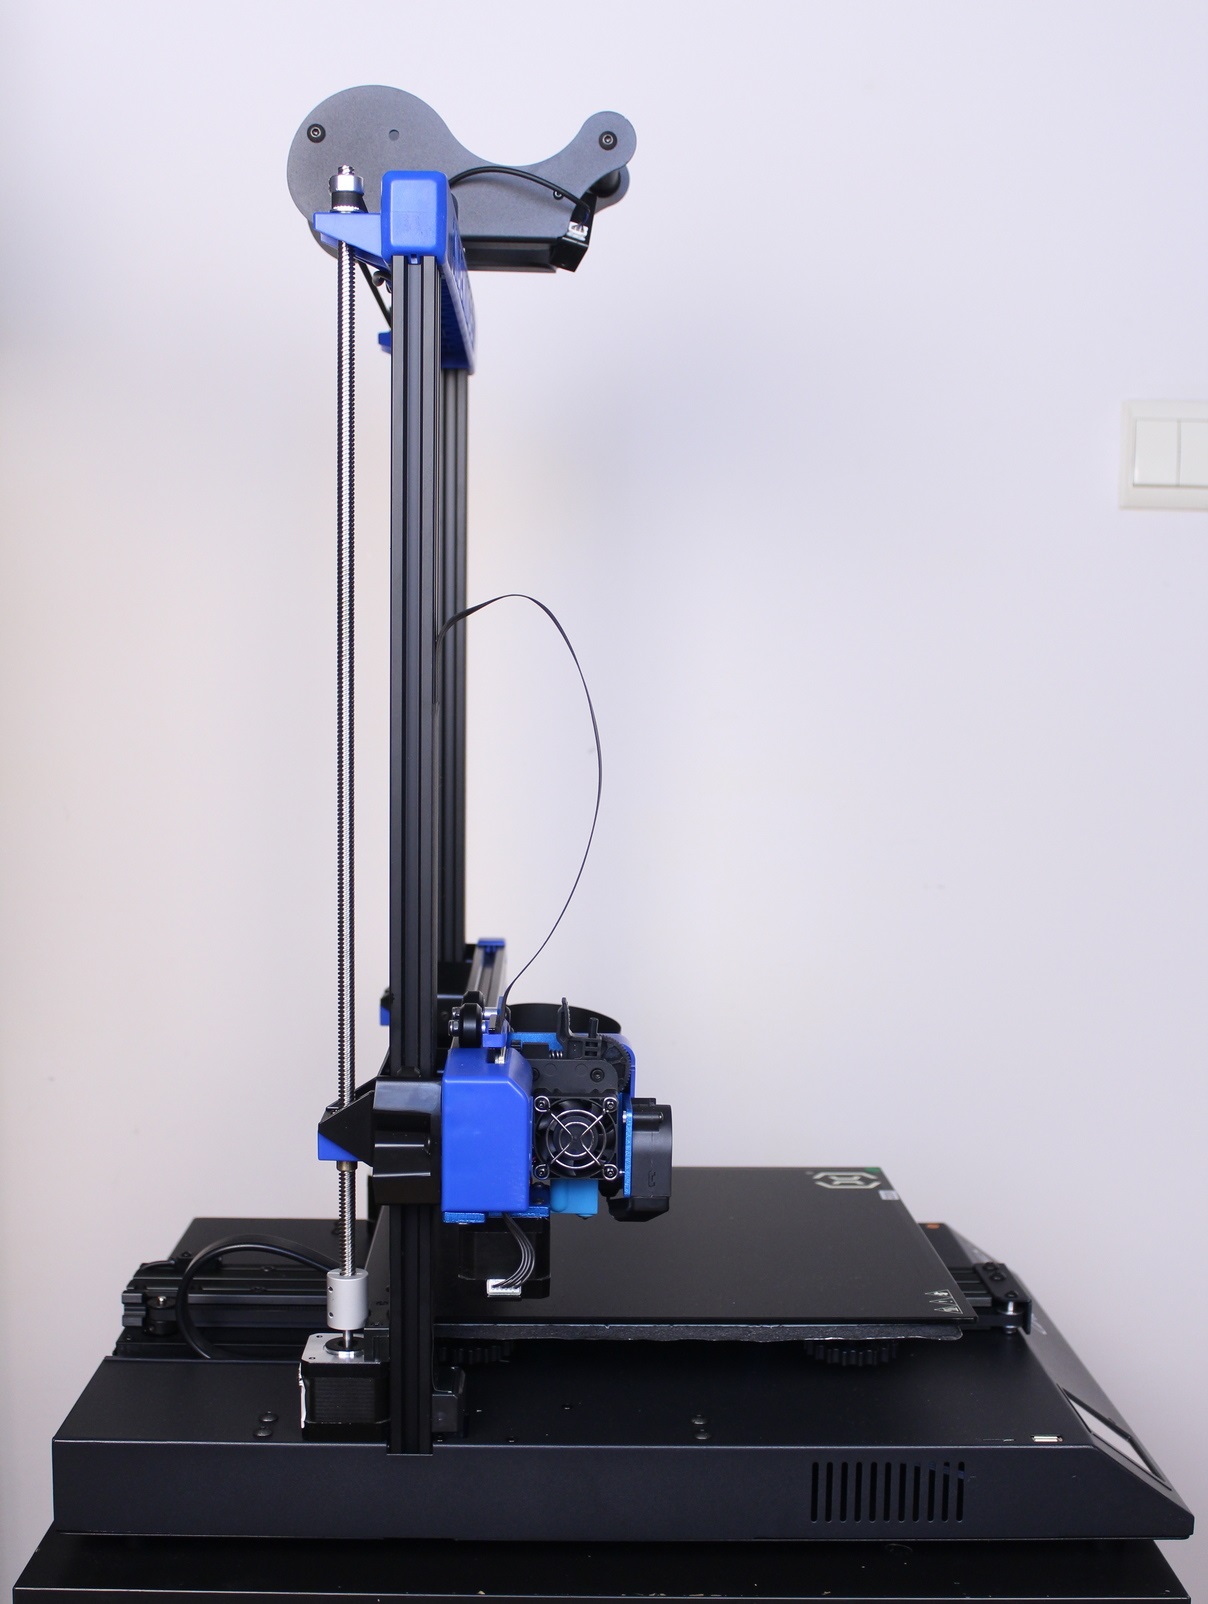
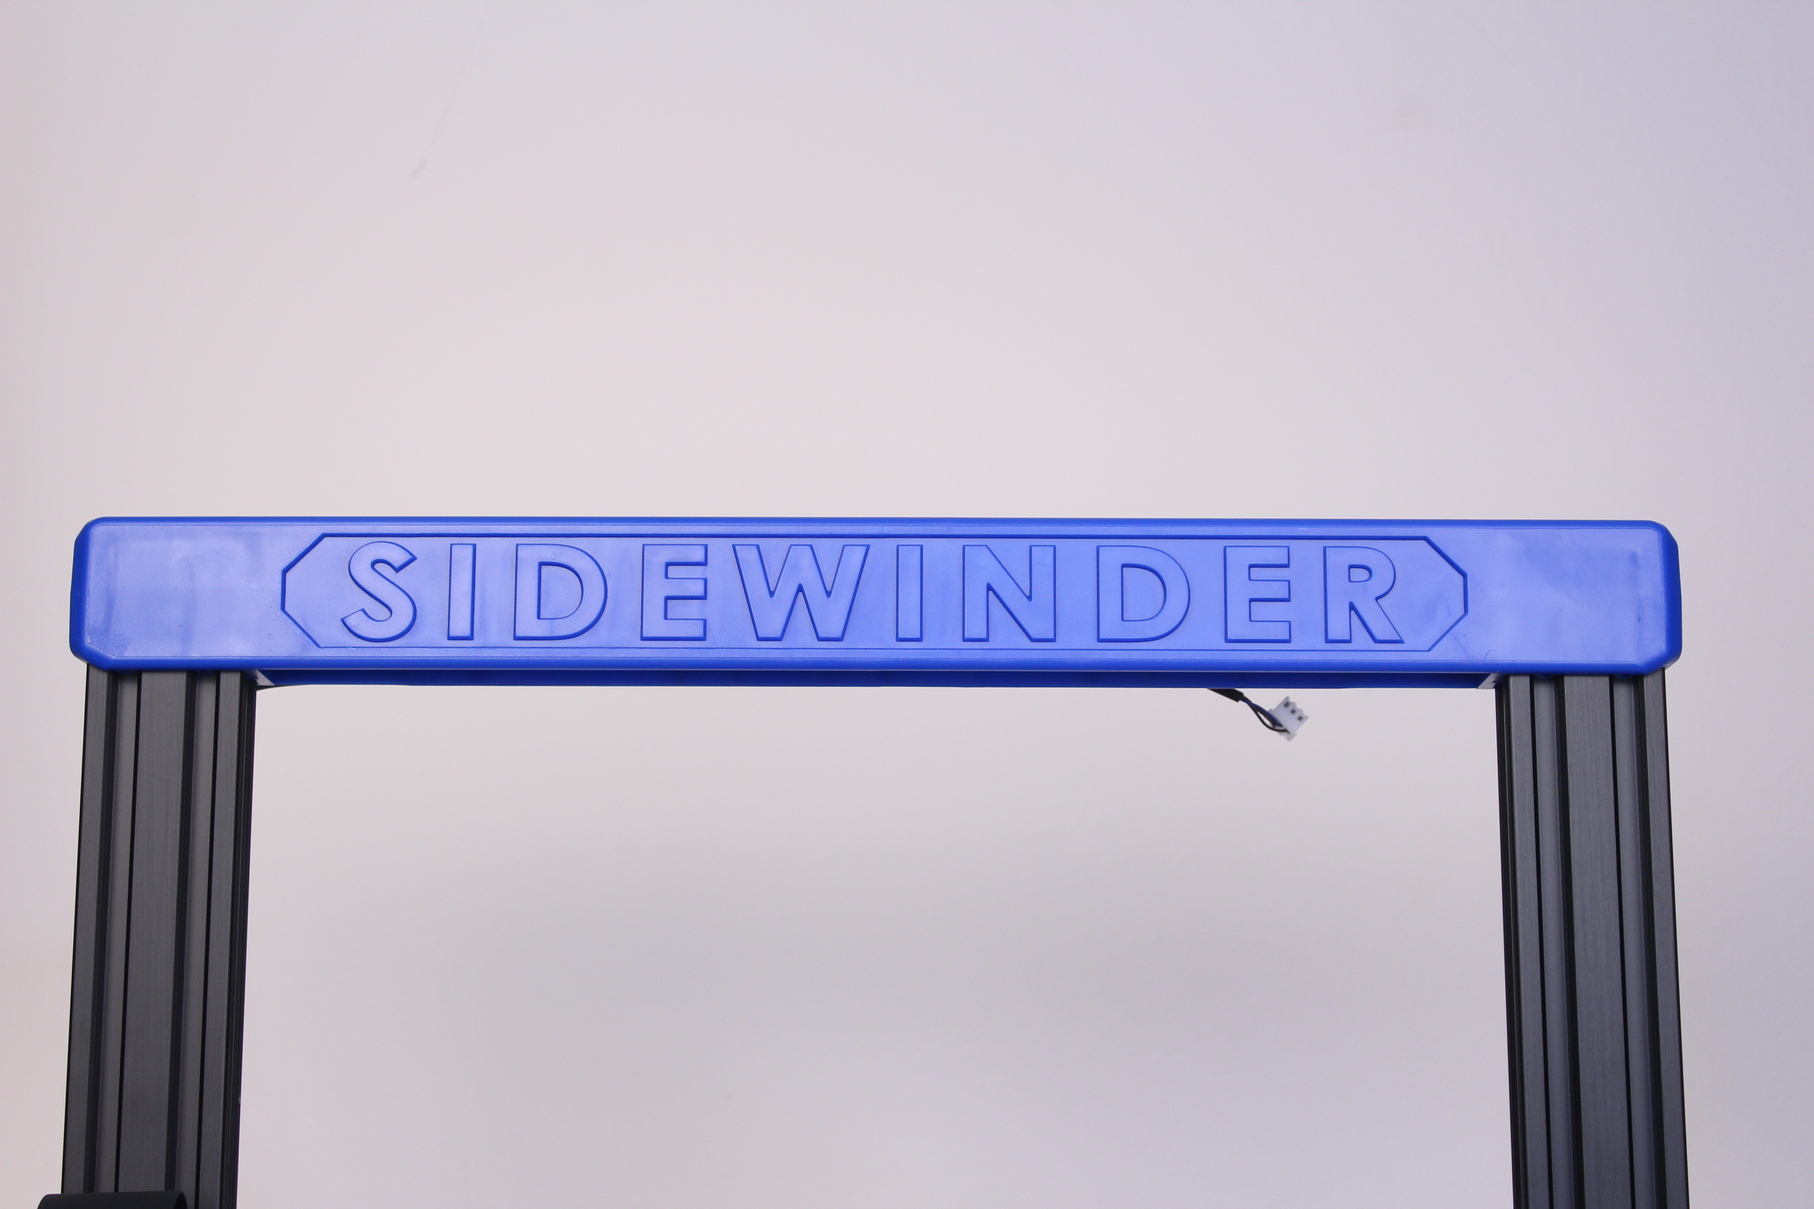
Visually, the biggest change for the Sidewinder X2 is the use of a blue injection molded part with a “SIDEWINDER” marking instead of the aluminum profile used with the X1. This is similar to what you get on the Artillery Genius, and I can’t say there’s any difference in functionality. Other than that, the printer looks just like the X1.
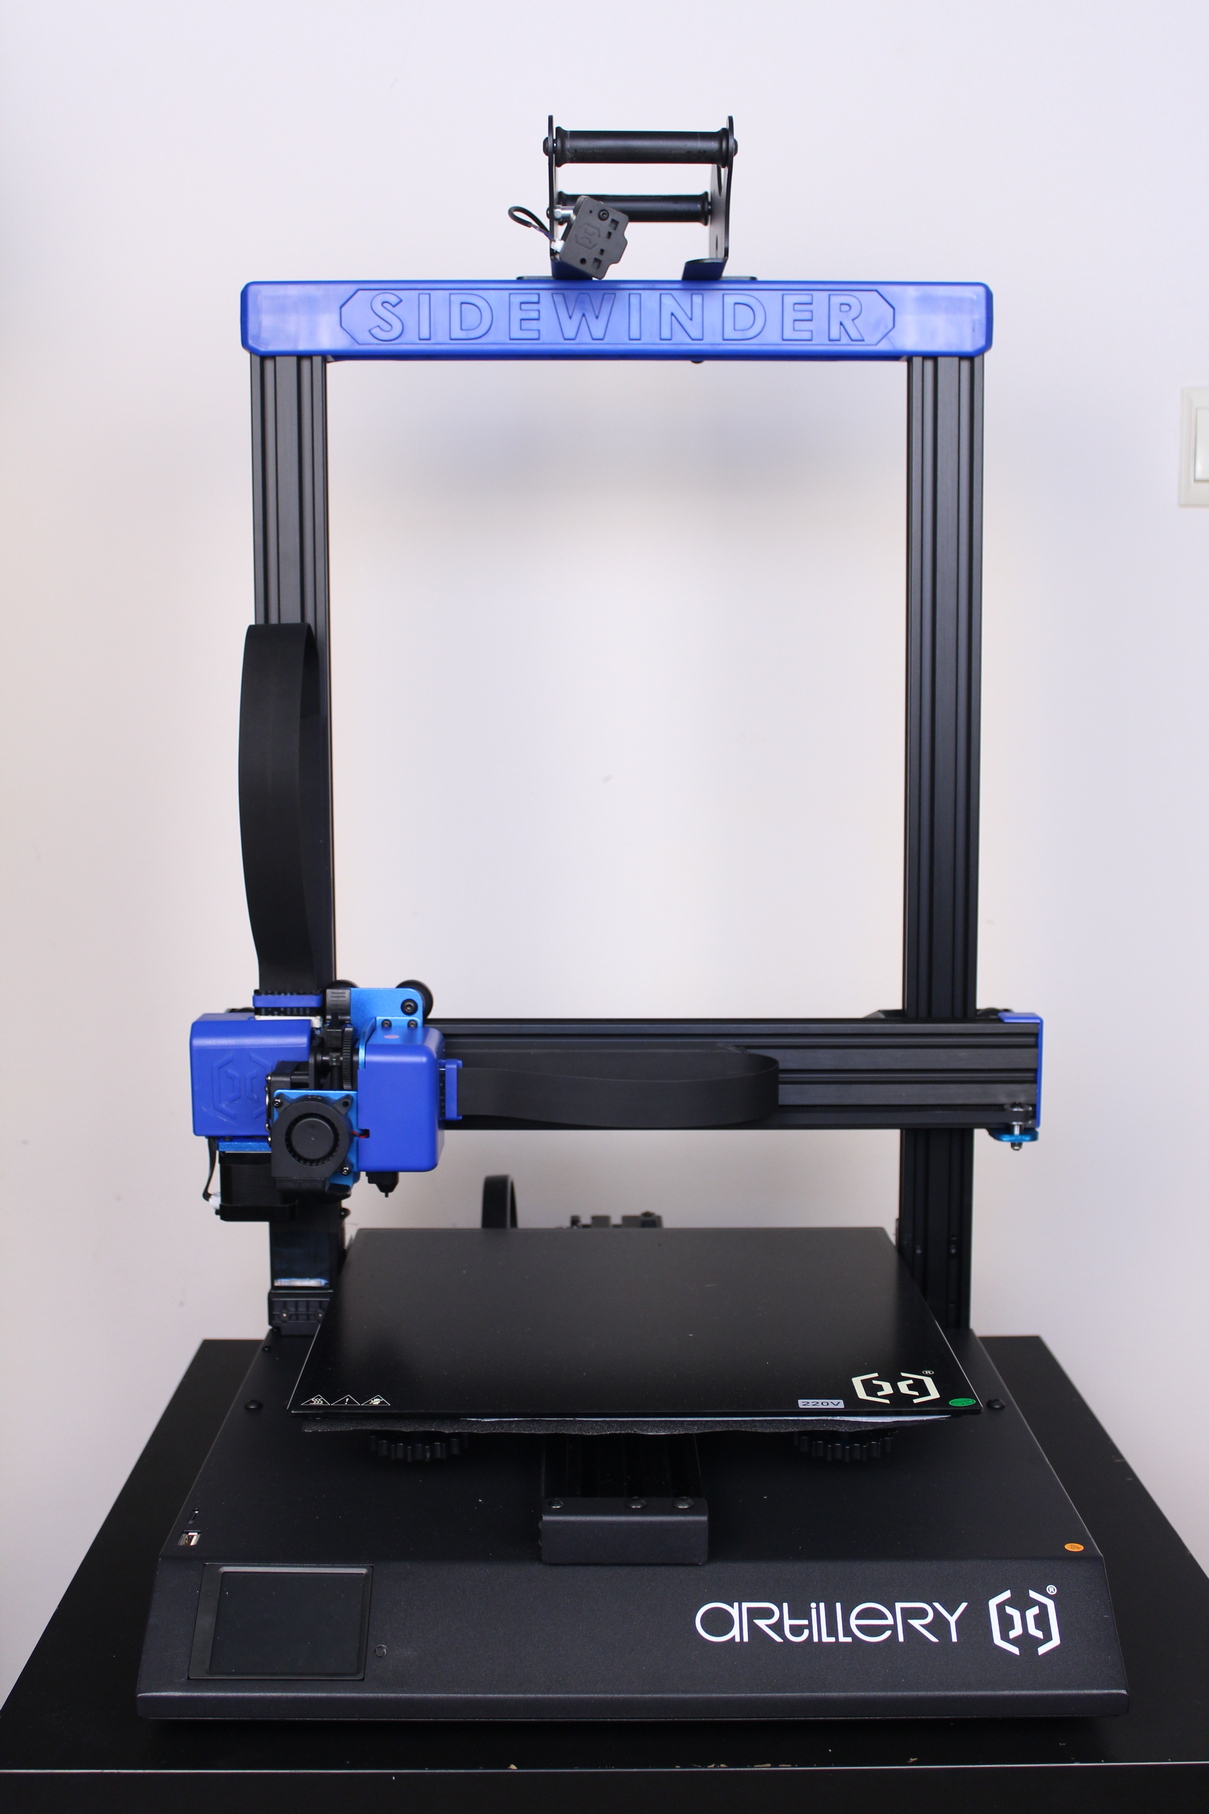
Artillery Sidewinder X2 Specs
| Build volume | 300 x 300 x 400 mm |
| Layer resolution | 0.1 mm — 0.35mm |
| Print speed | 60mm/s — 150mm/s |
| Travel speed: | 250mm/s |
| Print surface | Tempered glass with coating |
| Heat bed type | AC heat bed |
| Number of extruders | 1 |
| Filament diameter | 1.75mm |
| Supported materials | PLA, ABS, Flexible Materials, Wood, PVA, HIPS |
| Frame | Aluminum Extrusion |
| Calibration | ABL |
| Print technology | FFF (Fused Filament Fabrication) |
| Extruder type | Titan Direct Drive Extruder |
| XYZ | resolution 0.05mm, 0.05mm, 0.1mm |
| Nozzle type | Volcano |
| Nozzle diameter | 0.4mm |
| Nozzle temperature | 180°C — 240°C |
| Nozzle heat up time | < 3 minutes |
| Build plate heat up time | 80C in less than 2 minutes |
| Operating sound | < 70dBA |
| Power consumption | 100 — 240V 700W max (w/ heated bed turned on) |
| Control board | Artillery Ruby 32 |
| Product weight | 12.9KG |
| Shipping weight | 16KG |
| Product dimensions | 550 x 405 x 640 mm |
| Maximum Print Speed | 150 mm/s |
| Maximum Travel Speed | 250mm/s |
| Maximum Build Plate Temperature | 130°C |
| Connectivity | USB, TF Card, USB Stick |
Geared Direct Drive extruder
The Sidewinder X1 direct drive extruder was pretty good, but it had some design issues which made it less efficient, and more prone to failures. Specifically, the plastic idler which broke all the time, and the separate heatsink which was not that effective in keeping the heat break cool.
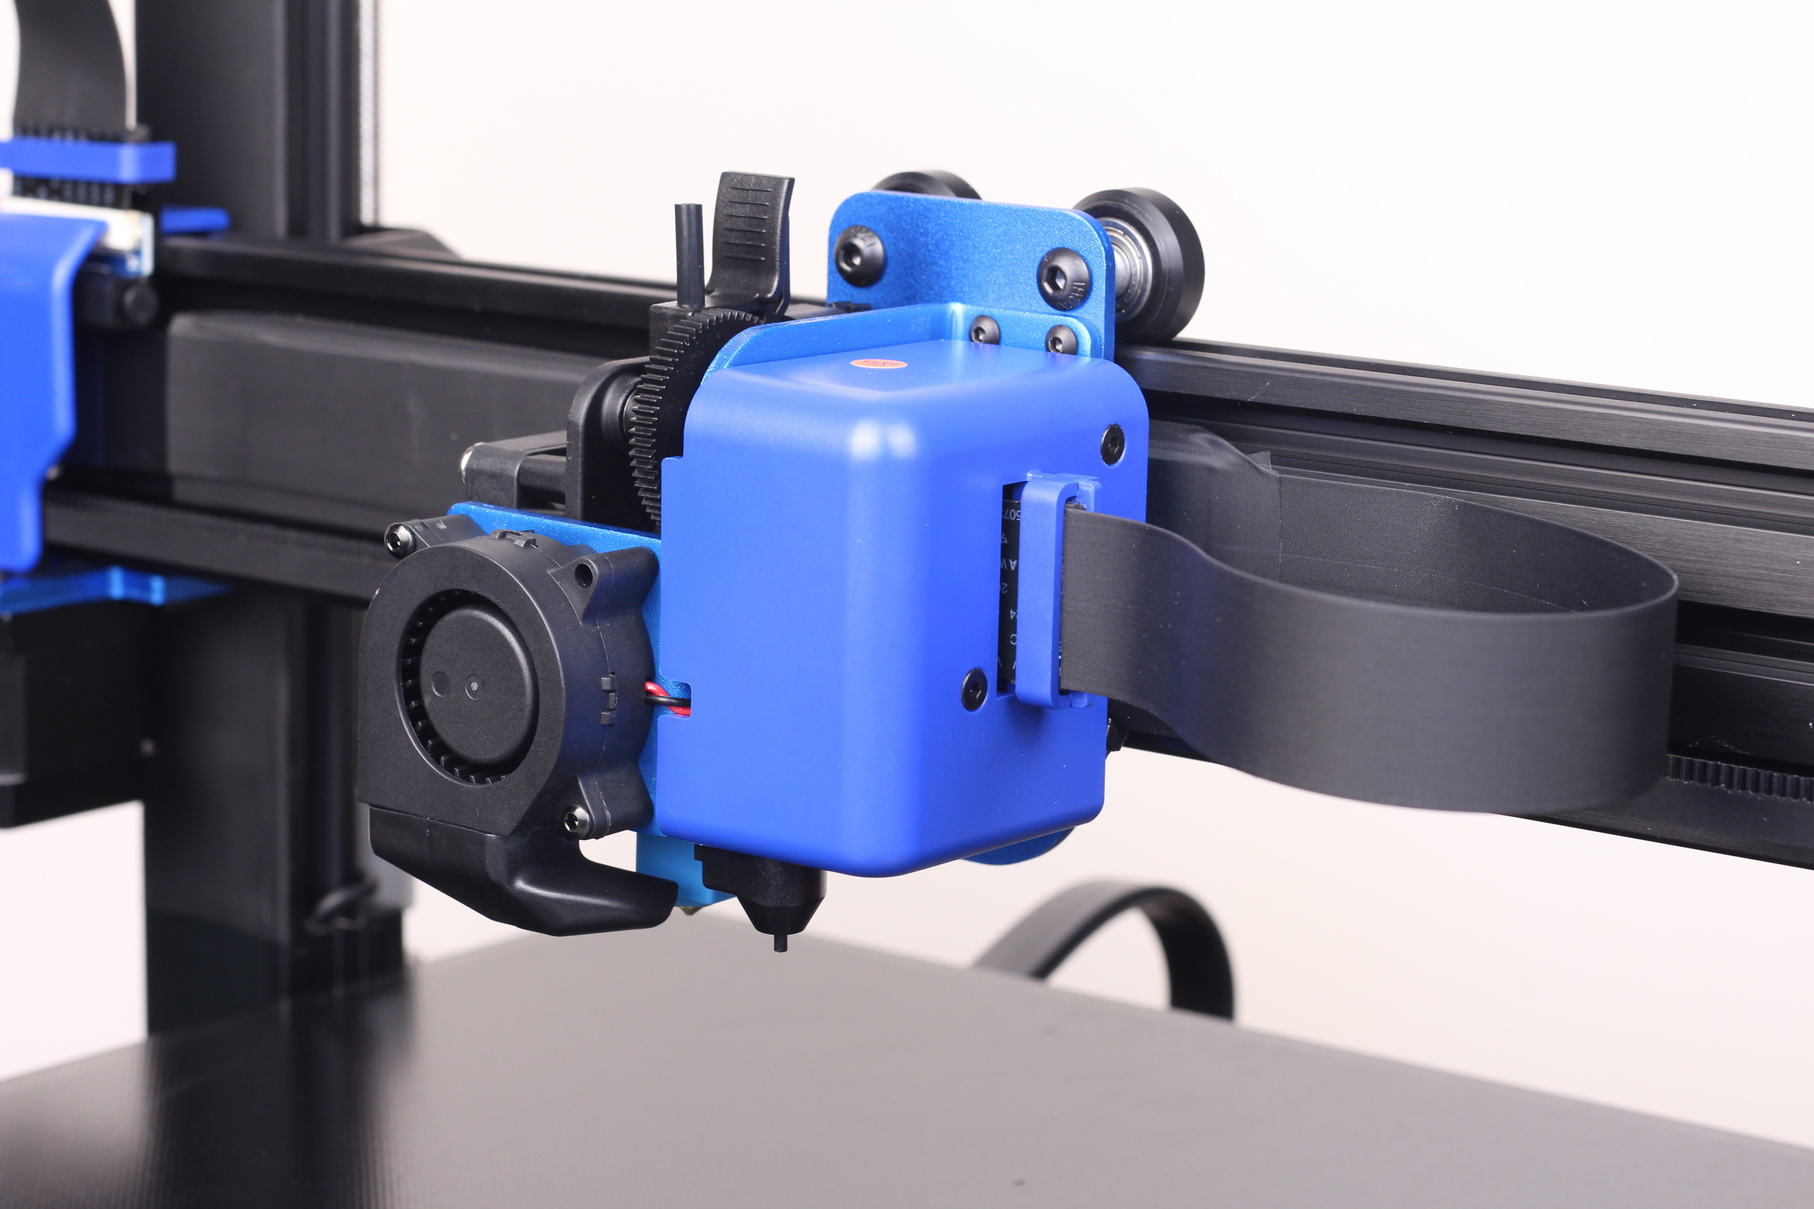
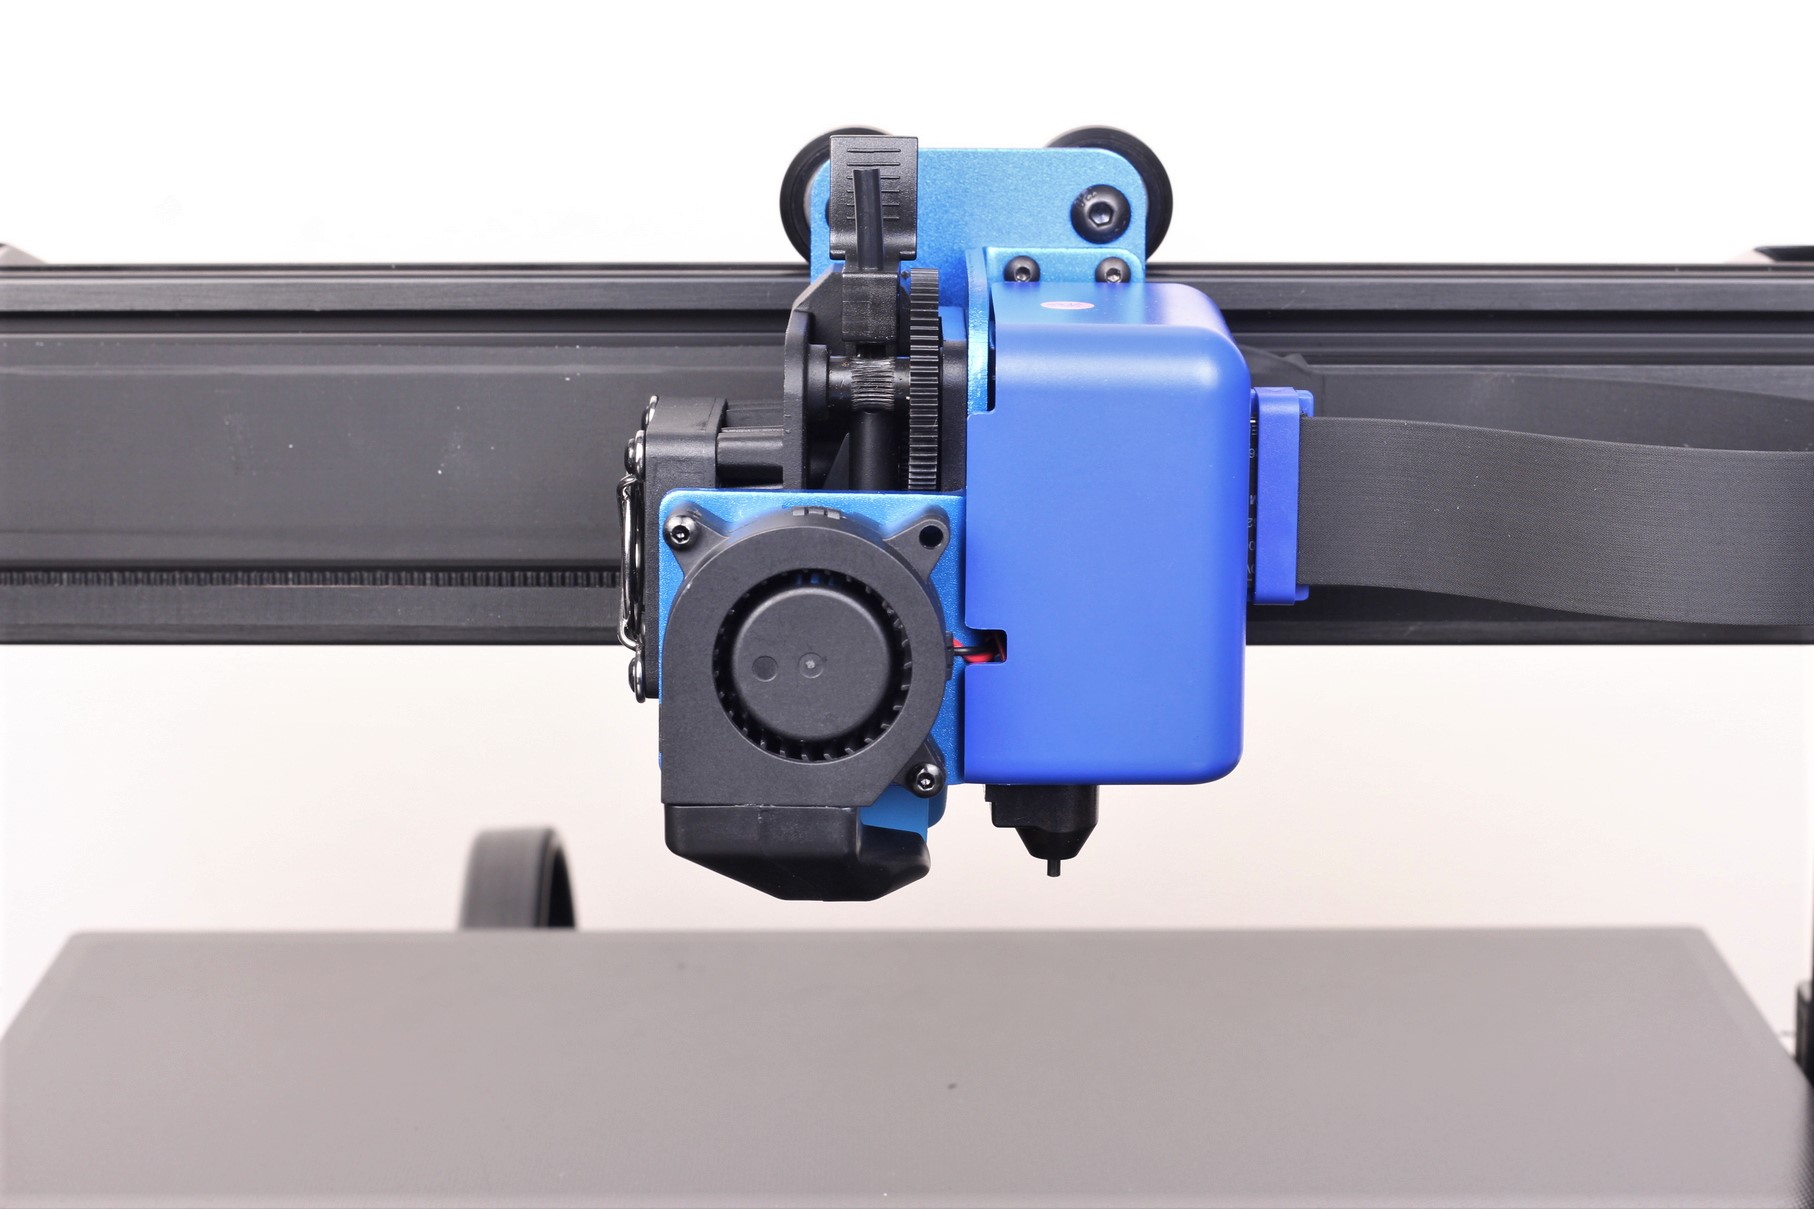
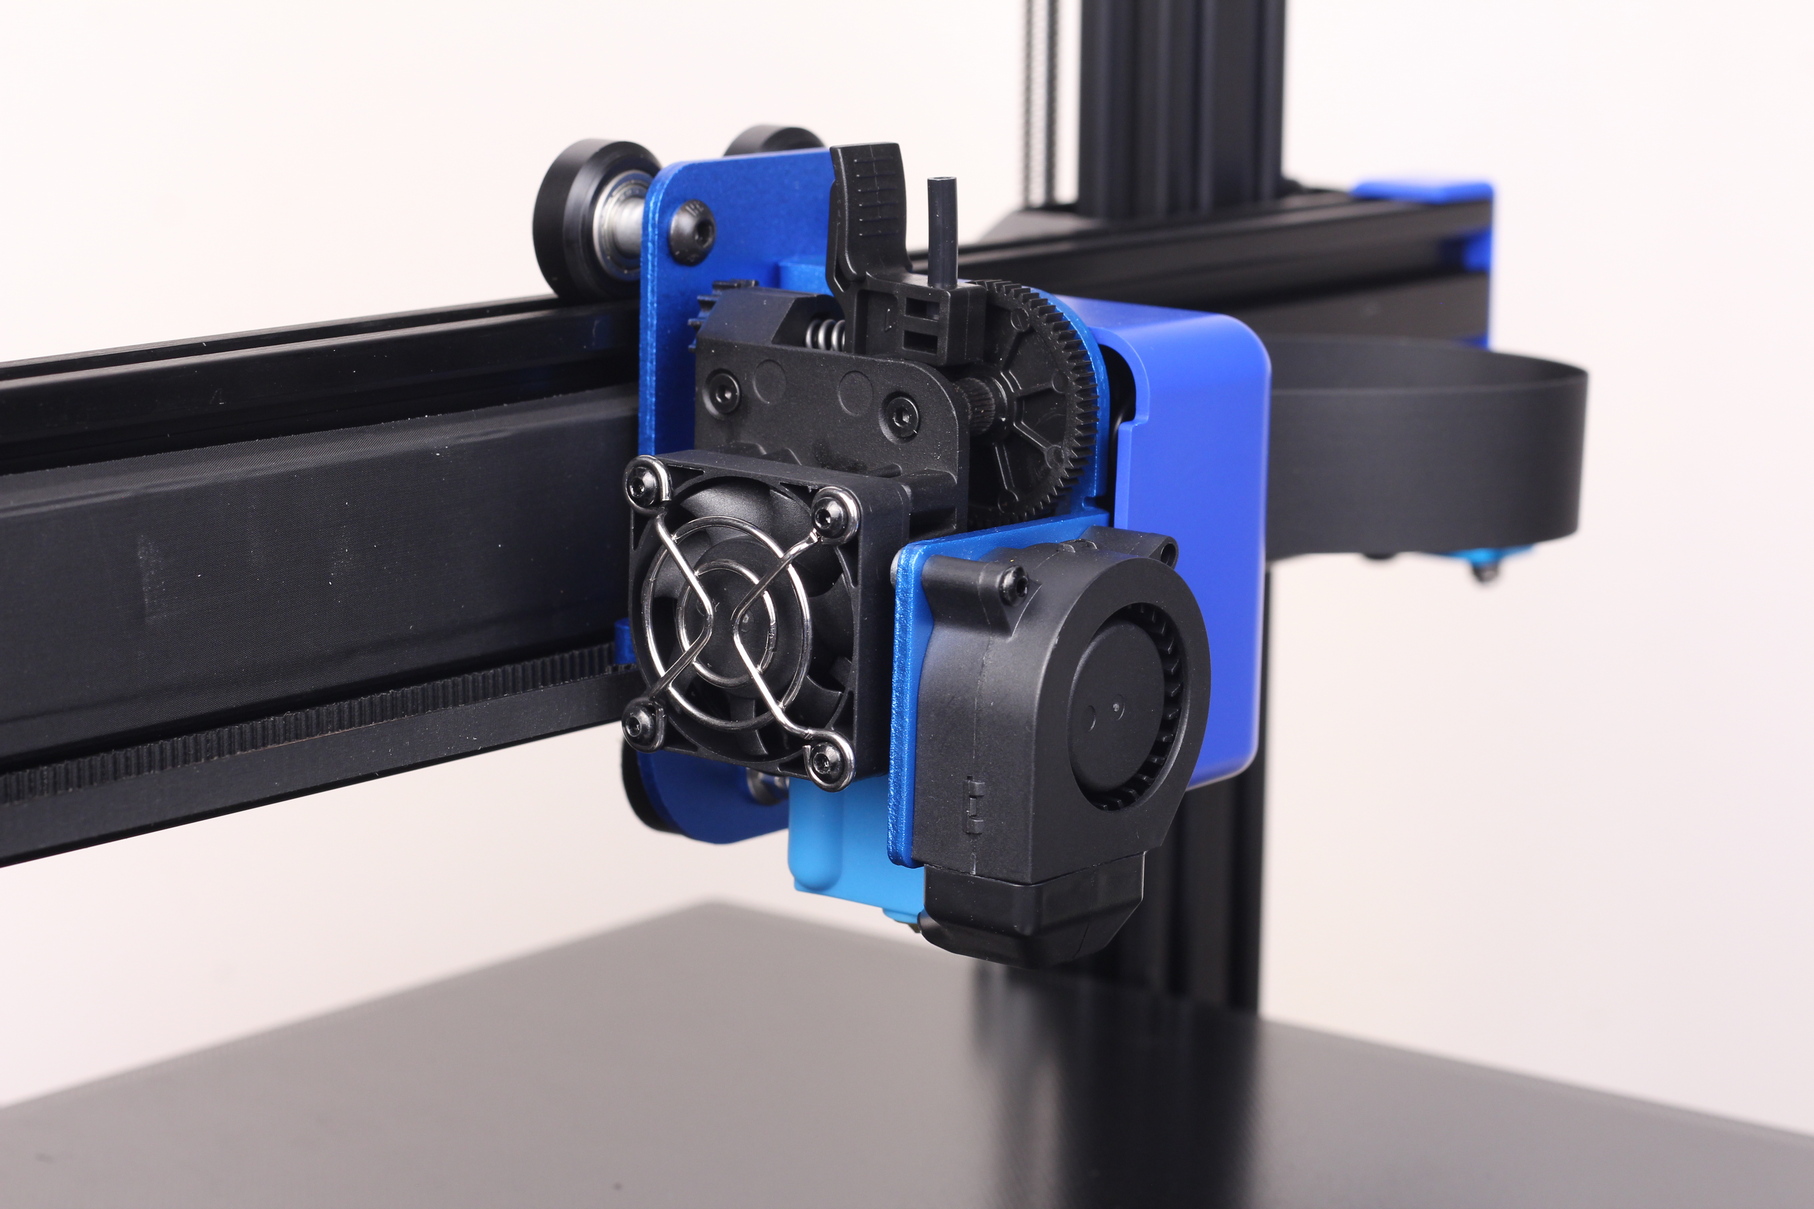
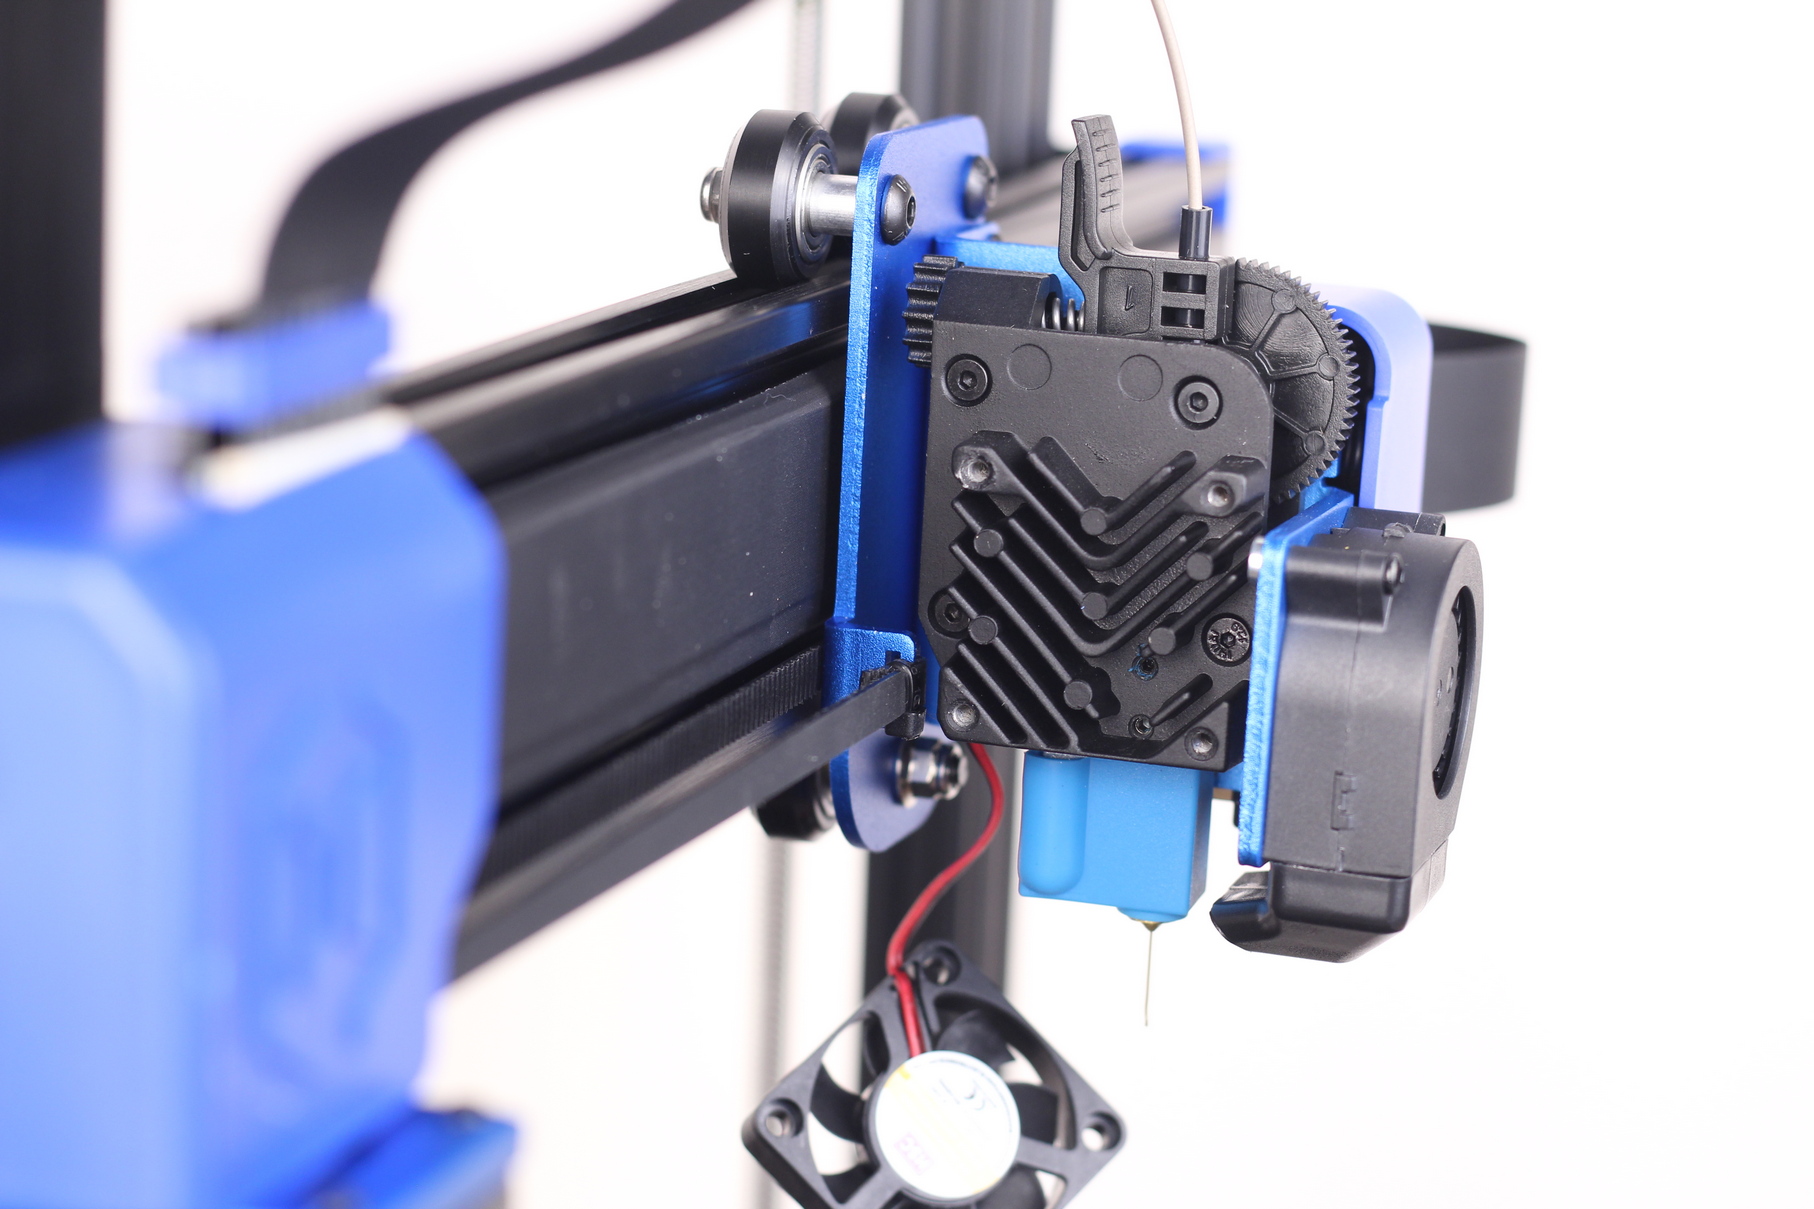
The Sidewinder X2 fixes only one of the design issues, by making the heatsink part of the extruder which improves cooling. But I really don’t understand why the plastic idler hasn’t been upgraded to a metal variant, considering this is one of the most common failures points for the X1 and Genius.
Other than that, the extruder doesn’t have other significant changes. It’s the same Titan Aero clone adaptation, which uses a 3-to-1 gear ratio and a pancake stepper motor.
PTFE lined Volcano hotend
A complete printhead replacement surfaced online, a few months ago which is made for the Artillery Sidewinder X1 and Genius, which used a bi-metal heat break. I was expecting to find the same print head installed on the Sidewinder X2, but this is not the case. Instead, Artillery decided to use the same PTFE-lined heat break with the Volcano clone heatblock.
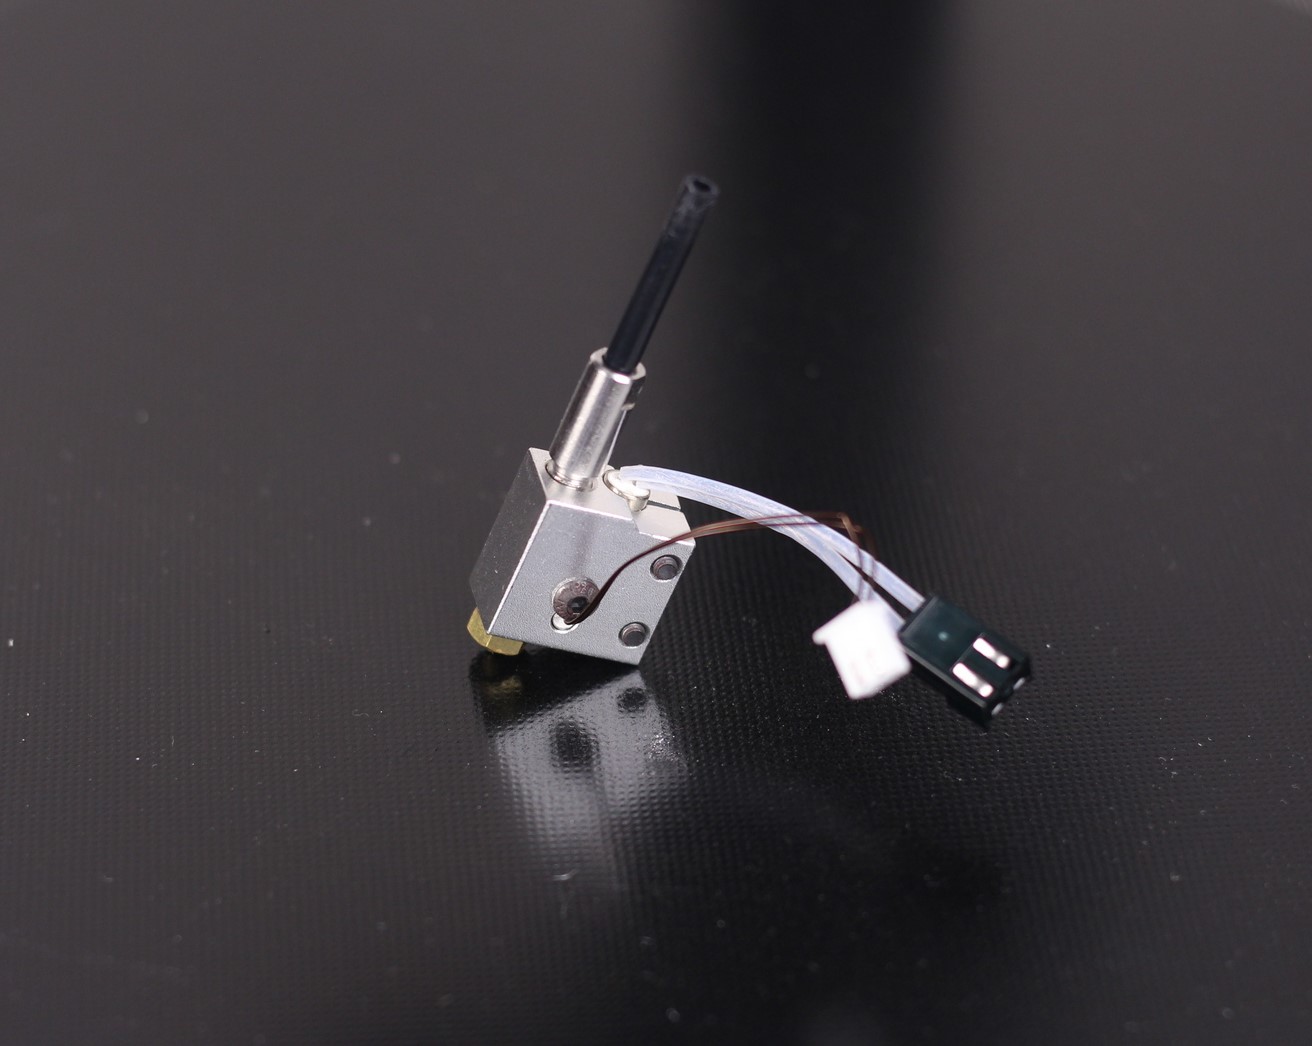
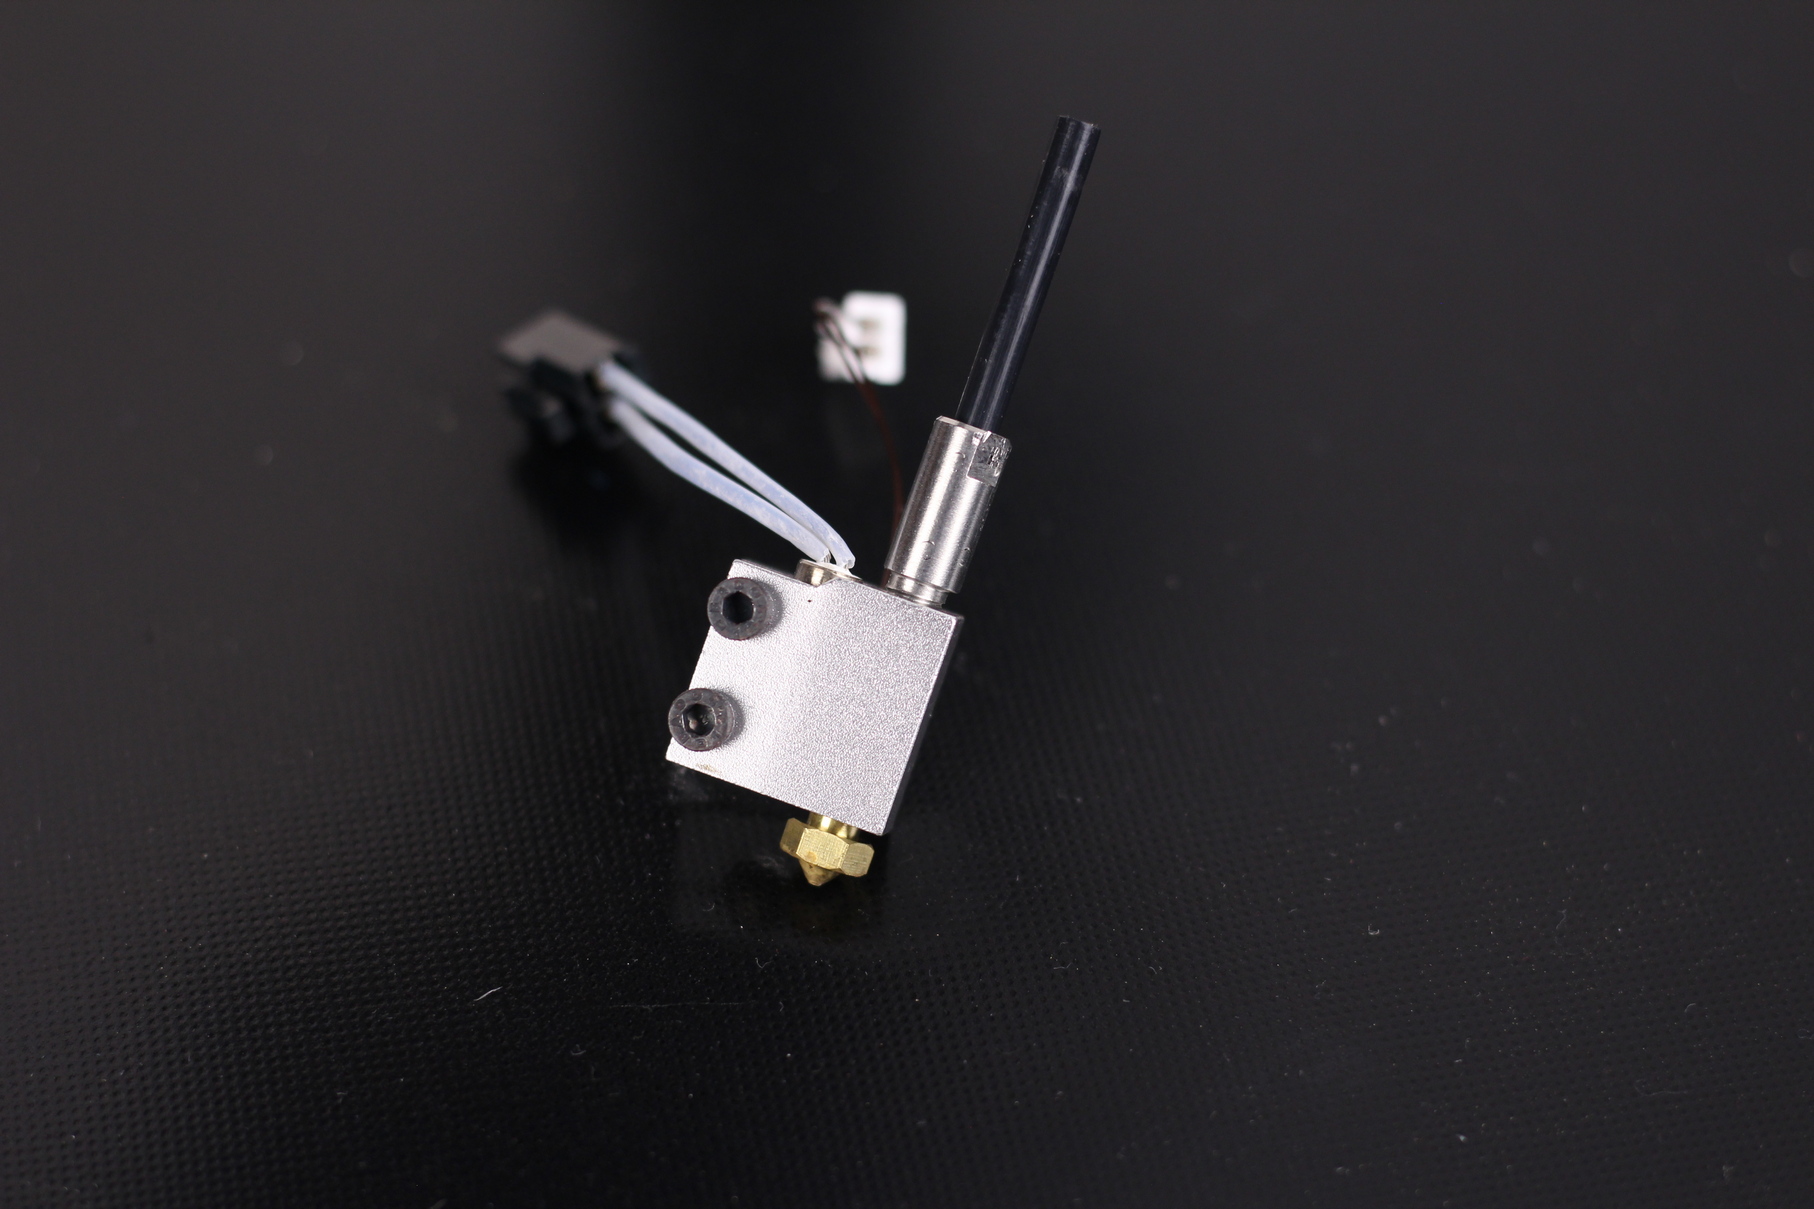
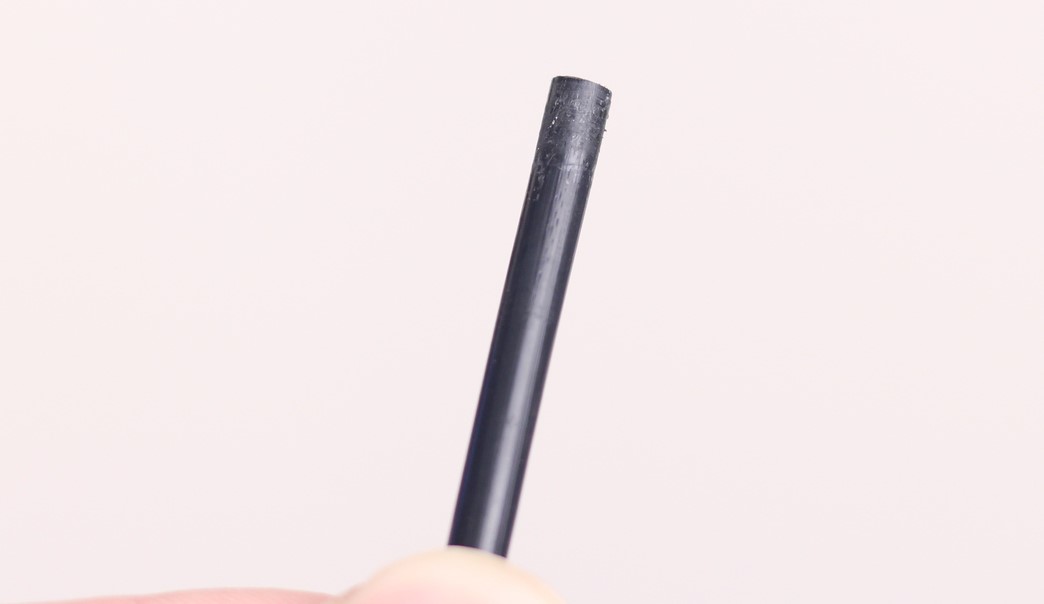
I can’t say it’s bad but having a PTFE lined heat break limits the printers’ capabilities to ~240C. The bi-metal heat break would have allowed the printer to be used with higher temperatures, and next to no maintenance. With a PTFE lined heat break, you will have to replace the tube after a few months. For example, here’s how the tip of my PTFE tube looked like, after only 48 hours of printing. It already shows some signs of degradation due to the heat.
Fortunately, the hotend uses a smooth heat break making the disassembly relatively easy, even for a beginner. You just need to unscrew the two grub screws from the extruder, and the hotend will slide out easily. If you want to benefit from better temperatures and less maintenance, then upgrading to a bi-metal or titanium heat break will be my recommended solution.
It’s also worth noting that the nozzle quality seems to be improved compared to what we were getting with the Sidewinder X1.
Artillery Ruby 32-bit board
One of the more popular upgrades done to the Sidewinder X1 was replacing the 8-bit board with a 32-bit variant. Well, in this case, Artillery did the upgrade for us, and installed a Ruby board inside the Sidewinder X1.
It’s a similar board to the one we get on the Artillery Hornet, but this time we get the Ruby V1.2. I am not sure what’s changed between these boards, but I like that they use ARM chips. Although, I am not sure how this will change in the future, considering the huge chip shortage.
The stepper motor drivers are socketed, which means we can replace them if needed, or upgrade them in the future. There’s also an unpopulated stepper driver socket which can be used to independently control the two lead screws, just like on the X1.
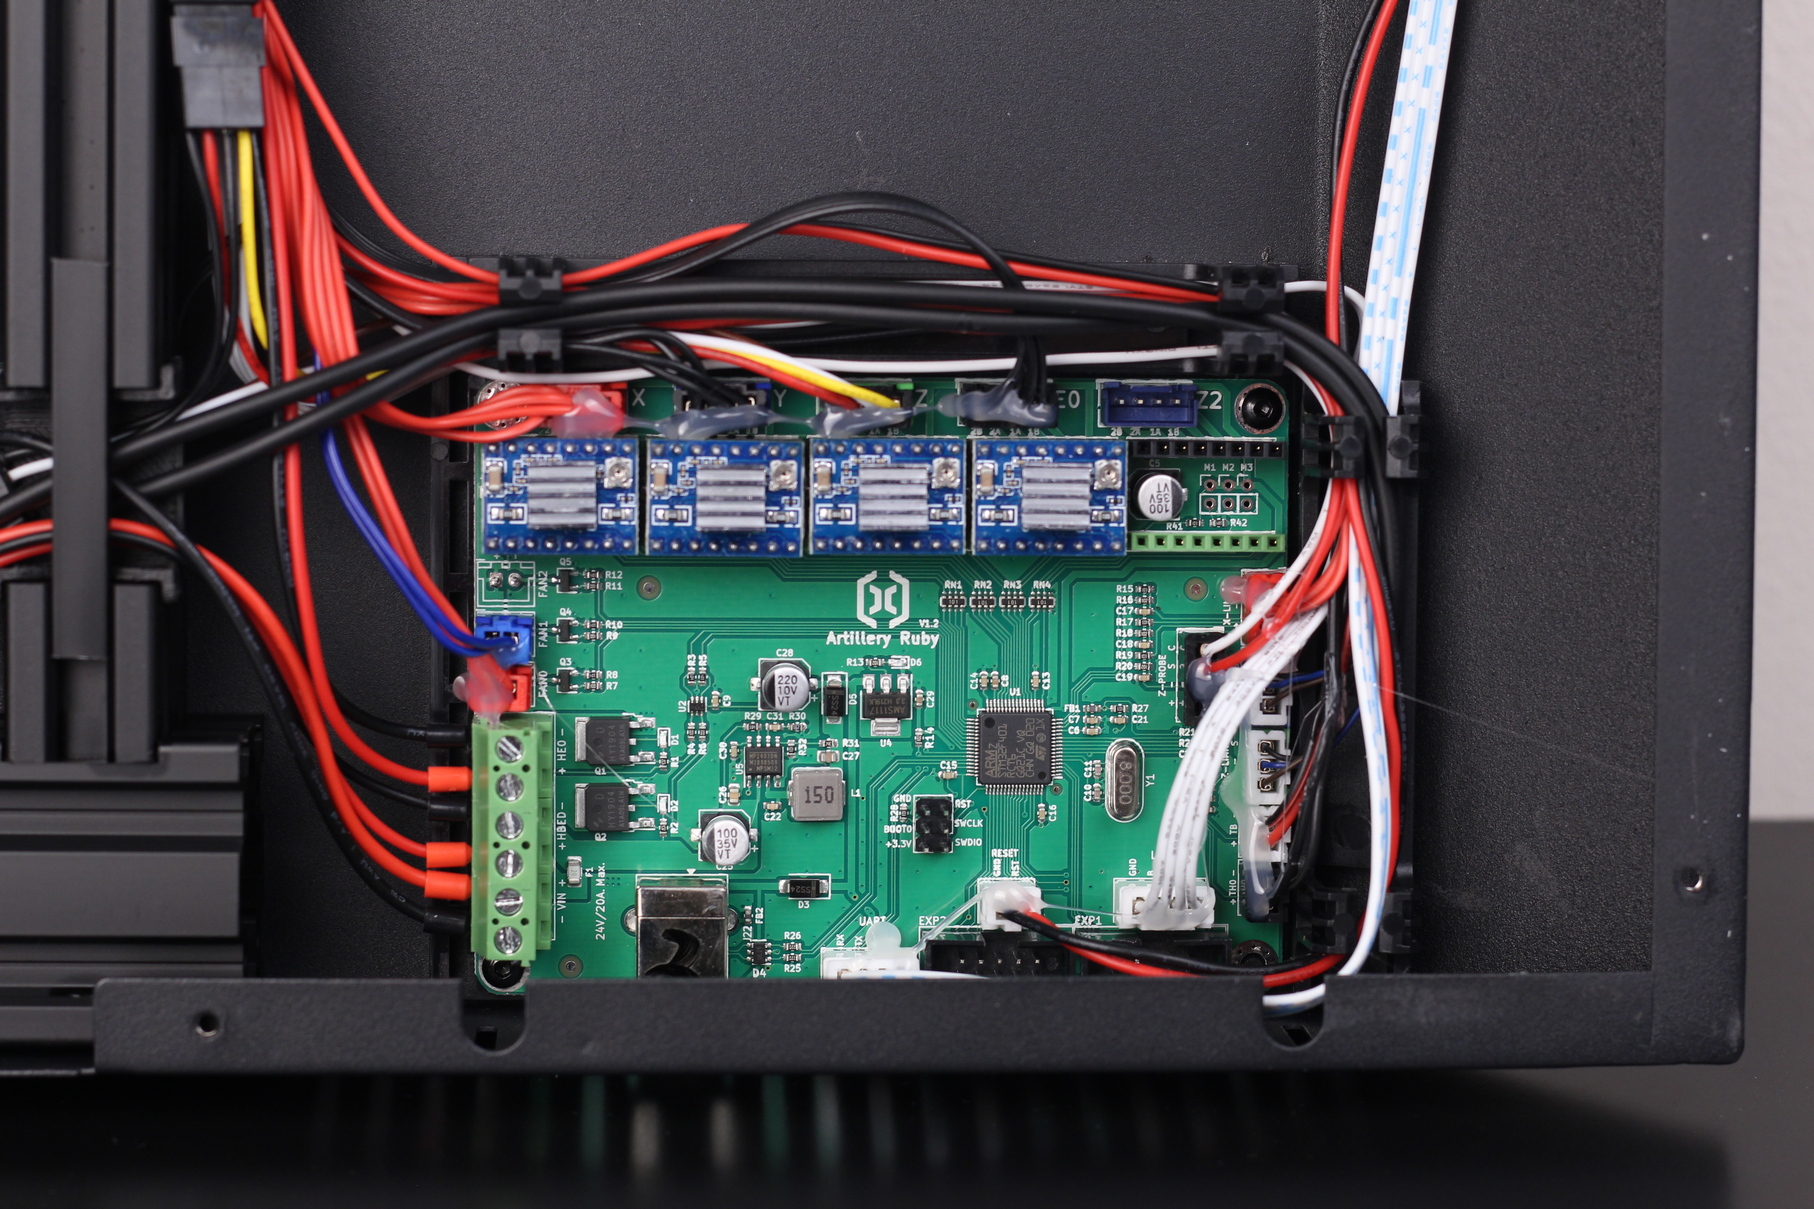
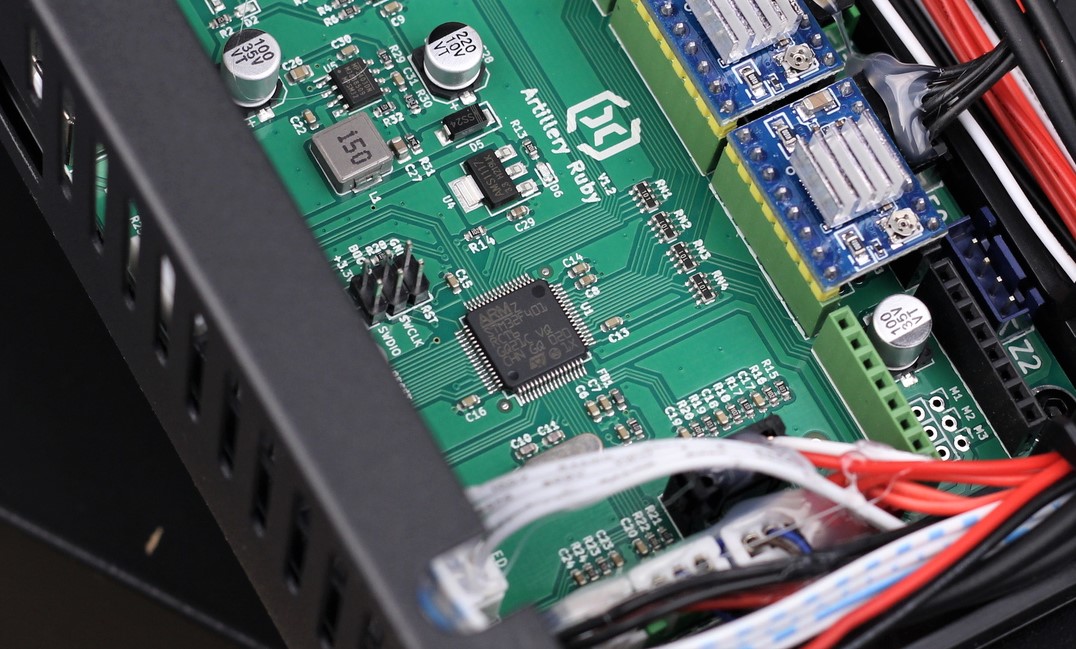
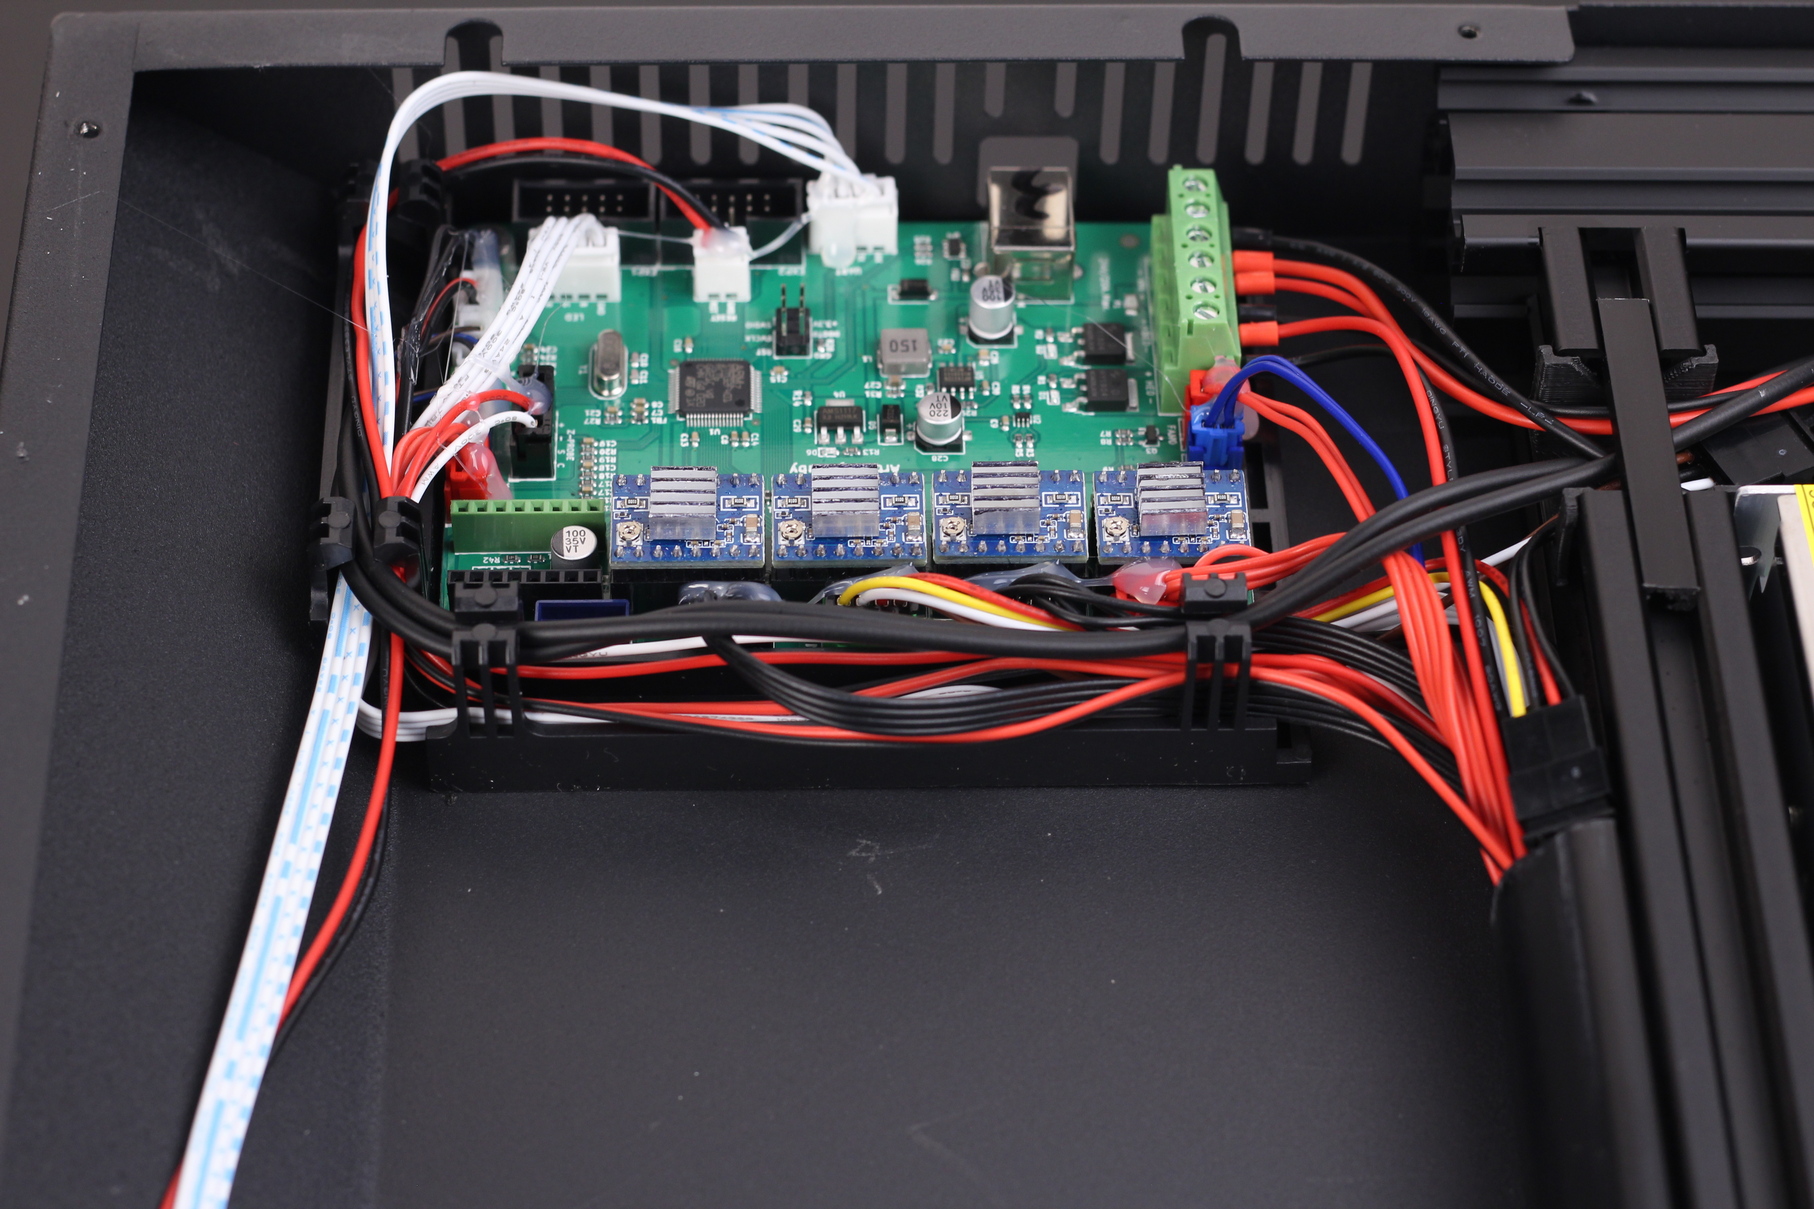
All the power connectors have ferules, and the Artillery Gluegun Guy did his job in covering the rest of the connectors. I also like the wire management.
The Sidewinder X2 still uses a single 80mm 24V fan for venting the air out from the electronics chamber. This time, it’s situated in the front-middle of the printer.
Dual Z axis with sync belt
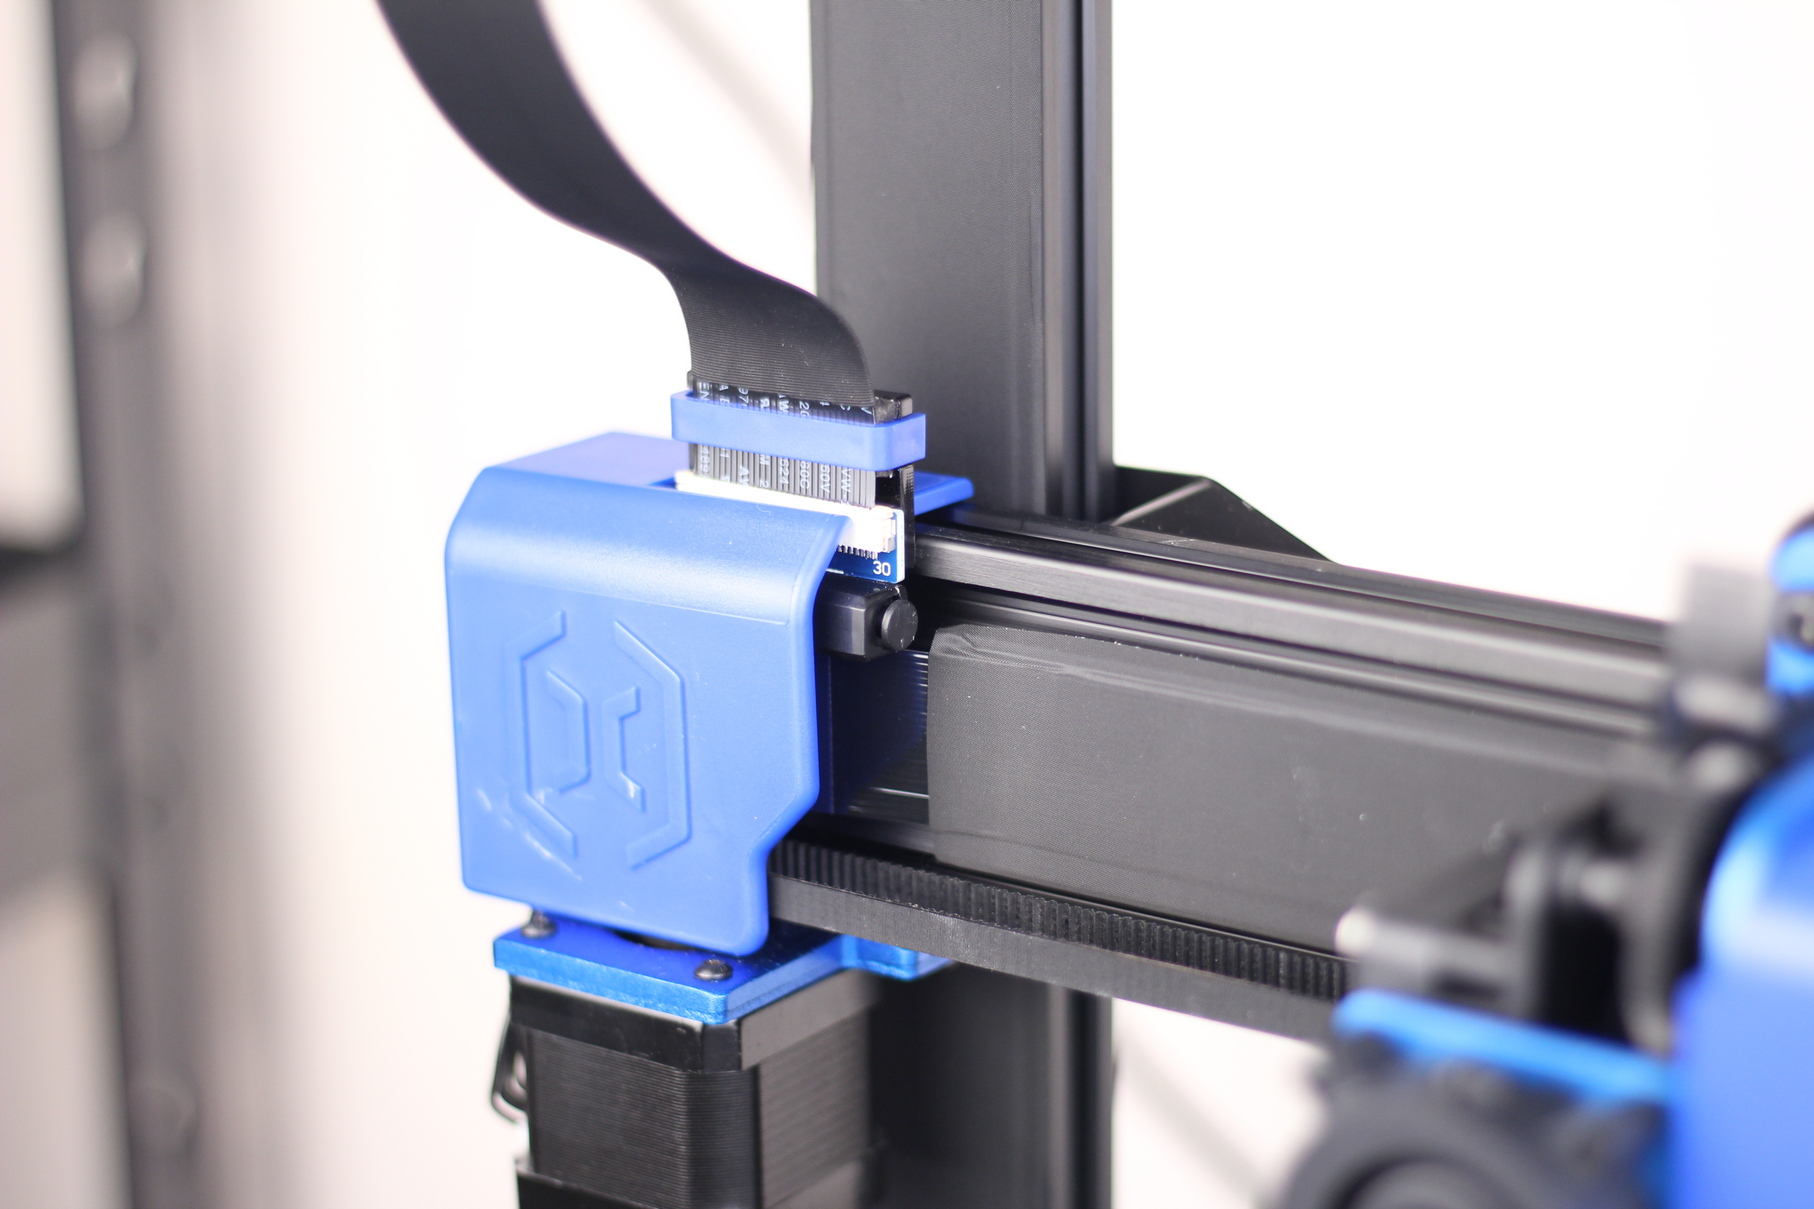
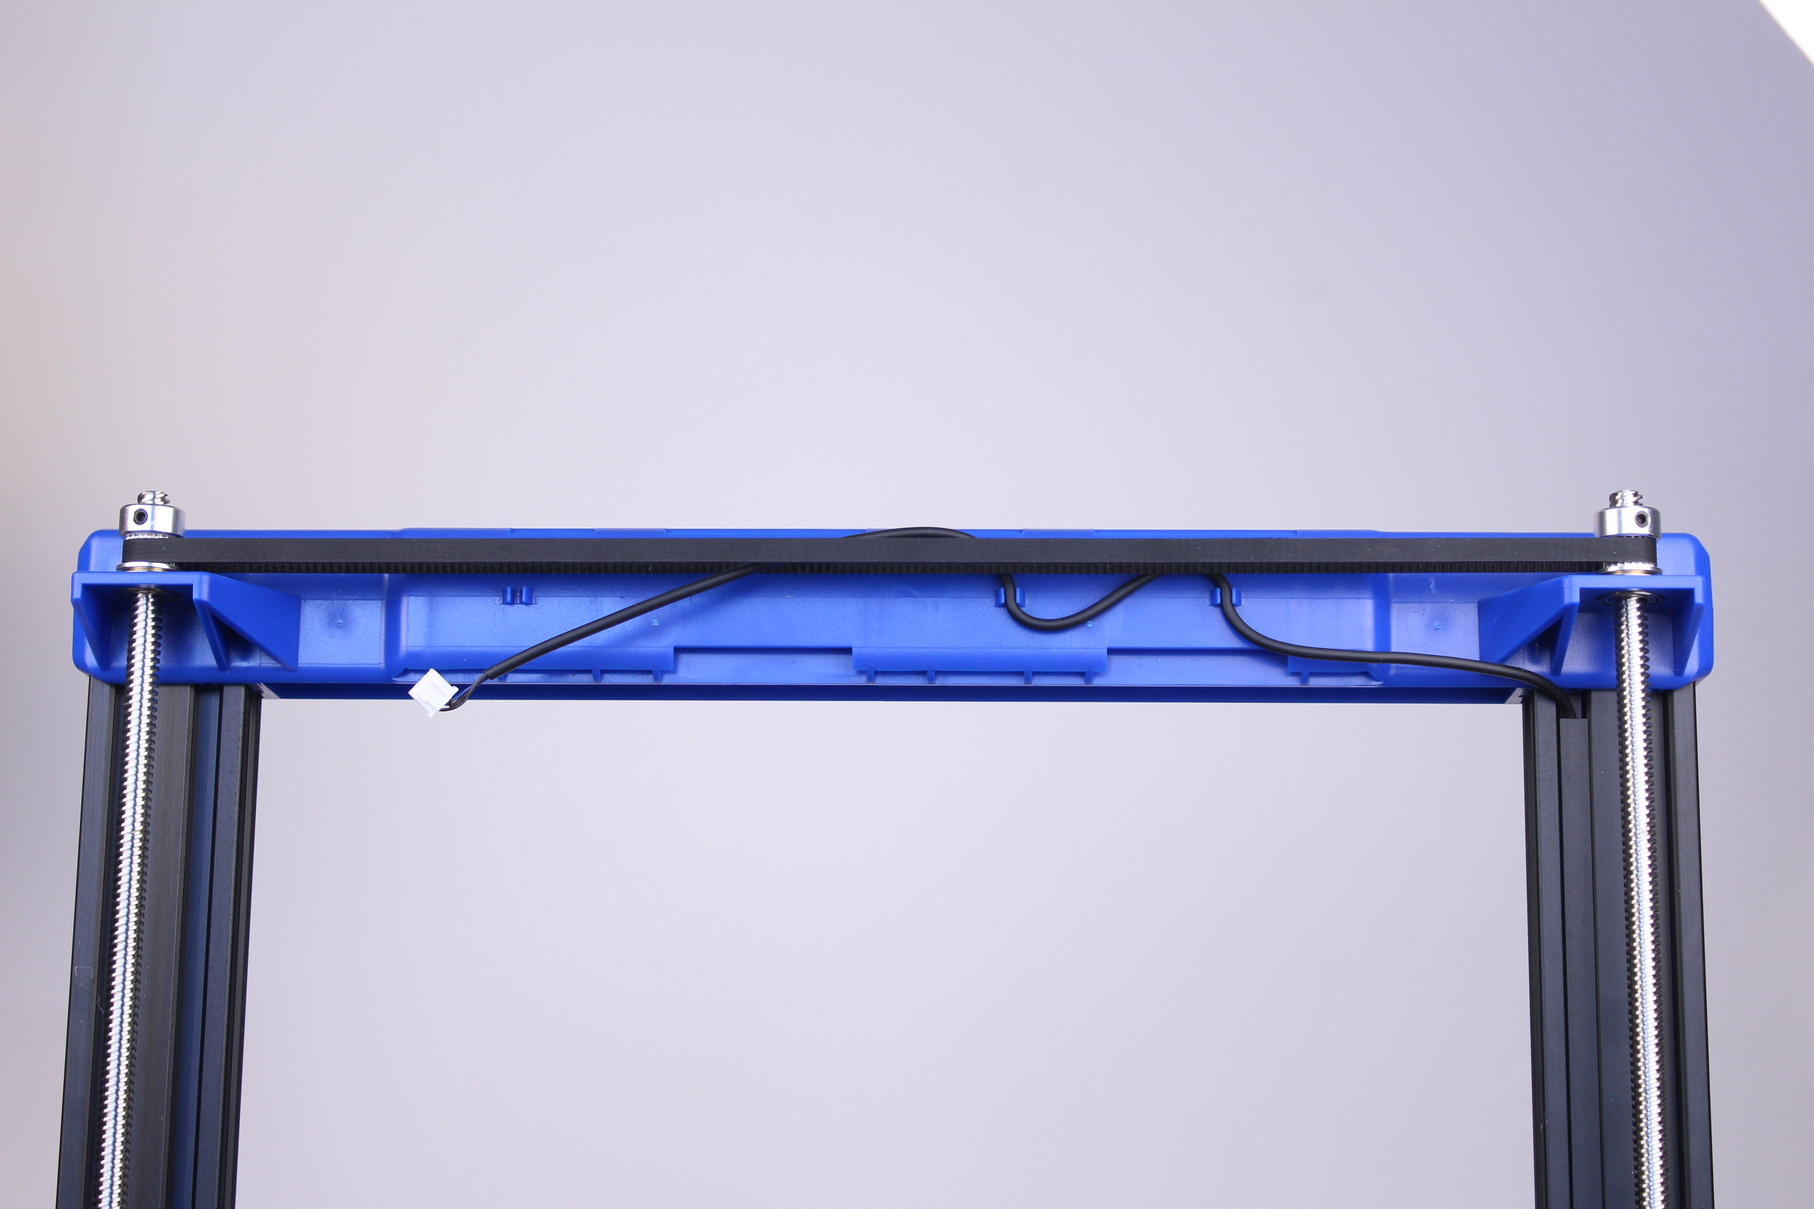
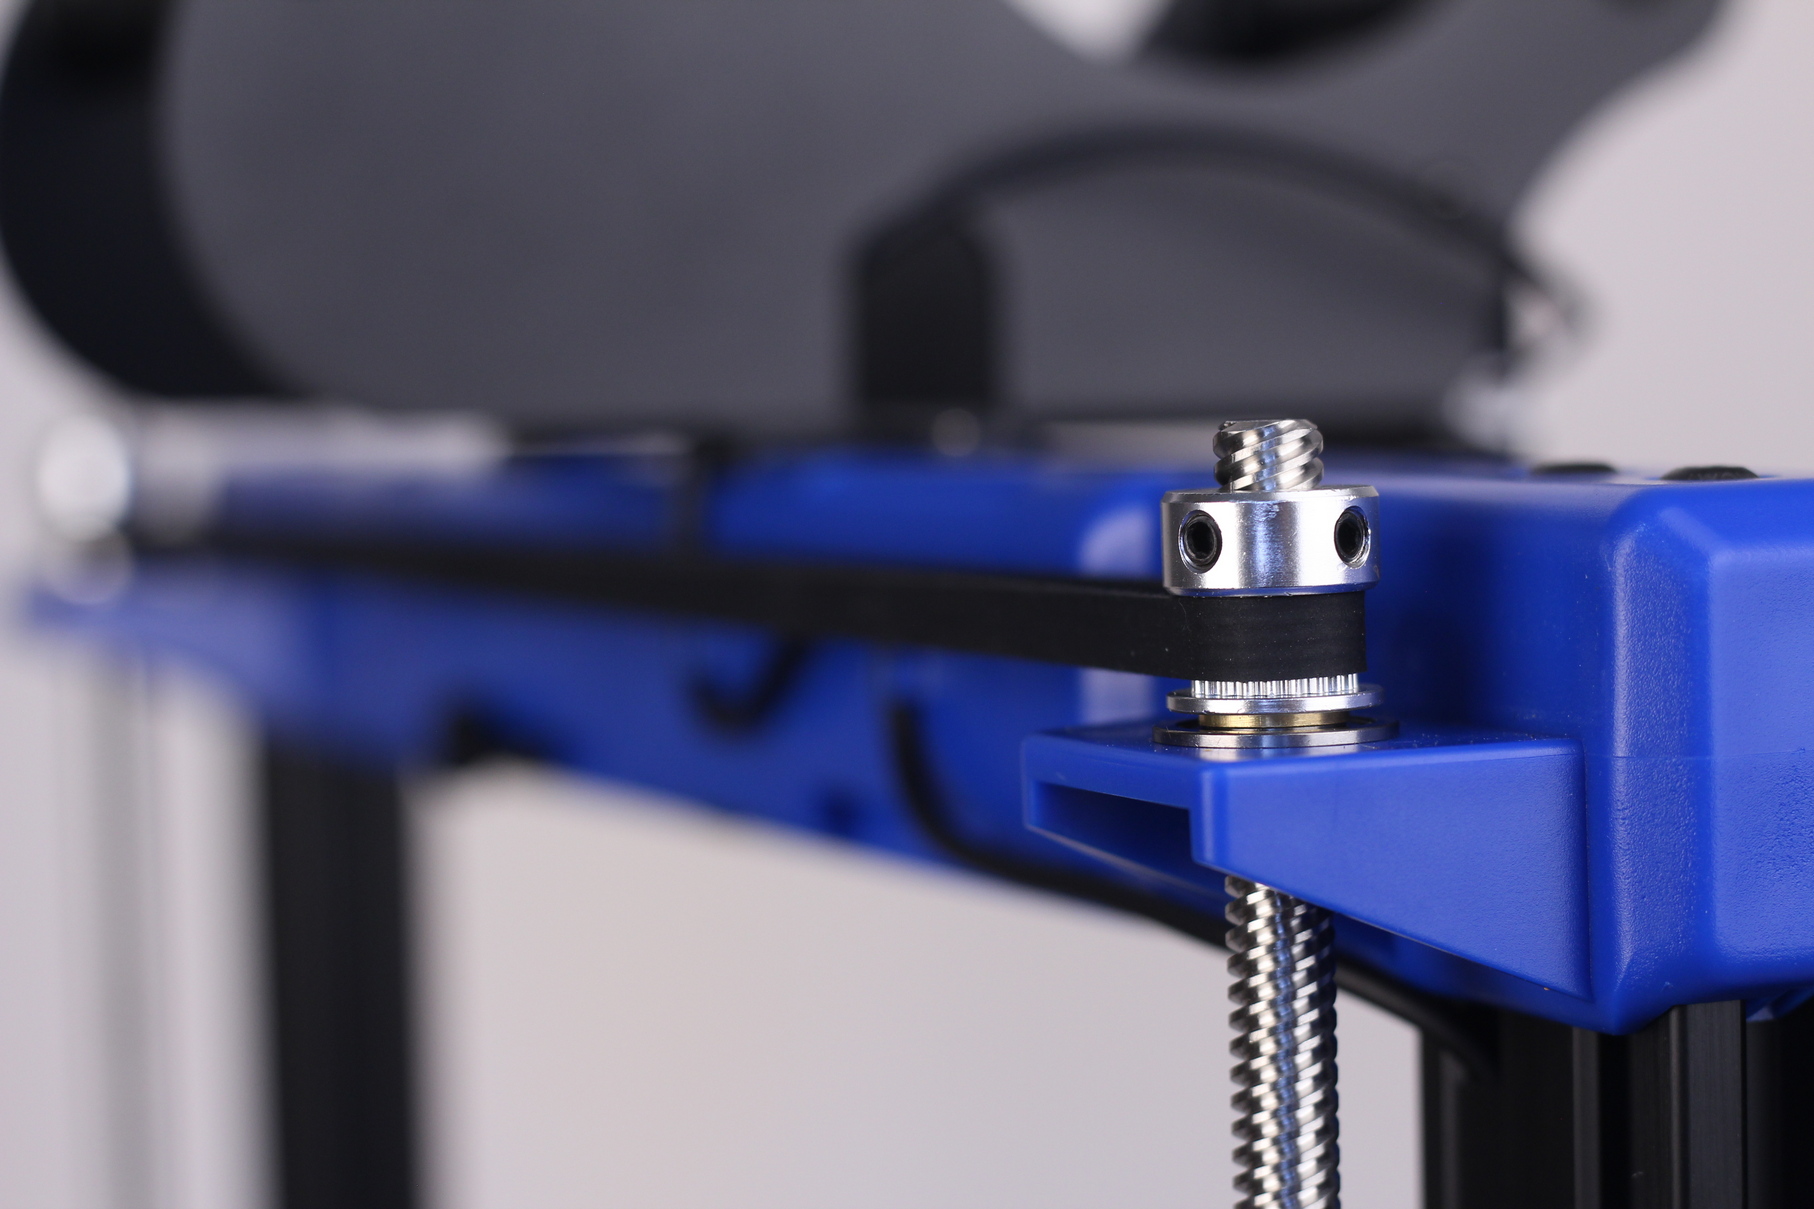
Just like the X1, the Sidewinder X2 uses dual Z leadscrews for movement on the Z axis which are linked in the top with a sync belt. This helps keep the leadscrews in sync and prevent the Z gantry from drooping when not in use. It’s an especially important feature for the Sidewinder X2, considering that we don’t have independent stepper drivers for each motor.
The injection molded plastic top is ok. Some would say that it’s a downgrade, but if it saves cost without impacting the printer, then I have no problem with it.
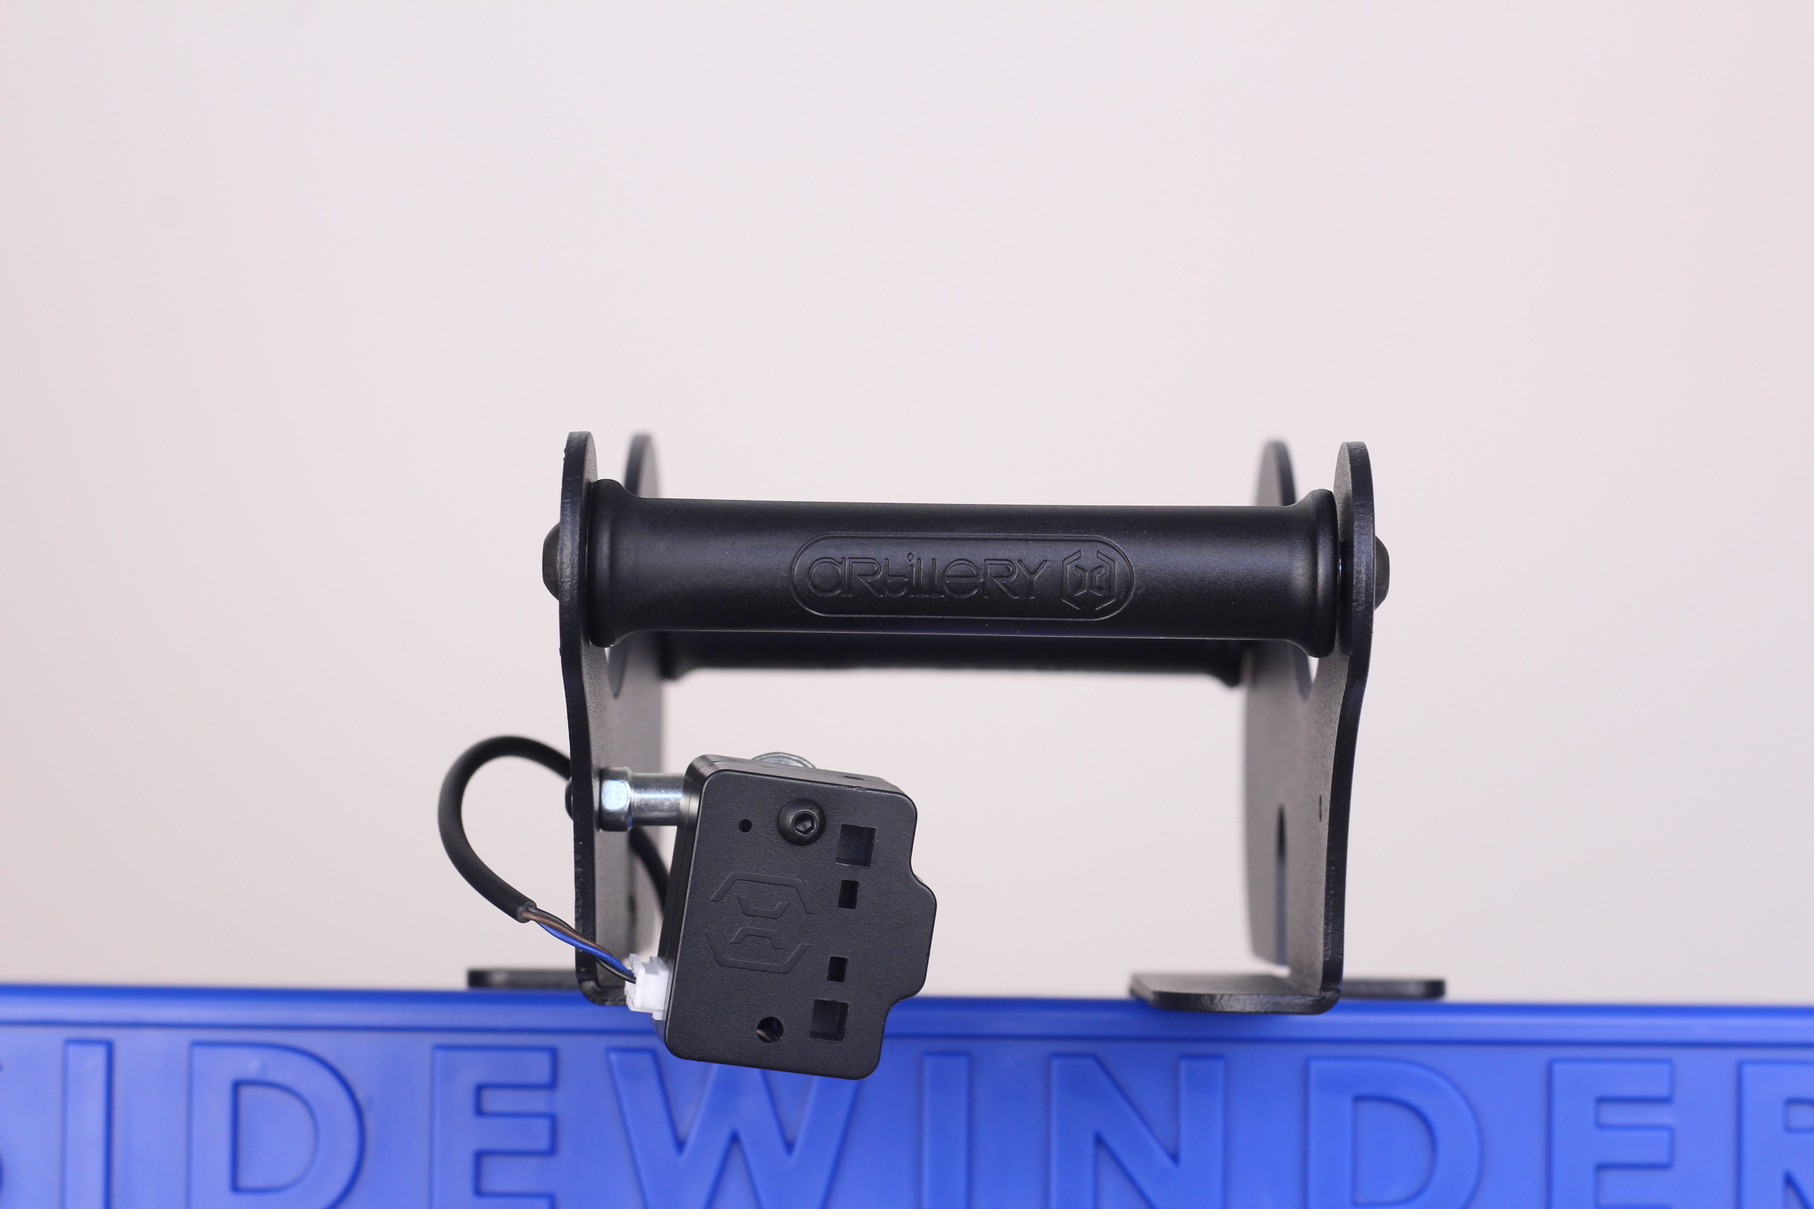
The spool holder has been modified and it’s now similar to other 3D printable mods you could do on the old X1. While this works well on wider spool, it won’t really be possible to safely use small spools of filament which are not as wide and can easily fall on their side.
Auto Bed Leveling
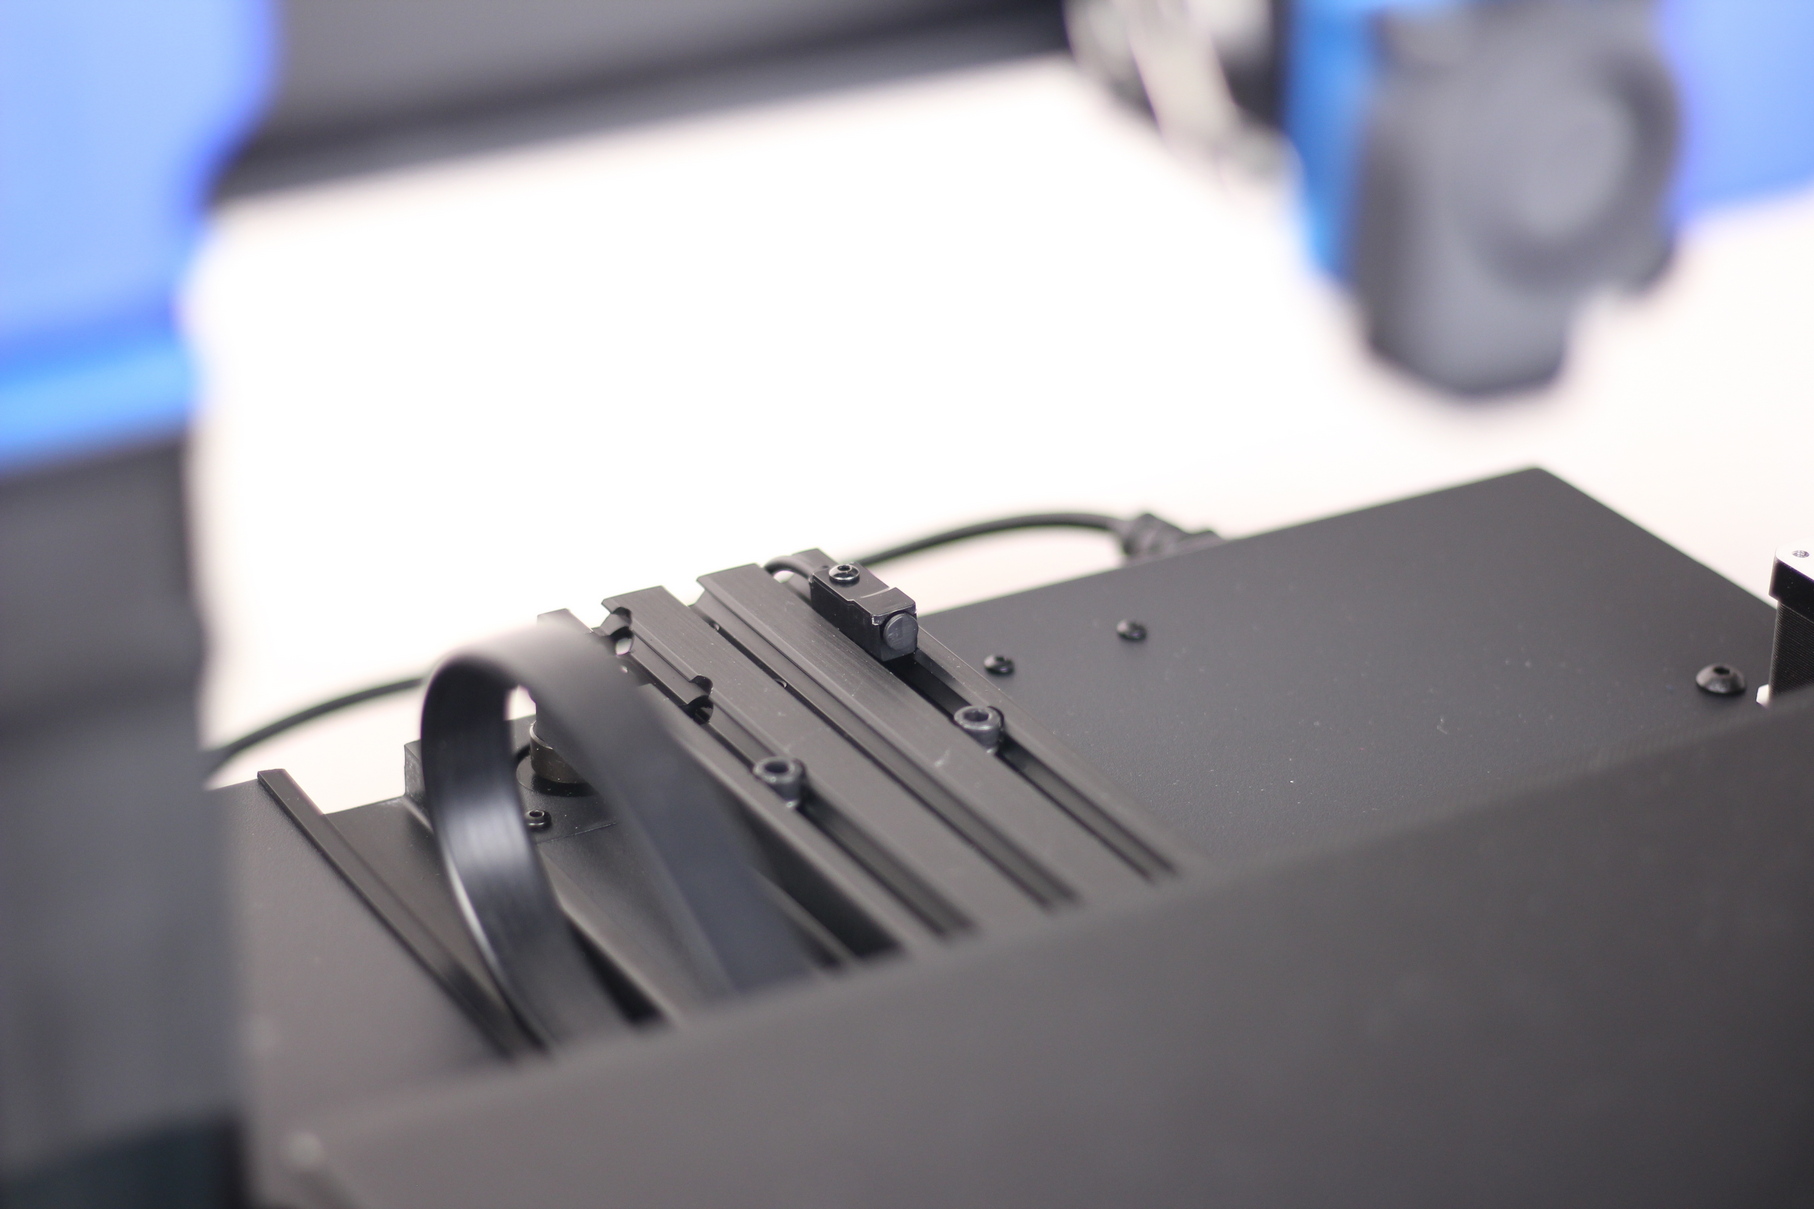
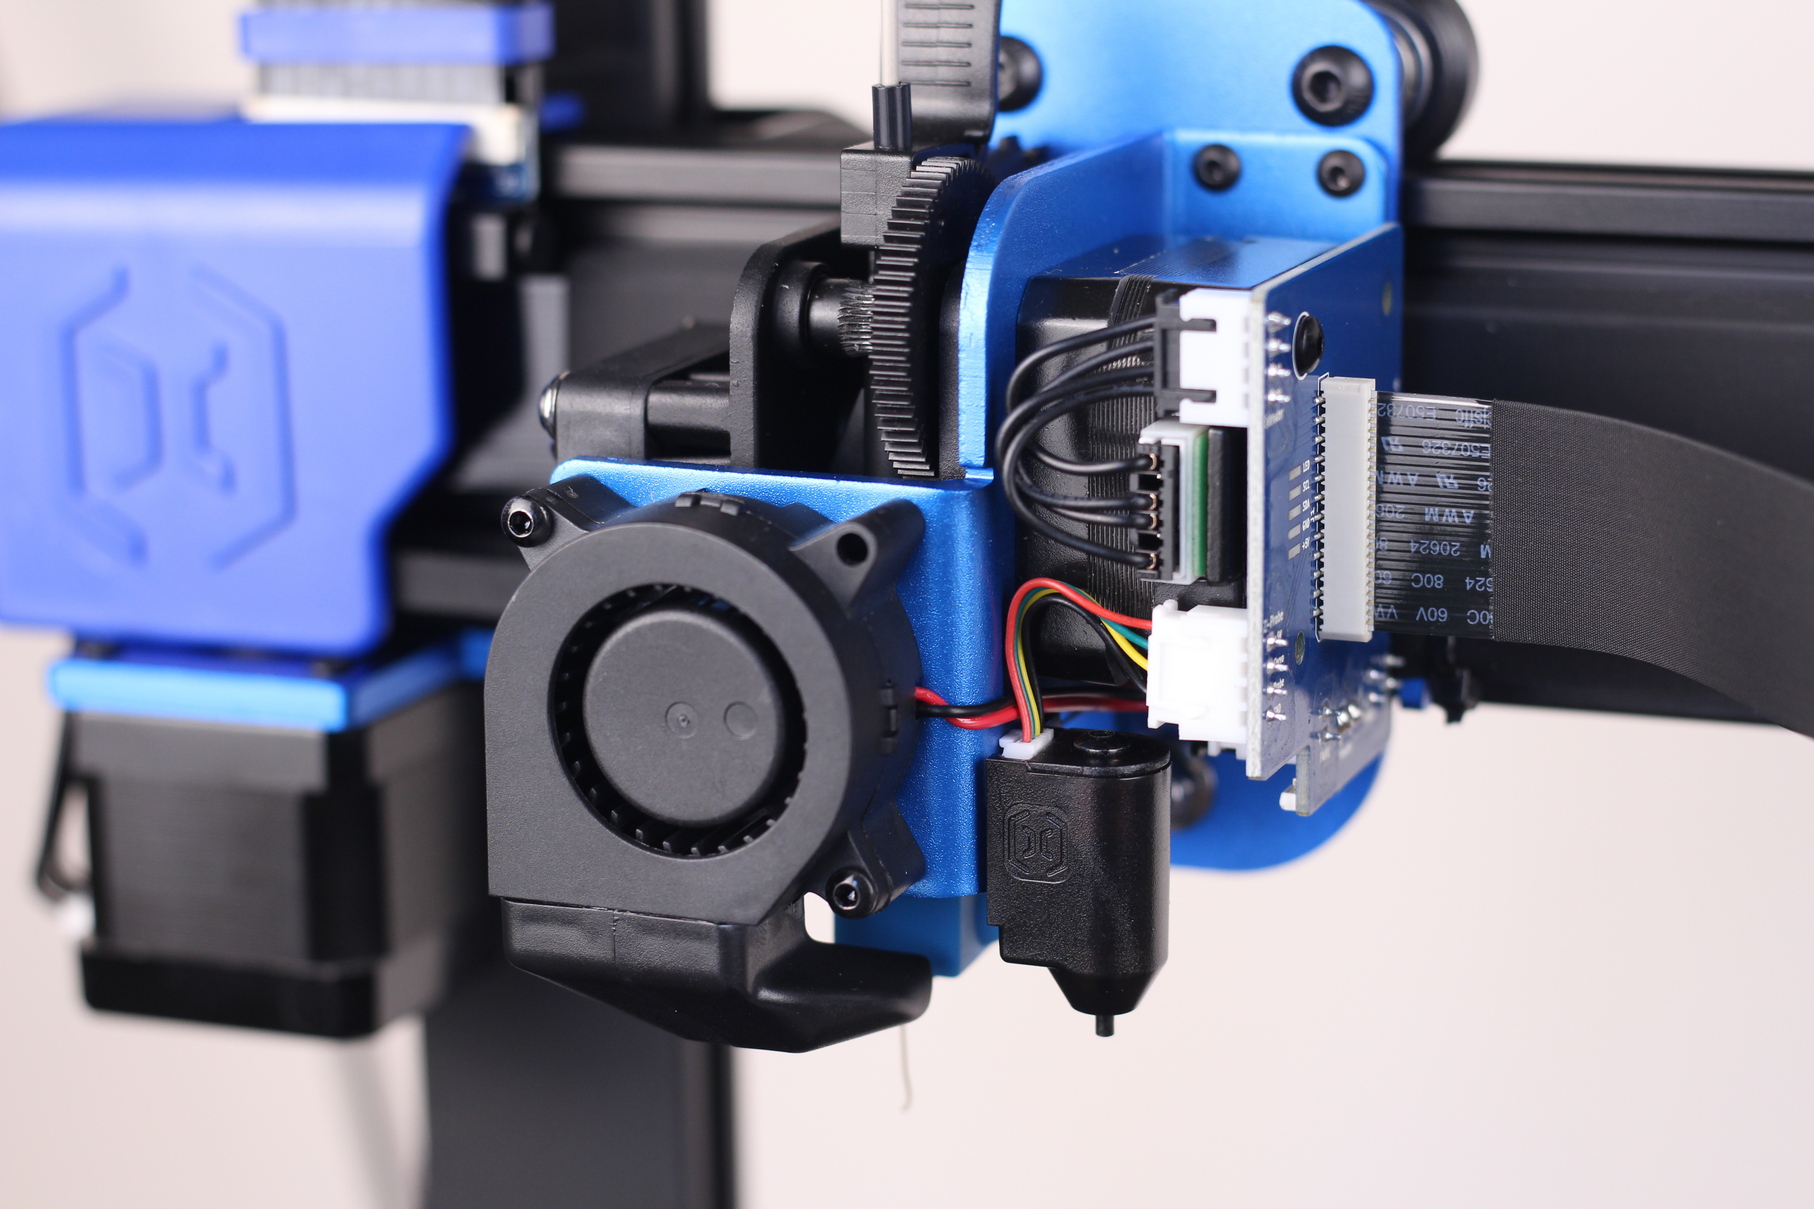
One of the main upgrades for the Sidewinder X2 is the inclusion of an Auto Bed Leveling sensor out of the box. This sensor looks similar to a BLTouch and it works just the same. The bed is probed in 20 points to create a bed mesh and adjust for the small inaccuracies of the print surface.
The sensor works well, and I can’t really complain about it. Maybe that it has a distinct “clack” when it moves, but that’s just nitpicking. It probes the bed well and I’m happy with it.
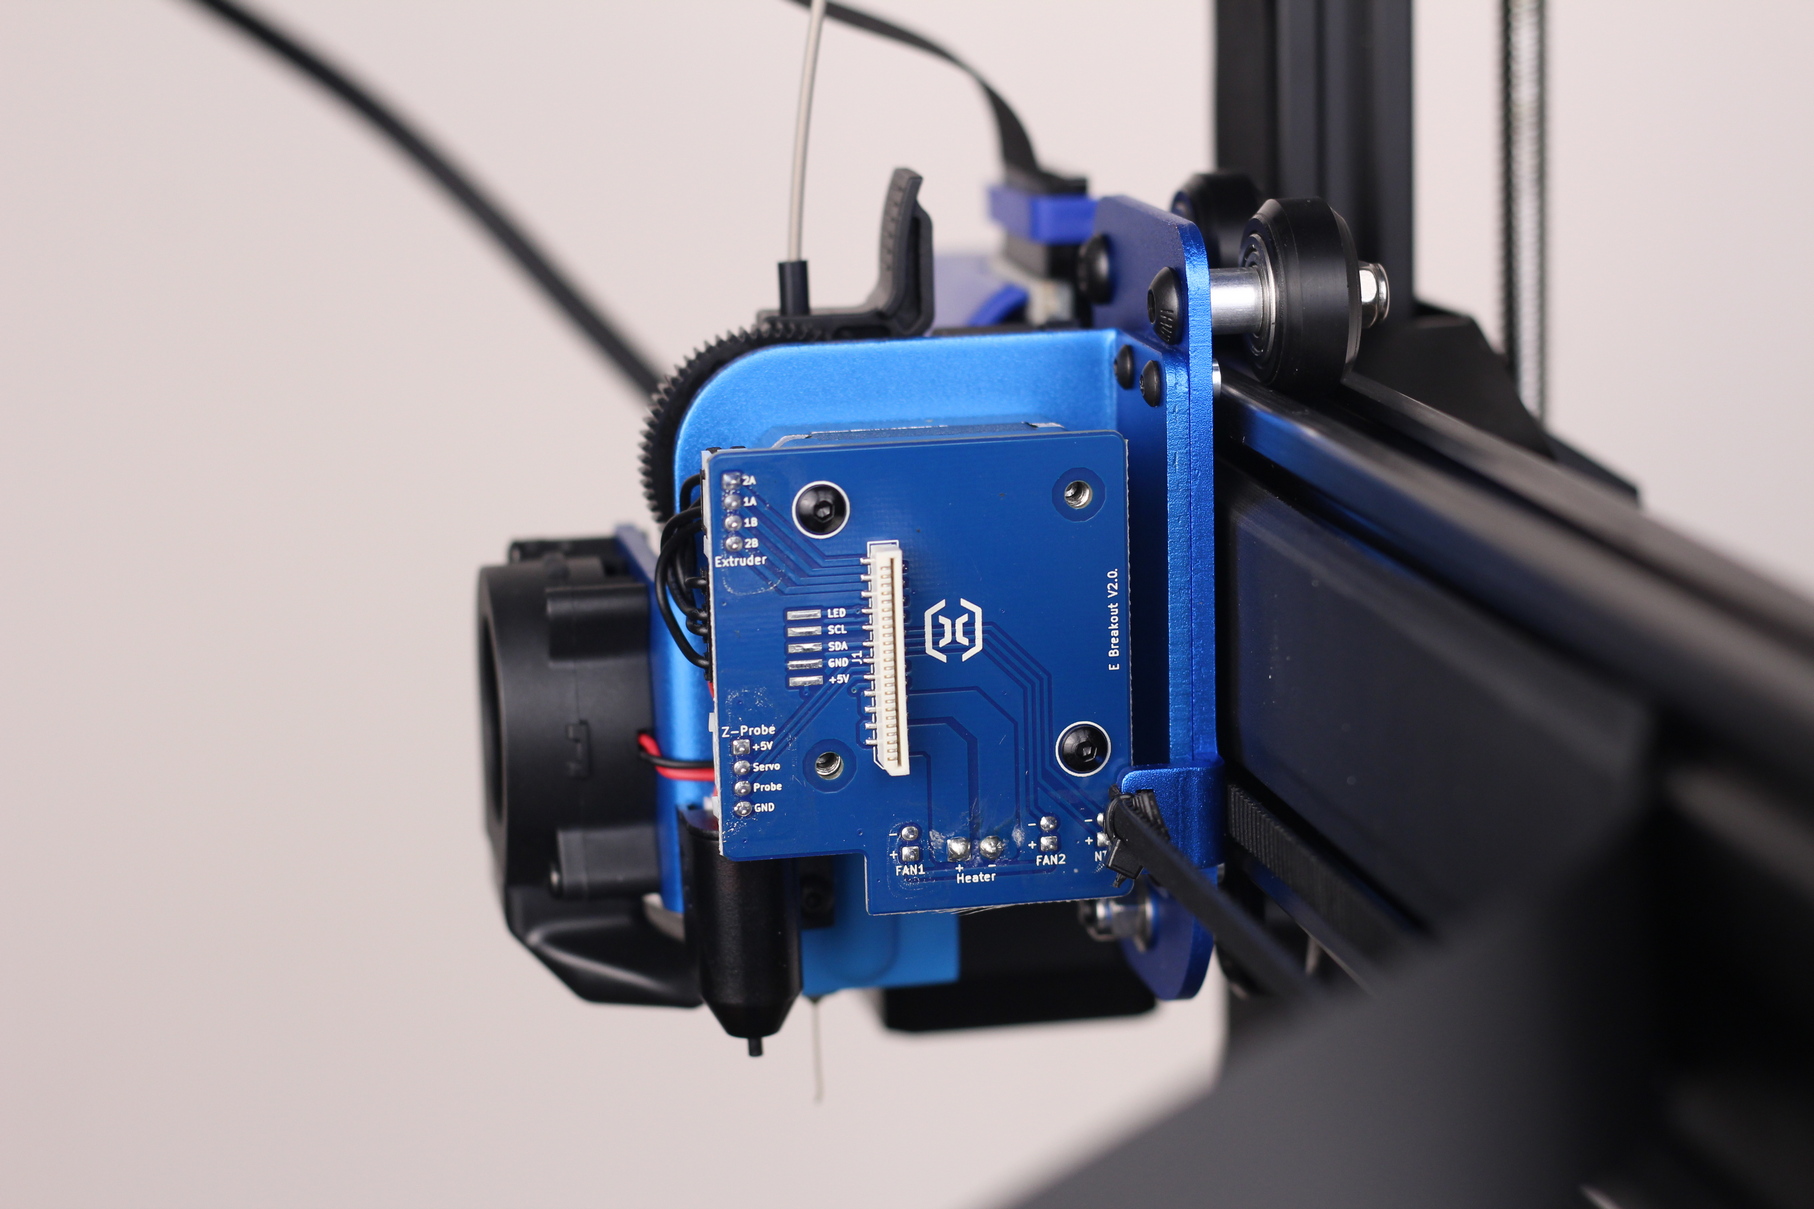
In the same picture you can also see the different extruder breakout board who has the motor cable connectors relocated, a dedicated BLTouch connector and the LED light which is now integrated in the board.
Cast aluminum Z carriages
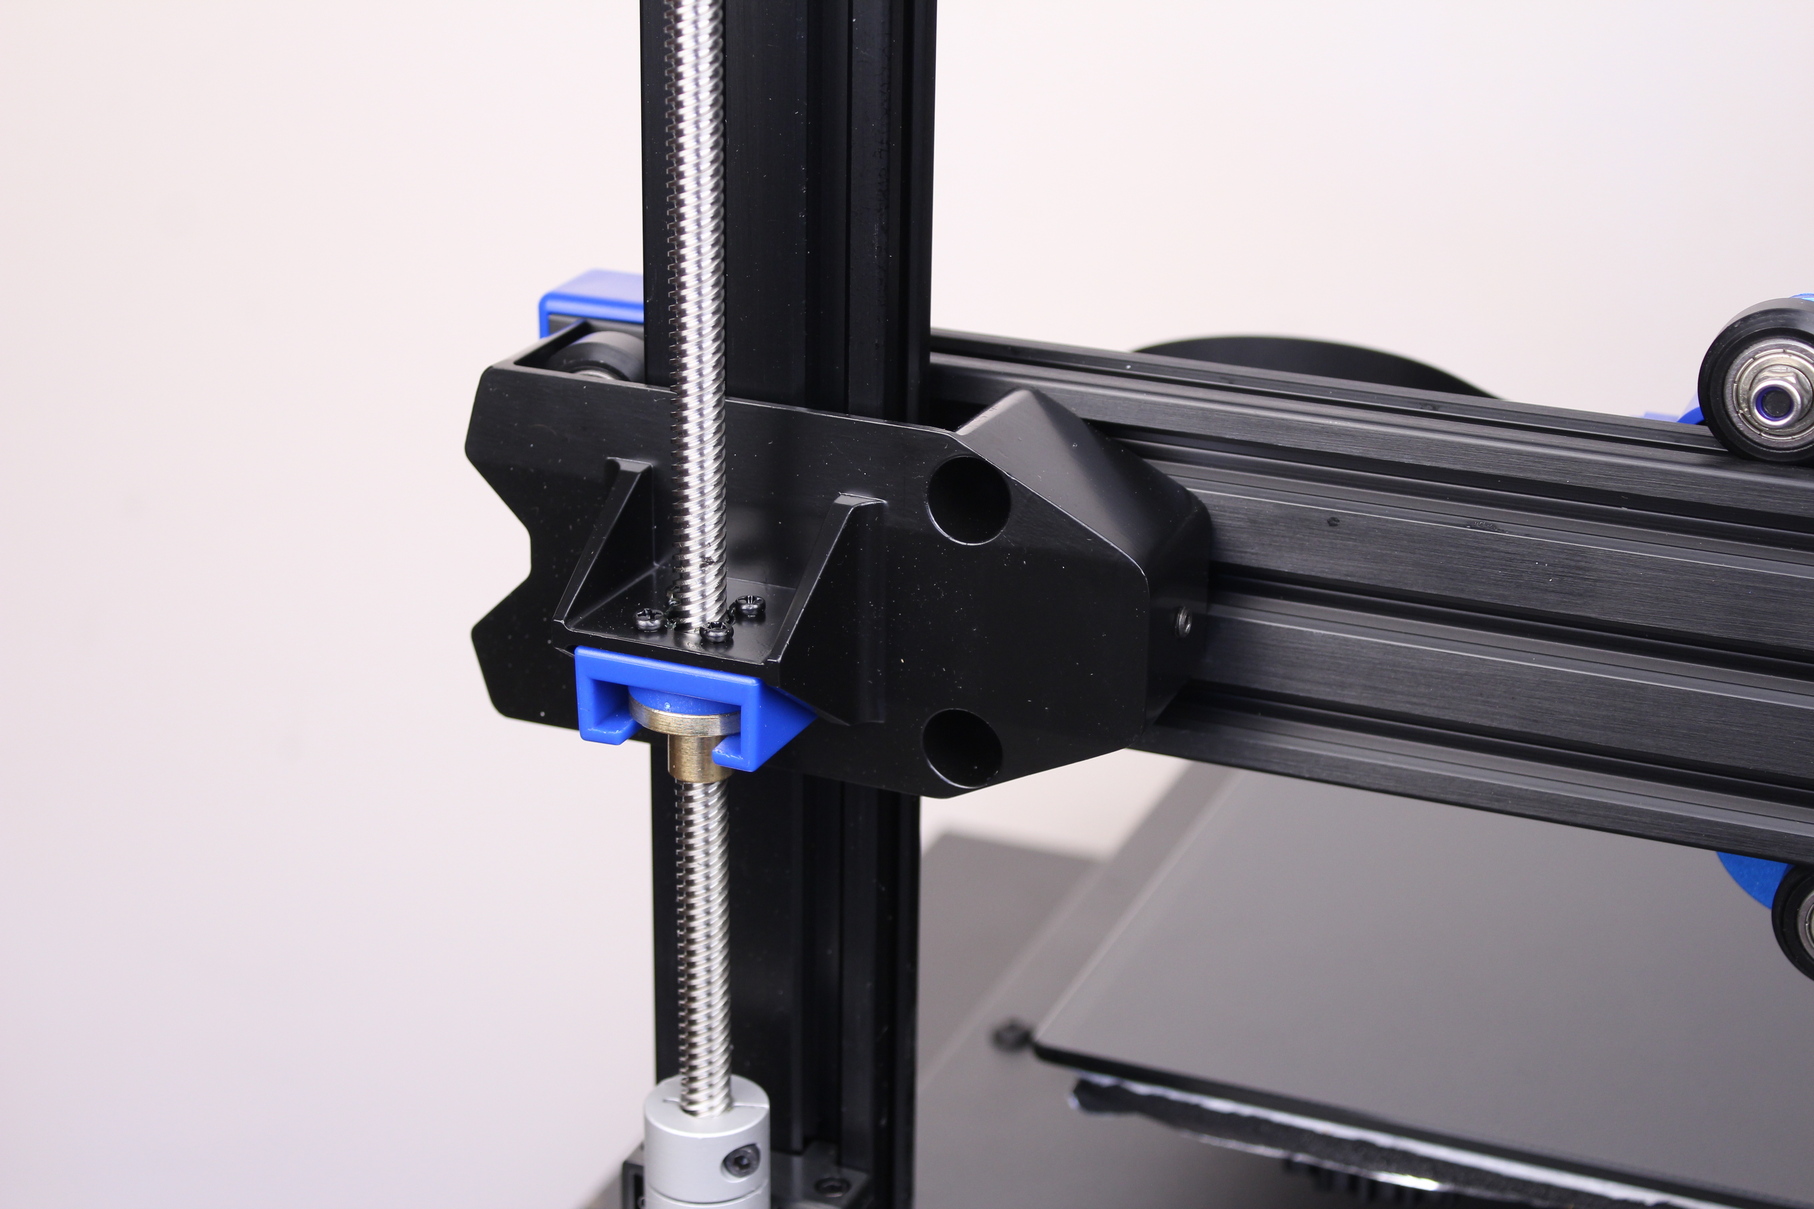
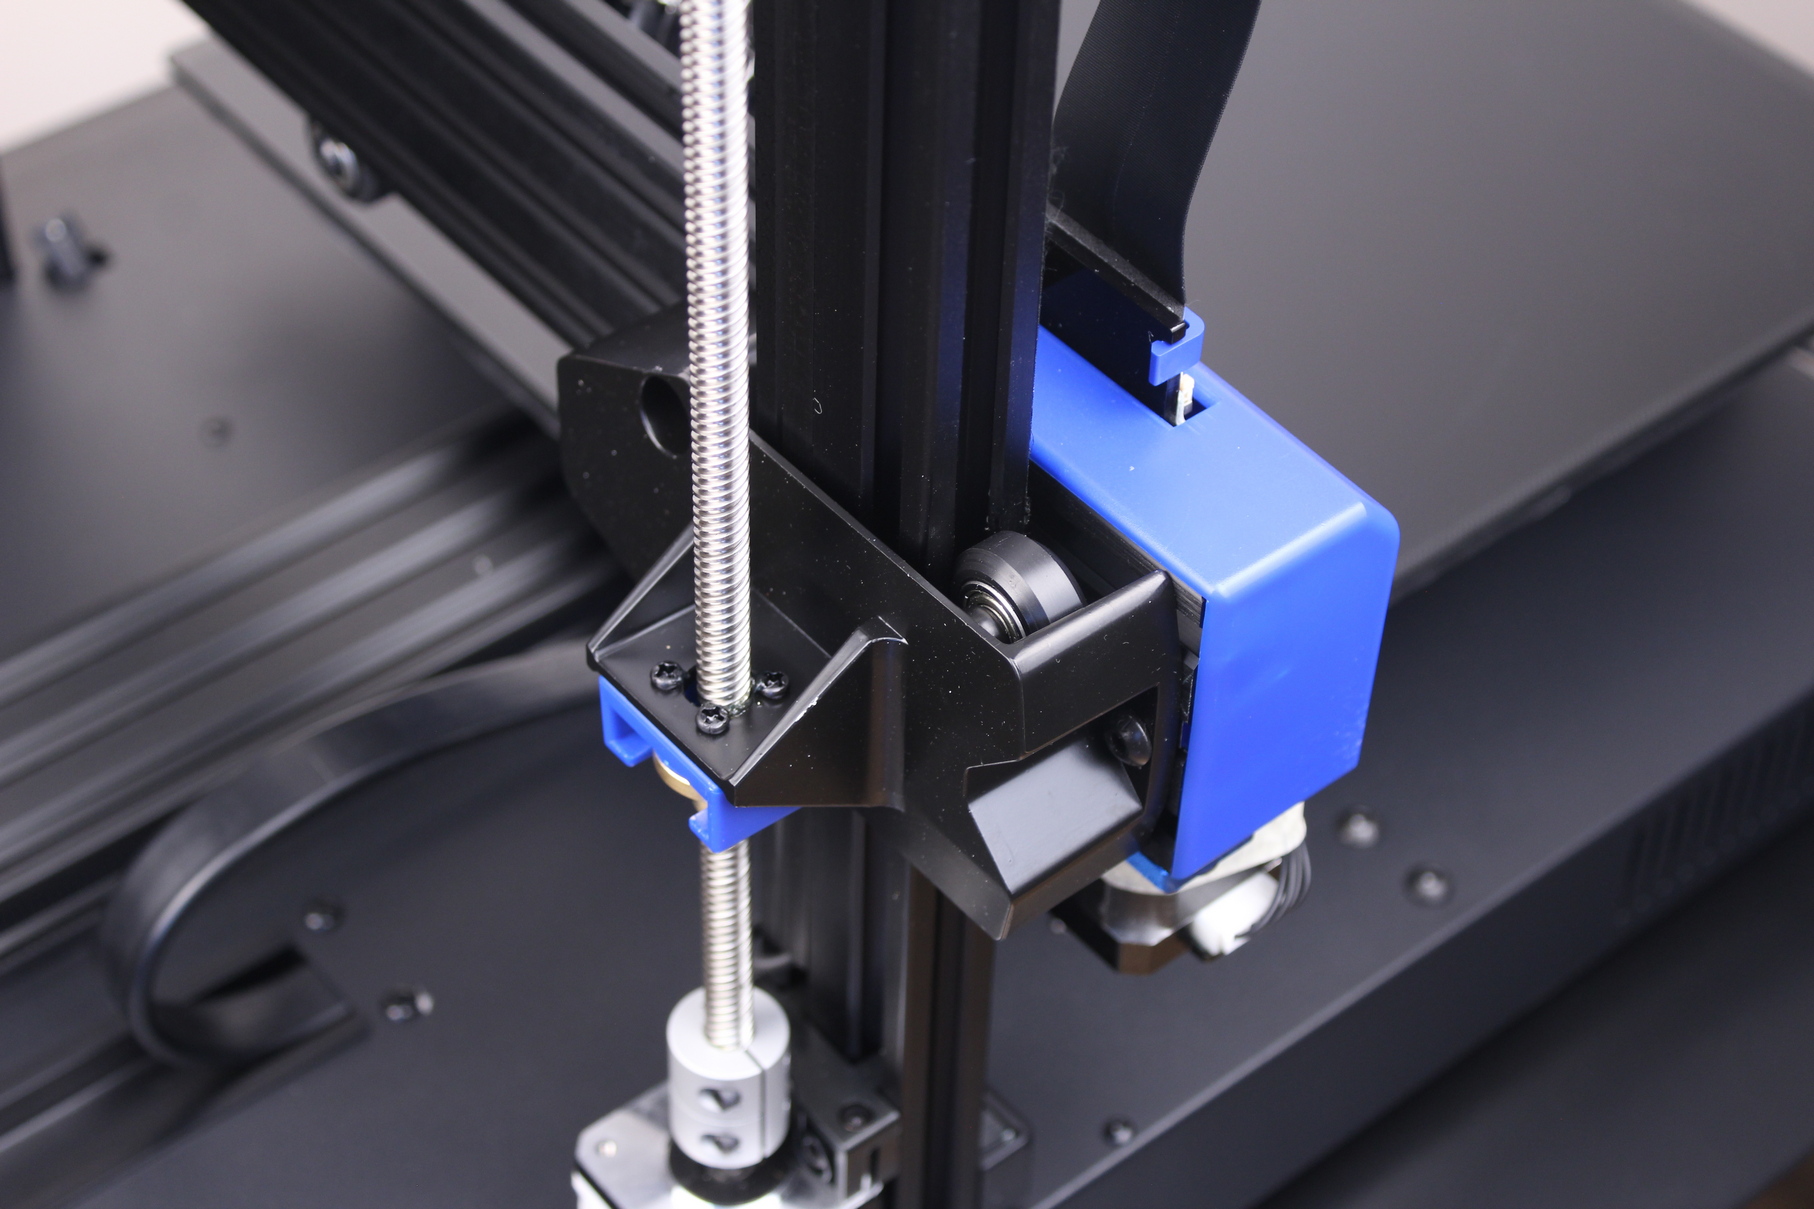
To me, this is one of the most important Sidewinder X2 upgrades compared to the X1. The Z carriages are now made from cast aluminium. But the interesting part lies inside the aluminum block.
On the Sidewinder X1, you would have to turn the eccentric nut to ensure it has the proper tension against the aluminum extrusion. But for the Sidewinder X2, Artillery took some inspiration from the TwoTrees Bluer Plus and the carriages now use a spring to push the V-slot wheel against the extrusion.
Improved ribbon cable setup
One of the most common failure points which plagues the Sidewinder X1 and Genius communities is the ribbon cable problem. The fragile ribbon cable connector was not properly attached on the previous machines, and because of the printing movements, it can quickly start to cause issues. The verry first version of the X1 had a ribbon cable clip to hold it in place and apply pressure on the pins to eliminate the problem. But newer machines don’t have it and a popular mod online was to add a cable strain relief.
While this fix helps with the issue, it doesn’t solve it completely. I decided to try and replicate the ribbon cable clip with my Sidewinder X1 Ribbon Cable Fix which works great for me. Ethereal Project 3D took it a step further, and actually designed a replacement PCB for the extruder to fix the issue.
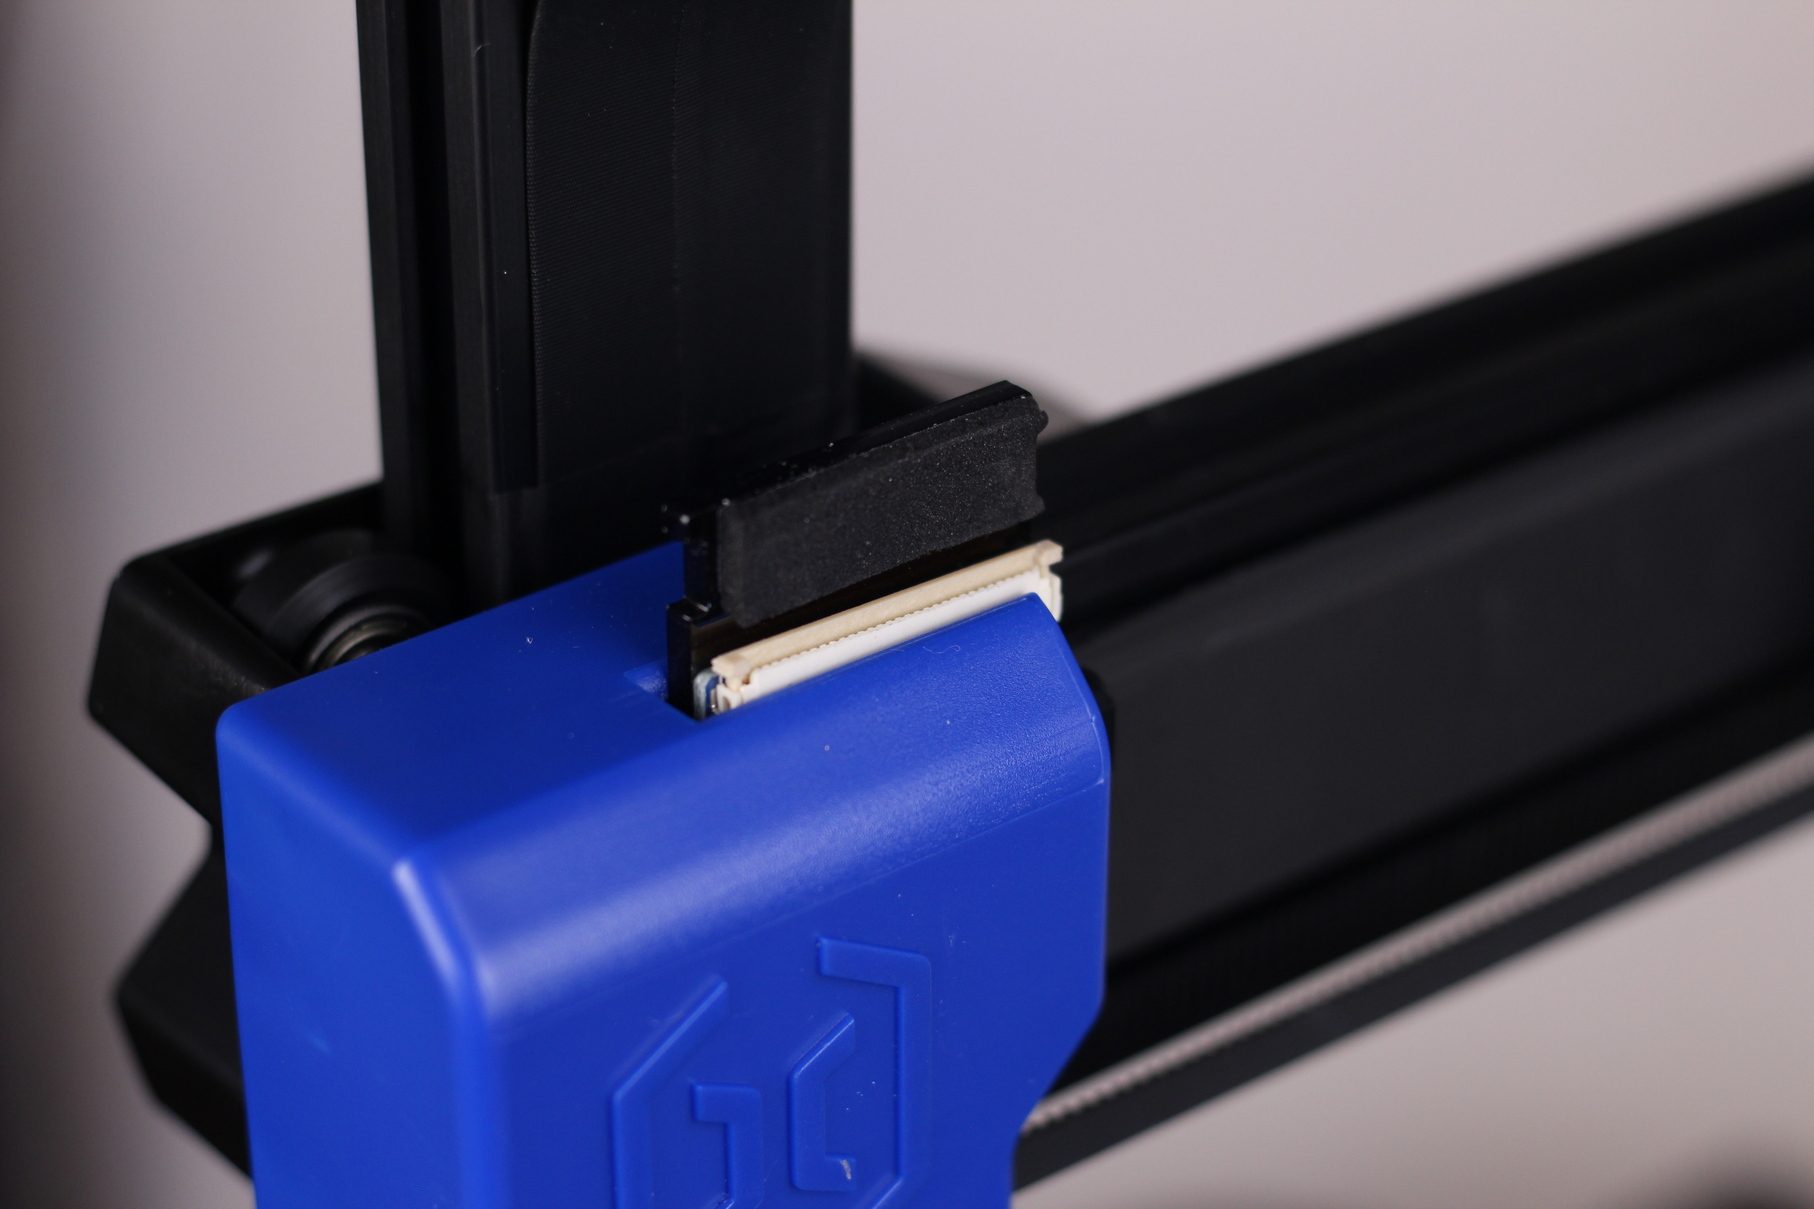
Fortunately, Artillery brought some improvements to the Sidewinder X2 and now the ribbon connectors have locking clips, to apply pressure on the conector against the pins. Besides that, there’s also some strain relief present in the form of plastic clips, so I don’t think we’ll see any more issues about this.
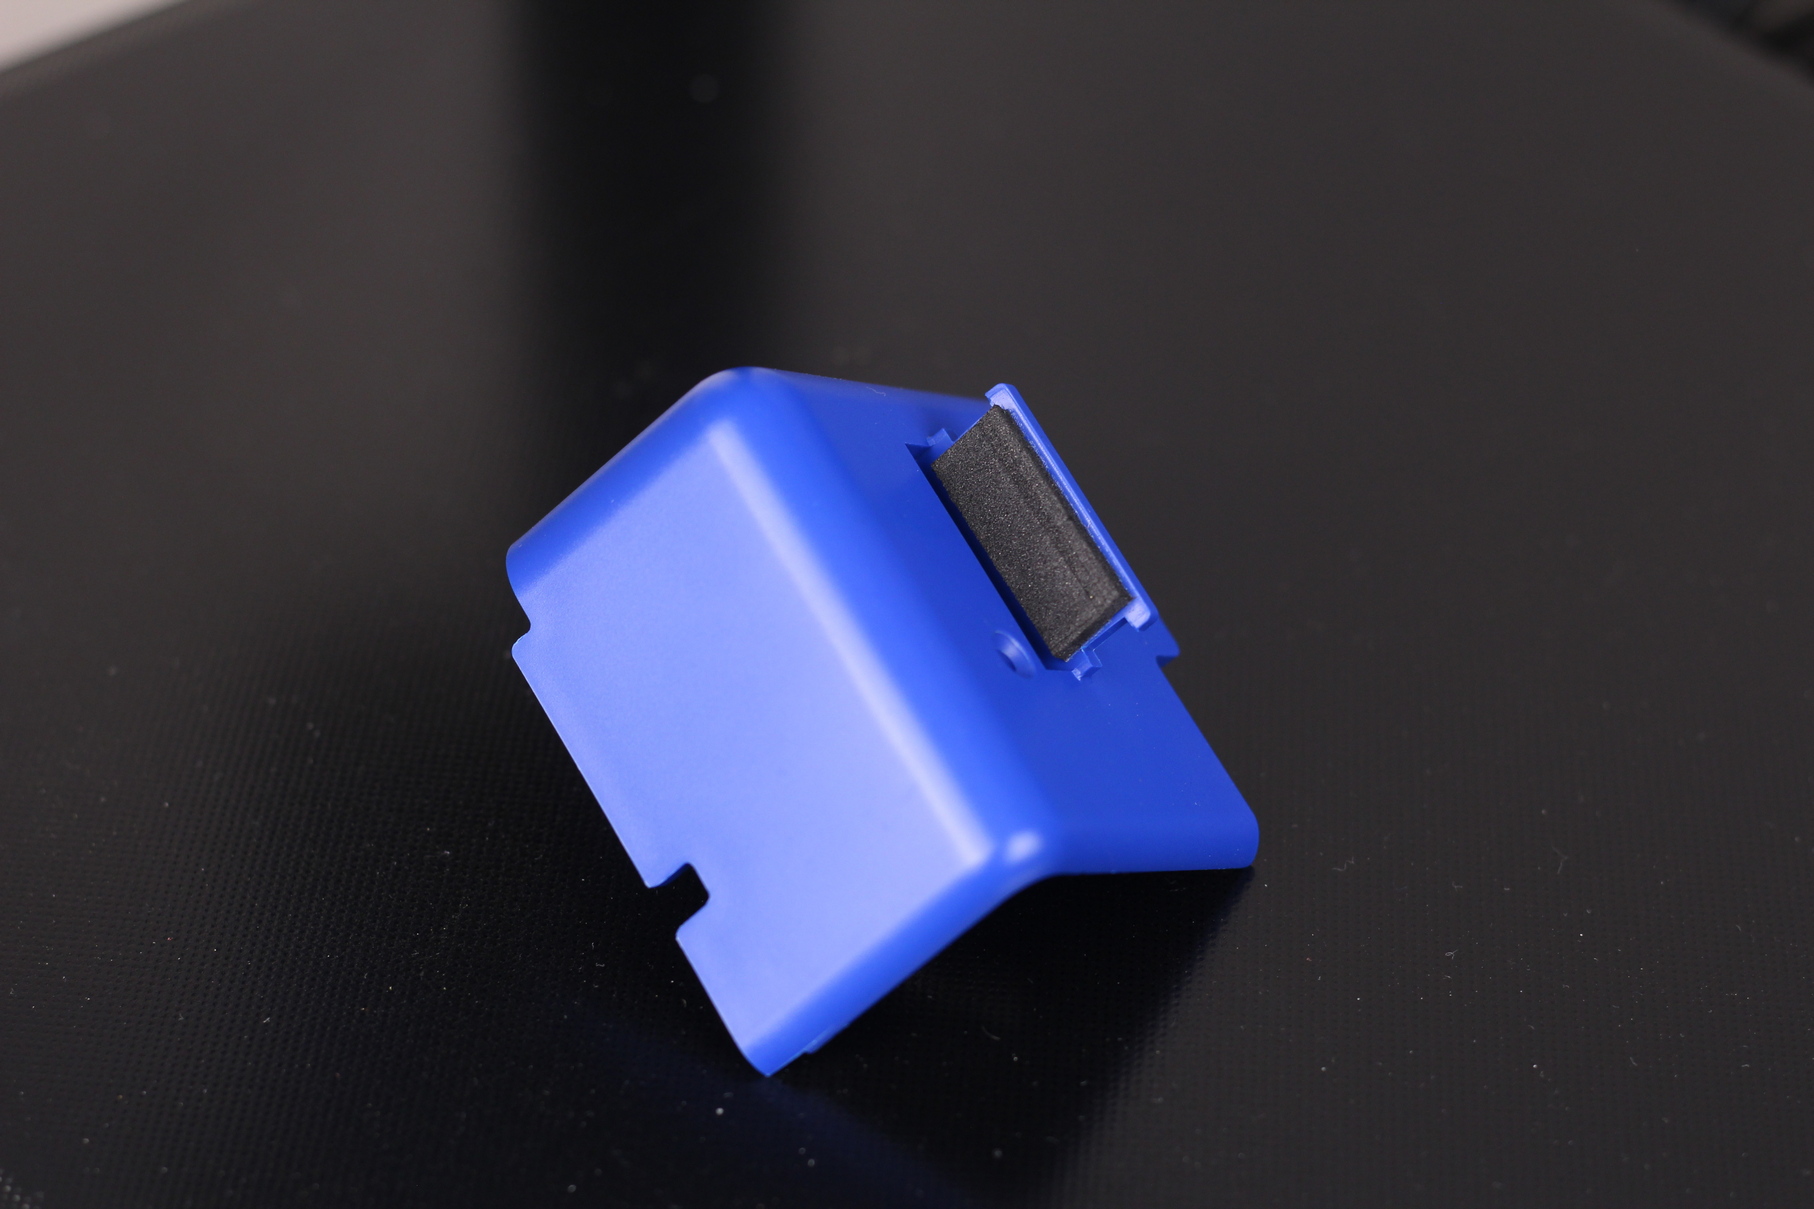
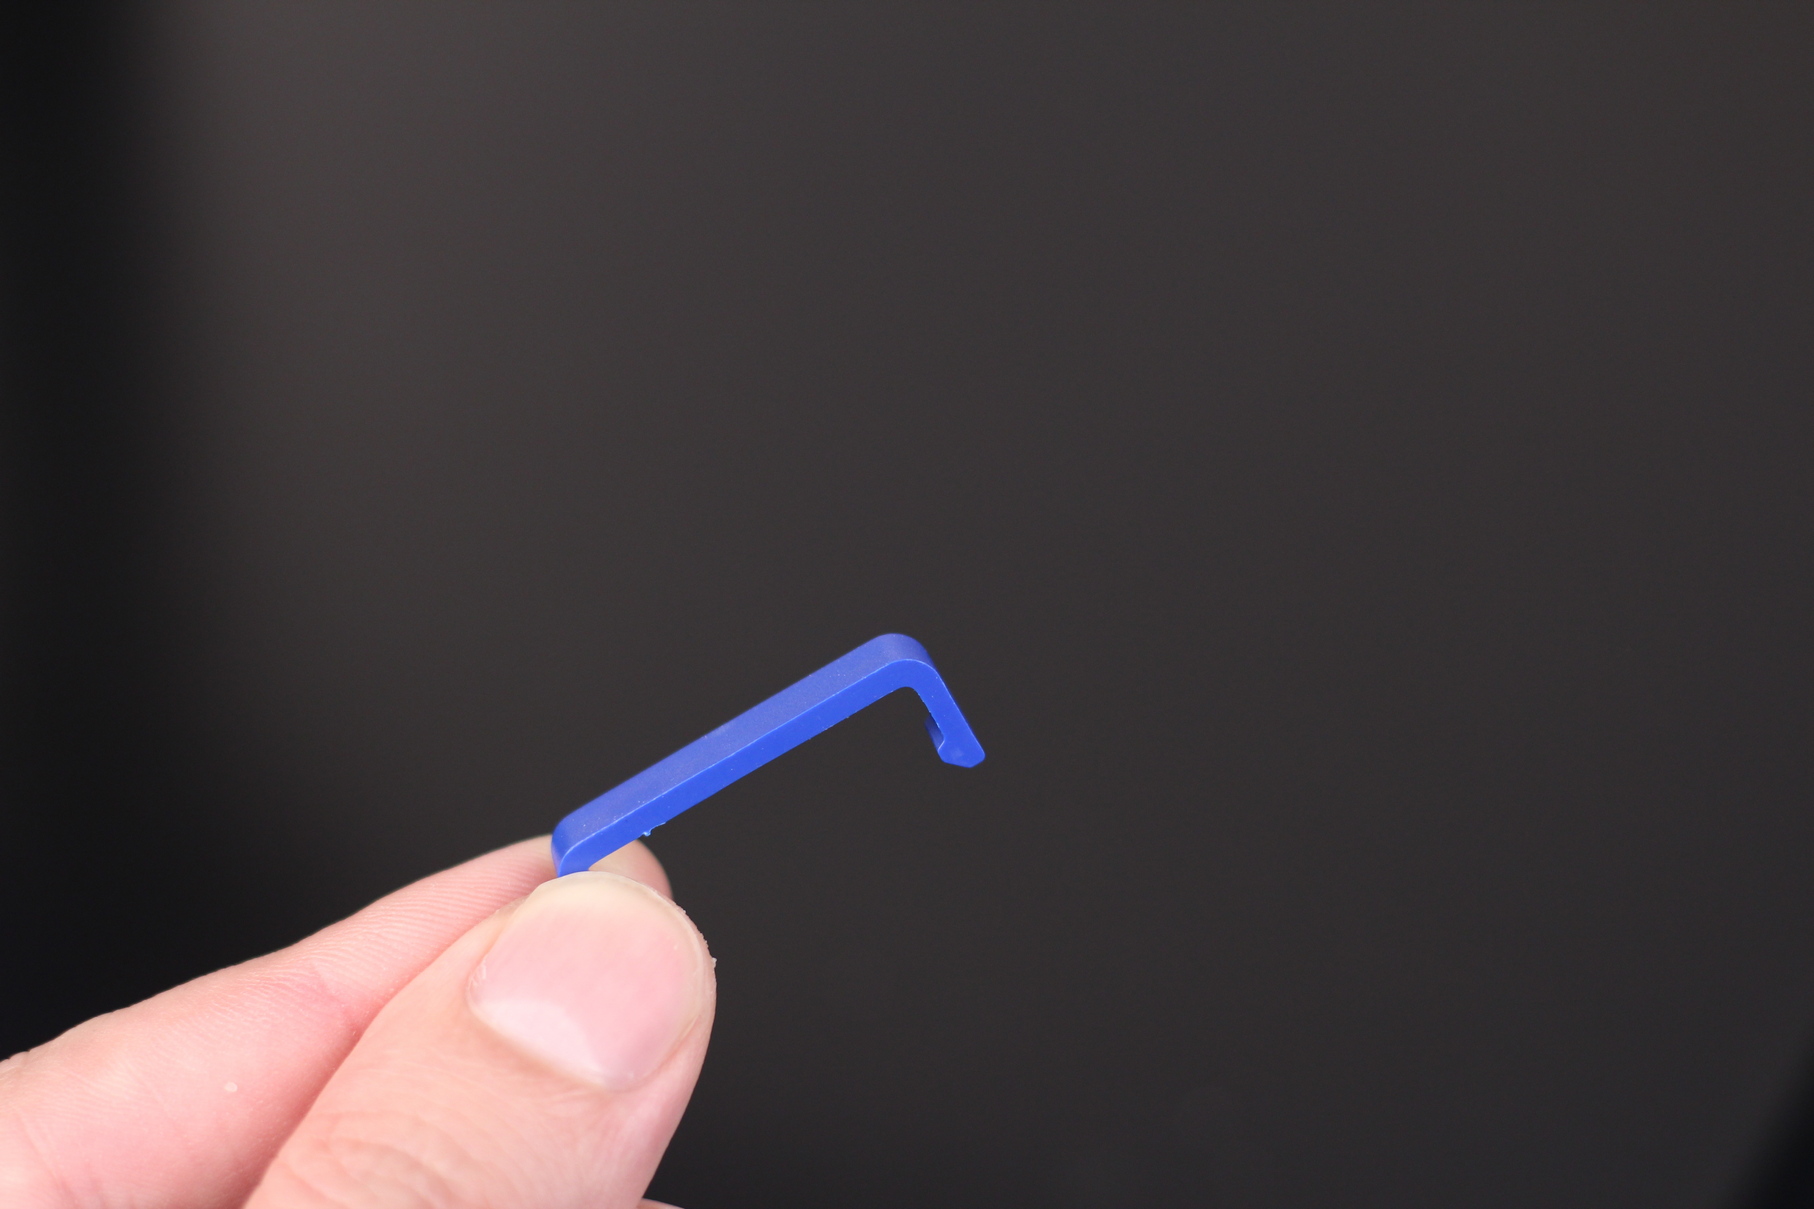
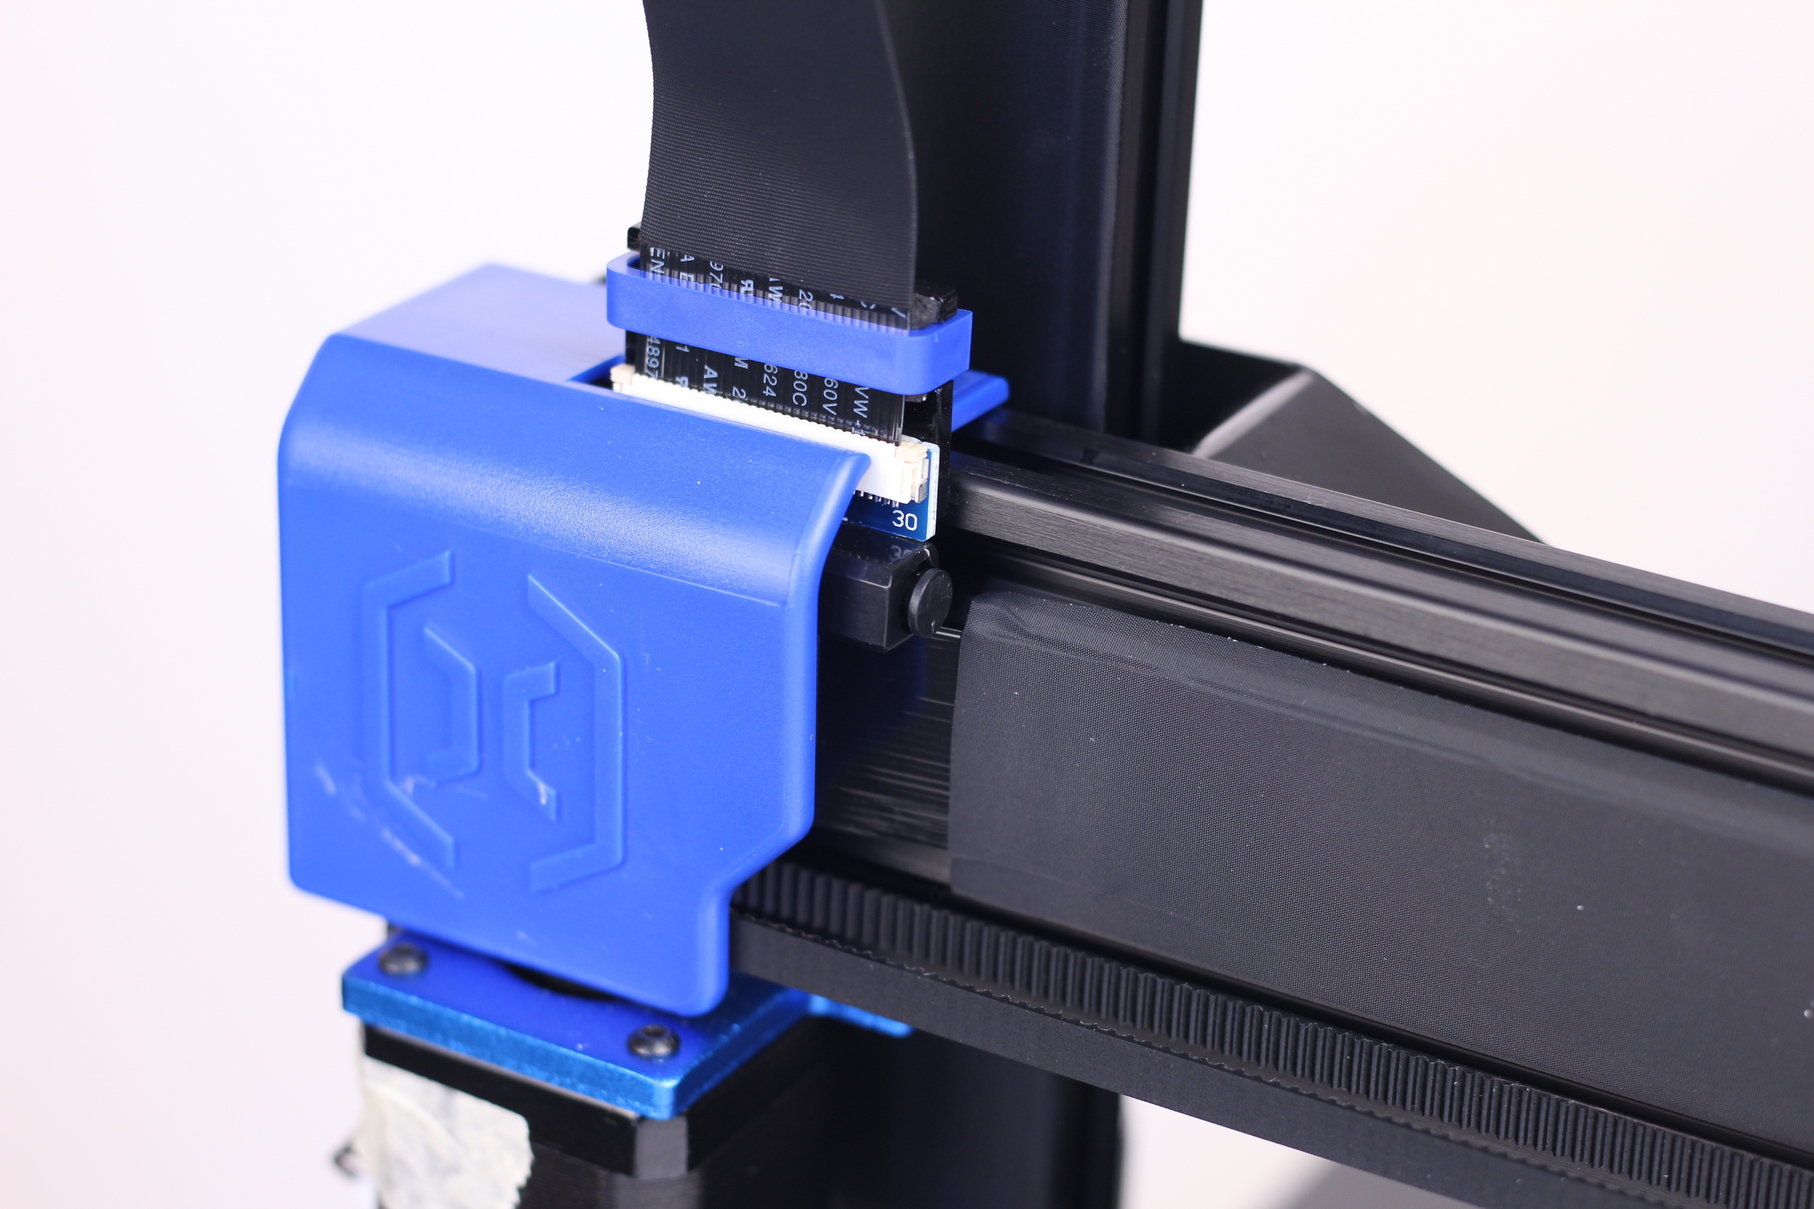
It’s interesting to see that the left ribbon cable has a plastic clip to lock the ribbon cable in place, but the extruder breakout board doesn’t have it, even though it’s probably the one that needs it the most.
310×310 glass print surface with AC heater
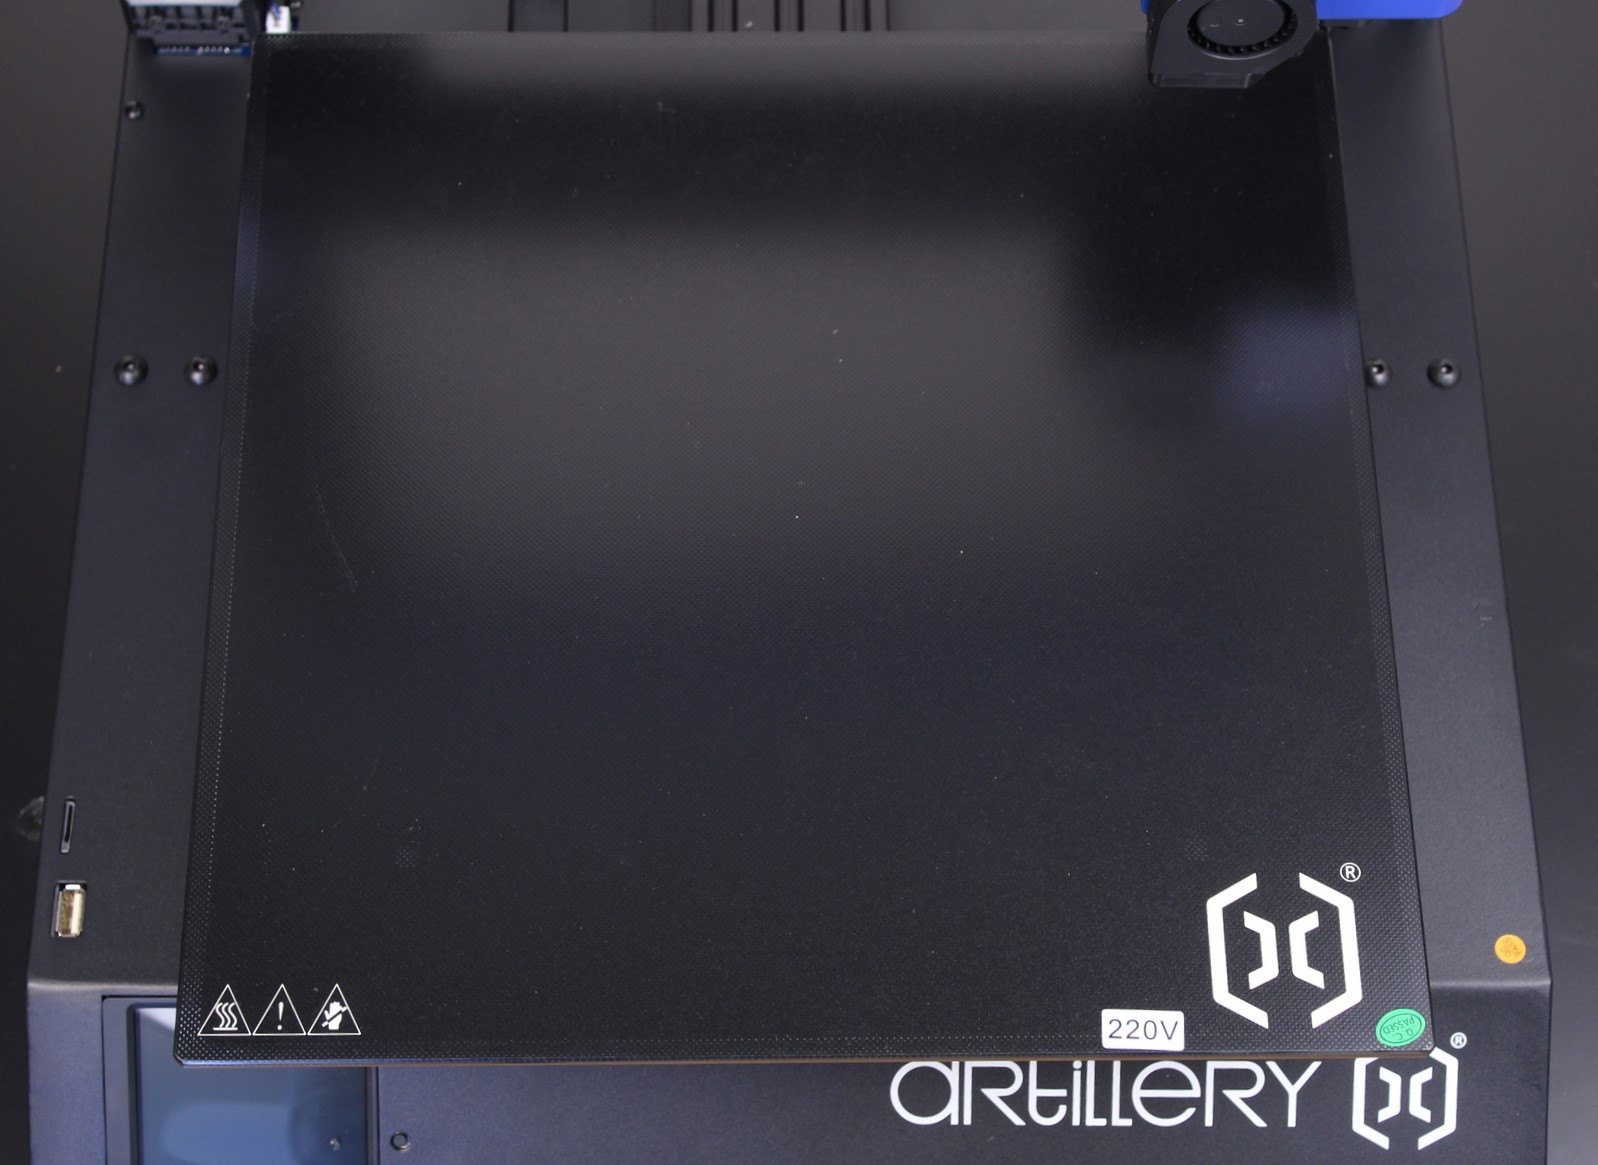
The print volume for the Sidewinder X2 is not changed compared to the X1. It’s the same 310×310 textured glass bed, with AC heating. It’s one of the fastest heating beds on the market, but that’s not really helpful if the heat is not uniform.
To hold the bed in place, Artillery uses four screws which are attached to the bed using round mounts. The AC heater doesn’t cover these mounts creating some cold spots on the bed and the users can notice lesser adhesion over those spots. This is another common problem with the X1, and I was hoping they would fix it for the Sidewinder X2 but this is not the case.
Everybody was probably expecting to have an aluminum heated bed on the Sidewinder X1, and I did too. A lot of X1 users decided to spend over to 100$ just to replace the glass bed with an aluminum version to fix the uneven temperature distribution, but Artillery seems to ignore this issue…
I did a 15-minute-long test and recorded it with a FLIR camera to see how even the temperature distribution is with the Sidewinder X2. As you can see, there are multiple colder spots on the bed and those are the sections where you will encounter adhesion issues with some materials. There’s also a darker spot in the middle-left side of the bed, which is less than ideal.
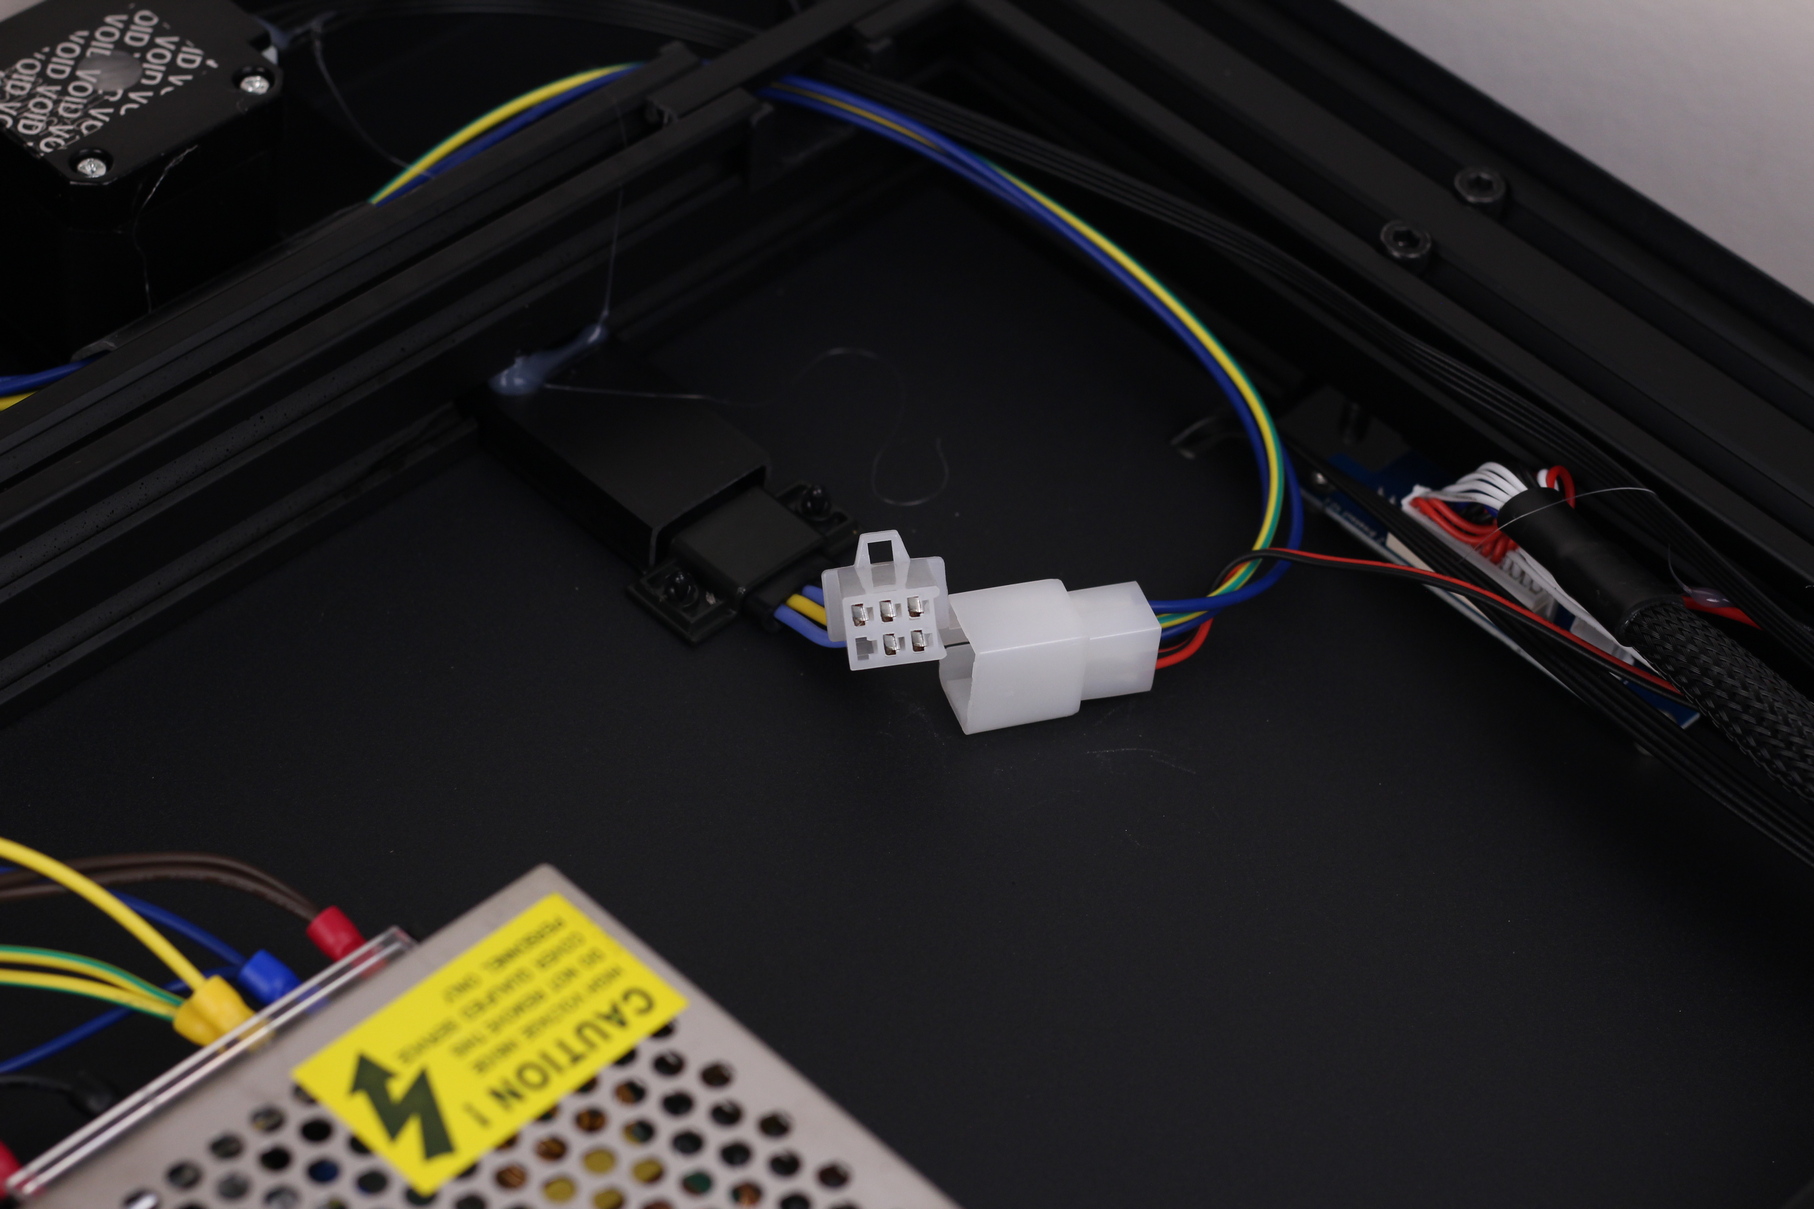
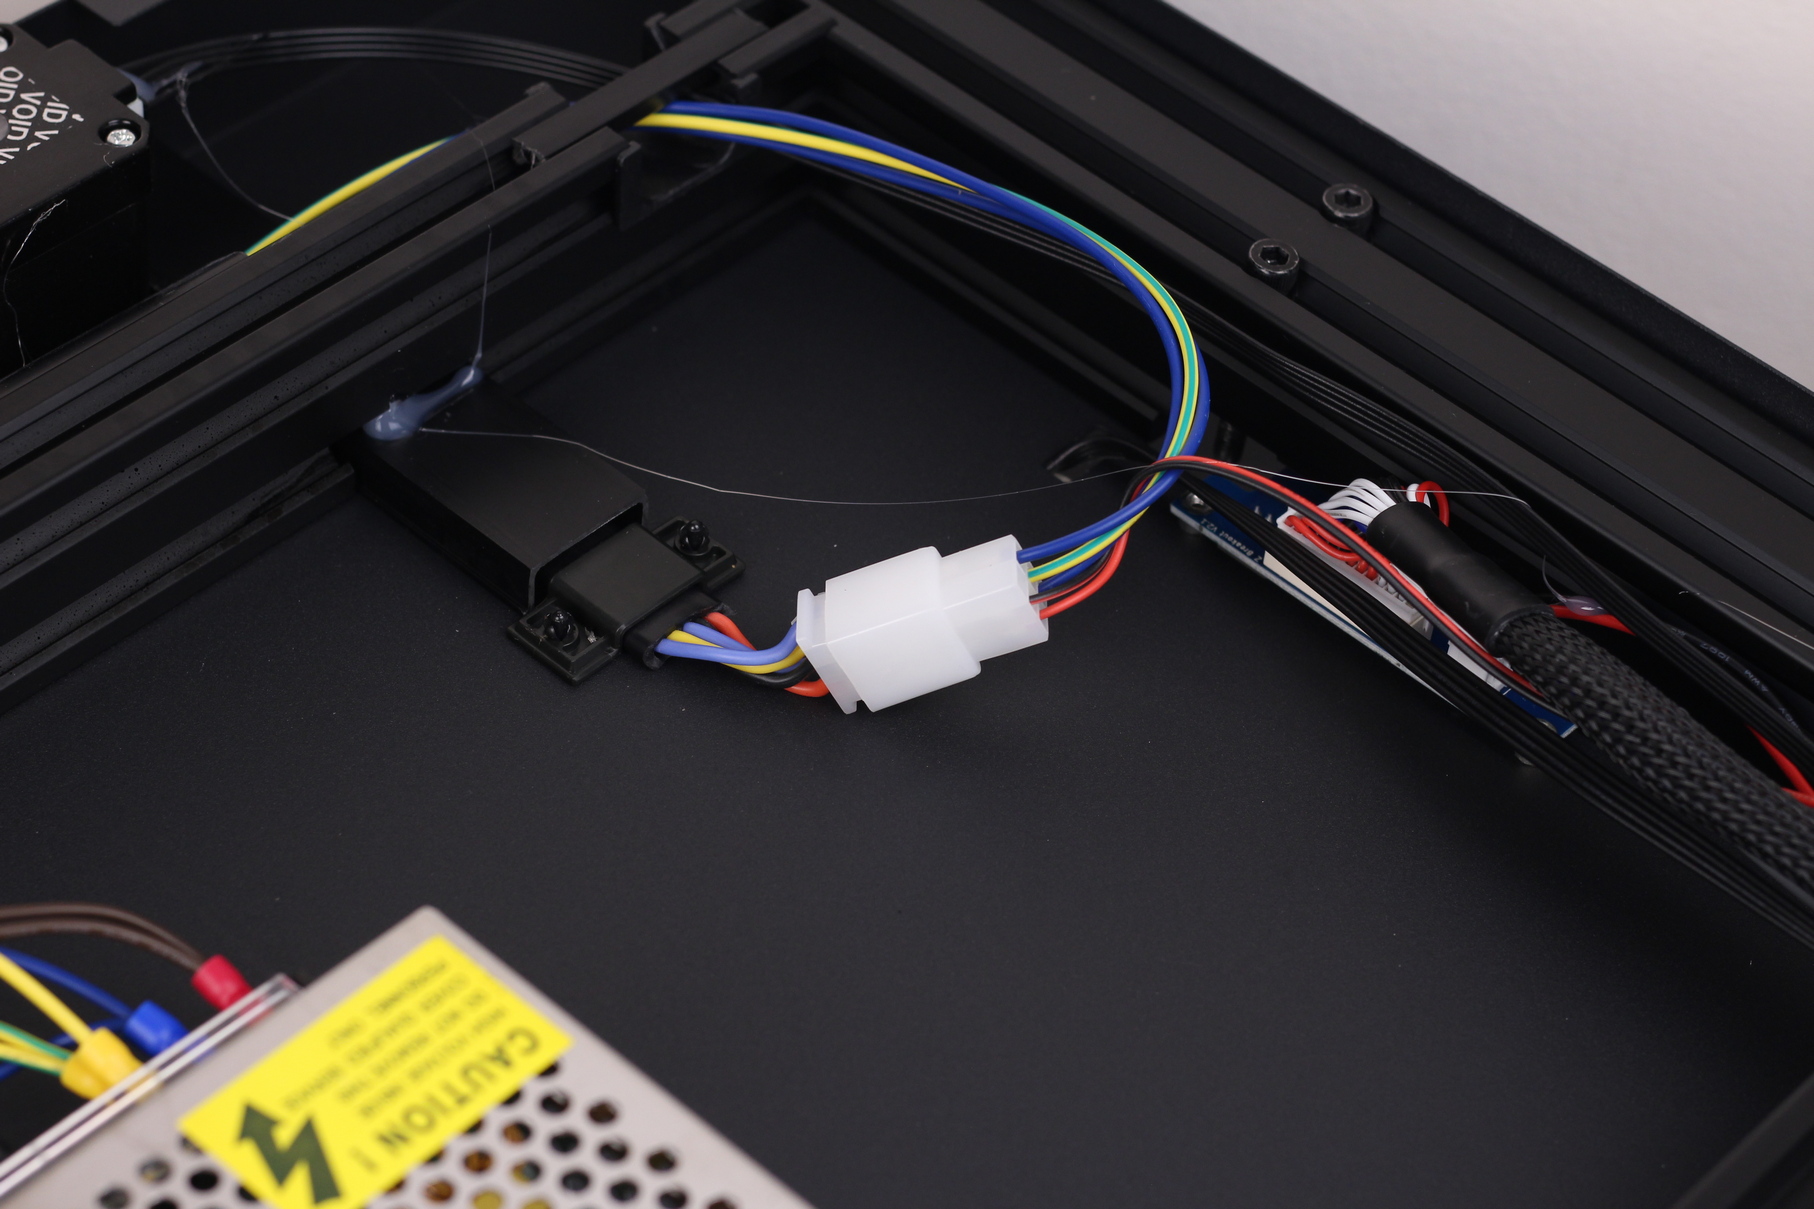
Fortunately, the bed cable has been changed and now it should be more resilient compared to the previous solution used with the Sidewinder X1.
The heatbed power connectors are also changed, for easy replacement if needed.
2.7-inch touchscreen
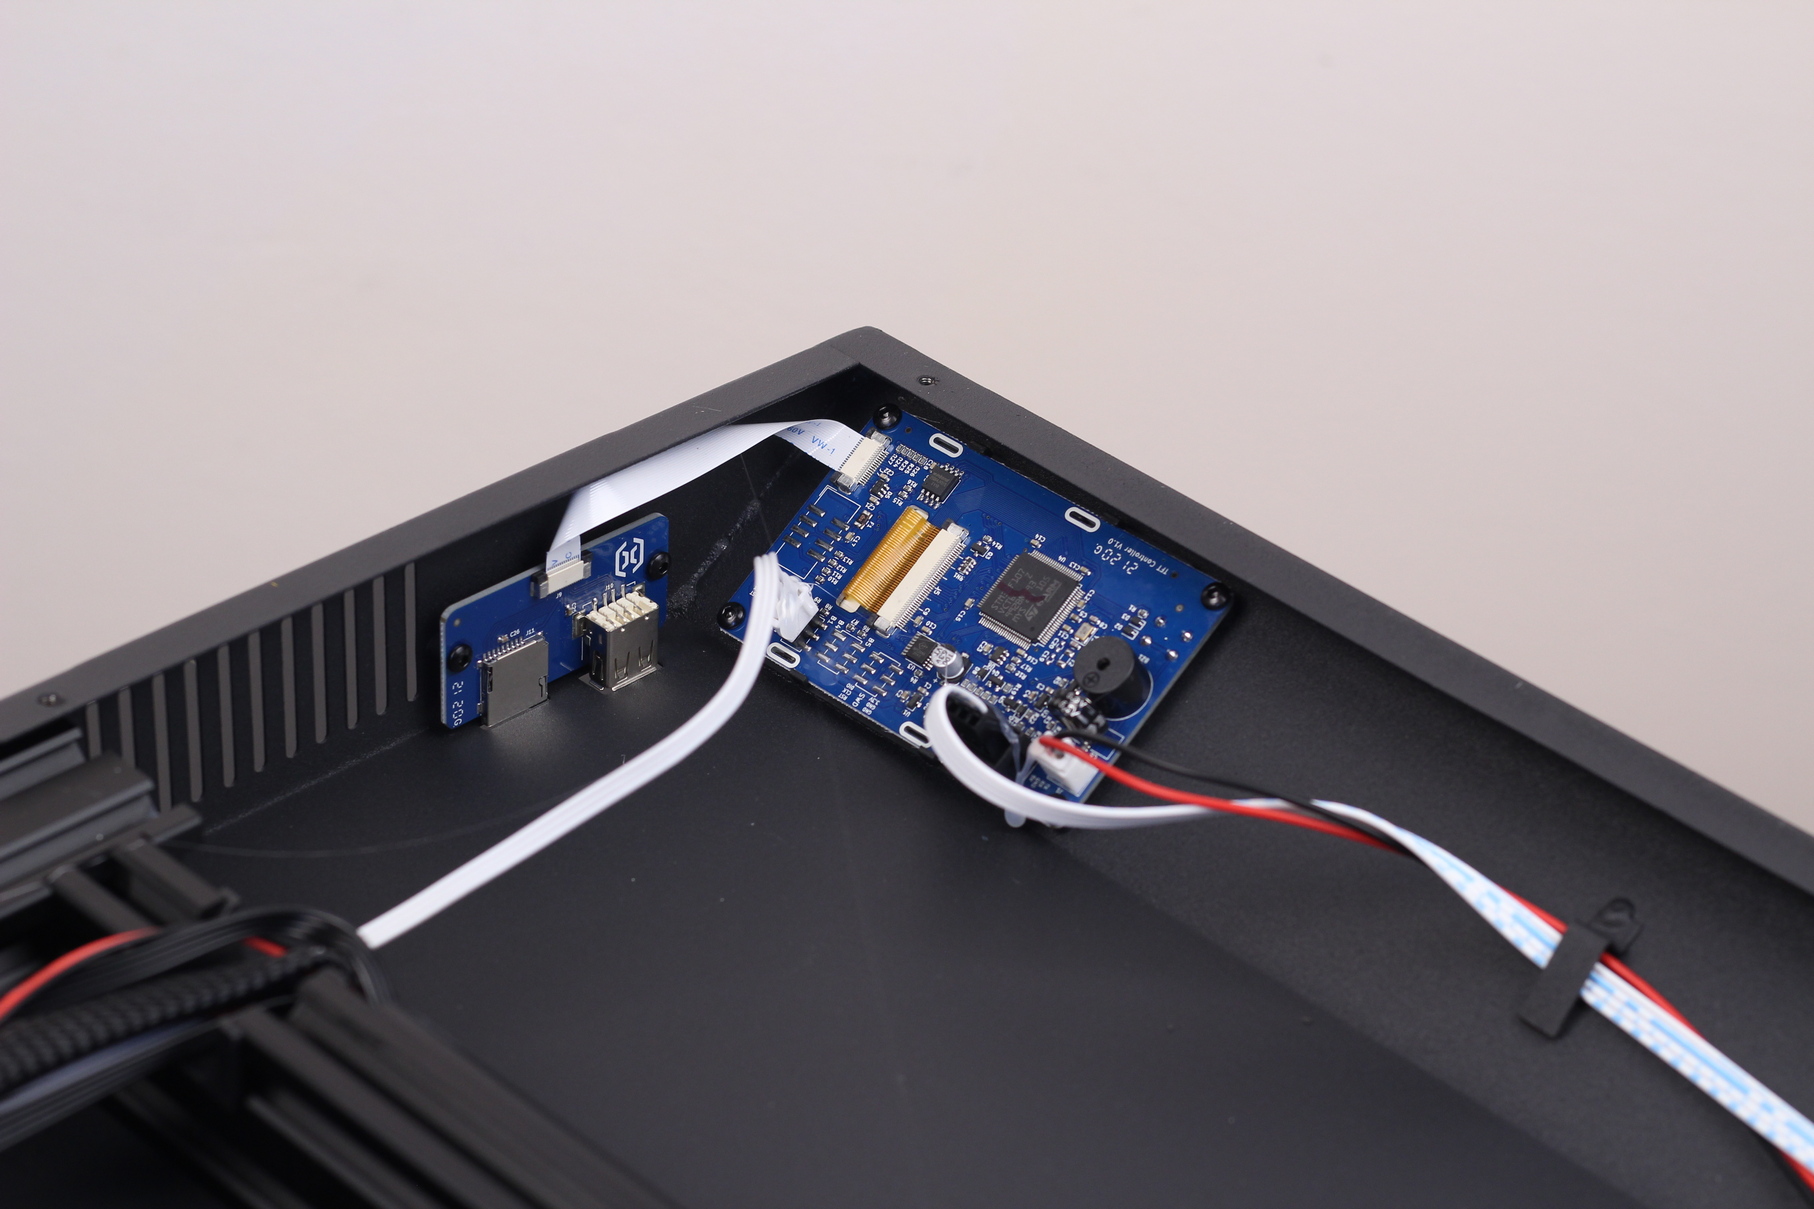
The Sidewinder X2 touchscreen isn’t changed, and it’s the same as with the Sidewinder X1. This is another wasted opportunity from Artillery.
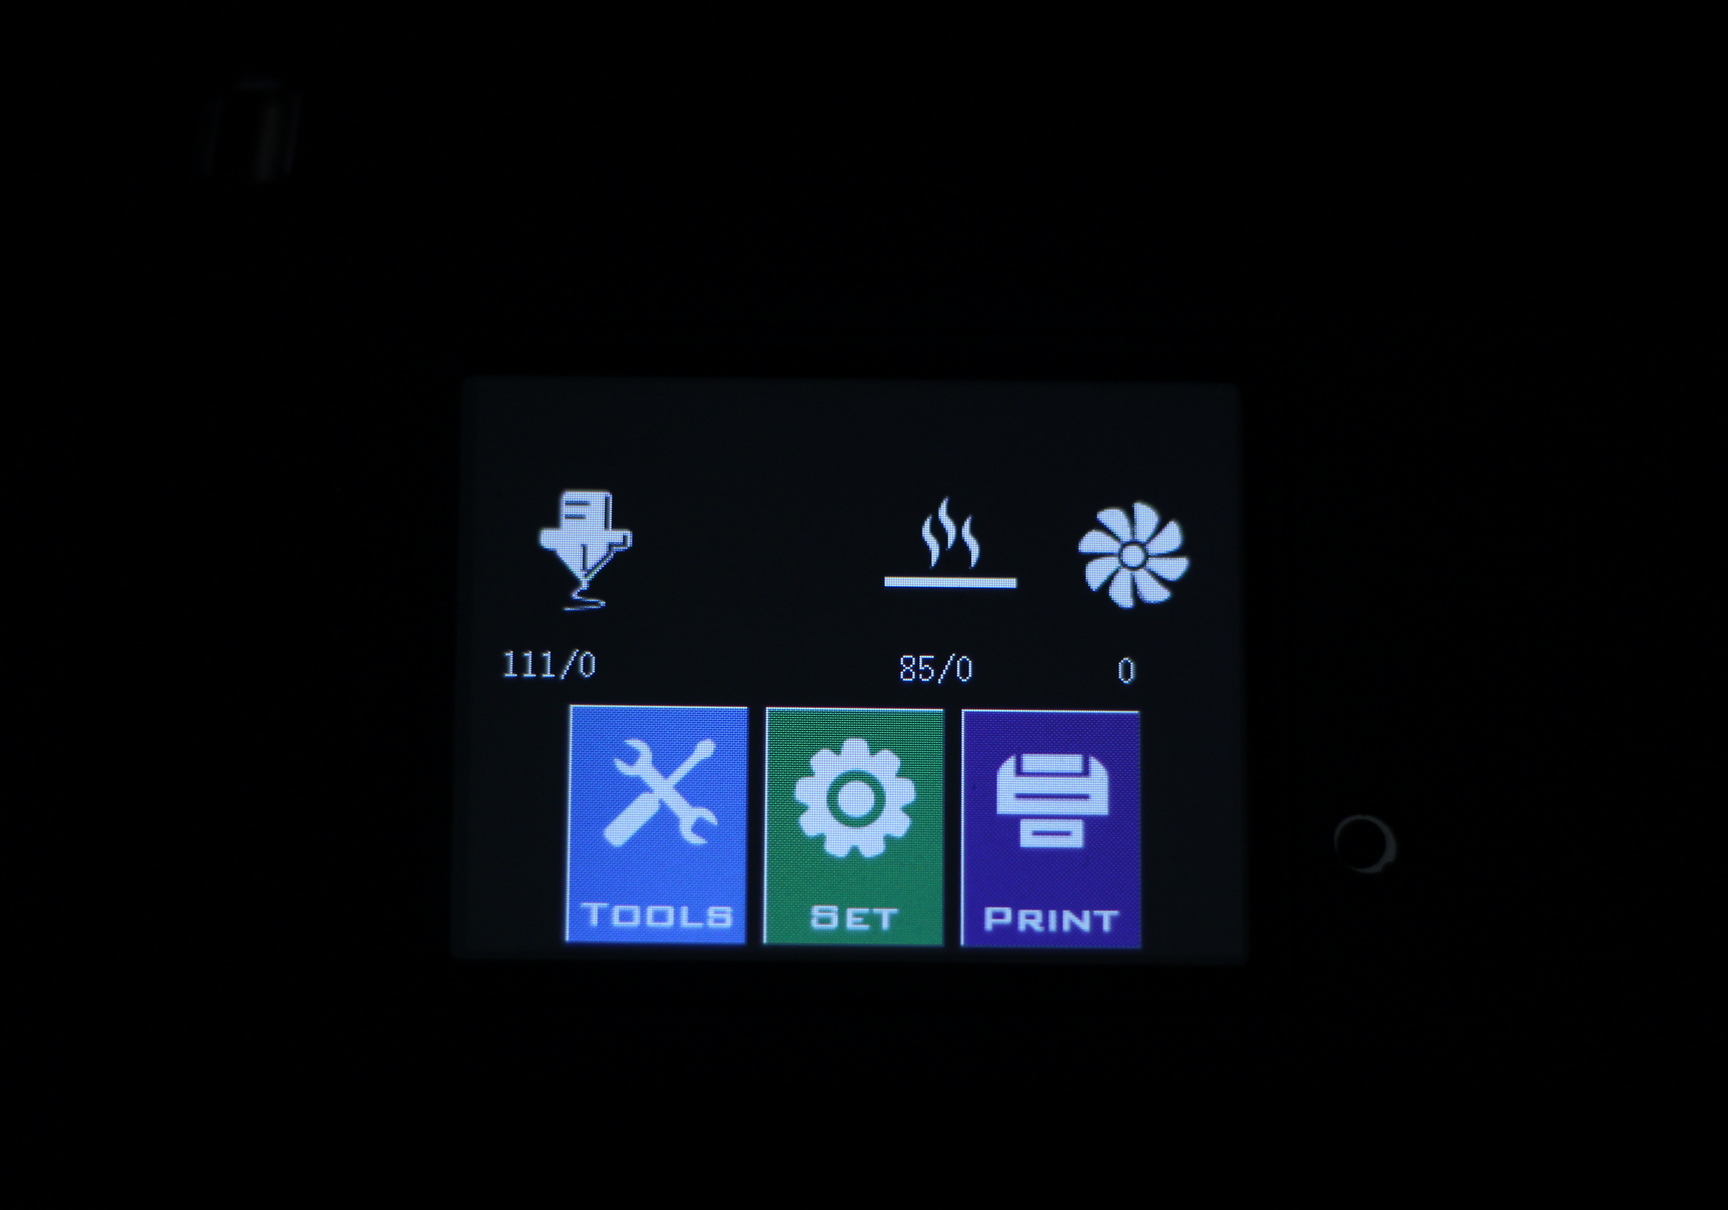
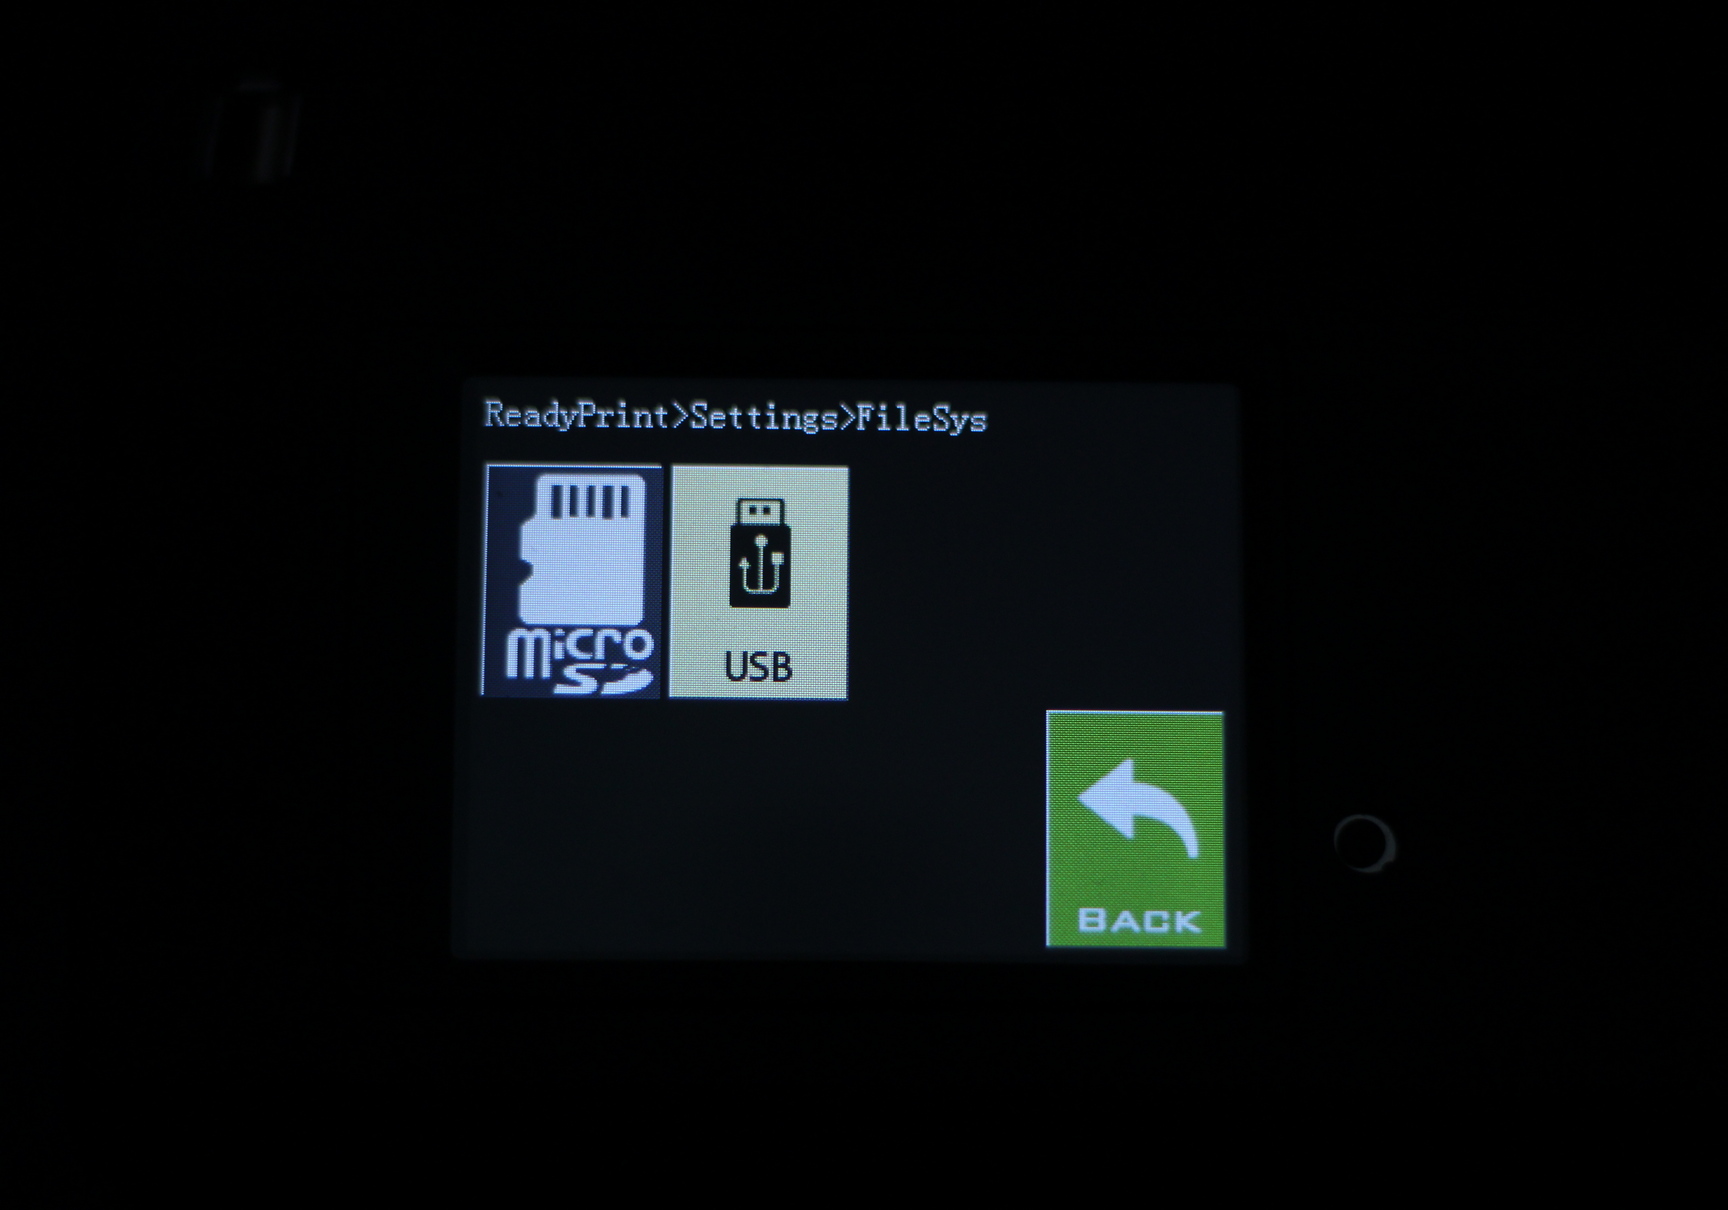
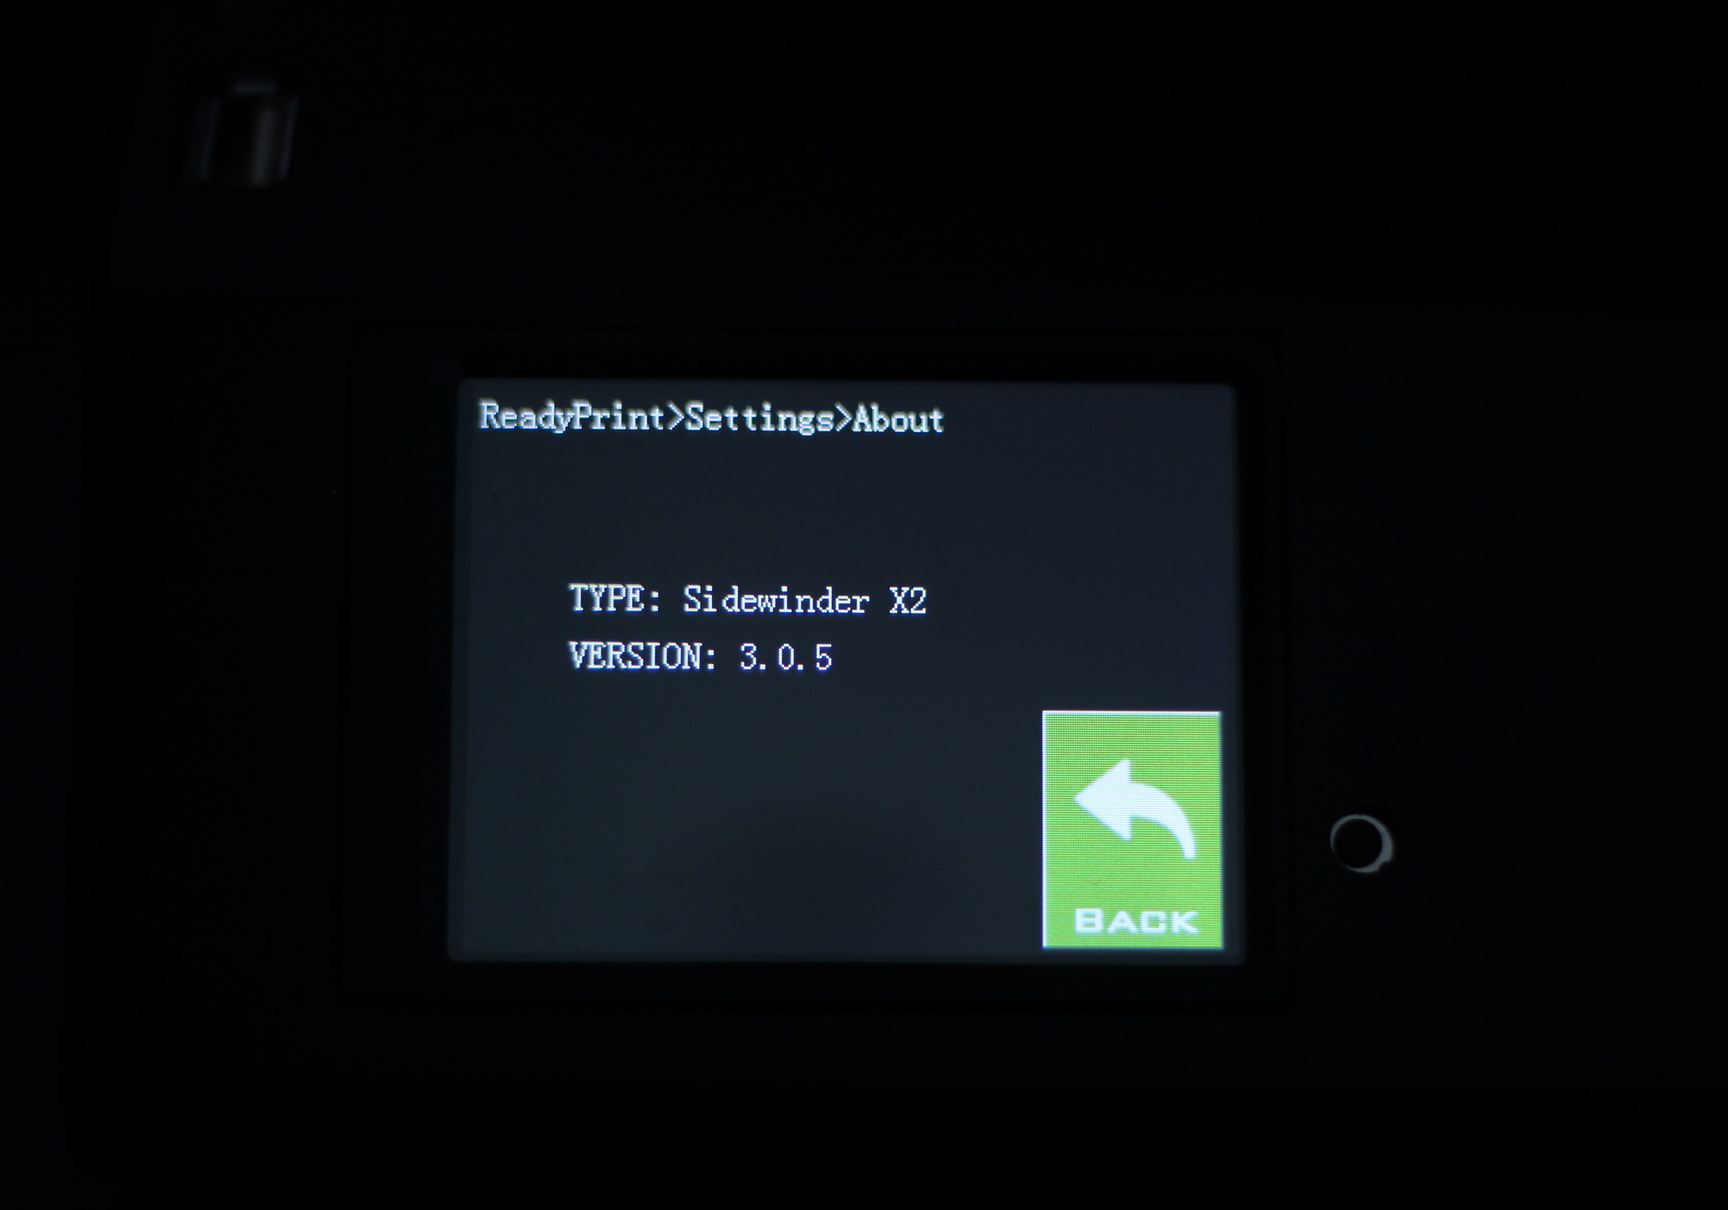

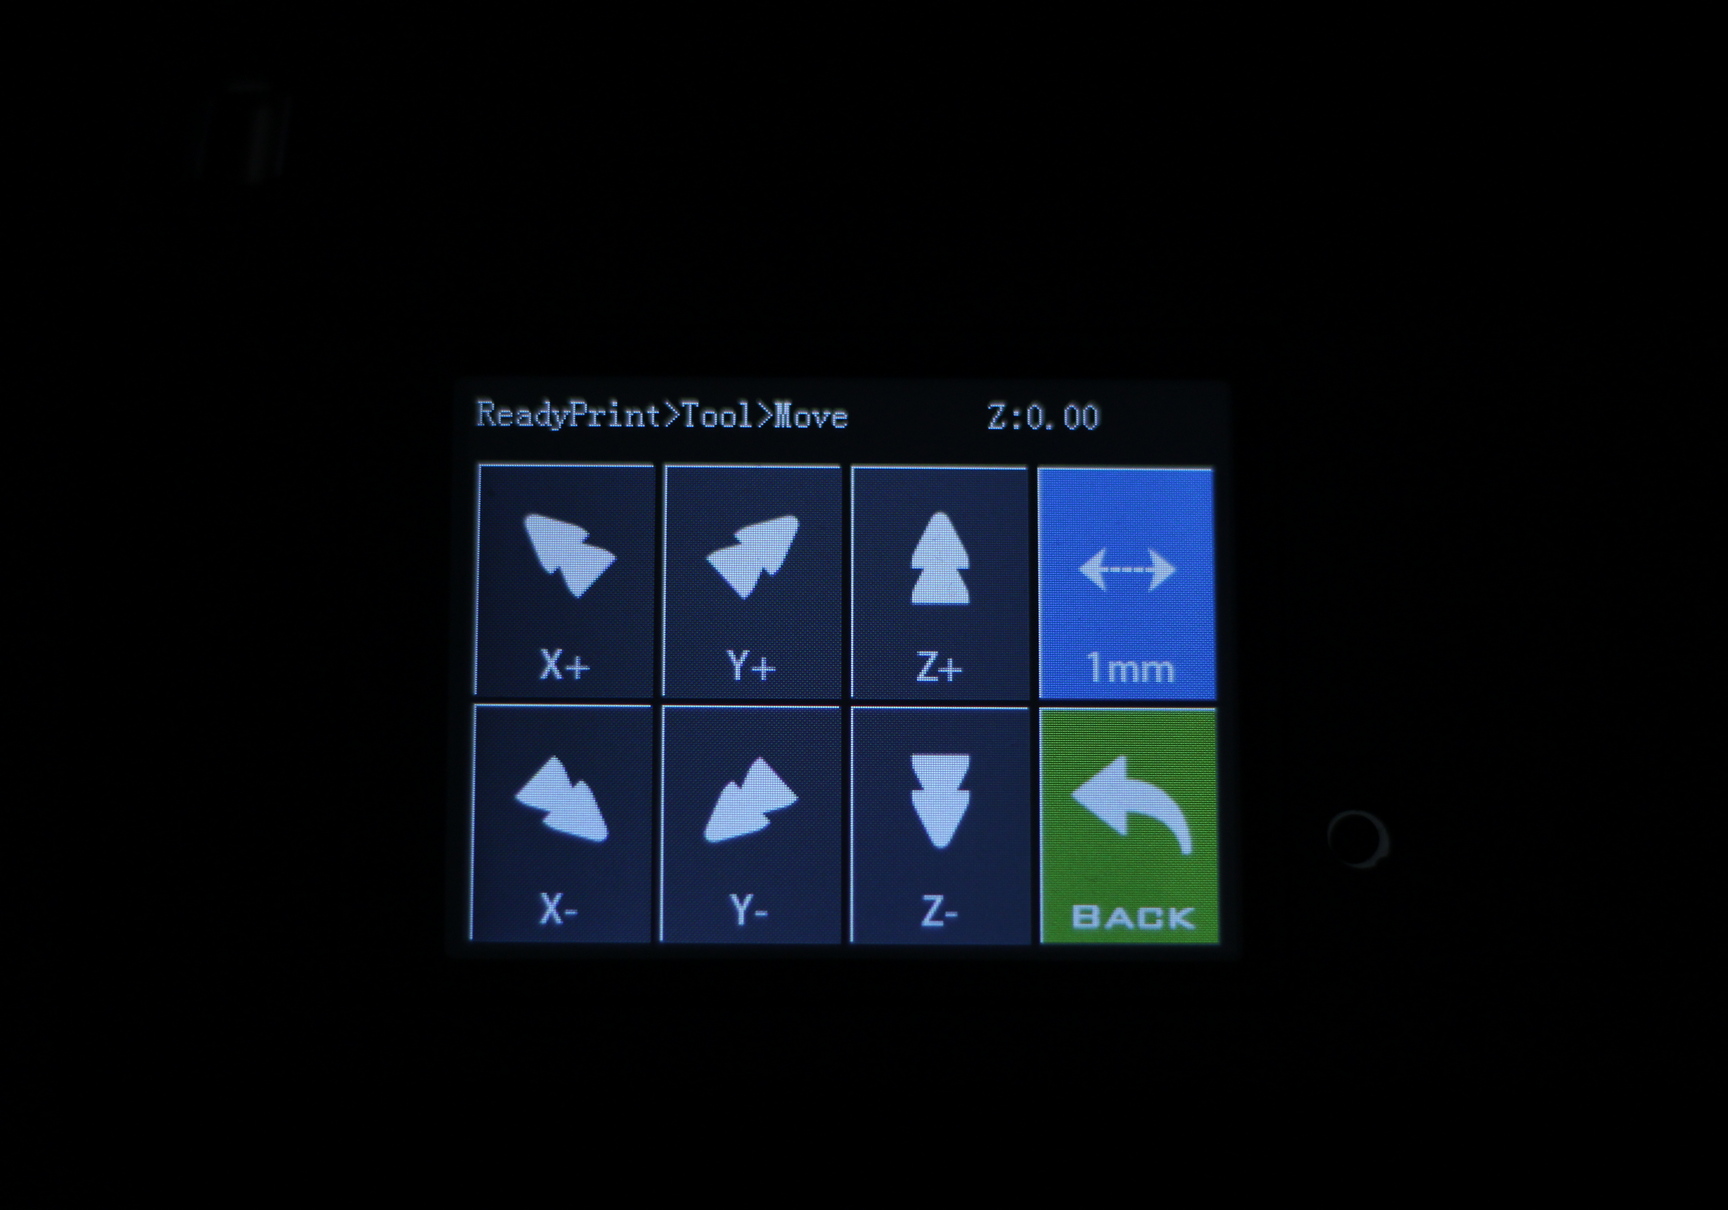
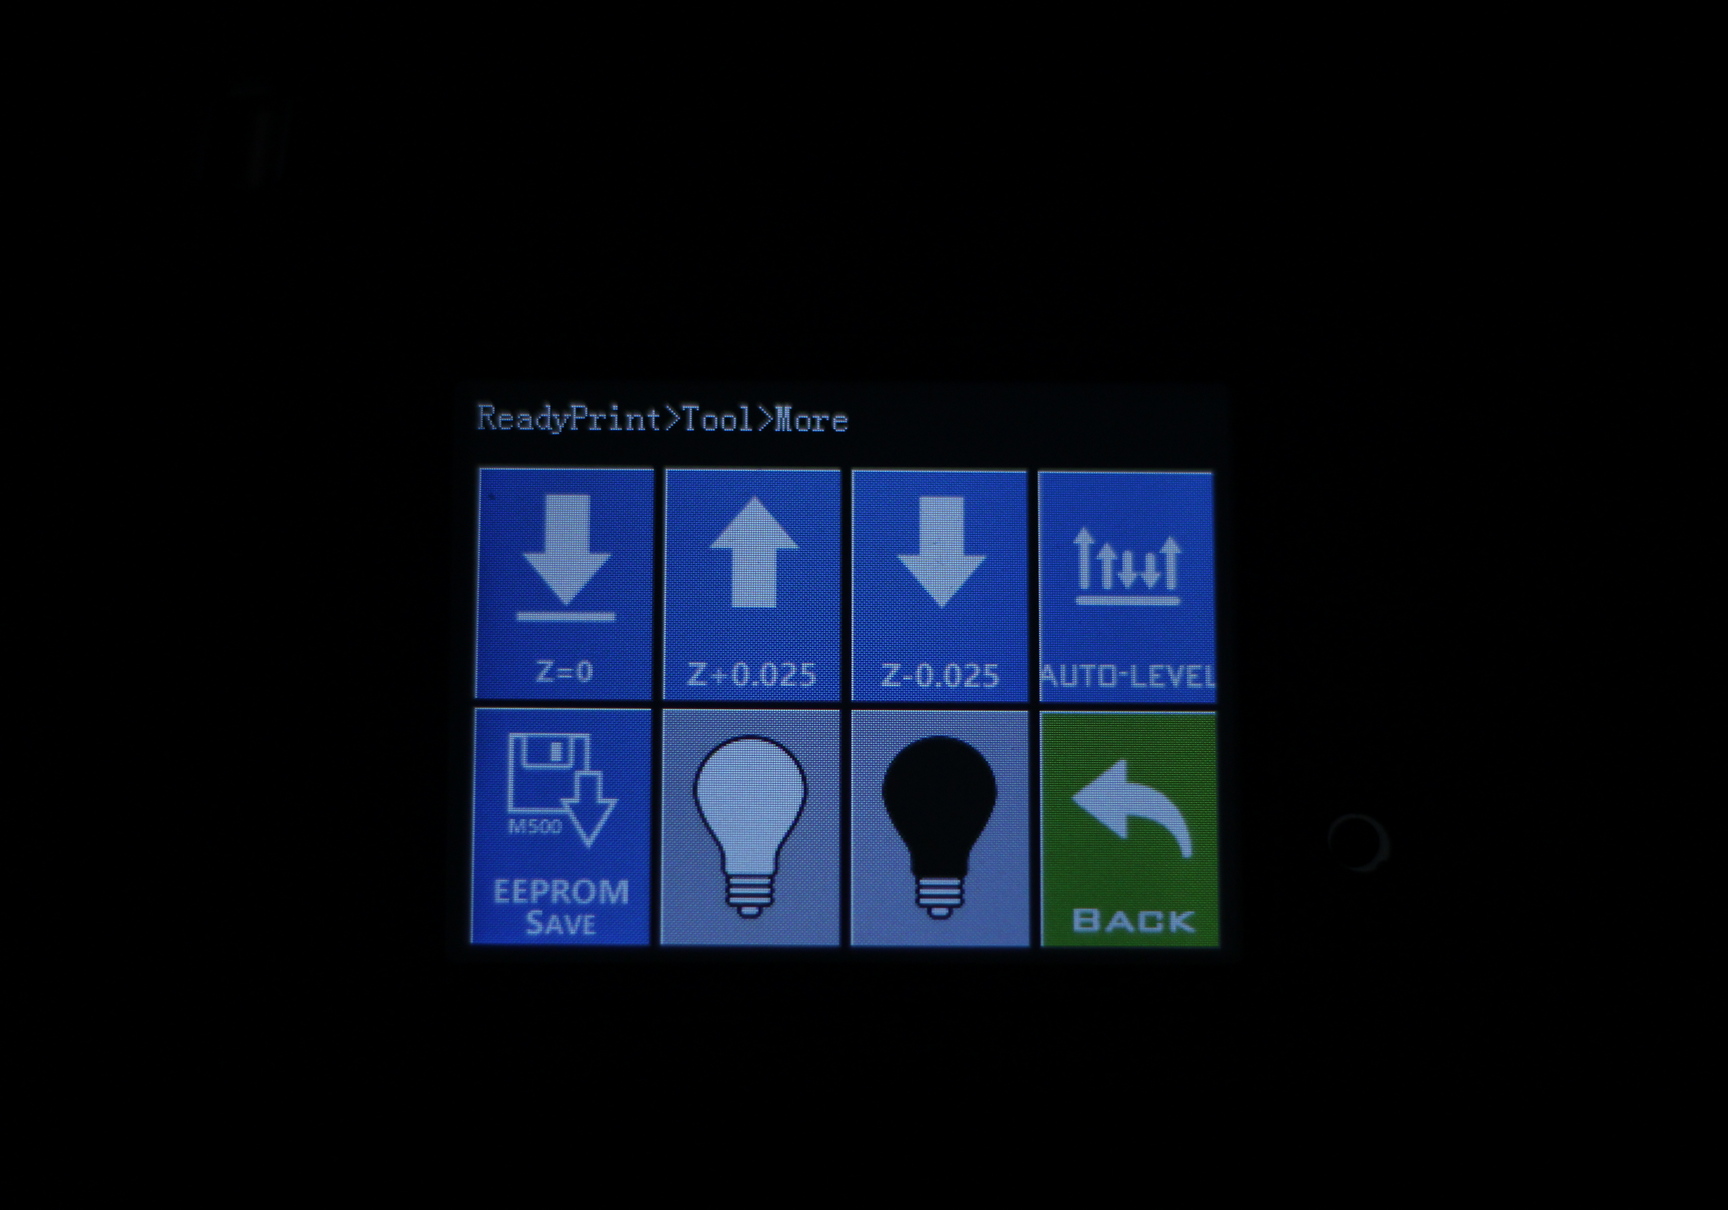
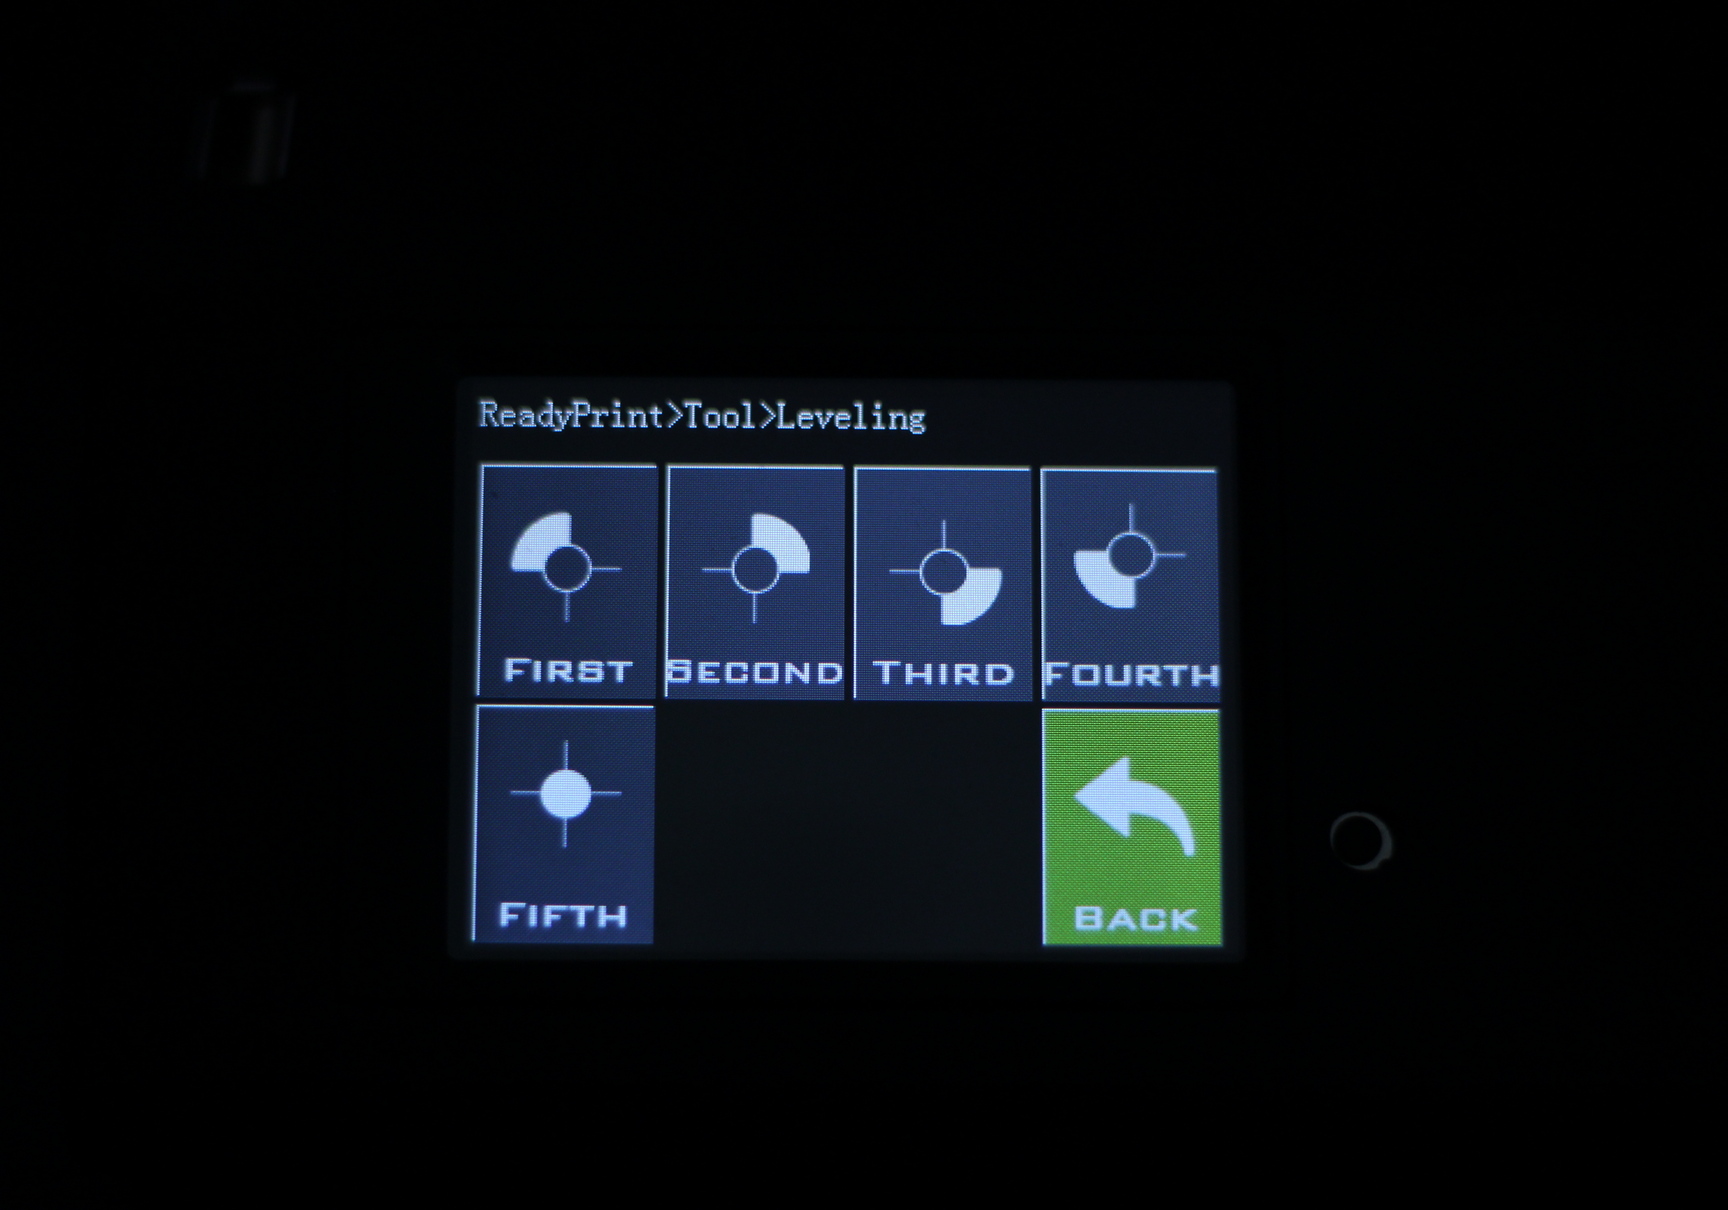
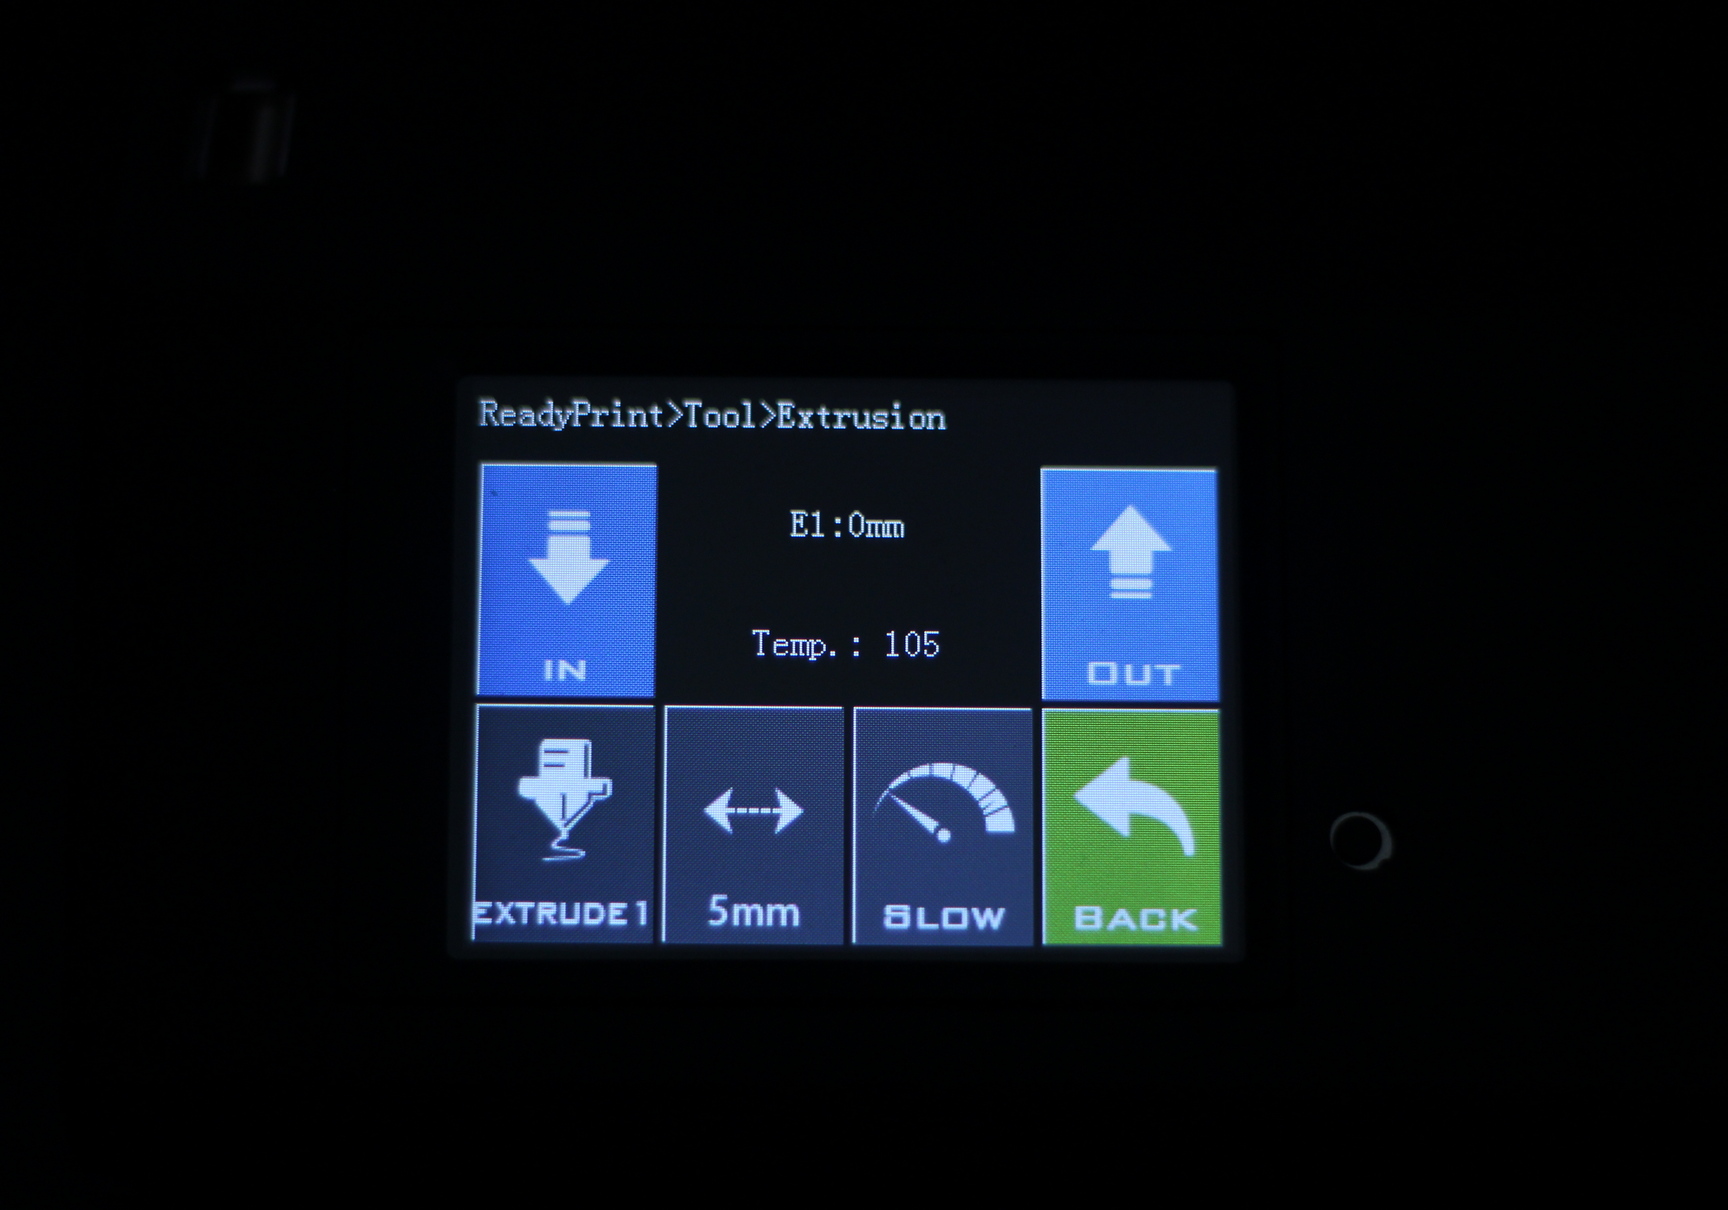
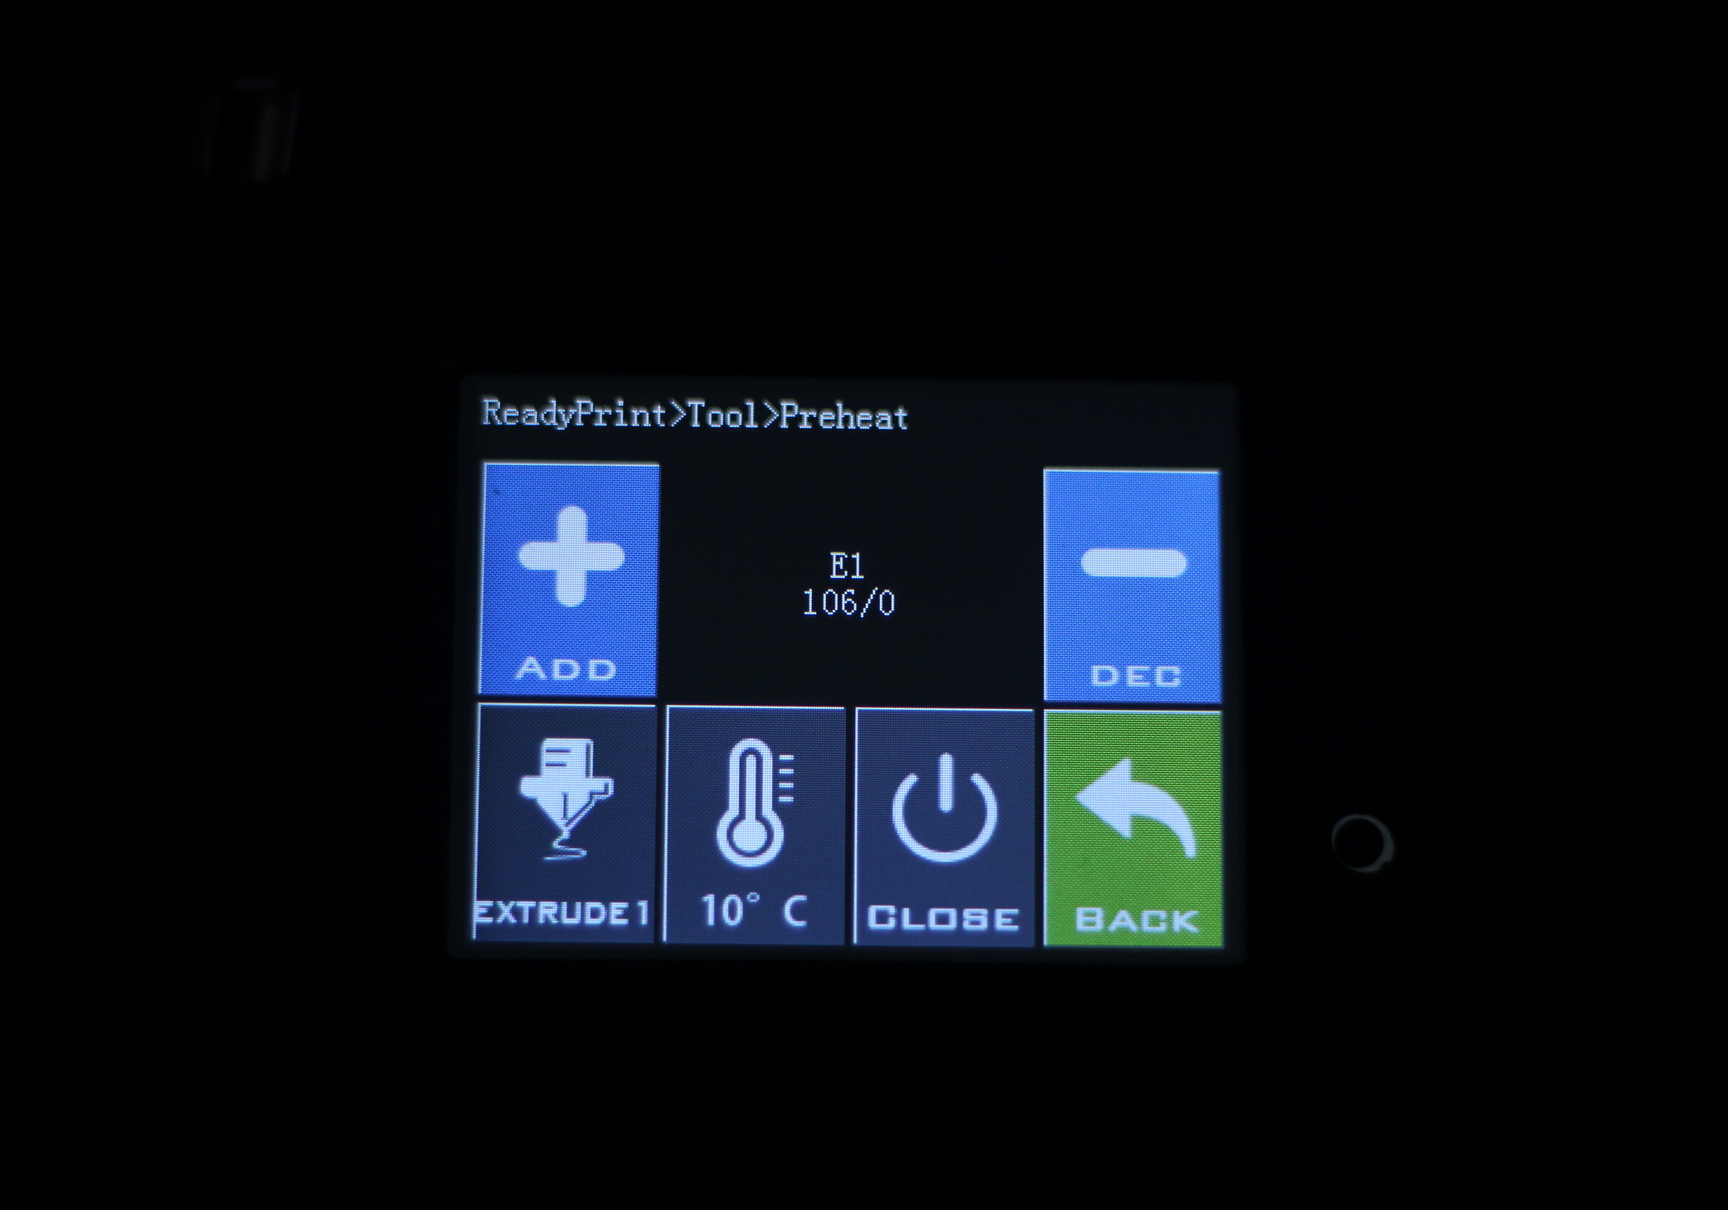
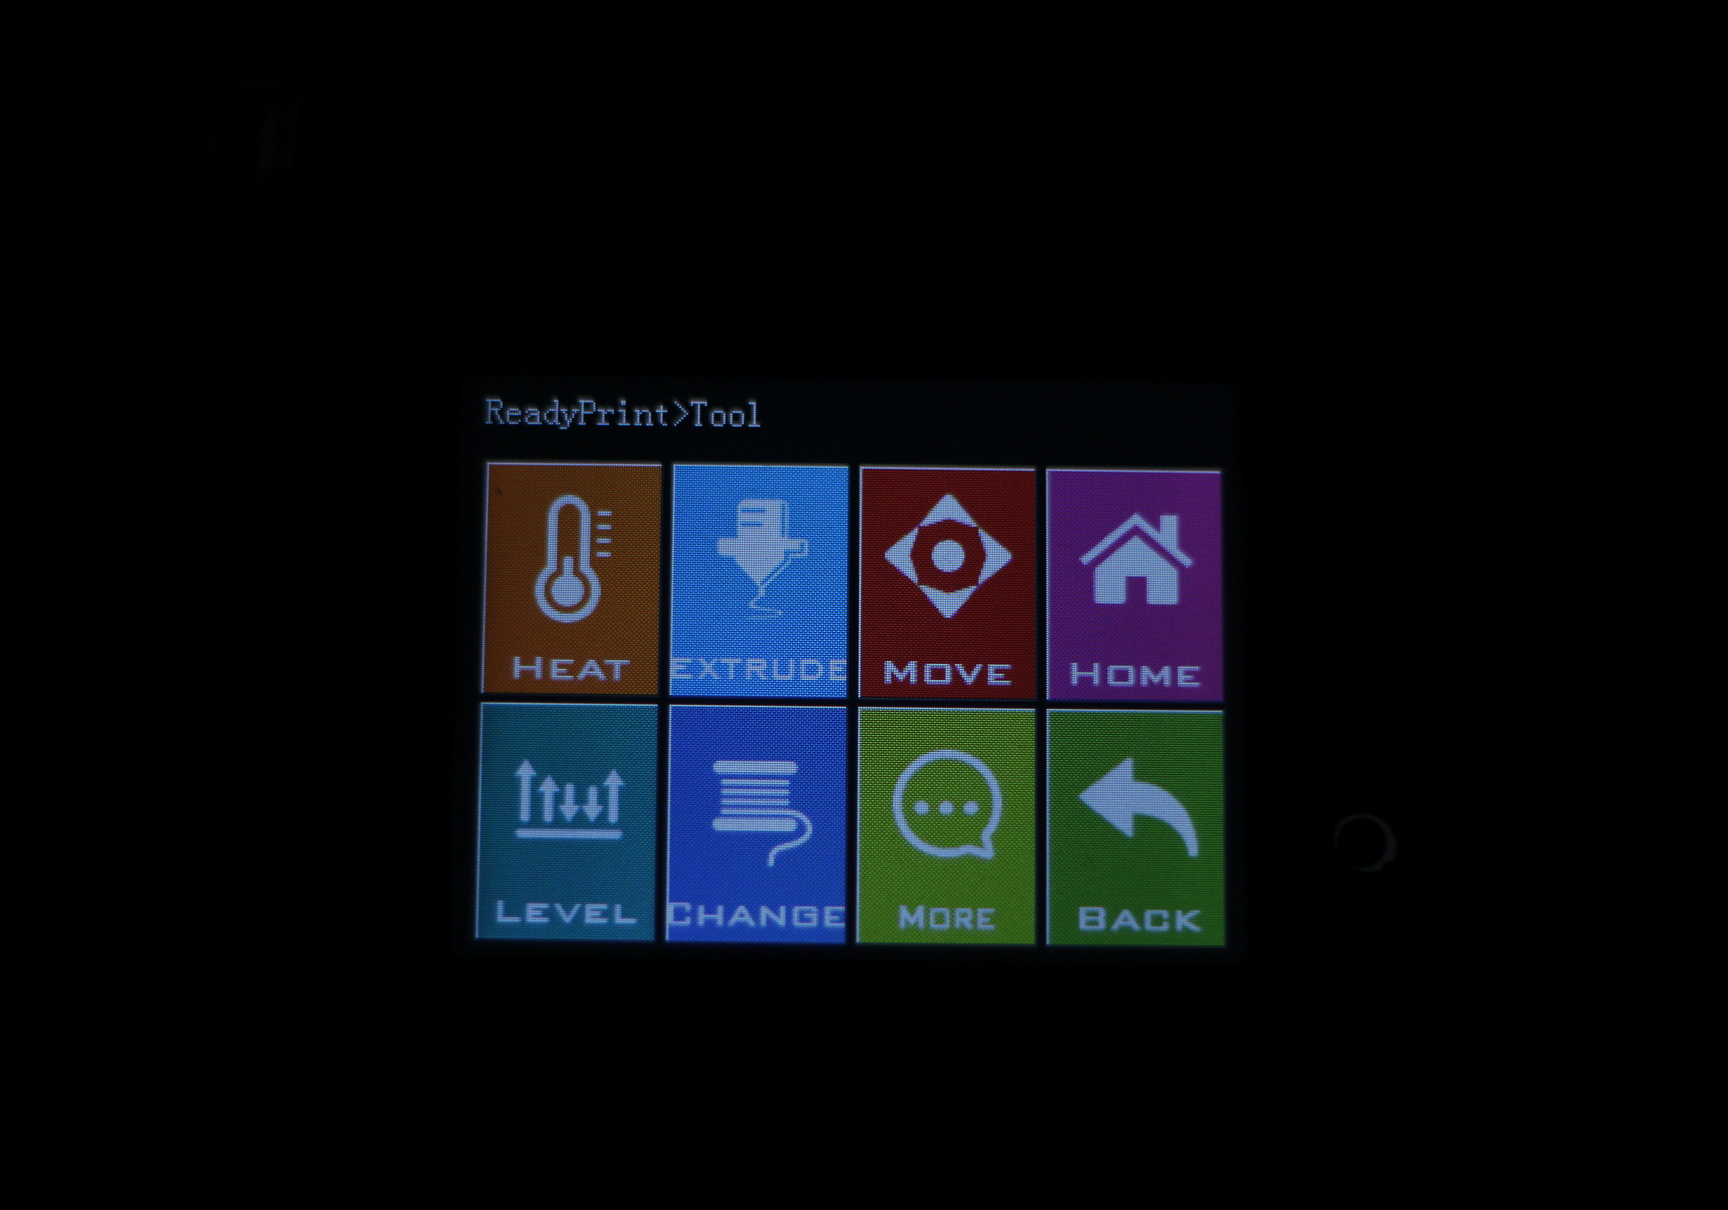
With a bit of time spent, they could have adjusted the firmware and add more functionality to it, or even use the BTT sources available online, where other modders like Digant did a great job in offering more features for an otherwise dumb screen.
Fortunately, I think it’s probably just as easy to upgrade the screen firmware, and we can do it ourselves. But the stock firmware is the same as on the X1. They haven’t even fixed the mislabeled assisted leveling icons which show you a specific corner, but command the printer to move on a different one.
200W fanless power supply
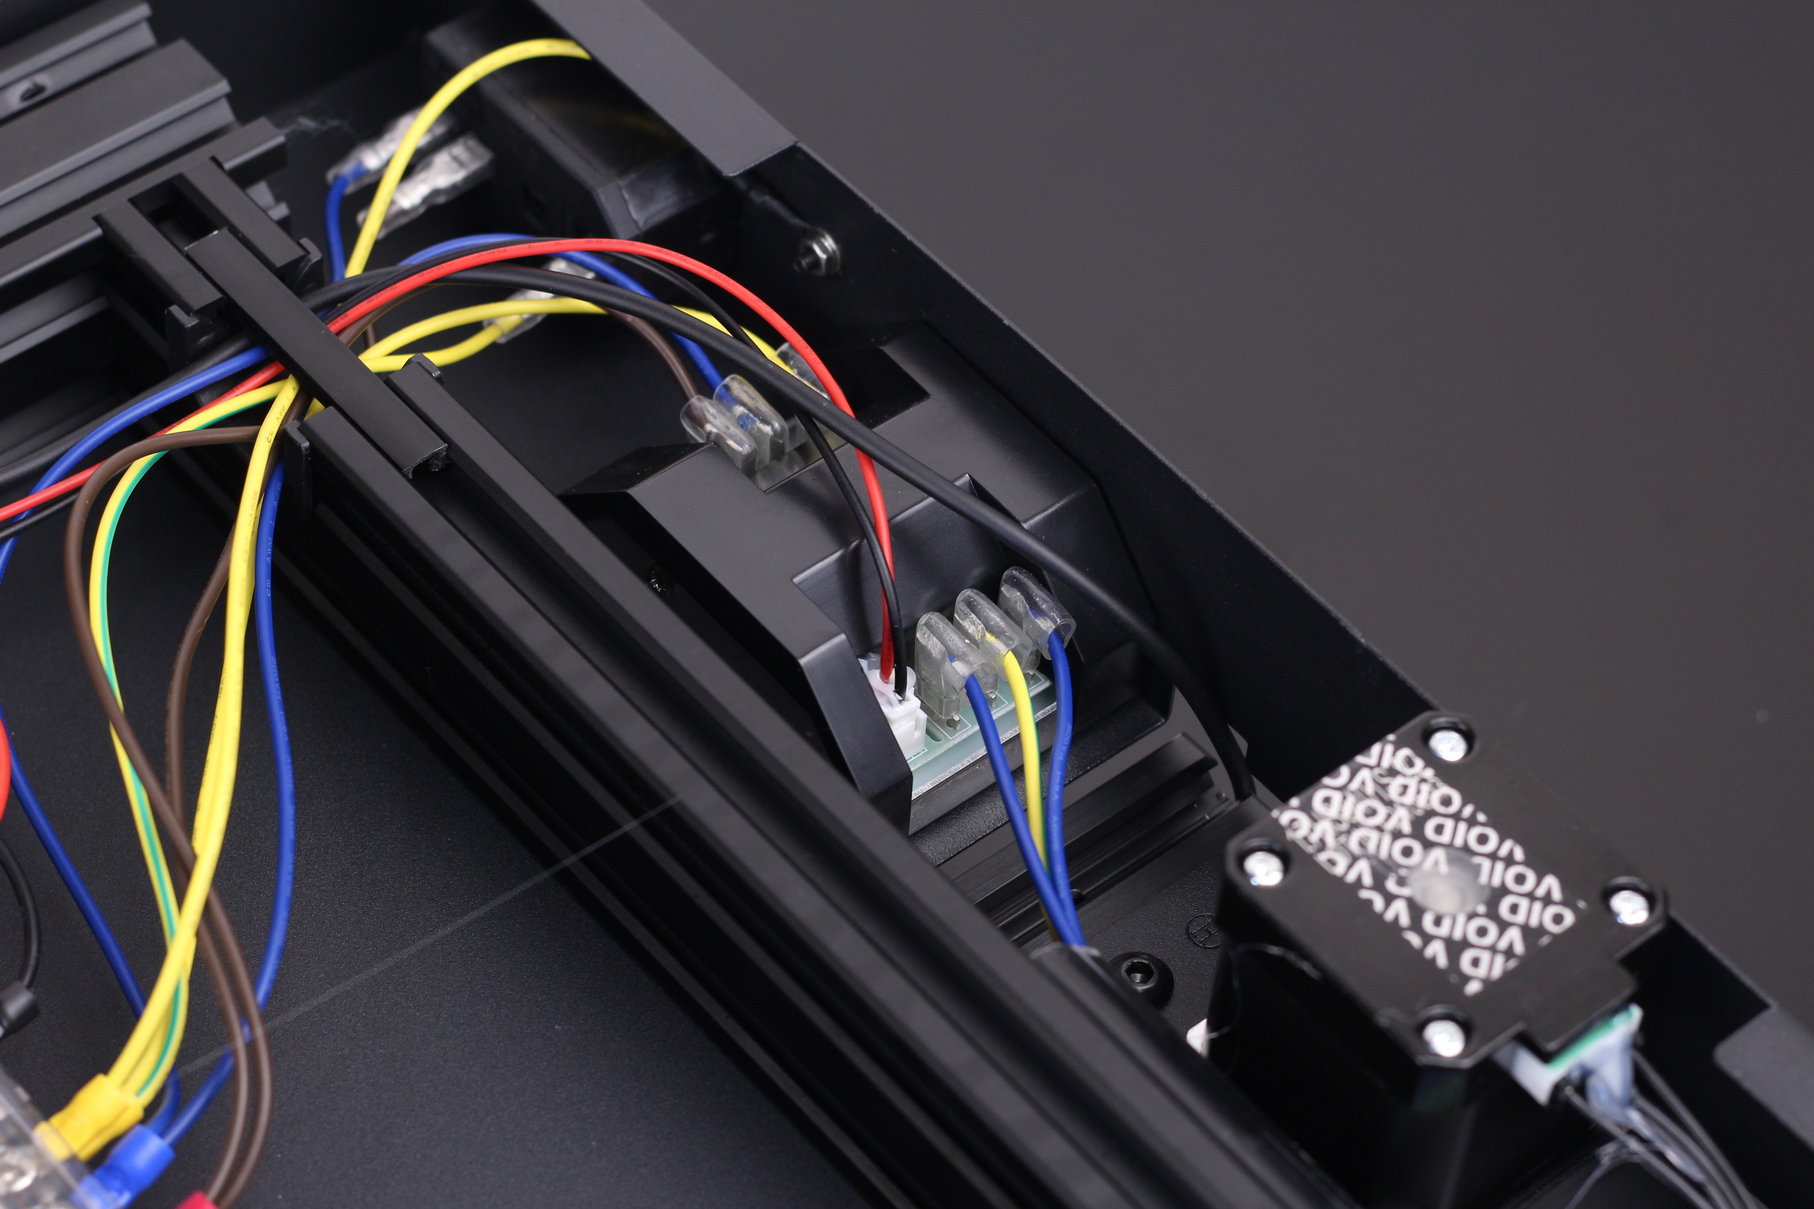
Because the Sidewinder X2 has an AC powered heatbed, there’s not a lot of power needed to drive the rest of the electronics so the 200W fanless power supply is more than enough.
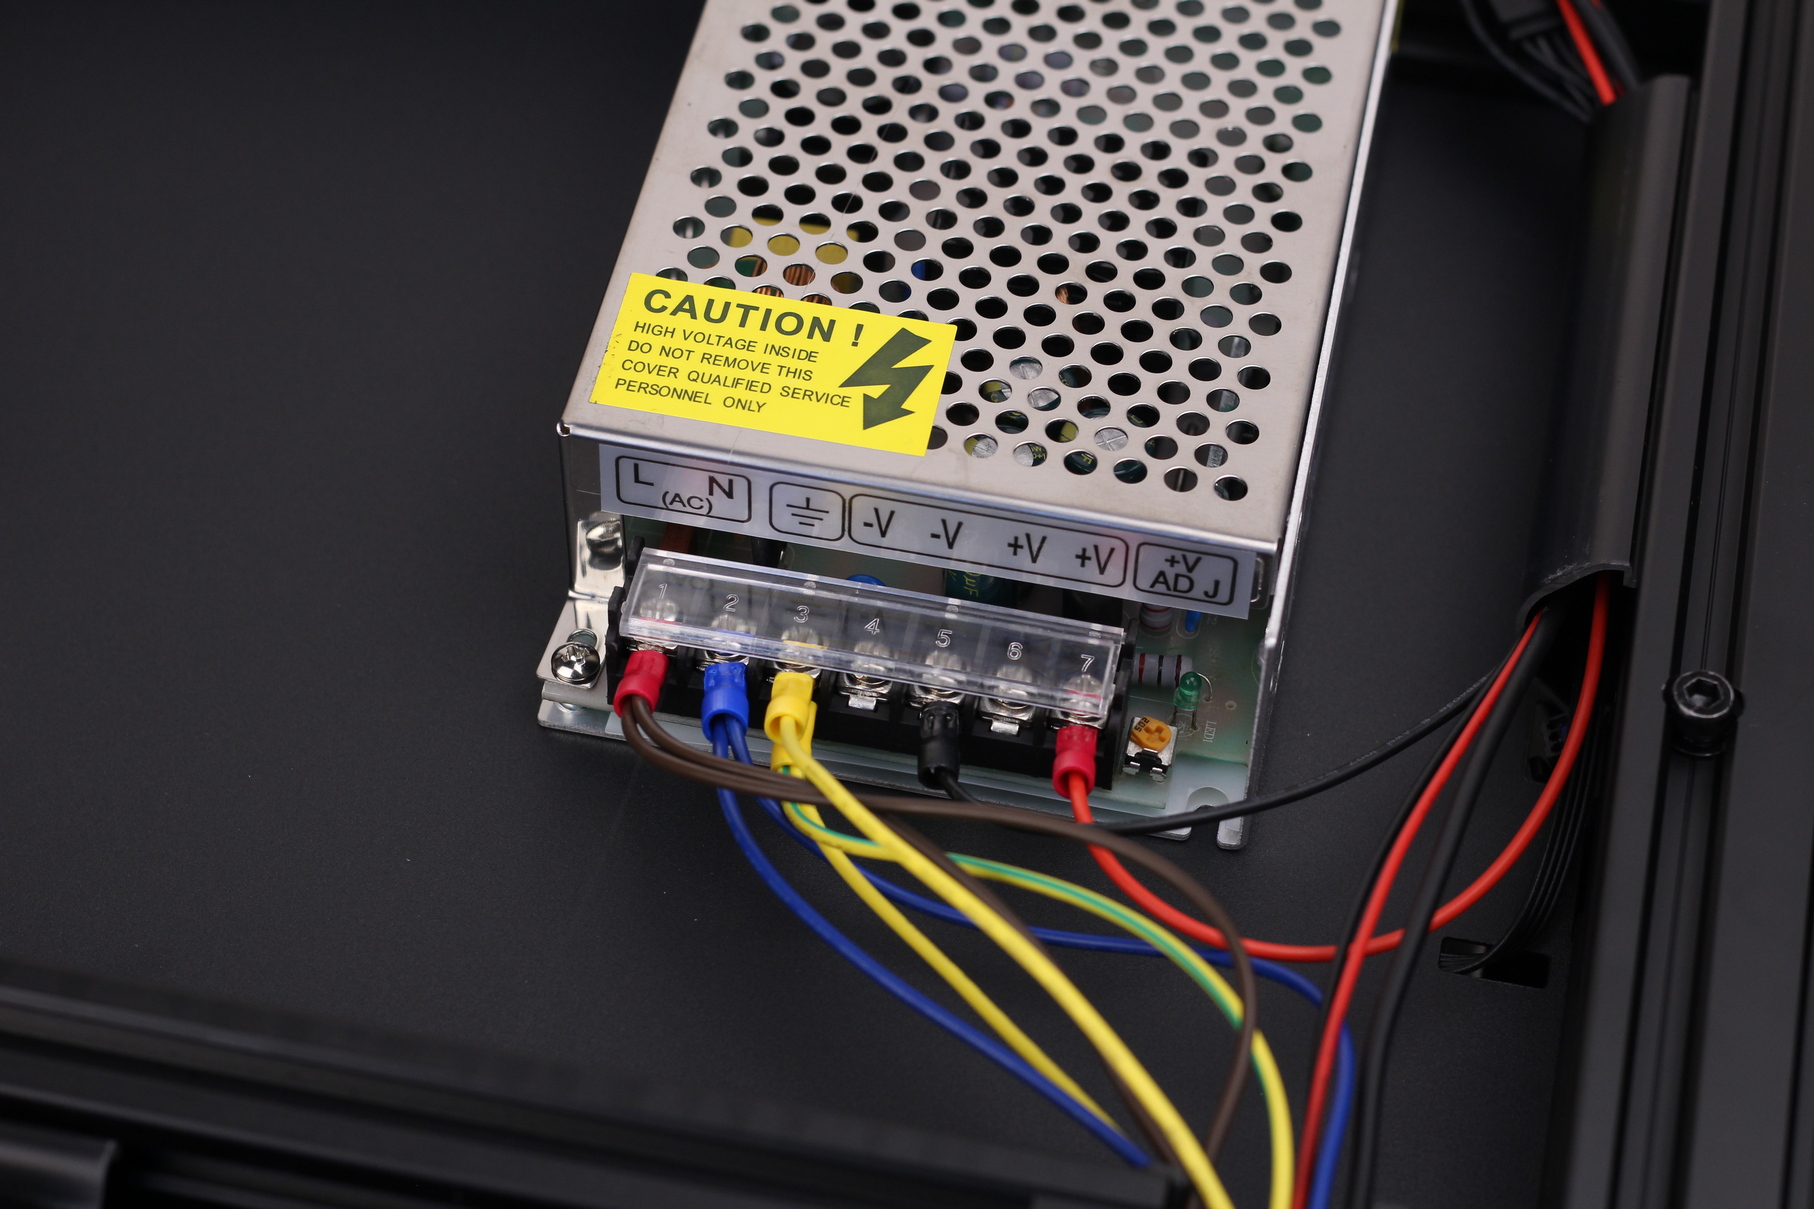
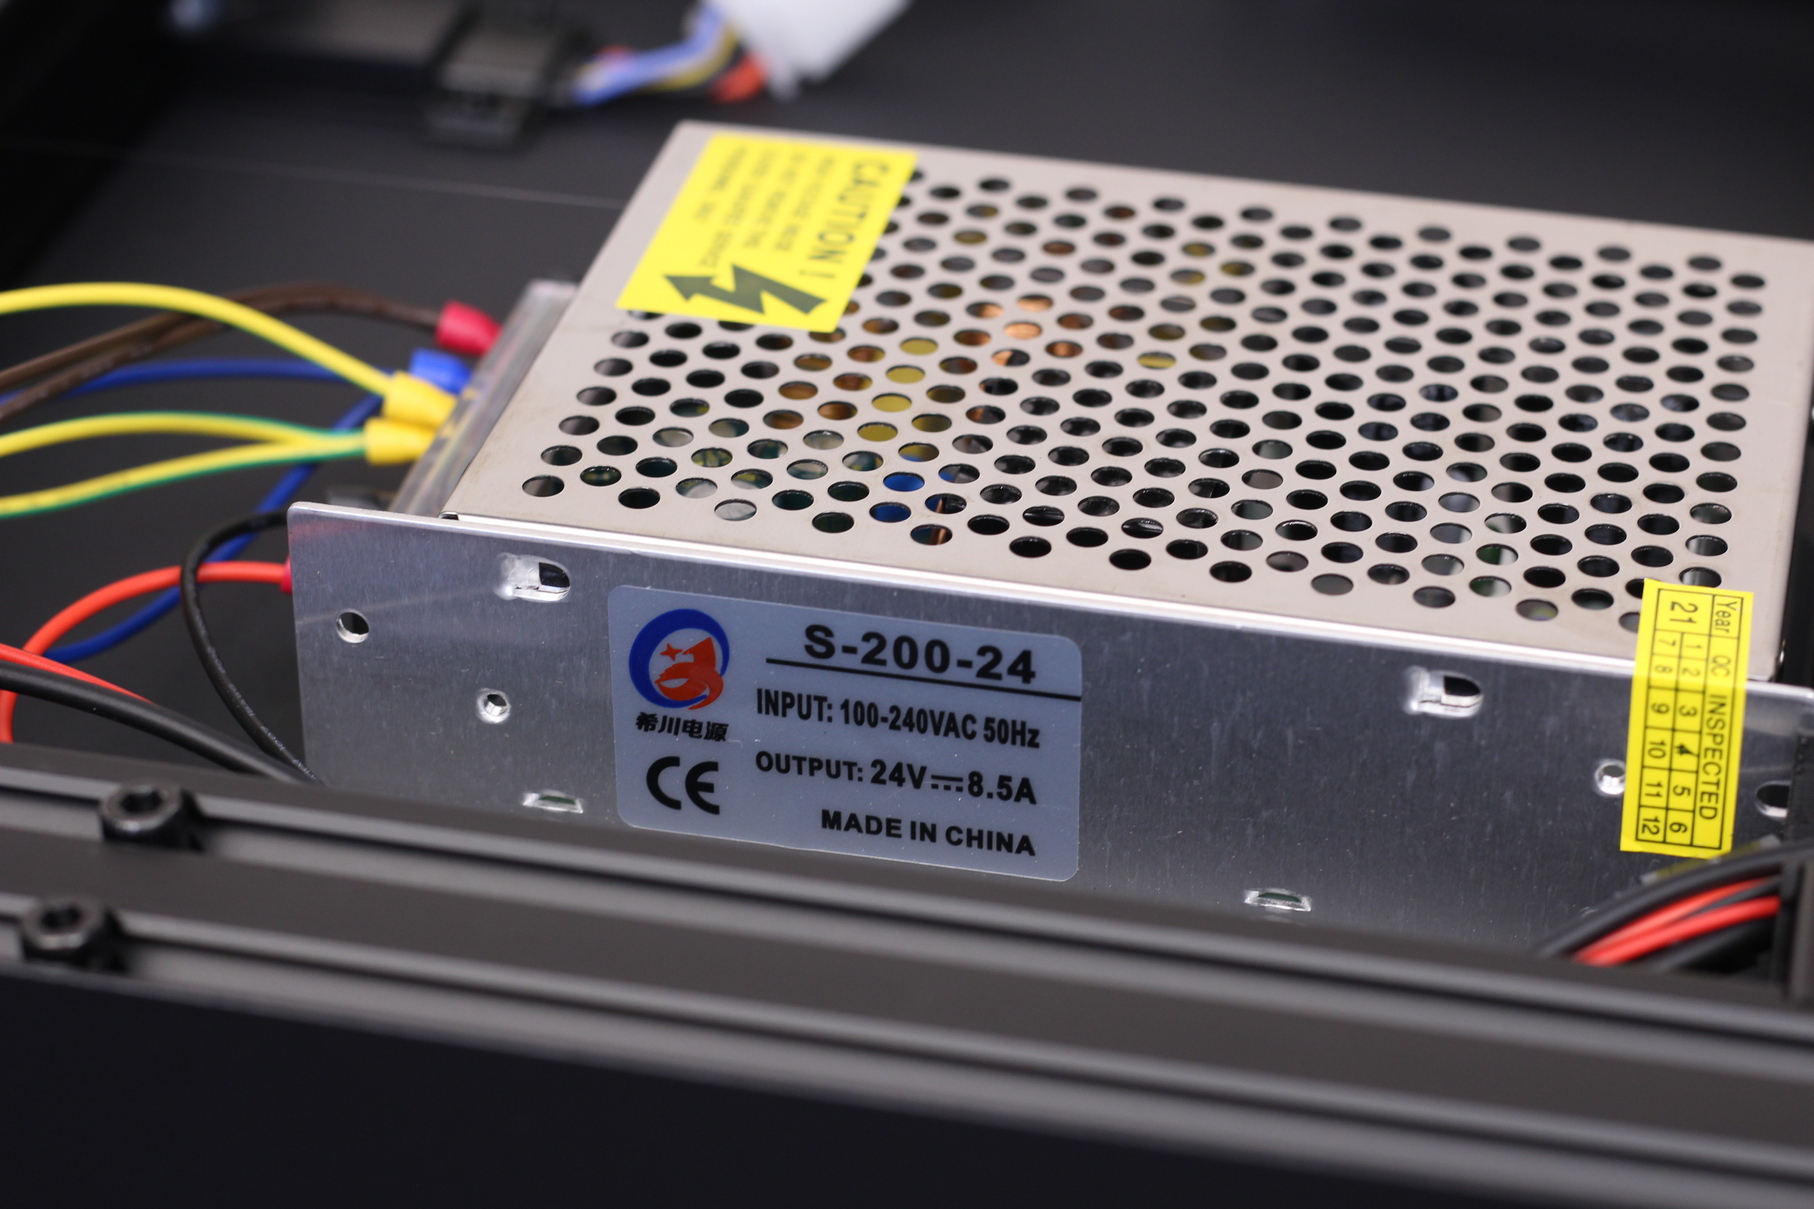
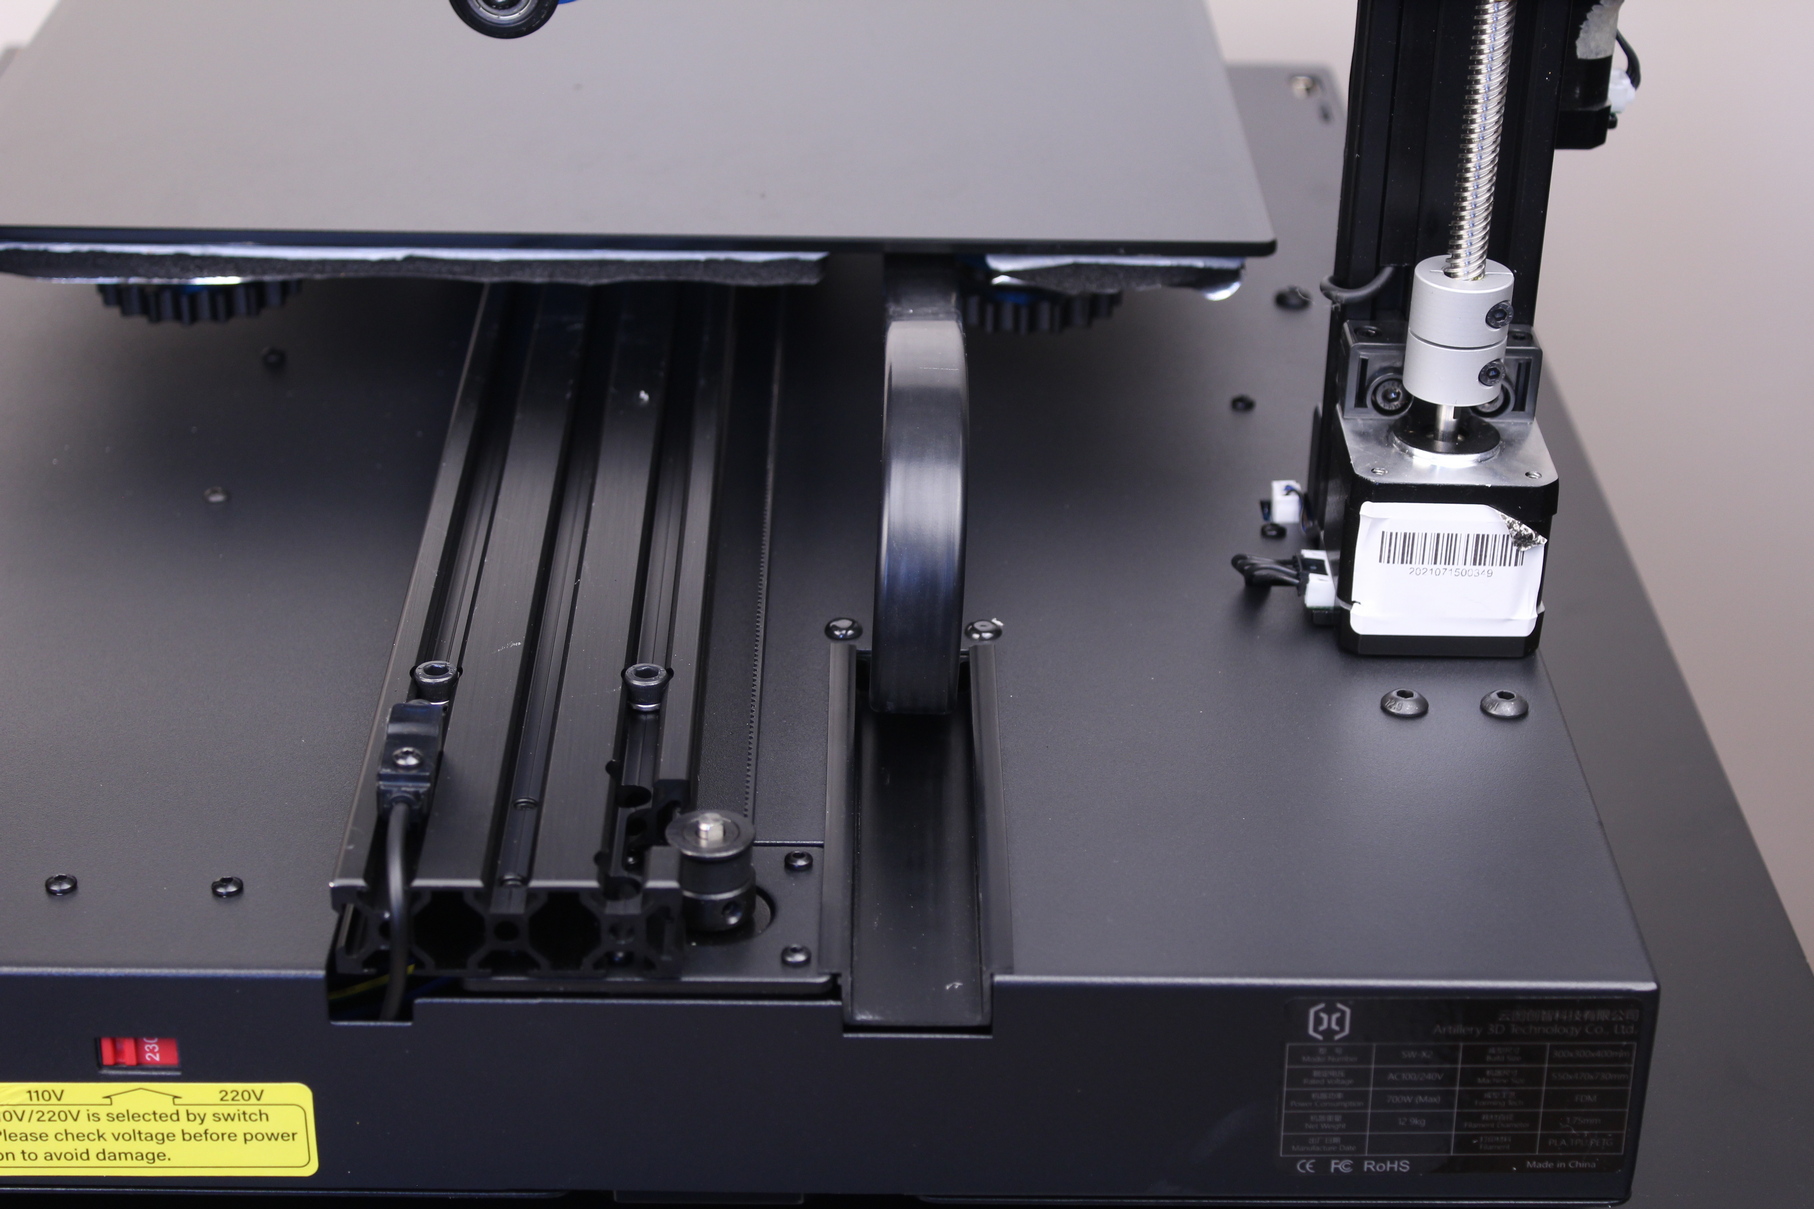
This time, we also have a voltage selector unit available, so you can choose between 110V/220V, depending on your region.
Heating time and power consumption
I tested the heating time for both hotend and heat bed and here are the results:
Hotend
- 200C in 50 seconds
- 250C in 1 minutes and 8 seconds
Heatbed
- 60C in 55 seconds
- 100C in 2 minutes and 18 seconds
Power Draw
Idle power draw is around 7W. When the hotend and heatbed are heating up, the Artillery Sidewinder X2 draws around 560W. After it starts printing, the power draw stabilizes to around 80W.
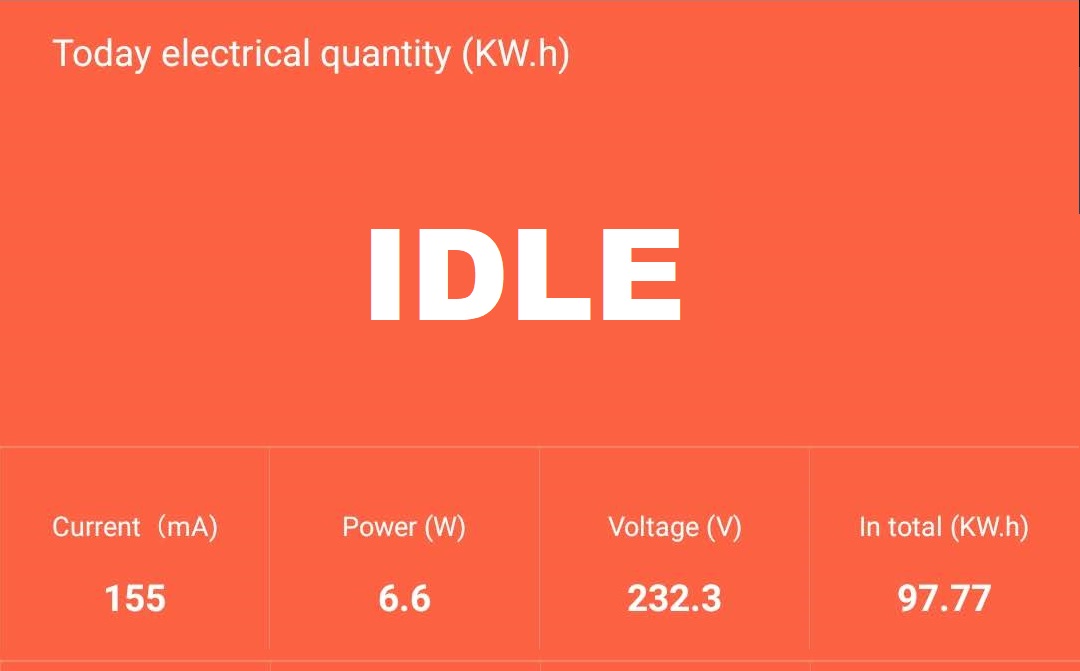
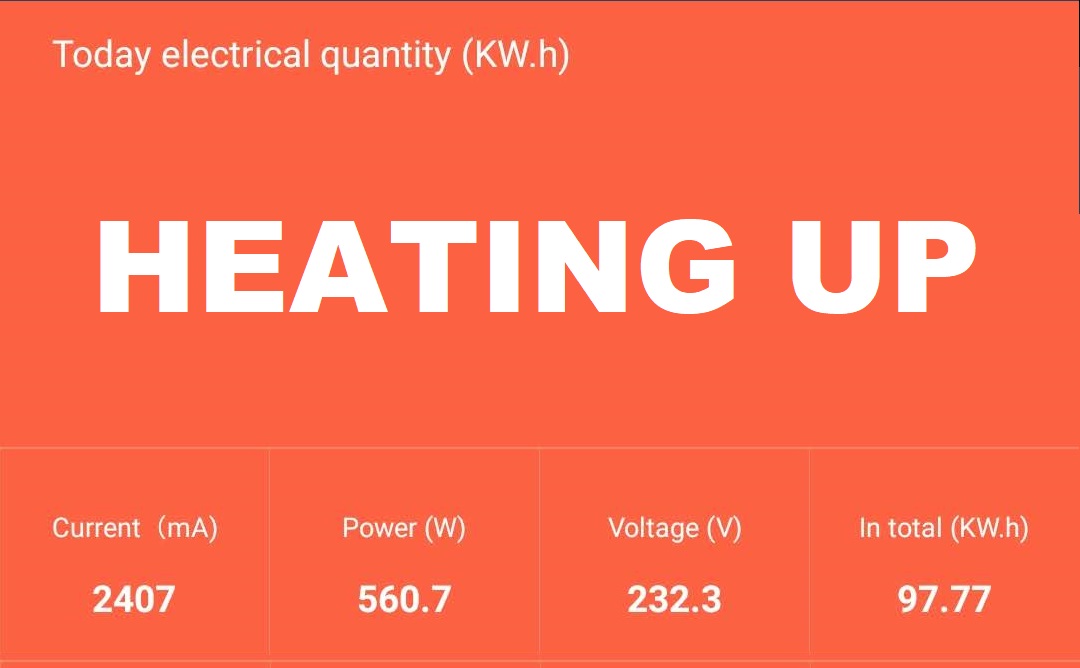
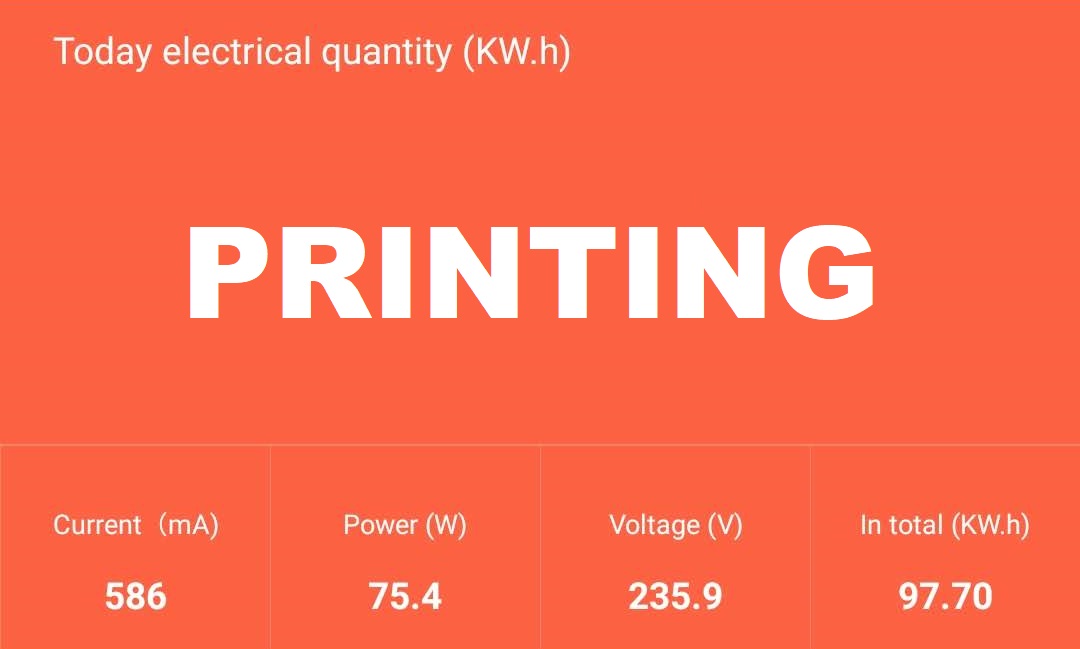
All these measurements were taken with a Blitzwolf smart power socket which indicates the power draw, and it can also be used for remotely powering on and off the printer.
Bed Temperature Uniformity
I tested the temperature uniformity for the Artillery Sidewinder X2 bed with the Flir Camera installed on the CAT S62 Pro. The bed has been set to 60C and I waited 2 minutes after reaching that temperature for the temperature to stabilize.
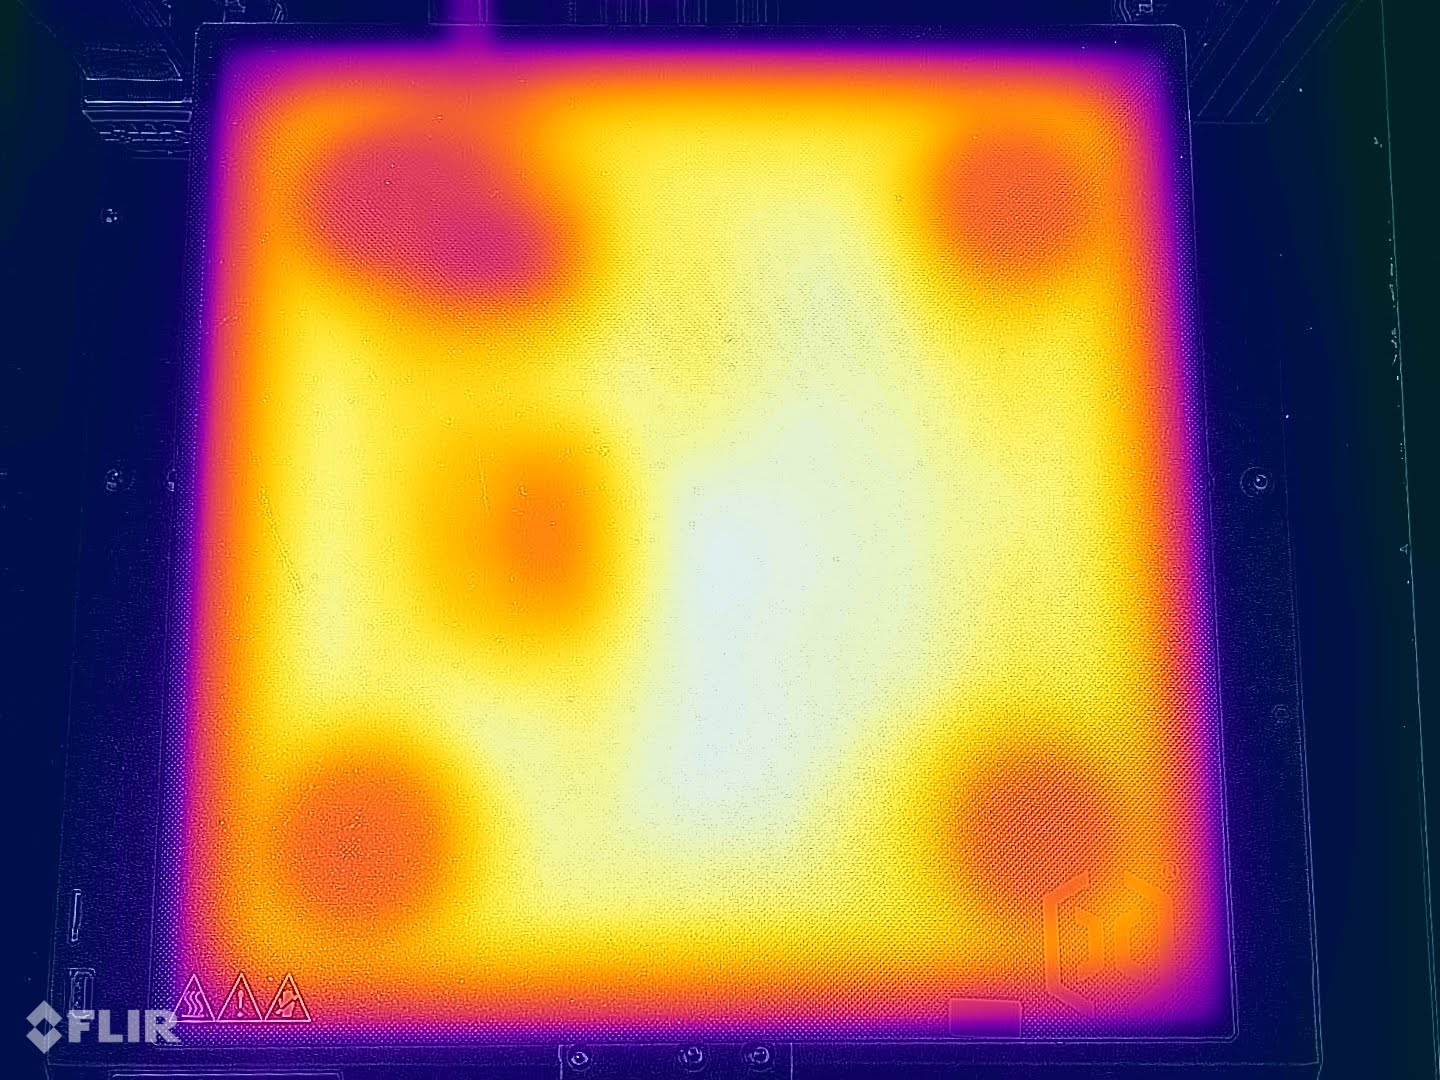
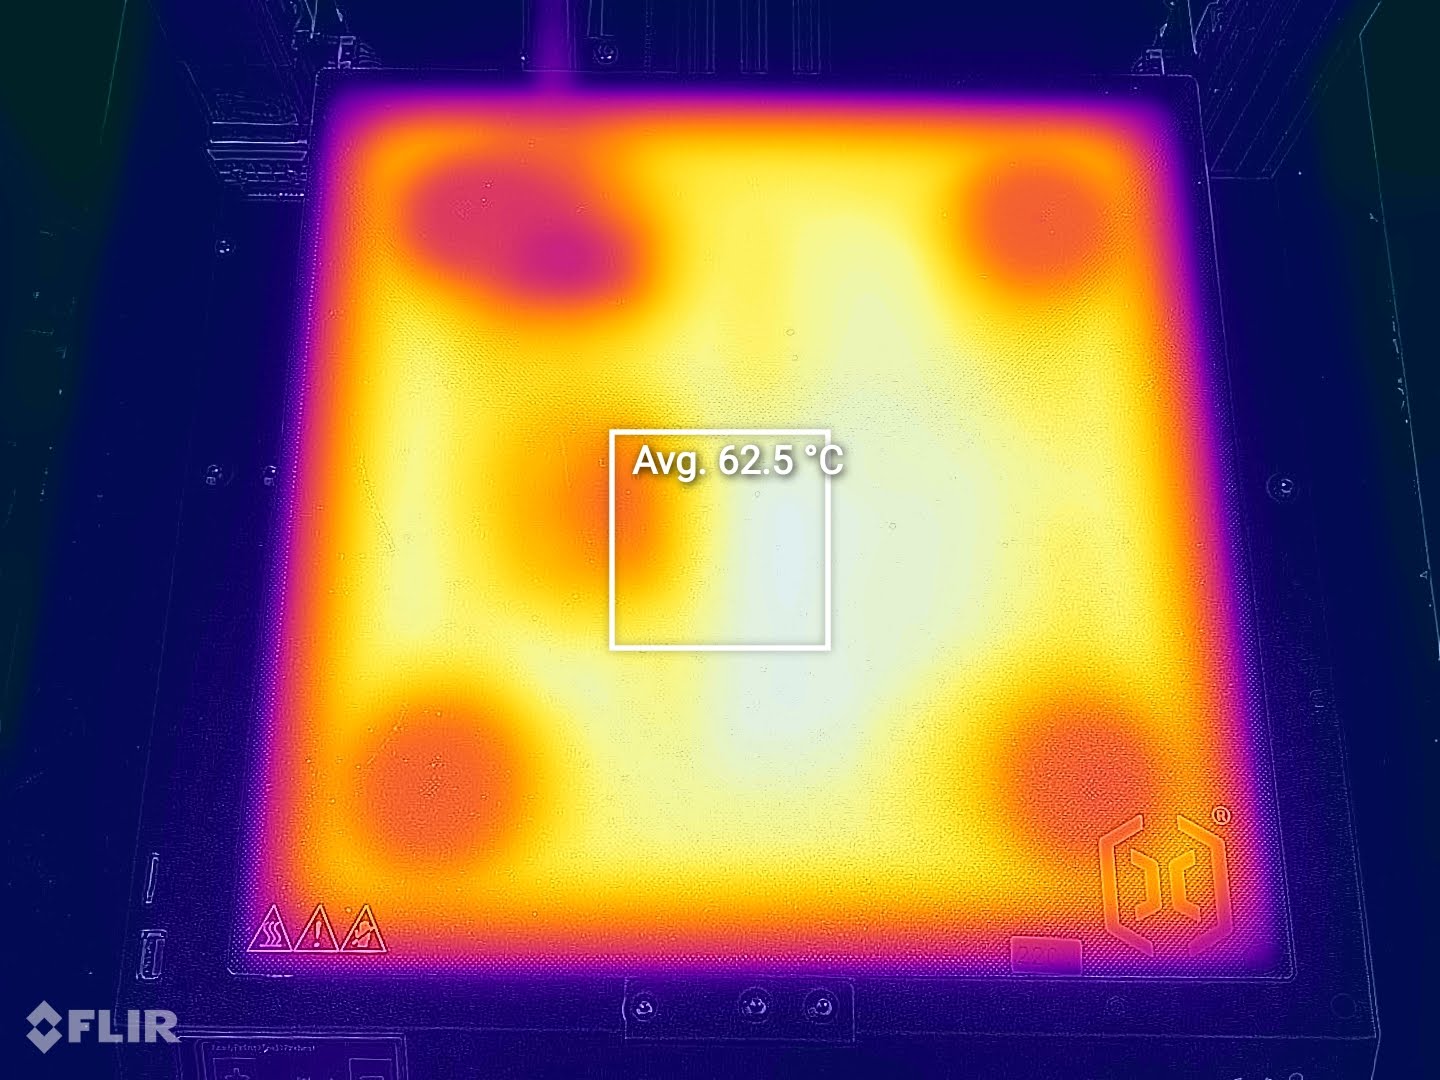
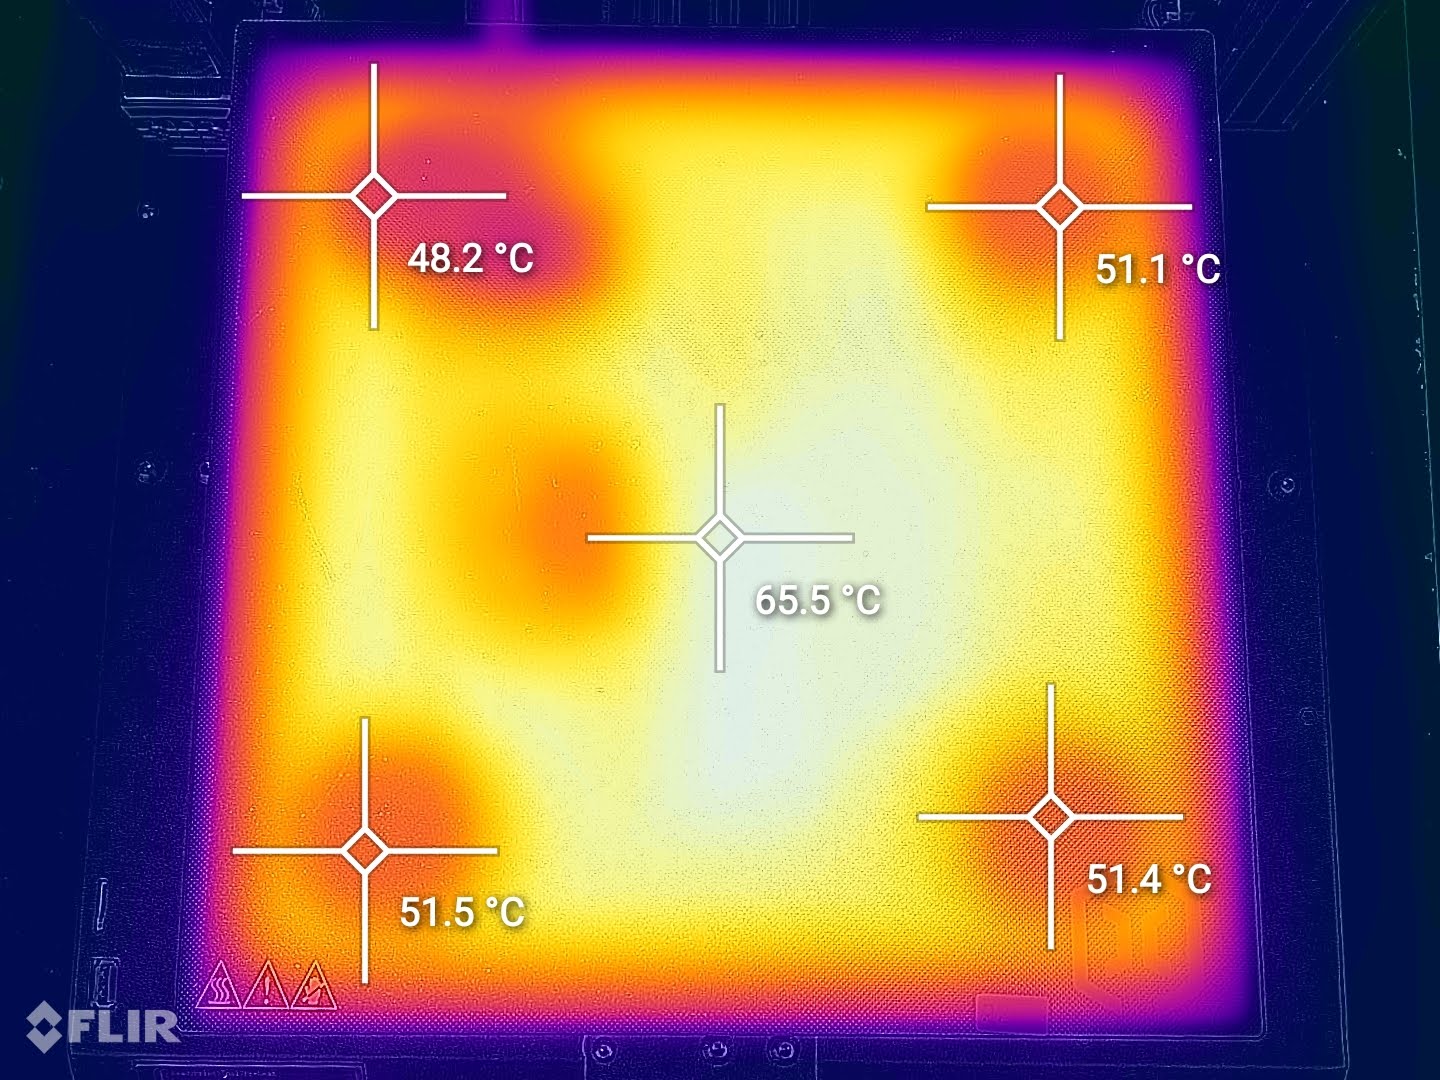
As you can see, the bed temperature uniformity is not good. It’s similar to what we got previously on the Sidewinder X1 and Genius, where there are cold spots in the location where the bed screws are located.
Artillery Sidewinder X2 Noise Levels
I am happy to report that the Sidewinder X2 is really quiet, and probably in the top three when it comes to the noise generated when printing. I really like that Artillery takes fan noise into consideration on their printer, compared to other manufacturers.
IdeaMaker Profiles for Artillery Sidewinder X2
As usual, during my time with the printer, I also tuned four IdeaMaker profiles for the Sidewinder X2 using the tools available in the 3D Printer Calibration Guide using IdeaMaker article and starting from the previously released profiles for the Sidewinder X1. These profiles are tuned for the stock printer and can be used on the X1 too.
Artillery Sidewinder X2 IdeaMaker Profile – PLA – 3DPrintBeginner
Artillery Sidewinder X2 IdeaMaker Profile – PETG – 3DPrintBeginner
Artillery Sidewinder X2 IdeaMaker Profile – TPU – 3DPrintBeginner
Test prints on Artillery Sidewinder X2
3DBenchy
Just like I do with any 3D printer I review, the first model printed is a 3D Benchy. It’s a quick print that gives me a quick look at the overall print quality from the basic profile used. This time, I got a head start because I used the Sidewinder X1 profile as a base so the print quality is fairly good.
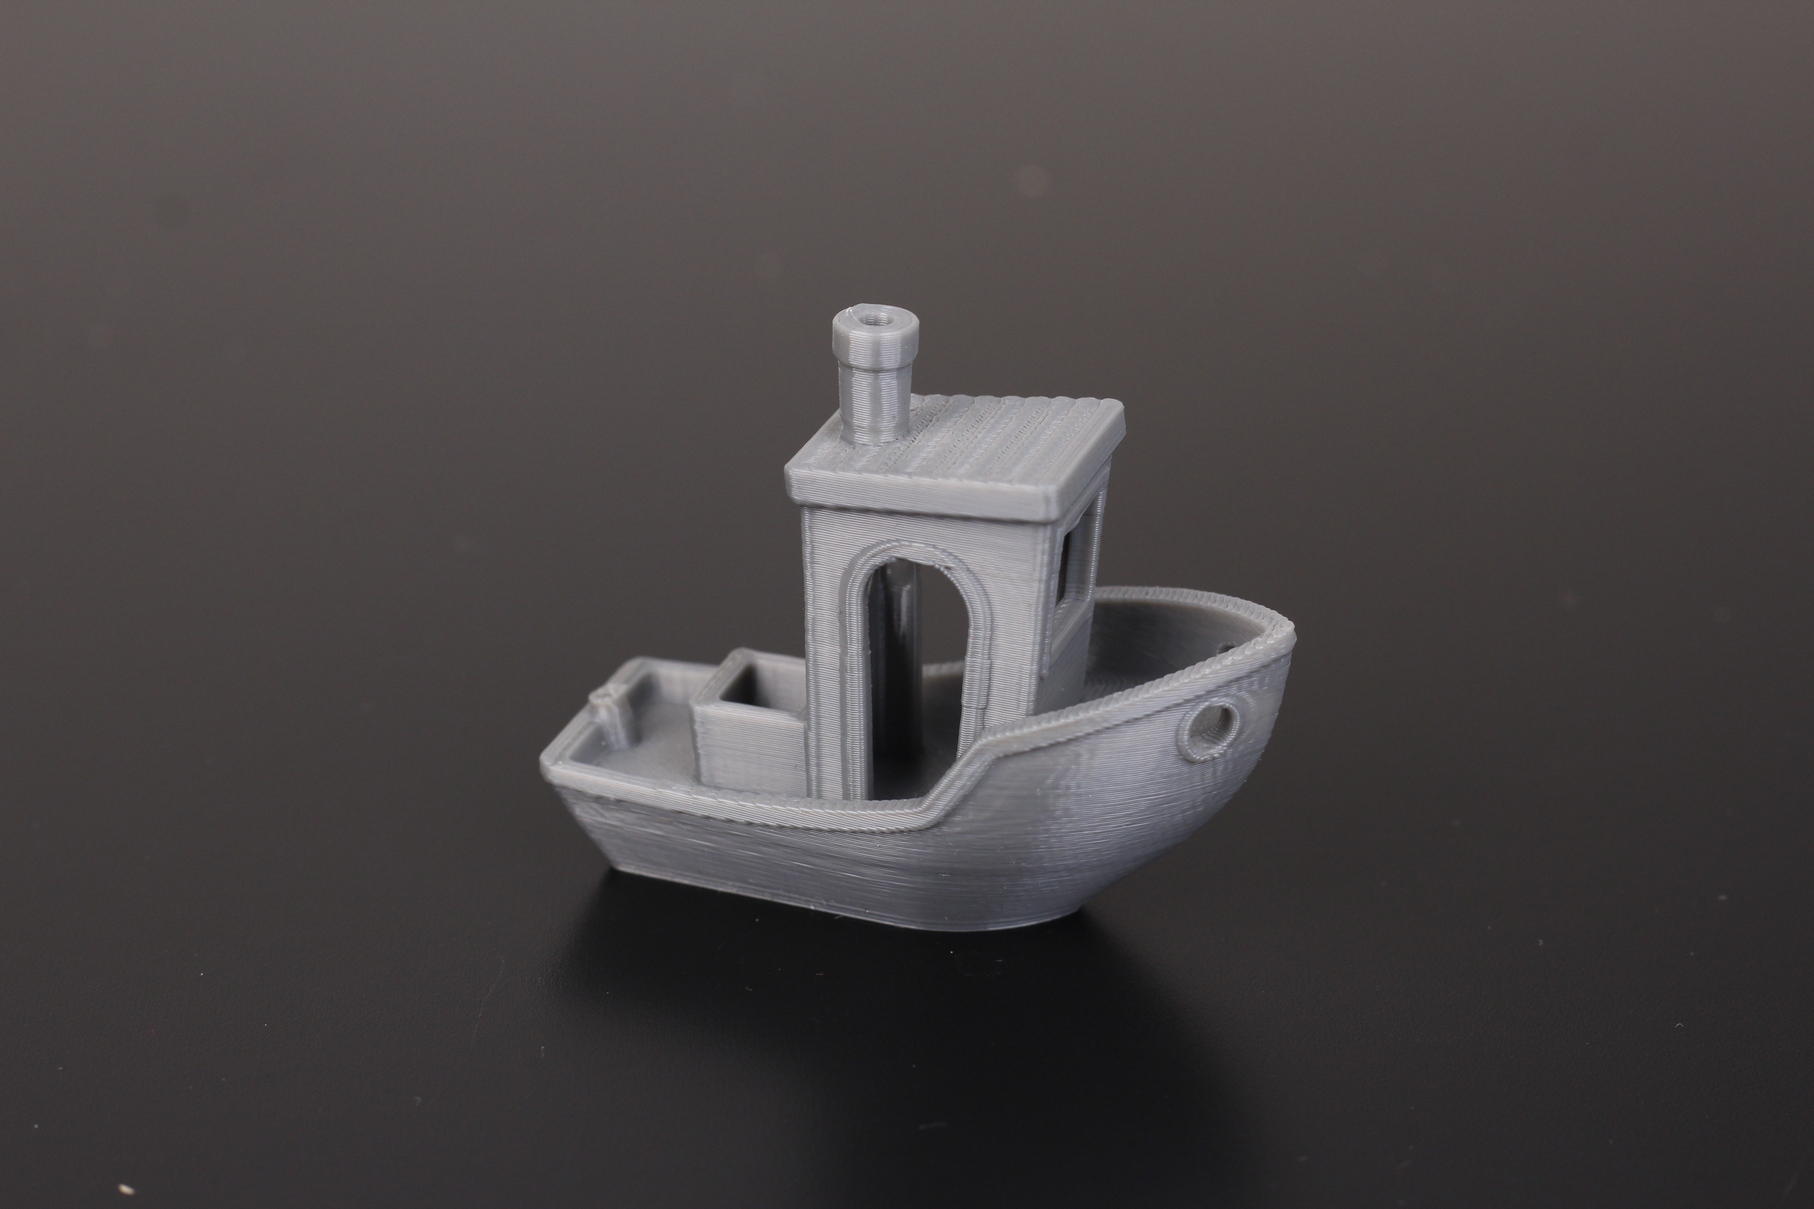
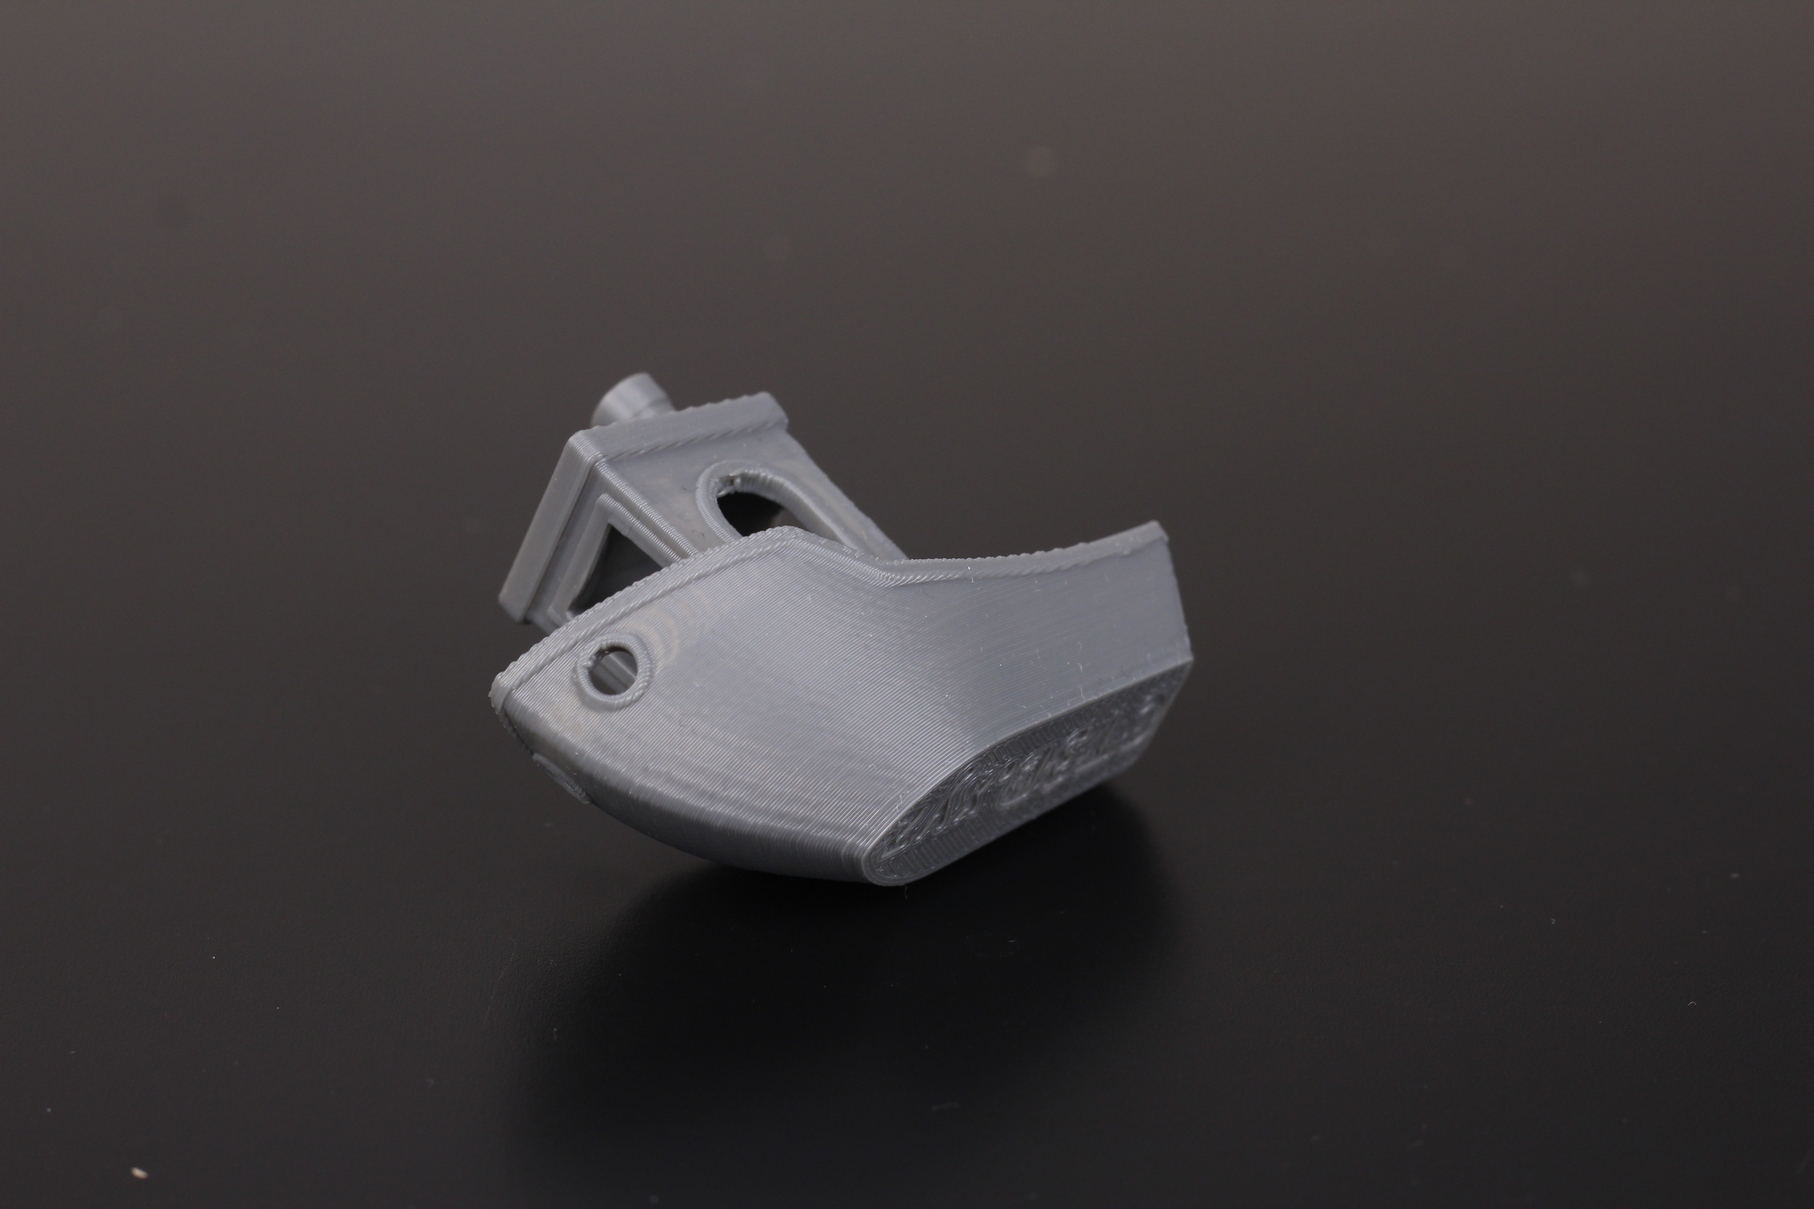
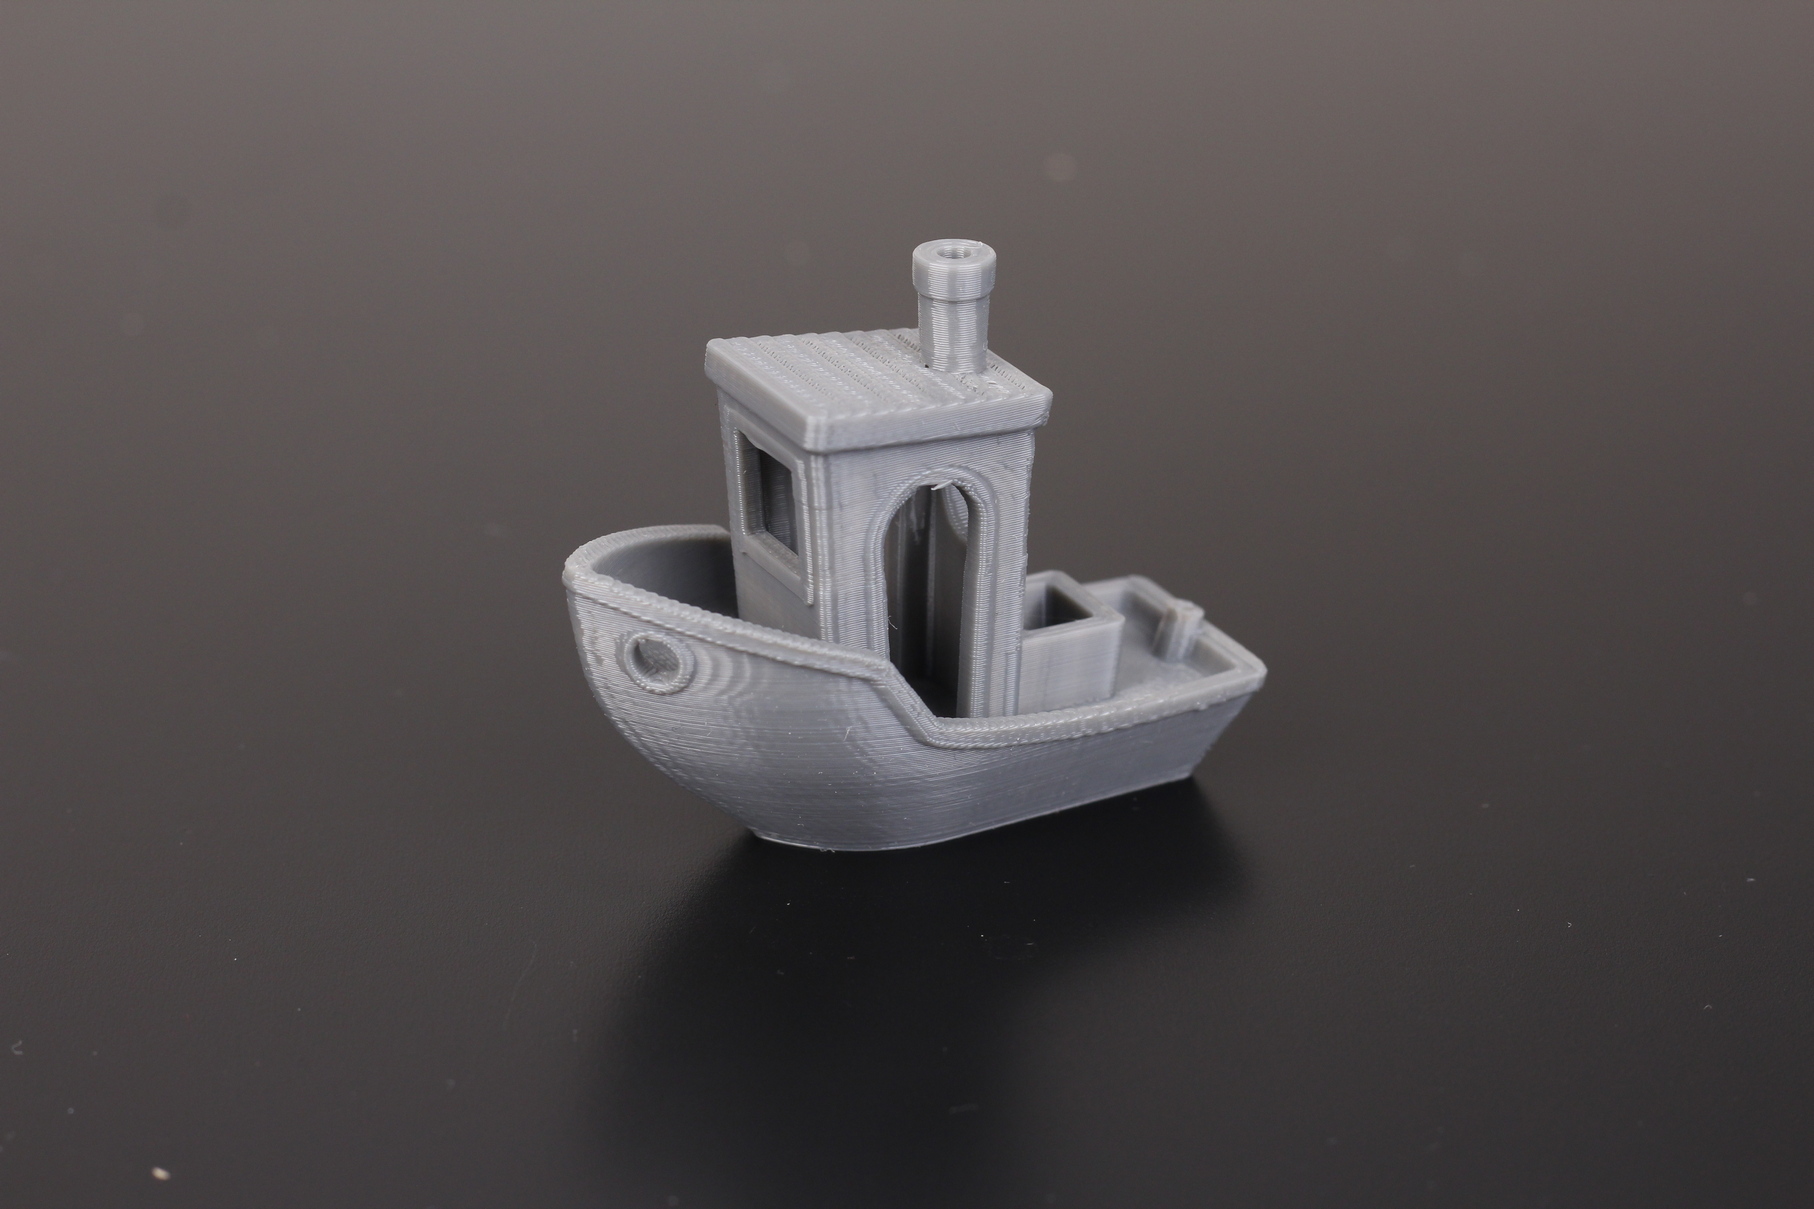
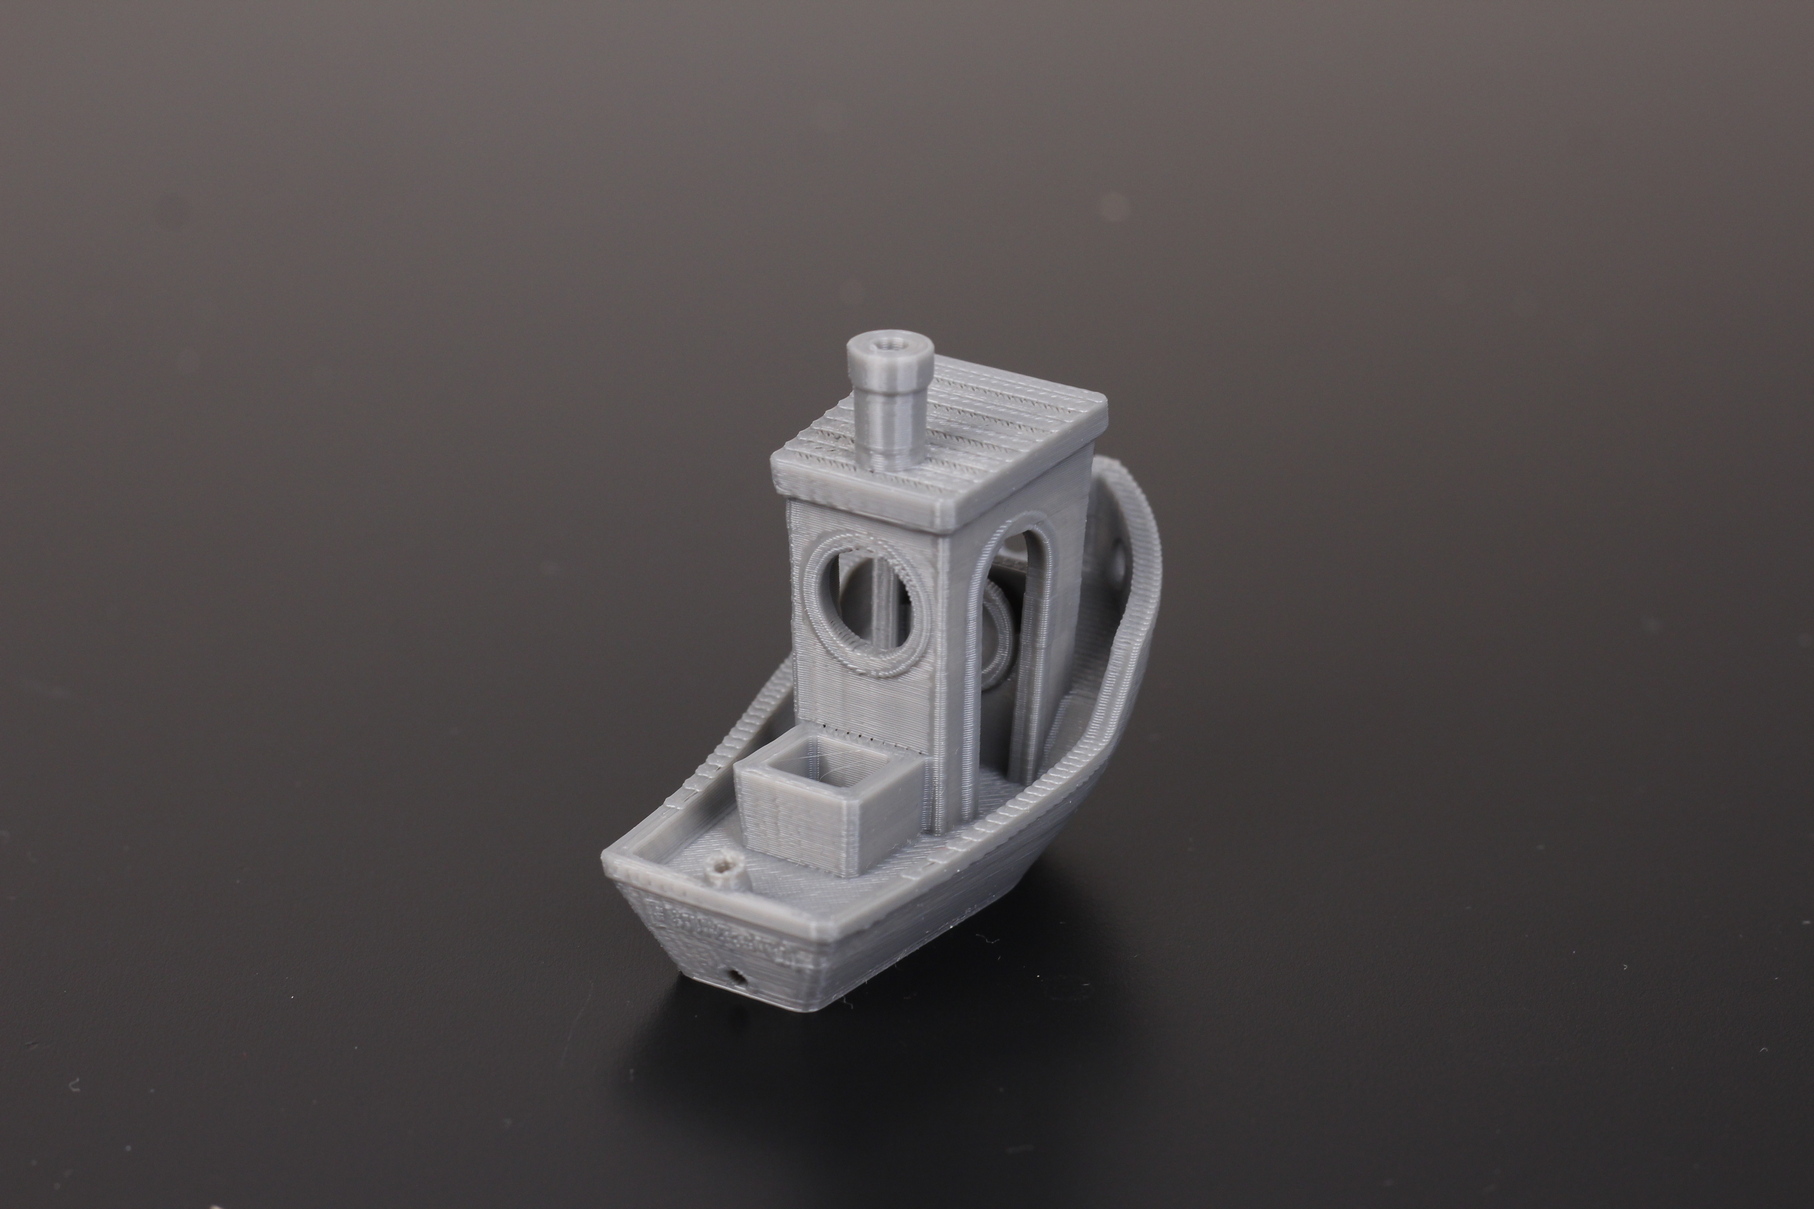
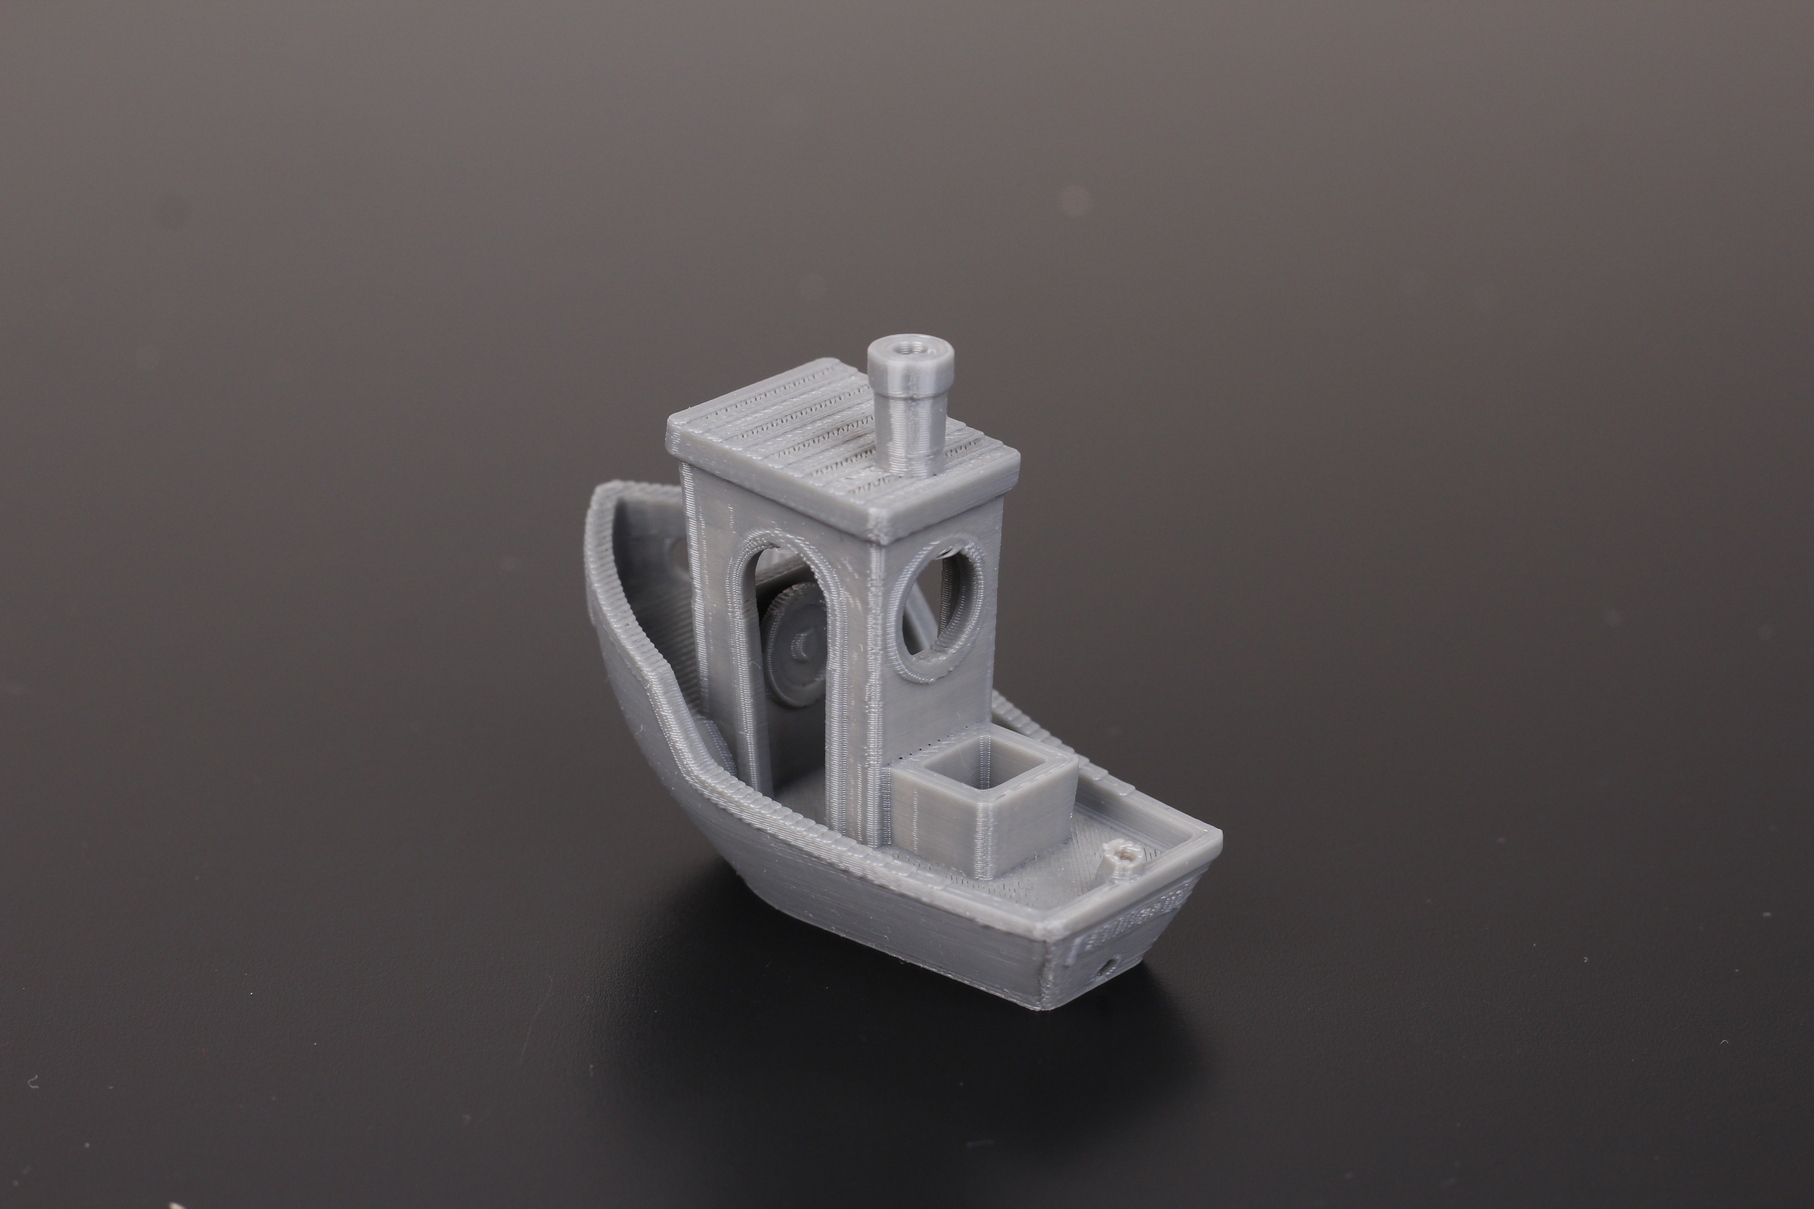
- Material: Sunlu Grey PLA
- Layer Height: 0.2mm
- Nozzle Temperature: 205C
- Bed Temperature: 60C
- Print Speed: 60 mm/s
Helix Test Cube
I increased the print speed a bit, to see how well can the Sidewinder X2 print this new Helix Test Cube I found on Thingiverse. I was pleasantly surprised by how it turned out, even though there’s obvious signs of ringing caused by the heavy bed. But as you can see, bridging is decent, most of the small features are well defined and a bit of under-extrusion on the top layers.
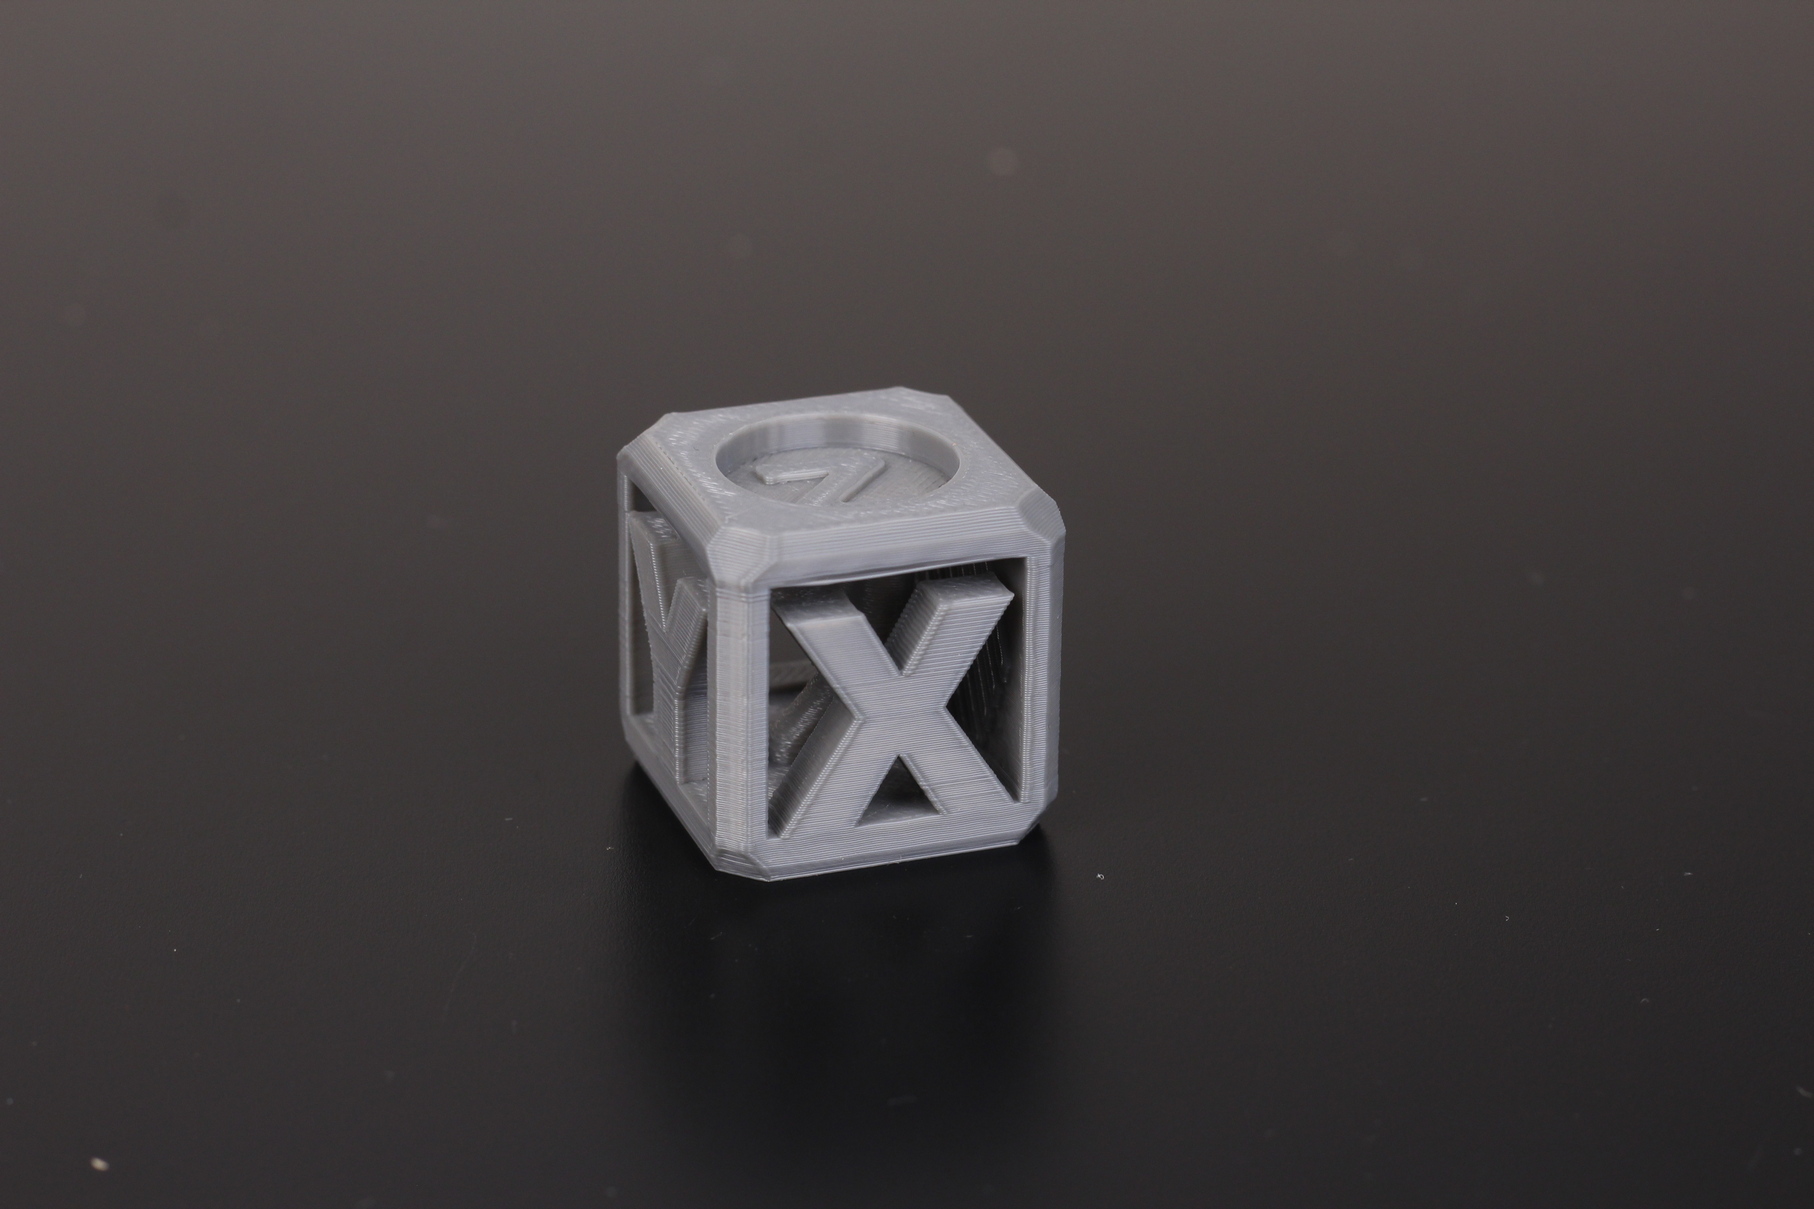
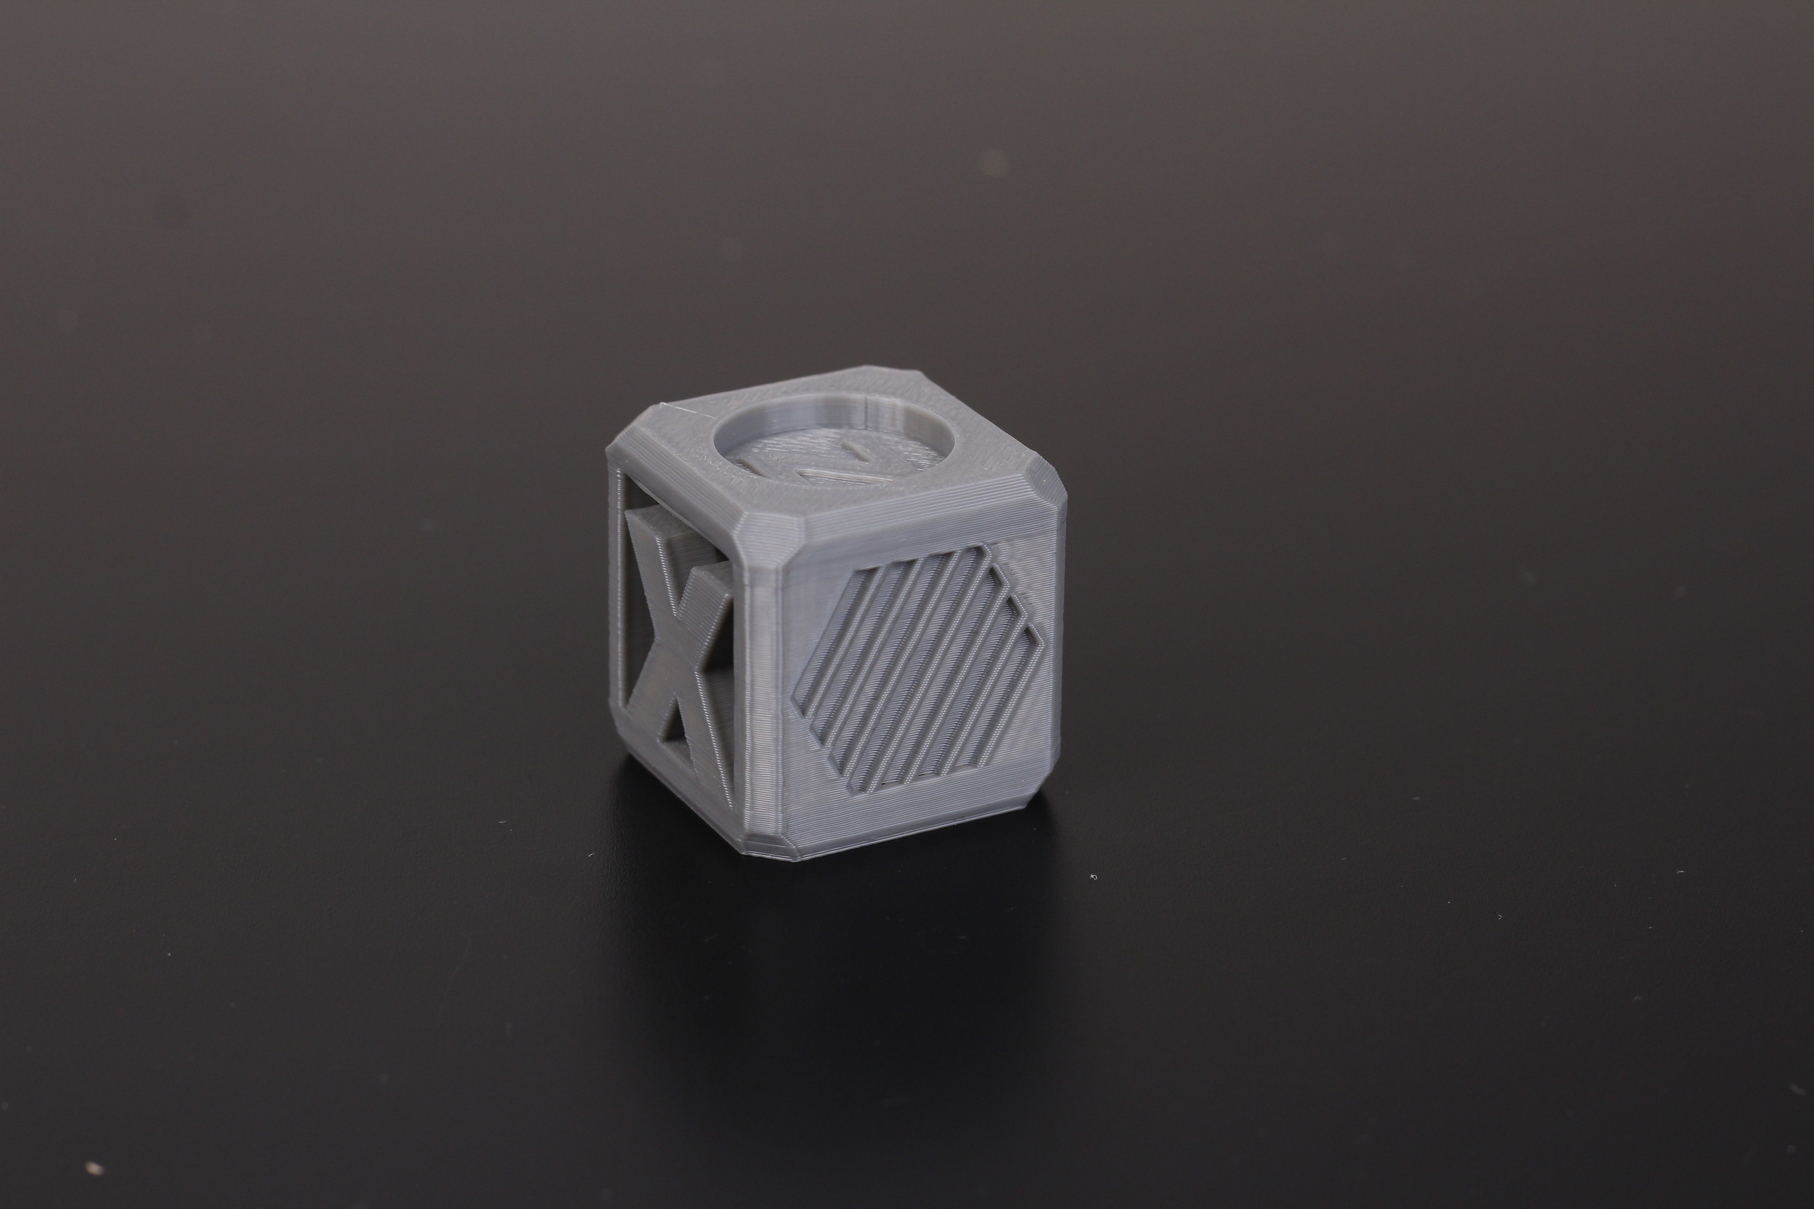
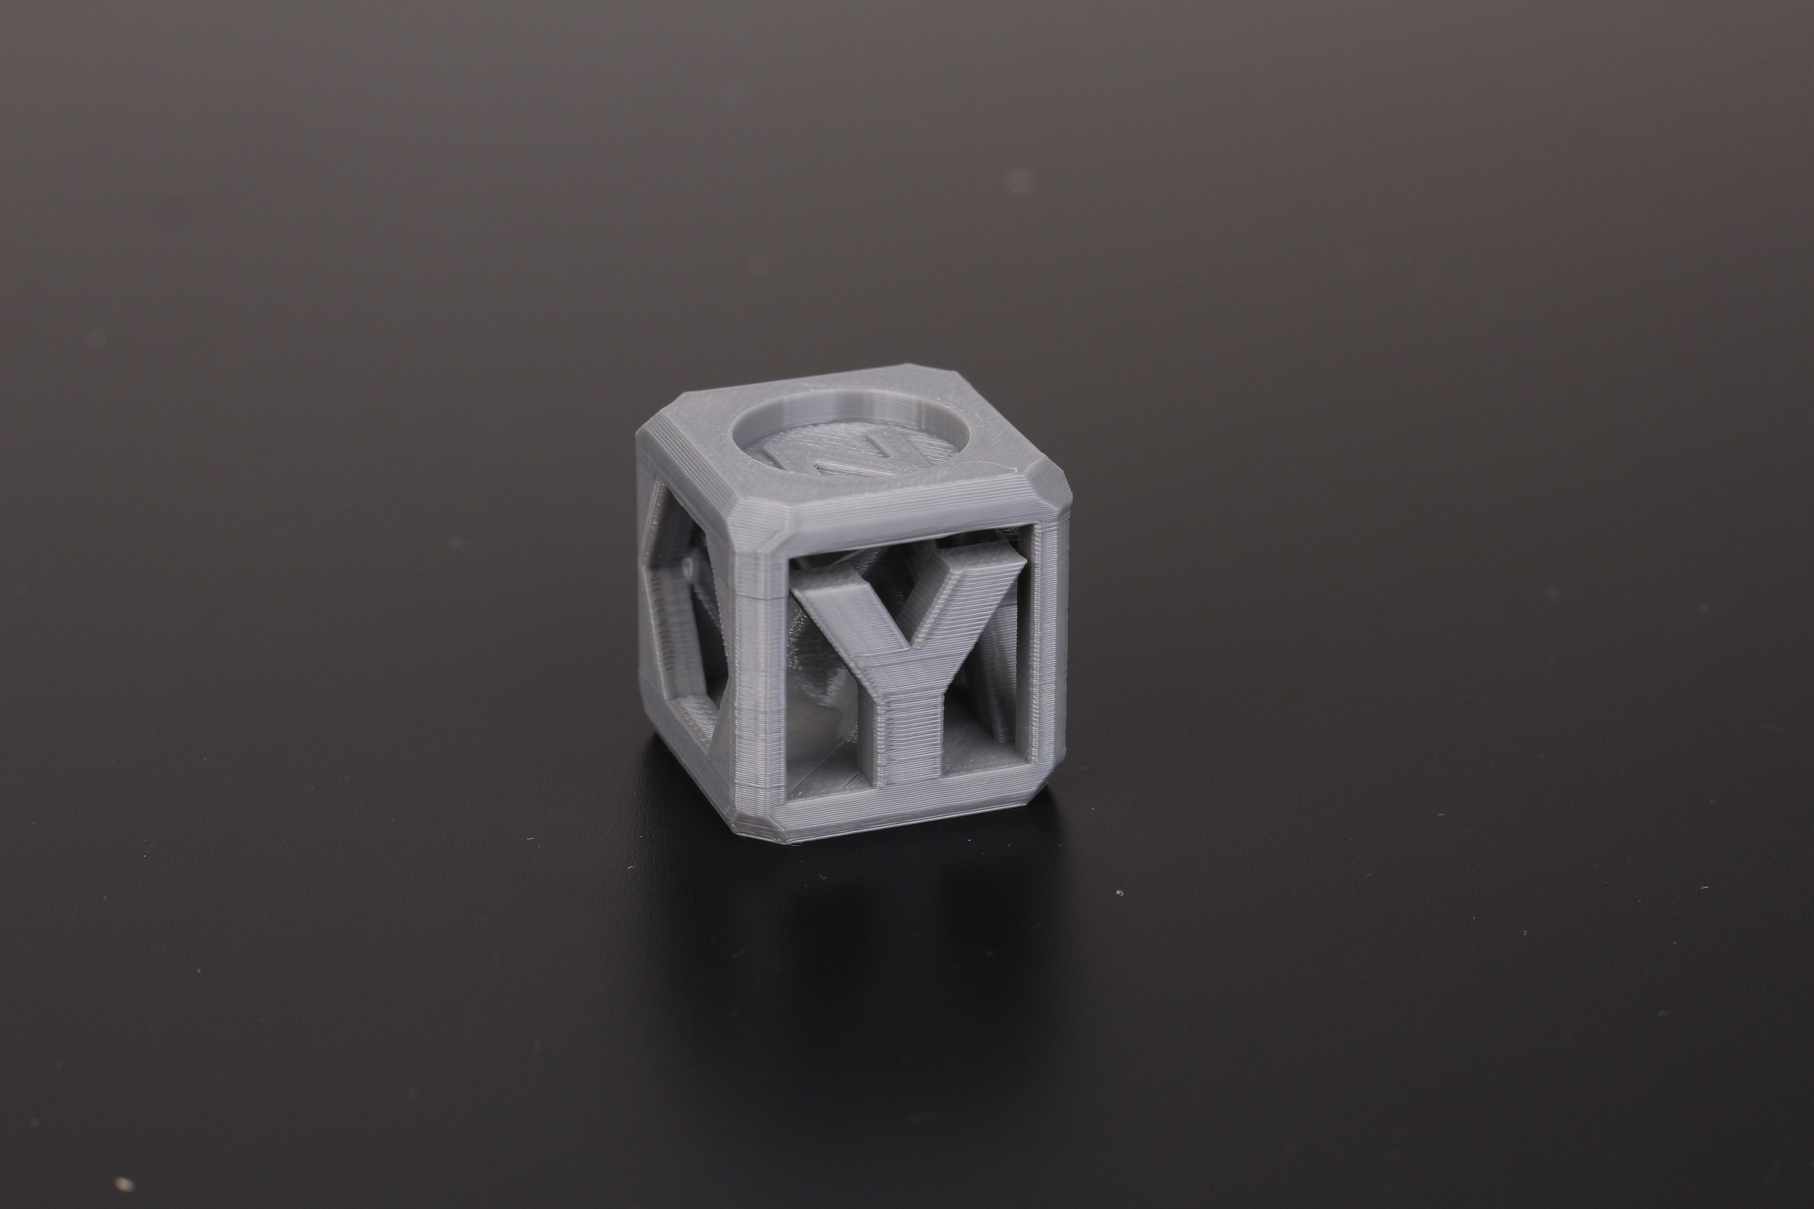
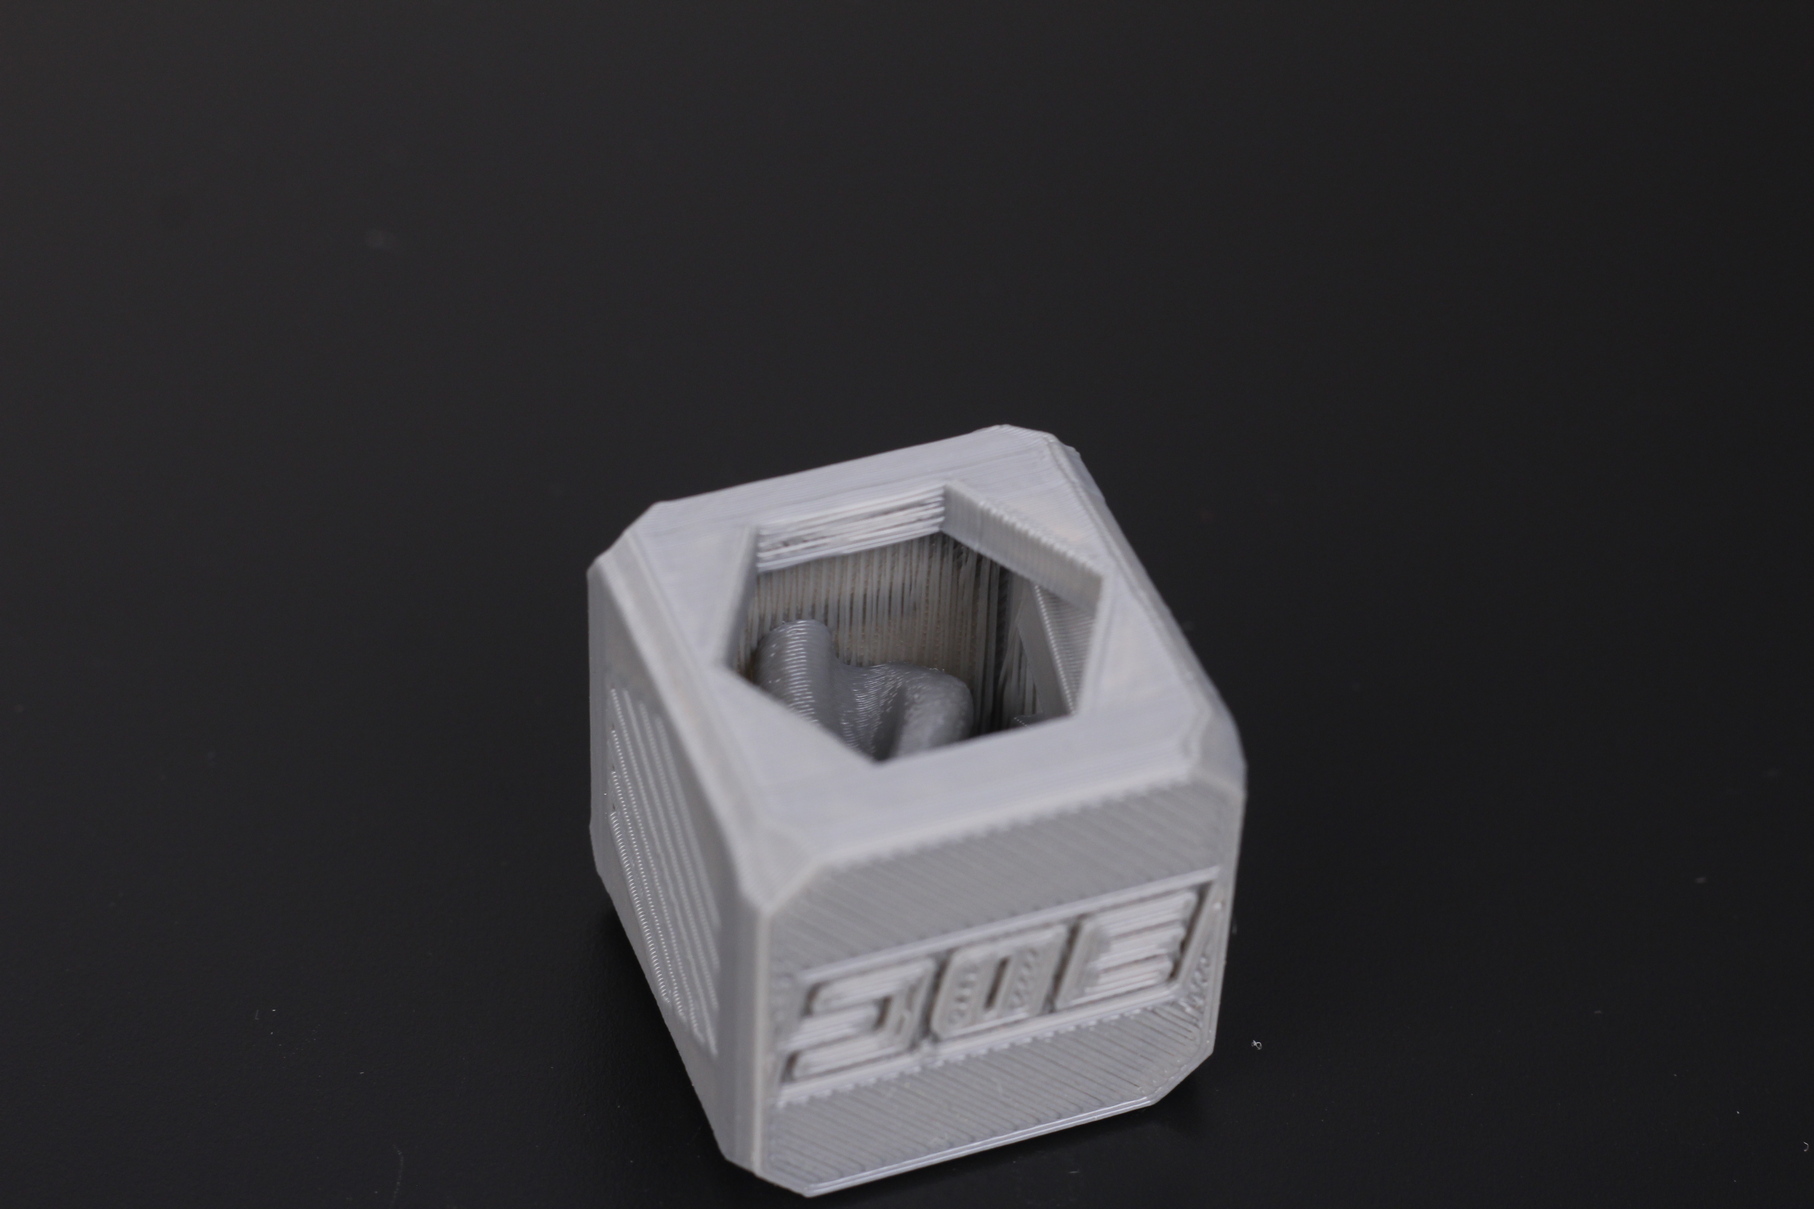
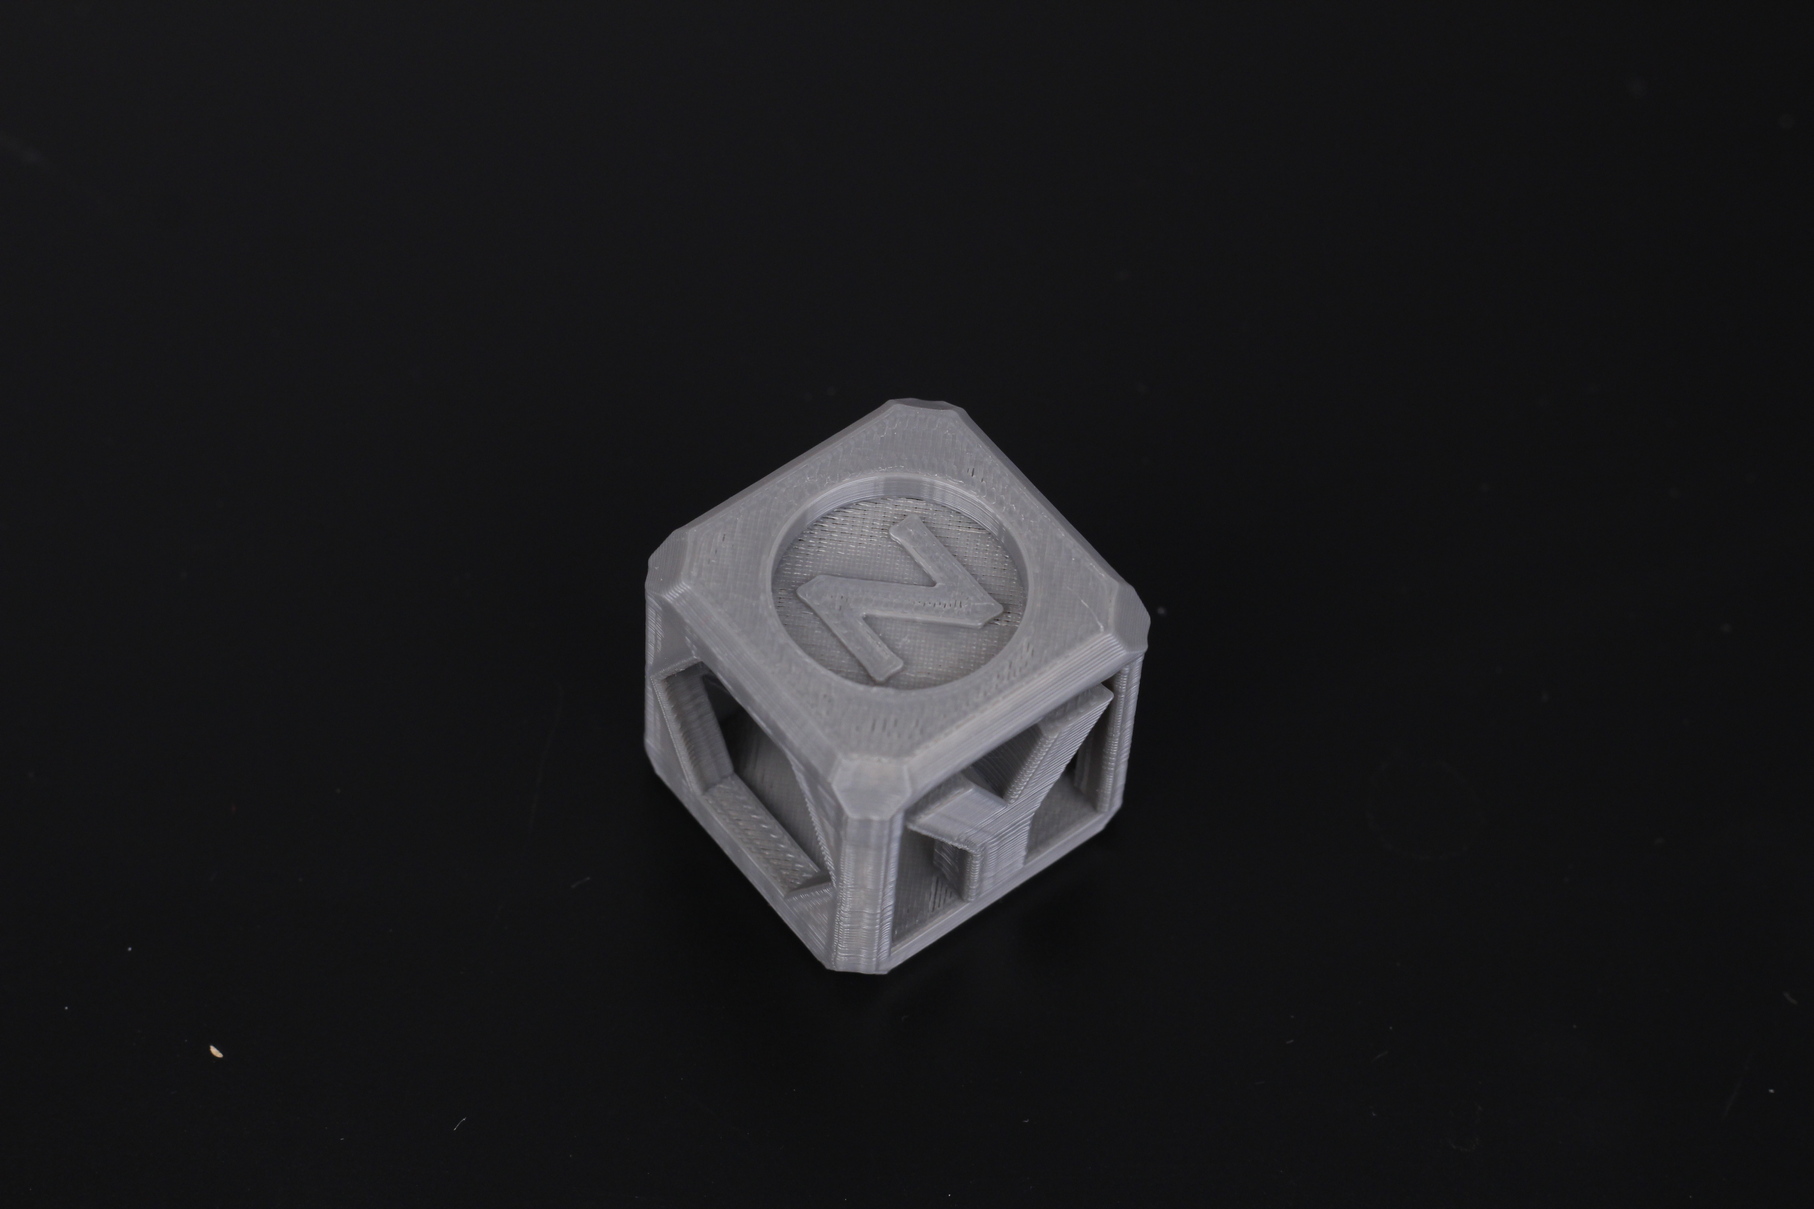
- Material: Sunlu Grey PLA
- Layer Height: 0.2mm
- Nozzle Temperature: 210C
- Bed Temperature: 60C
- Print Speed: 70 mm/s
Phil-A-Ment
Another print I regularly use as a benchmark is the Phil-A-Ment model from MatterHackers. It’s usually a great model to detect if the part cooling fan is doing a good job or not. In this case, the print is clean, with minor issues on the gloves where there’s a big overhang. Just like with the previous prints, you can see the ringing effect when you go past 60mm/s.
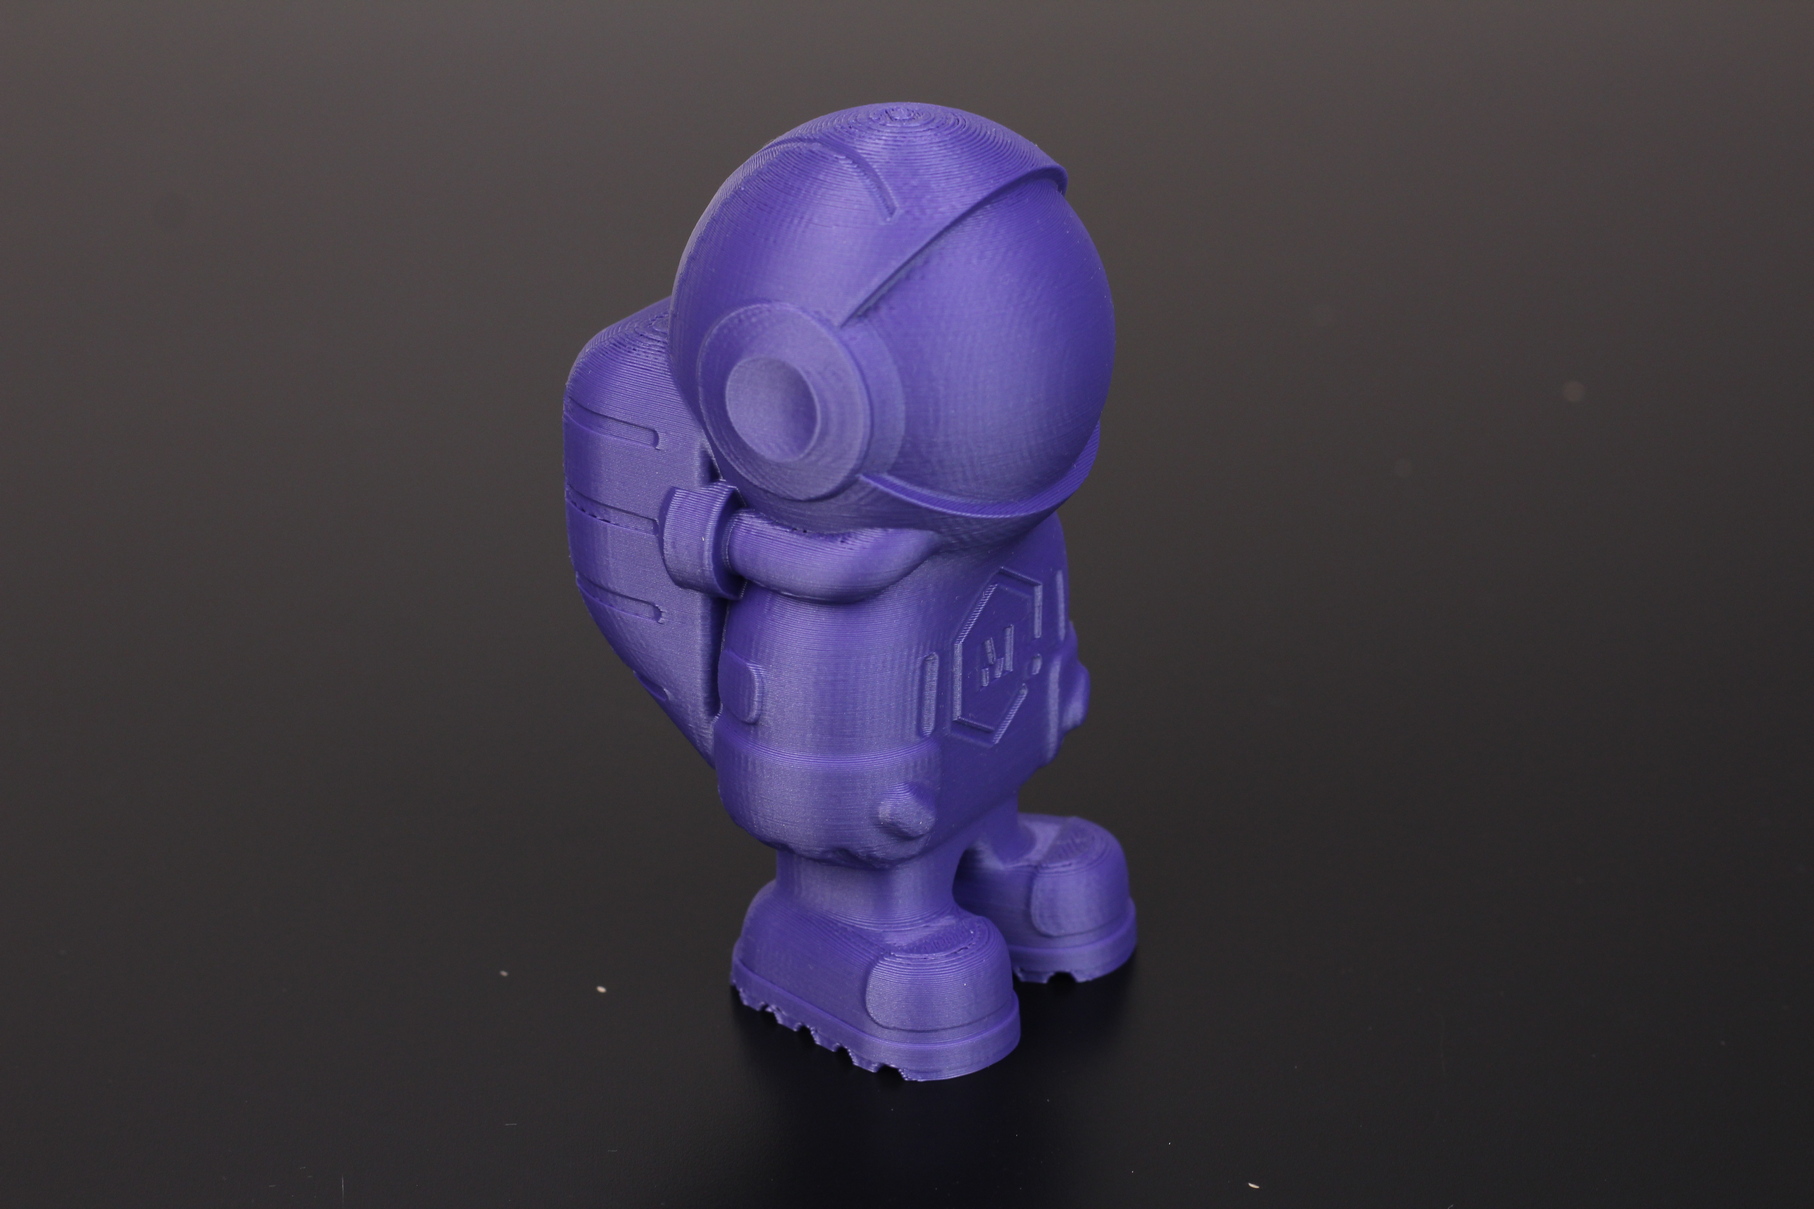
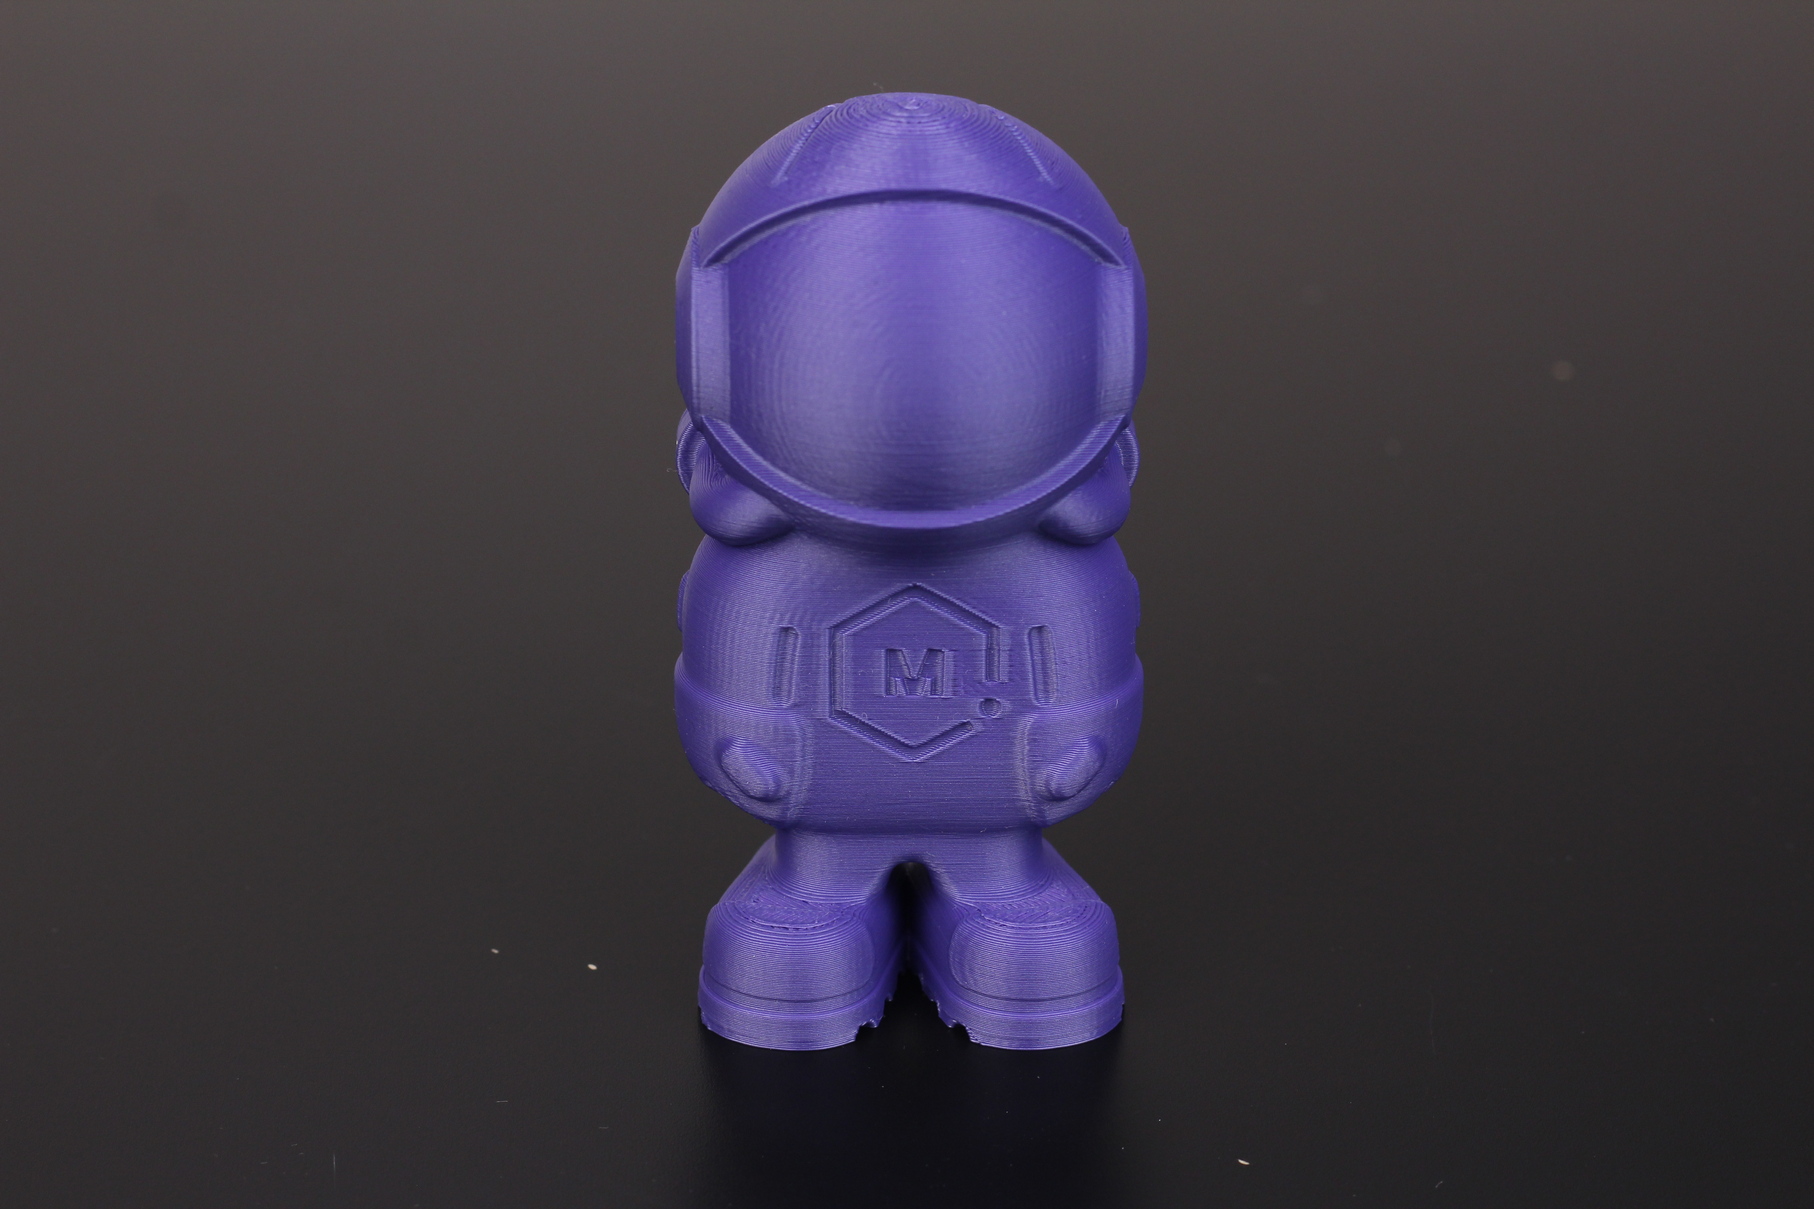
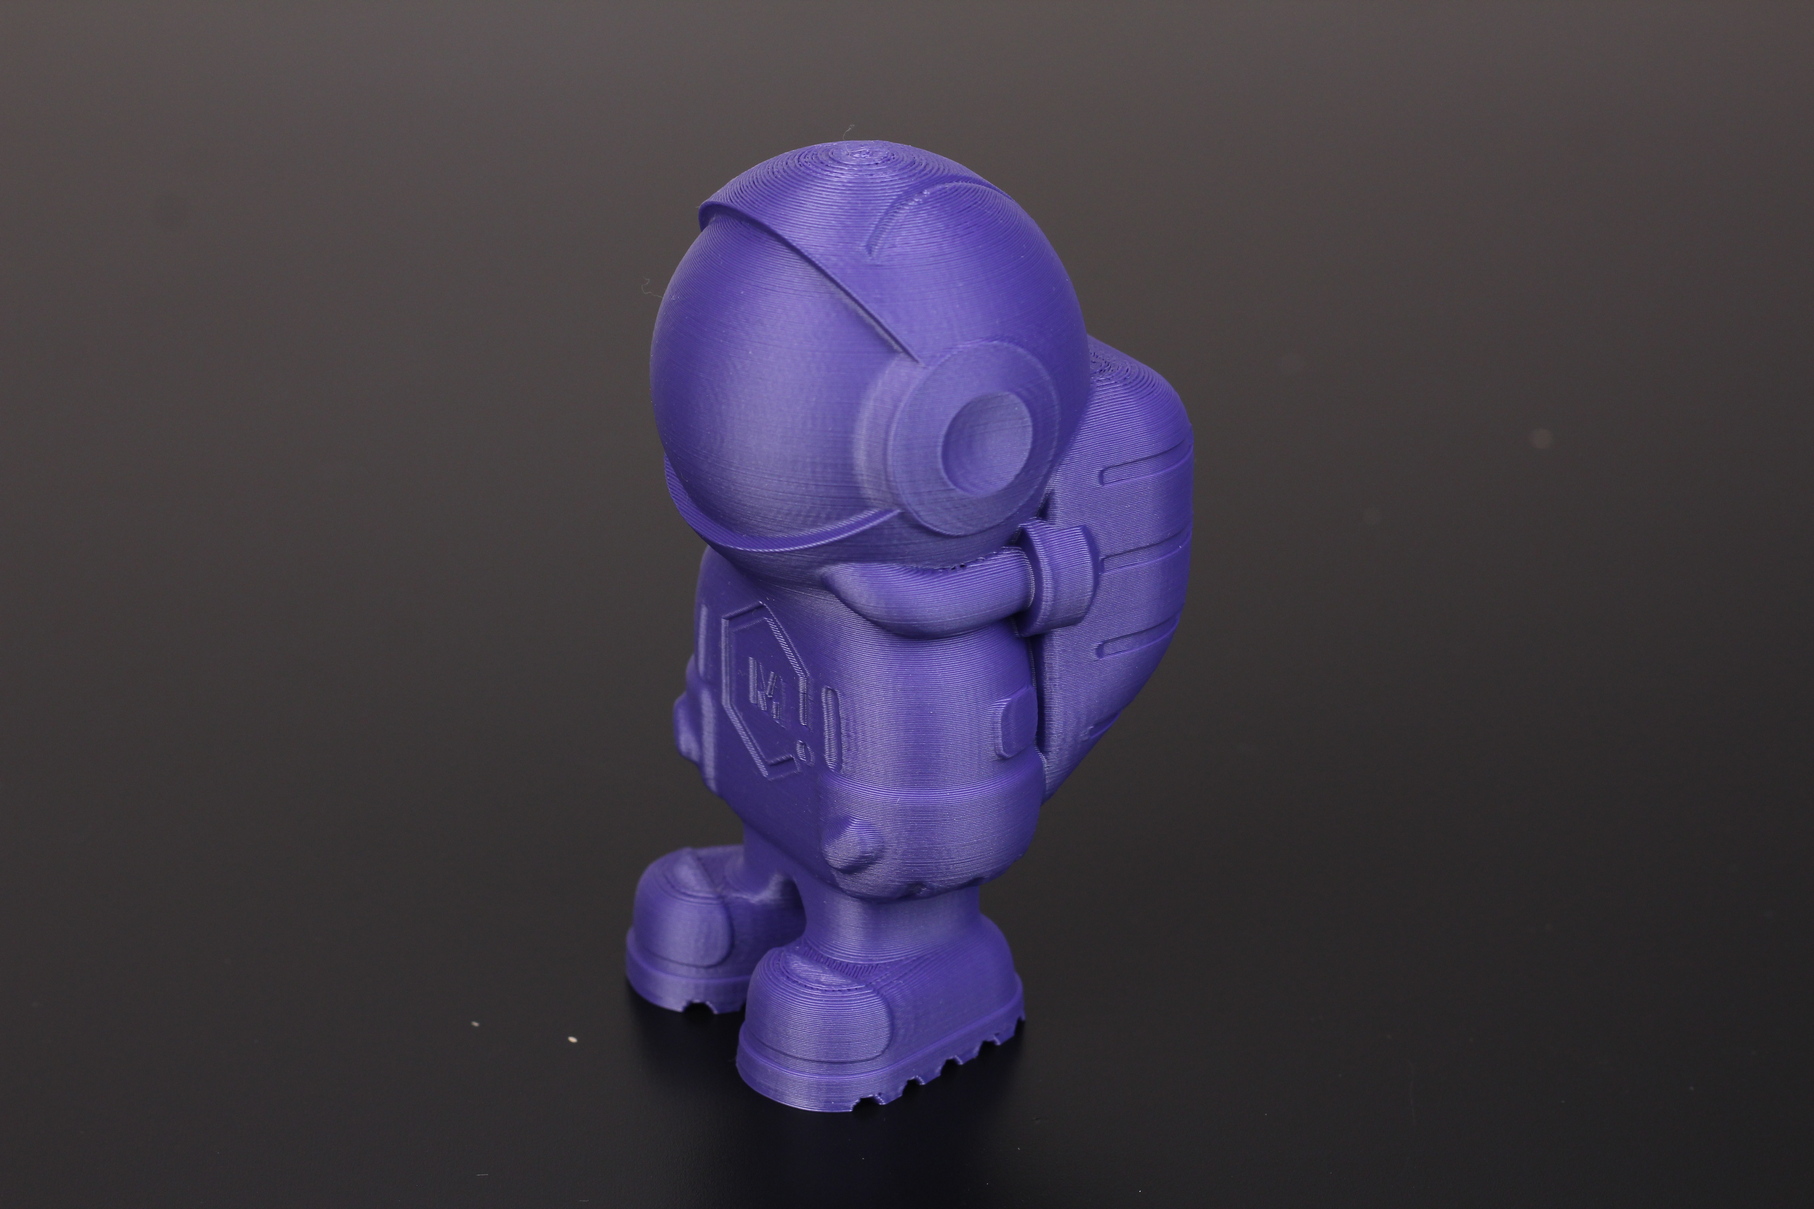
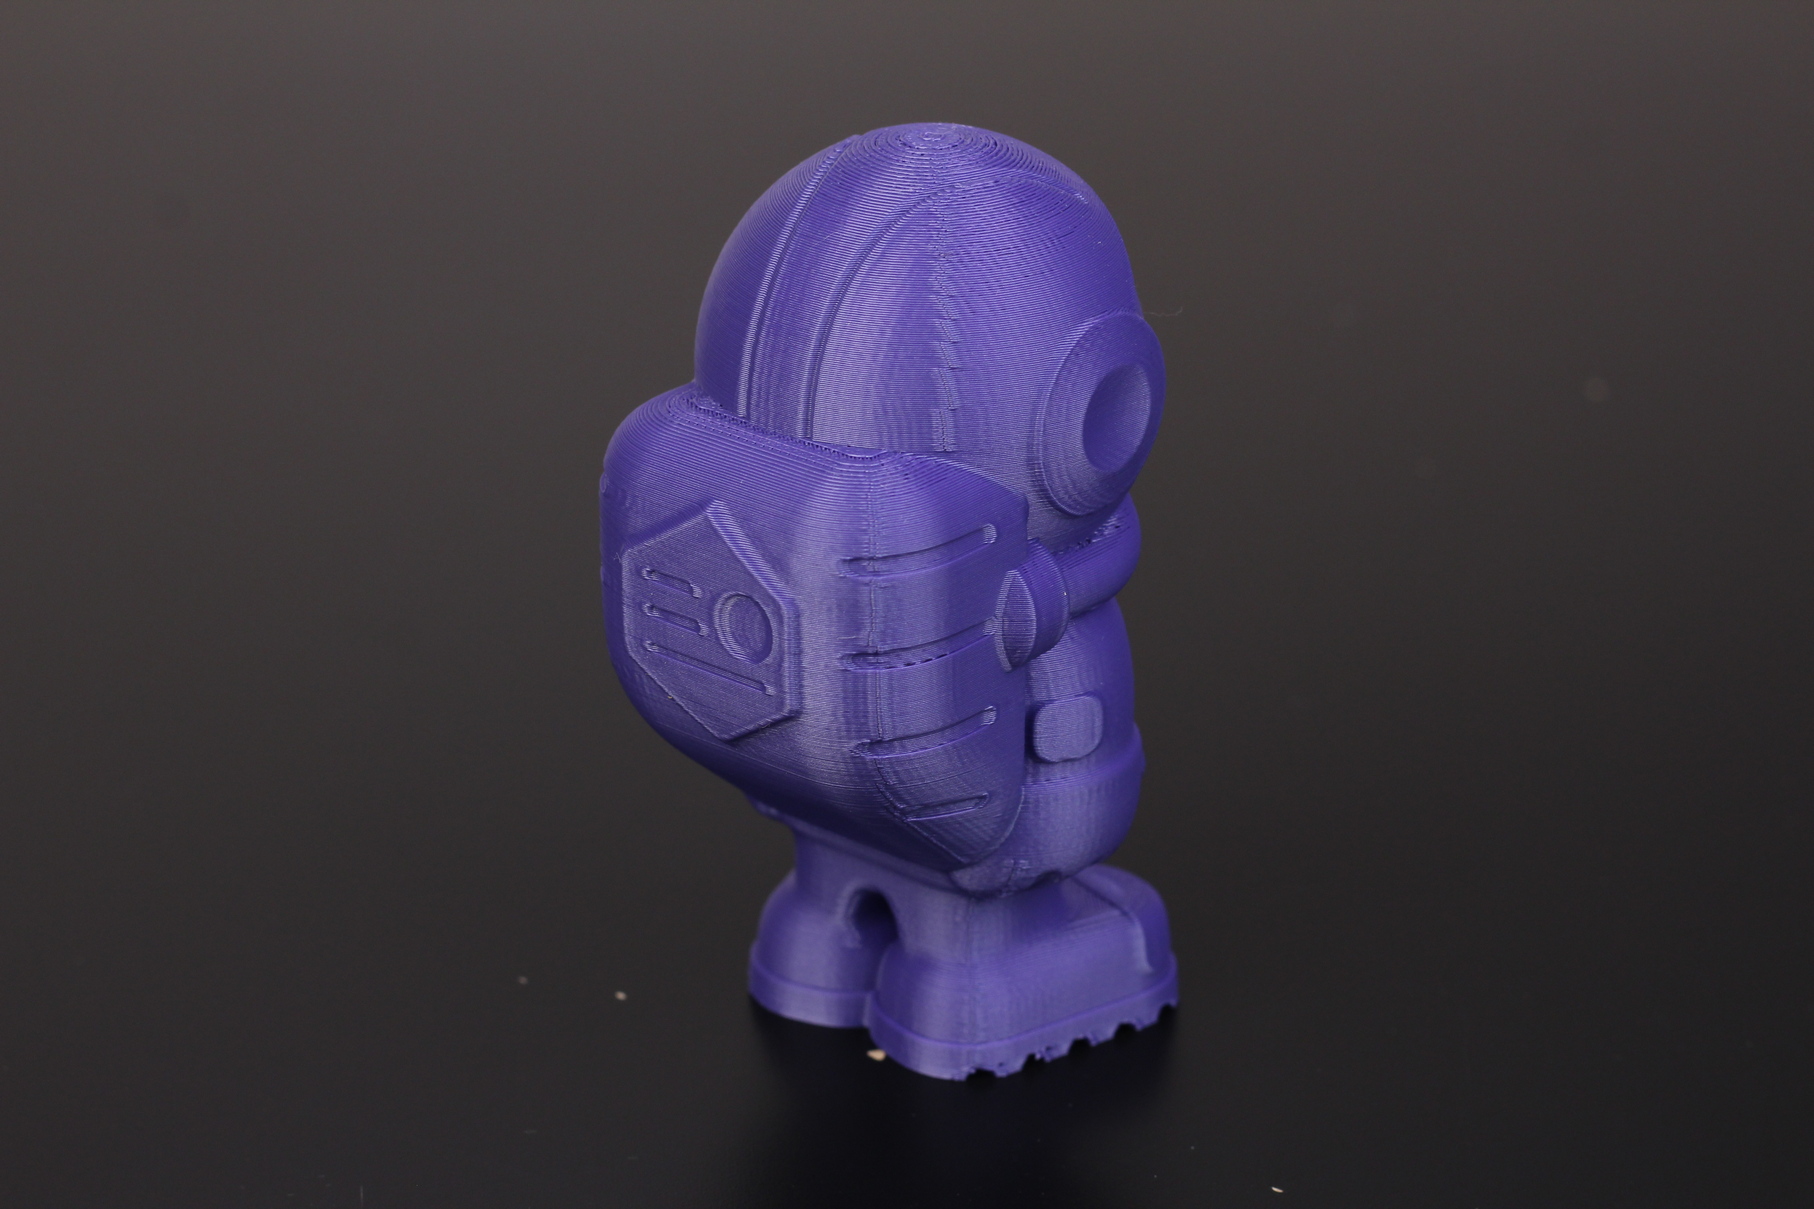
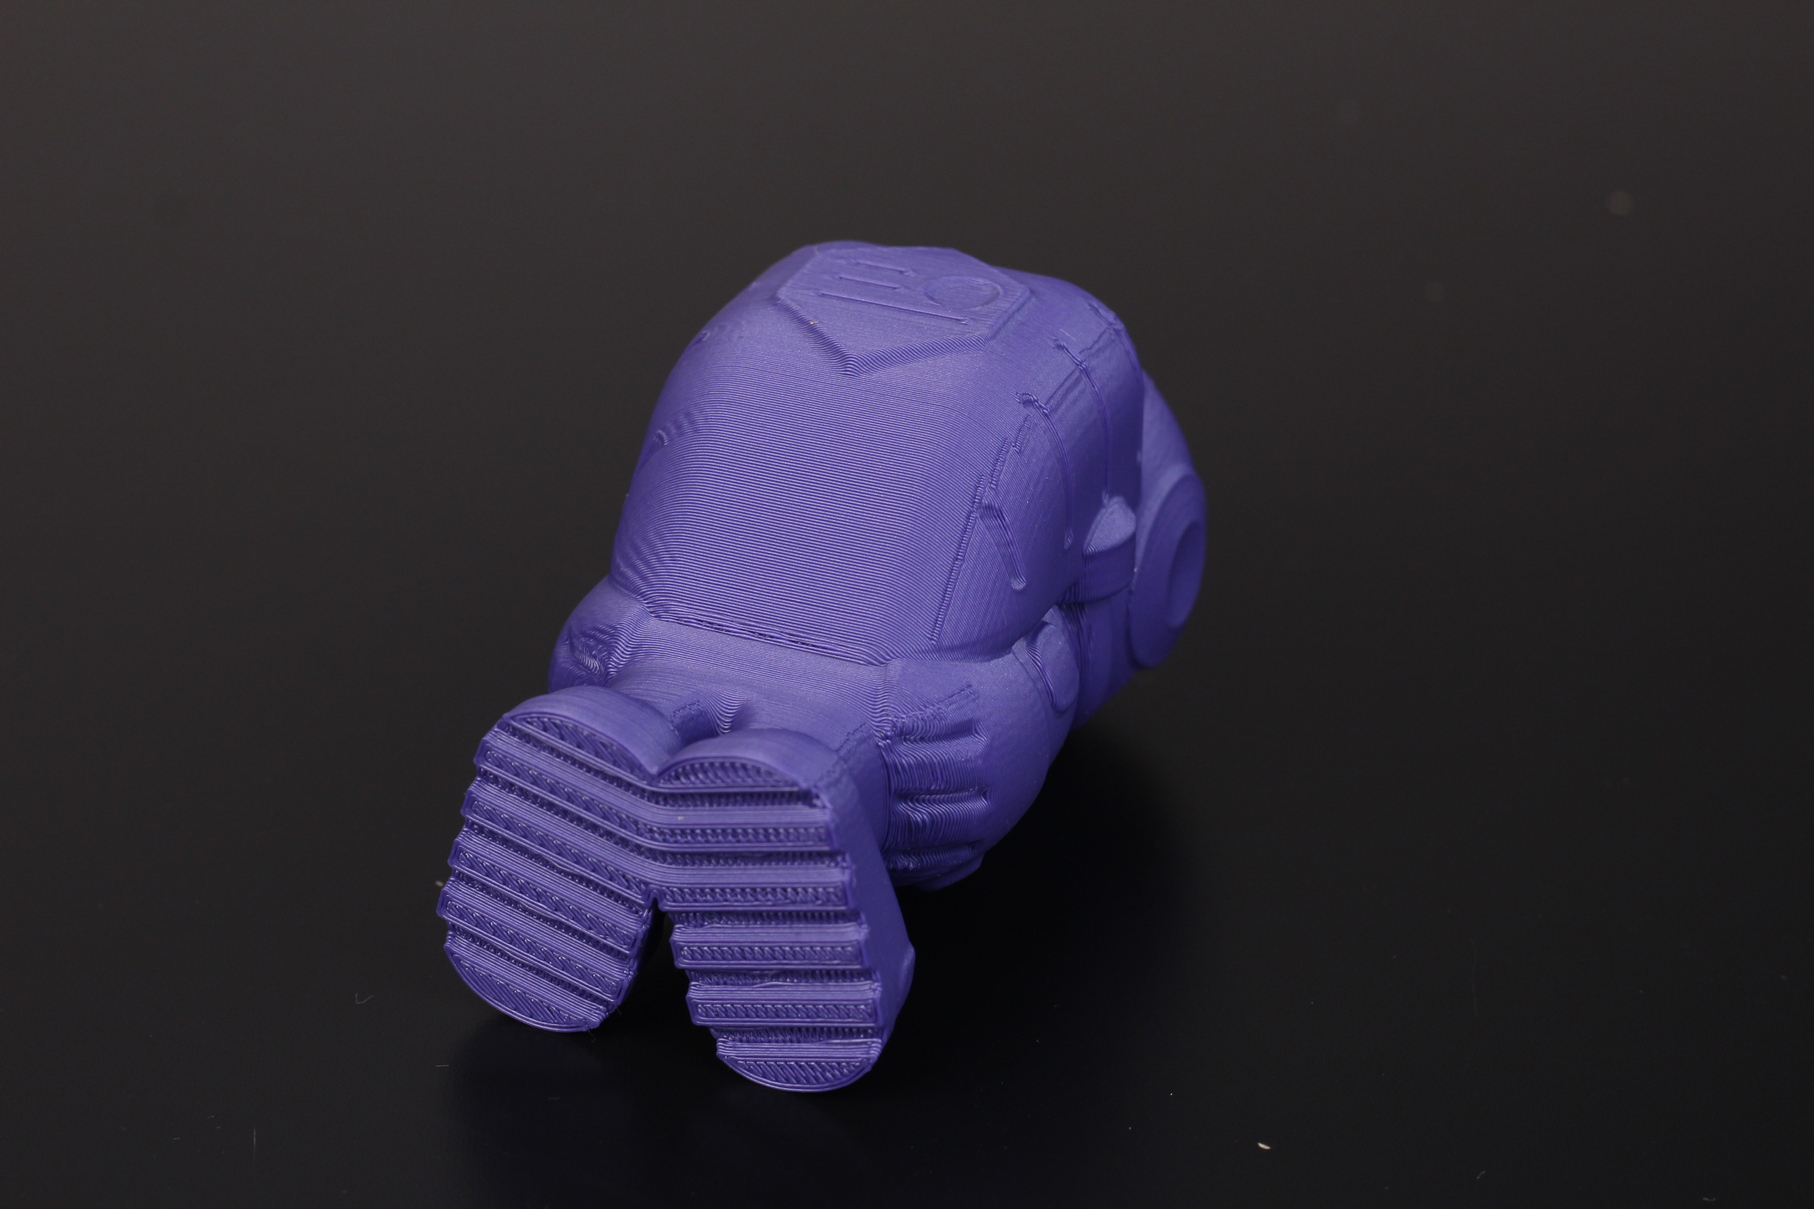
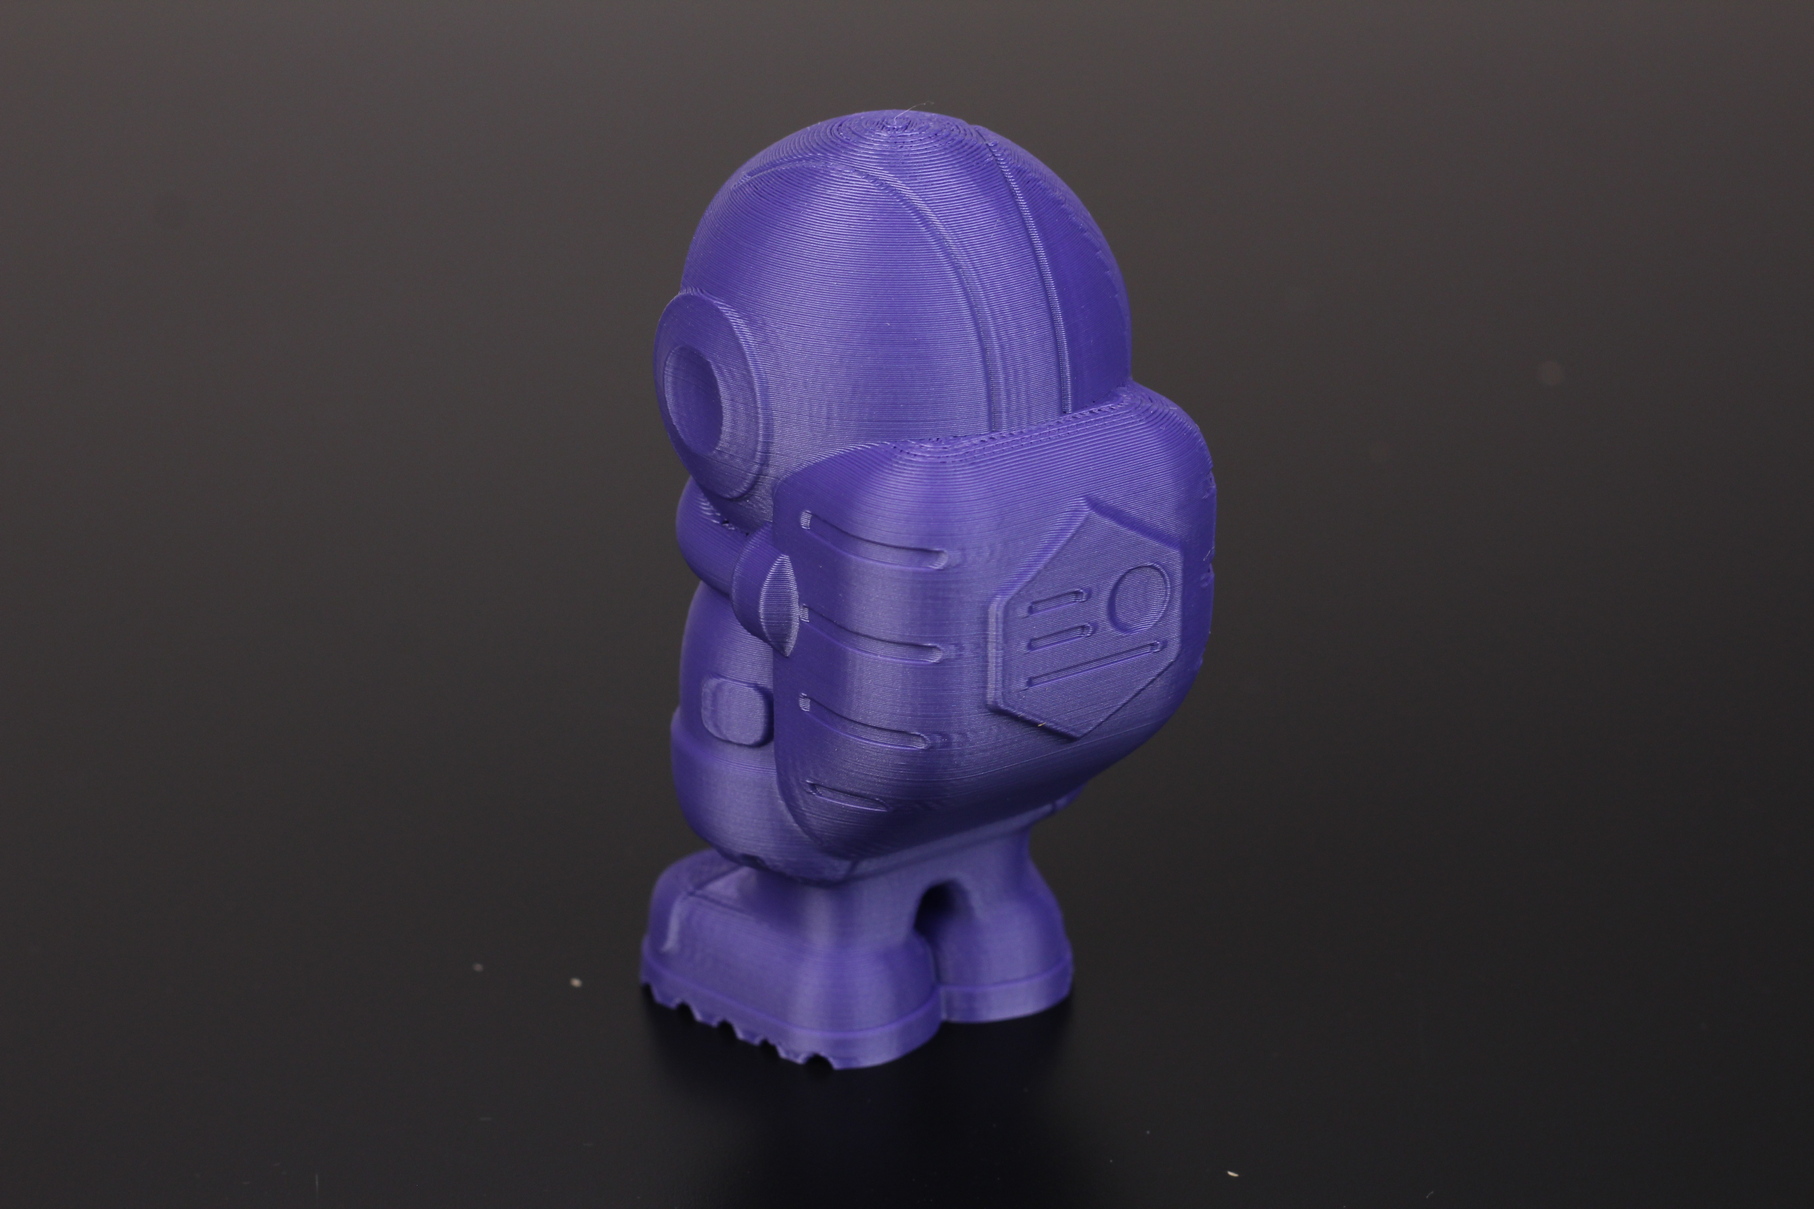
- Material: Gembird Purple PLA
- Layer Height: 0.2mm
- Nozzle Temperature: 210C
- Bed Temperature: 60C
- Print Speed: 60 mm/s
Flexi Bear
I lowered the print speed a bit and changed the filament, to give the PETG profile a chance. A bit of tuning and the Flexi Bear looks great. Adhesion was also good, but I wouldn’t try a huge PETG print because of the previously mentioned temperature differences.
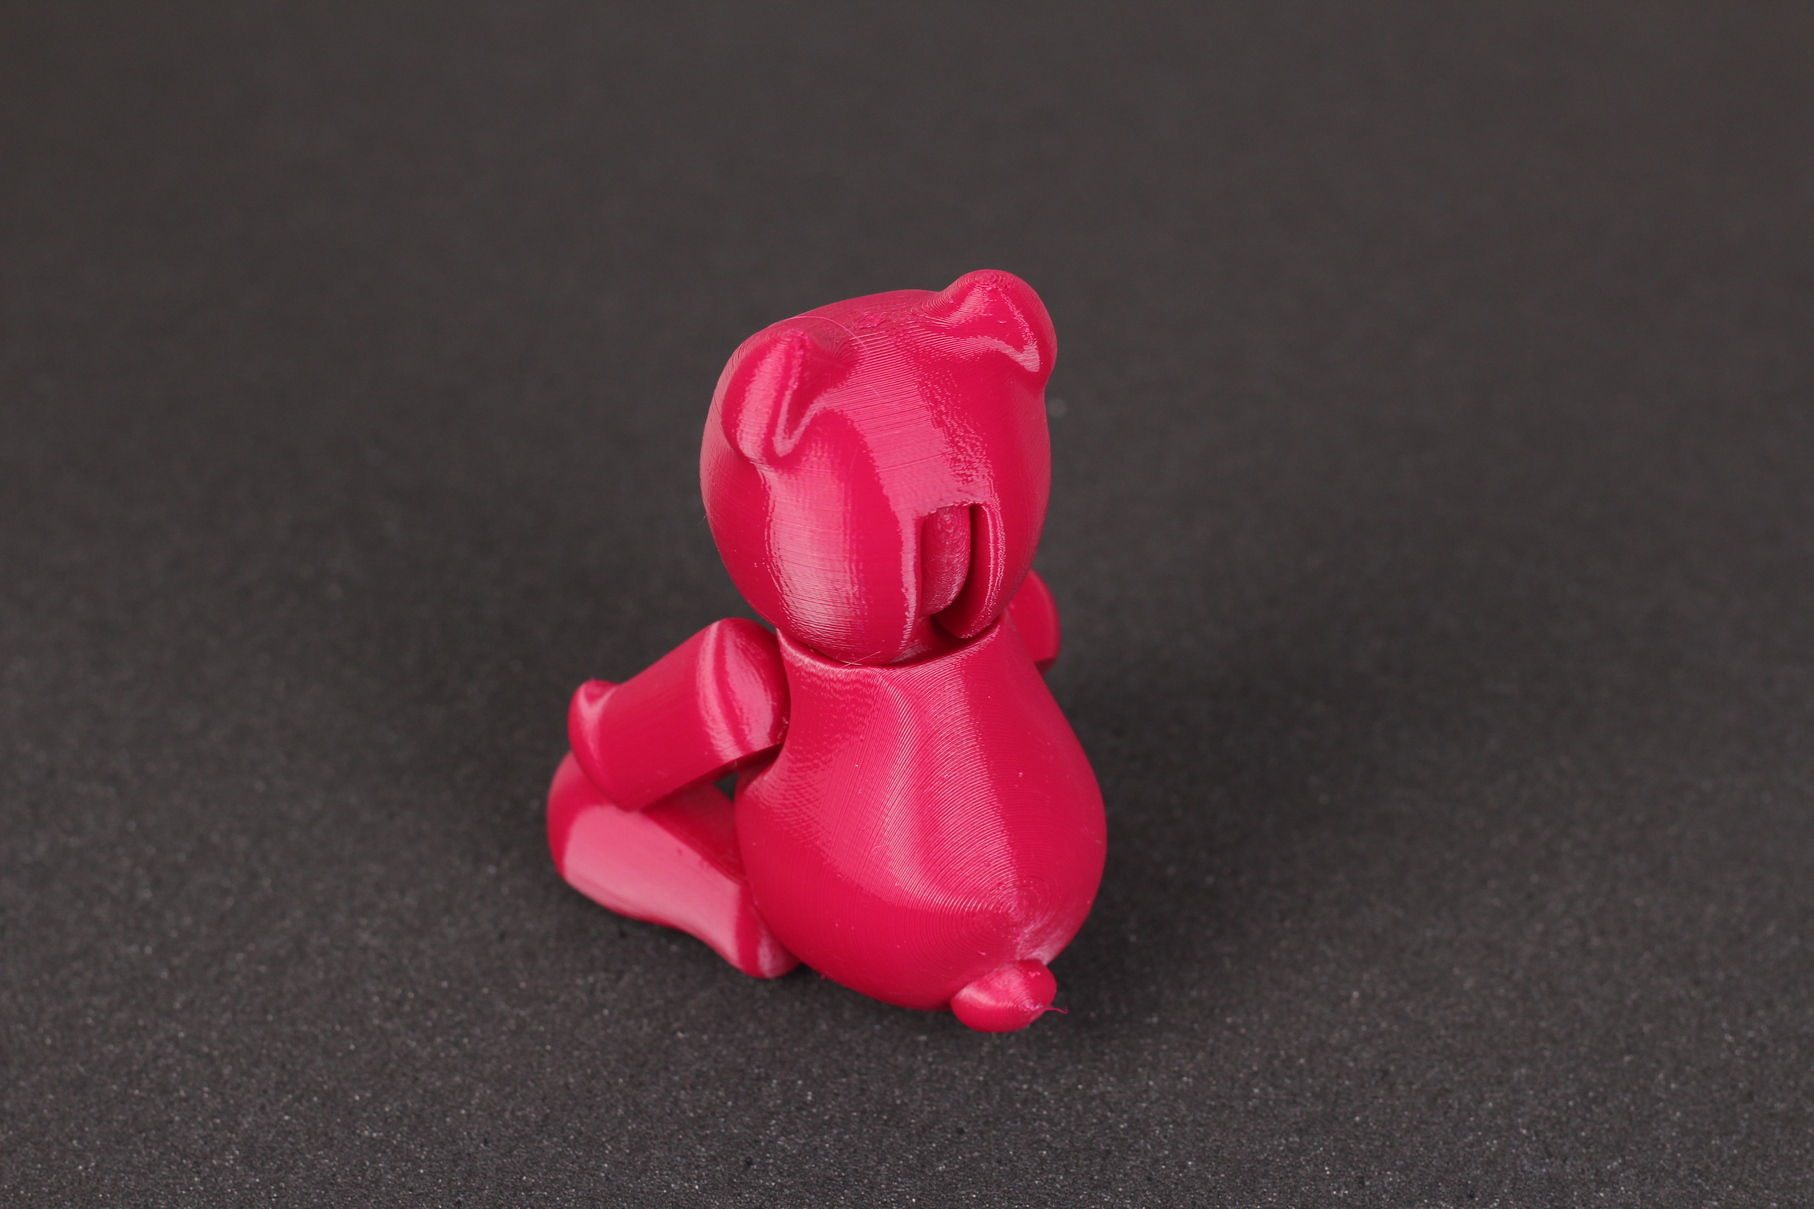
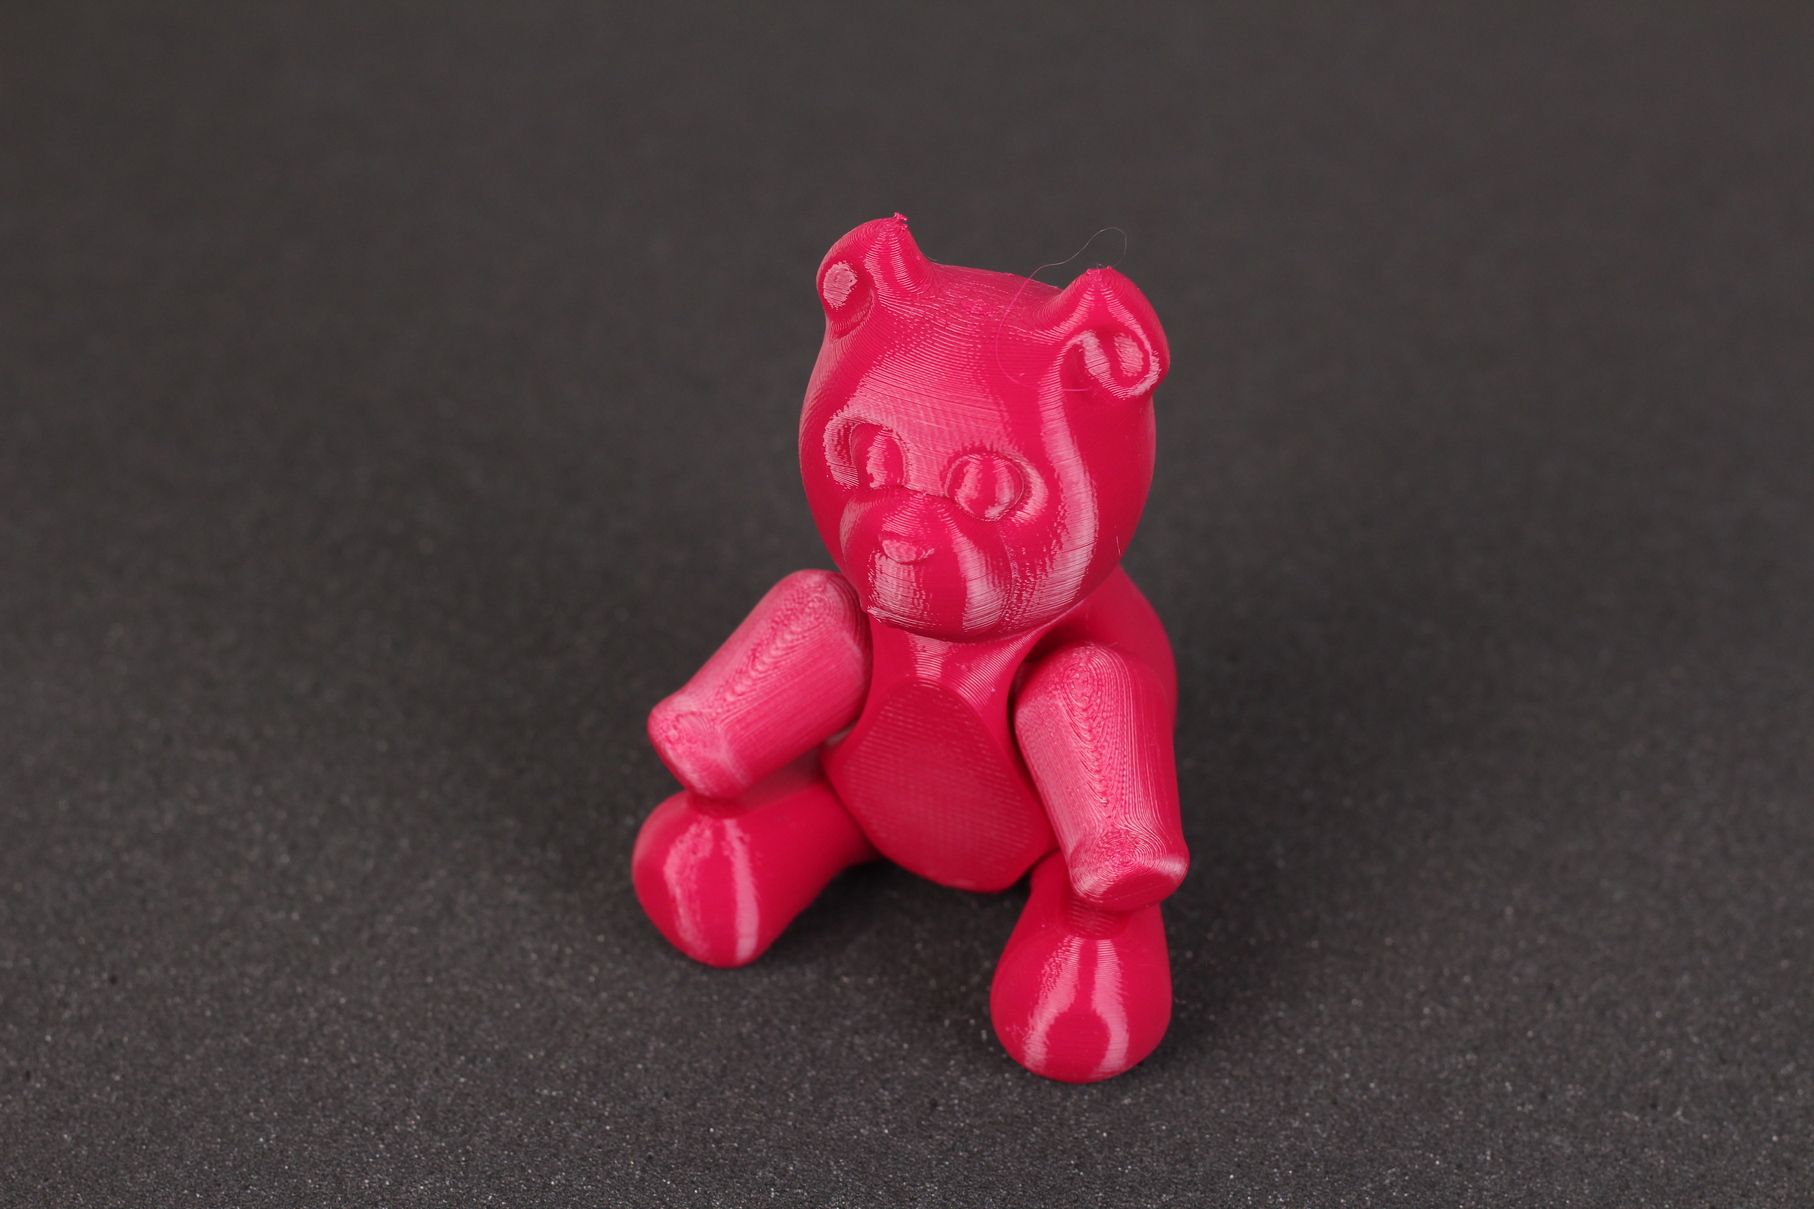
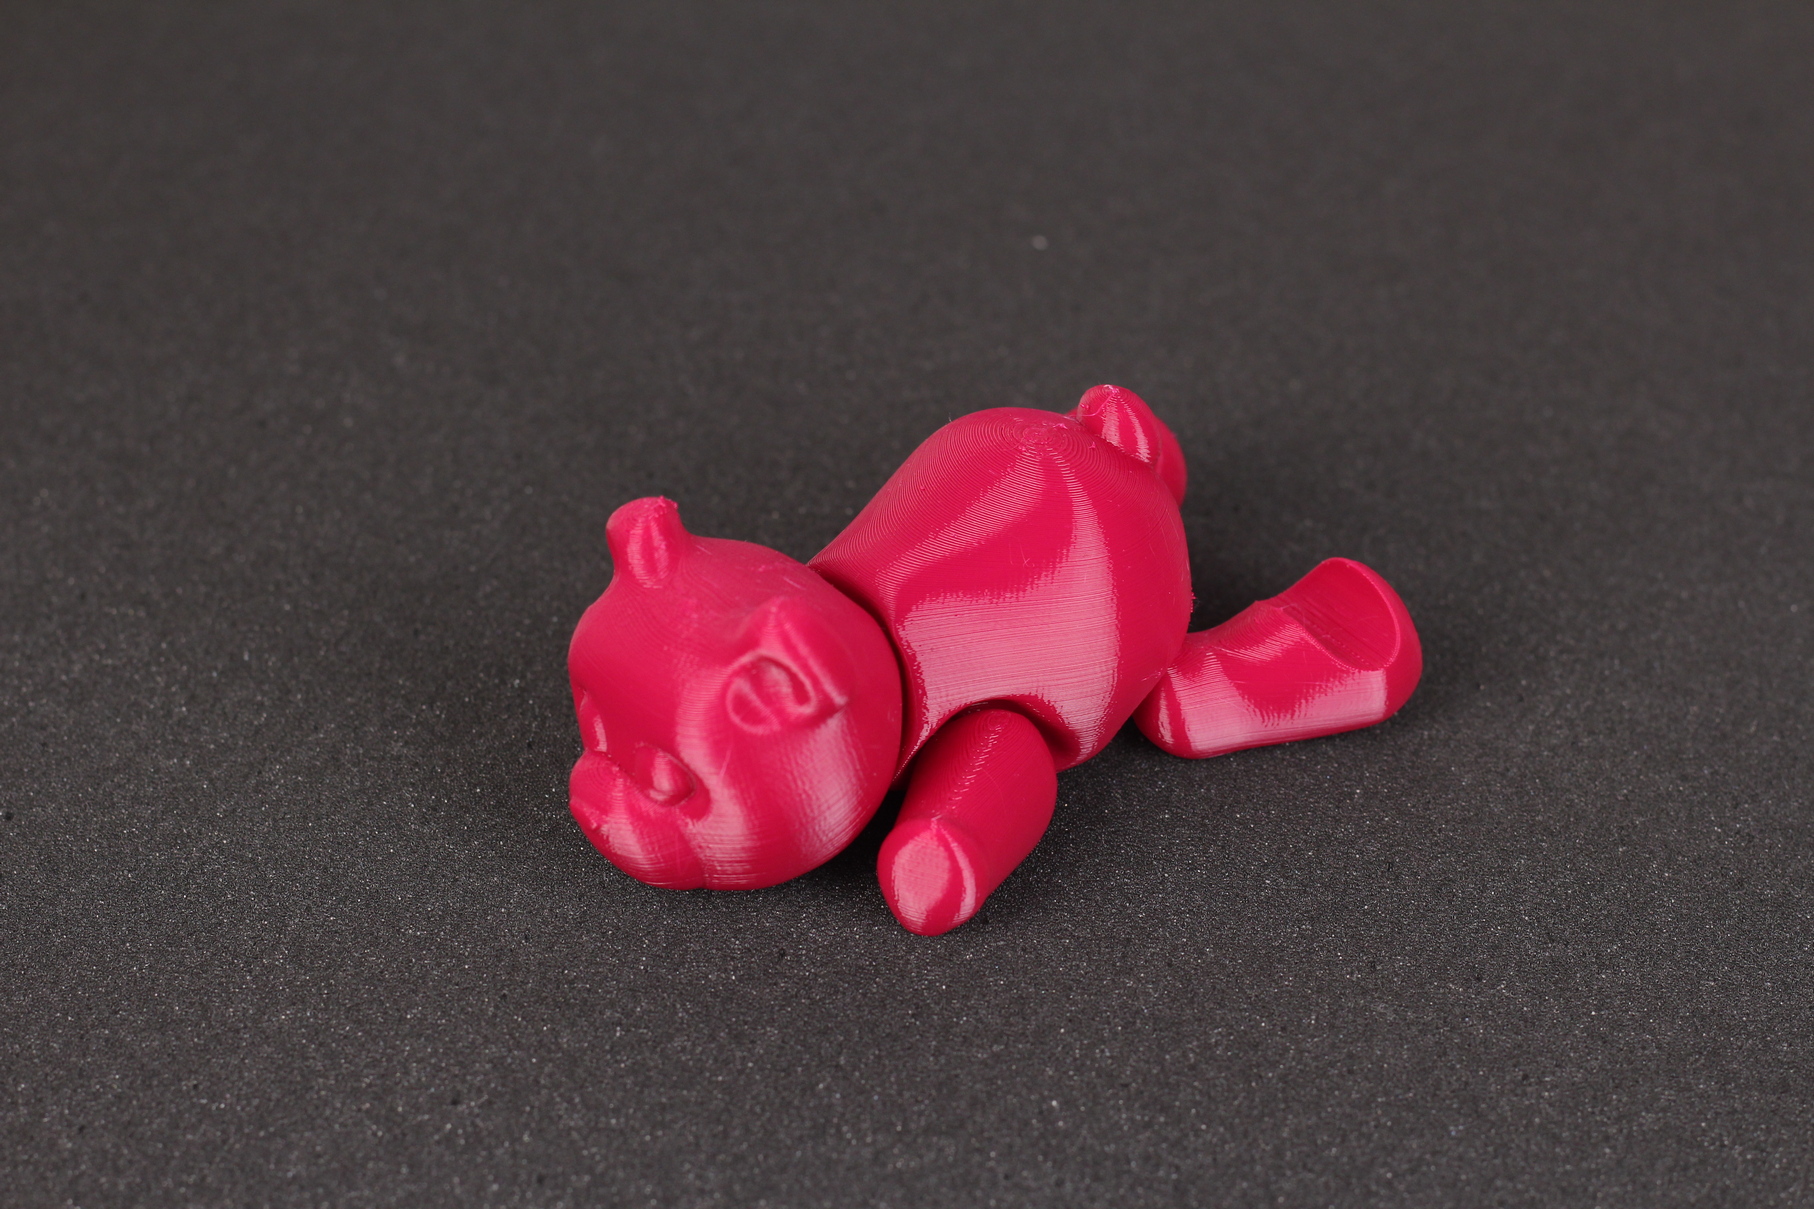
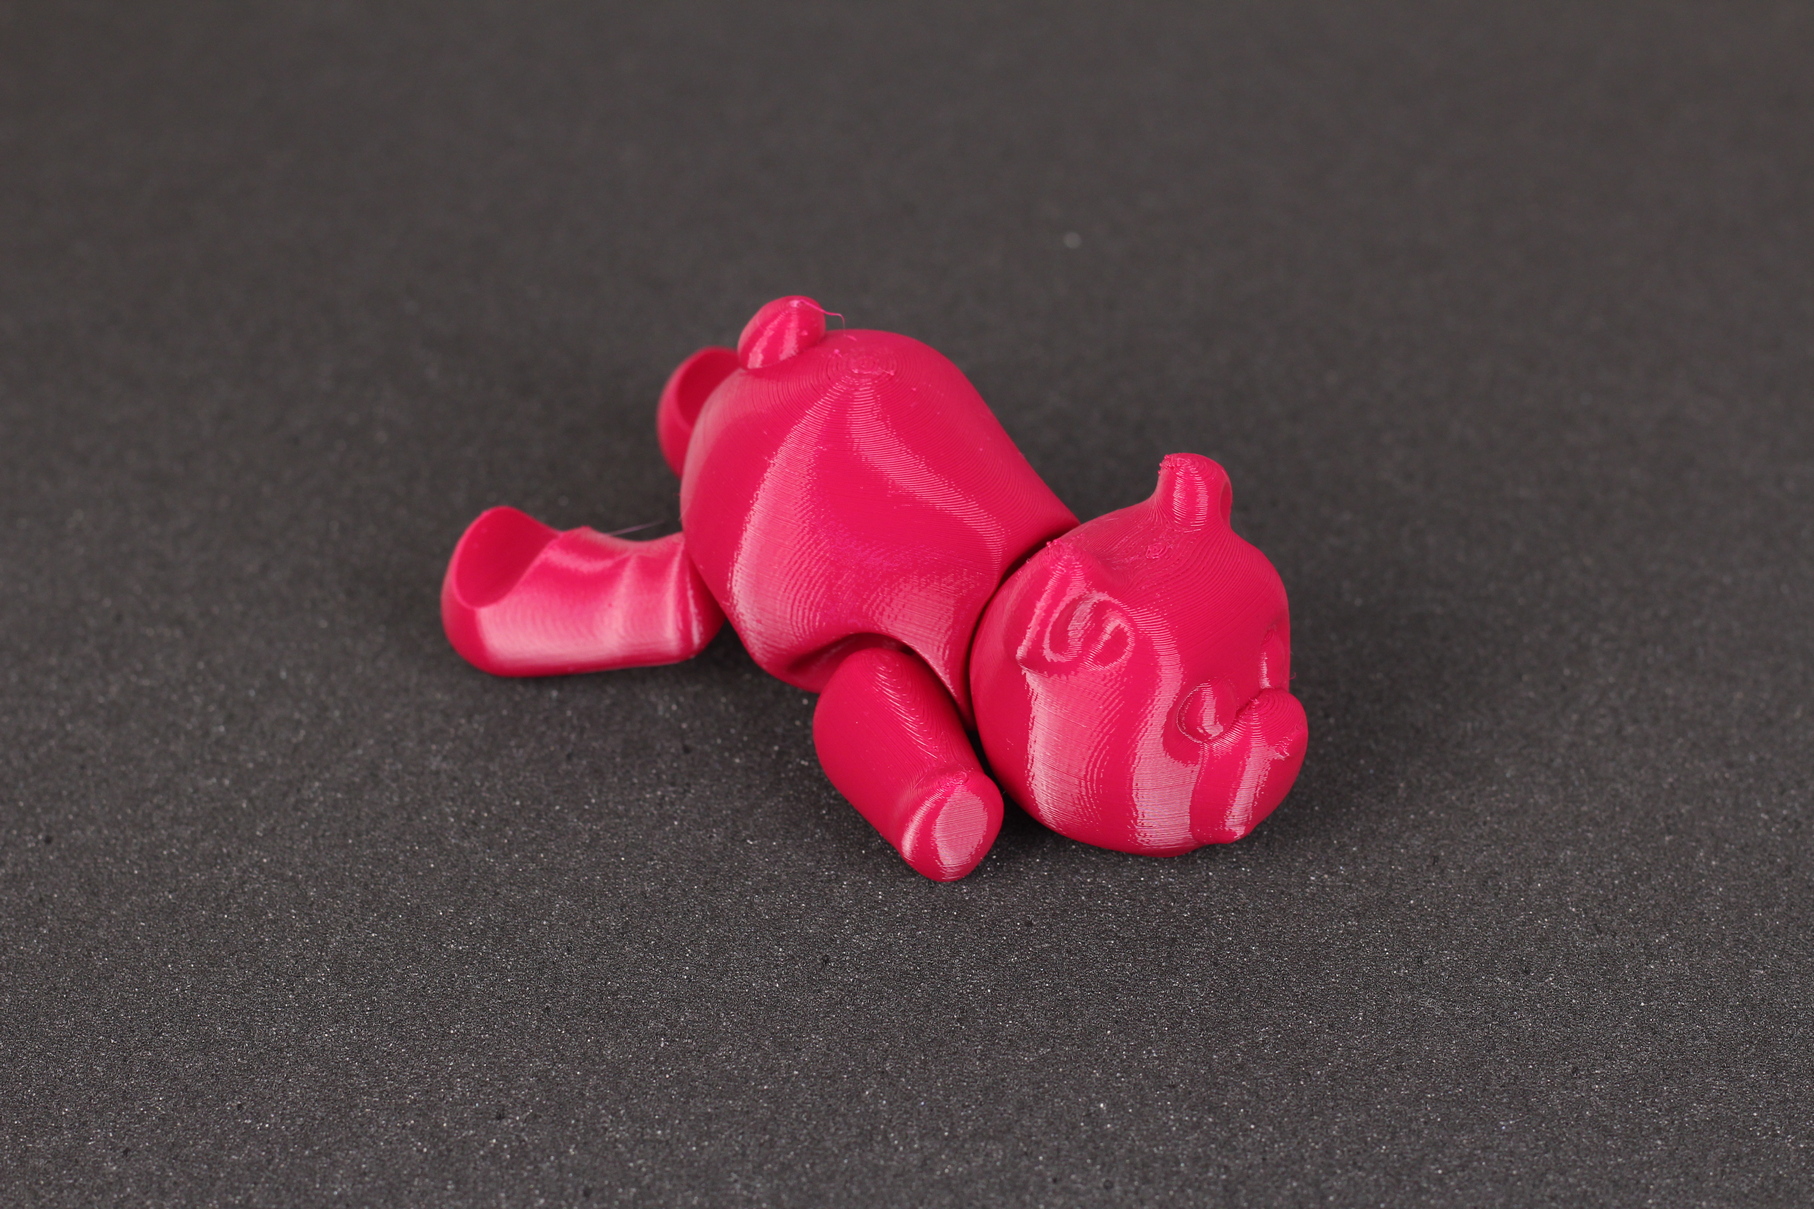
- Material: Devil Design Pink PETG
- Layer Height: 0.2mm
- Nozzle Temperature: 235C
- Bed Temperature: 75C
- Print Speed: 50 mm/s
Torture Toaster
Unfortunately, the Torture Toaster from Clockspring 3D didn’t complete successfully. During printing, one of the overhang tests failed and that caused most of the bottom overhang tests to get hit by the nozzle and cause a mess. Fortunately, the print finished, and I was able to move all the tolerance test pieces except the 0.1 mm which is quite good.
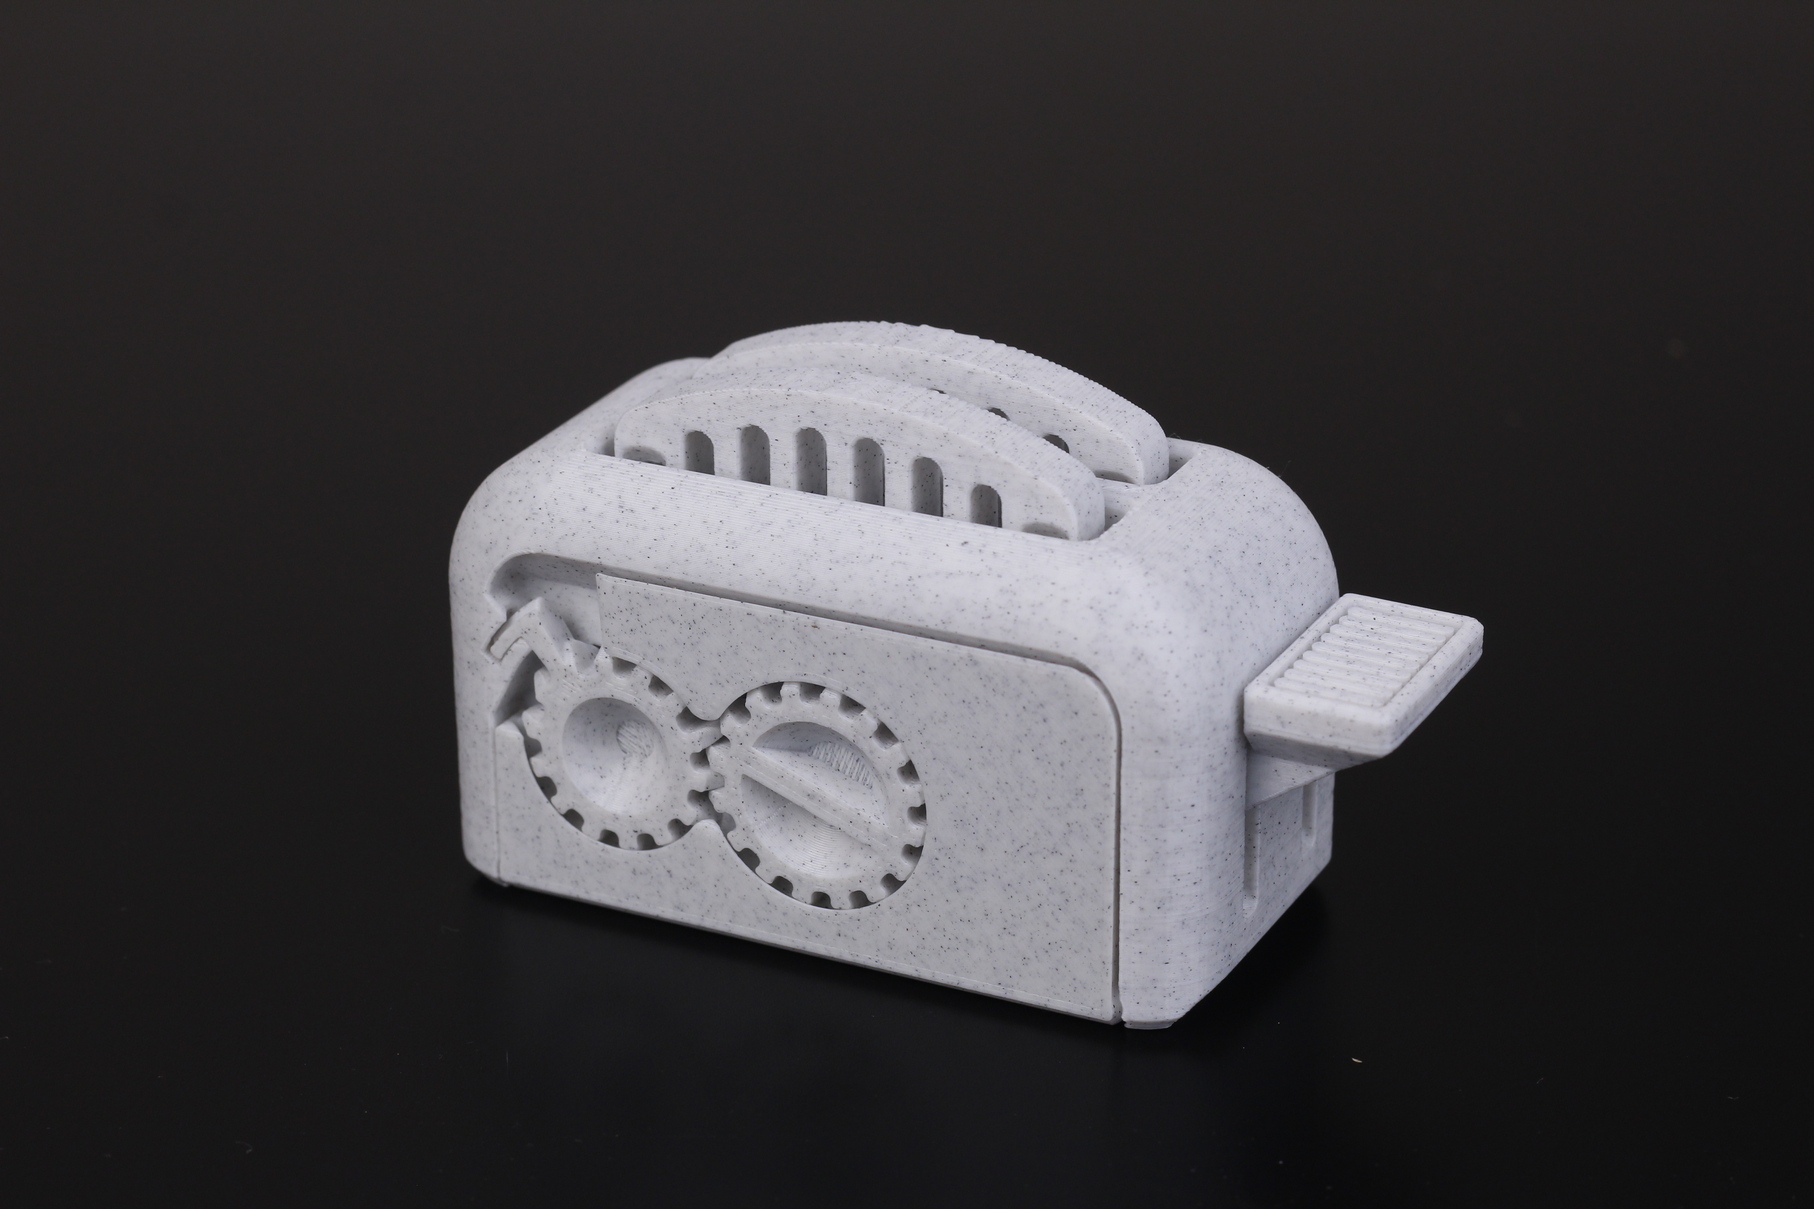
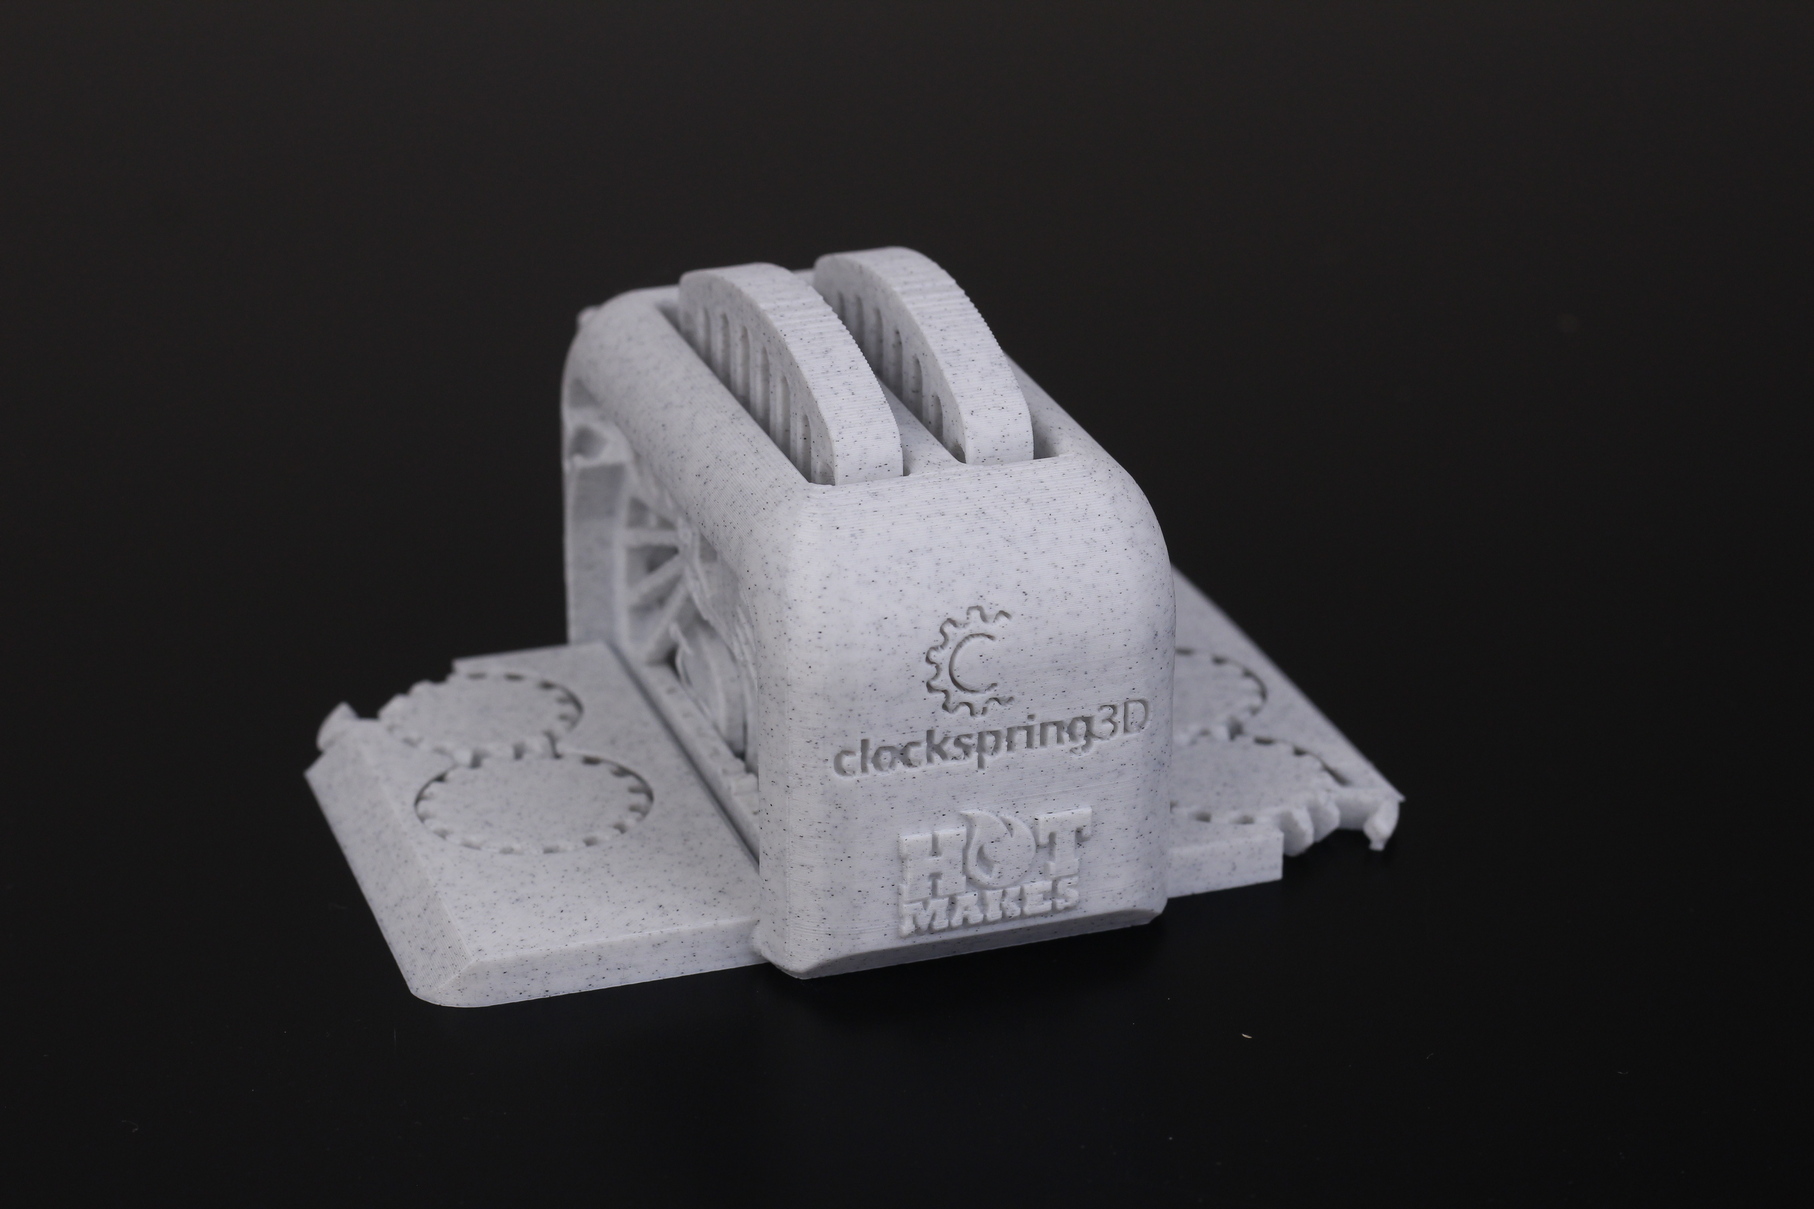
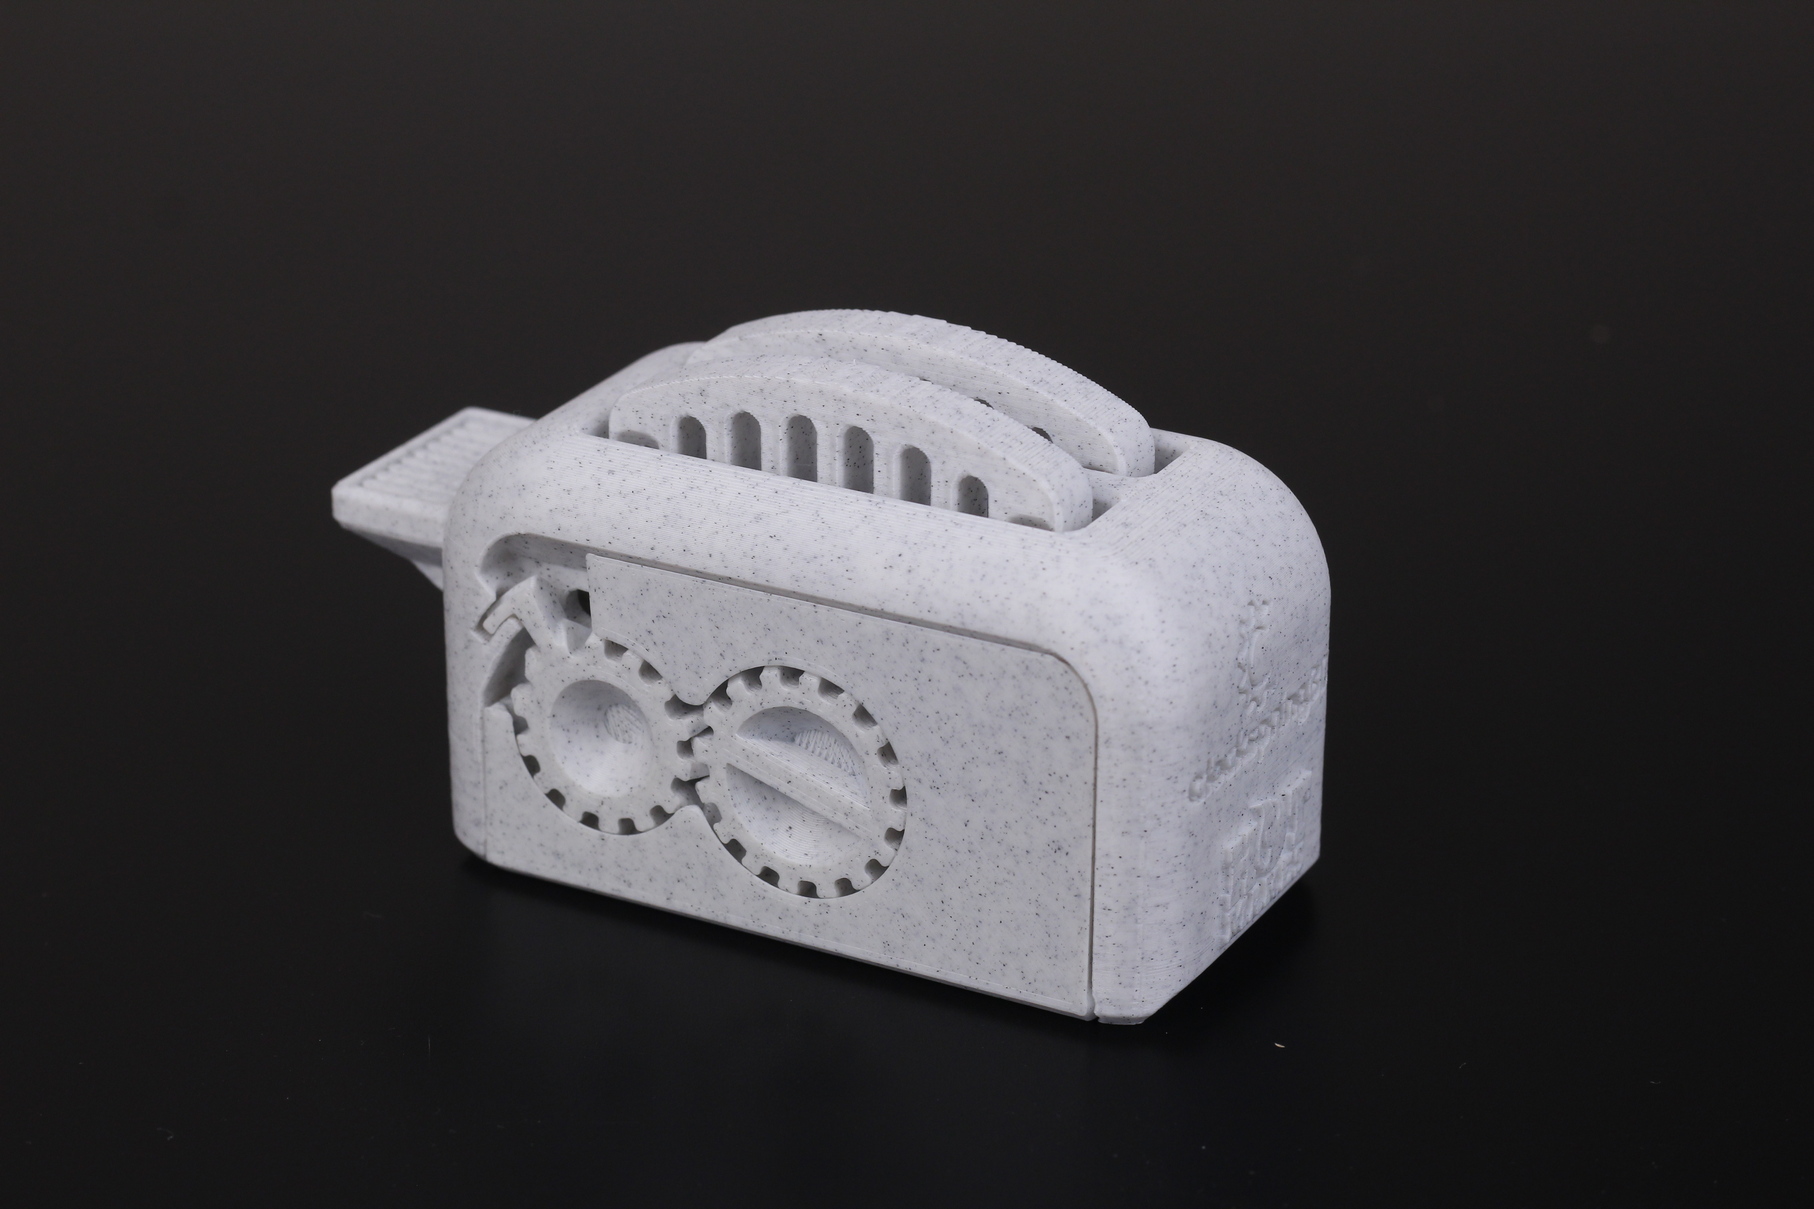
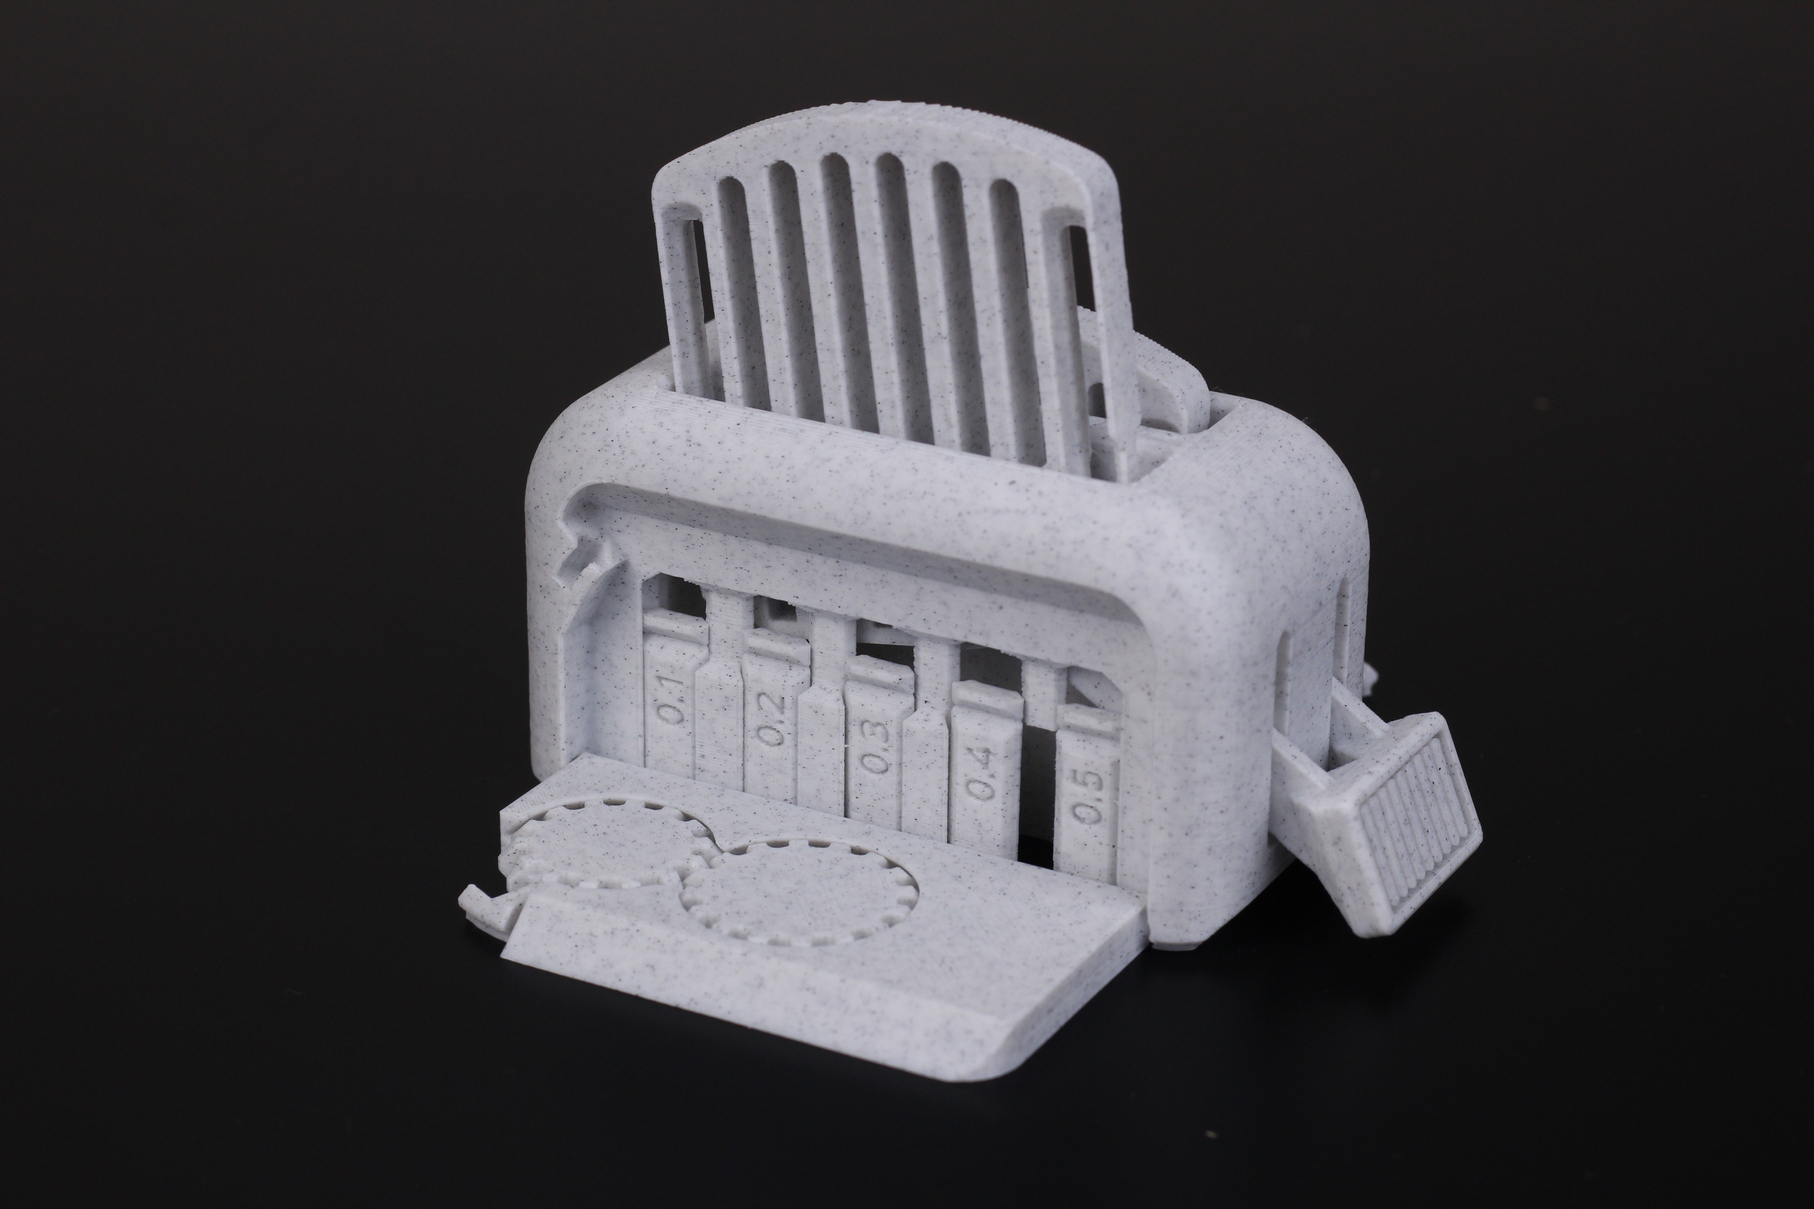
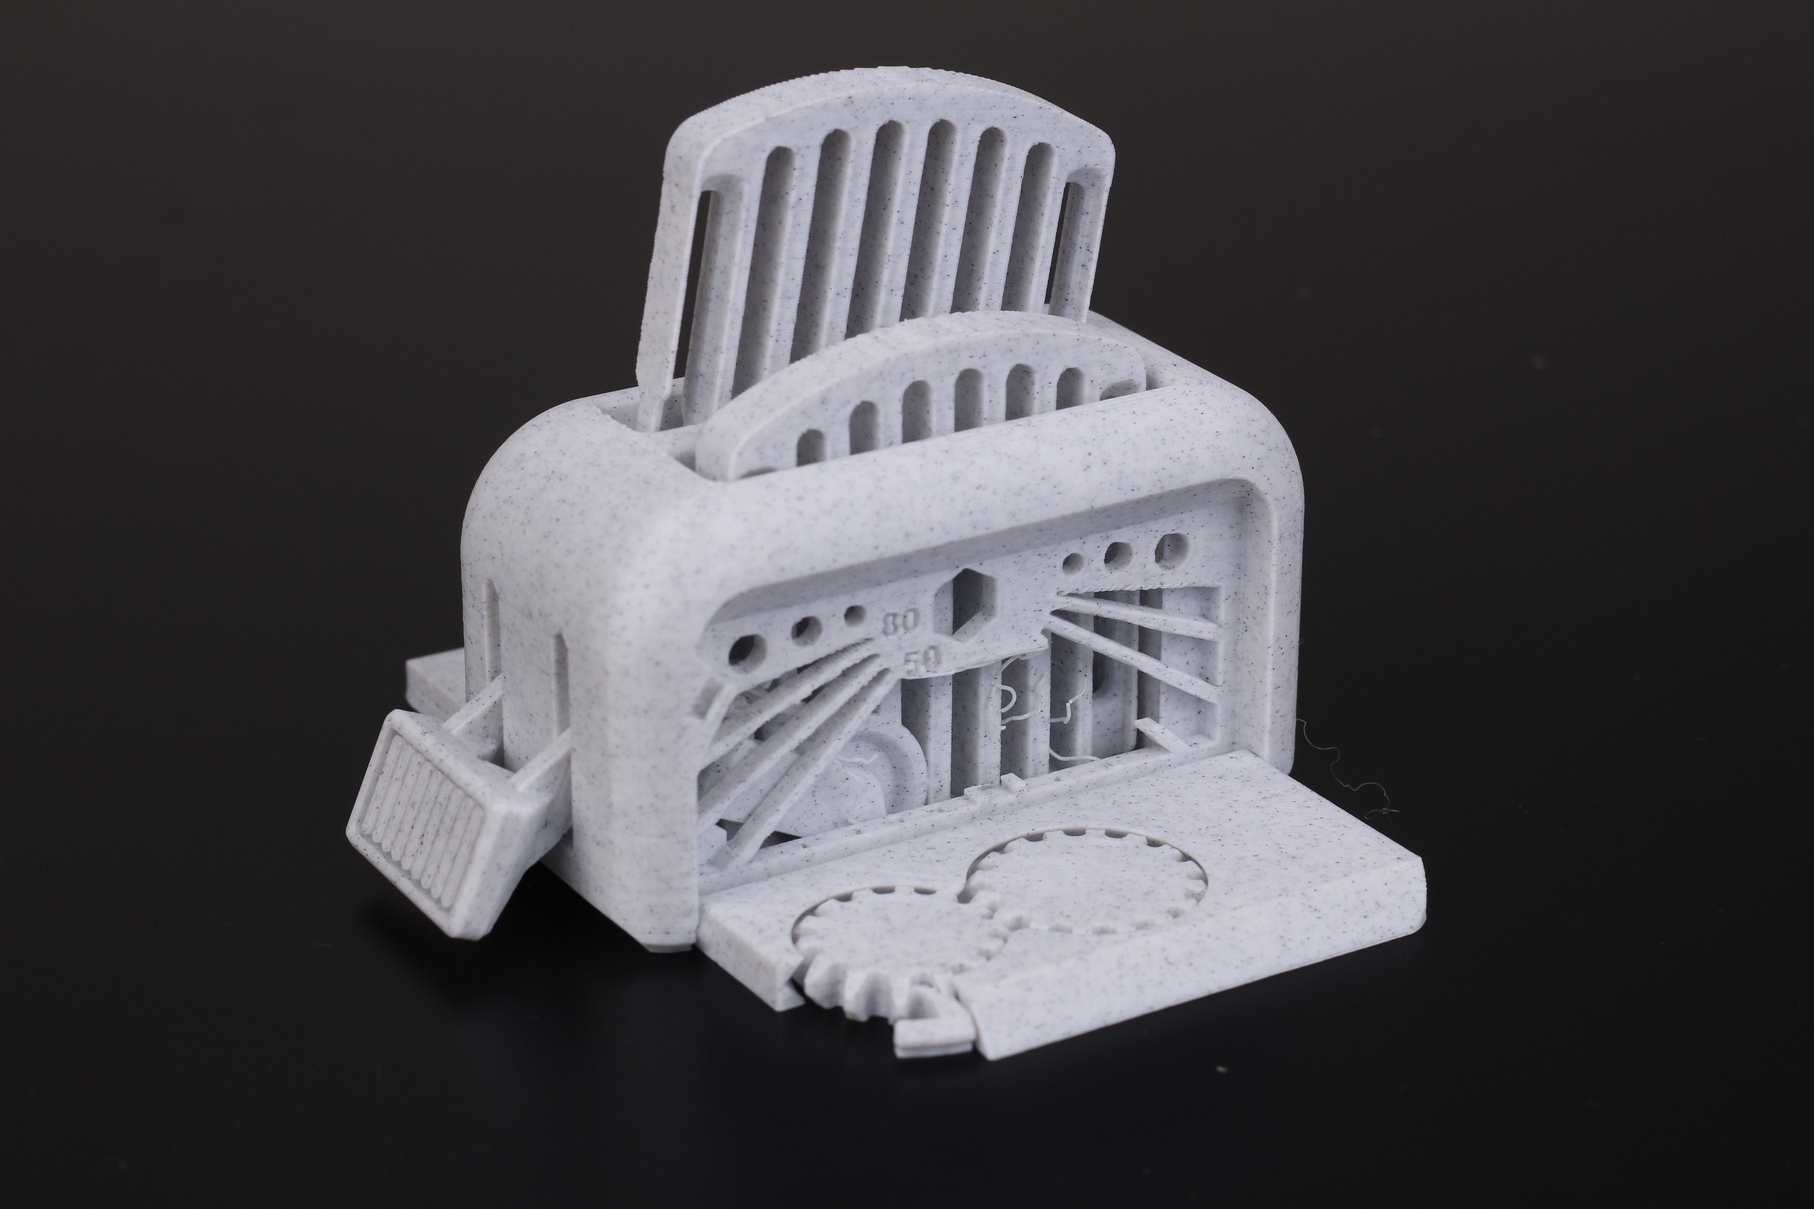
- Material: Gembird Marble PLA
- Layer Height: 0.2mm
- Nozzle Temperature: 210C
- Bed Temperature: 60C
- Print Speed: 60 mm/s
Technotiti
Now that we did the benchmark prints, we can continue with the beauty shots. I just got a new roll of Devil Design Silk Gold PLA which is one of my favorite silk filaments and printed the Technotiti bust. I’m really happy with how this one turned out.
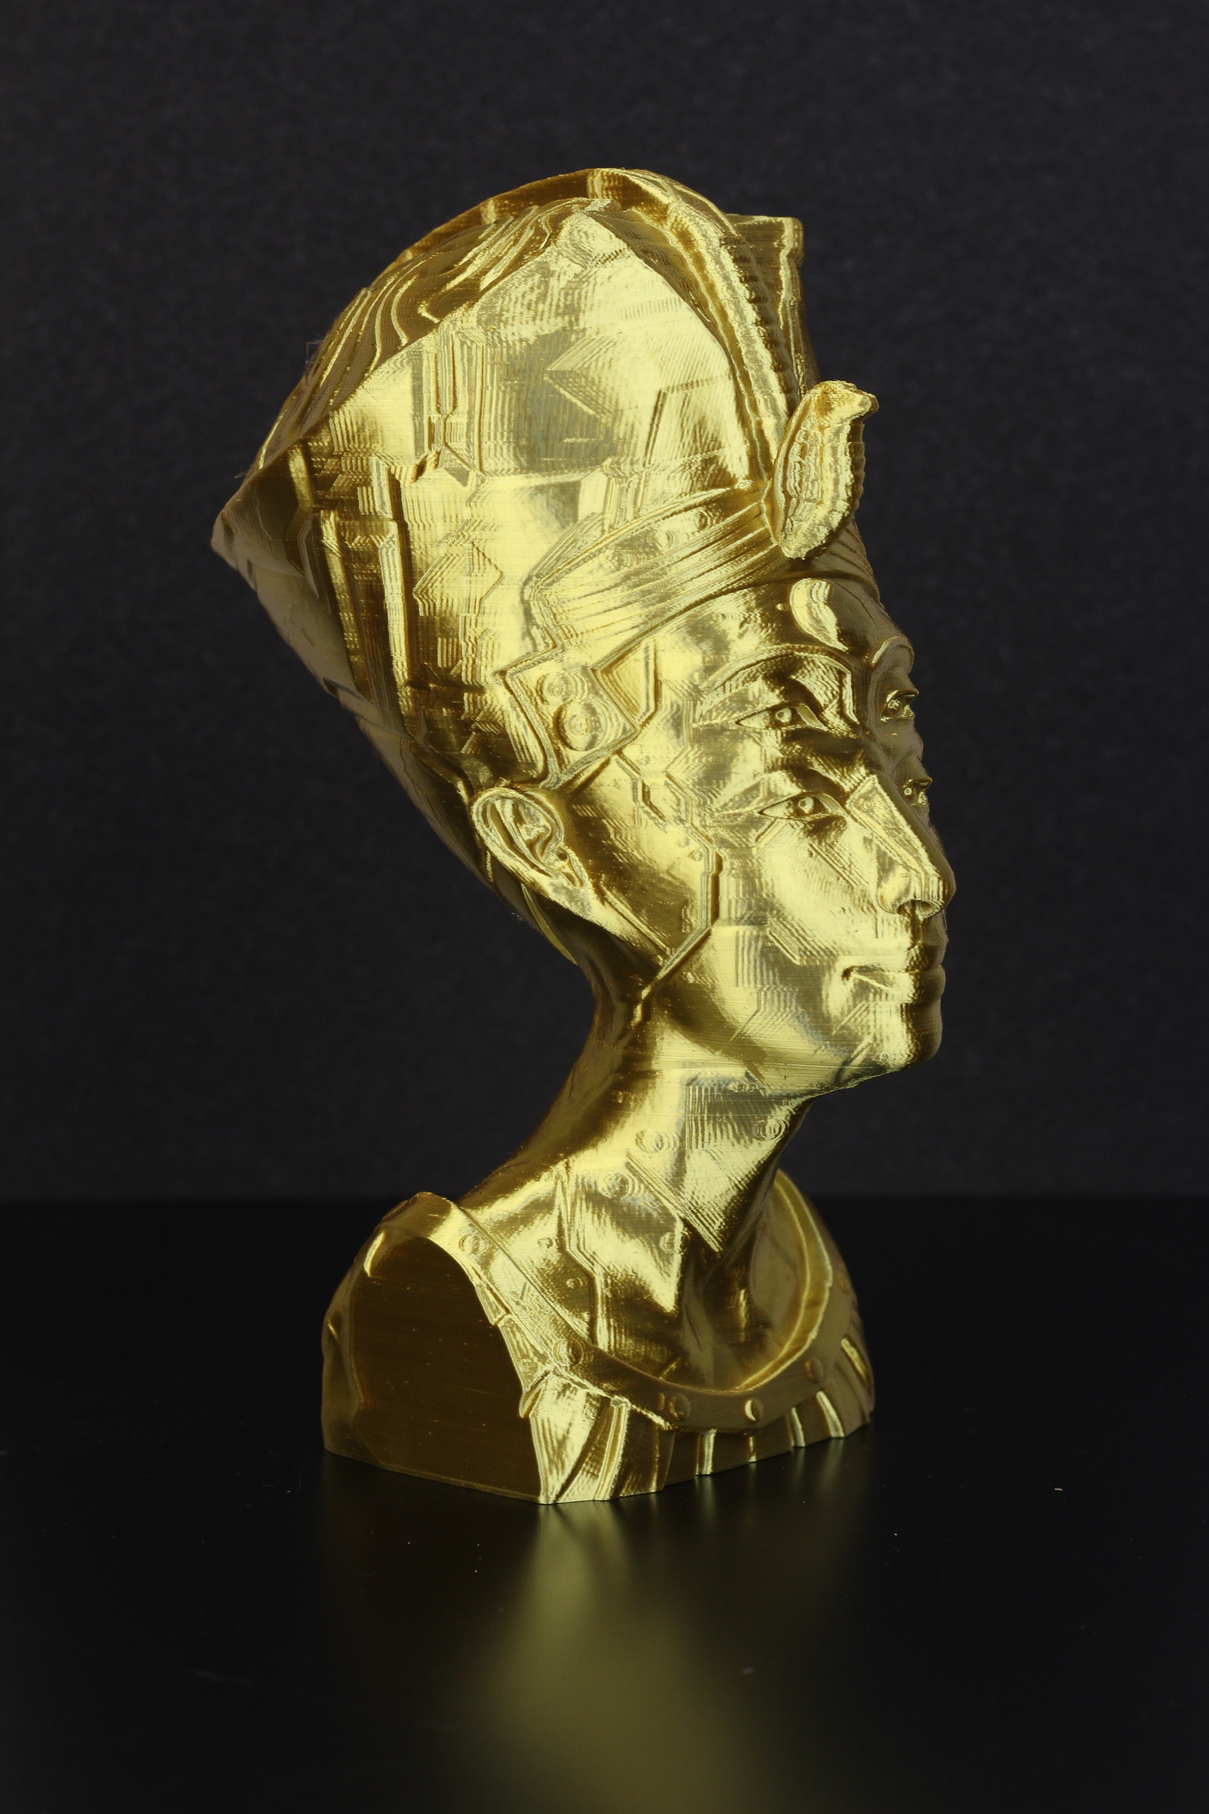
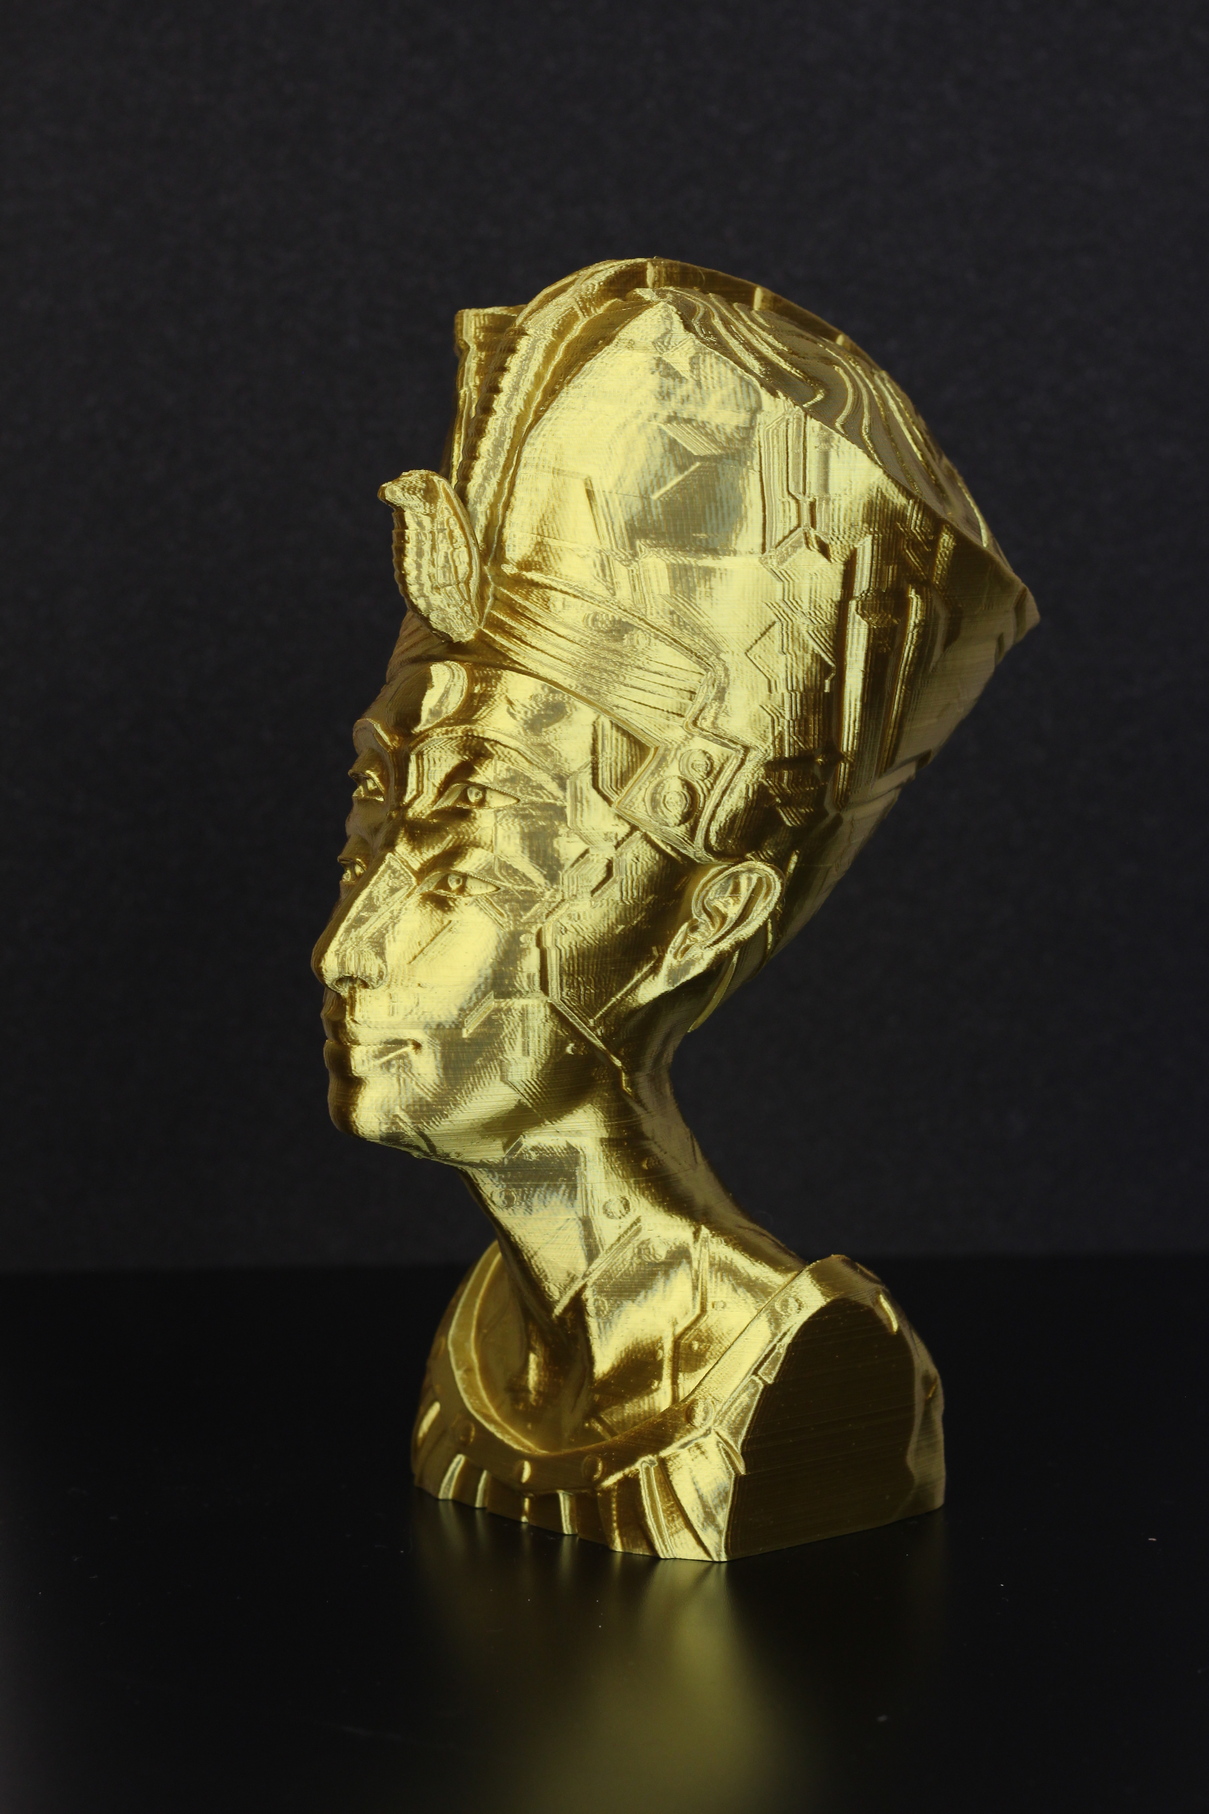
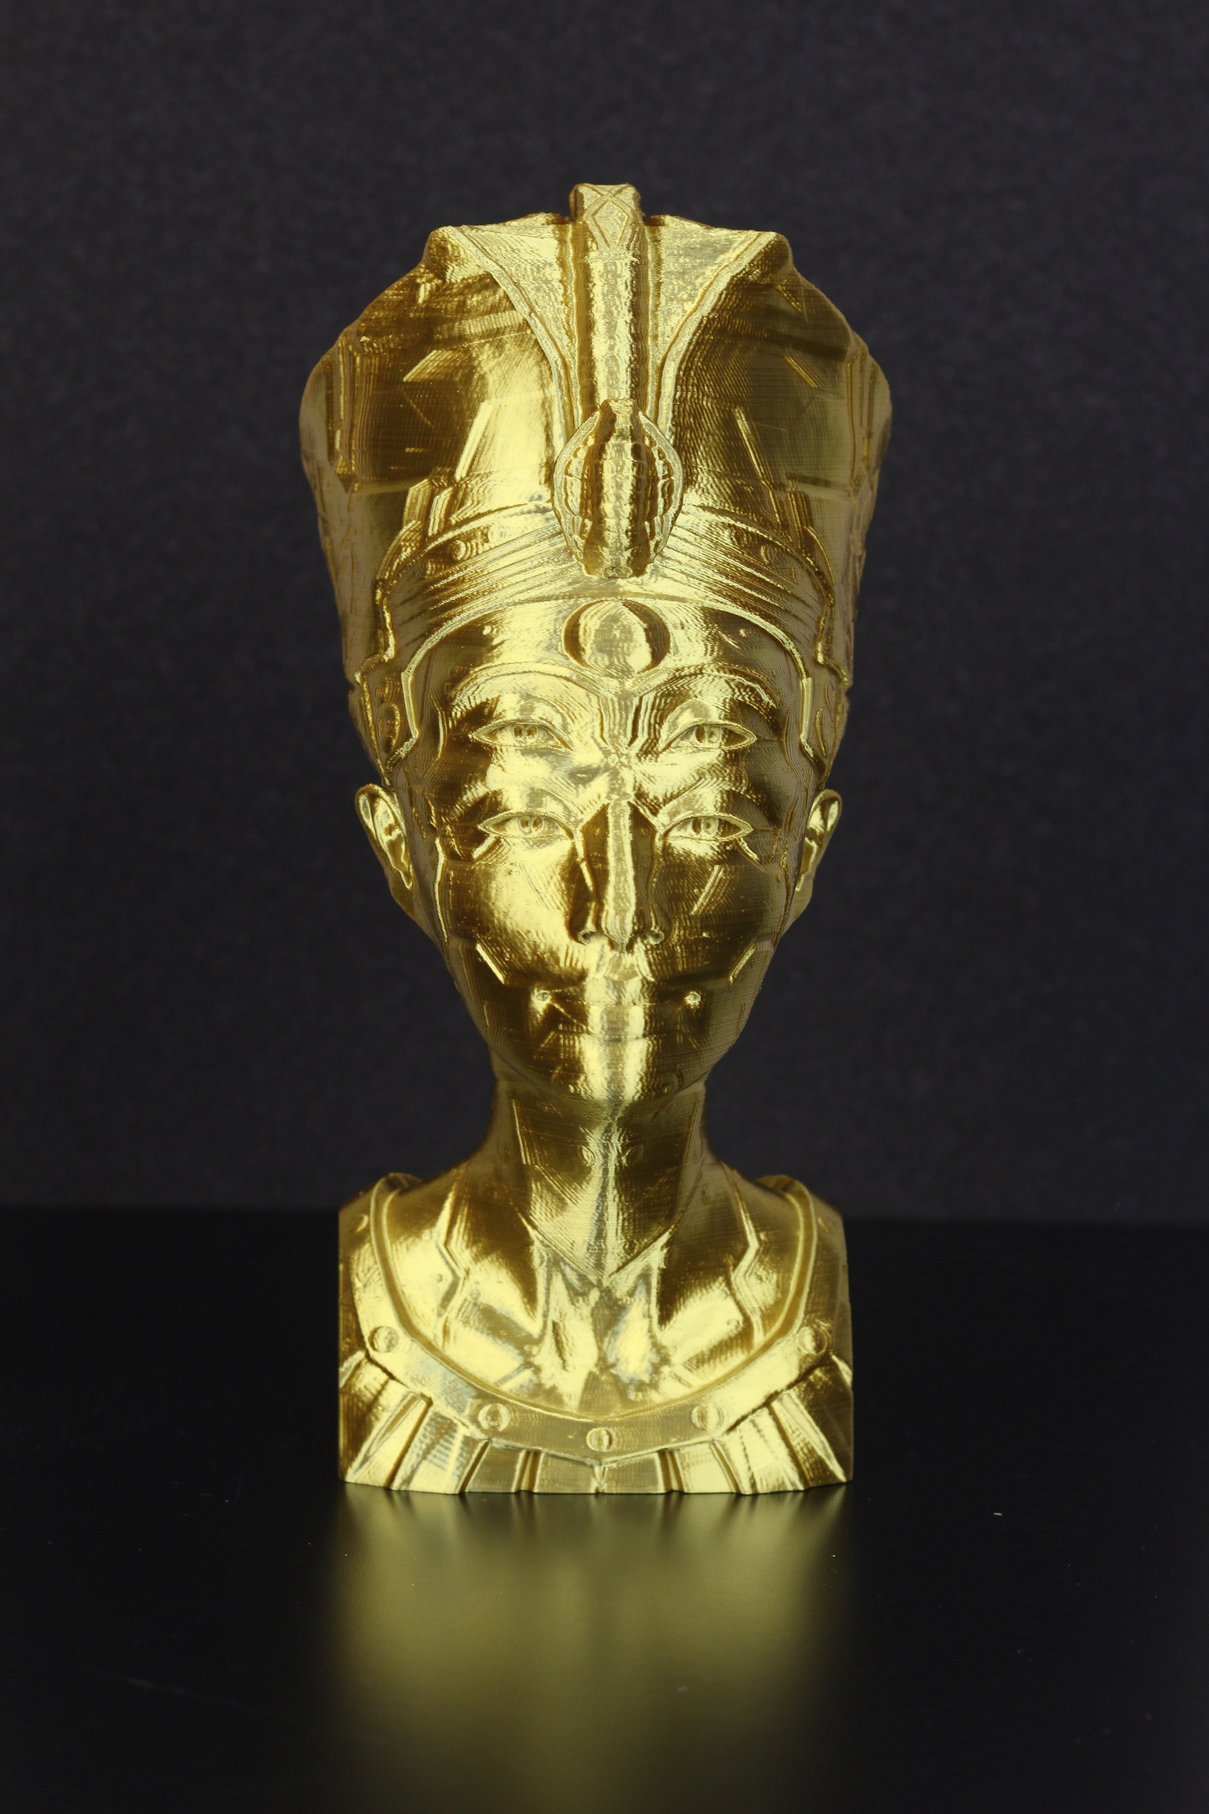
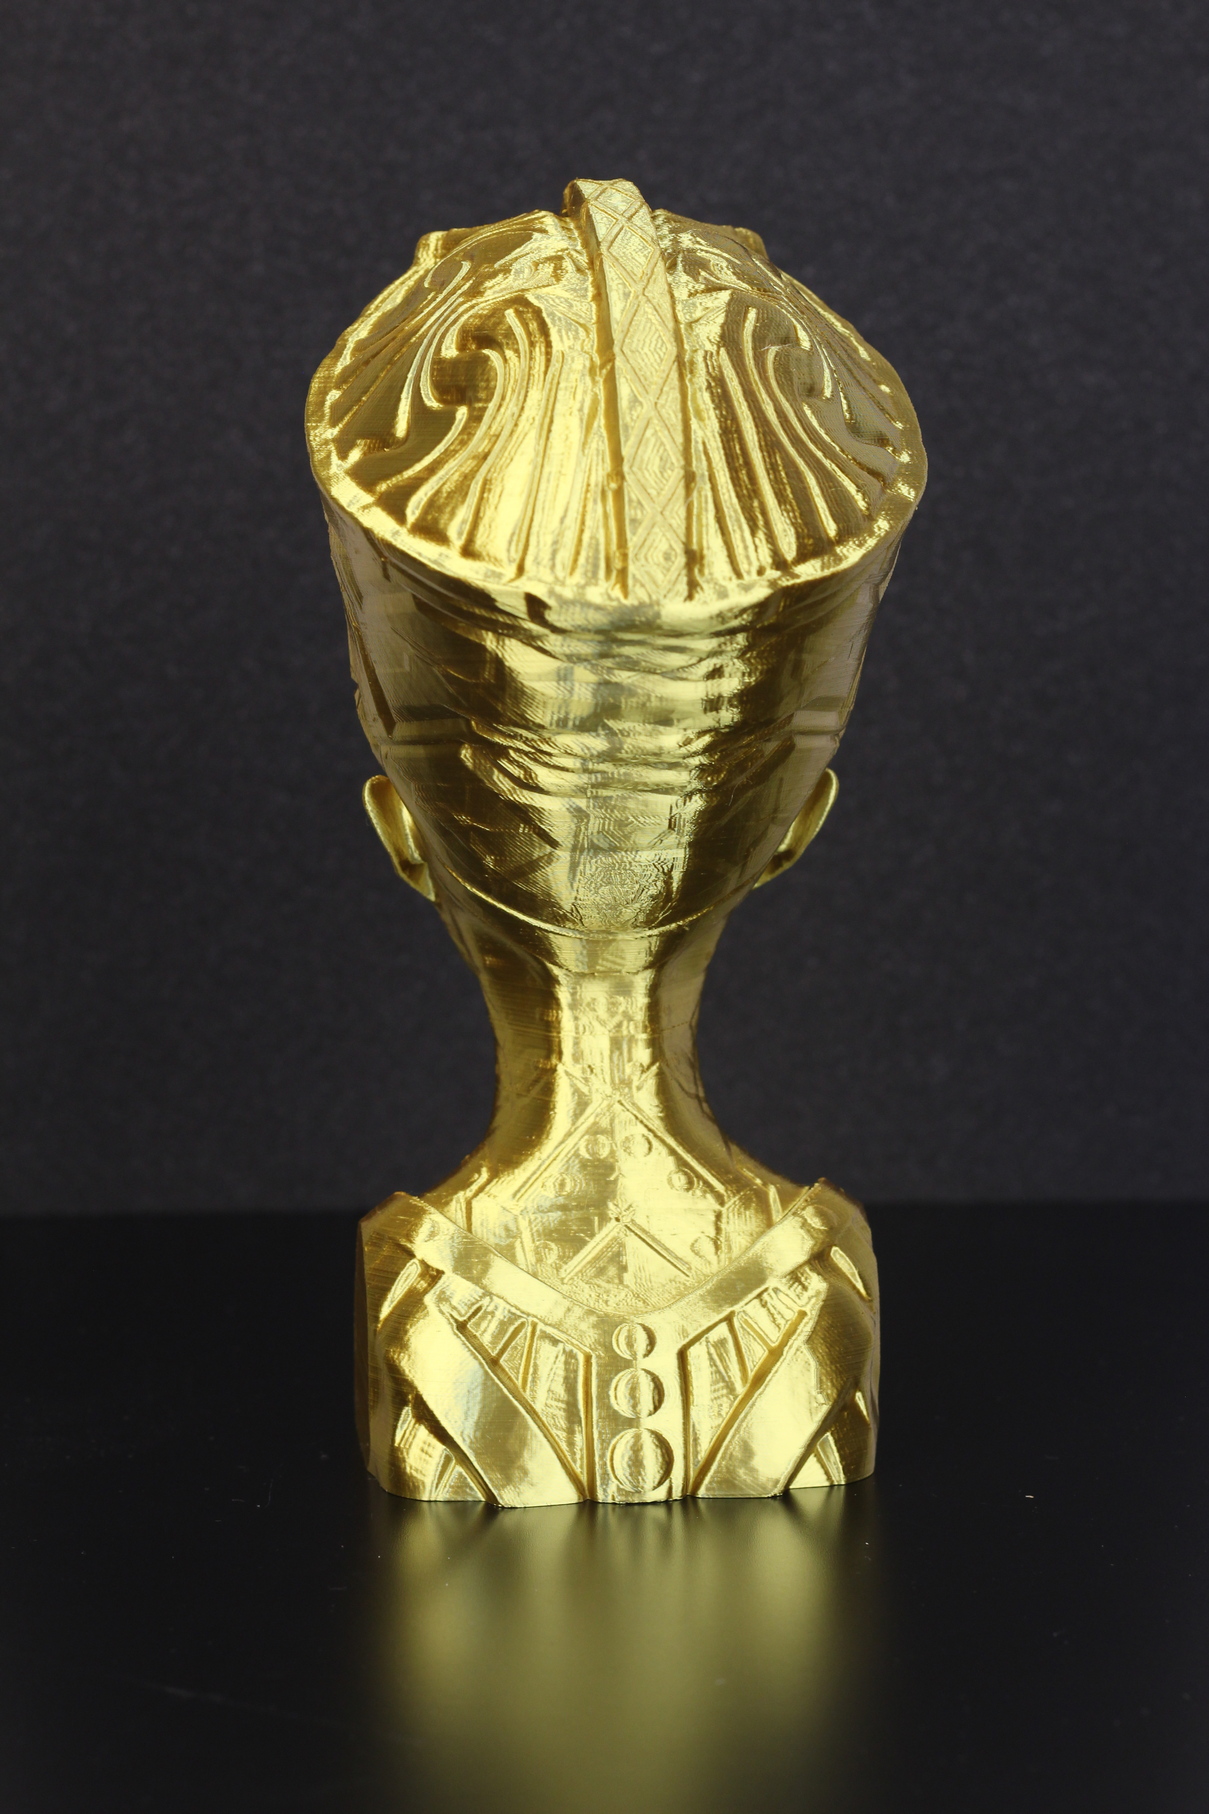
- Material: Devil Design Silk Gold PLA
- Layer Height: 0.15mm
- Nozzle Temperature: 215C
- Bed Temperature: 60C
- Print Speed: 50 mm/s
Swamp Thing
I switched the filament again and printed this awesome Swamp Thing model from Eastman. There really isn’t any flaw to this model, and even the Z seam is nicely masked by the awesome detail the Sidewinder X2 is able to produce.
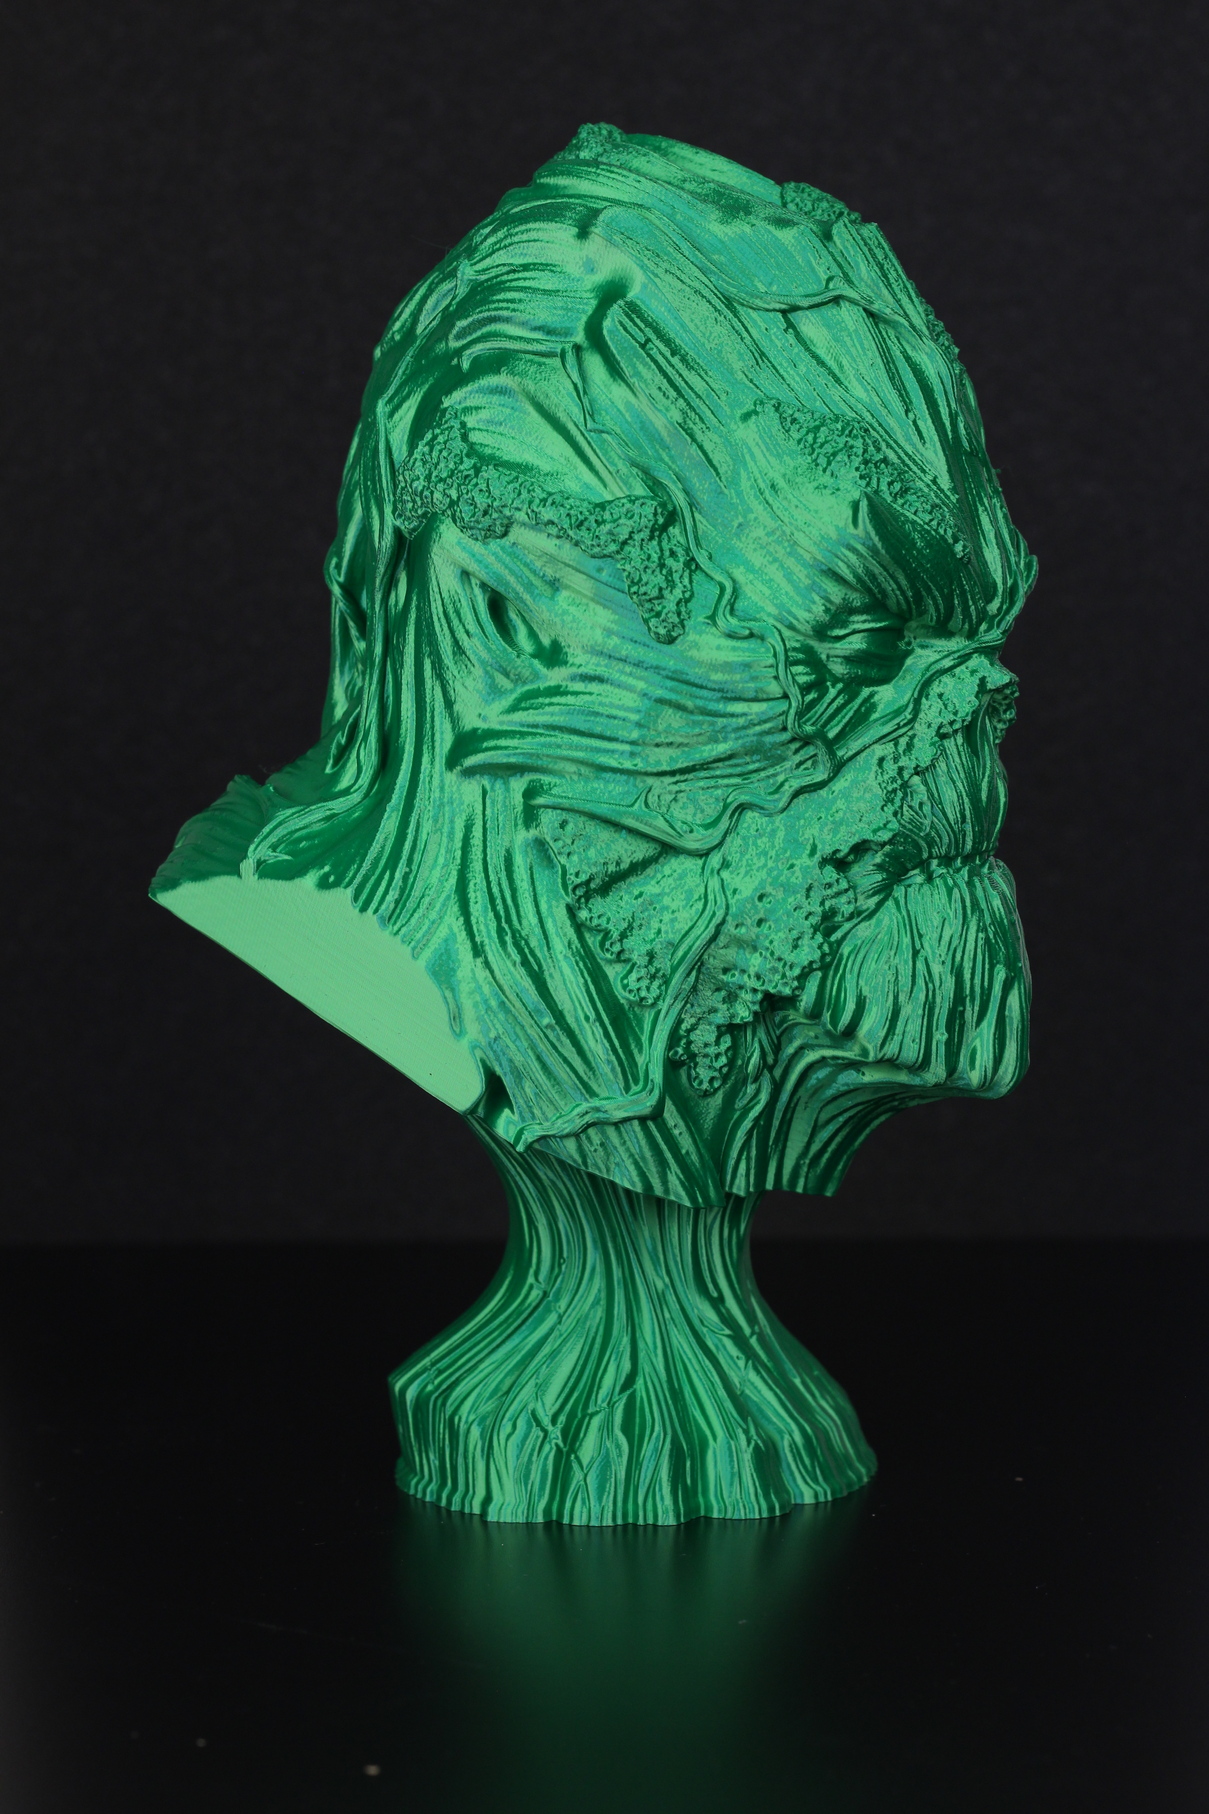
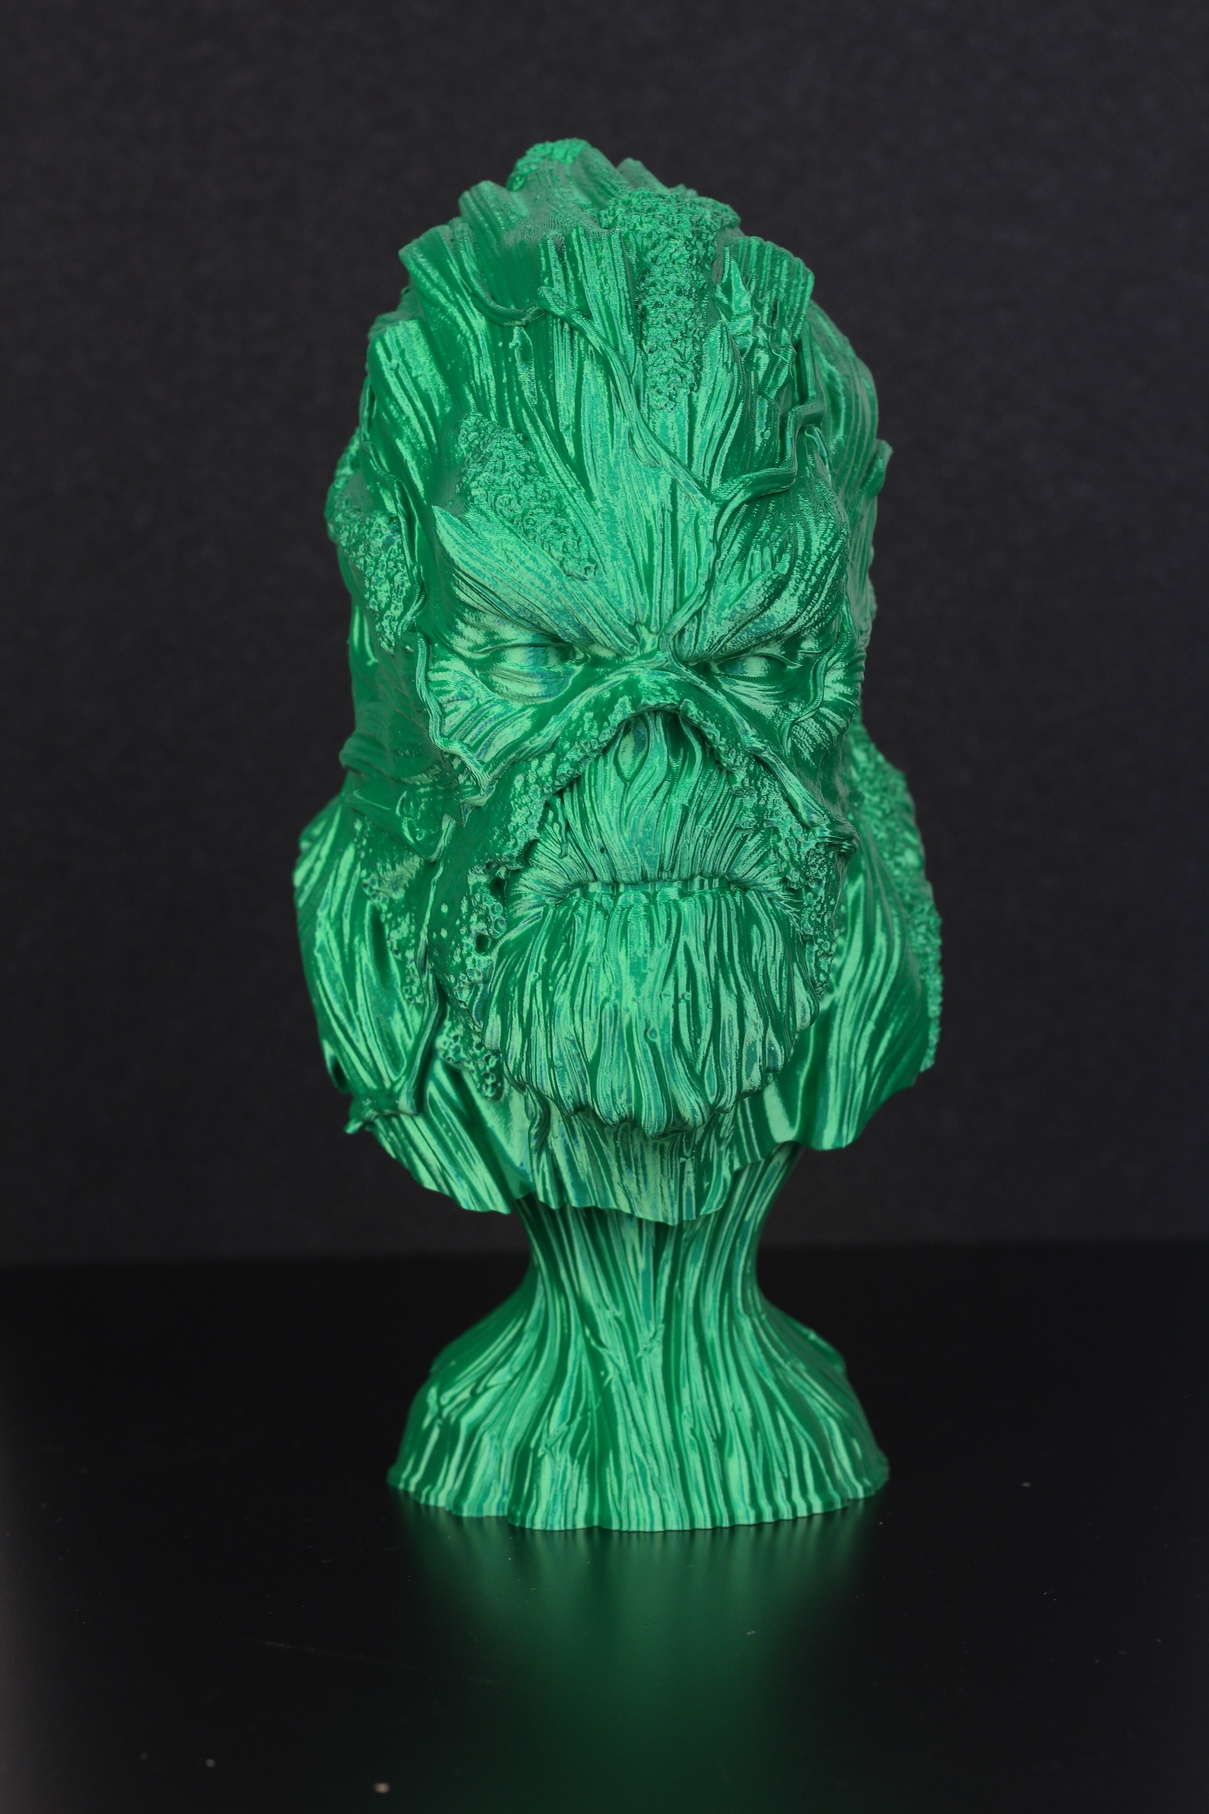
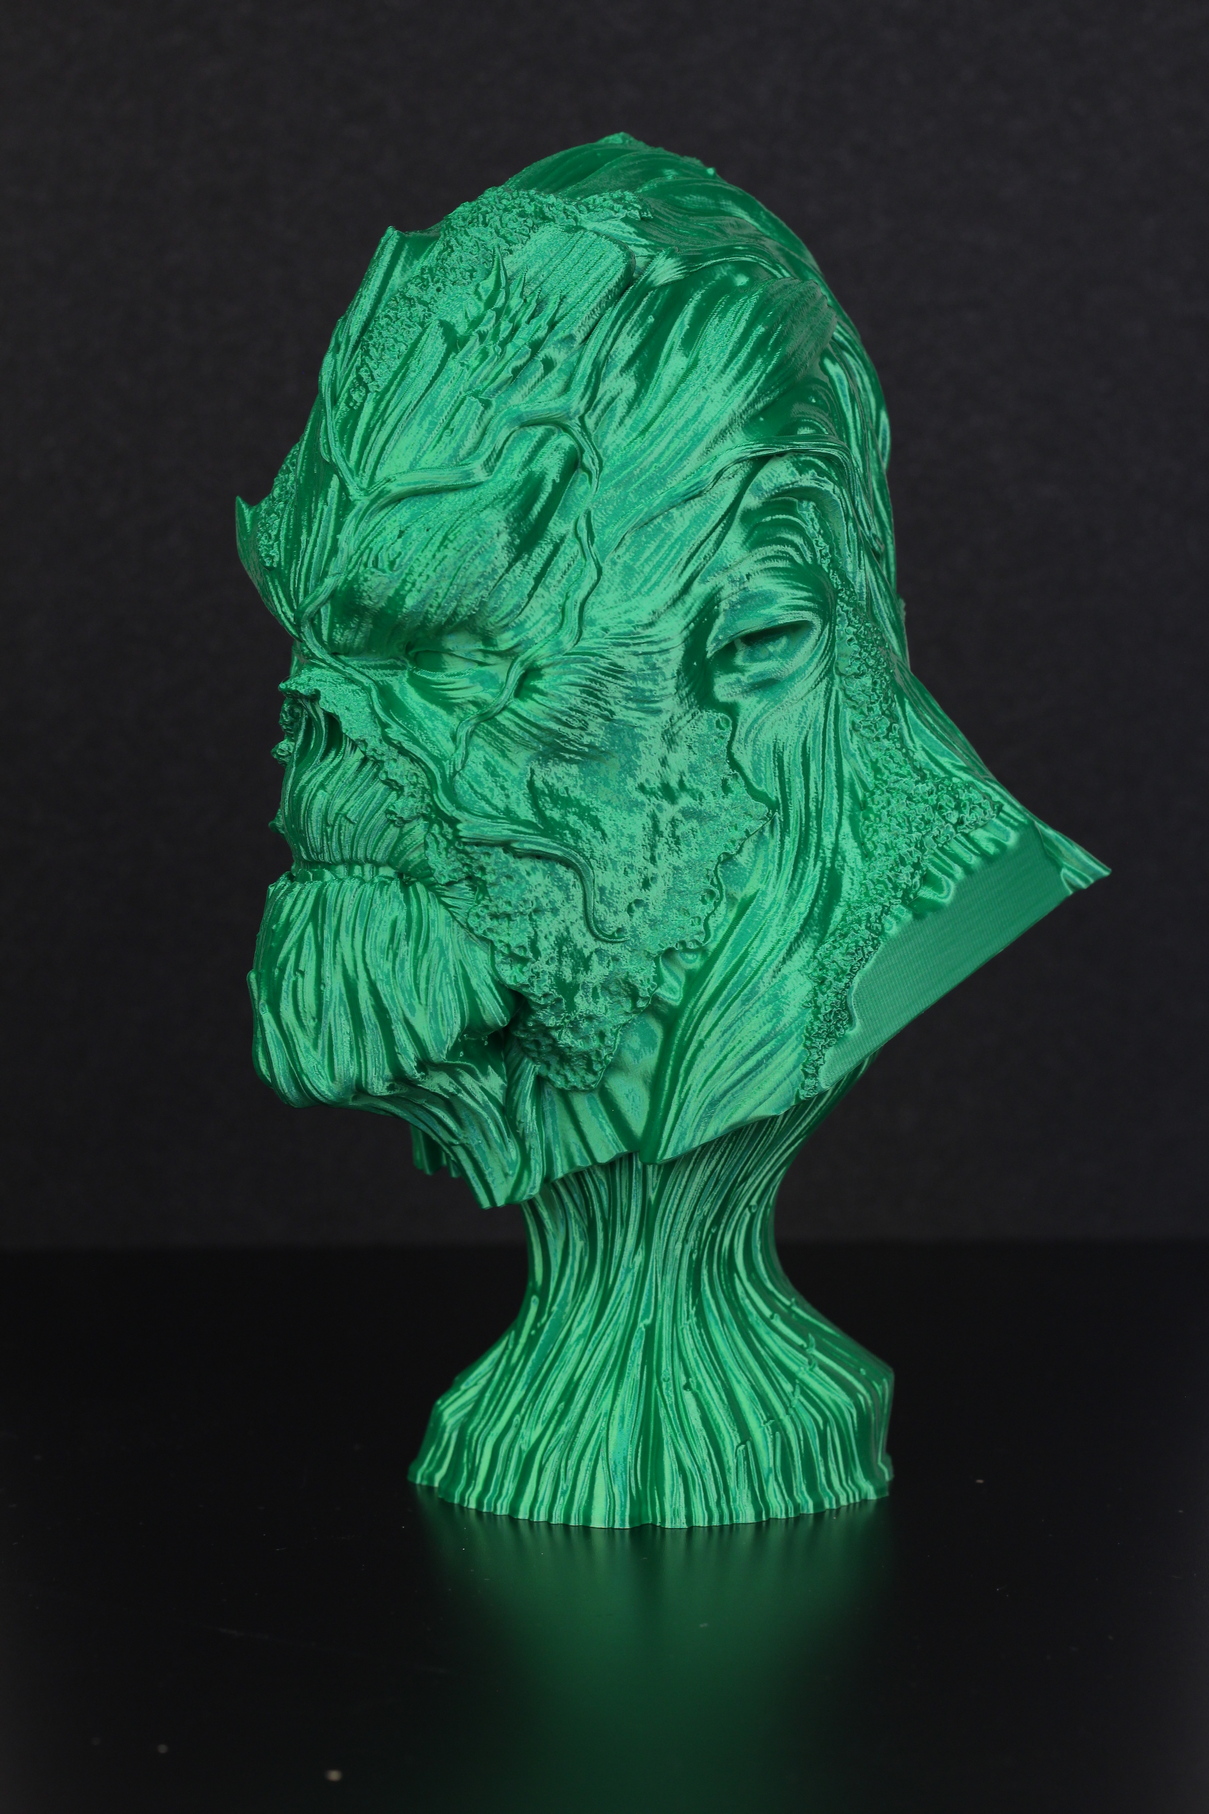
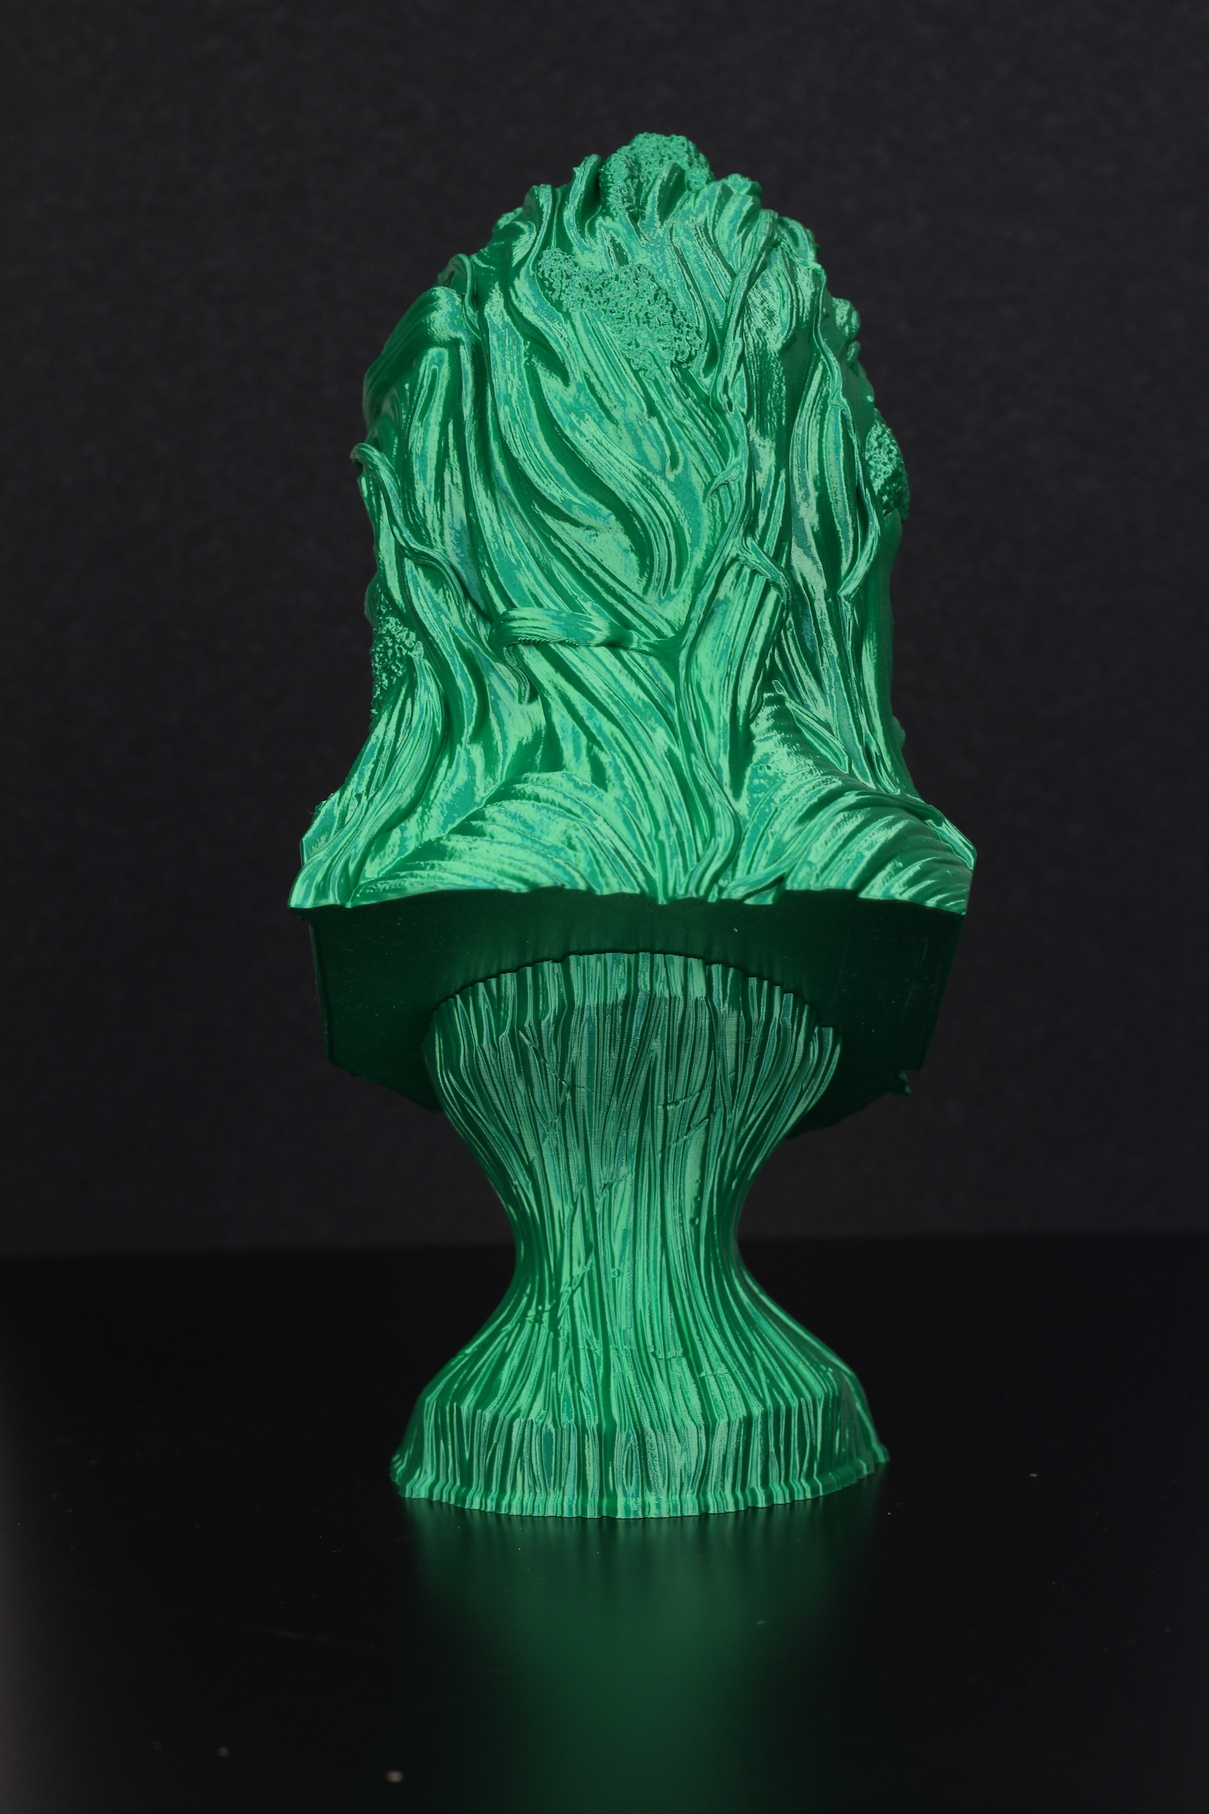
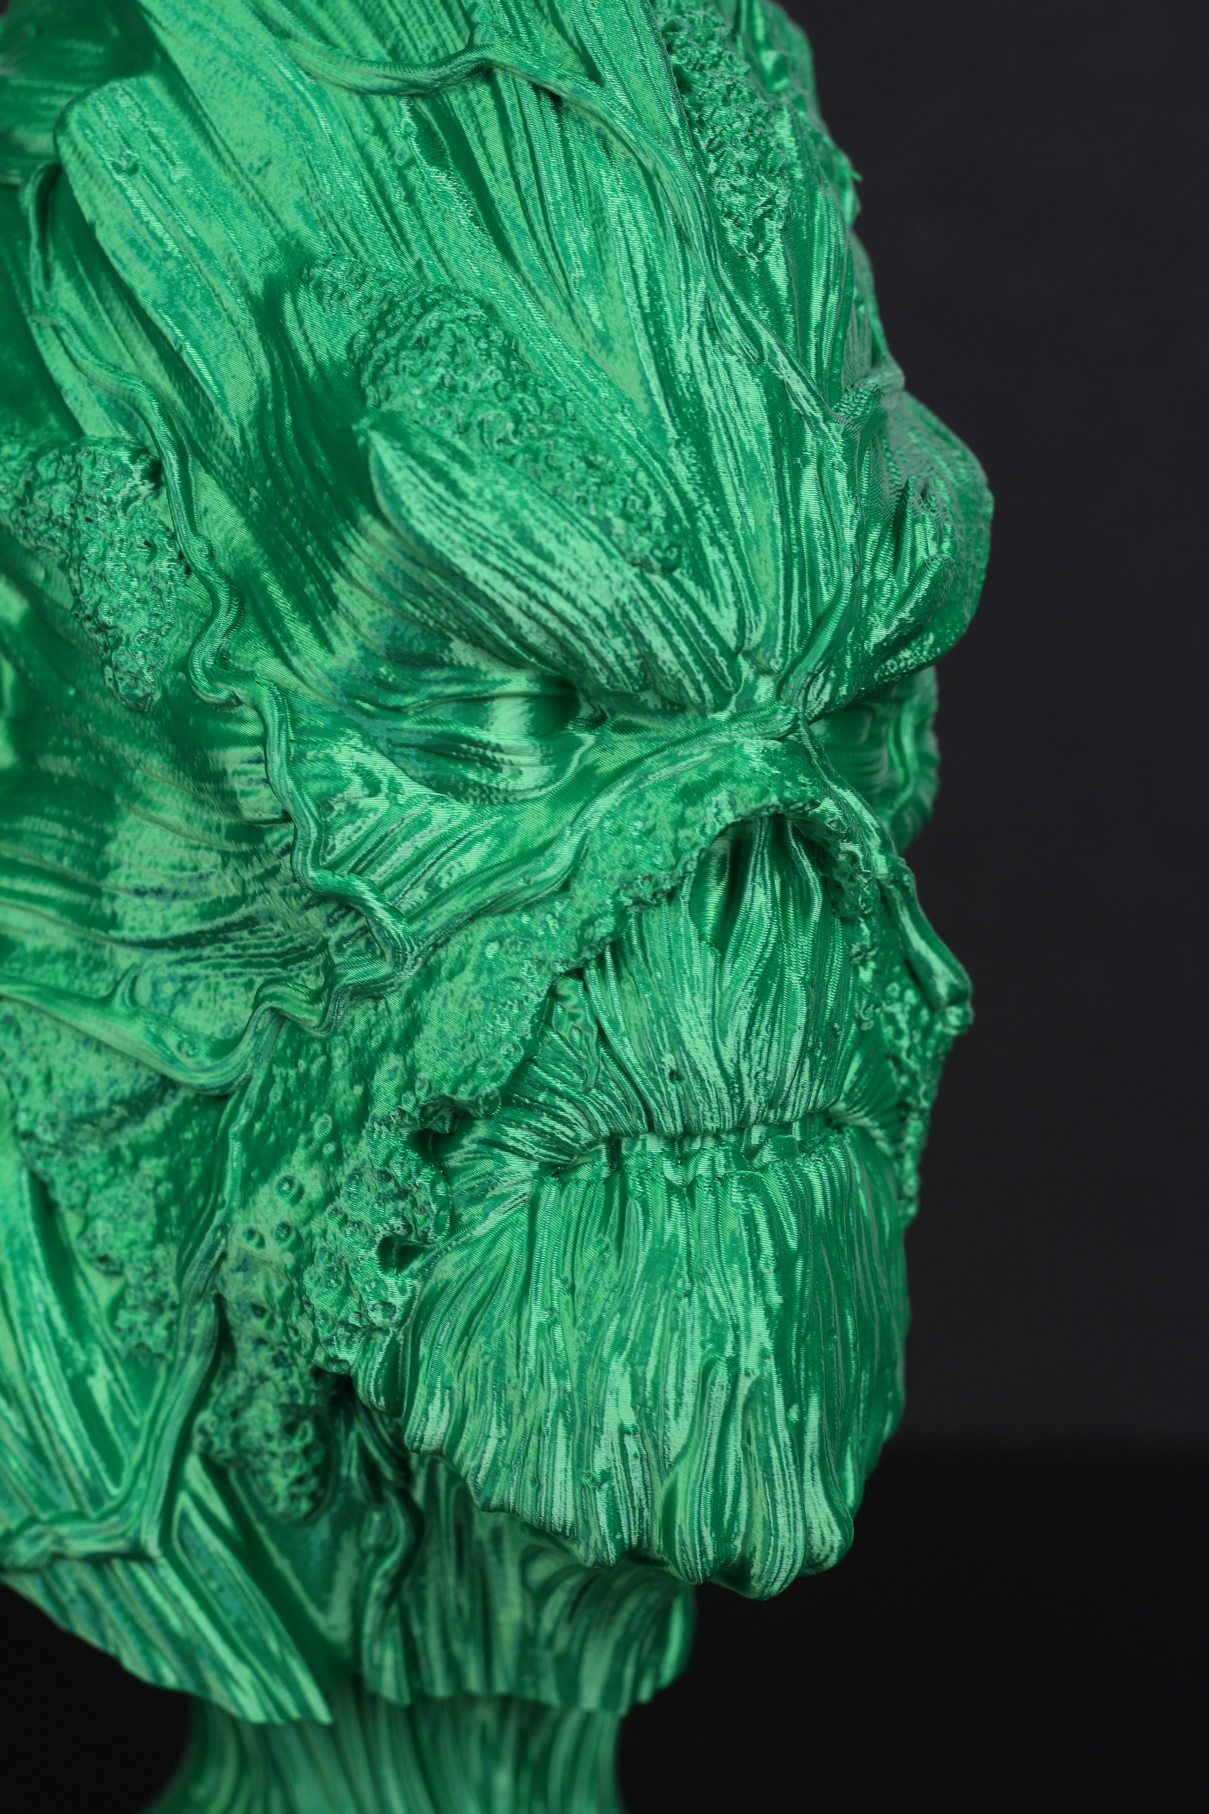
- Material: BioFusion Reptile Green PLA
- Layer Height: 0.15mm
- Nozzle Temperature: 215C
- Bed Temperature: 60C
- Print Speed: 50 mm/s
Fluffy the Unicorn
PolyMaker sent me some of their PolyFlex TPU95-HF which is made for fast printing, and I must say, it’s one of the best TPU’s I ever used. This print came out really great considering how flexible this TPU is and the speed it was printed at.
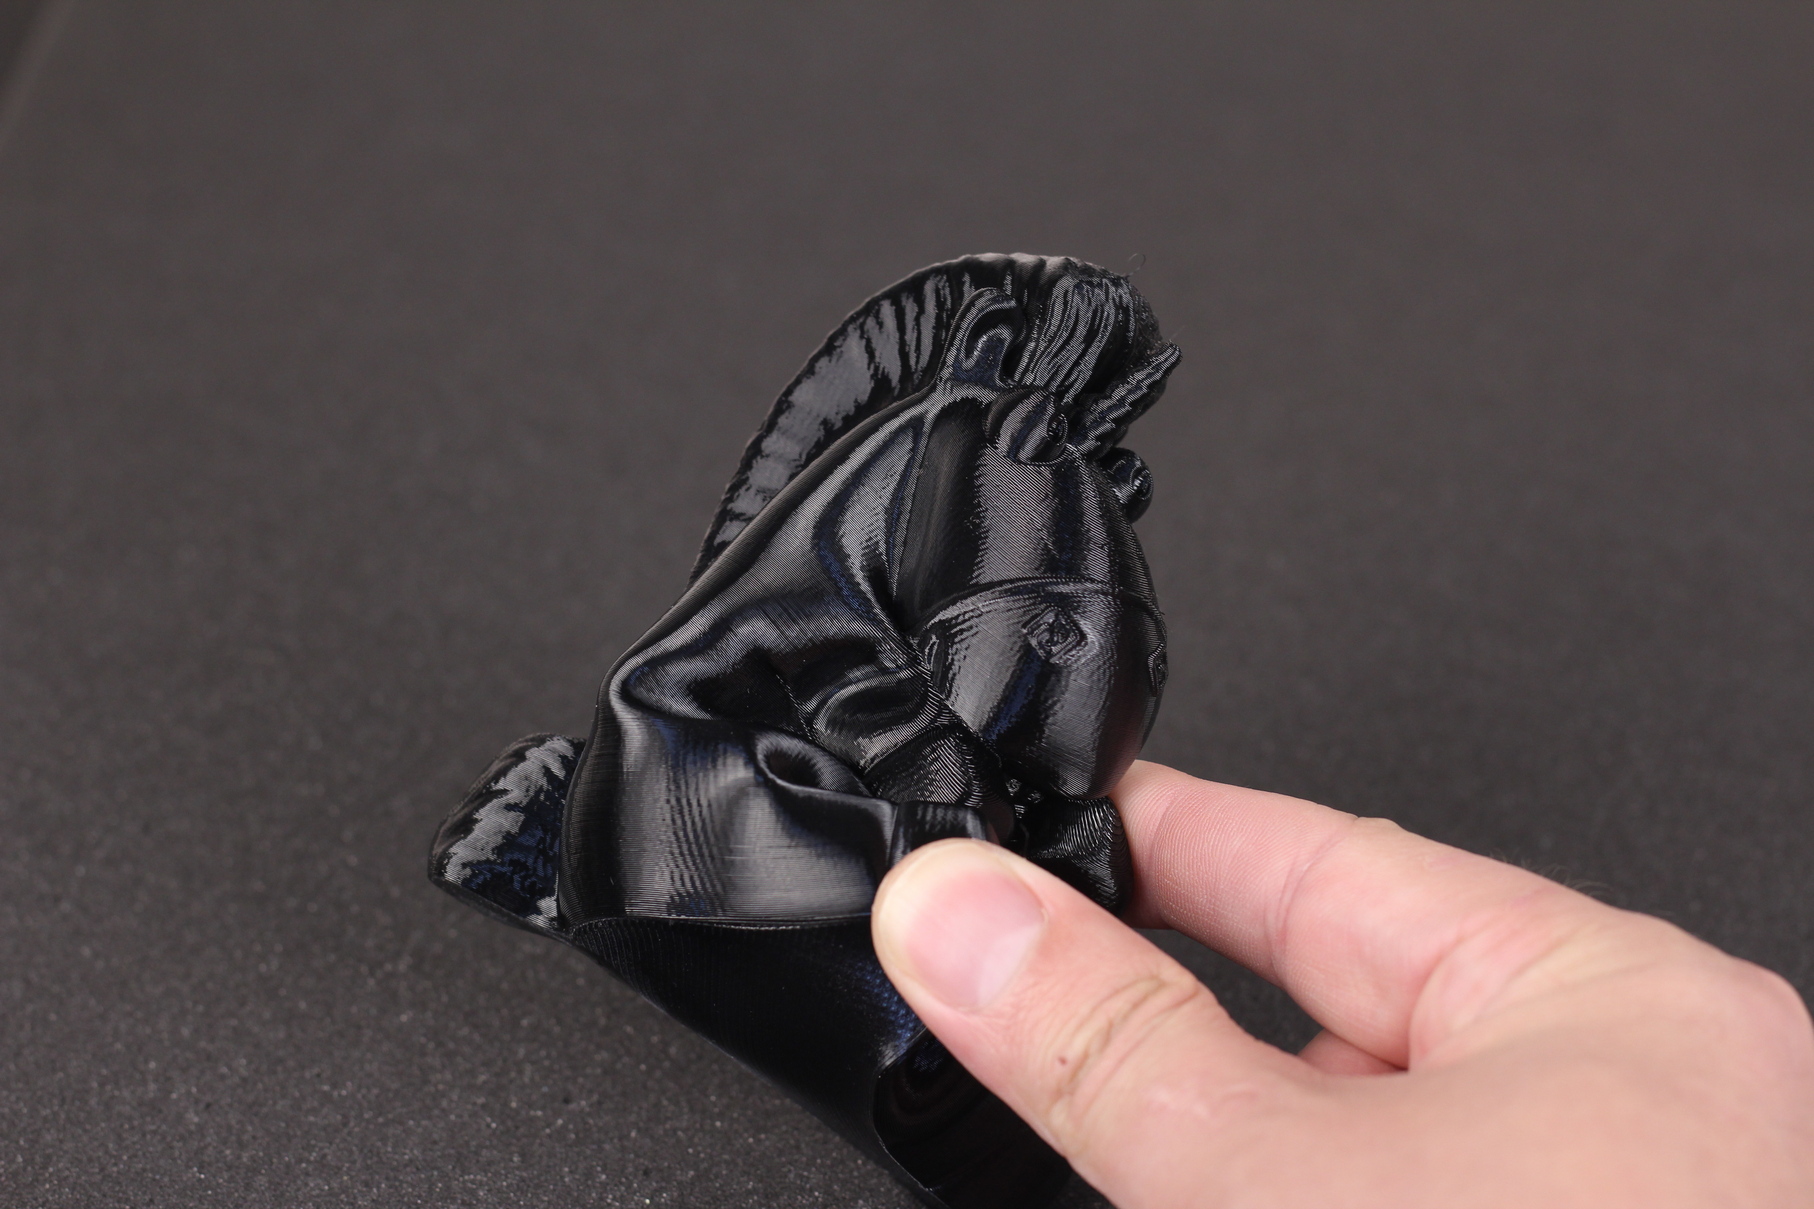
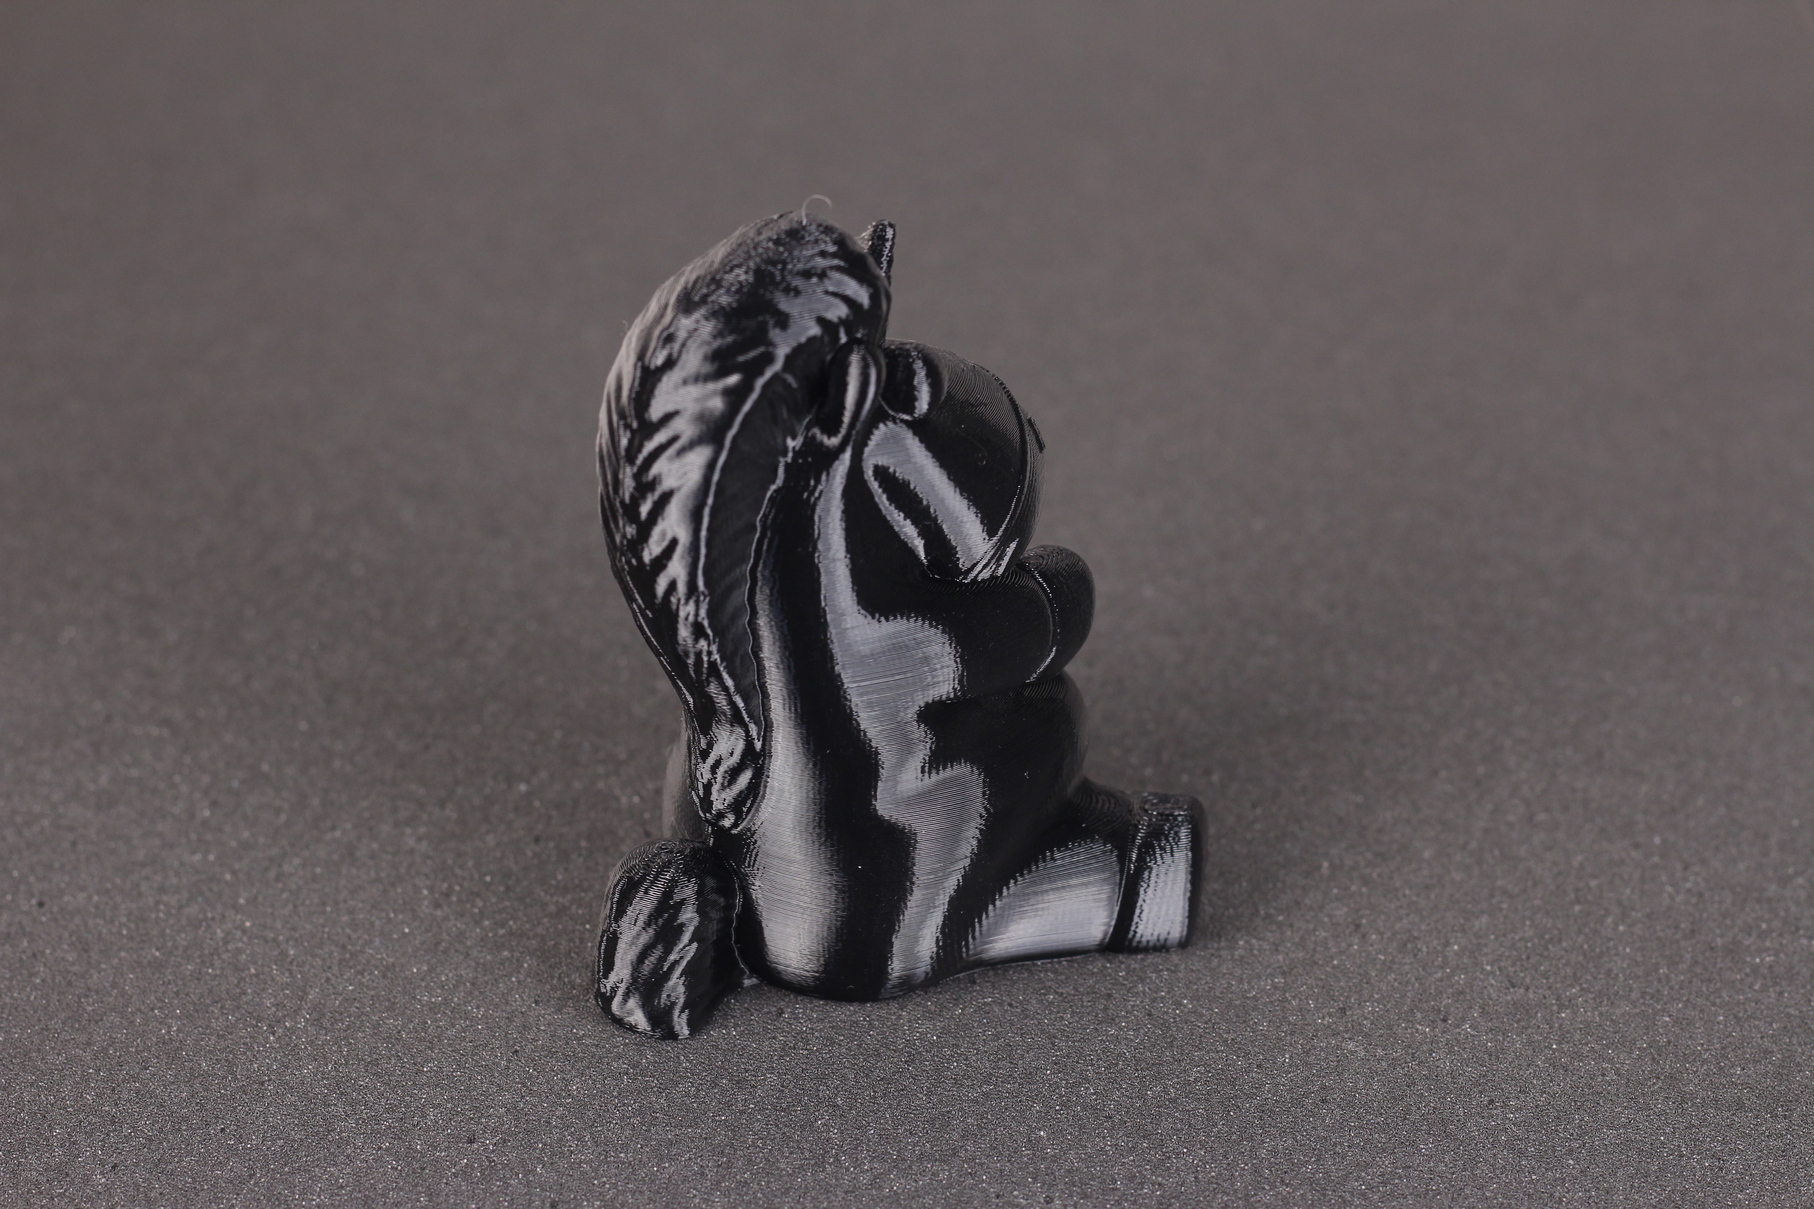
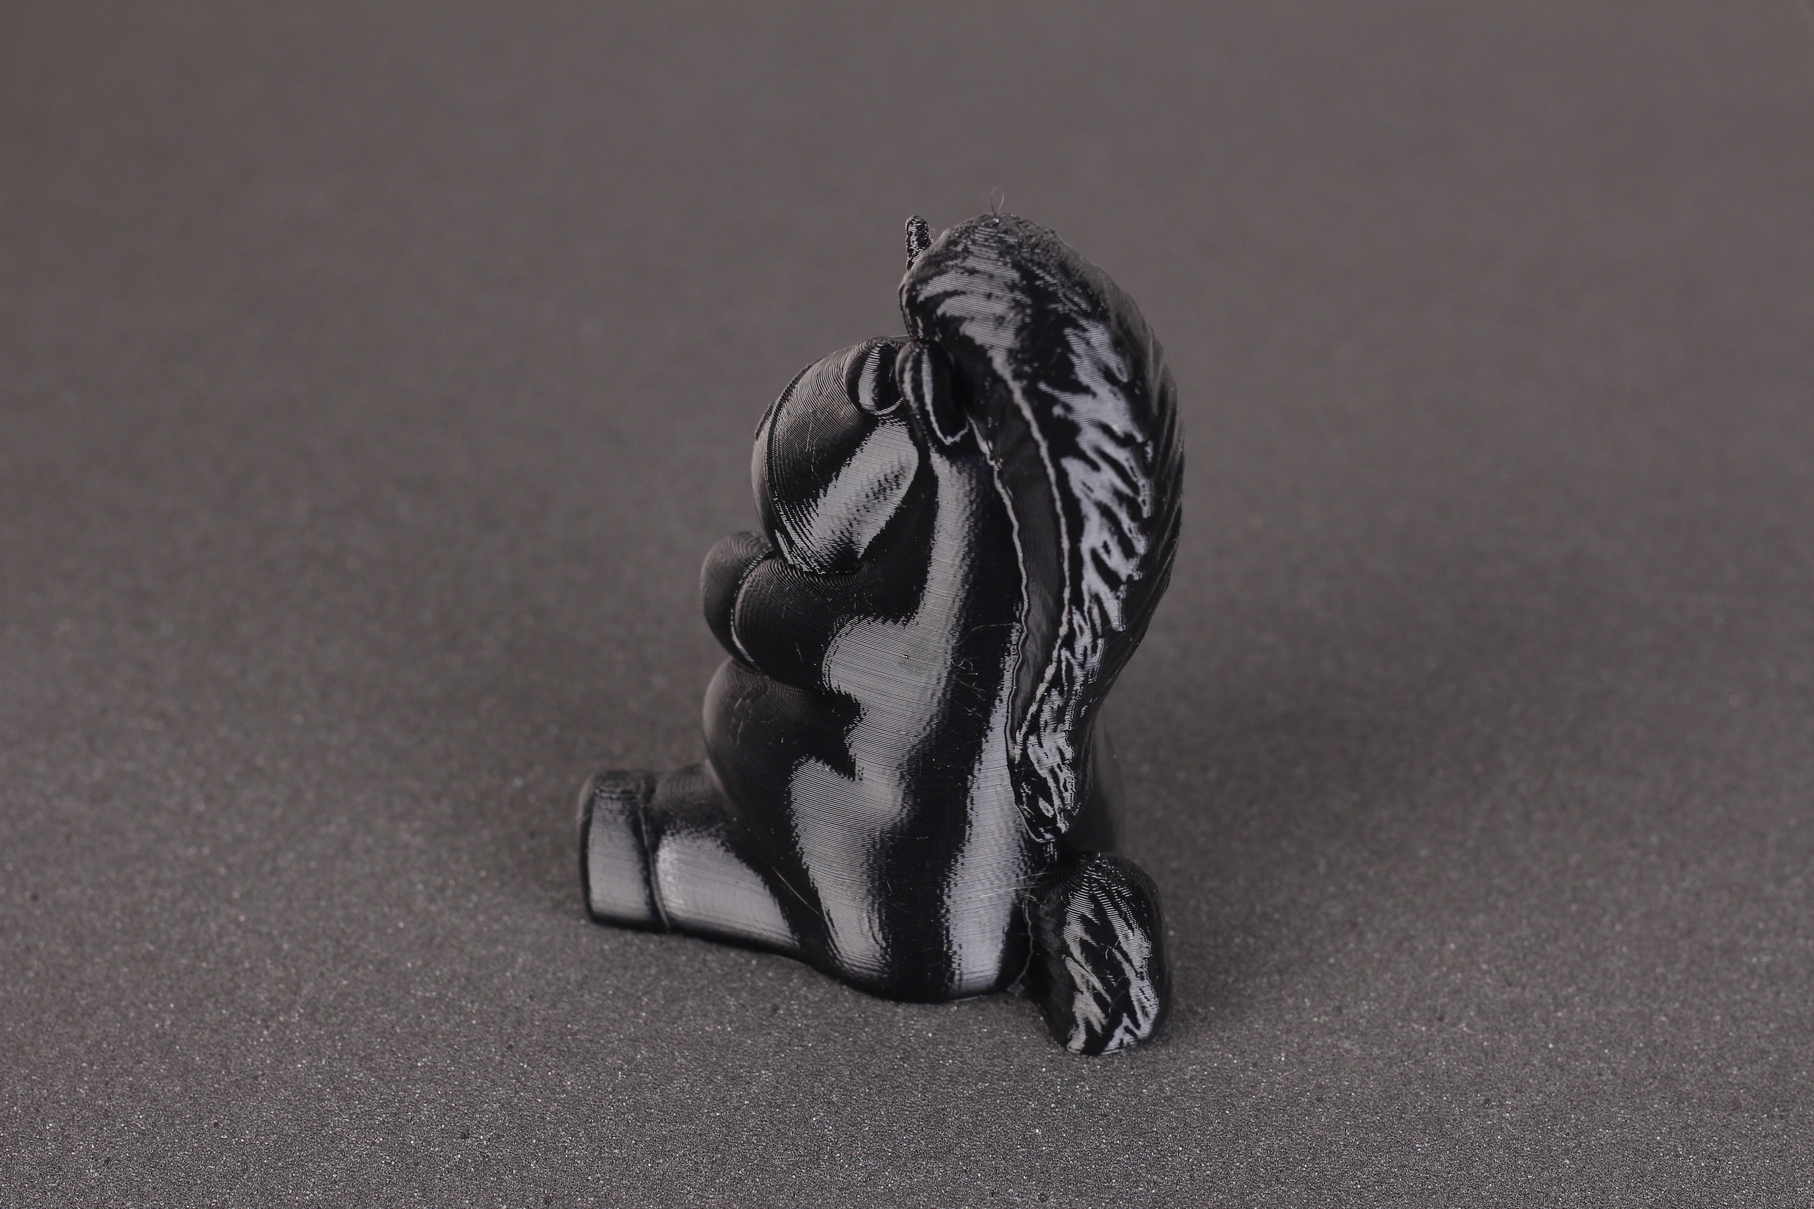
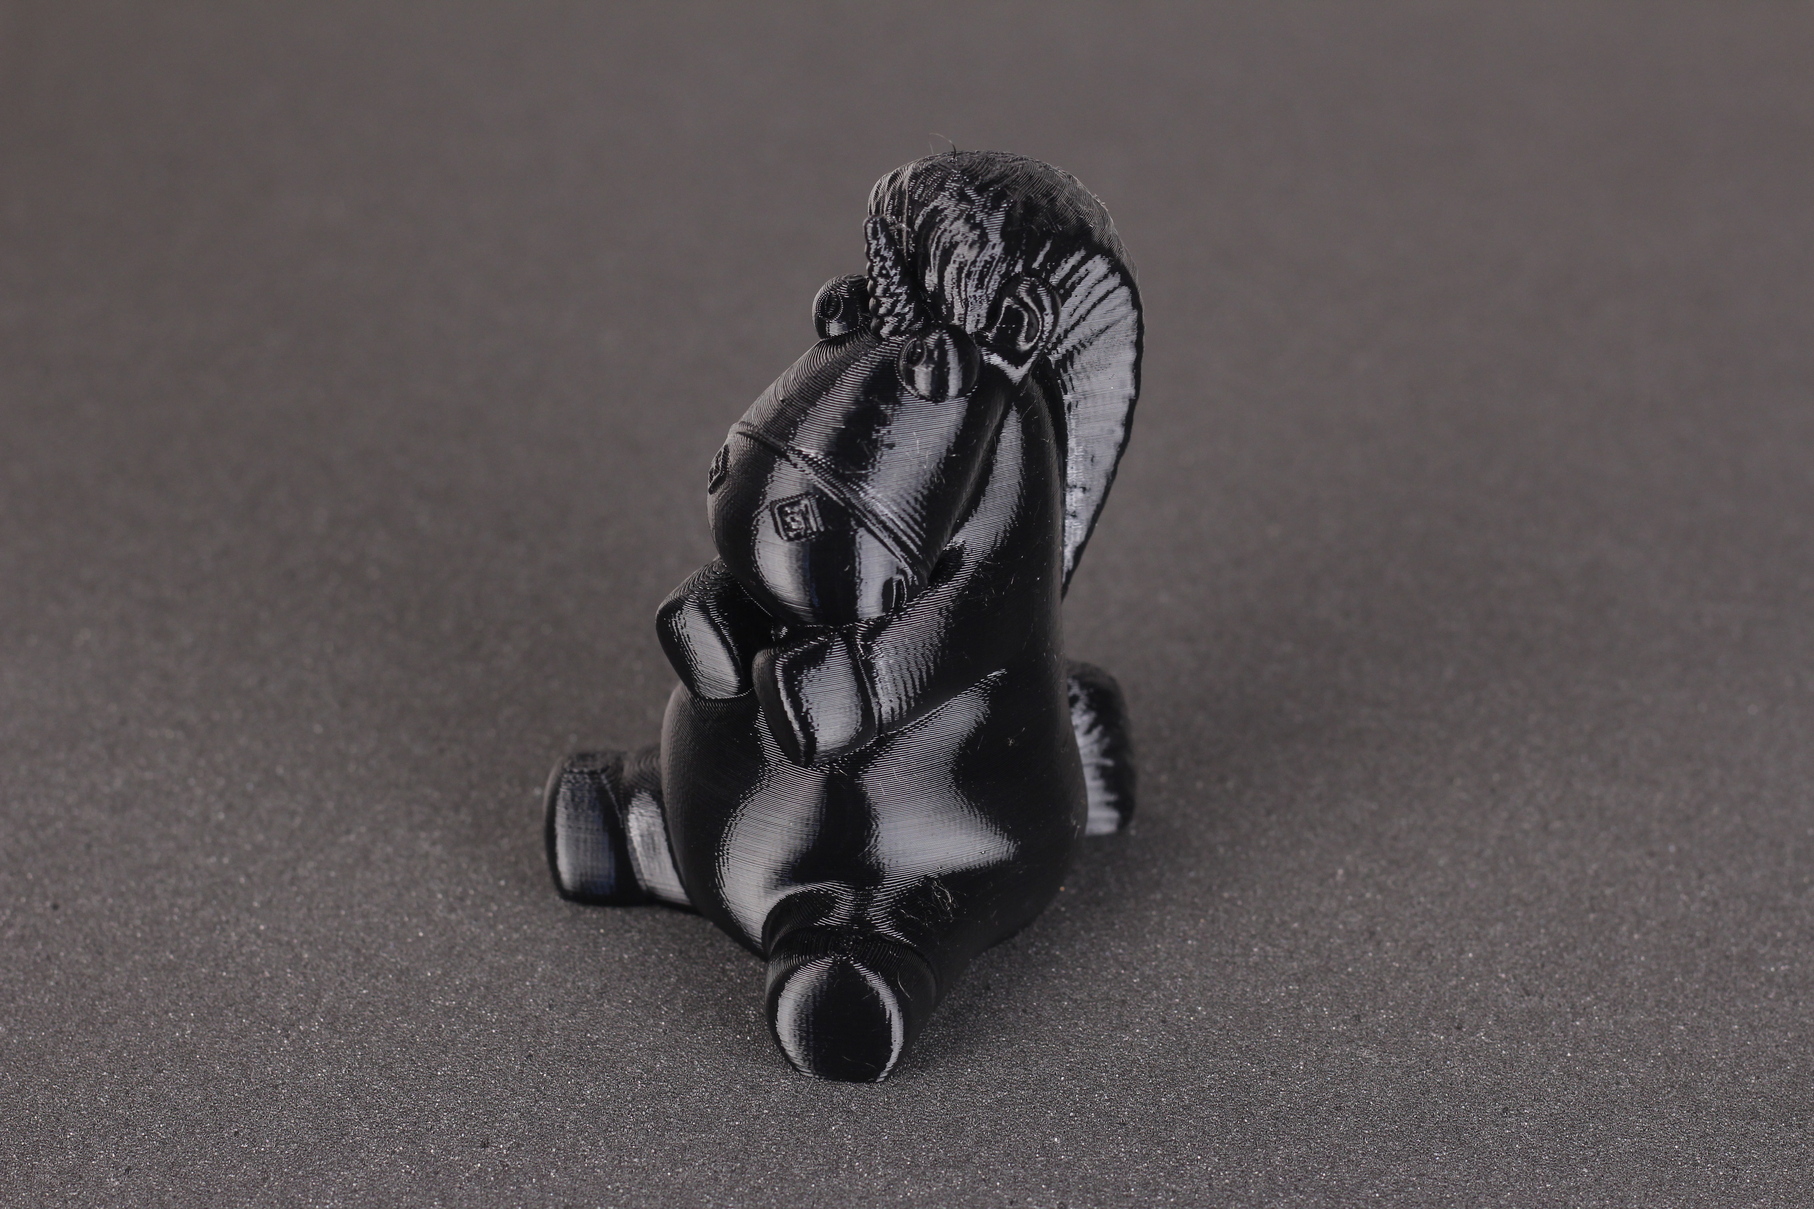
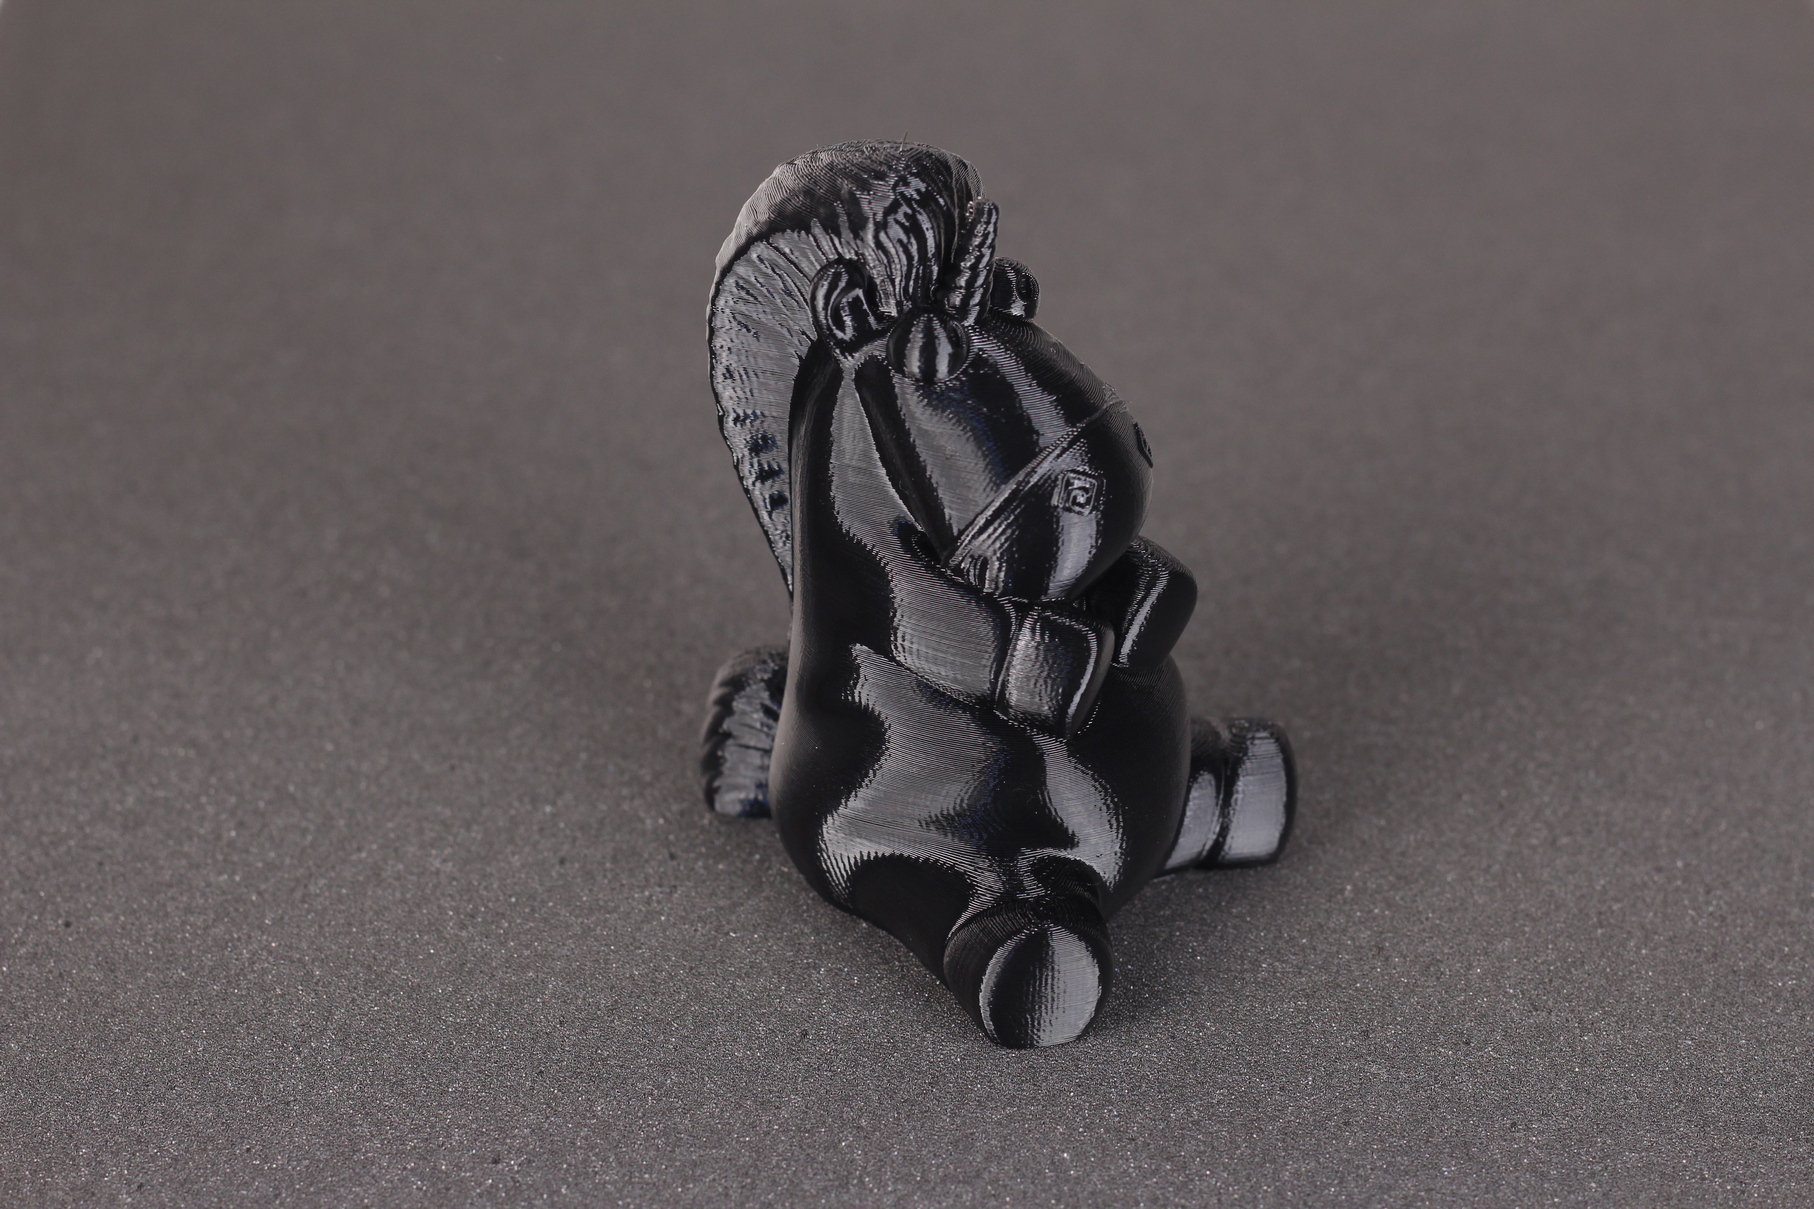
- Material: Polymaker PolyFlex TPU95-HF
- Layer Height: 0.2mm
- Nozzle Temperature: 215C
- Bed Temperature: 60C
- Print Speed: 40 mm/s
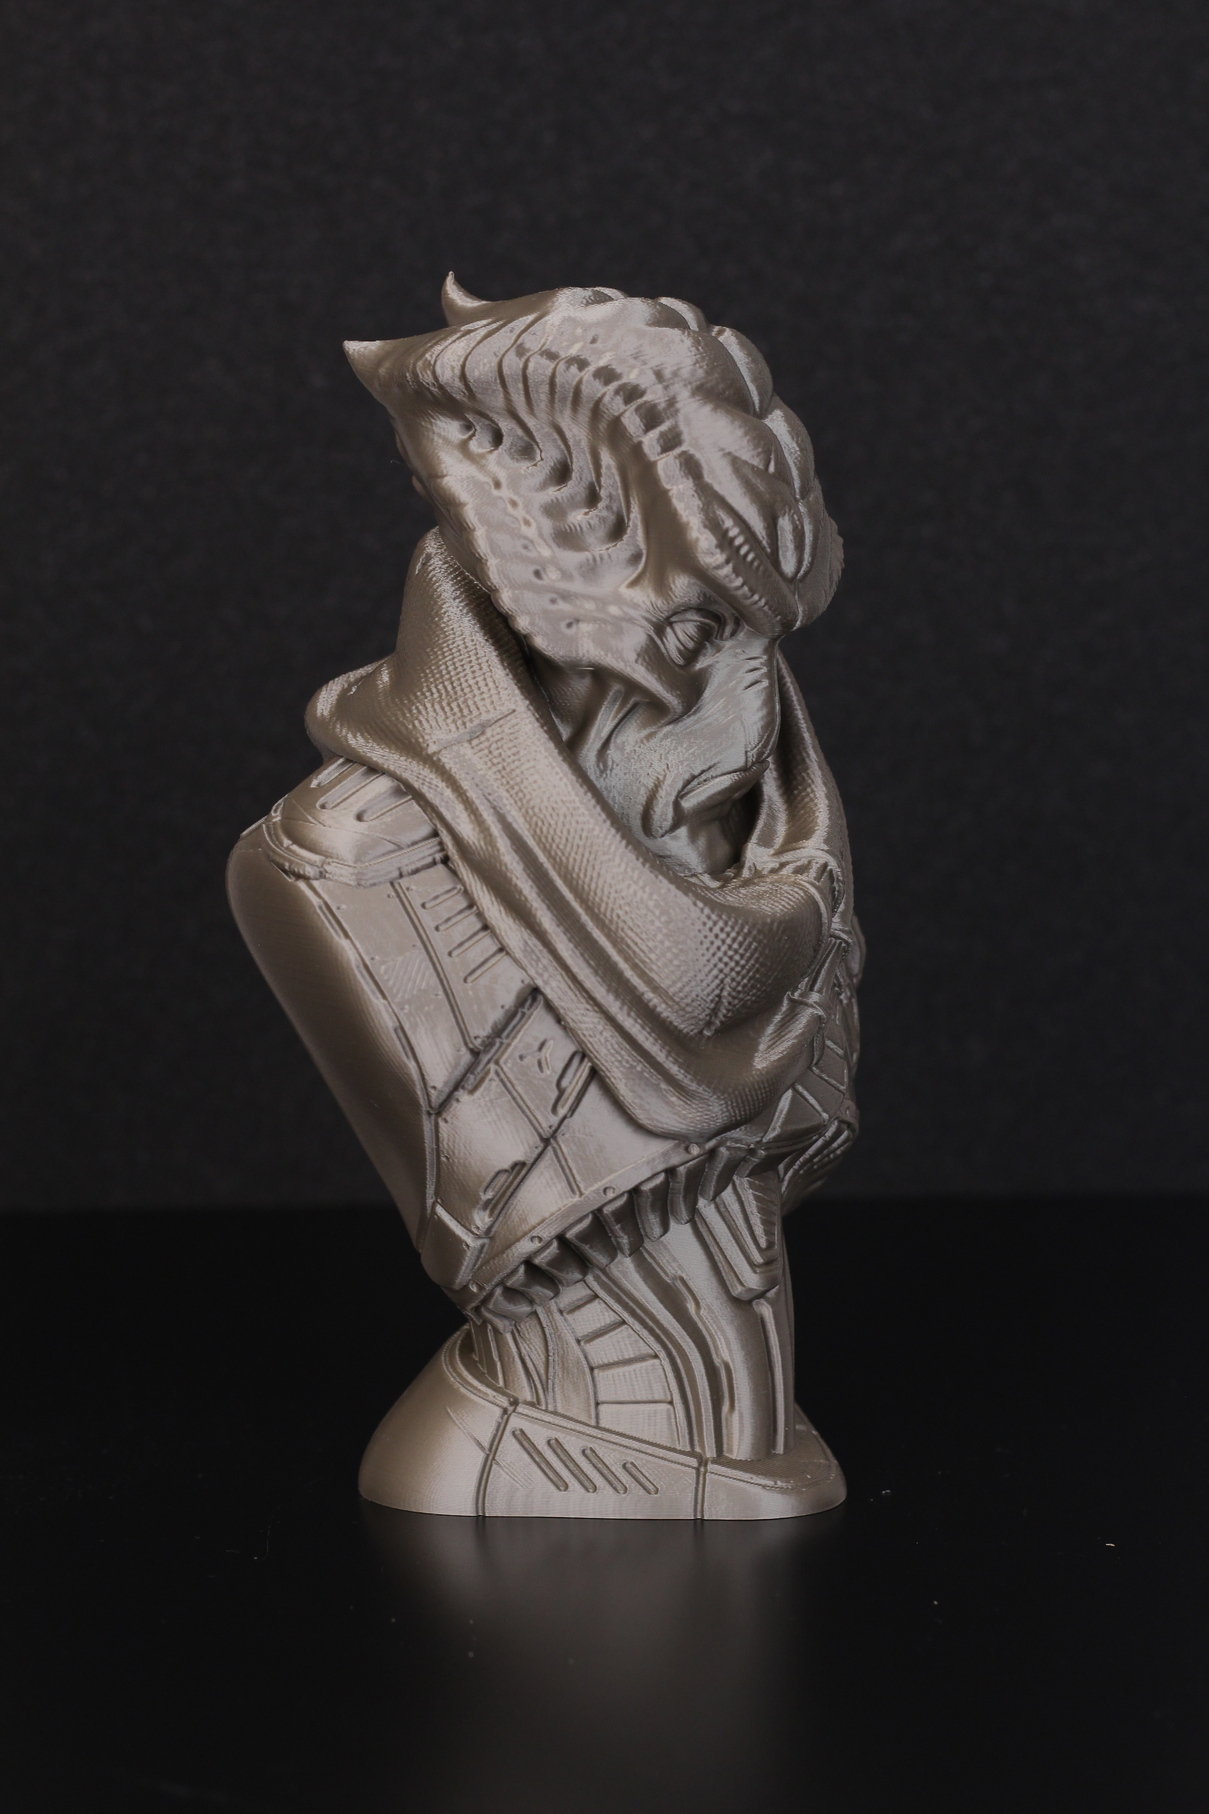
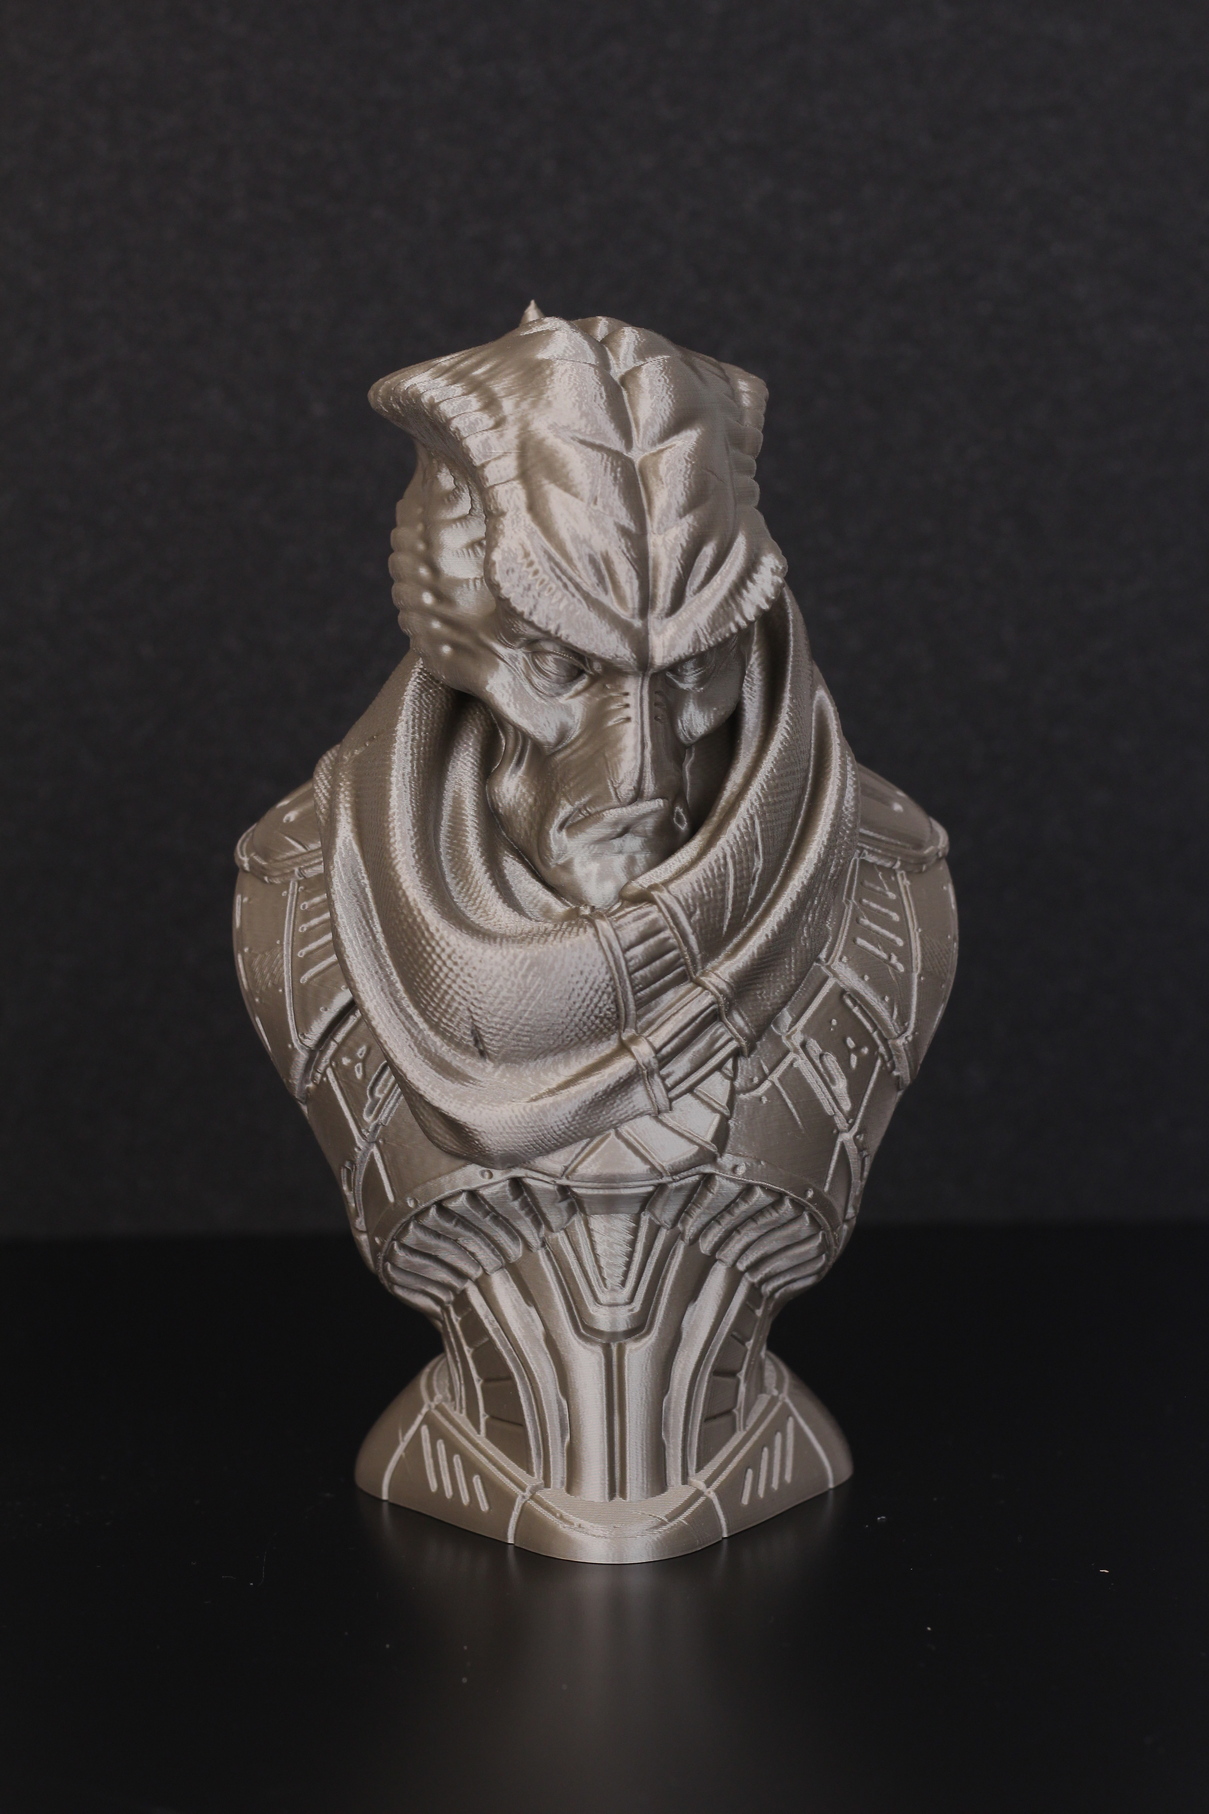
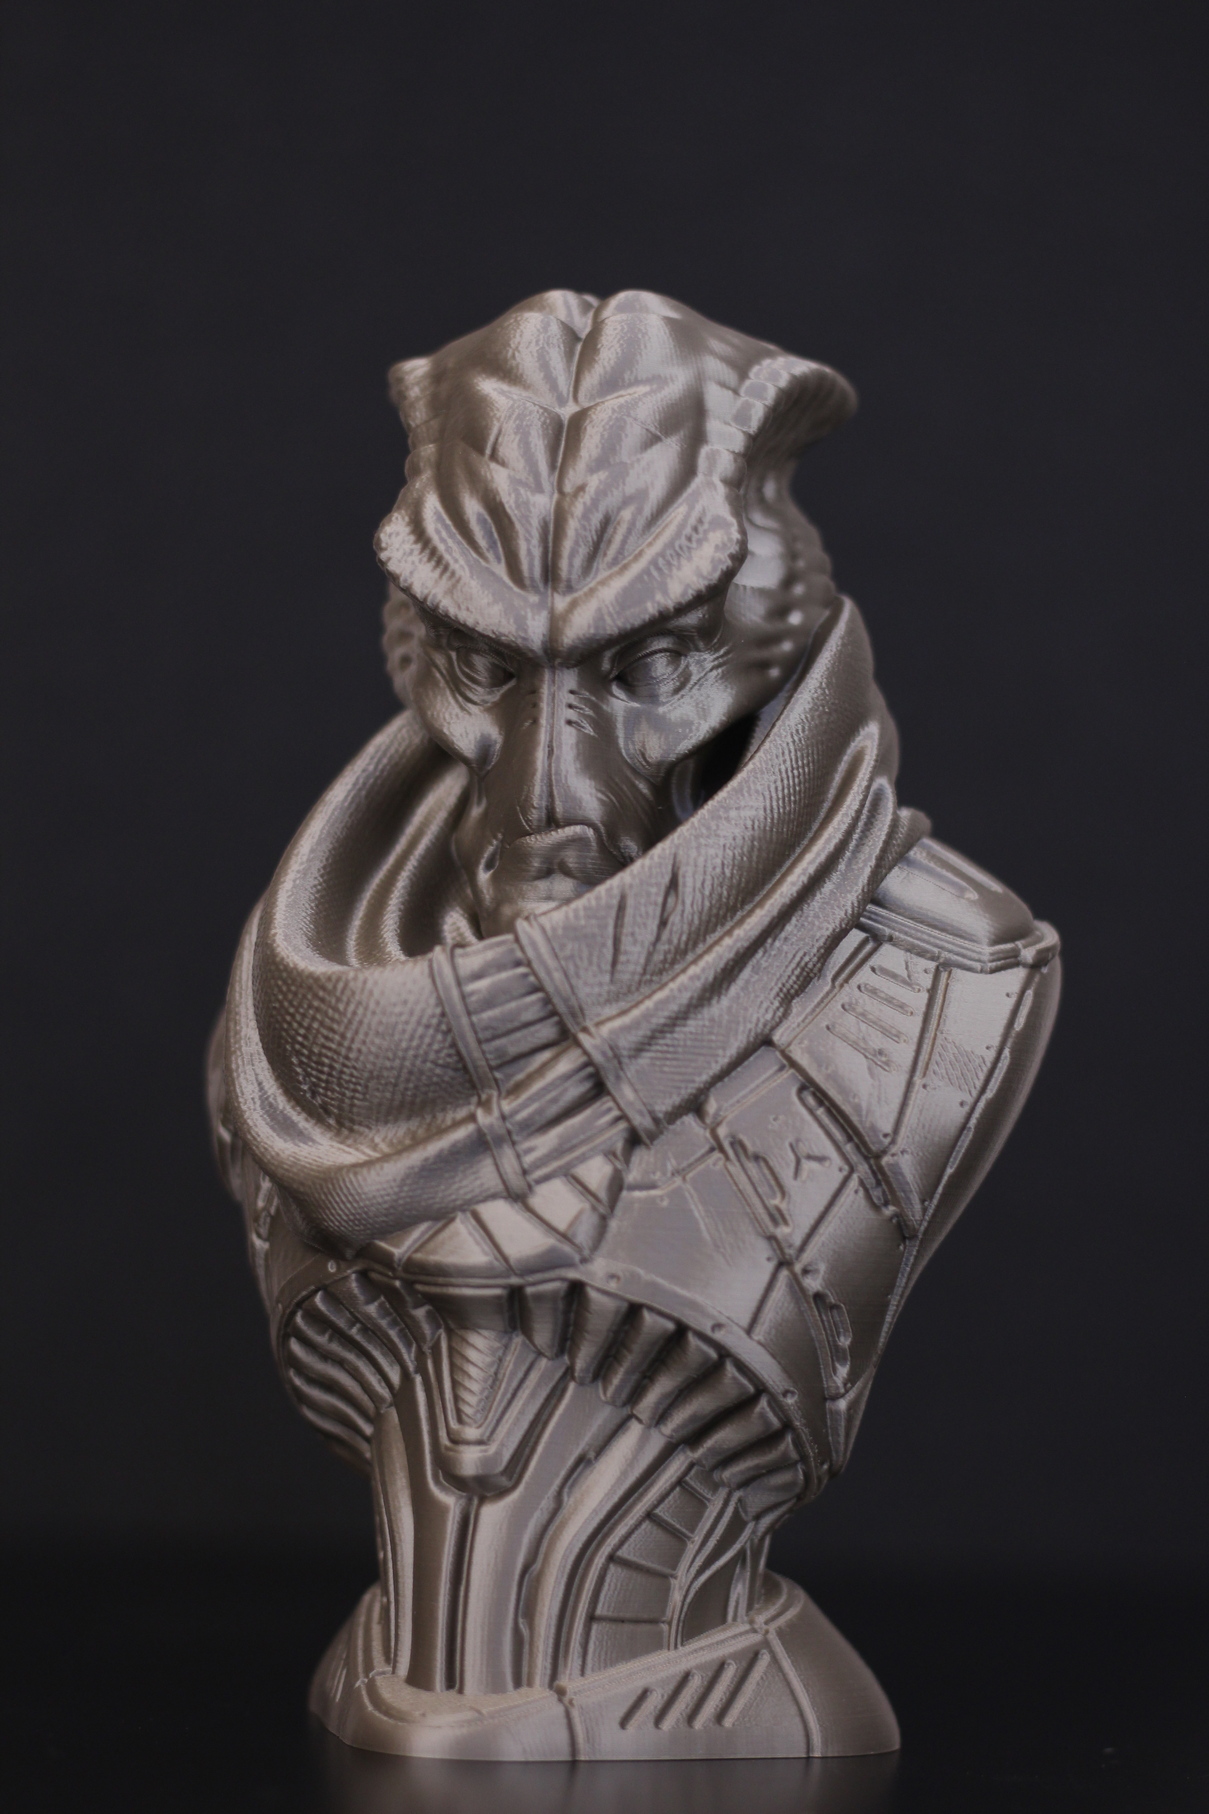
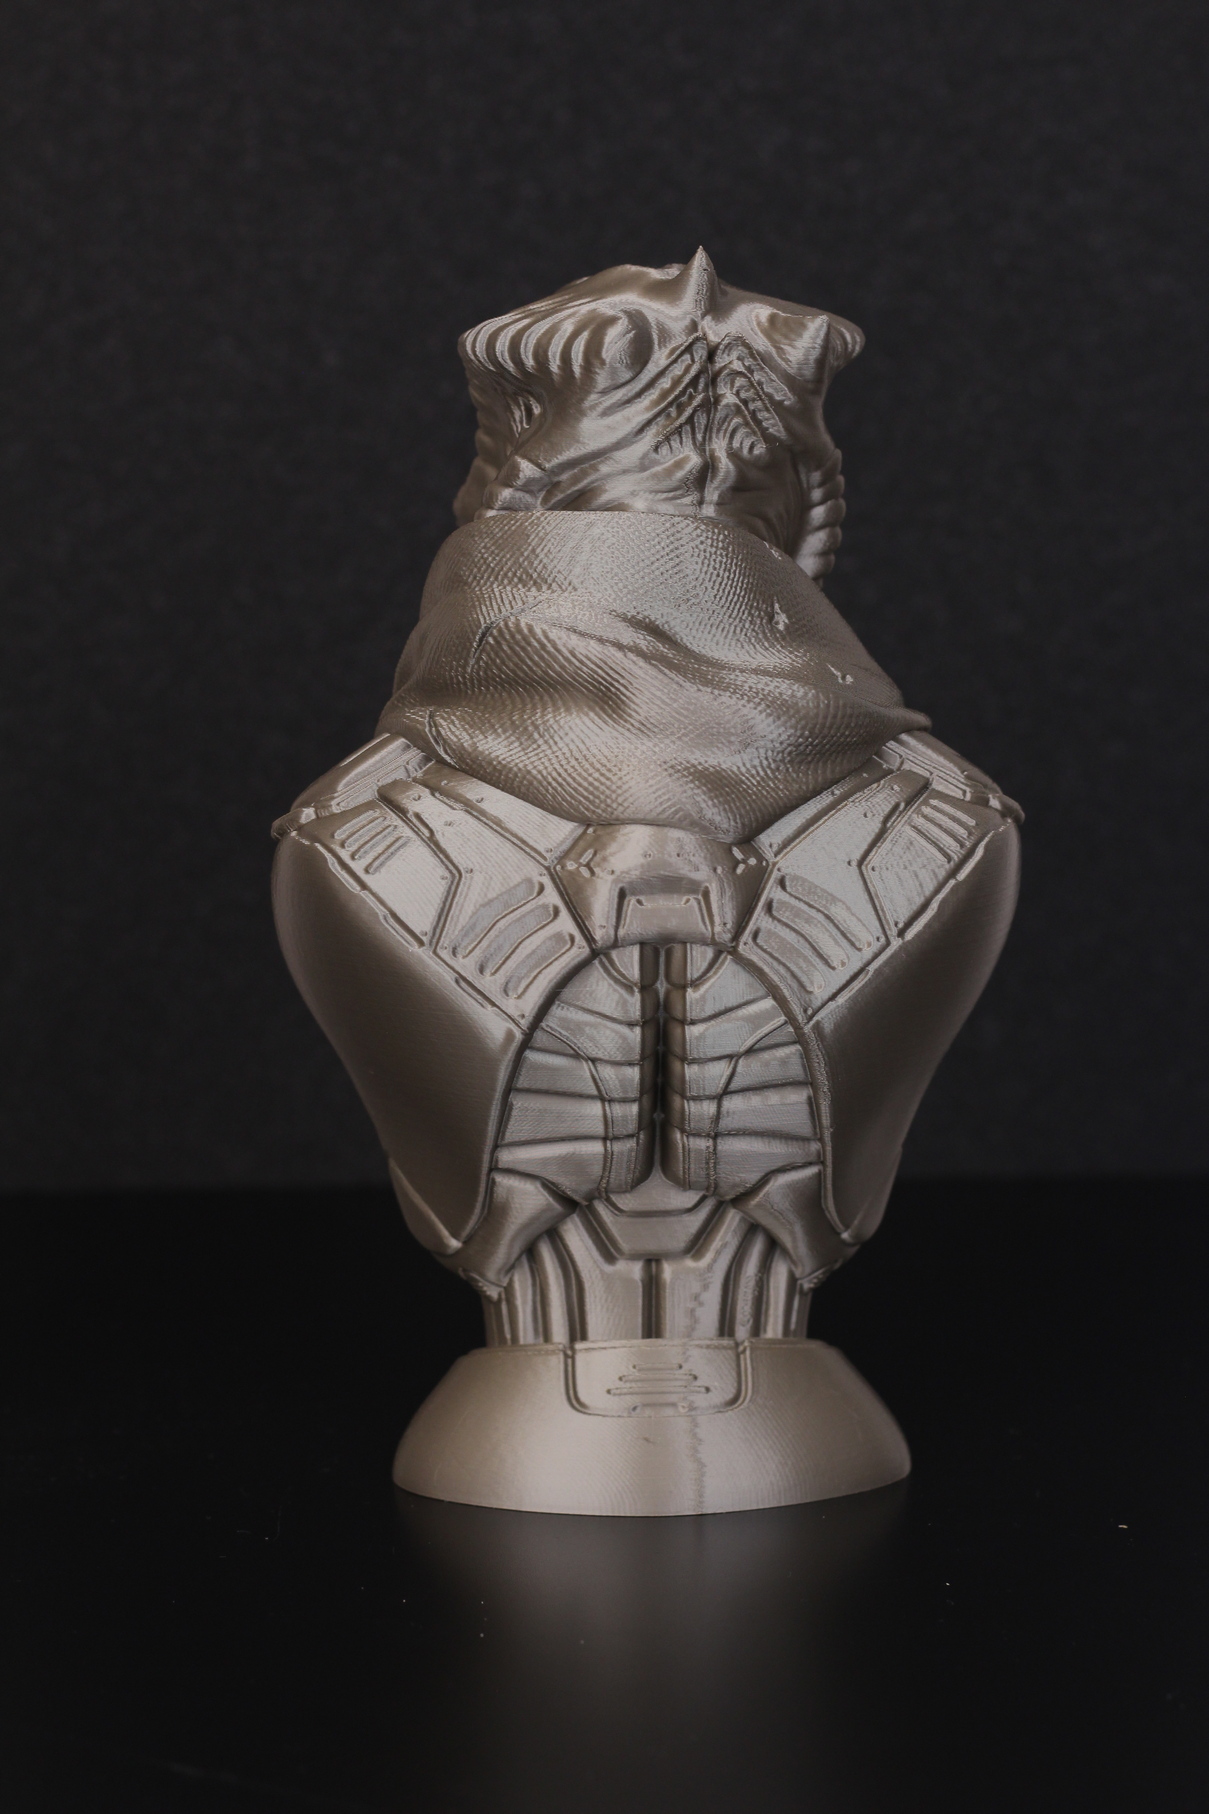
Alien Bounty Hunter
Another filament, and another Eastman bust. The Alien Bounty Hunter was in my queue for almost a year, but I finally printed it. And man, this is awesome! Print quality is great, and I also like the filament even though it’s color is “gold”.
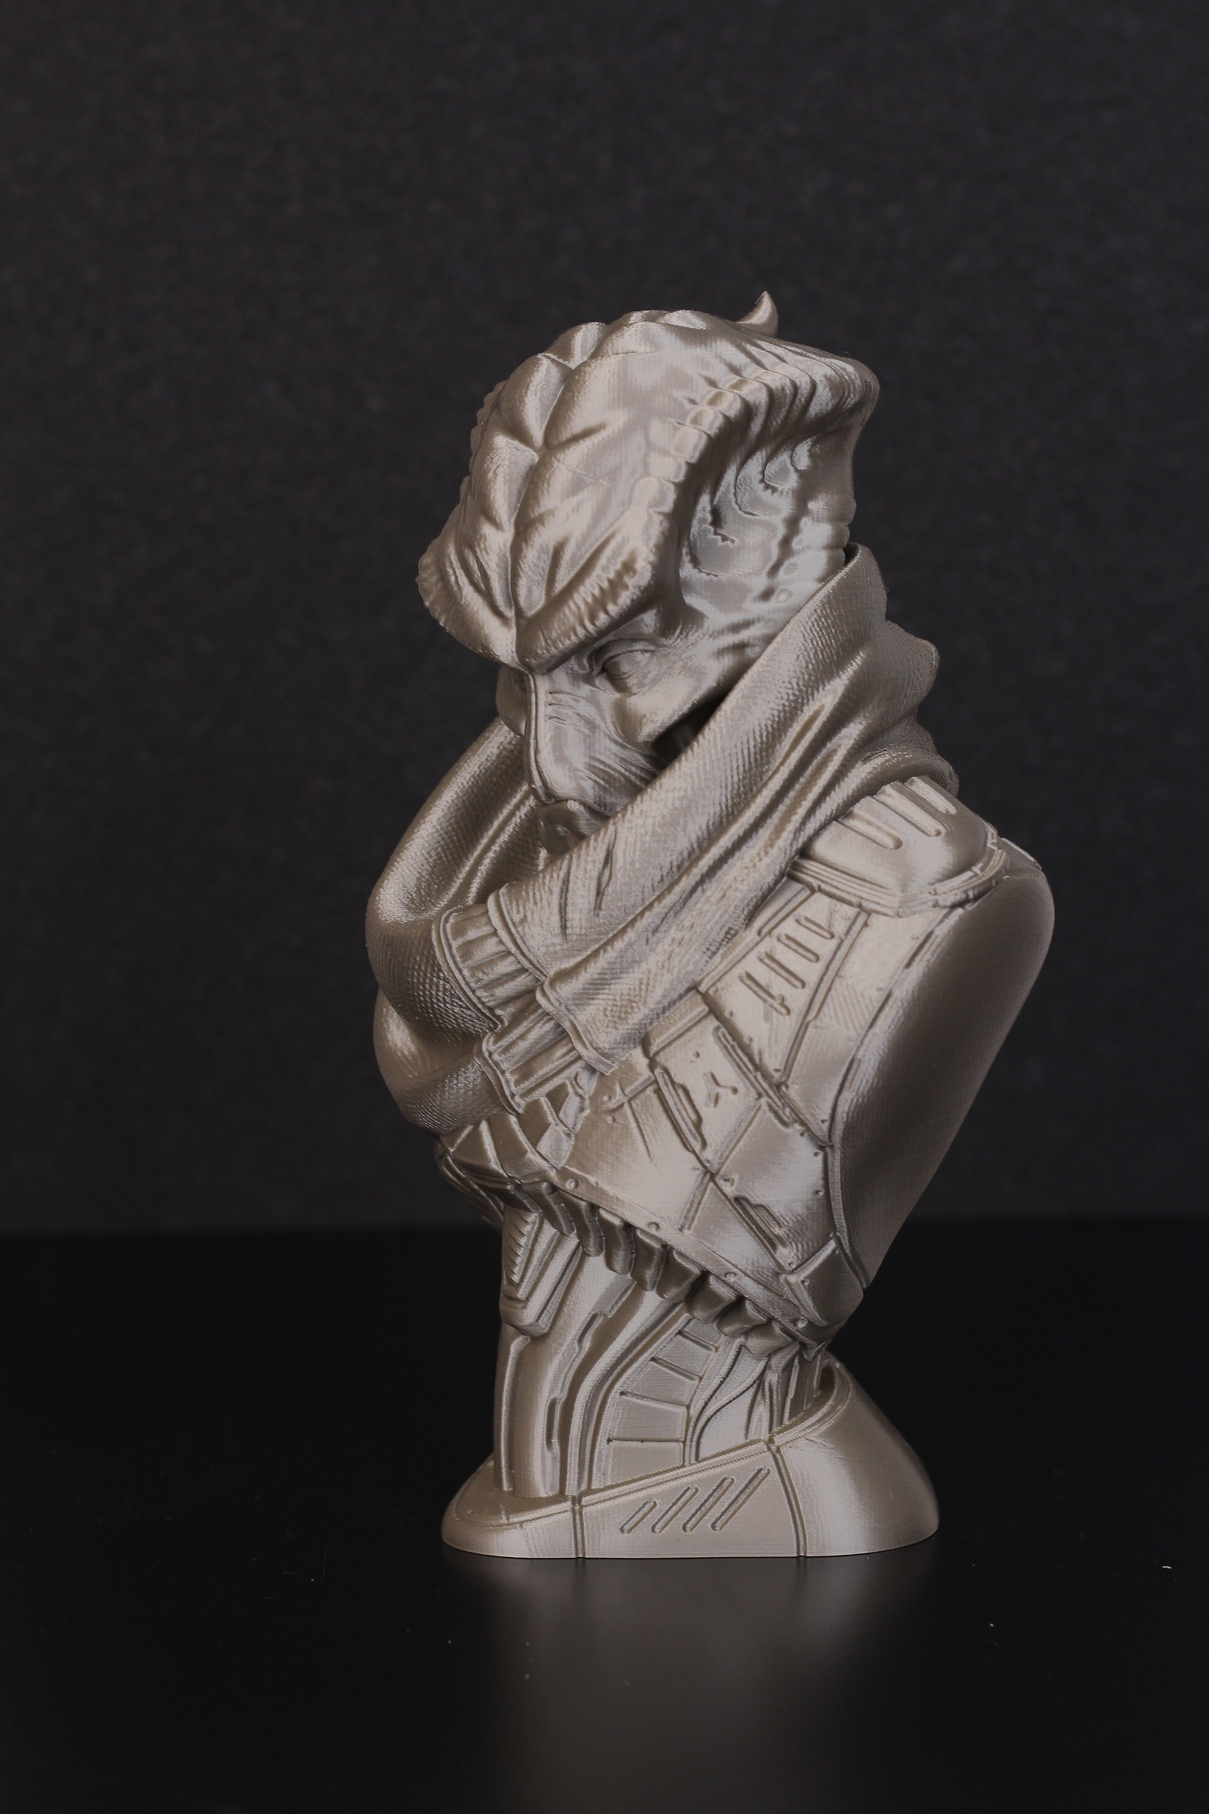
- Material: Gembird “gold” PLA
- Layer Height: 0.15mm
- Nozzle Temperature: 210C
- Bed Temperature: 60C
- Print Speed: 50 mm/s
Red Hood
The final print is another Eastman Bust. Red Hood is a DC comic book fictional caracter which printed great on the Sidewinder X2. Even though the Glint Red PLA has some glitter it which hides the layer lines a bit, everything looks perfect in real life. This filament prints great on the Sidewinder X2.
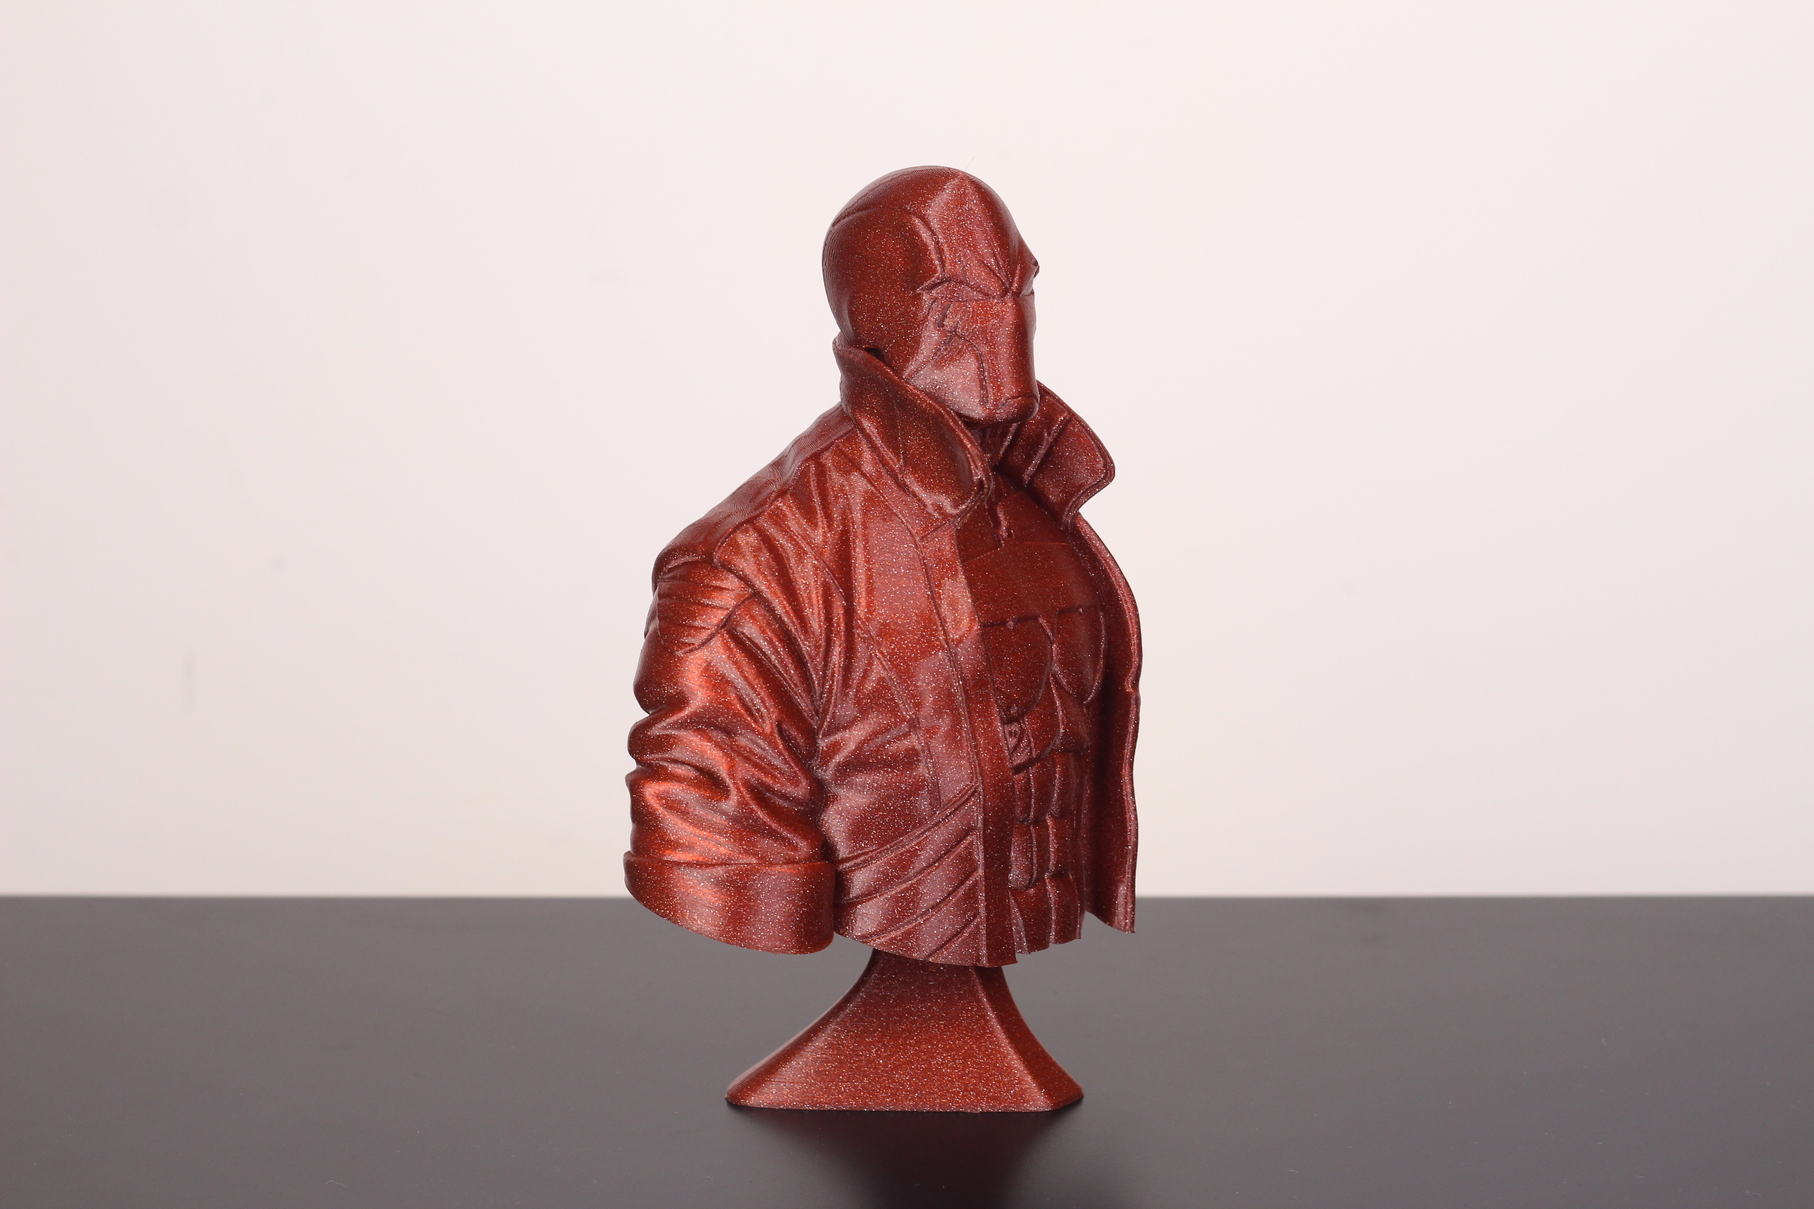
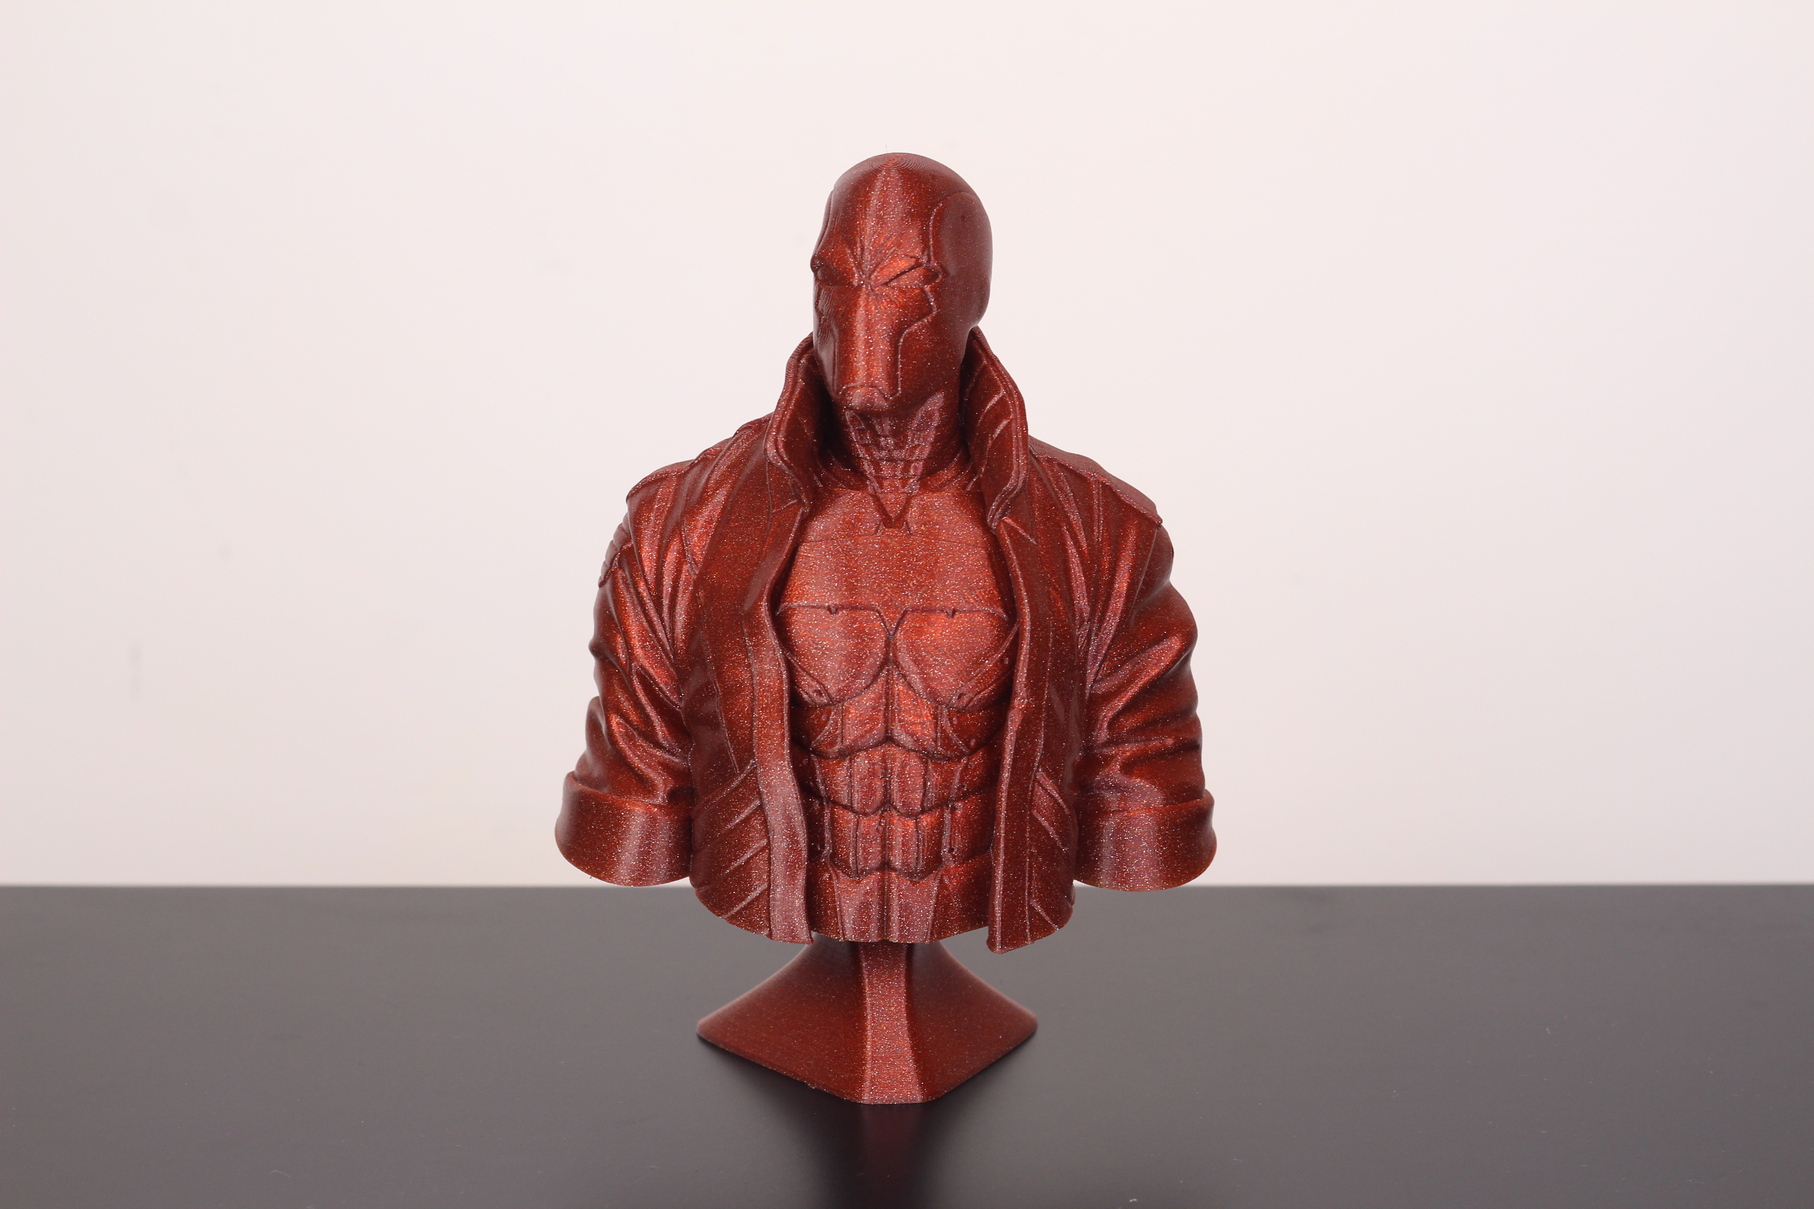
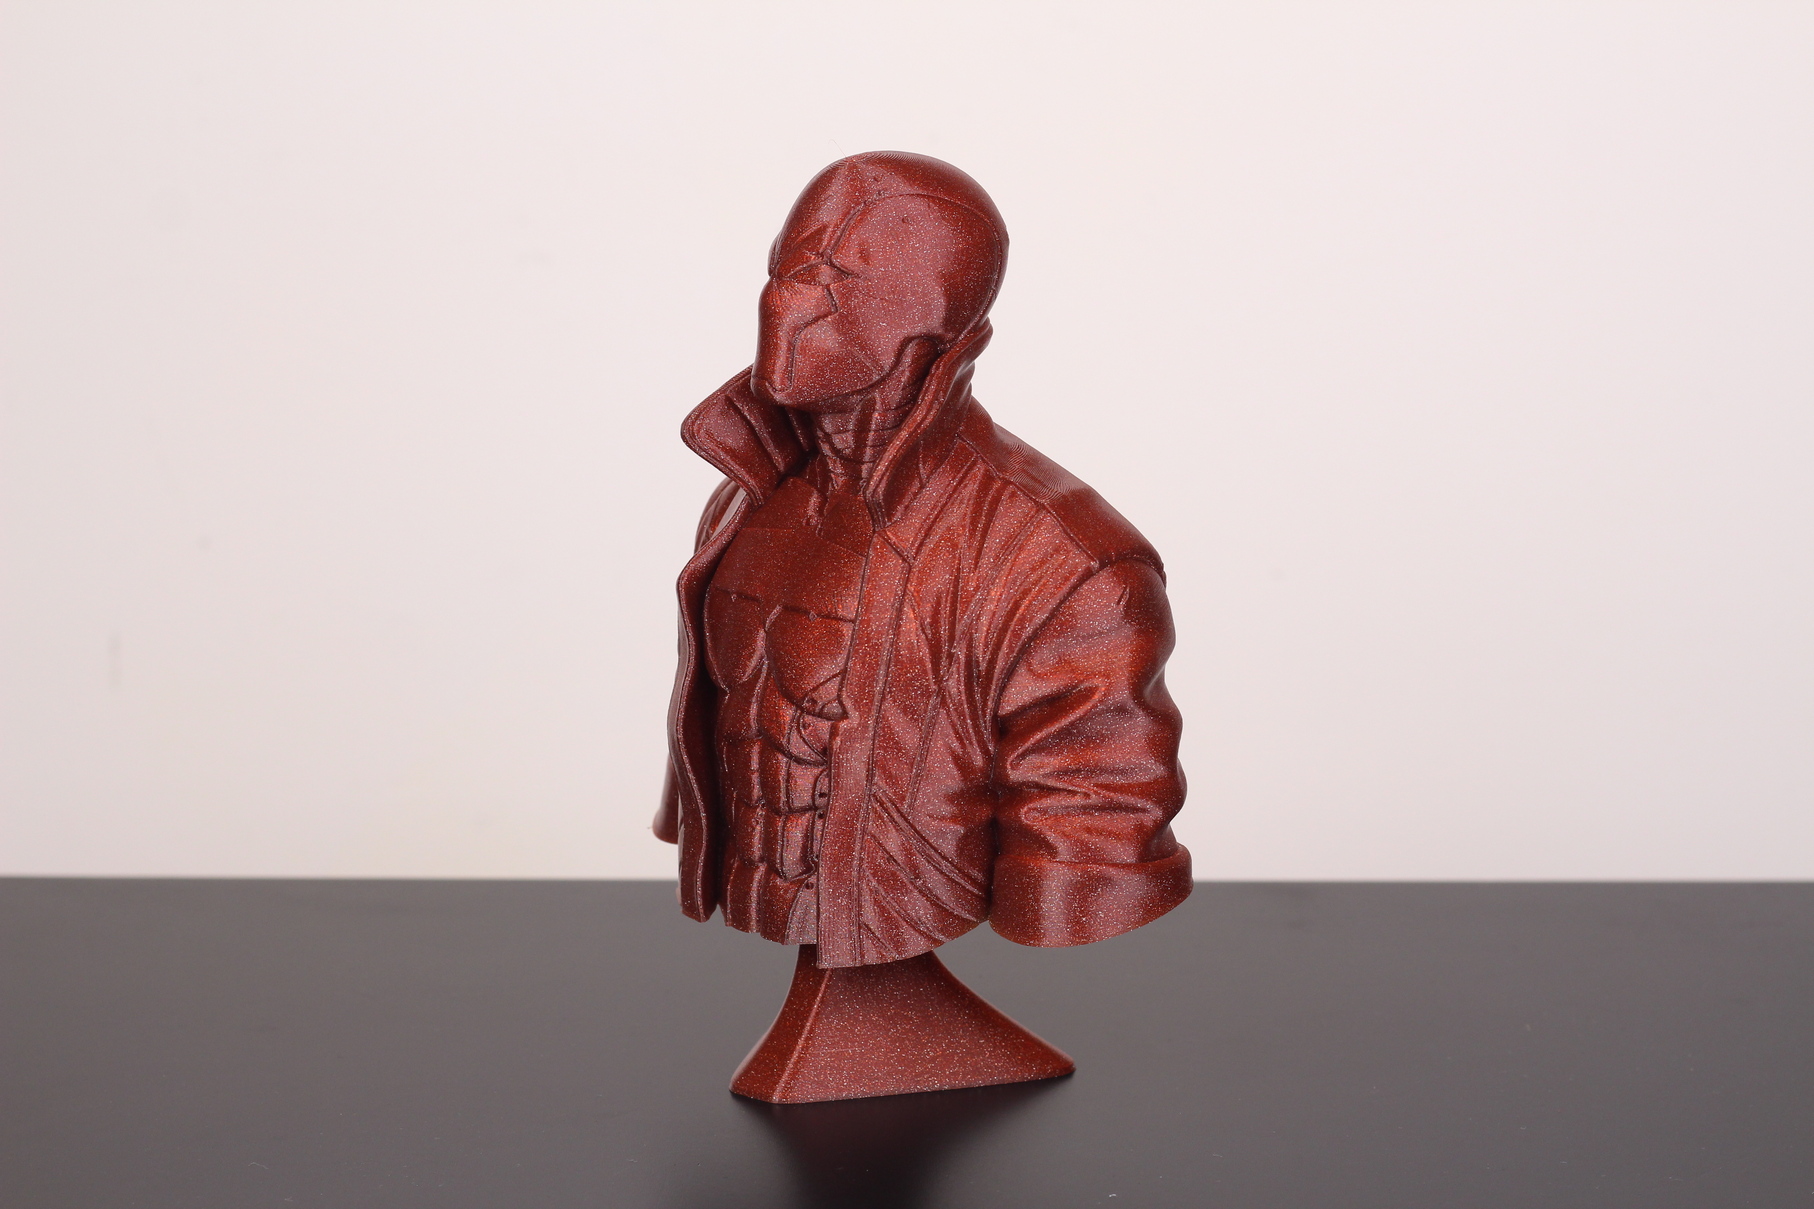
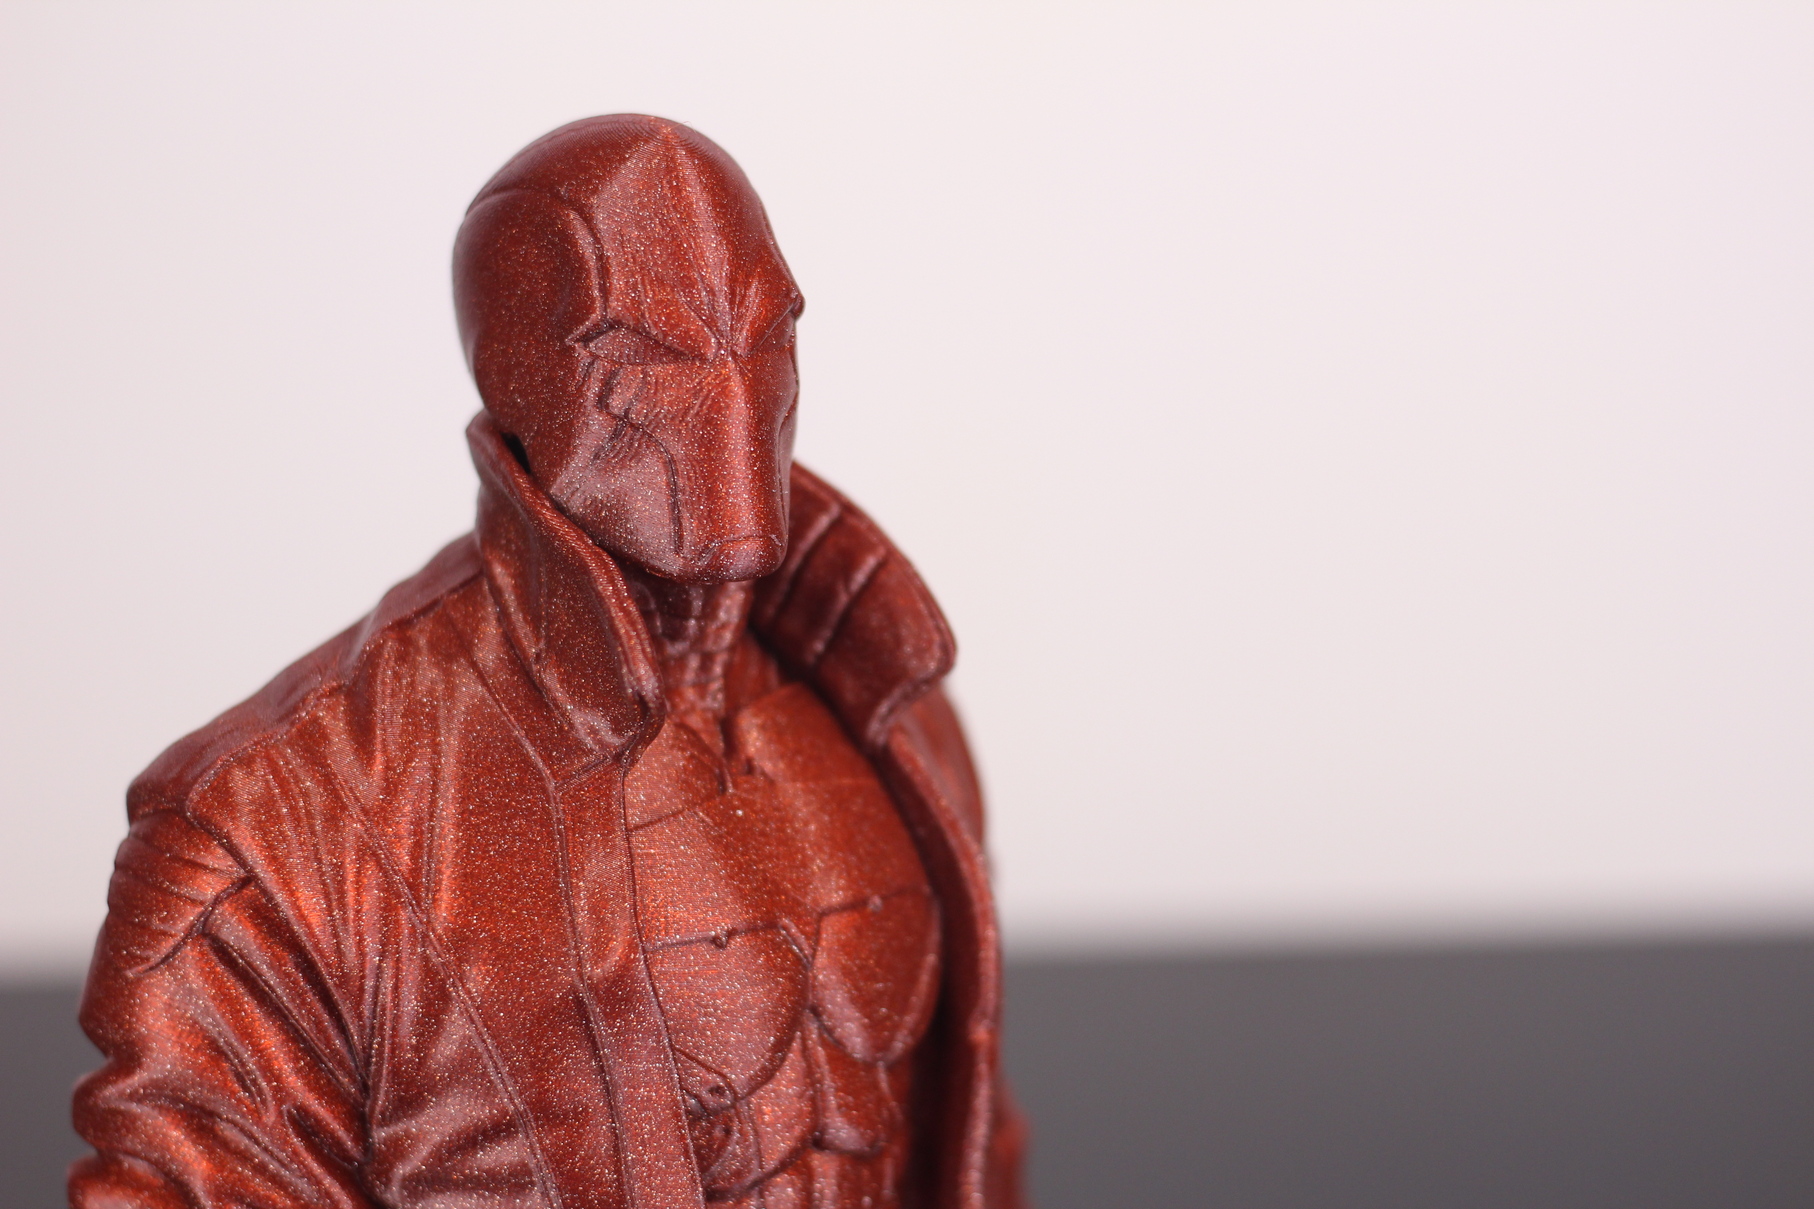
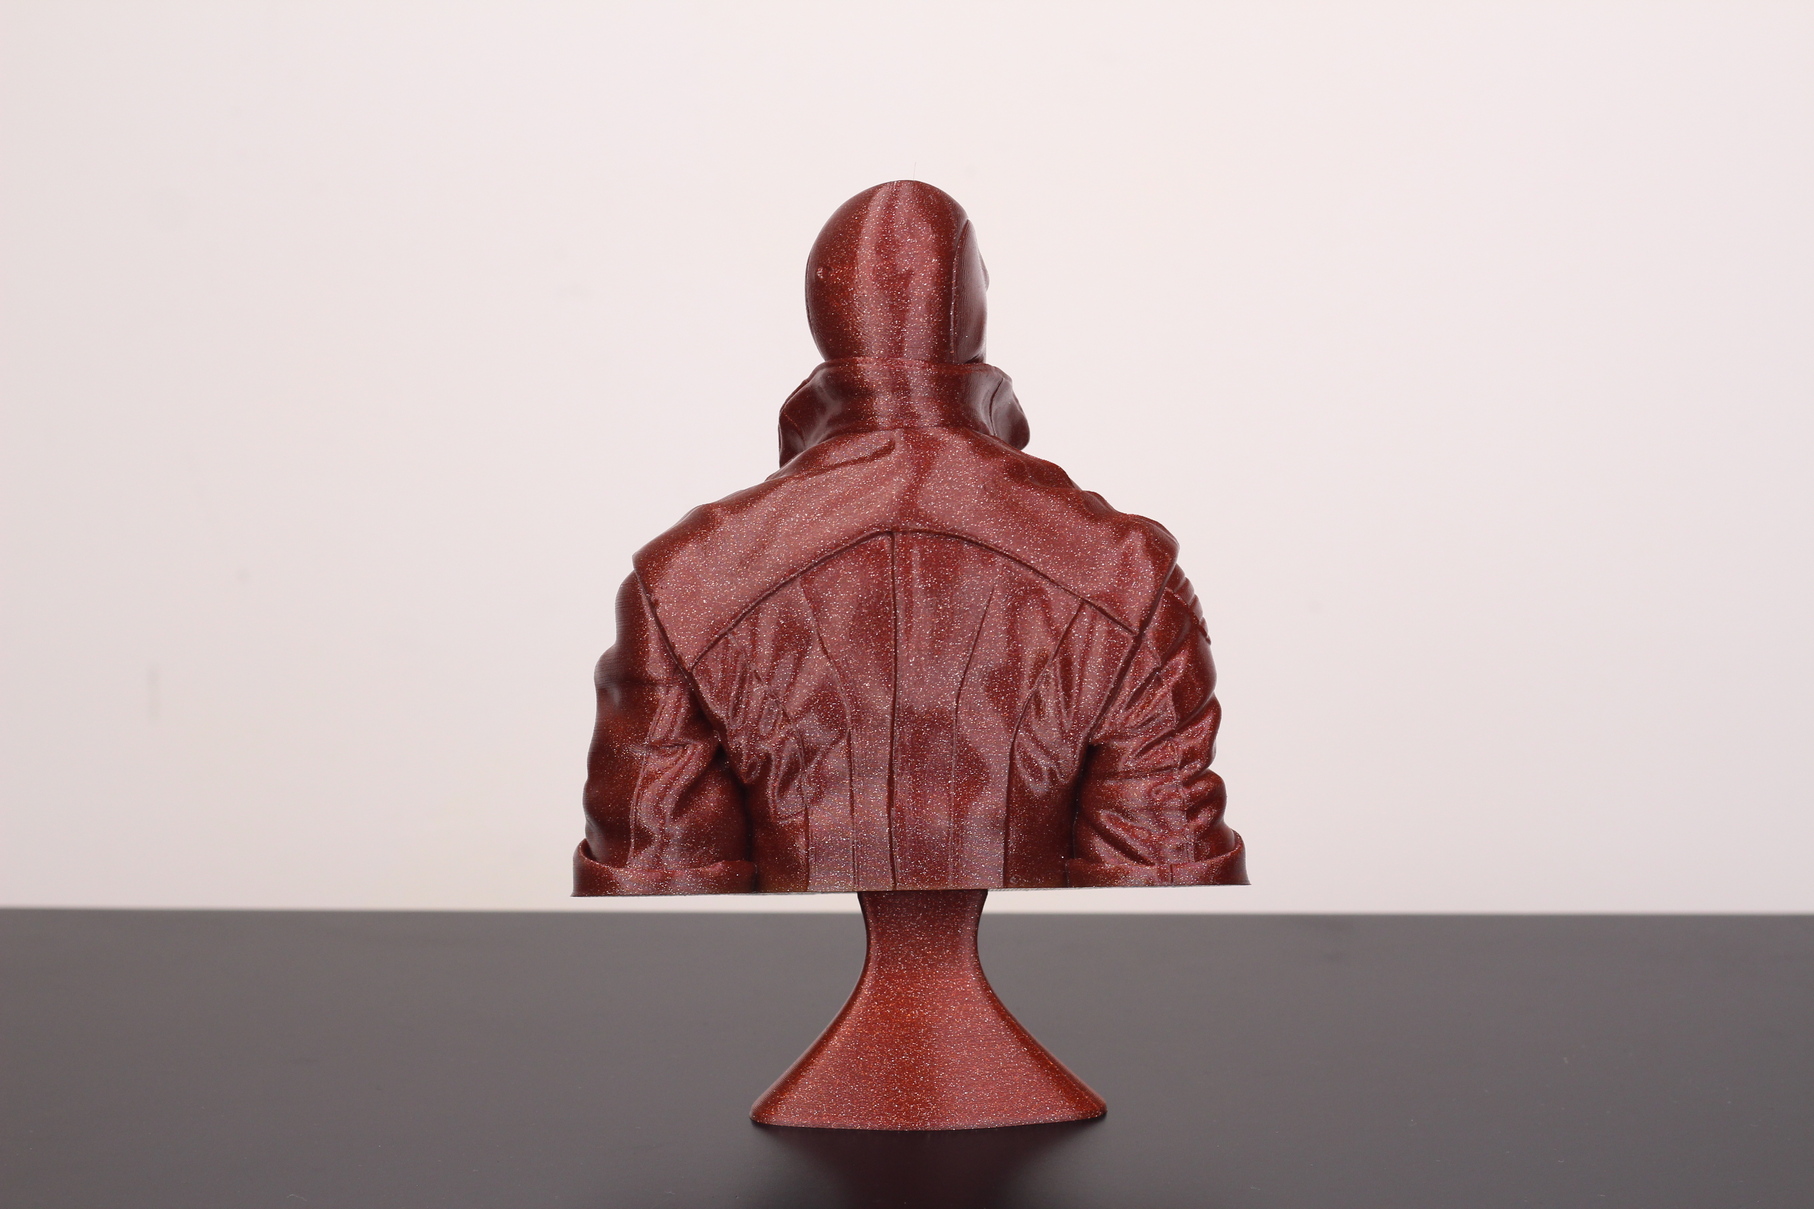
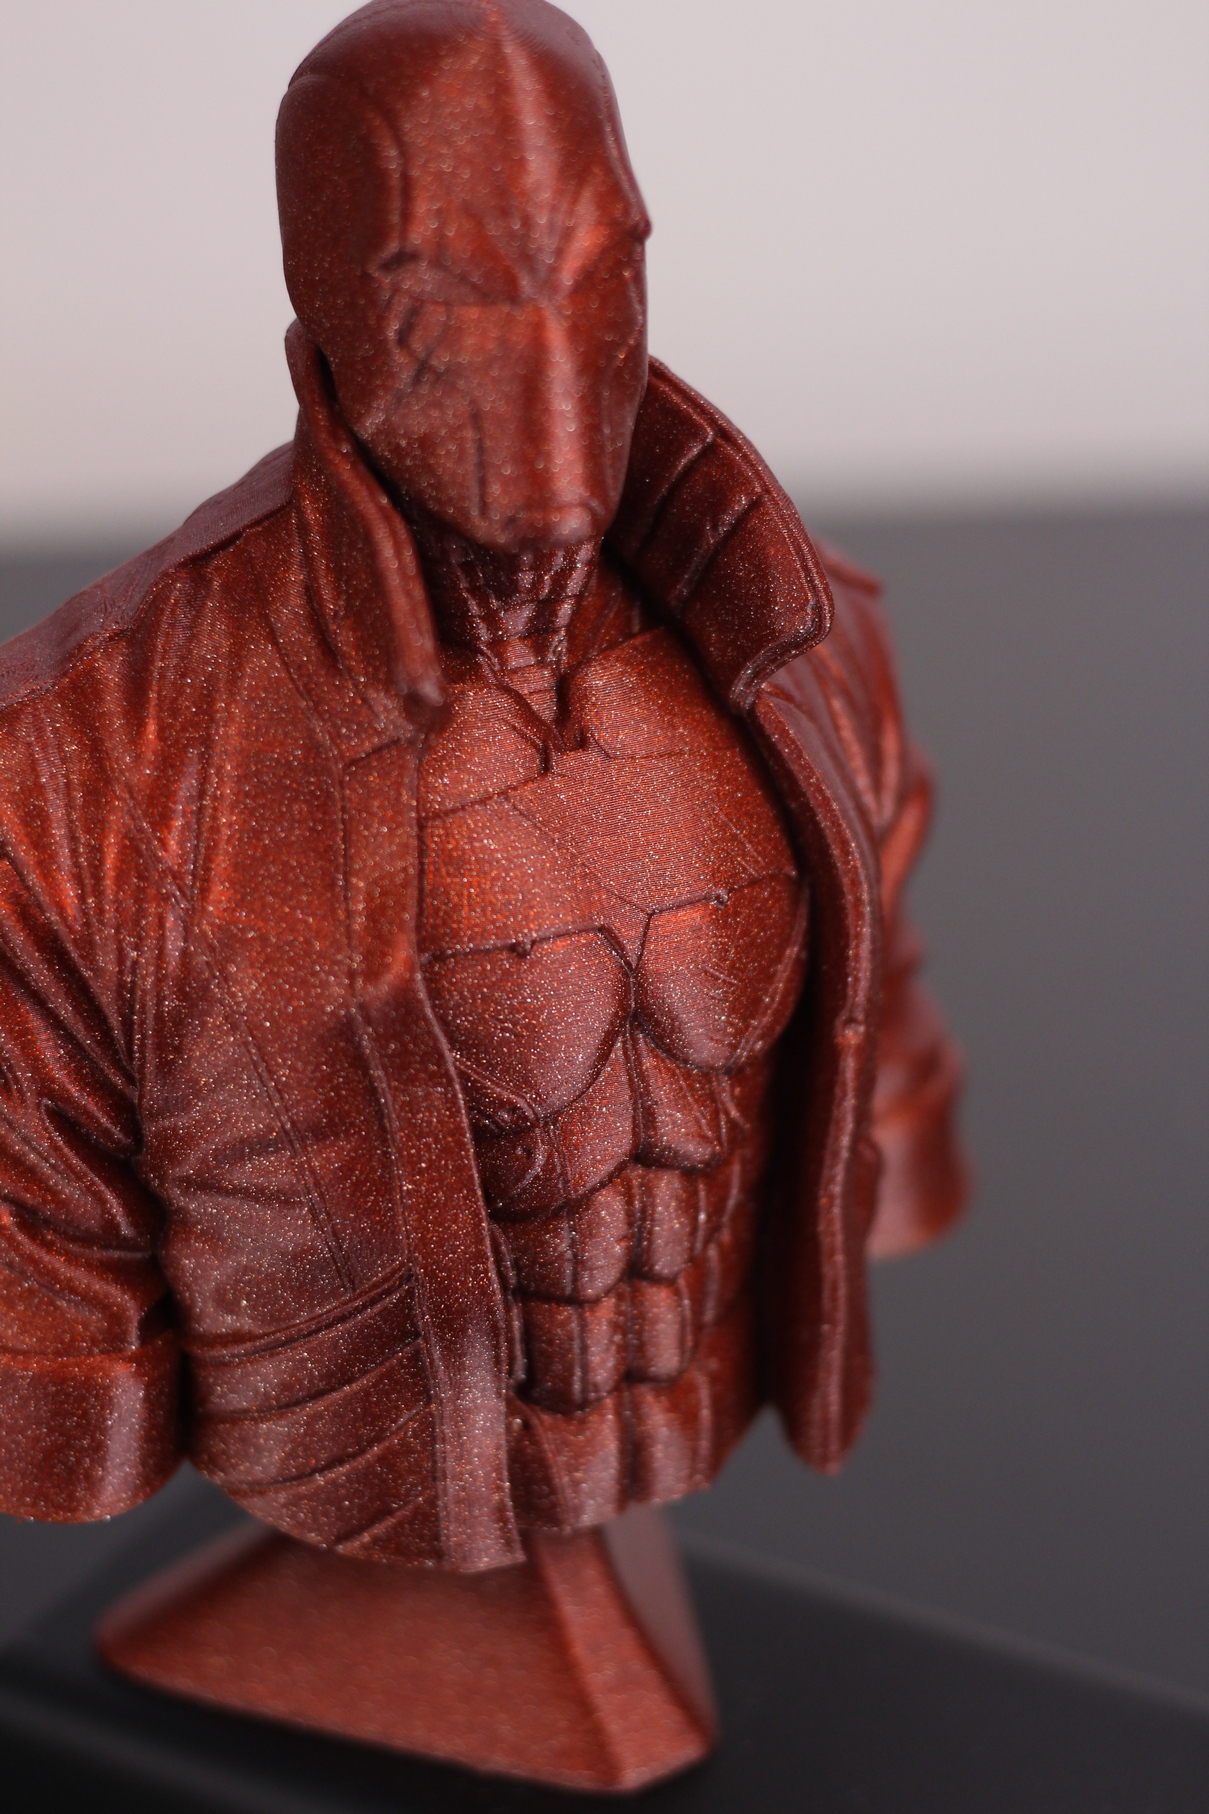
- Material: FilamentOne Glint Purple PLA
- Layer Height: 0.15mm
- Nozzle Temperature: 210C
- Bed Temperature: 60C
- Print Speed: 60 mm/s
A bit of a rant
Artillery managed to get a reputation in the 3D printing space because they offered a much different machine compared to their competitors. It’s one of the first companies who used larger aluminum extrusions for the printer to make it more stable. It’s also one of the first to use ribbon cables to connect the electronics in a neat way to keep the machine looking great. And finally, it’s probably the only company who uses AC heated beds on their 3D printers.
Did I mention they also have a pretty good direct drive extruder and Artillery machines are really silent?
Unfortunately, I think that Artillery is now riding the success wave of their previous machines, and they will surely disappoint some of their fans with the Sidewinder X2.
While the Sidewinder X2 brings some nice upgrades, I don’t think it’s worthy of the X2 name. For me, the Sidewinder X2 doesn’t fix enough issues present on the Sidewinder X1 to be worthy of a name change. And I’m a bit frustrated considering that two of the biggest issues haven’t been fixed.
The first one, is the print surface. Everything is fine when you do small PLA prints in the center of the machine, but when you give PETG or ABS a go, you quickly start to notice the temperature uniformity issues. The Sidewinder X1 was the reason I introduced the Bed Temperature Uniformity test in my reviews. To ensure that printer beds are heated uniformly. I really hoped to see an upgraded print surface for the X2, or at least a mitigation of this issue. But that’s missing from the X2 and we’re probably going to spend an extra 100$ for an aluminum bed for consistent performance.
The second “issue” I have with the Sidewinder X2 is the use of the same plastic extruder idler lever as with their previous machines instead of actually changing it to a metal variant that doesn’t break. Artillery is selling an upgraded full metal print-head on the website which besides the aluminum idler, it also uses a bi-metal heat break. Why not include it and be the first 3D printing company to offer a bi-metal heat break out of the box? Why not boast higher temperature printing and even more silent operation out of the box? This upgrade alone would have made the Sidewinder X2 worthy of the name increment. But instead, we get the same old extruder.
Maybe we’ll see a Sidewinder X2 PRO which will include it? I really don’t know…
Finally, I need to mention the firmware. As previously mentioned, the community did a lot of work and made the stock printer screen work with the BTT open-source firmware which has a boatload of extra functionality. How come Artillery couldn’t use it for the X2? I’m sure any of the users who worked on the custom screen firmware would have helped if help was asked. Instead, we have the same old forgotten firmware made by MKS a few years ago with no extra functionality or fixes. Of course, we can manually flash the custom firmware ourselves, but having something better out of the box would have made the Sidewinder X2 feel like an actual upgrade over the X1.
Later Edit: I wrote a guide on how to flash Digant’s Custom Touchscreen Firmware on the Sidewinder X2
And speaking about firmware, it’s still incredible to me to see 3D printing companies not using features like Linear Advance out of the box, to improve the print quality even further. It costs nothing to enable the feature, and the print quality benefits are significant.
Conclusions: Is the Artillery Sidewinder X2 worth it?
While in my review I complain quite a lot about the differences between the Sidewinder X2 and the X1, I still think that the printer is great. It’s a partially upgraded Sidewinder X1 that offers great print quality out of the box for a fair price.
If you already own a Sidewinder X1, then I can’t see any point of replacing it with the Sidewinder X2 because the upgrades are not significant enough to replace the whole printer. But if you already wanted to buy the X1, then you could spend a little extra money and grab the latest and greatest. For an extra ~50$ you get improved aluminum Z carriages, a better ribbon cable setup, a 32-bit board and a BLTouch clone for ABL.
I tested a lot of printers, and even with the bed issues, the Artillery Sidewinder X2 would be a great recommendation for anyone looking to buy a large format printer for around 400$. Because of its similarities to the X1, there’s a huge amount of replacement parts available, a lot of documentation online about how to fix stuff, and overall, a good out of the box experience which is important for beginners or advanced users alike.
When it comes to making a purchase decision, I would not pay more than ~450$ for the Sidewinder X2. I would rather buy a heavily discounted Sidewinder X1 and do a few upgrades by myself and end up with a better printer.
The Sidewinder X2 brings a few upgrades compared to the older X1, but still doesn't fix the bed problem. Either way, it's still one of the best printers you can get right now. Artillery Sidewinder X2 Rating
Design
Specs
Noise Levels
Ease of use
Print Quality
Price
Where to buy the Artillery Sidewinder X2
The Artillery Sidewinder X2 can be purchased from the following websites:
AliExpress
Amazon
Banggood
Artillery – Discount code 3dprintbeginner2023
Geekbuying – – Discount code NNNARTILLERYX50 – $379
I recommend checking out the Discount Codes page before purchasing. I regularly update the article with discount codes for various online shops, and you might find one for this particular model.
The Artillery Sidewinder X2 was provided free of charge by Artillery for the purpose of this review. While the article includes affiliate links, all opinions are my own. Nobody reviewed the article before it was posted, following the Review Guidelines.
Liked it?
|
|


Hi Folks, has anyone a pinout for the new Artillery ruby 32 of the X2? I would like to modify mine but didn´t find any pinout…
Use the pins file from the Marlin source
Hi, What’s your top 3 quiet printers you’re talking about? I currently have an X1 and am looking for another printer to have fun with but want something as quiet as the X1, any recommendations?
Artillery printers are the most quiet printers out of the box you can get right now
Thanks. I really want to test the flsun super racer, in your test the prints seem to be of very good quality and from what I have seen it seems very quiet too. You confirm ? On the other hand, I have an allergy to stringing and I’m a little afraid of that with a bowden extruder.
Hi ! I’m the creator of a custom Firmware based of Marlin 2.0.9.3 and fully compatible with Sidewinder X2 and Genius Pro (both on Artillery Ruby mainboards). You can visit my Thingiverse page for download — includes also newest releases of TFT Firmware!
https://www.thingiverse.com/thing:5186707
P.S. It includes such sexy features as Linear advance and much MUCH more! 🙂
Awesome. Thanks for the link 🙂
please give the settings in cura
I don’t use Cura. Try Ideamaker 🙂
is there a way to use OctoPrint and still be able to use the touchscreen to tune the print? I’m a little disappointed that it doesn’t work. In my basic geeetech A10 I can do that perfectly. Wish I’d know that before I bought the X2
It doesn’t work
Unboxed my x-2 yesterday , after setting it up I tried to home it and it began shaking and vibrating locking up , had to shut the power off to stop it . Waiting “patiently” to hear back from Artillery . Anyone have ideas what could be the cause ?
Just unboxed and set mine up last weekend. One problem I quickly ran into is that M0 and M25 (the GCode commands for pausing the printer) don’t work (this is in Cura’s “Pause At Height” add-in). M0 causes the firmware to freeze, M25 causes the nozzle to move to the pre-determined position, pause for 20-30 seconds, and then resume printing. Apparently this was a known problem with the X1 and hasn’t been fixed on the X2. There are all sorts of workarounds for the X1 (usually involving the use of M600 – the “change filament” command) but this won’t work until someone devises a Marlin upgrade for the X2. Hopefully someone figures out how to get M0 or M25 to work. It’s still a fantastic printer at a very nice price.
Sadly the discount code no longer works
The code was updated.
Just got mine and both ribbons had the locking clip on them. Now if only I could fix this bltouch m999 error….
Replacement Sensor from Artillery works Amazing! If you have sensor problems get in touch with support!
Great review and article in general, as always. Have you already tried flashing the printer? I have prepared MArlin, activated LA, but both Visual Studio and Cura cannot upload it to the printer saying there’s some communication issue. I’ve done that many times on Creality machines, on X1 etc., my COM is not busy by any other software and still I cannot make it done.
For 32-bit boards, you probably get a bin file that gets flashed via the SD card. Haven’t tried it yet.
Just to safe you and other readers some time – X2 requires switching to DFU mode (M997), installing DFU software, drivers from installation location, generating .dfu file from hex/bin and flashing via dfusedemo software. All details can be found on pdf file in download section here https://www.thingiverse.com/thing:4965052
The link above gives a 404 error. I’m looking for a fix to the X2 not recognizing M0 (freezes the machine) and M25 (only pauses for a few seconds, resumes by itself), hopefully someday a firmware update might have this fix.
Dead link