Kingroon KP3S Review: Budget 3D Printer for Beginners
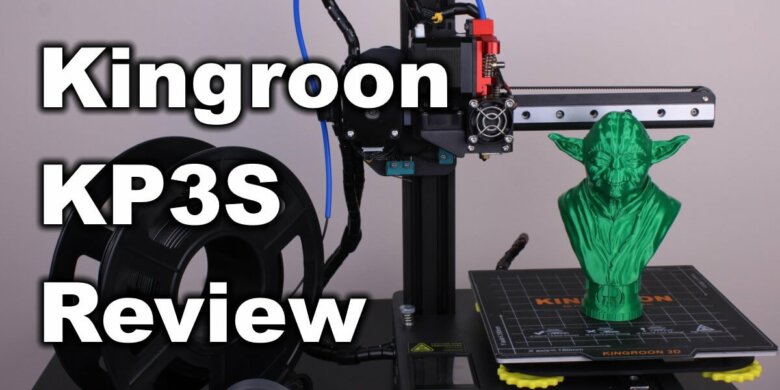
I had the Kingroon KP3S in my cart for a while now and I pulled the trigger on Black Friday. It’s a compact printer with linear rails and direct drive extruder so I thought it would be a good machine to review.
Let’s see what the Kingroon KP3S can deliver, and if it’s a good alternative for a compact 3D printer.
Kingroon KP3S Shipping and Packaging
I bought the Kingroon KP3S from AliExpress for around 158$ including shipping from EU warehouse. It’s the cheapest variant with no extra accessories or filament.
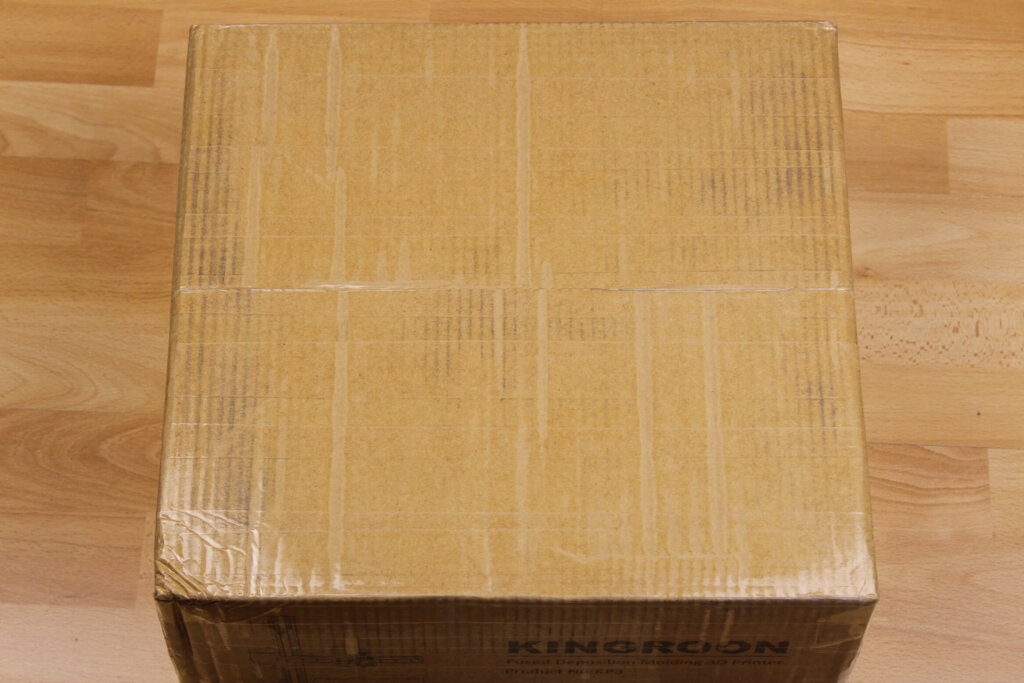
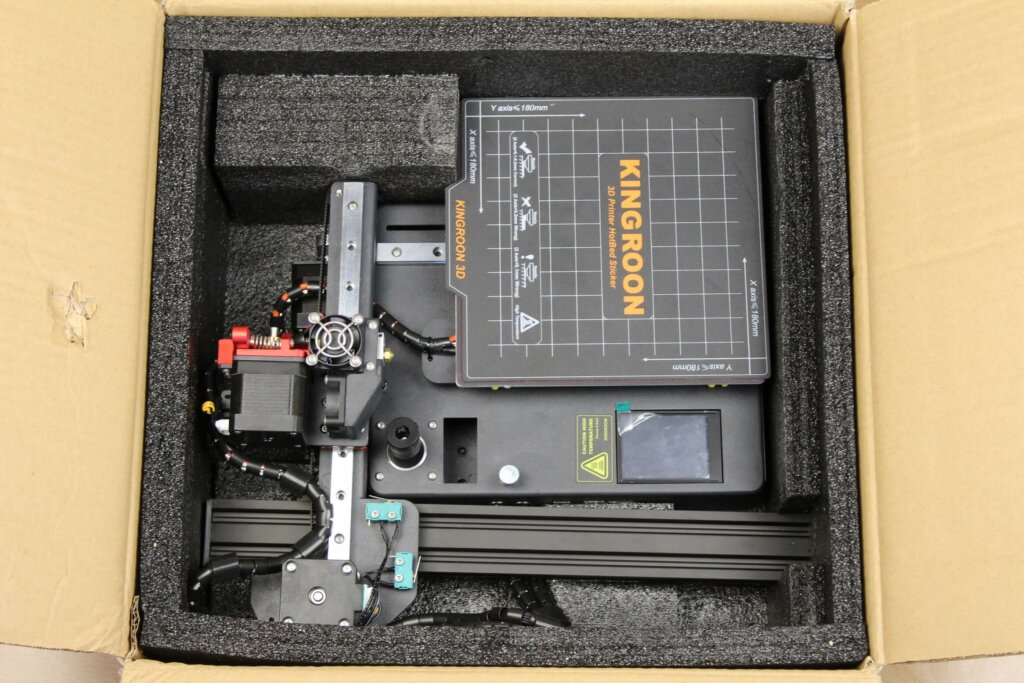
The printer comes in a cardboard box with ample protection on all sides.
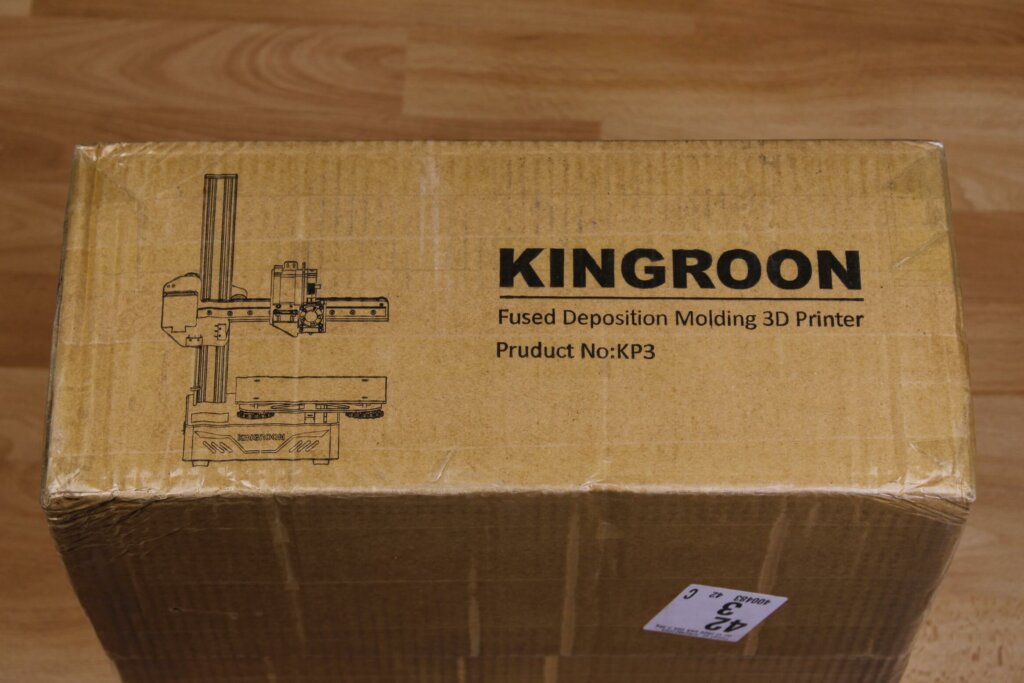
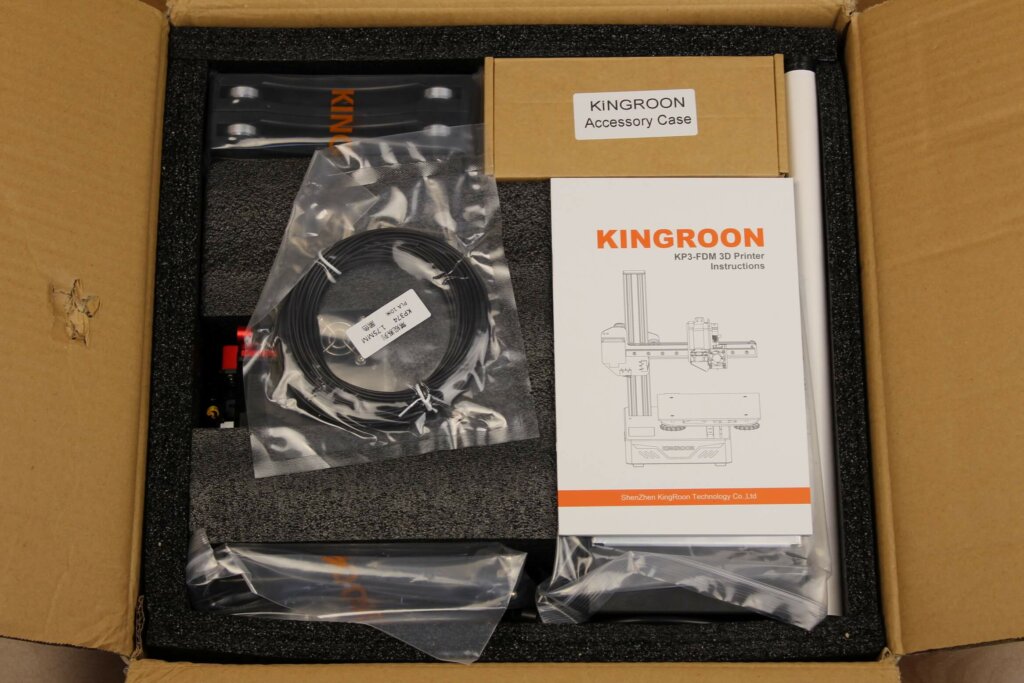
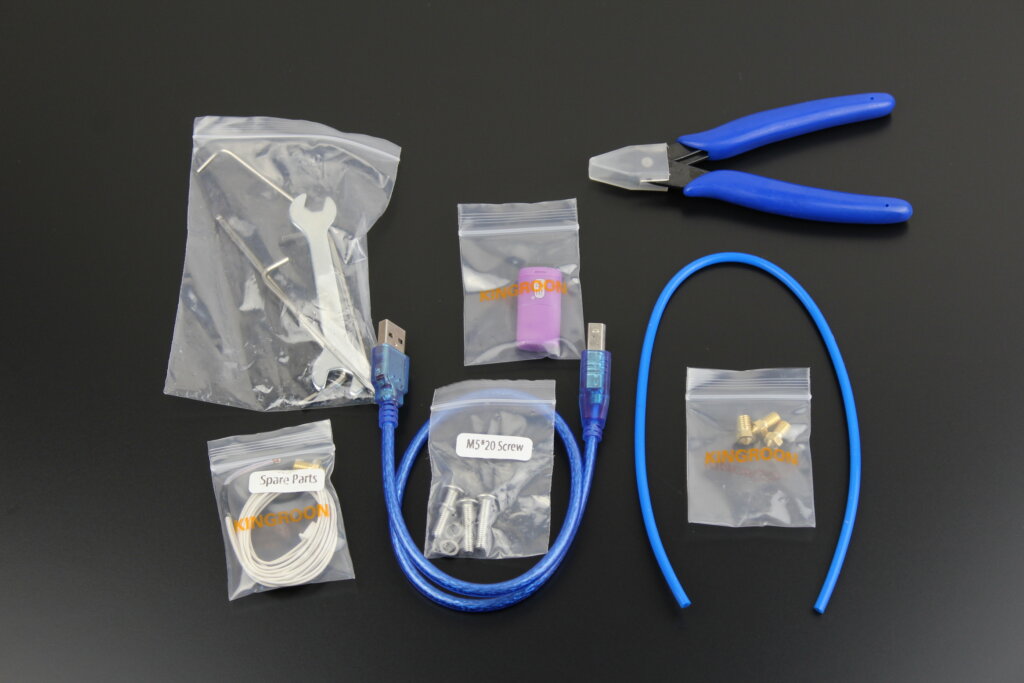
These are the accessories you get with the Kingroon KP3S:
- Manual
- PLA Sample
- USB Cable
- Hex wrenches
- Screws for assembly (with spare)
- SD Card Reader with 16GB Sandisk Micro SD Card
- Four spare nozzles
- Spare thermistor
- PTFE tube
- Cutting pliers
Even though I ordered the variant with no extra nozzles, it seems that Kingroon shipped me the variant with extra nozzles. Yey!
Assembly of the Kingroon KP3S
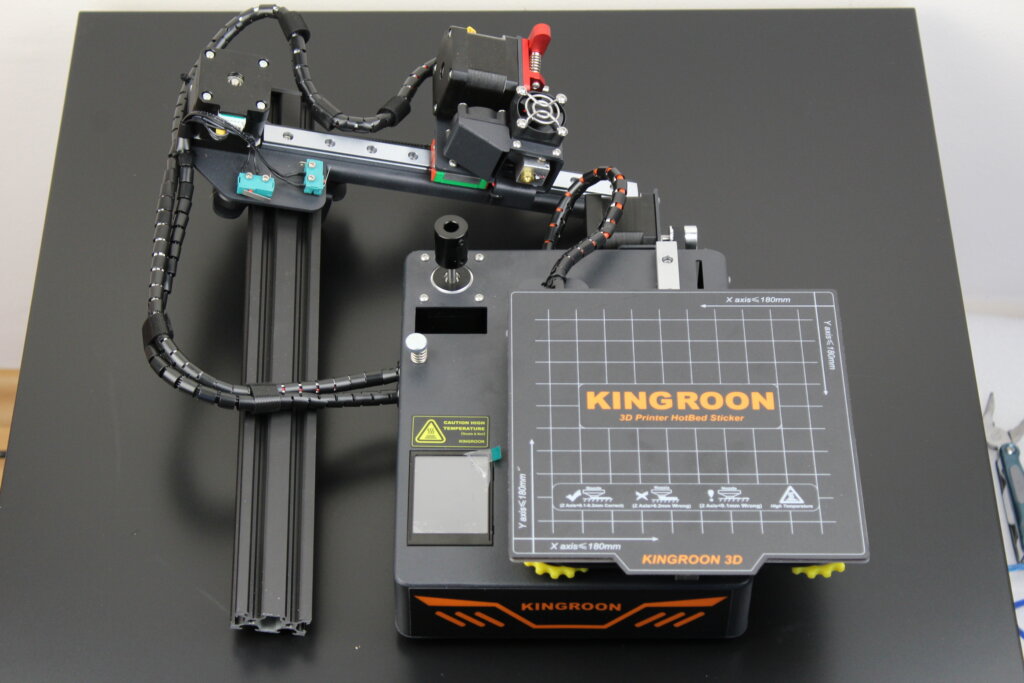
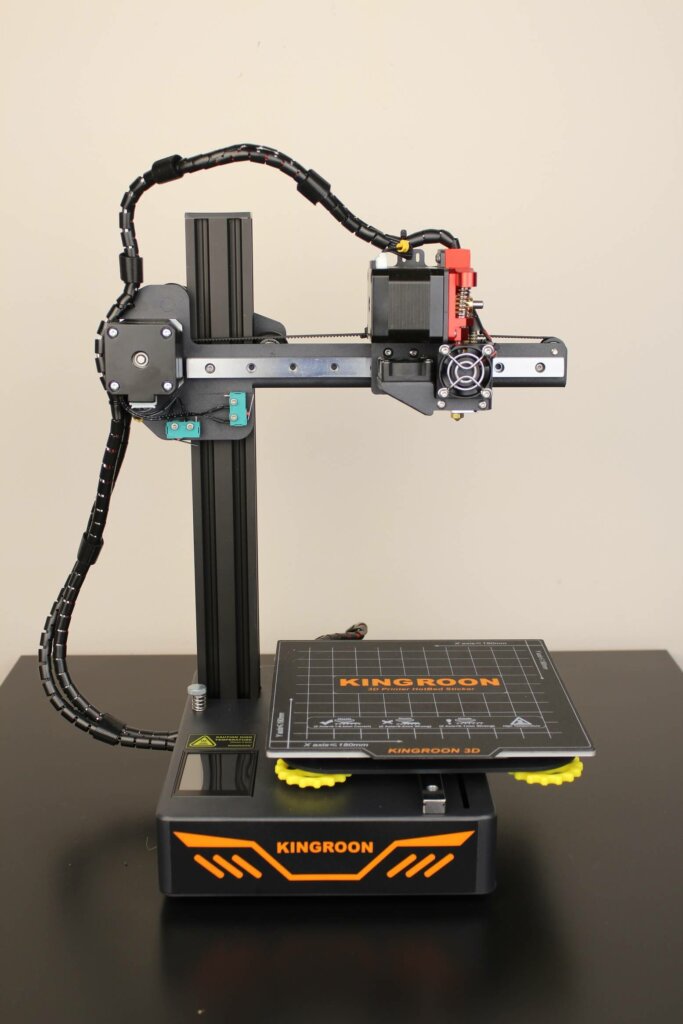
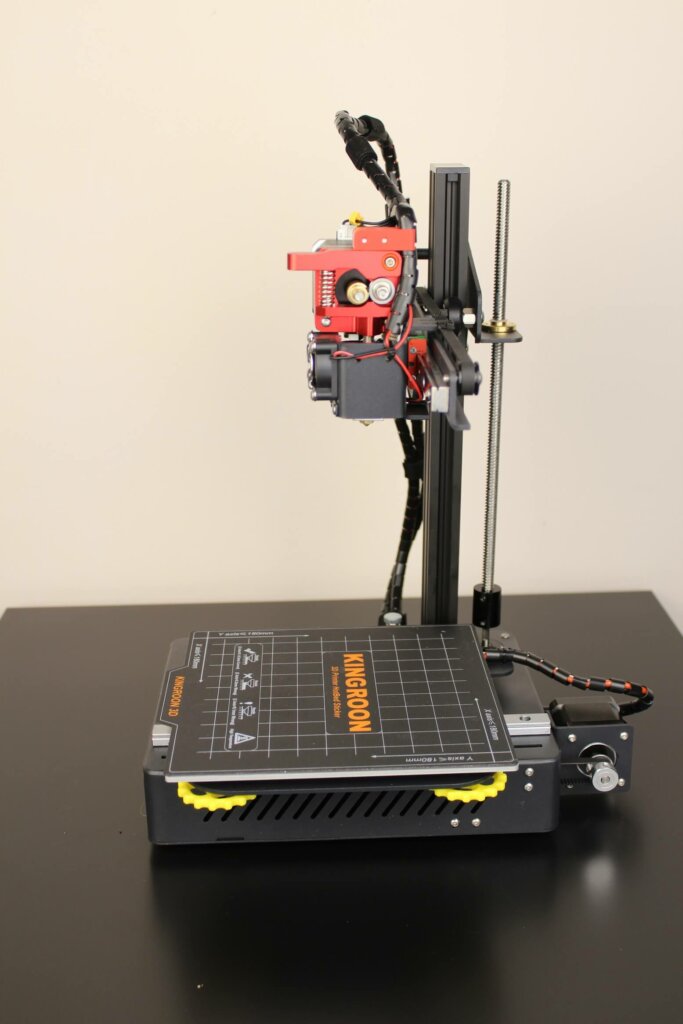
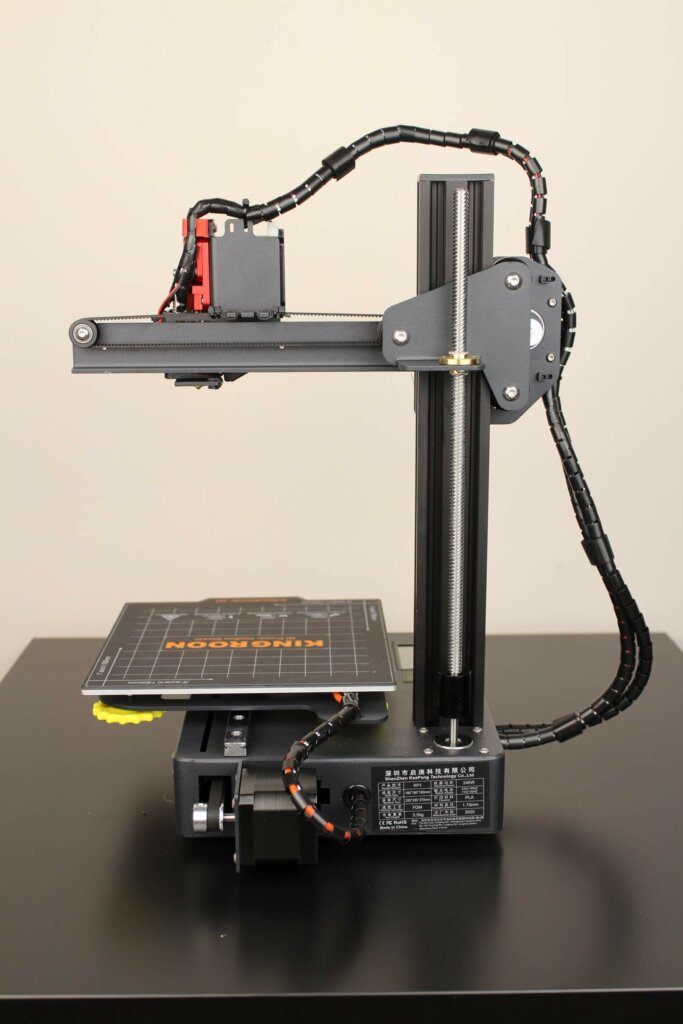
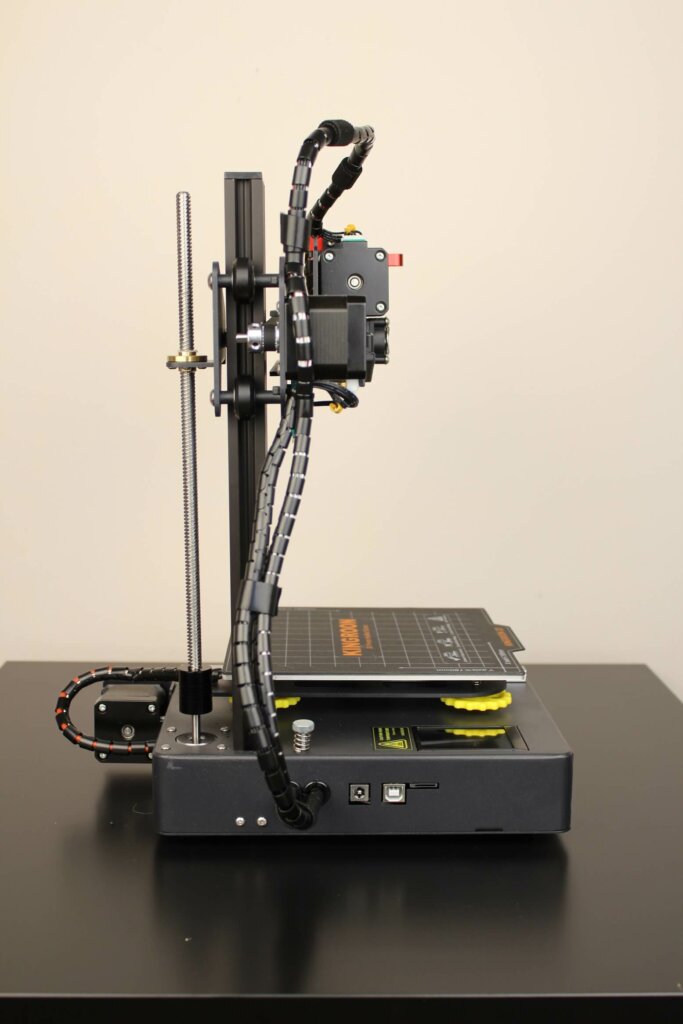
Assembling the Kingroon KP3S is easy. You just need to mount the Z axis with two screws to the base and it’s pretty much done.
Other than leveling the bed, there’s not much to be done for the printer to be ready for printing. Just make sure that the Z rollers are properly tightened. If they are overtightened, they can develop flat spots and create issues during printing.
Kingroon KP3S Specs
| Model Number | KP3S |
| Build Size | 180*180*180mm |
| Printing Technology | FDM |
| Nozzle quantity | 1 |
| Print precision | 0.05-0.3mm |
| Nozzle | 0.4mm |
| Filament Diameter | 1.75mm |
| Filament | PLA/Wood/TPU/ABS |
| Nozzle Temperature | ≤260℃ |
| Hot bed Temperature | ≤110℃ |
| File type | STL/Obj/Afm |
| Printing via | USB cable and TF card |
| Software | Cura/Slicer/Repetier-Host |
| Operating systems | Win7/8/10/Mac/linux |
| Screen language | CN/EN/RU/ES/FR/IT |
| Movement Speed | 200mm/s |
| Max Print Speed | 100mm/s |
| Print Speed | ≤100mm/s |
| Resume print due to power failure | Yes |
| Filament Motor | Upgradeable |
| Auto Leveling | Upgradeable 3D Touch |
| Machine Power | 240W |
| Rated voltage | 220V-50hz 110V-60hz |
| Power Supply | 24V/15A/360W |
| Machine Size | 280x285x370mm |
| Net Weight | 6kg |
180x180x180 Build Volume
While the Kingroon KP3S is a compact machine, the build volume is quite generous. I think this is enough for a lot of people and to be honest, I rarely print models bigger than this.
Linear rails for X and Y
Considering that the Kingroon KP3S is a compact budget machine, it’s really nice to see it equipped with linear rails for the X and Y axis.
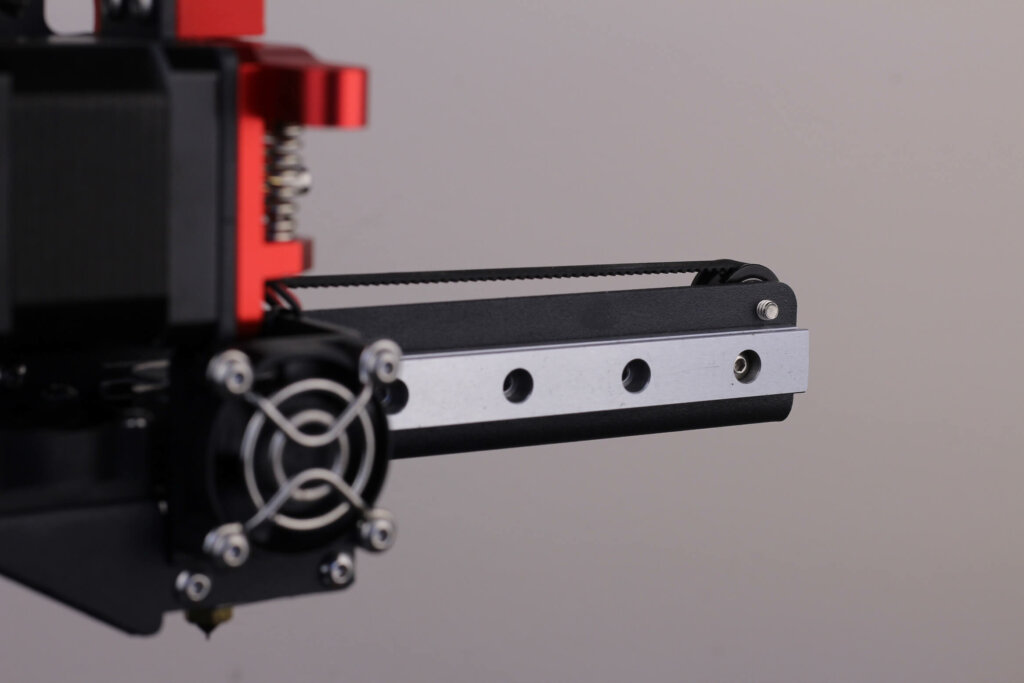
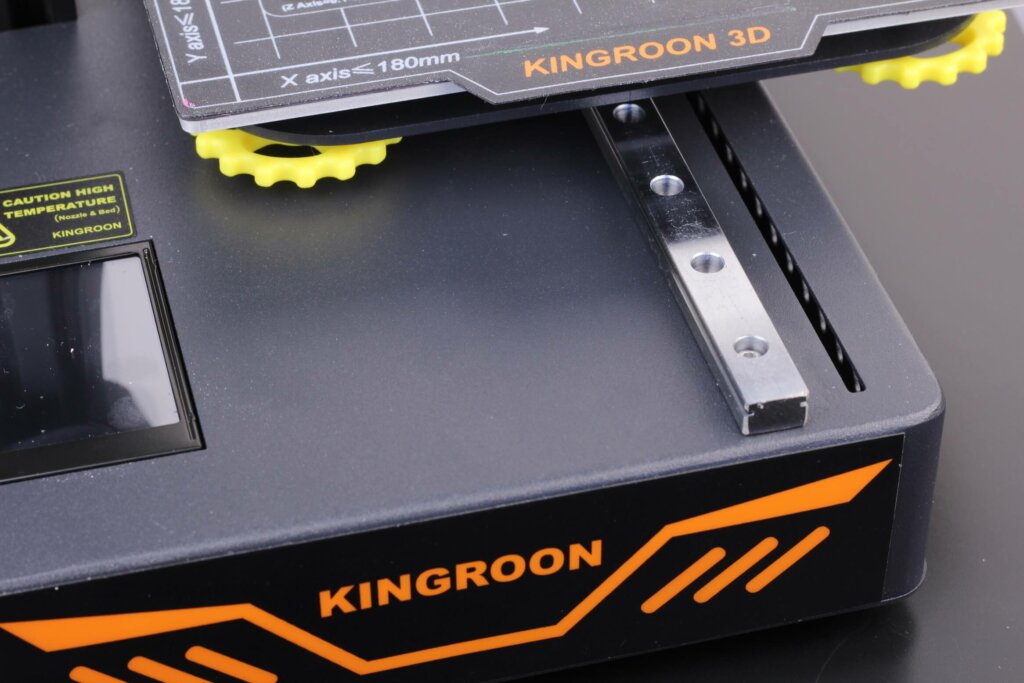
In theory, adding the linear rails gives the printer more accurate movements and it should also be able to print faster but it’s held back by the cantilever setup and the direct drive extruder weight. You won’t be able to push this printer too much without influencing the print quality.
I would have liked to see a 3rd linear rail for the Z axis for a complete package, but I can’t say that the regular wheels do a bad job. I don’t think potential buyers wouldn’t pay an extra ~10$ to have a 3D printer with linear rails on all axes.
32-bit board with TMC2225 drivers
Another welcome addition to the Kingroon KP3S is the 32-bit board which uses TMC2225 drivers. It has removable stepper drivers which allow you to easily swap them if one of them gets damaged over time.
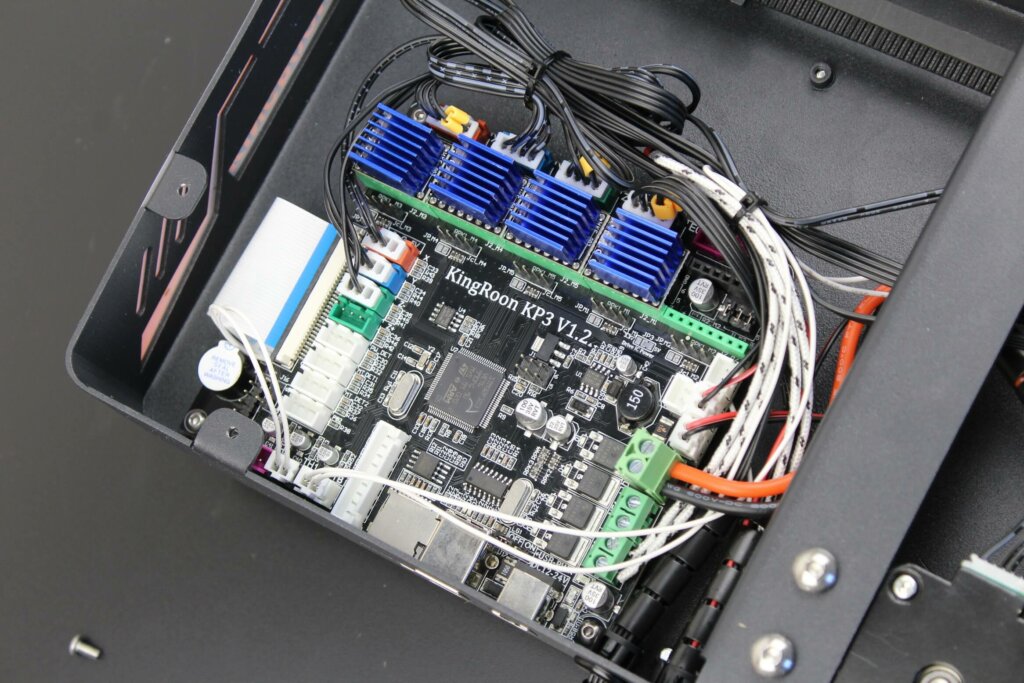
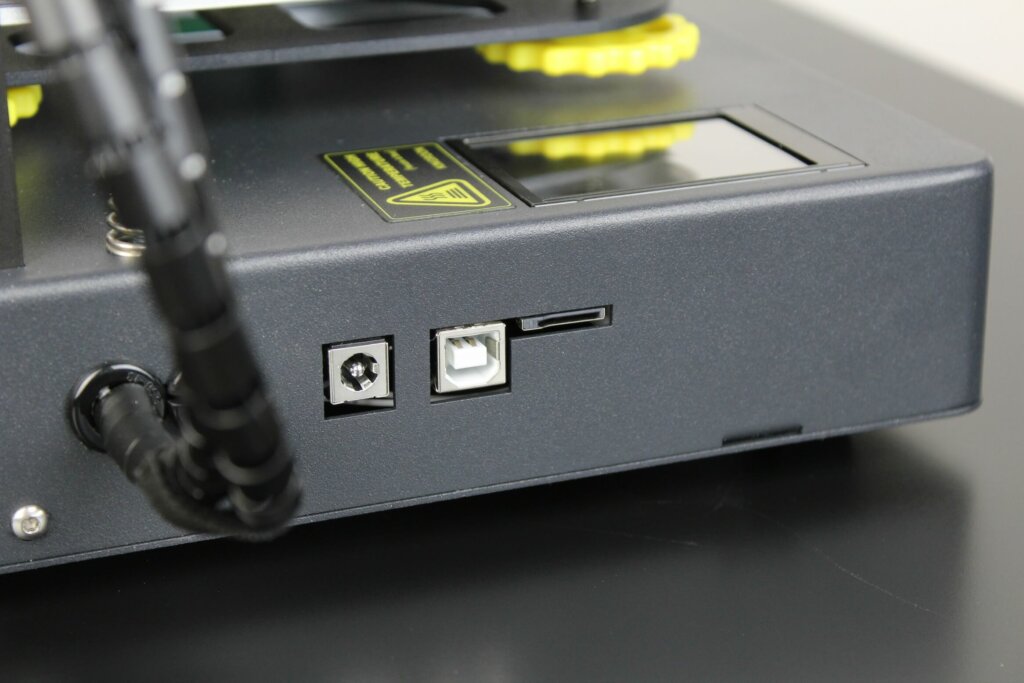
Unfortunately, I think that the main drawback of this board is the power connector. The heatbed is the most power-hungry component on this printer and I don’t think that the barrel connector is rated for too much power draw.
The best way to mitigate this issue and make sure that no damage occurs for the board is adding a mosfet to power the bed. This will require a bit of modification, but it will ensure a much longer life for the board by decreasing the load on that barrel connector.
Direct Drive extruder
The direct drive extruder present on the Kingroon KP3S is comprised of a regular NEMA17 stepper motor and a metal extruder, just as the ones found on Creality printers.
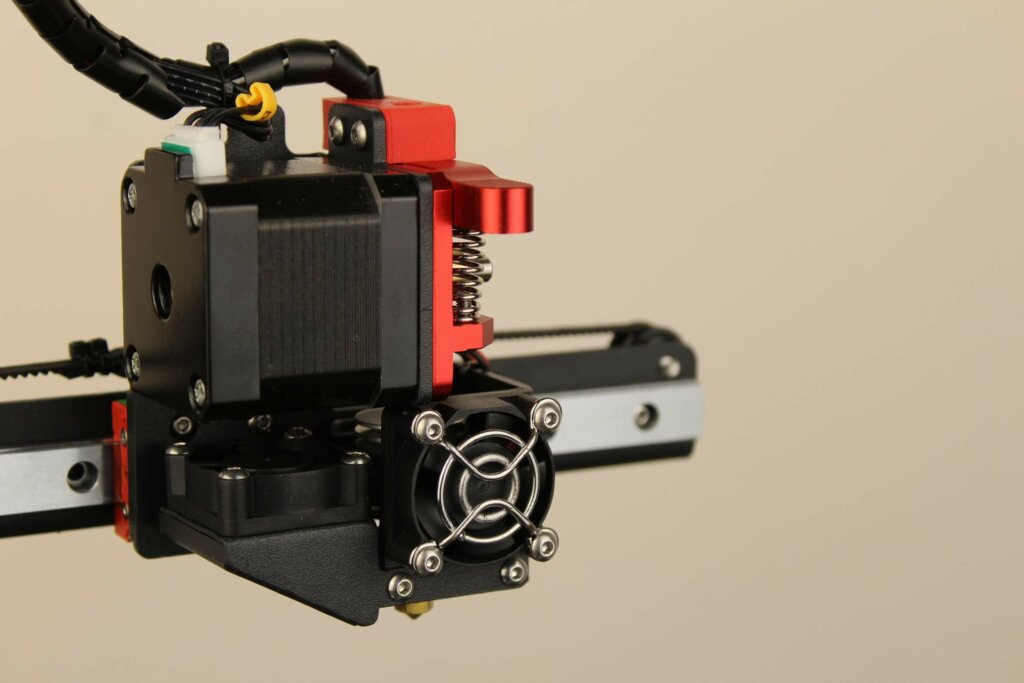
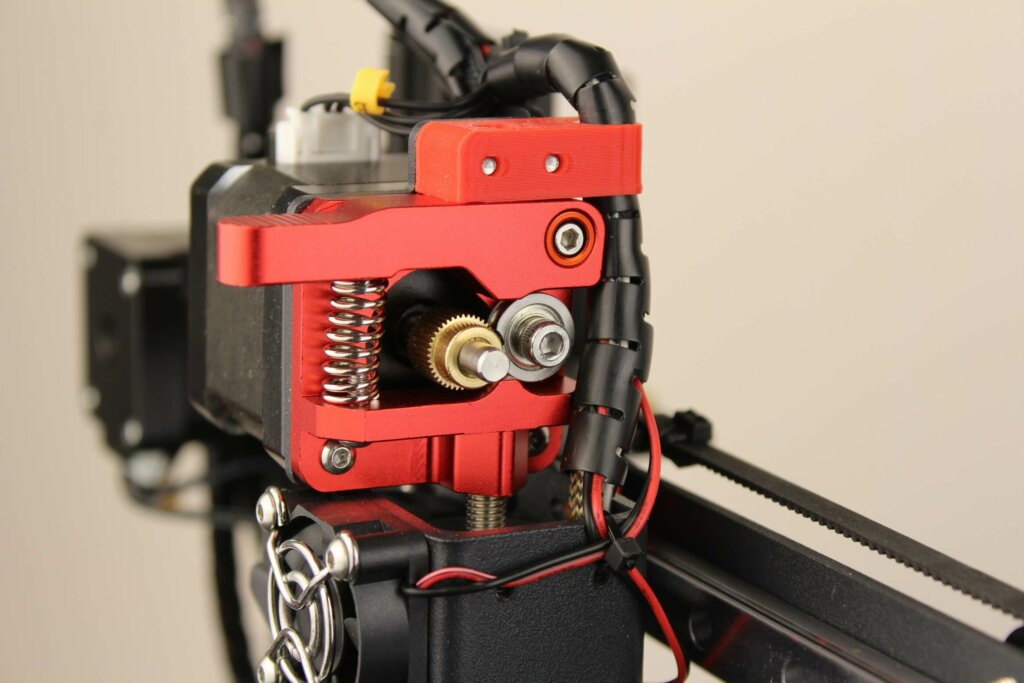
It’s not a geared extruder so it might be a bit less accurate compared to a BMG but it works well enough for good quality prints. If you’re into modding your printer, you could upgrade to a BMG Wind which will make the whole direct drive setup lighter. Besides that, you also get a more accurate extrusion and better performance when printing flexible filaments like TPU.
PTFE lined hotend with noisy fans
The hotend is something I haven’t seen before. It uses an MK8 thread which connects it directly to the metal extruder. It uses V6 nozzles in a somewhat similar heatblock.
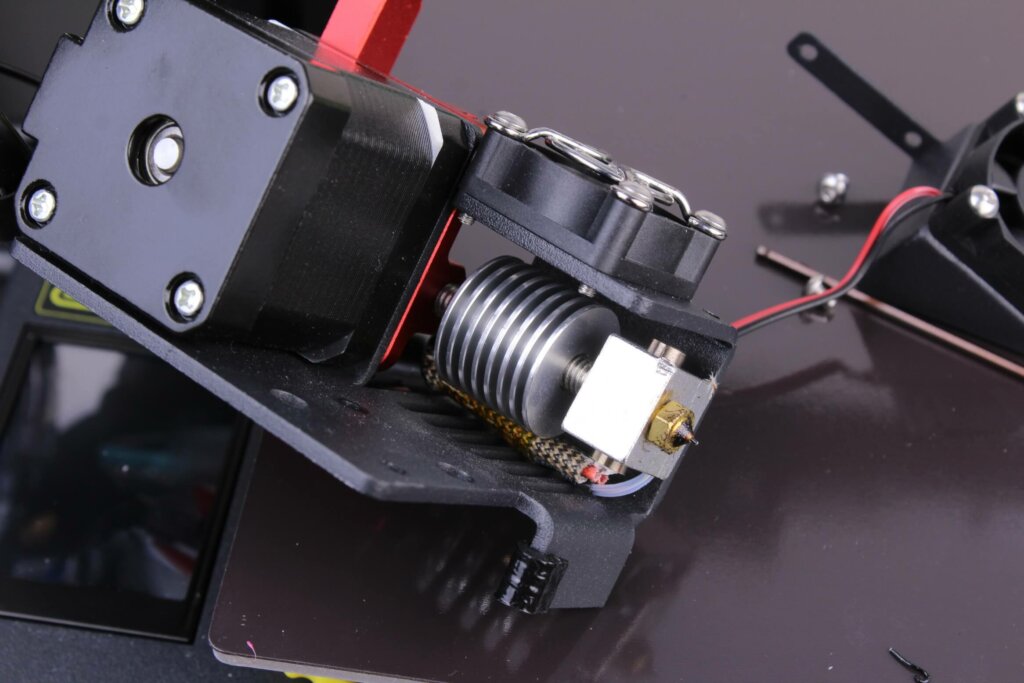
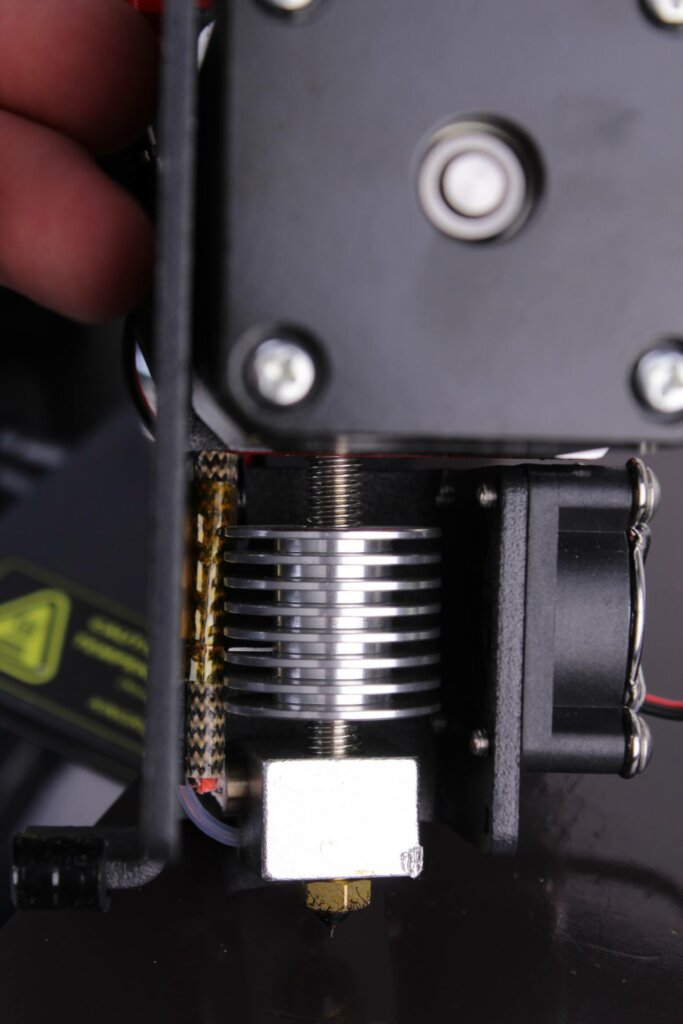
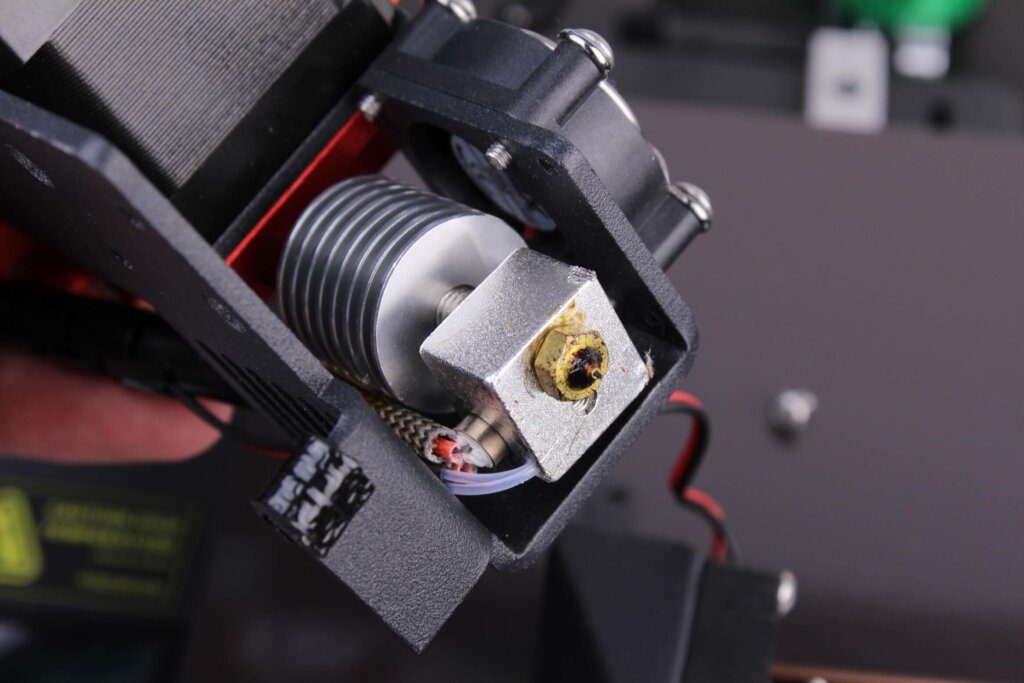
To cool the heat break, a V6-like heatsink is mounted and a 3010 fan blows cool air over it. Unfortunately, this fan is extremely noisy. It’s the noisiest heatbreak fan I heard on all of my printers and the part cooling fan is the same.
Instead of a radial fan, the Kingroon KP3S uses a regular 3010 fan which is not the right tool for this job. It’s not capable of pushing too much air to cool the printed model and it produces a lot of noise.
If you don’t print too fast, this can be fine, but adding a radial fan will allow you to have much better overhangs, supports will be removed easier and you will save your sanity if you keep the printer in the same room.
External power supply
While the Kingroon KP3S is a compact machine, some extra space is needed for the power supply. This is a regular 24V 360W no-name power supply which is present on other cheap 3D printers.
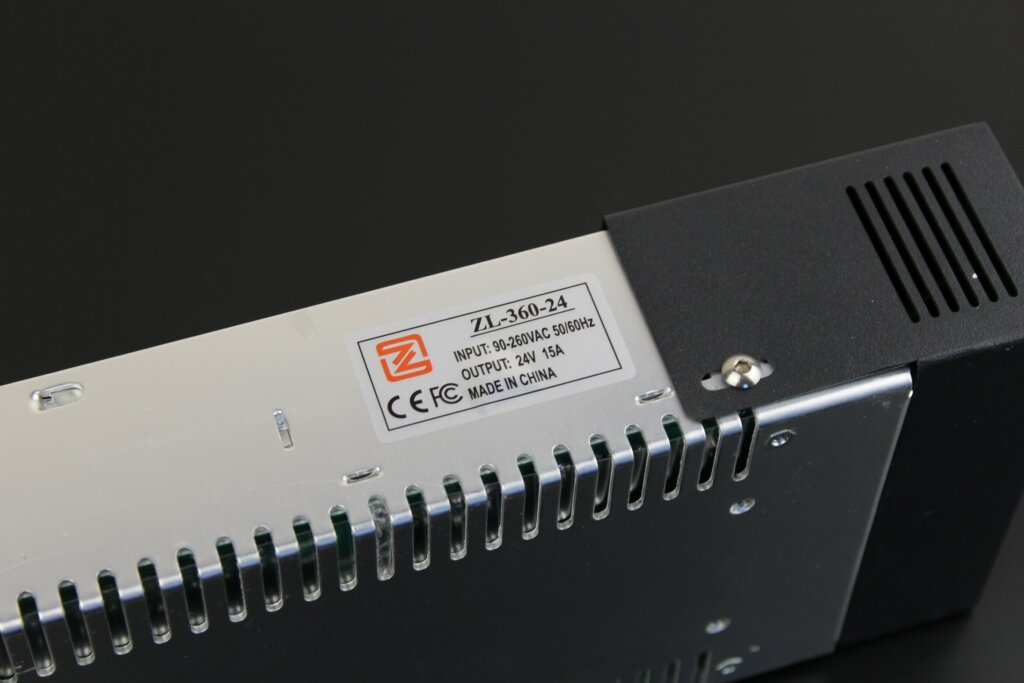
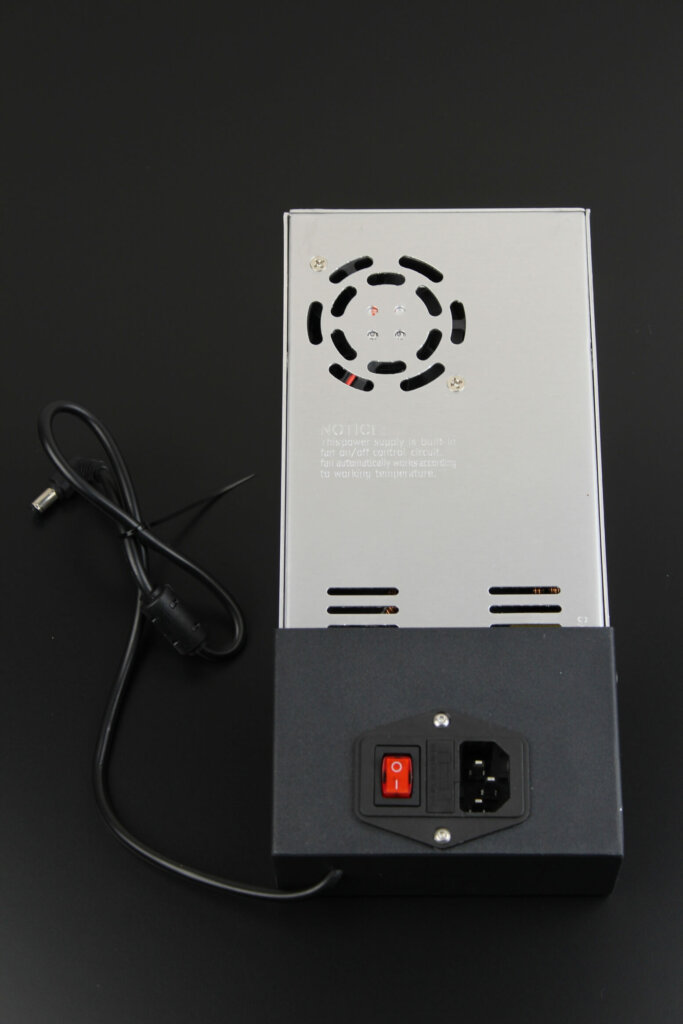
The fan is thermally controlled so it’s powering on from time to time. I would have loved to see a “power brick” like you get with a laptop but this would have probably raised the price.
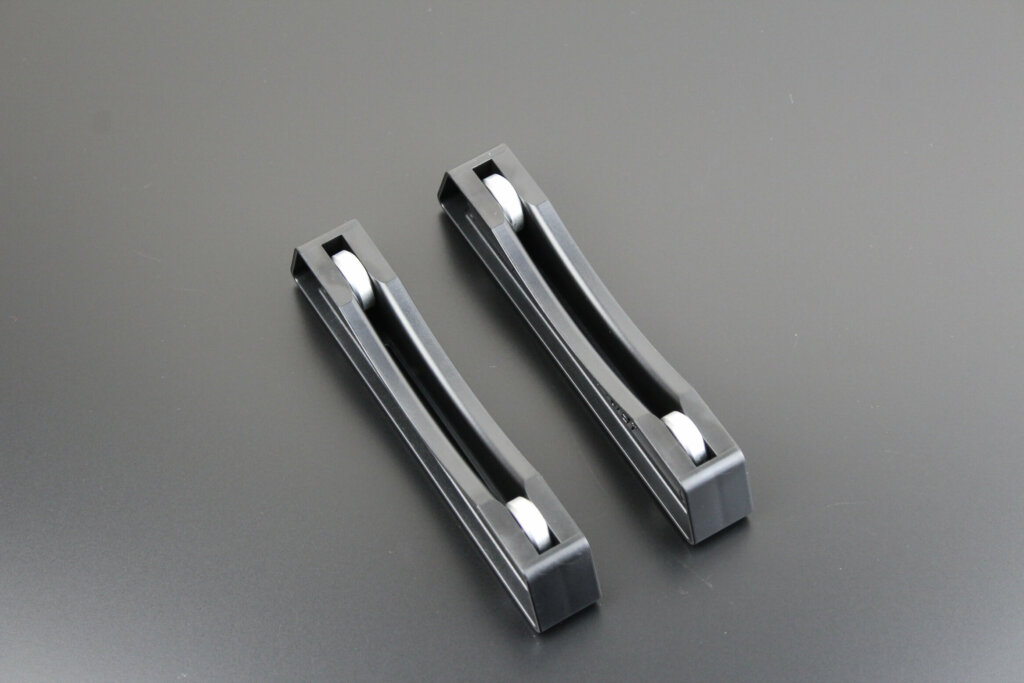
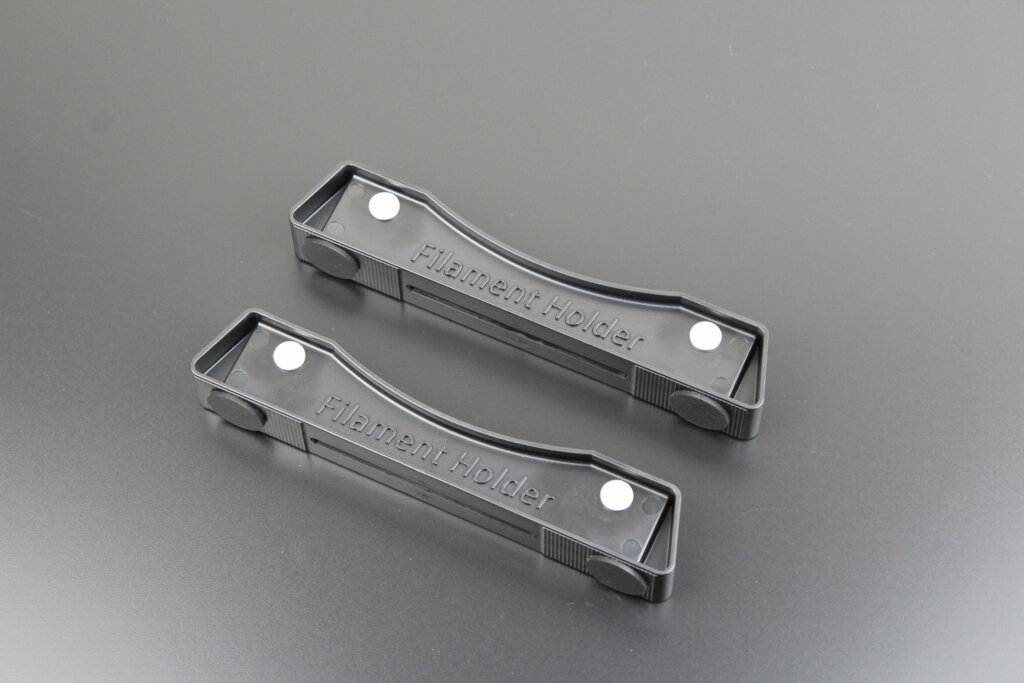
All things considered, it’s not that bad because you could have the spool holder on top of the power supply. The space savings you would get with a regular power supply would be minimal considering that you need a place to put your filament spool.
The included spool holder is not that great, but it works.
Removable magnetic print surface
Another interesting addition to the Kingroon KP3S is the magnetic removable print surface. It’s similar to the one you get with the old Creality Ender 3.
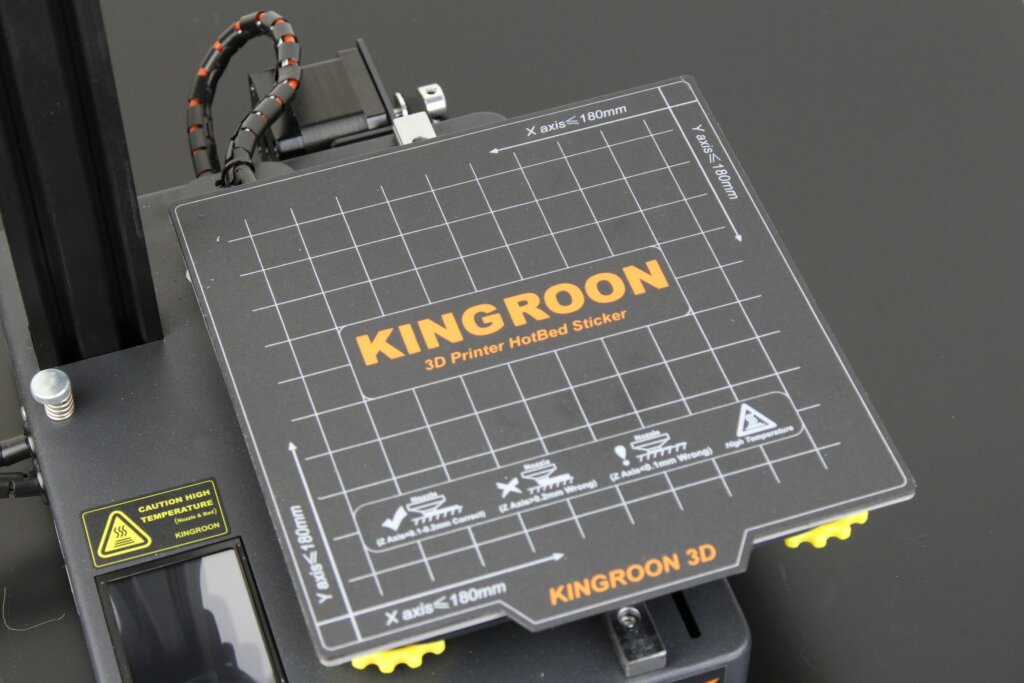
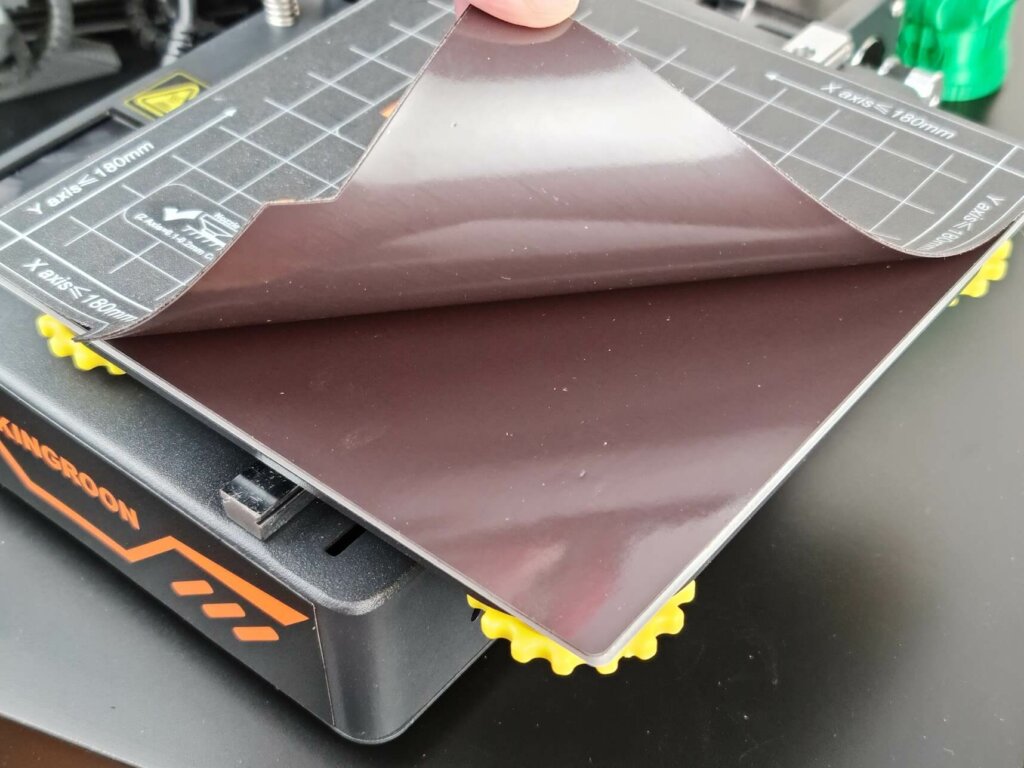
Prints stick well to it and you can easily remove prints by “peeling” them off the print surface. The main concern for me is that after a while you will need to replace it. Some filaments tend to stick a bit too much on this magnetic print surface and it can be damaged.
If this happens, a replacement is around 13$, but I would recommend upgrading to a PEI Spring Steel Sheet for an extra 3$.
2.8 Inch Touchscreen
On the top right of the printer, there’s a color touchscreen which is used for controlling the printer. It’s nice and responsive, with a nice layout and there’s not much to complain about it.
It would have been nice for it to be a bit brighter, but it works well if you are not in a room with a lot of light.
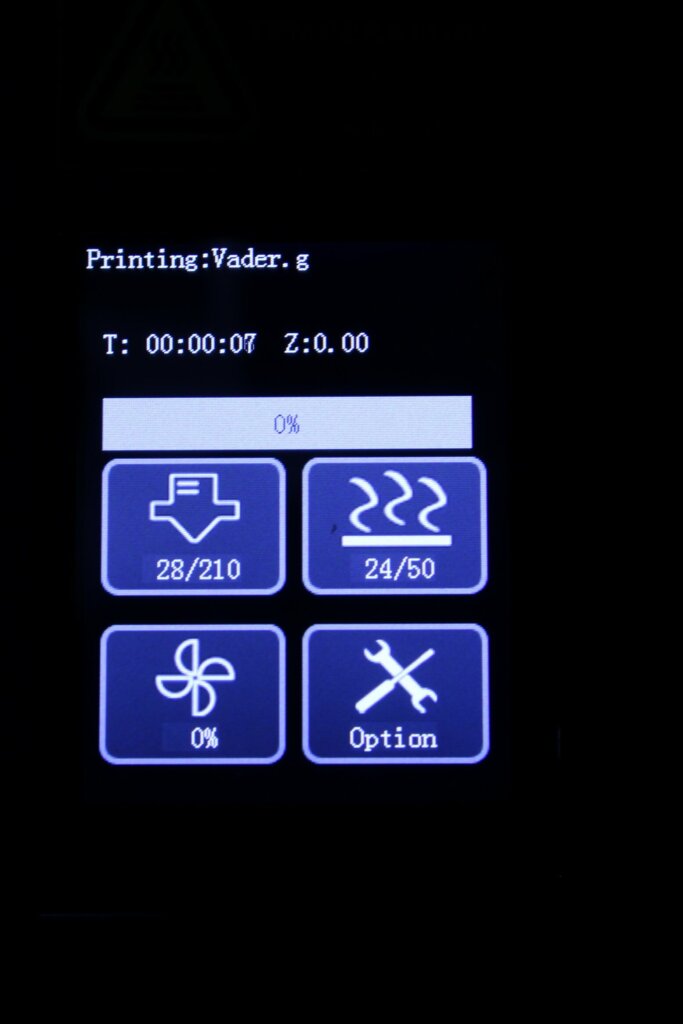
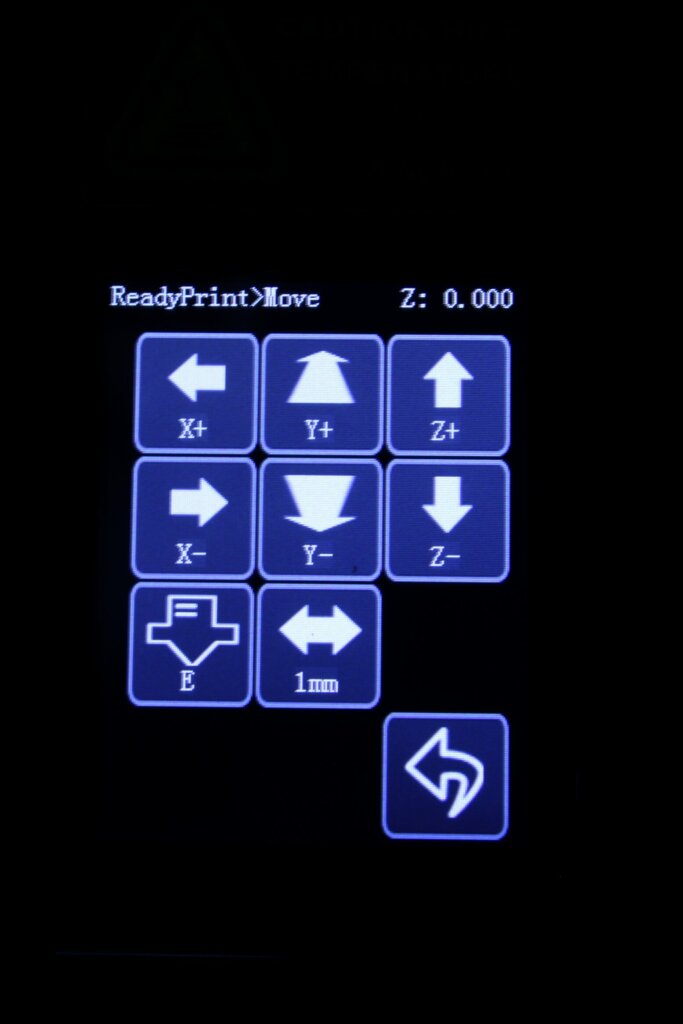
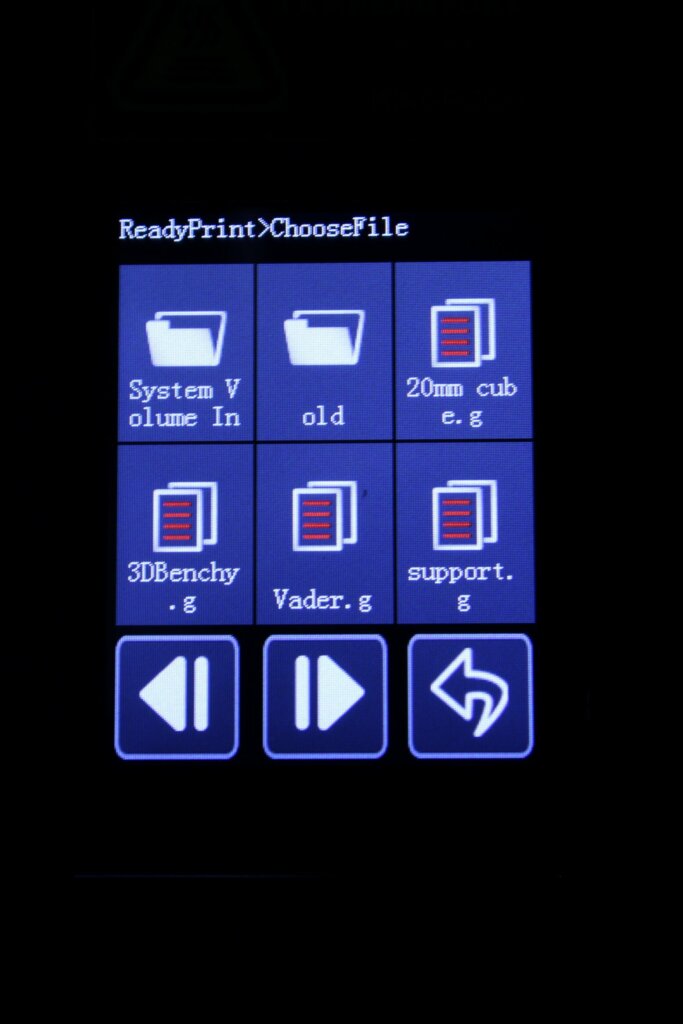
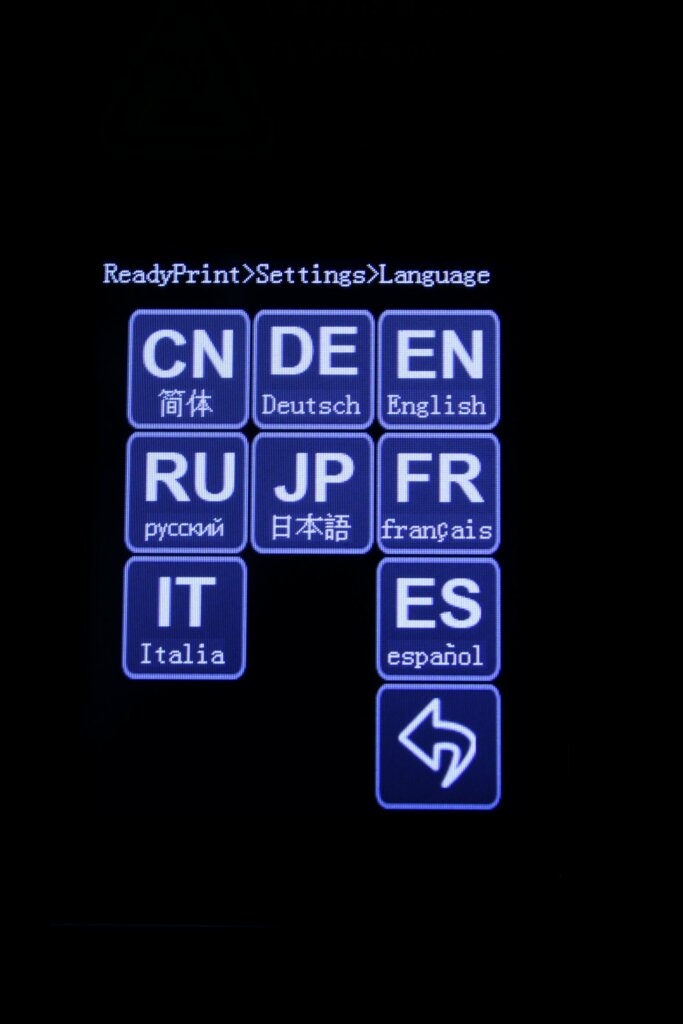
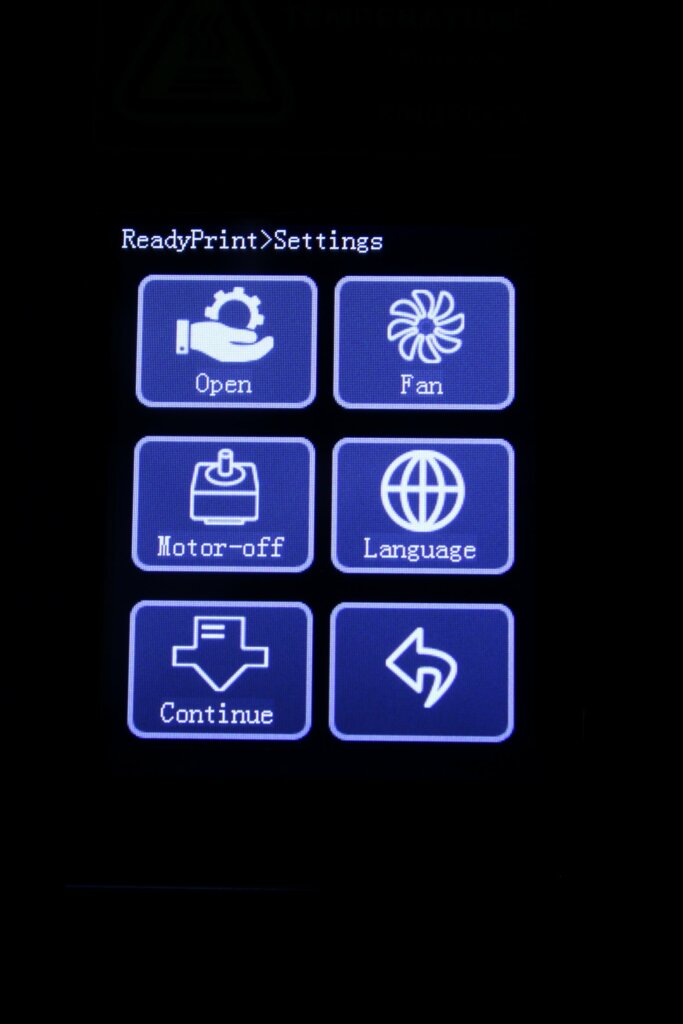
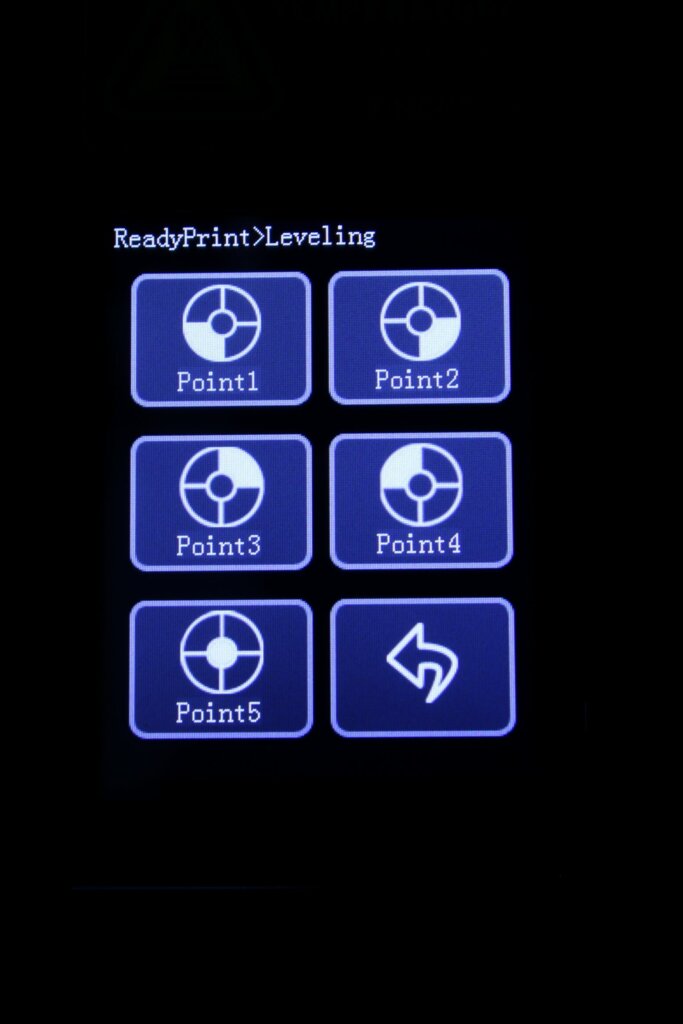

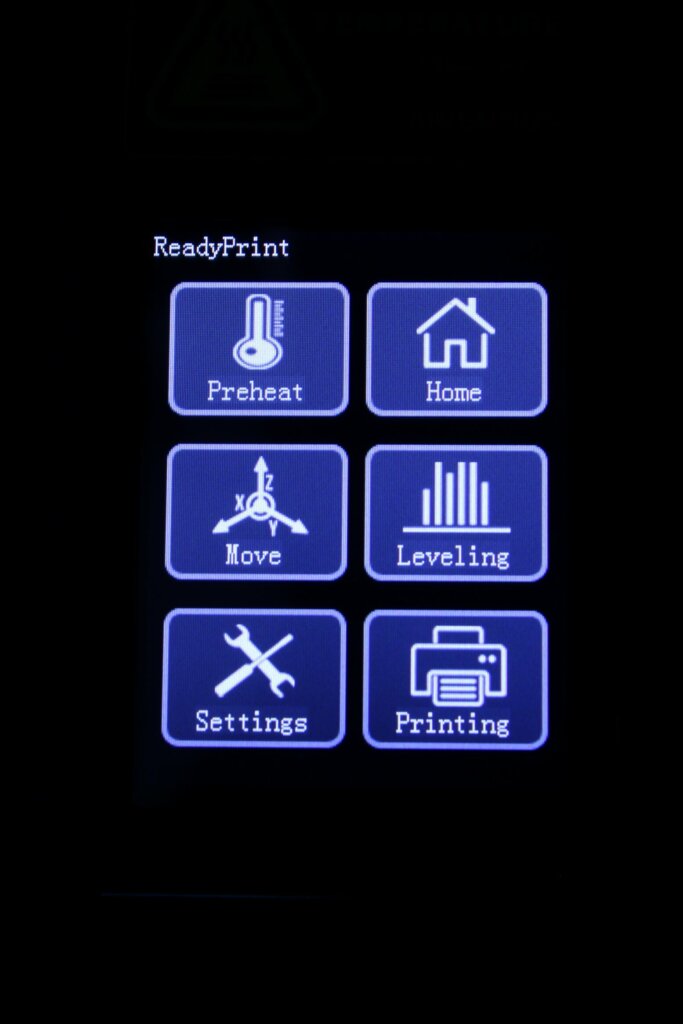
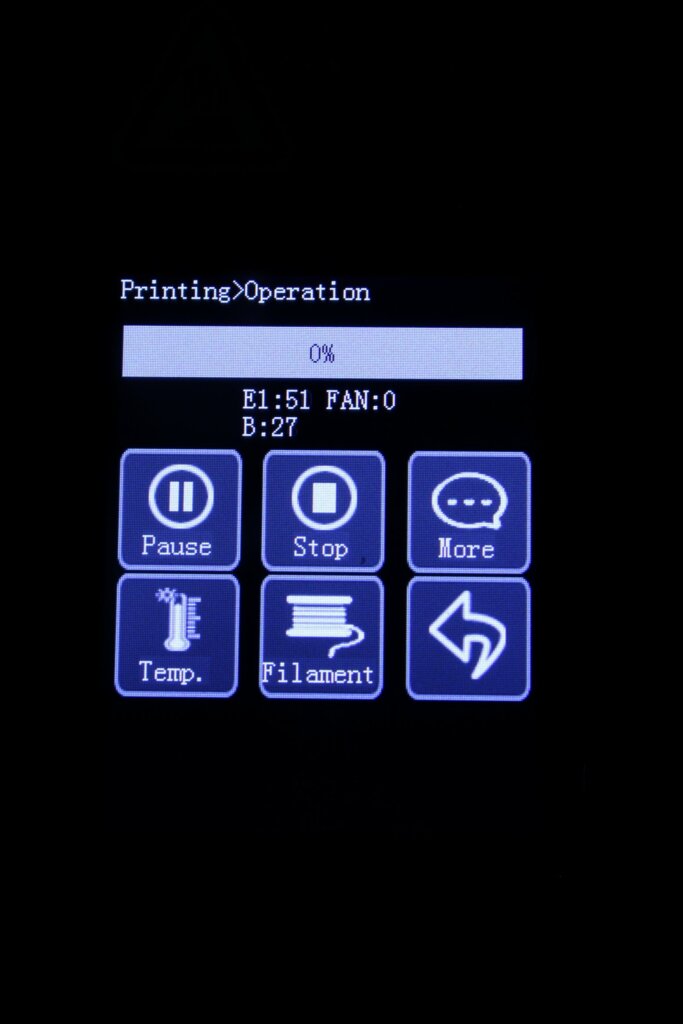
You can perform the manual bed leveling using the assisted menu option, where you can move the hotend on different corners of the bed with a single touch. Really helpful for beginners.
During printing, there’s also a handy Filament button that pauses the print, moves homes the hotend on the X axis and allows you to change the filament.
Heating time and power consumption
I tested the heating time for both hotend and heat bed and here are the results:
Hotend
- 200C in 50 seconds
- 250C in 70 seconds.
Heatbed
- 60C in 120 seconds
- 100C in just under 4 minutes.
Power Draw
Idle power draw is around 10W. When the hotend and heatbed are heating up, the Kingroon KP3S draws around 215W. After it starts printing, the power draw stabilizes to around 75W.
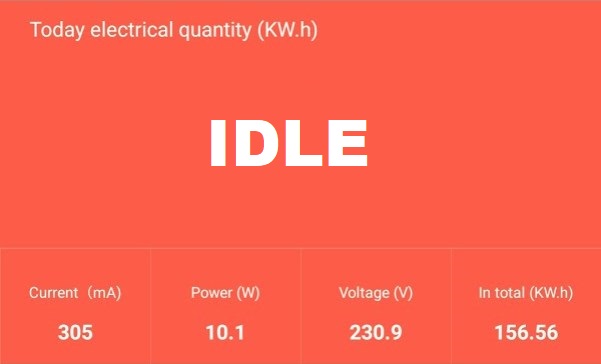
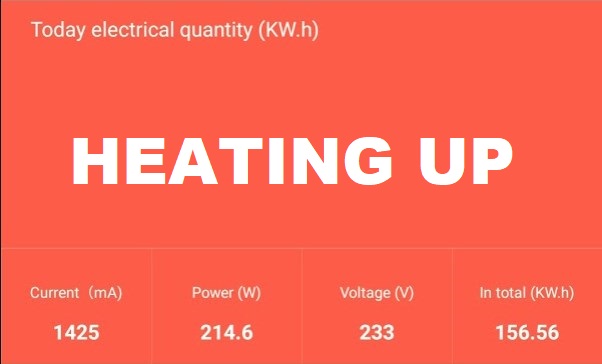
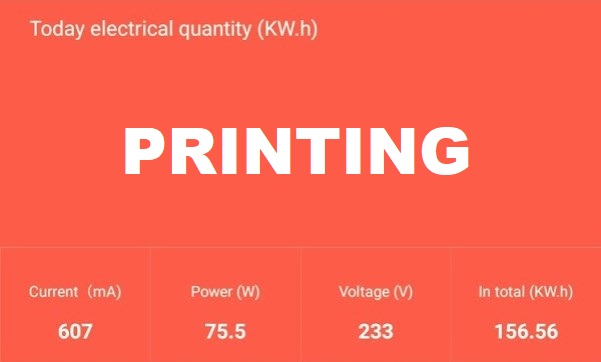
All these measurements were taken with a Blitzwolf smart power socket which indicates the power draw and it can also be used for remotely powering on and off the printer.
Kingroon KP3S Noise Levels
To better evaluate the noise levels of the Kingroon KP3S, I took this video which should help you understand how noisy it is, but it is not an accurate way of measuring noise levels.
As previously mentioned, the two fans used for the heat break and part cooling are extremely noisy.
IdeaMaker profiles for Kingroon KP3S
During my time with the printer, I also tuned three IdeaMaker profiles for the Kingroon KP3S using the tools available in the 3D Printer Calibration Guide using IdeaMaker article. These profiles are tuned for the stock printer and worked well for me.
Kingroon KP3S IdeaMaker Profile – PLA – 3DPrintBeginner
Kingroon KP3S IdeaMaker Profile – PETG – 3DPrintBeginner
Kingroon KP3S IdeaMaker Profile – TPU – 3DPrintBeginner
Kingroon KP3S IdeaMaker Profile – ABS – 3DPrintBeginner
Test prints on Kingroon KP3S
3D Benchy
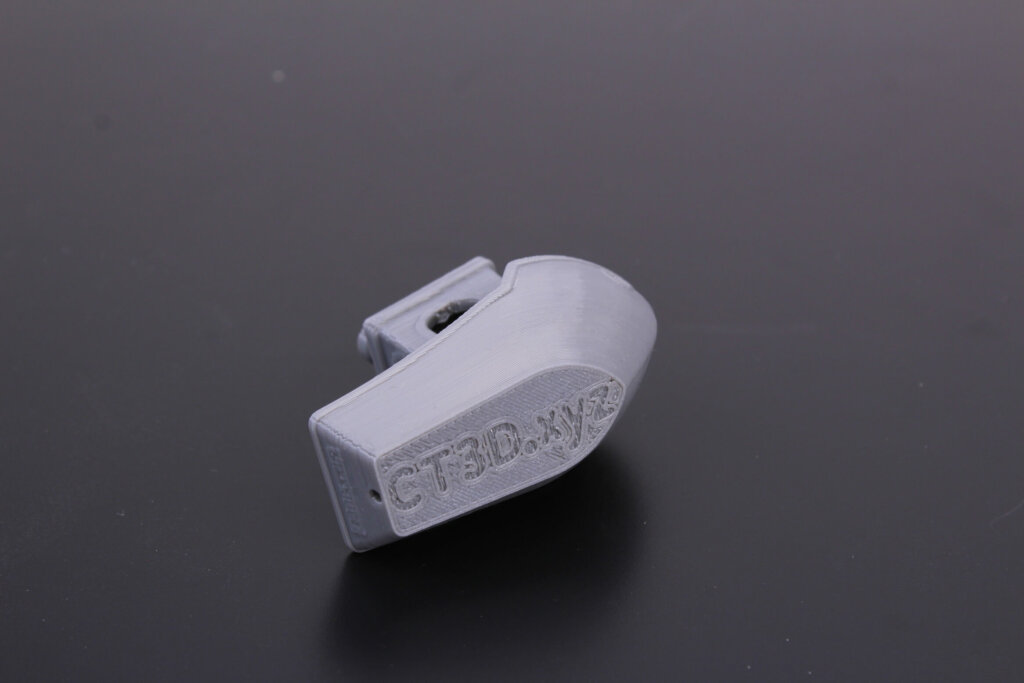
As always, first print on the Kingroon KP3S is a 3D Benchy. Considering this is a stock machine, it’s not bad. I was expecting worse quality out of the box.
But as you can see, this benchy is fairly good.
A small amount of Z banding is present, and I think this is caused by the single gear extruder which can have trouble in consistently feeding filament if the spool is not set right.
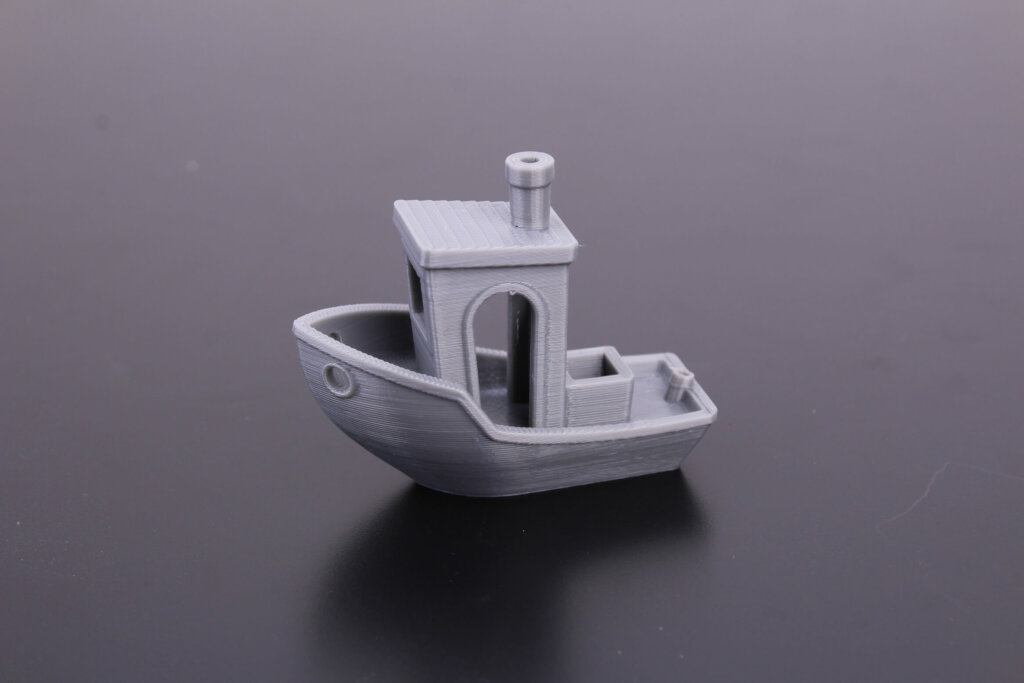
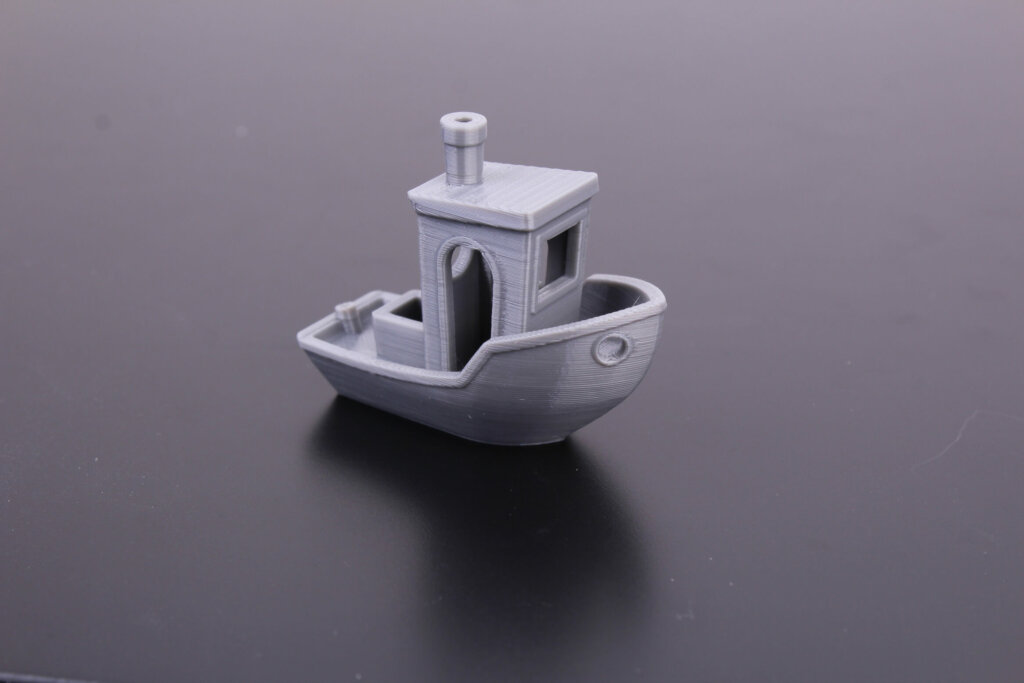
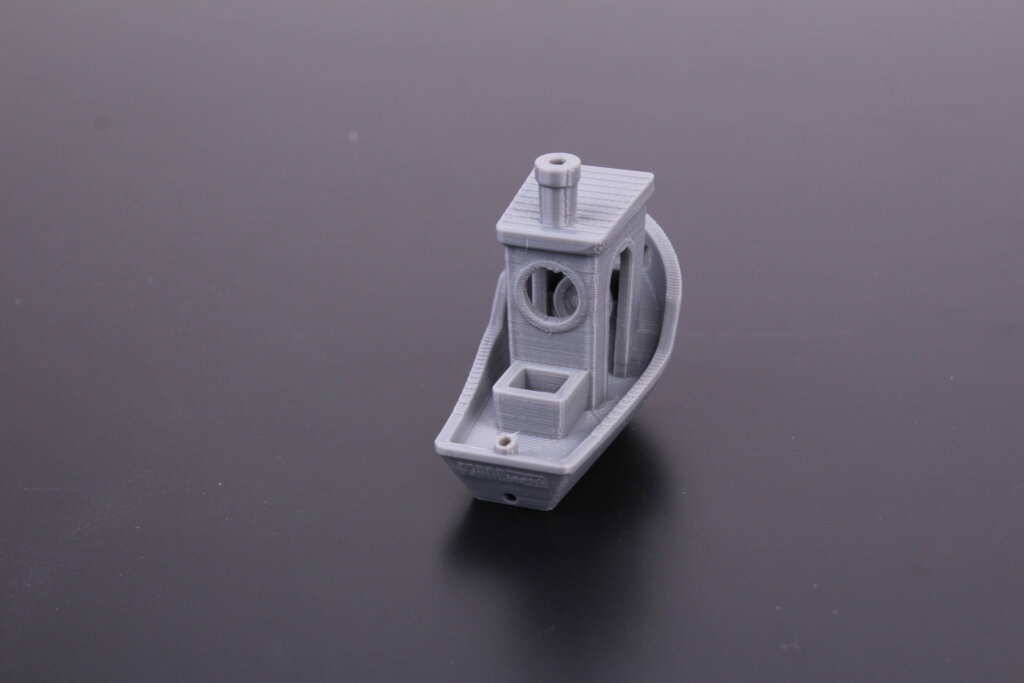
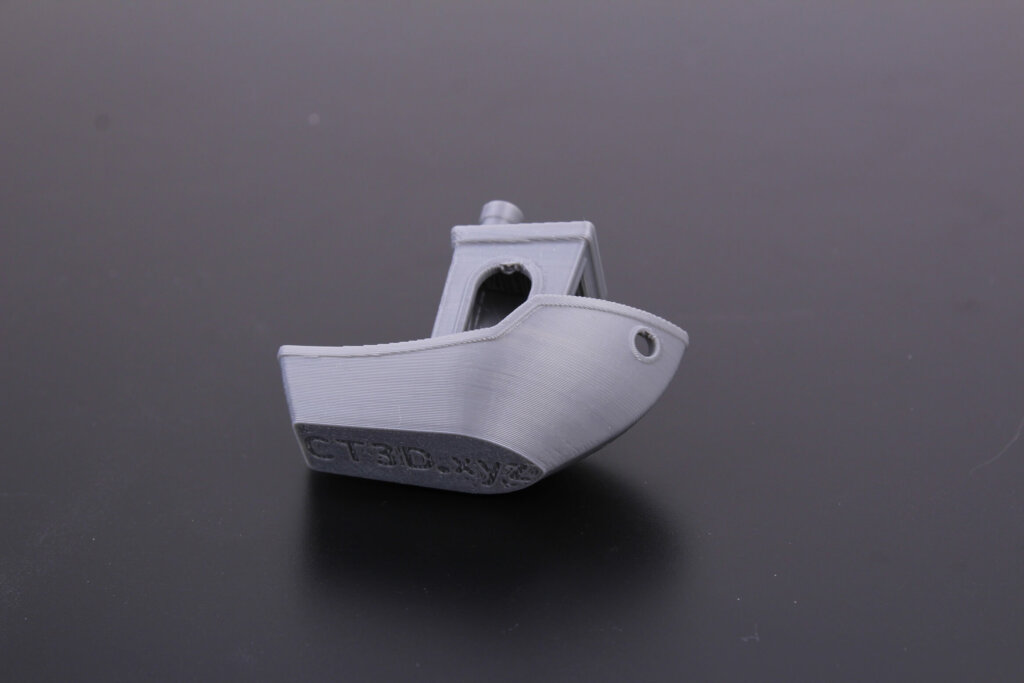
- Material: Sunlu Gray PLA
- Layer Height: 0.2mm
- Nozzle Temperature: 215C
- Bed Temperature: 60C
- Print Speed: 60 mm/s
Darth Vader Bust
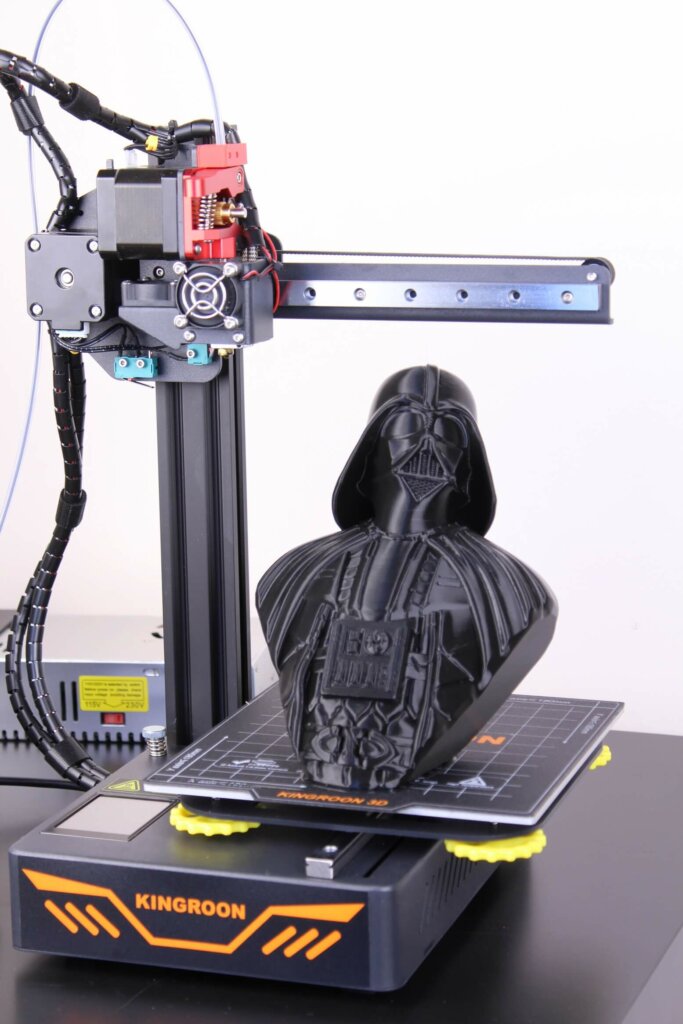
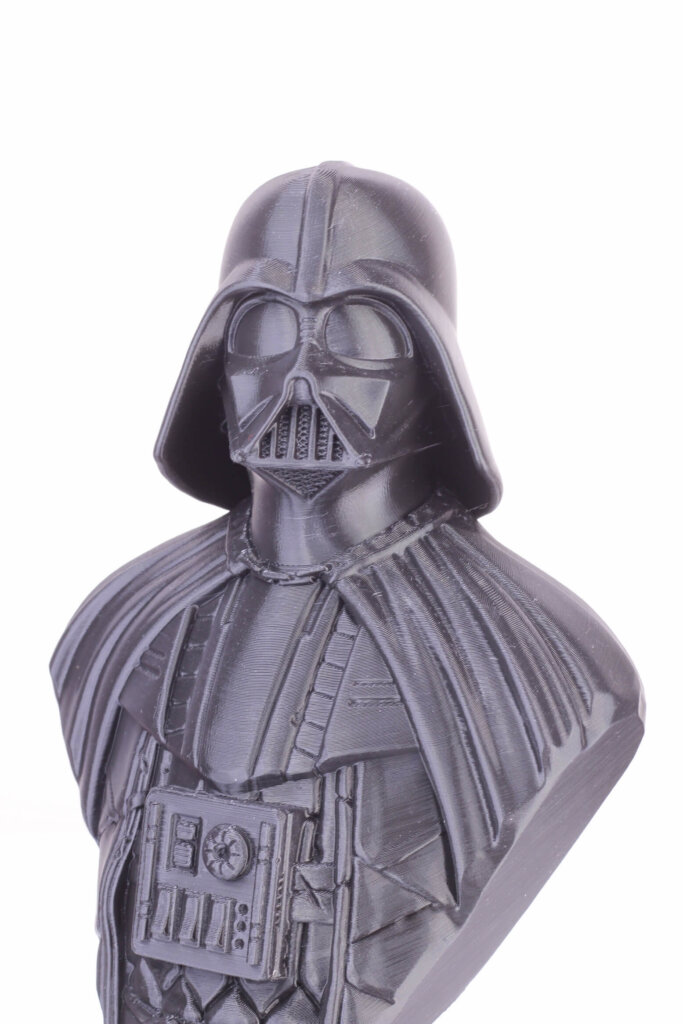
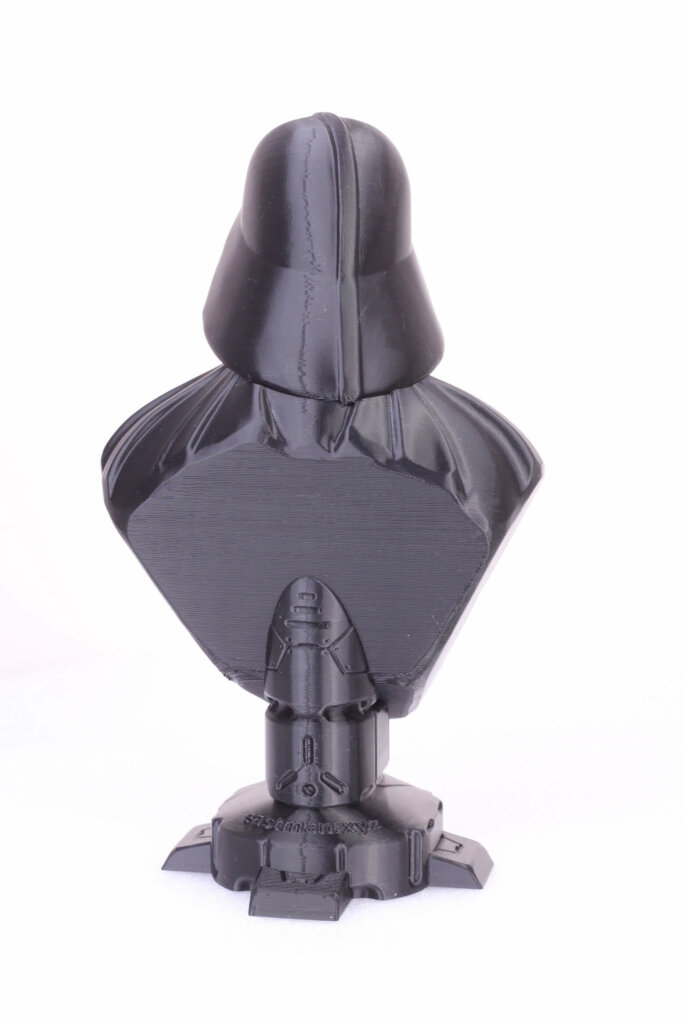
To test the full build volume of the Kingroon KP3S, I printed the Darth Vader Bust from Eastman. The results are really good, with minor Z banding. For some reason, the smooth section in the back has some small imperfections but I think that’s caused by the nozzle. After installing a spare nozzle from the box, the issue disappeared.
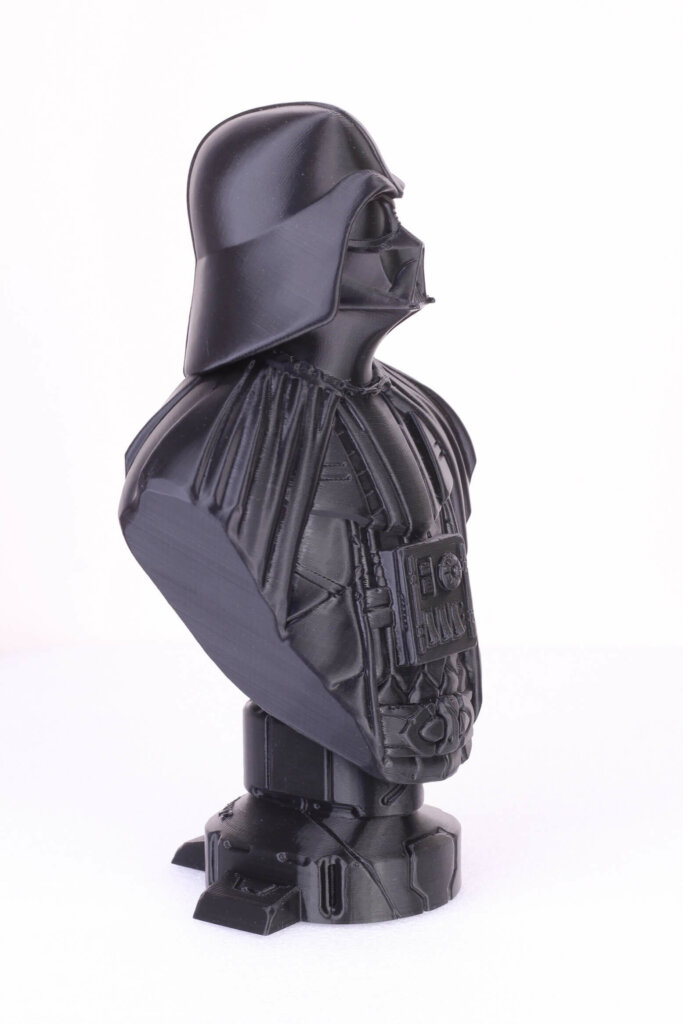
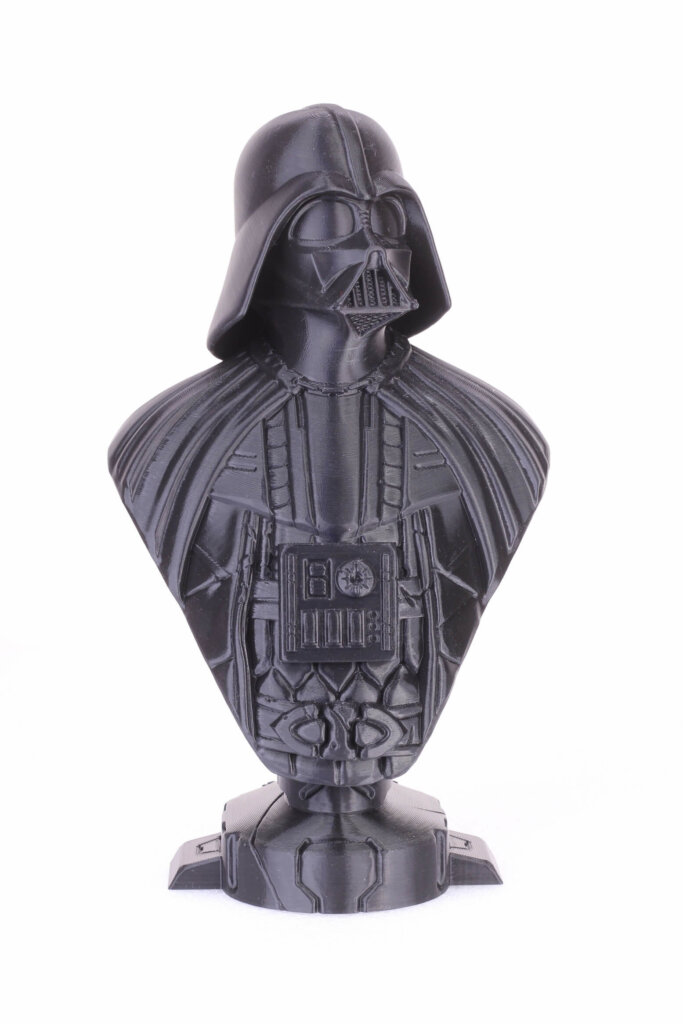
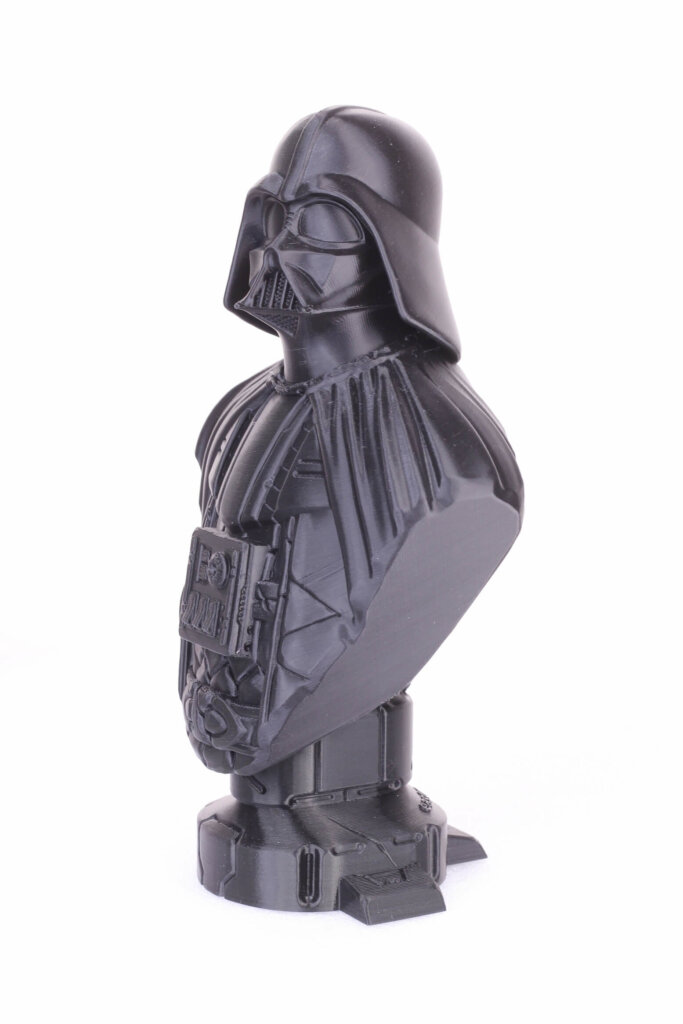
- Material: Sakata Black PLA
- Layer Height: 0.15mm
- Nozzle Temperature: 215C
- Bed Temperature: 60C
- Print Speed: 50 mm/s
Falcon Clamp
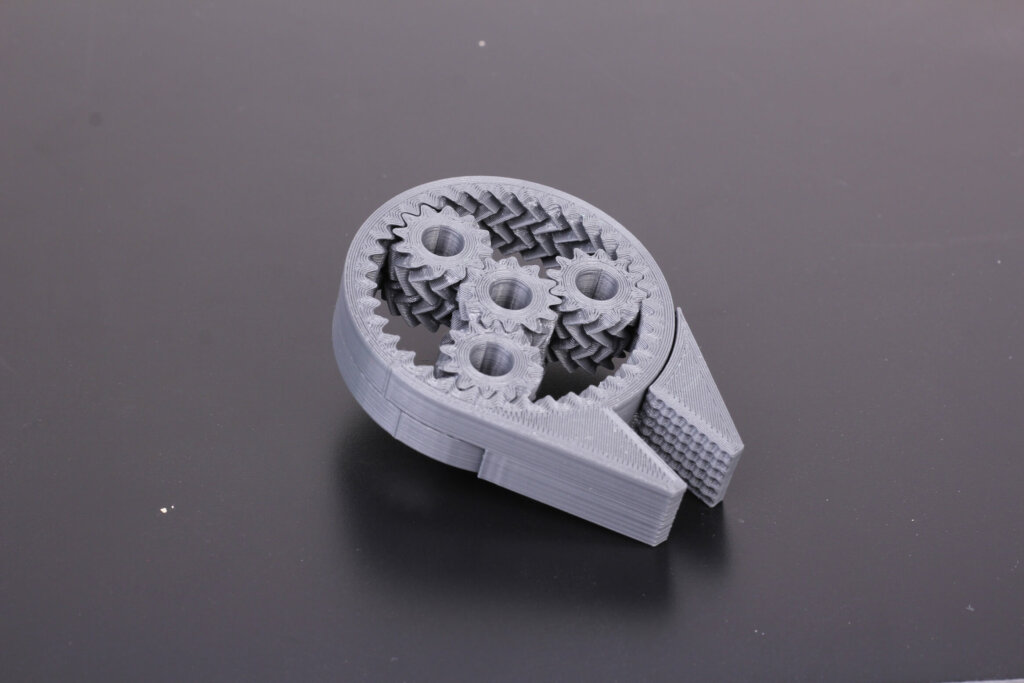
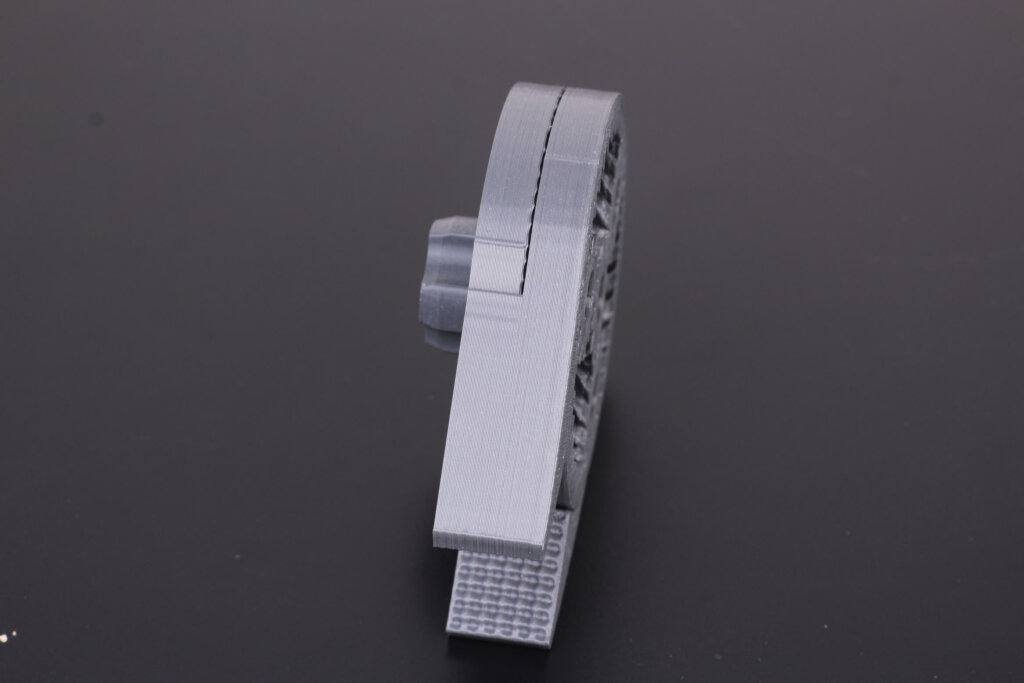
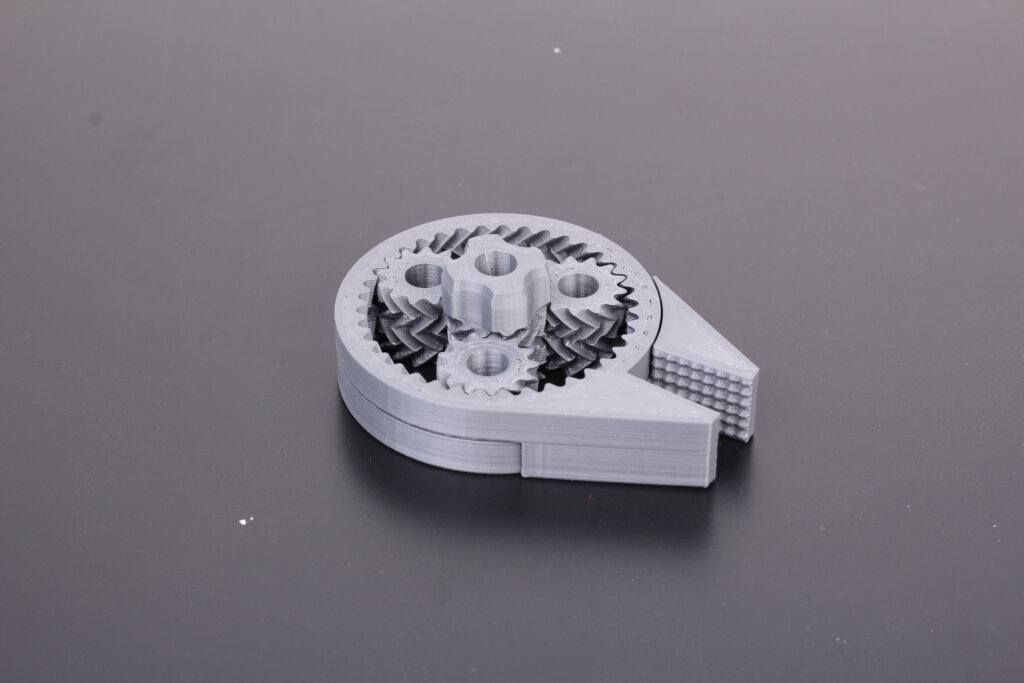
I also printed this Falcon Clamp because it’s a great model for testing the printer calibration. The print was completed successfully, and the gears spin freely, proving that the printer is already calibrated well right out of the box.
- Material: Devil Design Dark Gray PLA
- Layer Height: 0.2mm
- Nozzle Temperature: 205C
- Bed Temperature: 60C
- Print Speed: 60 mm/s
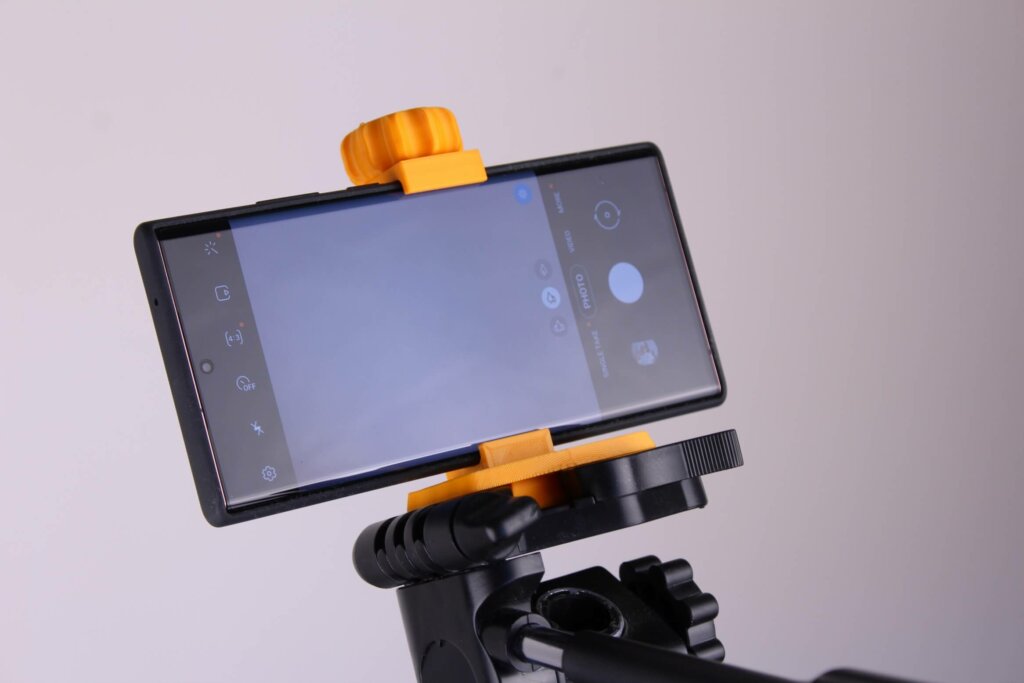
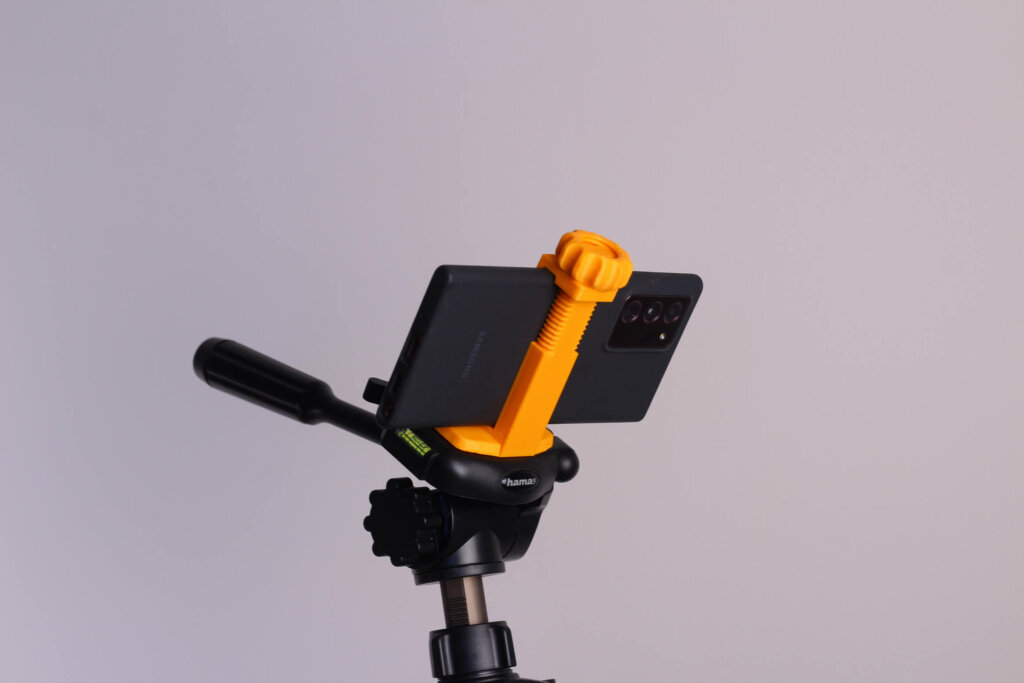
Smartphone Holder for Tripod
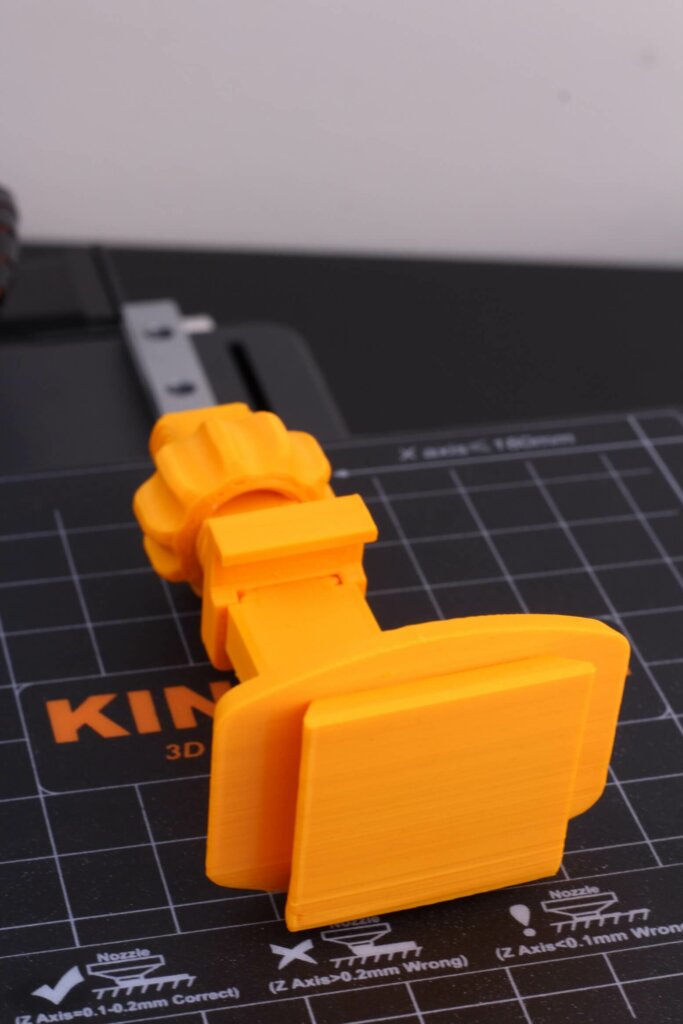
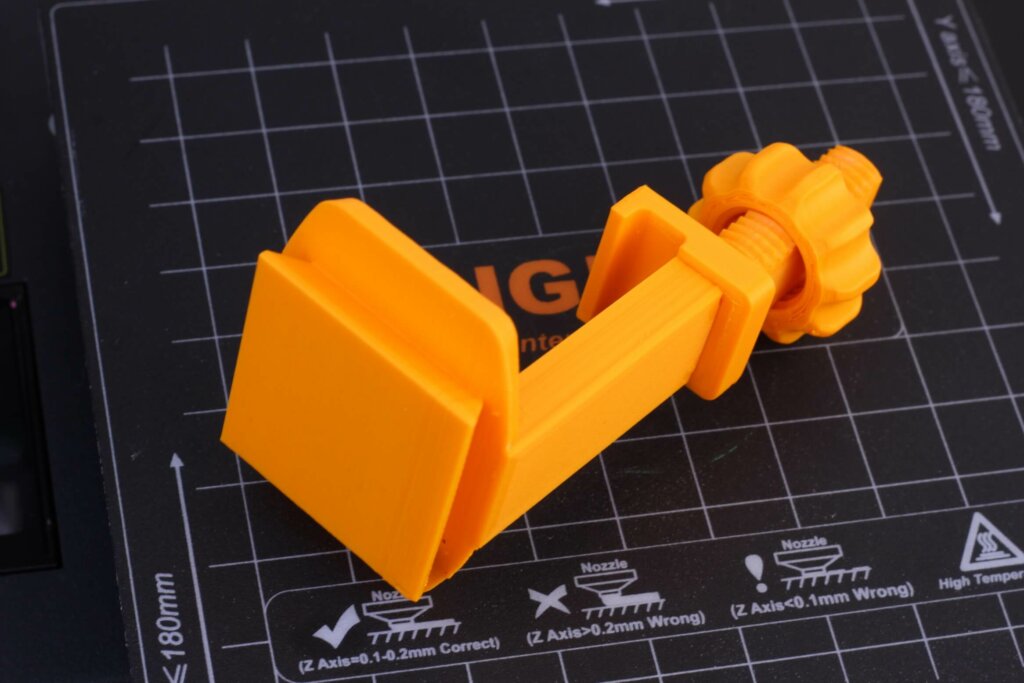
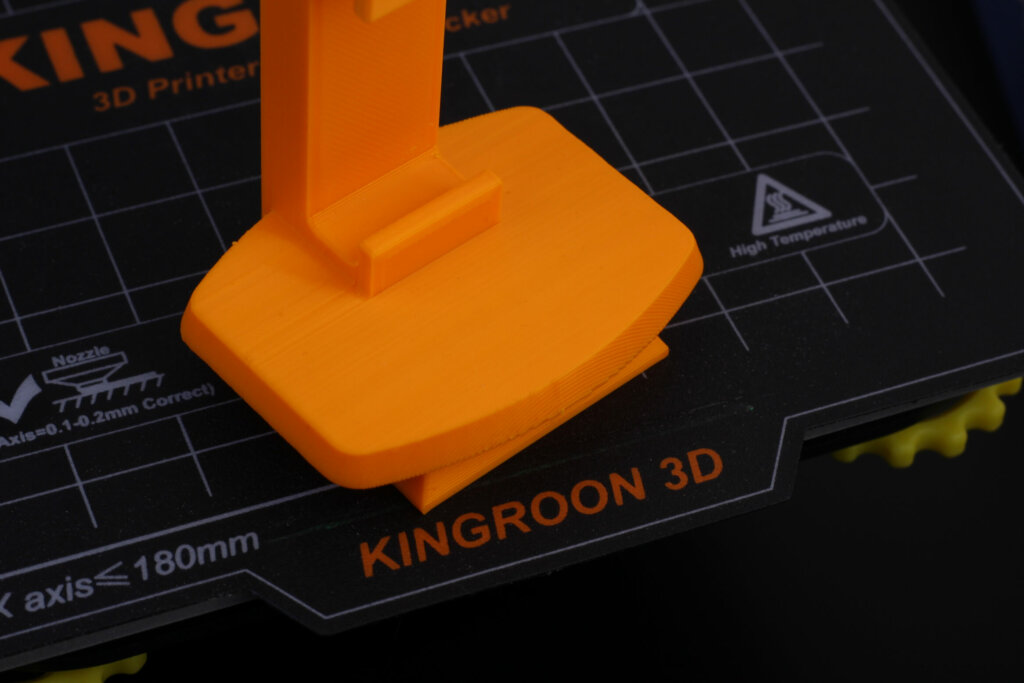
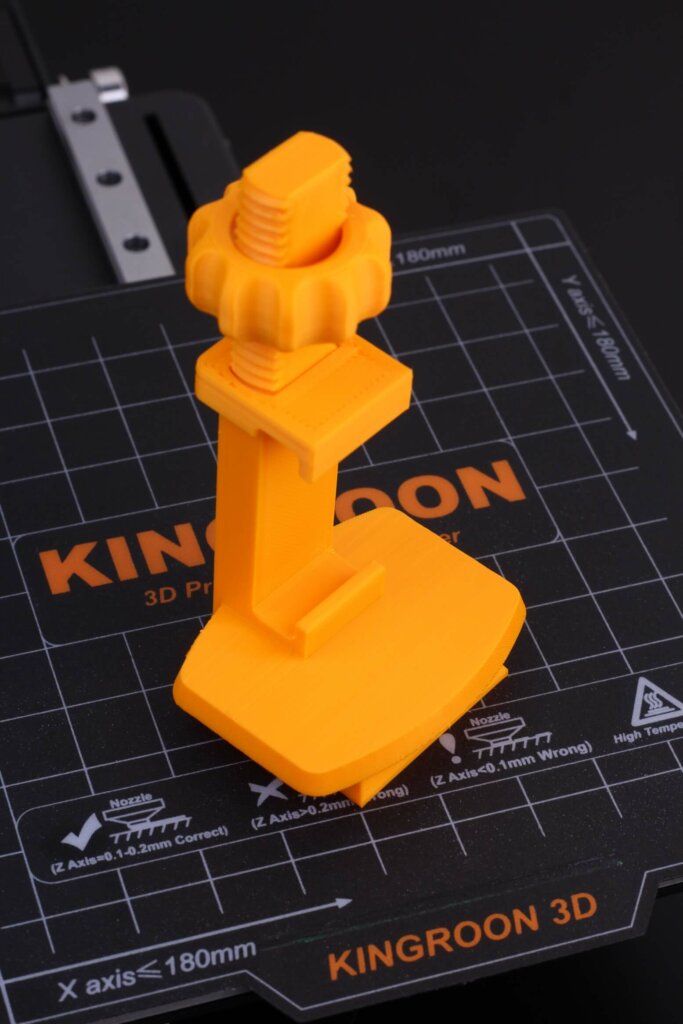
I needed a way to mount my phone to my camera tripod, so I printed the Smartphone Holder from Thingiverse. The print quality is not terrific with some Z banding, but the functionality is there.
I was able to easily assemble all three pieces and after adding a small amount of grease on the nut, it turns with close to no effort.
- Material: Devil Design Orange PLA
- Layer Height: 0.2mm
- Nozzle Temperature: 205C
- Bed Temperature: 60C
- Print Speed: 60 mm/s
Yoda Bust
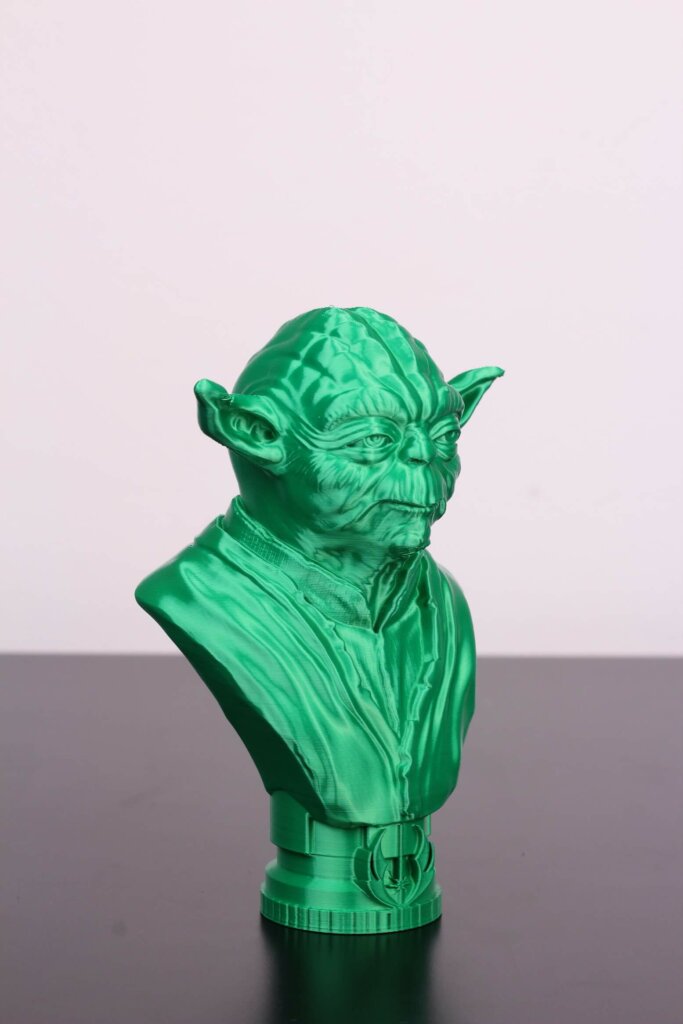
Fotis Mint published his Yoda Bust on MyMiniFactory for free, so printing it was a no-brainer. The print quality is excellent, and I can’t really complain about the results.
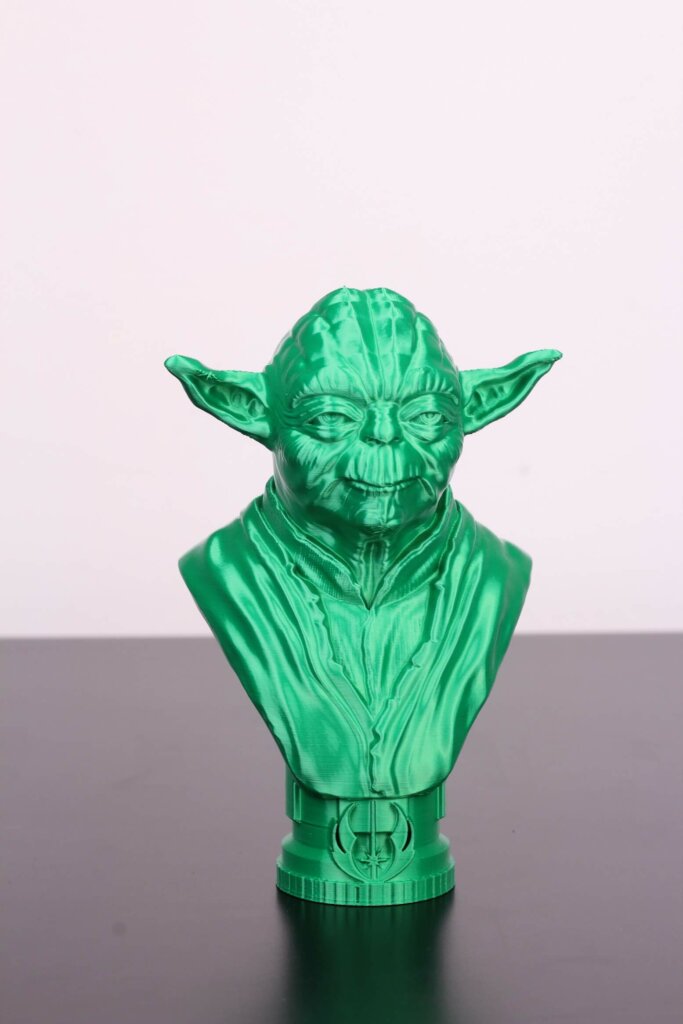
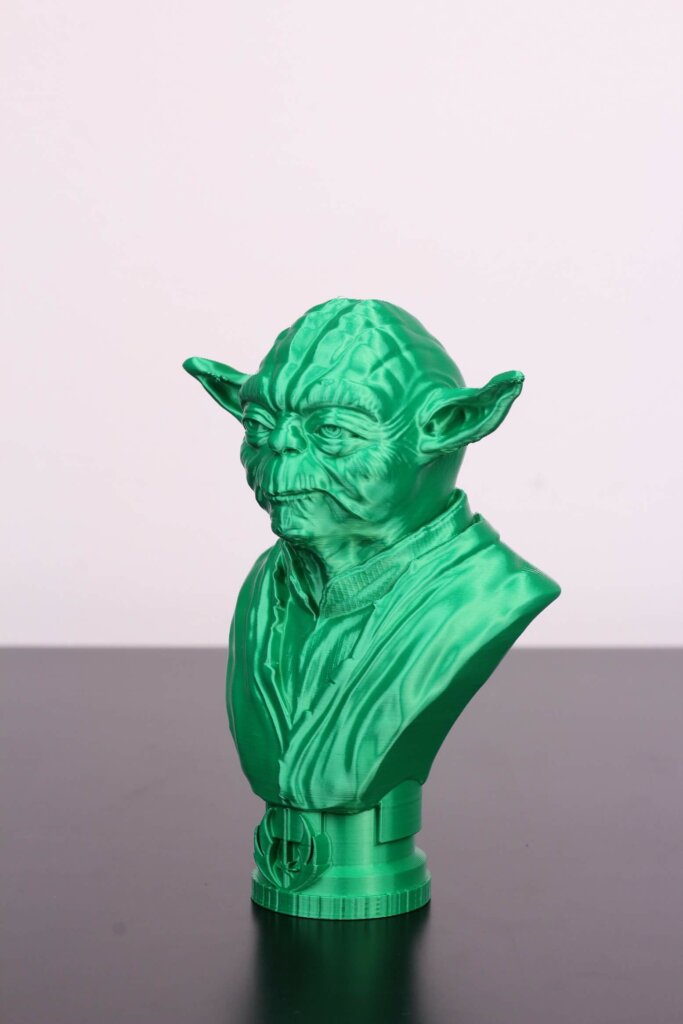
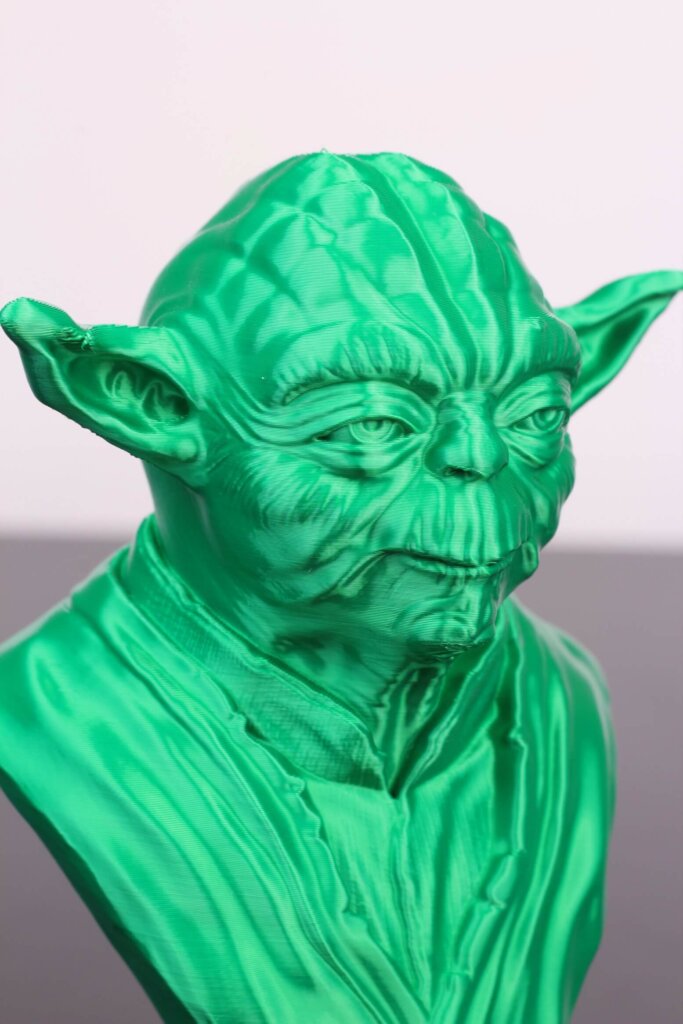
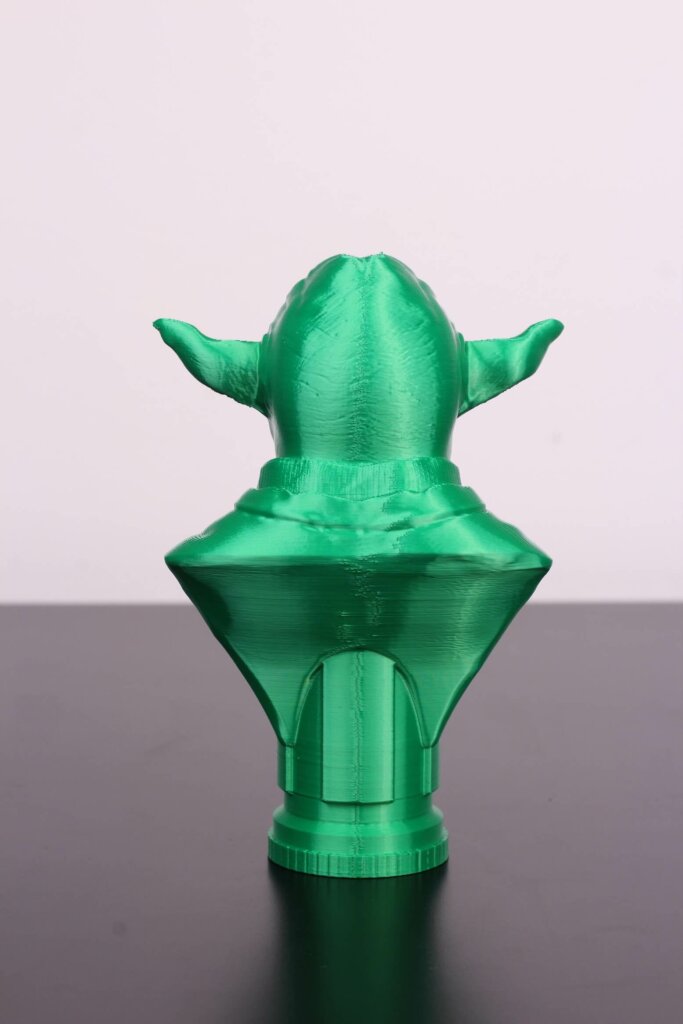
- Material: Extrudr Biofusion Reptile Green
- Layer Height: 0.15mm
- Nozzle Temperature: 215C
- Bed Temperature: 60C
- Print Speed: 50 mm/s
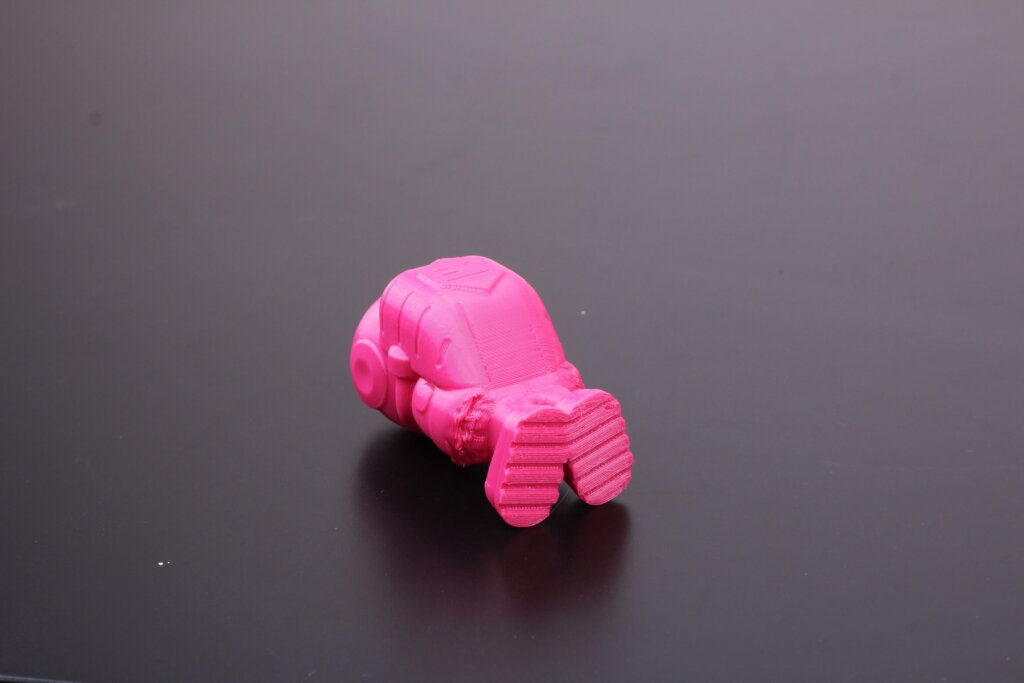
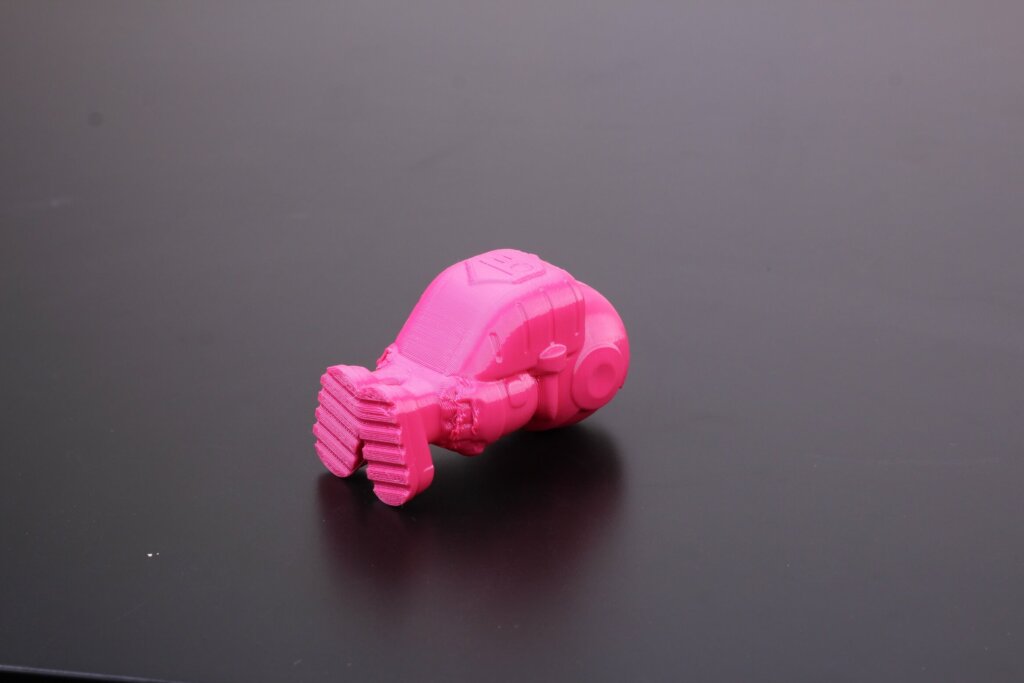
Phil-A-Ment
Because the Kingroon KP3S is a Direct Drive machine, it’s worth testing how well it performs with TPU. The print quality is good, but part cooling is a bit lacking and this shows on the bottom side of the gloves. With a bit of extra cooling, I’m sure the TPU print quality can increase.
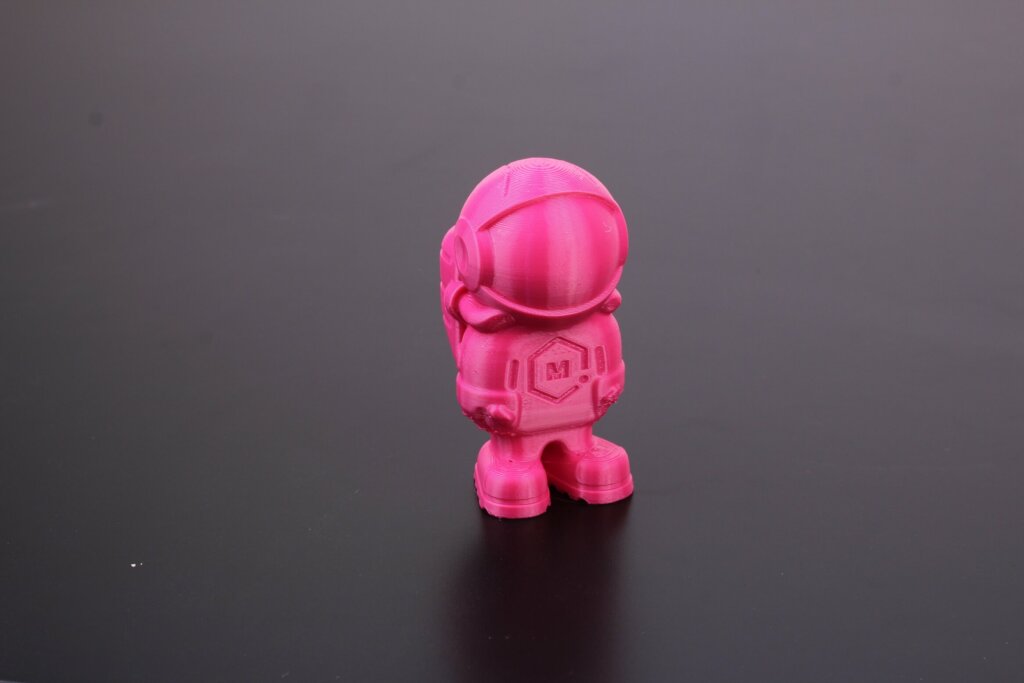
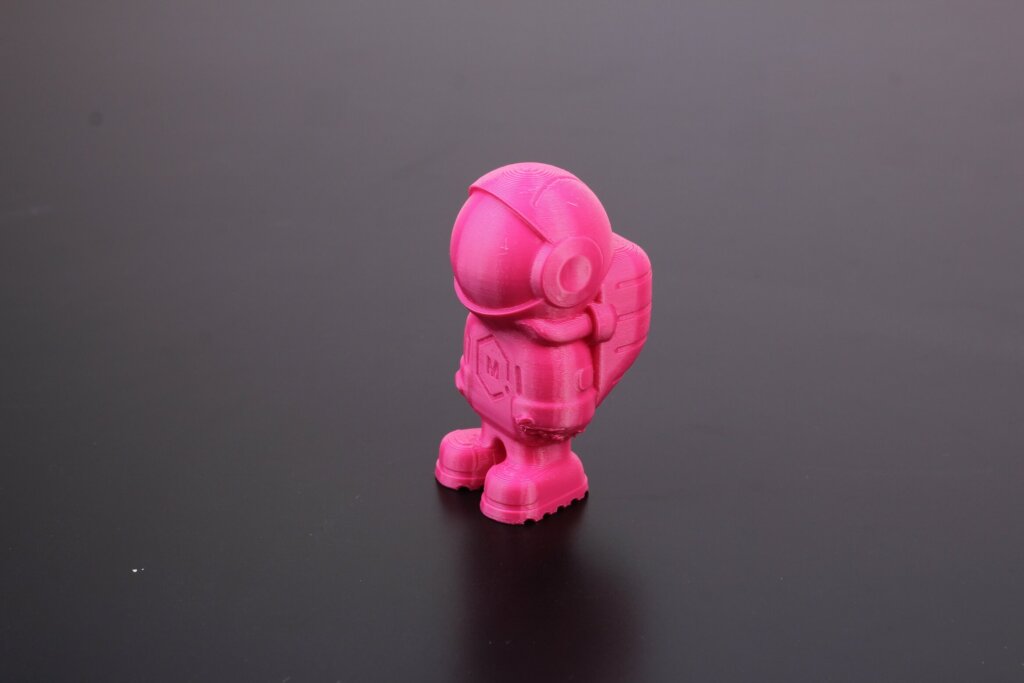
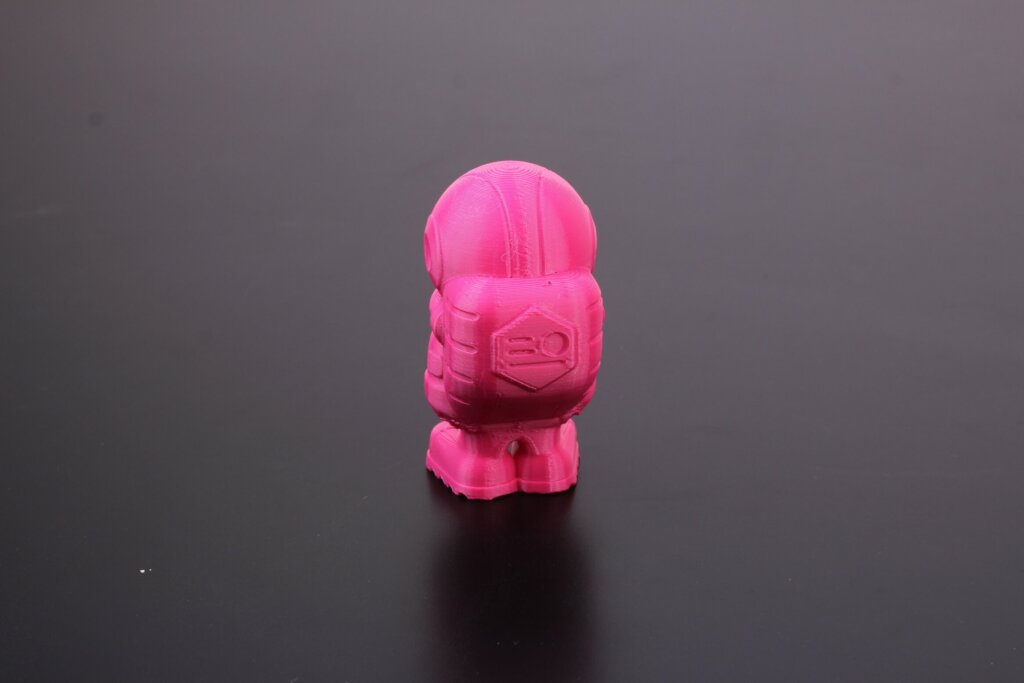
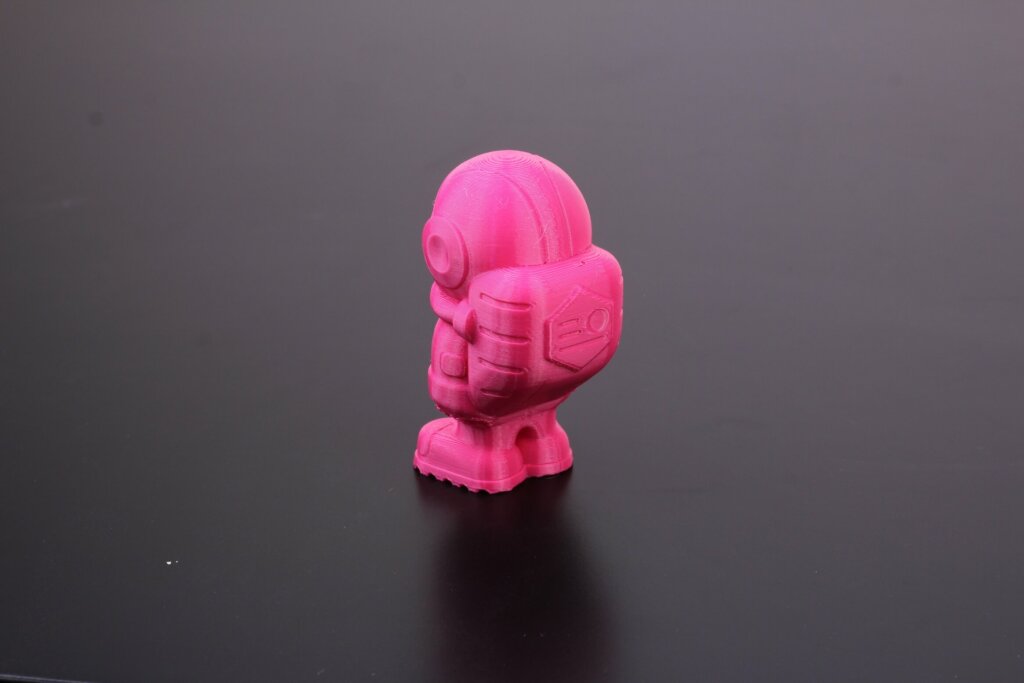
- Material: Devil Design Pink TPU
- Layer Height: 0.2mm
- Nozzle Temperature: 220C
- Bed Temperature: 60C
- Print Speed: 40 mm/s
200% ABS 3D Benchy
The Kingroon KP3S is not rated for ABS printing, and it’s also hard to do it without an enclosure. But because it’s so small, you can easily contain the printer.
So, I did just that, and started a 200% 3D Benchy in ABS. The results are great! The print finished successfully, even though the bridging settings could use some improvements.
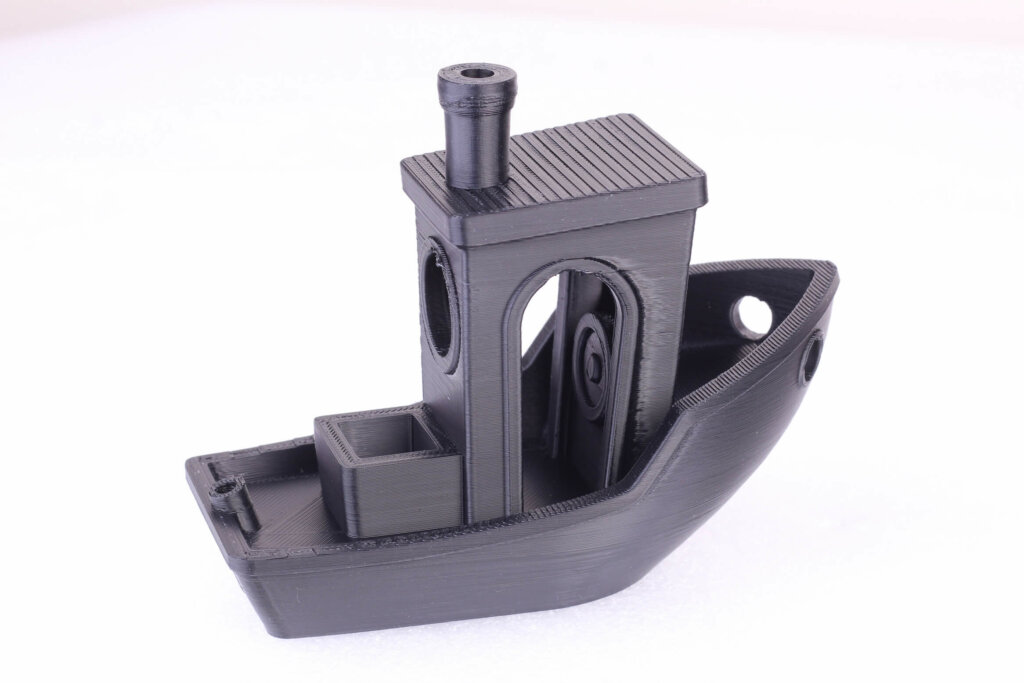
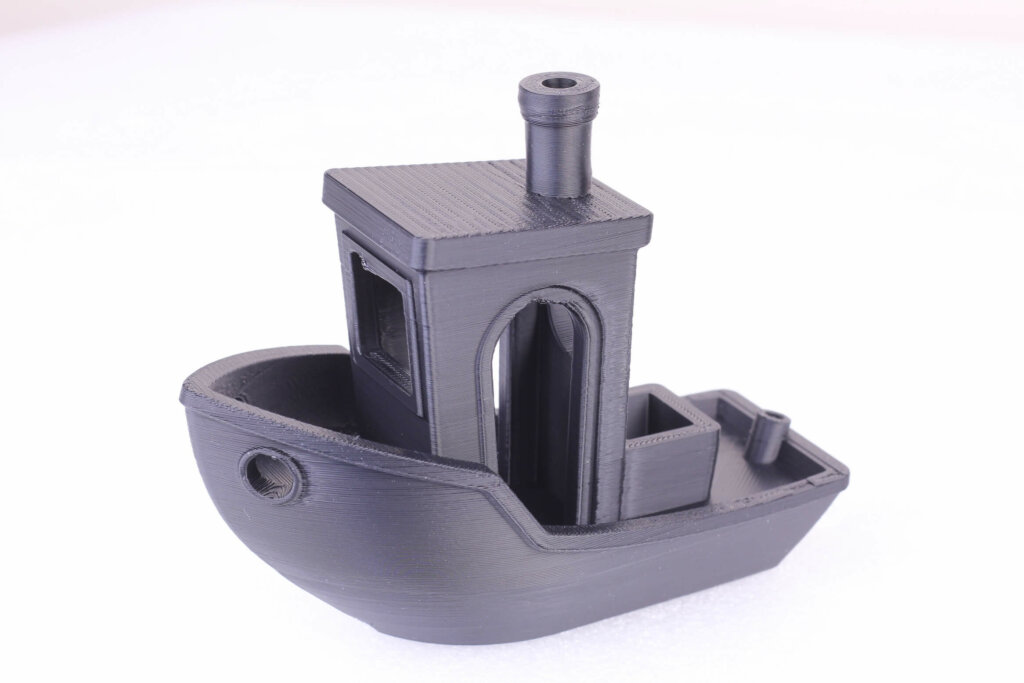
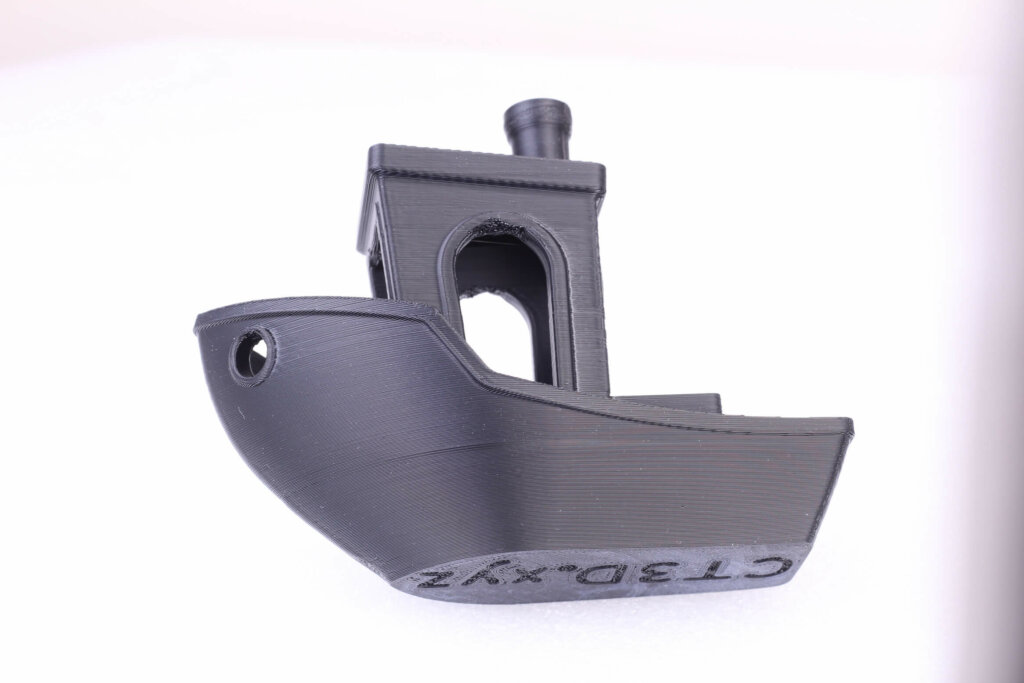
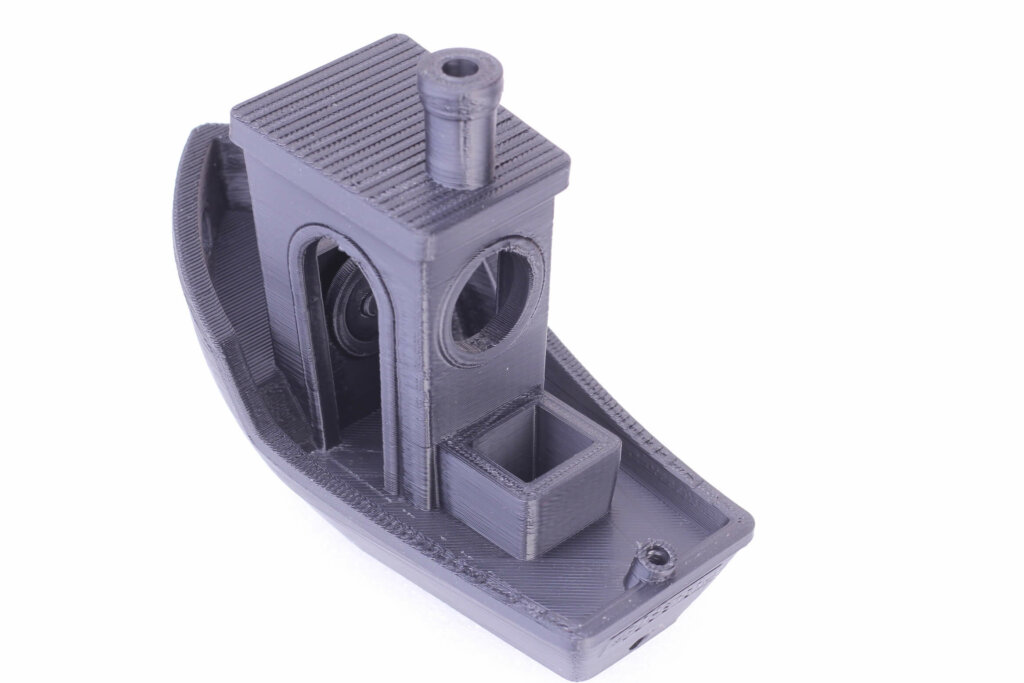
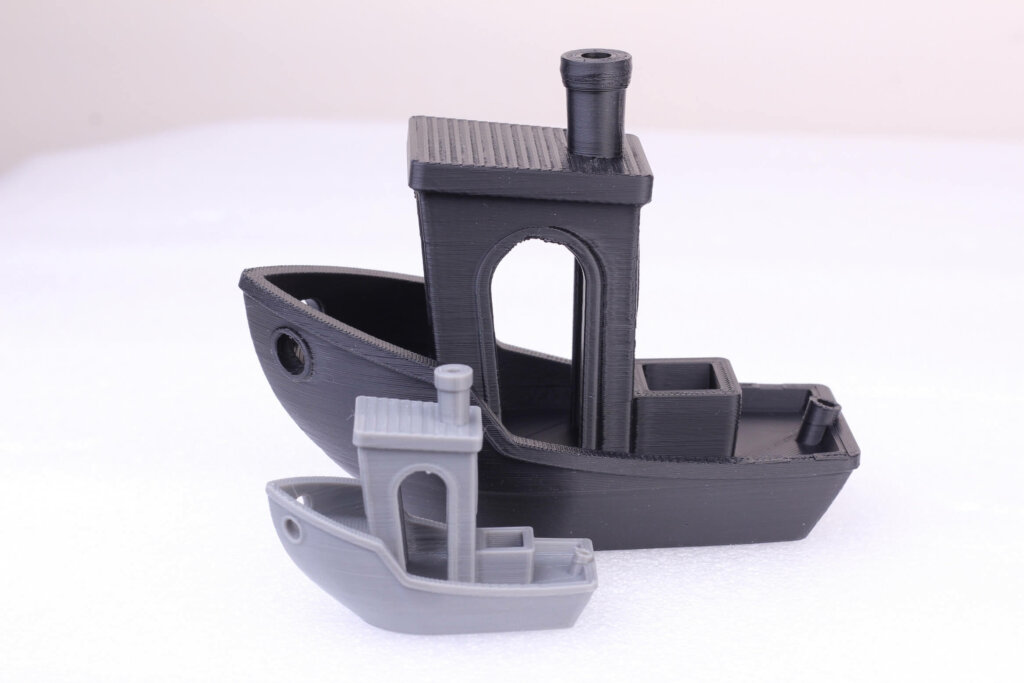
You can also see some minor layer inconsistencies on the exterior, but this is probably caused by the extruder and the way it pulls the filament. With a better extruder, results could be a bit better.
- Material: Sunlu Black ABS
- Layer Height: 0.2mm
- Nozzle Temperature: 240C
- Bed Temperature: 100C
- Print Speed: 60 mm/s
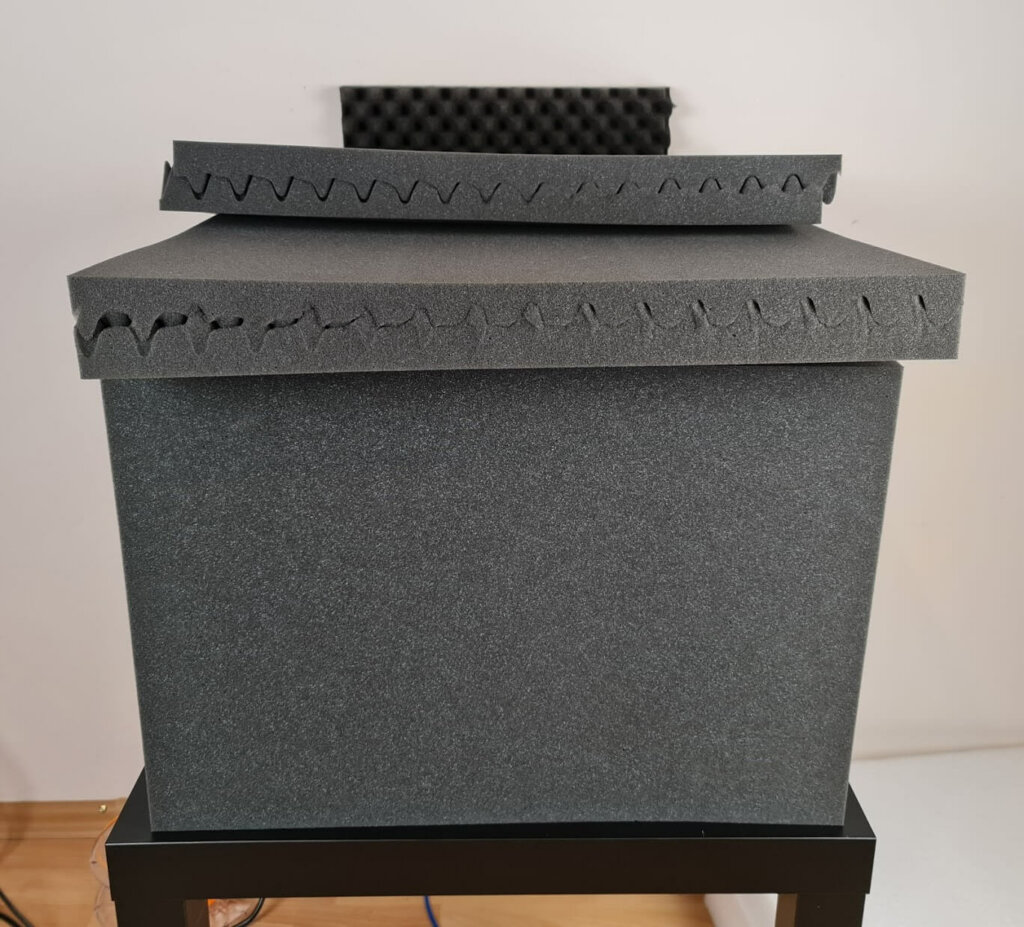
The enclosure was made from some spare foam I had lying around, and it’s not the best material to use for this. I did it as an experiment only to check if the printer can finish an ABS print. It is NOT recommended to use this kind of material for an enclosure.
During printing, I was always close to the printer, and I also have a smoke detector in the print room. So, it was a calculated risk which I recommend you don’t take. Always use fire-retardant materials for printer enclosures and take the necessary precautions.
Kingroon KP3S vs Prusa Mini
At first, I wanted to order a Prusa Mini Kit from Fysetc just to see how it compares to the real thing. But while browsing AliExpress the KP3S showed up and I thought I’d give it a chance.
While I don’t expect it to be as good as the Original Prusa Mini, the Kingroon KP3S is a good alternative to it for people who like to tinker with their printers.
Similar build volume
The Kingroon KP3S has the same build volume as the Prusa Mini so there’s no difference here. It also has a removable print surface but it’s just a magnetic sticker compared to the PEI sheets shipped with the Mini.
This magnetic print surface can have a lower lifetime compared with the Prusa Mini so take that into consideration.
Linear rails
One of the advantages which the Kingroon KP3S has over the Prusa Mini is the use of MGN linear rails. In theory, these can be more accurate compared to the linear rods used by the Mini, but the differences should be minimal.
Direct Drive vs bowden
Another advantage over the Mini is the Direct Drive extruder. This is better if you plan to print flexible filaments but it comes with added weight which translates to a lower print speed.
Firmware is customizable
The Kingroon KP3S has the advantage of running Marlin and it has the possibility of compiling your own firmware or using already customized firmwared made by the community.
To customize the firmware on the Prusa Mini, you need to physically cut a tab on the board which voids the warranty.
Touchscreen vs click wheel
This is a matter of prefference. Some of you might like a touchscreen instead of a regular clickwheel screen but the functionalit is mosttly the same.
The Prusa Mini has the advantage of getting updates over time while the firmware you get on the Kingroon KP3S will be the first and final one made by the company.
Manual bed leveling vs auto bed leveling
The Prusa Mini has the advantage of including an automated bed leveling system with the PINDA probe it ships with. the Kingroon KP3S relies on the user to properly level the bed manually which can be a bit hard to do for a complete beginner.
Less refined experience
Overall, the experience you get with the Kingroon KP3S is less refined compared to the Prusa Mini. It needs some assembly and proper setup, while the Mini is ready to go right from the start.
Besides that, with the Prusa Mini you also often get firmware upgrades which improve the functionality over time while the KP3S will probably die with the same firmware onboard.
Finally, the Prusa Mini comes pre-calibrated and PrusaSlicer includes a lot of profiles for different materials ready to be used. The Kingroon KP3S will take a bit more time to be calibrated according to the filament you use for best results.
Conclusions: Is the Kingroon KP3S worth it?
Right now, I think that the Kingroon KP3S is an excellent budget 3D printer for any beginner or advanced user because it’s cheap and performs well enough for the low price it’s available for. It’s also compact, which makes this a good secondary printer for anyone.
I need to confess that I started with low expectations for the Kingroon KP3S. It’s a cheap machine so I thought it’s a project 3D printer that needs some work to print reliably. But boy I was wrong.
The Kingroon KP3S comes already well calibrated out of the box, and for the moment, the only thing I hate about it is the loud fans. Other than that, you get a solid machine for the price of a high-end hotend while still being competitive with the popular Original Prusa Mini.
If you want to make it even better, slap a BMG Wind on it. It will silence the machine while lowering the weight of the extruder, and it will also make the extrusion more consistent. The Z banding that now shows on most of the prints should be greatly reduced.
You can also check my out my Ultimate 3D Printer Upgrade Purchase Guide article where you can find other extruders which might be easy to install on the KP3S.
Where to buy the Kingroon KP3S?
The Kingroon KP3S can be purchased from the following websites:
I recommend checking out the Discount Codes page before purchasing. I regularly update the article with discount codes for various online shops, and you might find one for this particular model.
Liked it?
|
|

