Voxelab Aries Review: A Worthy Upgrade for the Aquila?
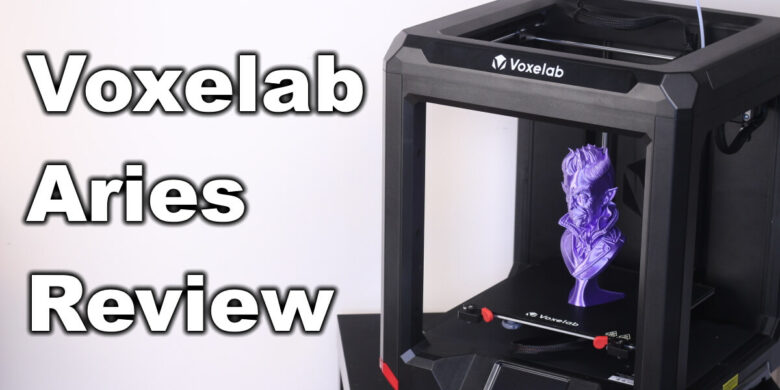
Following the success of the Voxelab Aquila, a new printer from Voxelab showed up on the test bench. The Voxelab Aries is another FDM printer from Voxelab with a few extra features. It’s more expensive than the Aquila so in this Voxelab Aries review we’ll try to find out if it’s worth higher price tag.
Voxelab Aries Shipping and Packaging
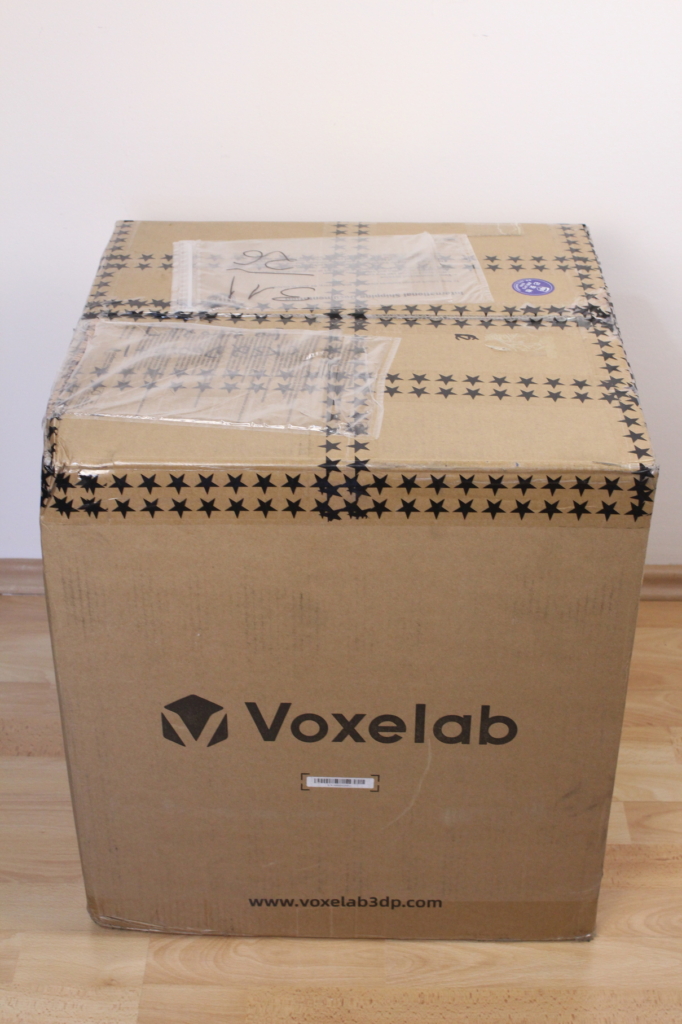
The Voxelab Aries is shipped in a large cardboard box with cardboard protection inside. I really like the use of cardboard instead of the regular foam because it’s more environmentally friendly and can be easily recycled.
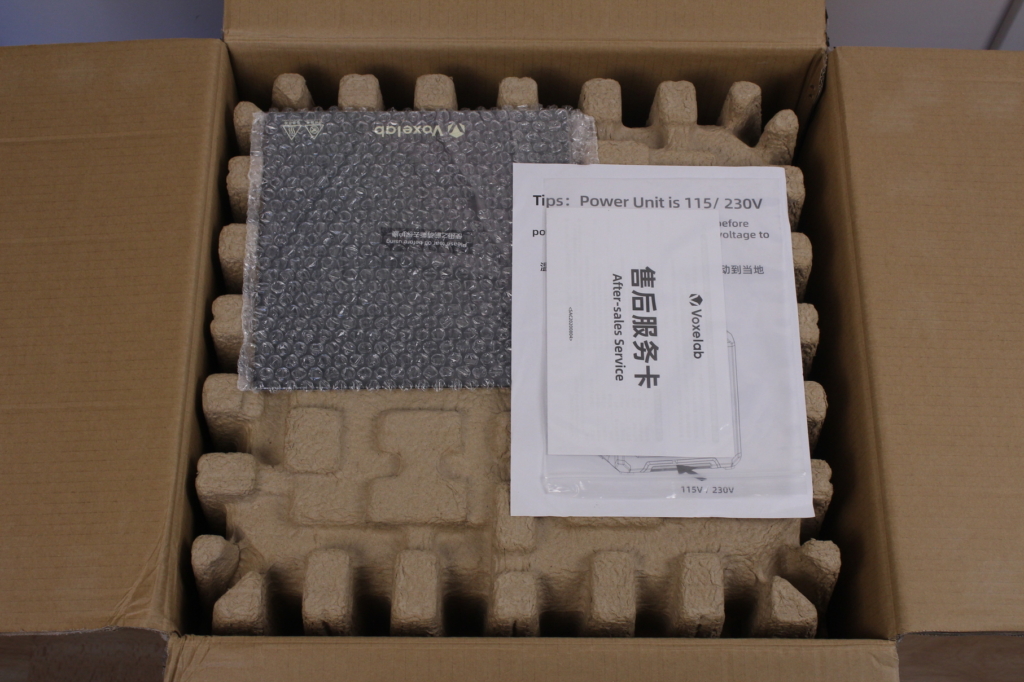
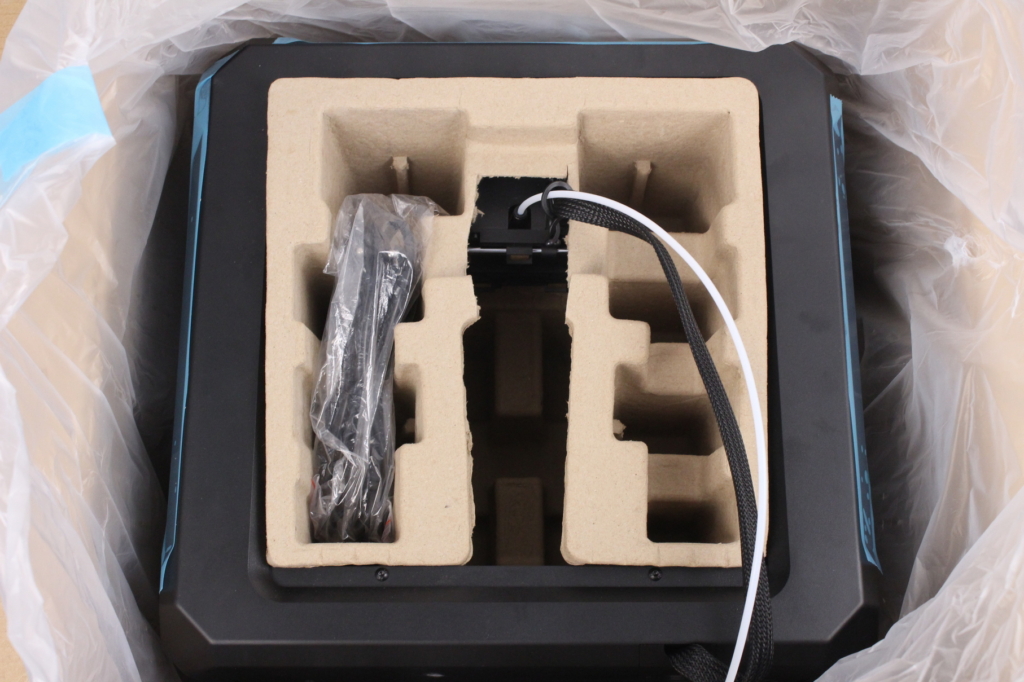
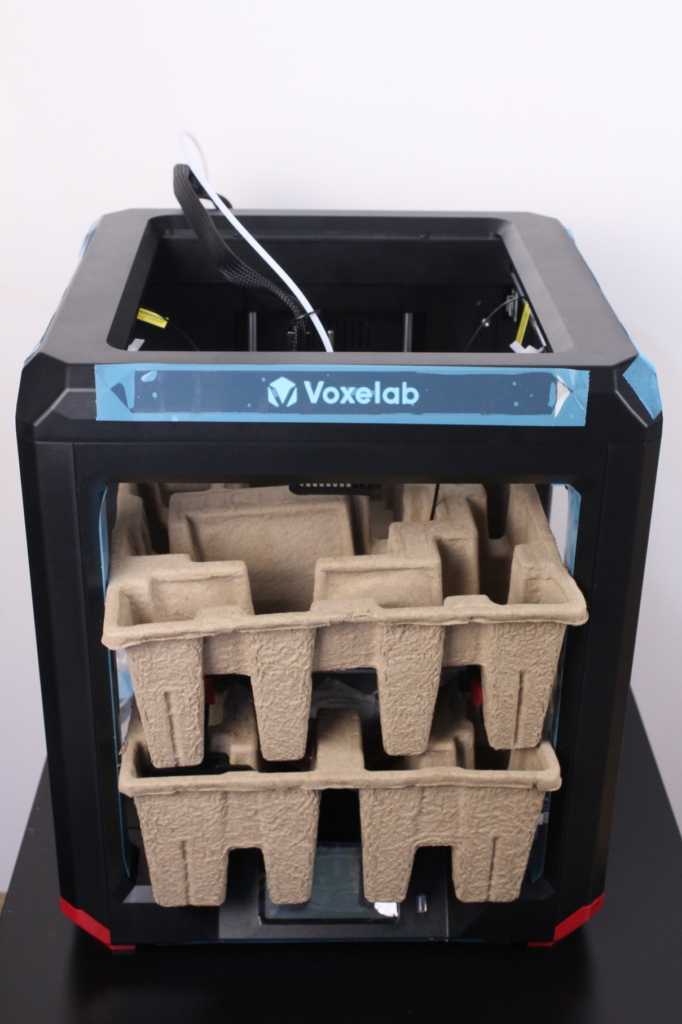
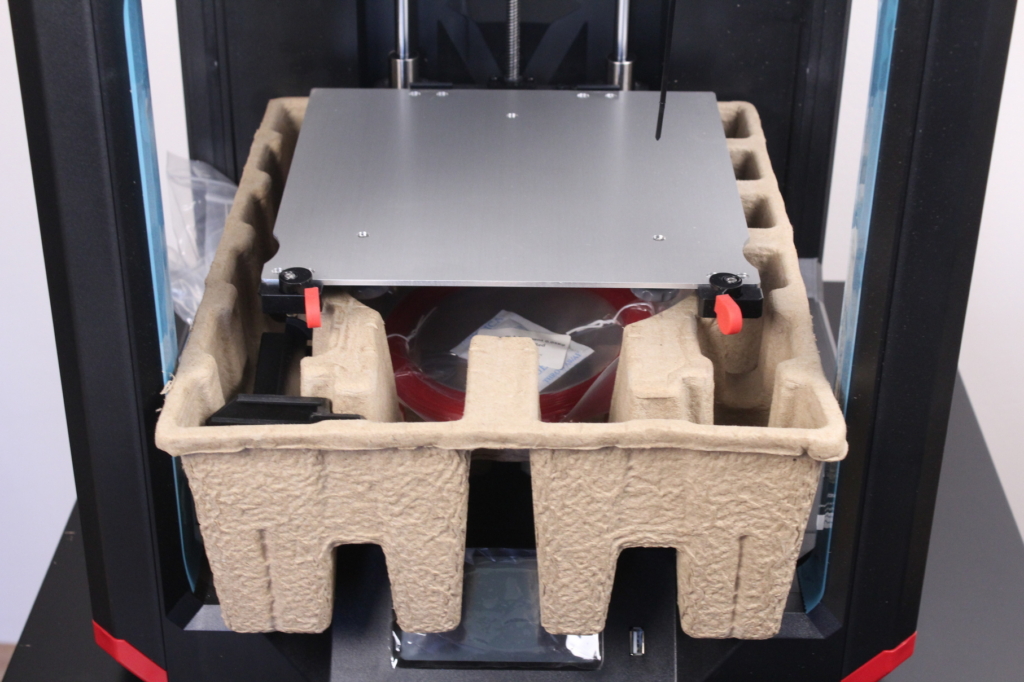
The glass print surface is located right in the top of the package which seems like a bad choice because it’s prone to being cracked during shipping. Having it already installed on the bed would make more sense and would be more protected.
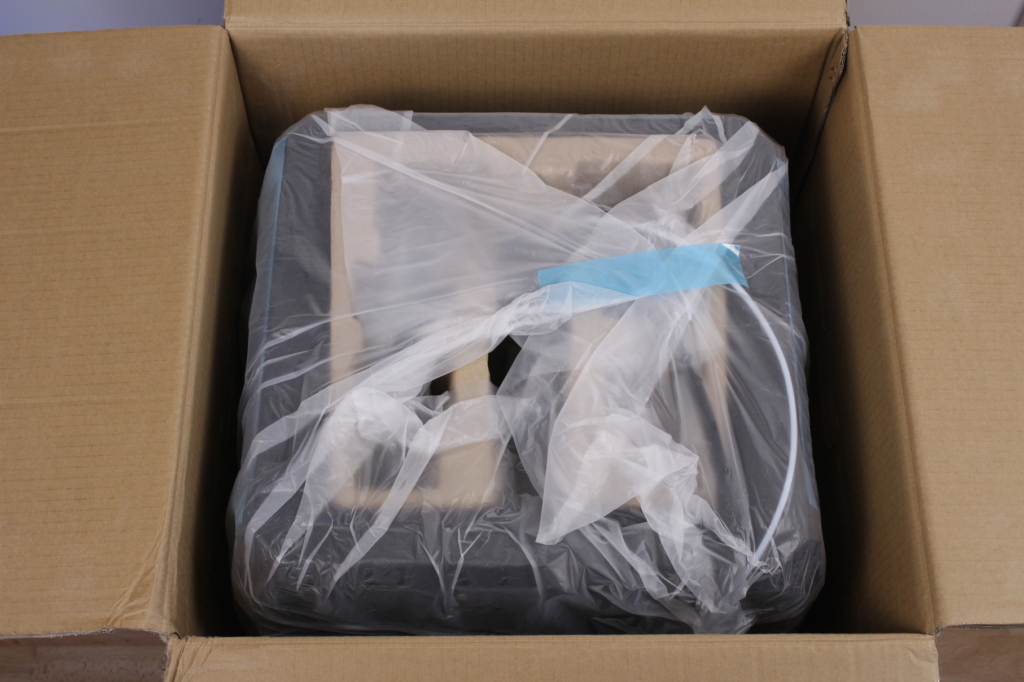
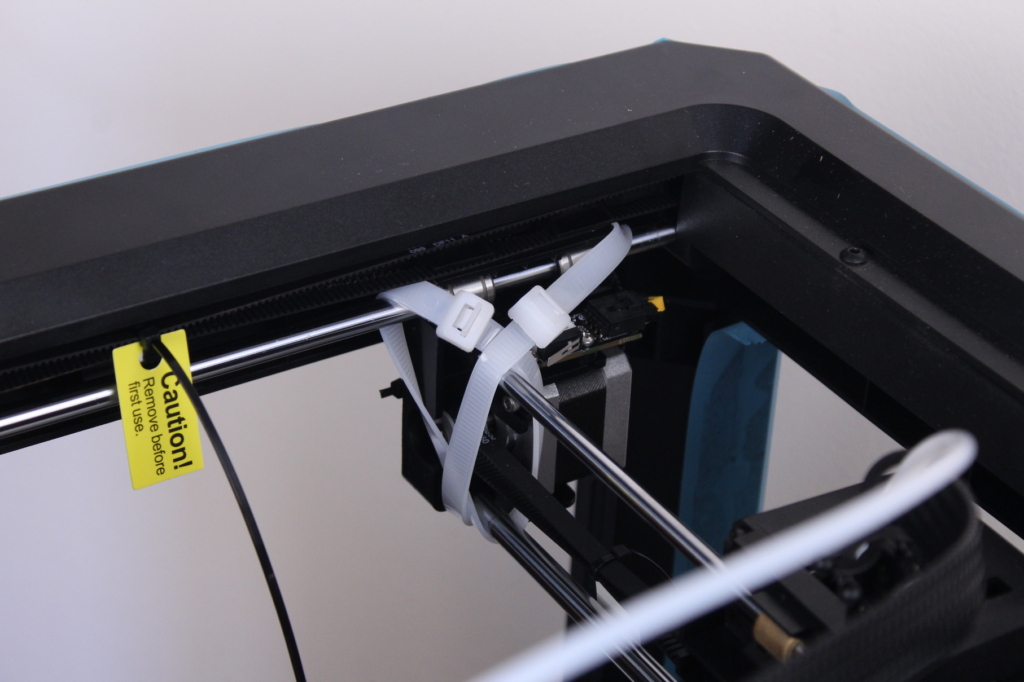
All the moving parts are secured with large zip ties to hold them in place and ensure that they won’t move and cause damage during shipping.
Voxelab Aries Design
The Voxelab Aries has a cube design made from plastic, which reminds me of the FlashForge Finder. The body of the printer is stiff and stable.
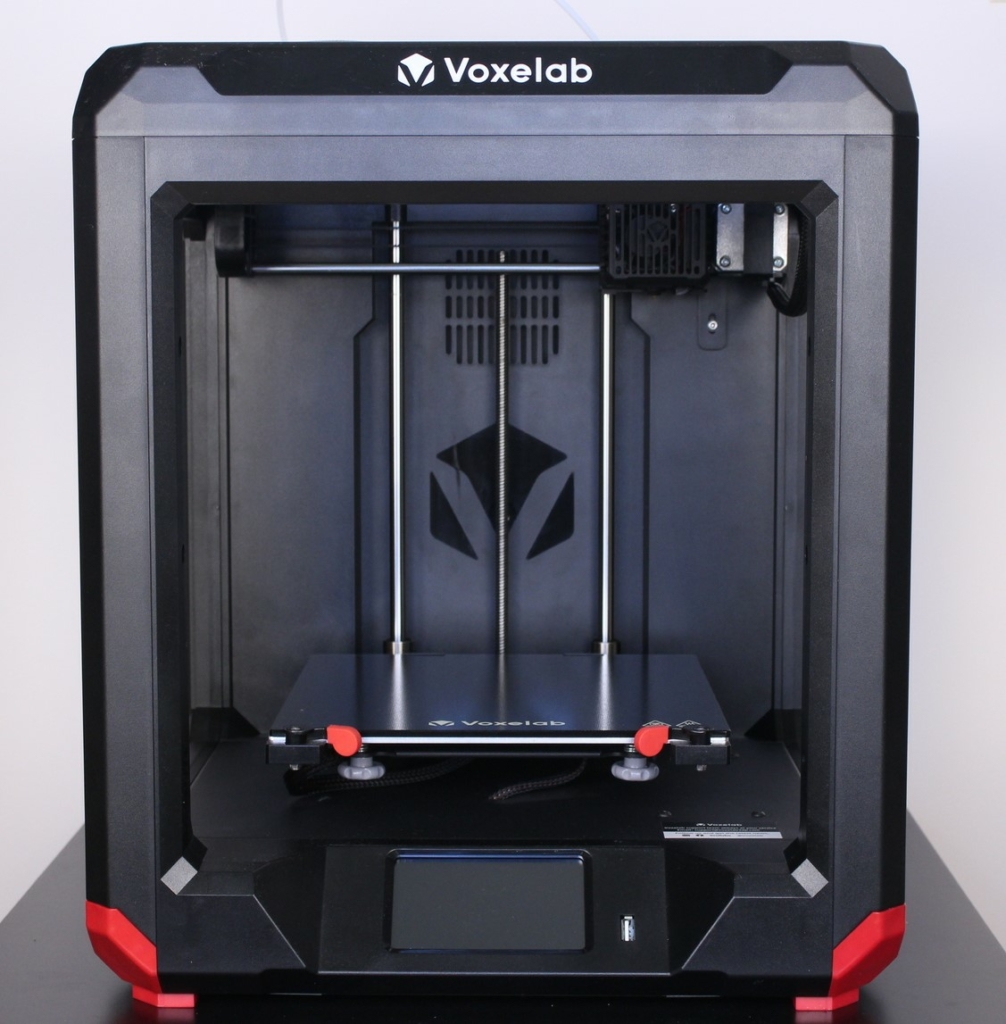
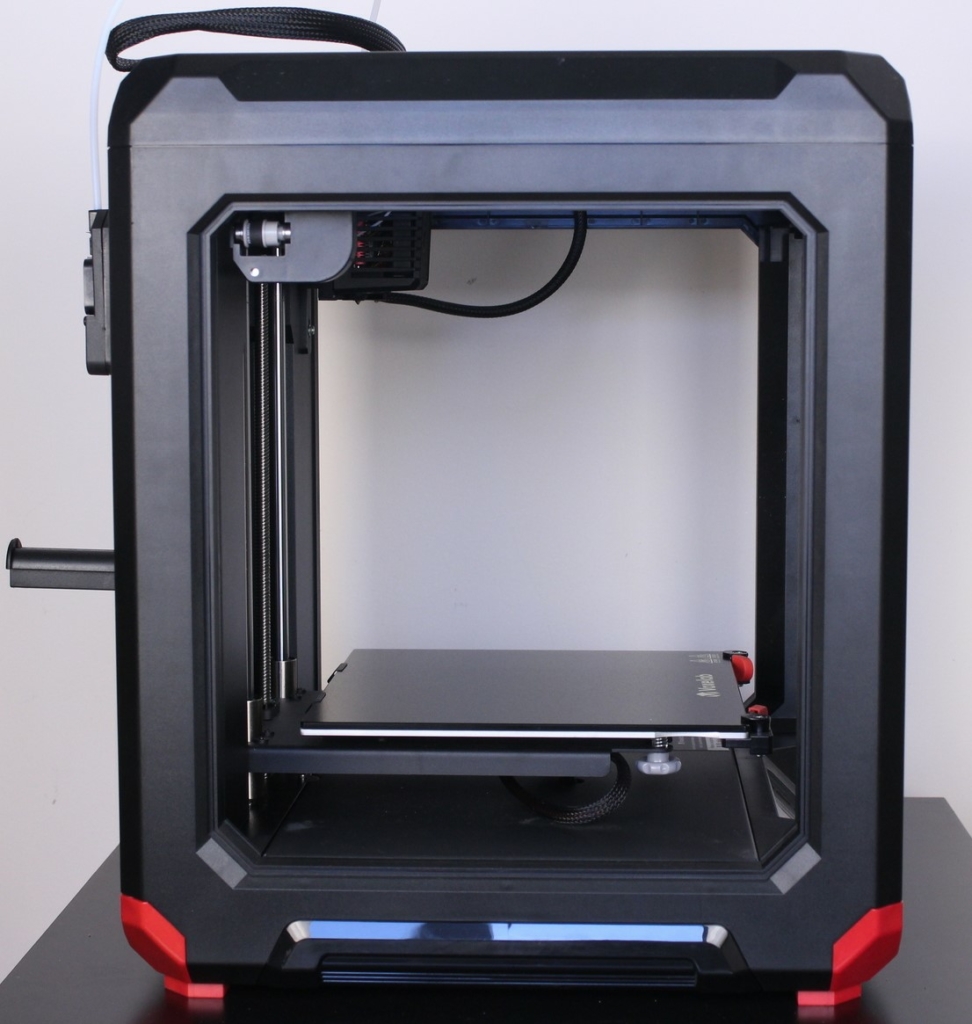
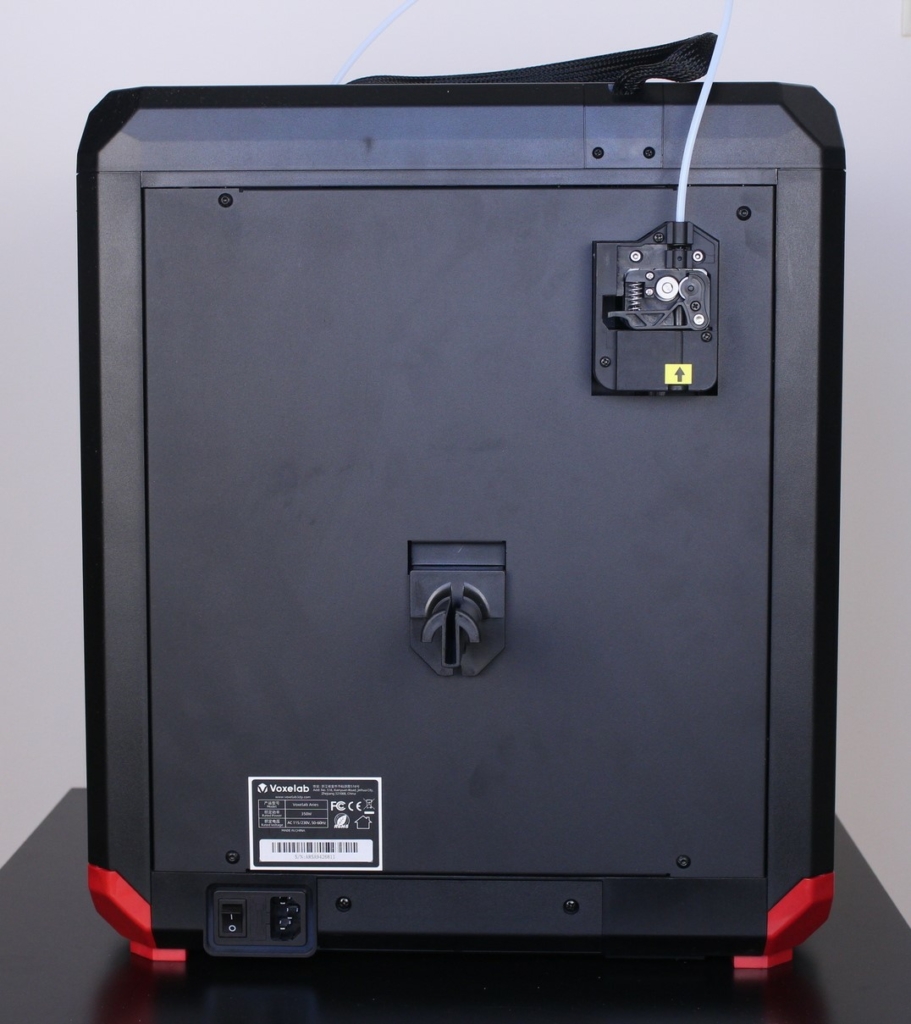
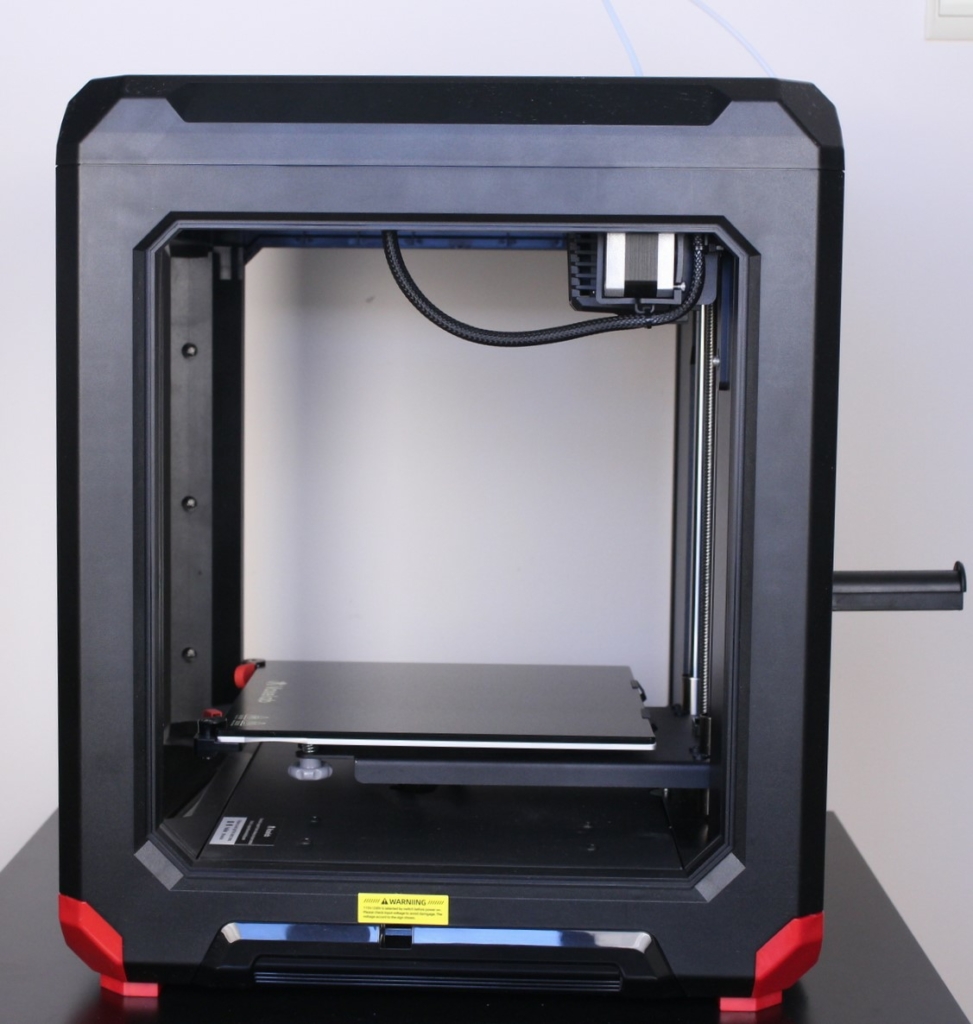
On the front bottom of the printer, we have the large touchscreen and USB connection. On the left and right side, there’s nothing worth mentioning. On the back of the printer, we have the power socket and the extruder. I must admit that I’m not a huge fan of the piano black sections of the frame. This type of shiny plastic gets scratched easily and it’s also a fingerprint magnet.
The sides of the printer could help if you plan to enclose the printer, due to the small ridges present. For example, you could install an aluminum adhesive foil to help keeping the print away from potential drafts which could cause print issues. Or maybe acrilic sheets cut to size and glued in place.
I’ve seen some images online of the Aries equipped with acrylic panels and a top cover, so we might see a Voxelab Aries Pro in the future, which is completely enclosed. Or maybe an upgrade kit to enclose the printer.
I can’t see any USB connection for attaching the Voxelab Aries to a computer or a Raspberry Pi which might be an issue for some. This means that using OctoPrint or Klipper won’t be possible with the Aries, because of this limitation.
Voxelab Aries Specs
| Extruder number: | 1 |
| Nozzle size: | 0.4mm |
| Print resolution: | 0.2mm |
| Software: | VoxelMaker |
| Language: | English/Chinese Simplified |
| Input: | .gx/.gcode |
| Max hotbed temperature: | 110C |
| Max hotend temperature: | 250C |
| Filament compatibility: | PLA/PETG/ABS/TPU |
| Working mode: | Internal memory printing/USB Drive Printing/Wi-Fi transfer |
| Printer size: | 406*424*469mm |
| Layer resolution: | 0.1-0.4mm |
| Print volume: | 200*200*200mm |
| Input power: | AC 115/230V 50/60hz |
| Output: | DC 24V |
| Power Supply: | 350W |
| Print Speed: | ~180mm/s |
| Weight: | 12.2kg |
| Gross weight: | 15kg |
Cube design
While the Voxelab Aries looks like a CoreXY design, it uses the same cartesian setup like the Ender 5 where one of the stepper motors moves the whole gantry on the Y axis, including the stepper motor used for the X axis.
The sides of the printer could be easily enclosed, due to the small ridges. For example, you could install an aluminum adhesive foil to help keeping the print away from potential drafts which could cause print issues.
PTFE lined hotend
With the Voxelab Aries, we get the same type of hotend present on the Voxelab Aries or other printers which use the same Creality-style PTFE lined hotend. This means that the maximum safe printing temperature is around 240C. If you go past that, the PTFE tube will start to degrade faster, releasing harmful fumes and cause clogs.
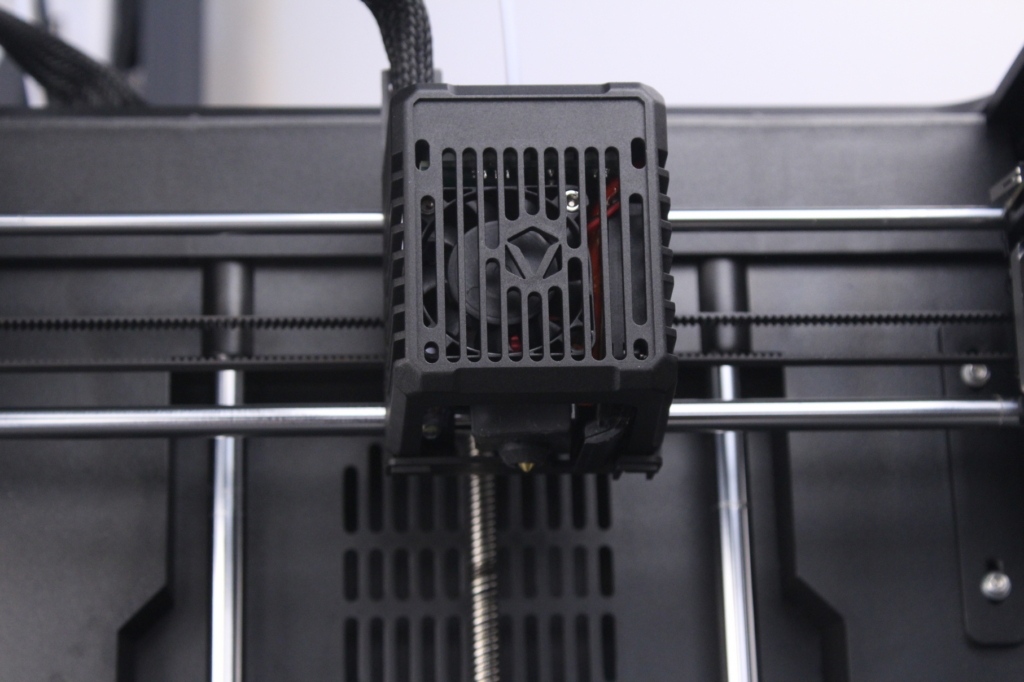
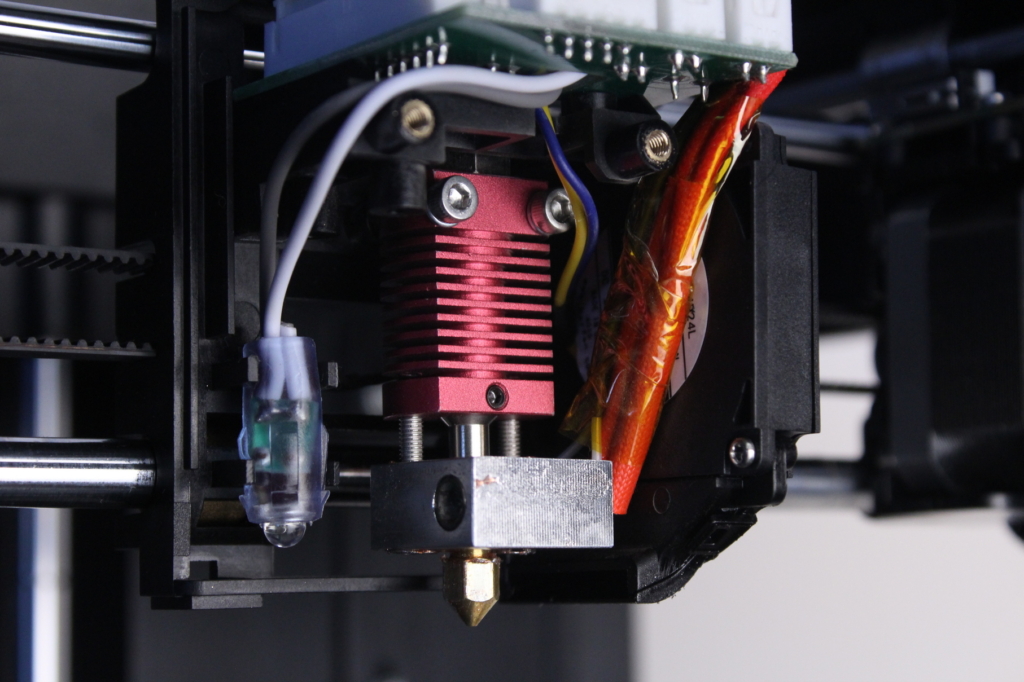
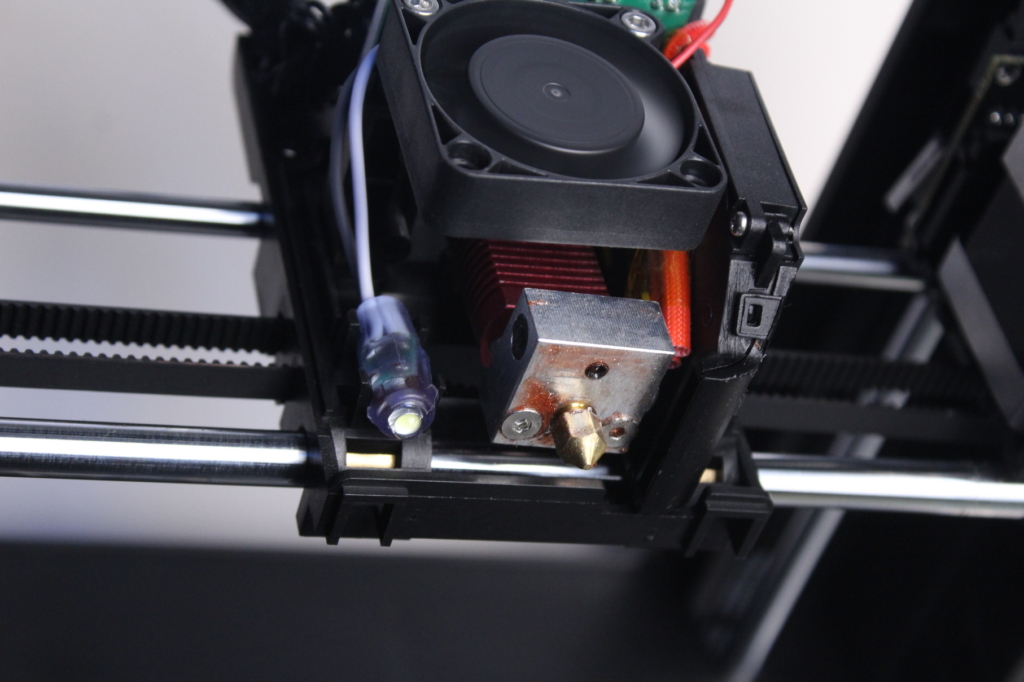
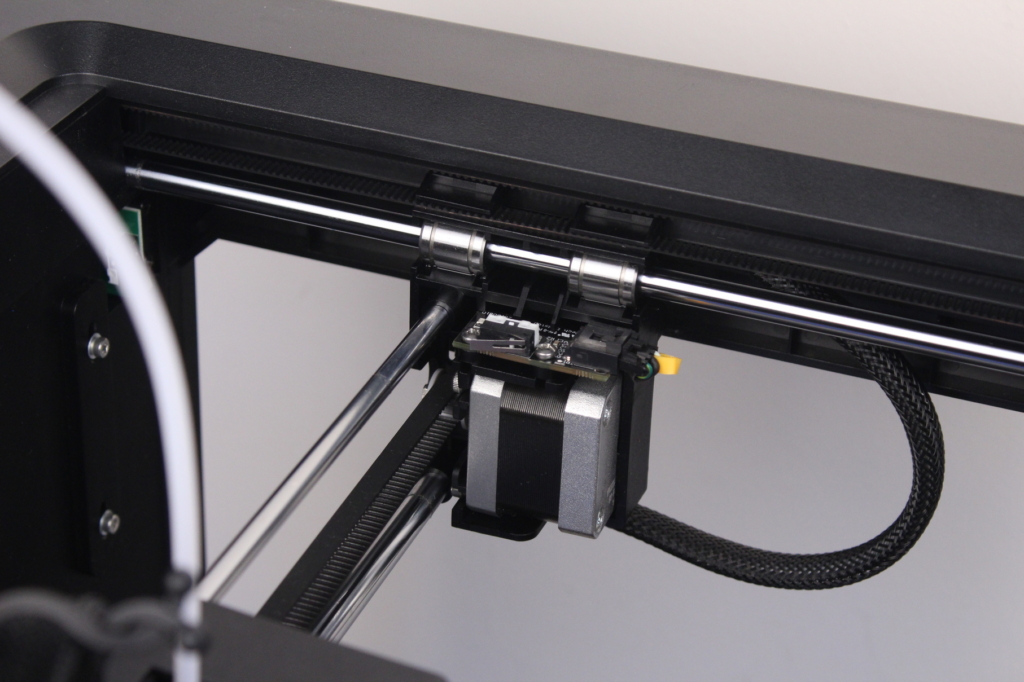
On the right side of the hotend, we have a 4010-radial fan for part cooling, and there’s also a 4010 fan for keeping the hotend cool. This fan is off when the printer is idle, but when you start heating up the nozzle, it quickly ramps up and generates quite a bit of noise, similar to the Voxelab Aquila. I really hope Voxelab will start to use more silent fans in the future. We also get a handy white LED on the left side of the hotend, which light up the print and will help when calibrating the first layer
Coming back to the hotend fan, the airflow is good but some of it escapes trough the bottom of the print head cover. This helps when printing PLA because it cools the printed layers better, but makes printing ABS an impossible task. I tried printing ABS a few times, with and without adding some glue stick to the bed for better adhesion, and each try ended up with a failure. The layers start to curl because of the drafts generated by the hotend cooling fan. You could fix this by adding a bit of aluminum tape and eliminate the draft, but in its stock configuration, ABS printing is not possible.
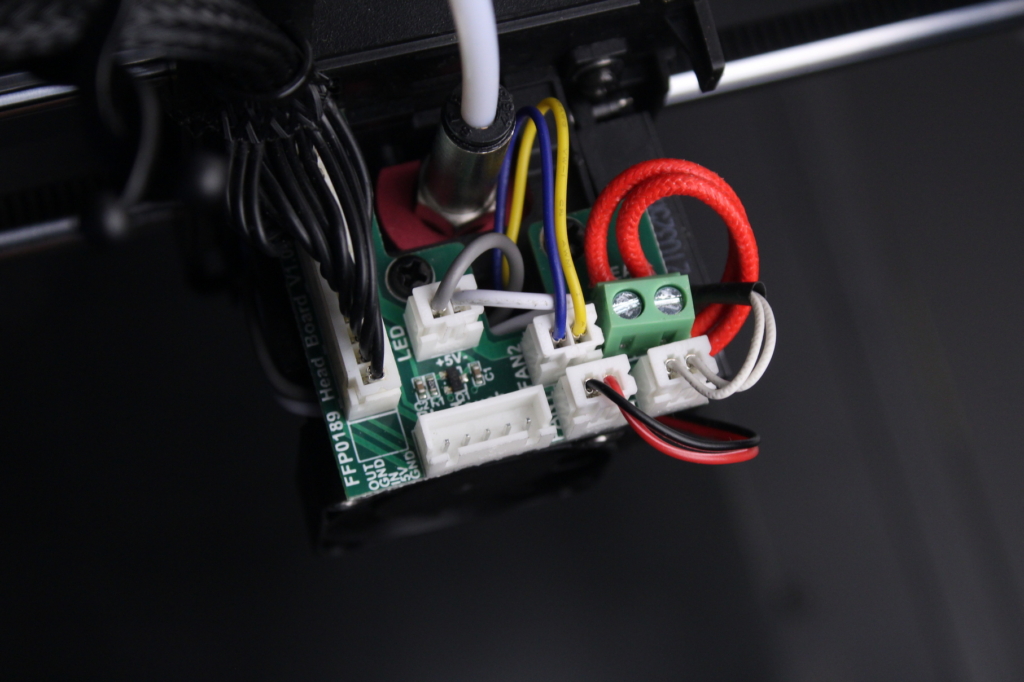
In the top side of the print head, all the wiring is done using a breakout board, which also includes a BLTouch header.
The default PTFE coupler for the hotend is taller than others, and it’s not commonly found. It is possible to replace it with a regular one, but then you will need to take off the printhead cover if you need to replace the PTFE tube. Not a huge issue, but something to keep in mind.
The hotend moves on the X axis with the help of three brass bearings running on the metallic rods. I’m not sure how well these bearings will last over time, but right now, the movement is smooth.
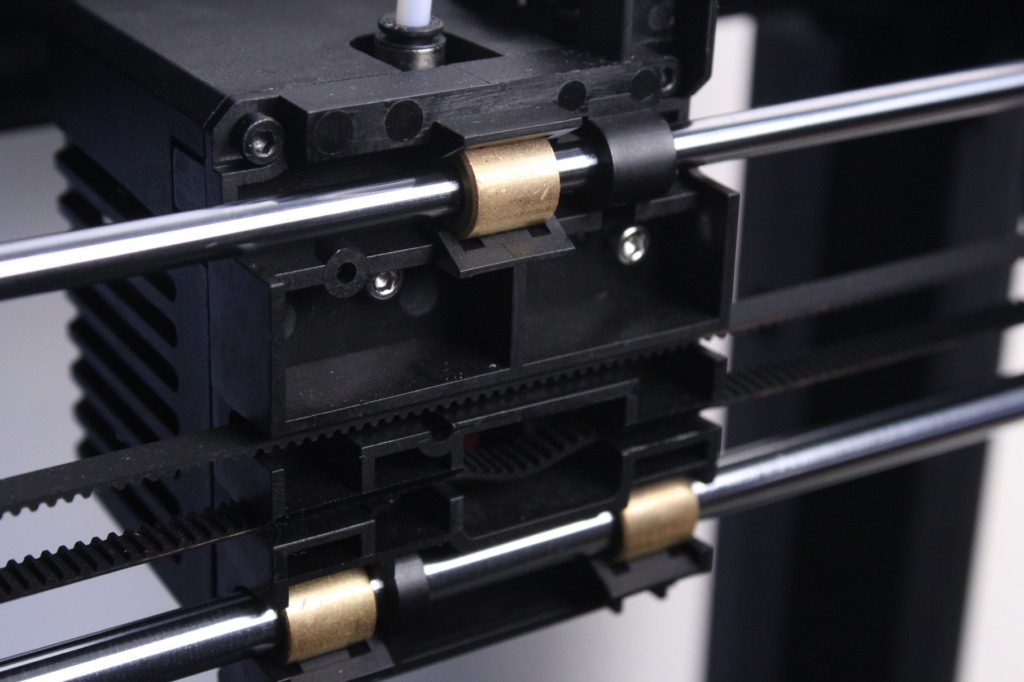
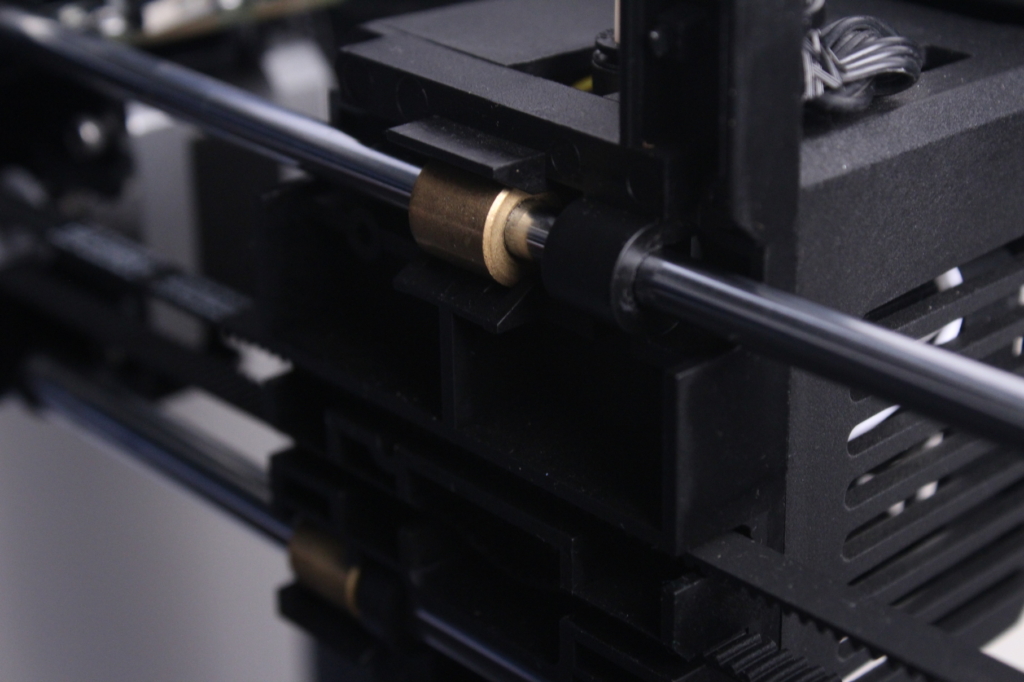
The Y axis uses dual regular LM8UU bearings on each side. I noticed that the movement on the right side is not as smooth as expected and that translates to small vibration artifacts on the right side of the prints.
Single-gear extruder
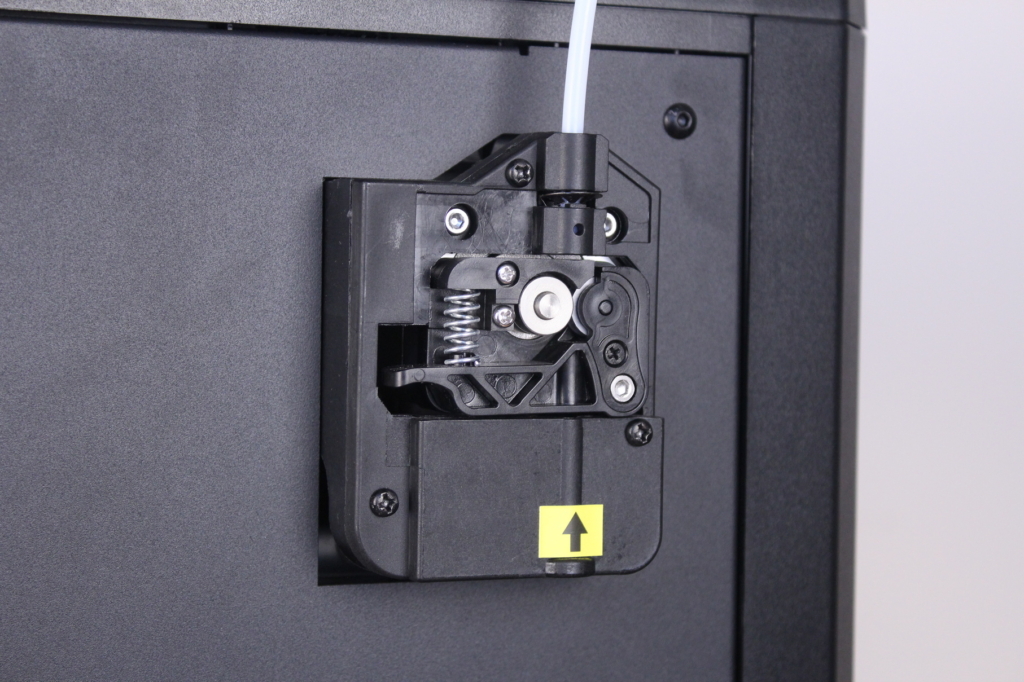
The single-gear extruder present on the Voxelab Aries is nothing special. It’s similar to what you get on other Flashforge 3D printers, and it performs relatively well. Sure, it’s not as accurate as a geared extruder, but it gets the job done.
I’m not a fan of its position, in the back of the printer, because it is harder to load filament if you install your printer on a shelf or a location which doesn’t offer a lot of access to the back of the machine.
Excellent touchscreen
I love the touchscreen used with the Voxelab Aries. It’s big, with good viewing angles and the colors are vibrant. There are a lot of menu options present which can be easily selected using touch, but some of the controls are smaller and will require more finesse when selecting them.
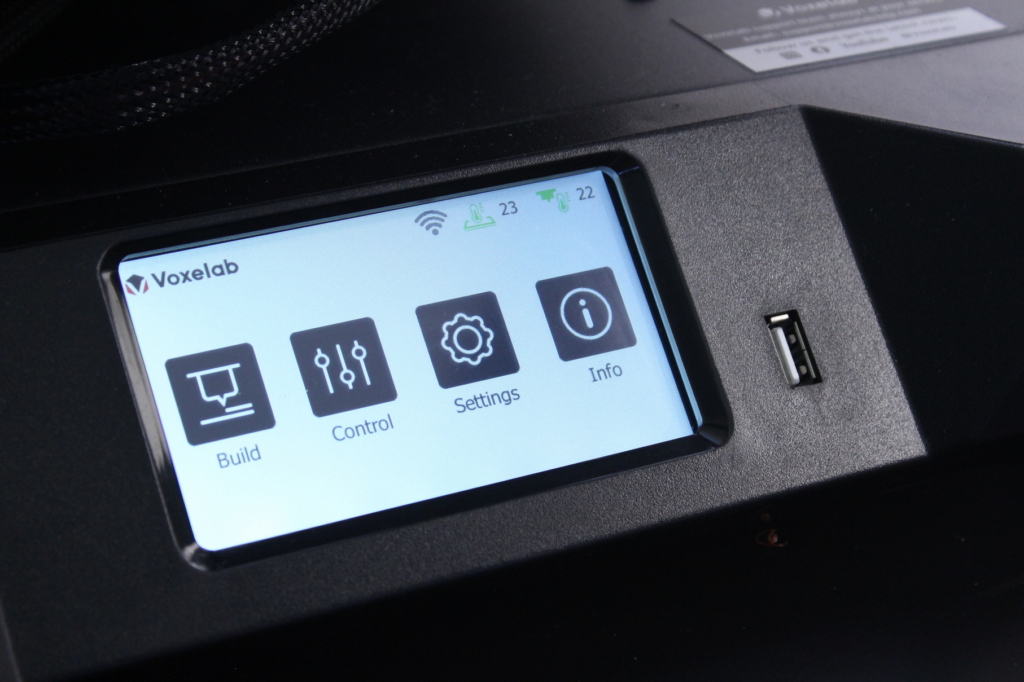
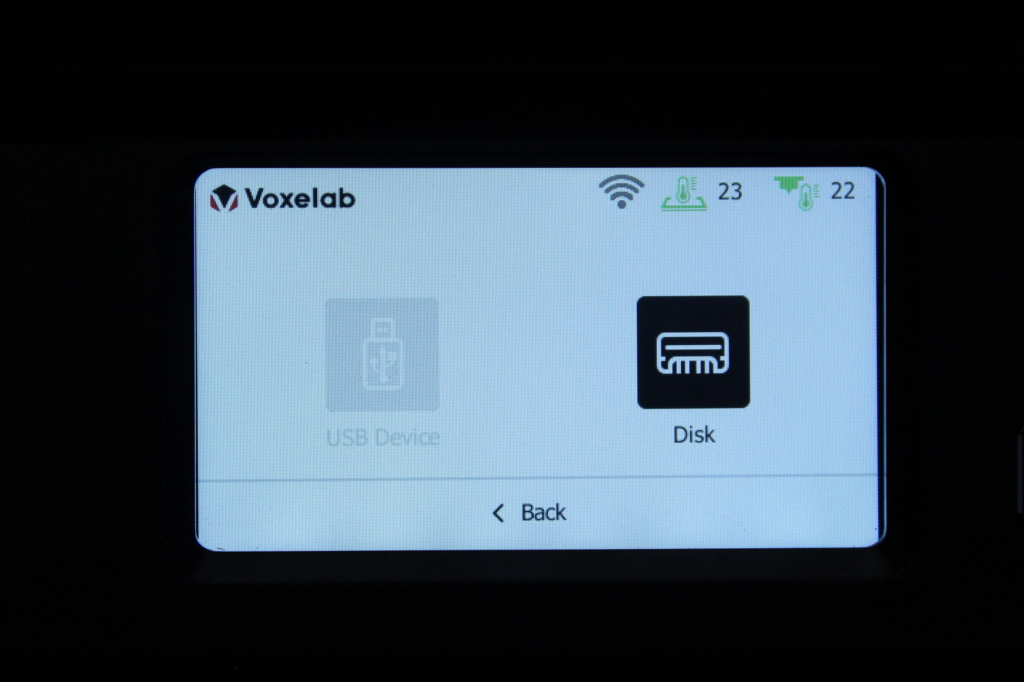
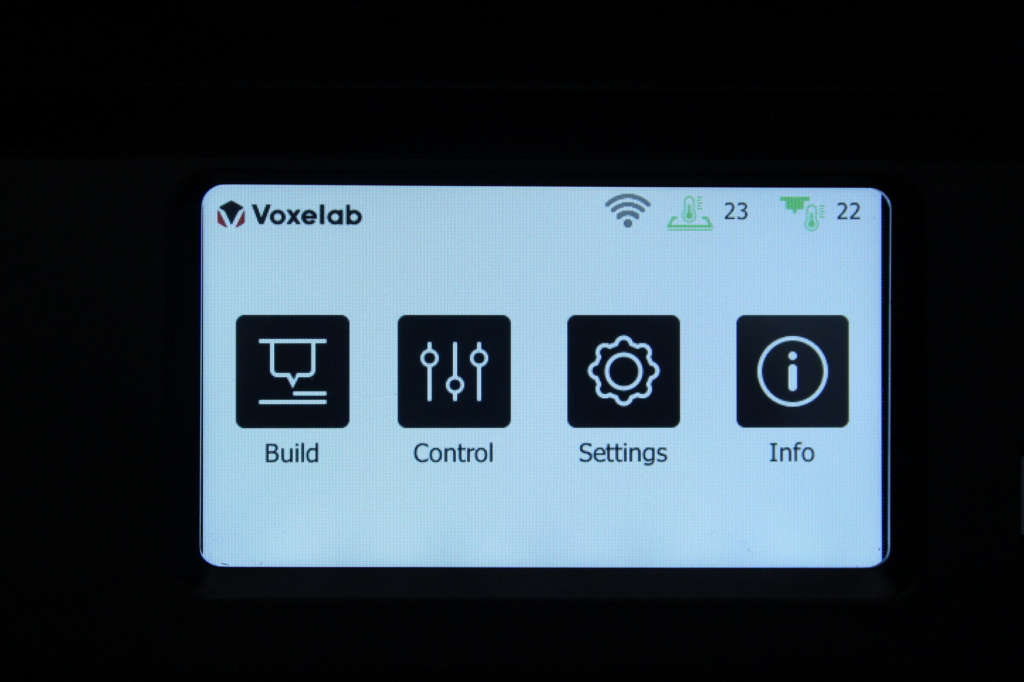
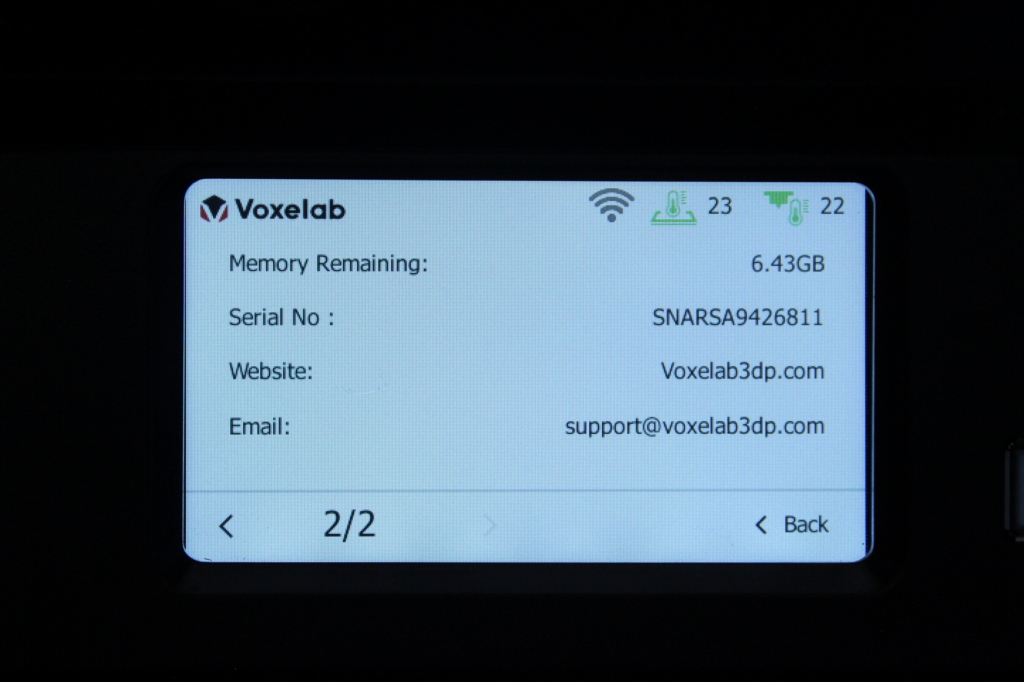
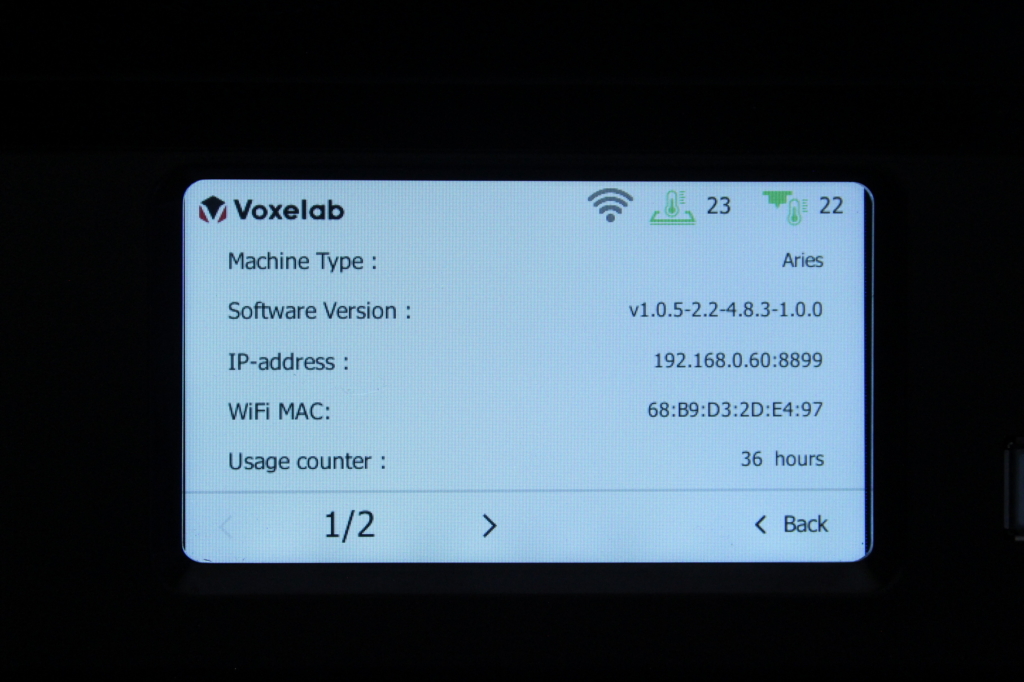
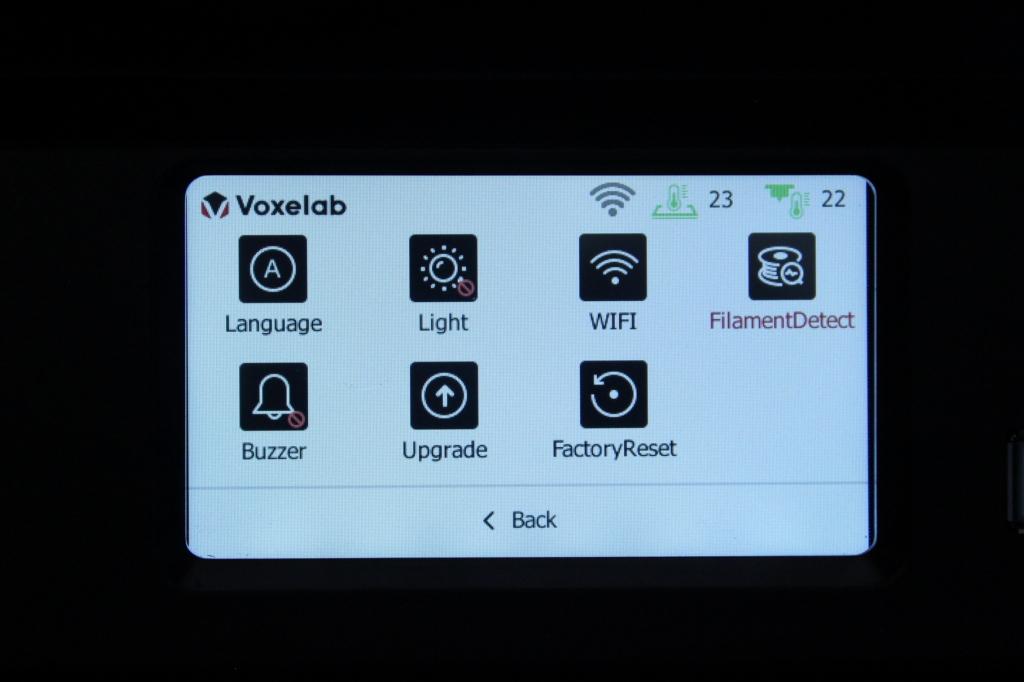
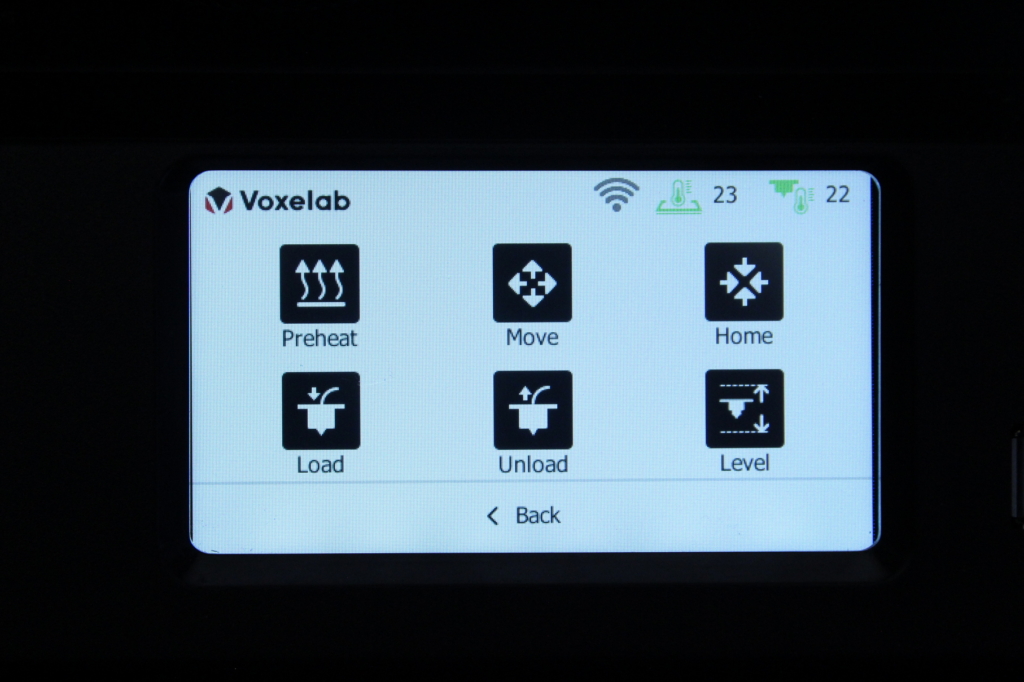
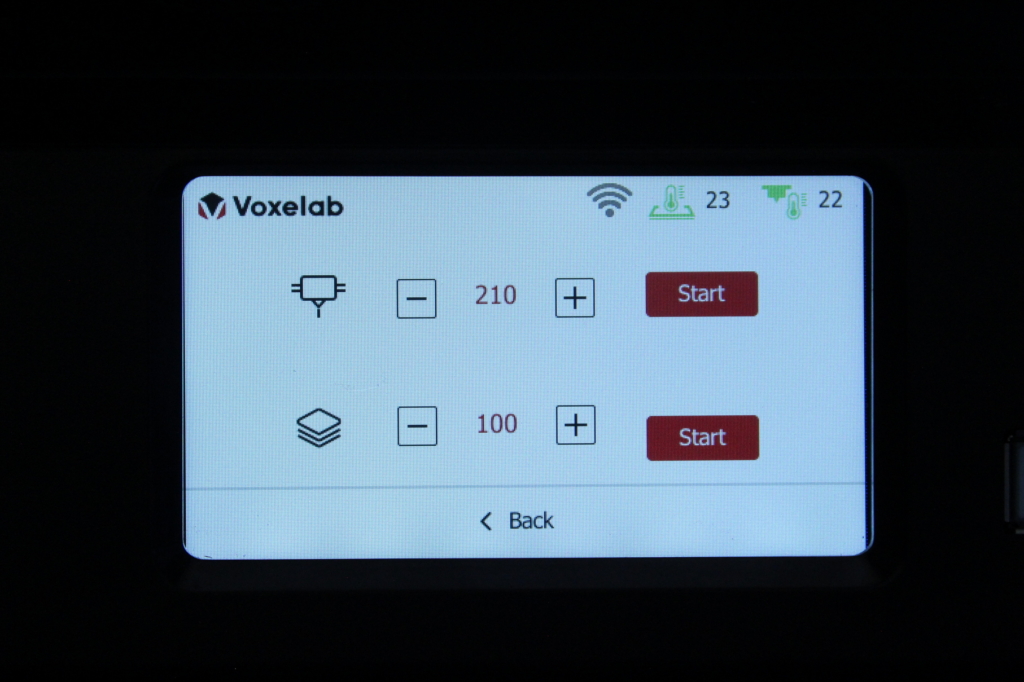
I would have liked to have the option for pre-heating the printer for specific filament types like PLA, PETG, ABS and so on. But the only option we get is to select the hotend and heatbed temperature manually. It defaults to 210C for the hotend and 100C for the bed, which is not a common combo used. 210C and 60C would be better for the more commonly used PLA filament. Besides that, heating up both the hotend and heatbed at the same time is not possible. First, the printer will heat up the heatbed, and once that reaches the desired temperature, it will start heating up the hotend.
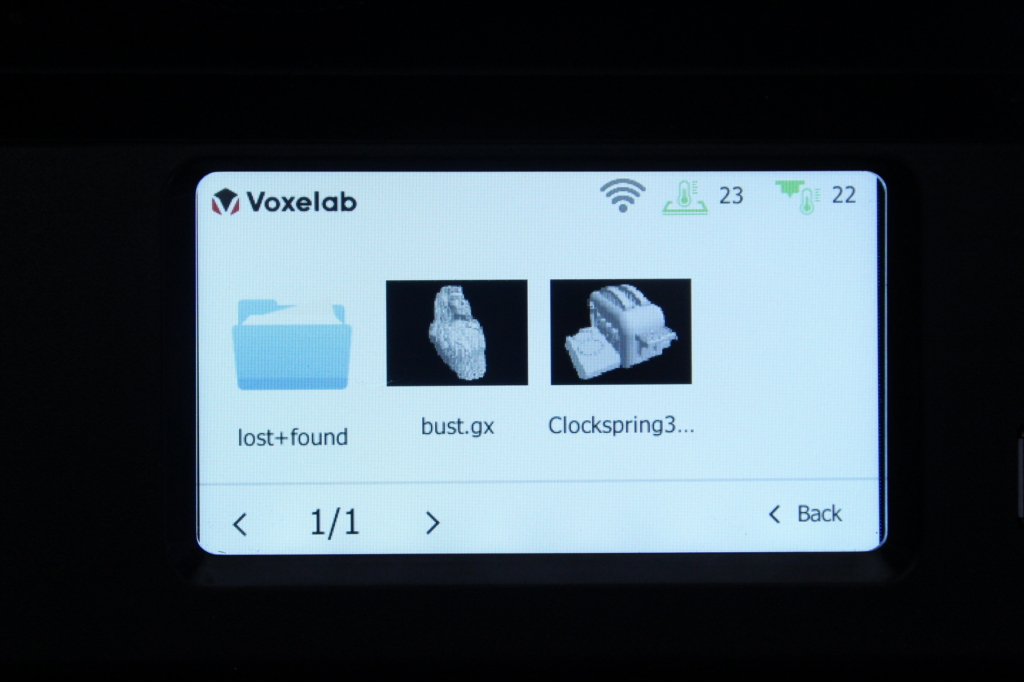
I don’t like the loud startup sound it produces, which is like the jingle we get with the Flashforge Creator Pro 2. Fortunately, this can be disabled. When you slice prints with VoxelMaker, thumbnails are generated with the sliced file, and they are shown on the screen making it easy to see what model you are trying to print.
The touchscreen also has 8GB of internal storage which can be used for 3D printer files. You can either choose to connect a USB drive and move your files to the internal storage, or you can send the sliced model remotely via Wi-Fi.
Wi-Fi connectivity with VoxelMaker
A differentiating feature between budget 3D printers is the Wi-Fi connectivity the Voxelab Aries has. Using the touchscreen controls, you can connect the printer to your Wi-Fi network allowing you to send VoxelMaker sliced files remotely, via your computer. These files are stored in the ~8GB internal storage of the printer for later use.
Unfortunately, this functionality is limited to VoxelMaker slicer which doesn’t have a lot of functionality, compared to other popular slicers like IdeaMaker, Cura or Prusa Slicer. Hopefully, we’ll be able to use the Wi-Fi connection in the future with other slicers after a firmware update.
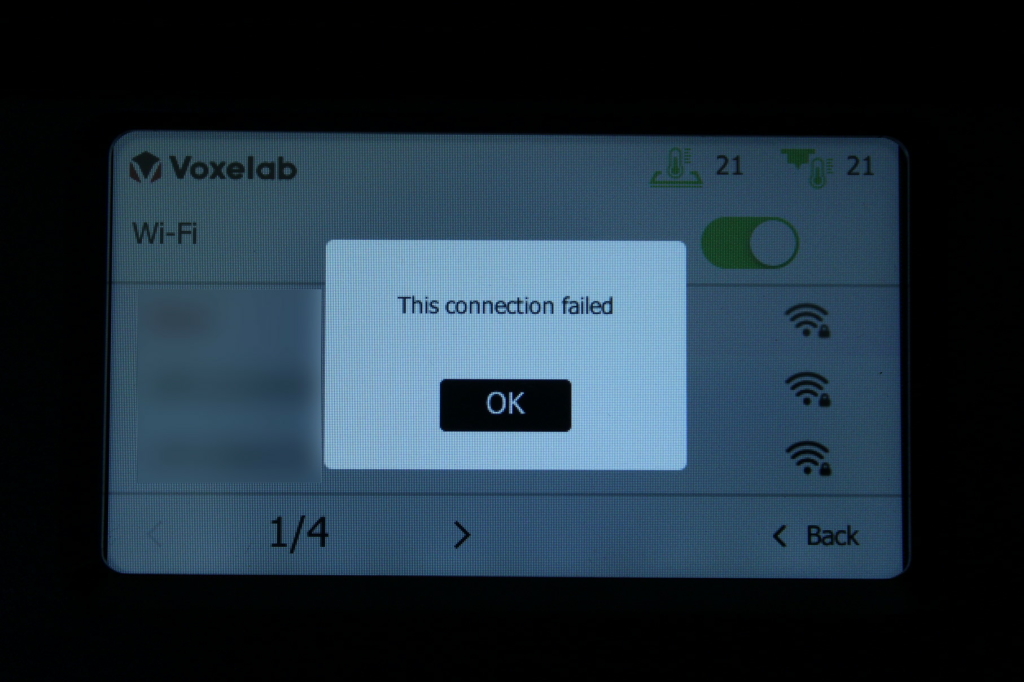
I need to mention some Wi-Fi connectivity issues. When I first got the printer, I was not able to connect to my access point. After some troubleshooting, I found out that the Voxelab Aries doesn’t support WPA3/WPA2 connections which are available on newer Wi-Fi6 access points. I changed the Wi-Fi network settings to WPA/WPA2 and that fixed it.
Proprietary 32-bit board with silent stepper drivers
The Voxelab Aries uses a proprietary 32-bit board with silent stepper drivers. The specific model for the board is Driver_Board_V1.0.2_20210225. This board doesn’t use the regular ARM STM32 chips we get on other 32-bit boards. Instead, it uses the Nation N32G352.
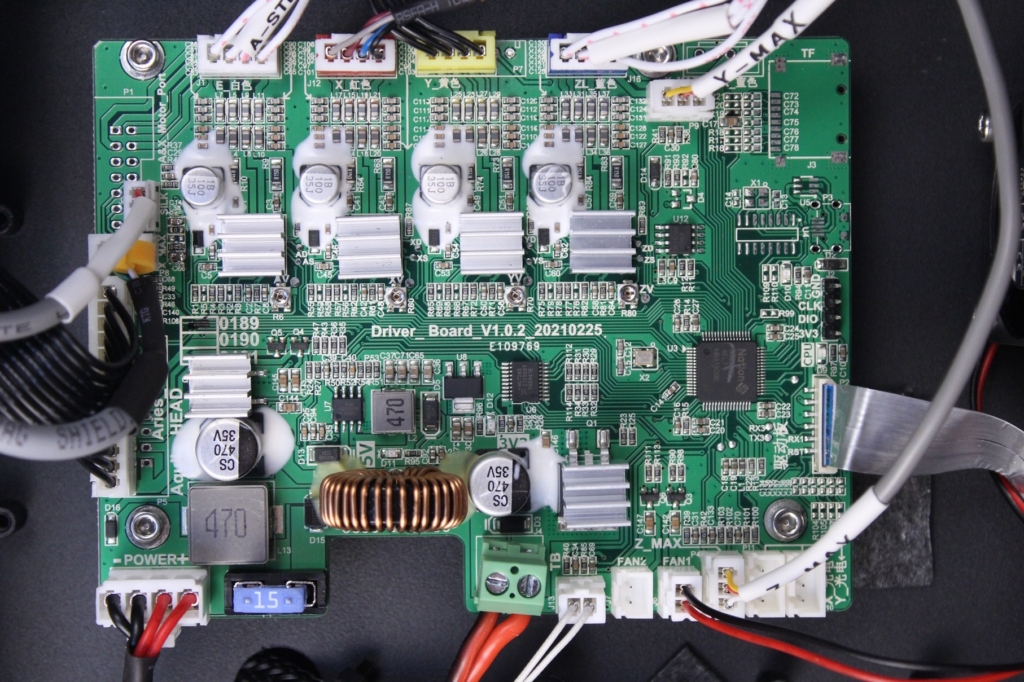
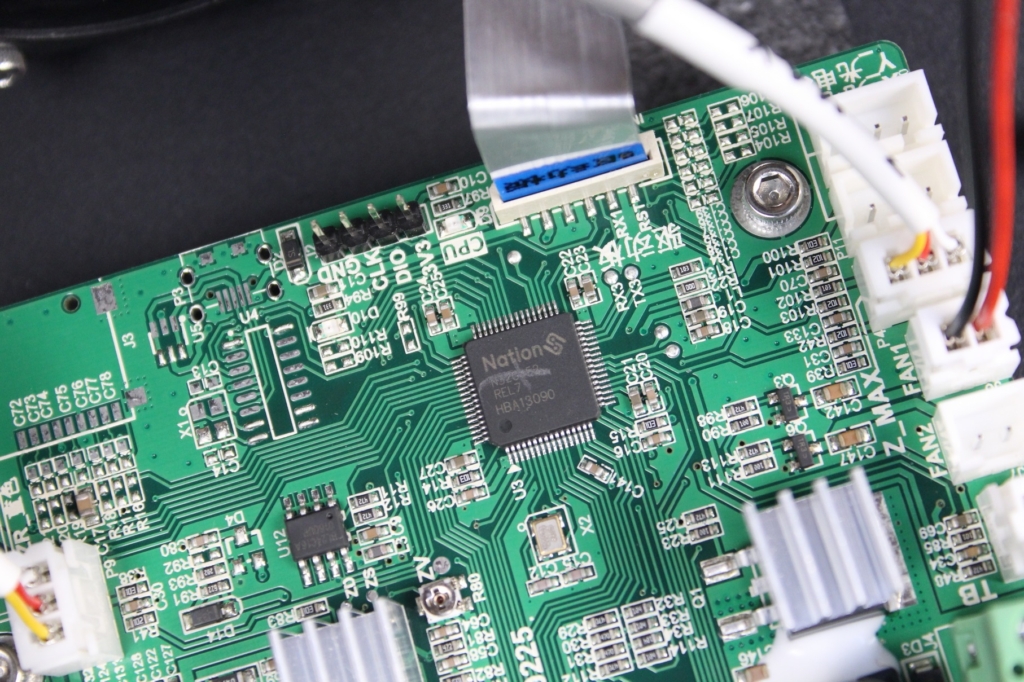
I recommend checking the VREF of the stepper drivers, because mine had two of them set too low (~0.4V). I had a few print failures where I got layer shifts. I thought that these issues were caused by overheating stepper drivers, but this was not the case. I manually increased the VREF to ~0.6V for those two stepper drivers, and that seems to have fixed it.
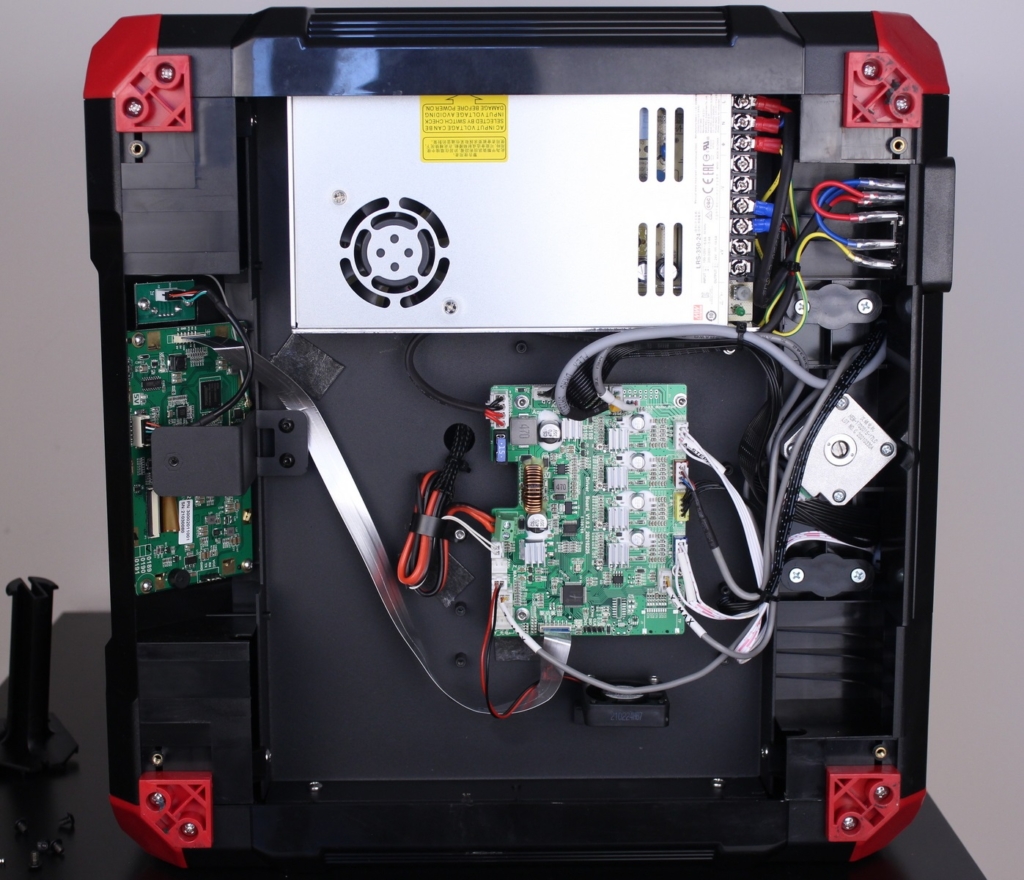
Because the electronics chamber is not well ventilated, heat starts to build up quite fast. There is no fan to expel hot air and the small cutouts in the bottom cover don’t help that much either.
The power supply fan expels hot air inside the electronics section, which can quickly raise to a point where the stepper driver fan can’t really do a good job in keeping them cool.
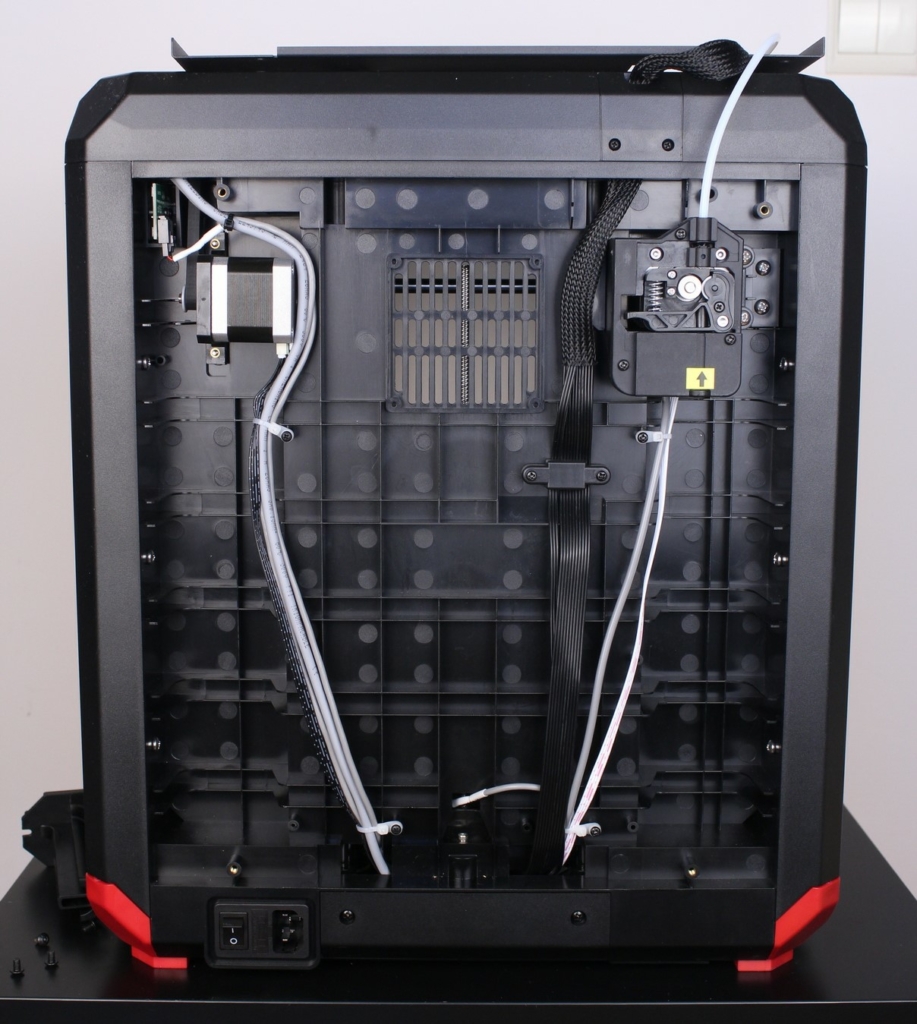
I first expected the electronics to be in the back of the machine, but after removing the back cover, I was surprised to see a bunch of empty space. There’s space for a fan in the back, but that’s not populated.
All the electronics are in the bottom section of the printer.
Cantilever glass bed with 3-point leveling system
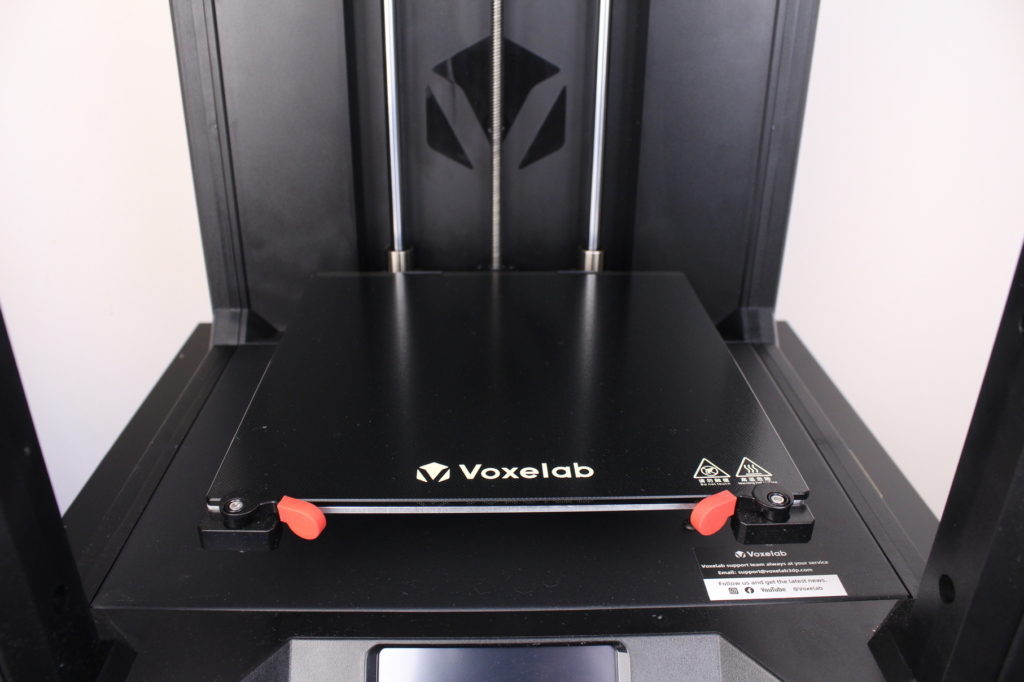
The Voxelab Aries has a removable glass print surface on top of the aluminum heated bed which moves on the Z axis. Adhesion is hit or miss. With some PLA filaments, the first layers don’t stick that well, and you might find yourself needing to either scuff up the print surface a bit or add some glue stick or other solutions for improving bed adhesion.
To help with removing the glass print surface, there are two levers in the front.
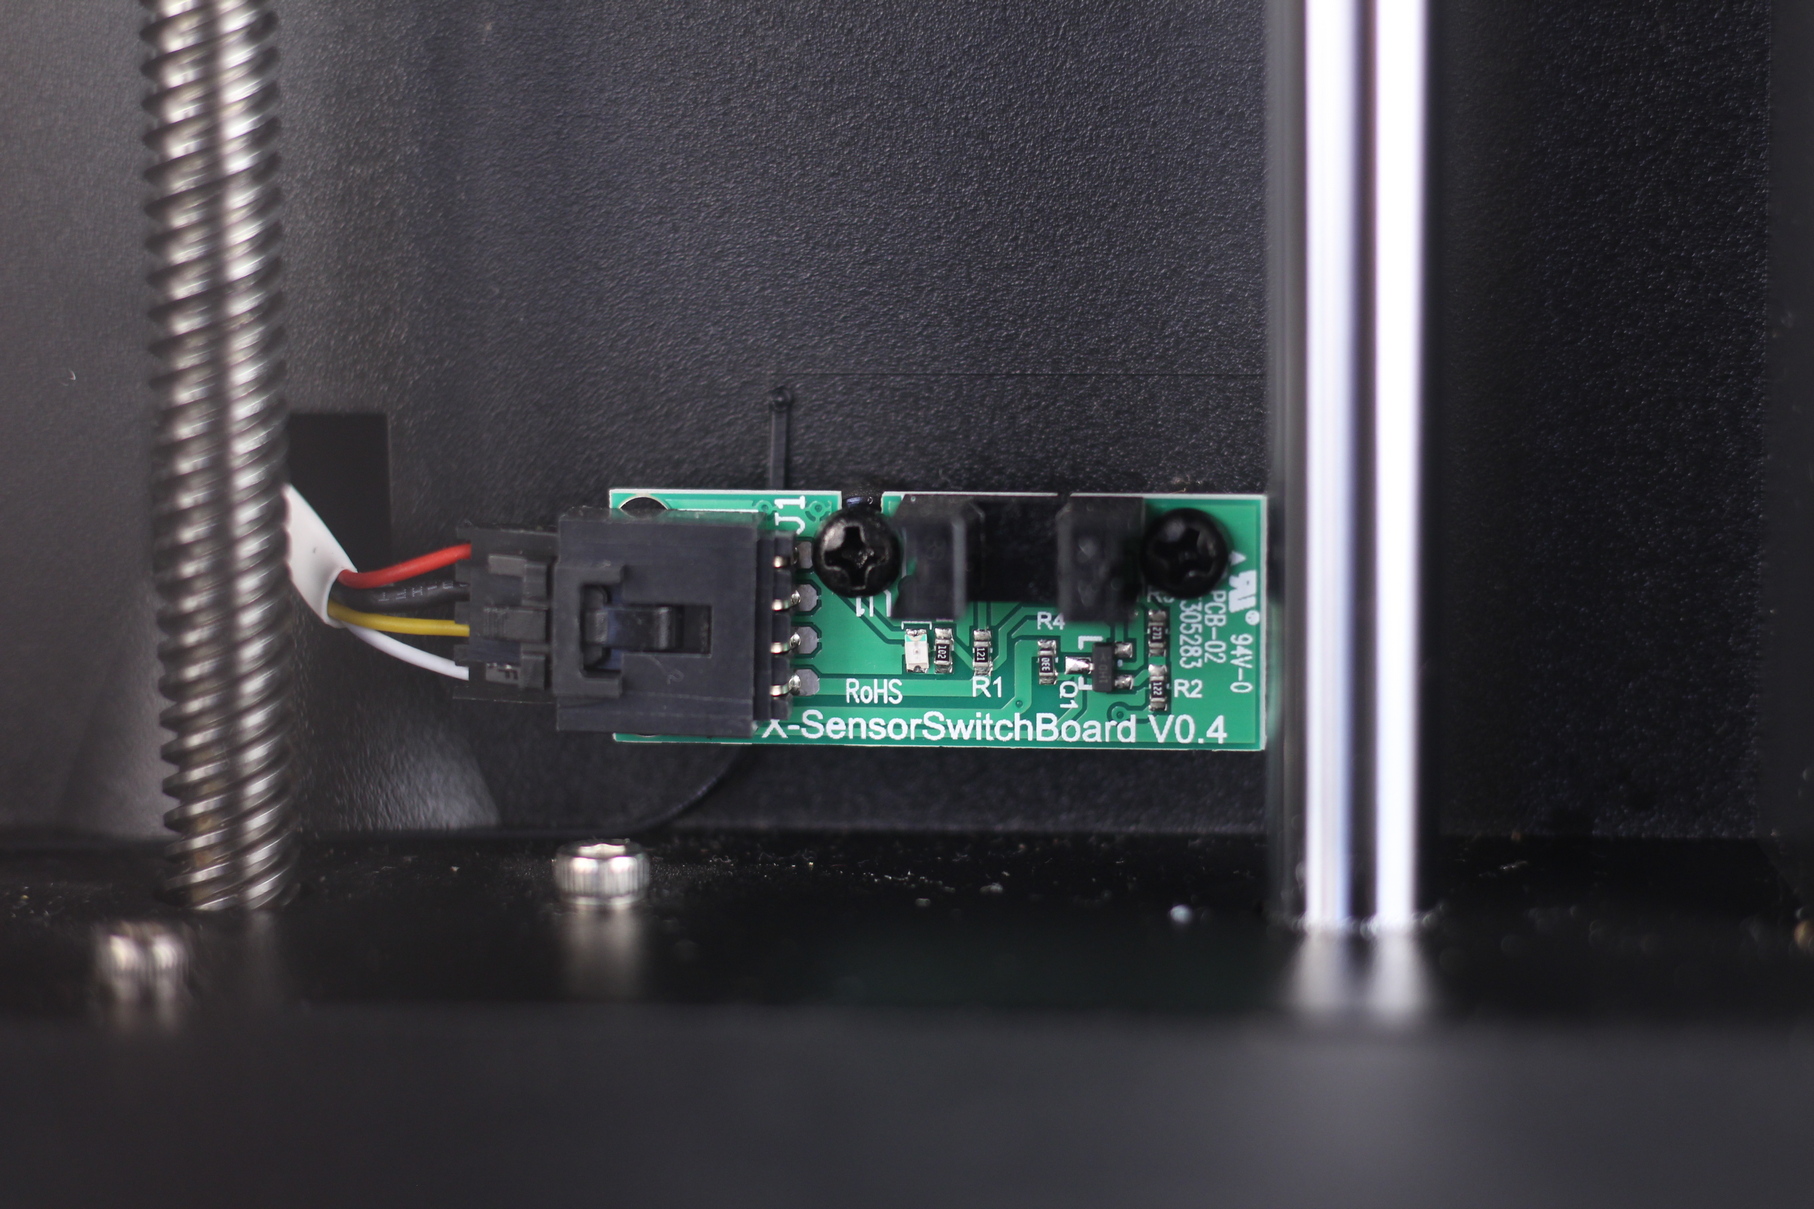
An interesting feature about the Voxelab Aries is the location of the Z endstop. Instead of having it in the top, like most printers, the Aries has an optical sensor on the bottom of the printer. I kind of like this setup because you can add an end G-code to home the printer when a print is complete, helping with the removal of the print. The drawback is in the time it takes the printer to perform a homing sequence because of the longer travel needed.
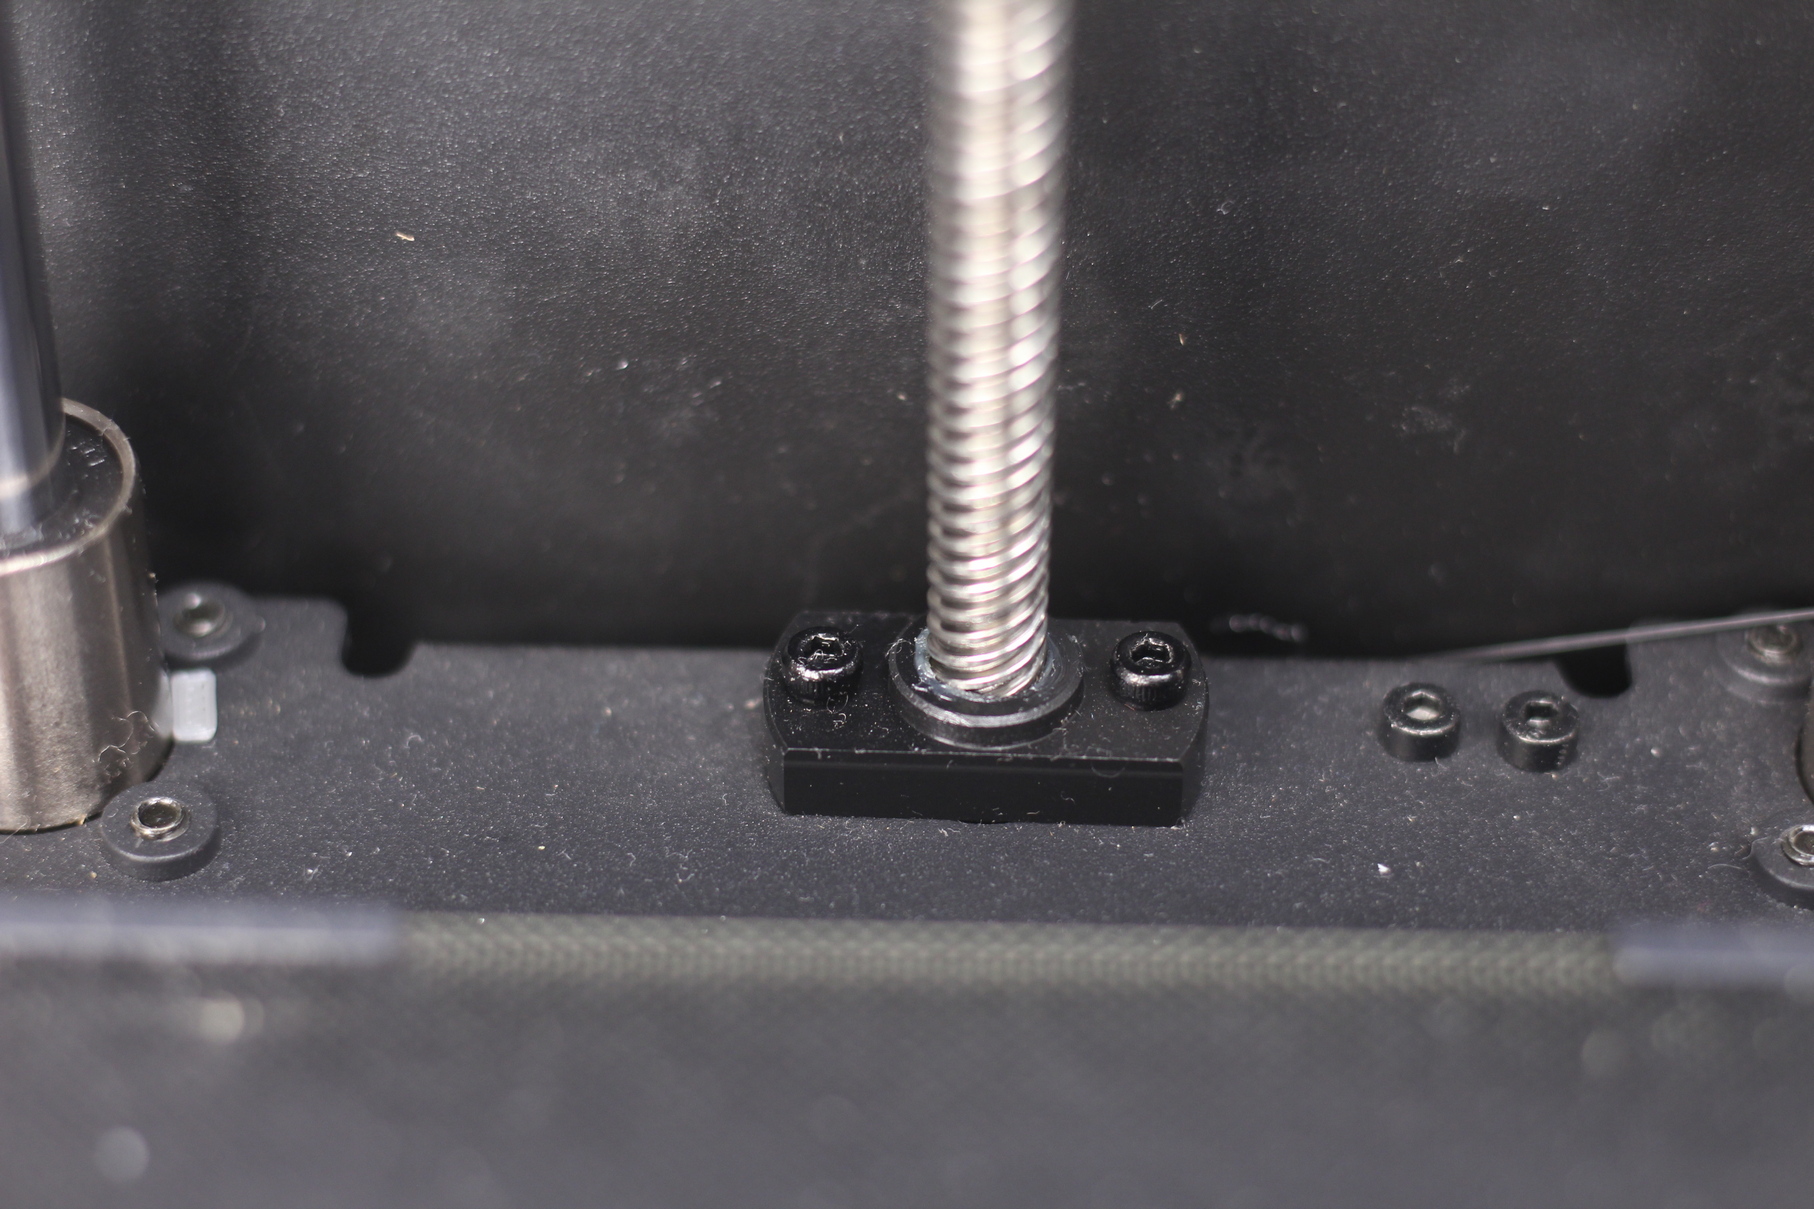
Unfortunately, the Voxelab Aries doesn’t use an anti-backlash nut, so if there’s a power failure the bed will start lowering by itself due to its weight. The Aries has power loss recovery, and it will home the bed before resuming printing. It’s easy to upgrade the printer with an anti-backlash nut, but this should have been installed right from the factory.
Leveling is performed using the two knobs under the bed. Having a 3-point leveling system should make the leveling process a bit easier. To level the bed, we only need to adjust the two bed knobs, while the third bed point is fixed. When you start the leveling process, you are asked to first set the Z offset for the fixed point, then manually adjust the bed on the second and third point.
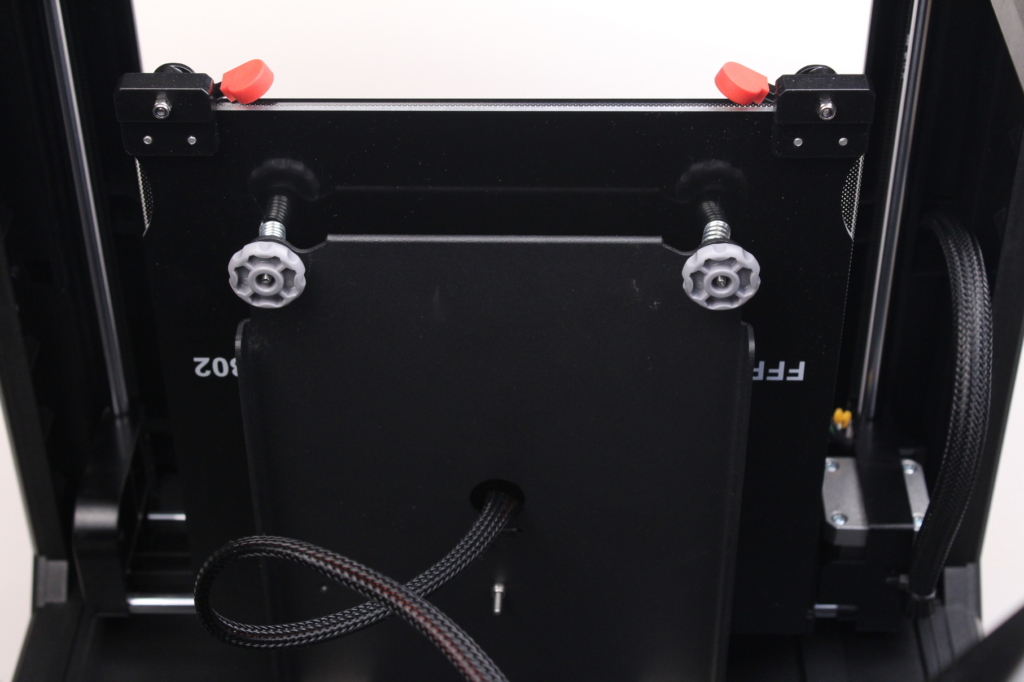
This way of leveling the bed works well, but the instructions are a bit off. You are asked to move the nozzle until it touches the bed, but if you do that, your first layer will have a bit too much “squish”. Instead, I recommend lowering the nozzle close to the bed and adjust the offset just like you do on other printers (piece of paper, feeler gauge). 0.2 mm works great.
There is no insulation present underneath the bed, which could have made the printer a bit more power efficient.
Mean Well 350W 24V power supply
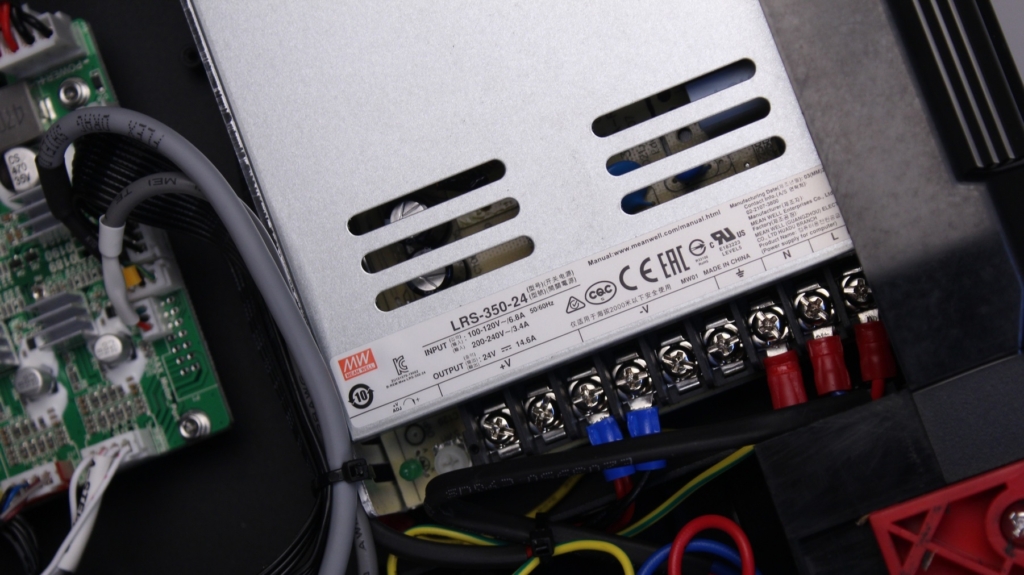
I’m happy to report that the Voxelab Aries uses a Mean Well 24V 350W power supply which is considered one of the best power supplies for 3D printers. The fan speed is temperature controlled, turning on when a print is started, and turning off when the printer is idle. Because the electronics chamber doesn’t have good ventilation, the power supply fan will be mostly on during printing adding to the noise generated by the printer.
VoxelMaker slicer
Talking about VoxelMaker, I need to recognize how well the profiles are tuned for the Voxelab Aries. I did a few test prints using the default settings and they came out great. Great experience for beginners, or people that don’t want to mess too much with the slicer settings and just want to start printing as soon as they get their machine.
We only get slicer profiles for PLA and ABS, but hopefully other materials will be included over time. When slicing with VoxelMaker, the sliced files are in the .gx format which includes a thumbnail shown both on the computer and also on the touchscreen. After connecting via Wi-Fi, you can send prints remotely, monitor the printing status and even control the printer with the included menu controls.
Heating time and power consumption
I tested the heating time for both hotend and heat bed and here are the results:
Hotend
- 200C in 1 minute and 20 seconds
- 250C in 2 minutes
Heatbed
- 60C in 2 minutes and 30 seconds
- 100C in 5 minutes and 45 seconds
Power Draw
Idle power draw is around 9W. When the hotend and heatbed are heating up, the Voxelab Aries draws around 305W. After it starts printing, the power draw stabilizes to around 110W.
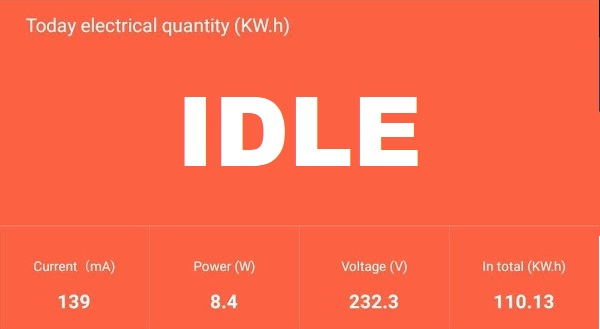
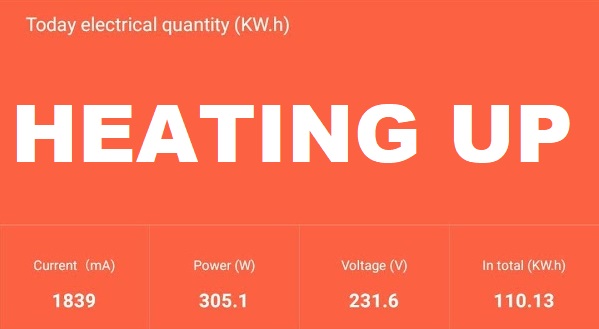
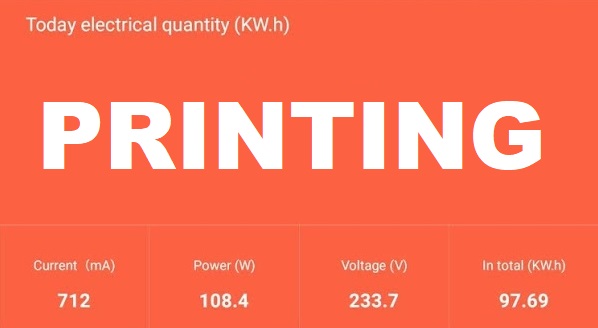
All these measurements were taken with a Blitzwolf smart power socket which indicates the power draw, and it can also be used for remotely powering on and off the printer.
Bed Temperature Uniformity
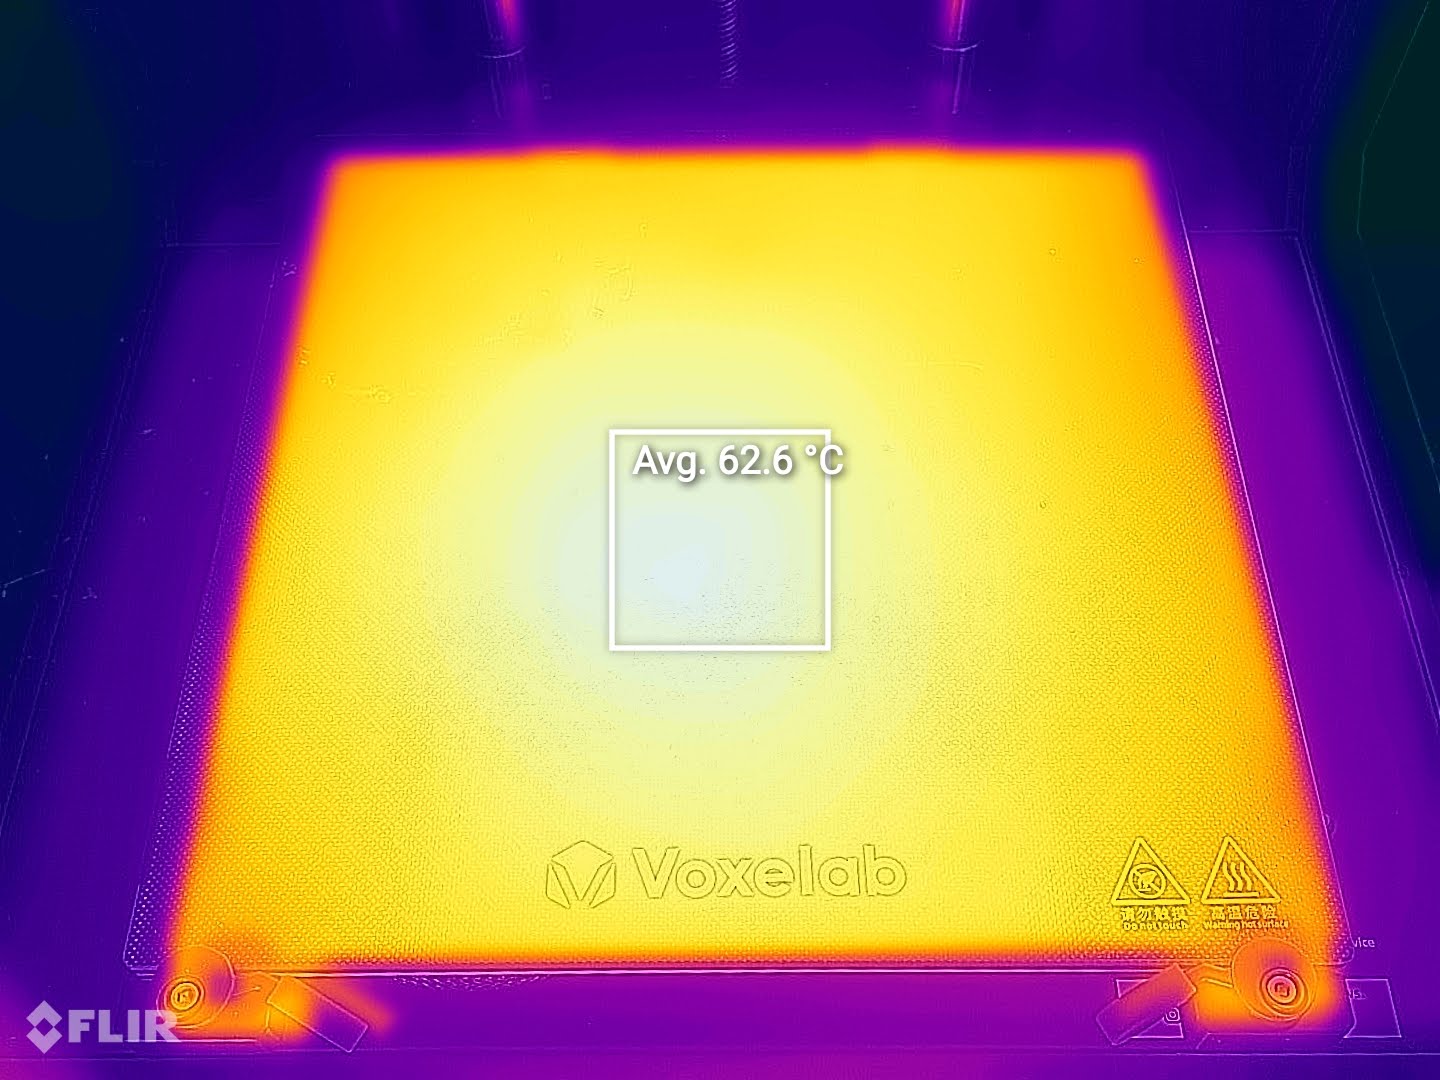
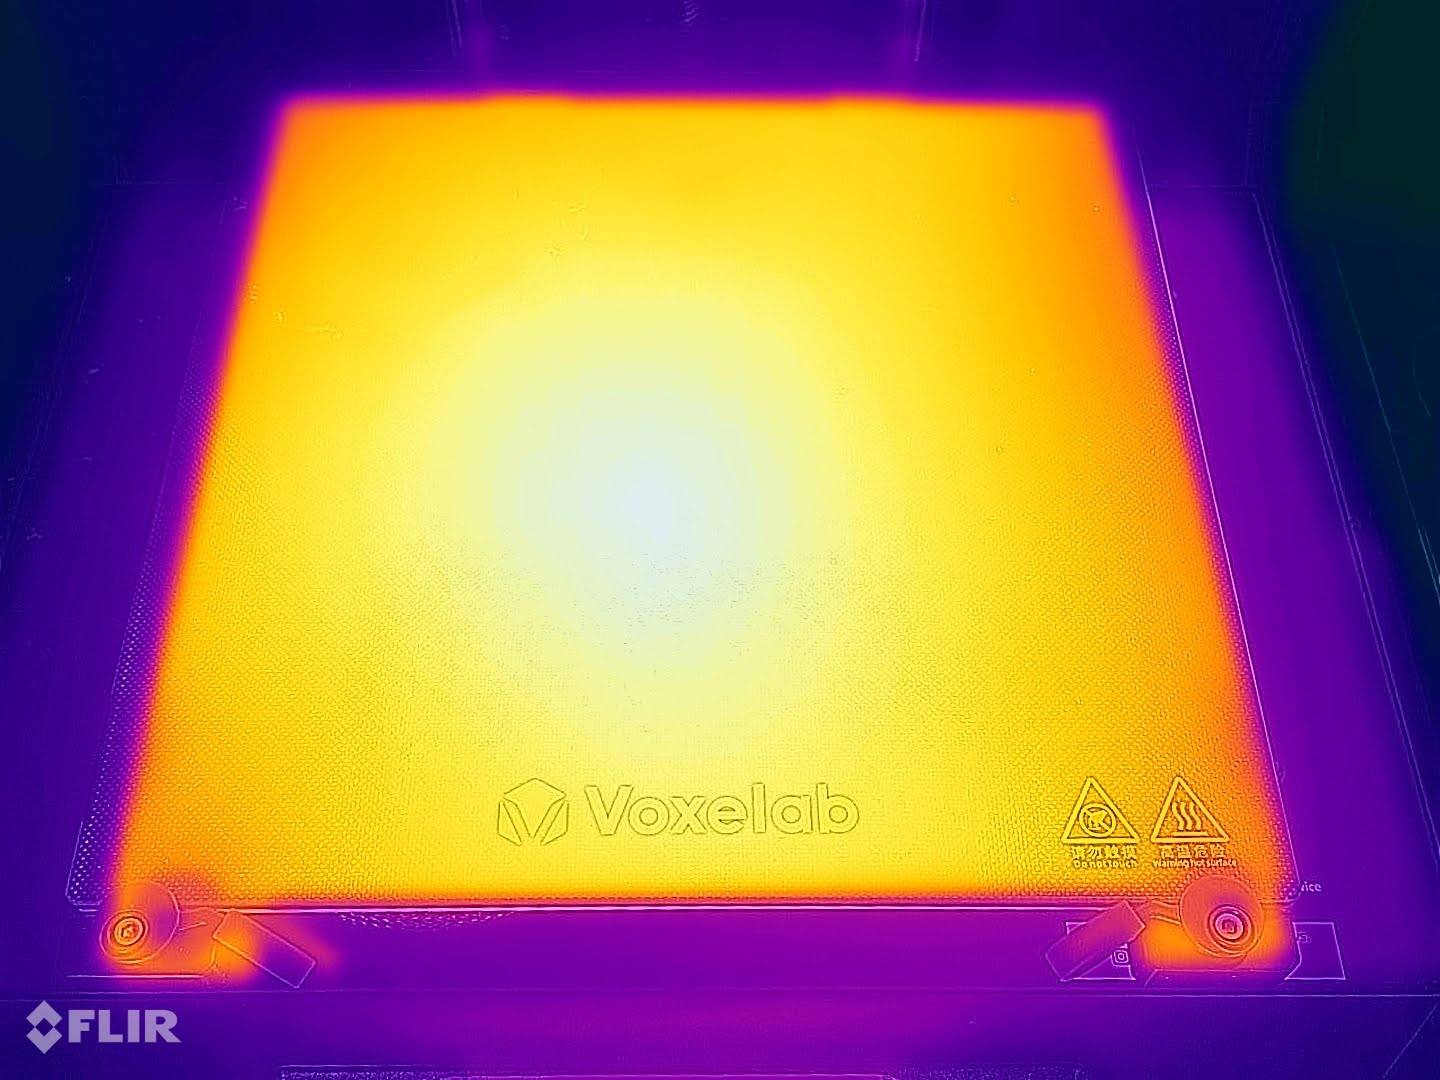
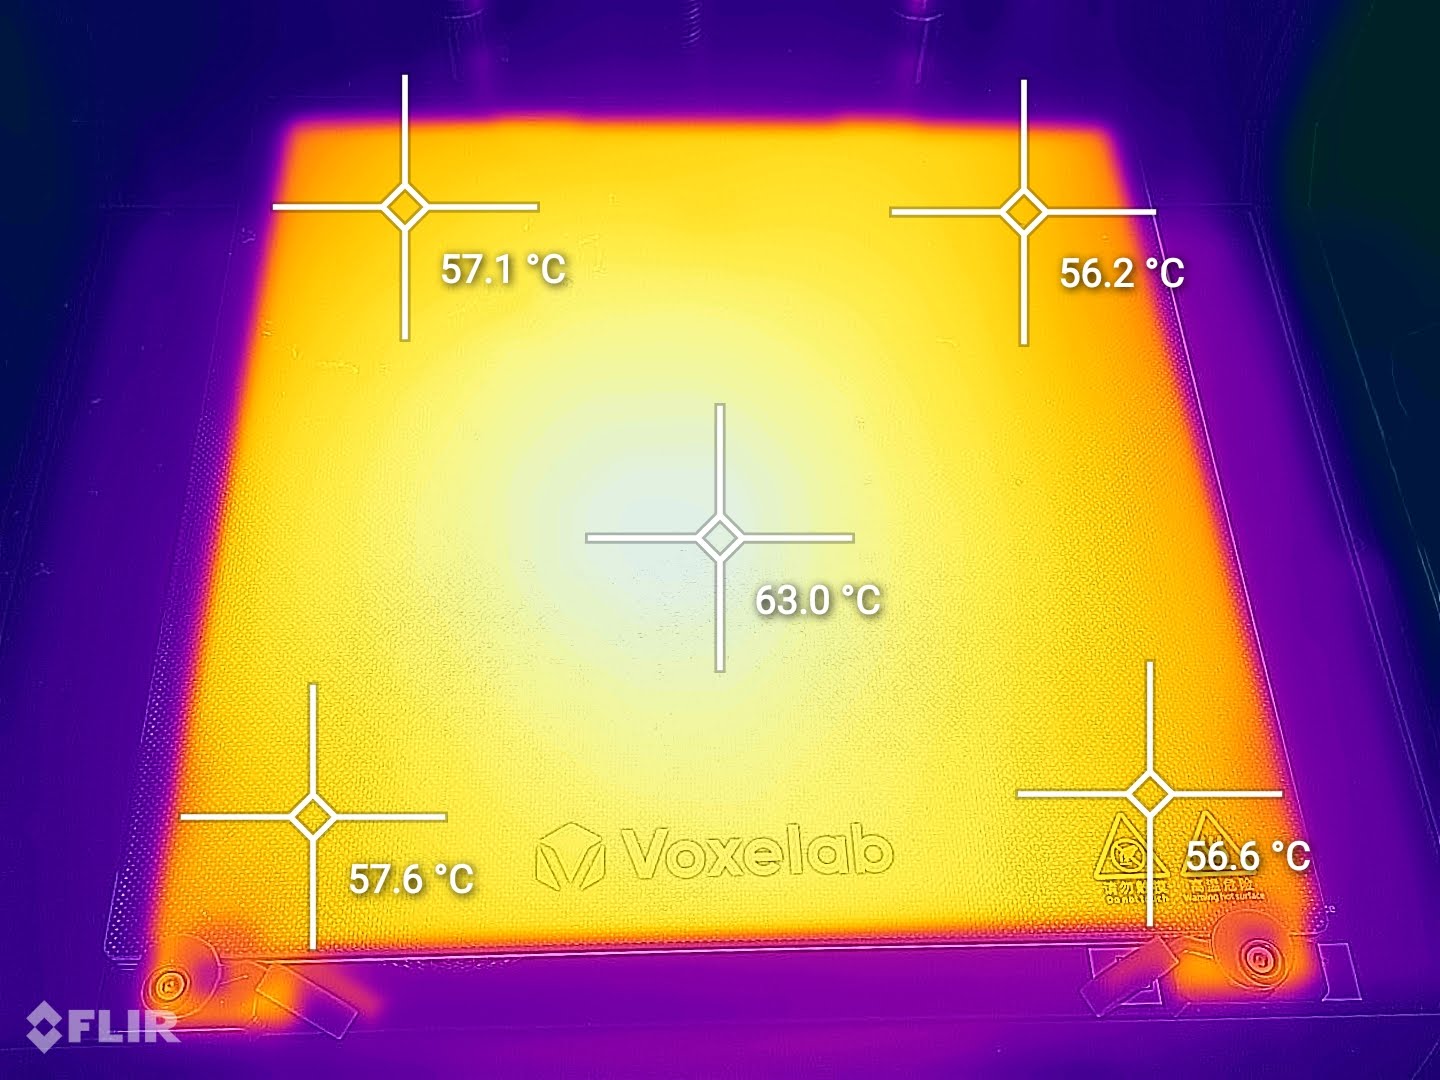
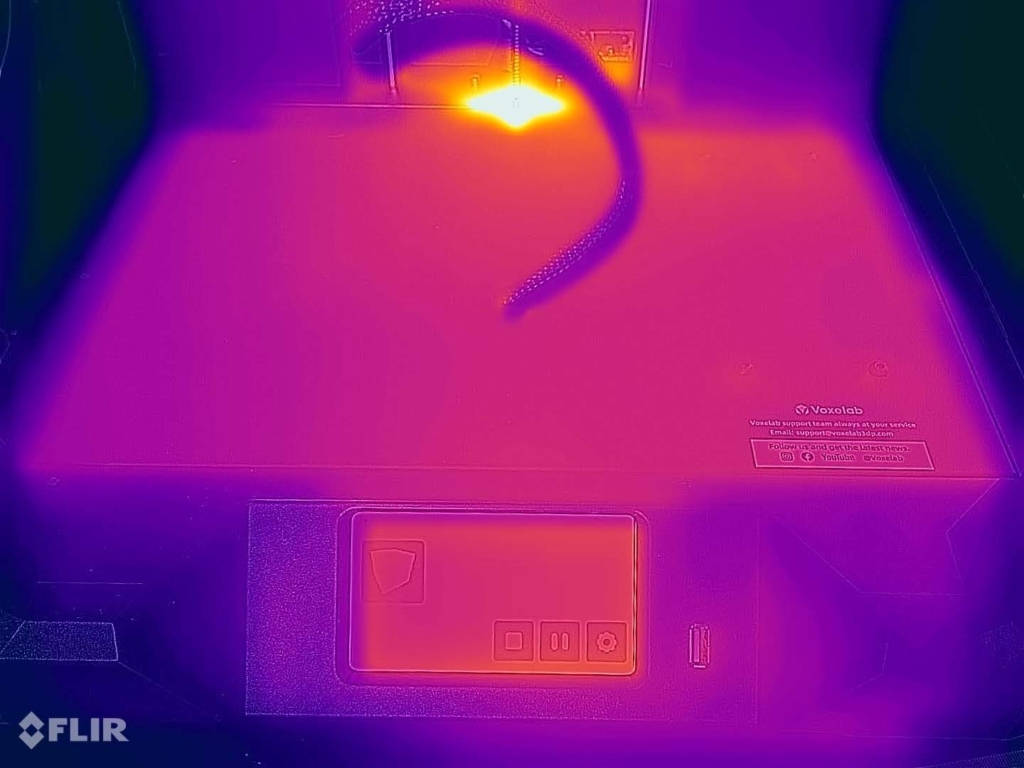
I tested the temperature uniformity for the Voxelab Aries bed with the Flir Camera installed on the CAT S62 Pro. The bed has been set to 60C and I waited 2 minutes after reaching that temperature for the temperature to stabilize.
Voxelab Aries Noise Levels
The Voxelab Aries is completely silent when idle because all the fans are off. But you will quickly notice some fan noise after you start a print. The power supply, hotend and board fans all start to ramp up, and the noise they produce is quite high.
Test prints on Voxelab Aries
3DBenchy
As I do with all the printers I review, I first printed a 3D Benchy using the default VoxelMaker profile. It came out much better than I expected, but this can also be attributed to the somewhat lower print speed. The print time for this benchy was just under 2 hours.
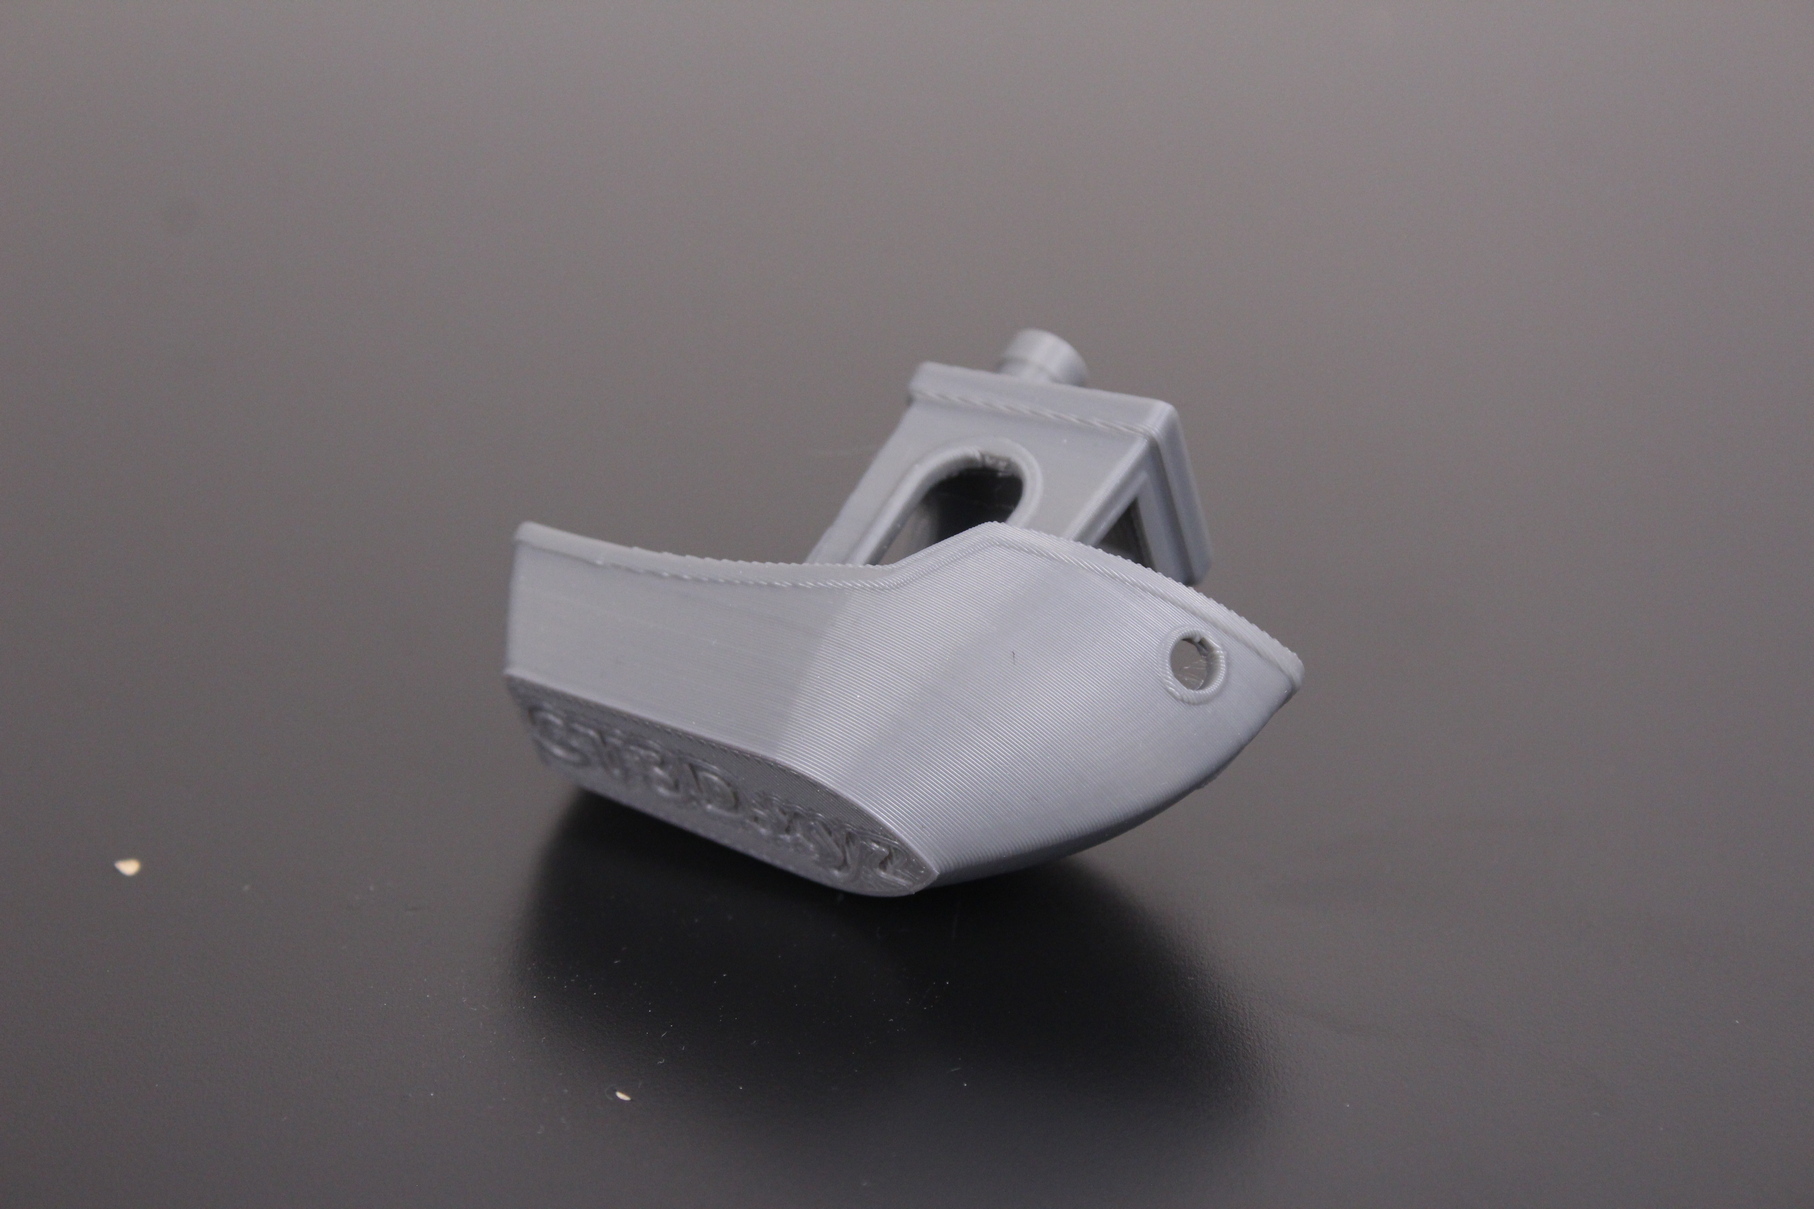
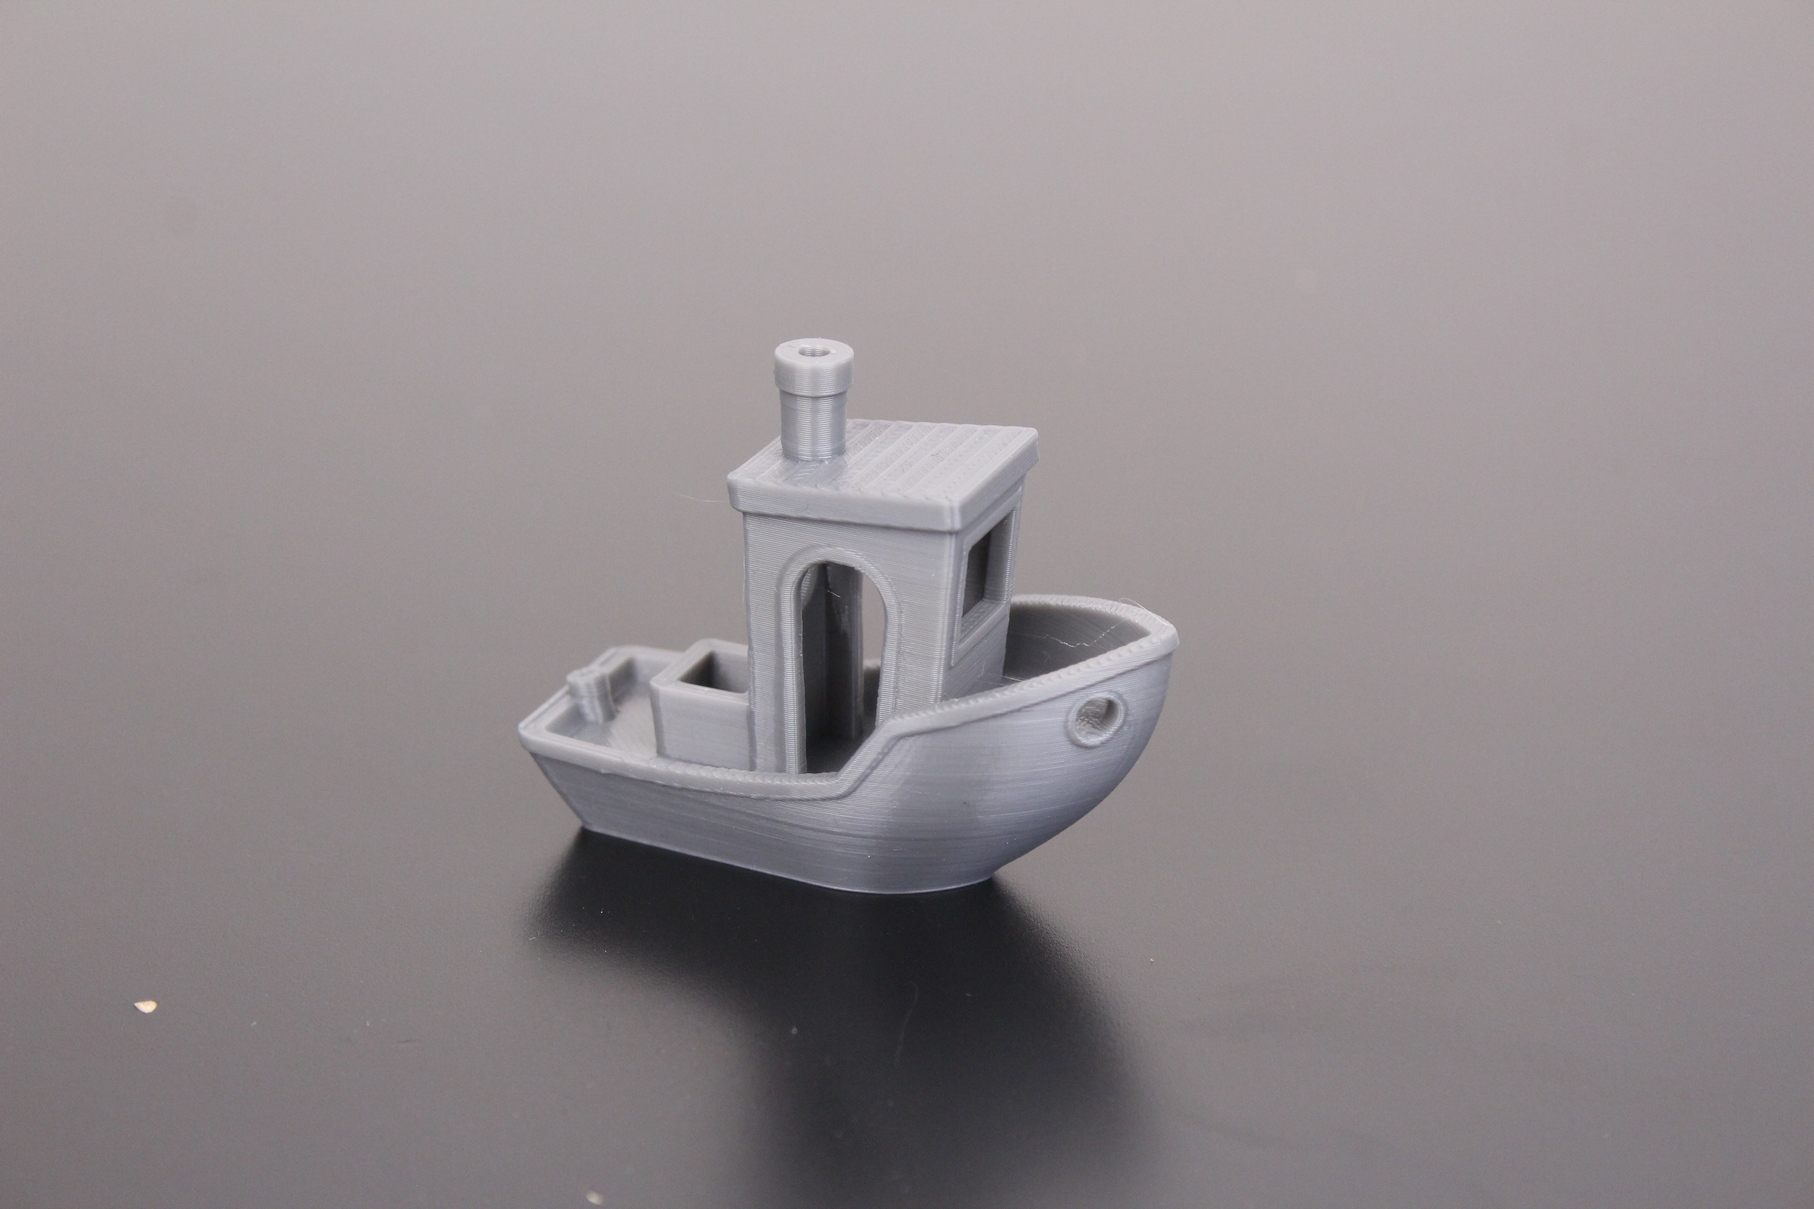
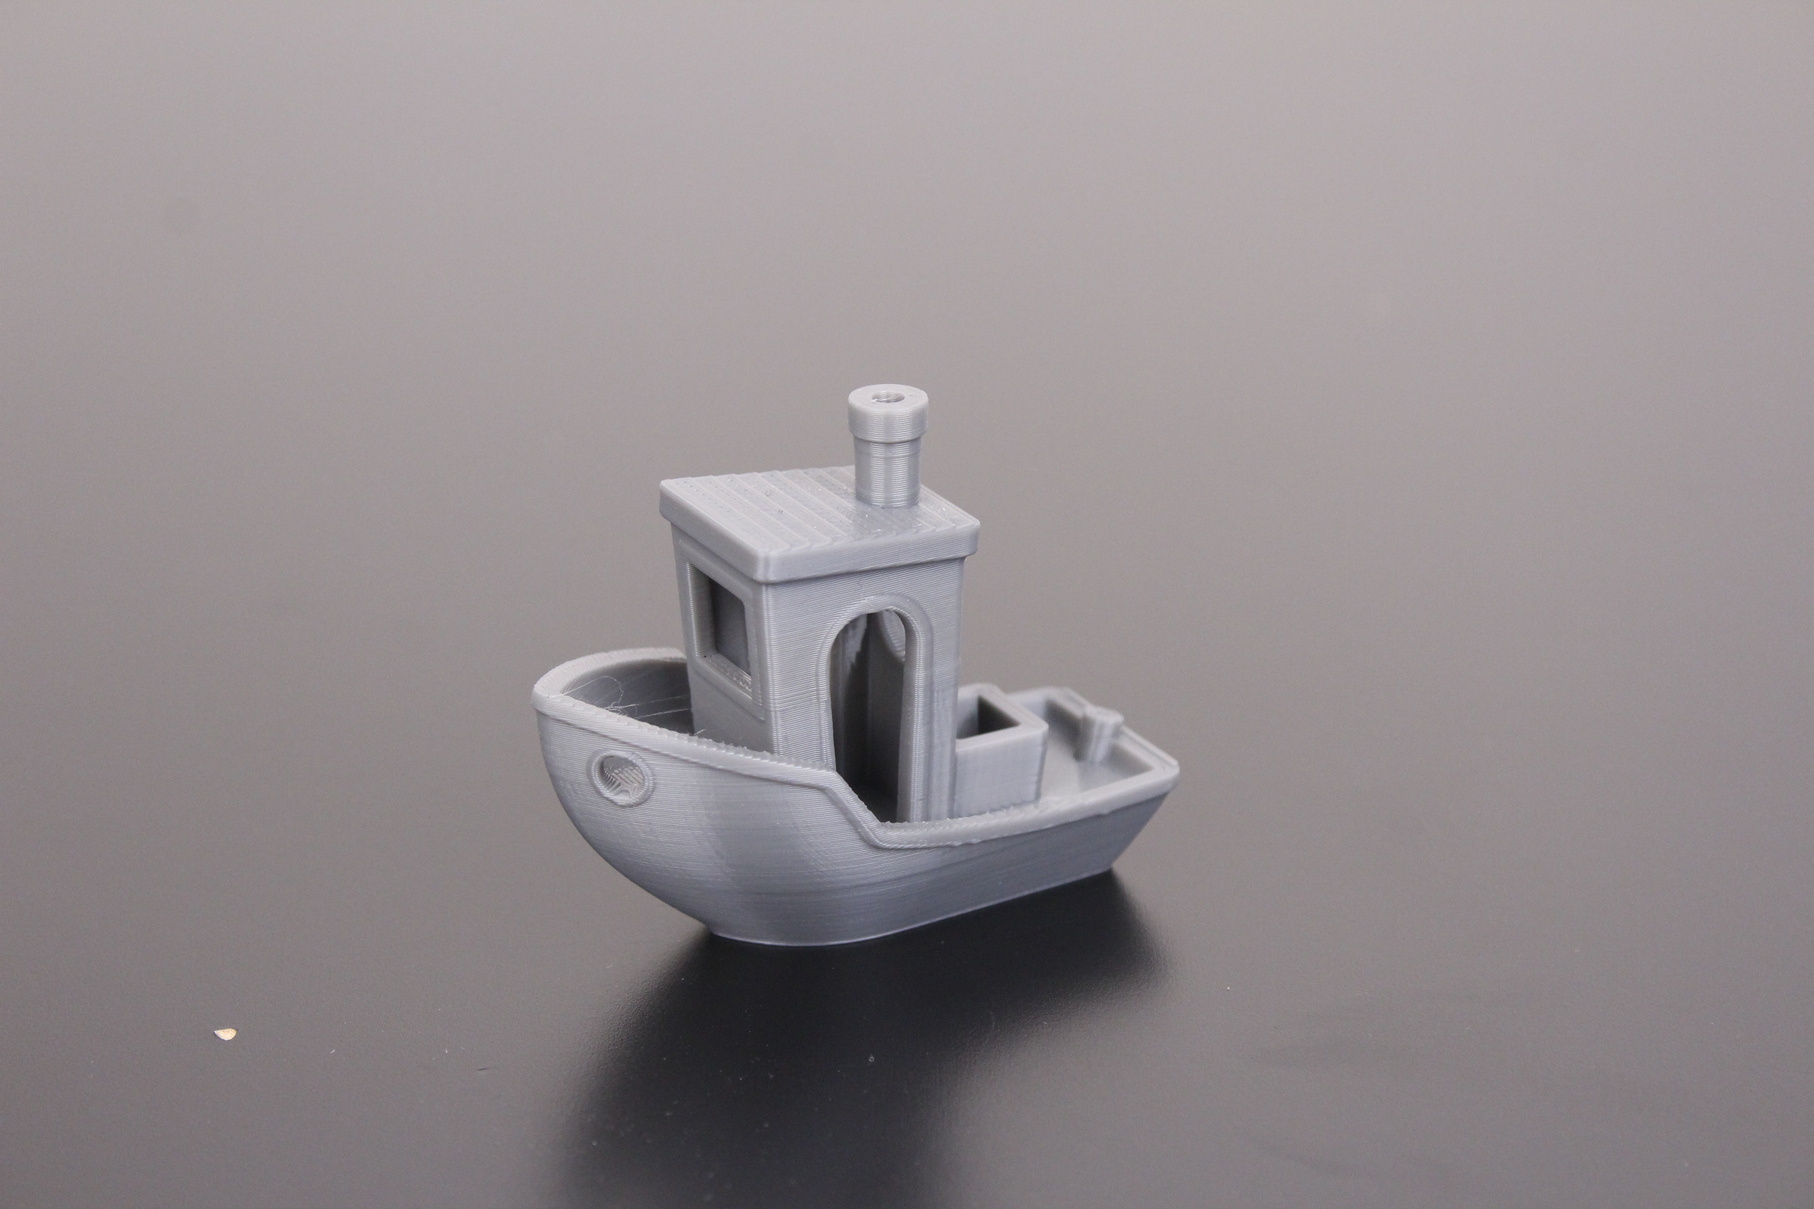
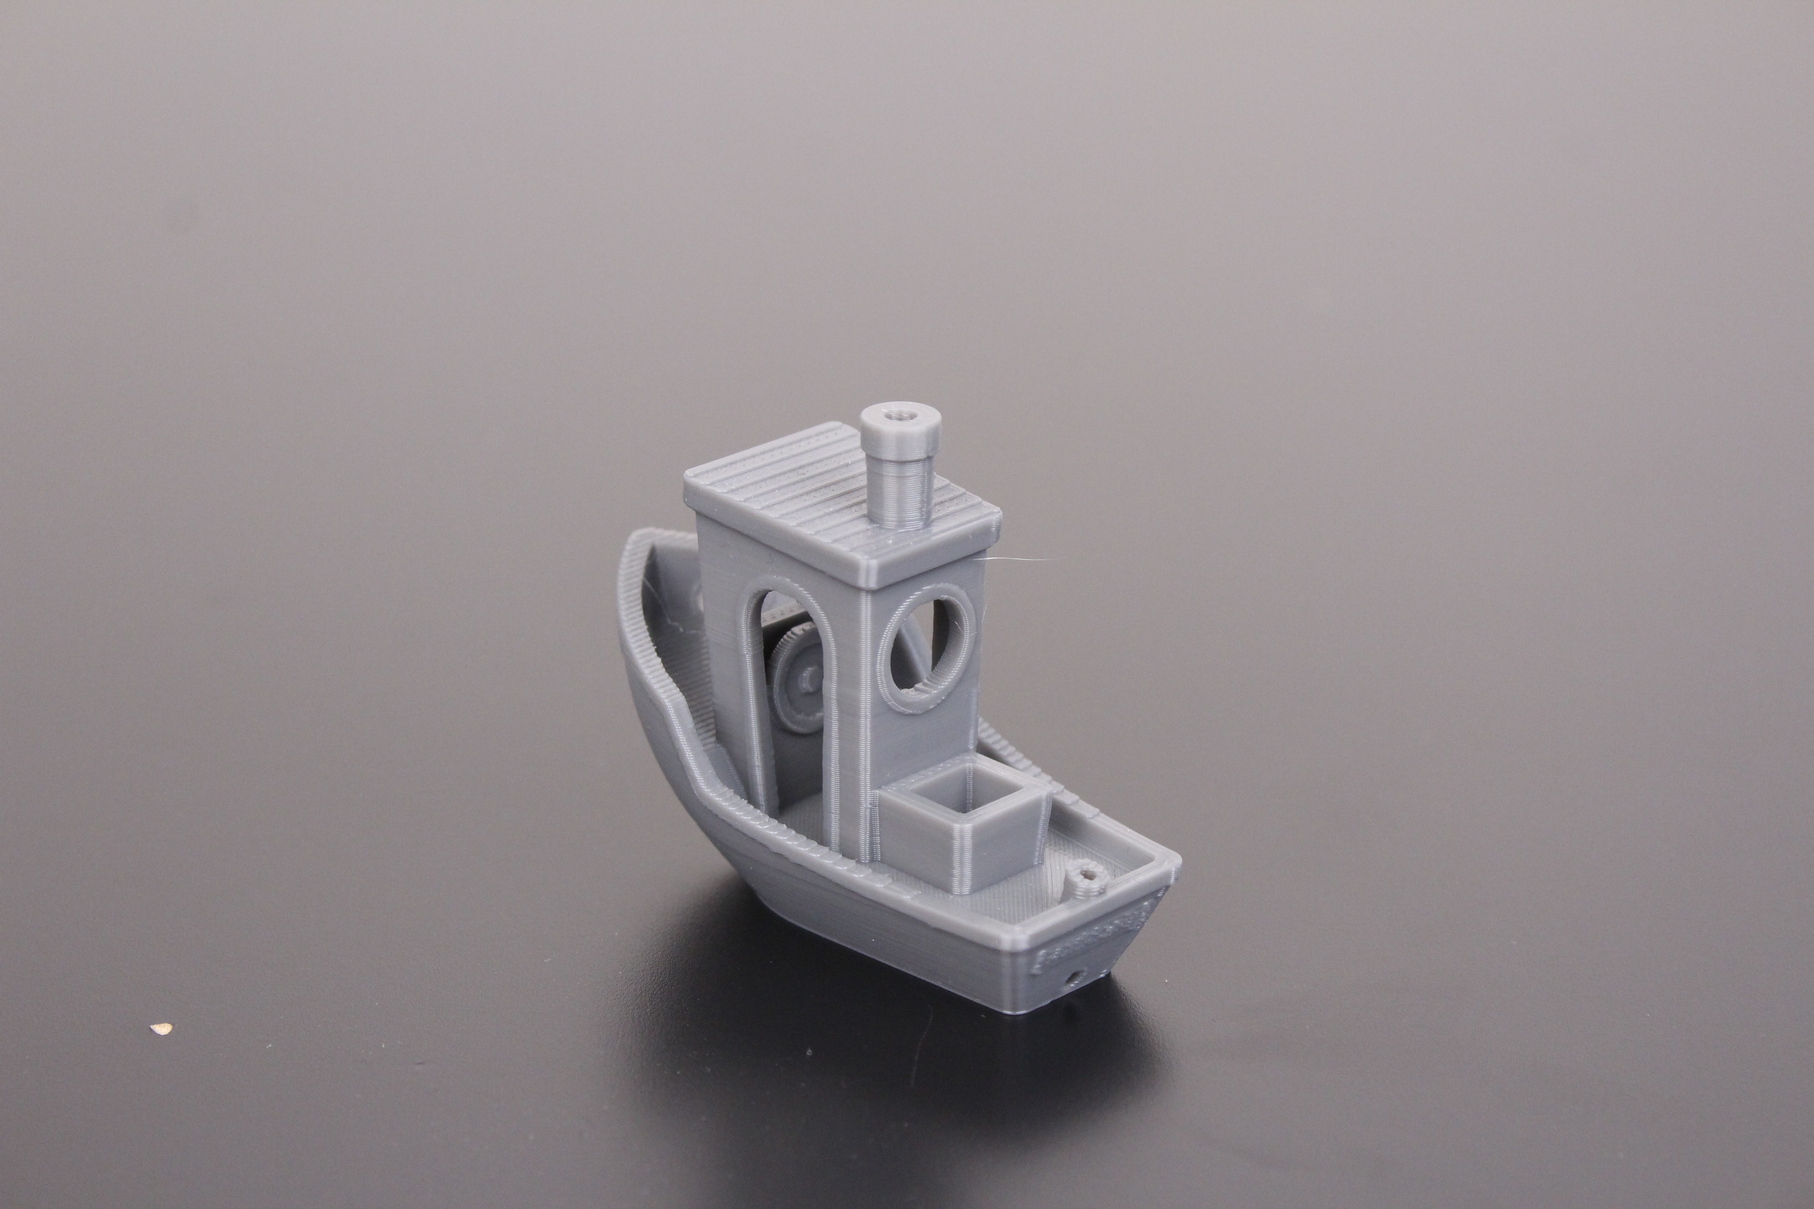
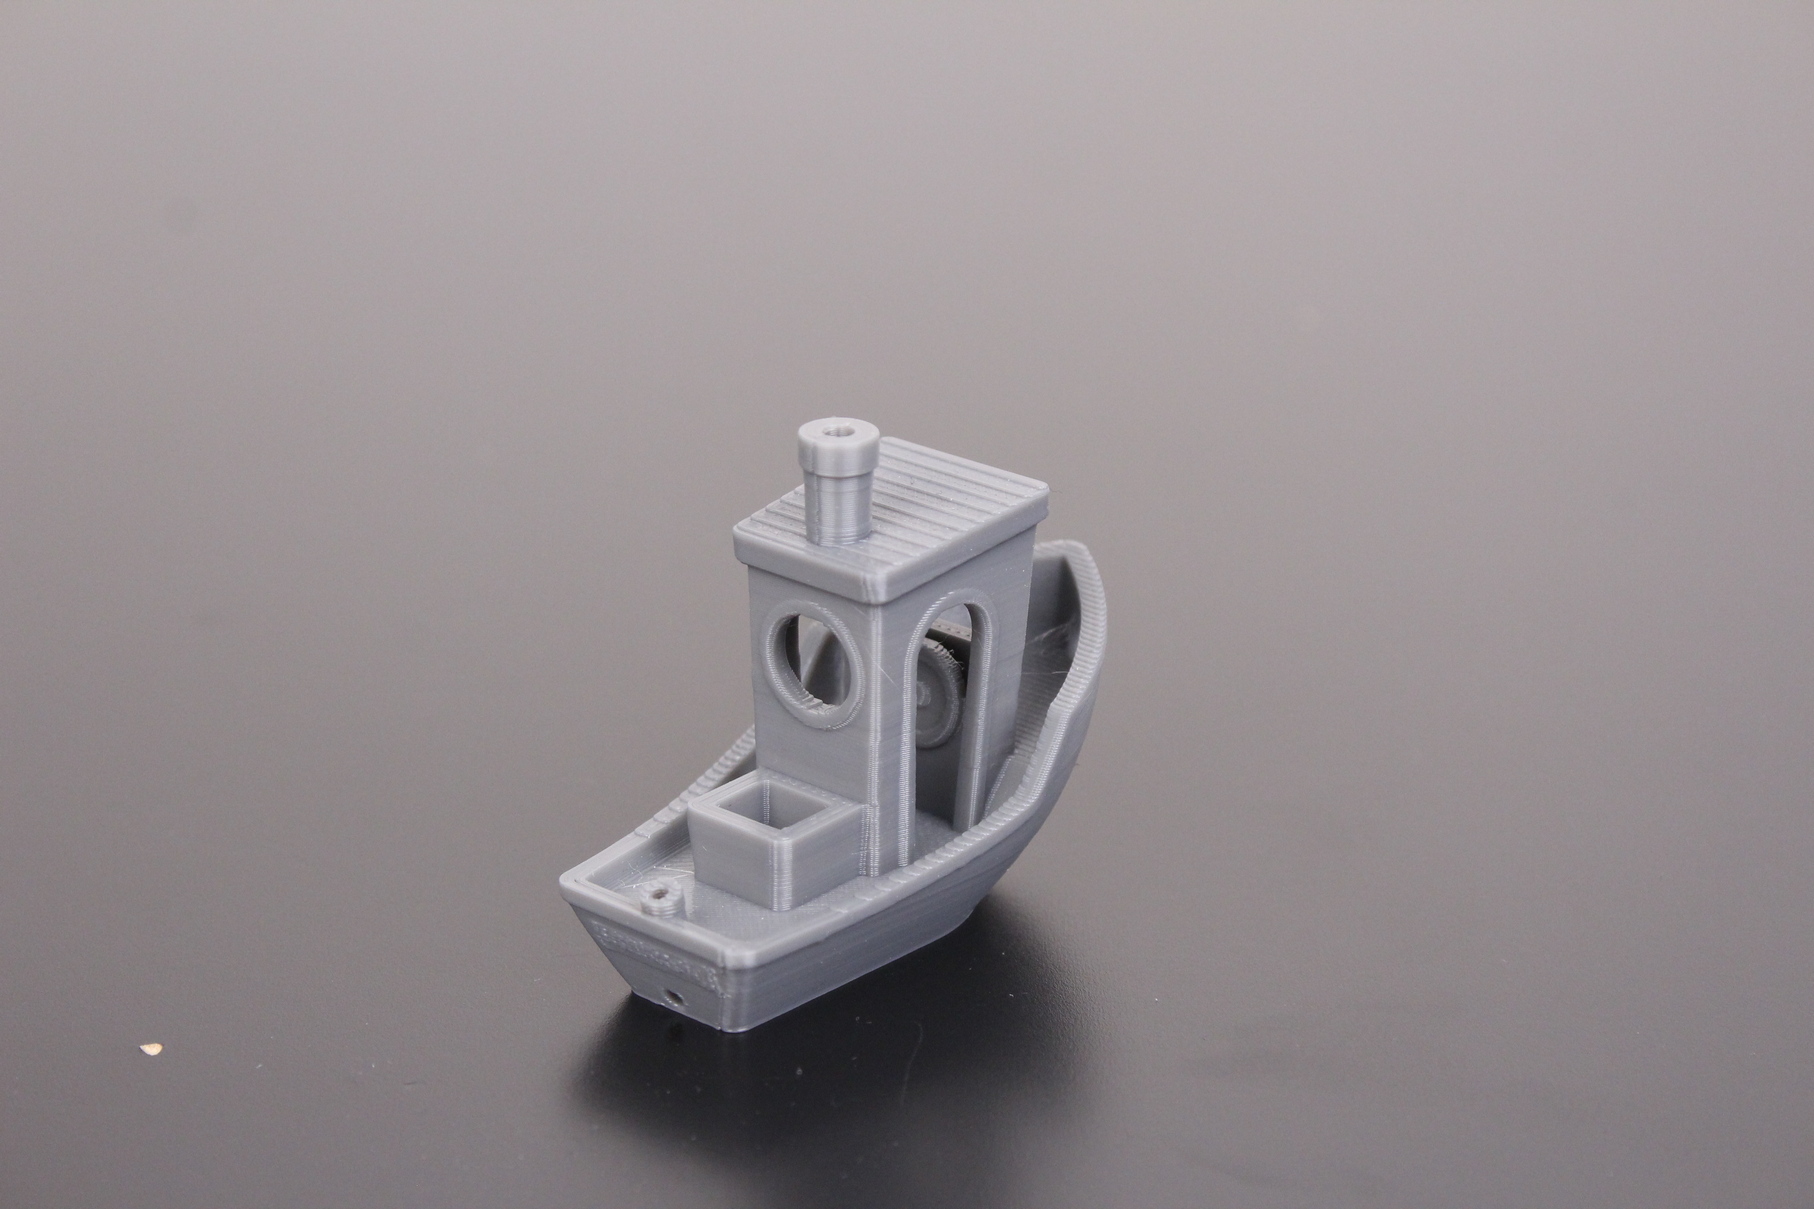
- Material: Gembird Gray PLA
- Layer Height: 0.2mm
- Nozzle Temperature: 215C
- Bed Temperature: 60C
- Print Speed: 50 mm/s
Phil-A-Ment
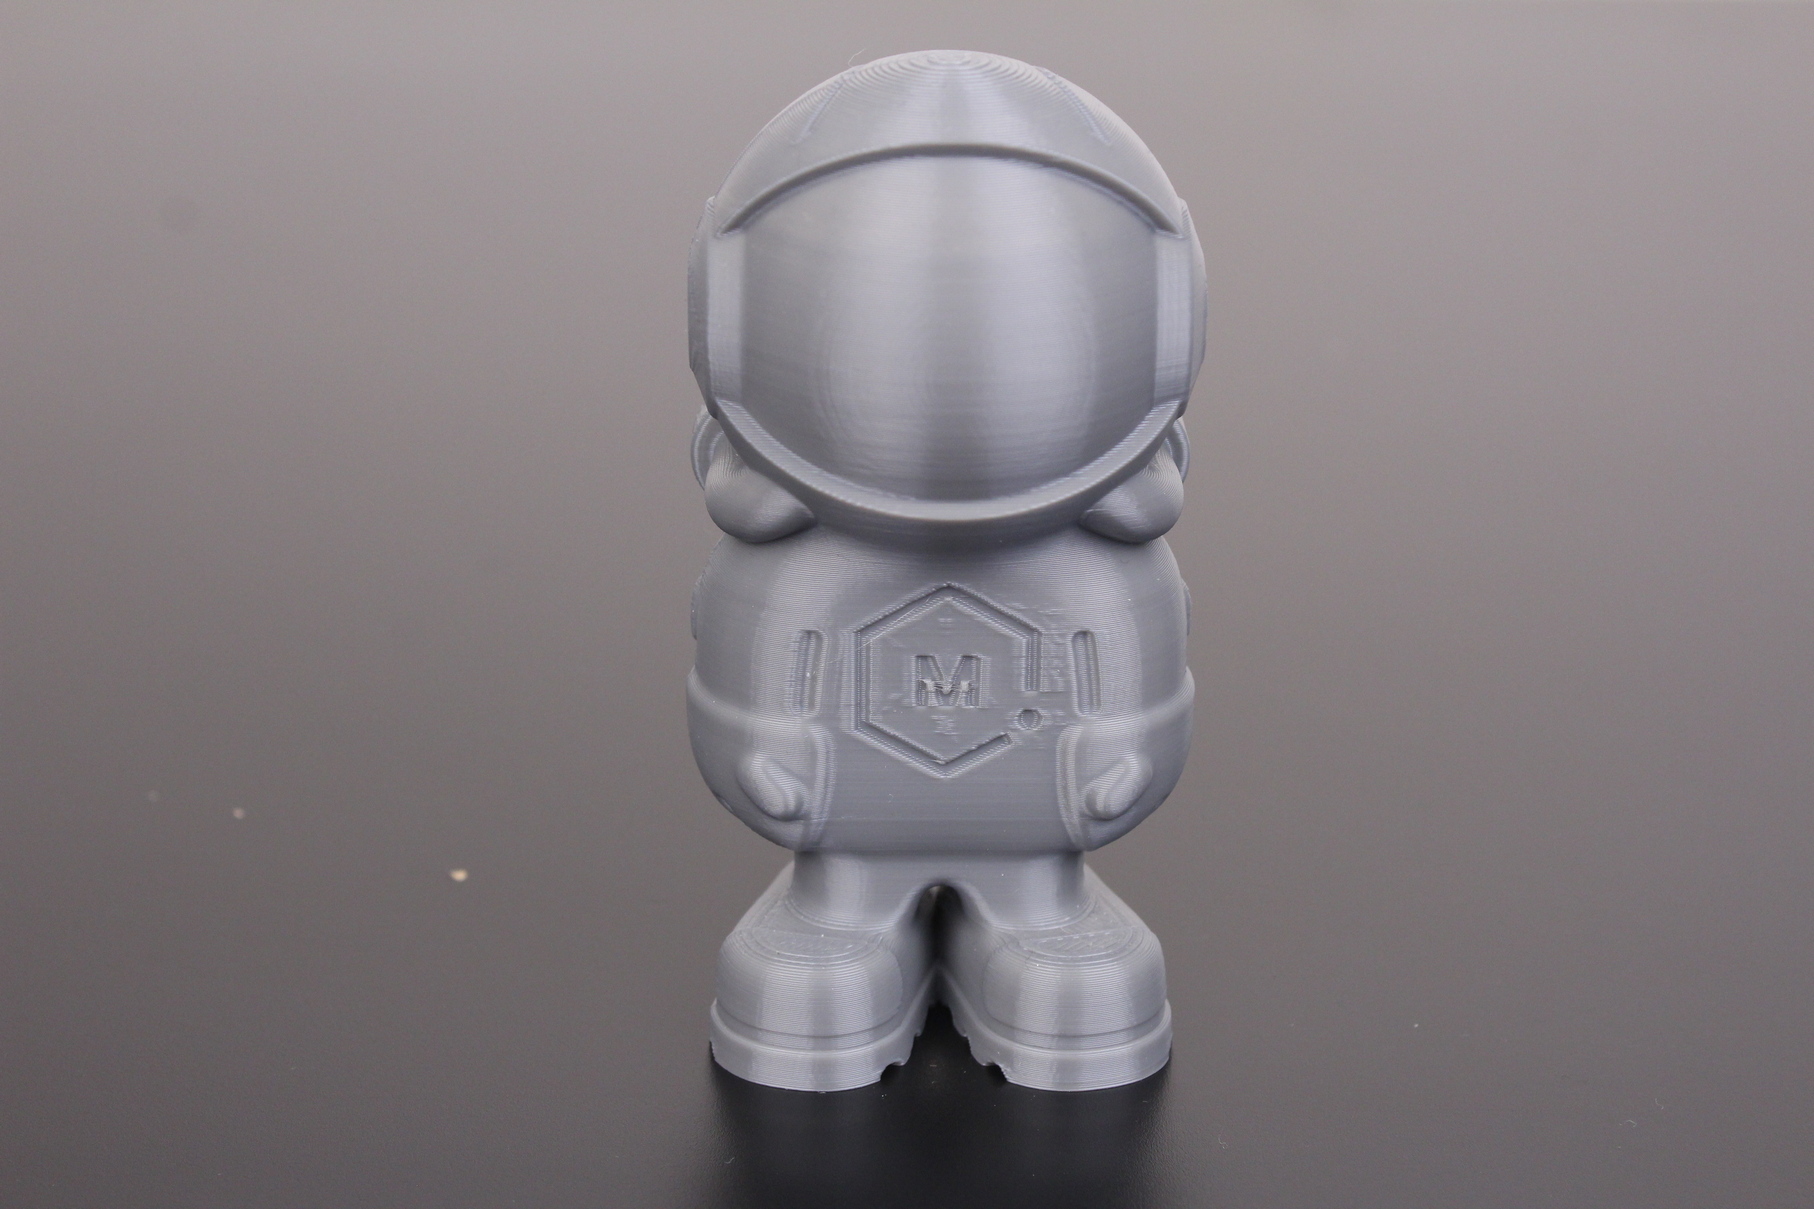
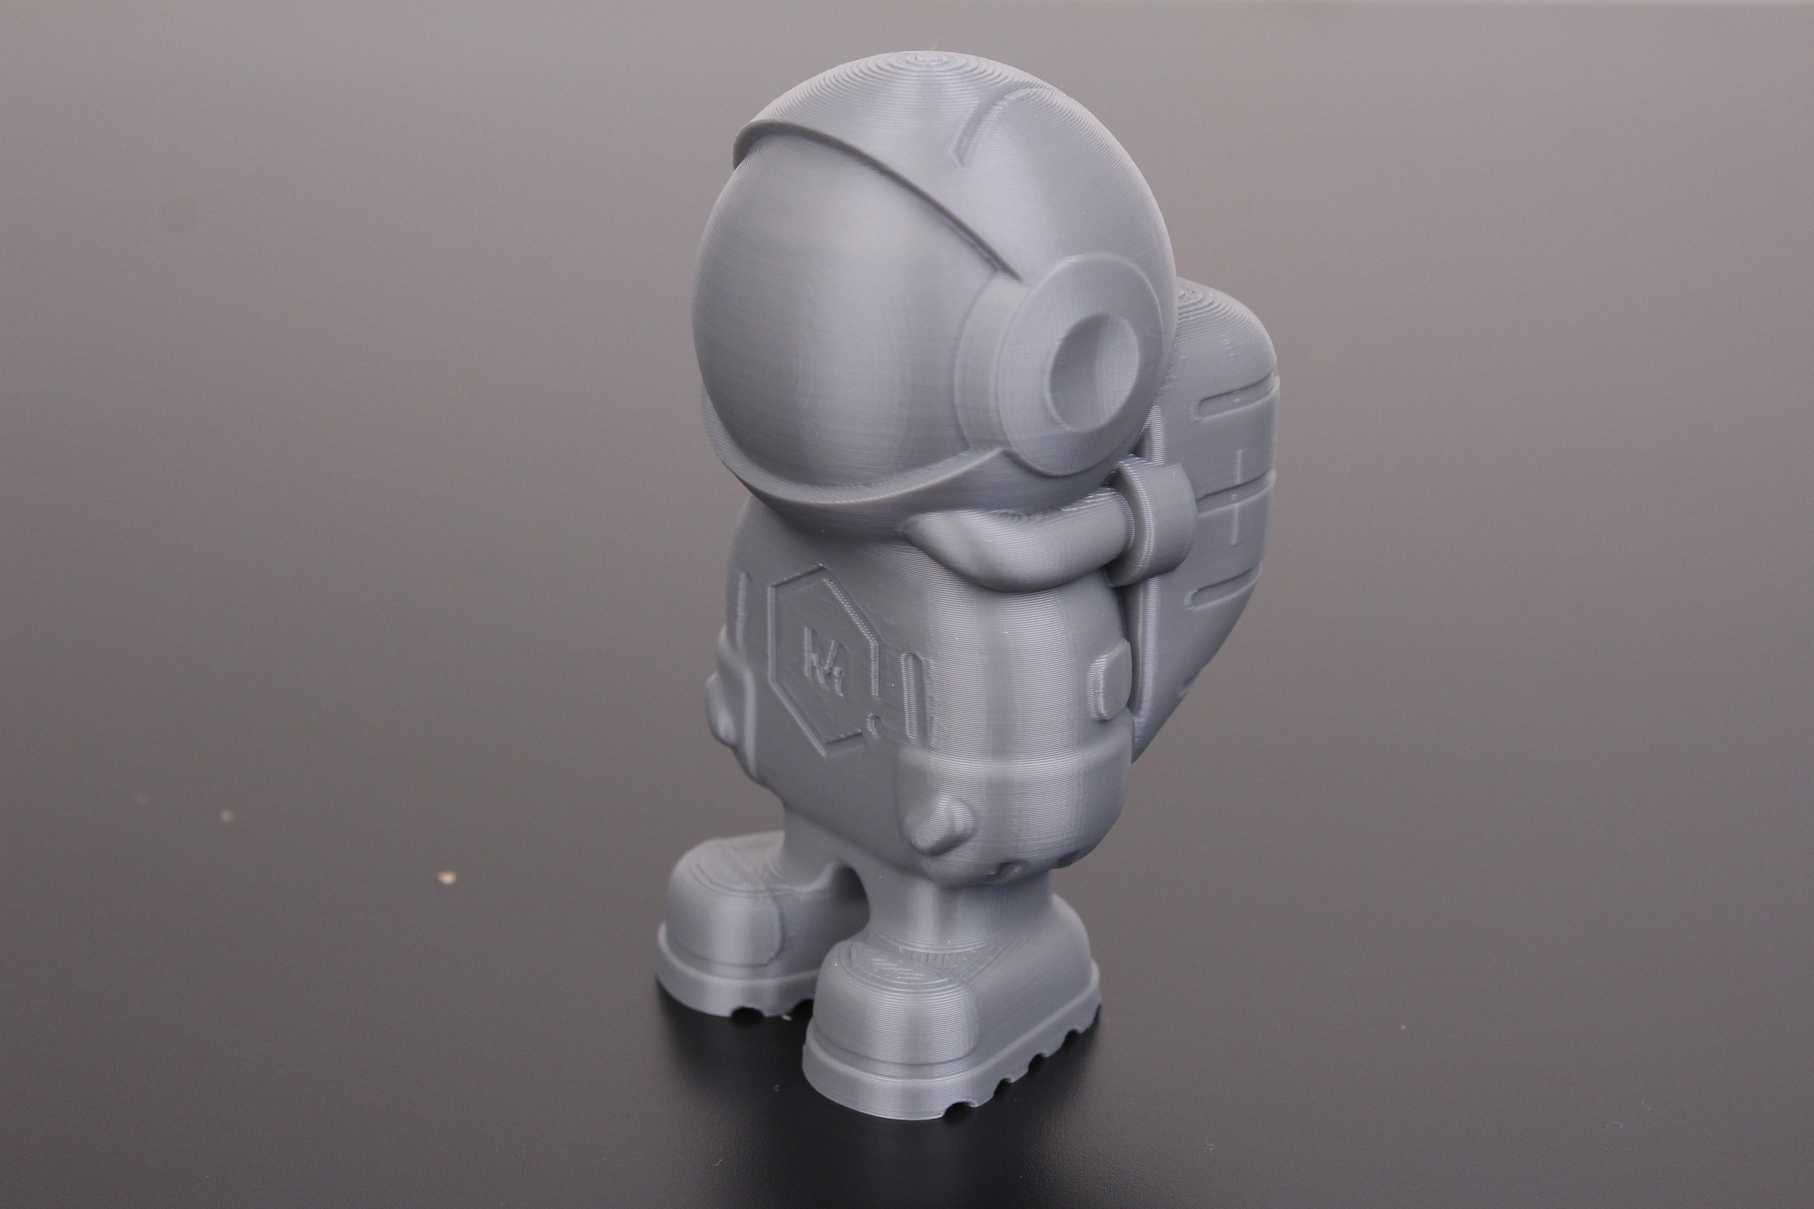
A good test model for overhangs and adhesion is Matterhackers Phil-A-Ment. The print quality is great, with good layering and overhangs quality. There are a few printing artifacts on the astronaut’s chest, but those are caused by the Z seam which is not aligned in the default VoxelMaker slicer profile.
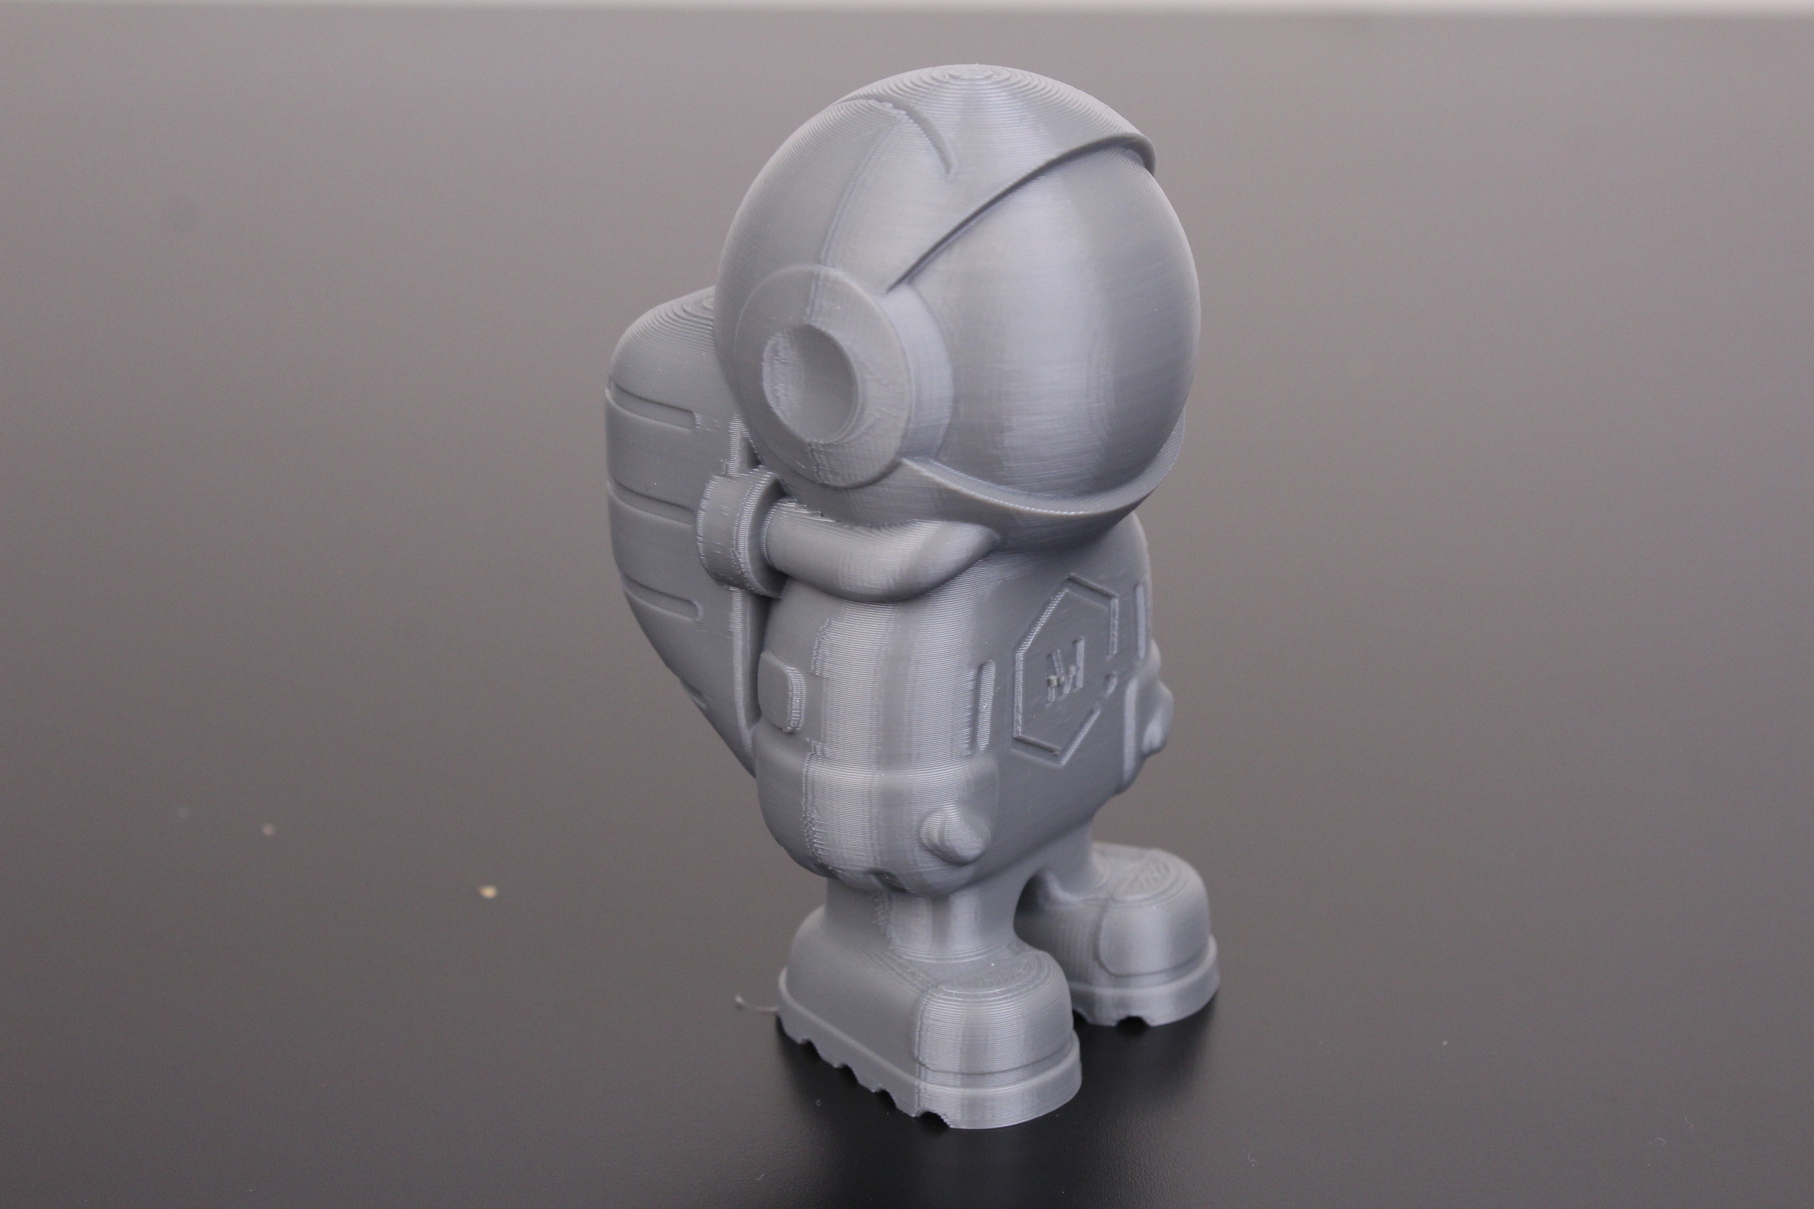
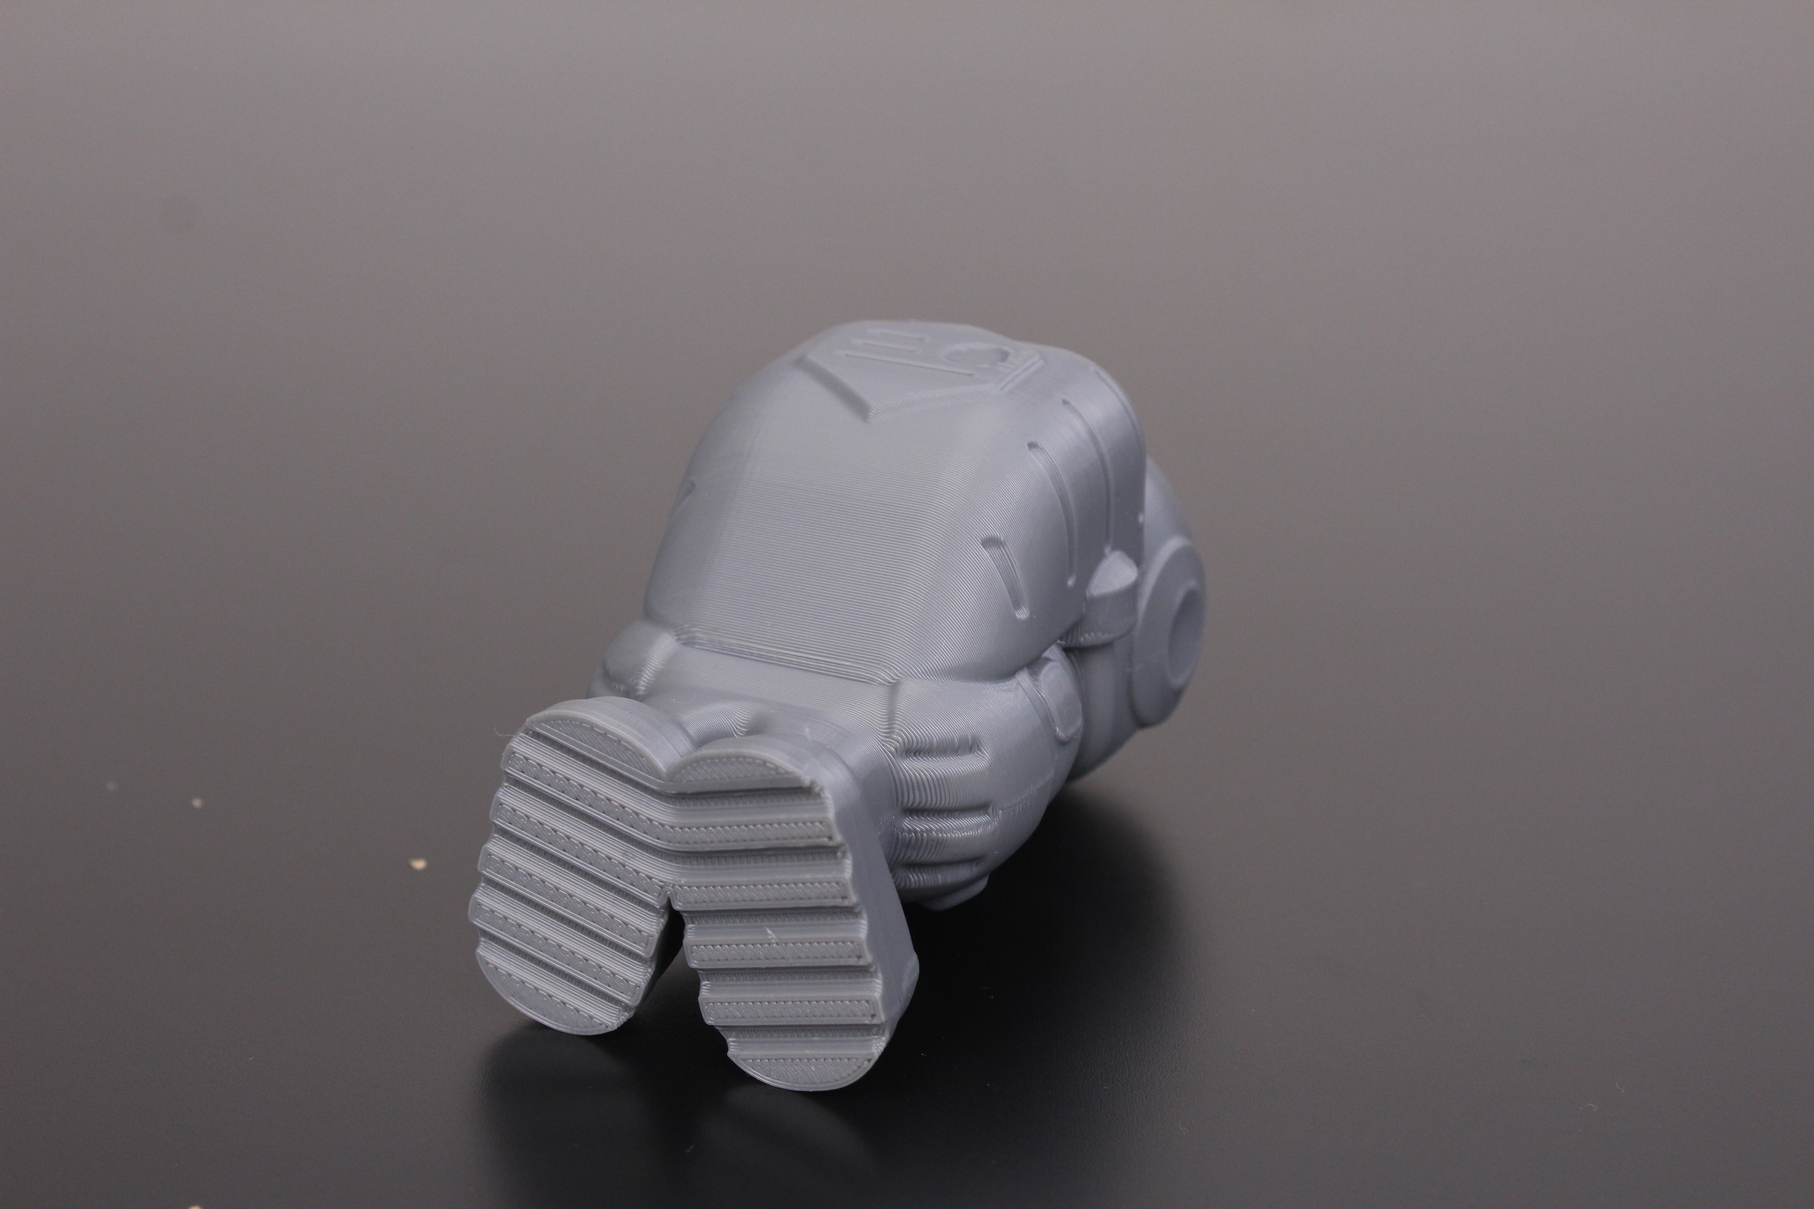
- Material: Gembird Gray PLA
- Layer Height: 0.2mm
- Nozzle Temperature: 215C
- Bed Temperature: 60C
- Print Speed: 50 mm/s
200% Calibration Cube
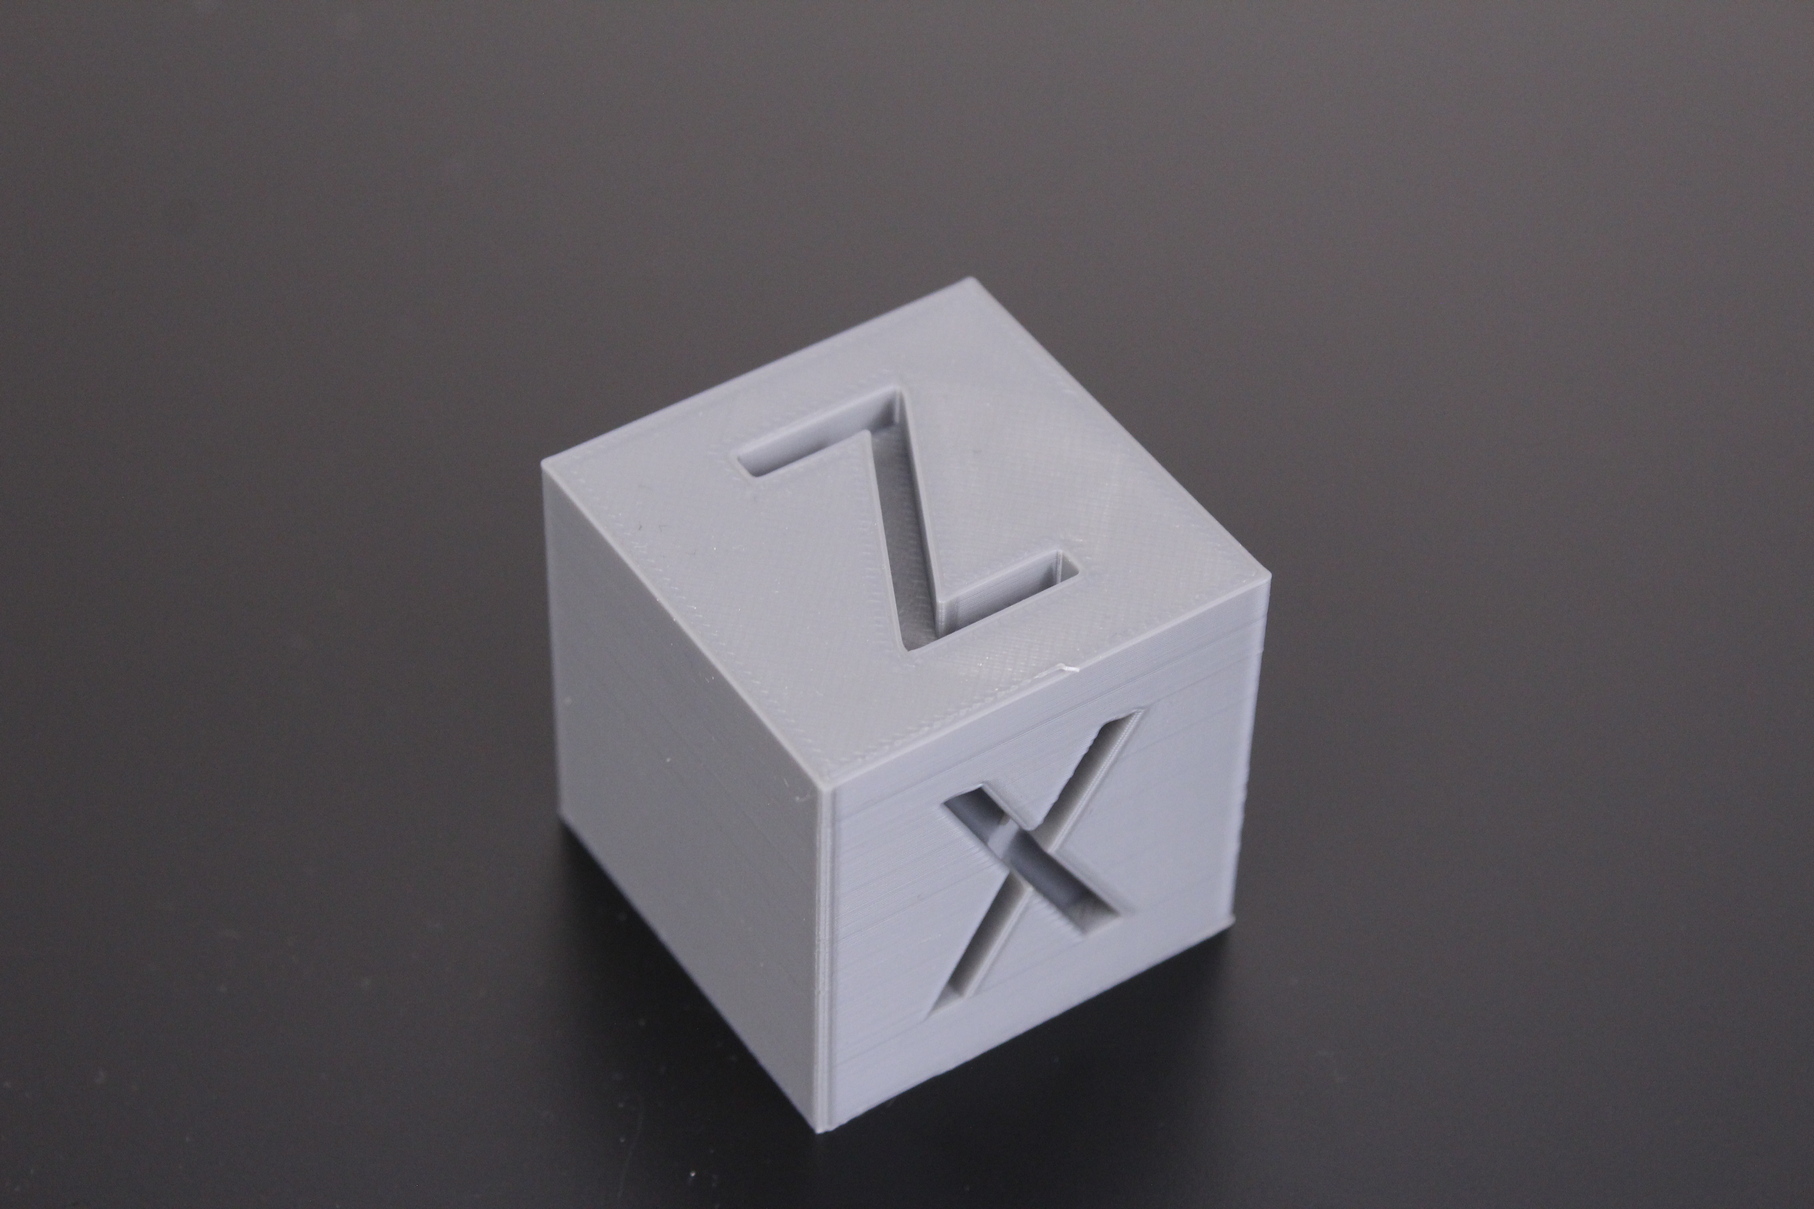
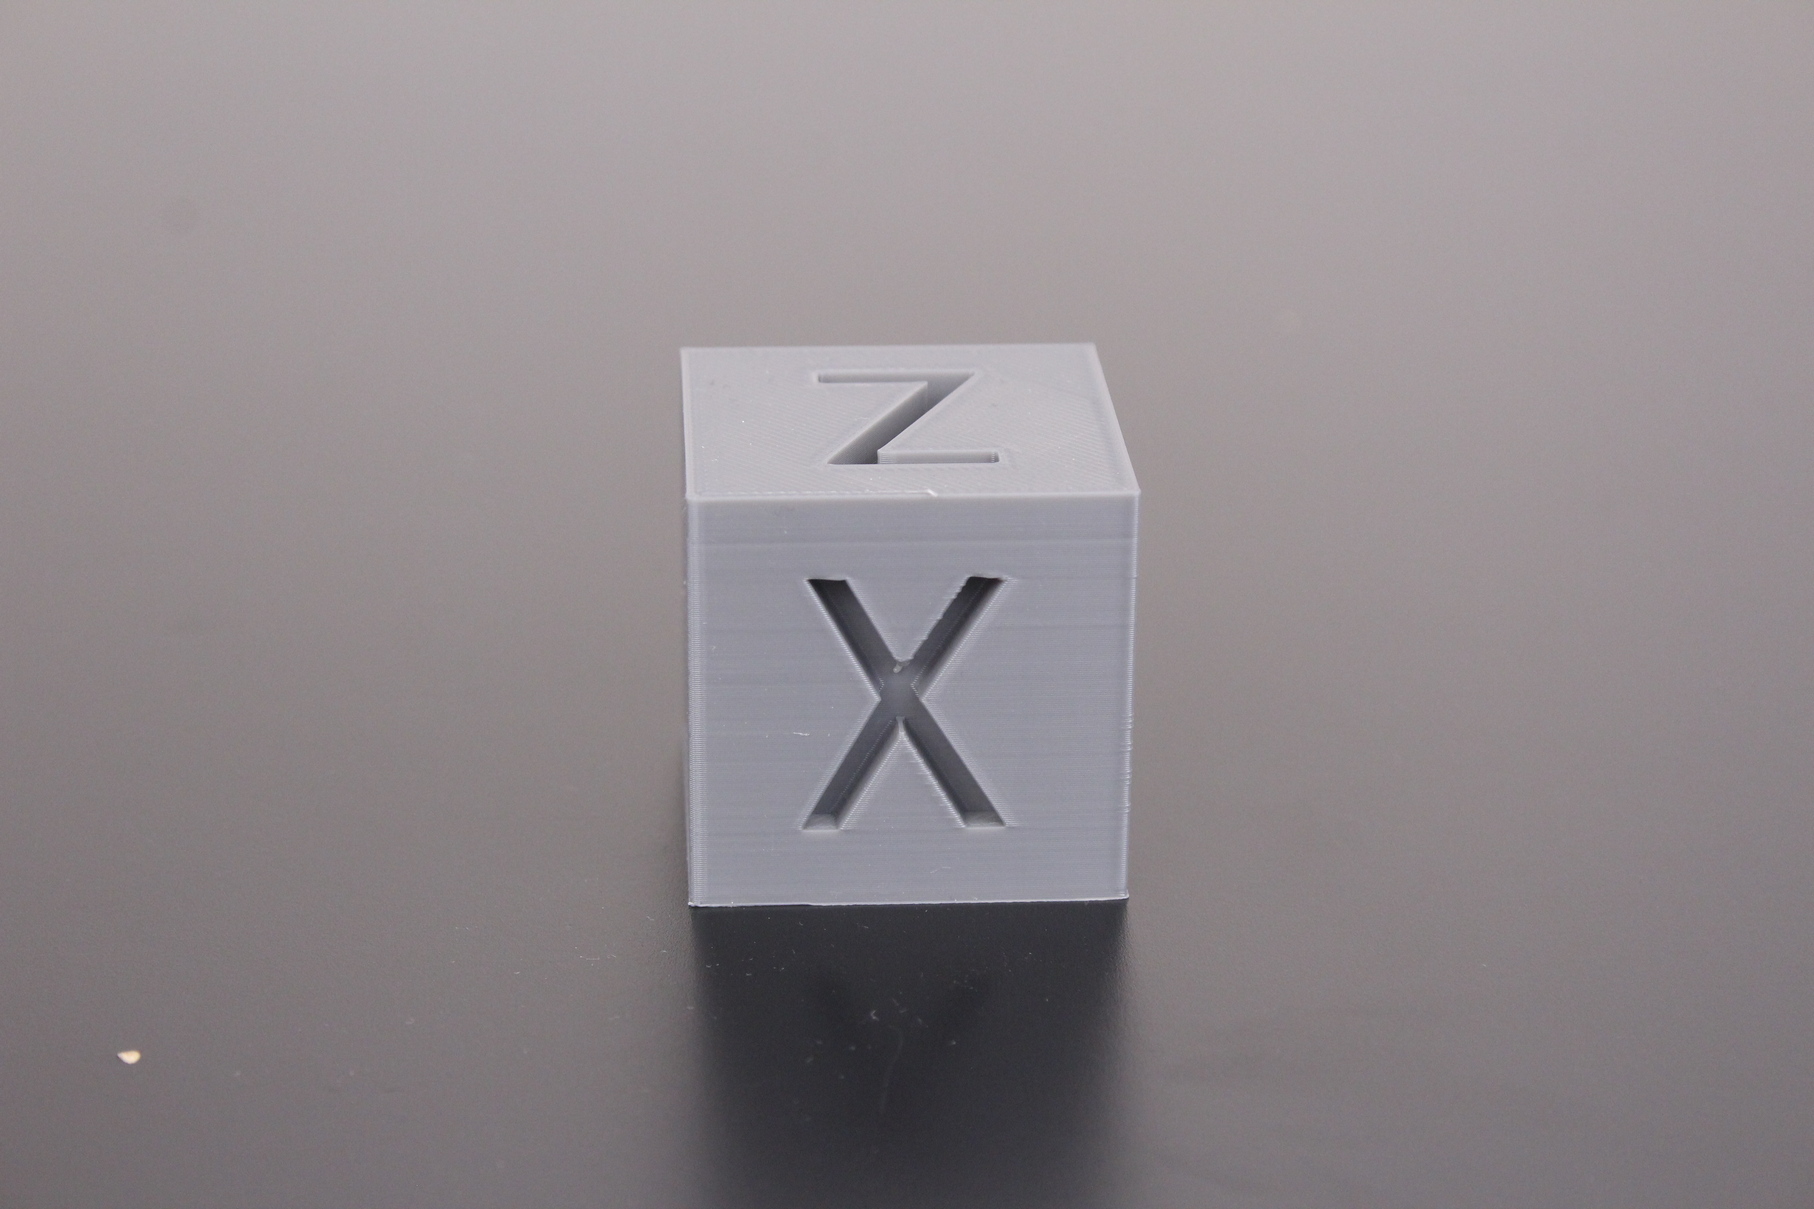
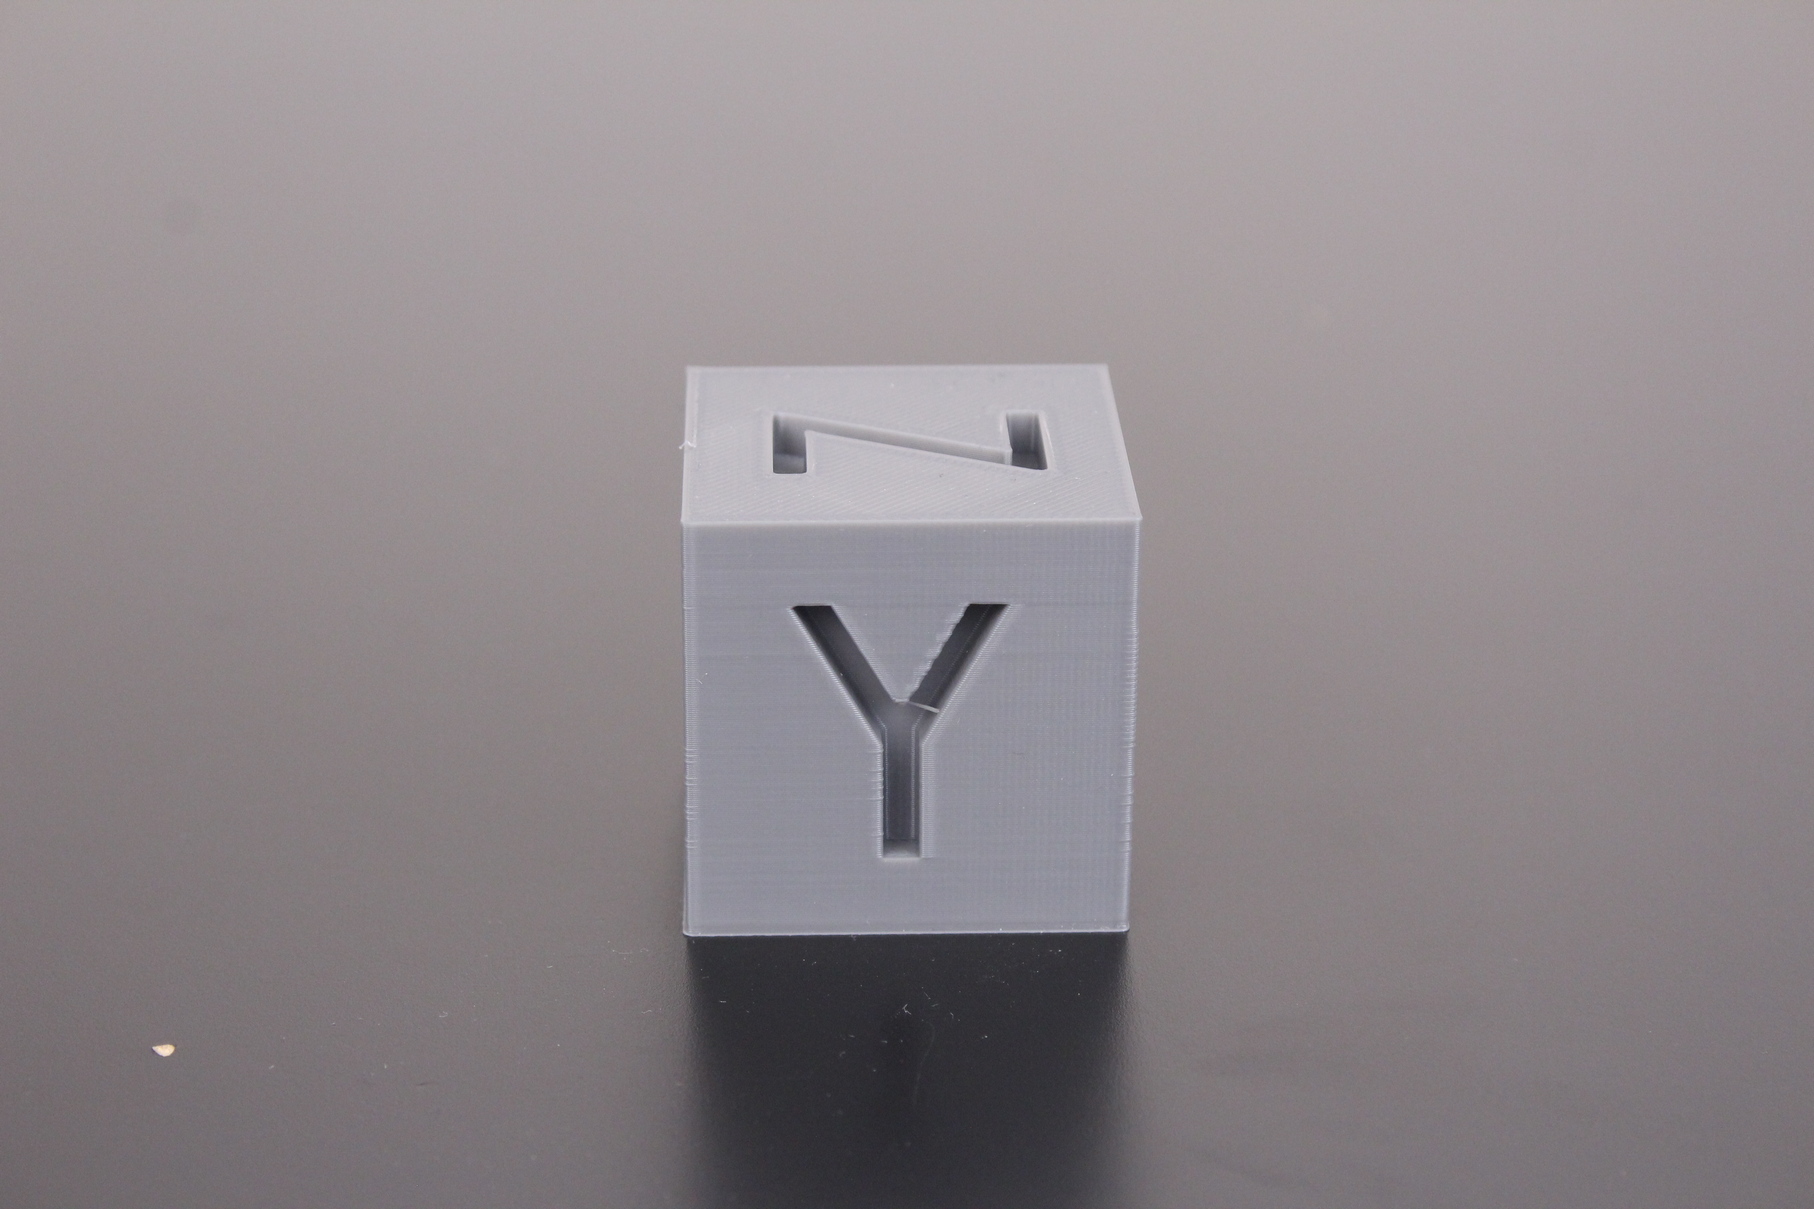
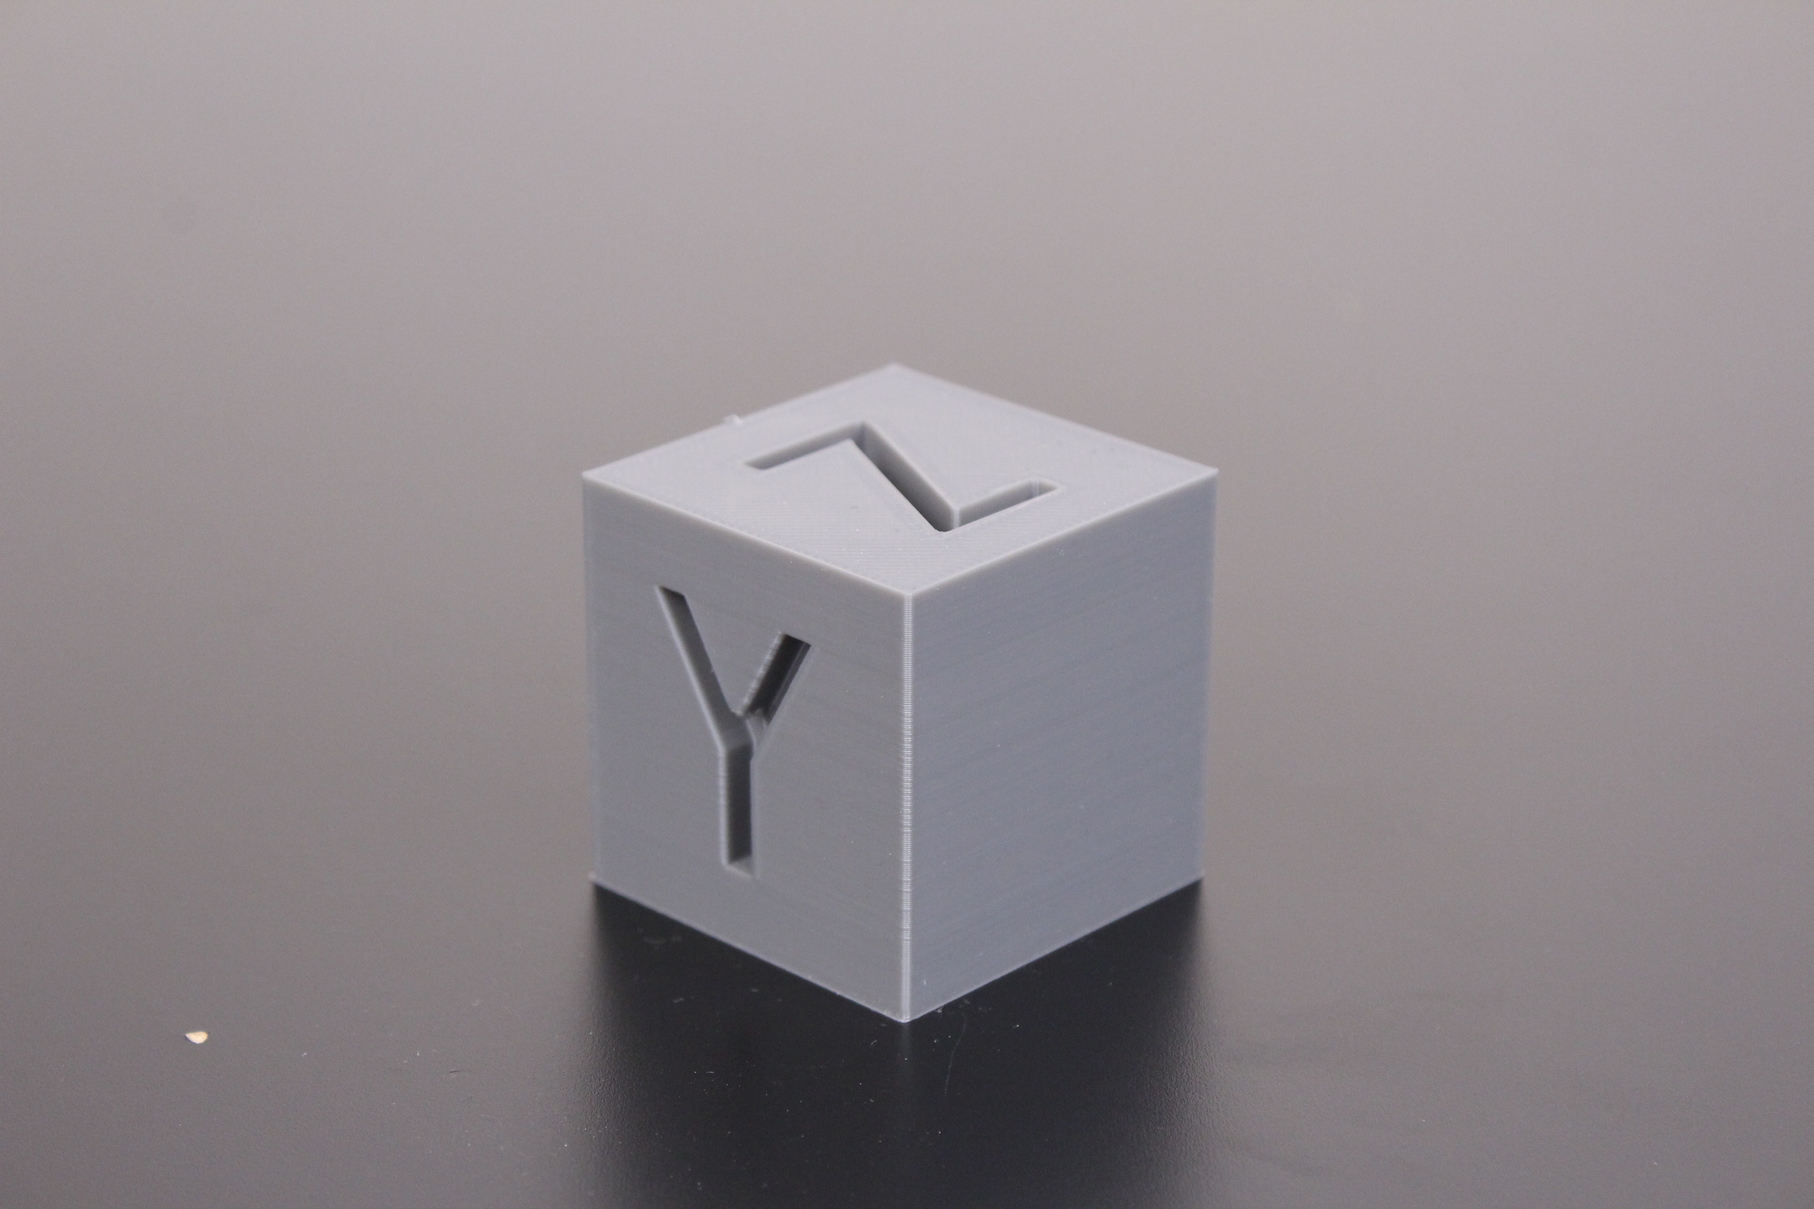
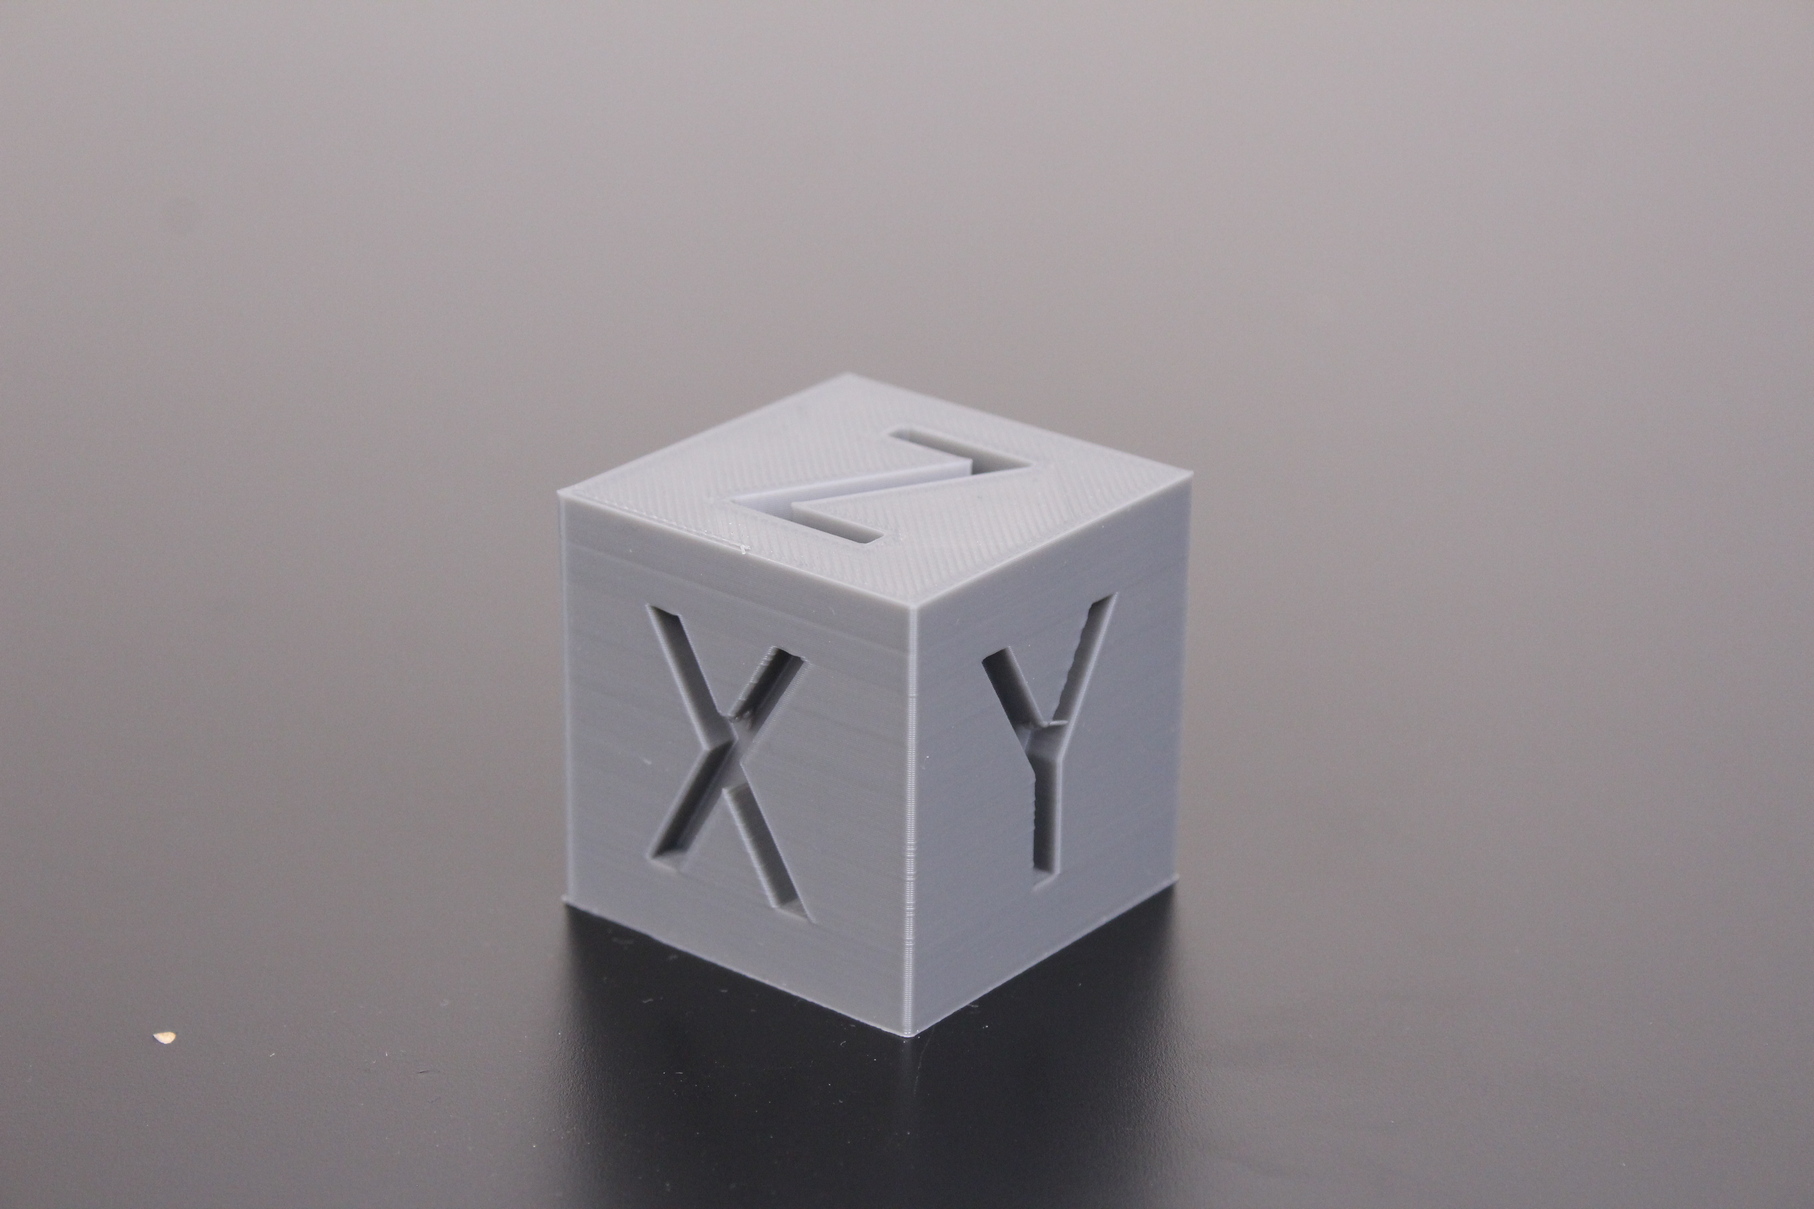
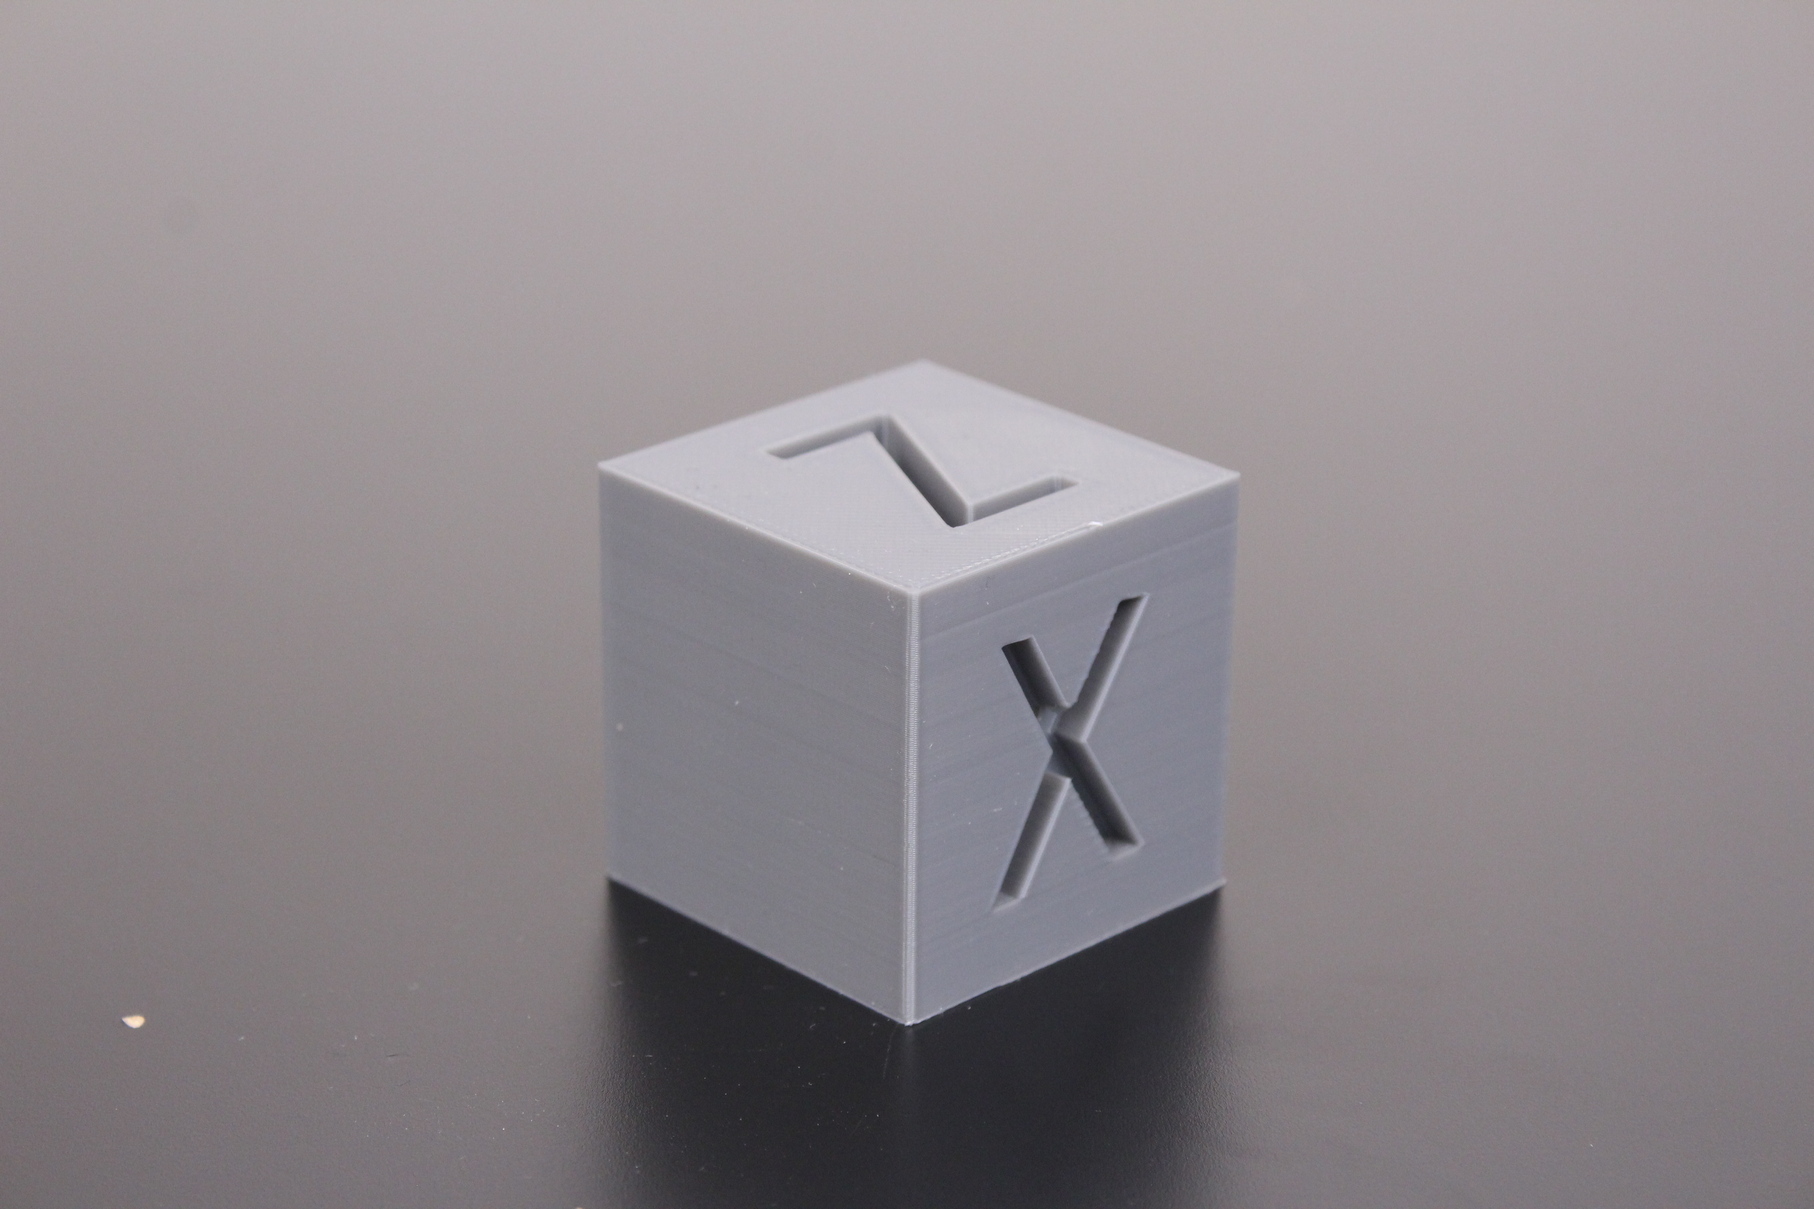
Another regular print test I did with the Voxelab Aries is a 200% calibration cube. The corners were sharper than expected for a printer which doesn’t use Linear Advance. Besides that, I was impressed by the excellent top-layer quality which almost looks like it was printed using the Ironing feature present in other slicers. Overall, a great test cube.
- Material: Gembird Gray PLA
- Layer Height: 0.2mm
- Nozzle Temperature: 215C
- Bed Temperature: 60C
- Print Speed: 50 mm/s
Torture Toaster
After a few failures, I was finally able to print the Torture Toaster from Clockspring 3D. The print quality is good, with decent overhangs. Unfortunately, the tolerance indicators were mostly stuck, and I was only able to move the 0.5mm one. It might be possible to get better tolerances by calibrating flow rate.
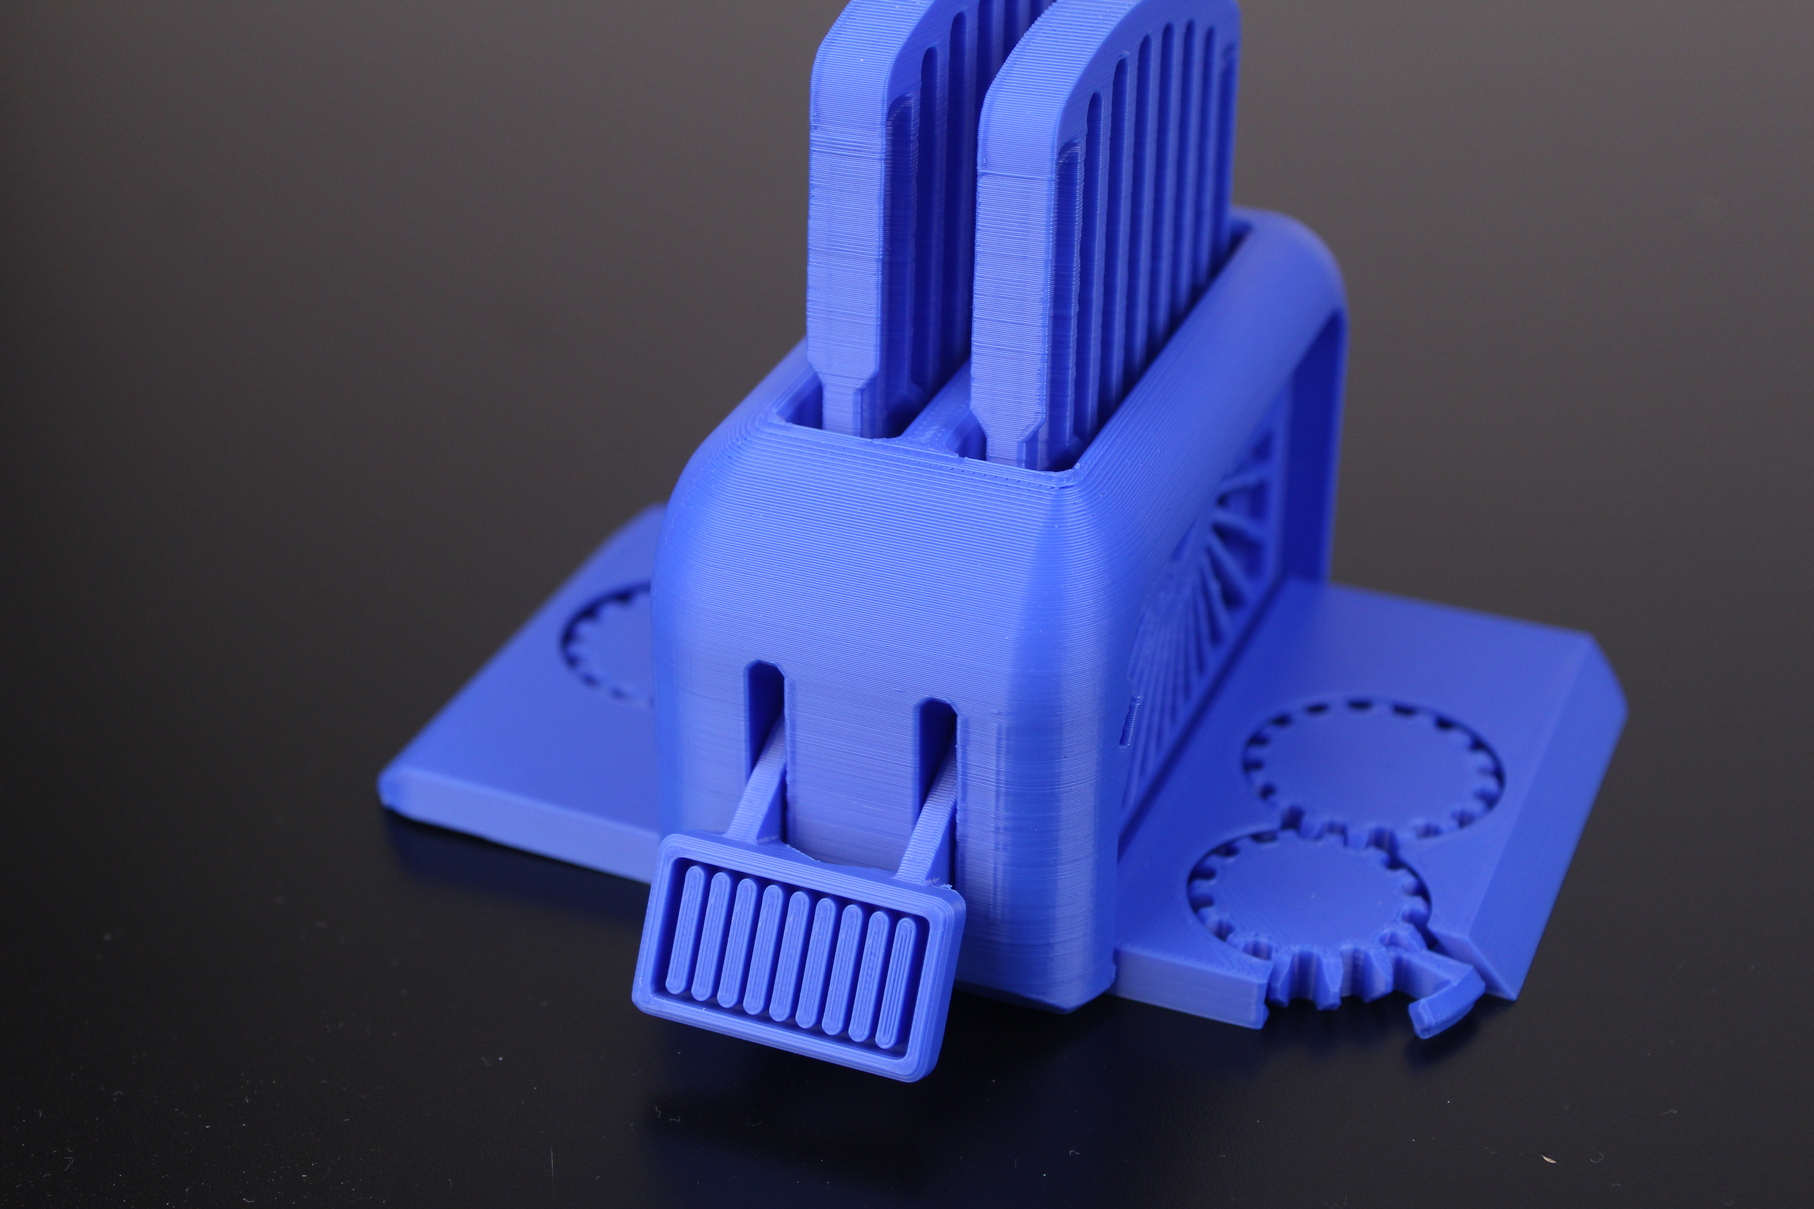
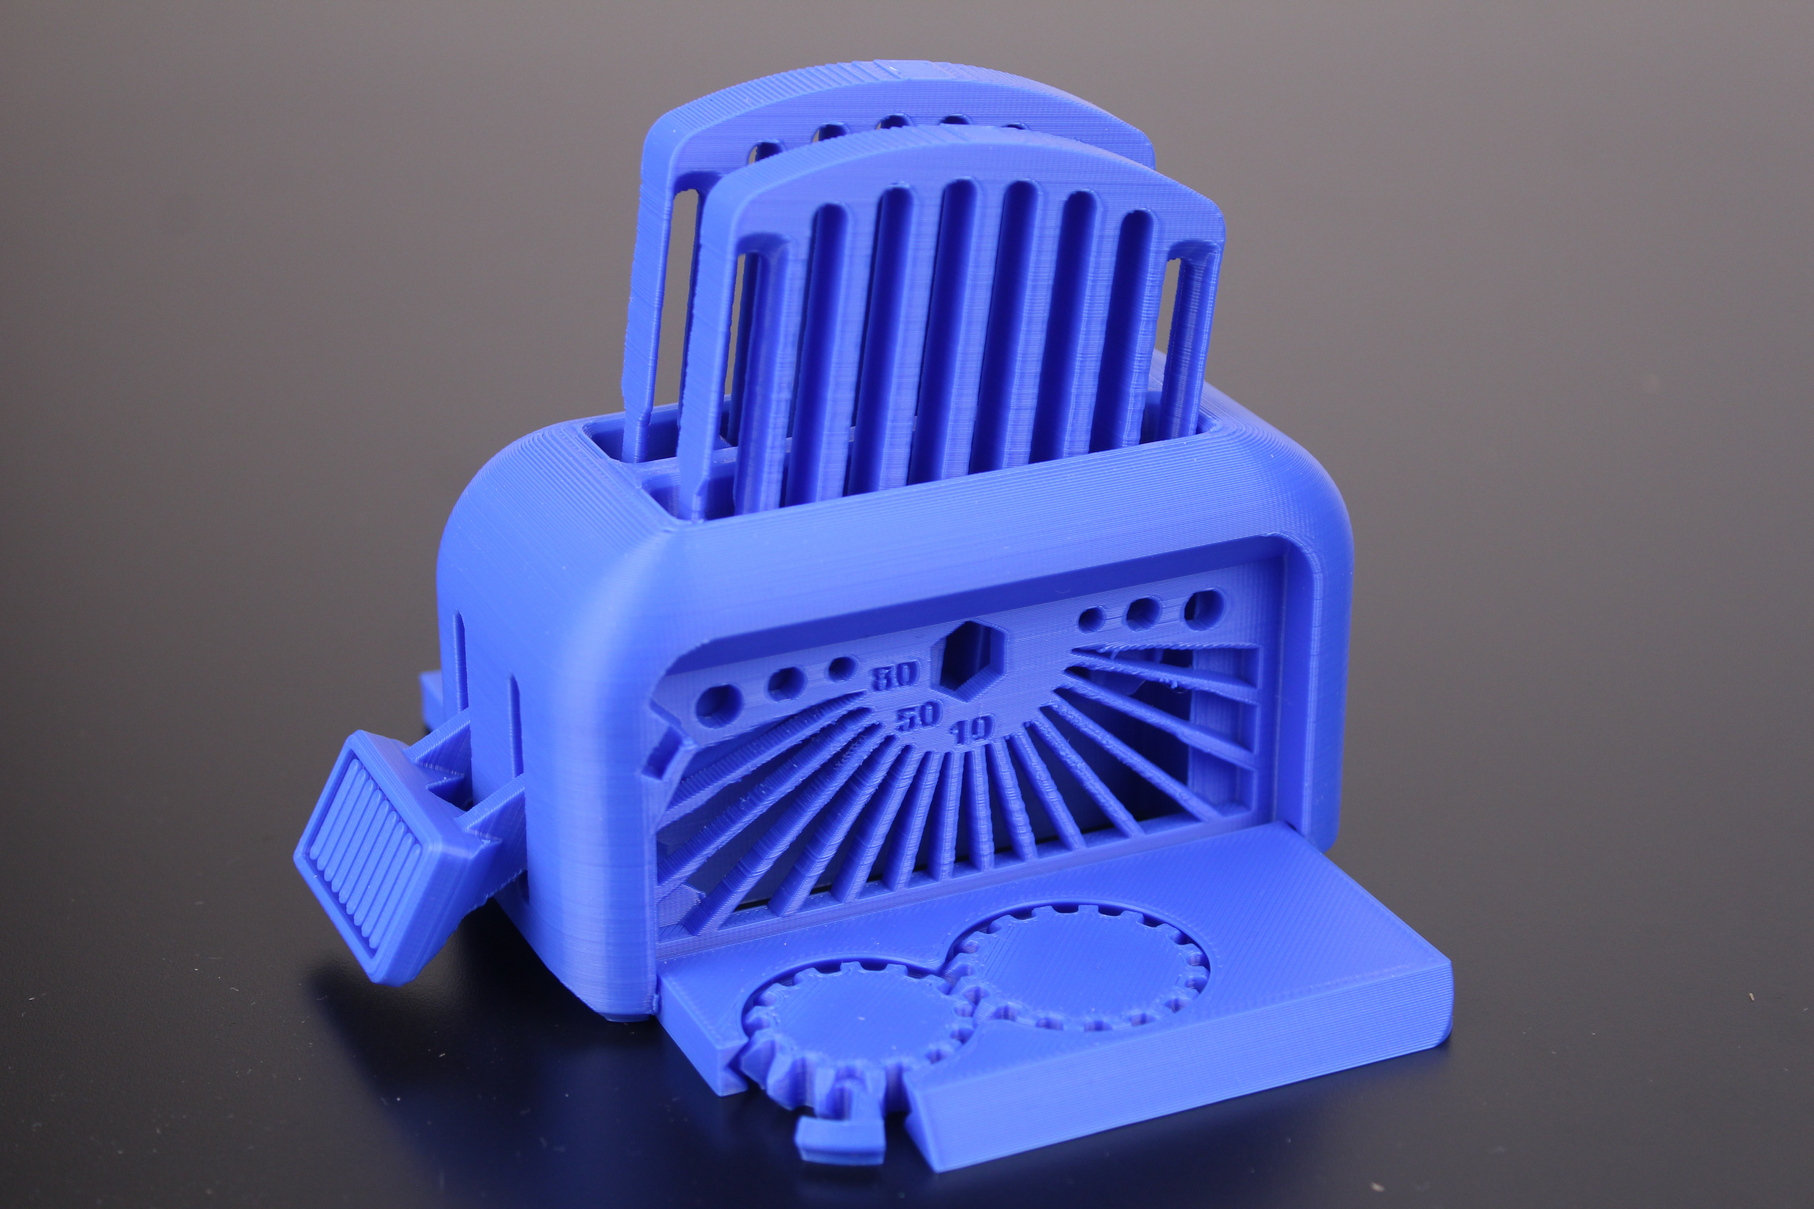
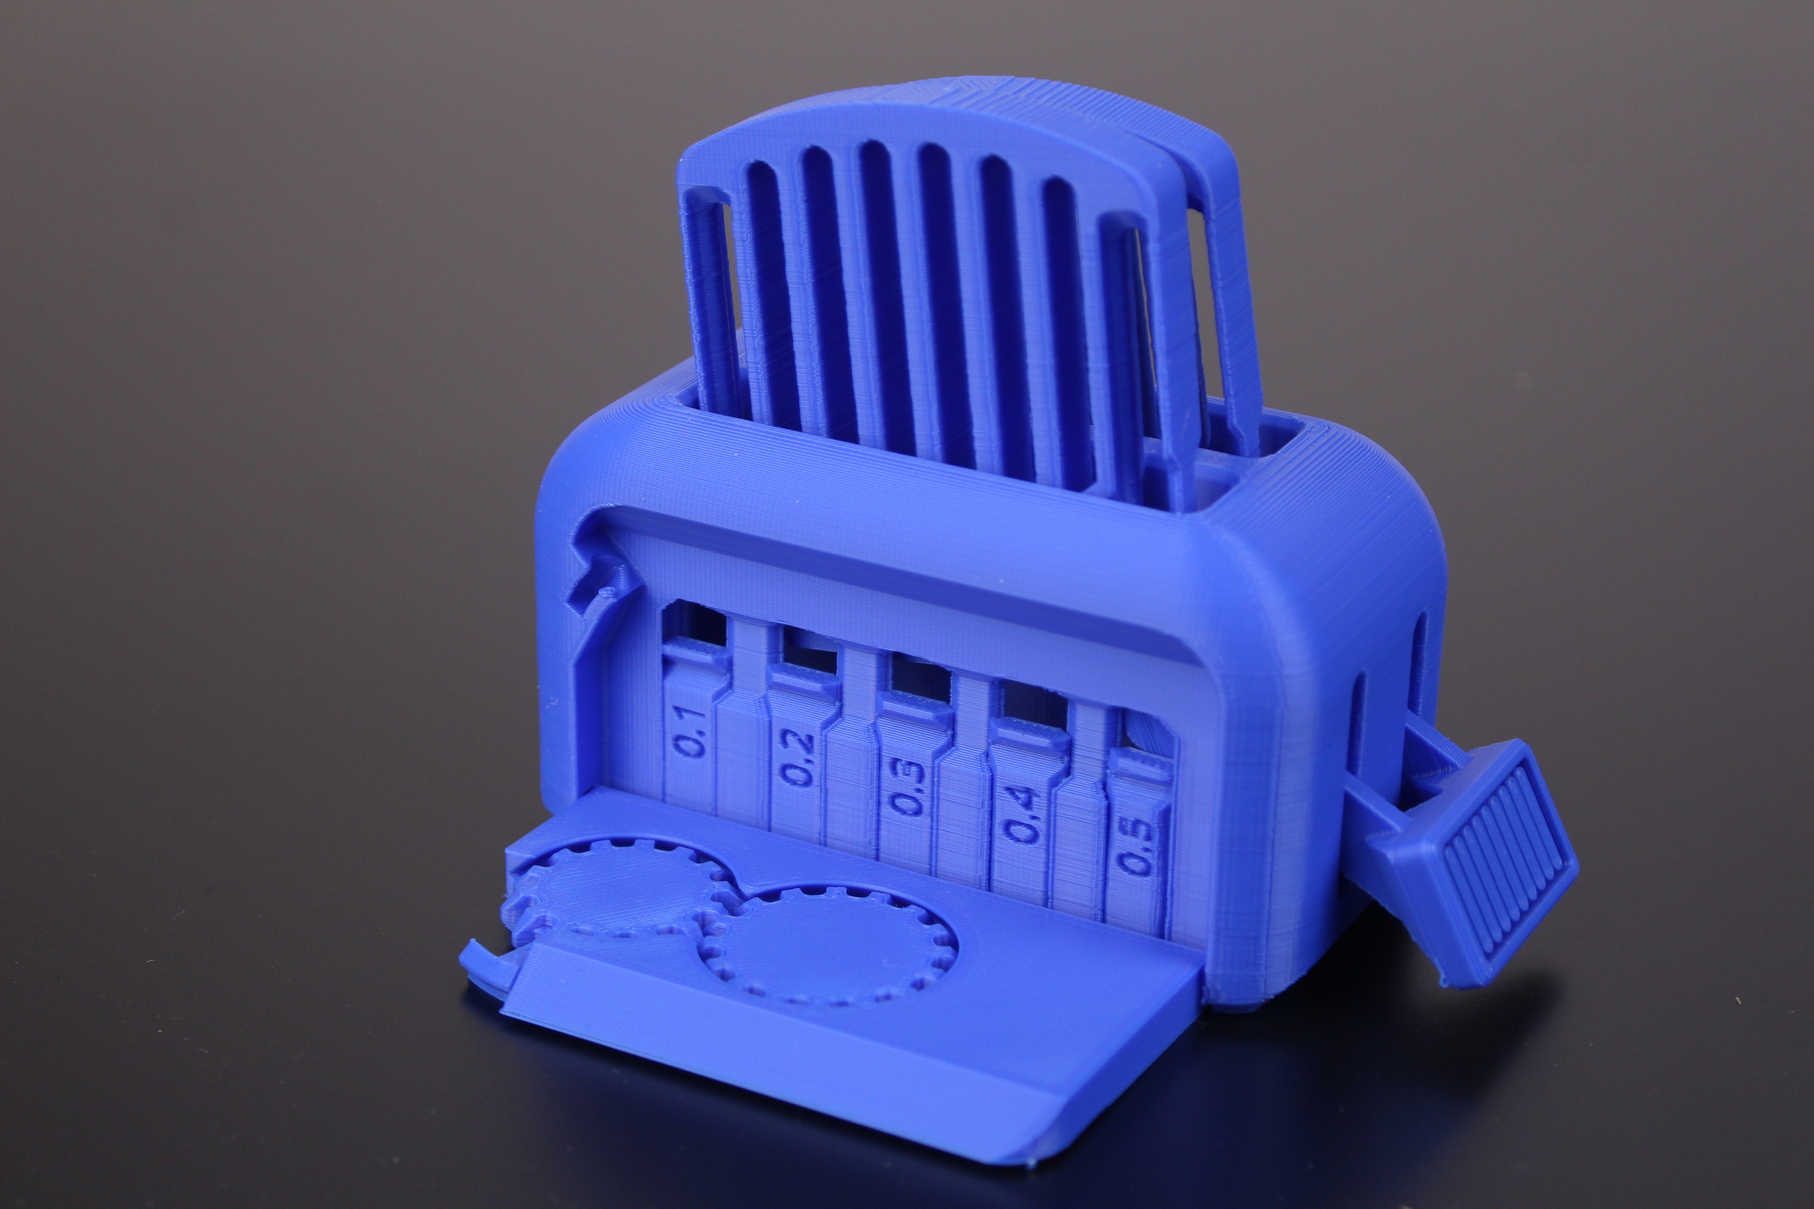
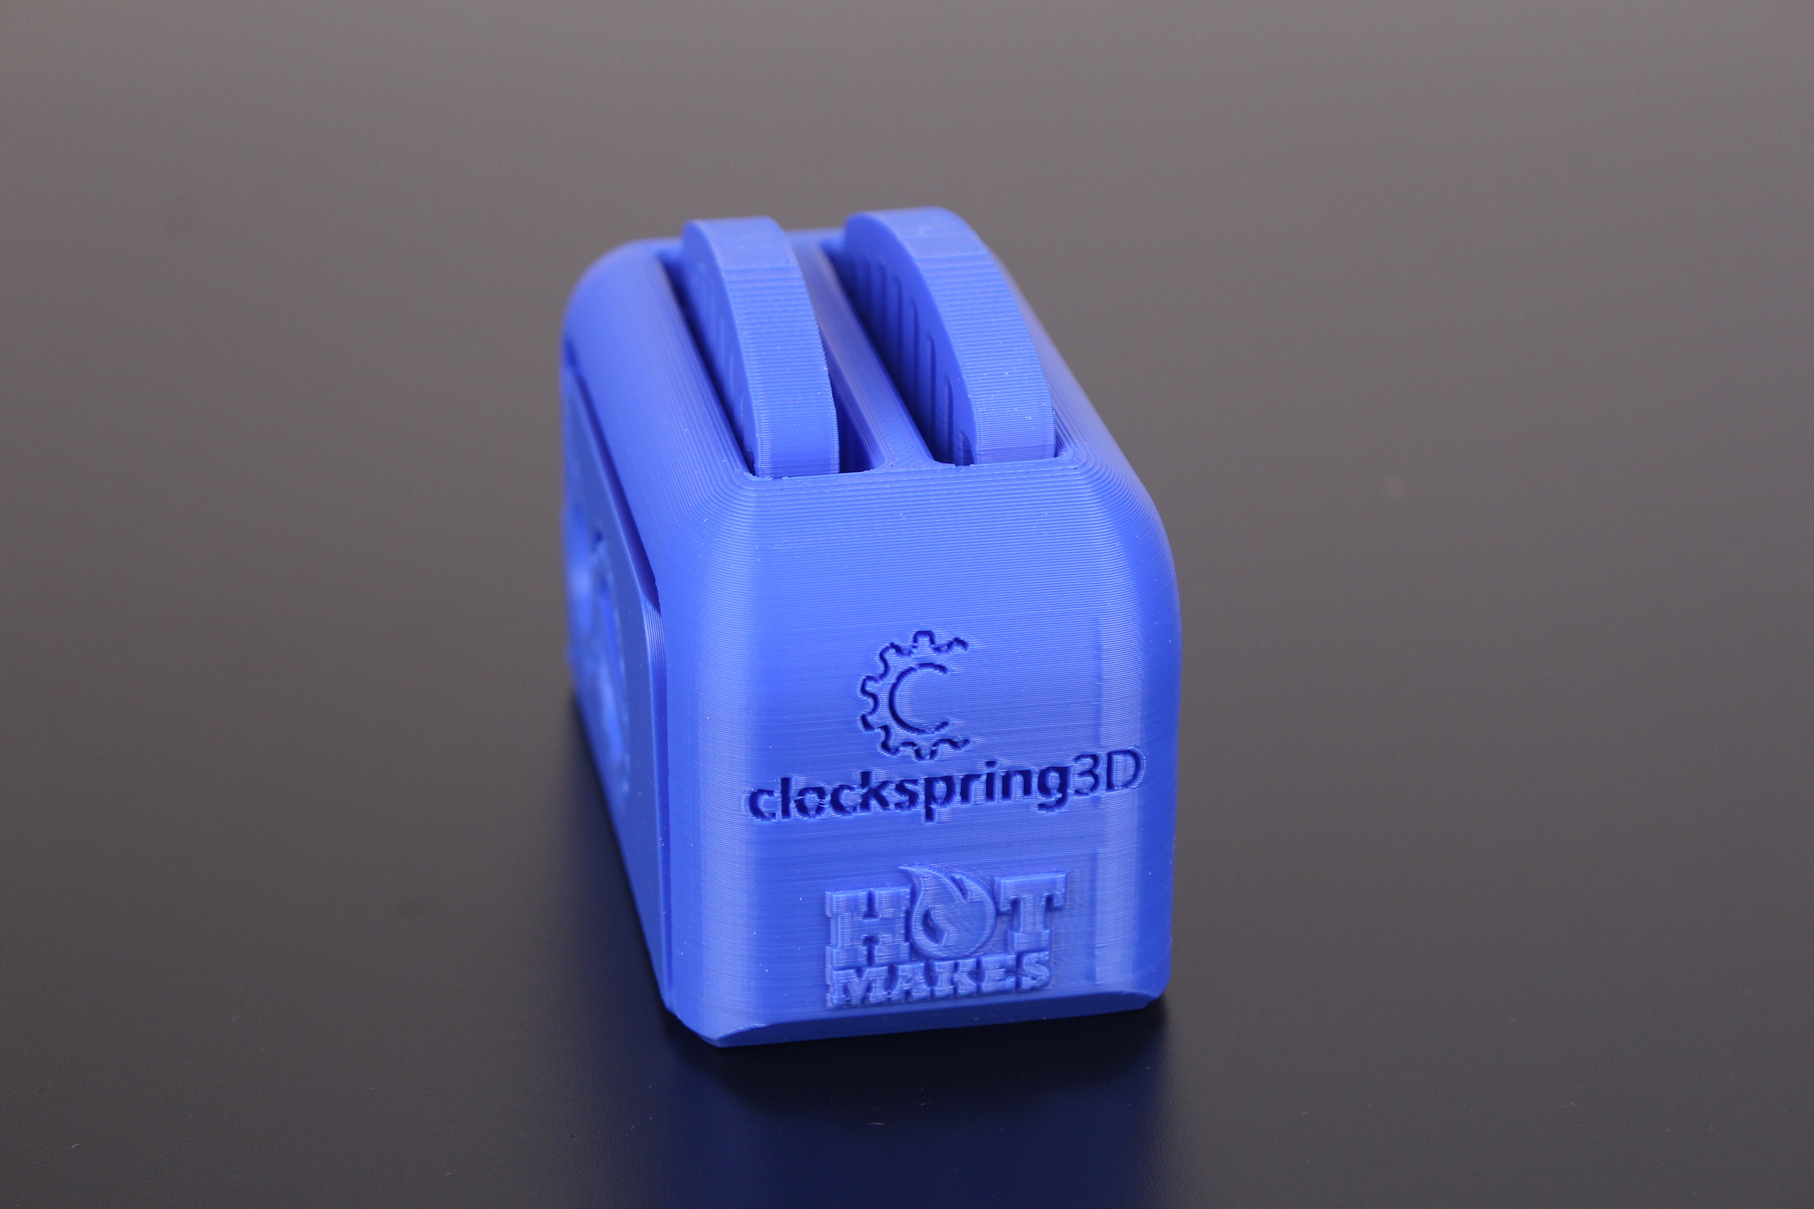
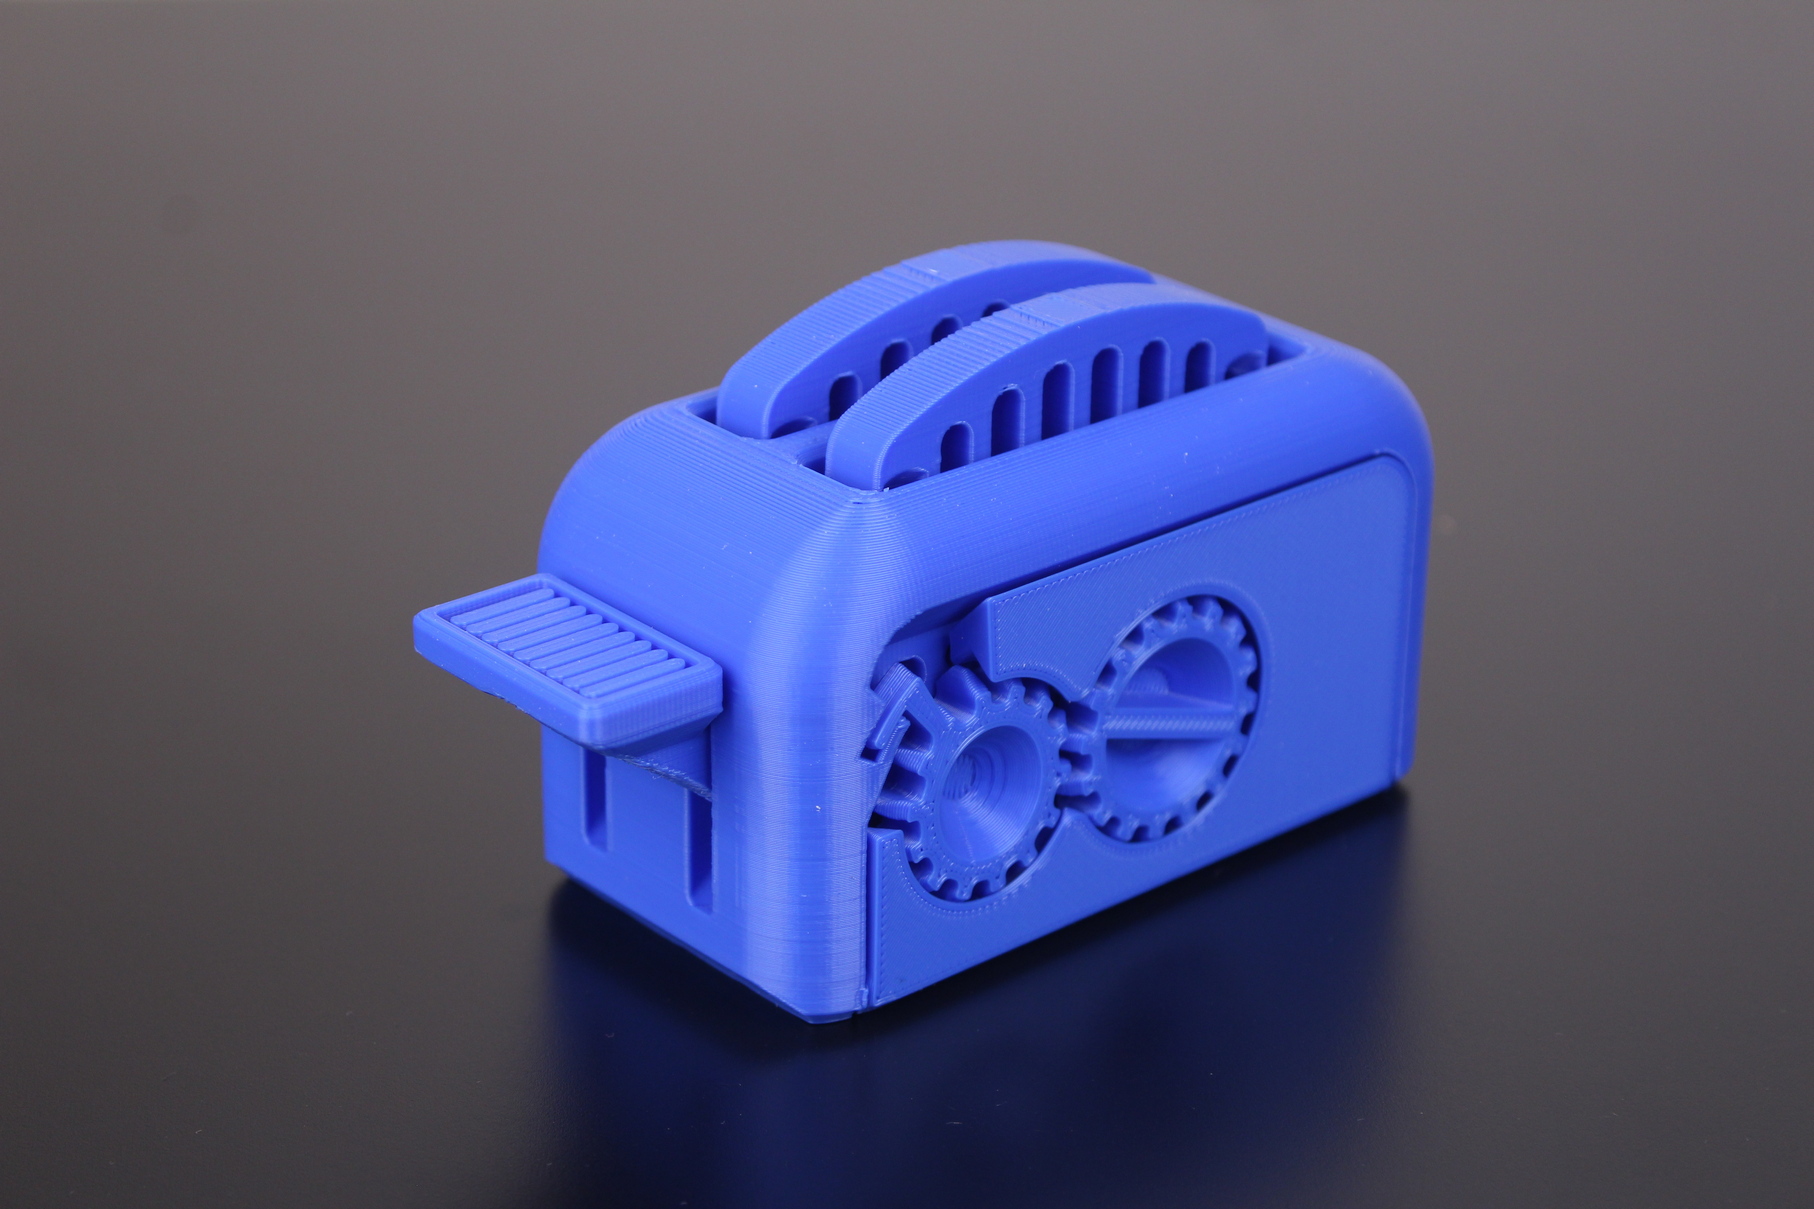
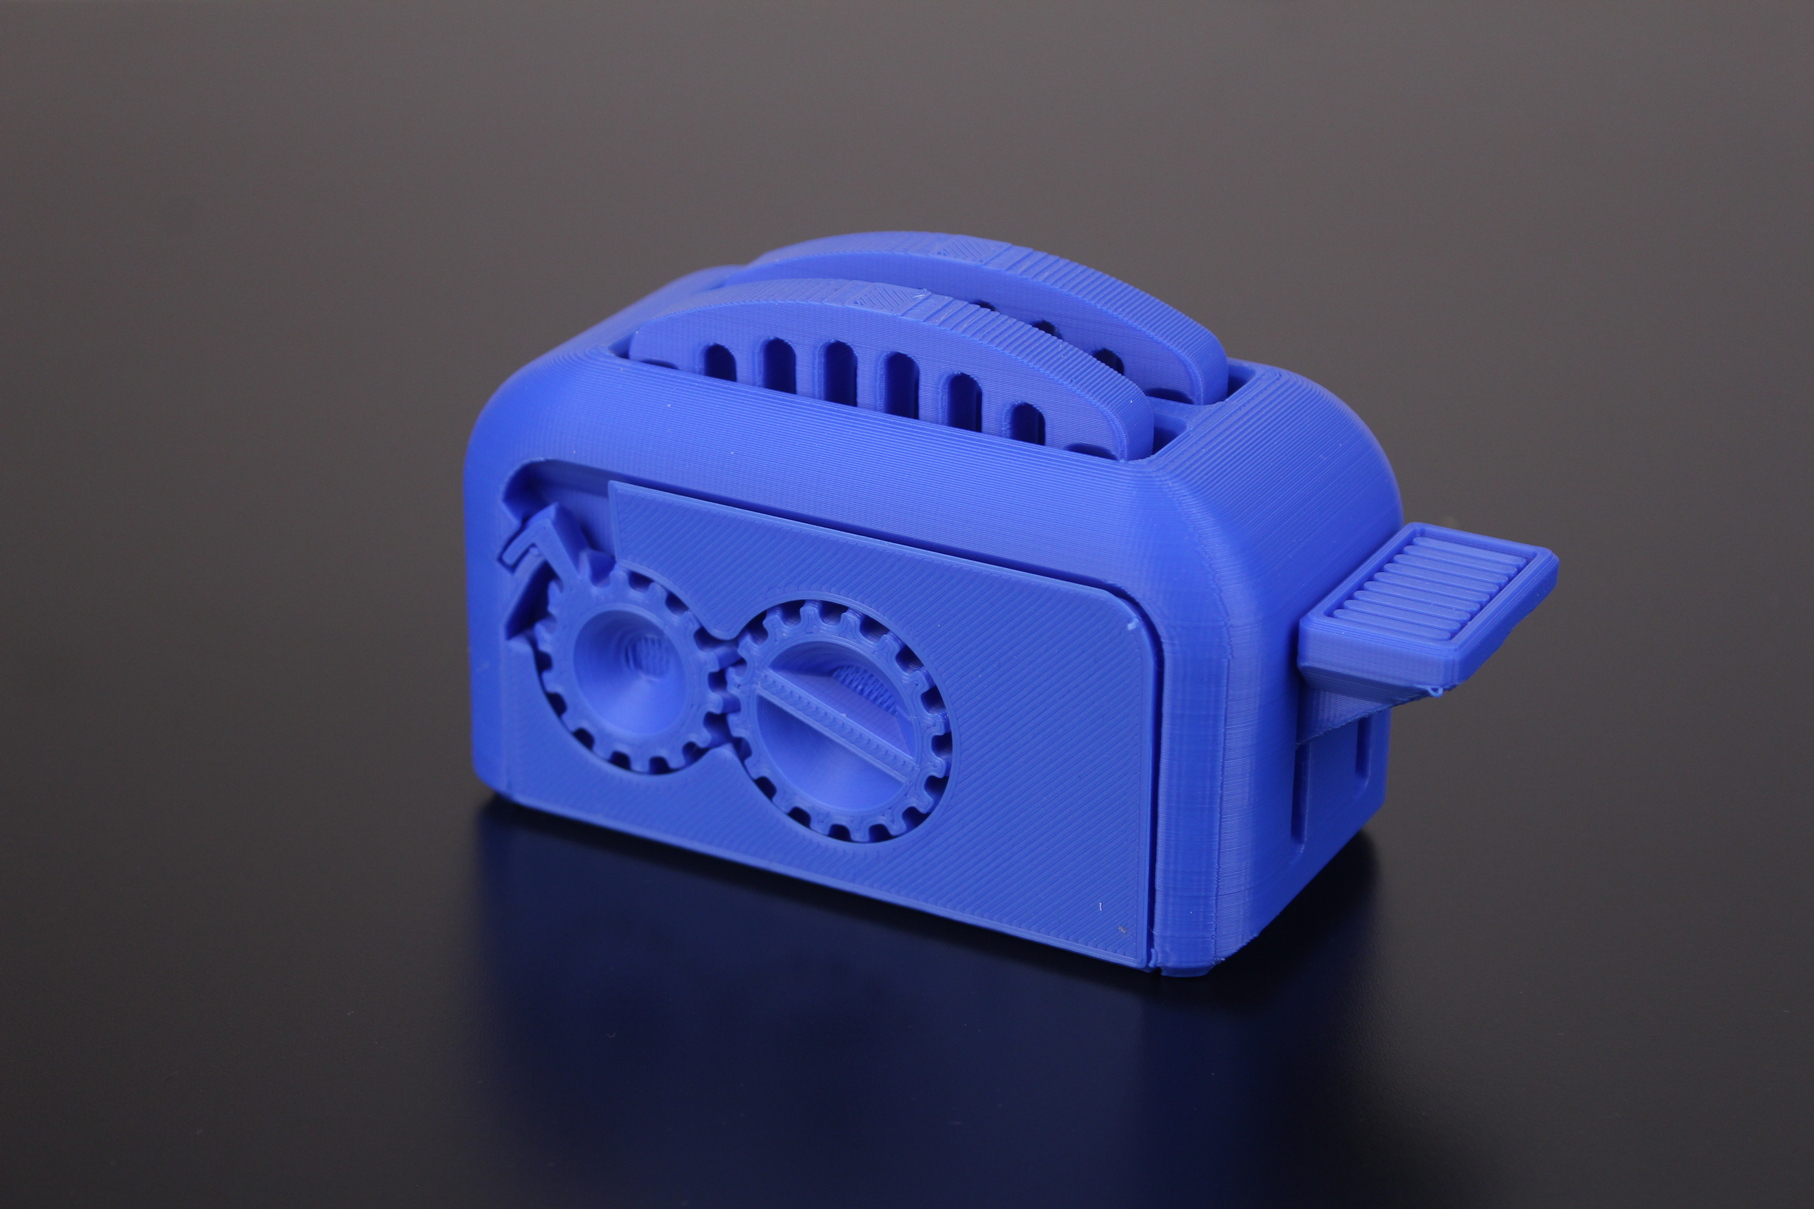
- Material: Anycubic Blue PLA
- Layer Height: 0.15mm
- Nozzle Temperature: 215C
- Bed Temperature: 60C
- Print Speed: 60 mm/s
Flexi Turtle
The Flexi Turtle doesn’t looks as good as the other prints, mainly because of the small under-extrusion issues present on some sections of the print. I think it’s caused by the 210C print temperature I used, where maybe an extra 5C would have helped. The under-extrusion issue seems to be more noticeable on small sections of the print, so the high retraction value in the slicer profile could have contributed to this.
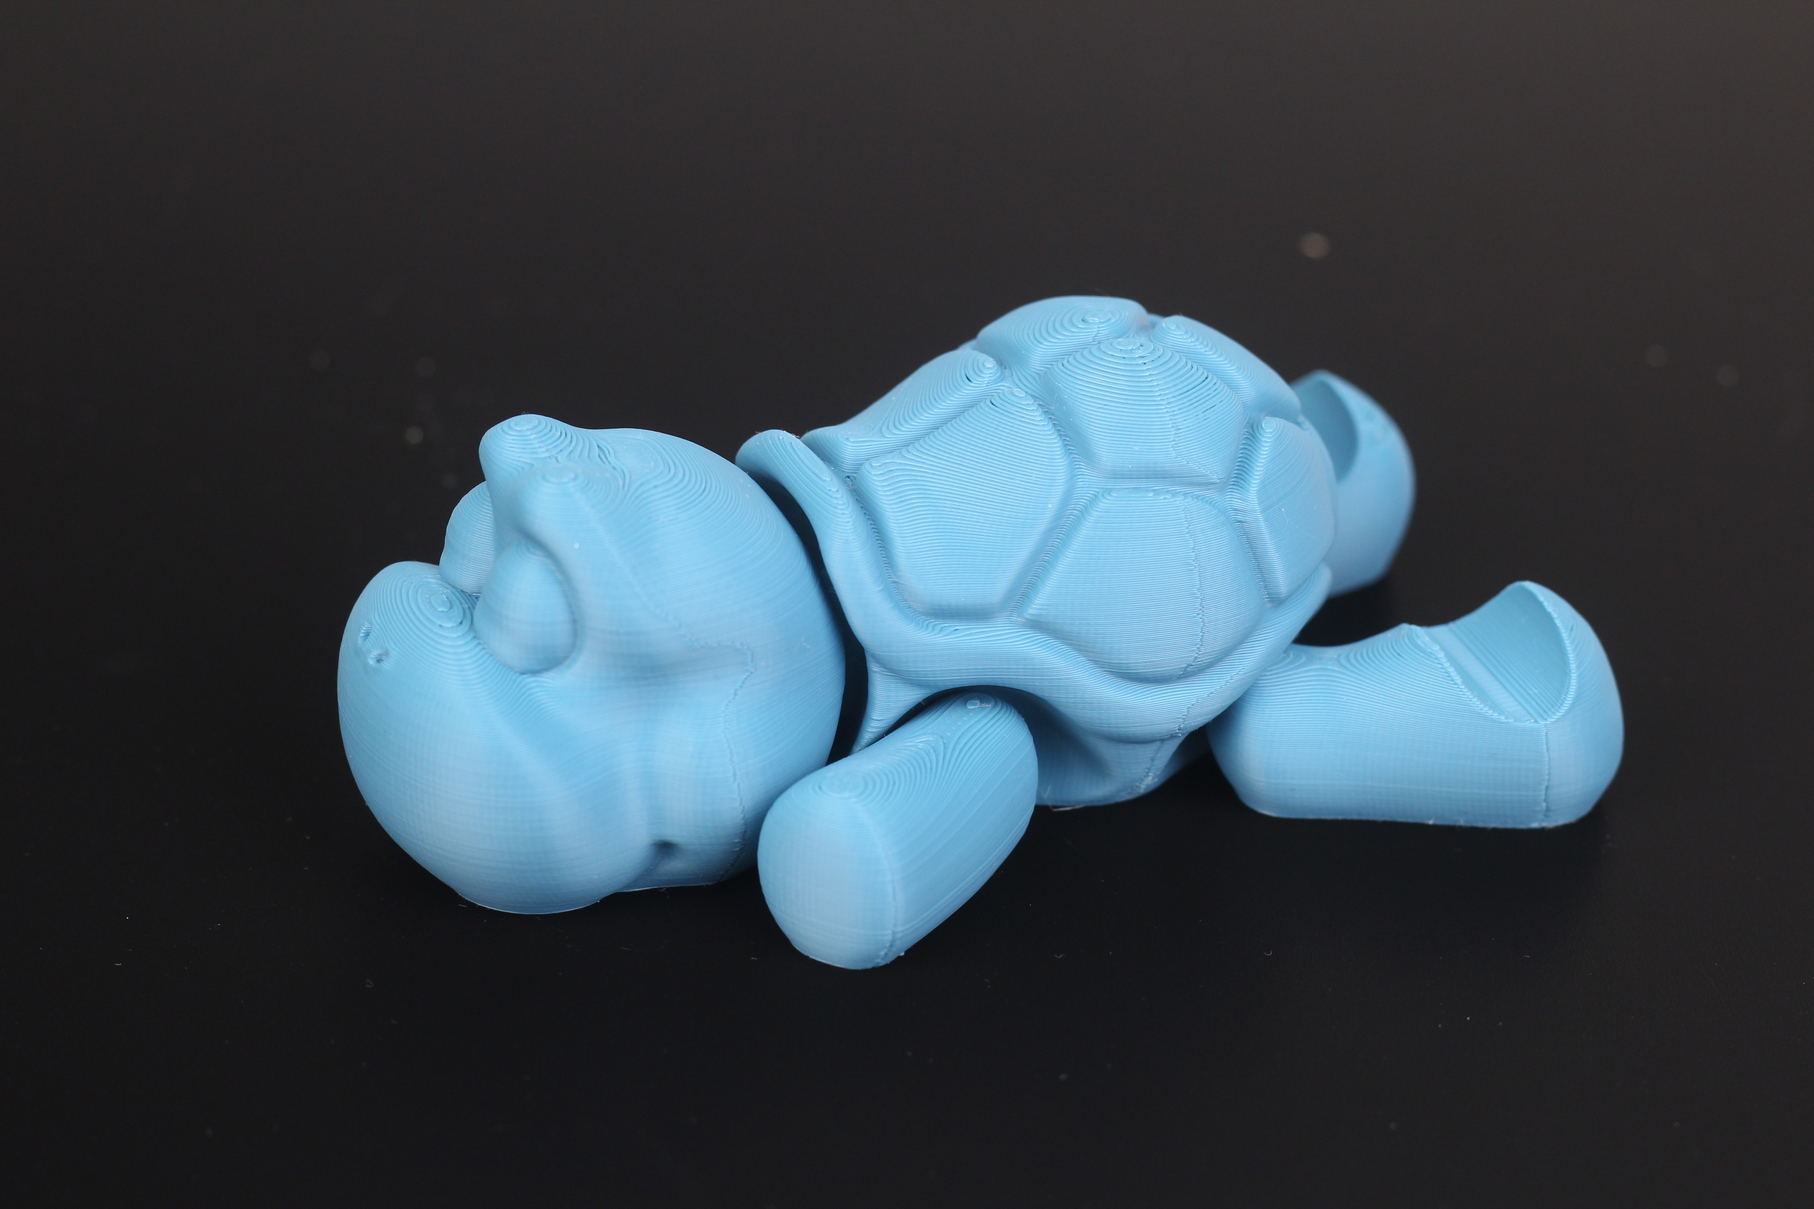
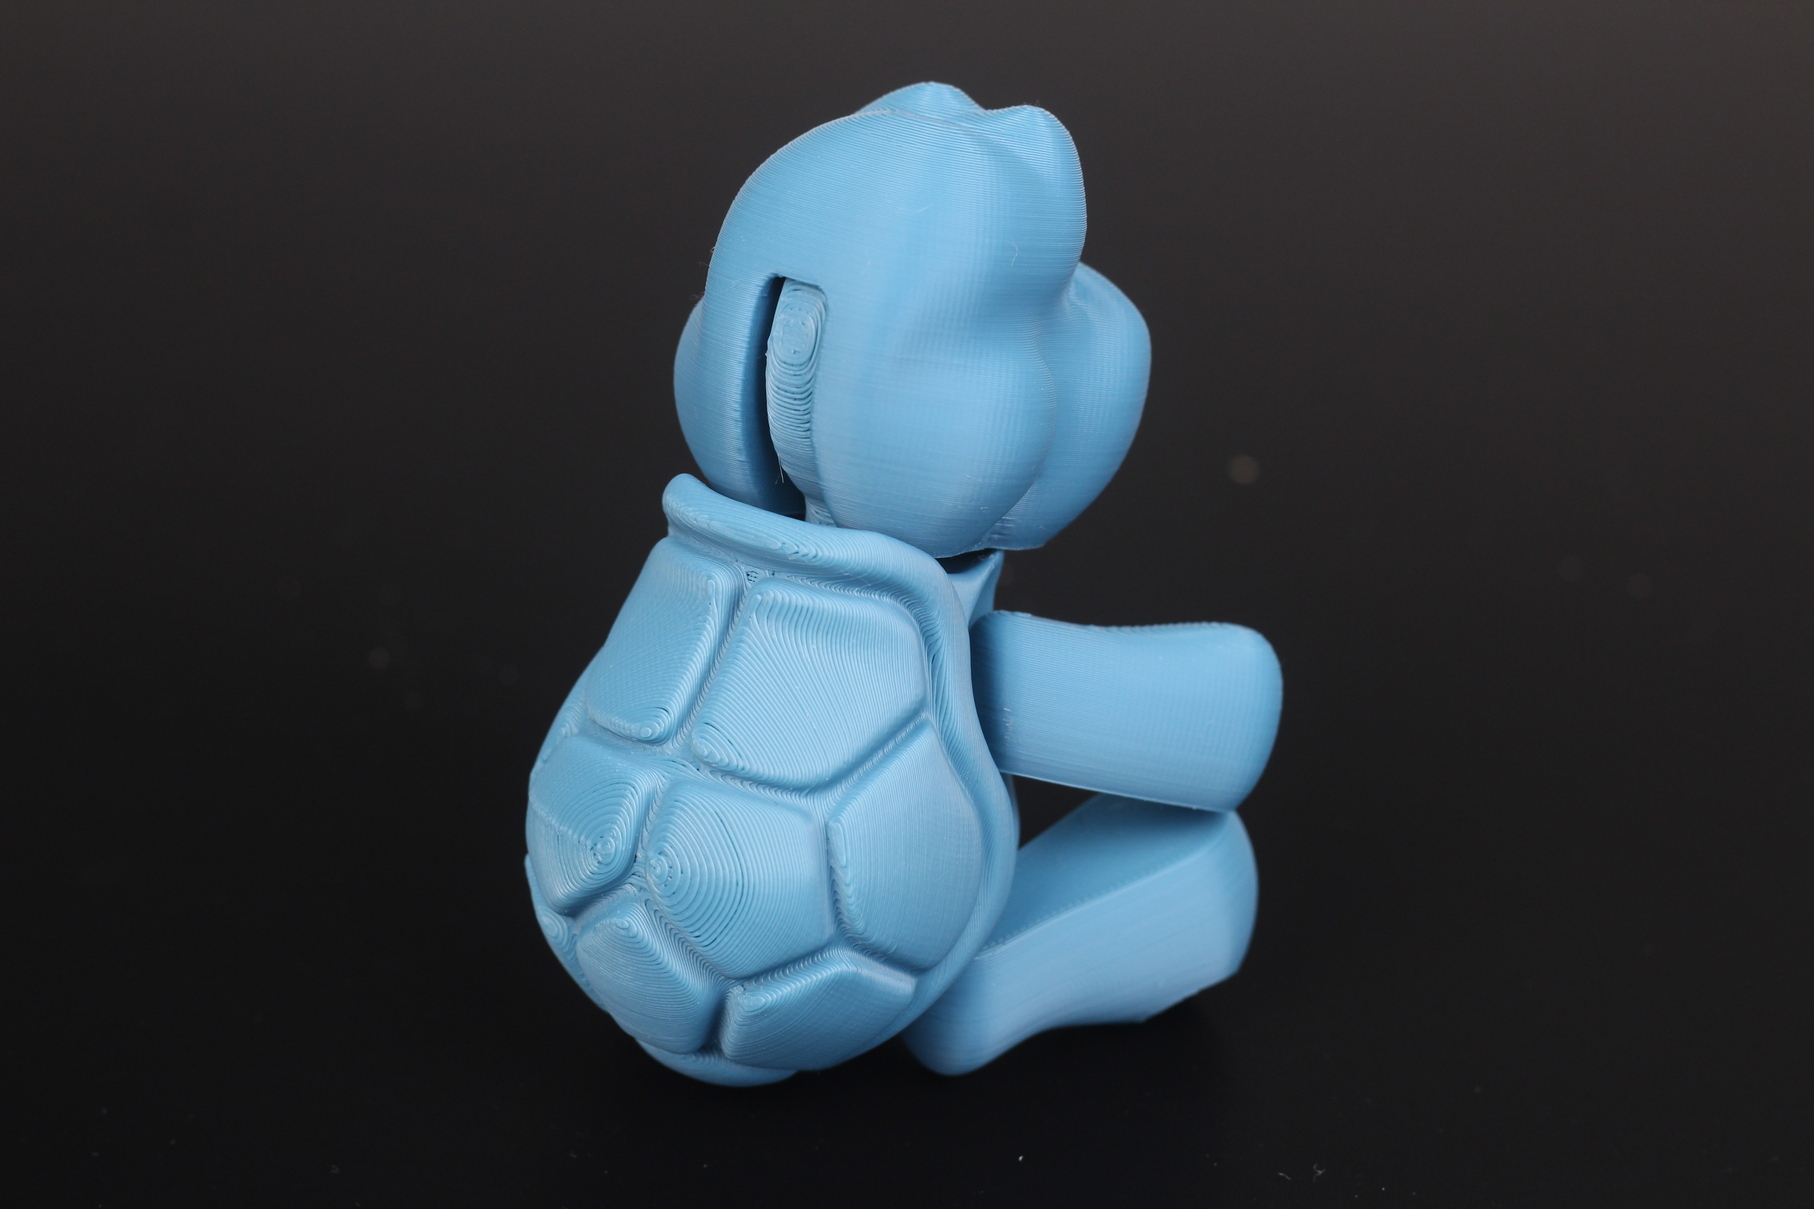
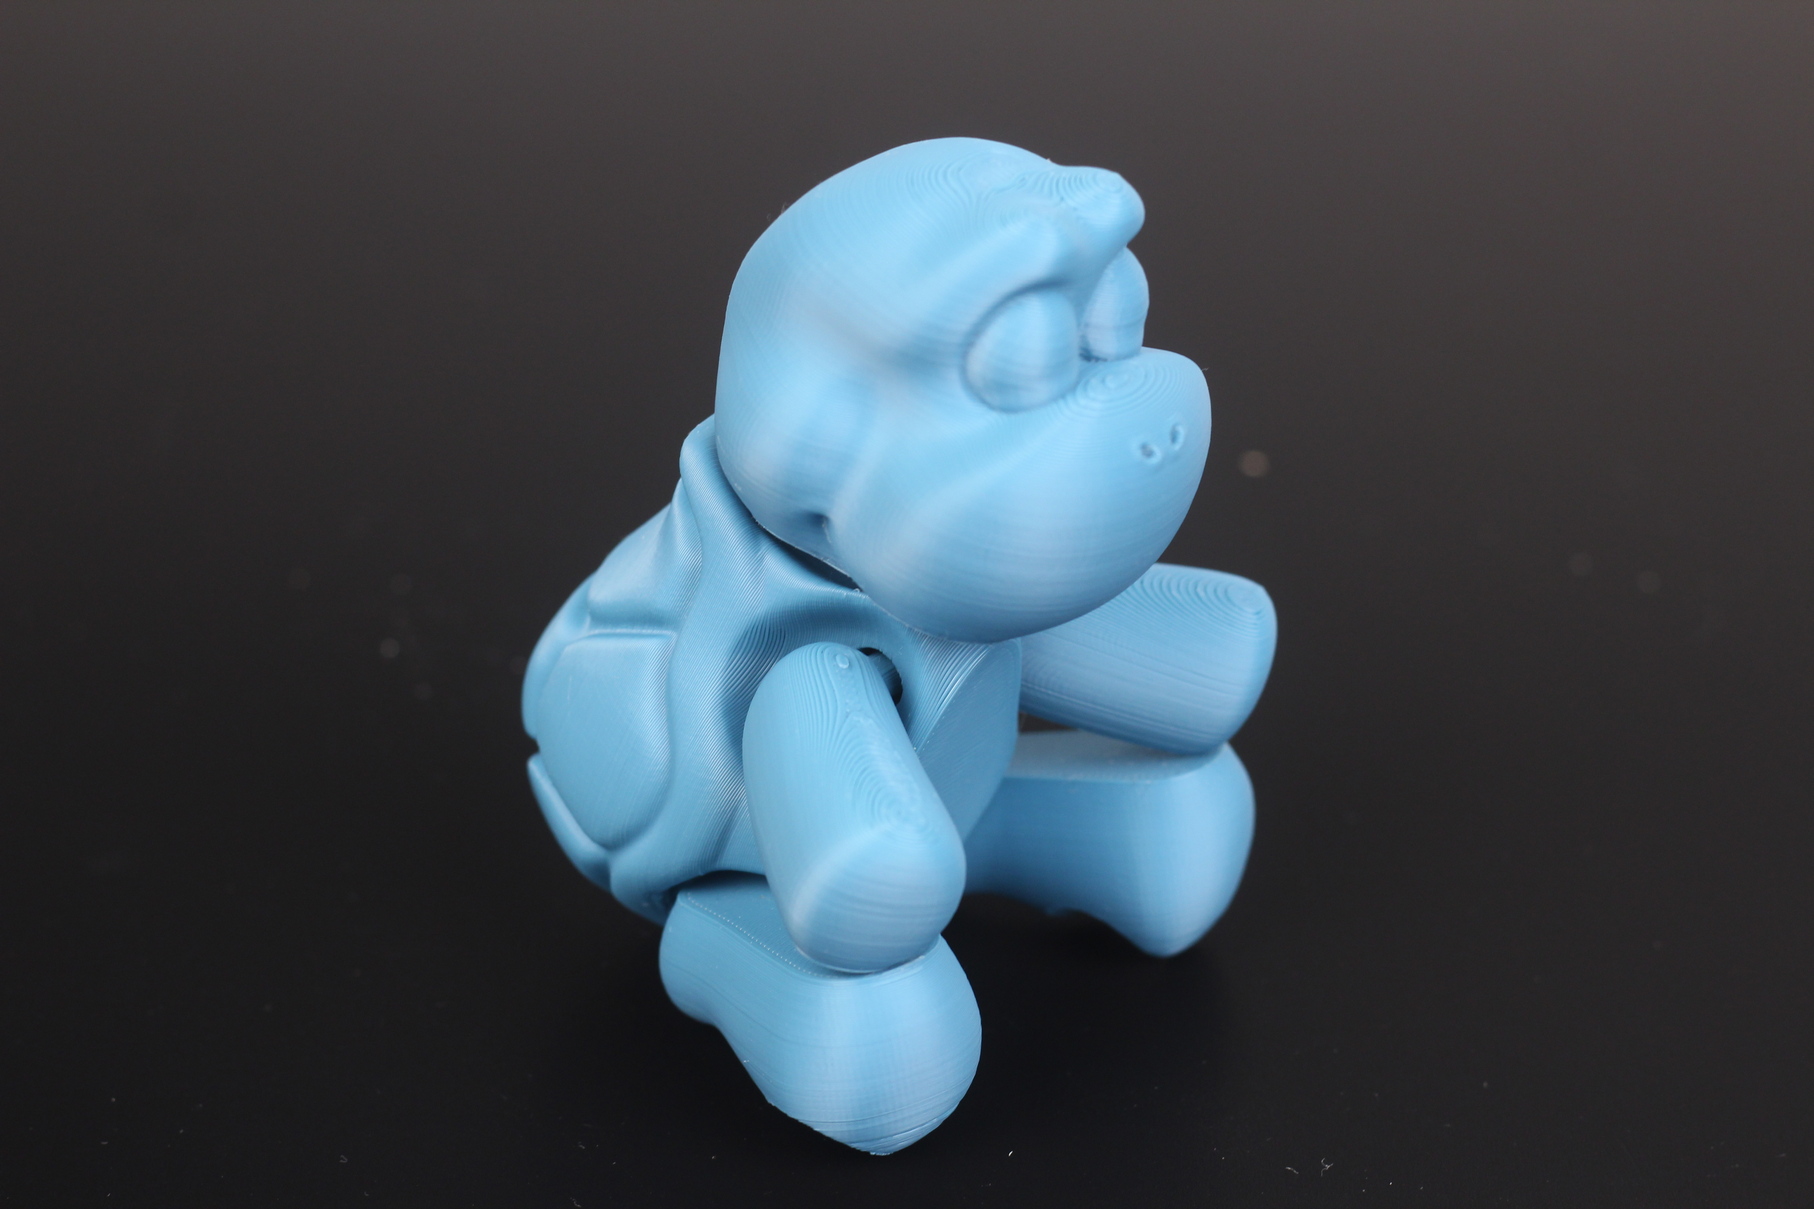
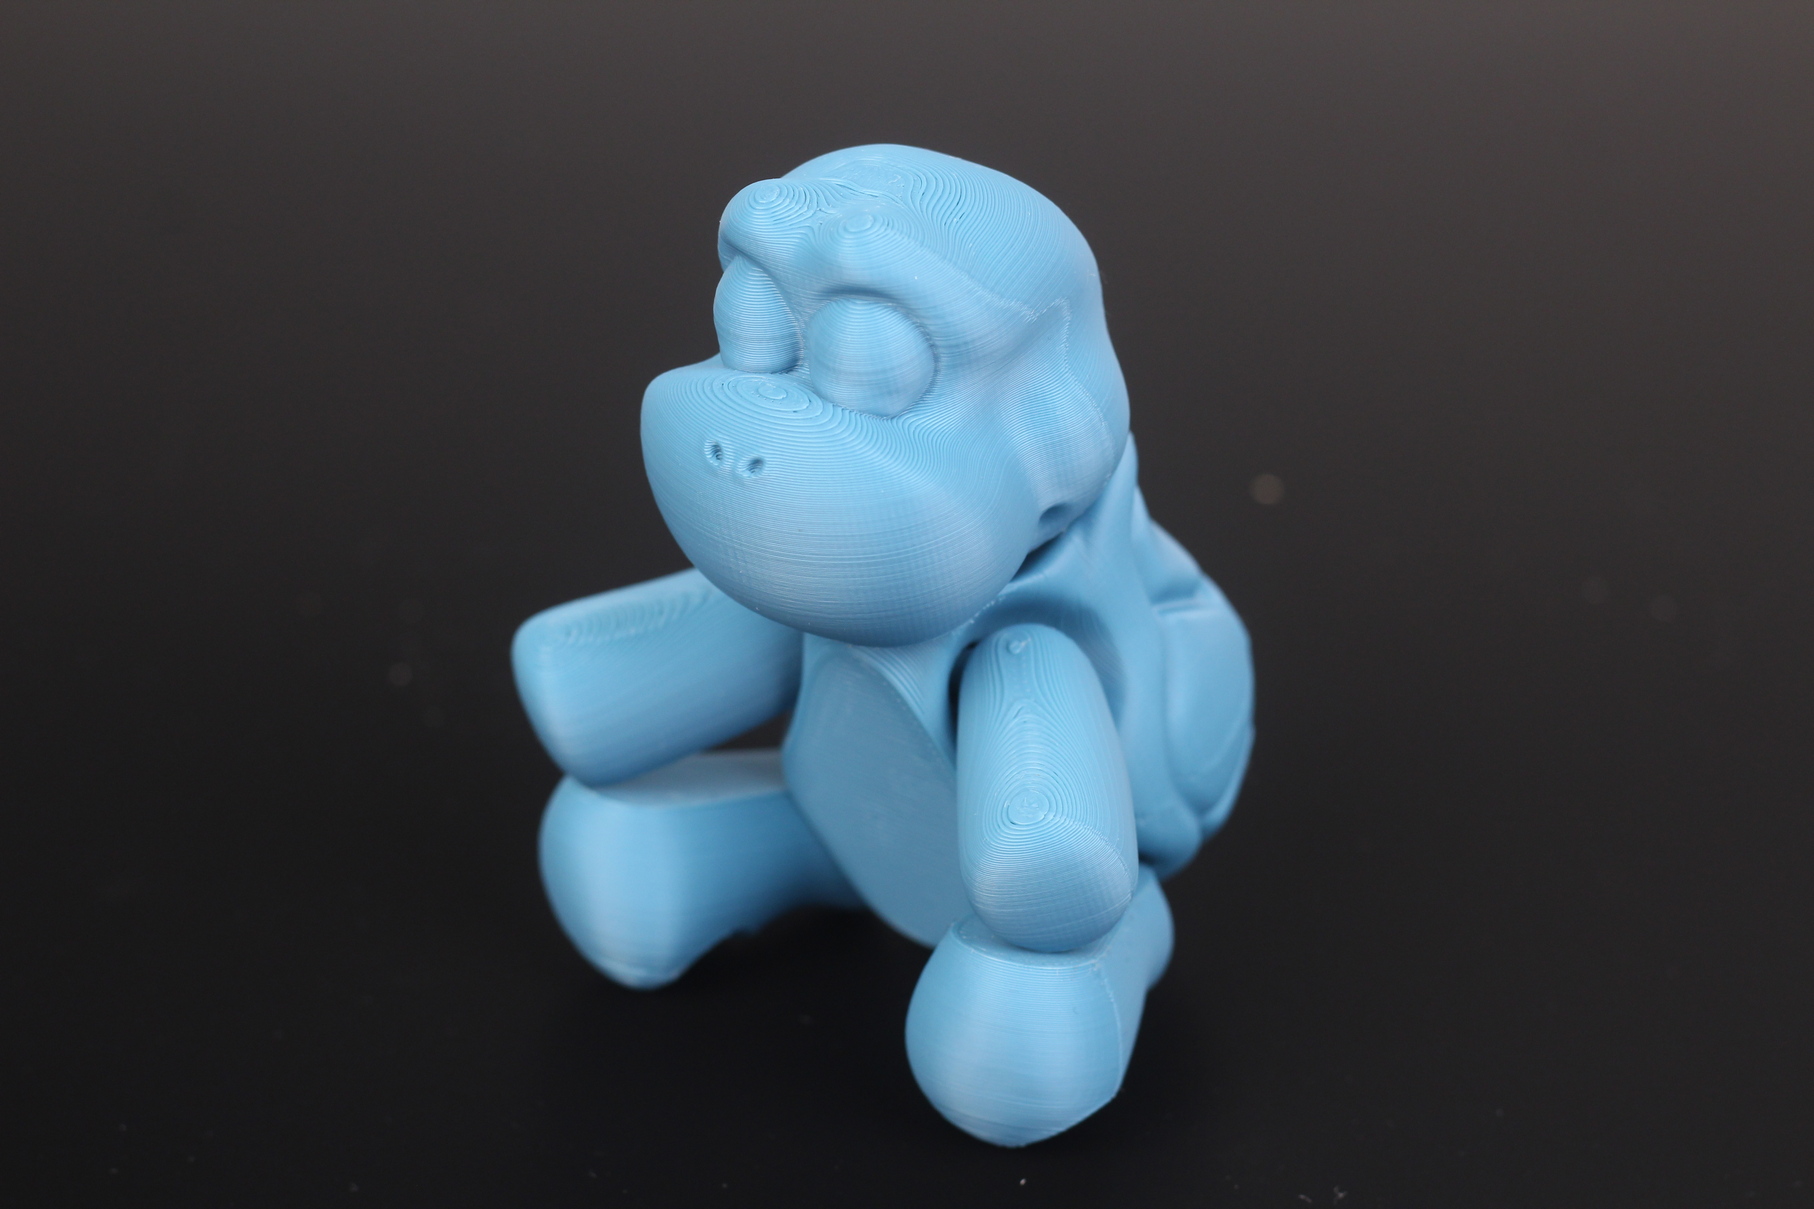
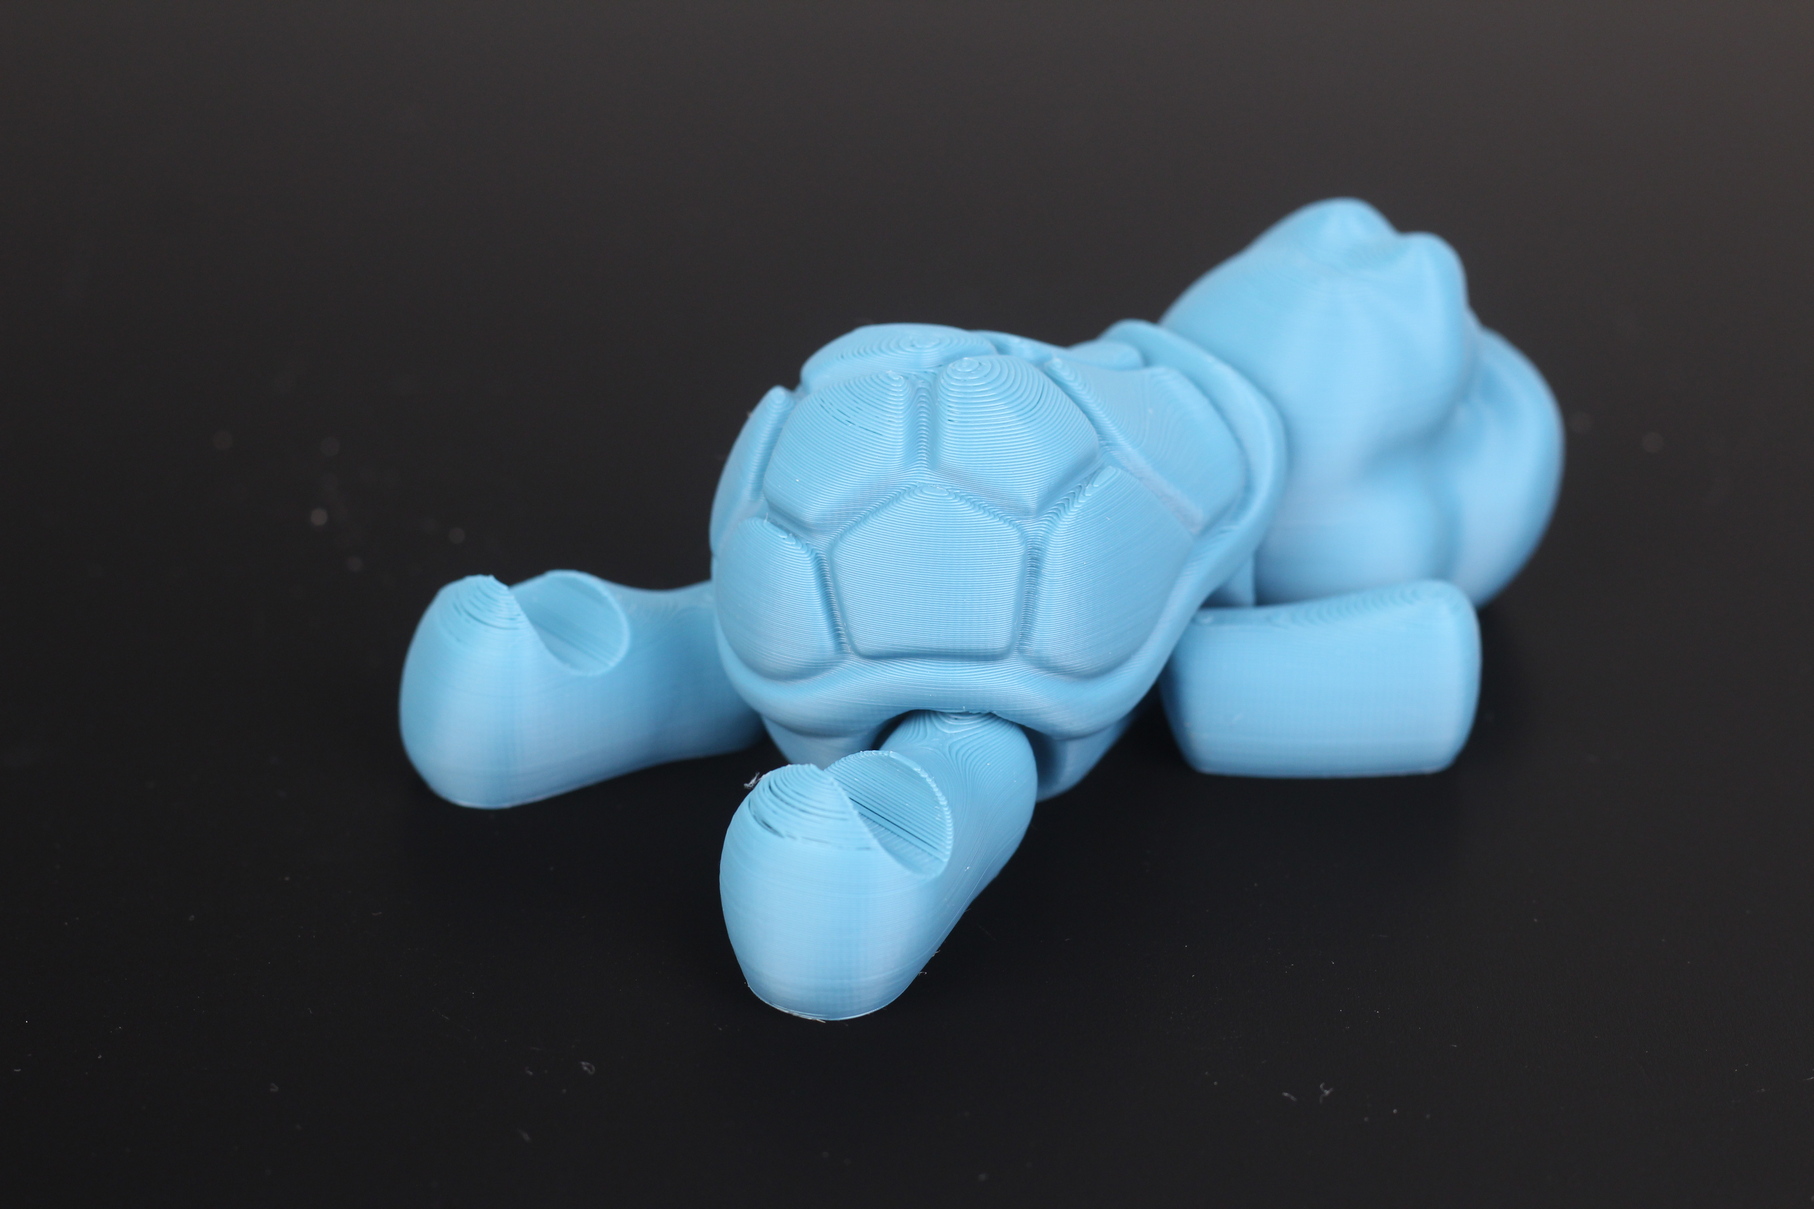
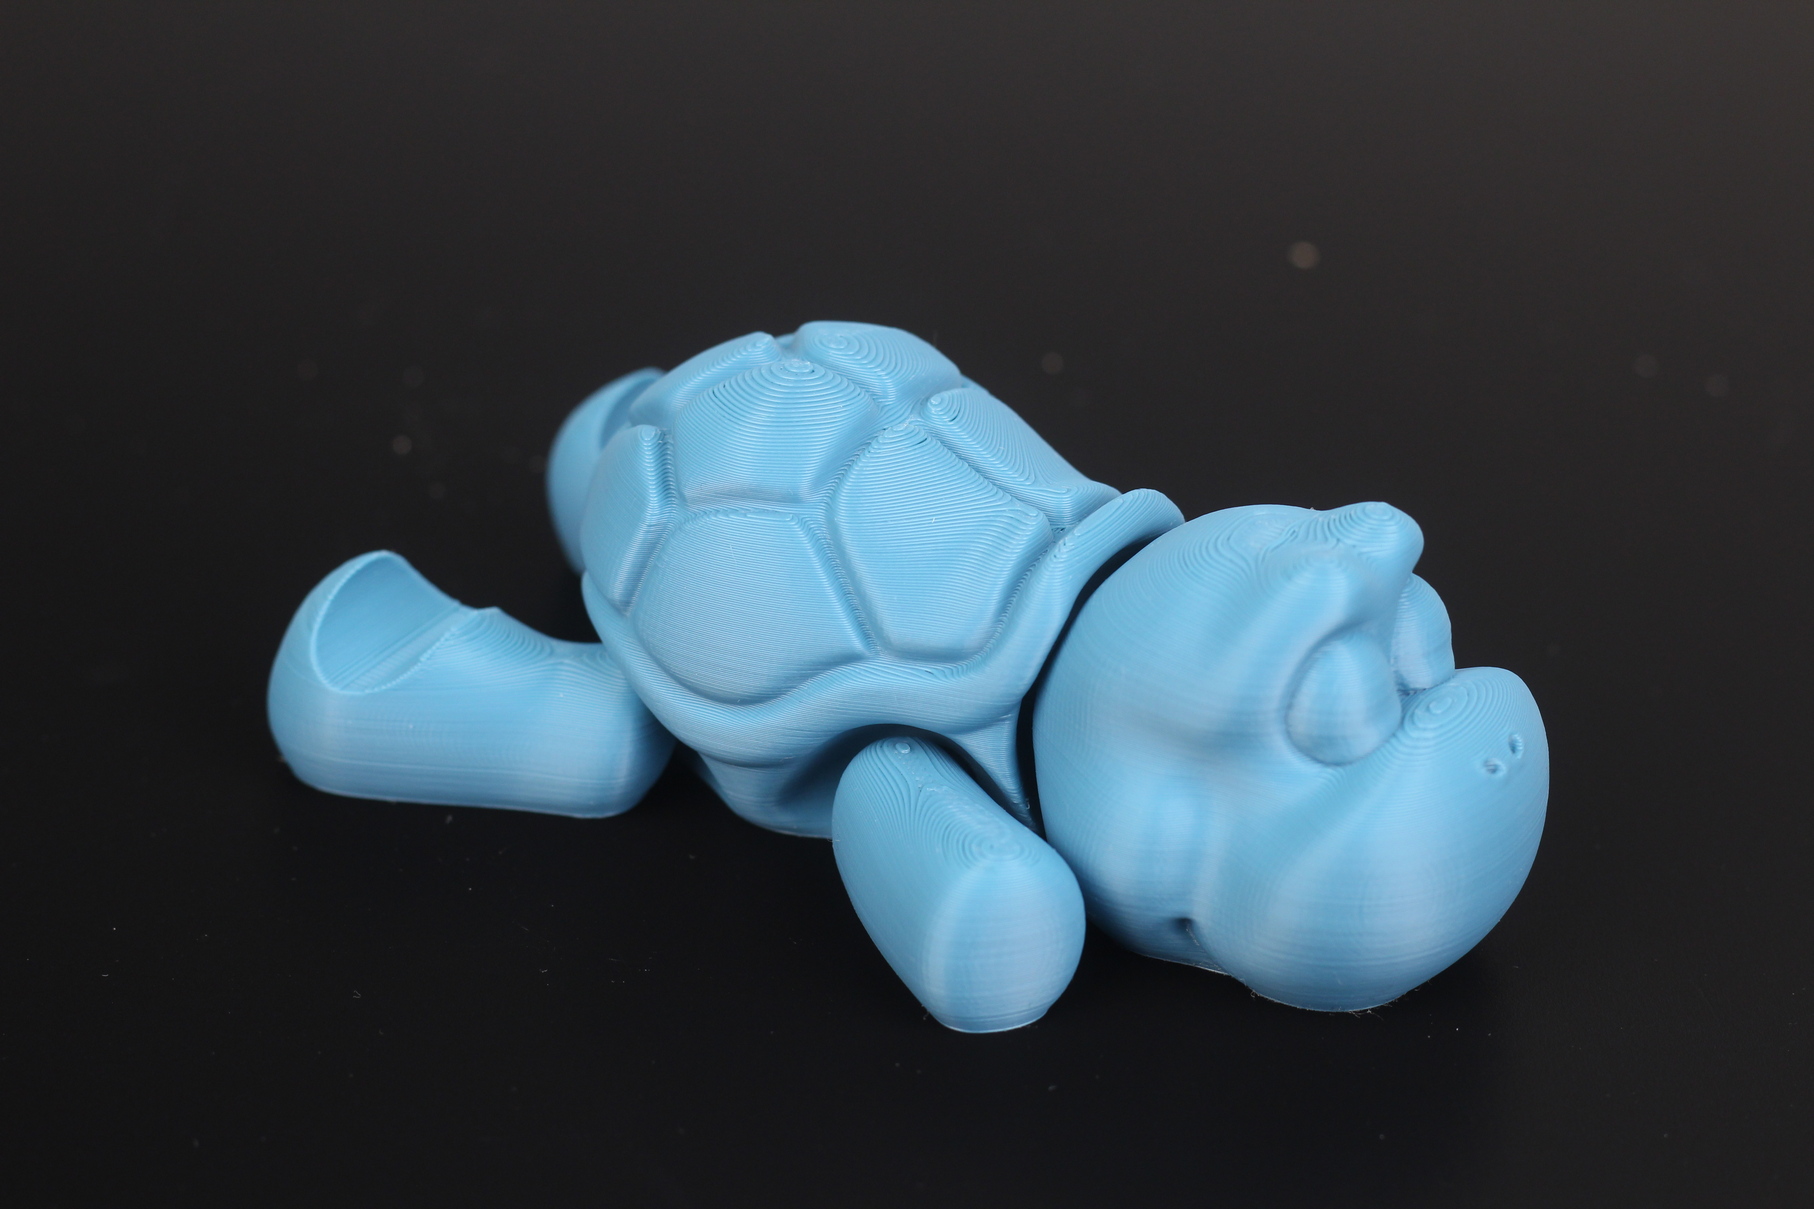
- Material: Devil Design Azure Blue PLA
- Layer Height: 0.15mm
- Nozzle Temperature: 210C
- Bed Temperature: 60C
- Print Speed: 60 mm/s
Fluffy the Unicorn
Fluffy is another example of good print, held back by the Z seam which wasn’t aligned properly by me. You can set it manually in VoxelMaker, but is seems that I failed to do so. Other than that, the print looks great, with the small vibration artifacts on the right side of the model.
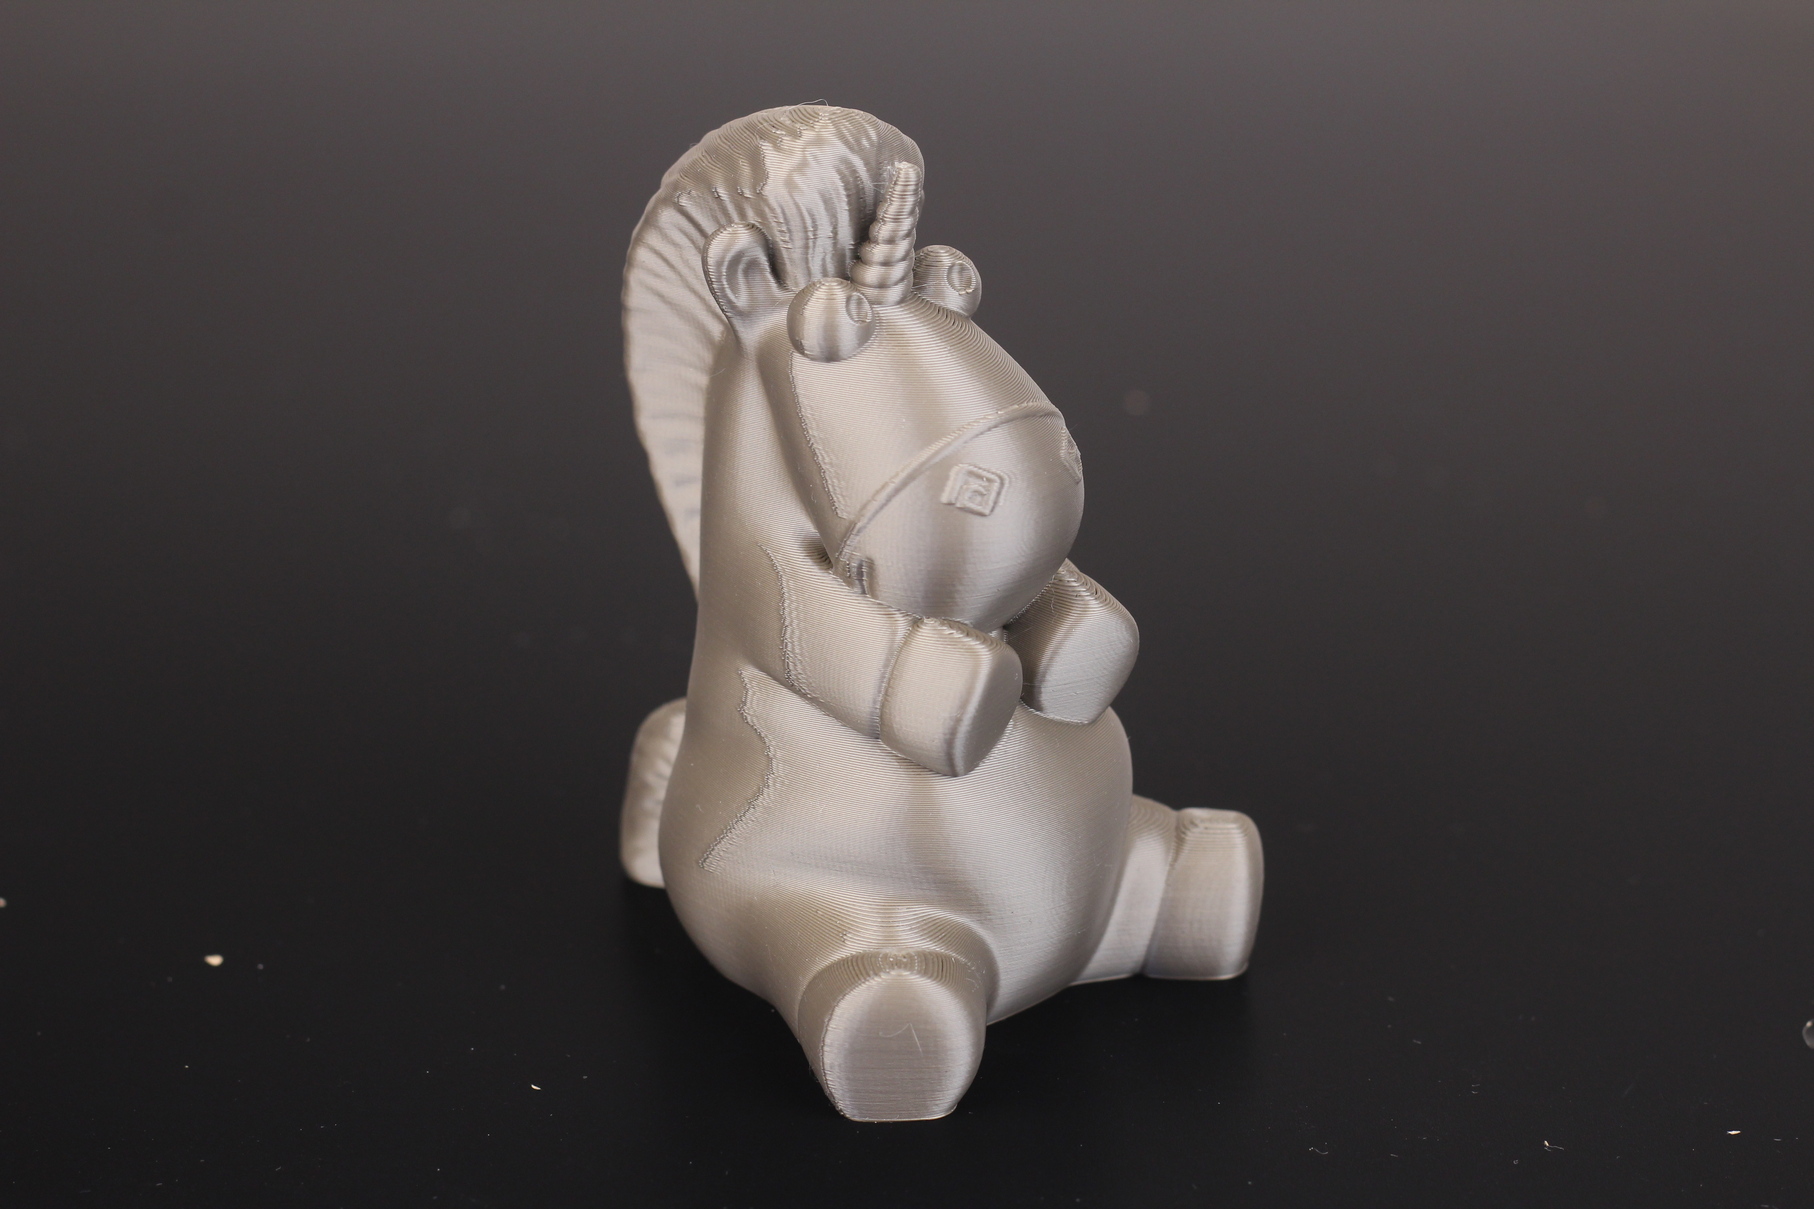
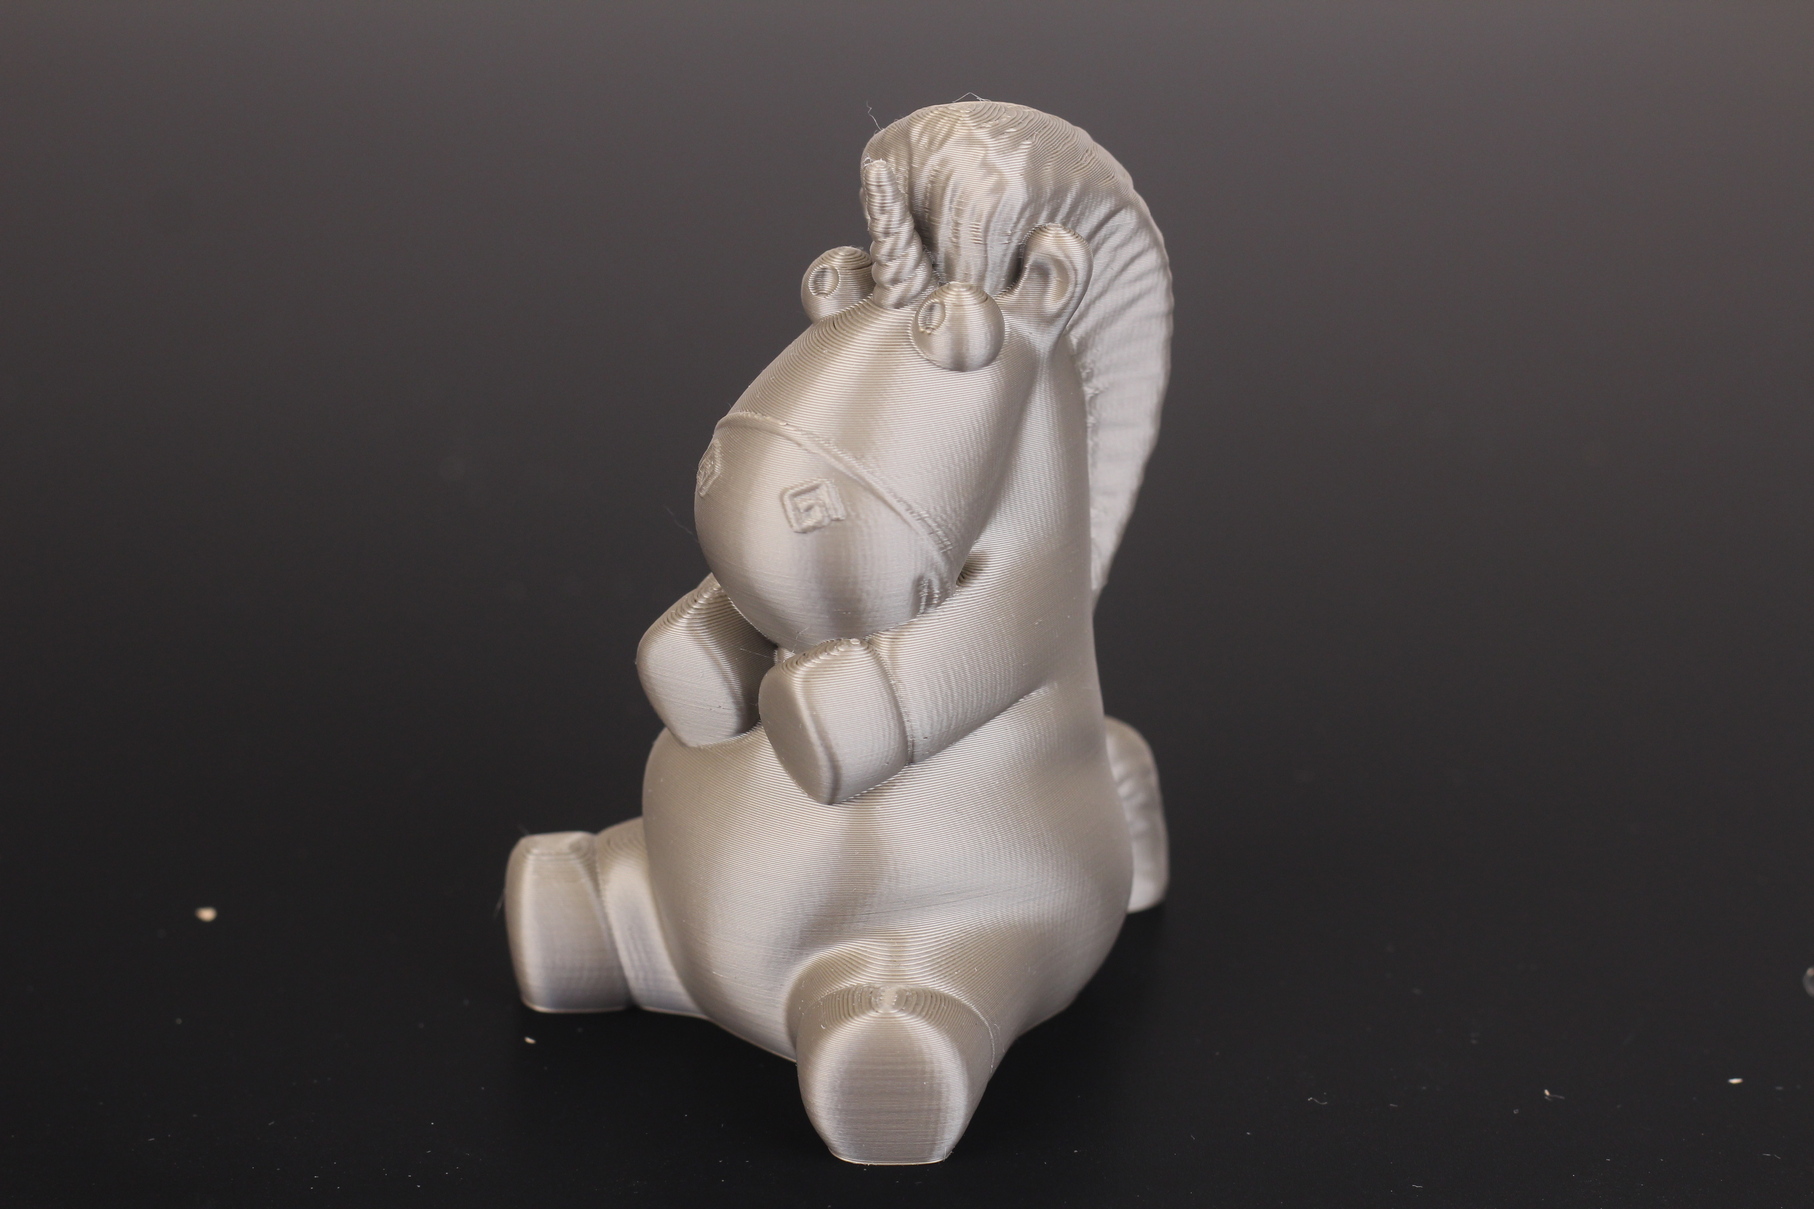
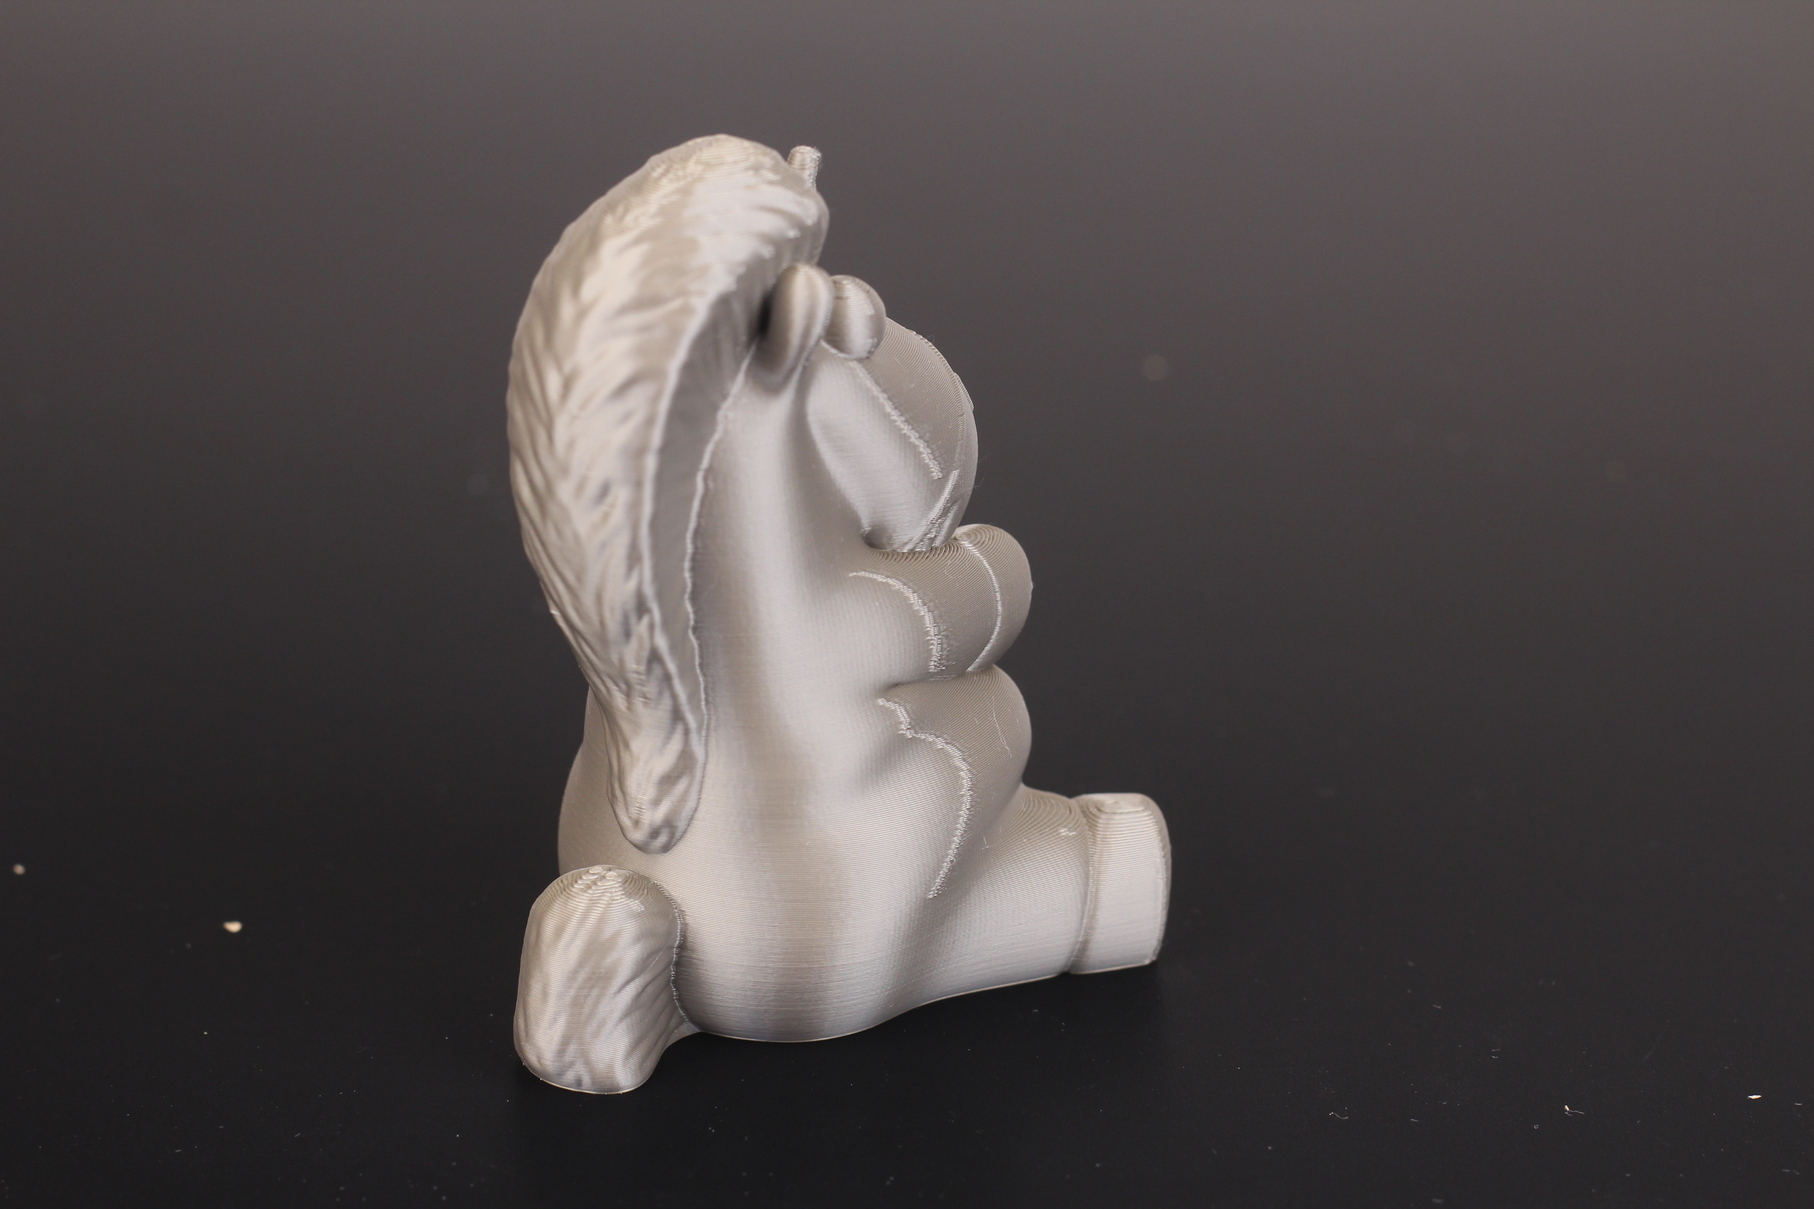
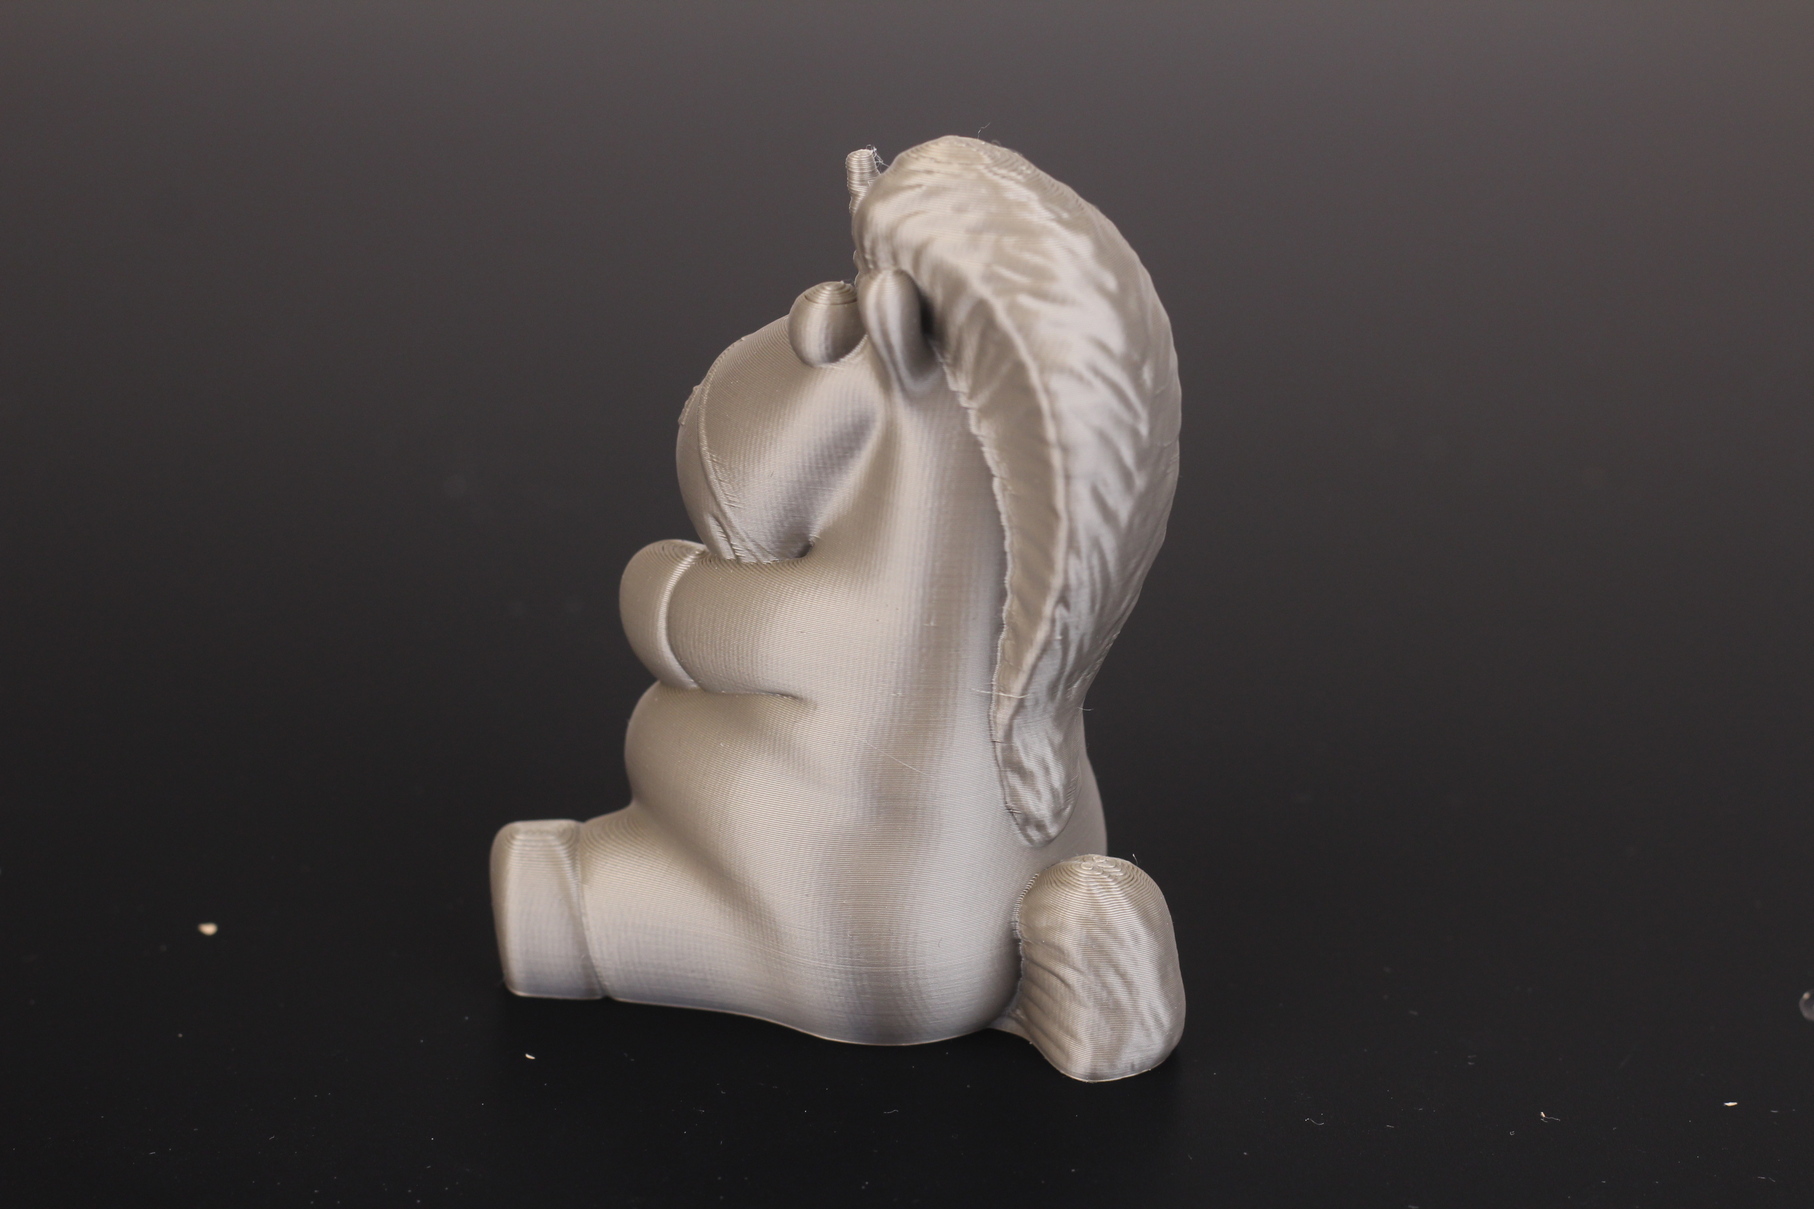
- Material: Gembird Gold PLA
- Layer Height: 0.2mm
- Nozzle Temperature: 215C
- Bed Temperature: 60C
- Print Speed: 60 mm/s
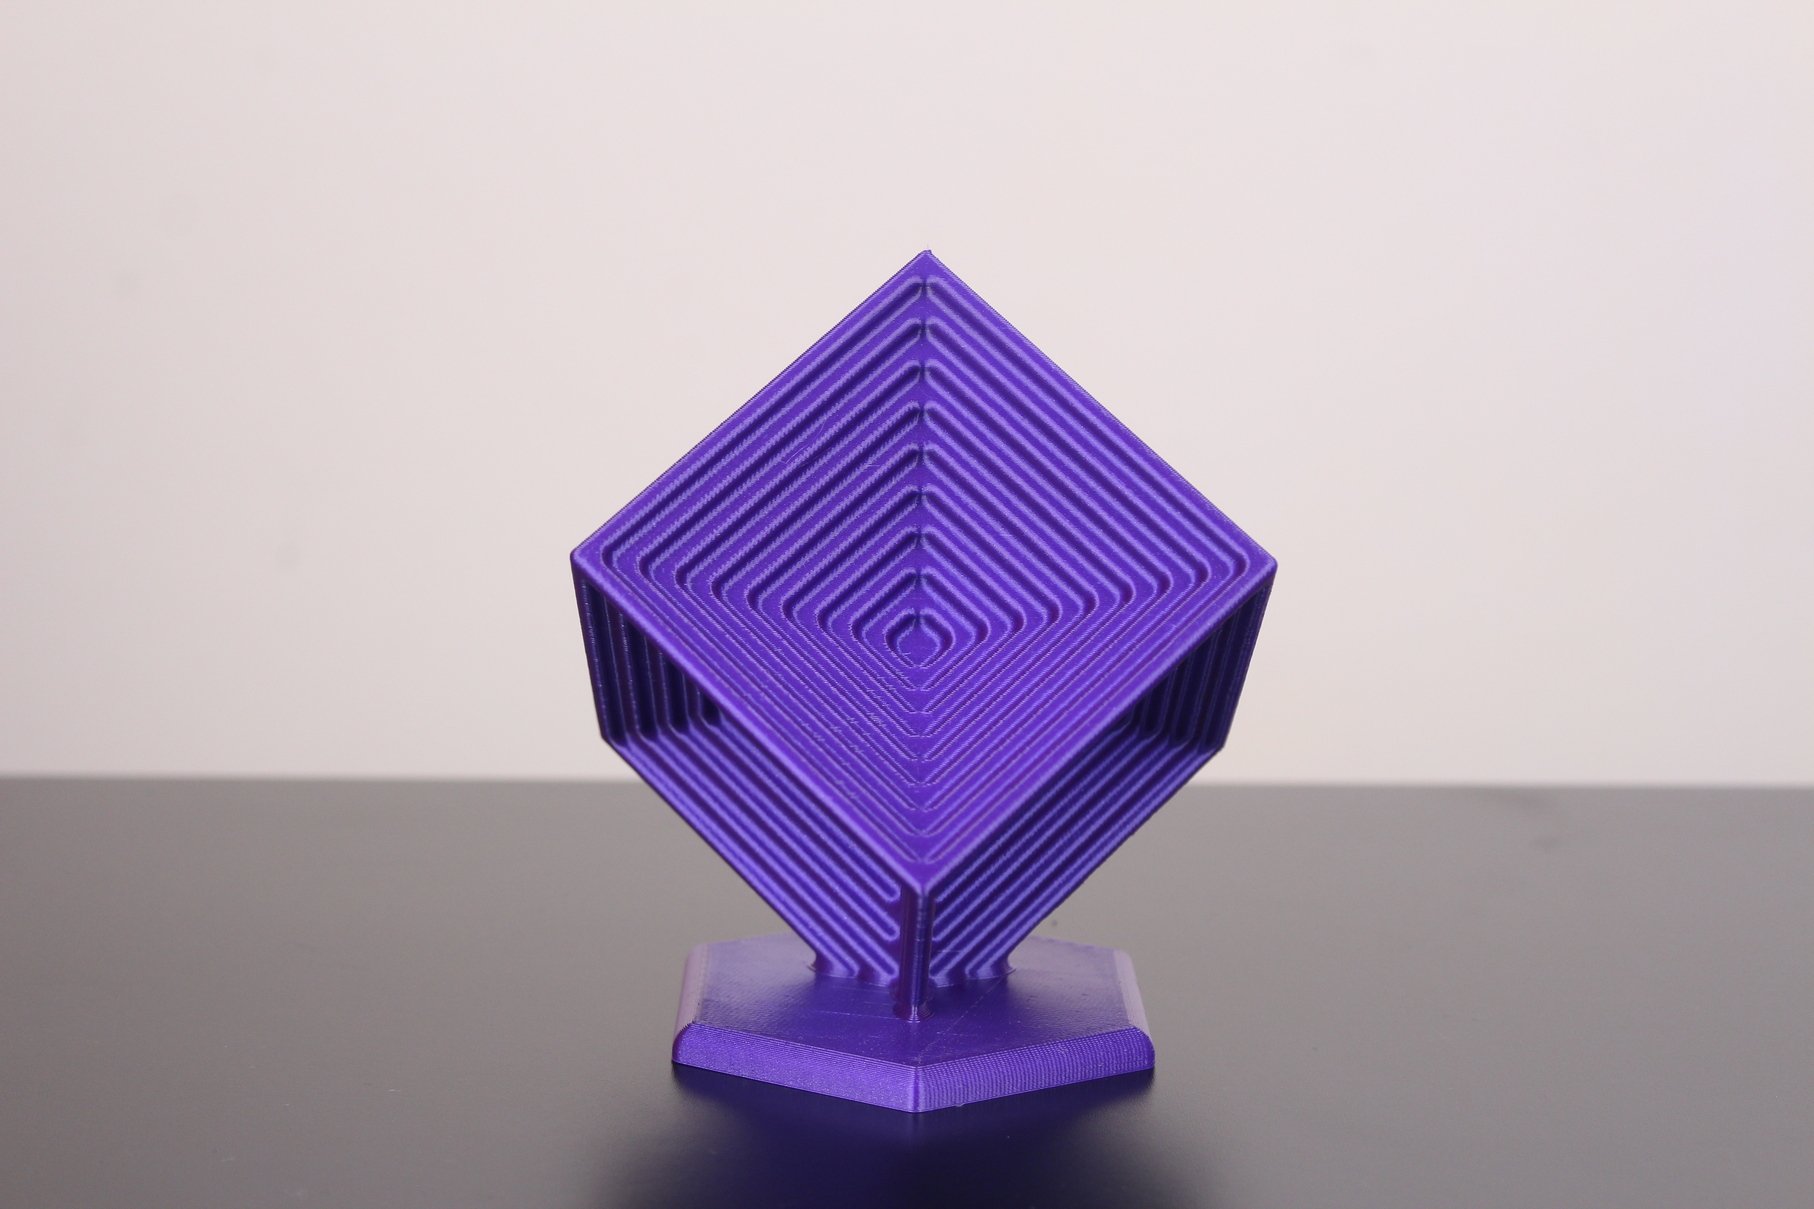
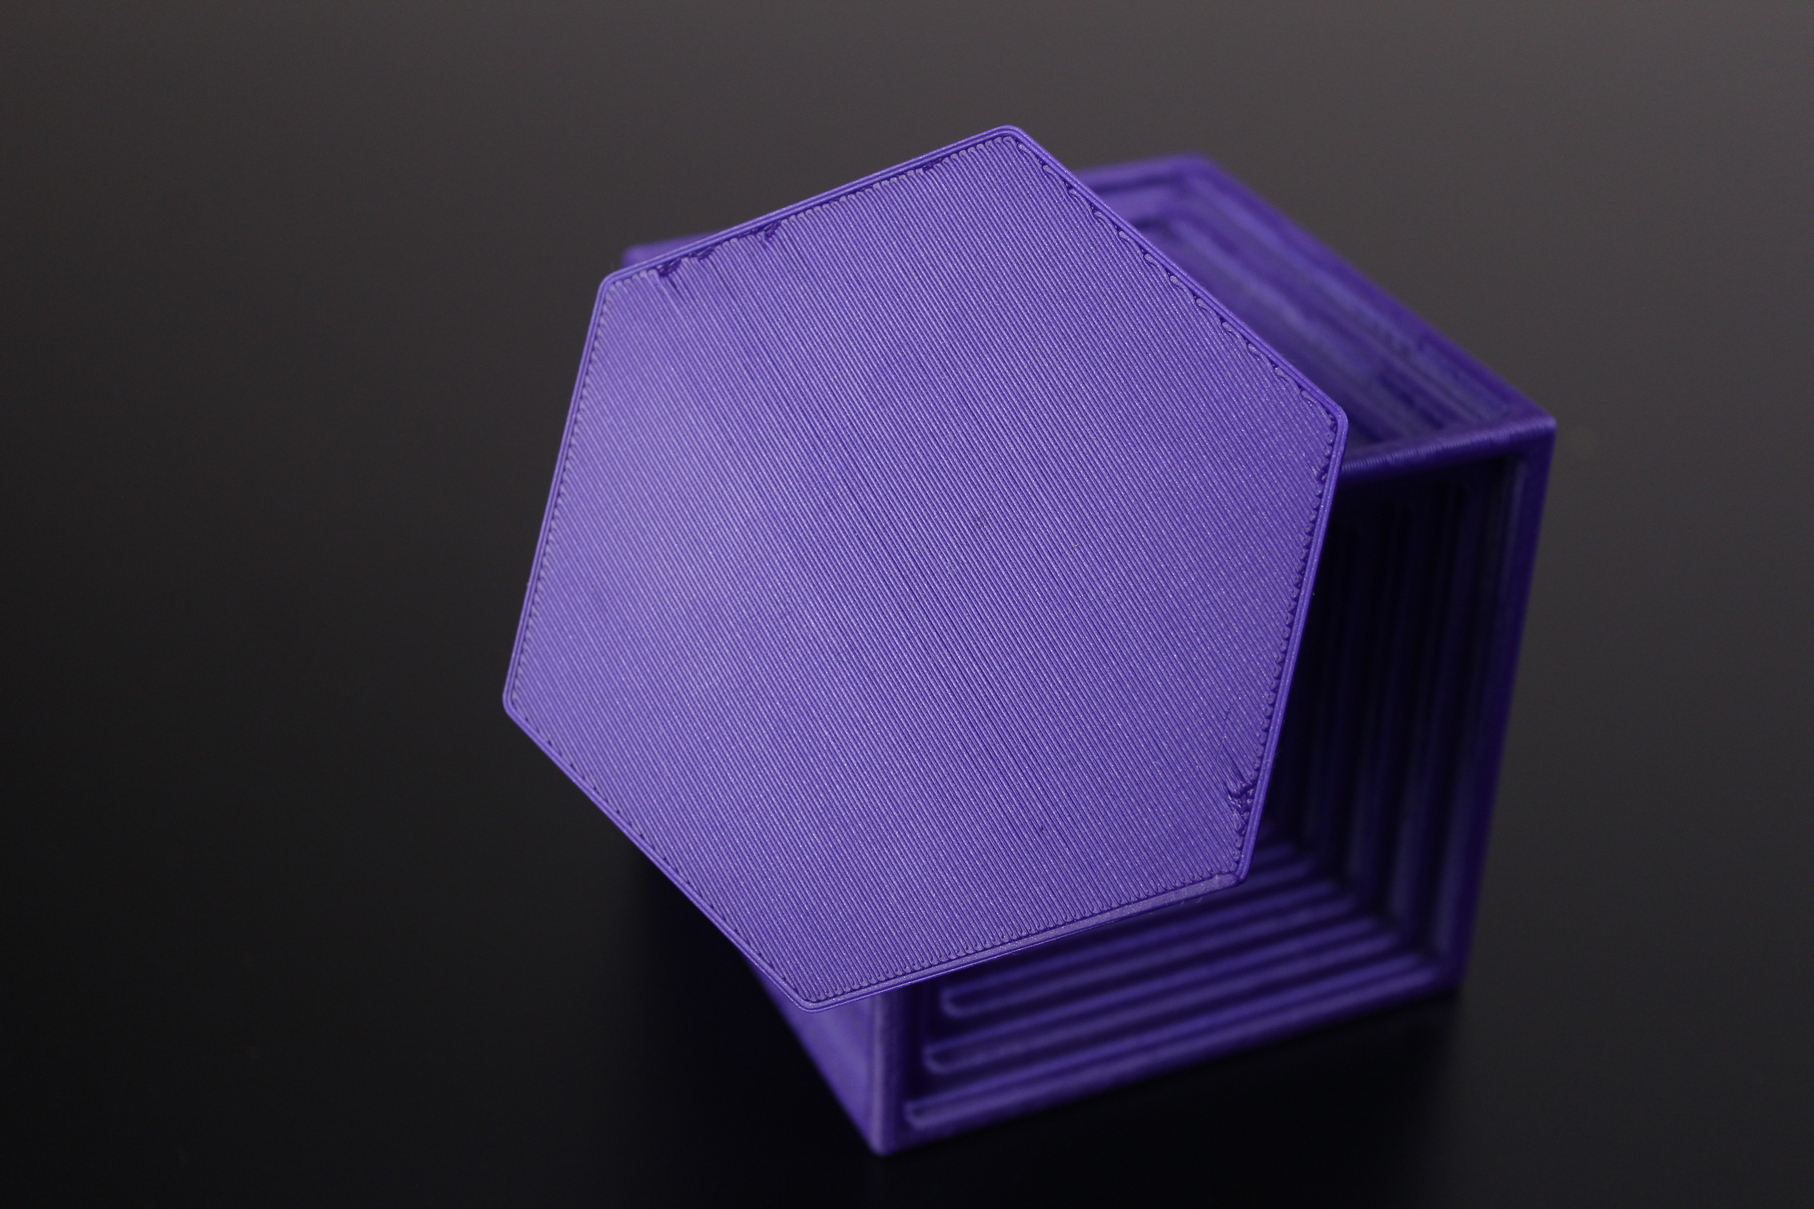
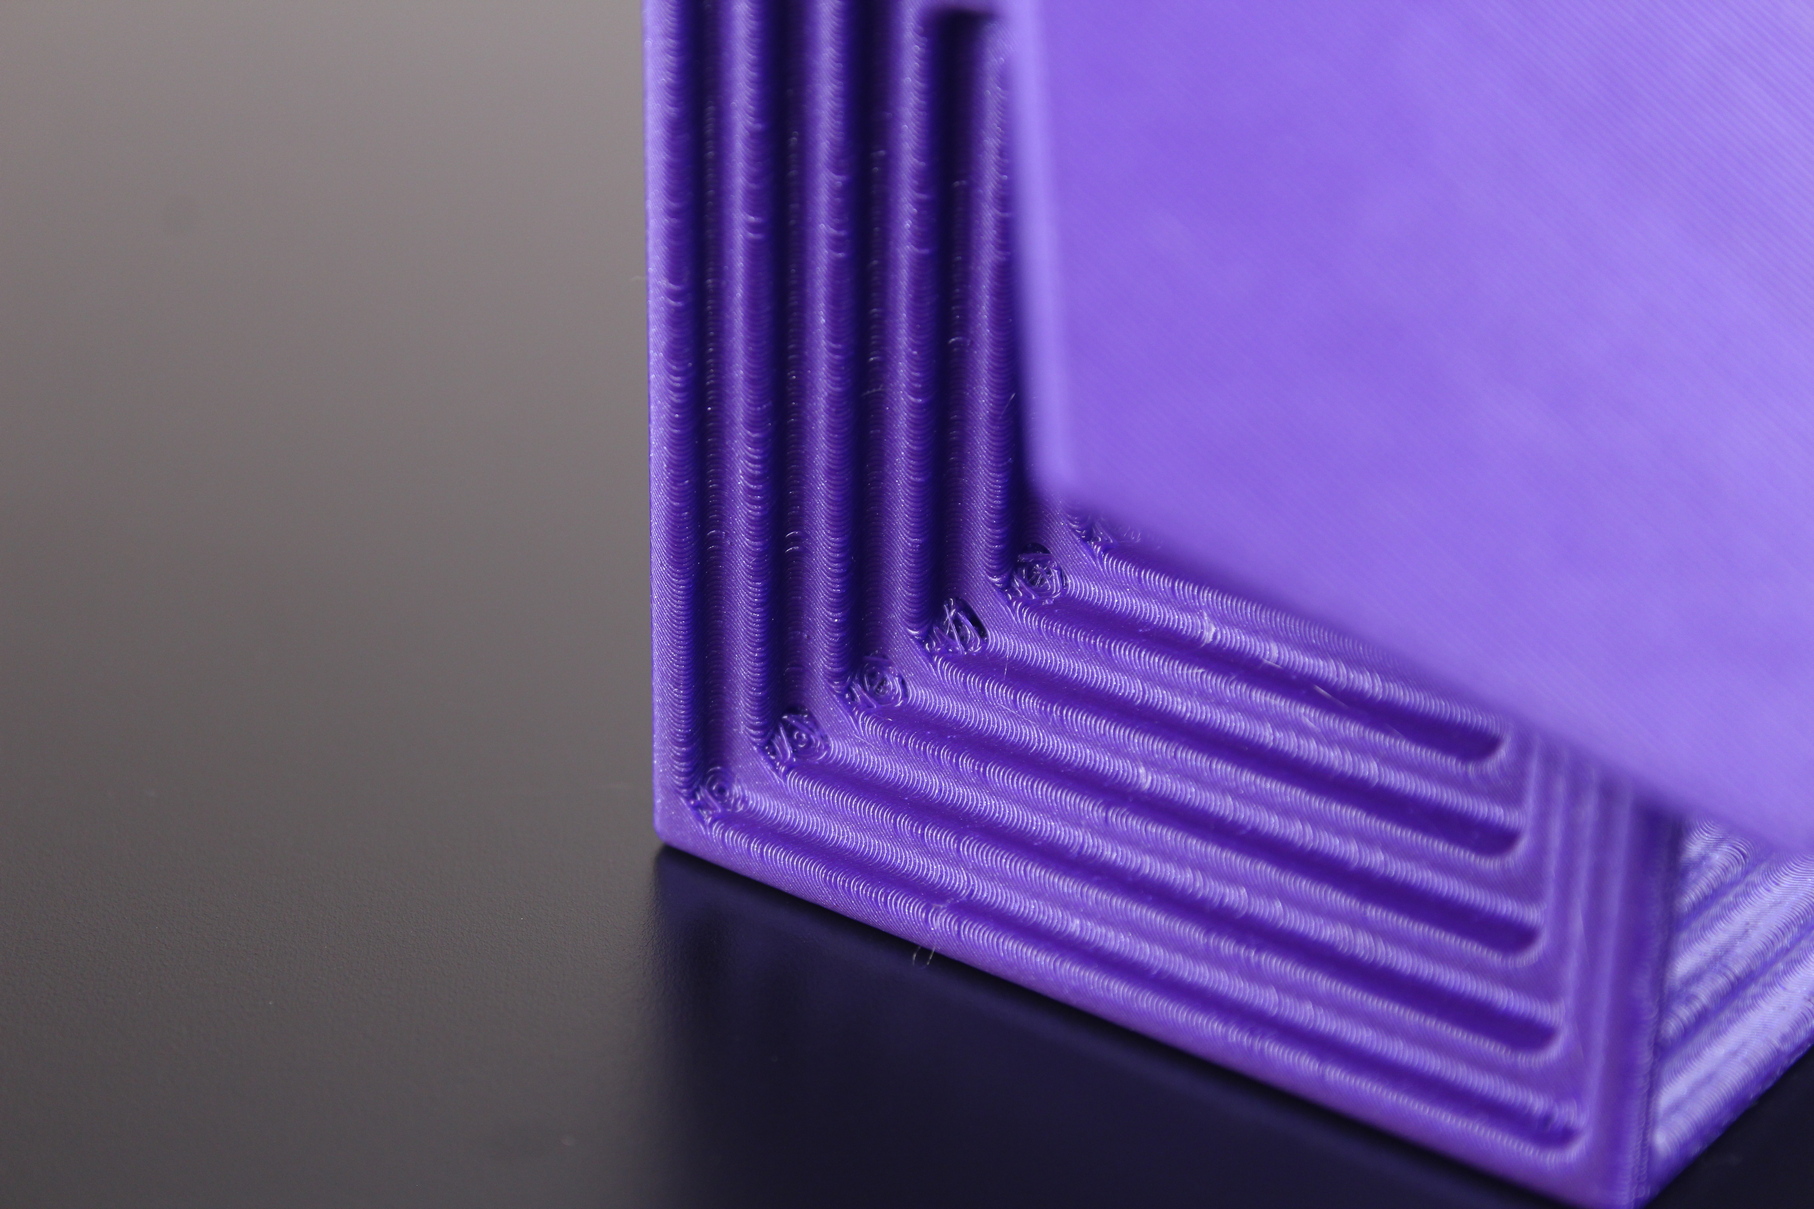
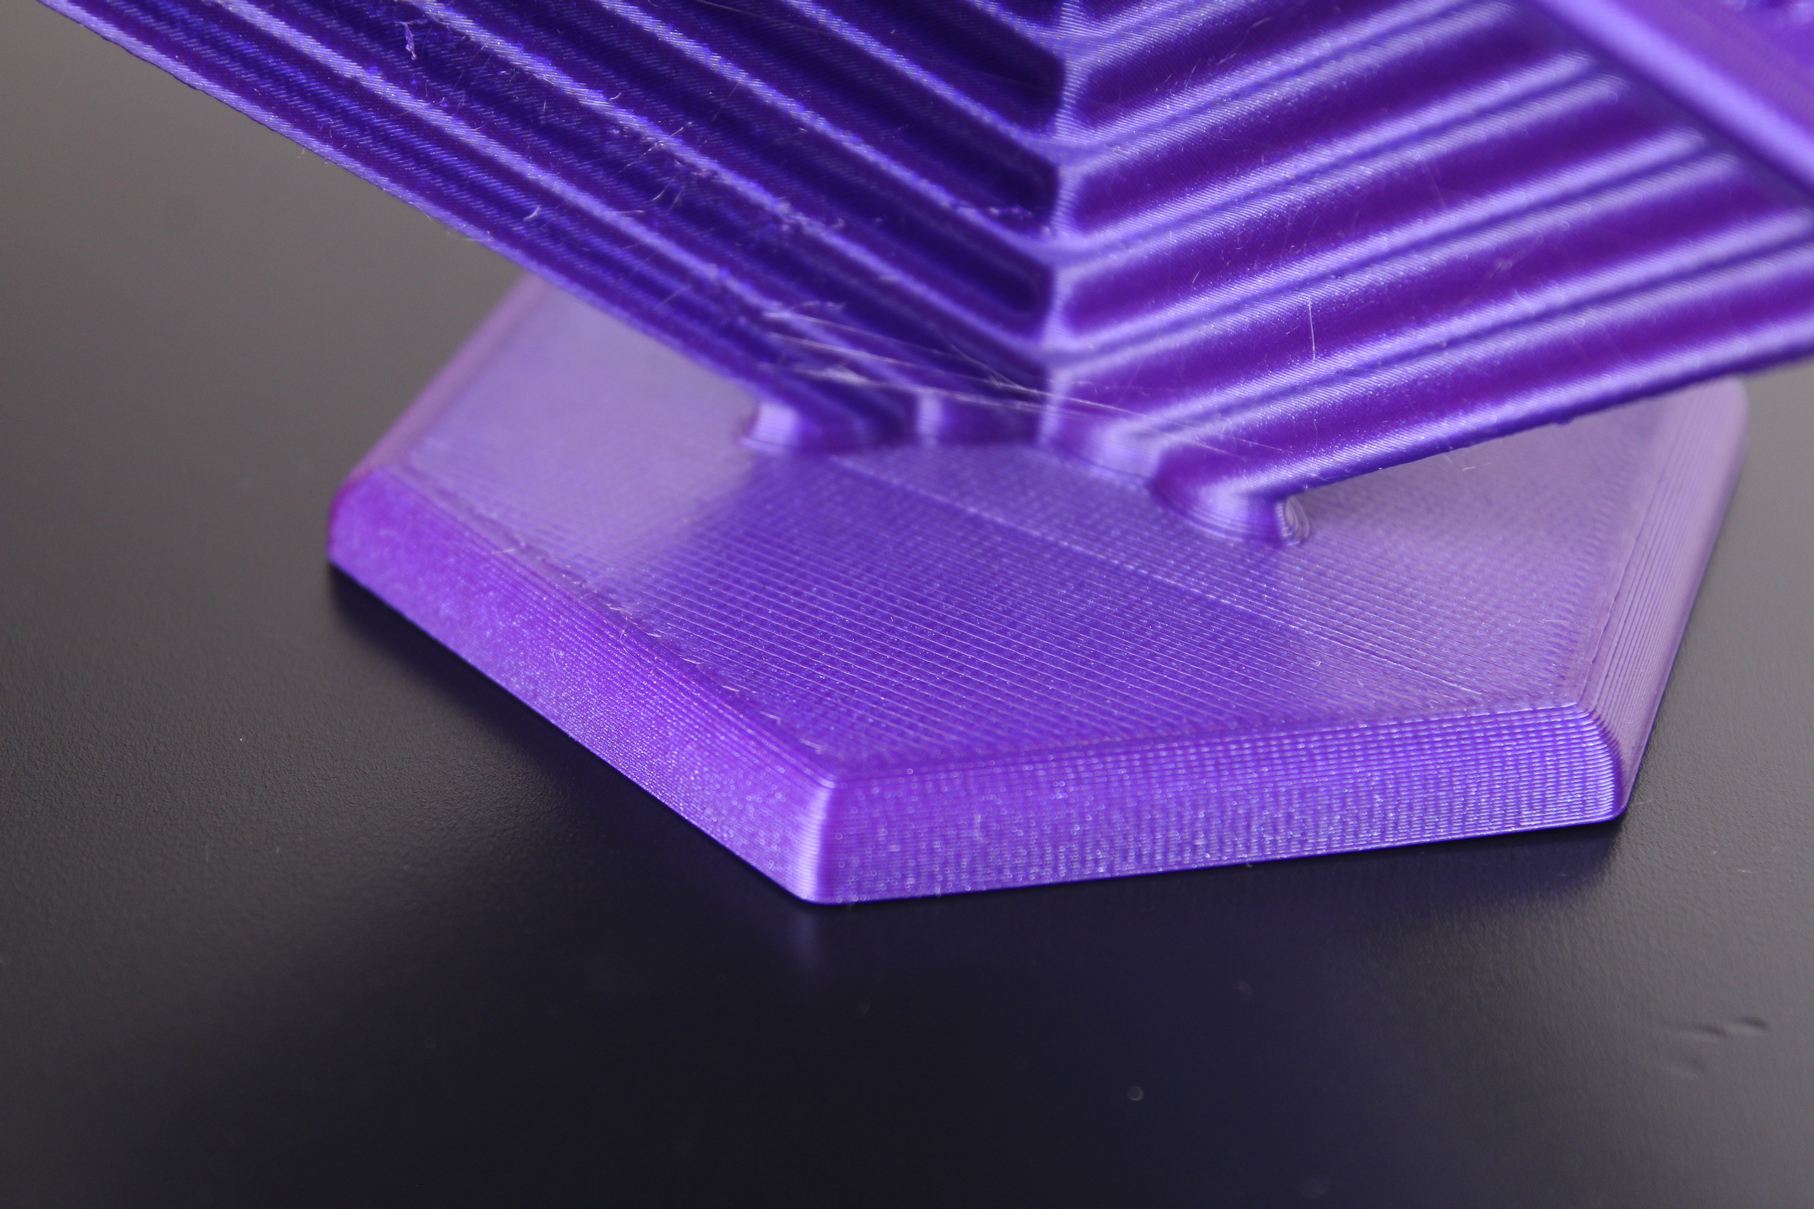
Decoration cube
I also tested the PETG printing performance of the Voxelab Aries. As mentioned, the adhesion is not that great with the glass print surface, and for good adhesion with PETG I needed to apply a light coat of adhesive solution to ensure a good adhesion for the model. Other than that, the print quality for PETG is fine, with light stringing on some sections.
I used the same PLA profile included with VoxelMaker, with 240C for the hotend and 70C for the bed while keeping the part cooling fan speed at 50%.
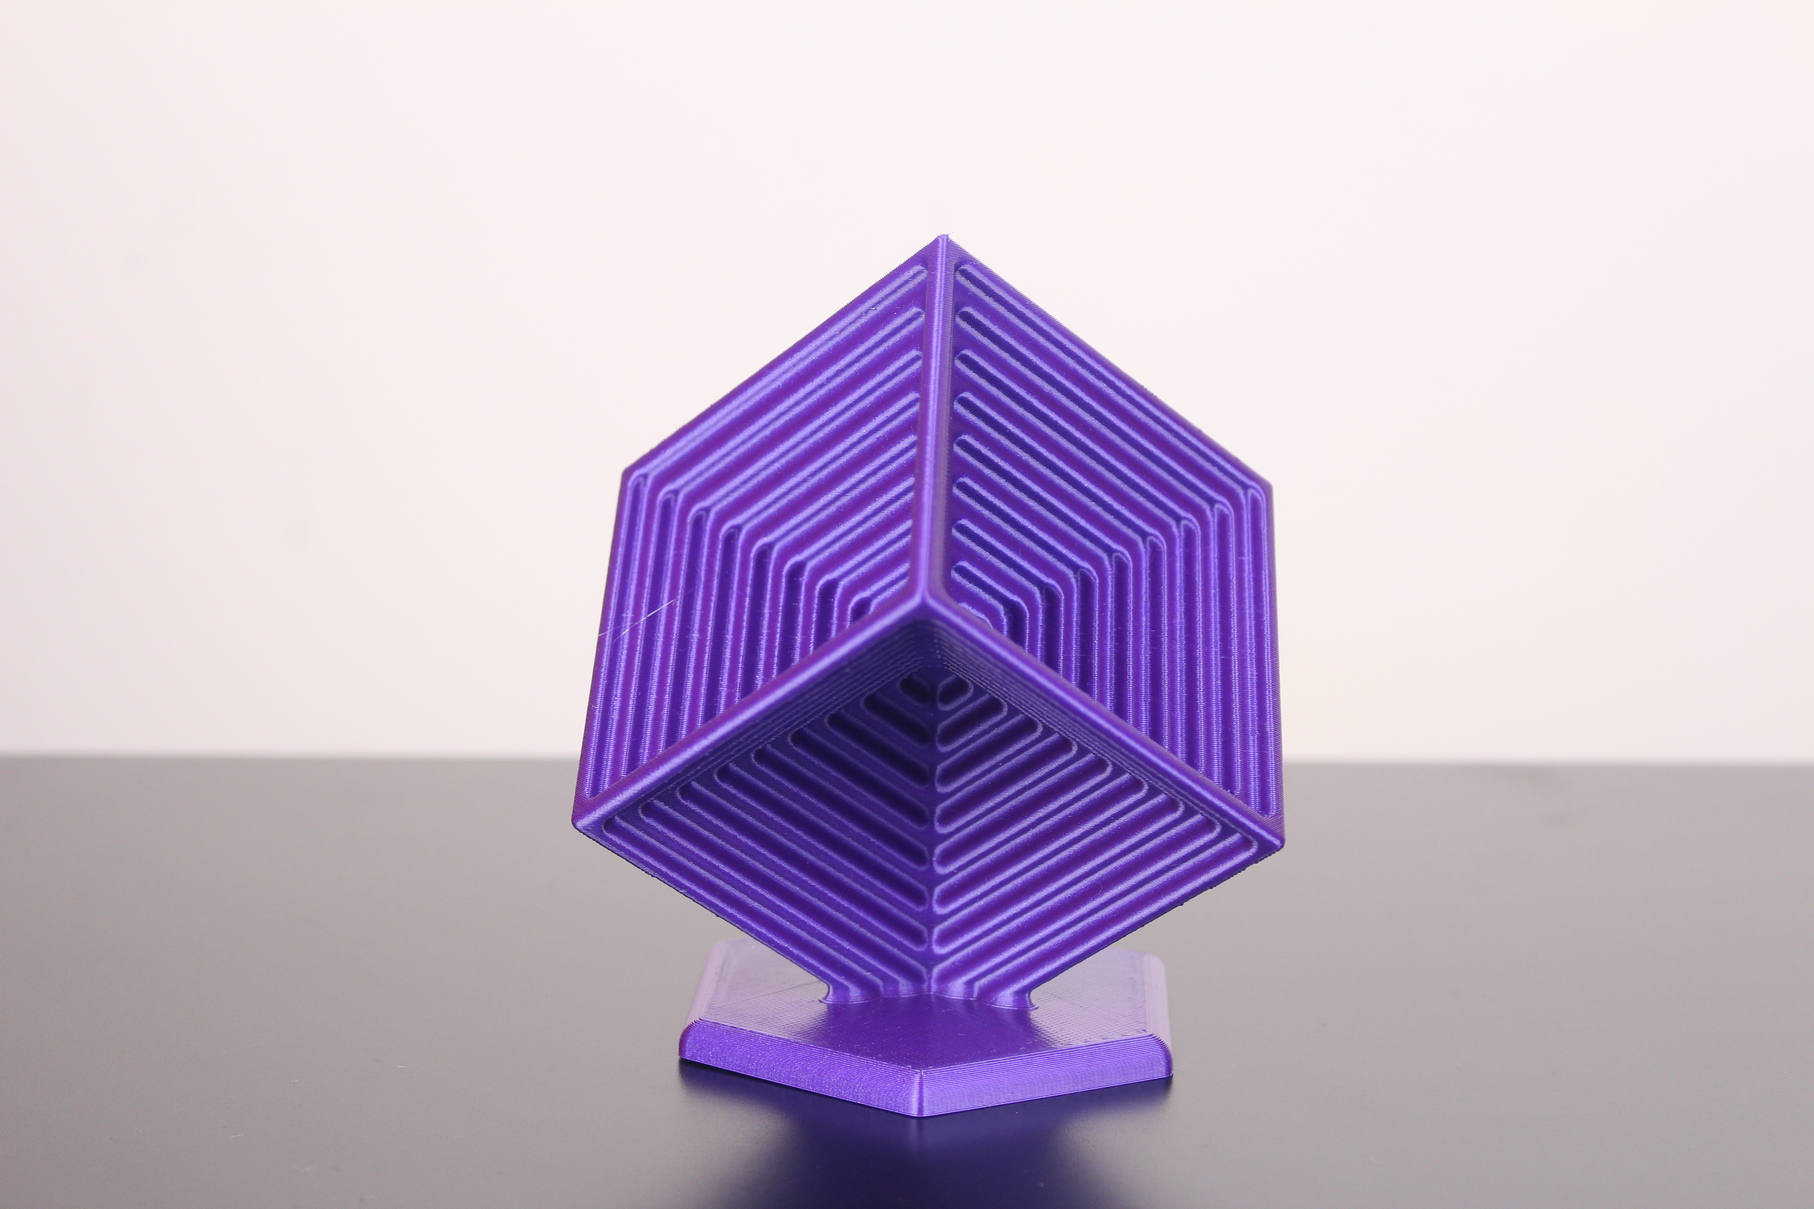
- Material: Devil Design Galaxy Purple PETG
- Layer Height: 0.2mm
- Nozzle Temperature: 240C
- Bed Temperature: 70C
- Print Speed: 60 mm/s
Scarlet Witch
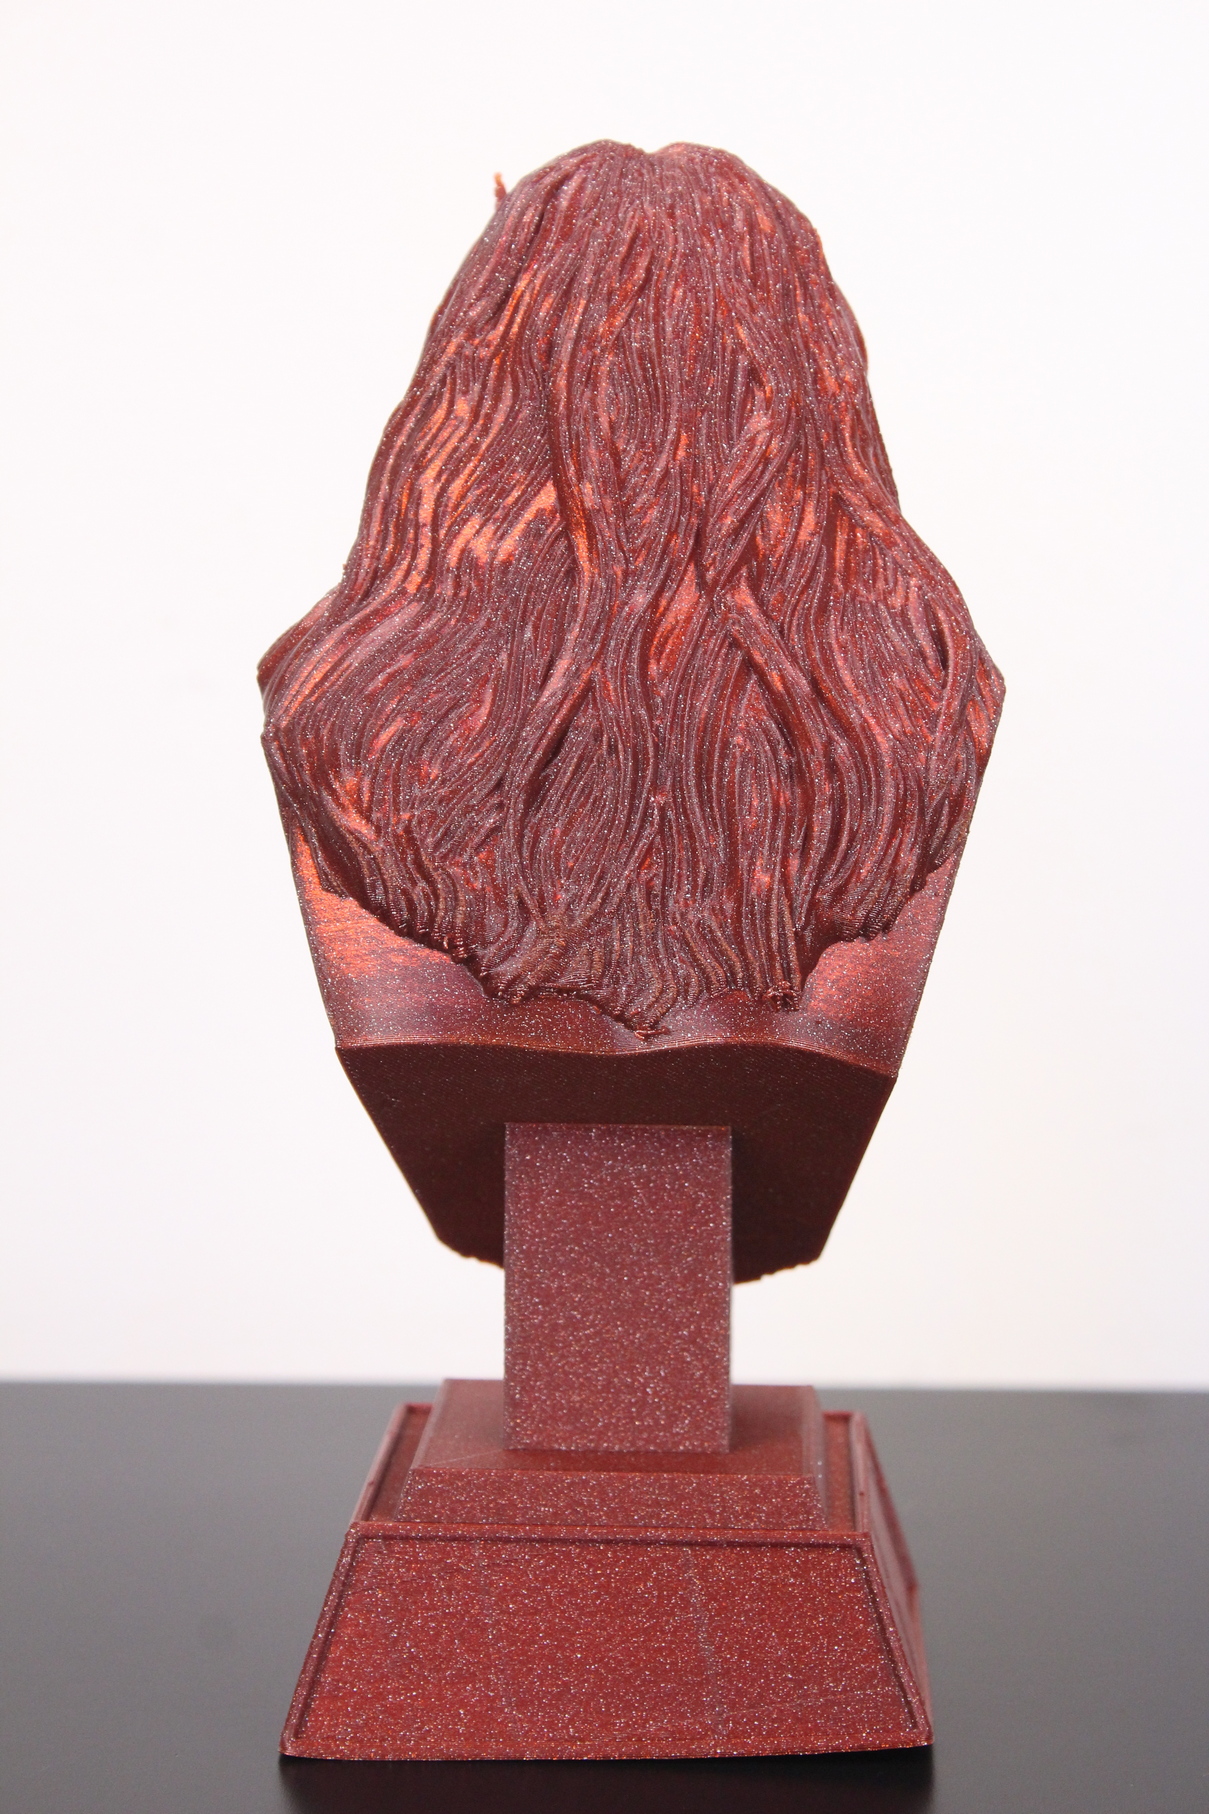
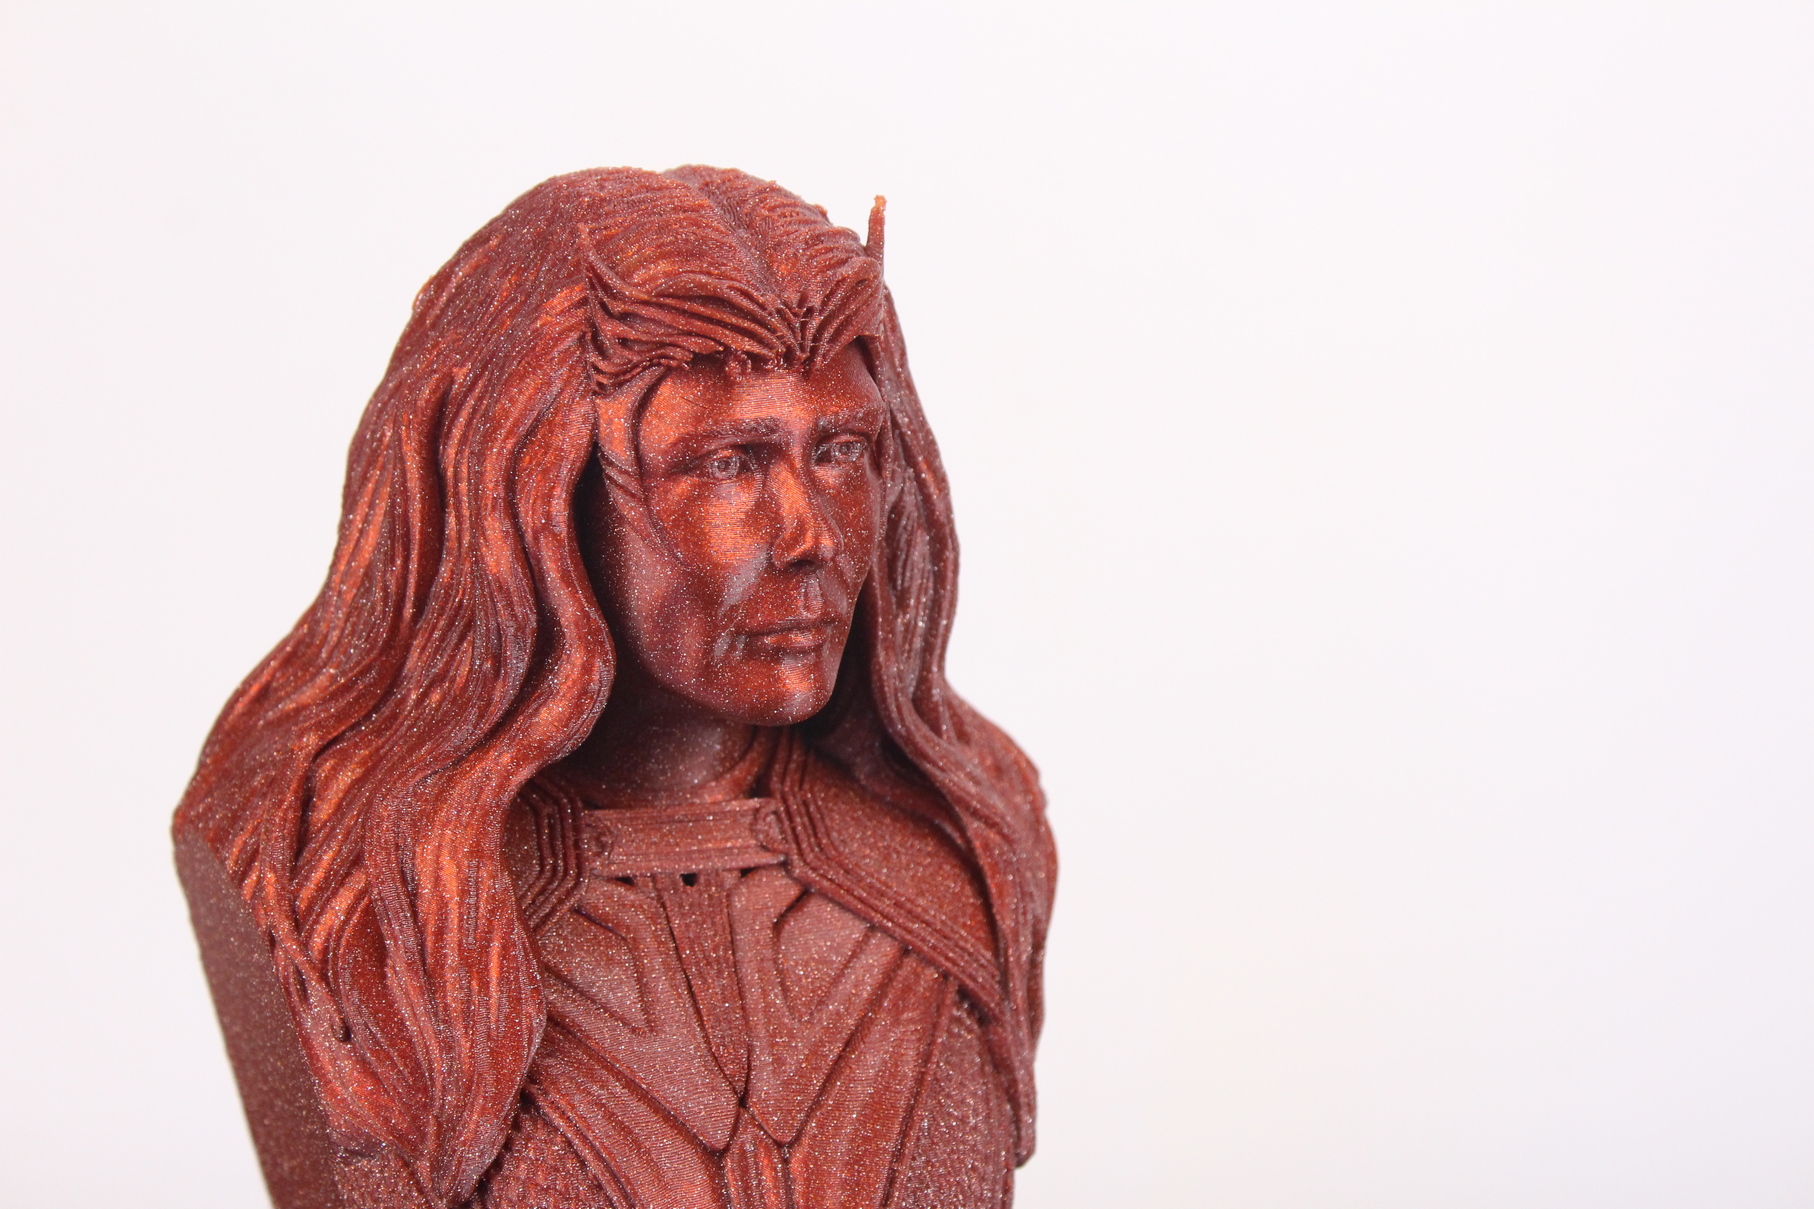
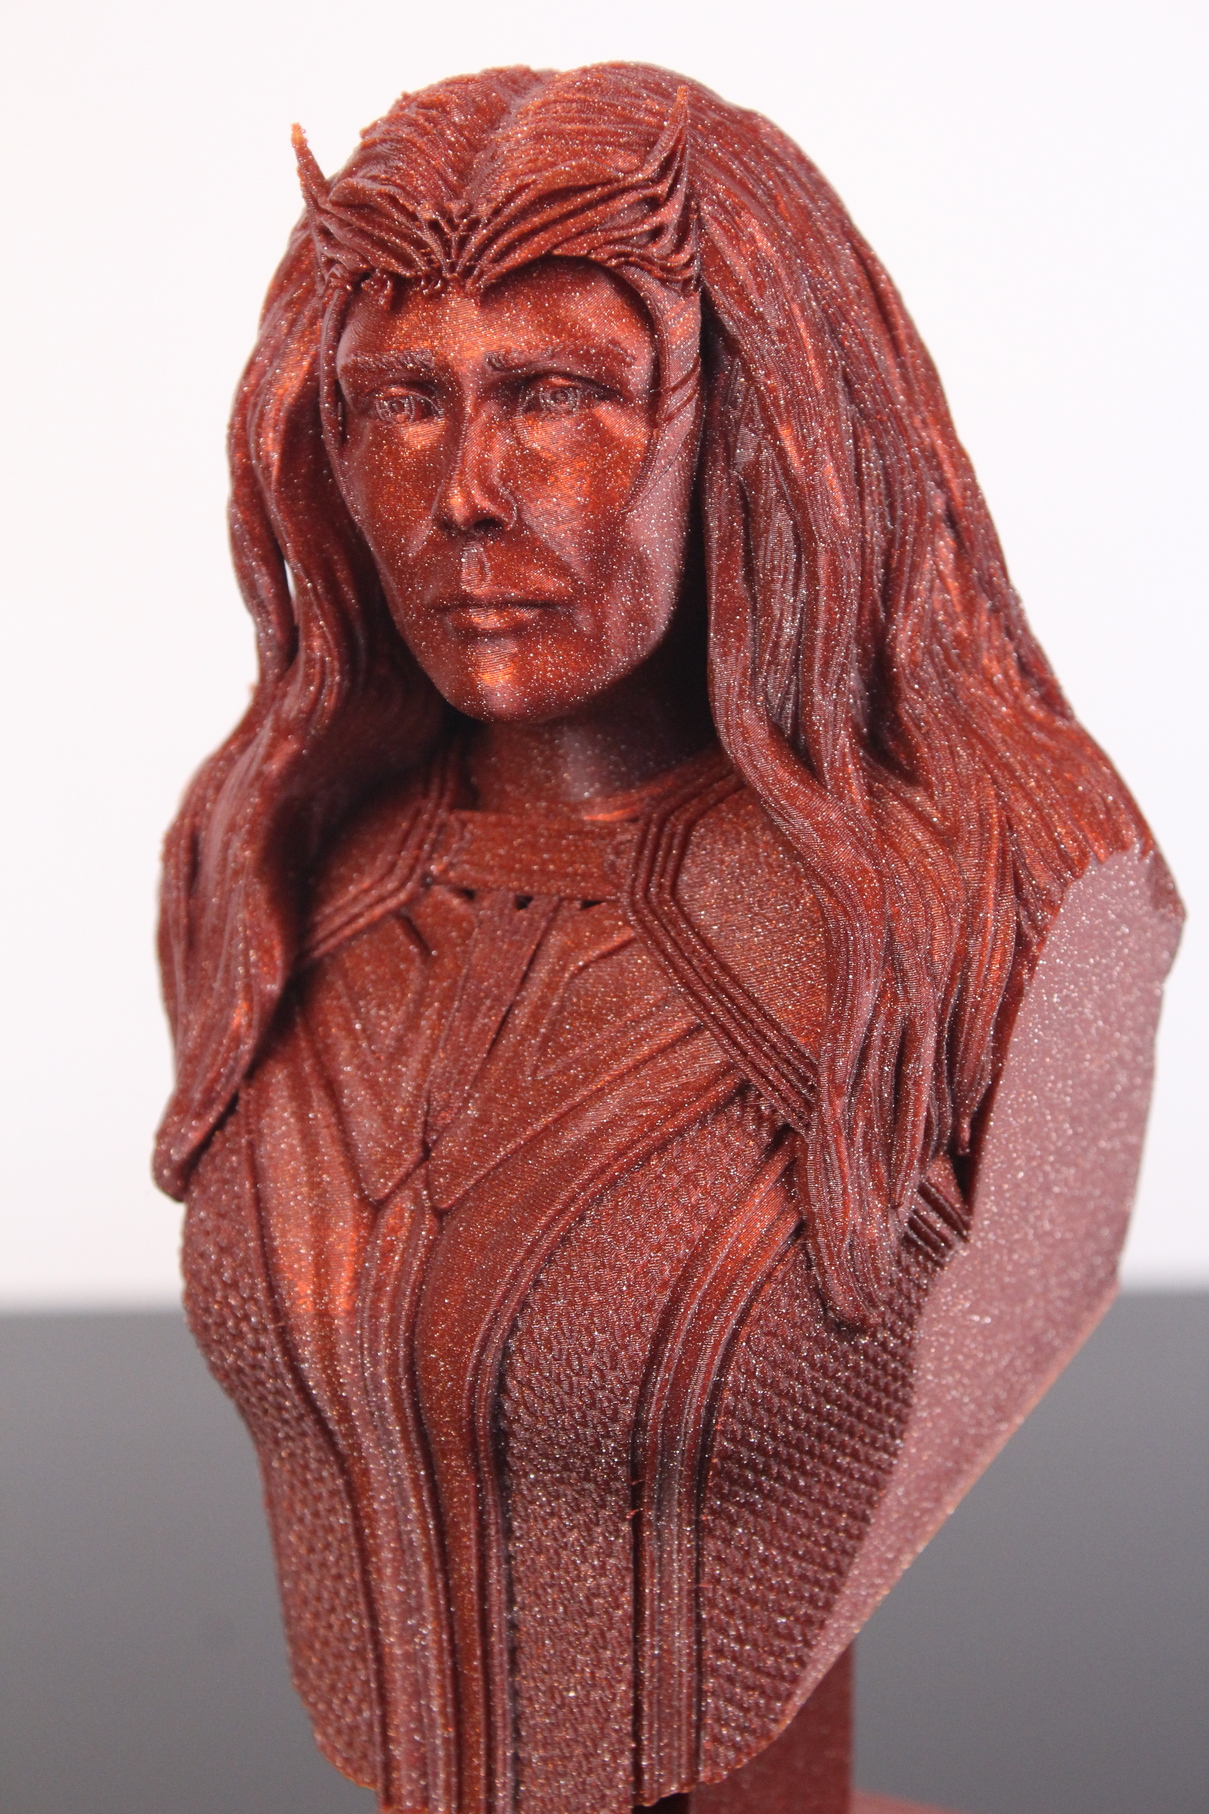
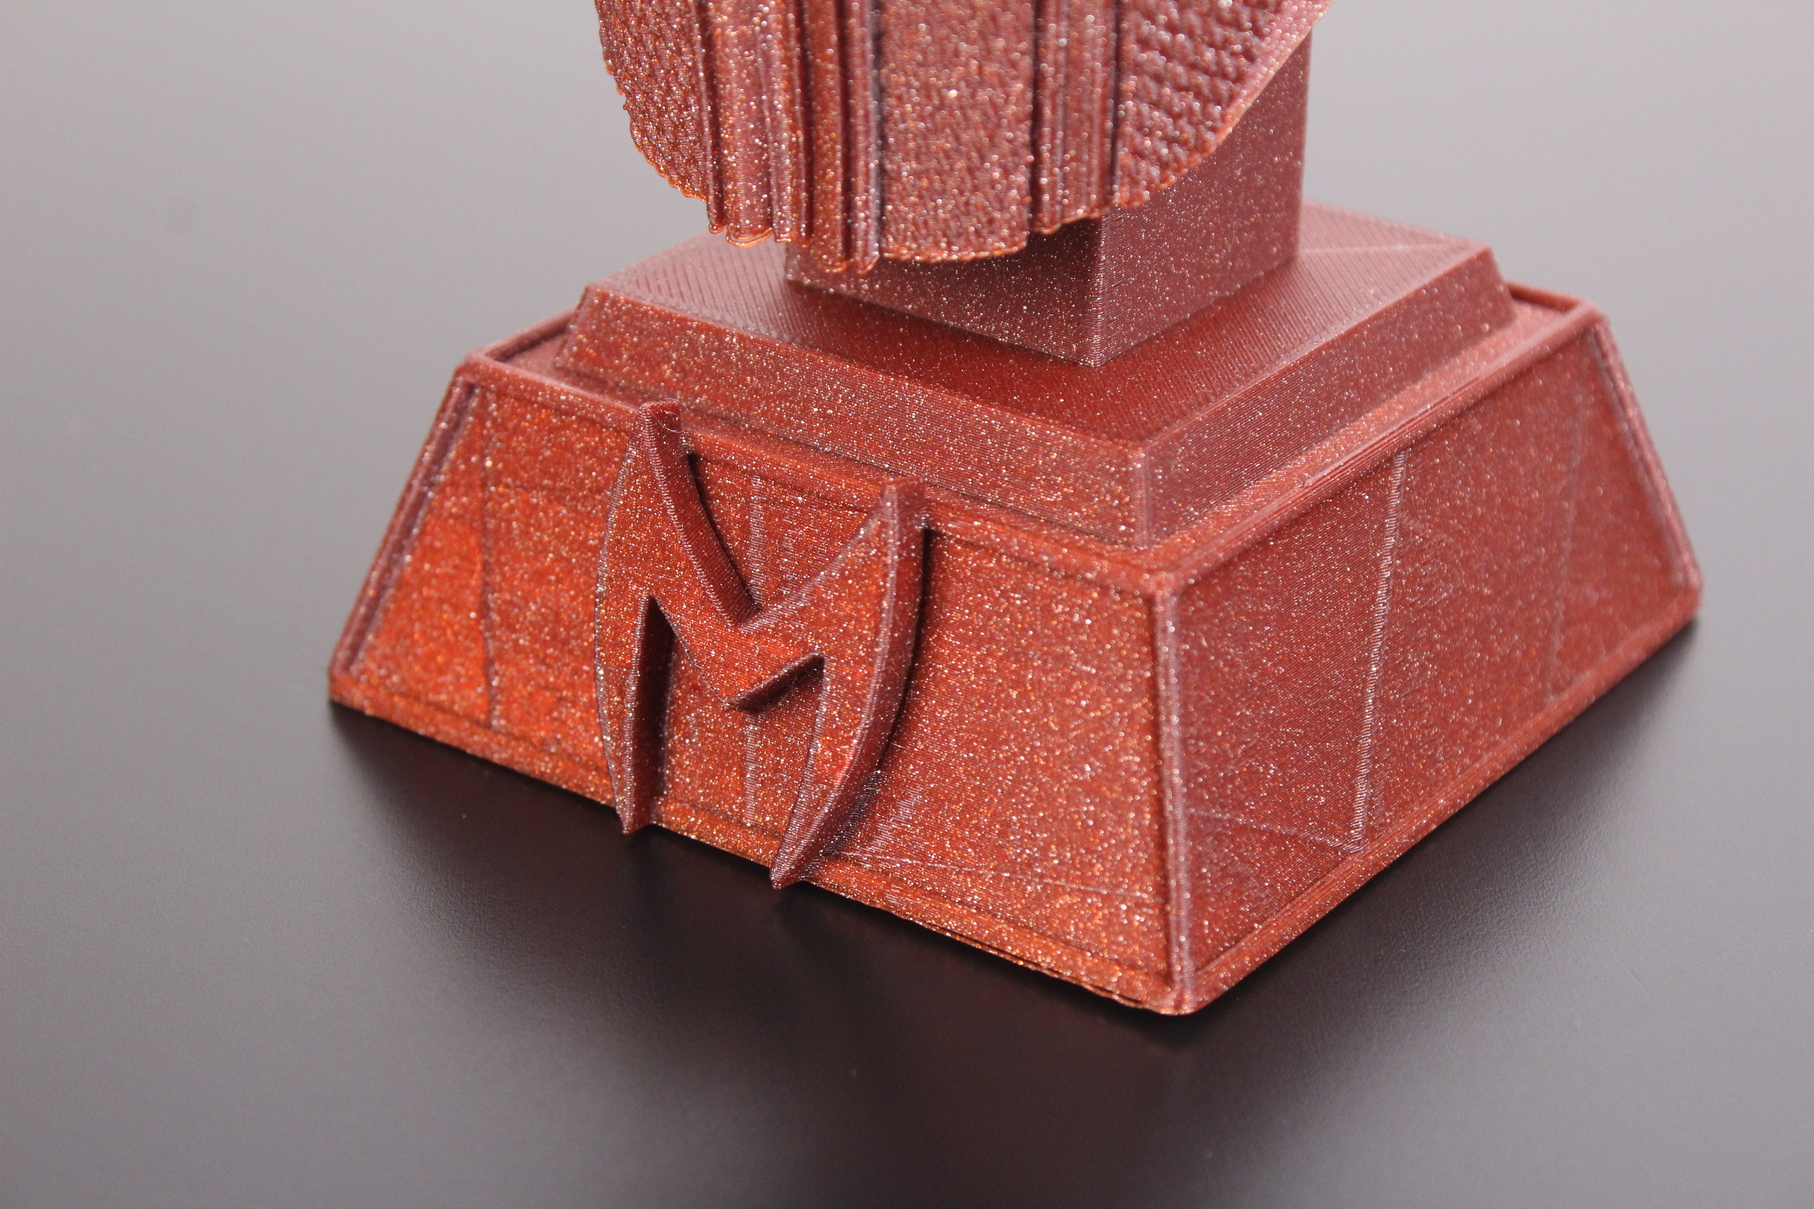
The Scarlet Witch from Fotis Mint came out great, but one of the base corners lifted a bit during printing. While the bed was properly leveled, I found out that in some cases the Z offset doesn’t remain constant, and you might need to use the babystepping feature to ensure a good first layer. This issue could be caused by the extra travel needed for the bed when homing on the bottom Z endstop.
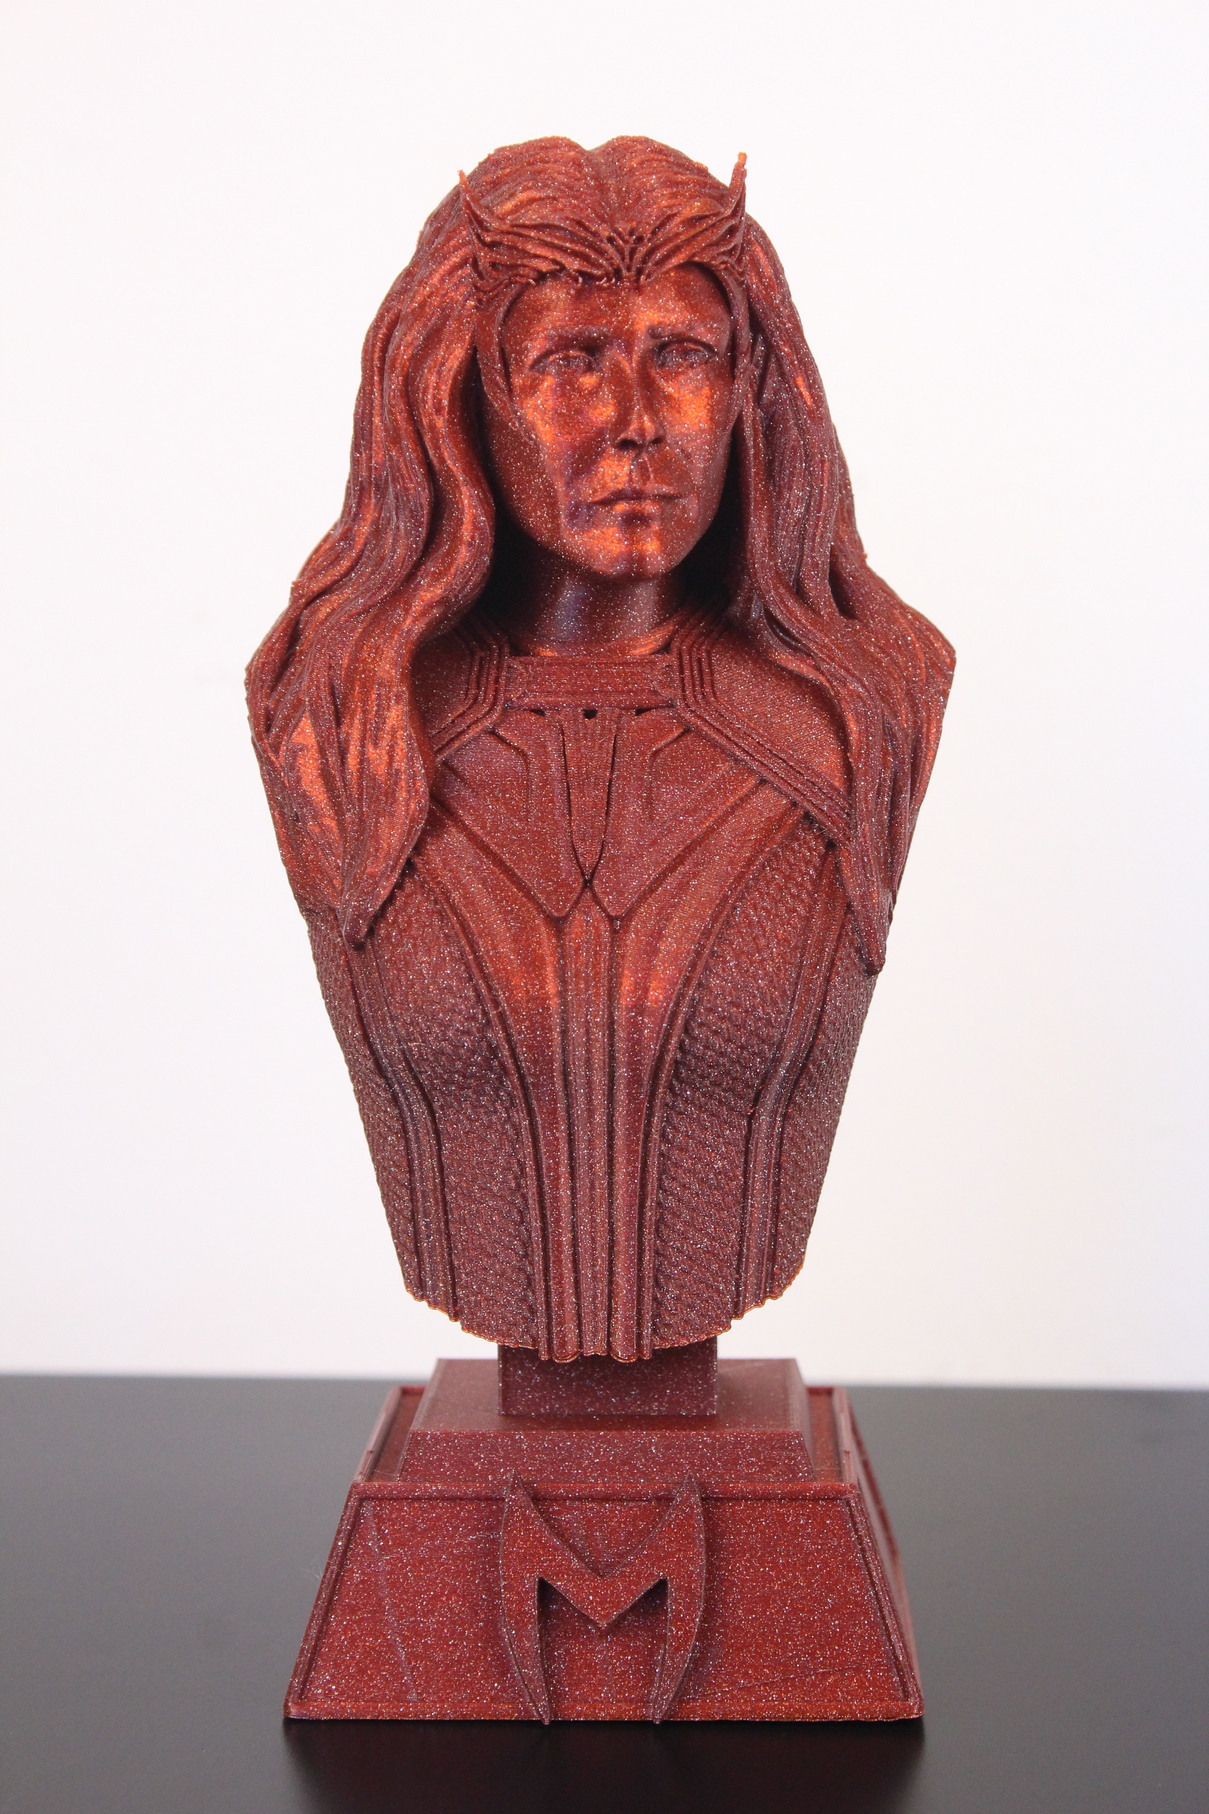
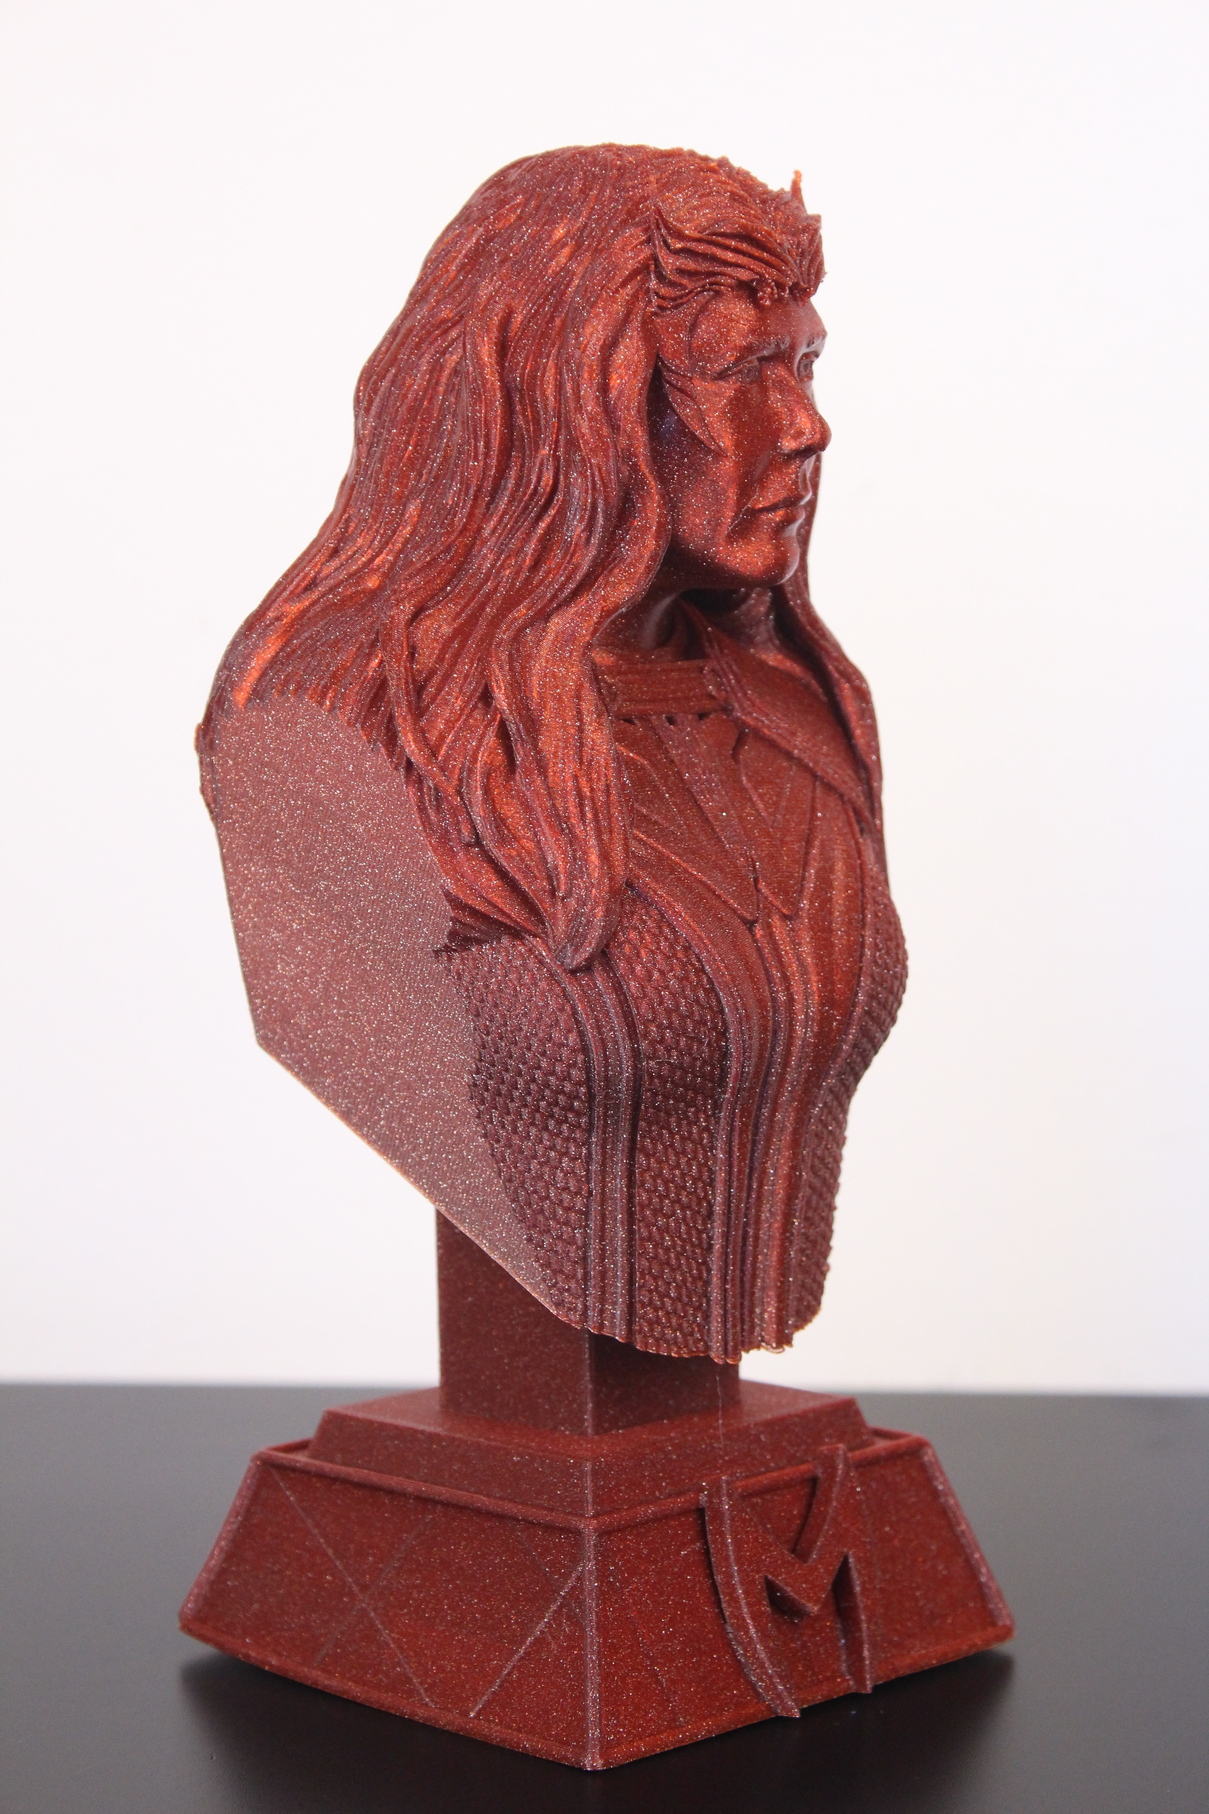
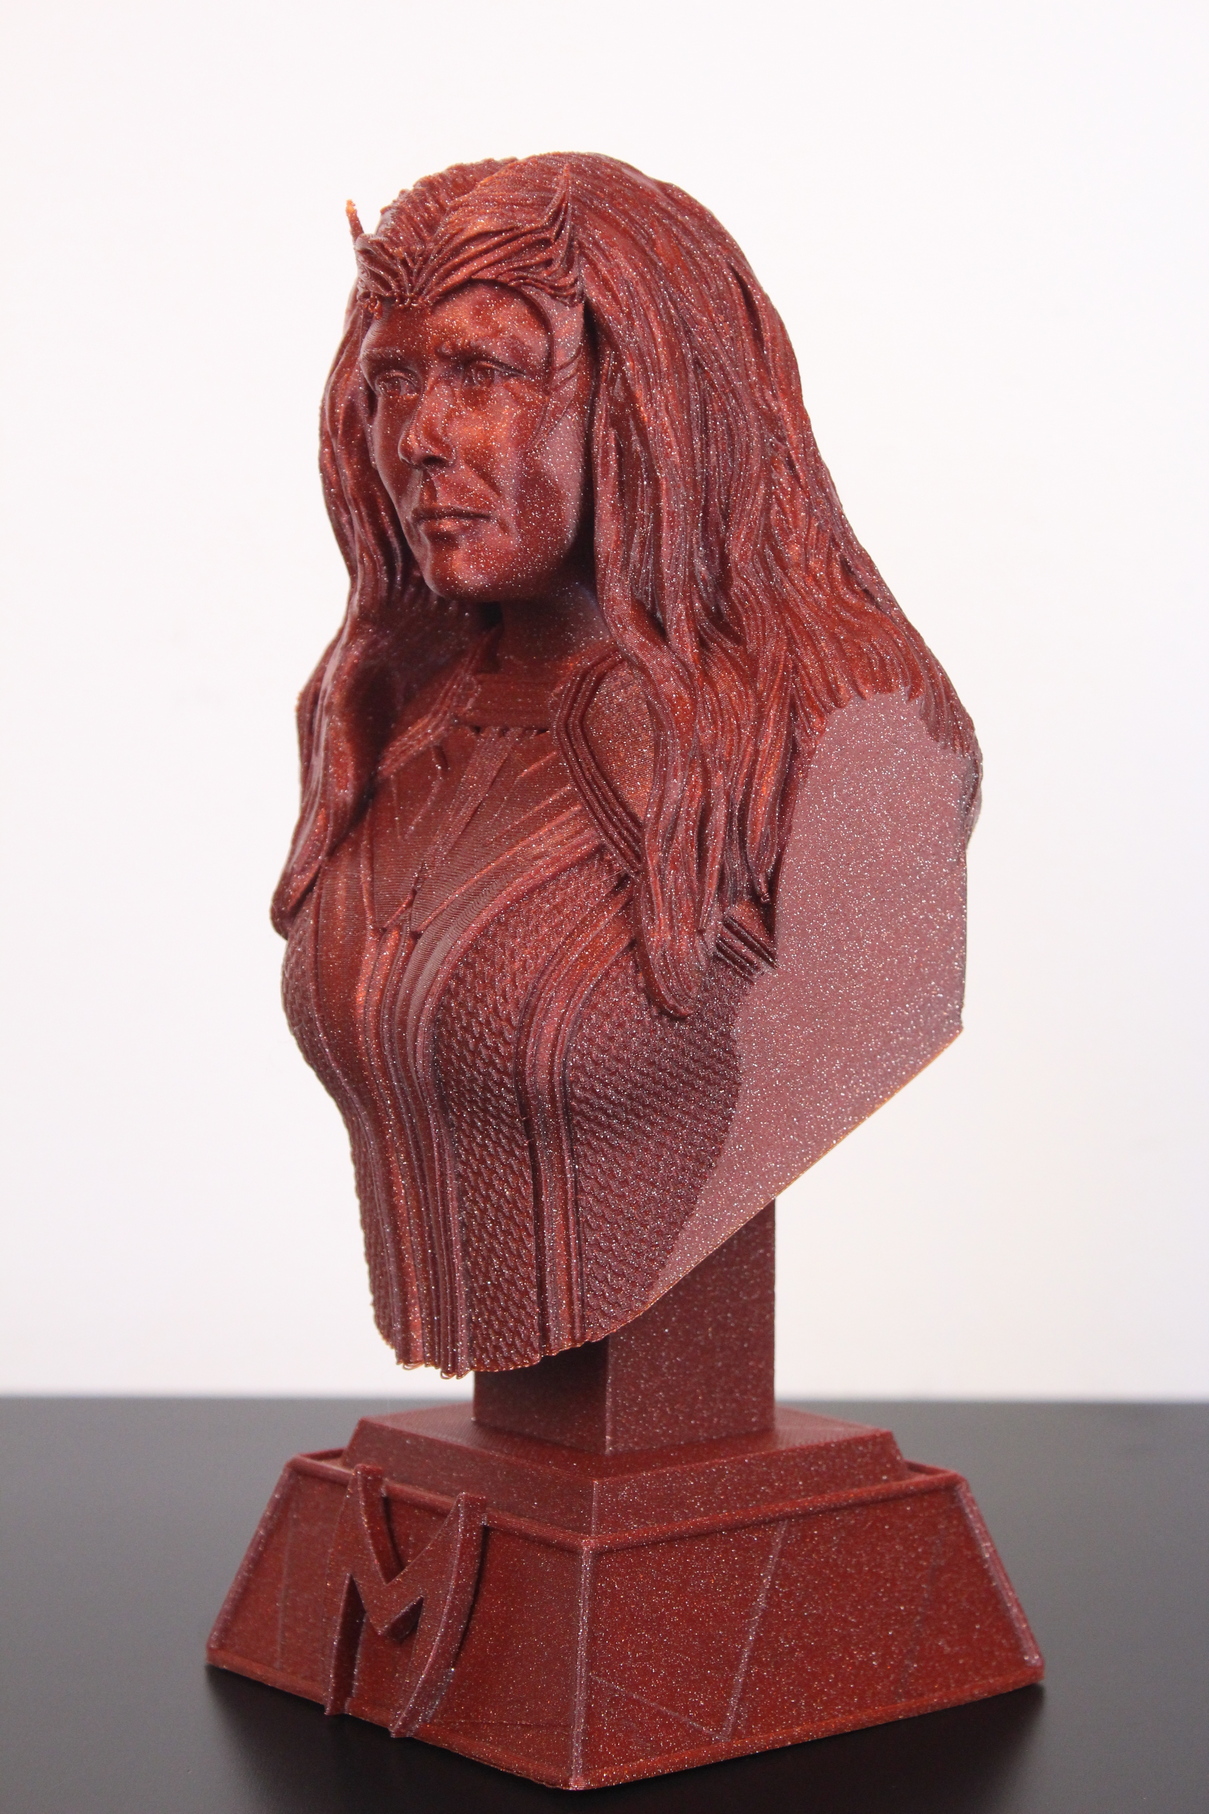
- Material: FilamentOne Glint Red PLA
- Layer Height: 0.15mm
- Nozzle Temperature: 215C
- Bed Temperature: 60C
- Print Speed: 60 mm/s
Mr Belz
I usually do at least a print test with silk filament to see if there are inconsistencies in the hotend temperature. You can see that everything looks great, but some of the before-mentioned vibration artifacts can be seen on the right side of the model which is not as smooth. Either way, I’m quite happy with the result.
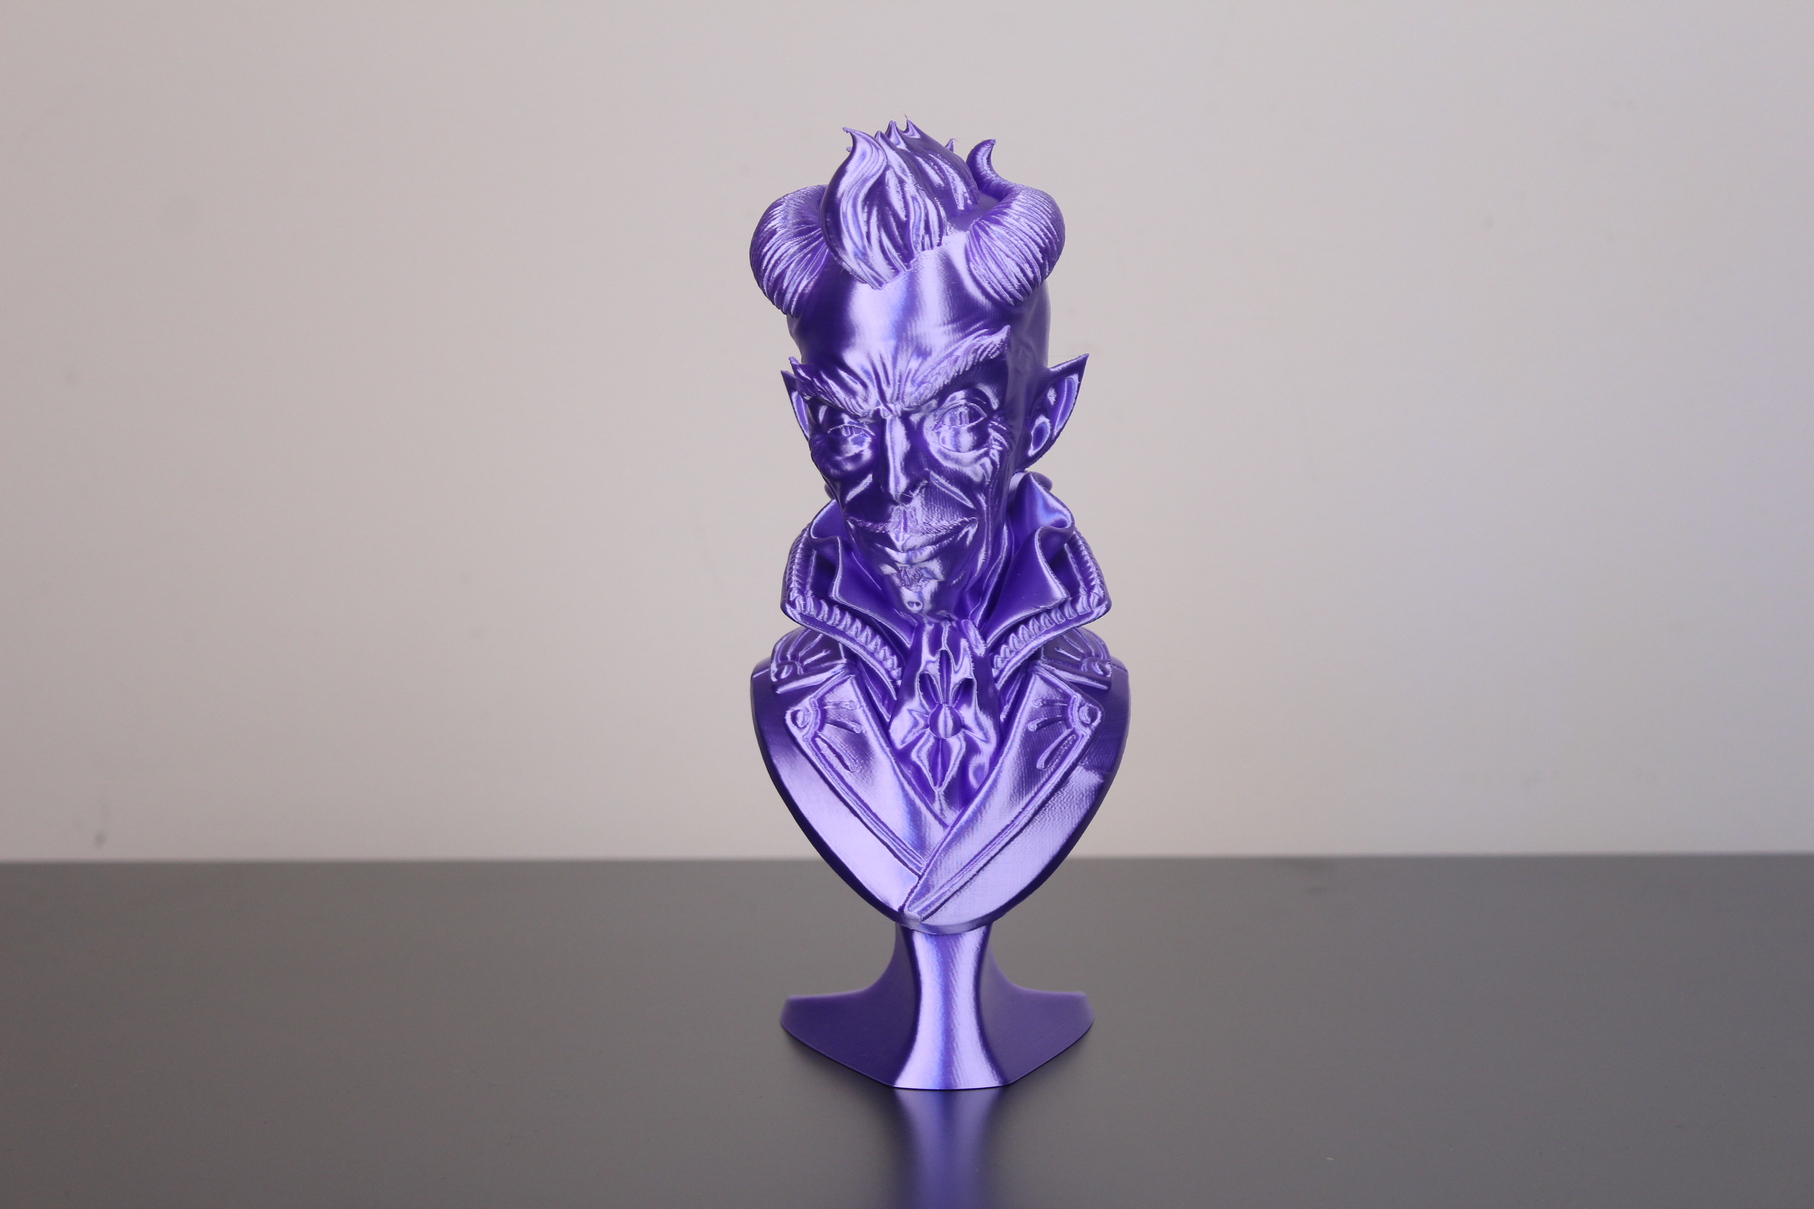
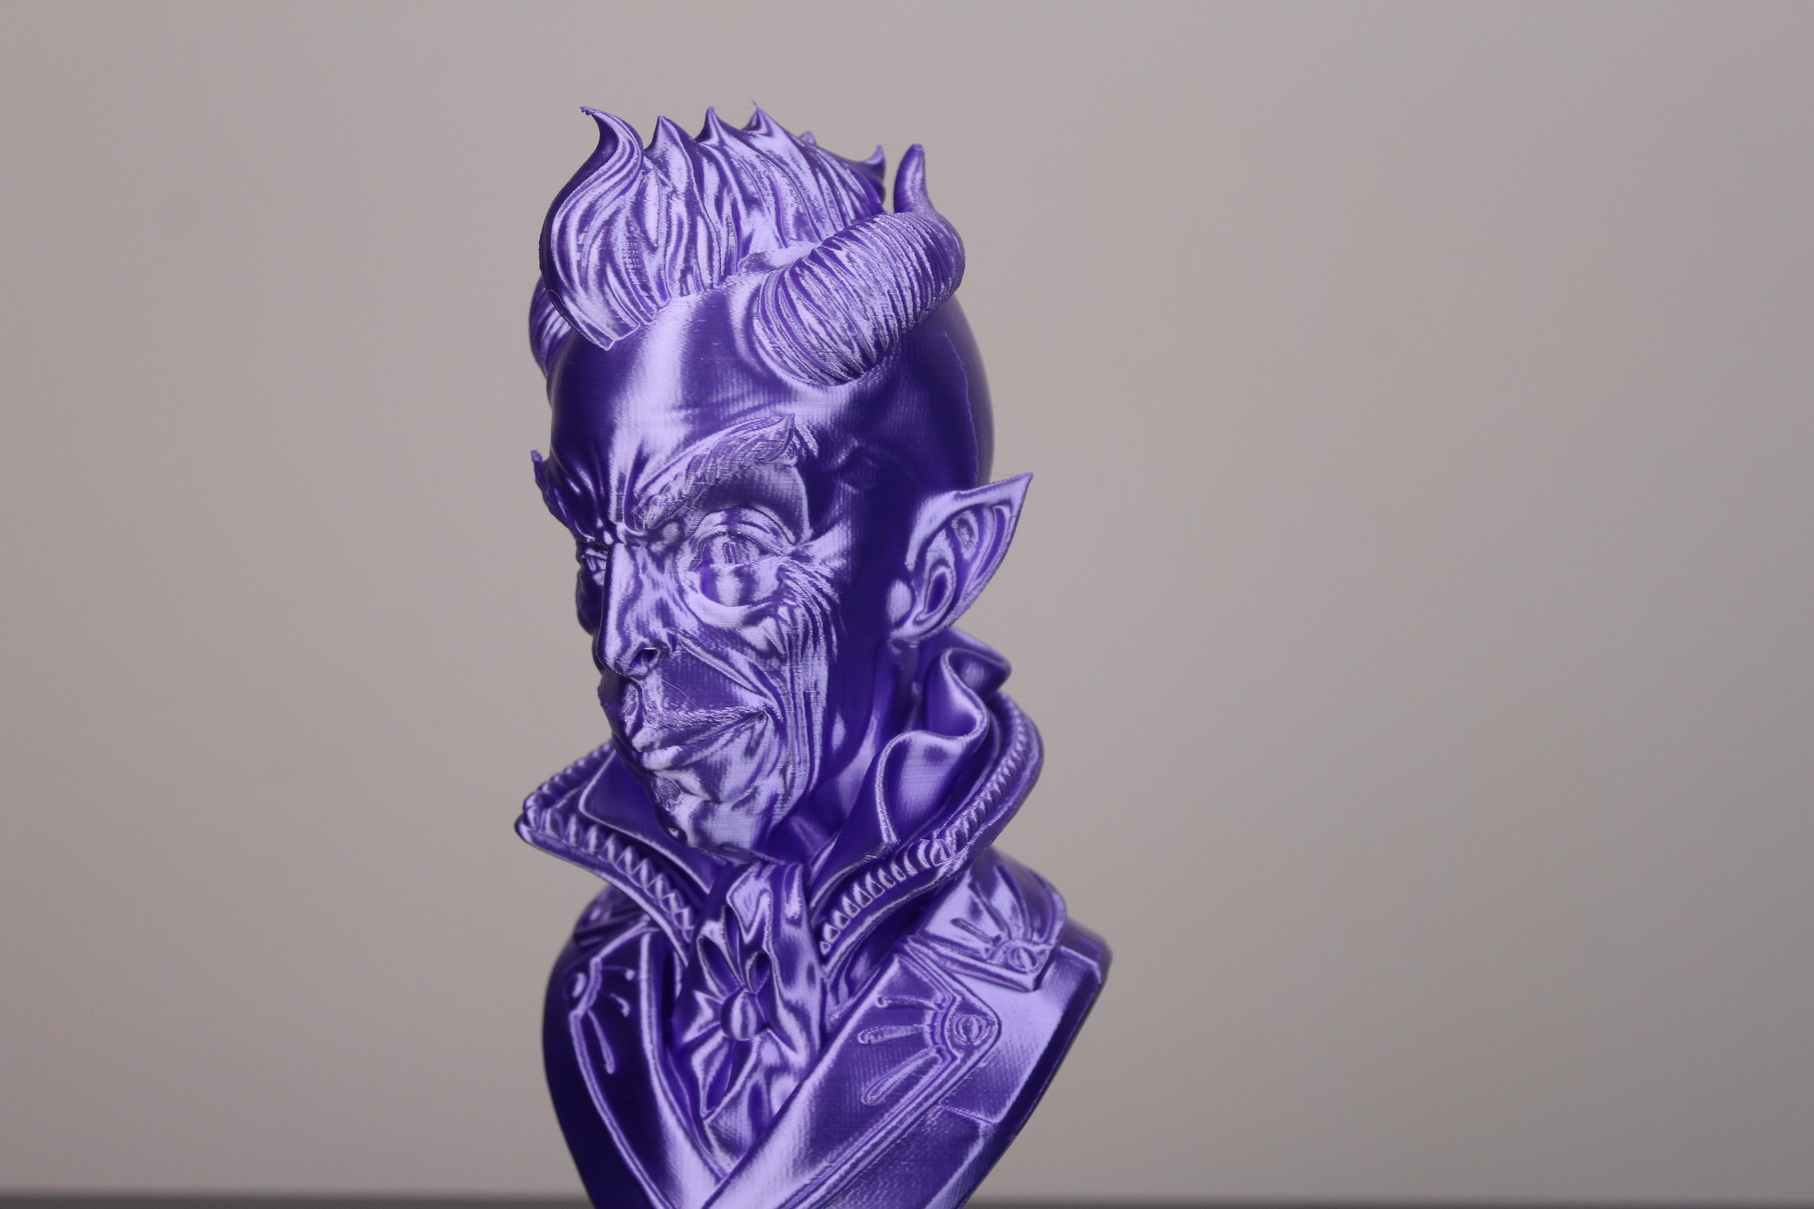
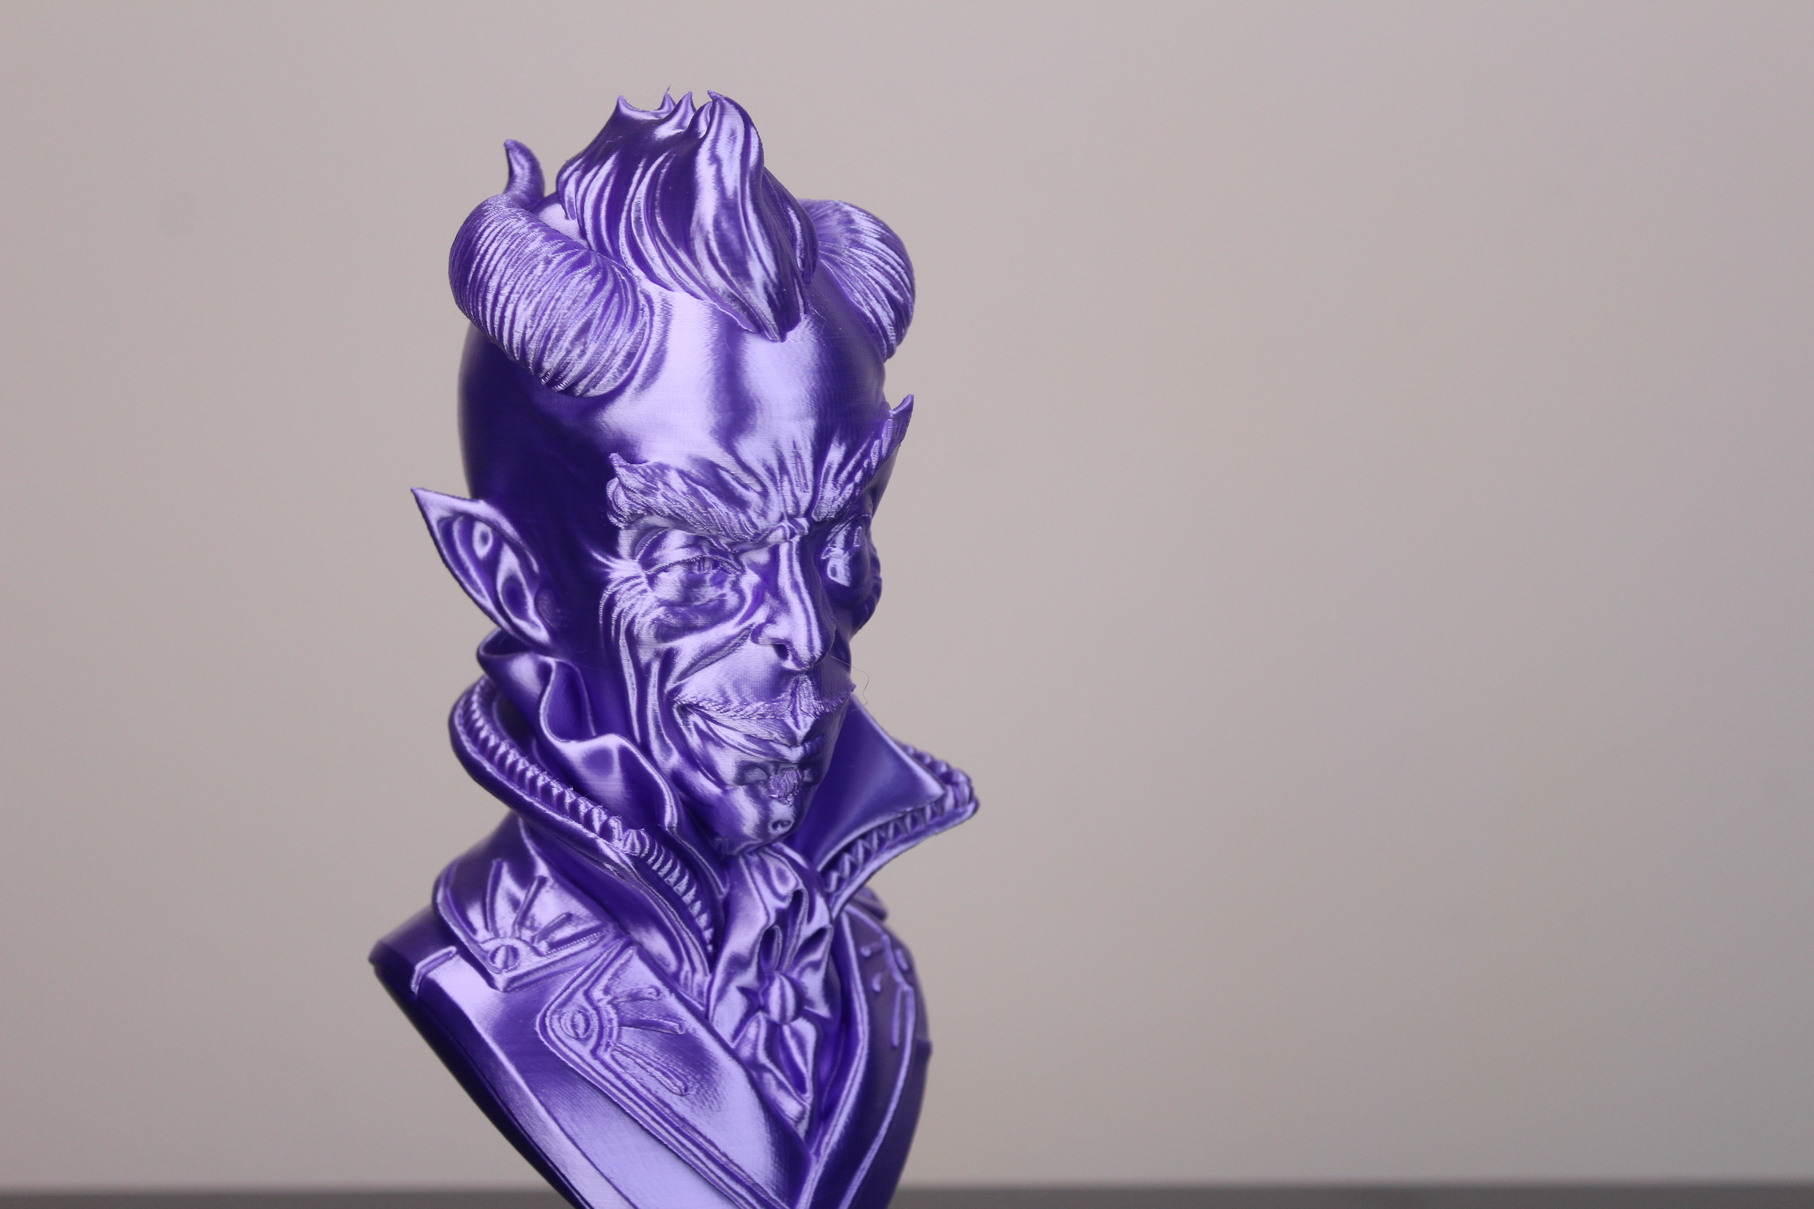
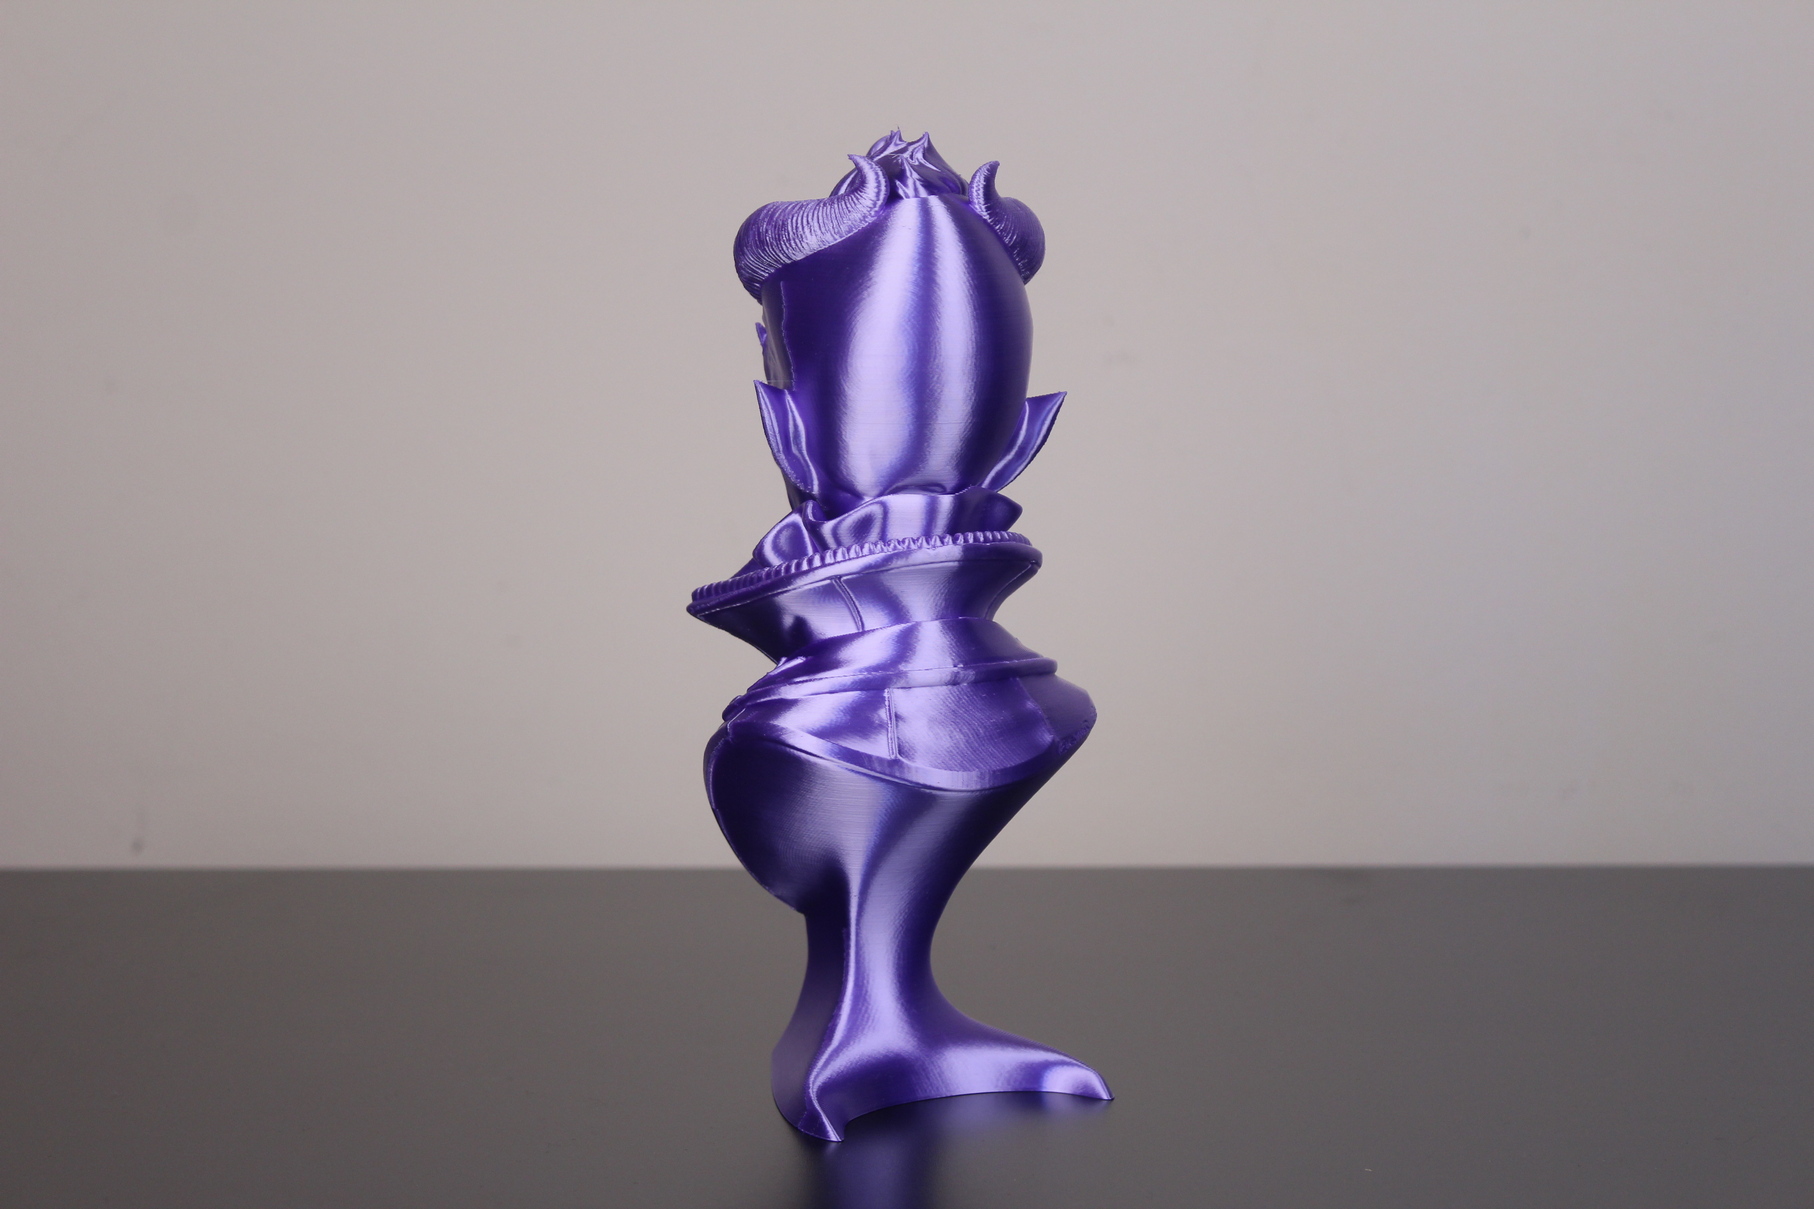
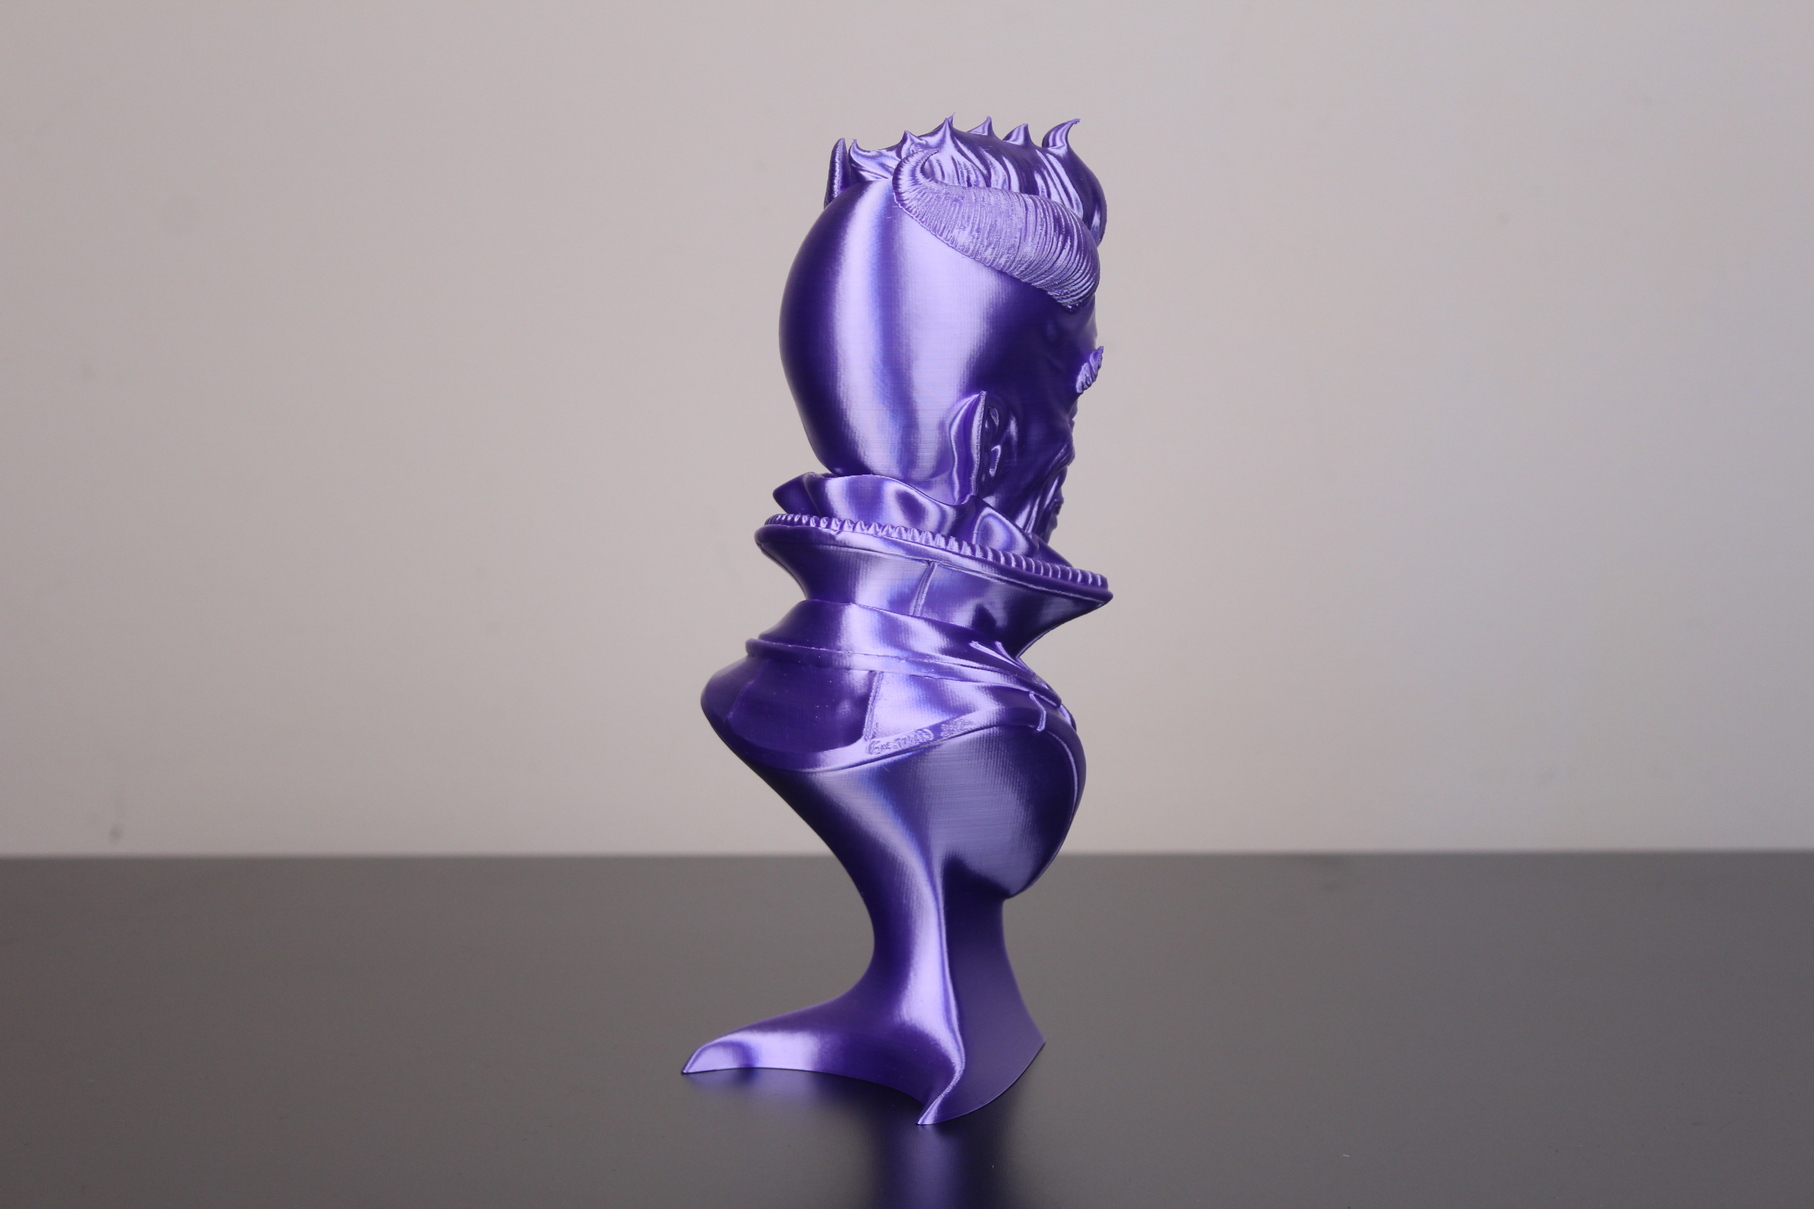
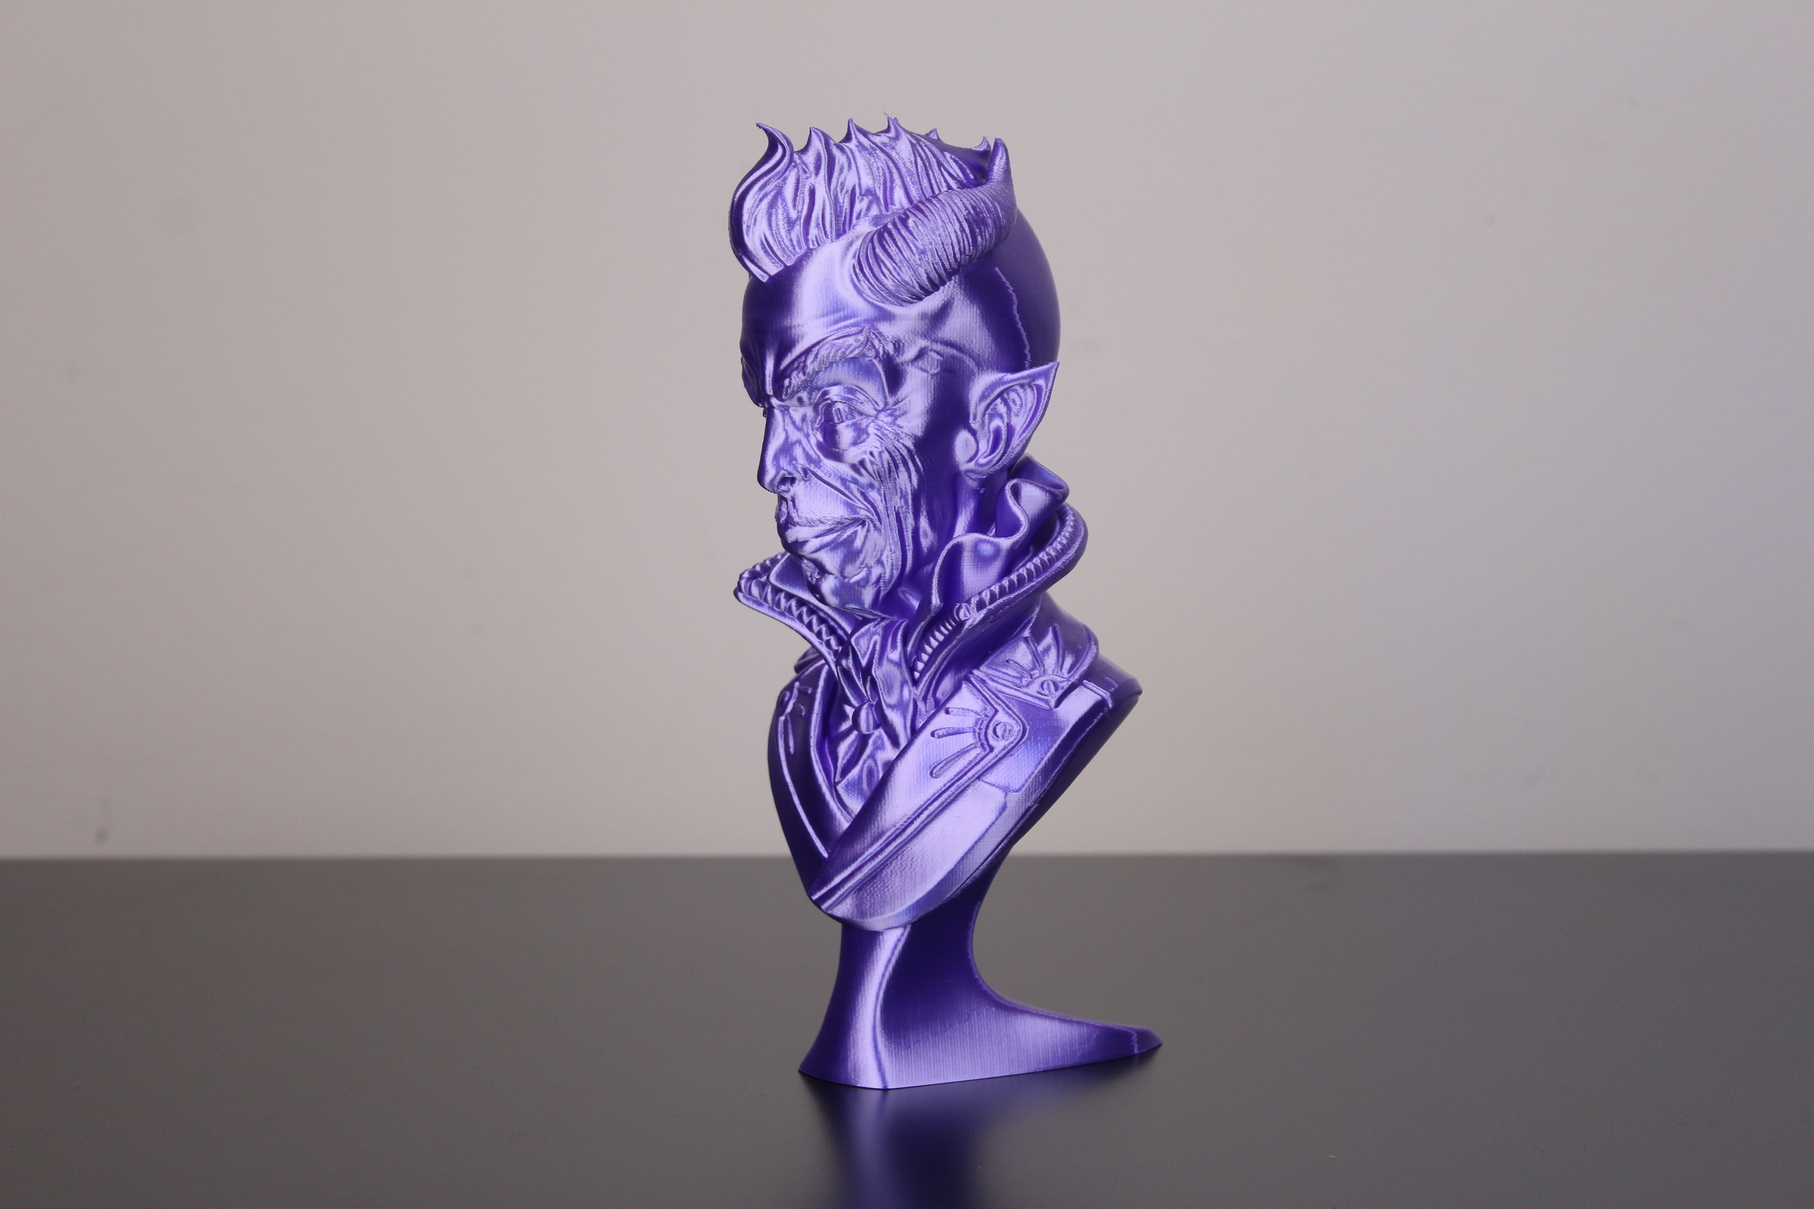
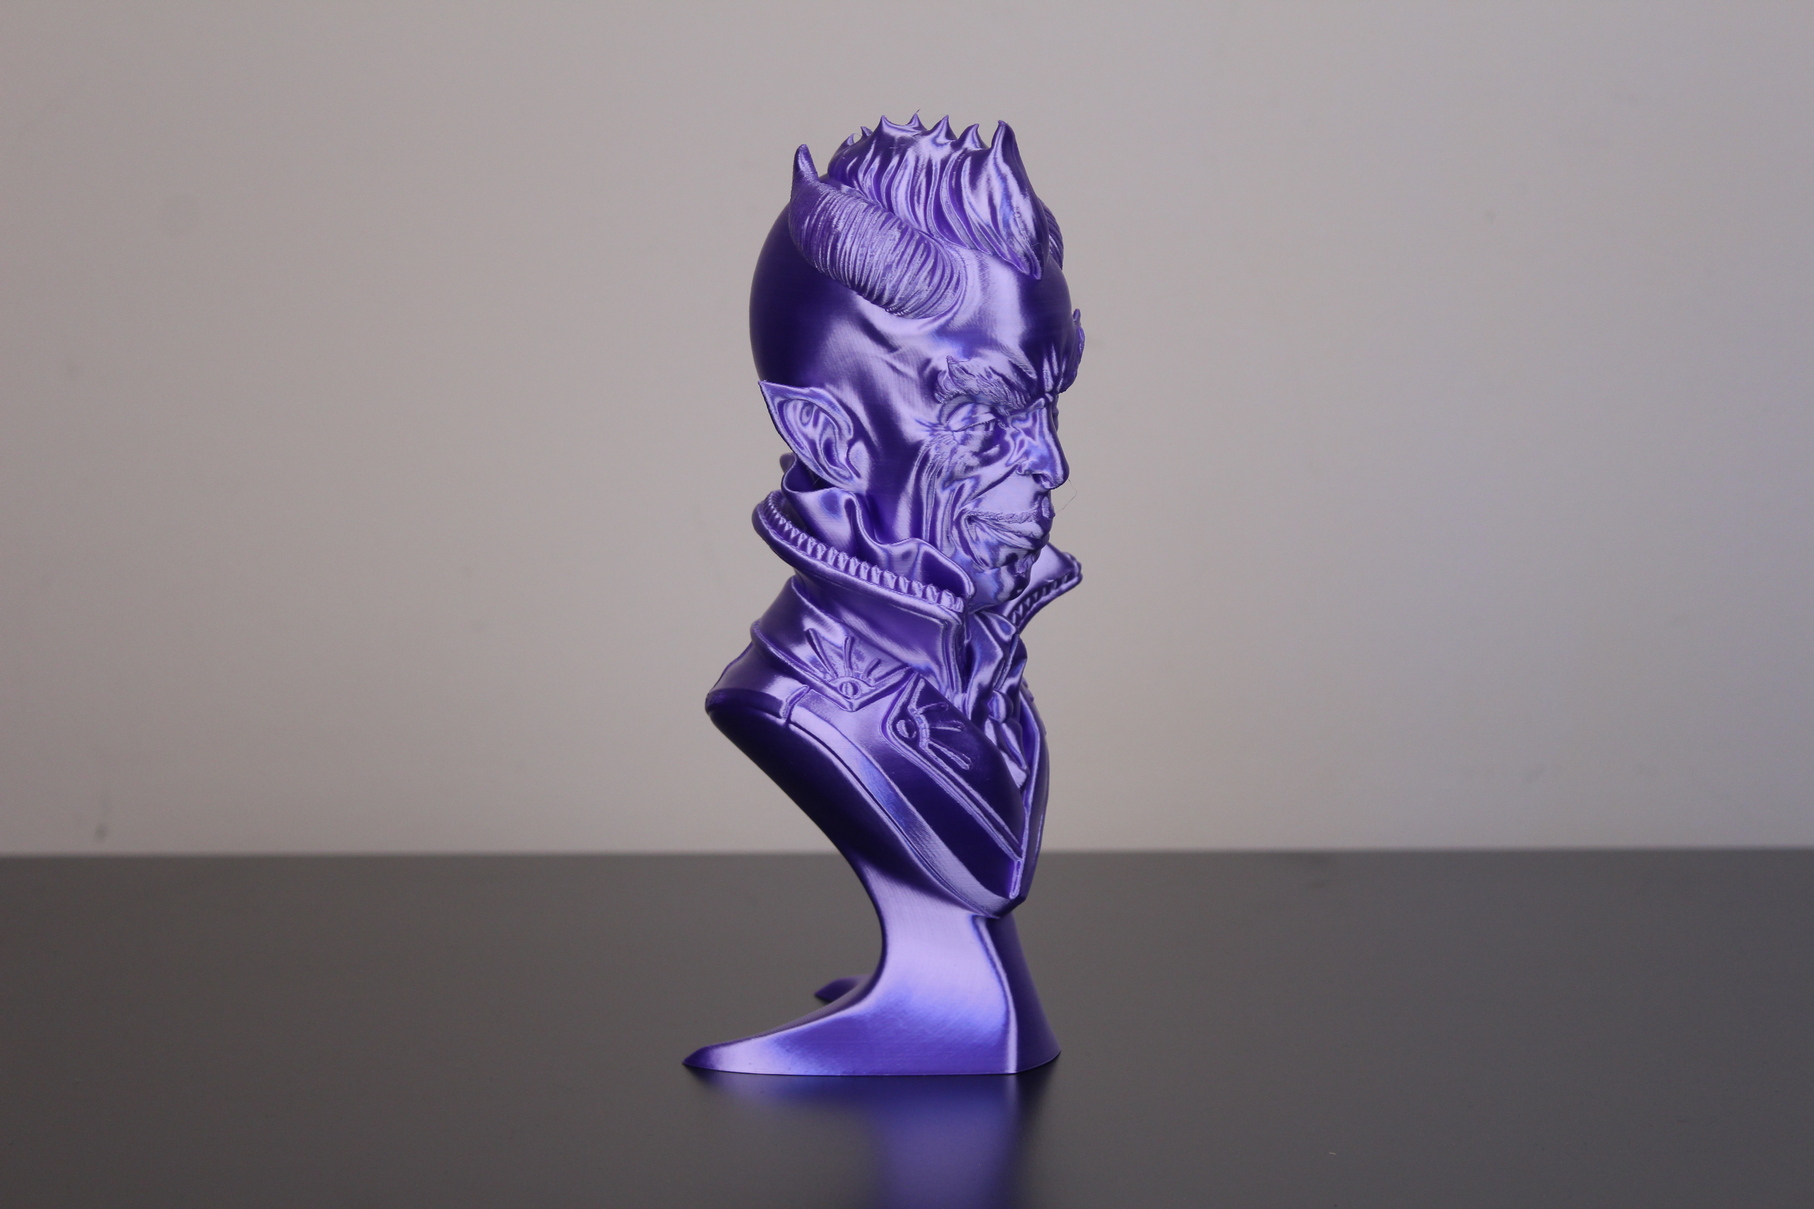
- Material: Extrudr BioFusion Epic Purple
- Layer Height: 0.15mm
- Nozzle Temperature: 220C
- Bed Temperature: 60C
- Print Speed: 60 mm/s
Failed prints with the Voxelab Aries
Unfortunately, my printing experience with the Voxelab Aries was not as good as with other 3D printers I reviewed in the past. Mostly, because of the layer shifting issues I got on a few prints.
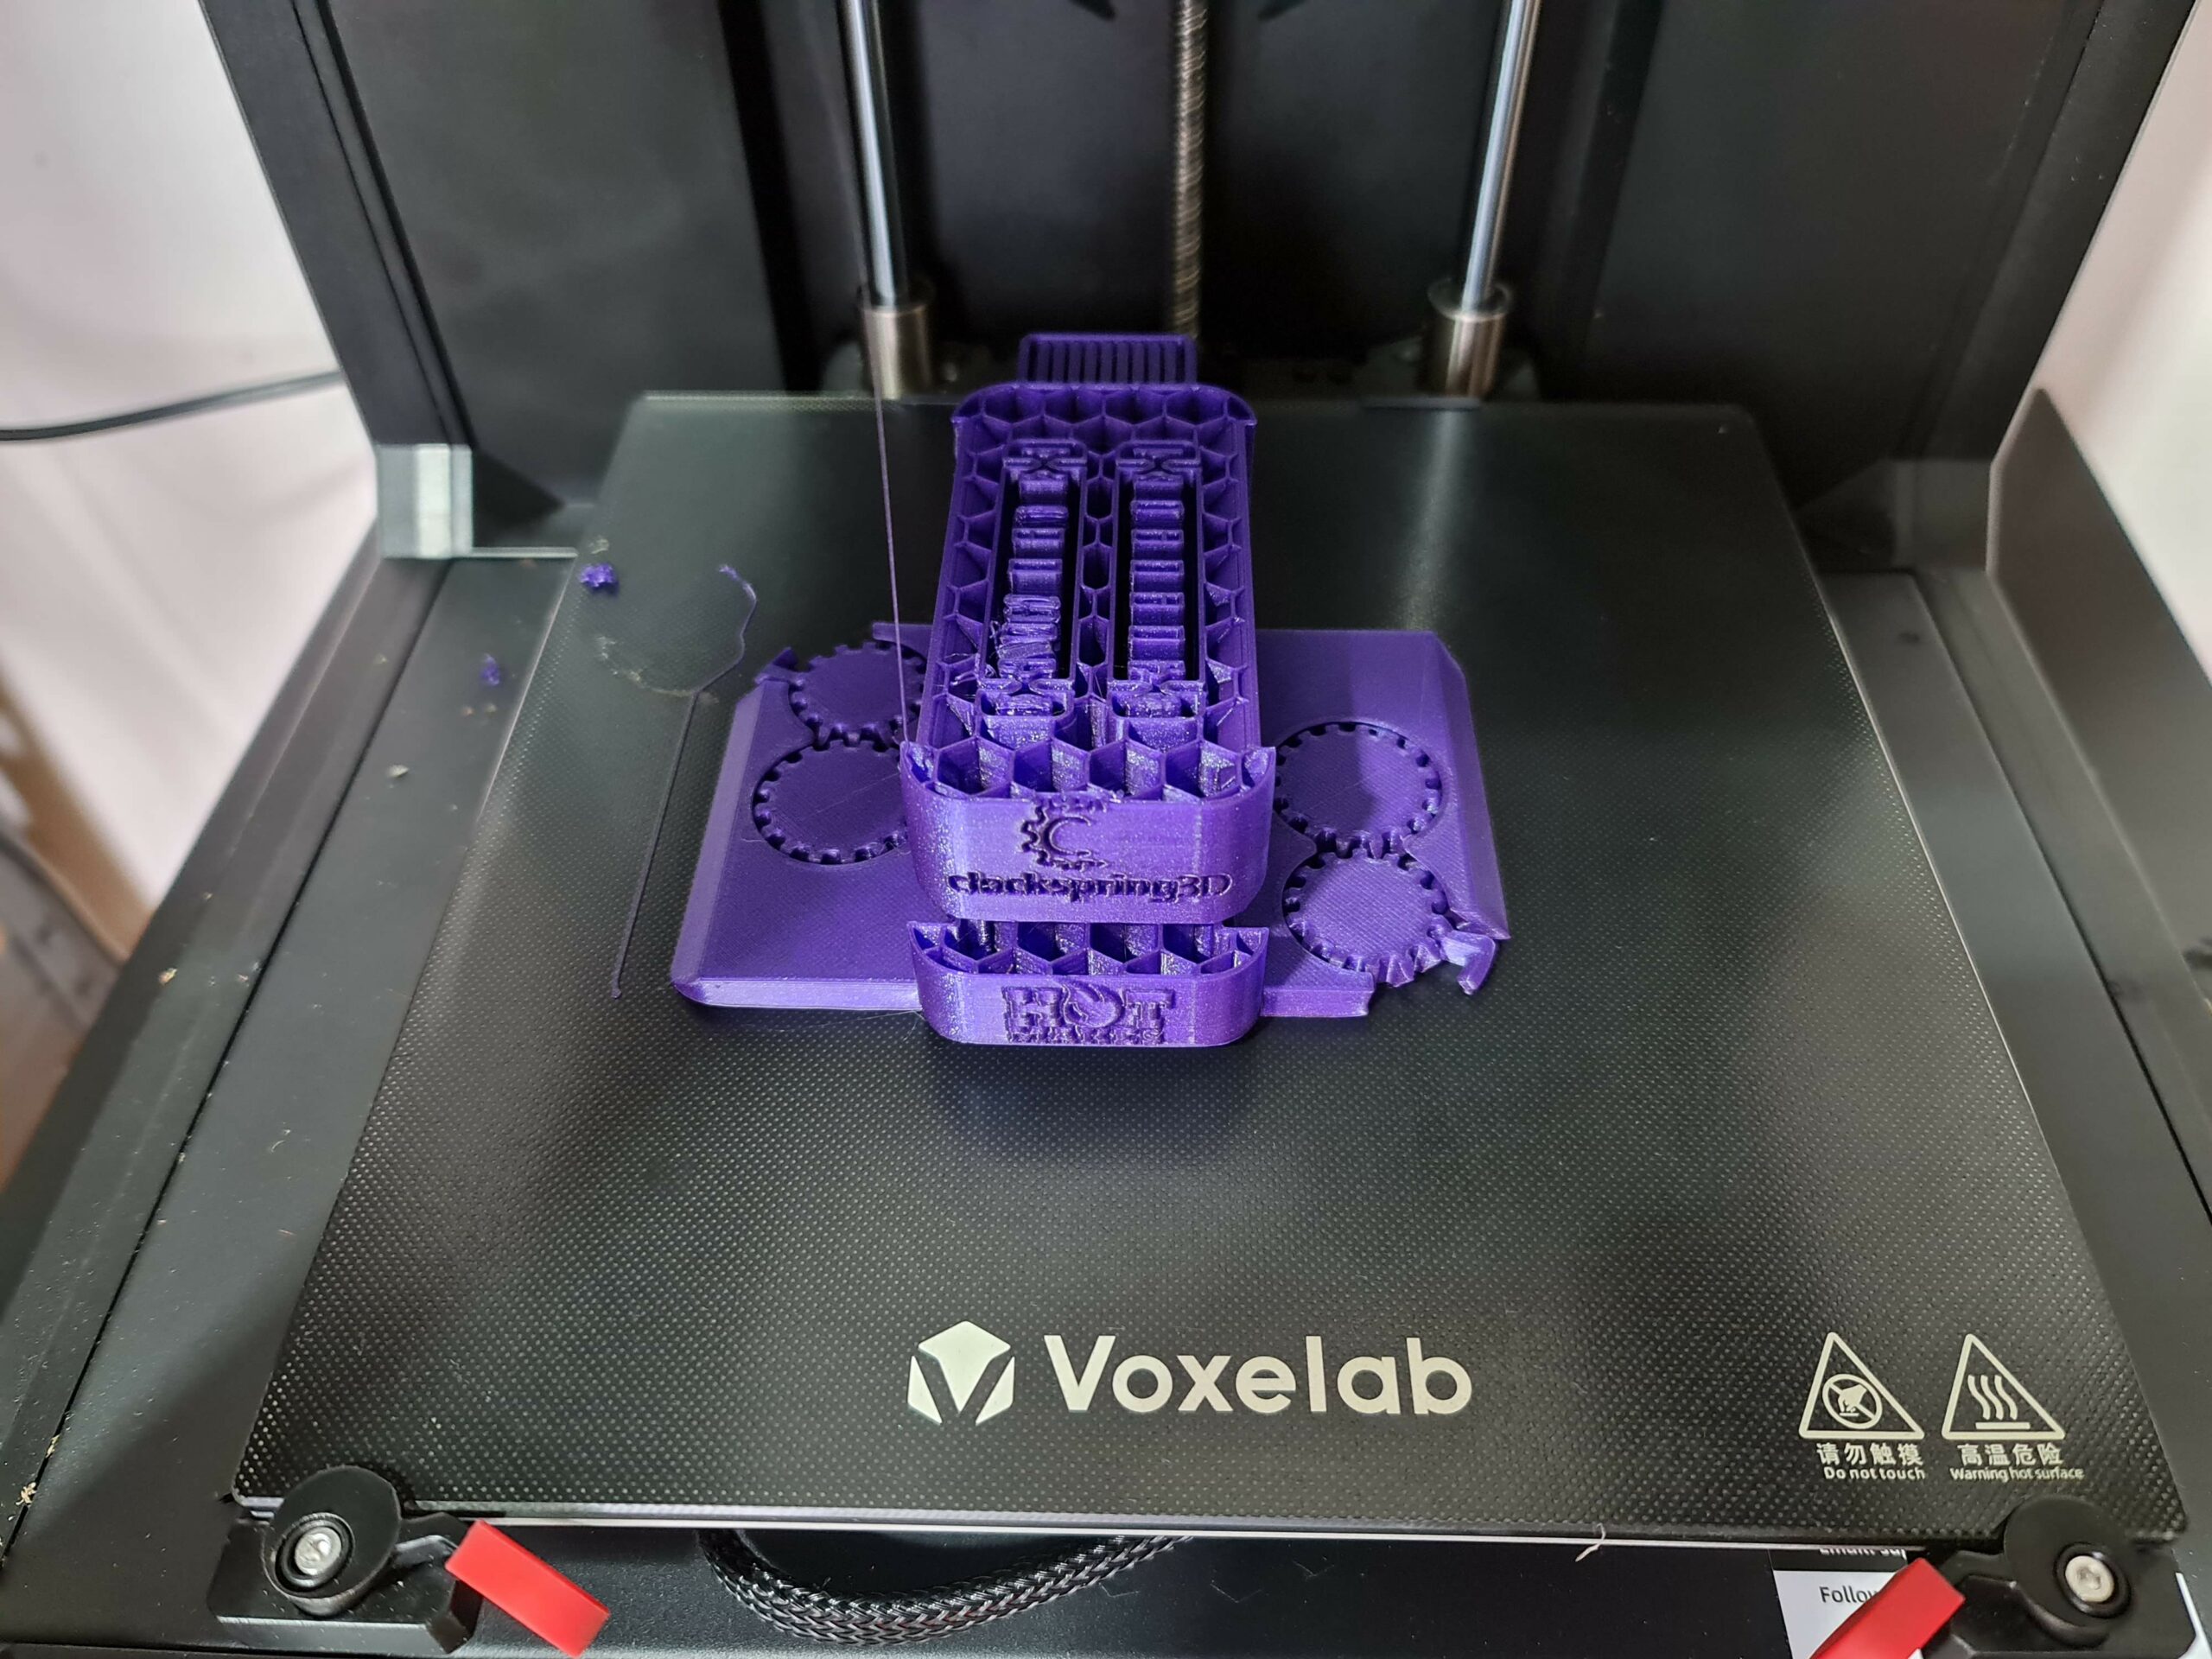
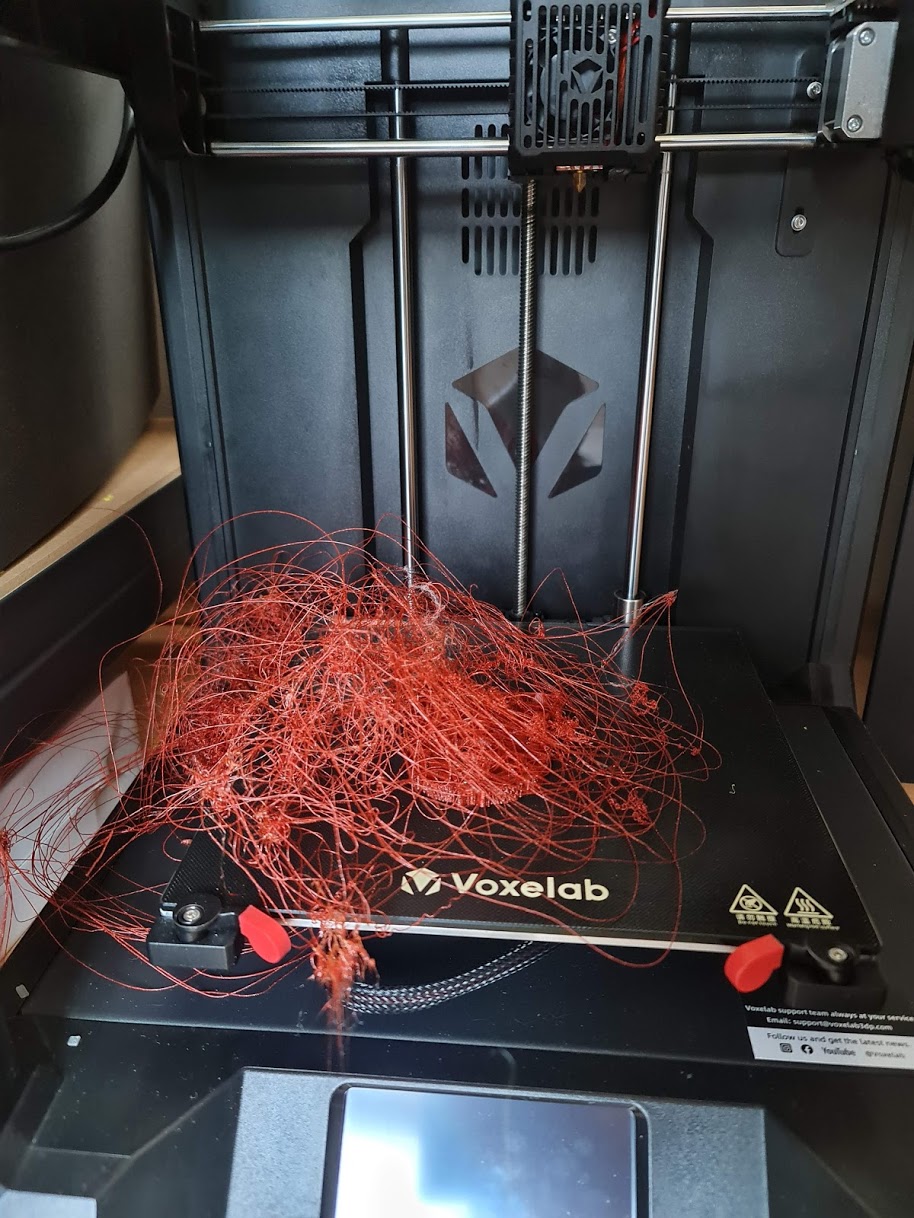
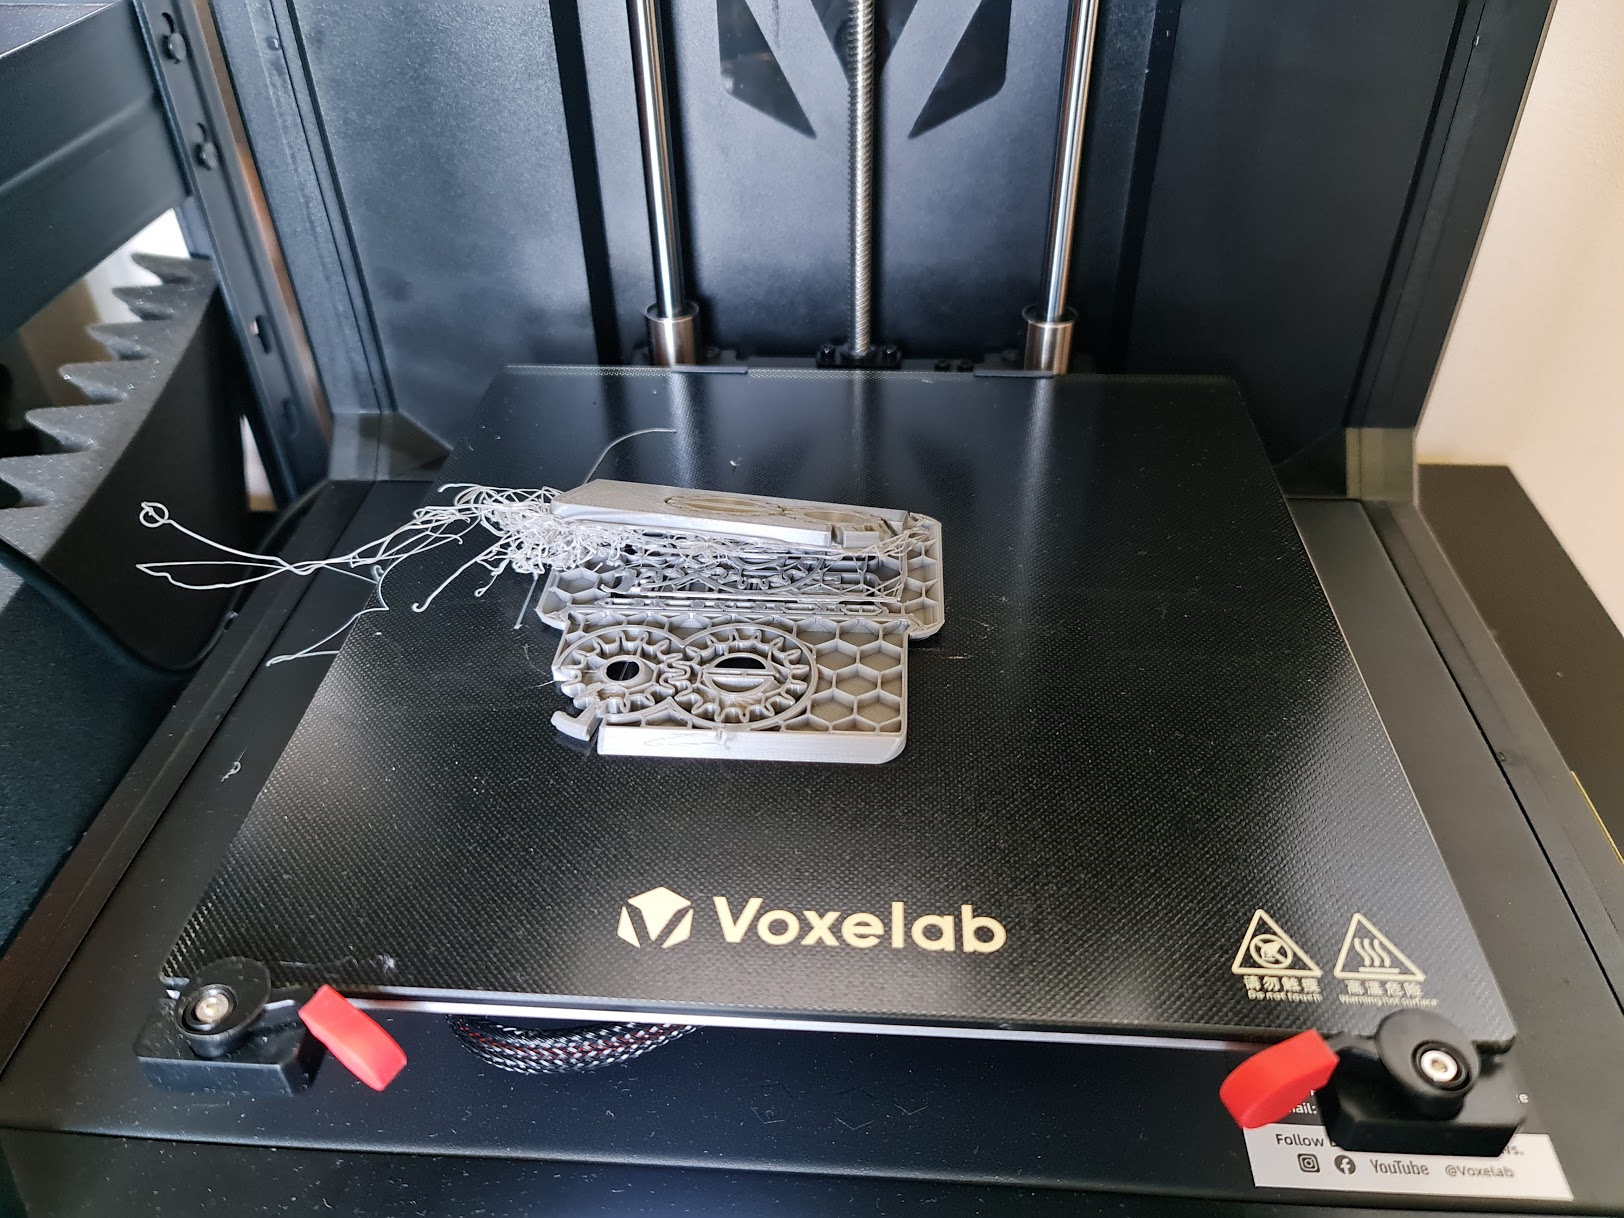
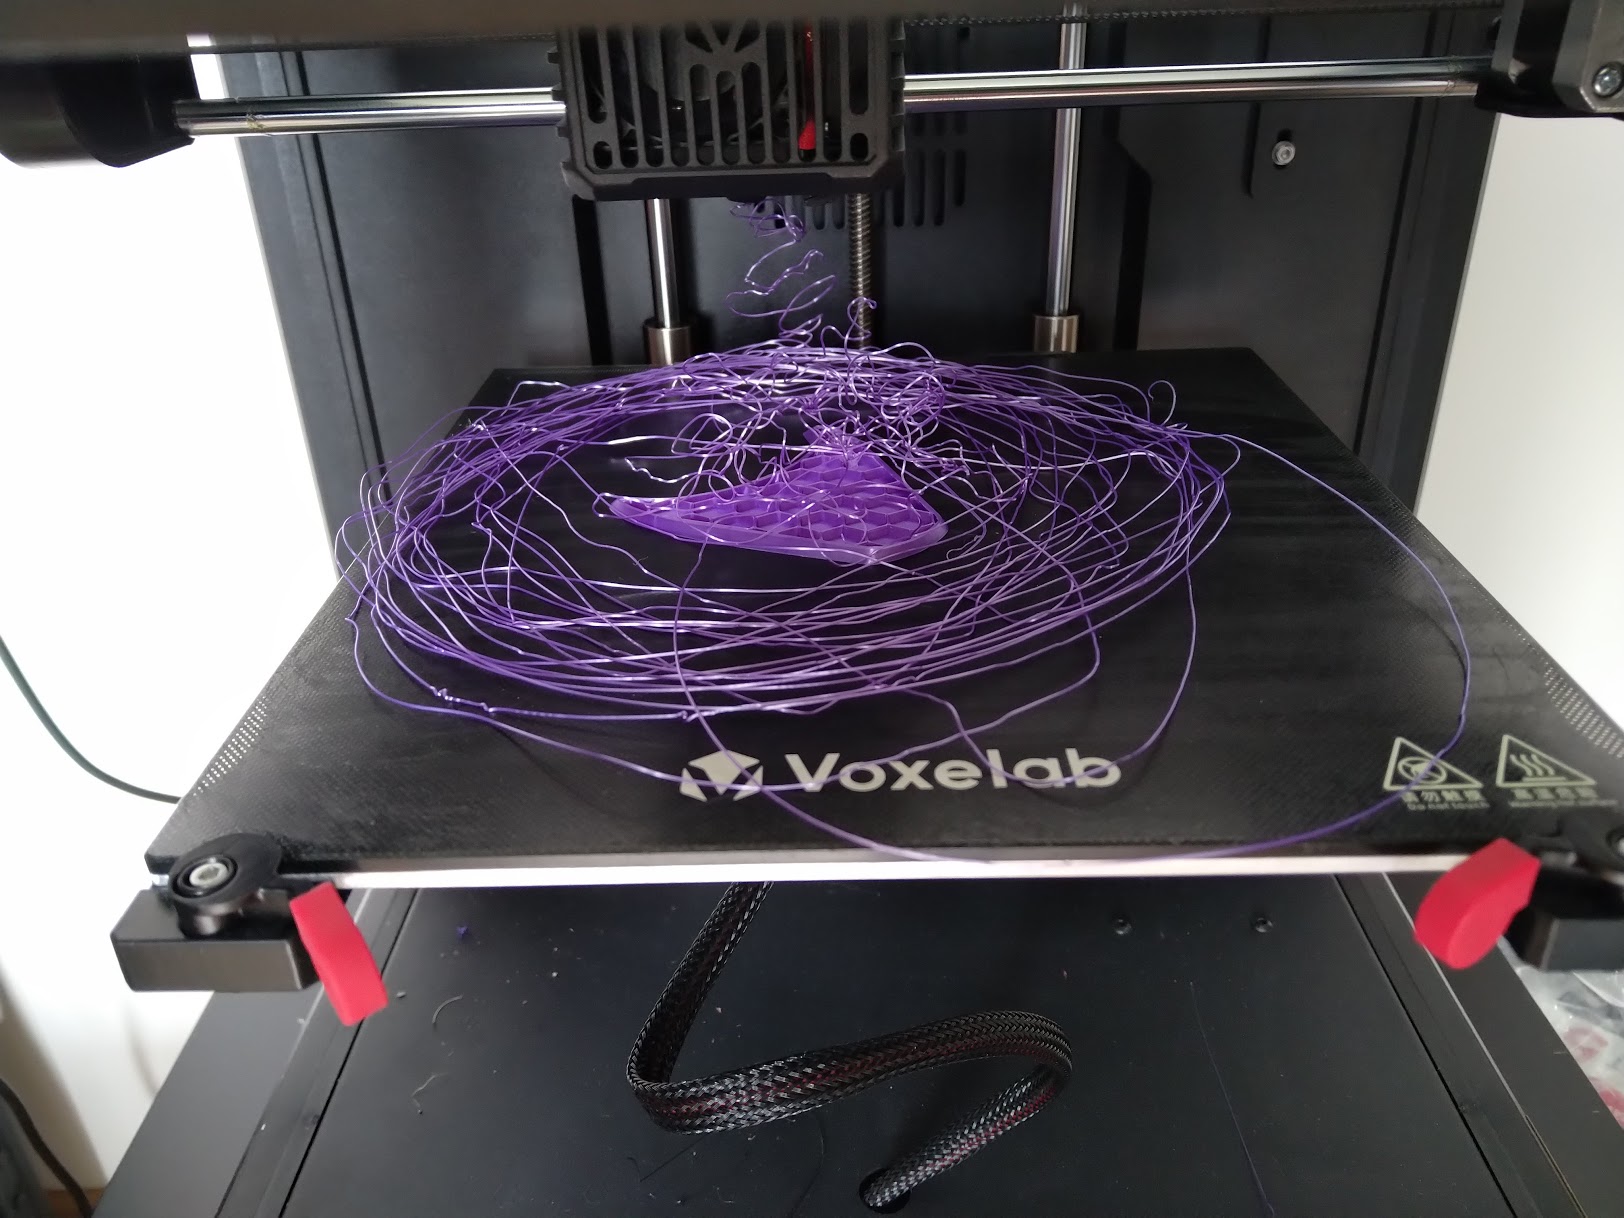
I contacted Voxelab to let them know about this issue. First, I was suspecting this was caused by overheating stepper drivers, but they mentioned a bug where the files sent via Wi-Fi were corrupted. And this was linked to the models which failed with layer shifts.
A new firmware was built by Voxelab and after I flashed the printer with the new firmware all printing issues were fixed.
Hopefully, all the printers will come with the fixed firmware already flashed, as promised by Voxelab.
Conclusions: Is the Voxelab Aries worth it?
The Voxelab Aries is an interesting machine. It’s able to create beautiful prints with ease using the included VoxelMaker slicer profile. It also comes with a feature-rich touchscreen that has internal storage for sending files wirelessly to the printer.
But not everything is great. Specifically, the fan noise is still one of my biggest issues with Voxelab machines. Besides that, the enclosed electronics can get toasty pretty quick which won’t be great for the lifespan of the electronics, and the printer movements are noisier compared to printers that use V-slot wheels. I would also like to see them install an anti-backlash nut out of the box to help with the weight of the bed. The issues I had with it were unfortunate, but the updated firmware fixed the printer making it more reliable.
Voxelab priced the Aries at 399$ which seems like a good deal considering the print quality out of the box and extra functionality added by the Wi-Fi connection. But I think it’s a bit overpriced and it doesn’t have any attractive feature to truly be worth the price tag. I think the correct price of the Voxelab Aries should be much closer to 300$ to be attractive. Besides Wi-Fi and a cube design, I can’t say it brings too much compared to their popular Voxelab Aquila.
Modders won’t love this printer because the firmware is closed source (which means no custom Marlin firmware), and the lack of a USB header for connecting it to the computer won’t allow you to use it with OctoPrint.
If you plan to buy one, Voxelab started the pre-order for the Aries at 329$ which is 17% cheaper than the retail price and a bit more attractive.
If you are looking for alternatives, the Two Trees Sapphire Pro is a CoreXY printer that comes with linear rails, a geared BMG extruder clone and a metal frame while being sold for around 260$ and 320$ on Amazon. Two Trees are not recognized for the best QC, but the printer is old enough on the market to know all its weaknesses (like the hotend). Just expect to spend some time and money making it work reliably.
In the end, I recommend always taking your time to check other reviews online before you make your purchase decision.
The Voxelab Aries can produce great looking prints, but it doesn't bring enough features to the table to be truly worthy of its price tag considering other printers currently available on the market. Verdict
Design
Specs
Noise Levels
Ease of use
Print Quality
Price
Where to buy the Voxelab Aries?
The Voxelab Aries can be purchased from the following websites:
I recommend checking out the Discount Codes page before purchasing. I regularly update the article with discount codes for various online shops, and you might find one for this particular model.
The Voxelab Aries was provided free of charge by Voxelab for the purpose of this review. While the article includes affiliate links, all opinions are my own. Nobody reviewed the article before it was posted, following the Review Guidelines.
Liked it?
|
|






Hi,
Thanks for the excellent review.
Could you please tell me the size and number of the anti-backlash nut/s required?
Thank you AJ
Great review…certainly a machine to consider!