Bambu Lab A1 Mini and AMS Lite Review: Fast and Silent
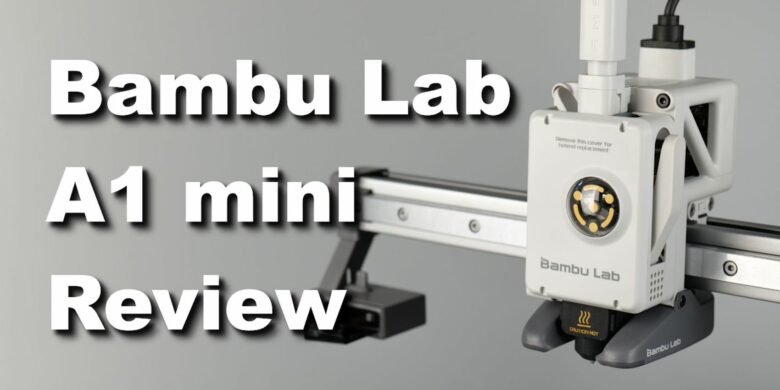
The wait is over. A new Bambu Lab 3D printer is here! But it’s not a larger printer which was probably the one expected by everyone and instead, we got a compact 3D printer with a new AMS system. And it’s a bedslinger!
The A1 Mini 3D printer has a cantilever design, and a compact format so it doesn’t take up a lot of space. But the even more attractive feature is the AMS compatibility, with the new AMS Lite. It’s no secret that I am a big fan of compact 3D printers as they don’t take a lot of room and they are still able to print most of the models I usually print.
Let’s try the new A1 Mini from Bambu Lab with the new AMS Lite and see how it performs. The X1 and P1 series of printers set the bar high so I have high expectations from it.
Bambu Lab A1 Mini and AMS Lite Shipping and Packaging
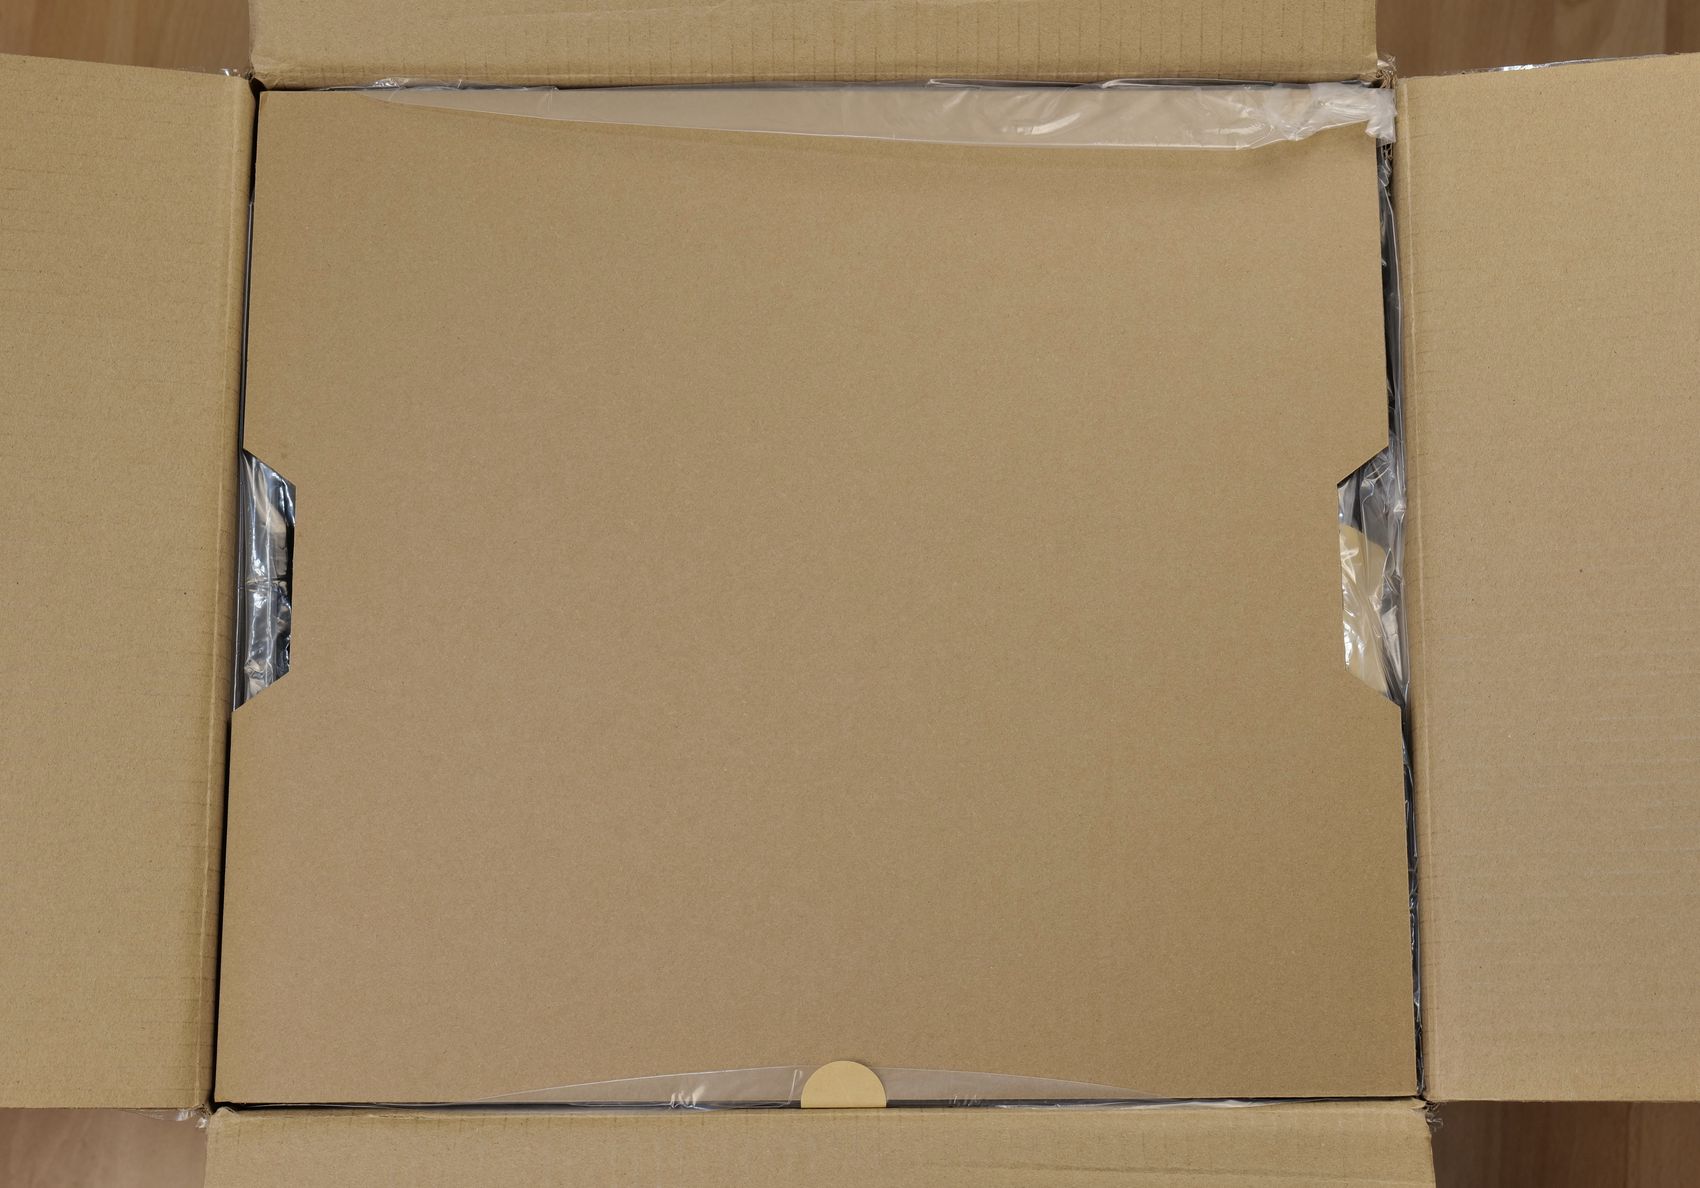
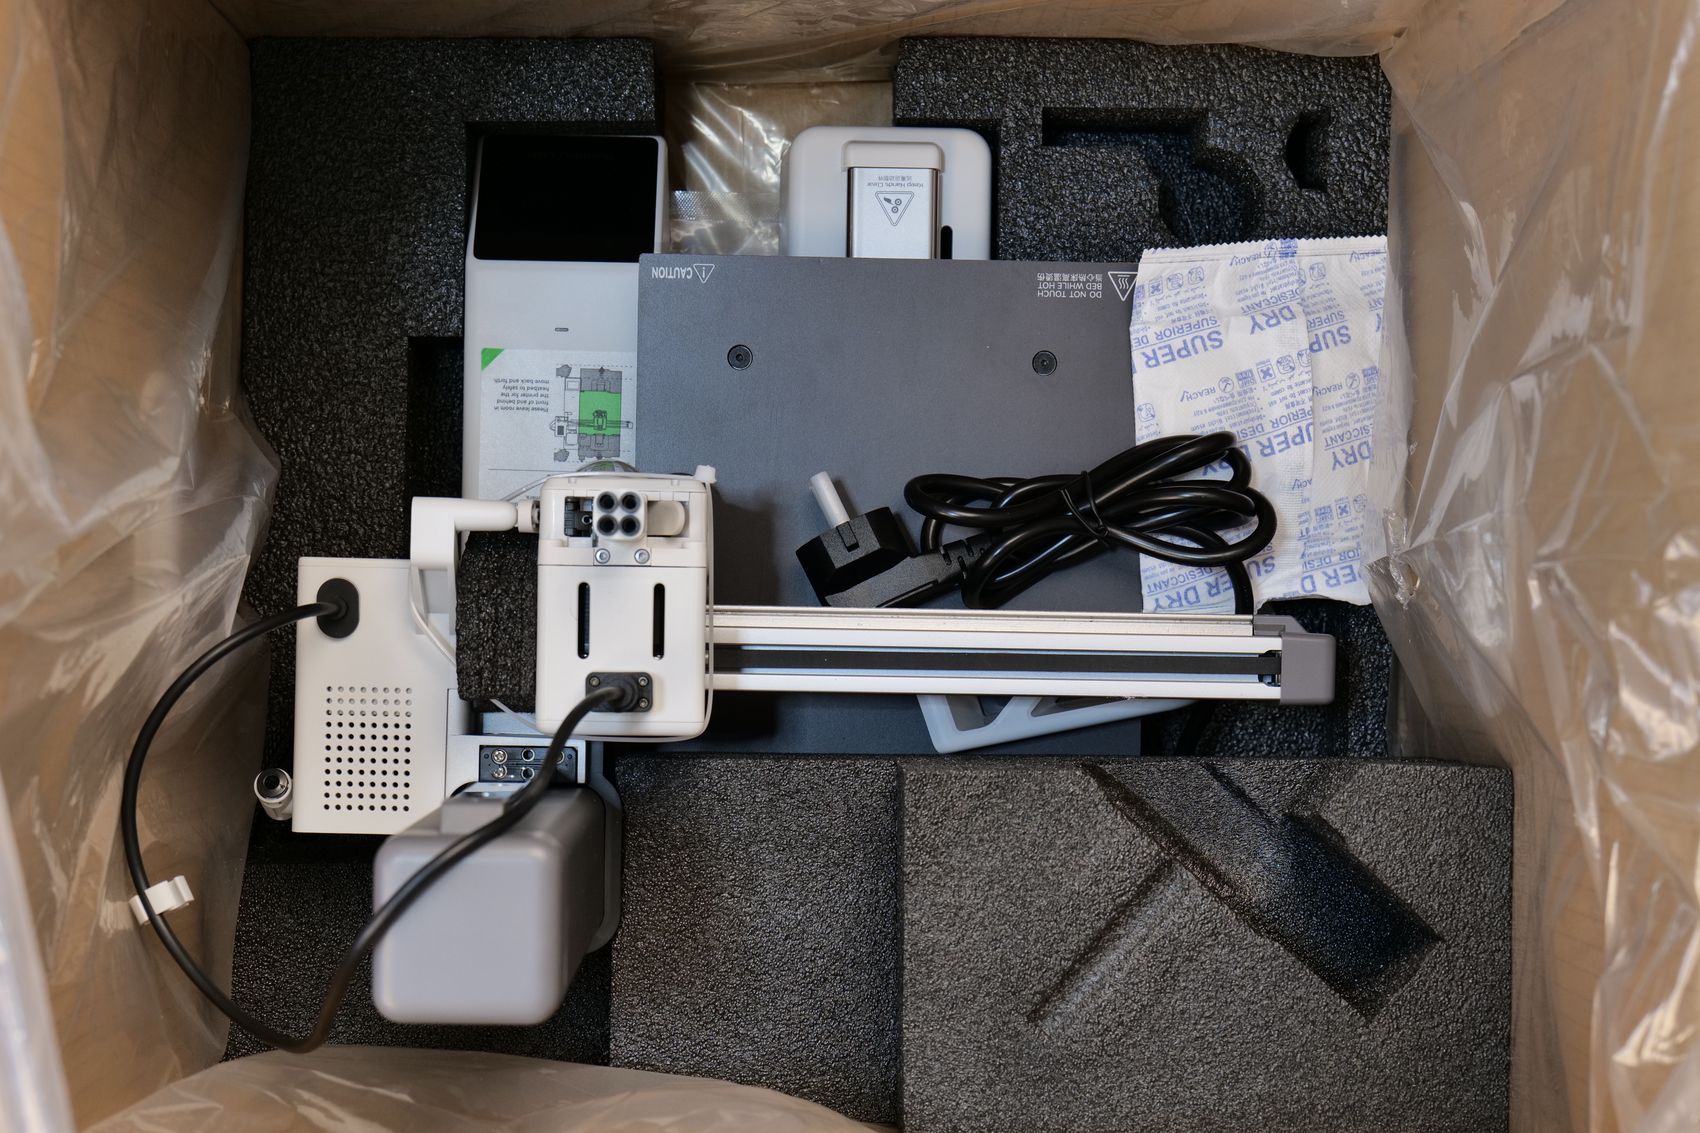
The Bambu Lab A1 Mini and the AMS Lite are delivered in a cube cardboard box with foam protection on all sides to ensure safe delivery. On the top, you get a layer of the AMS Lite Spool holders, the print surface, filament swatches, and a small box of accessories for the printer.
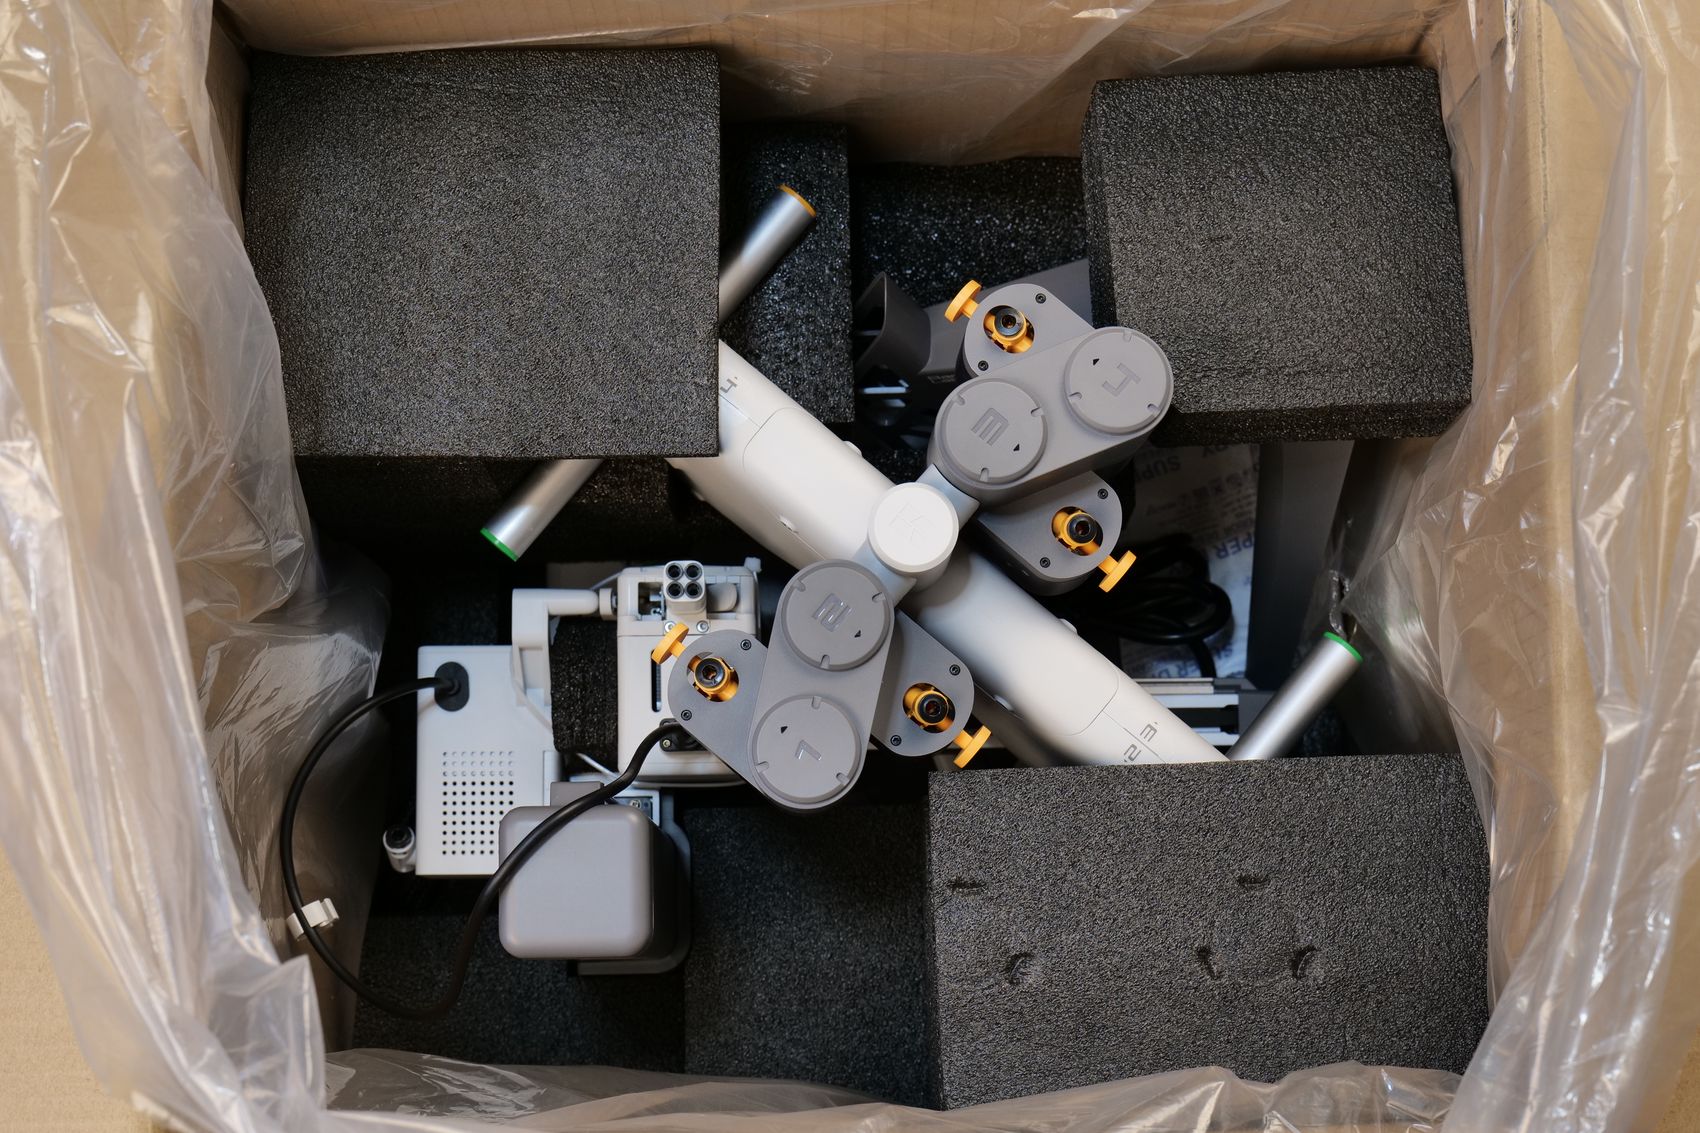
The next layer reveals the printer and the AMS lite packed with foam to protect it during shipping.
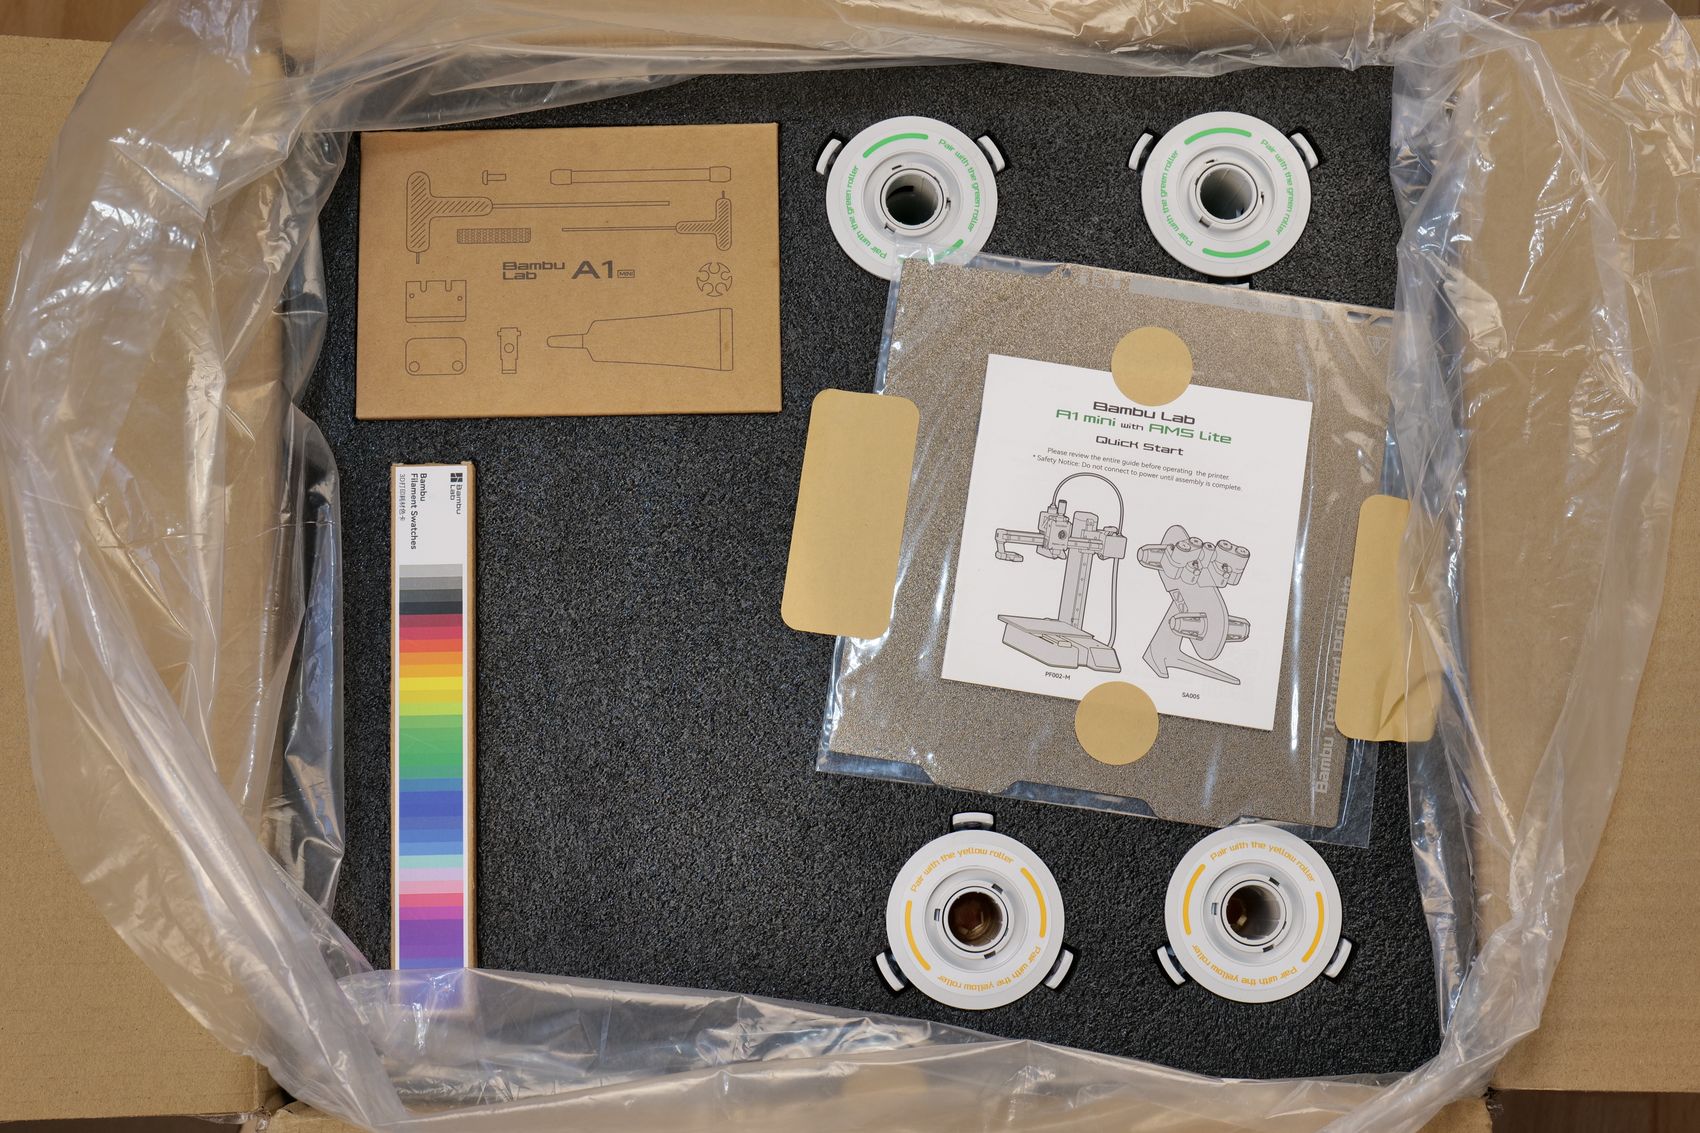
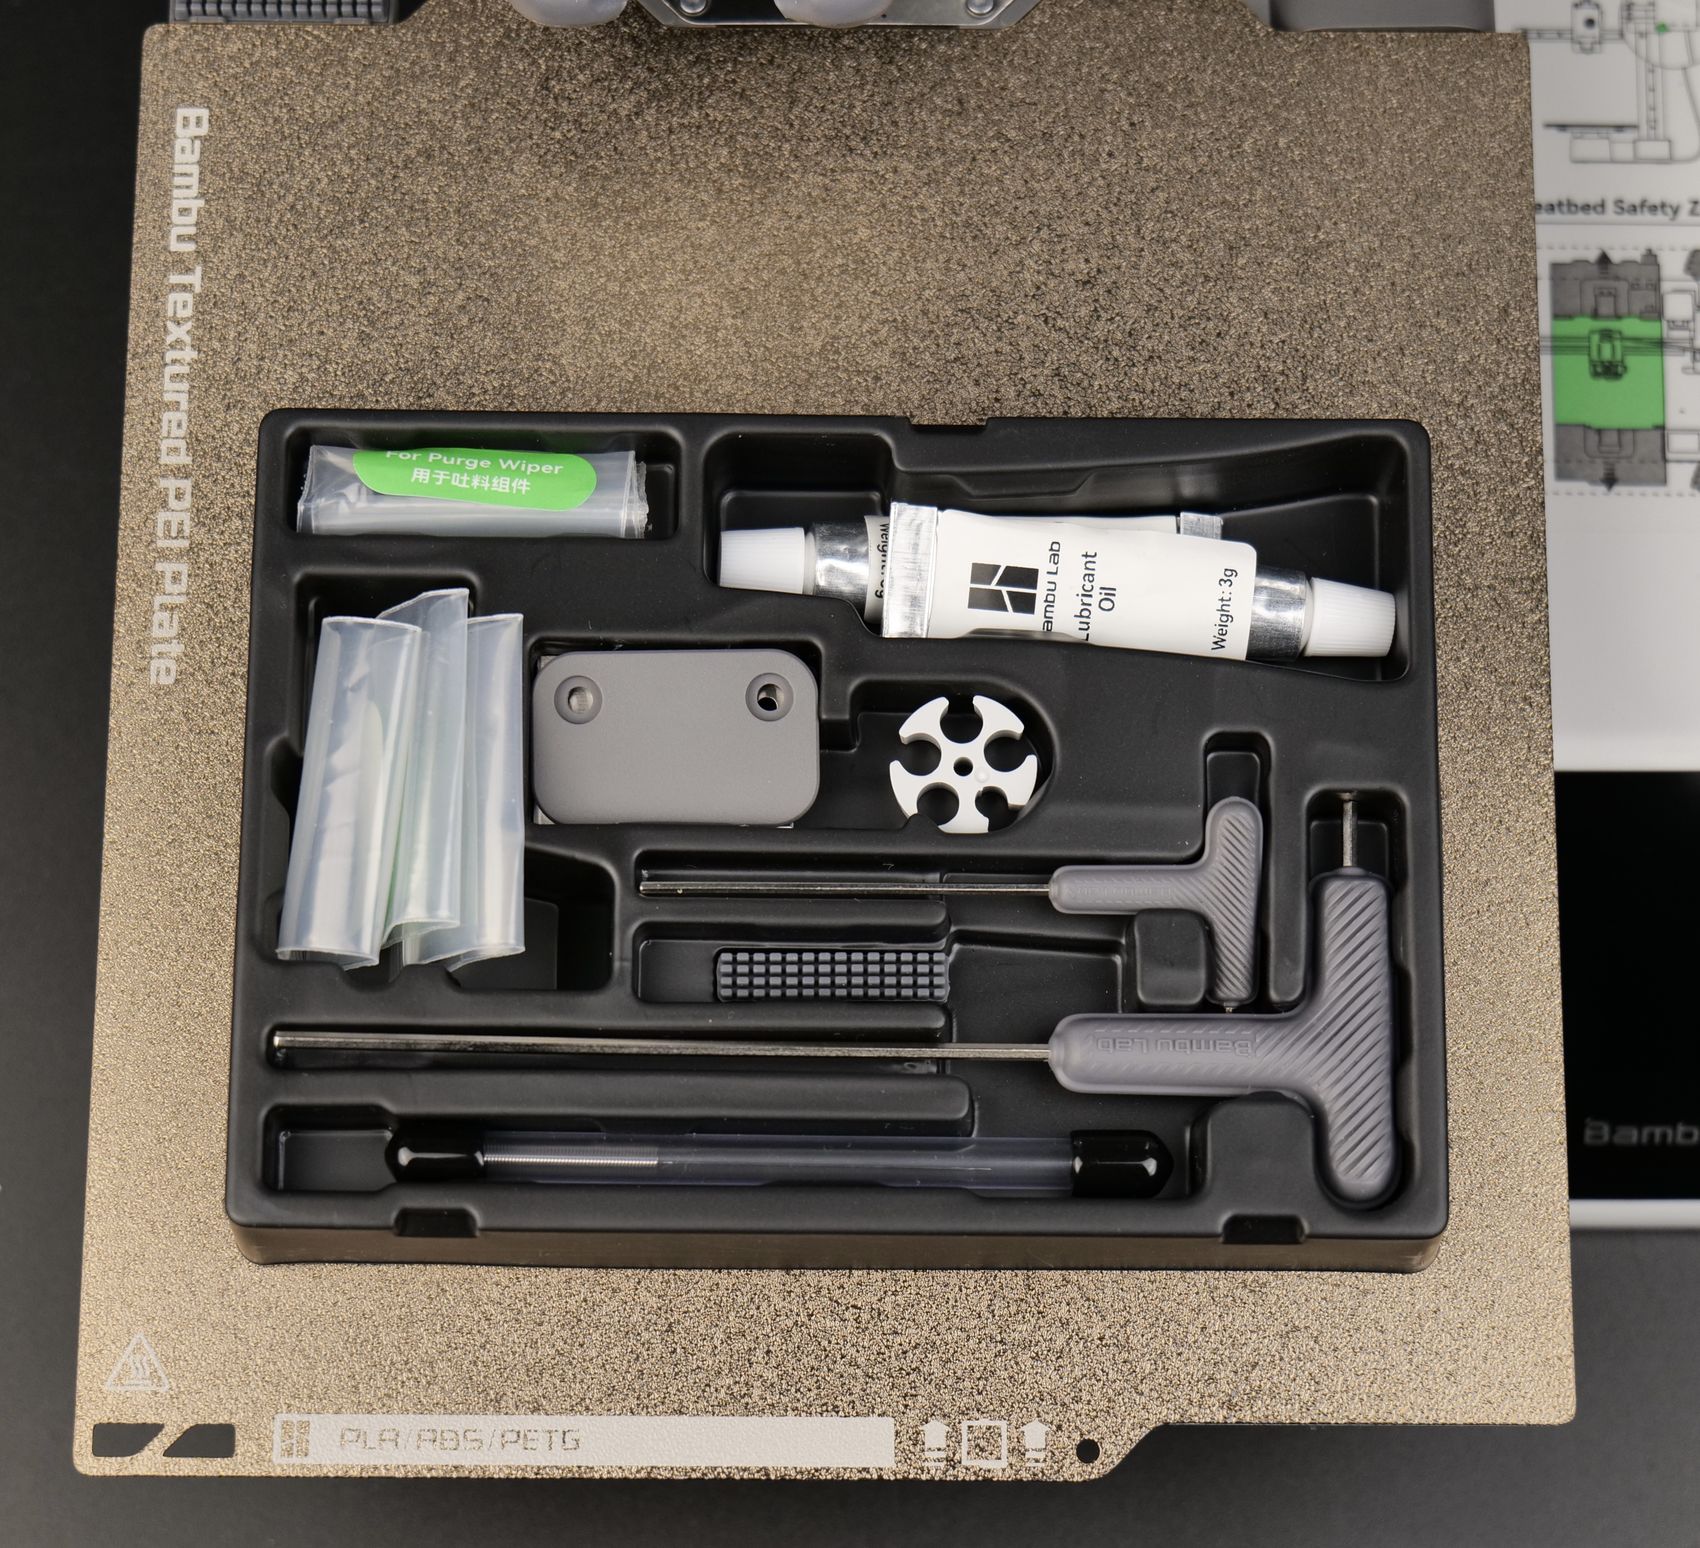
The small box of included tools contains more items than I was expecting. I like the inclusion of lubricating oil and spare nozzle wiper, but I am not a fan of the included tools. This time, they have a plastic handle but the metal quality is not great.
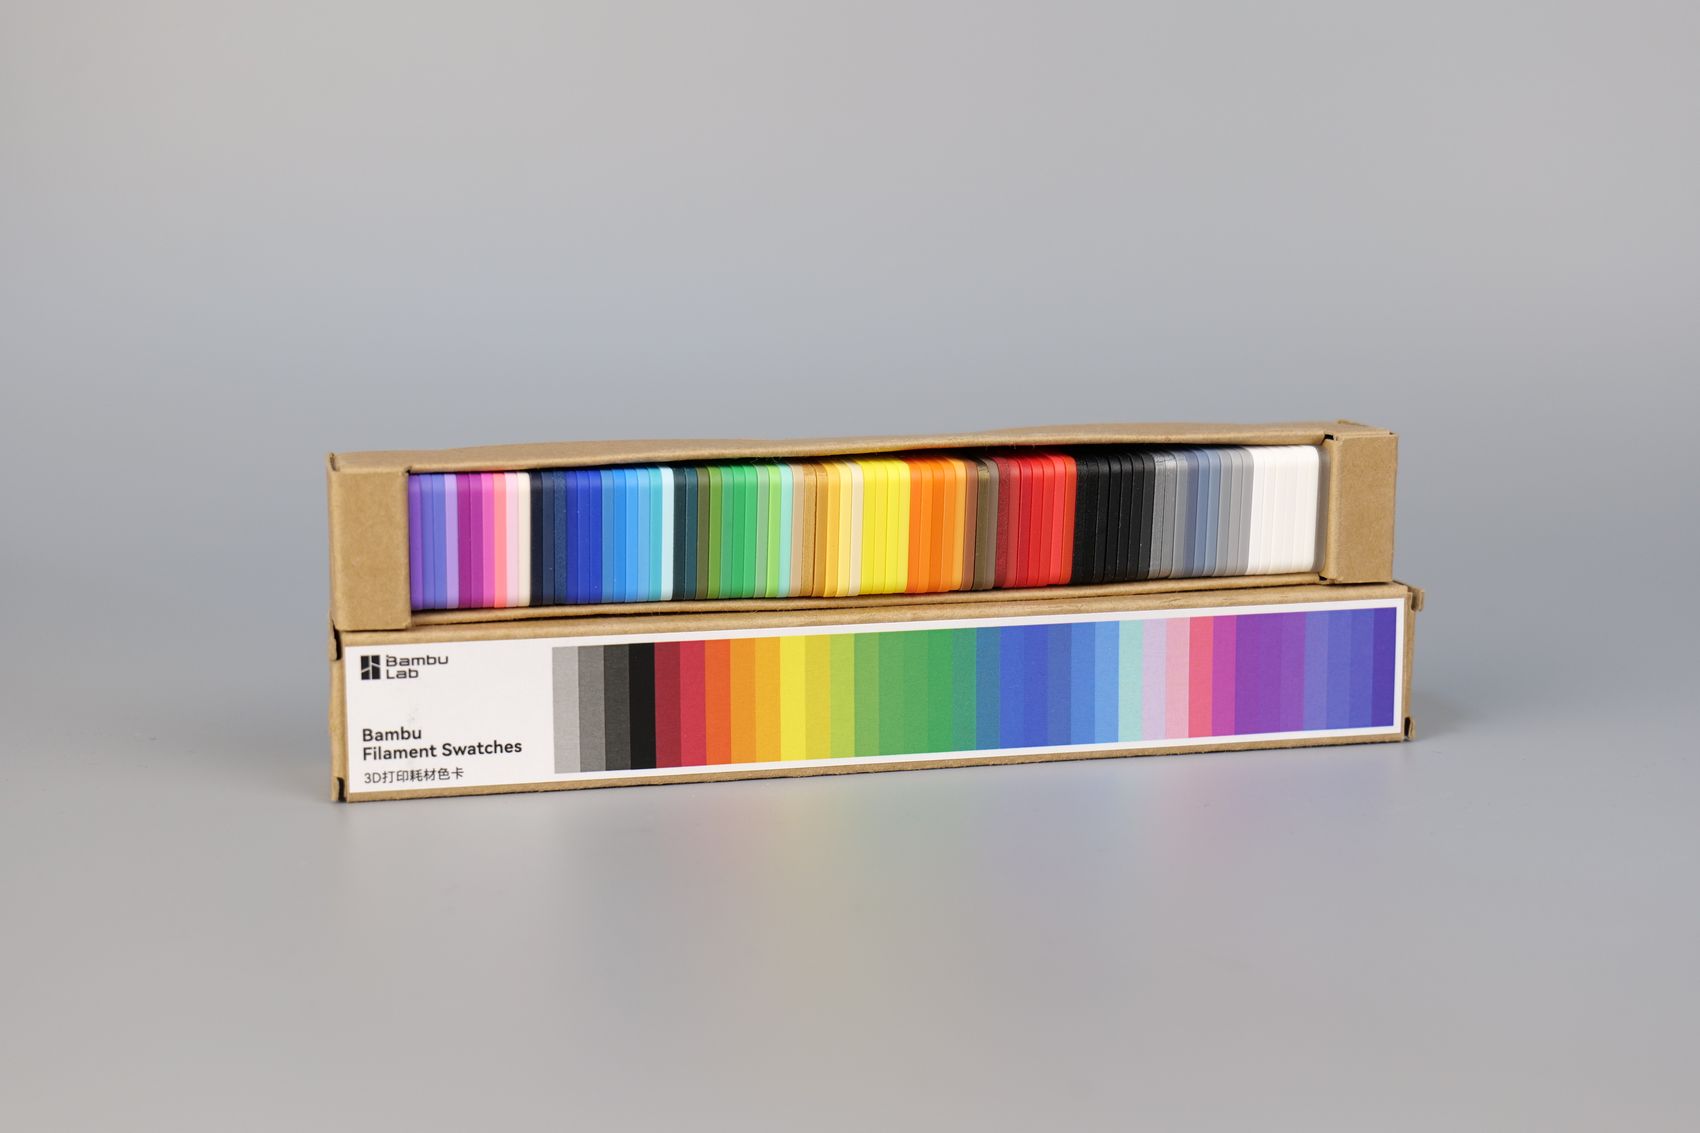
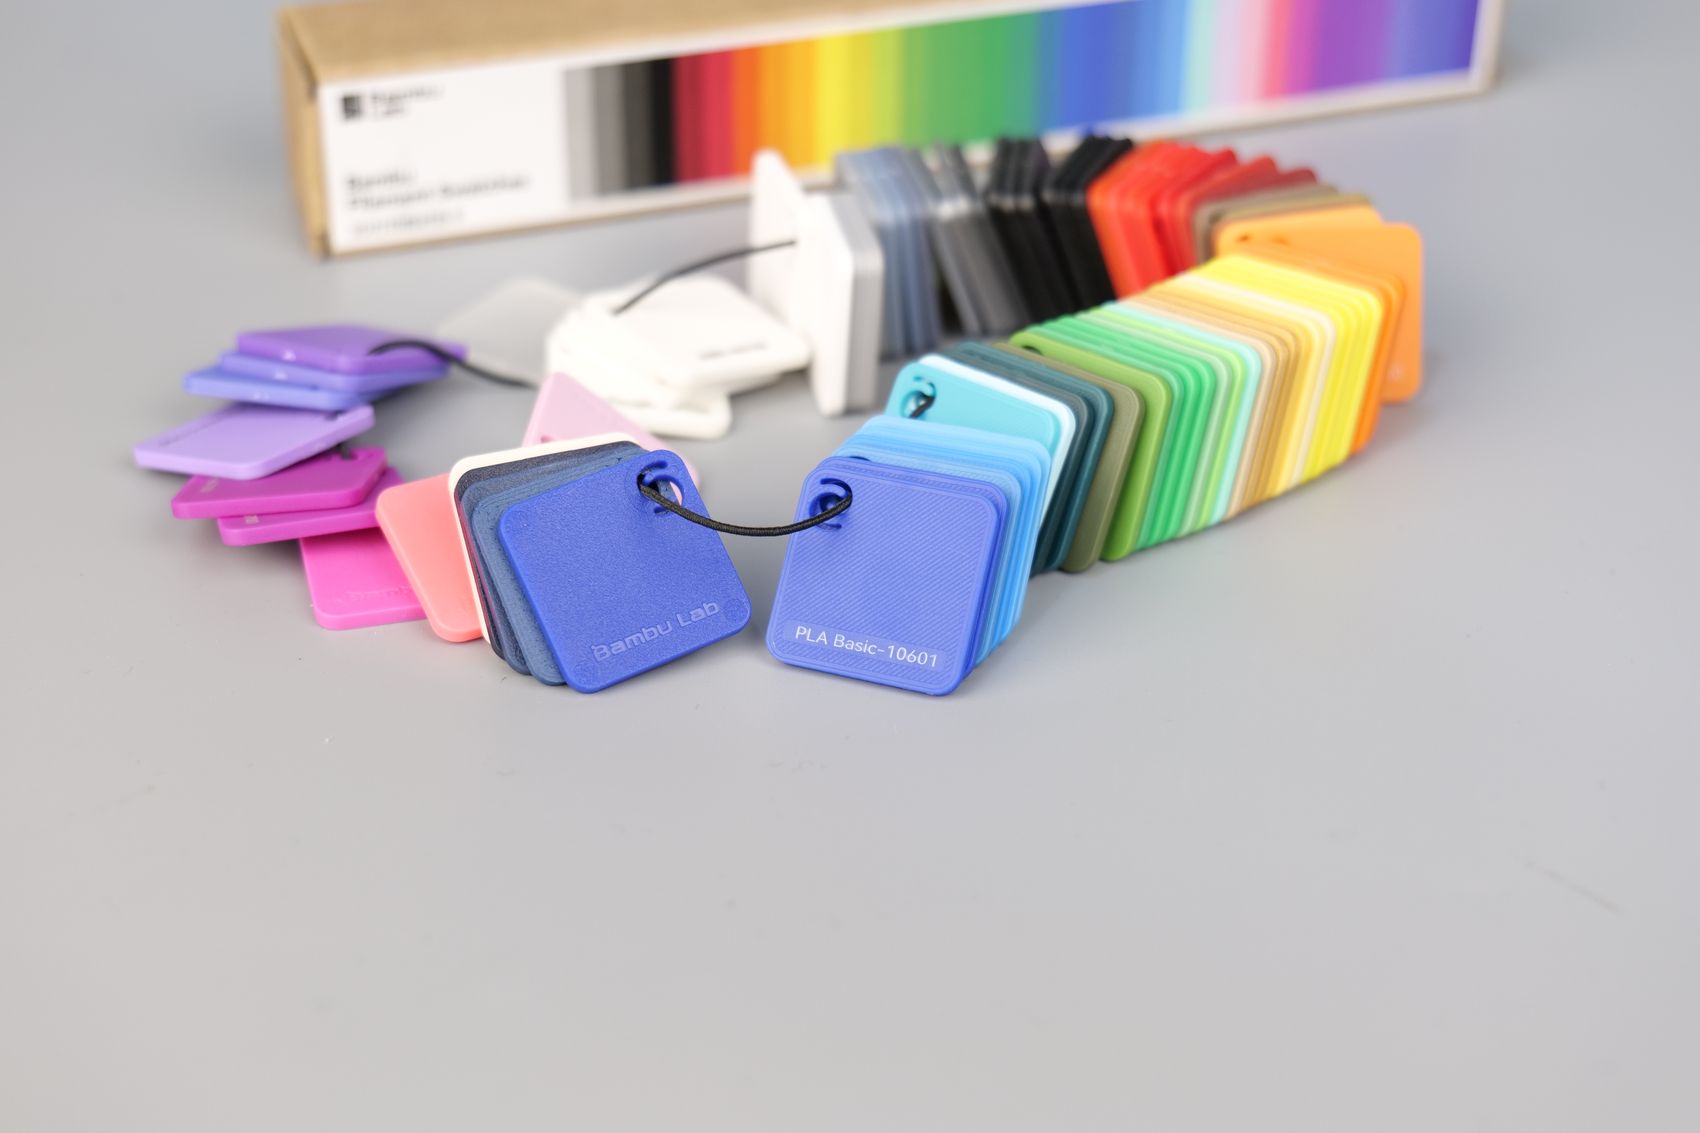
Another great accessory included with the Bambu Lab A1 mini is the Filament Swatches box. This is a number of small pieces of plastic that can be used as a sample for Bambu Filament available in their store. I think this is a great idea, which makes it easy to find out exactly what filament you would want to get for a project.
Unboxing the printer and setting everything up takes about 15 minutes, after which you can start the calibration process and be ready to print in less than 30 minutes, if you don’t have some small issues out of the box. I will tell you more about that later…
Overall, the packaging feels much better than the X1 which should help minimize the damage during shipping.
Bambu Lab A1 Mini Design
The design of the A1 mini is quite familiar if you have seen other compact 3D printers before. The overall look of the printer is nice, with an industrial design and a nice silver and grey color combo. While compact, the printer takes more space than the advertised A4 piece of paper due to the spool holder.
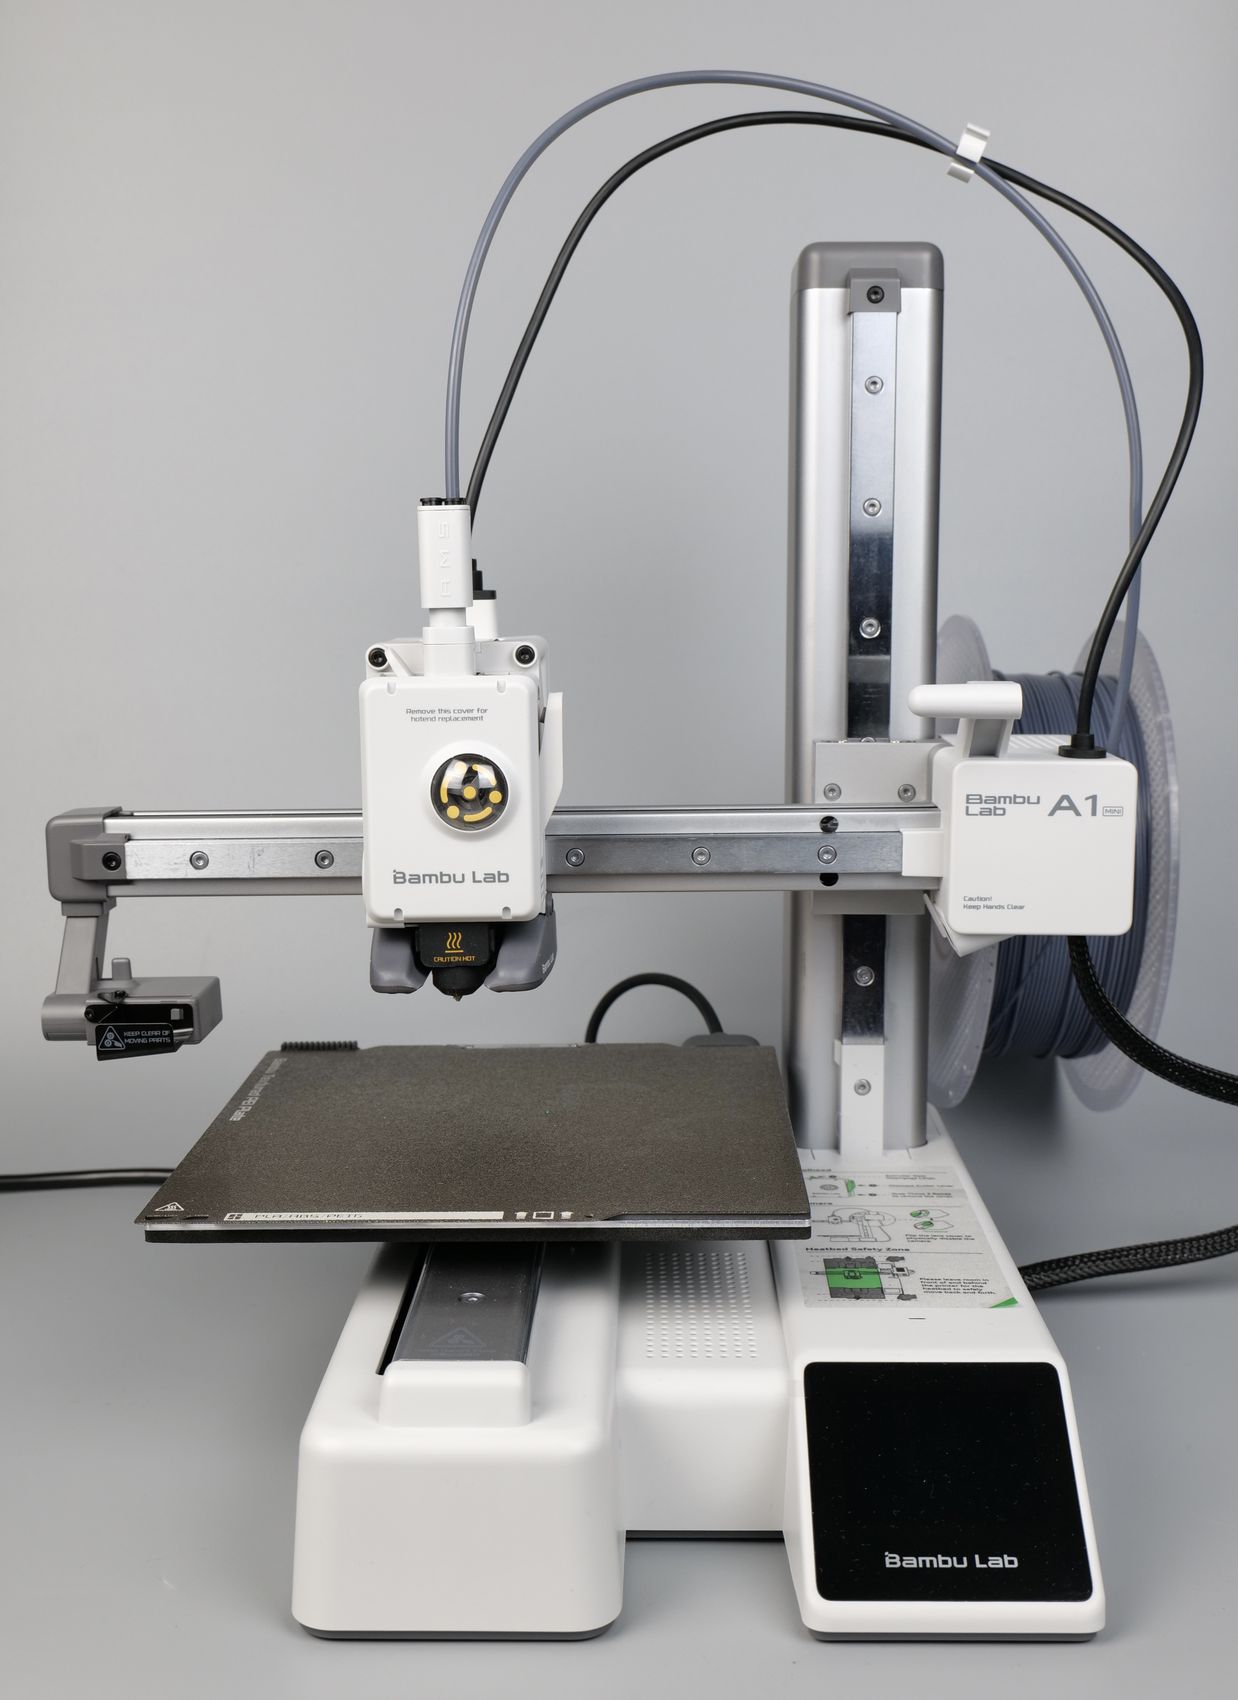
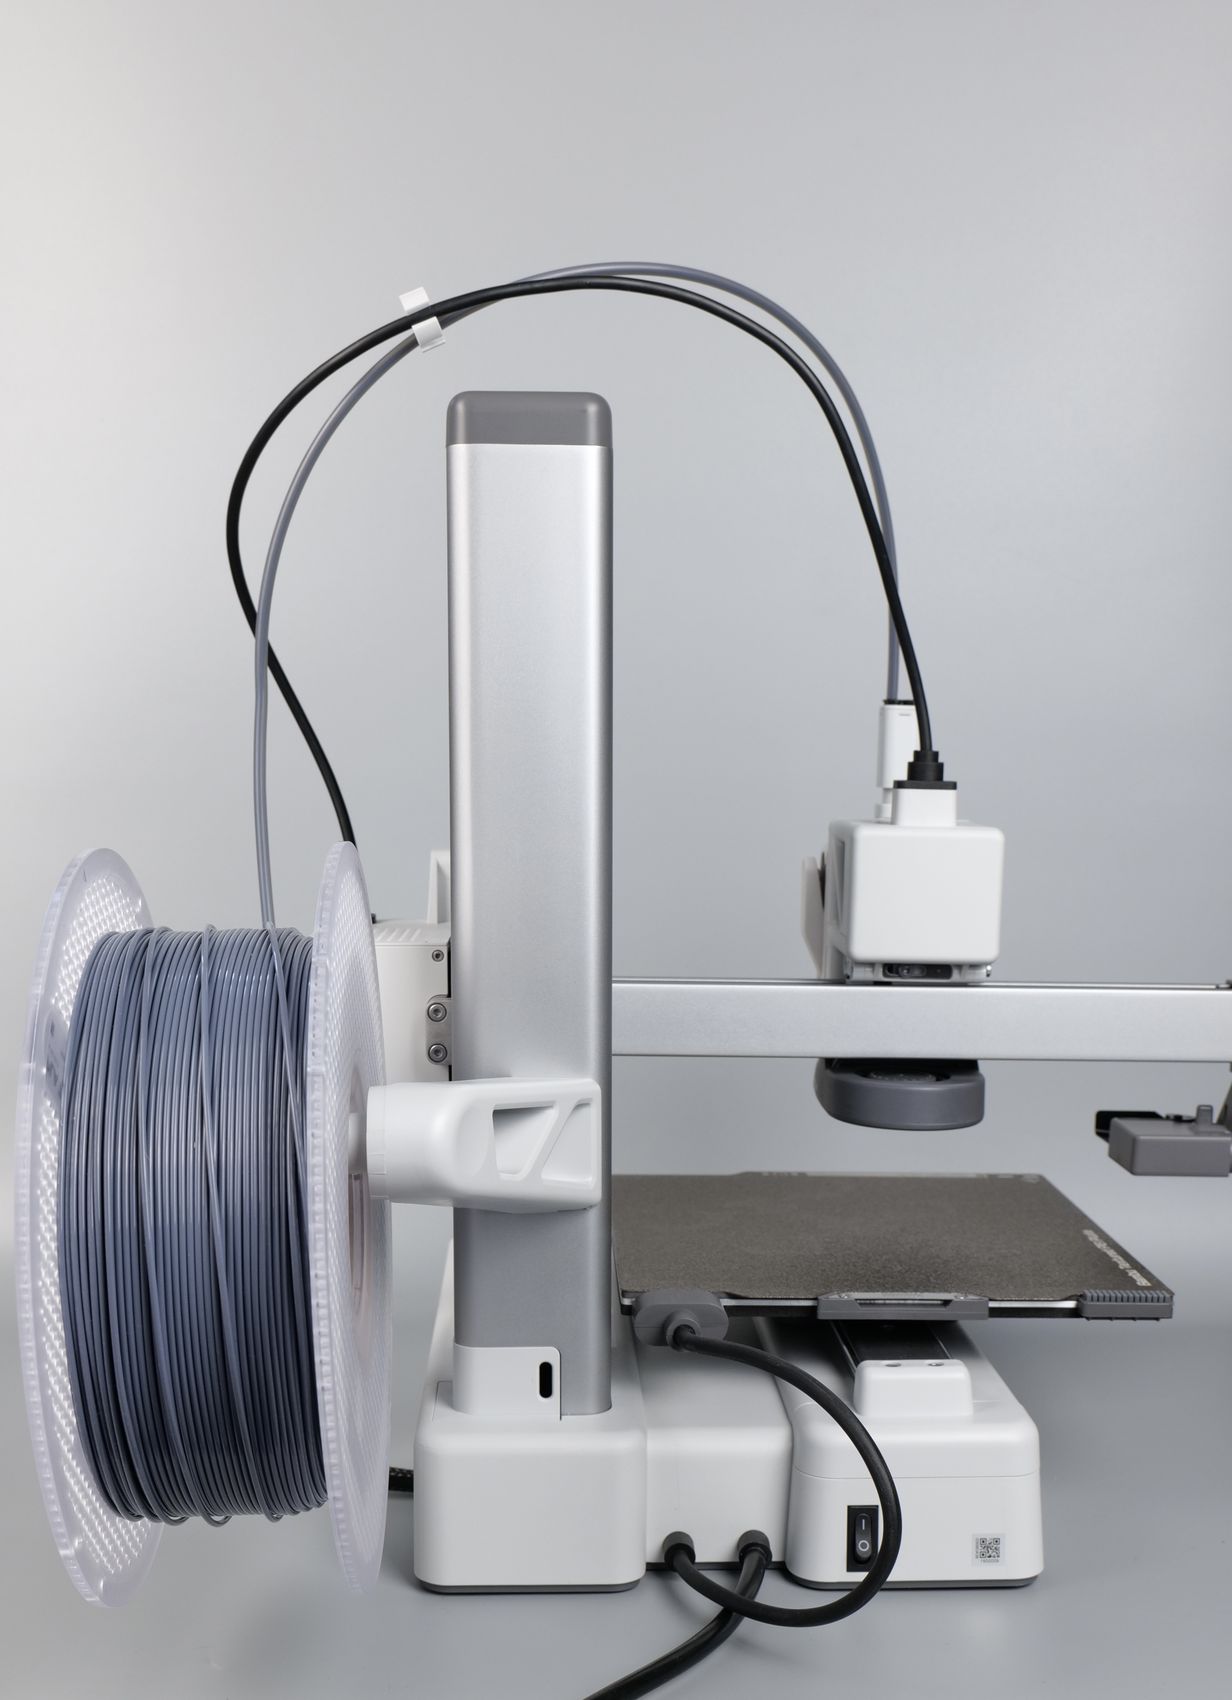
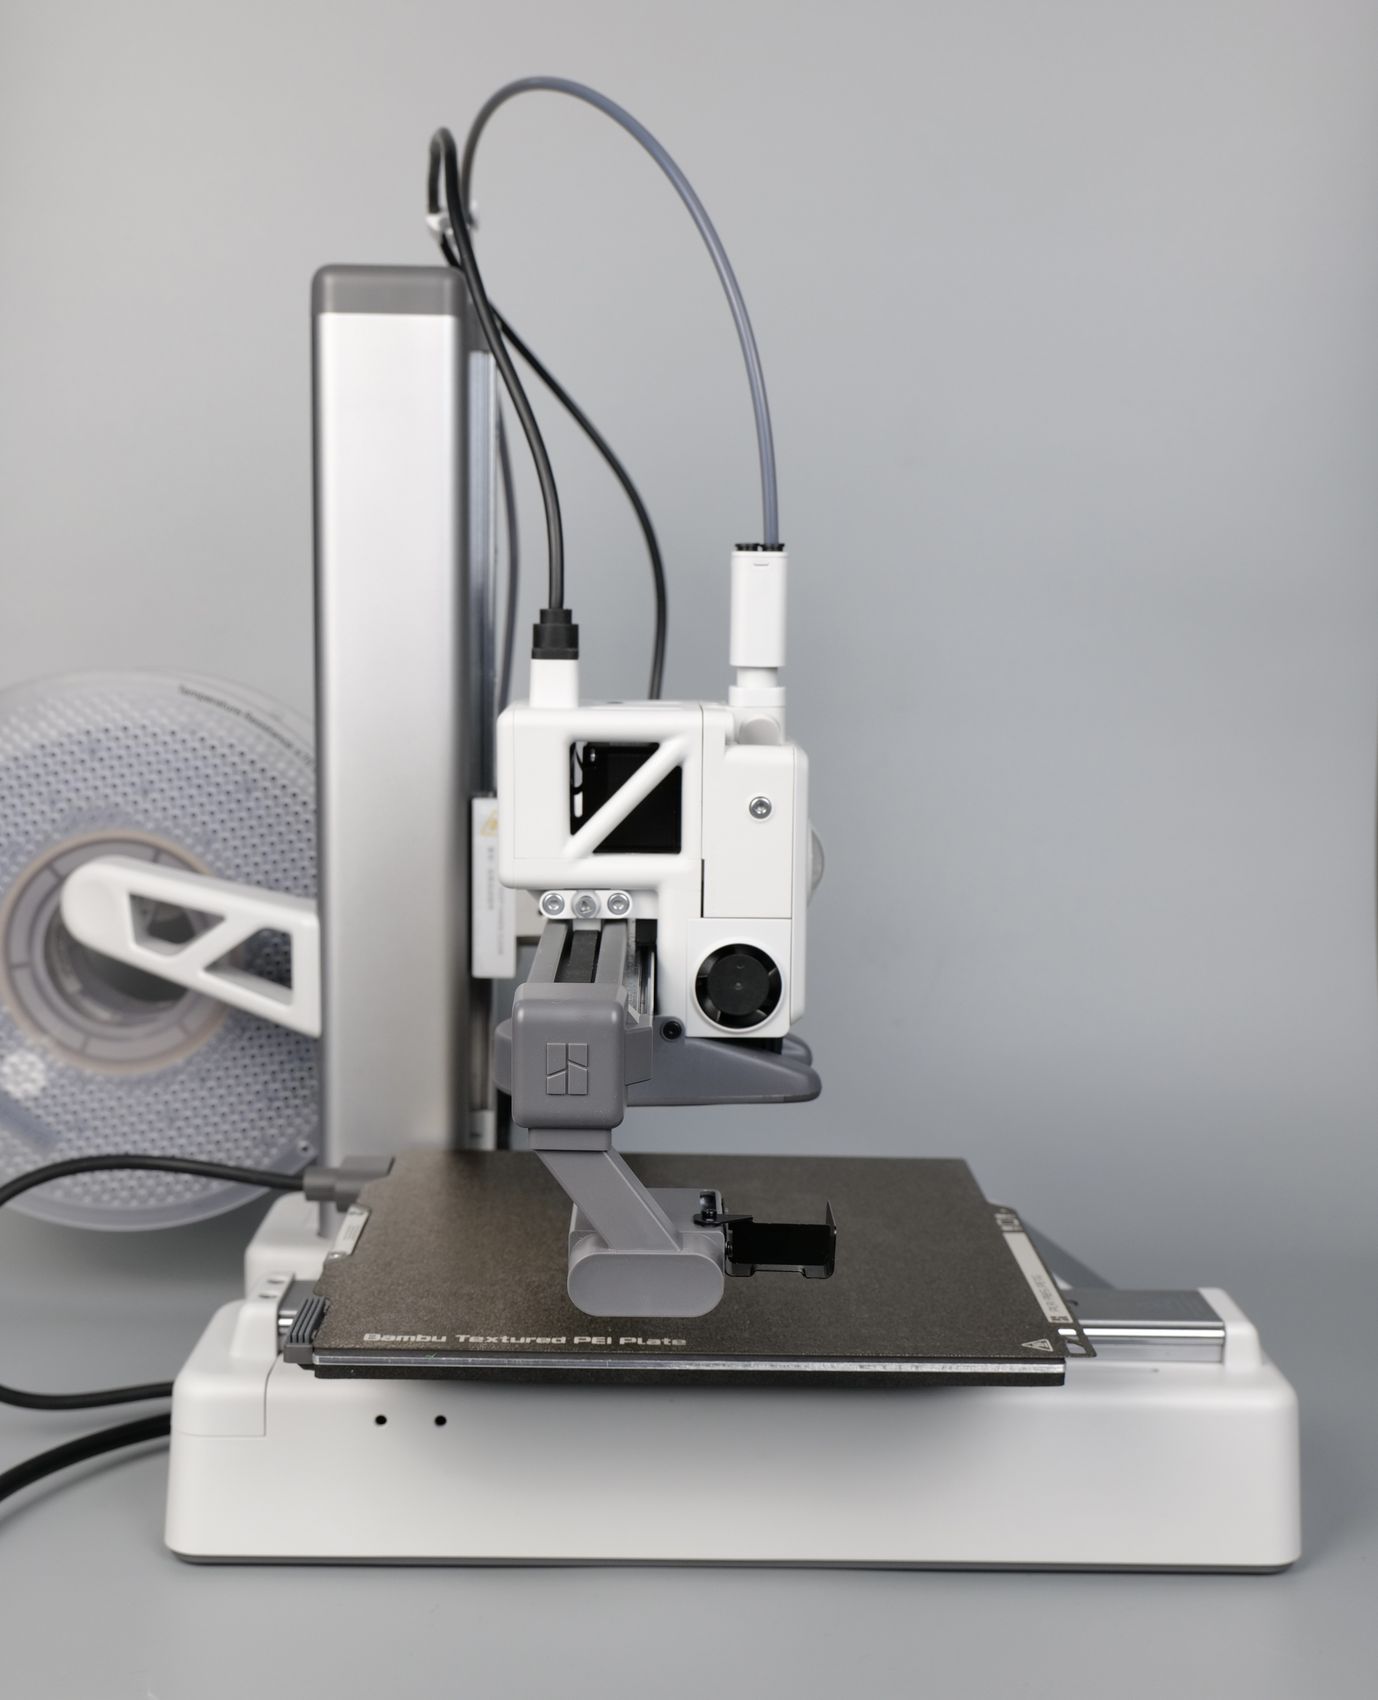
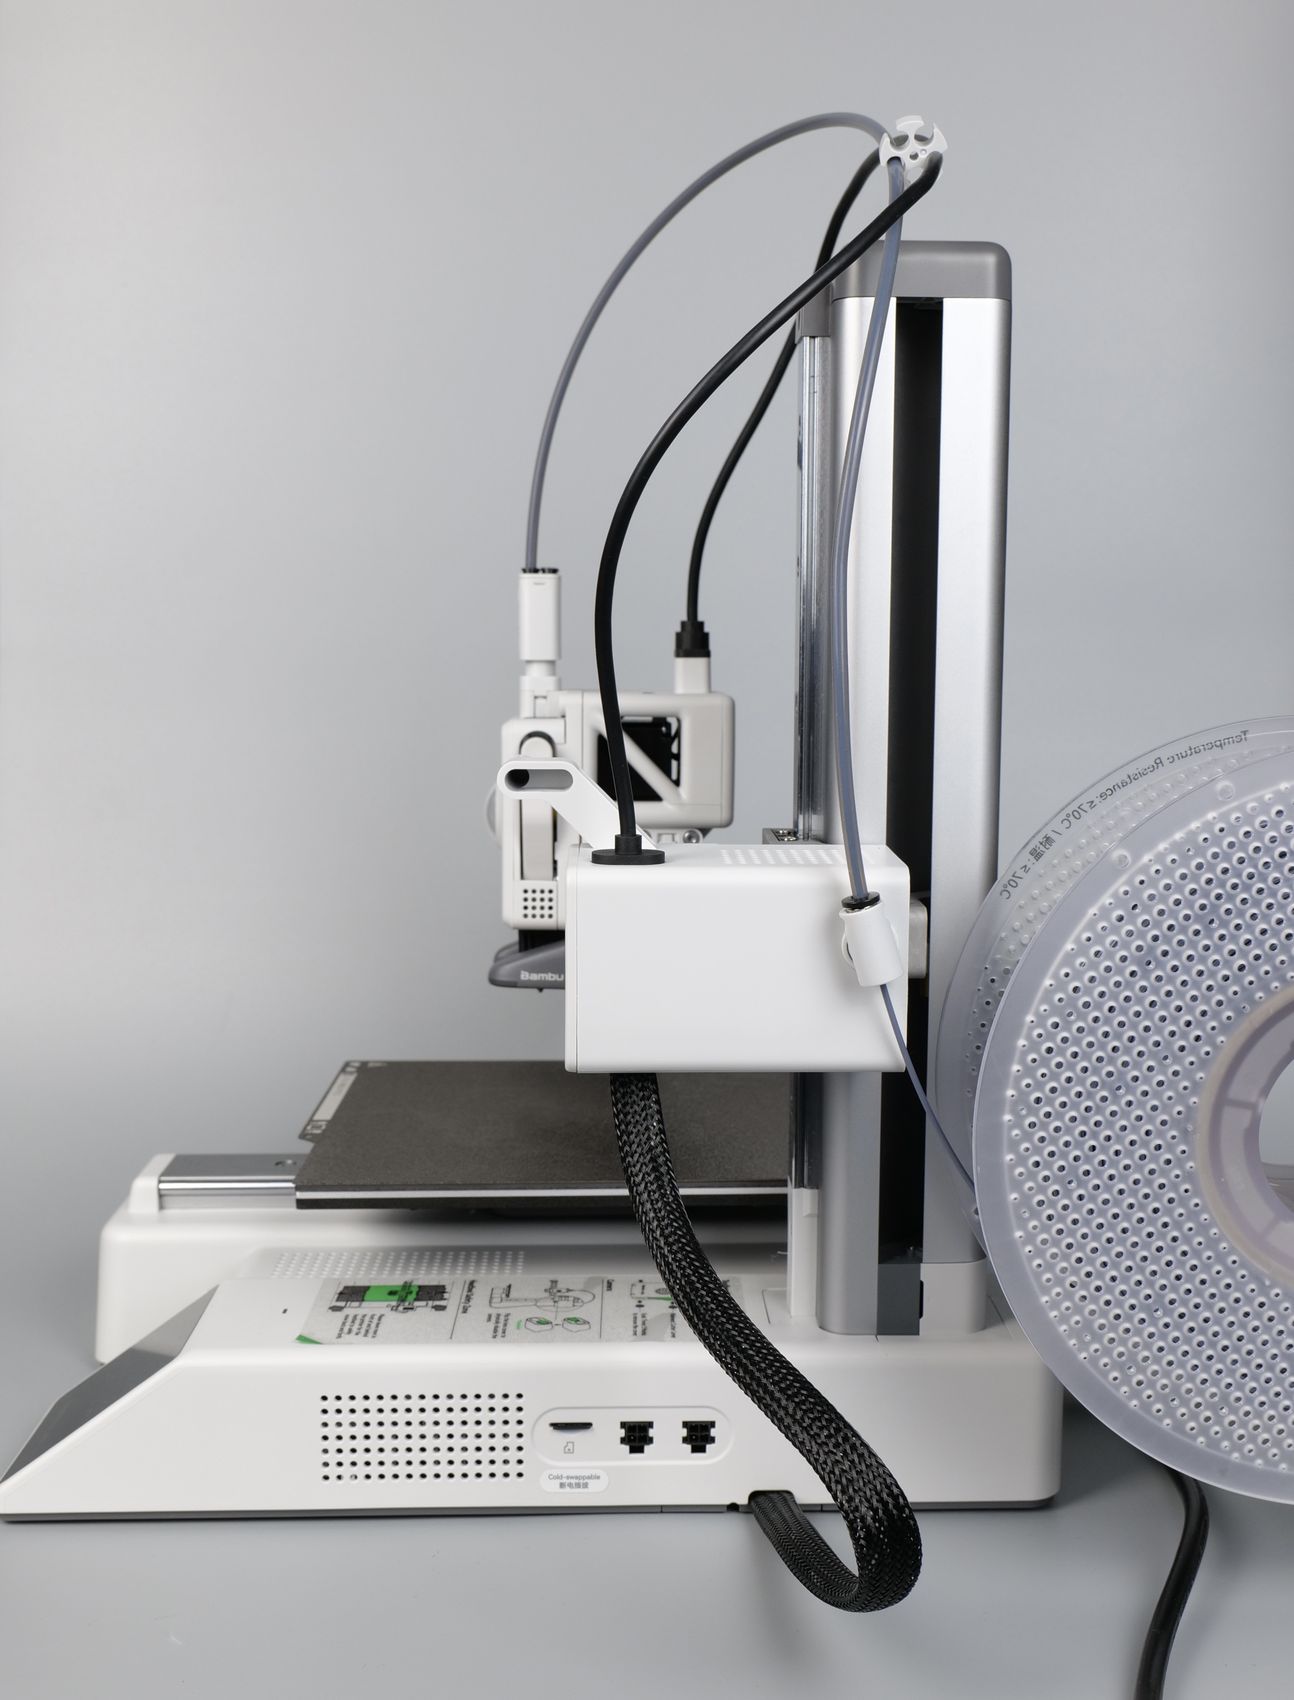
When the AMS lite is attached to the machine, the space requirements are doubled.
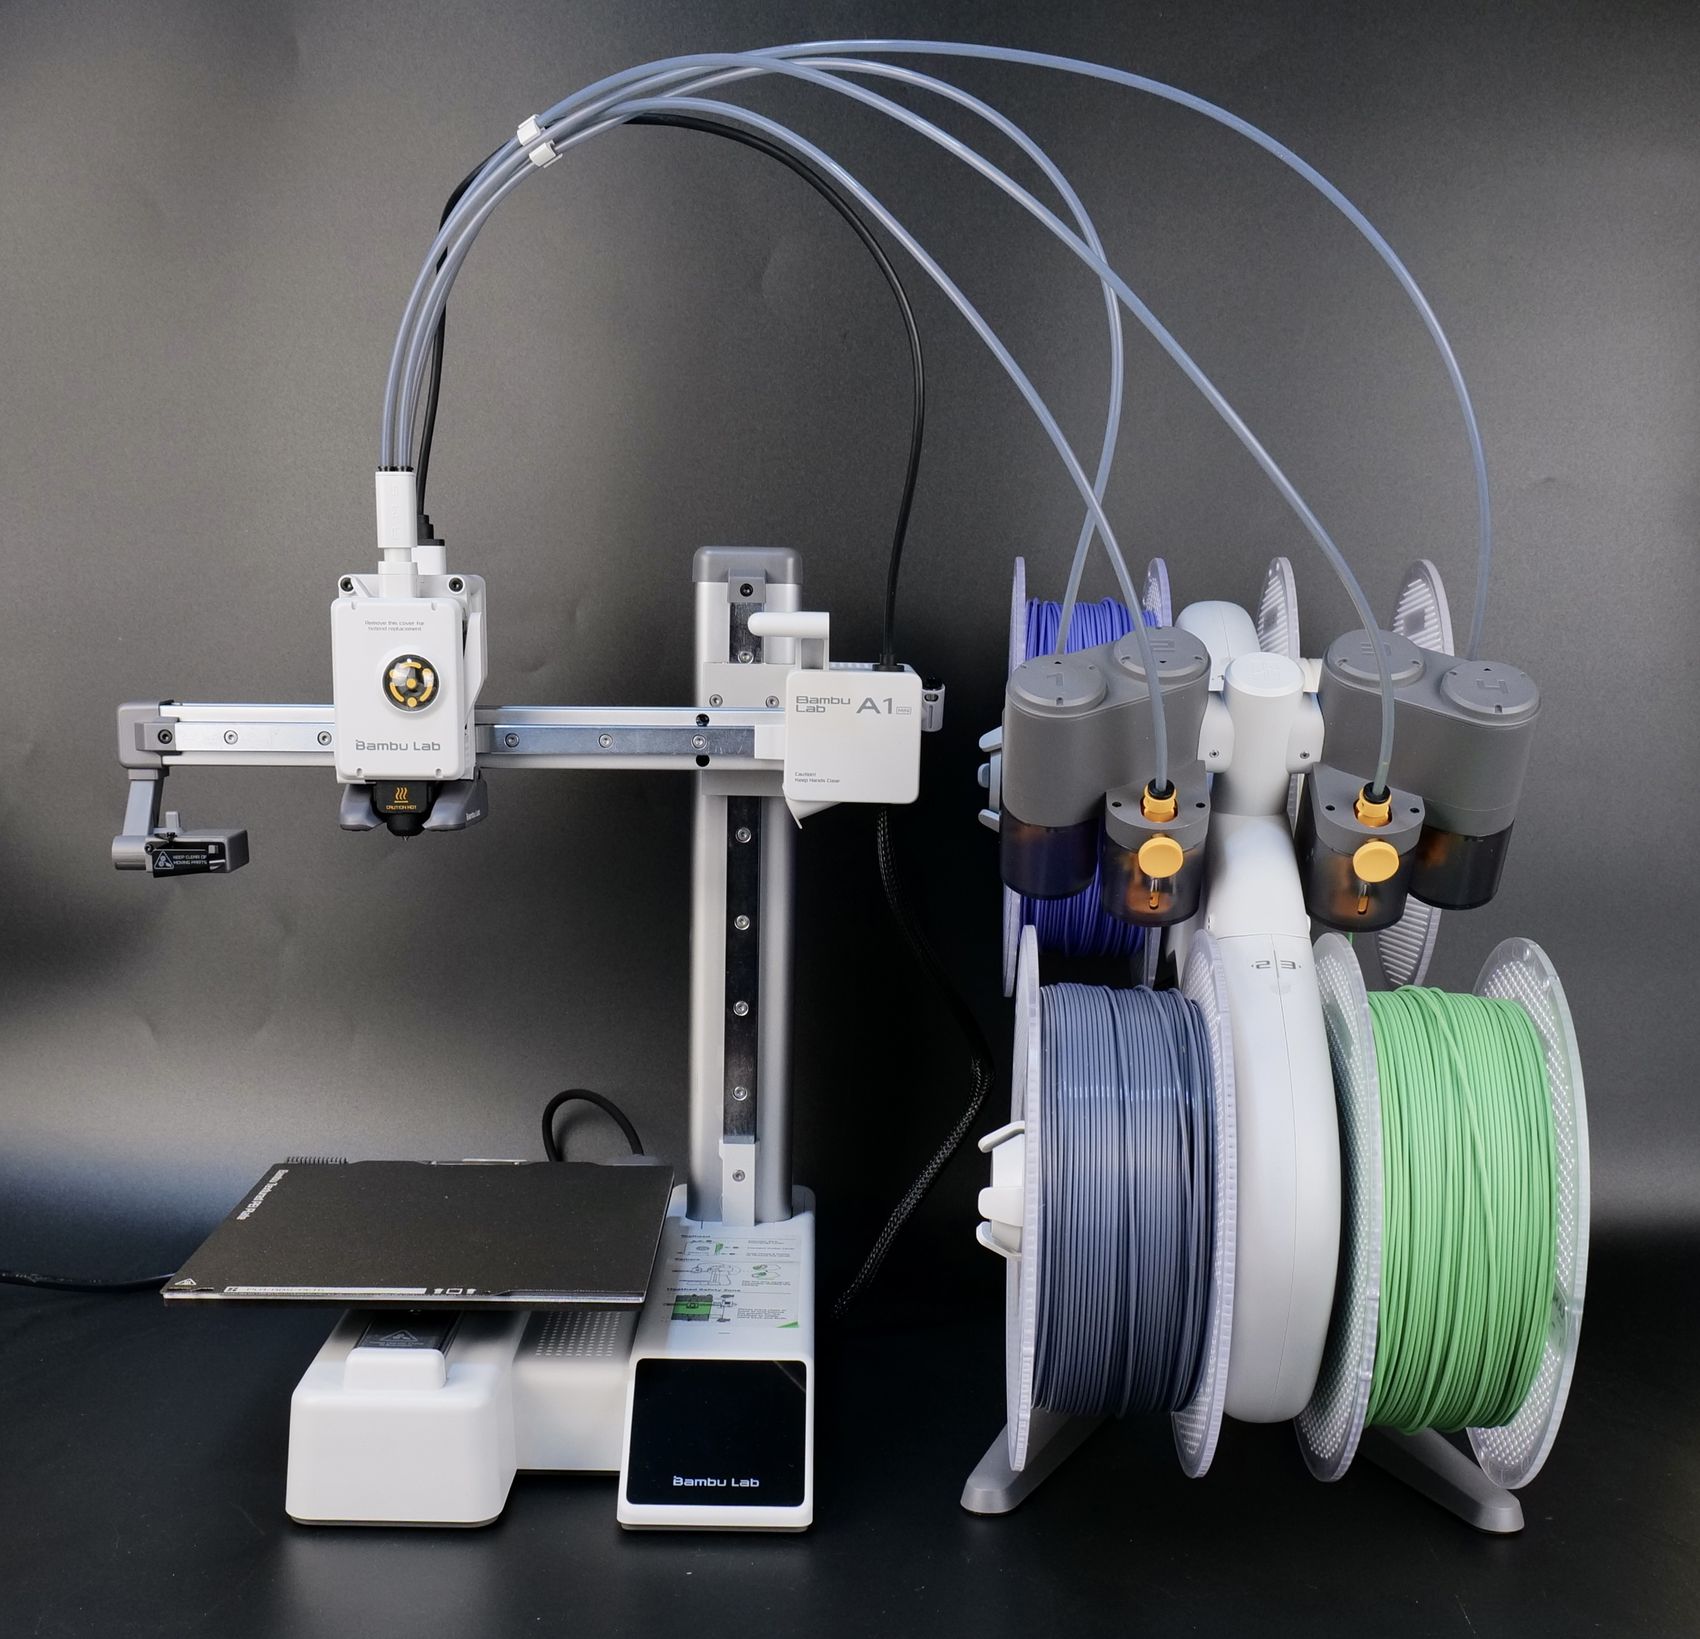
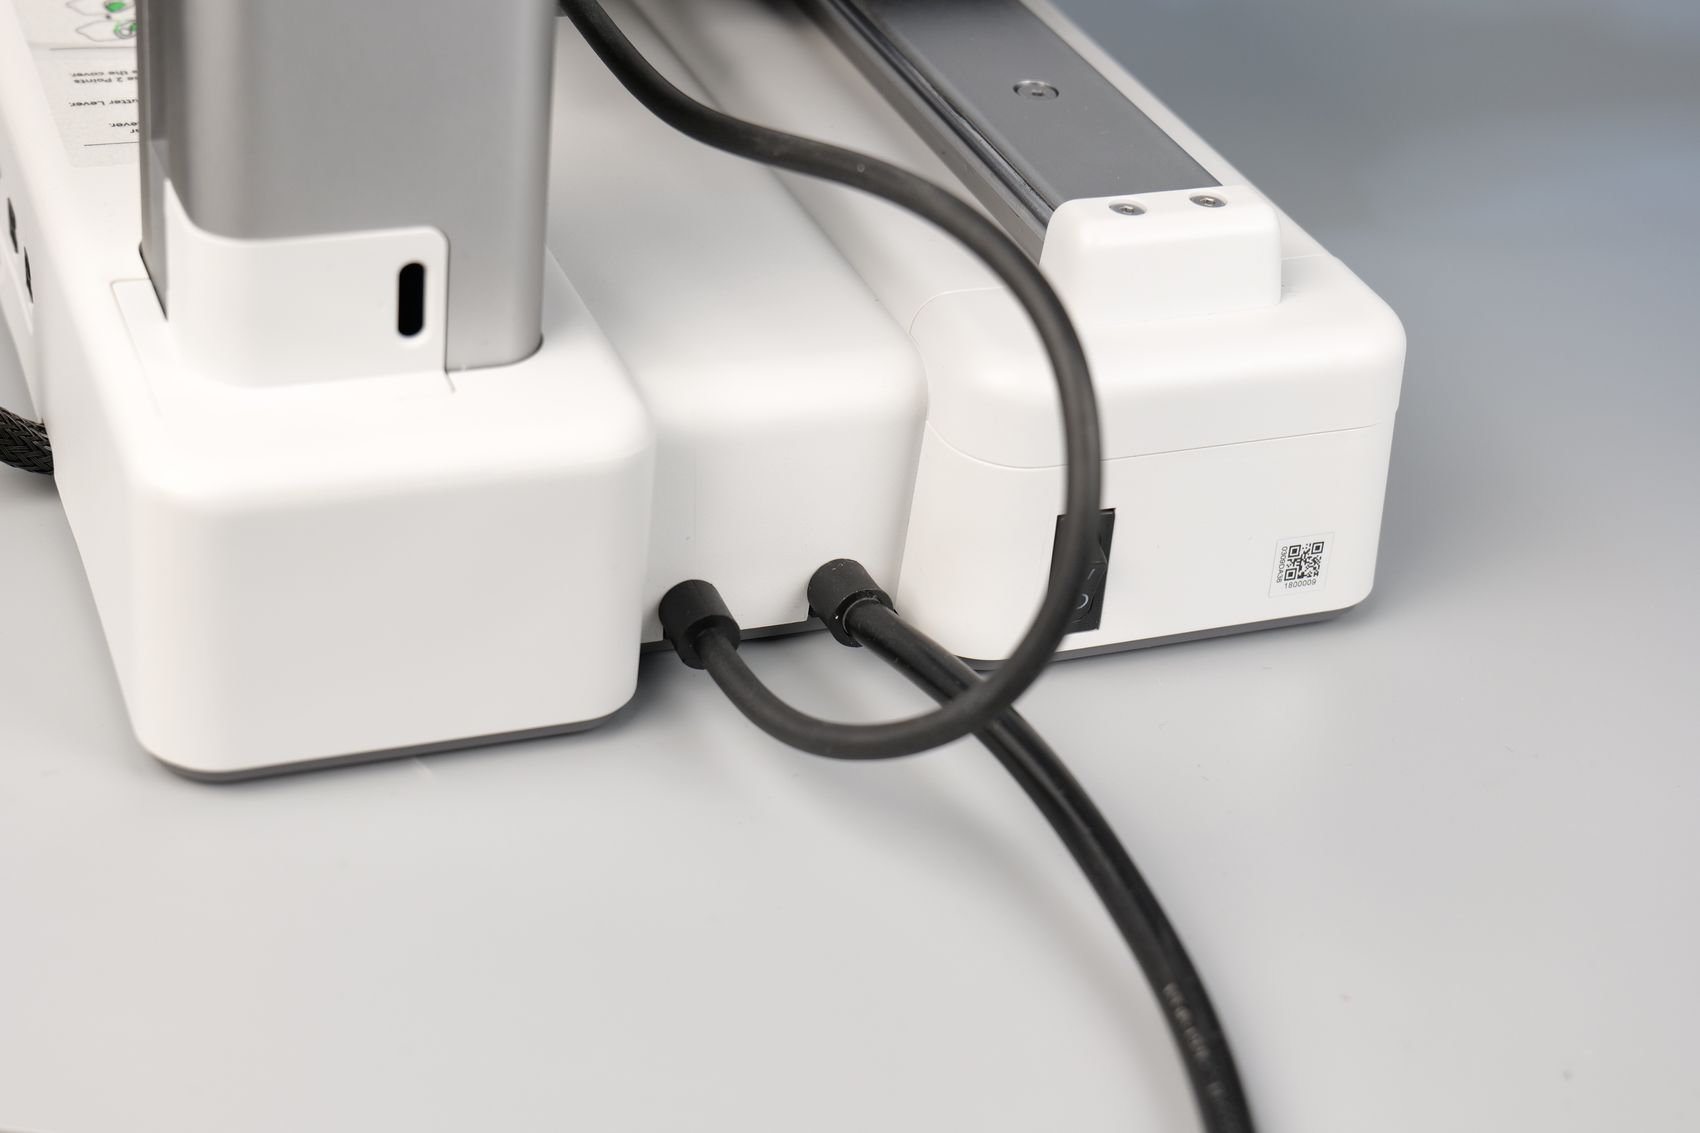
One thing I really don’t like is the power cable of the unit being integrated into the machine. Considering the limited space inside the unit, I guess there wasn’t enough room to be able to include a regular connector for it, but it still feels a bit less than ideal. In the case of a fault, you will need to purchase the replacement cable from Bambu Lab and do some work to install it
Bambu Lab A1 Mini Specs
| Body | Build Volume(W*D*H) | 180*180*180 mm³ |
| Toolhead | Hot End | All-Metal |
| Nozzle | Stainless Steel | |
| Max Hot End Temperature | 300 °C | |
| Nozzle Diameter | 0.4 mm (Included) 0.2 mm, 0.6 mm, 0.8 mm | |
| Heatbed | Build Plate | Bambu Textured PEI Plate (Included) Bambu Smooth PEI Plate |
| Max Build Plate Temperature | 80°C | |
| Speed | Max Speed of Tool Head | 500mm/s |
| Max Acceleration of Tool Head | 10m/s² | |
| Supported Filament | PLA, PETG, TPU, PVA | Ideal |
| ABS, ASA, PC, PA, PET, Carbon/Glass Fiber Reinforced Polymer | Not Recommended | |
| Sensors | Monitoring Camera | Low Framerate Camera (Up to 1080P) Timelapse Supported |
| Filament Run Out Sensor | Yes | |
| Filament Odometry | Yes | |
| Power Loss Recover | Yes | |
| Filament Tangle Sensor | Yes | |
| Physical Dimensions | A1 mini : 347*315*365 mm³ , Package size : 347*315*365 mm³ , Net weight 5.5 kg , Gross weight 8.2 kg A1 mini Combo : Package size 385*430*495 mm³ , Gross weight (AMS lite included) 10.2 kg | |
180x180x180mm Build Volume
The A1 Mini has a build volume of 180x180x180 mm cubed which in my opinion, can be enough in most situations when it comes to regular 3D printing. While there are people with requirements for a larger build volume, most people (me included) can print the regular trinkets without too much trouble in this volume
With a smaller printer, you can reach faster print speeds without too much trouble and you should not have any problems printing fast even though the model might be taller.
Direct Drive Extruder with Smart Filament Sensor
At first glance, the entire A1 Mini extruder looks big and heavy, but in reality, it’s not much bigger than the one on the X1 or P1 series.
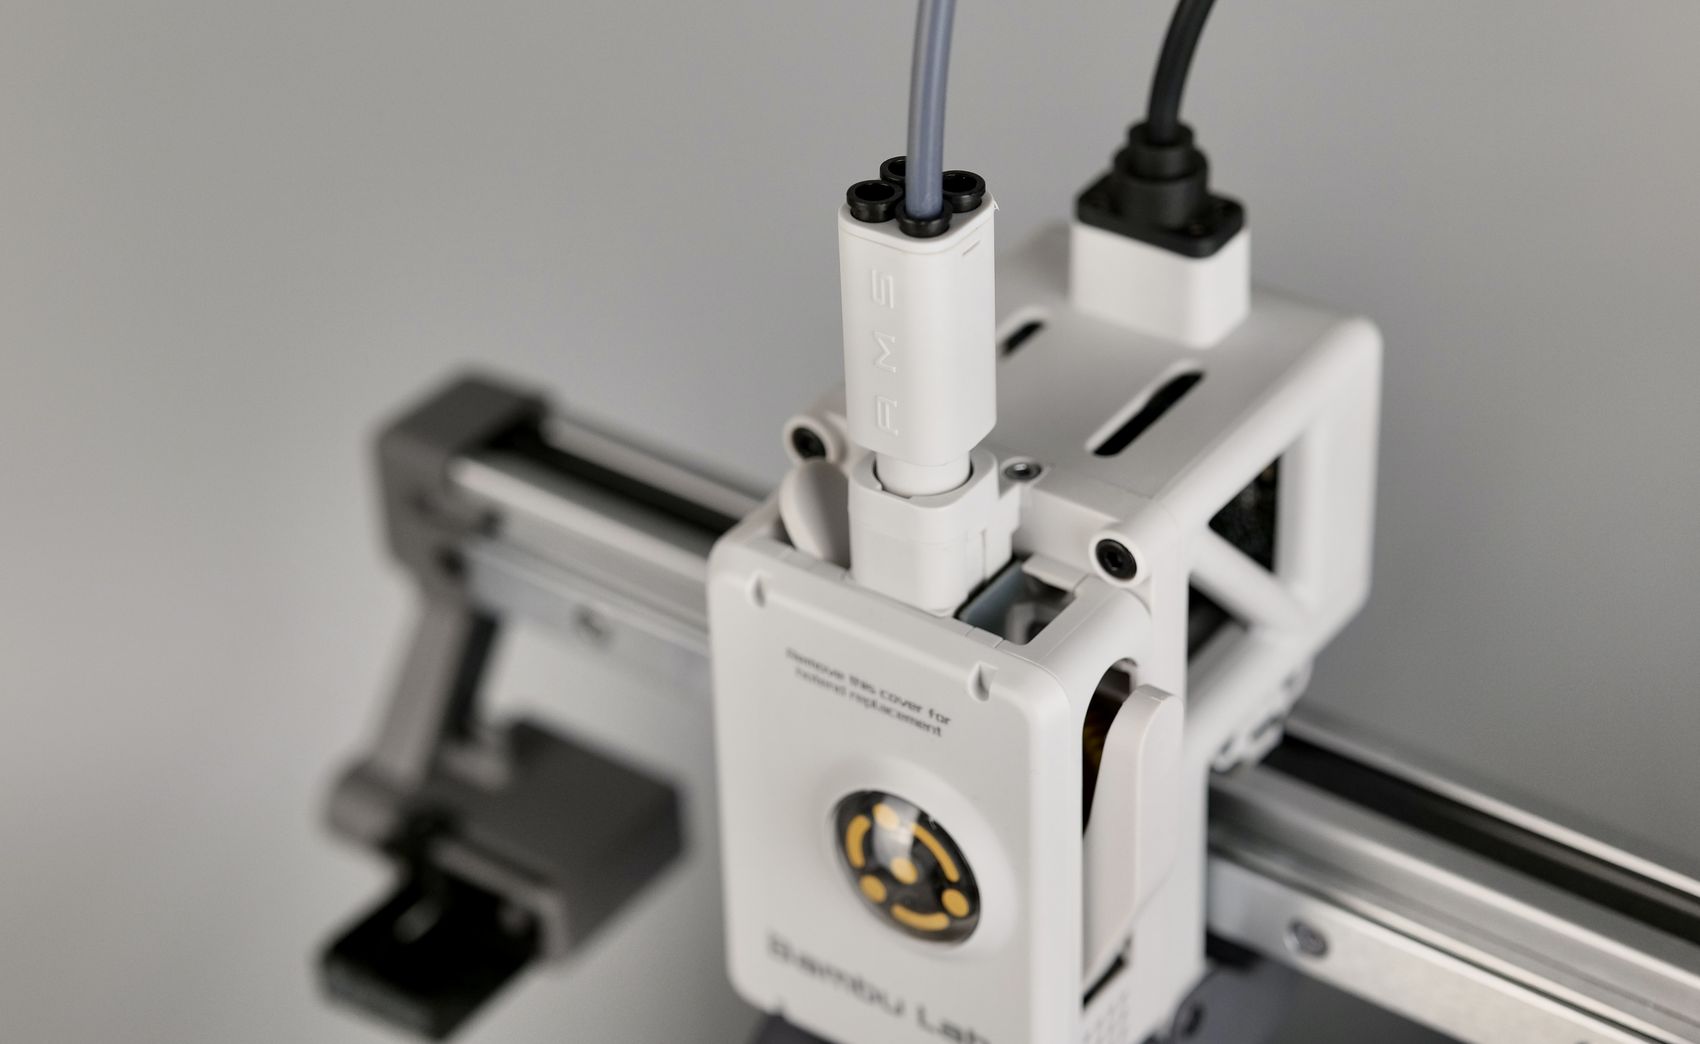
This time, the extruder has the filament cutter on the right side, where you can also access the extruder gears for maintenance. In the first picture, you can see the black extruder gear and the smart filament sensor attached to the AMS coupler.
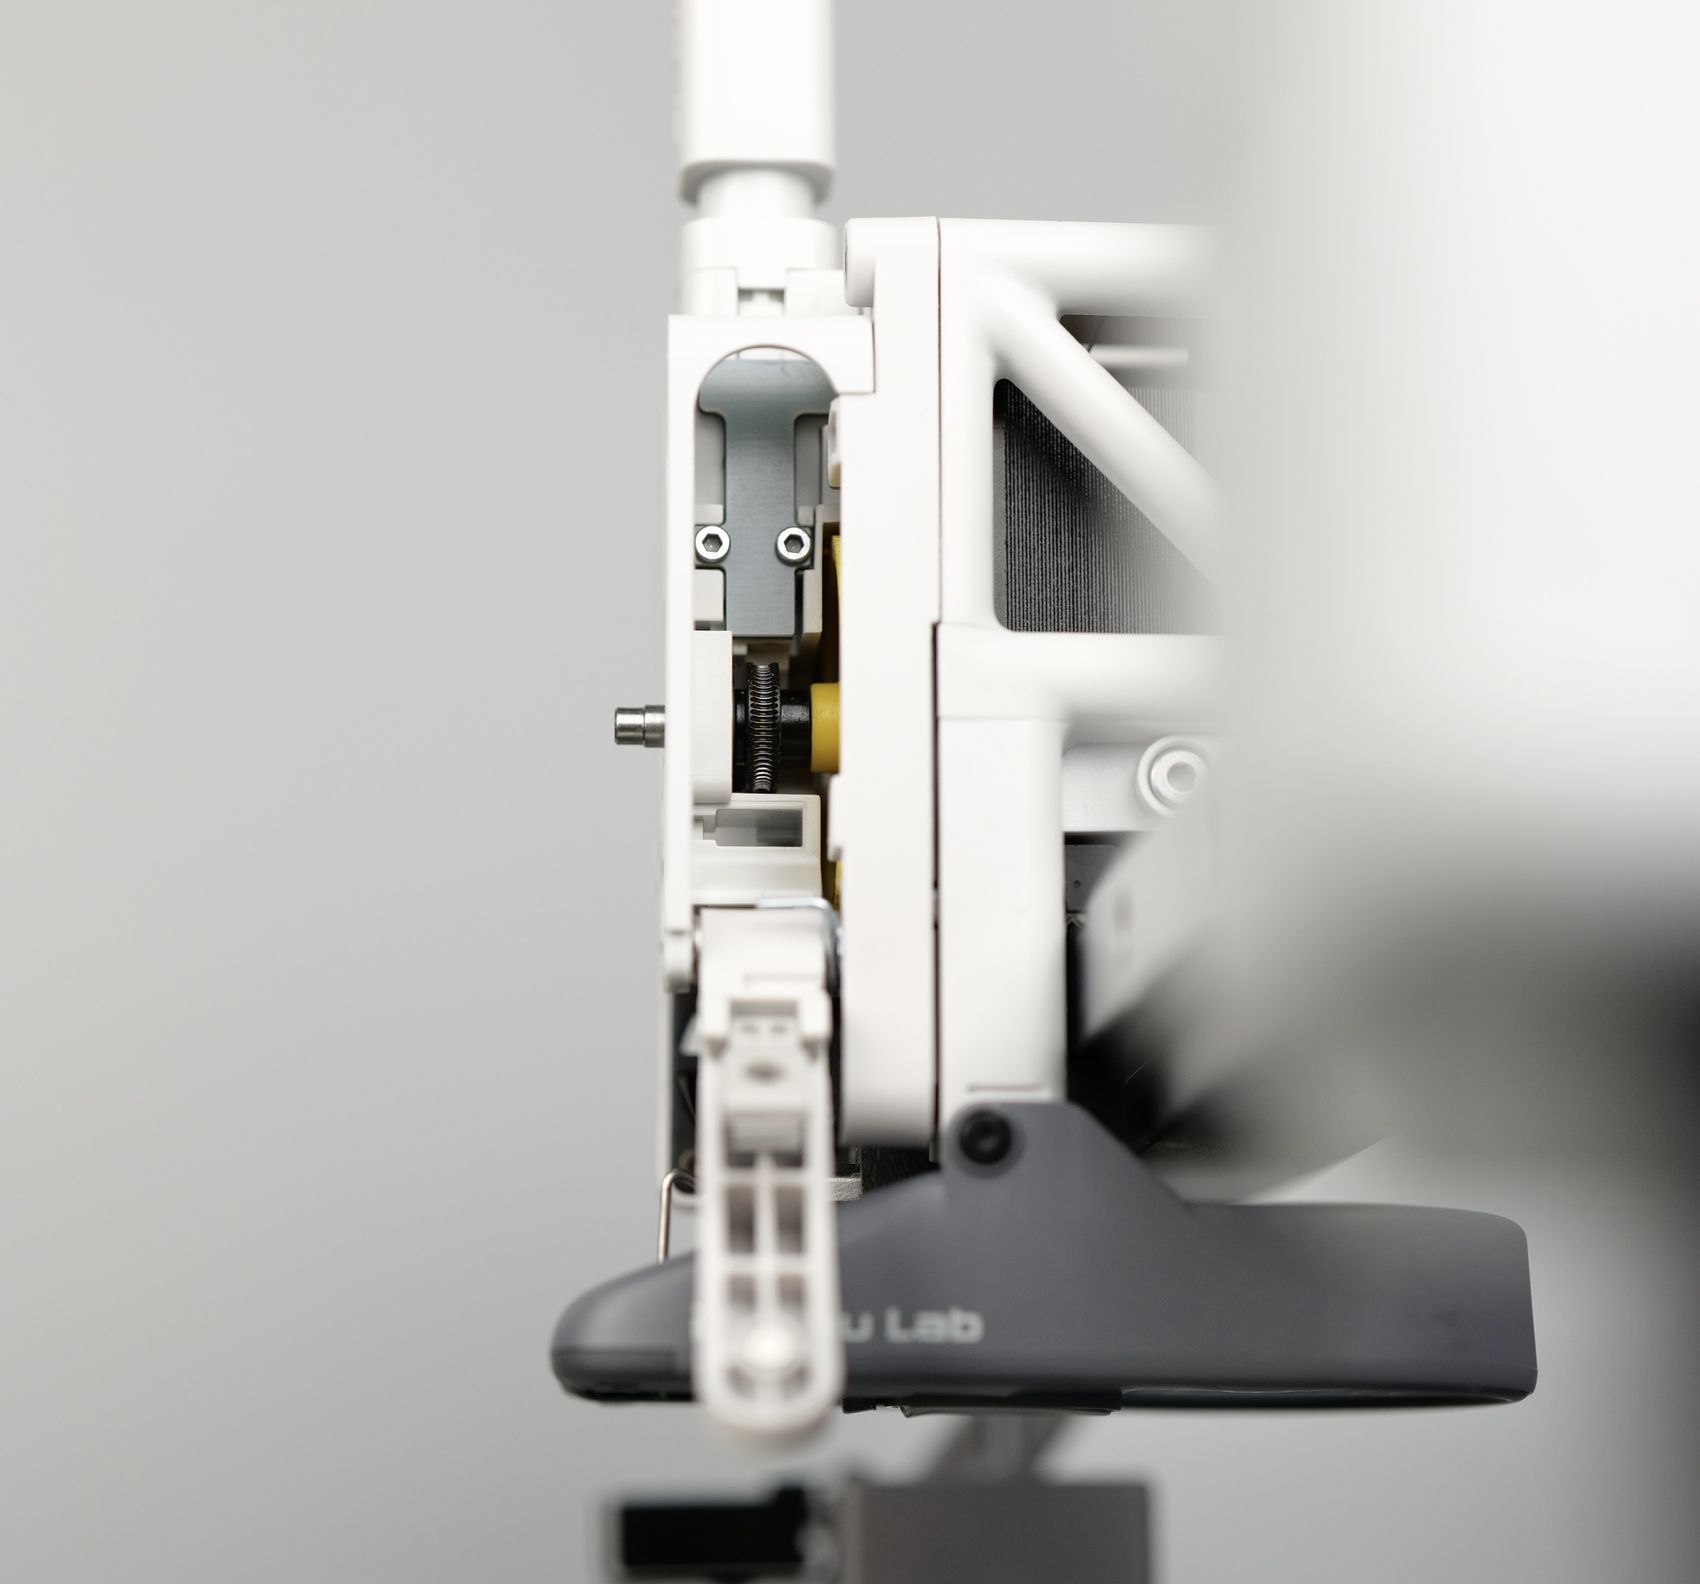
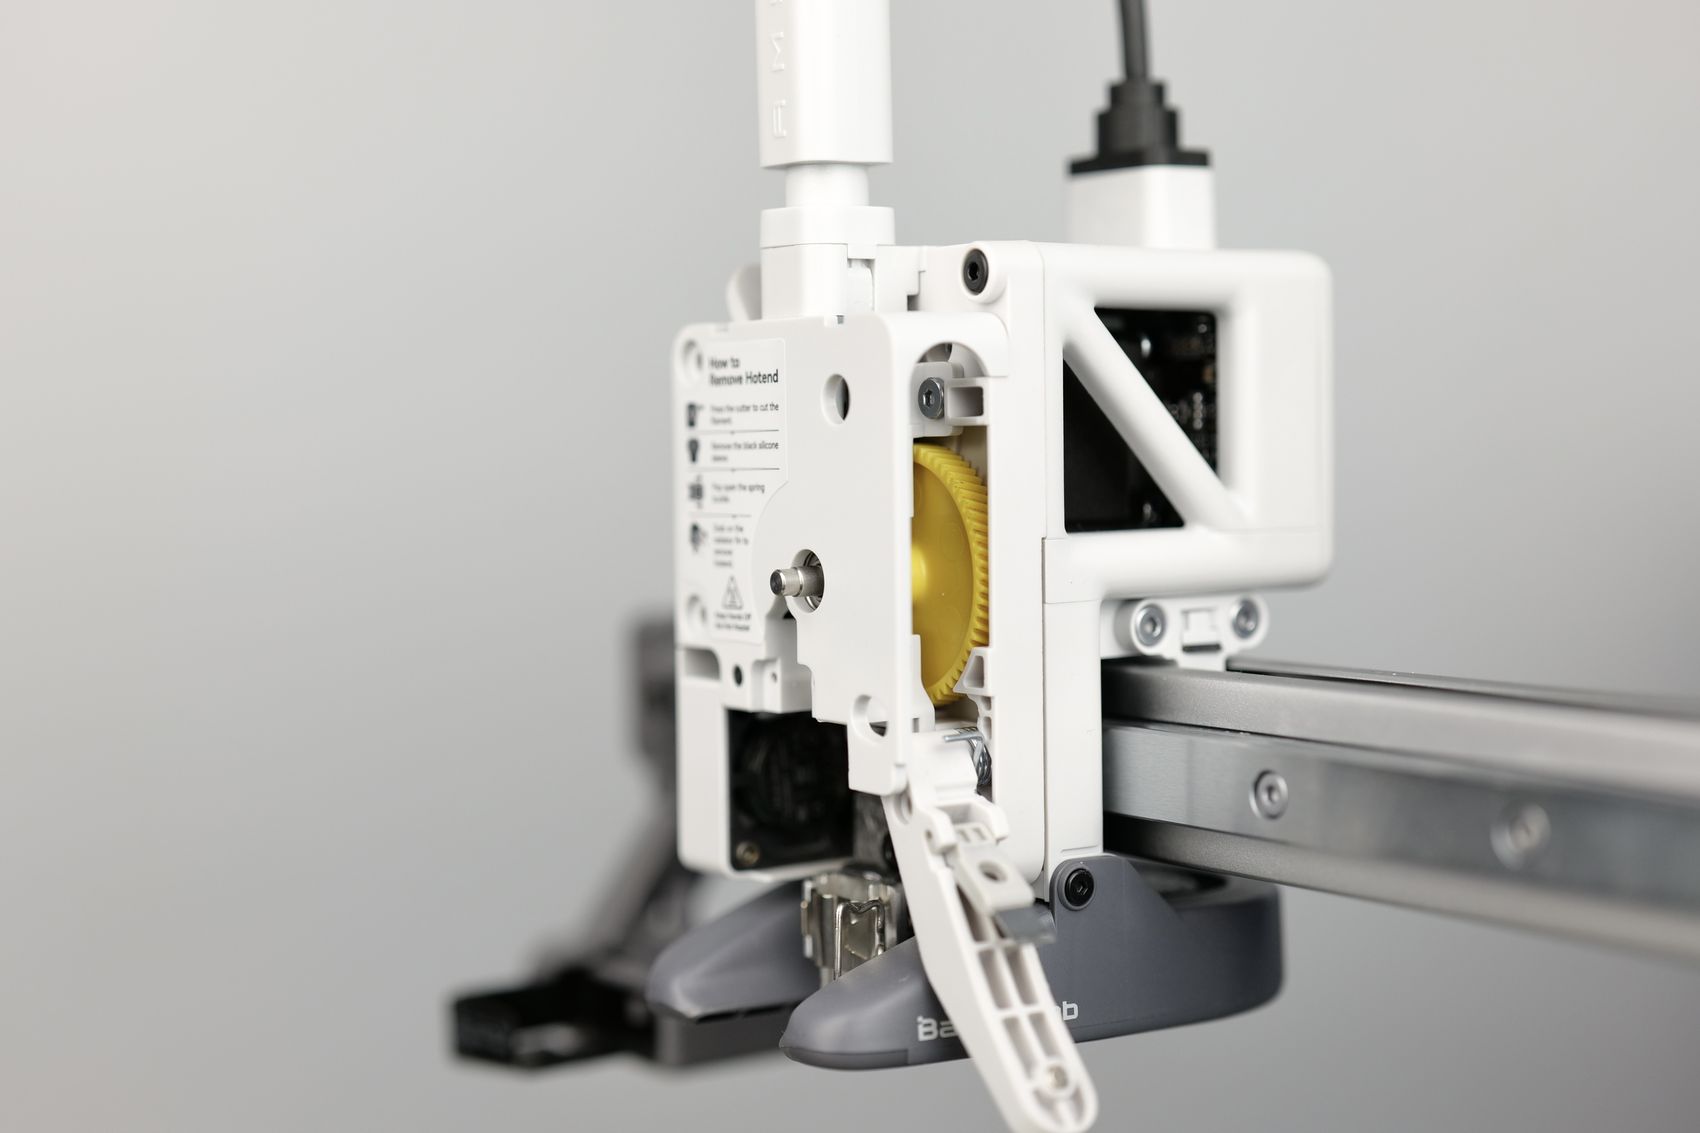
I also found it interesting that the new extruder allows you to adjust the idler tension on the side, to loosen the pressure on the filament if needed. This could be useful if you are printing with a softer TPU filament, but I haven’t tried it to confirm if it has any effect.
Automatic Flow Dynamics Calibration
Flow Dynamics is a fancy name used for the Linear Advance / Input Shaper feature we got used to in Marlin and Klipper firmware. This is a very important feature to have and use, for increasing the print quality.
The Bambu Lab X1C uses LIDAR to perform this calibration, but other printers on the market rely on printing a set of calibration lines and then picking the line that works best.
The A1 Mini automates this entire process, by using the extruder and sensors to detect the small changes in the force applied to the extruder, thus allowing it to adjust for the filament used and generate the correct K factor value. If you are interested to see how it works, you can check out the beginning of this video.
I really like this feature, as it can be a bit harder to do and understand the entire calibration process by beginners. Besides that, automating the process can improve the experience of using different types of filaments and relying on the printer to do the hard work of calibration.
All-metal Hotend with Smart Design
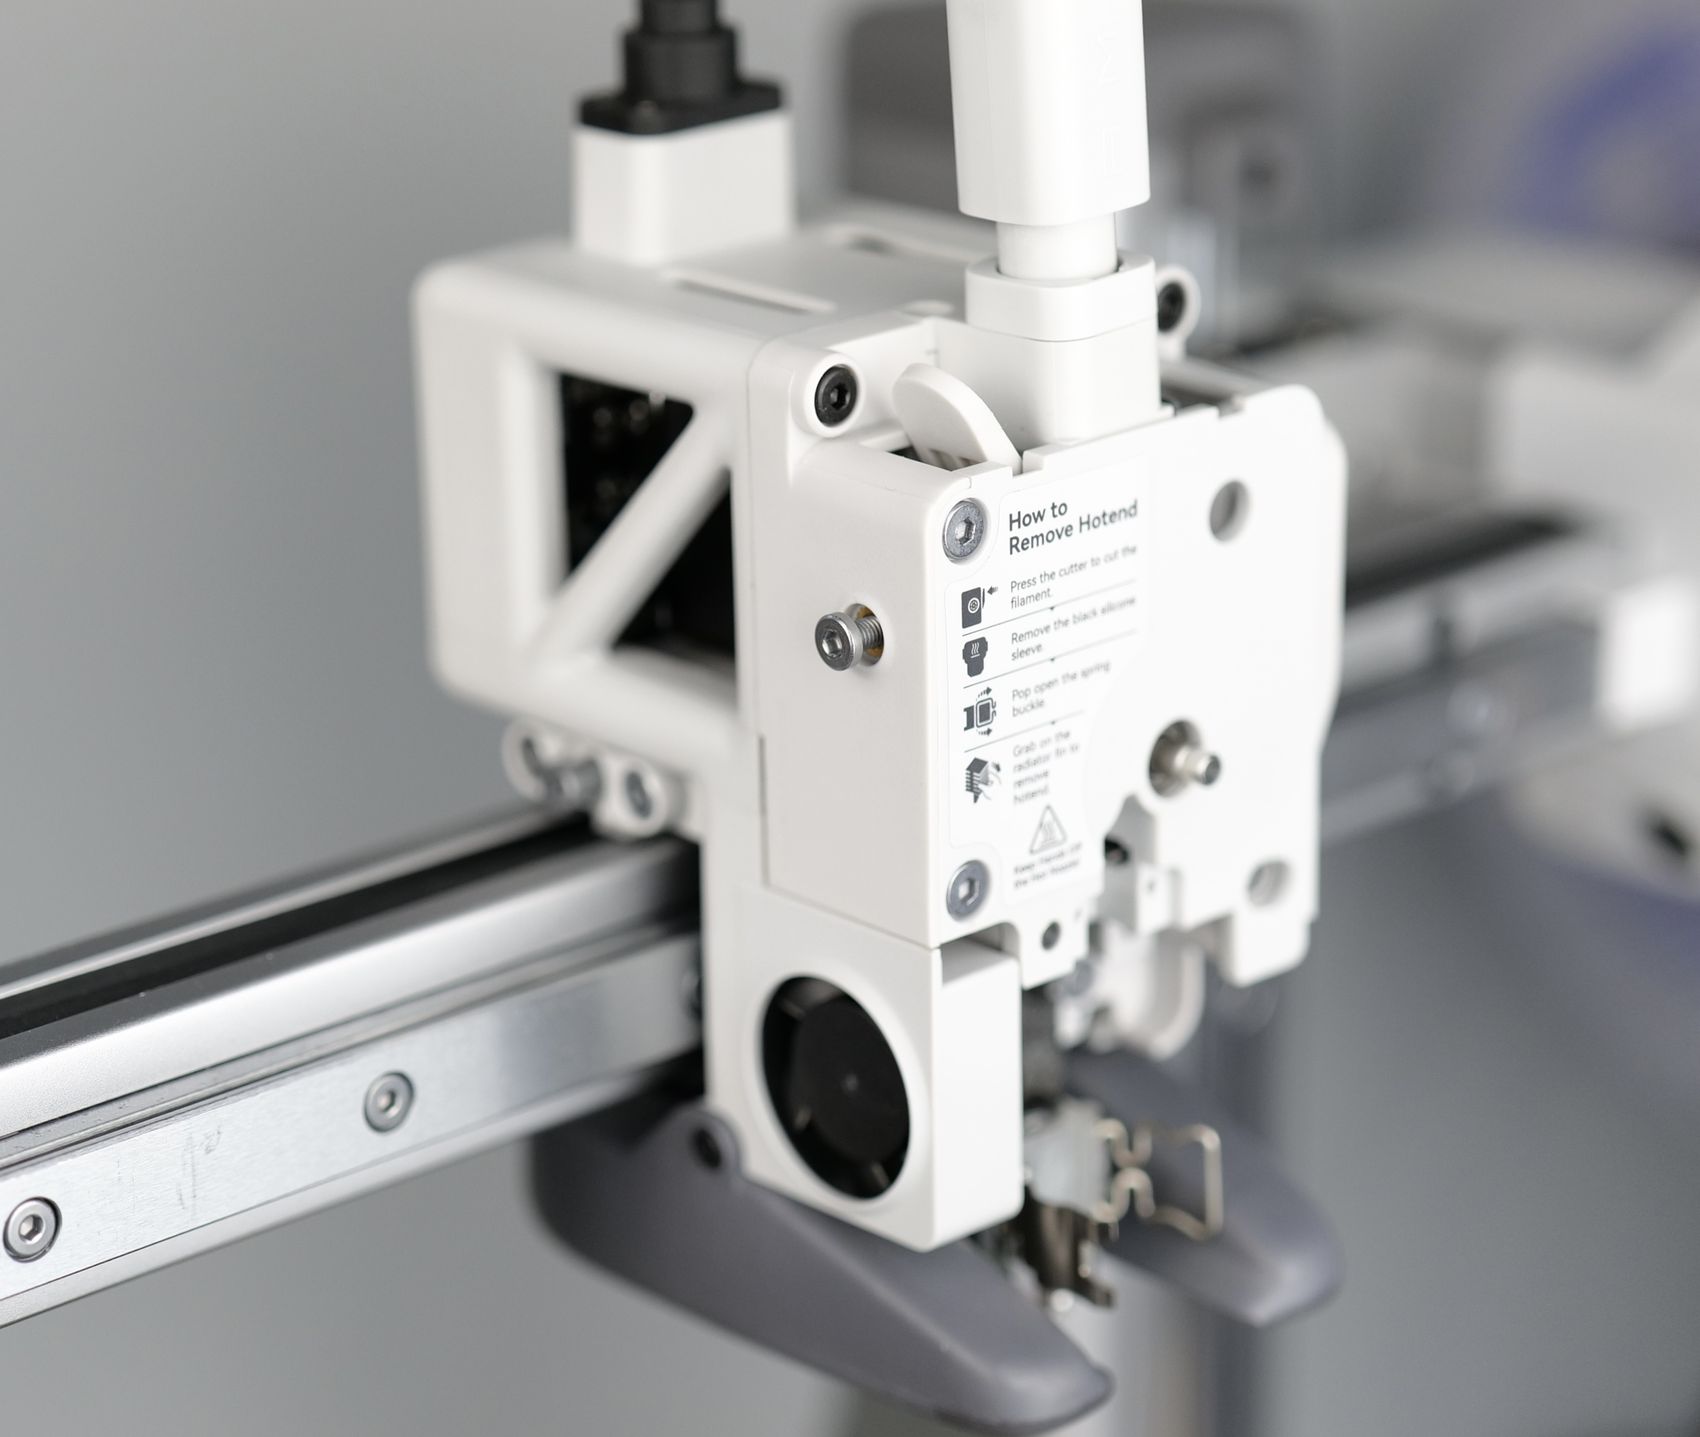
I believe that the new hotend design of the A1 Mini is one of the most innovative implementations in FDM 3D printing to date. The entire design decouples the heater and thermistor from the nozzle which makes so much sense that I am not sure how others haven’t thought about it before. Of course, there are similar designs out there, but as far as I know, none of them disconnects the heater from the actual hotend.
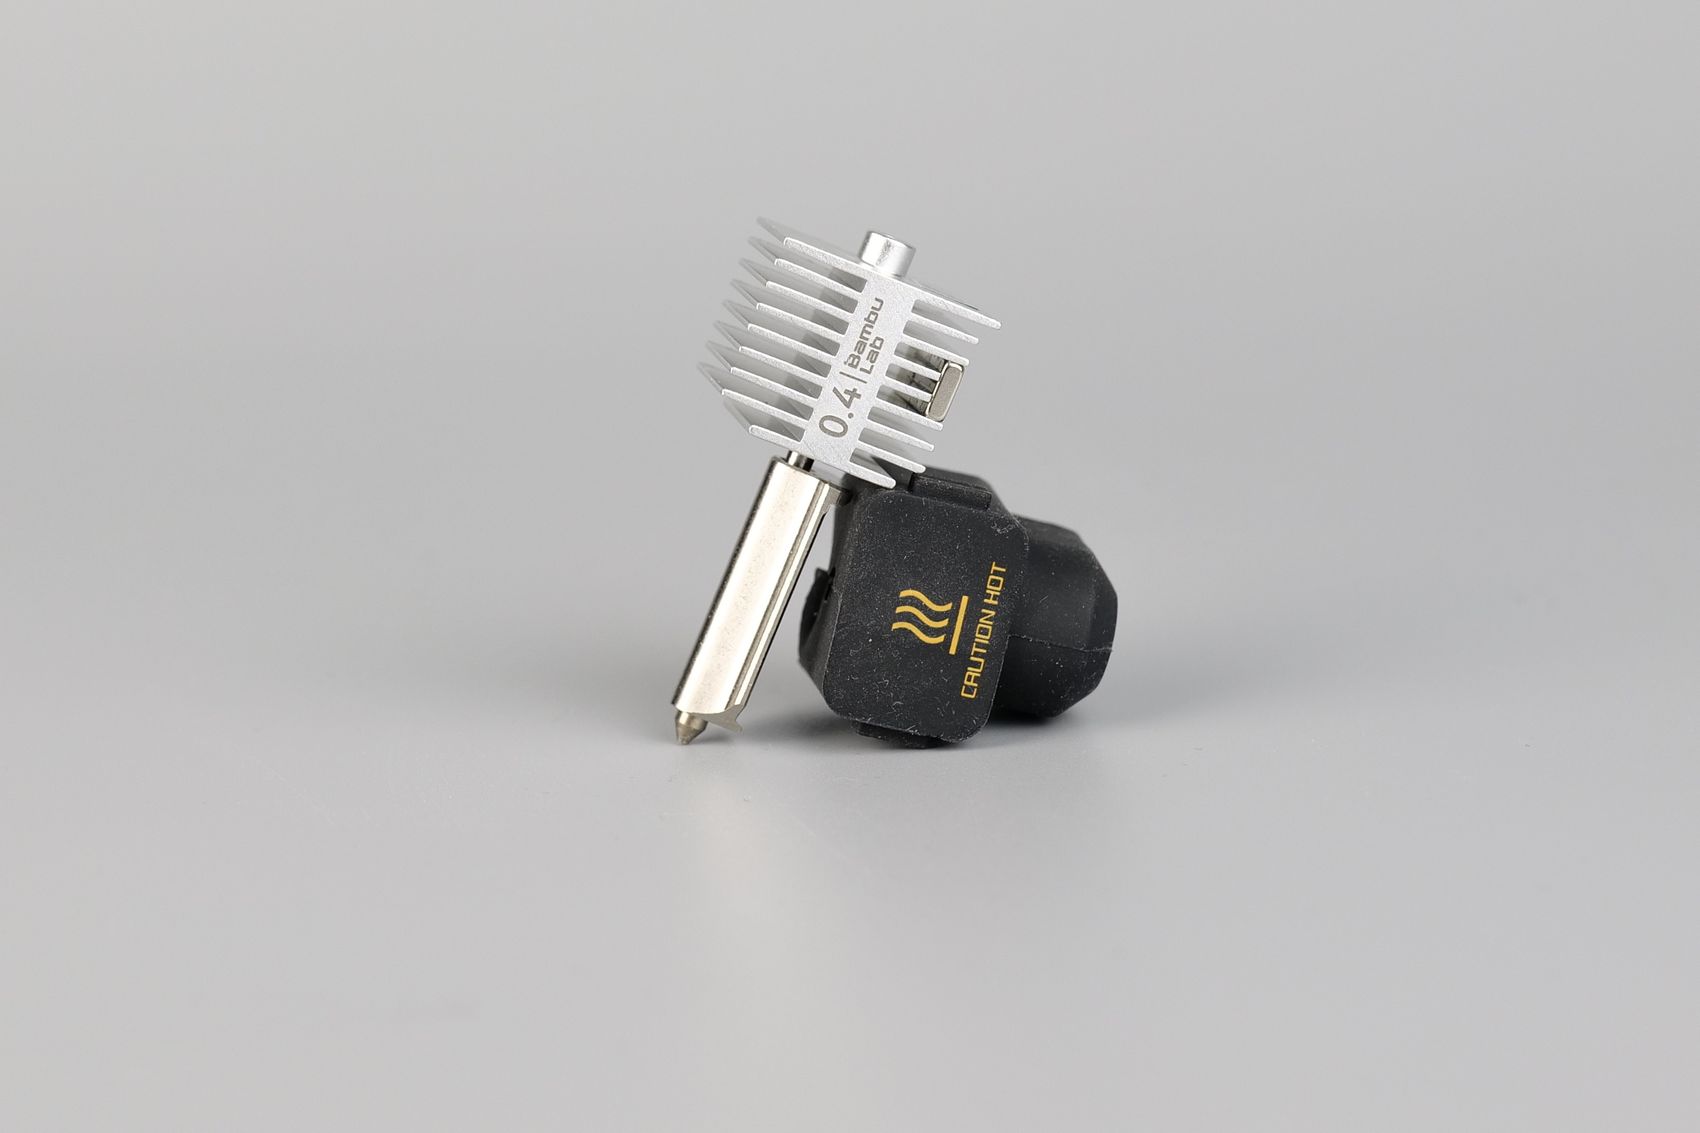
Coming back to the nozzle, its design is somewhat similar to the one we got on the X1 and P1 series of printers, but it’s simplified to make it easier to use and less prone to damage the wires if you need to replace it. It has a longer filament path which in theory should give it a bit better flow rate but in reality, the flow rate capabilities seem to be similar to the X1 variant, probably due to the less thermal mass.
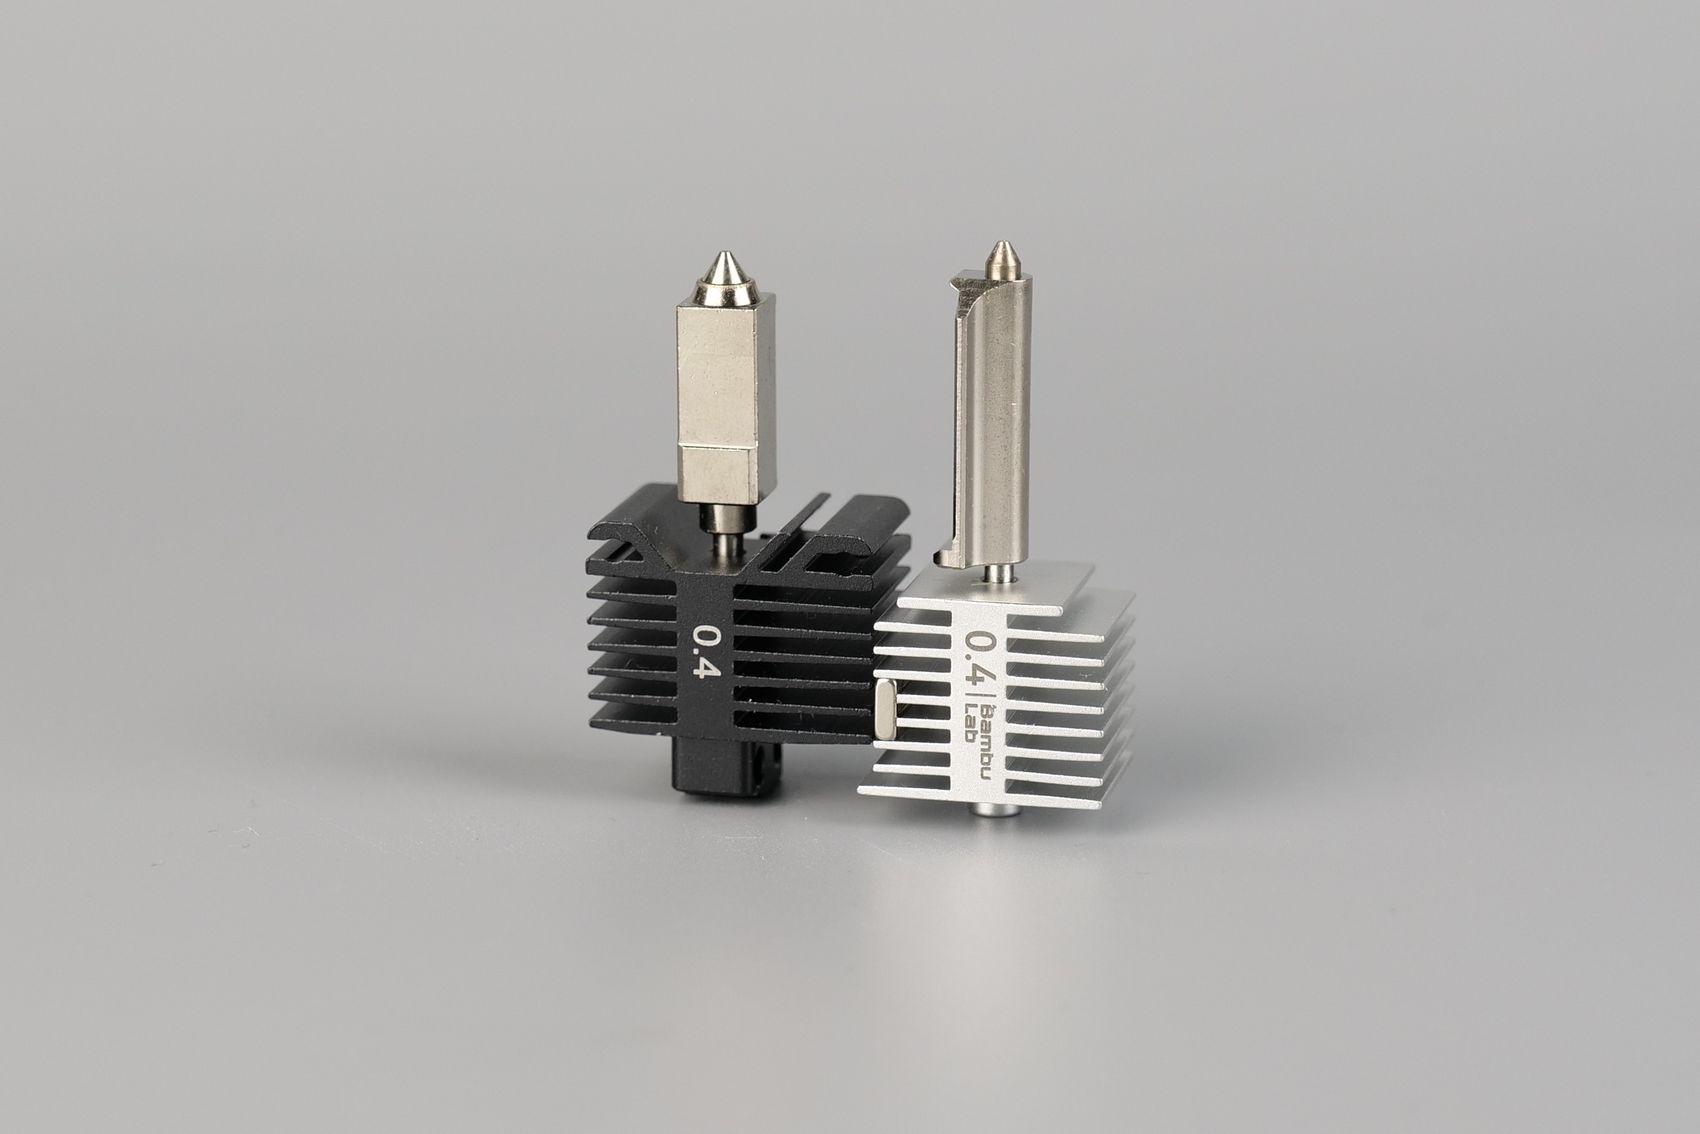
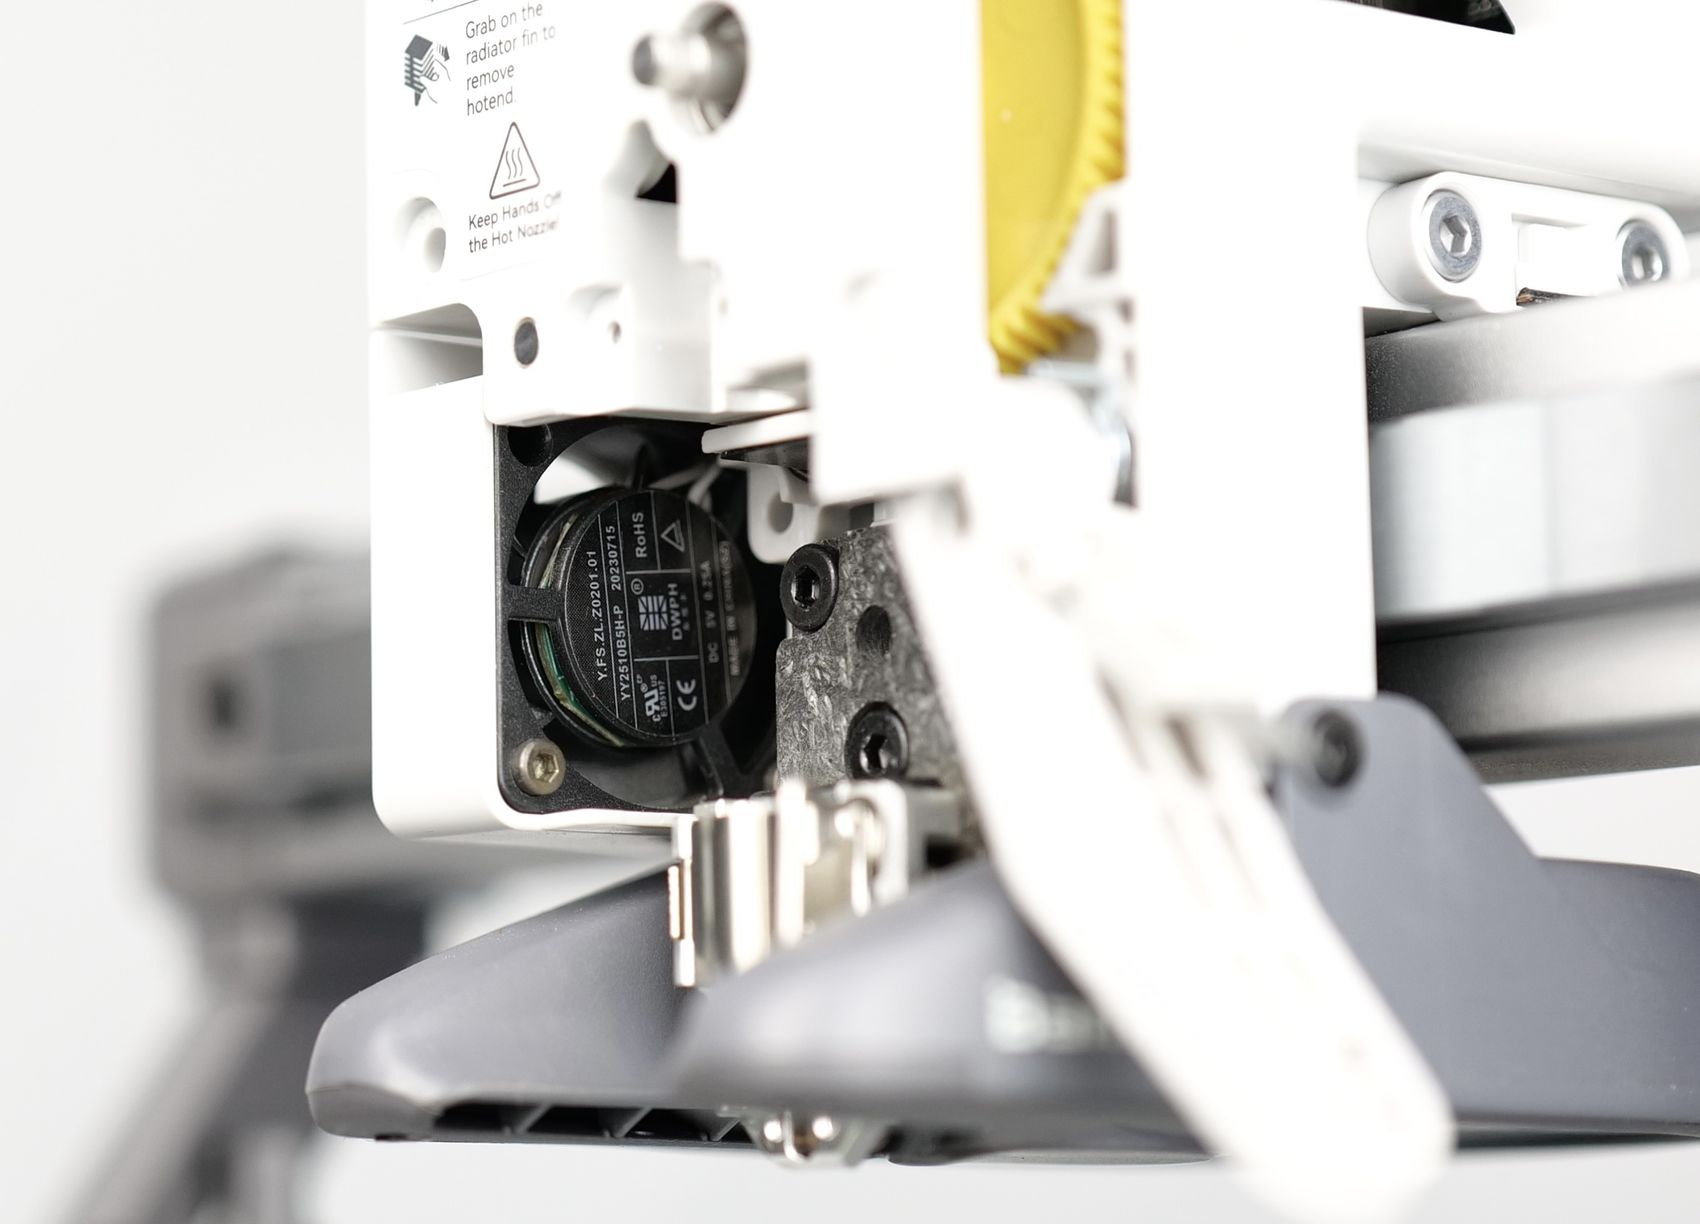
The heatsink of the hotend is also smaller, and it’s cooled by a small side-mounted fan which seems to be controlled based on the temperature of the nozzle, as I have noticed that it changes its RPM.
To remove the hotend, you need to remove the plastic front cover of the extruder, then remove the silicone sock. Removing the front cover is not as simple as on the previous machines, as it relies on plastic clips instead of magnets, and the silicone sock can also be a bit cumbersome to remove. But after you do it, you get to the hotend which is held in place by a simple metallic latch. Unlocking it allows you to remove the hotend and install a replacement then put everything back together.
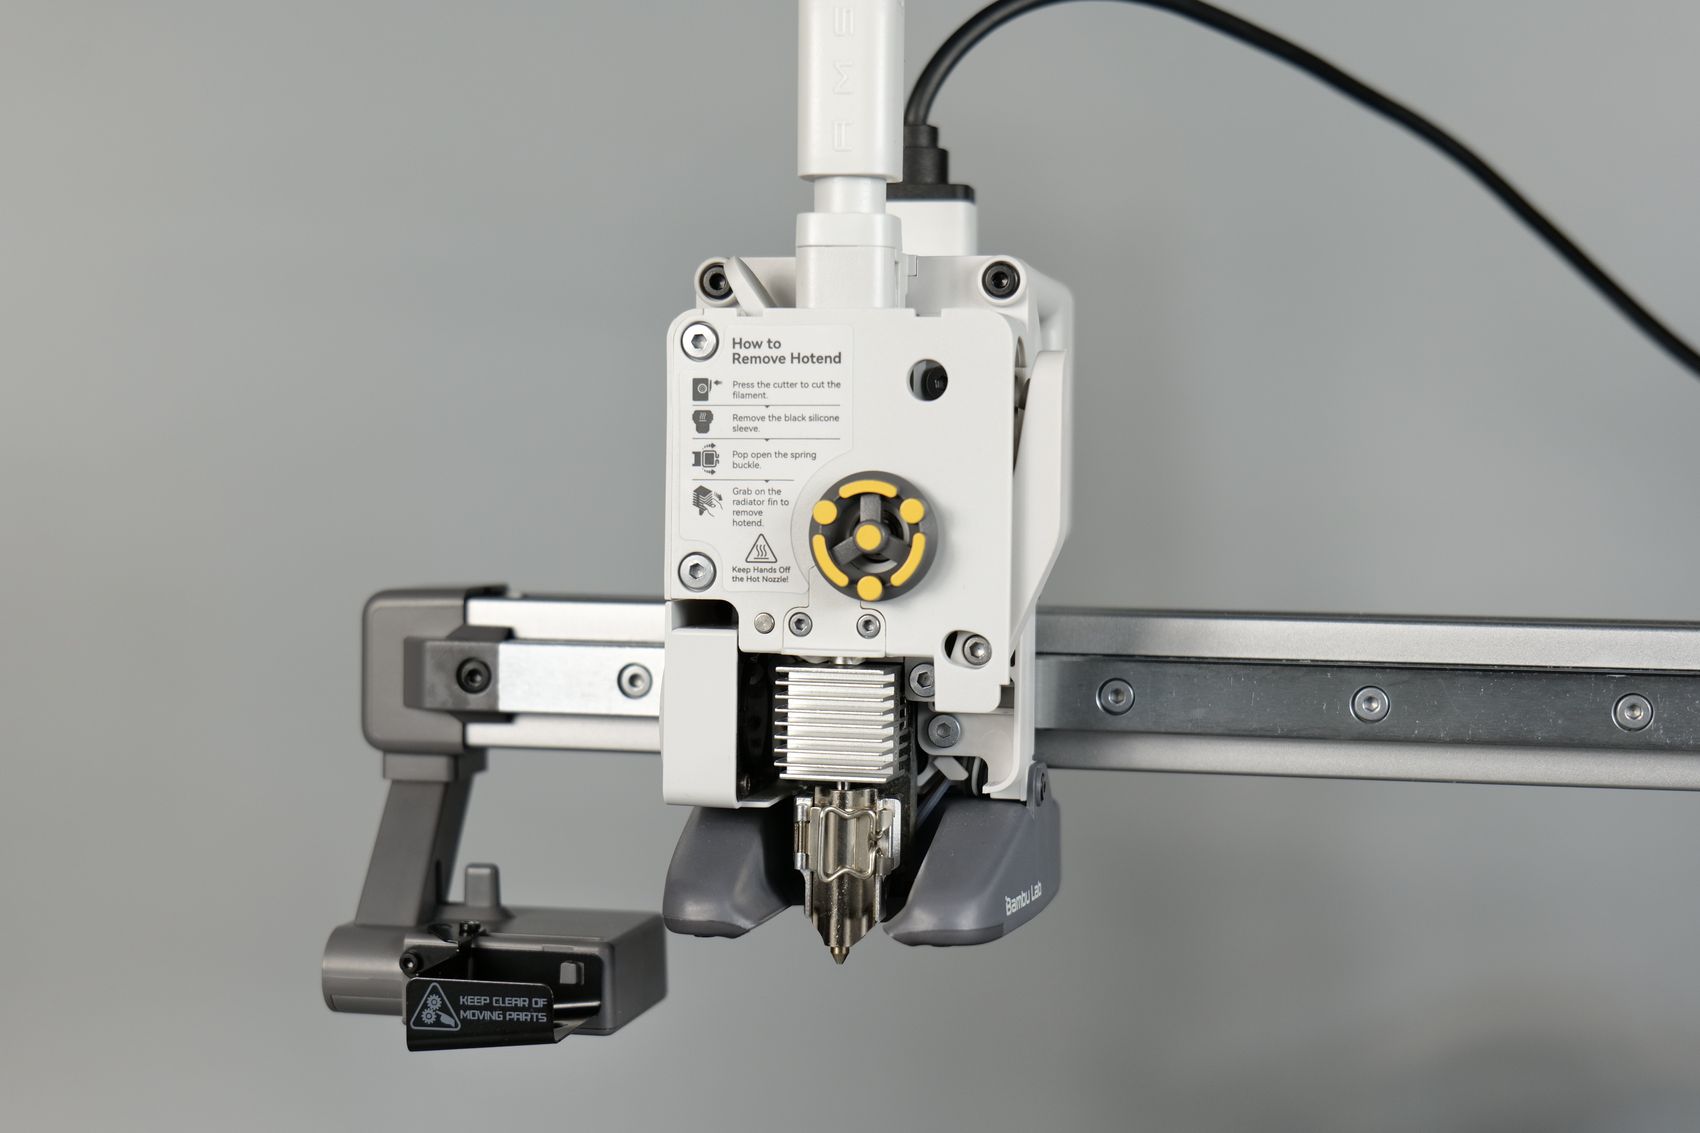
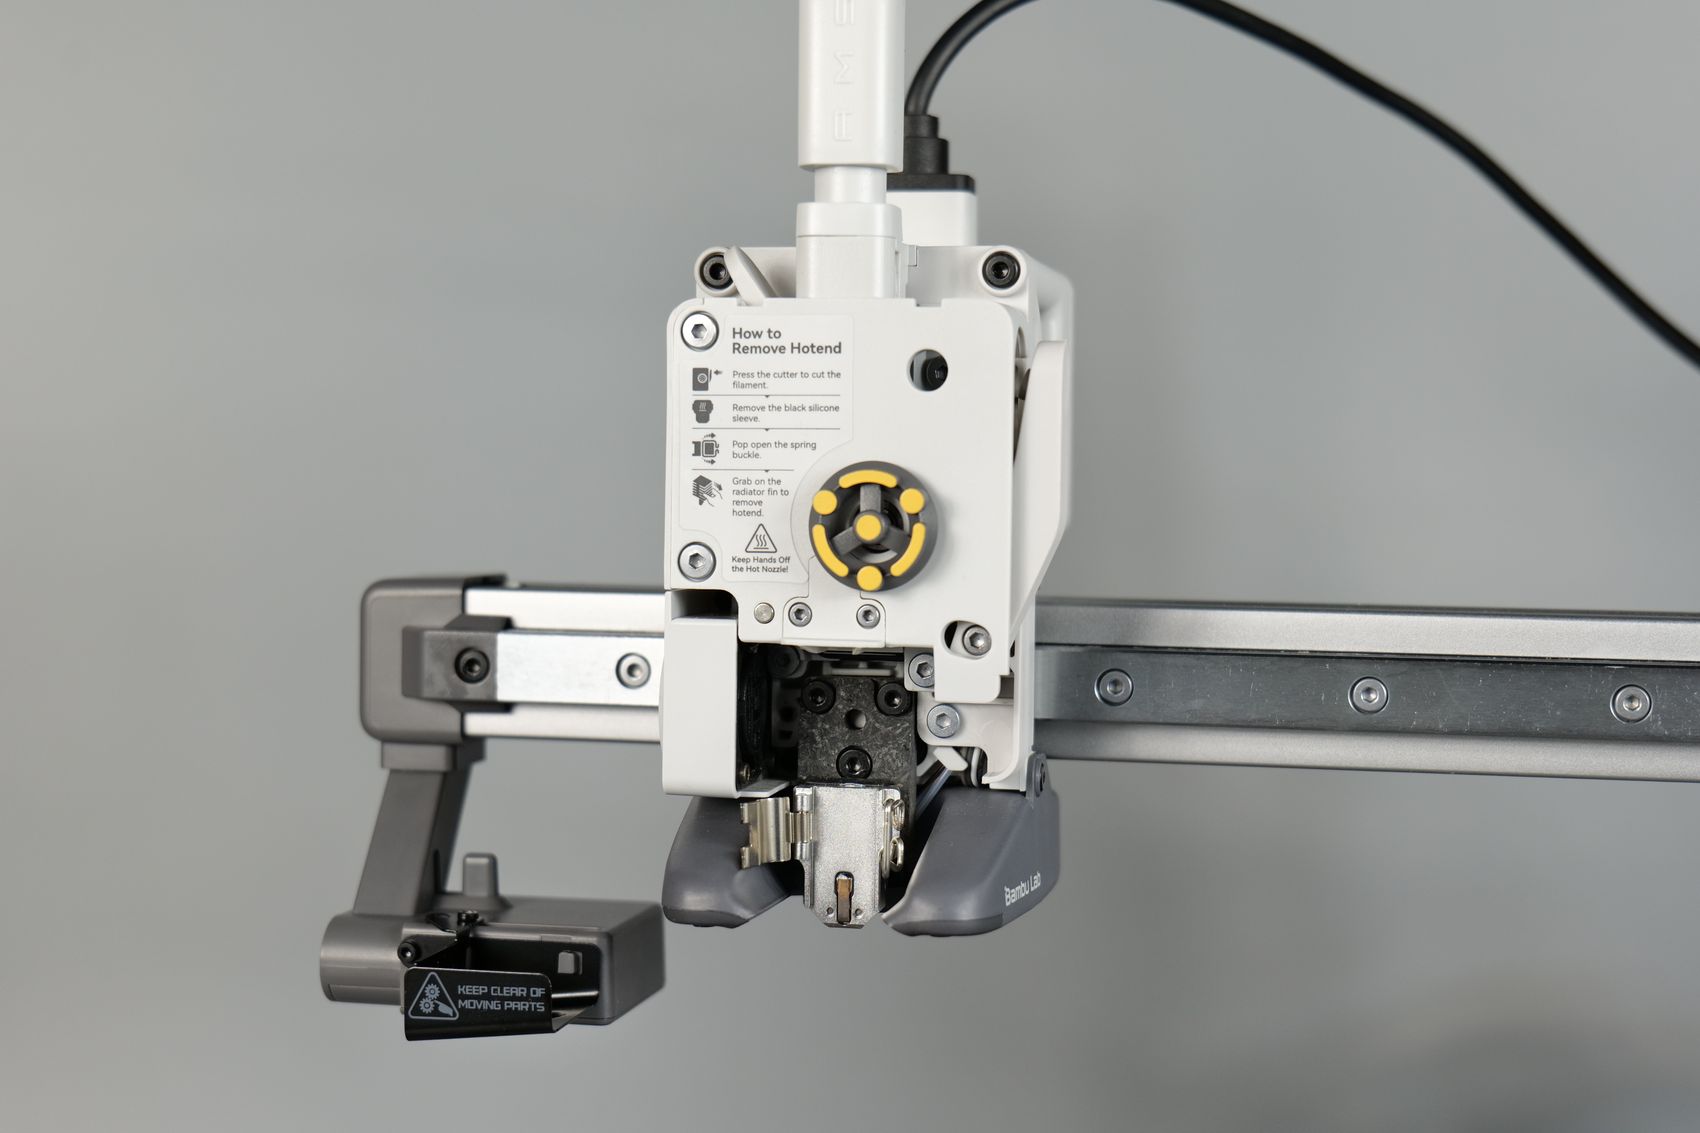
When you do it the first time, it feels a bit more fiddly as the space around the nozzle is somewhat blocked by the part cooling fan ducts, but it becomes easier after you do it a few times. I think the most complicated part is to remove the silicone sock
You can also replace the hotend heating assembly if you need to, as there are spares already available, but I don’t think this will be a common thing to do on the machine.
Part cooling is handled by a custom radial fan with an integrated cooling duct, which seems to be different from the regular 5015 units we usually find on other printers. It’s not a silent fan when the printer runs it at maximum speed, but it gets the job done.
Overall, I really like the new hotend design on the A1 Mini and I wish this would be available for the X1 and P1 series of printers as it’s much easier to deal with considering there are no wires to interact with for a nozzle change. But considering the heater and nozzle assemblies are available, I expect mods to start being implemented. Maybe not on the other Bambu printers, but on Vorons.
Cantilever Design with Linear Rails
Cantilever designs for 3D printers are not new. We previously had printers like the popular Prusa Mini or the Kingroon KP3S which used a similar design, that can work great as long as the printer is not big.
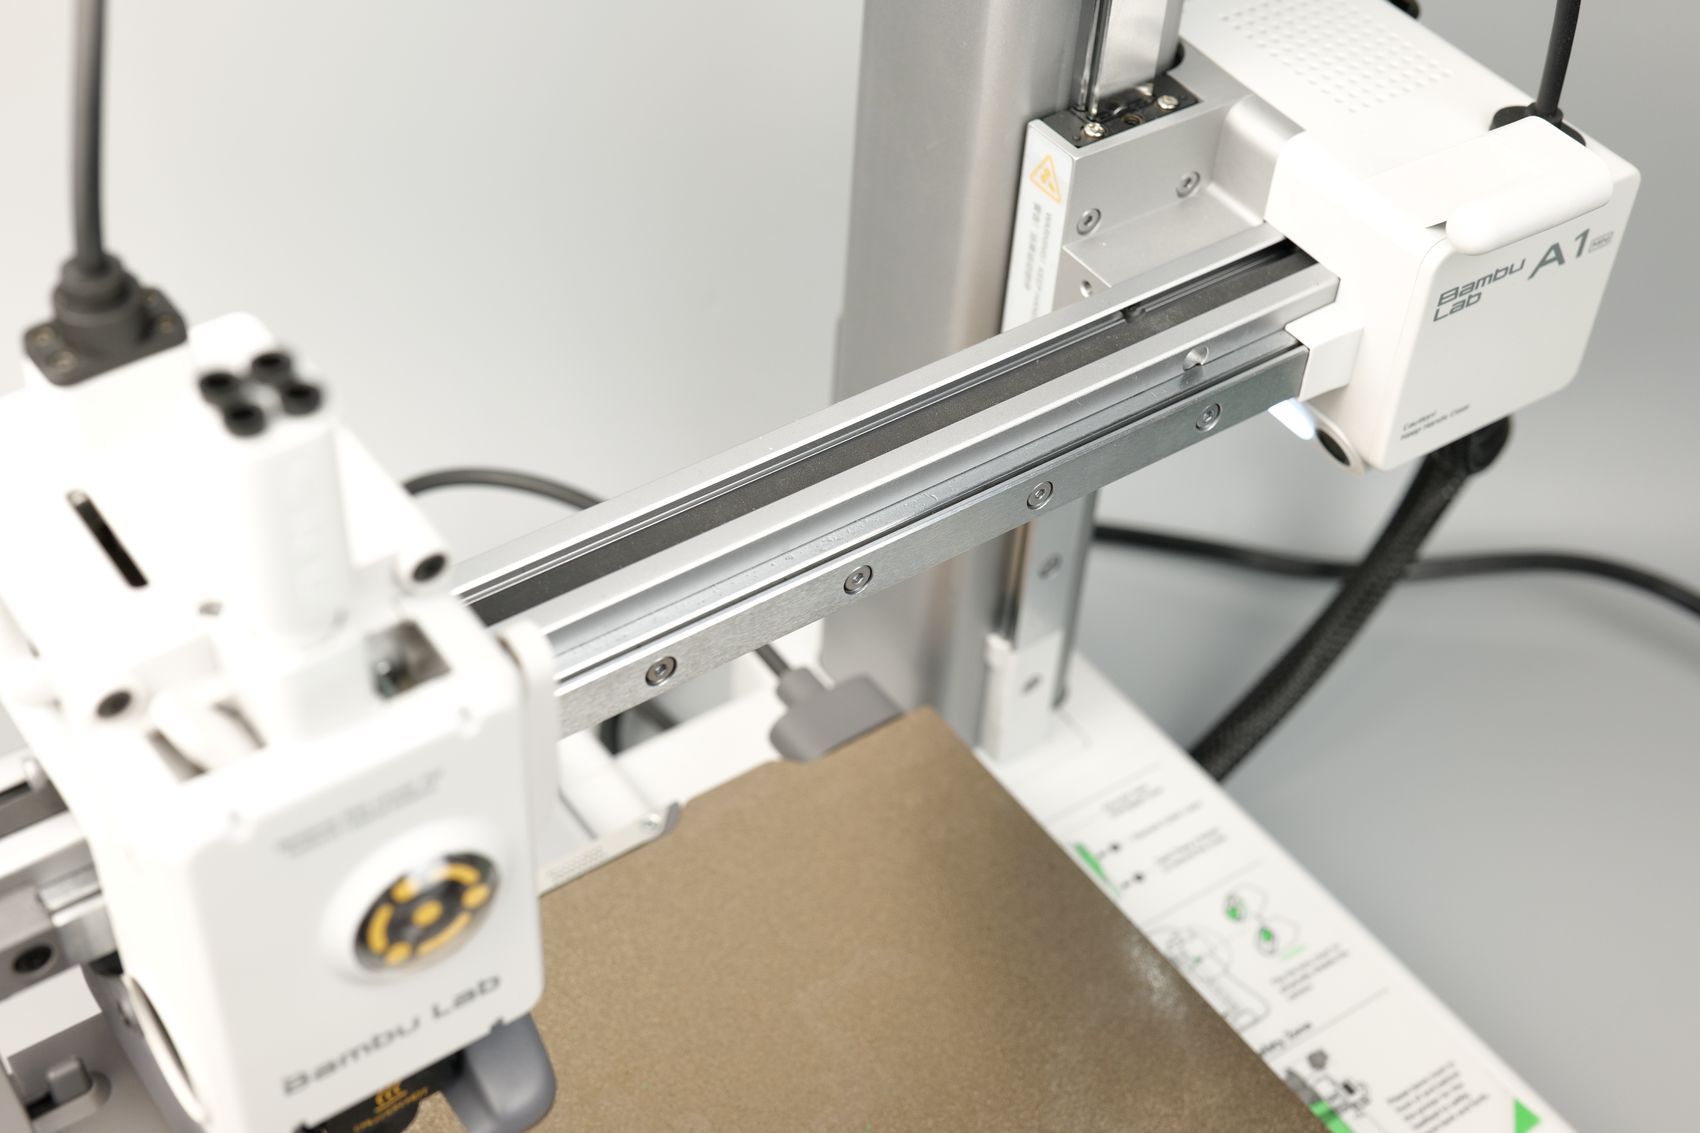
In the case of the A1 Mini, the Z-axis column is on the right side and it’s made from a custom aluminum extrusion with the Z-axis motor and leadscrew integrated inside the column. This saves some space and makes the printer look a bit more streamlined.
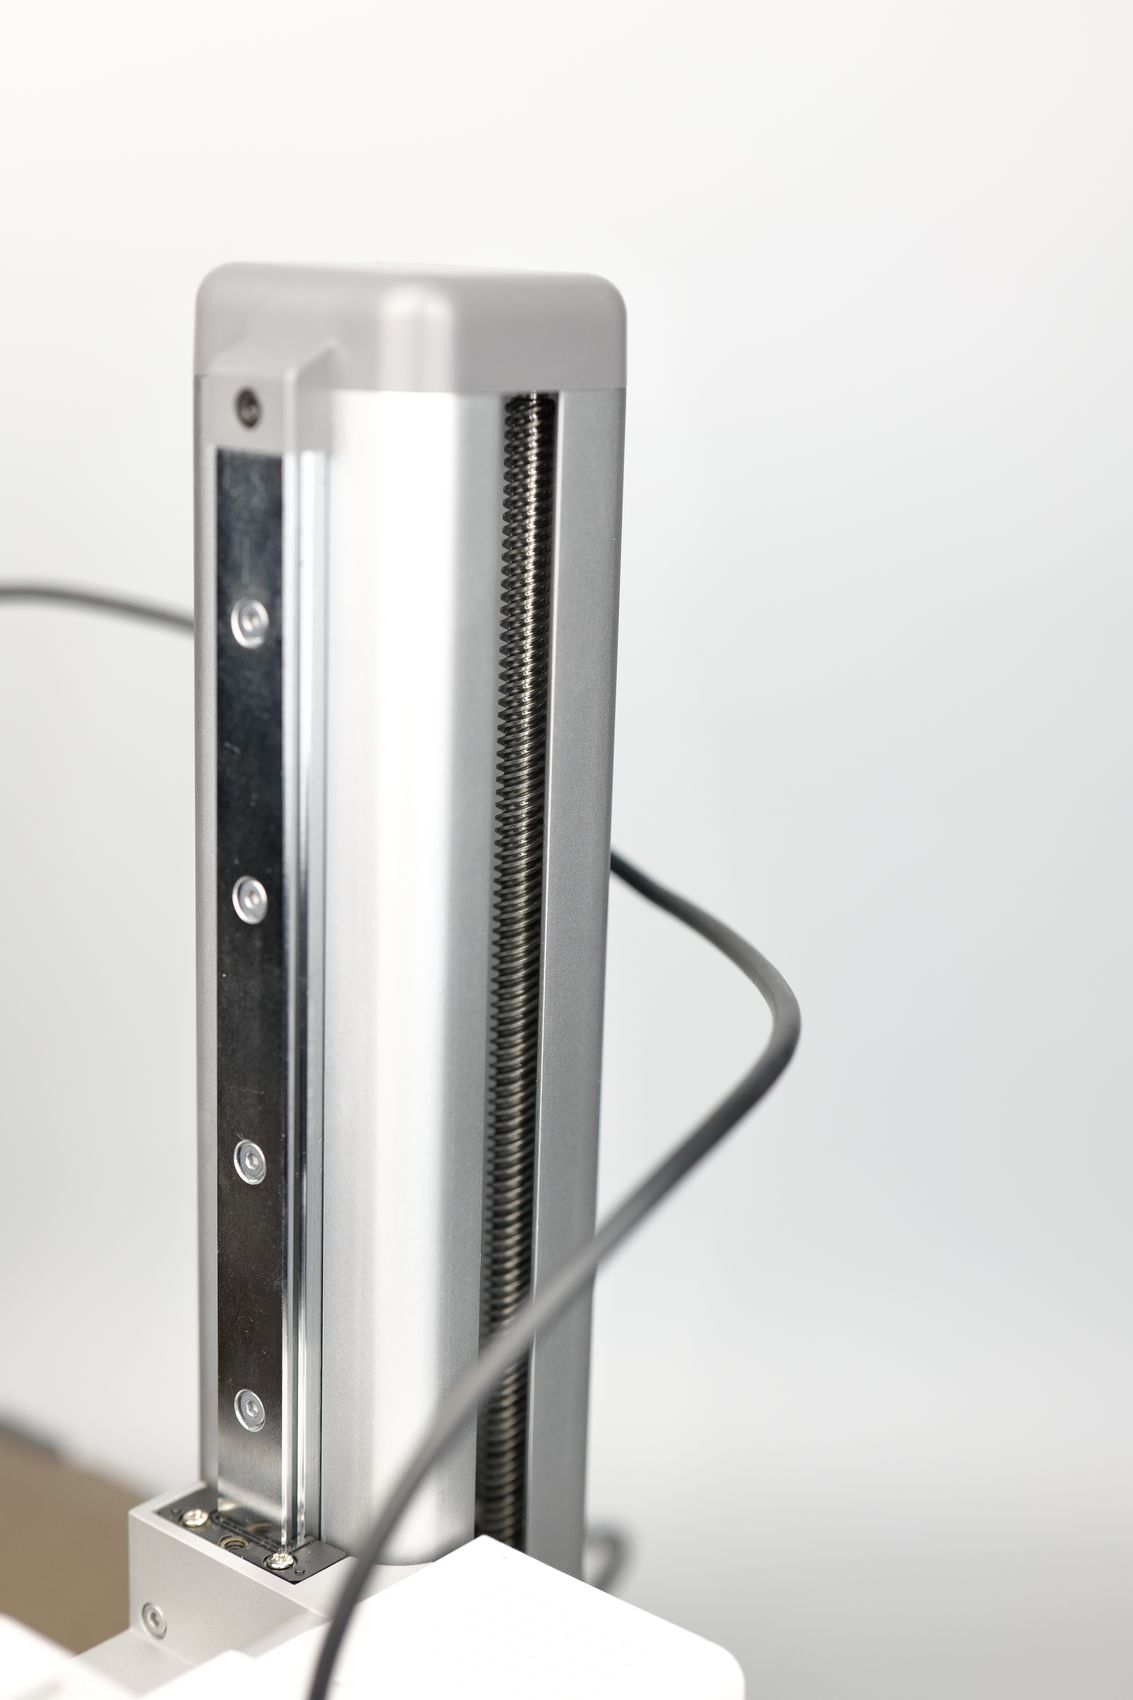
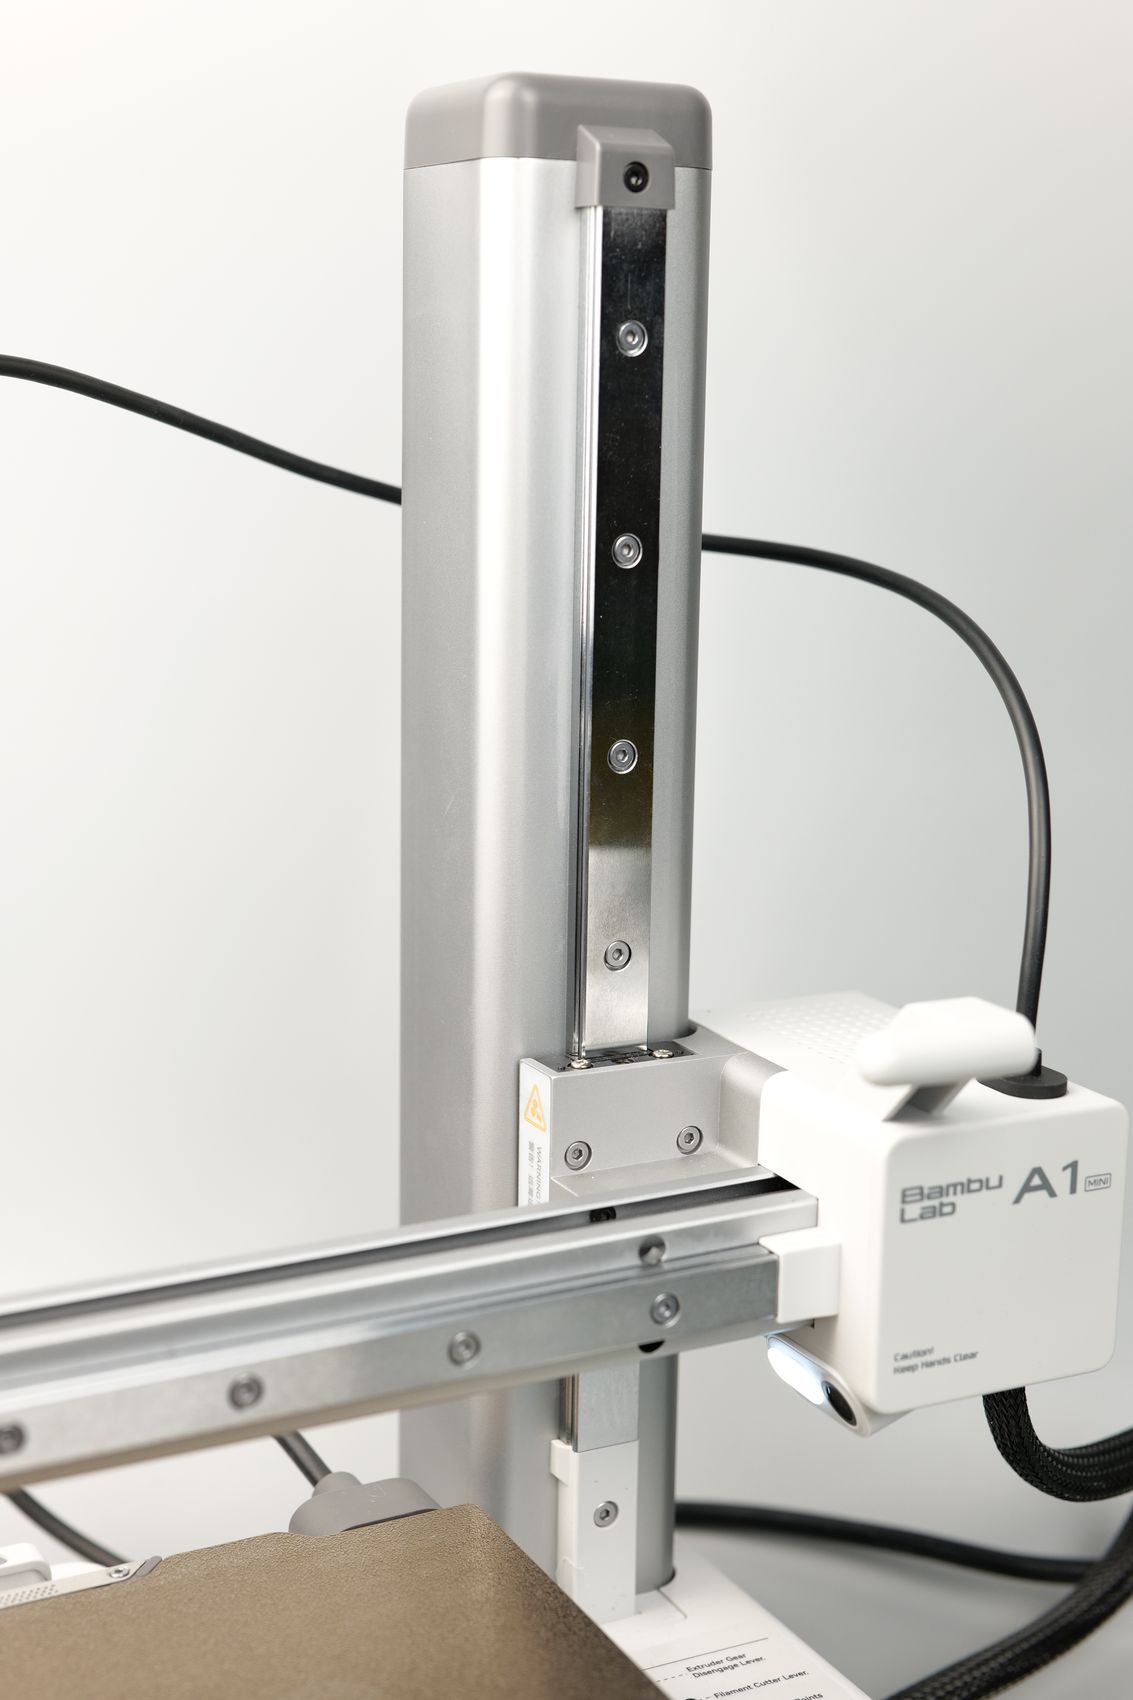
The X-axis is attached to the Z-axis column with a machined aluminum bracket to the thick Linear Rail and it makes the entire motion system stiffer than I was expecting.
For the Y-axis, the printer uses a pair of linear guides attached to a wide aluminum rail and metallic wheels, somewhat similar to what other printers like the AnyCubic Kobra 2 Pro or the Elegoo Neptune 4 Pro use. This motion system is reliable and more silent than a regular MGN linear rail.
Magnetic Heatbed with PEI Textured Plate
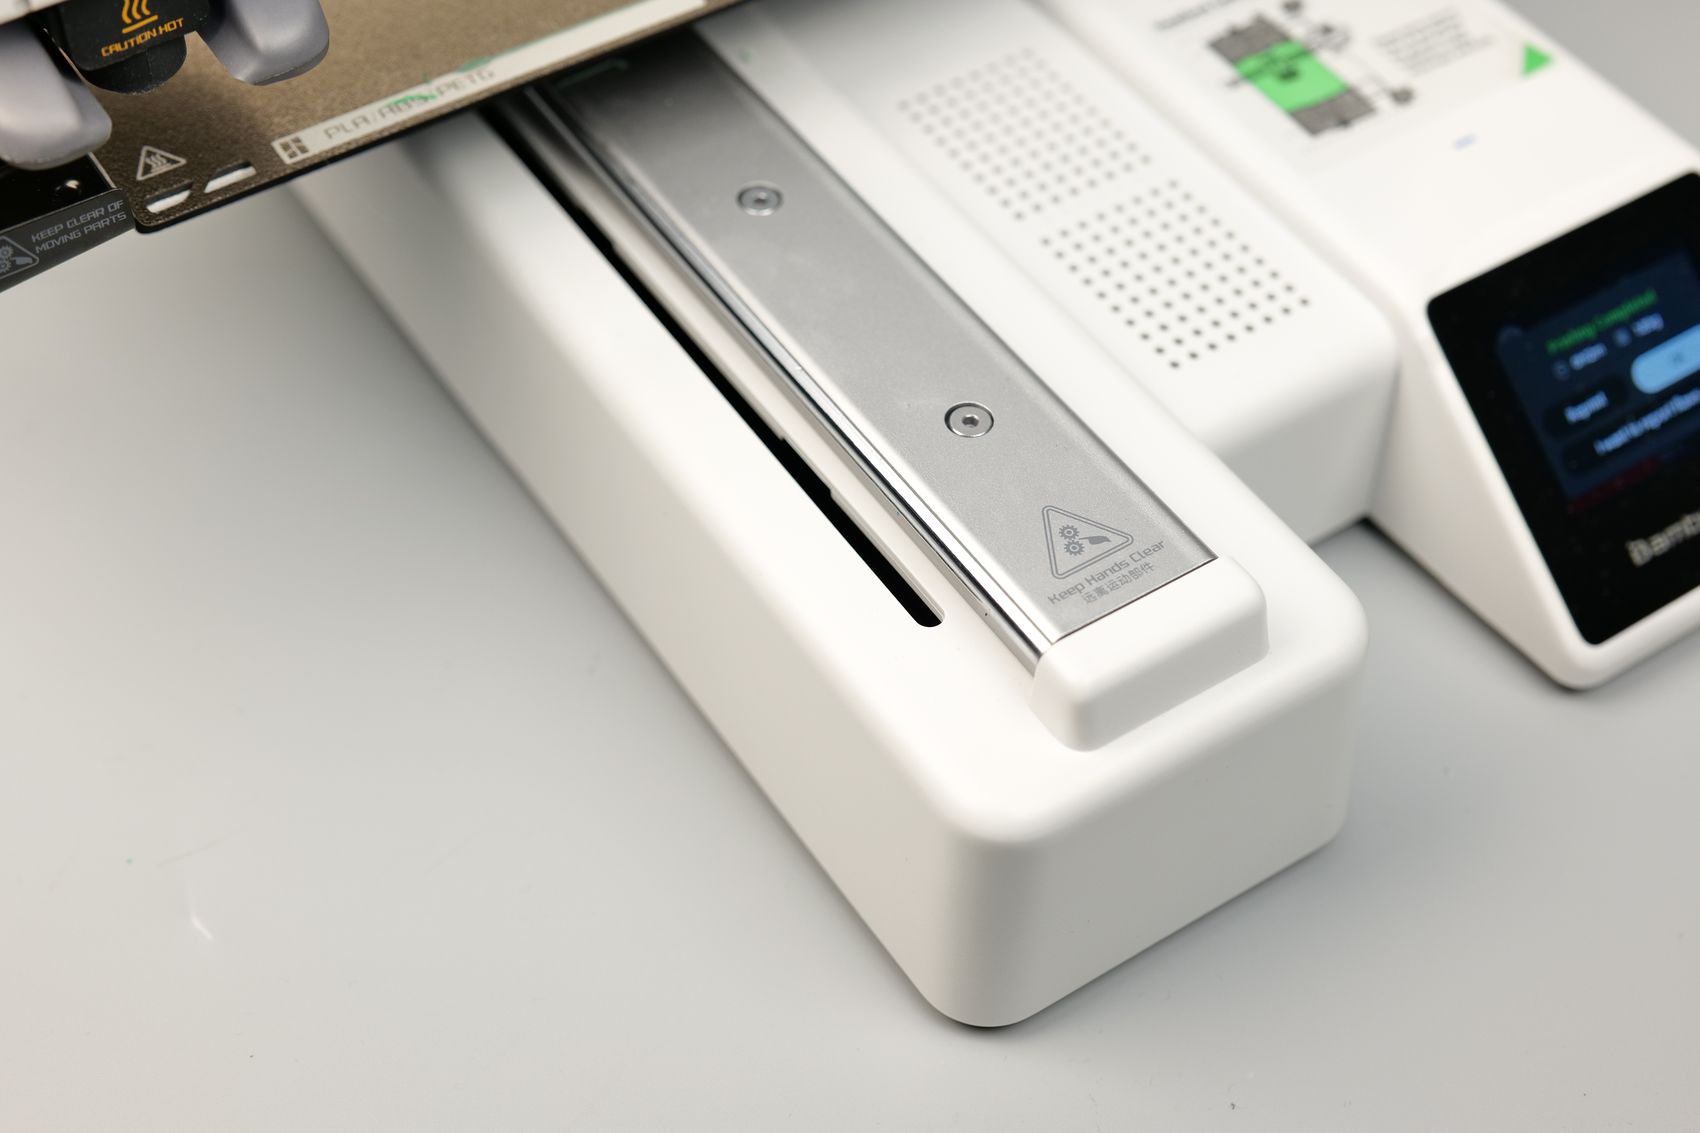
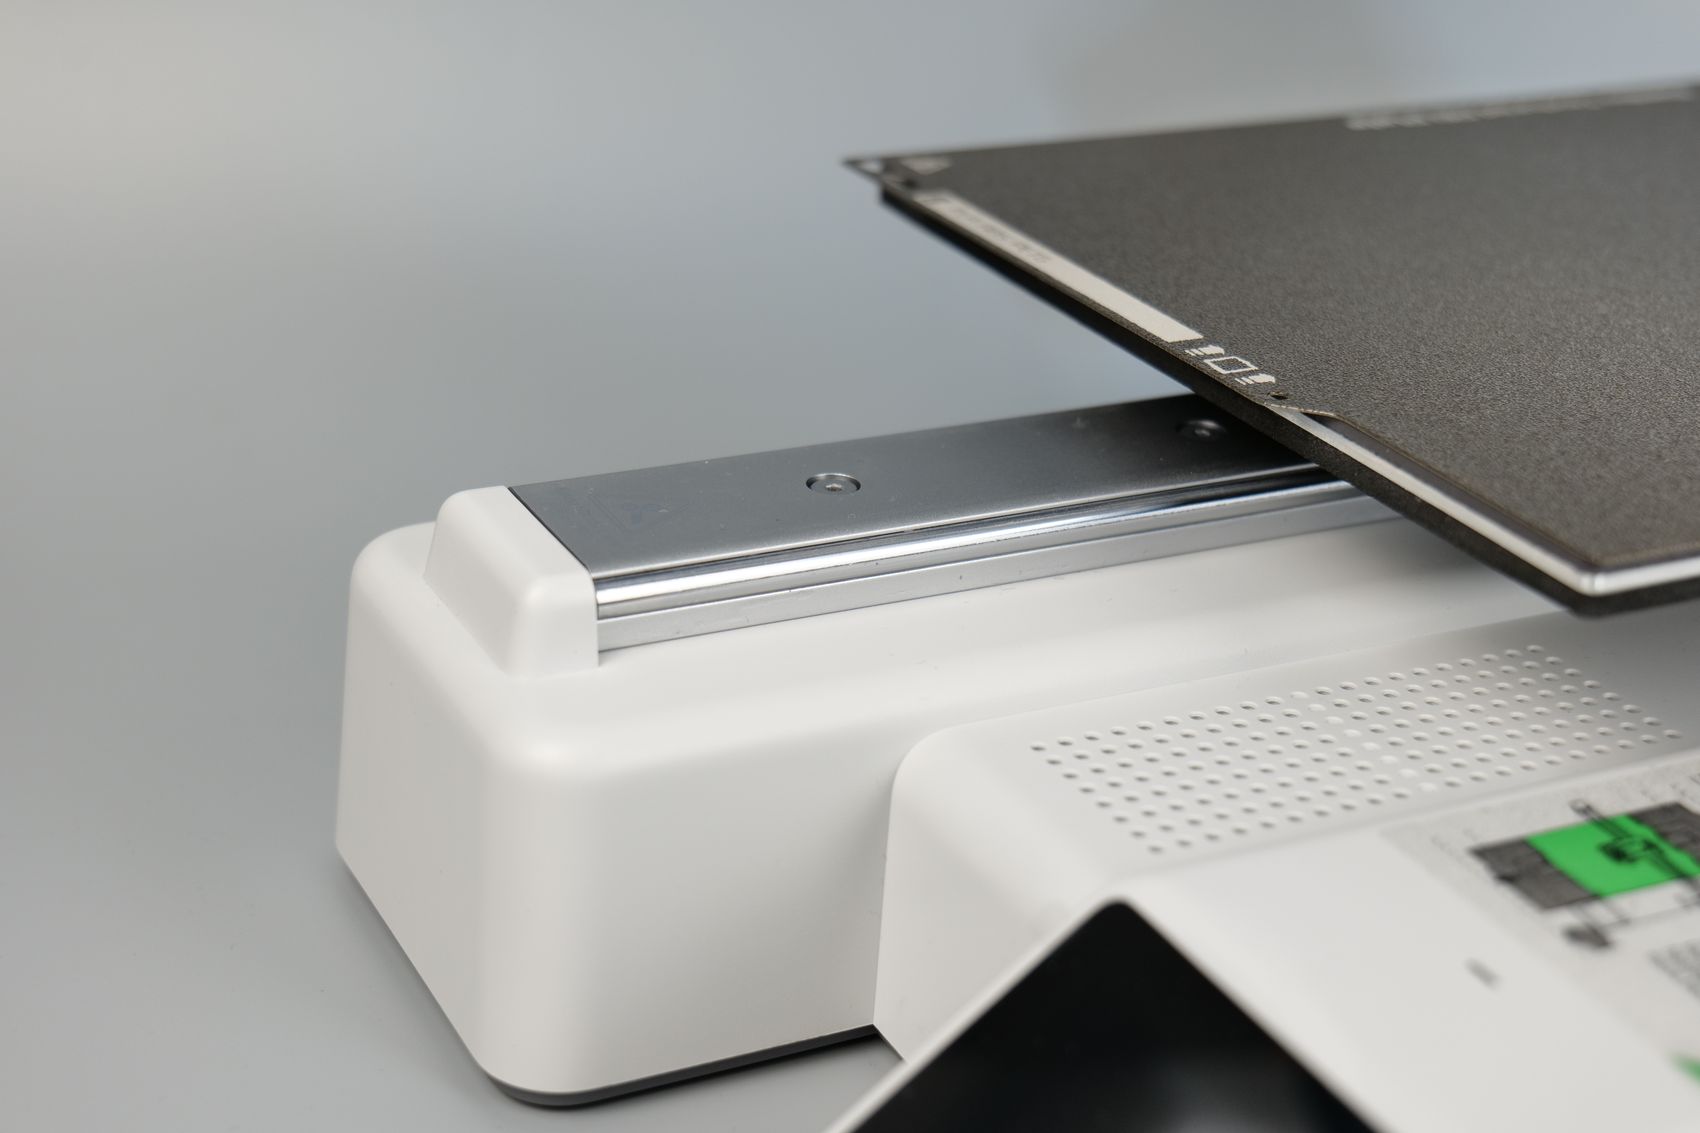
The heatbed of the A1 Mini is also interesting when it comes to its design. The motion system is based on linear steel rollers moving on a wide linear rail providing more stability during printing while also making it very silent.
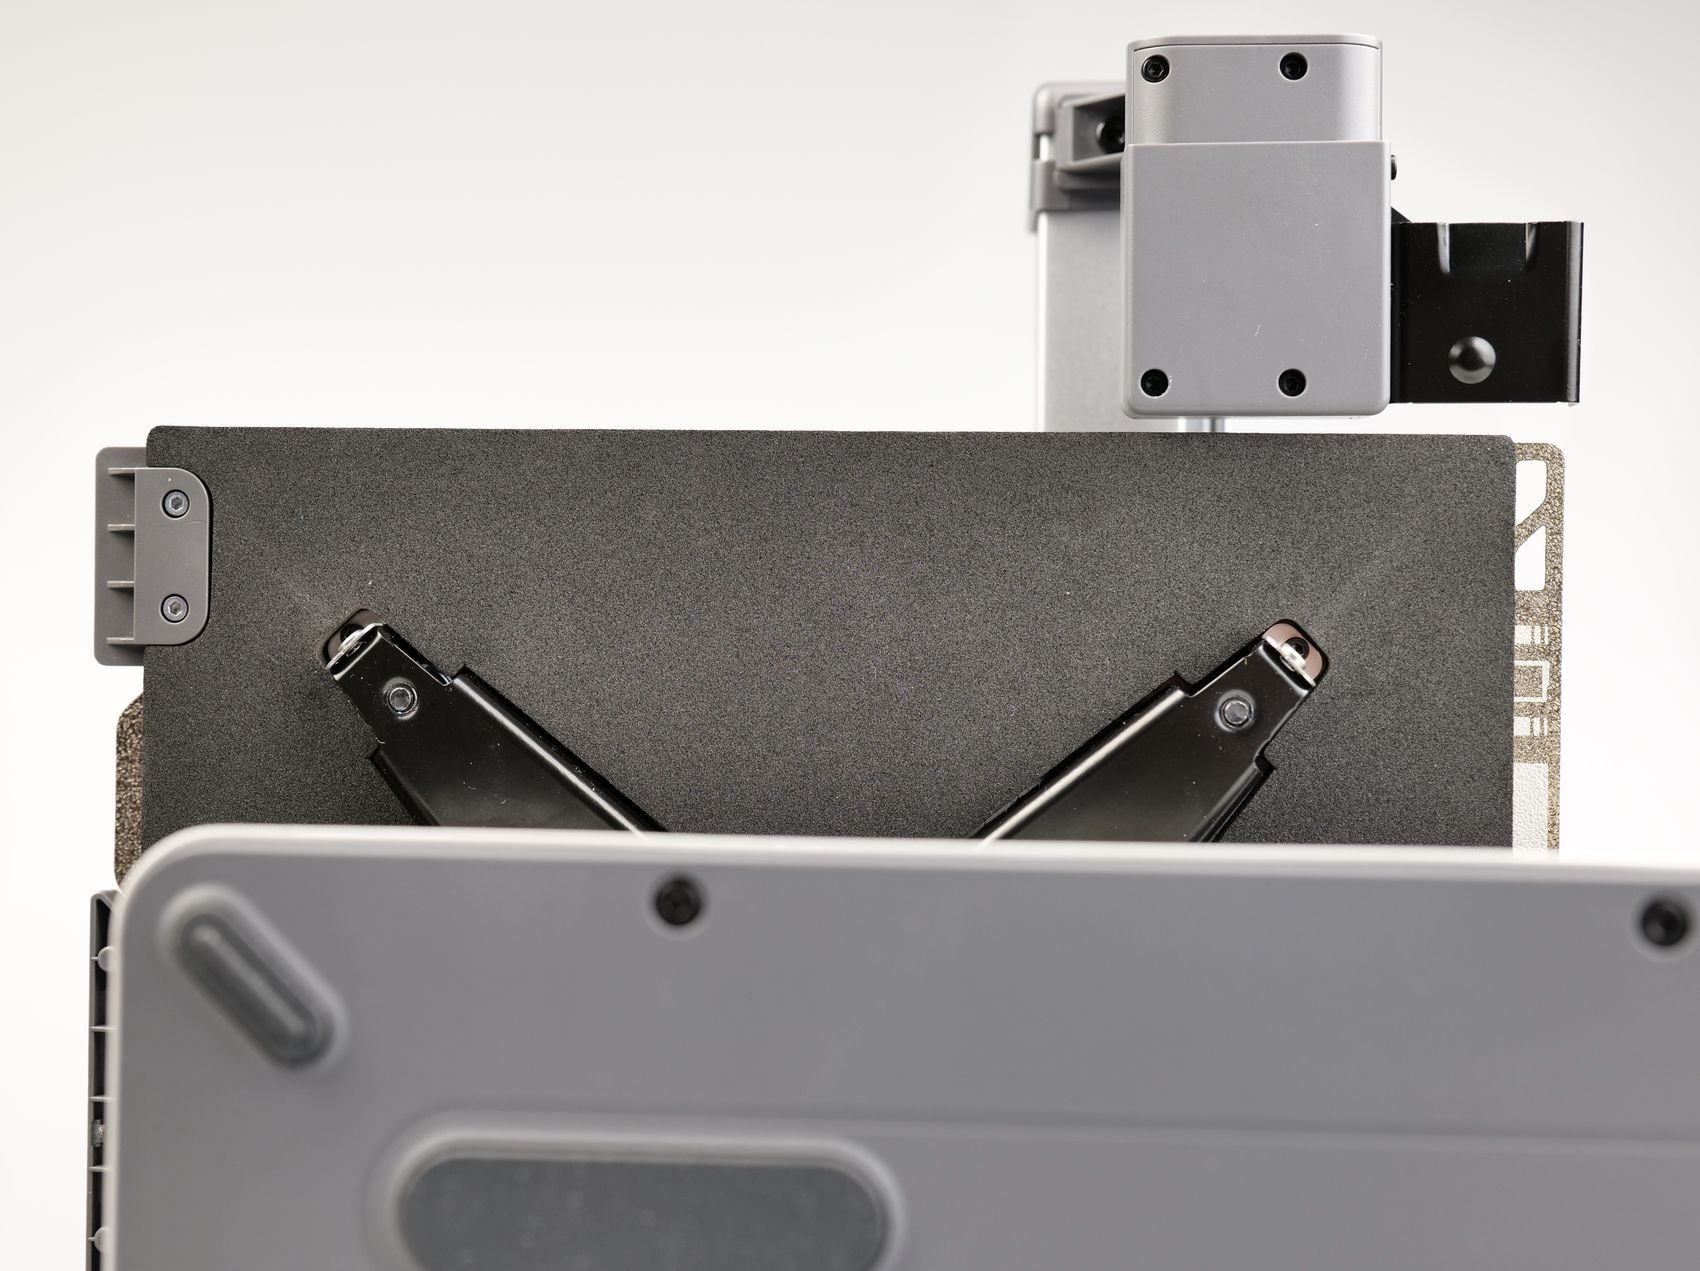
Looking underneath the heatbed, we can see that the 3mm aluminum bed is insulated with foam adhesive to make the printer more energy efficient and also help to speed up the heating process which is a bit slower, but we’ll talk about this later.
There are no leveling knobs on the bottom of the heatbed, as the entire platform is fixed in place, but if required, you will be able to adjust the plane of the printing platform using the four screws on the top, after loosening the locking screws from the bottom of the printer. When done, simply tighten them and you’re back to printing.
After I unboxed the printer and wanted to prepare for a new print, I noticed that the X-axis was not parallel to the heatbed. There was a big difference between the nozzle distance and I needed to perform the bed leveling procedure as mentioned above.
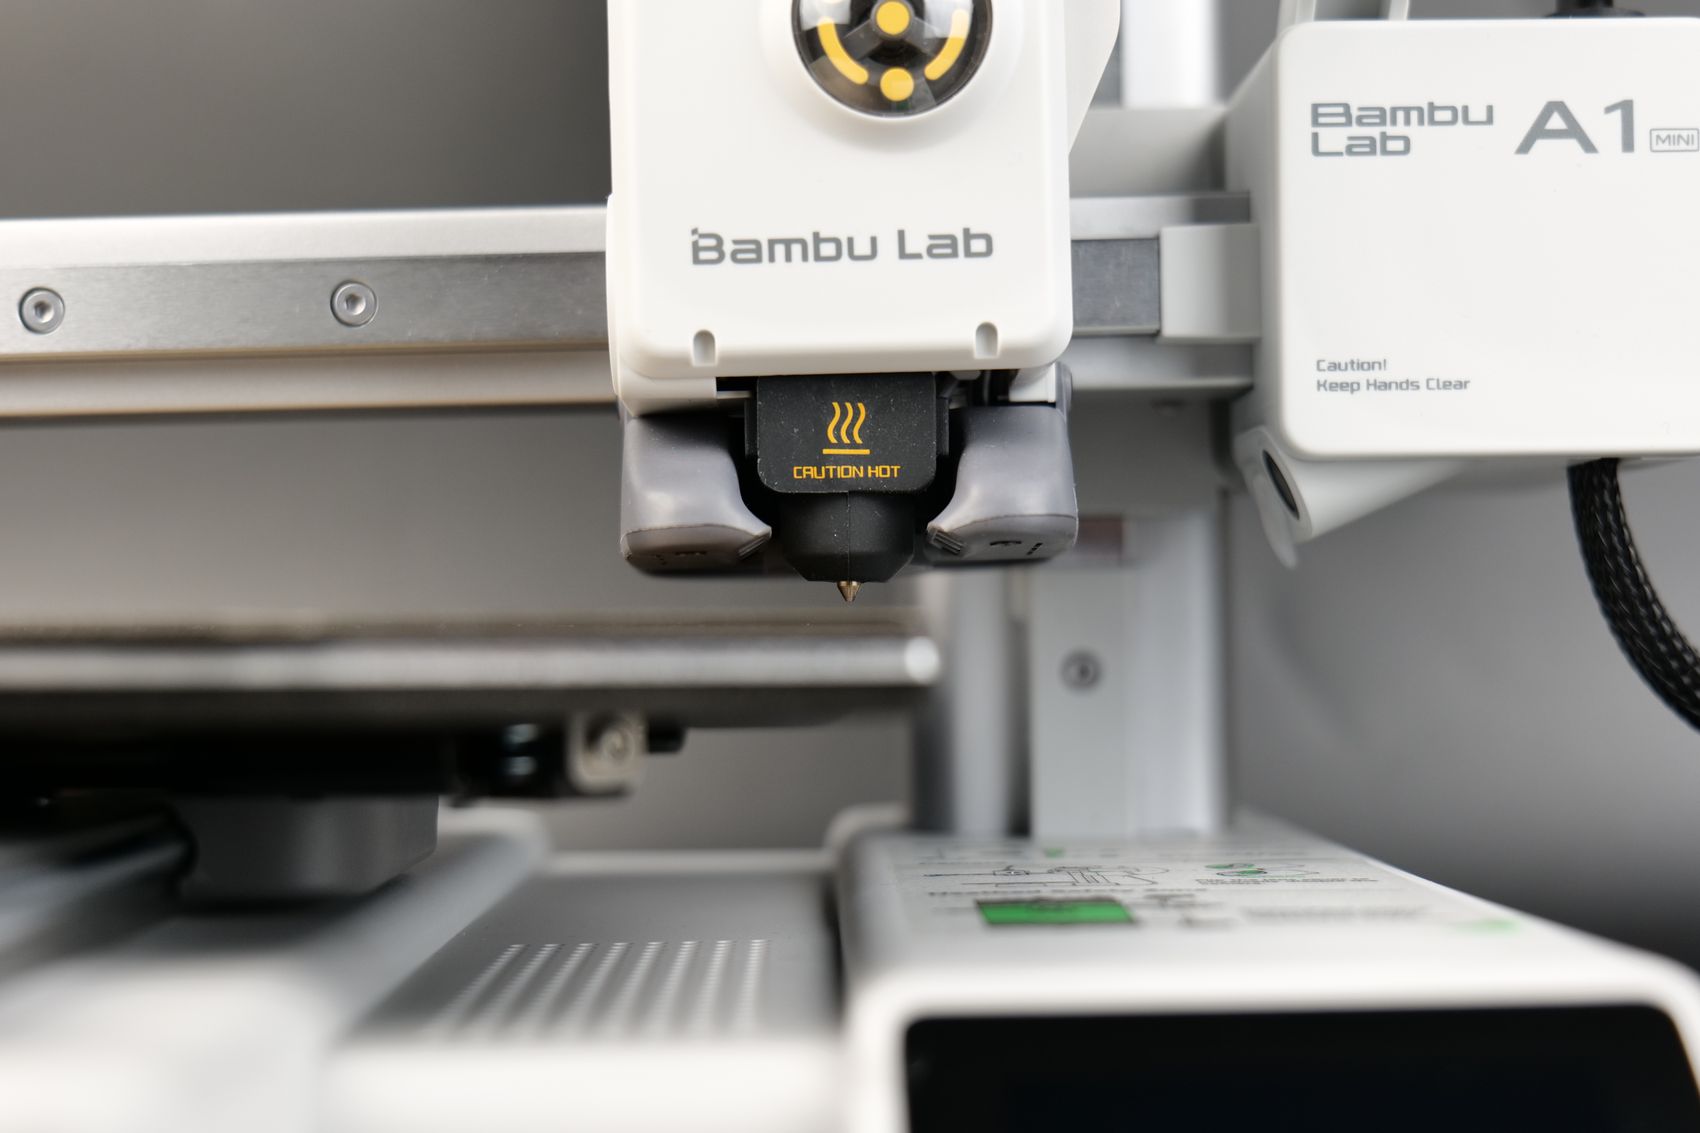
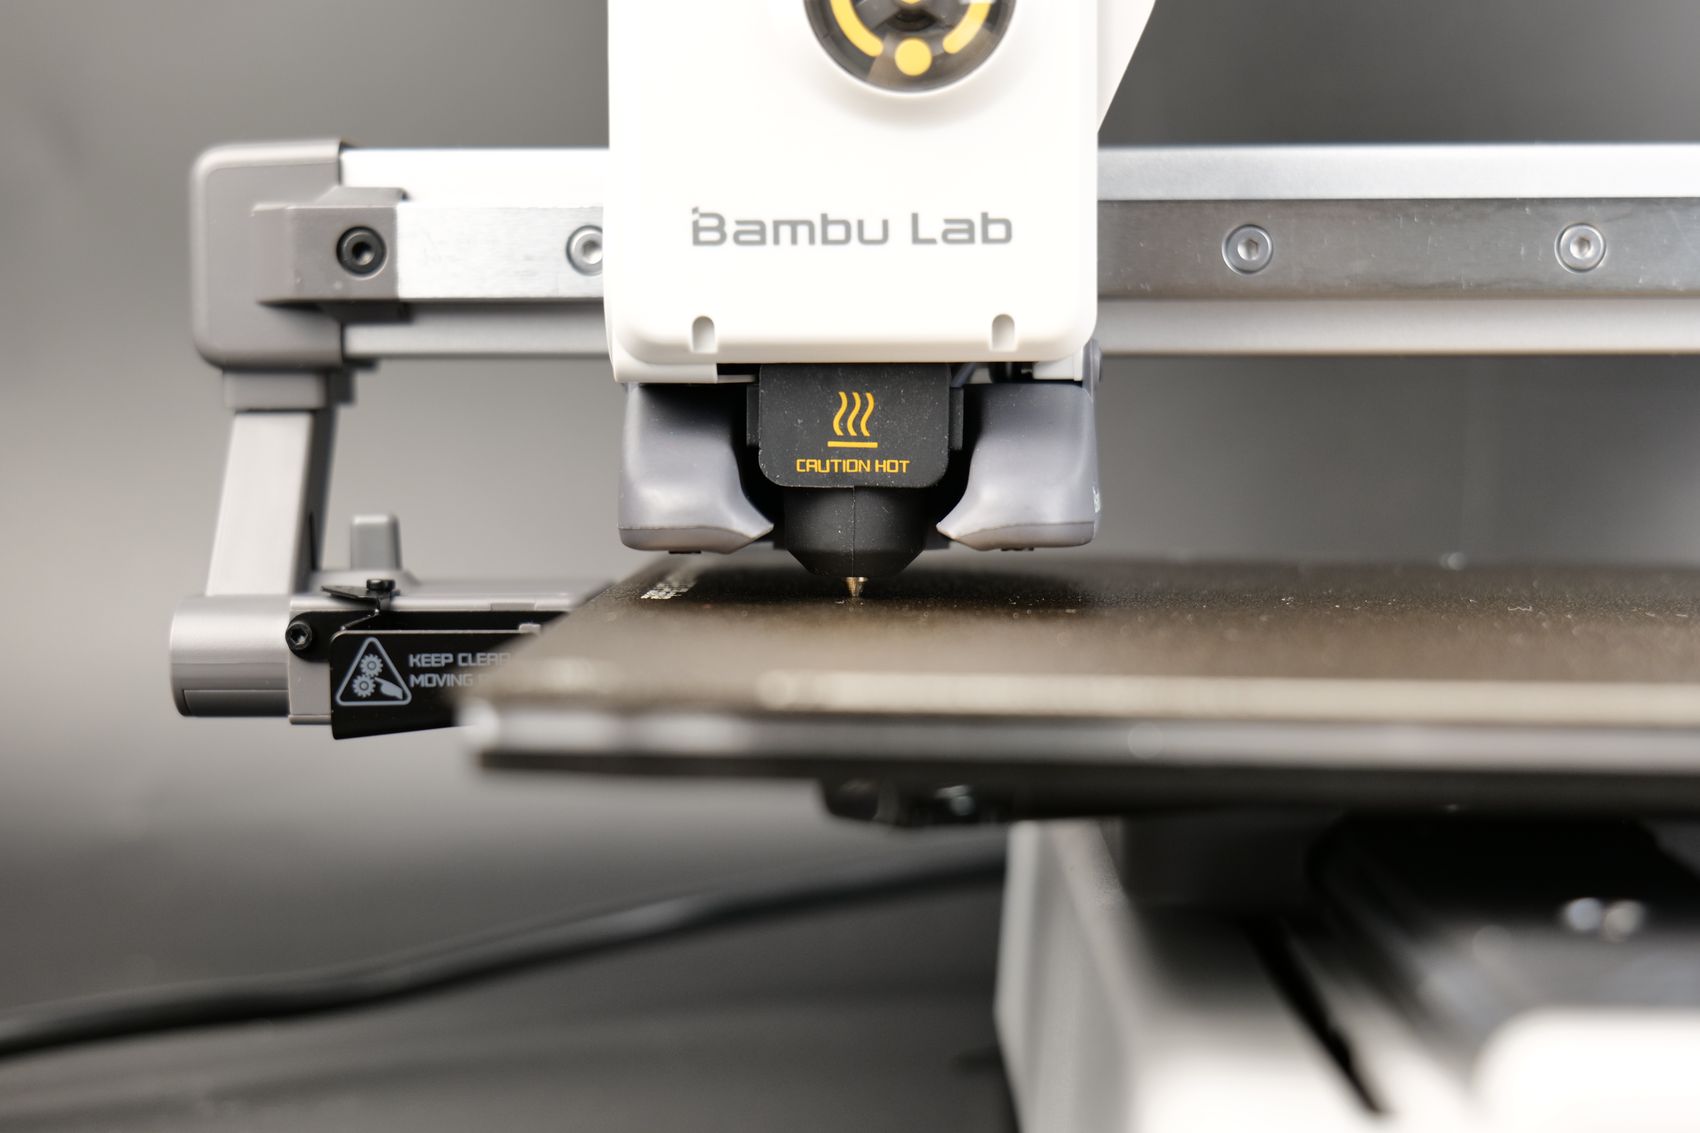
The process wasn’t complicated, but it still took about 10 minutes, and I don’t think this is a good experience for a beginner who expects this to be ready to go out of the box.
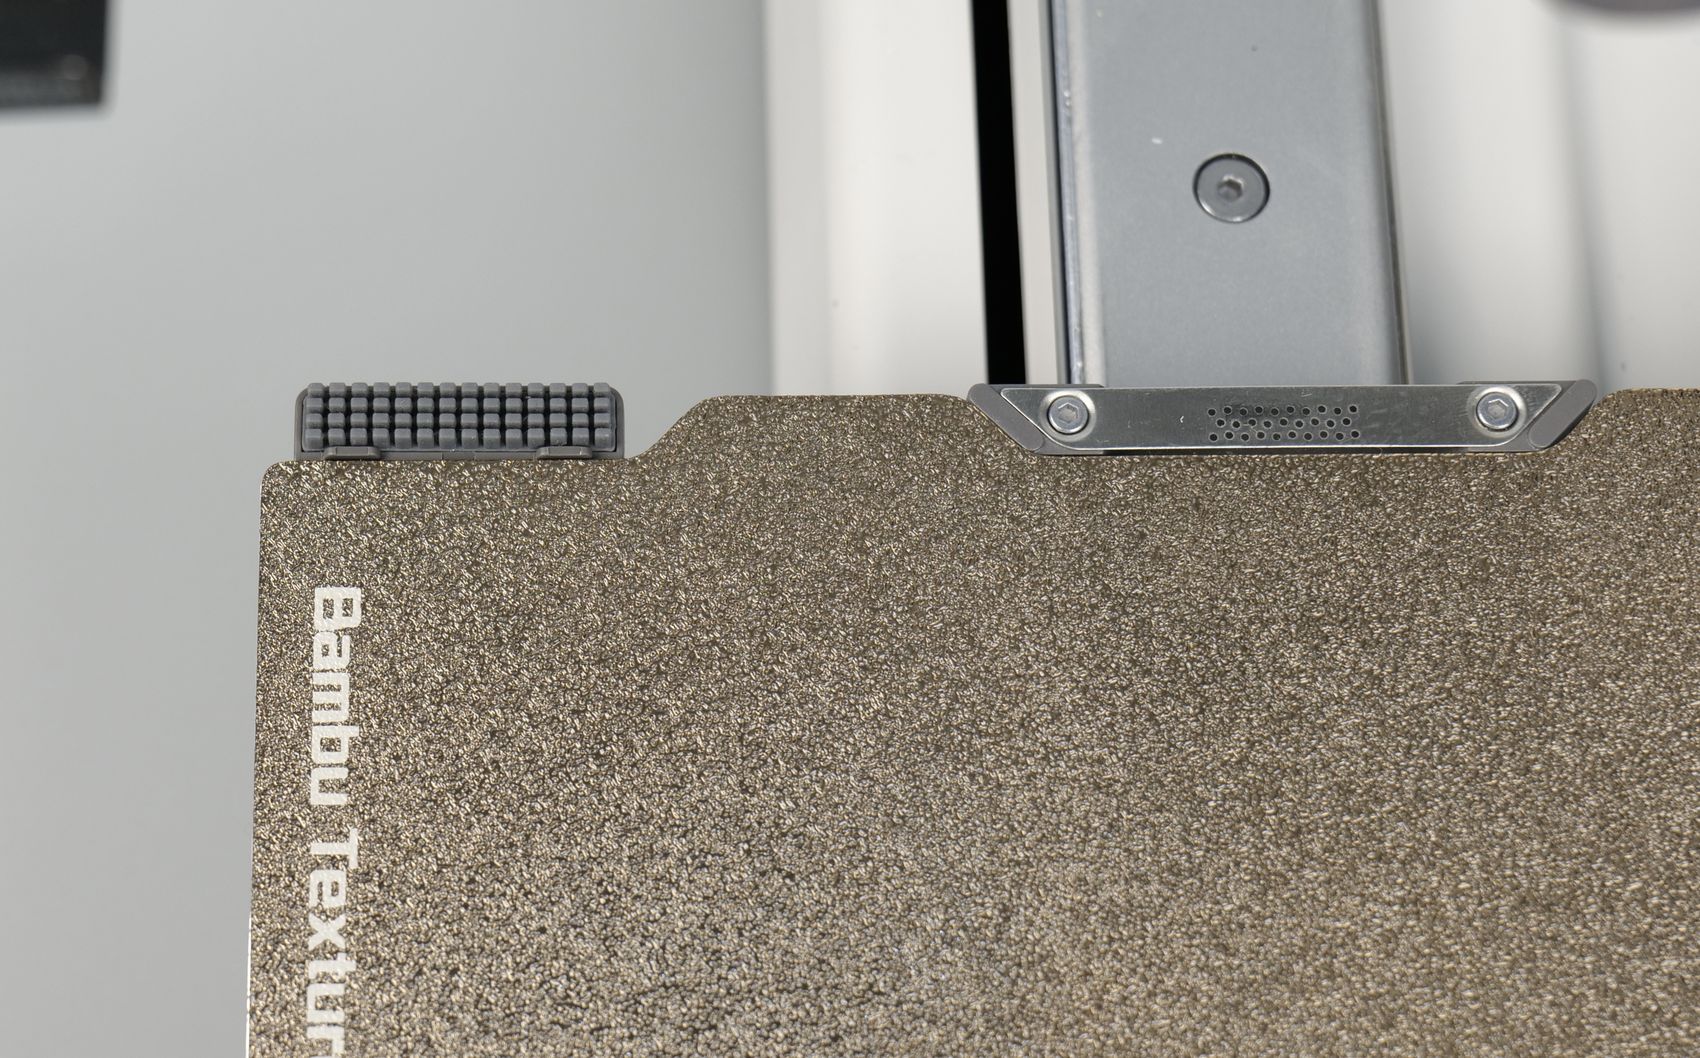
To help keep the nozzle clean, there’s a rubber wiping section on the back left side of the heatbed and in the middle section there is a metallic plate which is also used to keep the nozzle clean, similar to how the X1 and P1 series have. This time, it is not included in the plate, but it’s part of the heatbed.
Another benefit of this design is the easier alignment of the plate which for the previous printers is a bit more cumbersome.
Talking about the plate, you get a golden Dual-Sided Textured PEI plate out of the box which should work for most of the filaments this printer is capable of printing, providing good adhesion while hot and self-release of the prints after it cools down.
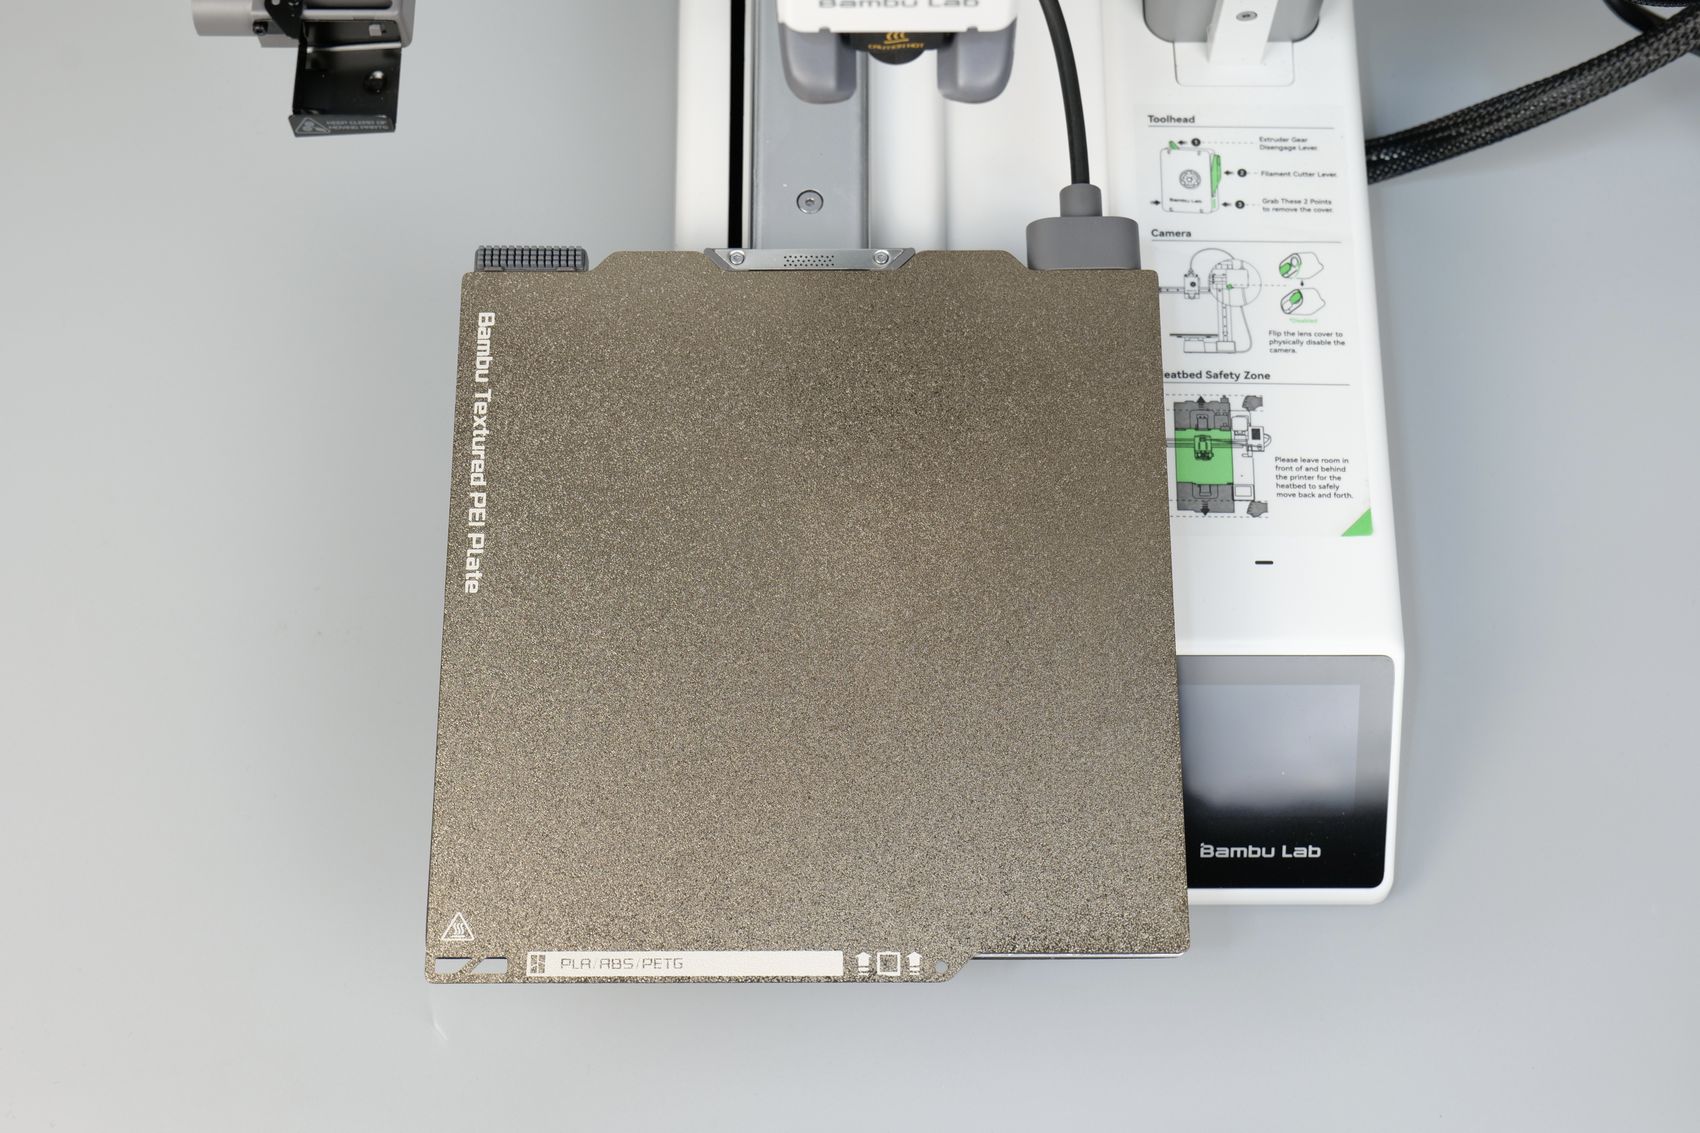
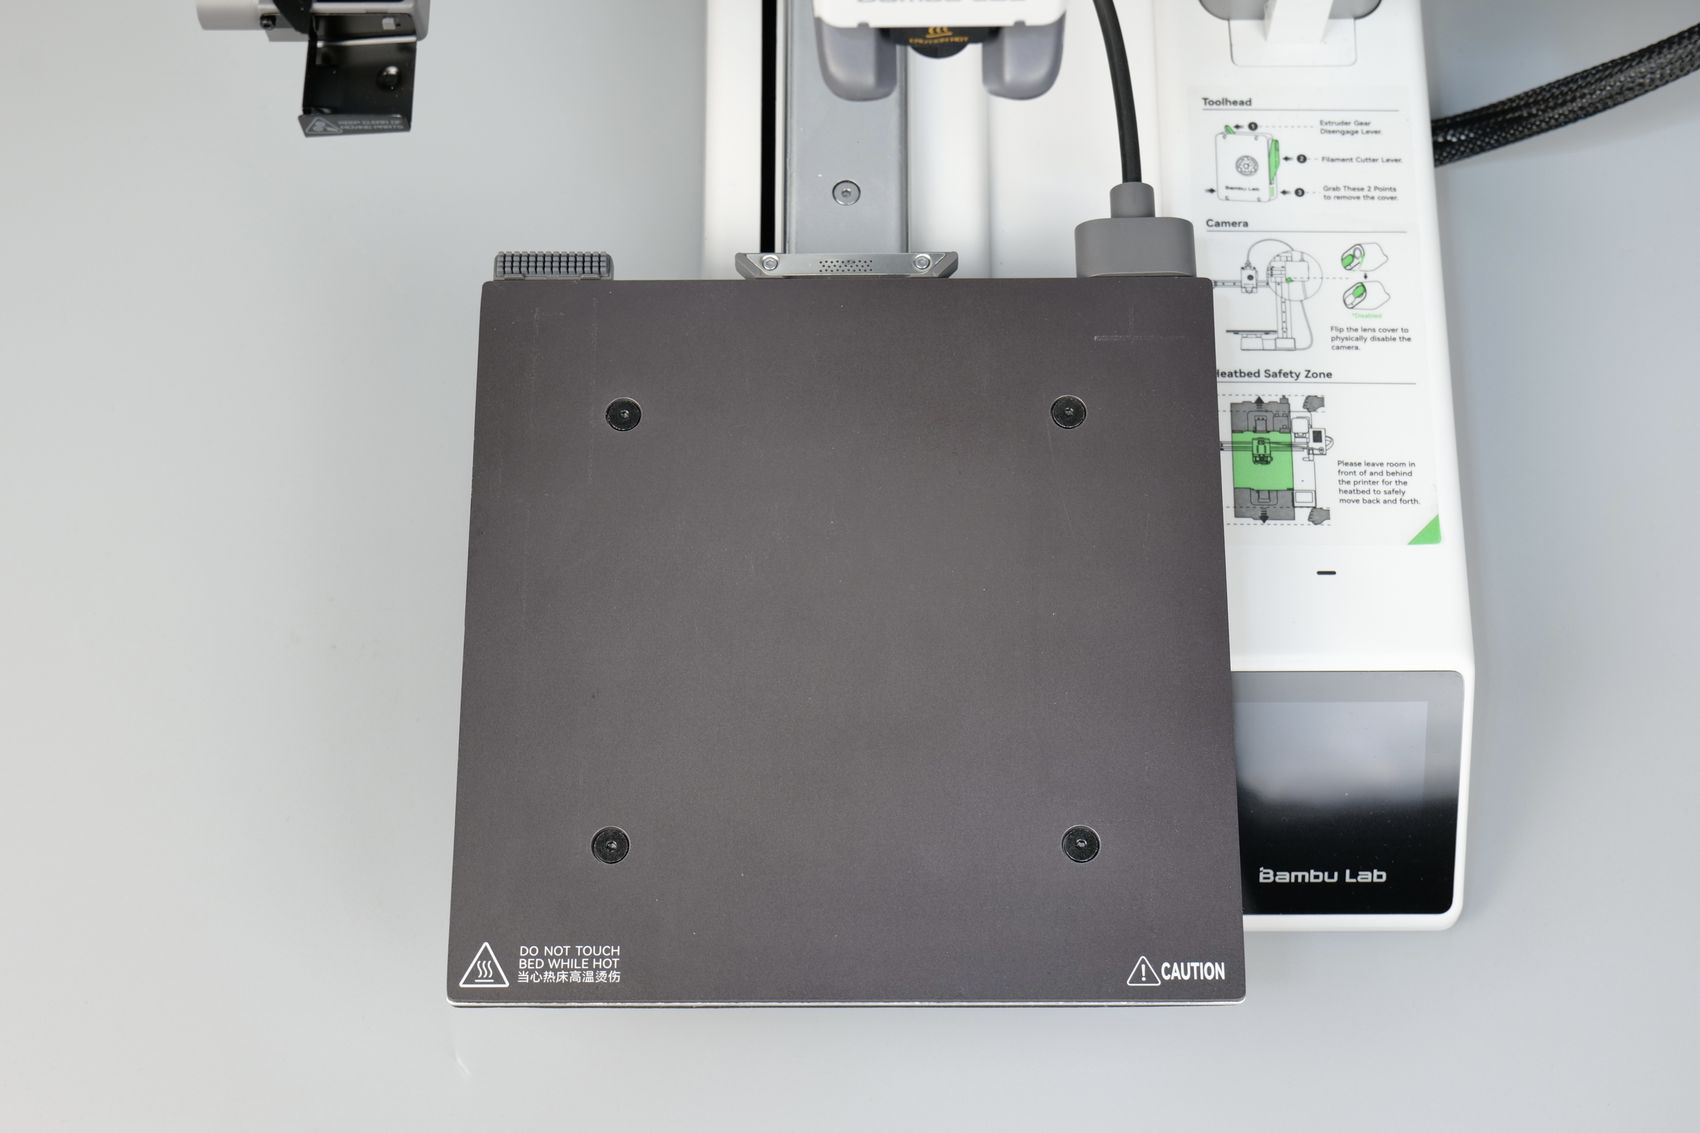
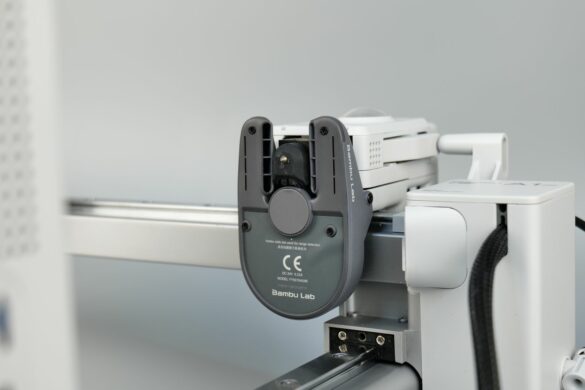
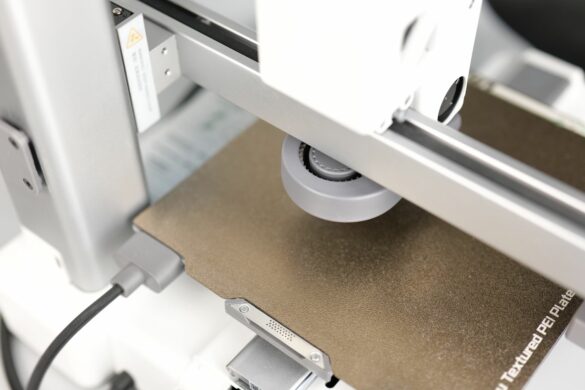
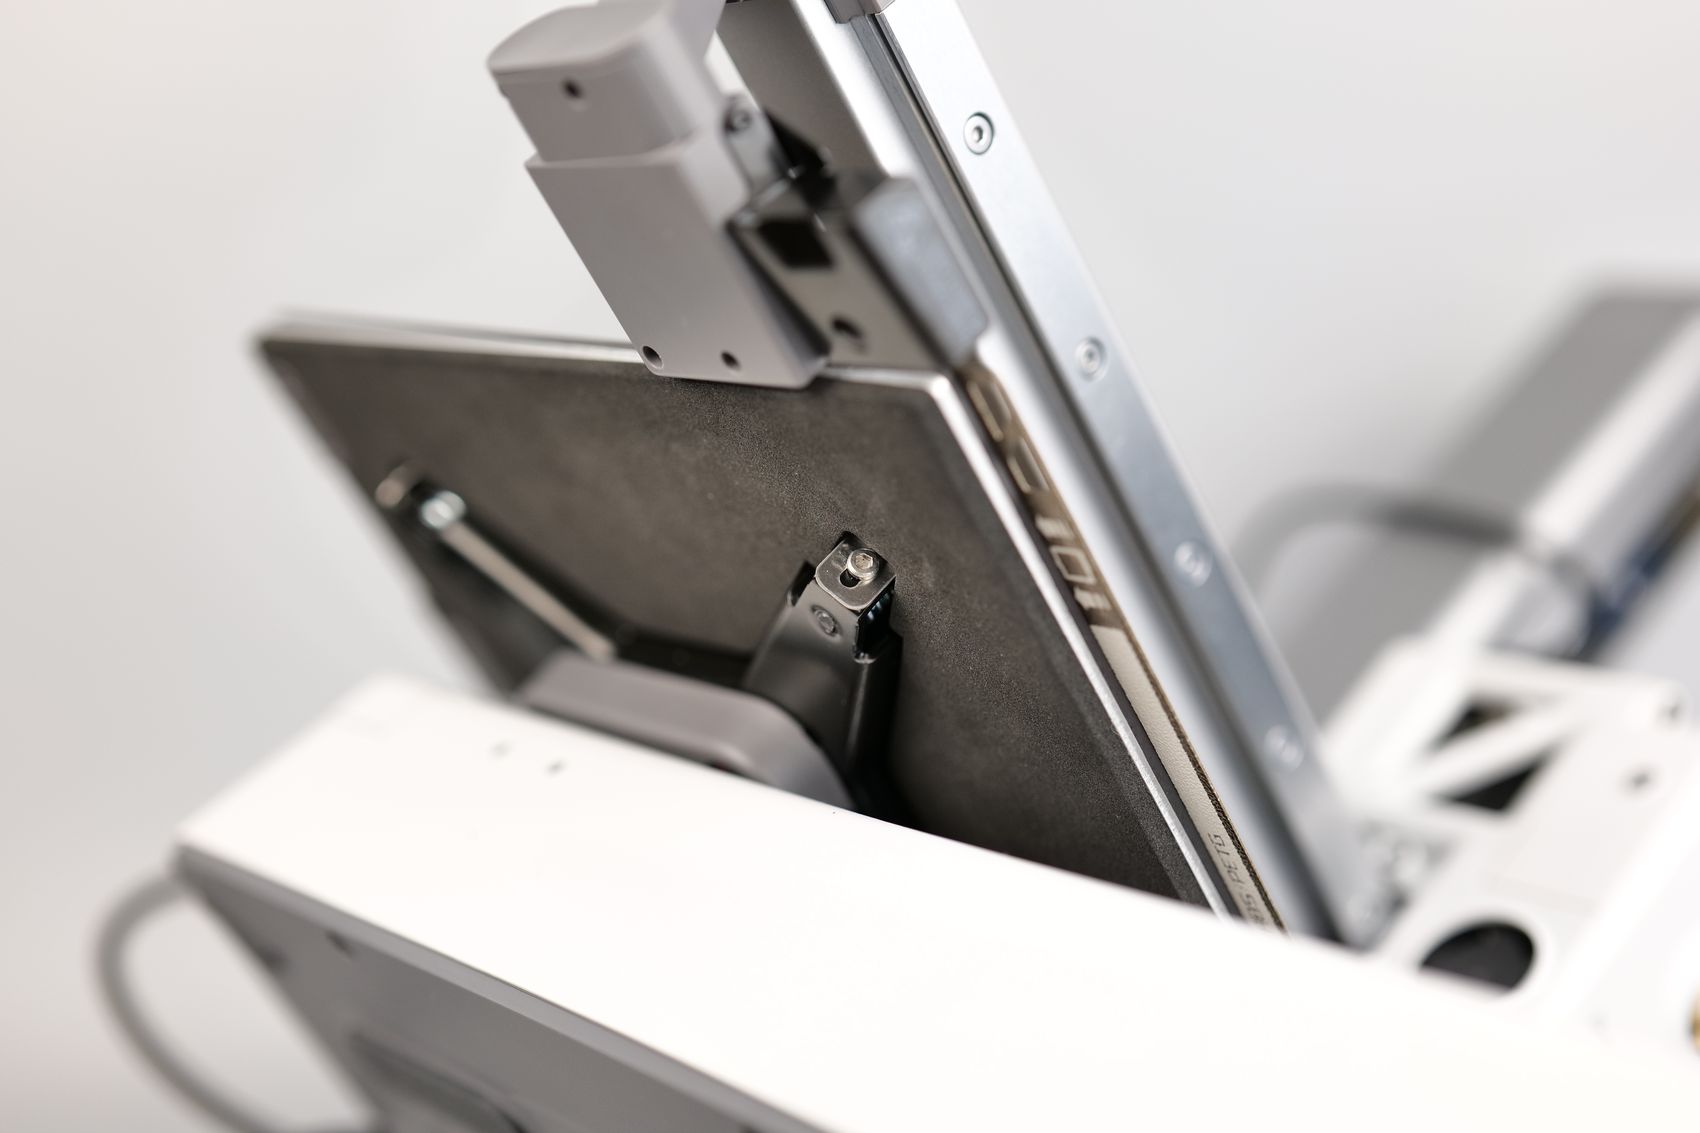
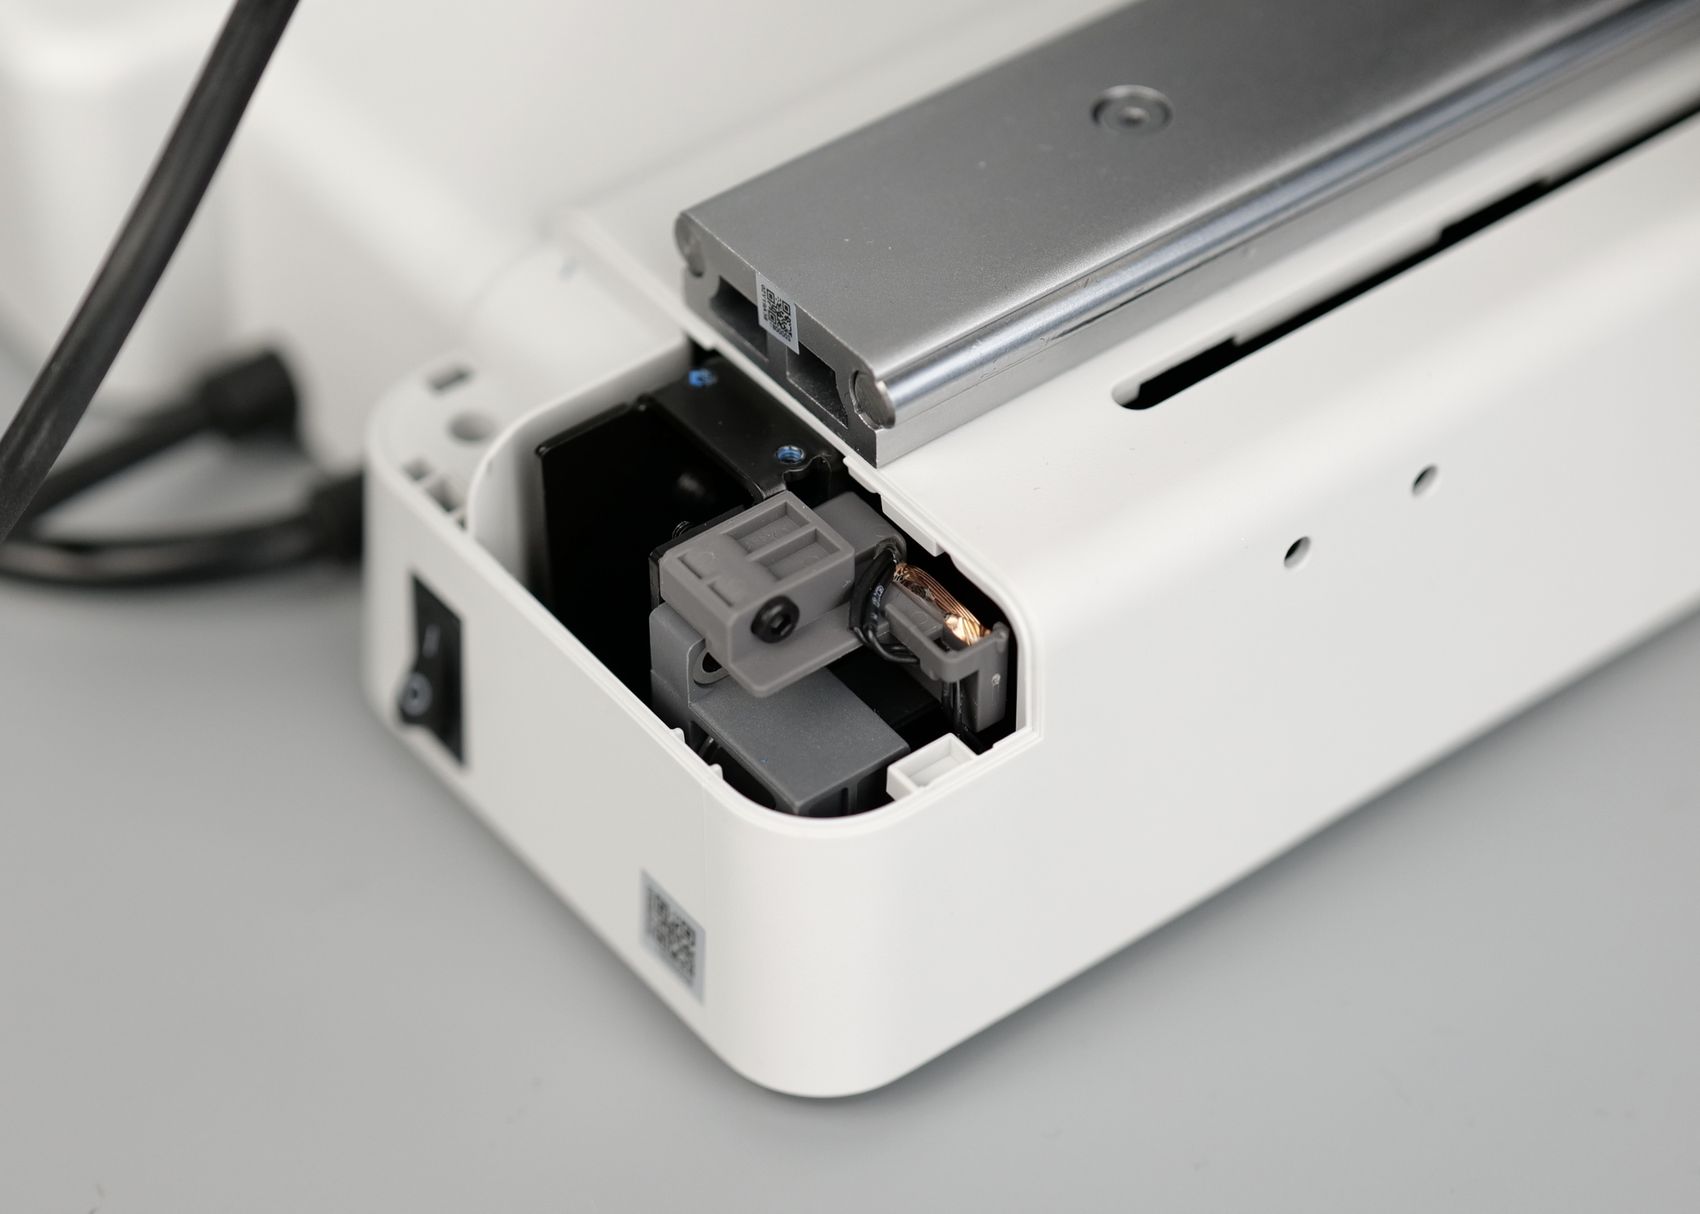
There’s another feature of the heatbed, and that’s the Vibration Compensation that is done for the heatbed too. On other bedslingers running Klipper, the printer usually comes with a preset Input Shaper value for the bed and you can manually tune this if you have an accelerometer. But the A1 Mini uses an accelerometer on the extruder for the X-axis compensation, while the Y-axis is compensated using Eddy current detection which is pretty interesting. This contributes to the performance of the compensation algorithm which will make the prints look better.
The picture above shows where the sensor is located on the back of the Y-axis linear rail. This is also the place where you should be able to adjust belt tension if ever required.
Active Motor Noise Canceling and Silent Operation
One of the downsides of previous Bambu Lab printers for me was the printing noise, which isn’t super bad, but still significant. Besides the motion system, the motors can be loud and the printer resonates due to the enclosure.
This problem is solved with the A1 Mini as the printer employs a new feature called Active Motor Noise Canceling which makes the printer very quiet. During the setup stage, the printer takes about 15 minutes to perform the Noise Canceling procedure. It moves the heatbed and the print head multiple times at various speeds to detect and compensate for specific motor noise. This video shows the entire process.
I am not sure what is the tech used for this, and how the results are achieved, but I am happy to report that it works exactly as advertised. After the Noise Canceling procedure, the printer is very silent and it can be easily noticed at the end of the calibration.
When it comes to motion, the X-axis is probably the noisiest, as you can hear the bearings on the linear rail. But the heatbed is surprisingly silent during operation.
The X1C is not a printer I was able to use overnight without me or my neighbours hearing it. But with the A1 I have no problems in doing overnight prints which is excellent.
Remote Control and Camera
As you might expect, the printer comes with Wi-Fi capabilities meaning that you can connect the printer to the network in the first setup wizard. After you connect the printer to the network, you can control all the functionality of the printer from the Bambu Handy app and from Bambu Studio.
Since I reviewed the X1C, the Bambu Handy app has received a few version updates that improved the functionality, but I still feel it lacks some of the polish compared to the AnkerMake mobile app which I believe is better. But you can still use it without a problem with any printer control you need.
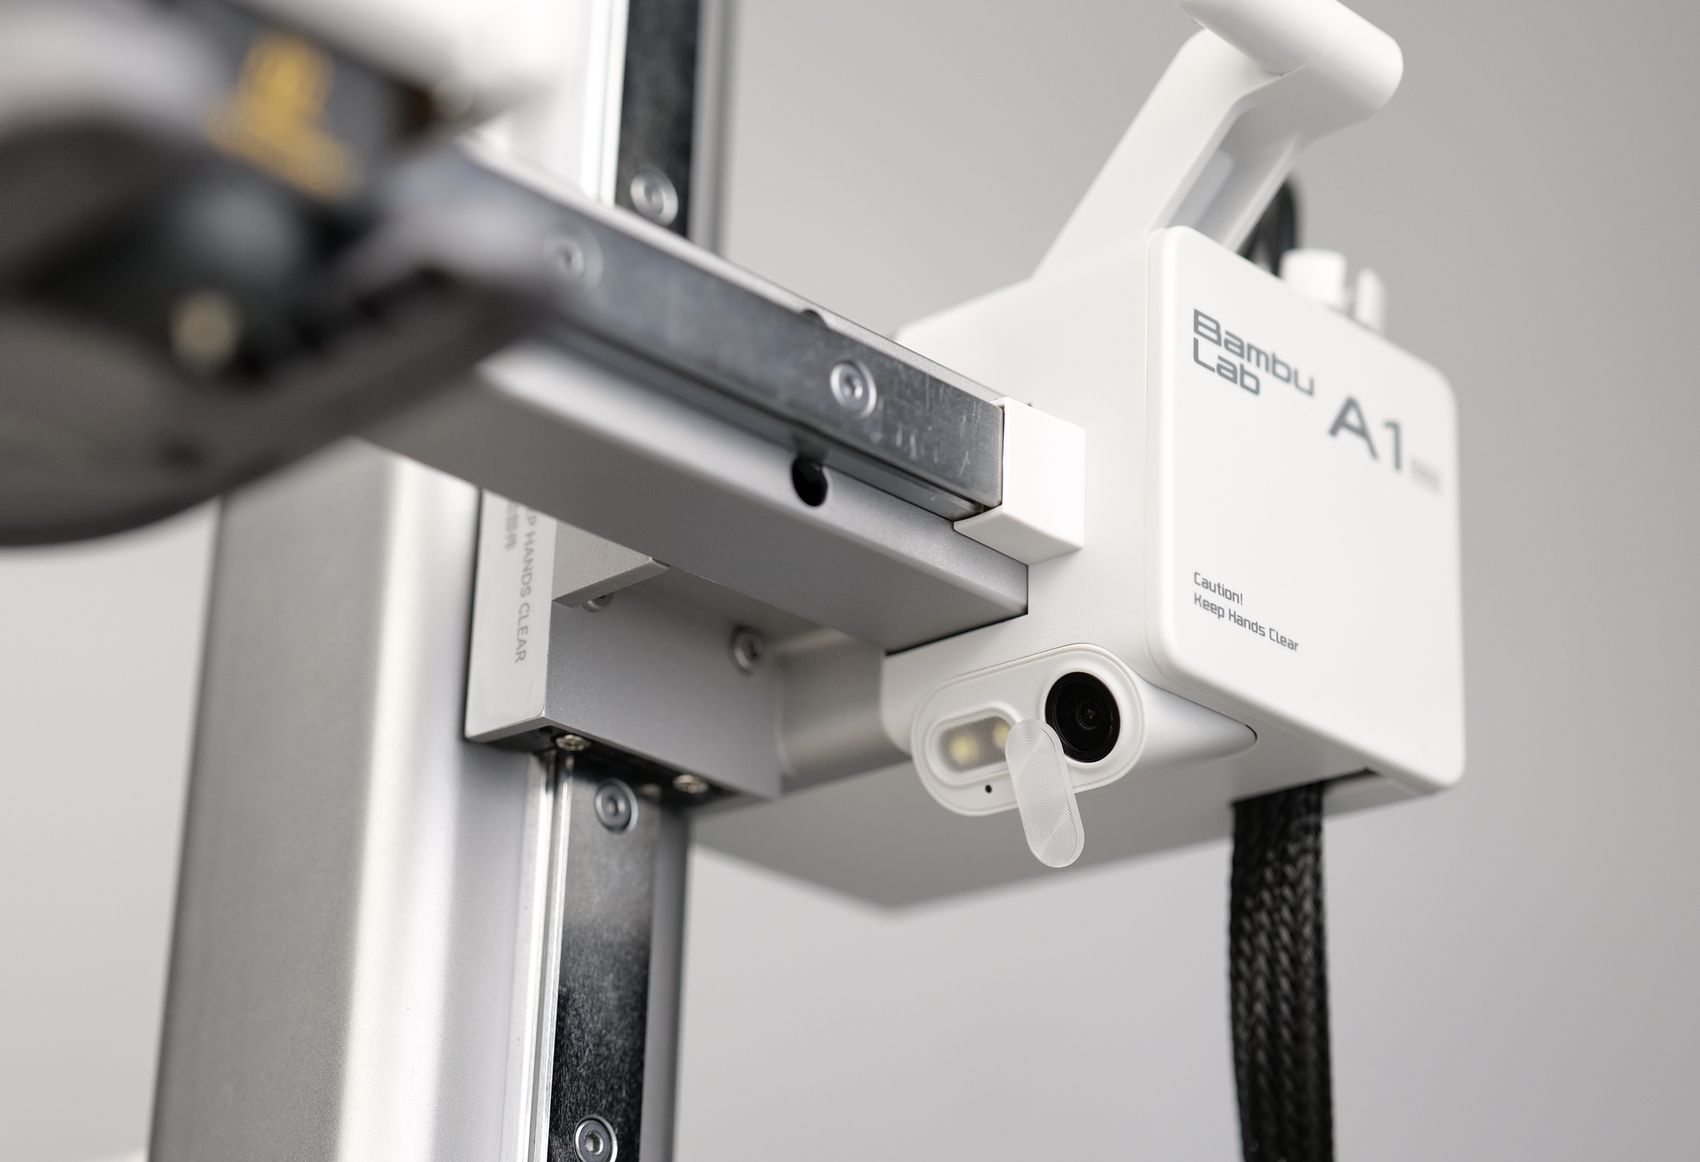
The remove view camera is located on the right side of the X-axis and you can use it to create timelapse videos of your prints, and also for remote viewing your prints during operation. Unfortunately, the FPS of the camera is quite low, similar to what you would get with the P1 series camera, but I guess it does the job. It is usable if you wish to do timelapse videos but don’t expect to get a very high quality.
I would have liked to have a higher FPS so the entire stream is smoother, but since my printing experience was very good, I rarely use it to check on the prints as I trust the printer to complete a model with a 95% success.
There’s also a light diffuser over the LED light which can be used to illuminate the print if printing in a dim environment, and this diffuser could also be turned to cover the camera for improved privacy if you don’t wish to use the camera. I guess this is useful, but I would rather have the diffuser integrated into the LED light and simply put some tape over the camera if I don’t want it to work.
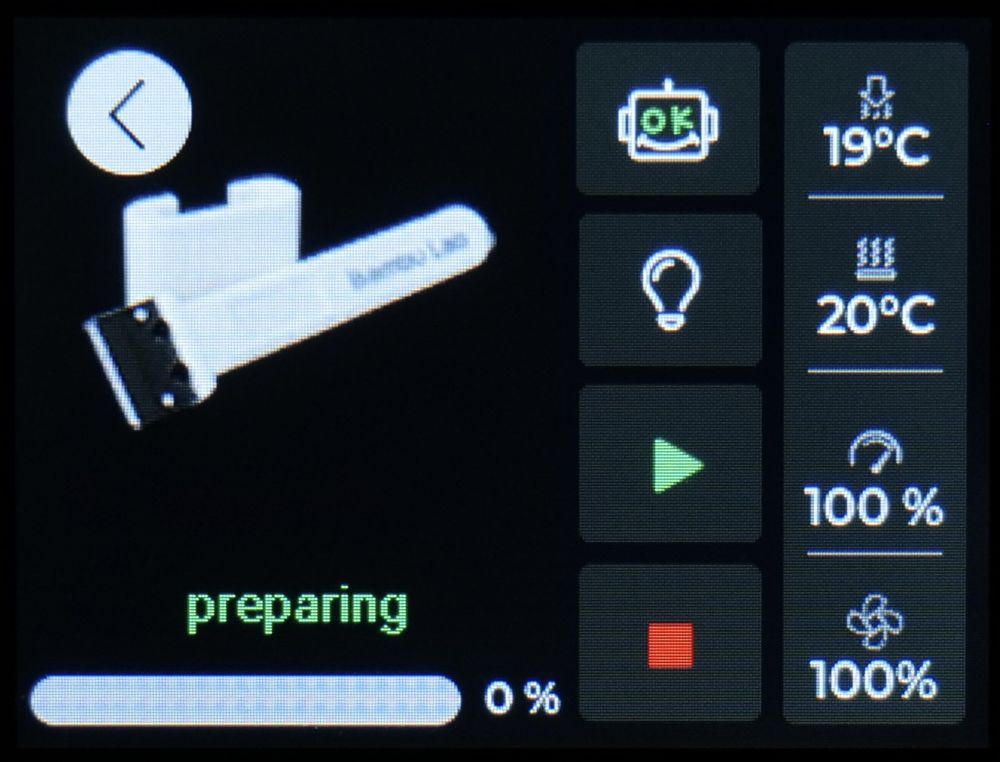
2.7-inch Color Touchscreen
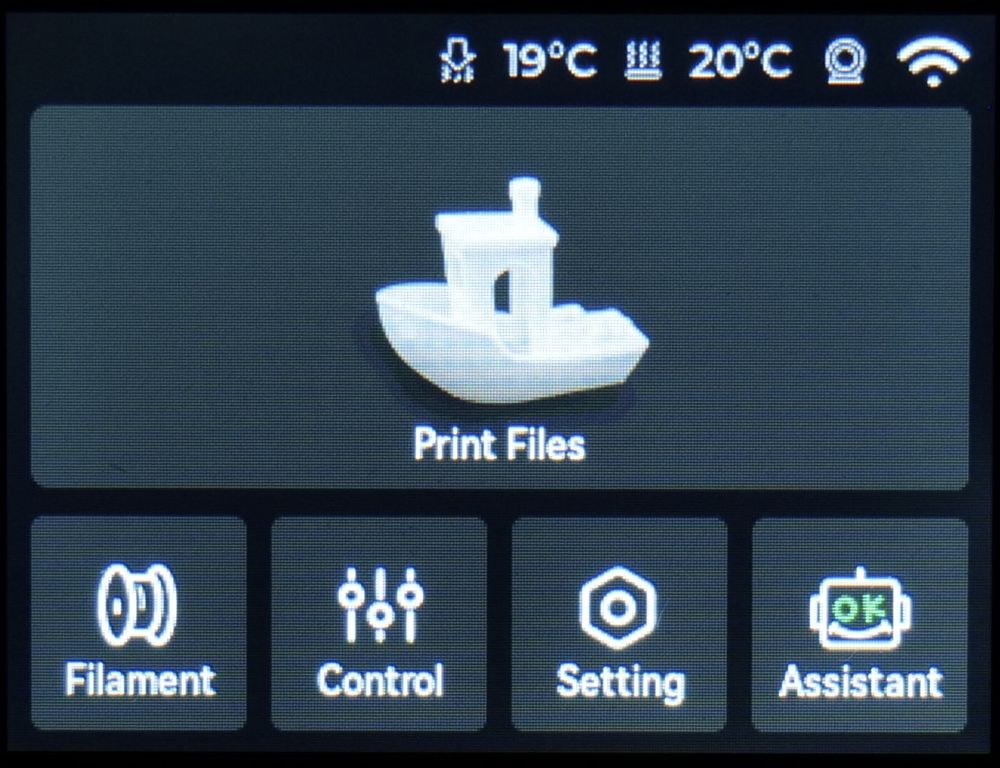
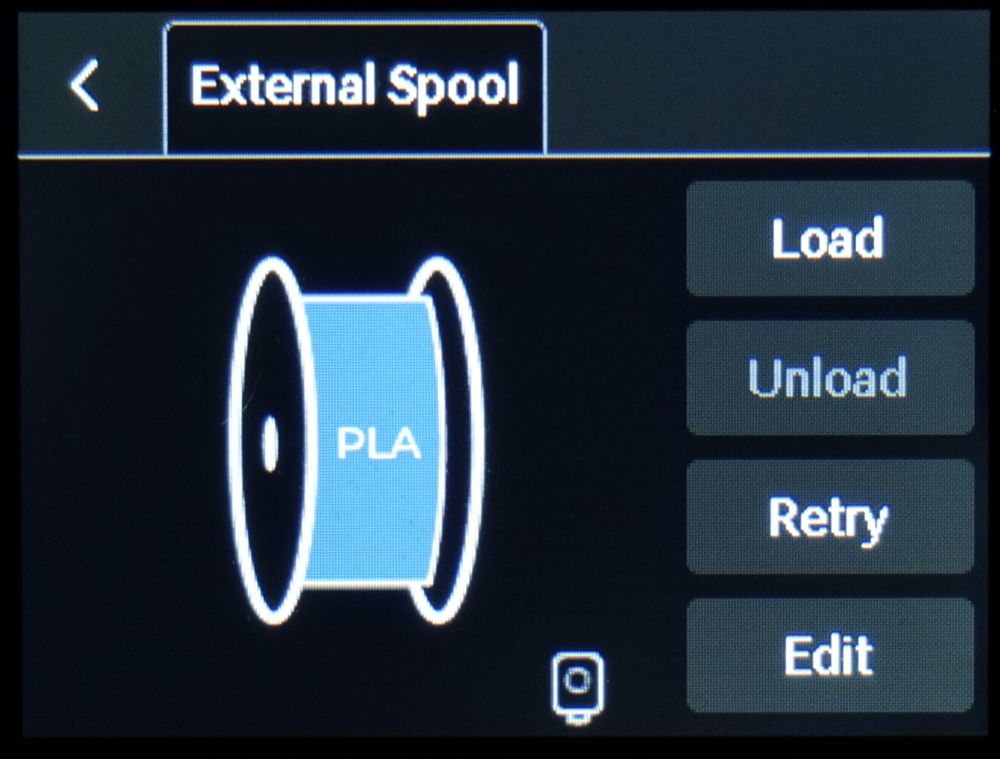
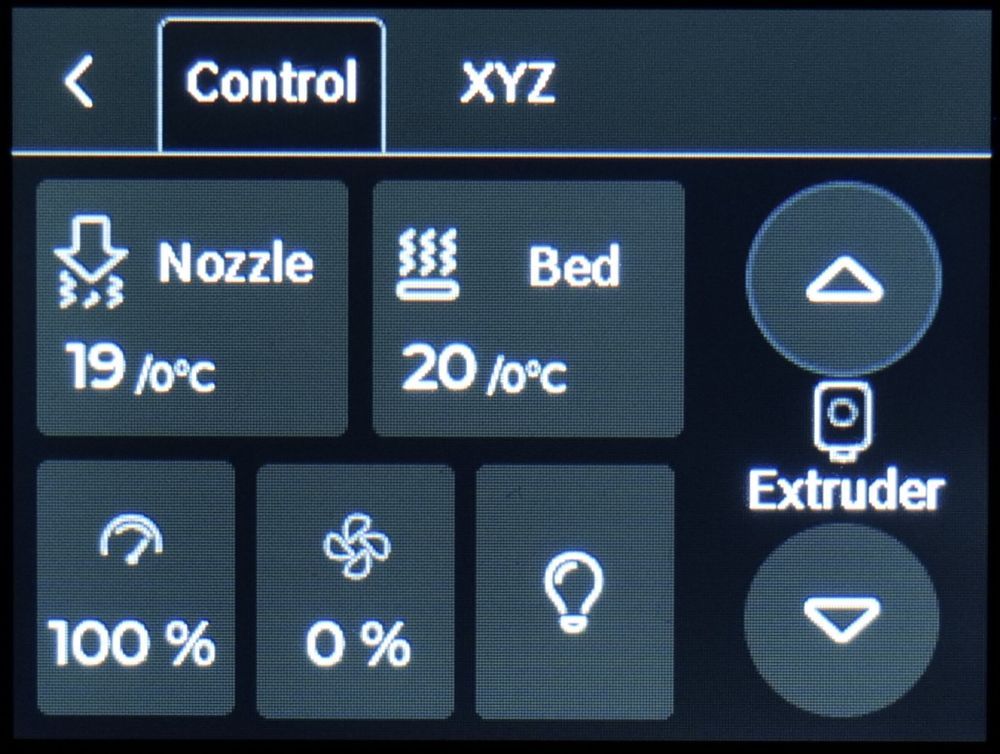
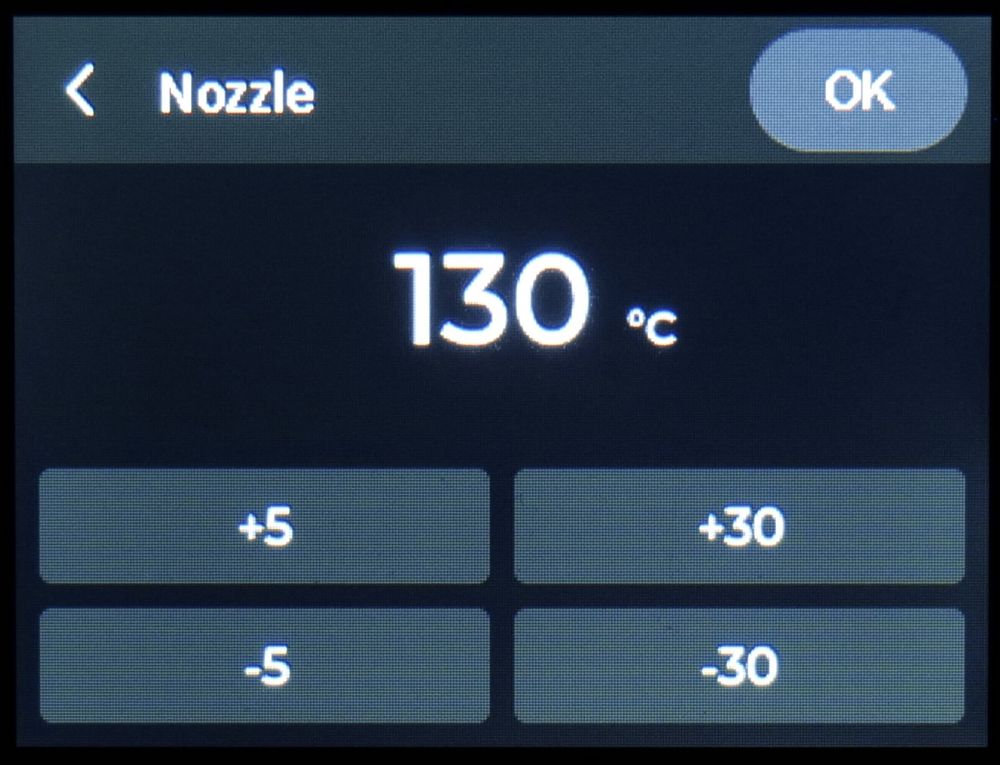
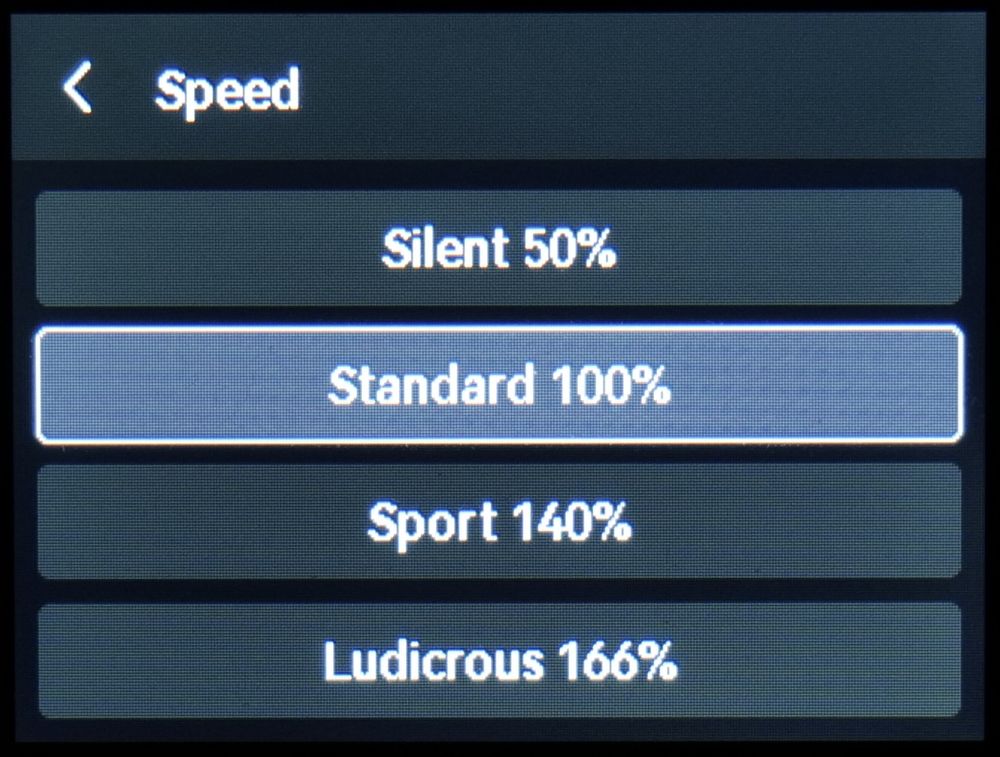
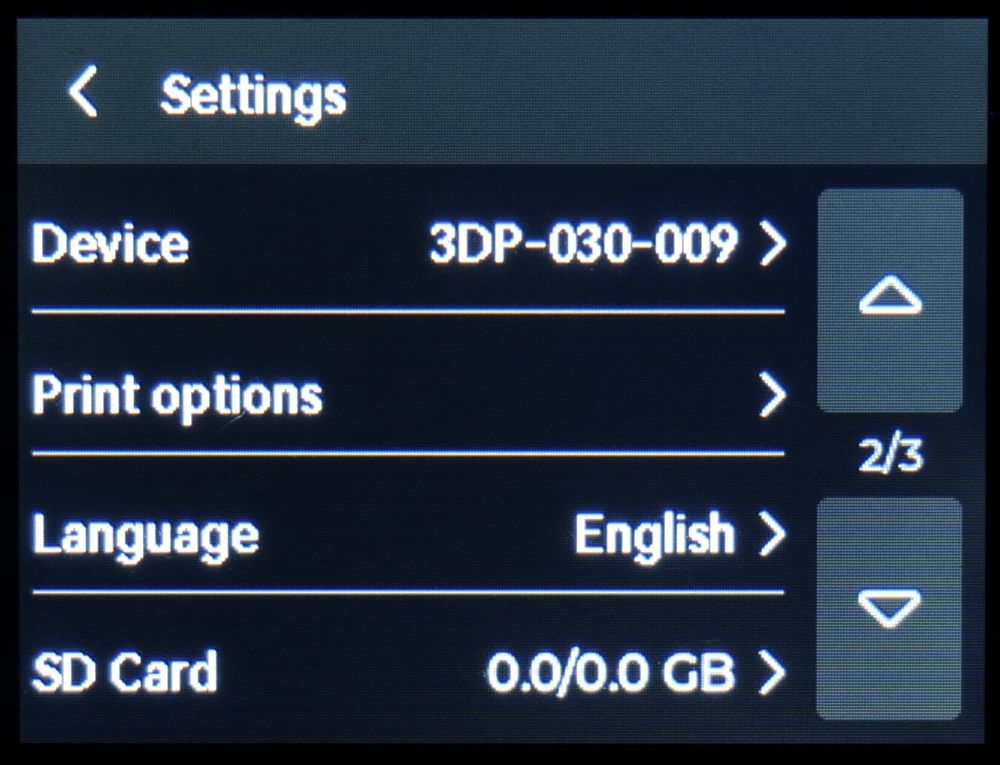
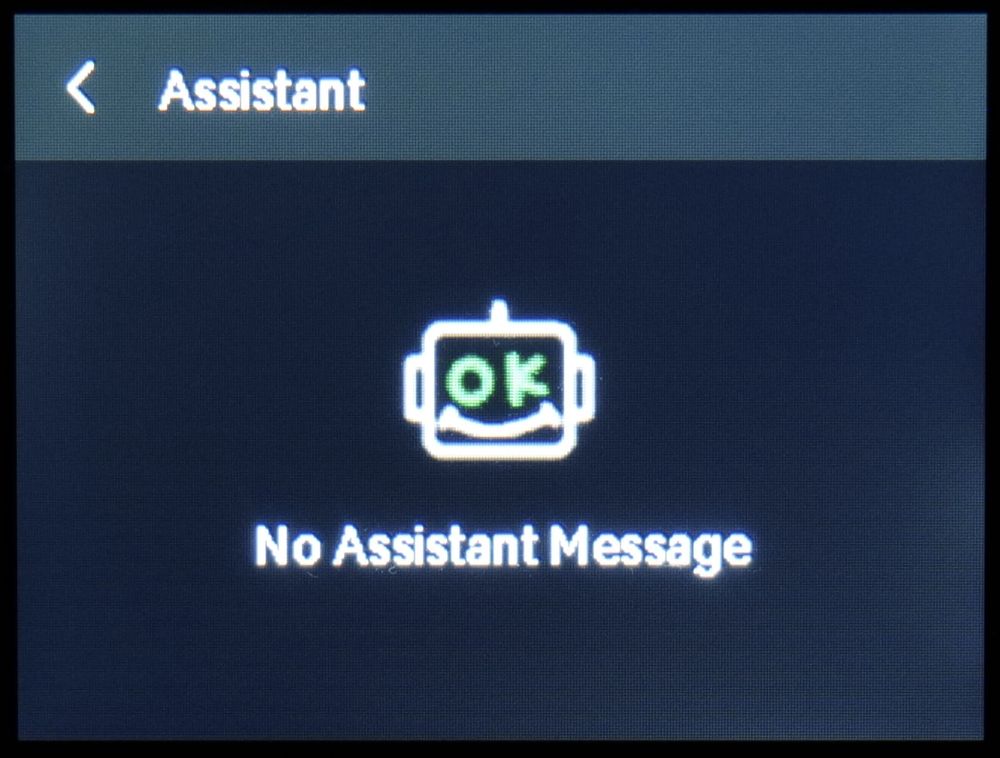
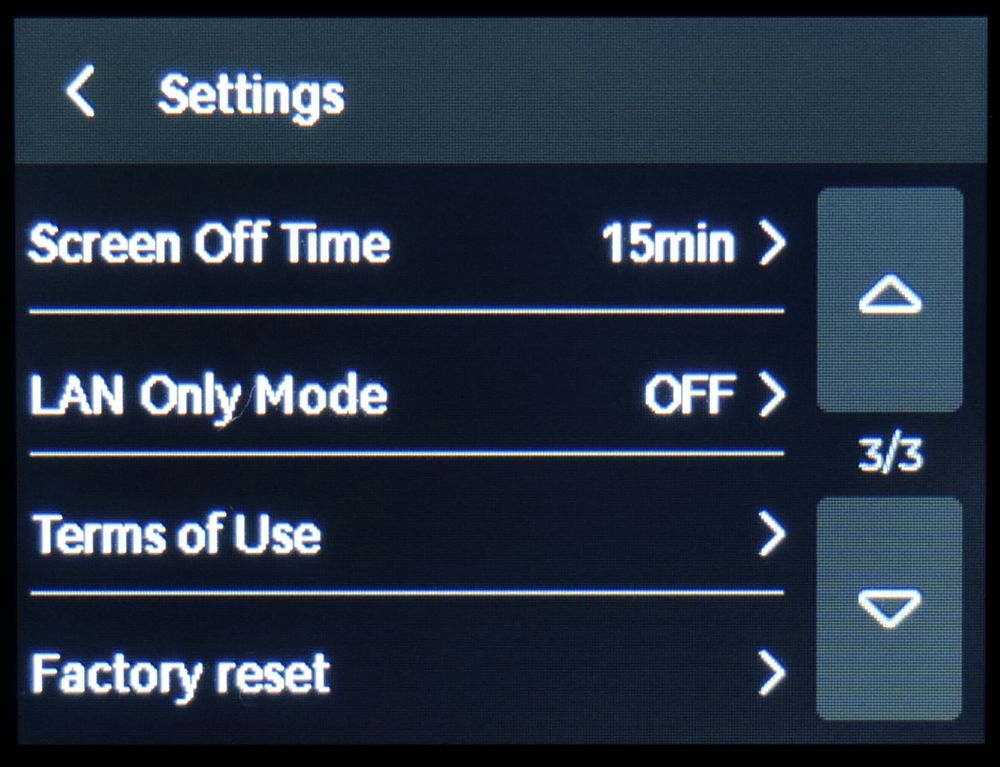
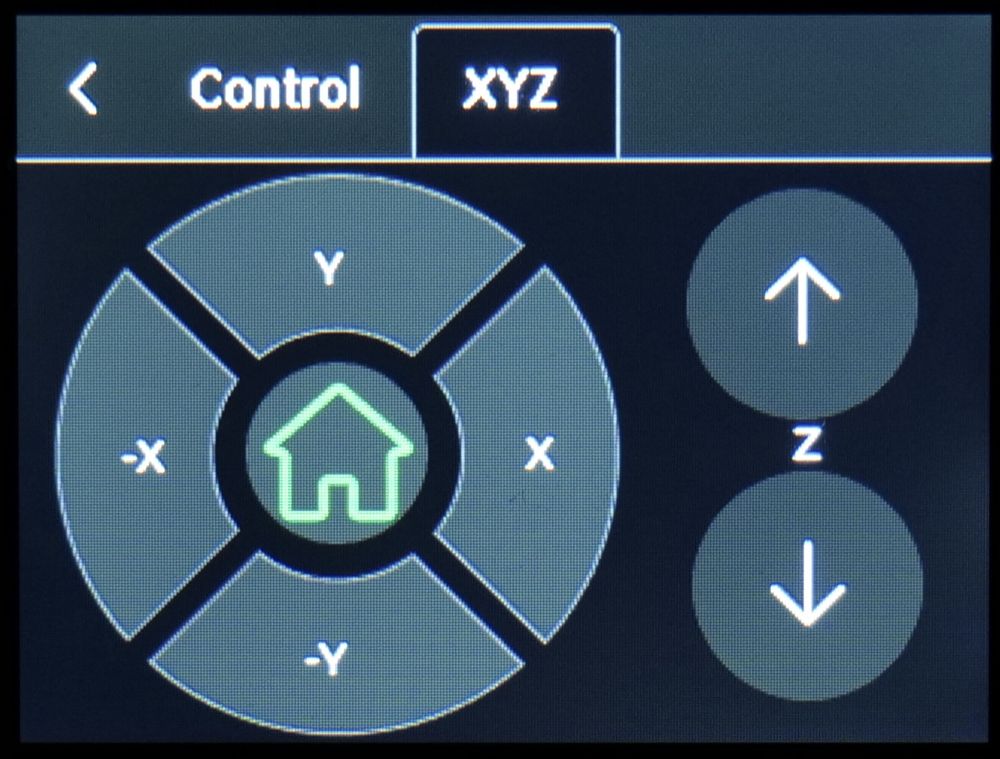
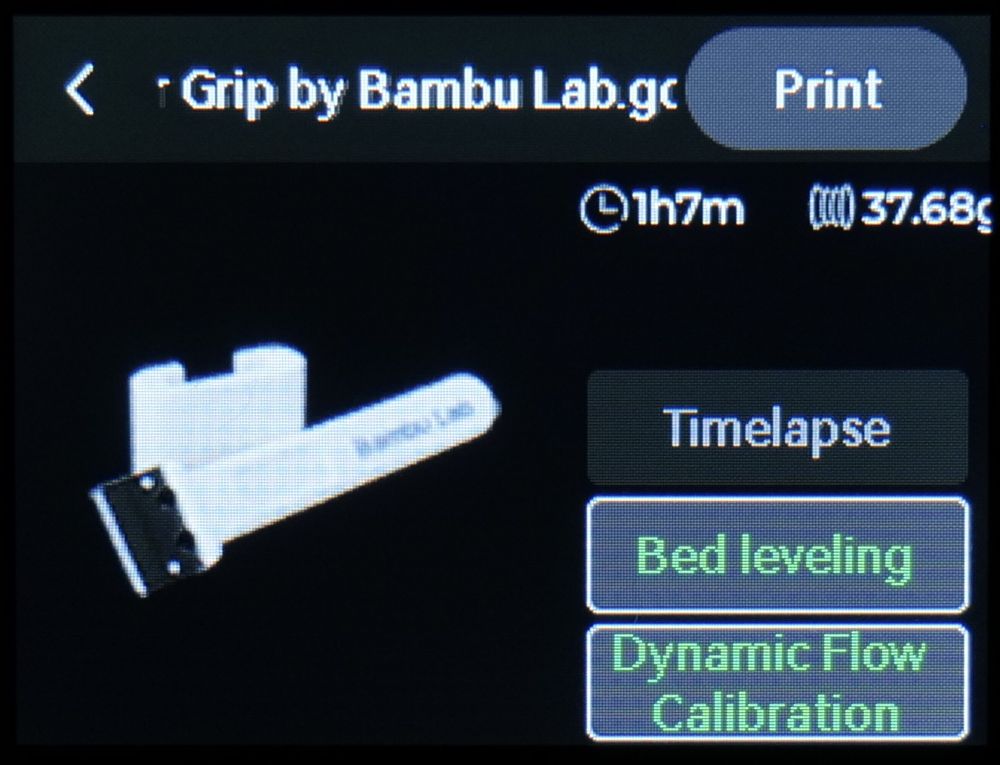
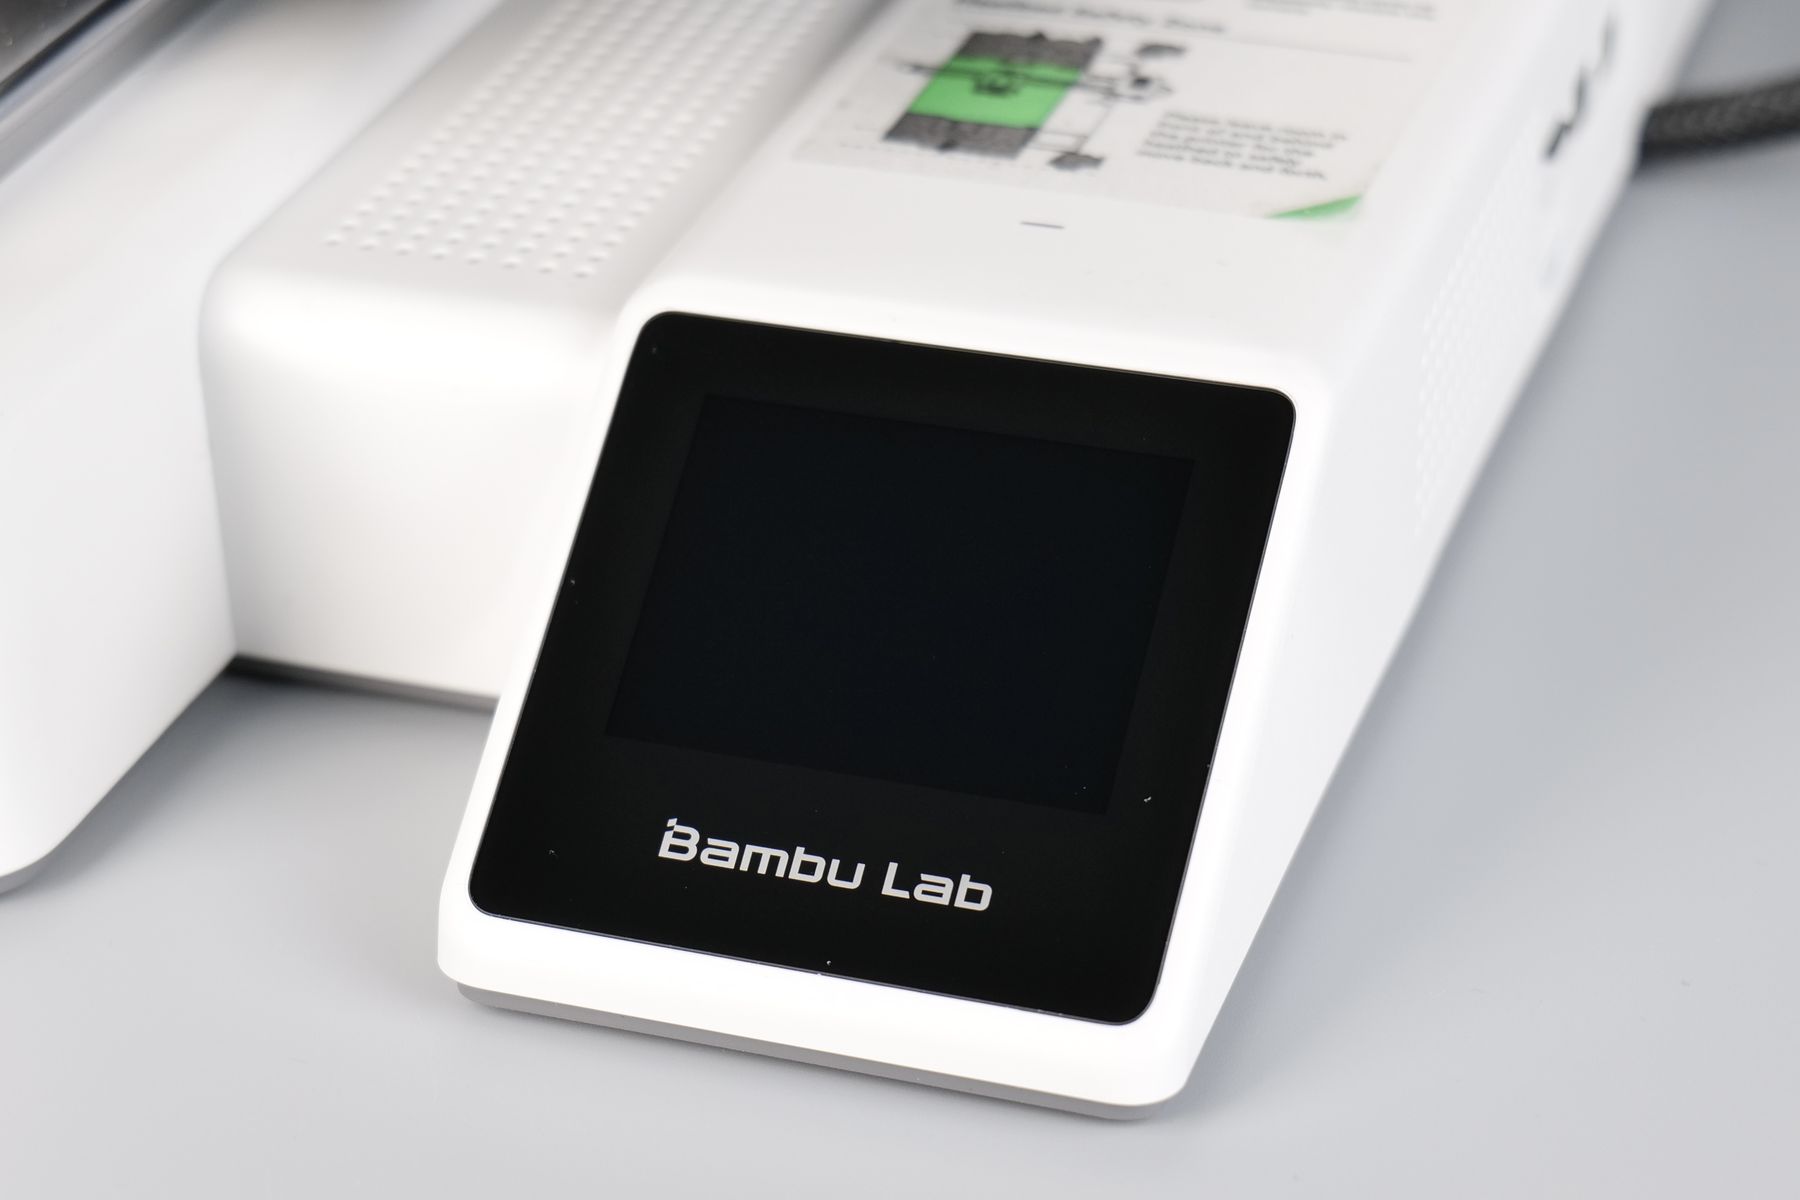
A relatively small 2.7-inch Capacitive Color Touchscreen is installed on the front of the A1 Mini. The screen works relatively well, but it’s not as responsive as I would have hoped. There is a short “transition frame” after every touch, adding a bit of a delay during operation, but I guess it’s better than the P1 screen which required pressing buttons and having to deal with a monochrome interface.
While the touchscreen is functional, I can’t say I love it as it’s quite small. I have big fingers and sometimes it’s hard for me to avoid touching the buttons by mistake, so because of that I mostly use the Bambu Handy app when interacting with the printer.
I needed a few tries to enter the Wi-Fi password correctly on the small keyboard, and maybe this process could have been done from the app to make it easier for some people. With that said, it’s useful enough for starting a new print or doing basic operations.
The rest of the interface is functional, but it’s relatively clear that due to the limited size, you can’t fit too much info on it and this is clear in sections like the print start options.
Fanless Power Supply and Customer Board
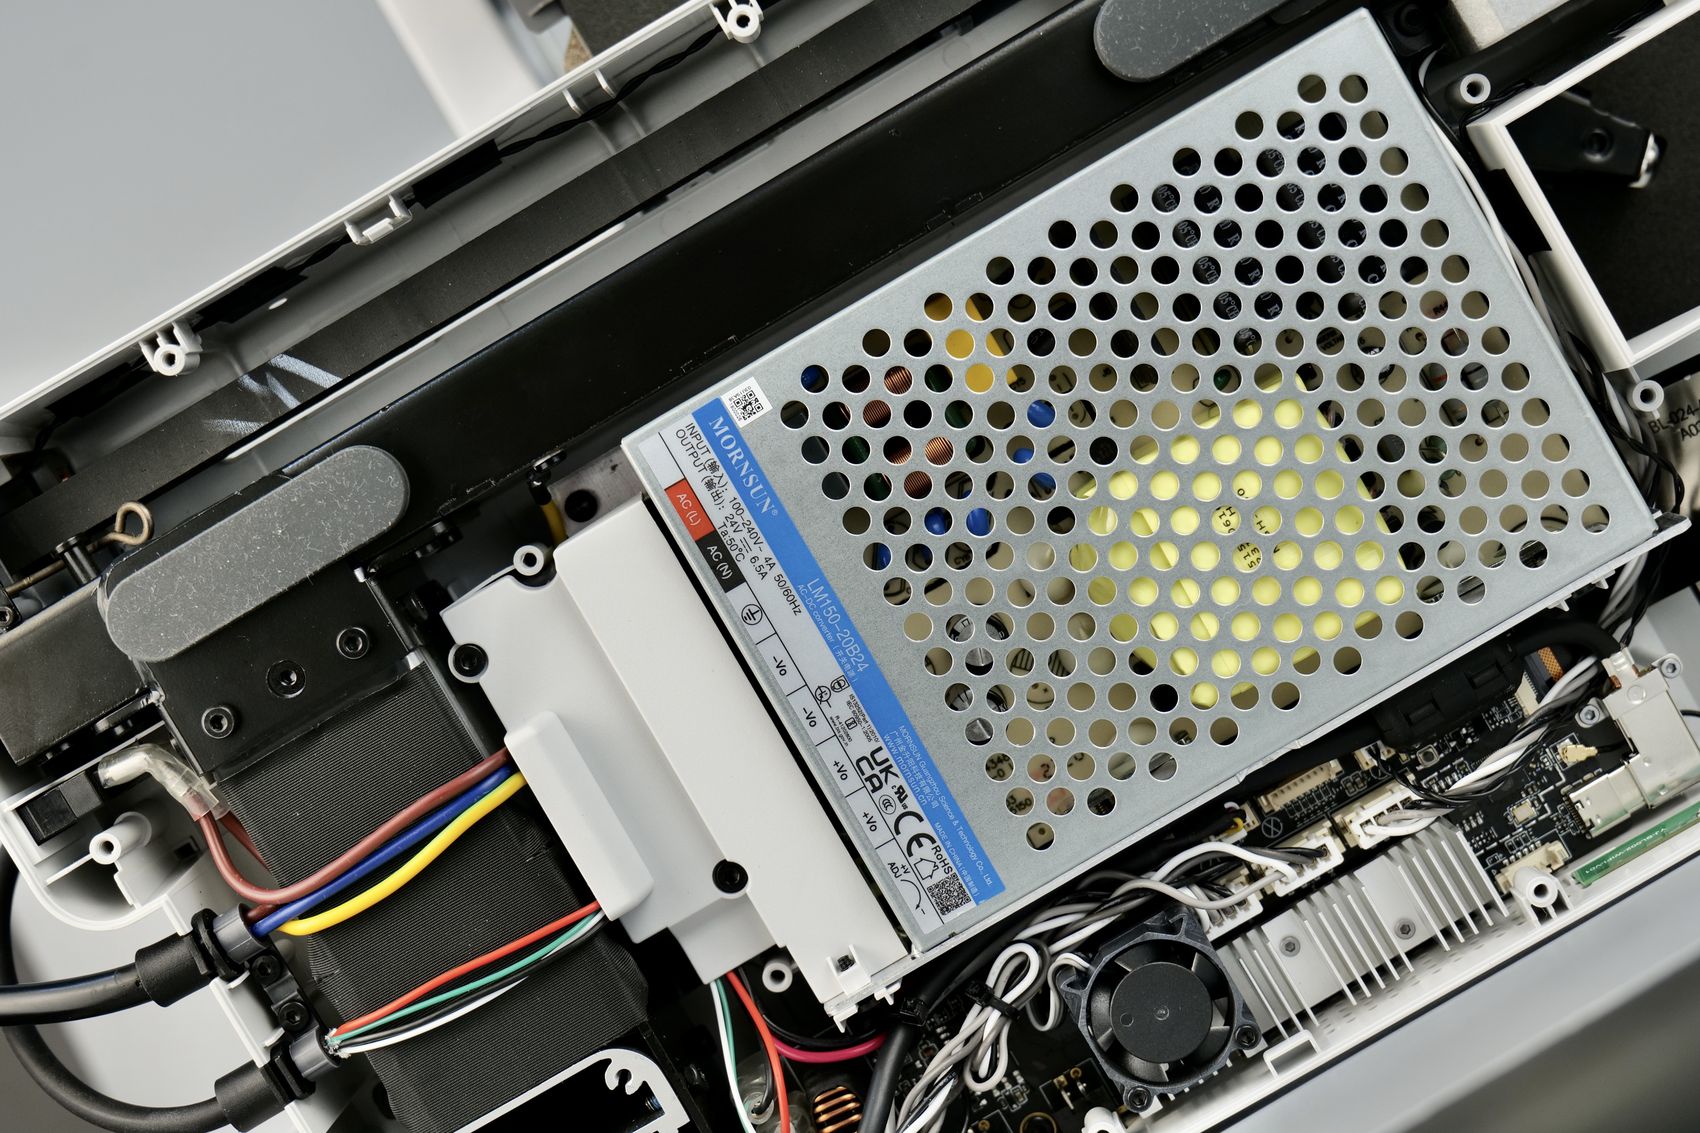
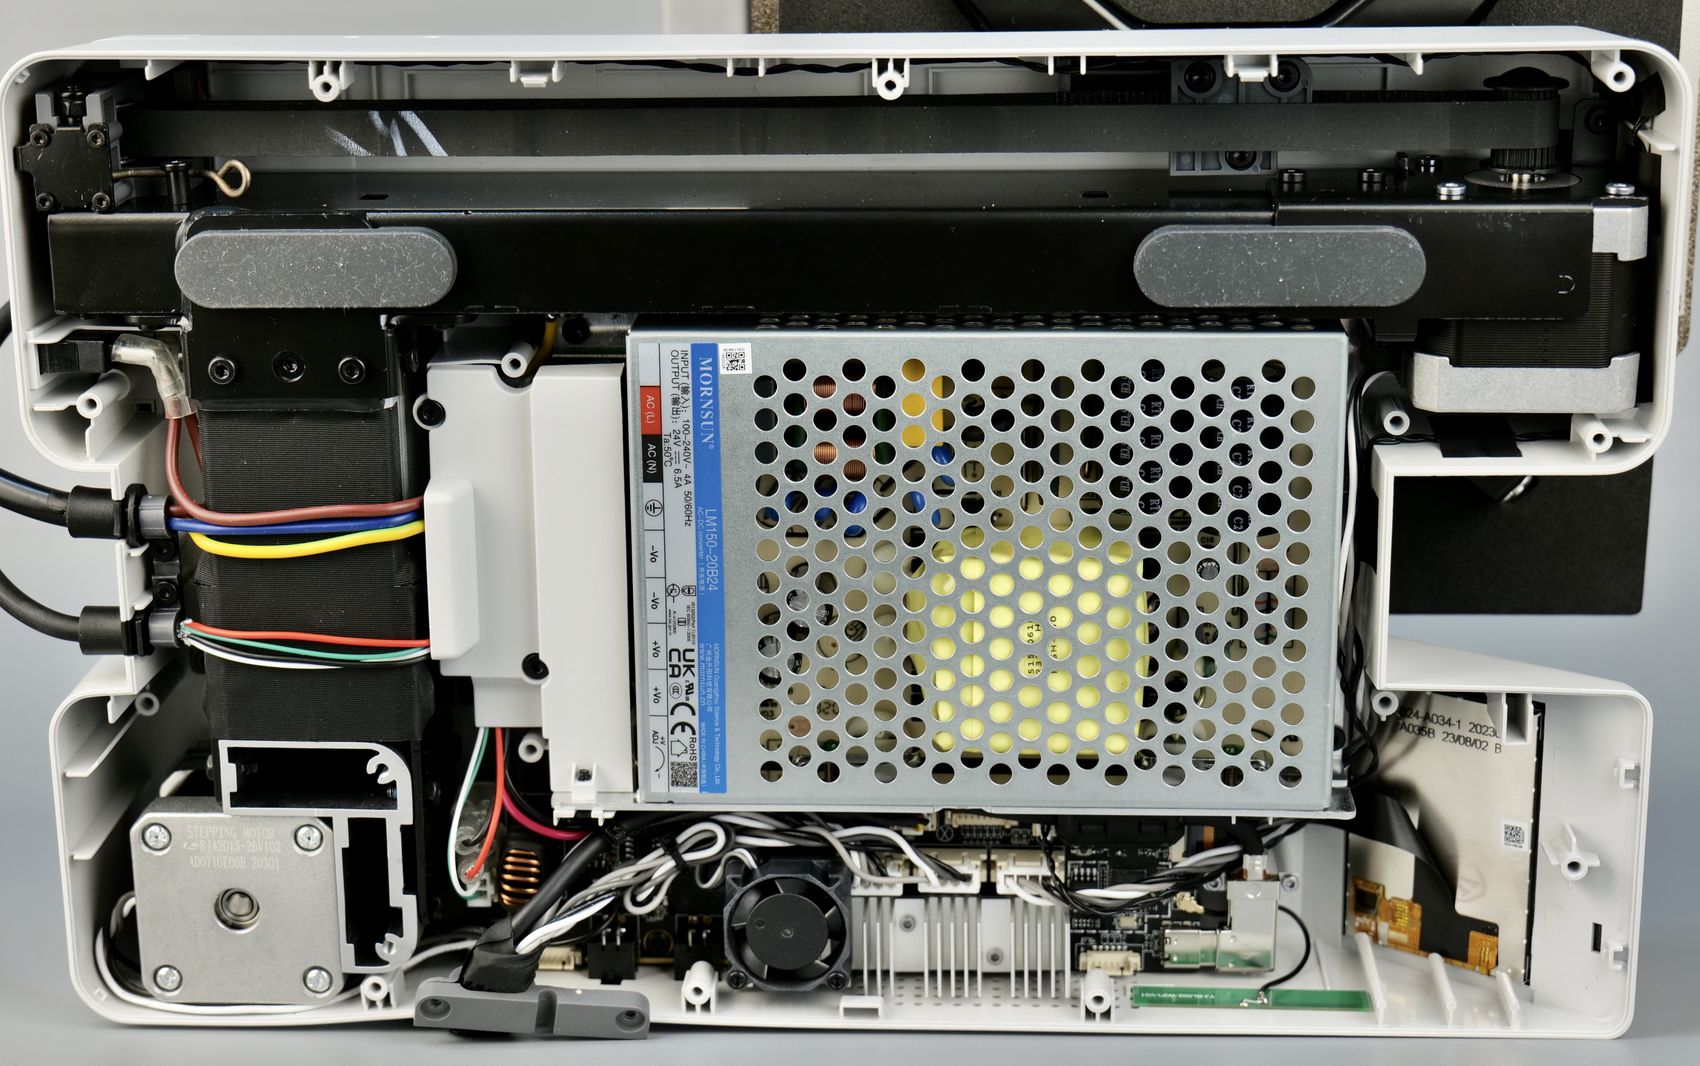
One of the reasons why the printer is so compact and silent is the use of a 150W power supply which doesn’t have a fan to keep it cool. I haven’t encountered any overheating issues but you can feel the base being a bit hotter than expected.
The board is a custom version developed by Bambu Lab and it only uses a small fan to cool down the stepper drivers. That fan is also noisier than expected, considering the size and I would have liked to see a larger more silent fan instead of this one.
Bambu Lab AMS Lite
The new Bambu Lab AMS Lite is a complete redesign of the AMS we got for the X1 and P1 series. This one has a very futuristic look and the overall construction is simpler with fewer parts that can fail. At first glance, it reminds me of the mechs from Kojima’s Death Stranding and Metal Gear Solid games.
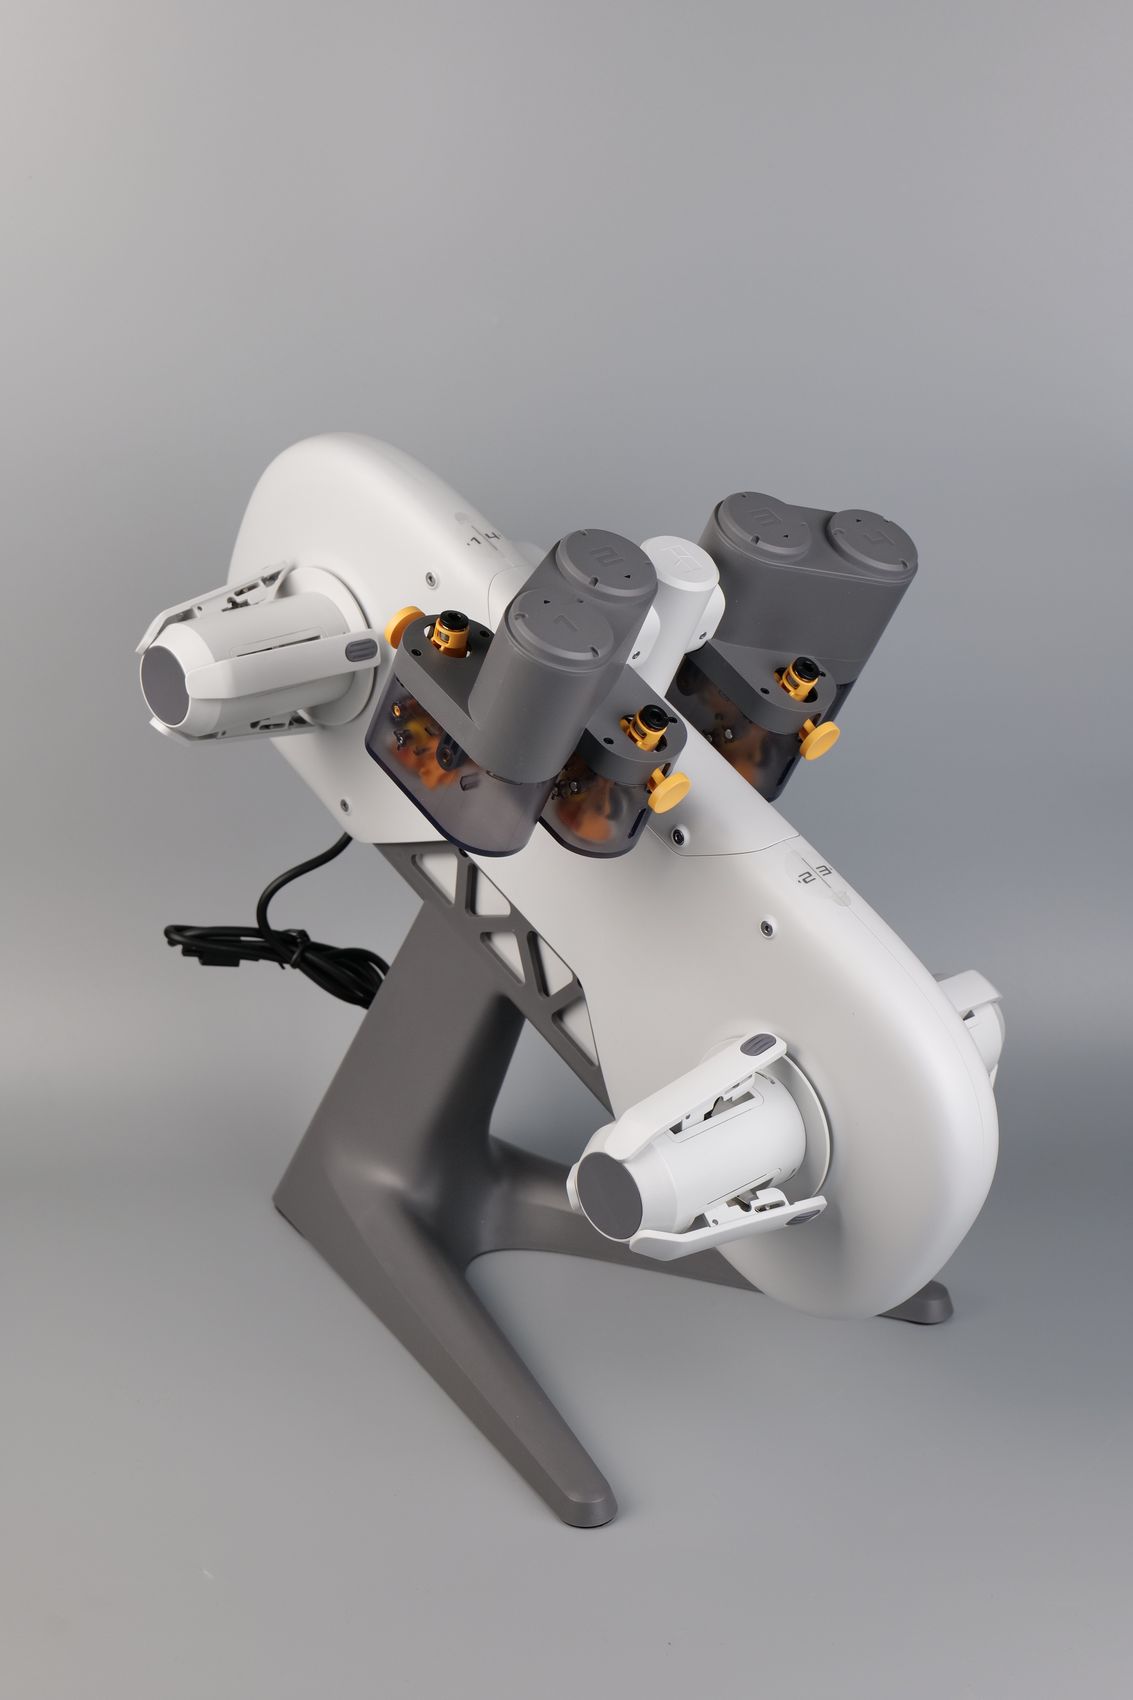
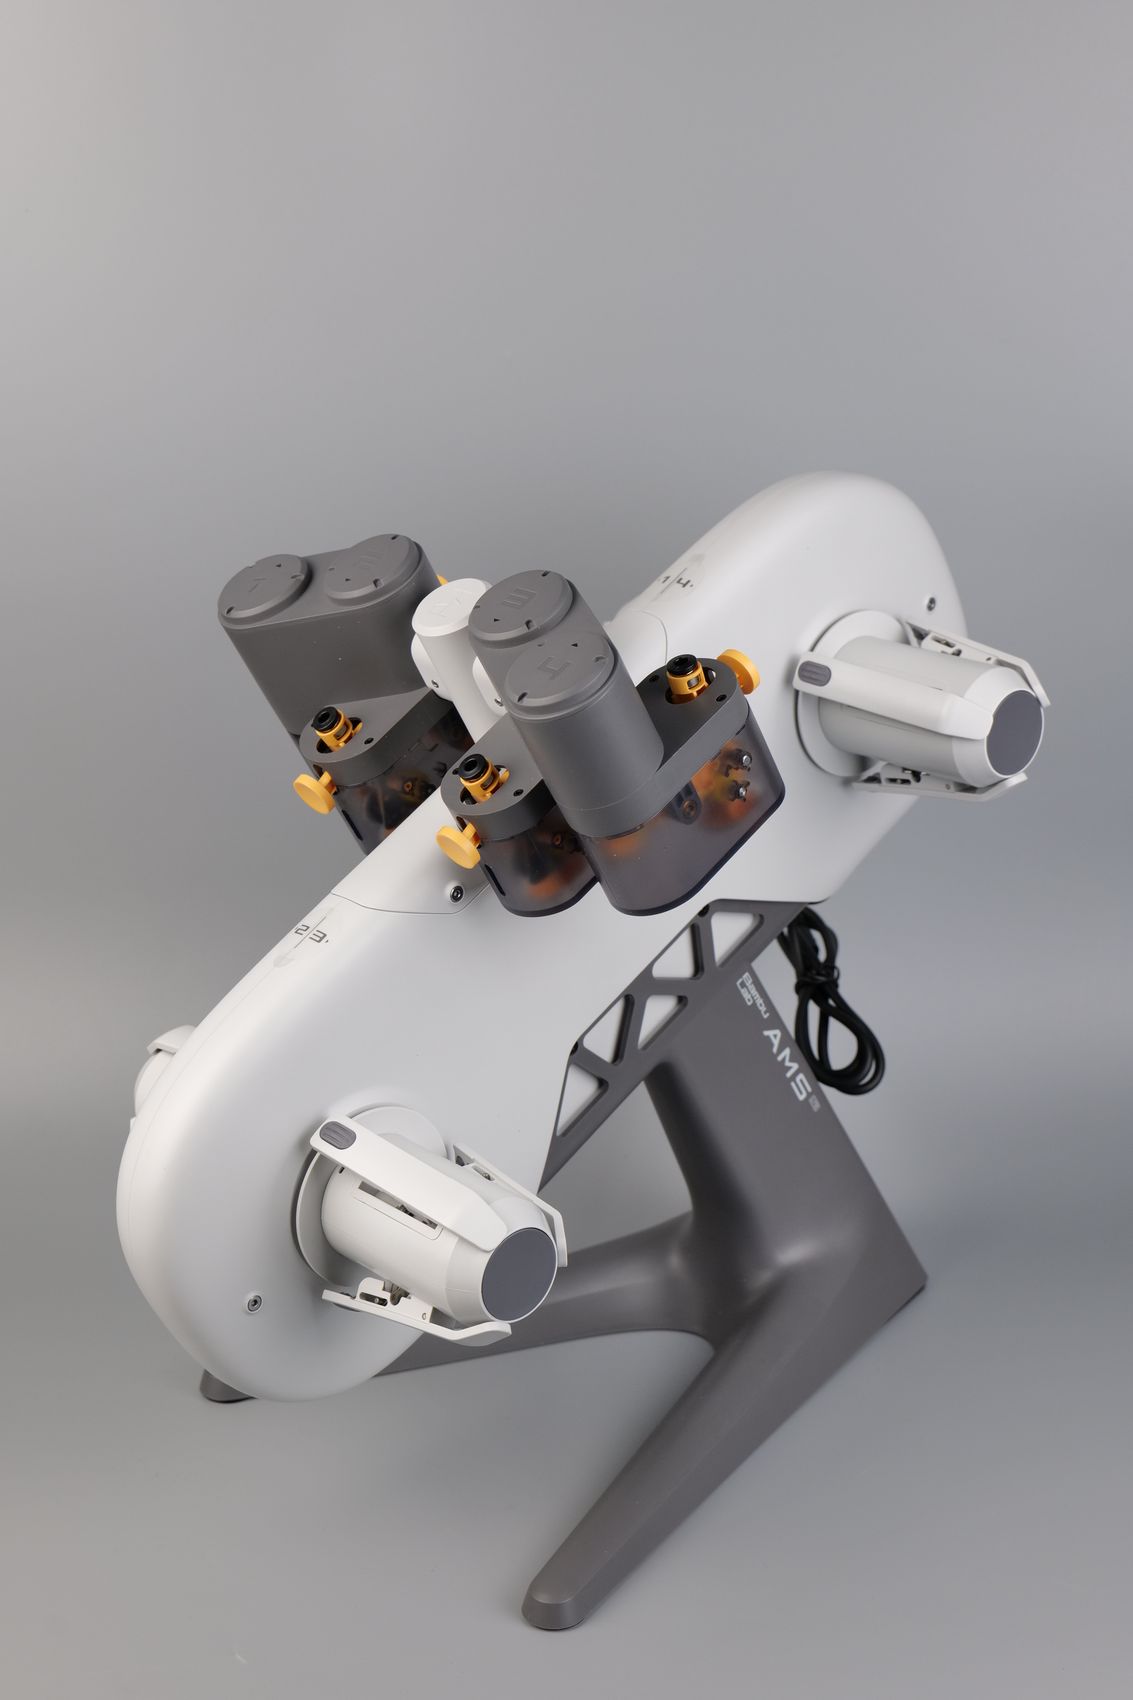
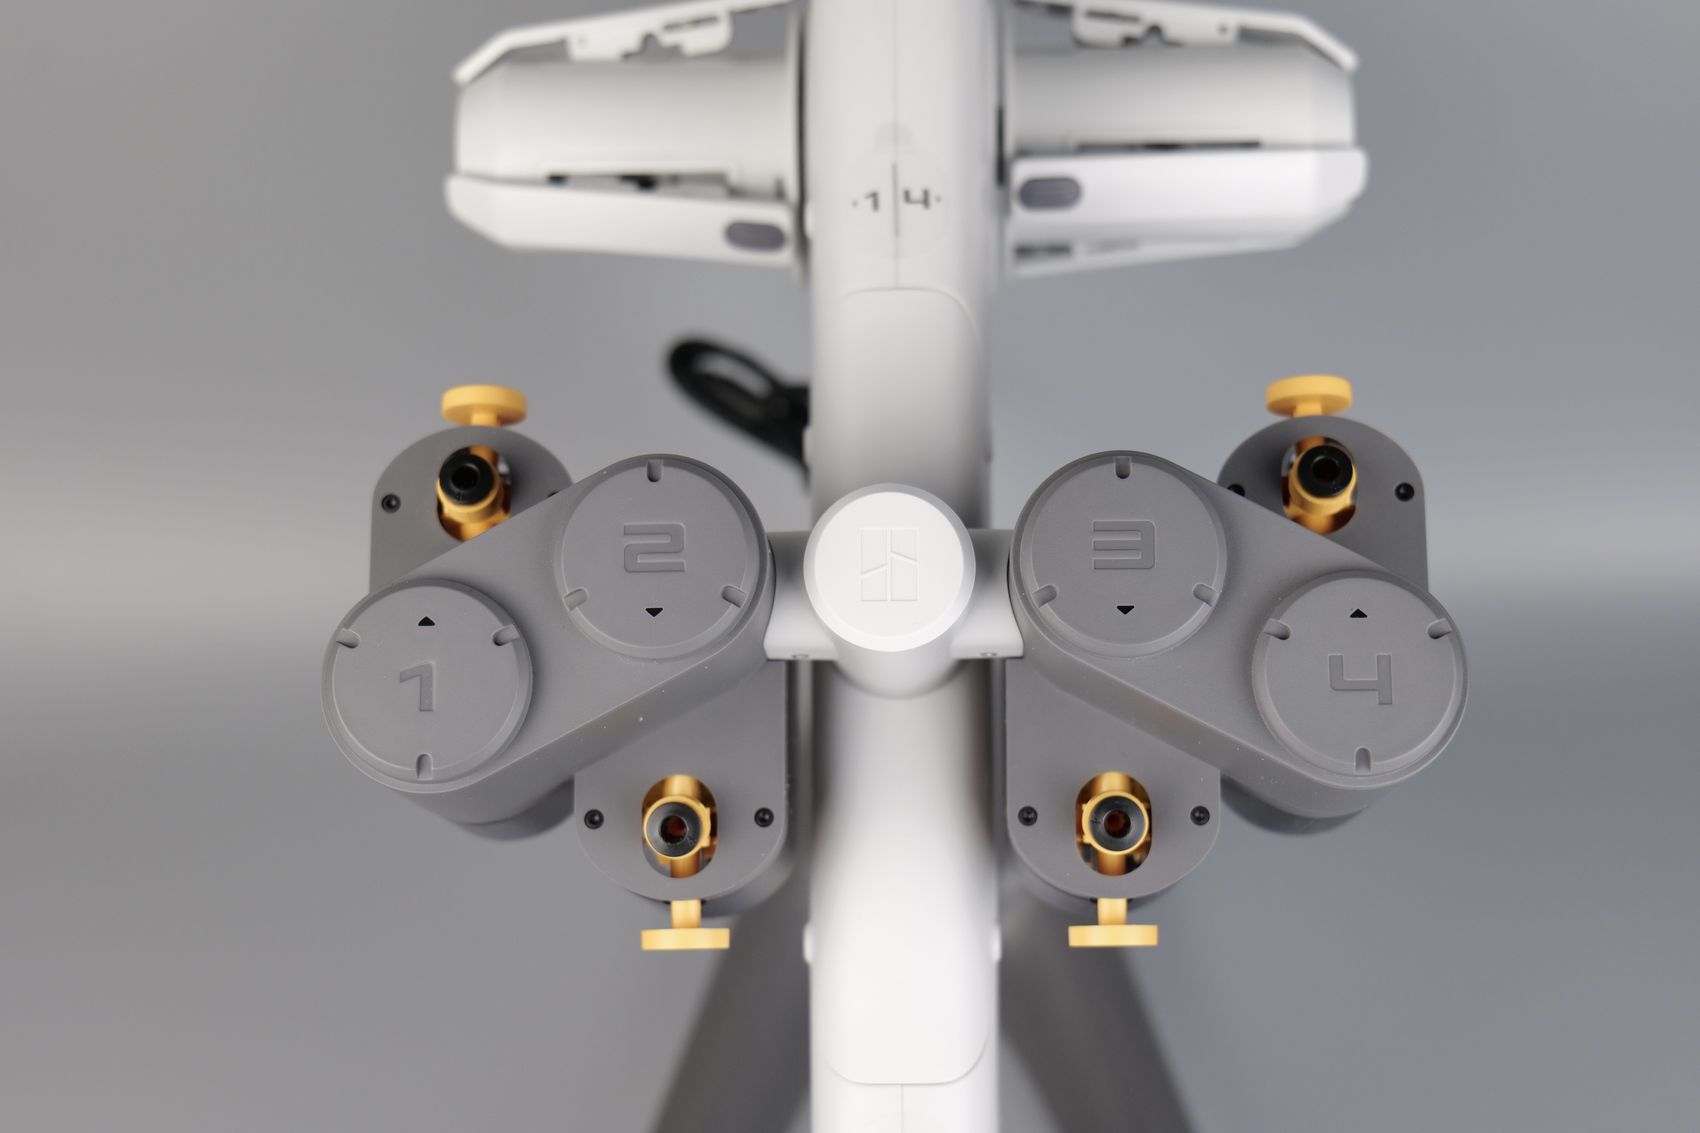
There are four “claws” which hold the spools in place, on the side of the unit. These spool holders are color-coded to help install the spools in the right position. I am not sure why these spool holders are not the same, but it’s not complicated to install them in the right position.
When the AMS Lite is empty, it is relatively easy to hit it and move it on the table, but after you install four spools of filament it’s quite stable. I am just waiting for someone to design a mount for the AMS so you can attach it to the top of a shelf and minimize the space required for the AMS unit and the printer.
It’s also worth mentioning that the new design of the AMS keeps the spool in open-air meaning that filament can absorb moisture easily. For PLA filament, this is not really a problem, but if you use it with filaments like PETG, this can become an issue as PETG is more hygroscopic meaning that moisture will be absorbed in the filament in humid environments. For these types of materials, it’s best to remove them and keep them in a bag insulated from the environment to ensure the best print results and avoid needing to use a filament drier.
The AMS Lite has the feeders placed in the middle of the unit, and each of them is numbered. To load filament you need to install it on the “claw” and then insert it from the bottom of the feeder. This system works, but it can be slightly fiddly until you get used to the location of the feeder hole and get it right every time. Other than that, the new feeders are simpler than the ones on the X1 AMS and I like the transparent sections which make it easy to find if there’s a problem with them.
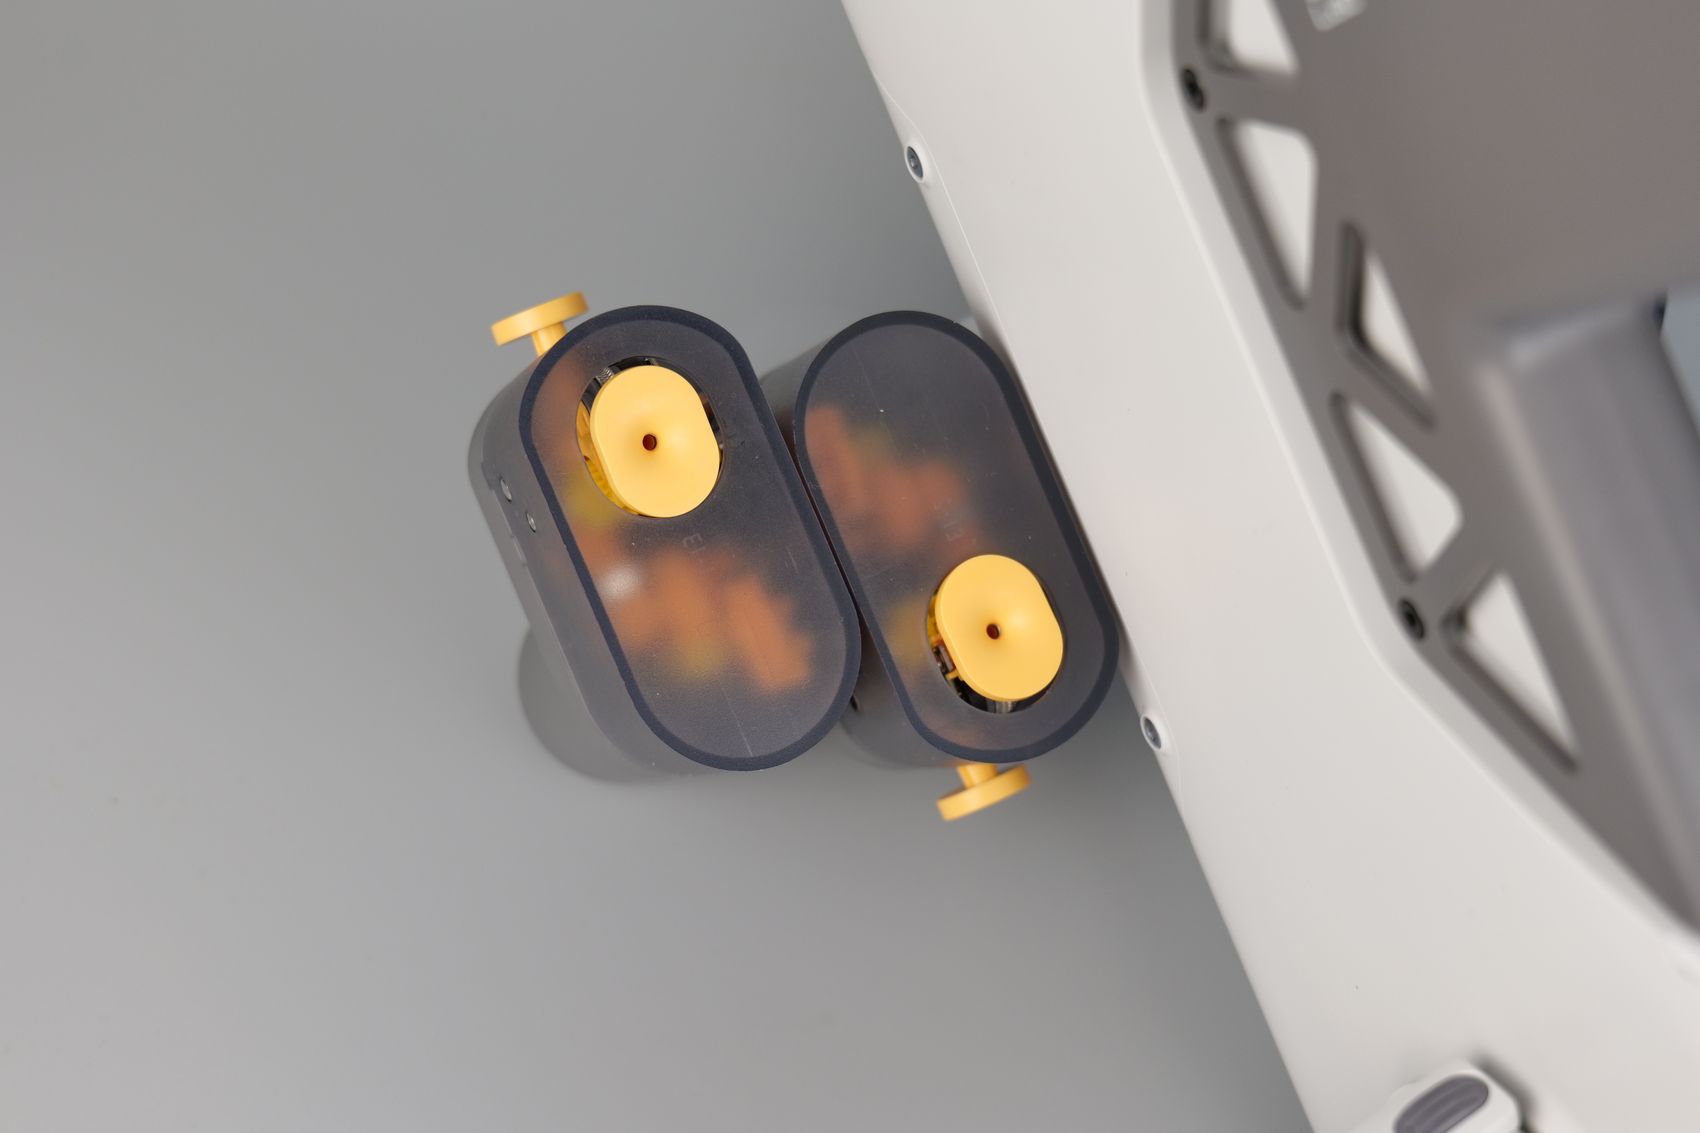
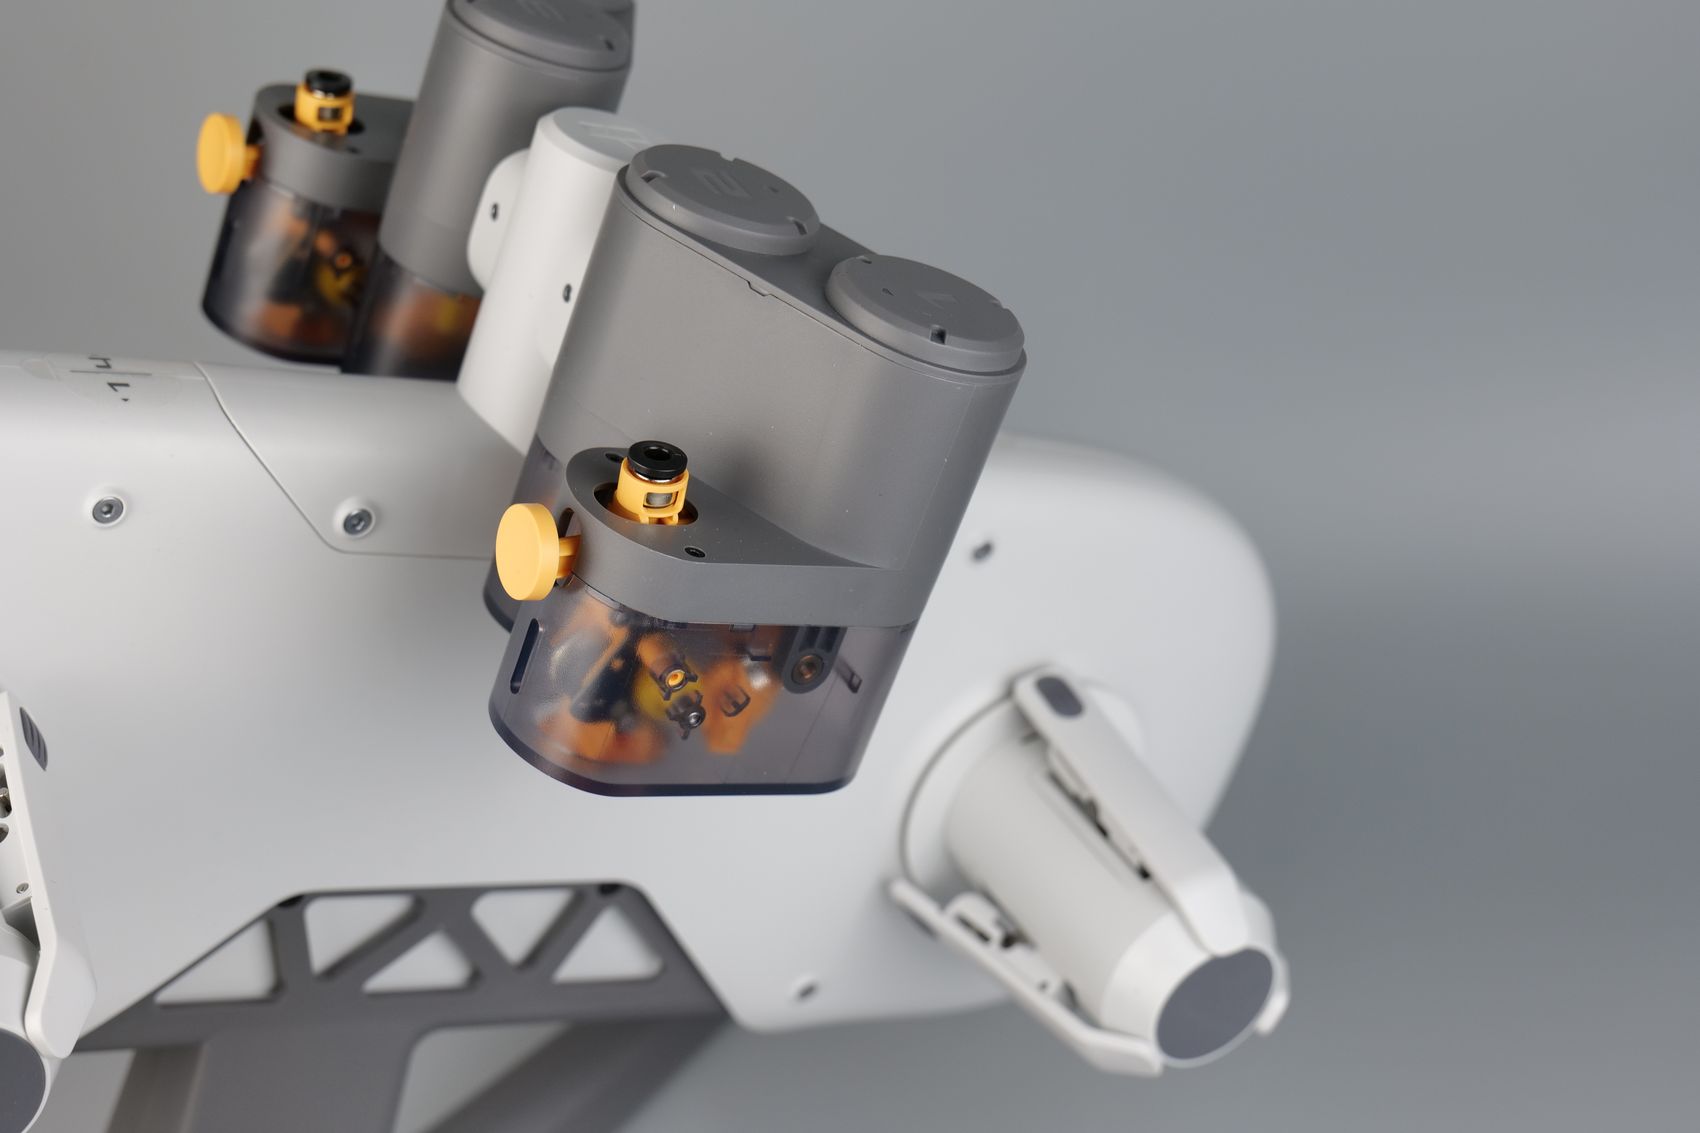
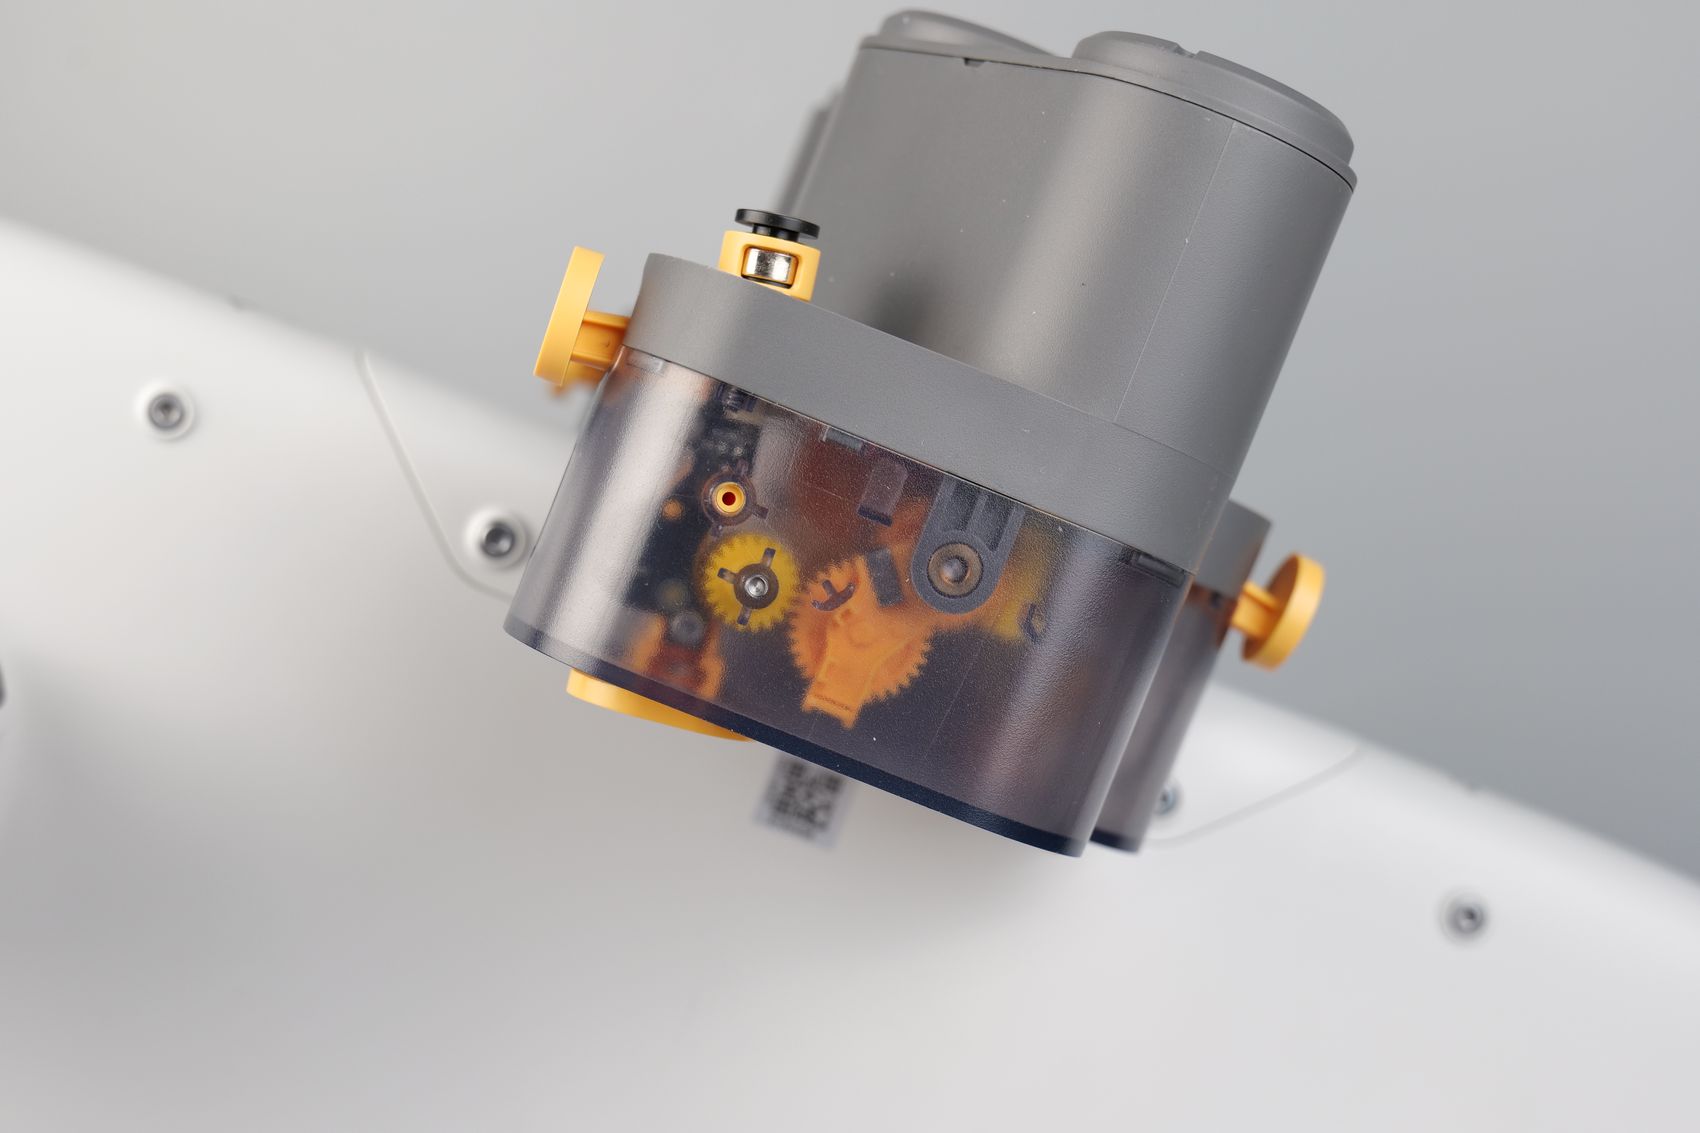
Besides the better compatibility for various spools on the market, the AMS Lite can also be faster when it comes to filament changes. This is made possible by the 4-in-1 coupler on the extruder and the overall design.
With the previous AMS, every time a filament change is done, the unit needs to pull the entire filament back to the roll before pushing the new filament to the hotend, which takes time. With the AMS Lite, the filament only needs to be retracted about 10-15 cm, just above the 4-in-1 coupler to make room for the new filament to be inserted, saving significant time during filament changes.
The time required to purge the filament from the nozzle is similar, but this could be further improved if the purge amount is carefully tuned in the slicer.
Bambu Handy and Bambu Studio
Since the initial release, both the Bambu Handy and the Bambu Studio apps have received multiple updates.
Bambu Handy
Bambu Handy now has the capability of connecting to MakerWorld which allows you to start prints with a single tap from the collection of models available on the platform. The files are pre-sliced making the process of printing a file much easier for someone that has not used a 3D printer in the past.
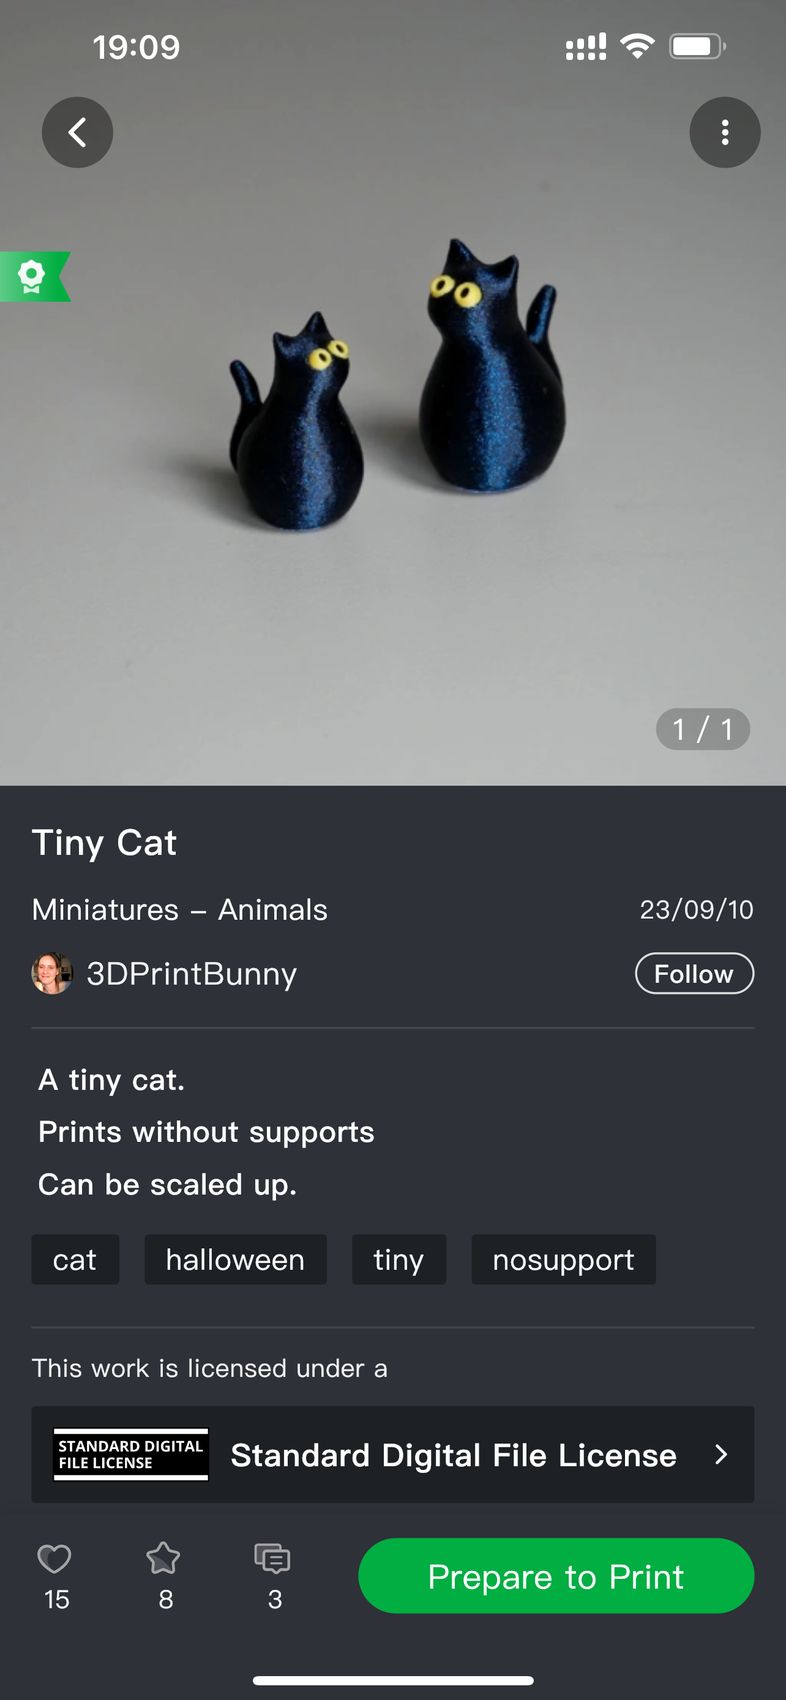
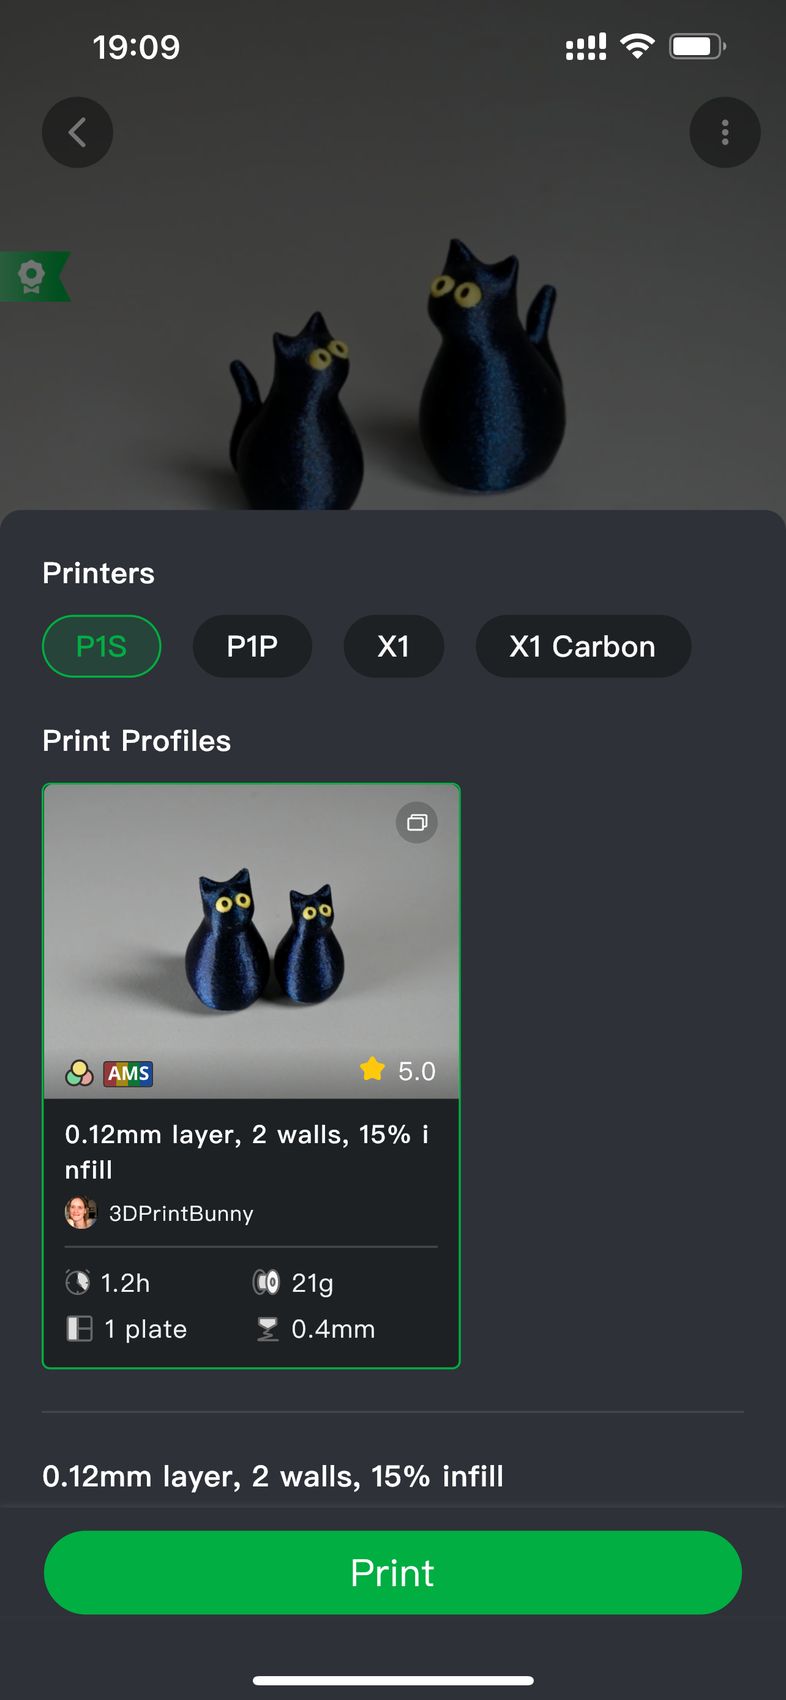
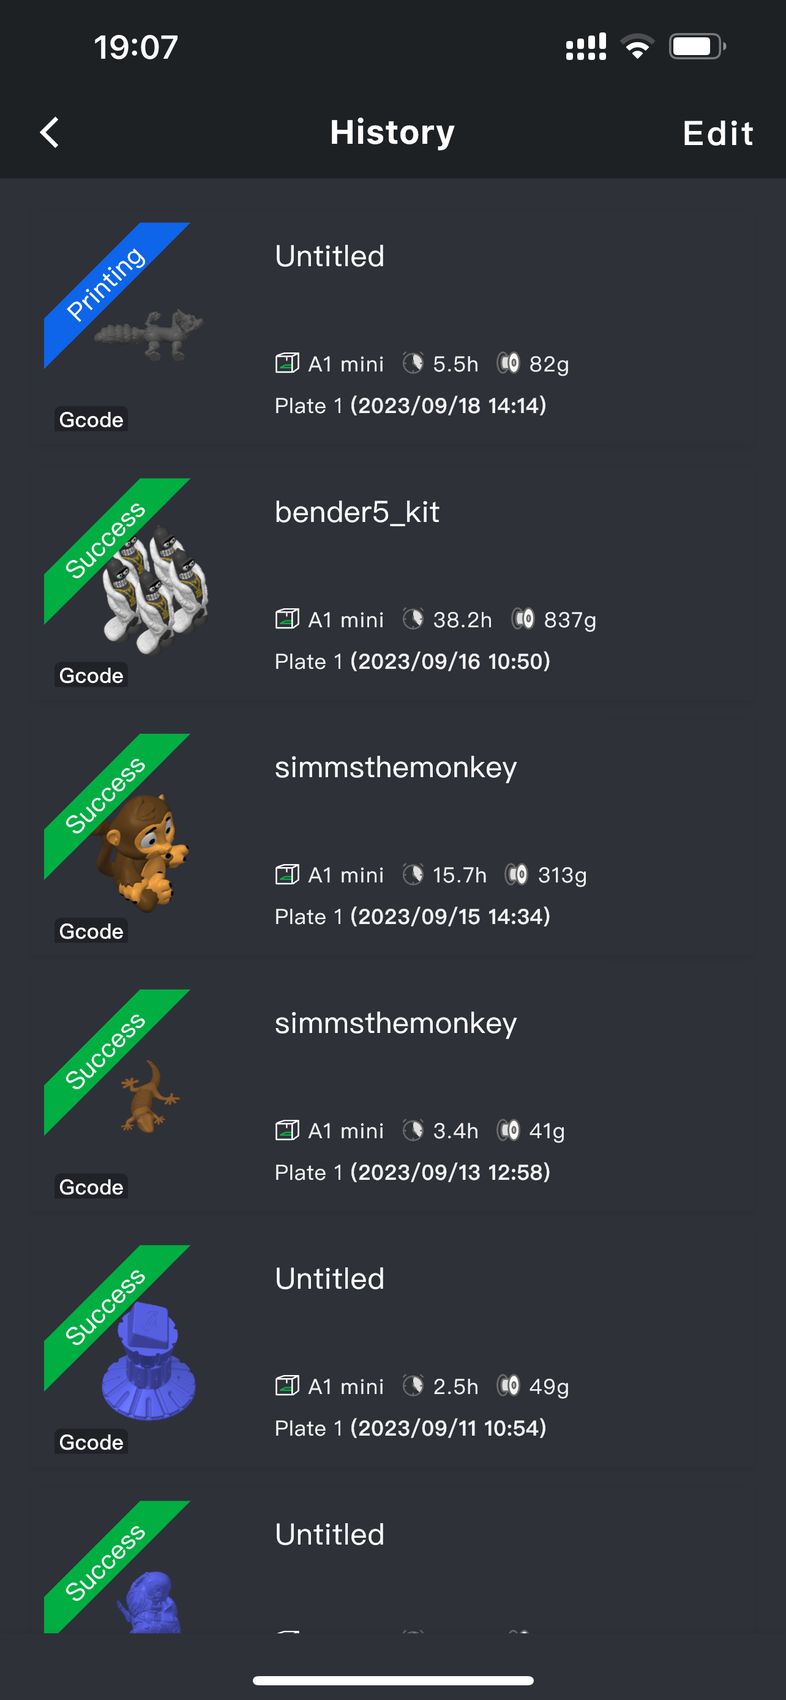
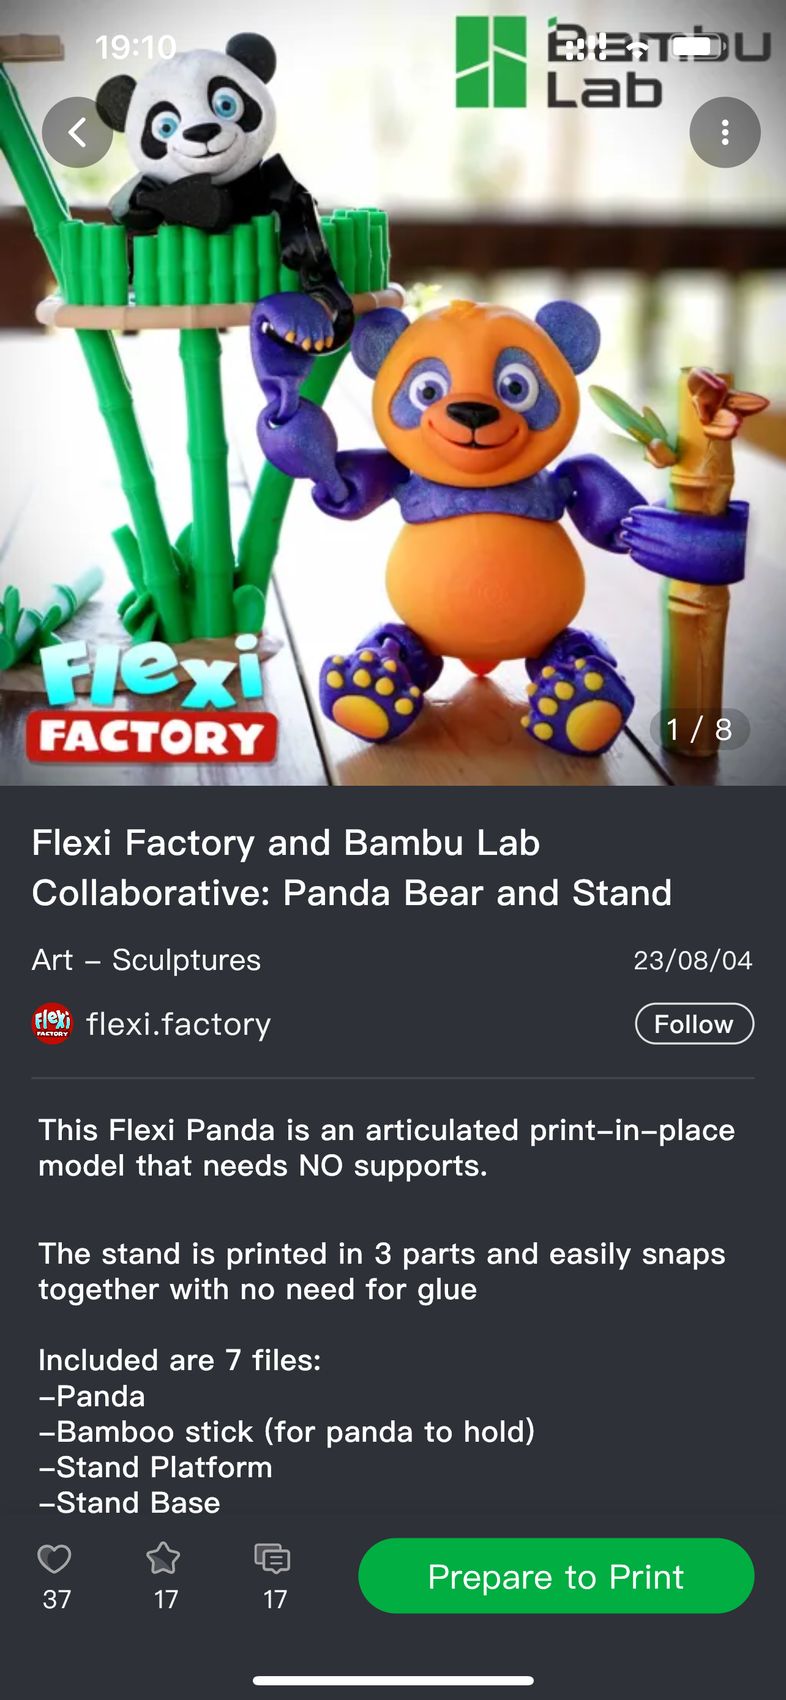
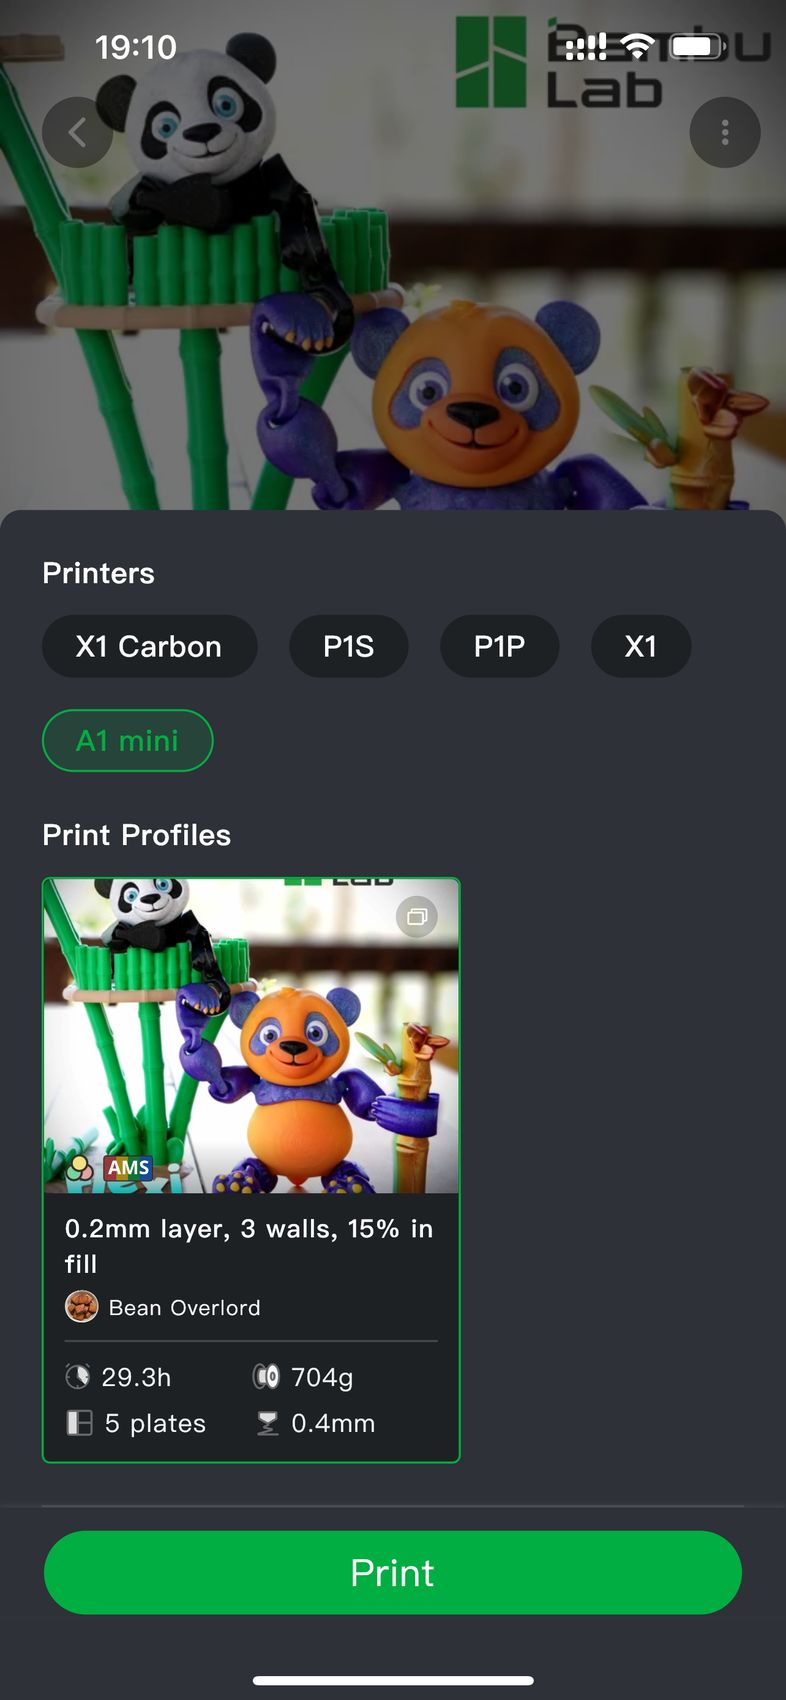
The initial model offering is not as big as other established platforms like Printables, Cults, Thingiverse, or Thangs but it is quickly increasing.
Besides this new feature, the Bambu handy App can deliver the same experience as you would get with the other printers from Bambu Lab.
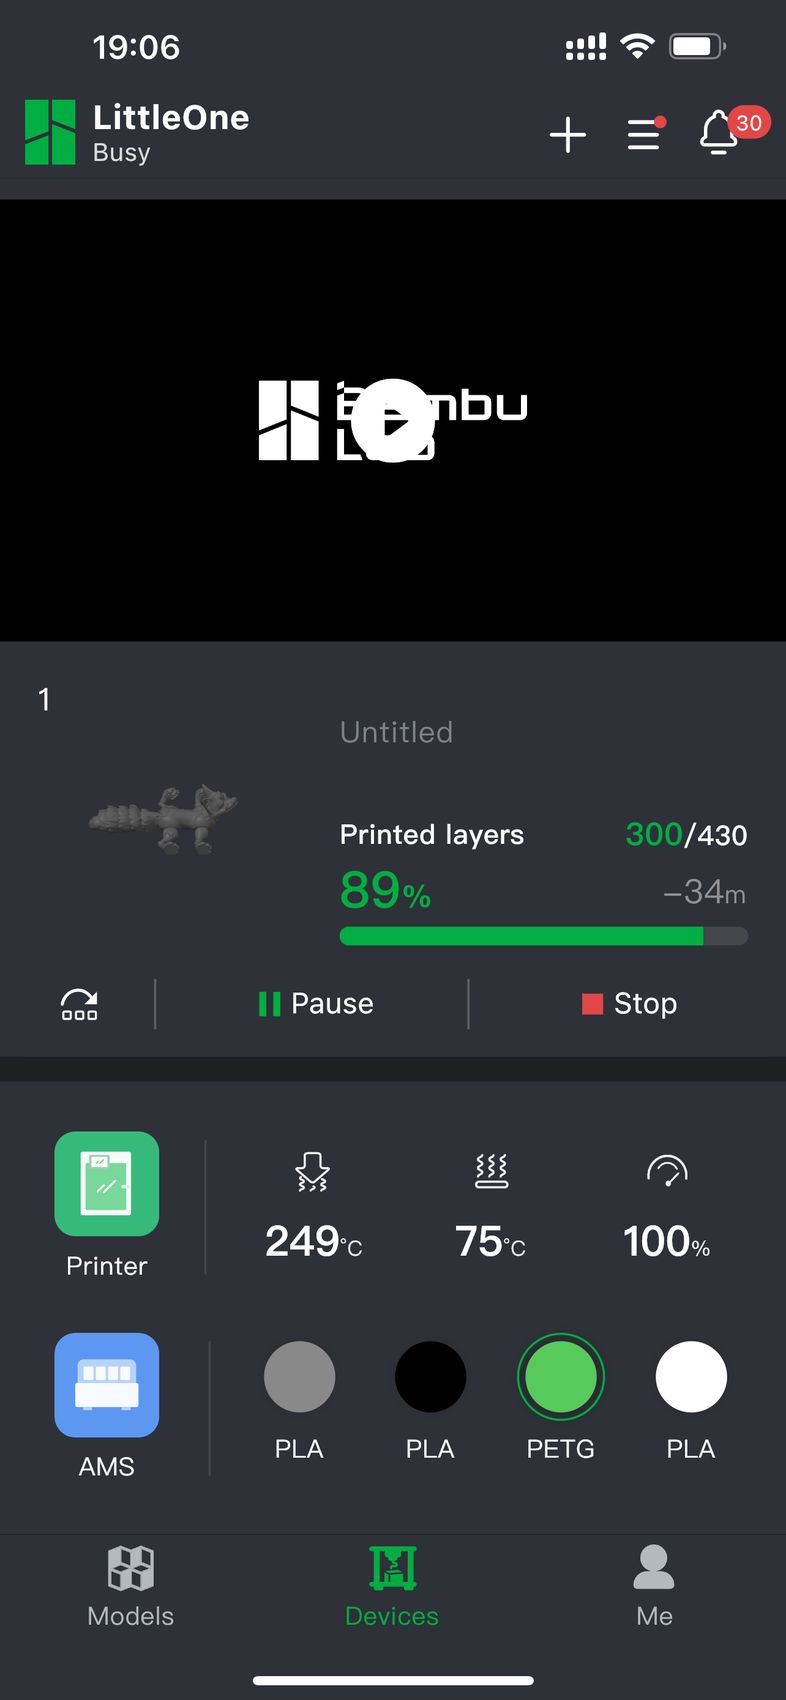
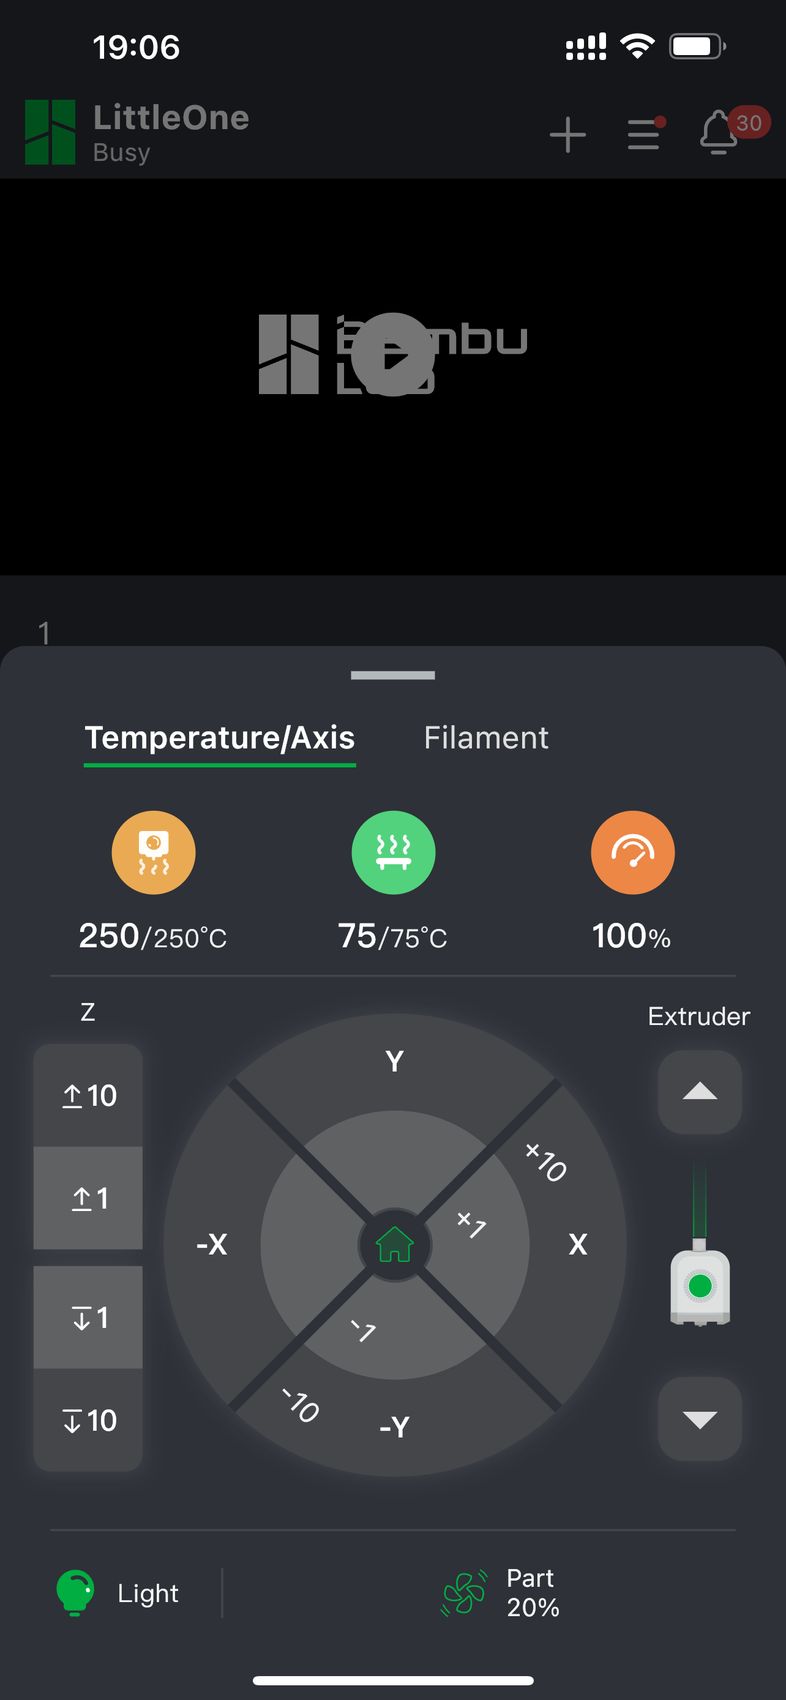
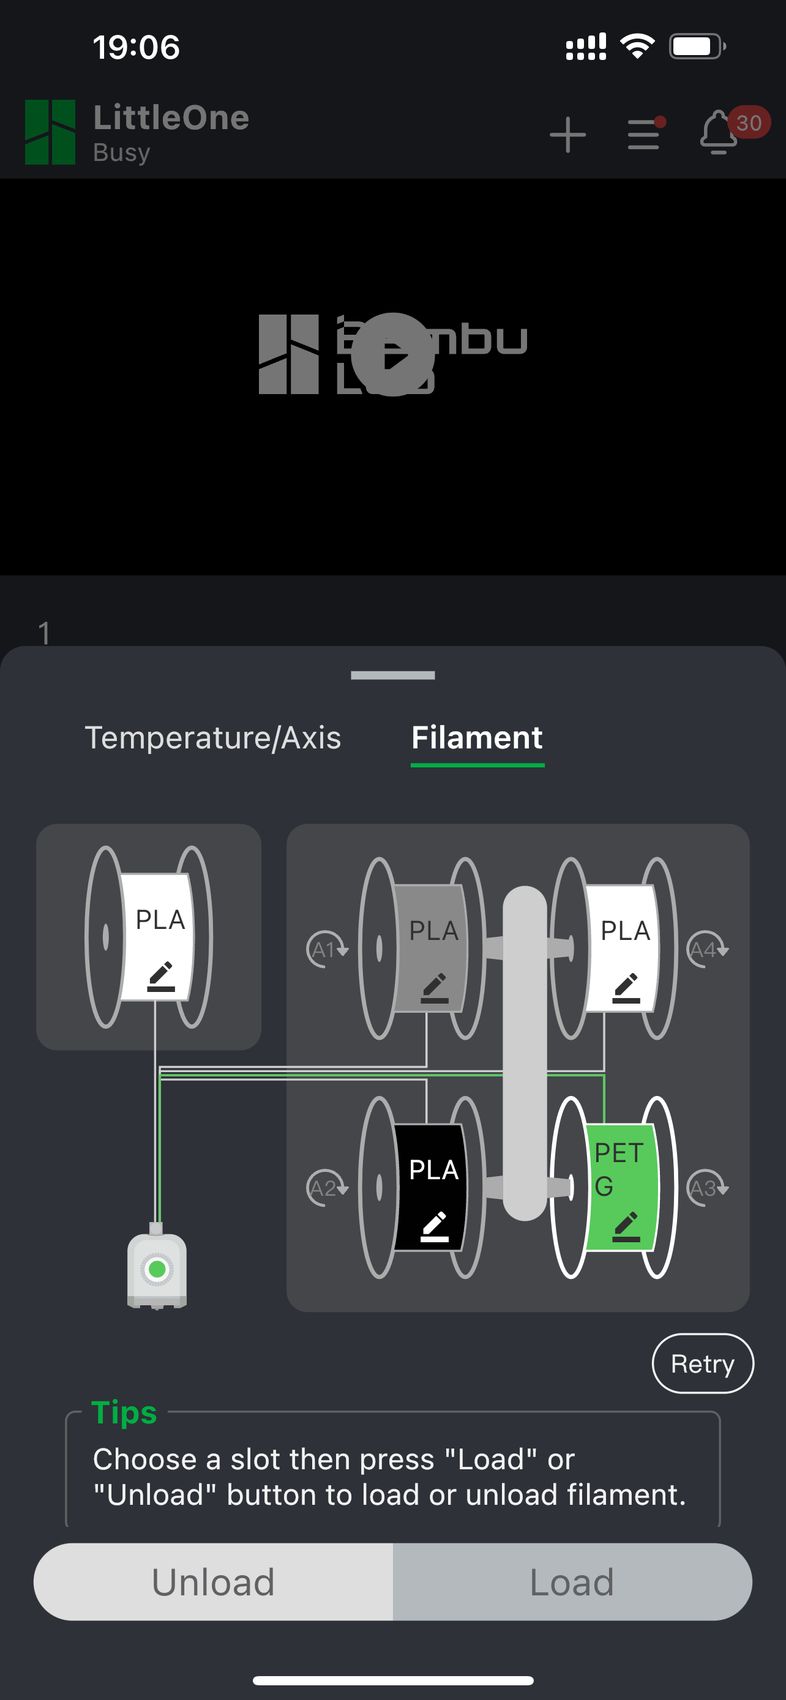
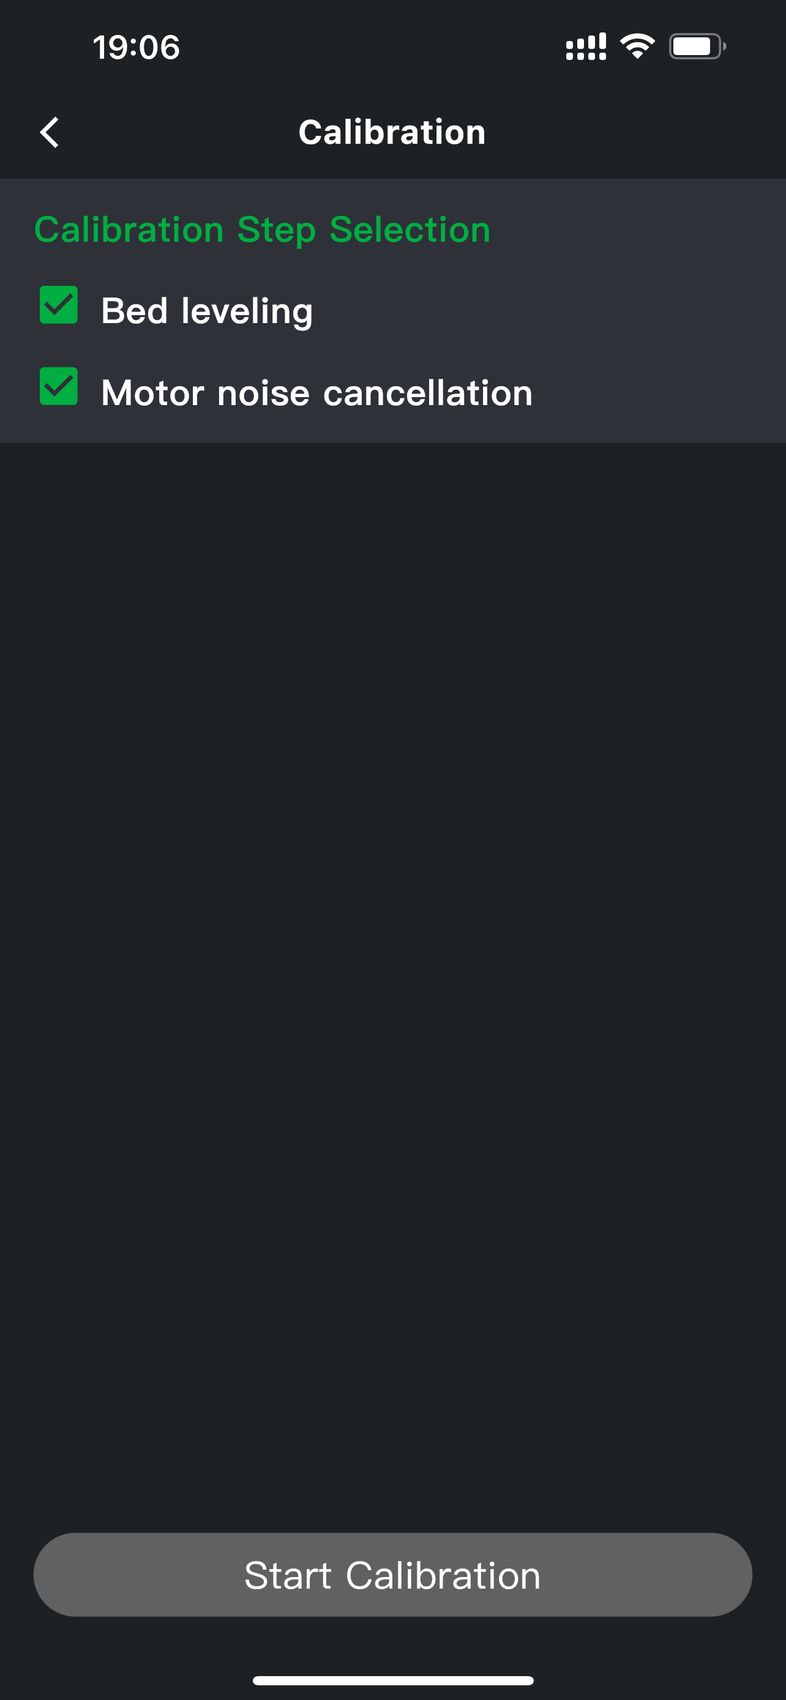


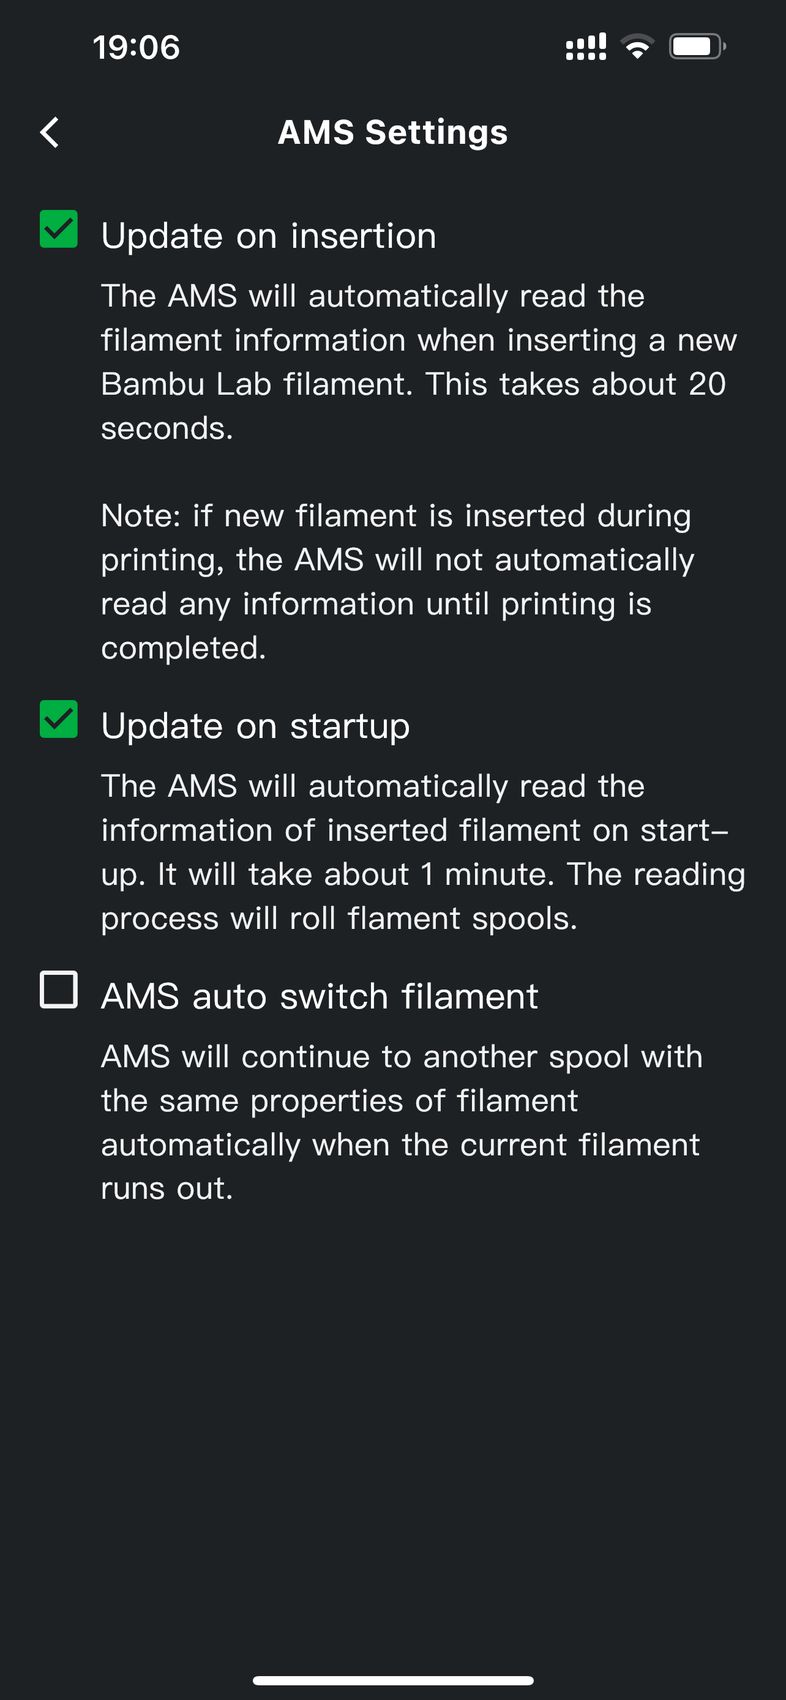
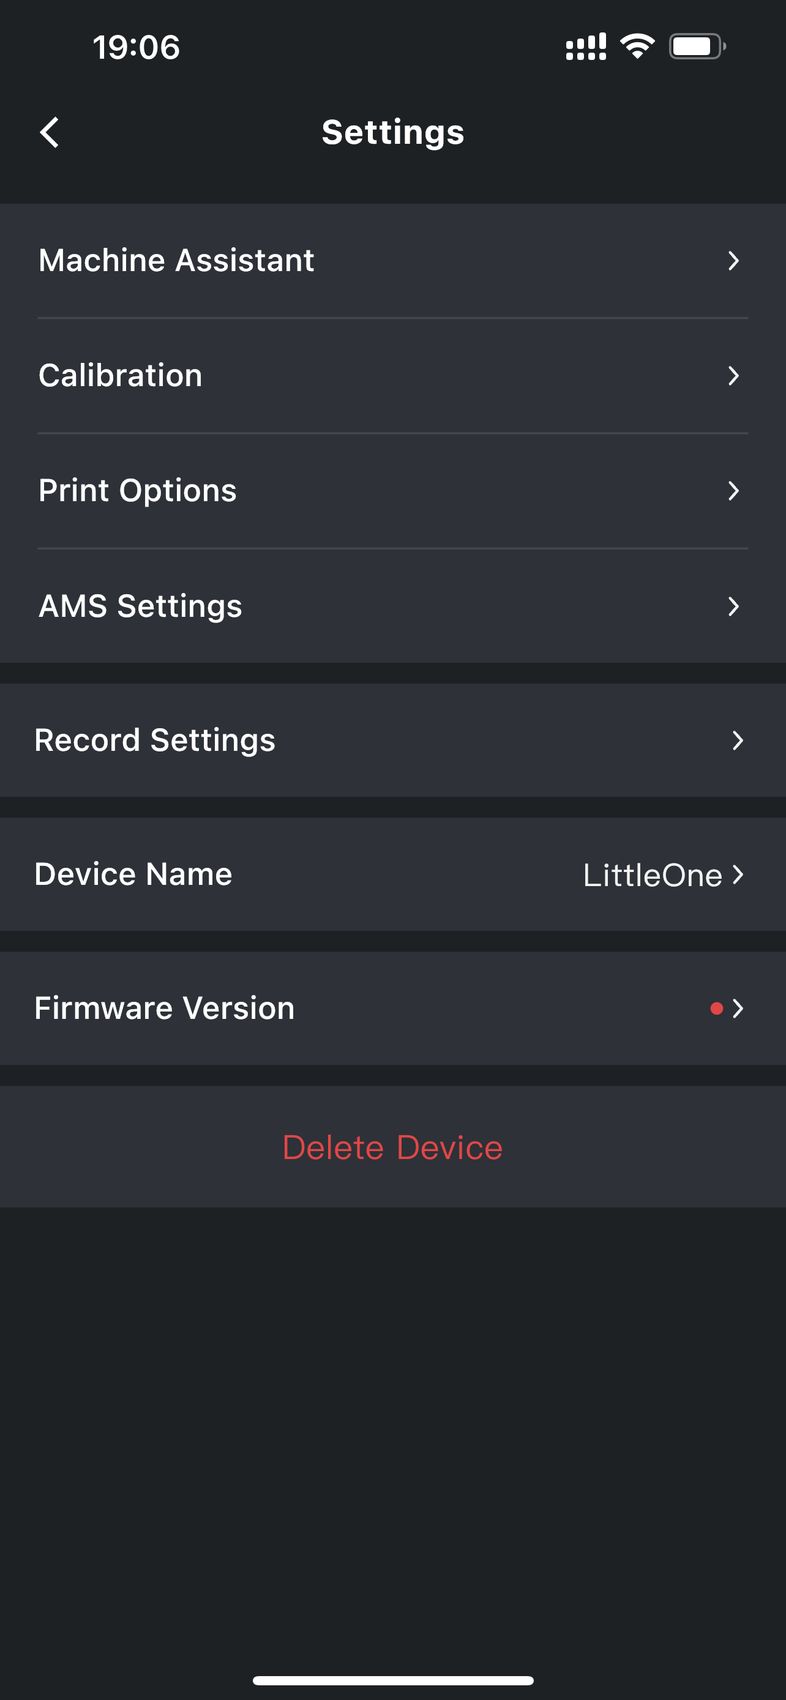
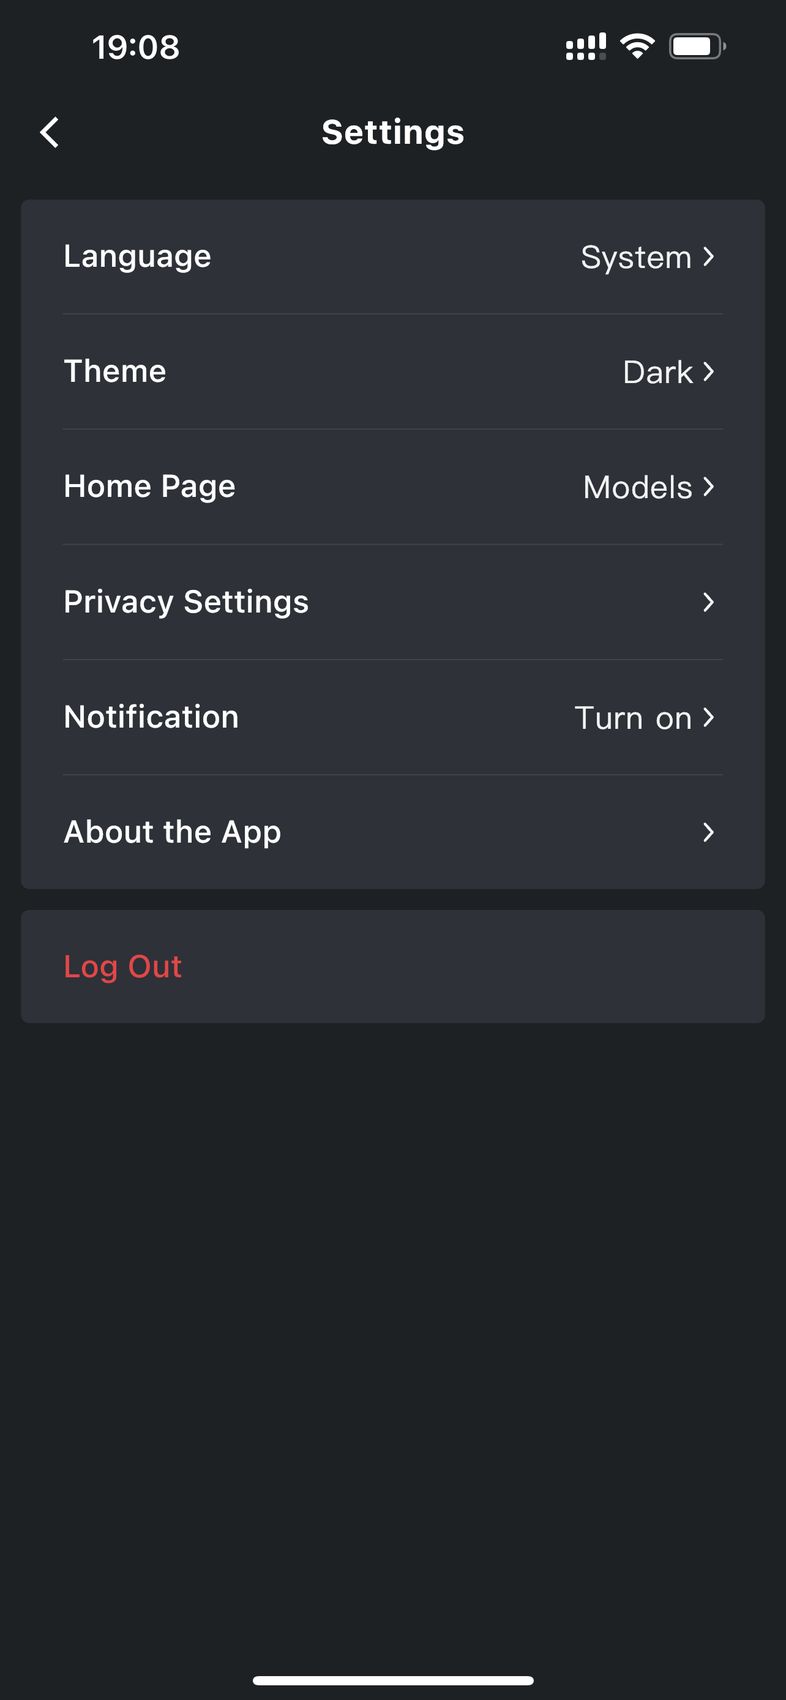
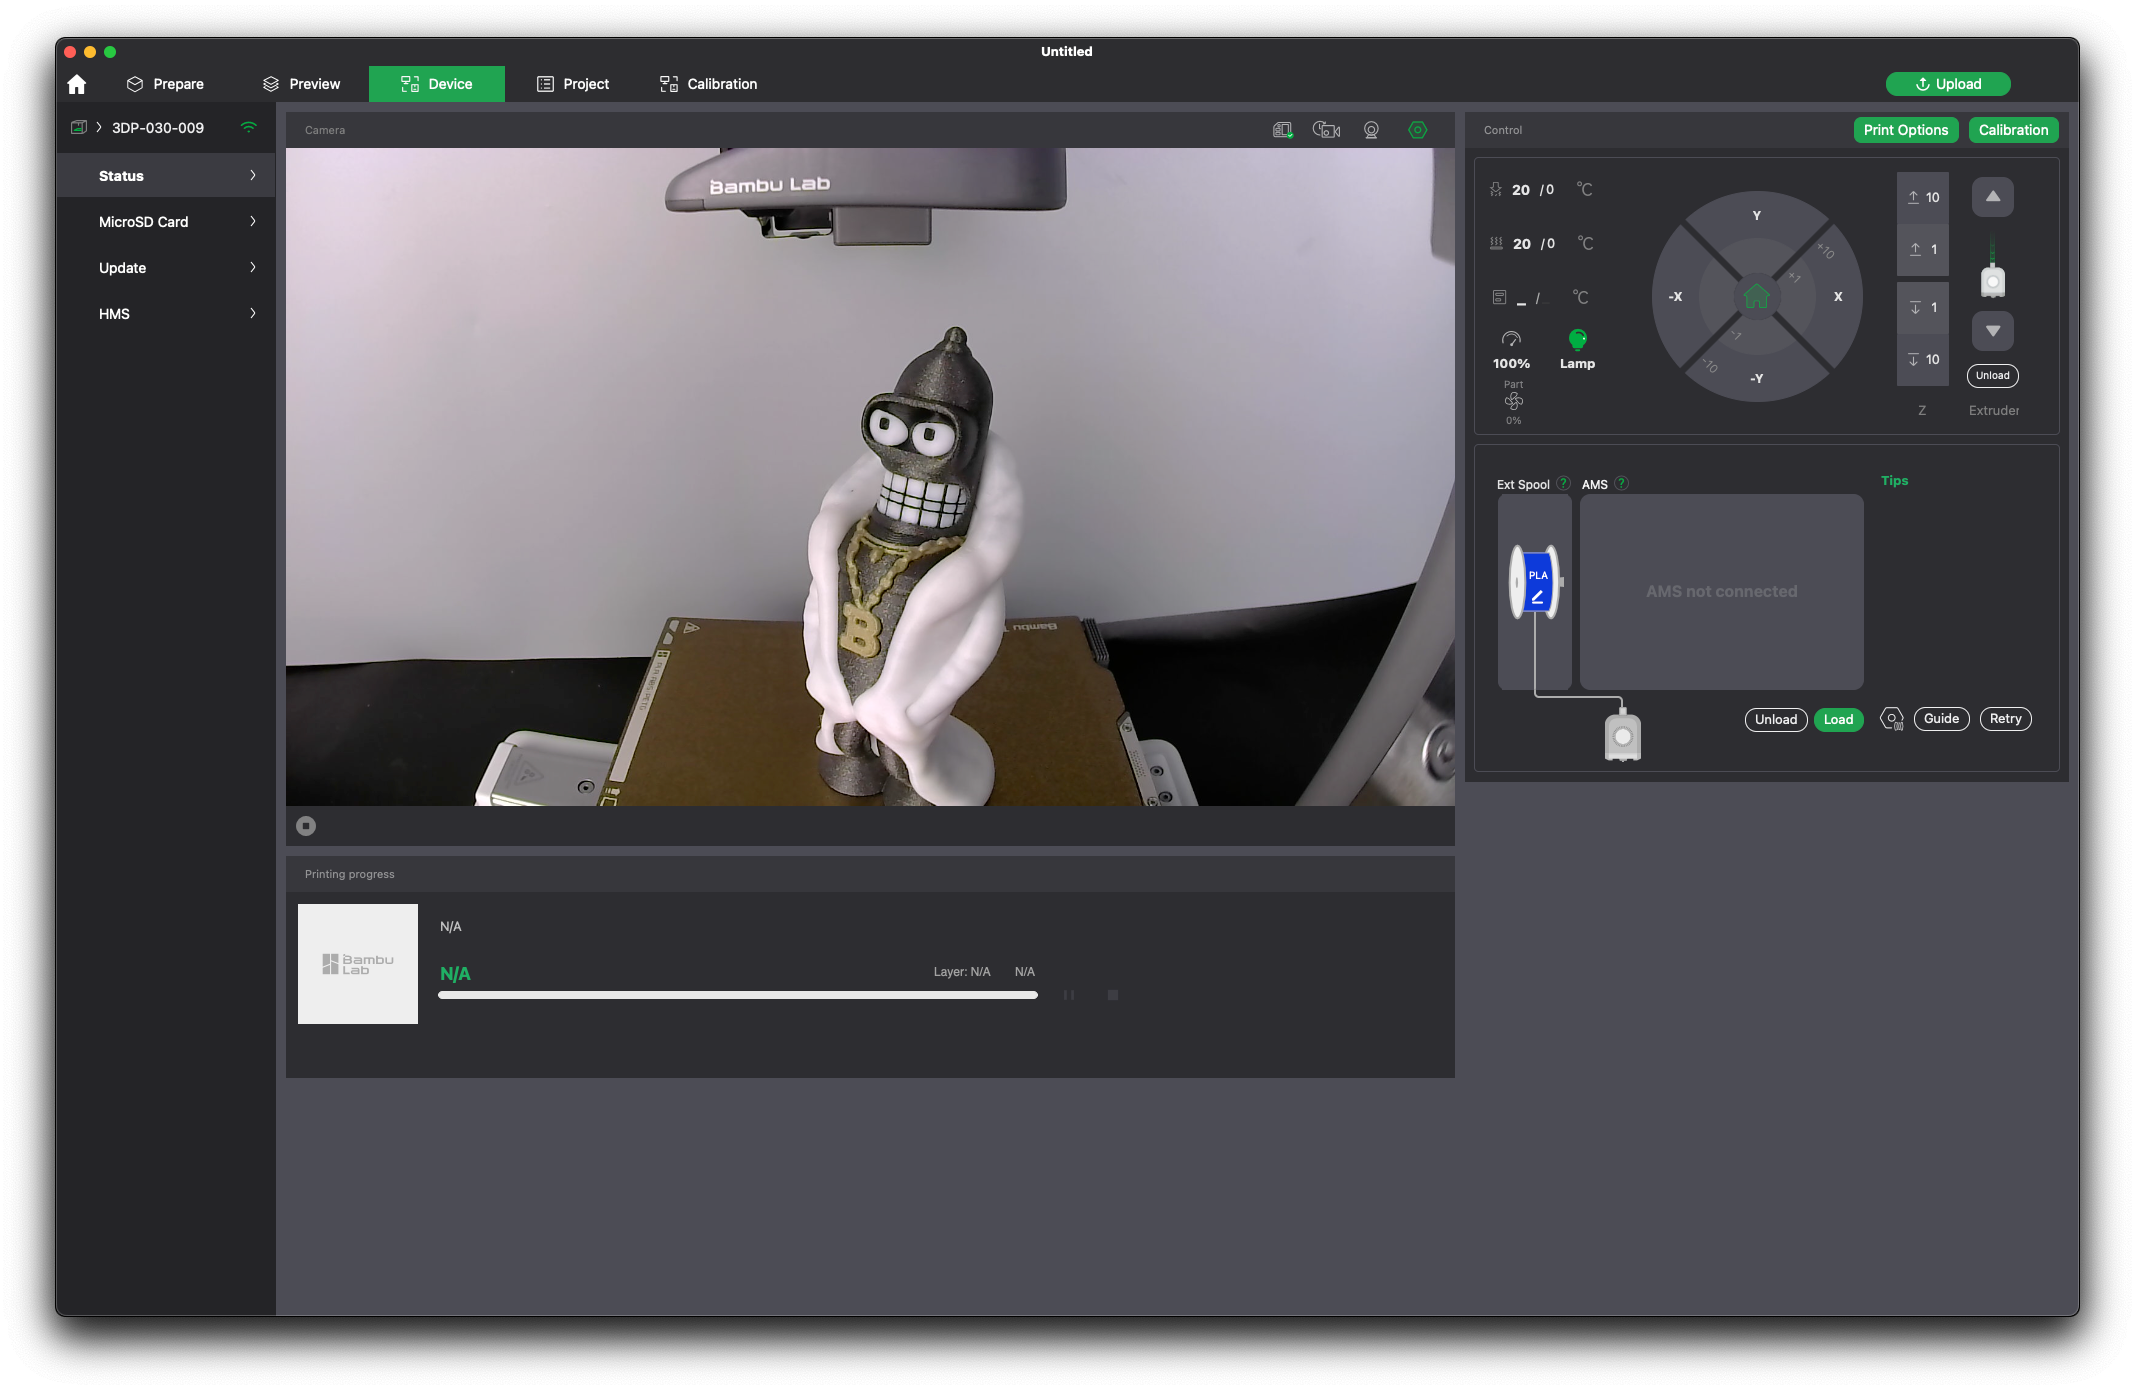
You get the expected motion control for the printer, the features of the printer can be turned on or off using the on-screen options, and you can even use it to open tickets for Bambu Lab support right from the app.
Bambu Studio
Bambu Studio has quickly become quite popular as a slicer, especially with the Orca Slicer fork. It provides an easy-to-use interface for slicing and excellent integration with Bambu Lab printers.
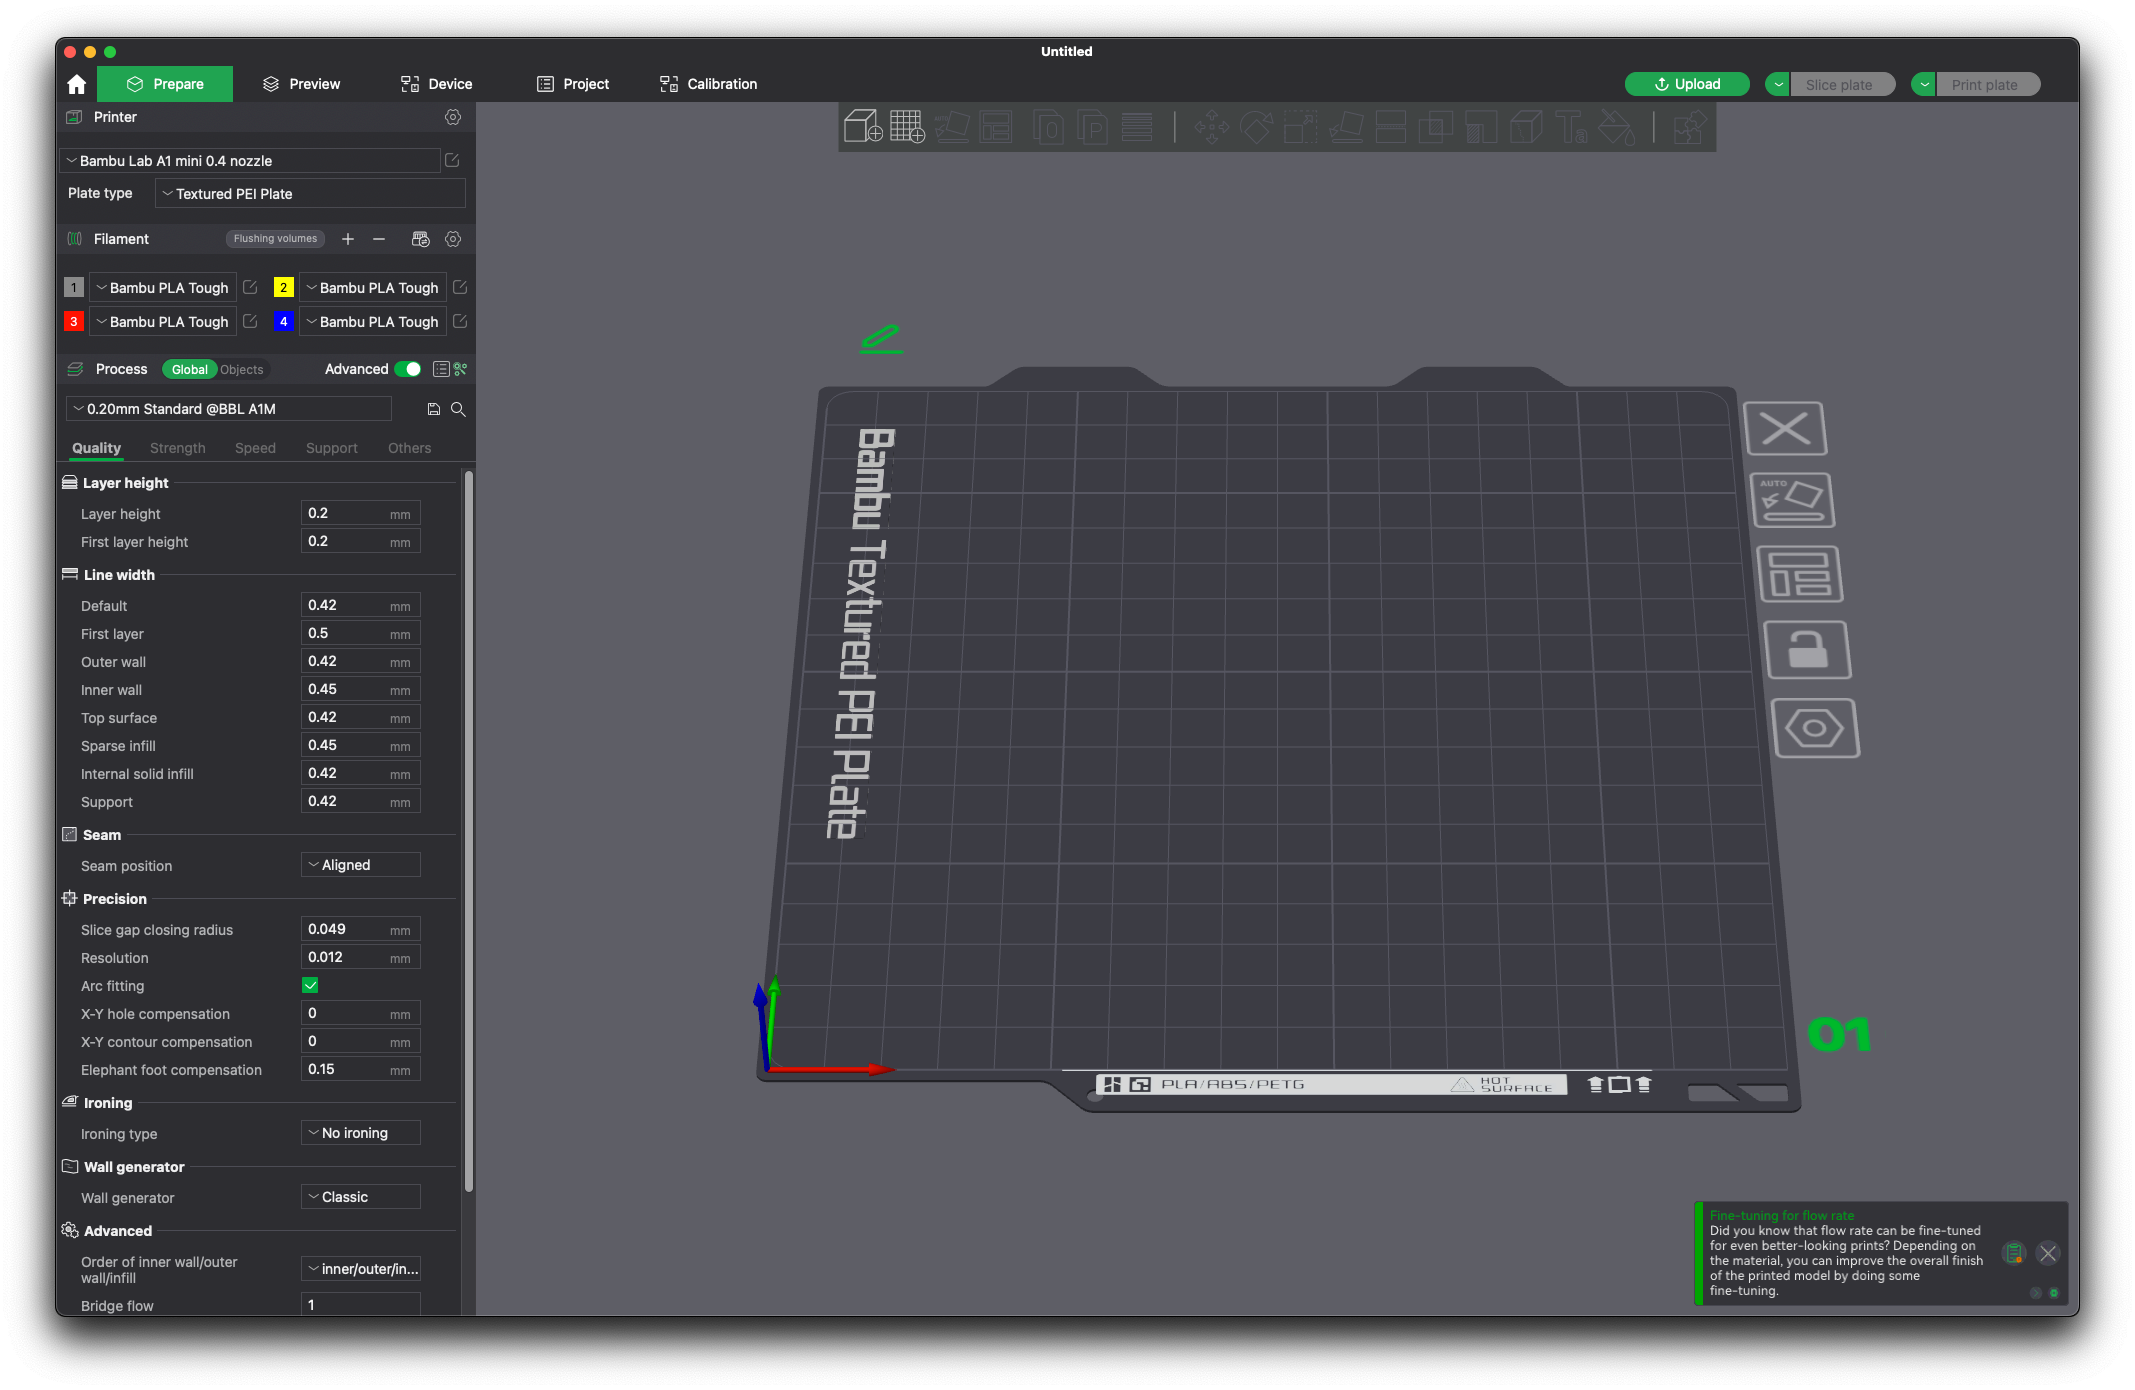
For the A1, you get a large selection of printing profiles made for all Bambu Lab filaments, but also Generic profiles that can be used for other filaments from other brands. The only filament I was missing was ABS, which is probably not compatible with the printer due to the lower heatbed temperature capabilities of the printer.
Most of the time, the pre-loaded profiles work great and don’t really need any changes, but I found that the print speed might be set too high in some cases which can lead to failures.
Heating time and power consumption
Hotend
- 200C in 49 seconds
- 250C in 1 minute and 10 seconds
- 300C in 1 minute and 49 seconds
Heatbed
- 60C in 2 minutes and 55 seconds
- 80C in 6 minutes 5 seconds
It’s important to know that the A1 Mini does not support setting the heatbed temperature higher than 80C meaning that it will not be able to print high-temperature materials that require an enclosure.
Unfortunately, the heating speed of the A1 Mini’s heatbed is not very fast and can take longer than it takes on other printers. This is due to the low-power fanless power supply.
Power Draw.
The idle power draw is around 5W. When the hotend and heatbed are heating up, the Bambu Lab A1 Mini draws around 120W. After it starts printing, the power draw stabilizes to around 50W.
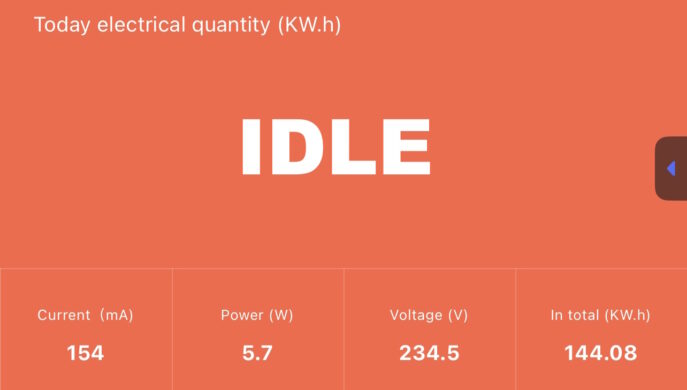
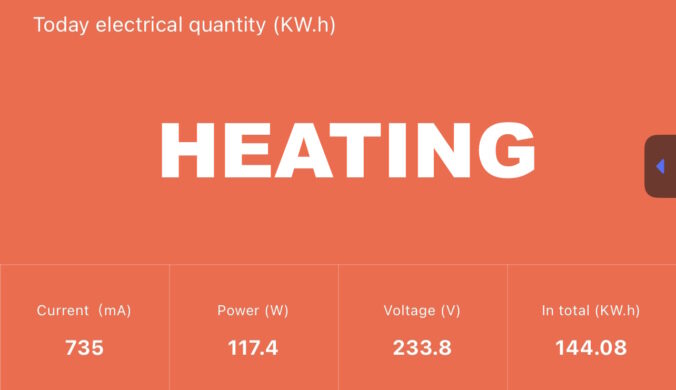
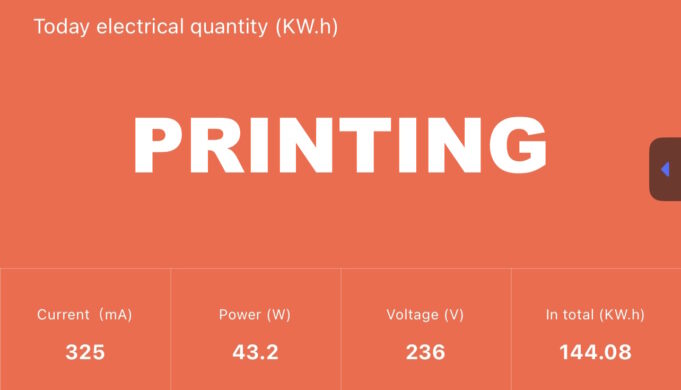
All these measurements were taken with a Blitzwolf smart power socket which indicates the power draw, and it can also be used for remotely powering on and off the printer.
Bed Temperature Uniformity
I tested the temperature uniformity for the A1 Mini bed with the Flir Camera installed on the CAT S62 Pro. The bed was set to 60C and I waited 2 minutes after reaching that temperature for the temperature to stabilize.
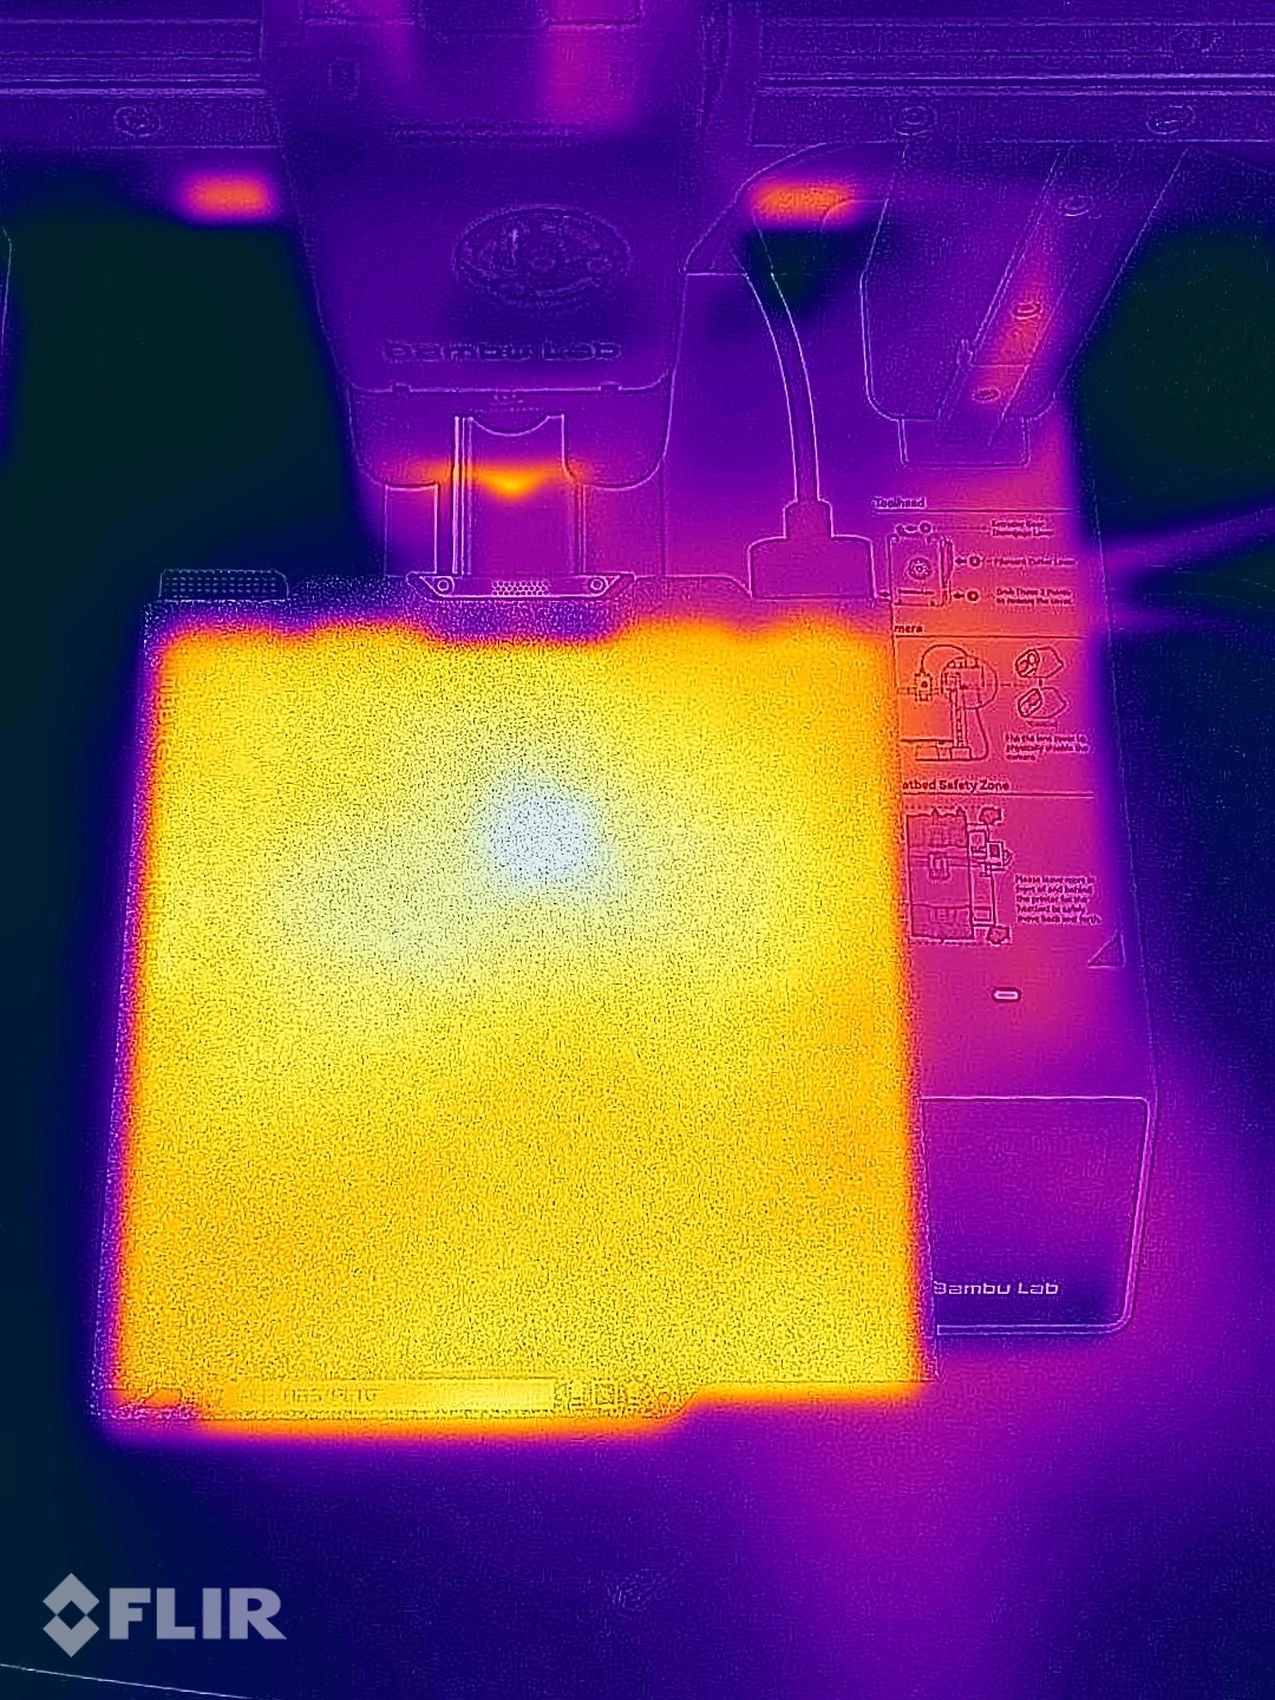
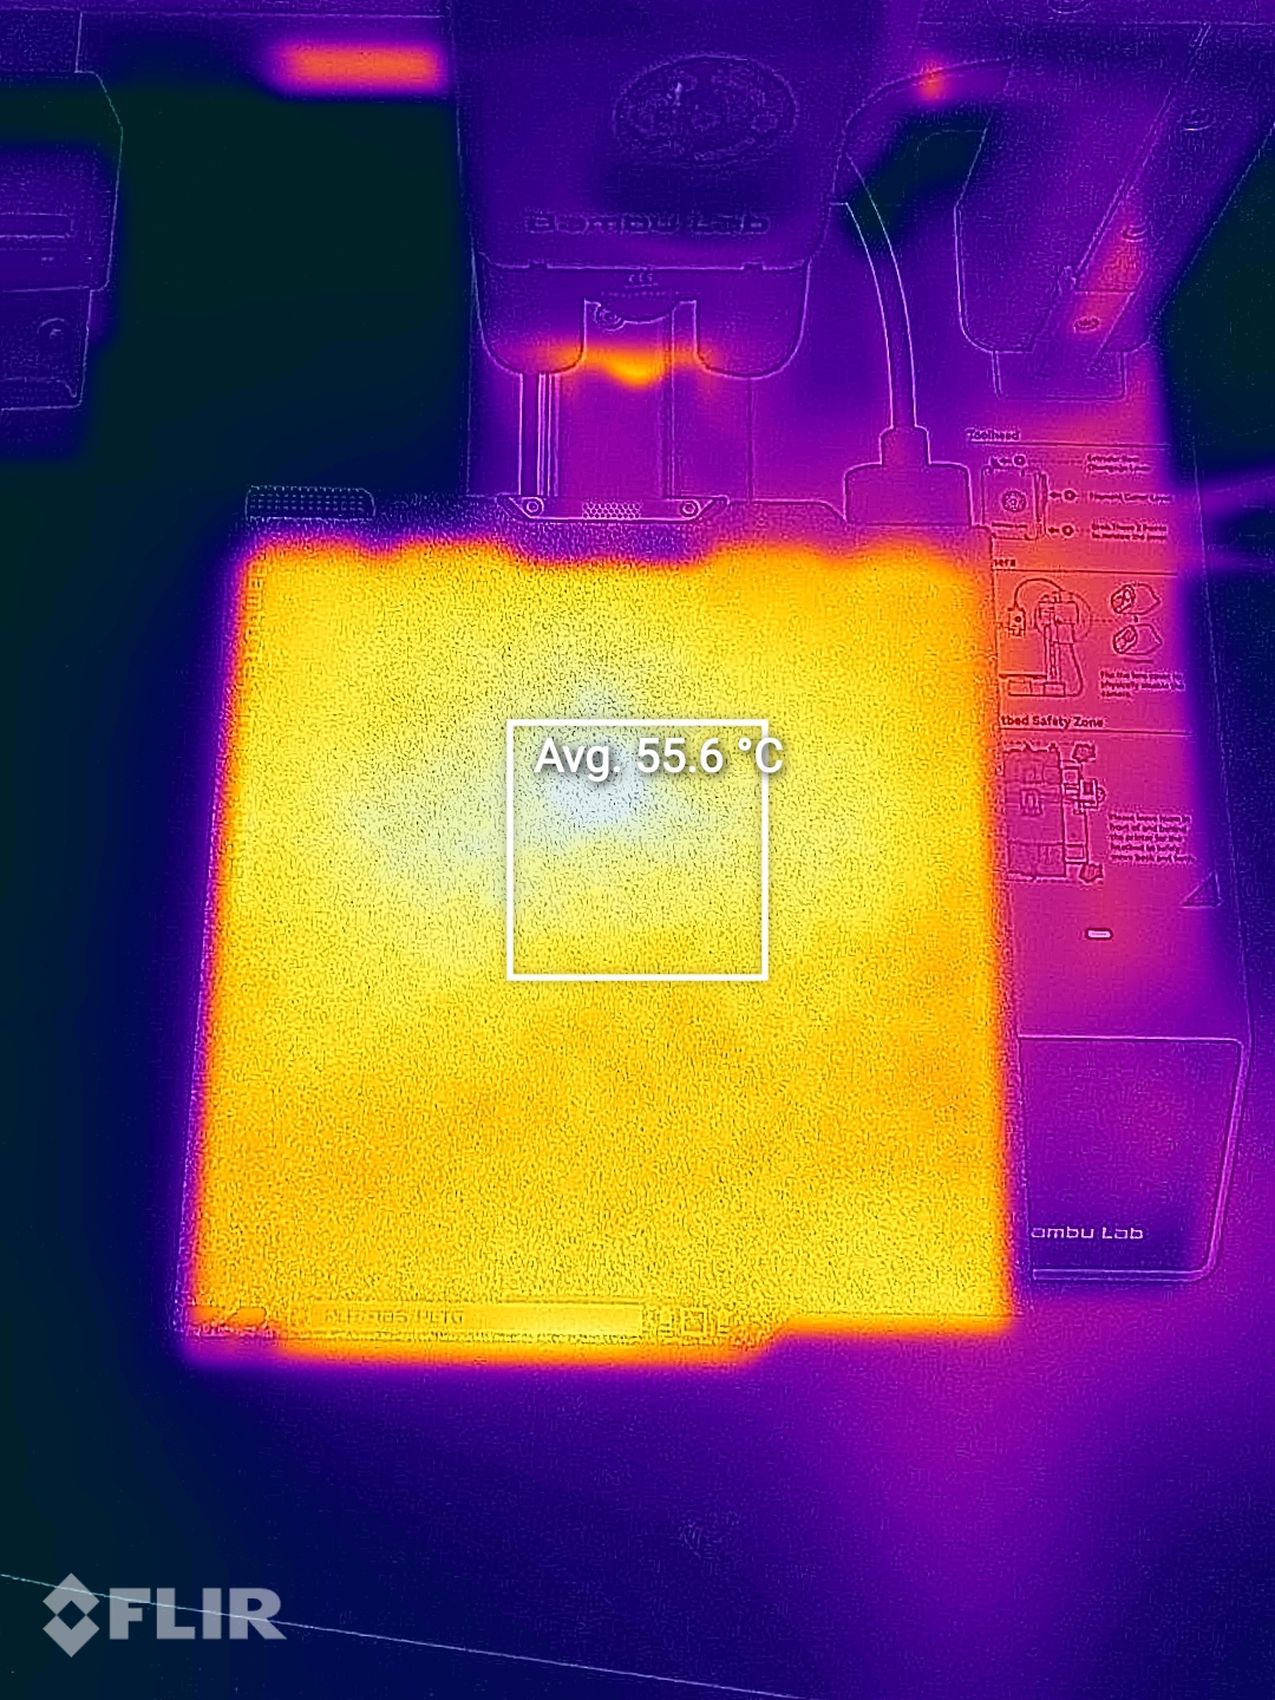
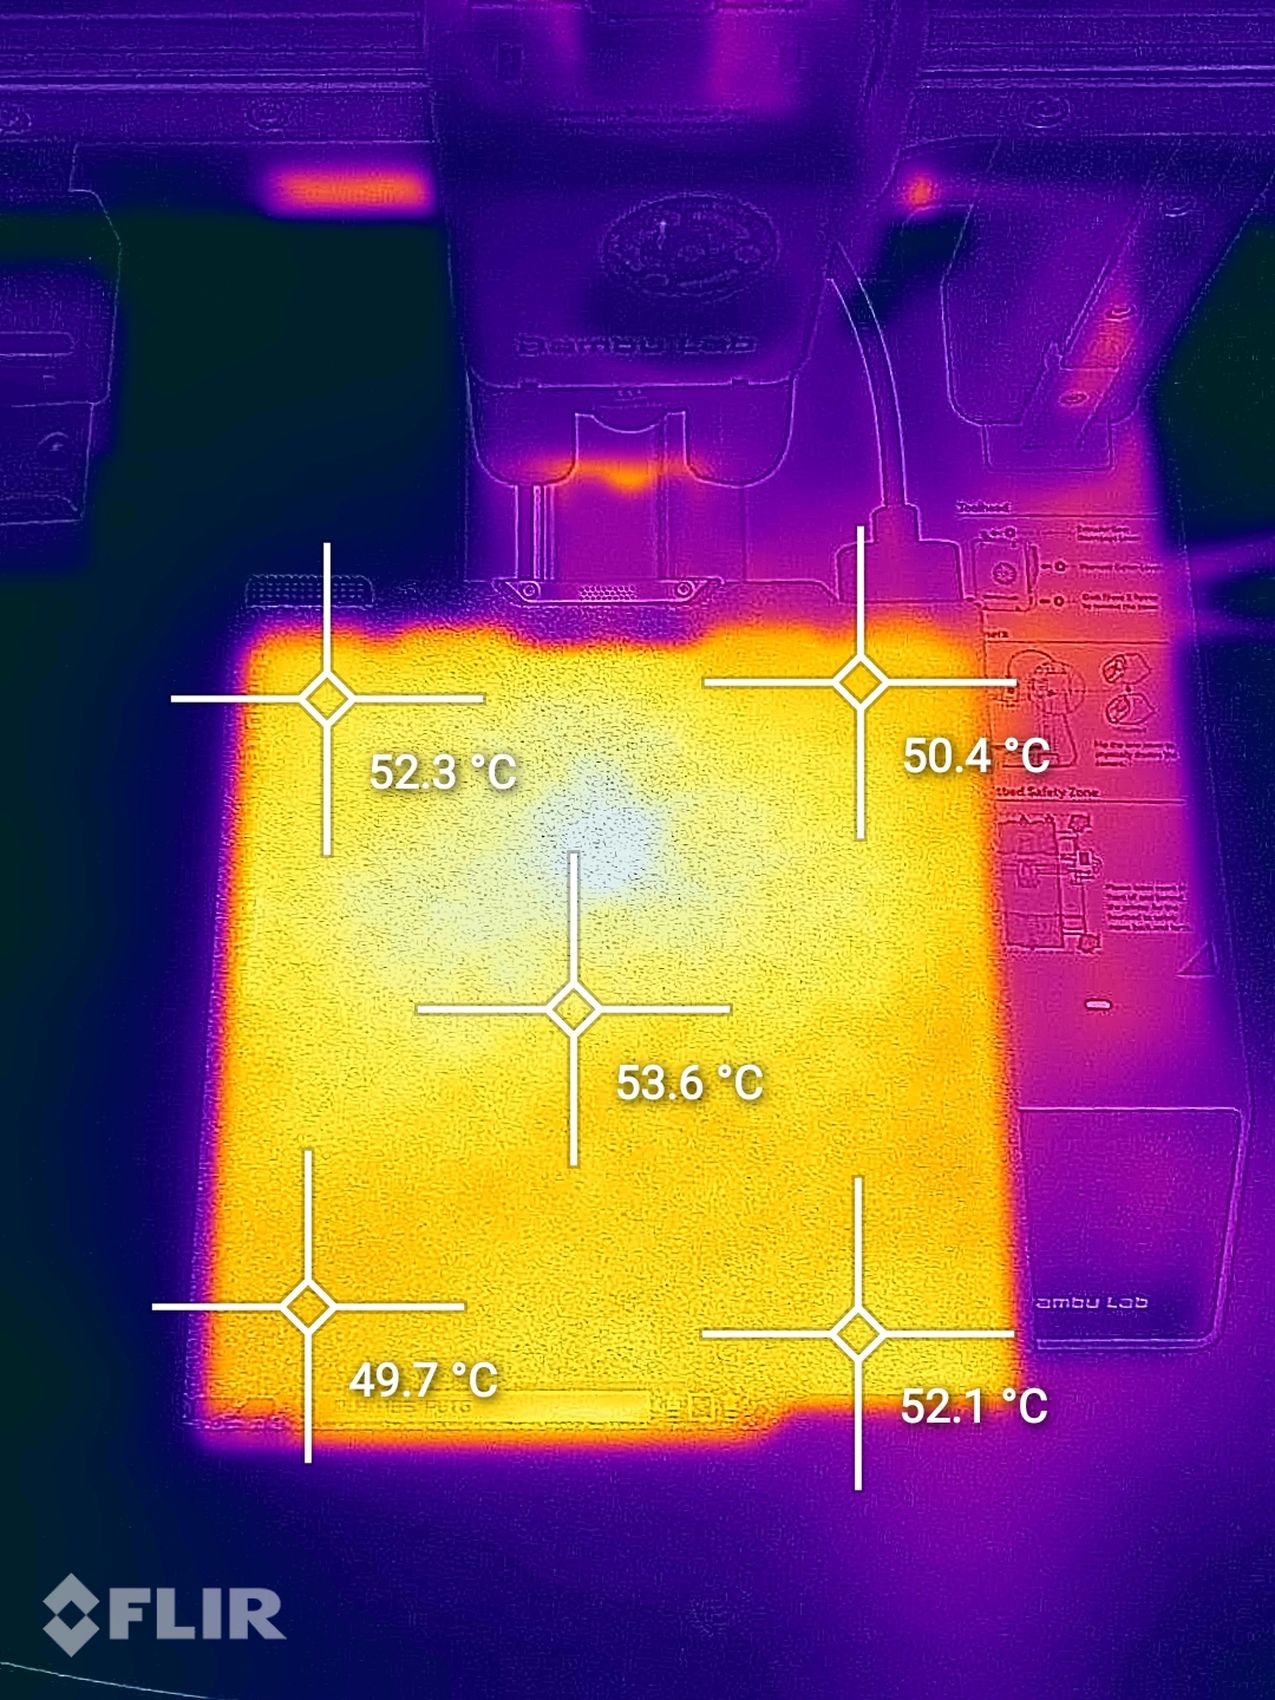
You can see that the heatbed temperature uniformity doesn’t look as good as expected. Even though the heatbed is set to 60C, the temperature of the top surface is about 5-10C lower than the one reported by the thermistor. But then I noticed the textured PEI plate is quite reflective which can interfere with the temperature reading of the FLIR Camera.
I removed the plate and measured the temperature again, as the magnetic surface on the bed was less reflective. This shows a more consistent temperature close to the one reported by the thermistor.
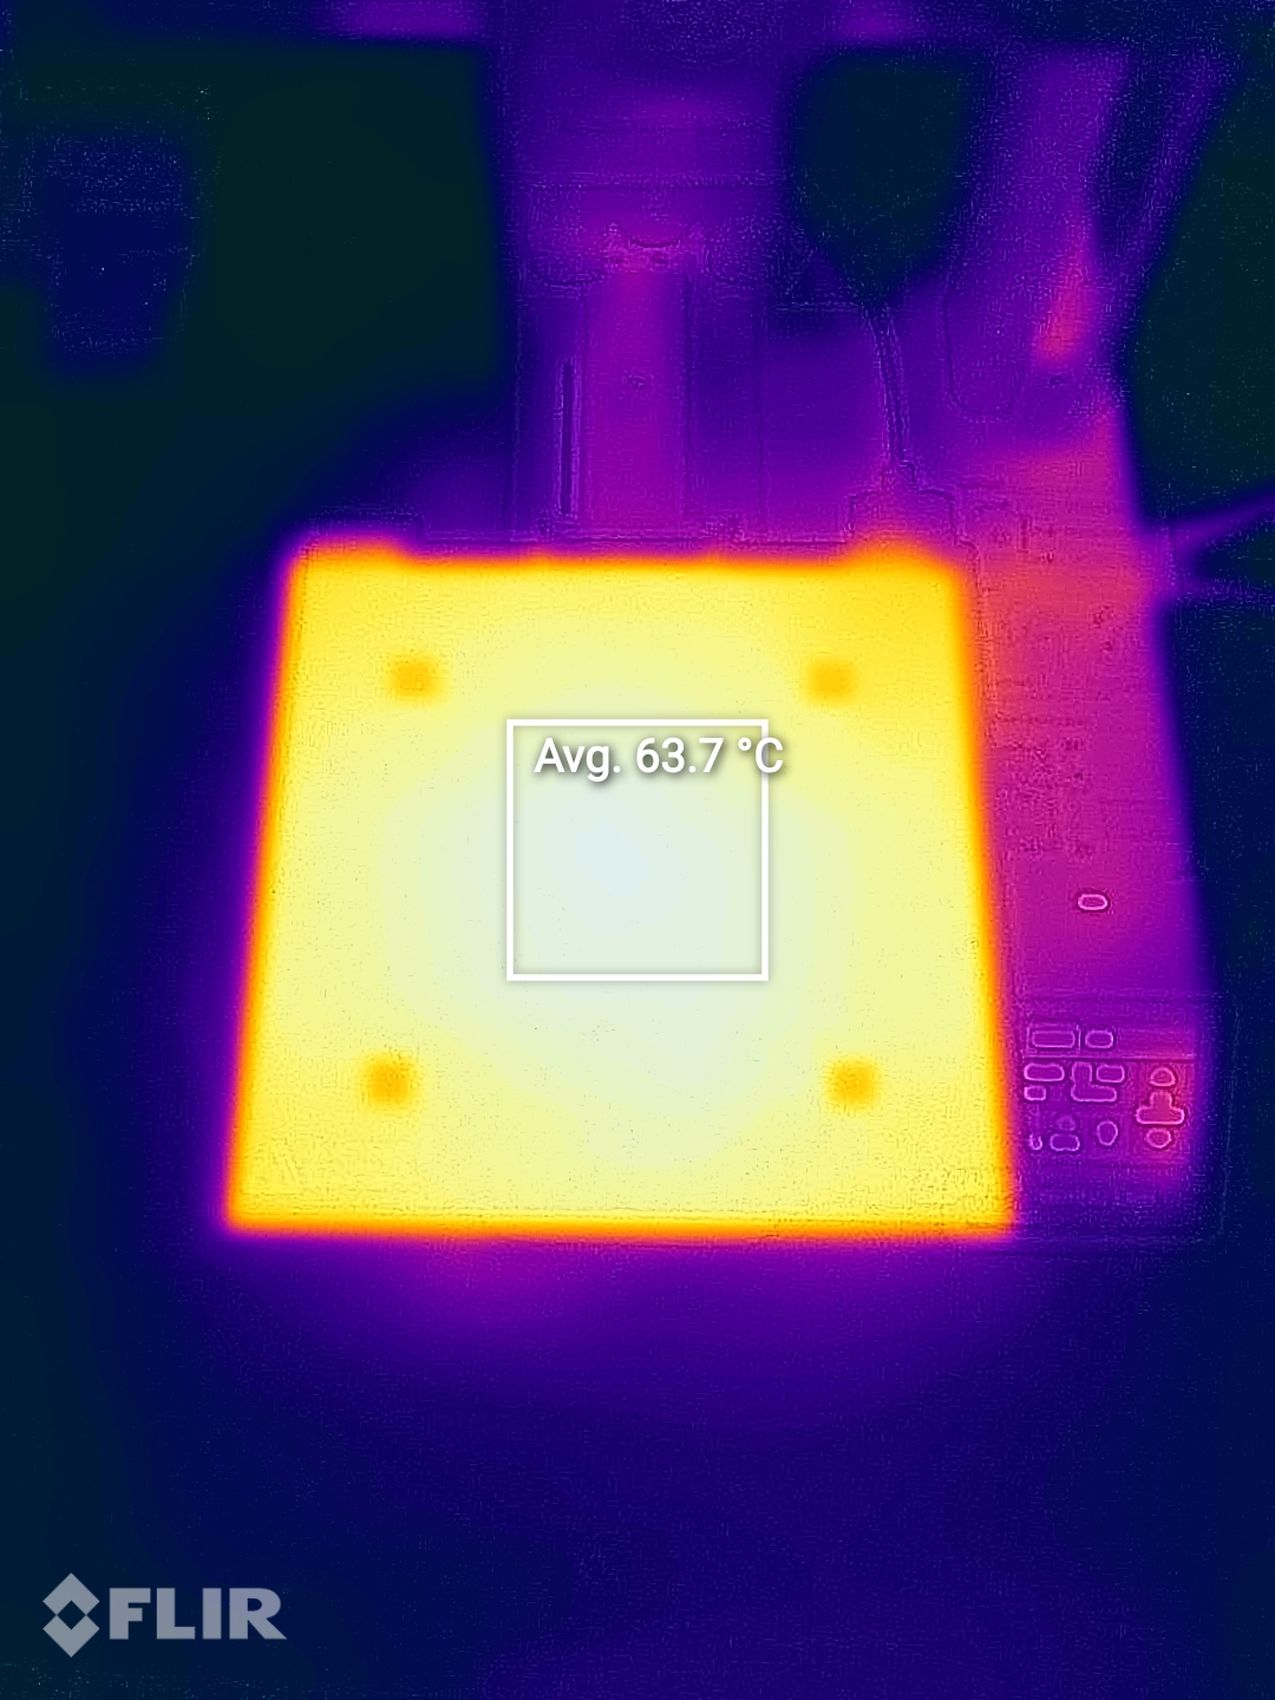
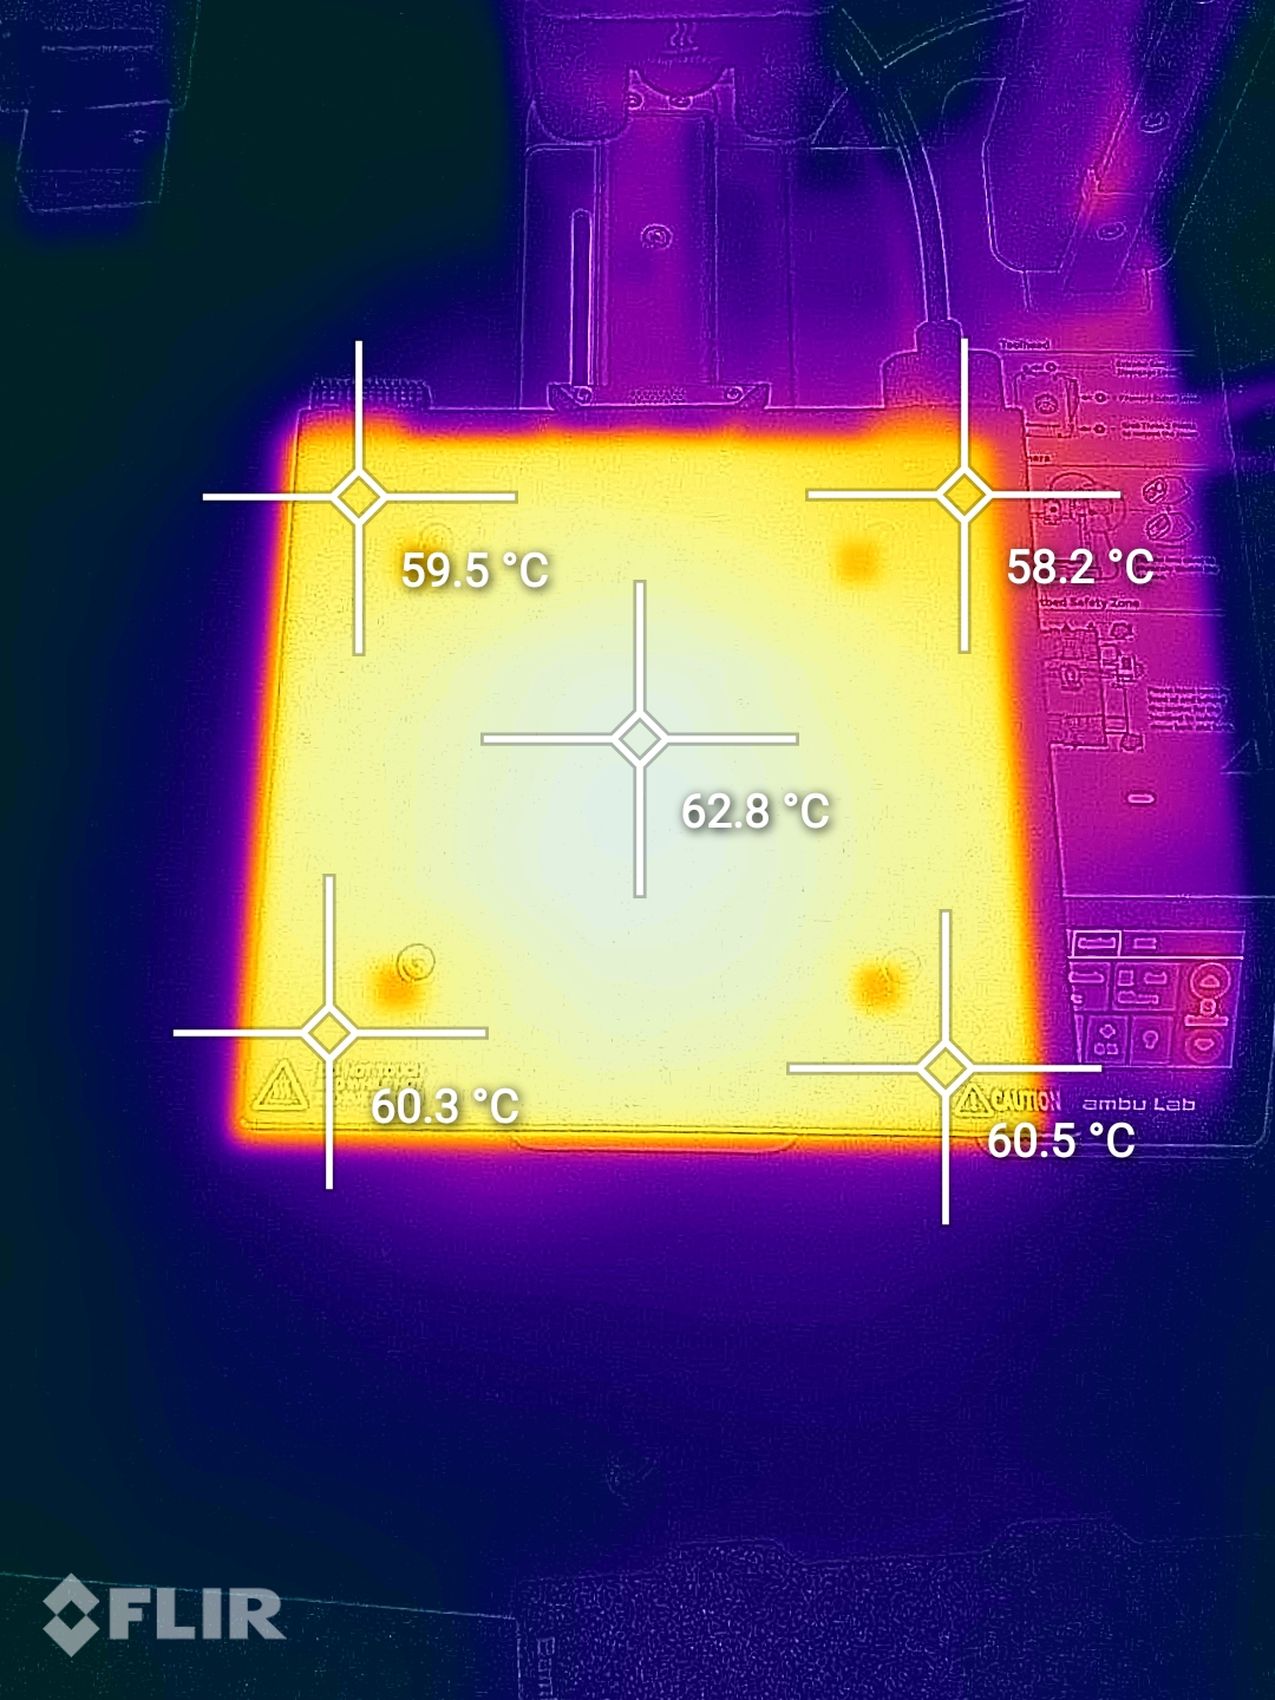
Overall, I think that the heatbed temperature is okay, and if you wish to compensate for the slightly lower temperature on the surface, you can increase the heatbed temperature by ~5C and everything should be fine.
Bambu Lab A1 Mini Noise Levels
The A1 Mini is one of the most silent 3D printers on the market right now. The motion system is relatively quiet and most of the noise will come from the part cooling fan and the board fan which turns on after you move the printer axis.
When printing small objects in PLA, the printer will be the noisiest as the fan will run at full speed most of the time, but for larger objects or filaments like PETG, the fan is dynamically adjusted according to the print requirements to make the printer silent.
Test prints on Bambu Lab A1 Mini
3D Benchy
The first print tried was the preloaded SpeedBoatRace file which can be printed in under 13 minutes. While the print quality is not amazing, considering the print speed and the time it takes to complete it, it’s quite impressive.
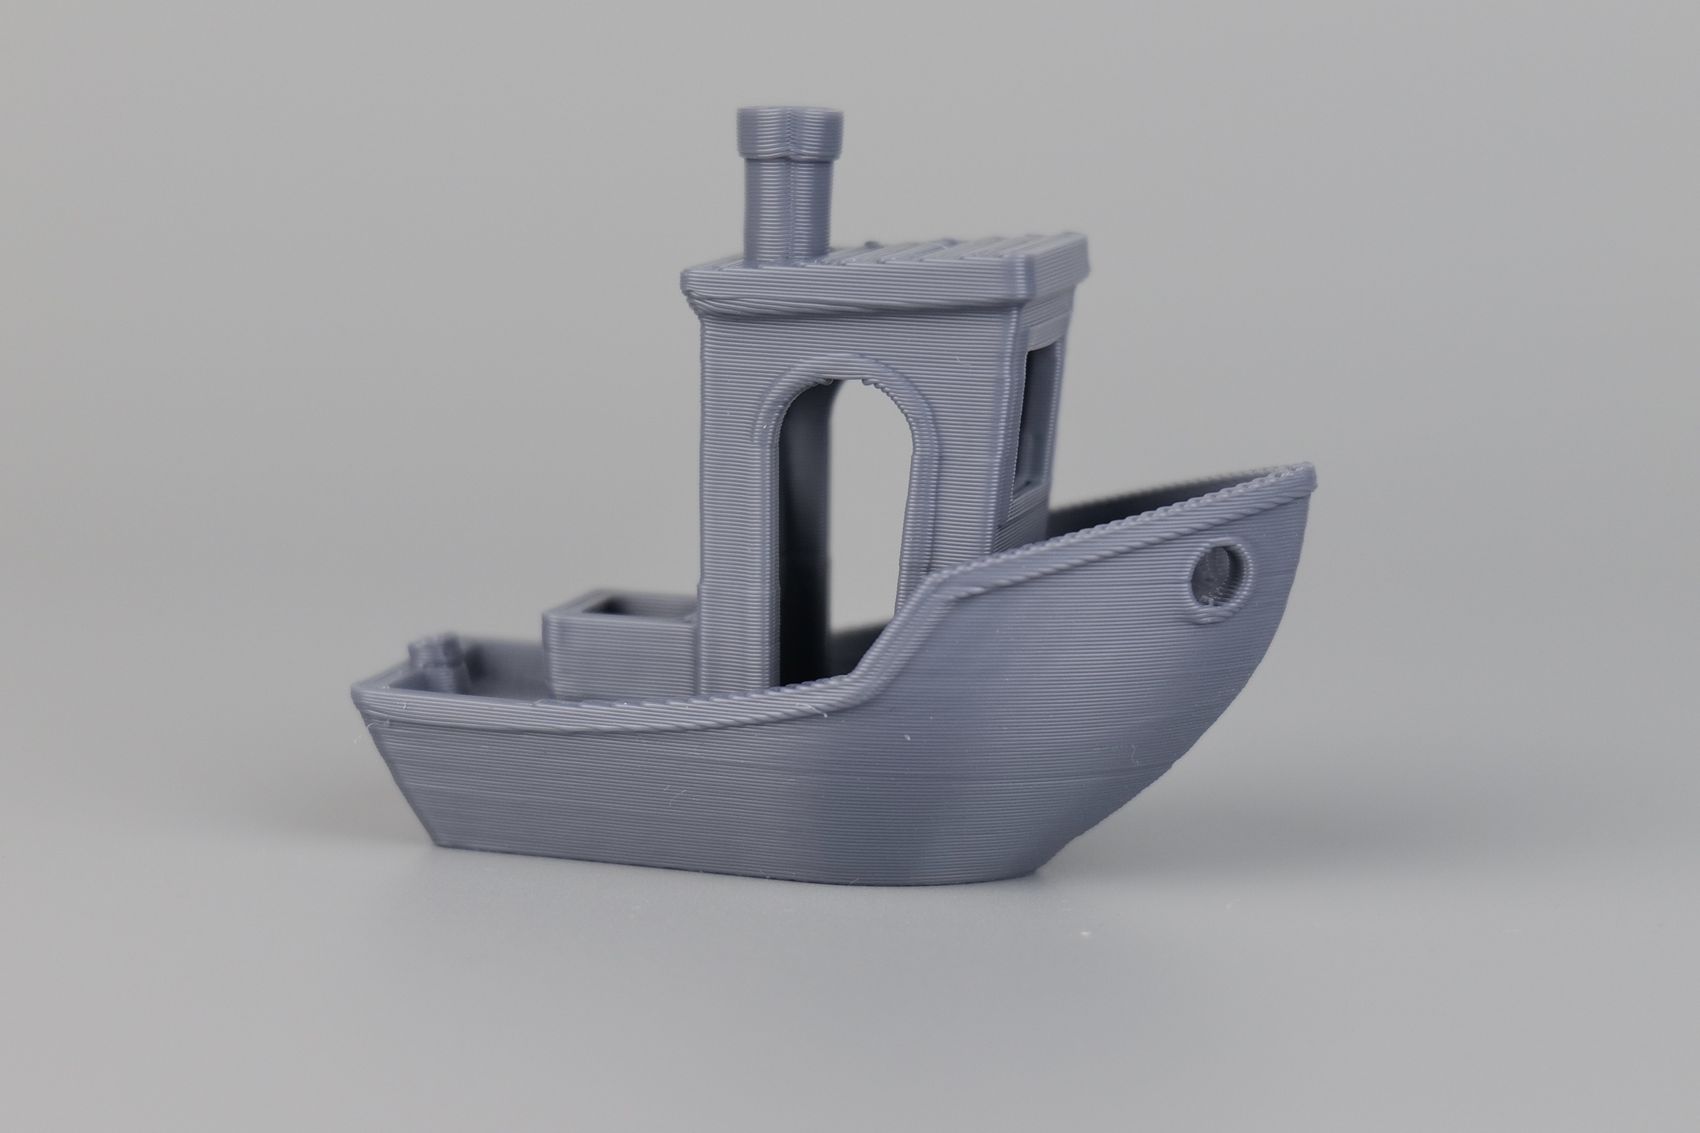
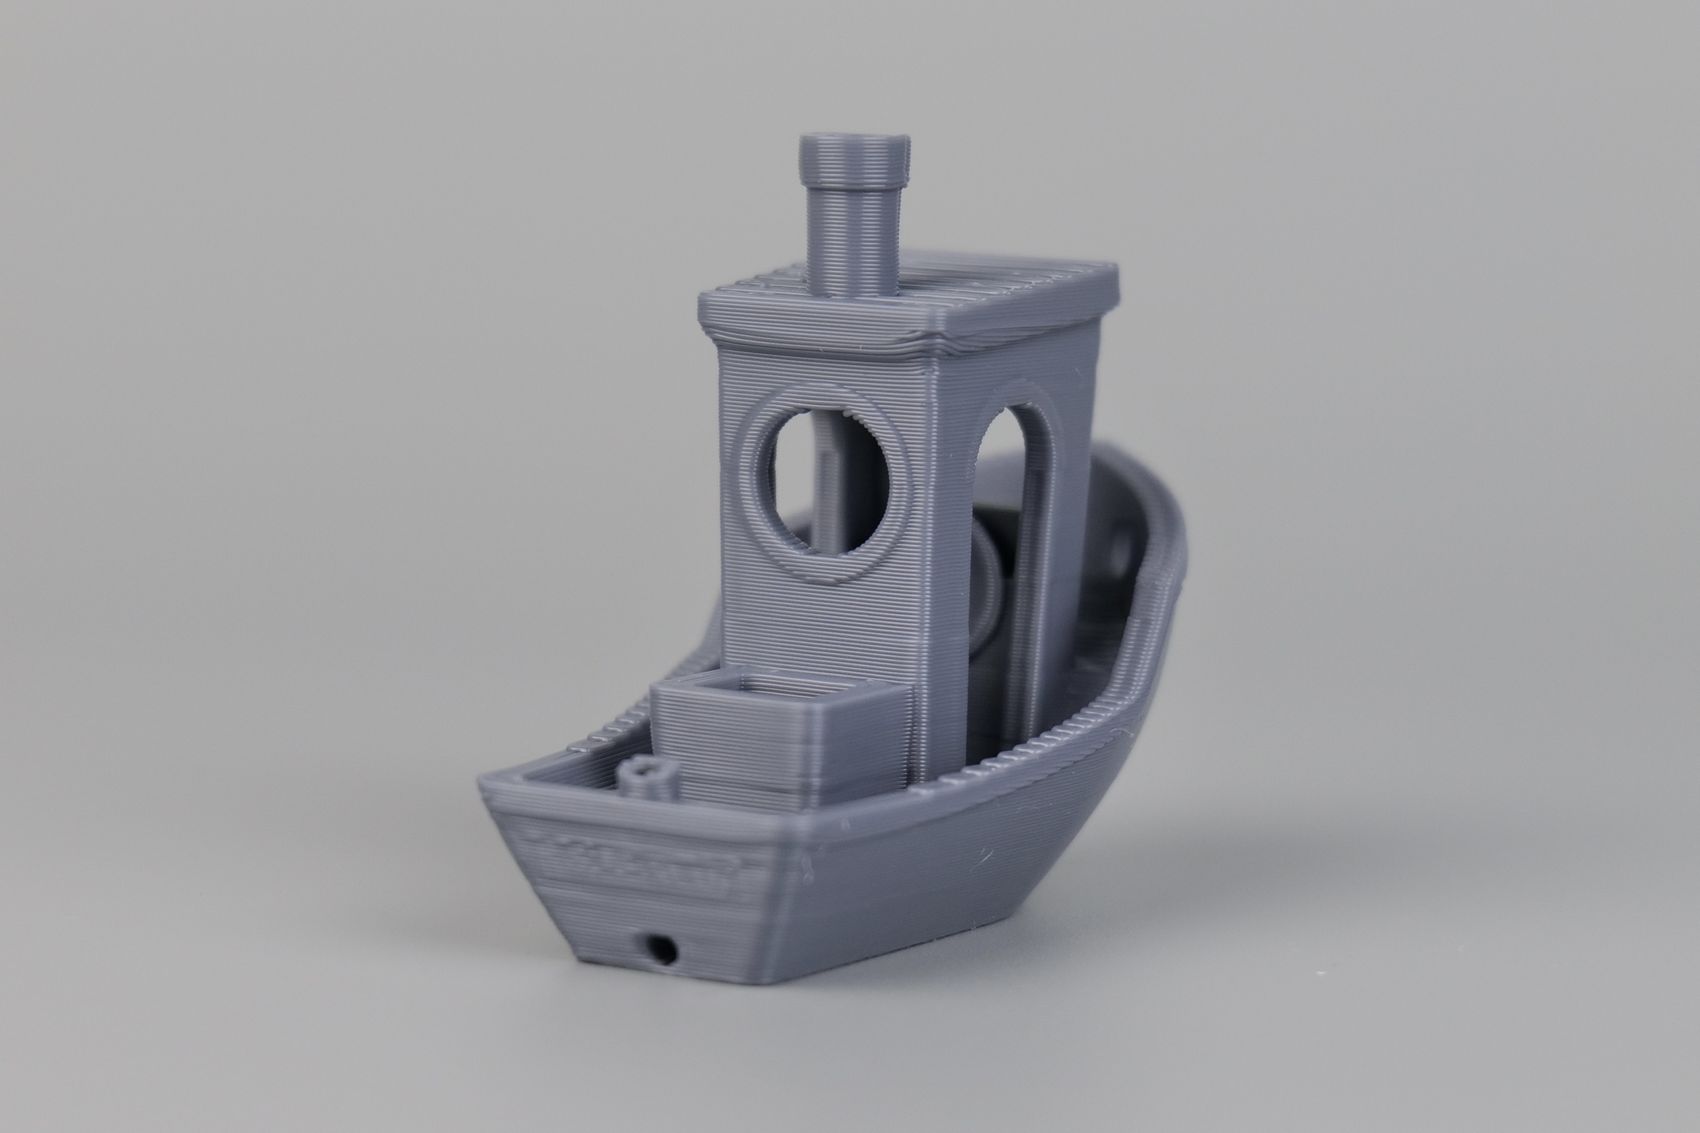
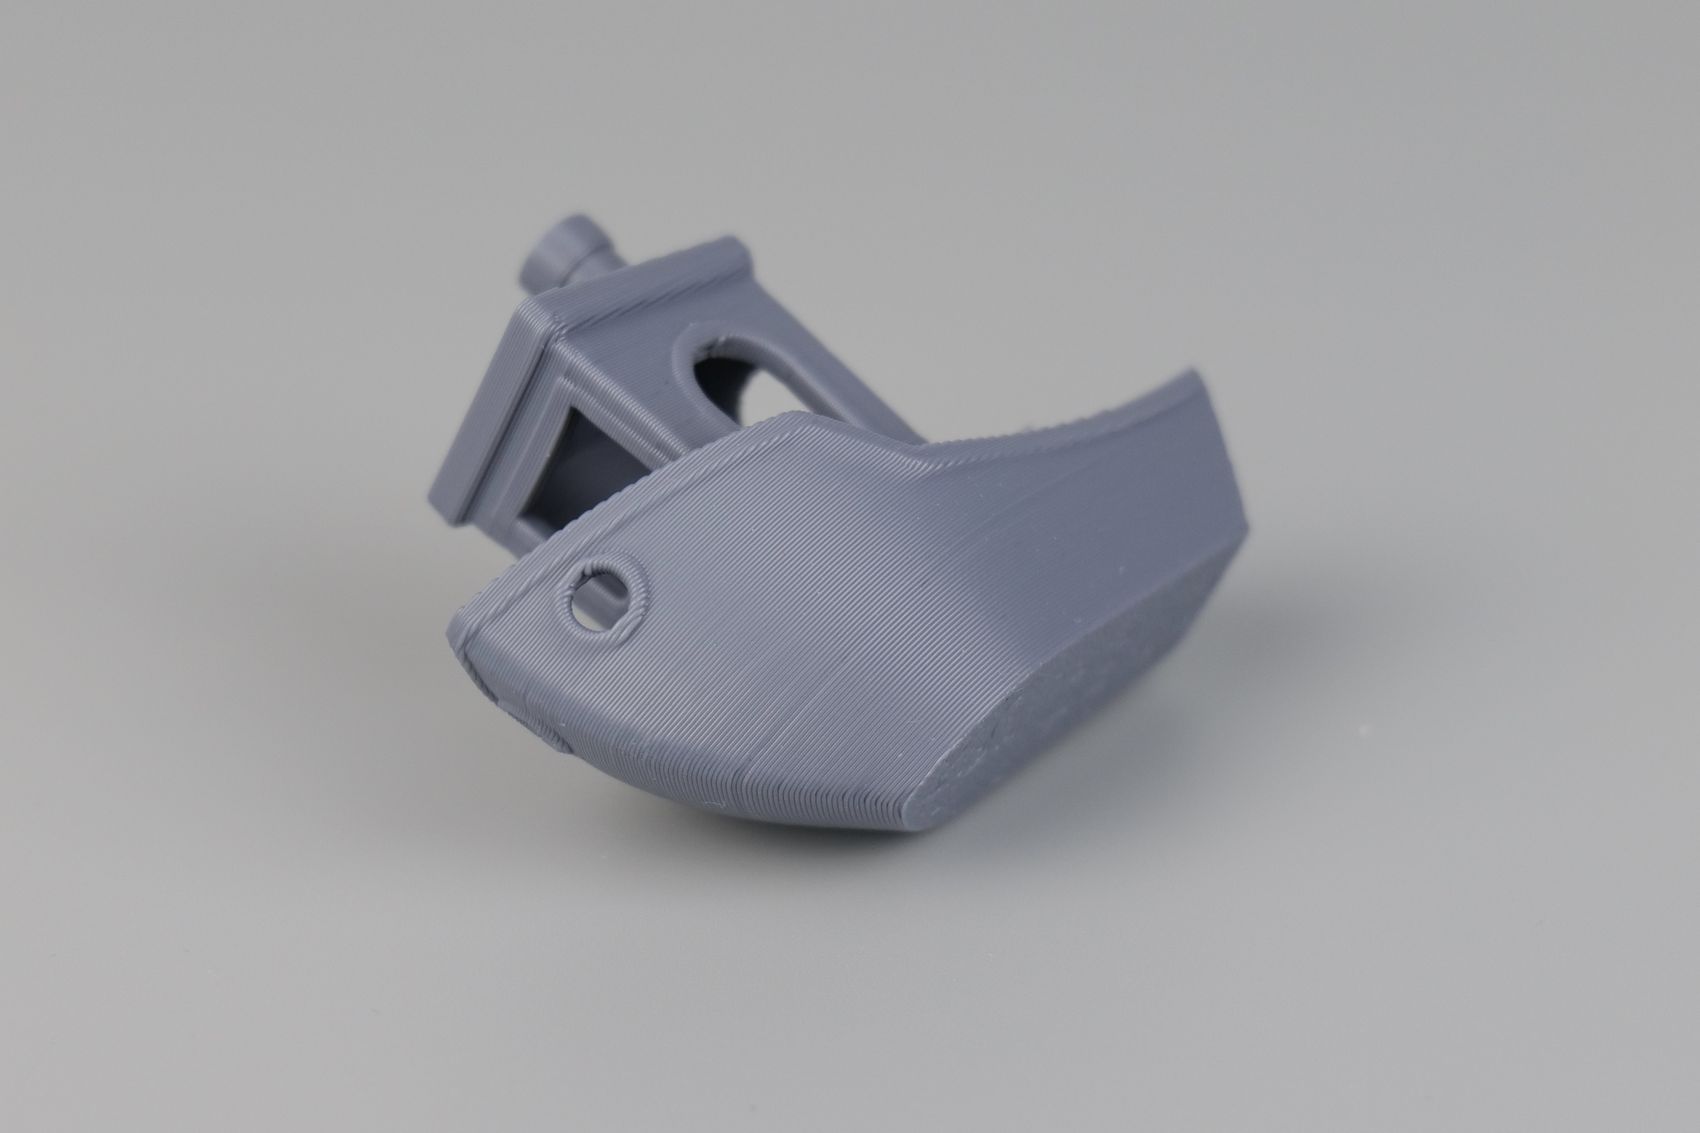
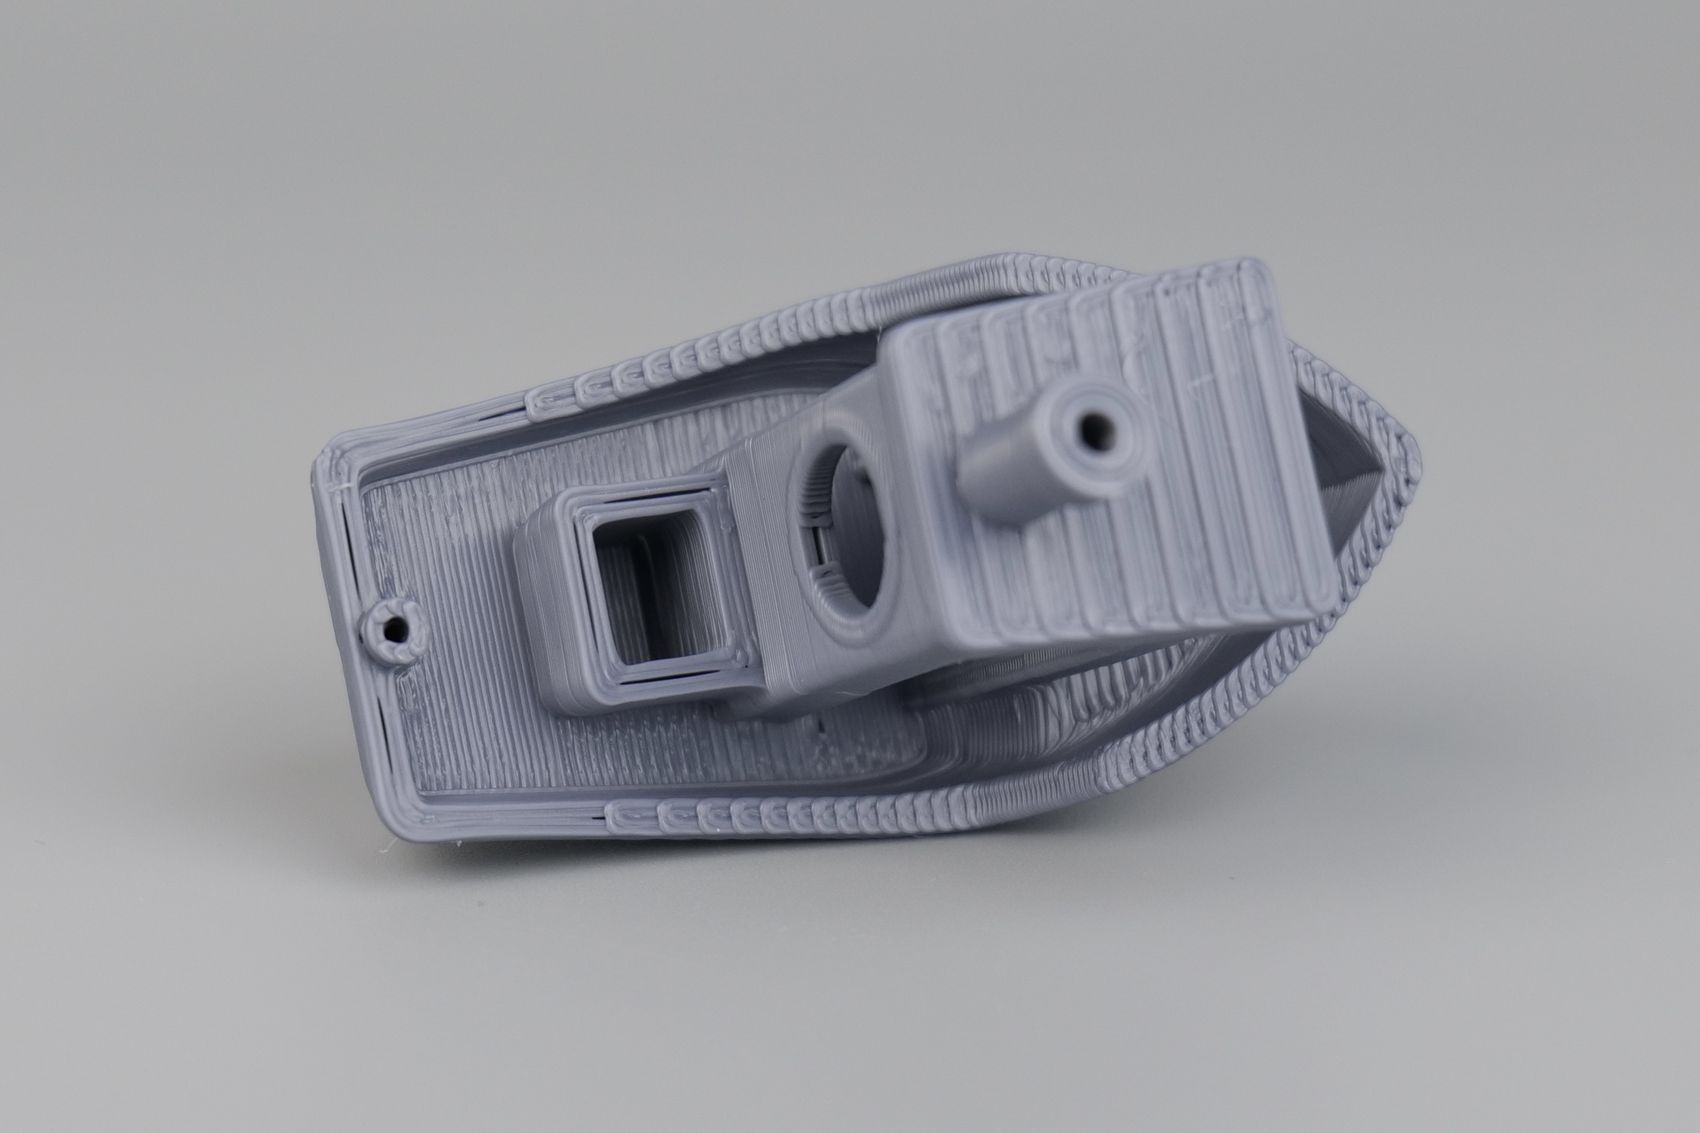
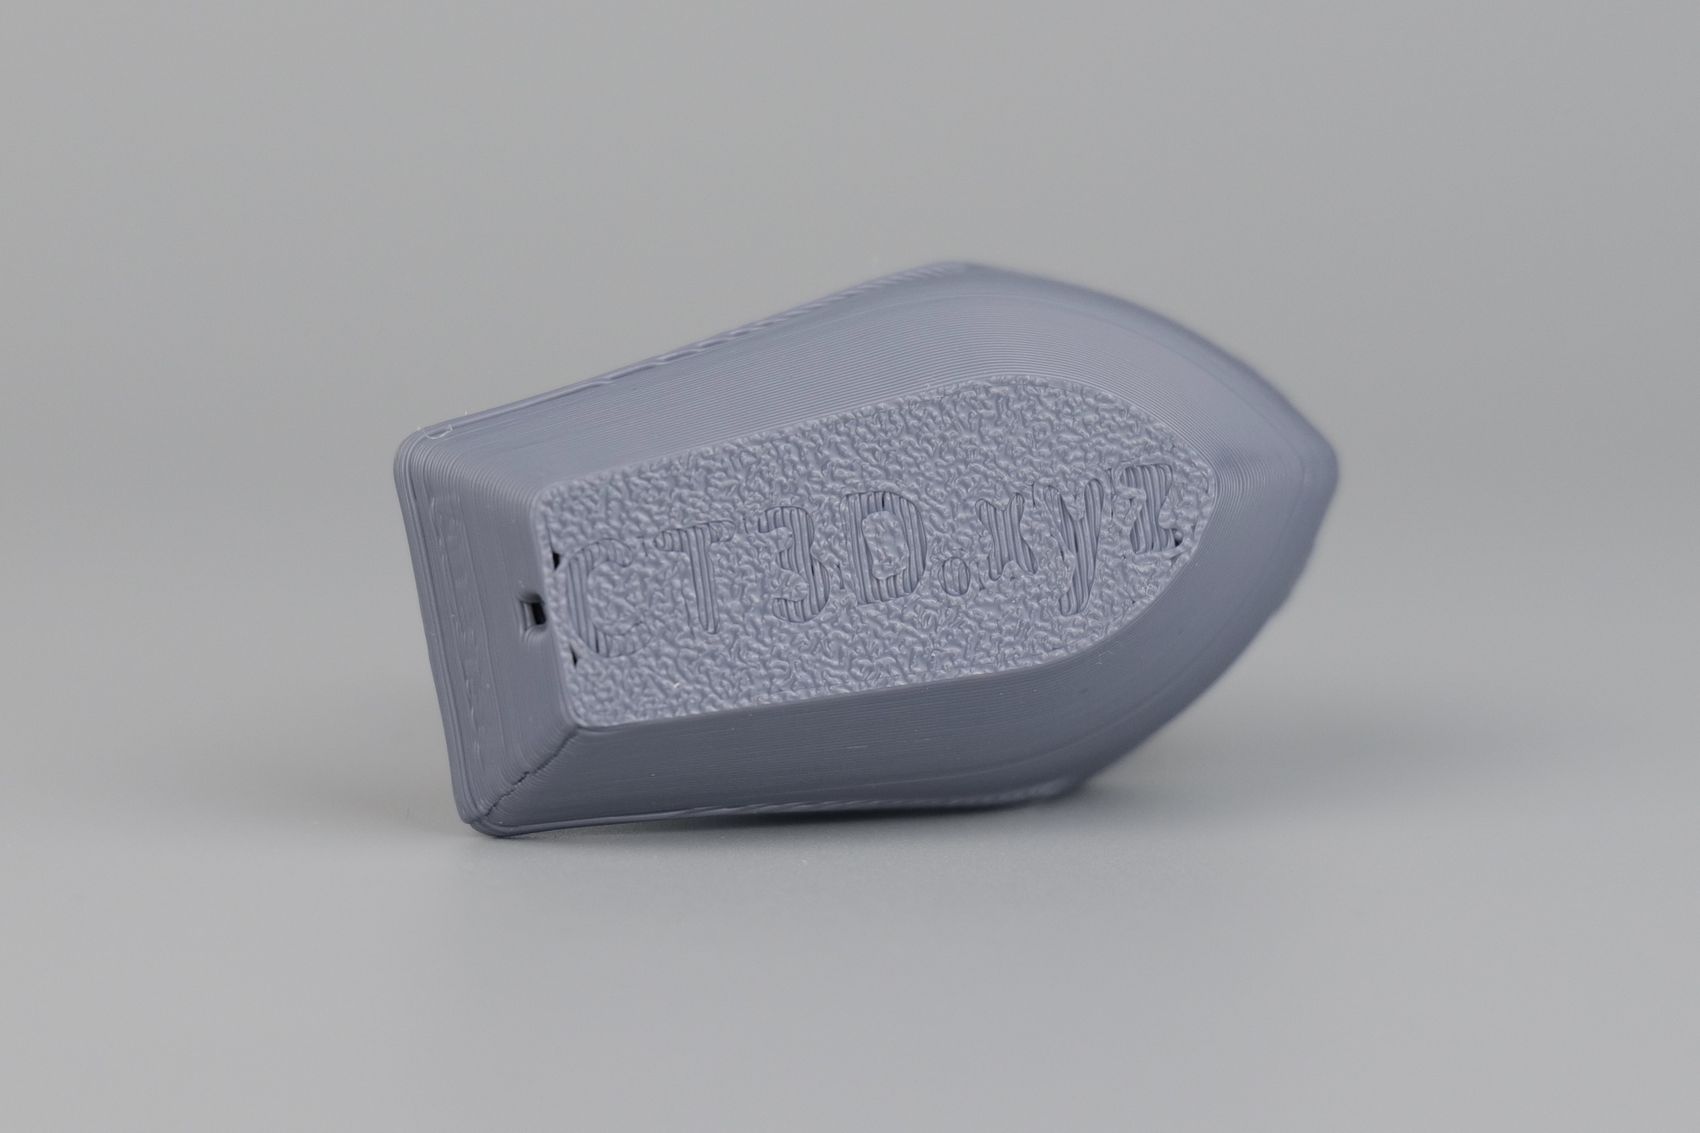
You can see some inconsistent layers on the bow and top layers with some cooling issues on the top of the roof. But still a respectable 3D Benchy.
I also took a video of this print, which also includes the automated extrusion calibration in the beginning.
200% Calibration Cube
The 200% Calibration Cube came out really well with nice sharp corners and good extrusion consistency. Even with a sharp angle of the light, meant to show the smallest imperfections on a print, the cube doesn’t look bad which is pretty great if you ask me.
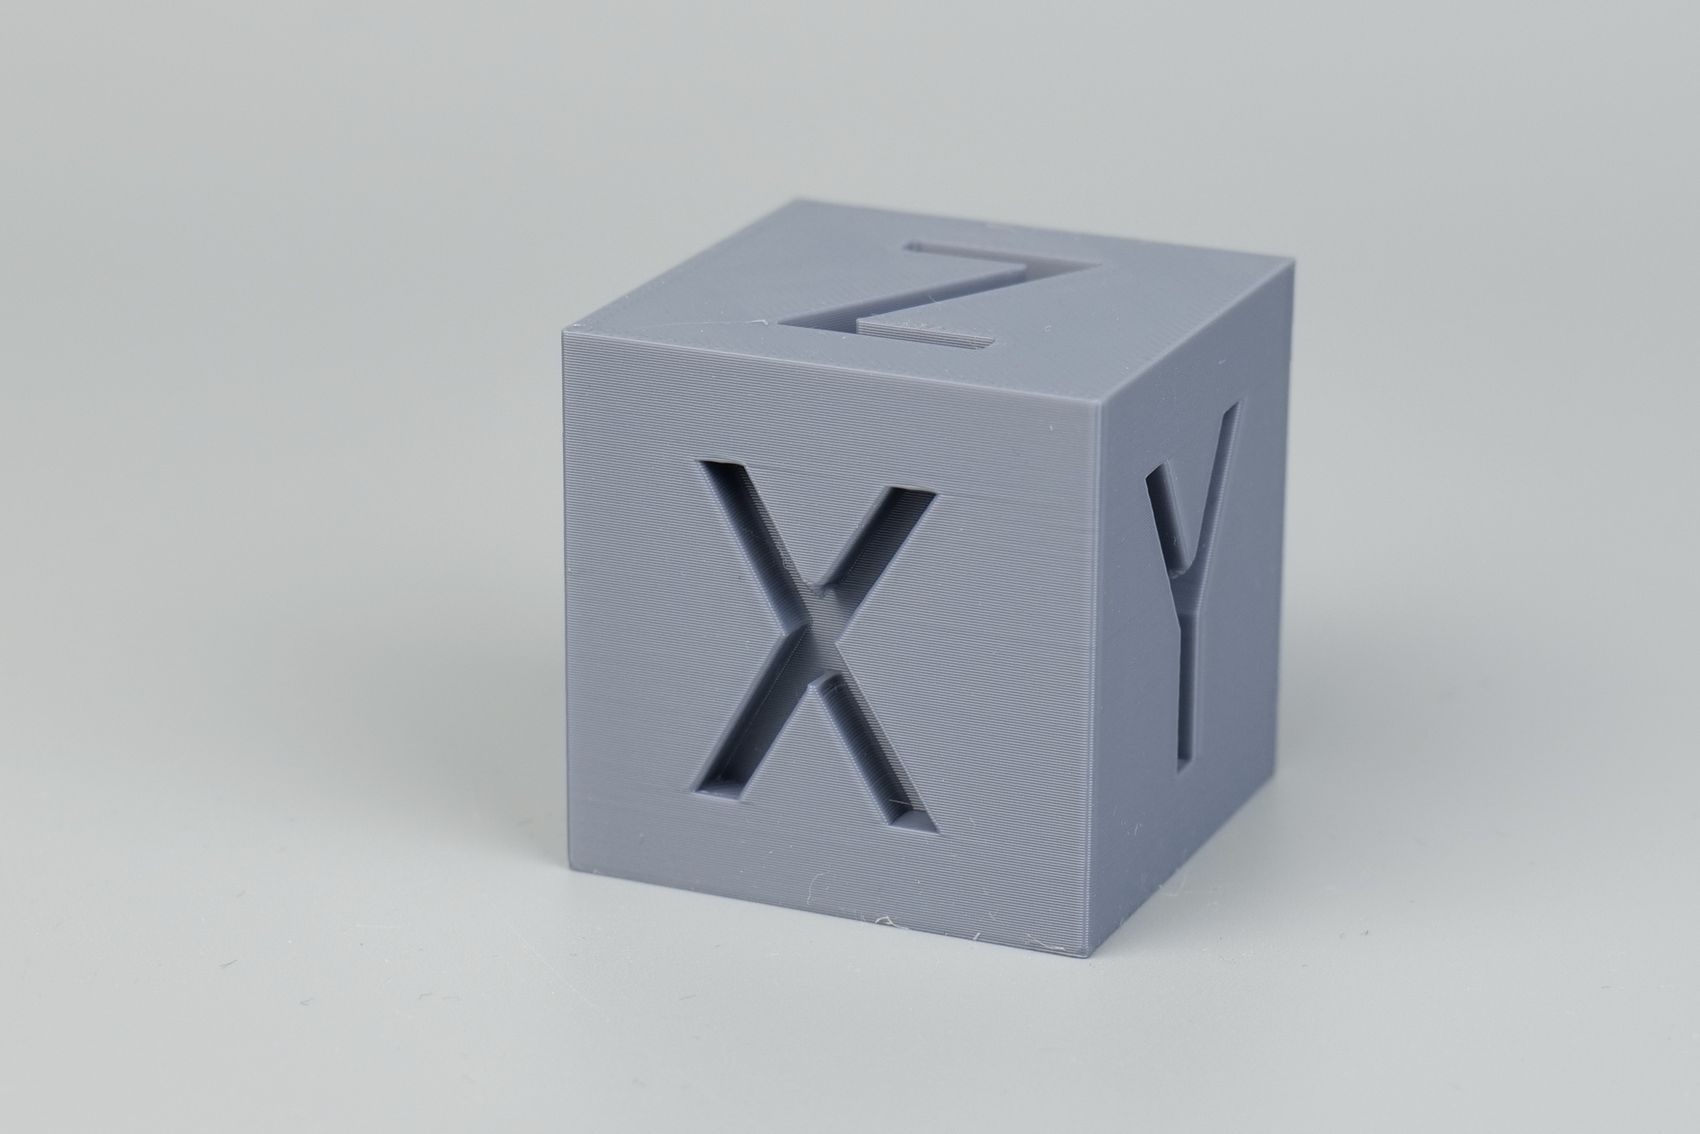
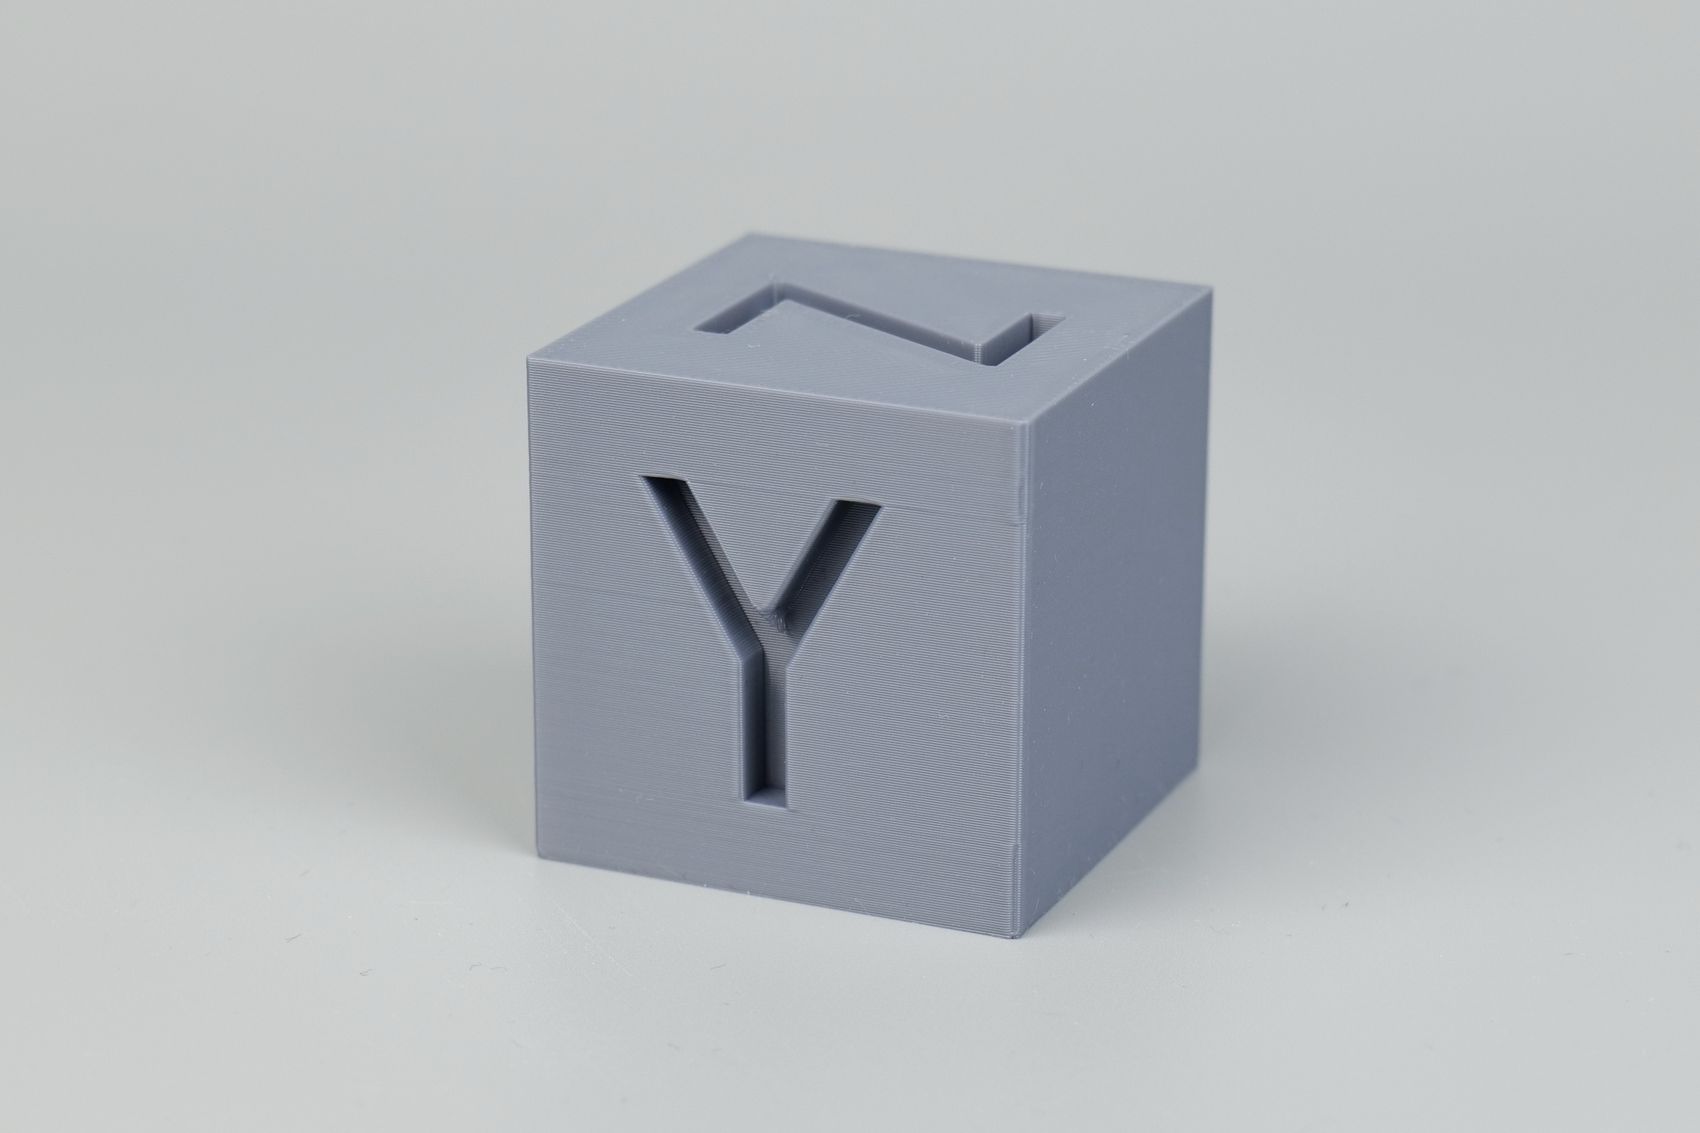
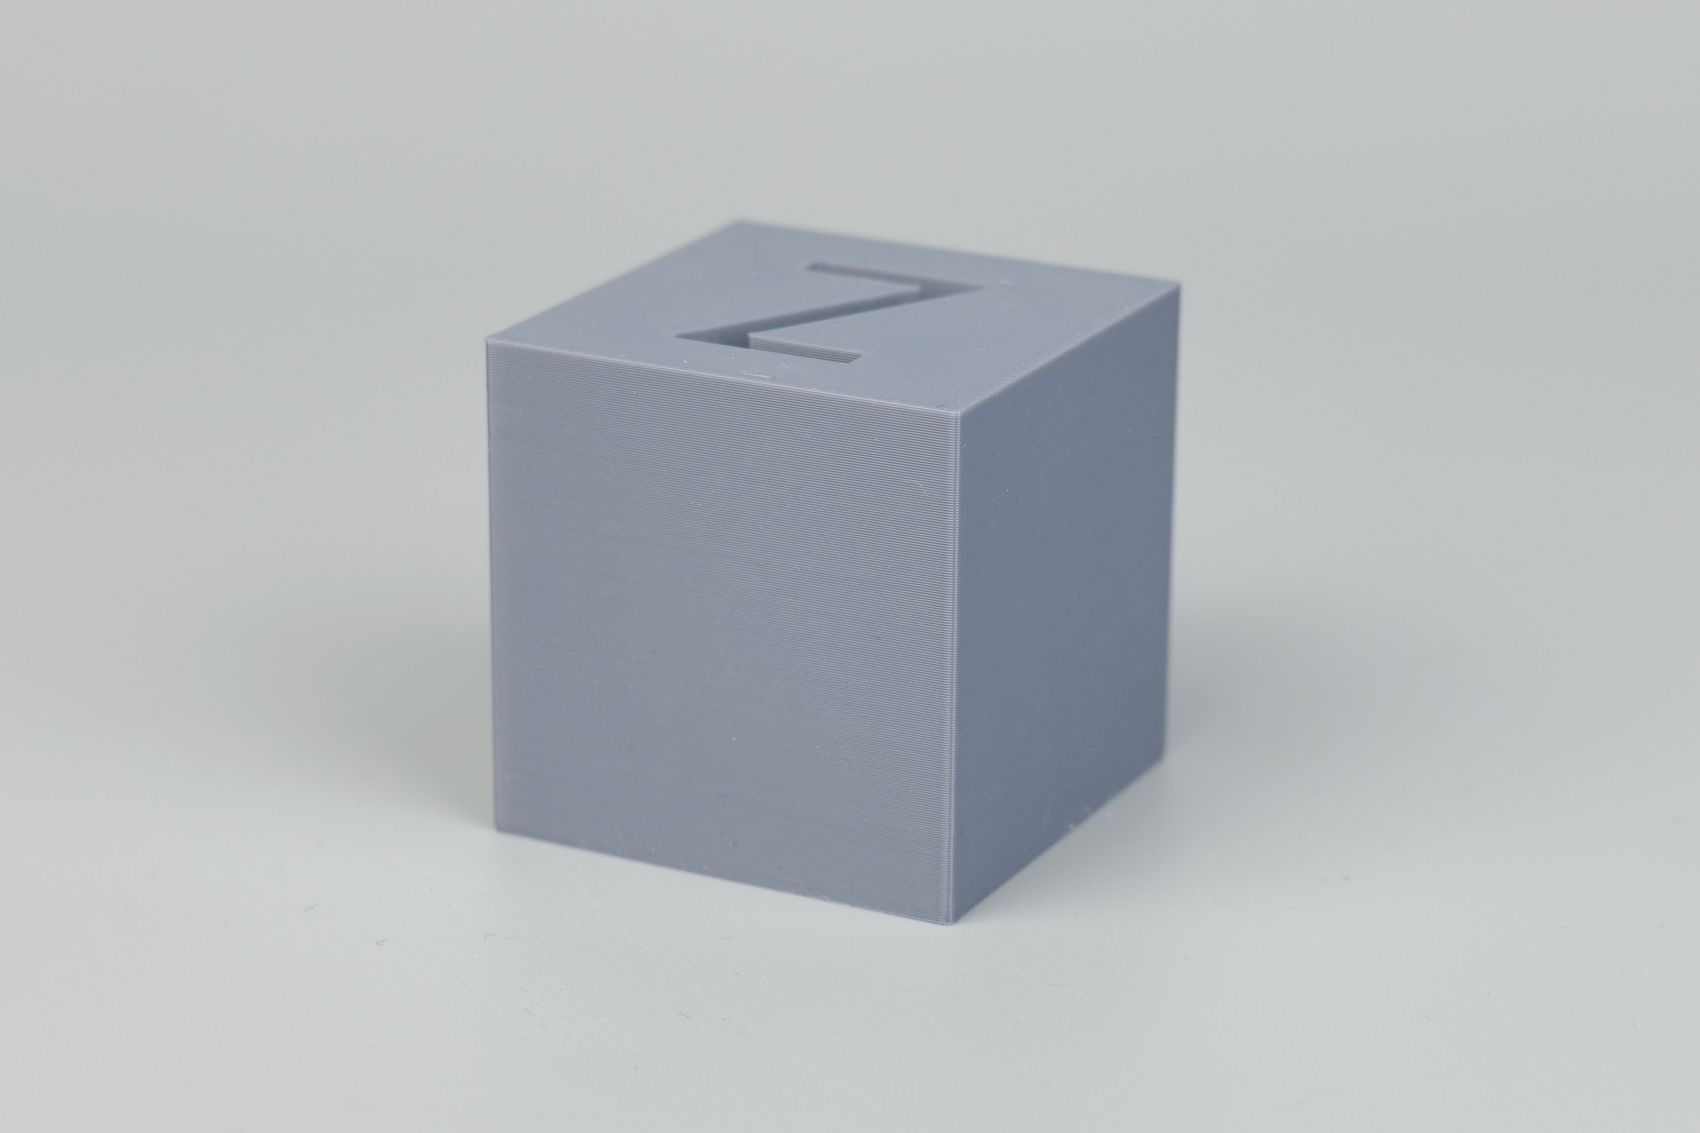
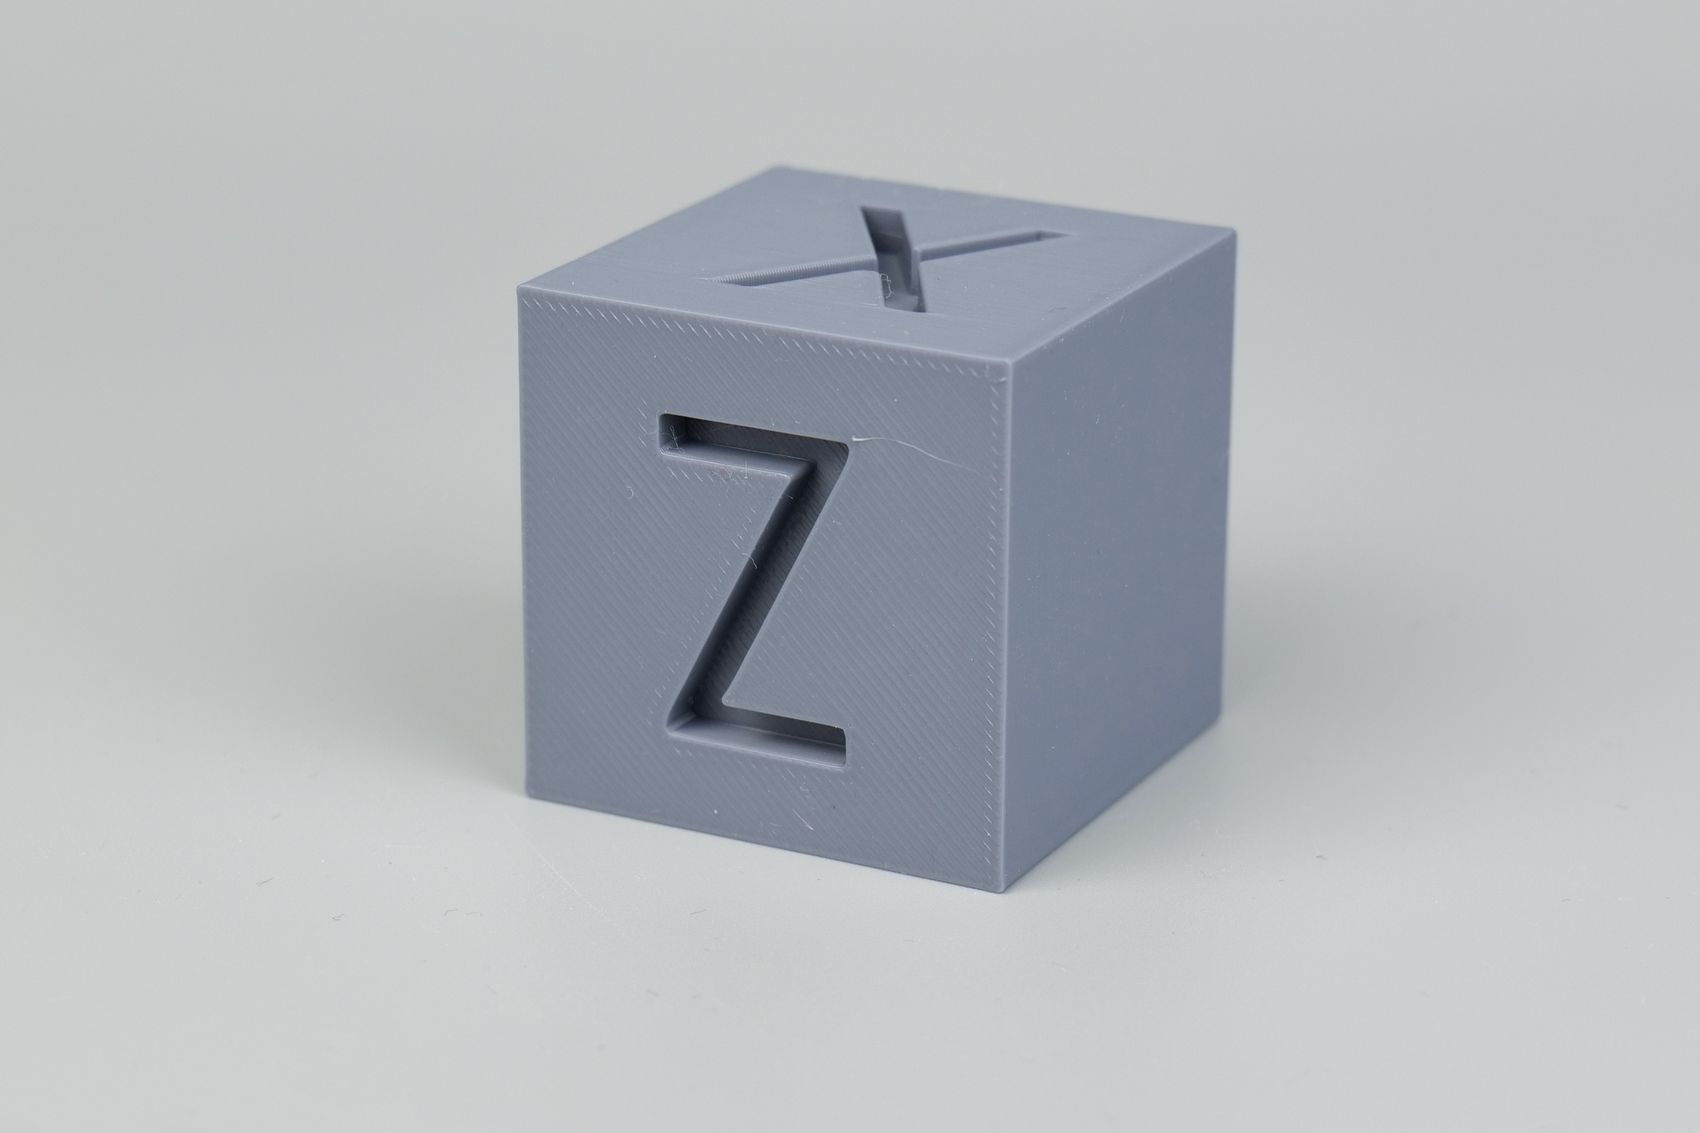
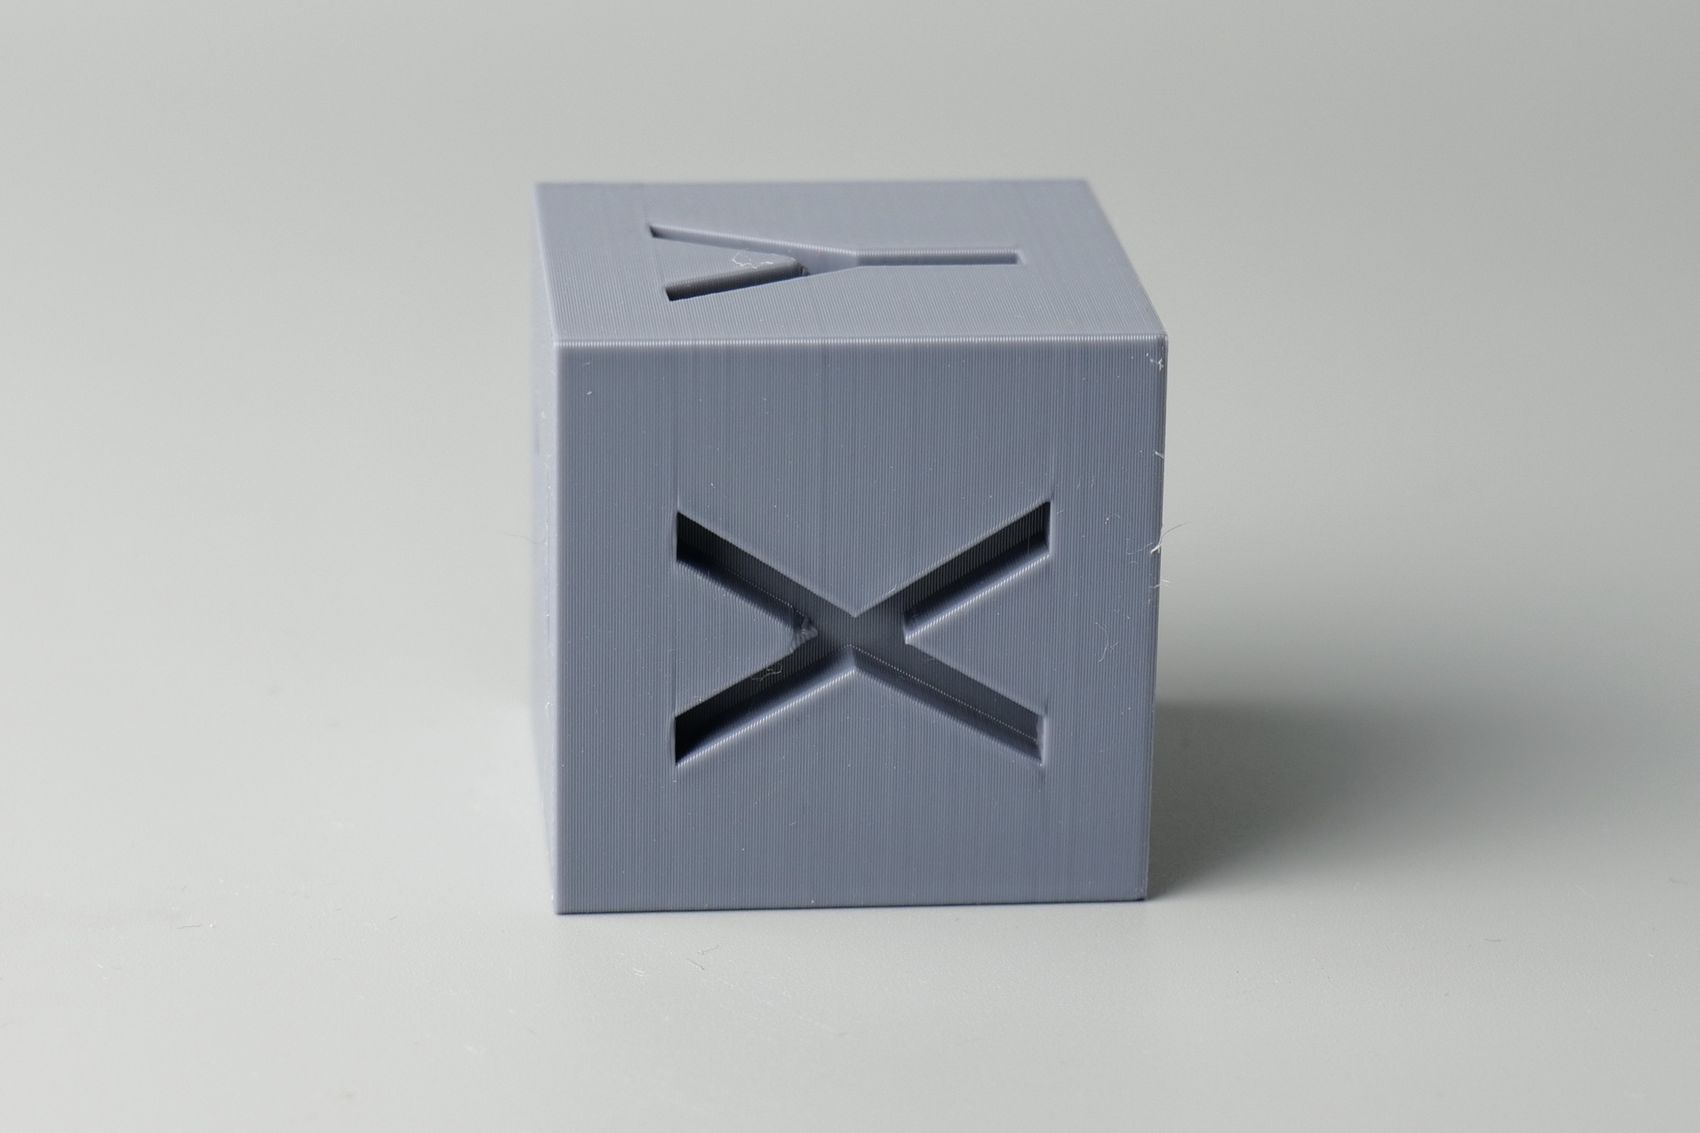
- Material: Bambu Lab PLA Tough Grey
- Layer Height: 0.2mm
- Nozzle Temperature: 220C
- Bed Temperature: 65C
- Print Speed: ~250 mm/s (Optimal Profile)
The Jungle Queen
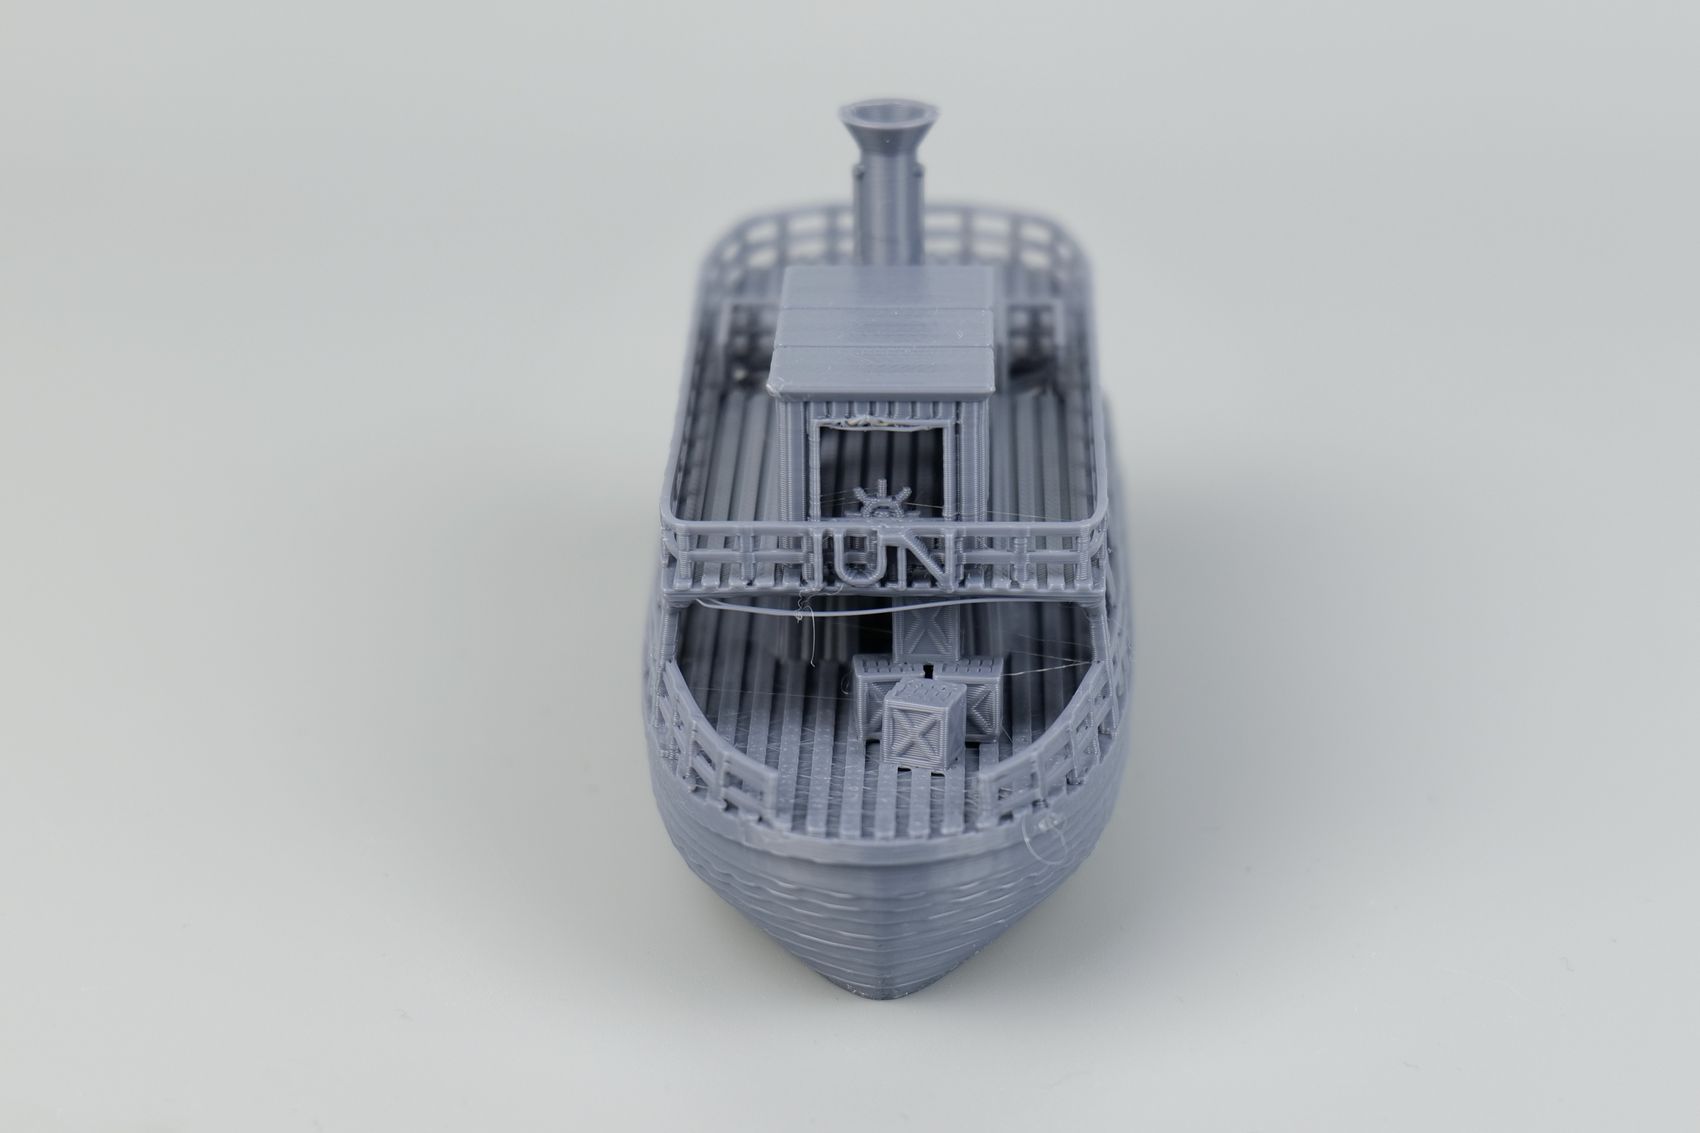
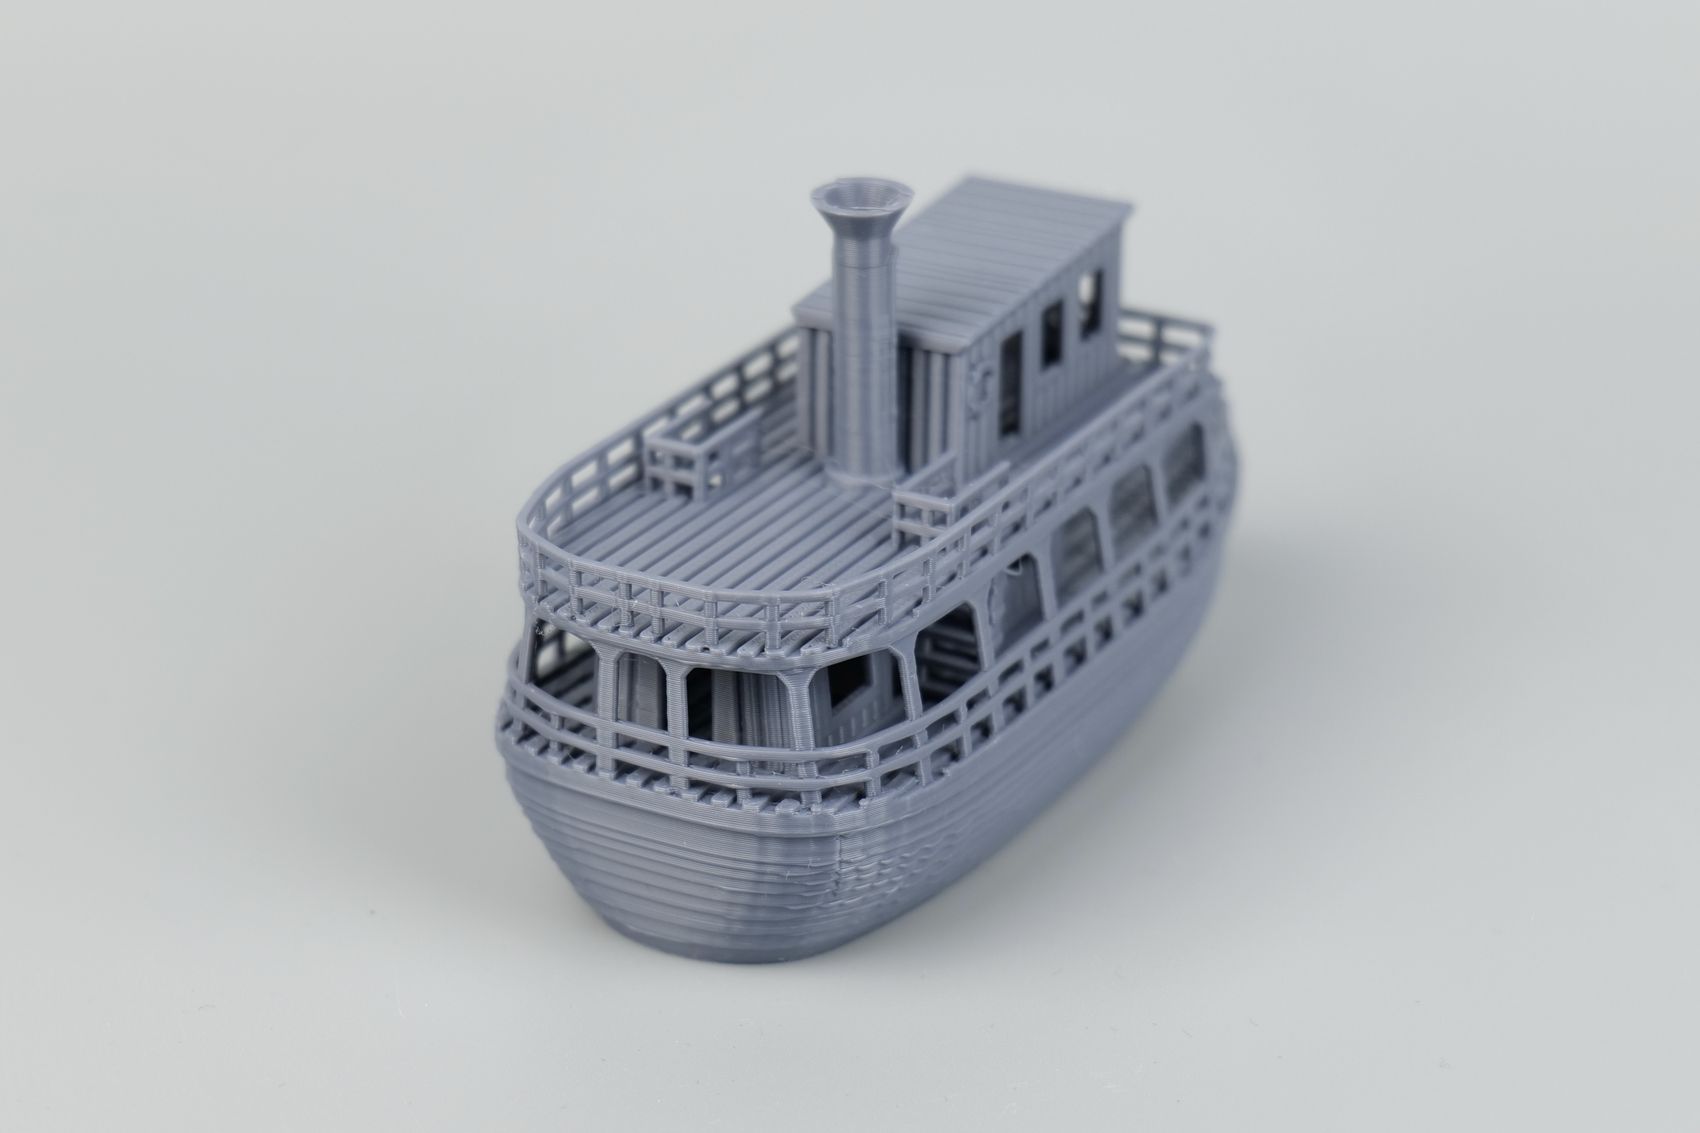
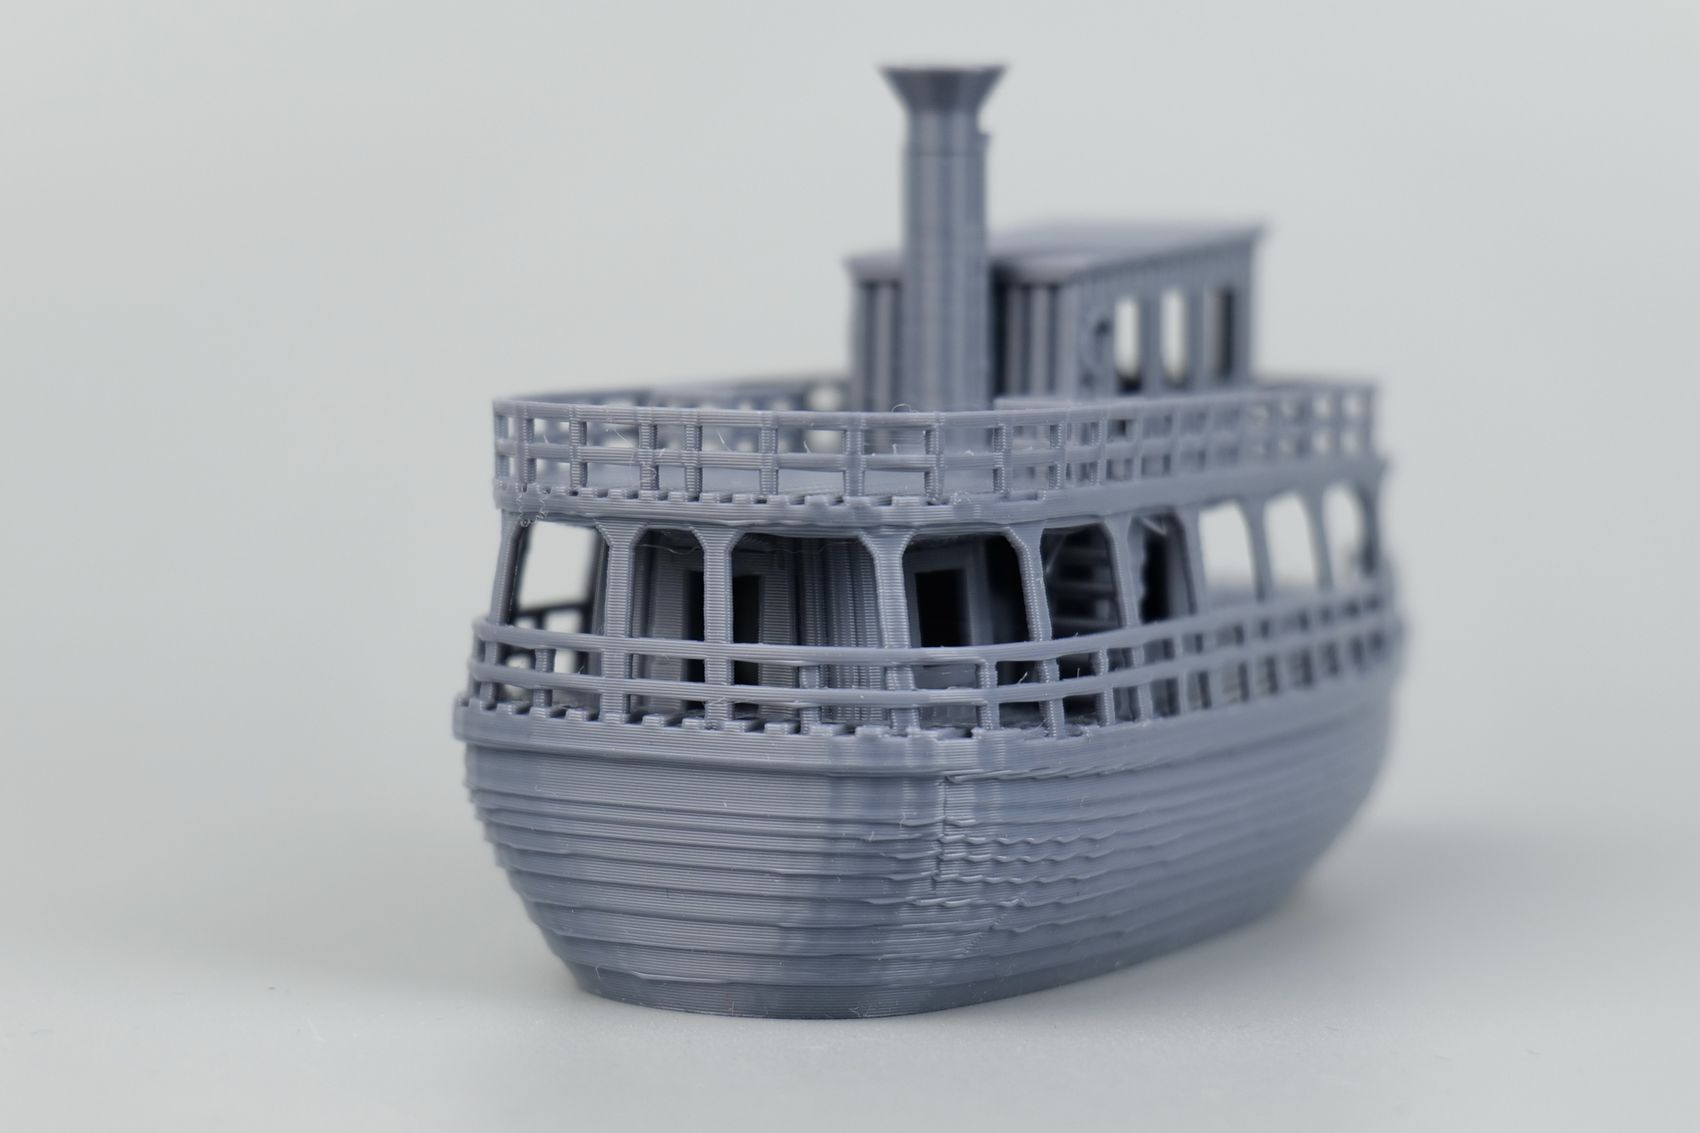
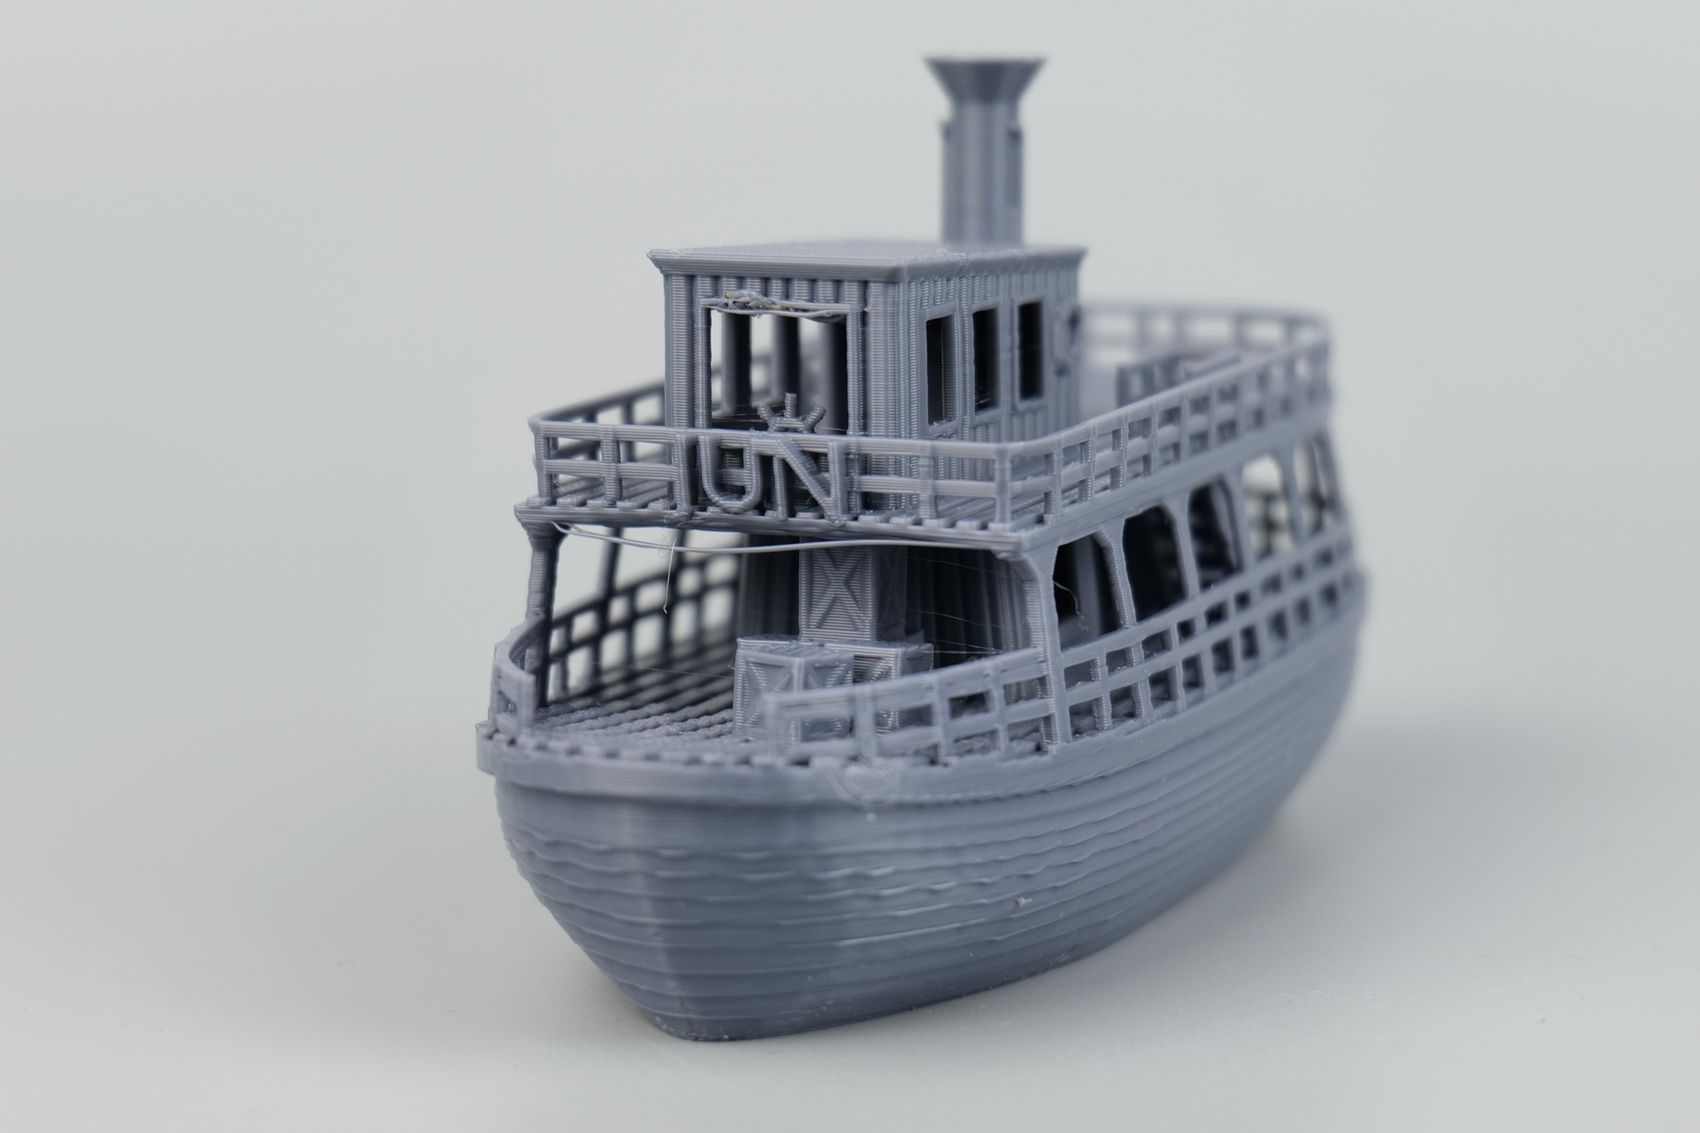
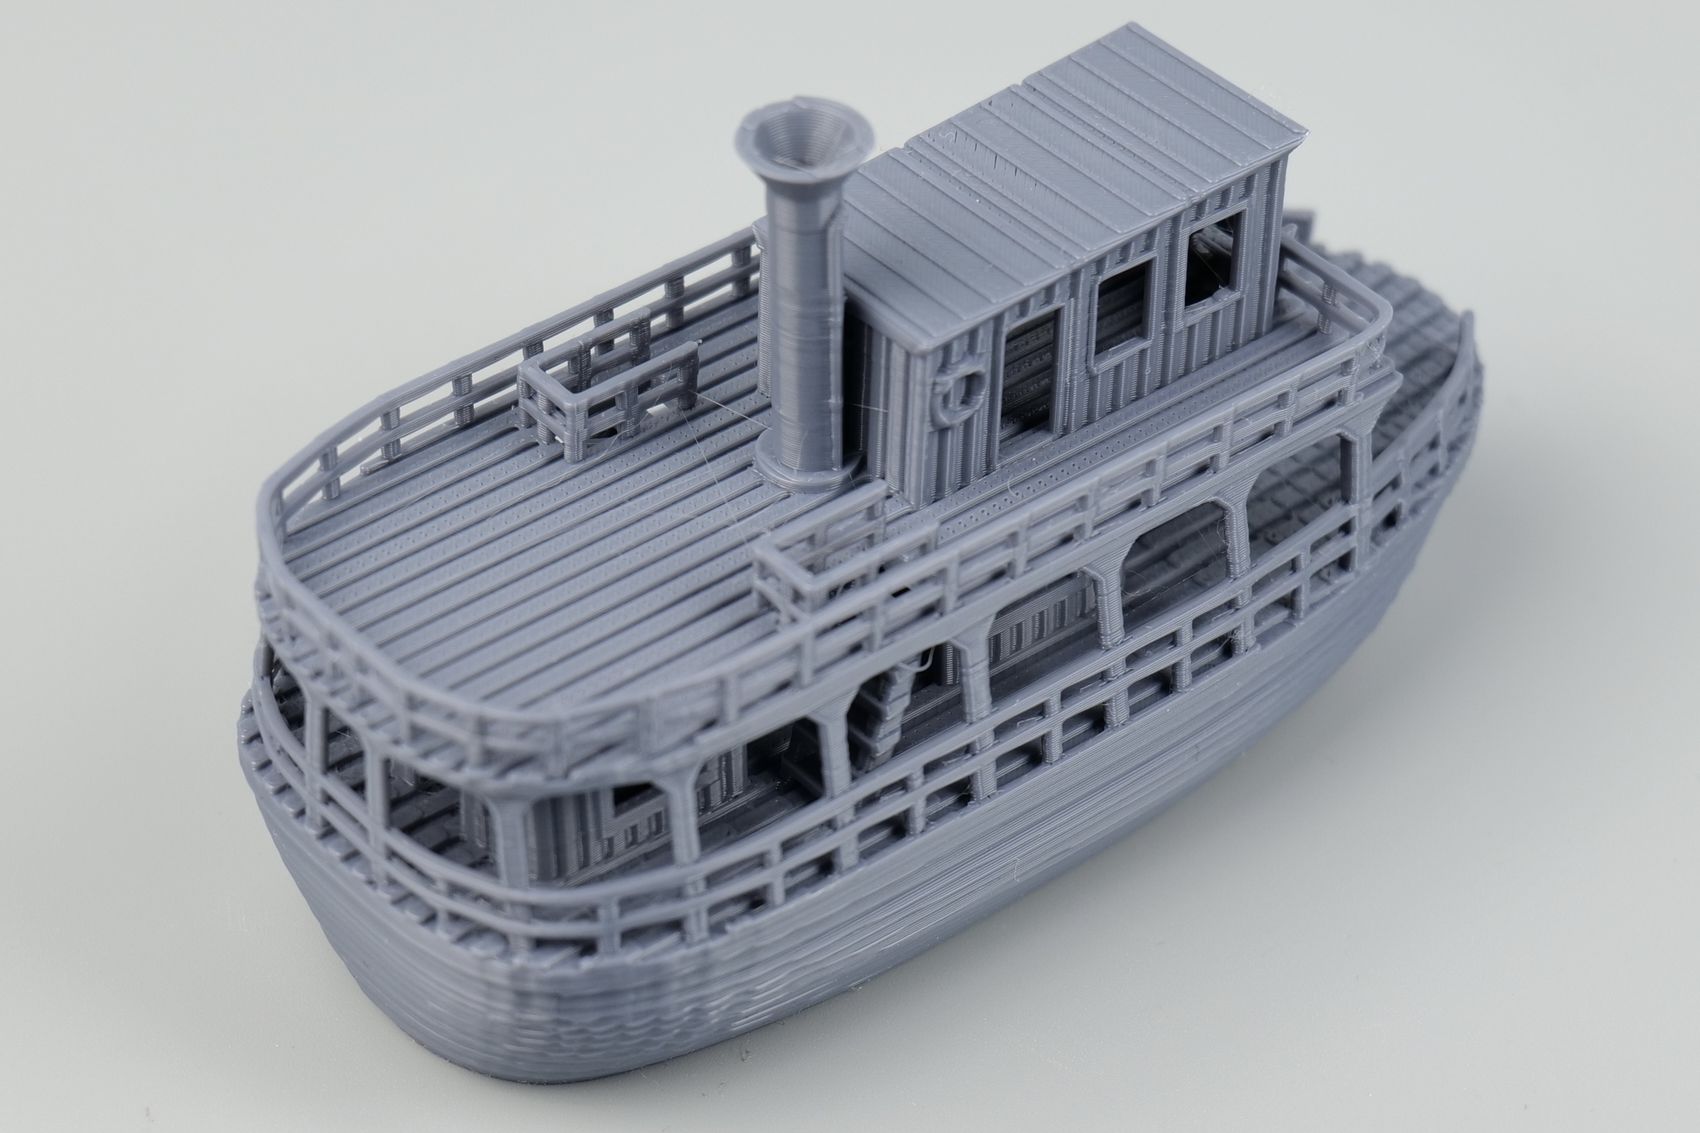
I love The Jungle Queen model as it’s a great stress test for printer retractions, stringing and to check if the machine is able to print small and intricate details of a model. Considering the print results, I believe that the A1 Mini managed to complete the task successfully, even though there is a small section on the model where bridging was not perfect. Overall, a good result considering the print speed.
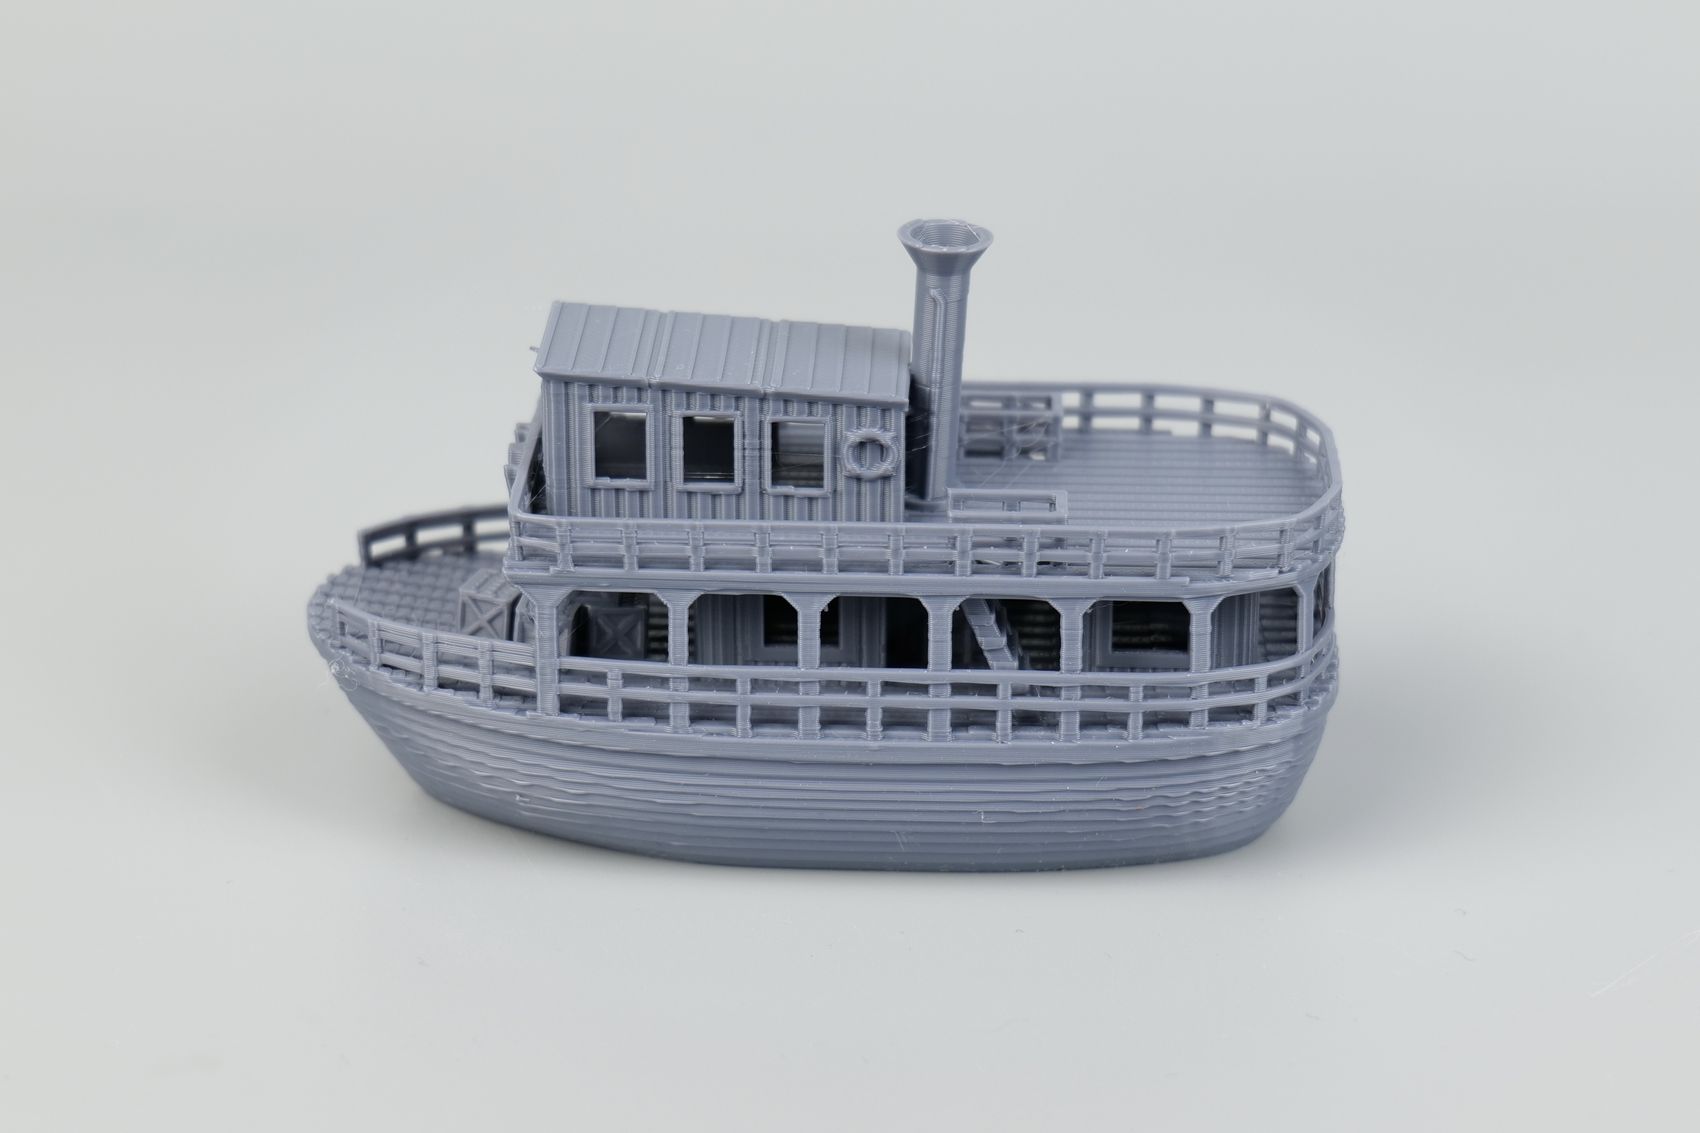
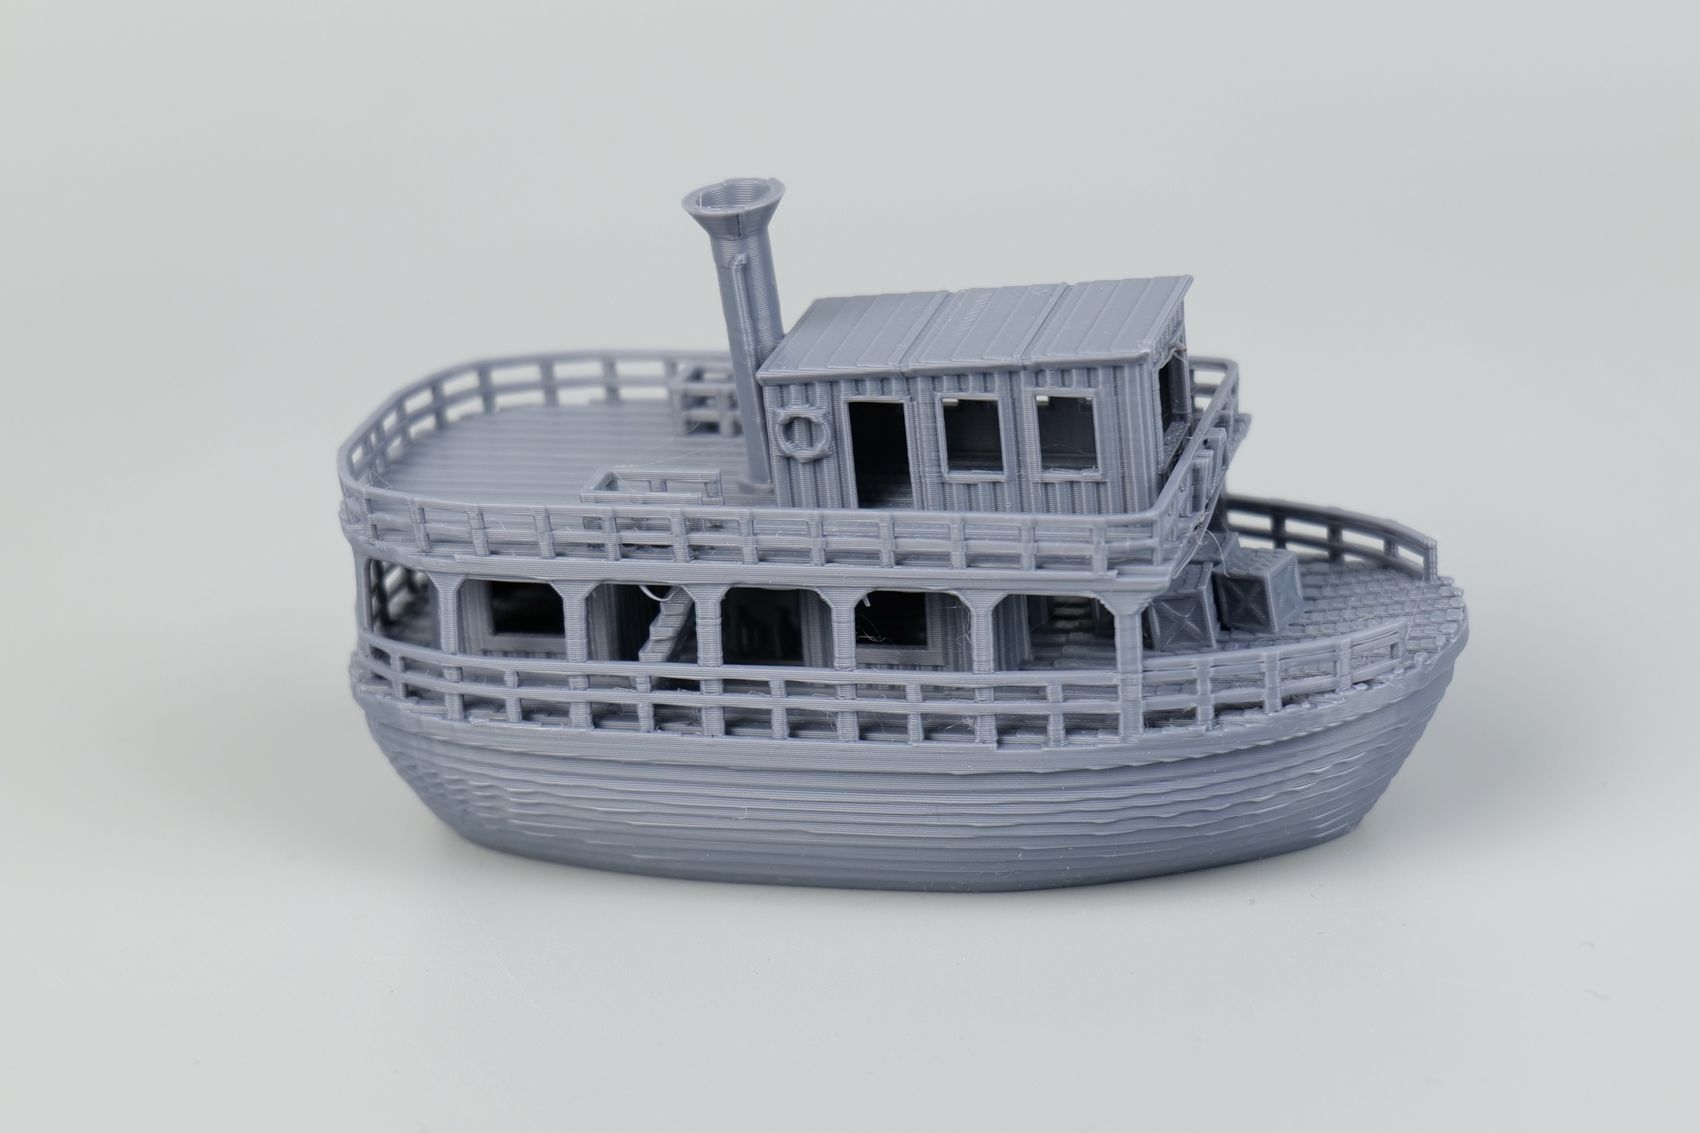
- Material: Bambu Lab PLA Tough Grey
- Layer Height: 0.16mm
- Nozzle Temperature: 220C
- Bed Temperature: 65C
- Print Speed: ~250 mm/s (Optimal Profile)
Torture Toaster
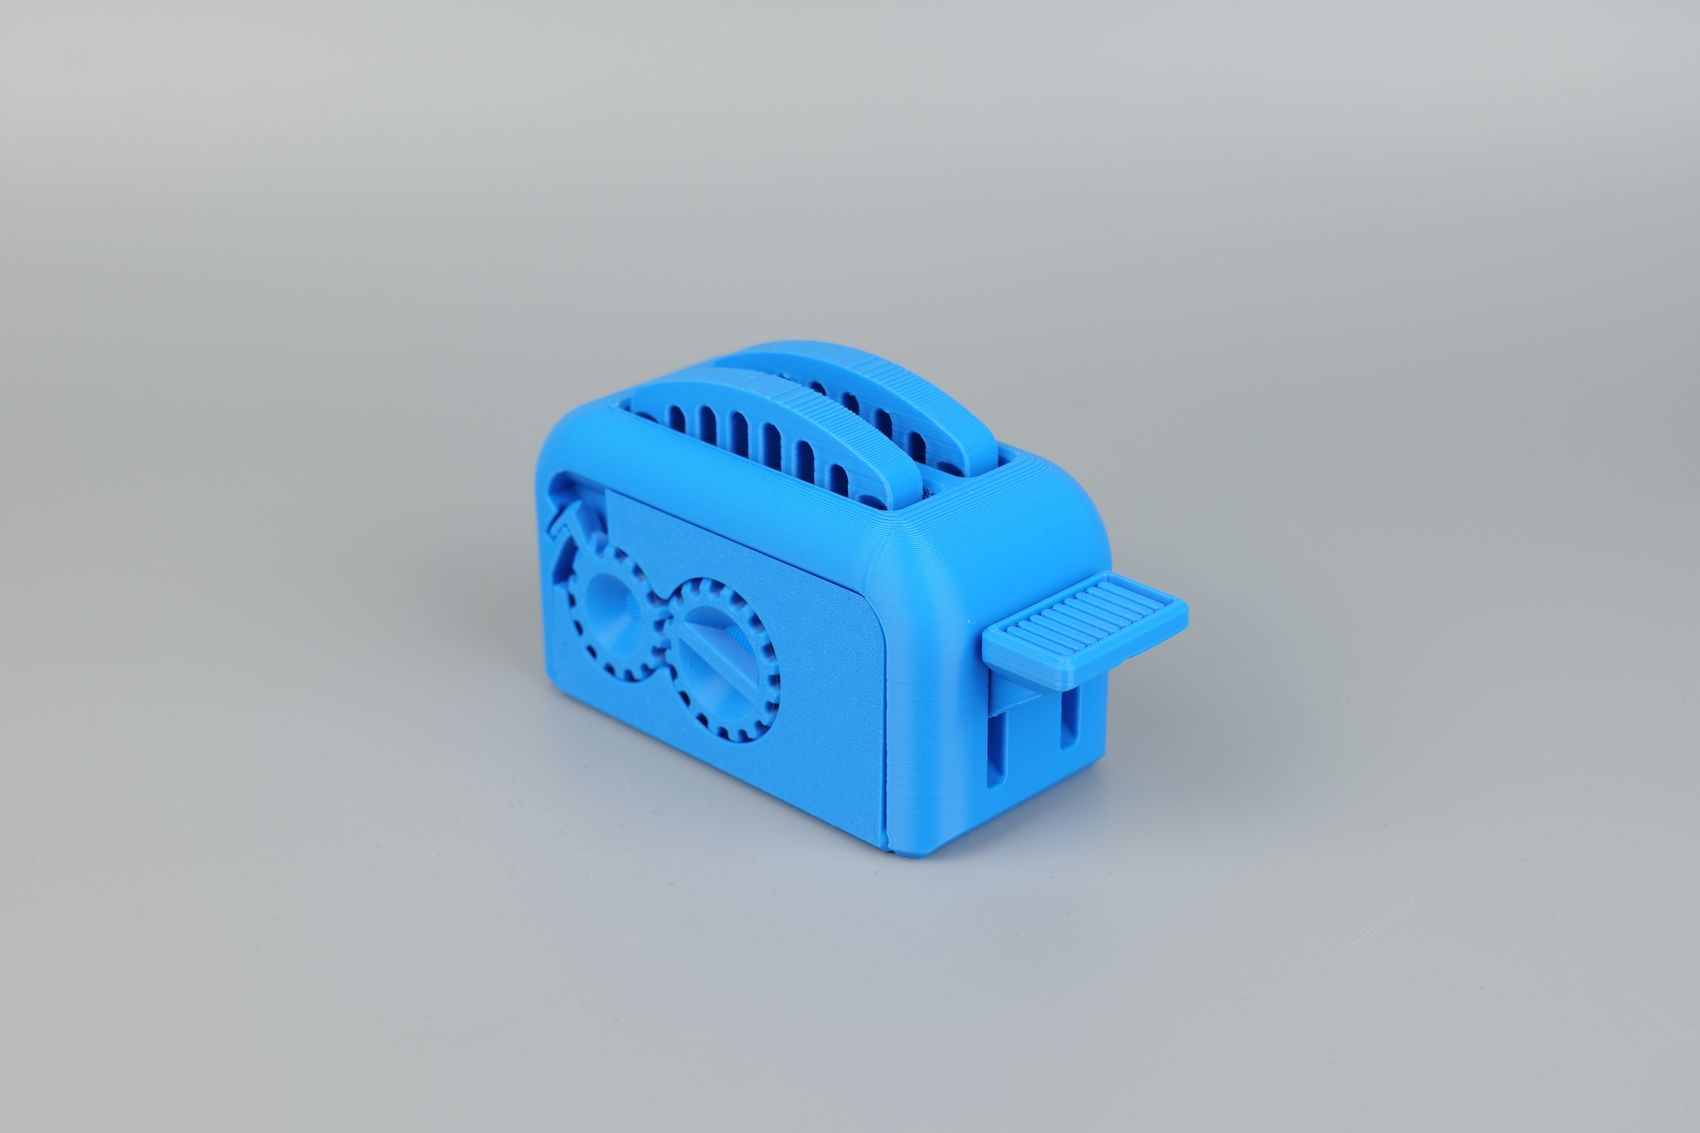
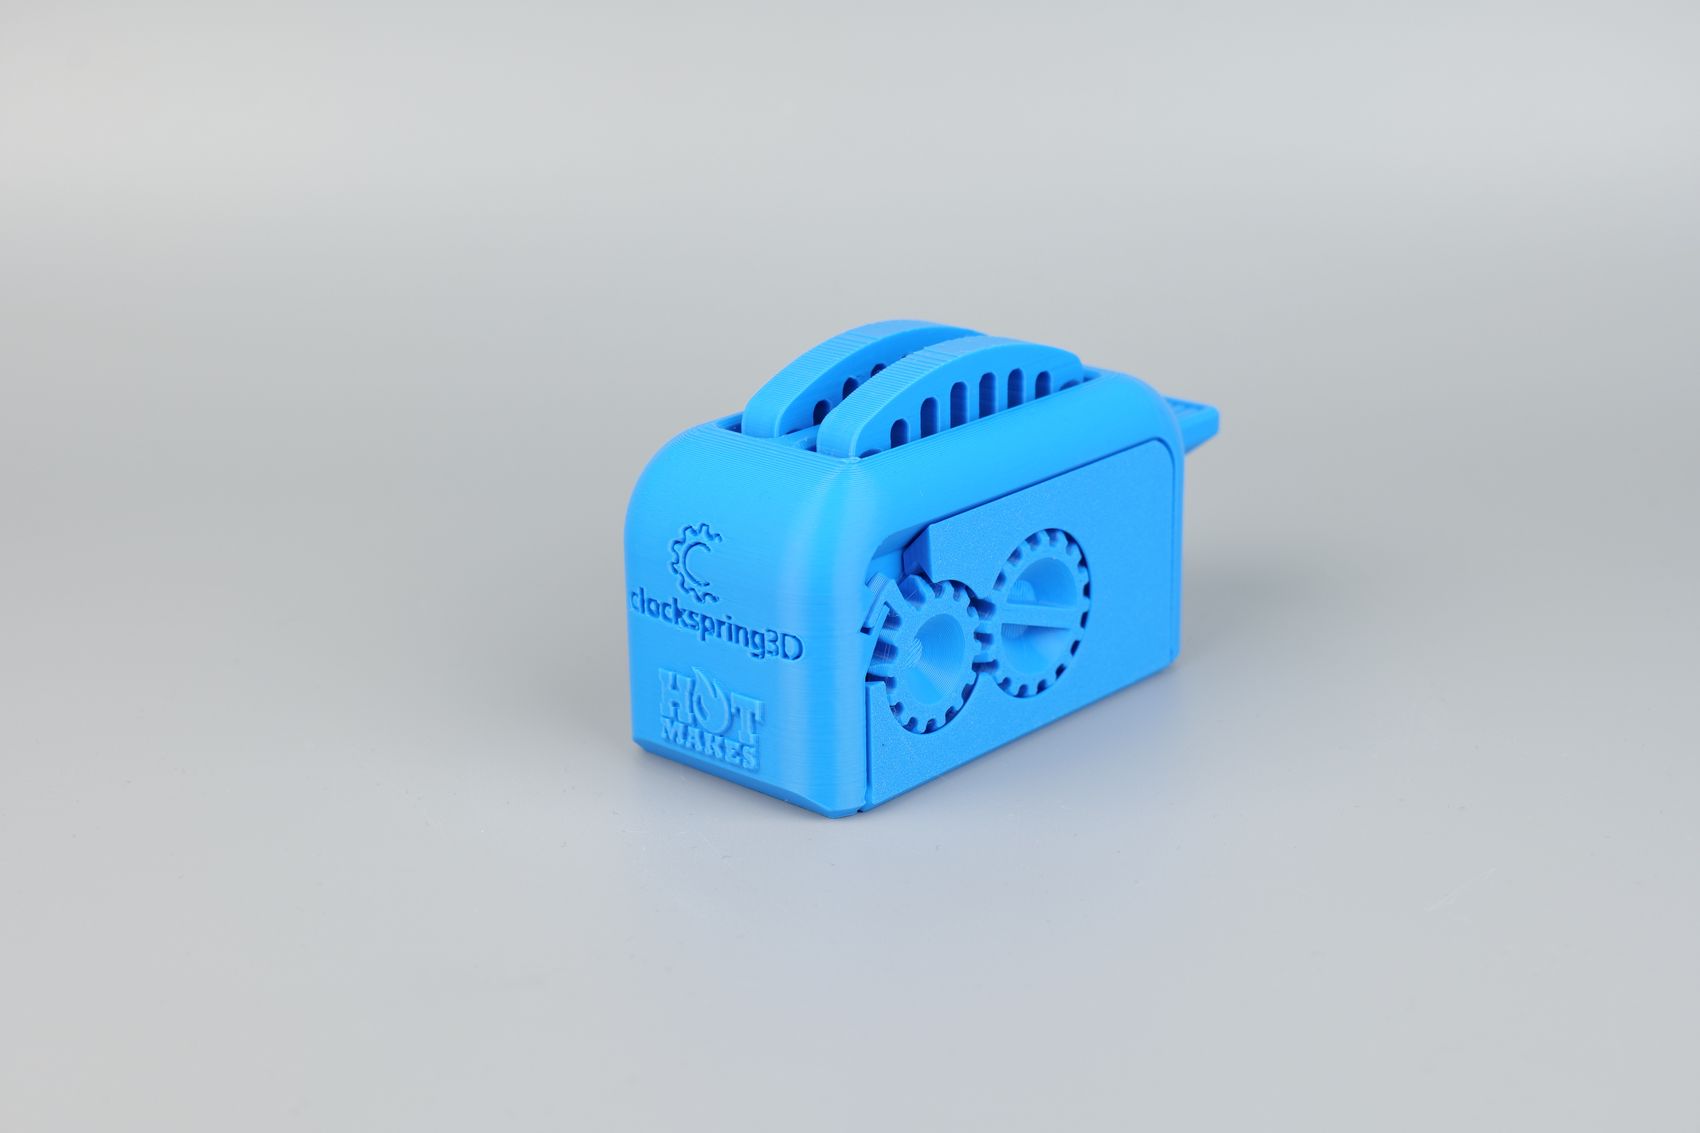
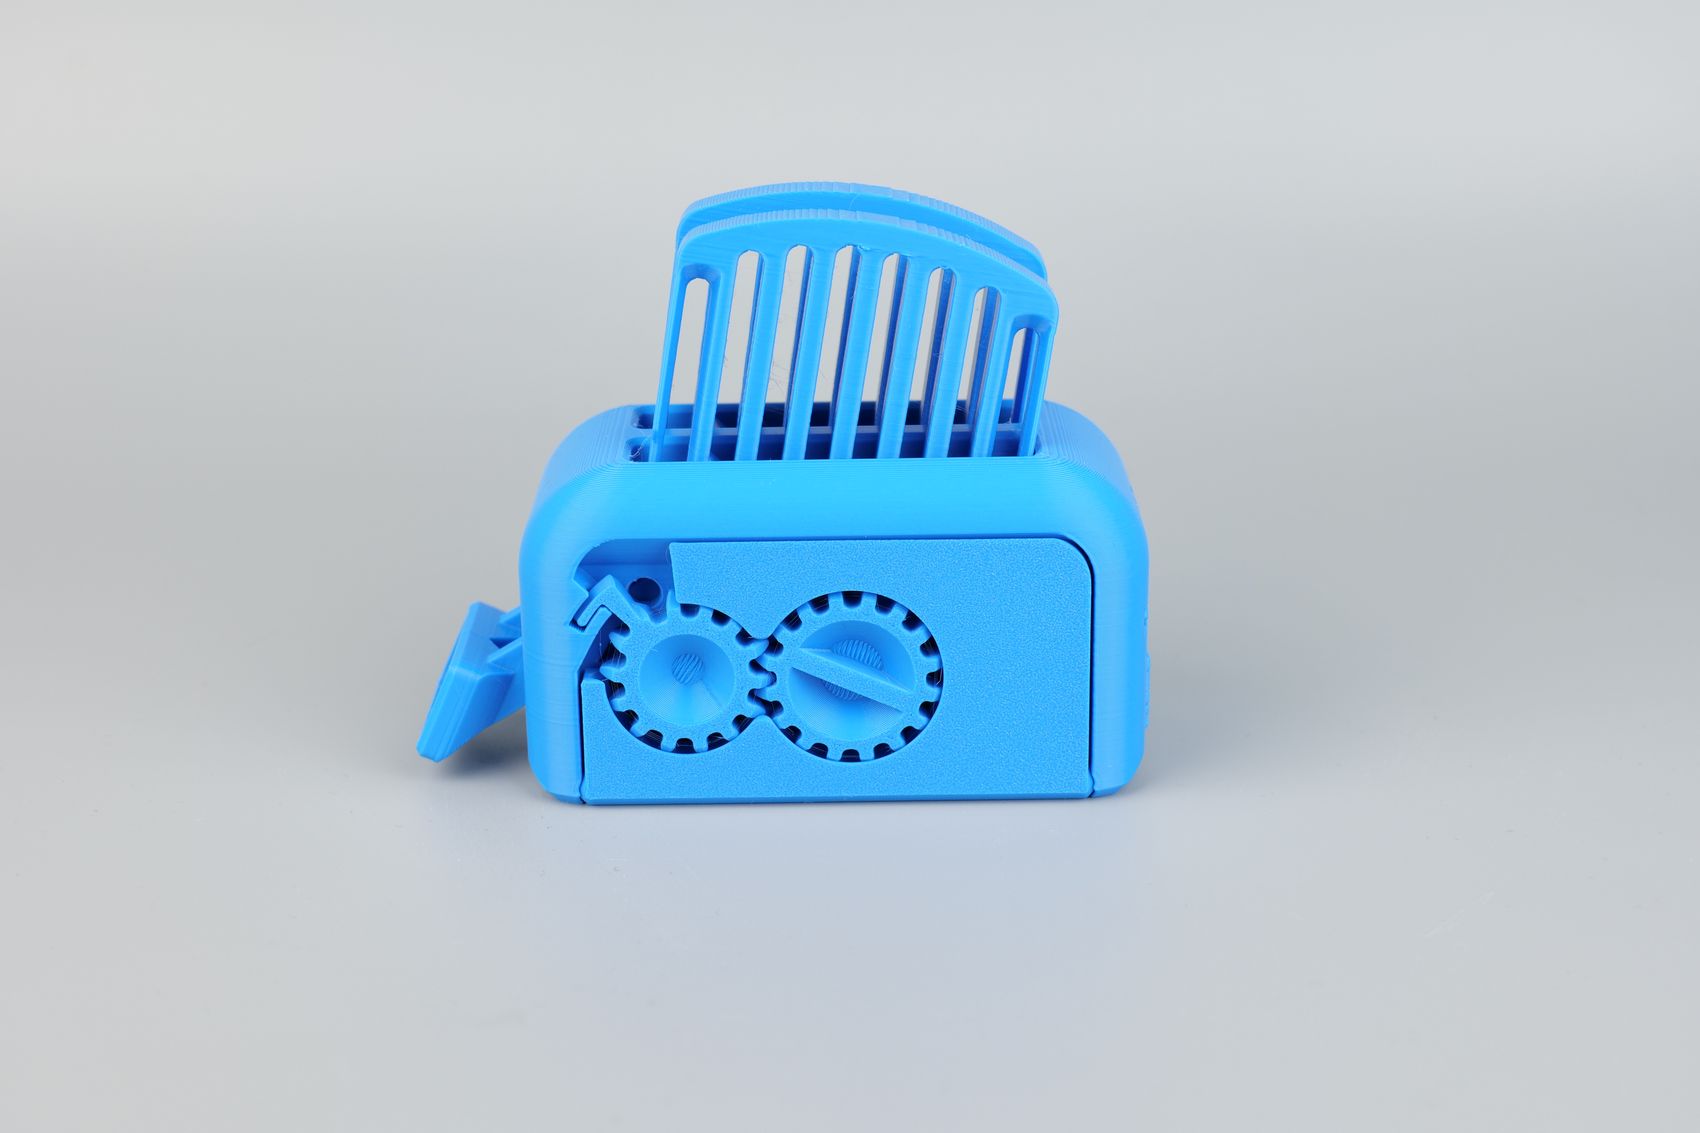
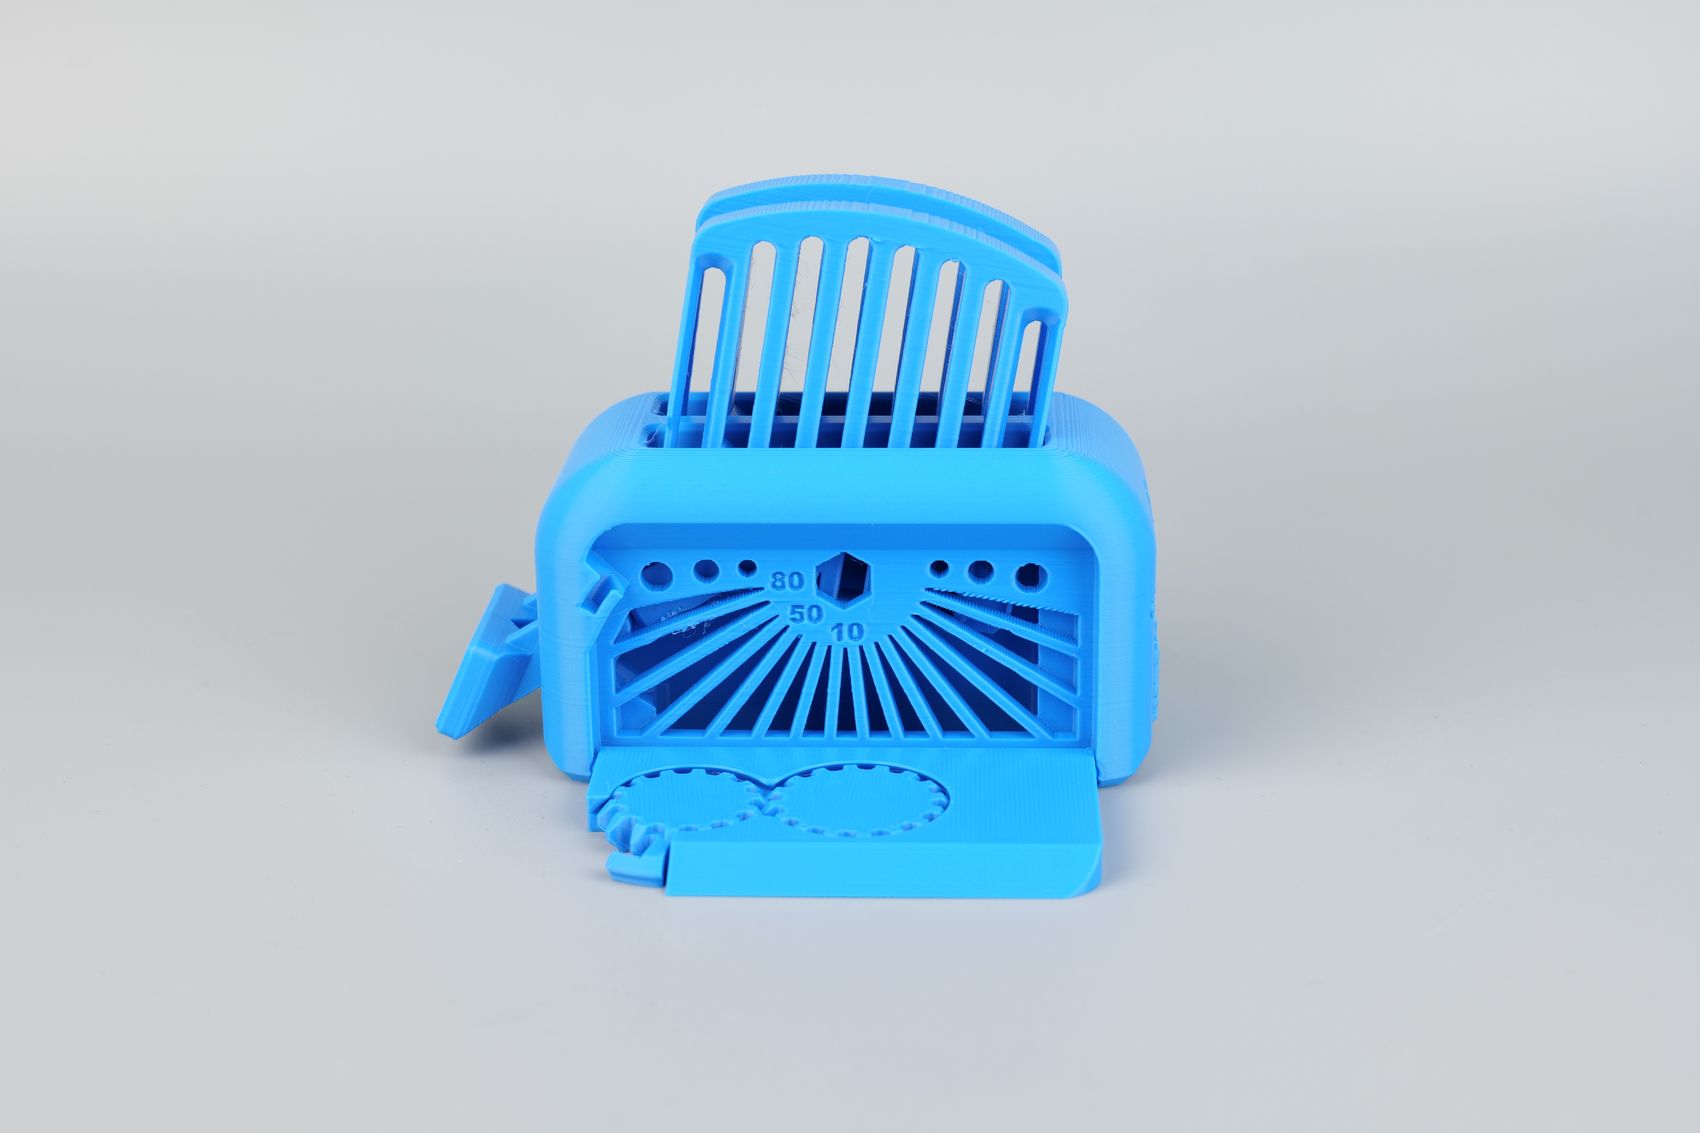
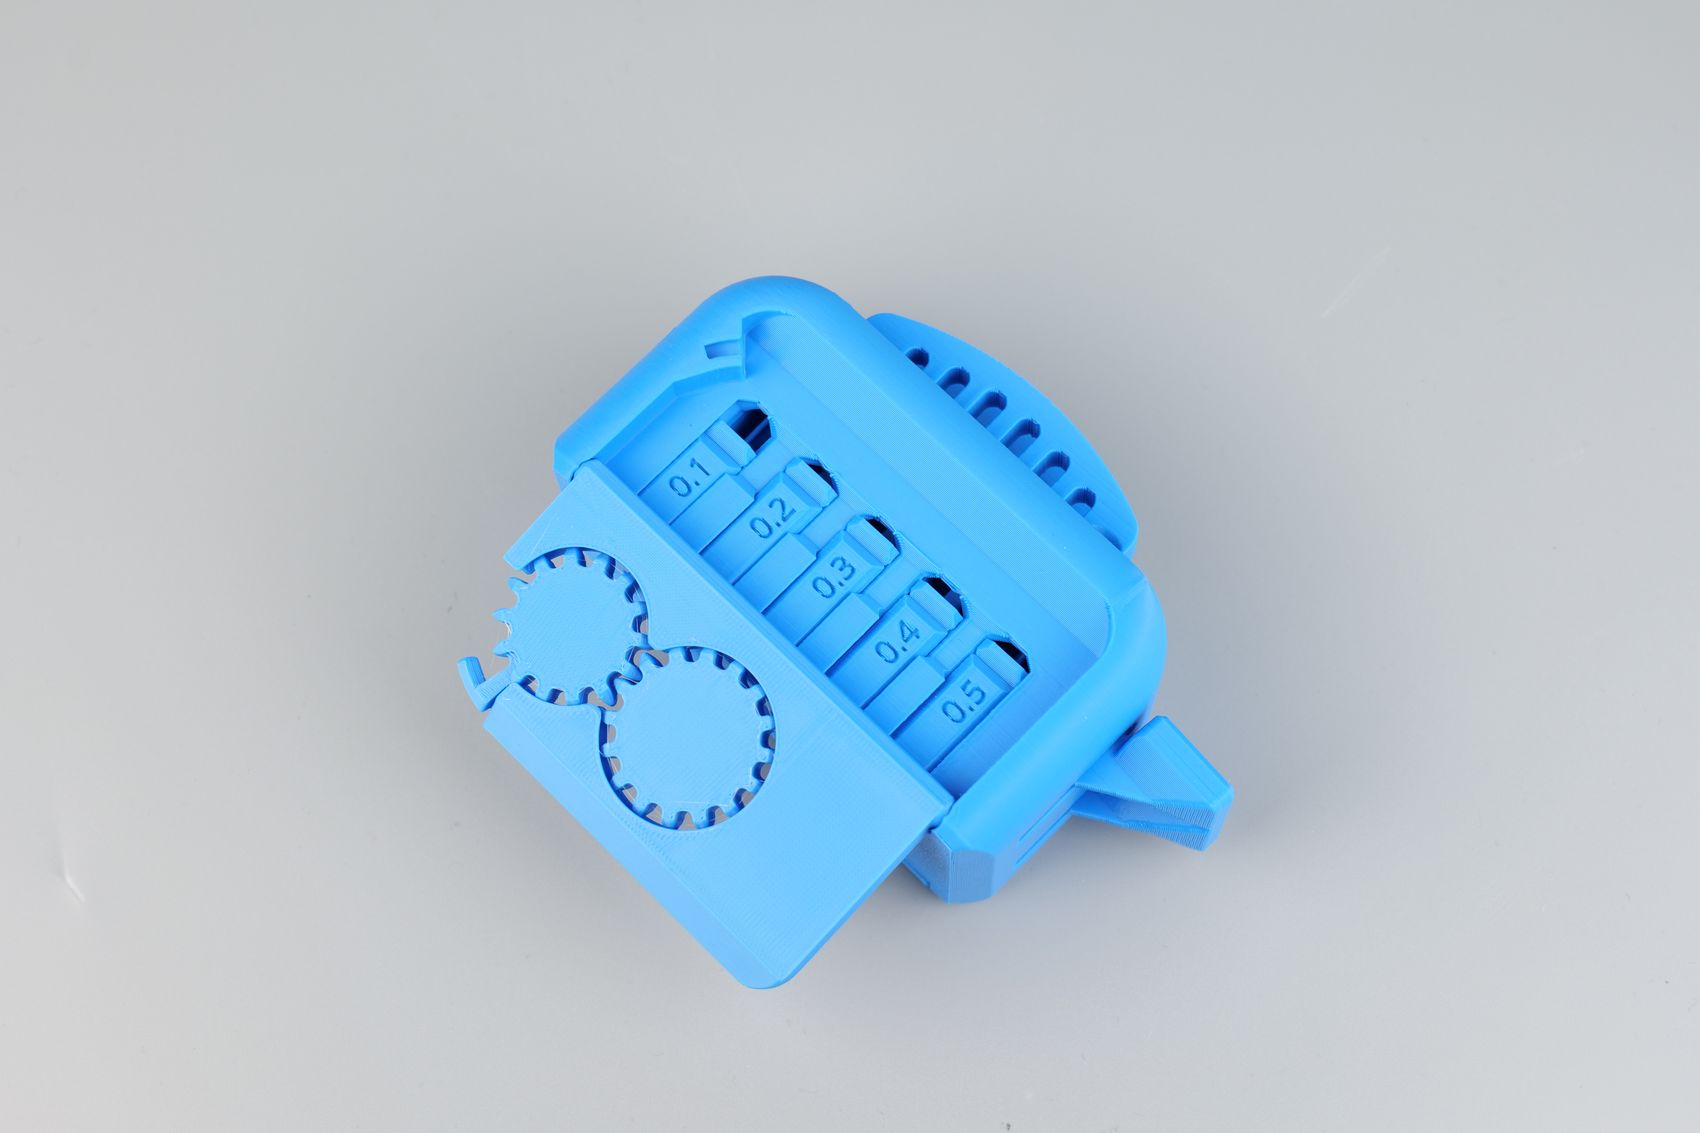
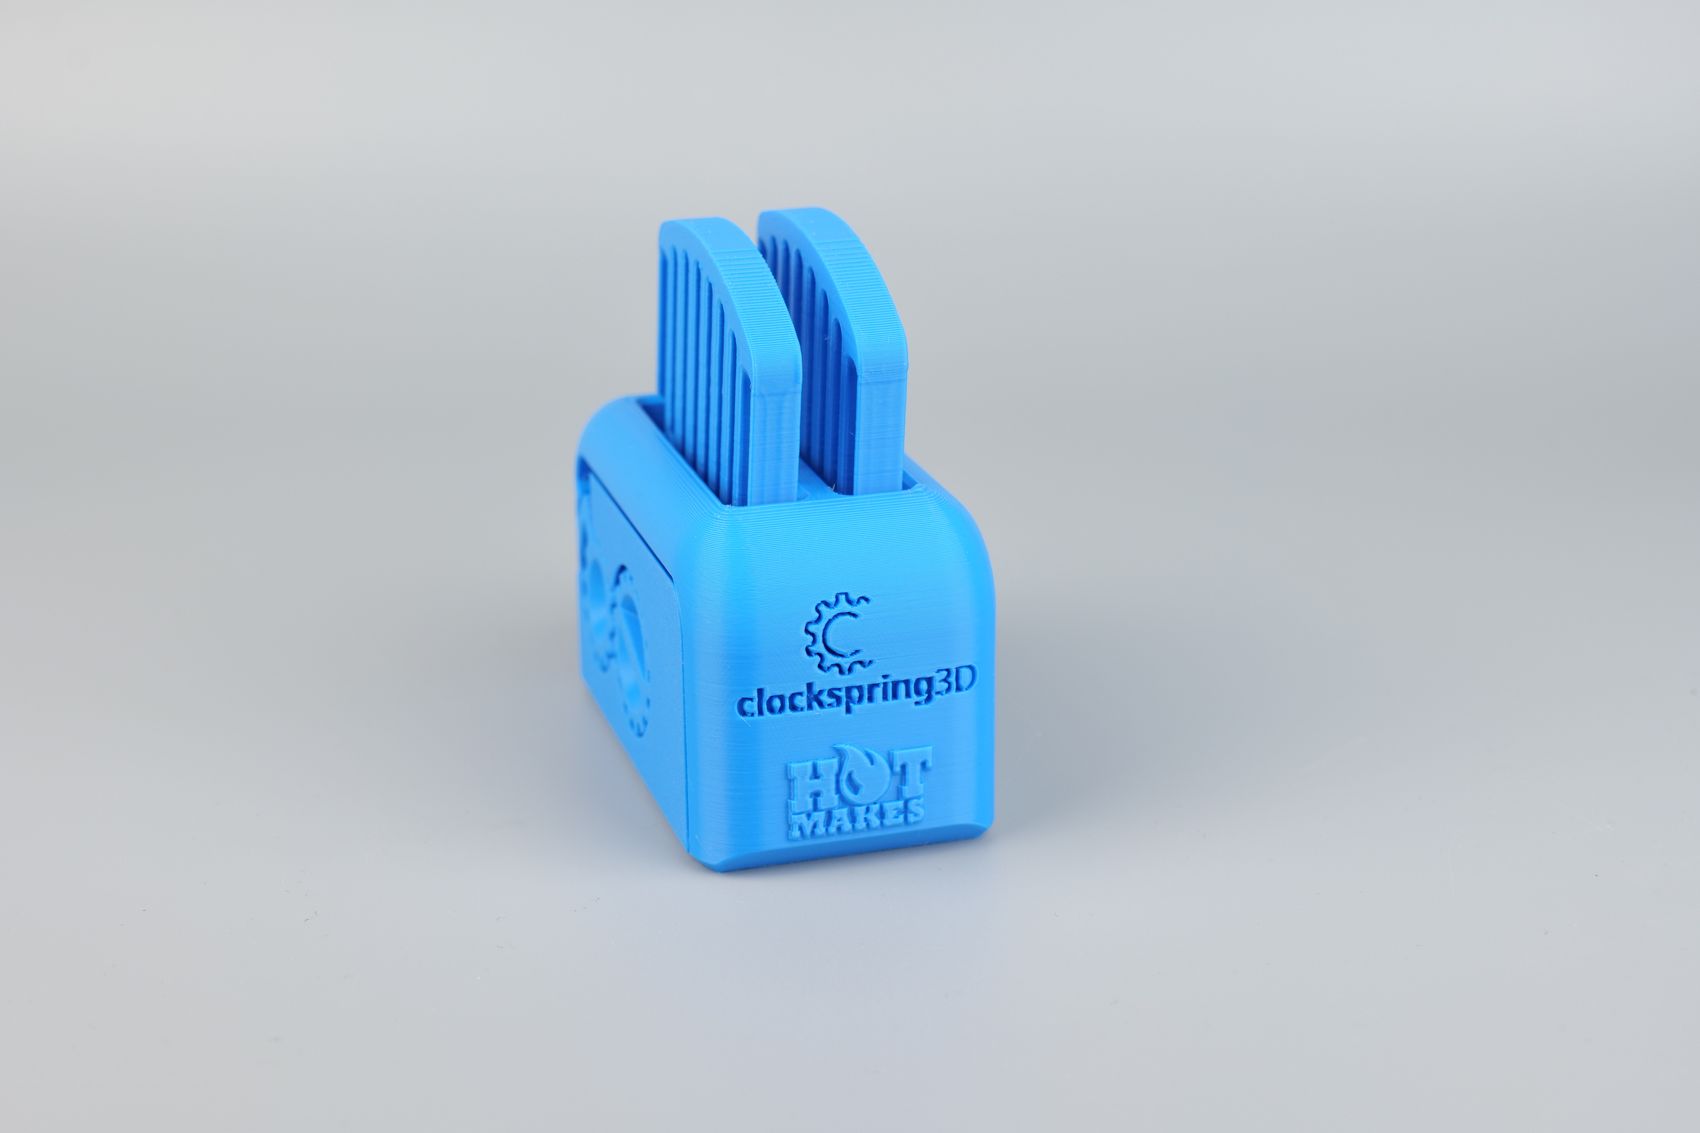
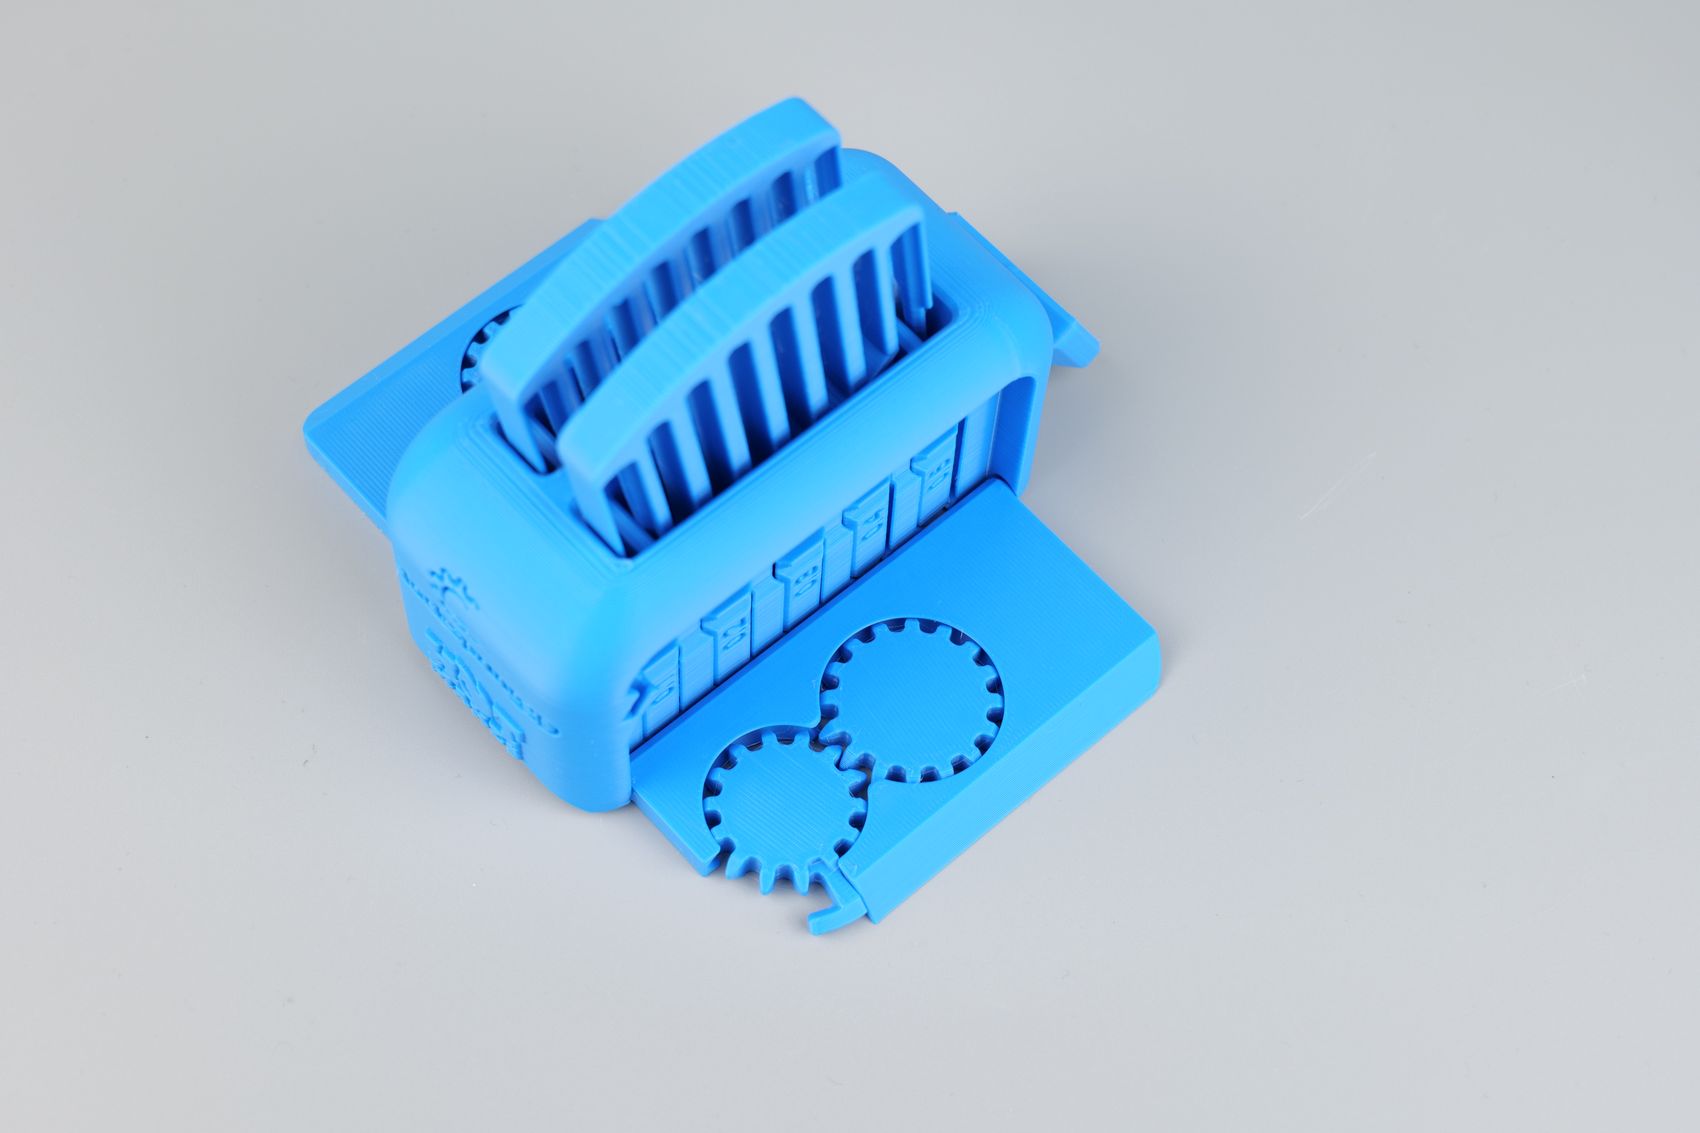
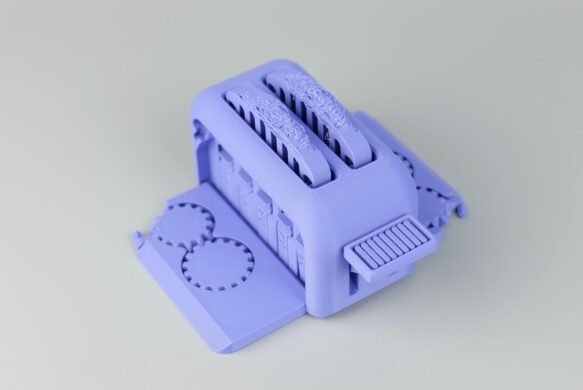
Unfortunately, the first try printing the torture toaster was not successful. Right before finishing the ~5-hour print, the toast has lost adhesion and started moving causing the final layers to be messed up. This was tested with the PLA Tough from Bambu Lab
I washed the plate and also loaded some Creality HyperPLA just to see if the printer could complete this without any additional changes to the profile, and this time it managed to complete it successfully.
There are a few sections where the extrusion is not as consistent, but the overall result is great. I was even able to move the 0.2 mm flag for tolerance, which doesn’t happen on a lot of printers.
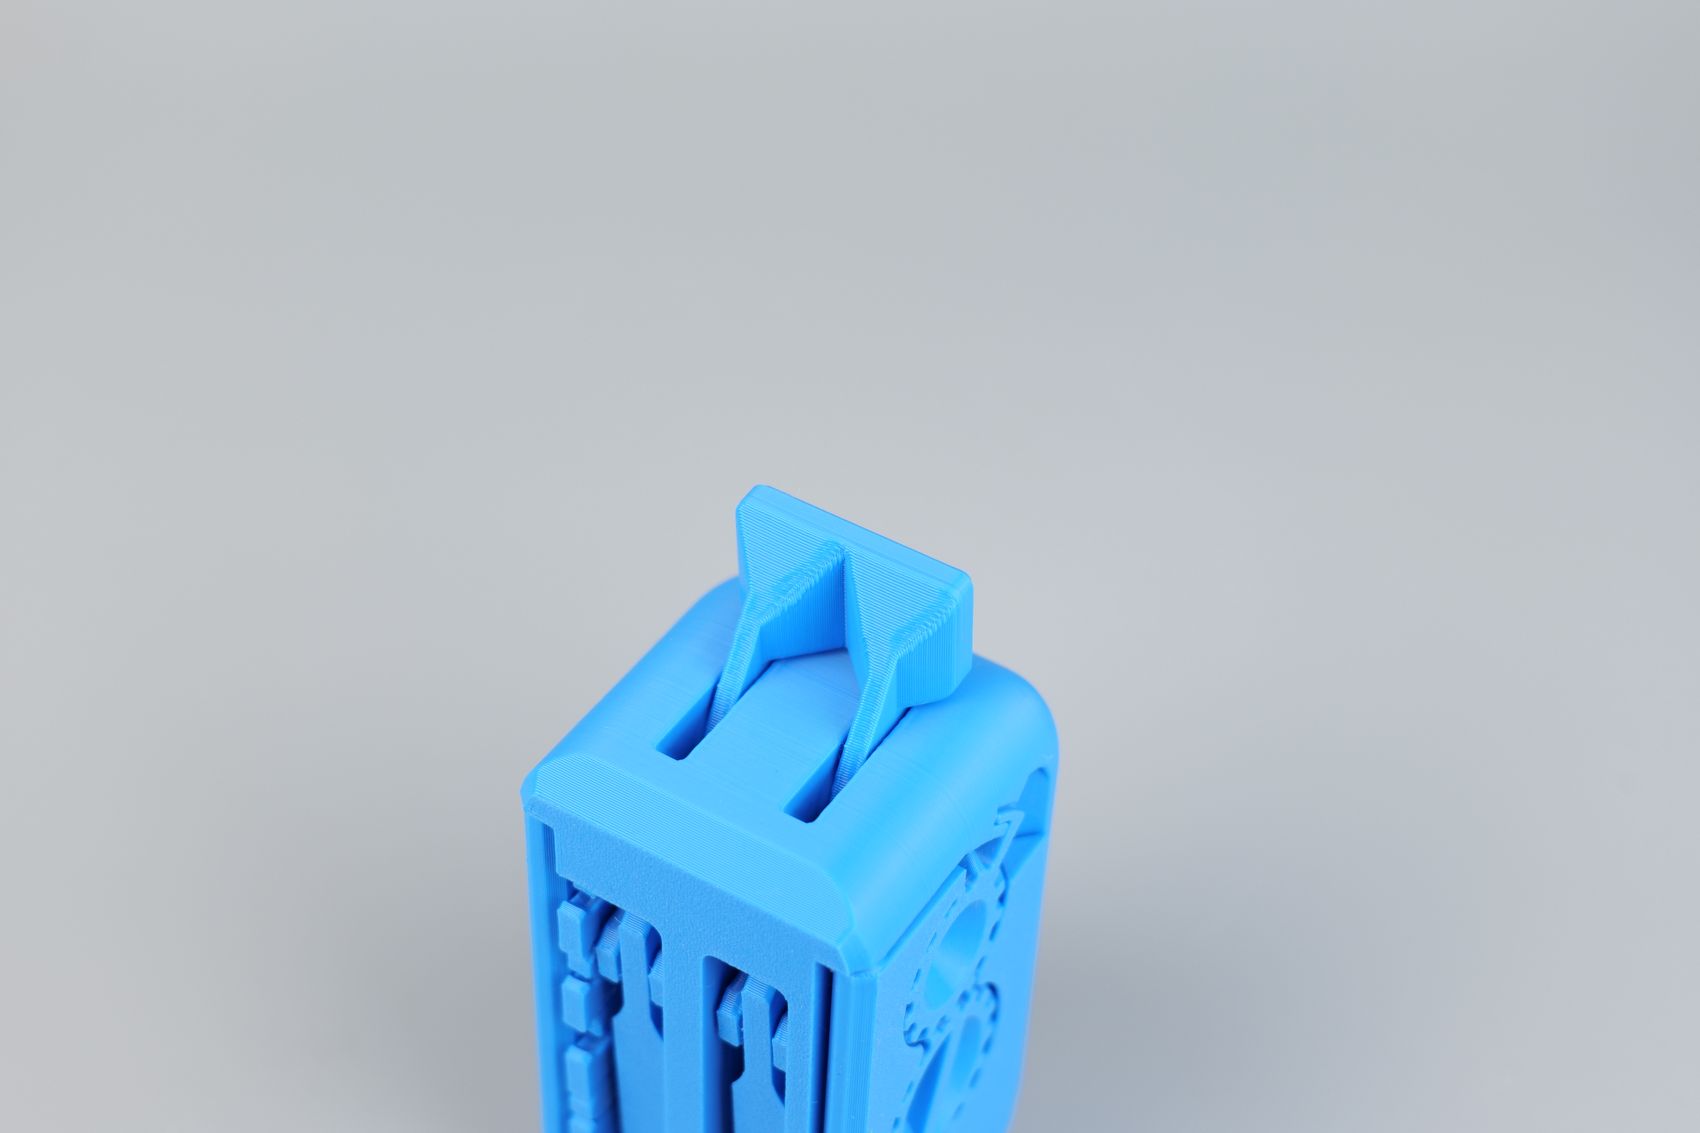
- Material: Creality Hyper PLA
- Layer Height: 0.2mm
- Nozzle Temperature: 220C
- Bed Temperature: 65C
- Print Speed: ~250 mm/s (Standard Profile)
Flexi Fox
Like in other reviews, I used the Flexi Fox from Flexi Factory to test the adhesion and print quality of PETG. I scaled the model to the maximum print volume of the A1 Mini and in about 5 and a half hours I had a completed model.
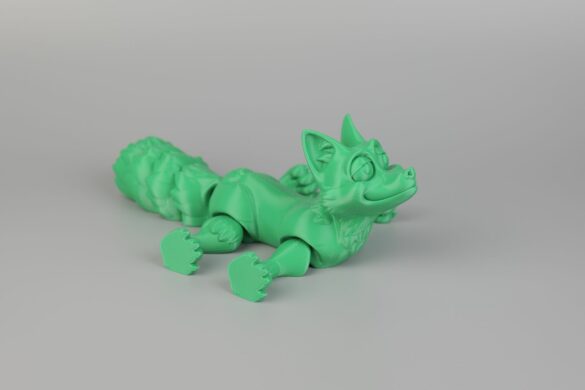
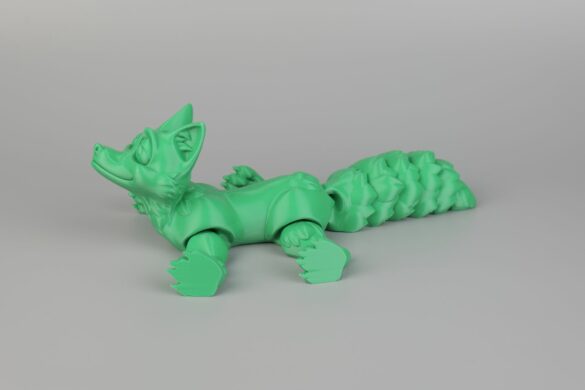
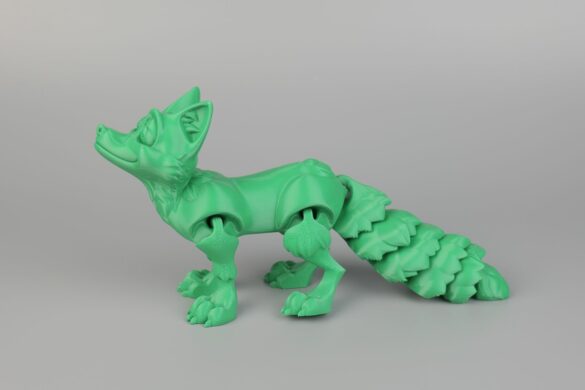
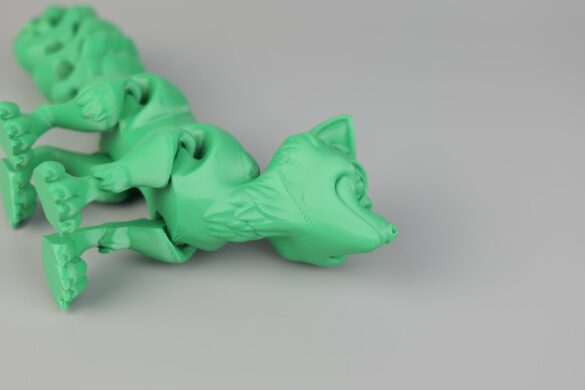
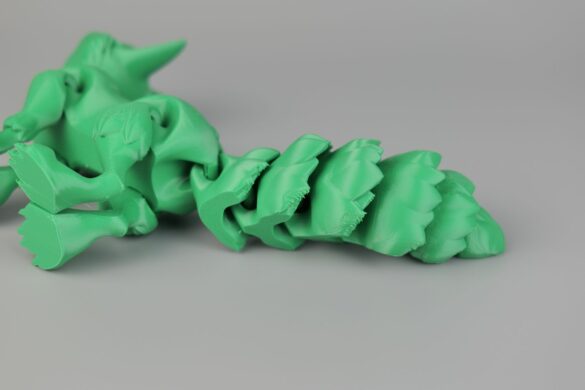
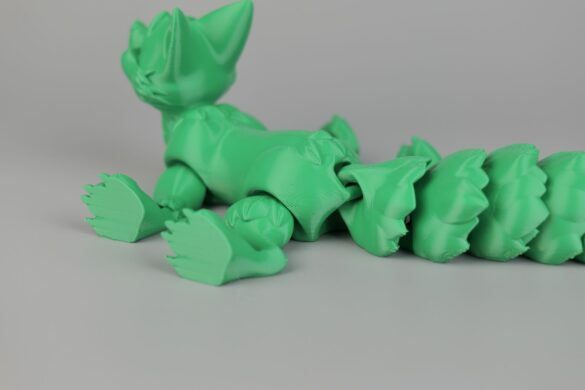
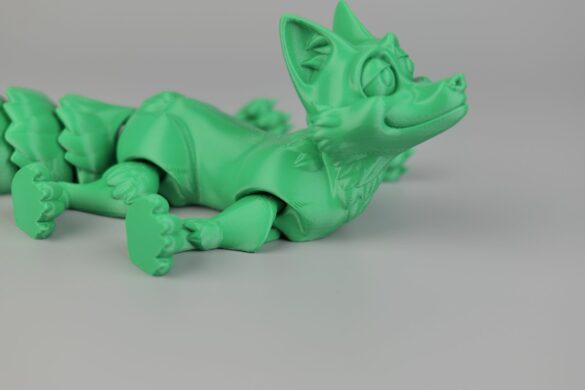
The results are OK, but I was expecting a bit better for this. It feels like the print speed of the profile is too high even after I adjusted the wall speed to 200mm/s. This causes some cooling issues on the tail for the larger overhangs, and there are some small holes in the print which I am not sure what caused them. It’s a pass on the print quality, but not with flying colors. Adhesion was great though.
- Material: Bambu Lab Basic PETG Green
- Layer Height: 0.16mm
- Nozzle Temperature: 255C
- Bed Temperature: 80C
- Print Speed: ~200 mm/s (Adjusted Optimal Profile)
20 Years Wu Tang Logo
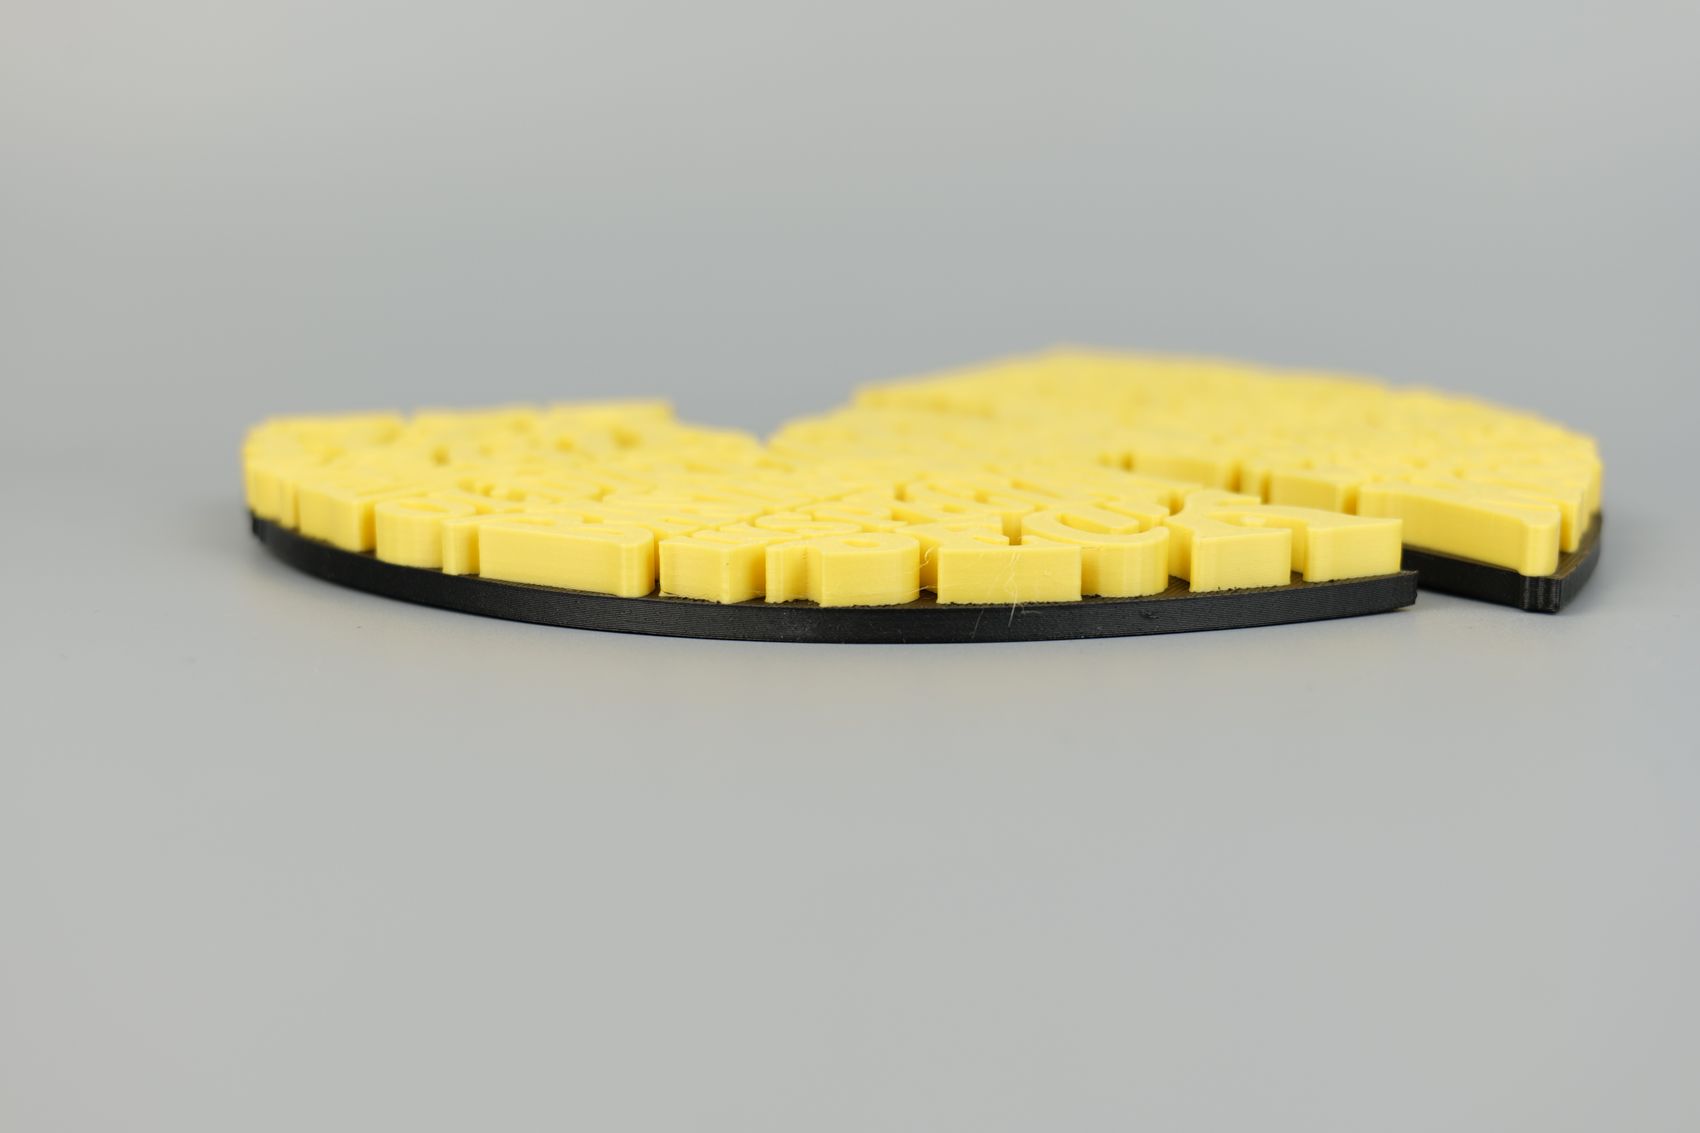
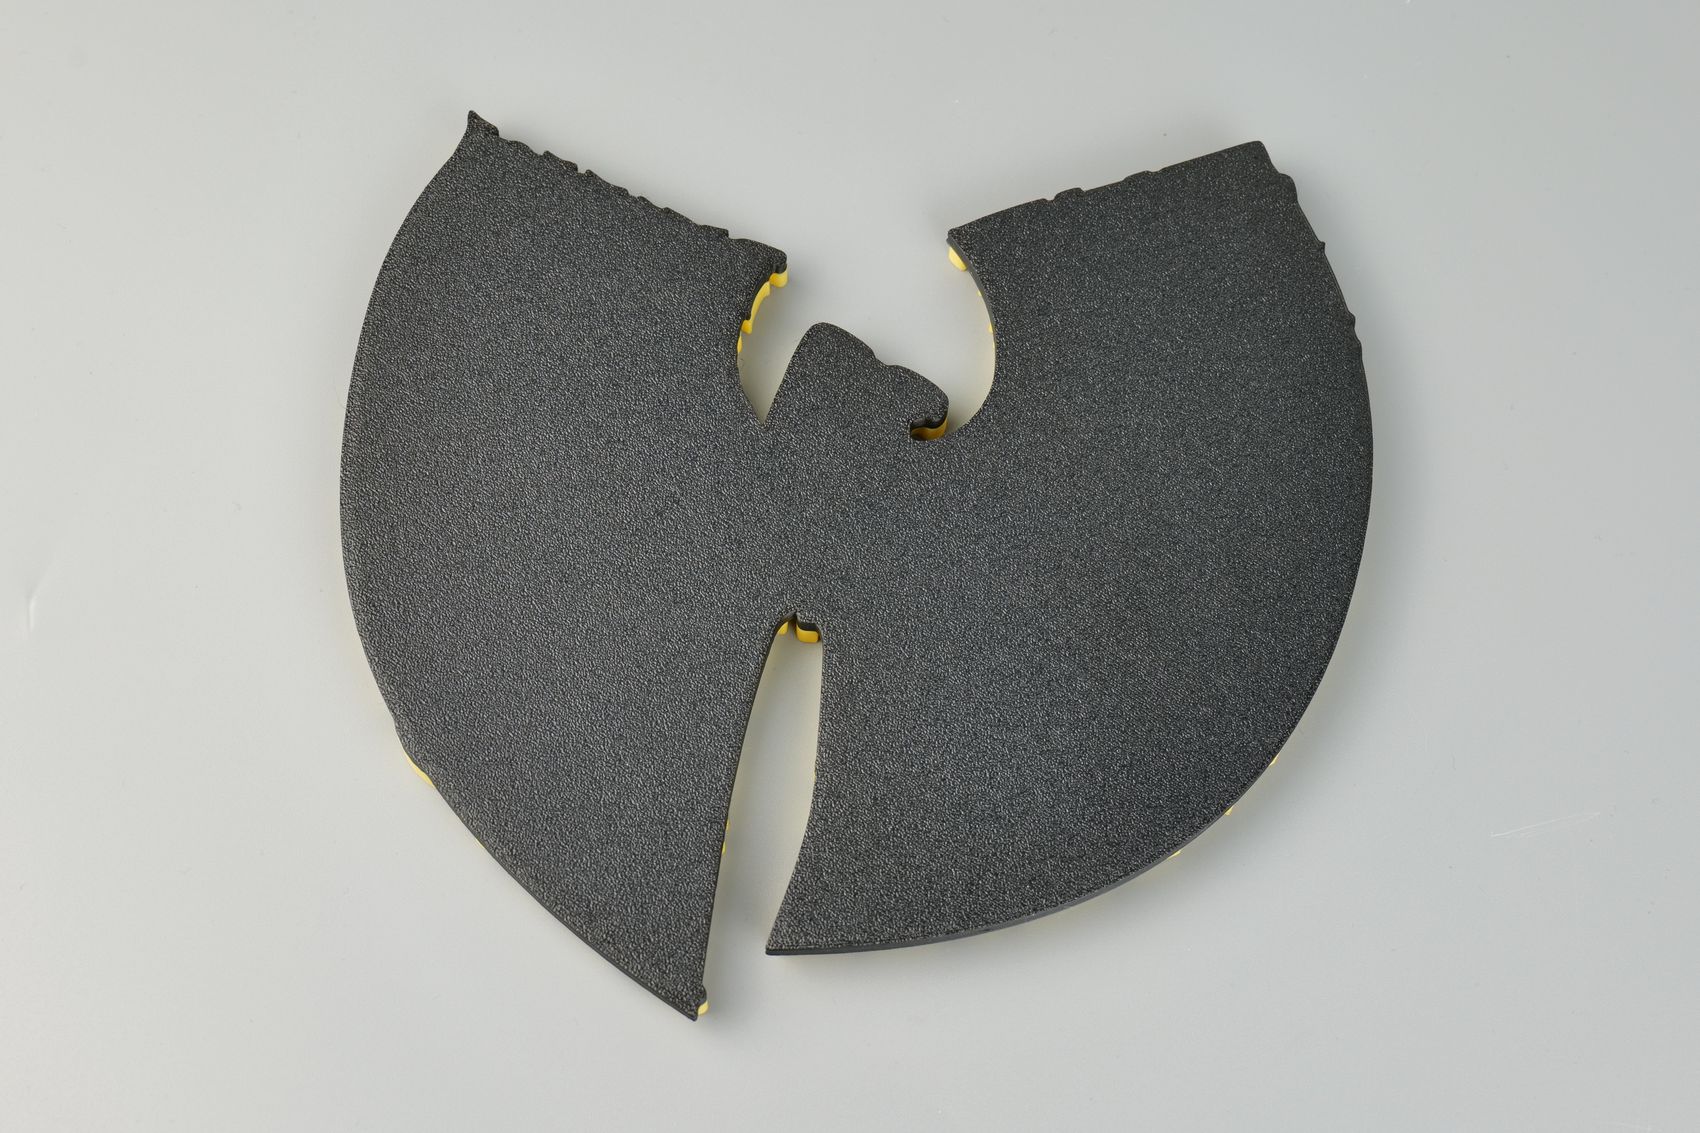
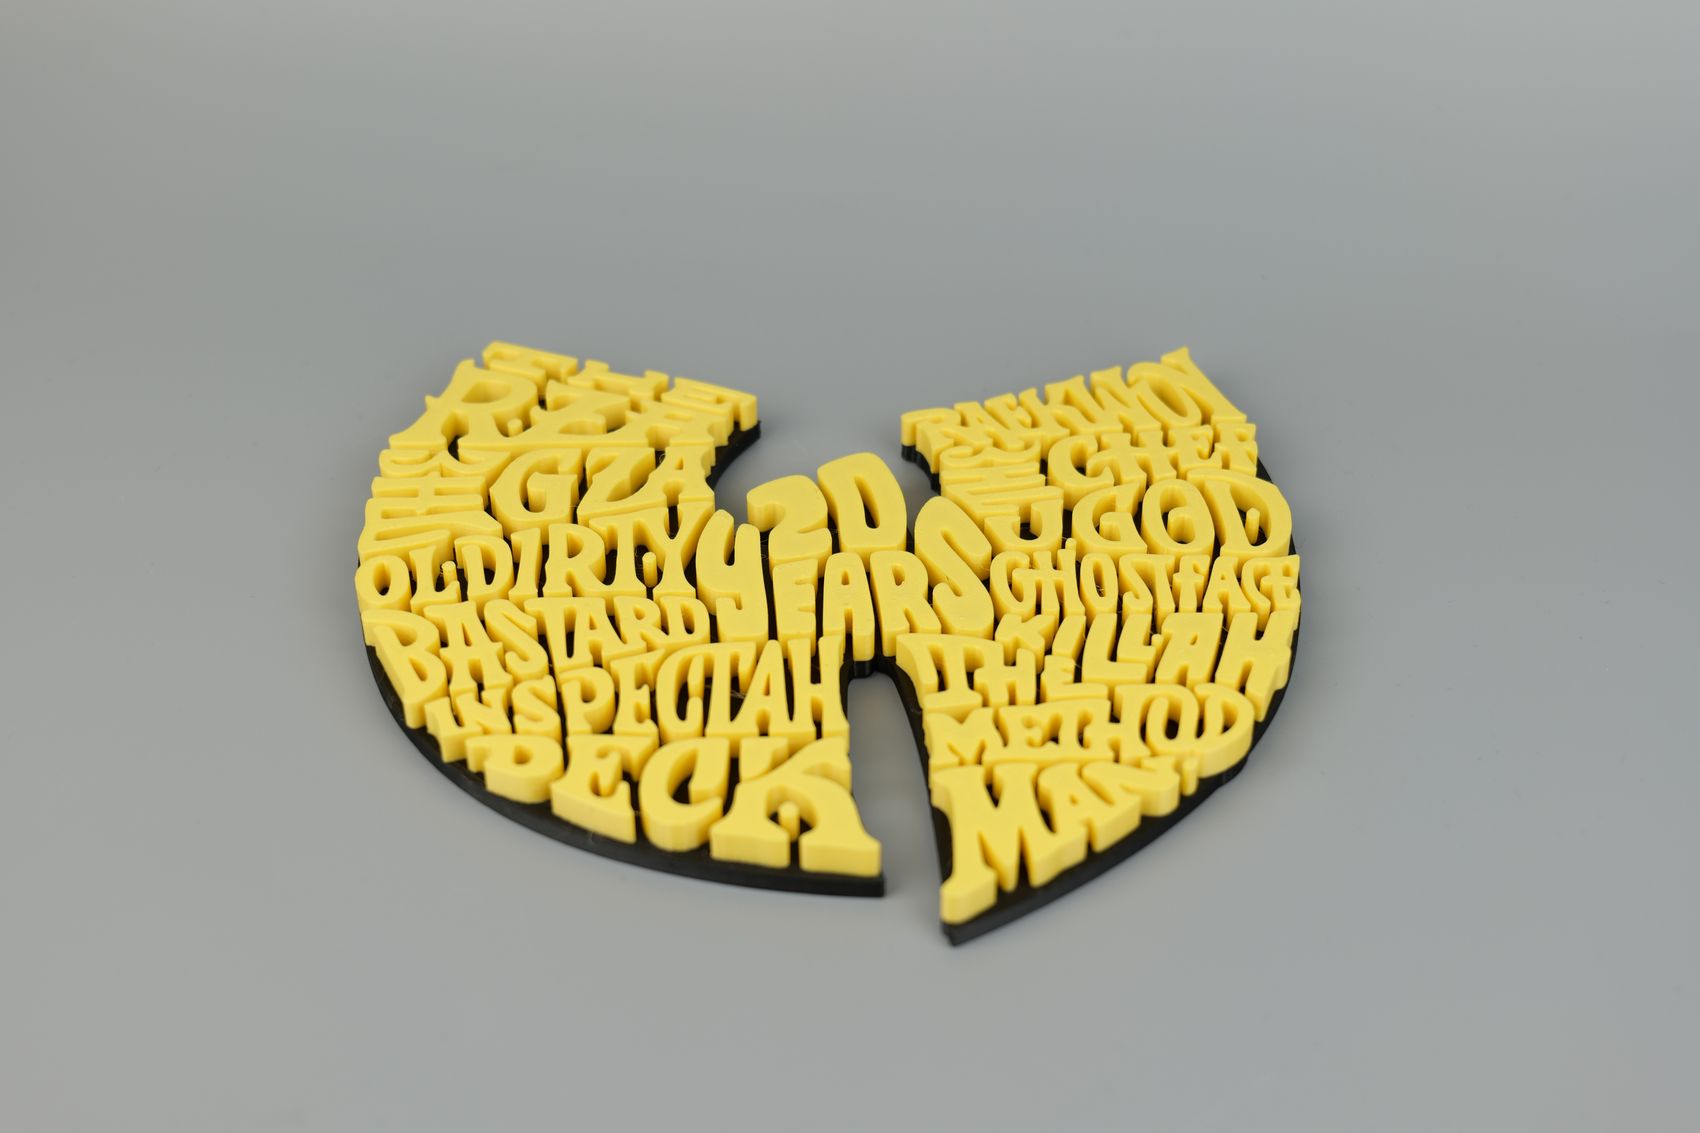
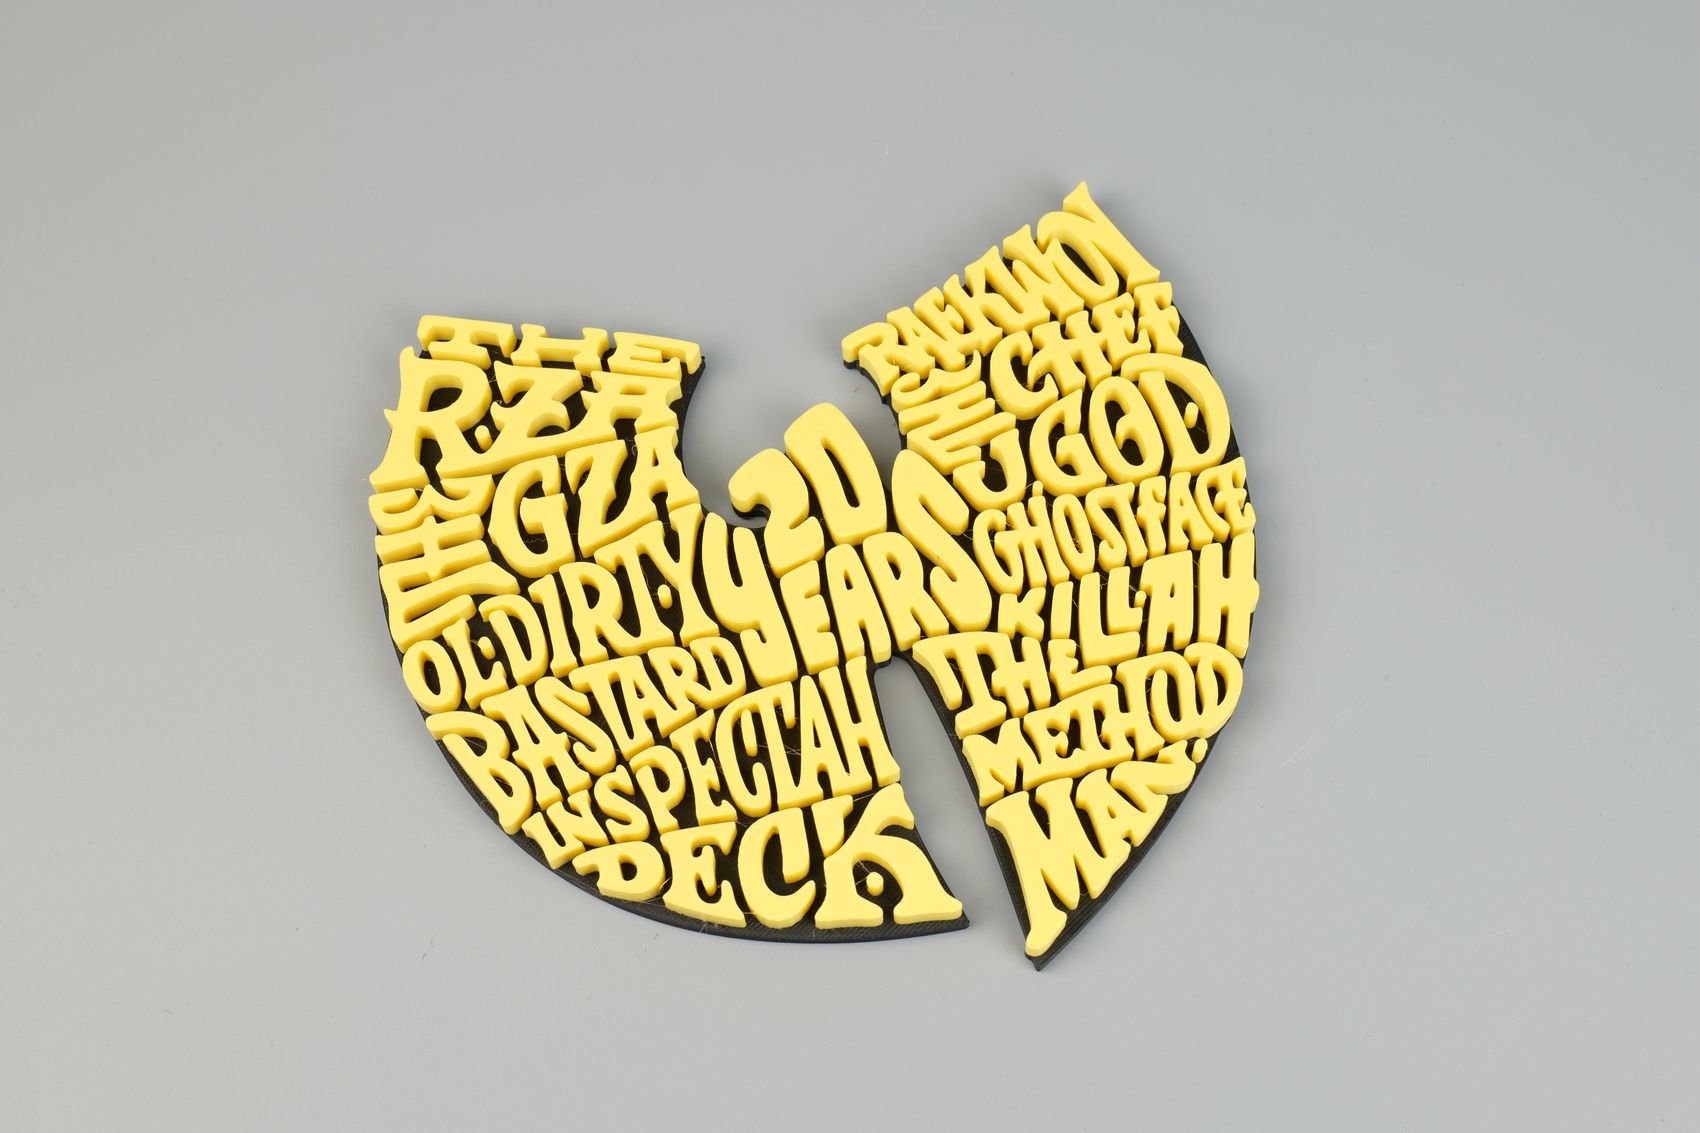
I found this awesome 20 Years Wu Tang Logo, and being a fan I quickly downloaded the model and printed it with the A1 Mini and the AMS Lite. It came out flawless and I can’t say there’s any print quality issue with the model.
Adhesion was excellent, the texture on the back of the print is also nice and the letters are nice and crisp.
- Material: PolyMaker Polyterra Black and Yellow PLA
- Layer Height: 0.2mm
- Nozzle Temperature: 220C
- Bed Temperature: 65C
- Print Speed: ~250 mm/s (Standard Profile)
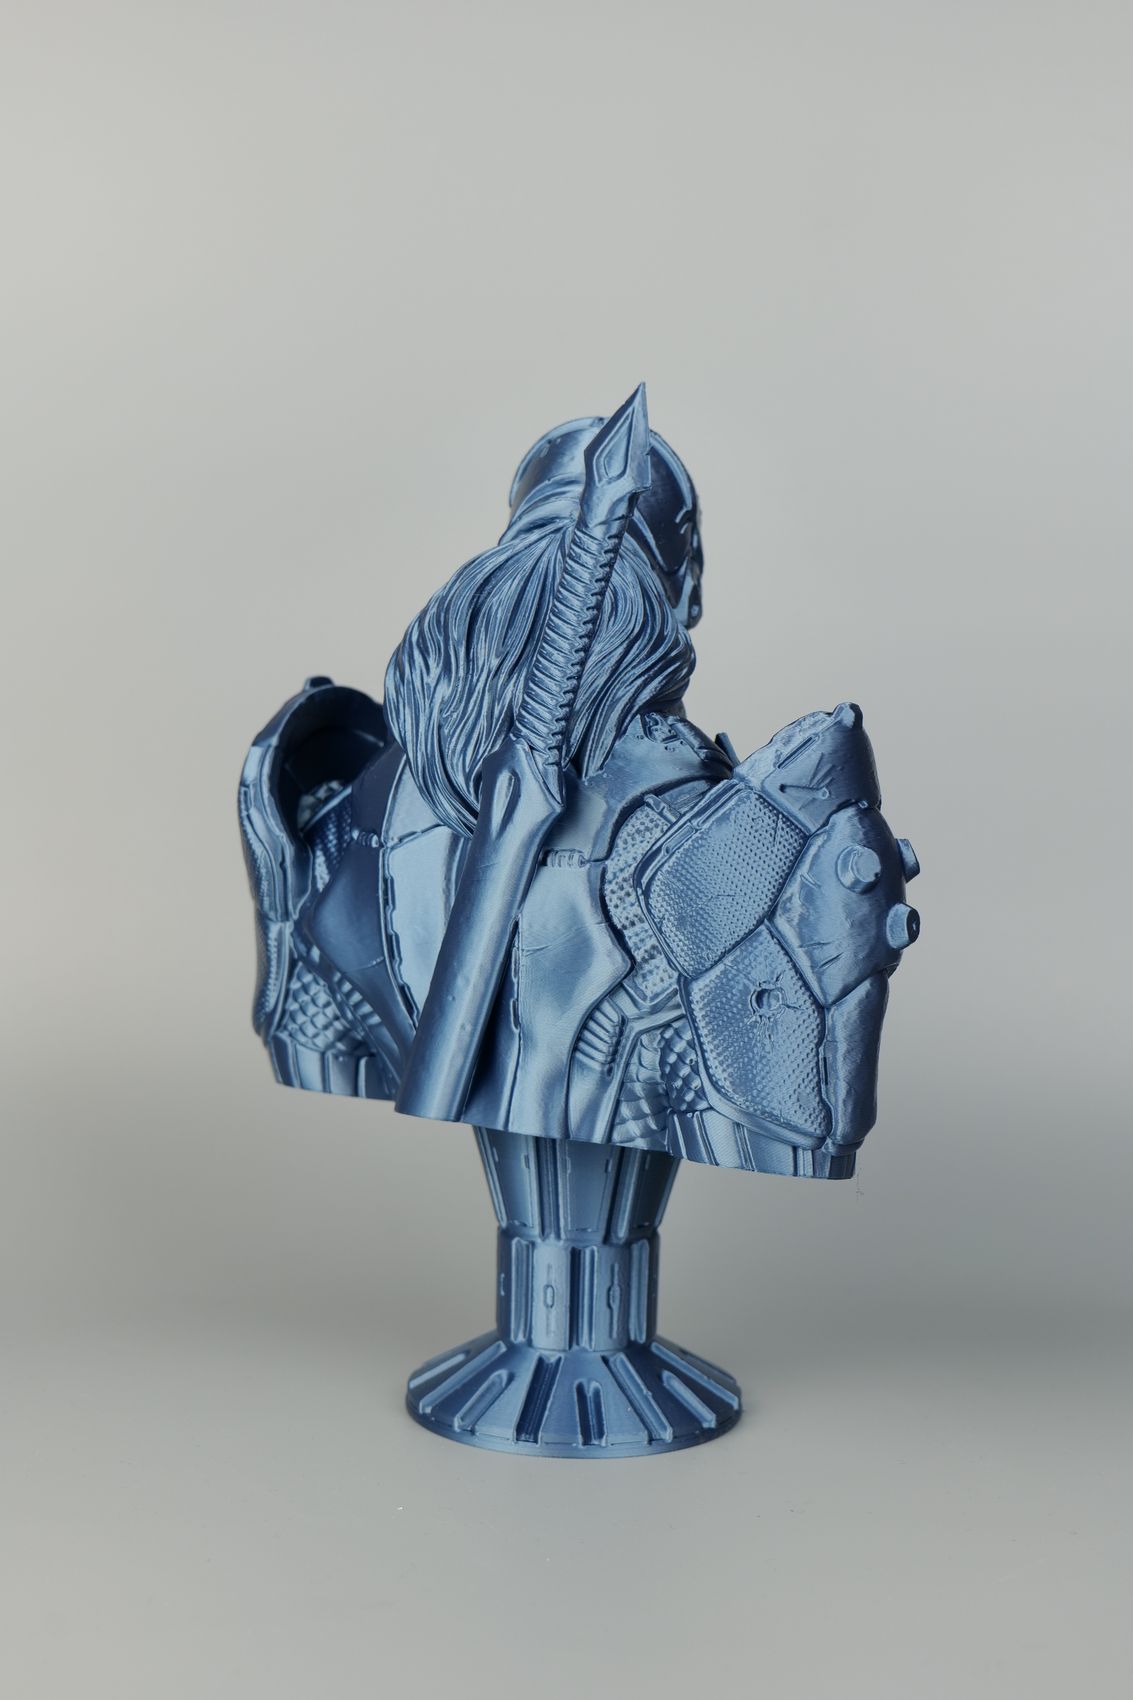
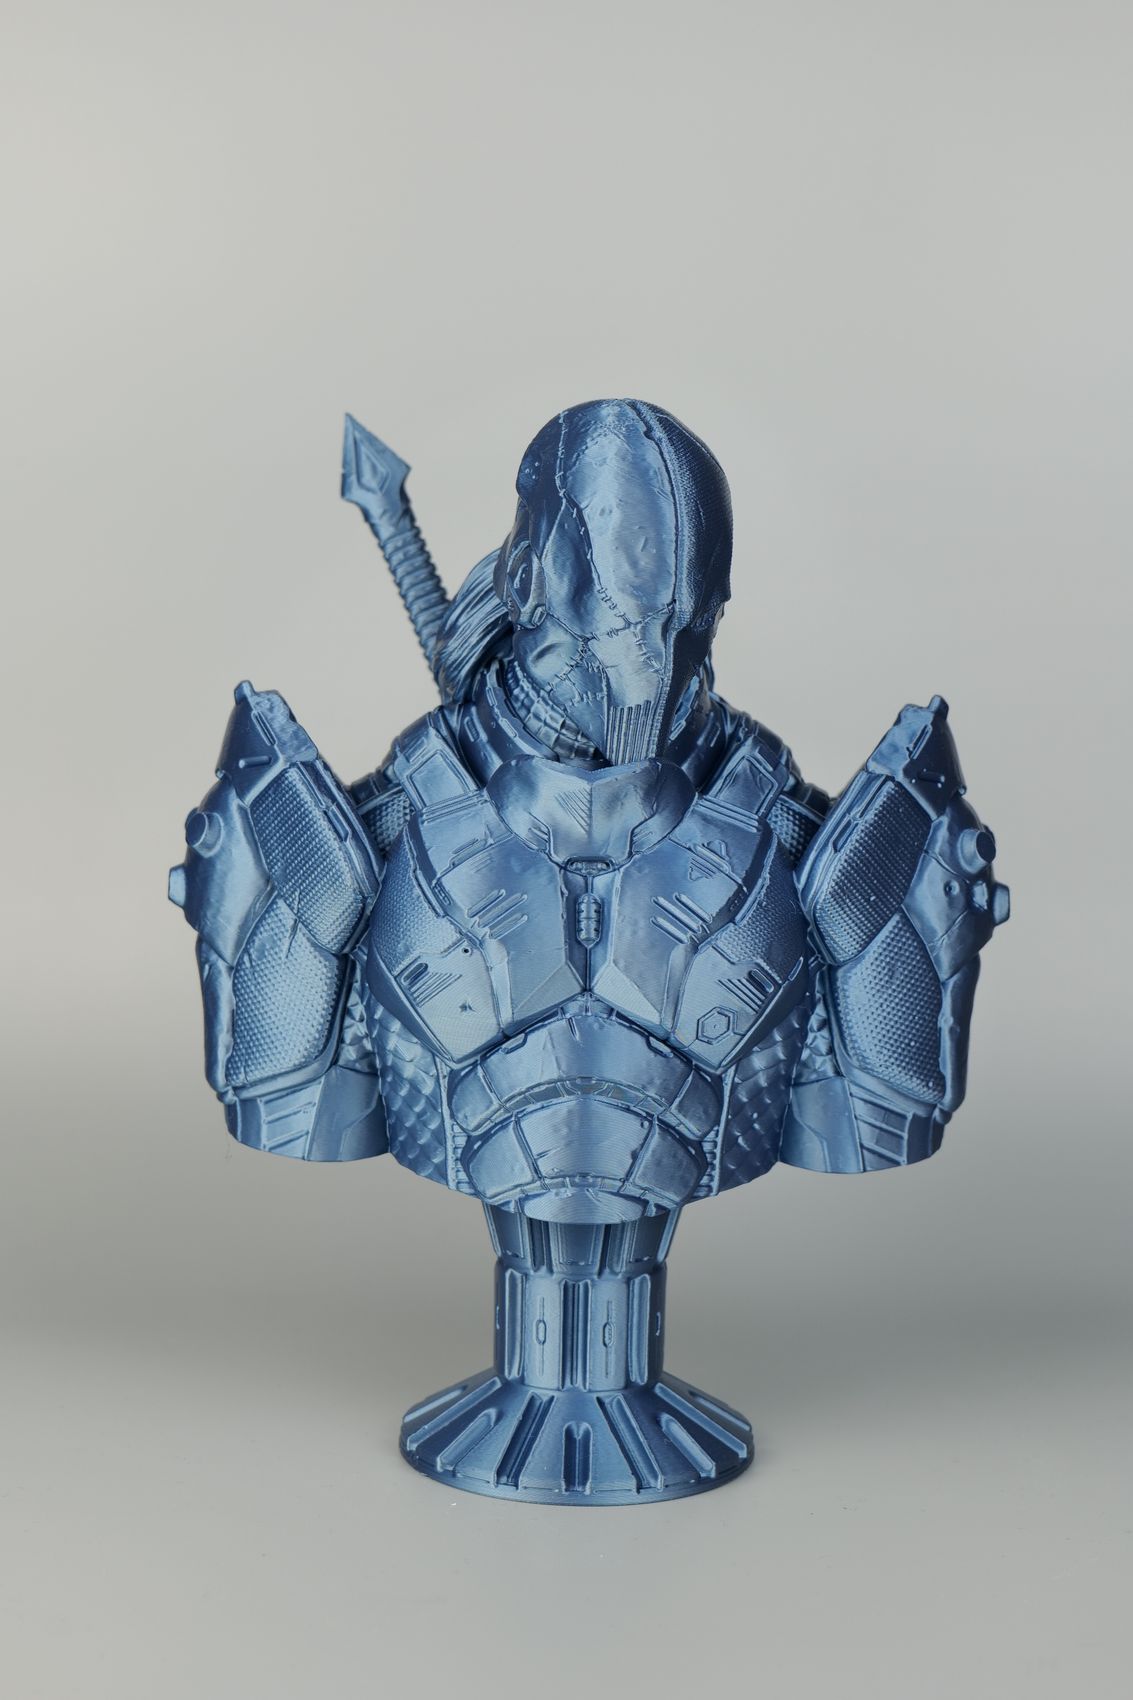
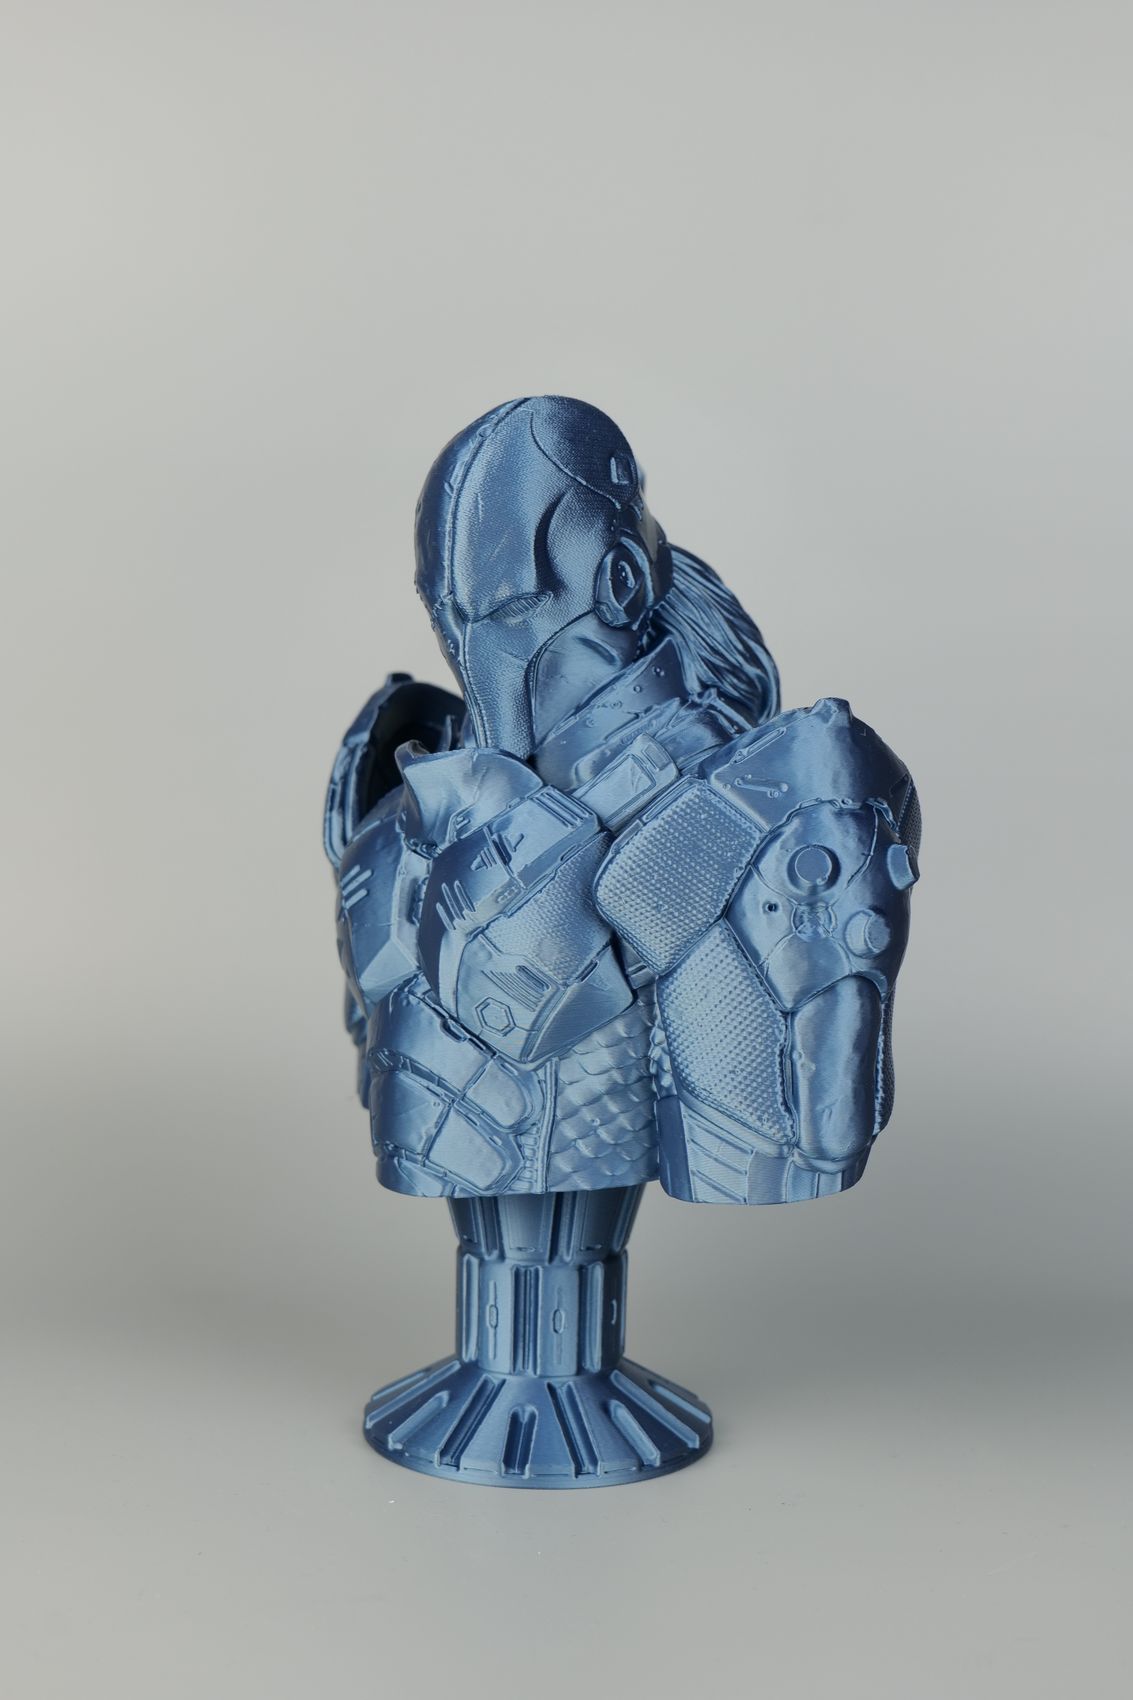
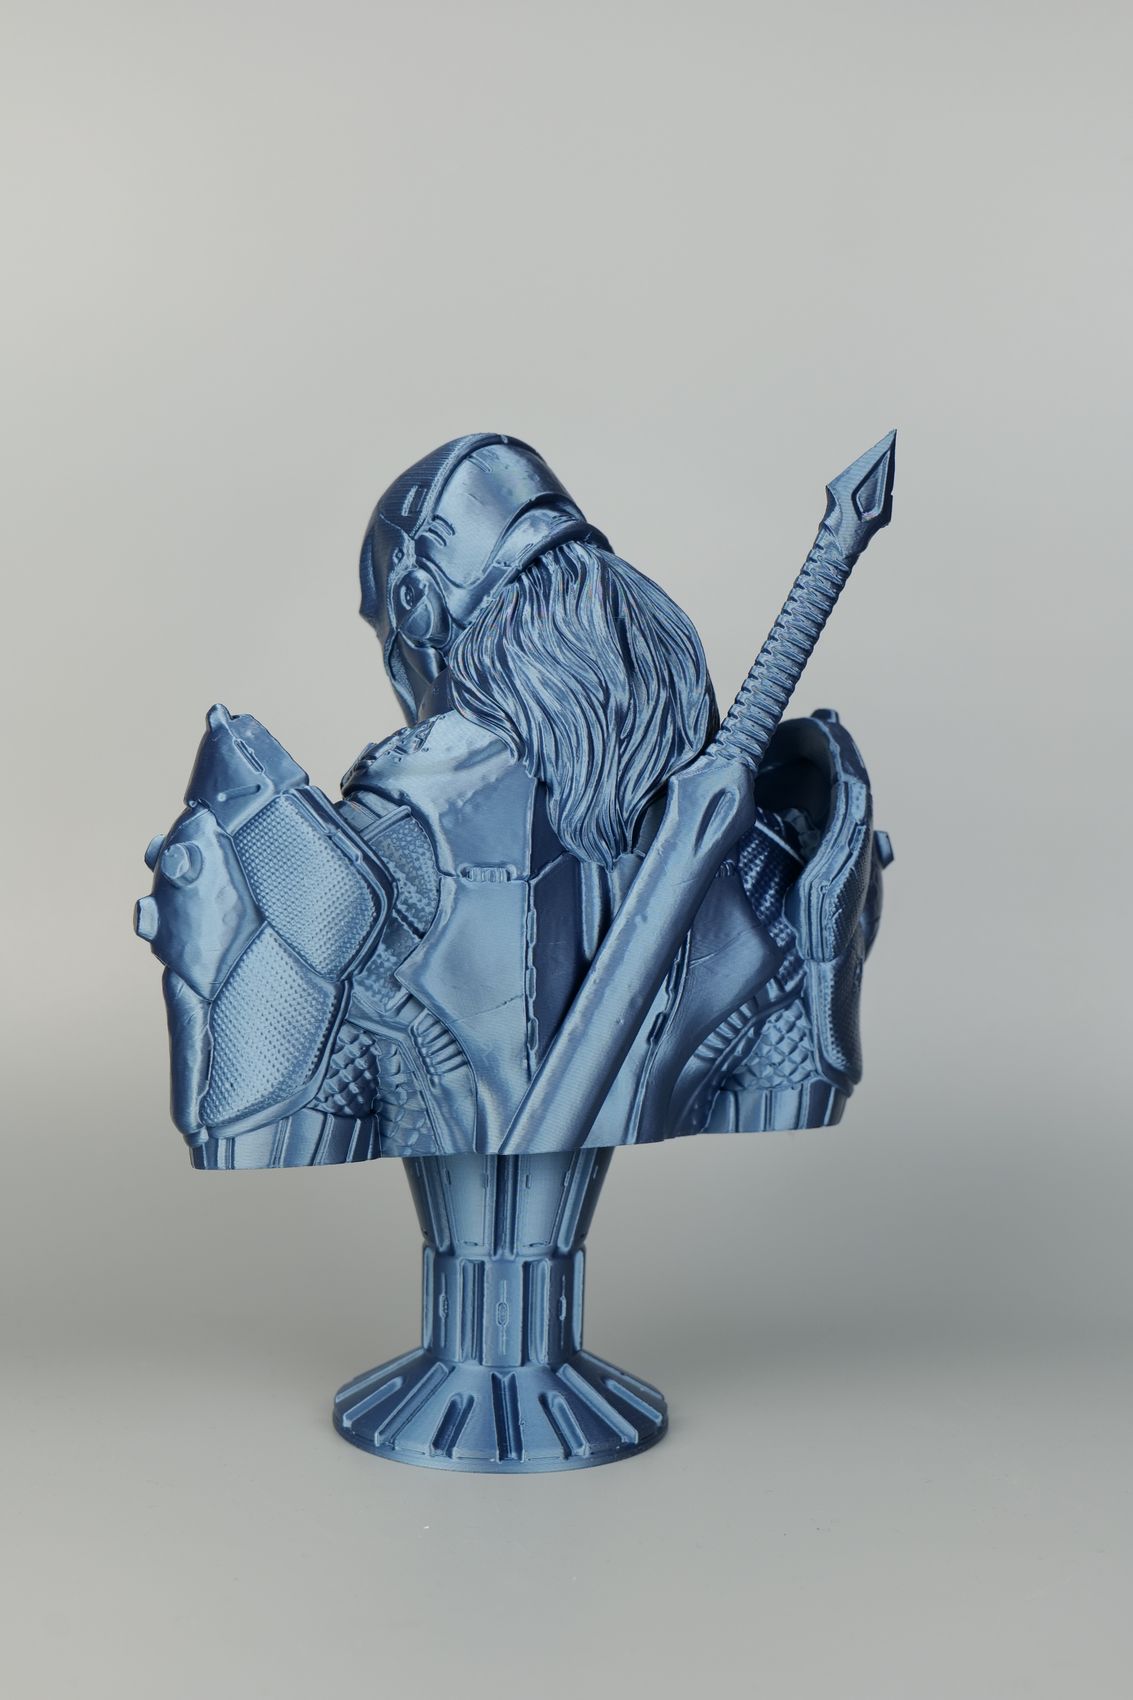
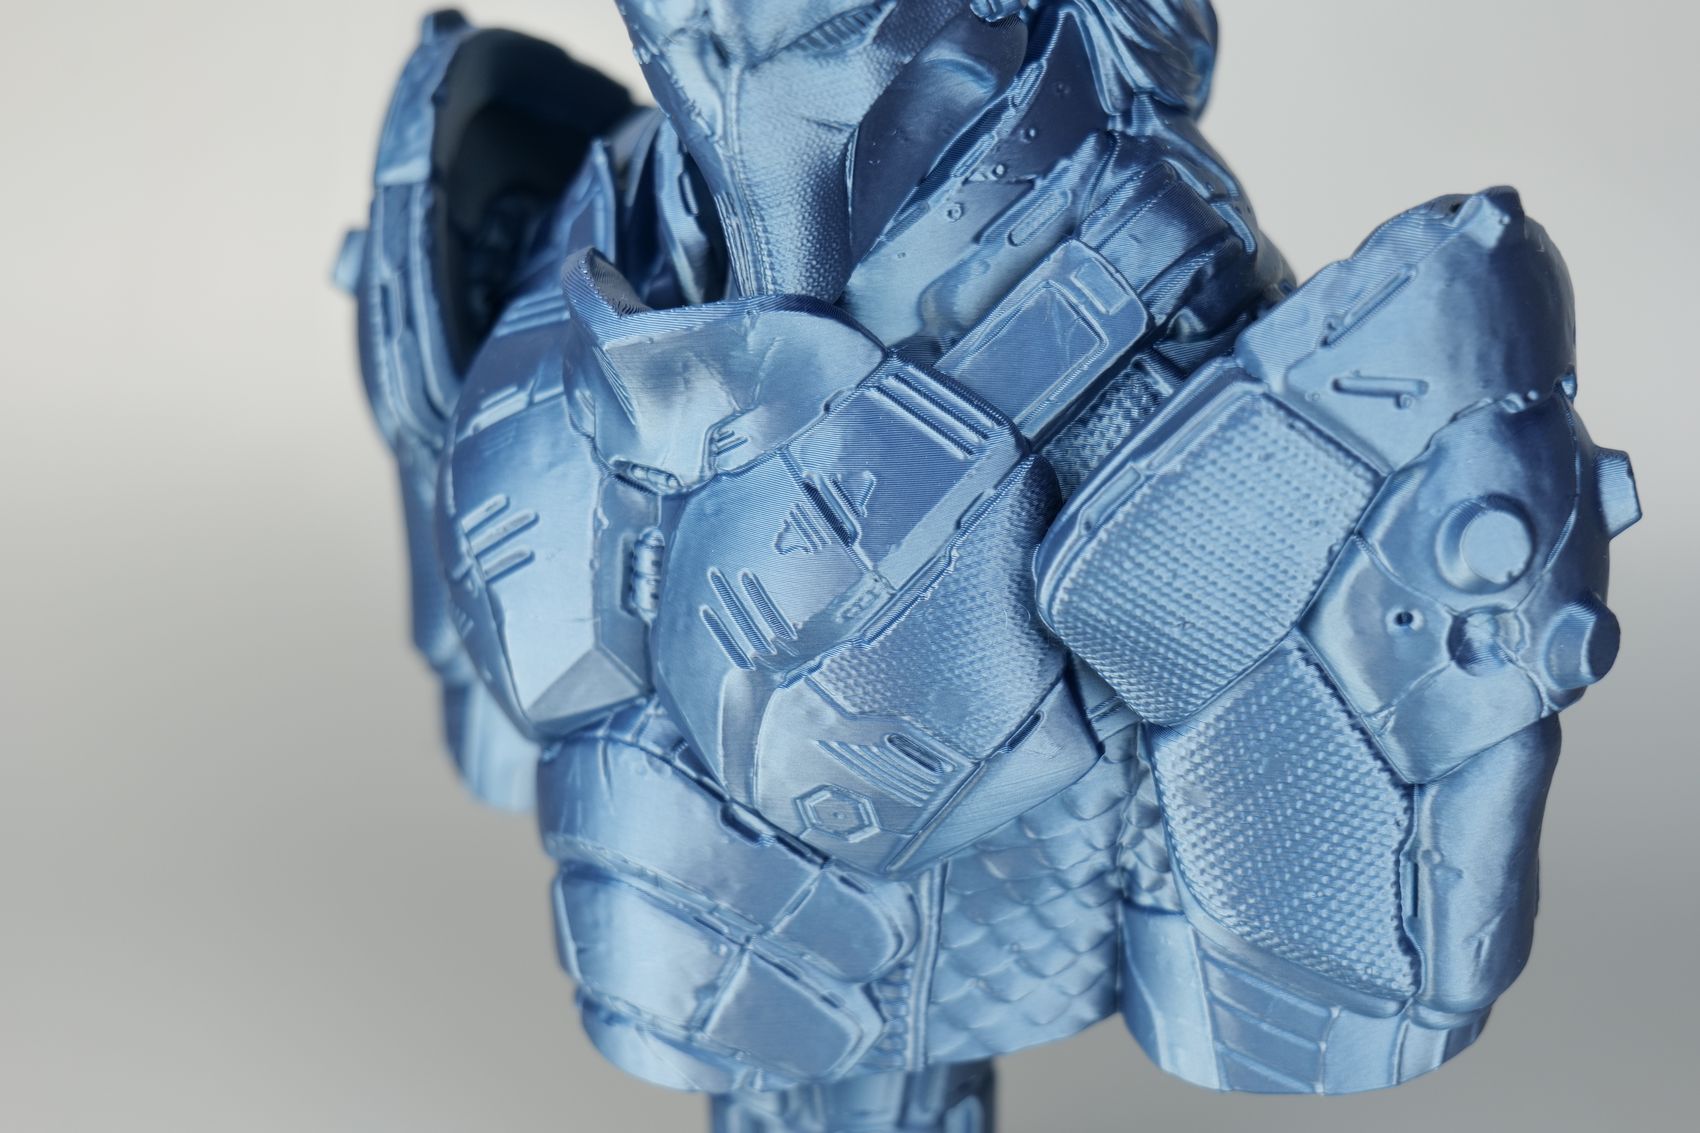
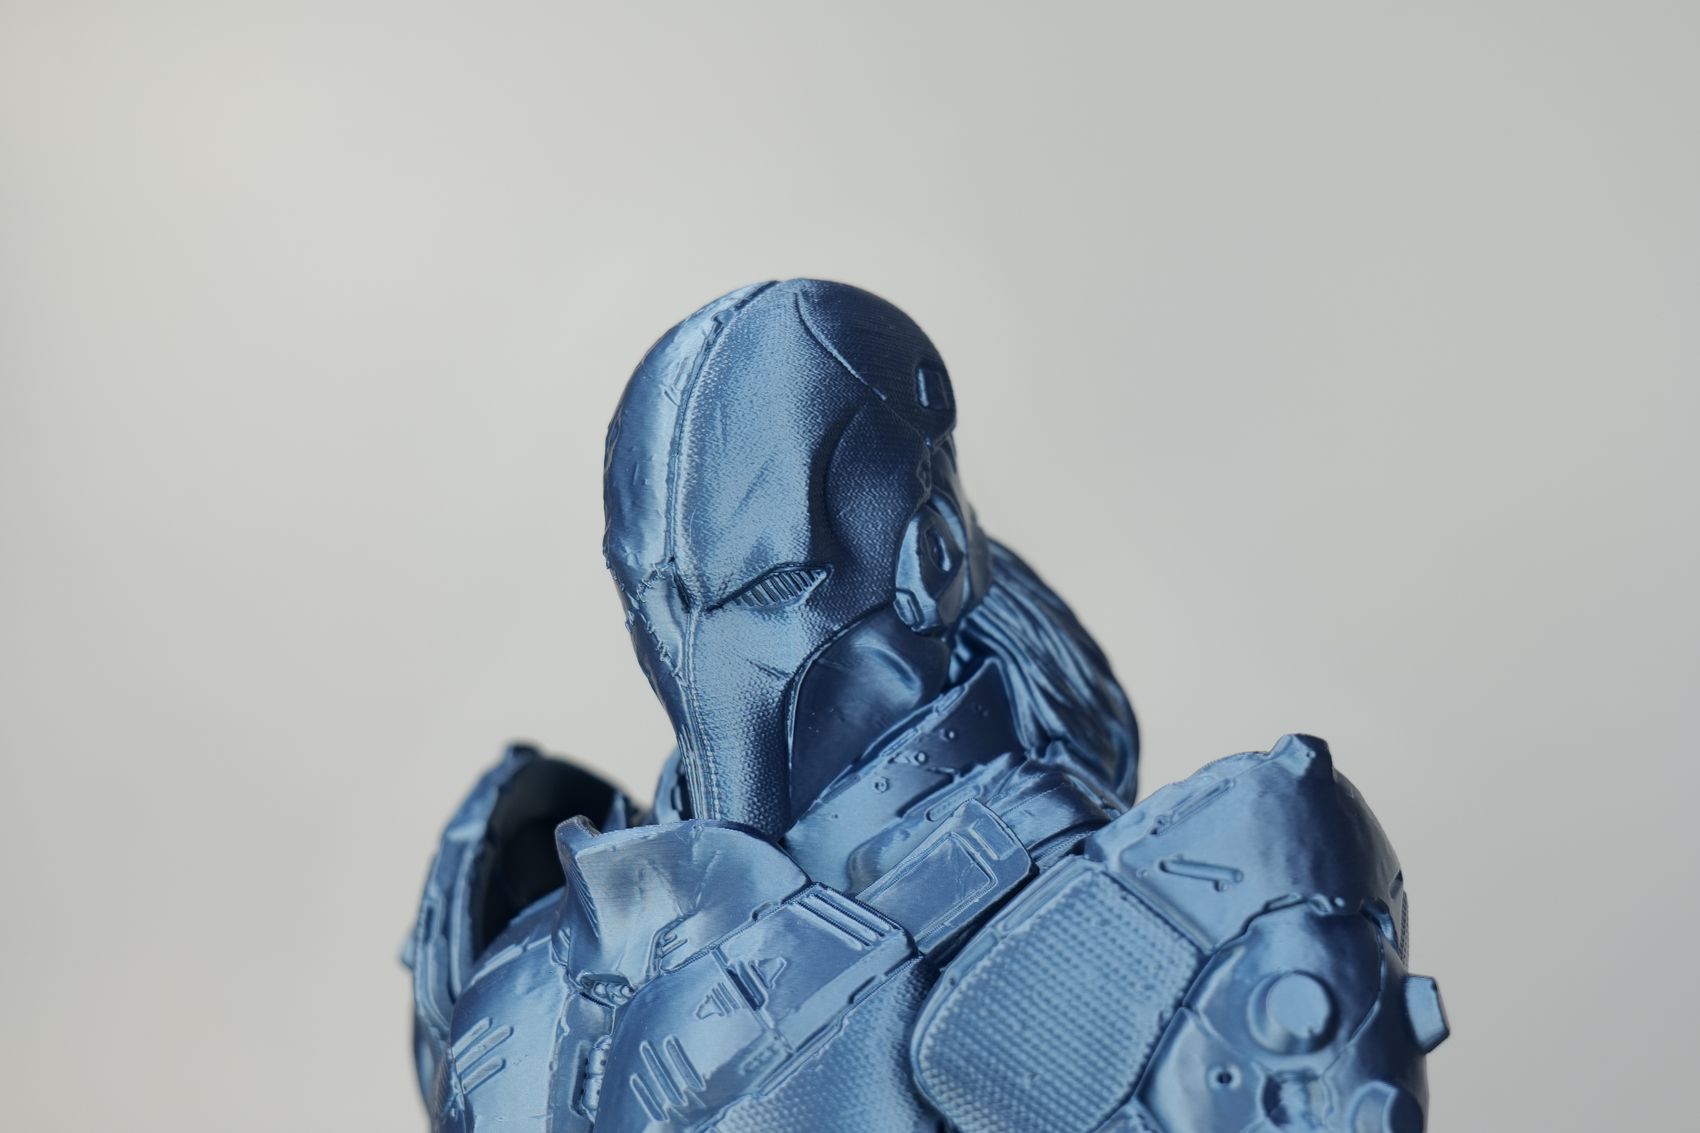
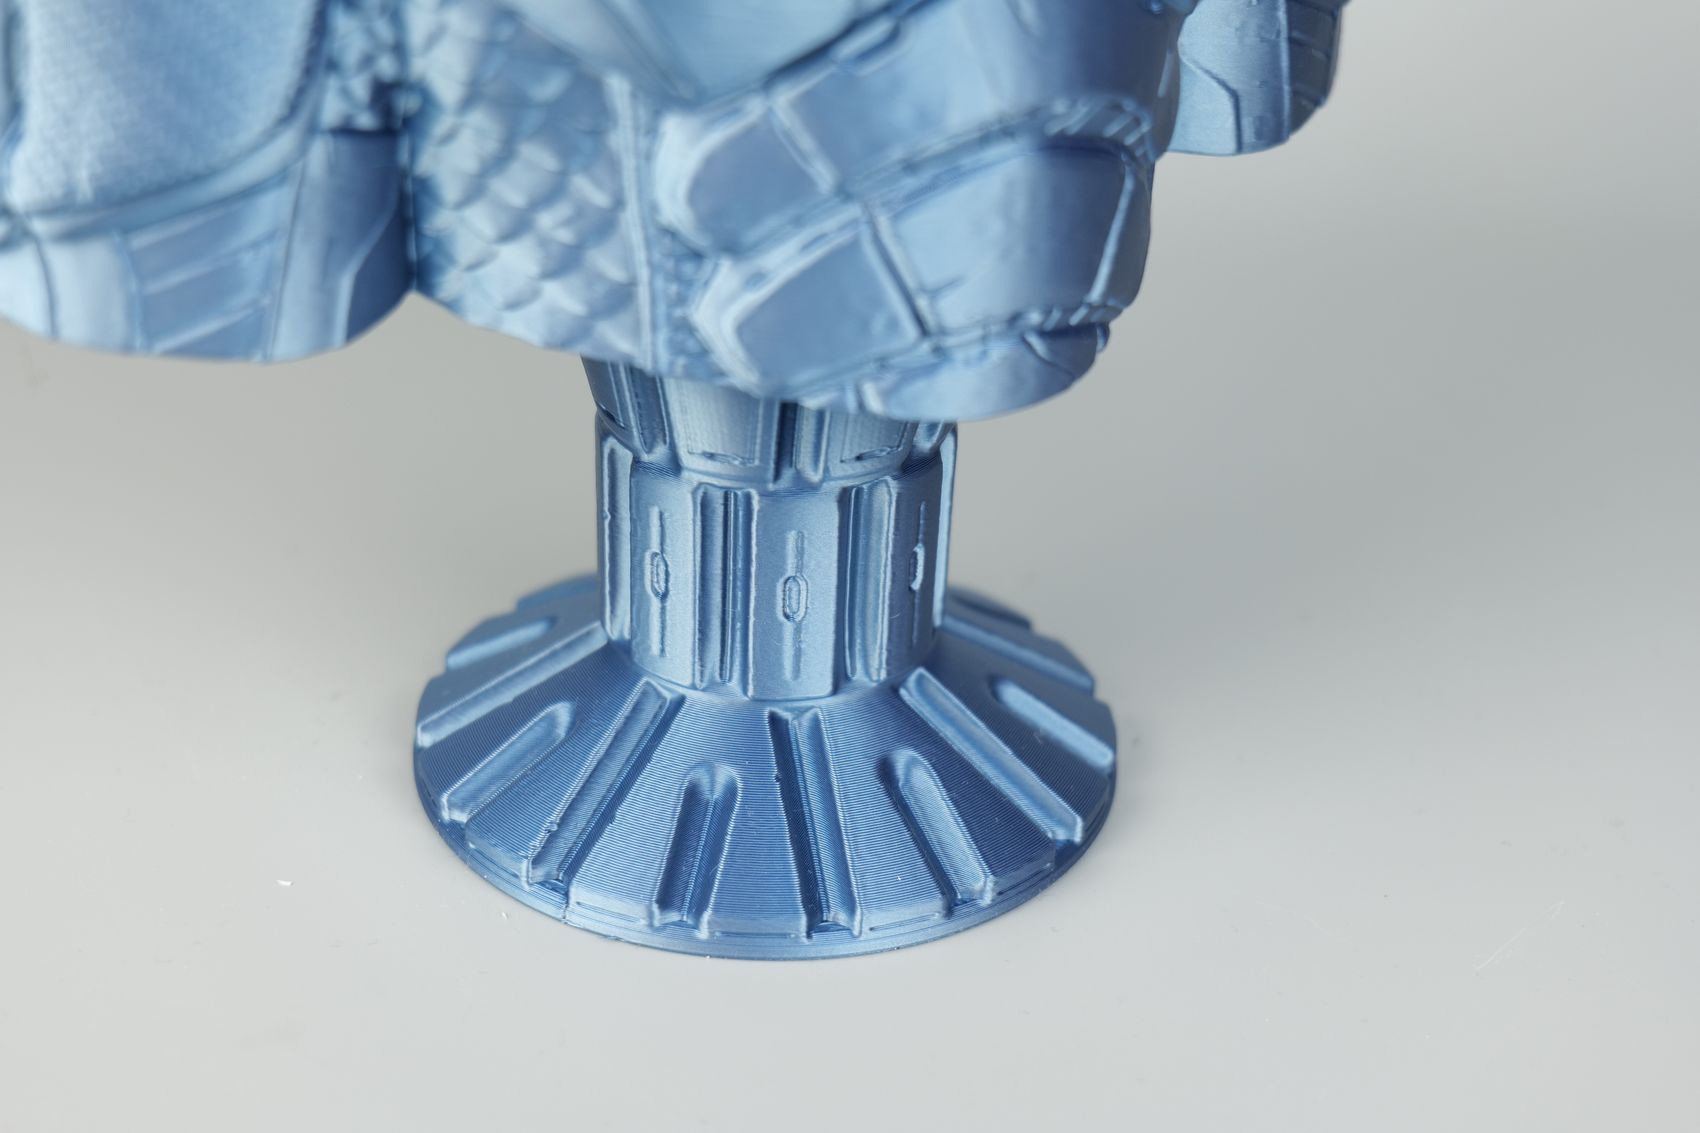
Deathstroke Bust
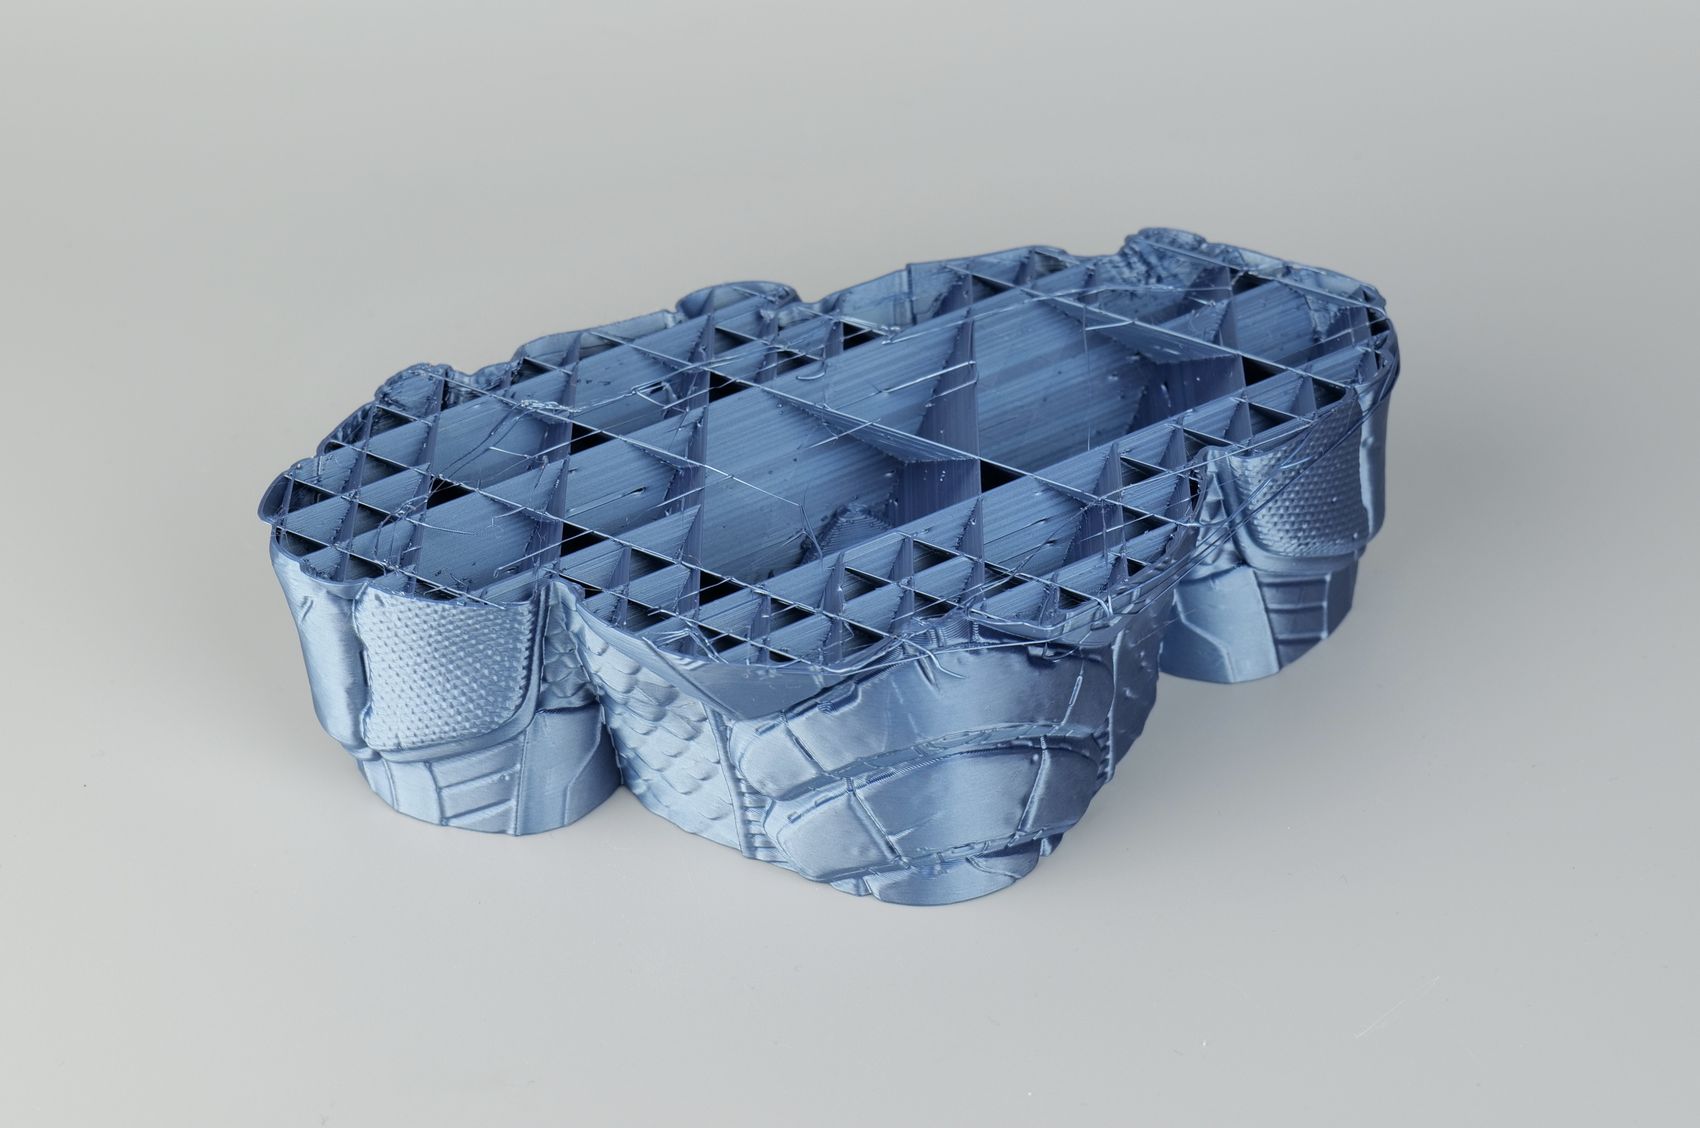
I believe that some of the filament profile speeds pre-loaded in the Bambu Studio can use some adjustments, as the Deathstroke Bust from Eastman failed first due to the fast printing speed. At some point, the nozzle was grinding too much on the print generating a layer shift that the printer did not detect resulting in a failed print. Unfortunately, I did not have the Layer Shift detection feature turned on.
The second try was successful, after I adjusted most of the speeds in the slicer to ~200mm/s, printing the model slightly slower but successfully.
Overall, the print result is excellent and this filament easily hides the layers making the print look amazing. The Cobalt Blue Metallic filament is probably my favorite “silk” filament as it can be printed much faster compared to regular silk filaments while providing the shine everyone likes.
- Material: Bambu Lab Cobalt Blue Metallic
- Layer Height: 0.16mm
- Nozzle Temperature: 220C
- Bed Temperature: 60C
- Print Speed: ~200 mm/s (Adjusted Optimal Profile)
Modular Truck with Dump Bucket
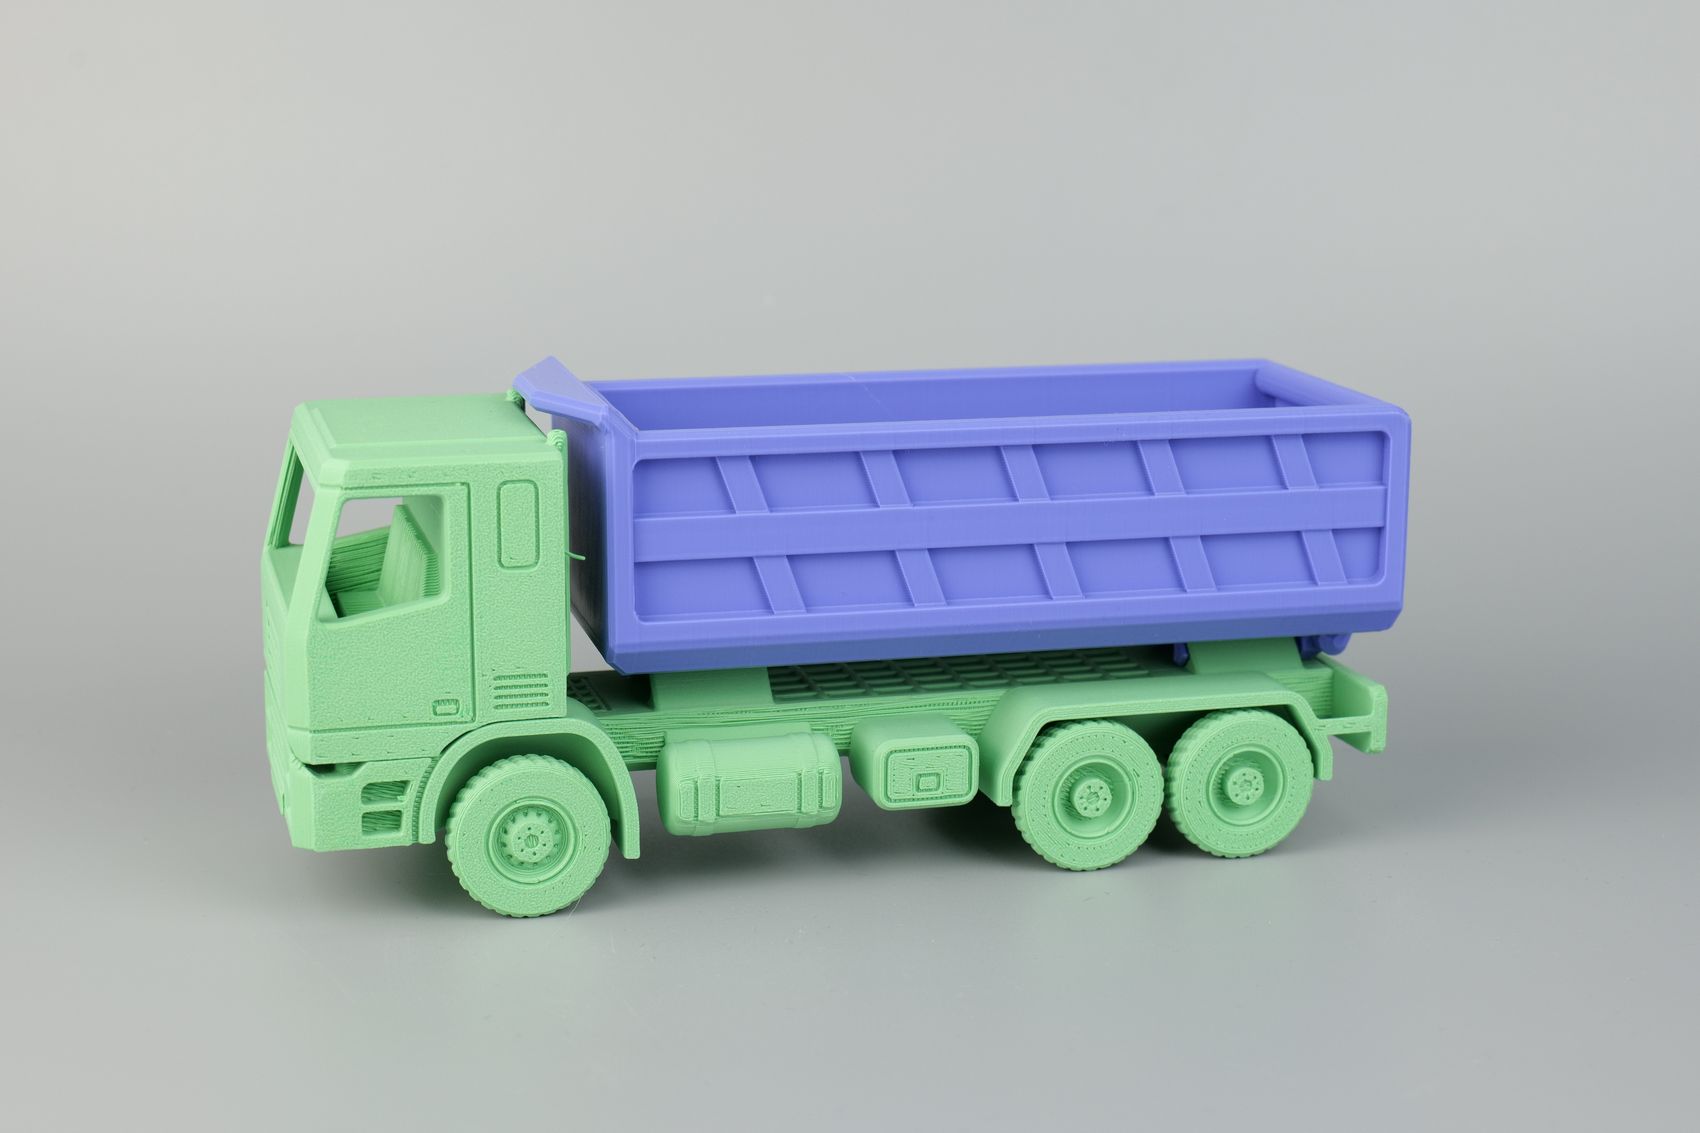
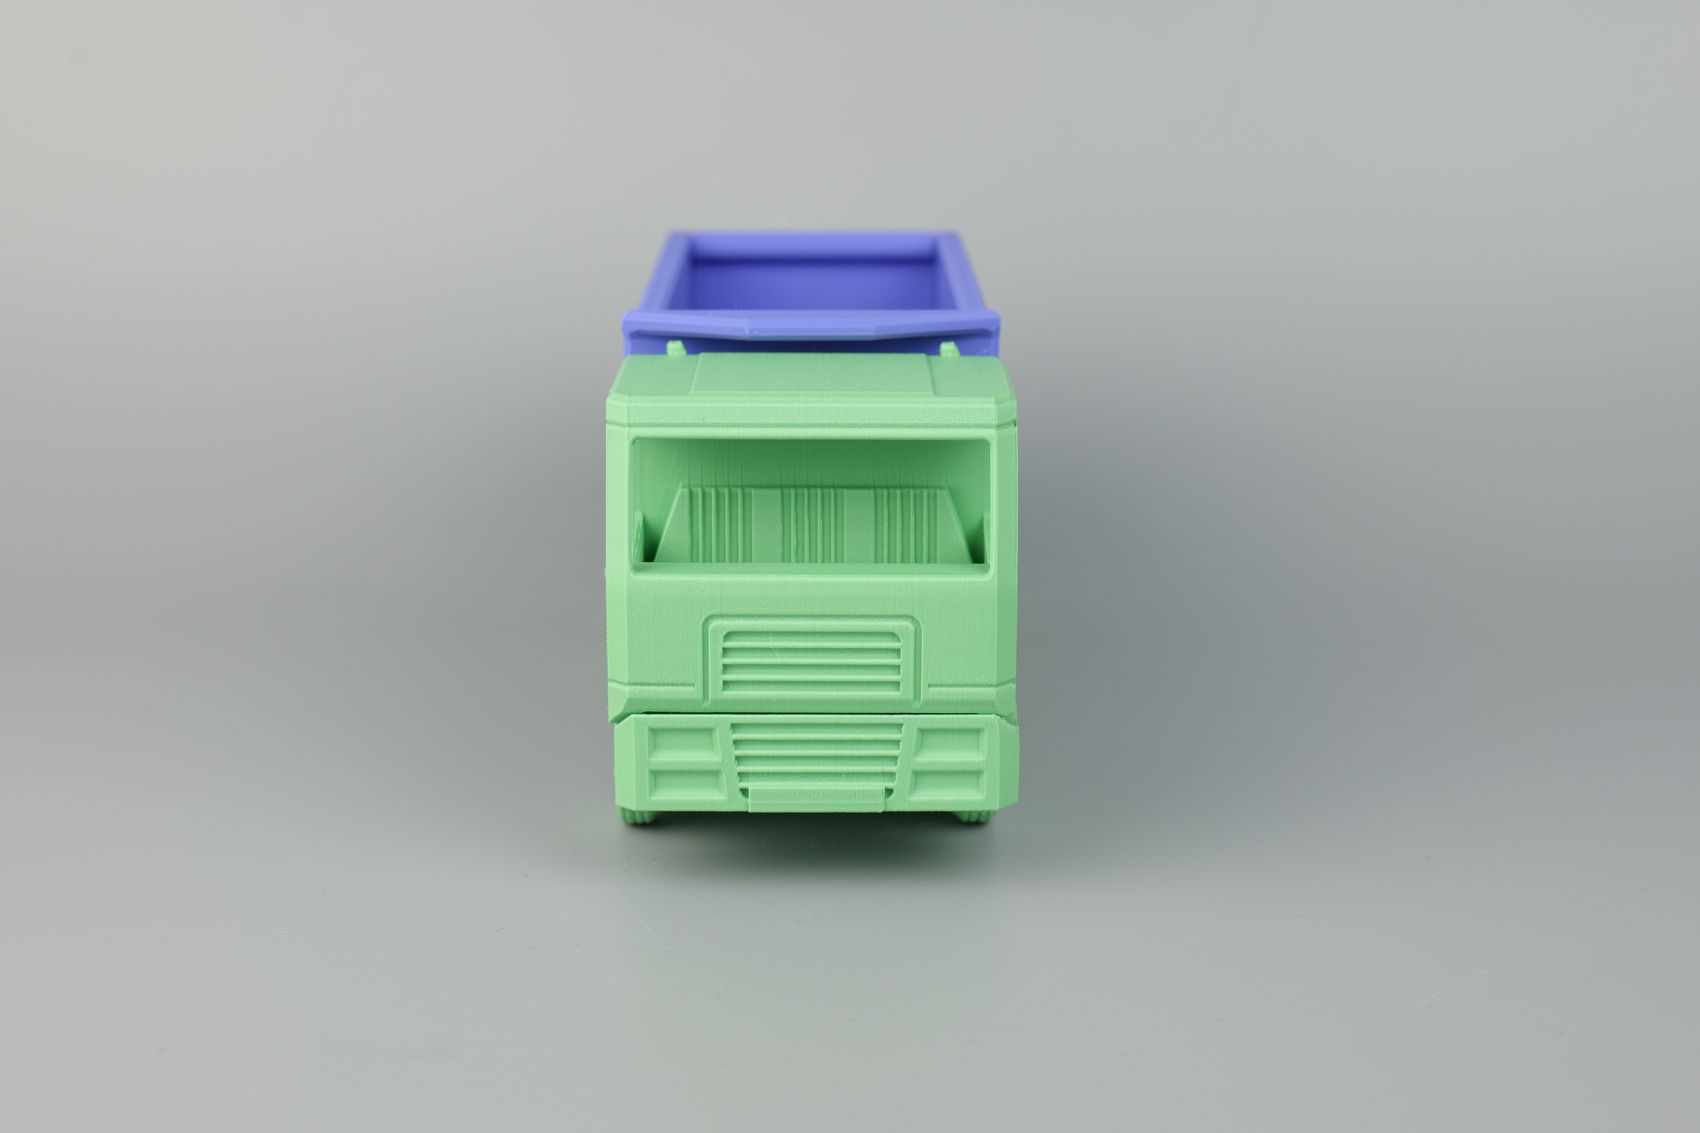
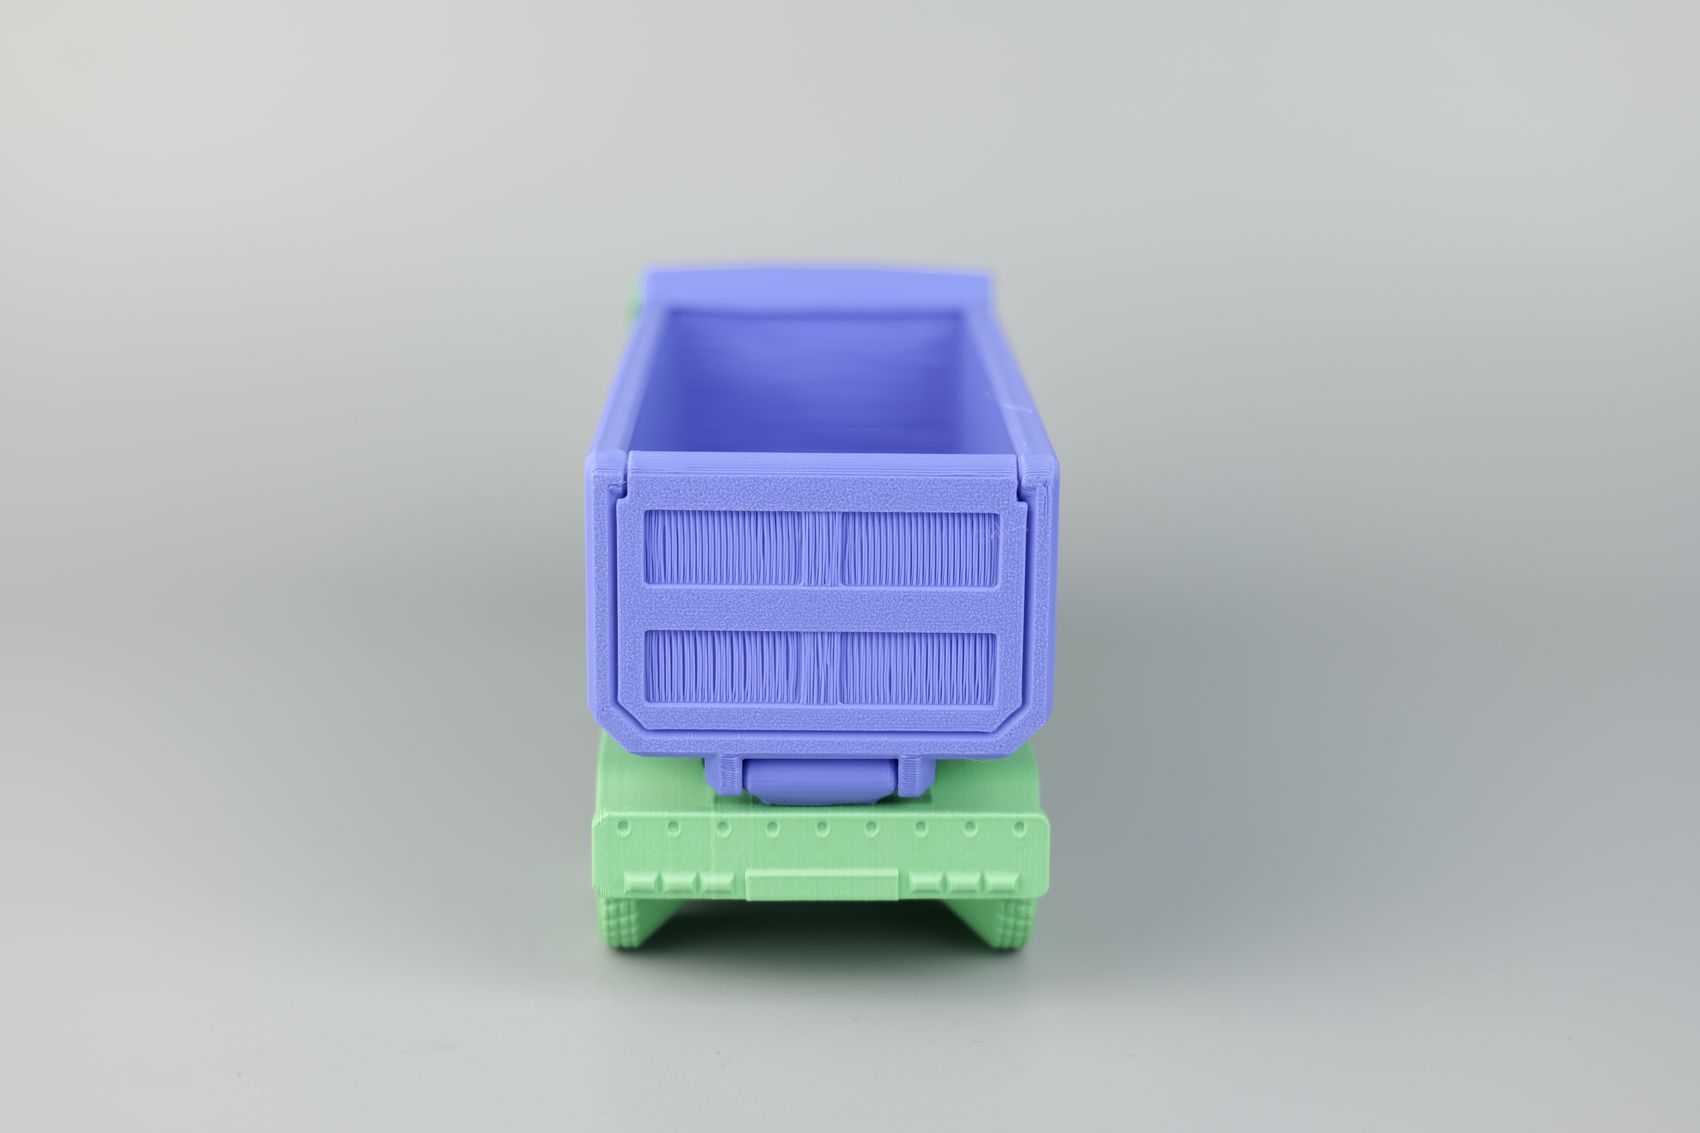
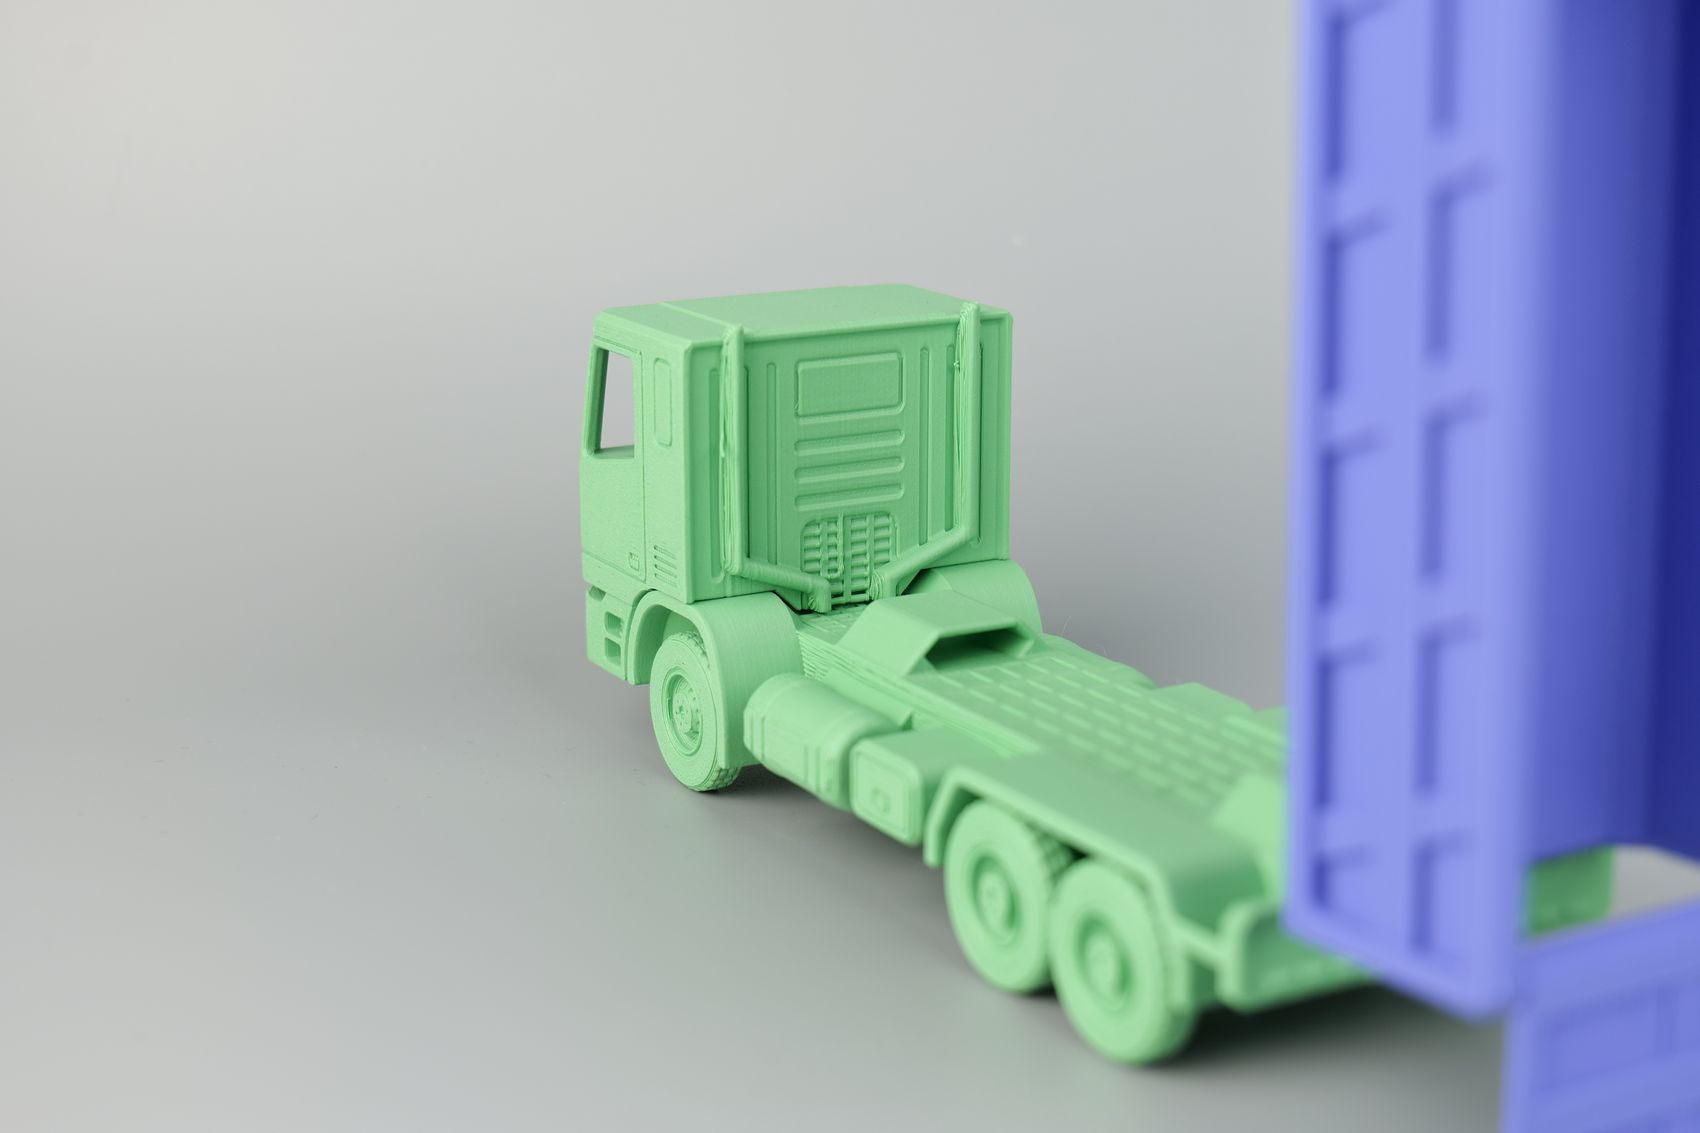
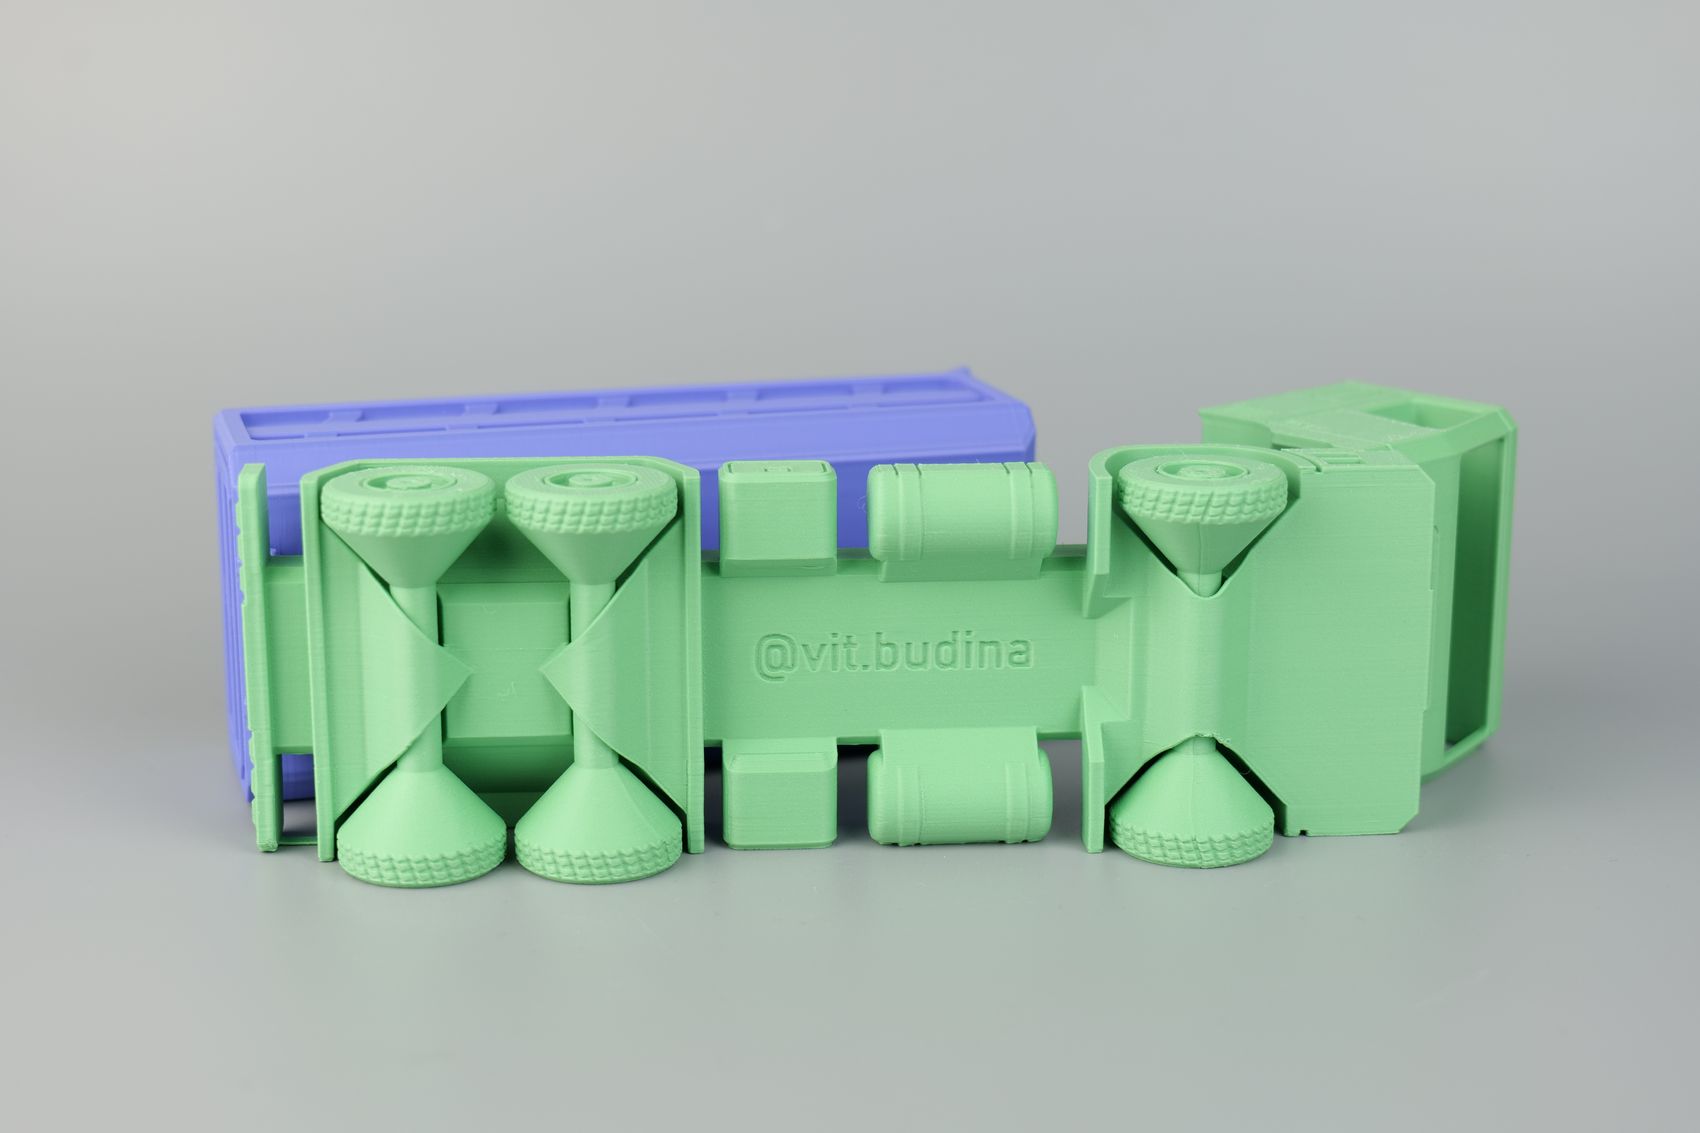
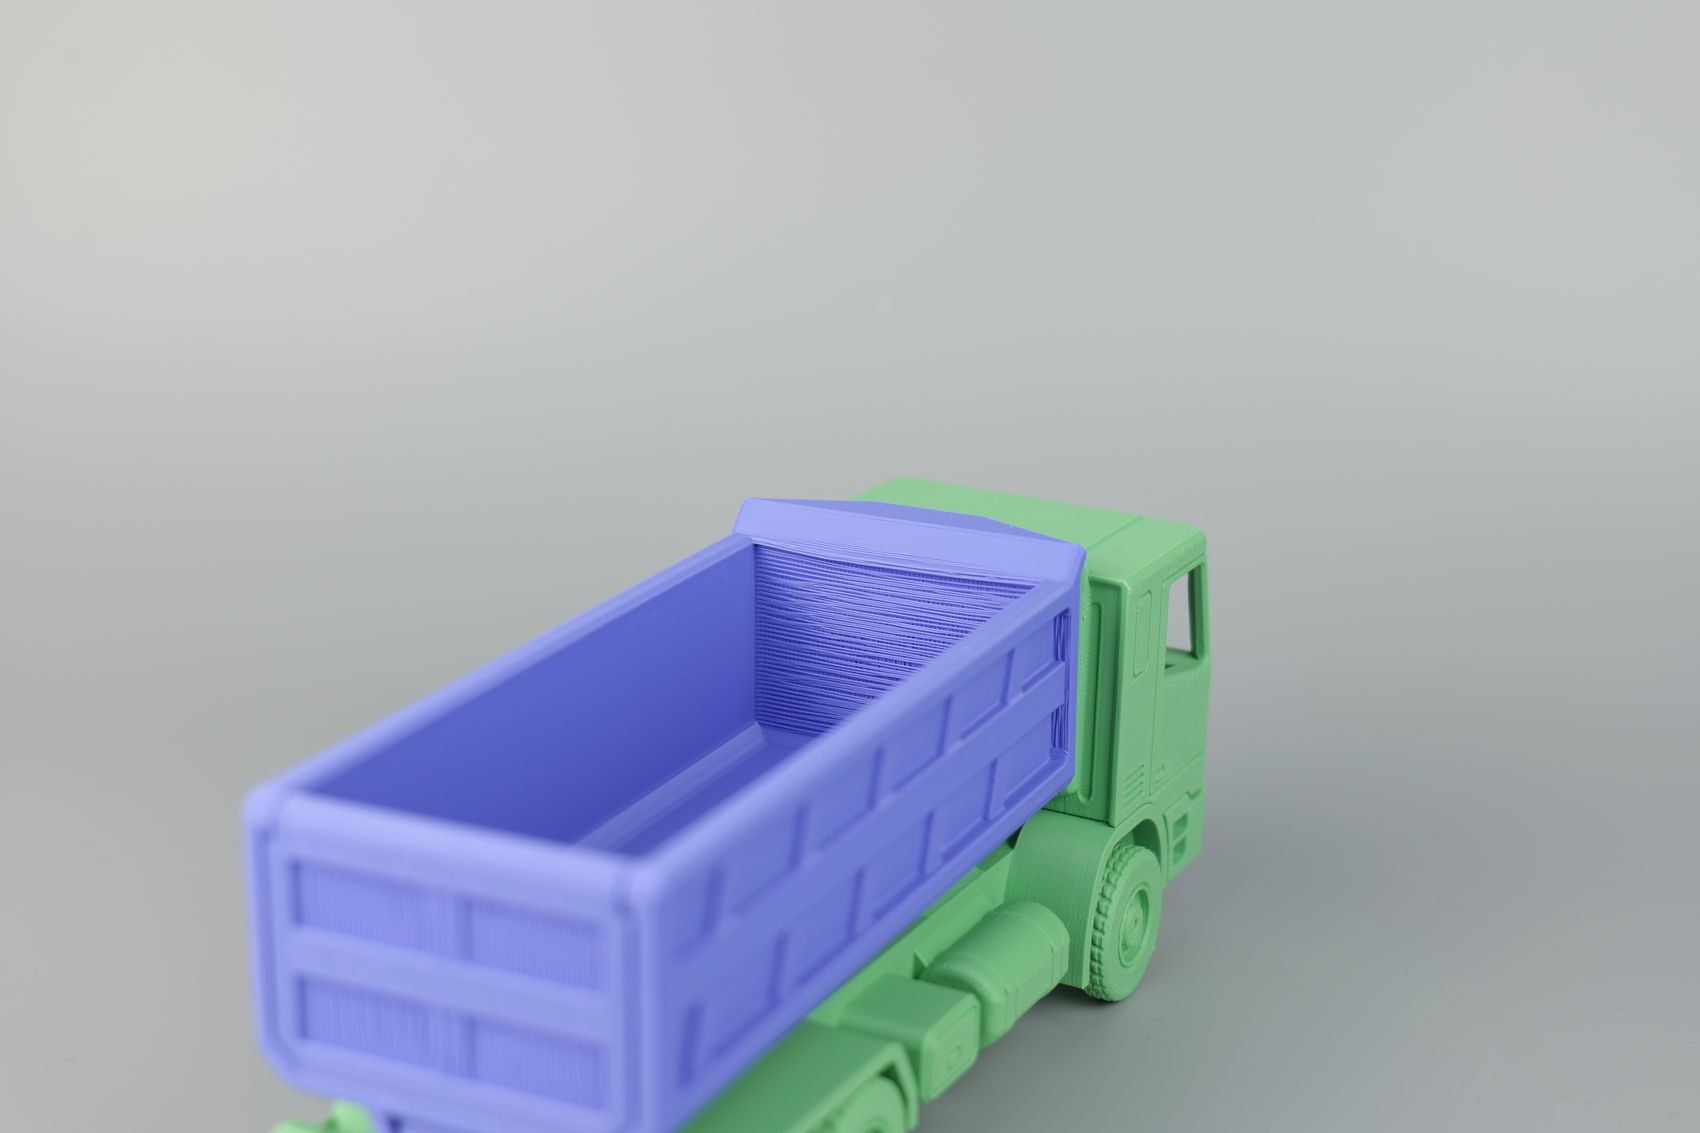
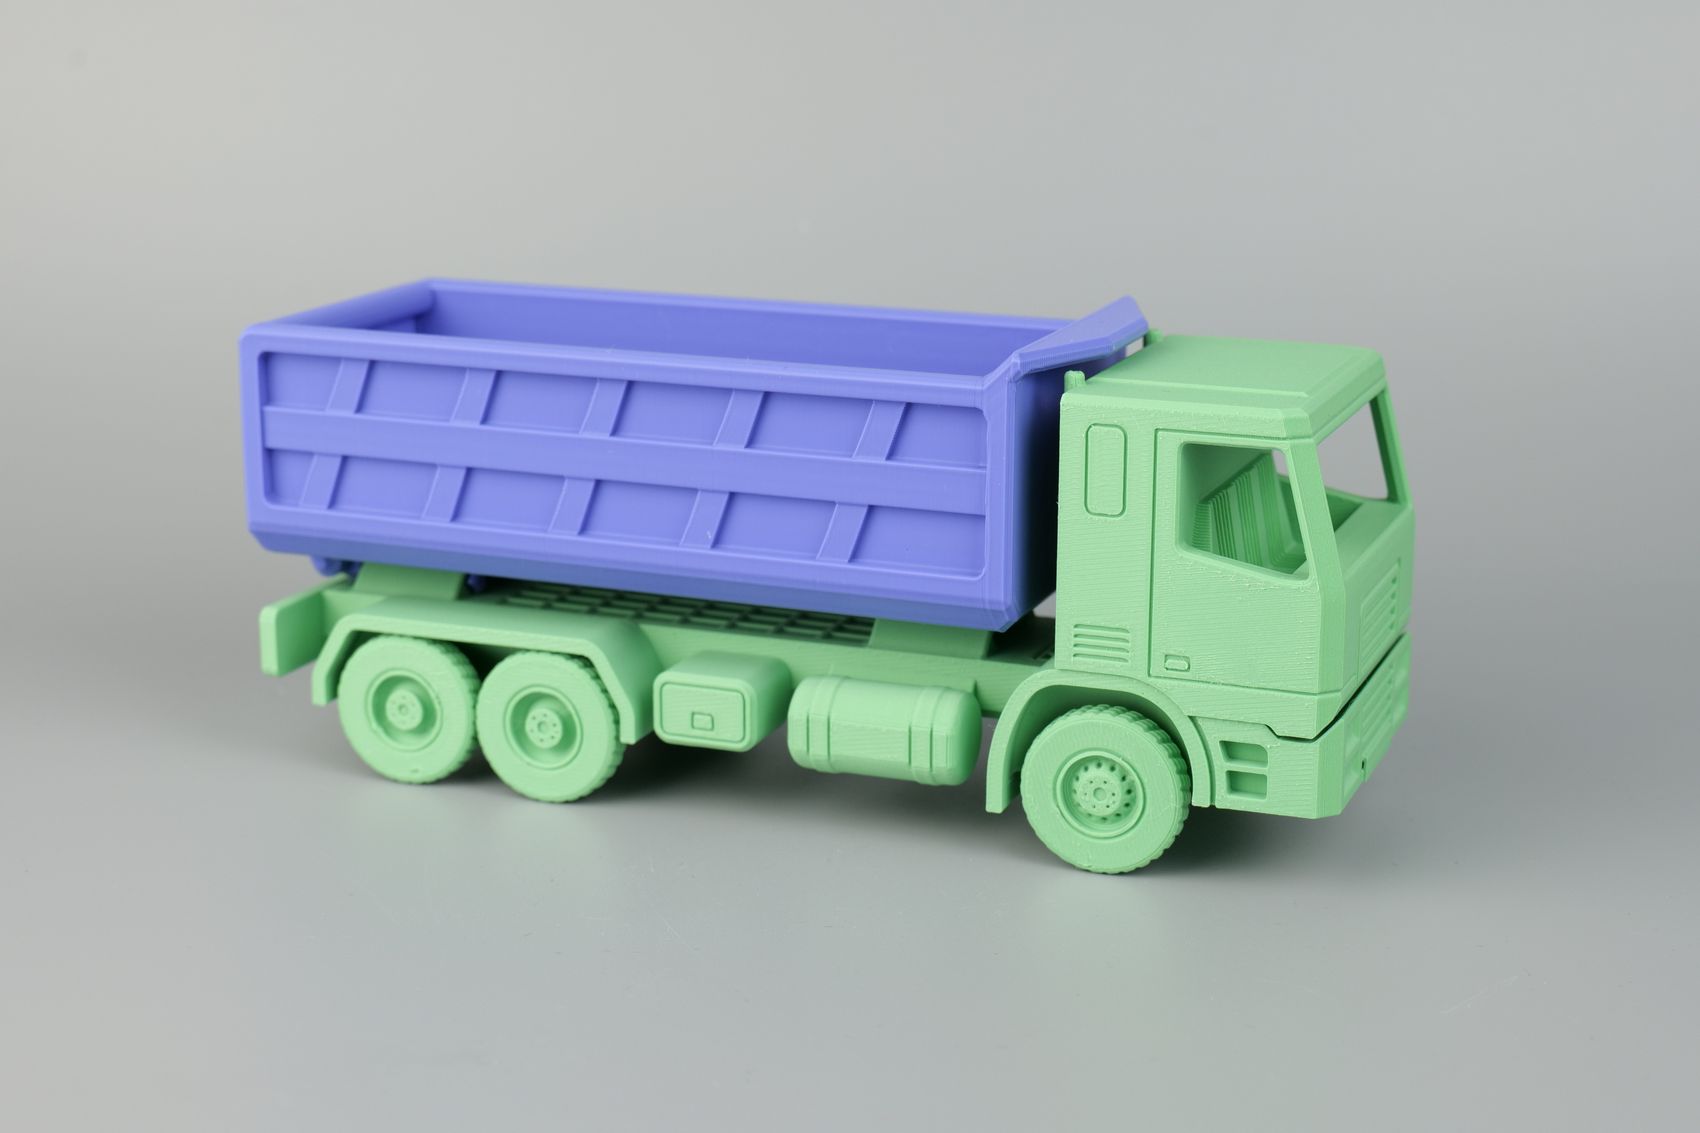
I just love the print-in-place toys Vit Budina shared on his Printables profile. So I printed the Modular Truck with Dump Bucket attachment and the results are excellent. The layer lines are almost non-existent and I was also quite impressed by the bridging capabilities of the printer.
The Dump Bucket was printed standing, with no supports and this was quite impressive to see as I was expecting this to fail due to the high movement speeds during printing, and for the unsupported top section. But as you can see, the A1 Mini did not have a problem in delivering a successful print.
- Material: Bambu Lab PLA Tough Purple and Matte Grass Green
- Layer Height: 0.16mm
- Nozzle Temperature: 220C
- Bed Temperature: 65C
- Print Speed: ~250 mm/s (Optimal Profile)
Sims the Monkey
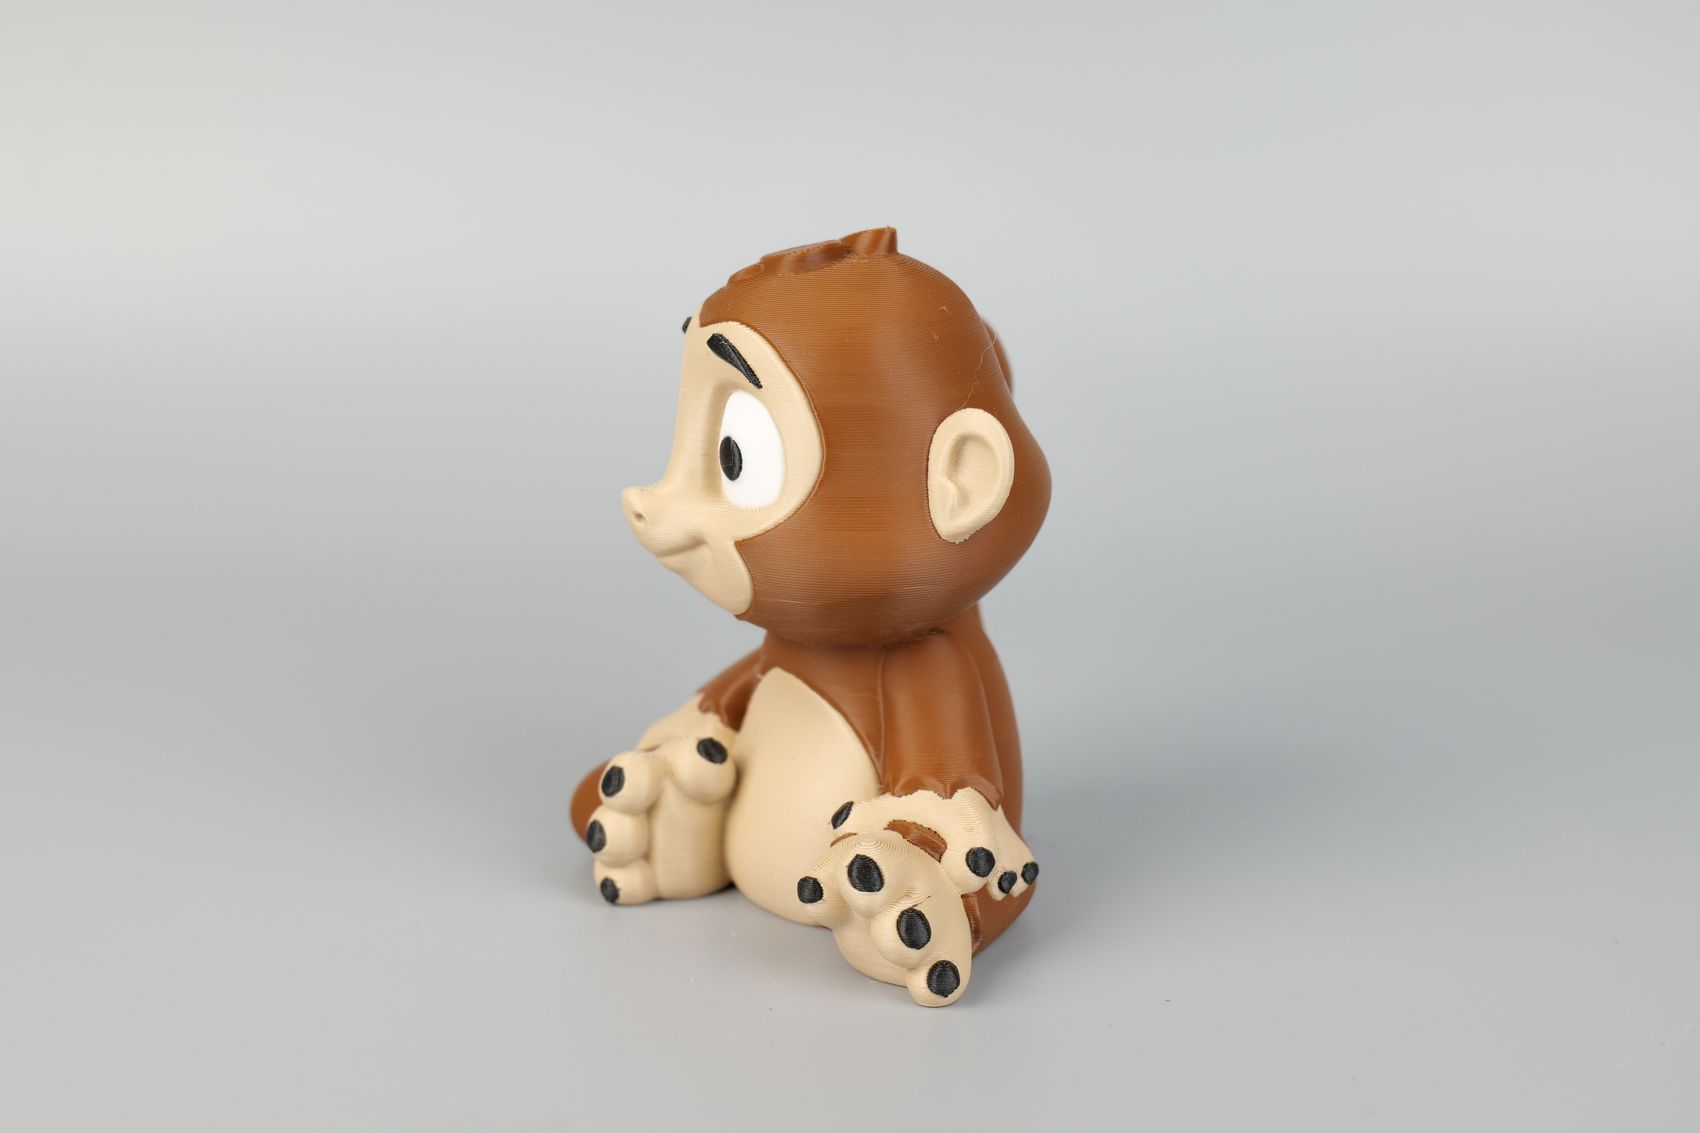
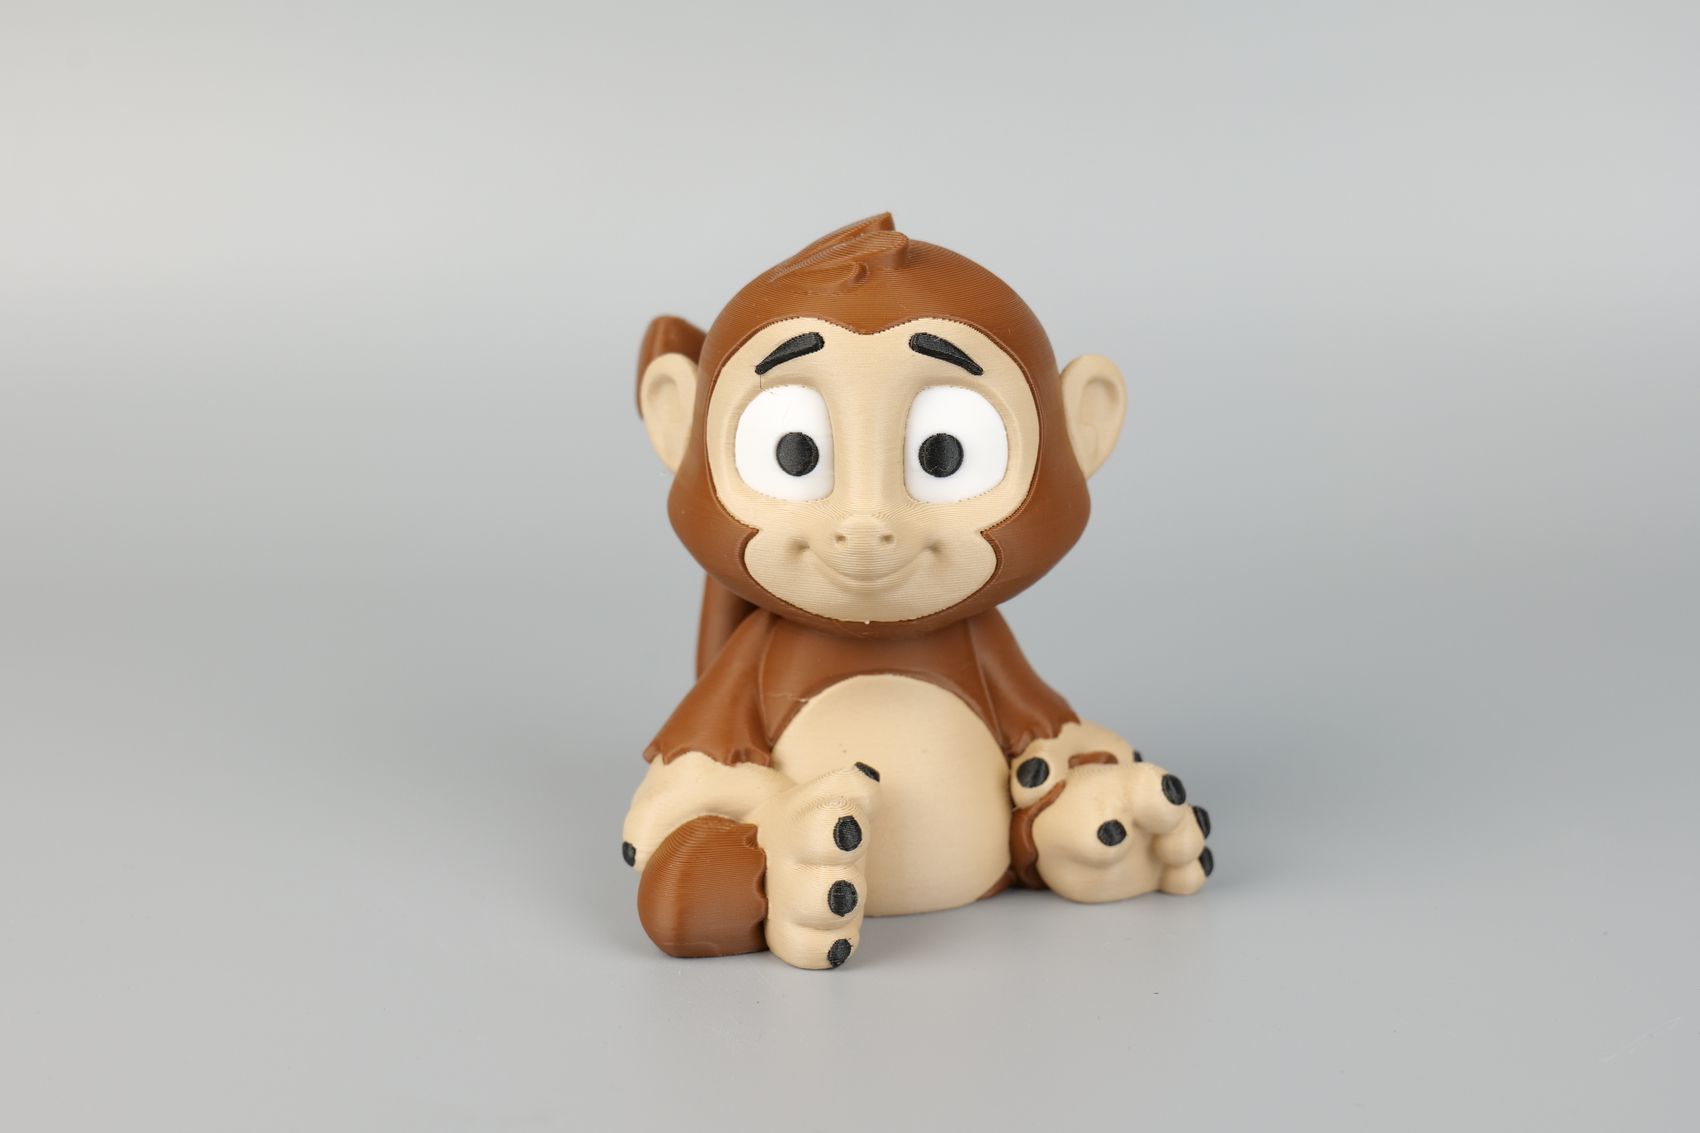
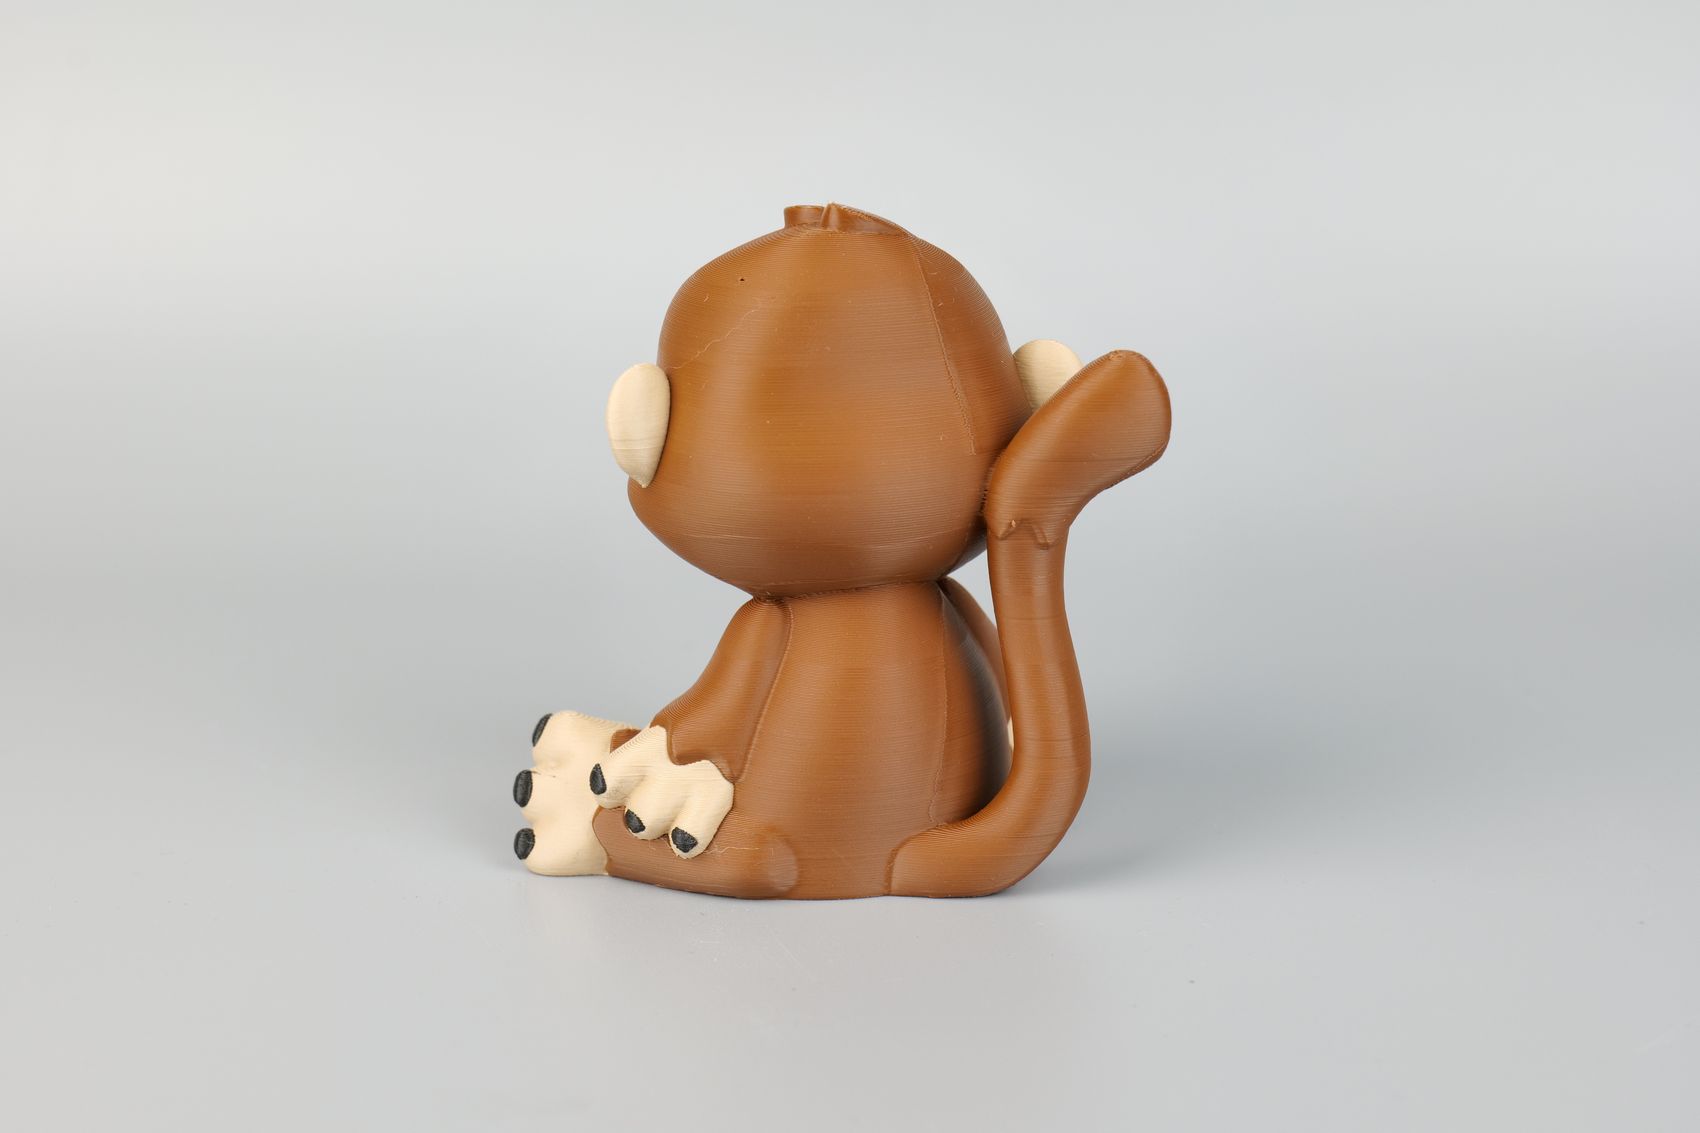
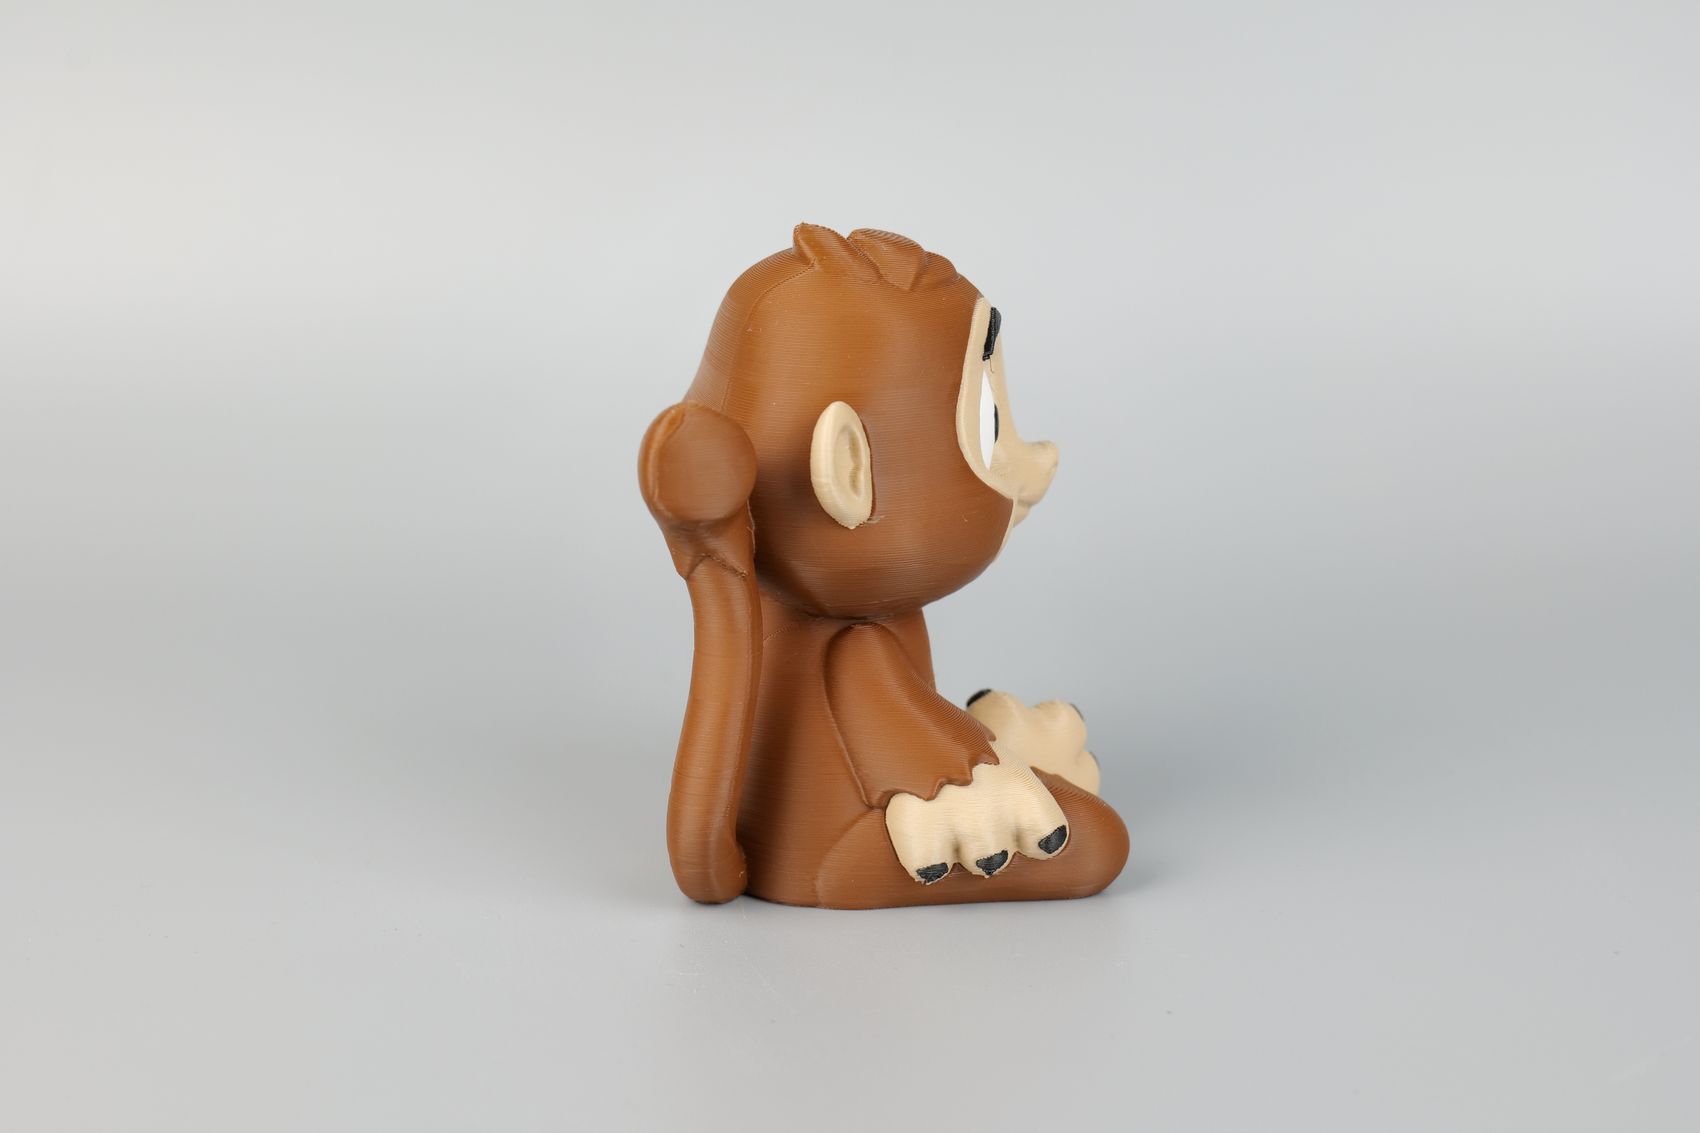
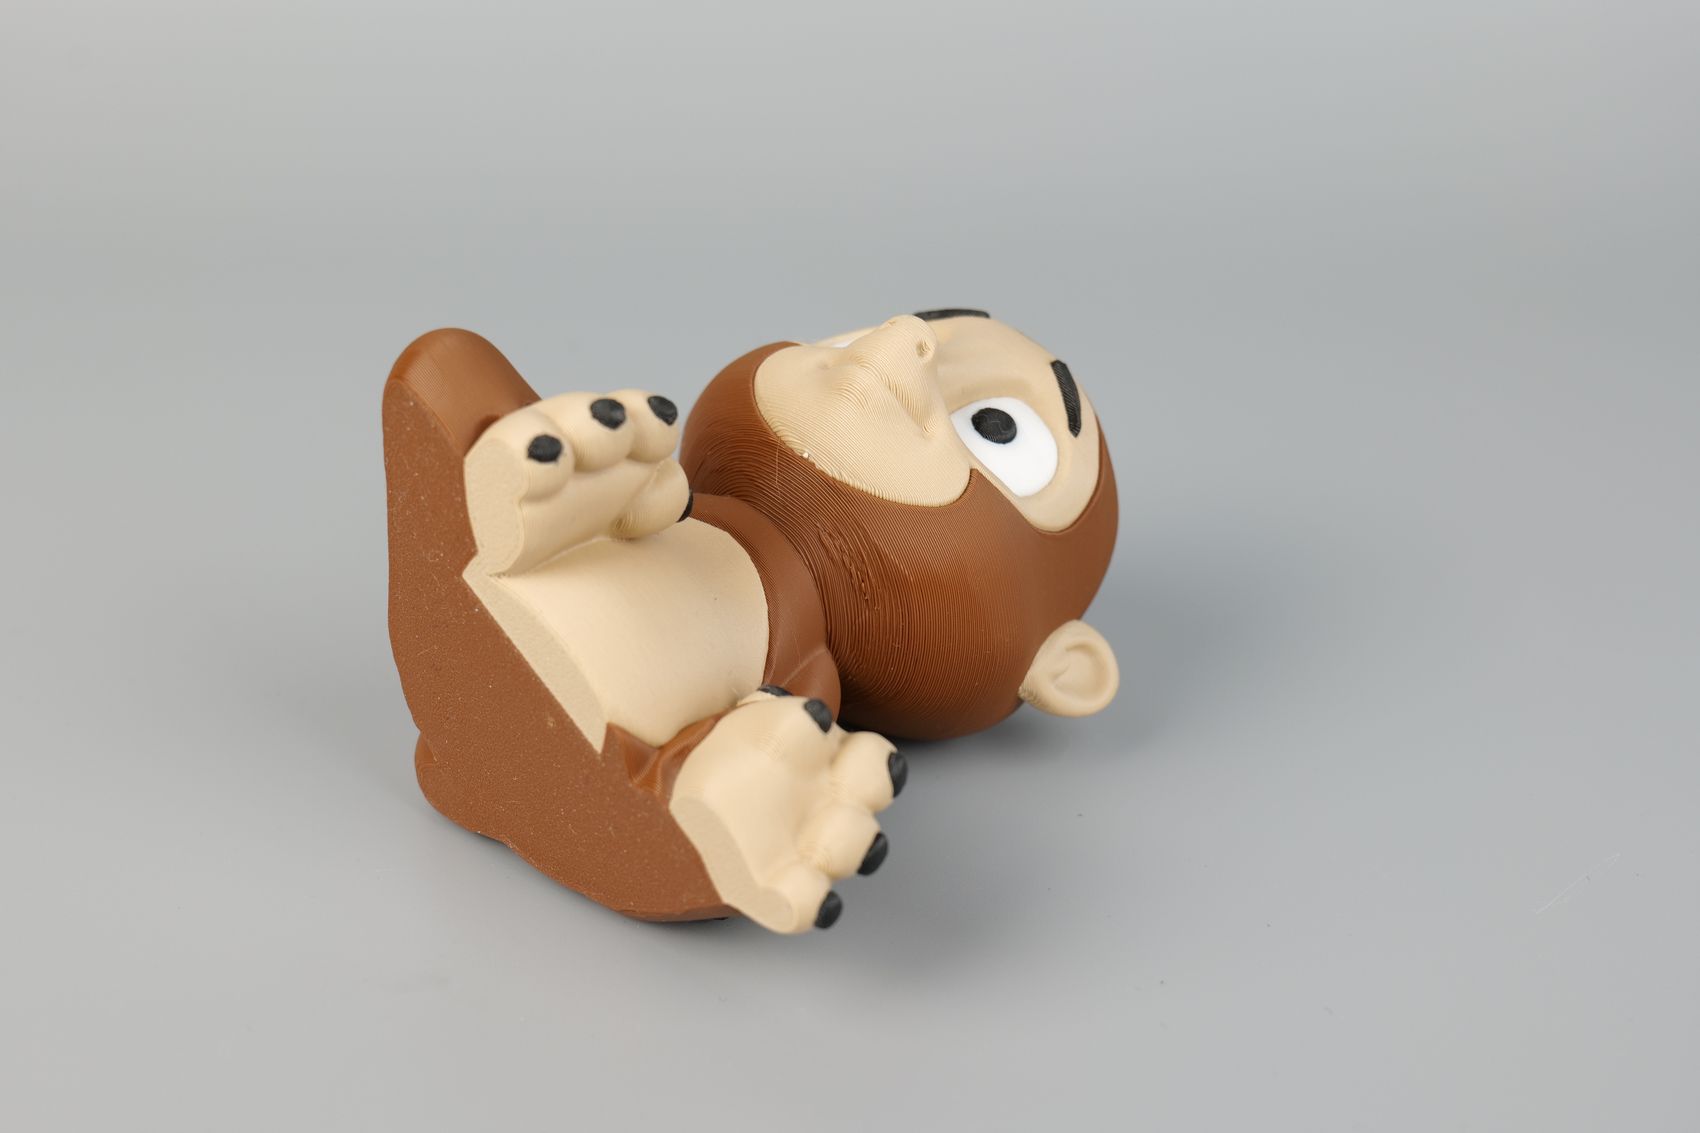
Another print with the AMS Lite, this time, Sims the Monkey from Thingiverse. Printed in 4 different colors with good results, but if you look closer, the overhangs under the chin have very small imperfections. Considering that no support material was used, I can’t say it’s a bad print but the flow difference in some sections of the model can be seen.
- Material: Devil Design Brown, PolyLite Matte Peanut, PolyTerra Matte Black, and Bambu Lab White PLA
- Layer Height: 0.2mm
- Nozzle Temperature: 220C
- Bed Temperature: 65C
- Print Speed: ~250 mm/s (Standard Profile)
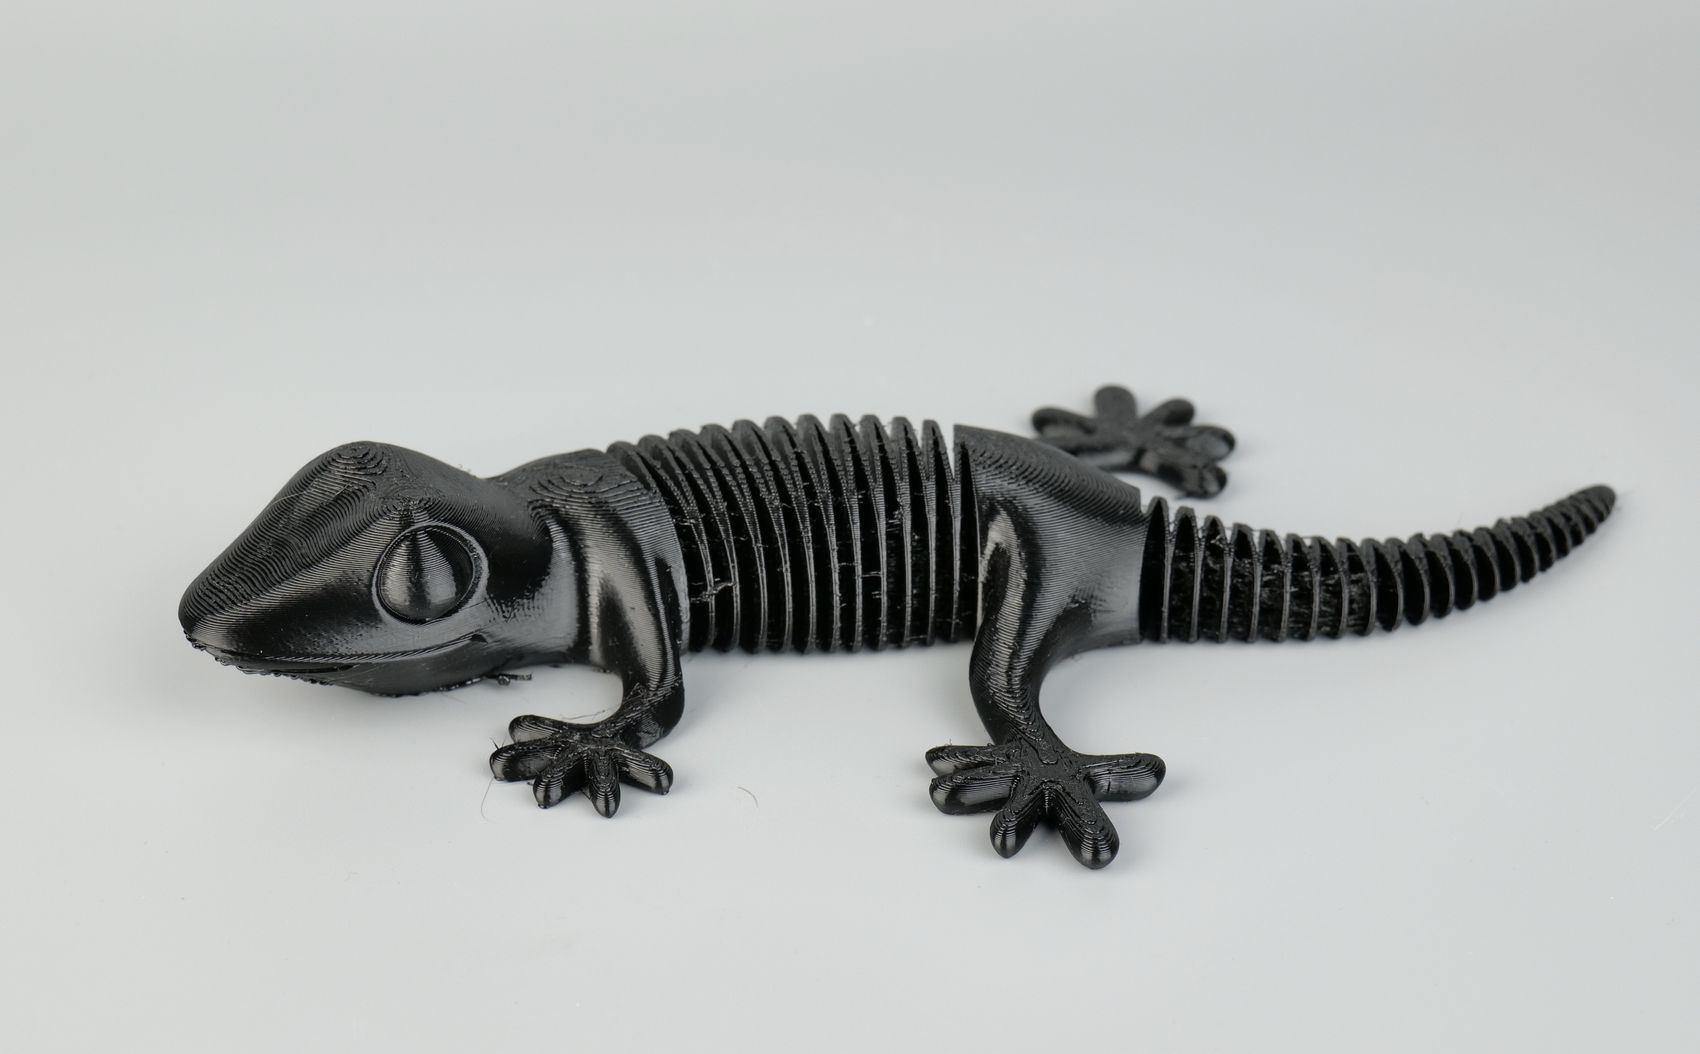
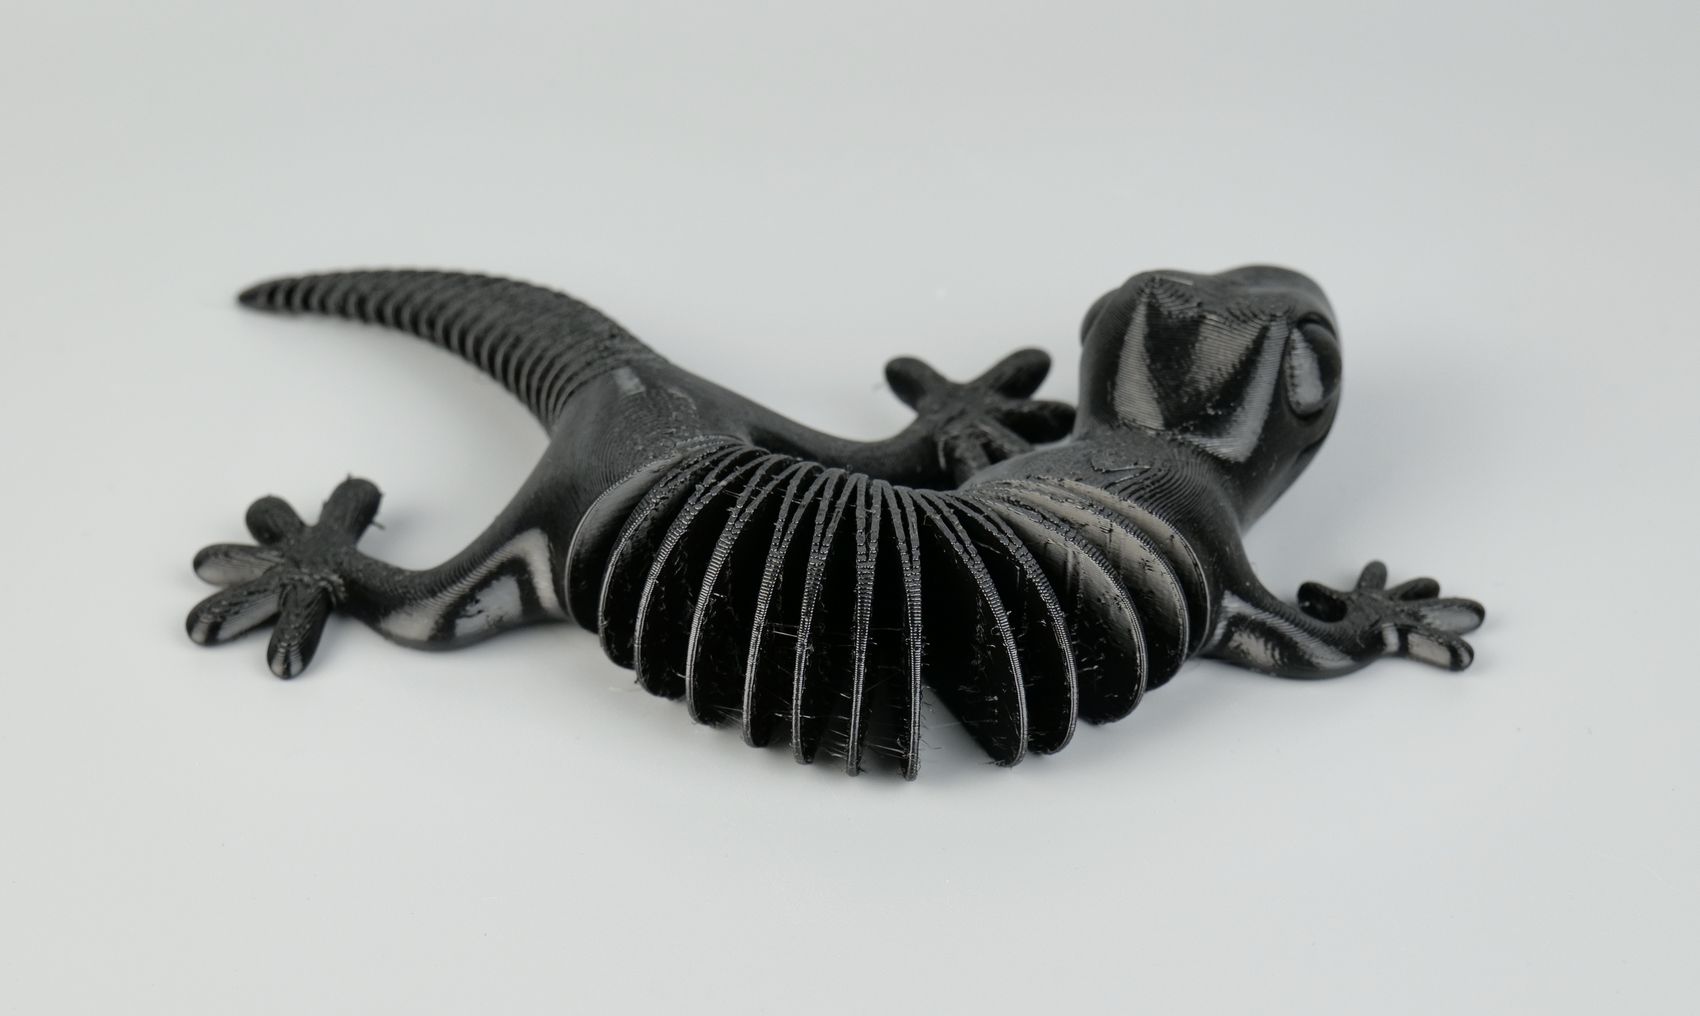
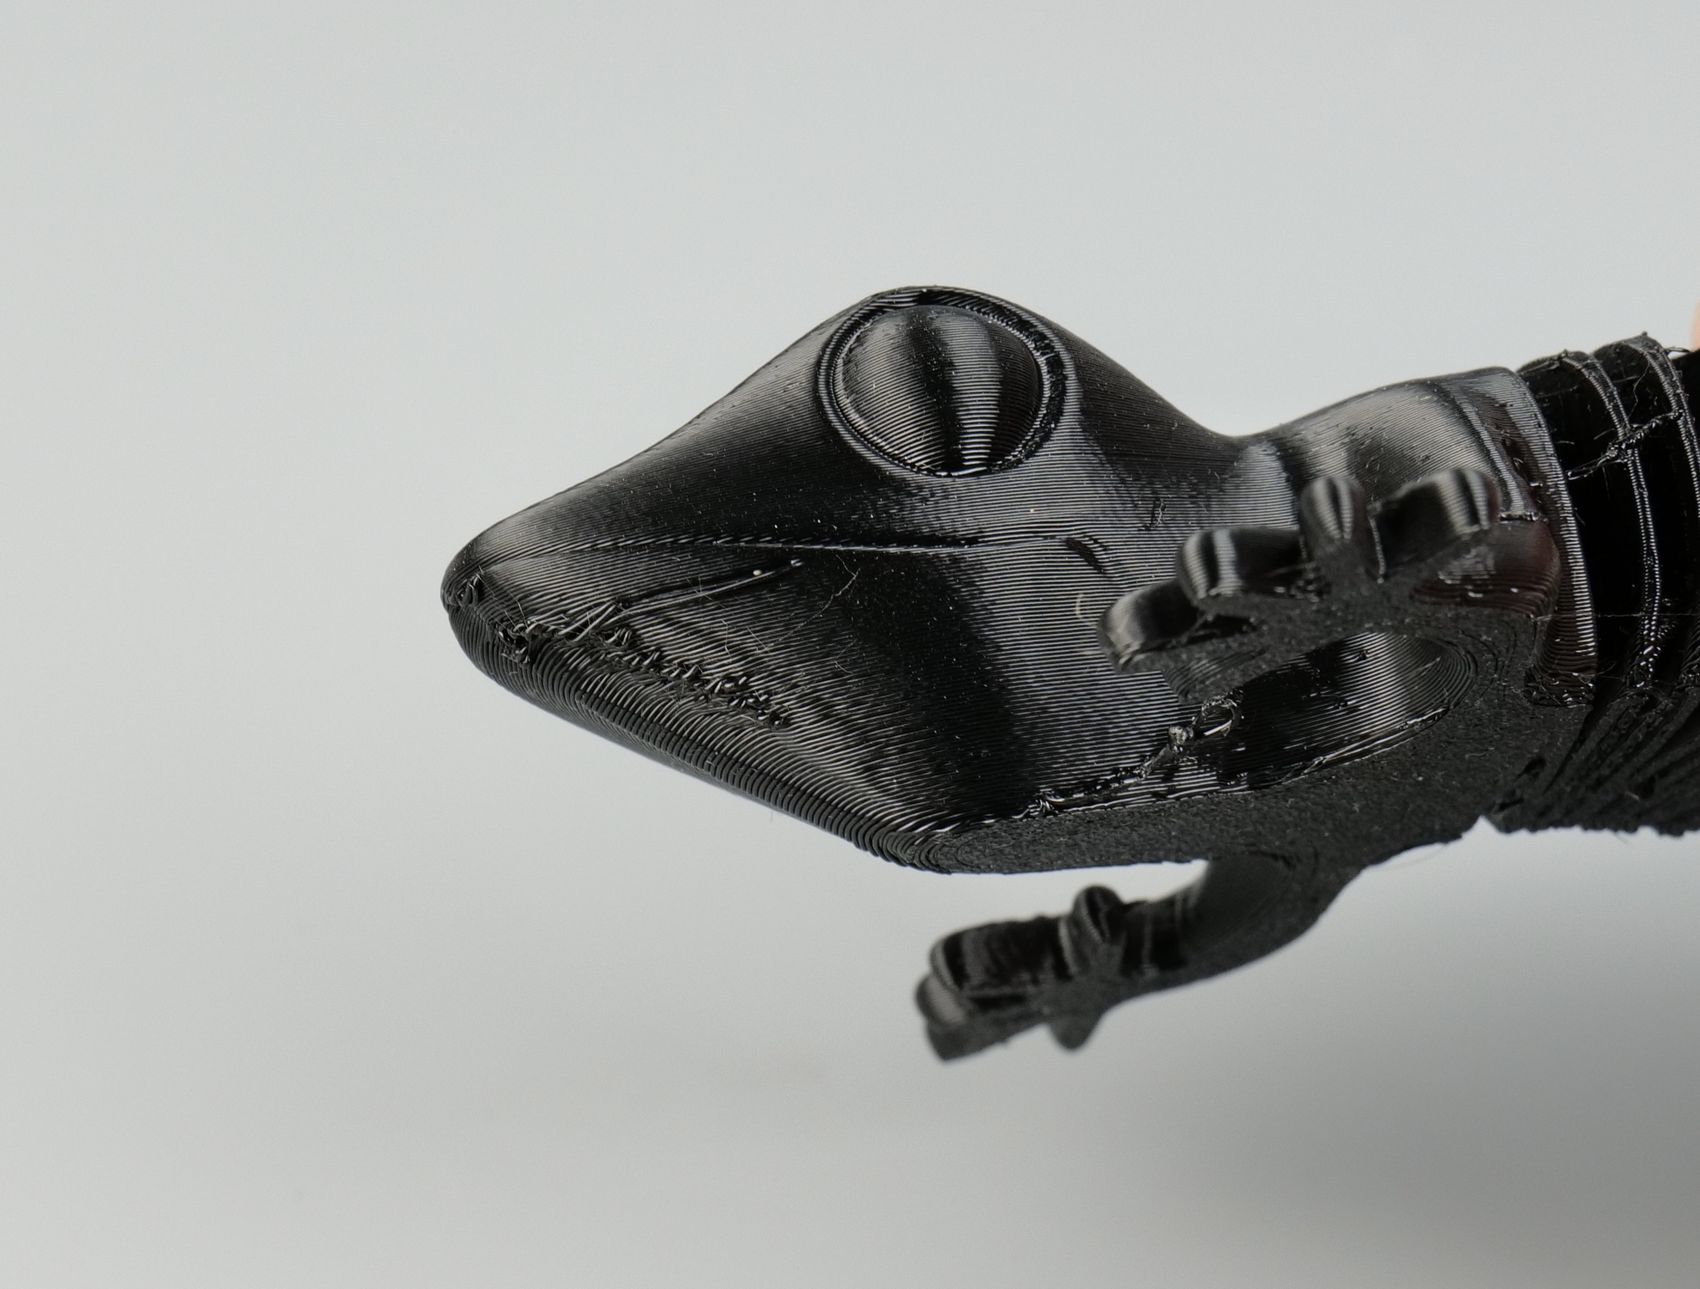
Super Flexi Gecko
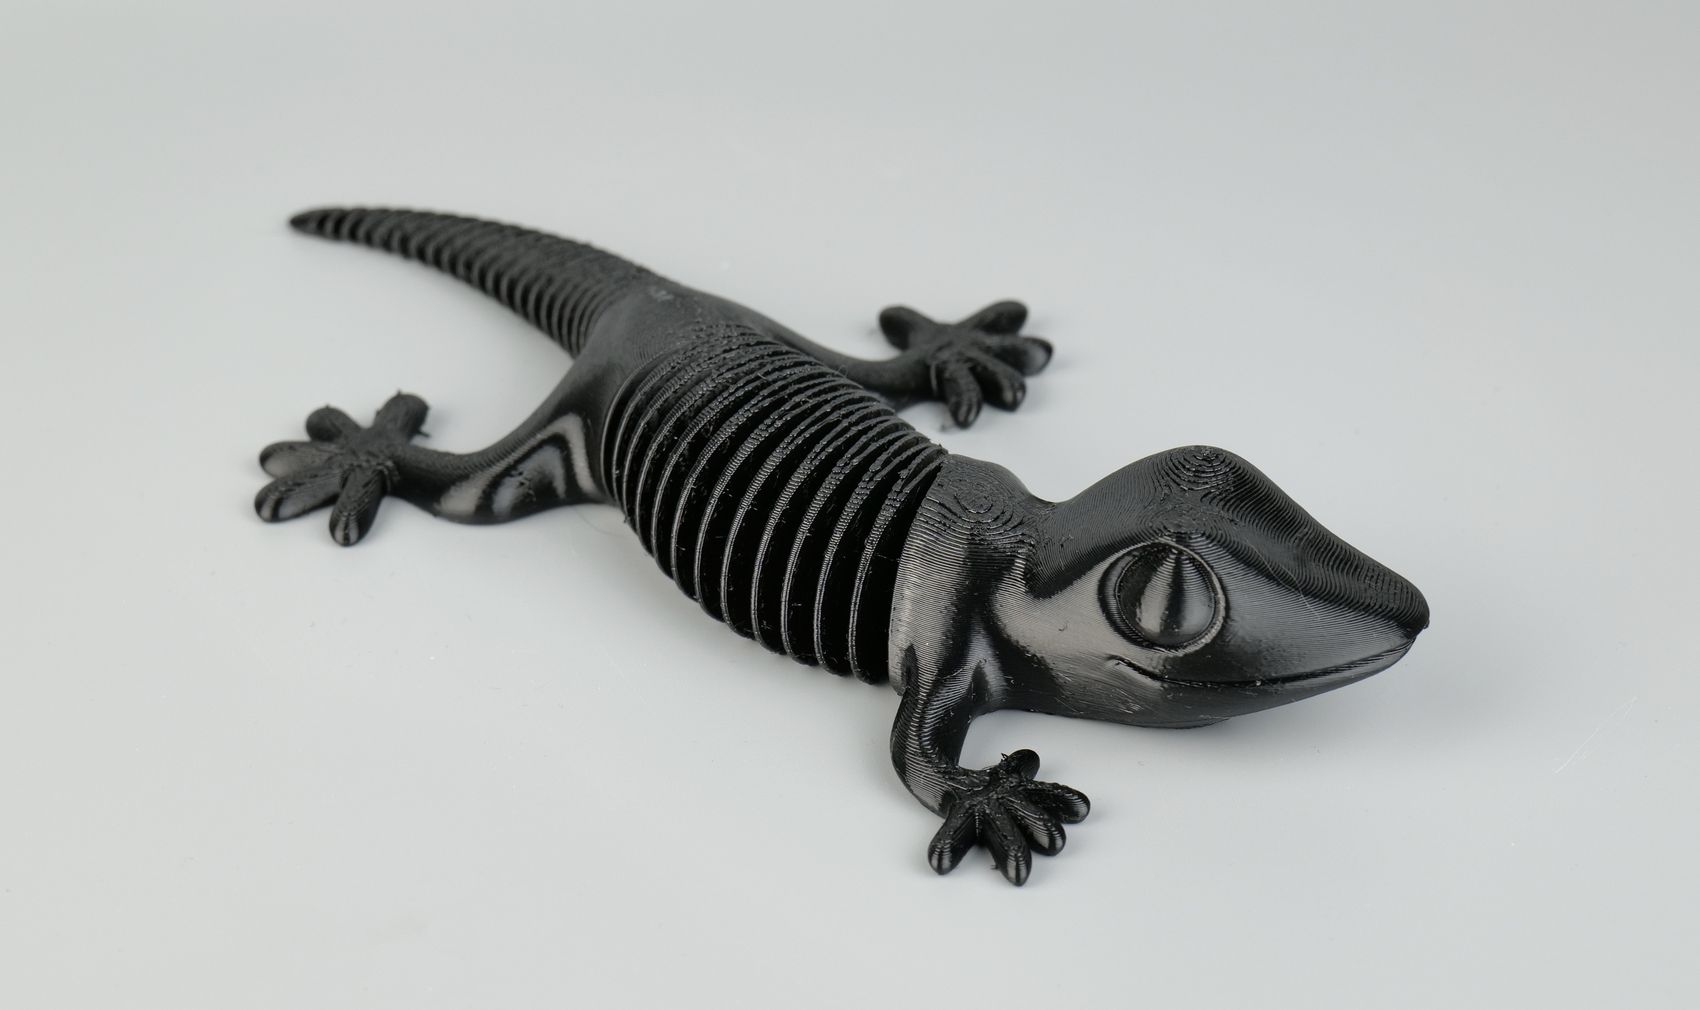
I also wanted to test the TPU printing capabilities of the A1 Mini so I loaded the Super Flexi Gecko from Printables and scaled it up to the maximum volume of the printer. The results are nice, with some stringing which can be related to the higher printing temperature. I believe that with a nozzle temperature of ~220C it should be even better.
- Material: PolyMaker 95A High Flow TPU
- Layer Height: 0.16mm
- Nozzle Temperature: 230C
- Bed Temperature: 45C
- Print Speed: ~70 mm/s (Optimal Profile)
Bender
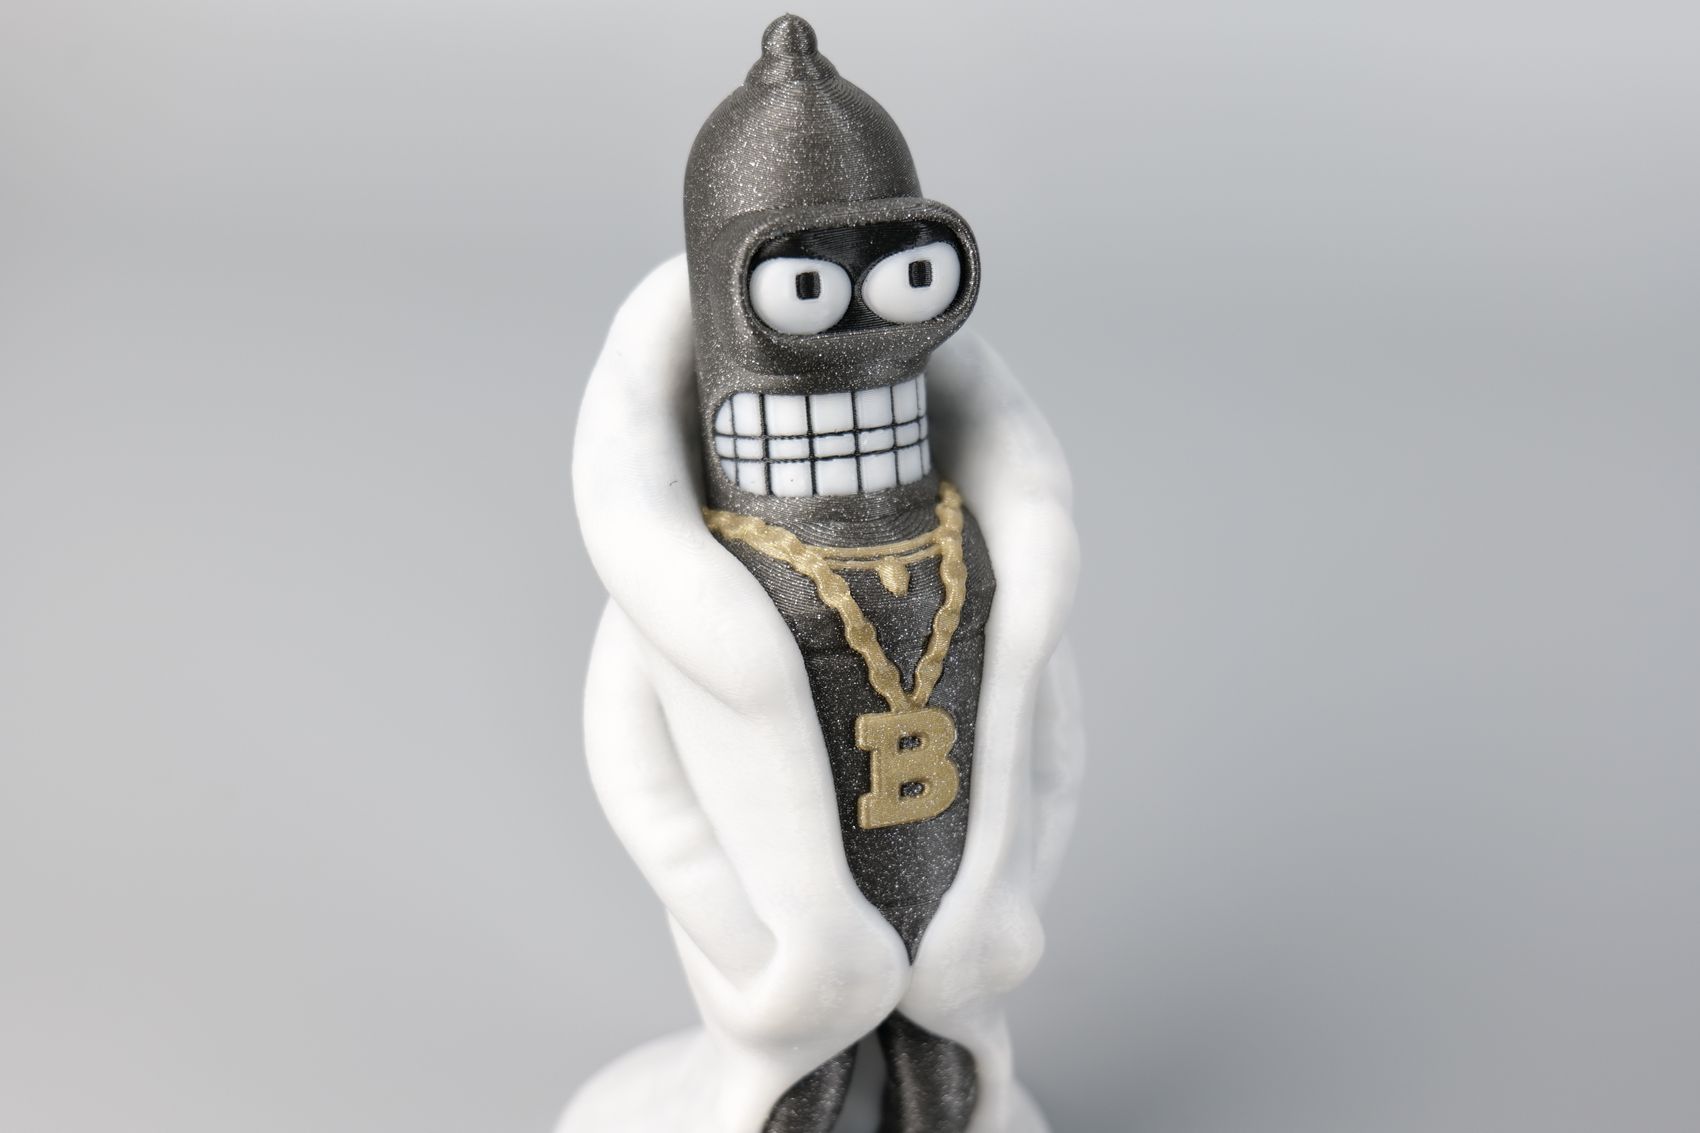
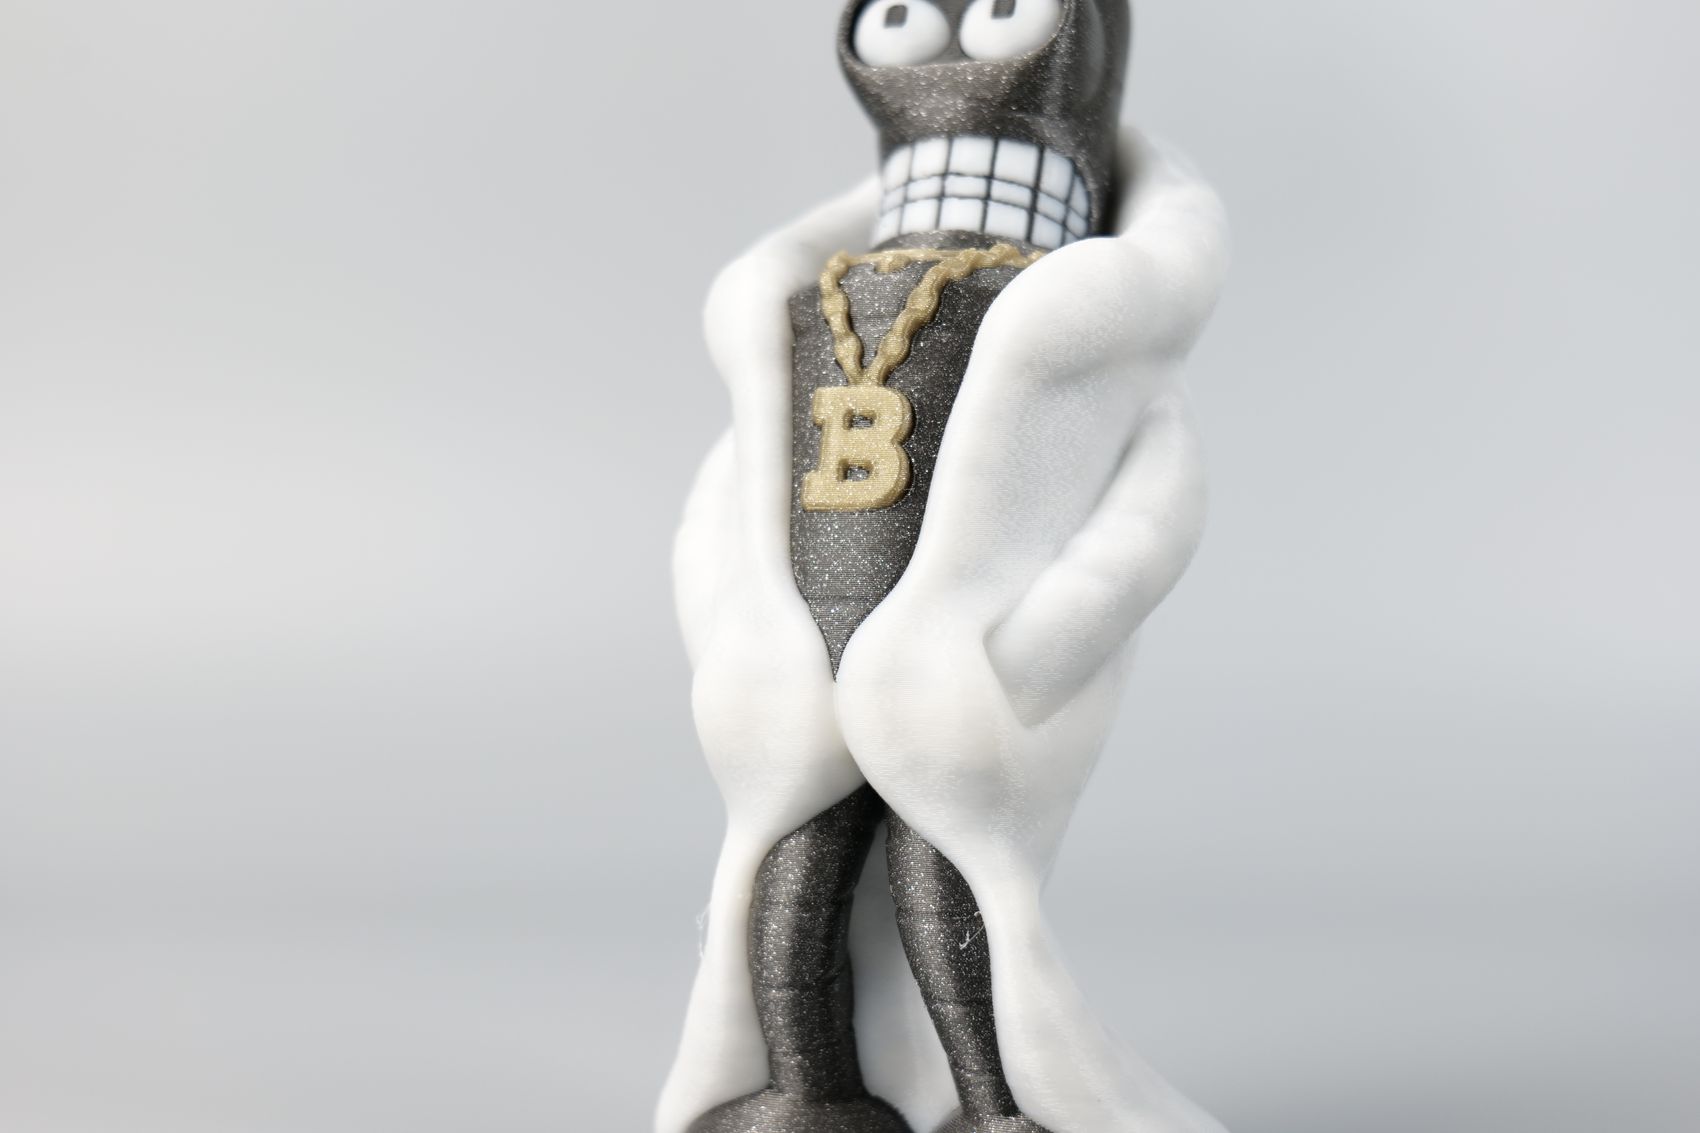
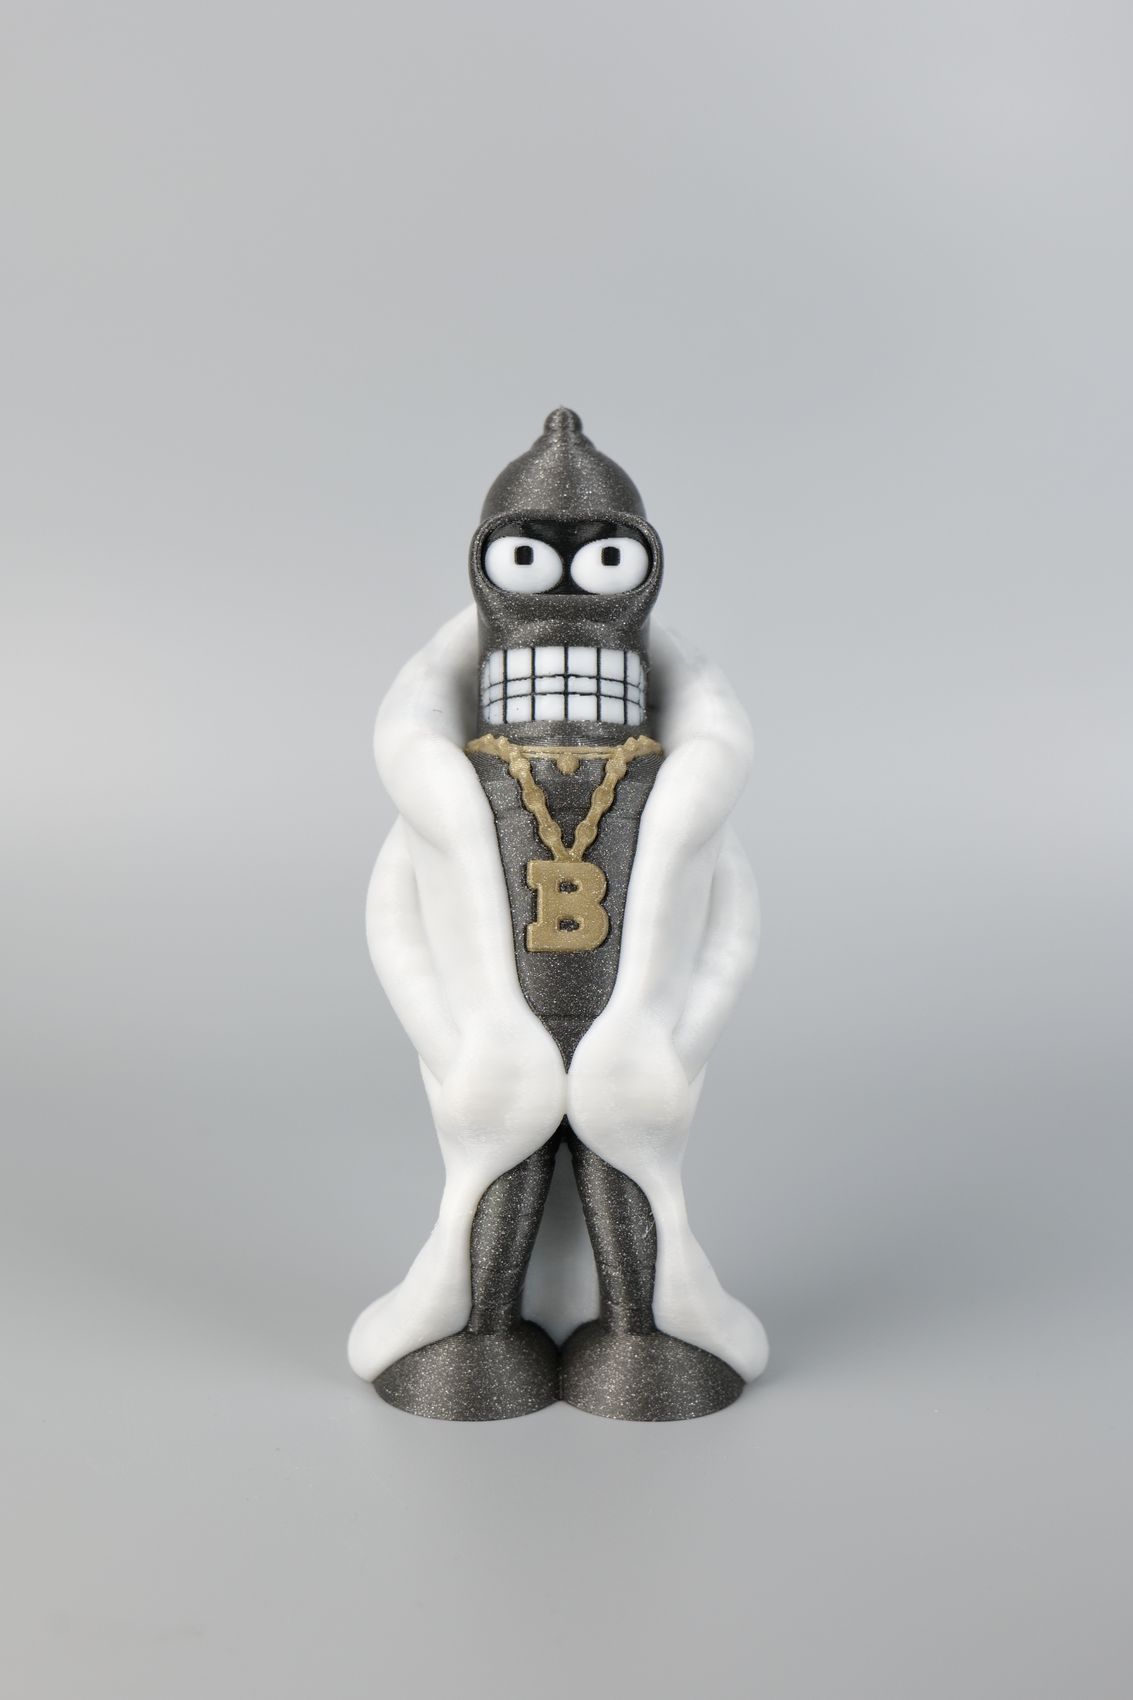
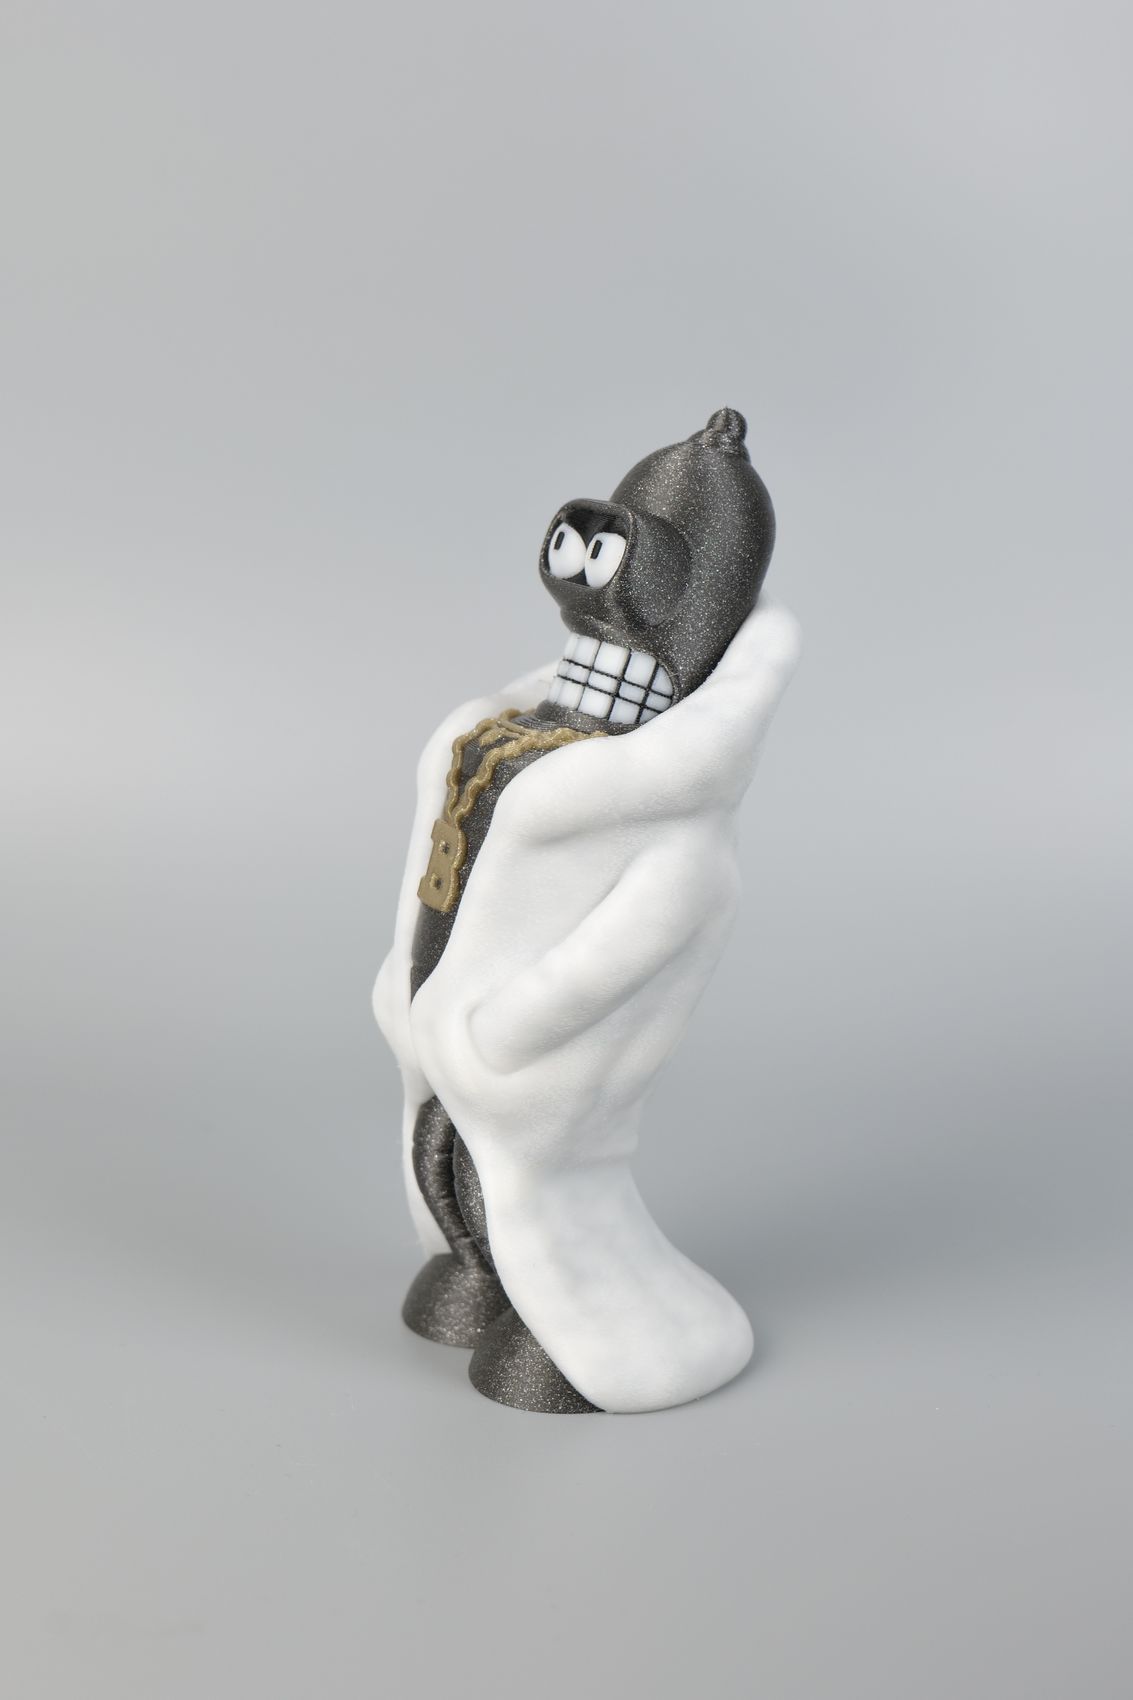
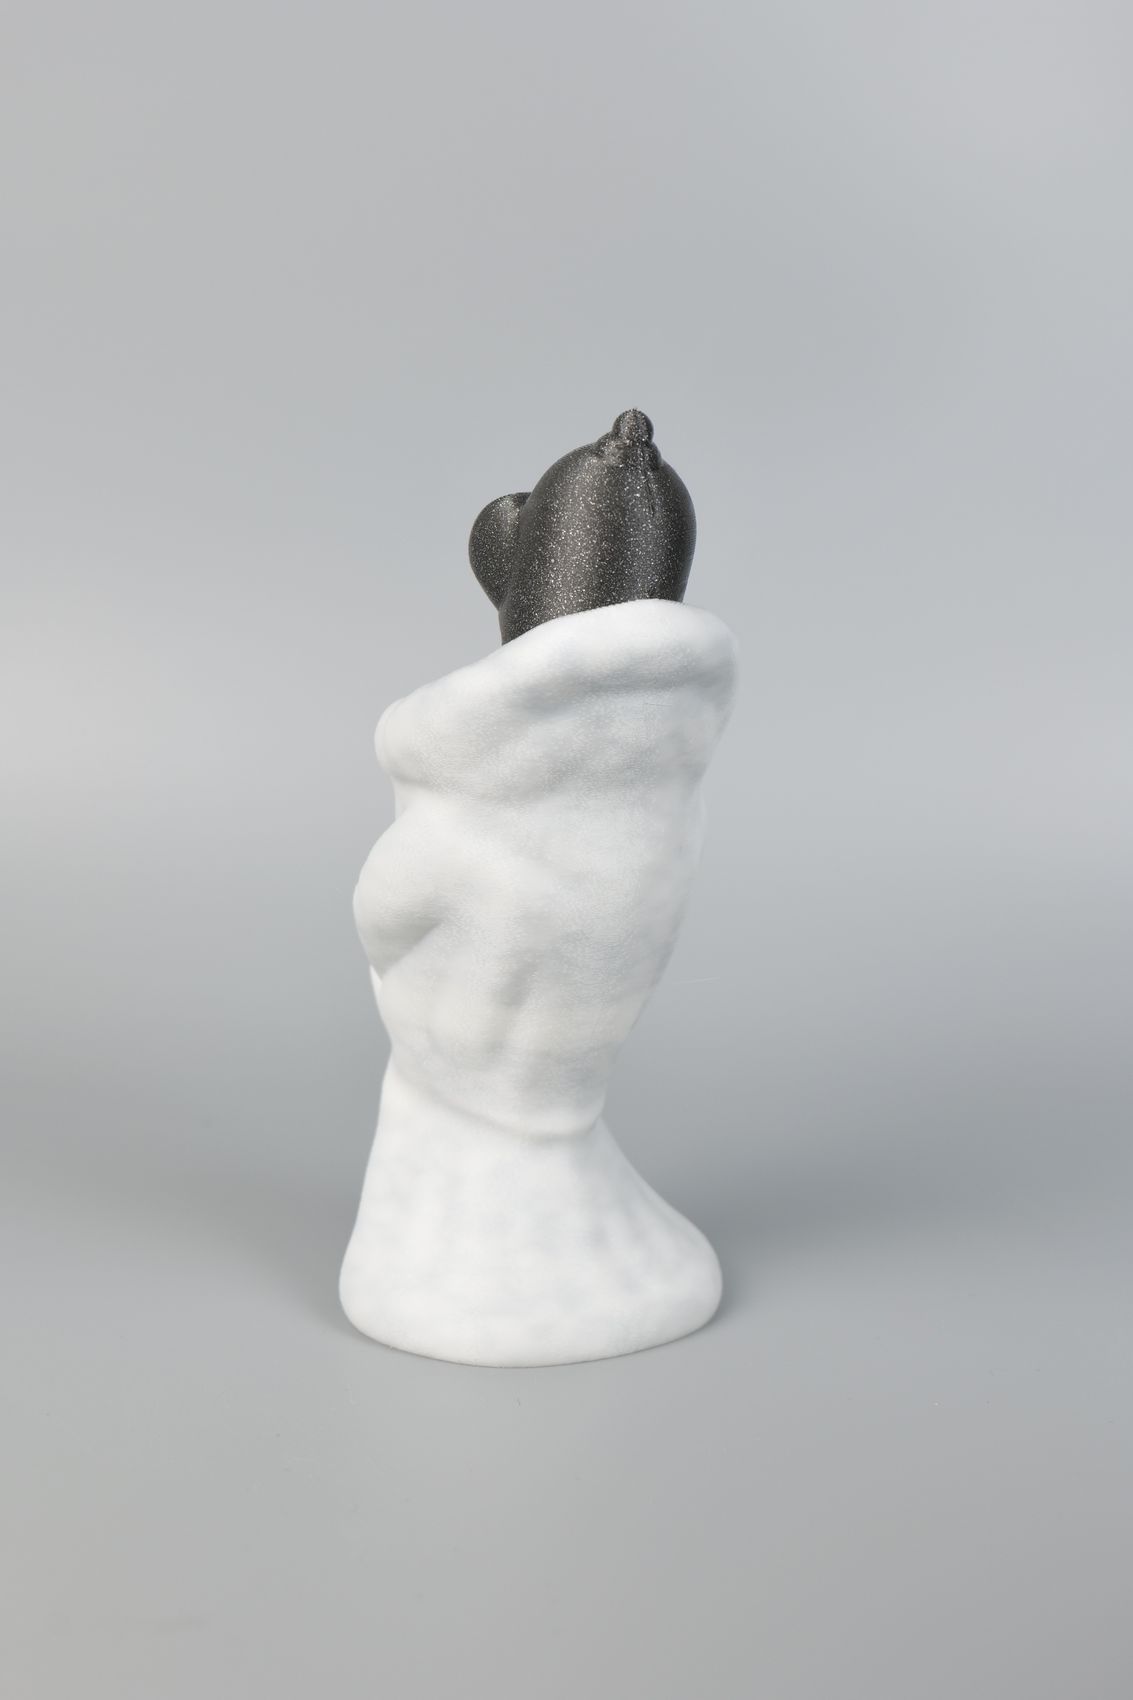
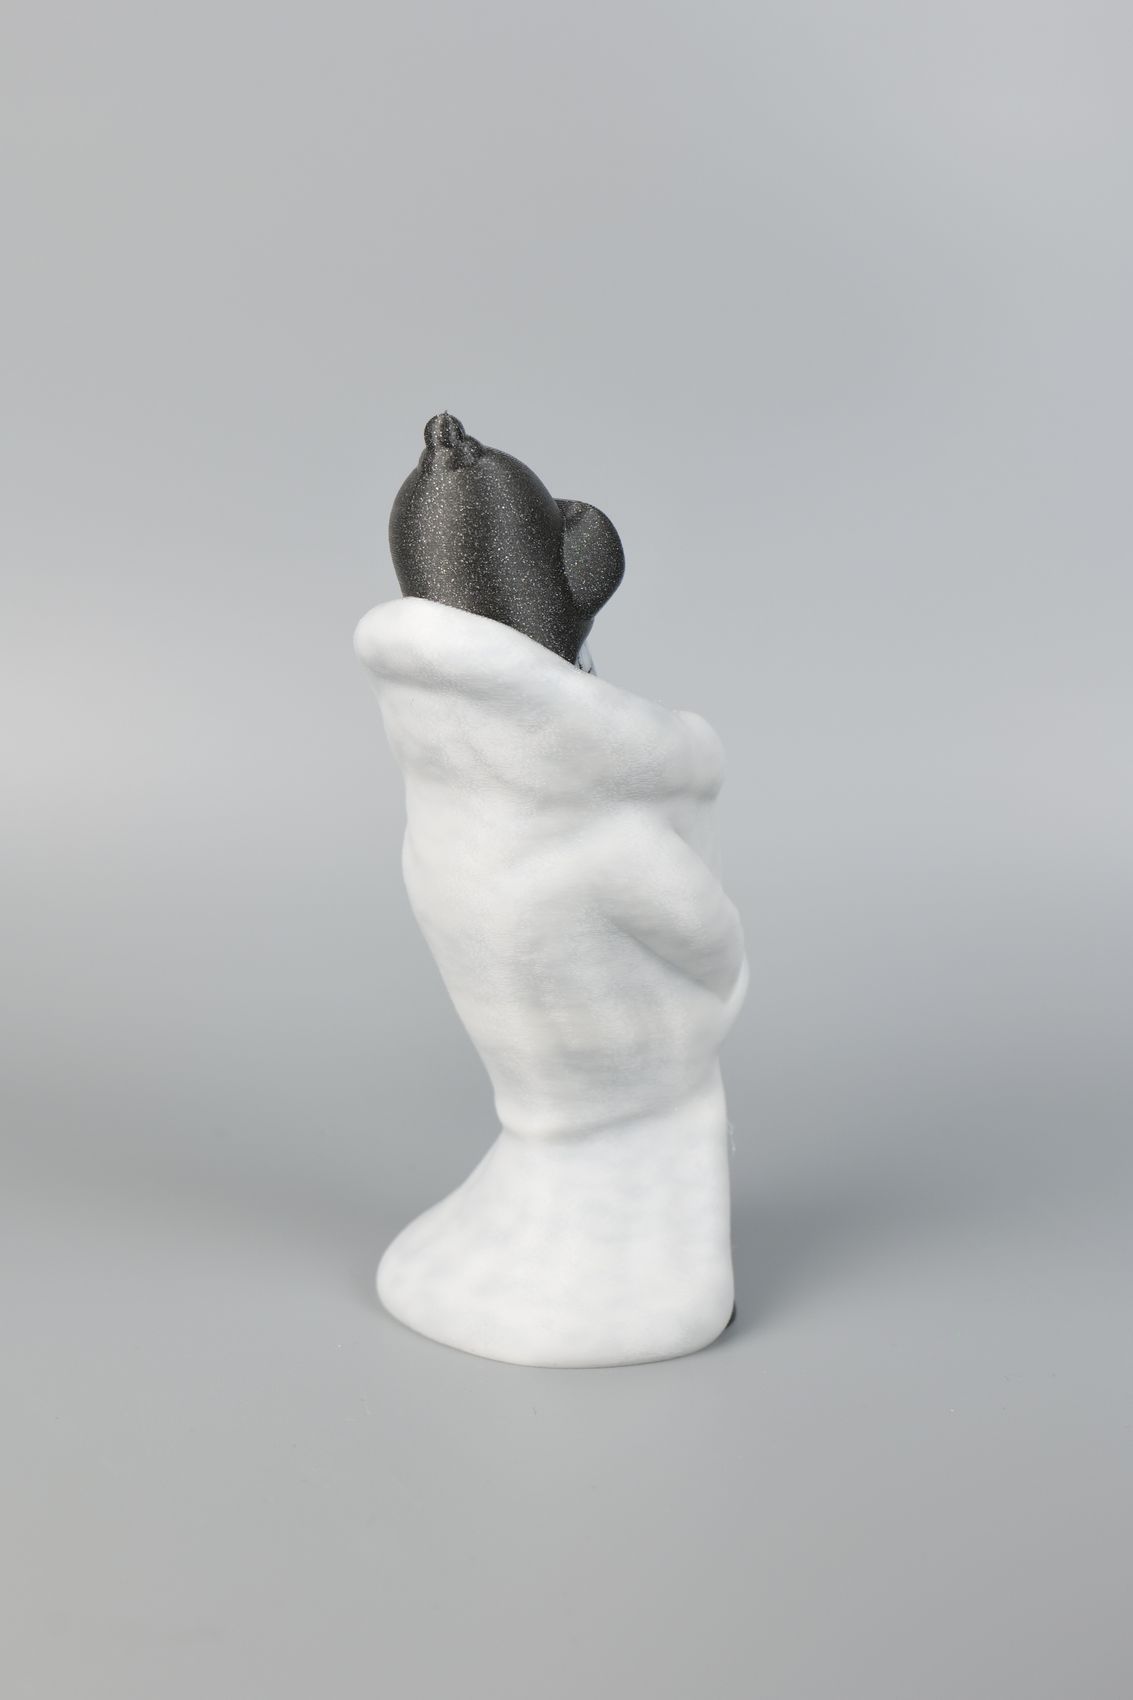
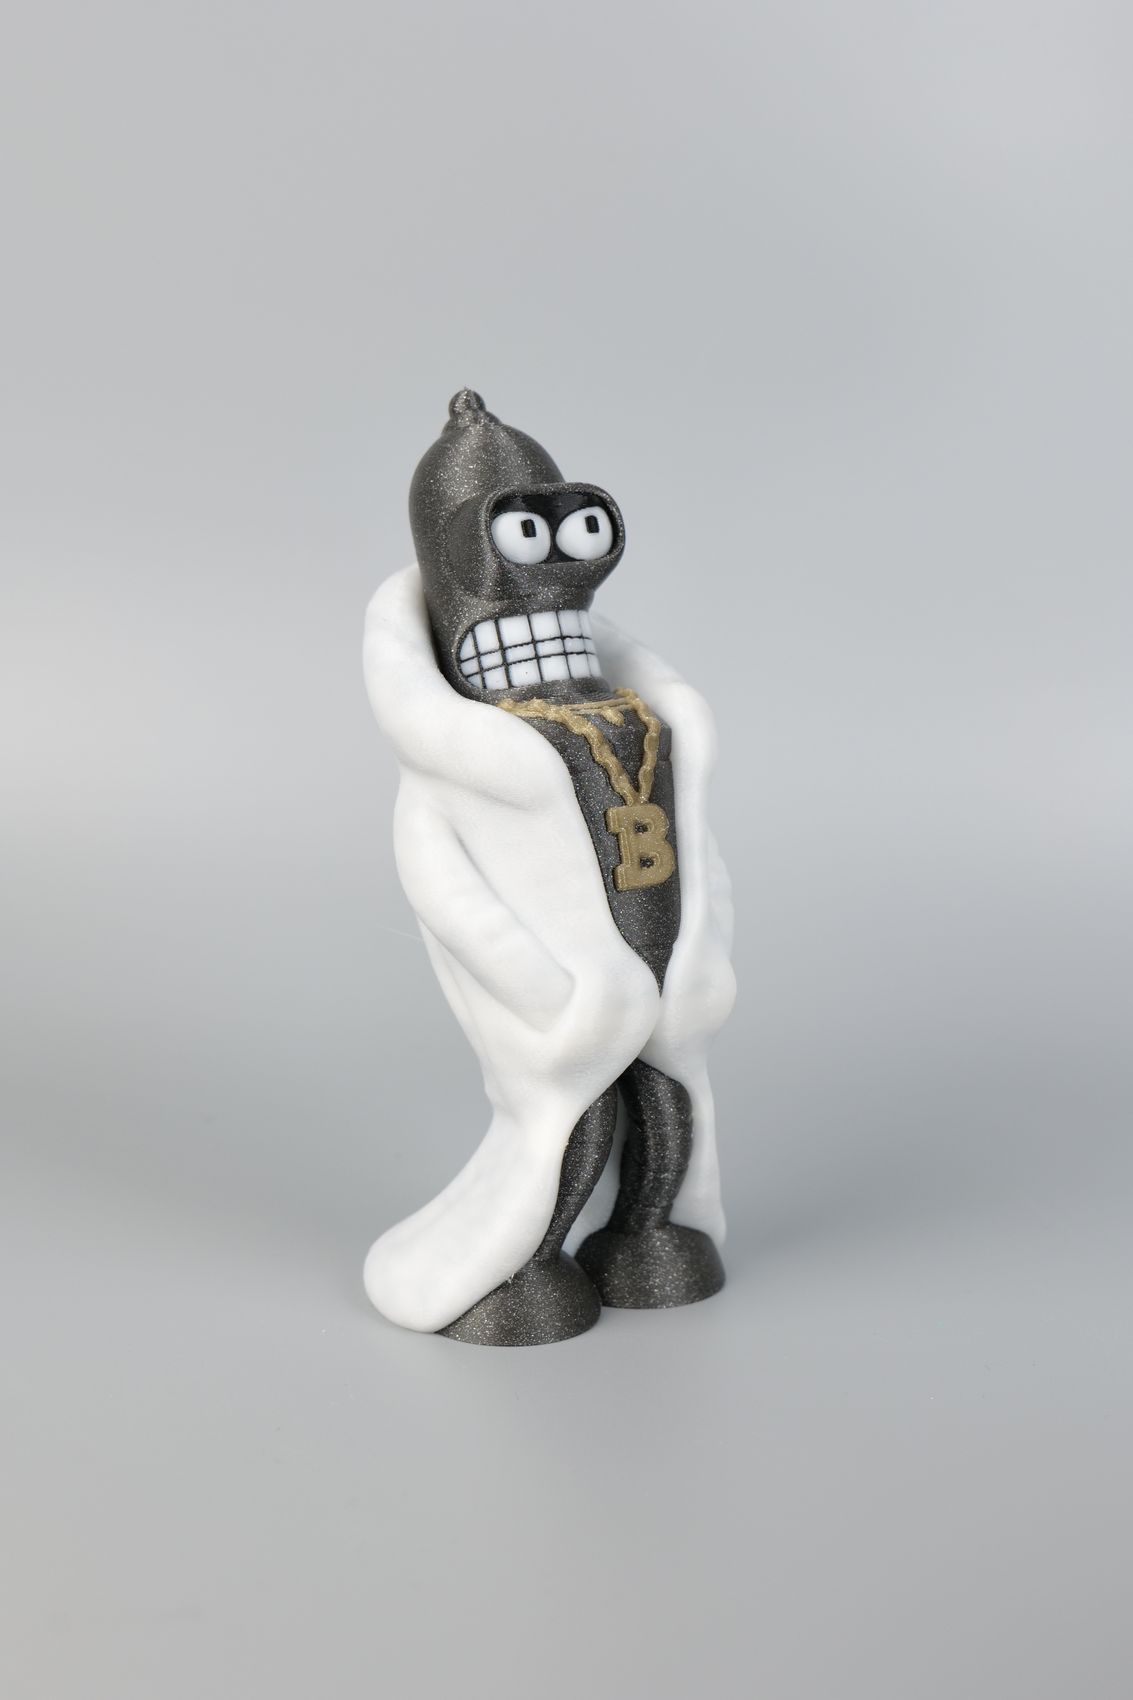
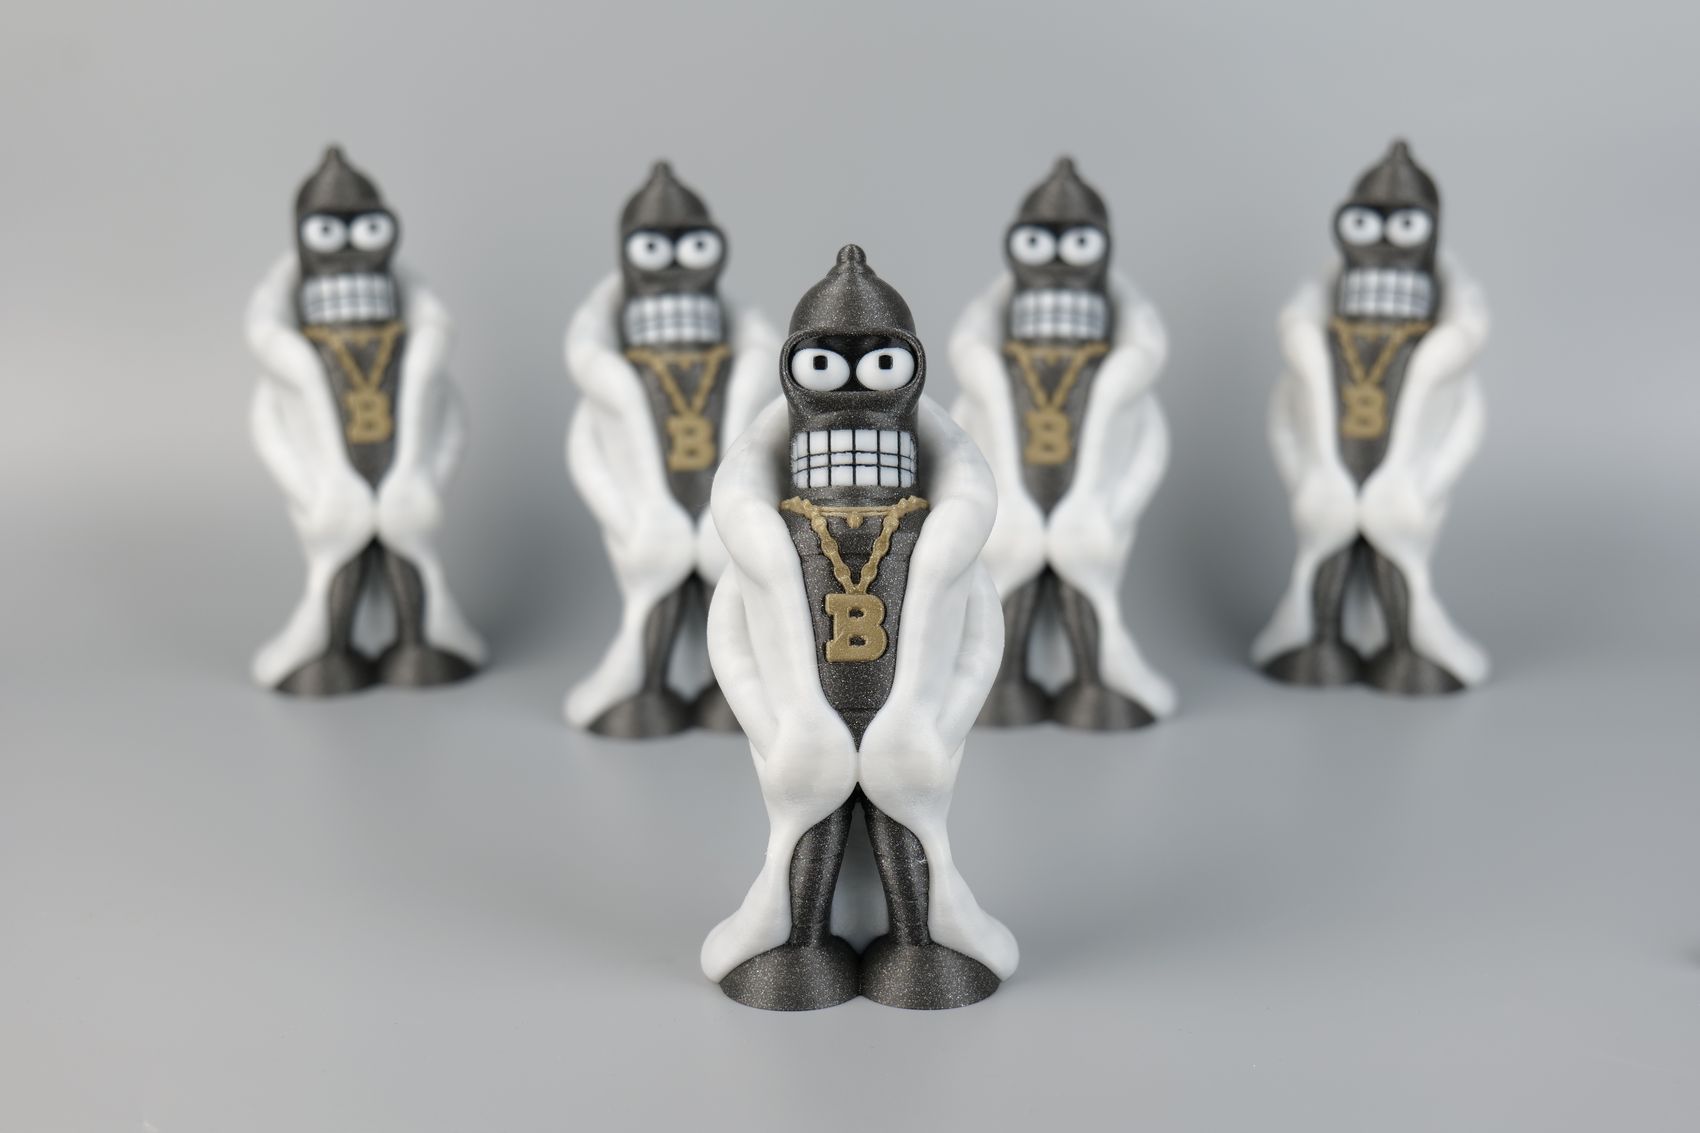
Another multi-color test print is the Bender model from Alsamen printed in 4 different colors. To save on the purge material, I decided to print 5 items at the same time. This will use the same amount of purged filament compared to printing a single item. So I duplicated the model and started the print.
As you can see, the results are almost flawless. All the small details are printed nicely, and the only issue I have is with some infill showing through the white coat. The white filament I used is slightly translucent, and the purged filament in the infill can be seen. Still, the small darker tones give the coat a different tone which makes it look a bit more natural.
Overall, great result, and I will print this plate again to gift models like this to my friends.

- Material: FilamentOne Glint Grey and Gold, PolyTerra Matte Black, and Creality HyperPLA White
- Layer Height: 0.2mm
- Nozzle Temperature: 220C
- Bed Temperature: 65C
- Print Speed: ~250 mm/s (Standard Profile)
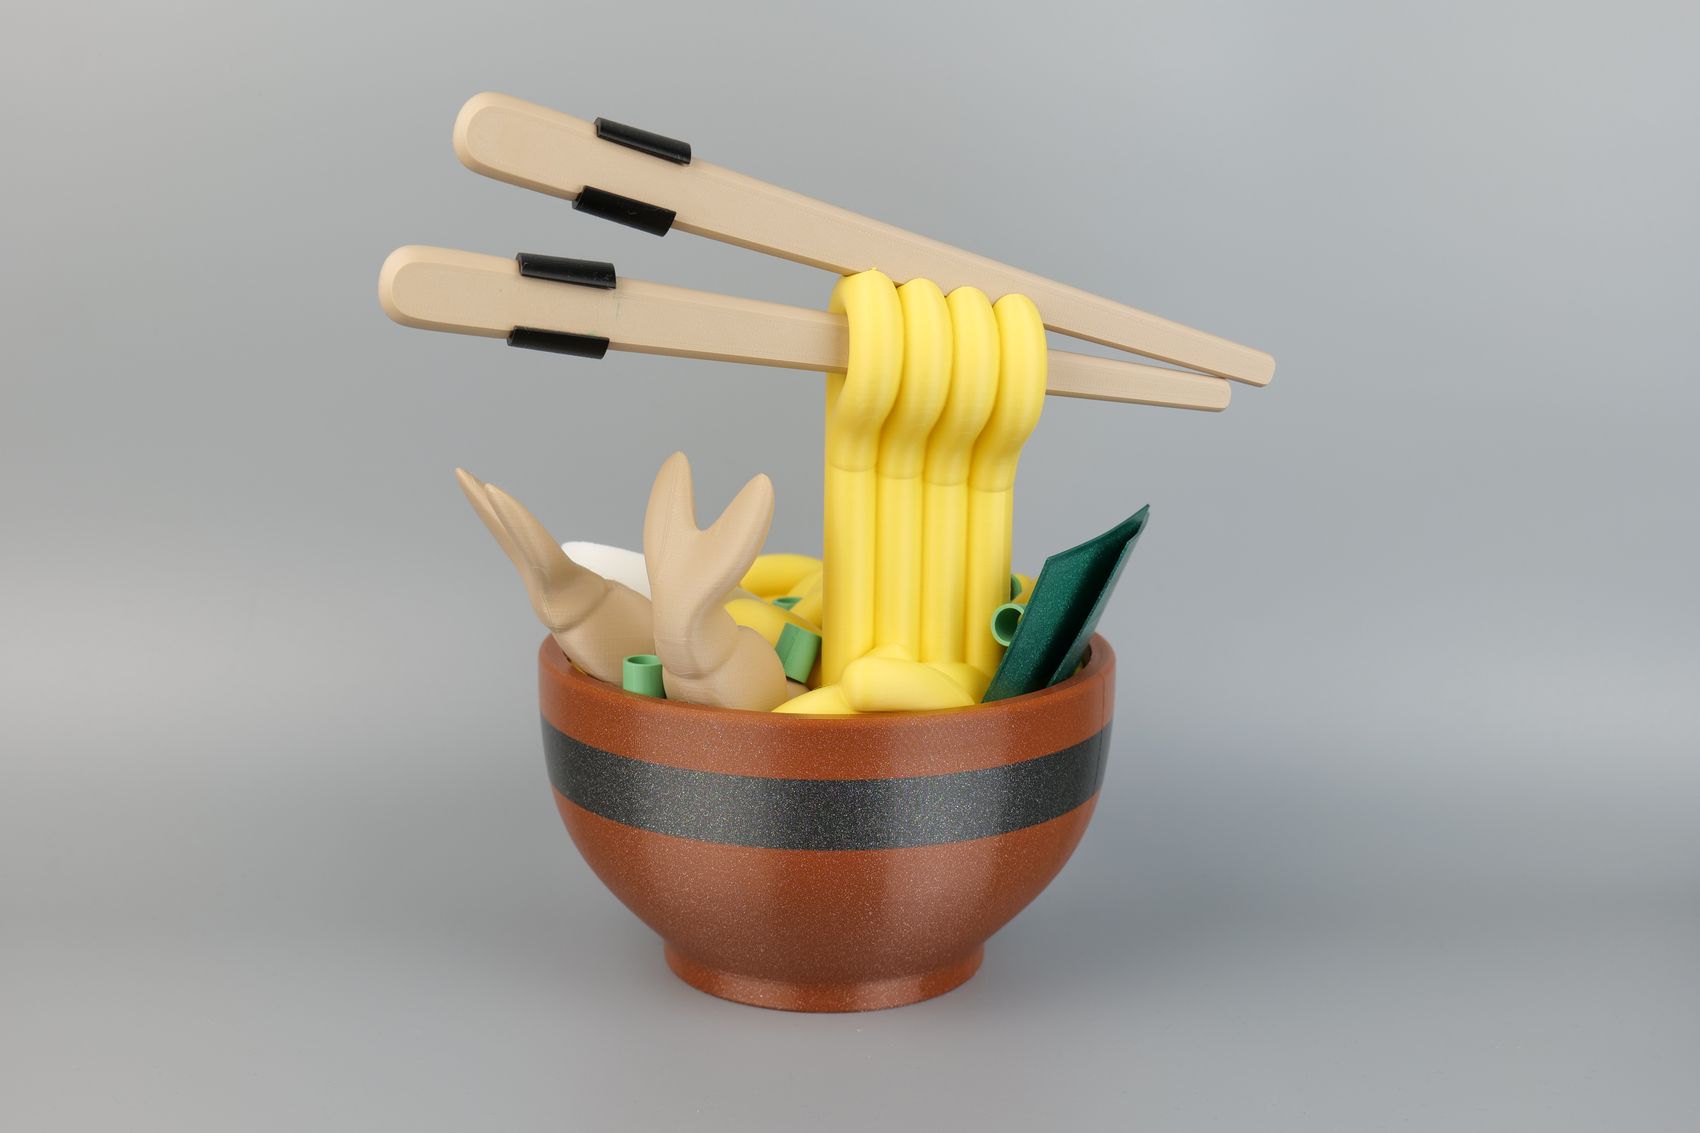
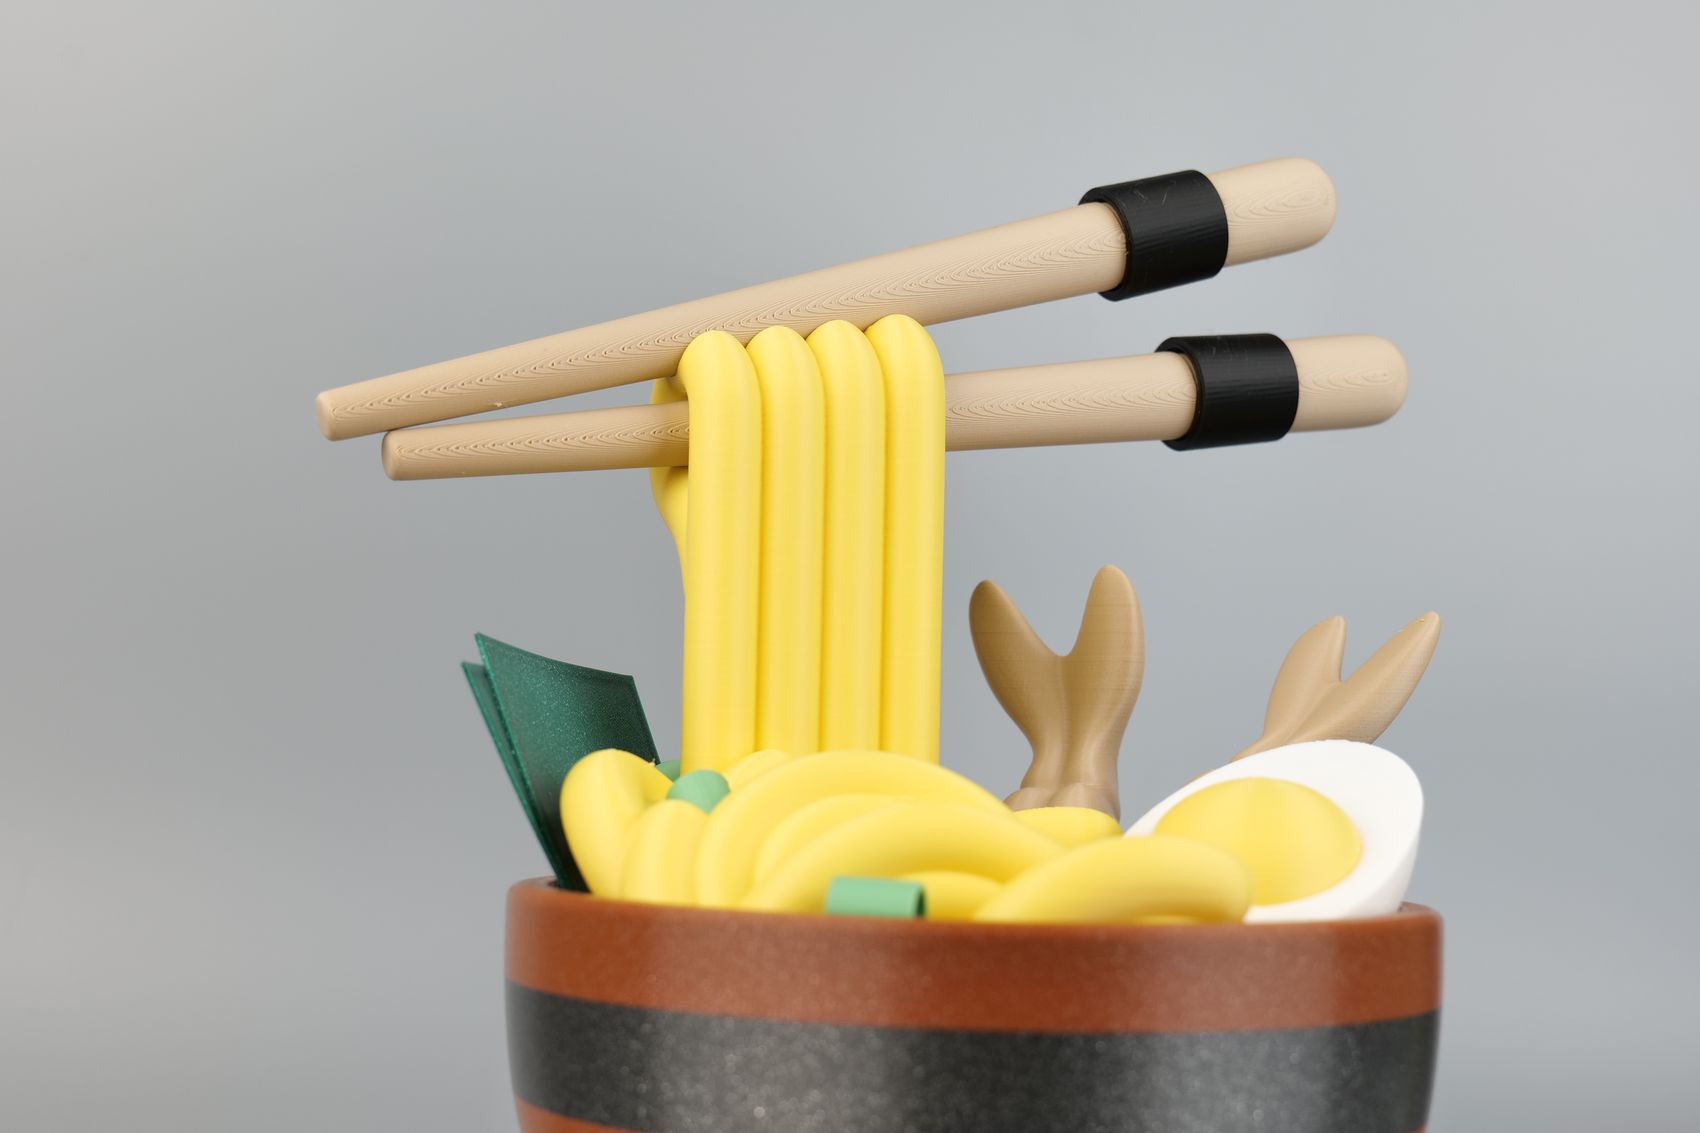
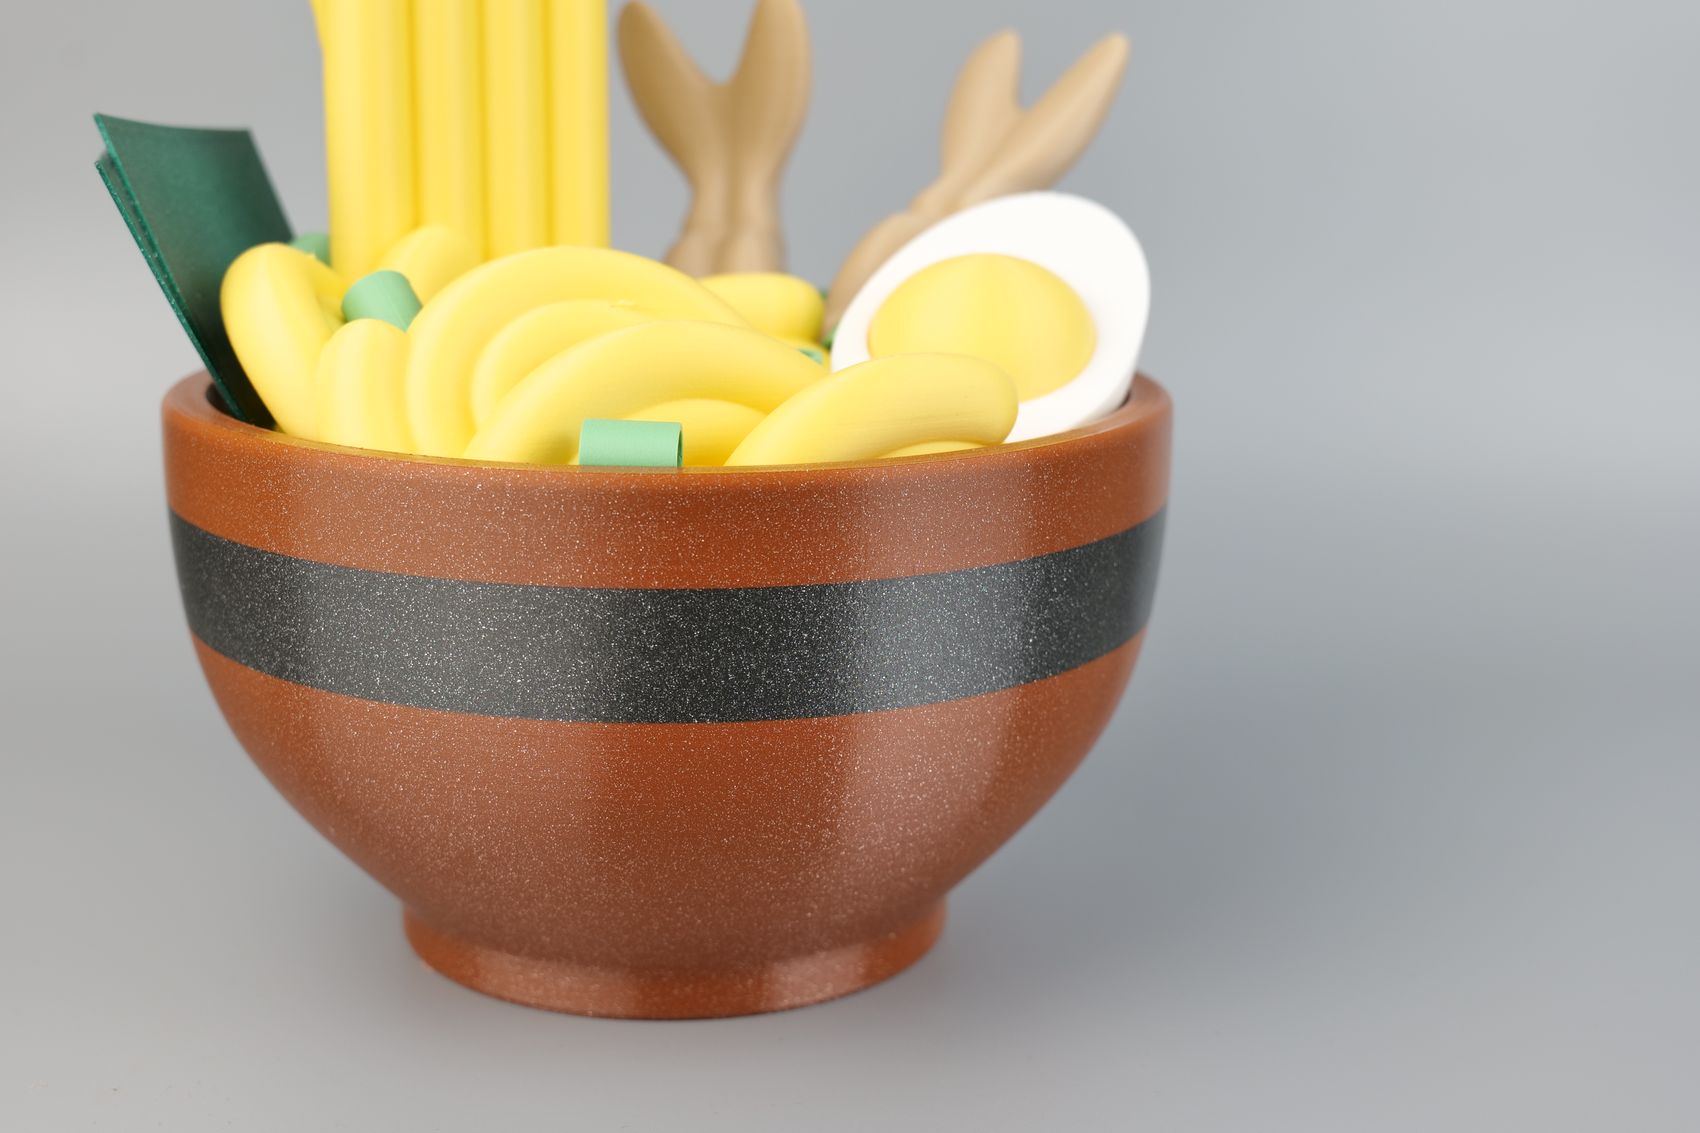
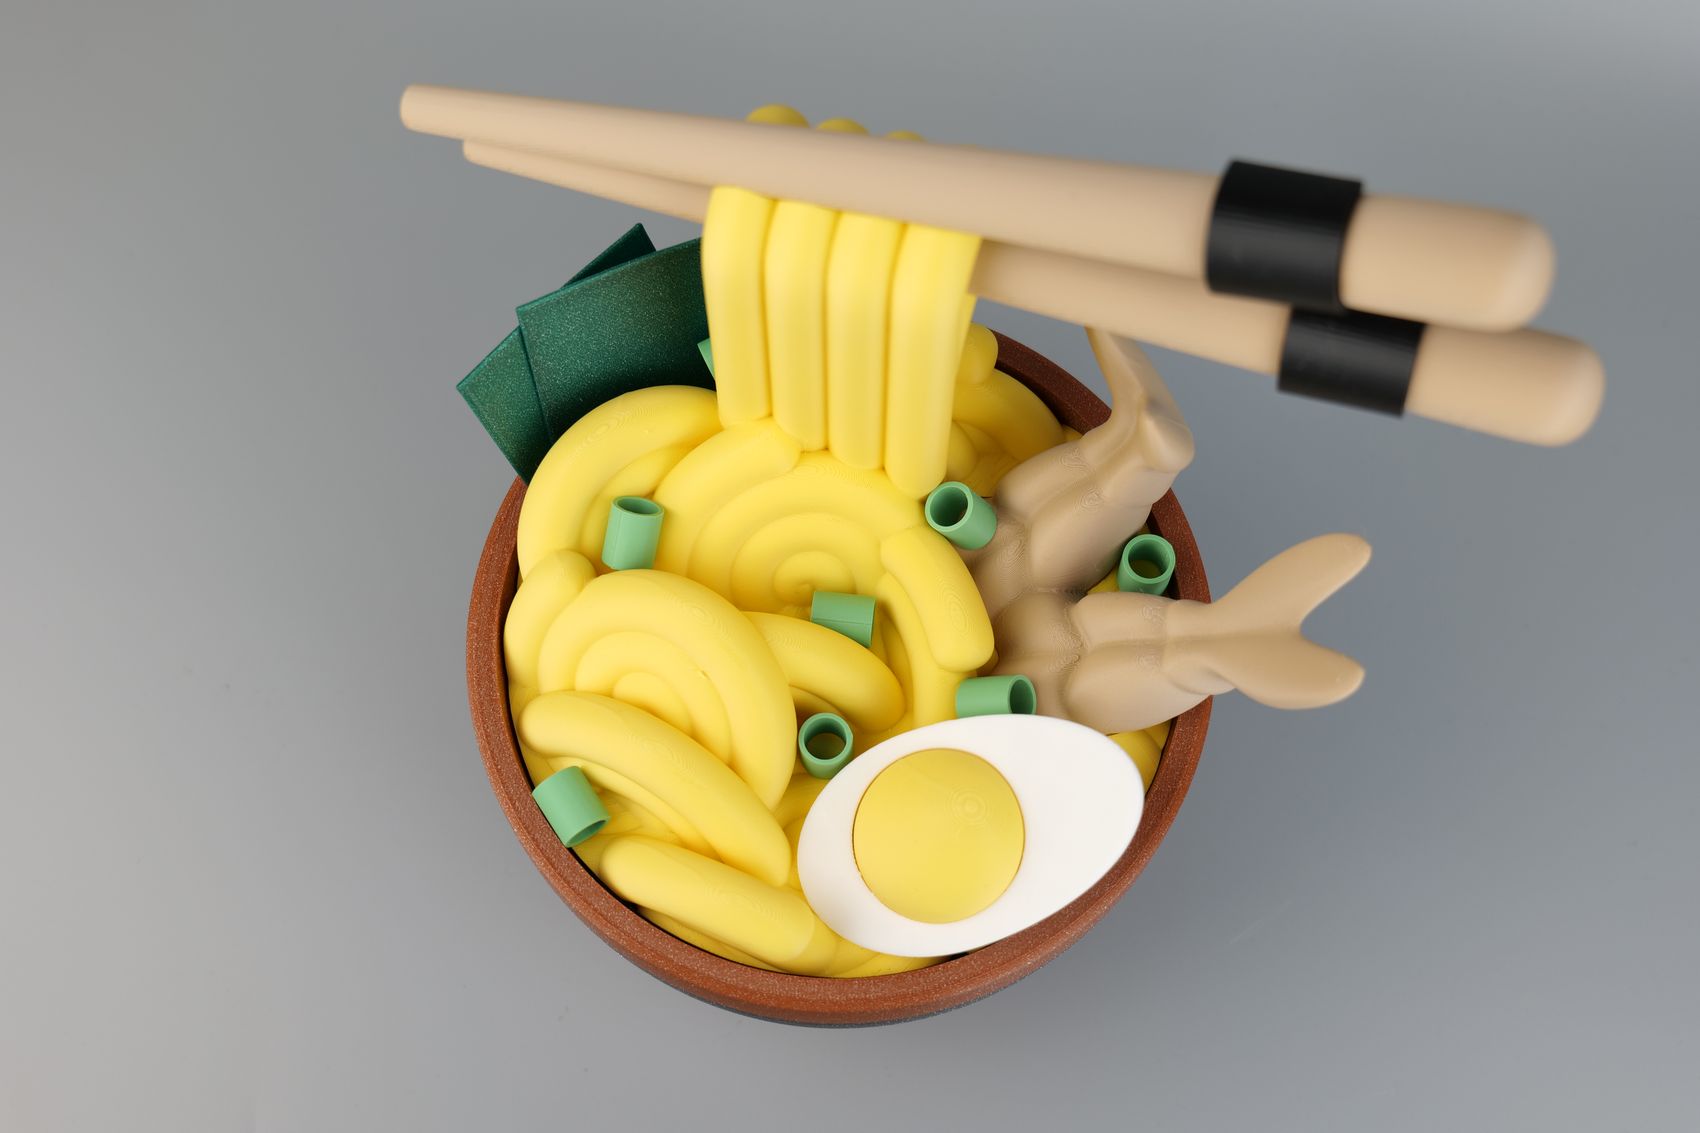
Ramen Noodles Bowl
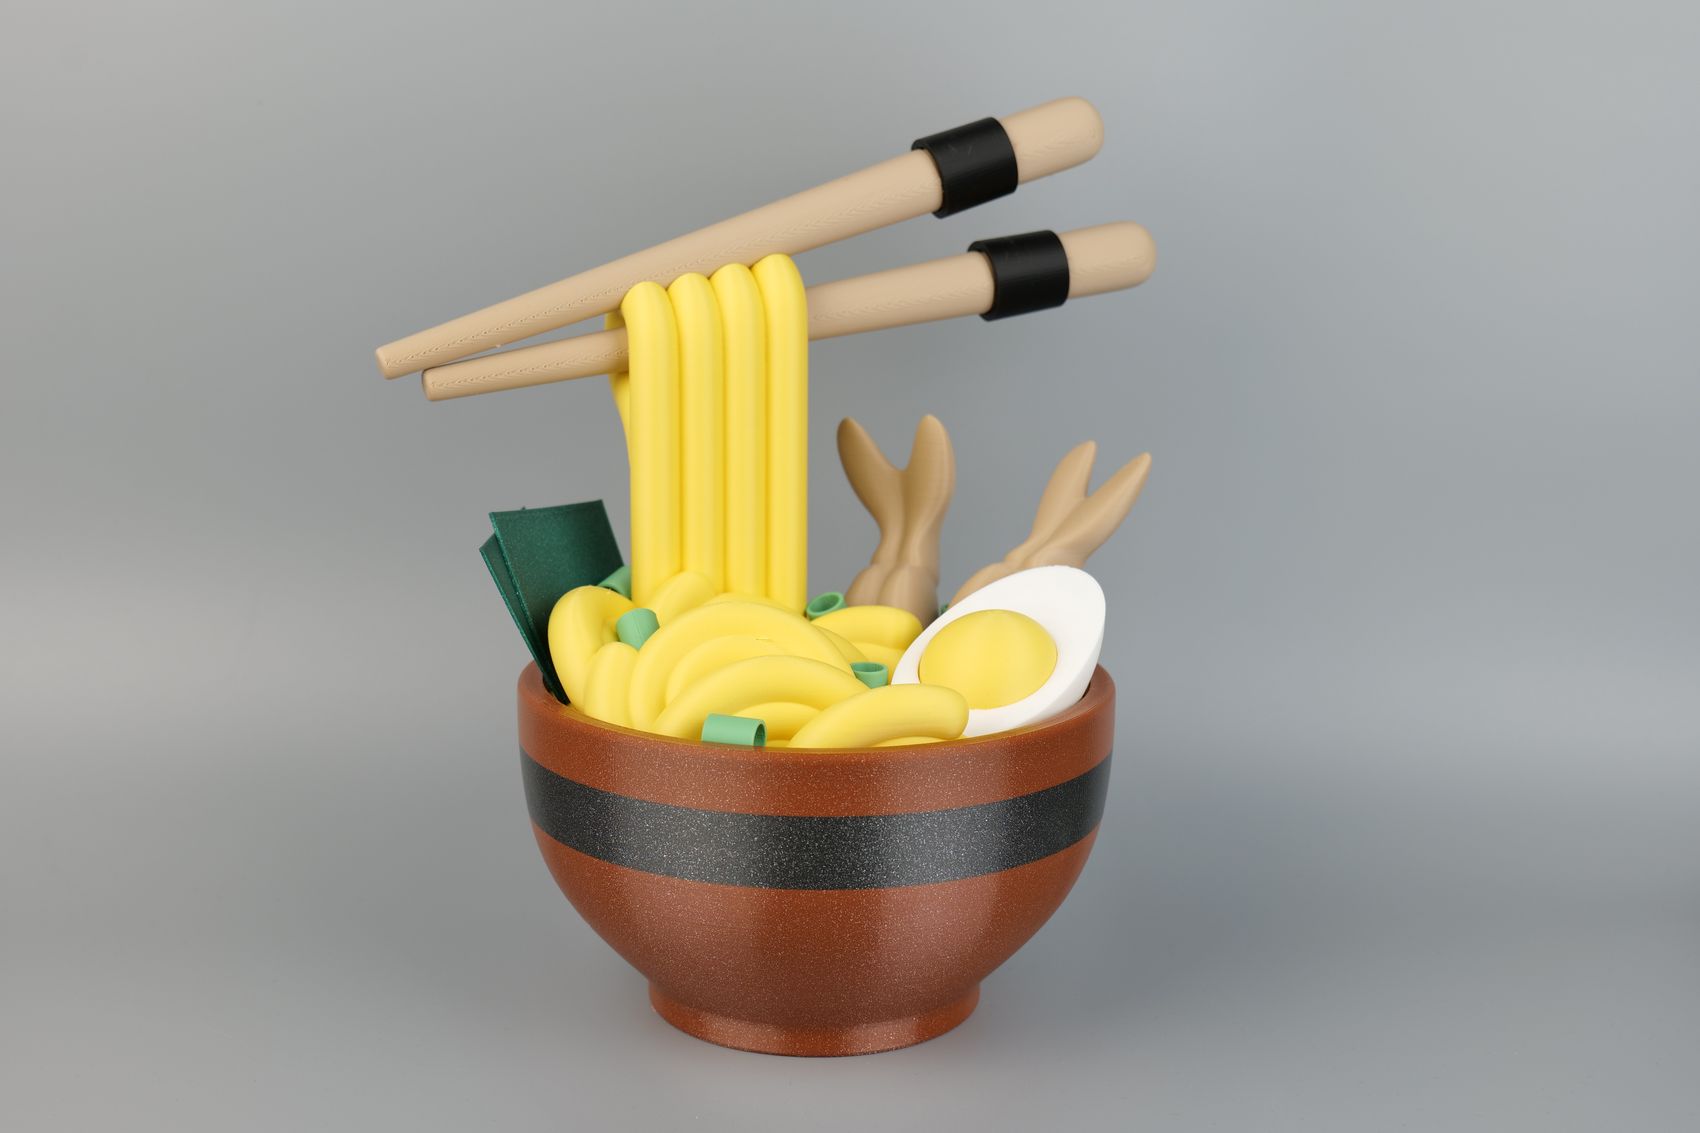
I needed to do a quick print as a gift for one of my friends, so I printed the Ramen Noodles Bowl from Holoprops. Most of the parts were printed on the A1 Mini, except the chopsticks which were printed on the X1C due to space constraints, as I scaled up the model.
The results are excellent, and I am really happy with how this turned out. The entire print was completed in just over 24 hours of printing, which is also pretty respectable.
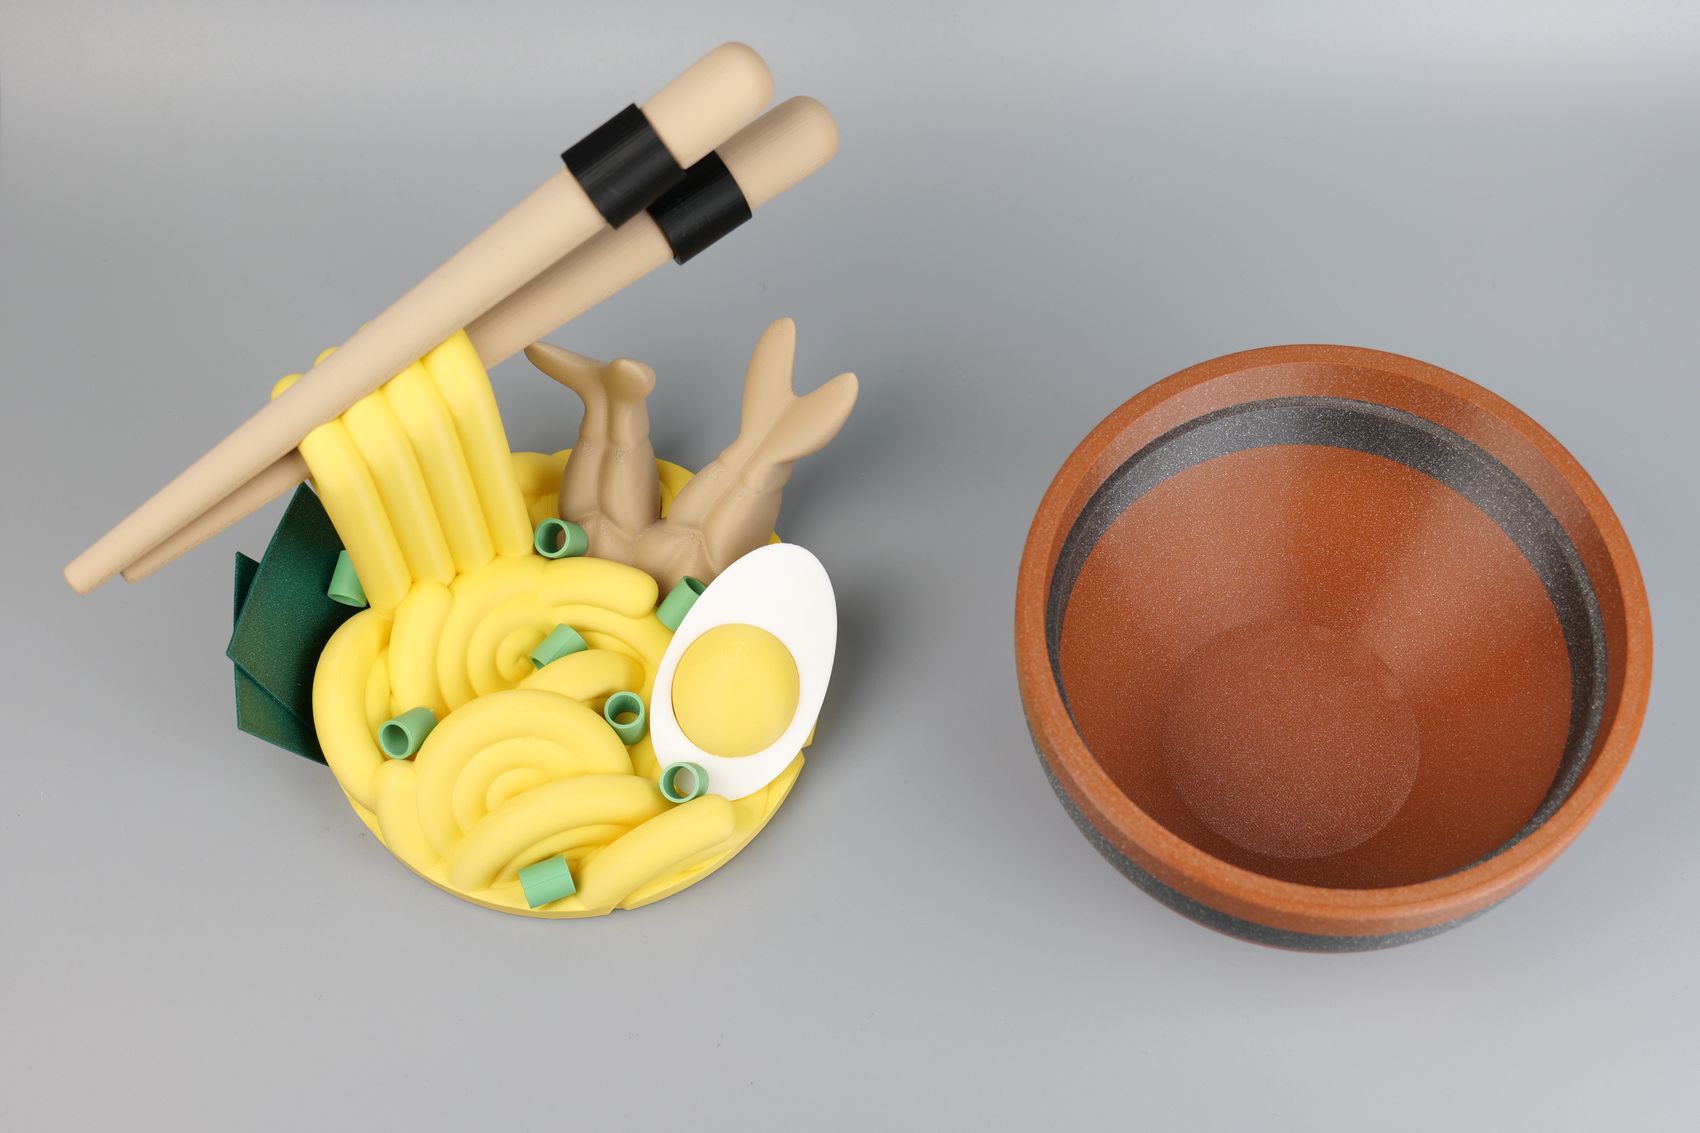
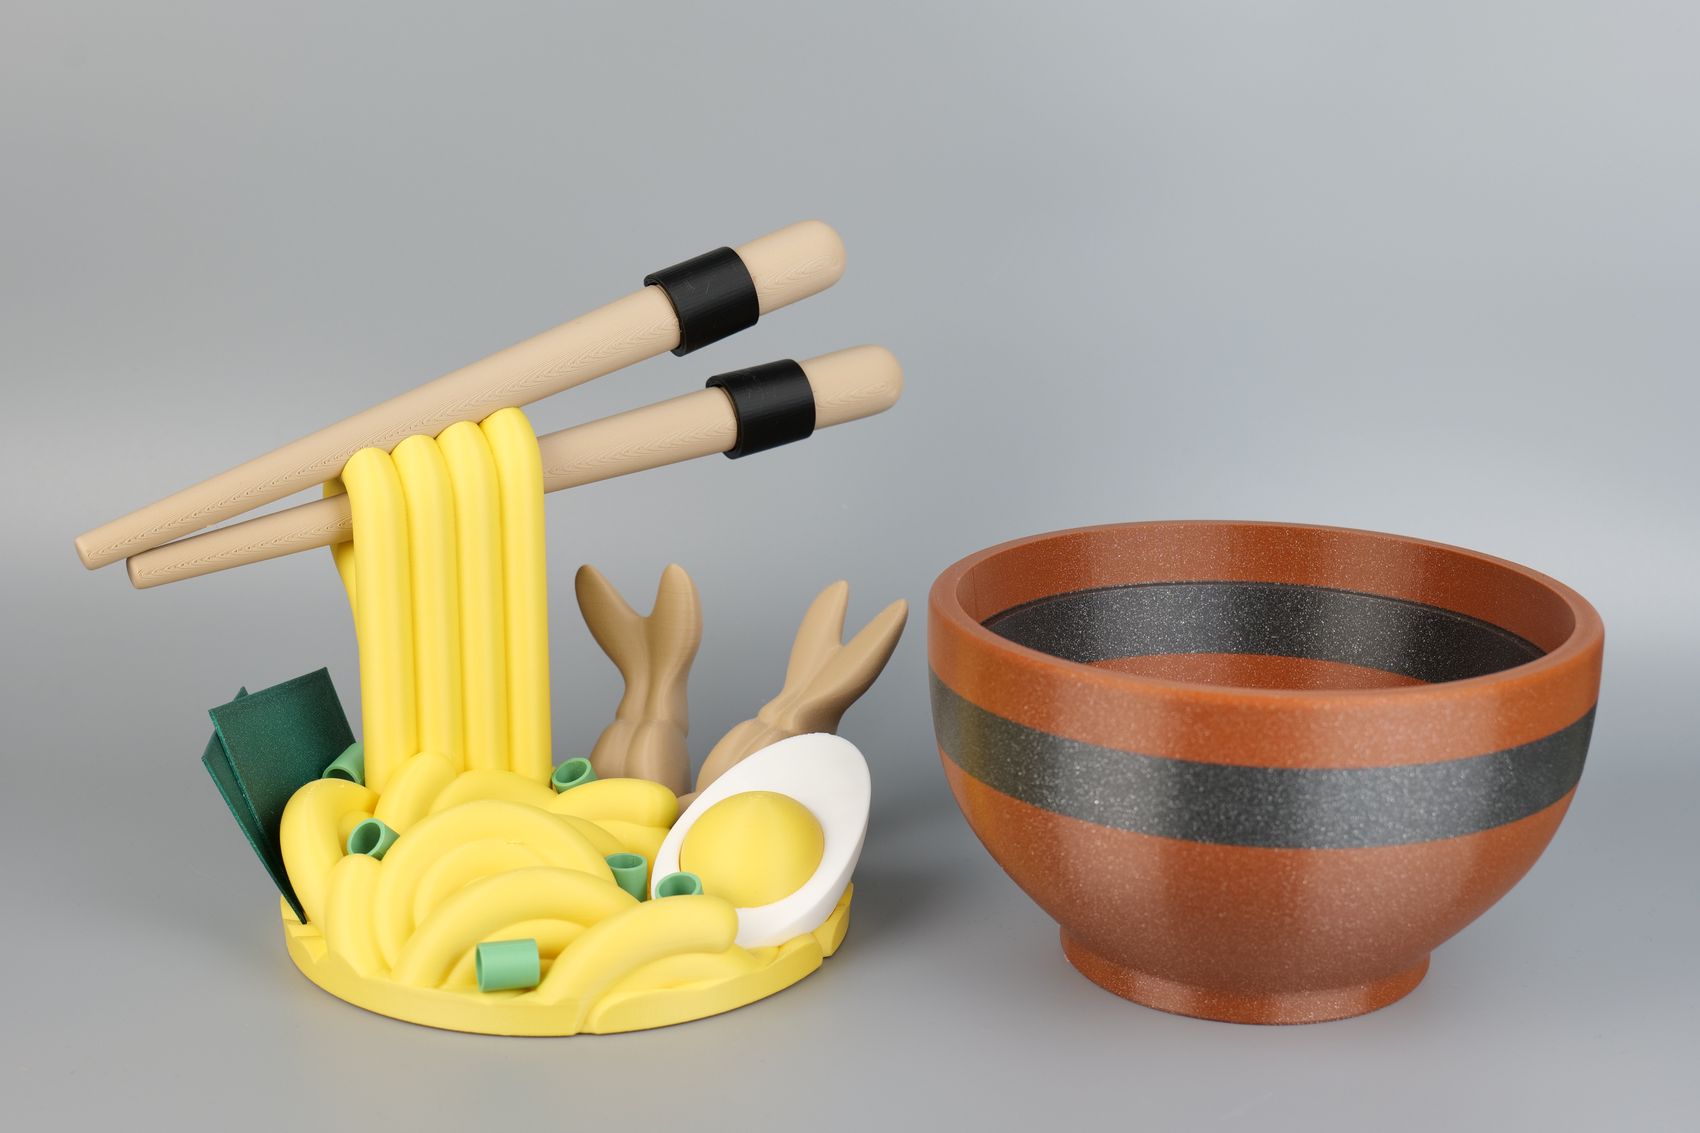
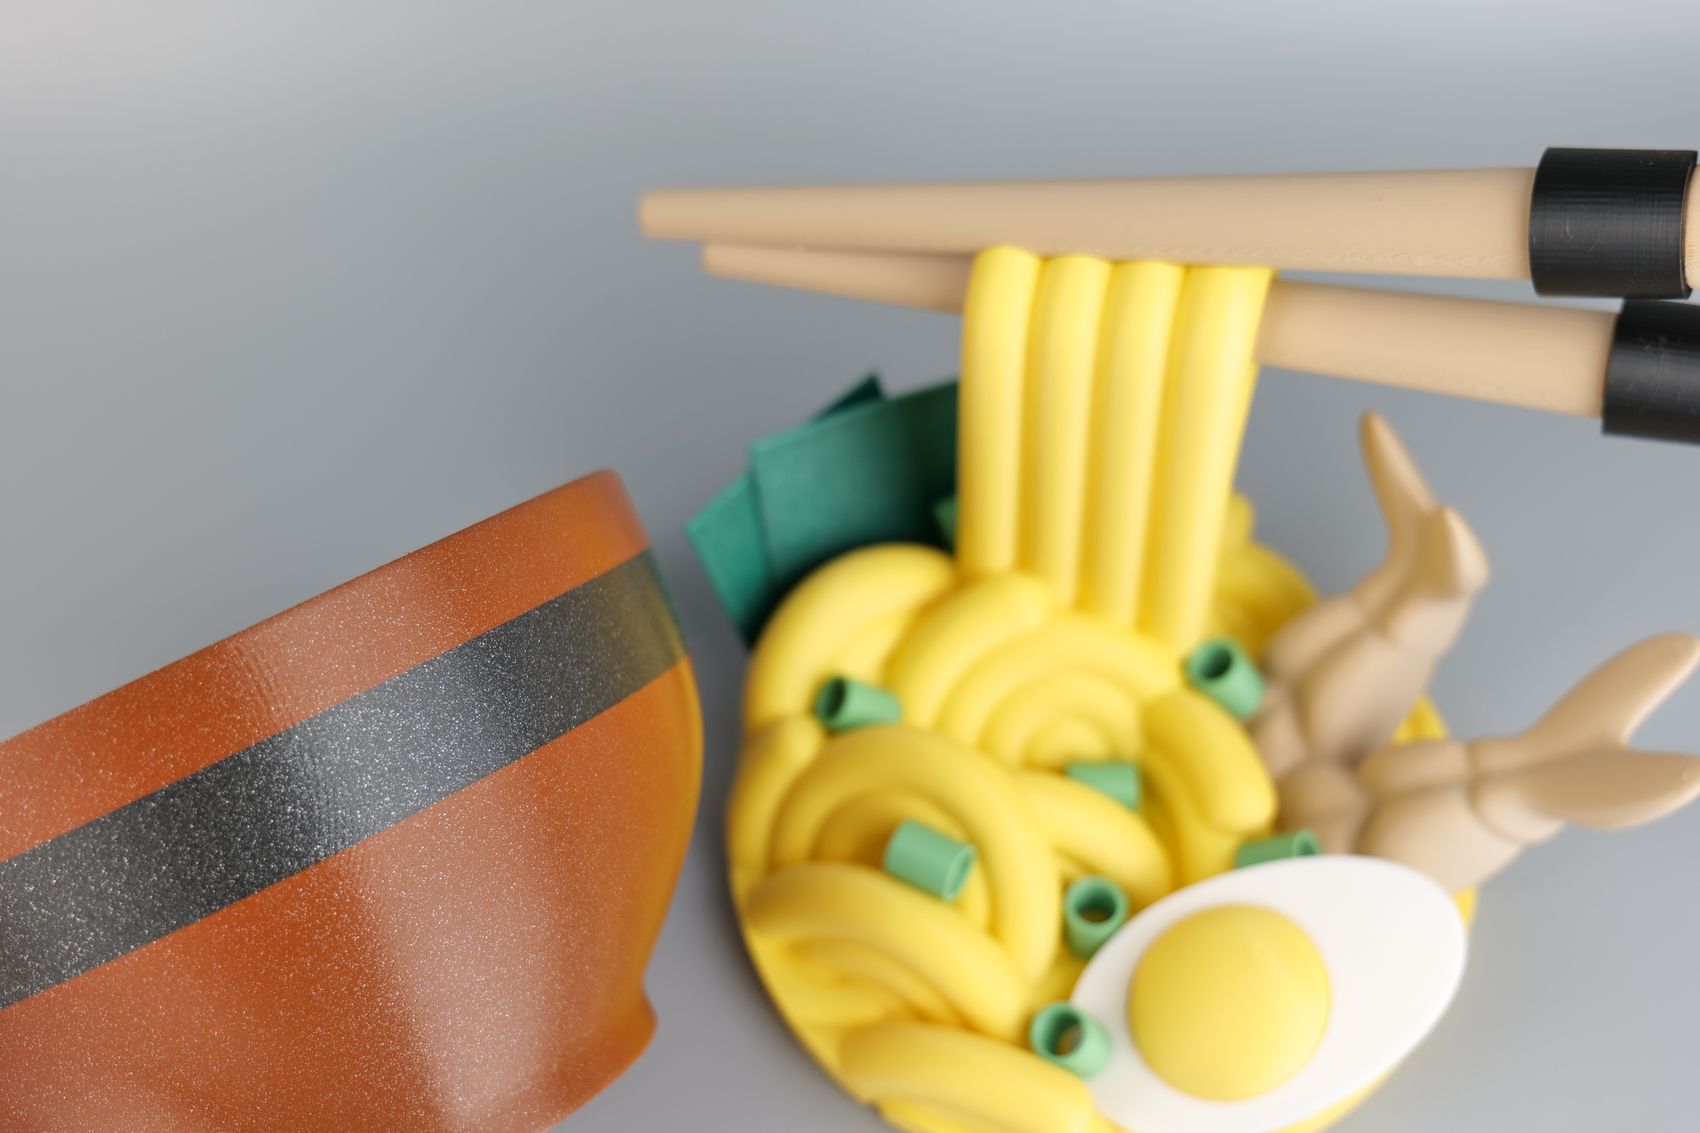
- Material: PolyMaker Polyterra Black, Peanut and Yellow PLA, FilamentOne Glint Grey, Brown and Green
- Layer Height: 0.16mm
- Nozzle Temperature: 220C
- Bed Temperature: 65C
- Print Speed: ~250 mm/s (Optimal Profile)
Conclusions: Is the Bambu Lab A1 Mini worth it?
At the moment, the A1 Mini is probably my favorite small-format 3D printer as it surpassed my expectations of what can be done with a bedslinger. Previously, the KP3S was my favorite due to the low price point and the results you could get with it and Klipper Firmware.
With the A1 Mini, you don’t need to do any tinkering, upgrades, or changes to the printer if you want to print fast. It just works as expected (most of the time), while also being very easy to set up and use for any 3D printing beginner. The speed is also quite impressive considering the motion system, but that’s something we already got used to from Bambu Lab.
While the A1 Mini is impressive as a standalone unit, when combined with the AMS Lite, you get most of the capabilities you would get with the more expensive printers from Bambu Lab (X1 or P1 series) in a relatively compact and silent package. It will be harder or impossible to print higher-end materials that require an enclosure, but for most people who are printing with PLA, PETG, and TPU that won’t really matter.
What I am not completely happy with is the print profiles in Bambu Studio, which are a bit too fast in some cases, leading to failures. You can lower the print speed a bit to get better results, but I would love it if the speed would be slightly lower by default to increase the success rate and print quality for some filaments (especially PETG).
Another thing I dislike is the overall space taken by the printer. While the A1 Mini is very small, when paired with the AMS Lite, it takes more space than the X1 Carbon with an AMS.
For the price of 199$ for the printer, and 349$ for the Combo, I believe the A1 Mini will be a very popular machine for regular users who just need a simple printer to use from time to time, but also for print farms that print small items in large quantities and also need the multi-color capabilities. The only significant downside for some people could be the smaller print volume that might not be enough in all situations.
The A1 Mini is not the XL printer everyone was waiting for, but it’s a big step in making multi-color 3D printing more accessible while delivering a fast and consistent experience.
As always, I recommend checking other reviews before making a purchase decision, to ensure you get a good understanding of the printer’s capabilities and to know what you can expect from it.
Bambu Lab A1 Mini Rating
Design
Specs
Noise Levels
Ease of use
Print quality
Price
The Bambu Lab A1 Mini is probably the best entry-level 3D printer for beginners that just want a tool with multi-color capabilities, fast printing speed and silent operation.
Where to buy the Bambu Lab A1 Mini?
The Bambu Lab A1 Mini was provided free of charge by Bambu Lab for the purpose of this review. While the article includes affiliate links, all opinions are my own. Nobody reviewed the article before it was posted, following the Review Guidelines.
Liked it?
|
|


It is a very nice and very in depht review, so thank you.
I would like if you could add the duration of each print, especially the ones using the AMS Lite. This would show what to expect for print times in multicolor prints.