IdeaMaker Profile for Sapphire Plus – PLA / PETG / TPU

IdeaMaker is a slicer made by Raise3D which is a great alternative for the popular Simplify3D
In this article, I will share my IdeaMaker profile for Sapphire Plus made for PLA, PETG and TPU.
These profiles are tuned to deliver a good balance between speed and print quality, and worked really well for me.
IdeaMaker profile for Sapphire Plus
The IdeaMaker profile for Sapphire Plus is tuned to work well with a Direct Drive configuration and a V6 hotend. (you can read more about the setup I used in the Sapphire Plus review)
If you are planning to use the same profiles on your stock Sapphire Plus, retraction needs to be tuned for a bowden setup. You can start with a 4.5 mm retraction value and work your way from there.
The PLA profile can be used out of the box with this material. Nozzle temperature is set to 205C and bed temperature is set to 50C.
Fan speed is set to 0 for the first layer, 50% for the second layer and 100% starting from the 3rd layer. This is done in order to minimize issues with adhesion.
For the PETG profile, nozzle temperature is set to 230C, bed temperature is set to 70C.
Fan speed is set to 0 for the first layer, 10% for the second layer and 30% starting from the 3rd layer. This is done in order to minimize issues with adhesion.
The TPU profile is set up with 215C for the hotend and 50C for the heatbed.
Fan speed is set to 0 for the first layer, 10% for the second layer and 30% starting from the 3rd layer. This is done in order to minimize issues with adhesion.
You can download the IdeaMaker profile for Sapphire Plus from the links below:
Sapphire Plus – IdeaMaker PLA profile – 3DPrintBeginner
Sapphire Plus – IdeaMaker PETG profile – 3DPrintBeginner
Sapphire Plus – IdeaMaker TPU profile – 3DPrintBeginner
How to install the IdeaMaker profile for Sapphire Plus
In order to install the IdeaMaker profile for Sapphire Plus, please follow the steps below:
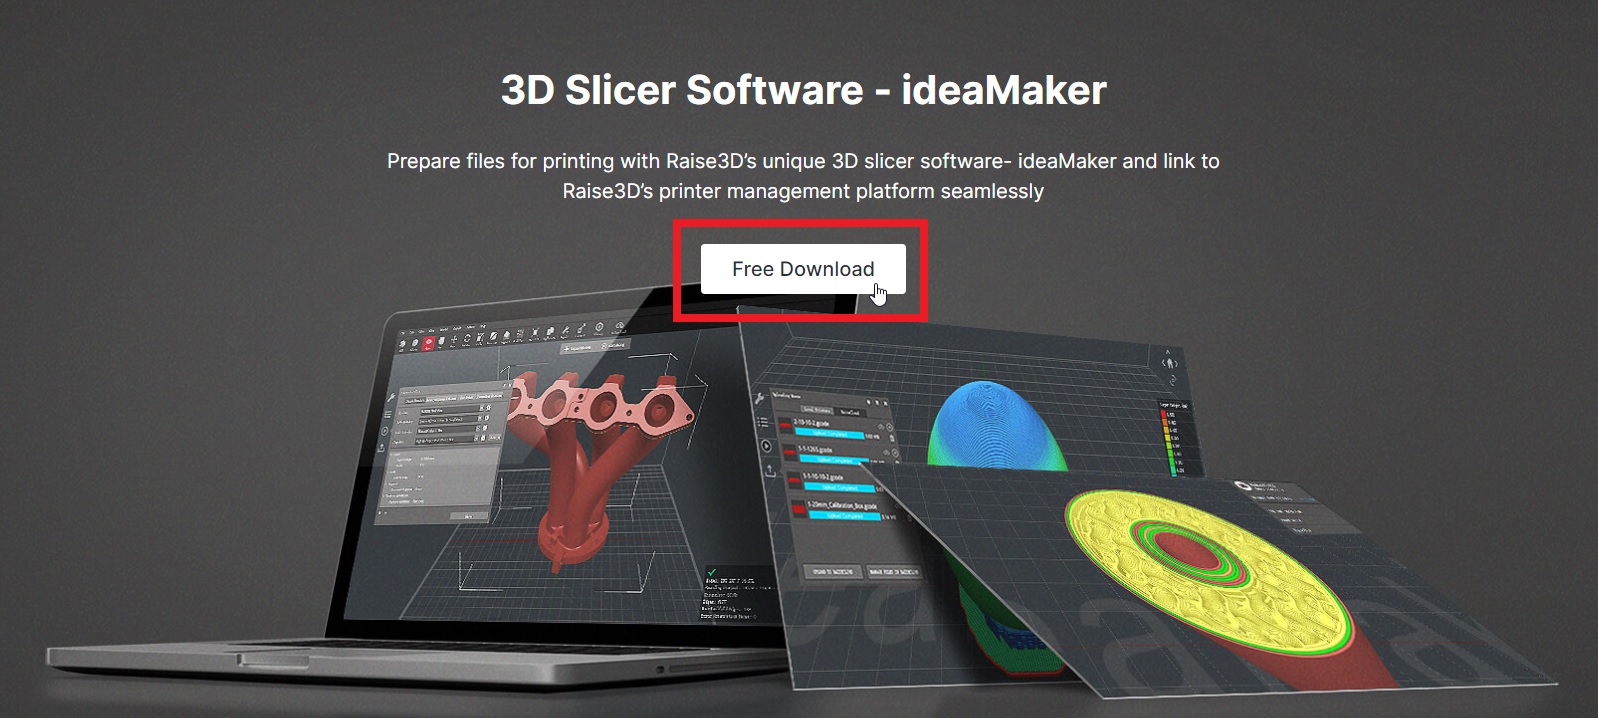
- Download and install the IdeaMaker slicer from Raise3D website, then select the appropriate version according to your operating system.
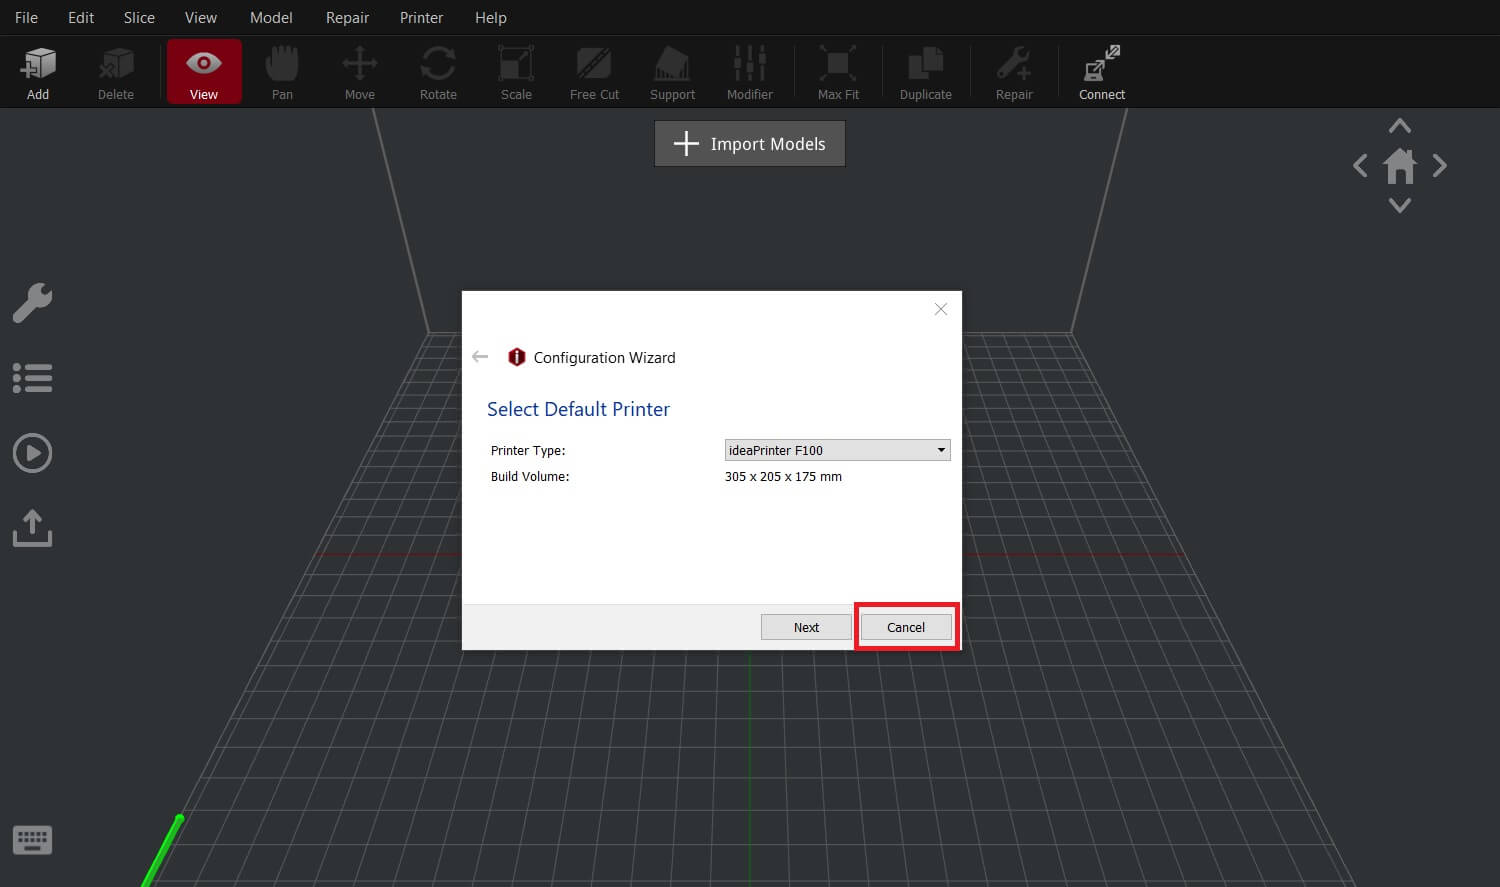
- Open IdeaMaker and cancel the Configuration Wizzard
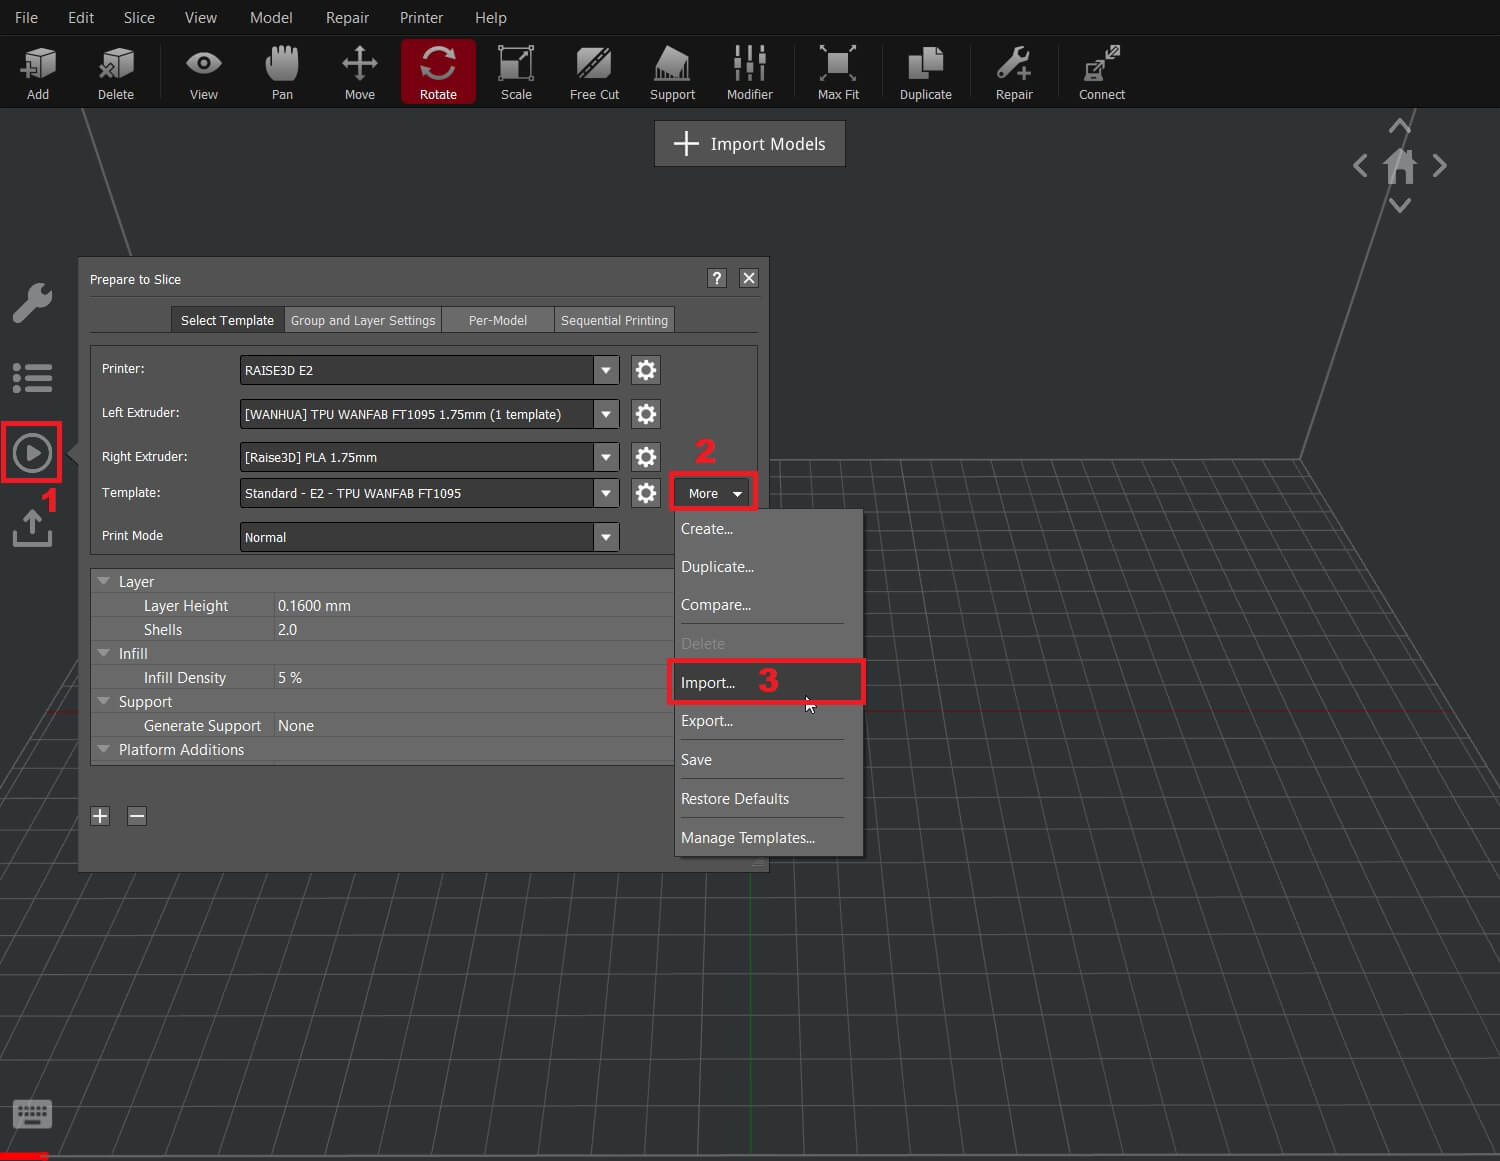
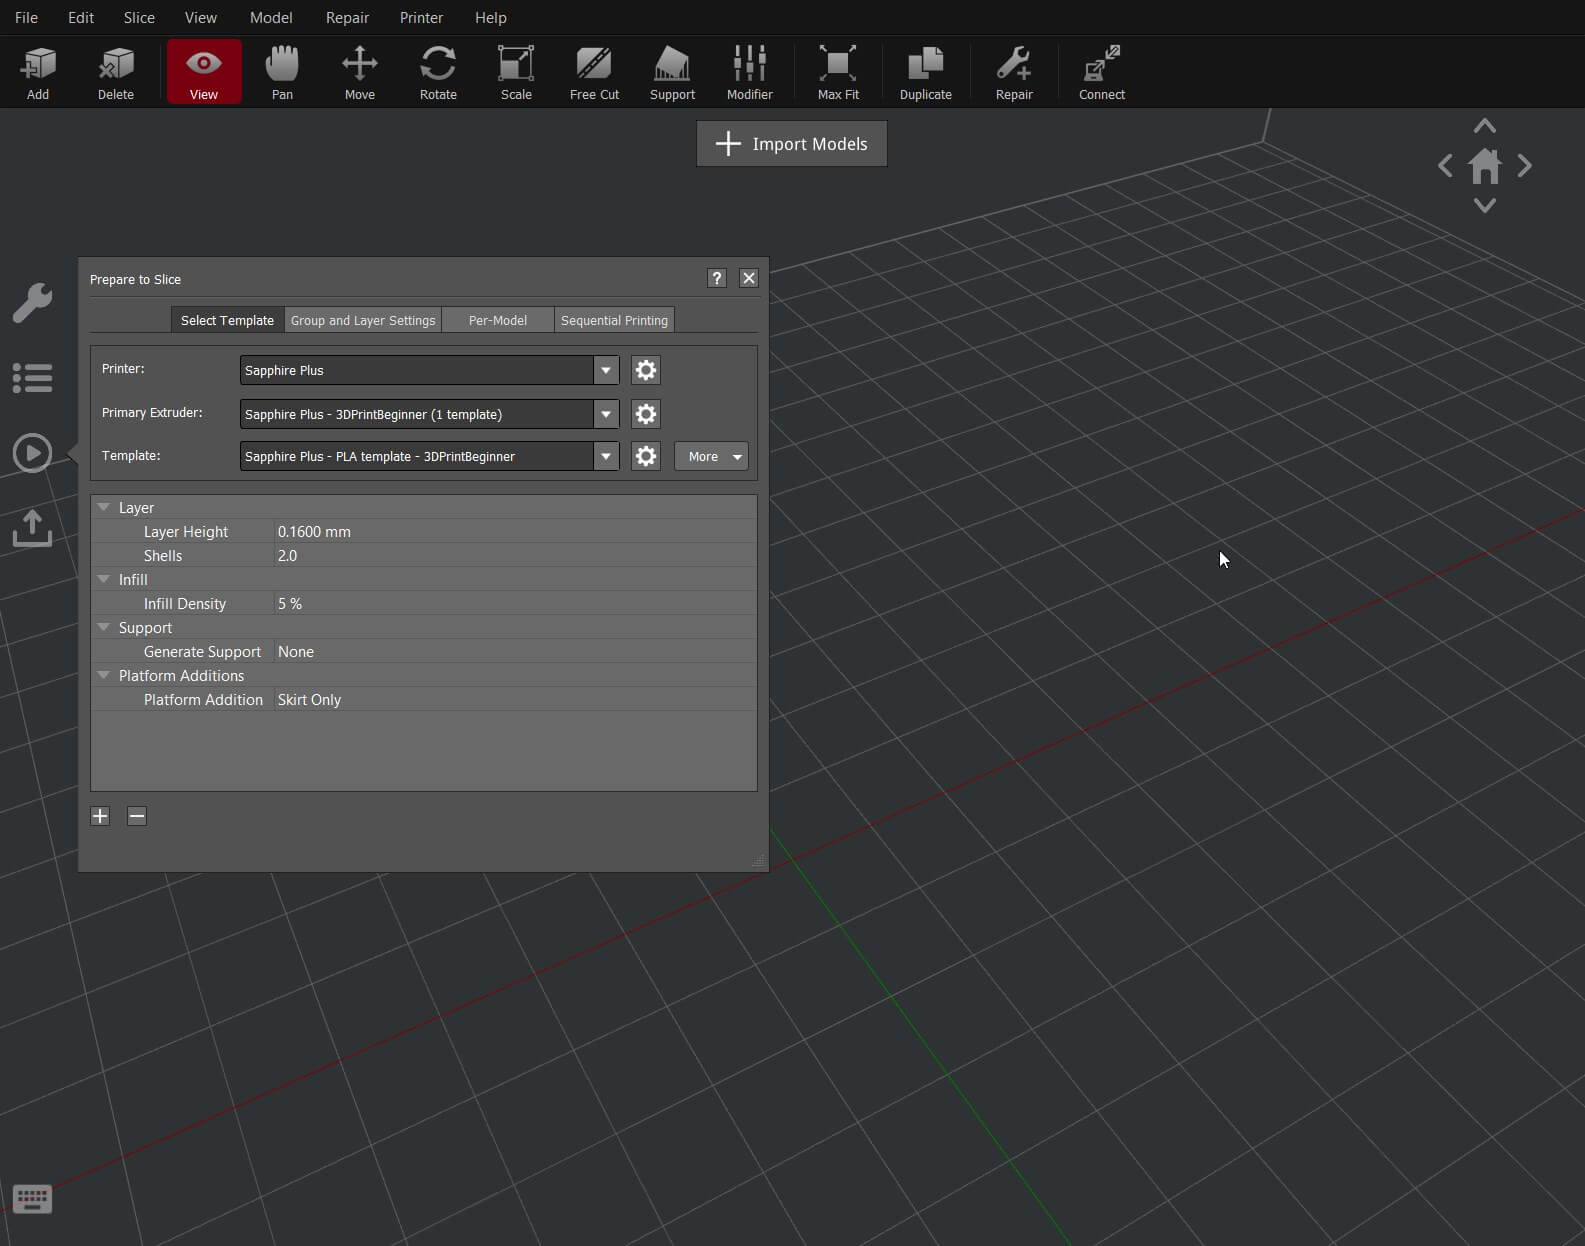
- Click on the “Play” button on the left side, then click on More and finally Import.
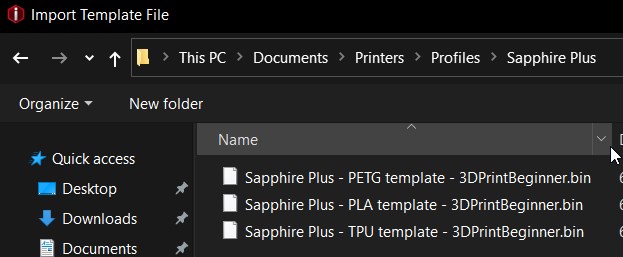
- Select the Sapphire profile – 3DPrintBeginner.bin file previously downloaded.
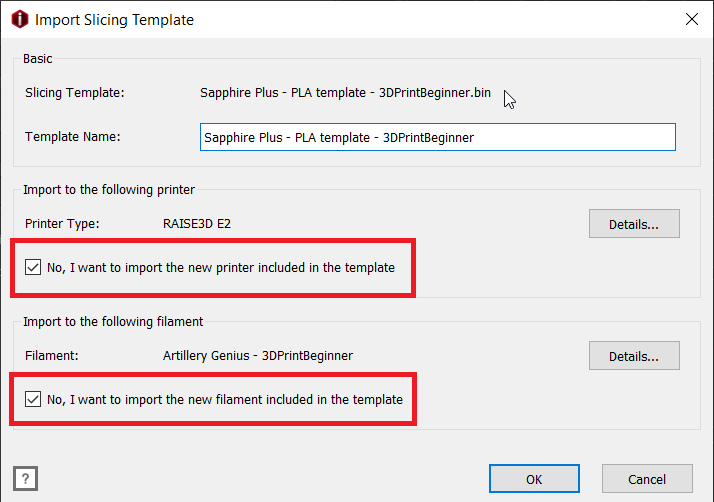
- In the Import Slicing Template screen, make sure you check the buttons like in the screenshot below then click OK.
- If you followed the steps, now your IdeaMaker profile for Sapphire Plus should be loaded and you can slice your first model.
Print Quality with the IdeaMaker profiles
Below, I attached a few test prints done with the IdeaMaker profile for Sapphire Plus.
Lord Nibbler
I printed Lord Nibbler from Cults to test the PLA profile. I used Devil Design Galaxy Black PLA profile at 0.12mm layer height
Zoidberg
Zoidberg from Cults was printed with the Devil Design PETG profile at 0.2mm layer height. Rest of the settings are kept to default. The photos don’t do this print enough justice. PETG is shiny and it’s hard to capture it properly.
Wrapping Up
I put a lot of work in this, so I hope these IdeaMaker profiles will work well for you. Let me know if you have any questions in the comments below.
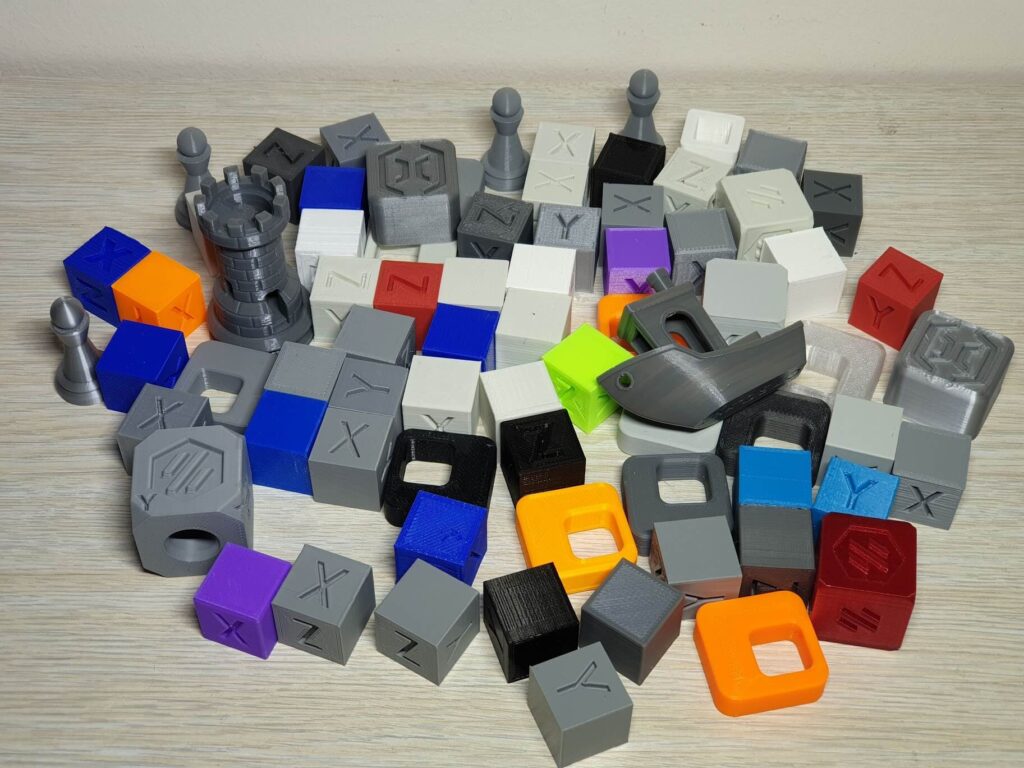
If you are wondering how much work does it take to tune a profile for a printer, then check the picture below. Other printers will benefit from the same treatment in the following weeks.
Liked it?
|
|

