VORON Trident FYSETC Kit Review: Is it worth it?
That’s right! I built a VORON. FYSETC sent me their VORON Trident 350 Kit to review, and in this article, we’ll go into detail to learn more about how good this kit is, and what was my experience putting it together.
Before we start, I need to share a bit of information about me and kit printers. I build a few in the past, but I can’t say I’m a master at this. It’s not my favorite thing to do, but that’s mainly because I used to source parts by myself and that might have contributed to the bad experience.
I’ve built a Hypercube Evolution, a BLV MGN Cube and recently I assembled and reviewed the V-Core 3.
I had a few issues during the VC3 build, mainly caused by some part quality in the kit, and the documentation quality.
Before deciding on the Trident kit, I took some time to learn more about the printer and check the documentation to see how well it’s made and that convinced me to give VORON printers a try. Let’s start with this Voron Trident build and find out if it’s worth it.
FYSETC VORON Trident Shipping and Packaging
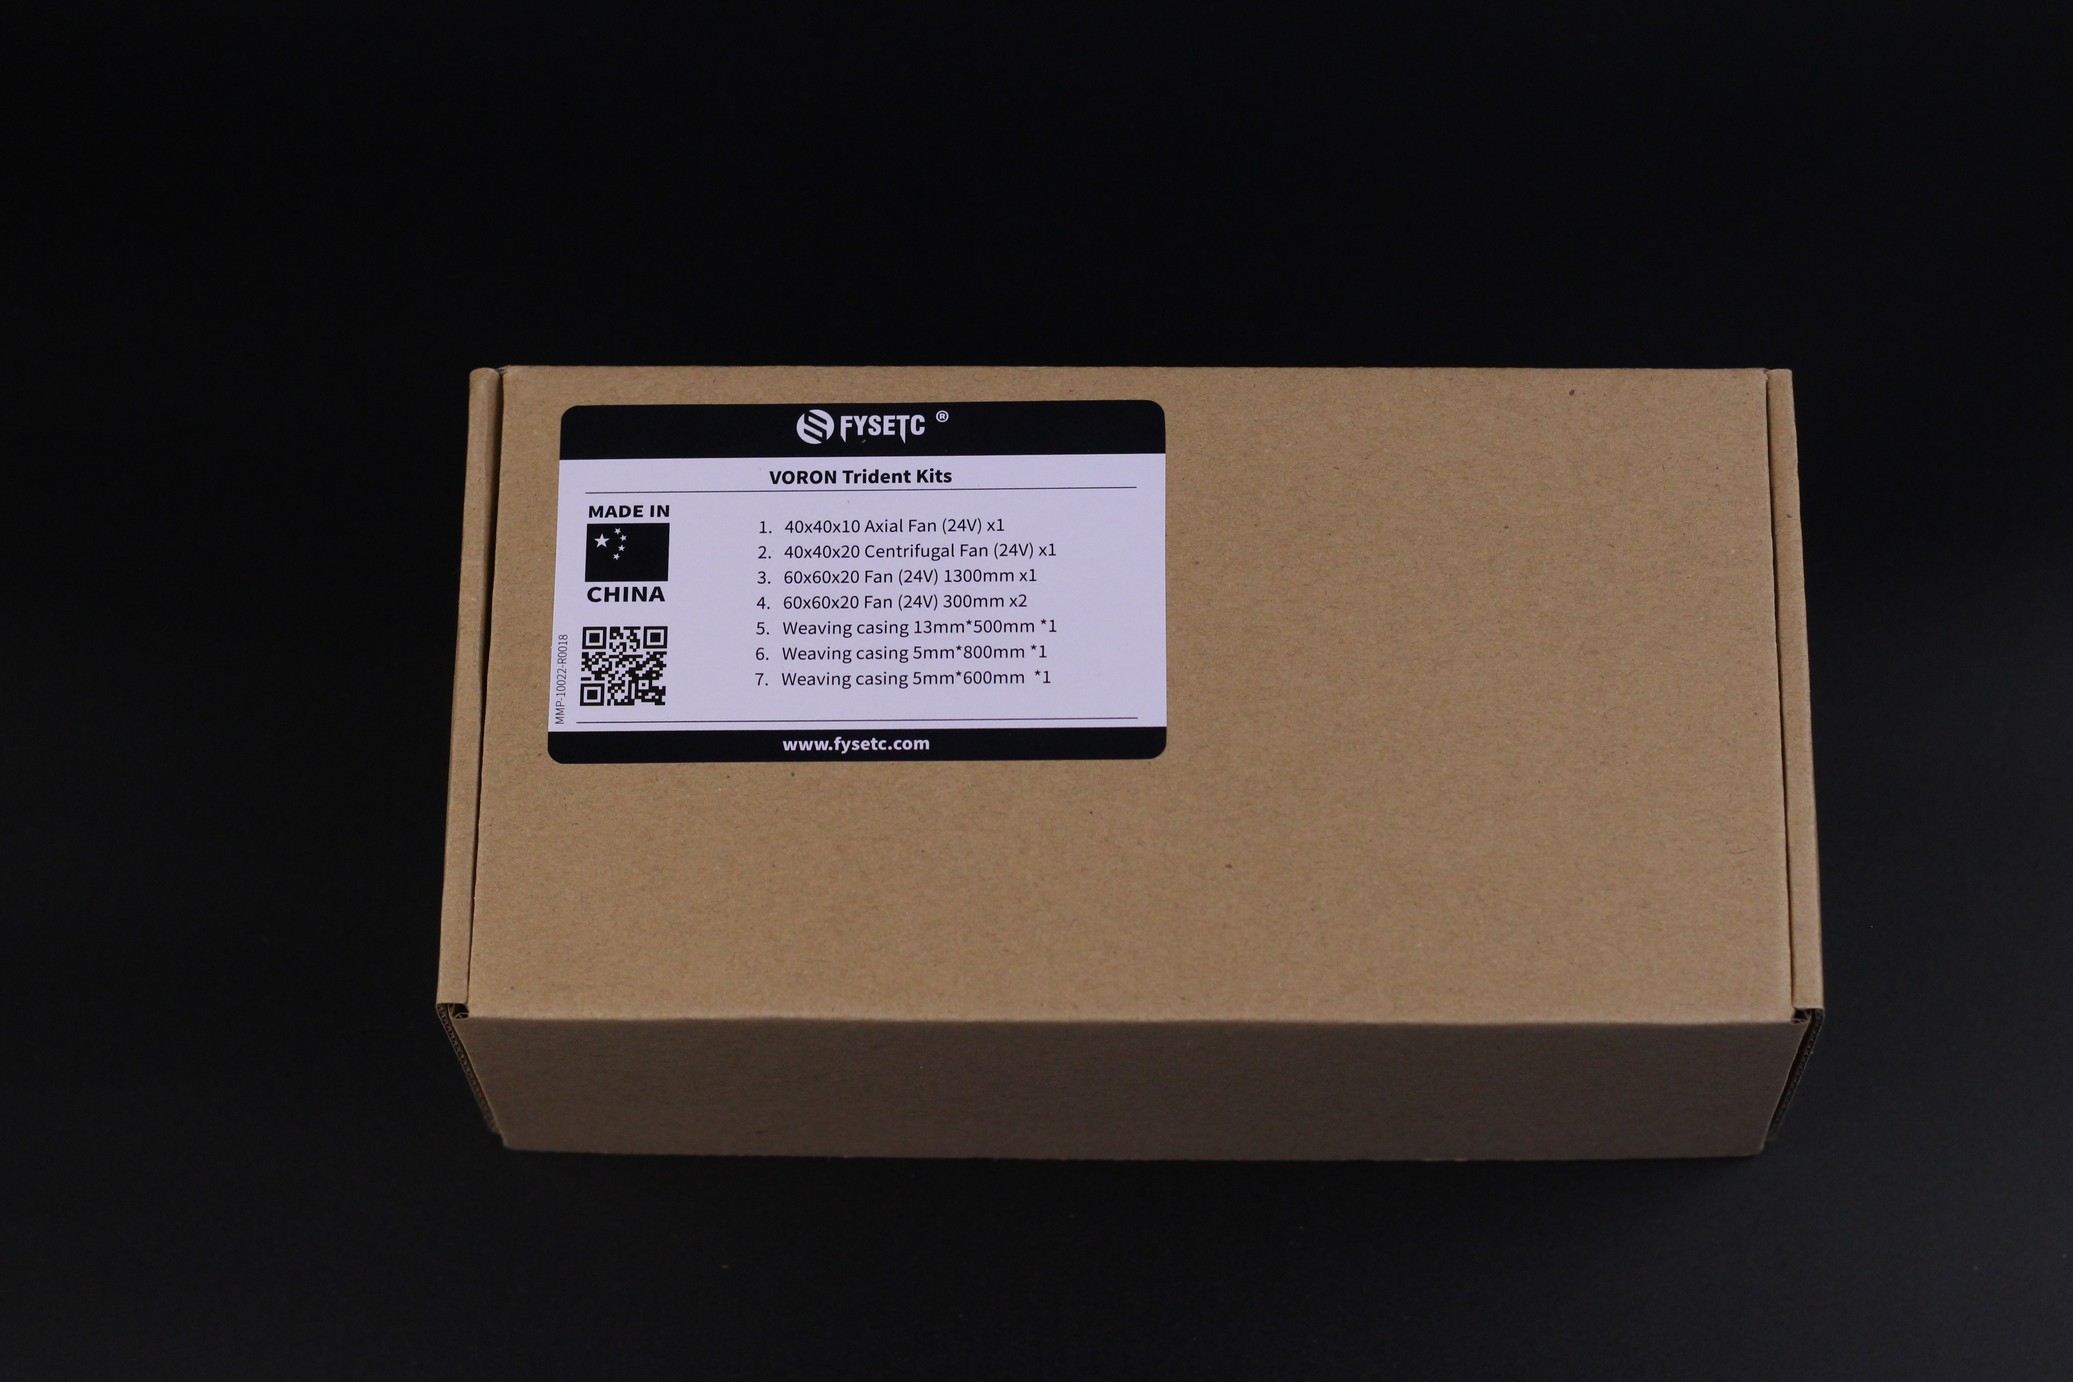
The FYSETC VORON Trident kit comes in a heavy cardboard box. Inside that box, we have other cardboard boxes containing the various parts of the printer. I must say, the packaging is really good and there’s a really small chance to get a damaged component due to shipping.
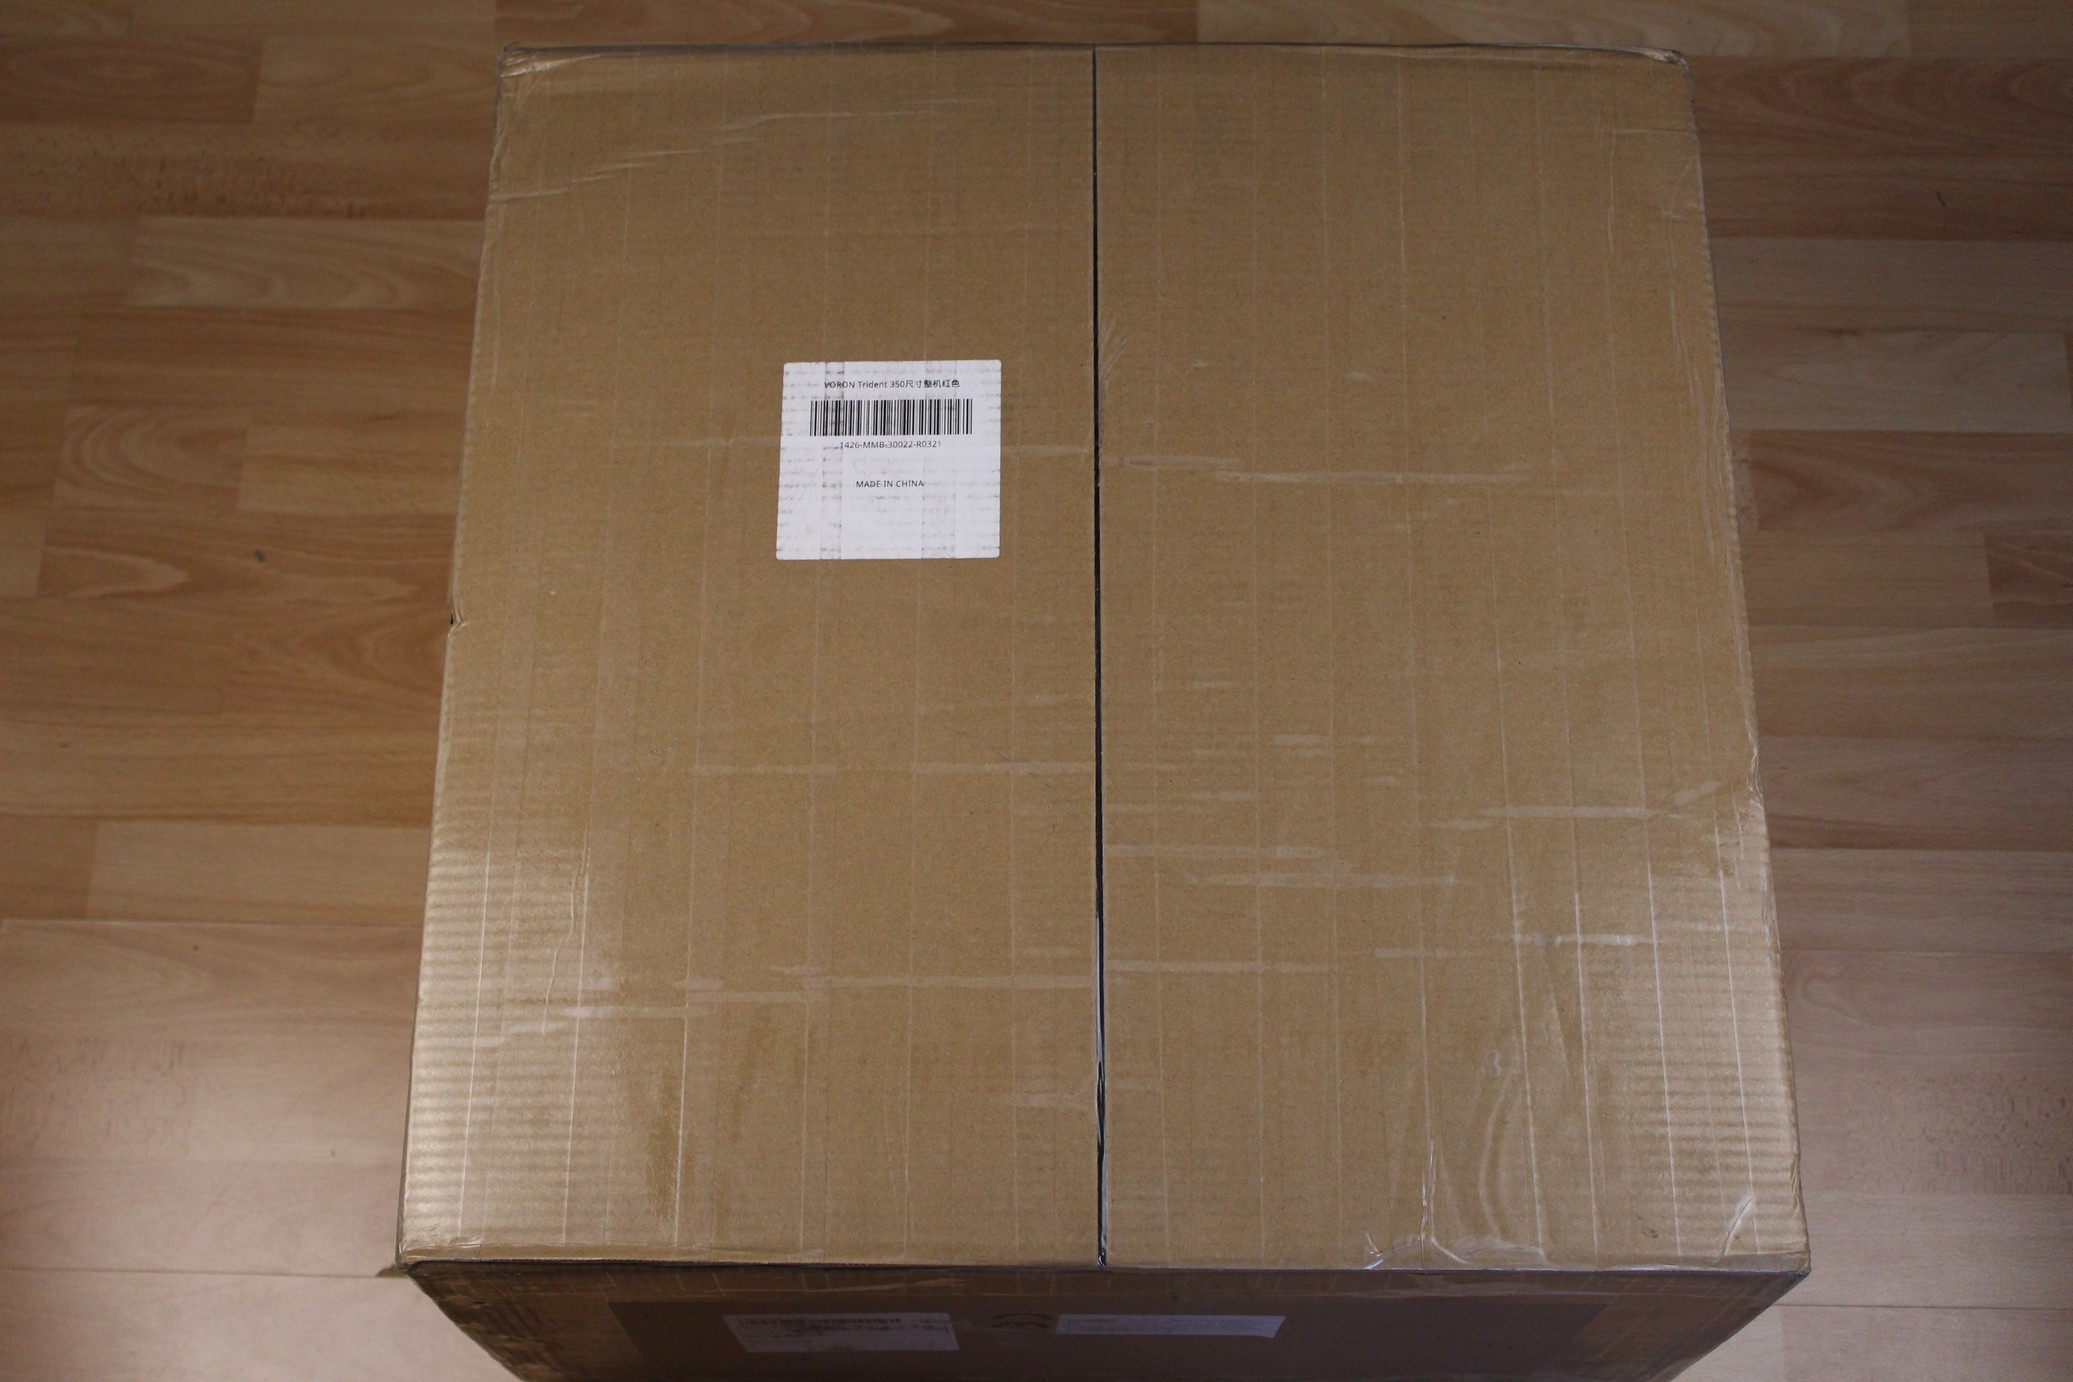
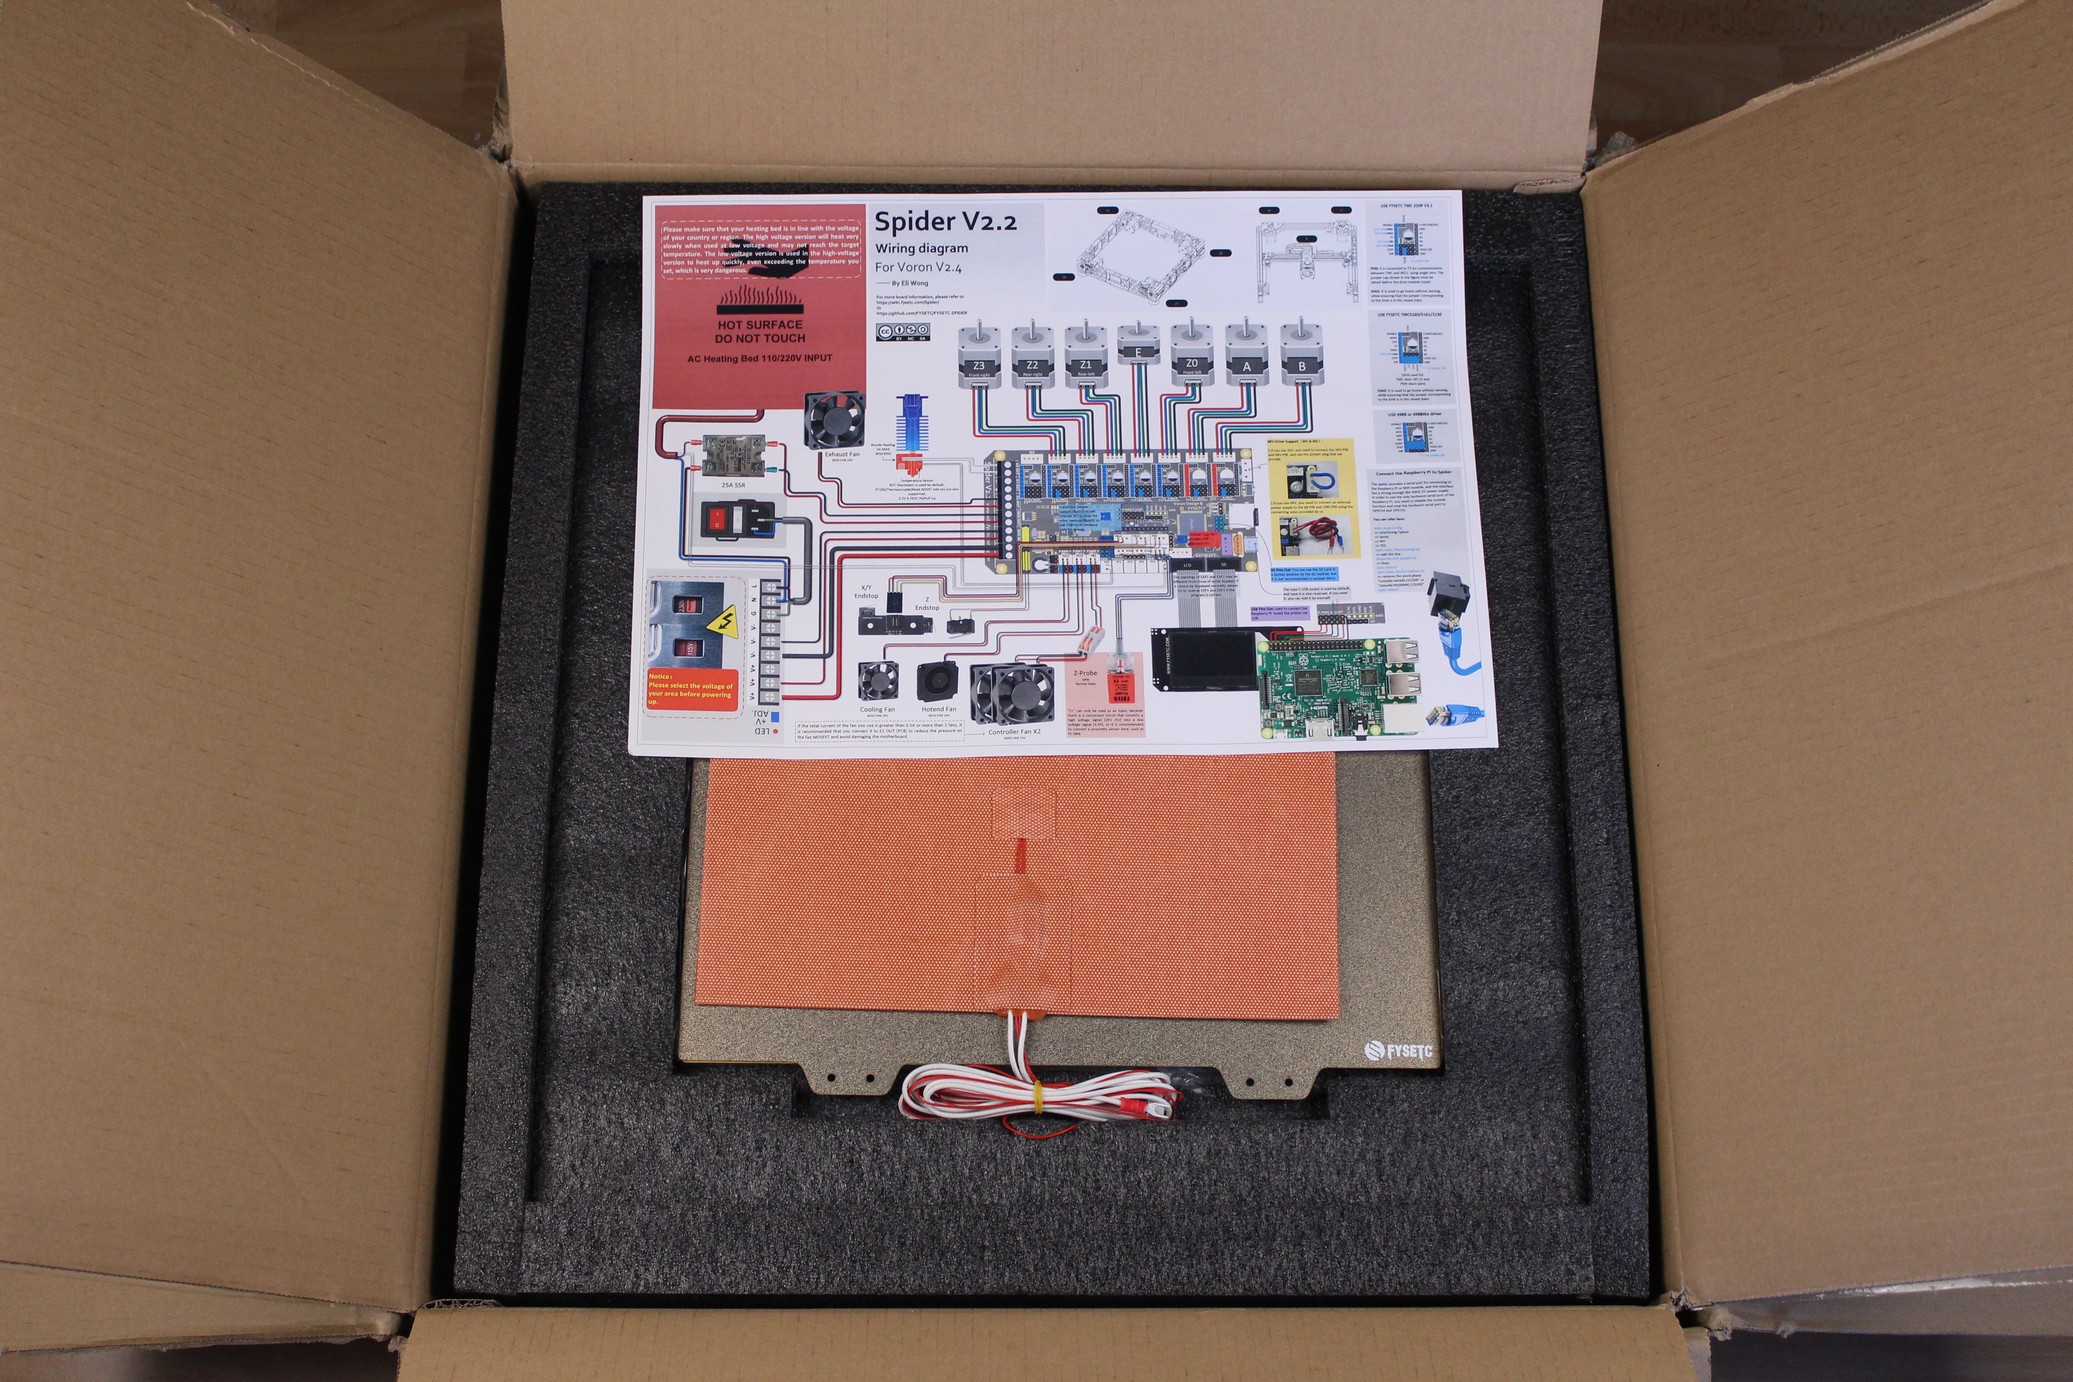
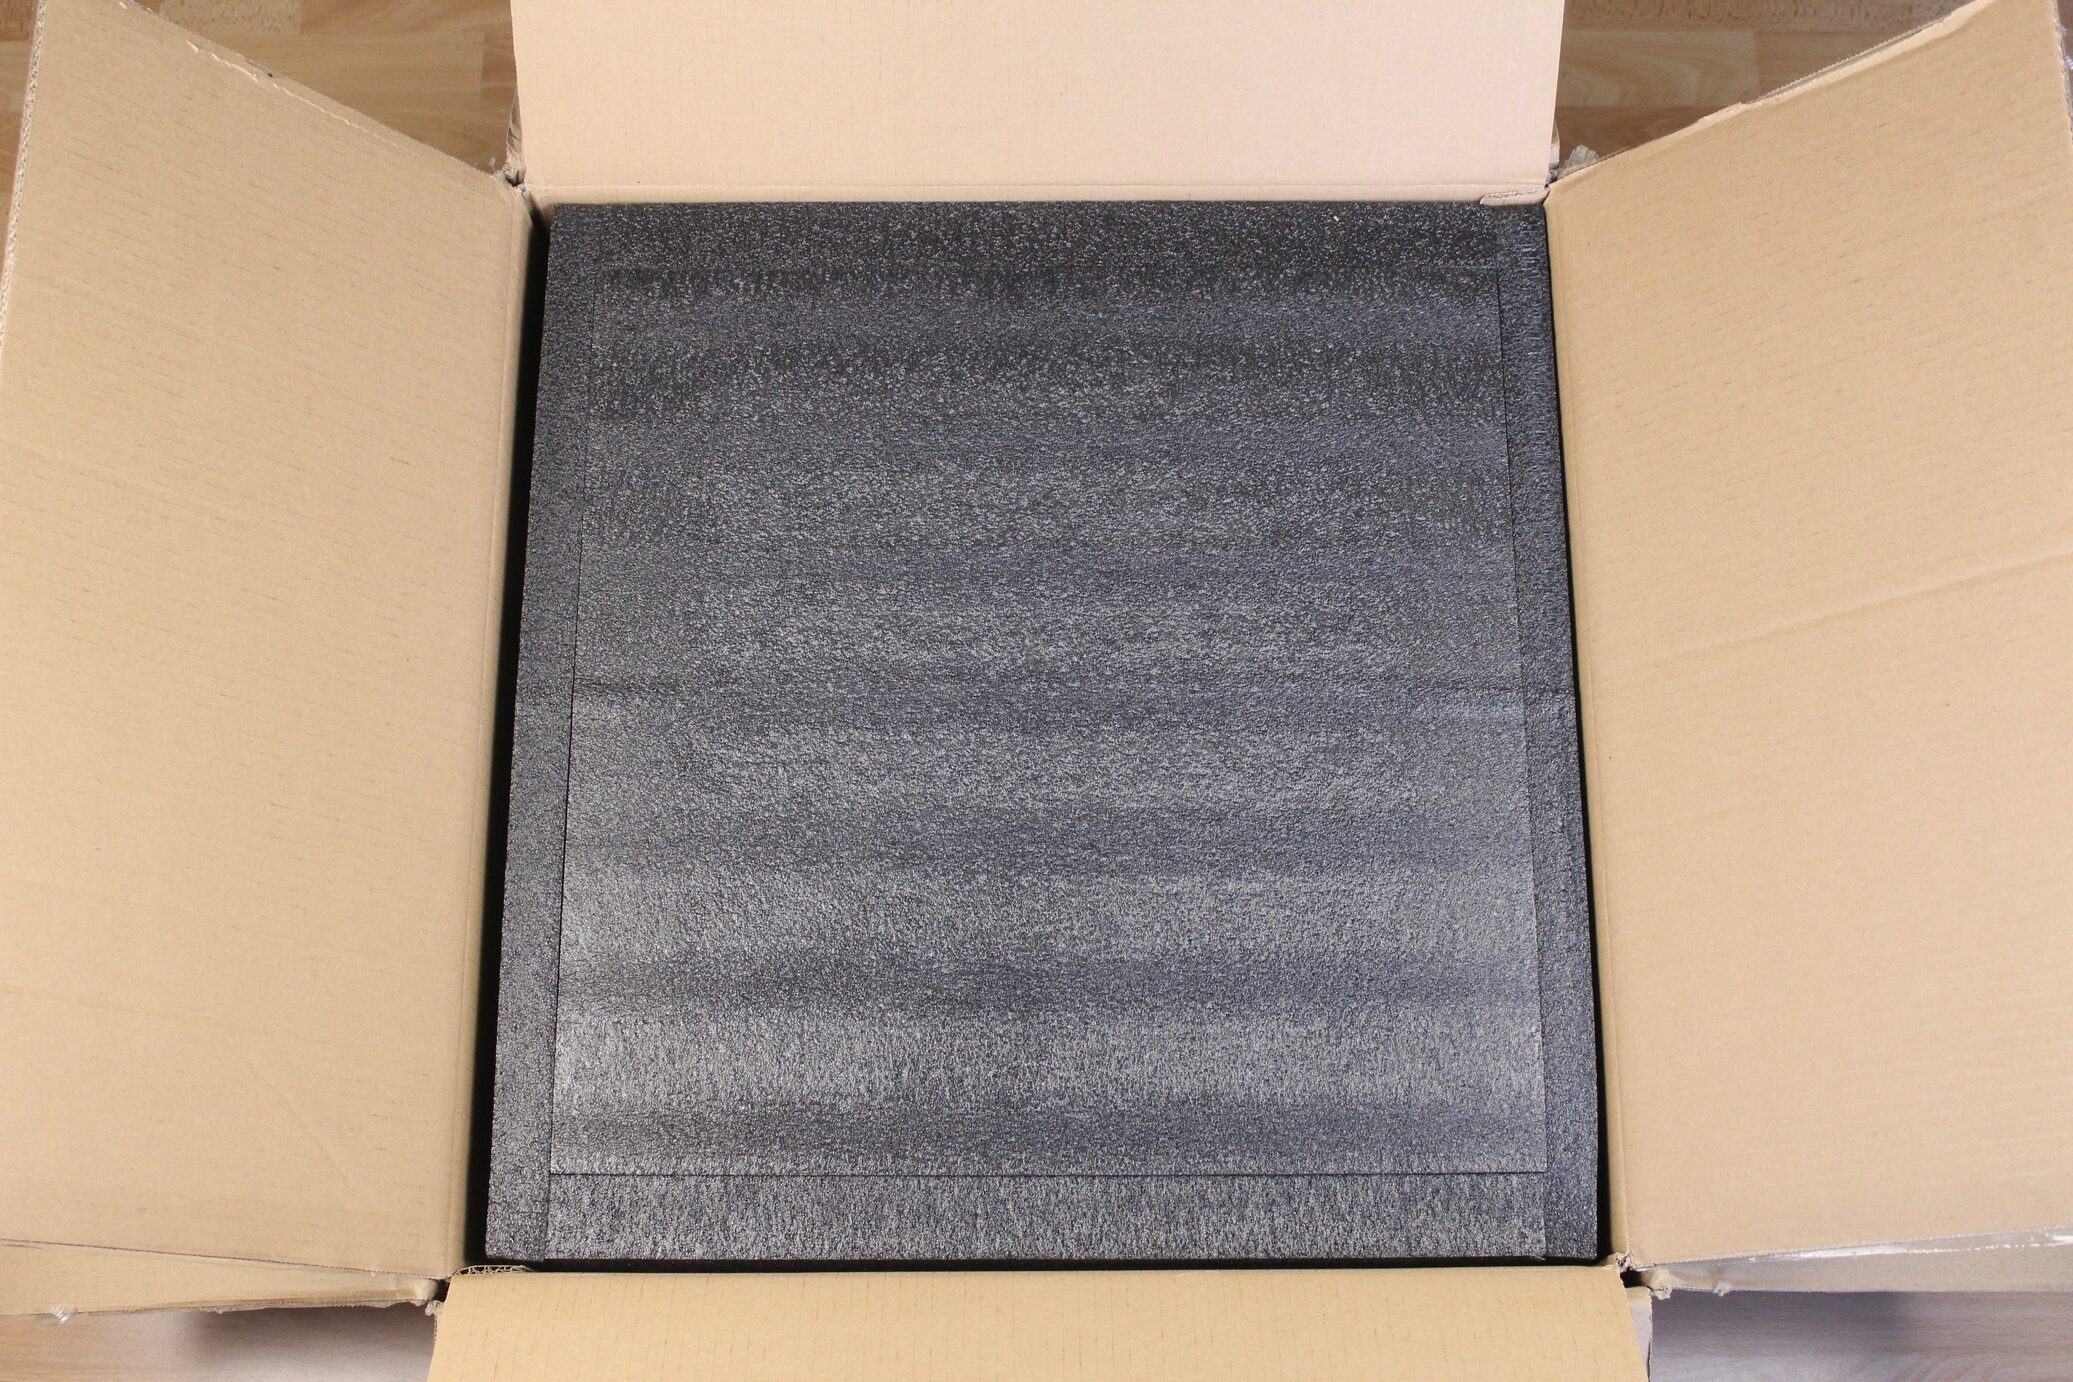
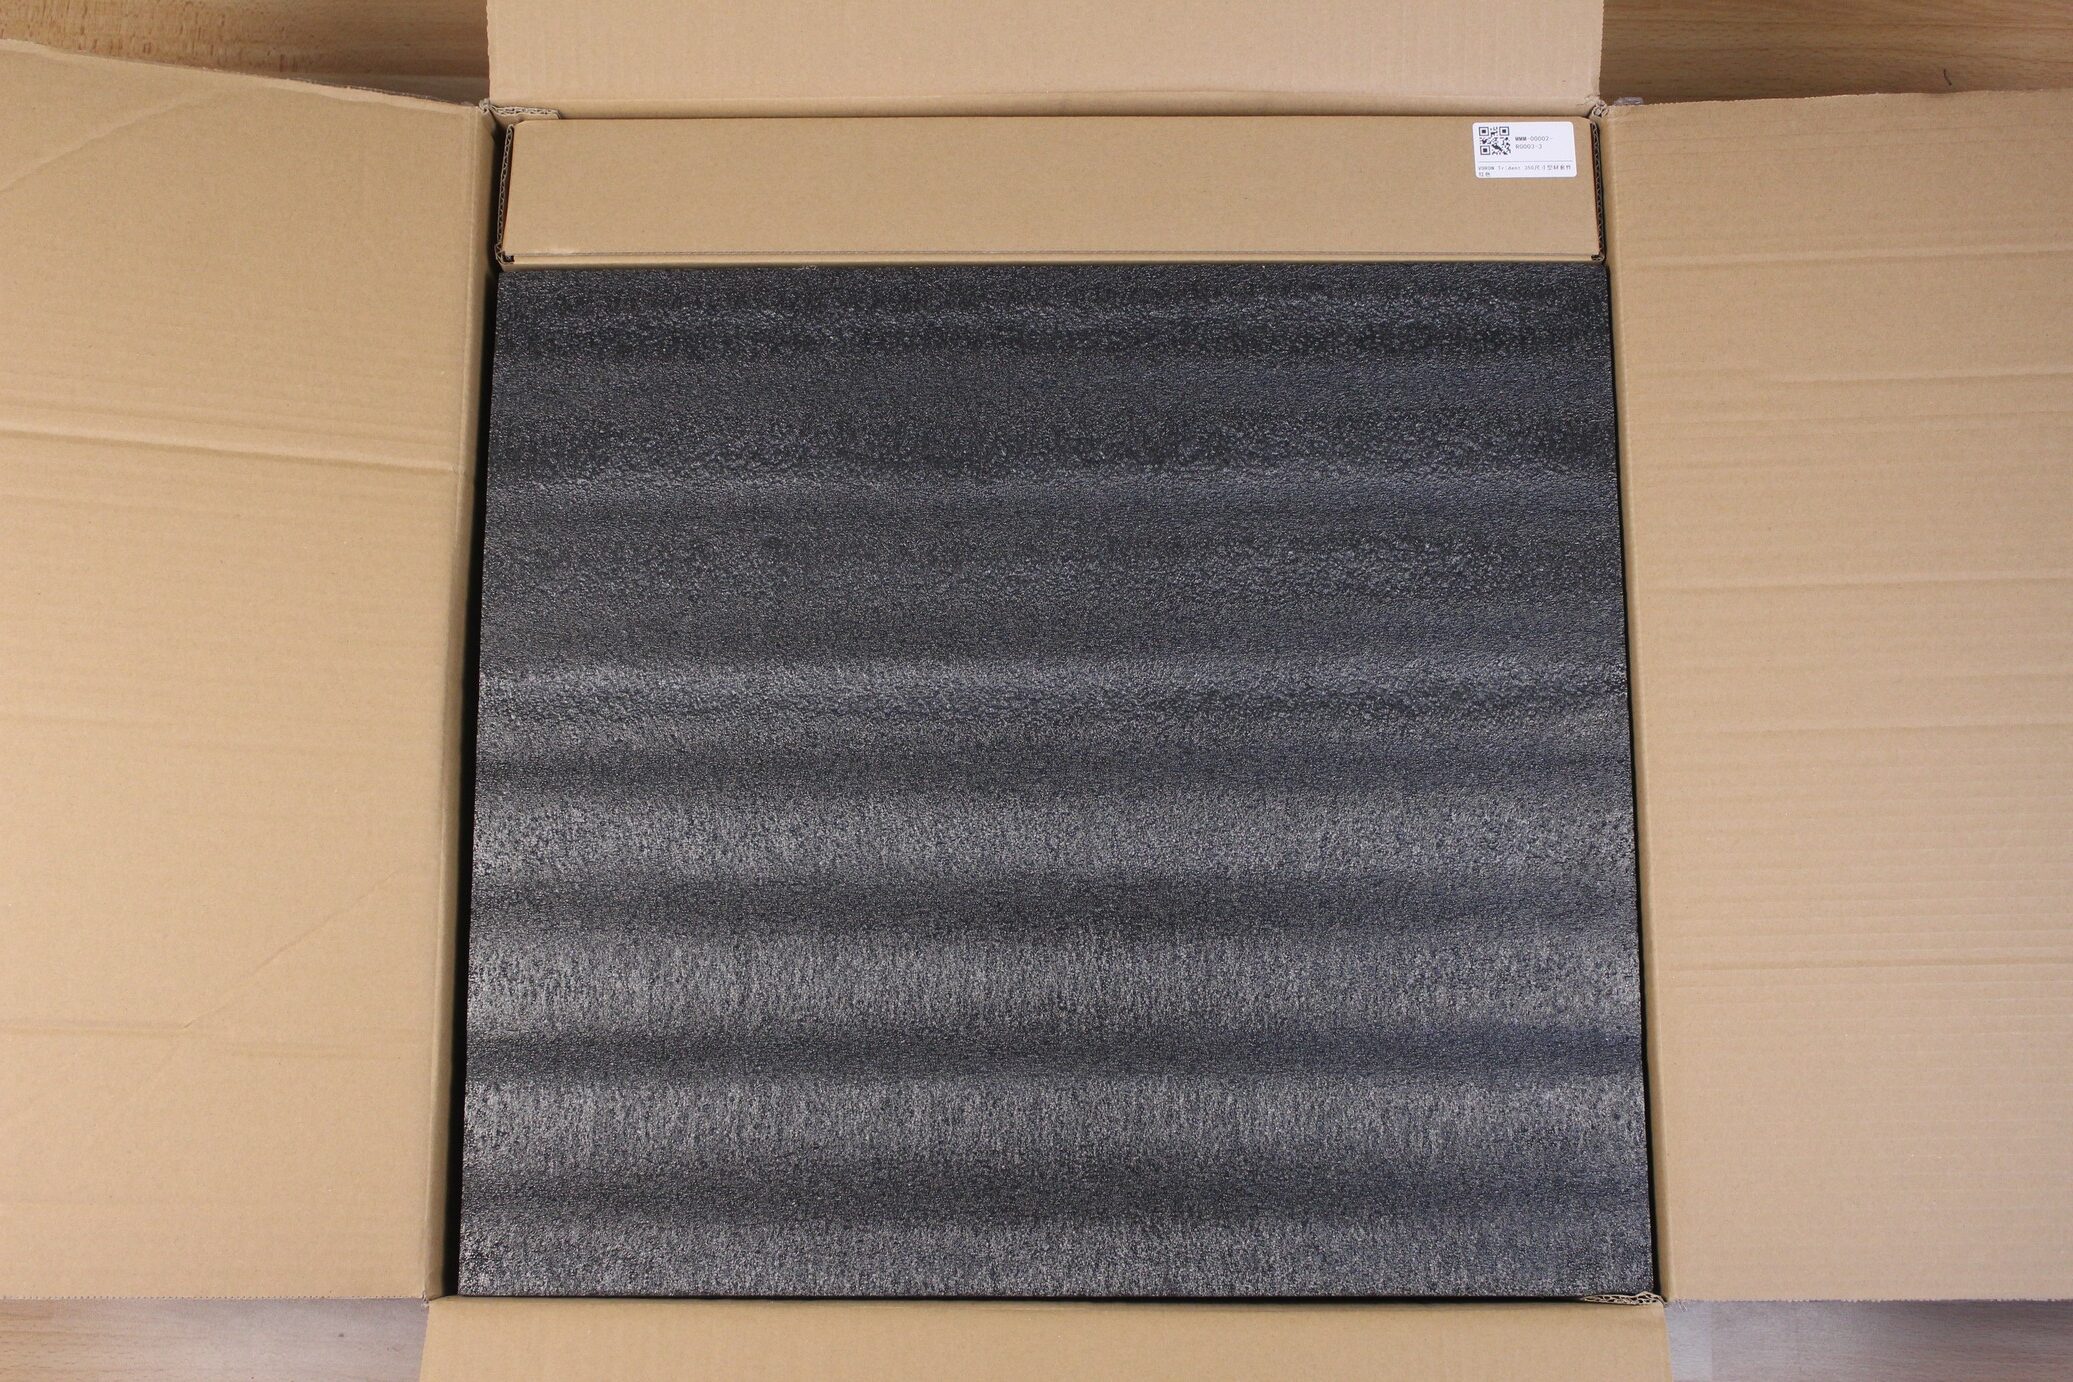
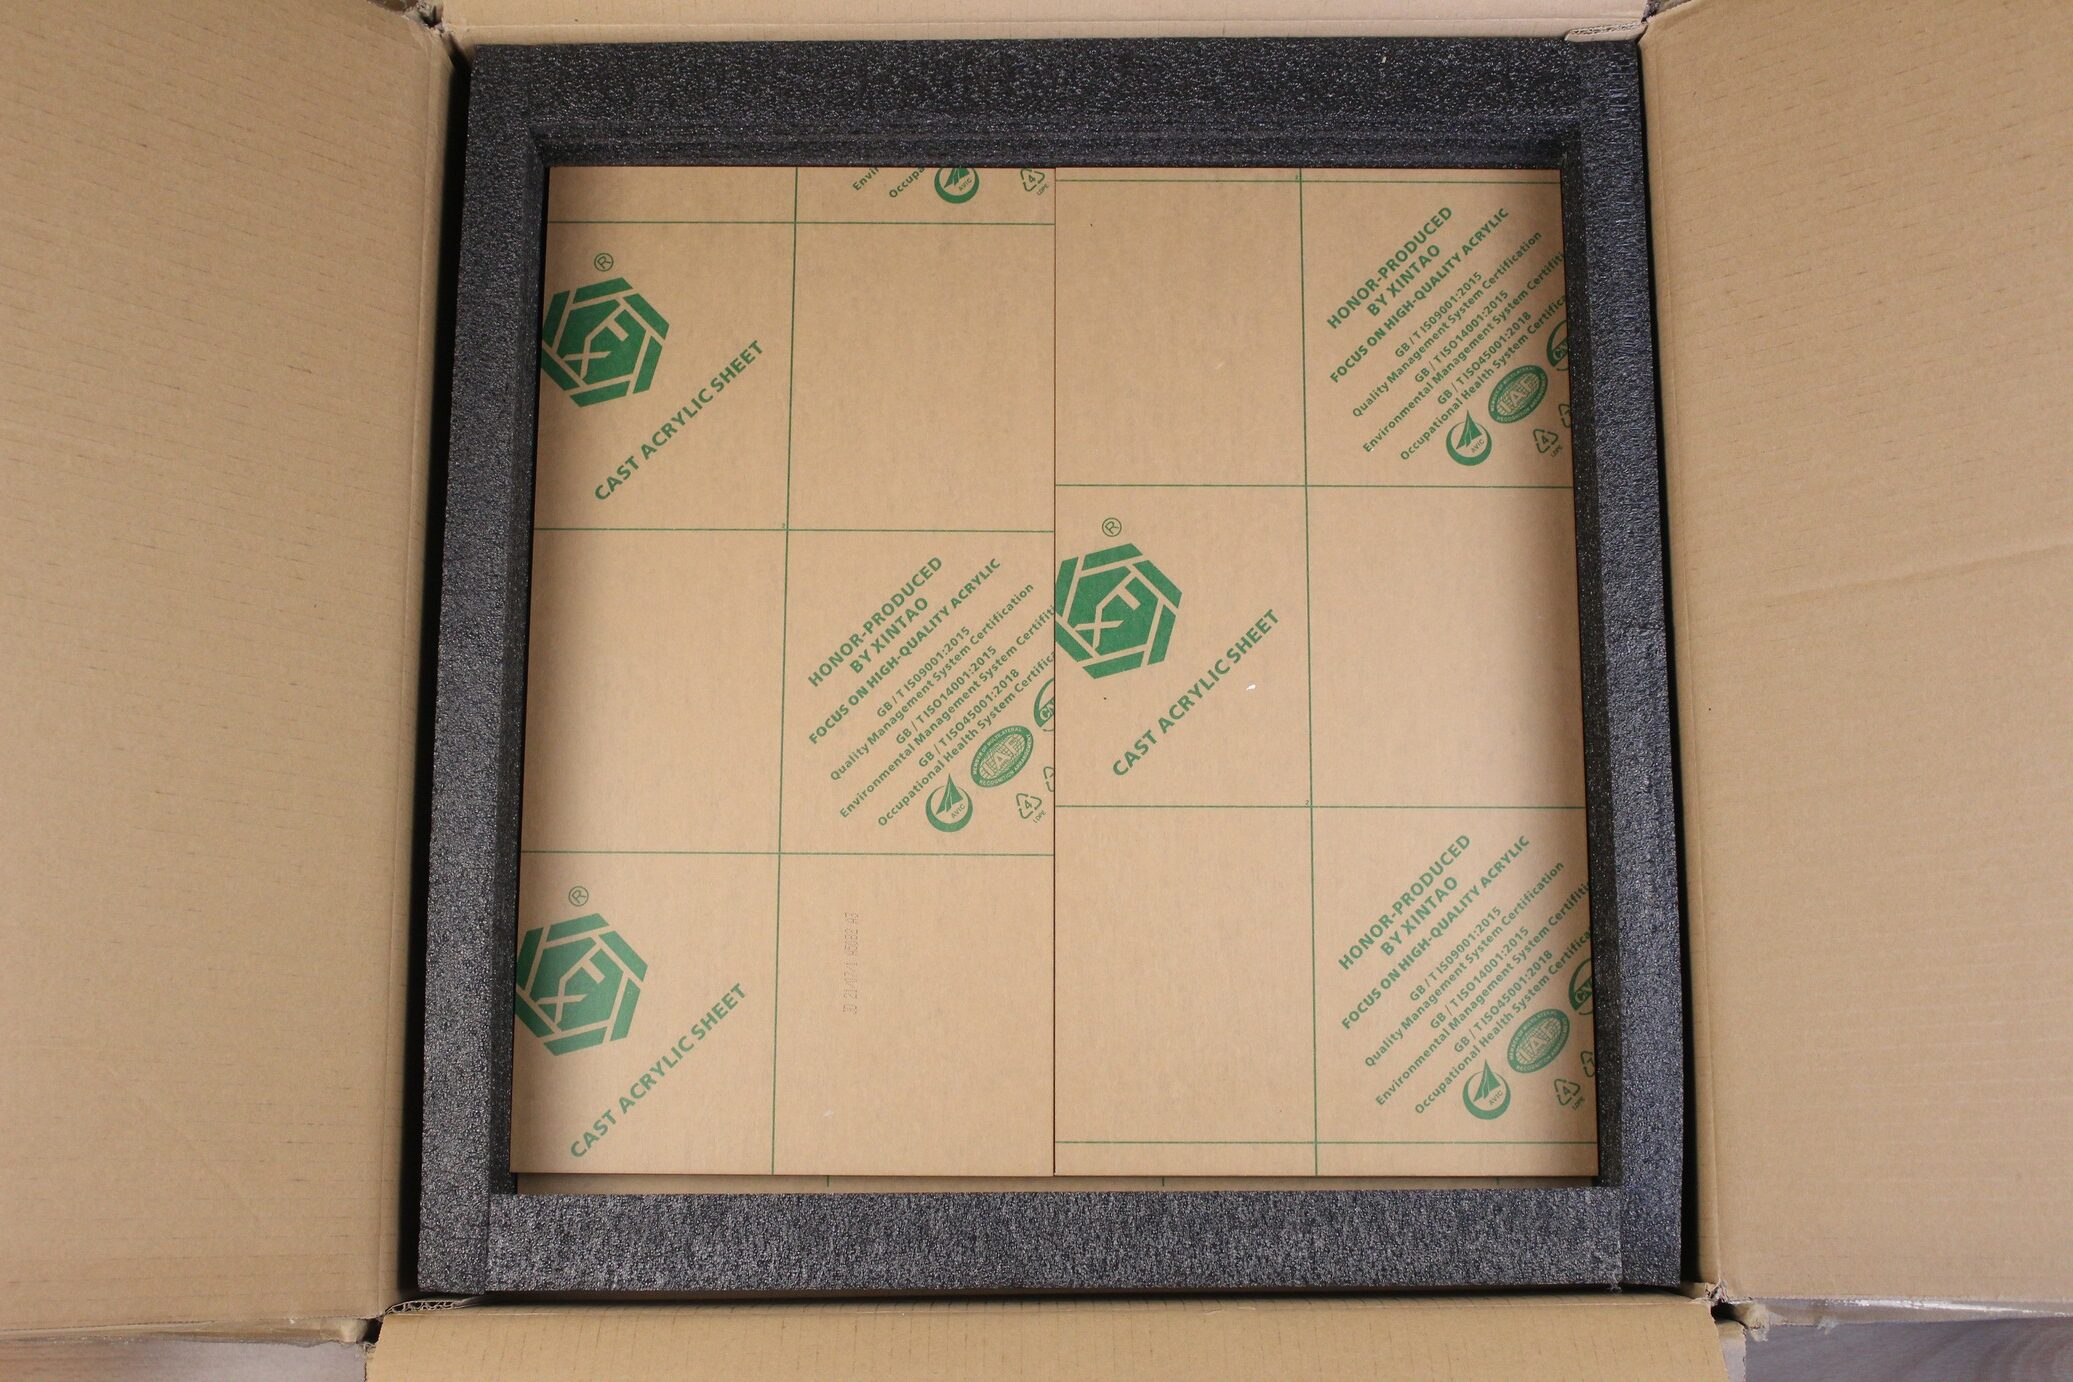
There are multiple layers of components inside the main box, and every component is either individually packaged into smaller boxes, or set into dedicated foam cutouts for protection.
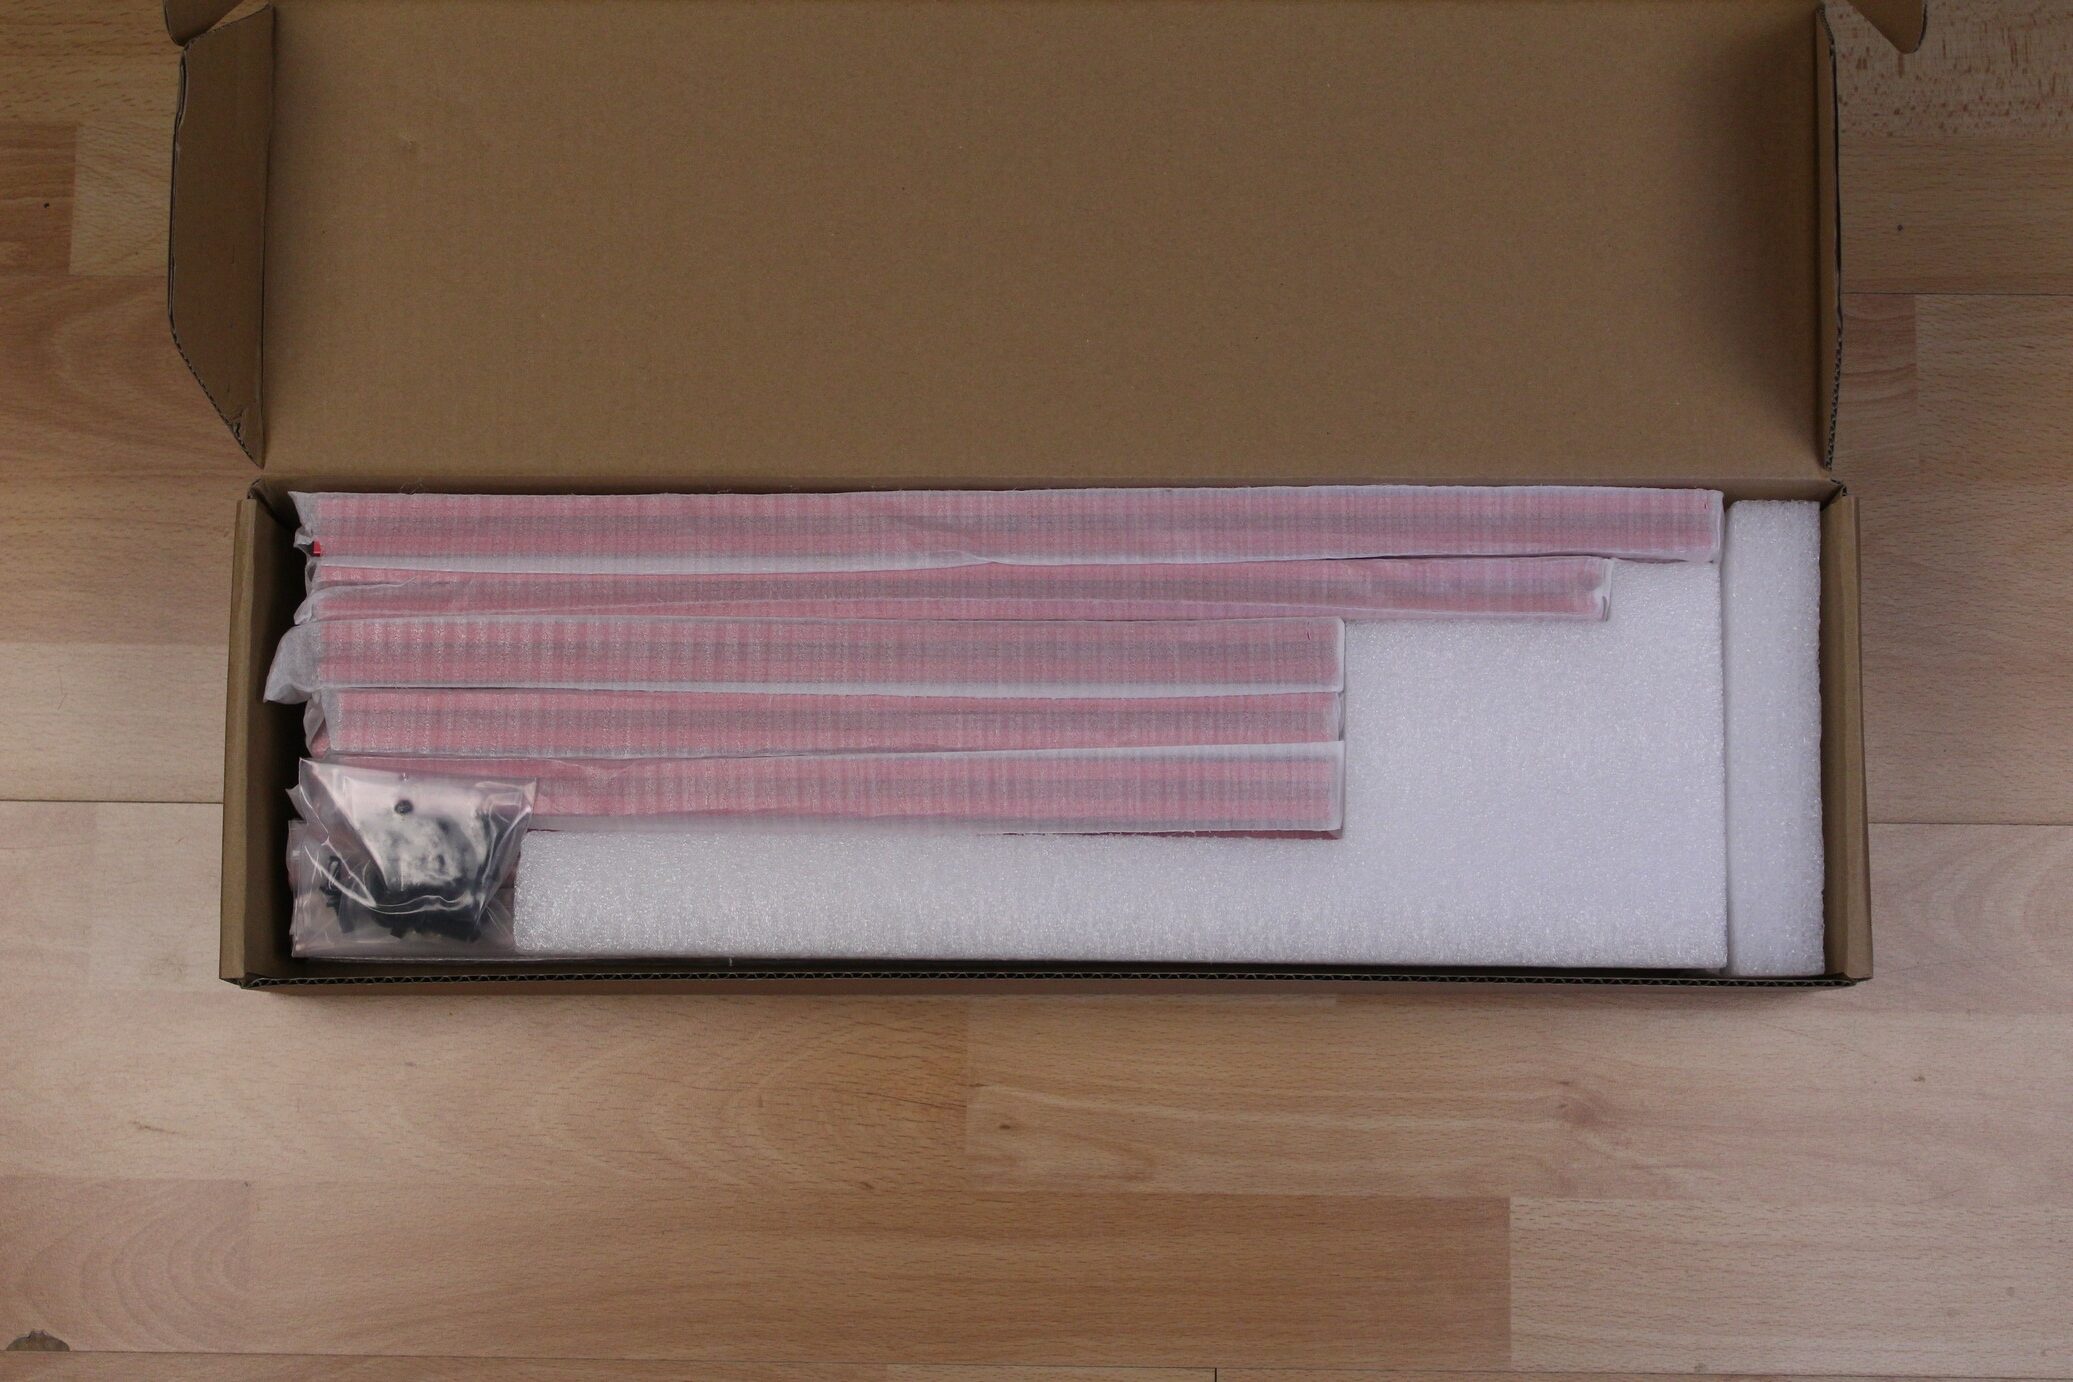
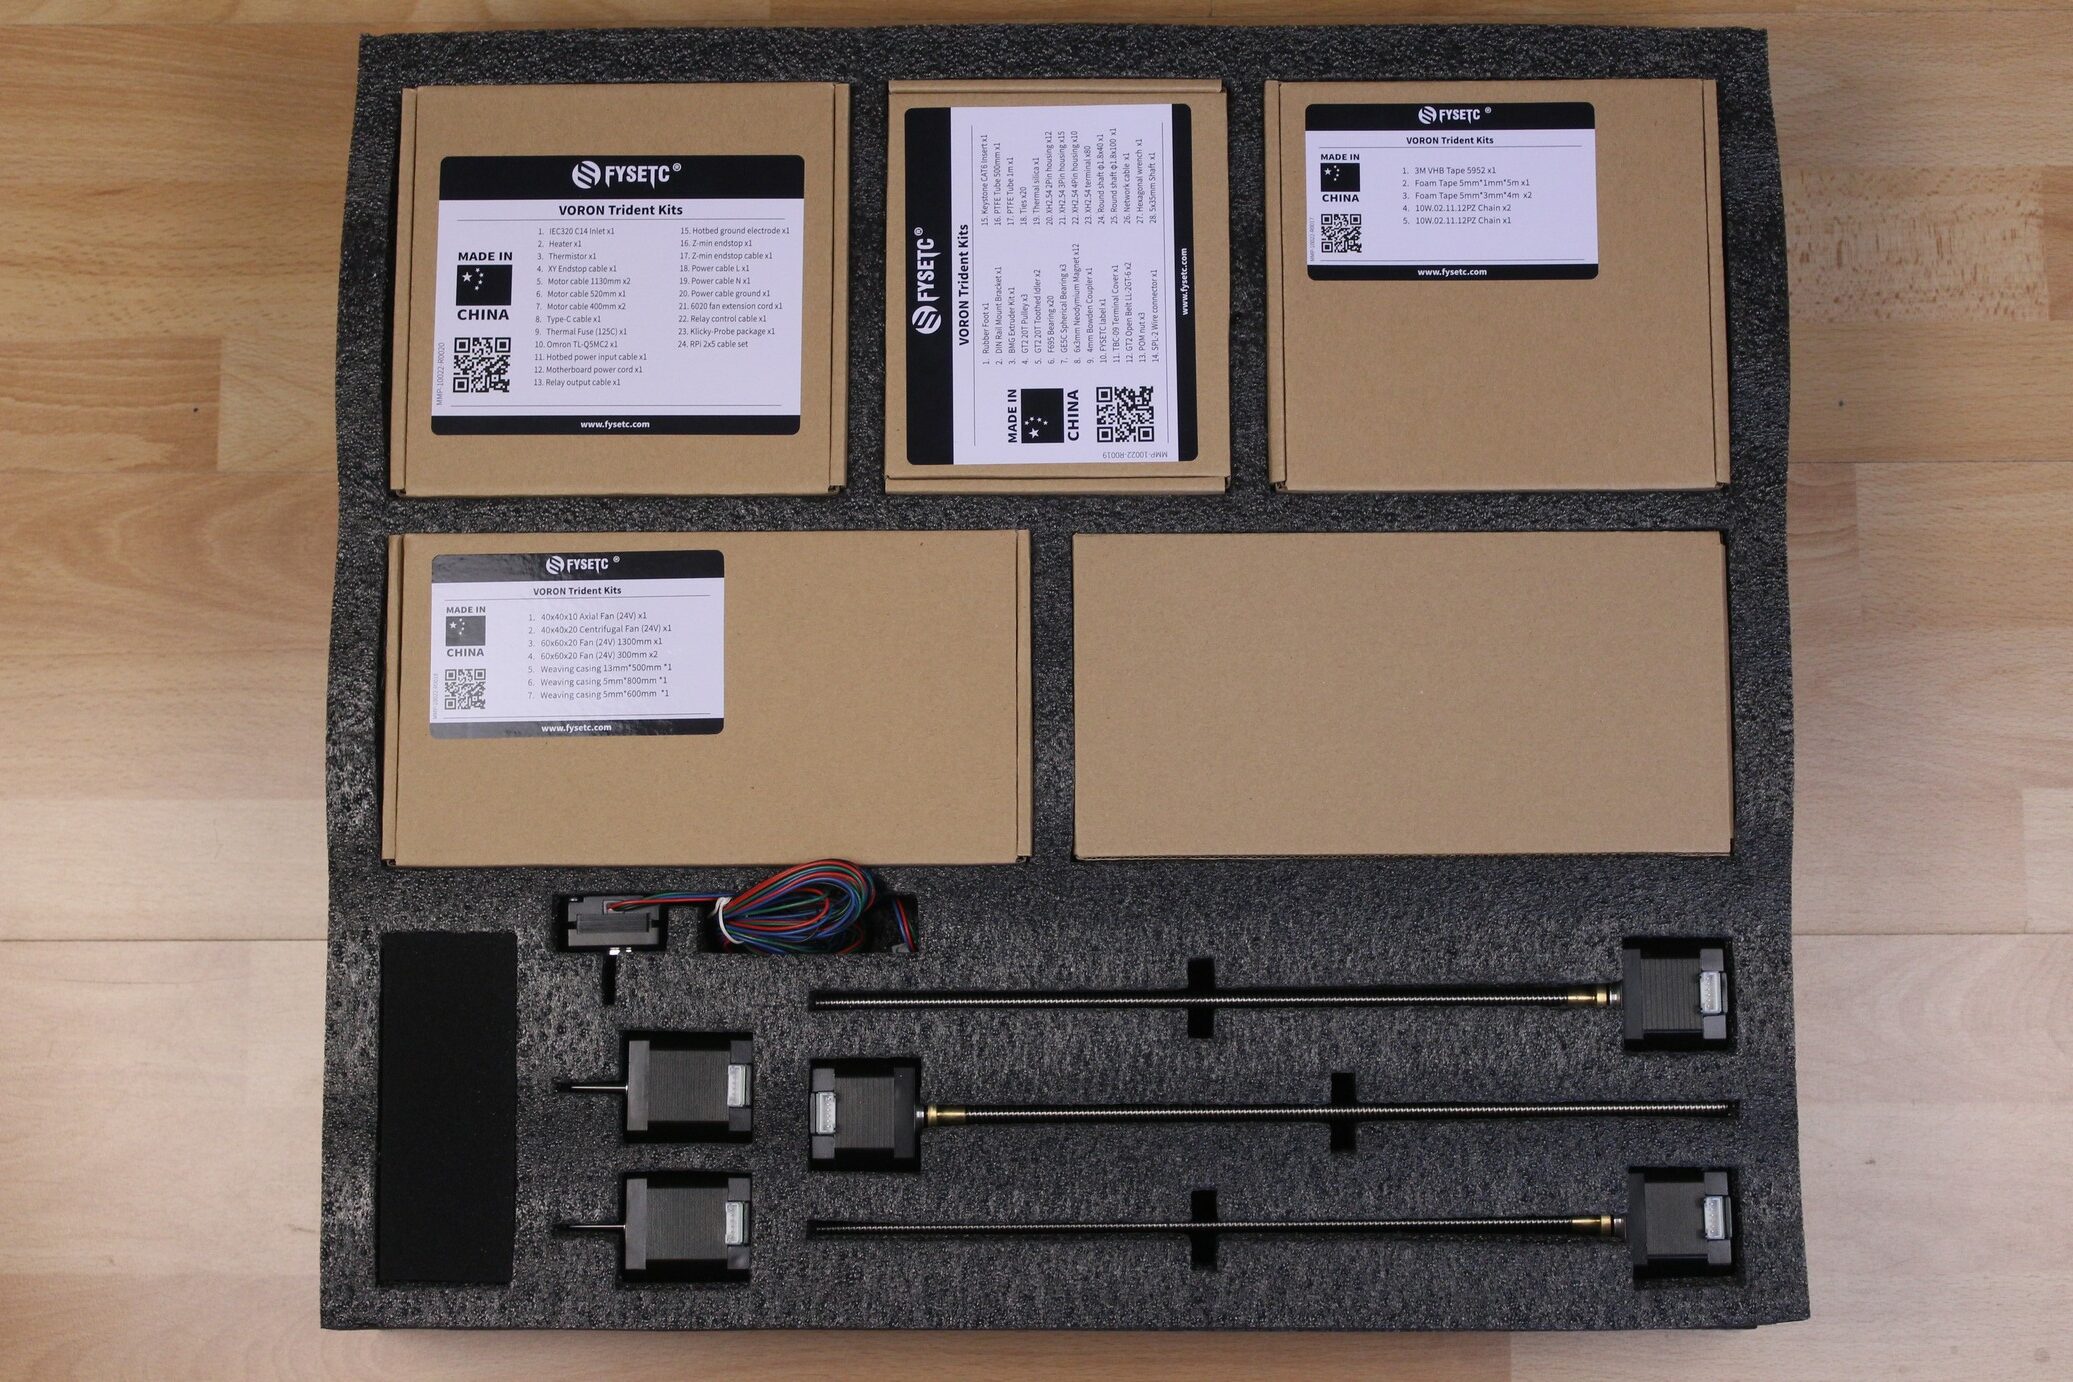
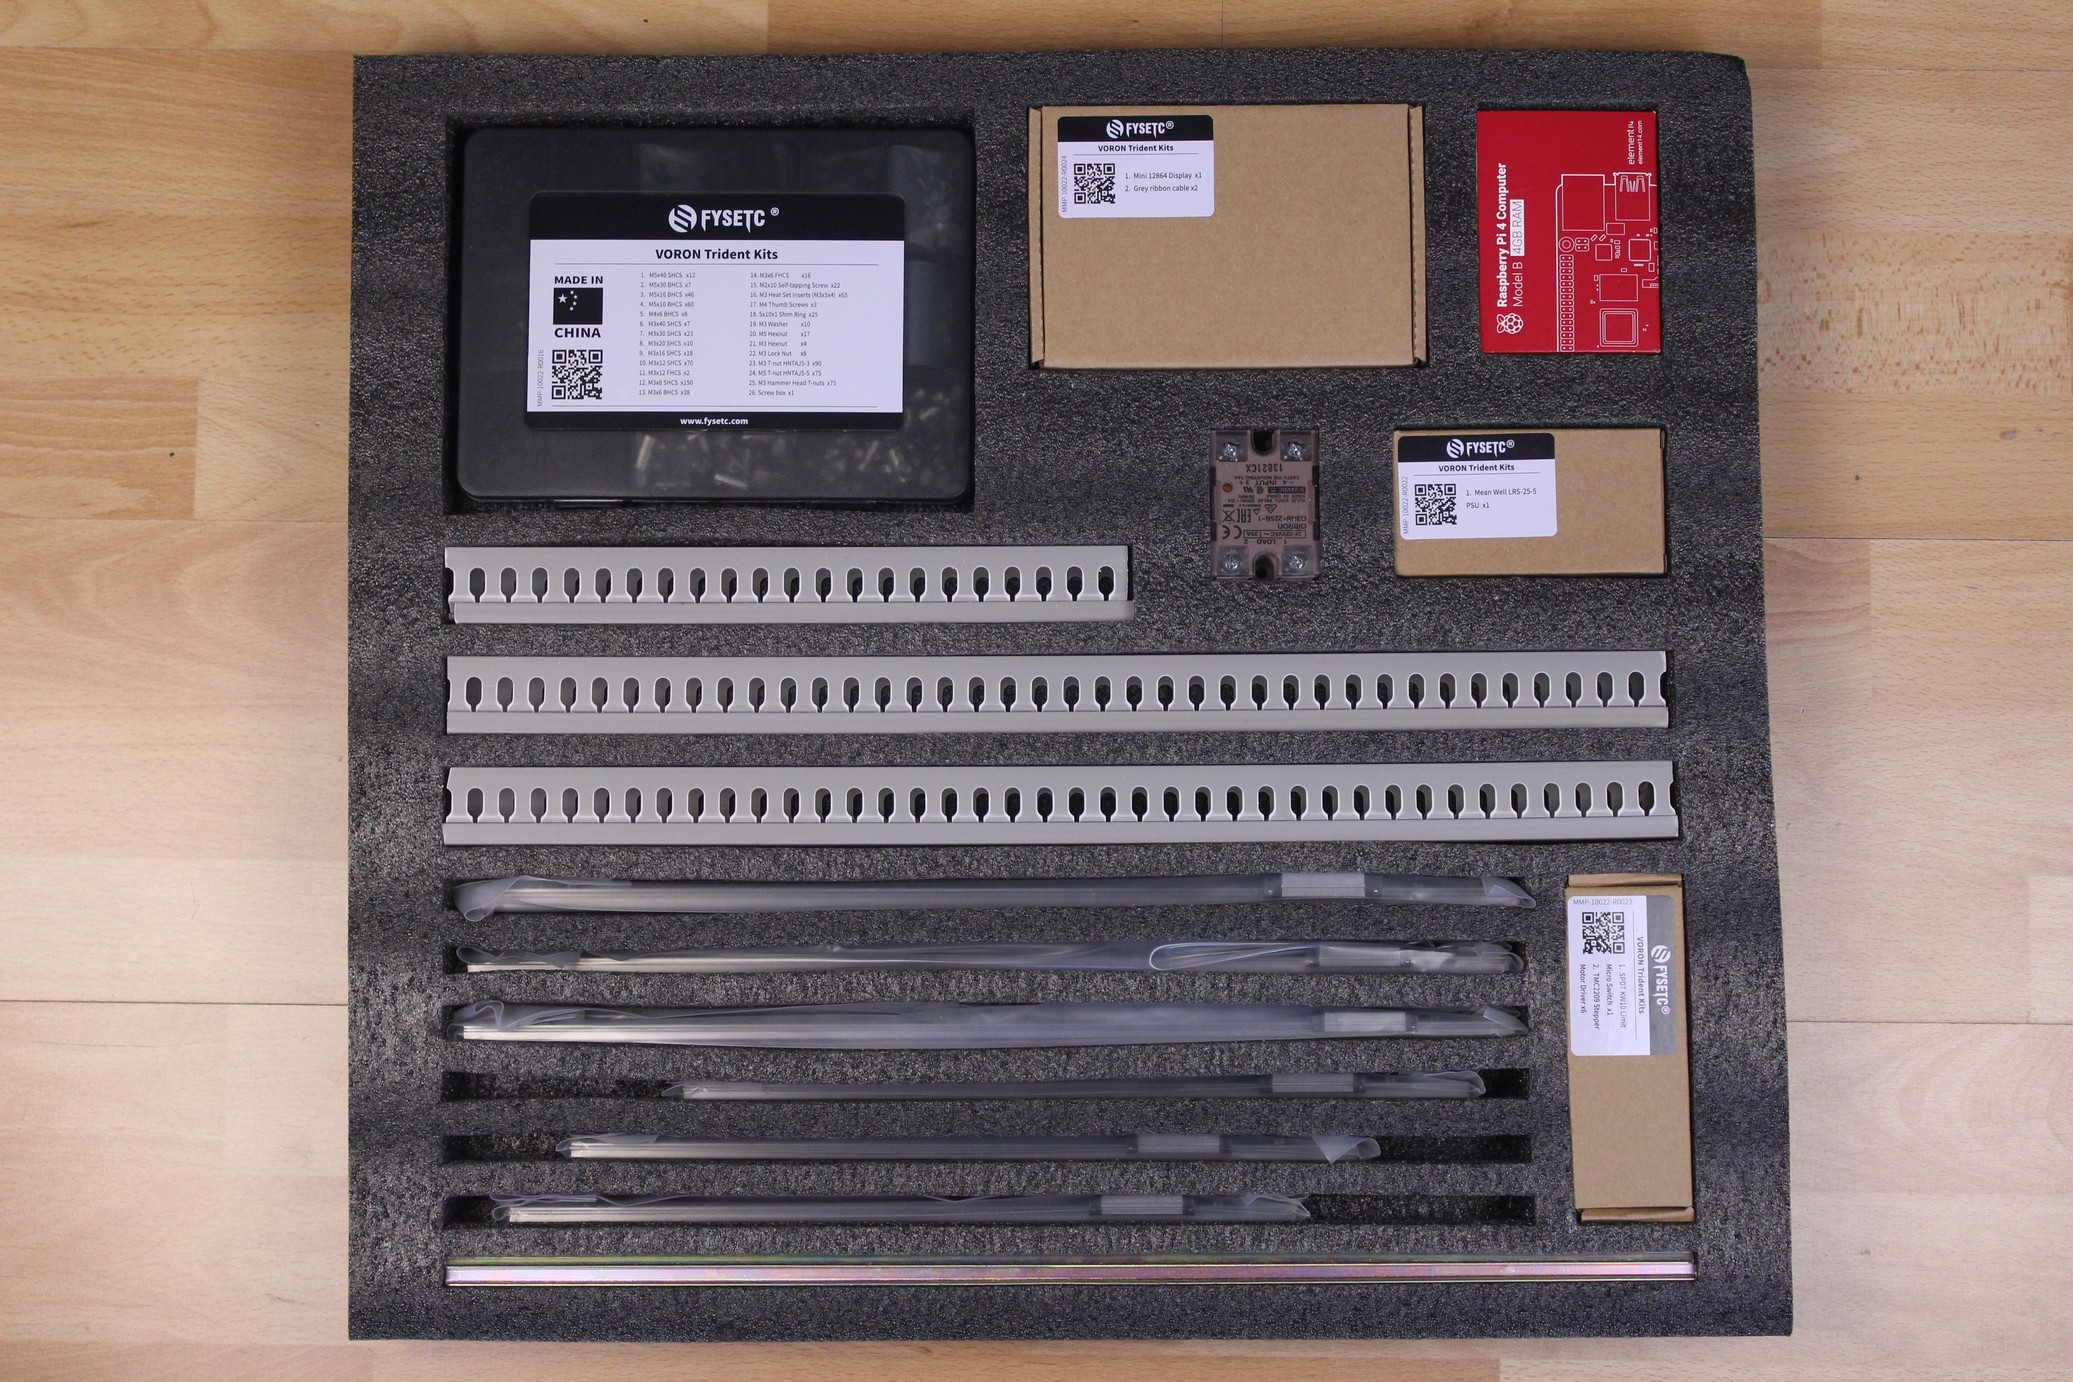
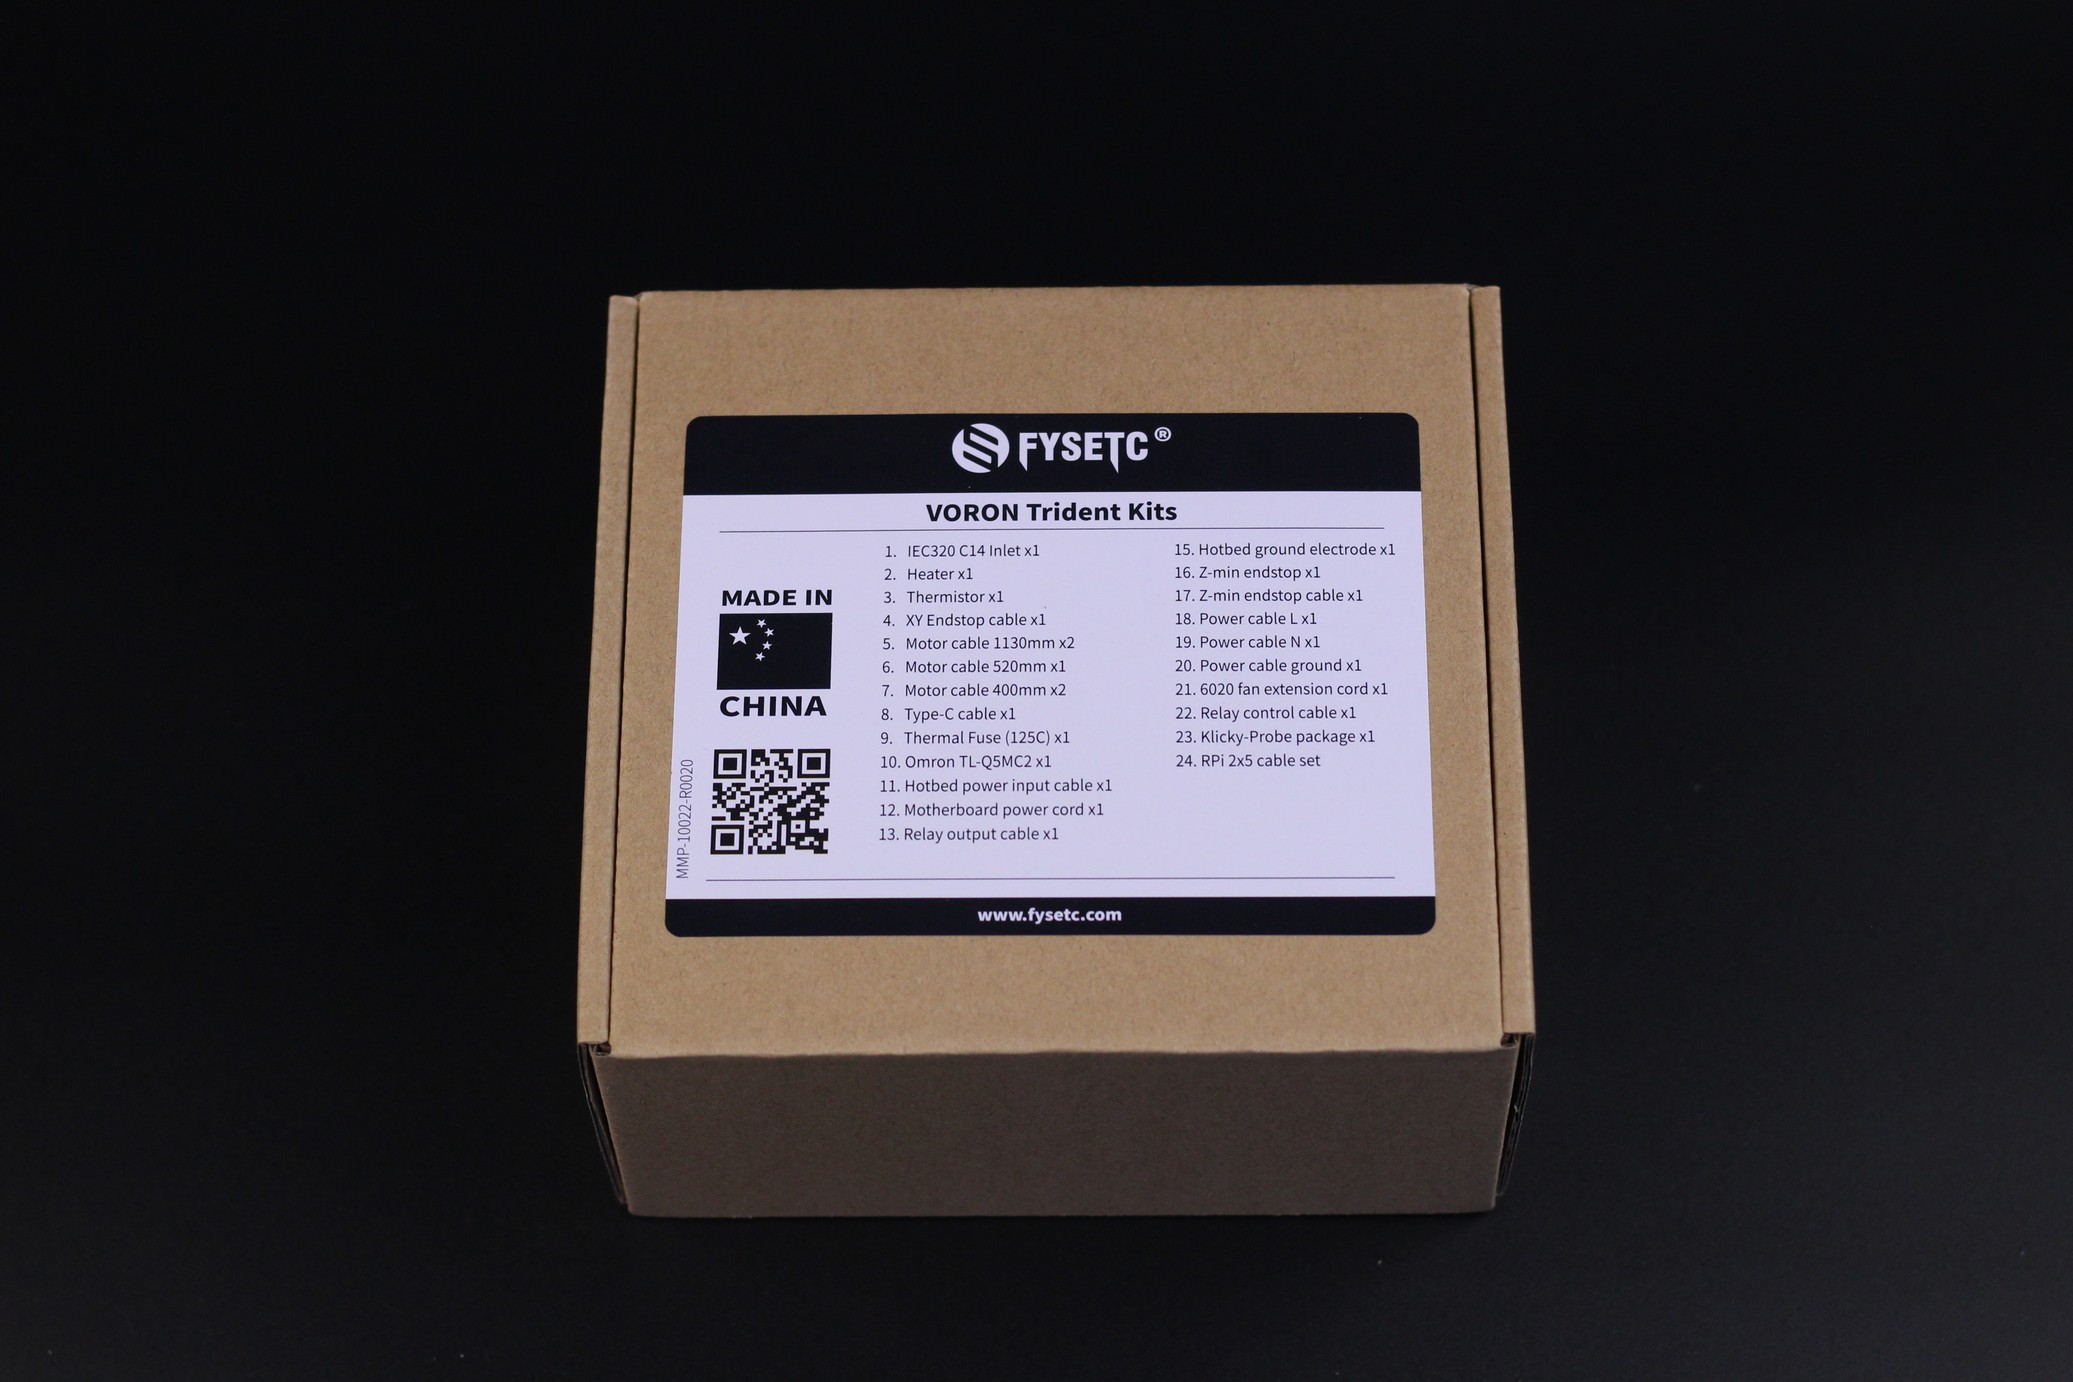
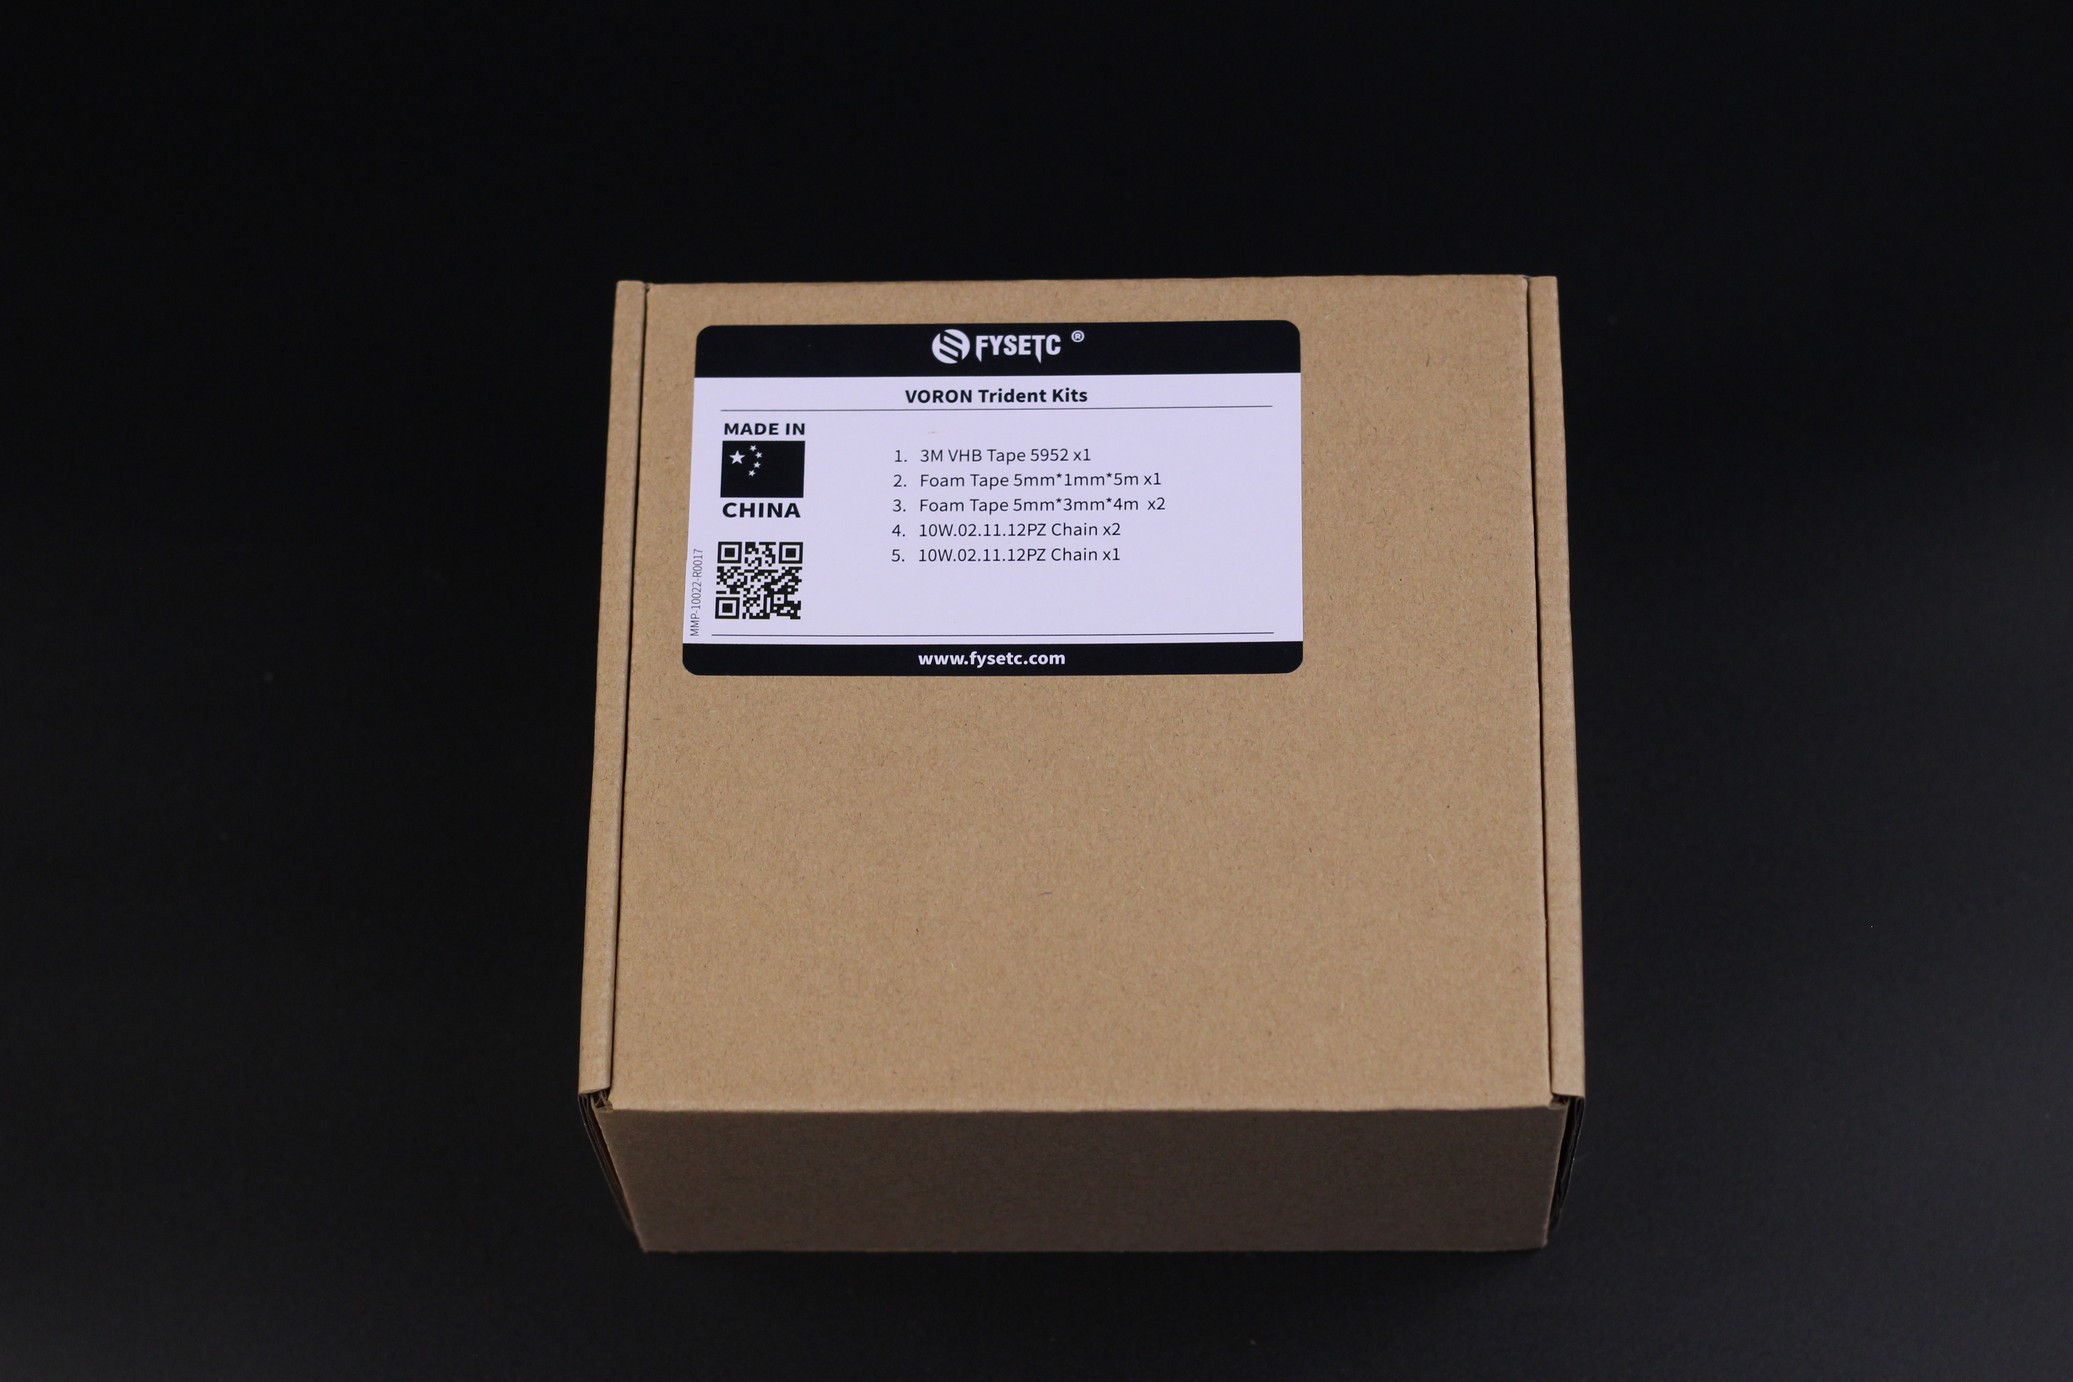
I would have liked for the small cardboard boxes to have a better overall description of the contents instead of the “Voron Trident Kits” label, but that’s insignificant considering that every component from that box is listed in the front.
FYSETC Voron Trident Kit Package Contents
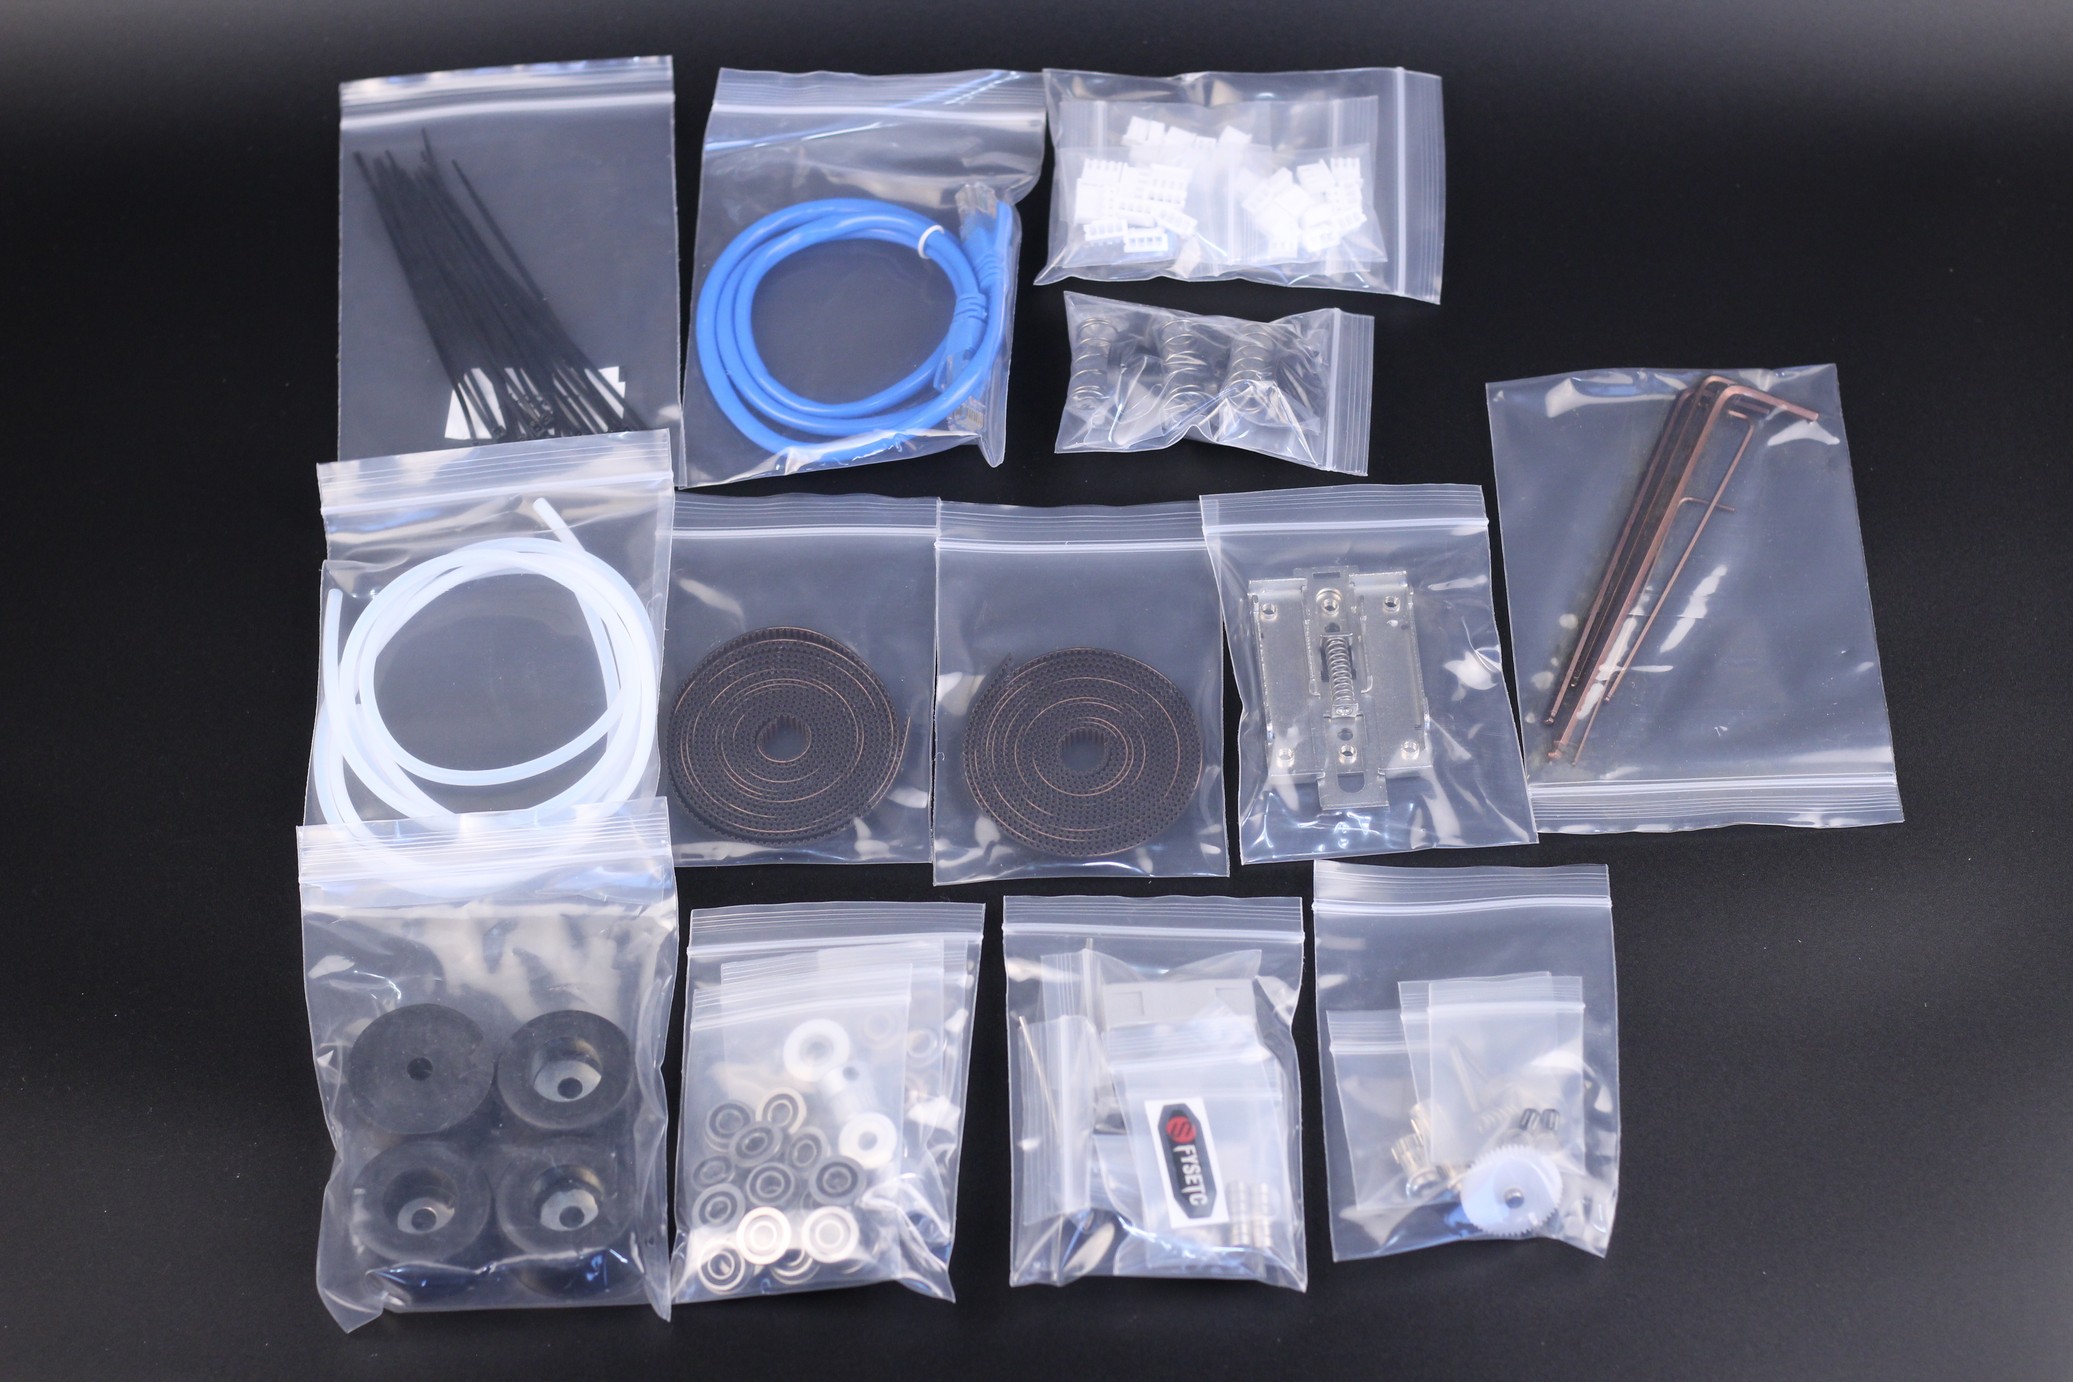
To give you a quick overview of what each box contains, I took detailed pictures so you can have a better understanding of what you get. I love how every component is packed separately in a ziplock bag and maybe the only thing that’s missing is having a description on every bag. This might be helpful when following the build guide and looking for a particular part.
If you are looking for a detailed description of each part, I recommend checking the Voron Trident BOM available on Github. This kit does not include the Voron Trident printed parts, so I printed them in Polymaker Red ASA and Blue ABS using the FYSETC Prusa Mini clone and the Raise3D E2.
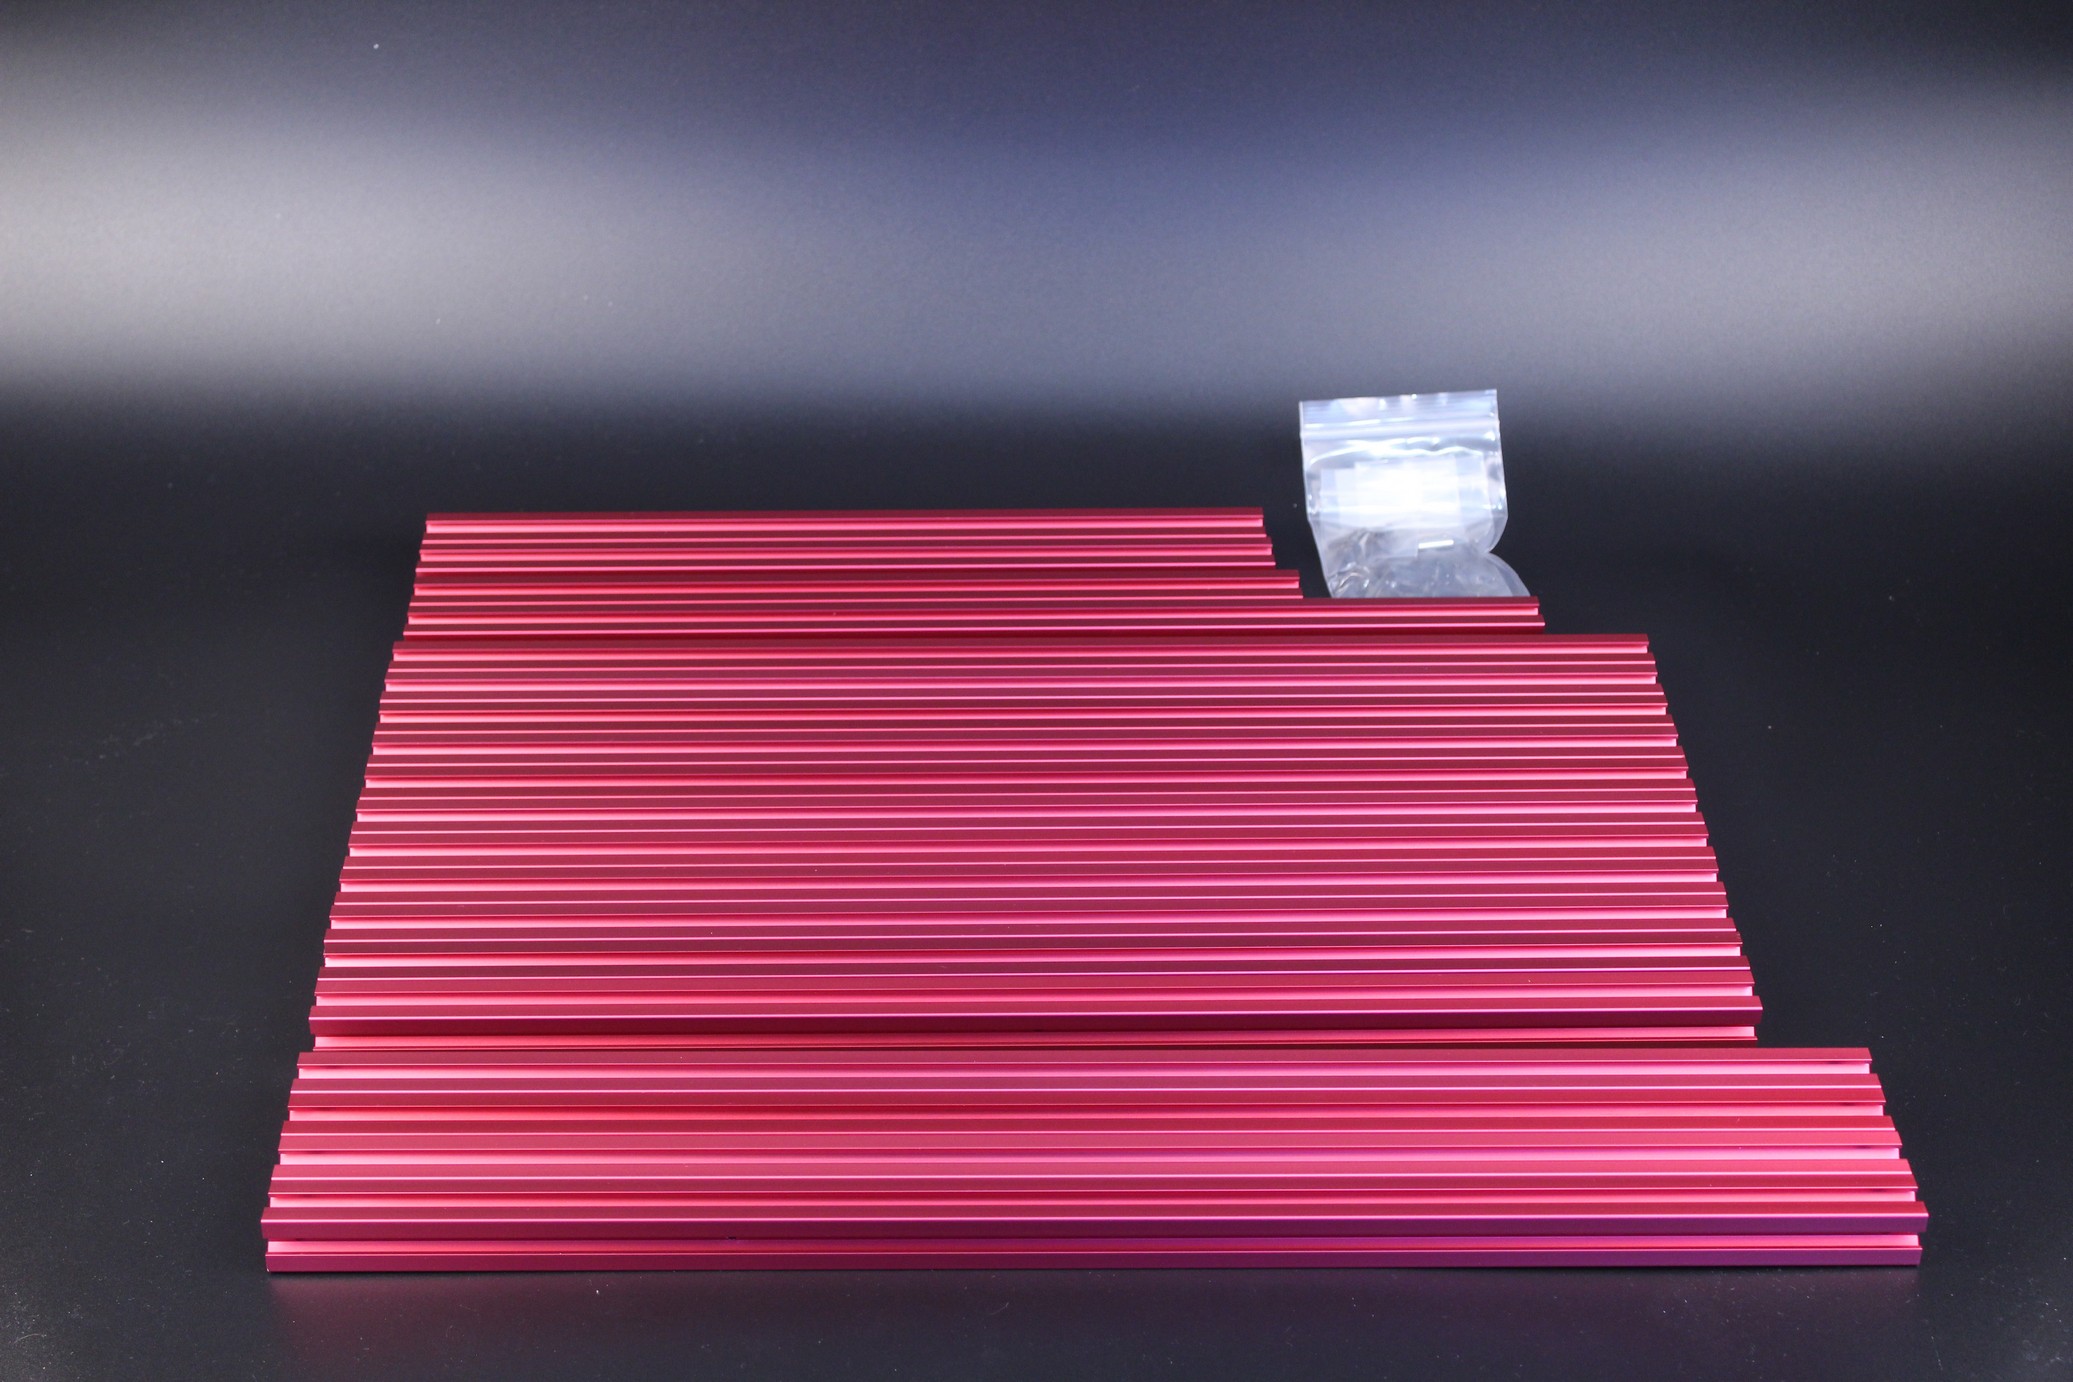
Aluminum Frame
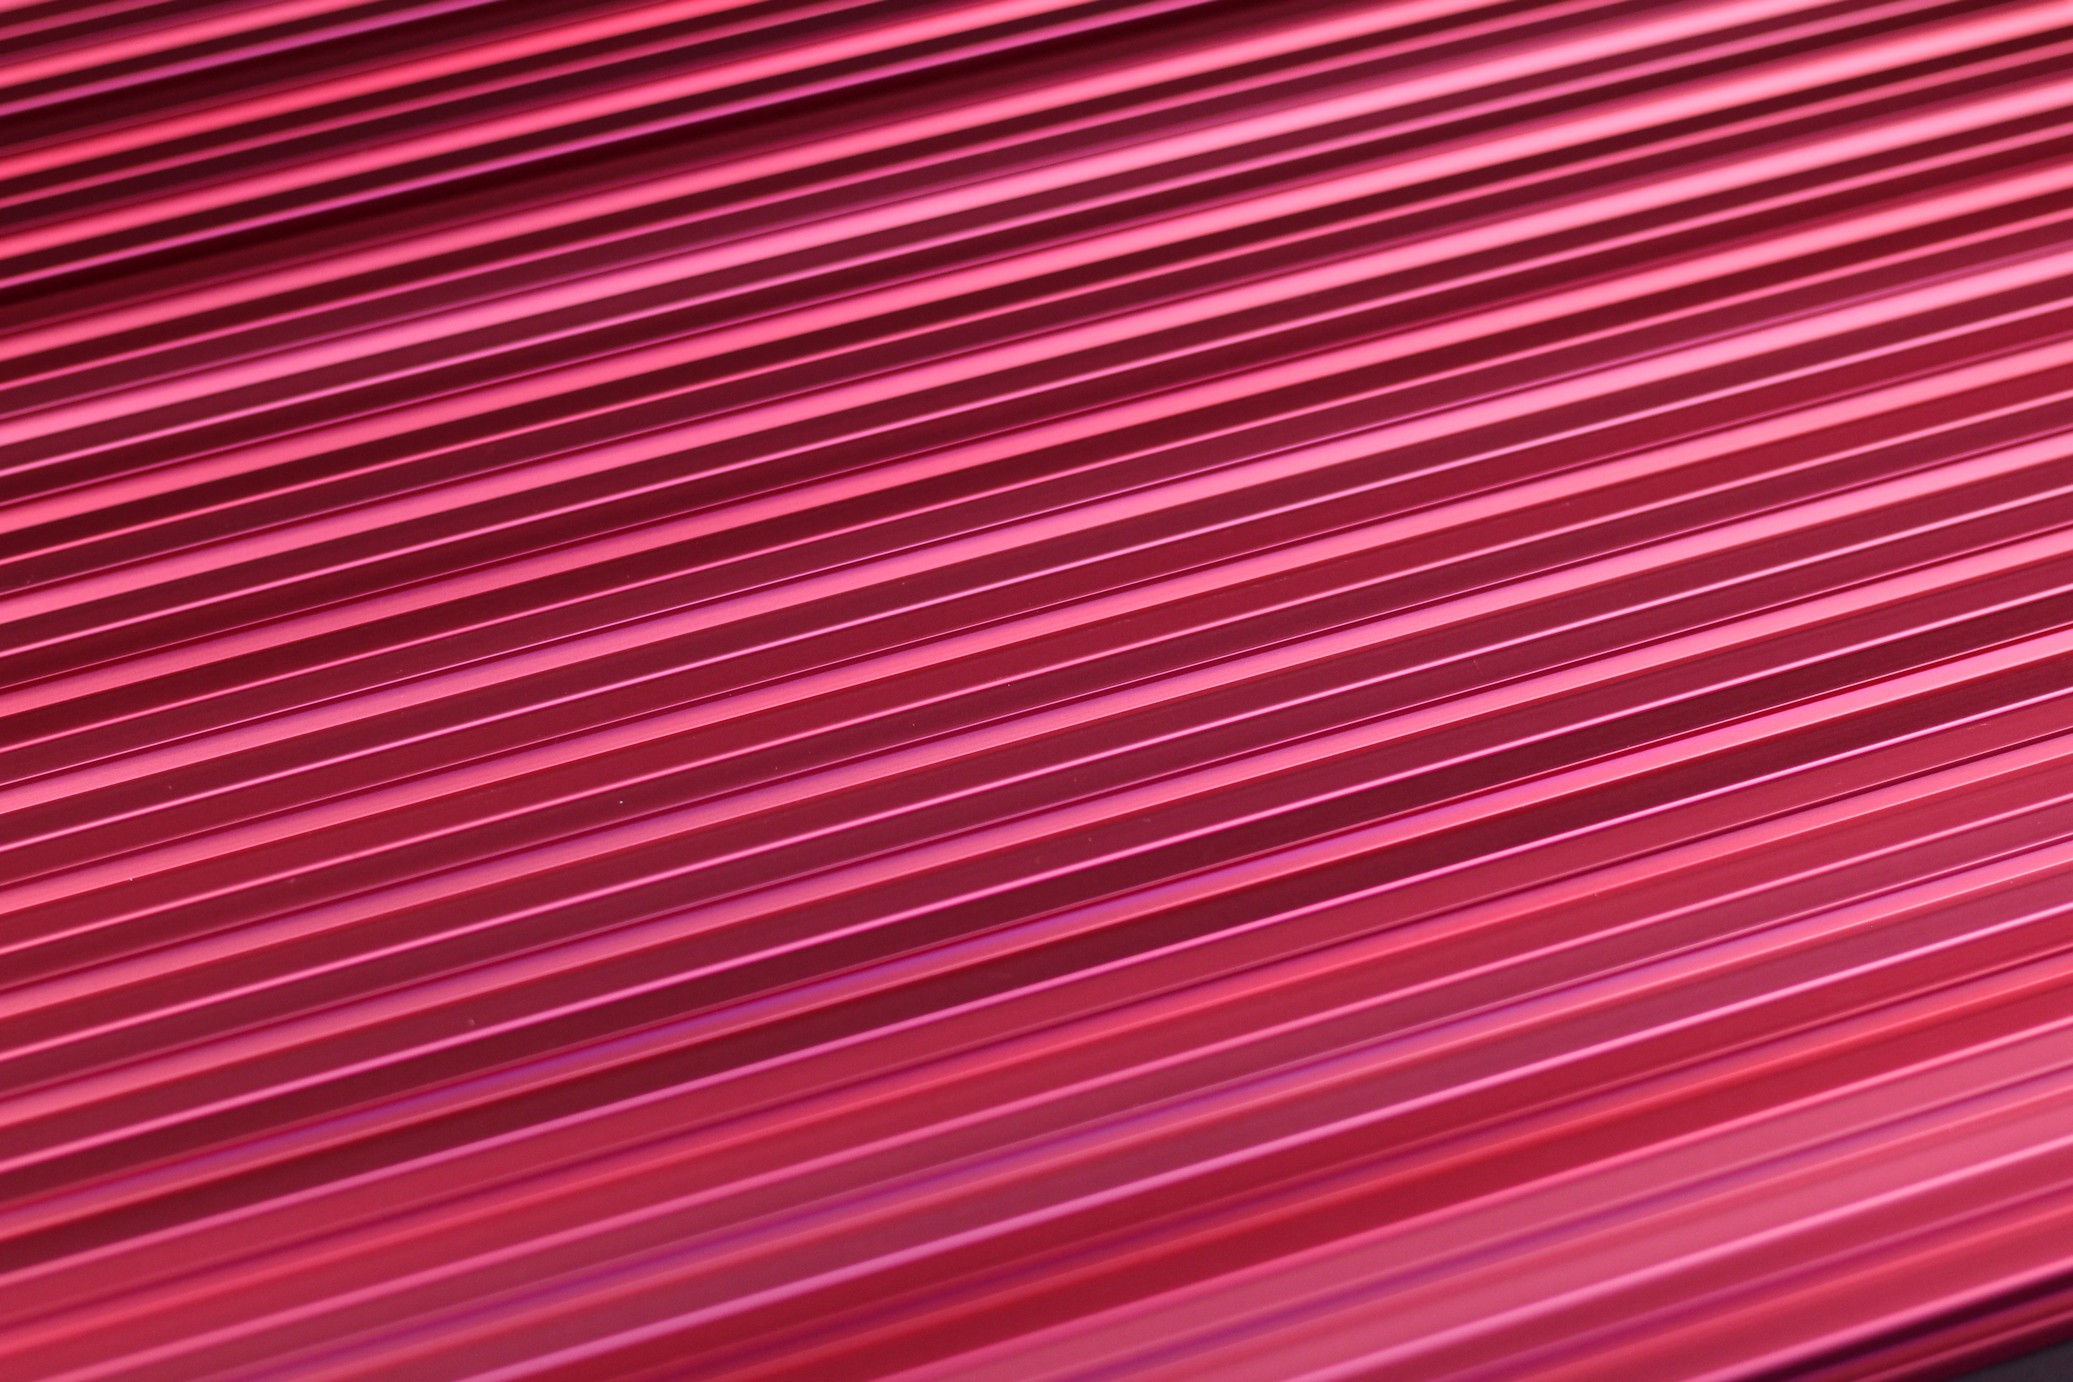
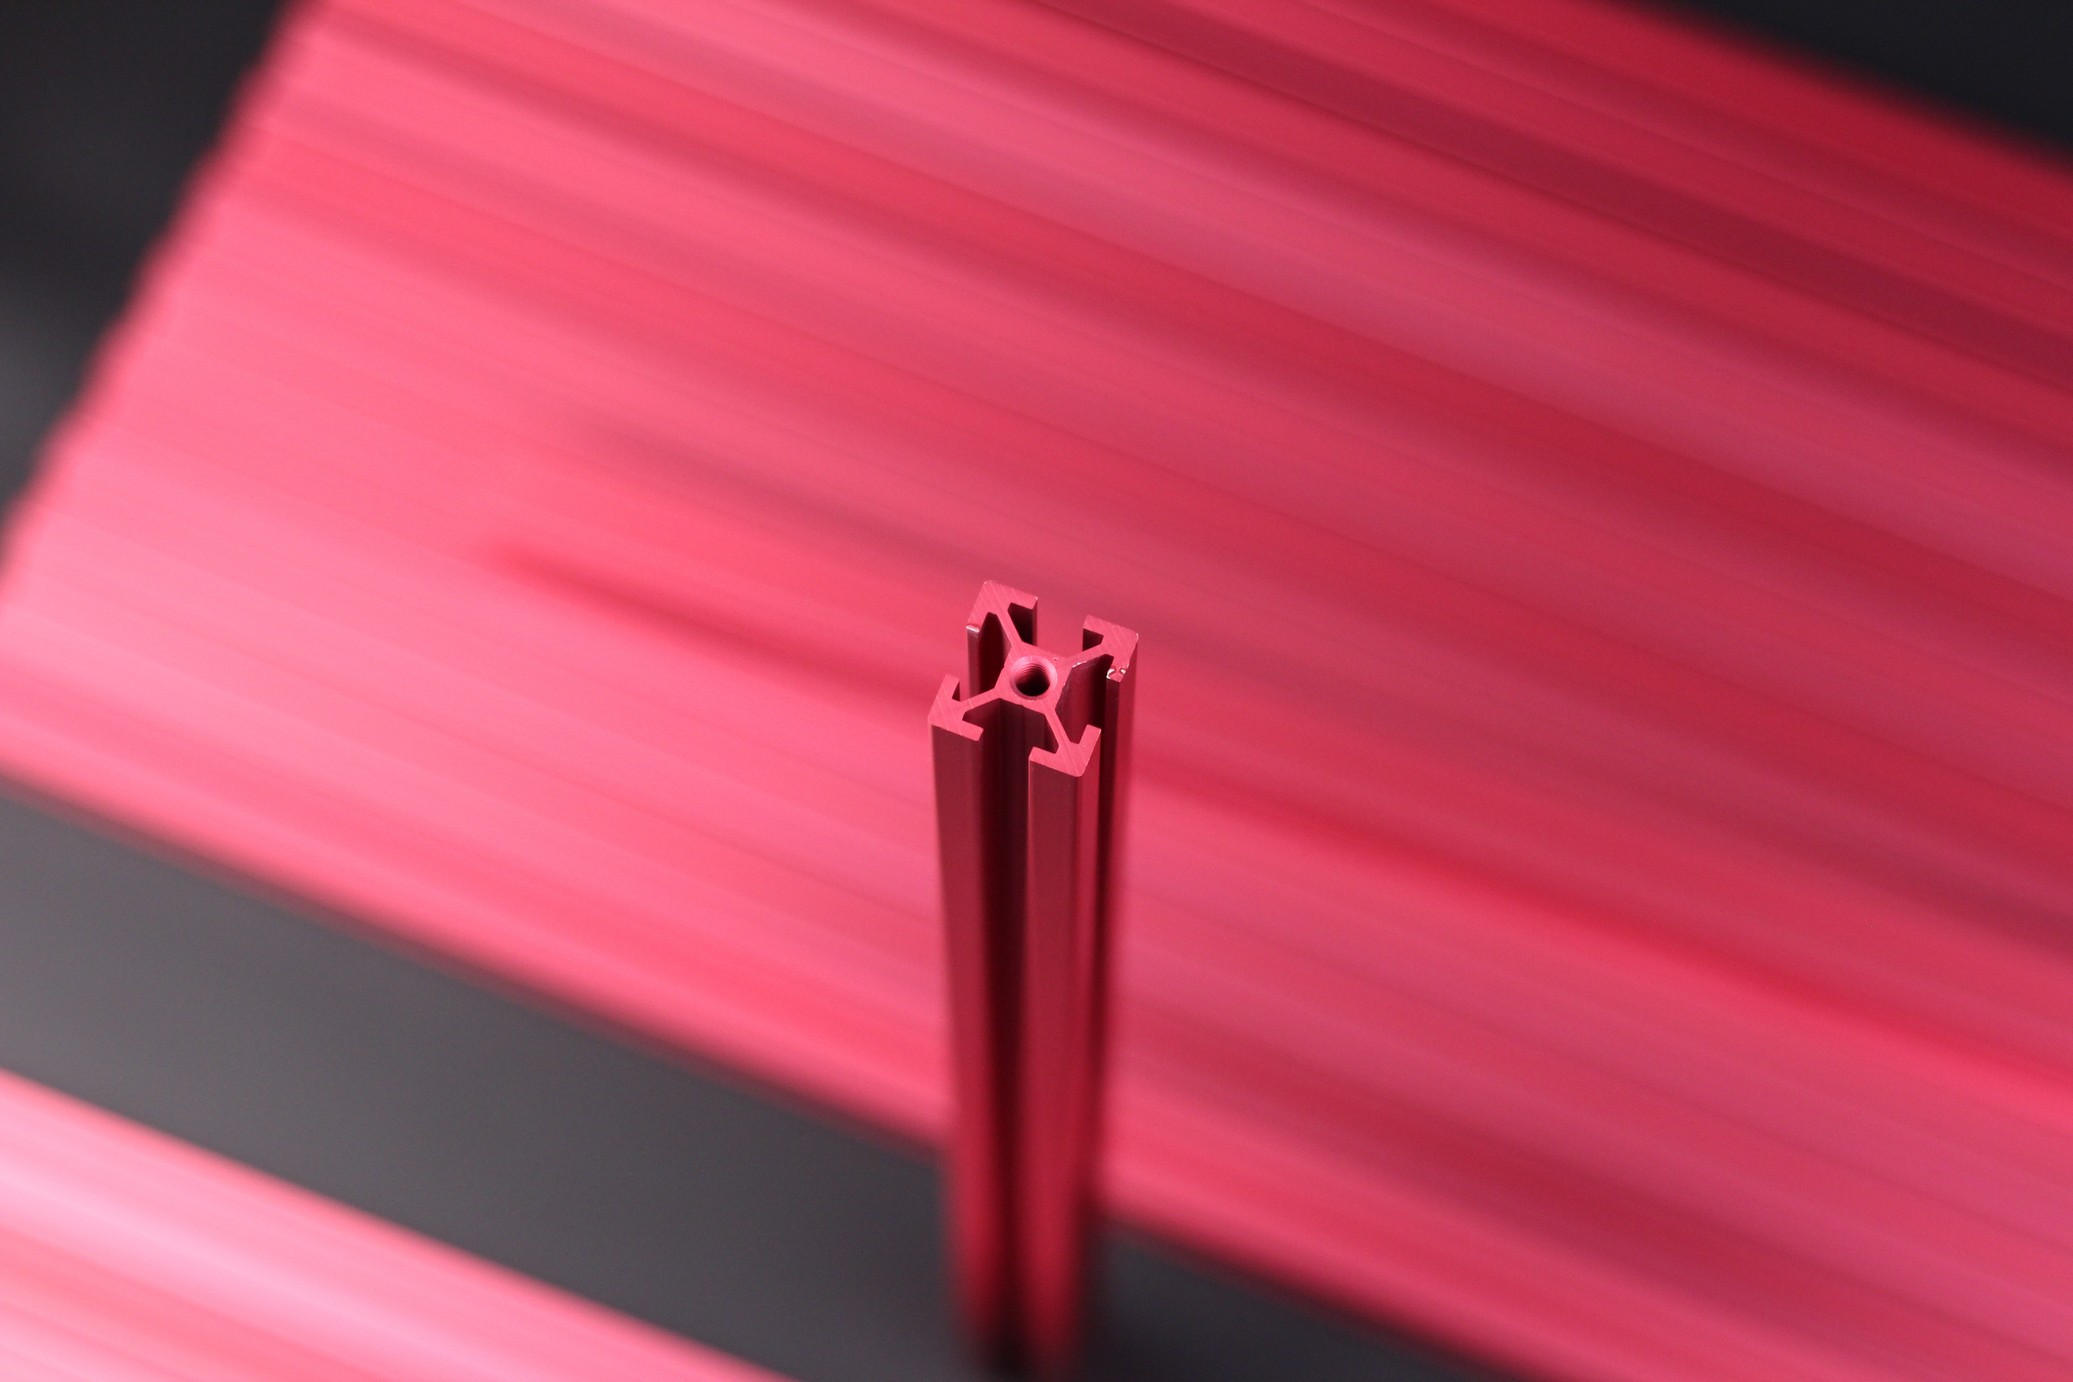
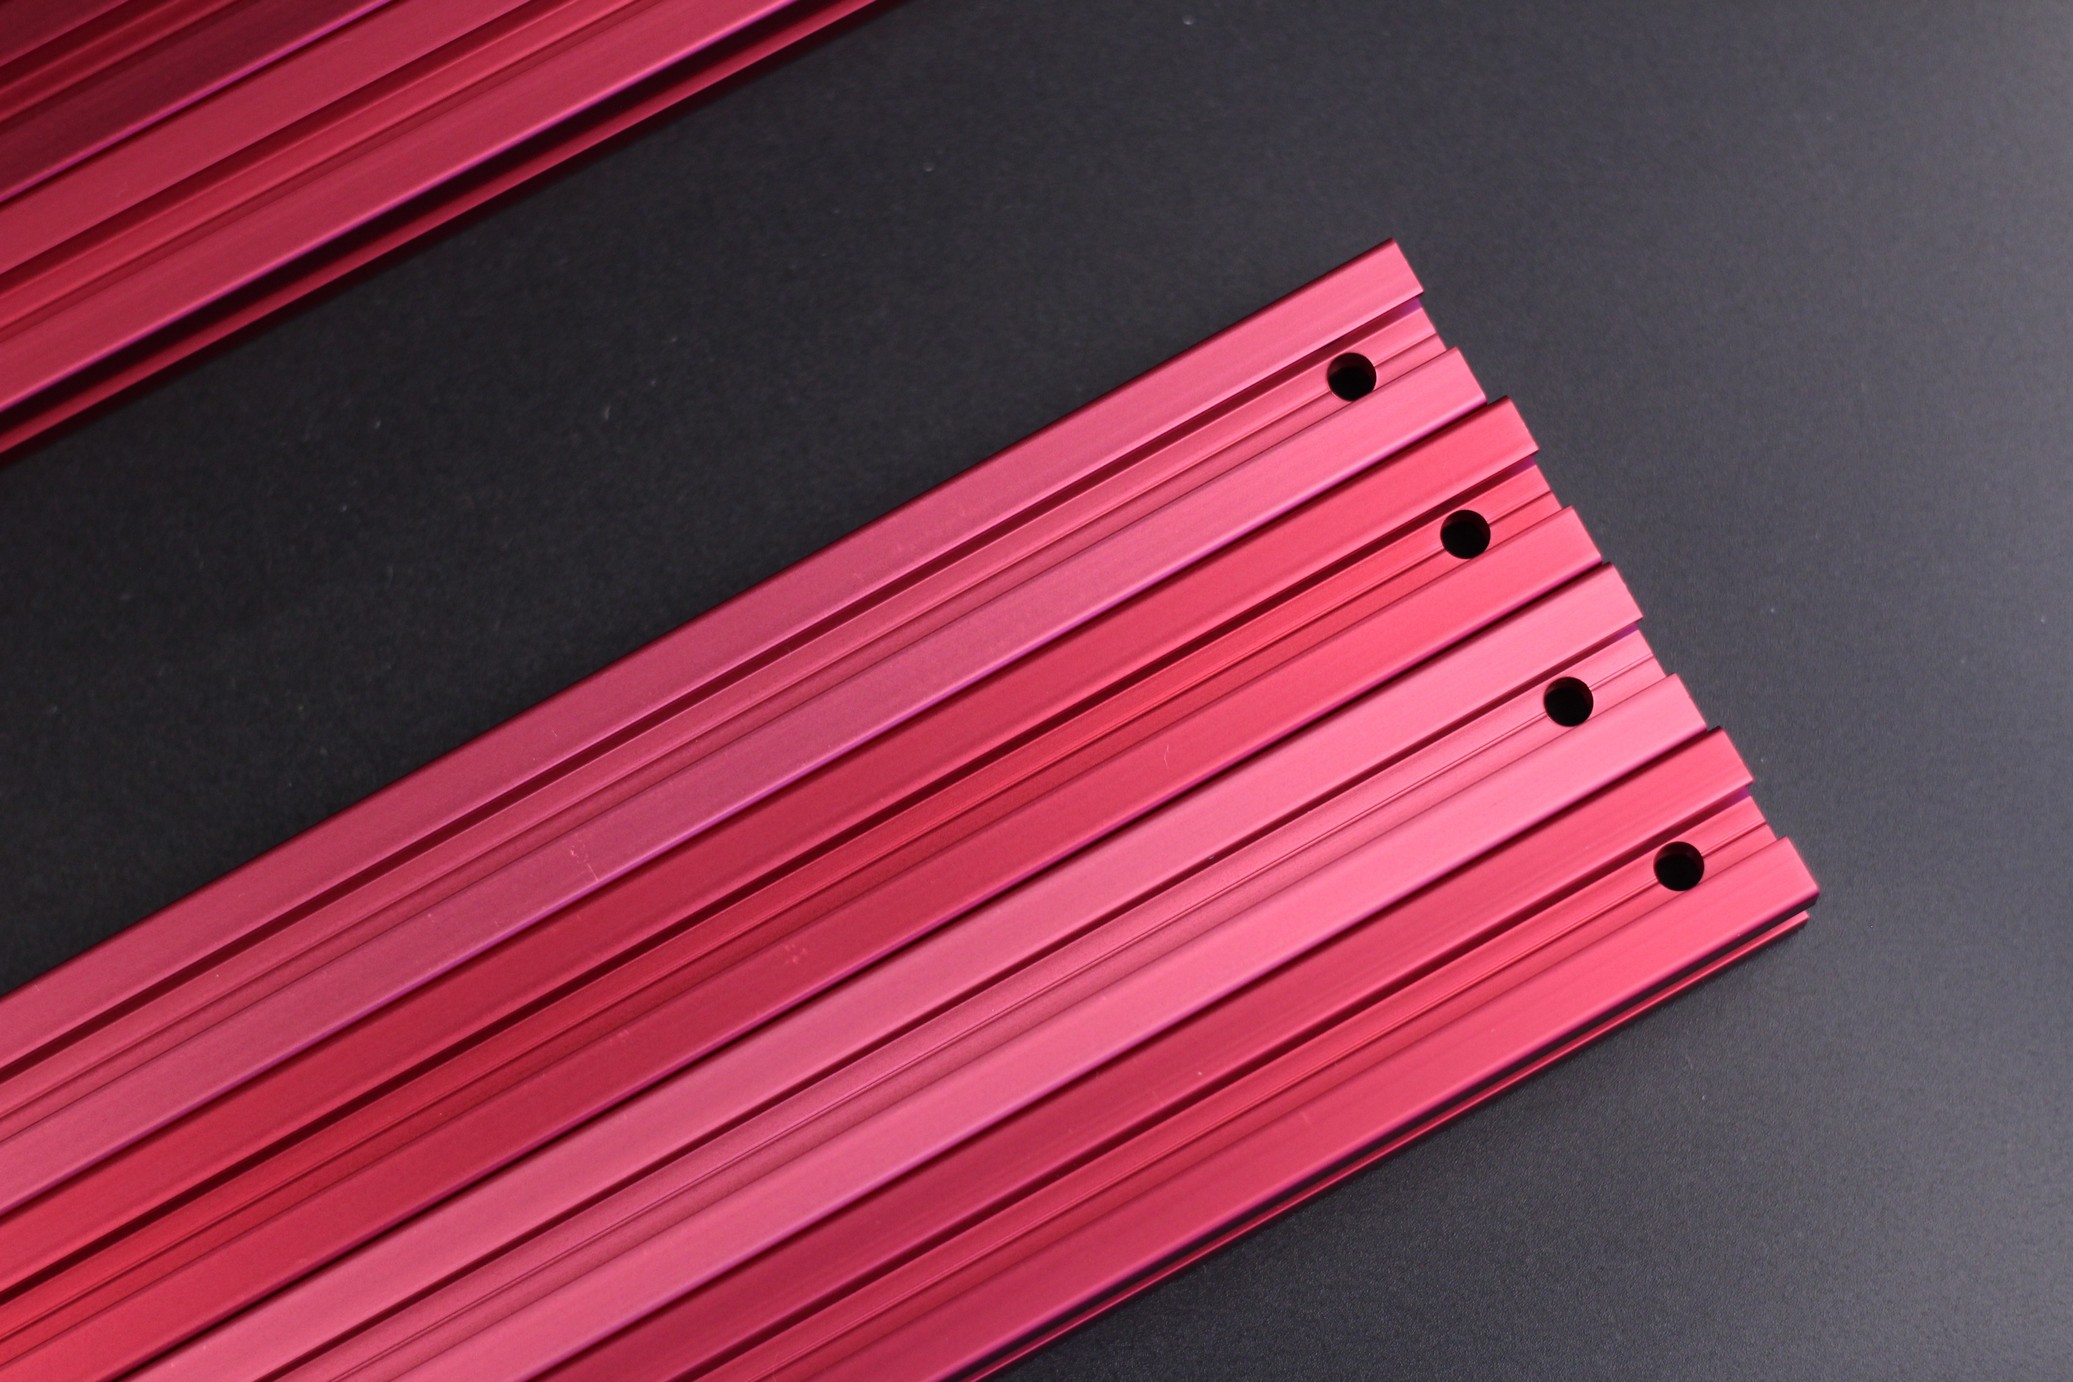
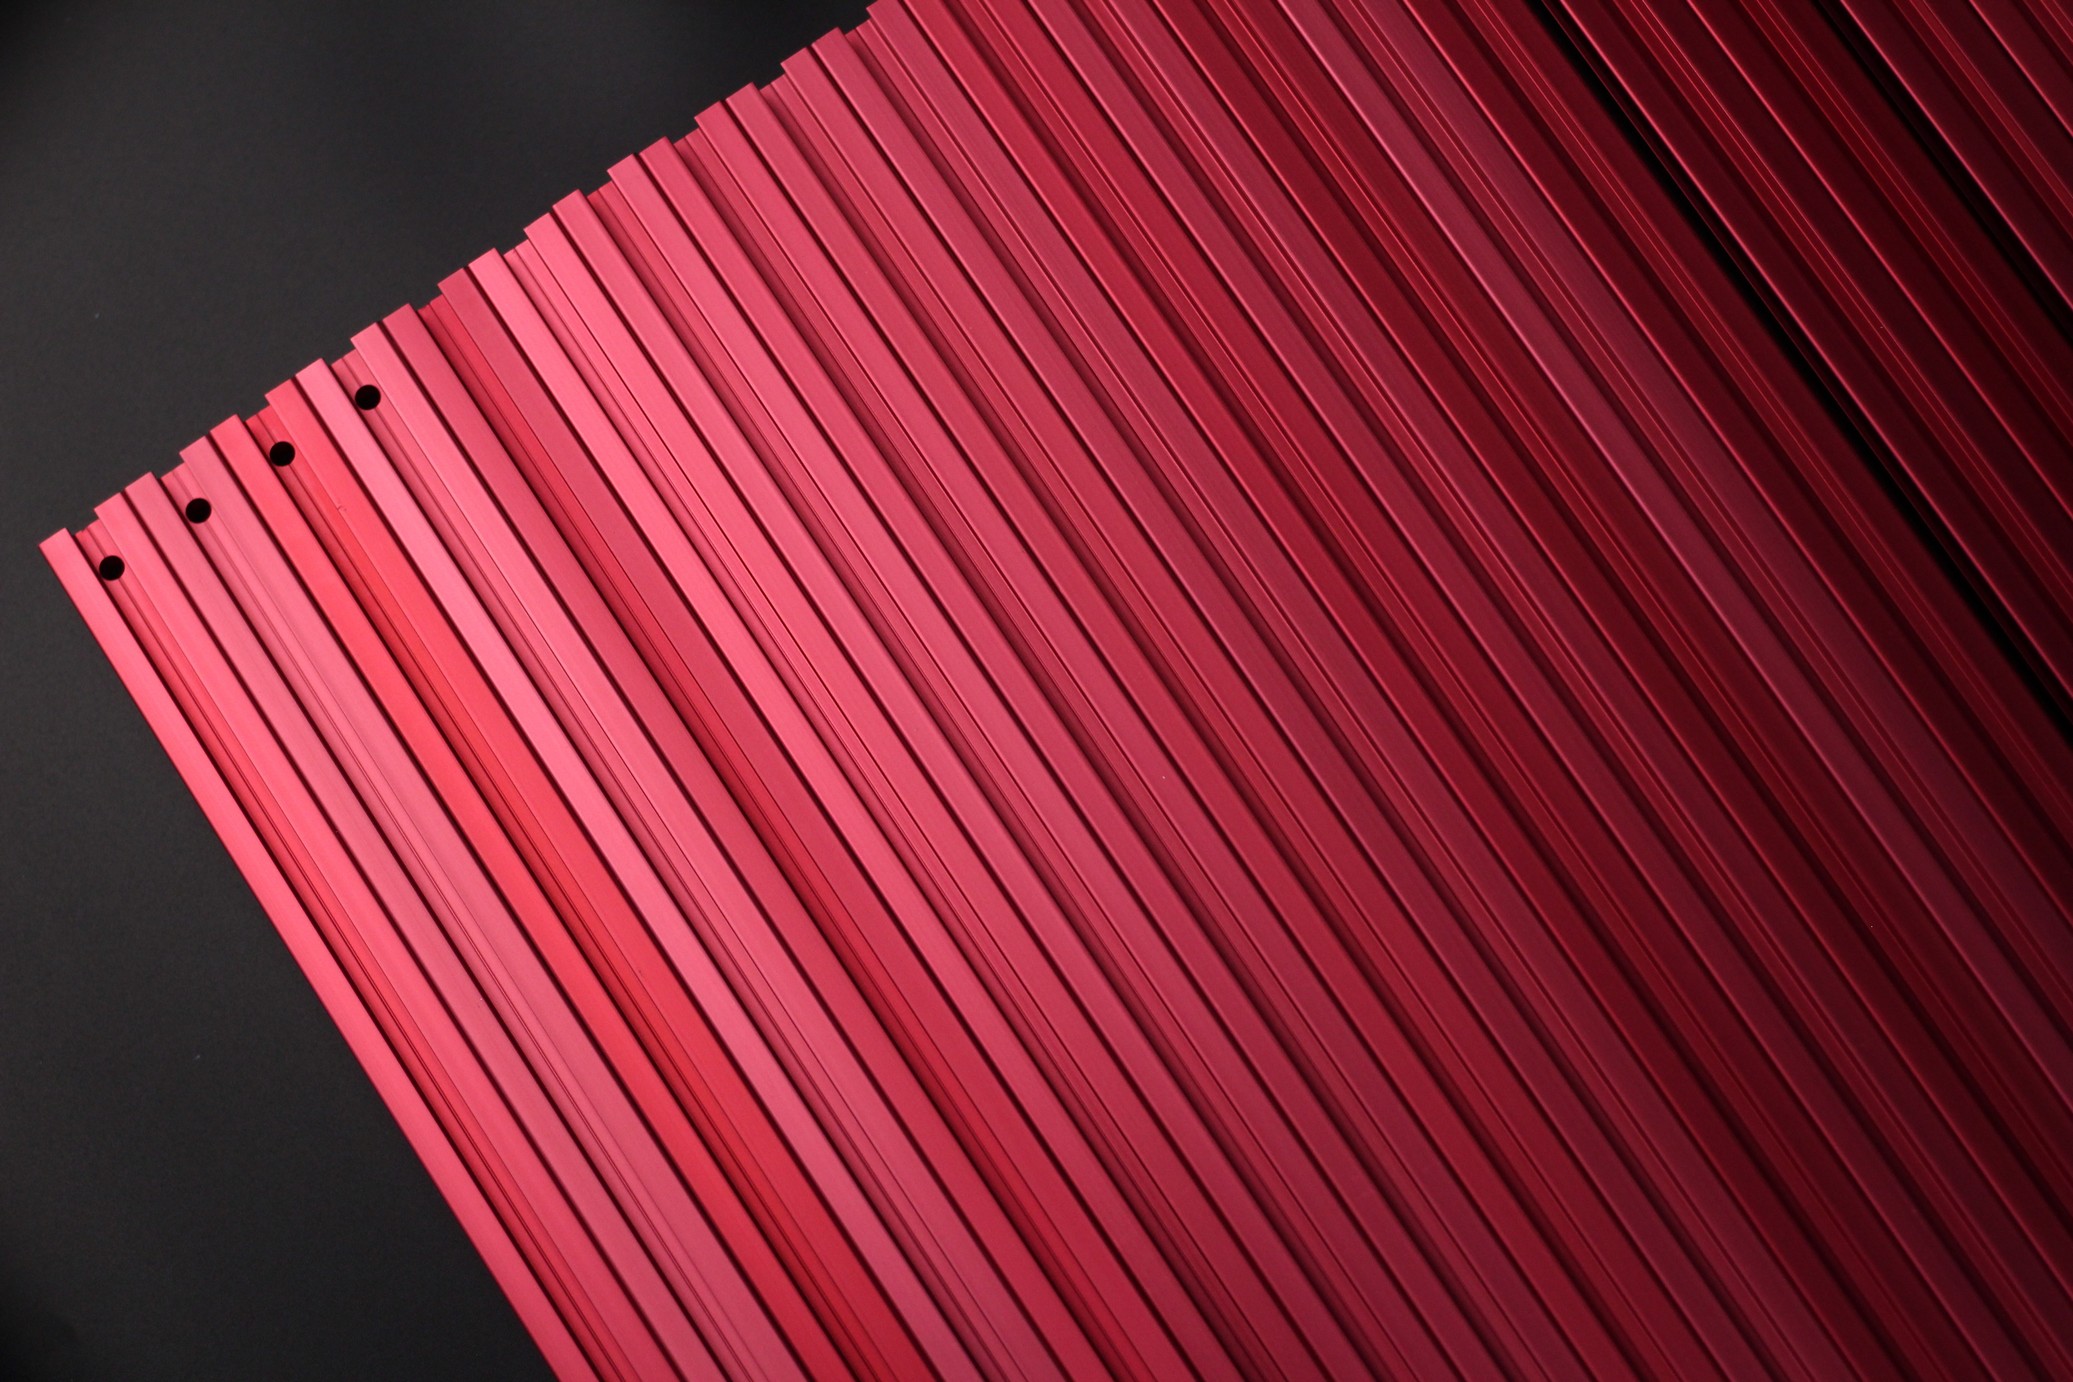
I chose the Red version of aluminum extrusions to use on the Voron Trident build and I was expecting a deep “VORON Red” color, but unfortunately, the color in real life looks a bit pinkish. The color is also not super even across the extrusions, but it’s not easily seen in real life.
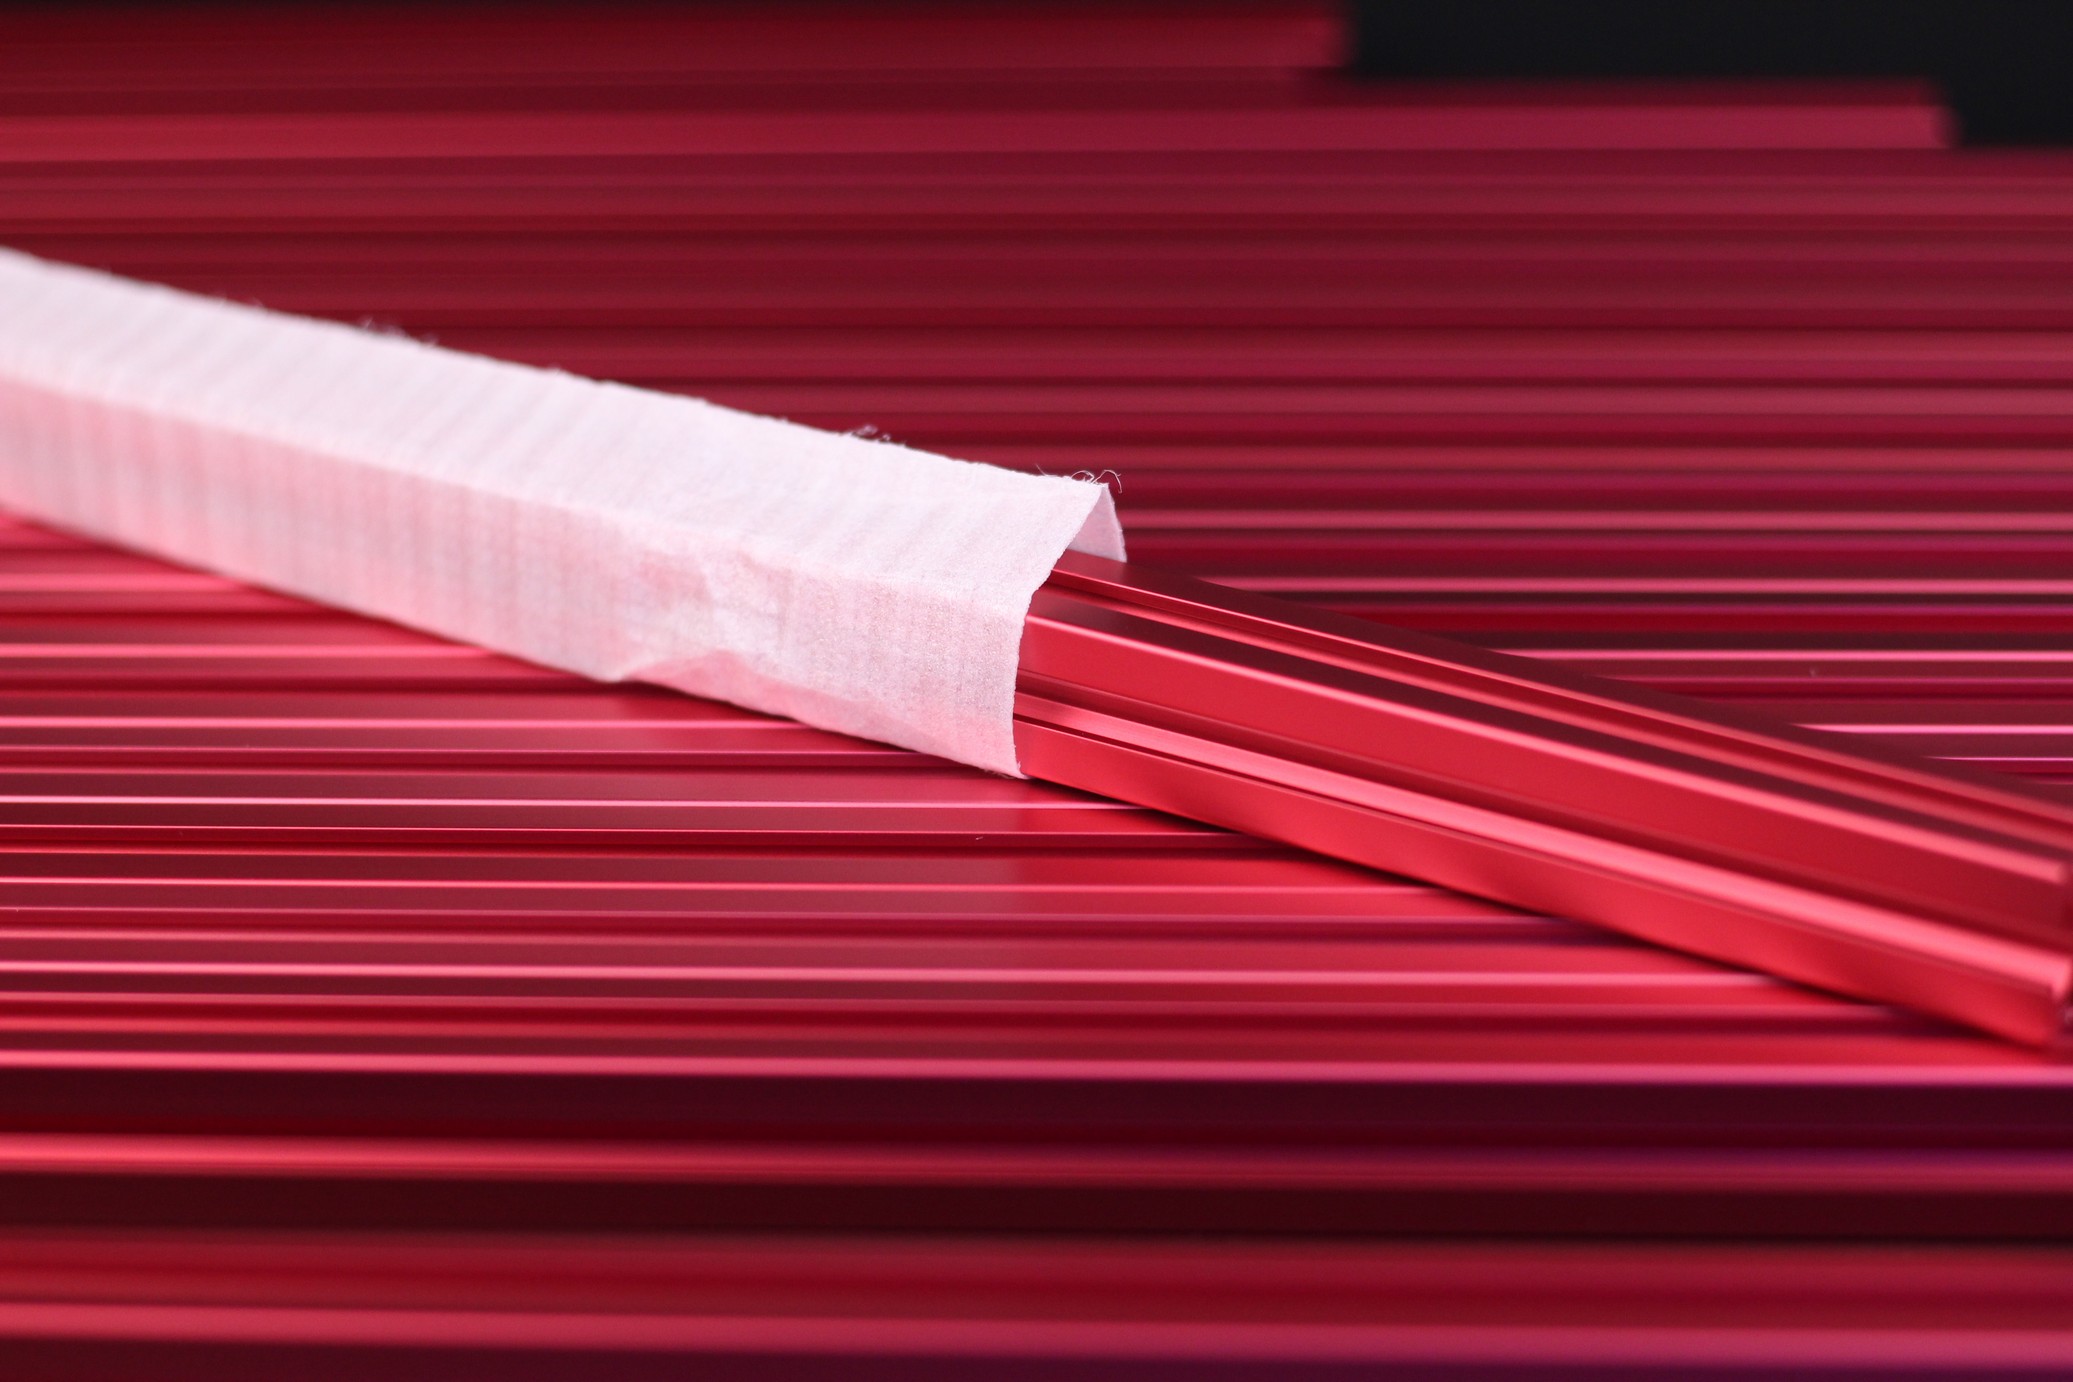
The aluminum extrusions were perfectly cut to size, and I had no issues with squaring the printer. Ah, and I almost forgot. Every aluminum extrusion is individually wrapped for protection. A nice touch for keeping the extrusions perfect, but not really great when it comes to waste.
Wire box
In the box containing the wires, you get everything you need for the printer. But it’s worth noting that some of the wires are tinned instead of being crimped. If you get a similar kit, I recommend crimping the end of those wires.
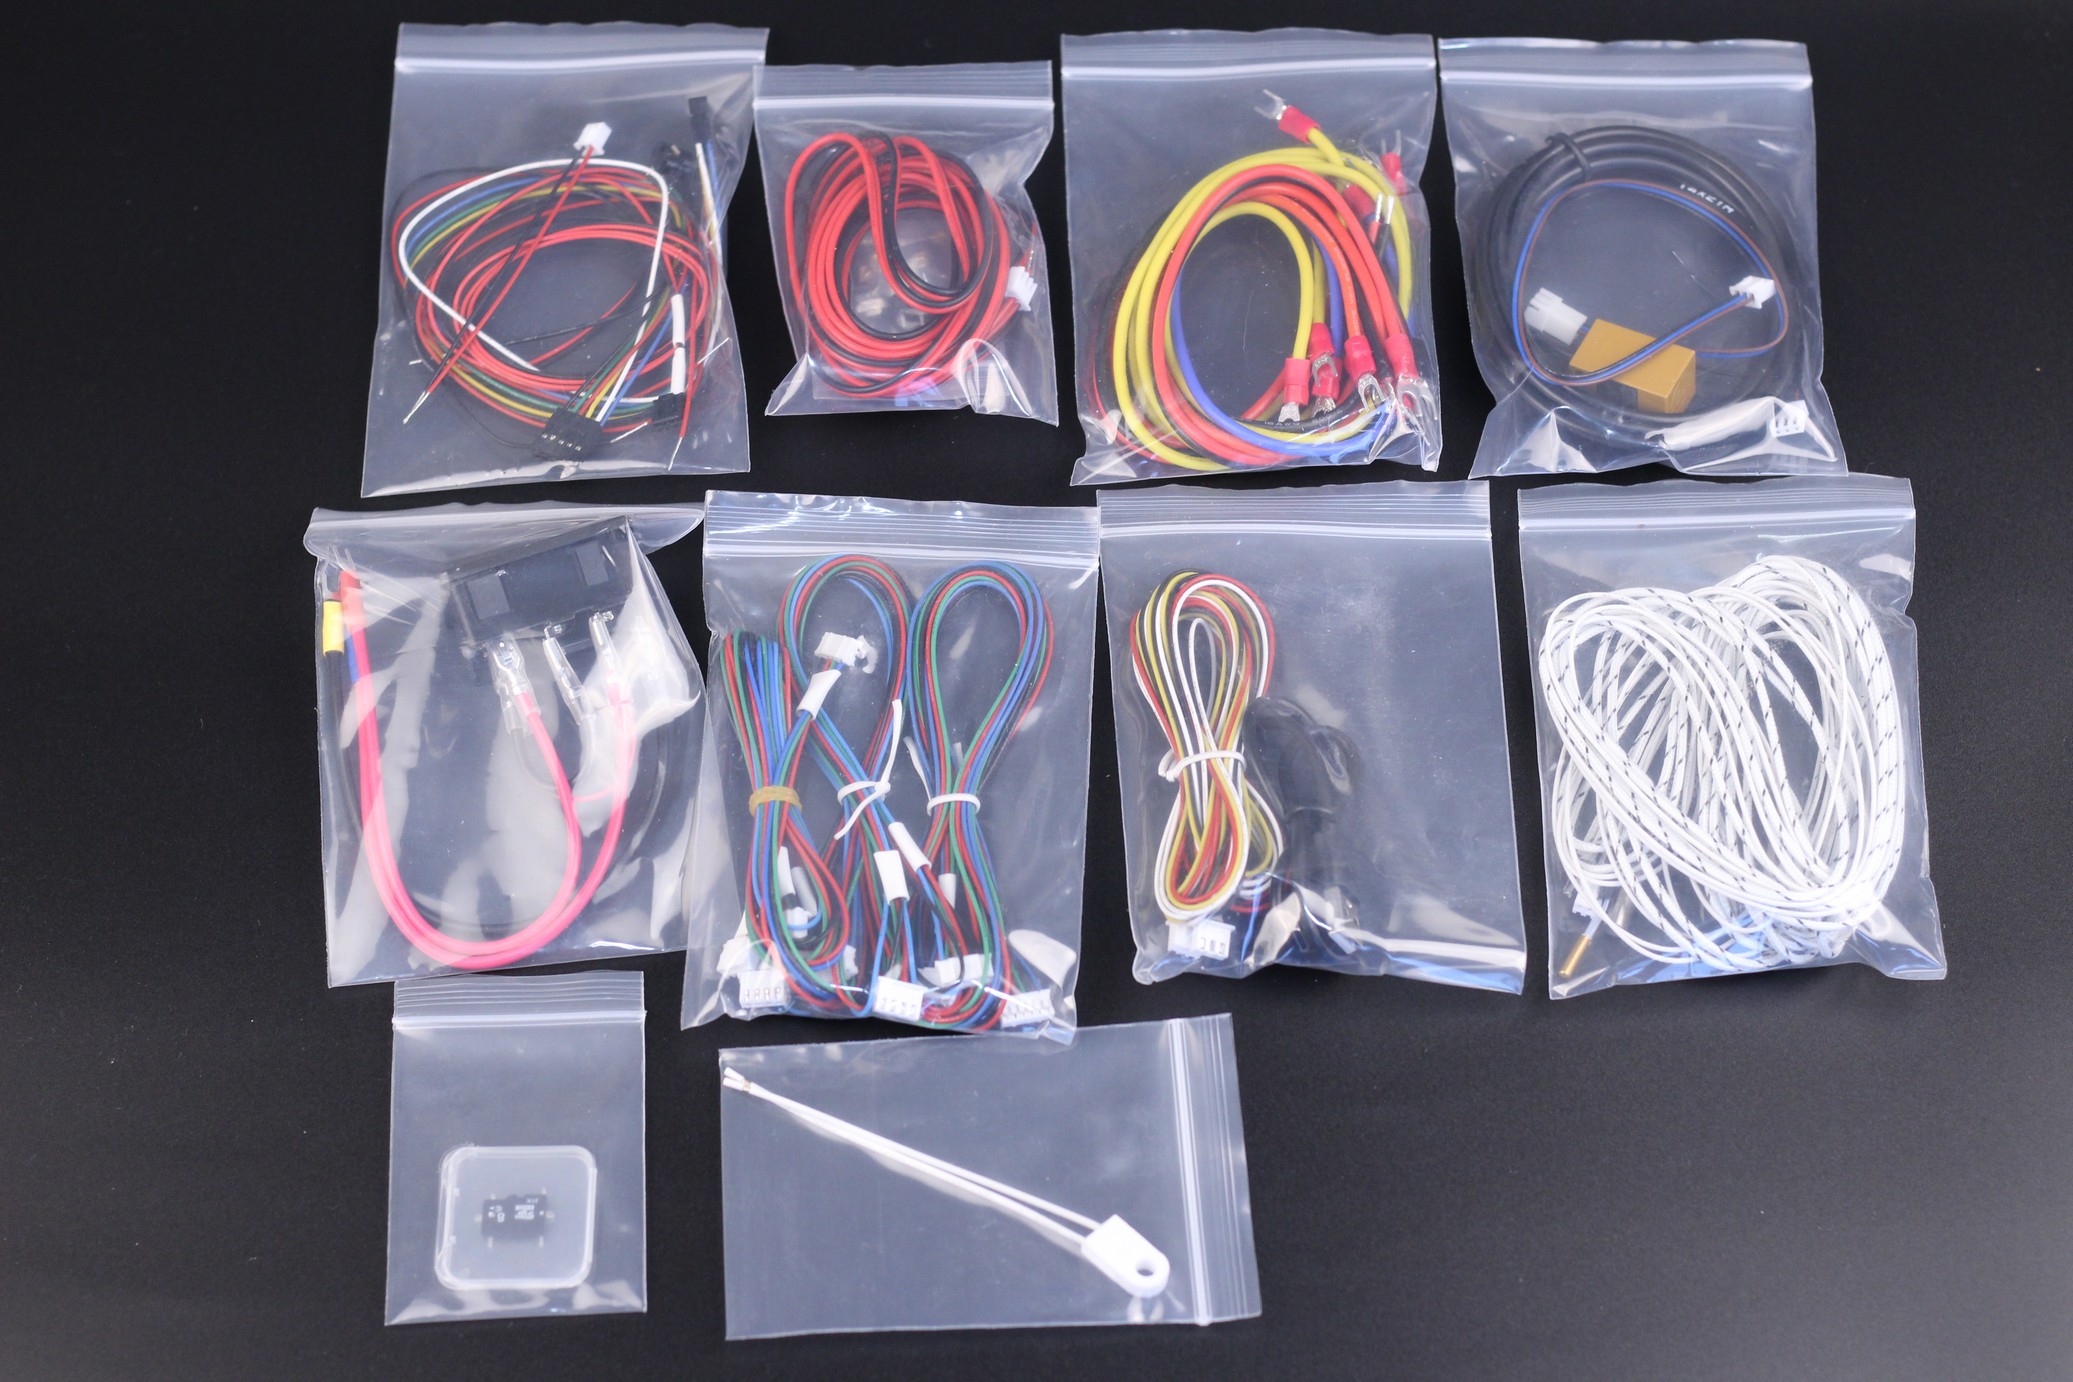
The included SD card comes with OctoPi already installed and configured for the Voron Trident 350, but for me, it wasn’t really useful and I would recommend getting the latest version of MainsailOS or Fluidd then copying the config to it. You also get an extra thermal fuse in the package, even though the bed heater has one installed.
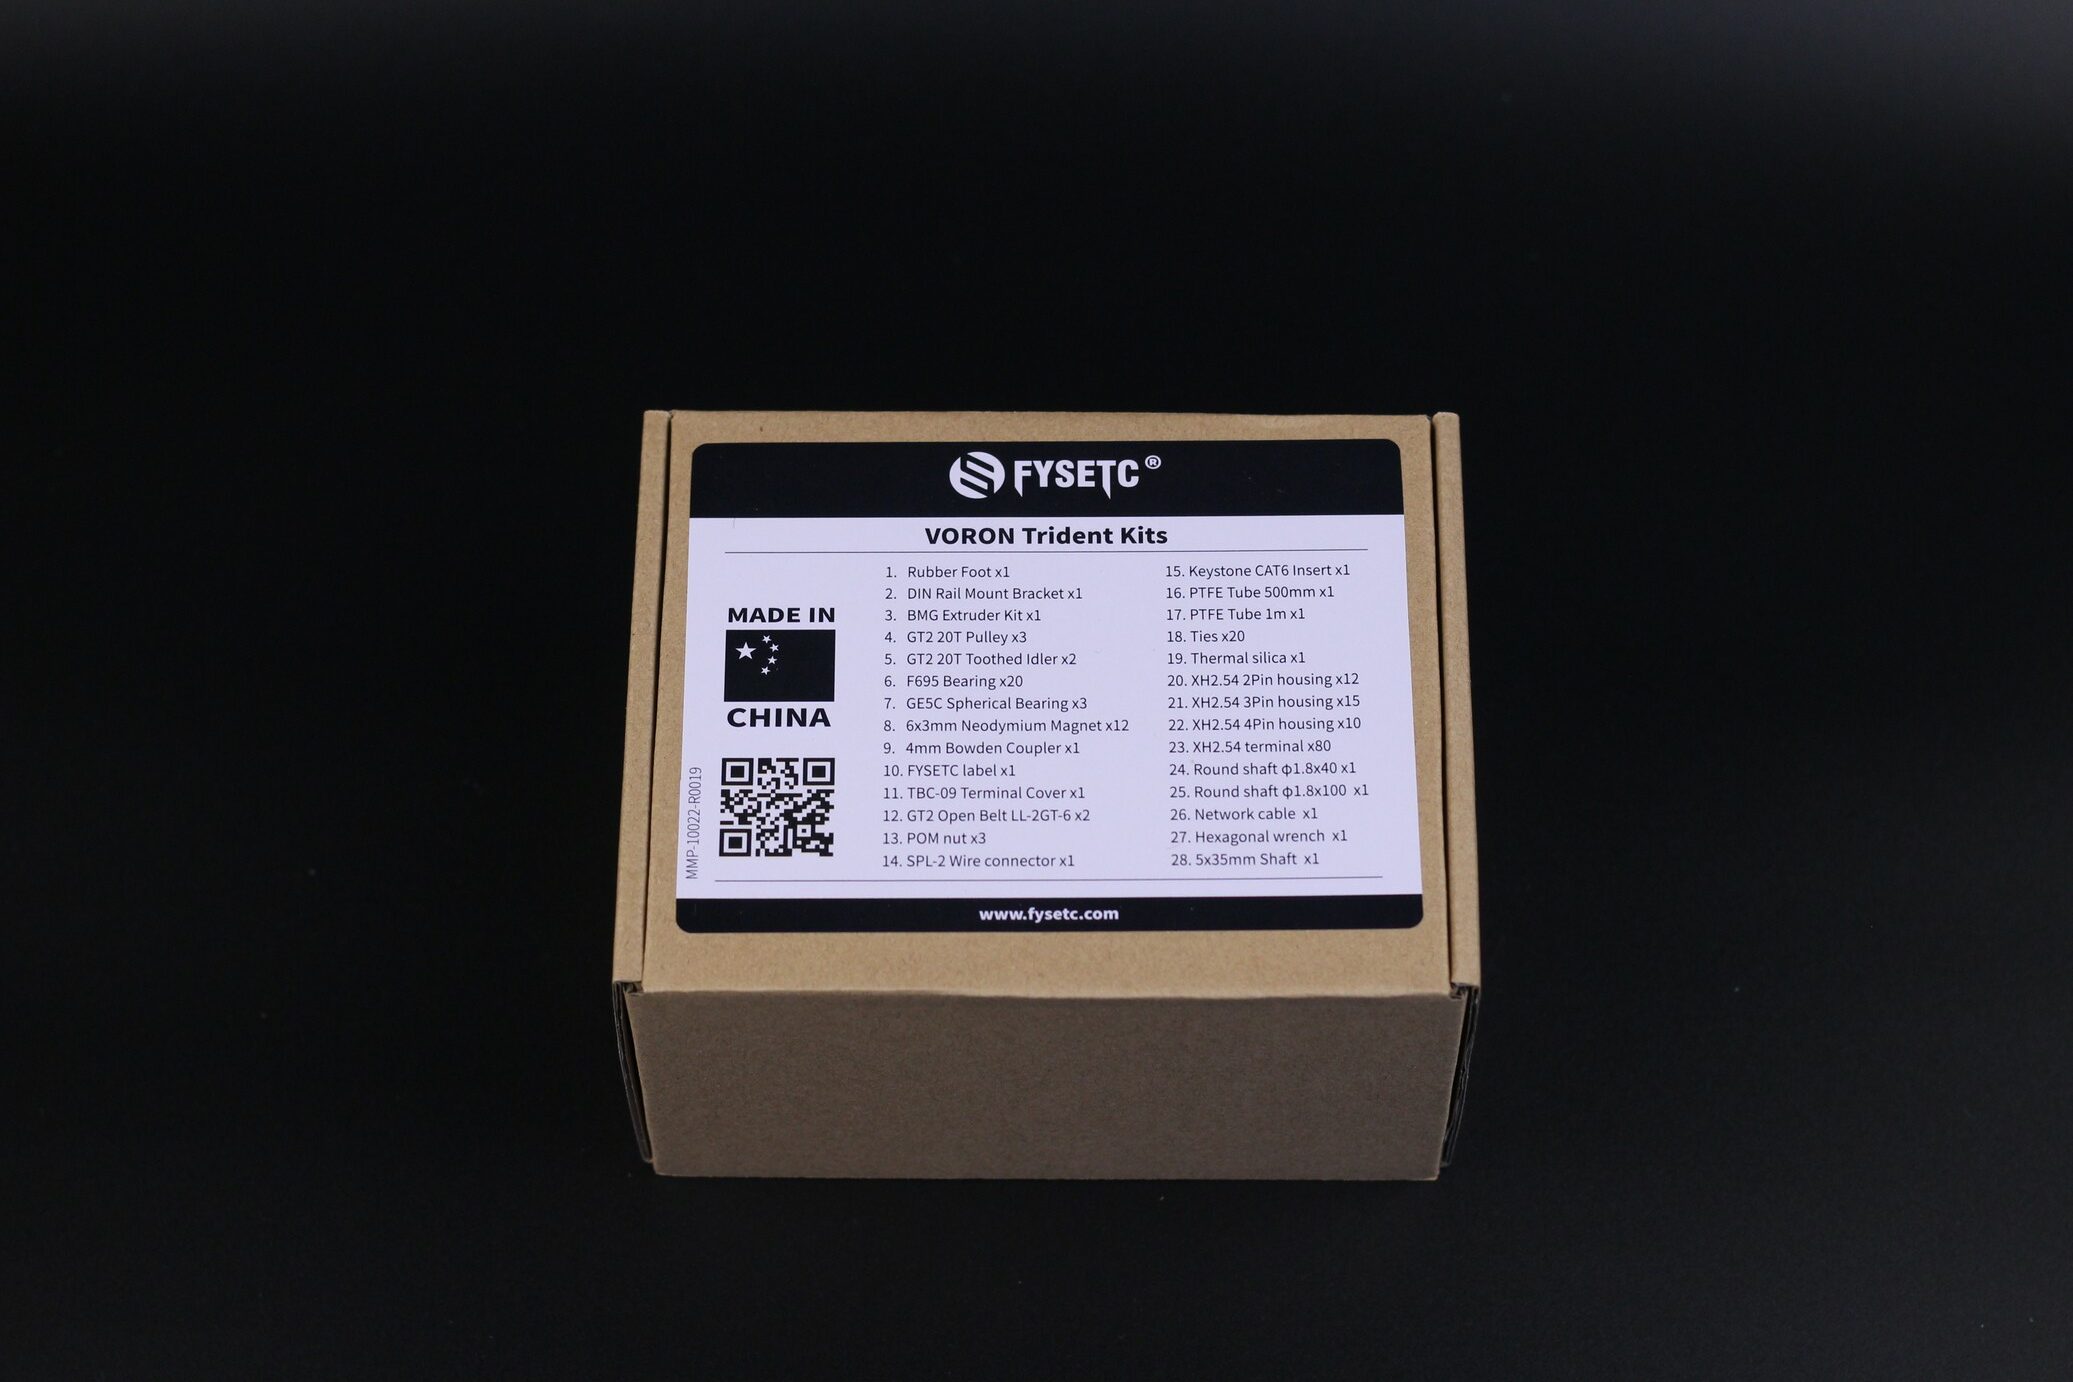
Belts, bearings and accesories
In this box, we get GATES GT2 belts pre-cut to the right size, PTFE tubes, hex wrenches, and other small accessories. I liked the quality of the included hex wrenches, which is quite important during the build if you don’t want to strip screws and cause a headache.
You get some JST connectors ready to be crimped, but I didn’t have to use them during the build process. While a USB Type C cable is included, you won’t need to use it because FYSETC also includes a crimped wire to connect the Pi to the FYSETC 2.2 board for power and data.
All the extruder components were good quality and they are comparable to what you would get from Mellow of Trianglelab. Just remember to grease the needle bearings and assemble the extruder according to the instructions for best performance.
The idler bearings are good quality, the extruder gears are also great but the AB motor pulleys were bad. After putting the printer together, I noticed that one of the pulleys was not properly centered and this generated some printing artifacts on the external walls of the print.
Fortunately, I had some Mellow pulleys around and I was able to easily replace the faulty pulley. I also compared the pulleys and they seem to be exactly the same. So it was probably just my bad luck.
But I’ve let FYSETC know about this and they mentioned that more time will be invested in QC for the parts.
I love that they included anty-backlash POM nuts which can be used without having to grease the motor screws. I was planning to use something like that anyway, but it’s nice to have them included in the kit.
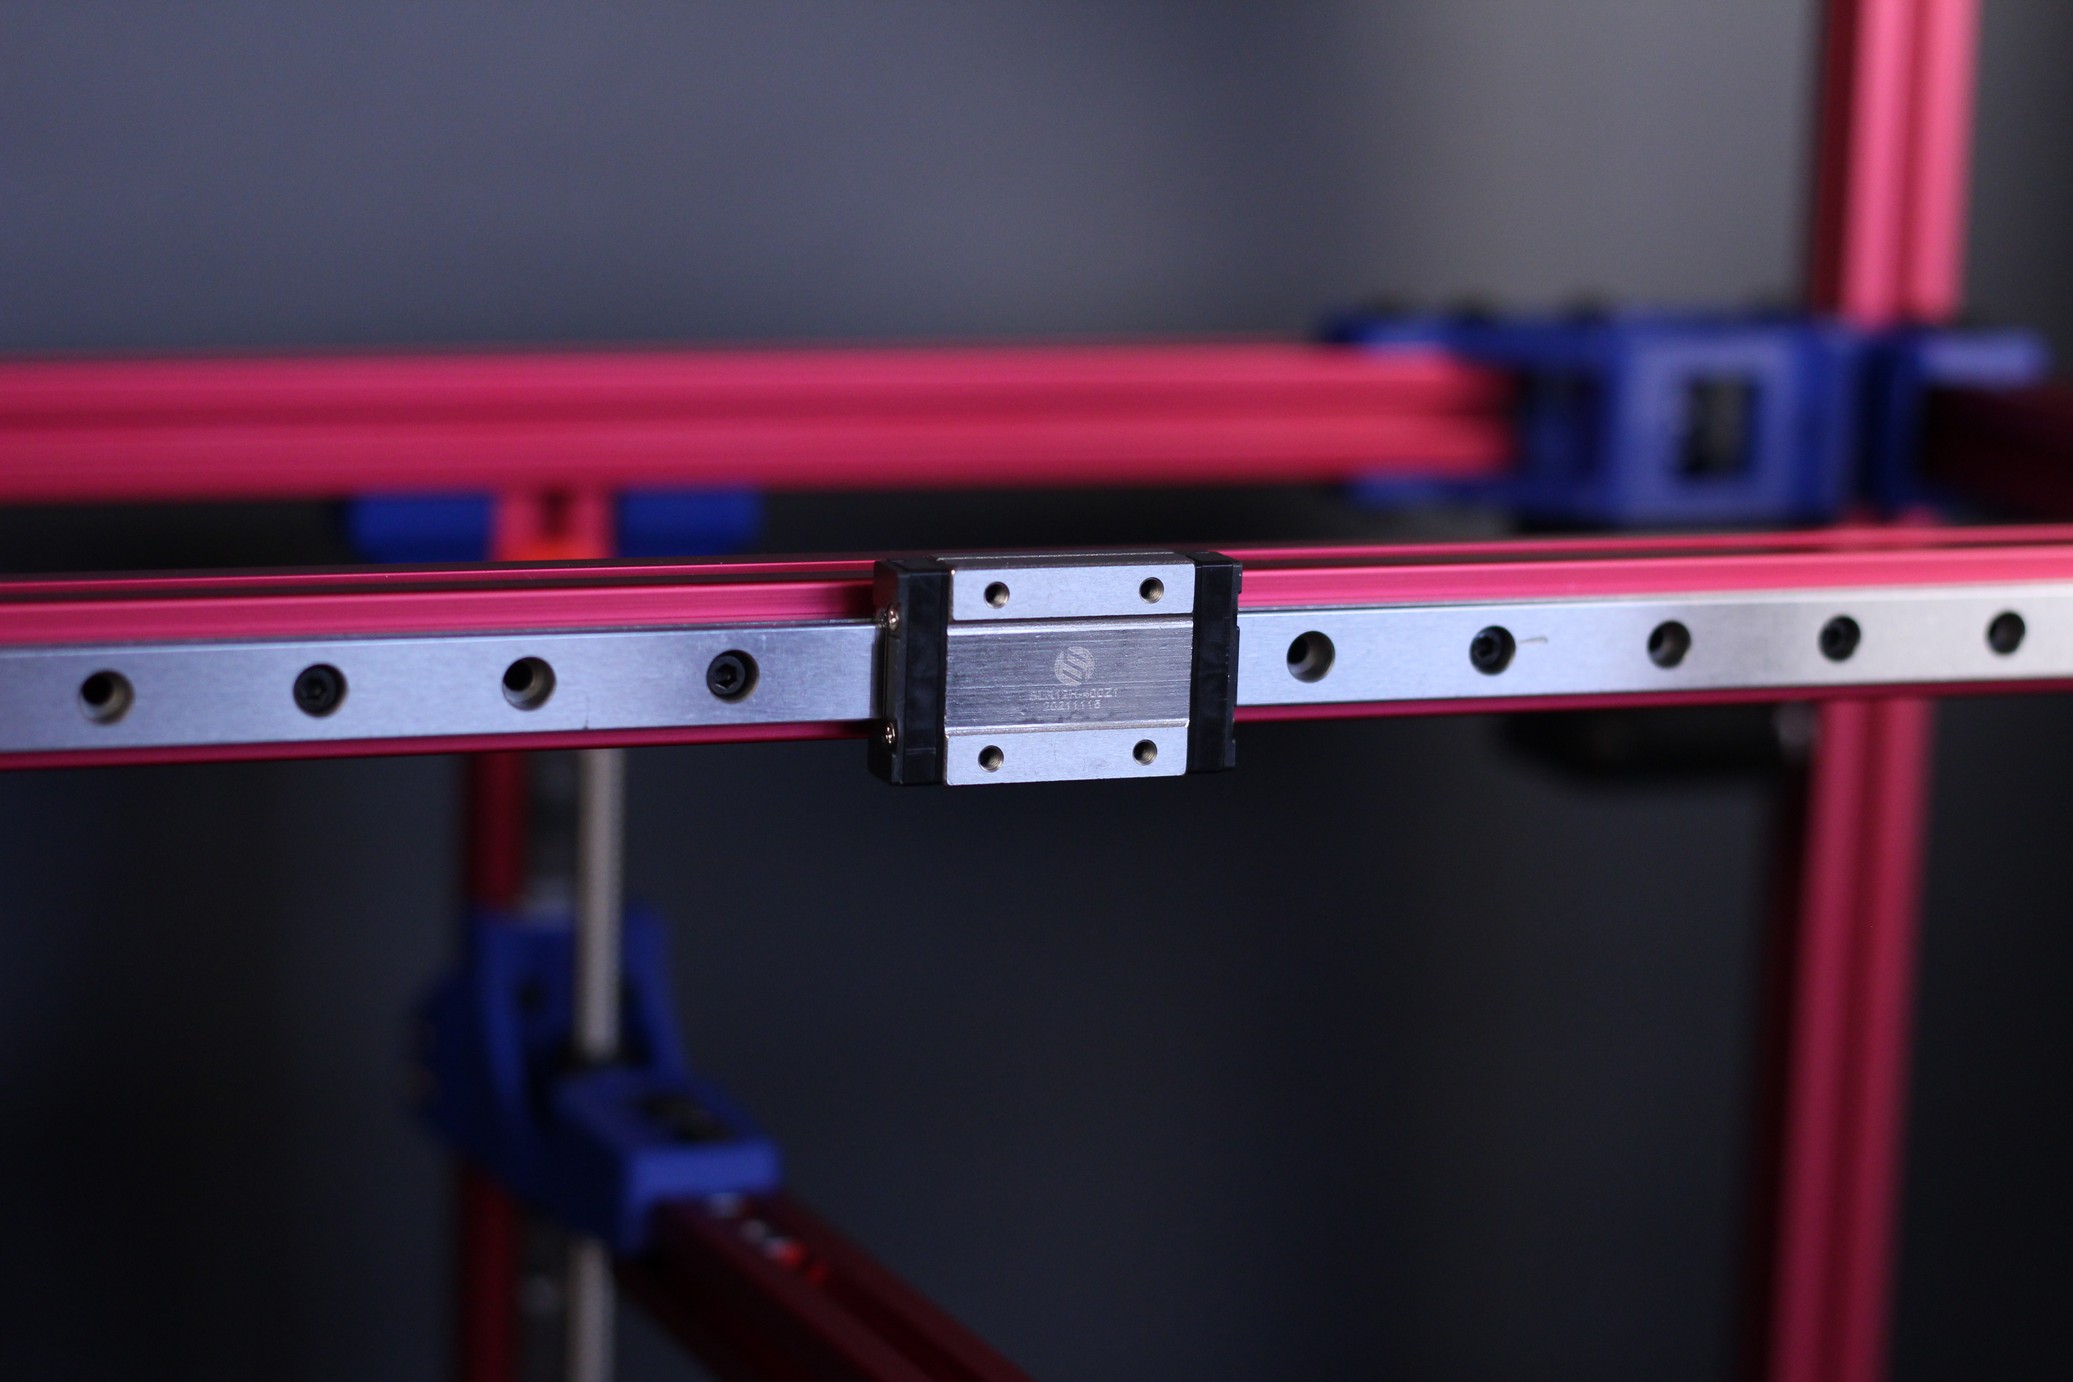
The detailed pictures with the included linear rails got corrupted for some unknown reason, and I don’t really want to take apart the printer again right now. But I am happy with their performance out of the box and I didn’t find anything wrong with them.
They came individually wrapped and oiled up. The movement was super smooth and I didn’t find any bad spots on any of the included linear rails. Really happy with their performance.
Drag chains and tape
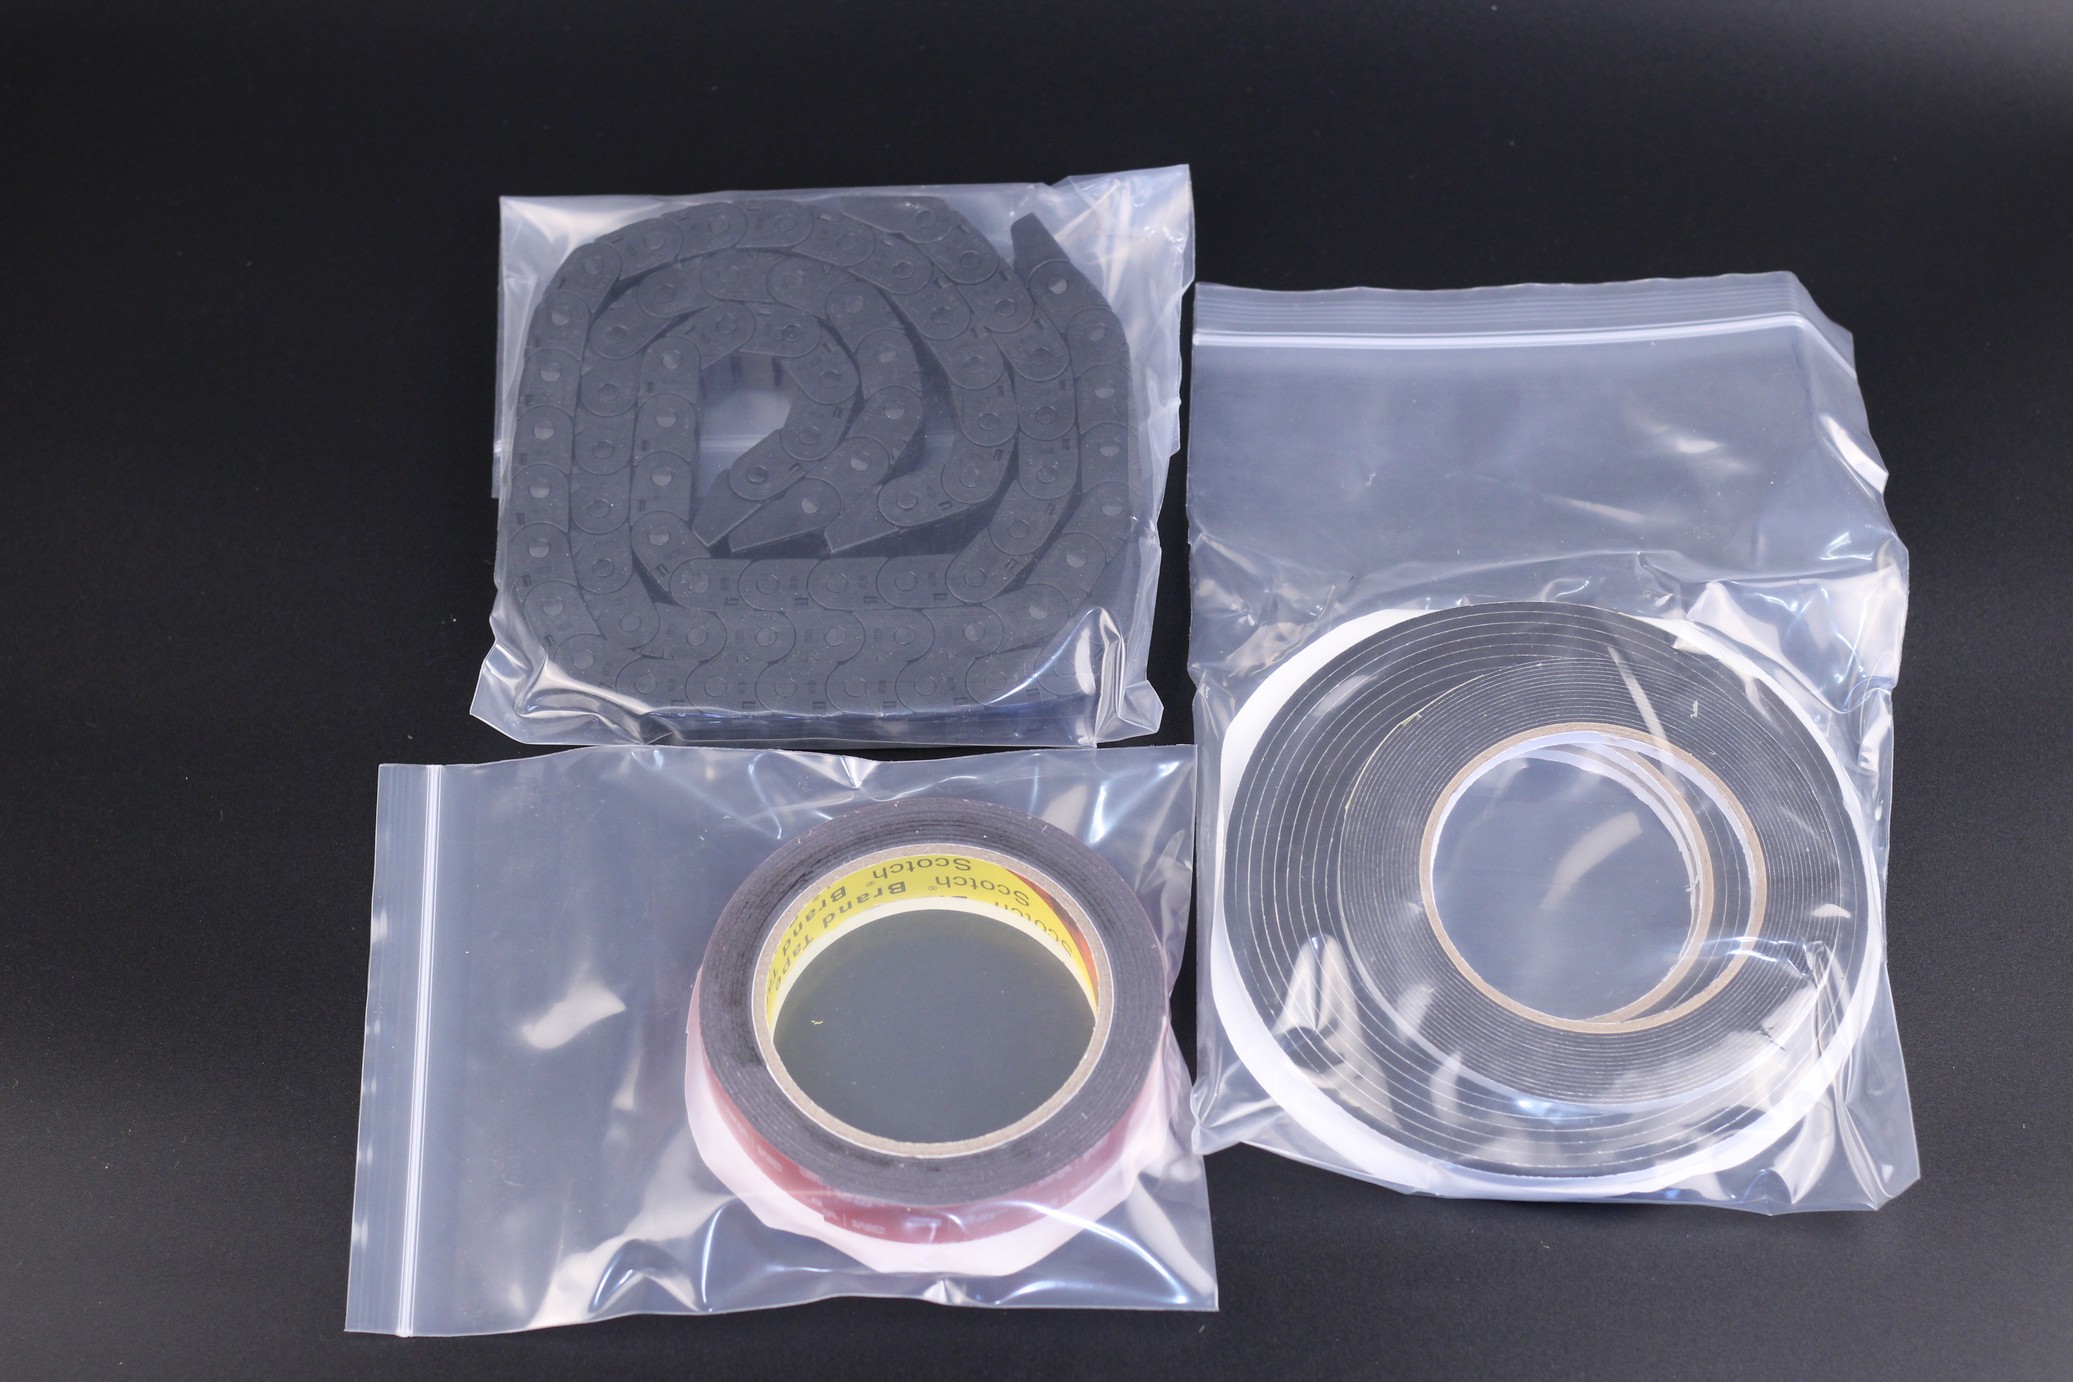
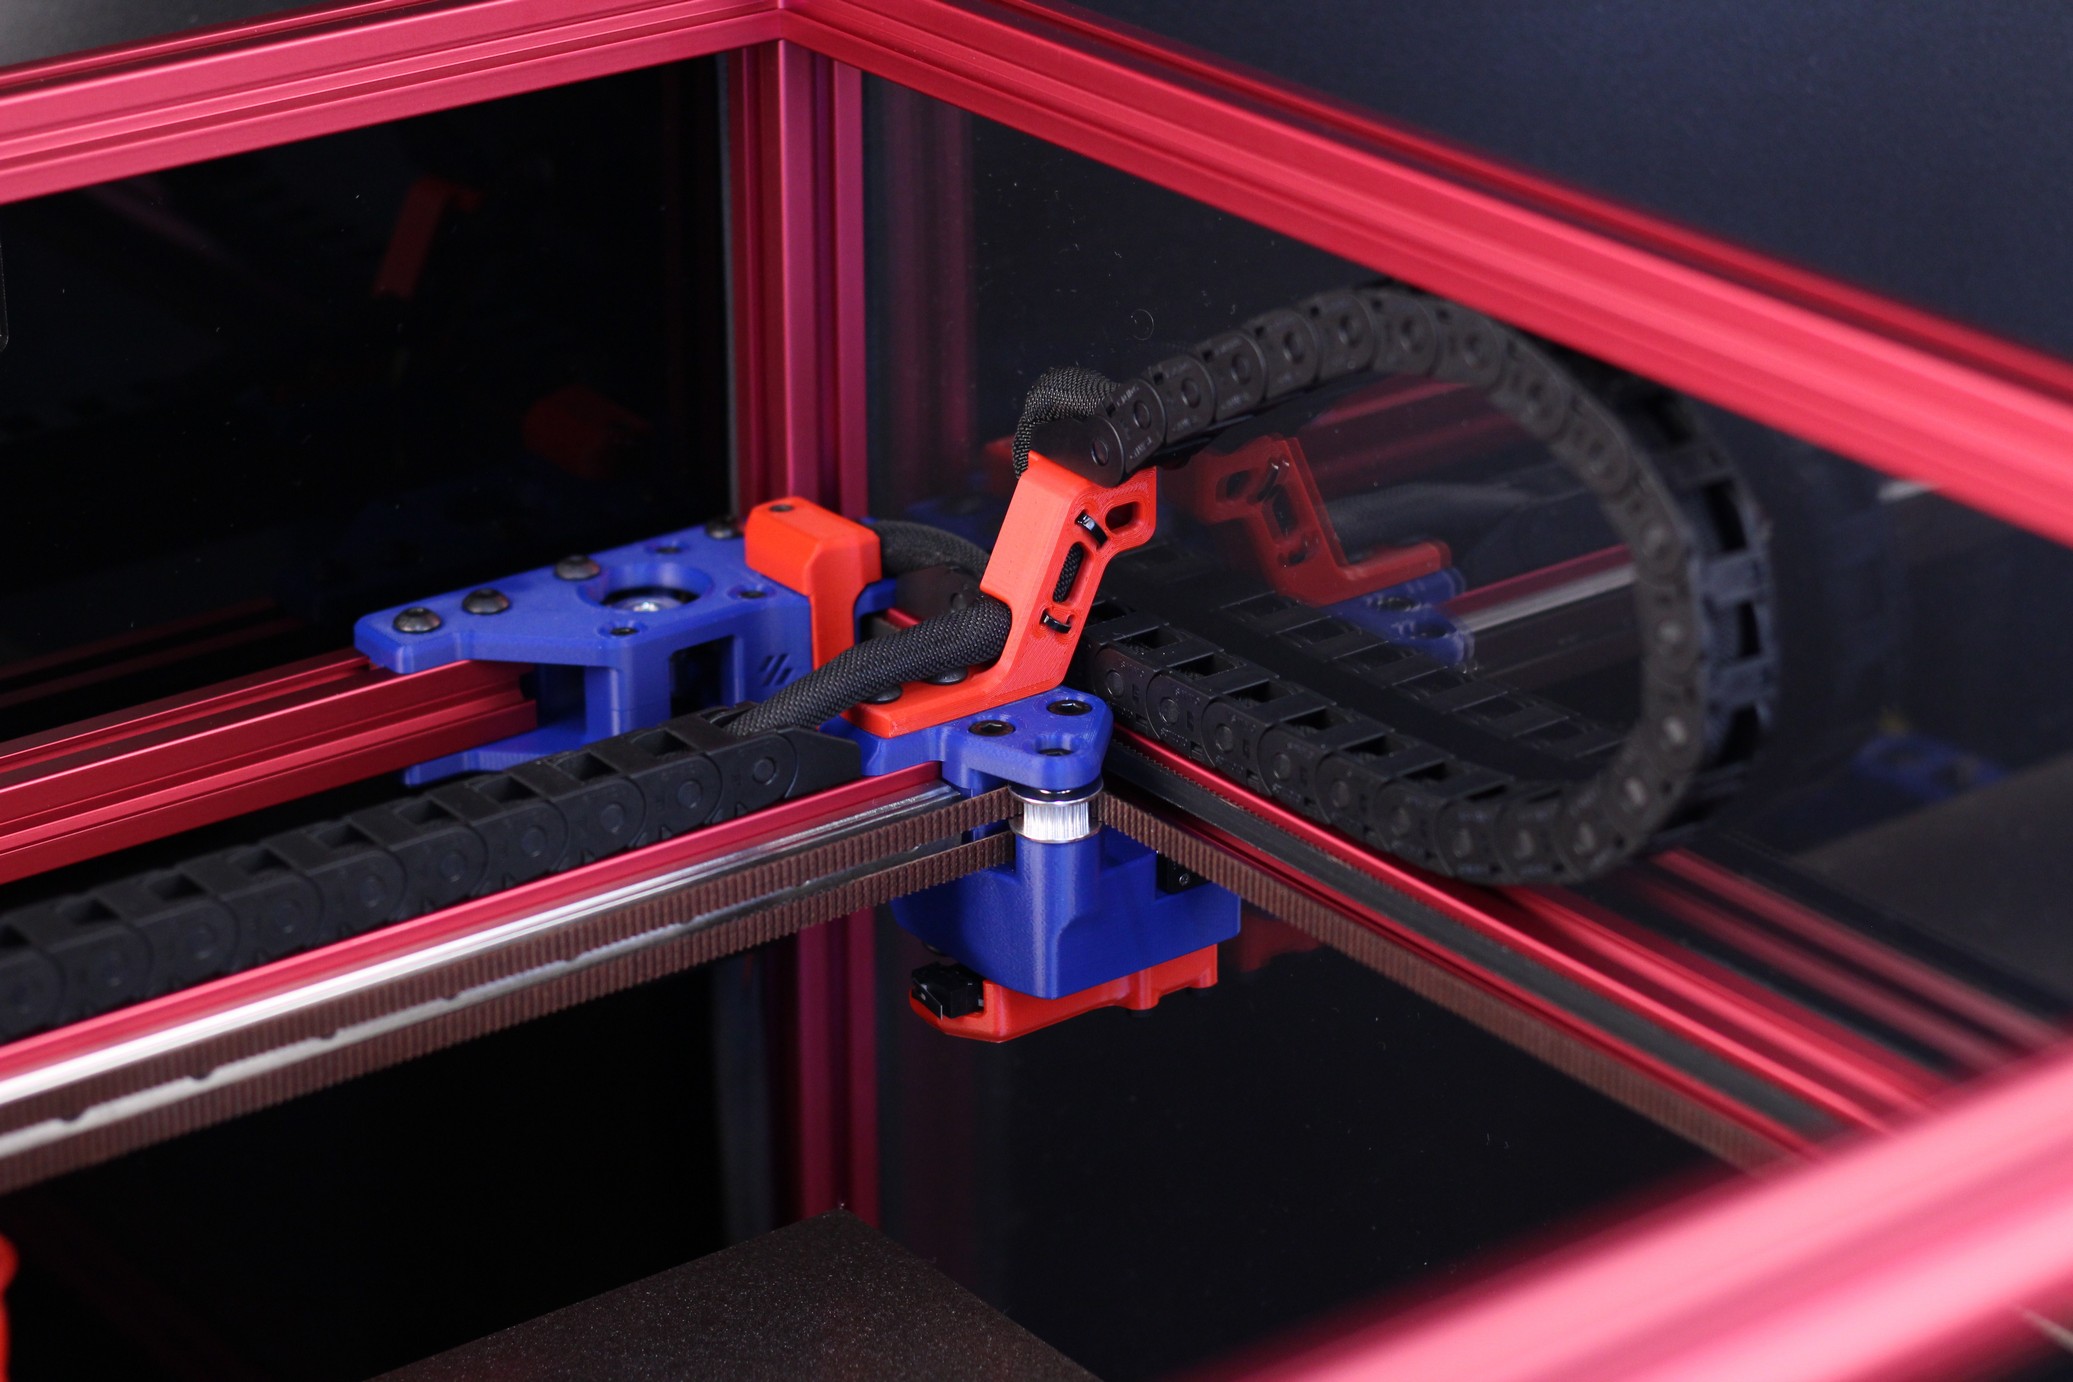
The drag chains included in this kit are of good quality and have those small latches which can be opened to install the wires easily. The tape is….tape. There’s not much to say about it. Just ensure that you use the right size when installing the panels.
I like how the drag chains give the printer a more industrial look.
Fans
All the fans included with the kit are of acceptable quality, but the large ones are quite noisy at full speed. While they move a lot of air, we don’t really need them to run at full speed, and with the Spider board, we can control the RPMs.
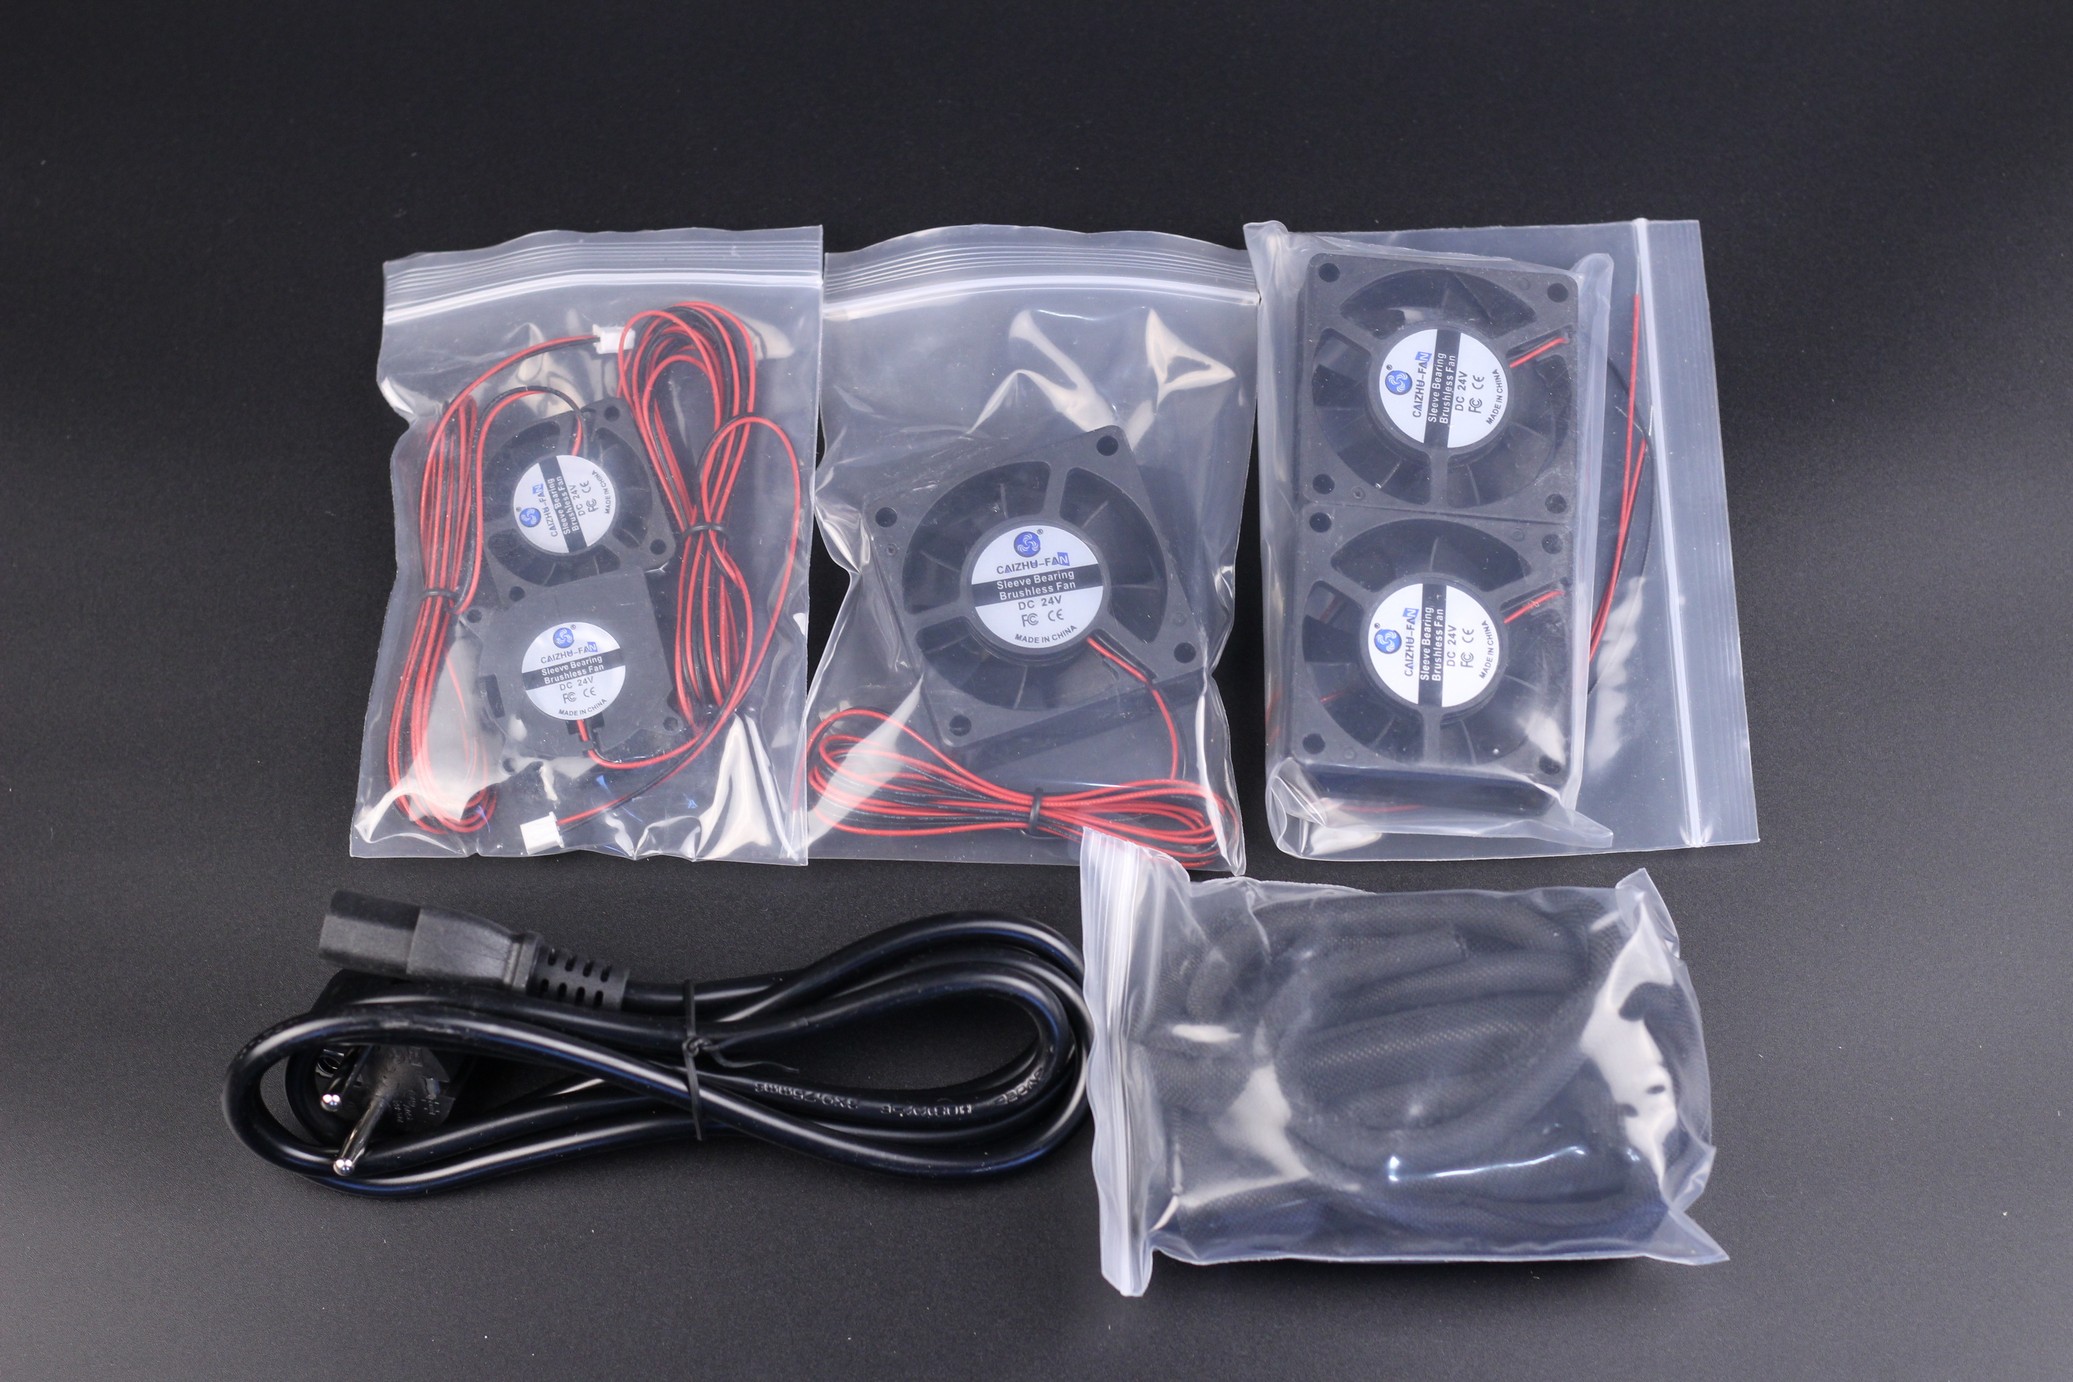
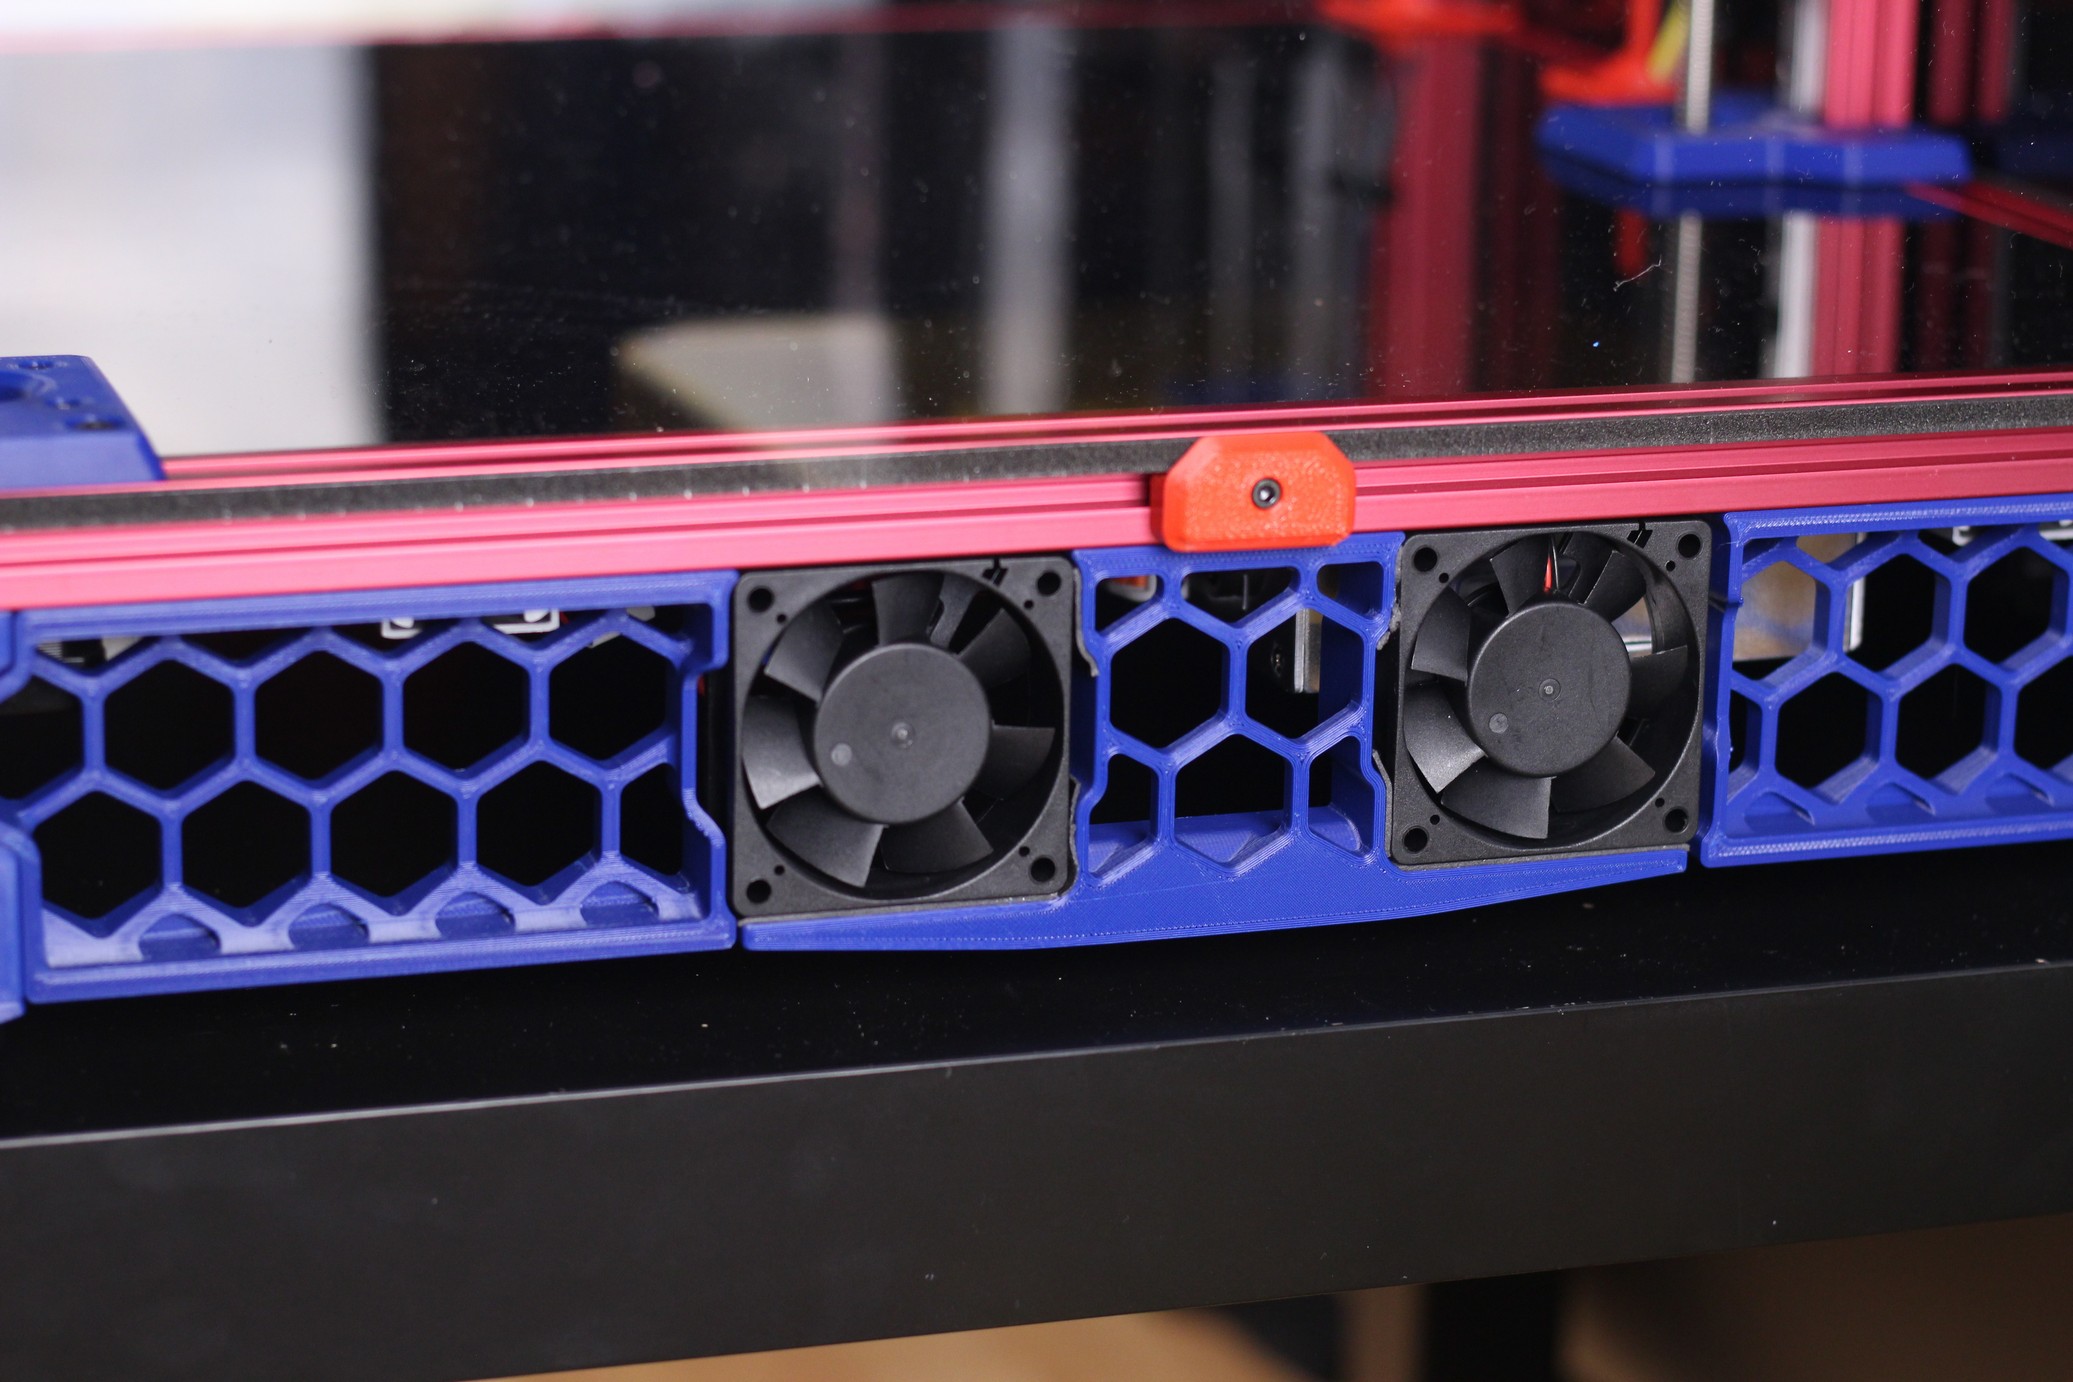
I use them at 0.5 max power which seems a good value for good airflow and low noise. I would have liked to see ball-bearing fans instead of sleeve bearings, because those last longer. Either way, these are ok for now.
The hotend fan is not powerful enough to tame the Dragon HF heat break. I found out after trying to print a PLA model which took a bit more time, and the hotend clogged. It’s probably fine if you plan to print PETG, ABS, or other higher temperature materials, but it’s not enough for PLA. I replaced the fan with a different one that has higher air pressure and the issue was solved.
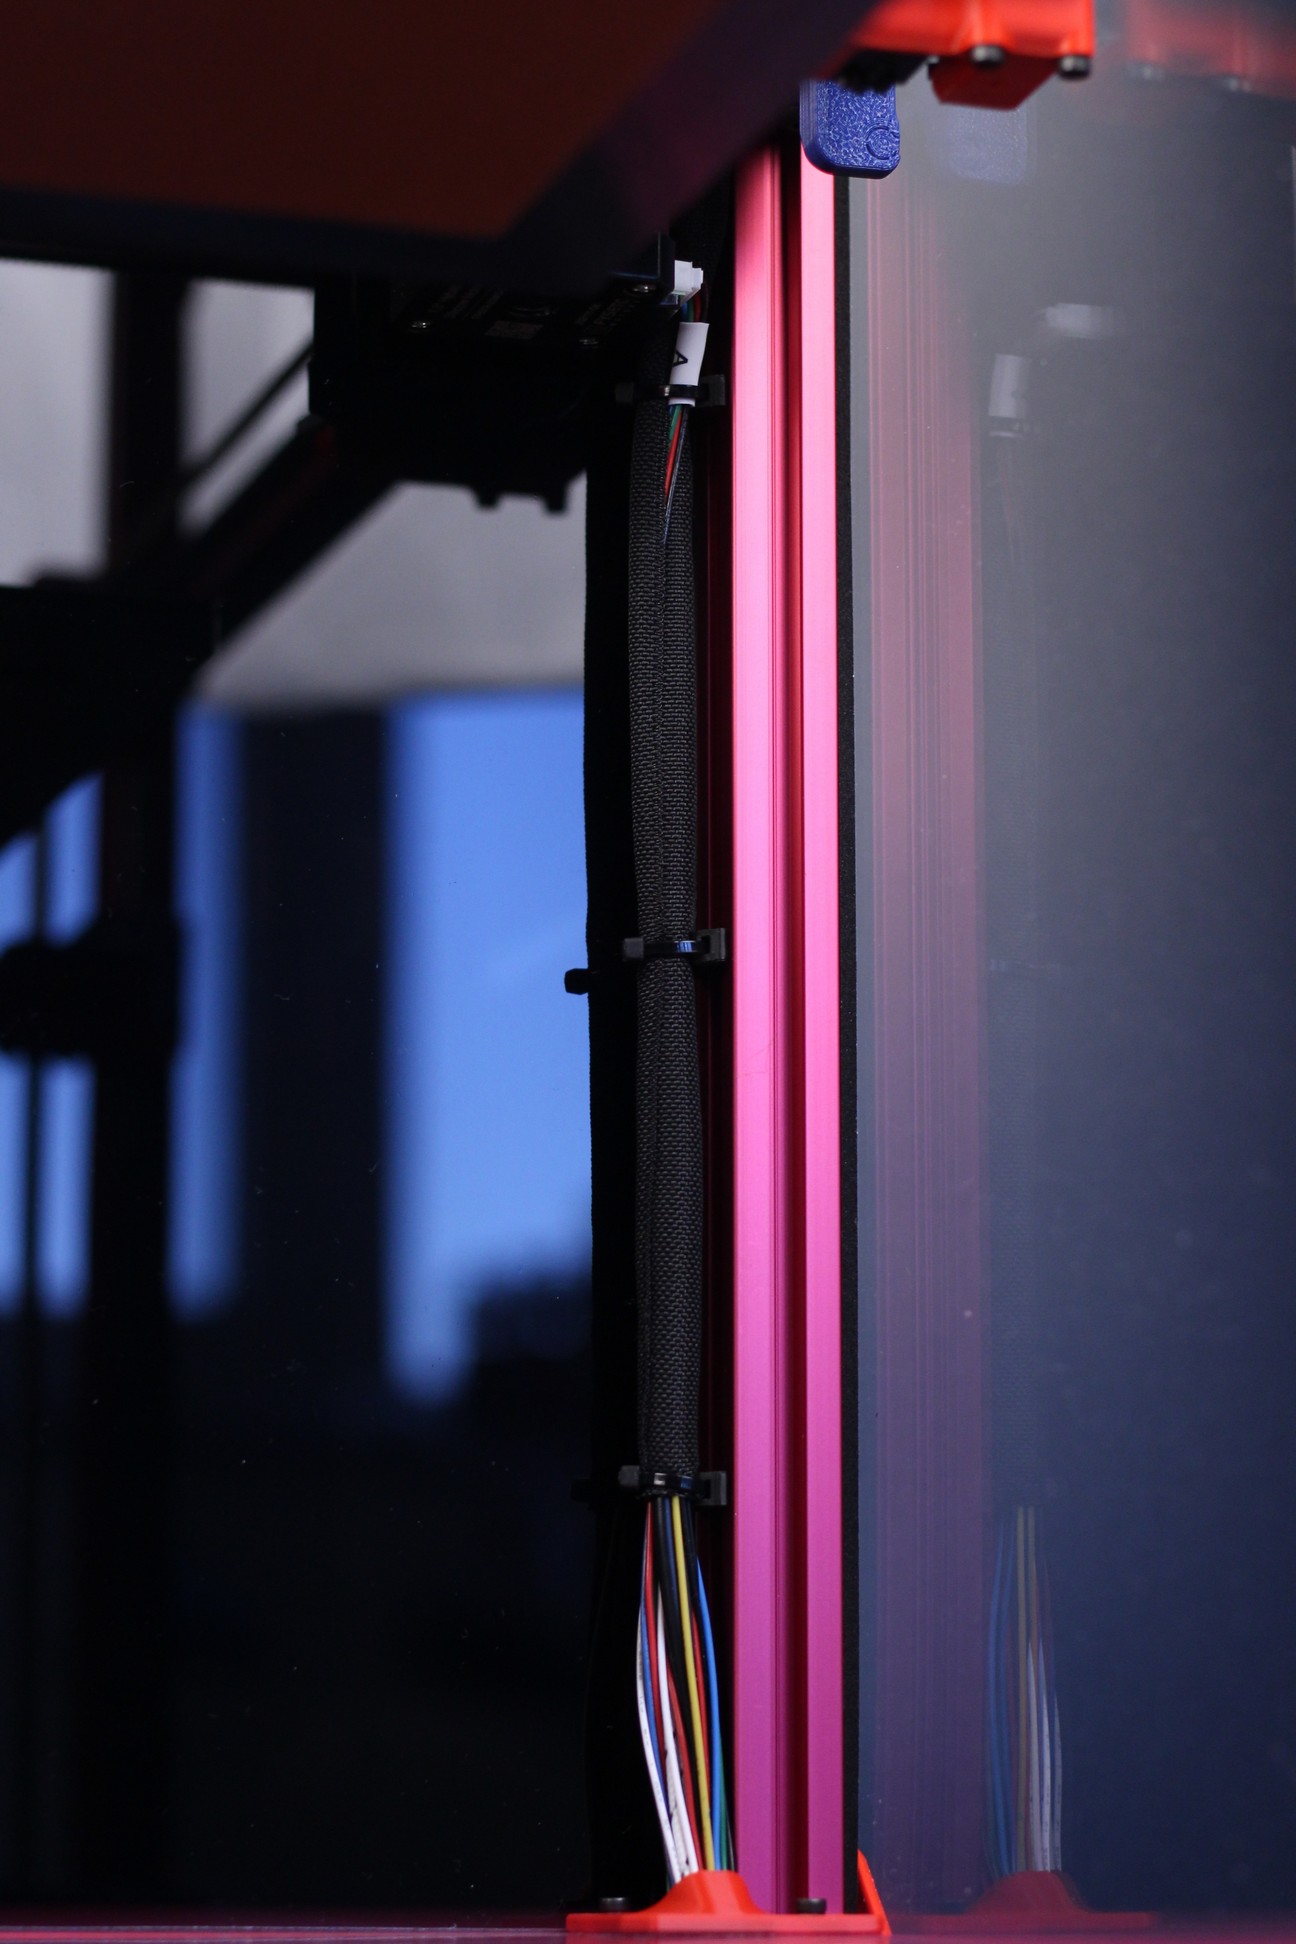
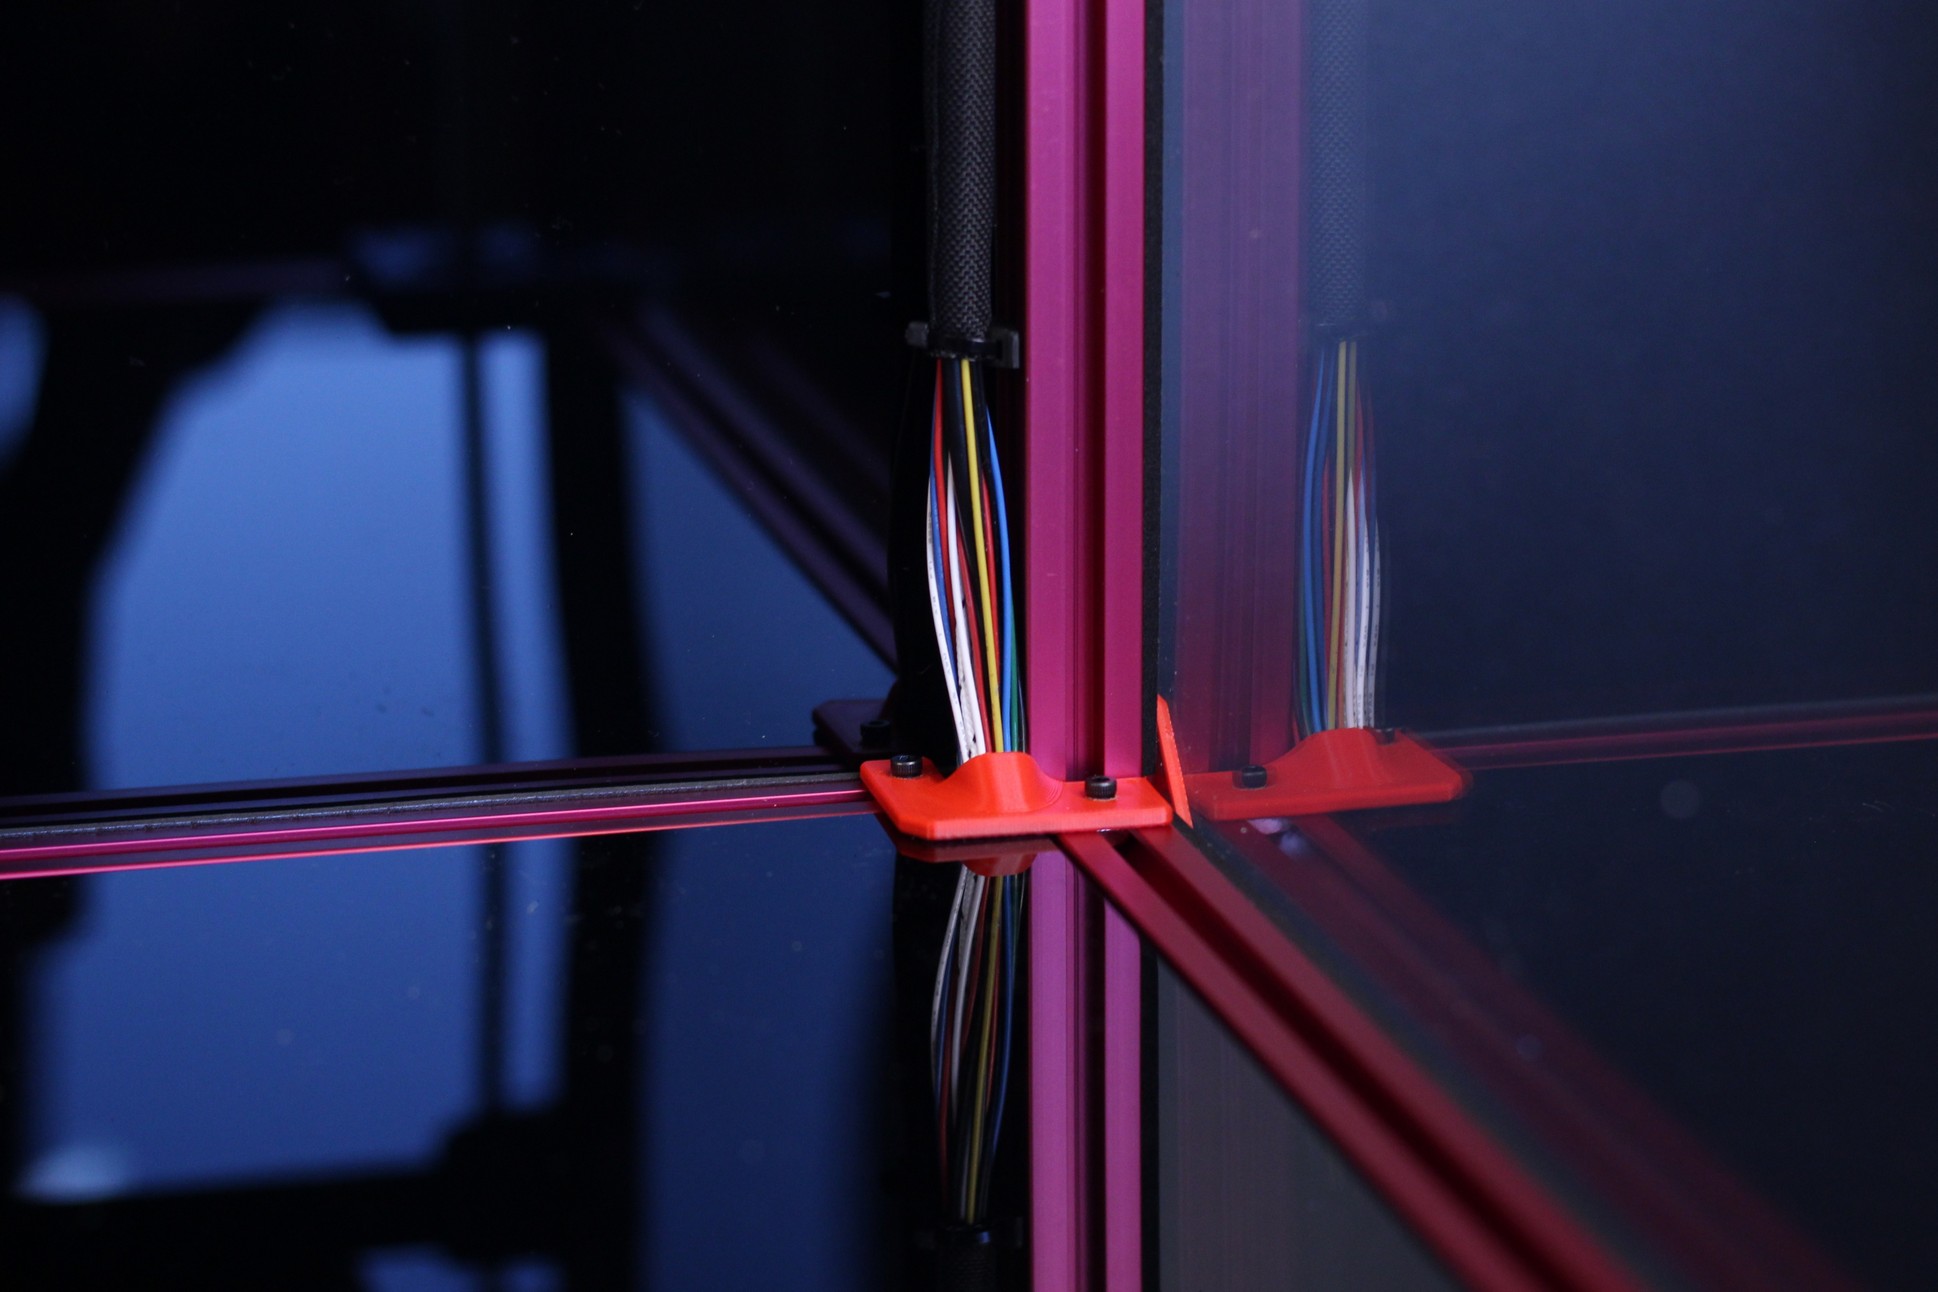
FYSETC also includes plastic wiring looms to cover the wires and make everything look great. The only issue I had with this is the length of these looms. Having them about ~10cm longer would allow you to cover all the wires correctly. I also don’t really understand why one of the looms is thicker than the others.
Mean Well Power Supplies
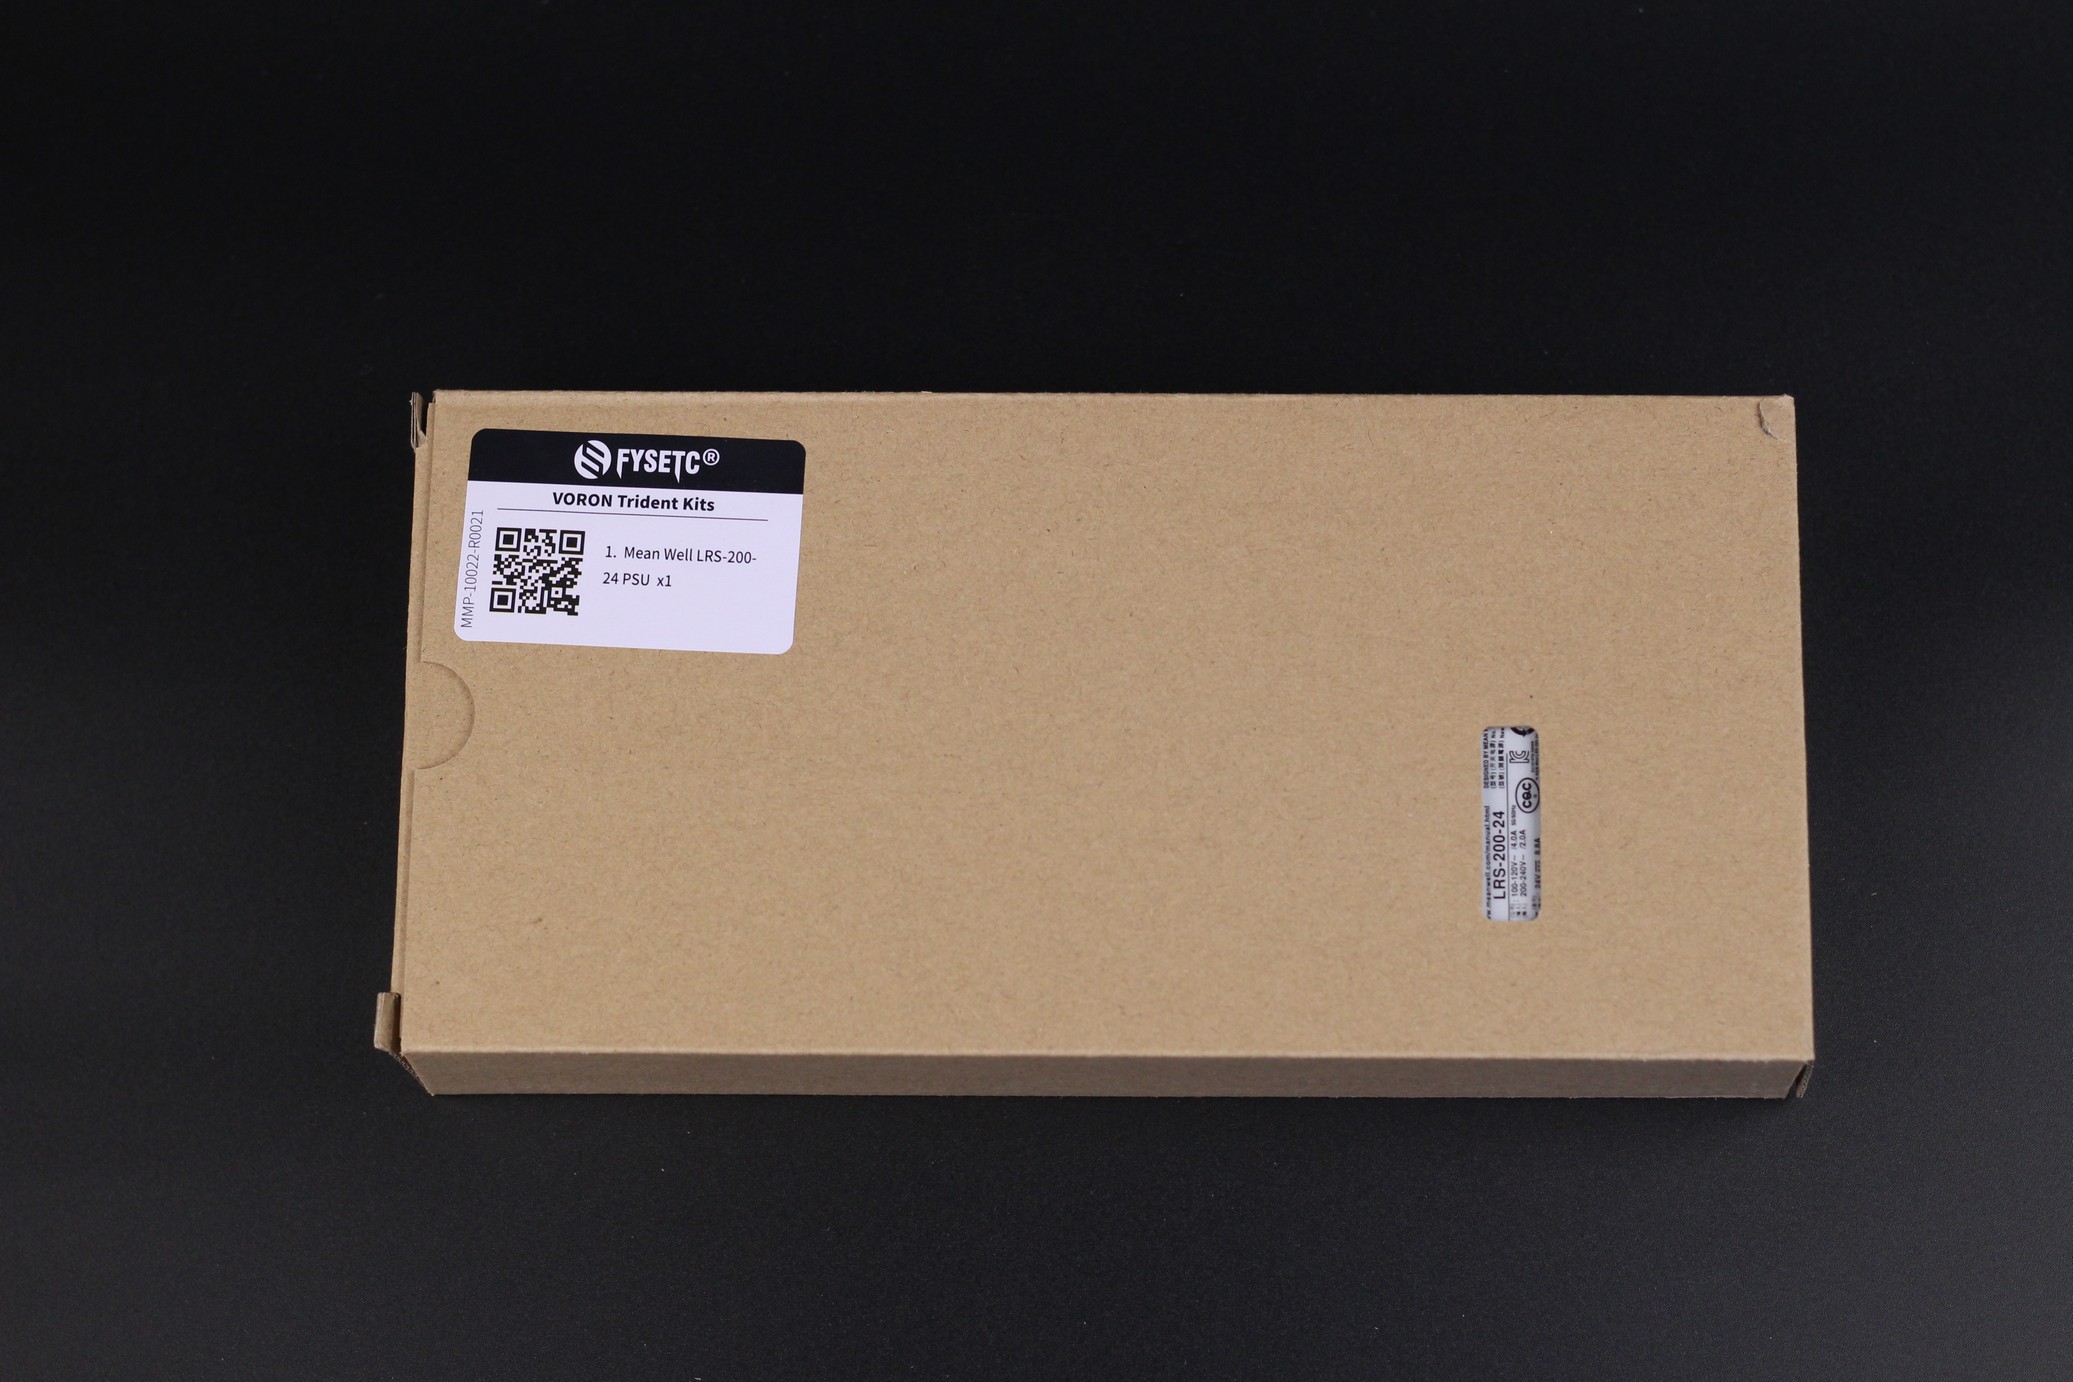
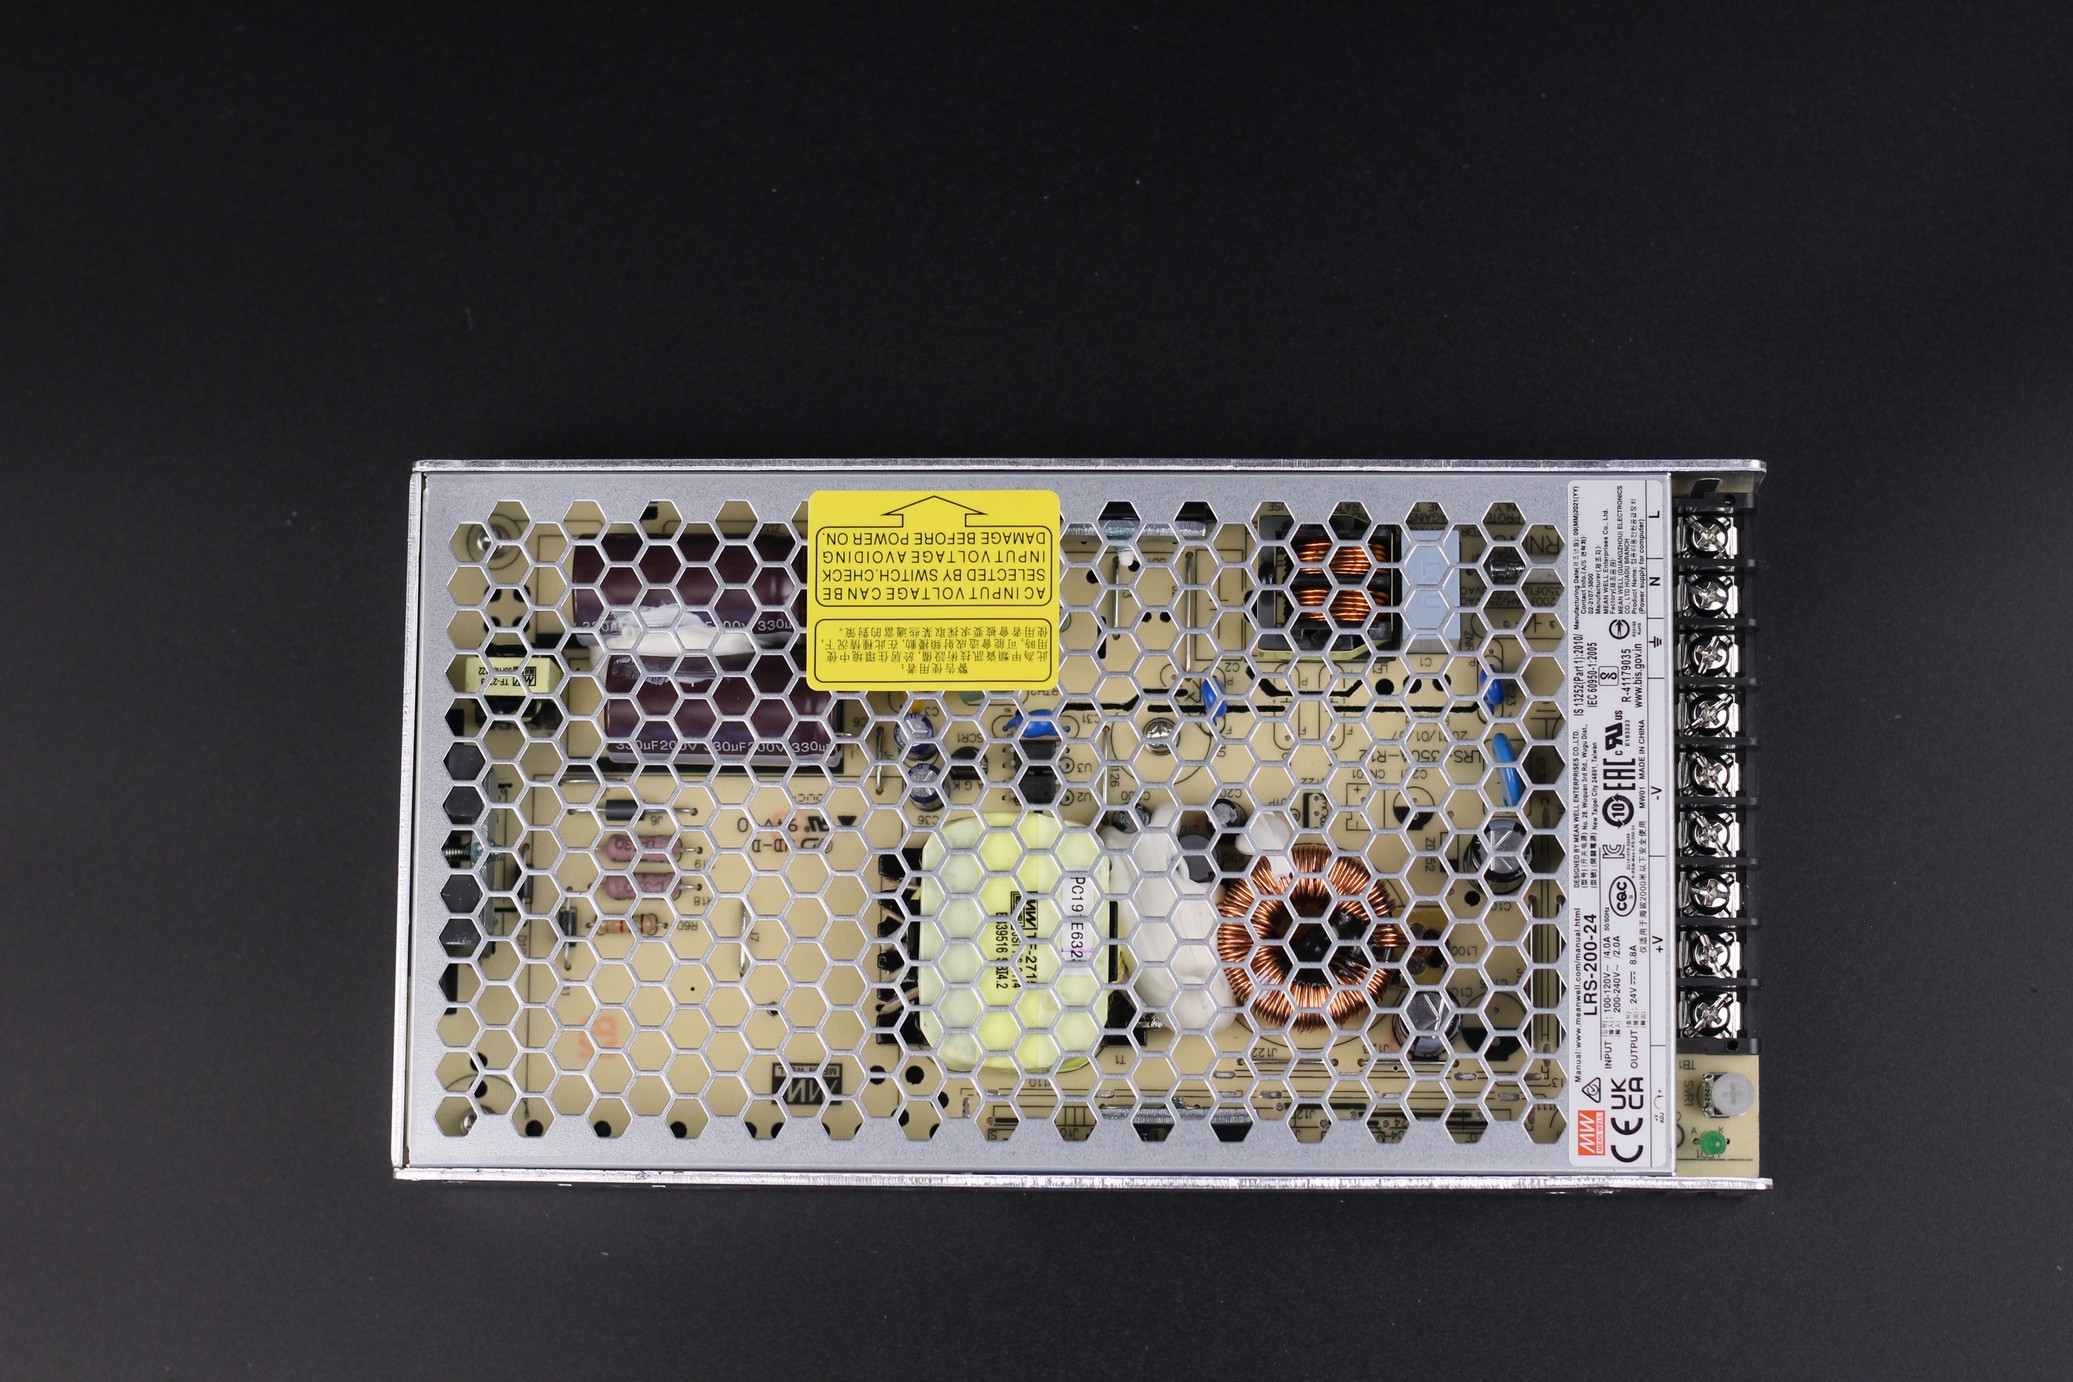
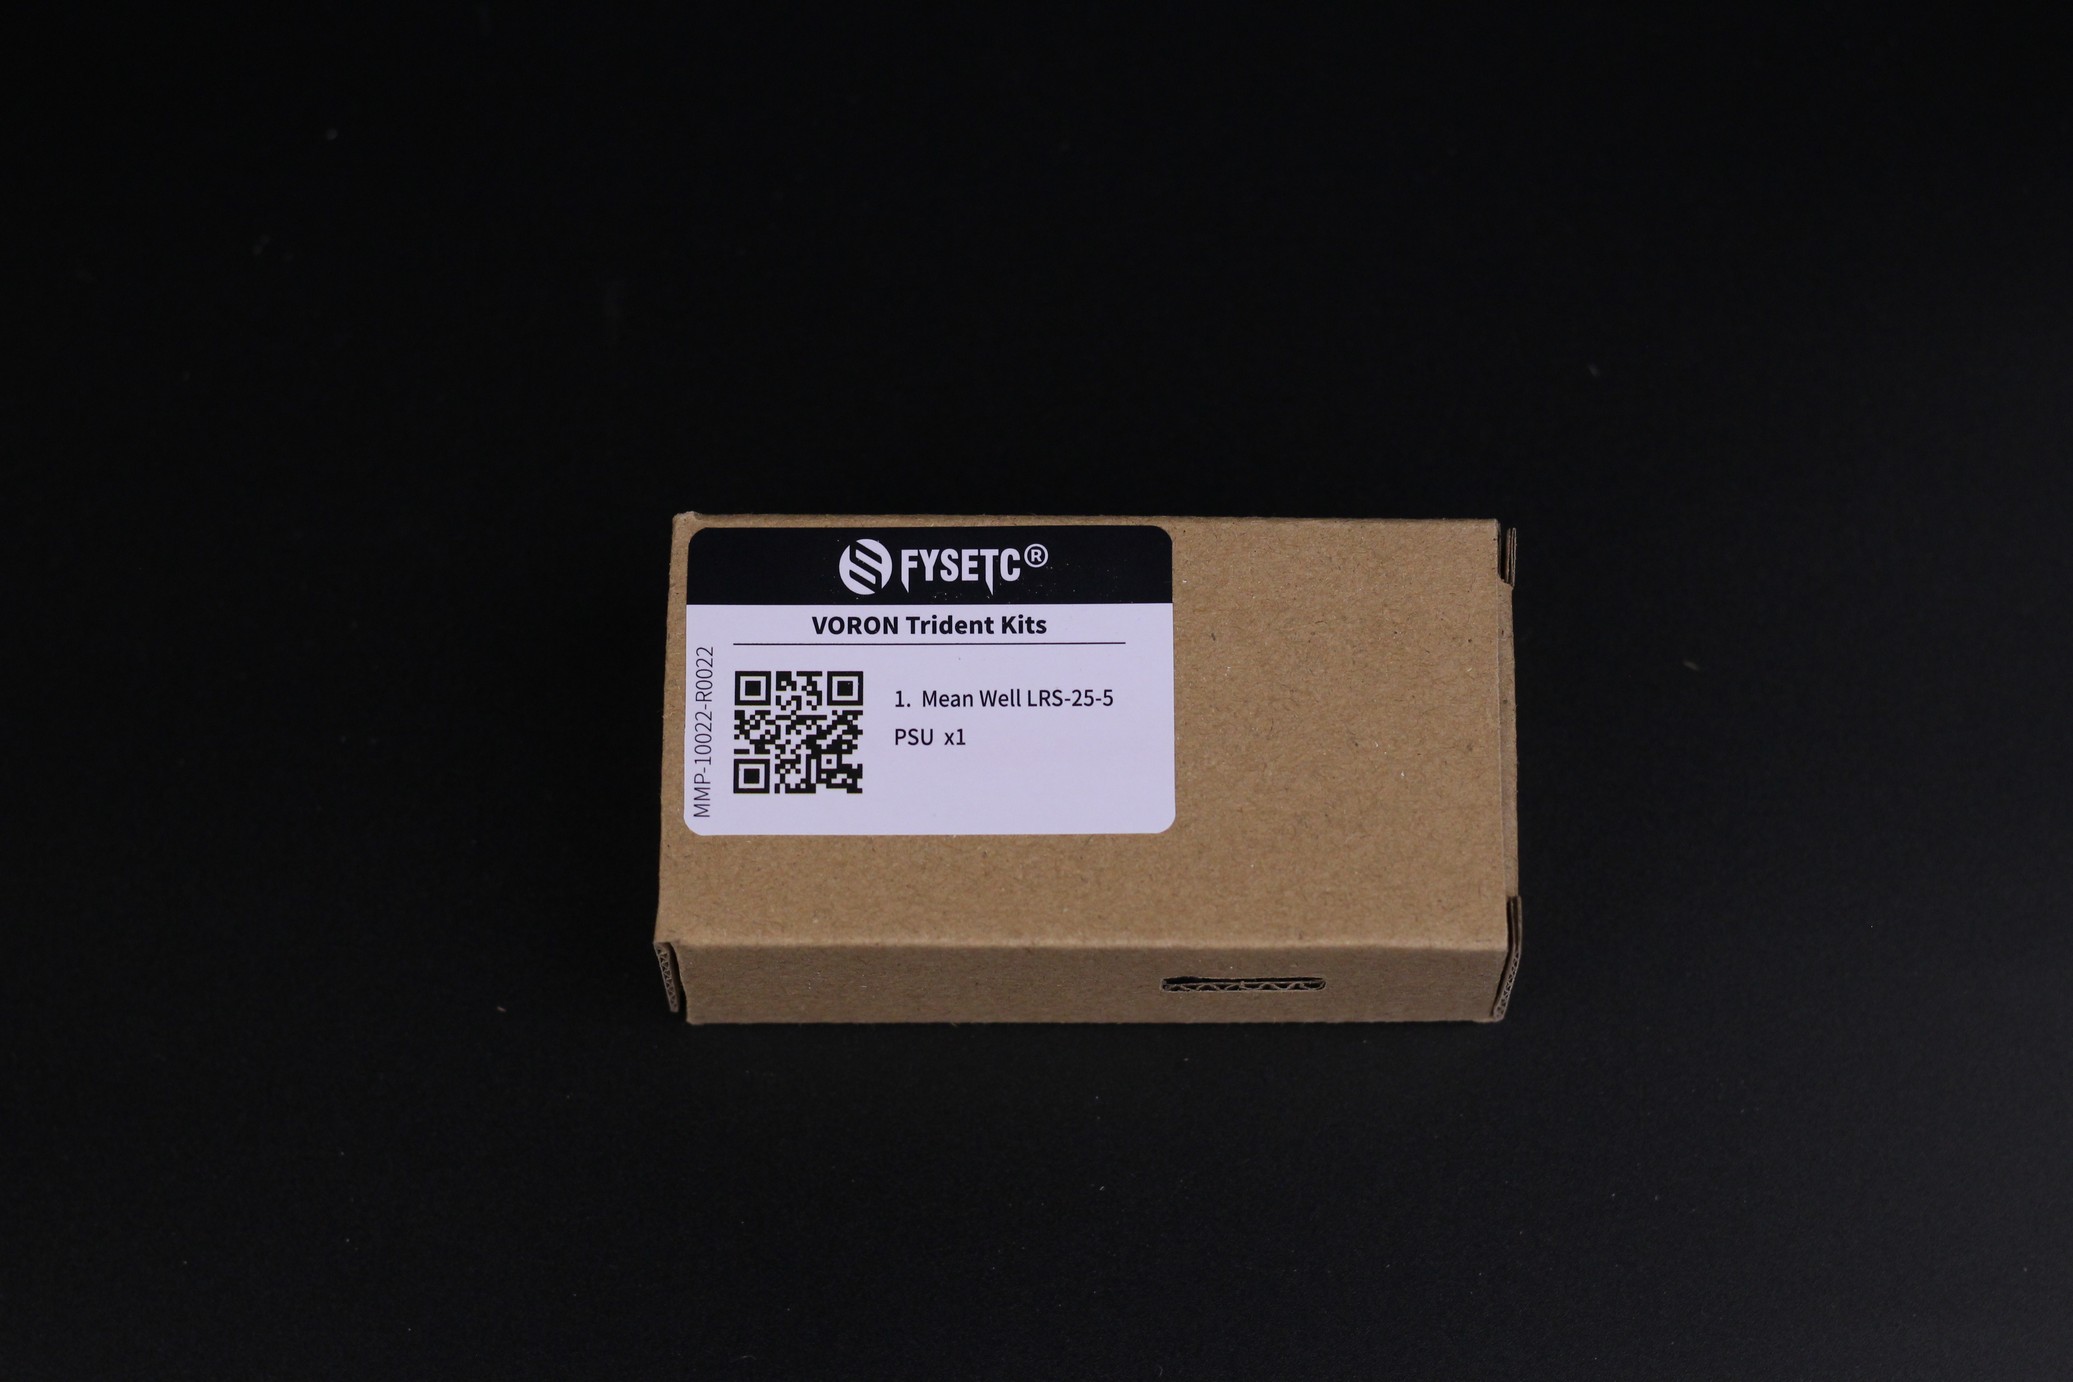
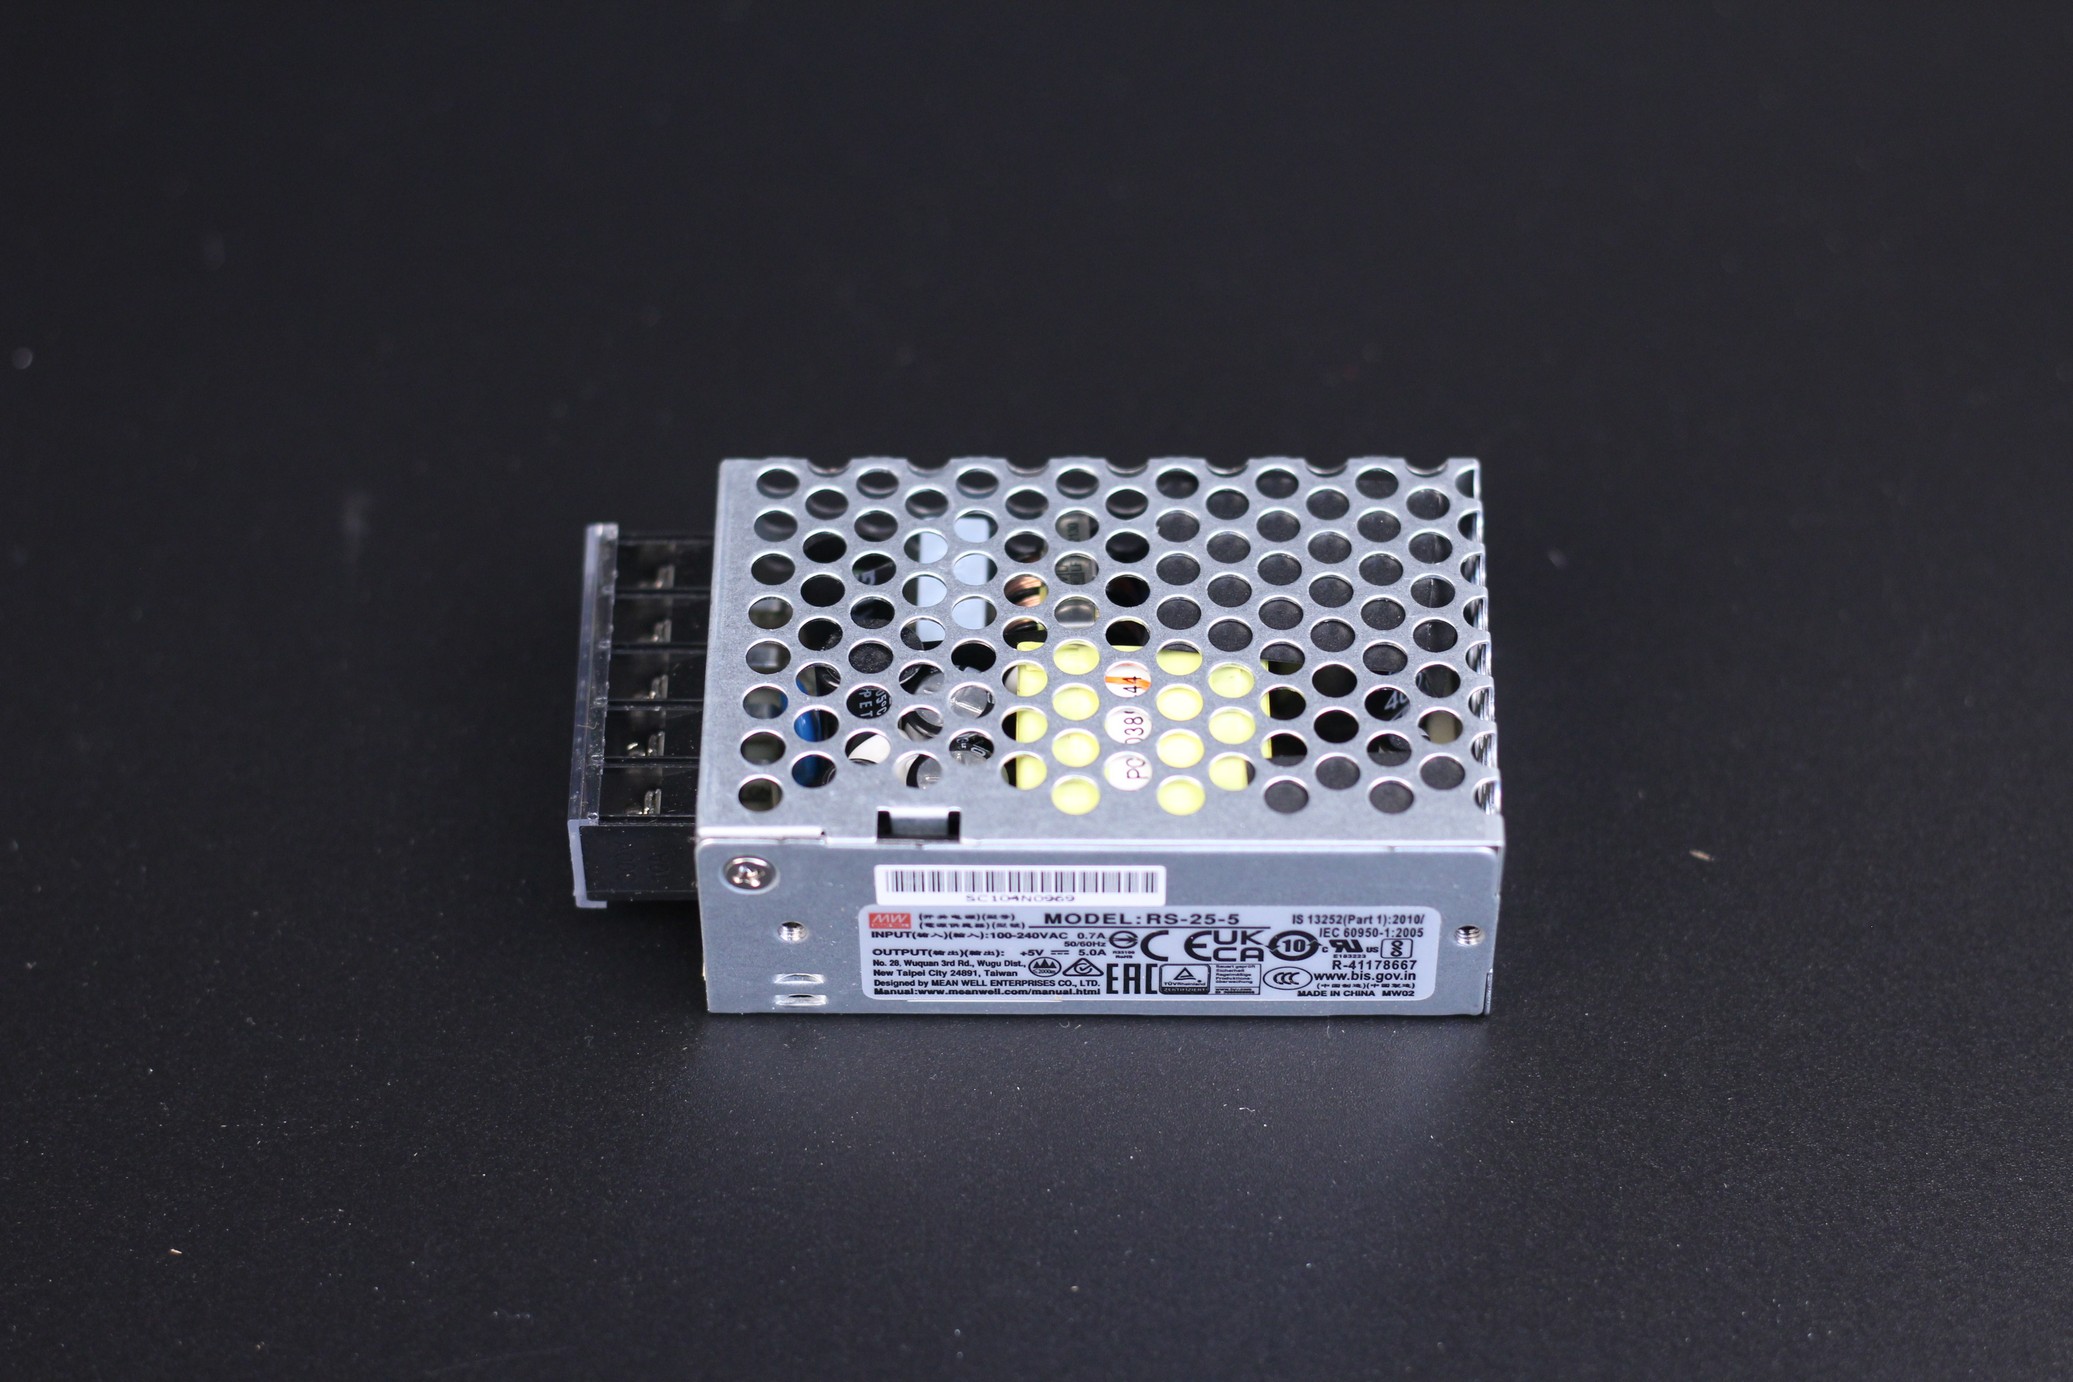
The power supplies are Mean Well, so there’s nothing to complain about. What’s worth mentioning is that the 5V power supply won’t actually be used to power the Pi, because it’s already powered by the Spider board. It’s good to have it in the kit, so you can use it if you extend the printer’s functionality in the future.
Other electronics
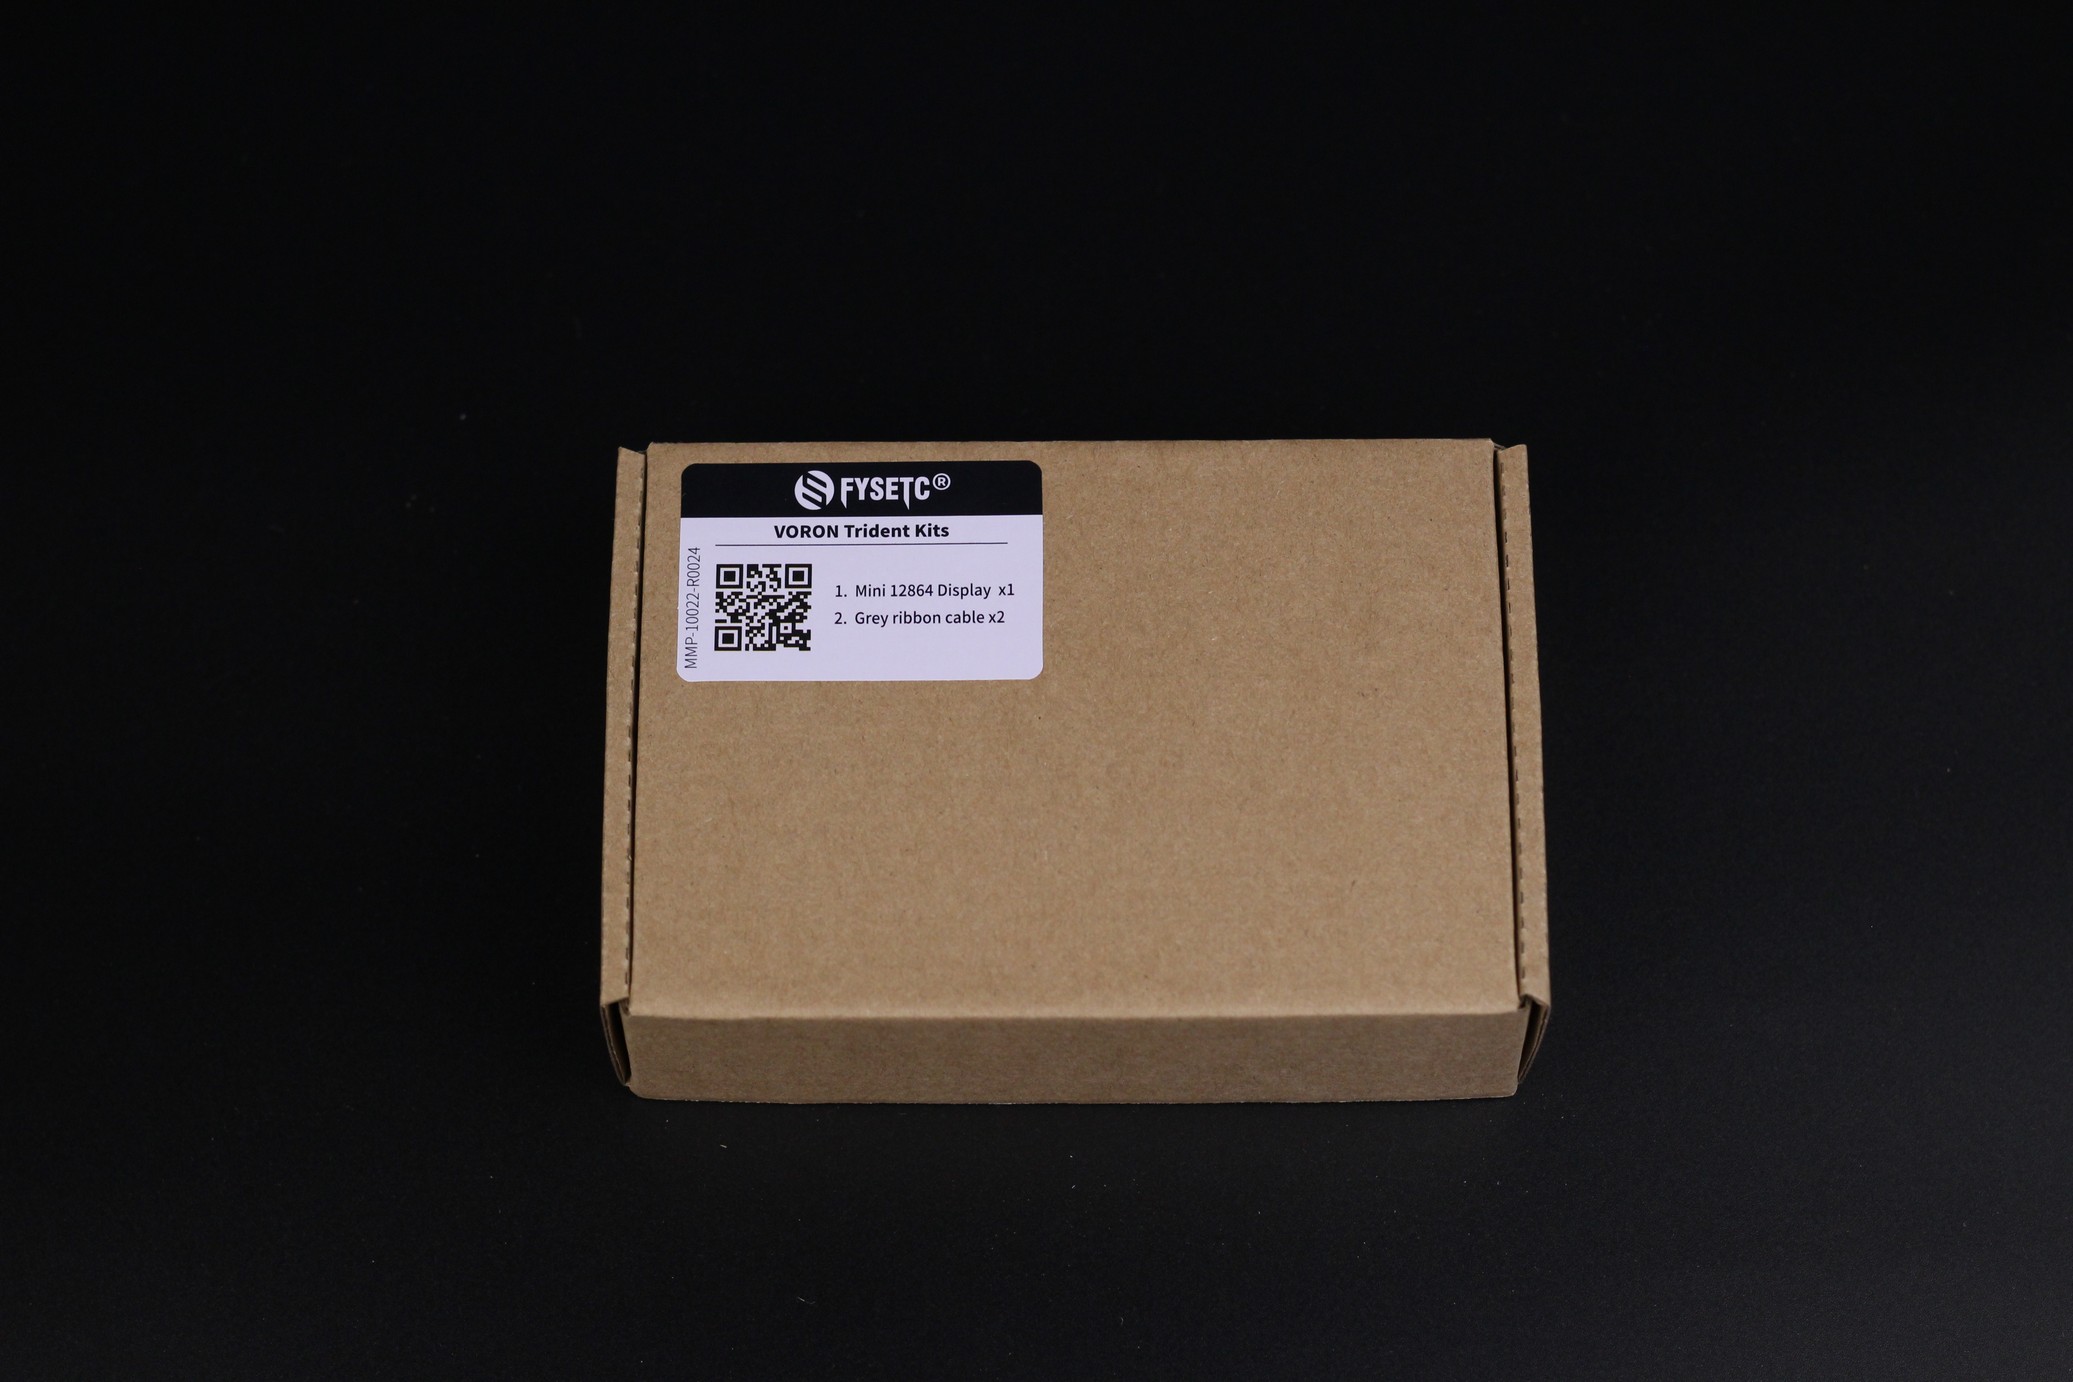
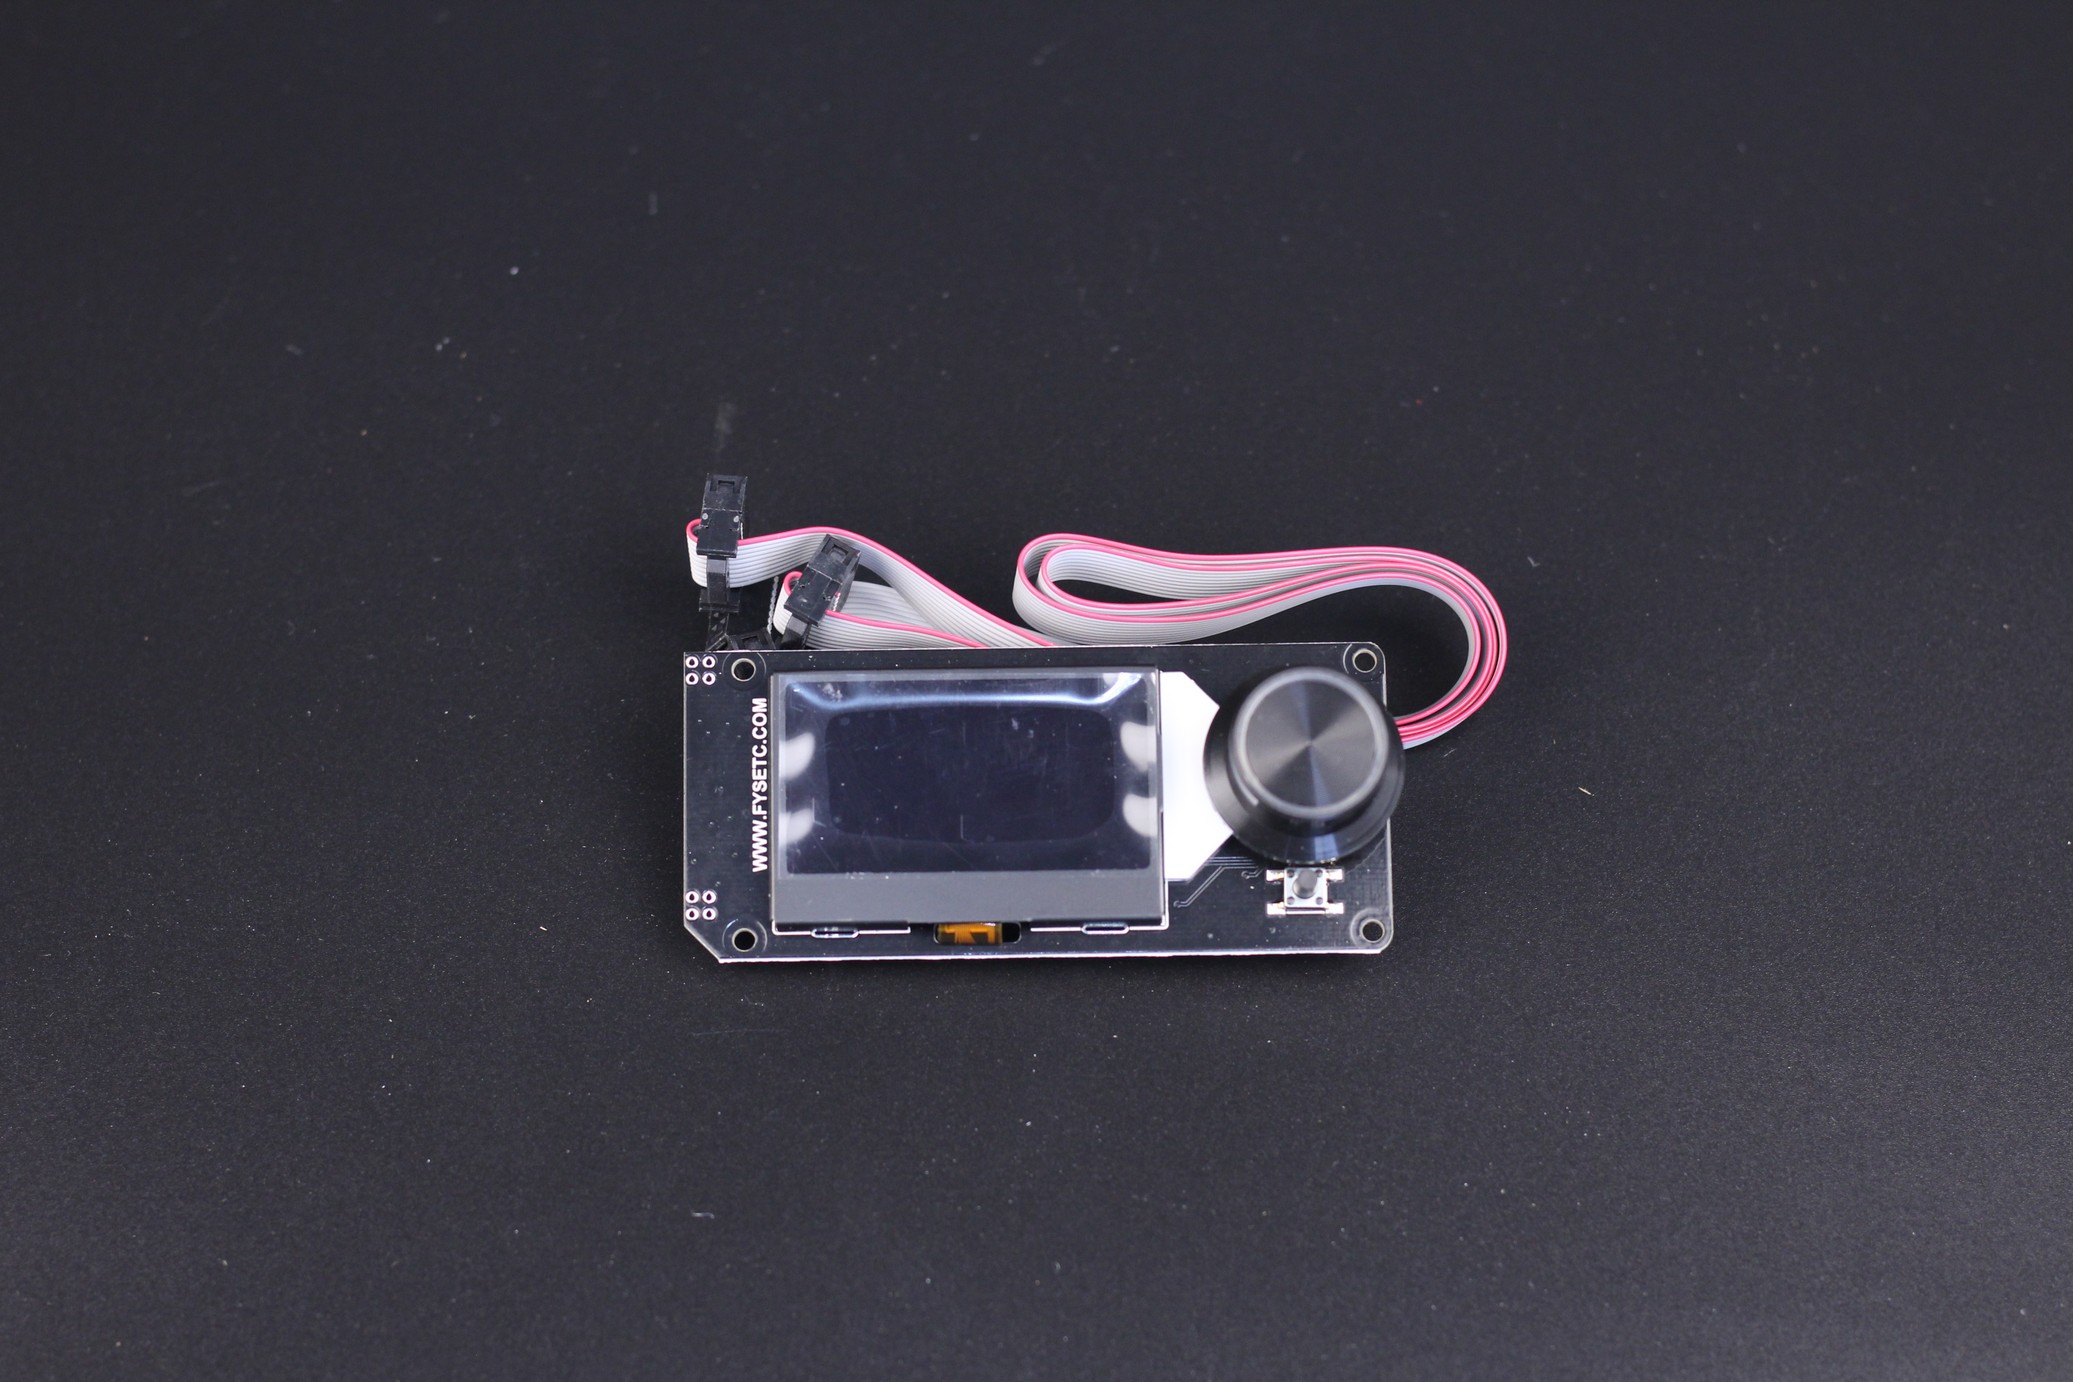
I was pleasantly surprised by the RGB screen which can be used to control the printer. It is illuminated with RGB and you can control its color trough the Klipper config
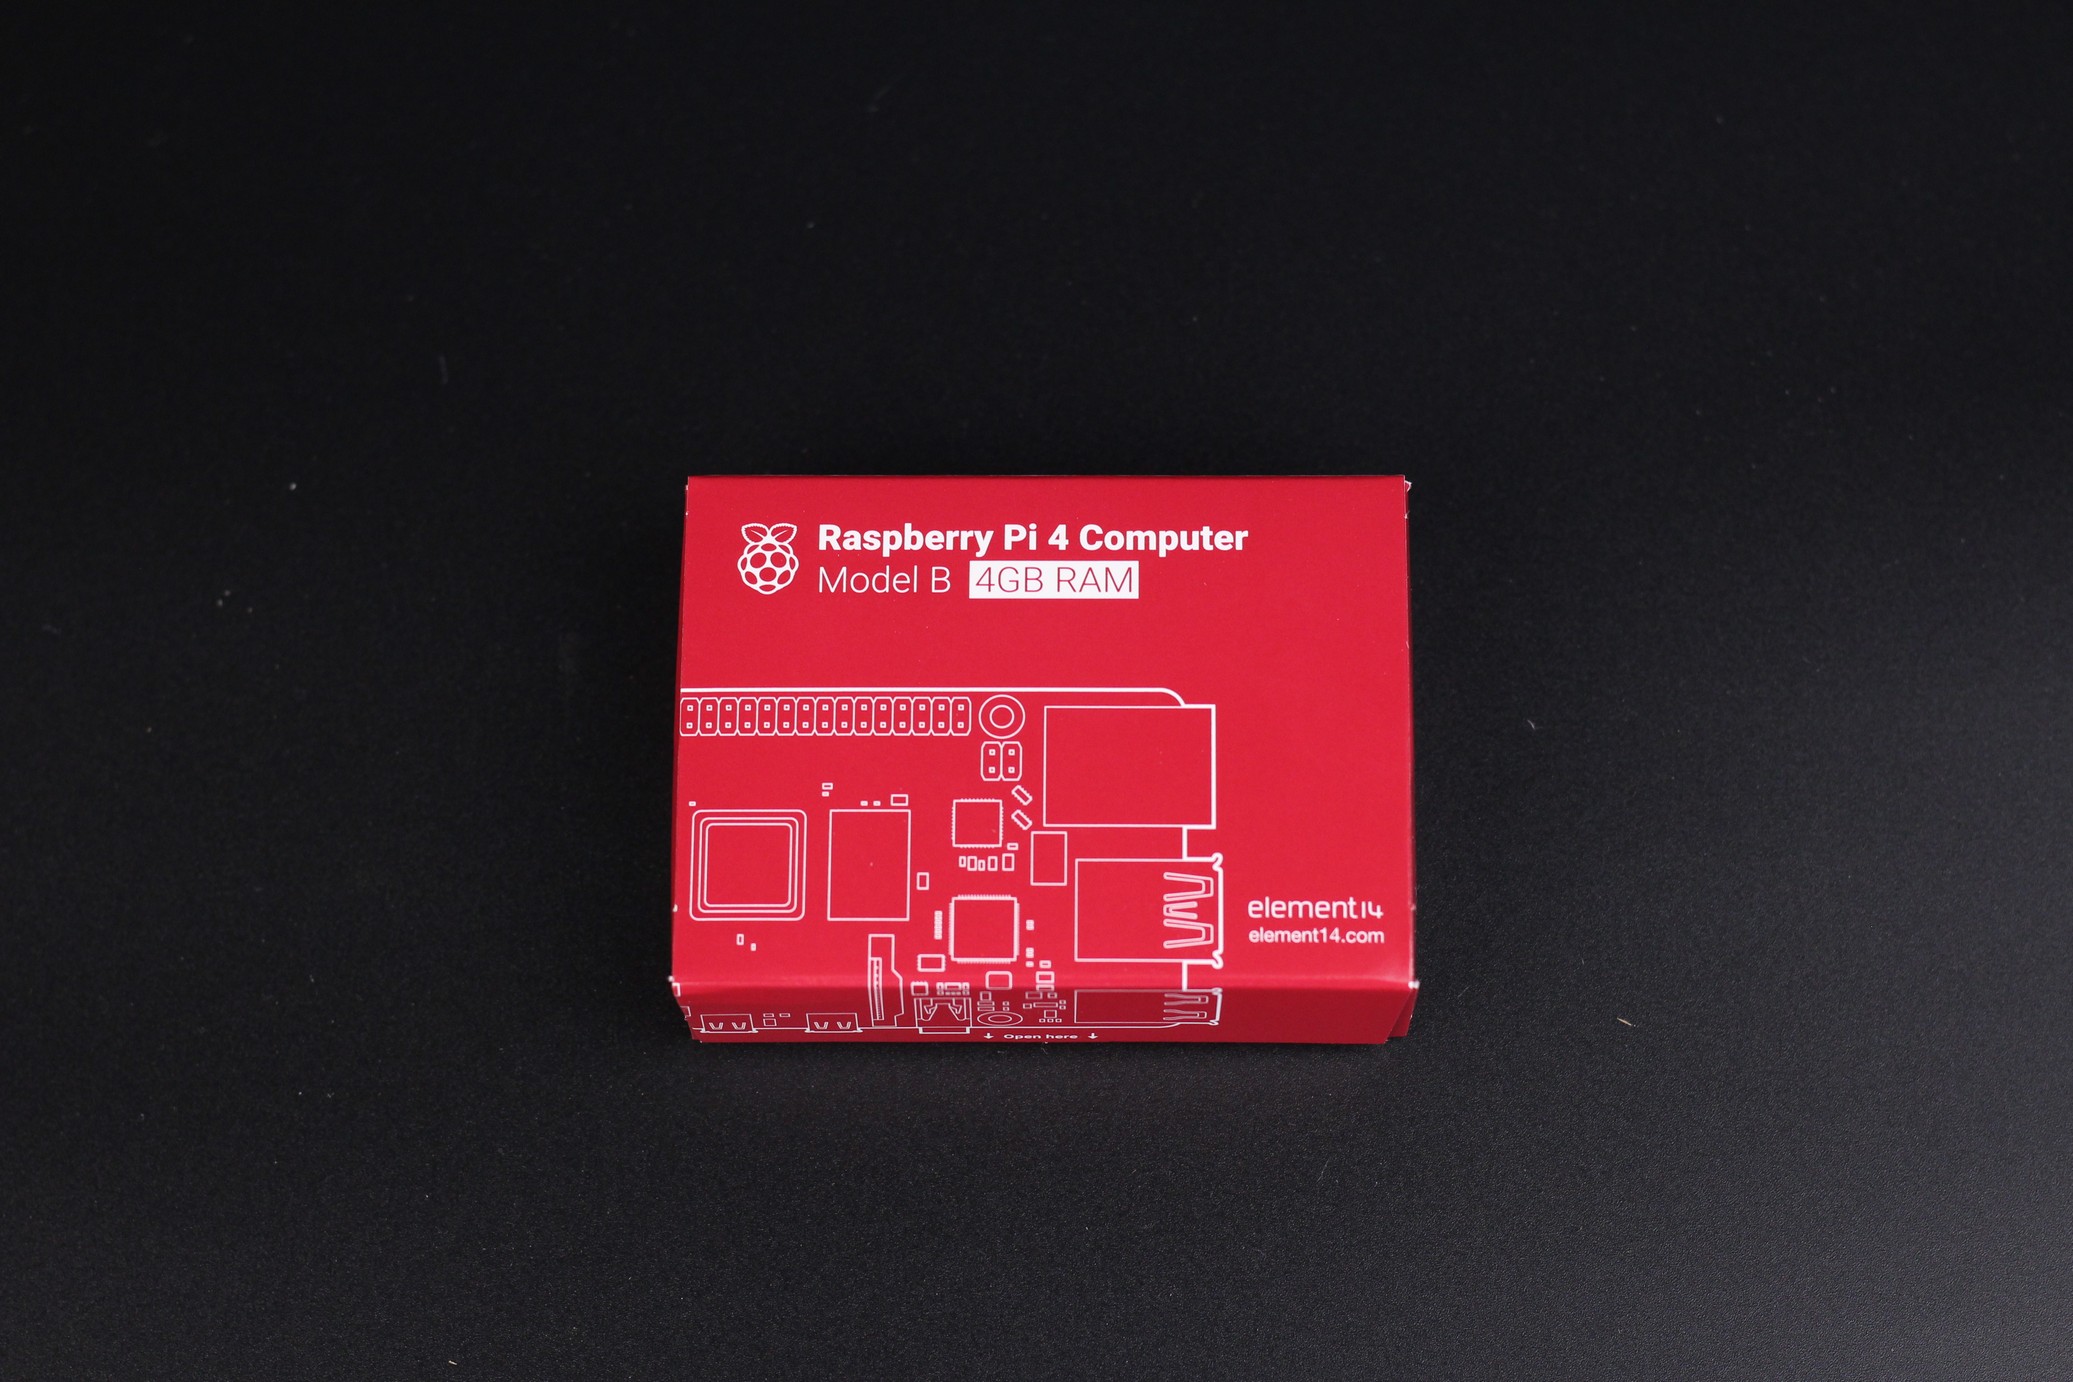
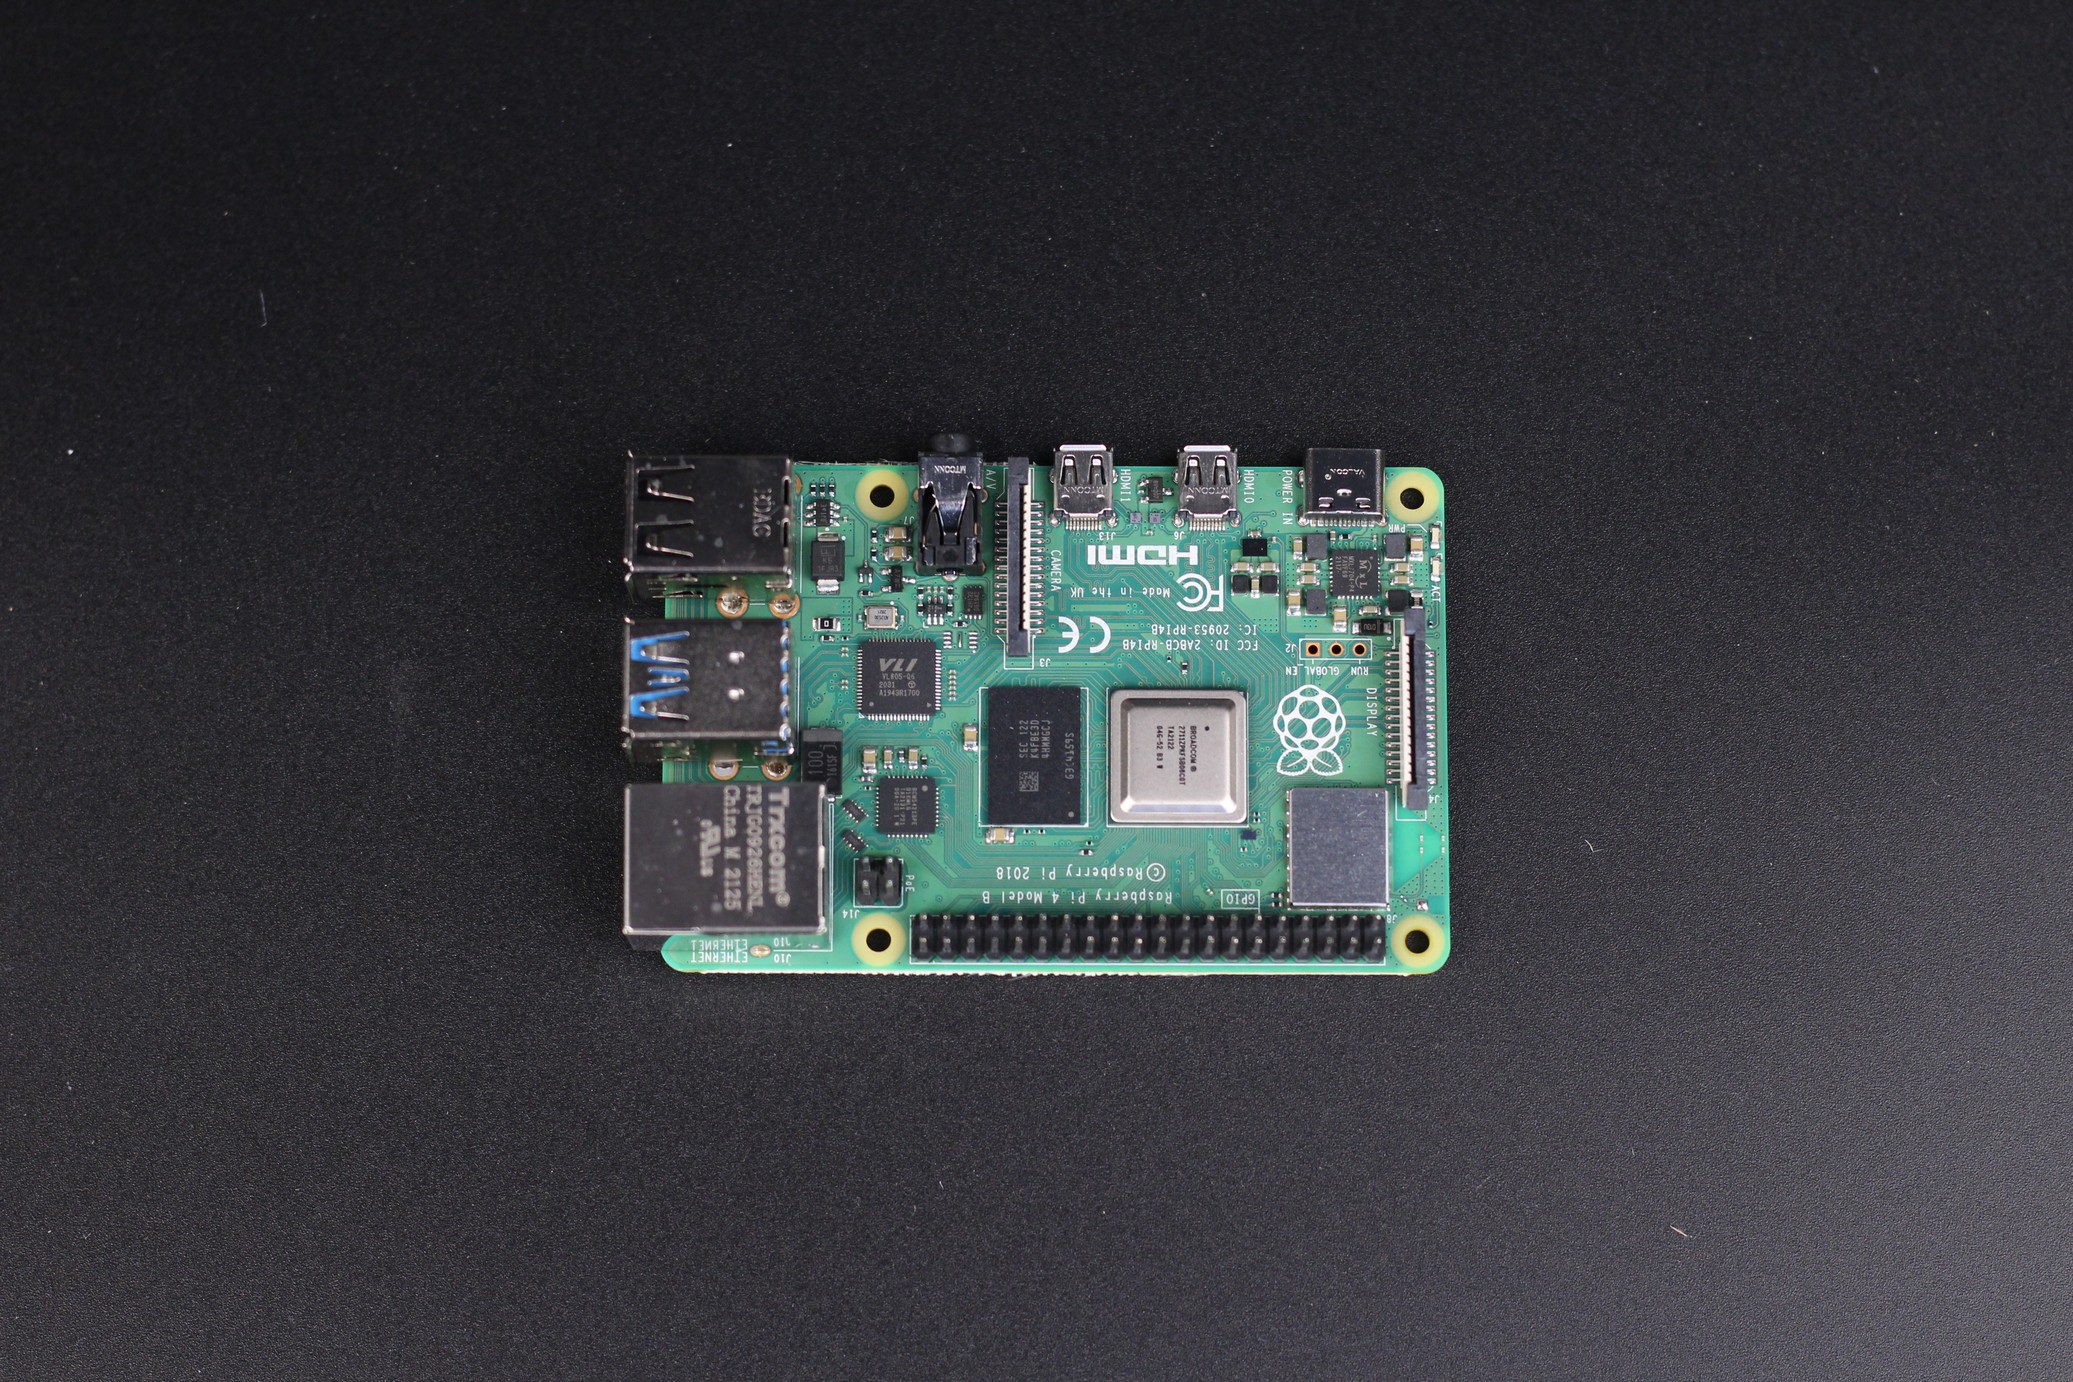
A Raspberry Pi 4 is included which is quite hard to get right now. It’s the 4GB model which is more than enough for any kind of operating system you plan to use with your printer.
Screws
All the screws are nicely organized in a plastic box, which made the printer assembly much easier. You get enough screws to complete the build and a few extra spares, but not for everything.
For example, I needed to source two M3x40 SHCS screws from my own stash because the ones in the kit were bent and unusable. I also needed a few extra M3x12 screws to install all the side panel corners because the recommended M3x8 screws cannot be used (they are too short)
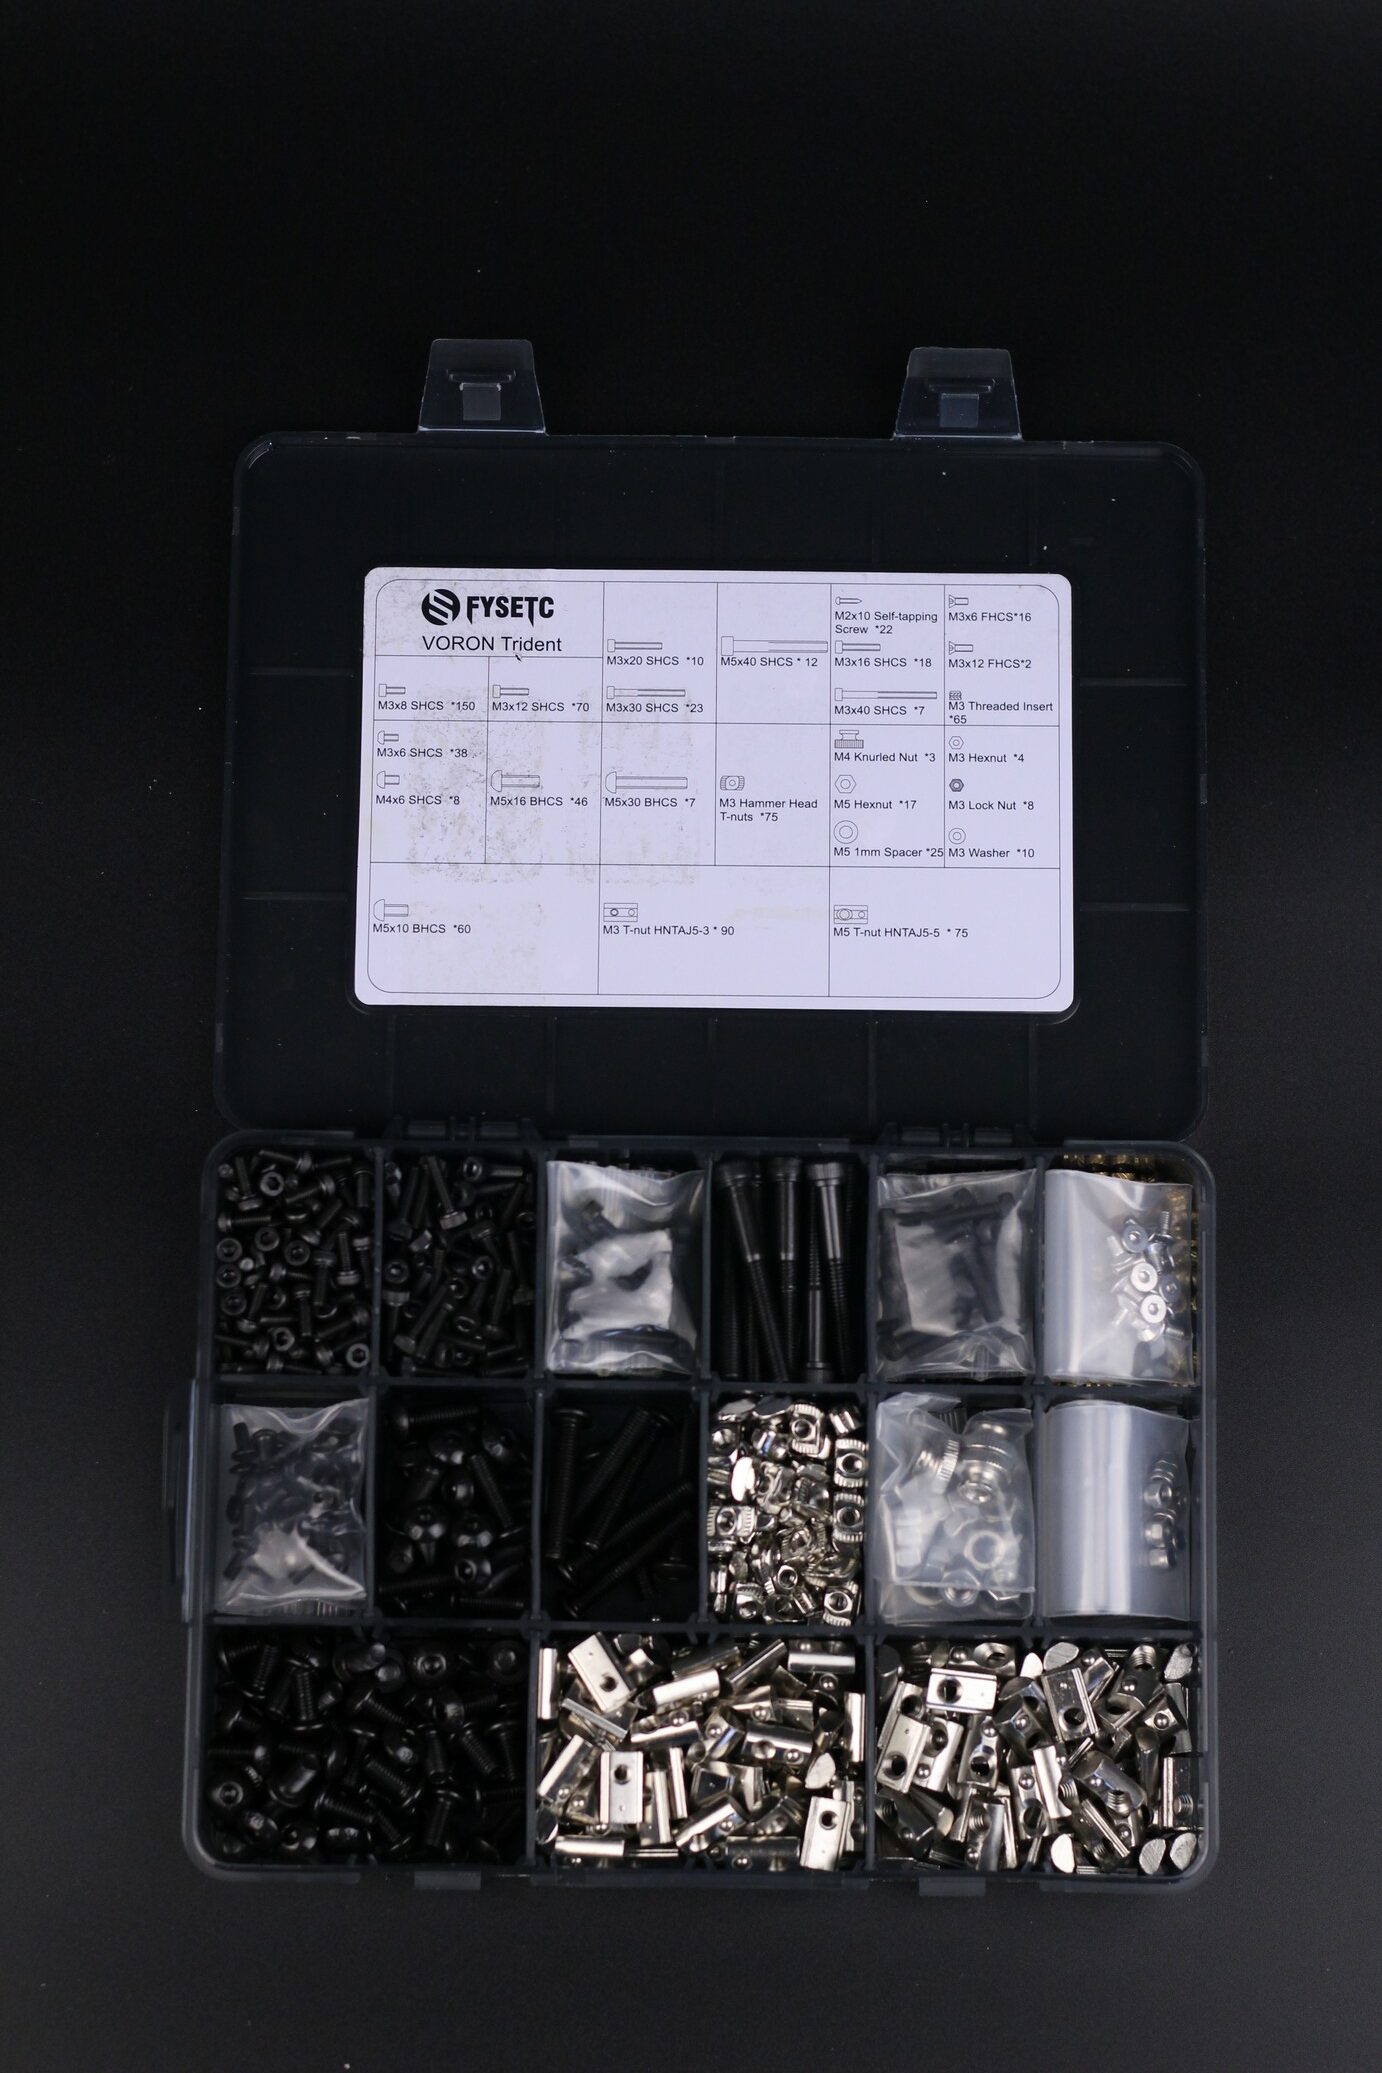
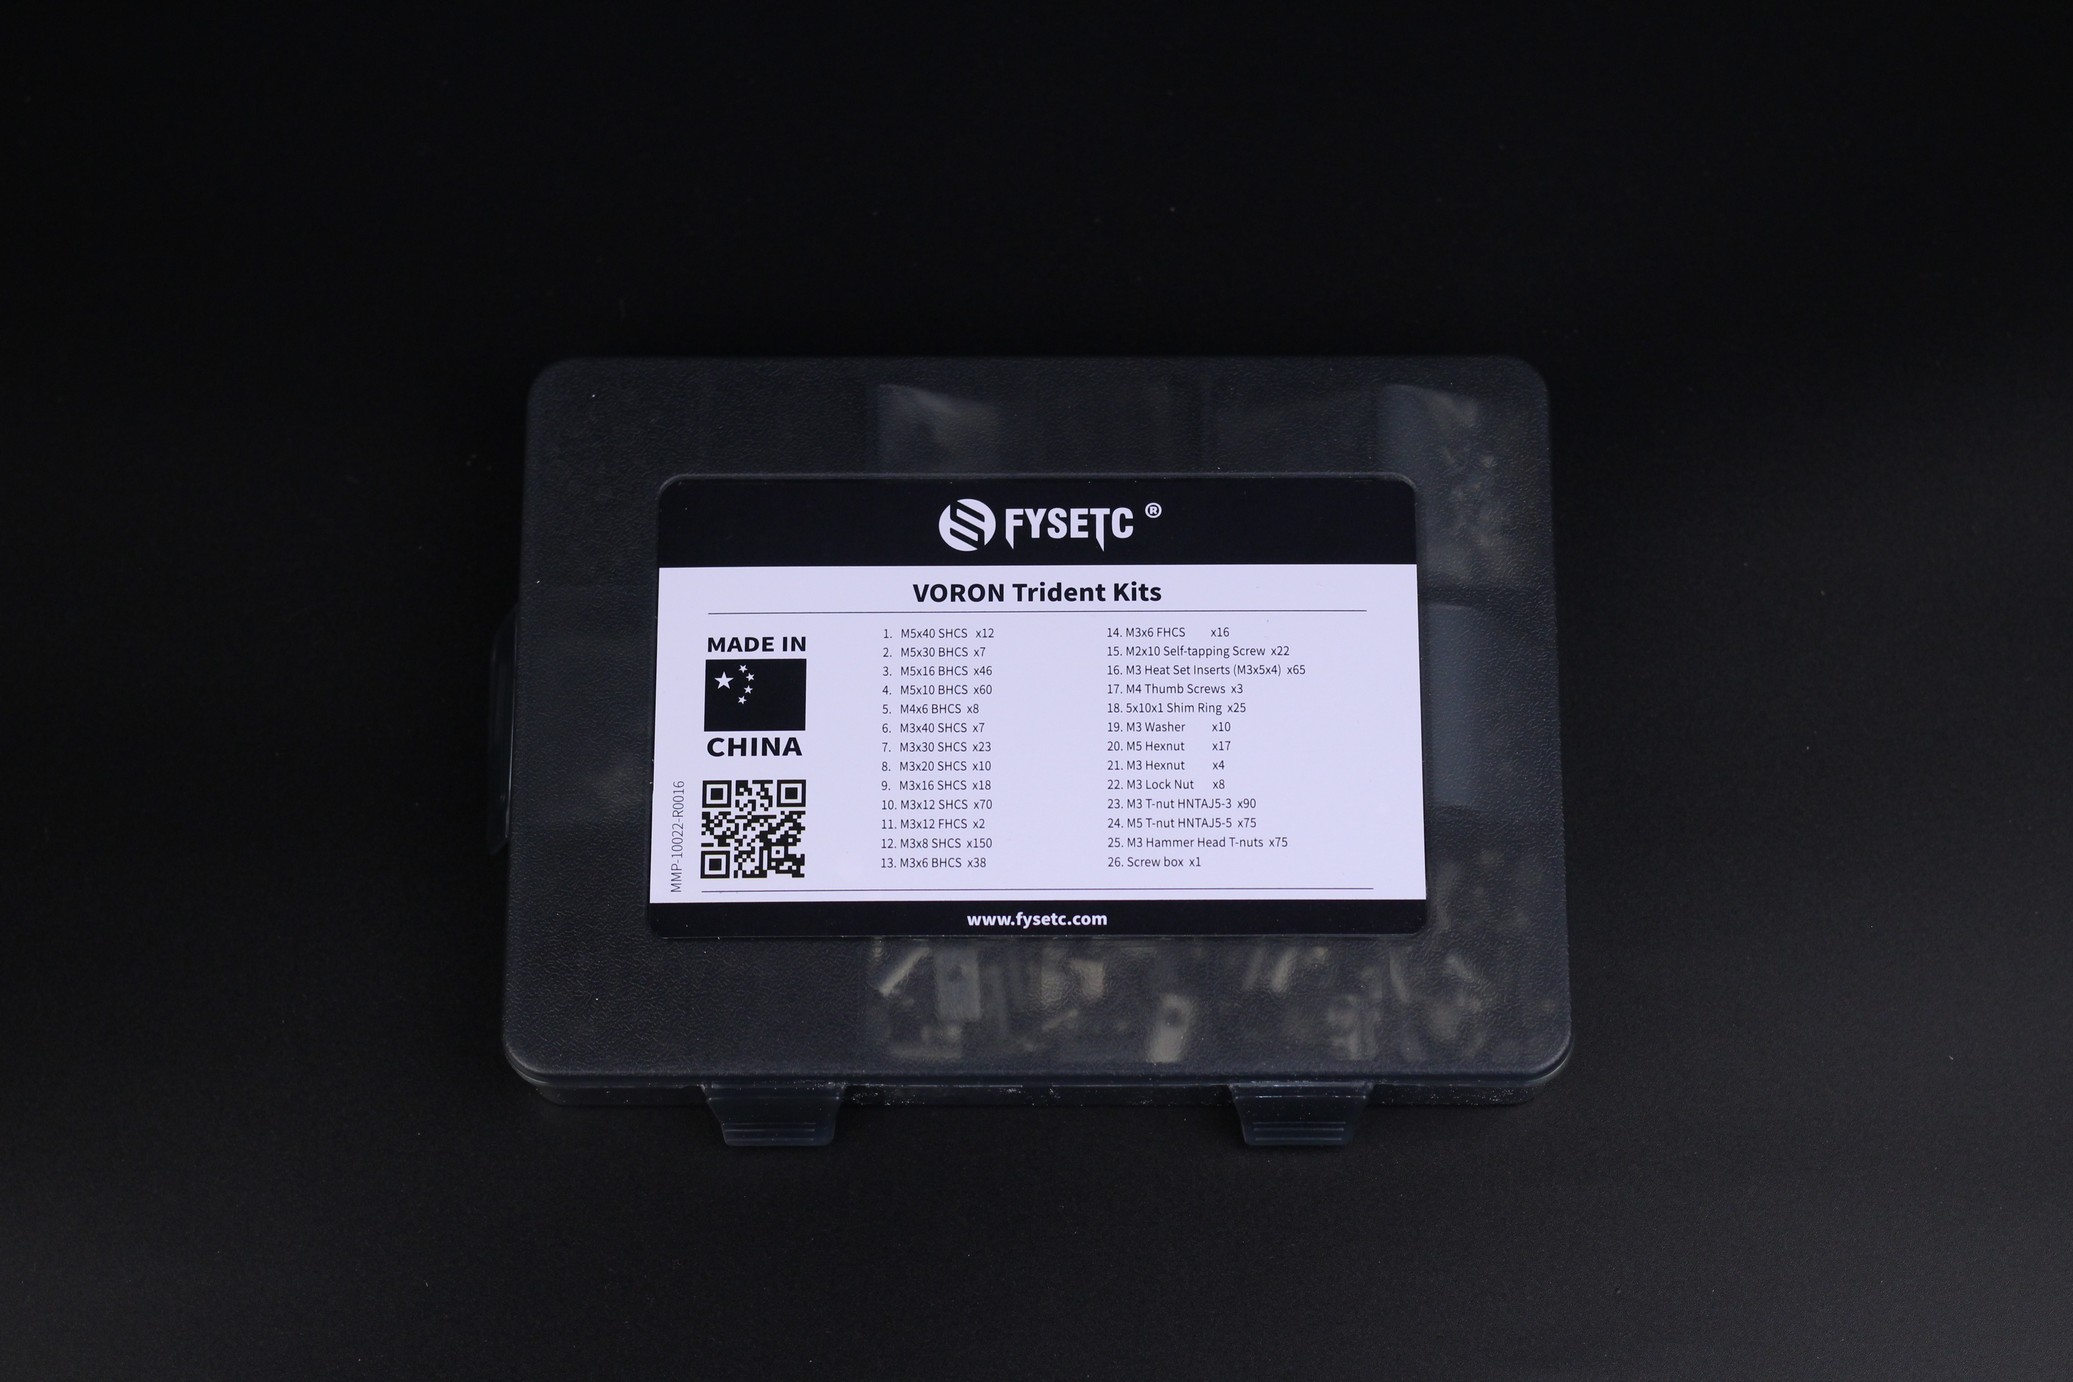
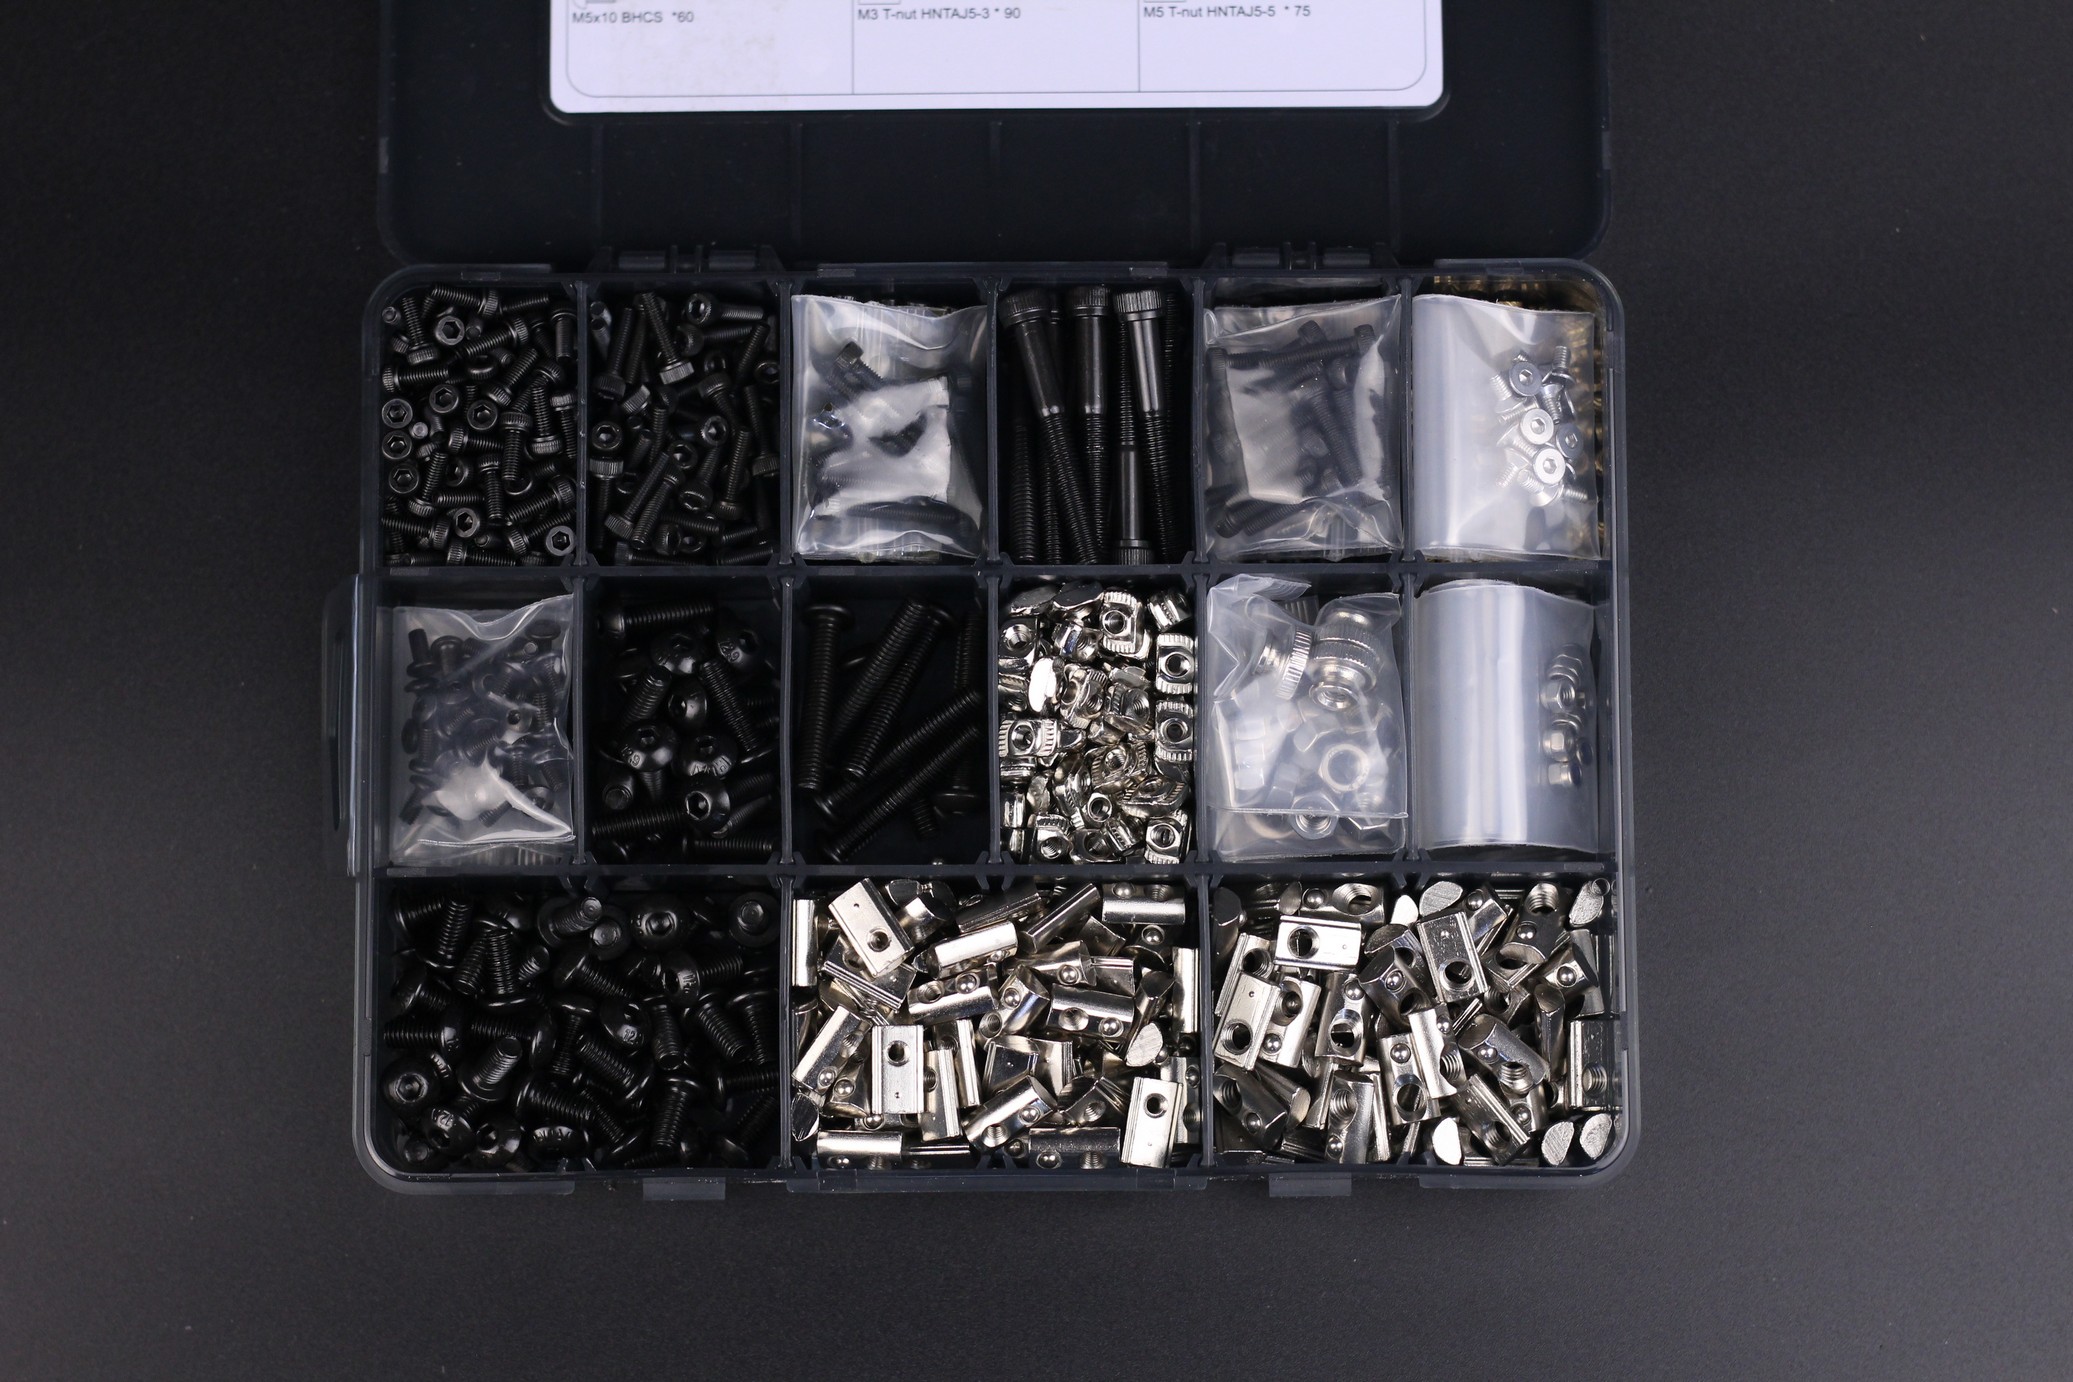
Overall, an ok package, but some extra screws would help to minimize issues in the future. Also, how come I didn’t know about the “locking” T-nuts until now? They’re amazing!
Stepper Motors
The stepper motors are all branded by FYSETC. For the Z-axis we get 42HC40-204A-300N84 stepper motors with integrated leadscrews which is one of the main reasons why the VORON Trident is somewhat limited to 250mm on the Z-axis.
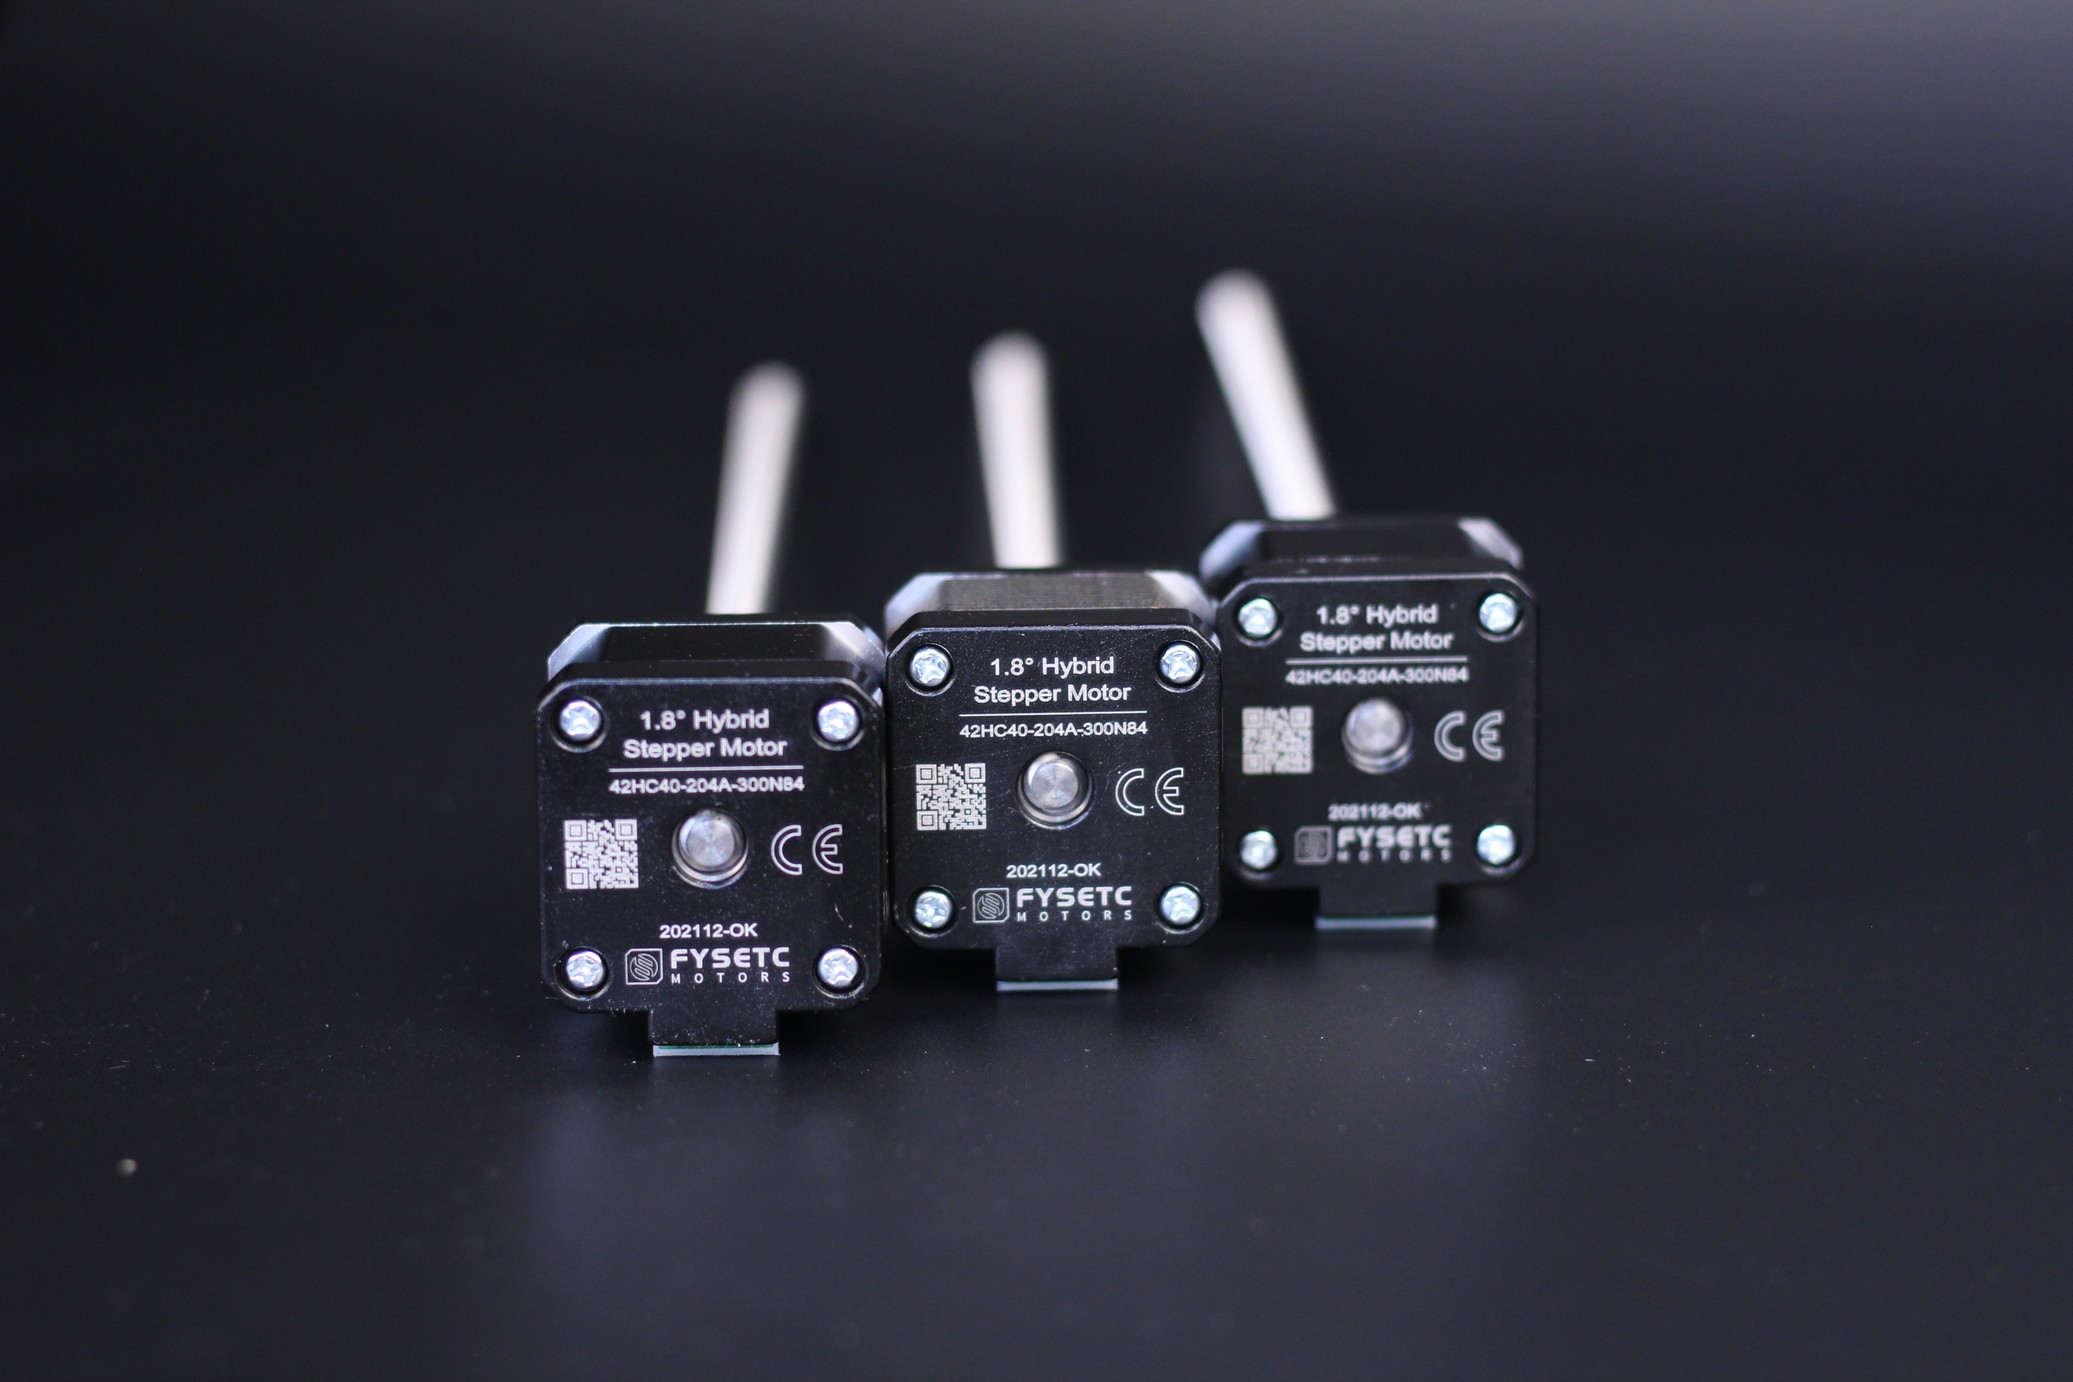
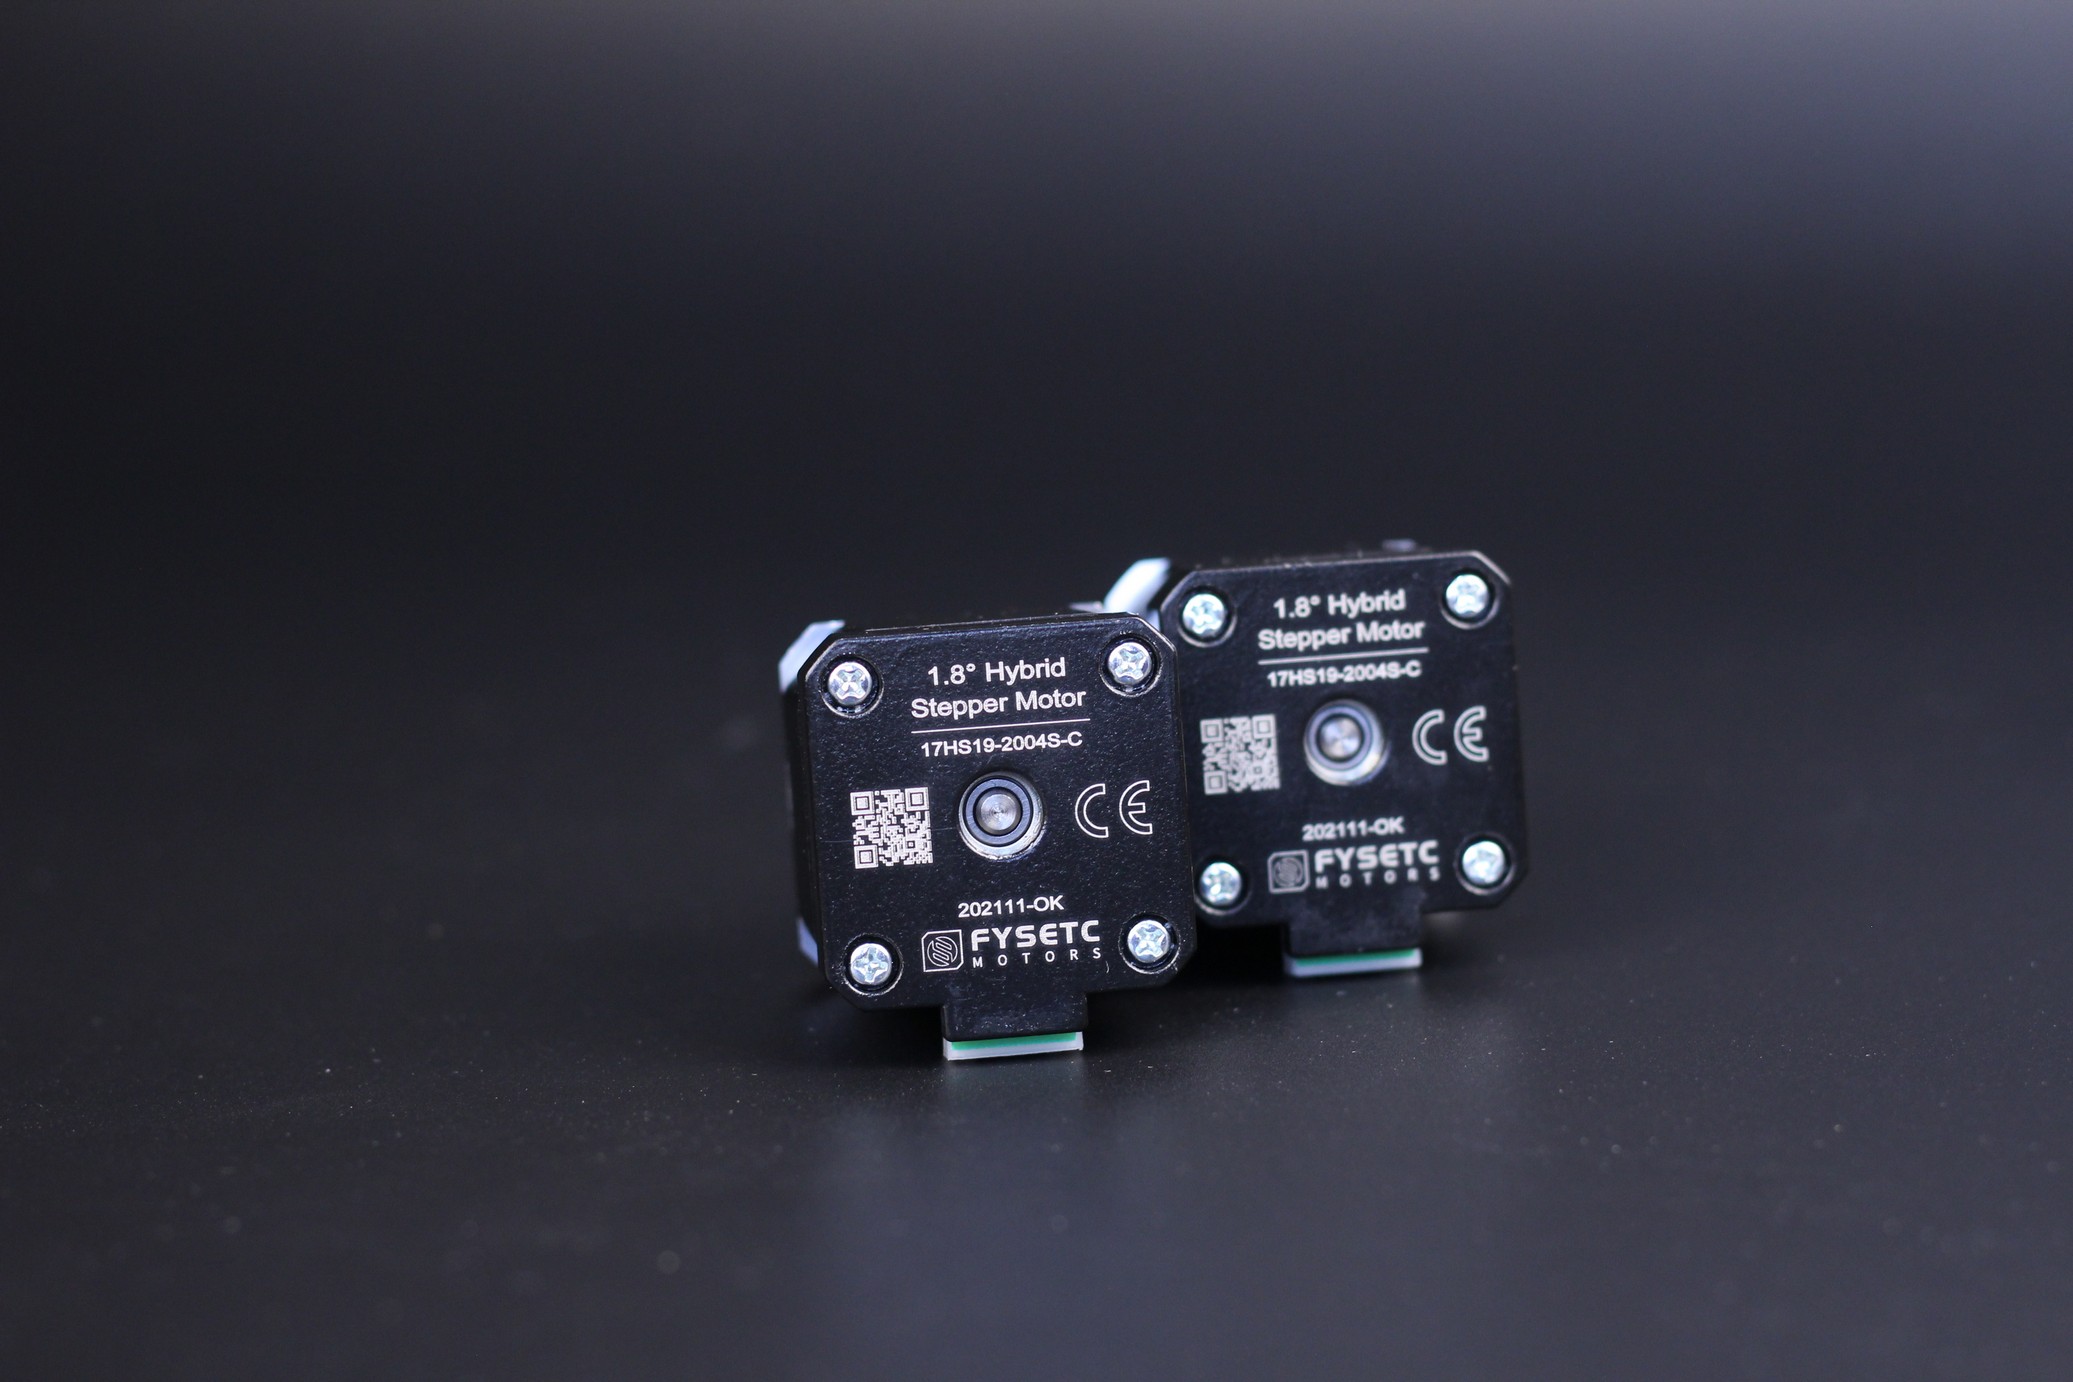
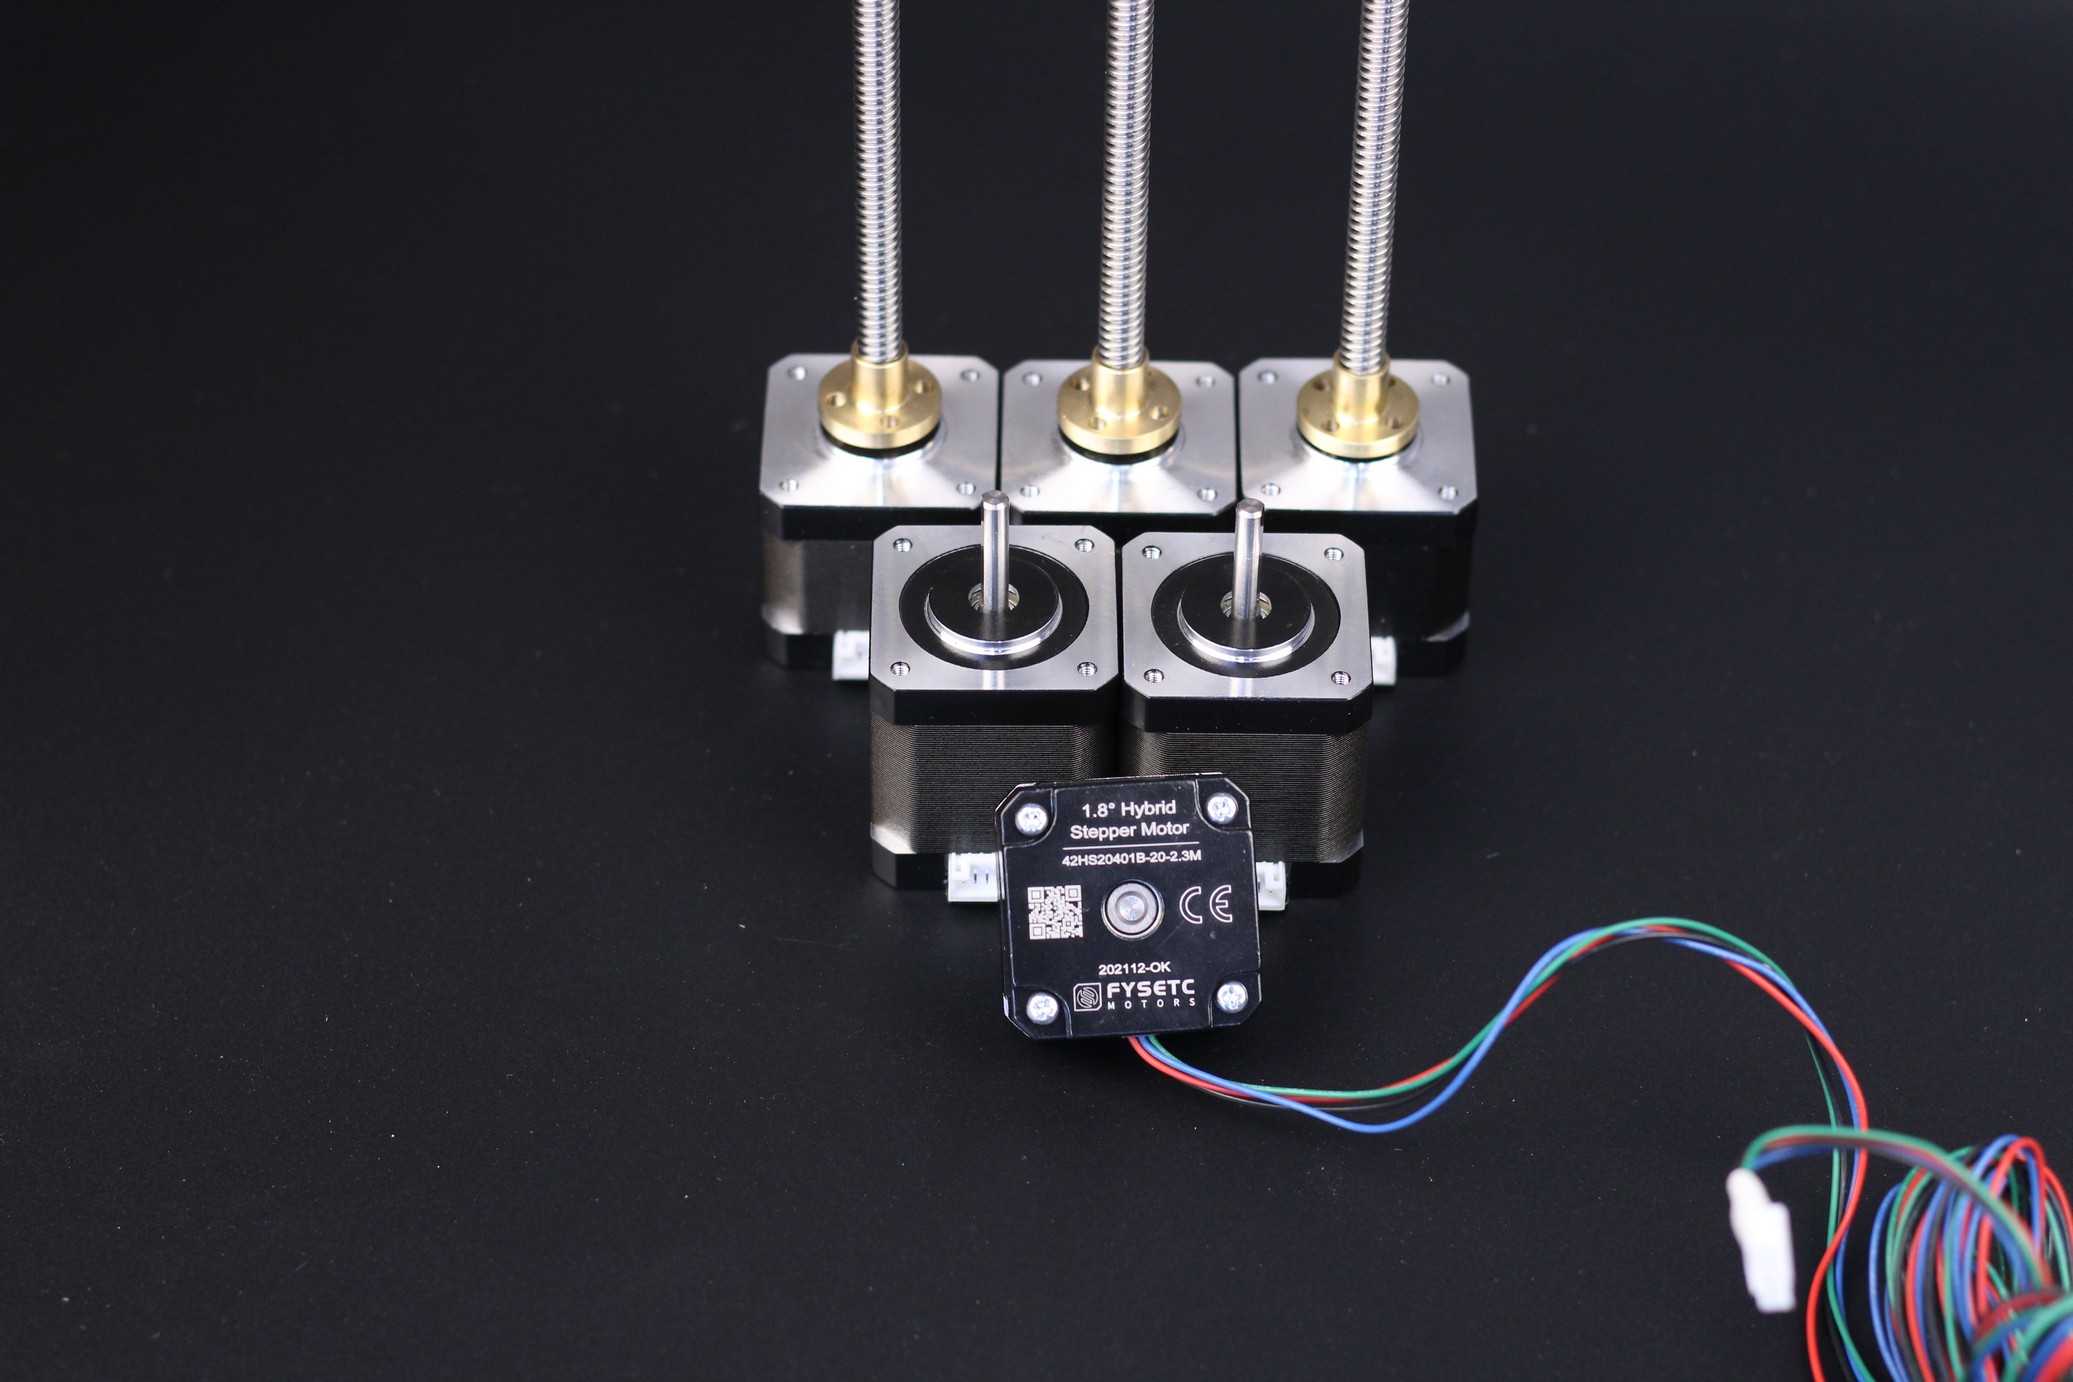
The AB are 17HS19-2004S-C steper motors and the pankake motor for the extruder is the 2HS20401B-20-2.3M. You can read the specs for each of these motors if you want to learn more about them.
Spider V2.2 Board and Dragon Hotend HF
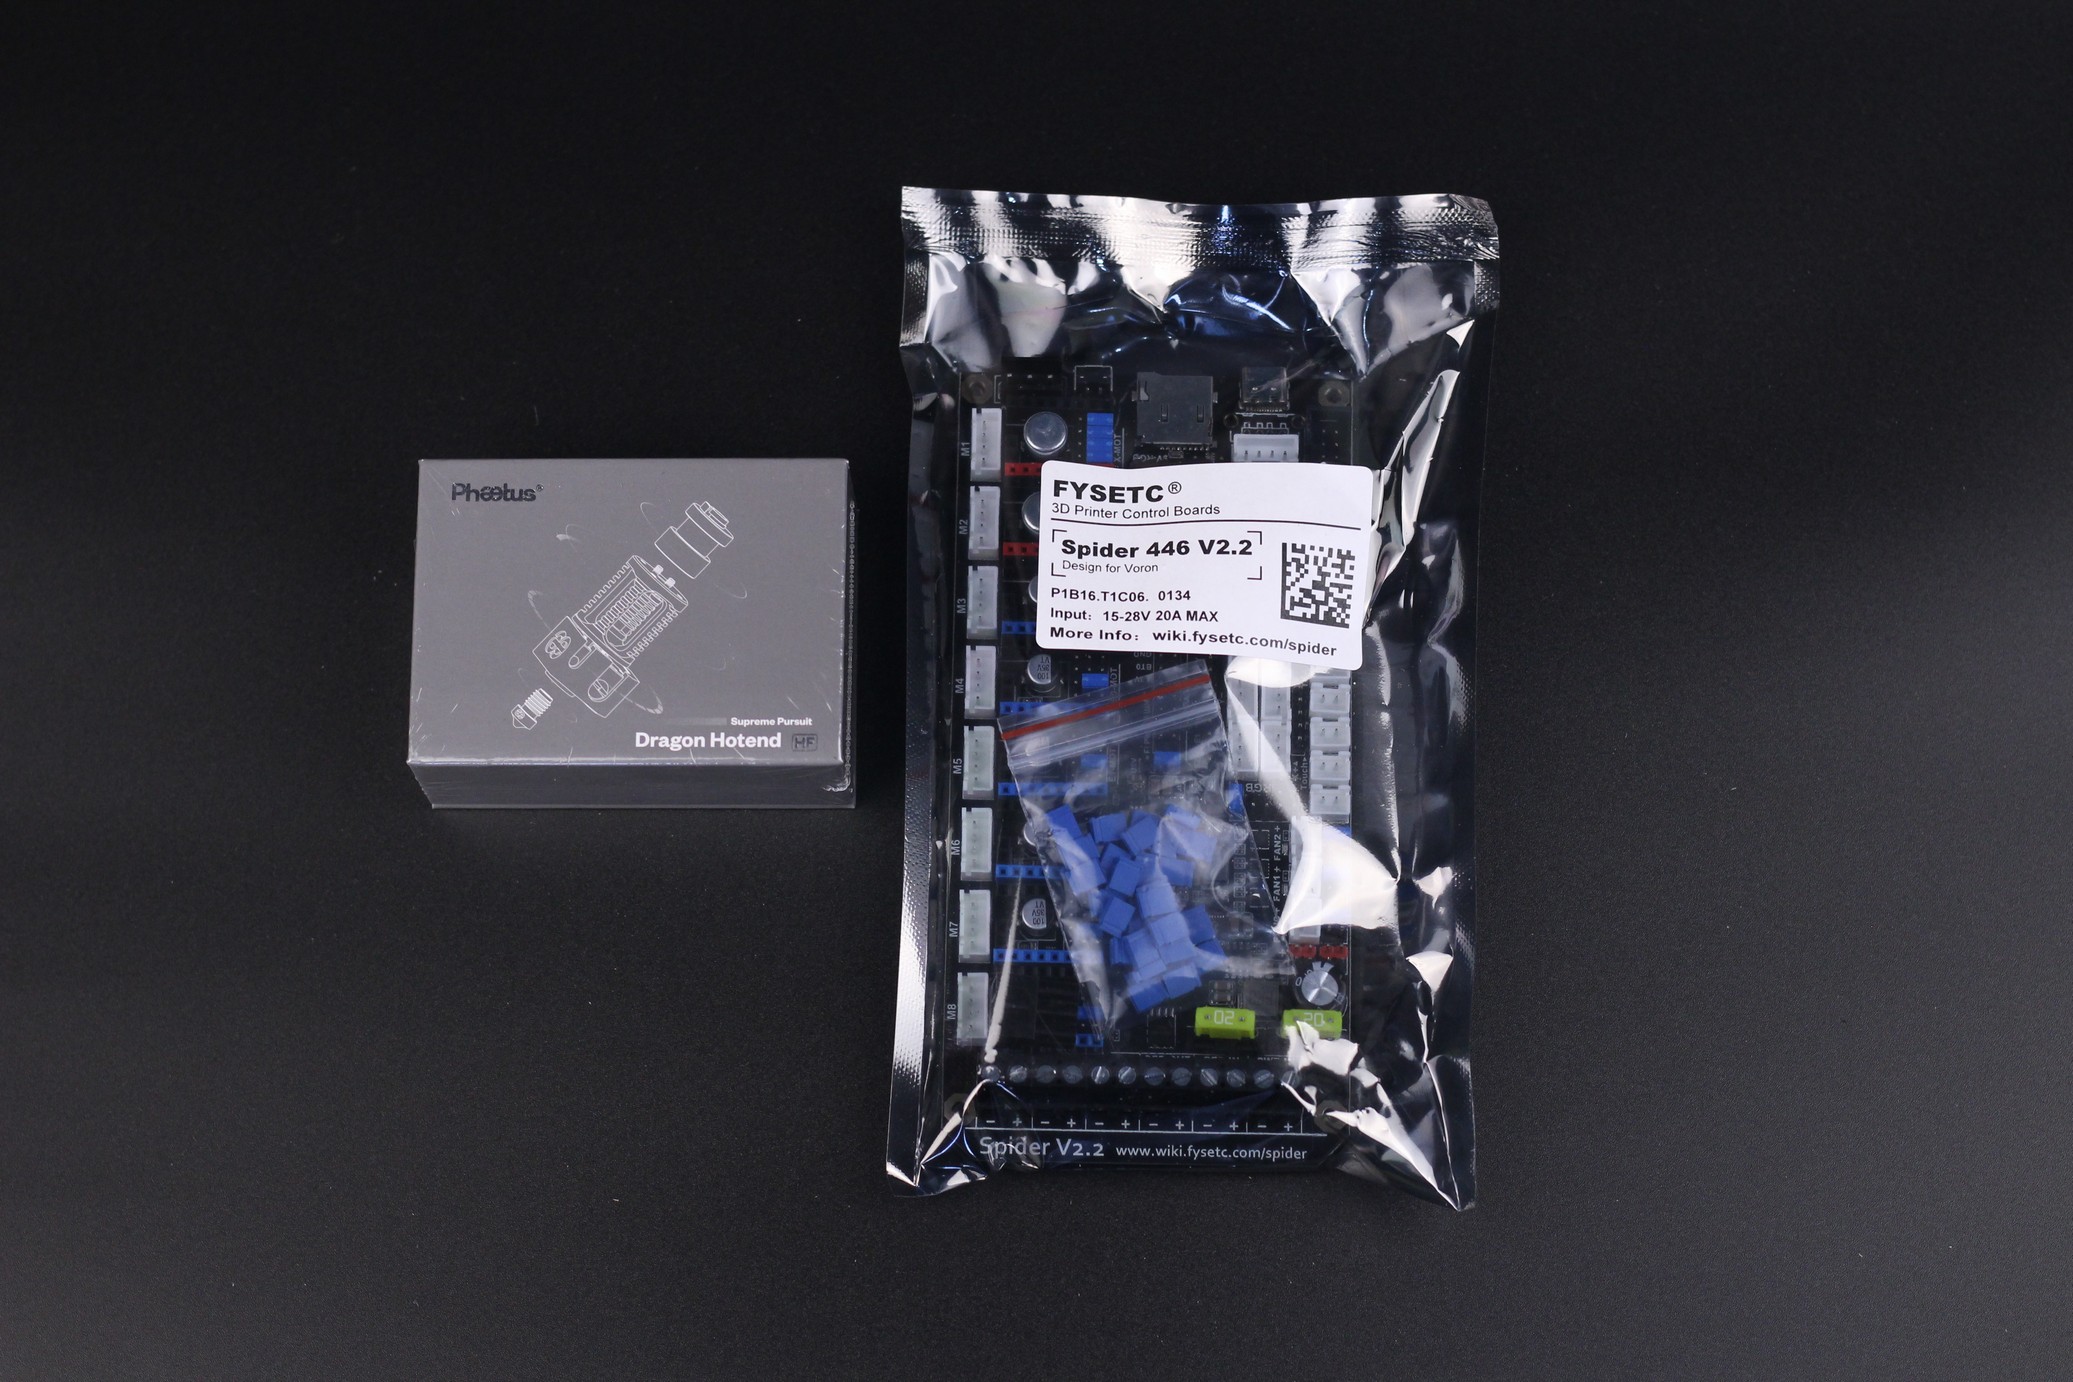
In the VORON Trident Kit from FYSETC we get the Dragon Hotend HF and the FYSETC Spider V2.2 board.
The Dragon Hotend from Phaetus is really nice, and one of the best hotends out there for any printer. Everybody knows about it, so I won’t go into much detail about it.
I had some reservations about the FYSETC Spider board because I’ve heard about issues with it in the past, and I always used boards from BIQU in my builds. Fortunately, my worries seem to be misplaced because the V2.2 board works great and I didn’t encounter any issue with it.
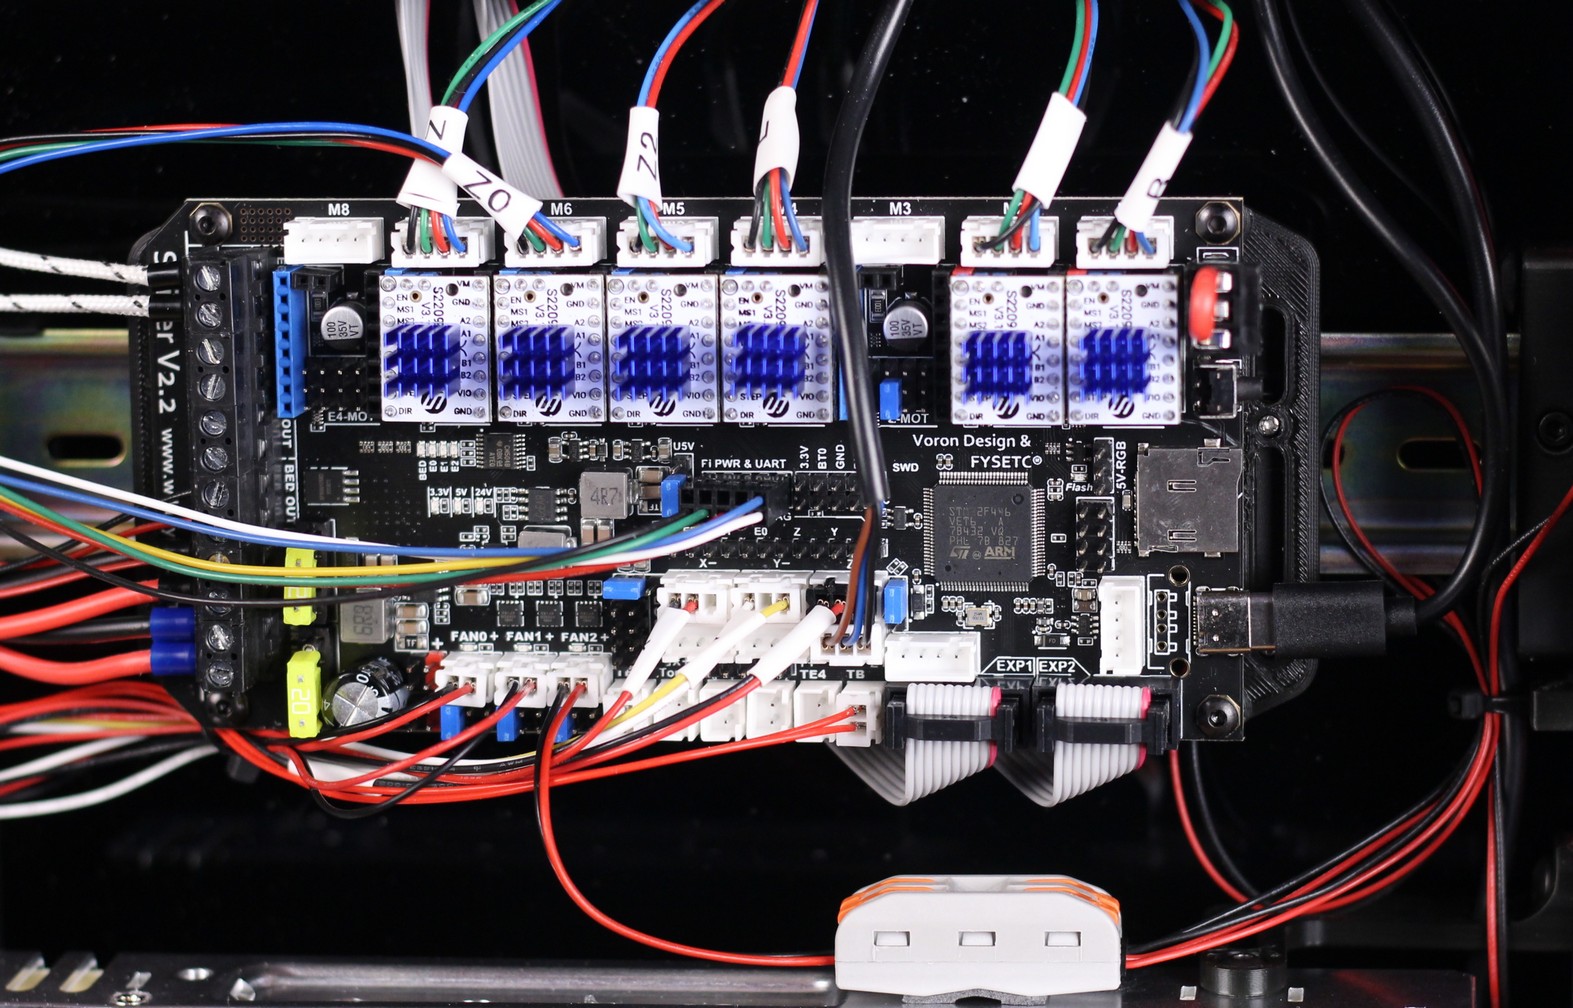
A thing worth mentioning about the board is the need of having the 24V shunt connected in order for the stepper motors to work. I didn’t read the documentation carefully enough to know about this, so it took me about 30 minutes of troubleshooting before figuring this out.
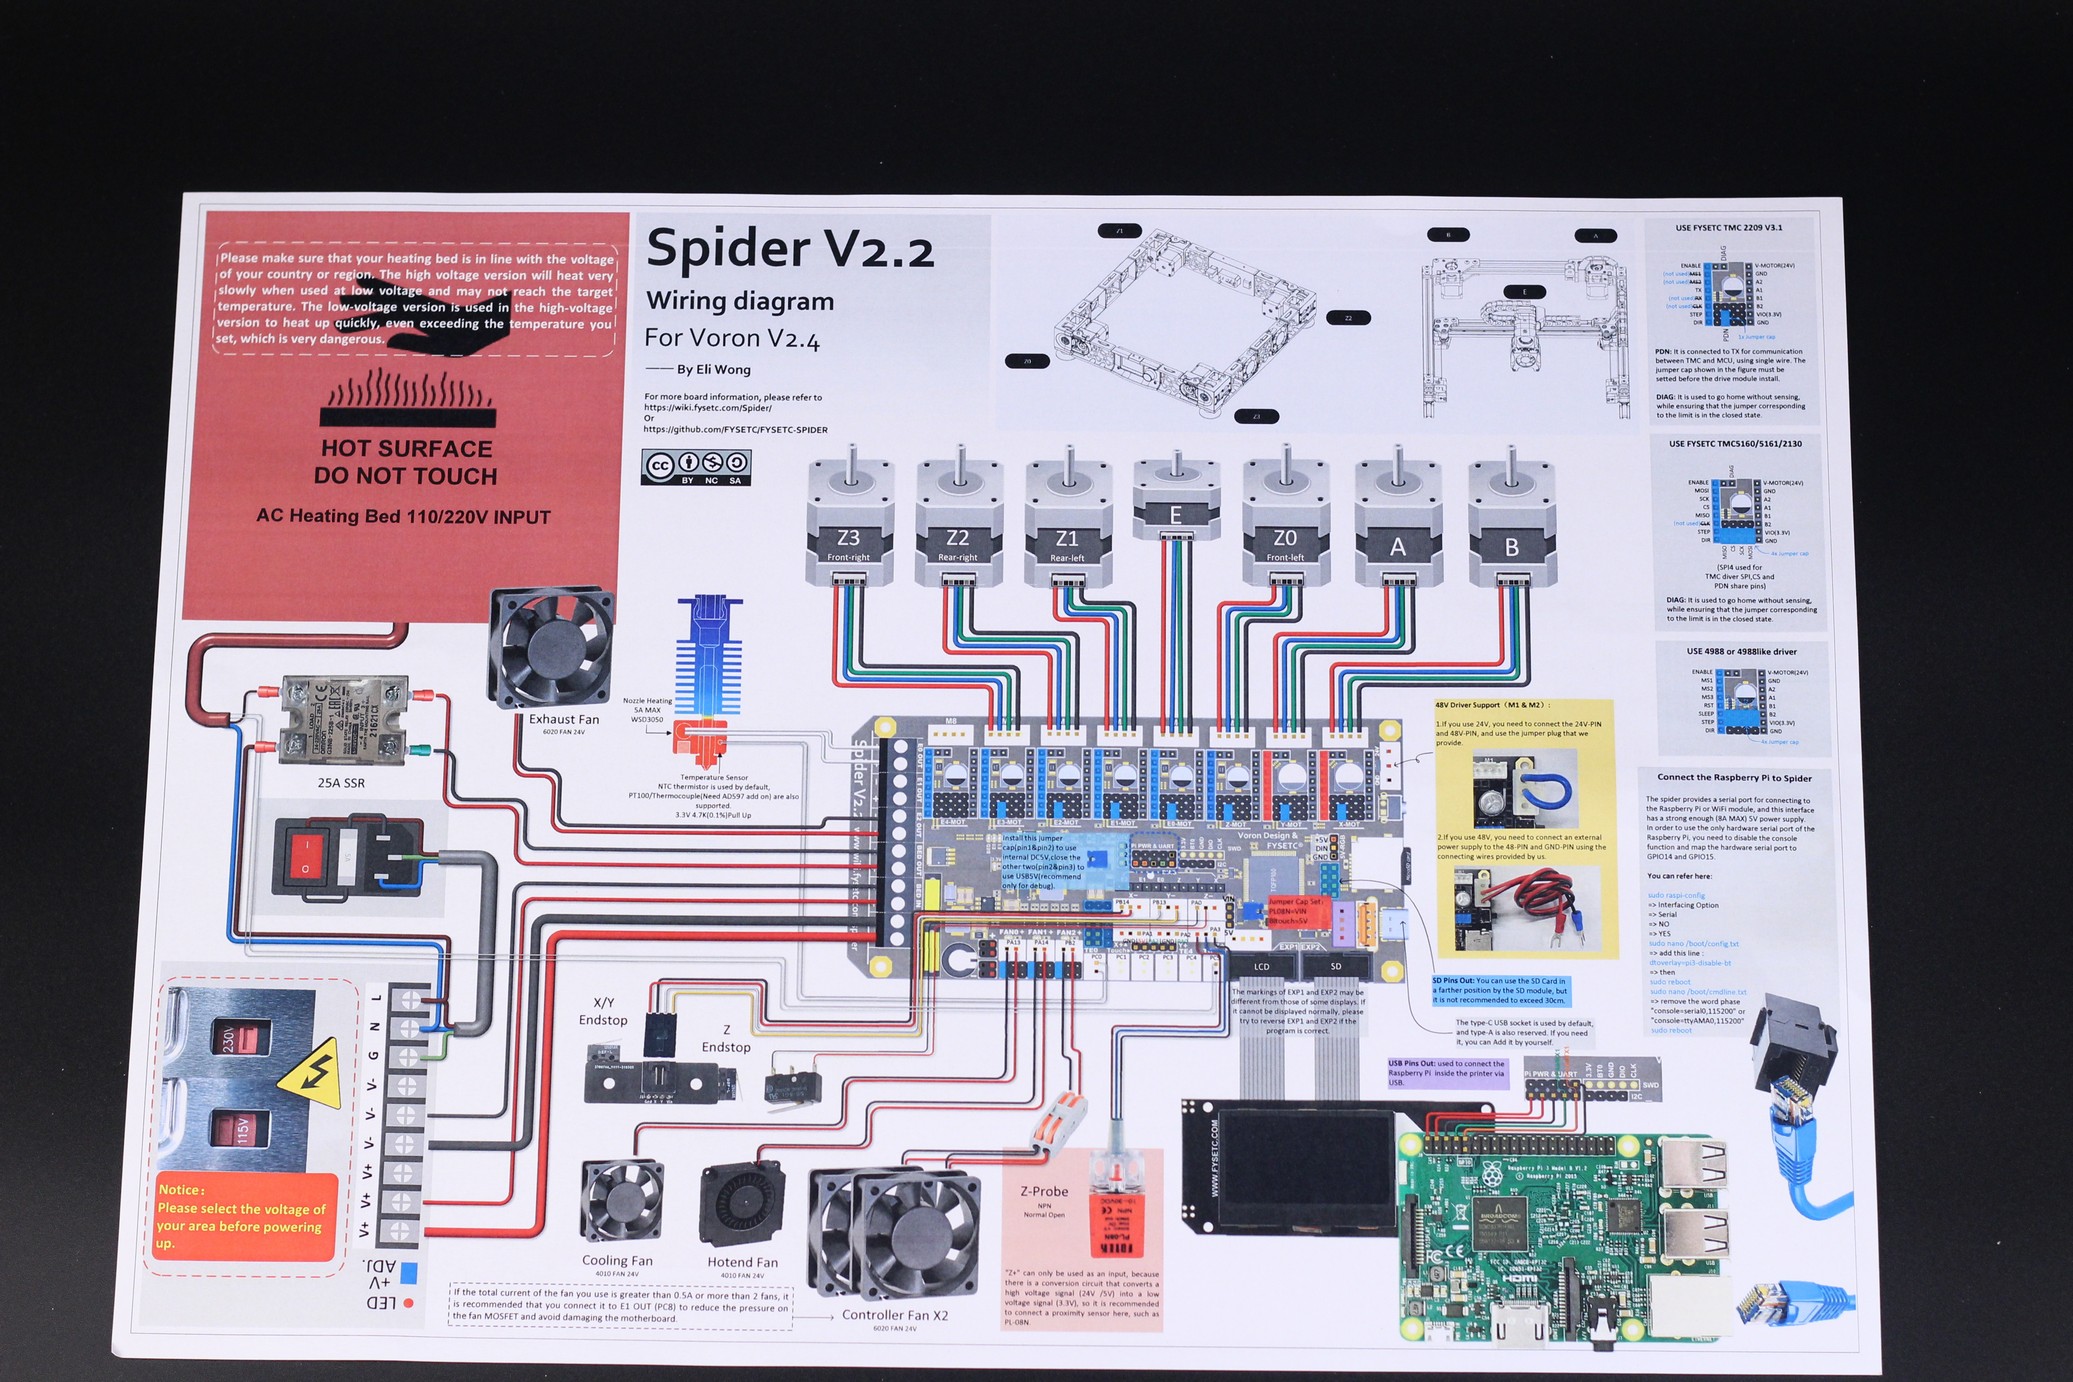
It’s also worth noting that inside my FYSETC VORON Trident kit I got a wiring diagram for the Voron 2.4. Not a huge issue, but still something to fix in the future.
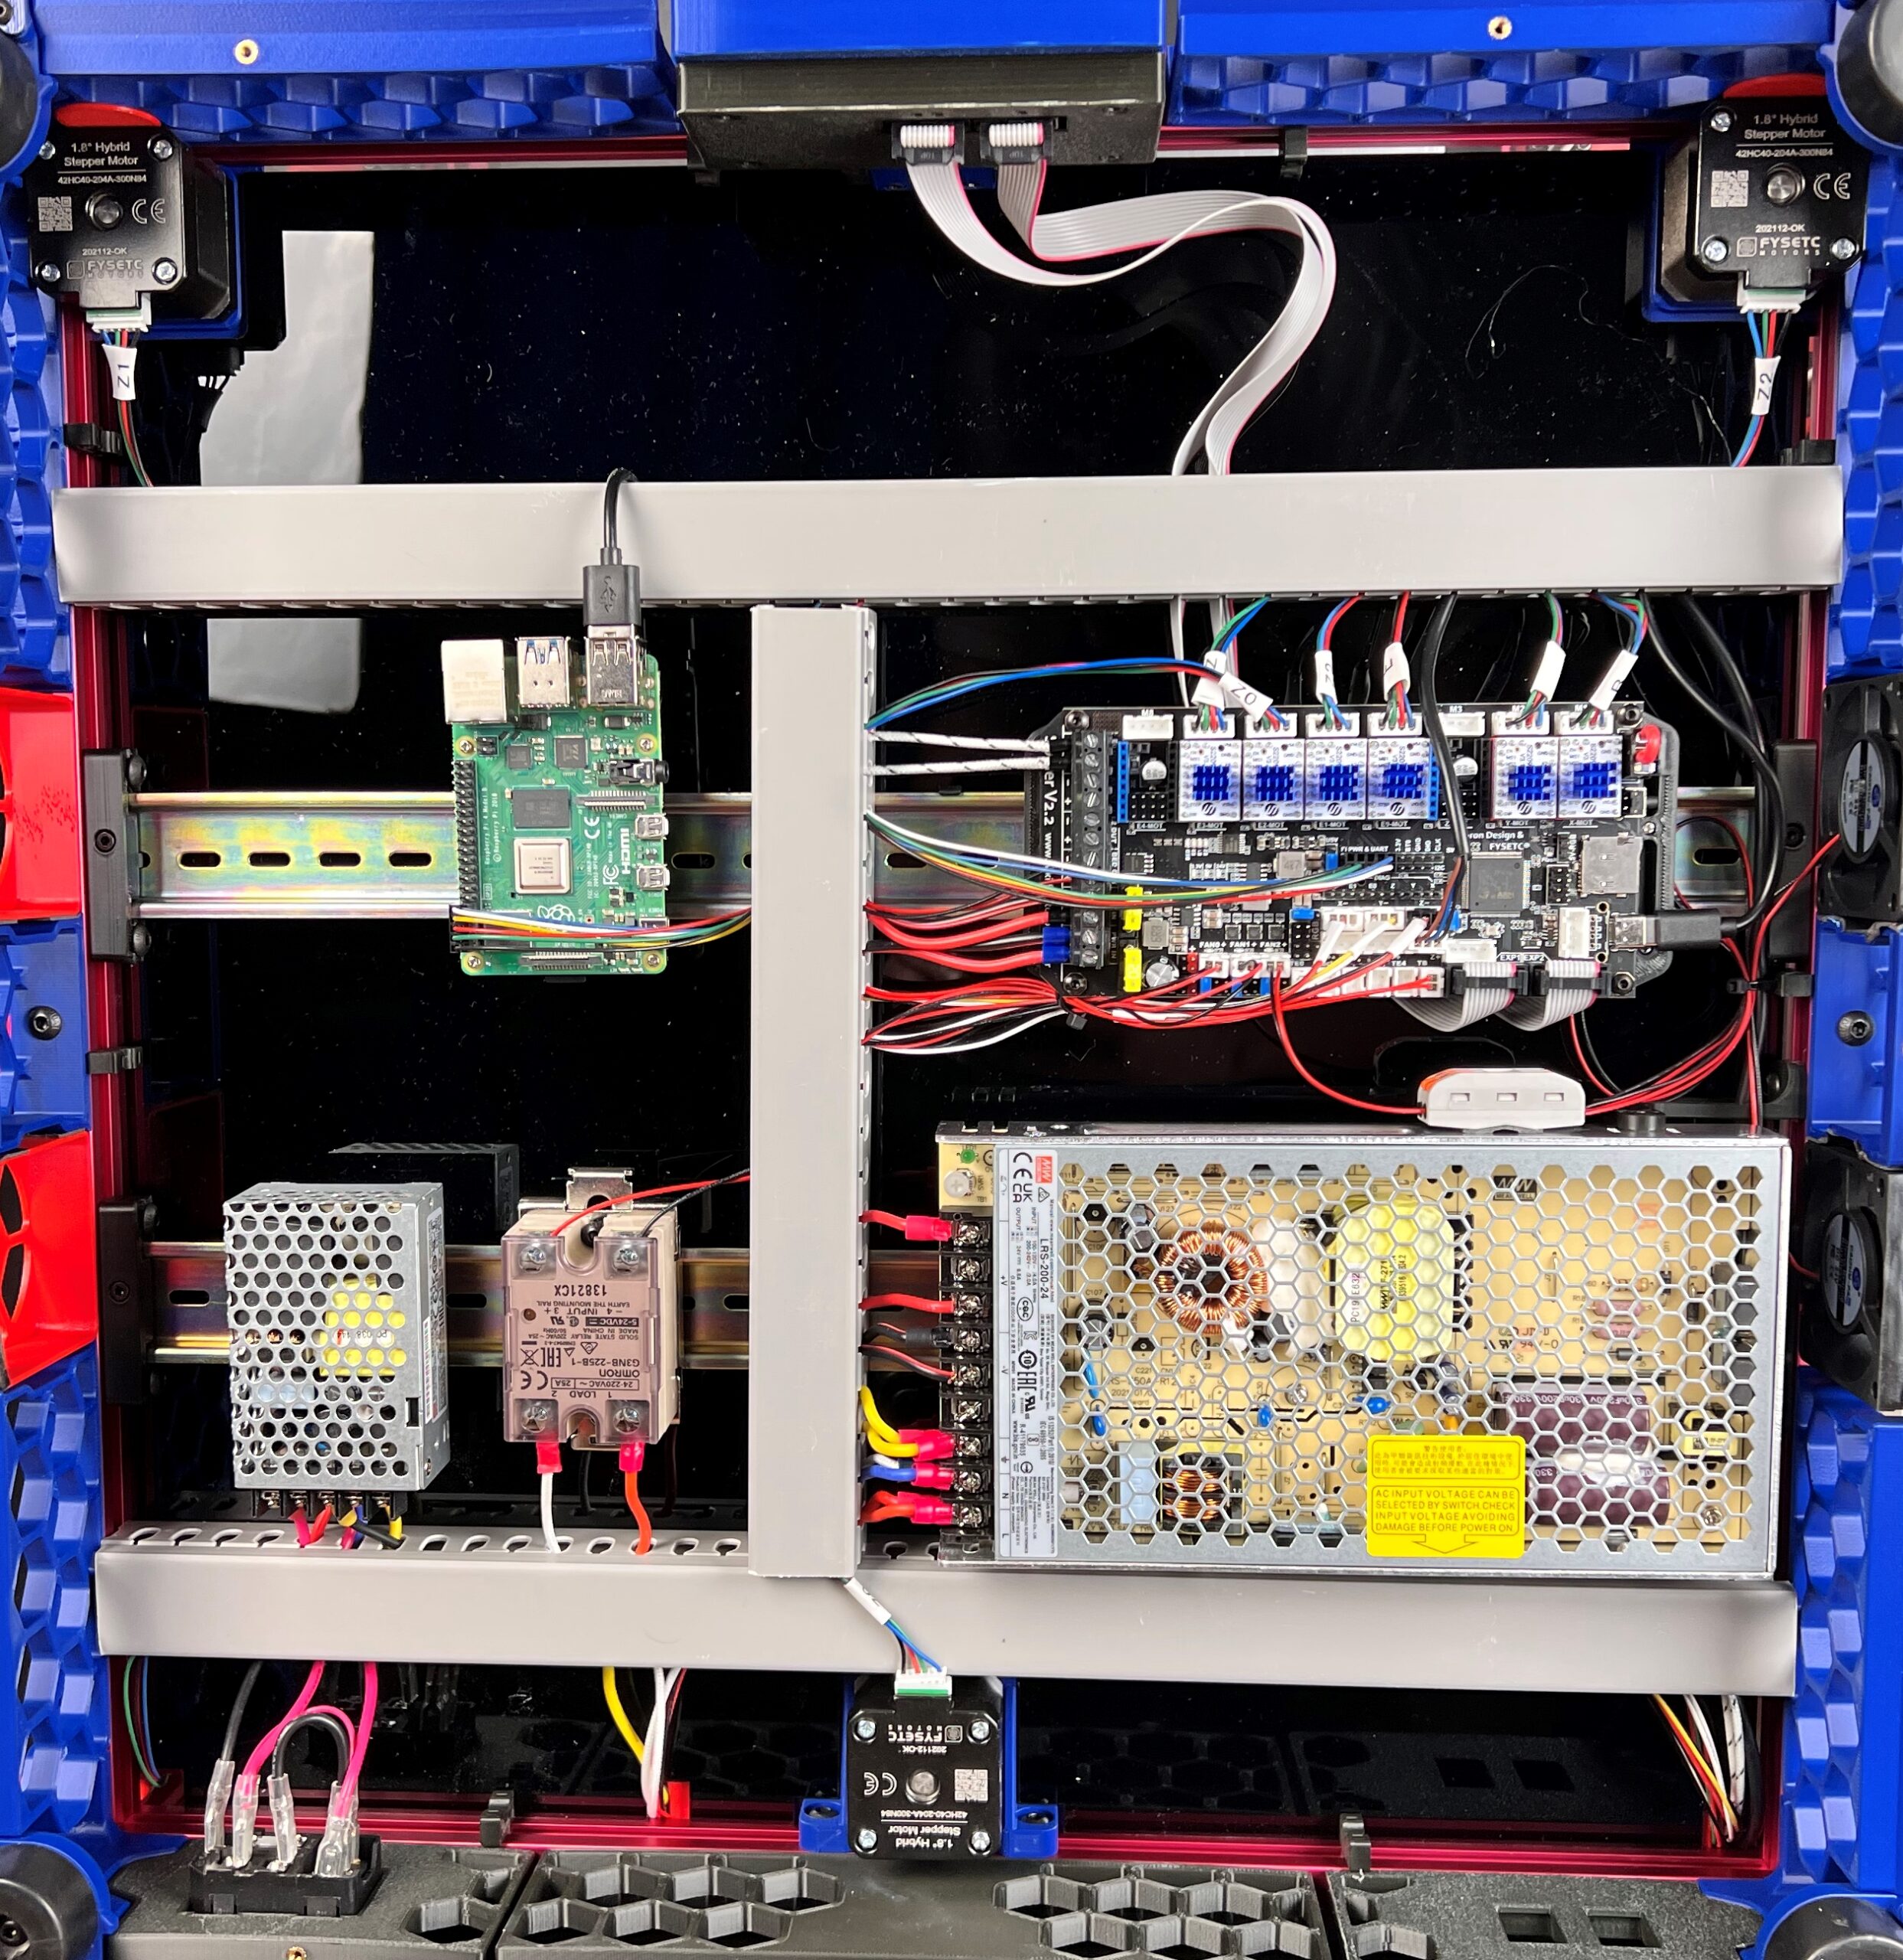
And if we’re talking about the voron trident wiring, I should include a picture with the final results. I mean, close to the final result, because I needed to switch the wires between the motors. Other than that, no magic smoke, and everything worked out great!
Double-Sided Magnetic PEI Flex Plate
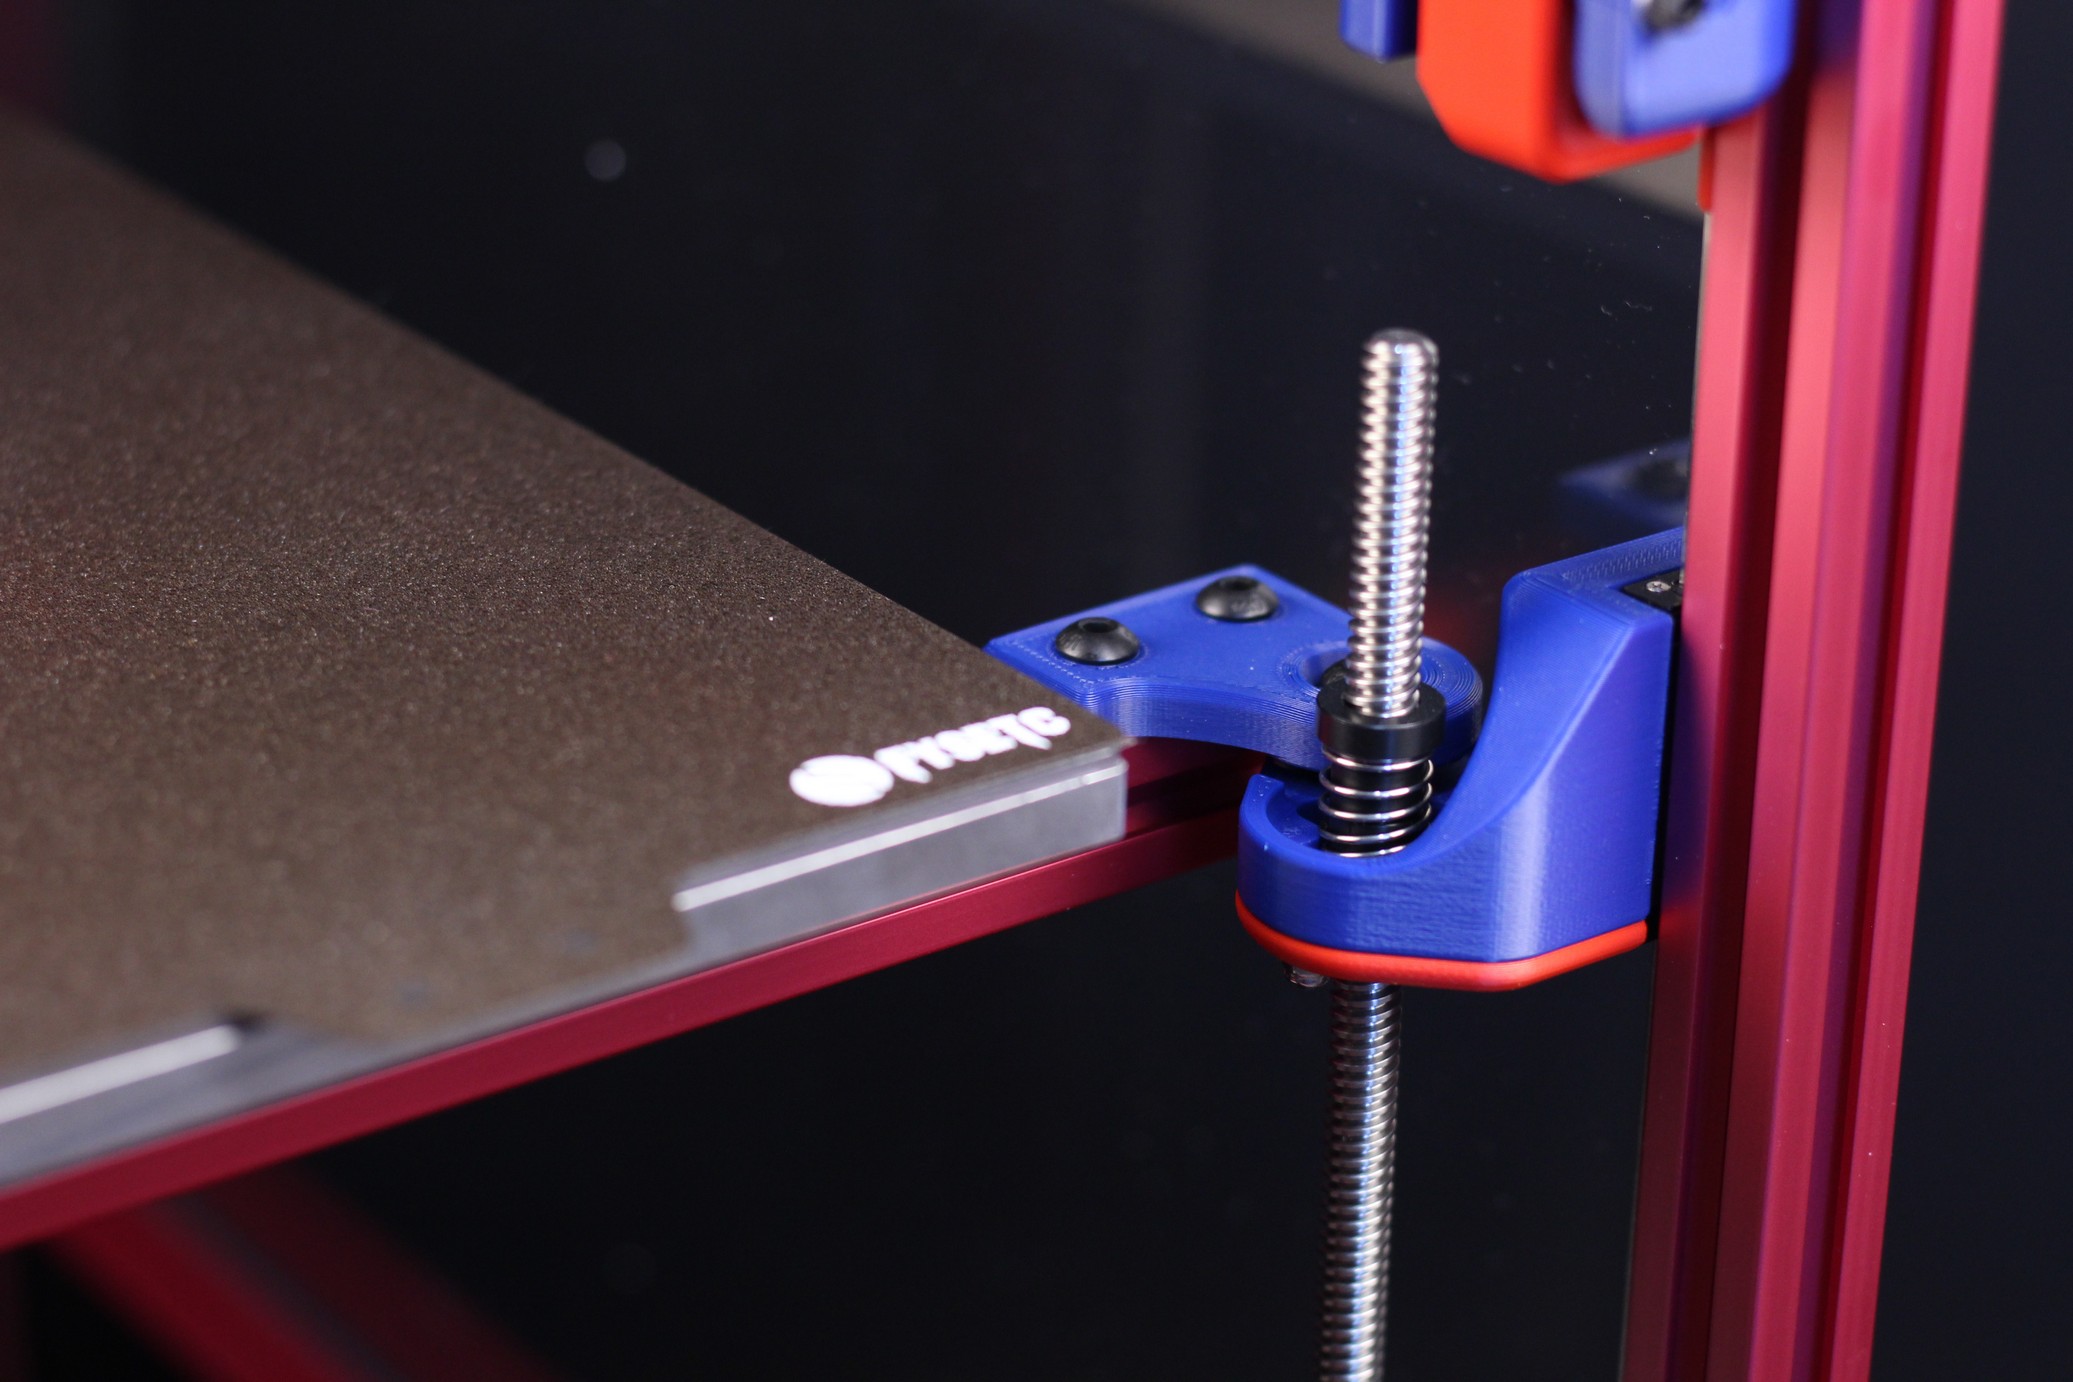
In the kit, you get a double-sided PEI sheet. One side is textured while the other is smooth. The adhesion is great on both sides, and you can read more about PEI sheets in my previous articles.
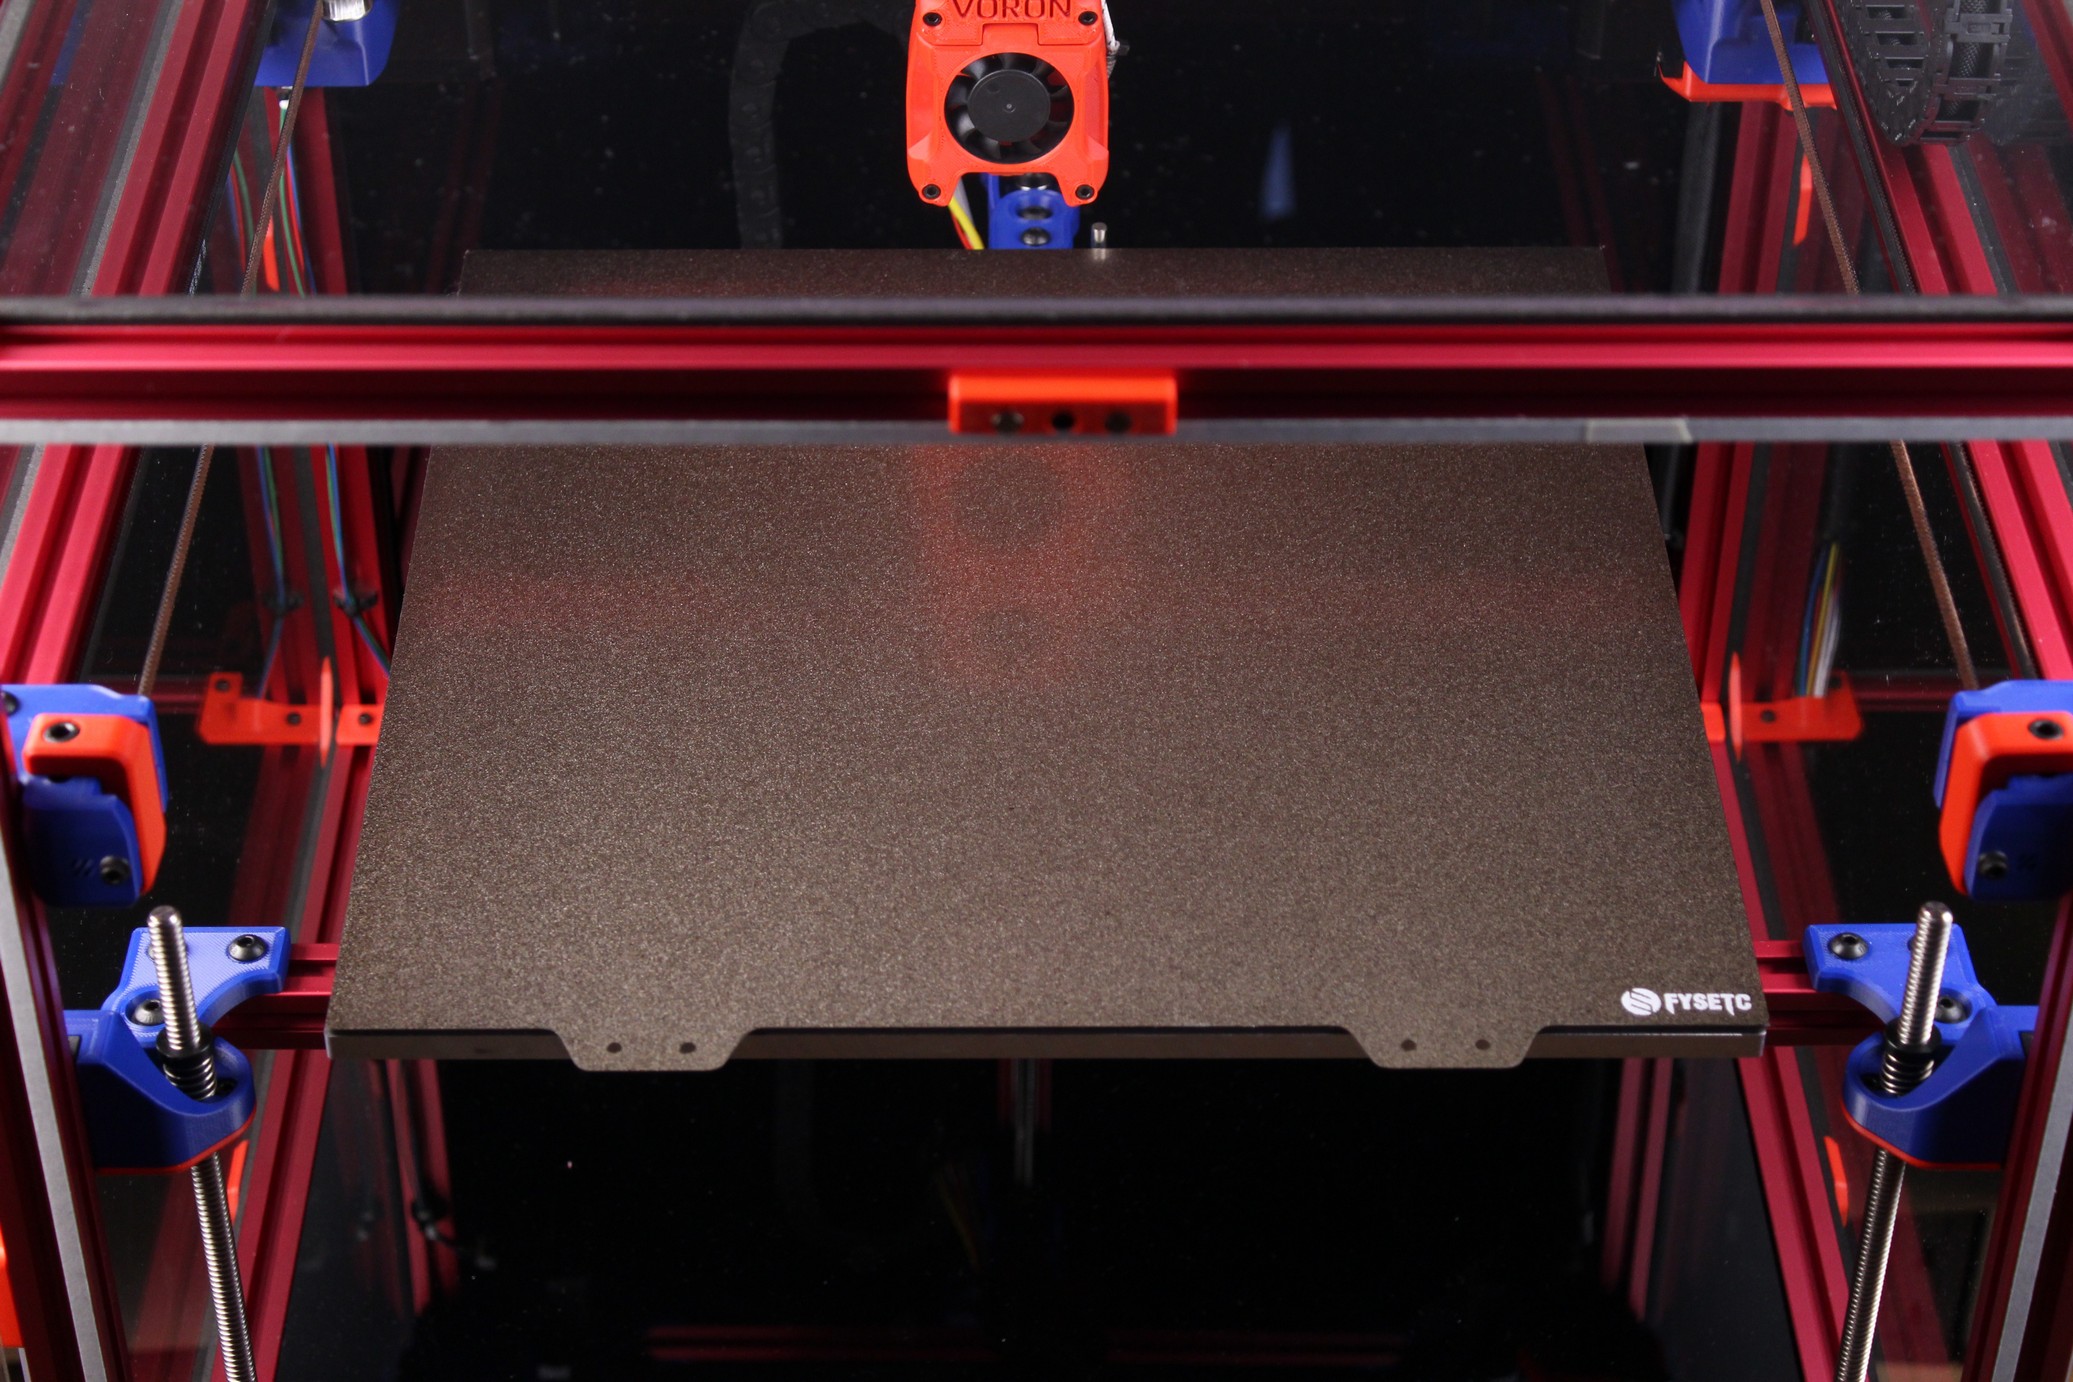
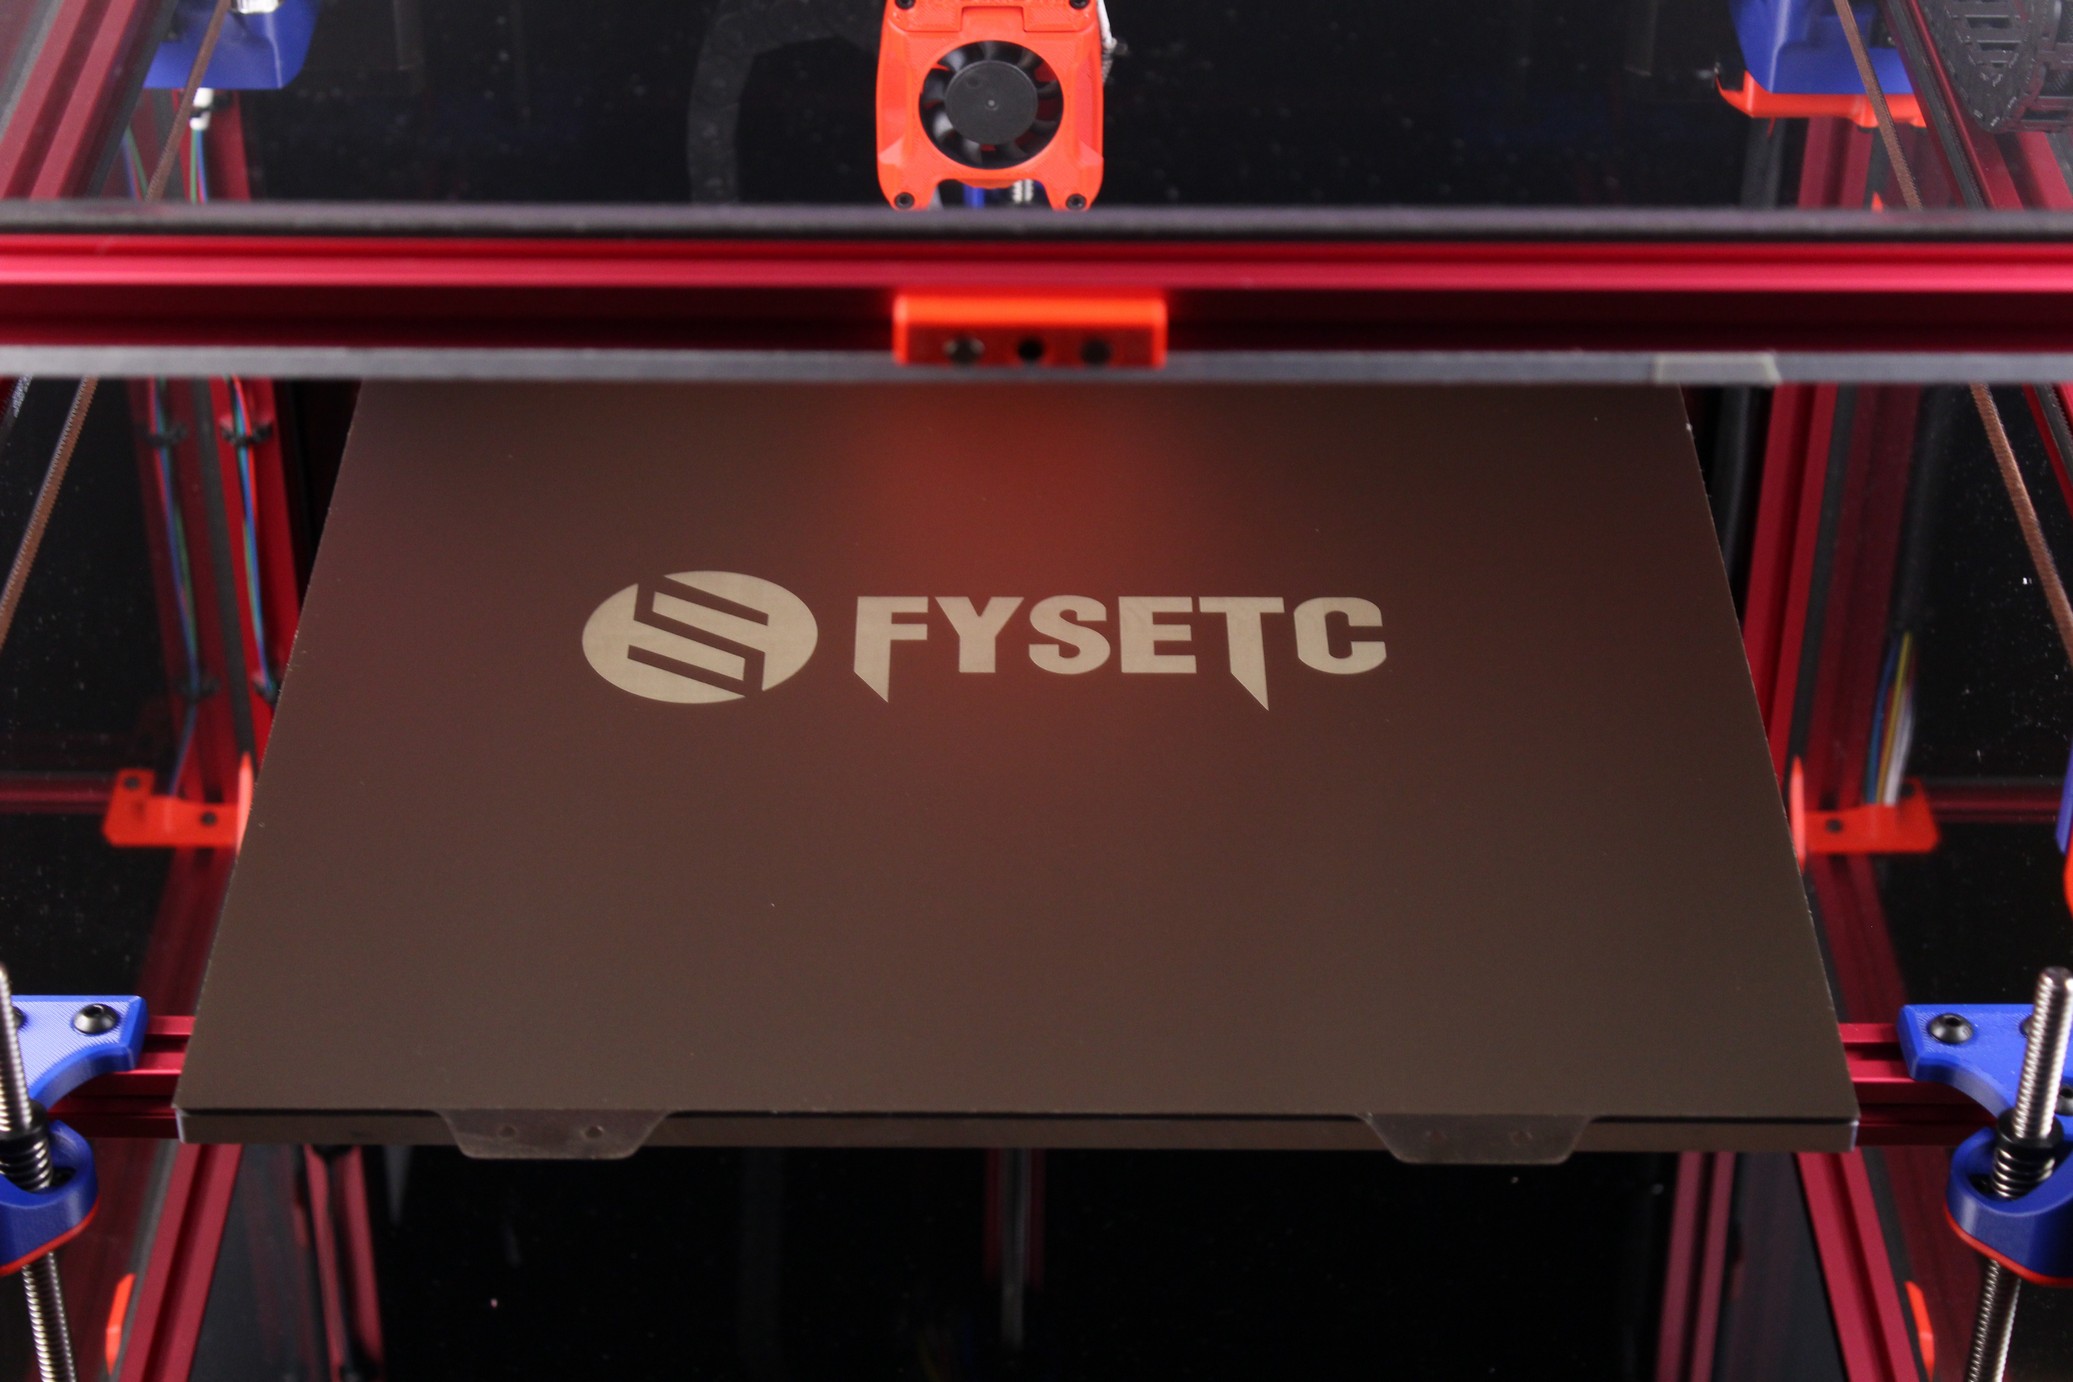
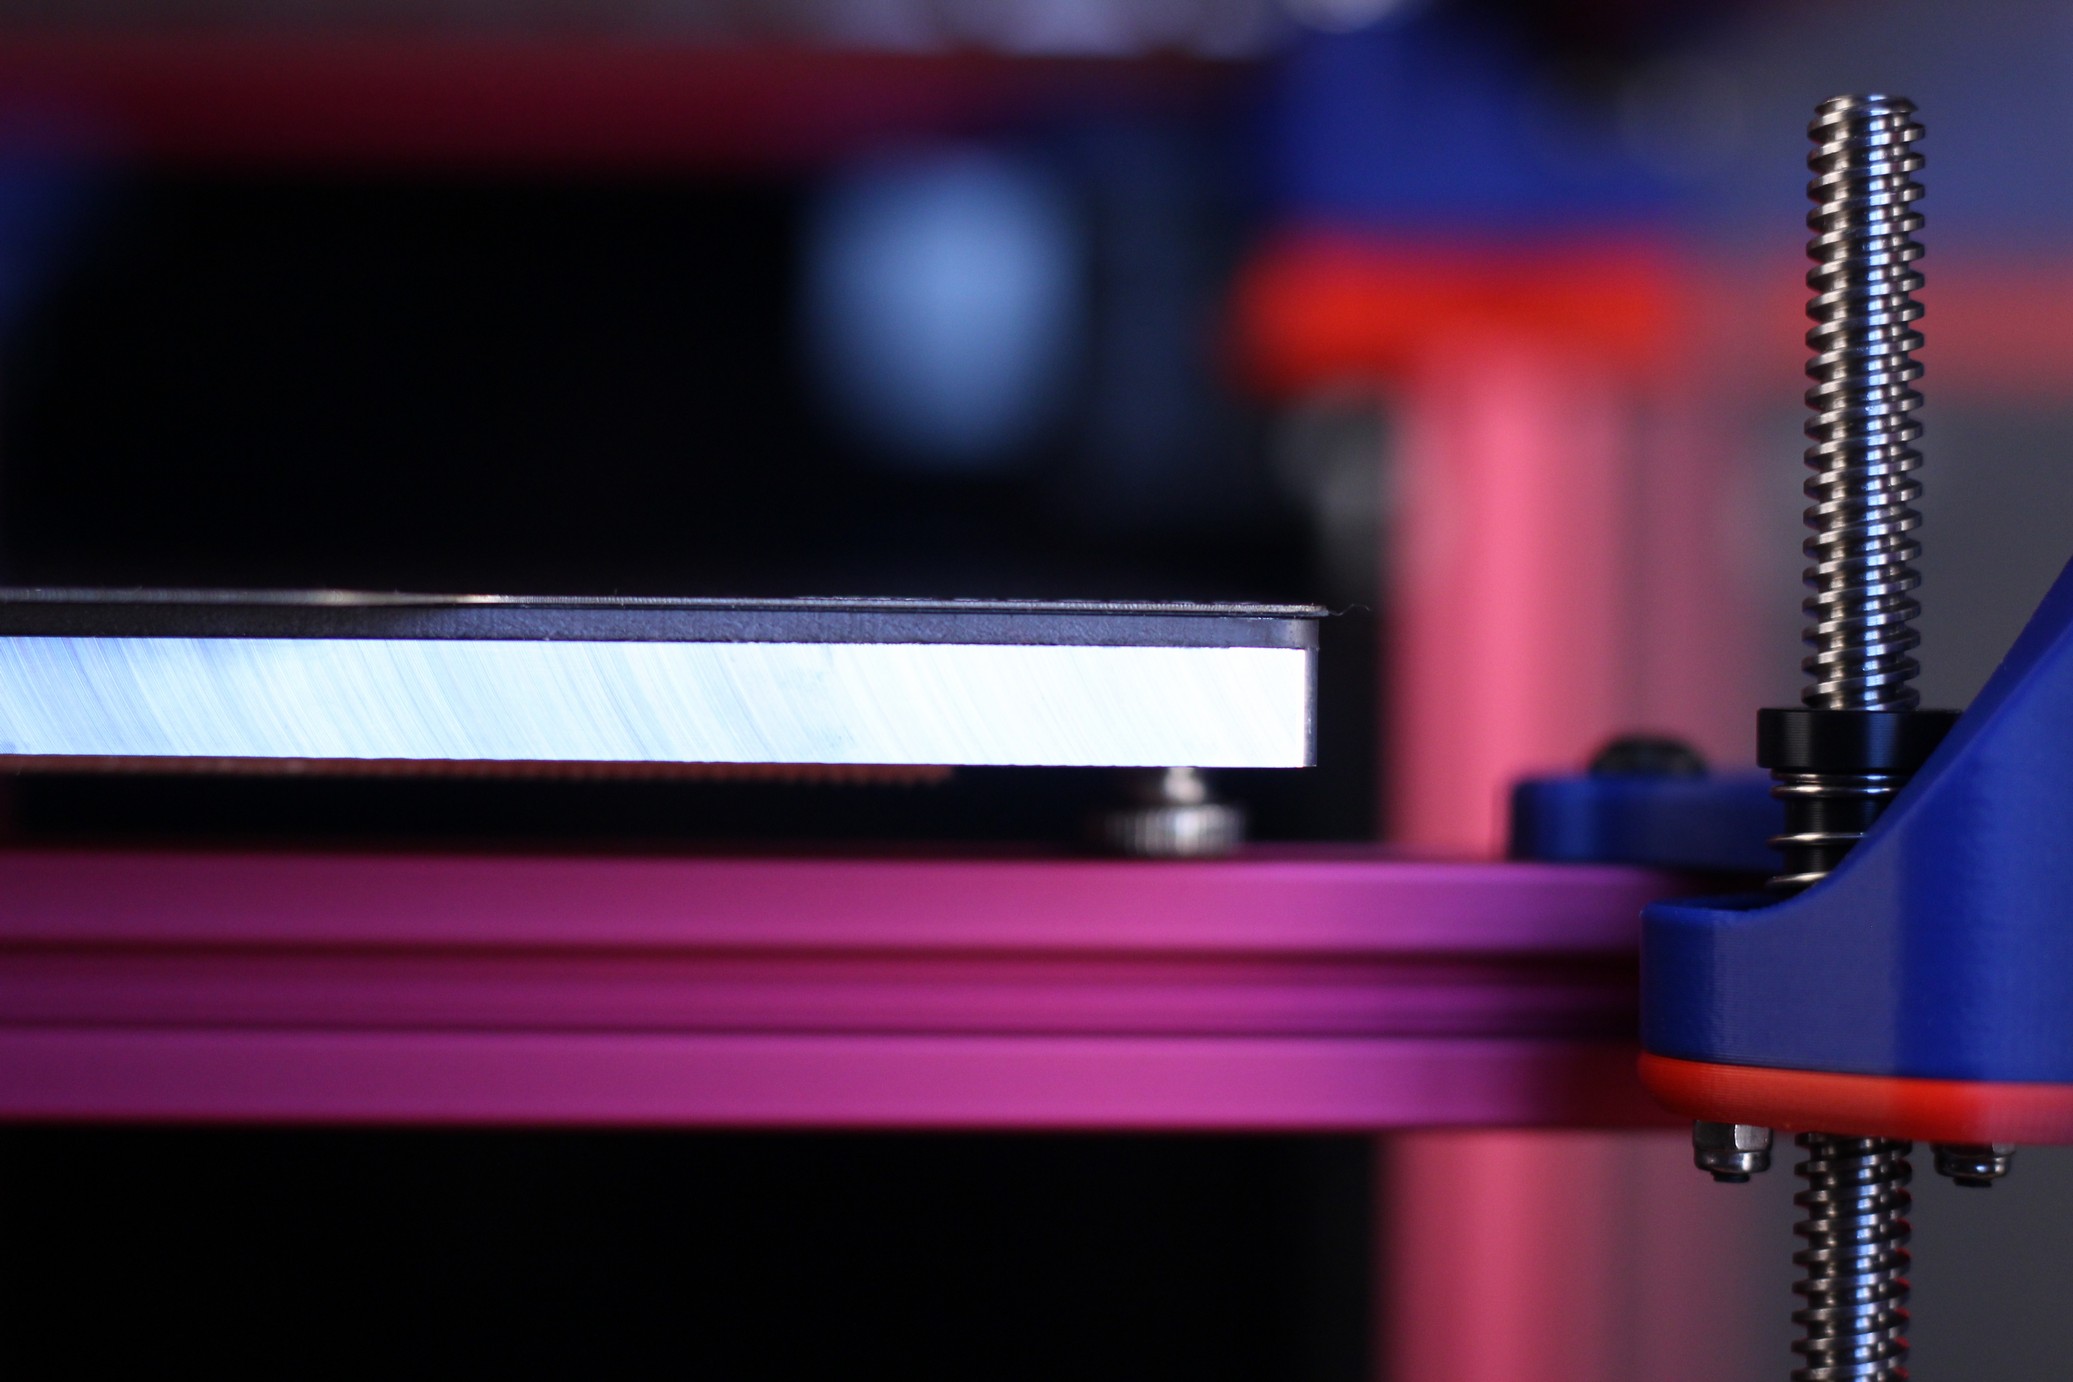
What I like best about this PEI sheet is the magnet sticker underneath the print surface. It’s much thicker compared to the regular magnets you get with other PEI sheets, and this translates to really good magnet attraction between the flexplate and the bed. This is especially important considering that you will probably print a lot of high-temp materials with the VORON Trident. With ABS and large models, the PEI sheet can bend under the high layer tension.
The only downside about this magnet is the low thermal transfer from the heater to the actual print surface. You lose close to 10C from the set temperature to what the actual temperature is on the surface.
Adhesion wasn’t that great on the textured side (in the beginning), but after a gentle scrubbing with small grit sandpaper, models stuck well to it. Usually, this is a recommended solution to solve adhesion issues when PEI sheets are not working as they should, but I rarely encountered this issue with a new sheet.
Cast Aluminum Bed
I love the huge slab of aluminum that is used as a bed for the FYSETC Voron Trident kit. It’s really flat and I couldn’t find any issues with it. It’s really flat, and it doesn’t deform when it’s heated.
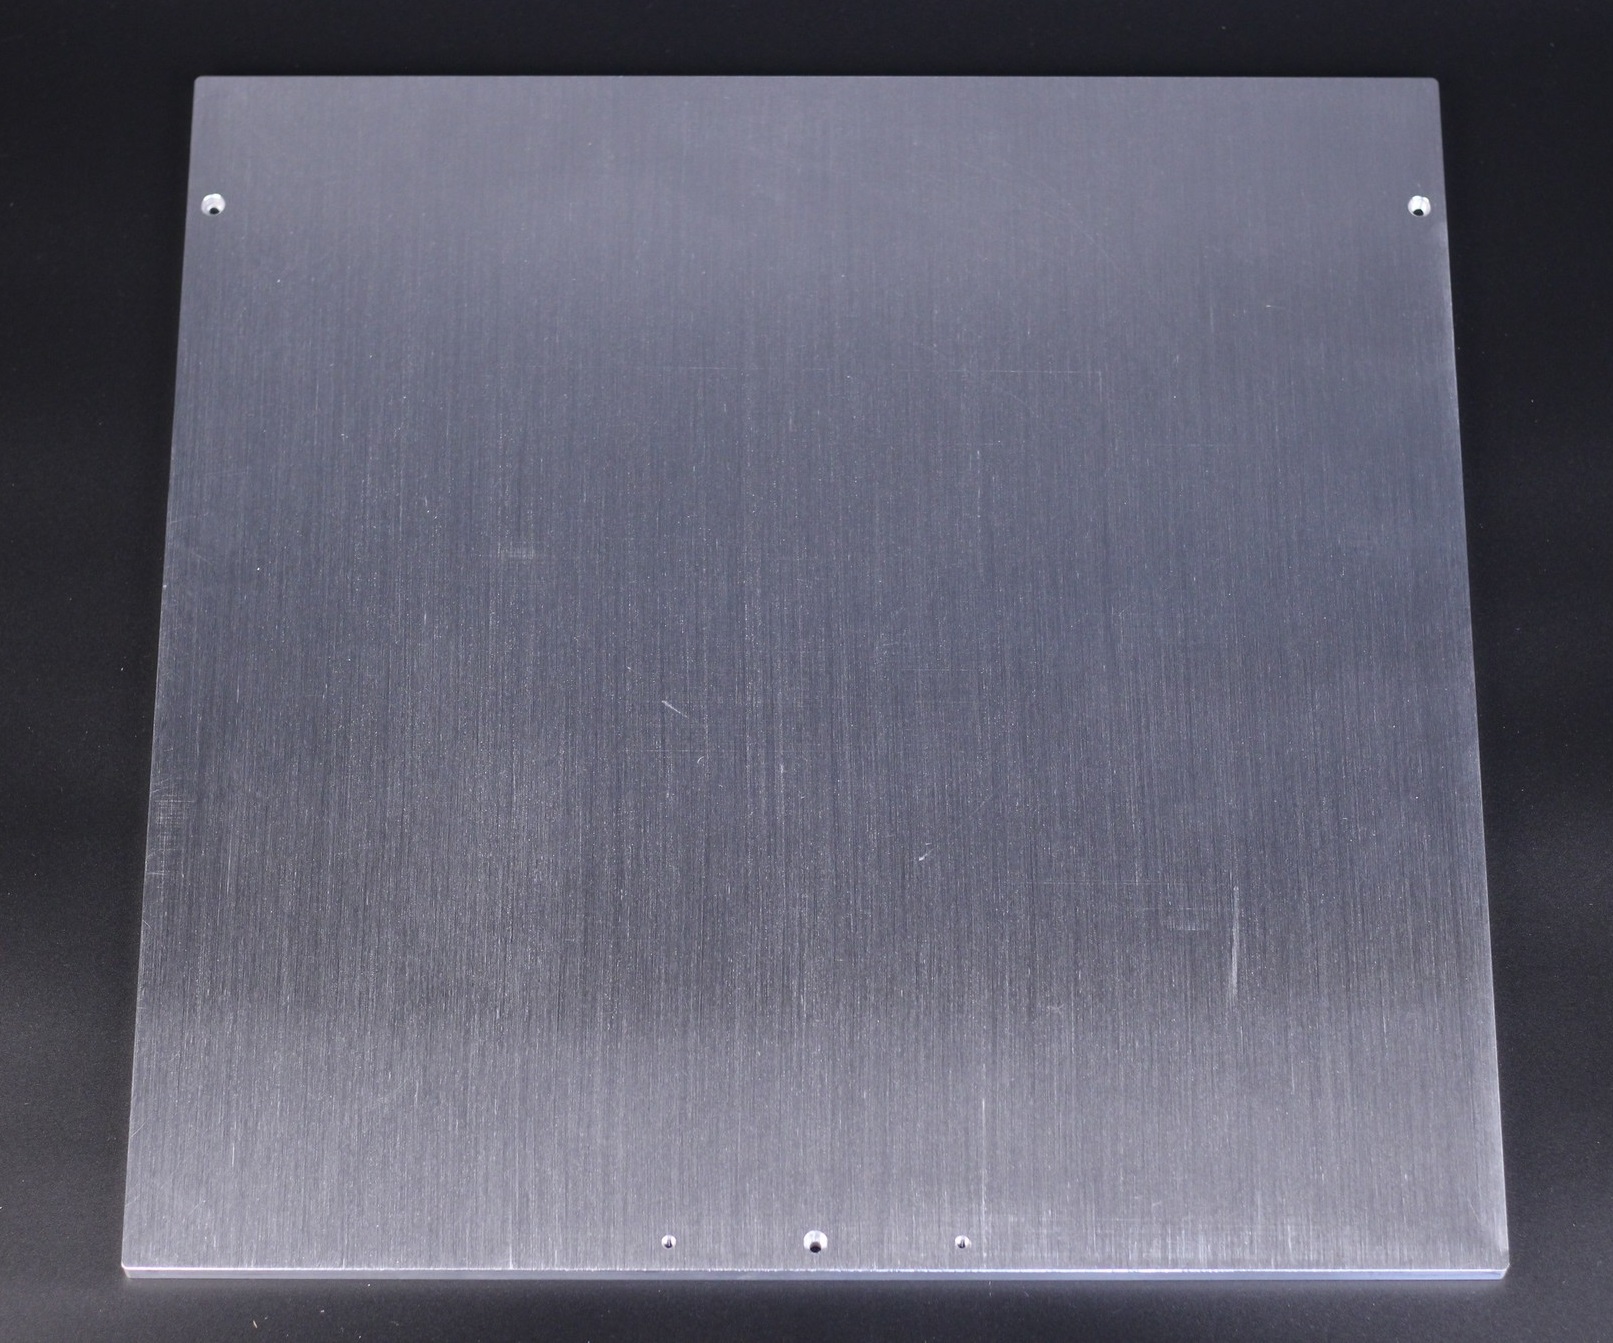
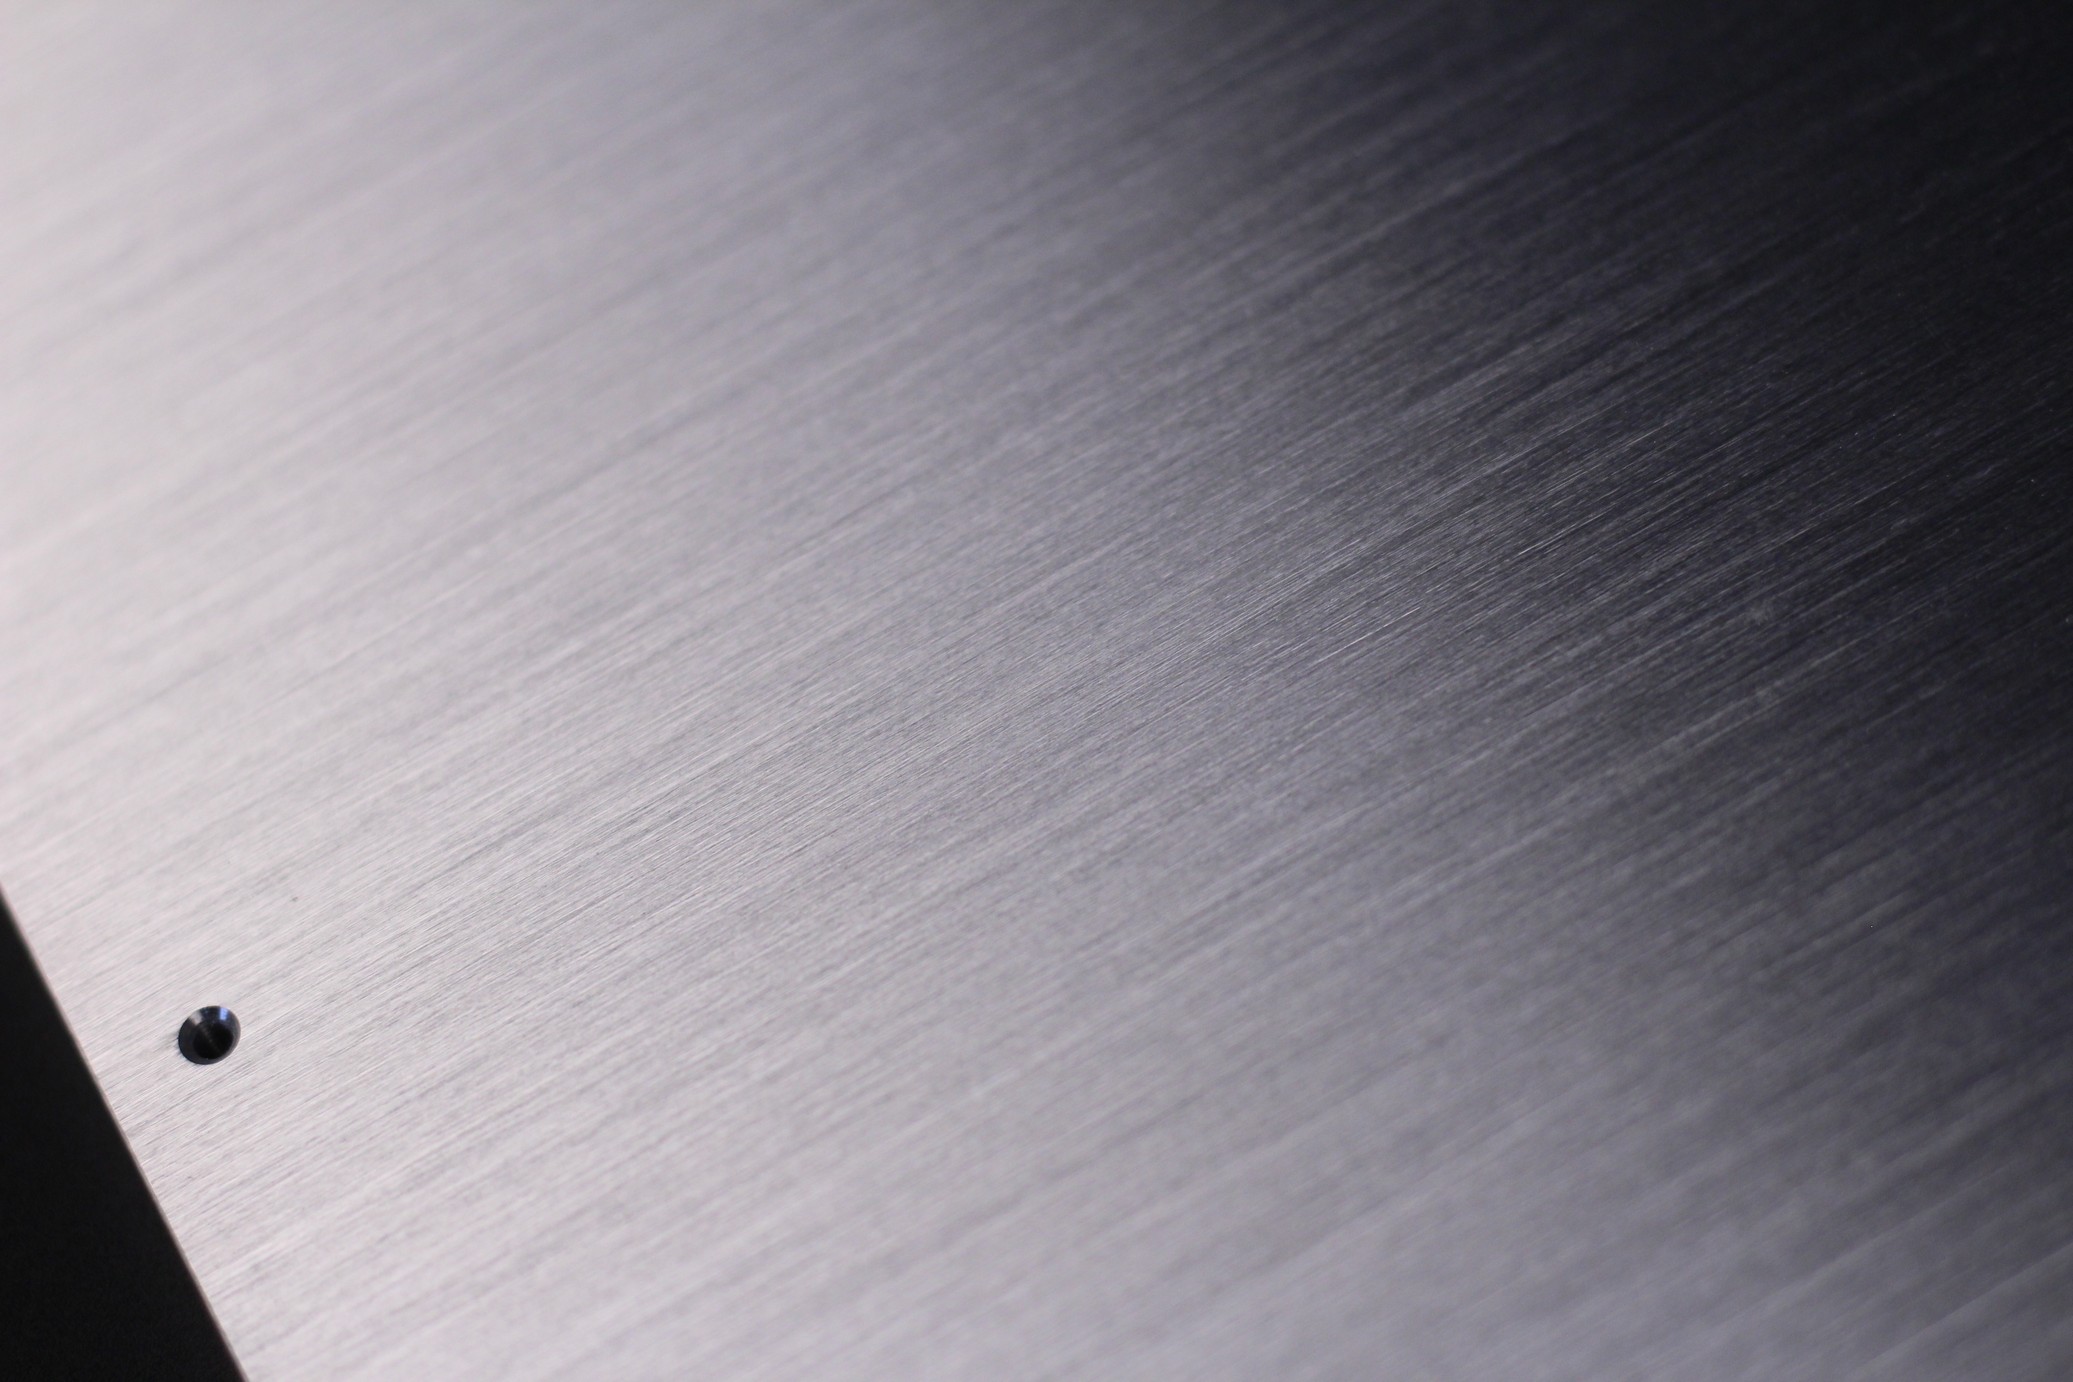
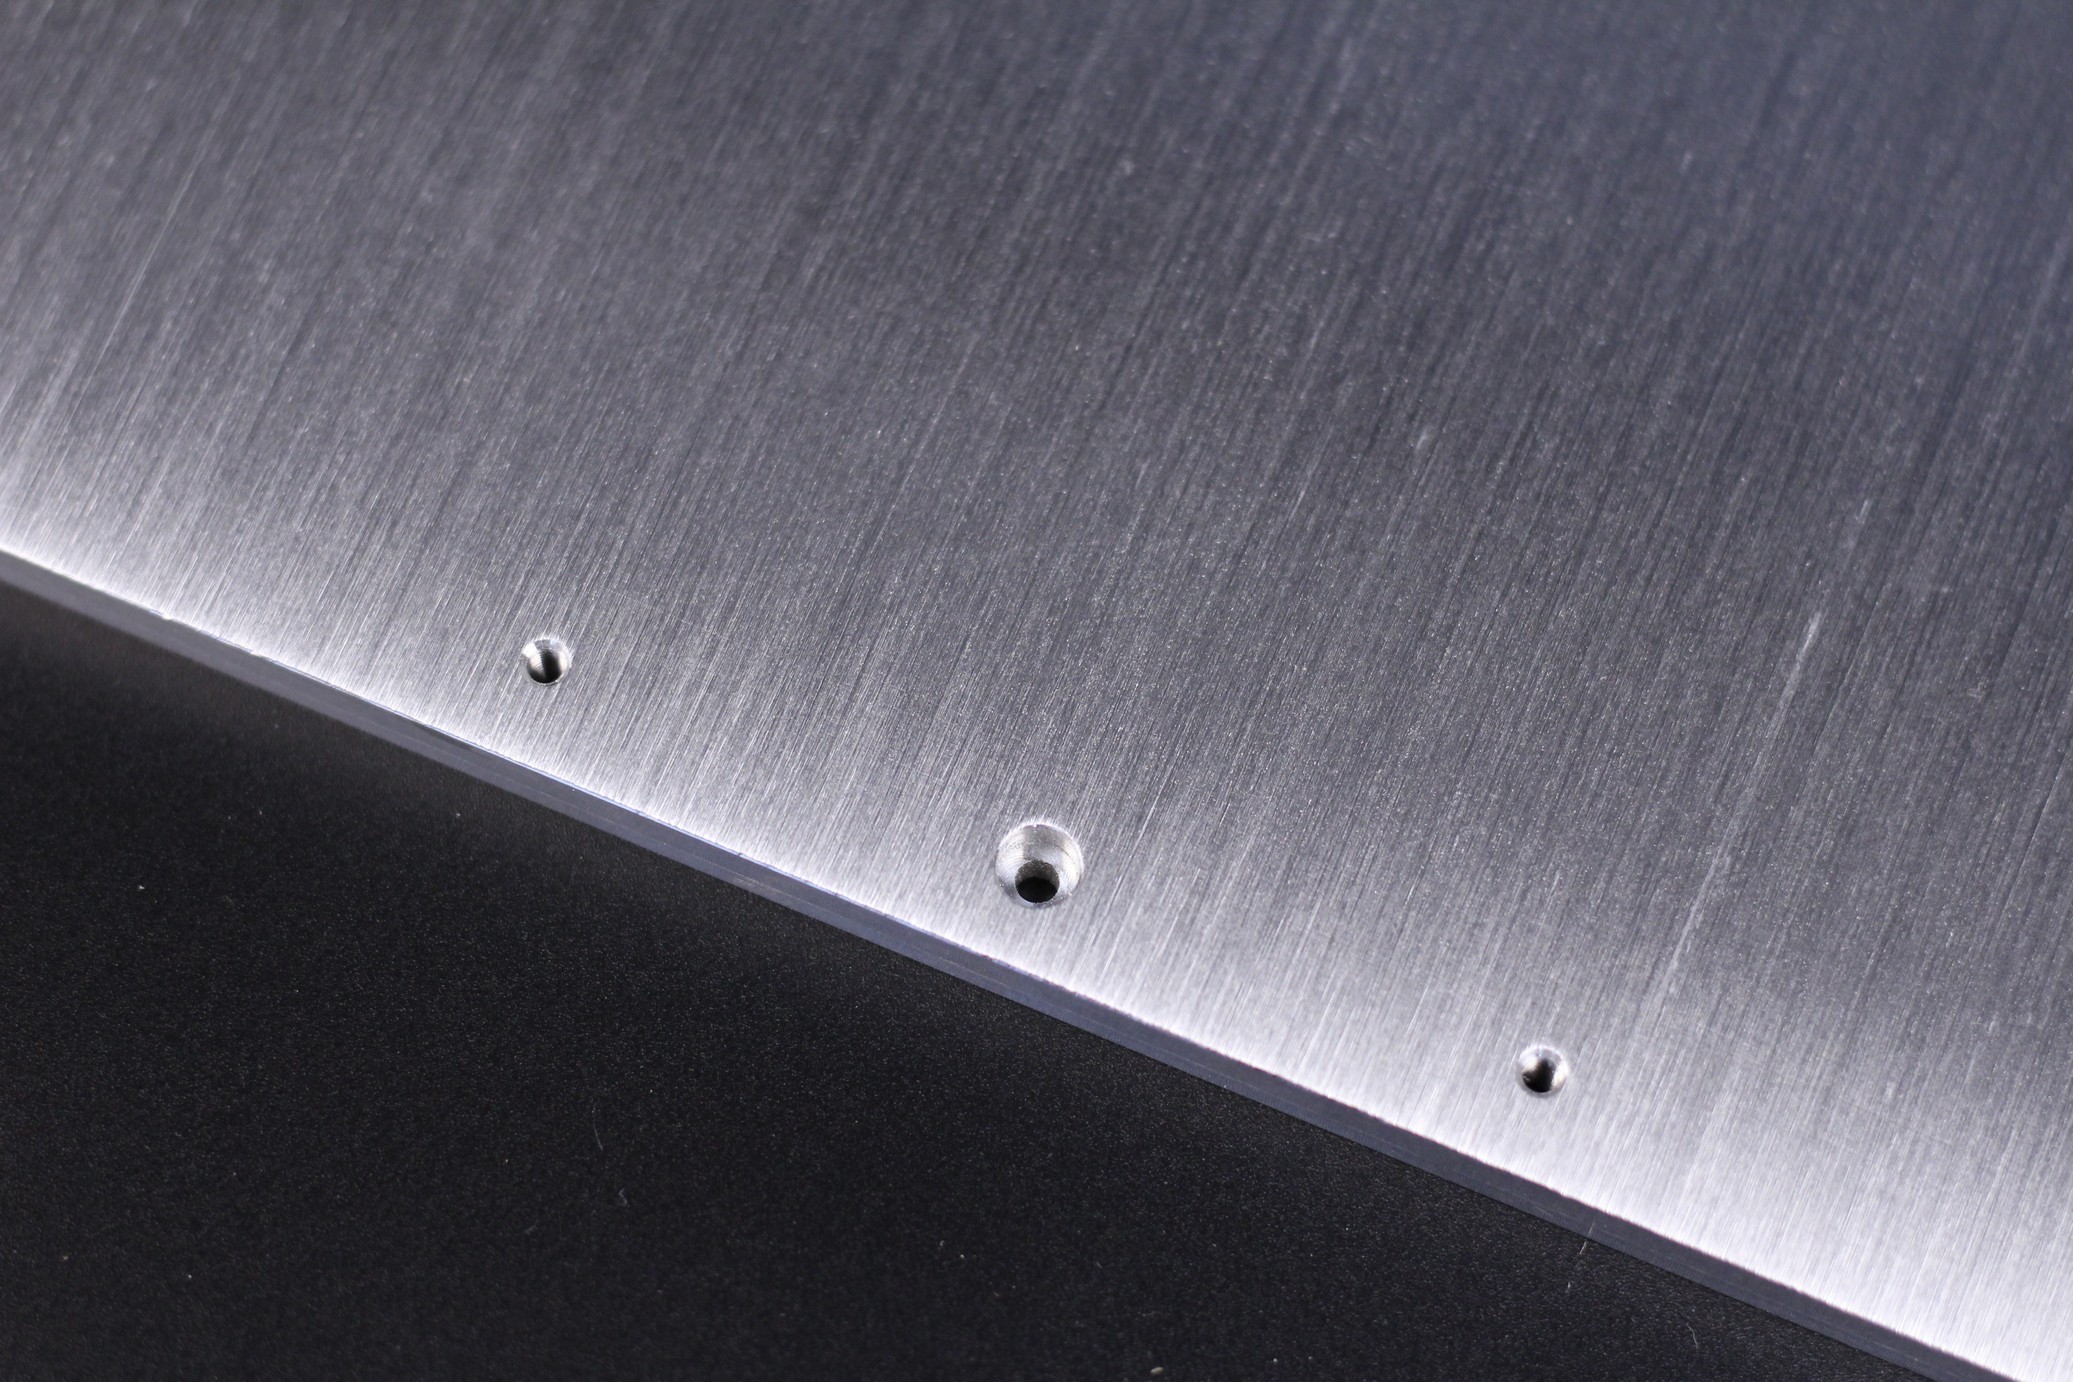
I would have liked to have some magnets embedded right into the heated aluminum bed, to avoid using the magnetic sticker surface, but that would have probably increased the cost.
AC Heater
The bed heater is 220W 650W and it’s applied to the bottom of the aluminum bed. This heater doesn’t completely cover the aluminum bed and this causes some uneven heating across the print surface.
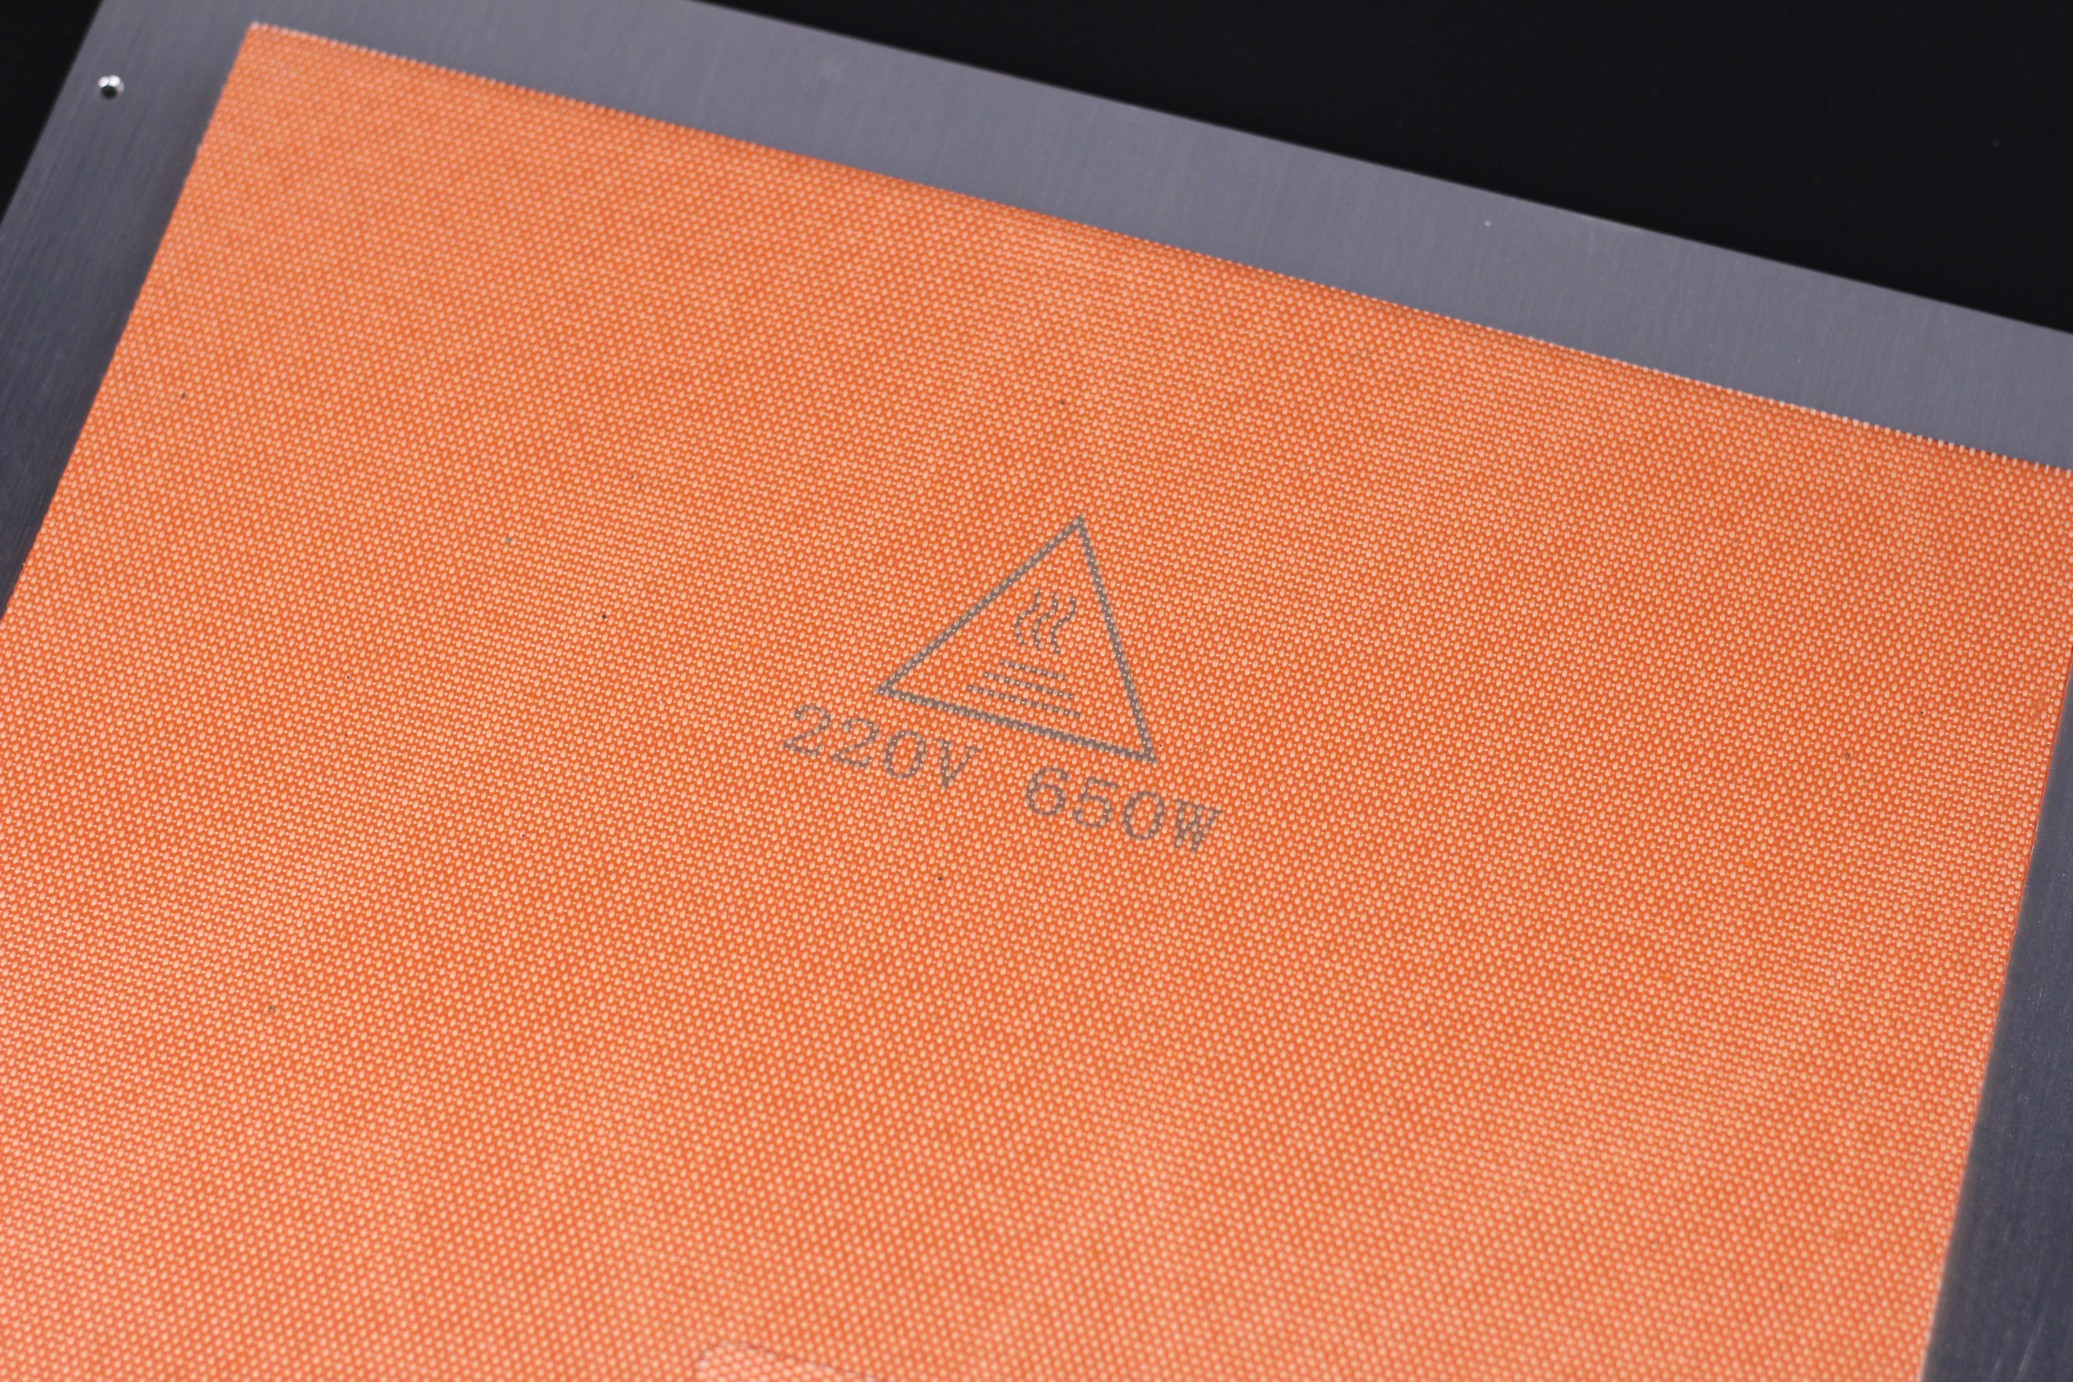
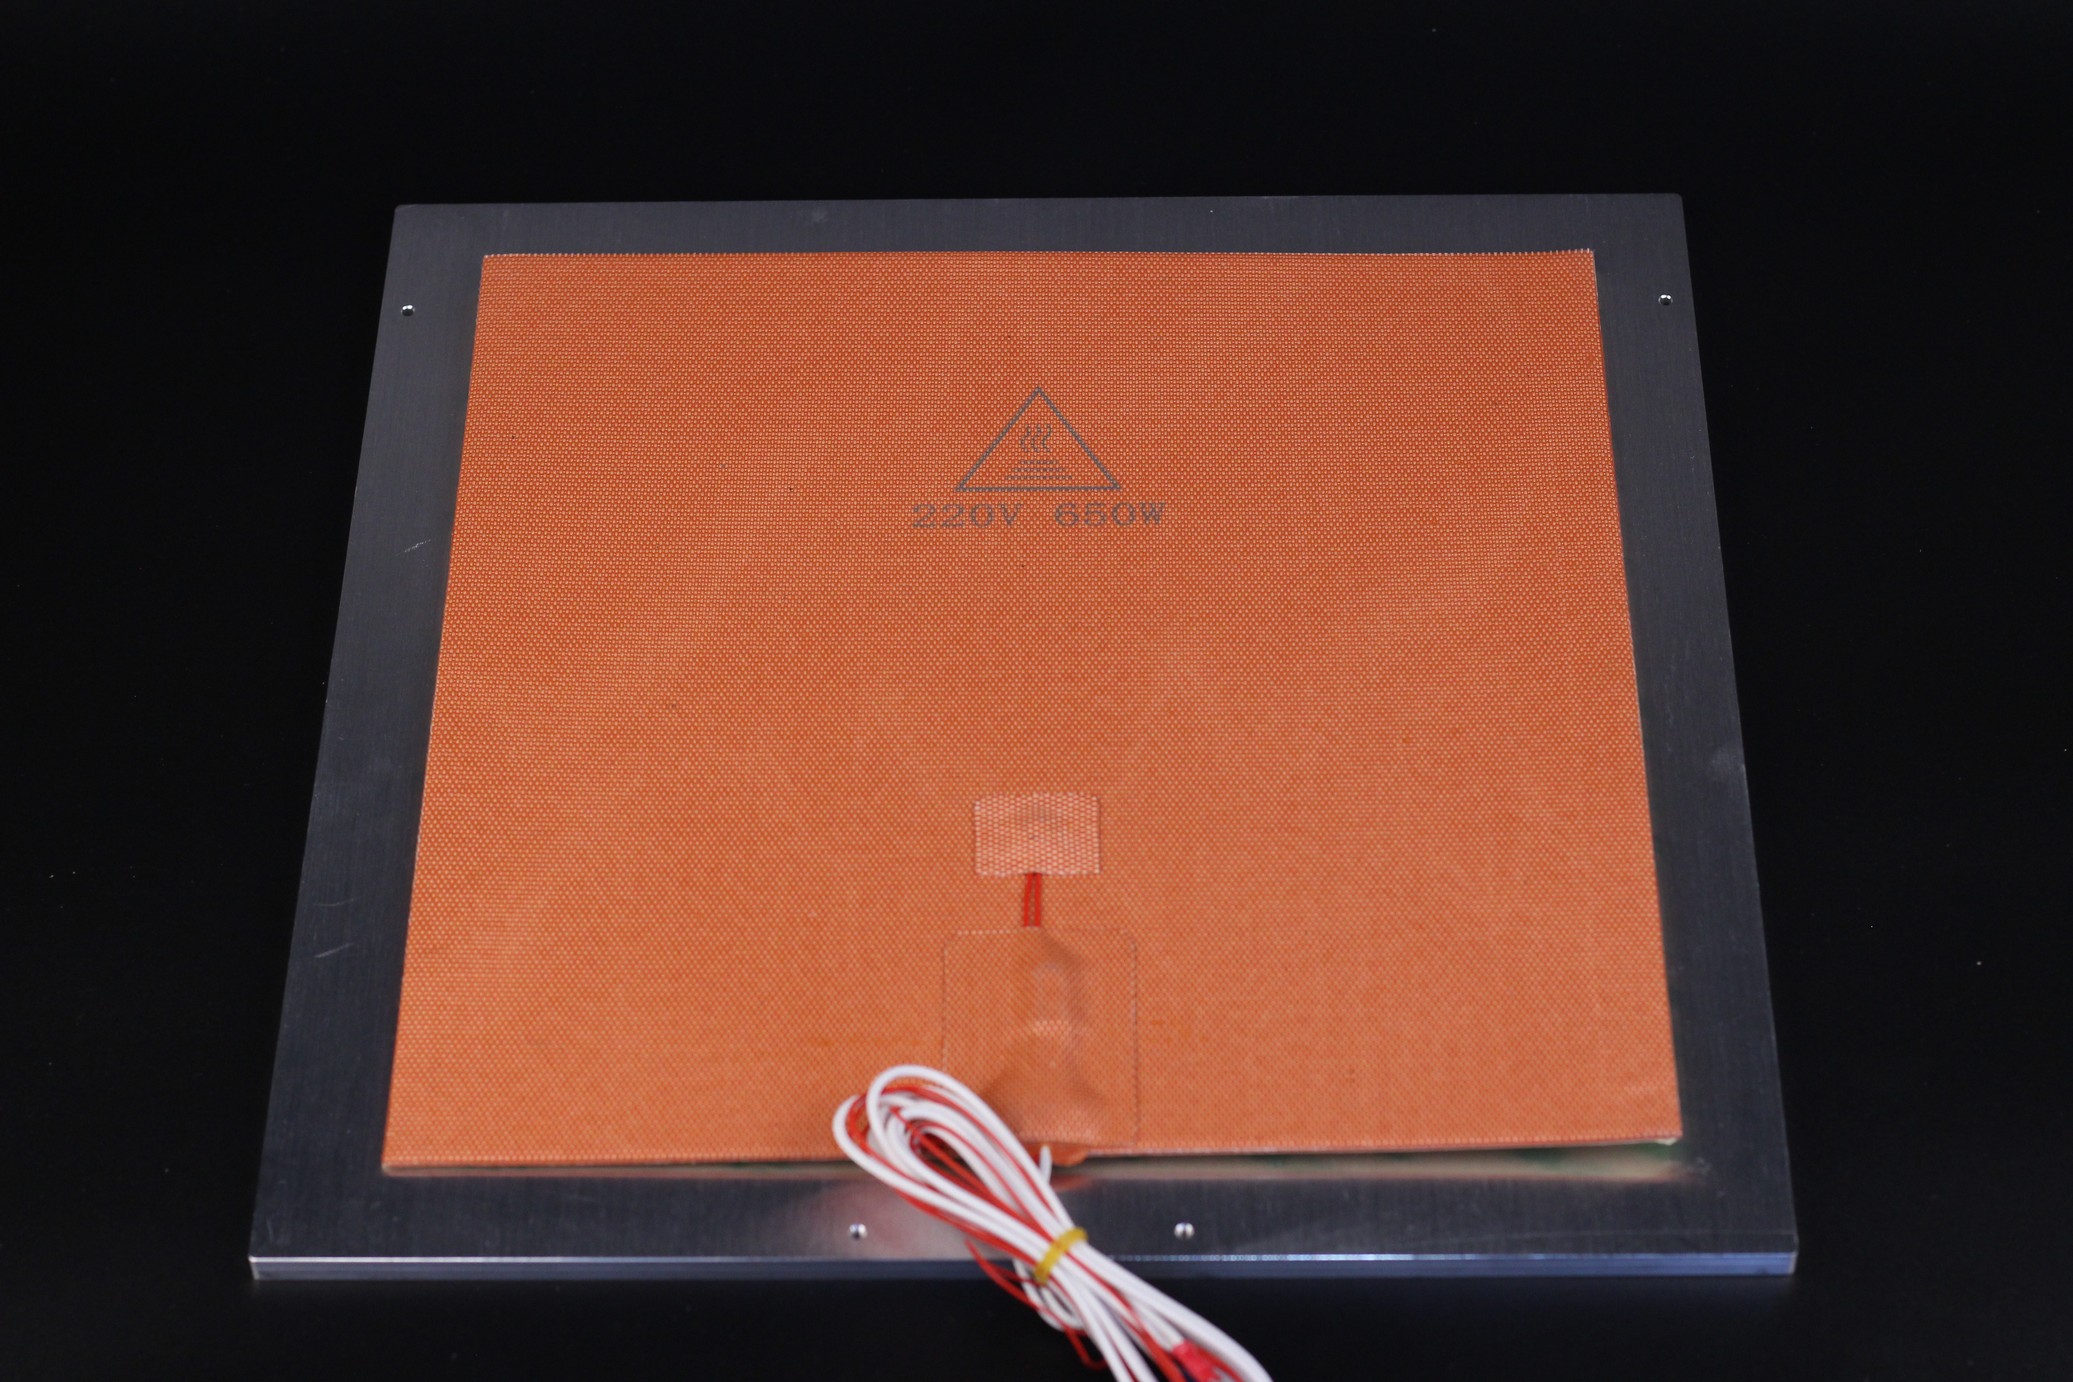
I would also like to see a full-size bed insulation material included with the kit in the future because having that applied would make the bed heat up a bit faster, and would also make the printer much more efficient during operation.
It’s also worth noting that the AC heater included in the FYSETC Voron Trident kit already has a thermal fuse installed, but you can install the spare included with the kit if you are a bit more paranoid and really want to have extra safety features installed to the printer.
Afterburner with Clockwork Extruder
With the parts included in the kit, you can put together the Clockwork extruder and use the Afterburner print head. It’s a nice printhead assembly, but it’s quite heavy compared to what’s currently available in the market (ex: using an Orbiter extruder, or something similar which has a lighter motor). Most people would probably upgrade to the Stealthburner which has better part cooling.
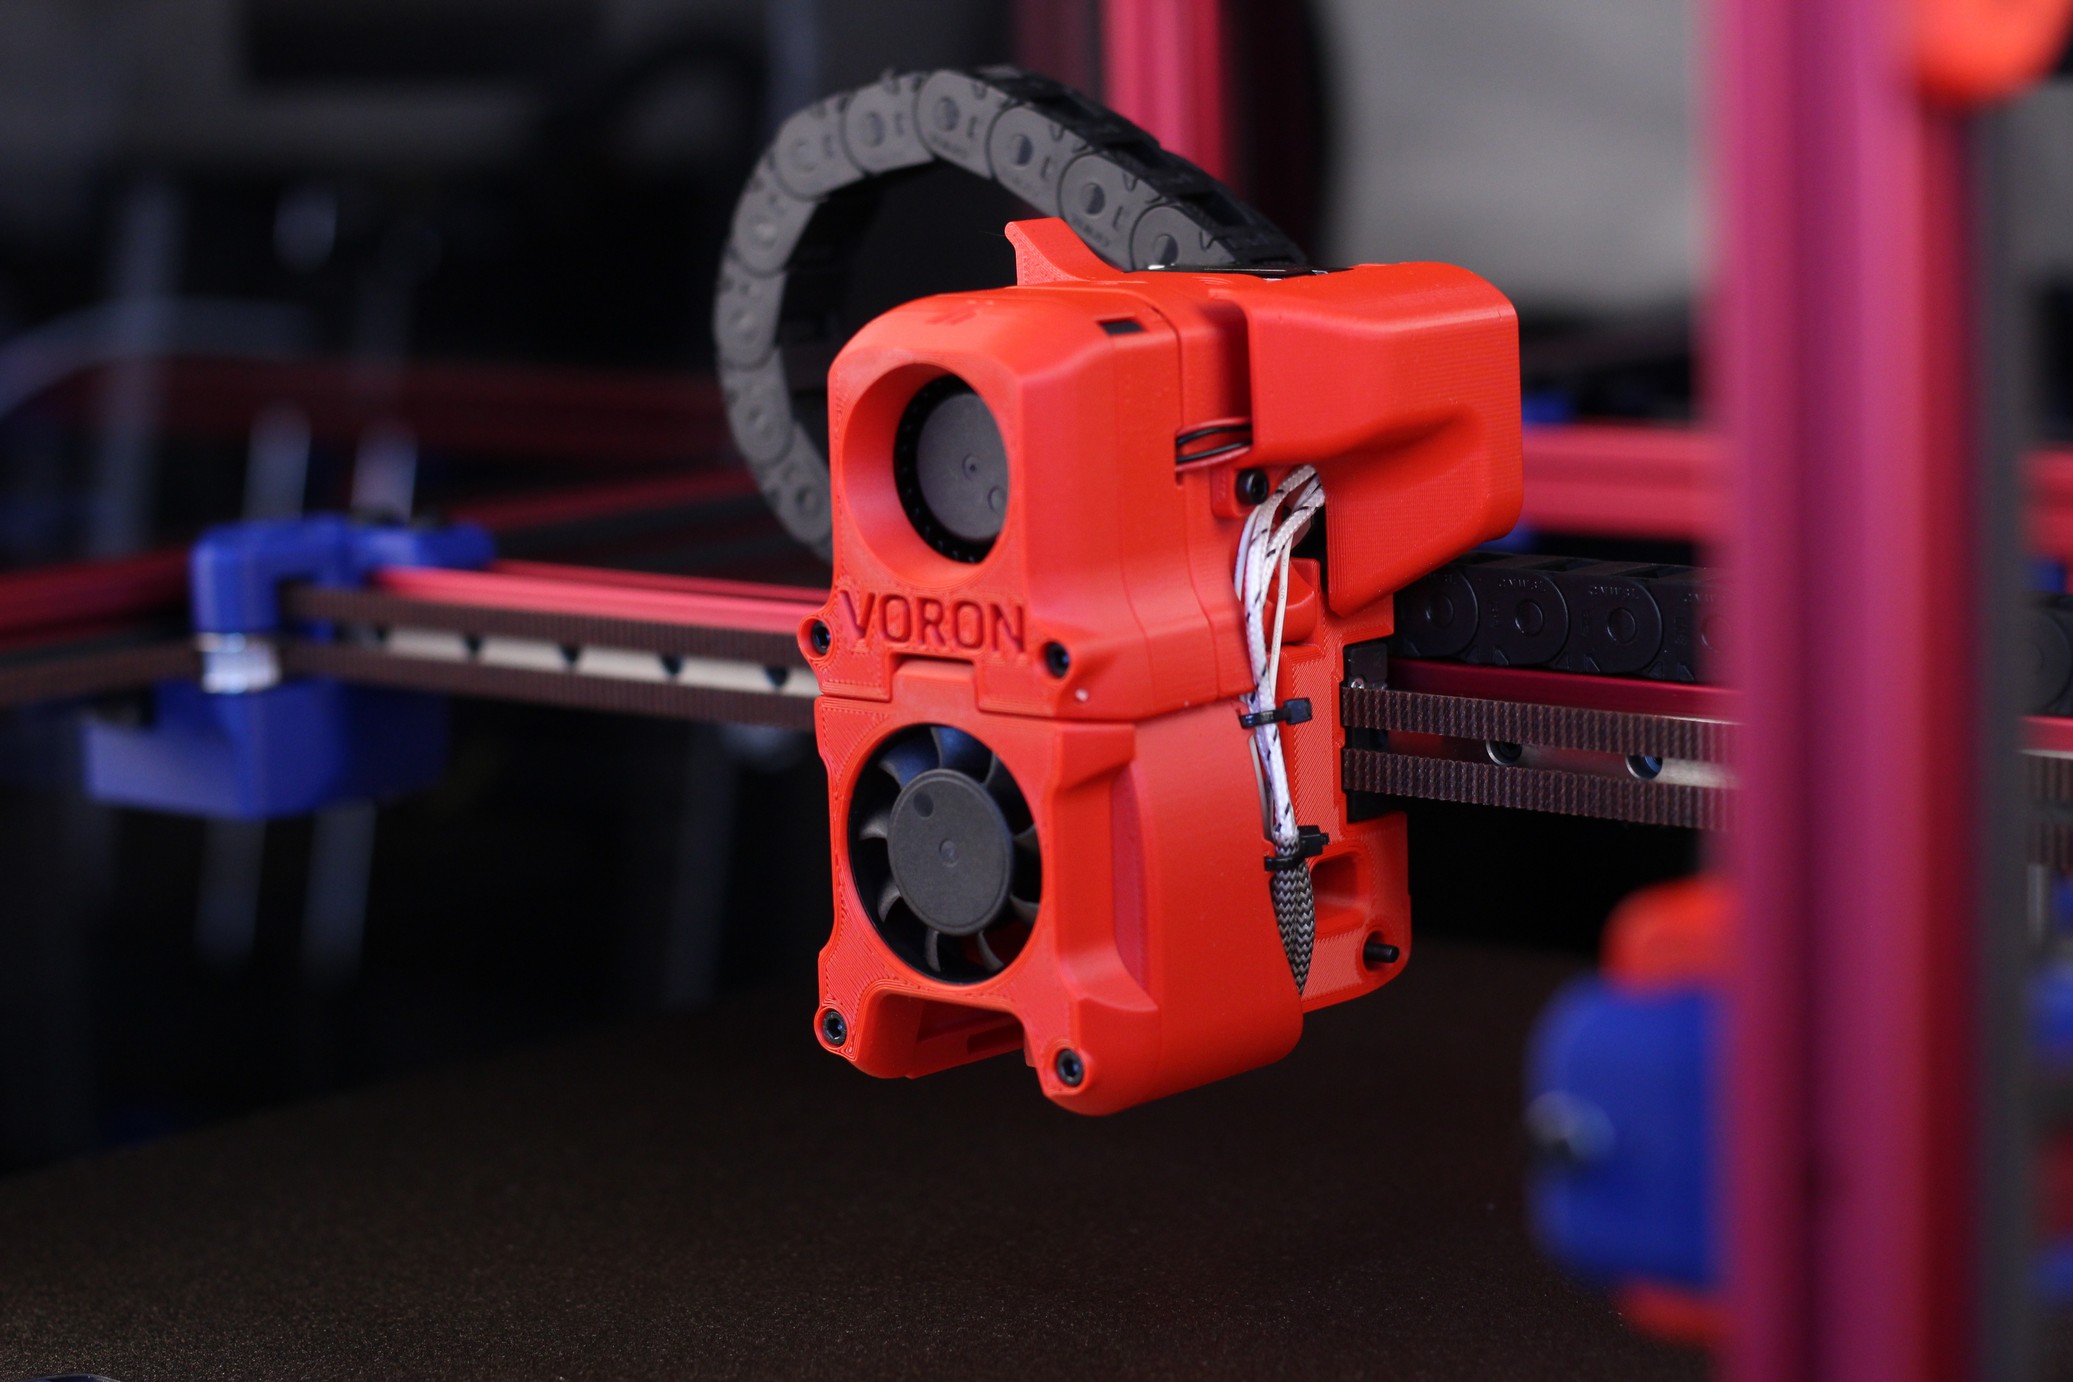
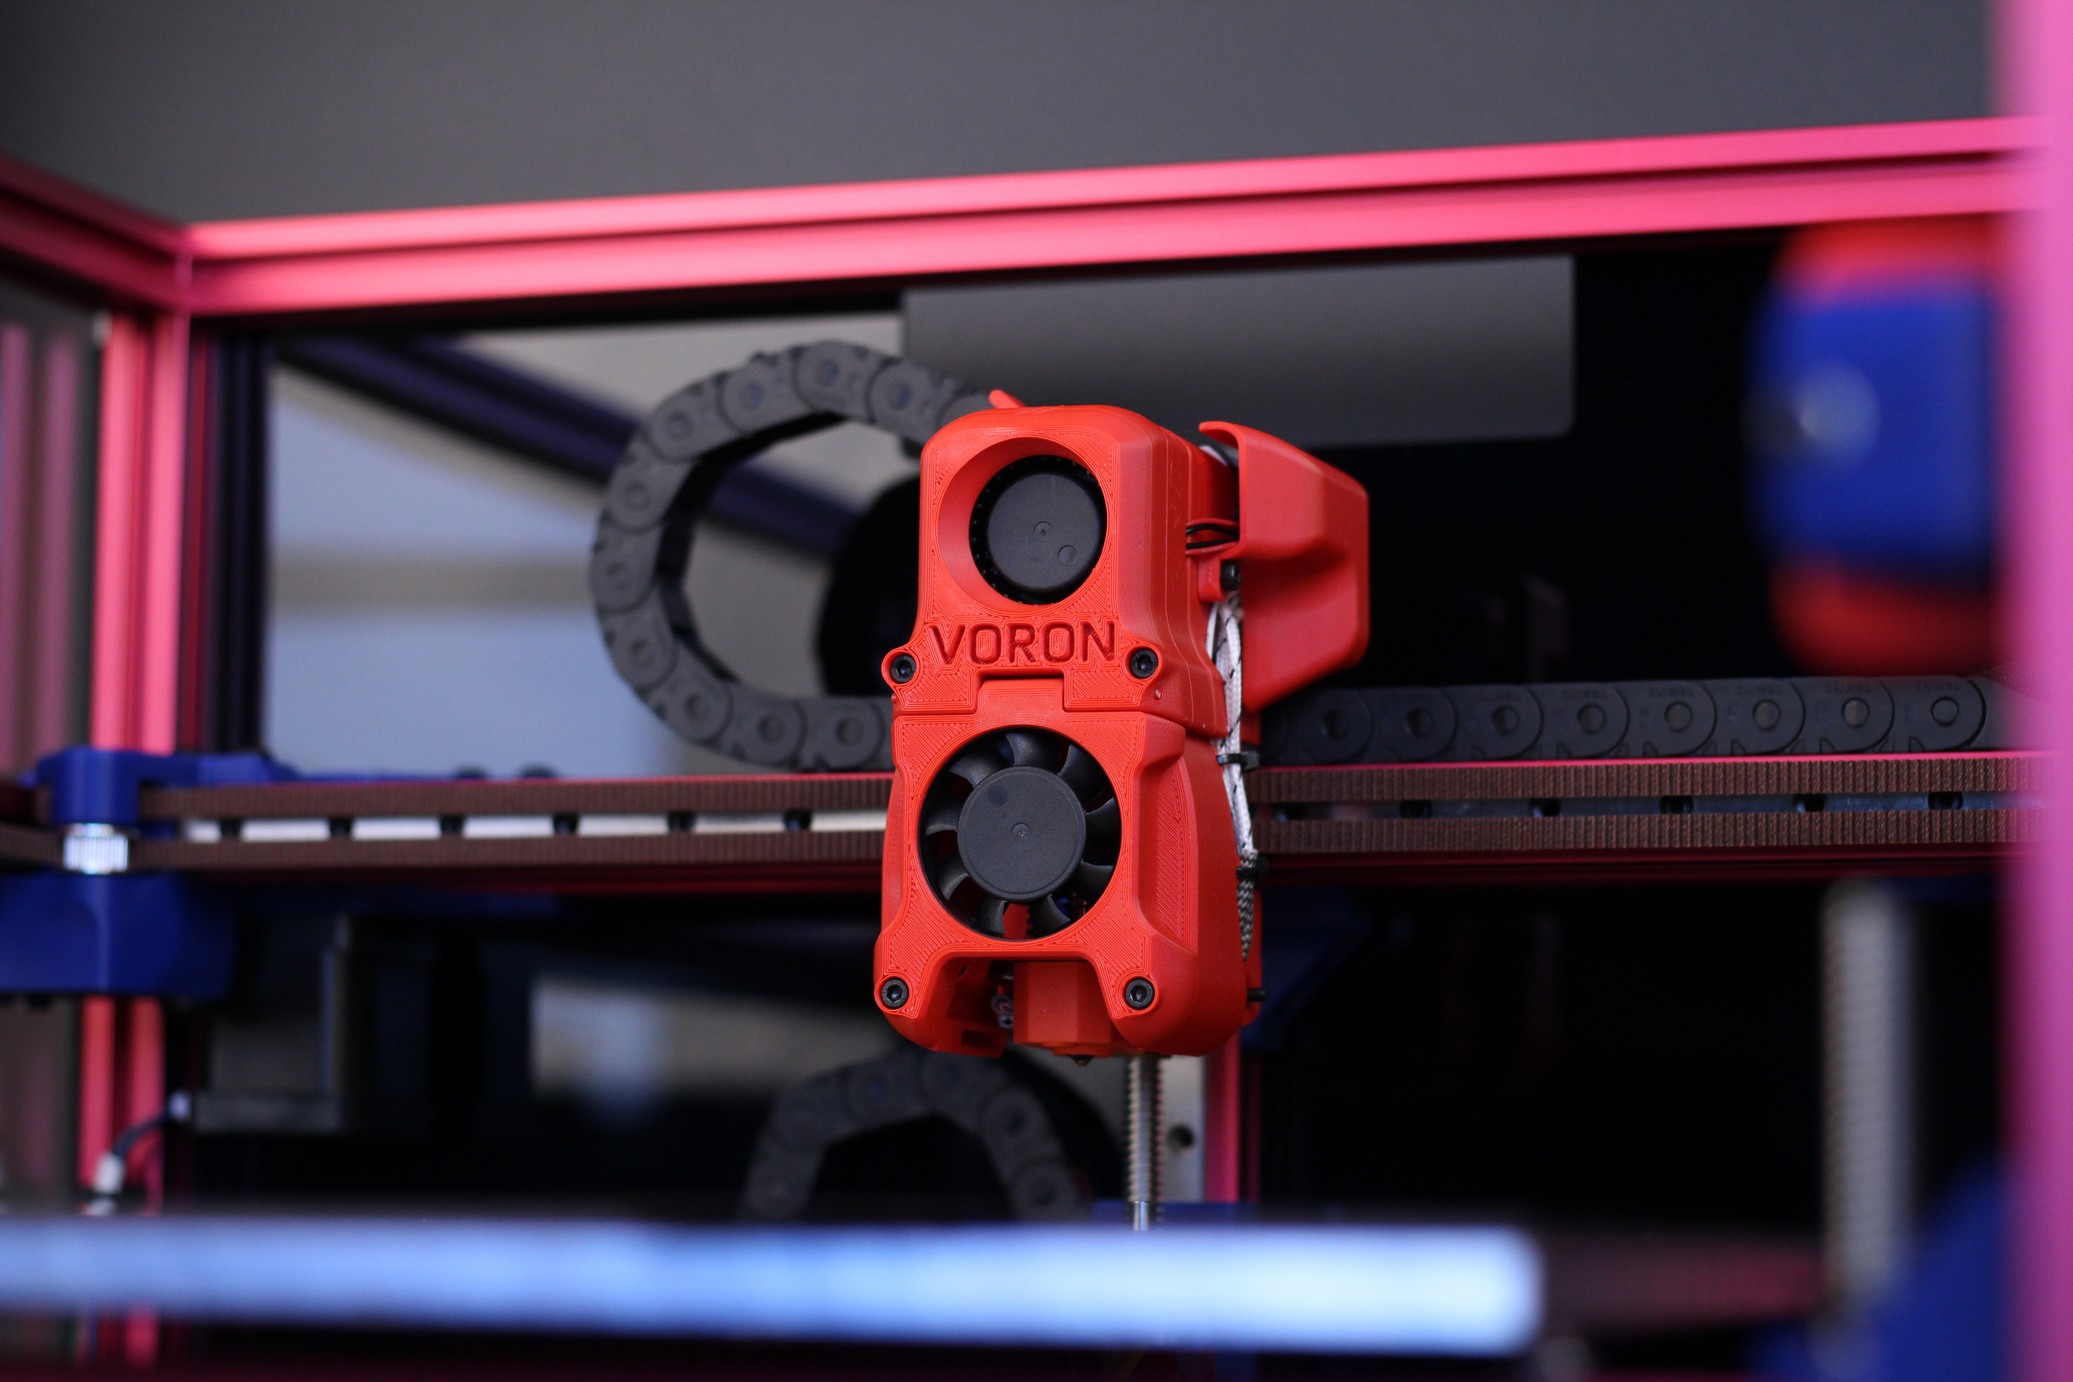
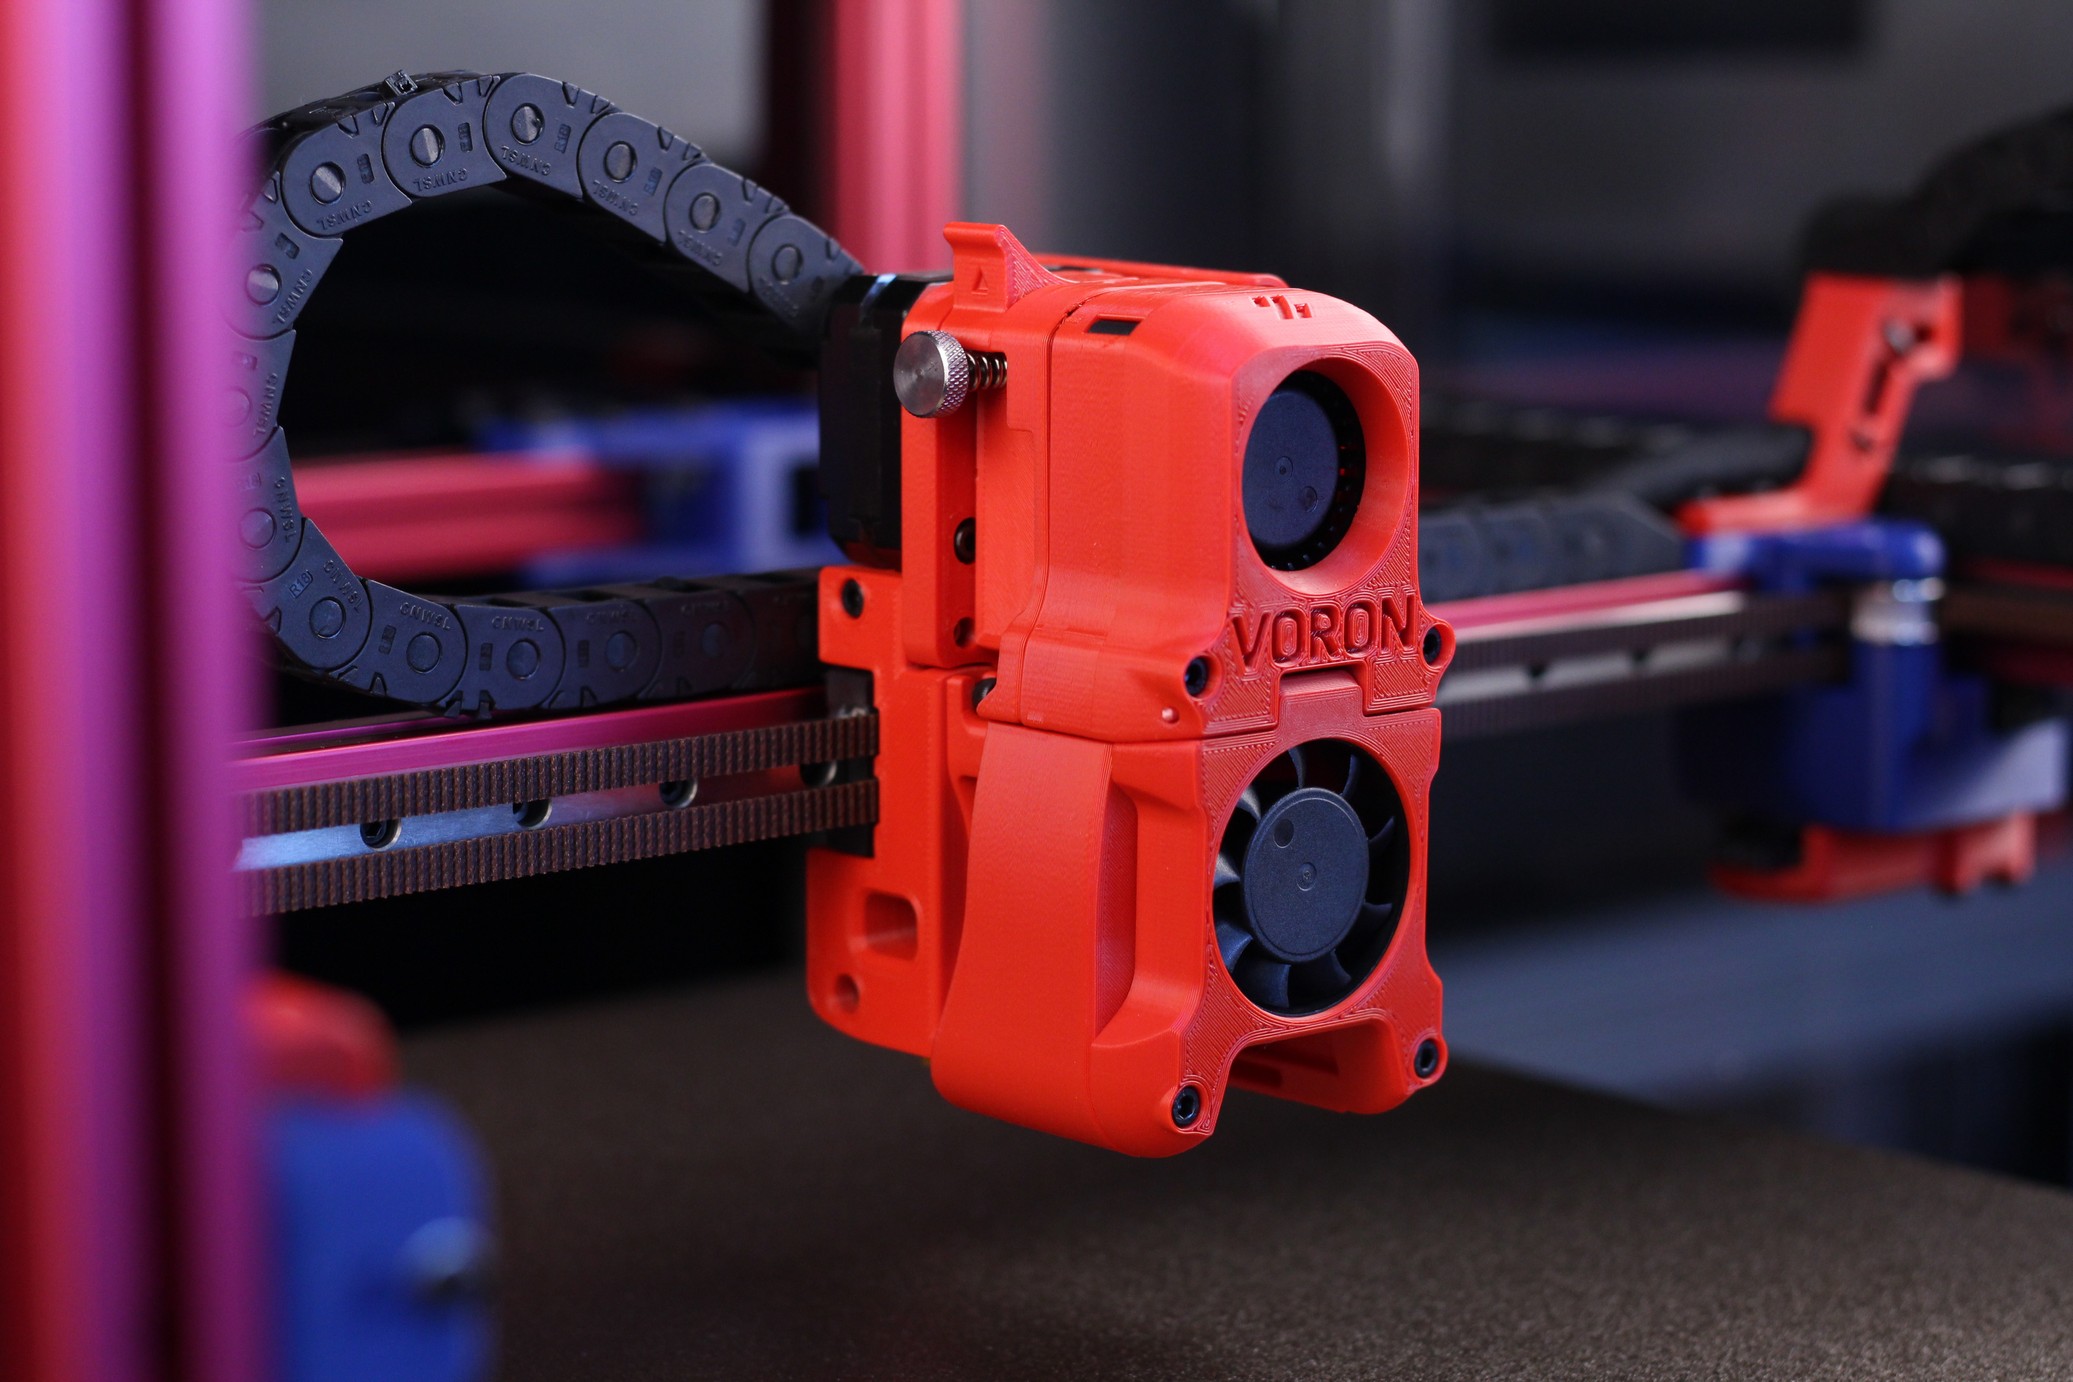
There’s also the possibility of upgrading the motor to a smaller one or even changing the Clockwork extruder to a smaller alternative out there.
The Afterburner works great with ABS, PETG, and other higher temperature filaments, but it’s not as good when it comes to printing PLA because it doesn’t have powerful part cooling. This doesn’t mean that you can’t print PLA successfully, just that you will need to slow down your print speed a bit.
FYSETC Voron Trident Specs
| Print volume: | 350x350x250 mm |
| Extruder: | Afterburner with Clockwork Extruder and pancake 1.8 motor |
| Hotend: | Phaetus Dragon Hotend HF with 40W heater and 280C thermistor |
| Stepper motors: | 42HC40-204A-300N84, 17HS19-2004S-C, 42HS20401B-20-2.3M |
| Board: | FYSETC Spider V2.2 with TMC2229 |
| PSU: | LRS-200-24 24V 200W + Mean Well RS-25-5 5V 25W |
| Print Surface: | FYSETC Double-Sided Magnetic PEI Spring Steel Sheet |
| Heatbed: | 6mm Cast Tooling Plate with 650W AC heater |
| Leveling sensor: | Omron TL-Q5MC2 |
| Printed parts: | Polymaker PolyLite RED ASA and Blue ABS |
| Other features: | 3-point kinematic bed |
| Firmware: | Klipper |
Assembly experience for the FYSETC Voron Trident Kit
The whole assembly process took about 30 hours, but this is because I’ve misprinted two of the bottom feet and one of the skirt pieces failed. Other than that, it was a really smooth experience.
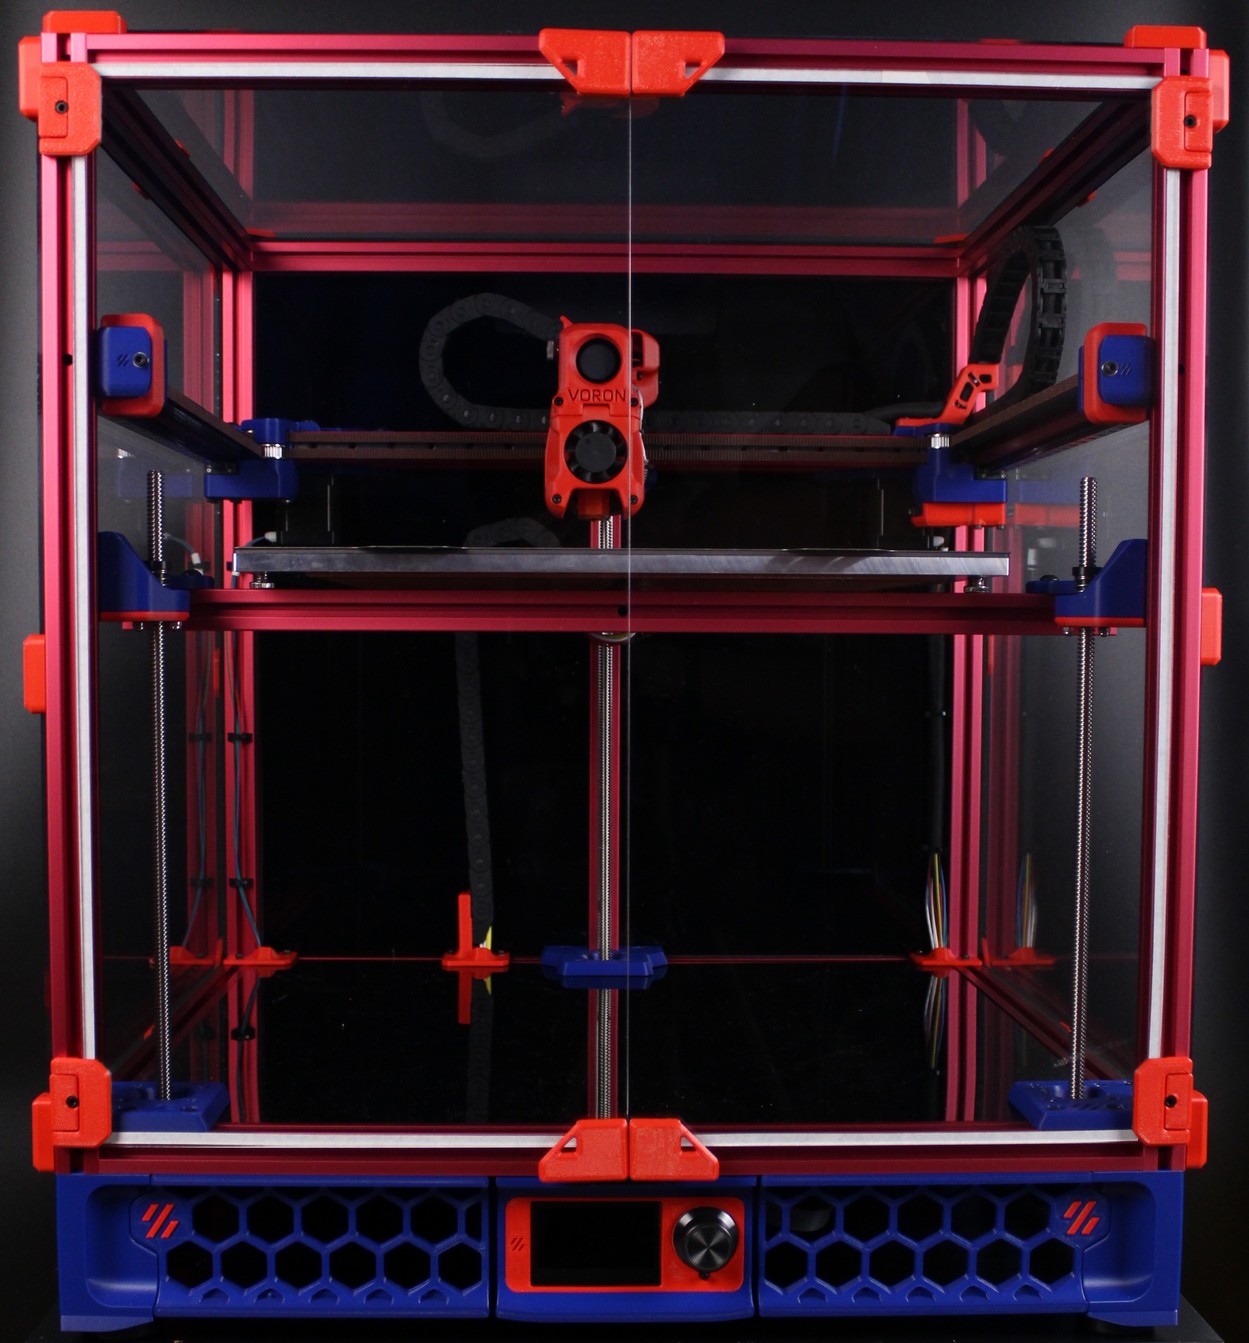
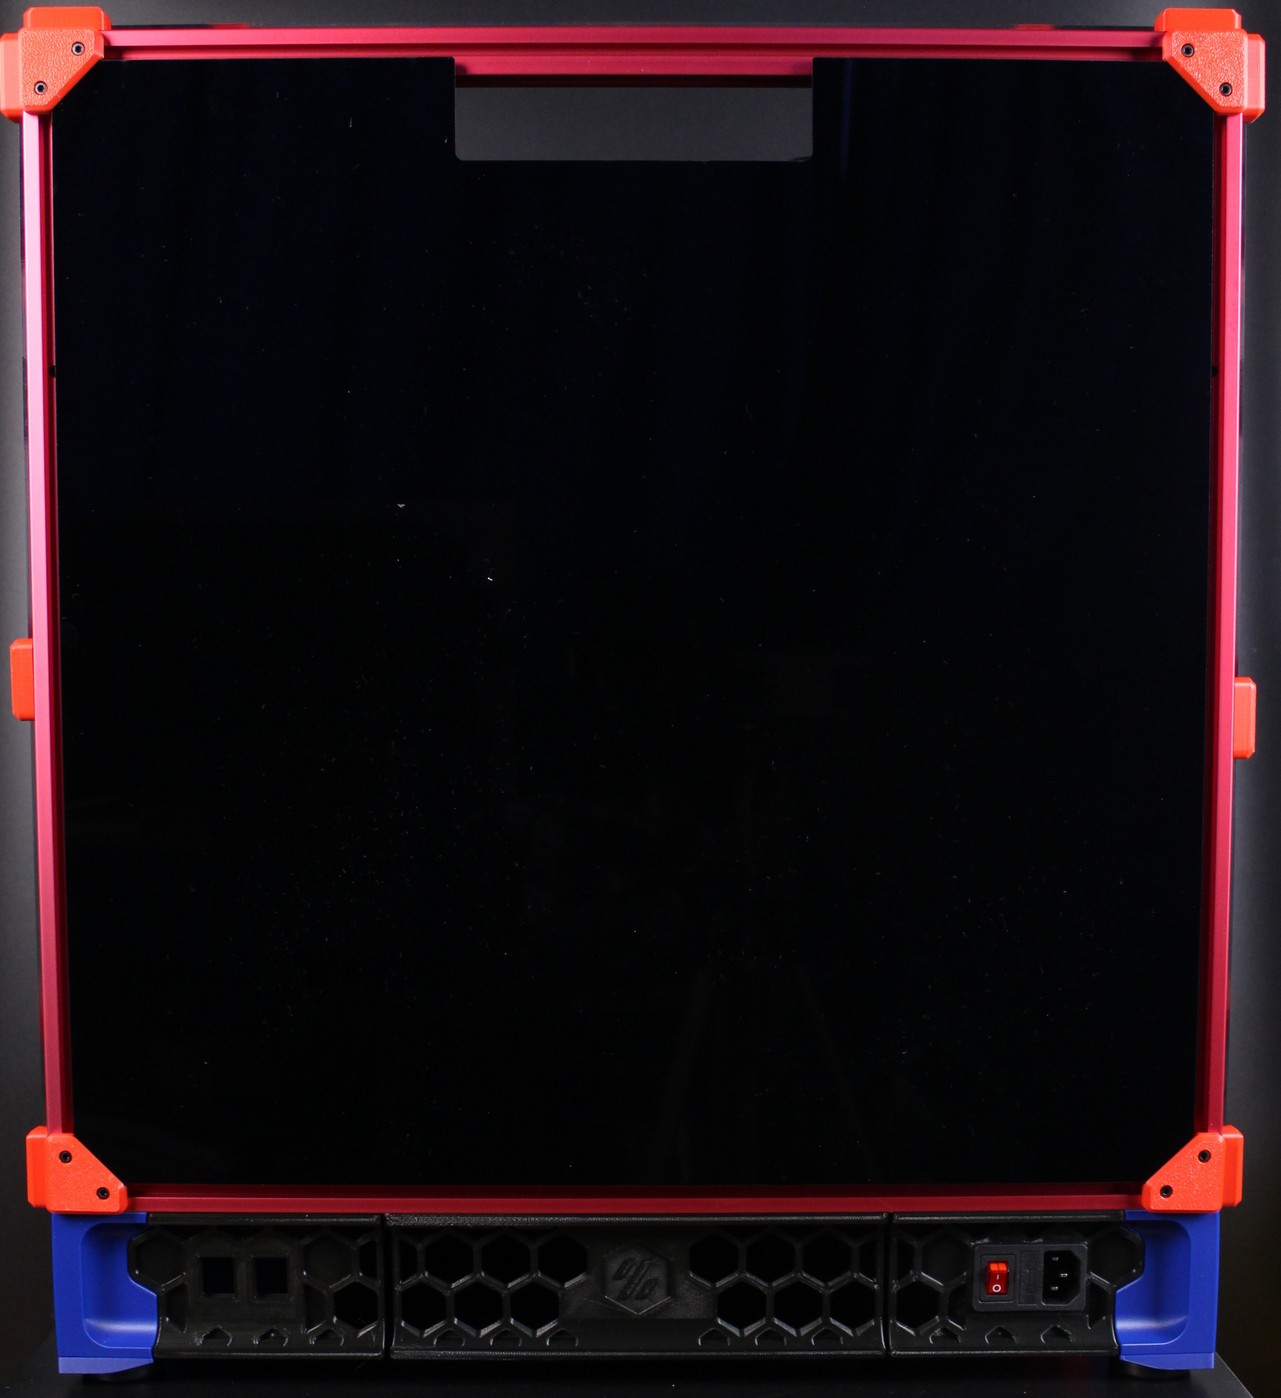
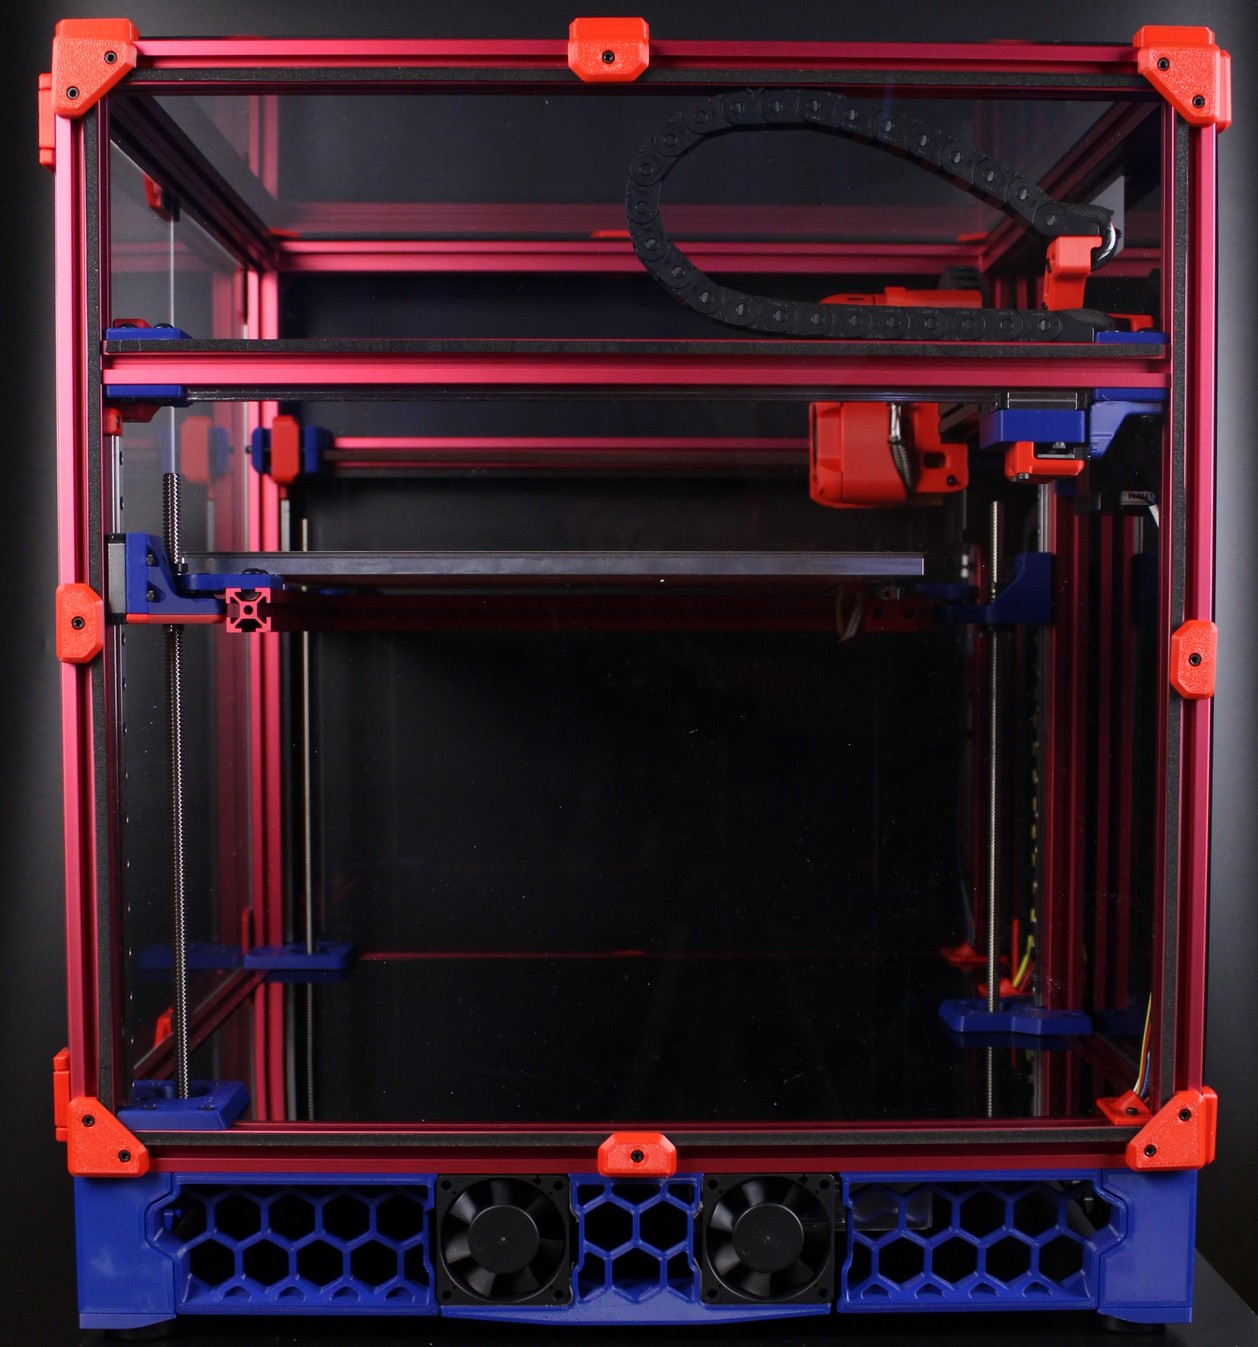
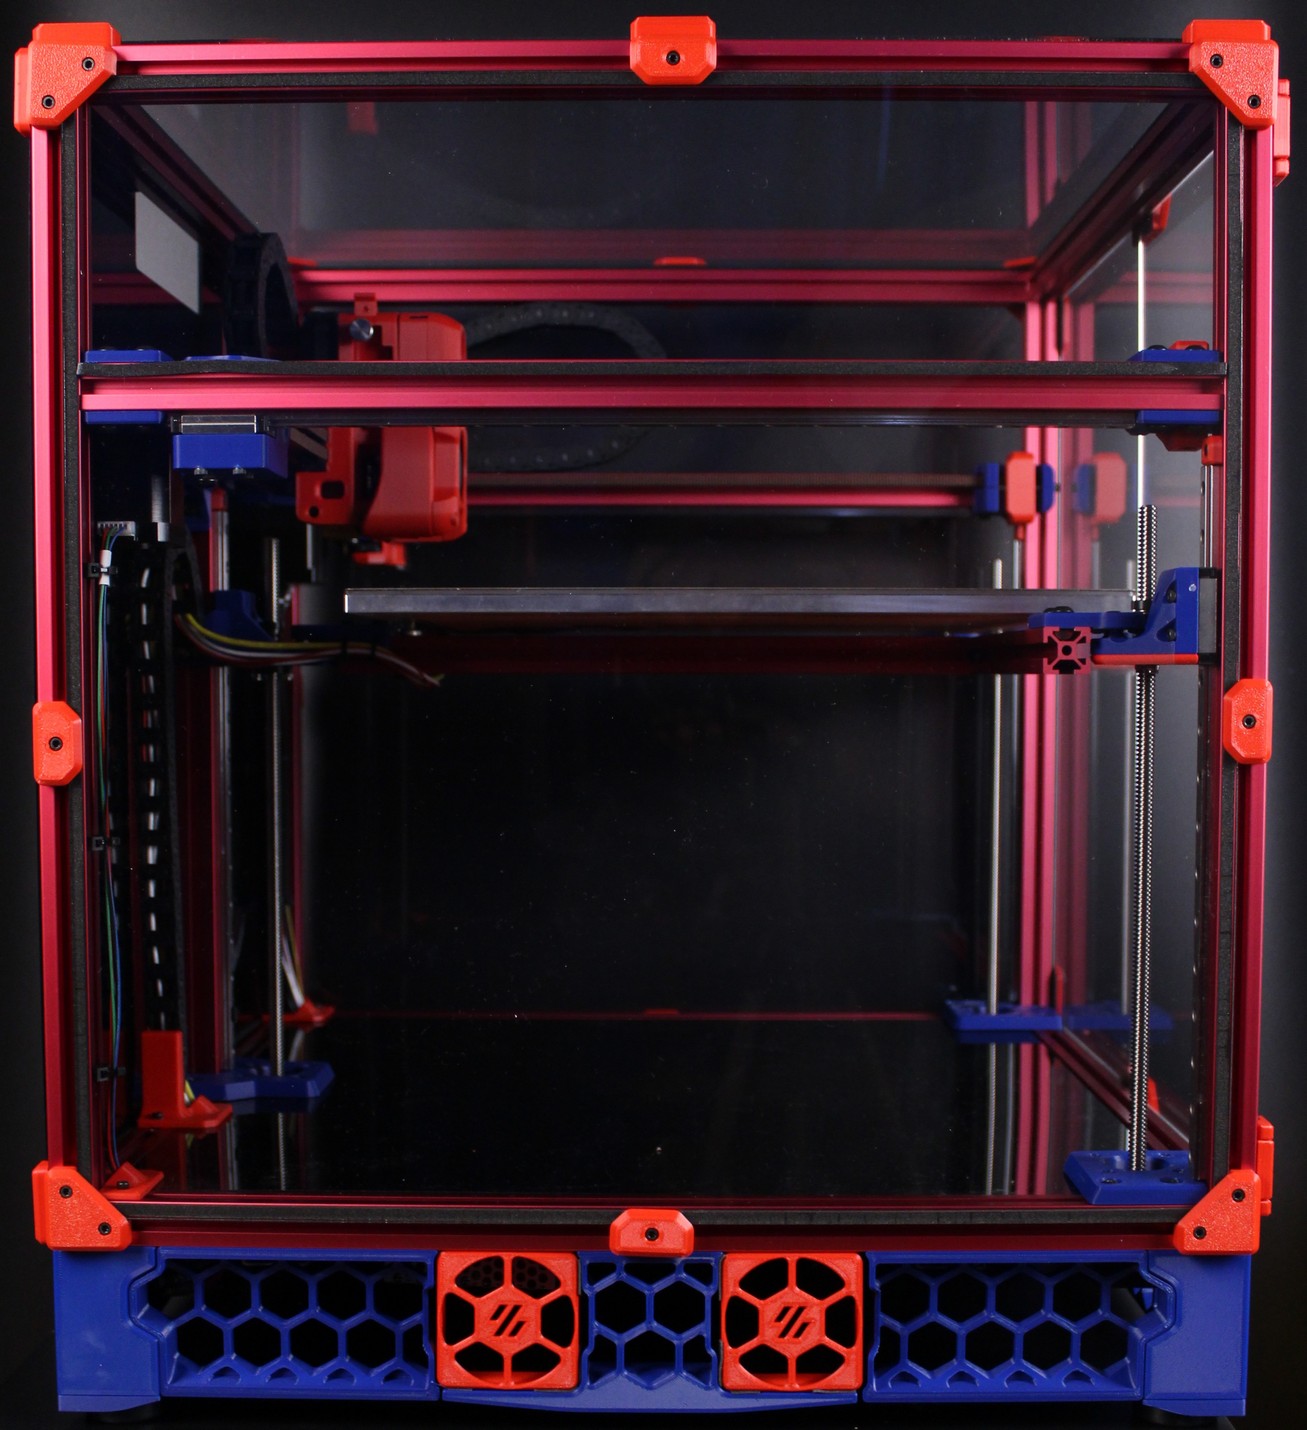
Blind joints are excellent, and I was able to easily square the printer by only using an extra aluminum extrusion as a guide. I also love the locking v-slot nuts which make the whole installation process much easier. I need to order some just to have at hand for other projects because they’re great!
Compared to the RatRig V-Core 3 build, the Voron Trident was a much better experience because of the excellent manual which takes you through the whole process. While good, it’s worth noting that the manual is made for the 250mm Trident so you will need to adjust some sizes to your build.
Multiple times during the build process I was amazed by the engineering behind the printer and how well some of the parts are designed. I constantly had the “I’ll never be as smart as these guys” feeling during assembly, but this is until I reached the point where I need to use VHB tape to attach the fans and the side panels. I understand that the tape is used to attenuate some of the vibrations, but I would have liked to have the possibility of attaching the fans using screws.
I also loved the fact that I didn’t have to do extensive crimping for the wires. I only crimped some power wires, but that was because the ends were tinned and I wanted to add ferules. Other than that, everything was ready to go.
Voron Trident vs V-Core 3 Build Experience
I also want to cover this topic a bit and compare my build experience of the Voron Trident with the V-Core 3.
The frame assembly of the Trident was MUCH easier compared to the V-Core 3 because it uses blind joints instead of aluminum corners. I stated multiple times that this is the proper way to do it, but my comments were not received too well by the community :). It took about an hour to put together the Trident frame in a single try, compared to multiple tries and hours spent for the V-Core 3
Next, is the linear rail quality. The V-Core 3 linear rails I received with that mechanical review sample were not that great, and I needed to replace half of them to fix my printing issues and get consistent quality. I also needed to replace four idler bearings because they were destroyed twice, mostly because of their quality. I did not have any kind of issues similar to these with the FYSETC Voron Trident kit.
I also liked the inclusion of acrylic panels with the Trident kit because it makes the whole build experience much better. With the V-Core 3 you need to source your own panels which can be an annoying task if you don’t have a good supplier locally. And what’s even more annoying is that you can’t start the build before you get the back panel for the electronics.
Finally, the assembly documentation is MUCH better for the Voron Trident compared to the V-Core 3. The Voron Trident assembly manual is 281 pages long and takes you through the whole process of building the printer, while with the V-Core 3 you get 15 chapters with information about how to put the printer together. Having access to the CAD model of the printers is helpful, but it’s a must for the V-Core 3, even if you’re an experienced builder.
Overall, if you think about getting a kit printer, and you are still deciding between a Voron Trident and a V-Core 3, I would choose the Trident. It’s the “deluxe” experience when it comes to build quality, even though it might be a bit slower. (which mainly depends on the hardware configuration).
Heating time and power consumption
I tested the heating time for both hotend and heat bed and here are the results:
Hotend
- 200C in 1 minute and 30 seconds
- 250C in 2 minutes and 5 seconds
- 280C in 2 minutes and 30 seconds
Heatbed
- 60C in 2 minutes and 40 seconds
- 100C in 11 minutes and 20 seconds
It’s worth mentioning that the heater for the FYSETC Voron Trident is limited to 60% power in the config file. After checking with FYSETC technical team, they told me that it’s done for safety reasons.
Installing some bed insulation material would also speed up the heating time while helping to maintain the temperature of the bed for longer periods of time, making the printer more efficient.
Power Draw.
Idle power draw is around ~6W. When the hotend and heatbed are heating up, the FYSETC Voron Trident draws around ~500W. After it starts printing, the power draw stabilizes to around ~170W.
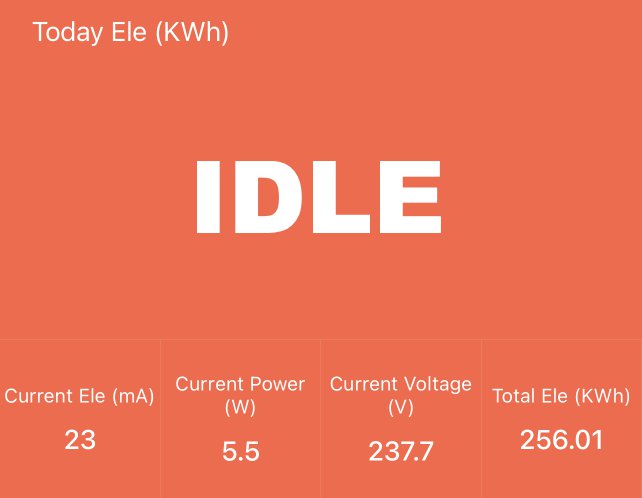
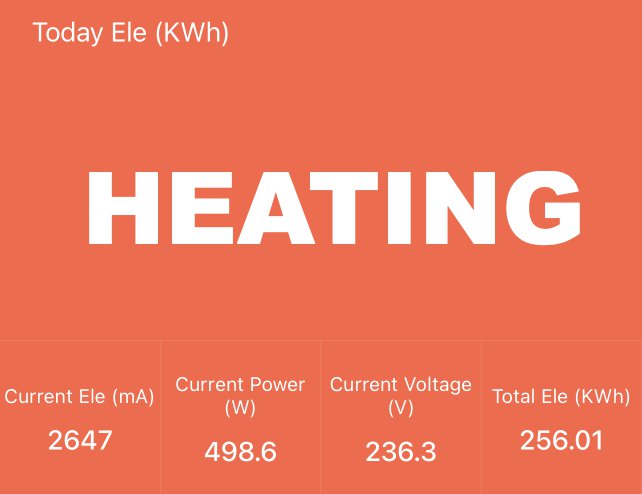
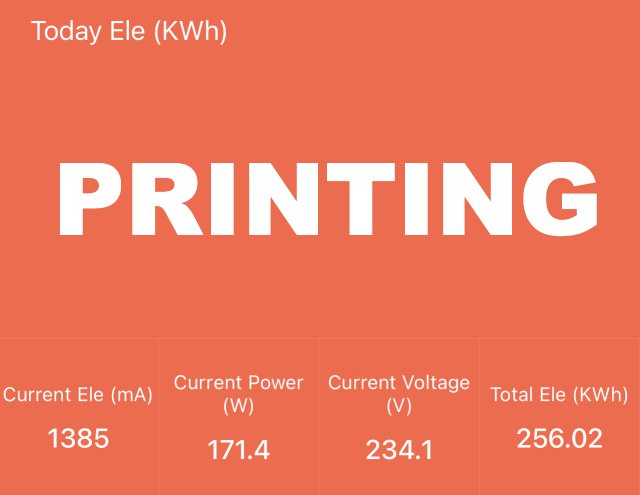
All these measurements were taken with a Blitzwolf smart power socket which indicates the power draw, and it can also be used for remotely powering on and off the printer.
Bed Temperature Uniformity
I tested the temperature uniformity for the FYSETC Voron Trident bed with the Flir Camera installed on the CAT S62 Pro. The bed has been set to 60C and I waited 2 minutes after reaching that temperature for the temperature to stabilize.
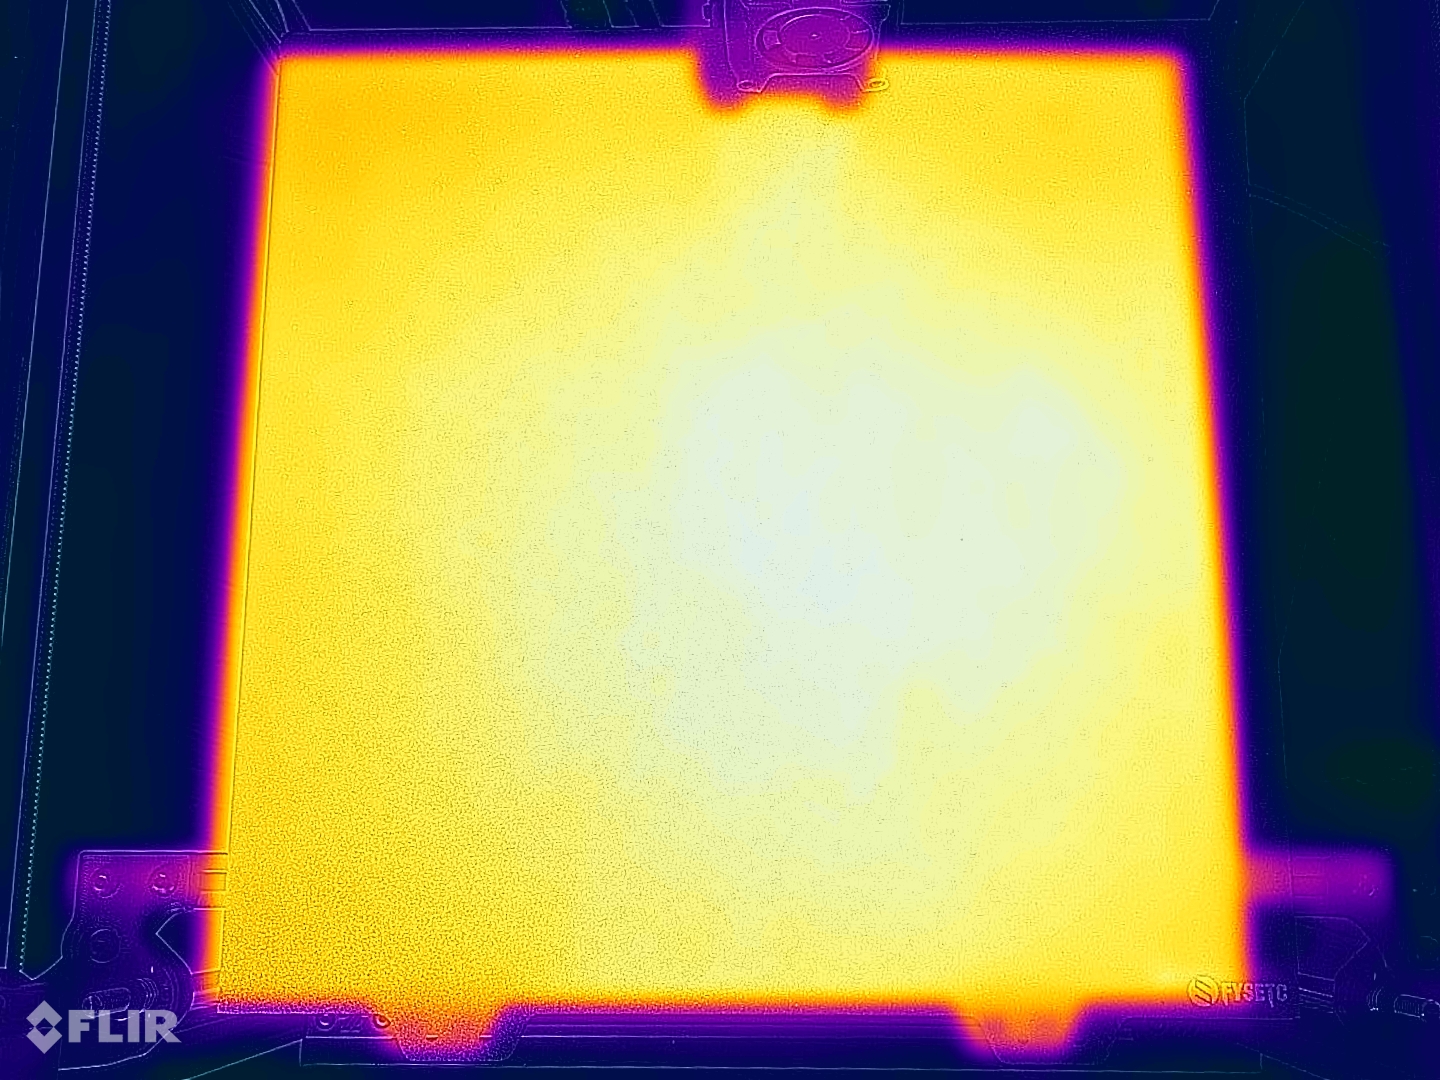
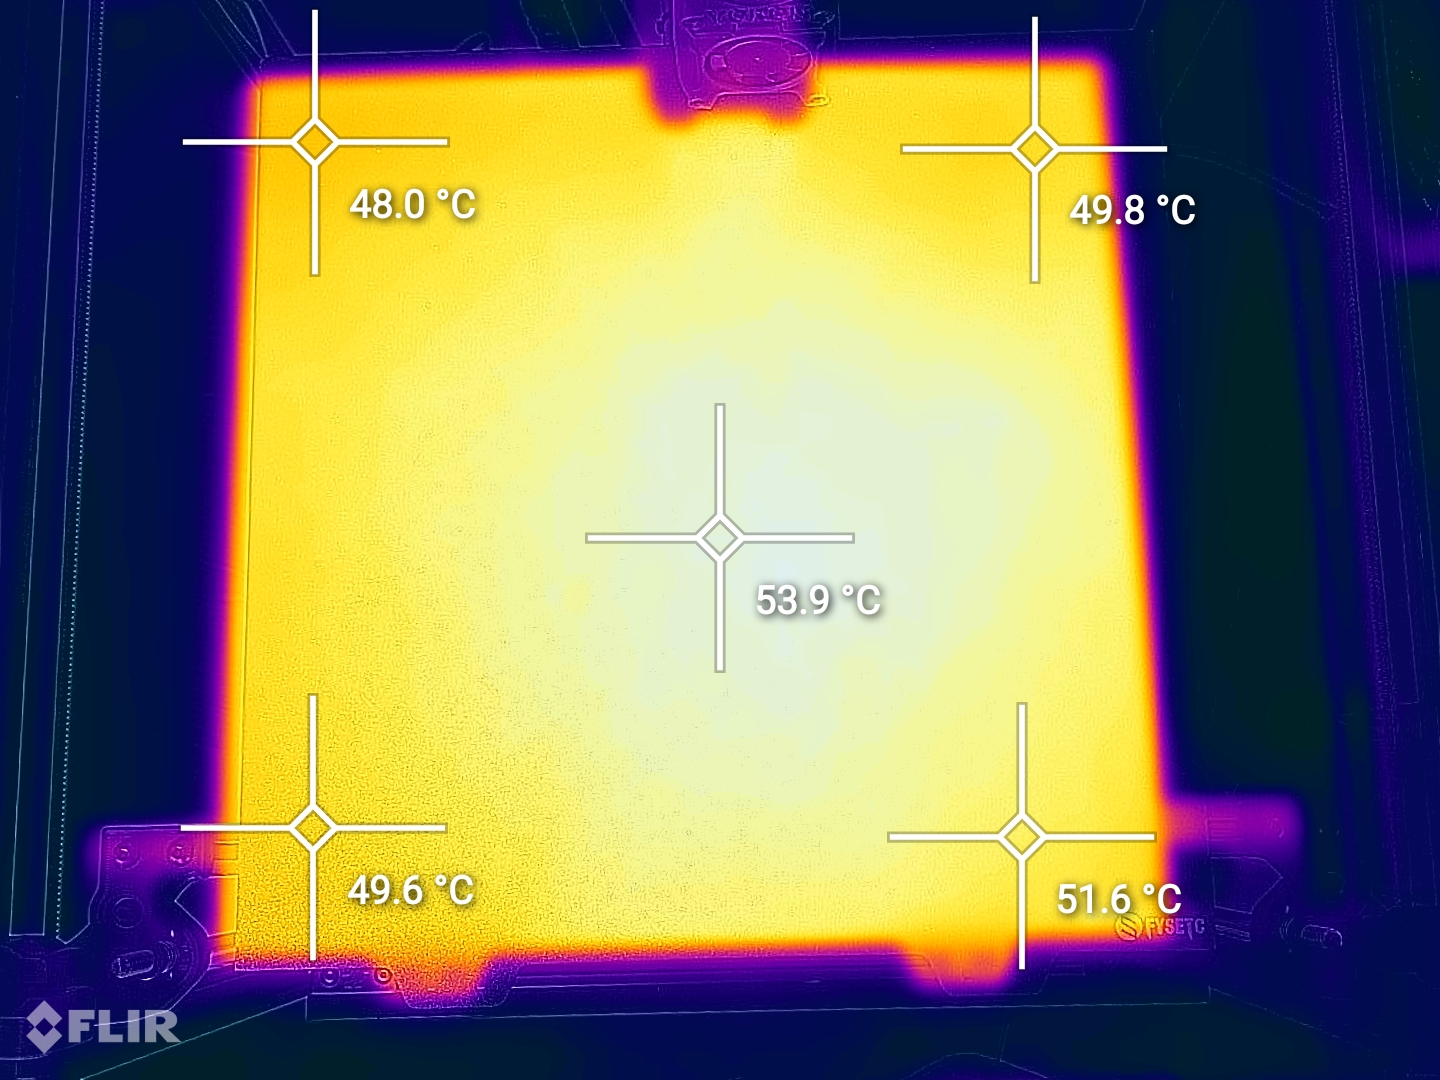
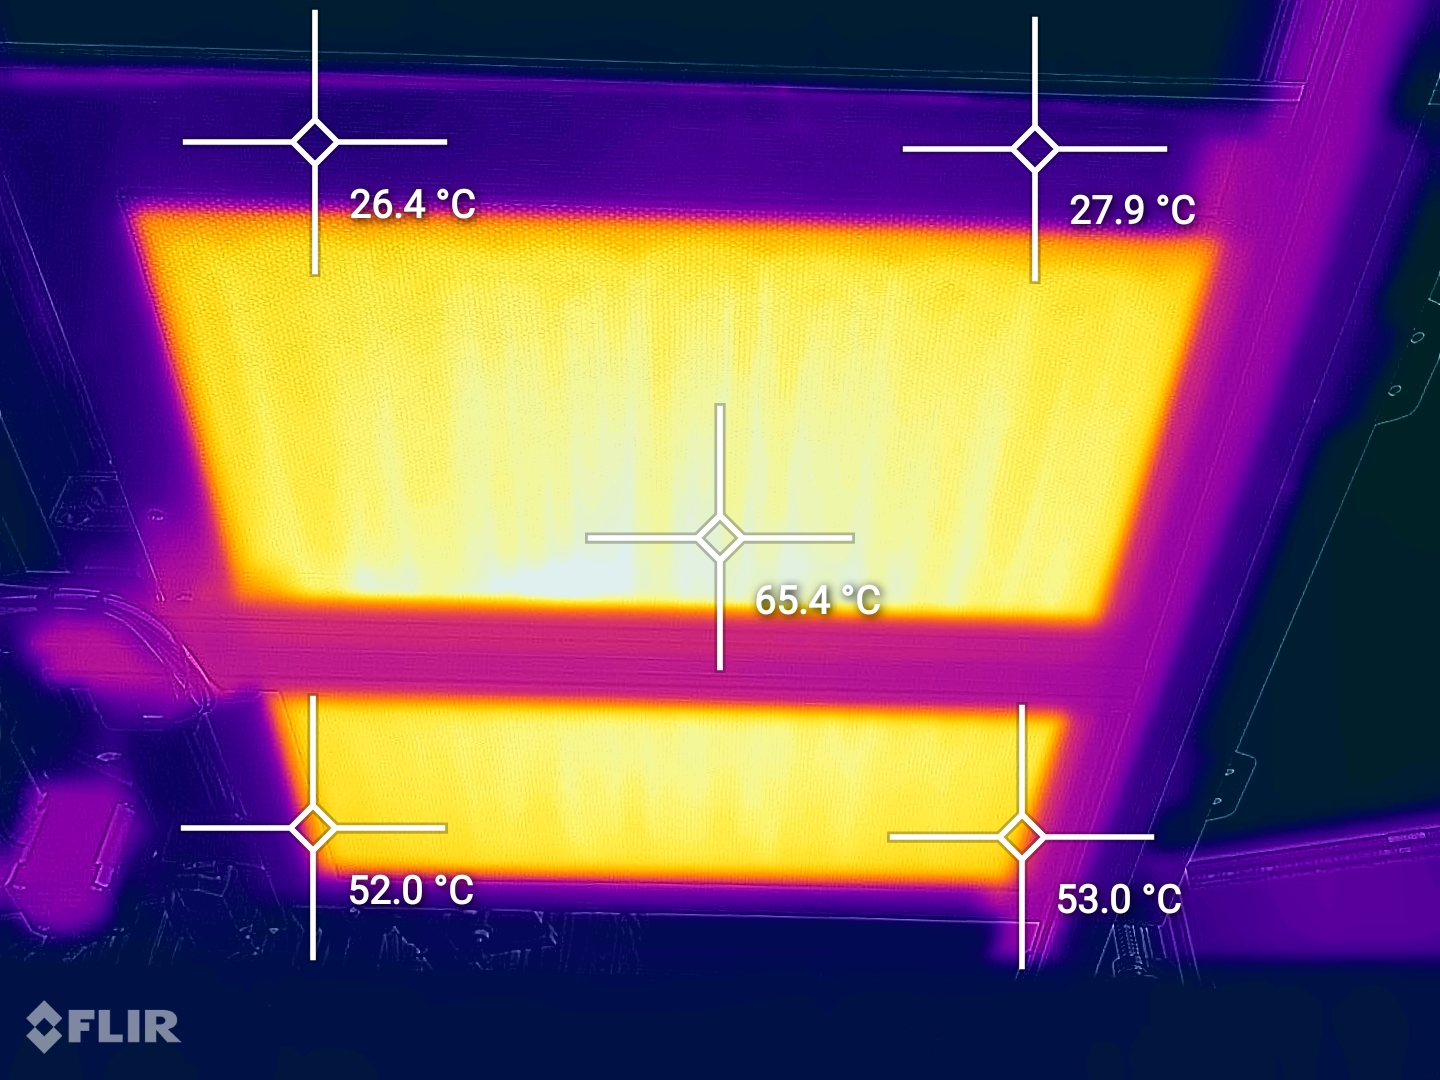
As you can see, the temperature we get on the top of the print surface is around 10 degrees lower compared to the registered temperature in Mainsail. This is caused by the insulation generated by the thick magnetic sheet which holds the flex plate in place. It’s recommended to increase the regular printing temperature with 5C to 10C to compensate for this.
It’s also worth mentioning that when the temperature is reached by the printer, the sides of the aluminum bed are much colder. This issue is caused by the thermal mass of the aluminum bed which takes longer to heat up. And considering that the heater is smaller than the actual bed (for the 350mm variant), it’s normal to see large temperature differences.
One way to fix this would be for FYSETC to include a larger heater for the 350mm variant of this kit, or at least to include a 350mm bed insulation material, which would help heat the bed faster and more evenly.
FYSETC Voron Trident Noise Levels
I expected the Voron Trident to be noisier than this. But I’m happy to report that the FYSETC Voron Trident is pretty quiet, especially when printing ABS or higher temperature materials and the enclosure doors are closed.
It also doesn’t have strong vibrations to make the noise super noticeable which is nice.
Printing interface and config
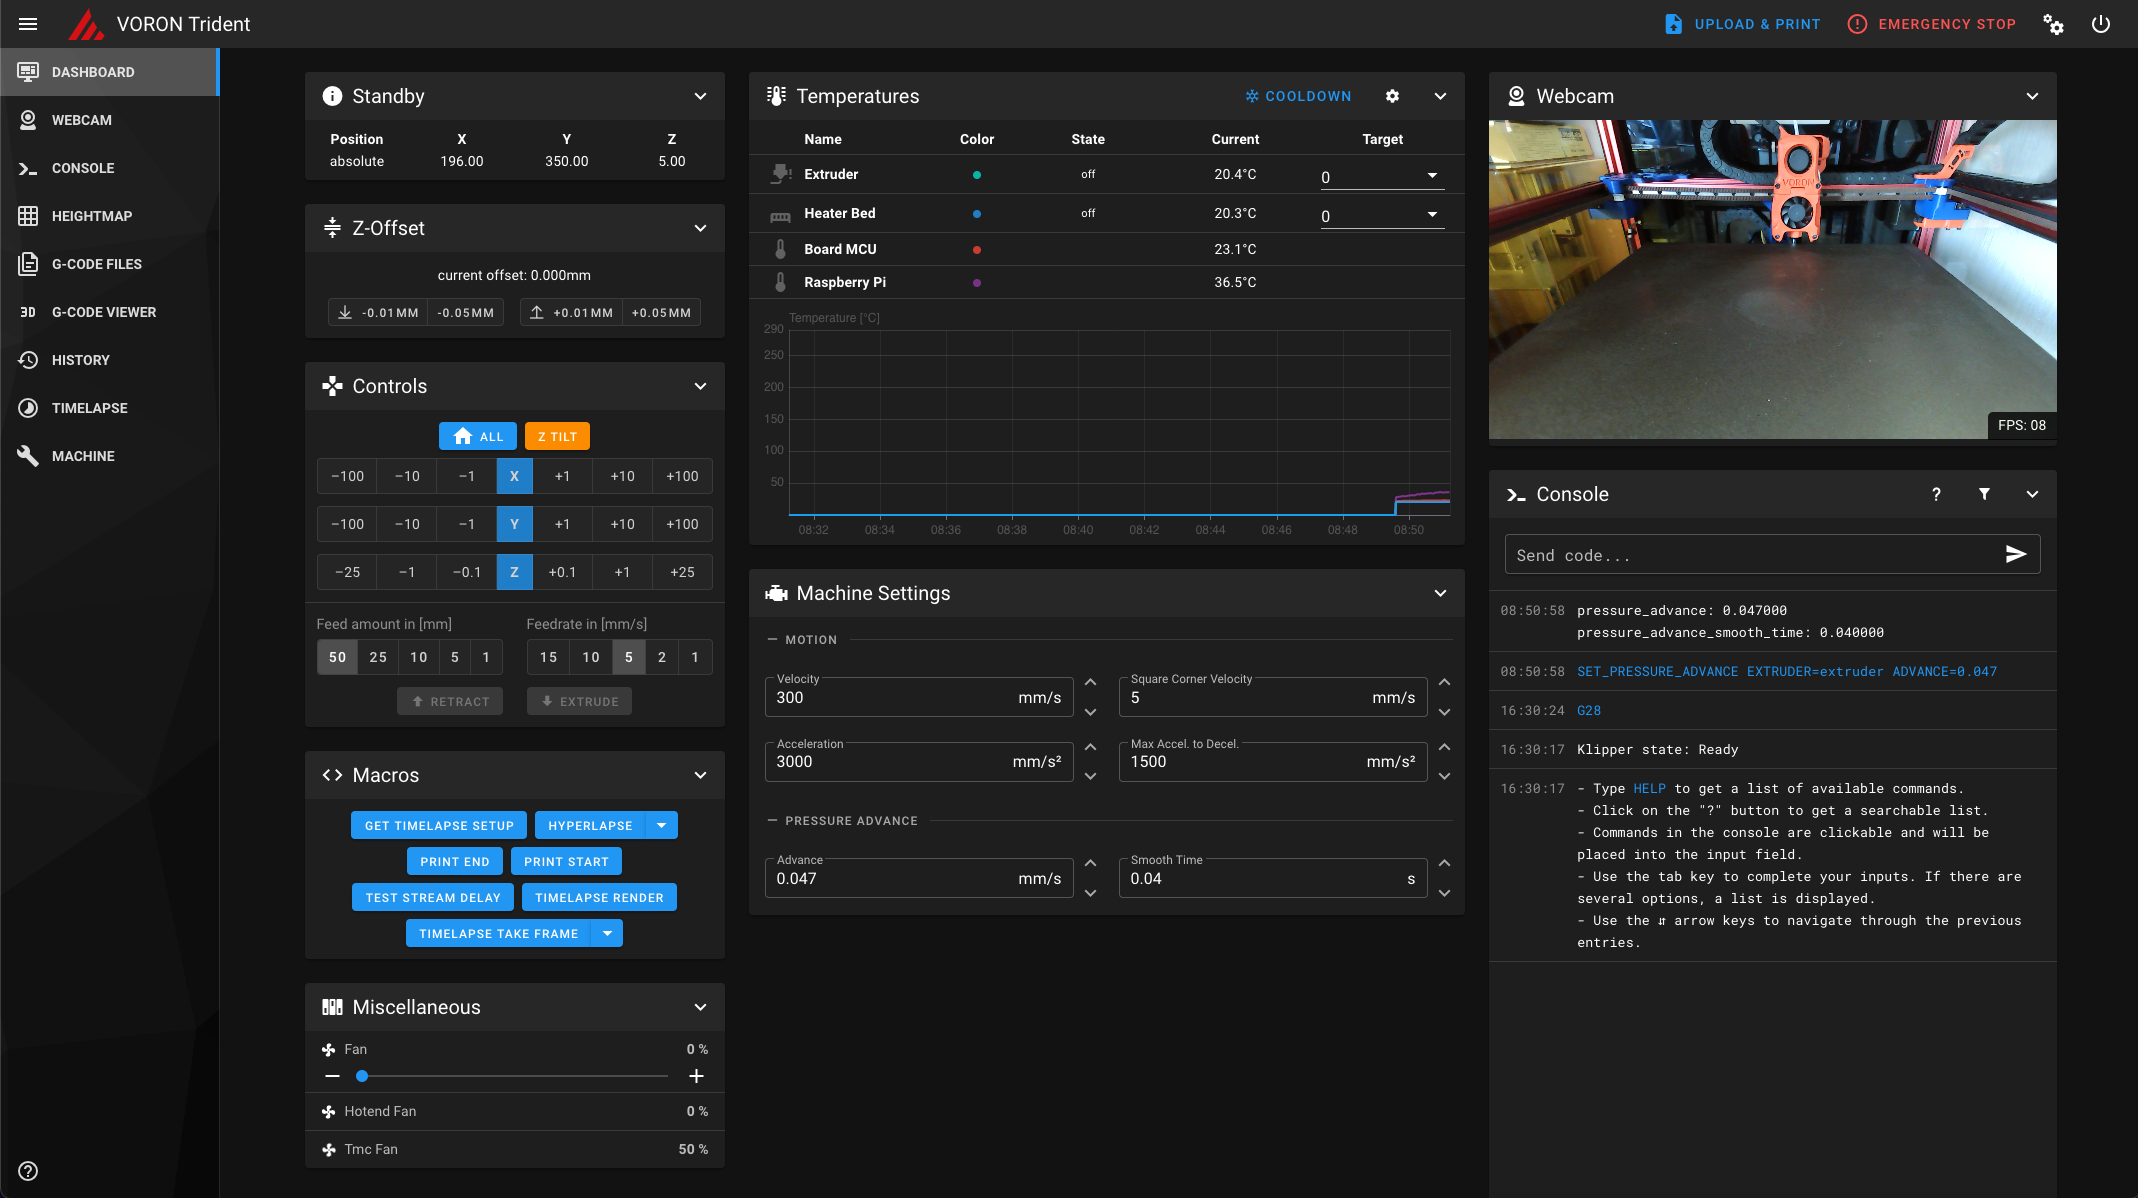
As previously mentioned, I am not a fan of the included OctoPi build in the kit, and I installed MainsailOS. After tweaking the printer config file, I managed to set it up so I have the following printer interface.
If you want to check out my config, it’s available to download. But make sure you edit it according to your setup. I also wrote a MainsailOS installation guide if you need help with it.
IdeaMaker Profiles for FYSETC Voron Trident 350 kit
During my time with the printer, I tuned five IdeaMaker profiles for the Voron Trident 350 using the tools available in the 3D Printer Calibration Guide using IdeaMaker article.
These profiles are tuned for the stock FYSETC Voron Trident, and will require some changes if you plan to use them with your printer (specifically, edit the pressure advance values, and remove the timelapse command in layer change).
Voron Trident 350 IdeaMaker Profile – PLA – 3DPrintBeginner
Voron Trident 350 IdeaMaker Profile – PETG – 3DPrintBeginner
Voron Trident 350 IdeaMaker Profile – ASA – 3DPrintBeginner
Voron Trident 350 IdeaMaker Profile – Silk PLA – 3DPrintBeginner
Voron Trident 350 IdeaMaker Profile – TPU – 3DPrintBeginner
Test prints on FYSETC Voron Trident
In the images below, you can see some of the prints I’ve done with the Trident at a speed of around 100mm/s and a 3000 acceleration value. Other prints will be shared after I do some mods and tune the printer for higher print speed.
3D Benchy
After putting the kit together and loading up the default FYSETC config, I printed my first Voron 3D Benchy in PLA. It came out much better than I was hoping for. This motivated me to start tuning my slicer profile and config so I can improve the print quality.
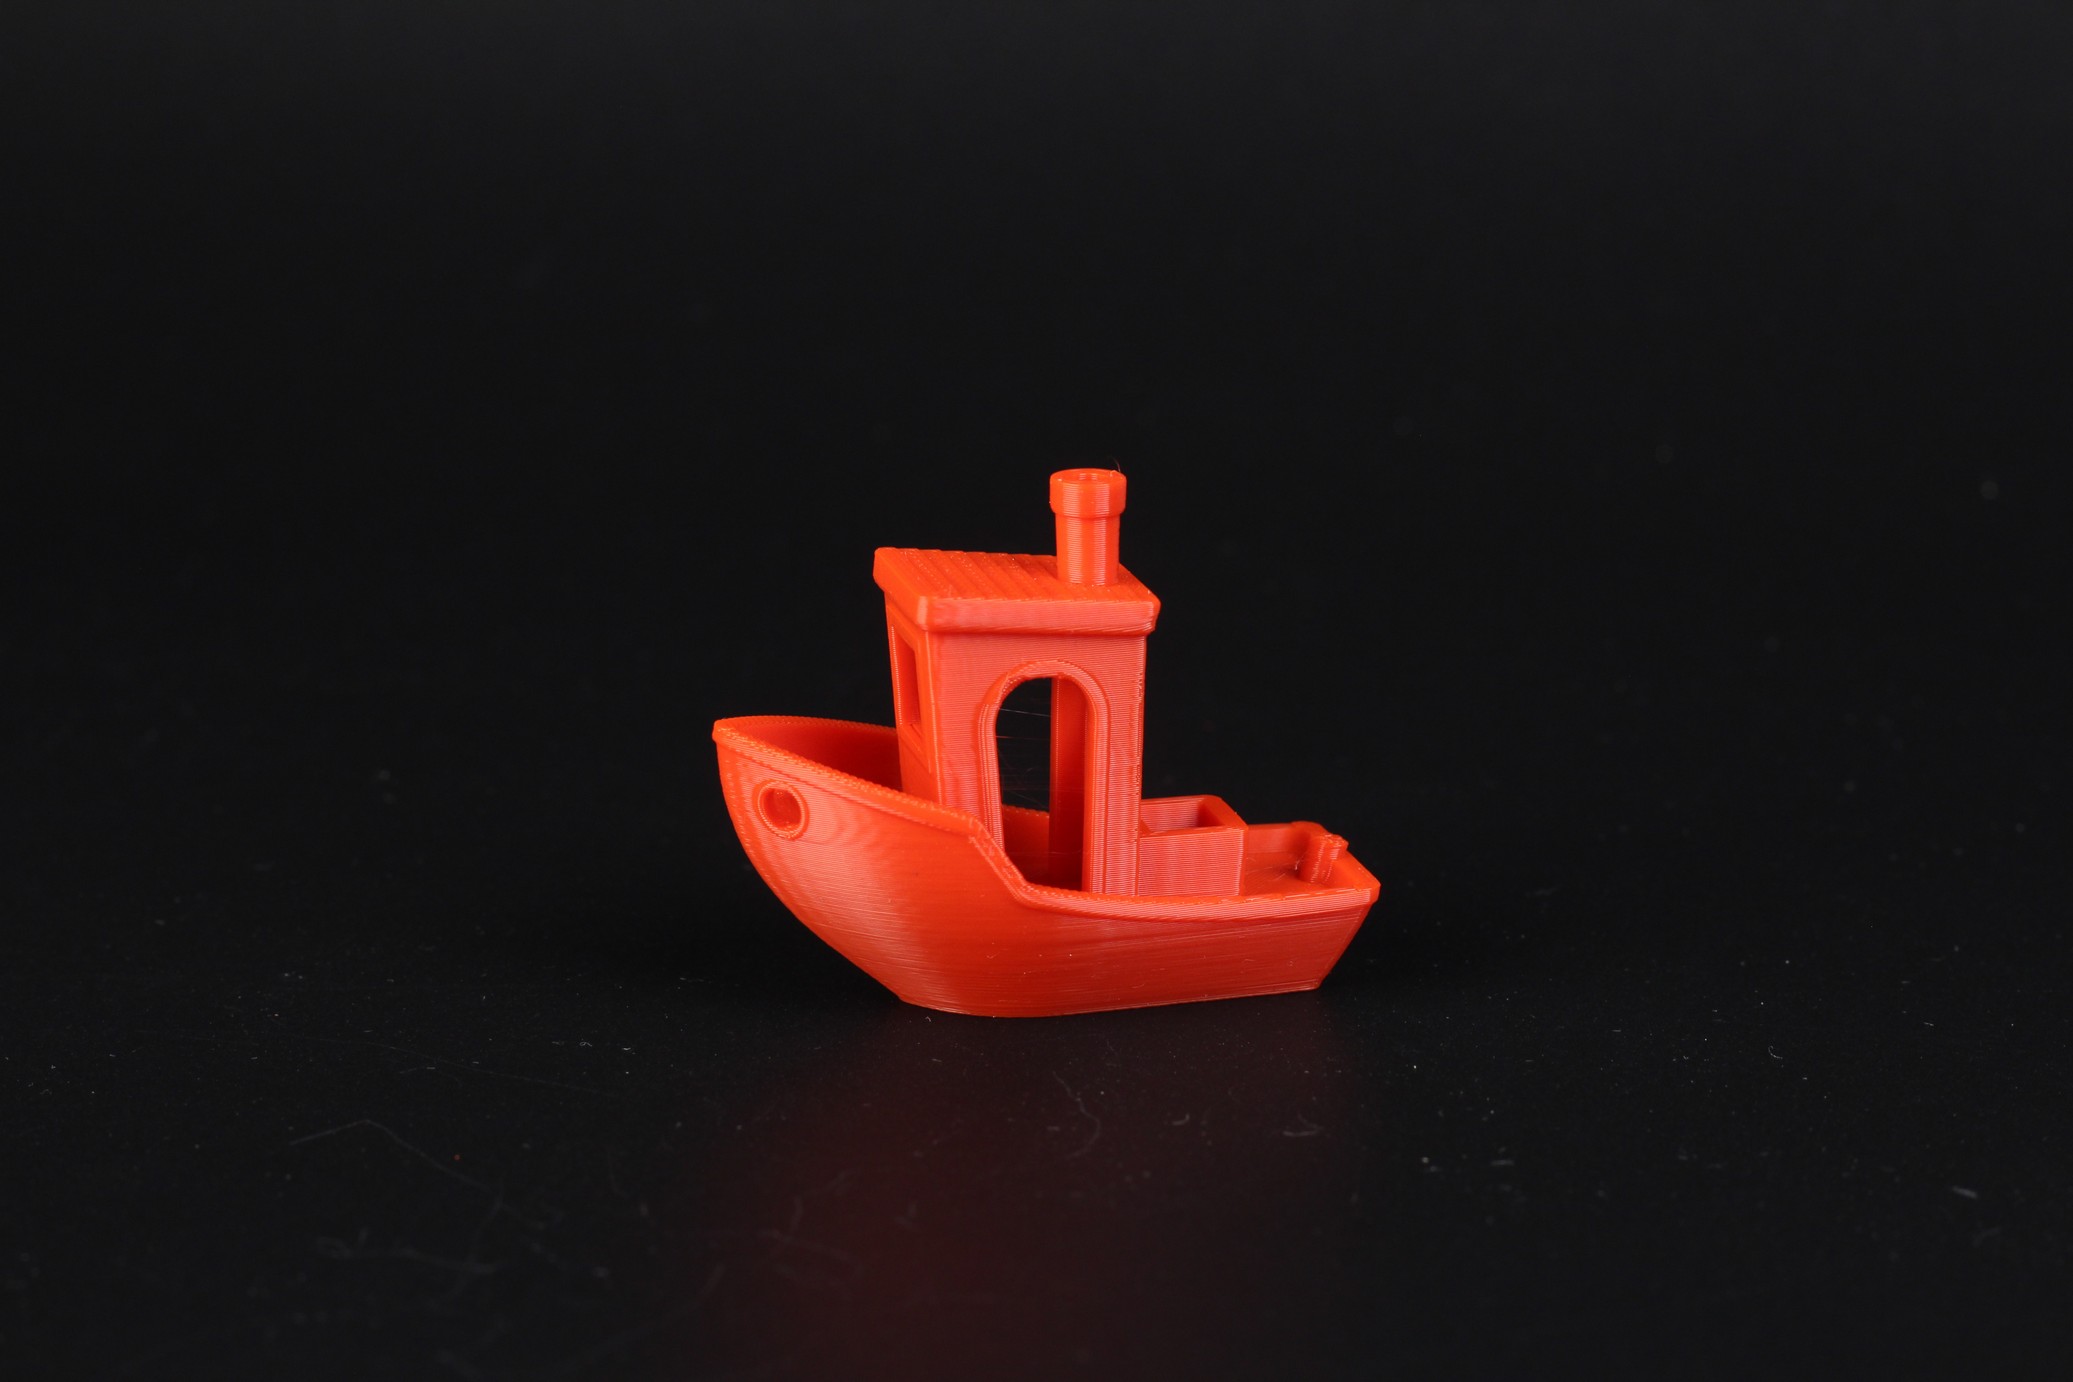
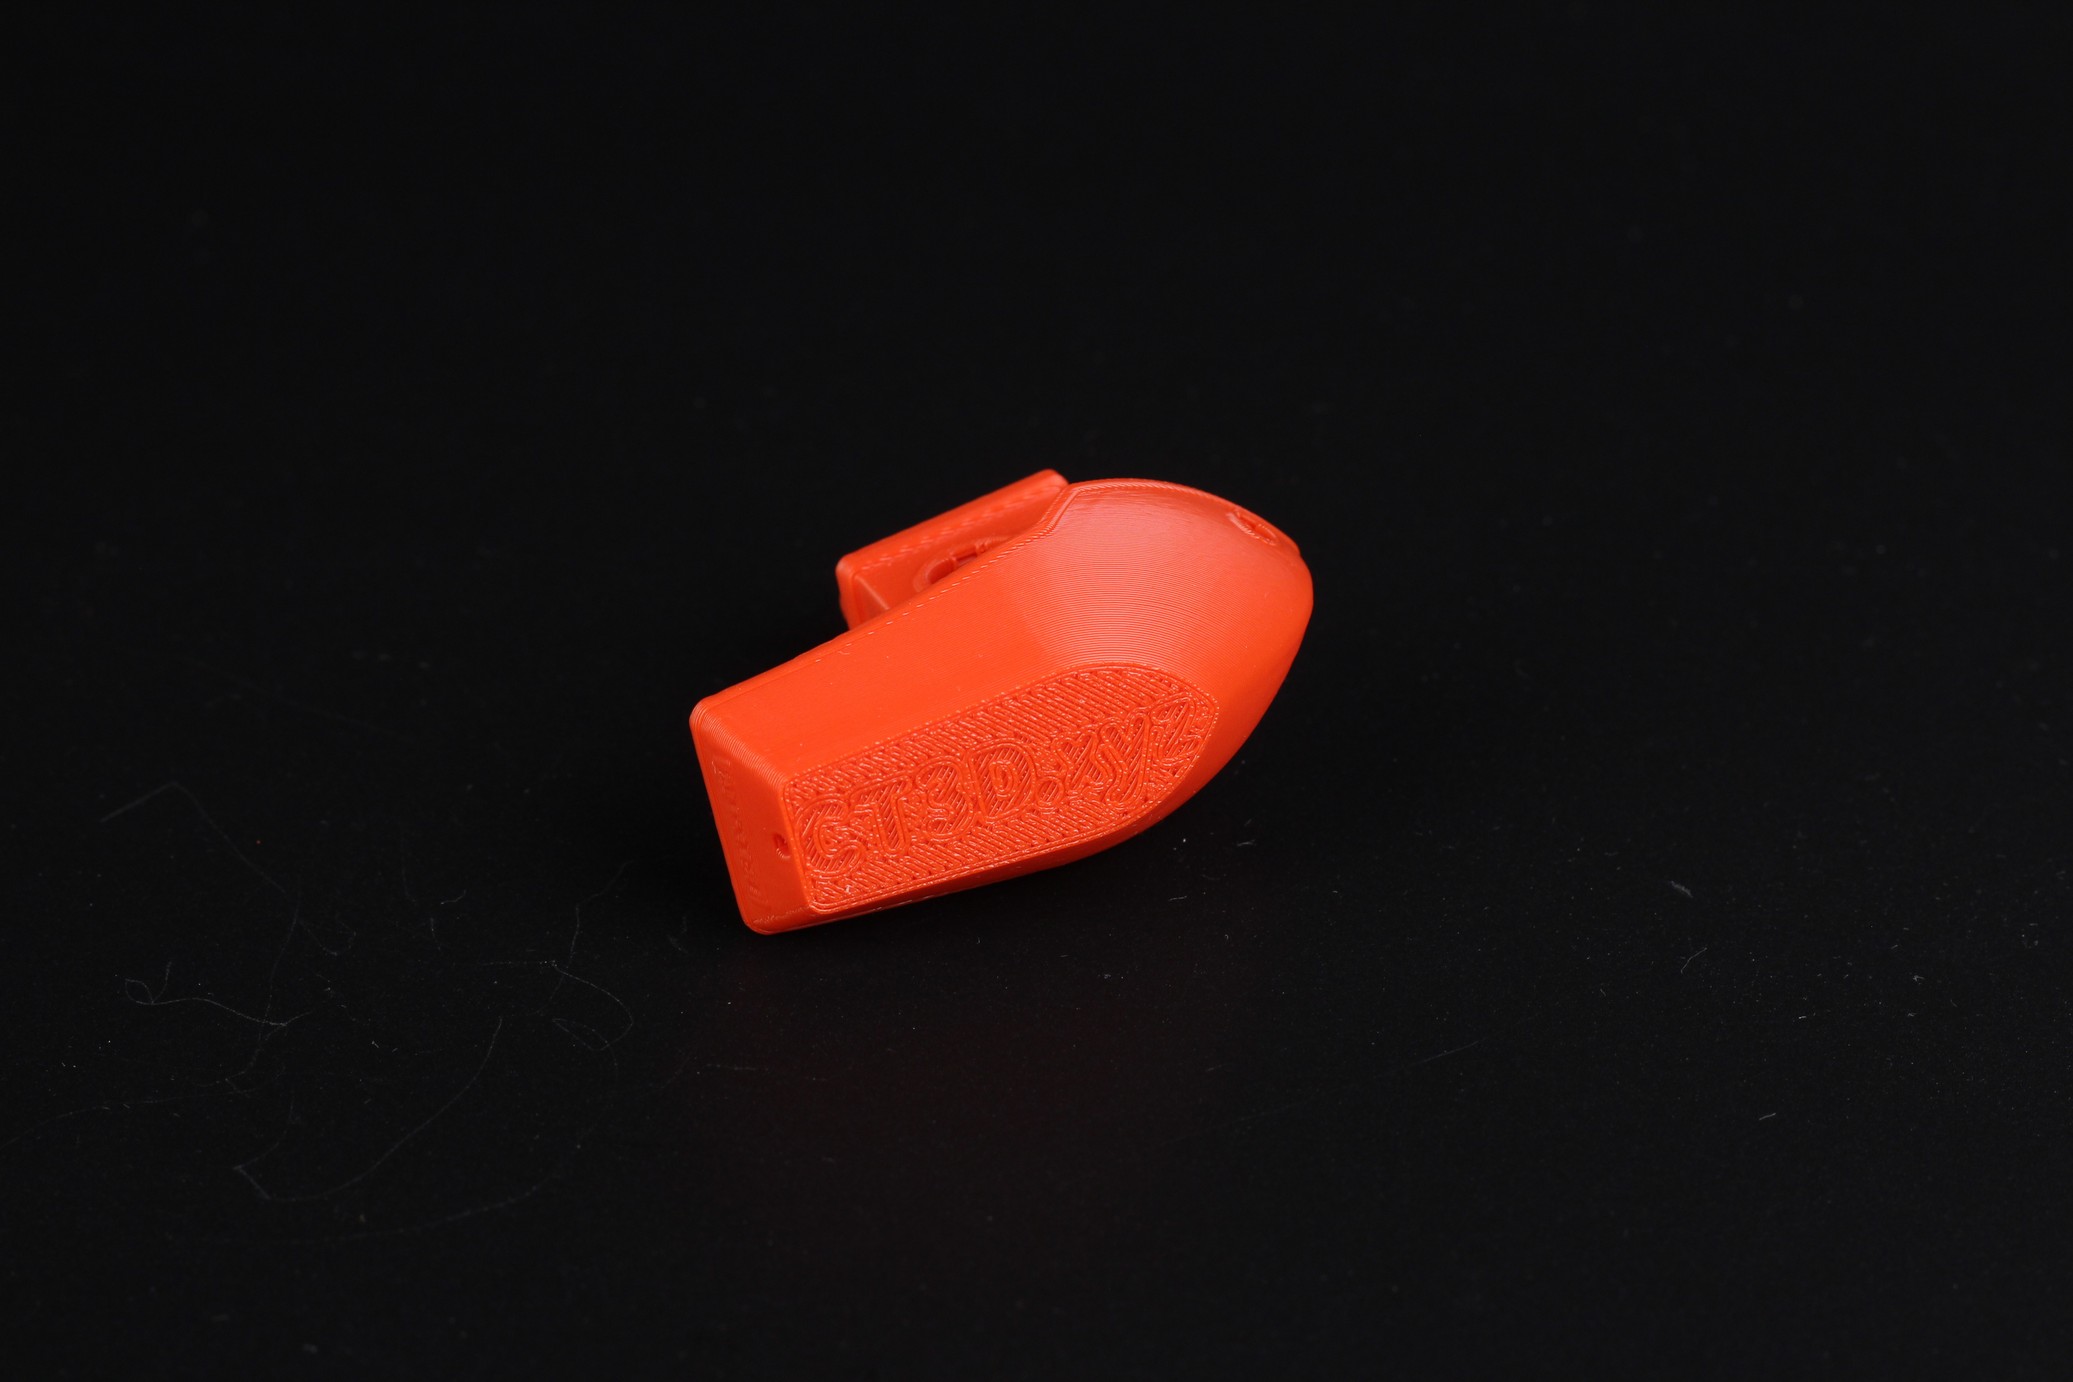
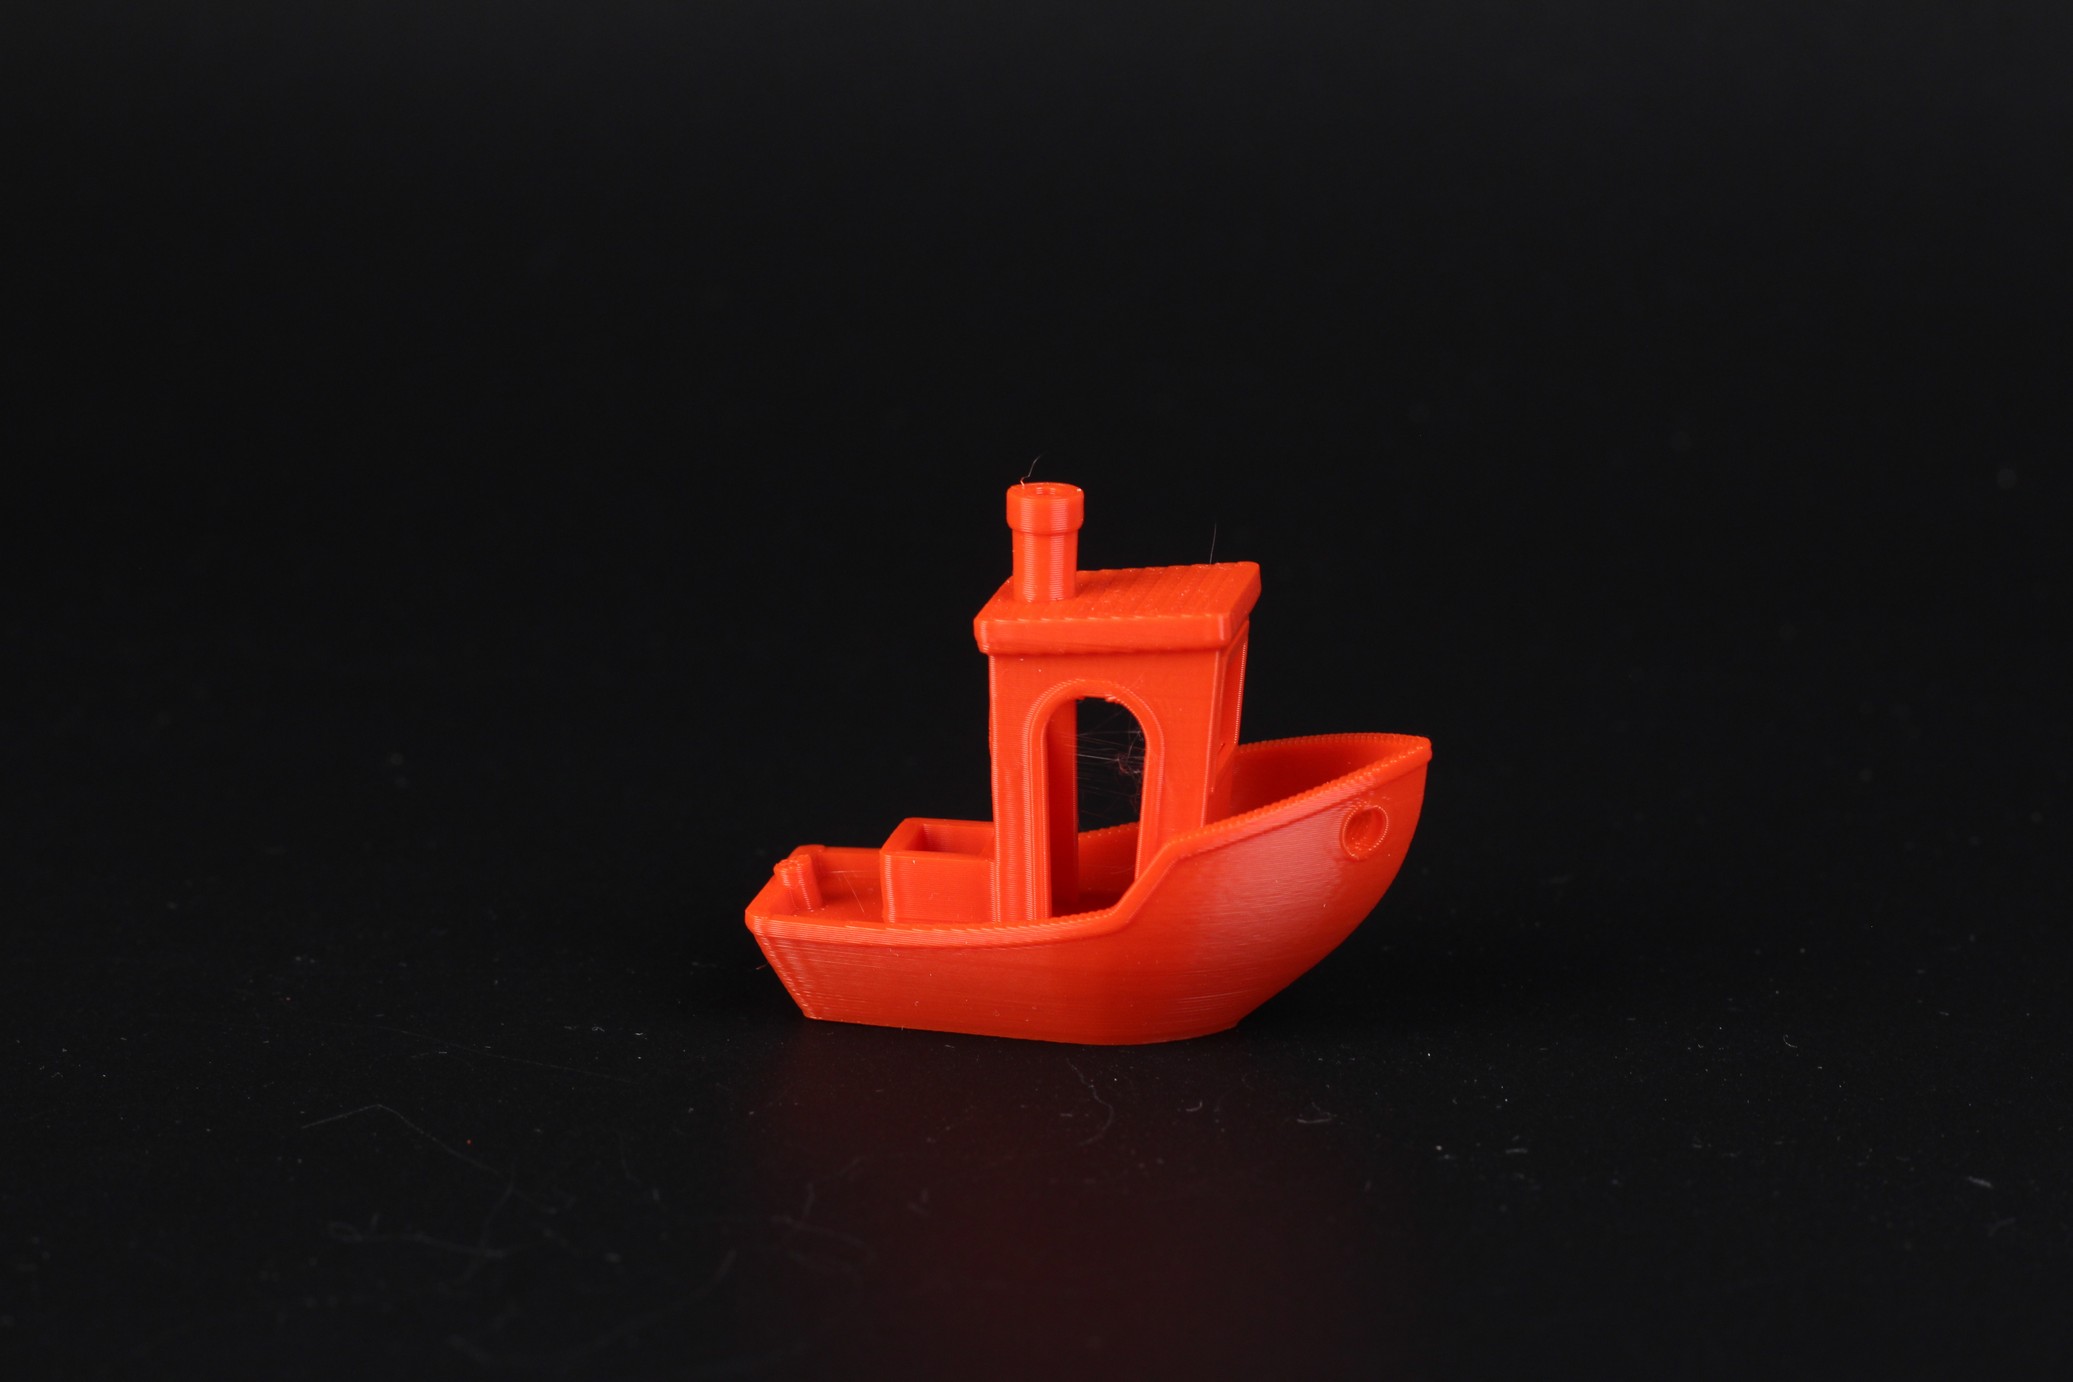
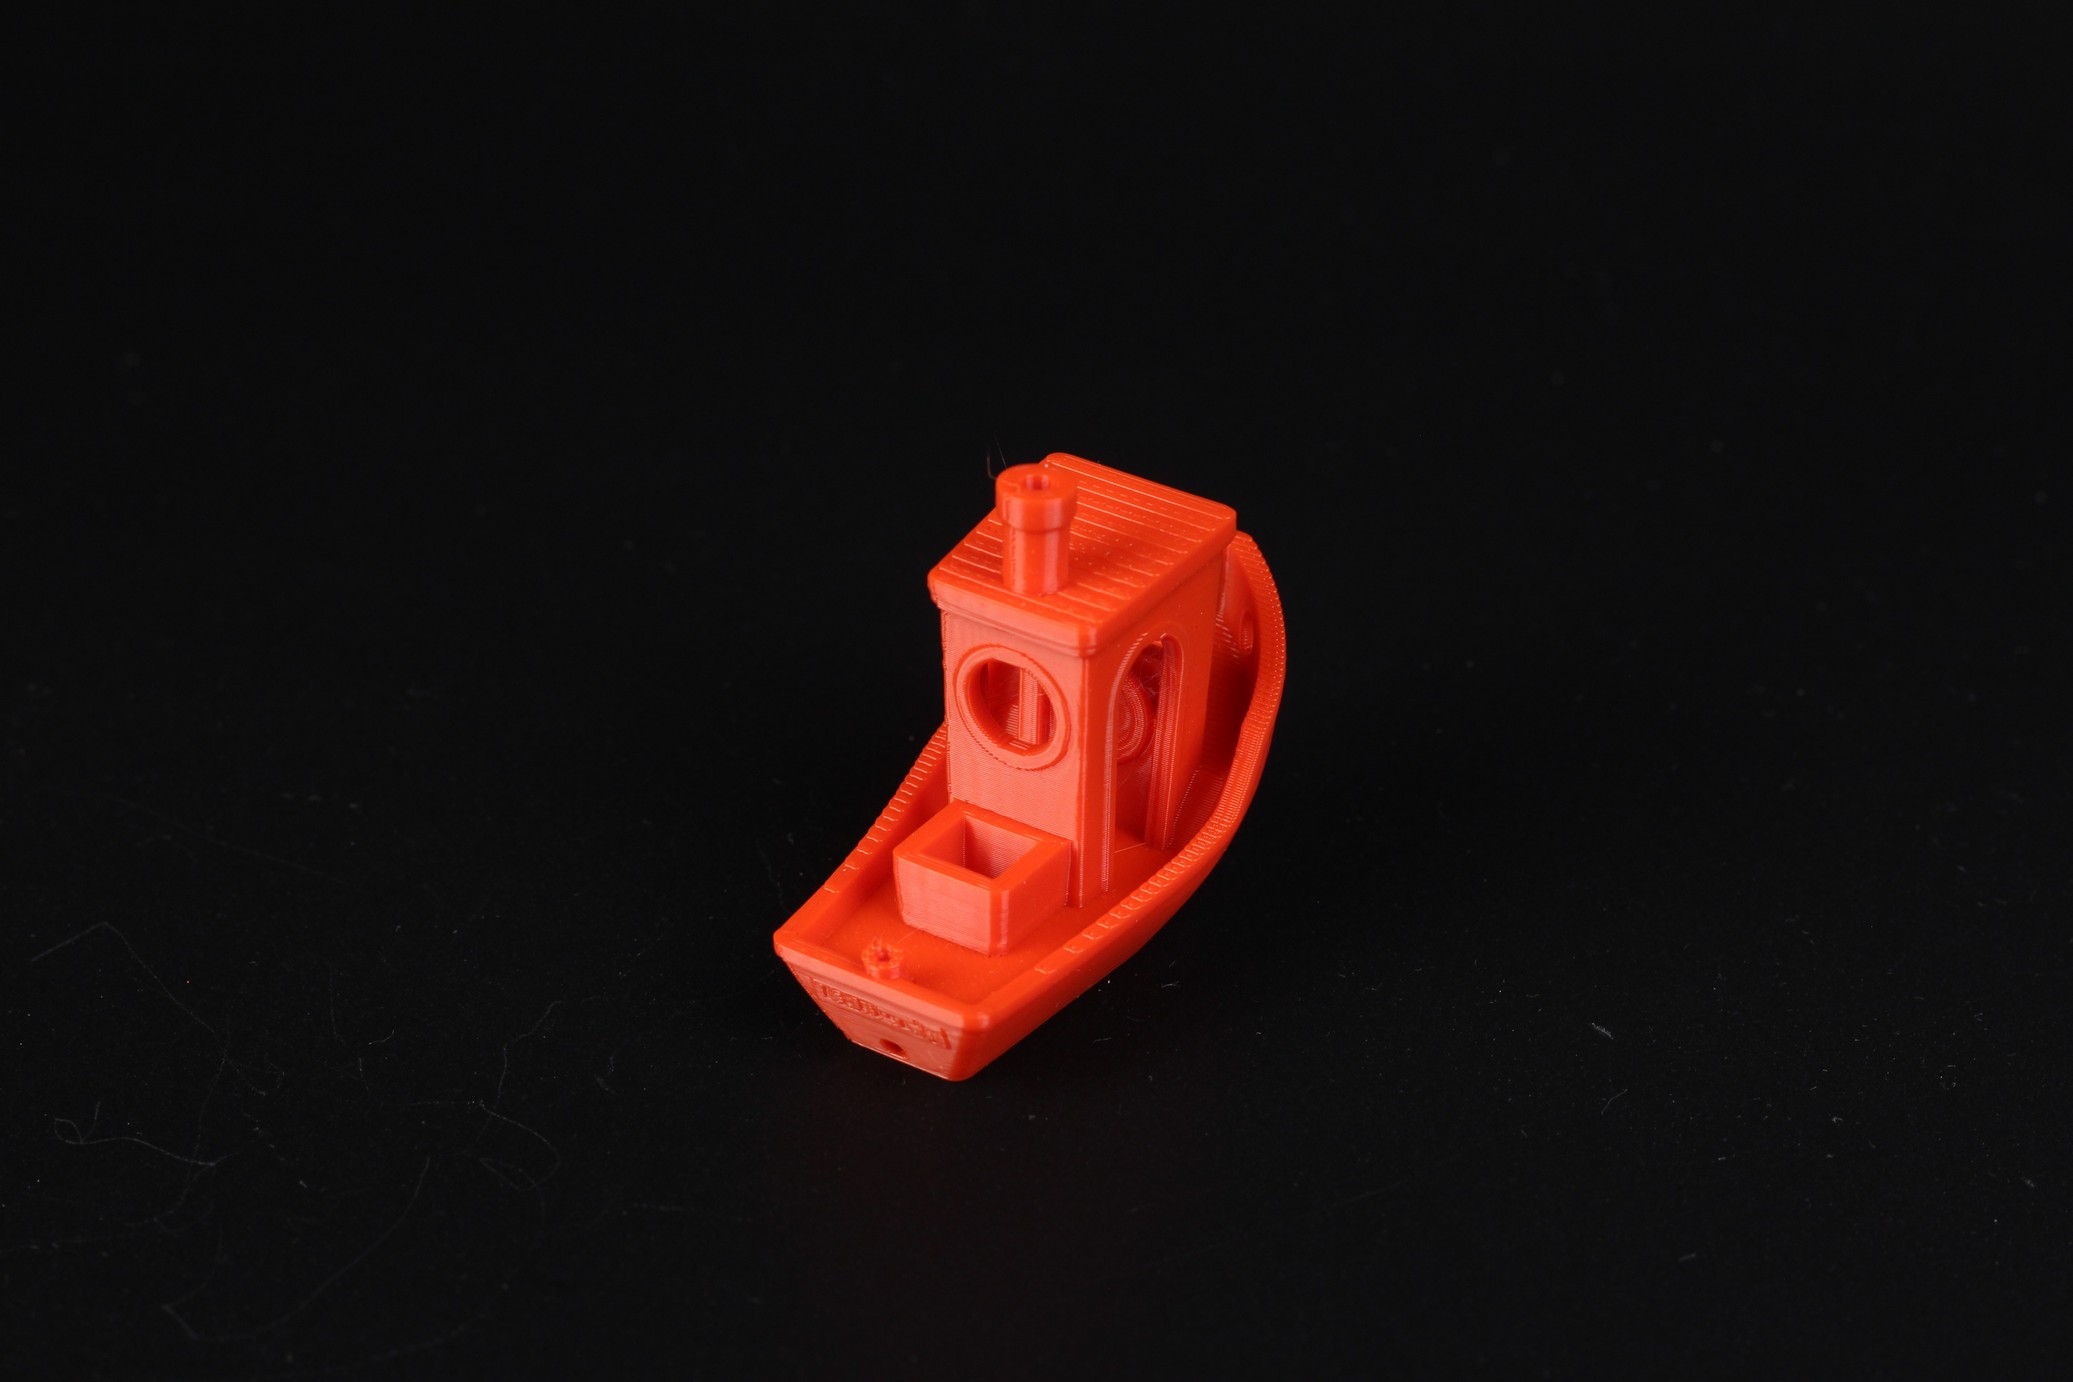
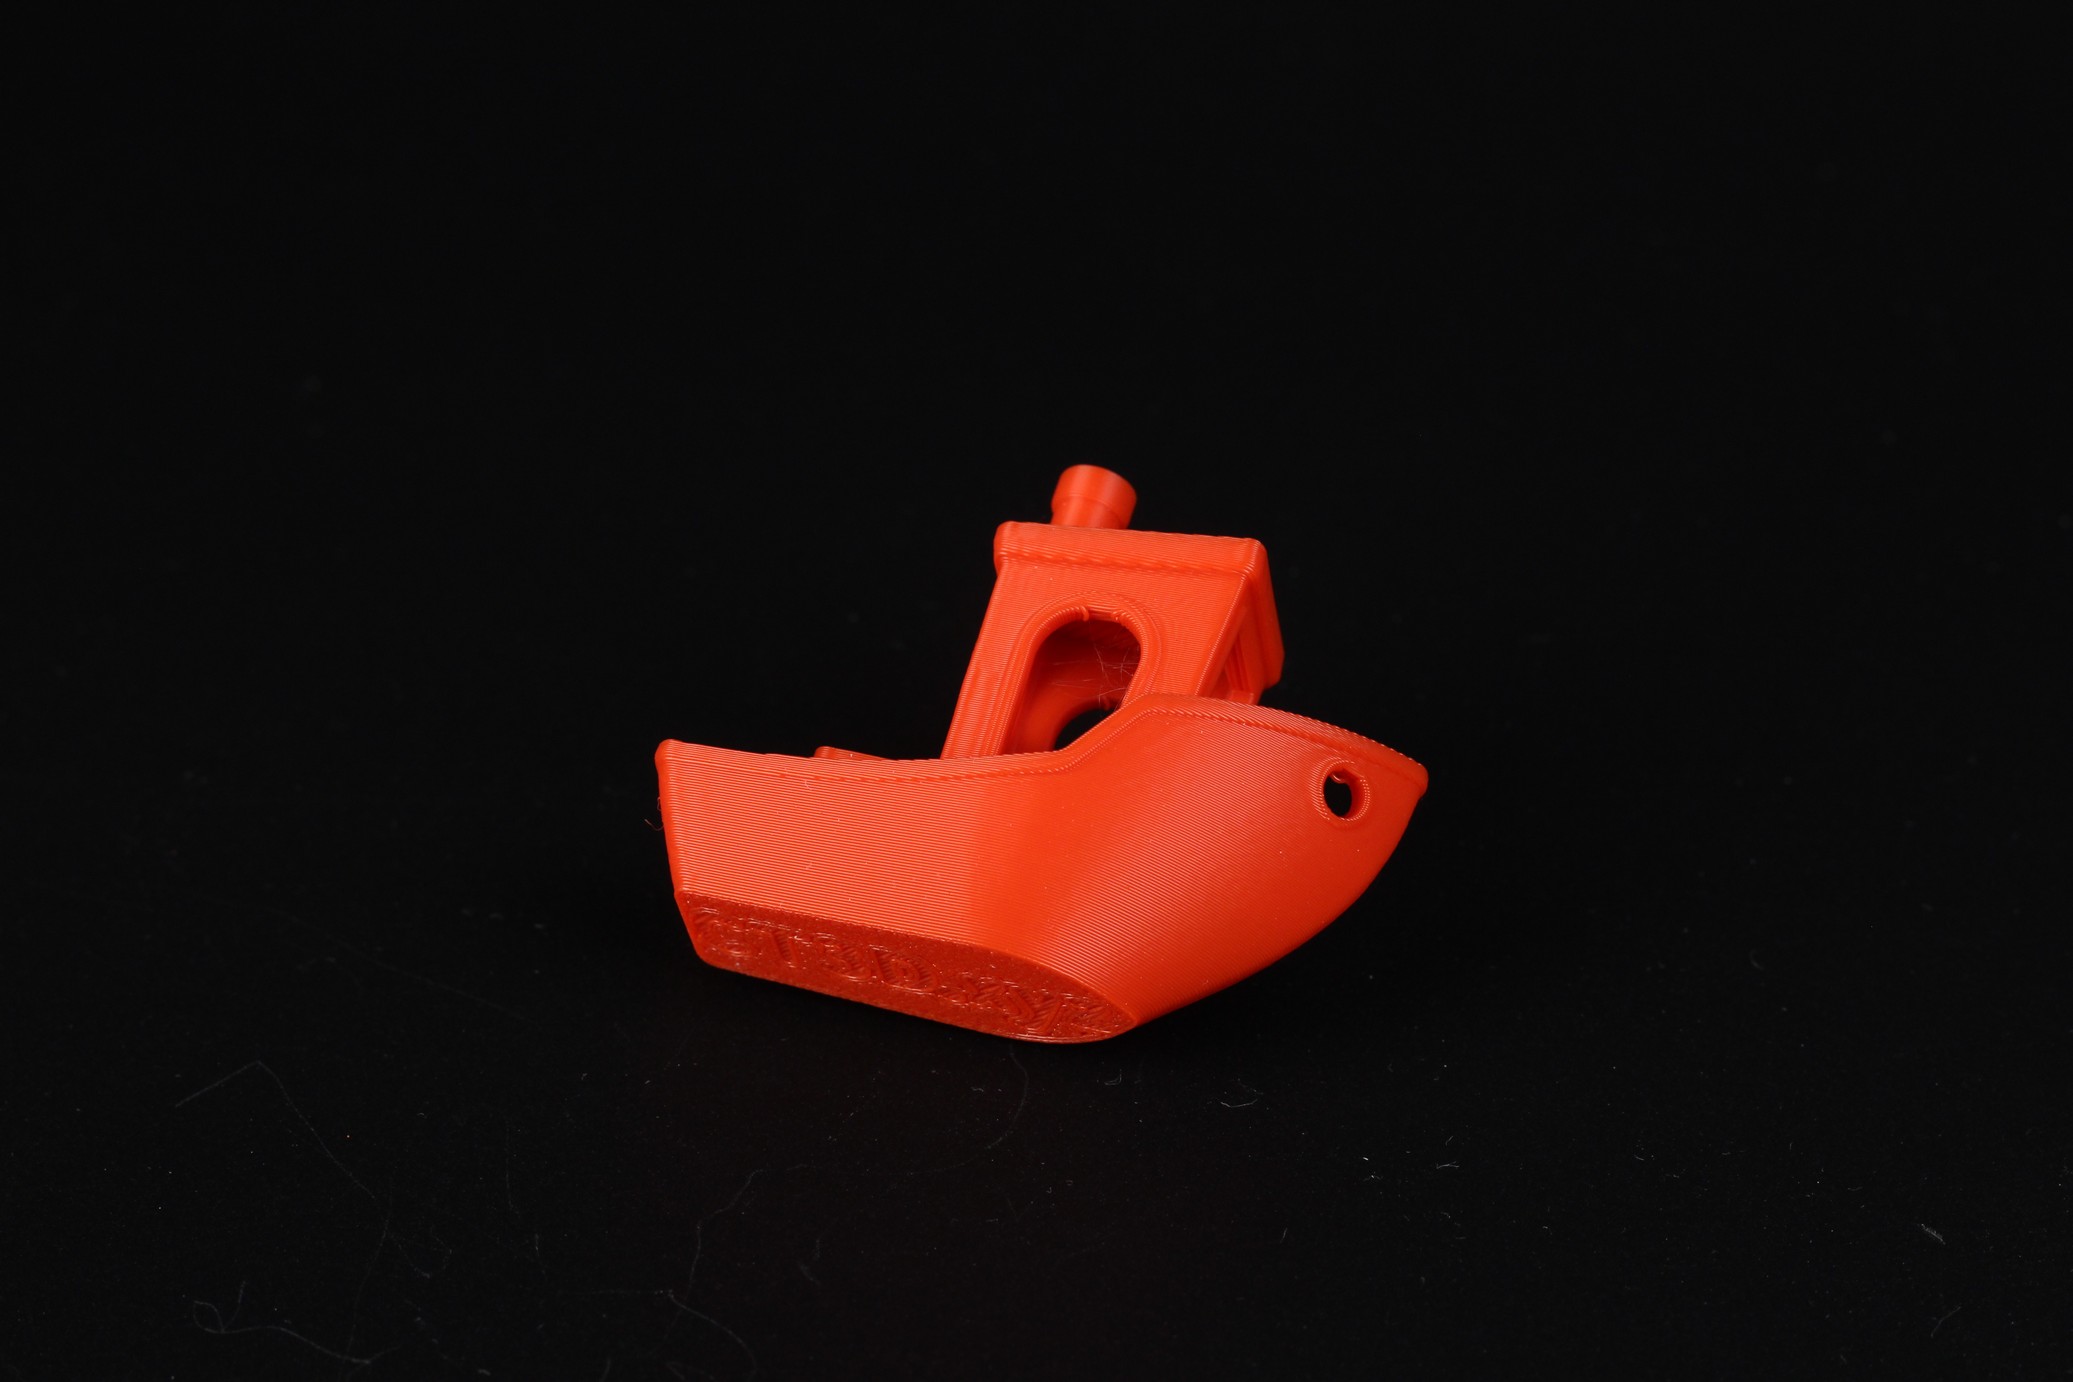
- Material: Sunlu Red PLA
- Layer Height: 0.2mm
- Nozzle Temperature: 205C
- Bed Temperature: 65C
- Print Speed: 100 mm/s
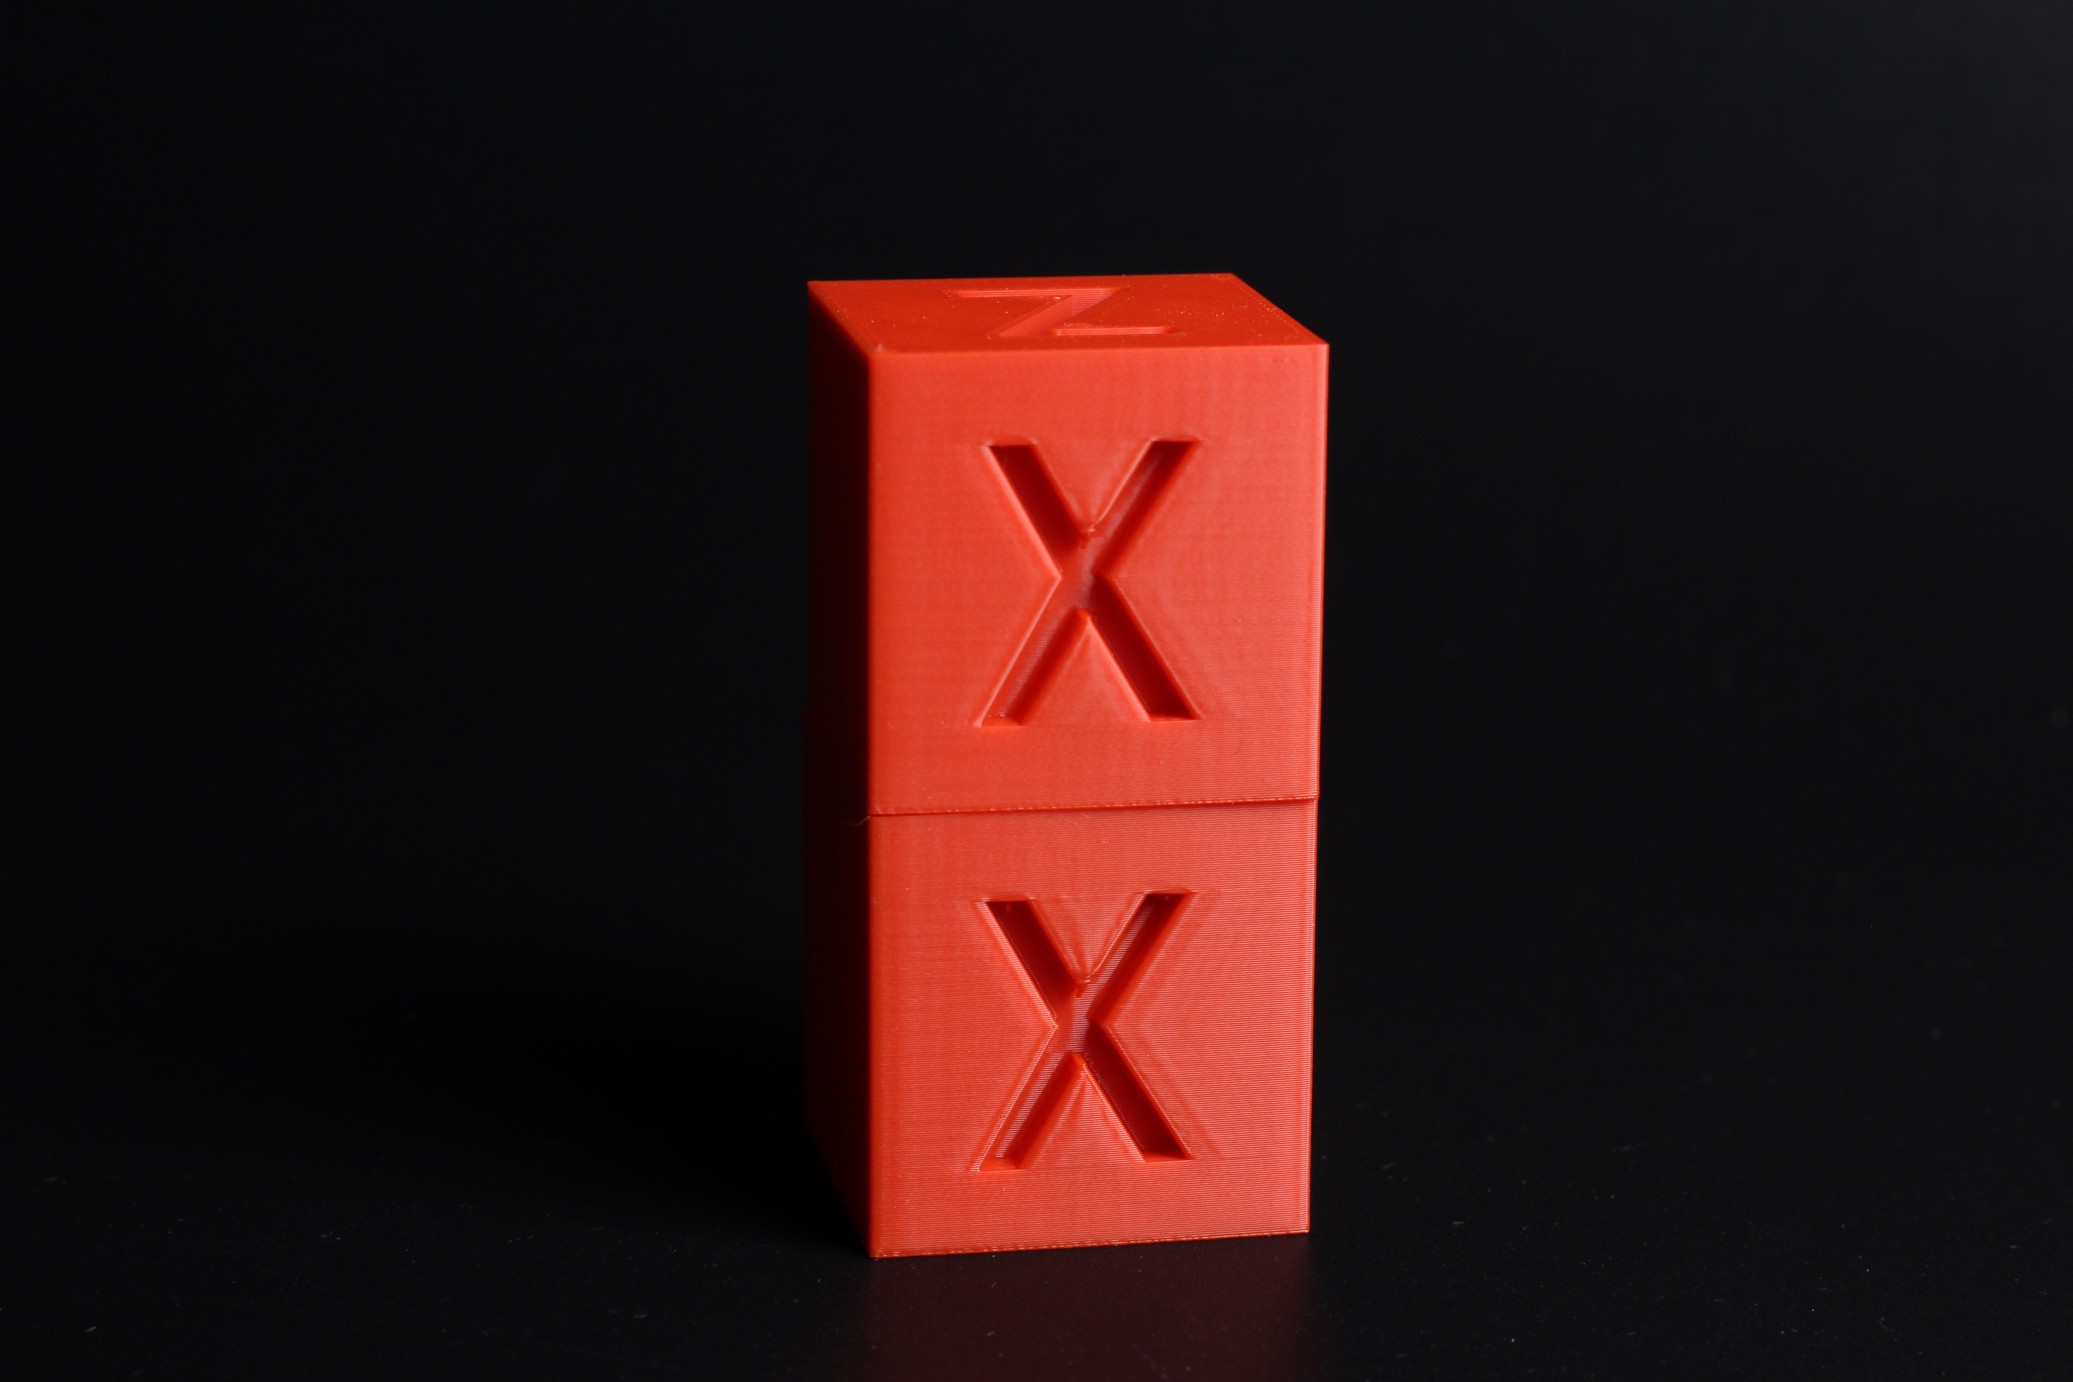
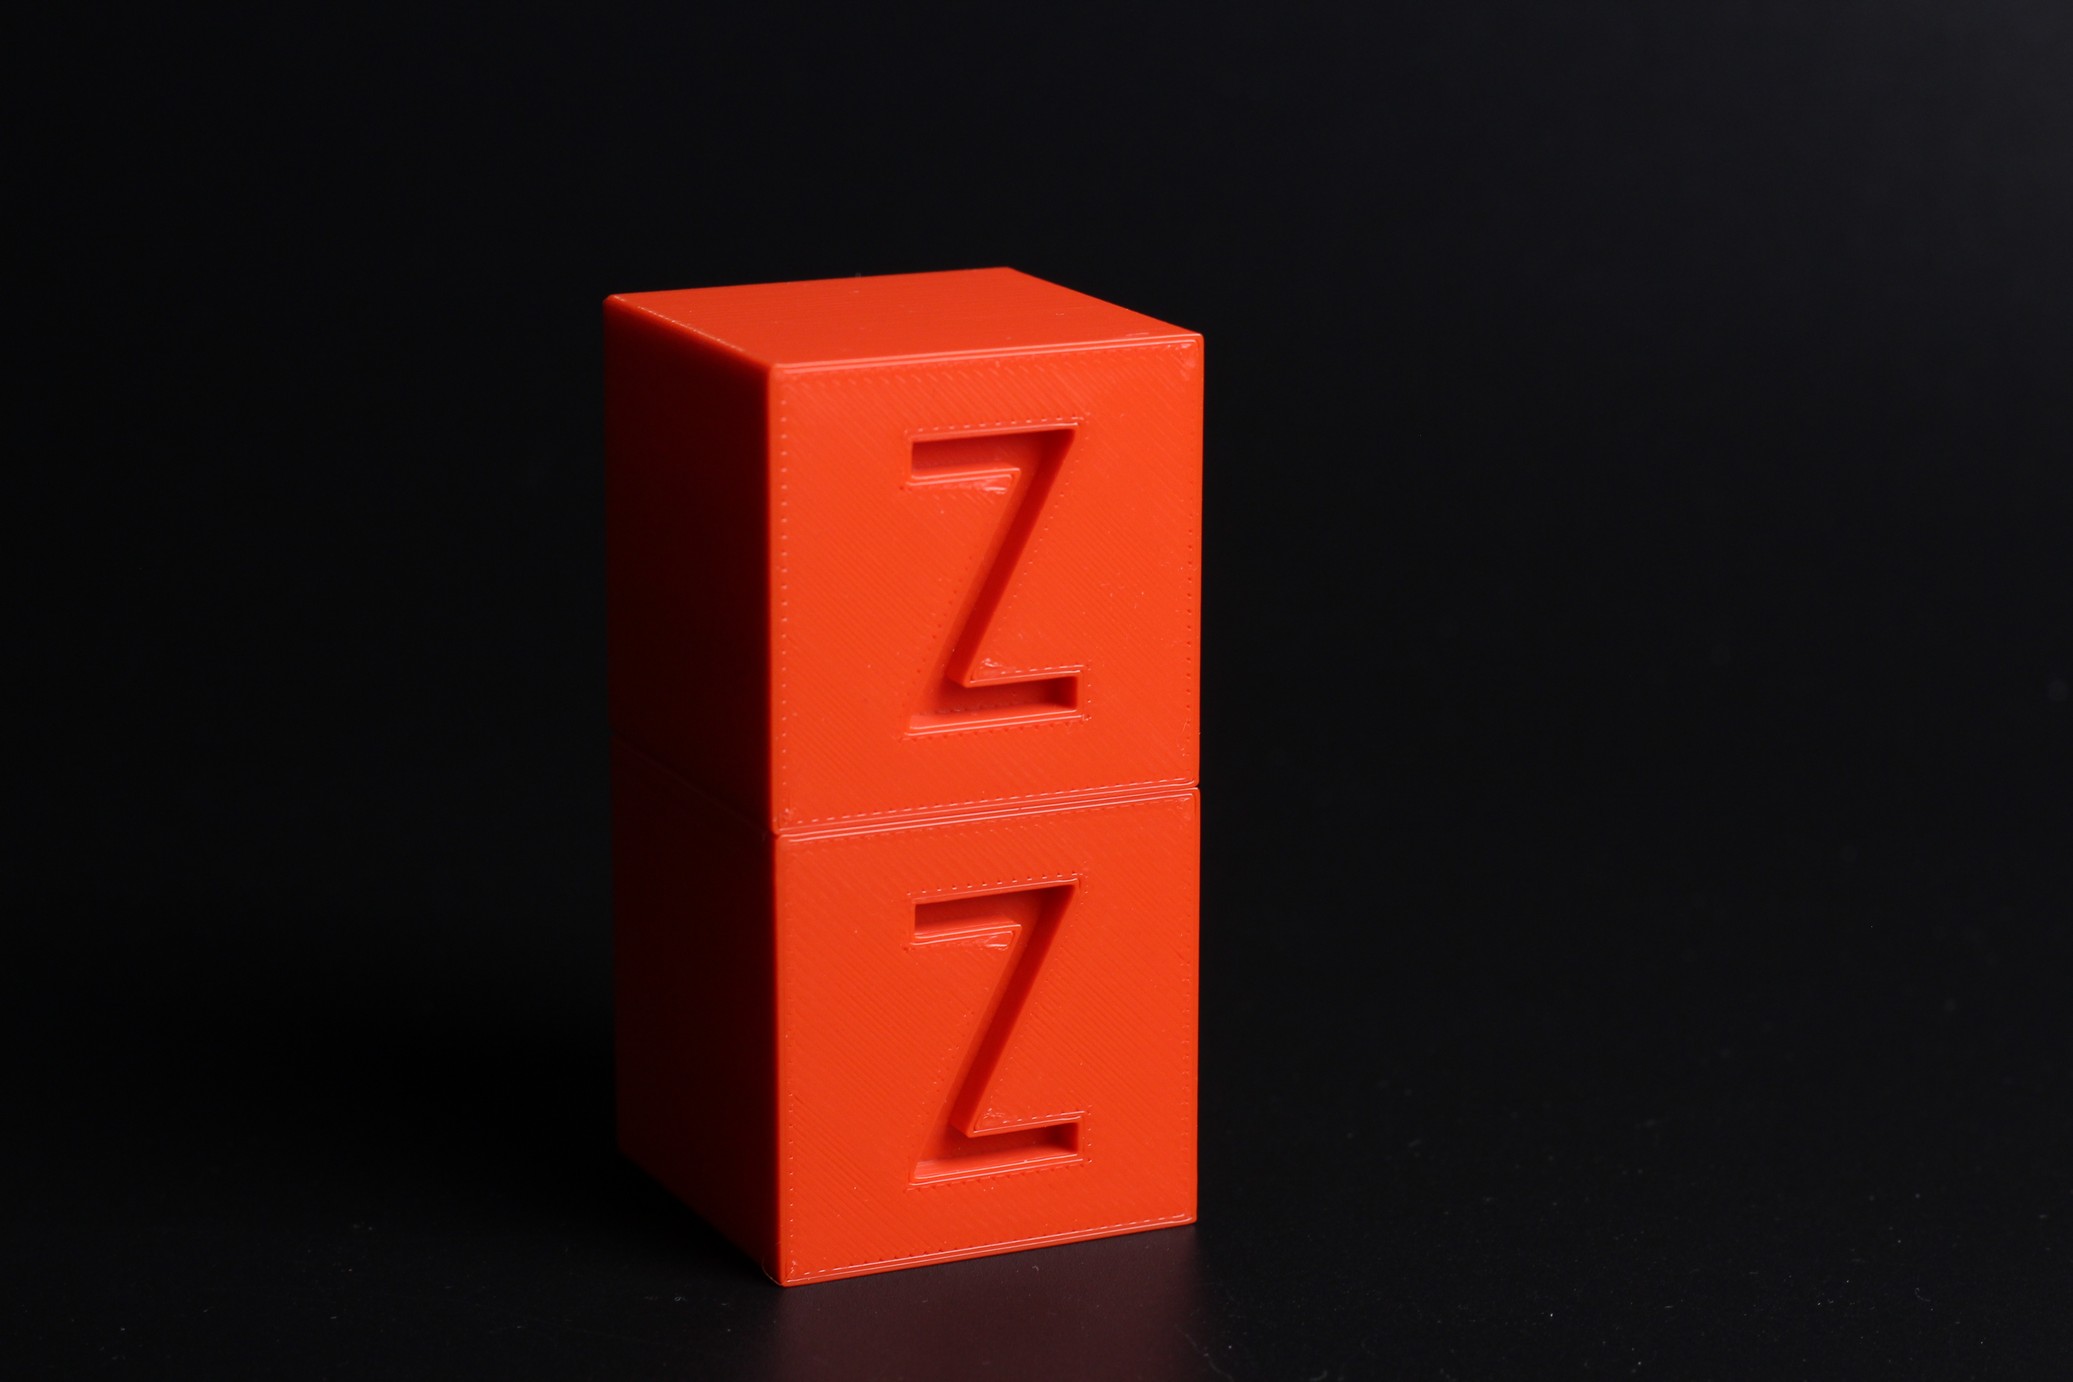
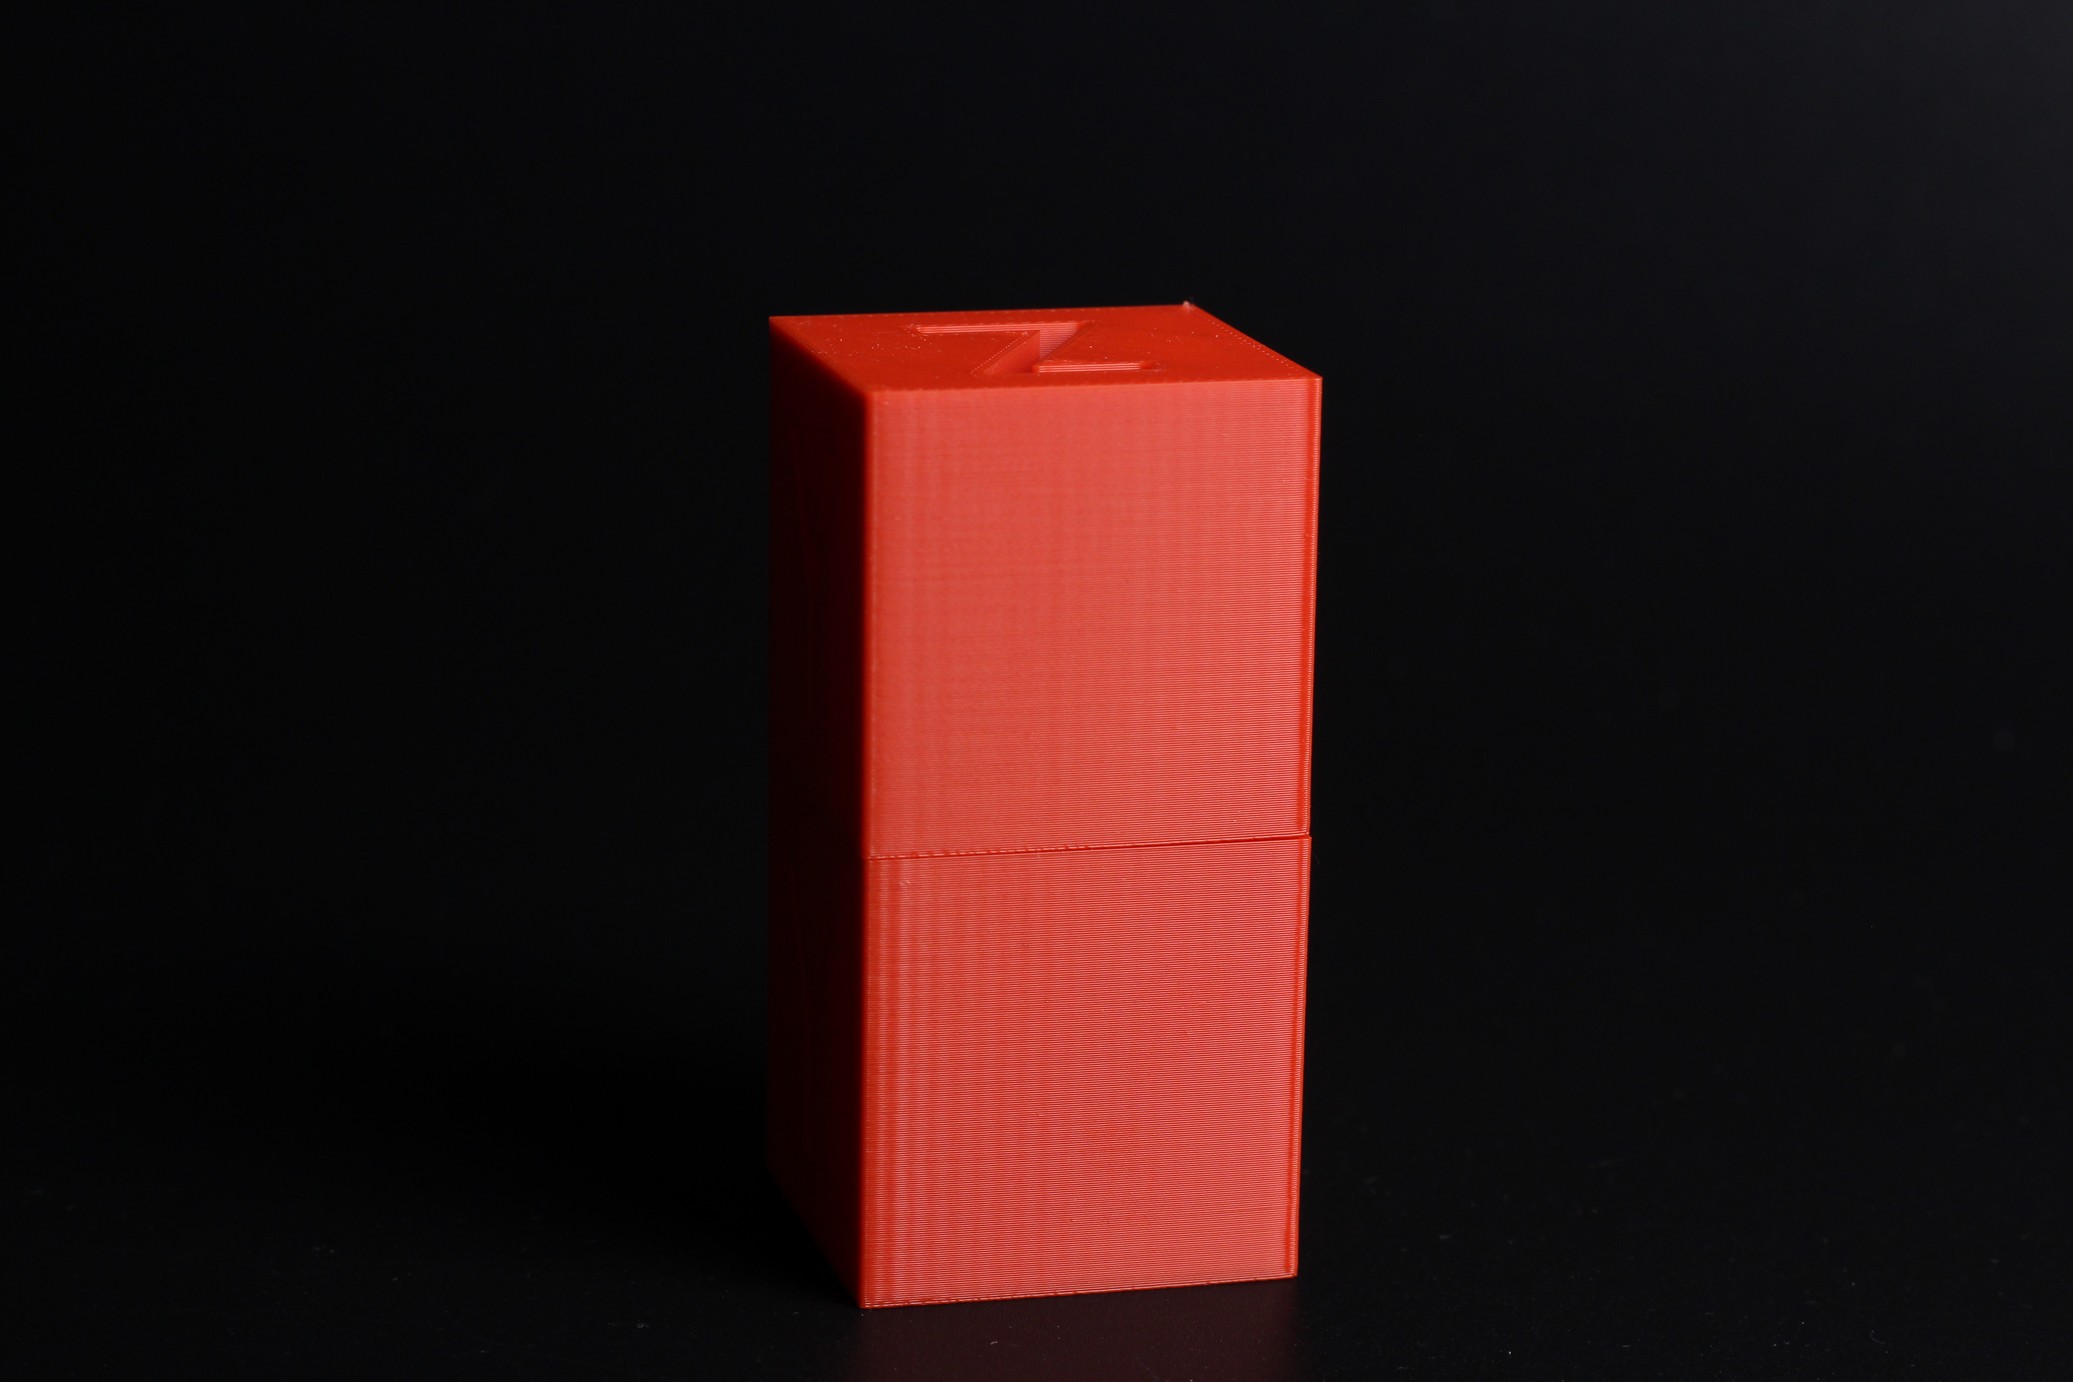
200% Calibration Cube (before and after calibration)
I thought it would be interesting to see the print quality difference you can get with careful calibration of your printer. In the example below, you can see two calibration cubes. The bottom cube was printed with the stock setup and default config, while the top cube was printed after tuning the configuration. Same g-code.

- Material: Sunlu Red PLA
- Layer Height: 0.2mm
- Nozzle Temperature: 205C
- Bed Temperature: 65C
- Print Speed: 100 mm/s
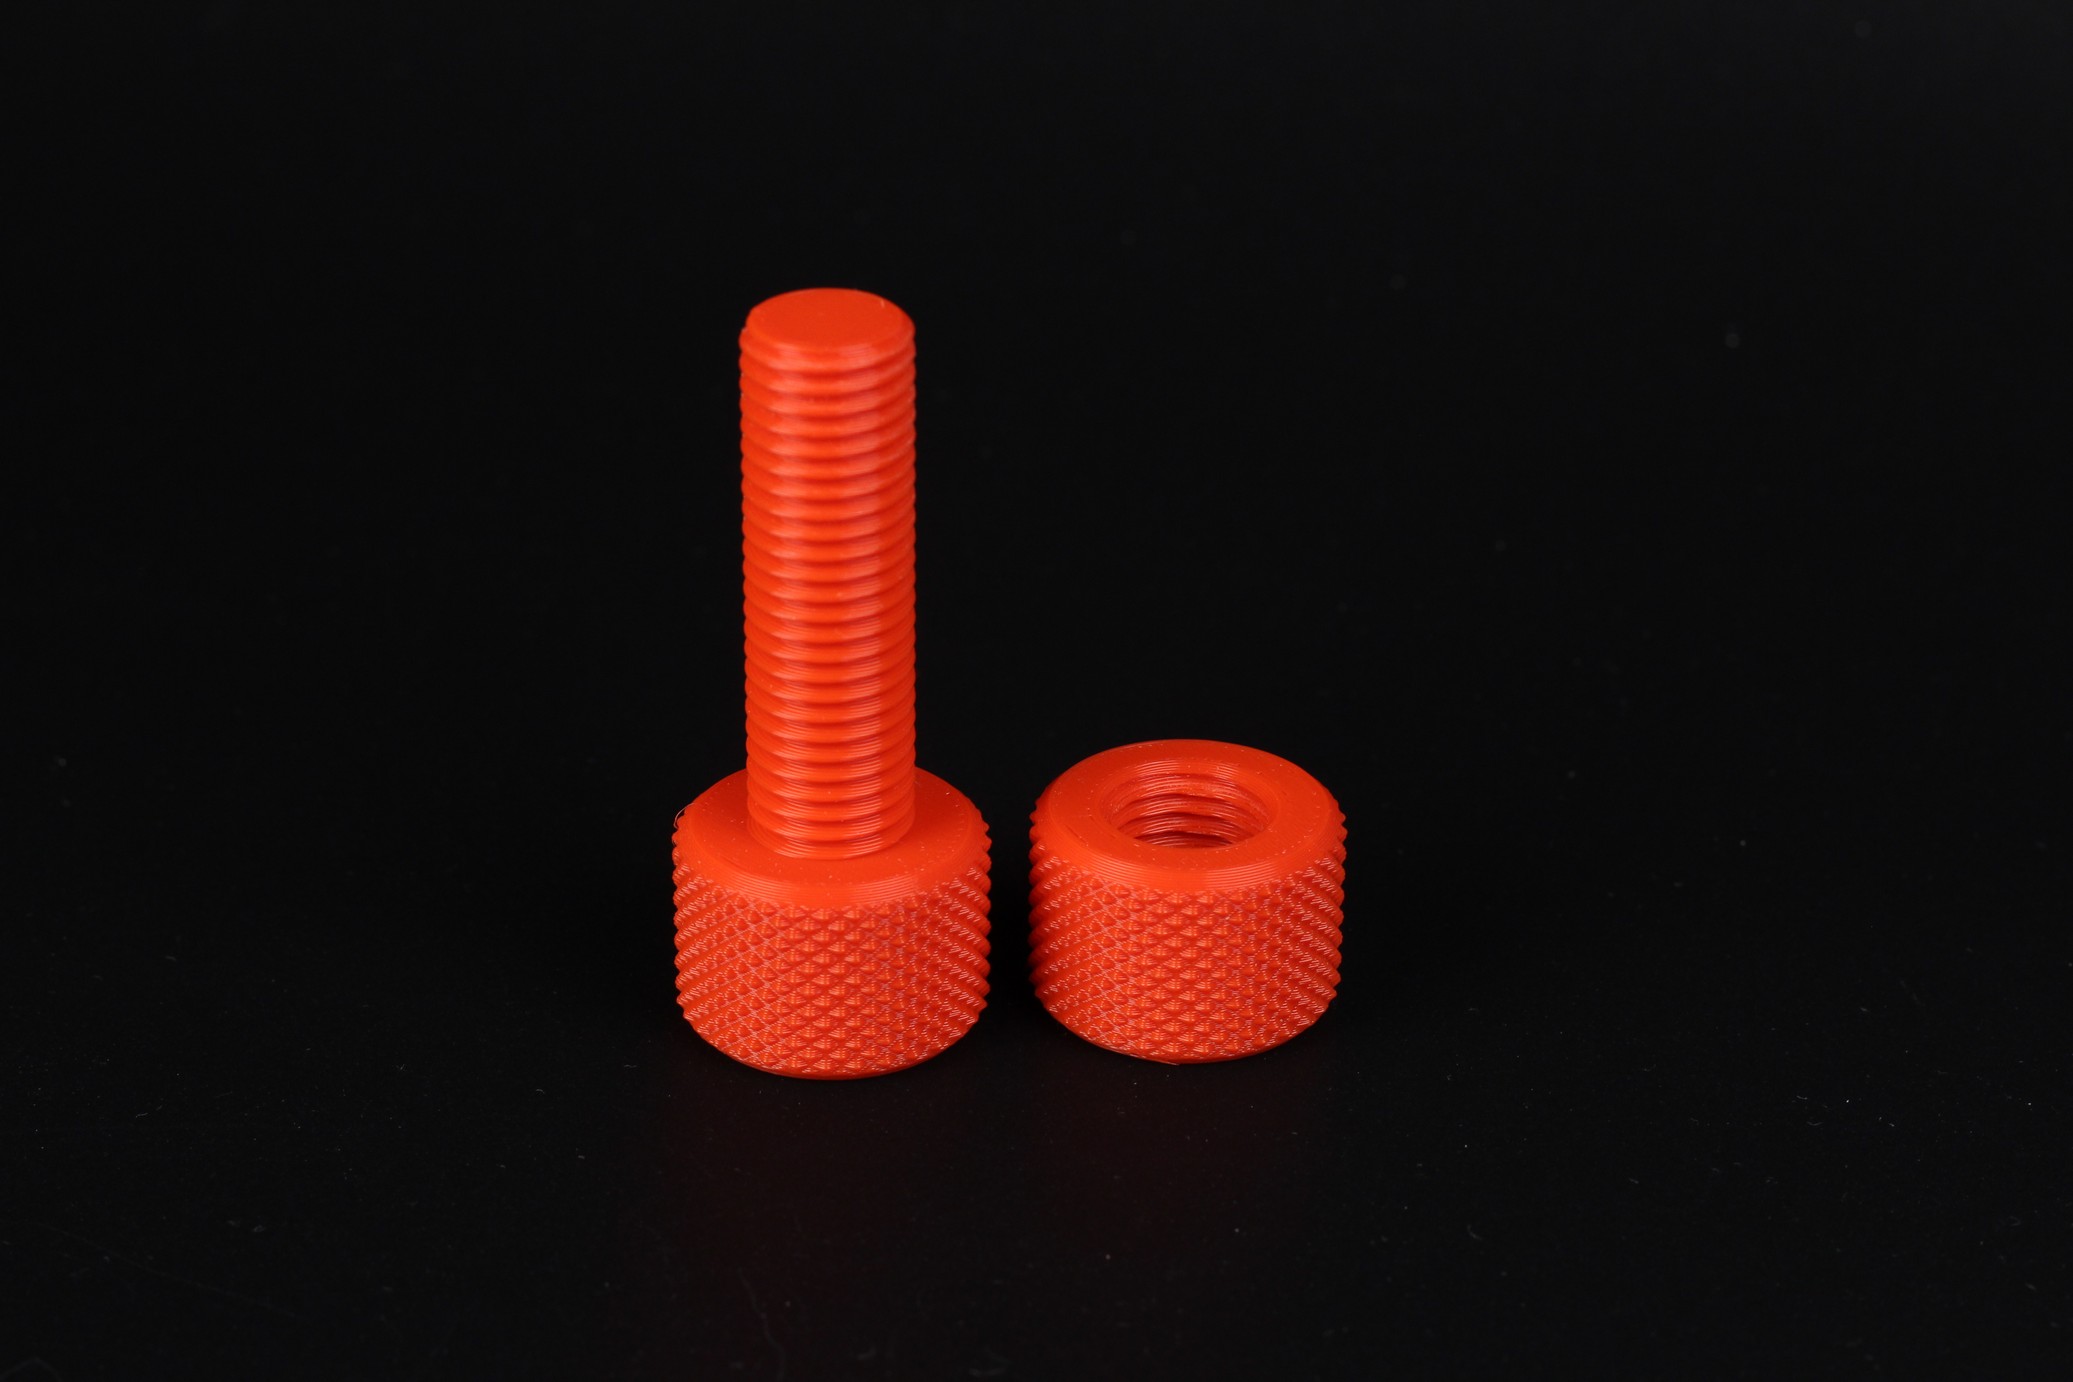
Nut and Bolt
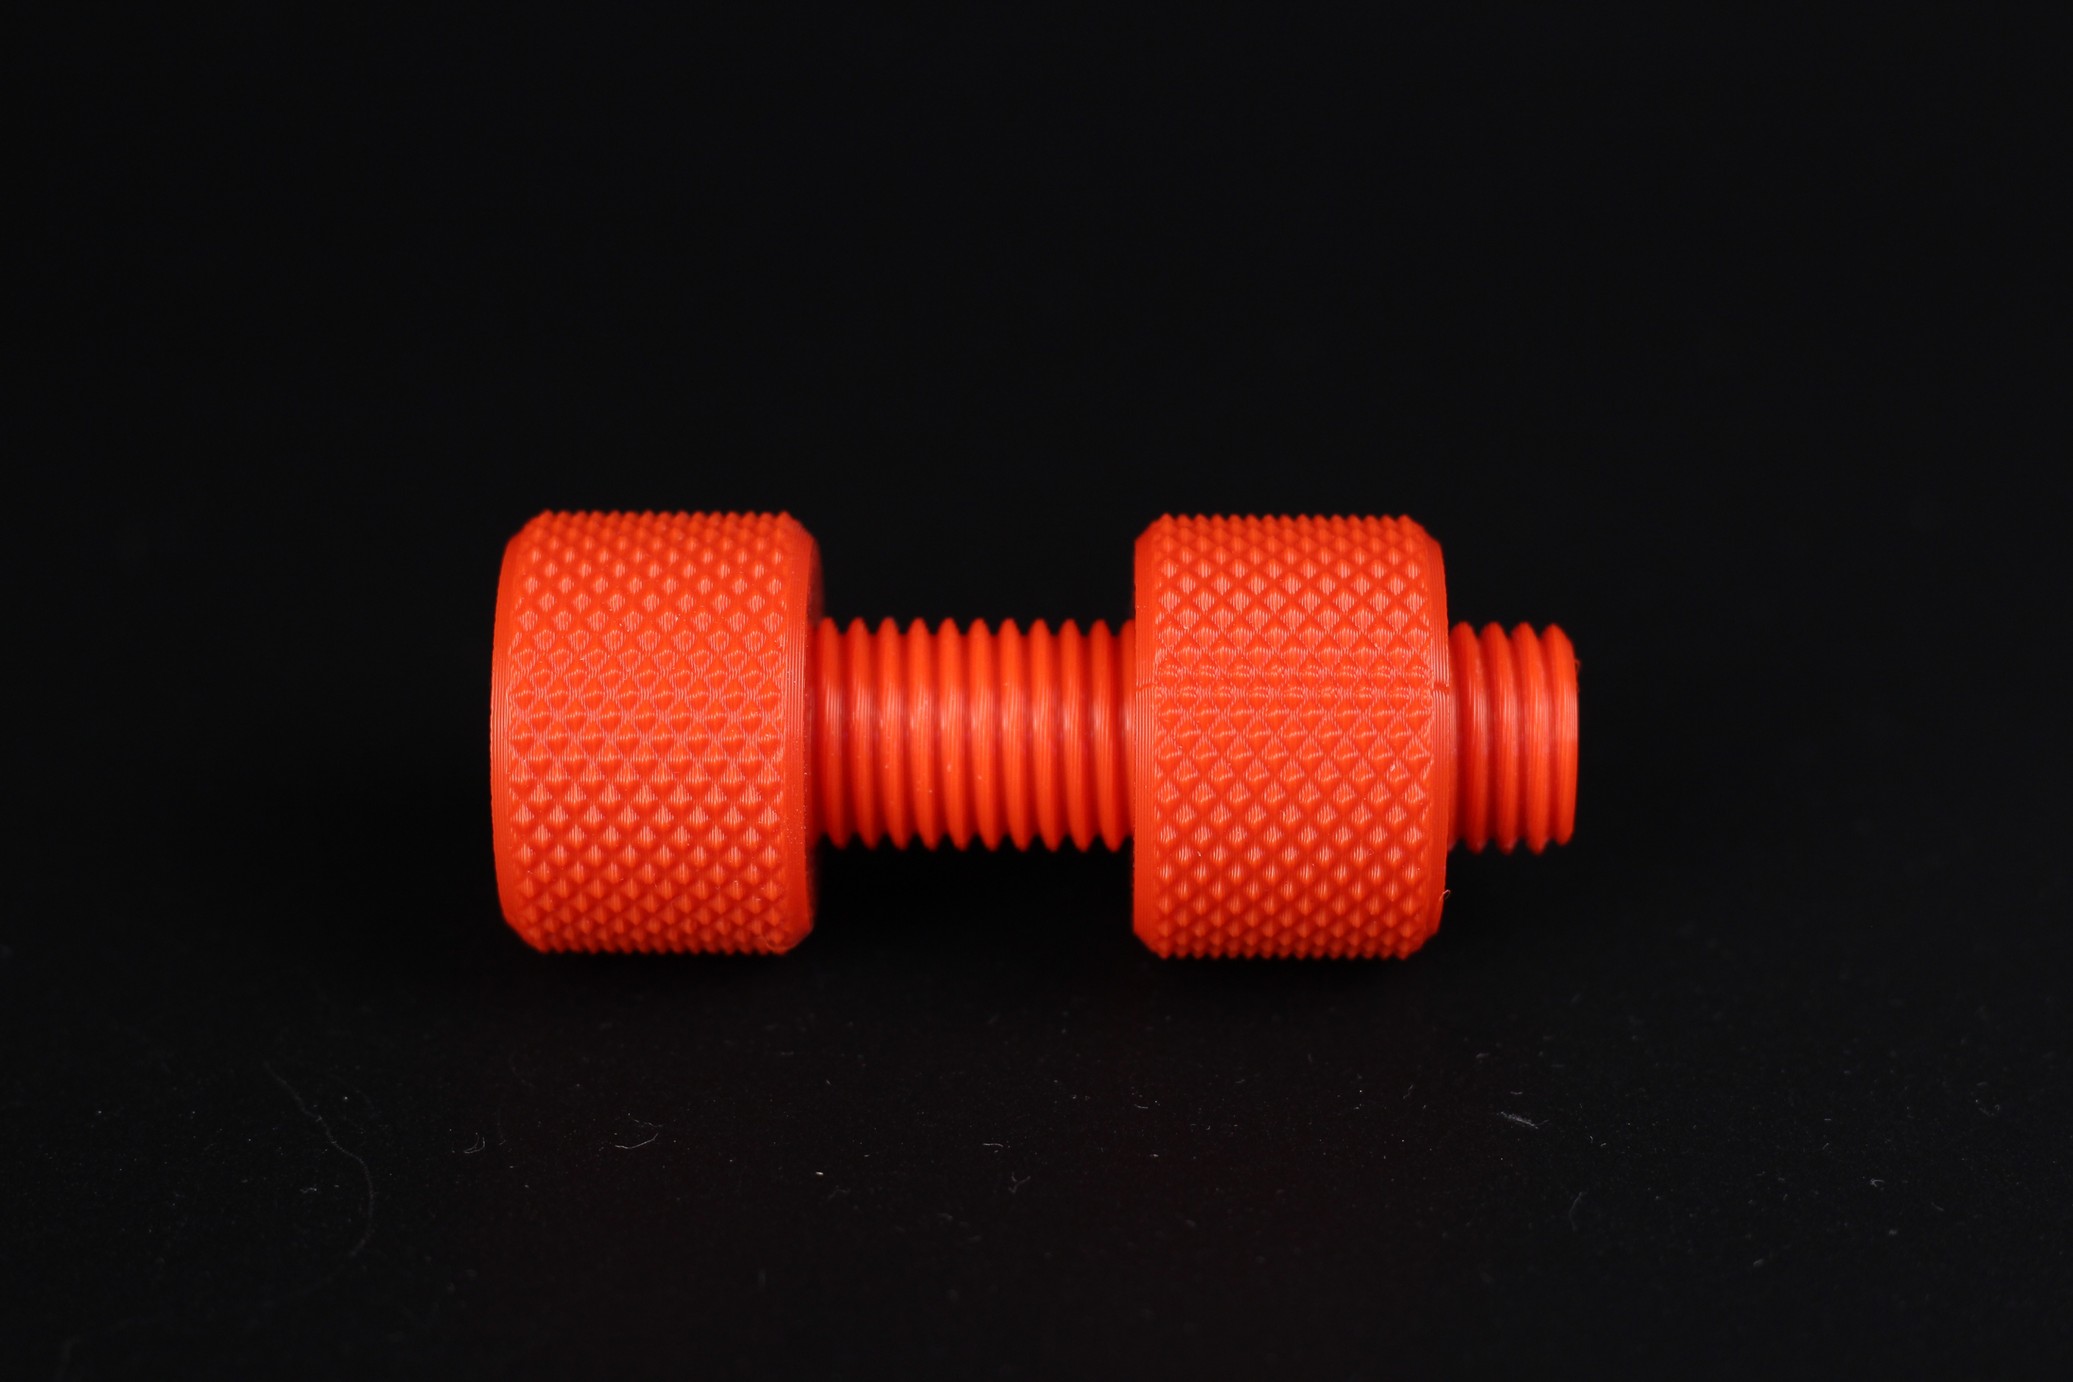
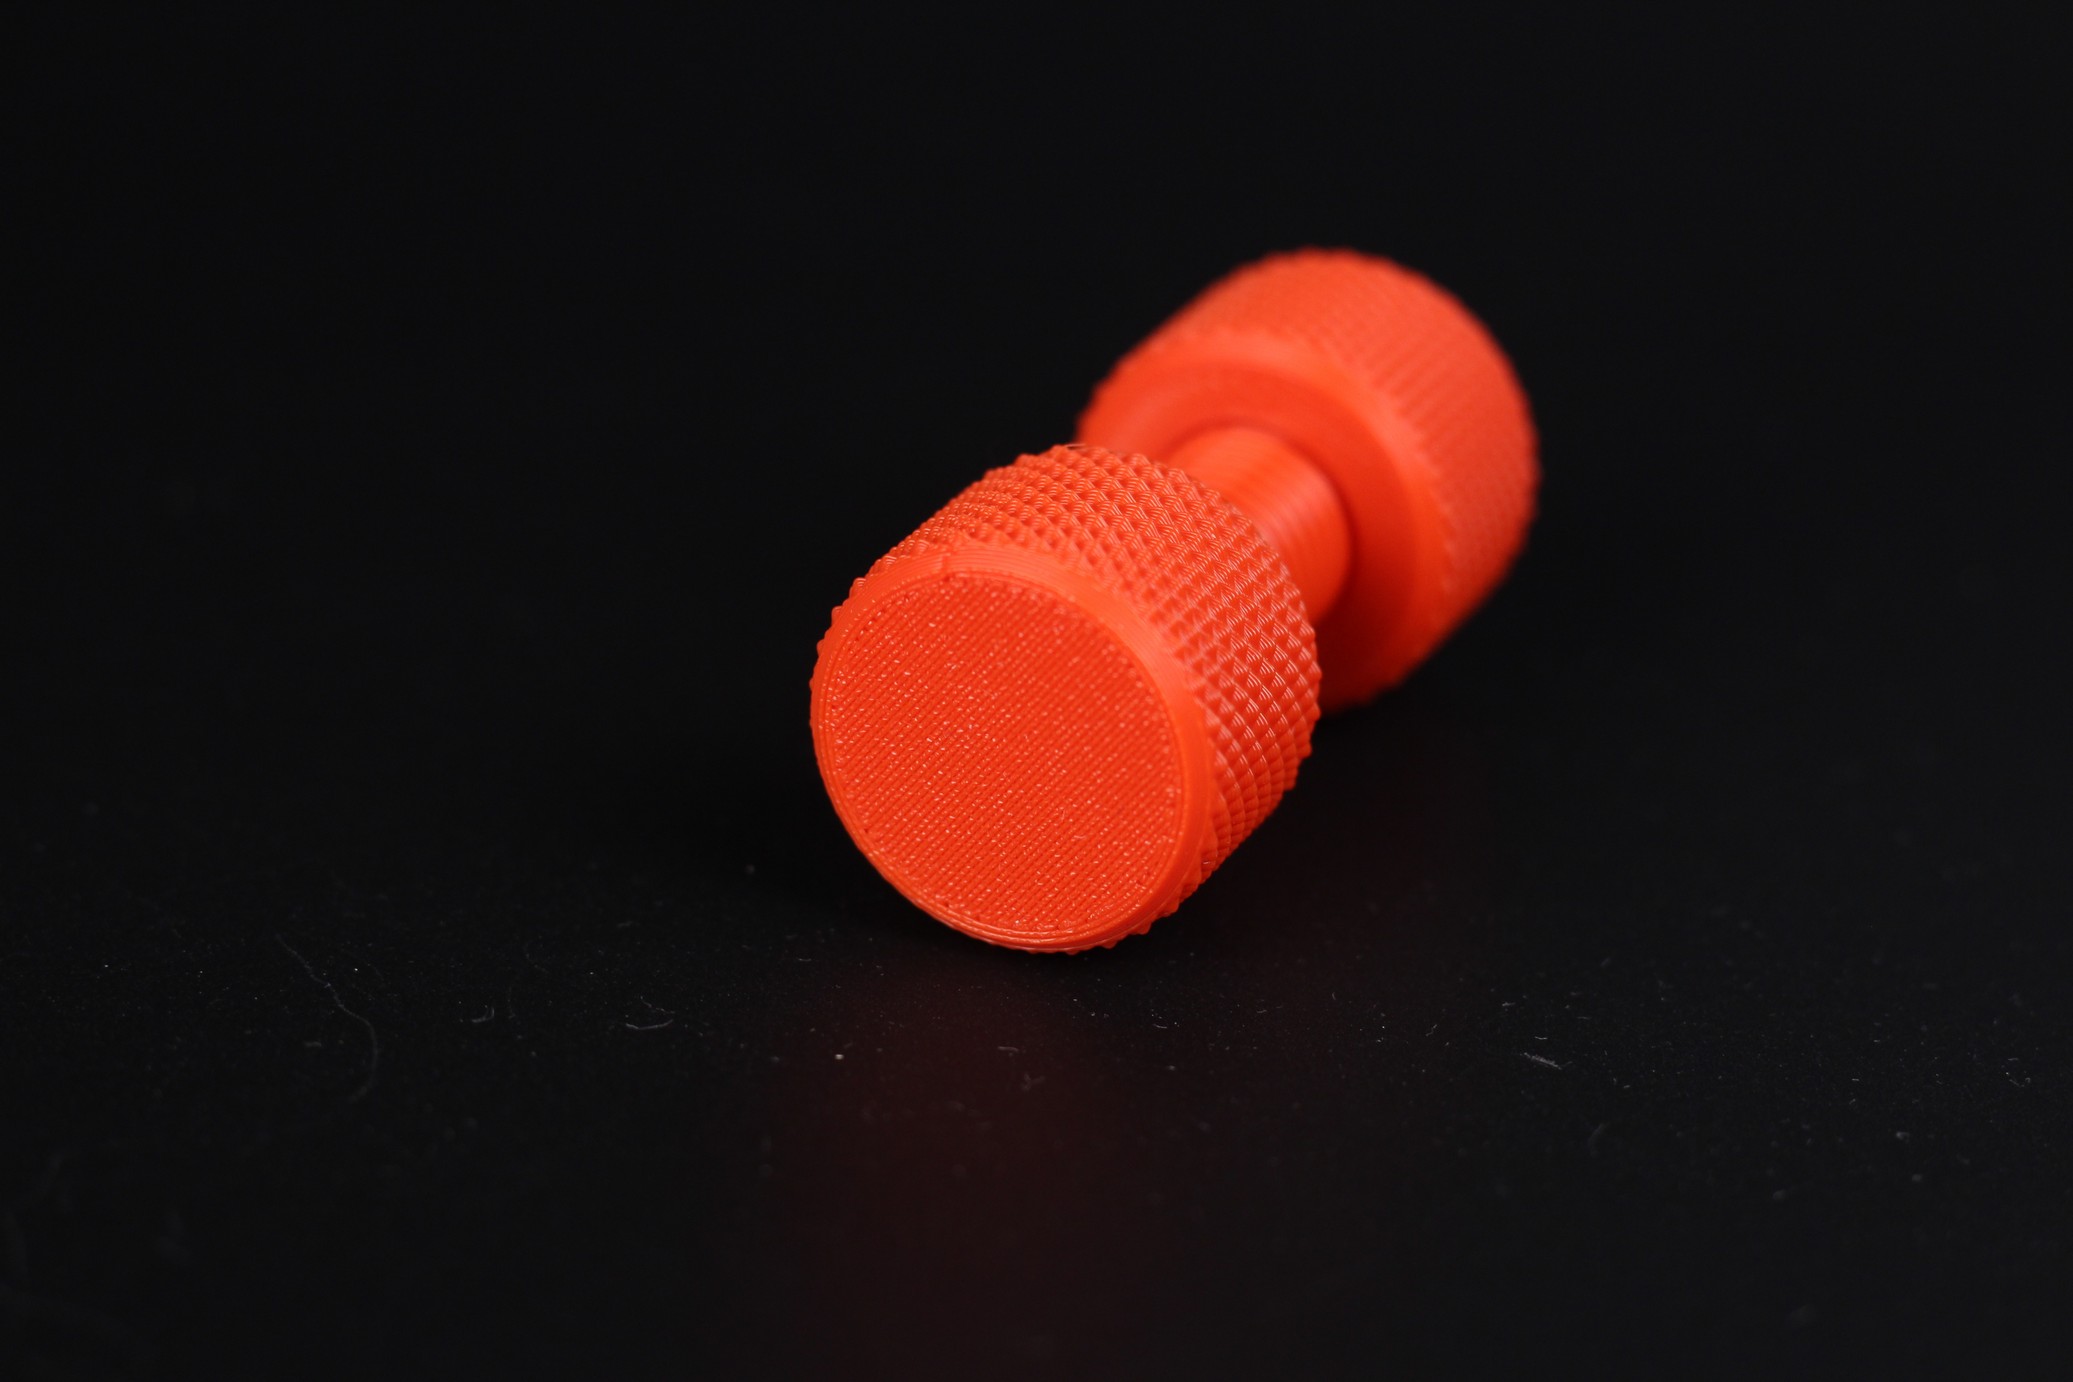
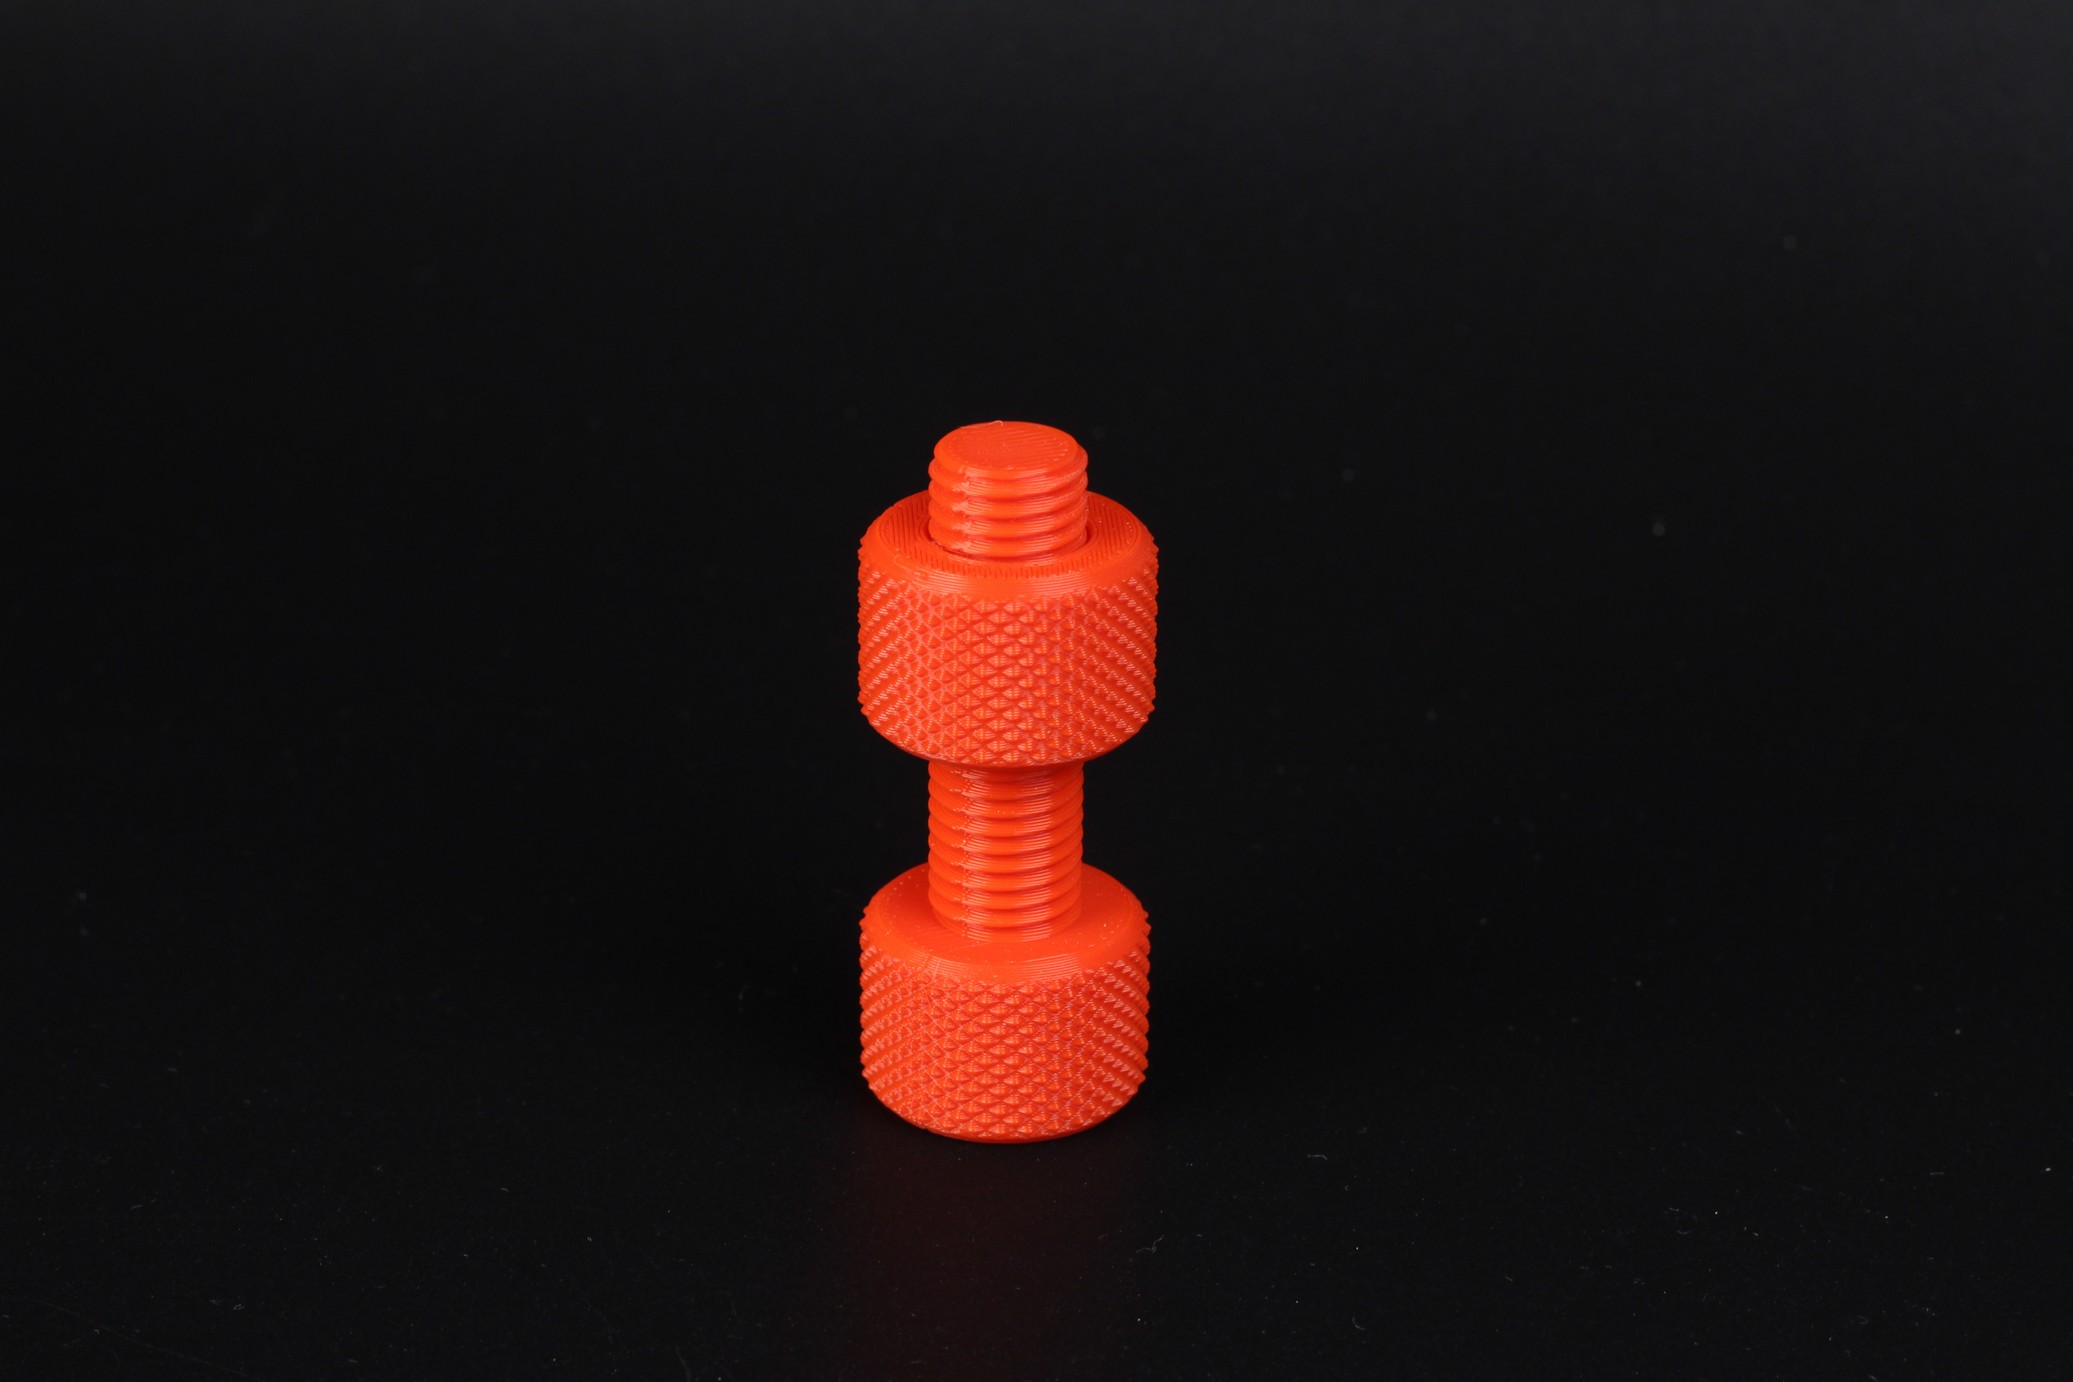
After calibrating the flow rate, and tuning the printer config, I printed this nut and bolt as a test for tolerances. It came out great even though it was printed at 100mm/s. Sure, the real speed is a bit lower because of the cooling limits, but still a good result.
- Material: Sunlu Red PLA
- Layer Height: 0.2mm
- Nozzle Temperature: 205C
- Bed Temperature: 65C
- Print Speed: 100 mm/s
Torture Toaster
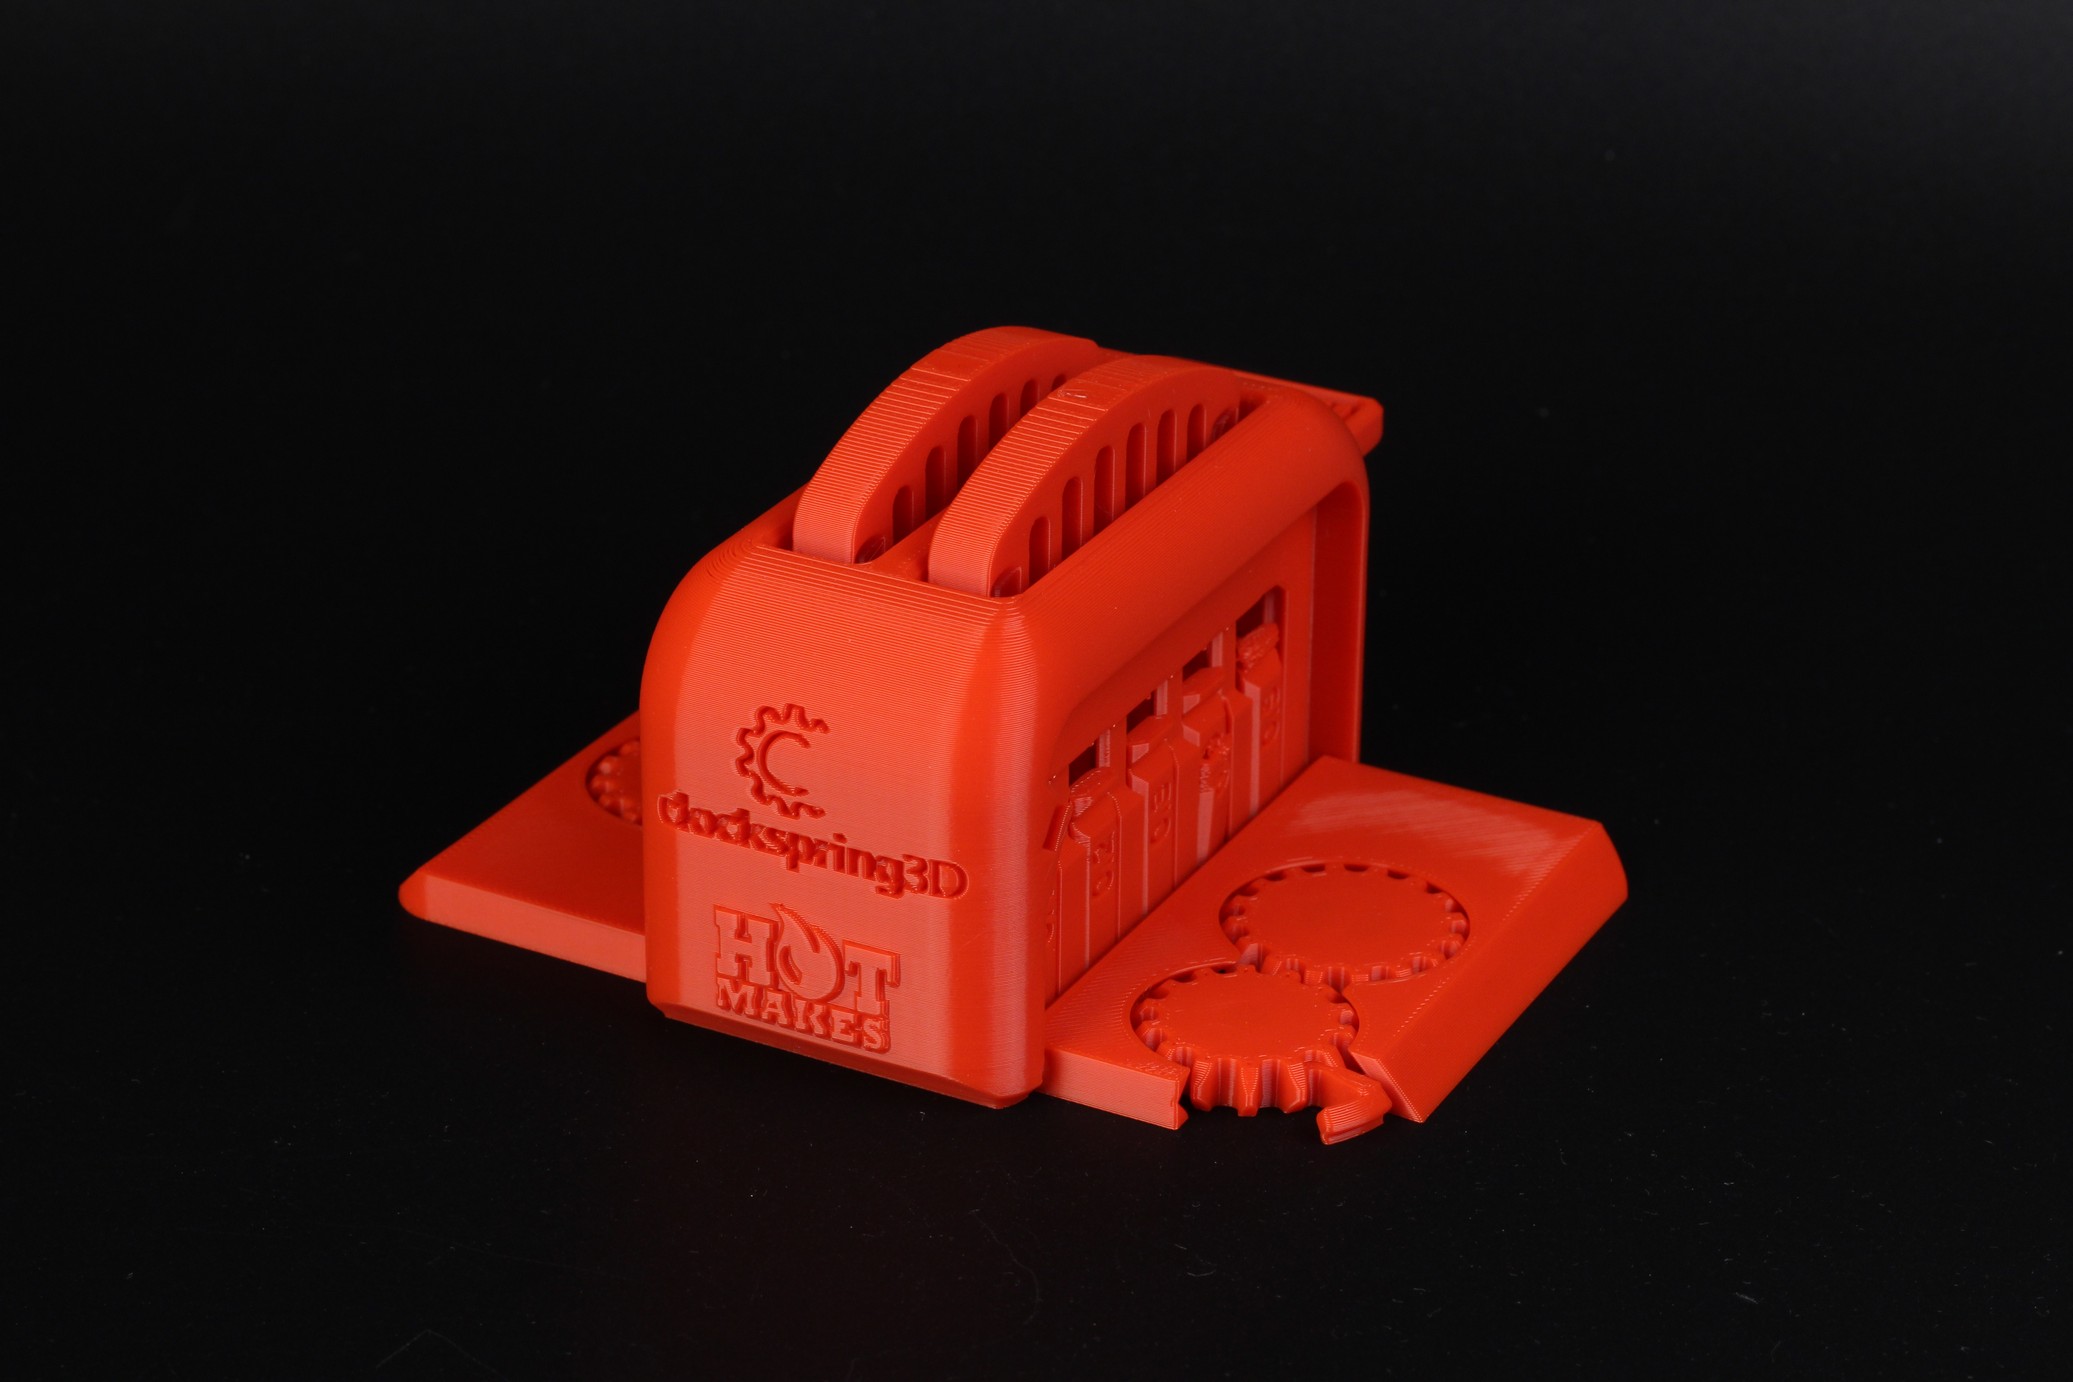
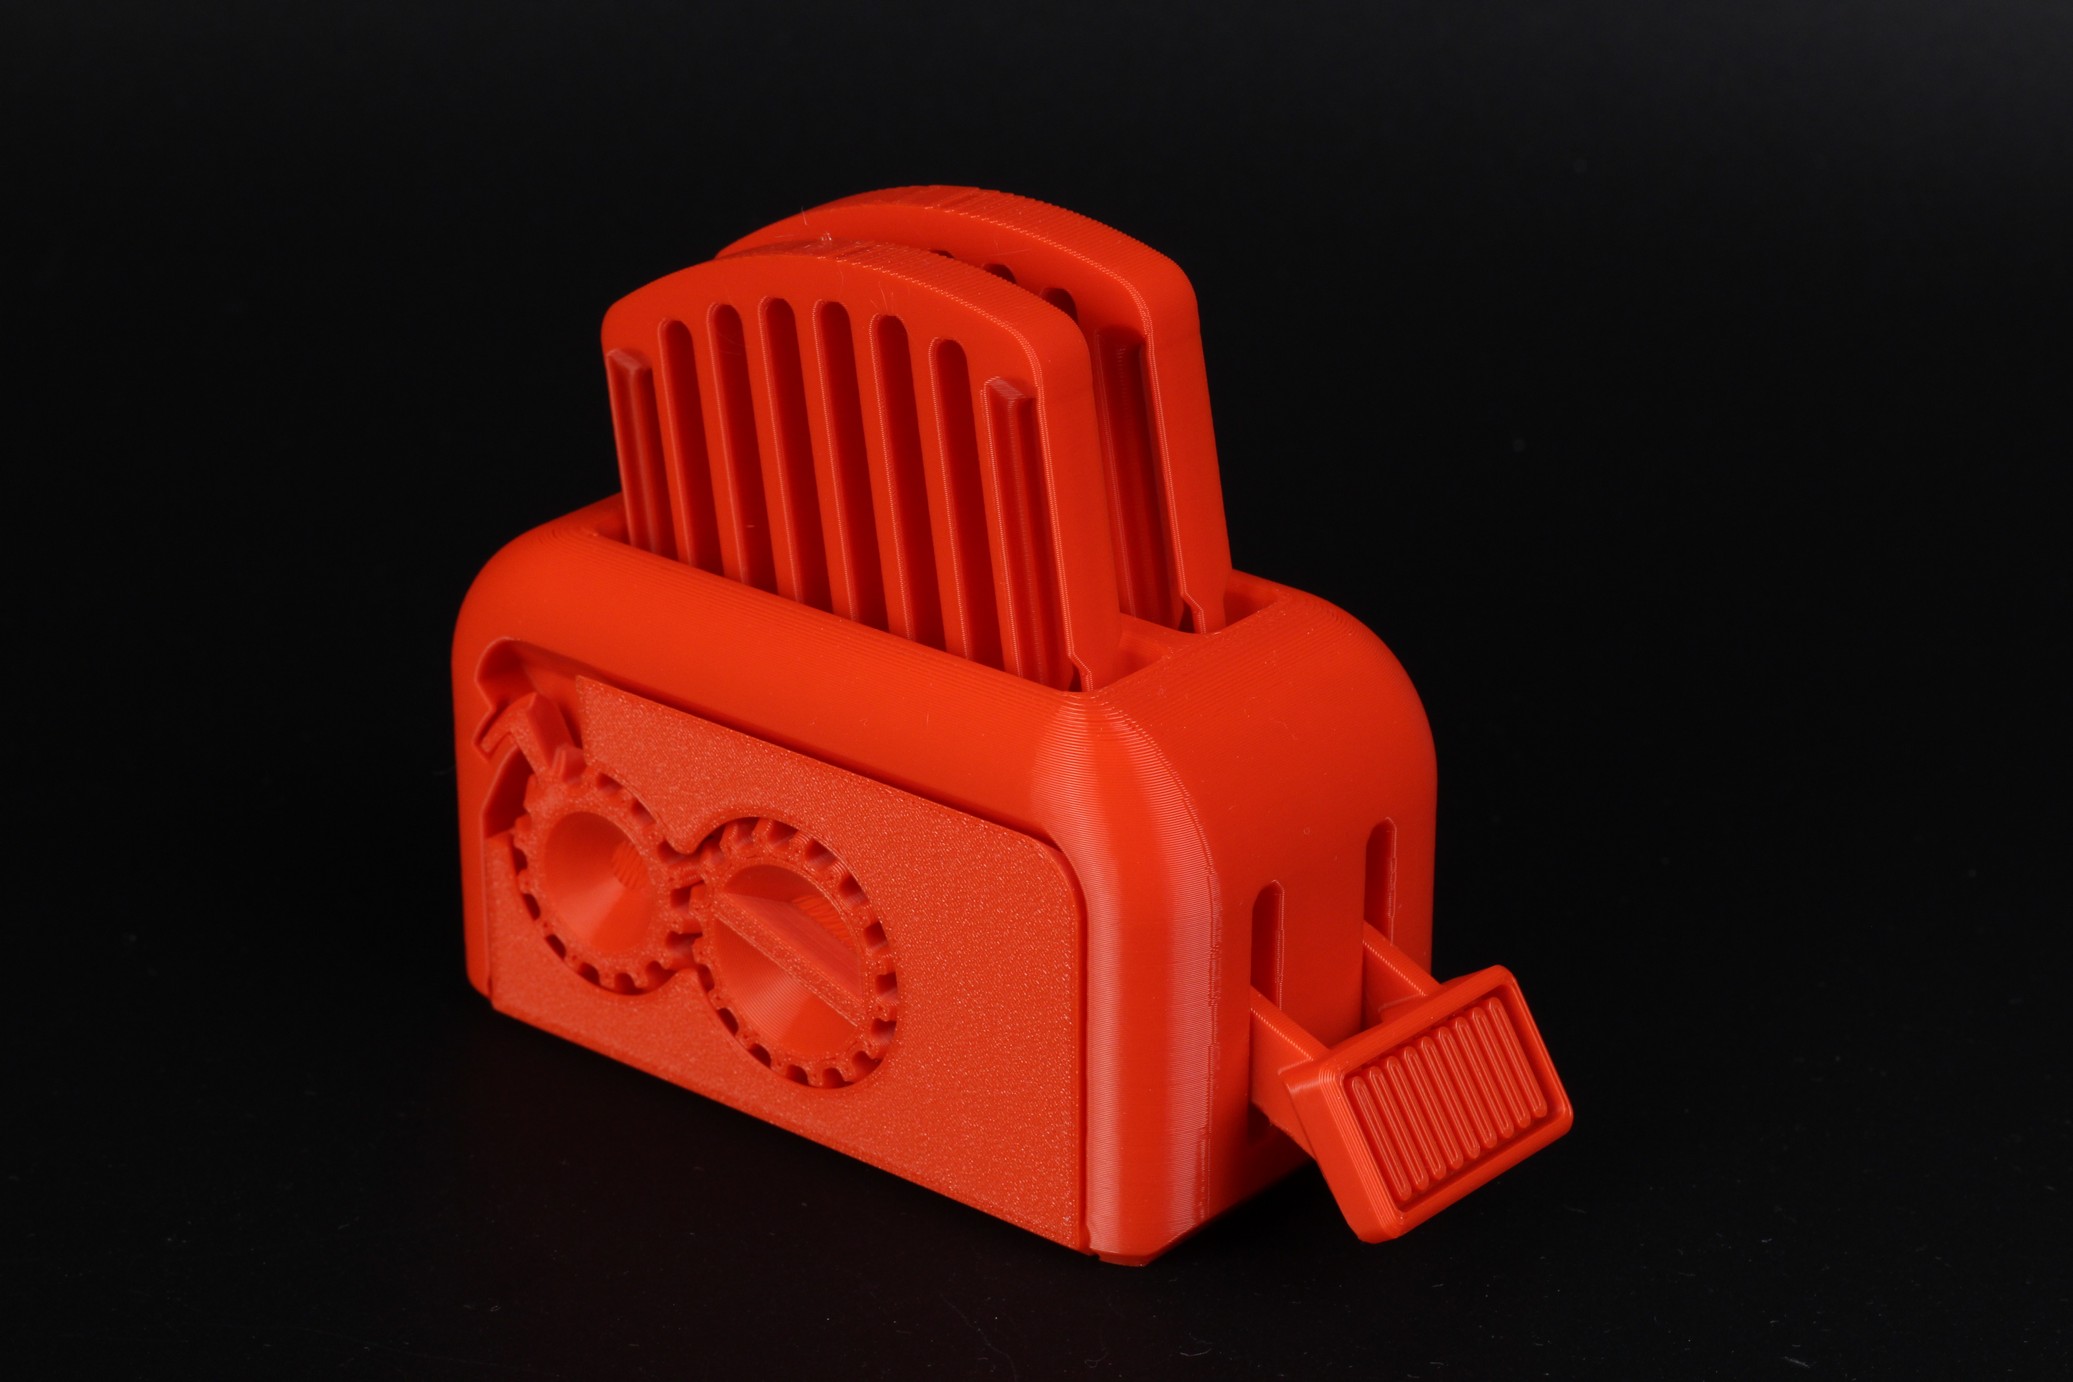
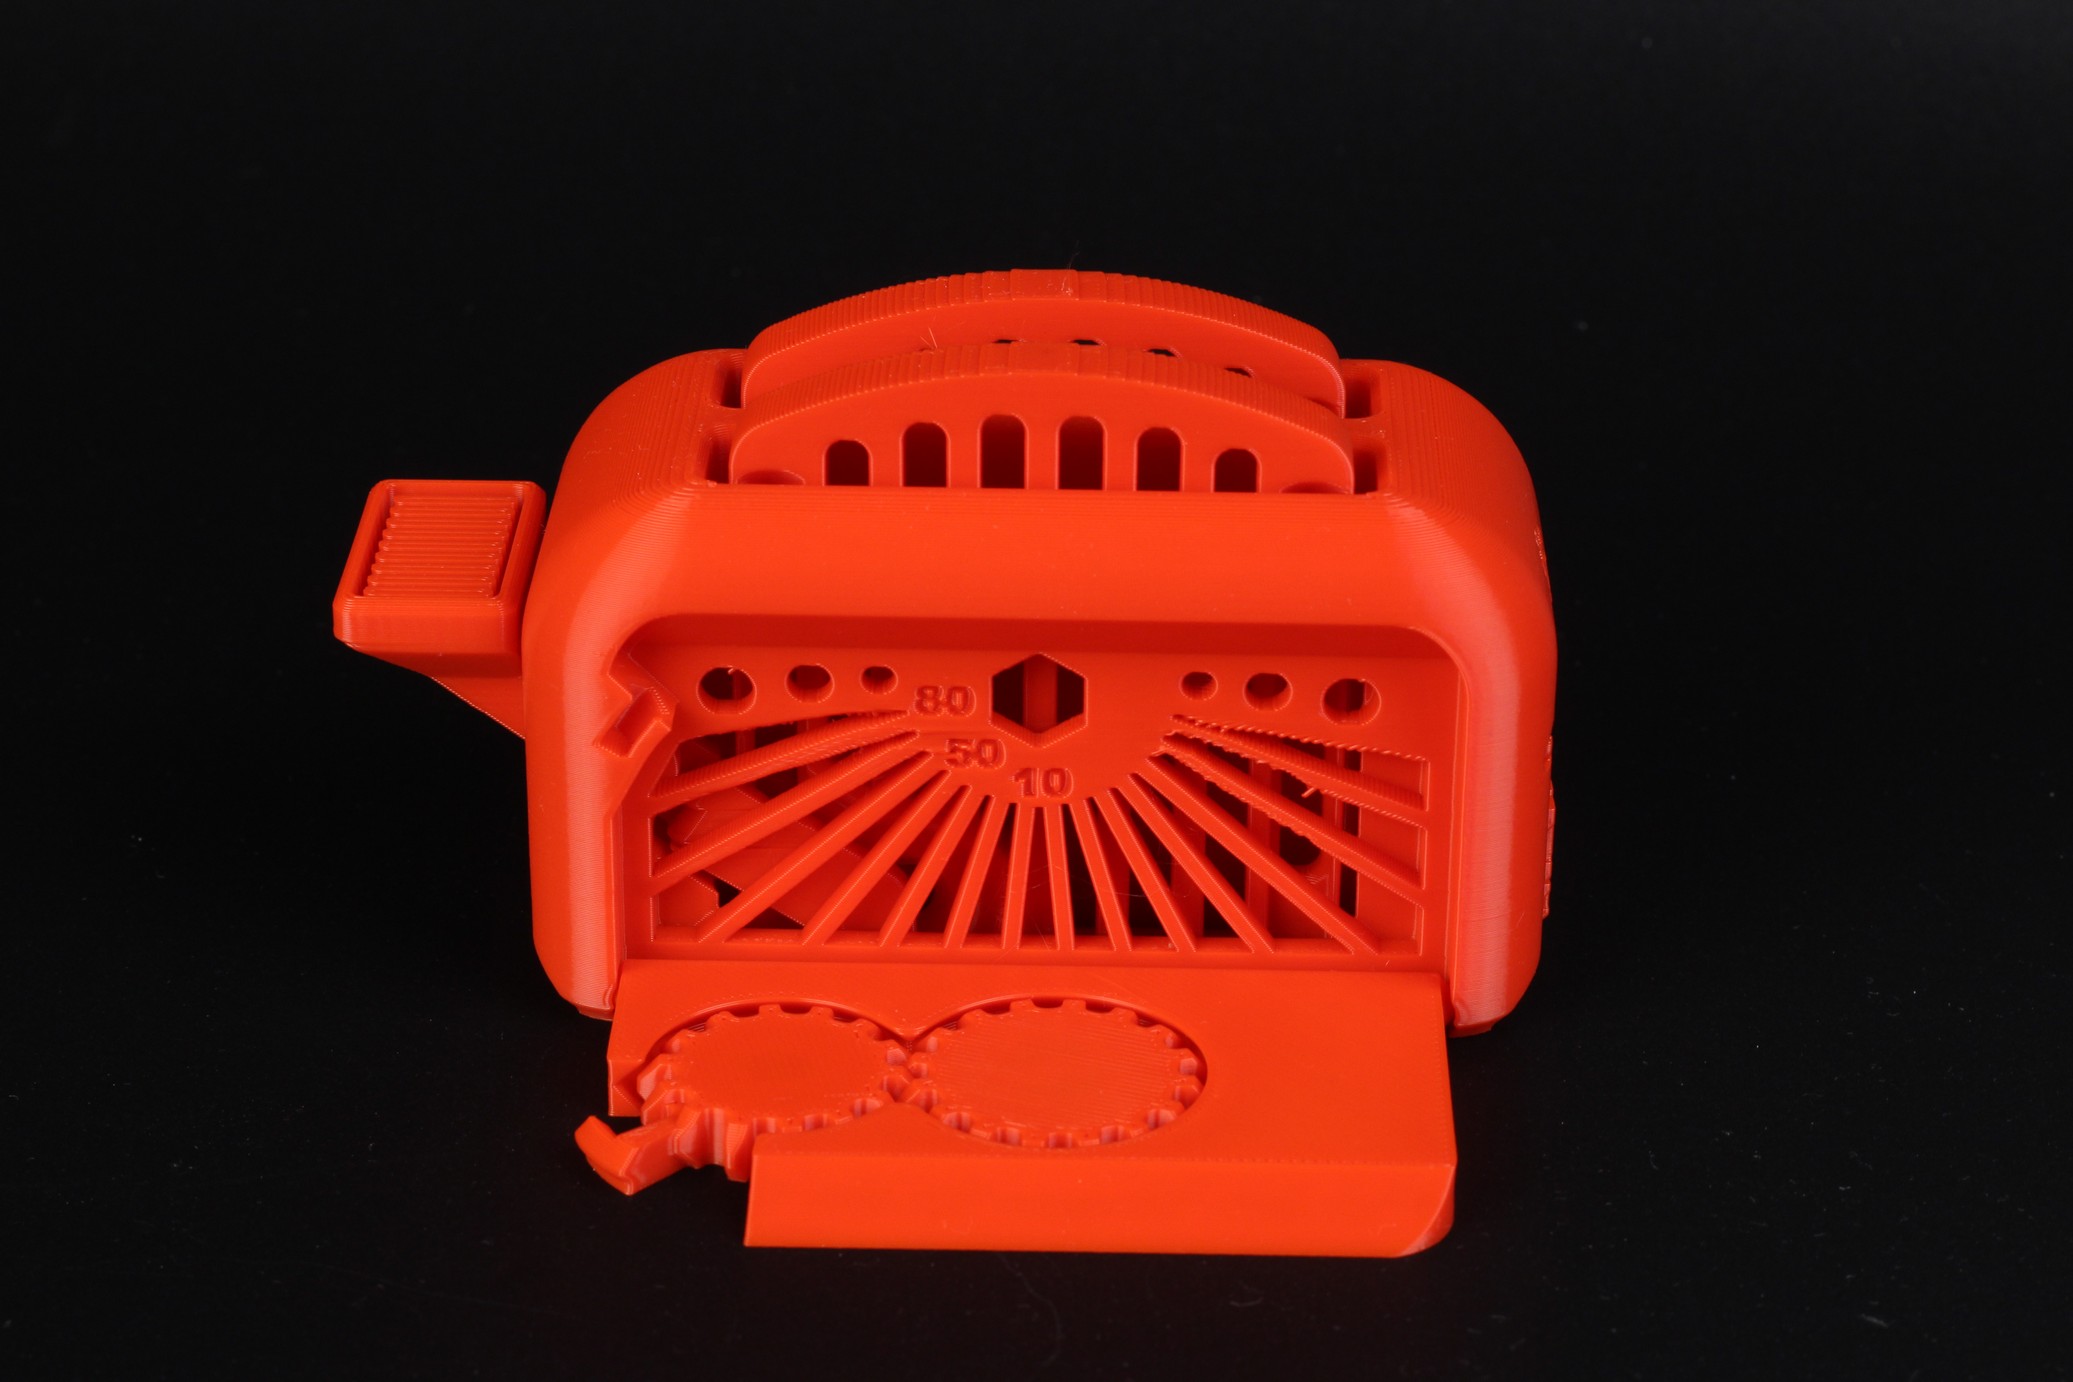
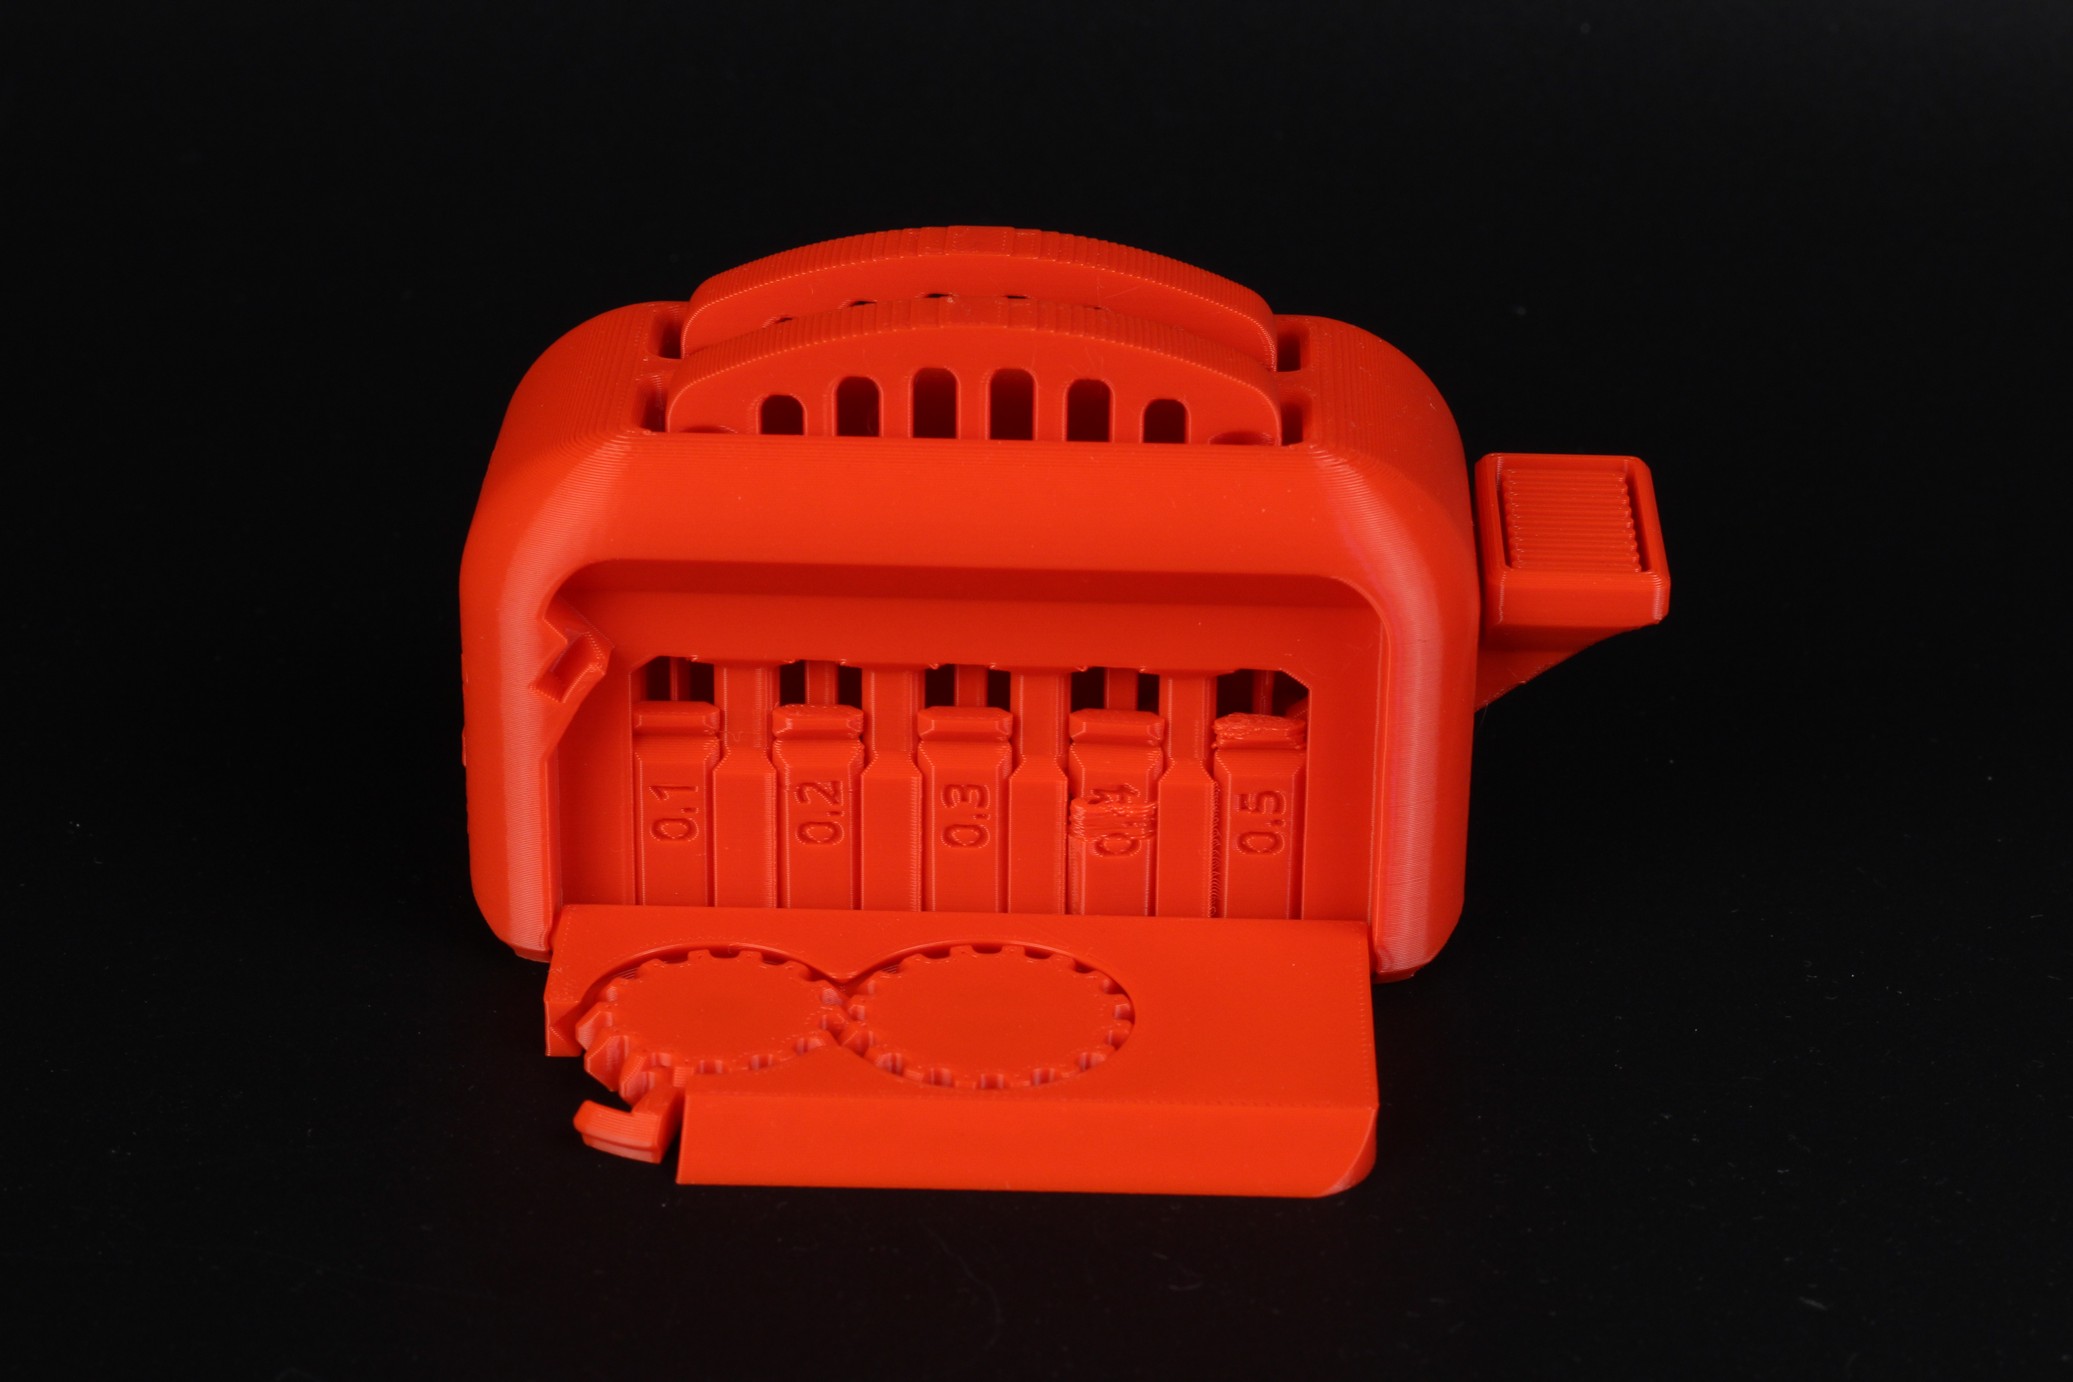
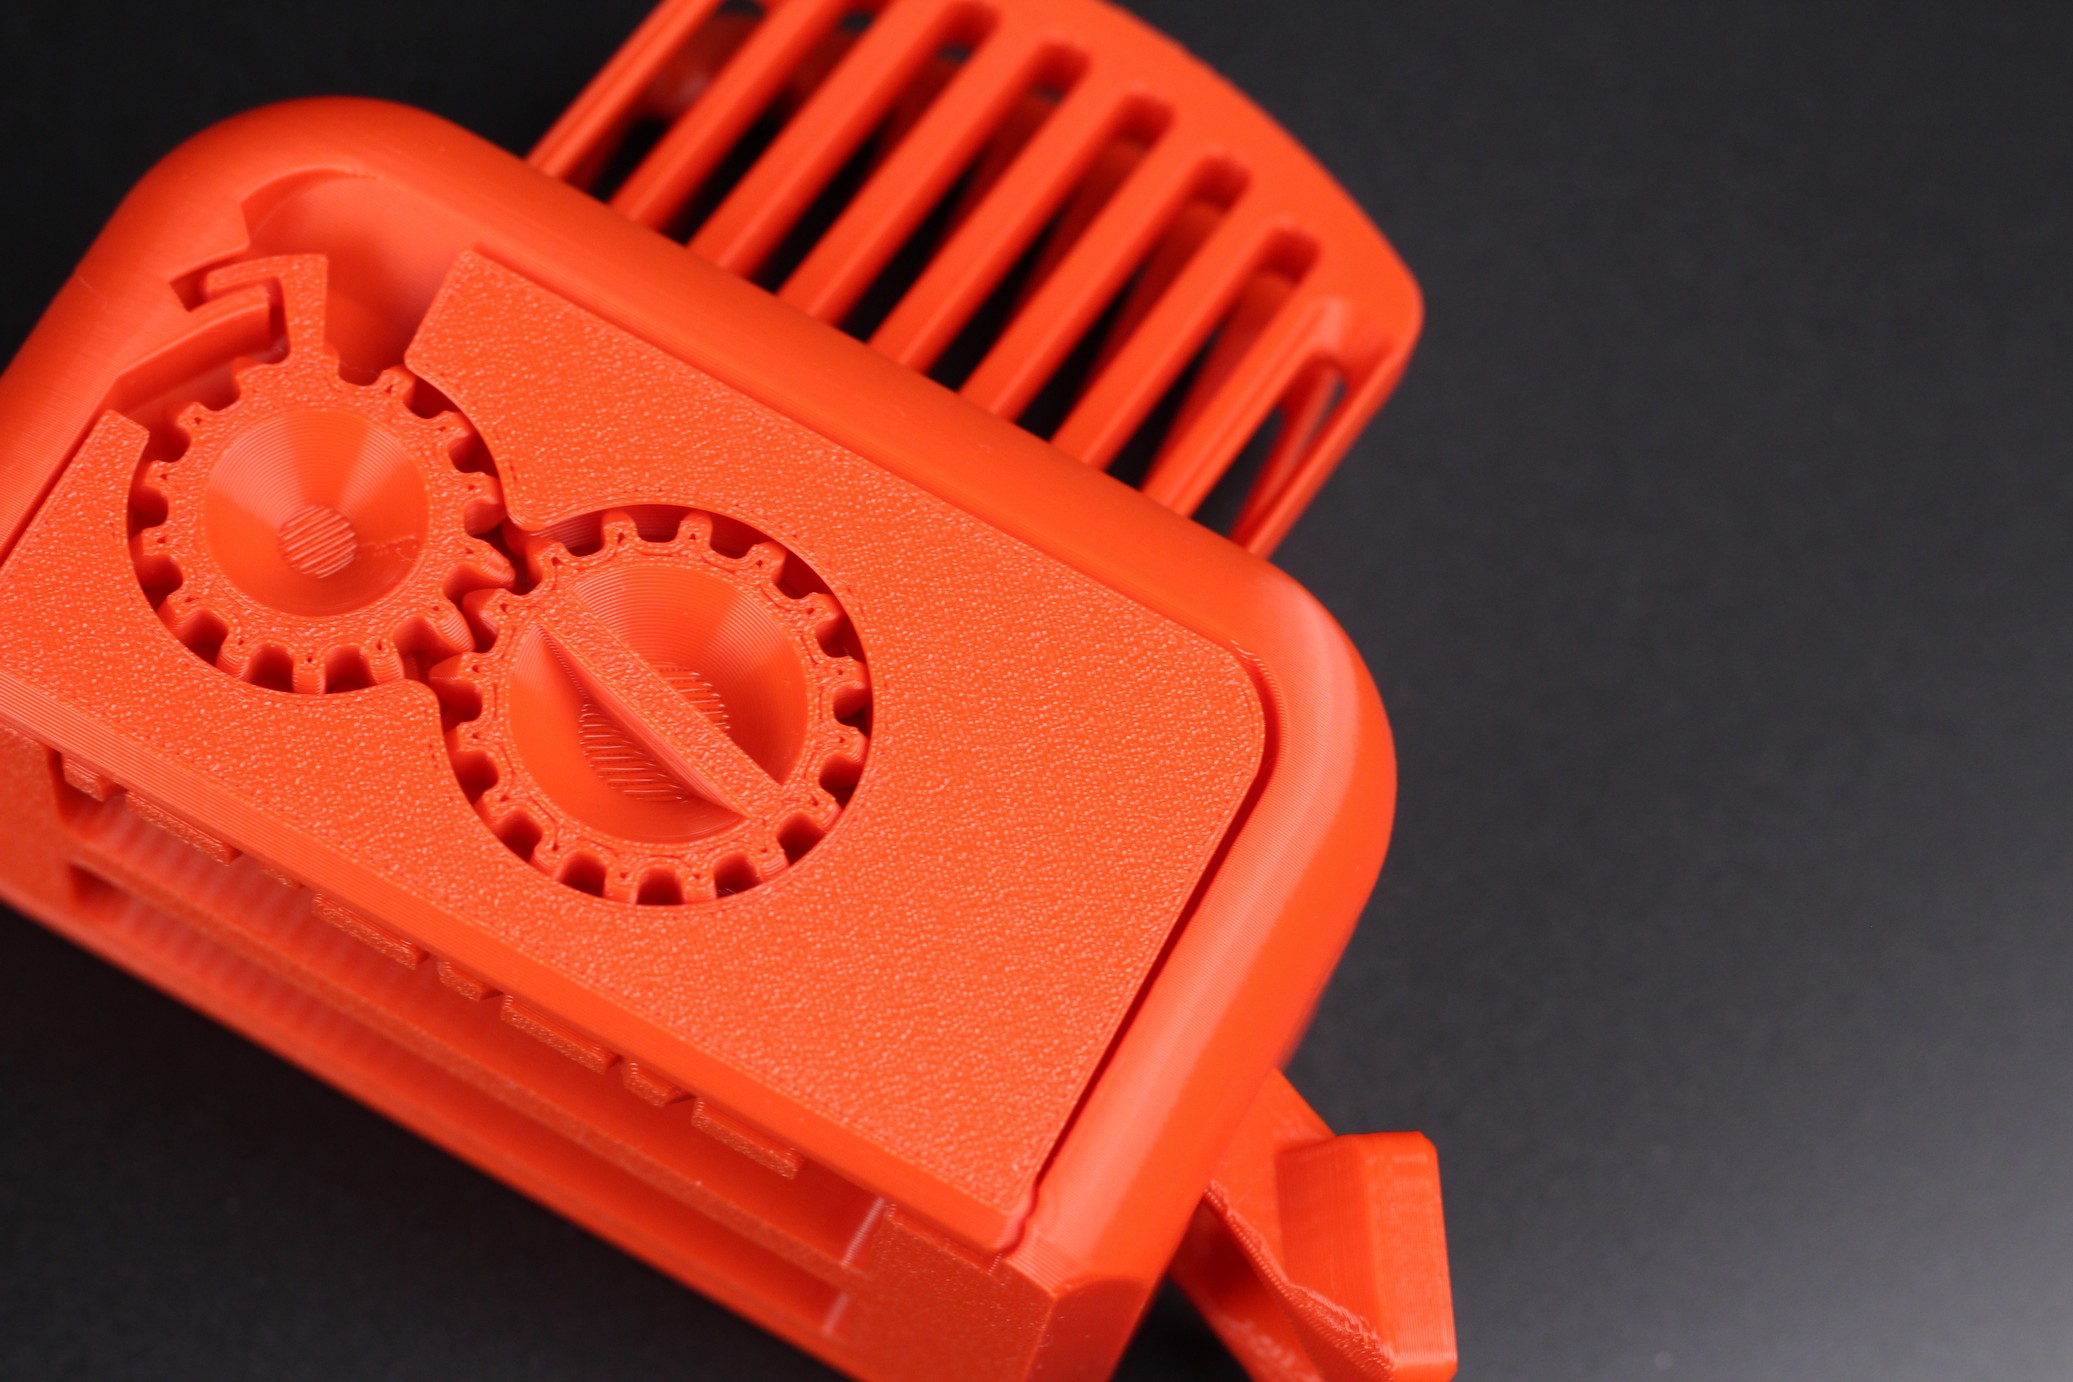
Now that both the printer settings and slicer settings were calibrated, I was confident to print the Torture Toaster from Clockspring 3D. It came out great, but the tolerances and print speeds were a bit high. As you can see, the 0.4 tolerance flag is broken. But all the tolerance flags are released, even the 0.1 mm one which is not a common thing to see.
- Material: Sunlu Red PLA
- Layer Height: 0.2mm
- Nozzle Temperature: 205C
- Bed Temperature: 65C
- Print Speed: 100 mm/s
Phil-A-Ment
I switched filaments and moved to some PLA Pro from PrimaSelect, to print Phil-A-Ment. While the print results are ok, you can clearly see that the pressure advance value was a bit too high for this filament. So I tuned it again and moved to a second print.
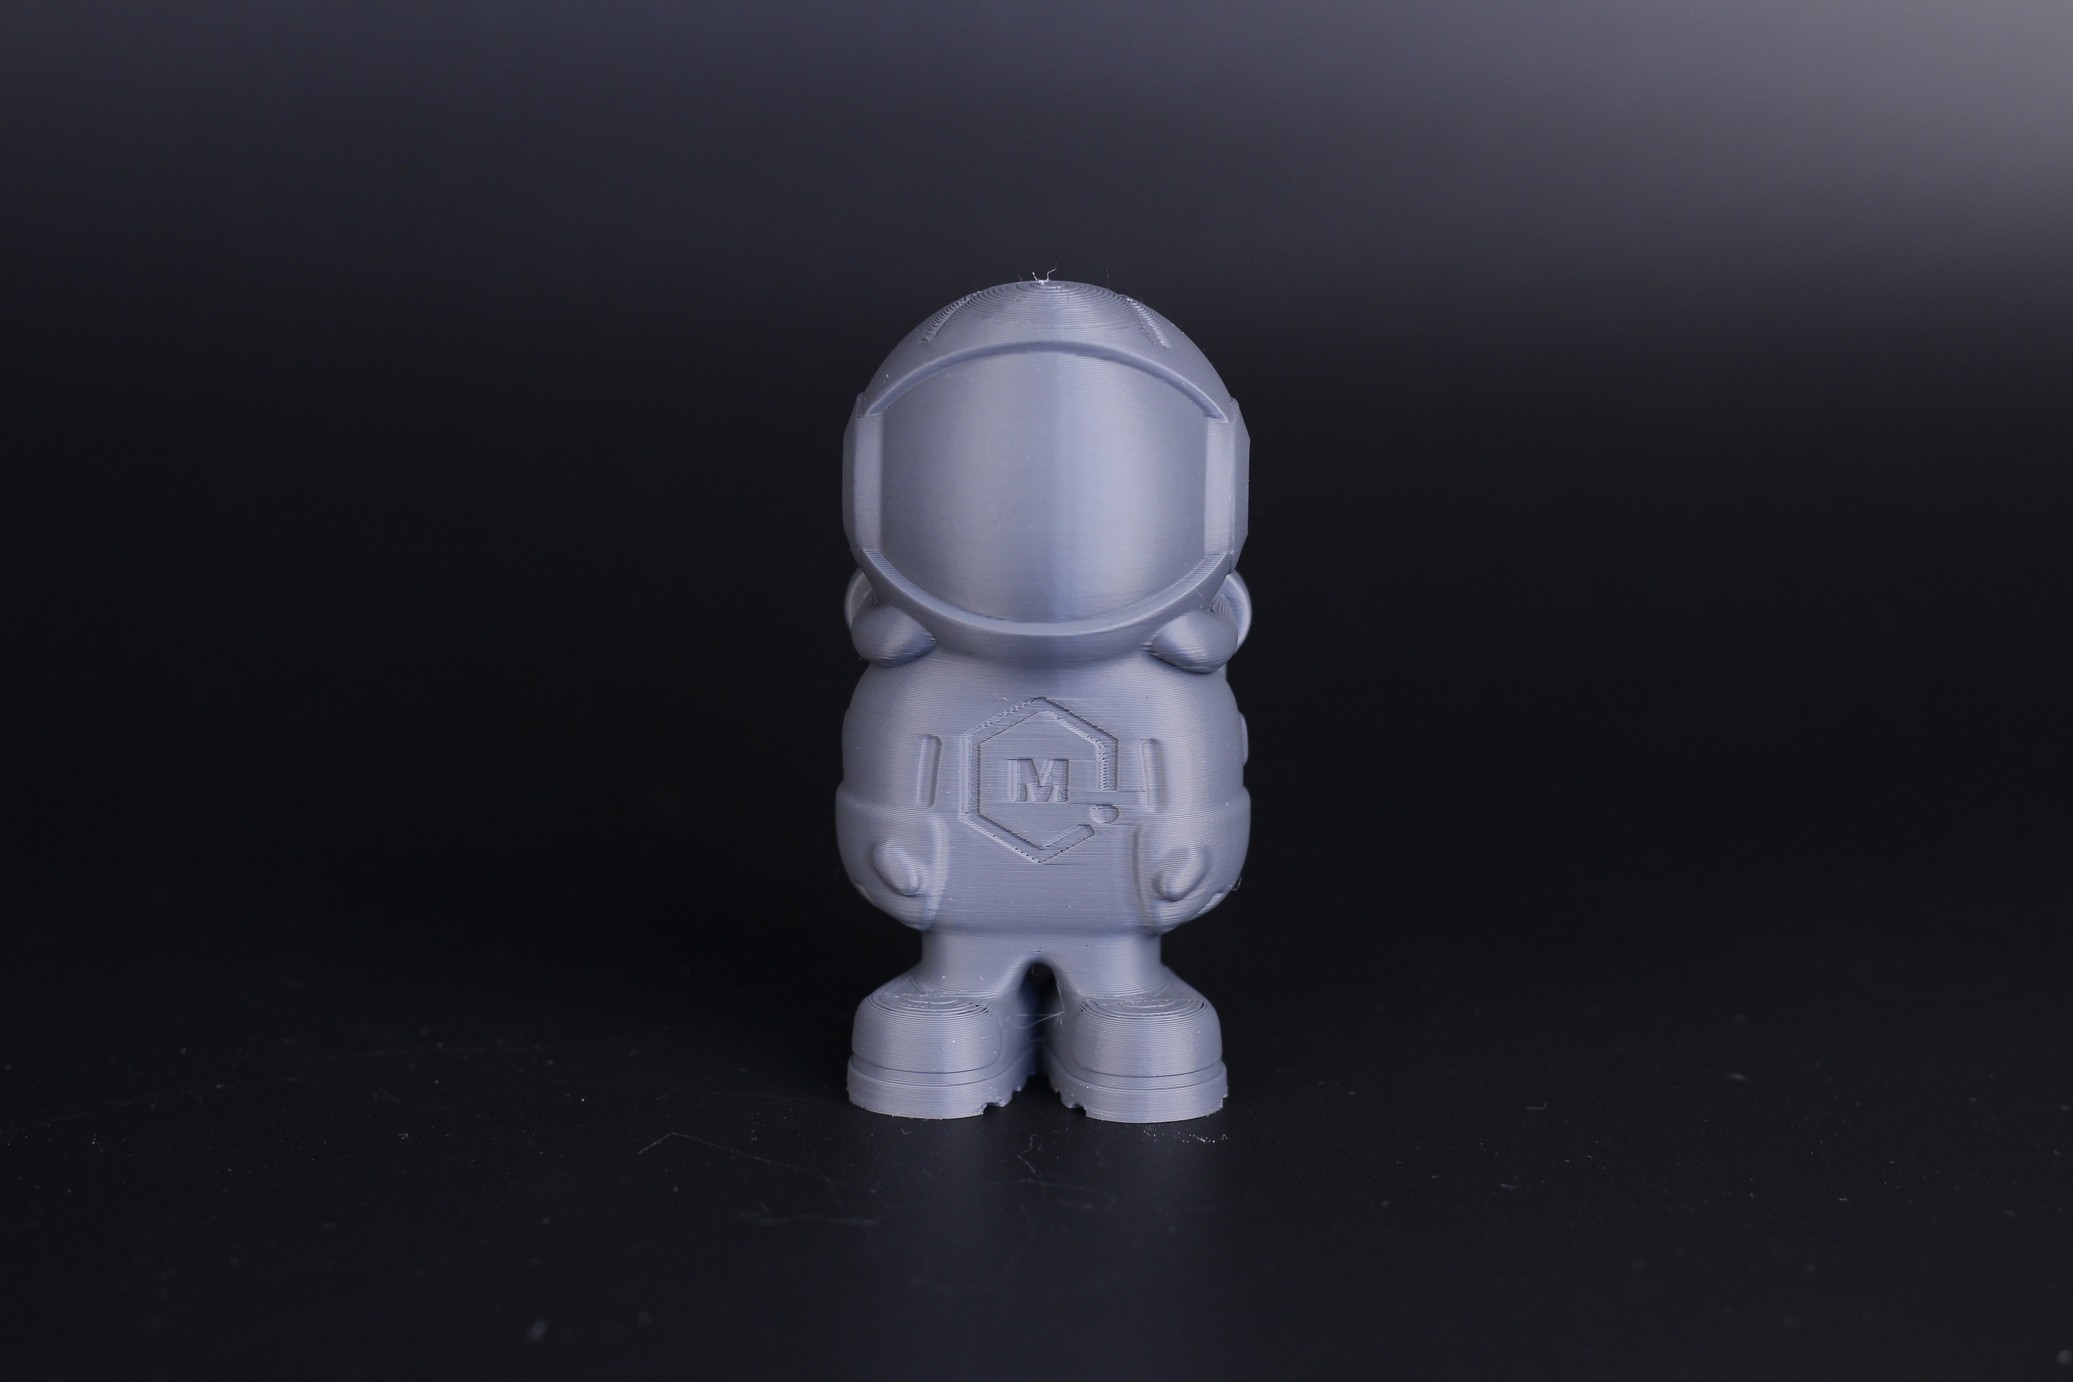
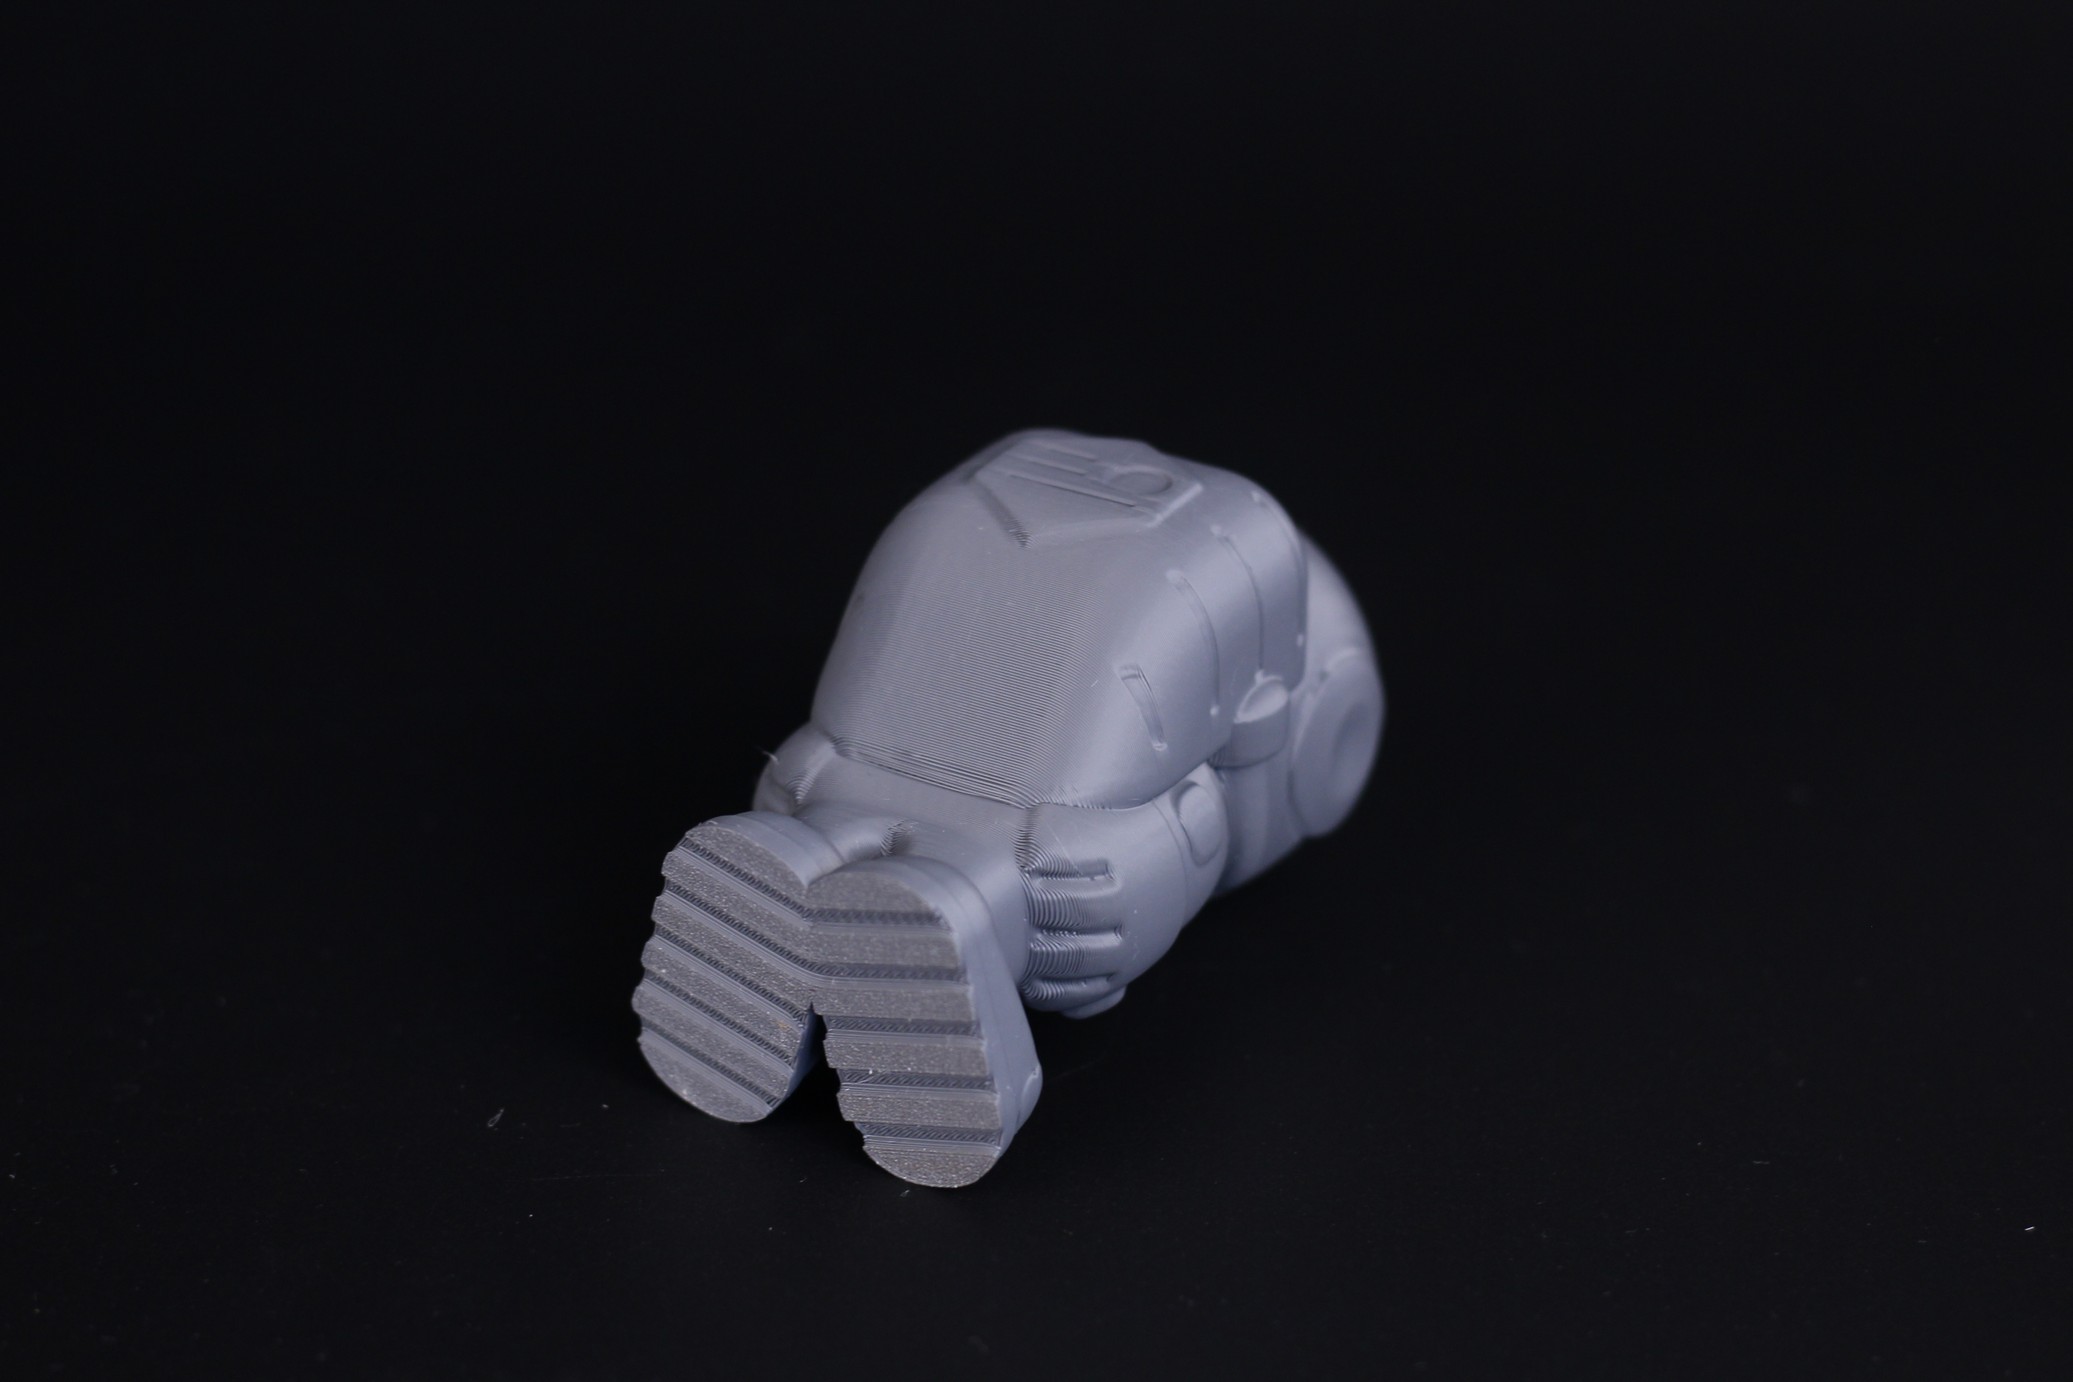
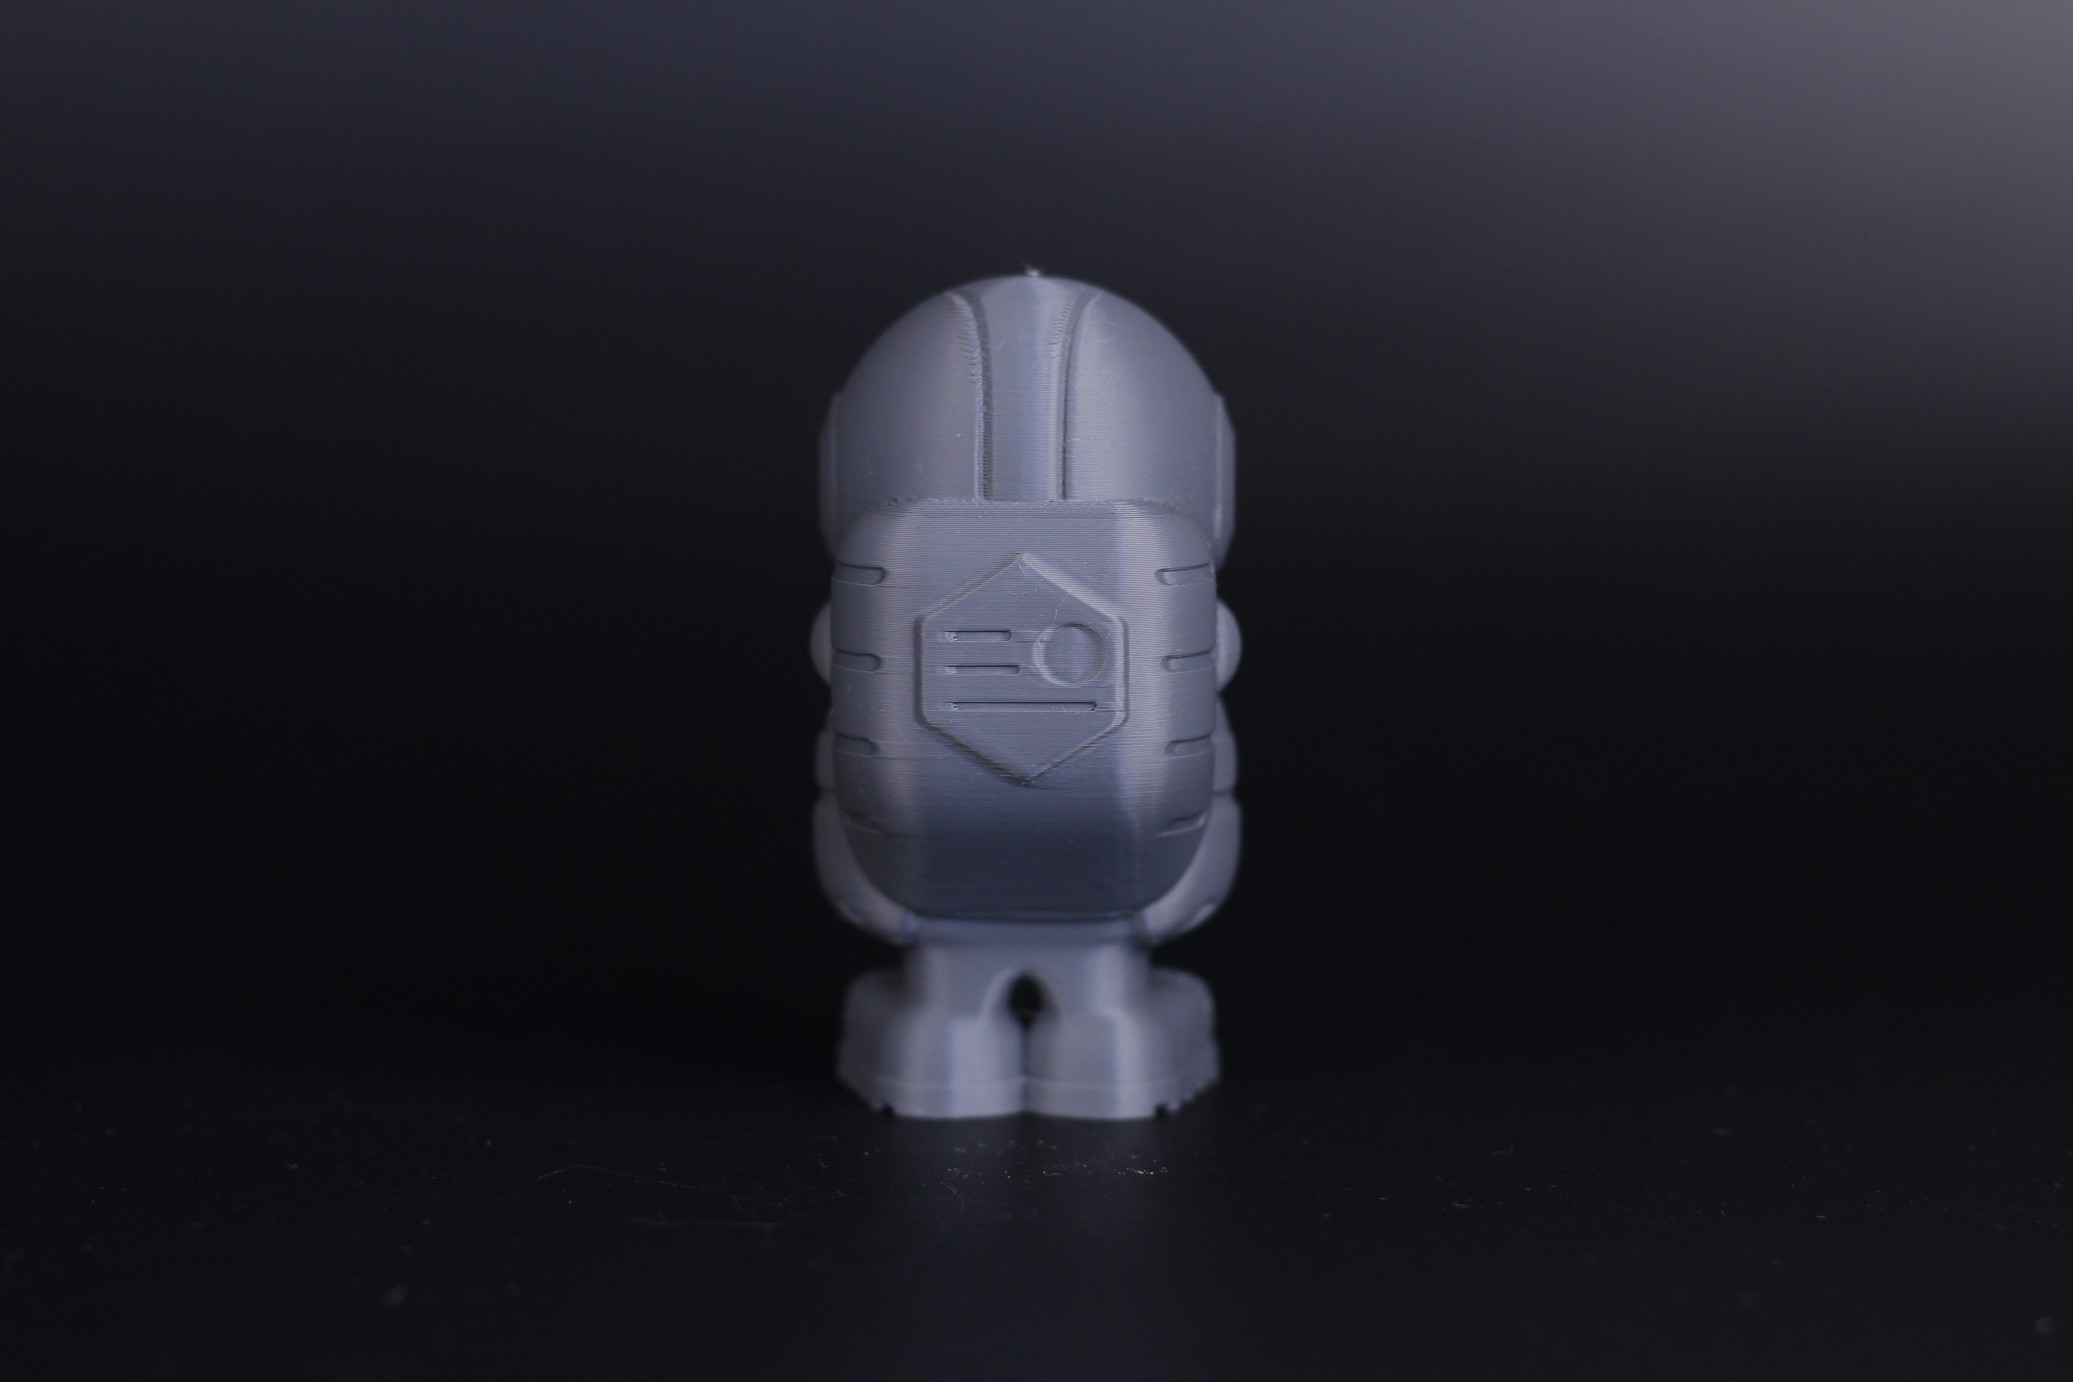
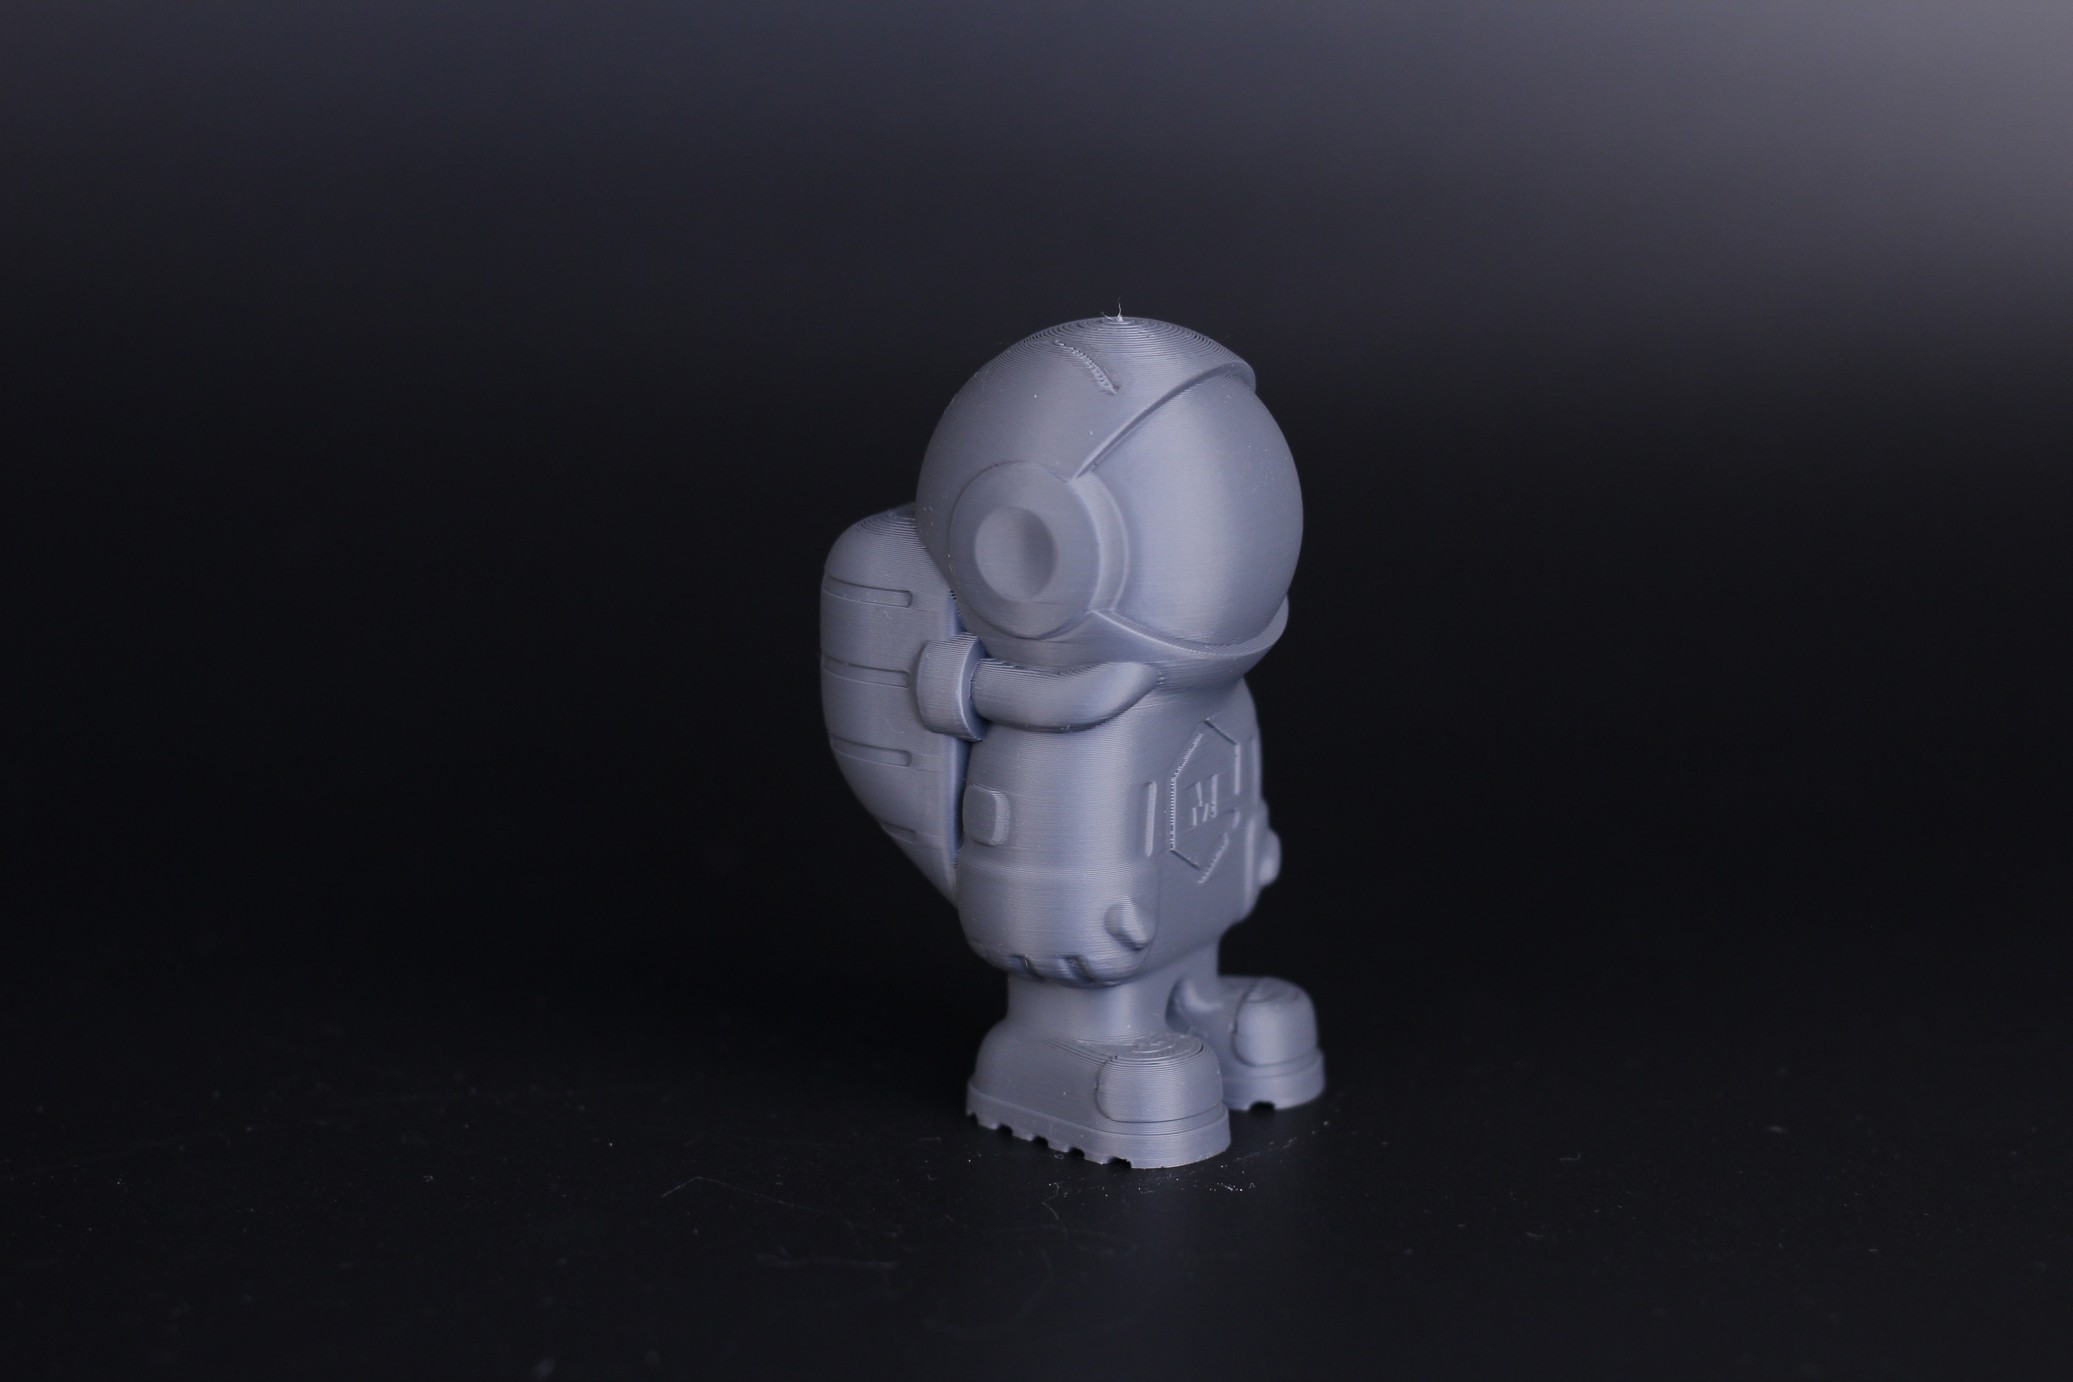
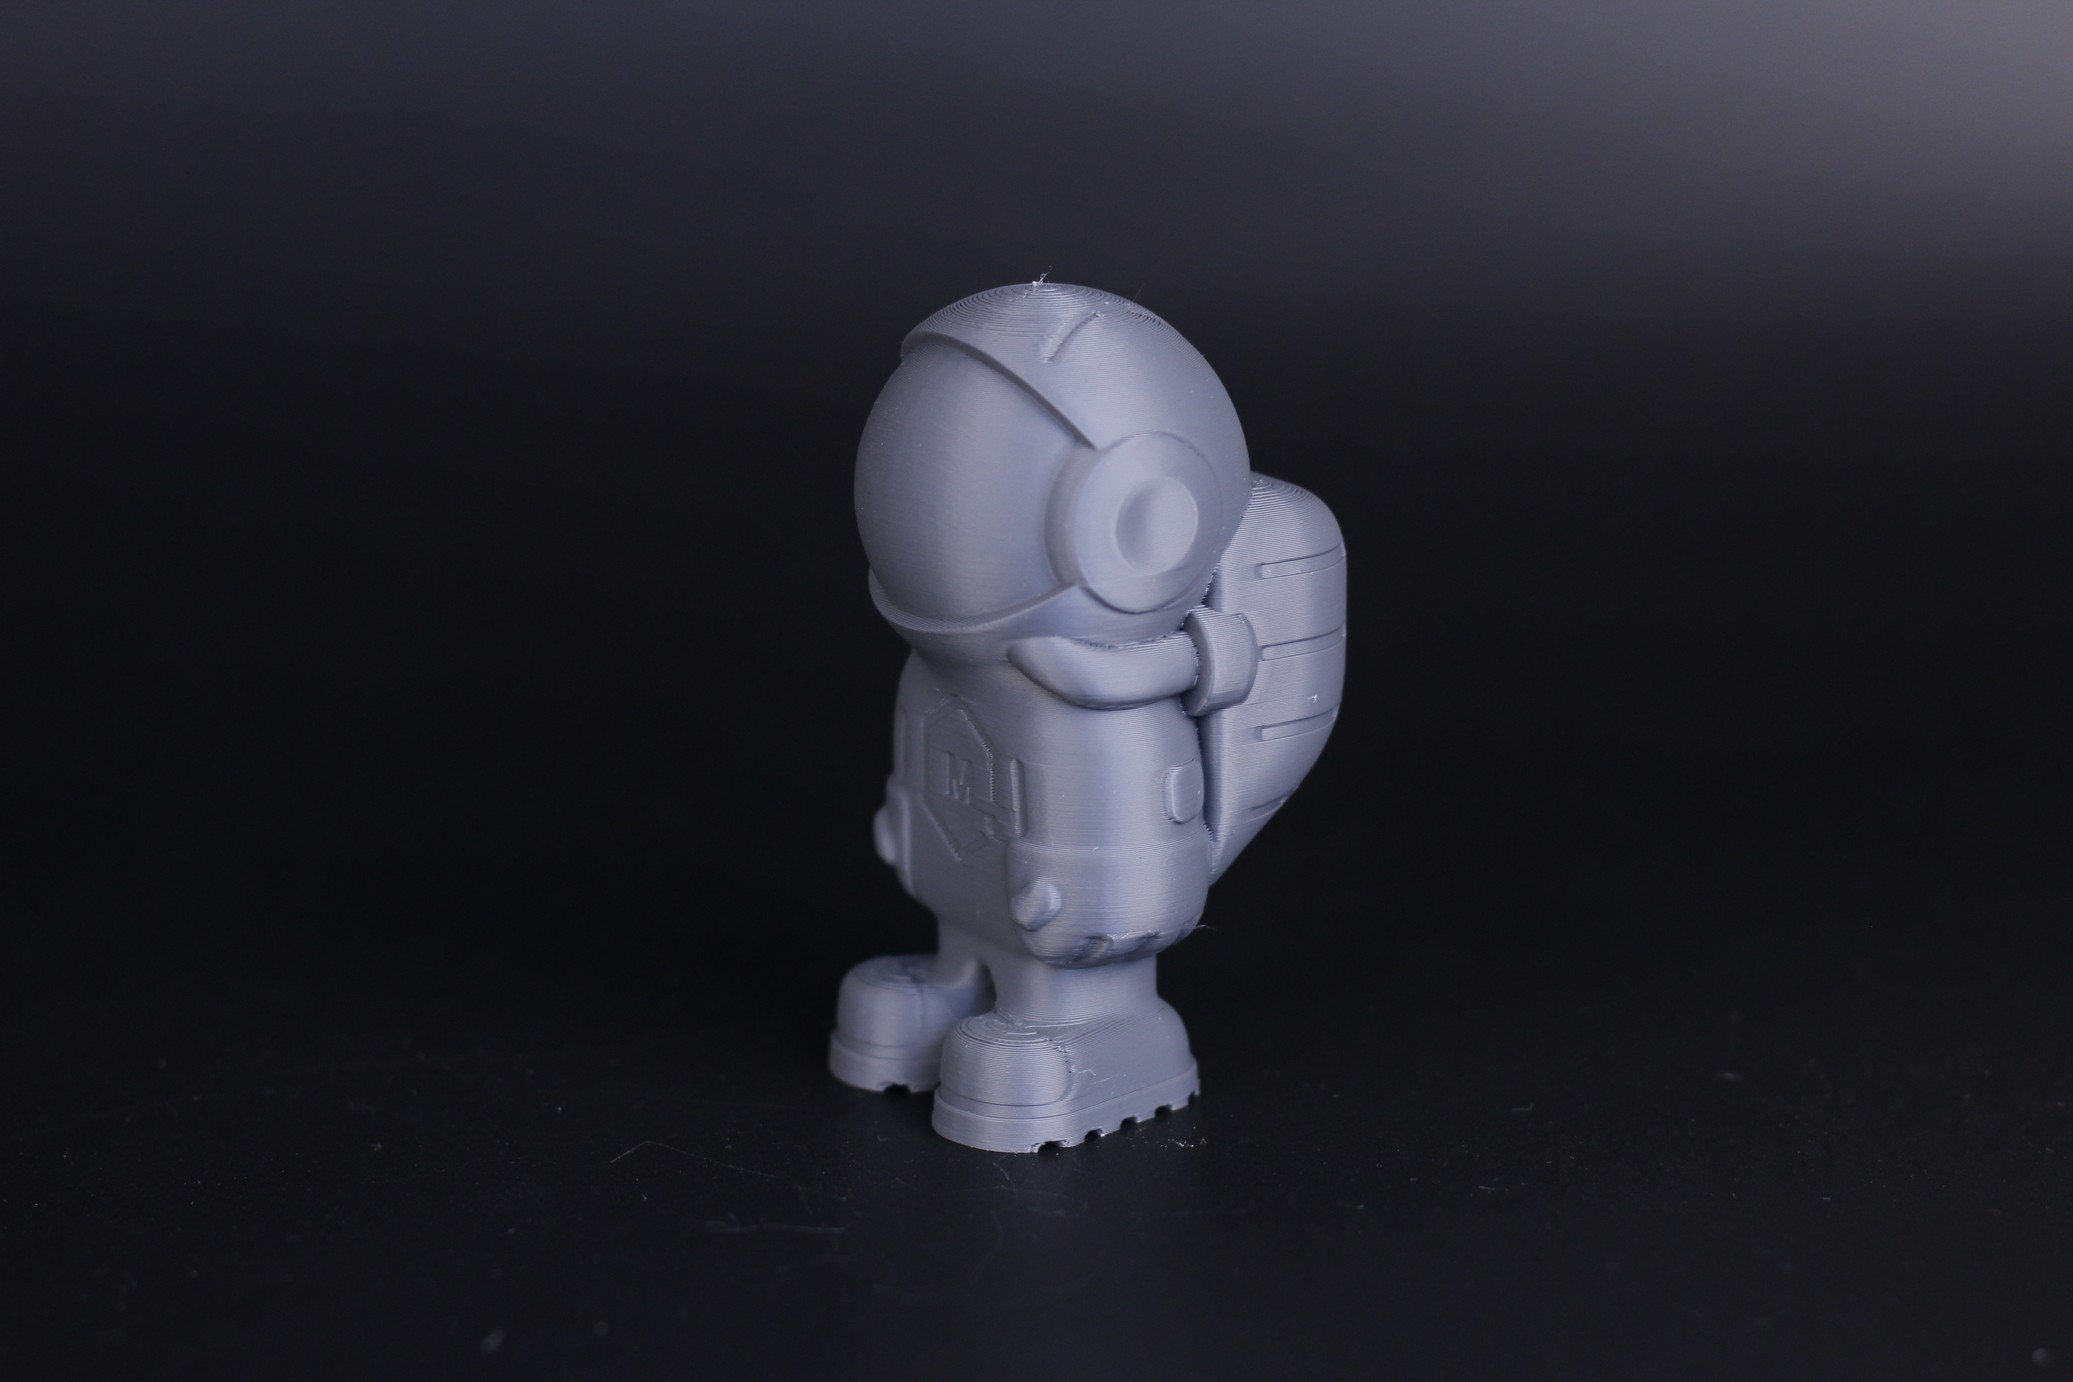
- Material: PrimaSelect PLA Pro
- Layer Height: 0.2mm
- Nozzle Temperature: 205C
- Bed Temperature: 65C
- Print Speed: 100 mm/s
Red Hood Bust
The second PLA Pro print is this awesome Red Hood bust from Eastman. It was printed at a lower layer height, but with the same print speed of 100mm/s. And I must say, it looks awesome! Especially considering the print speed and the filament.
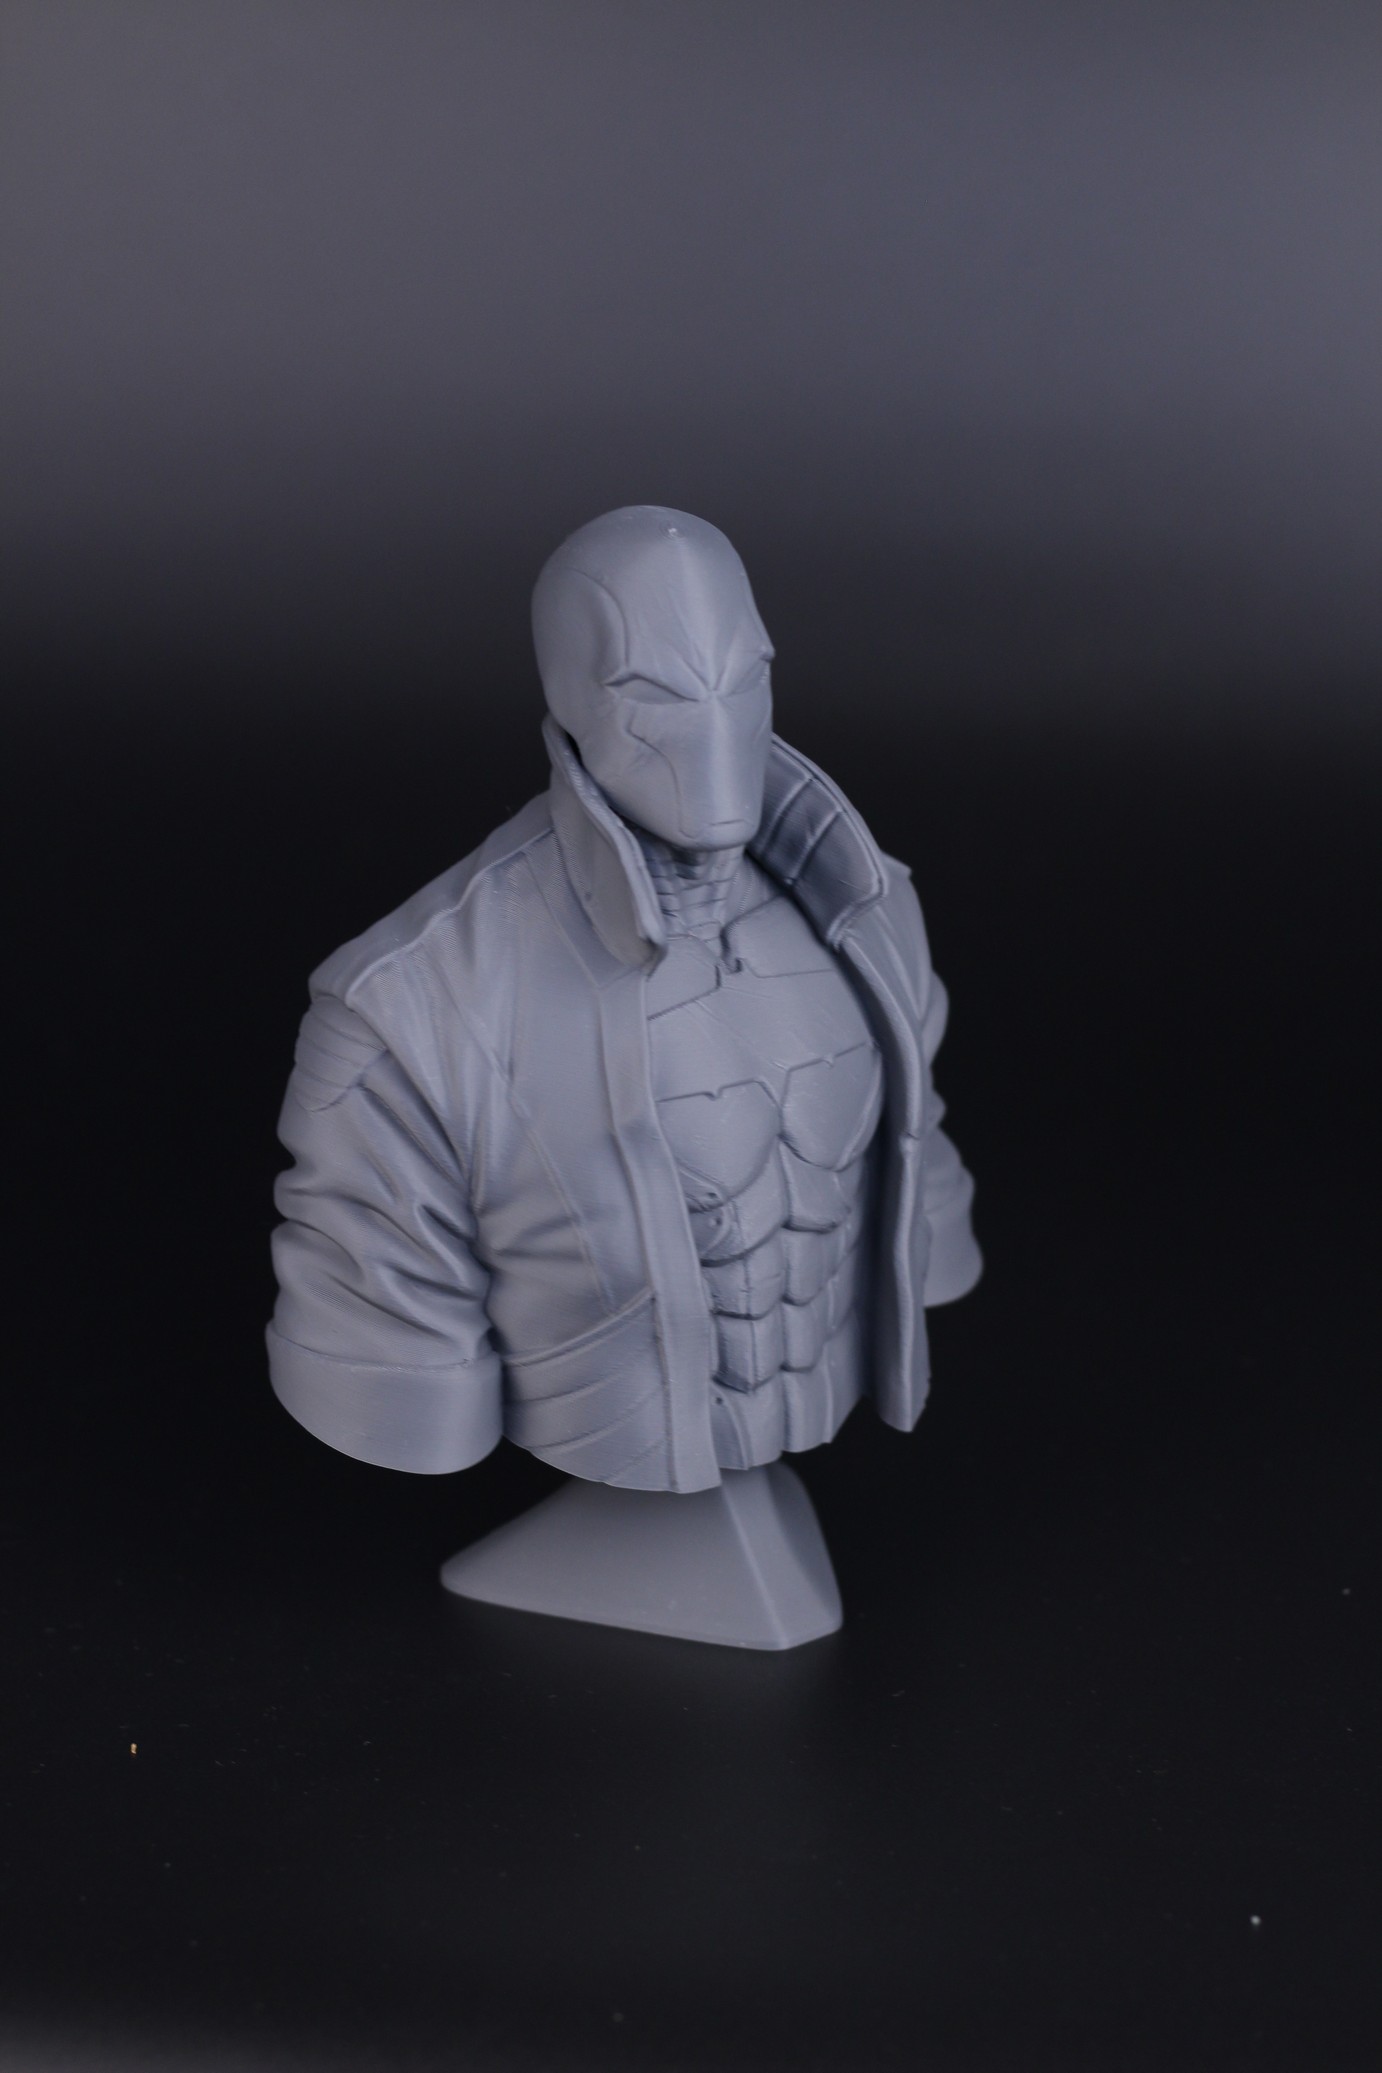
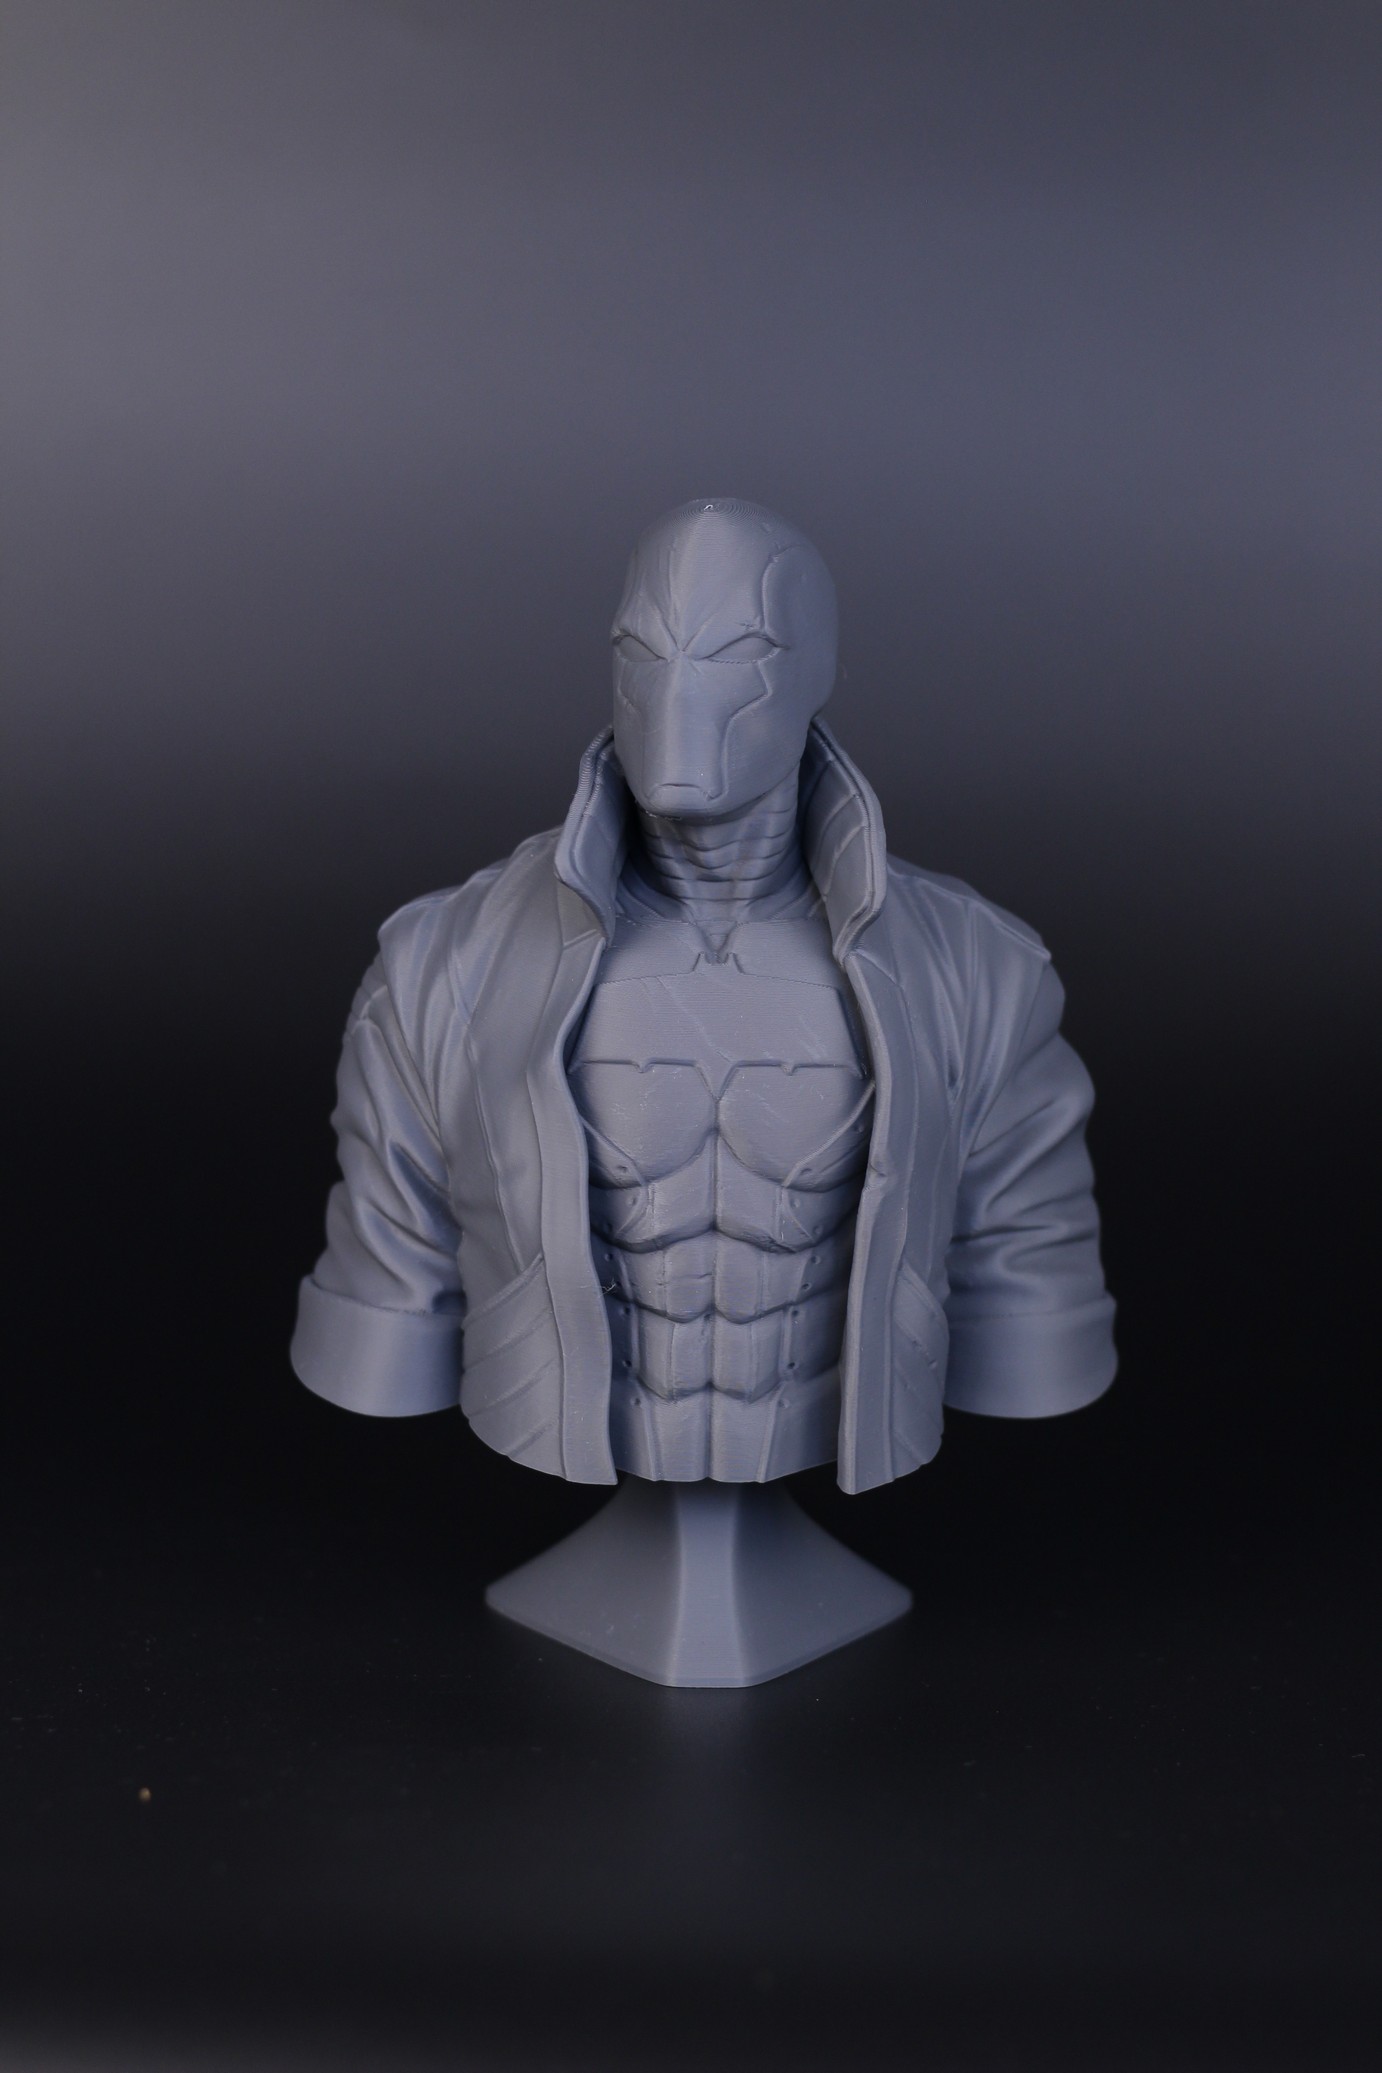
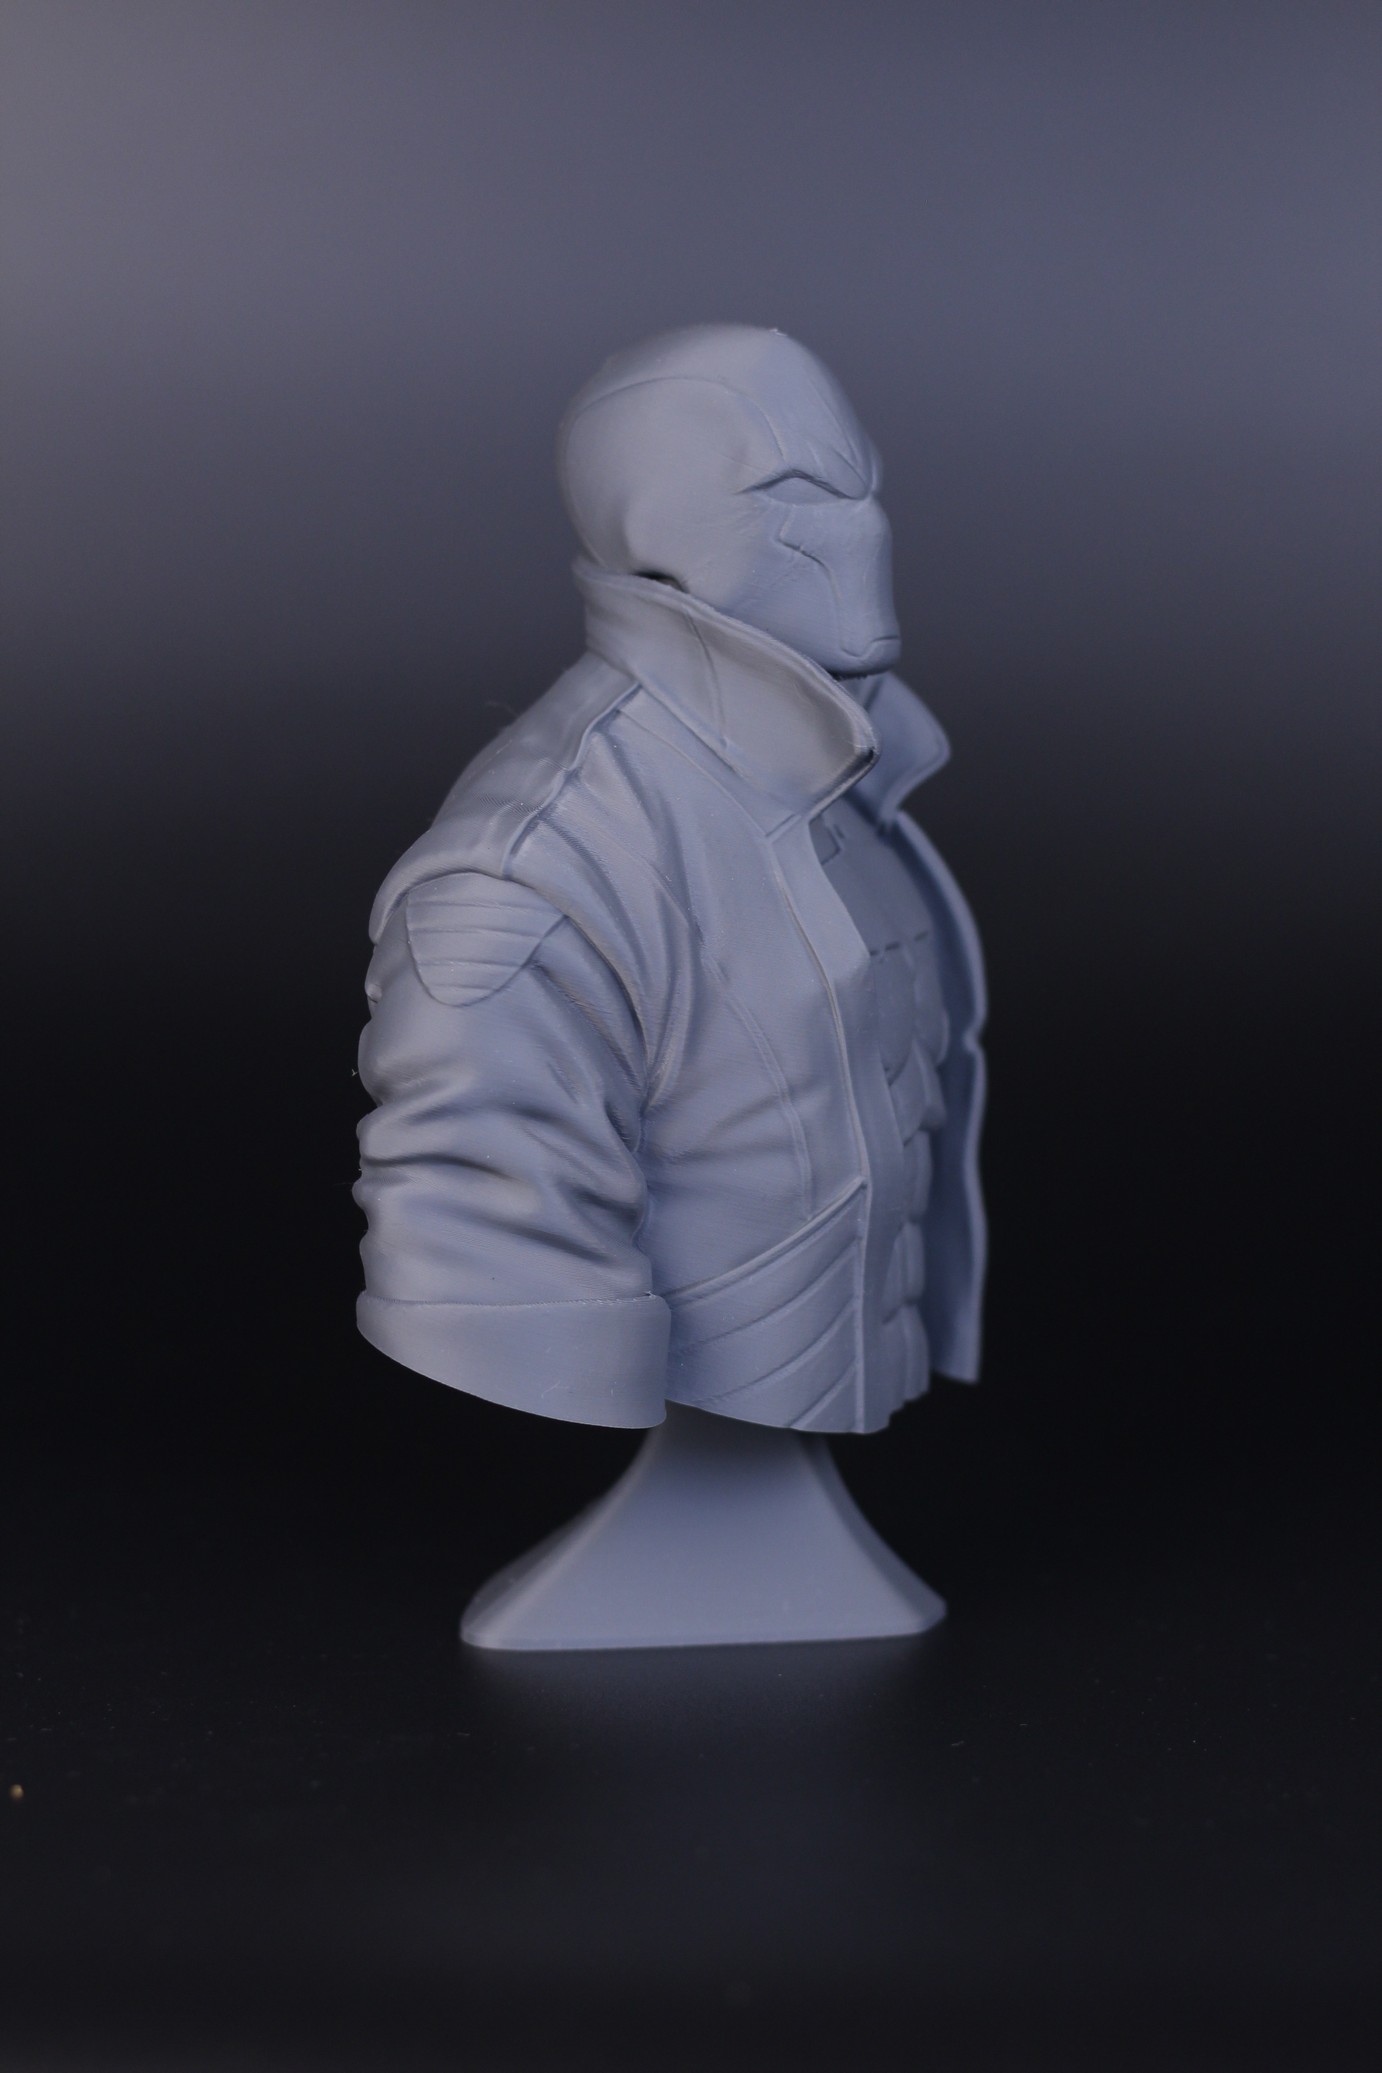
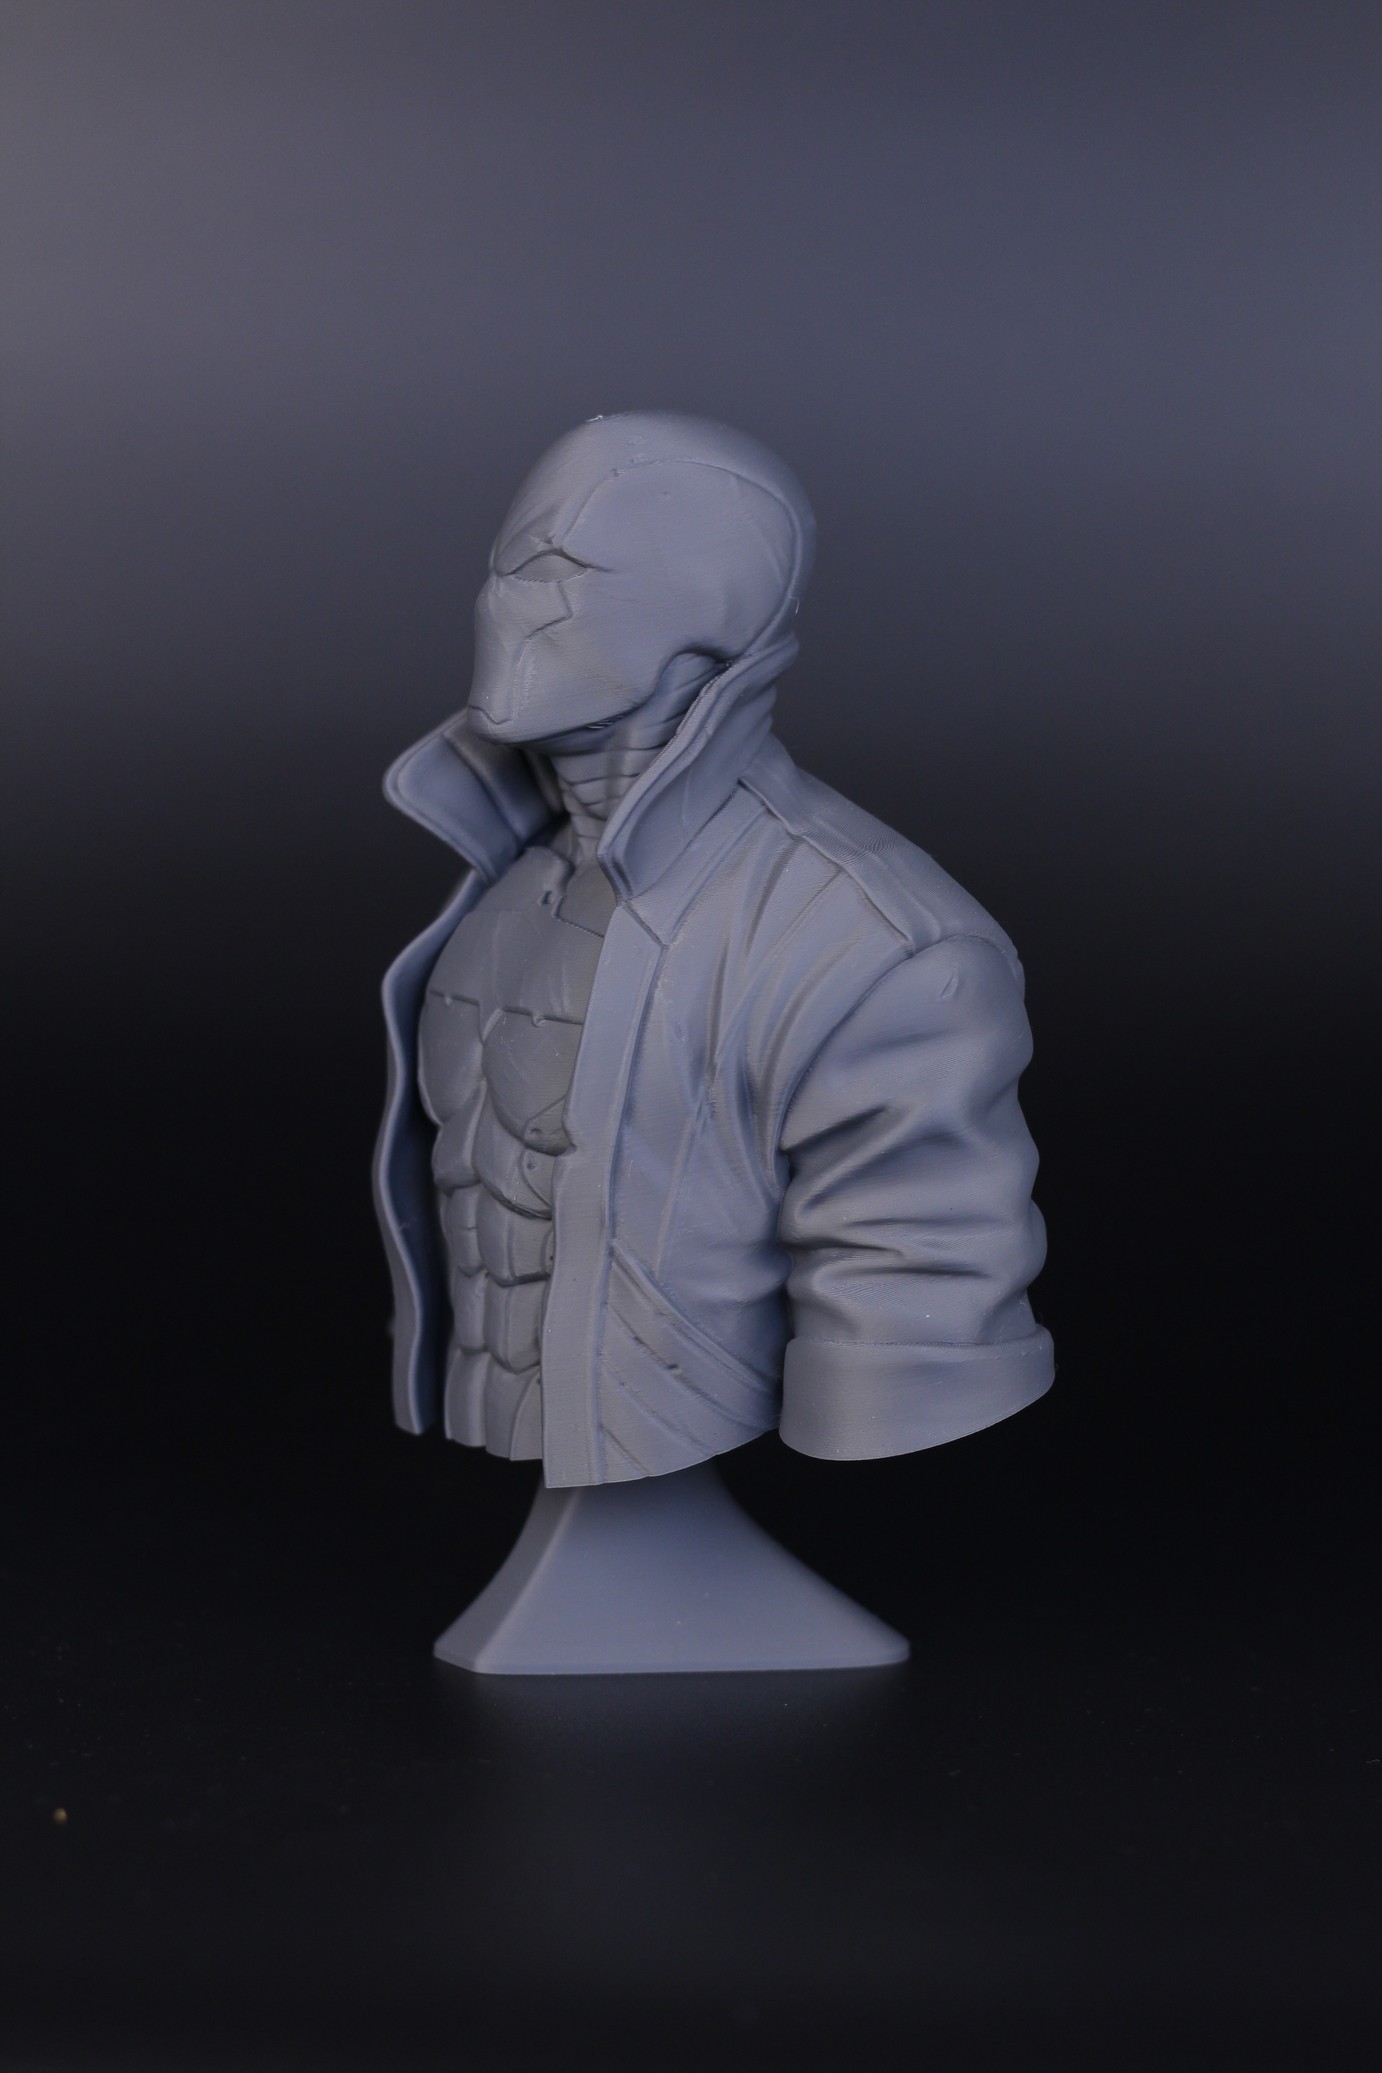
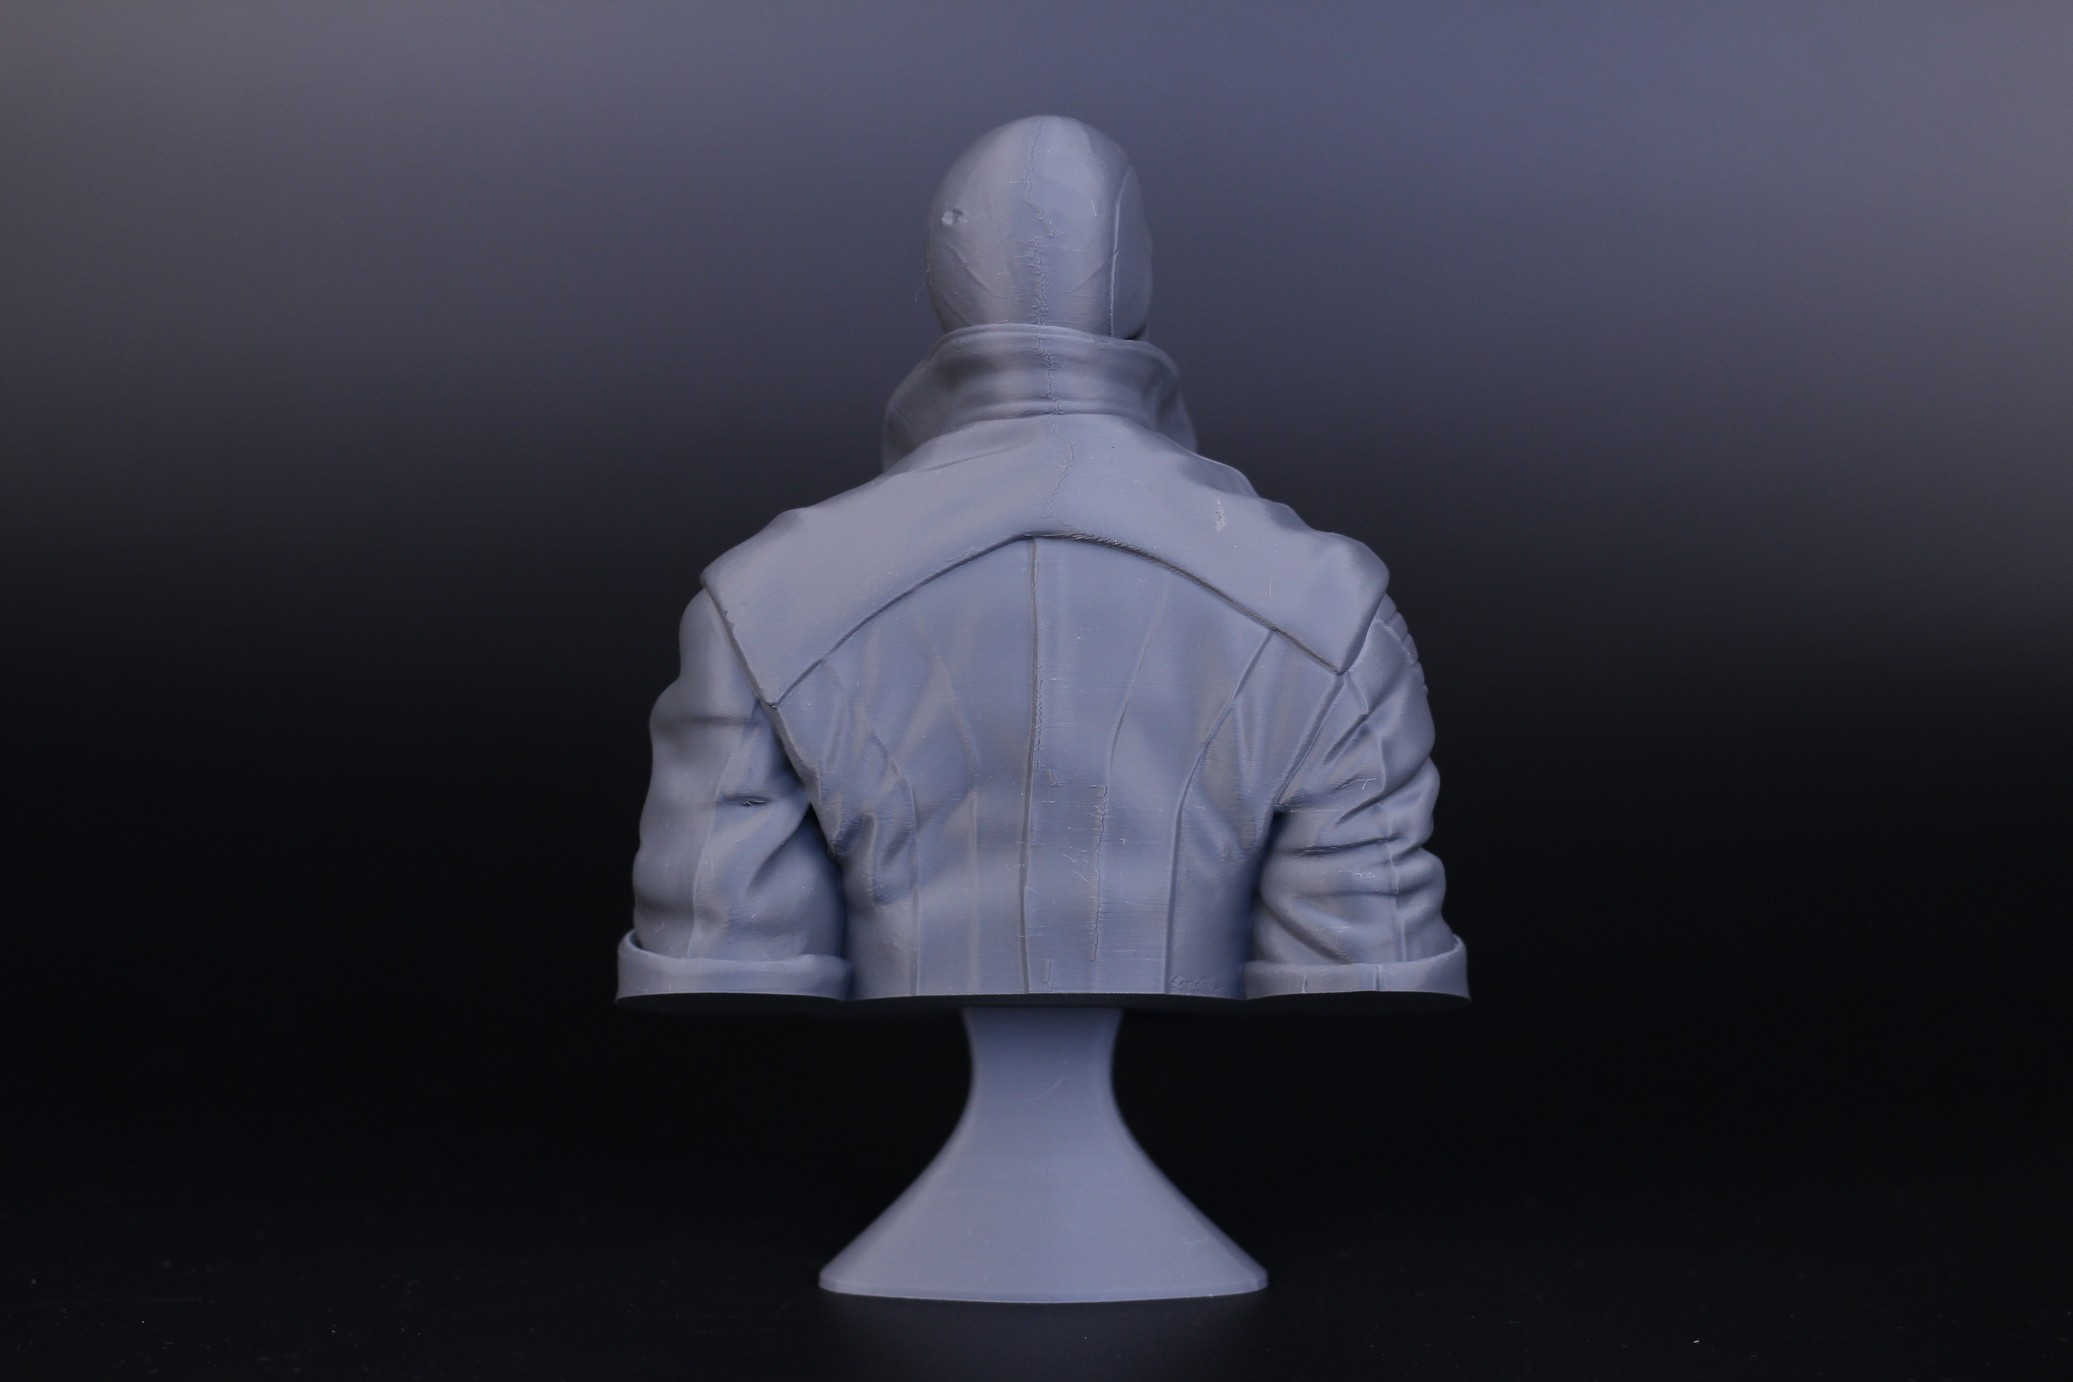
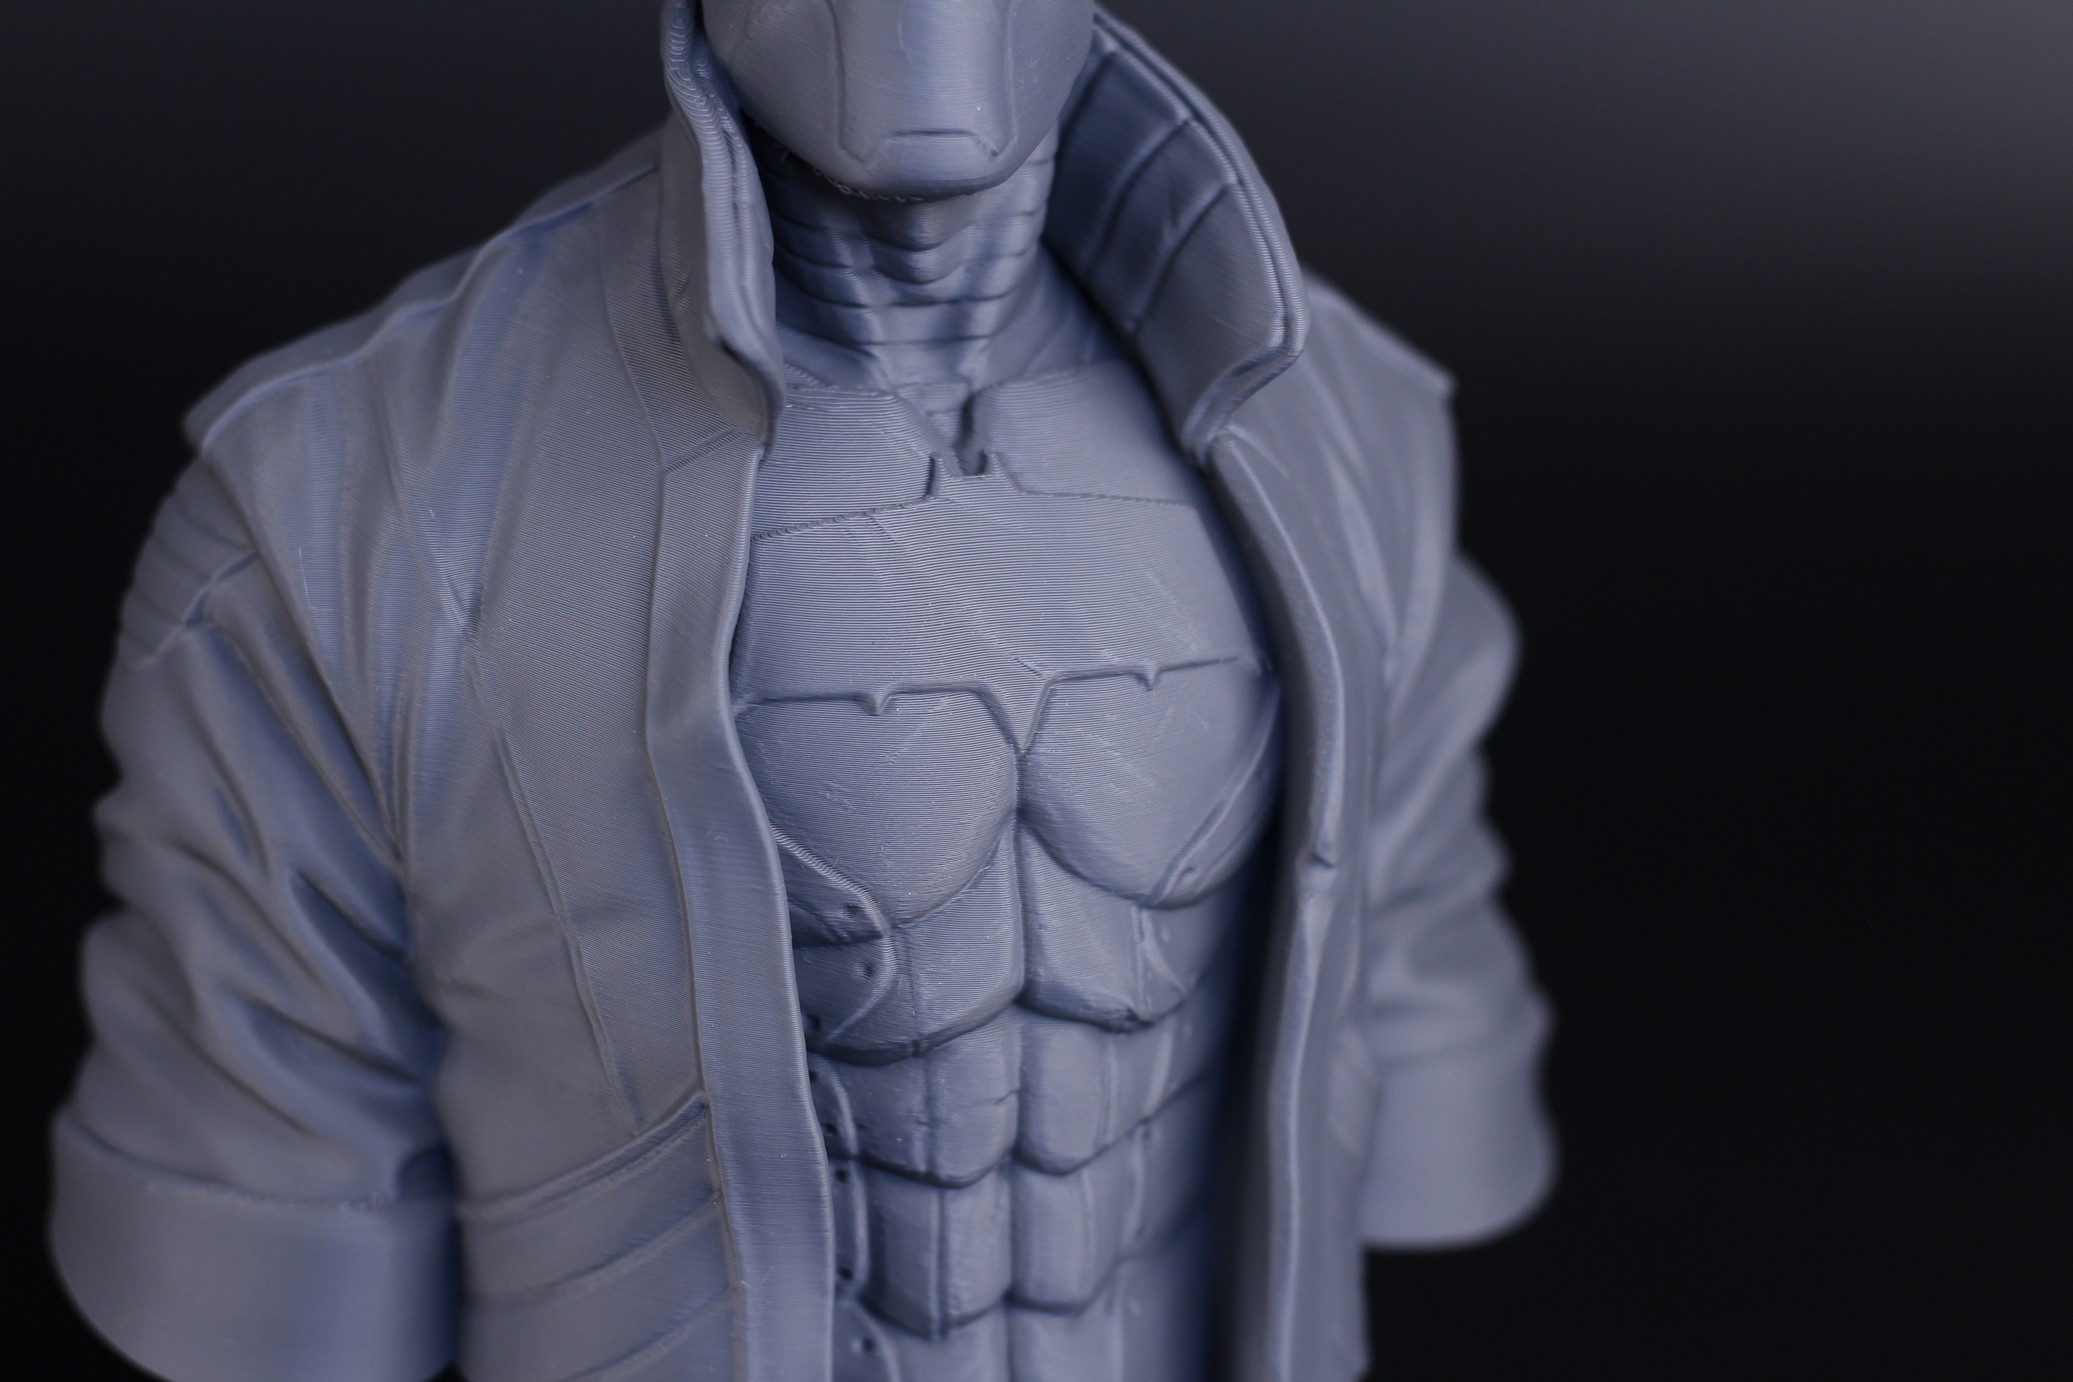
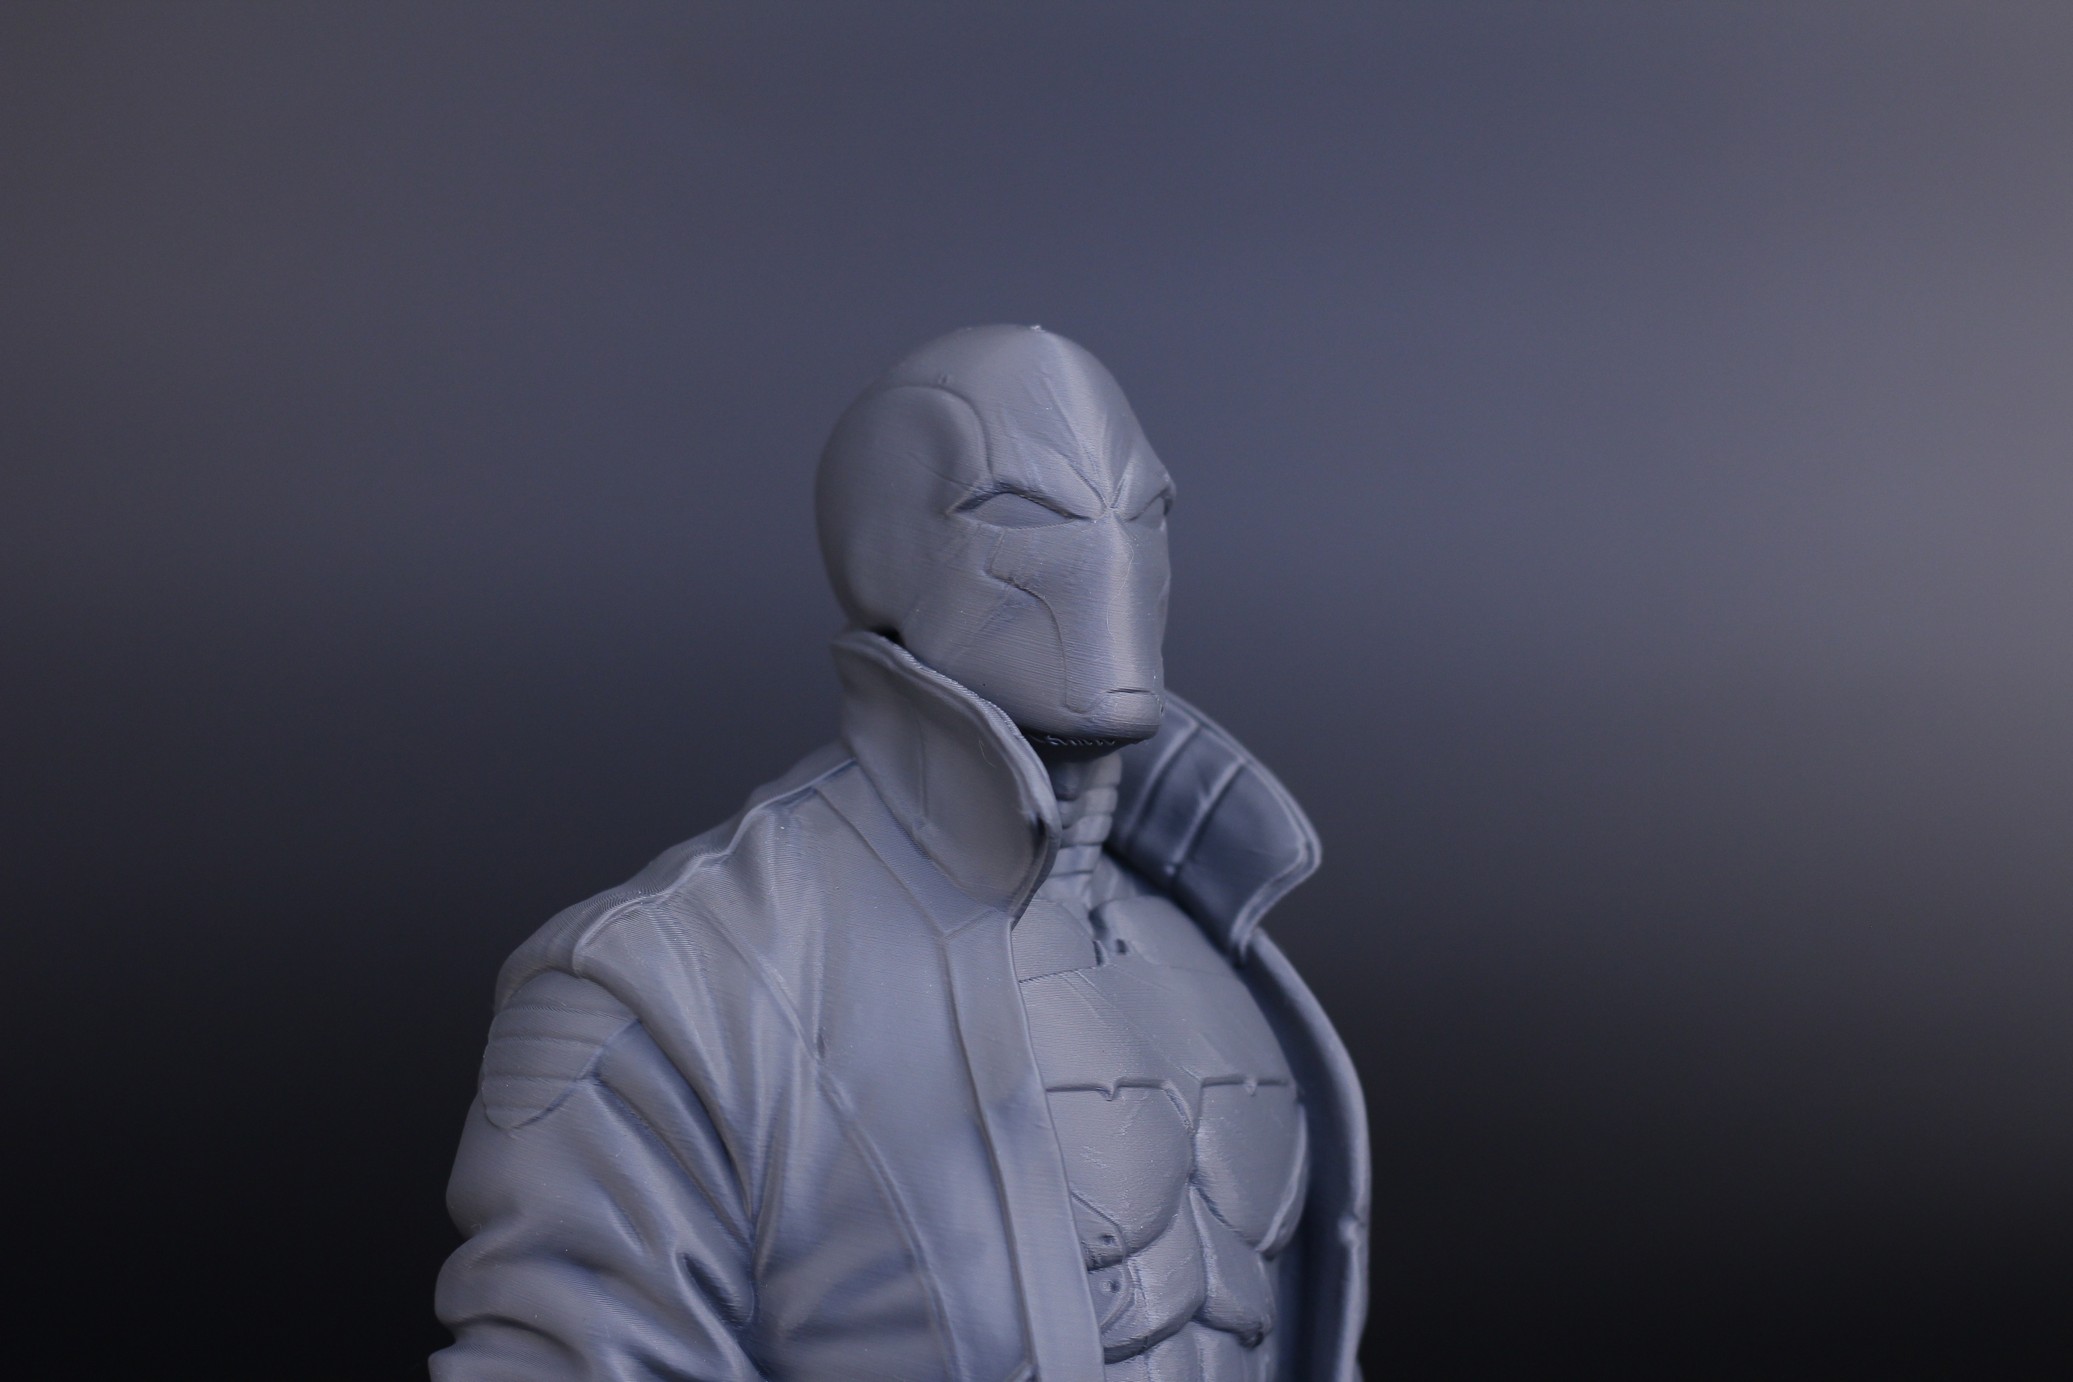
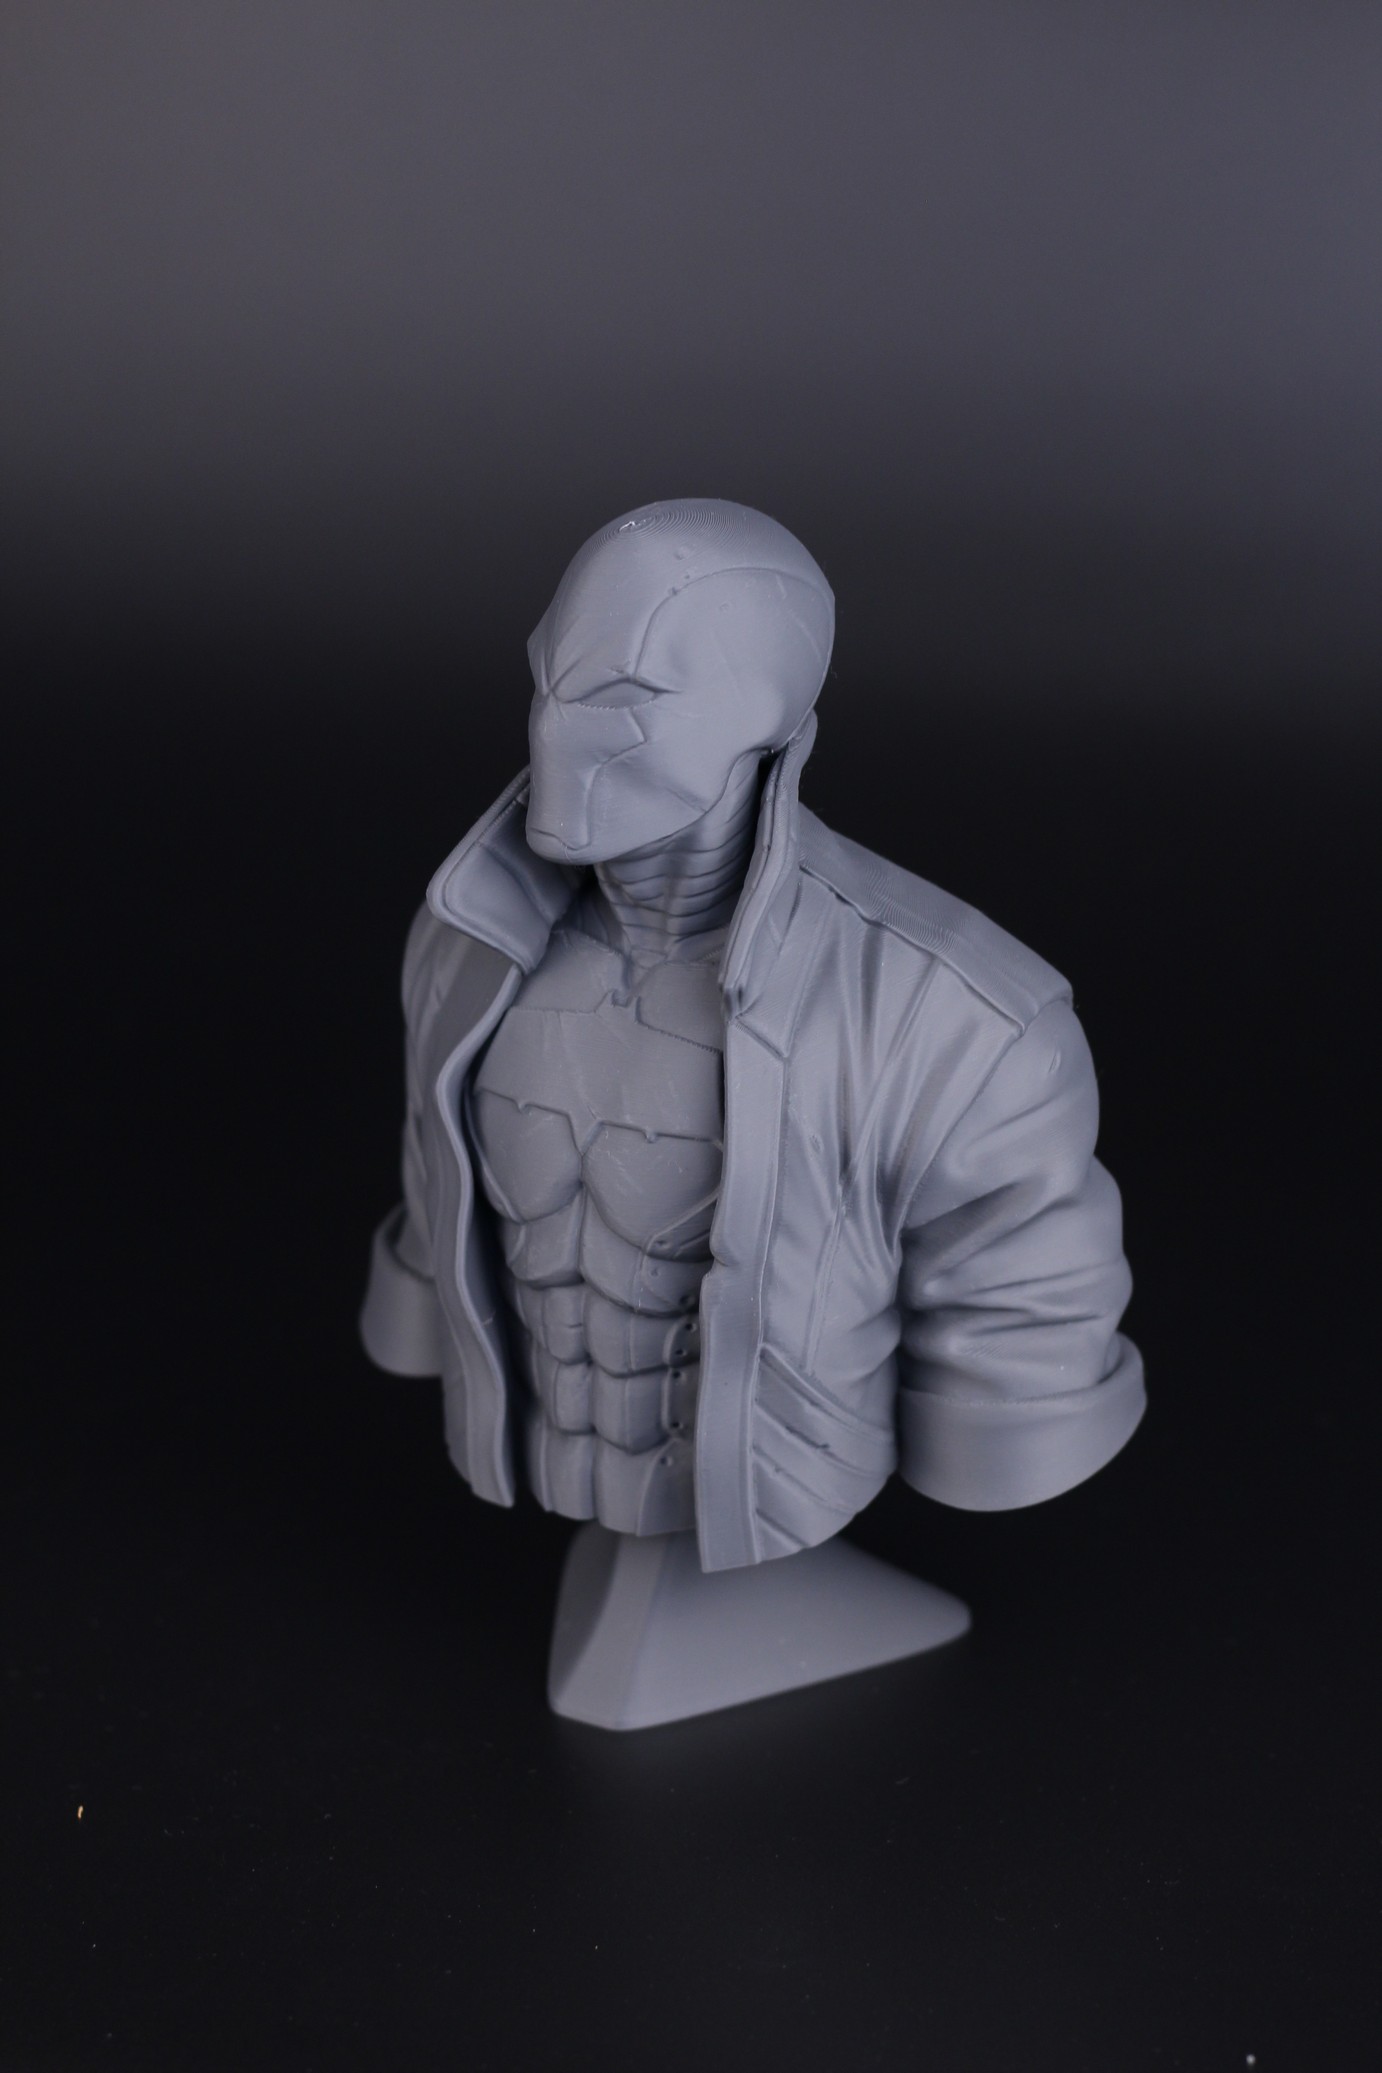
- Material: PrimaSelect PLA Pro
- Layer Height: 0.15mm
- Nozzle Temperature: 205C
- Bed Temperature: 65C
- Print Speed: 100 mm/s
ERCF Parts
You might say that you don’t build a Voron to print PLA, and you might be right. I just received my ERCF kit so I started printing the parts in Polymaker ASA. Print quality is good, but not perfect for ABS. I need to spend more time tuning this profile, but I’m still happy with the results.
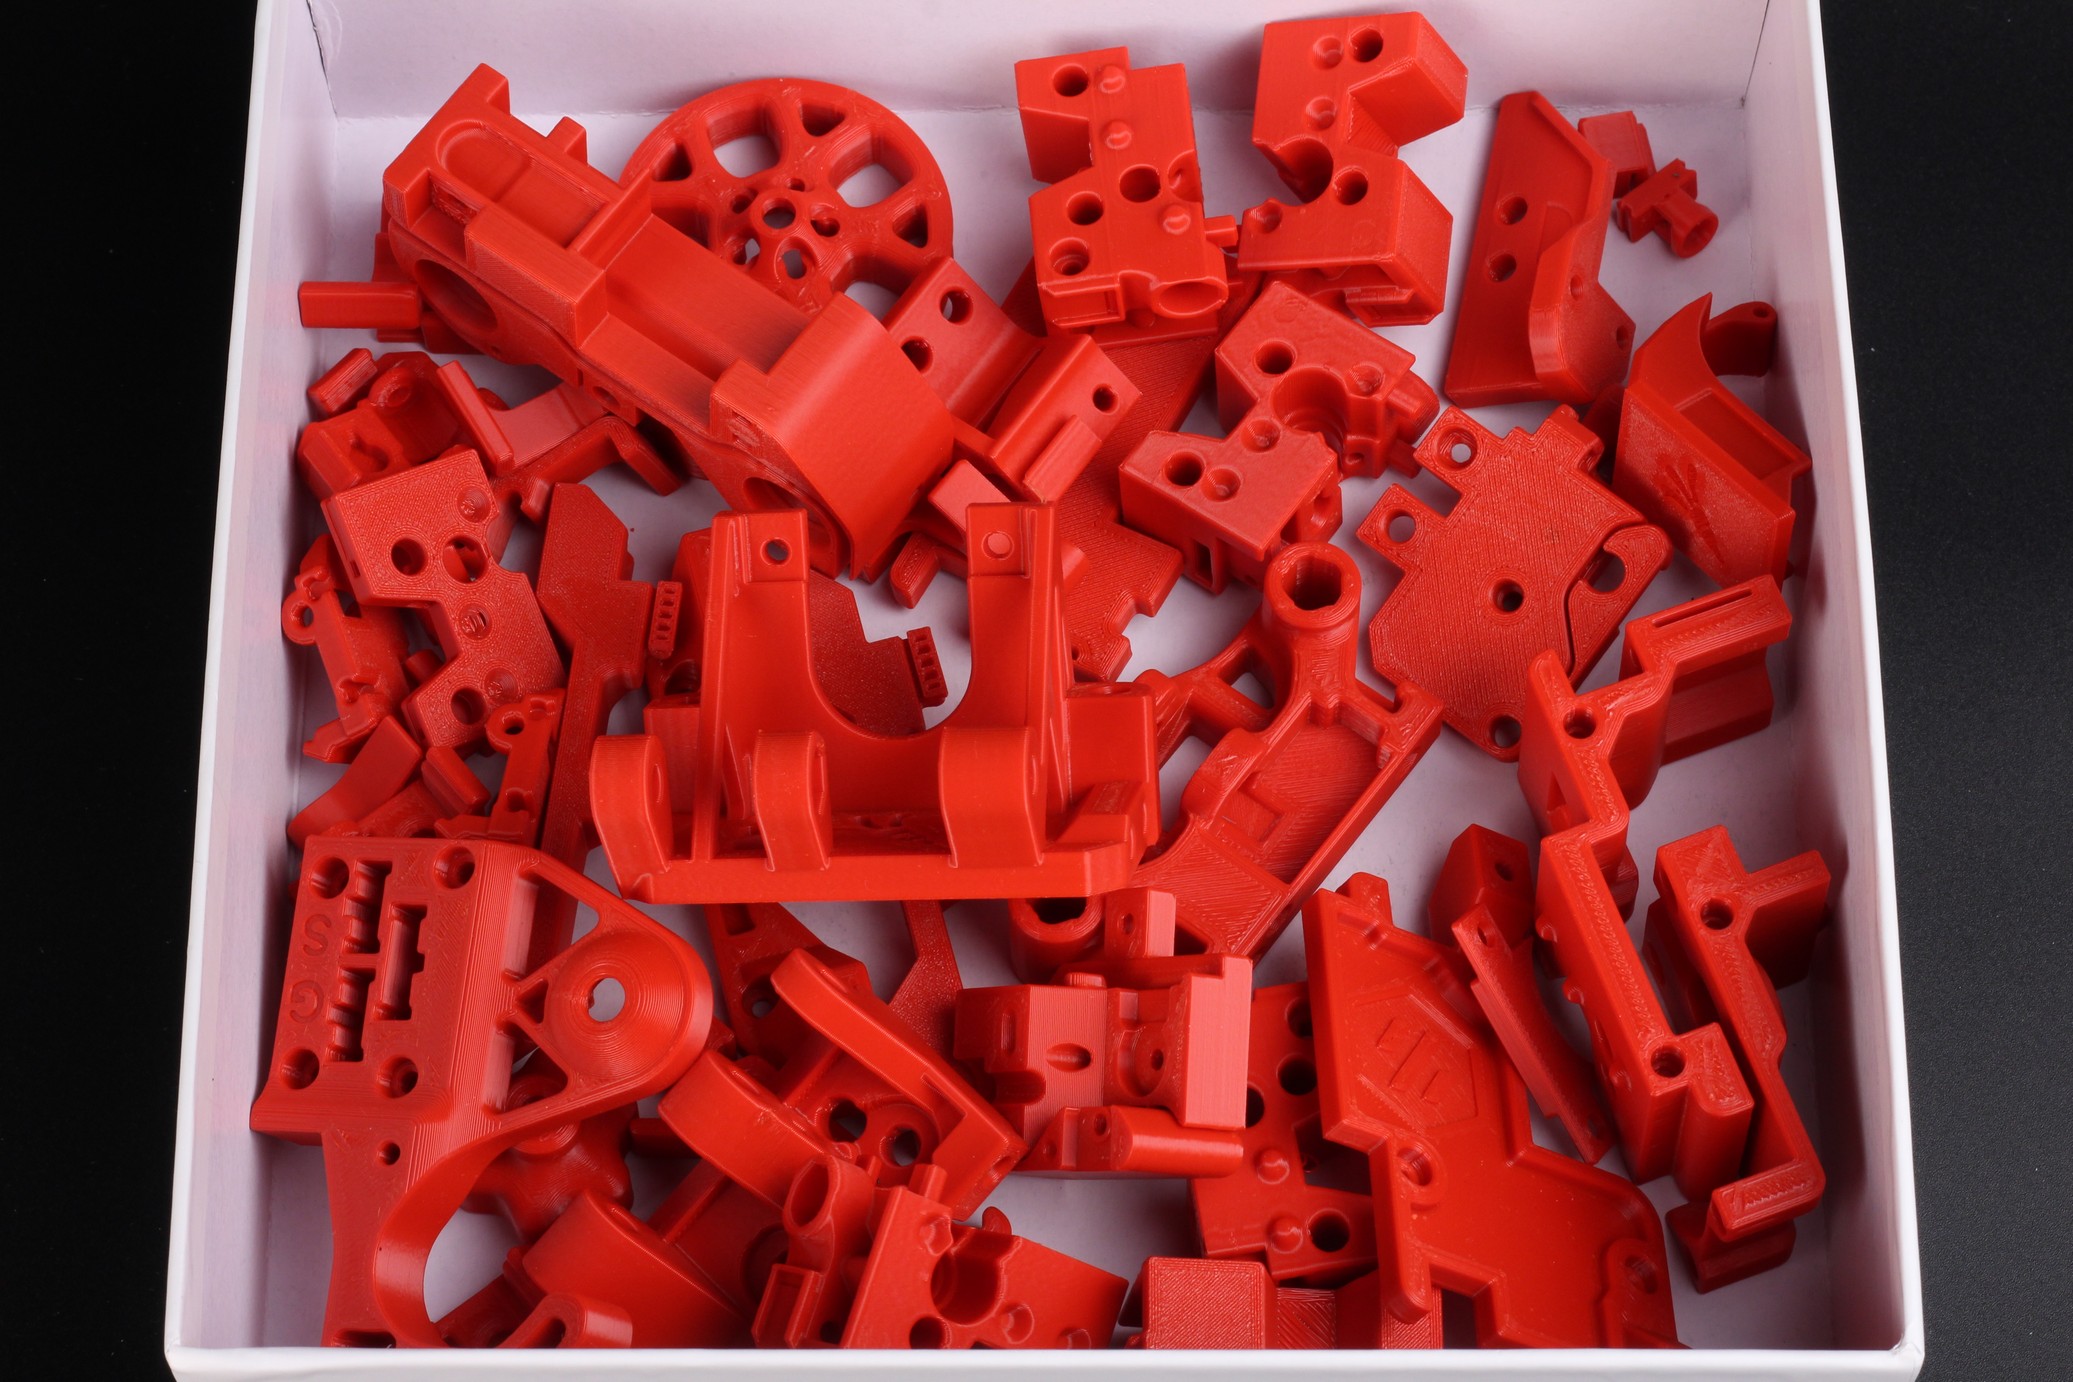
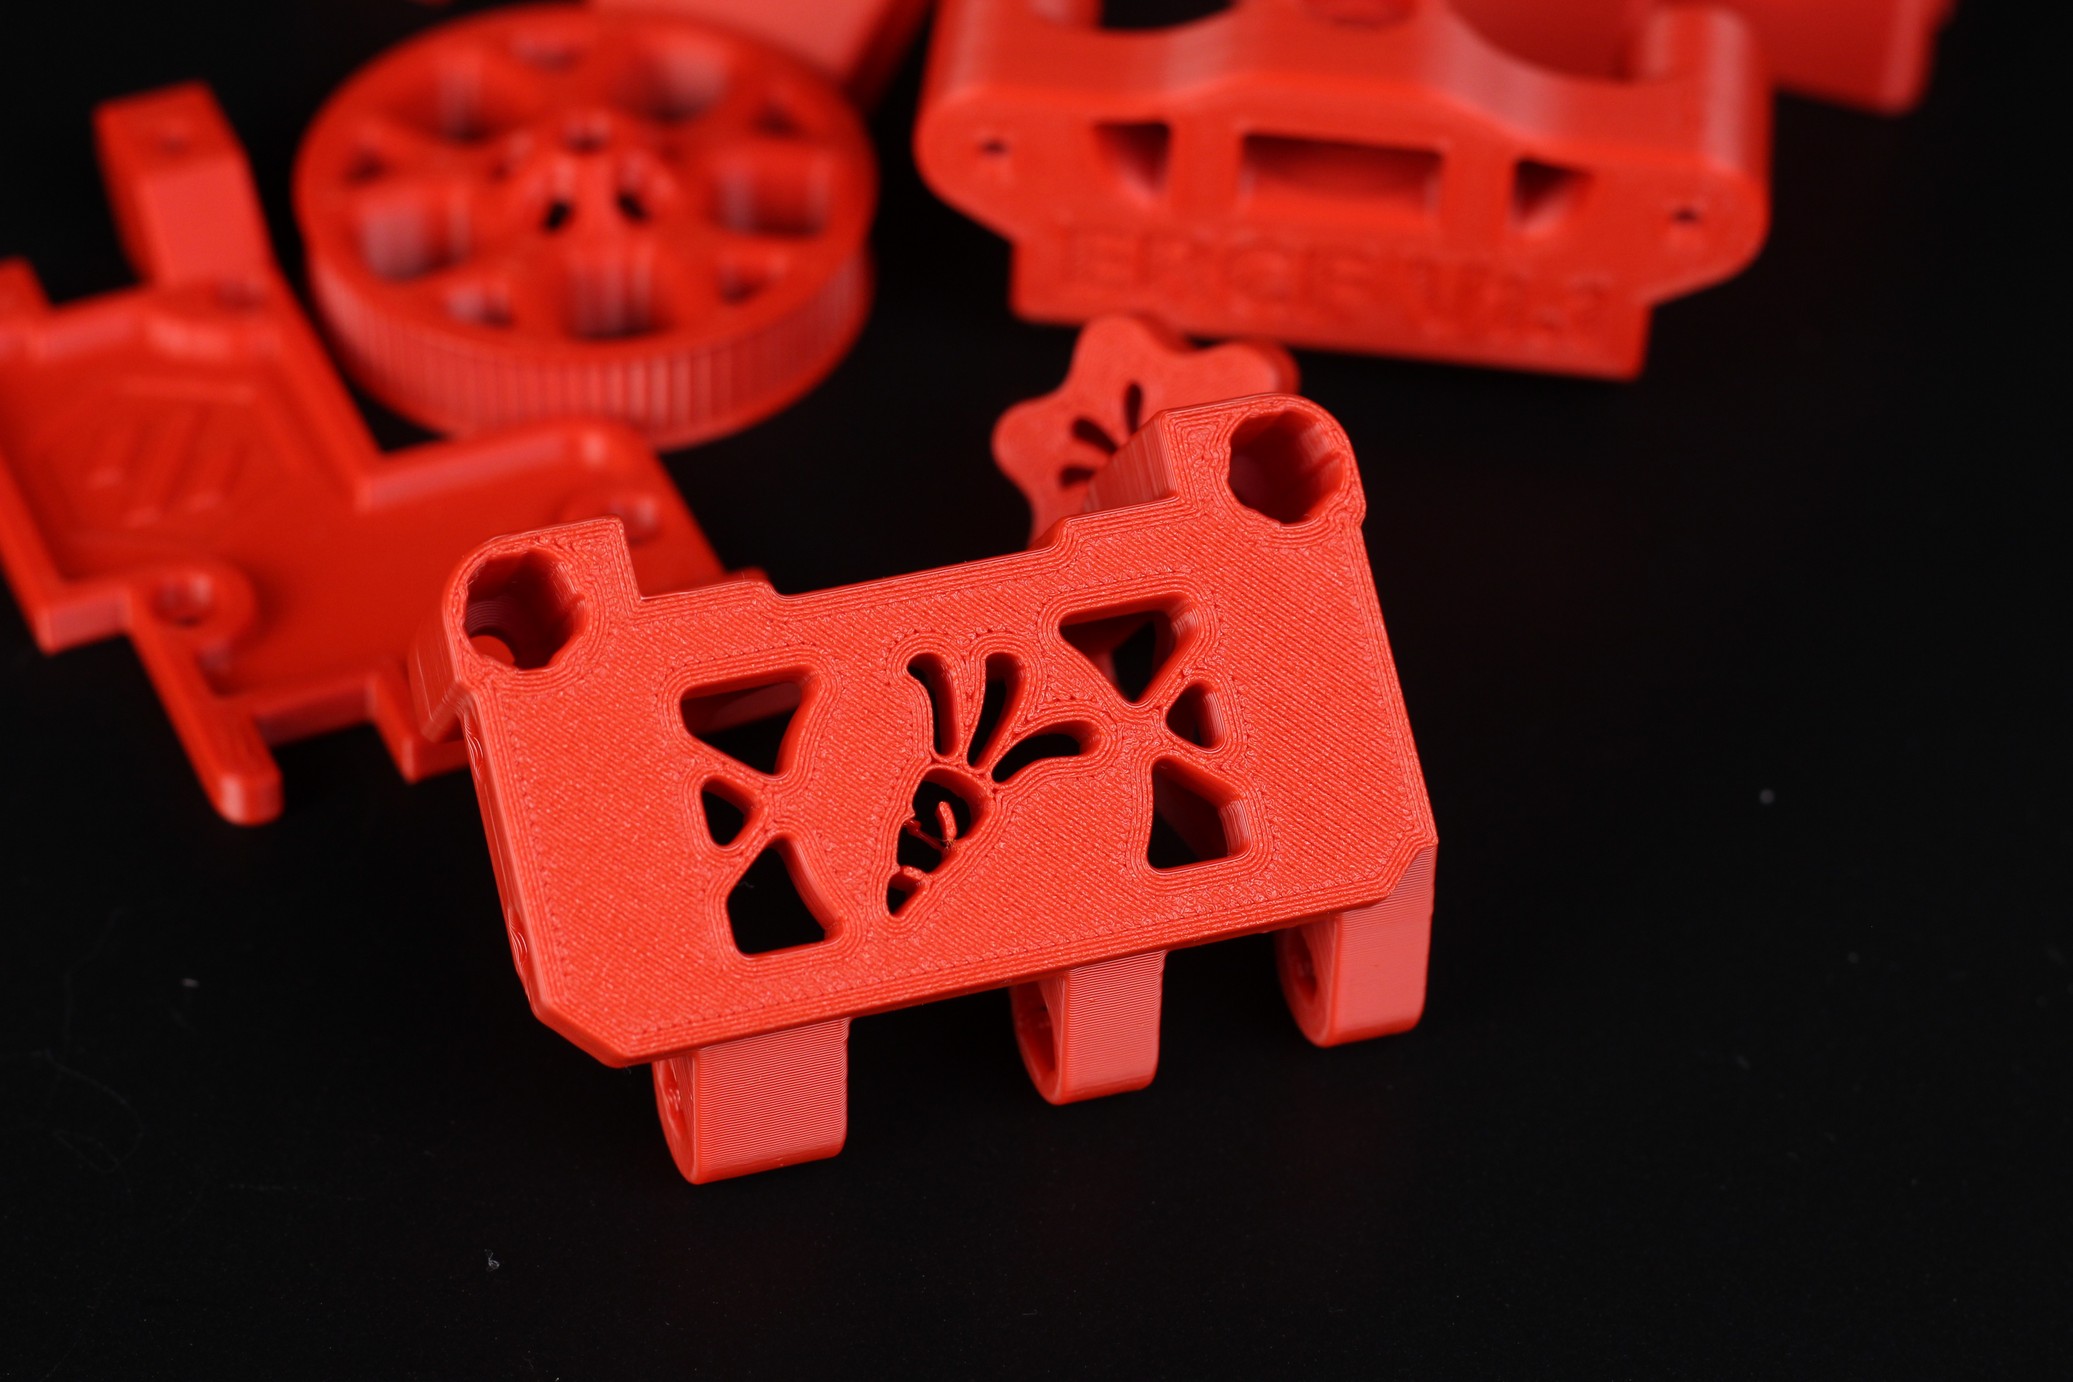
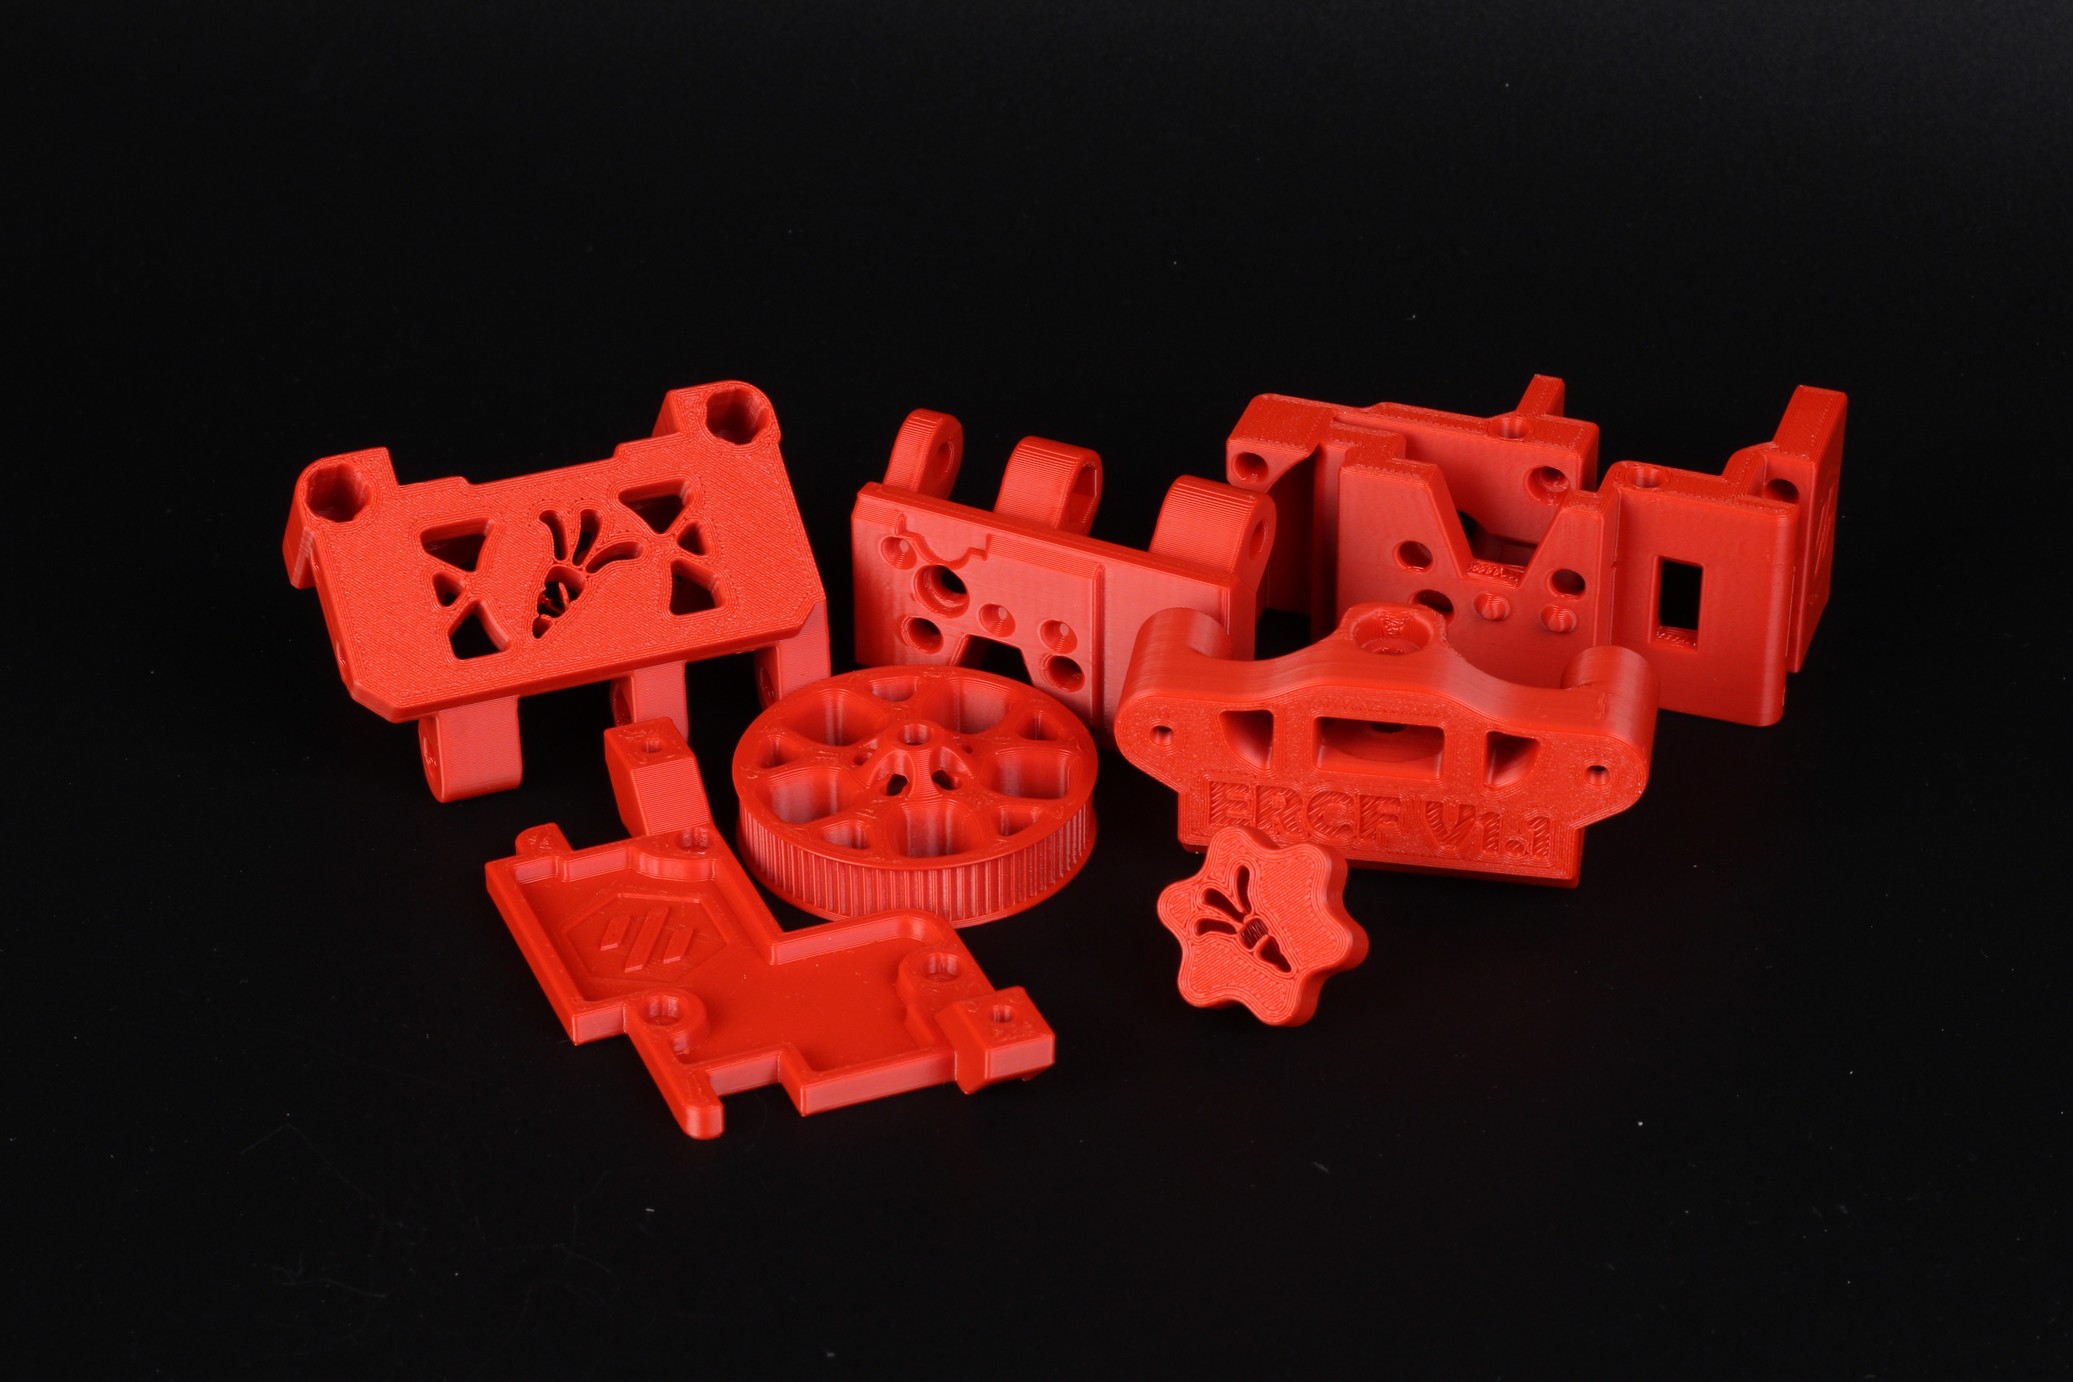
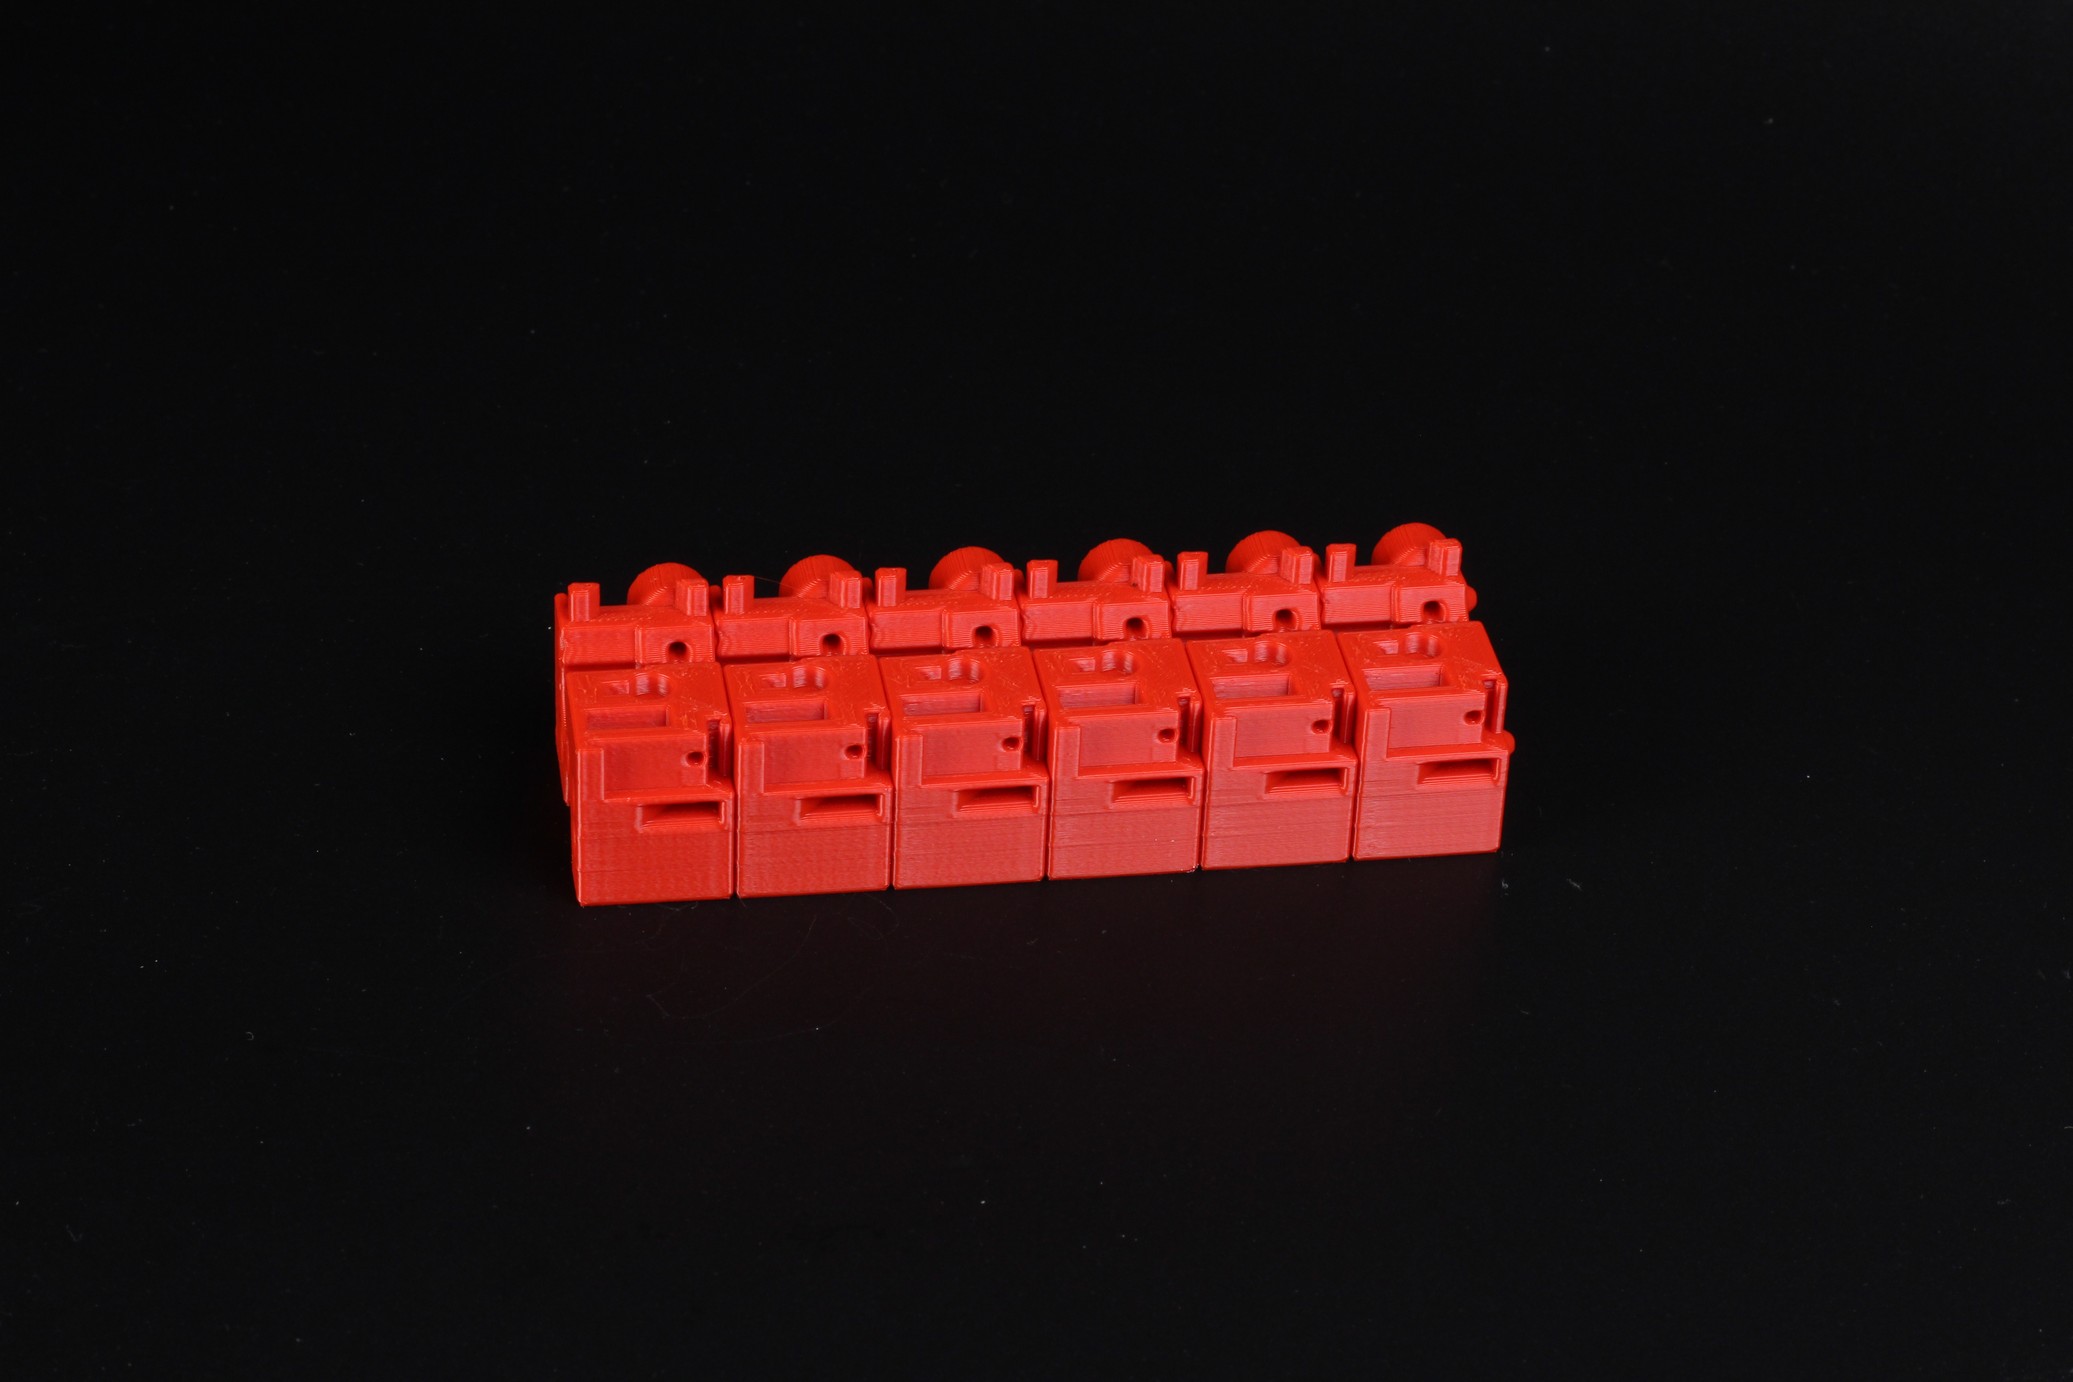
- Material: Polymaker Red ASA
- Layer Height: 0.2mm
- Nozzle Temperature: 260C
- Bed Temperature: 100C
- Print Speed: 100 mm/s
Trippy Hexangle Egg Container
Easter is just around the corner, and I wanted to make sure that the hotend heat break is properly cooled by the new fan. I printed a few extra PLA models and this is the Trippy Hexangle Egg Container from ChaosCoreTech in matte filament.
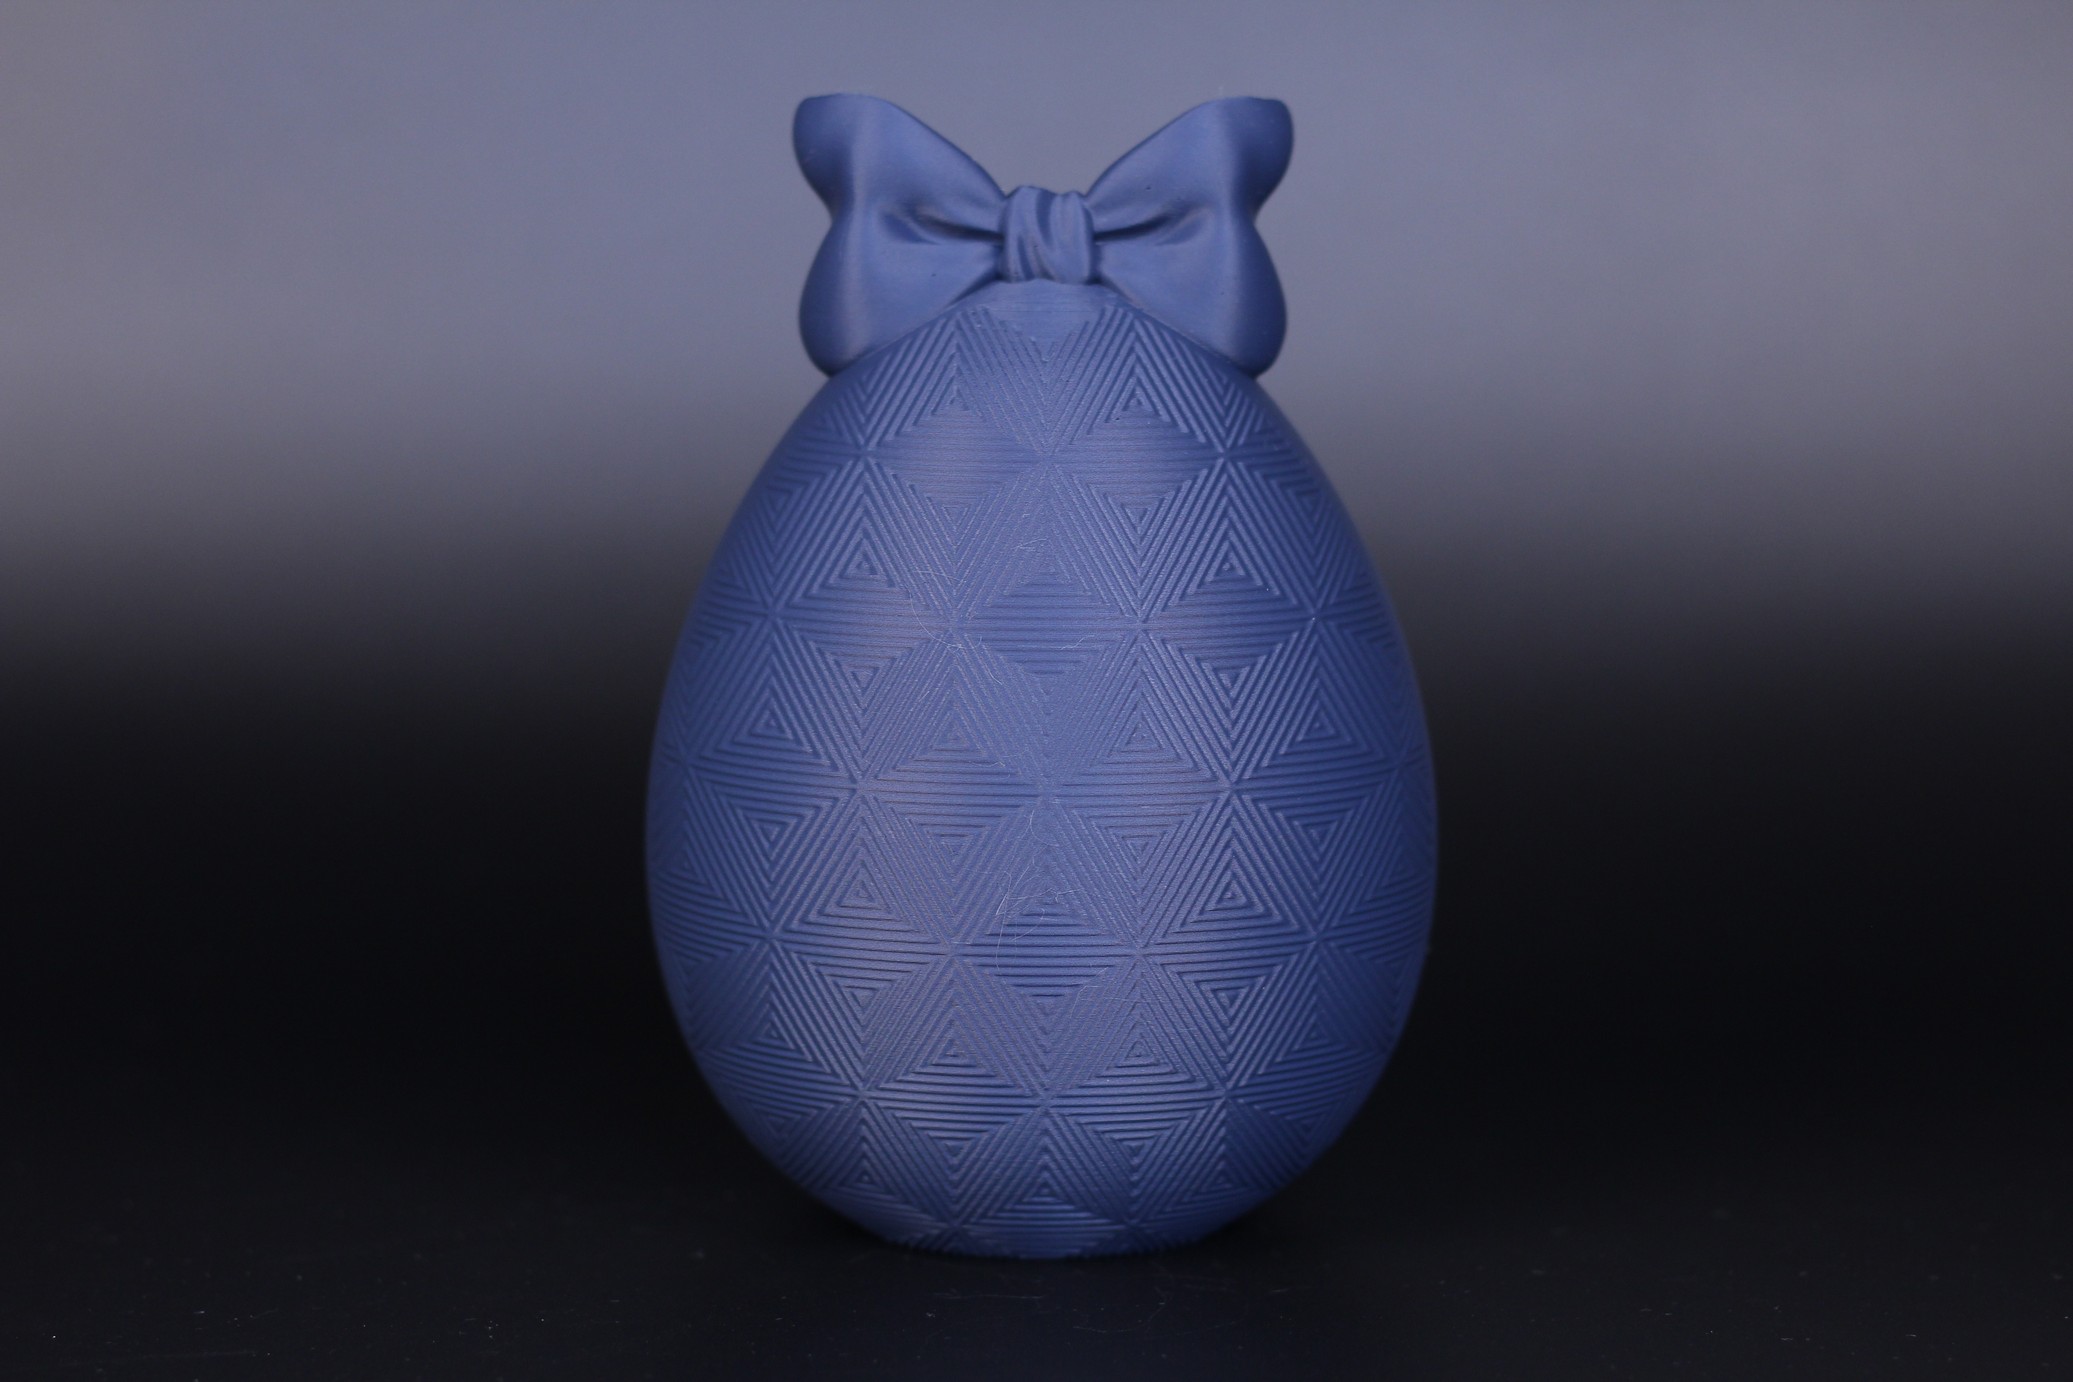
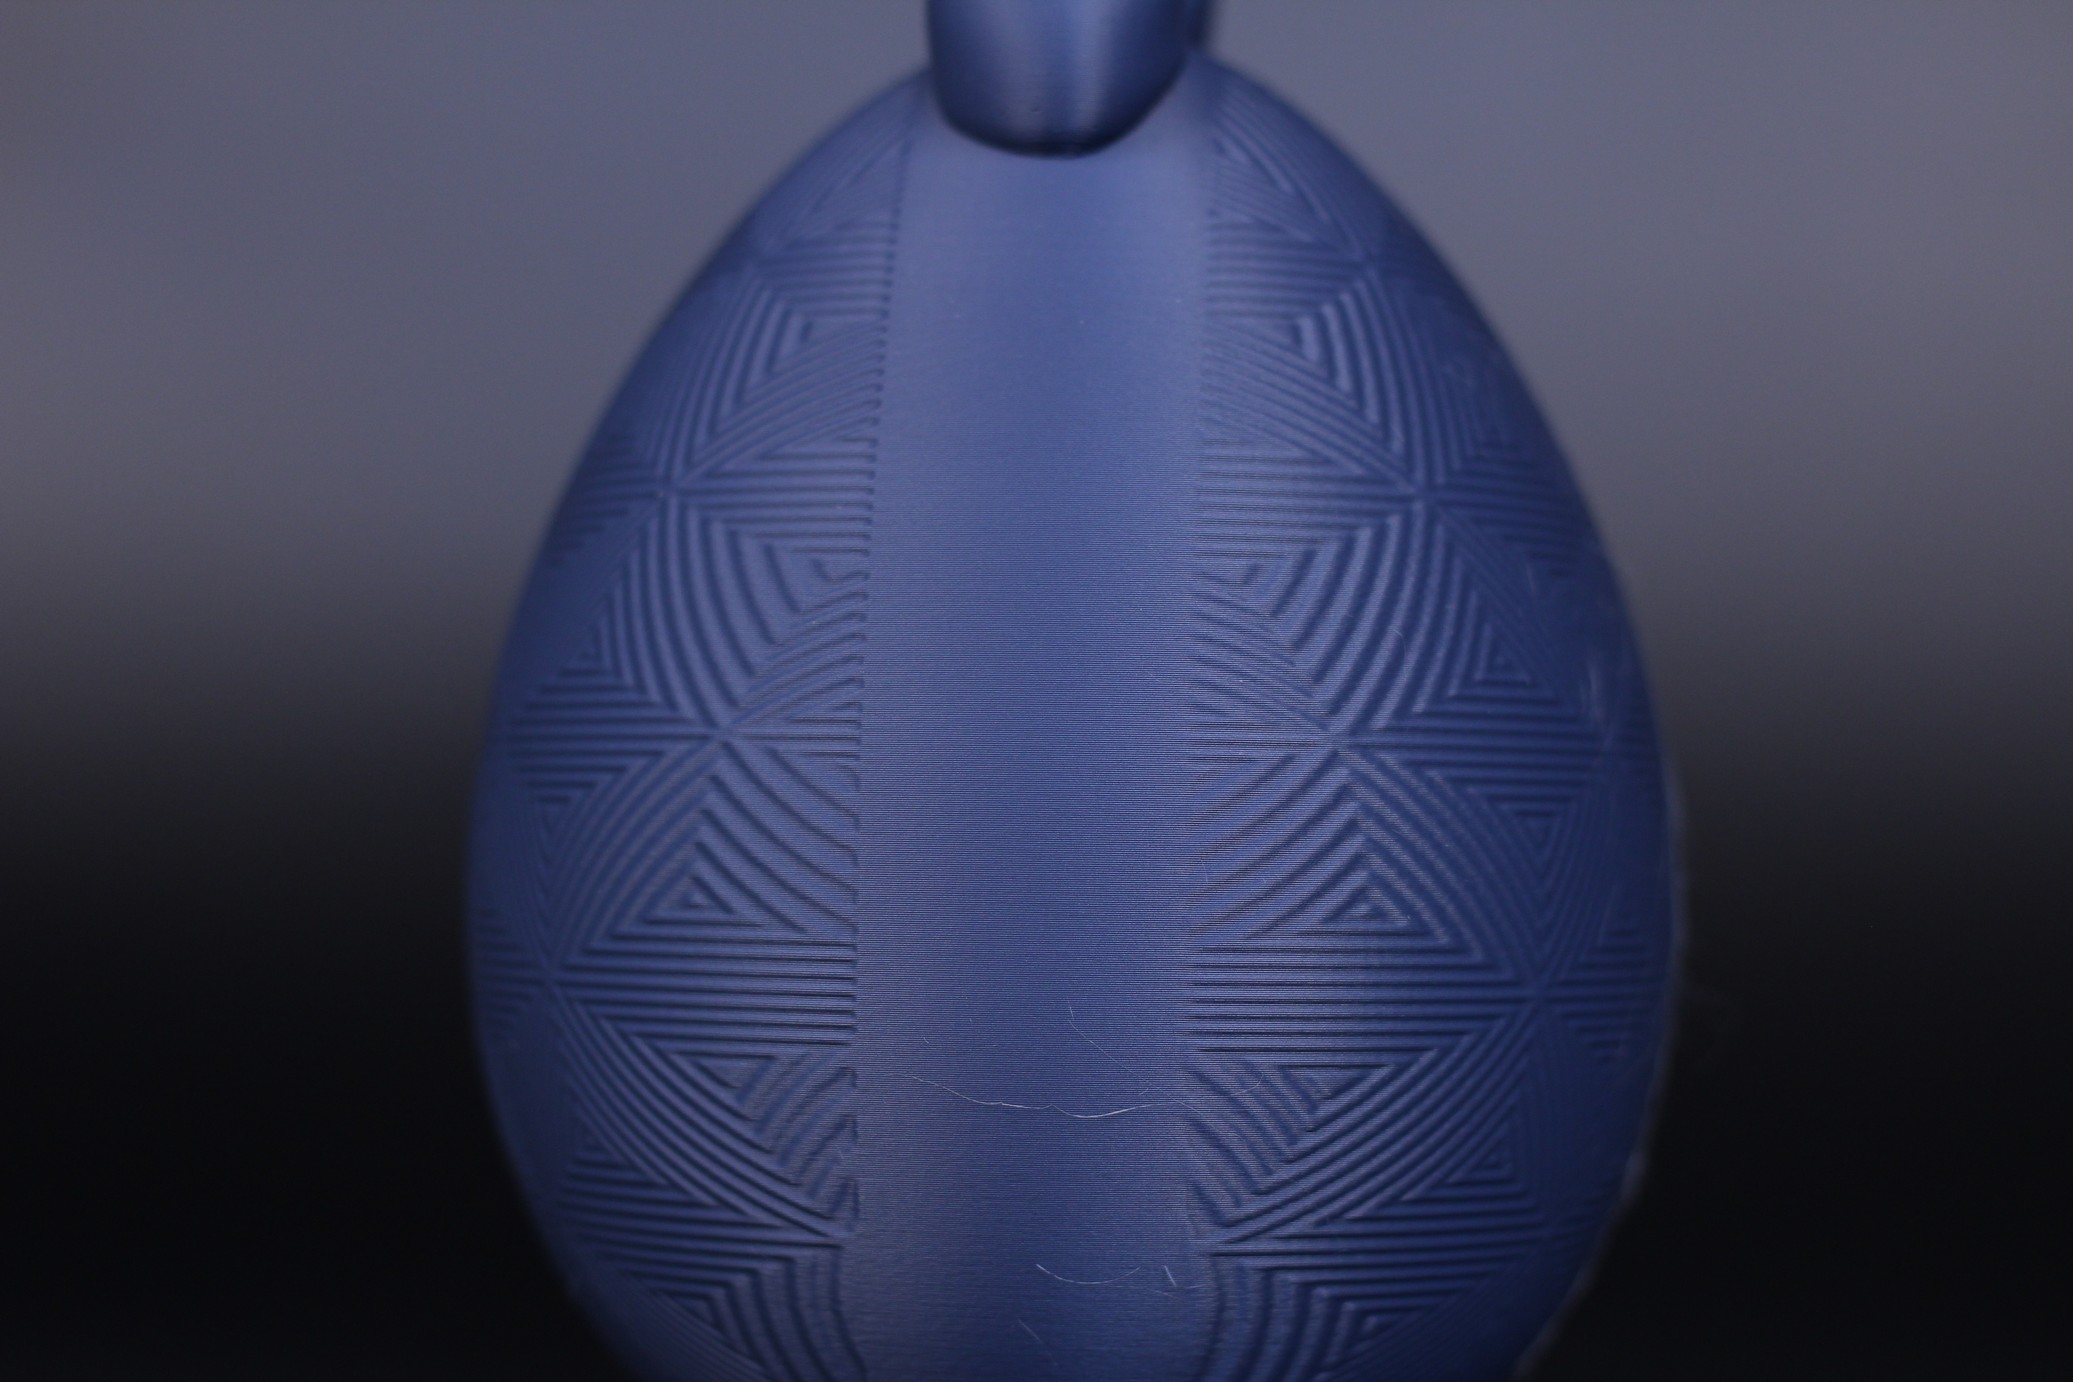

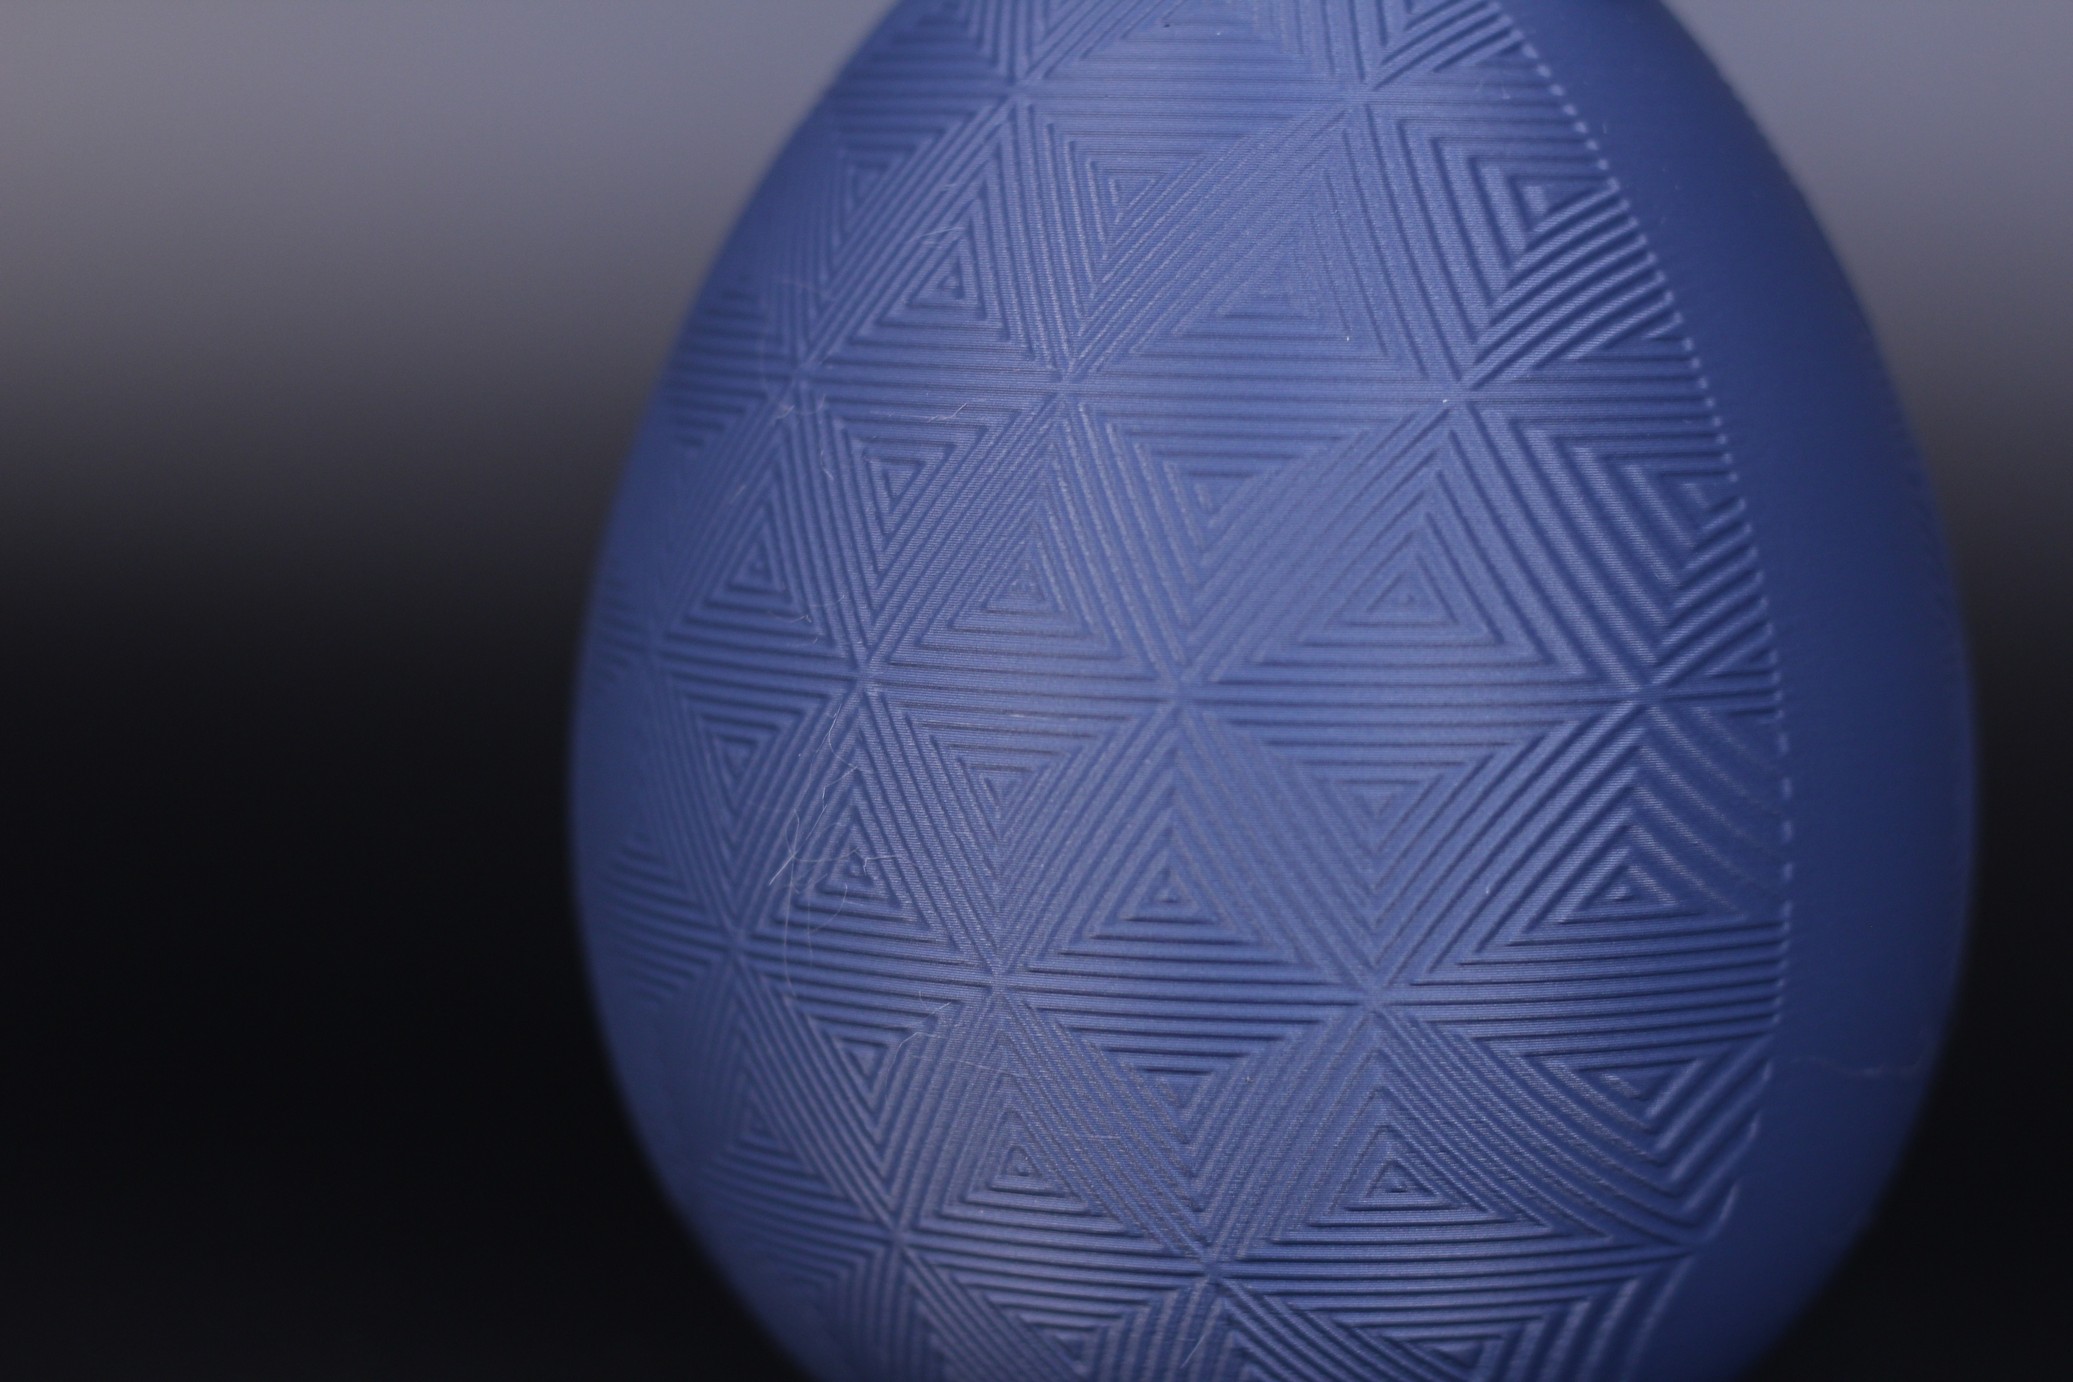
- Material: BIQU Matte PLA
- Layer Height: 0.2mm
- Nozzle Temperature: 205C
- Bed Temperature: 65C
- Print Speed: 100 mm/s
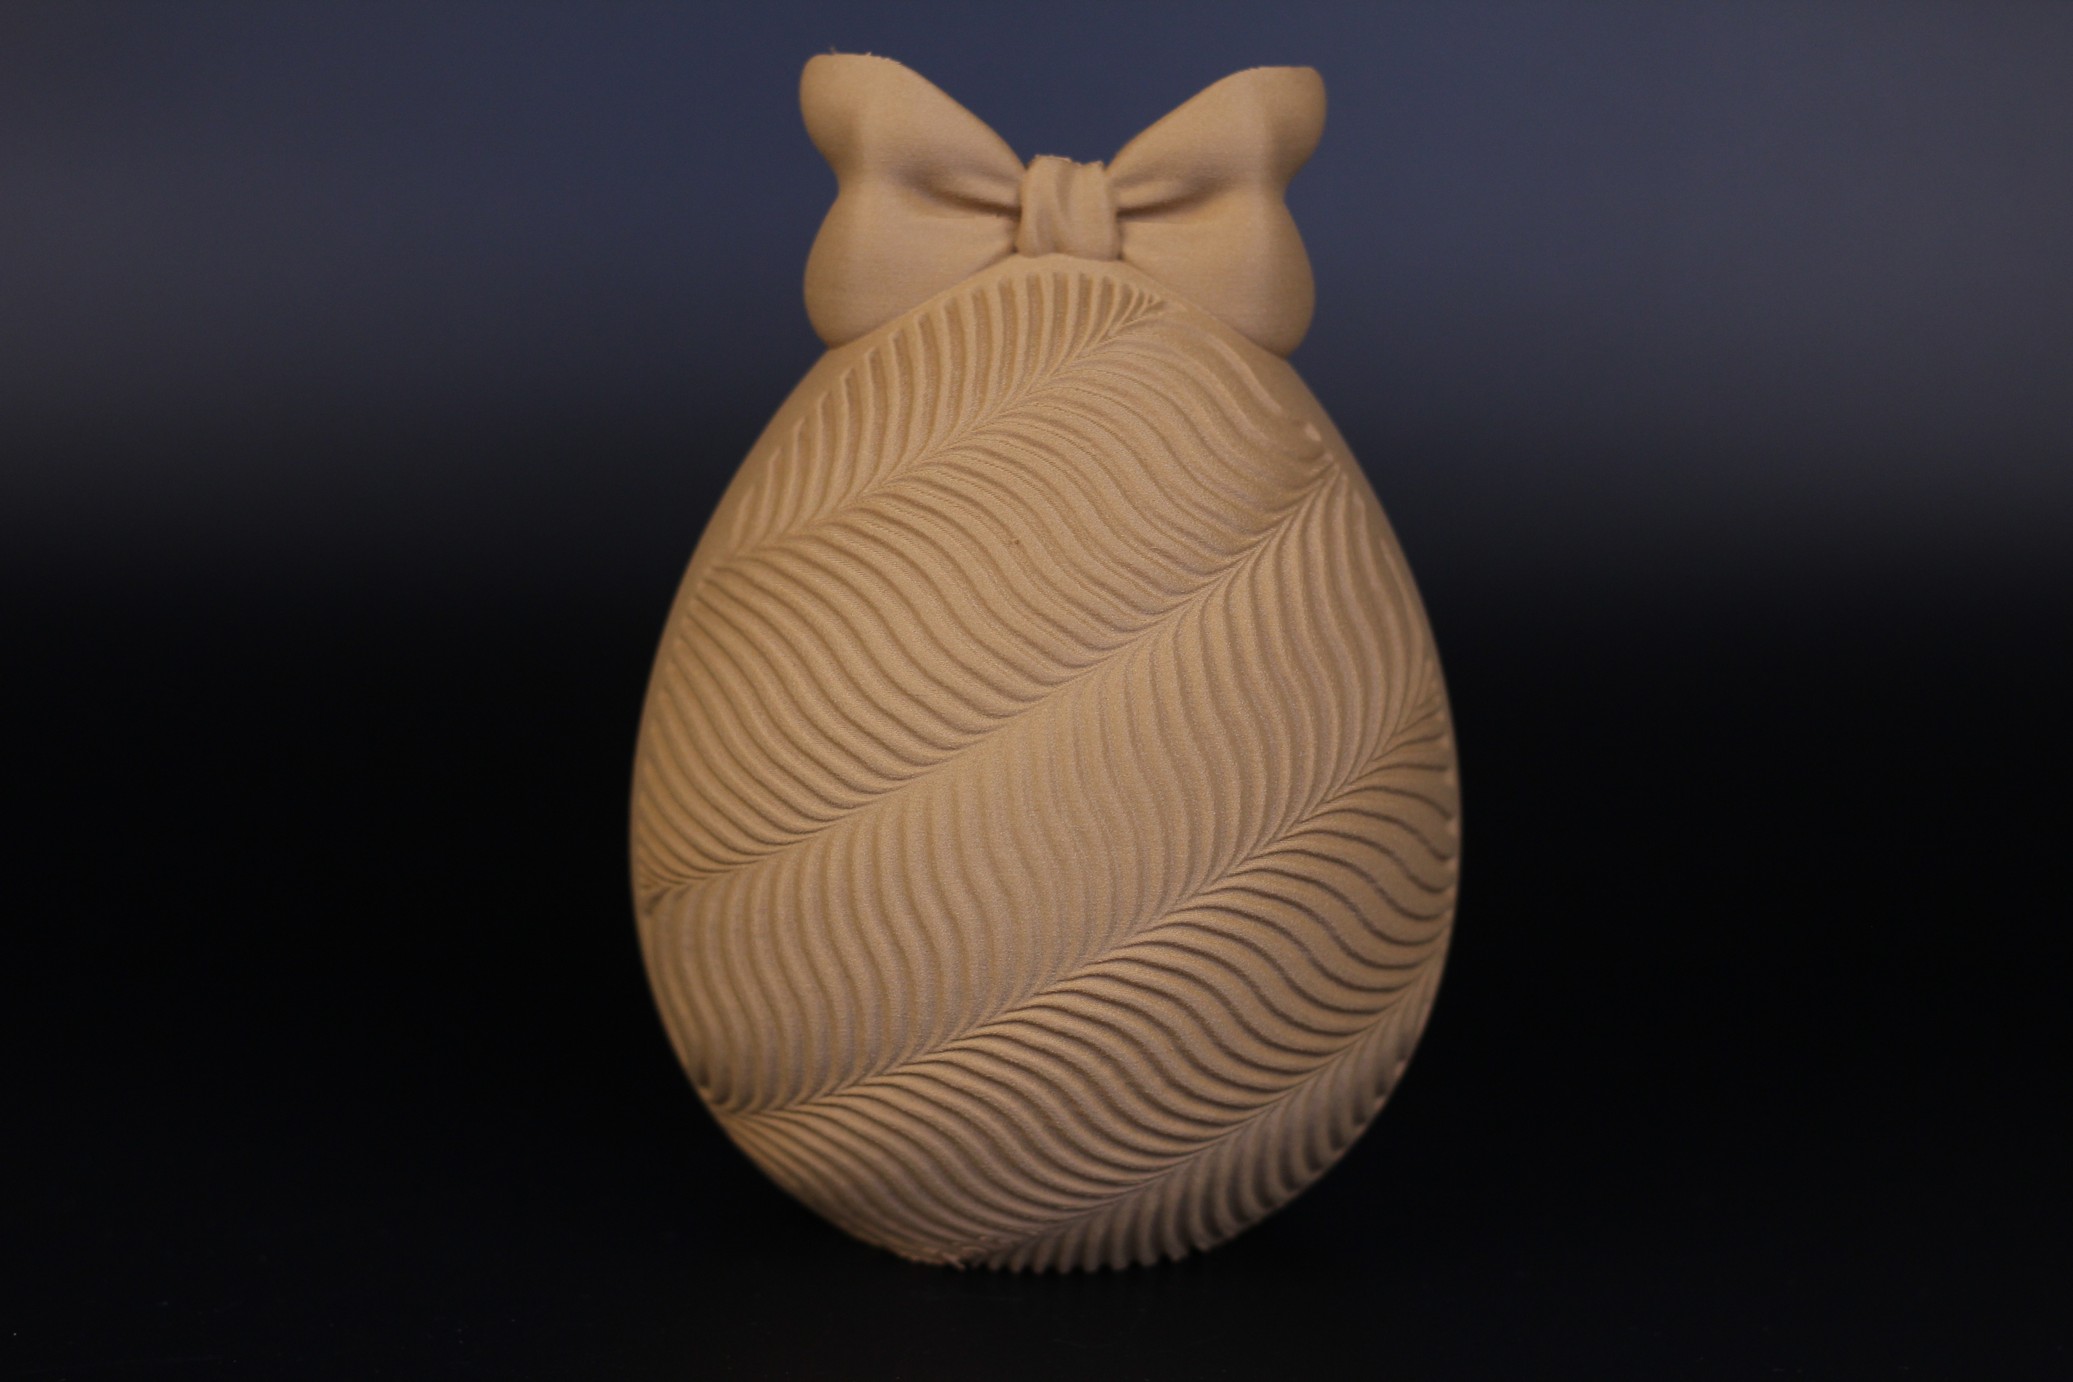
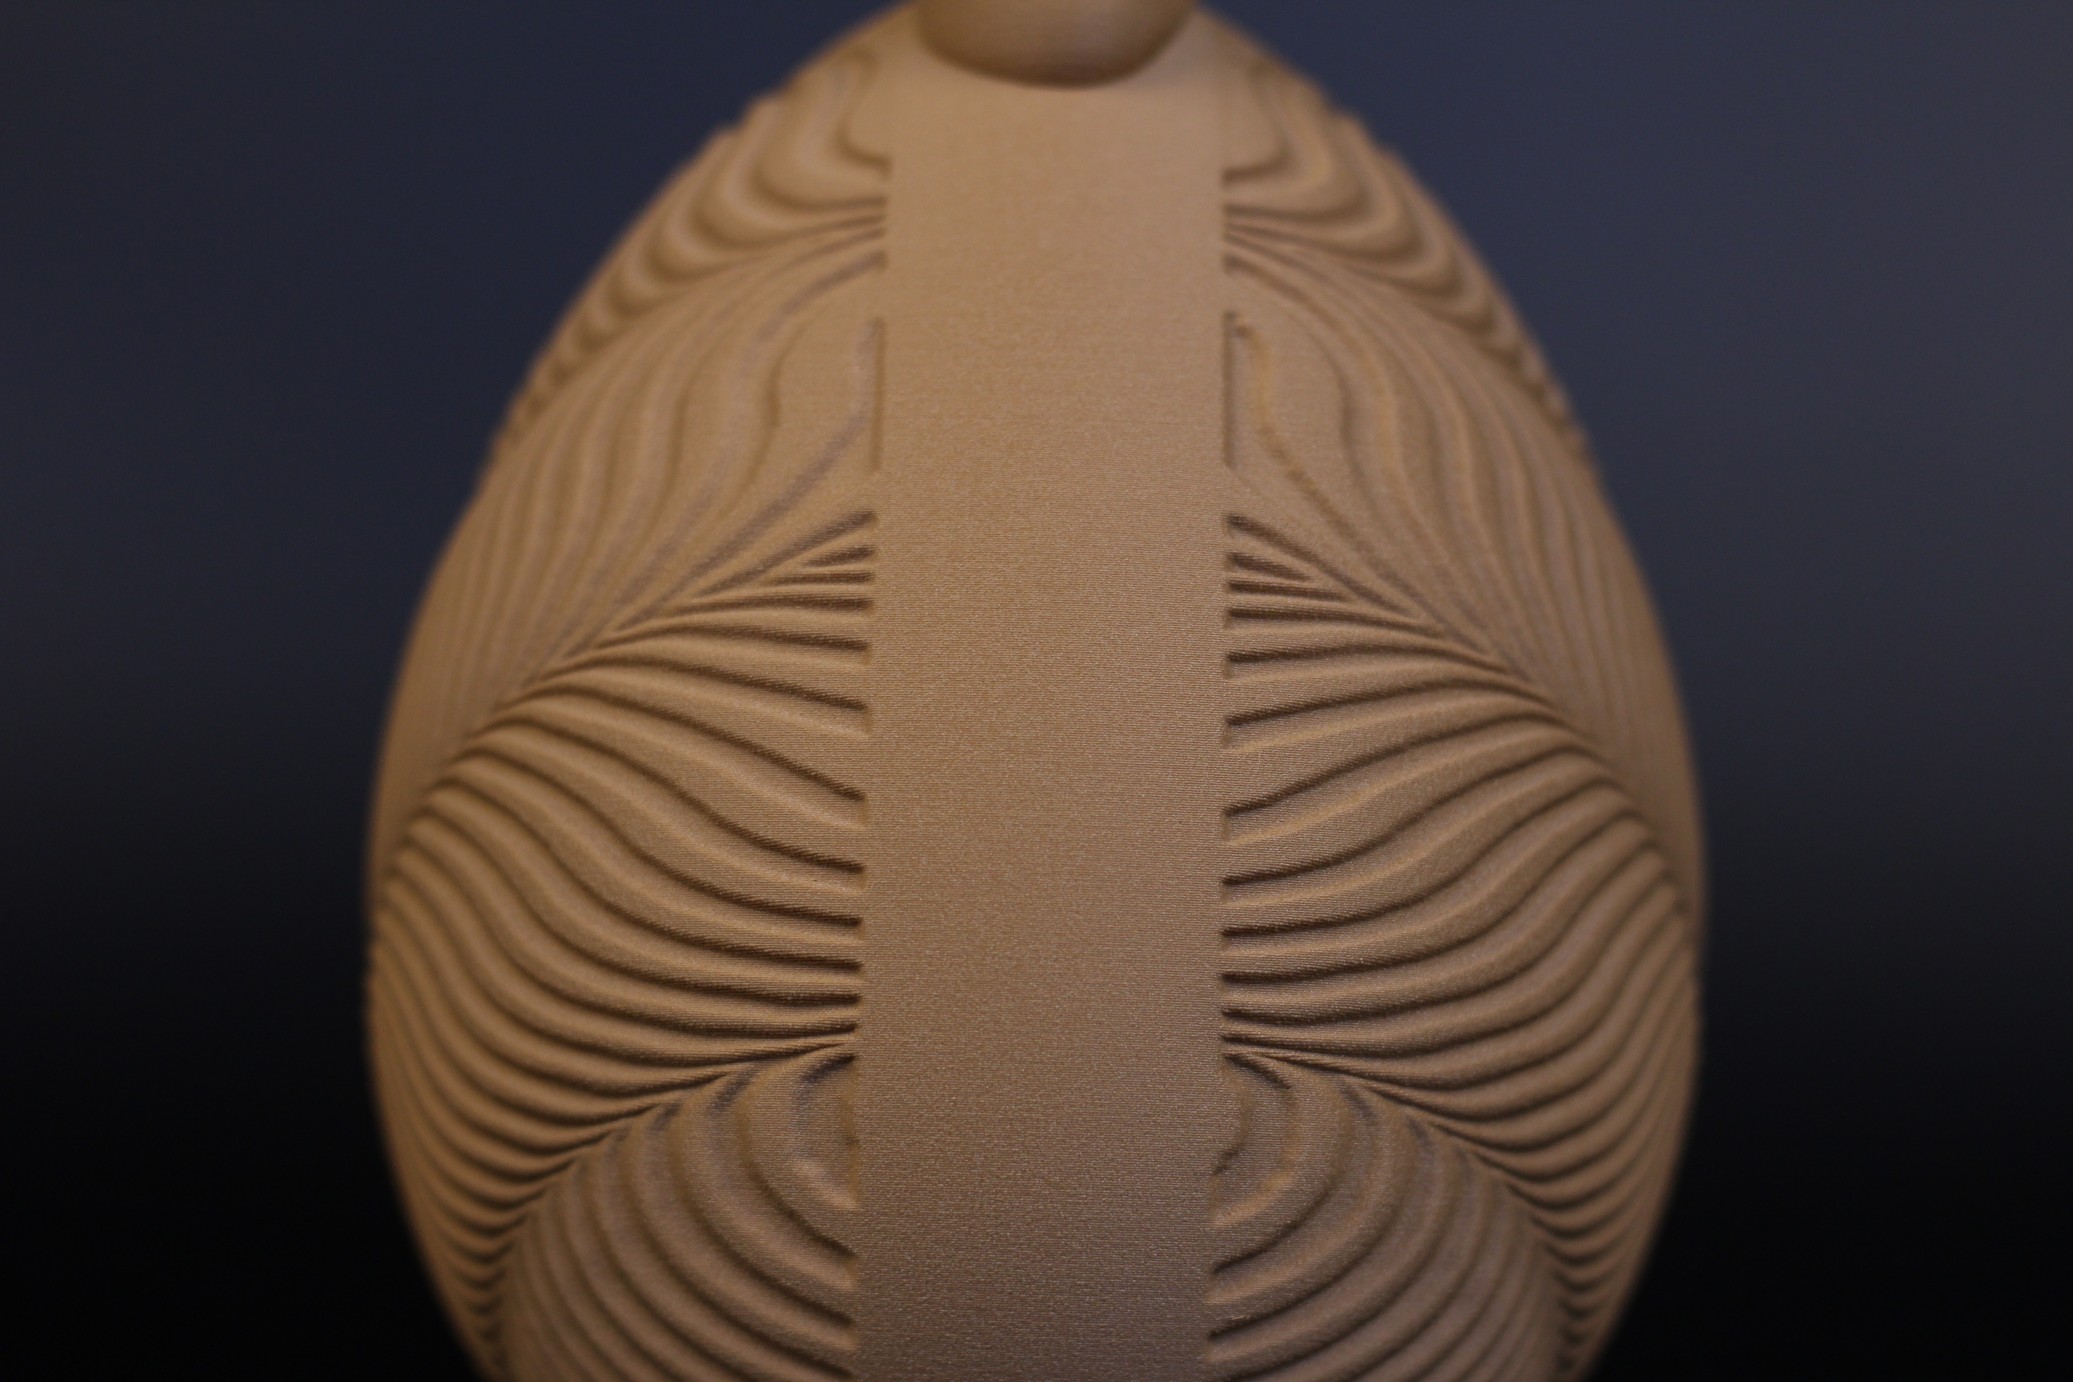
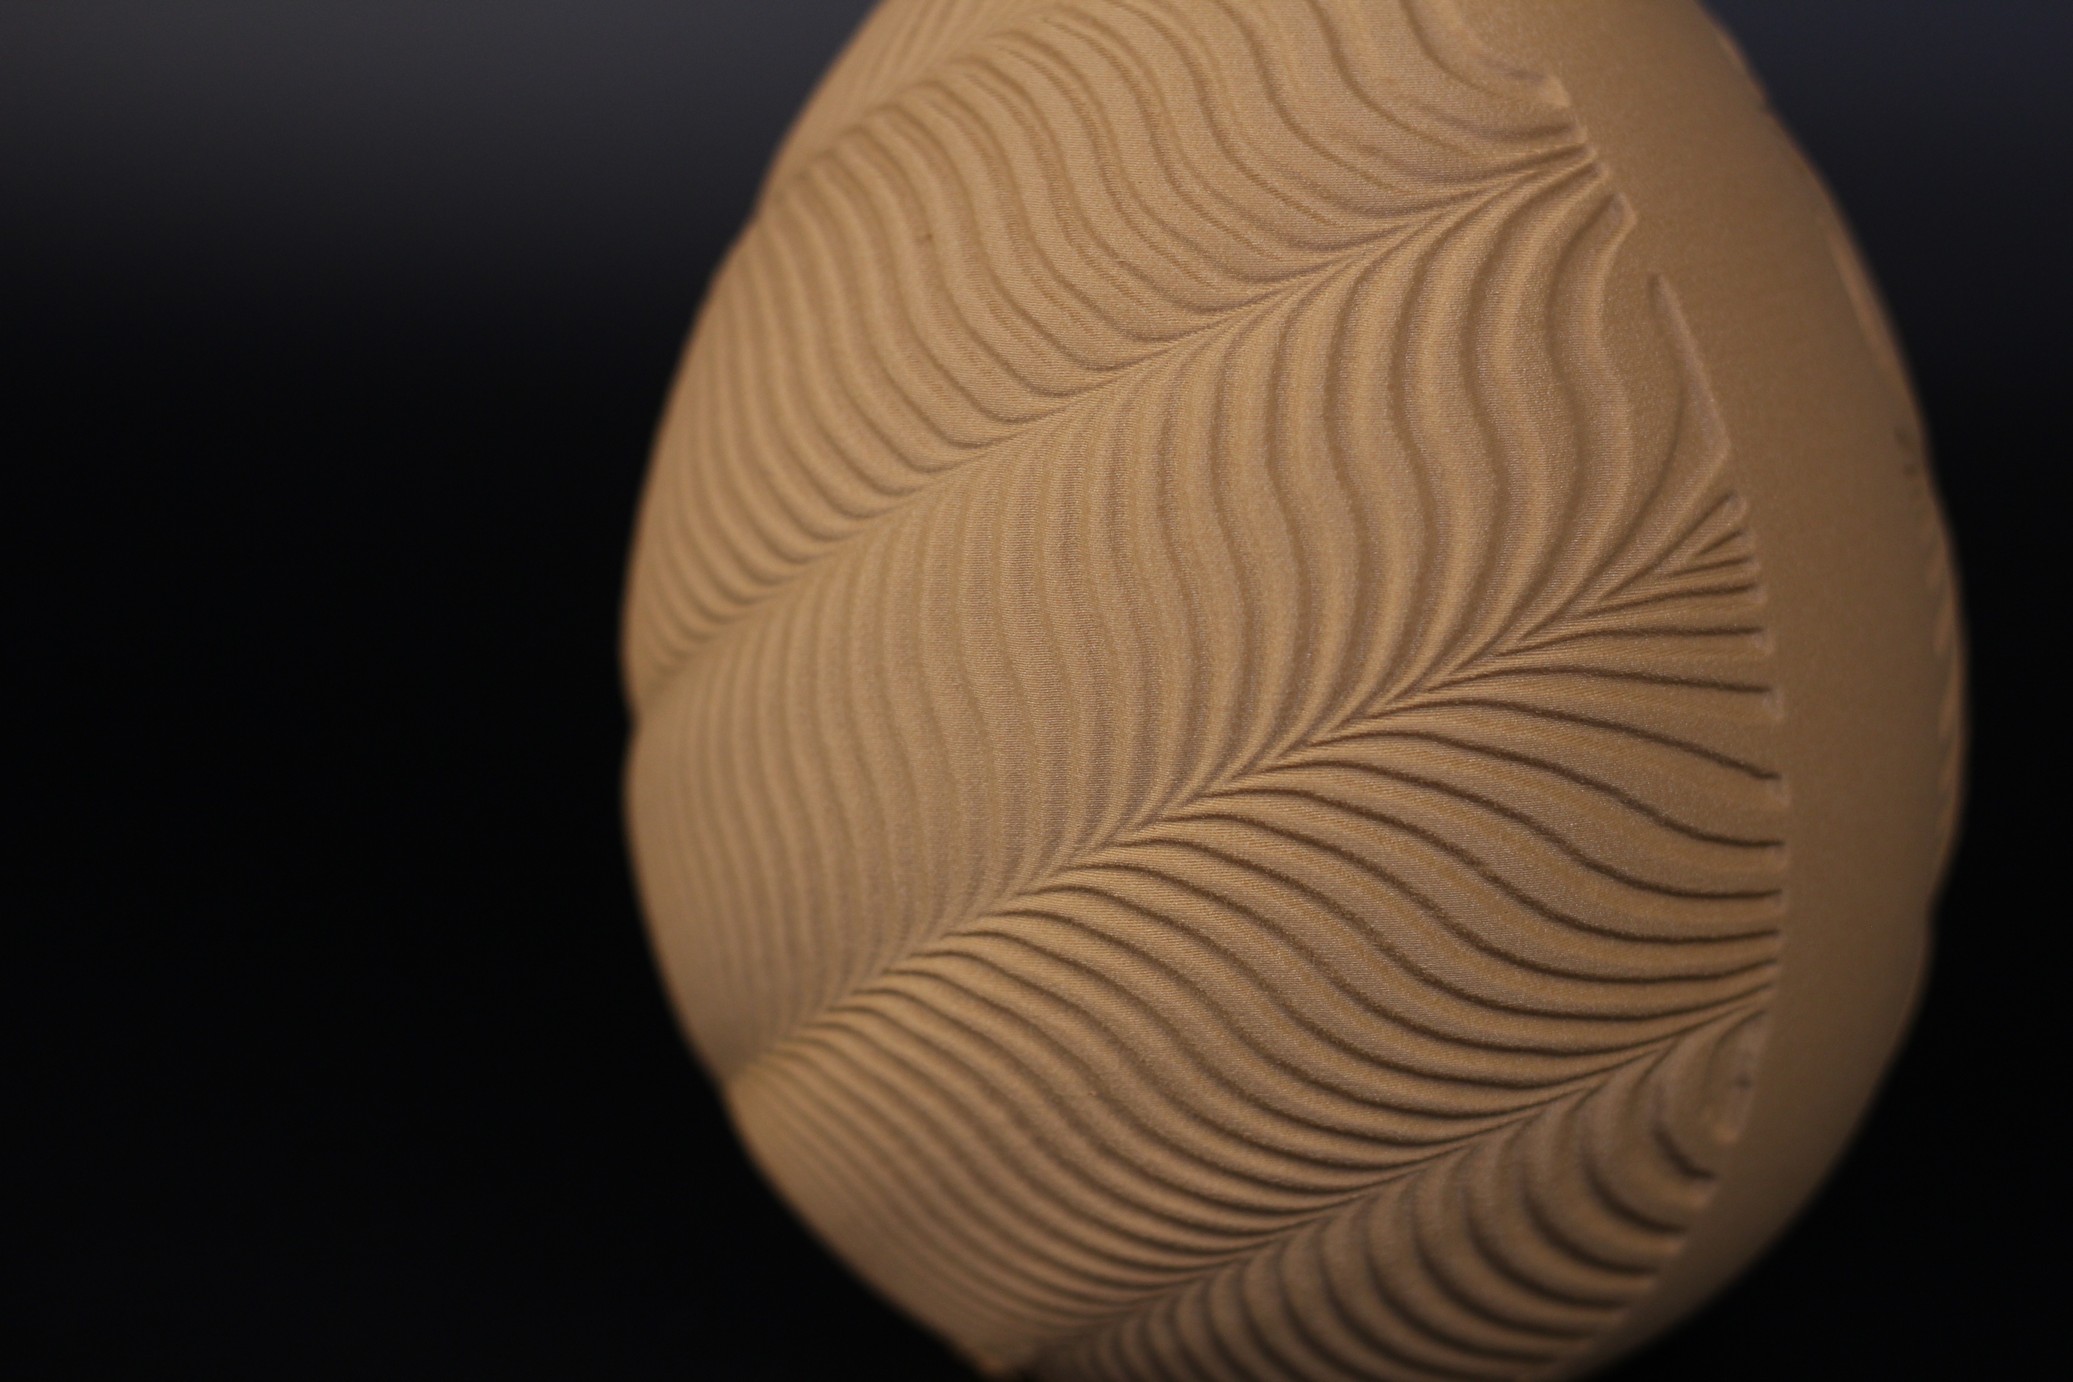
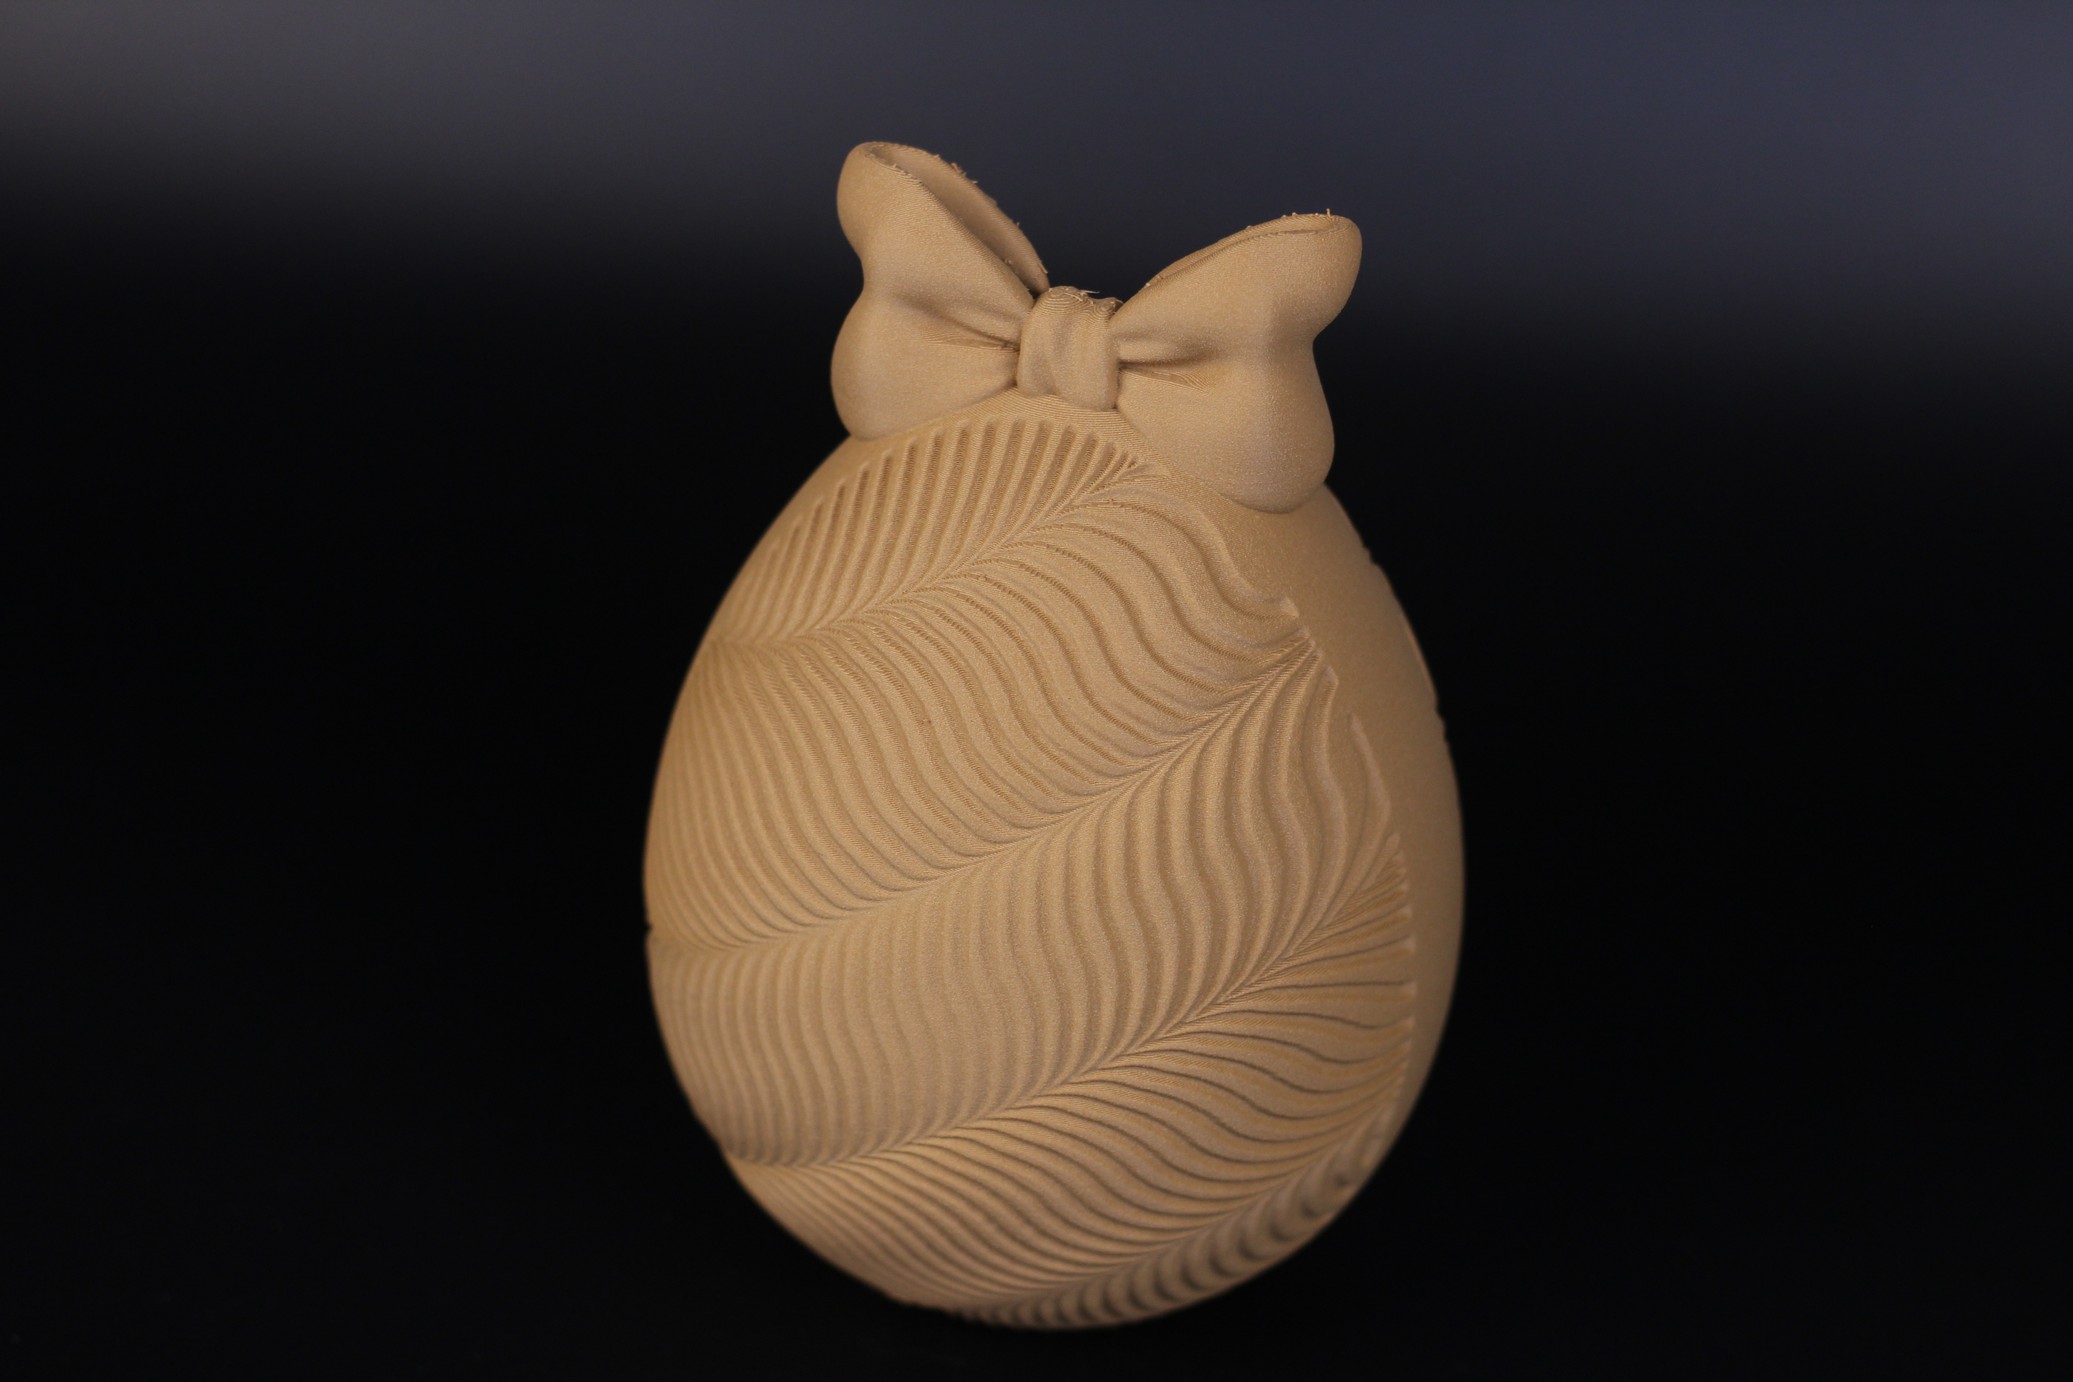
Trippy Wave Egg Container
I had some Polymaker PolytWood filament, so why not give it a go with the Trippy Wave Egg Container from ChaosCoreTech. The print speed was a bit too high in this case, because the bottom overhangs are a bit messy but the results are decent.
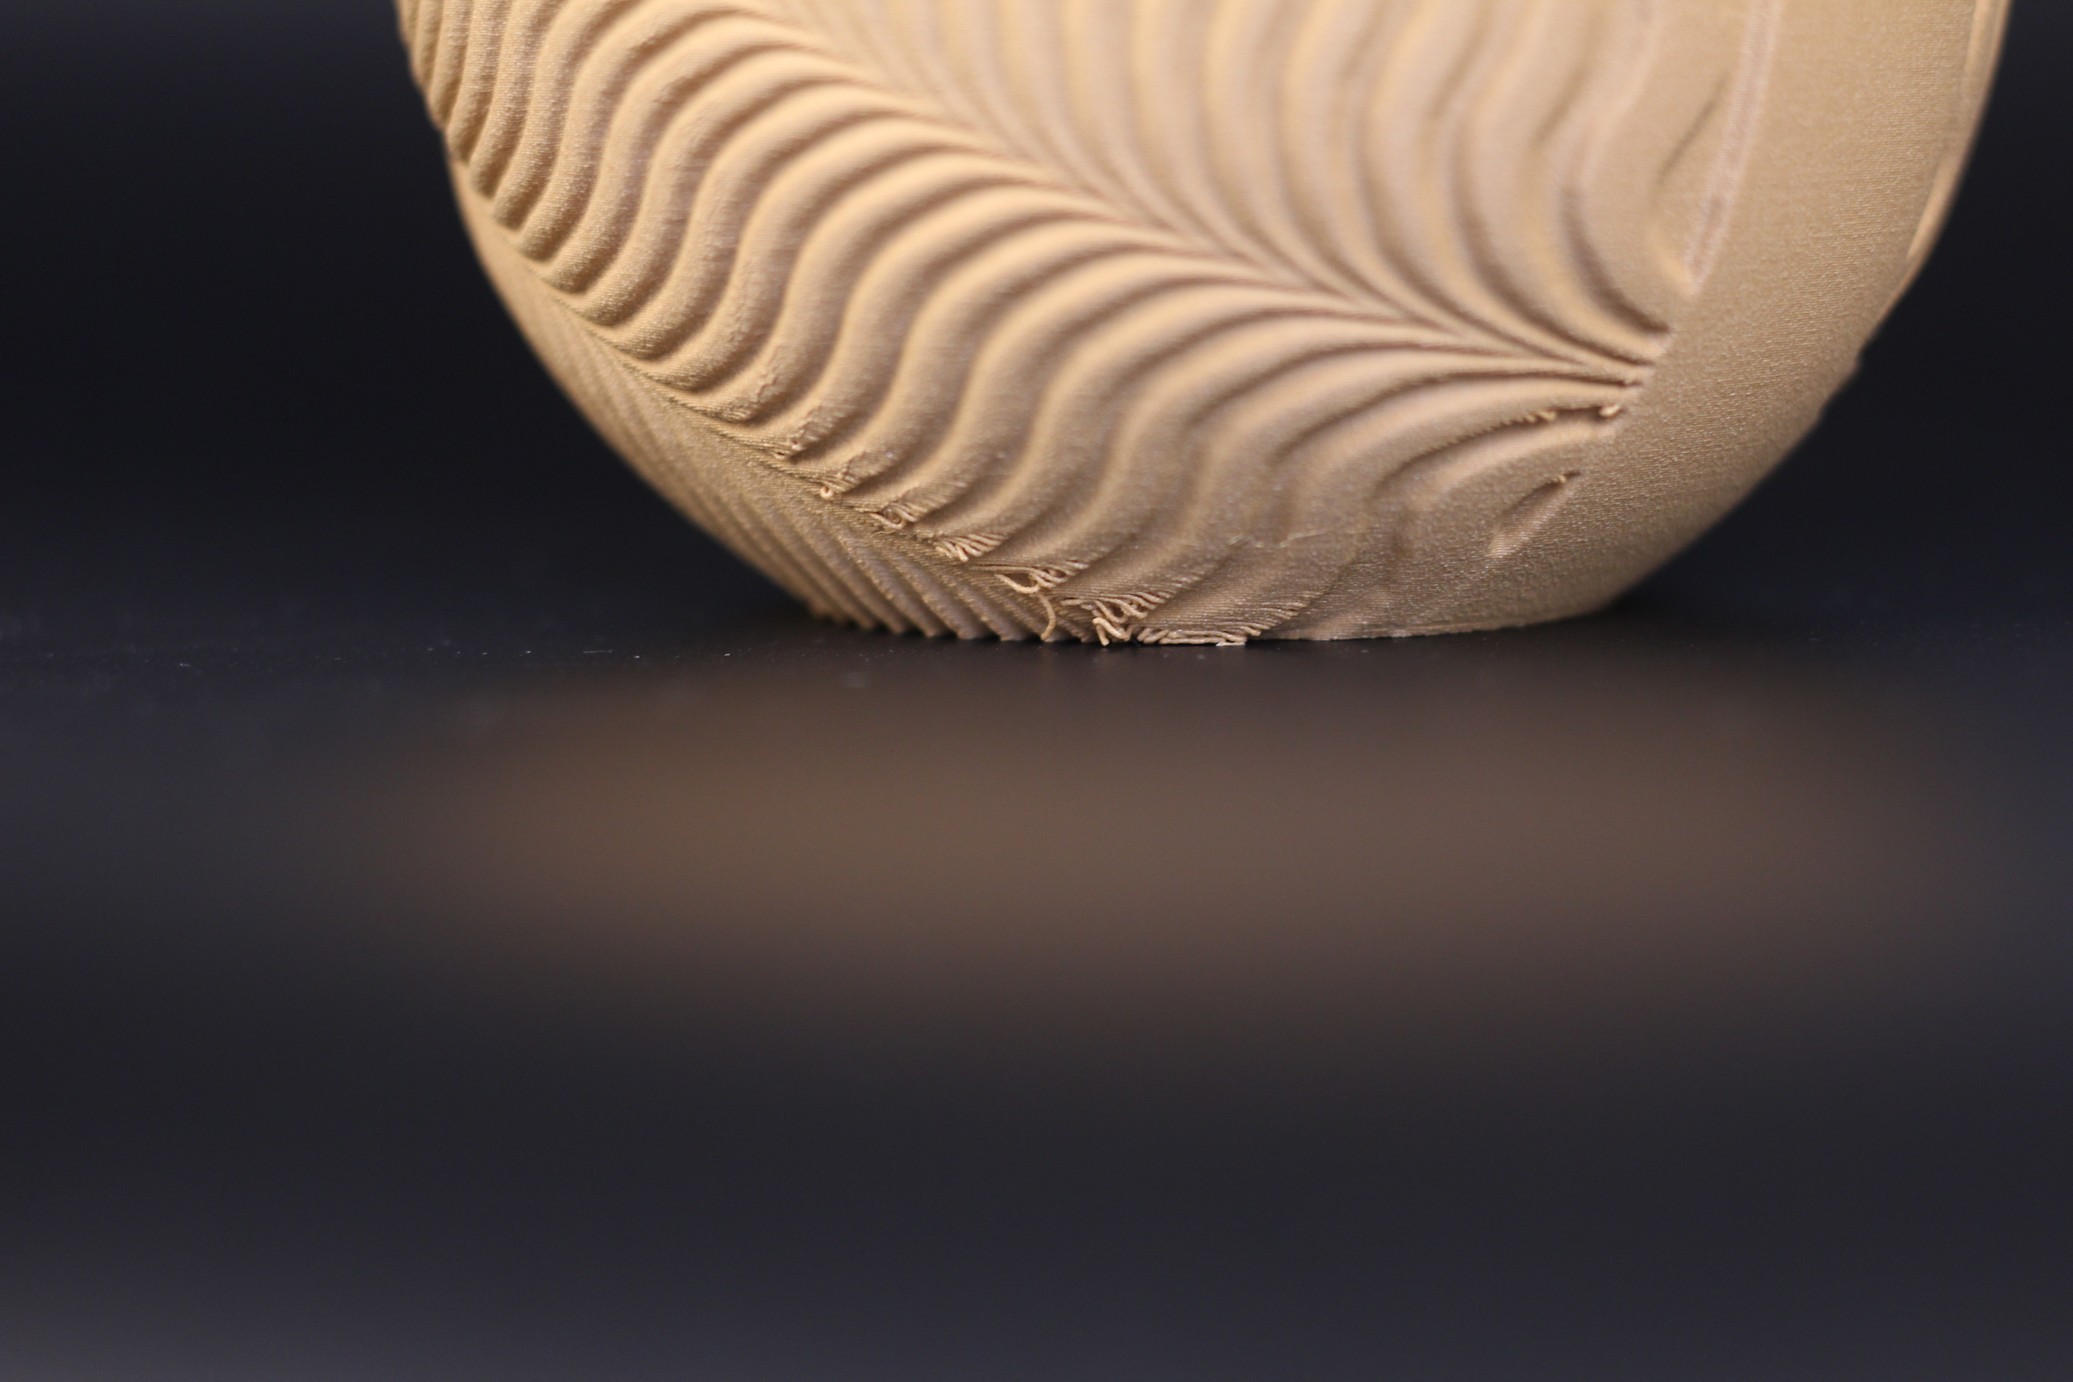
- Material: Polymaker PolyWood
- Layer Height: 0.2mm
- Nozzle Temperature: 210C
- Bed Temperature: 65C
- Print Speed: 80 mm/s
Striped Egg Container
The third egg is the Striped Egg Container from ChaosCoreTech. Even though the print speed was lowered to 80mm/s, the overhang was too much for the stock part cooling fan so I recommend using about 50mm/s for “silky” filaments and lower temperature PLA.
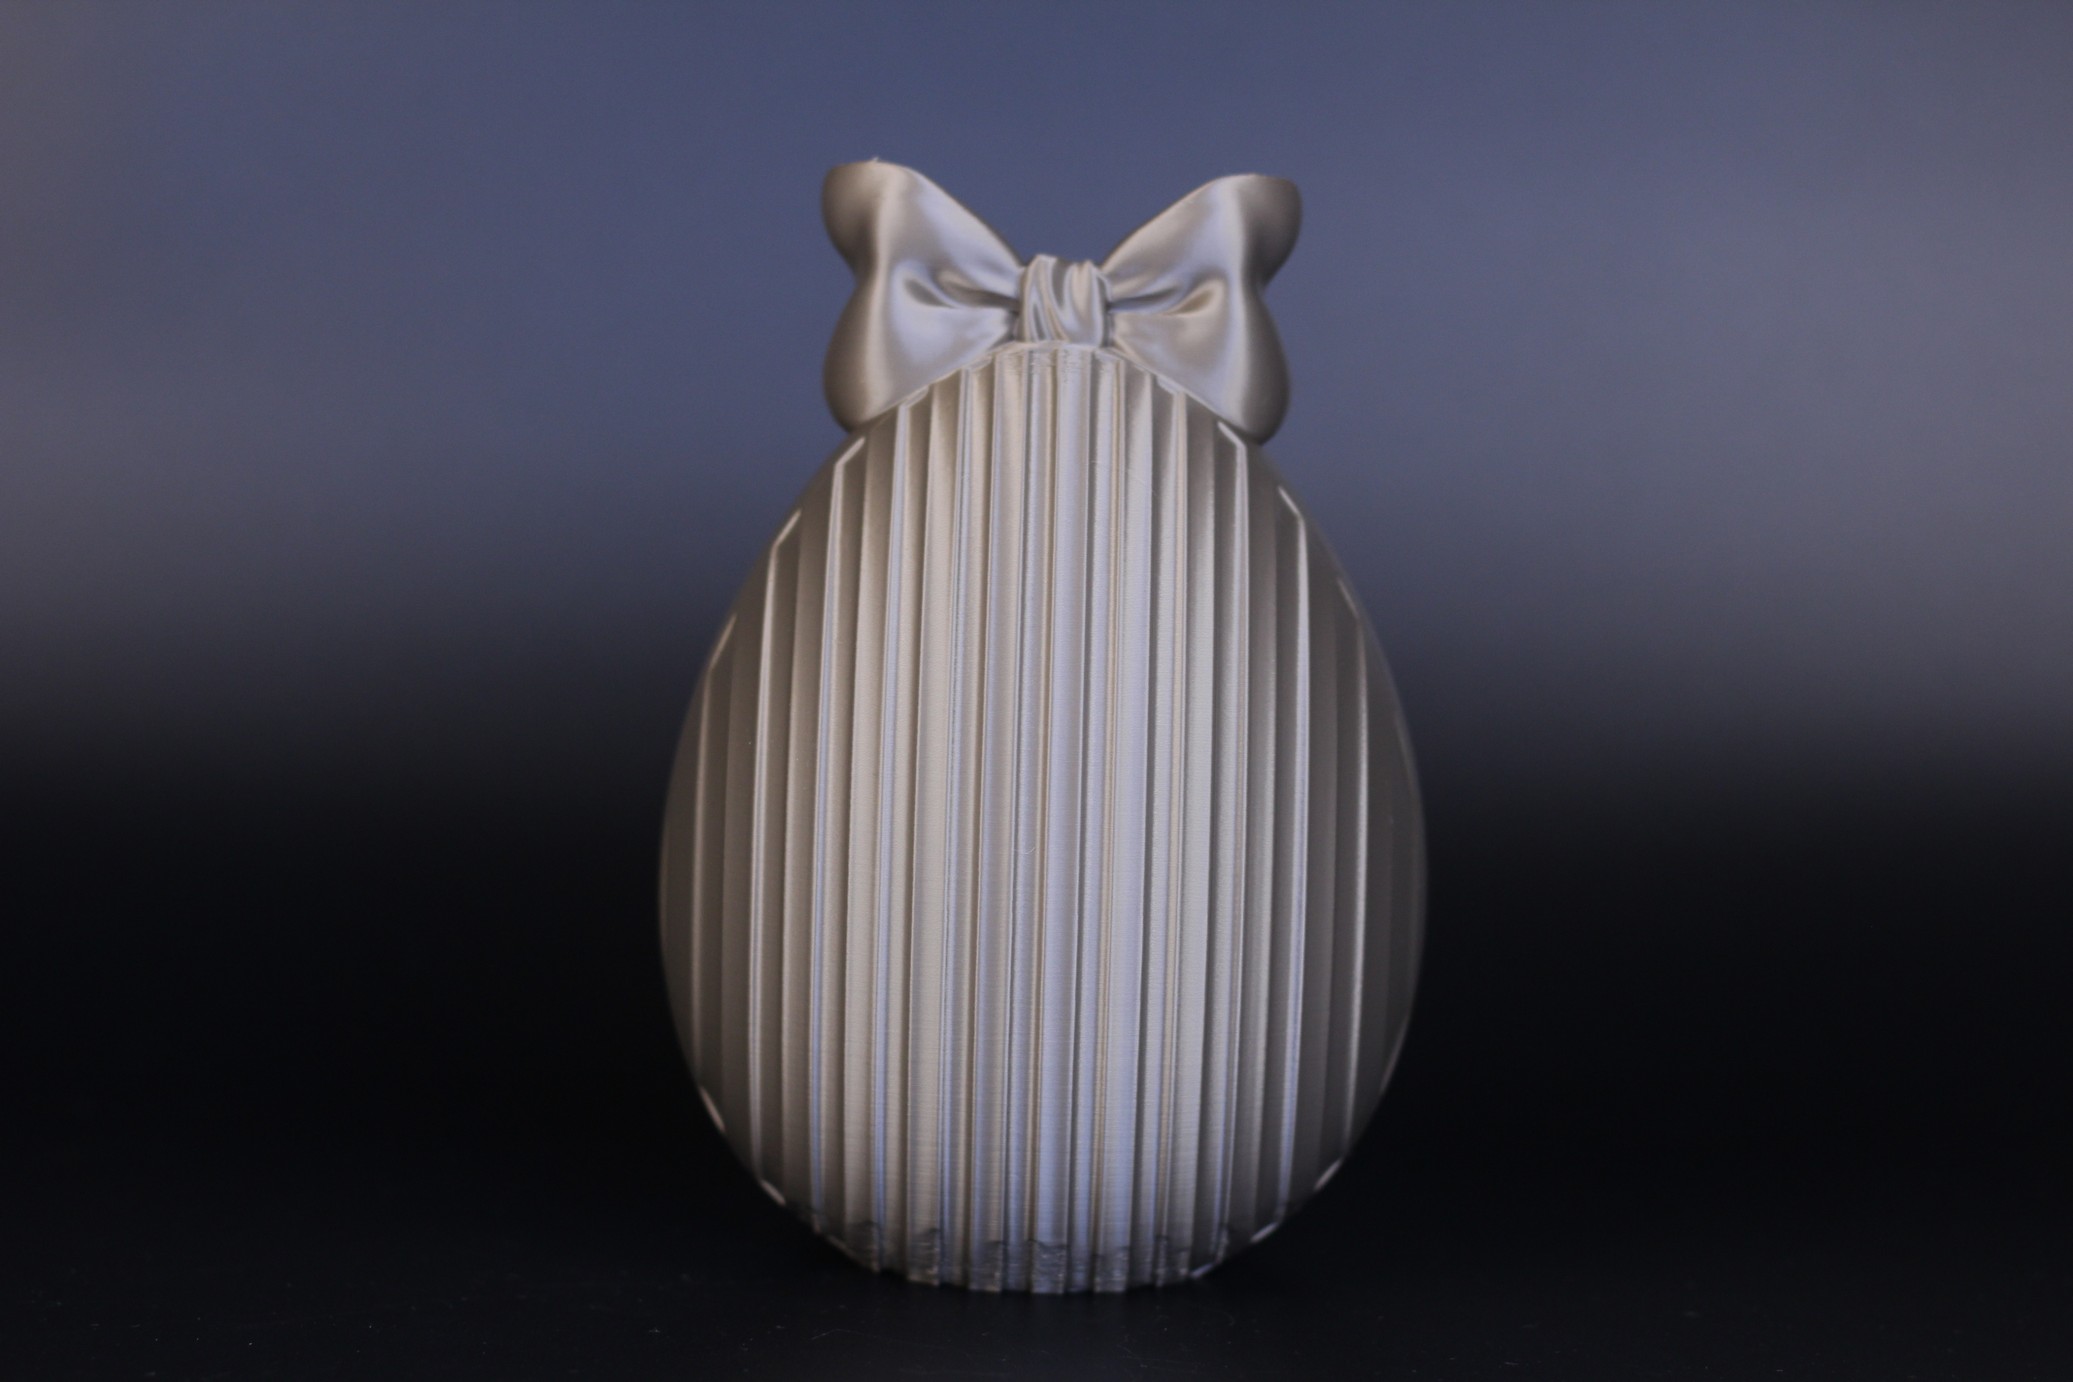
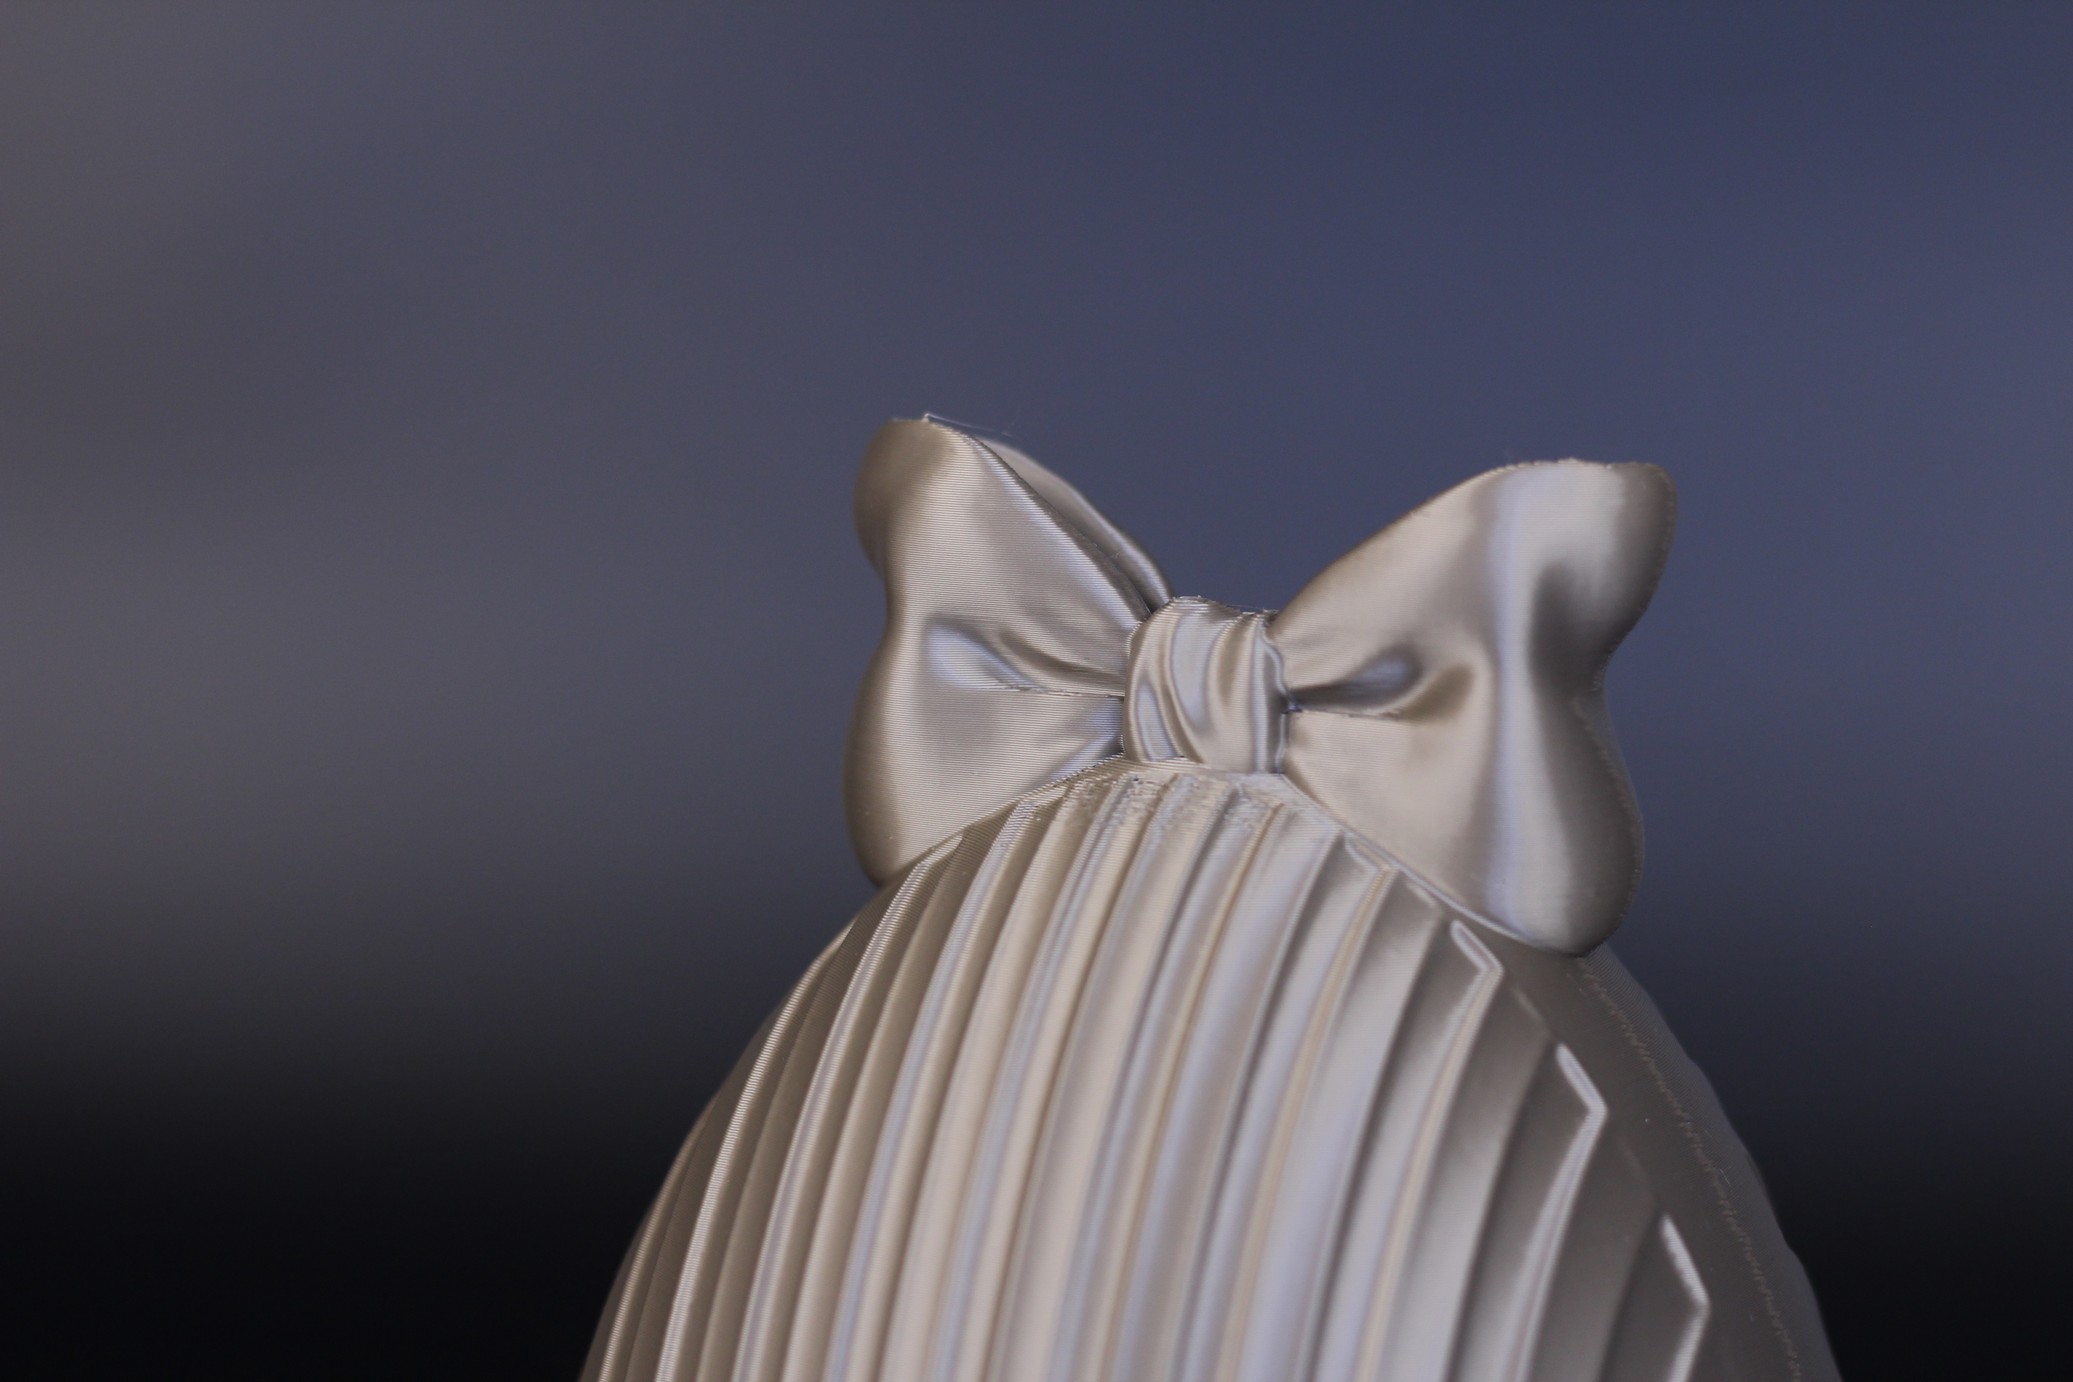
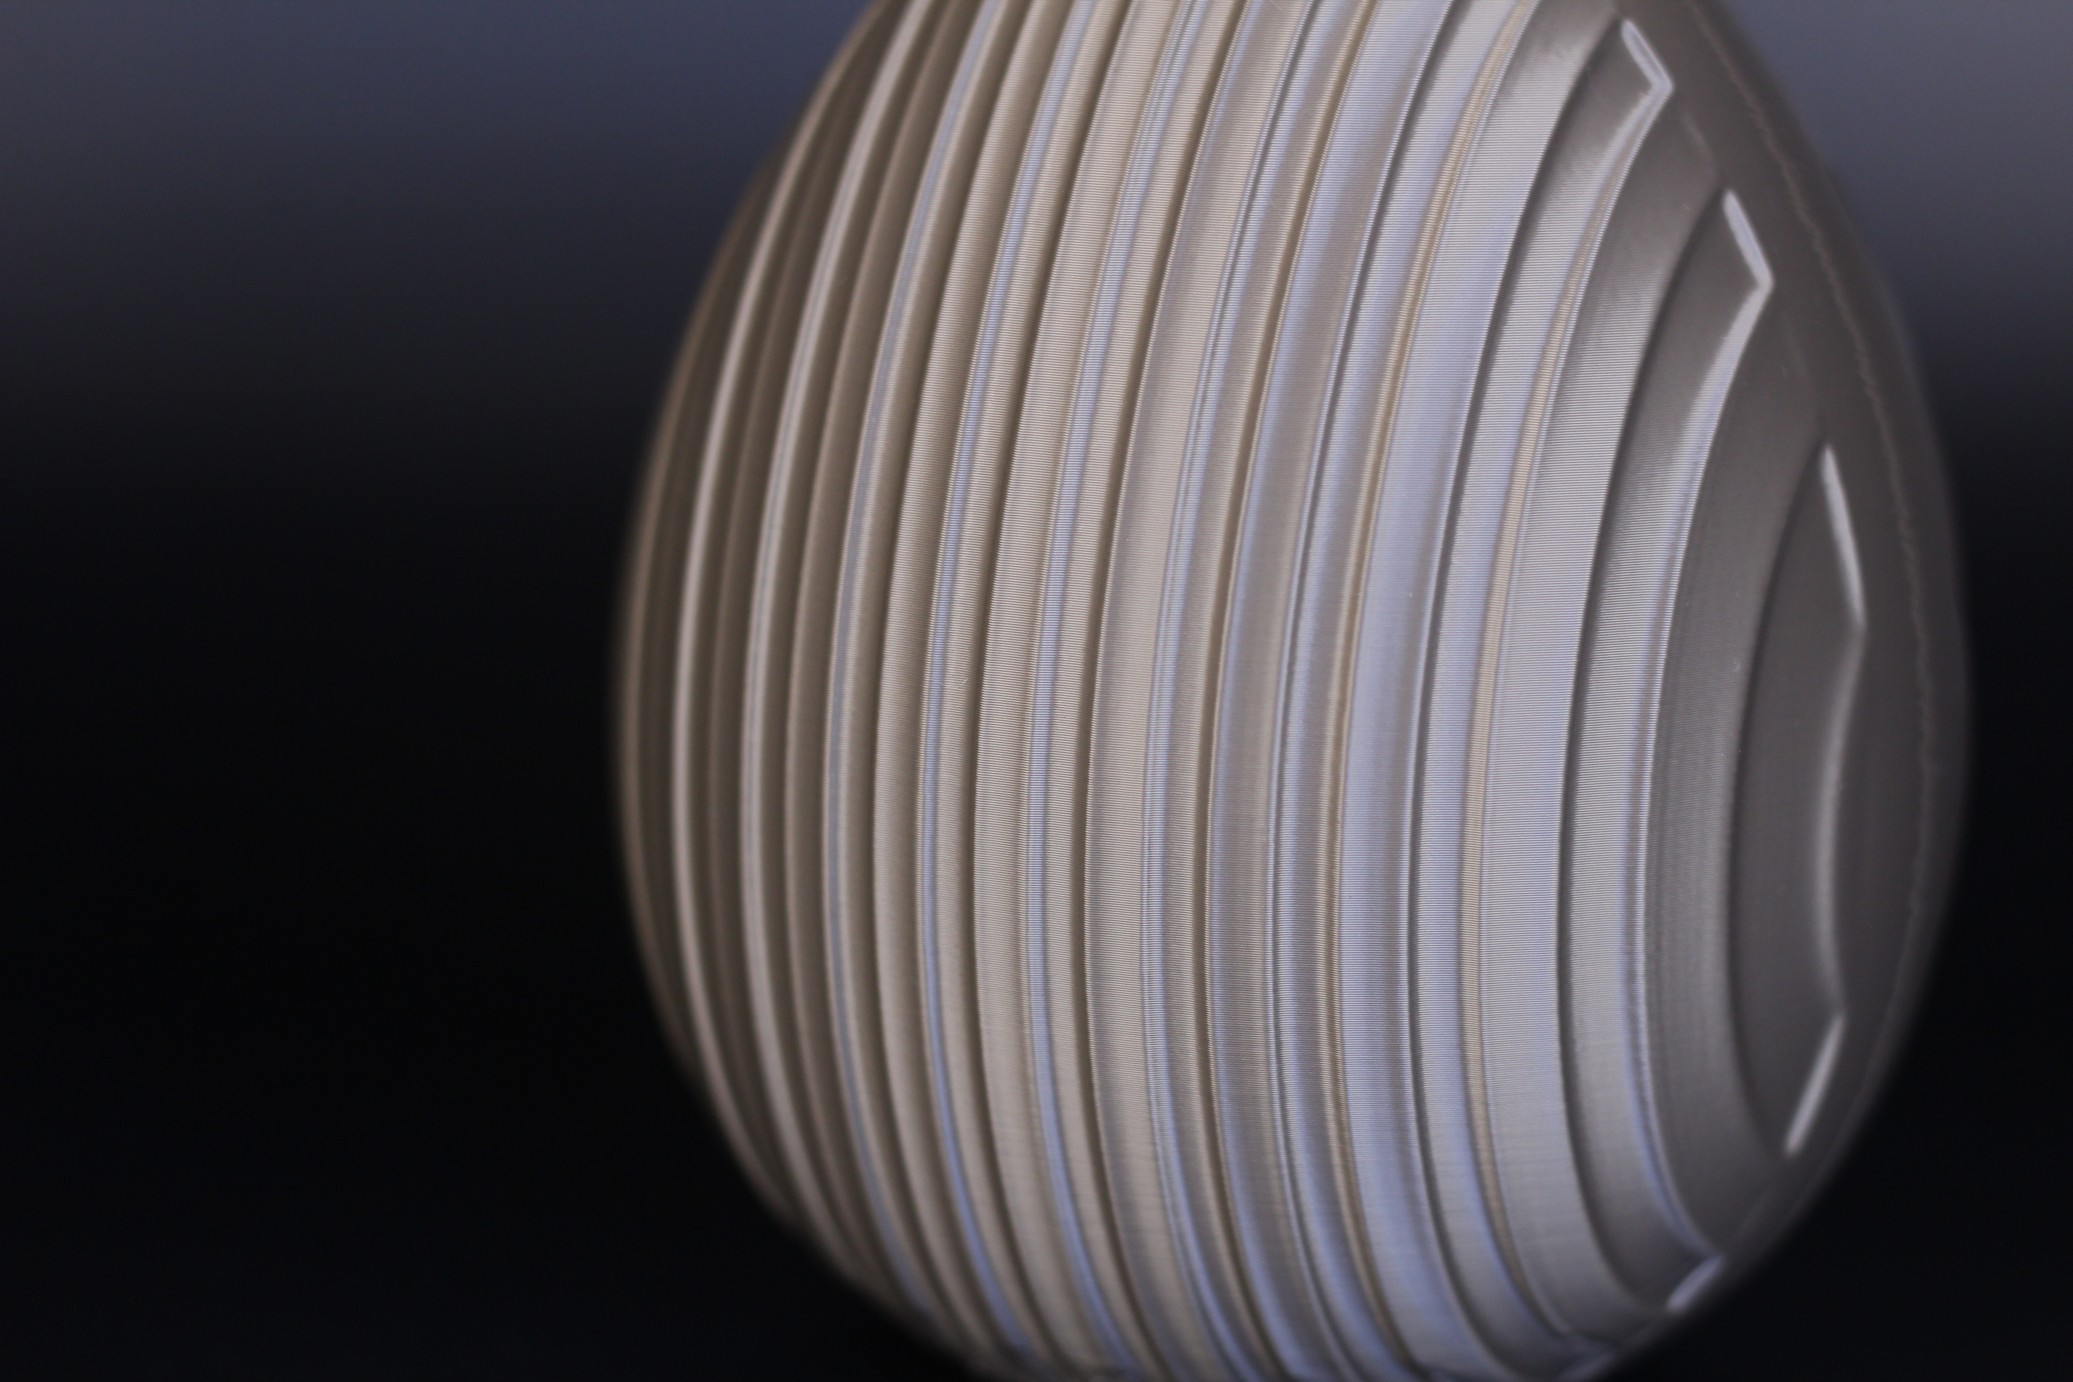
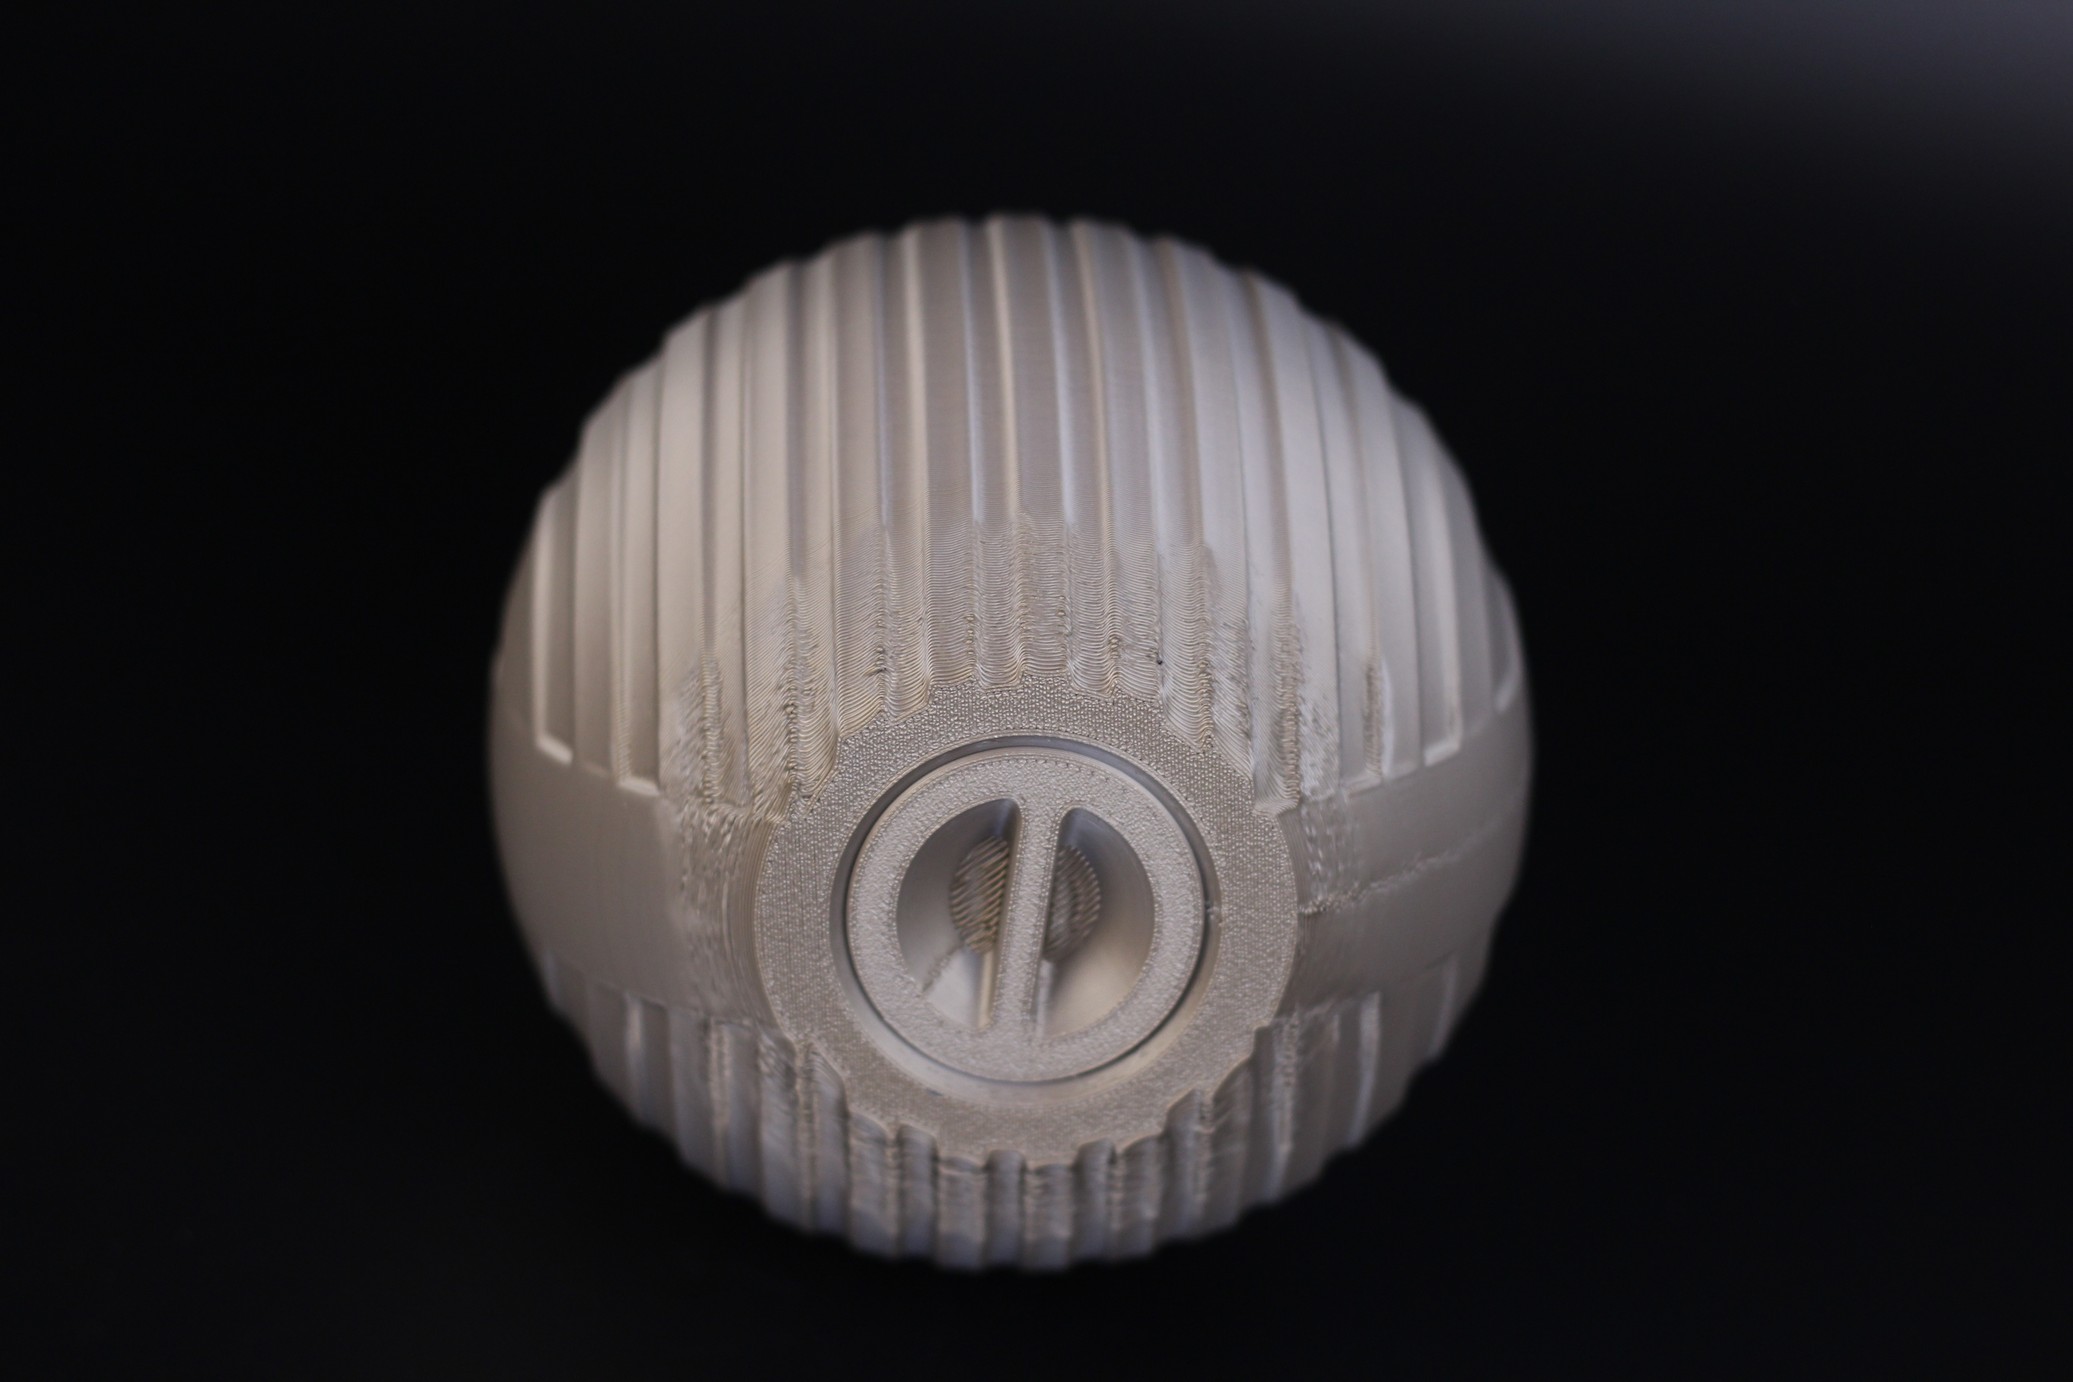
- Material: Gembird “Gold” PLA
- Layer Height: 0.2mm
- Nozzle Temperature: 210C
- Bed Temperature: 65C
- Print Speed: 80 mm/s
Mega Planetary Egg Container
Oh man, another egg?! Yeah. Sorry for that. But the Mega Planetary Egg Container from 3DPrintingWorld is just too cool not to print it. It’s printed in place, and I think it was a good test model for PETG print quality on the Voron Trident.
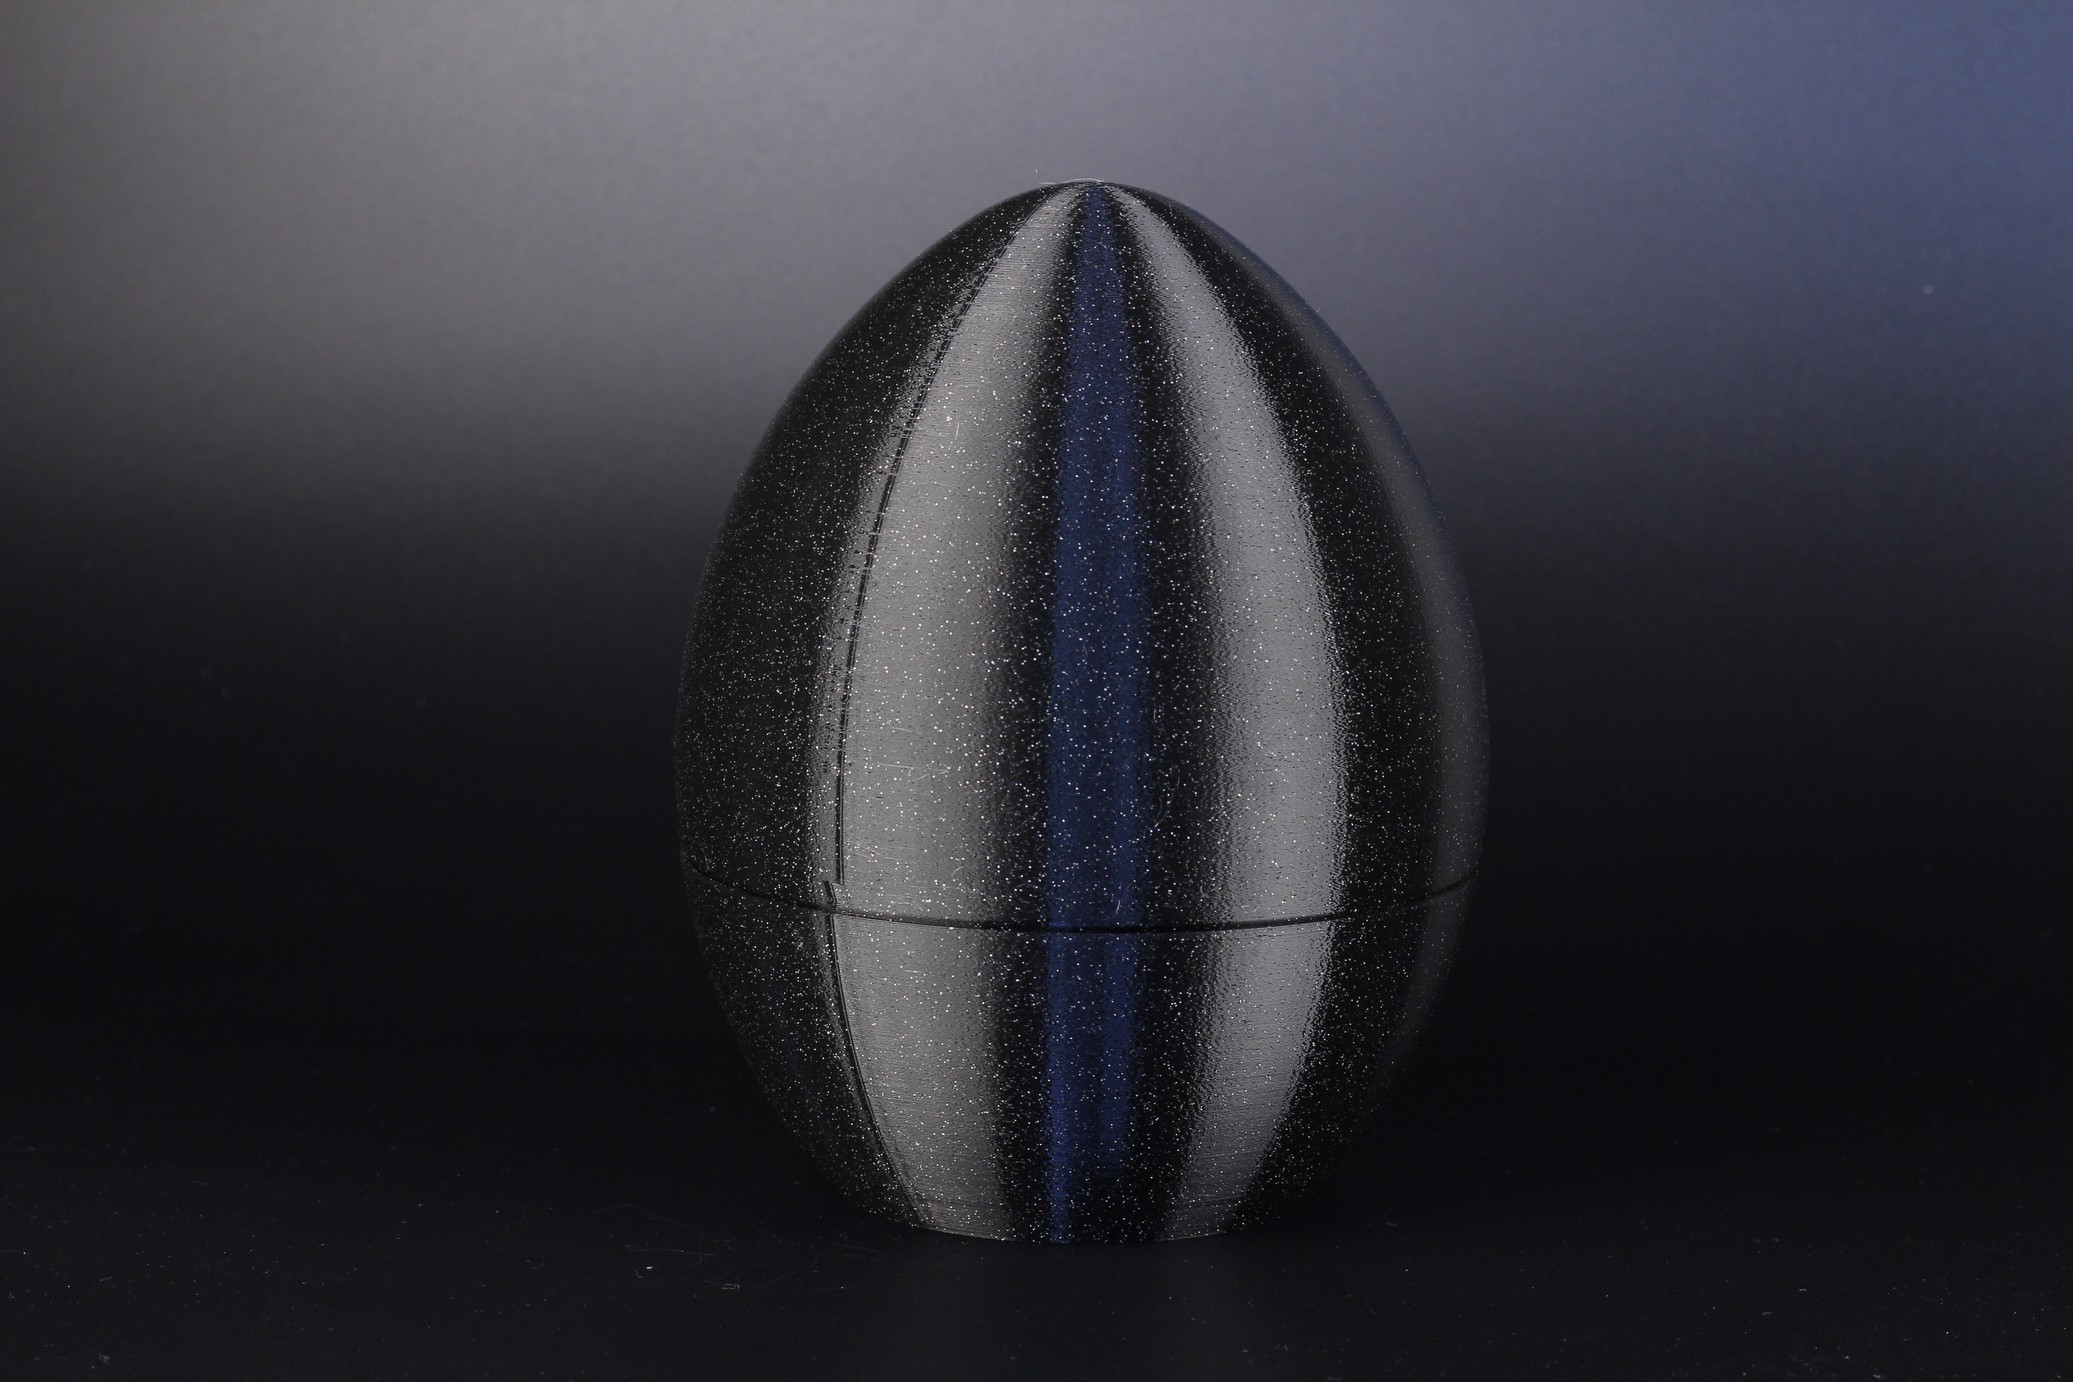
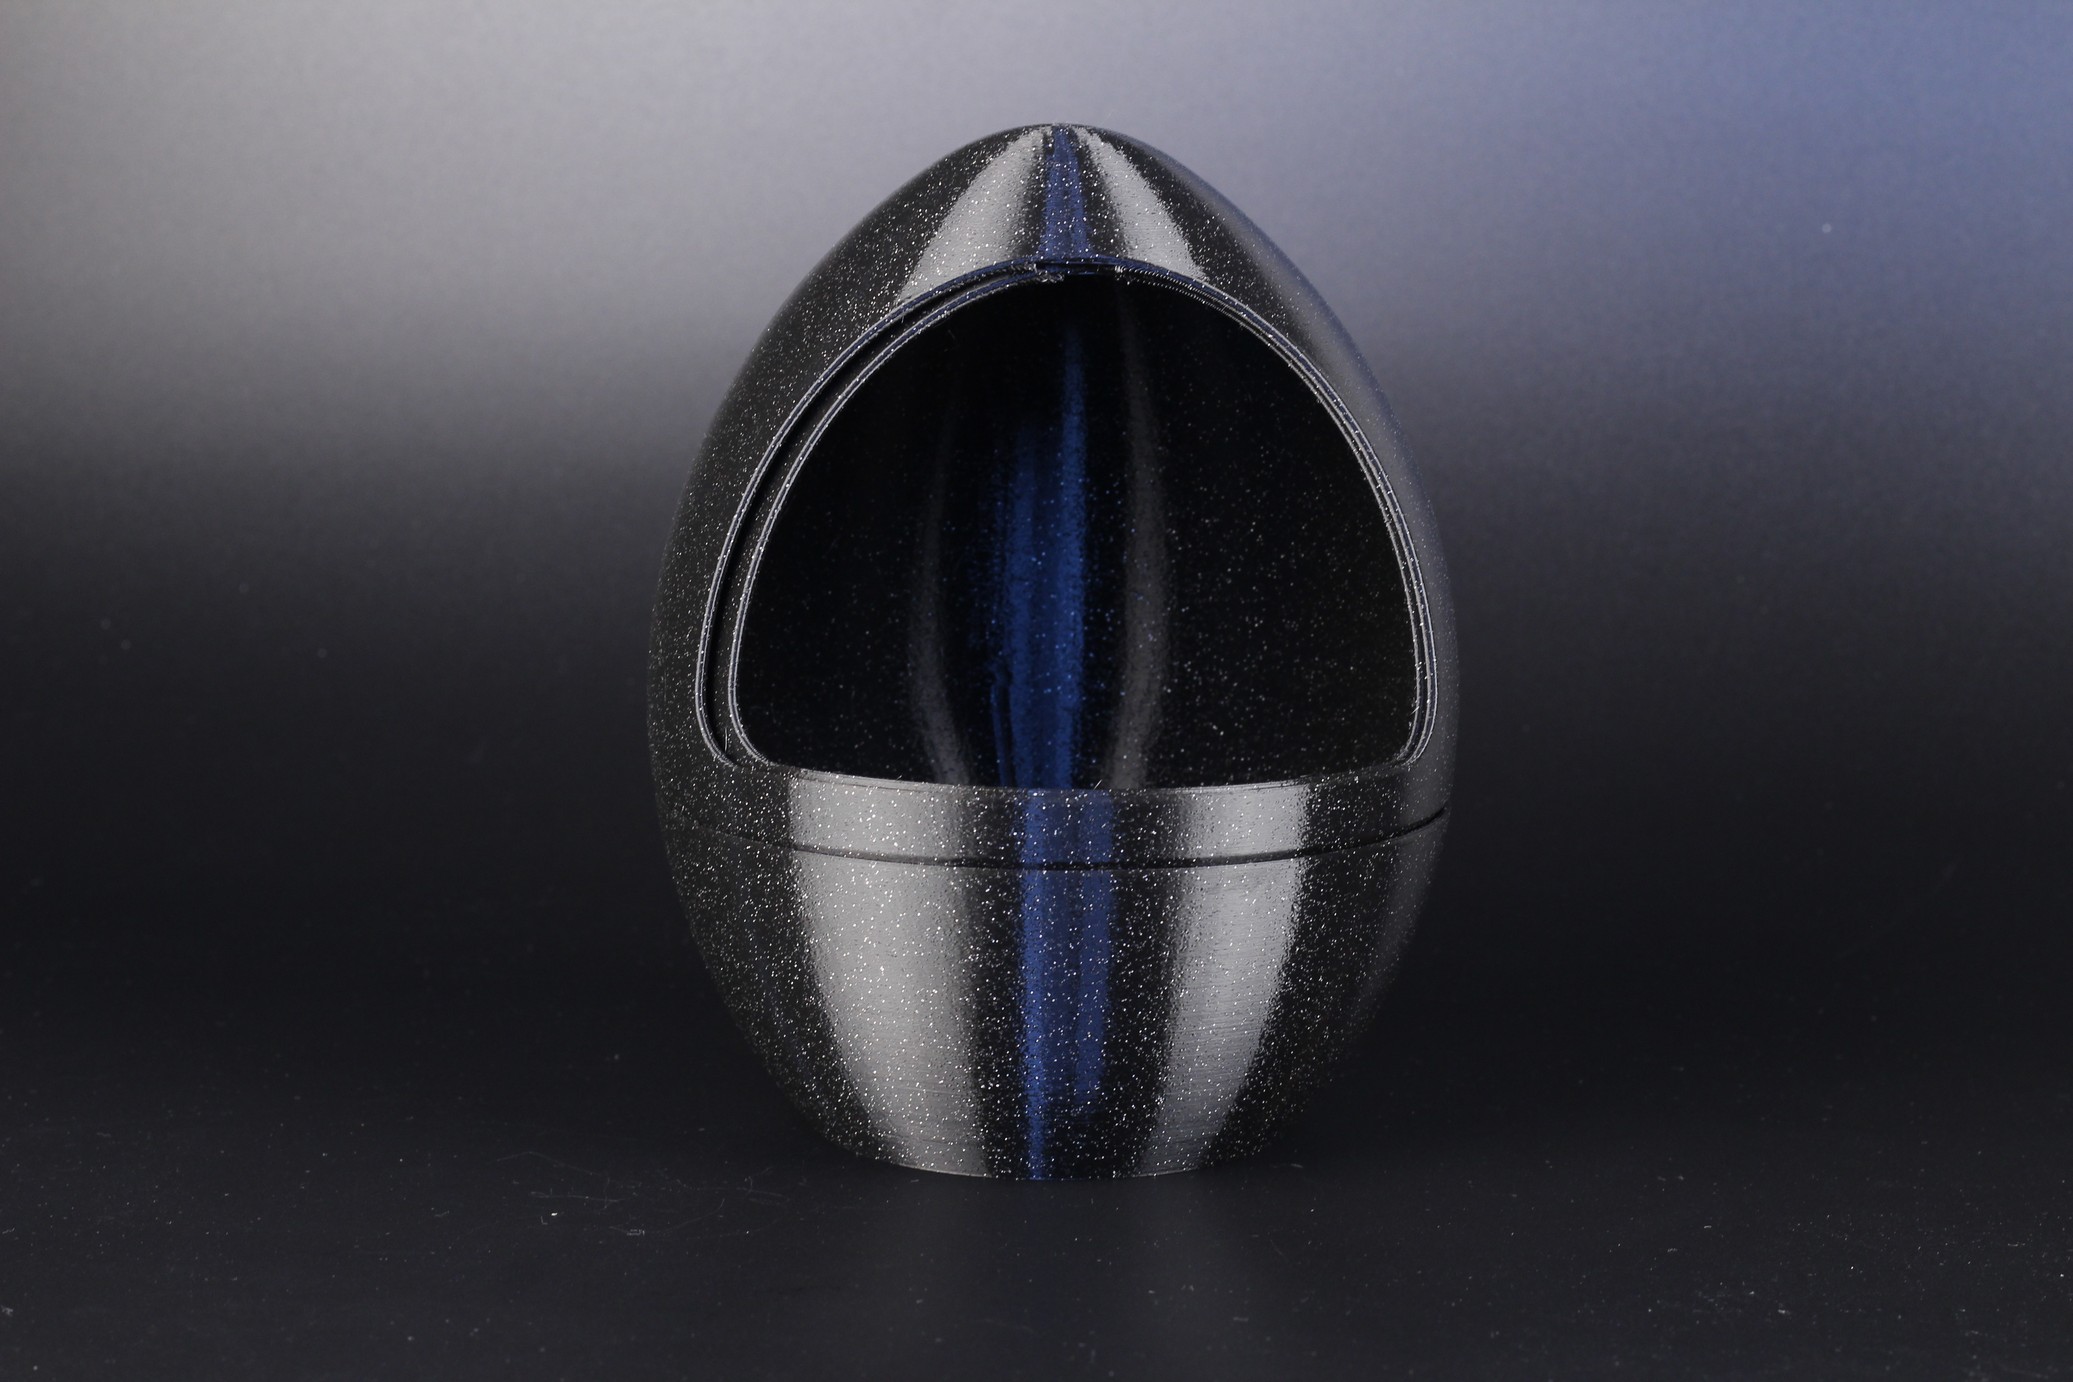
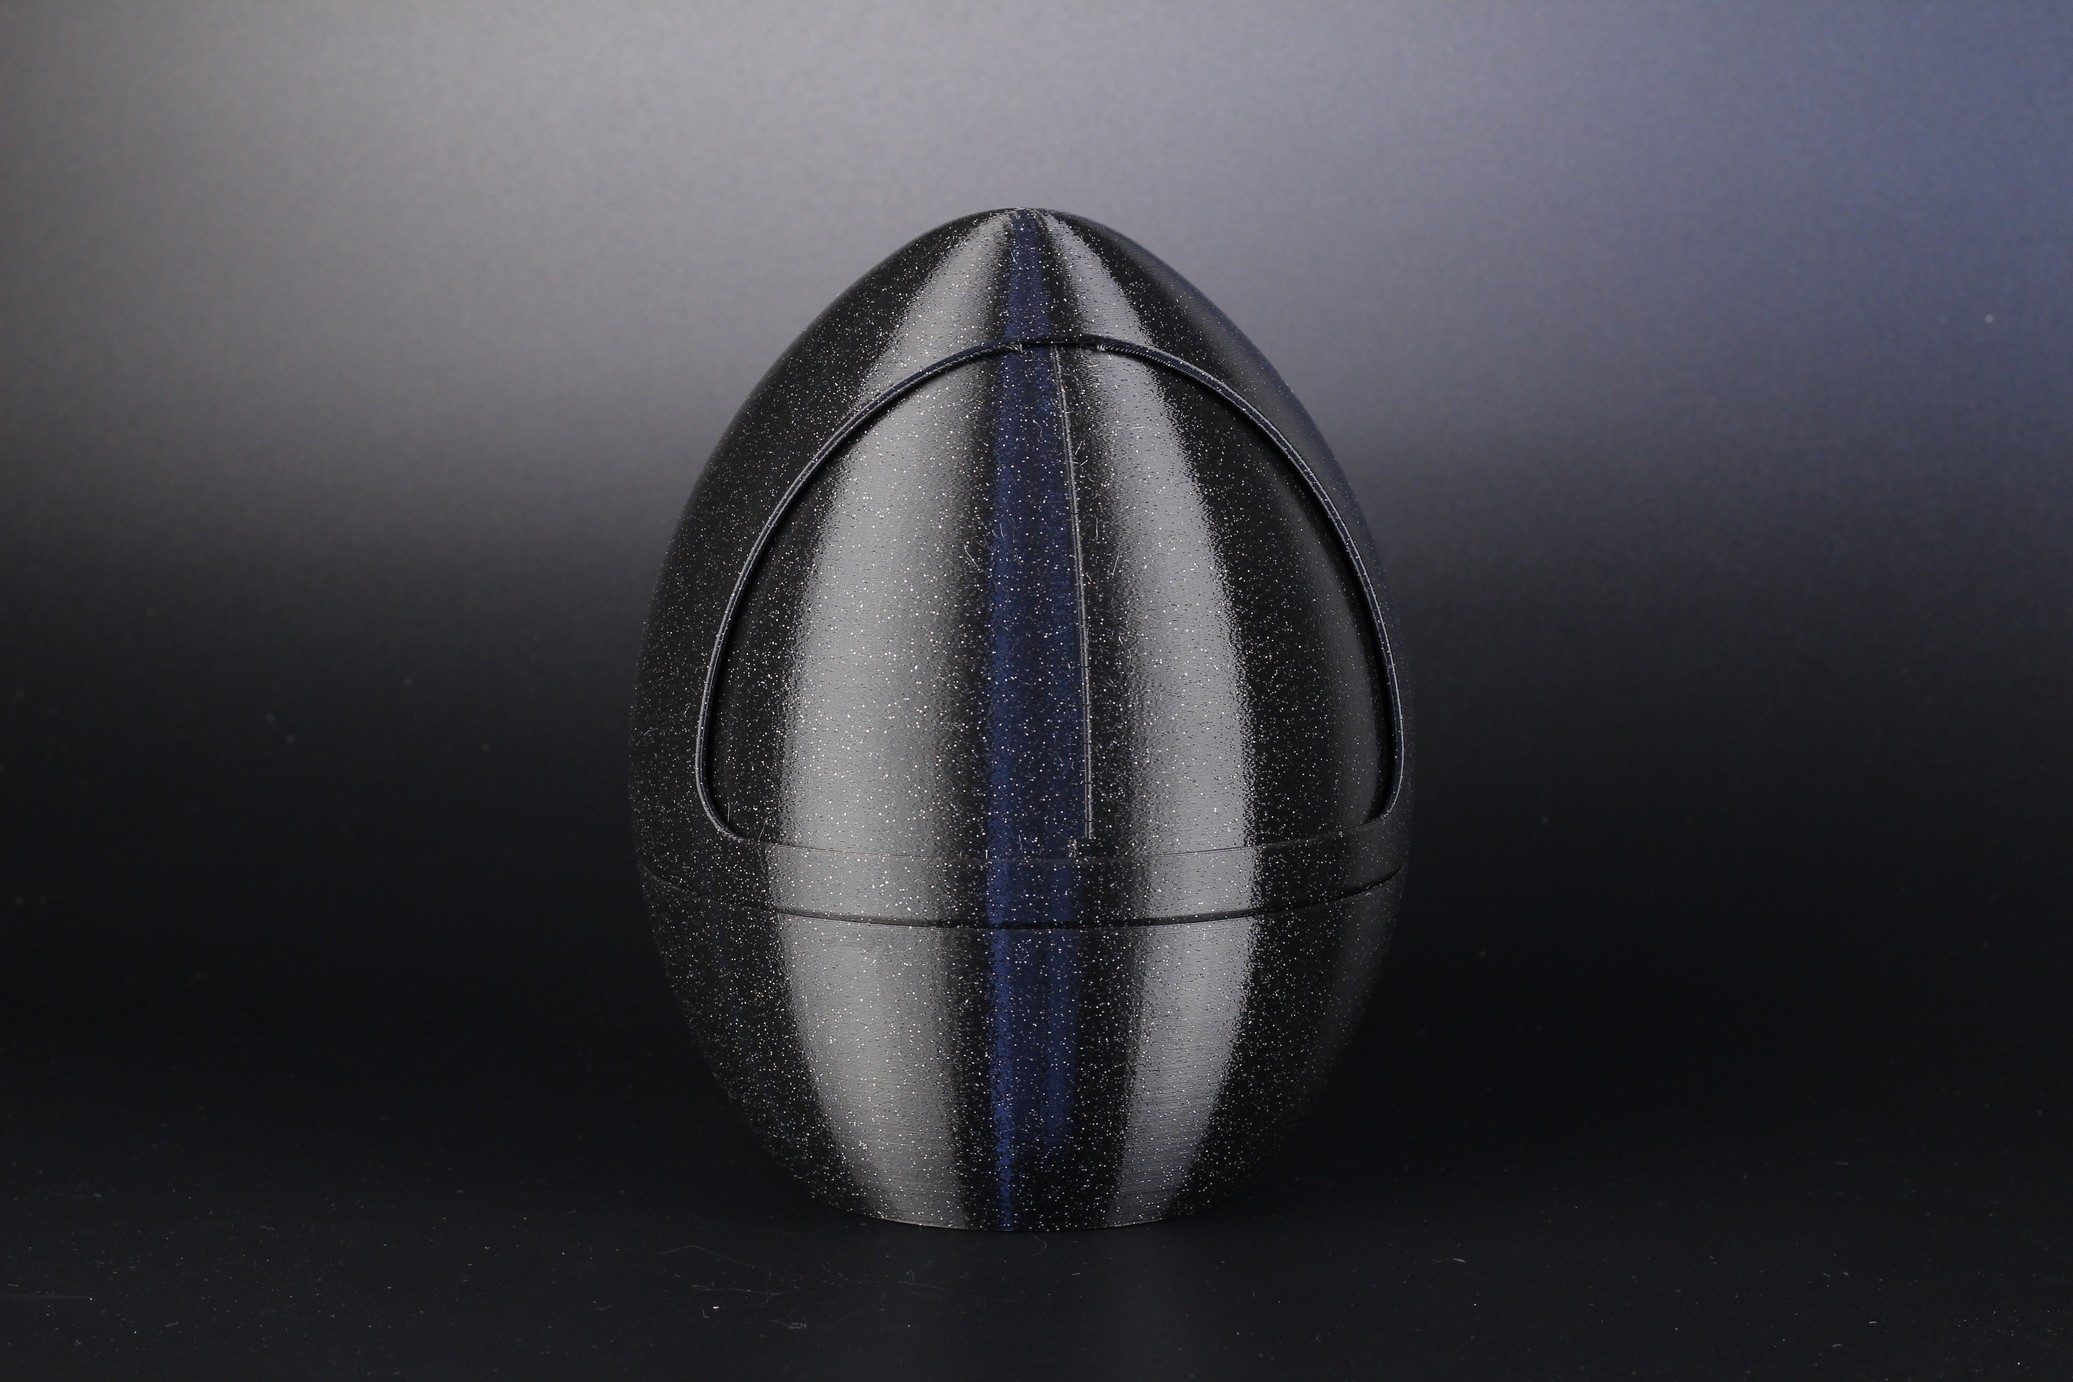
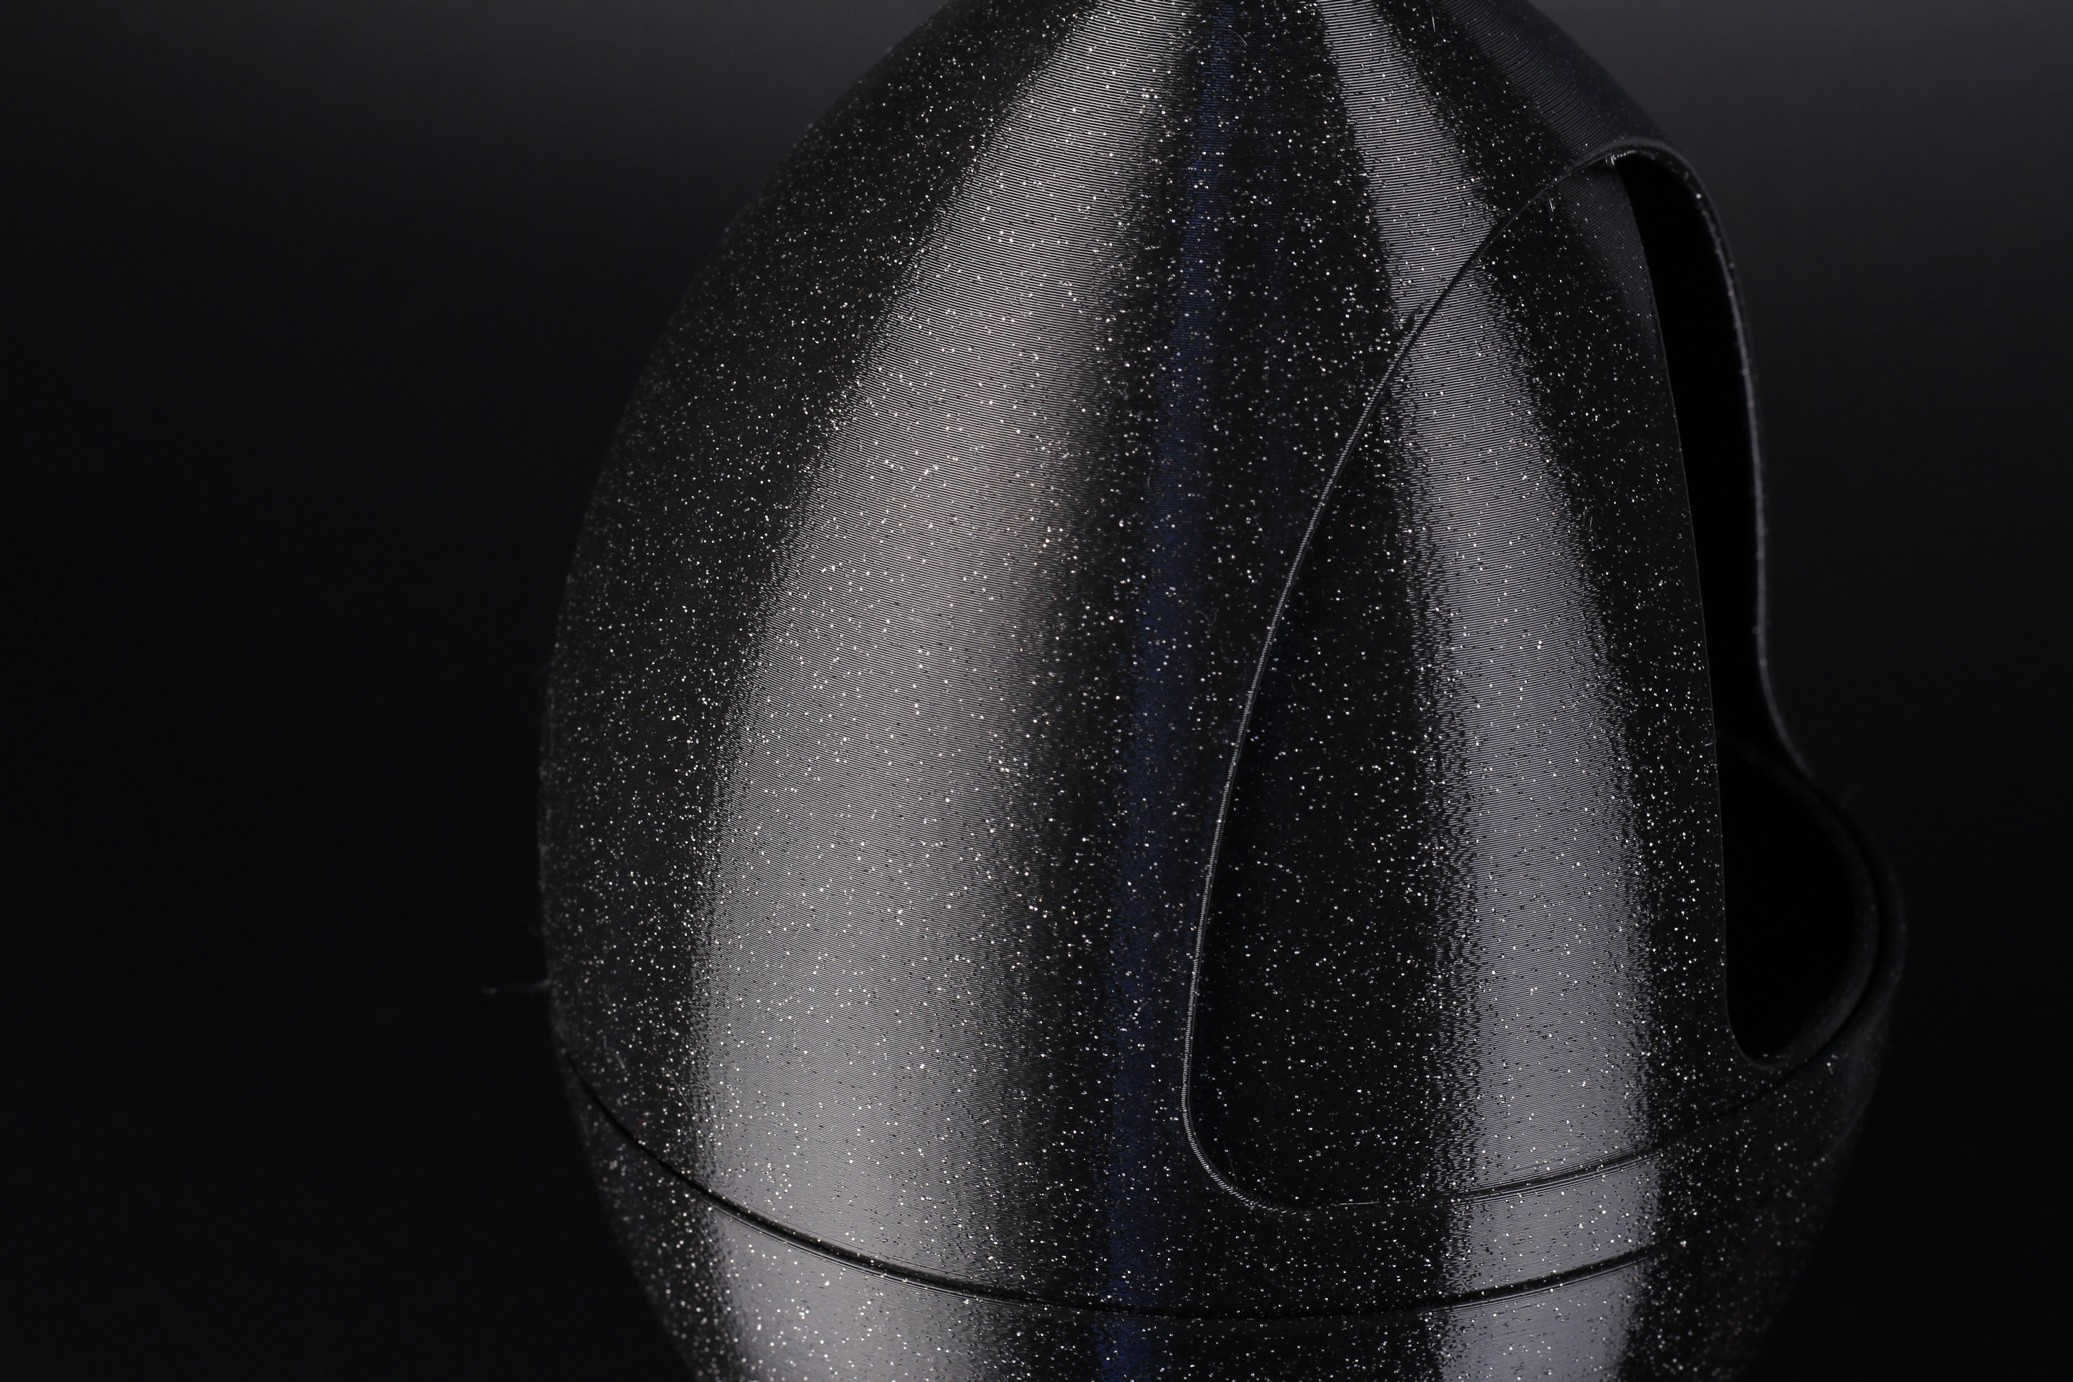
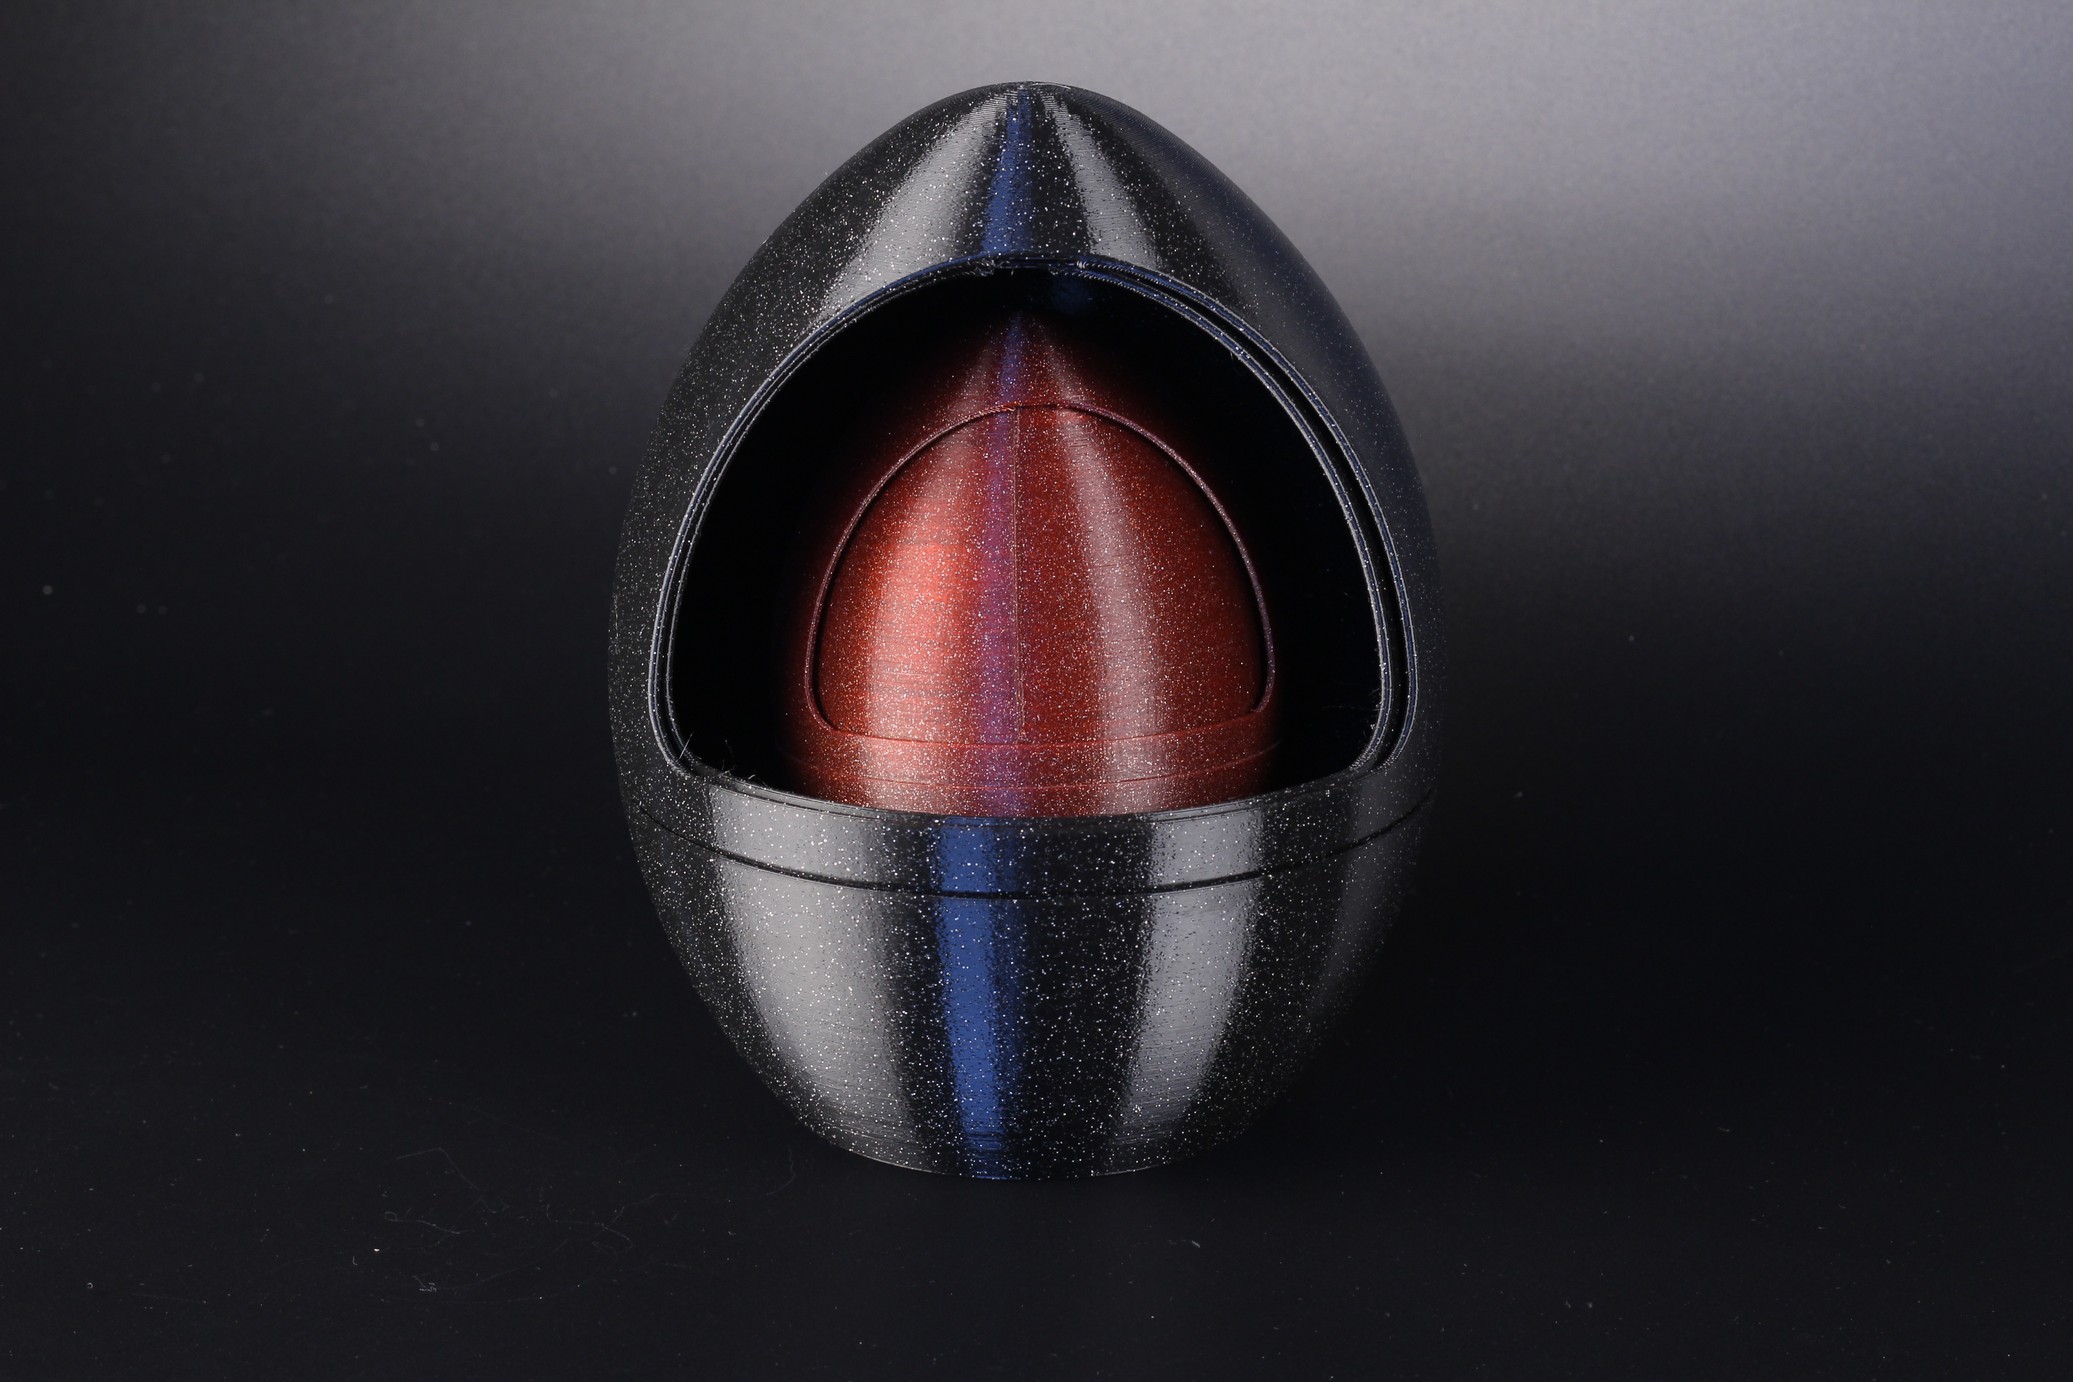
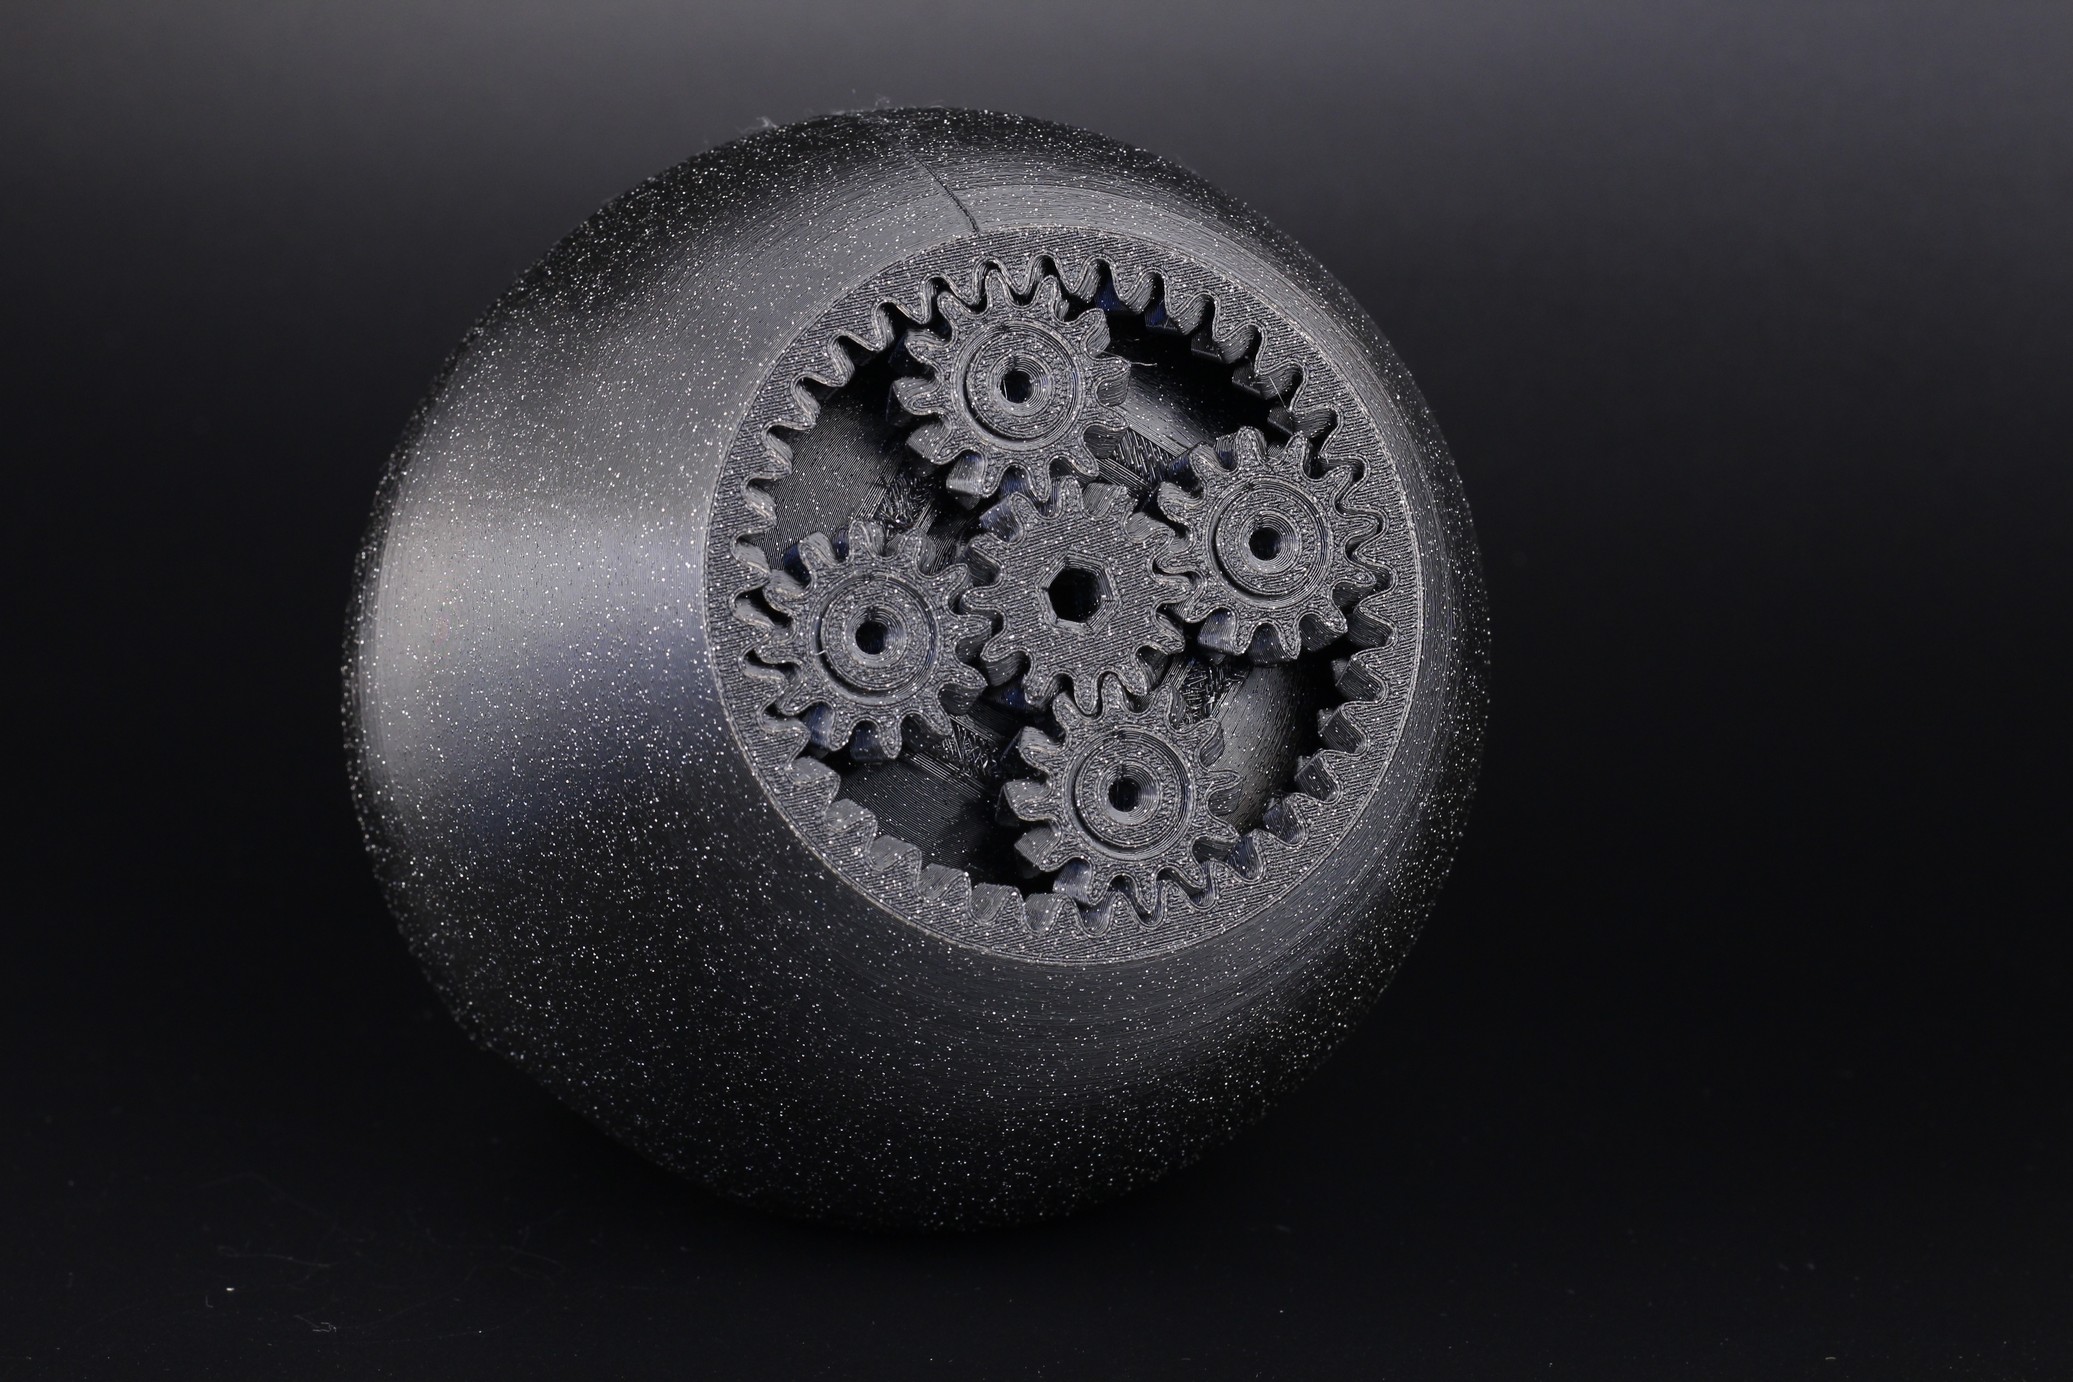
- Material: Devil Design Galaxy Black PETG
- Layer Height: 0.2mm
- Nozzle Temperature: 230C
- Bed Temperature: 70C
- Print Speed: 100 mm/s
Egg with Ears
I wanted to also do a BioFusion filament print because this filament can evidentiate potential print quality issues with 3D printers. And as you can see, there’s a tiny bit of Z banding shown on some portions of the model. Not sure what causes this, maybe the slower print speed. Either way, the print quality is decent.
And I promise. The egg with ears is the last egg printed on the Voron Trident!
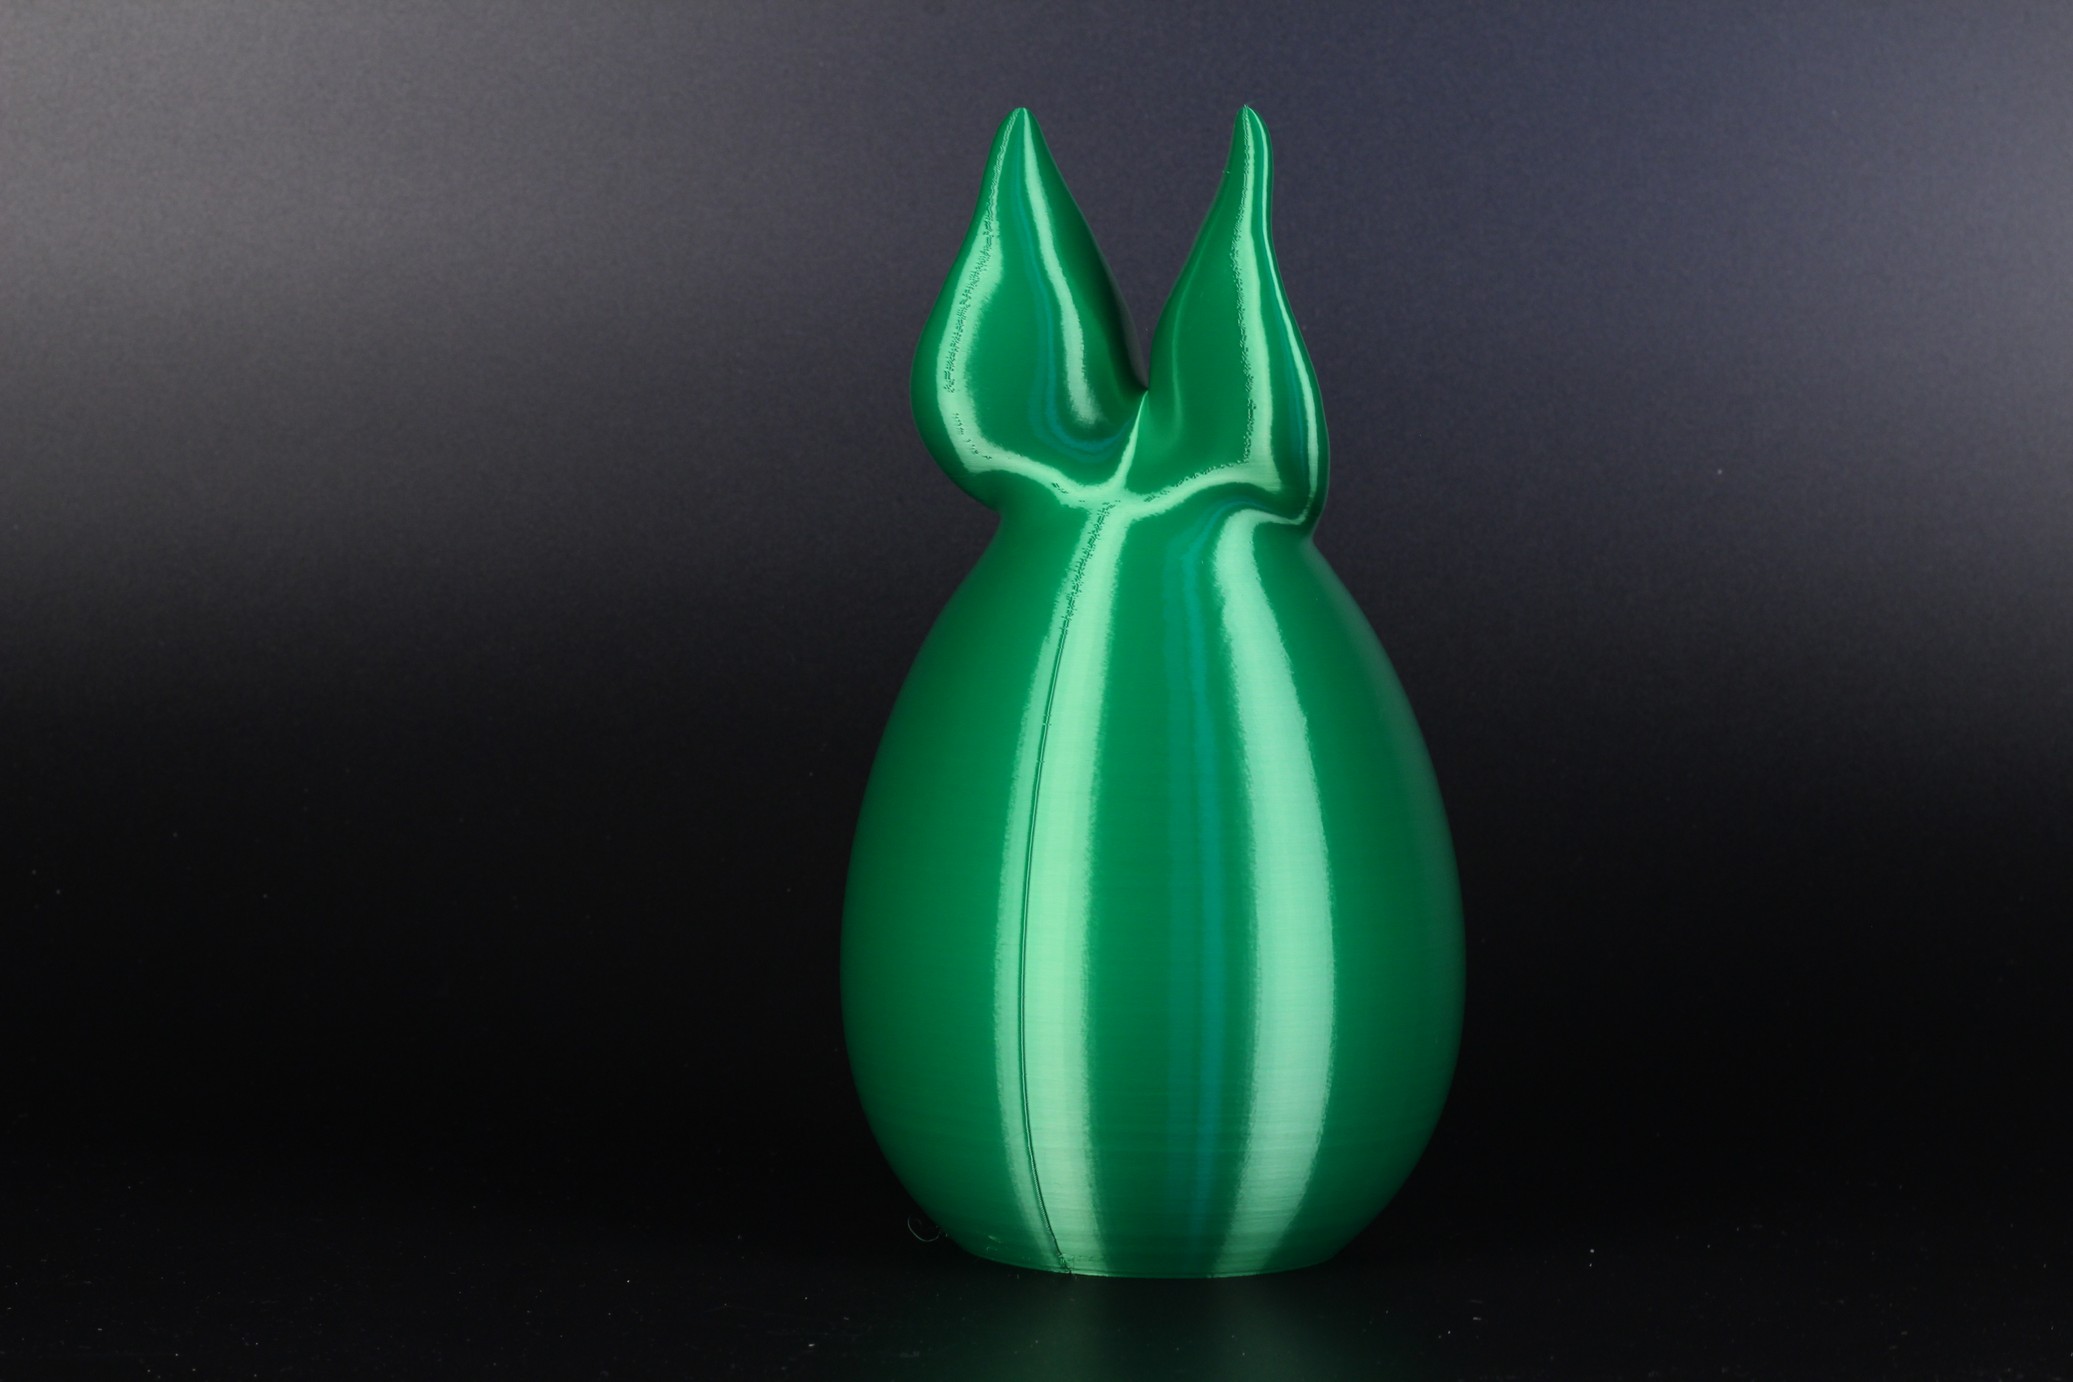
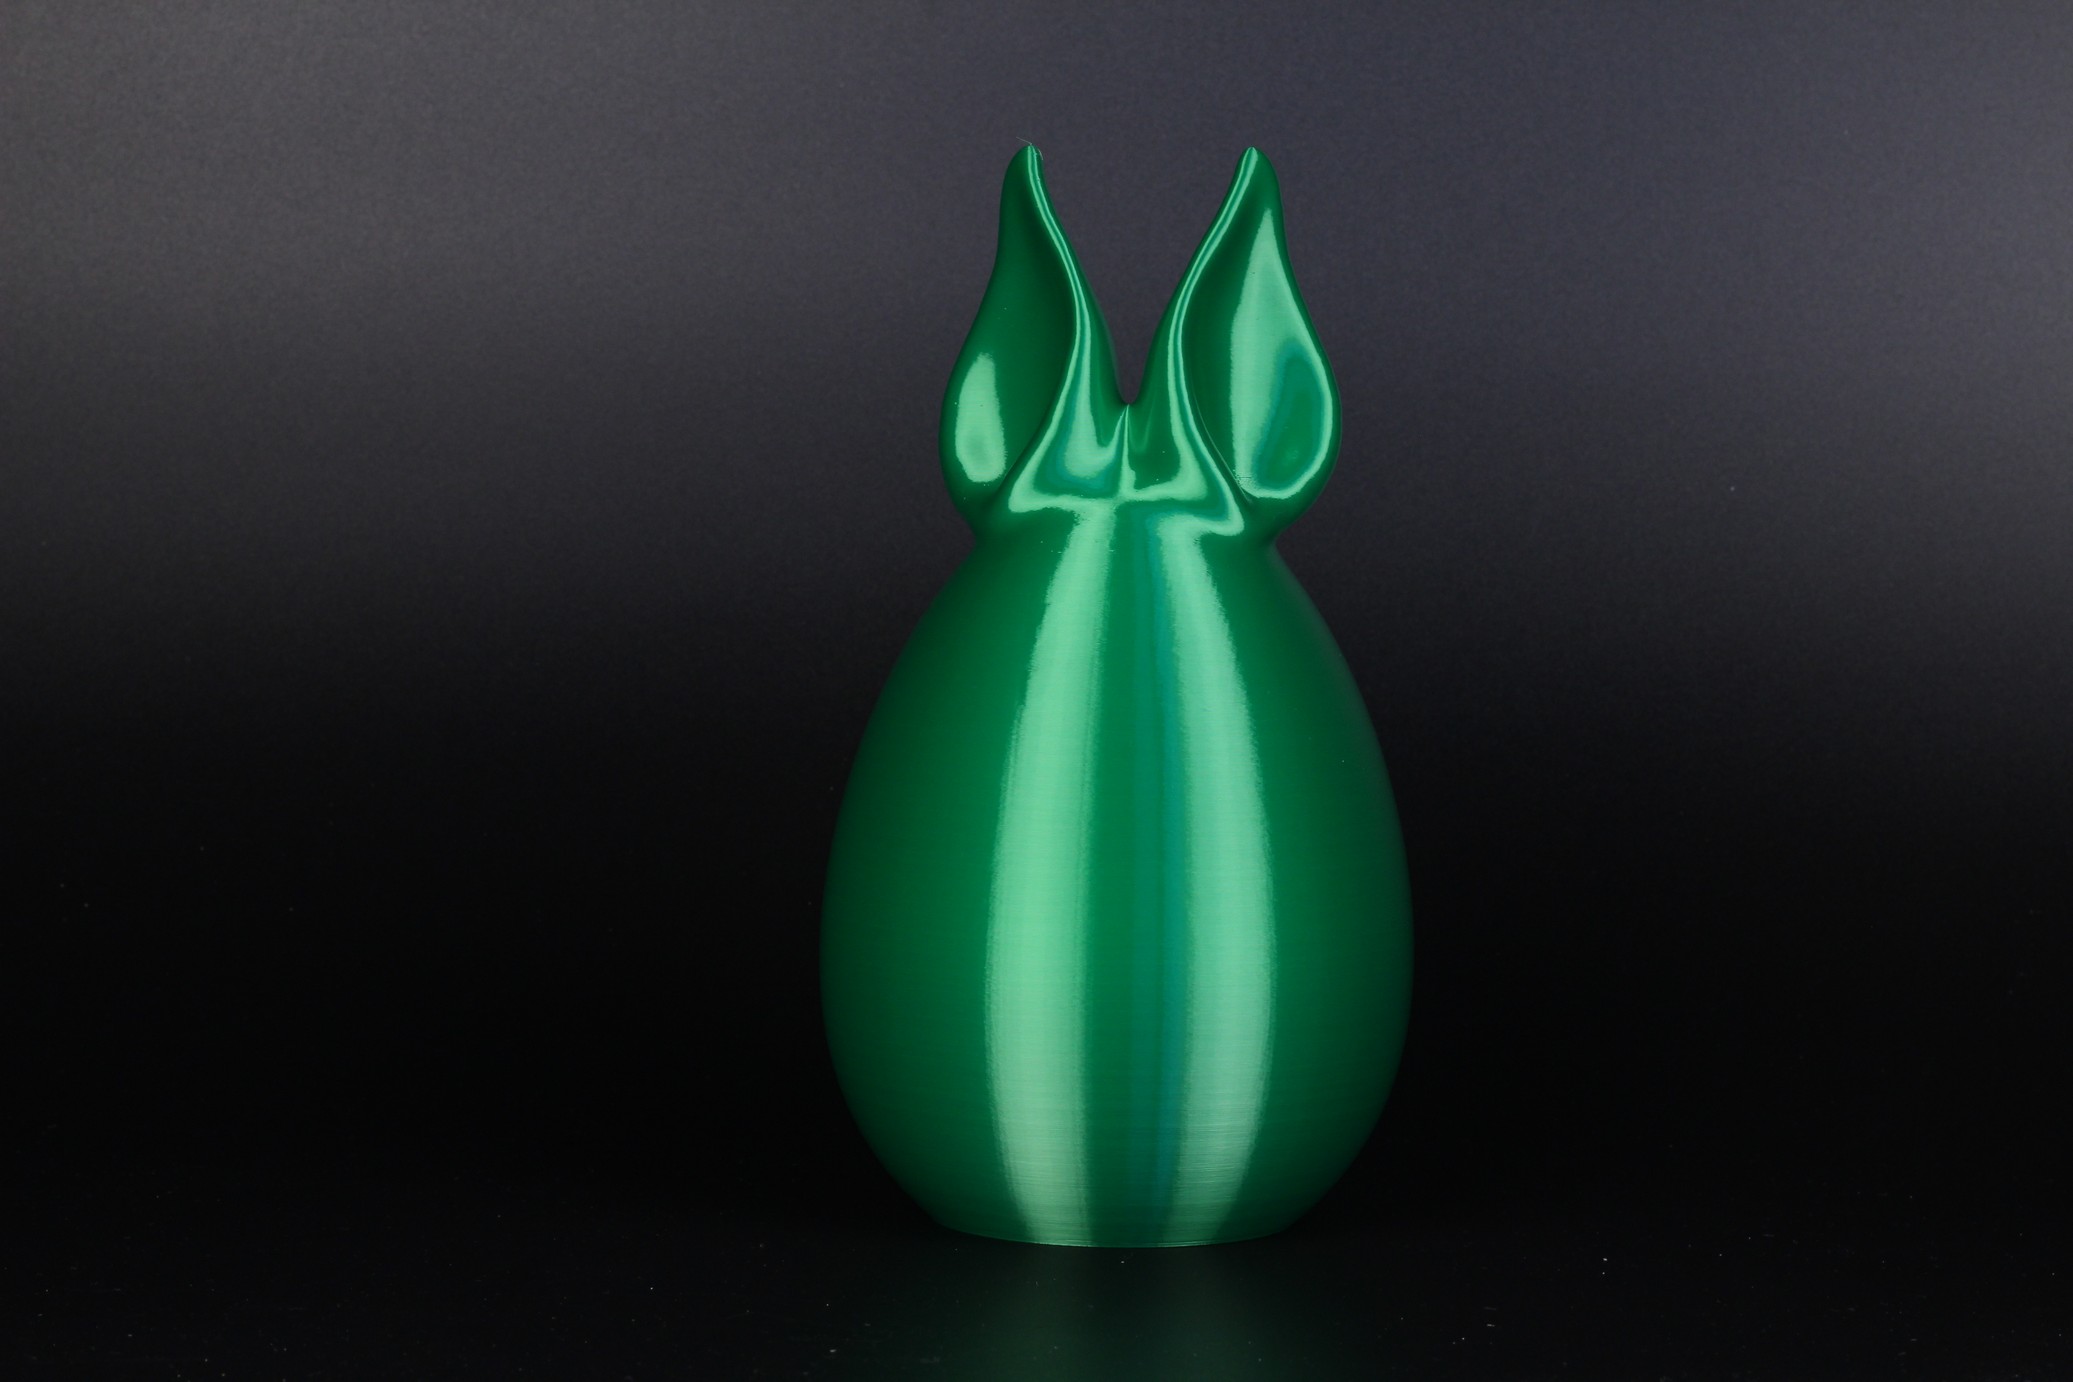
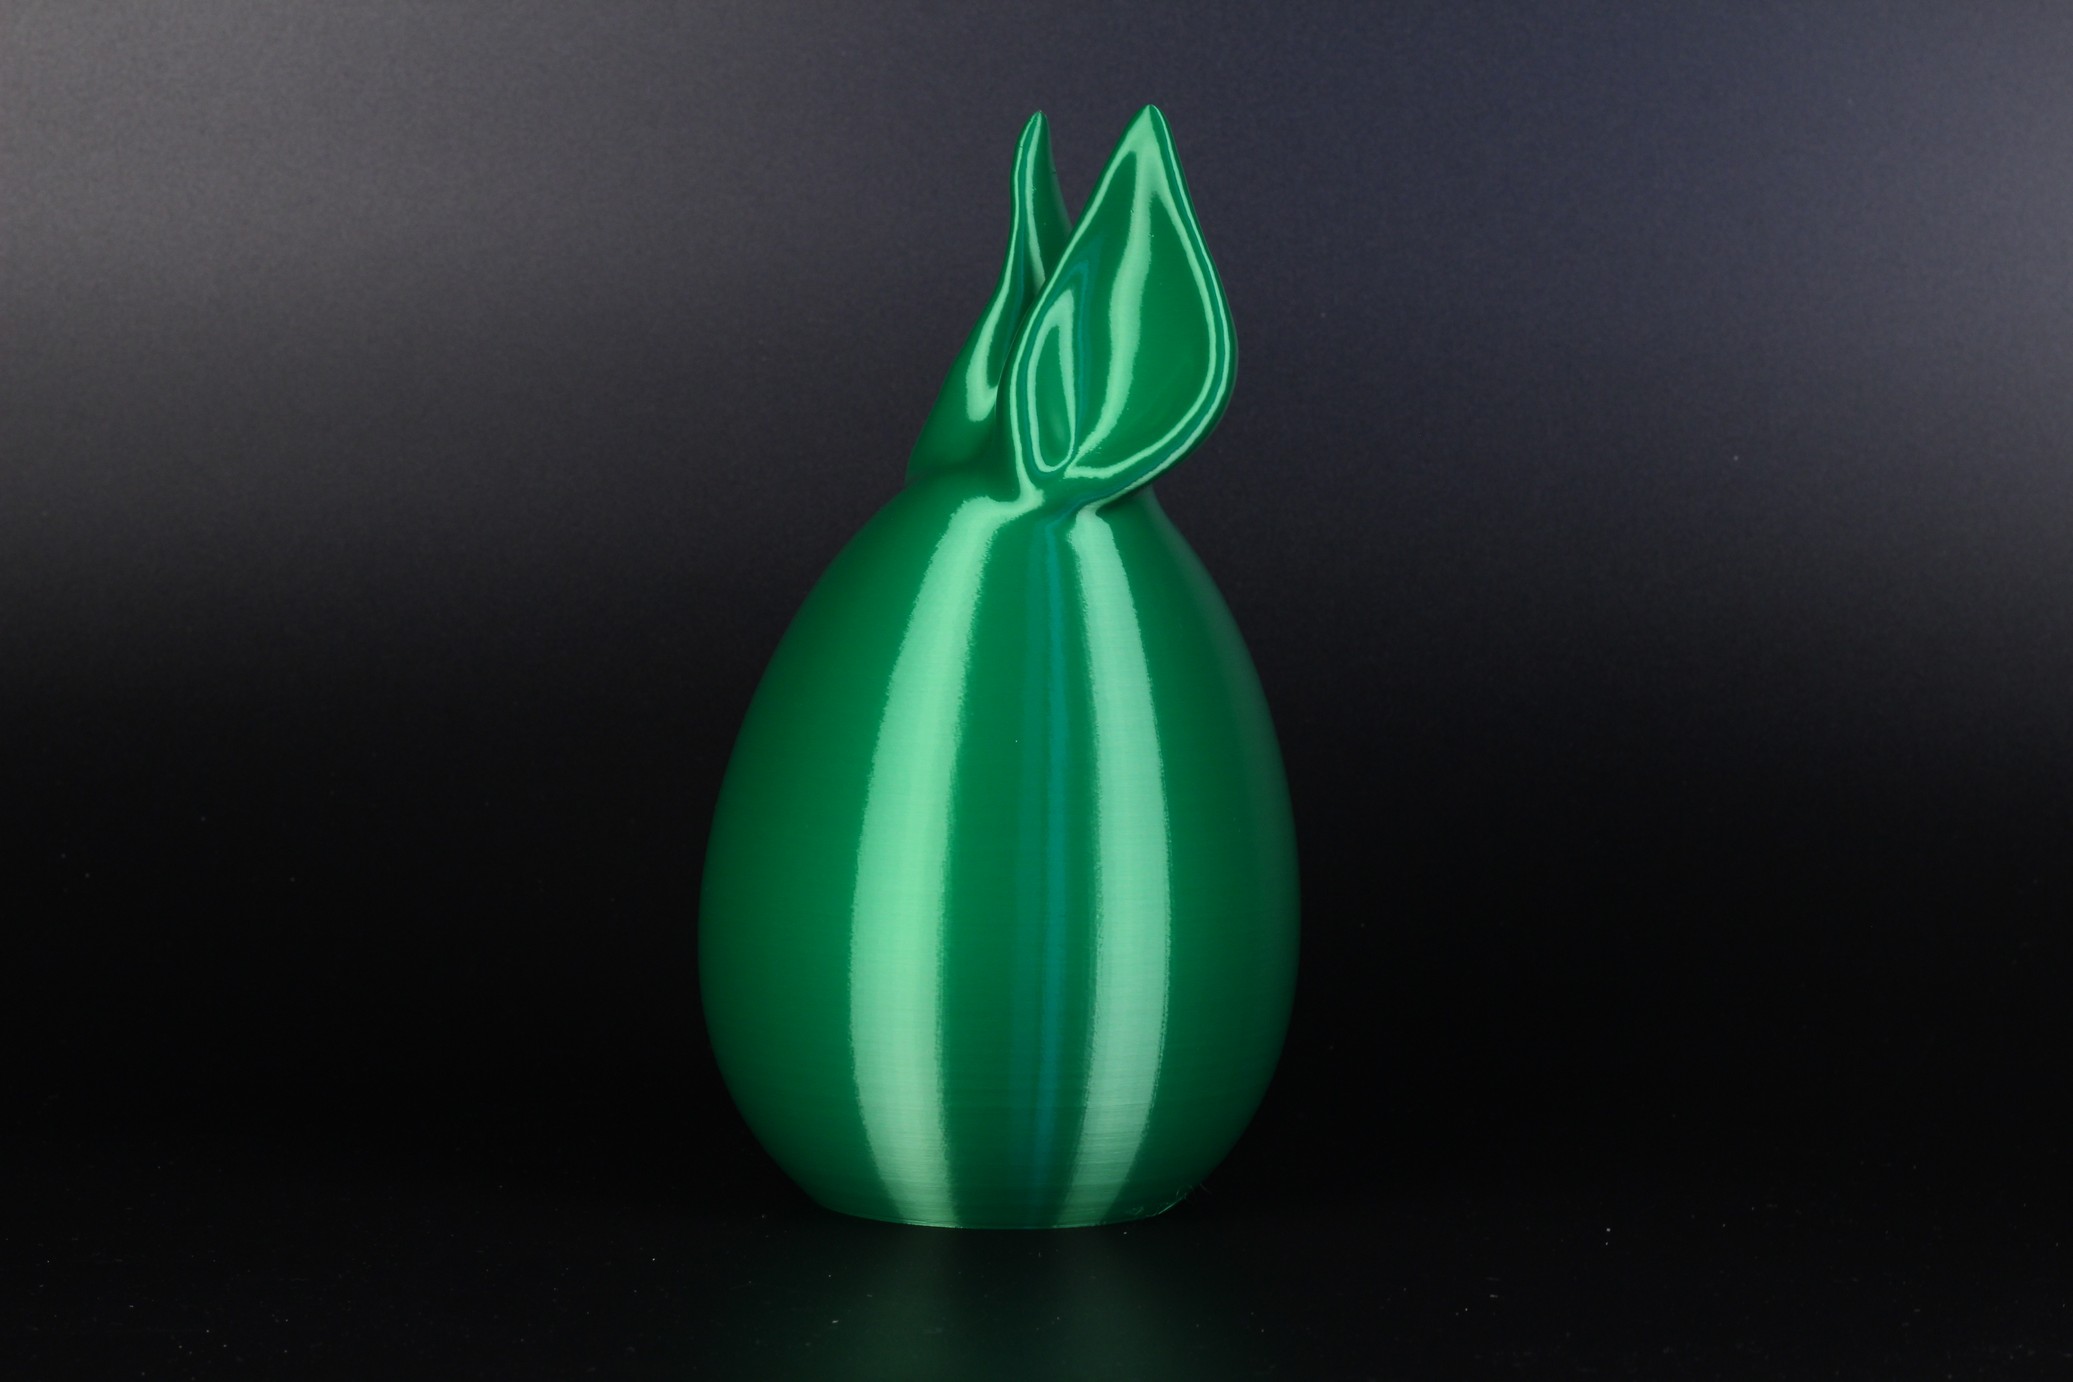
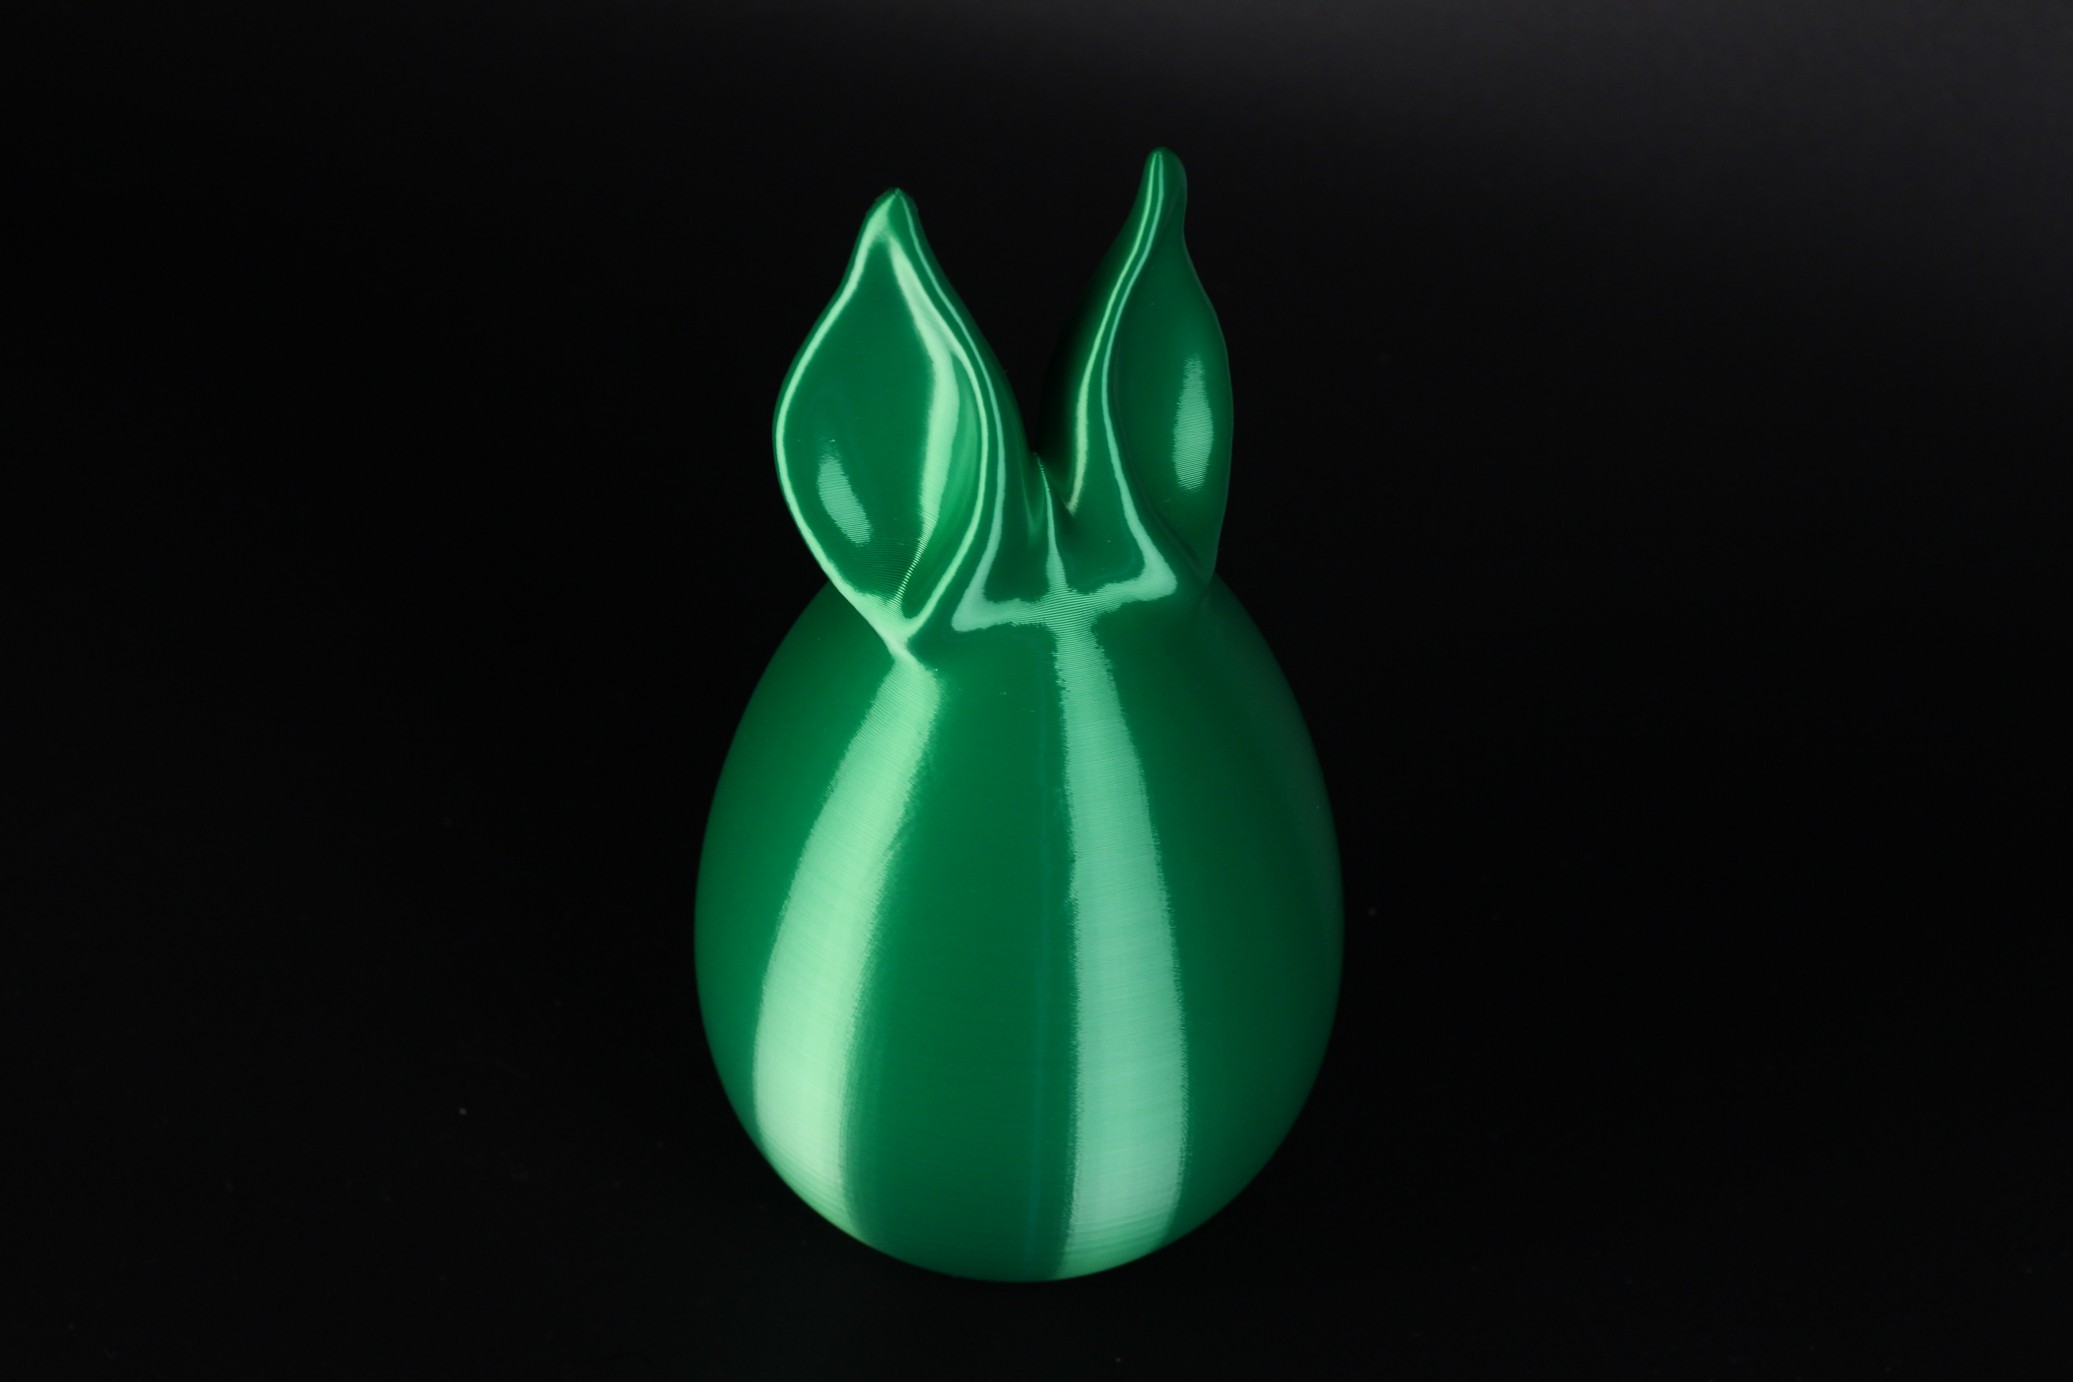
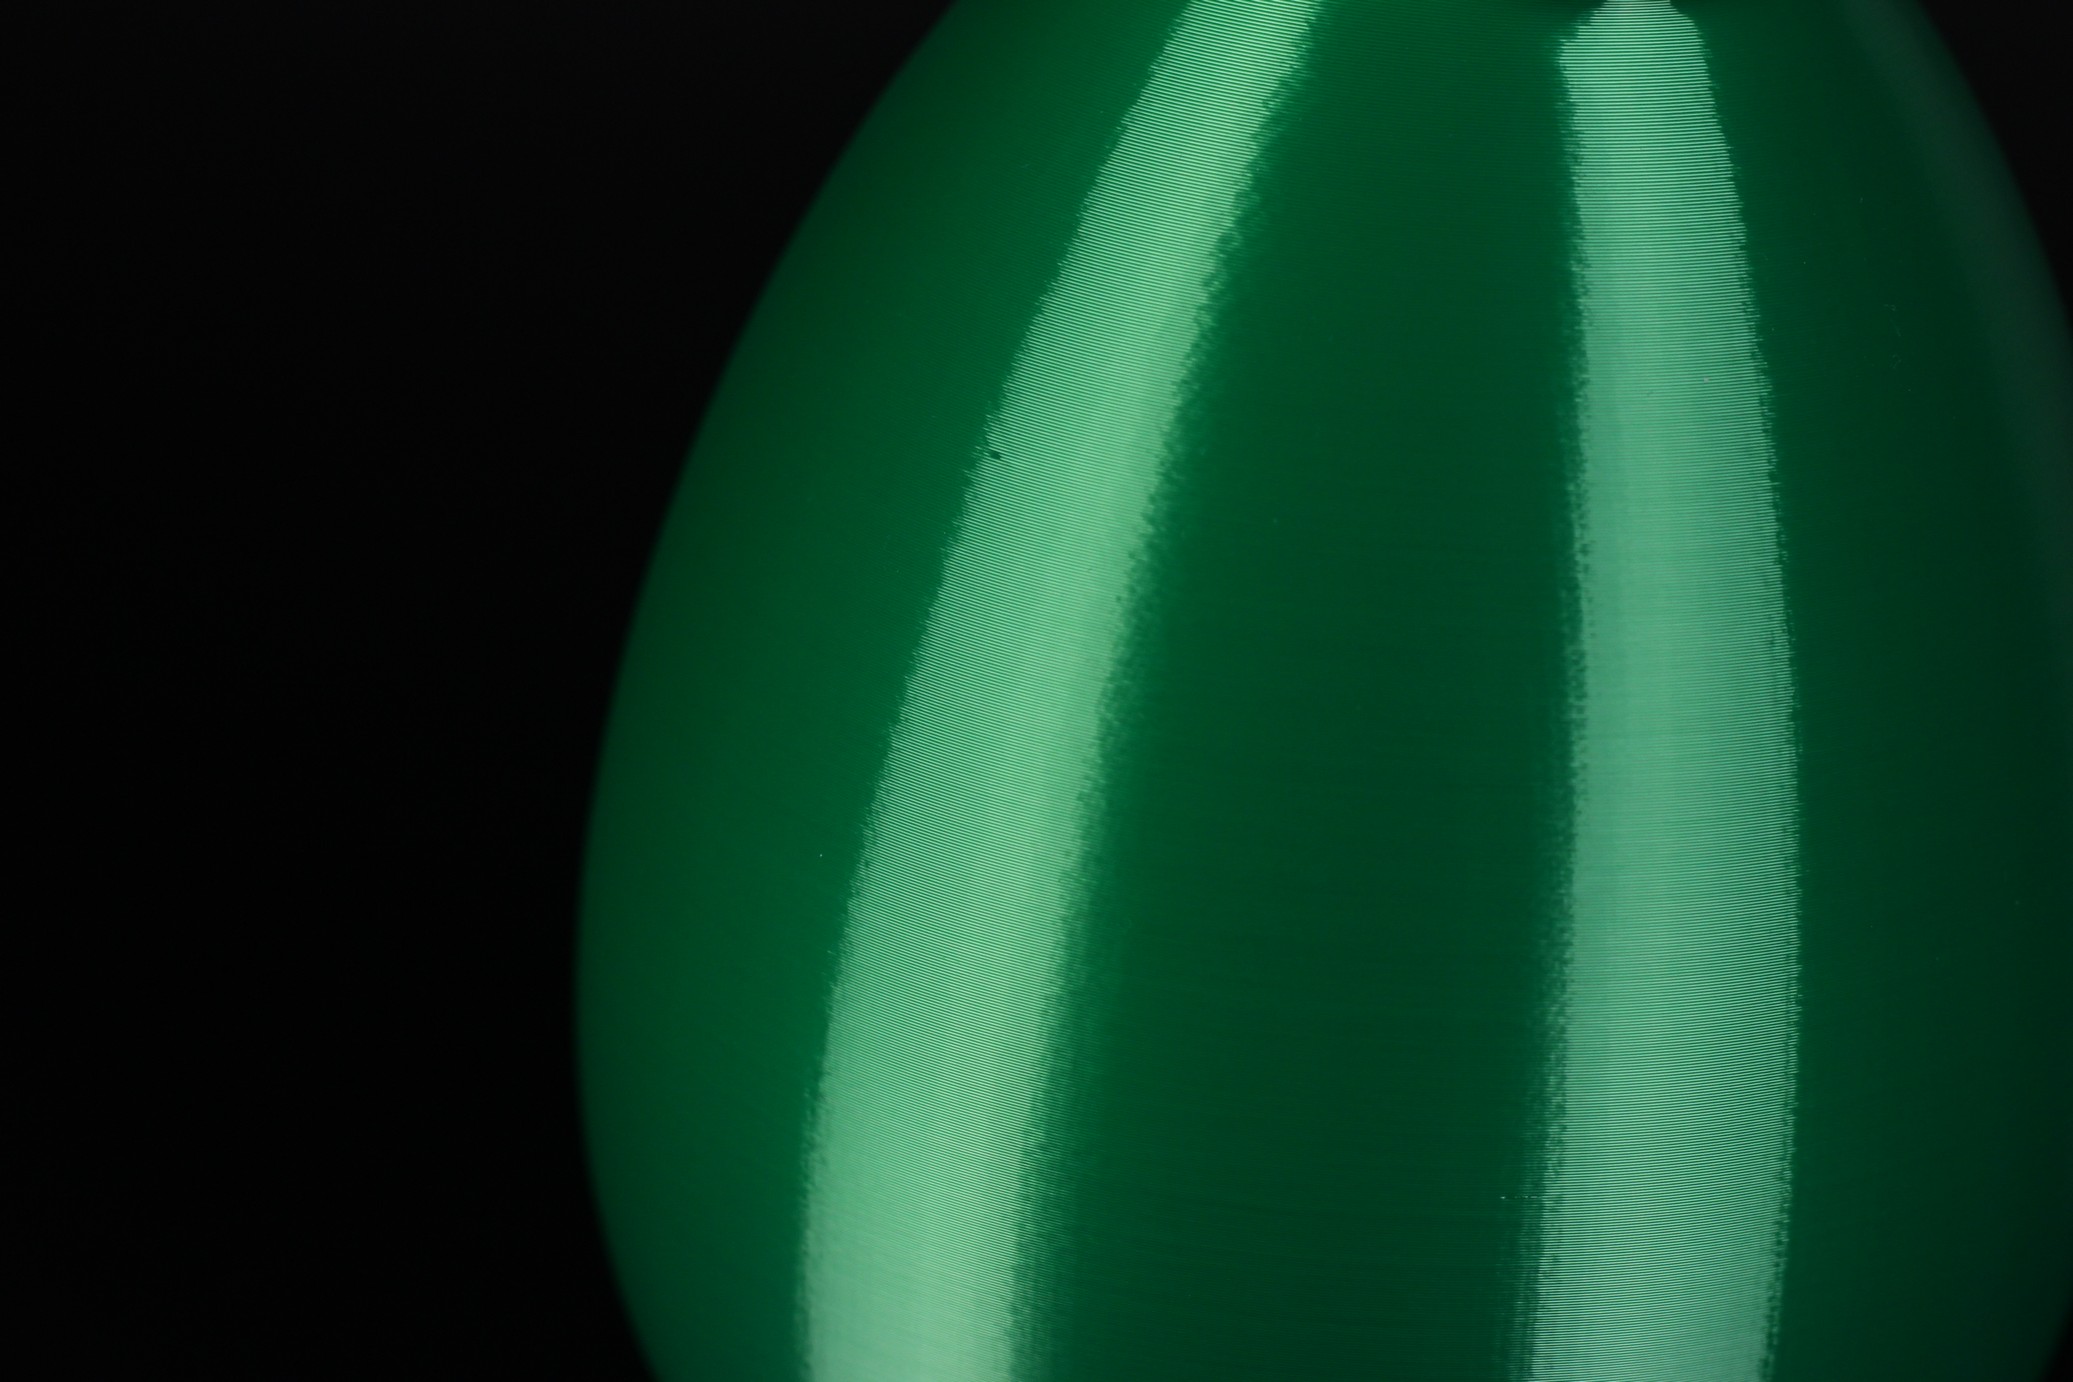
- Material: Extrudr BioFusion Green
- Layer Height: 0.2mm
- Nozzle Temperature: 215C
- Bed Temperature: 65C
- Print Speed: 50 mm/s
Bathtub Tugboat
This model was printed multiple times on my recent reviews, and it became my TPU test print because it has various features present that showcases the printing capabilities of a printer.
- Material: Polymaker HFTPU
- Layer Height: 0.2mm
- Nozzle Temperature: 210C
- Bed Temperature: 50C
- Print Speed: 50 mm/s
Conclusions: Is the FYSETC Voron Trident worth it?
If you’re ready for a challenge and want to step up your 3D printing knowledge while also building a high-end 3D printer, then I see no reason why not to get the FYSETC Voron Trident.
You get a complete kit, which is easy to assemble using the Trident instructions. The parts included with the FYSETC kit are of decent quality, and I haven’t encountered any significant issues during the build (other than the off-center pulley).
The print quality of the Voron Trident using the stock setups is also decent, but the maximum print speed you can reach is a bit limited by the heavy printhead. Still, you can print at ~100mm/s almost any kind of material, which is great.
Overall, I don’t think you can go wrong with any of the current Voron kits available out there, because the quality has increased a lot over time. But the FYSETC Voron Trident cost seems to be fair for what it is and it’s also available in different warehouses around the world which can make it a more attractive purchase.
FYSETC Voron Trident Kit
Design
Parts Quality
Printing Performance
Assembly Difficulty
Price
The FYSETC Voron Trident Kit is an excellent option if you want to build a VORON and don't want to spend a lot of time sourcing your own parts.
Where to buy the FYSETC Voron Trident?
I recommend checking out the Discount Codes page before purchasing. I regularly update the article with discount codes for various online shops, and you might find one for this particular model.
The Voron Trident Kit was provided free of charge by FYSETC for the purpose of this review. While the article includes affiliate links, all opinions are my own. Nobody reviewed the article before it was posted, following the Review Guidelines.
Liked it?
|
|


I’m having trouble even getting PETG to extrude. It jams up quickly. What fan did you use to replace the hotend fan?
I used this one if I remember correctly: https://s.click.aliexpress.com/e/_DCG1Cz1
It’s a Sunon 24V 4010
This one should also work well: https://s.click.aliexpress.com/e/_DEuTgWT
Hmm. I haven’t tried a that particular fan. I bought another on Amazon but it doesn’t seem to puch much more air. I even printed a shroud to push the air over the heartbreak more directly. I’m having major clogging issues with all materials including ABS. It will run for 20 minutes or so and then it heat soaks and clogs.
You need a fan that generates a lot of airflow, and some Amazon fans are not that great.