Sovol SV01 Pro Review: Good, but not Great
I didn’t have the chance to review the original Sovol SV01, but from what I’ve read online, it was a pretty good 3D printer. This time, Sovol is trying to improve that printer with the launch of the Sovol SV01 Pro.
The price point and hardware configuration are good, and I think this is made as a direct competitor to the popular Ender 3 S1 from Creality. In this article, we will give the Sovol SV01 Pro a closer look, and test its features to decide if it’s a good alternative.
Sovol SV01 Pro Shipping and Packaging
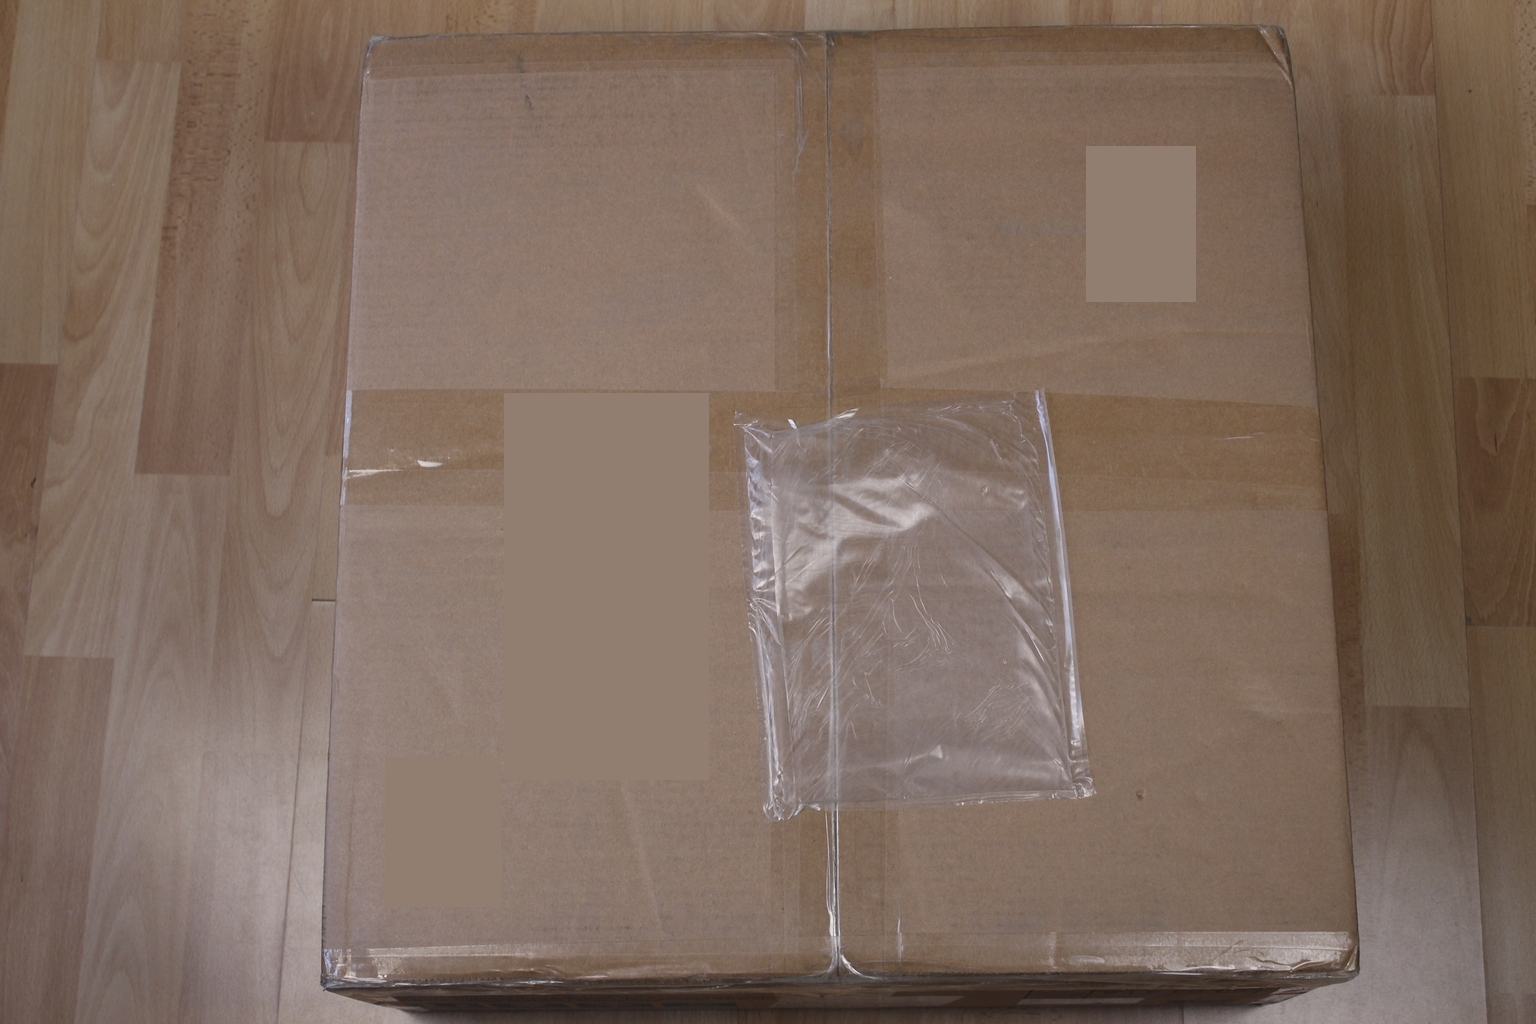
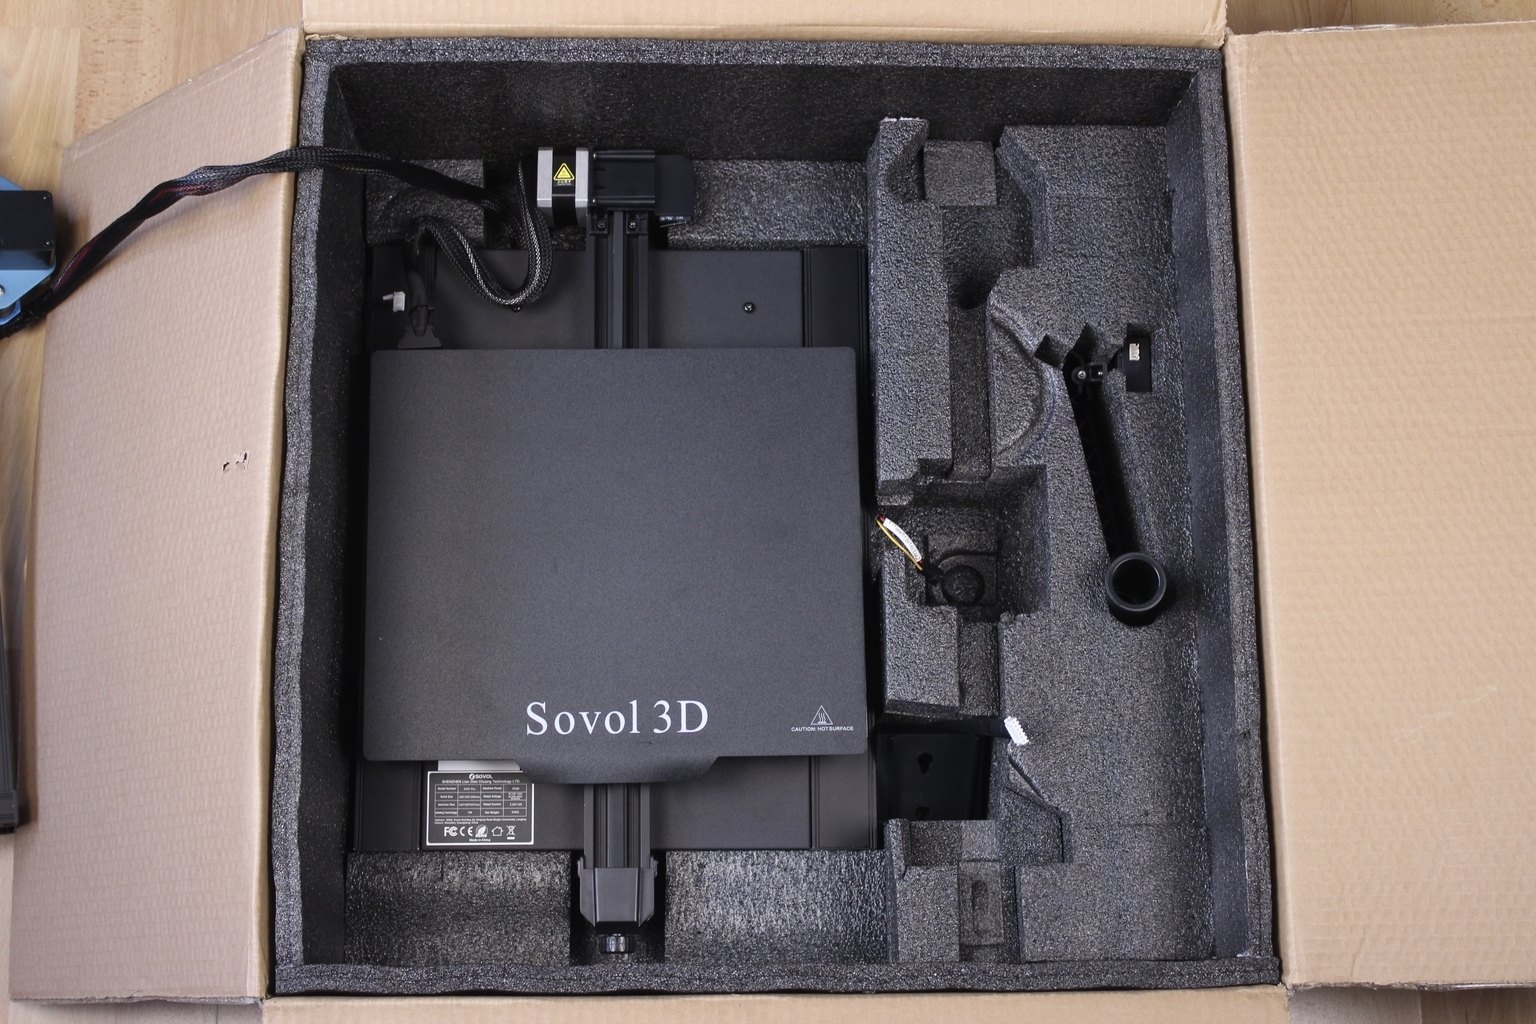
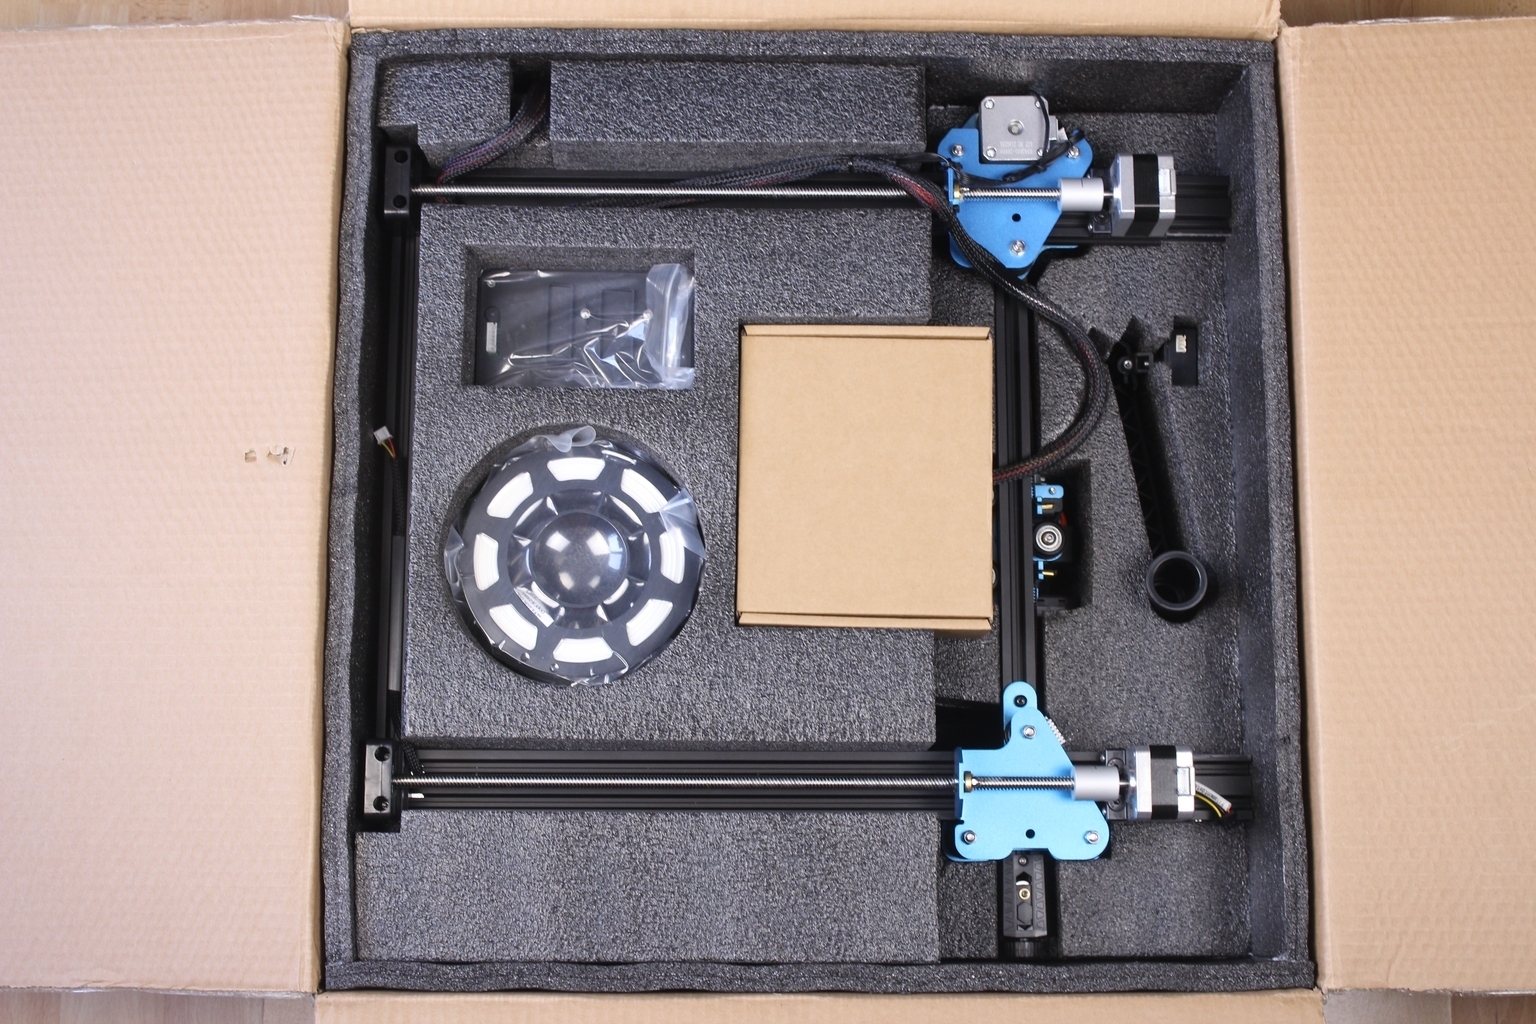
The Sovol SV01 Pro comes in a cardboard box with foam protection on all sides. The printer is well protected and I don’t think you will encounter any issues with the packaging during shipping.
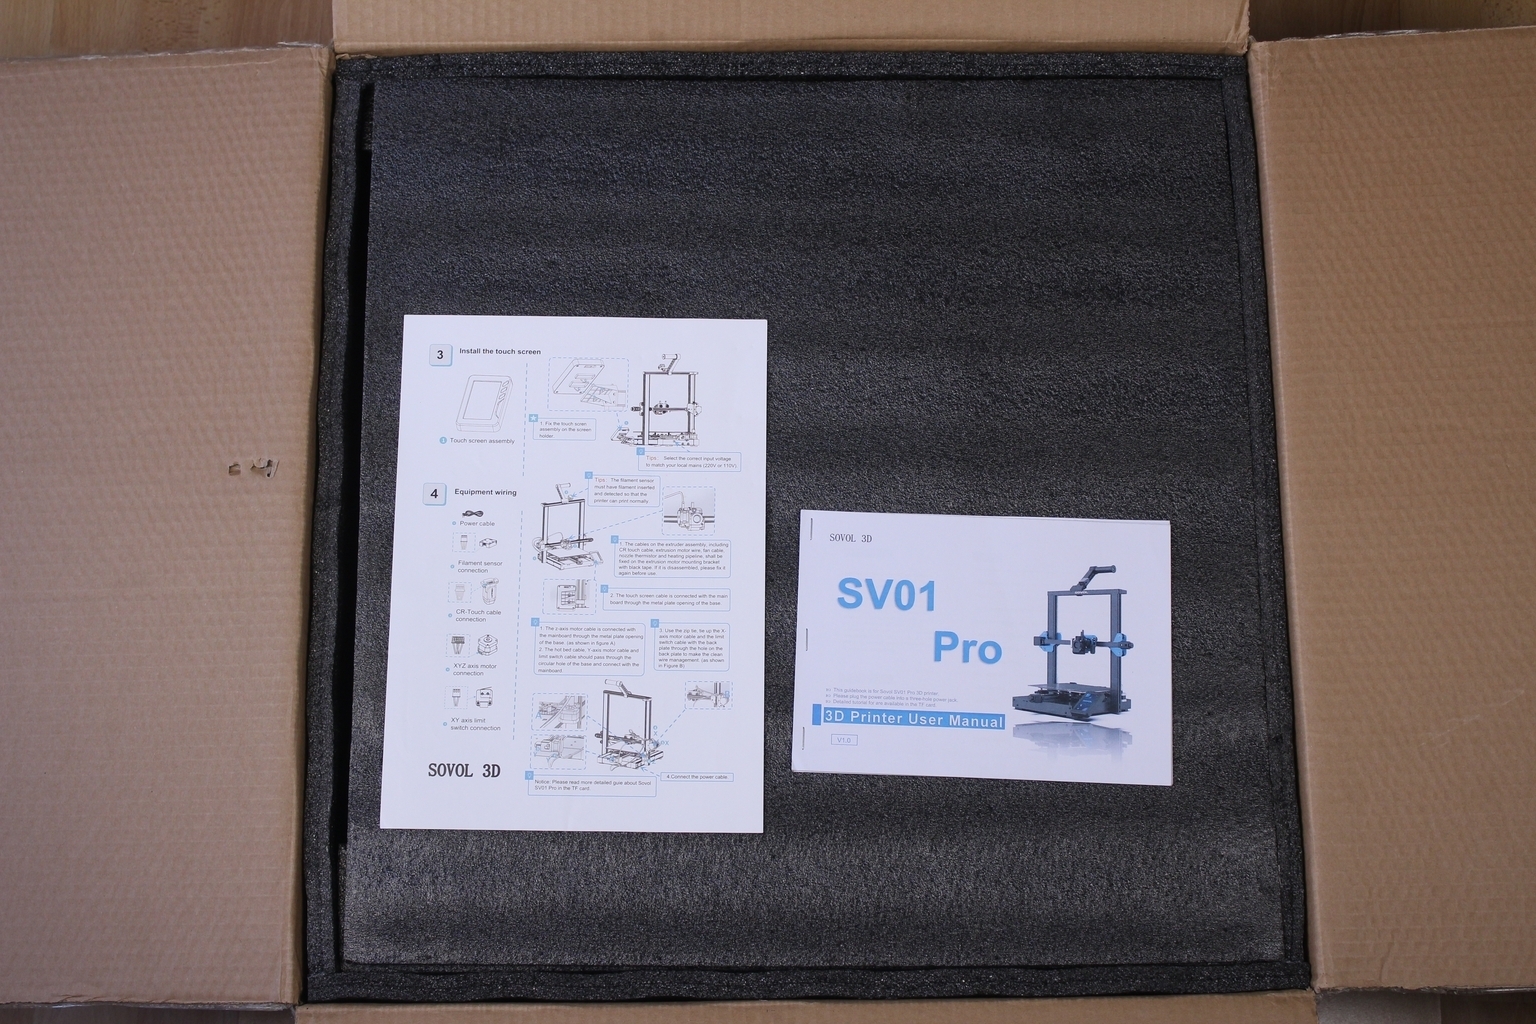
Sovol SV01 Pro Design
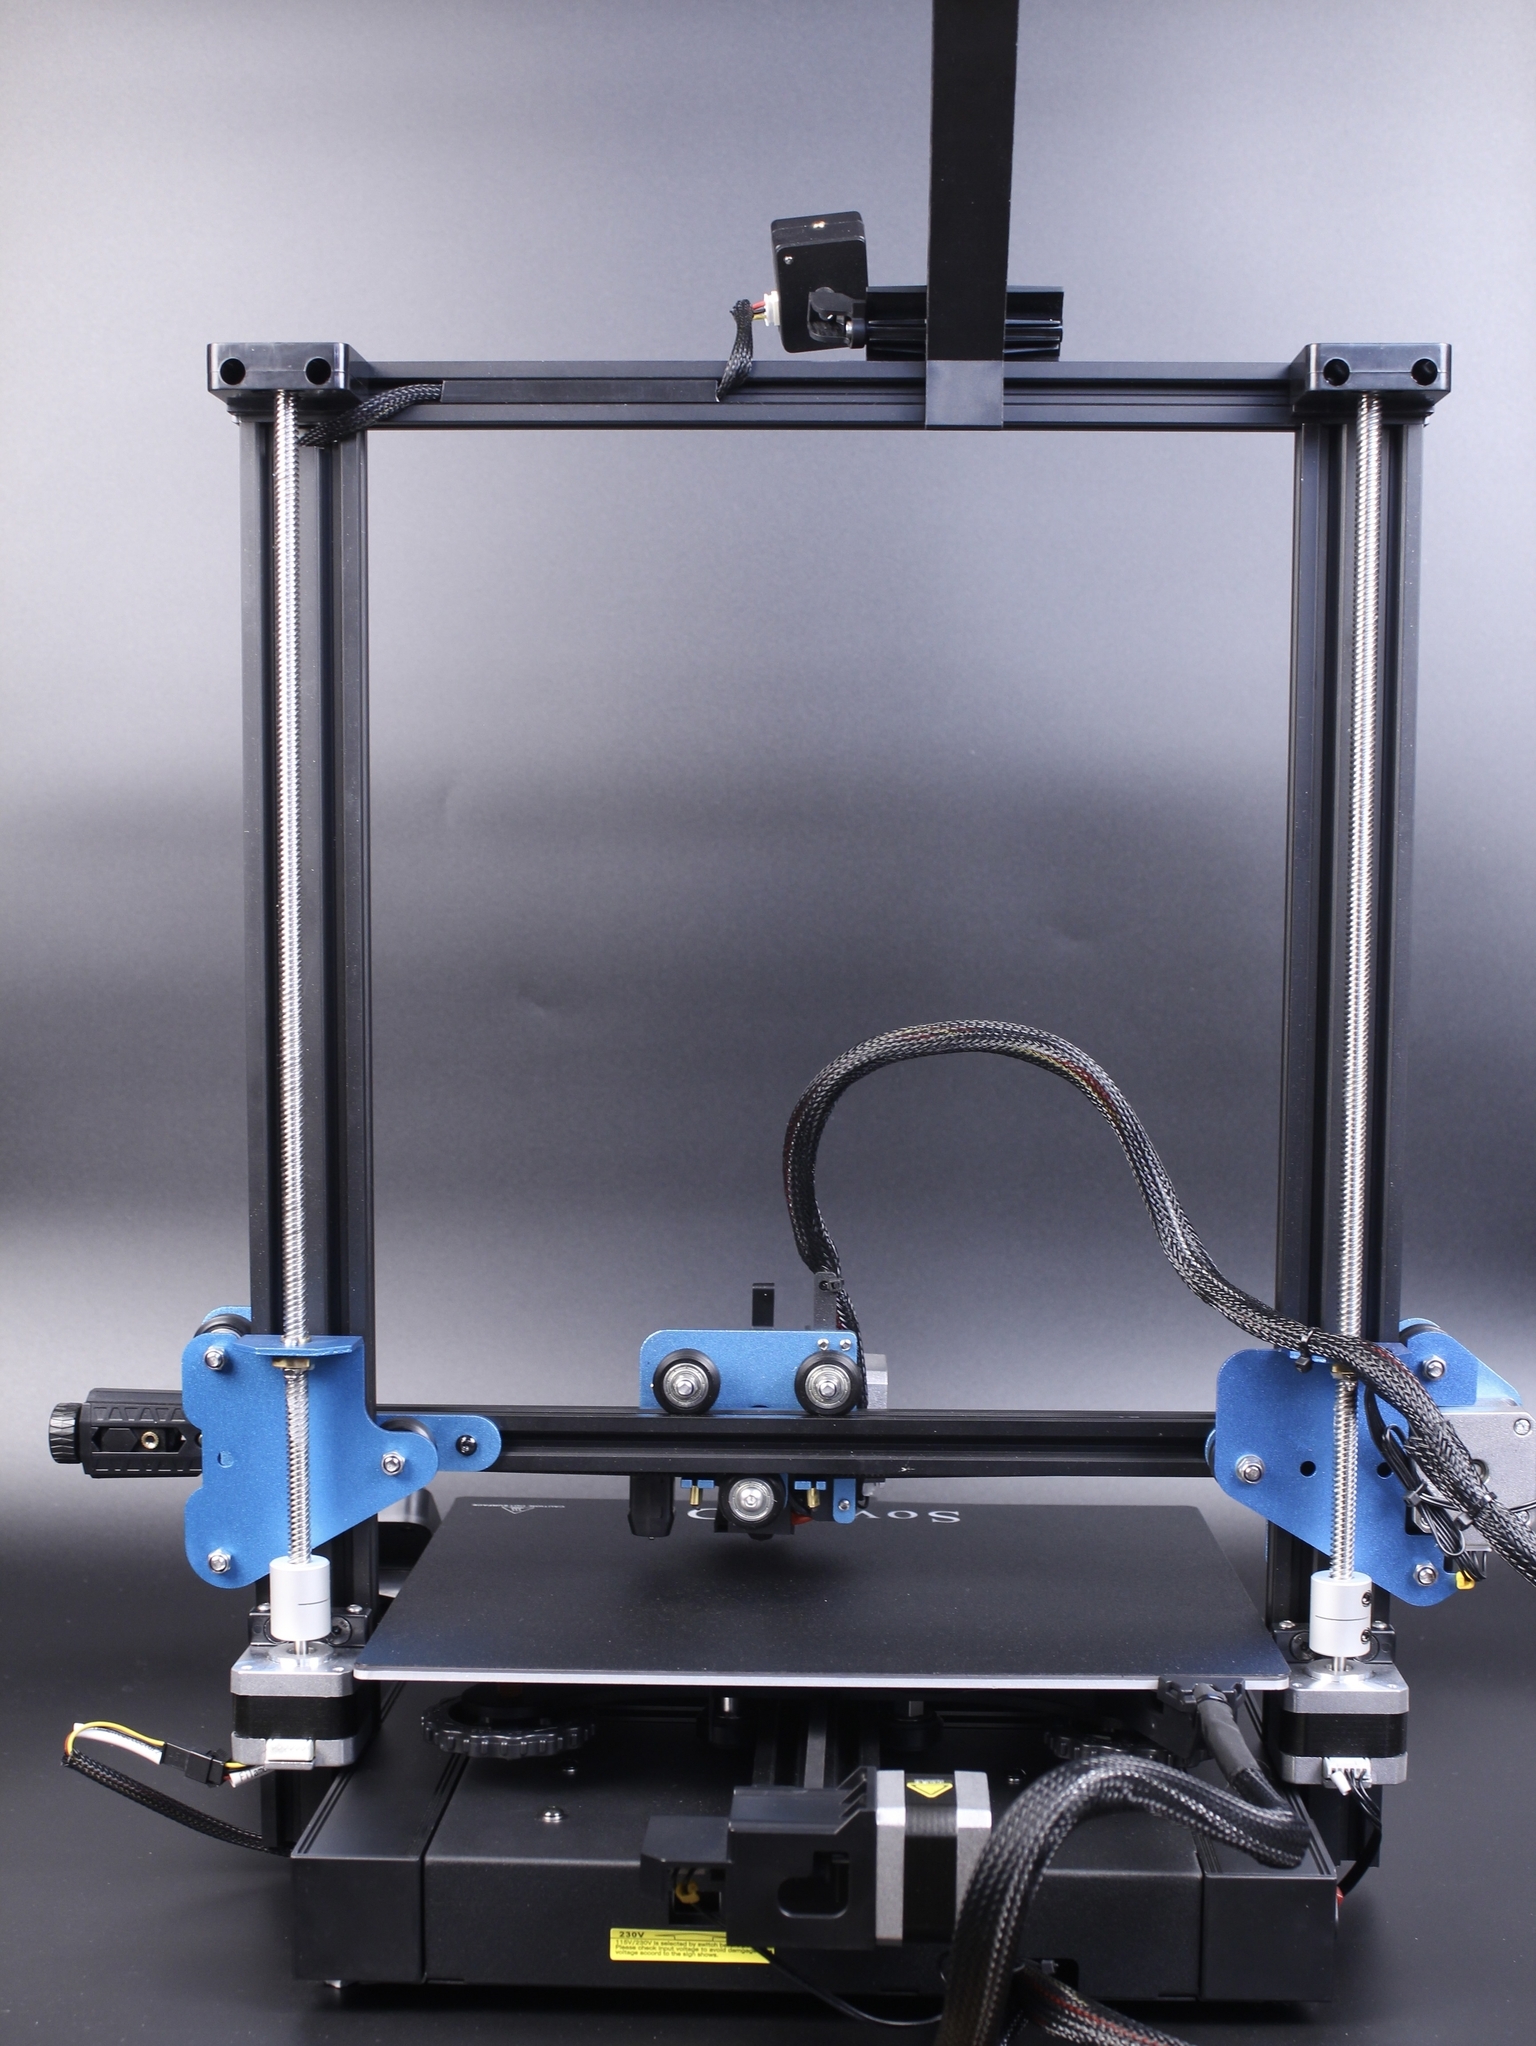
The smooth aluminum extrusions of the Sovol SV01 Pro make the printer look nicer, and the base is similar to what you get on the SV04. But the overall design of the printer is not much different compared to the original SV01.
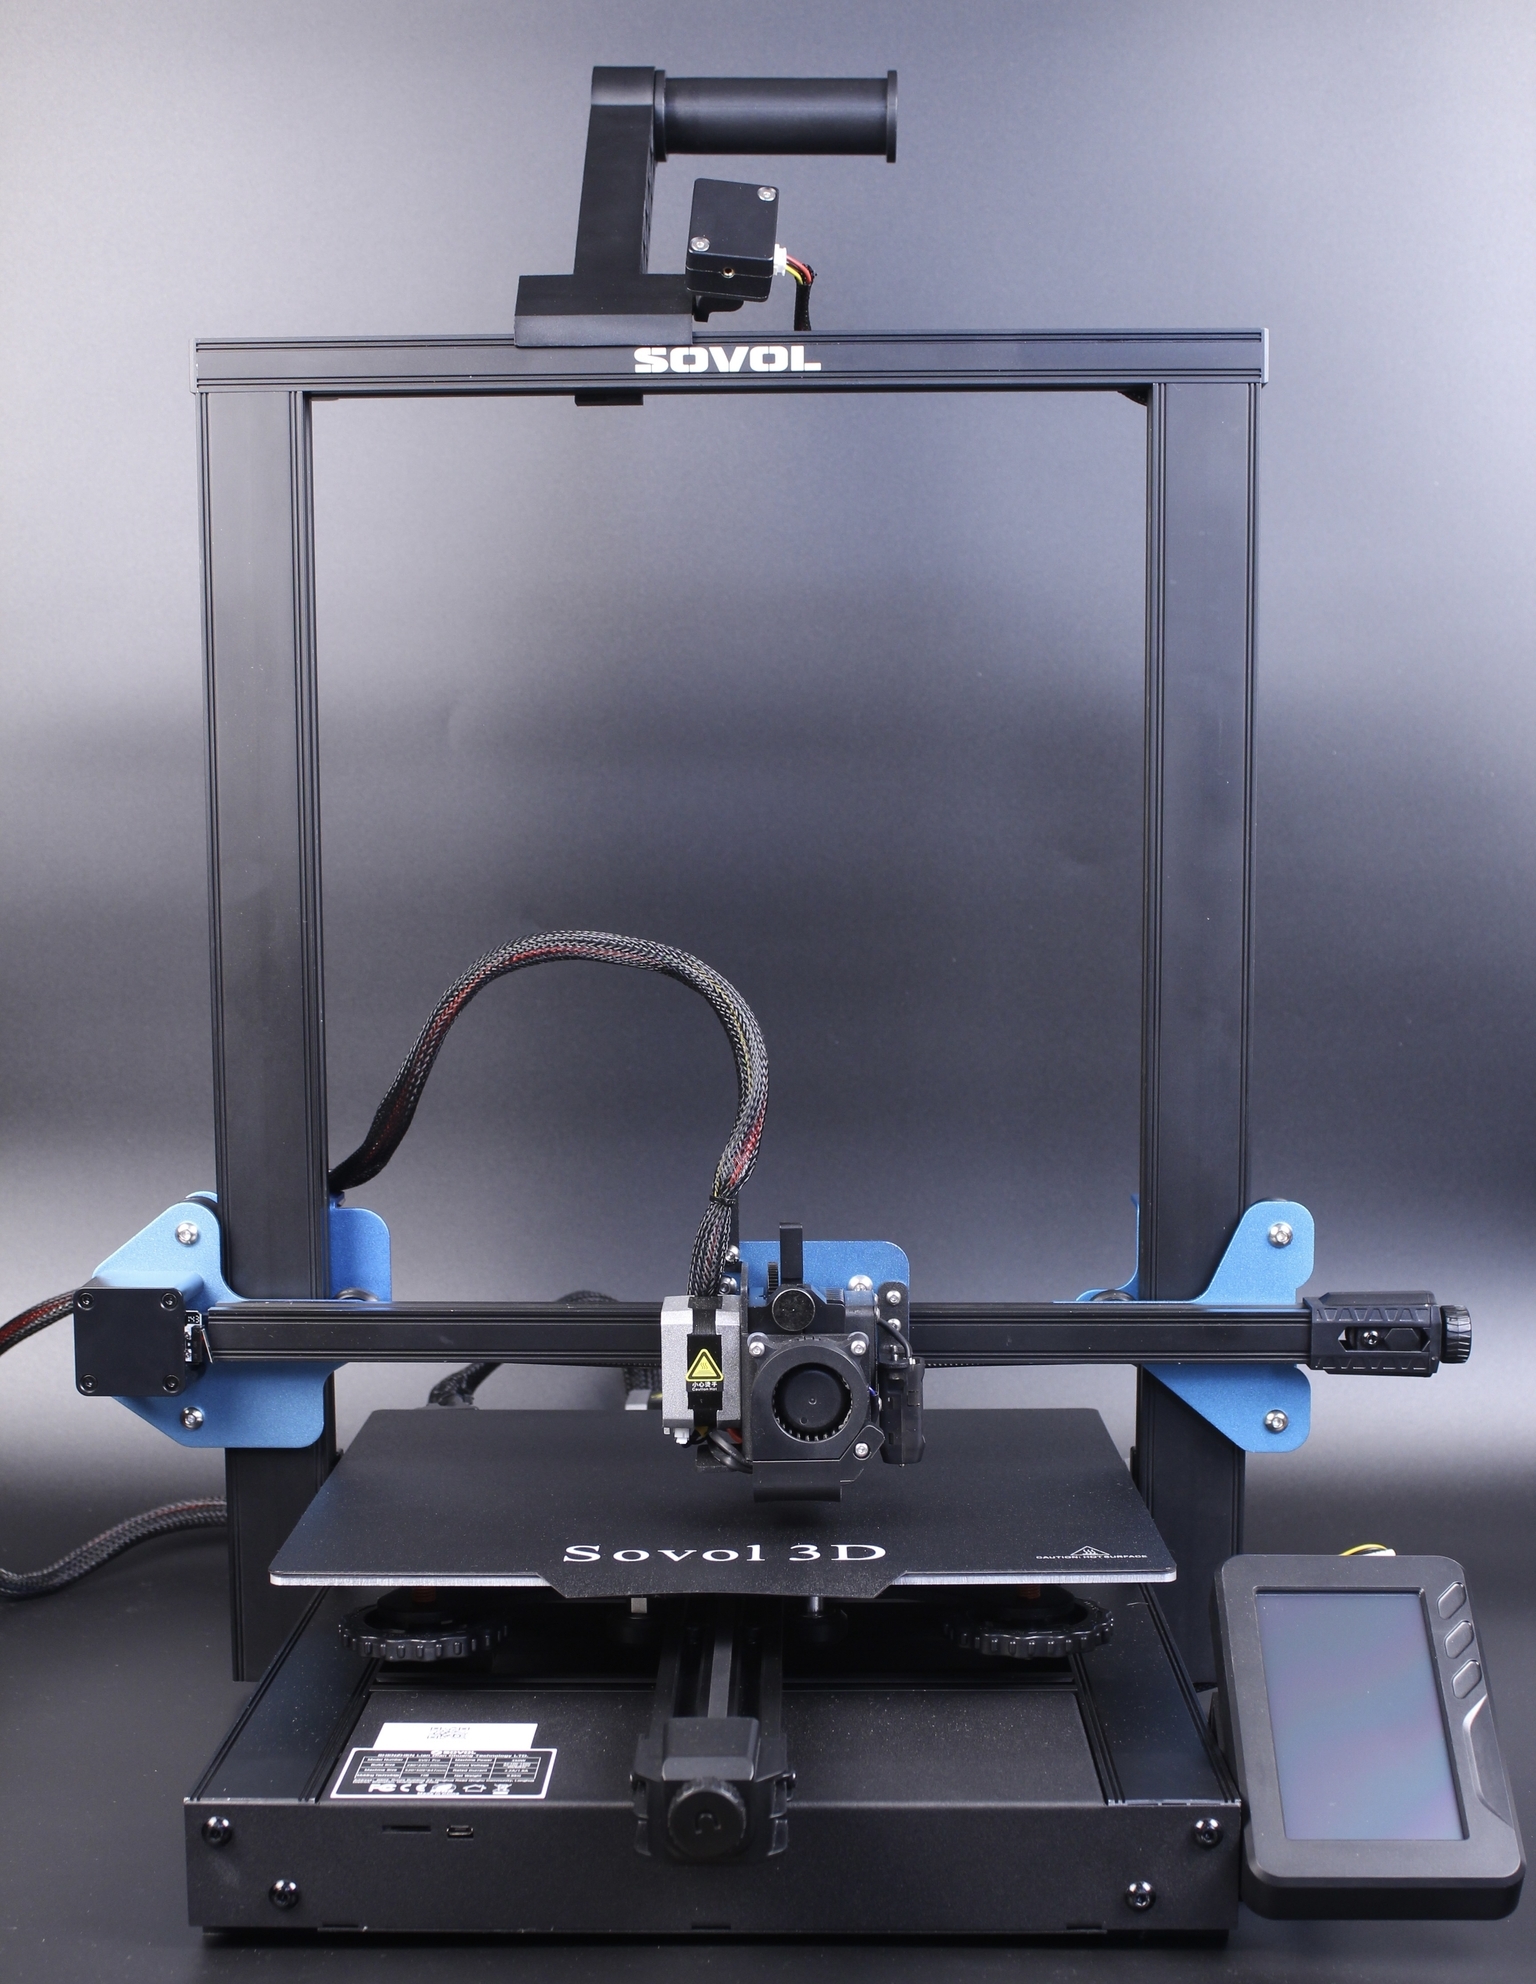
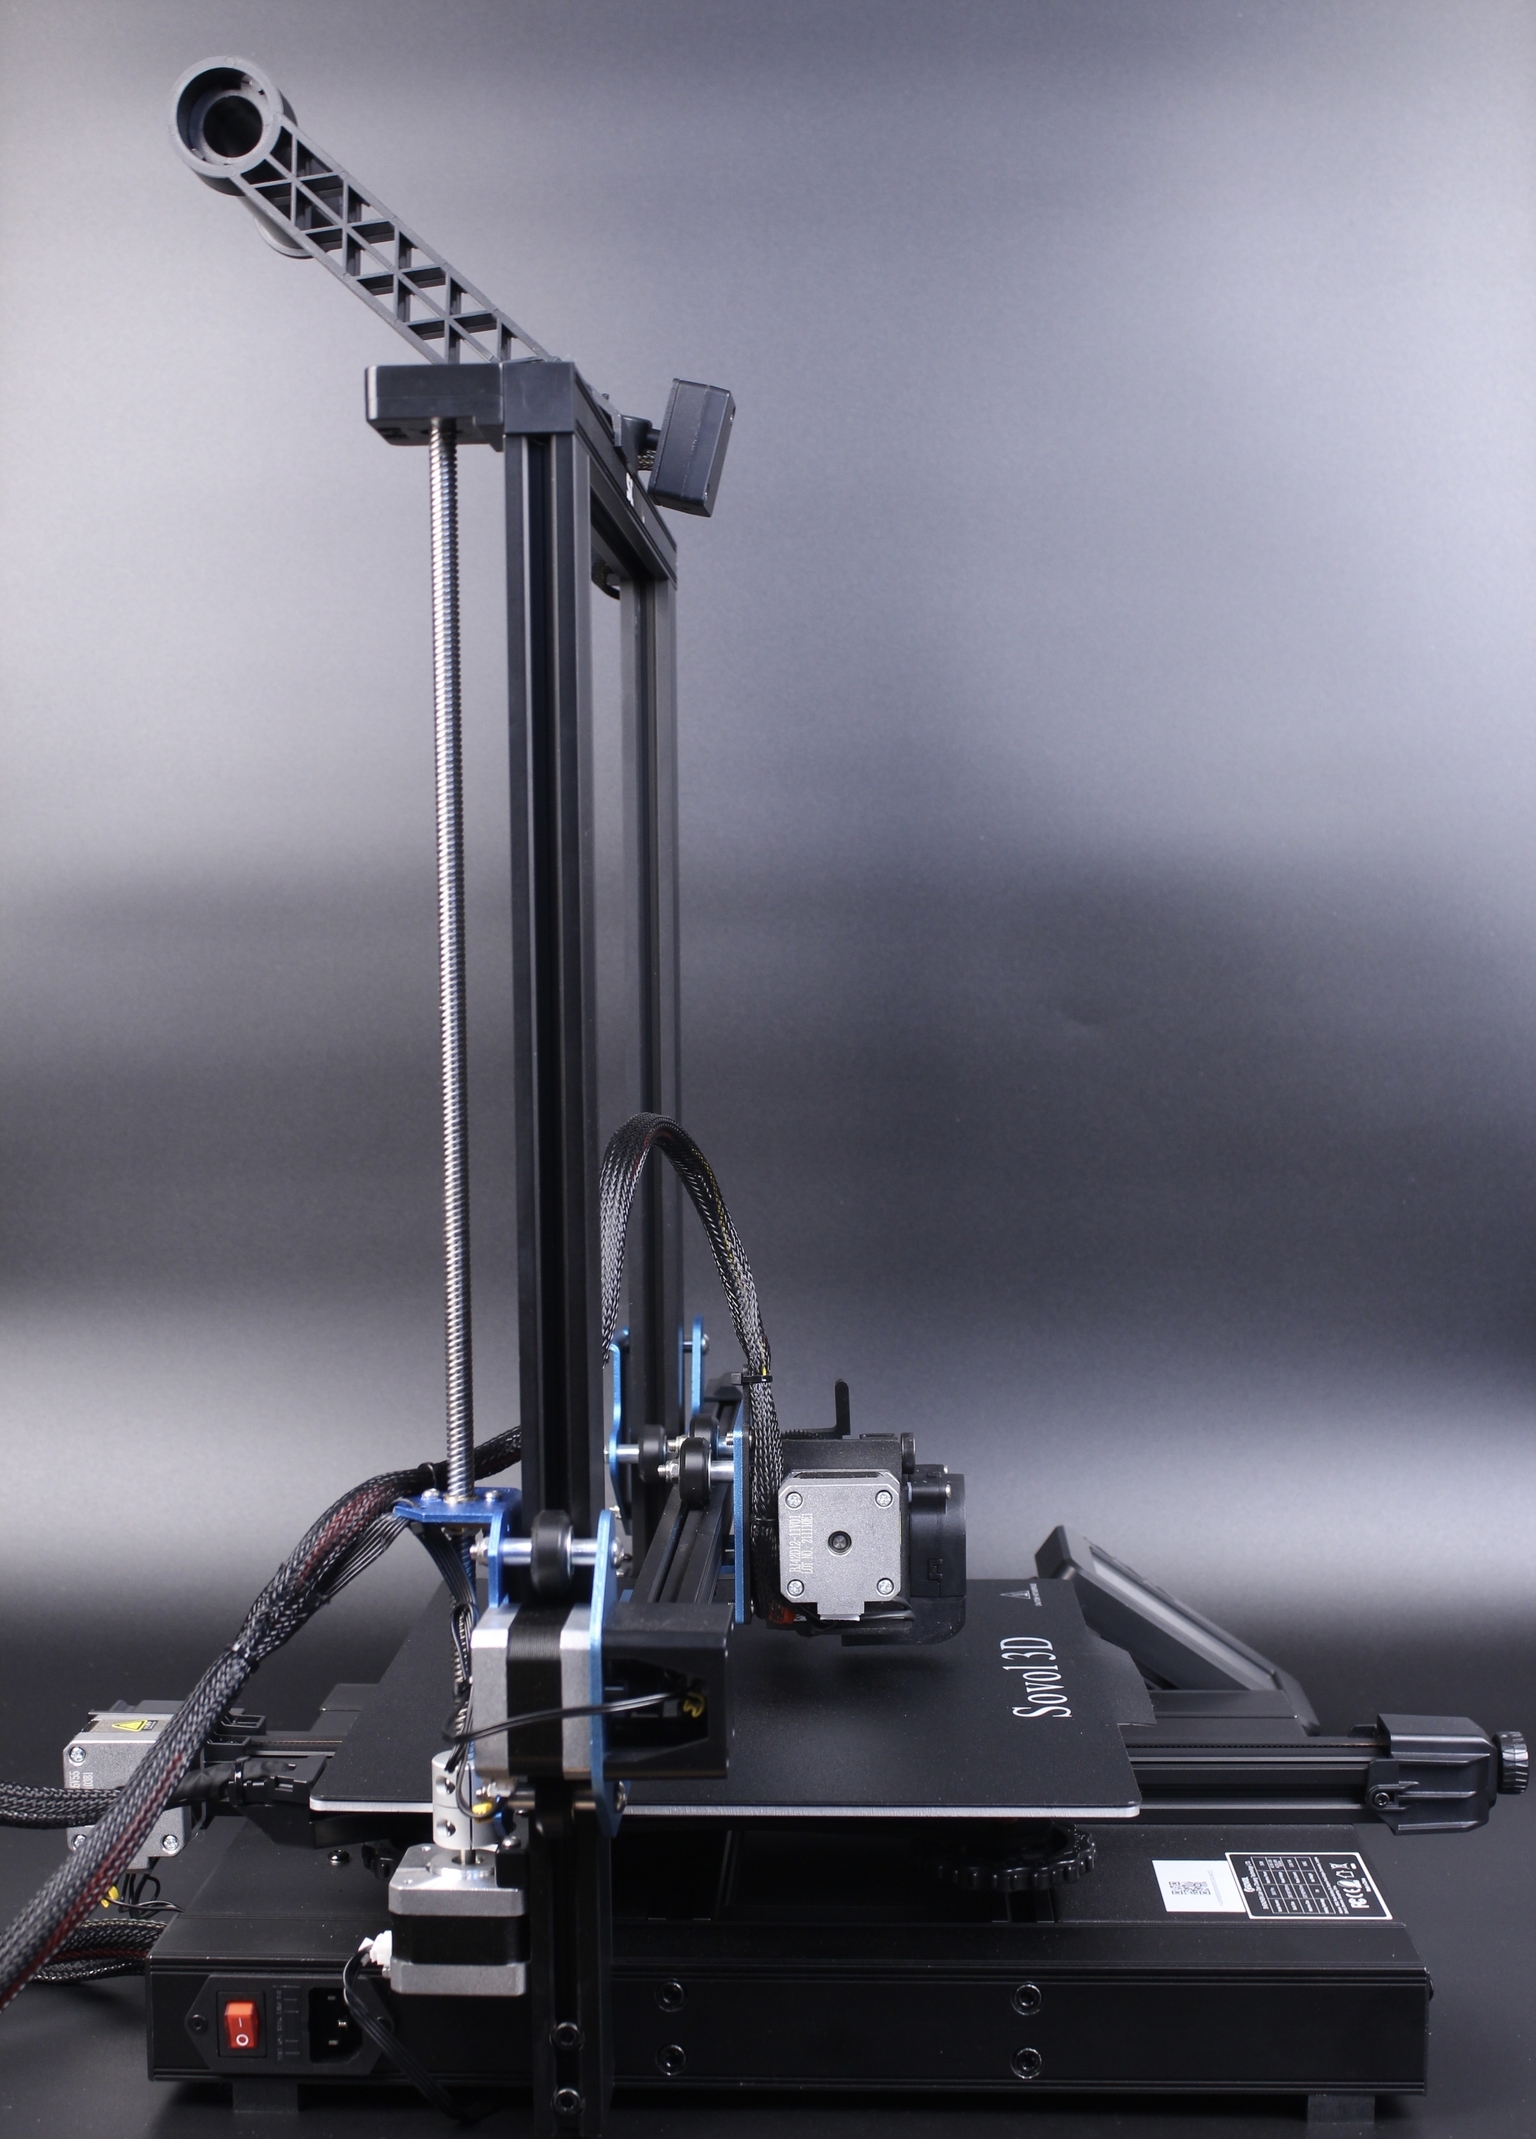
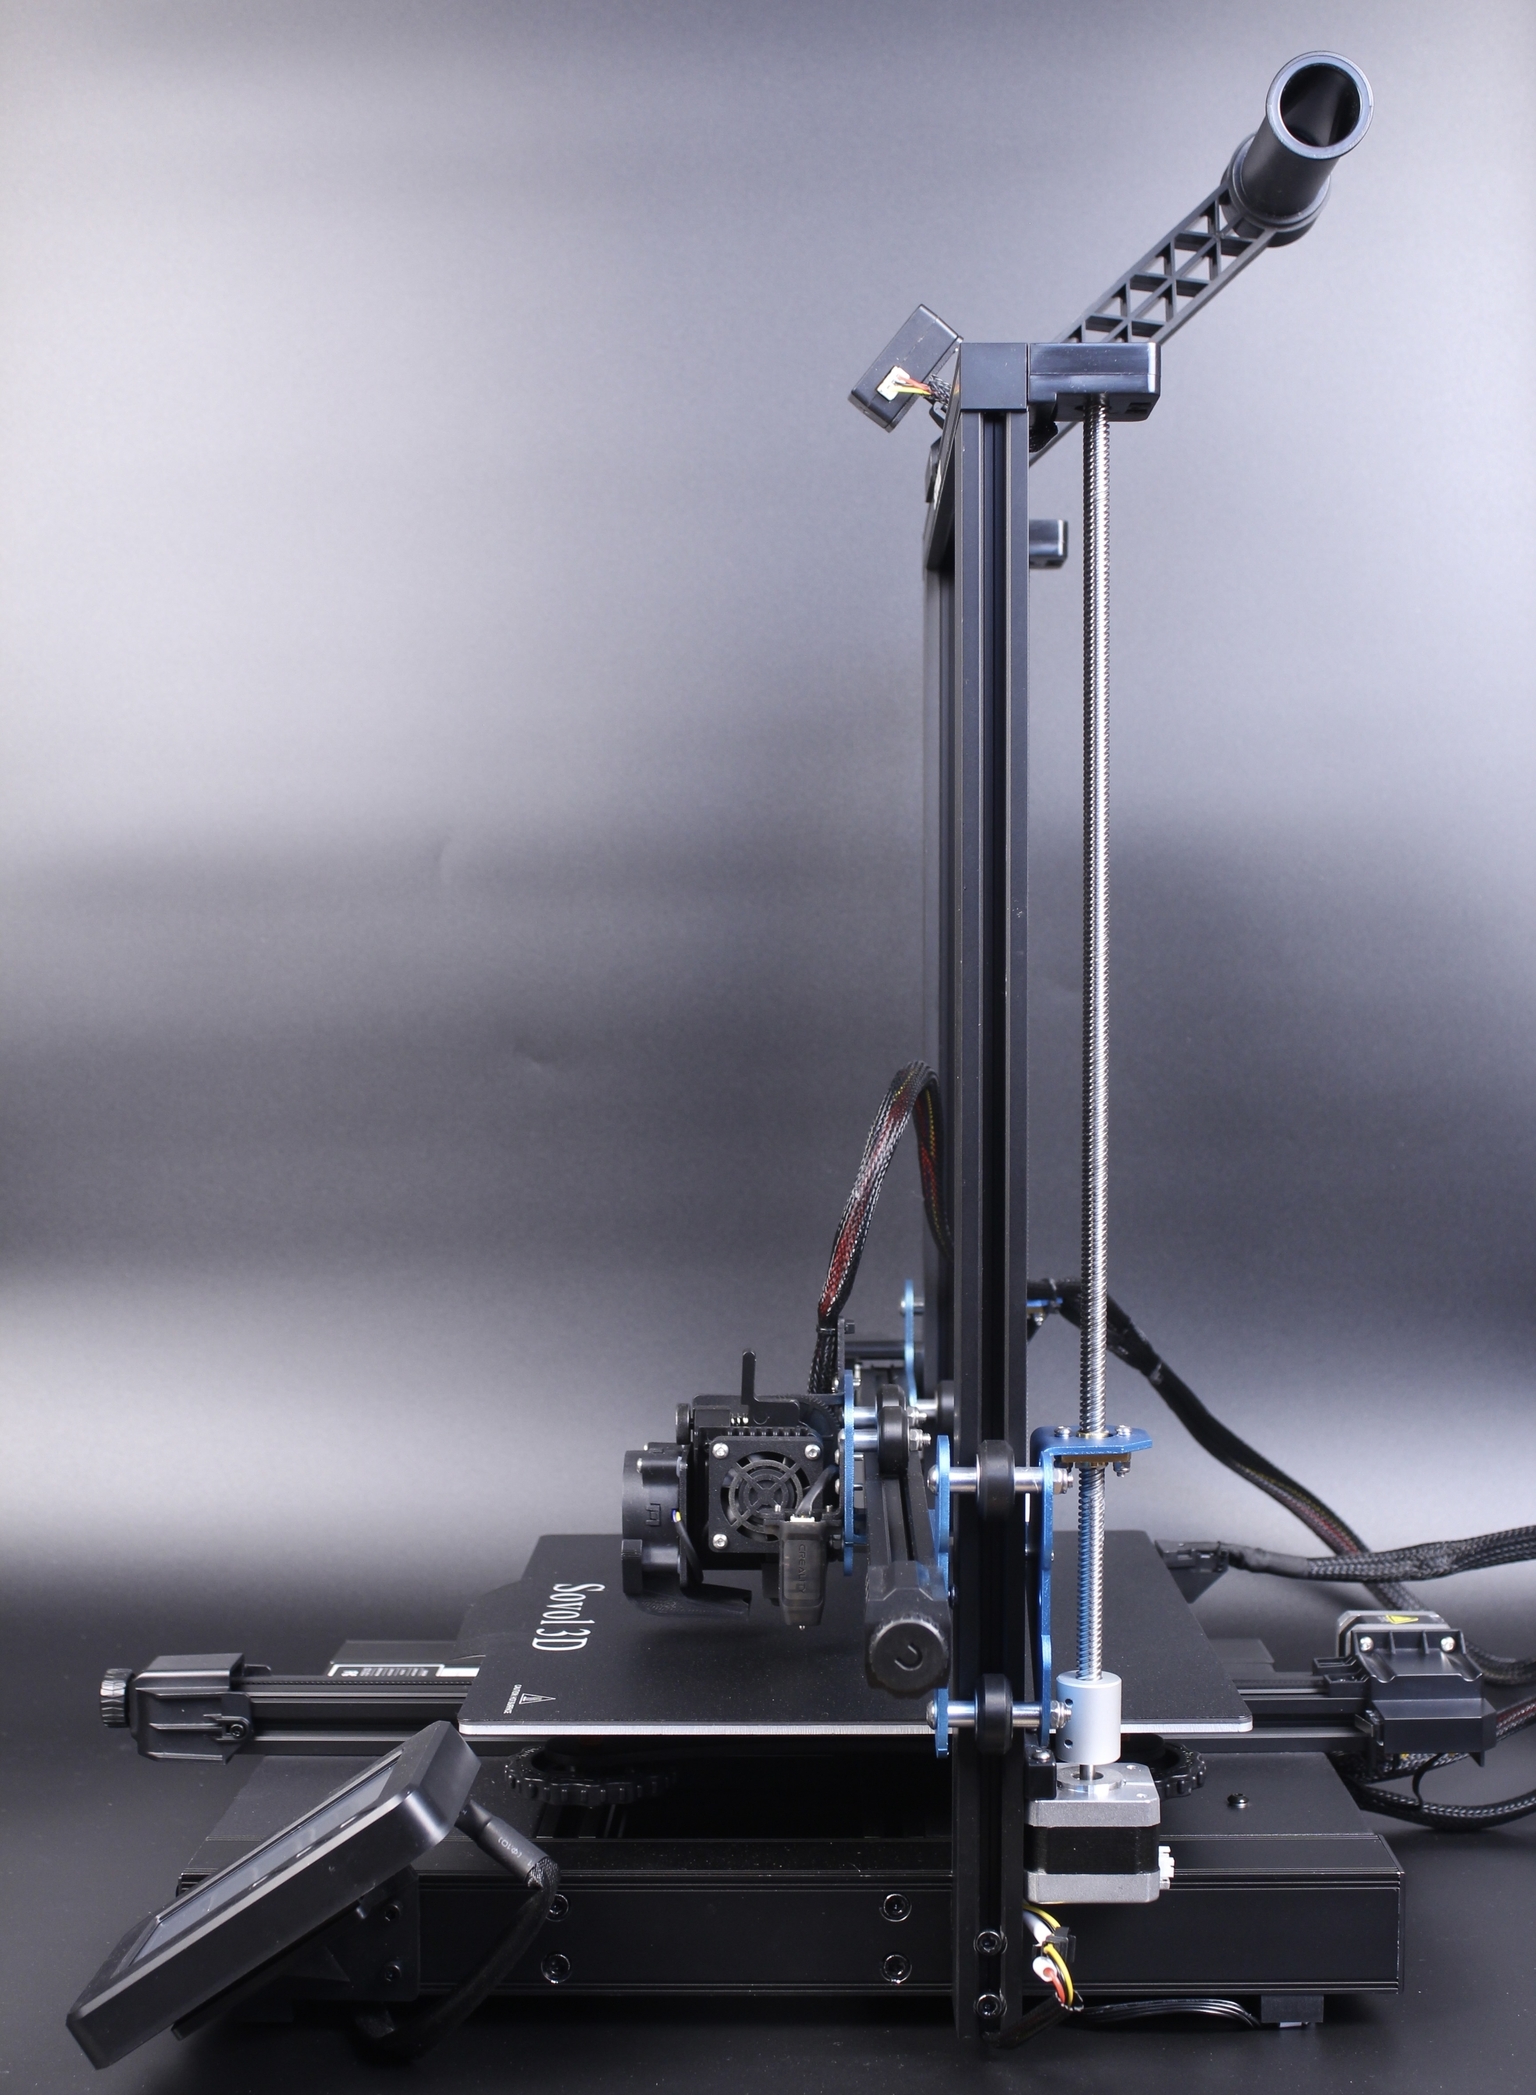
Sovol SV01 Pro Specs
| Model | SV01 PRO |
| Interface Language | English |
| Print Size | 280mm*240mm*300mm |
| Build Plate Size | 300mm*255mm |
| Print Method | TF card, USB connection |
| Layer Thickness | 0.1-0.4mm (Adjustable) |
| Nozzle DIameter | Standard 0.4mm ( Adjustable) |
| Recommend Print Speed | 50-80mm/s |
| Nozzle Temperature | ≤260c |
| Bed Temperature | ≤110c |
| Support Material | TPU, PLA, ABS, PETG, WOOD |
| Material Diameter | 1.75mm |
| Support File Format | G-code |
| Machine Size | 520mm* 509mm* 647mm |
| Machine Weight | 9.8kg |
| Package Size | 569mm*559mm*231mm |
| Package Weight | 12.9kg |
| Voltage | Input 115v/230v50/6Hz Output 24v |
| Operation System | Windows/ Mac/Linux |
| Power | 350W Creality Power Supply |
280x240x300 Print Volume
One of the most attractive features of the Sovol SV01 Pro is the larger printing volume compared to other 3D printers like Artillery Genius, Ender 3 S1, or Anycubic Kobra. The aluminum extrusions for the Z-axis are installed on the side of the base instead of having them on top, which generates the extra X-axis printing volume. Quite a smart decision if you ask me because it doesn’t make the printer much larger compared to the previously mentioned machines.
The Y and Z axis is also bigger, so I think that the SV01 Pro is a good printer if you are looking for a regular-sized 3D printer, but you don’t have the space for a 300×300 printer.
Direct Drive Extruder with PTFE lined hotend
As you might expect, the Sovol SV01 Pro comes with a direct drive extruder, the same which is installed on the SV04. I had a good experience using this extruder on the SV04, but it wasn’t as good on the SV01 Pro.
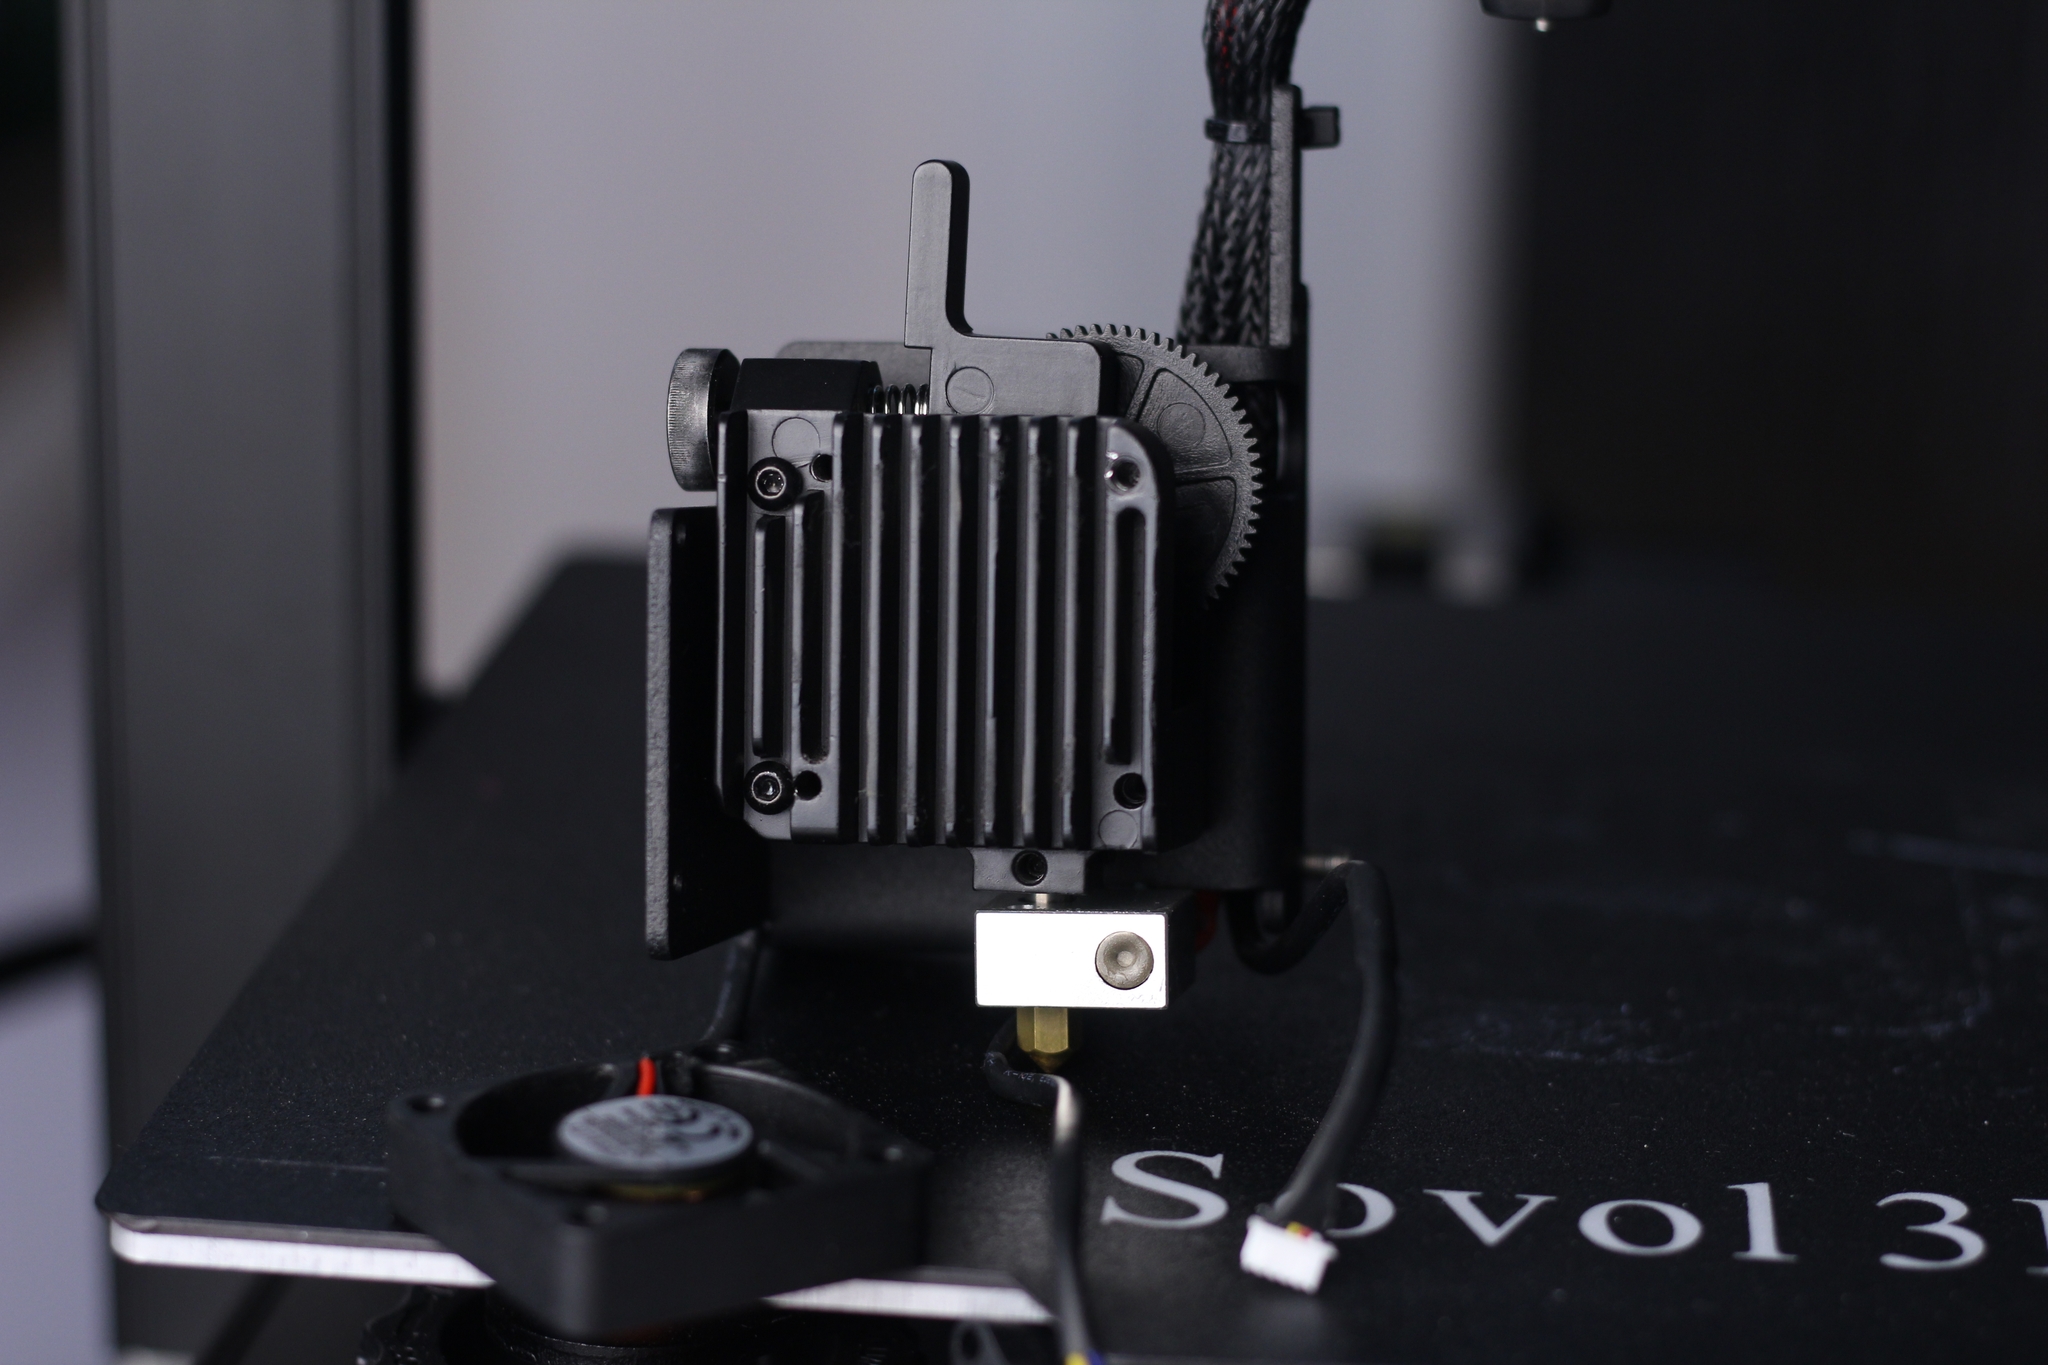
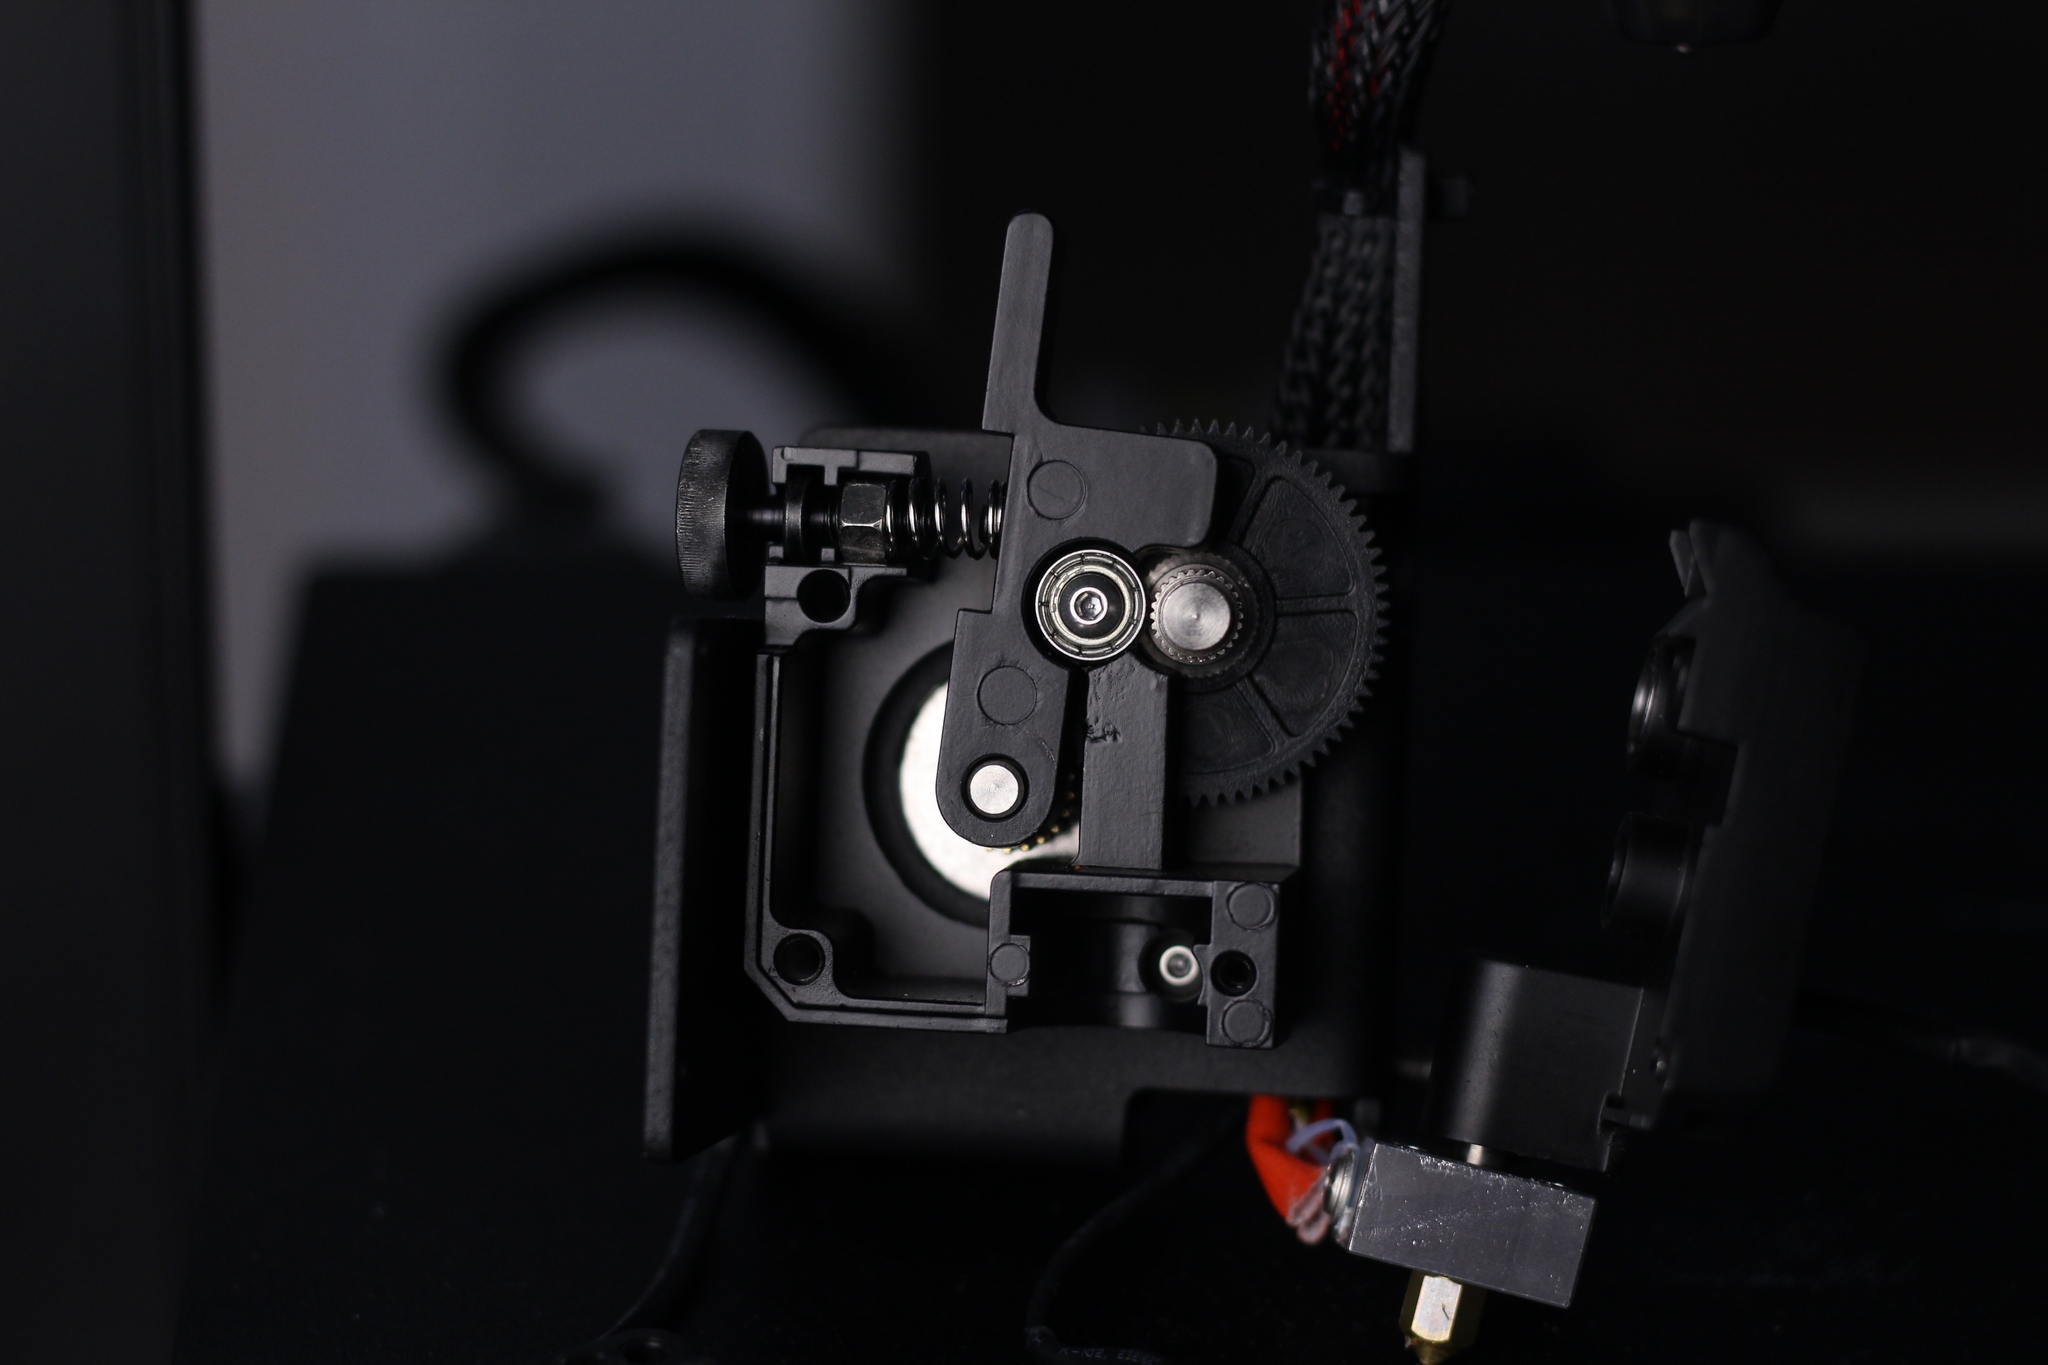
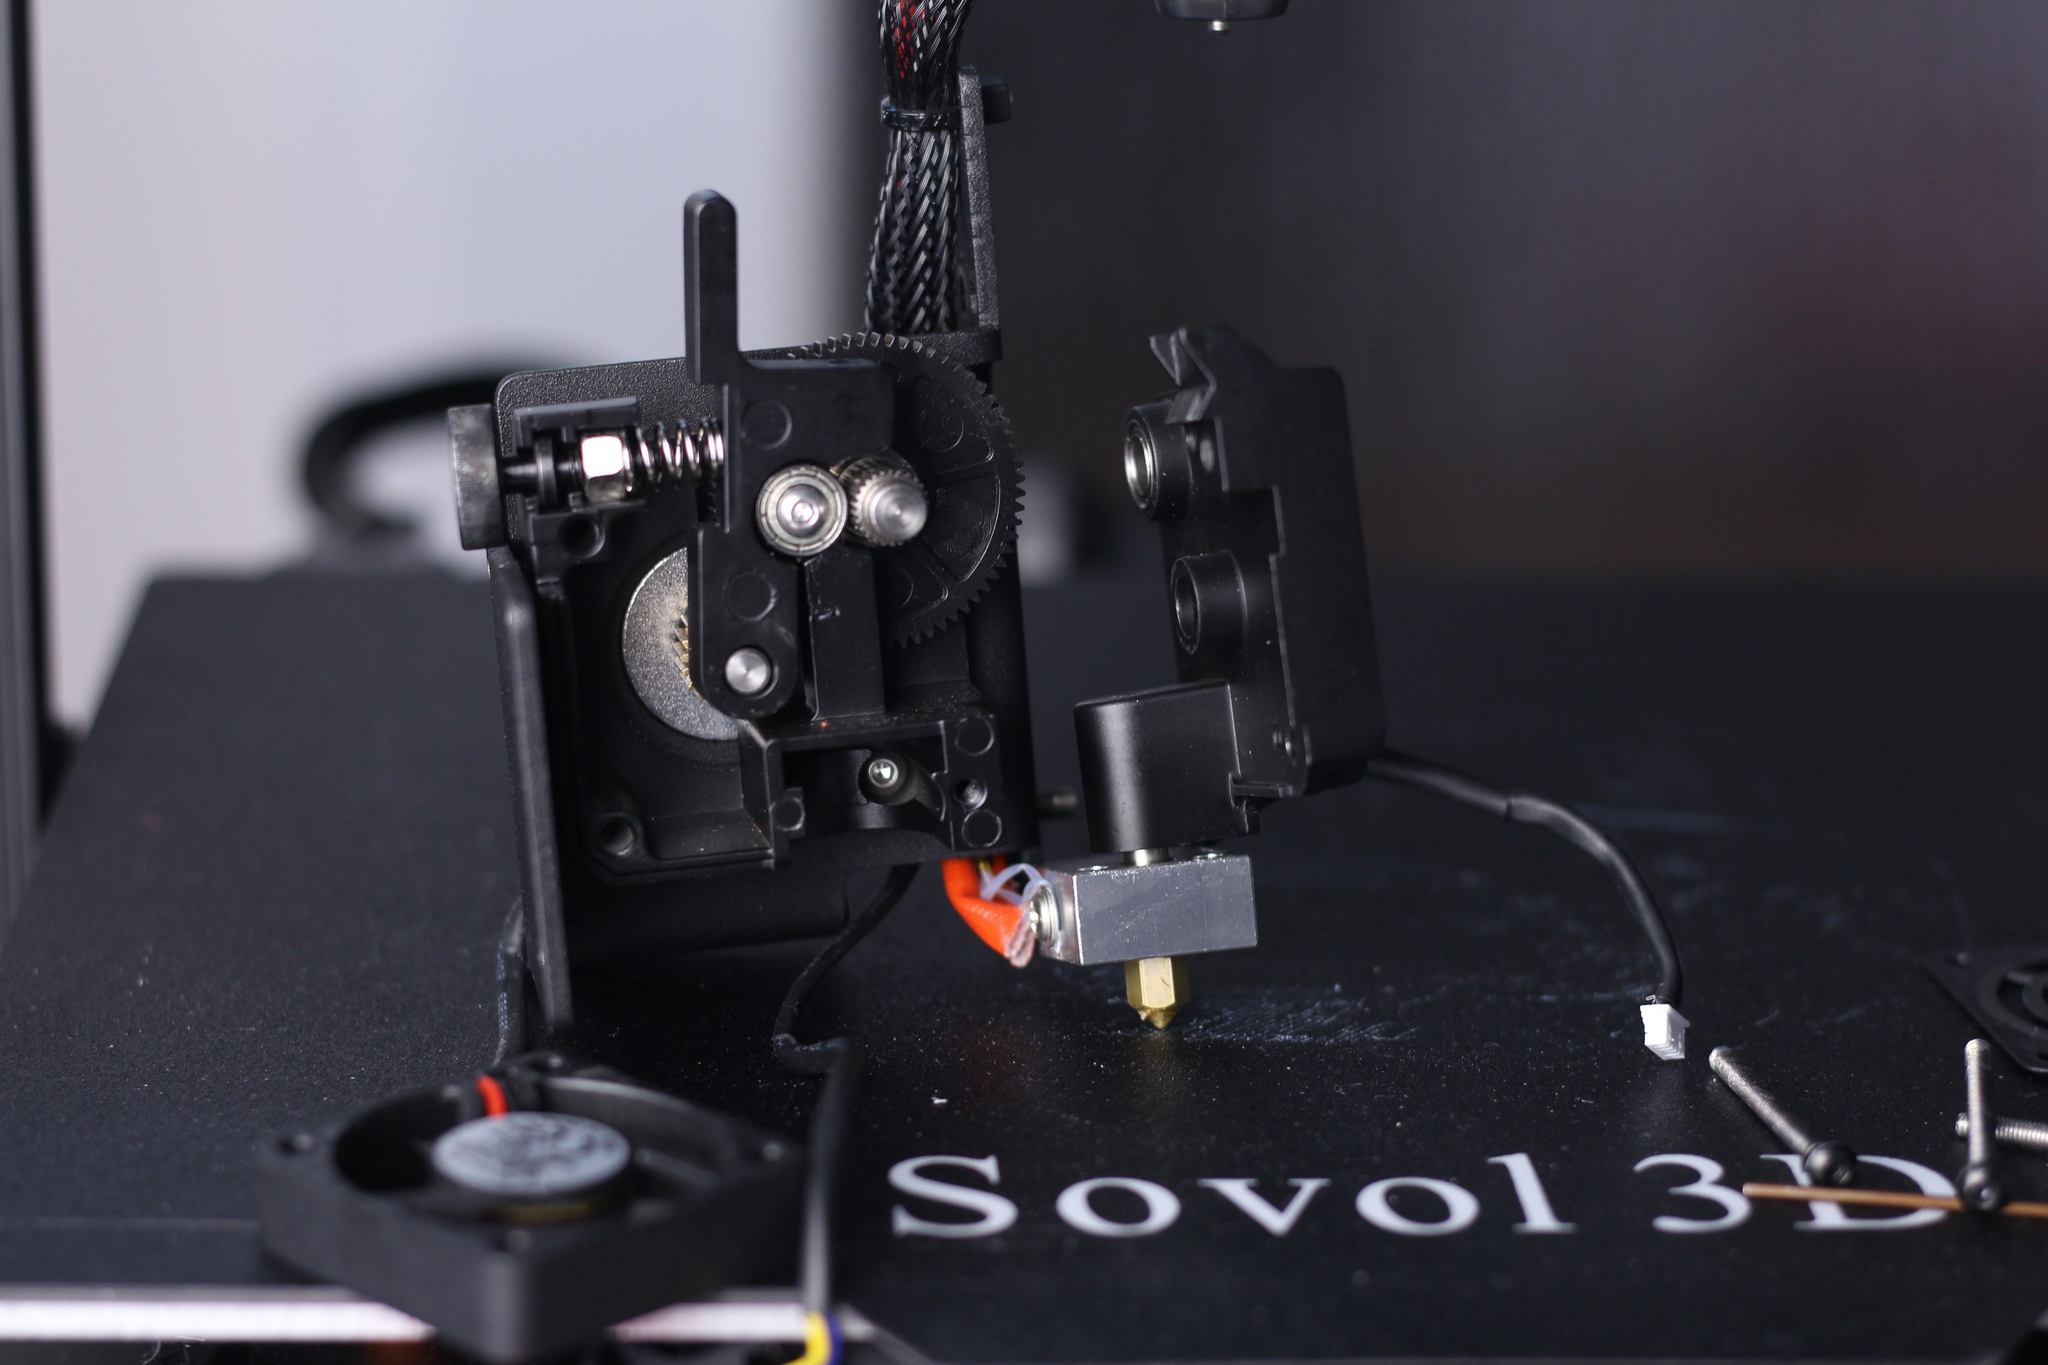
The first issue is with the metal idler. The tolerances for the point where the idler sits on the bearing are too high, and this causes a wobble/movement on the X-axis which generates inconsistent extrusion. Unfortunately, this issue cannot be solved without replacing the idler with a better one but you can print a spacer to help keep the idler more stable during printing, as seen in the image below.
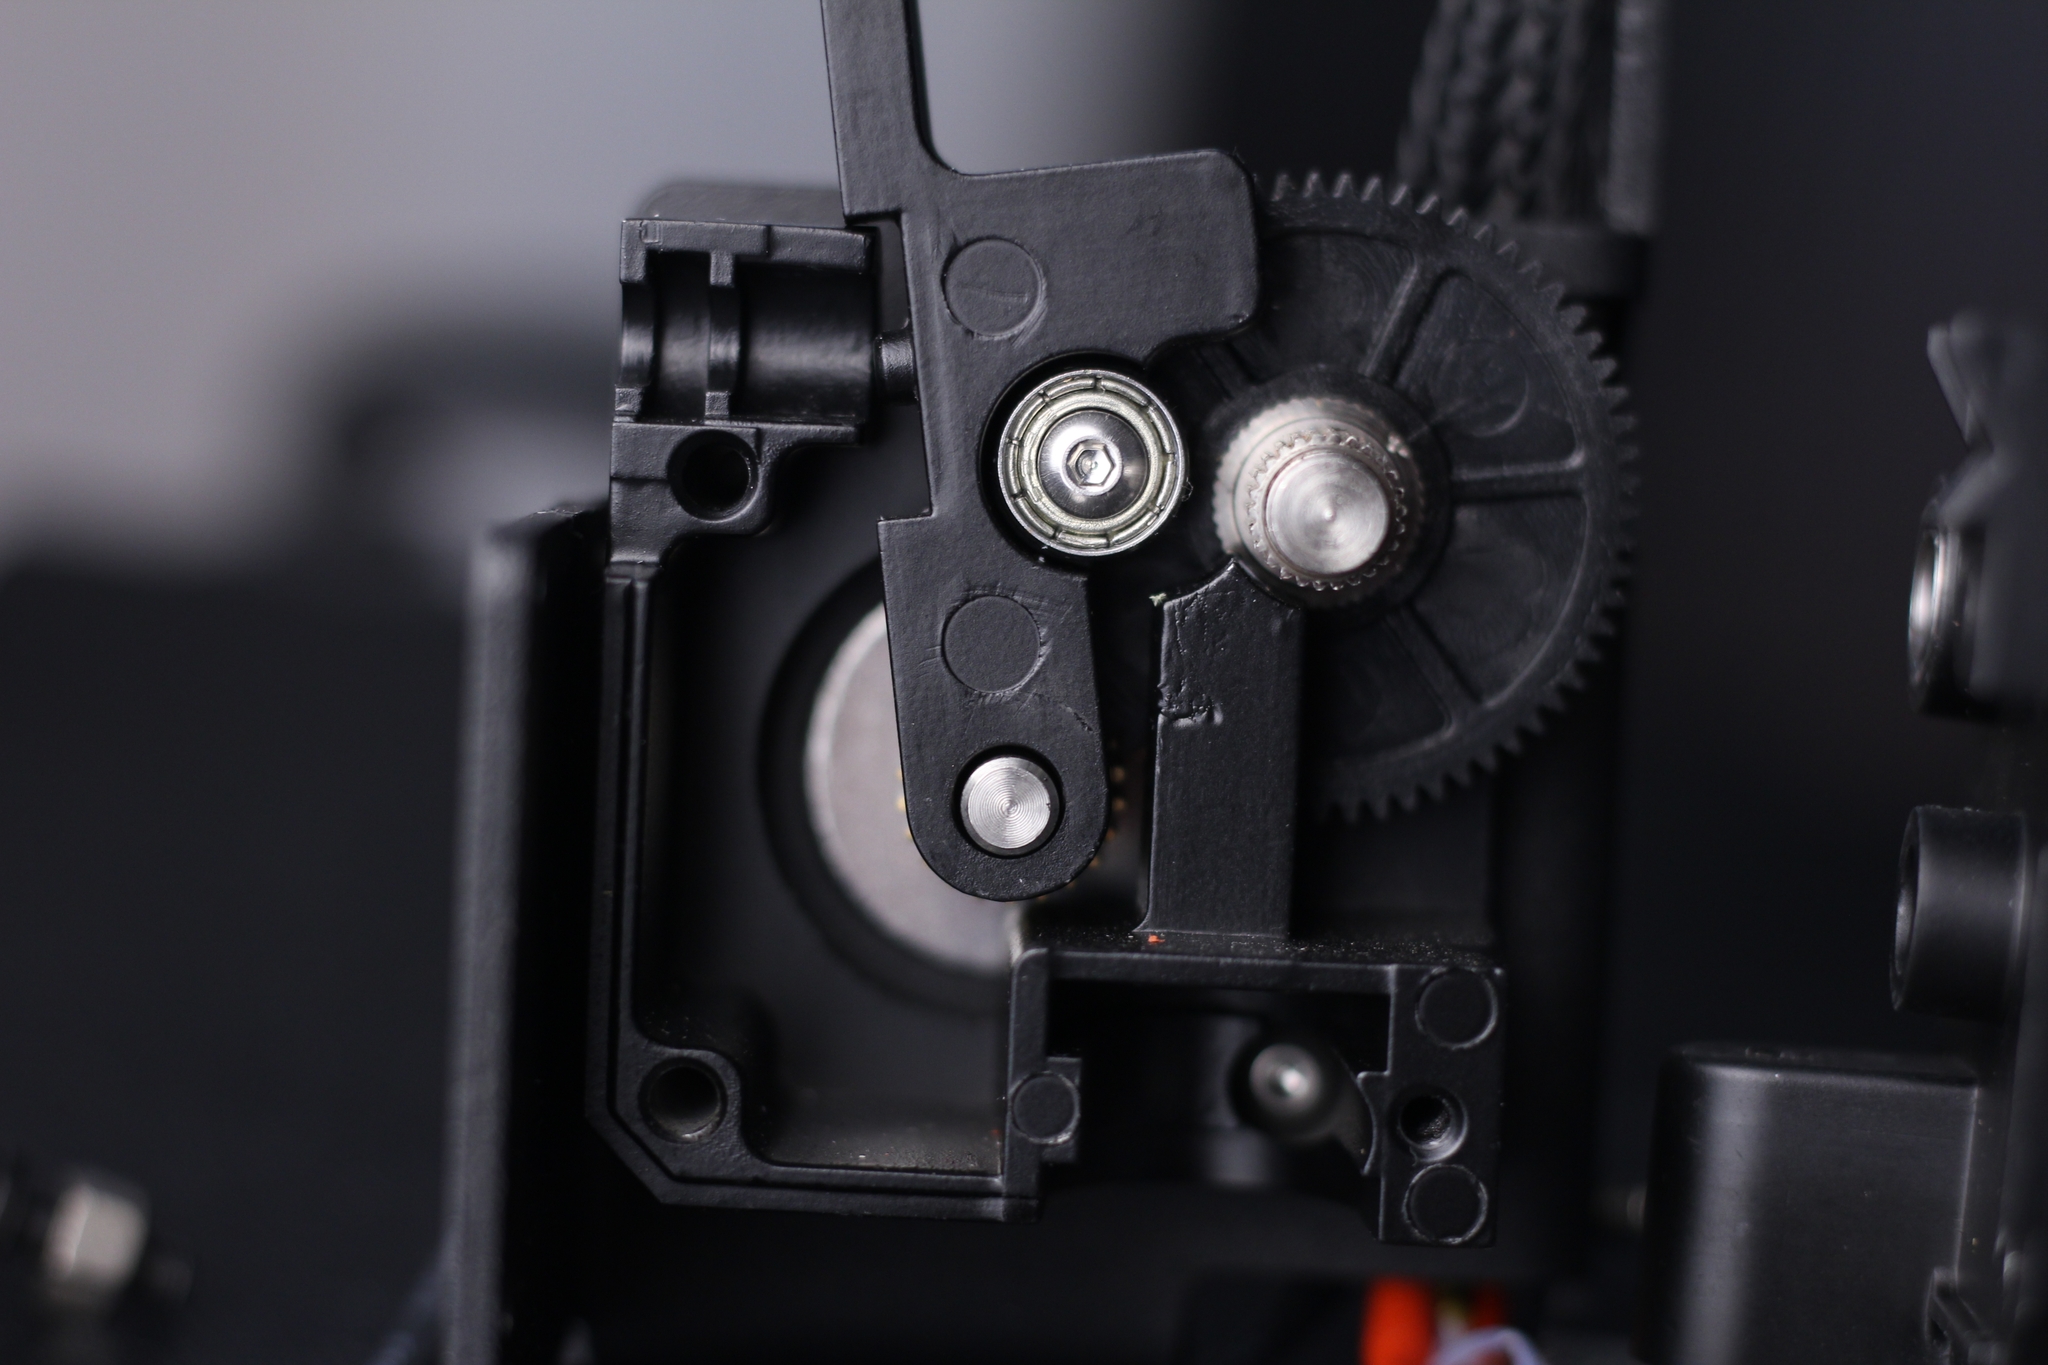
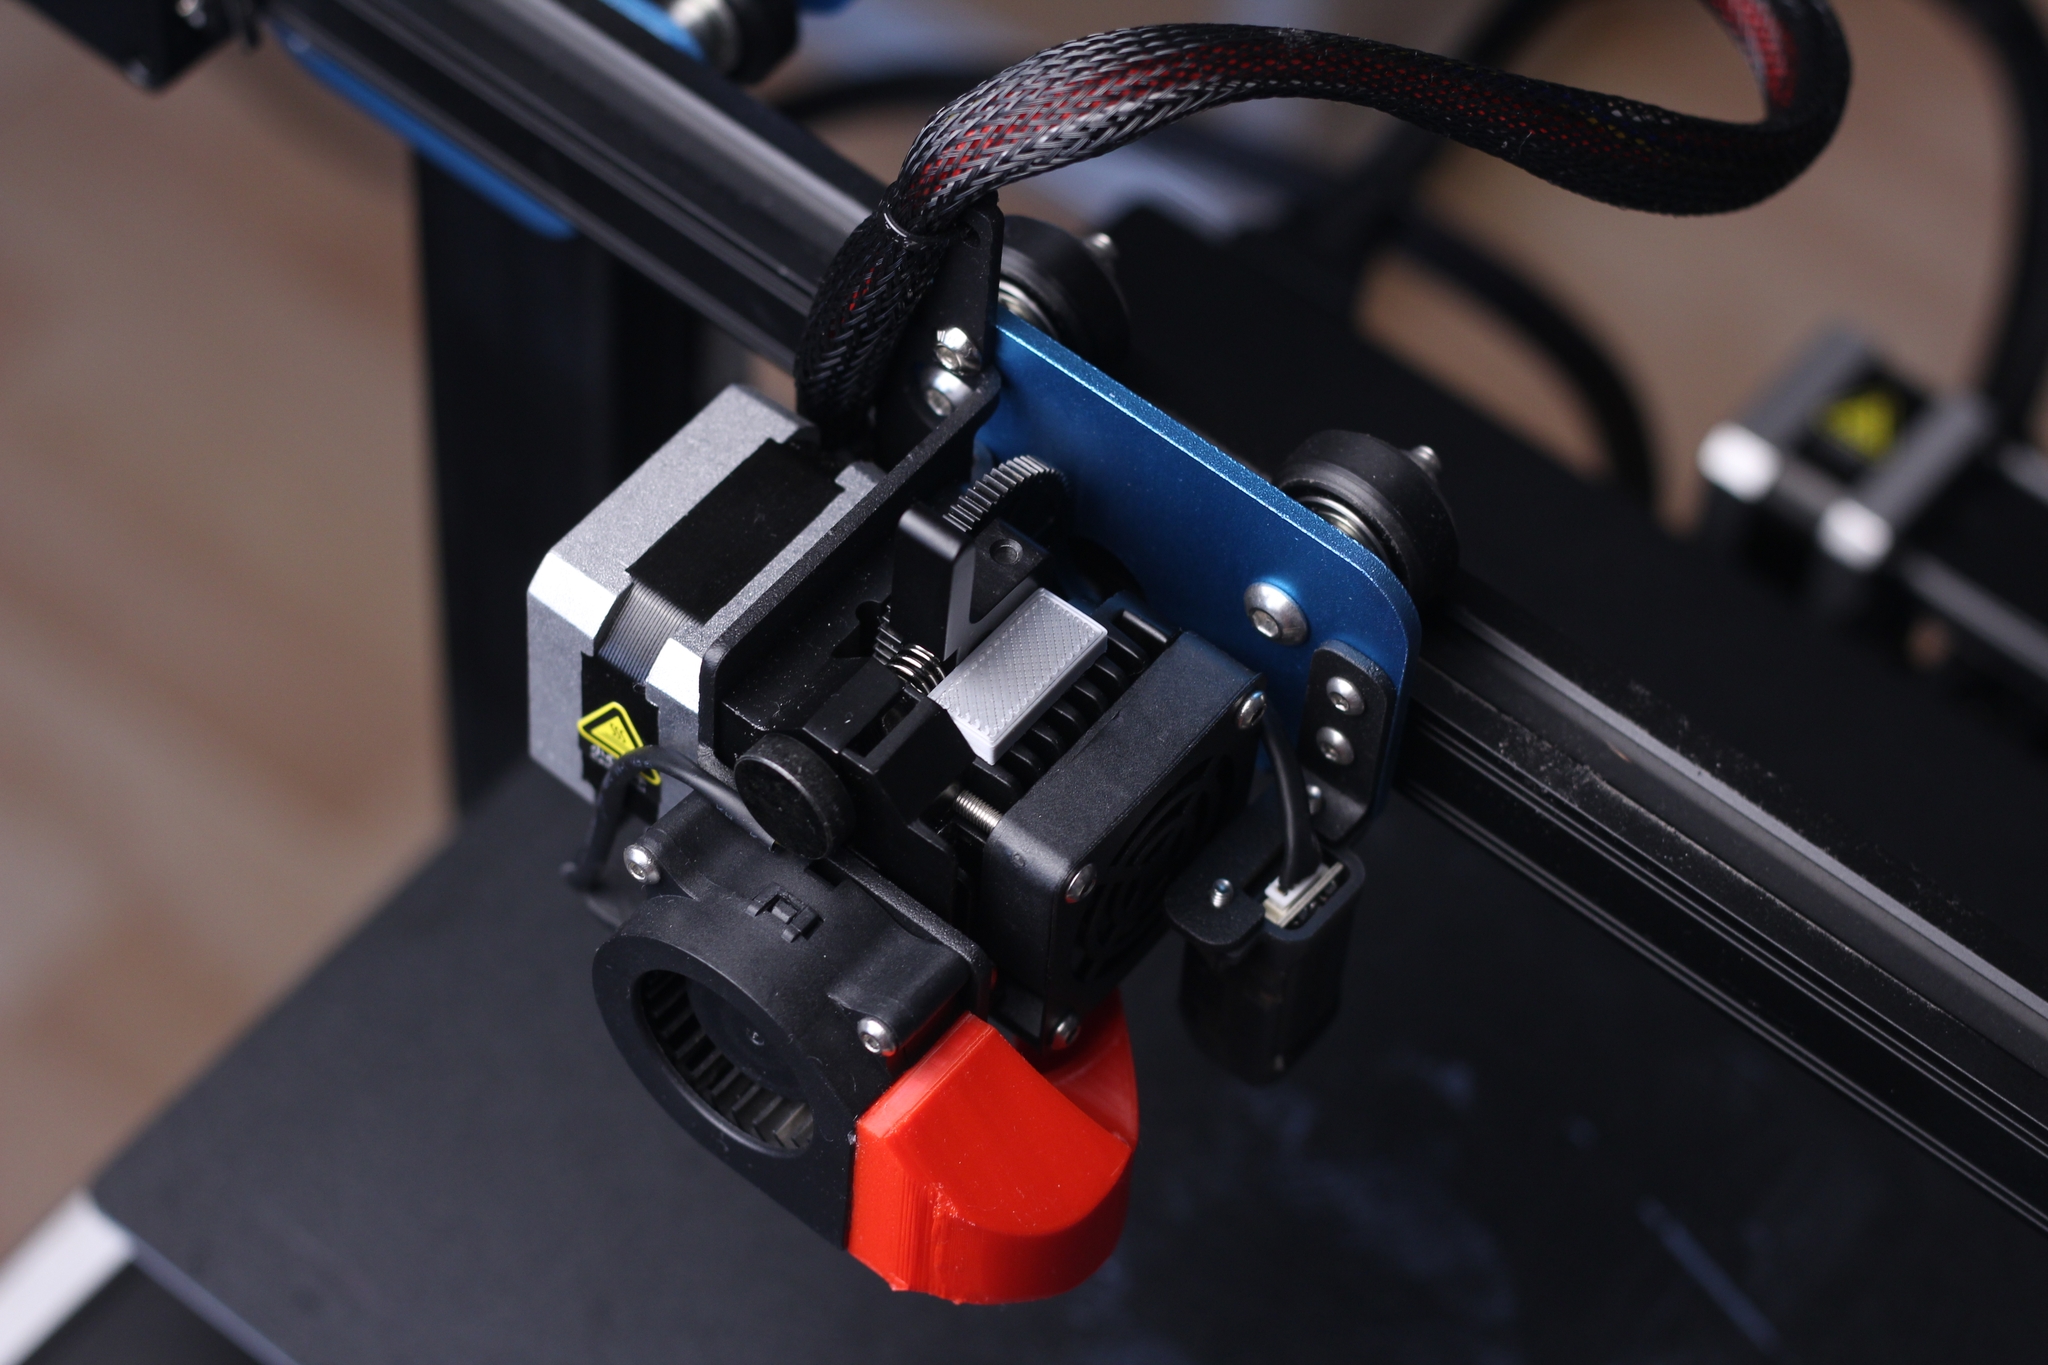
I checked this with one of Sovol’s engineers and he confirmed that this shouldn’t be happening. My idler has a much bigger movement compared to how it should be. It might be an isolated issue with my review sample, but I think it would be nice to double-check this during the QA phase.
The second issue is with the heat break. I was not able to remove the hotend to access the heat break because the grub screw was damaged and the only “fix” would be to either get a replacement hotend assembly or drill through the damaged grub screw. Either way, not what you would expect.
There’s also the issue of a custom heat break used by Sovol which is not easily upgradable to a bi-metal heat break. This is an issue for the Sovol SV04, and I think it’s the same for the SV01 Pro. But I can’t confirm this without disassembling the hotend, which is currently not possible.
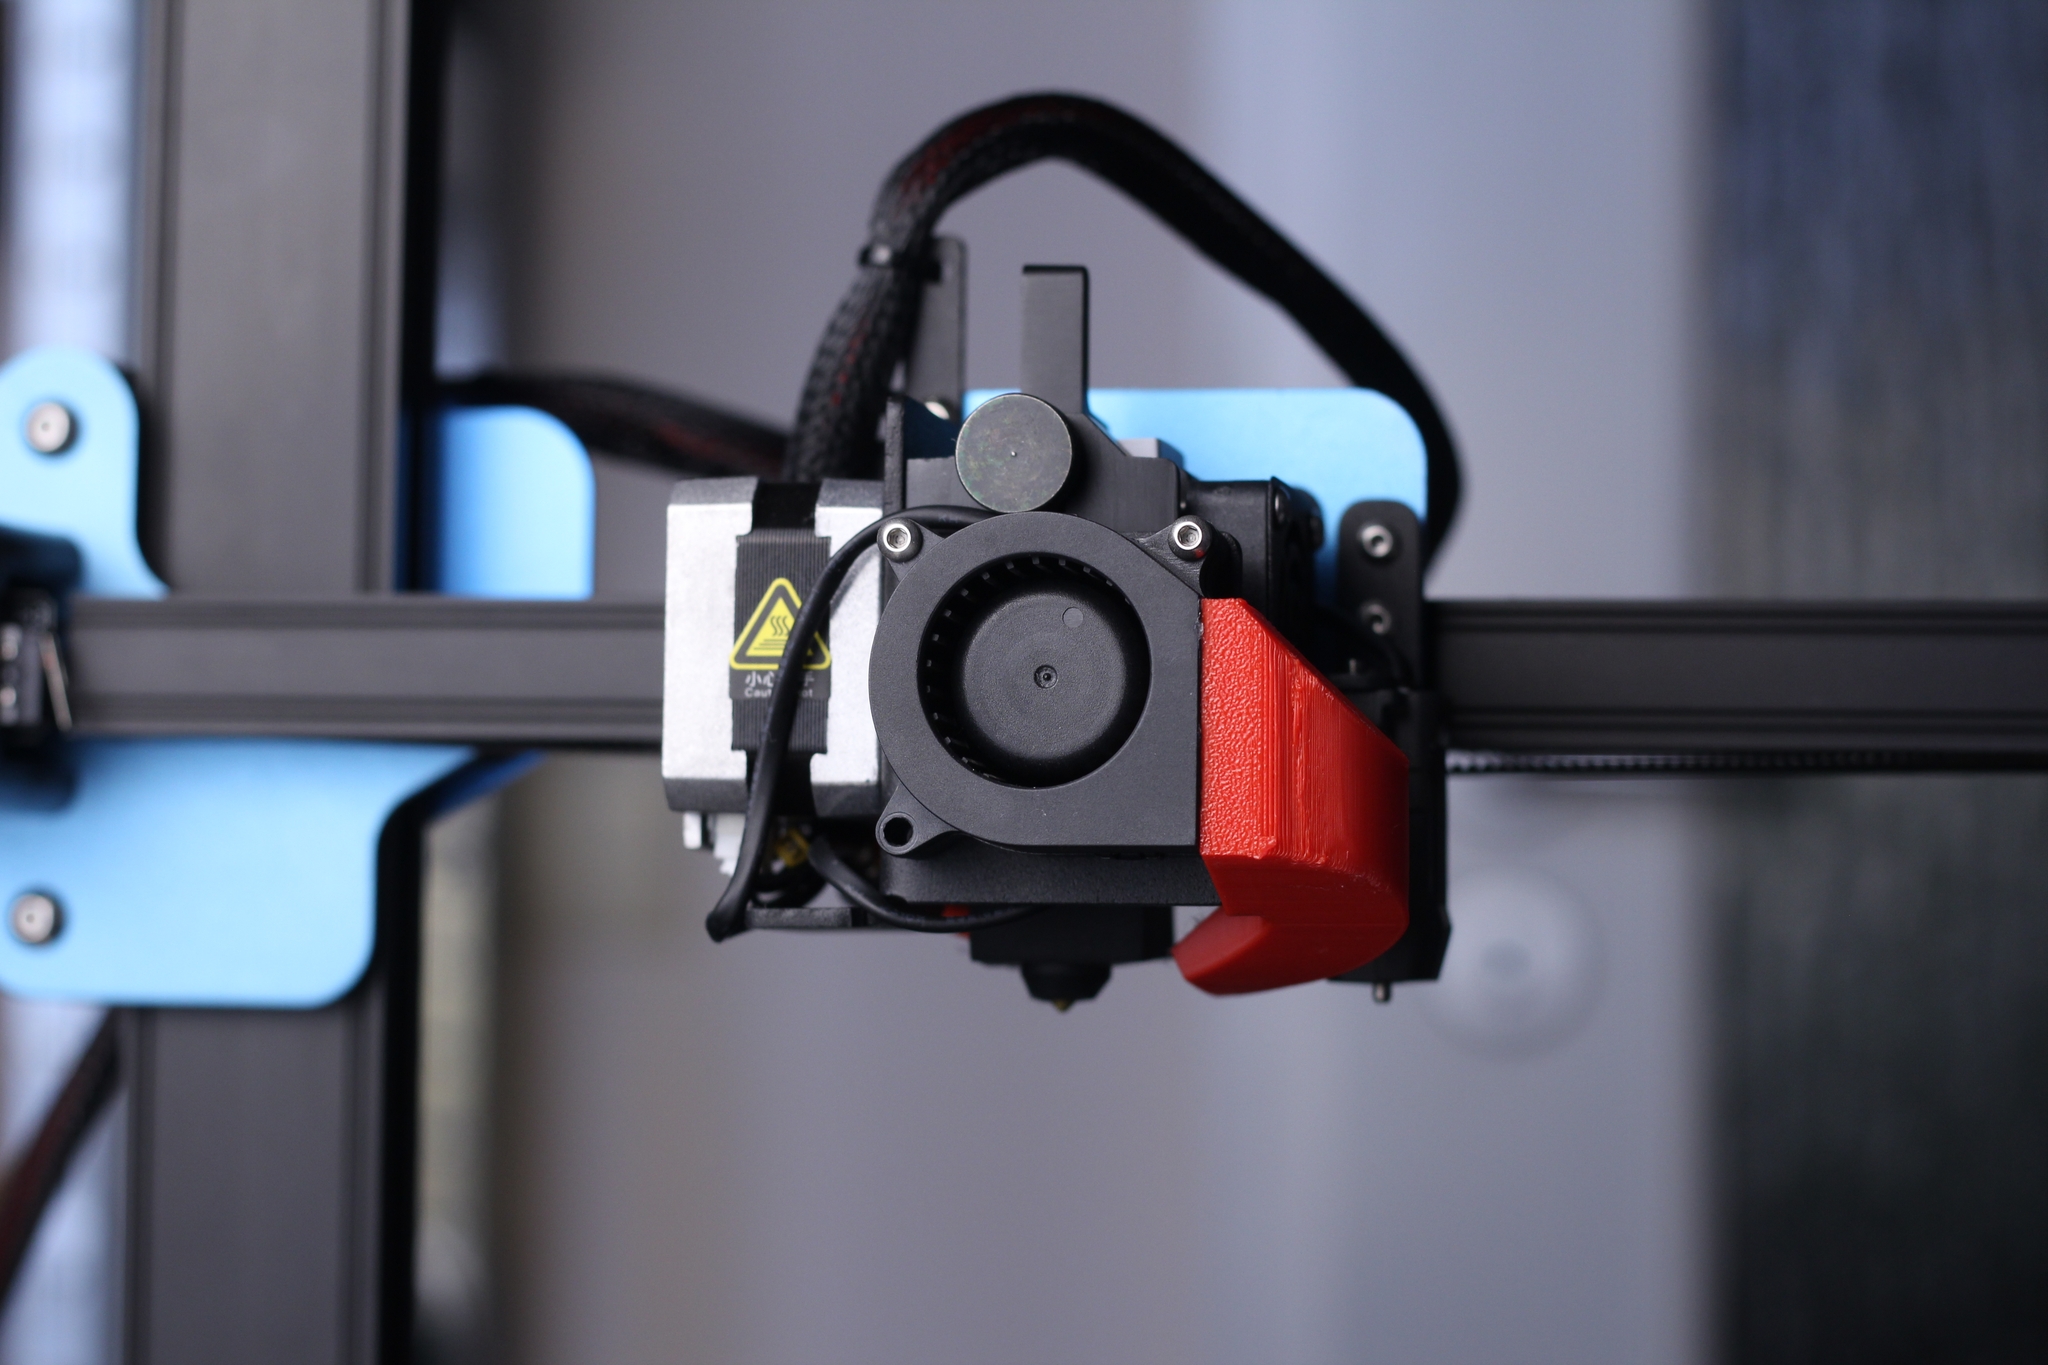
Another thing I don’t like is the part cooling fan used by Sovol. The bottom side of the duct is really close to the print, and because of that, I had four failed prints during the review period. As you can see, I tried printing the Torture Toaster from Clockspring 3D but it failed every time.
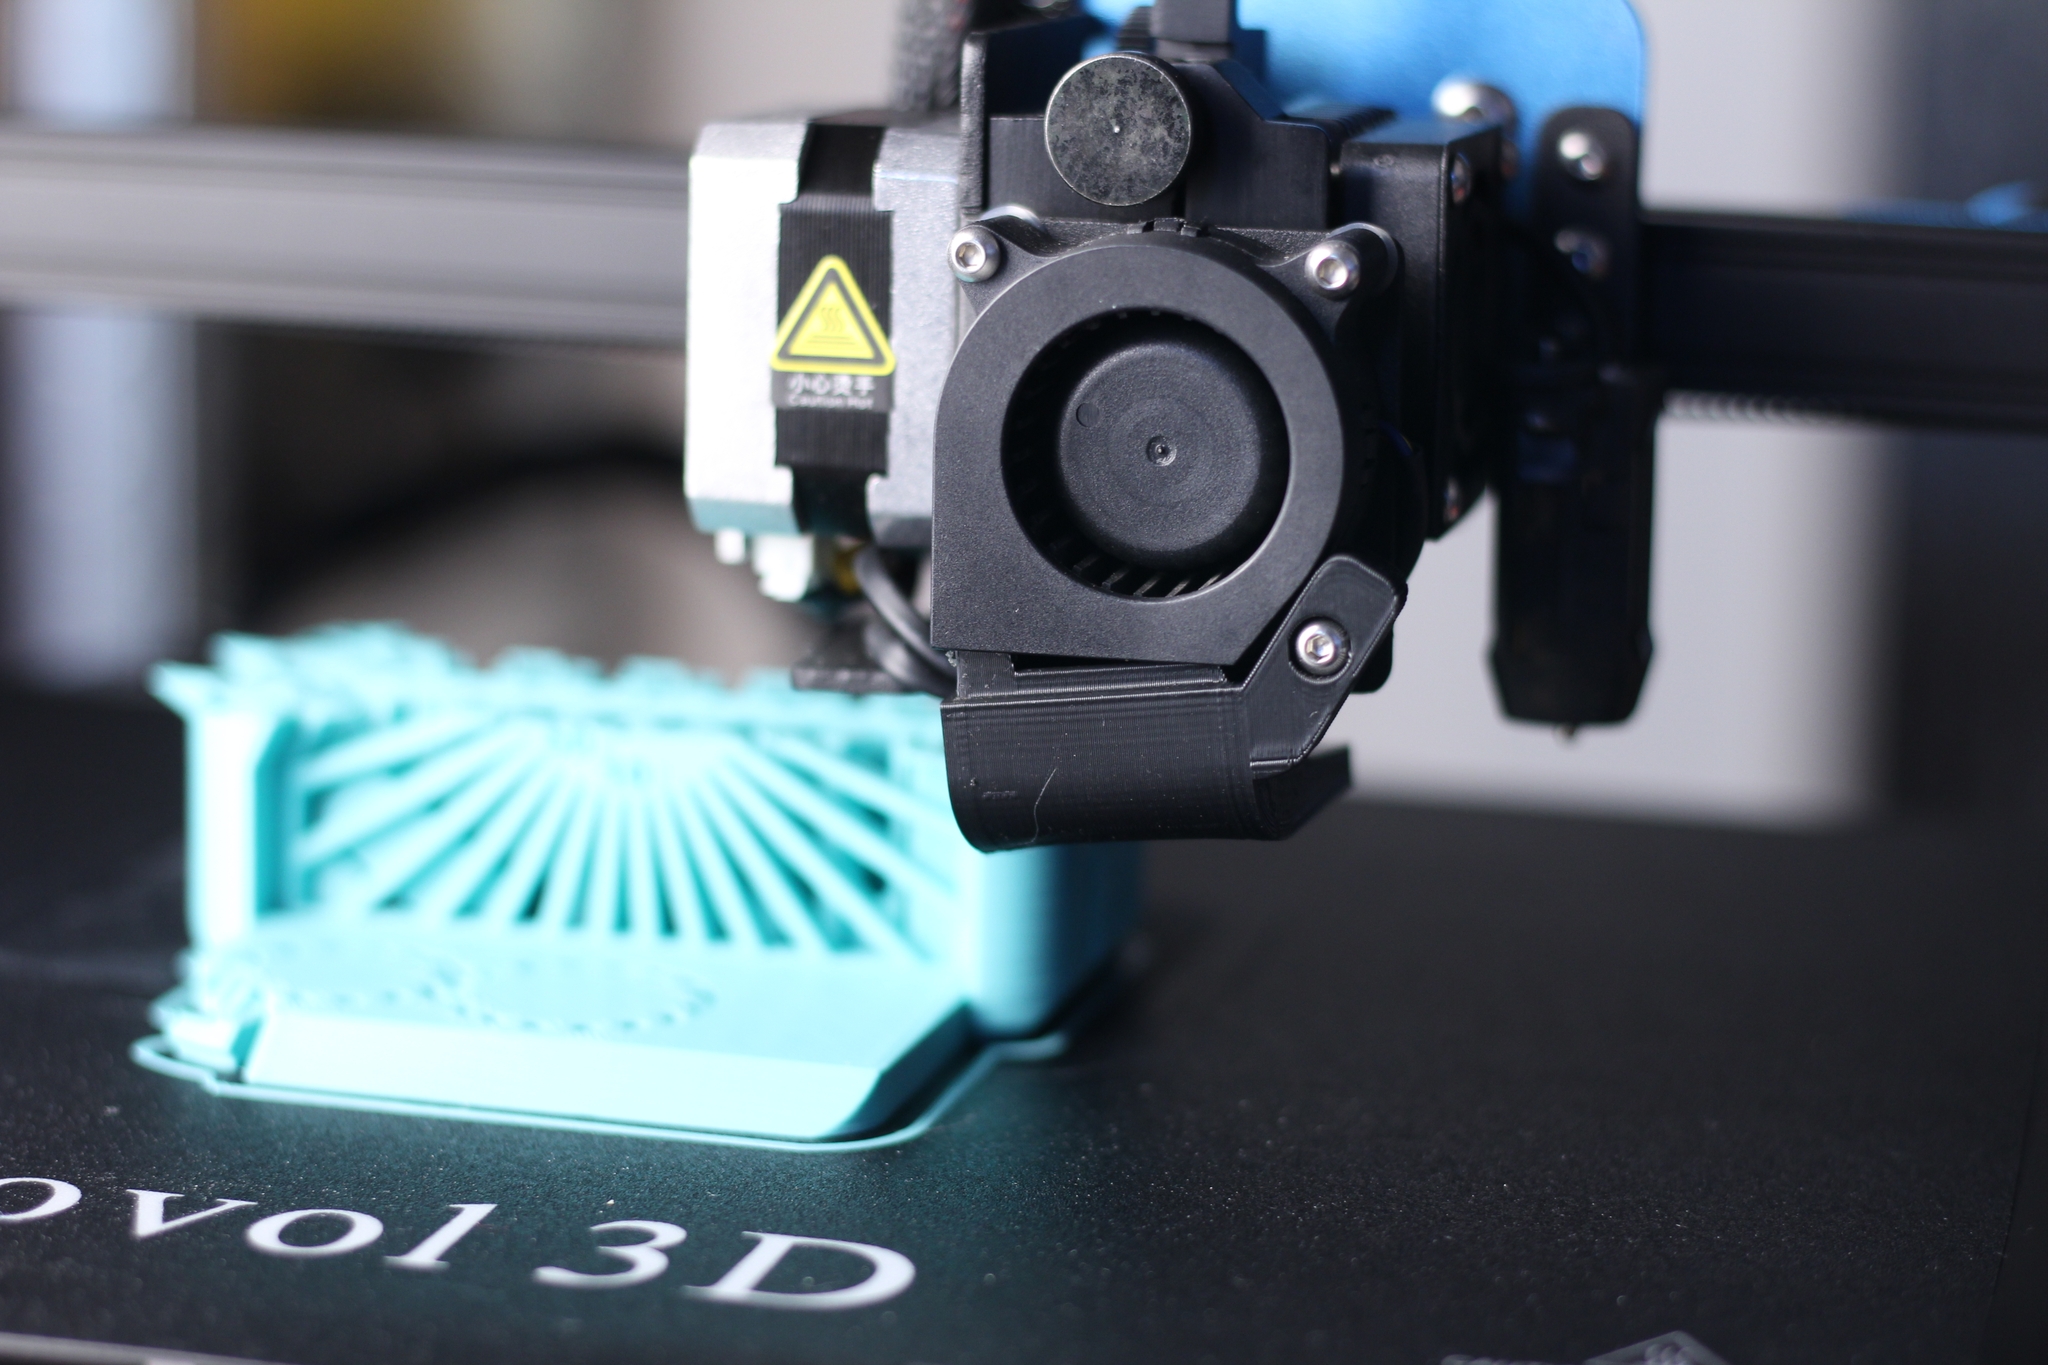
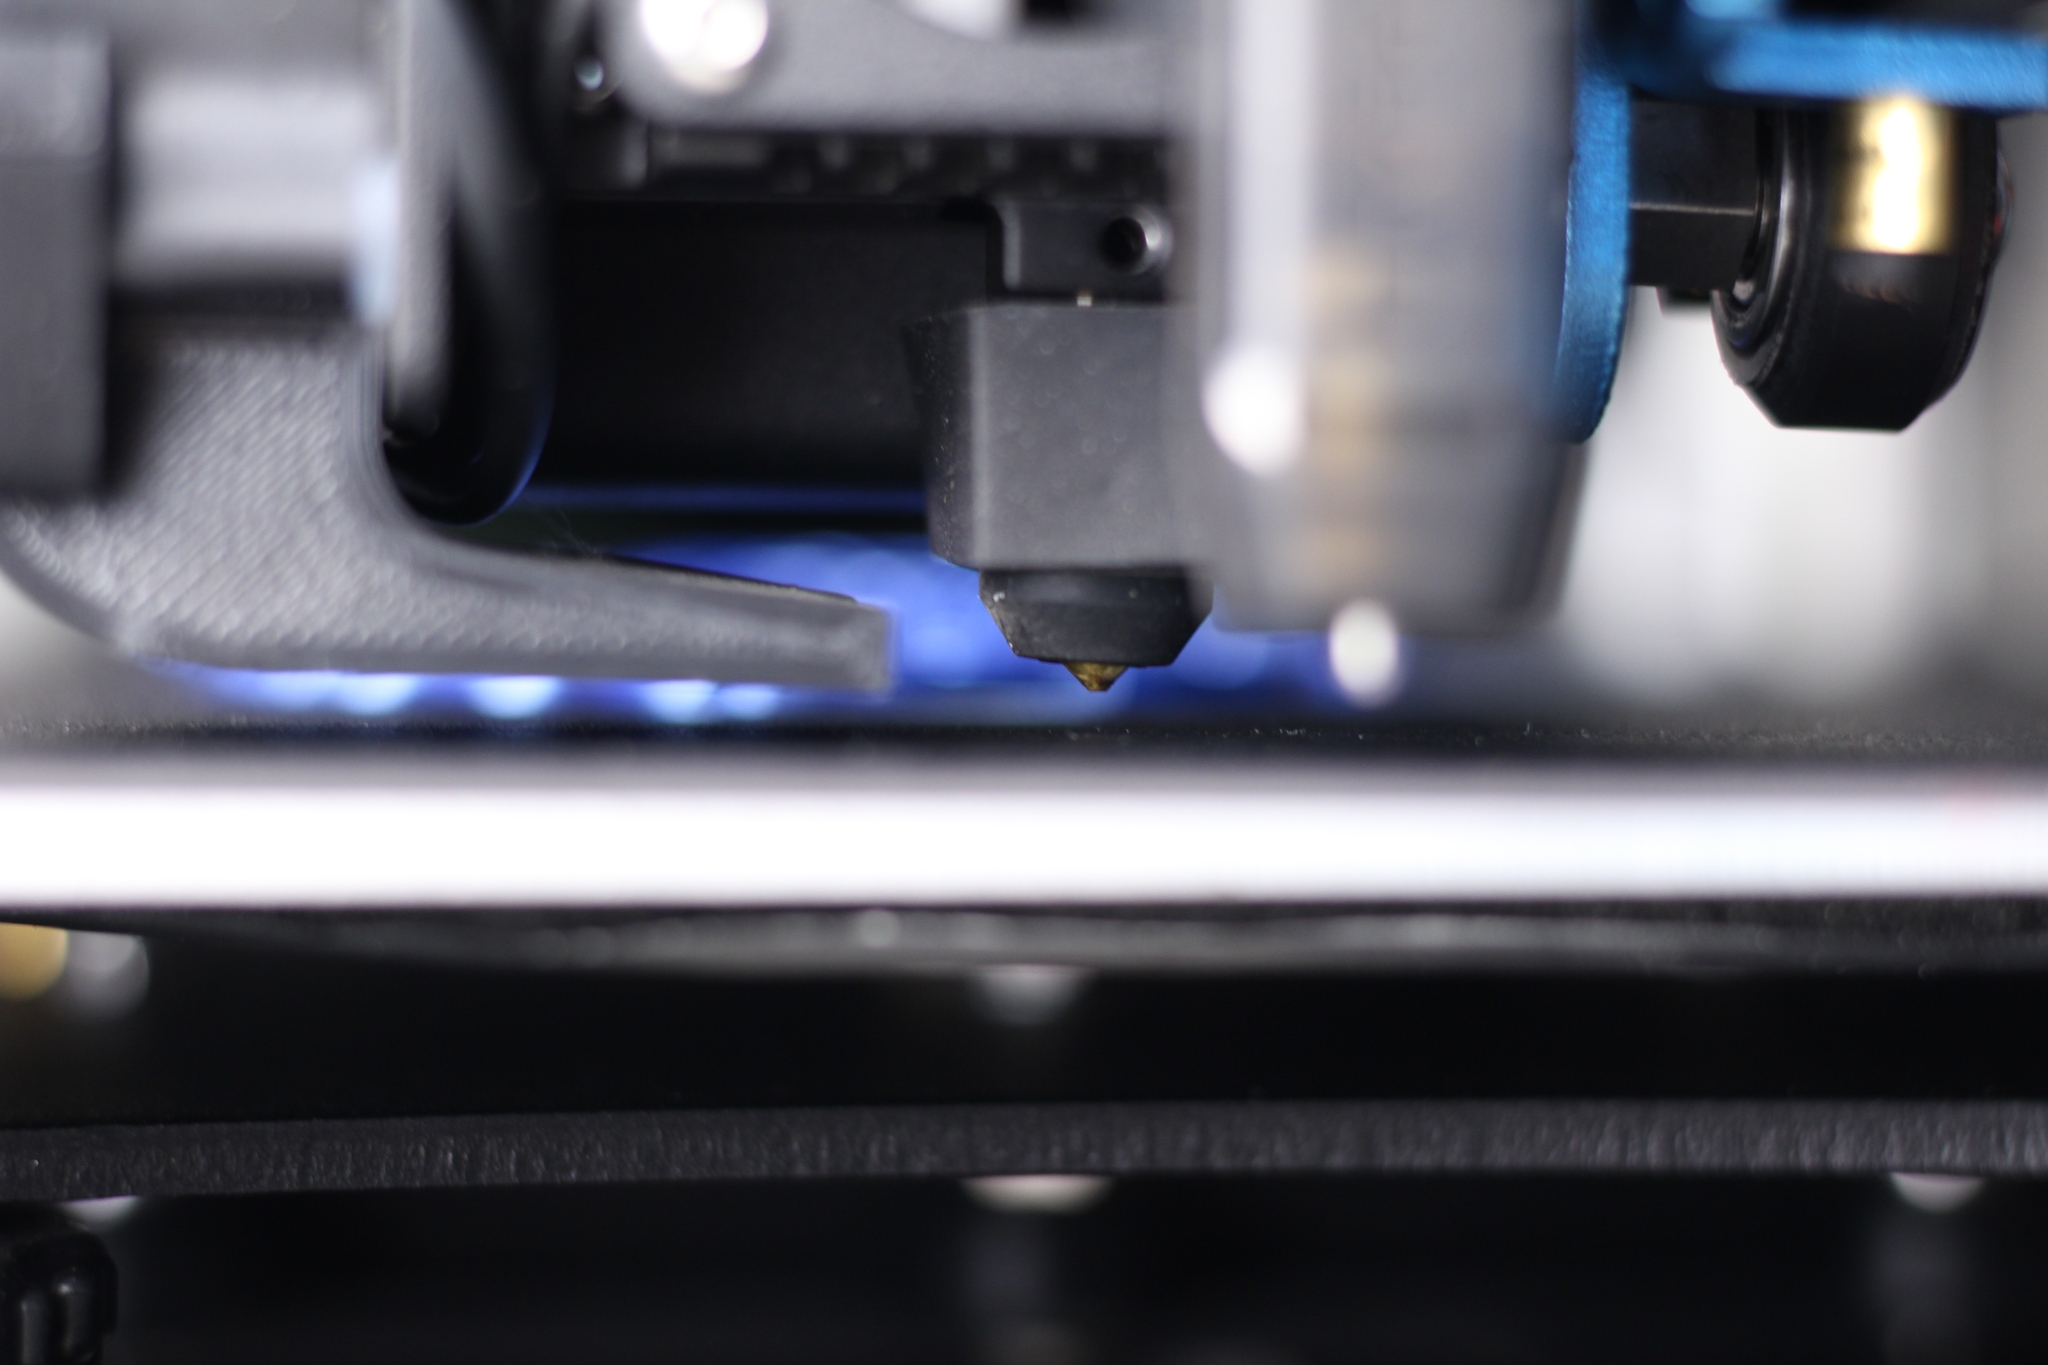
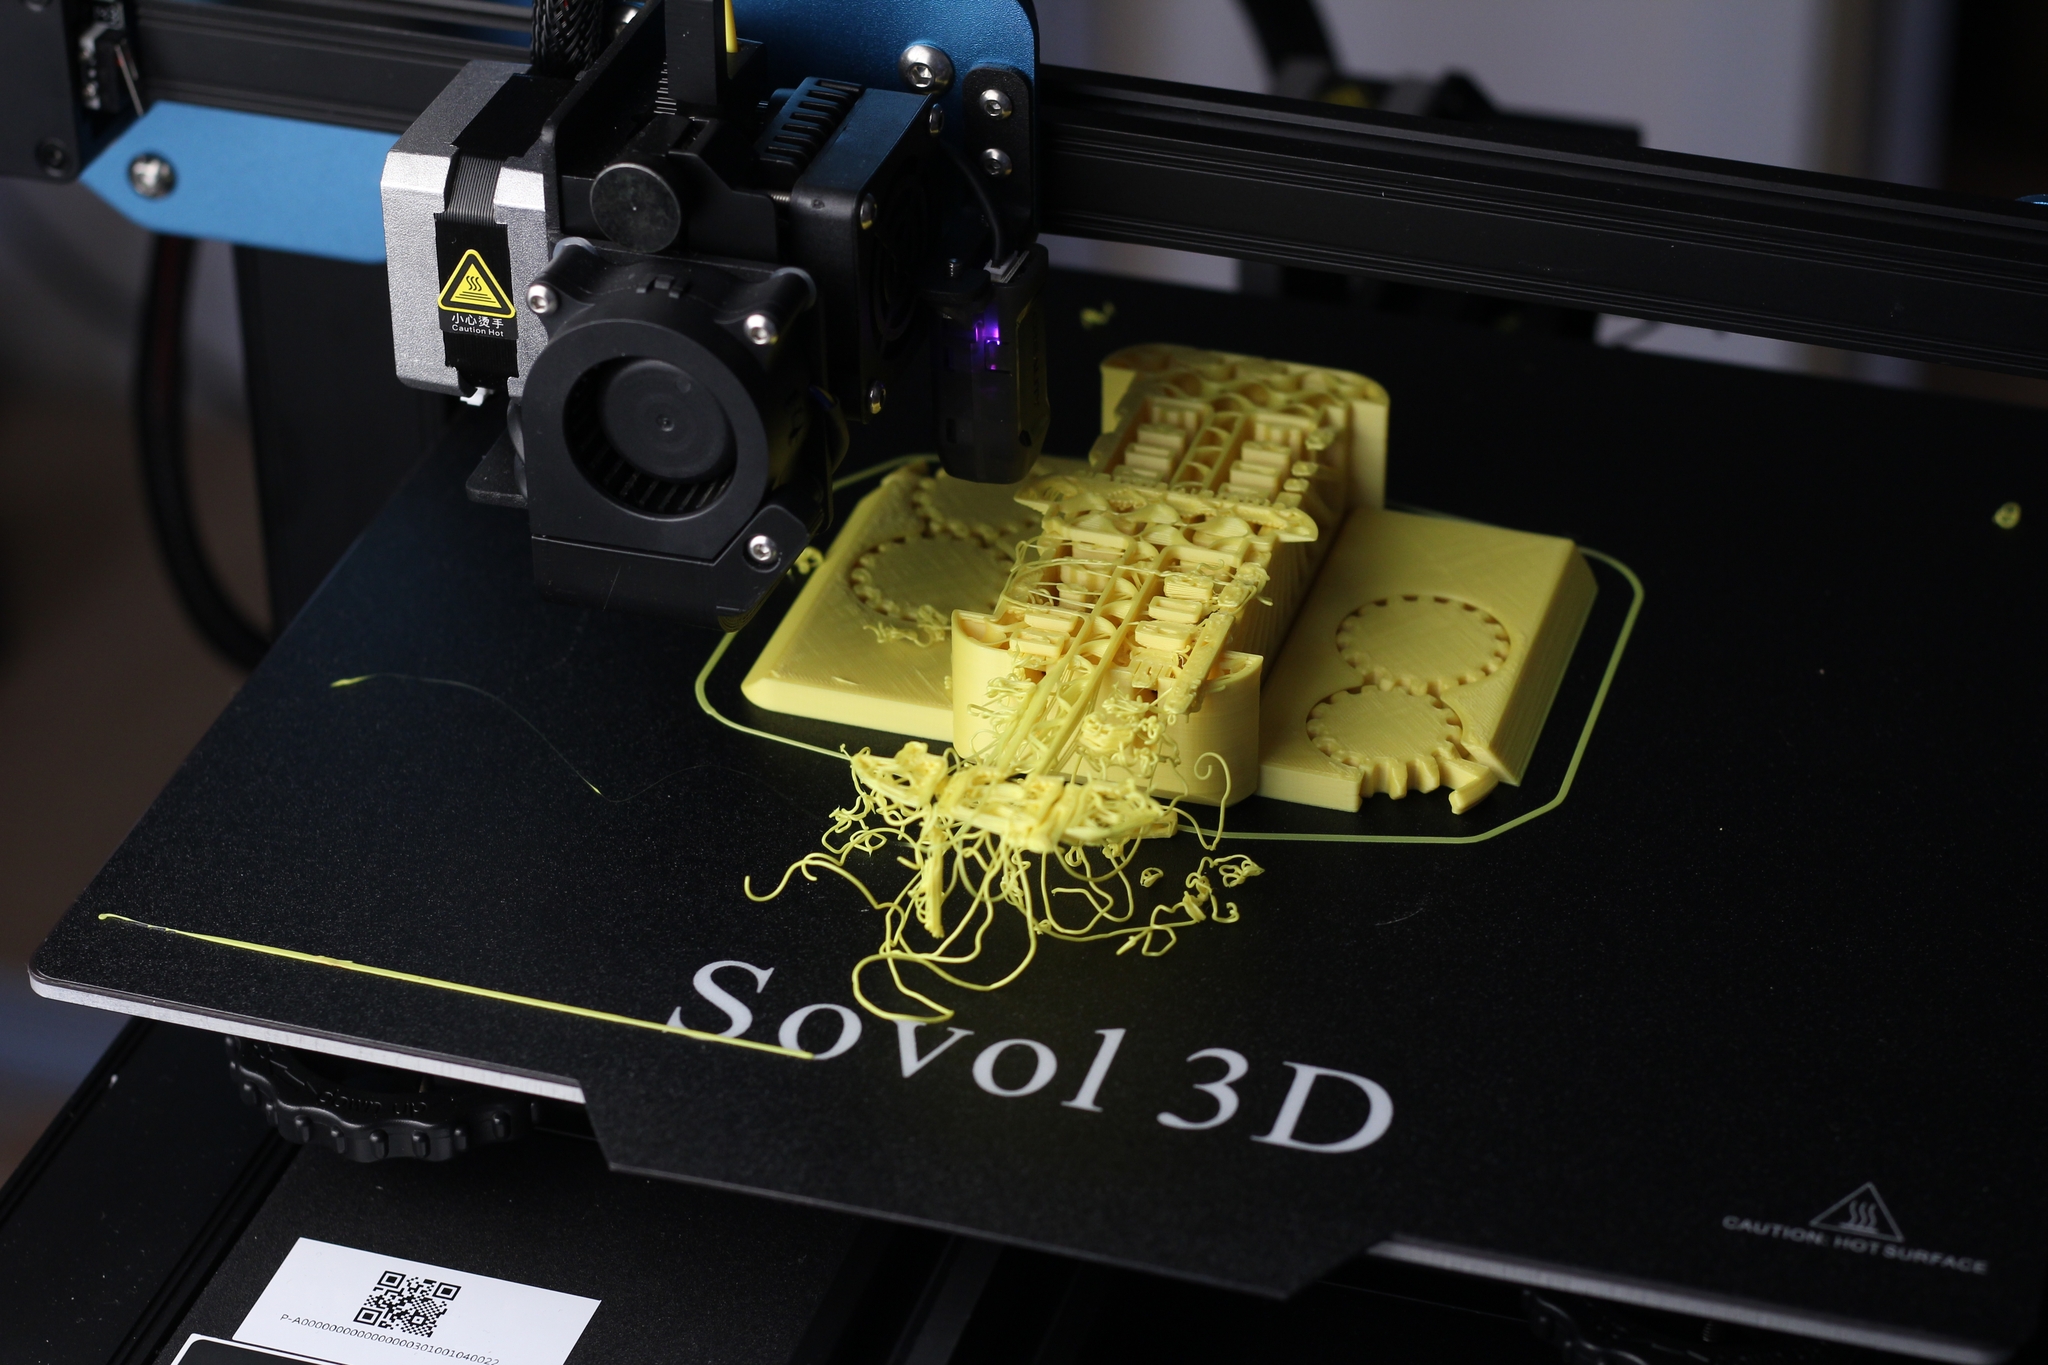
I wasn’t able to complete my review without actually changing the part cooling duct, so I designed my own. Not the best duct out there, and not the most efficient, but at least it works. Besides that, it also allows for a clear view of the nozzle during printing.
Finally, I also need to mention that the extruder stepper motor is getting hot after a few hours of printing. This might be caused by a VREF value that is set too high. The stepper motor can handle these kinds of temperatures, but it heats up the whole extruder assembly which means that the heat break also gets hotter than it should.
I really hope Sovol will address this issue and actually design a usable fan duct because right now it hinders the performance of the printer and it’s a shame.
CR-Touch sensor for Auto Bed Leveling
The SV01 Pro comes equipped with a CR-Touch sensor used for auto bed leveling. It’s the same sensor used by Creality on some of their printers like the Ender 3 S1. The sensor probes the bed accurately, and I really can’t complain about its performance.
After running ABL for leveling the printer, it stays consistent and it’s not hard to get perfect first layers. But it’s worth mentioning that if you reboot the machine, or move it, you will need to re-level the printer. This is caused by the movement of the Z-axis motors.
32-bit Creality V4.2.2 board
With the Sovol SV01 Pro we get the Creality V4.2.2 board which is a 32-bit board with four silent stepper drivers. This means that G34 for Z Stepper Auto-Alignment (a feature present on the SV04) is not possible because this function requires having two stepper drivers for the Z-axis. It would have been a nice feature, but on the stock board, we won’t be able to use it.
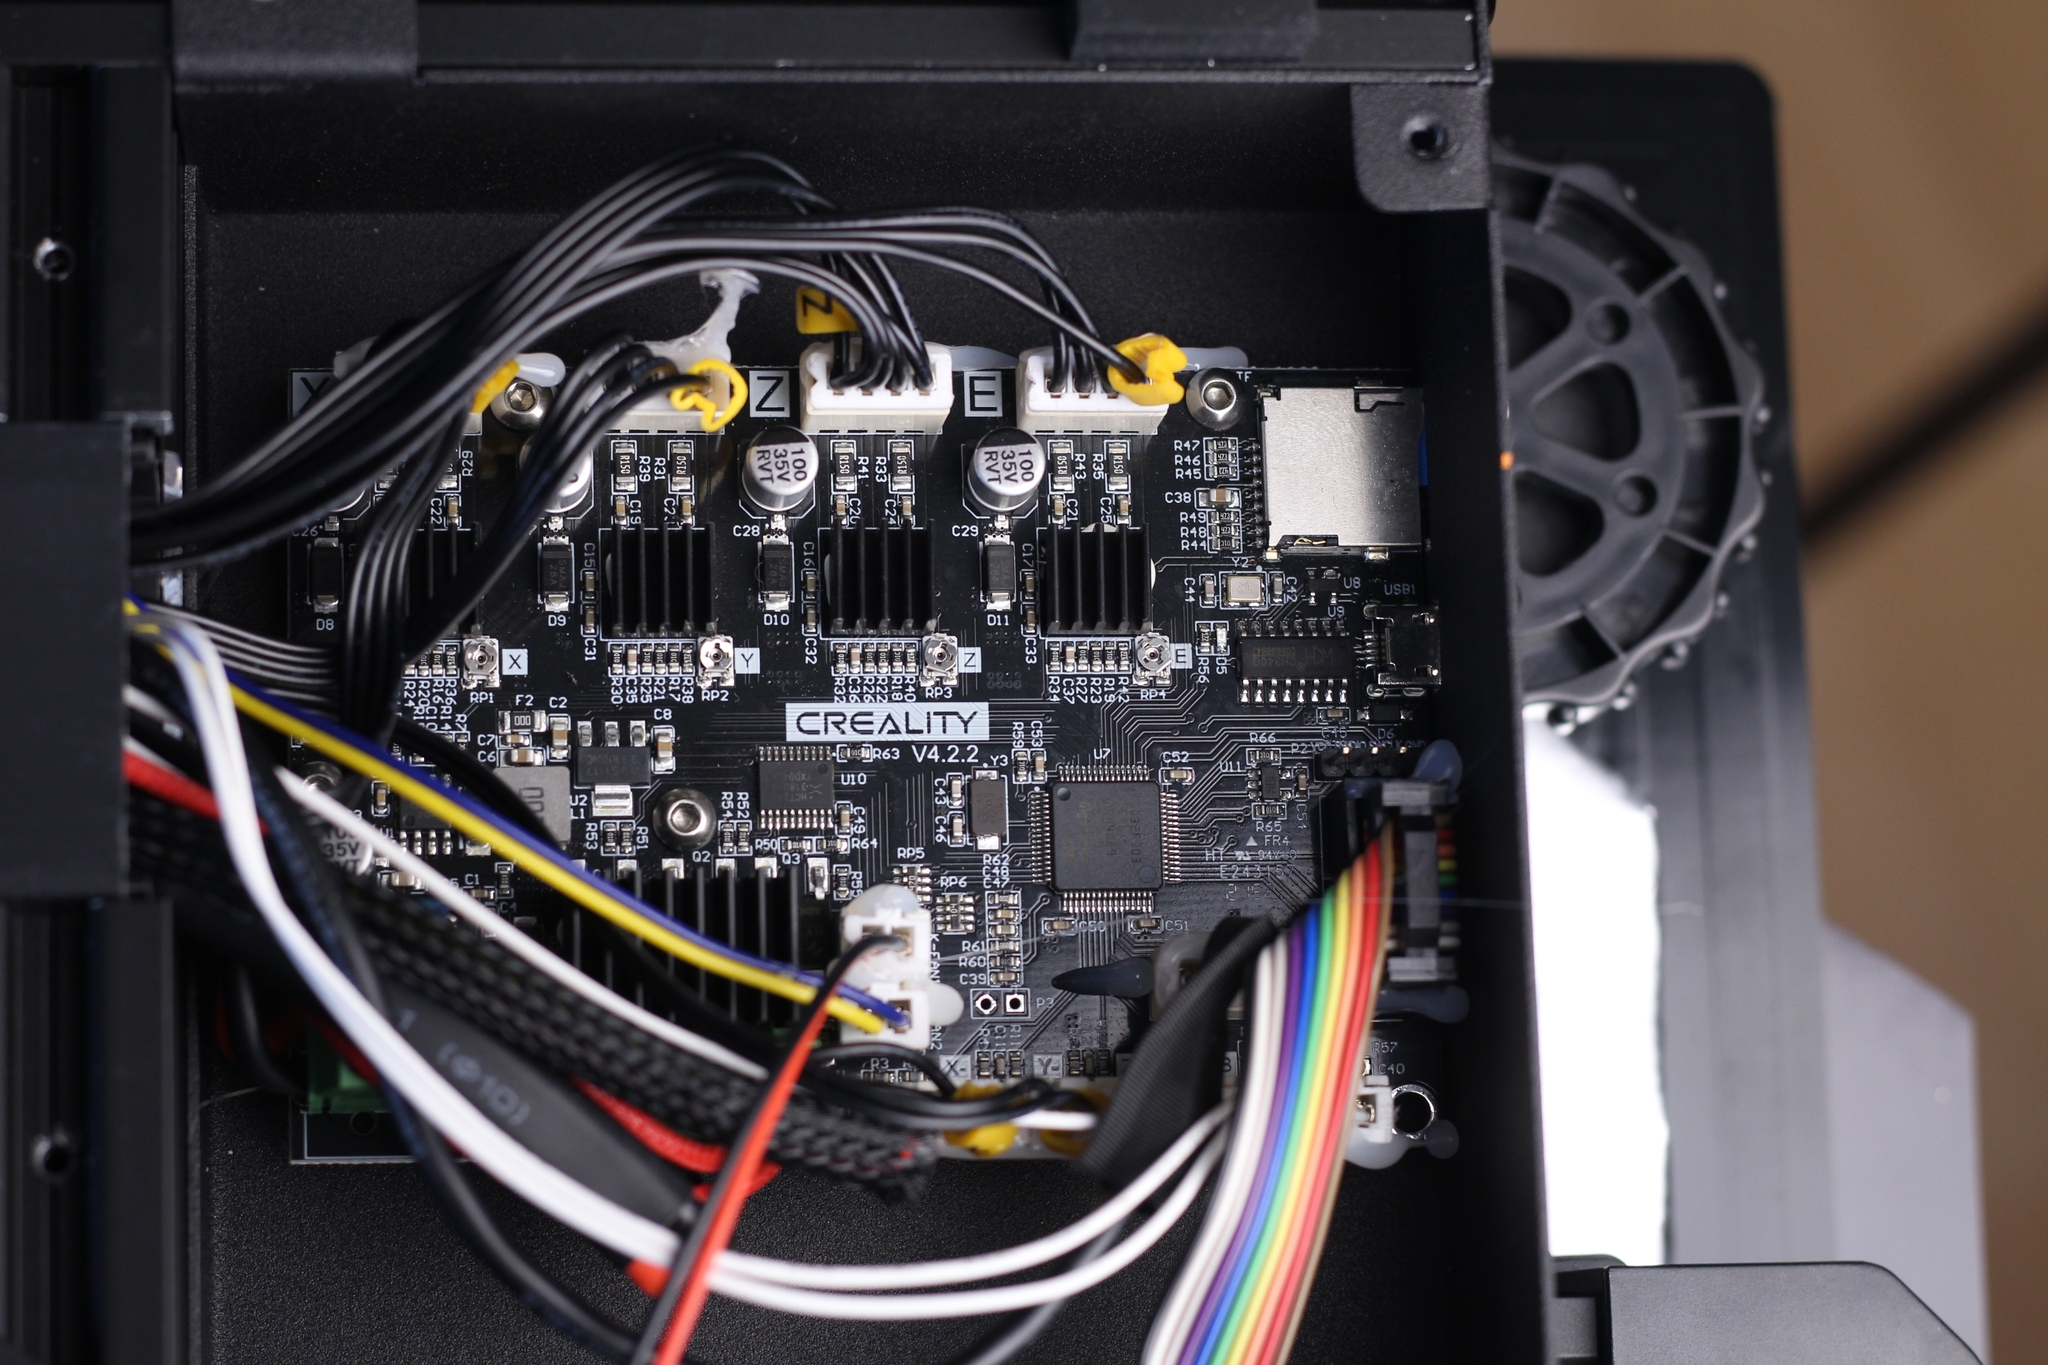
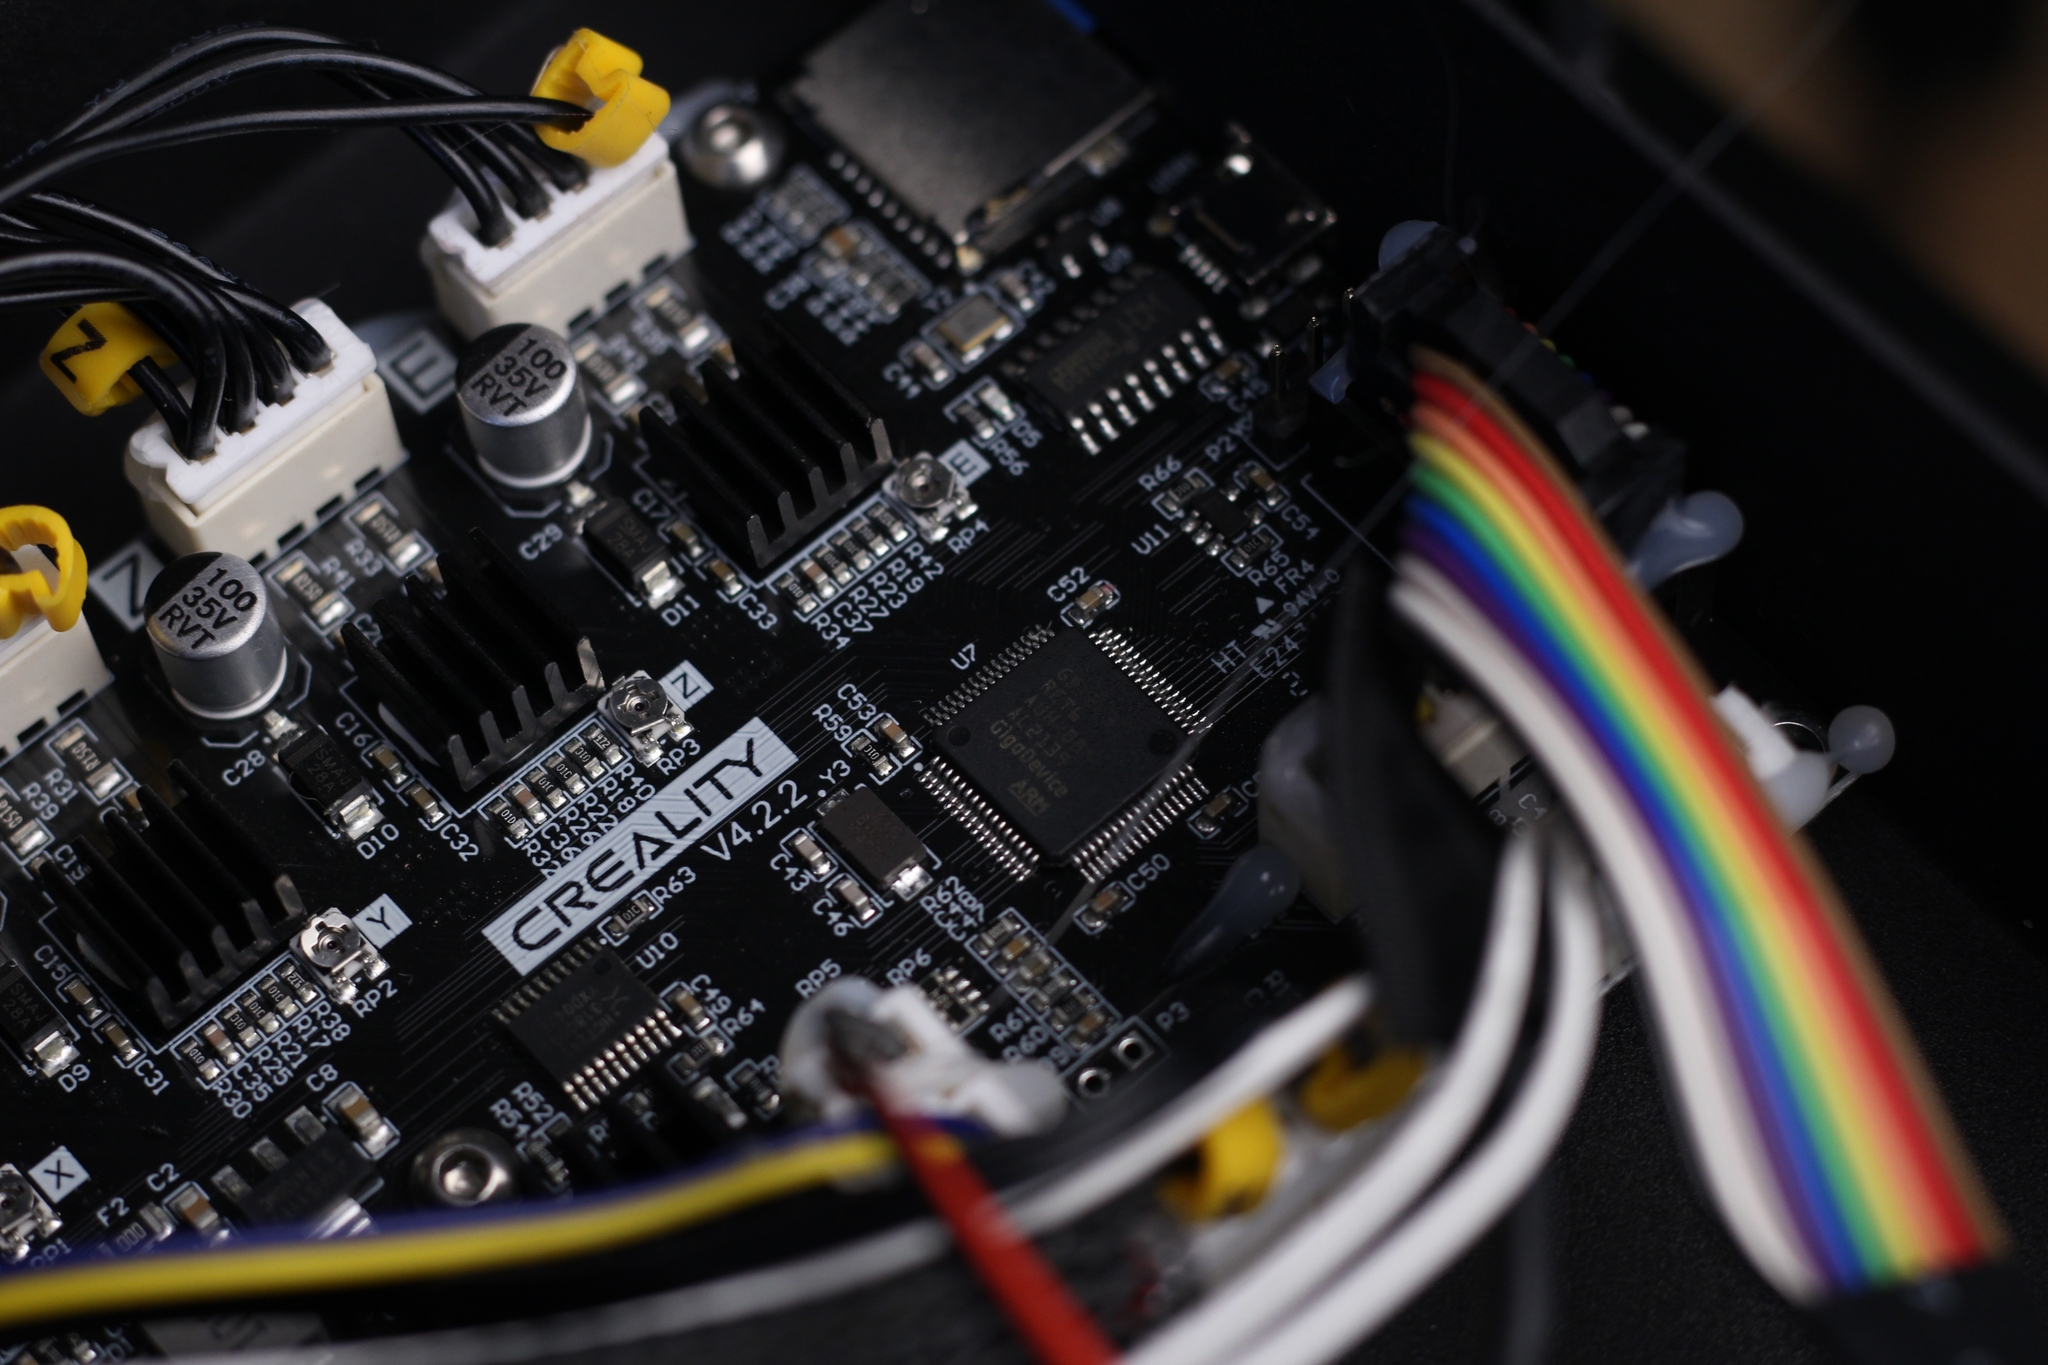
It’s also worth noting that the chip is a GD32F303 RET6 which is not a regular ARM chip as you might find on other 3D printers. Not a huge issue, just something to keep in mind if you ever plan on installing Klipper or messing with the firmware.
The Sovol SV01 Pro comes with Marlin 2.0.9.2 out of the box which is quite nice, but what I like best is the inclusion of Linear Advance support out of the box. This means that the extruder will be more precise when extruding, and the prints will be crisper, especially models with straight corners. In the example below, you can see how much of an impact Linear Advance has on print quality (model is not printed on the SV01 Pro).
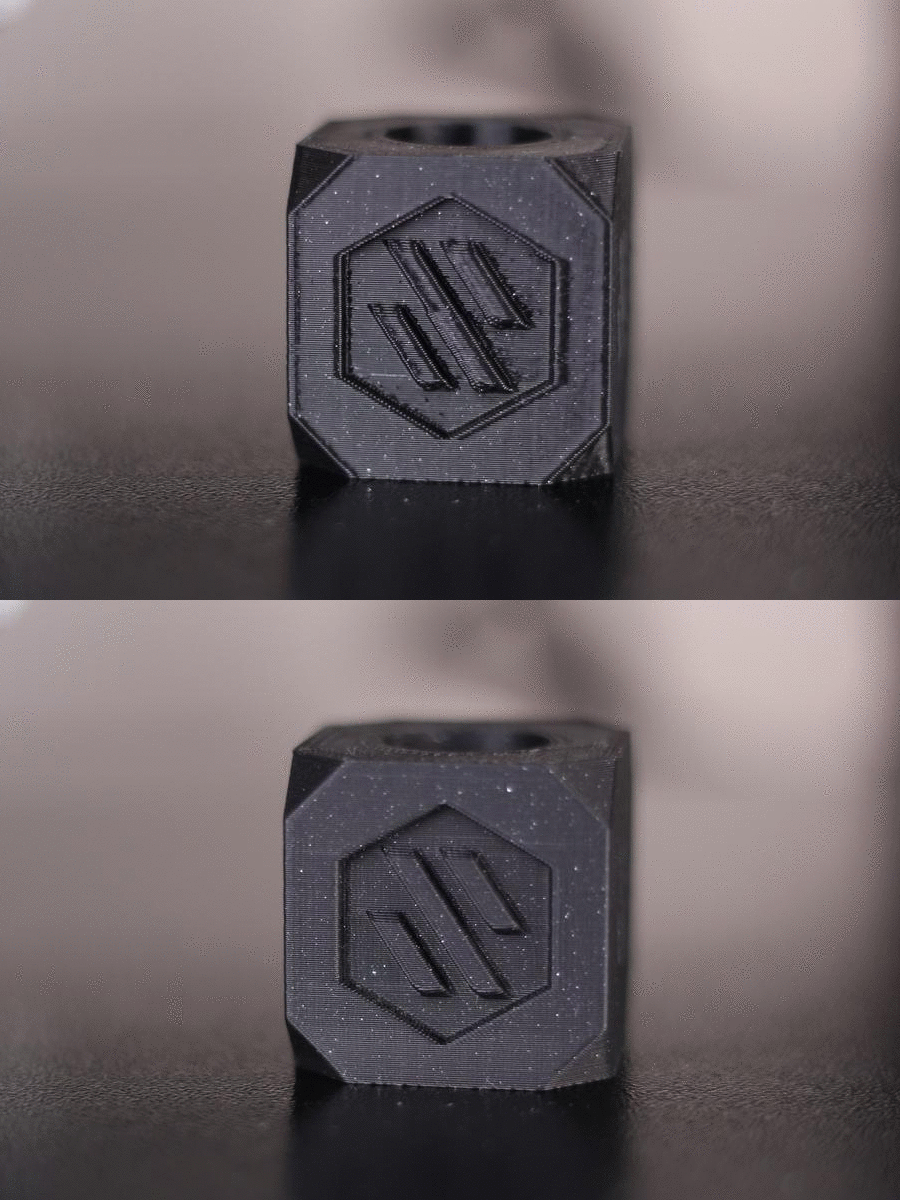
This feature is a free “upgrade” when it comes to print quality, and most manufacturers don’t enable it in the firmware which is a shame.
As usual, the power wires are not properly terminated with ferrules, so if you have the tools I recommend doing that. I also hope Sovol will do the same in the future.
Flexible magnetic print surface
While the Sovol SV01 Pro comes with a magnetic flexible print surface, it’s not the same as the one found on the SV04. This one is a simple magnet with a printing surface on top, similar to what you would get with an old Ender 3. It doesn’t have the metallic “core” to make the print surface stiffer as the SV04 does.
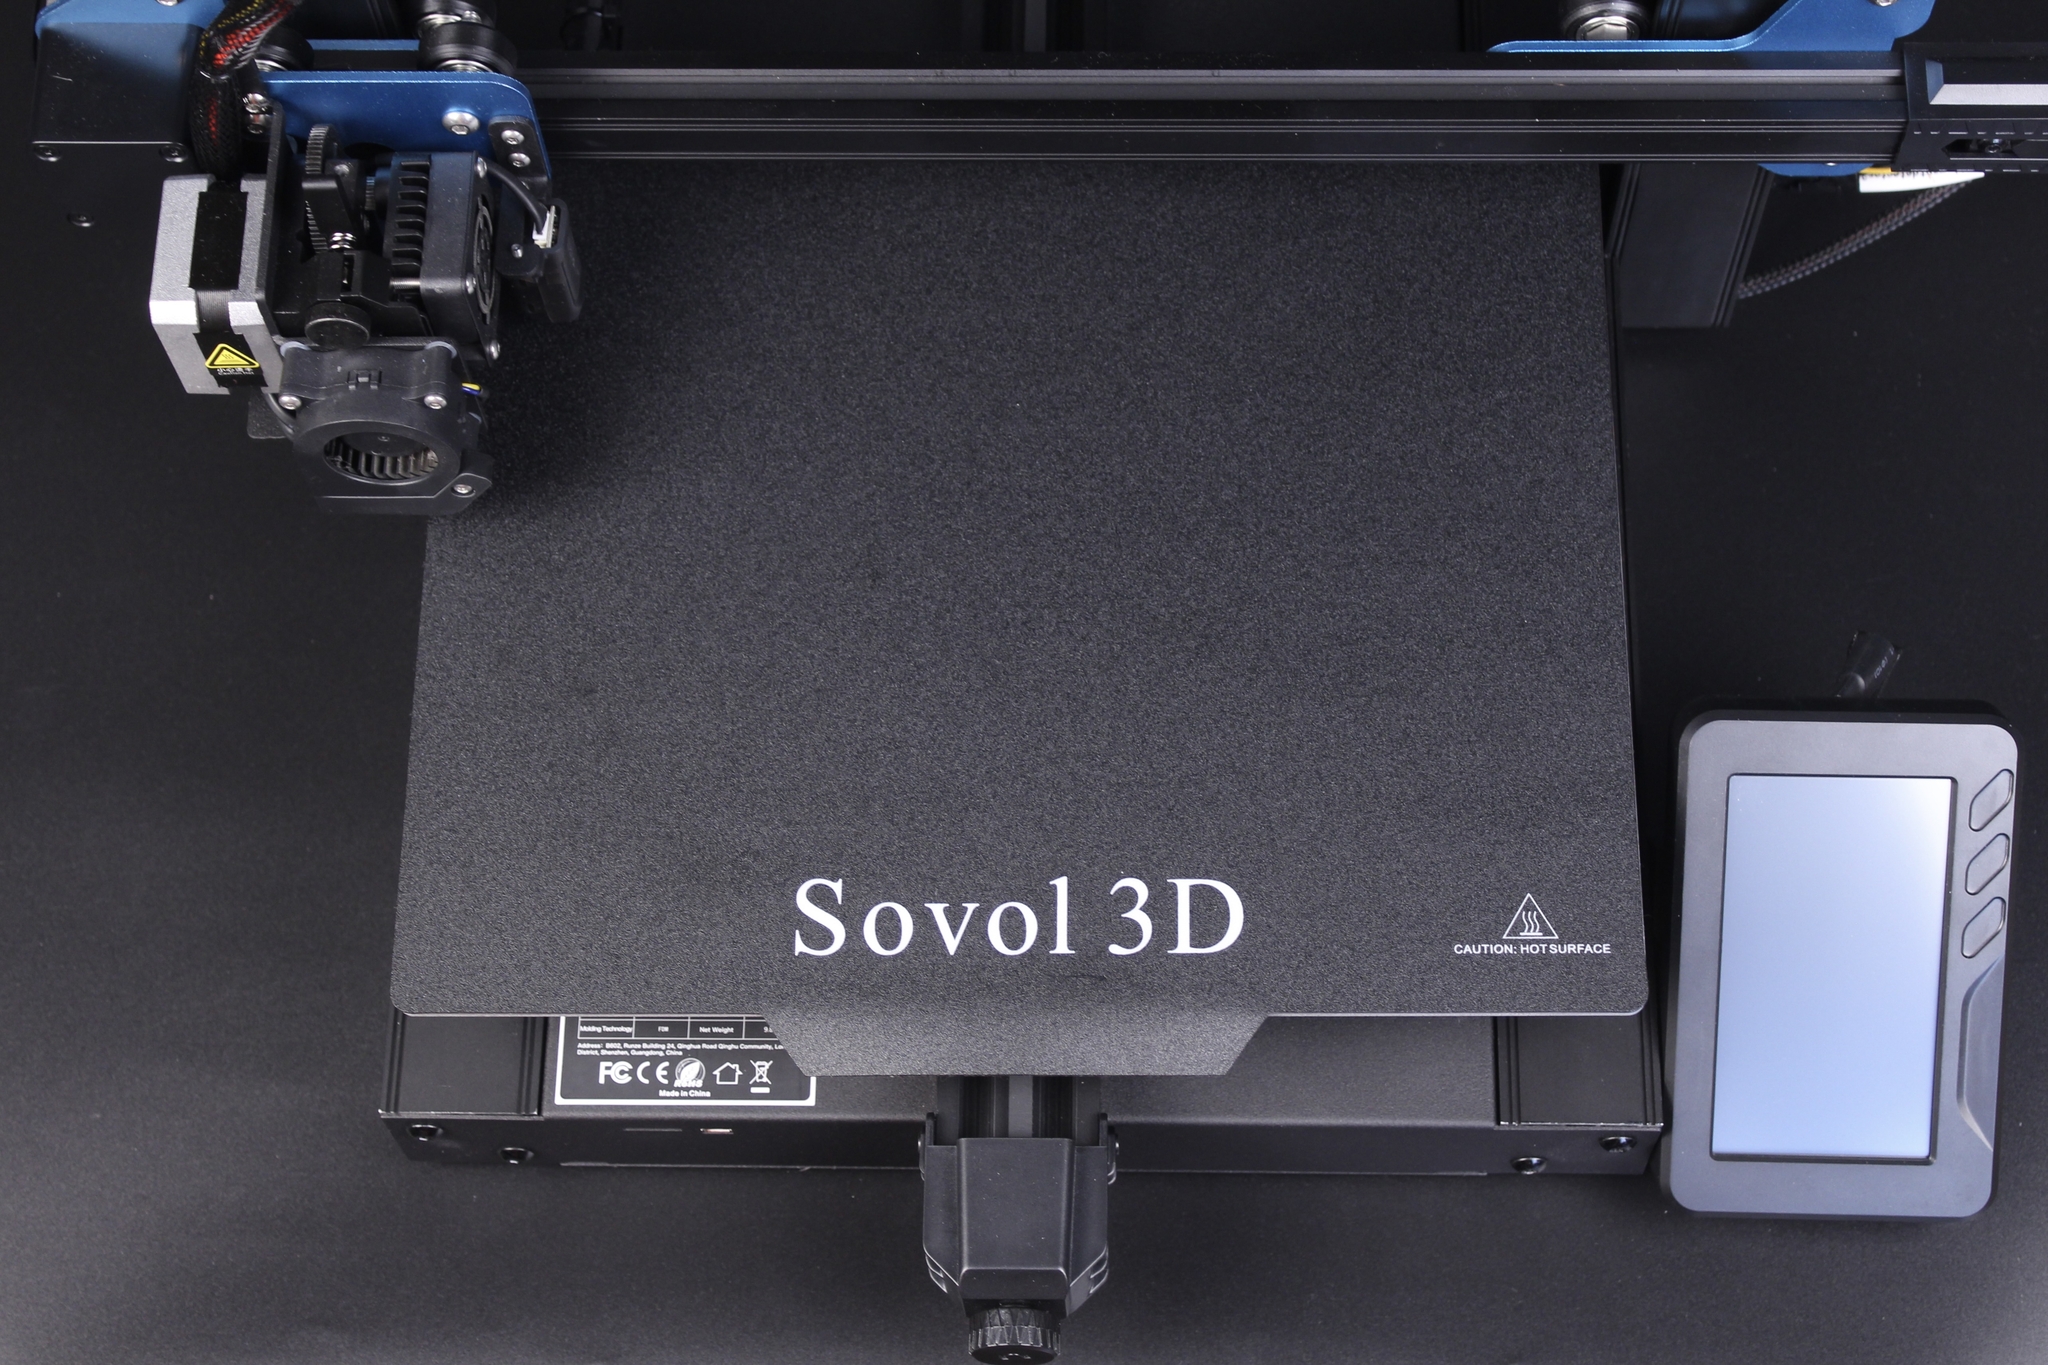
Sovol might have chosen this print surface to keep costs lower, but I can’t say I am a fan. Some filaments leave a mark on the print surface (especially silk filaments) and make it look bad. Adhesion is good, removing prints is easy, but the surface won’t look great after a few uses.
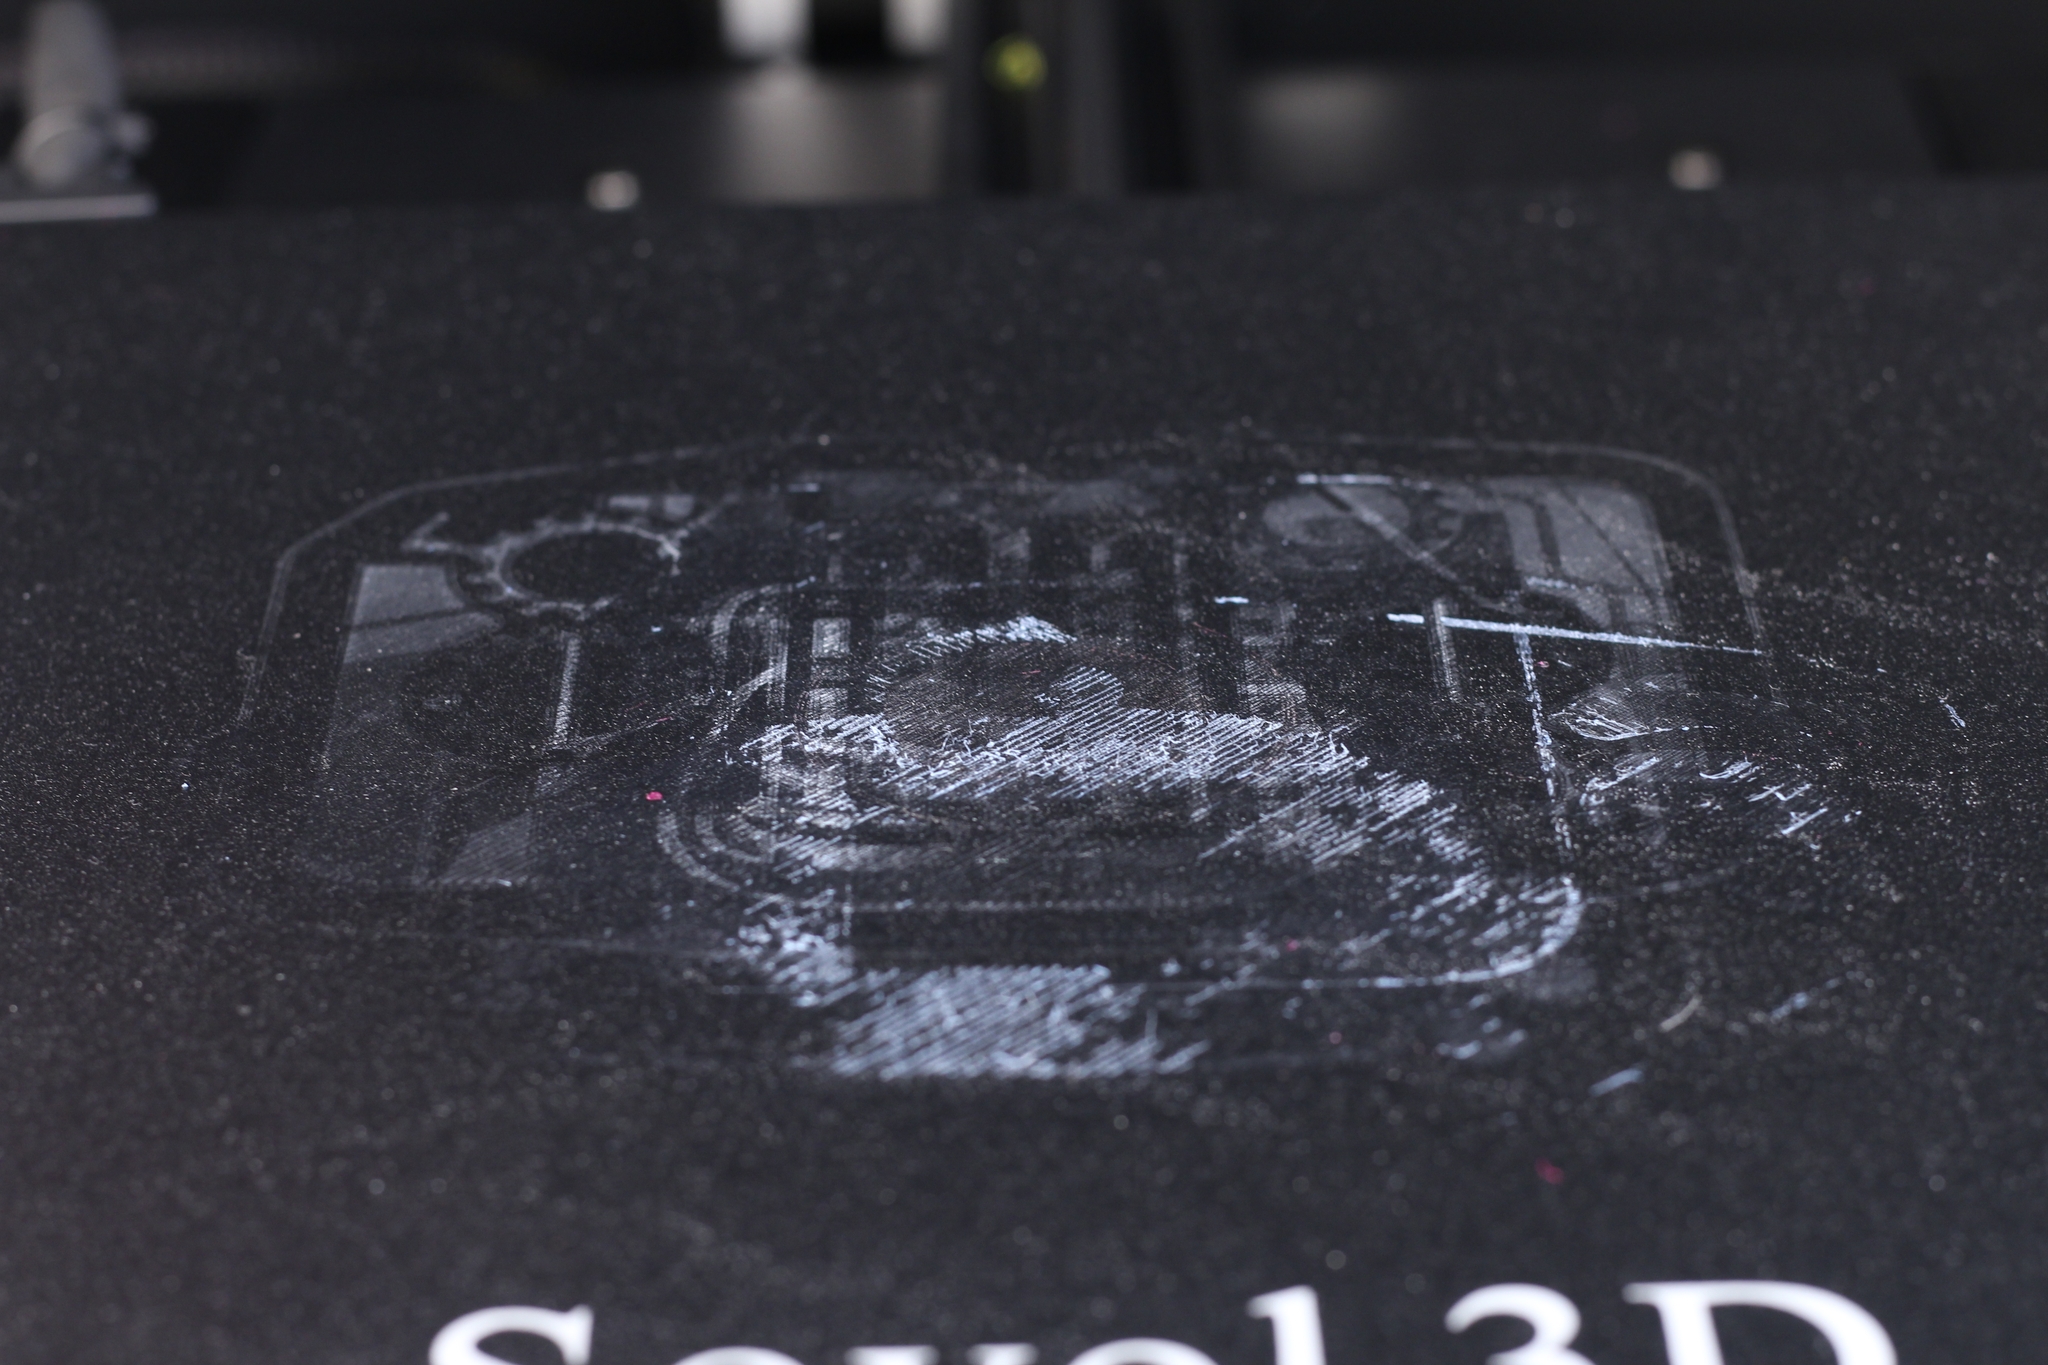
Fortunately, you can easily upgrade the print surface in the future with a PEI flex plate or with the official Sovol flex plate. I would just like to see something similar out of the box, especially considering that the SV01 Pro is considered a “pro” machine.
4.3-inch color touchscreen
Usually, the screen interface for most 3D printers is nothing to write home about, but Sovol actually took their time to add most of the useful features. Besides your regular controls, you get access to advanced settings like PID tuning, Acceleration and Jerk, Steps, and even Linear Advance value.
Most of the printers don’t include this, or if they do, it’s on the old monochrome screen. It even has a dark mode button to switch between themes.
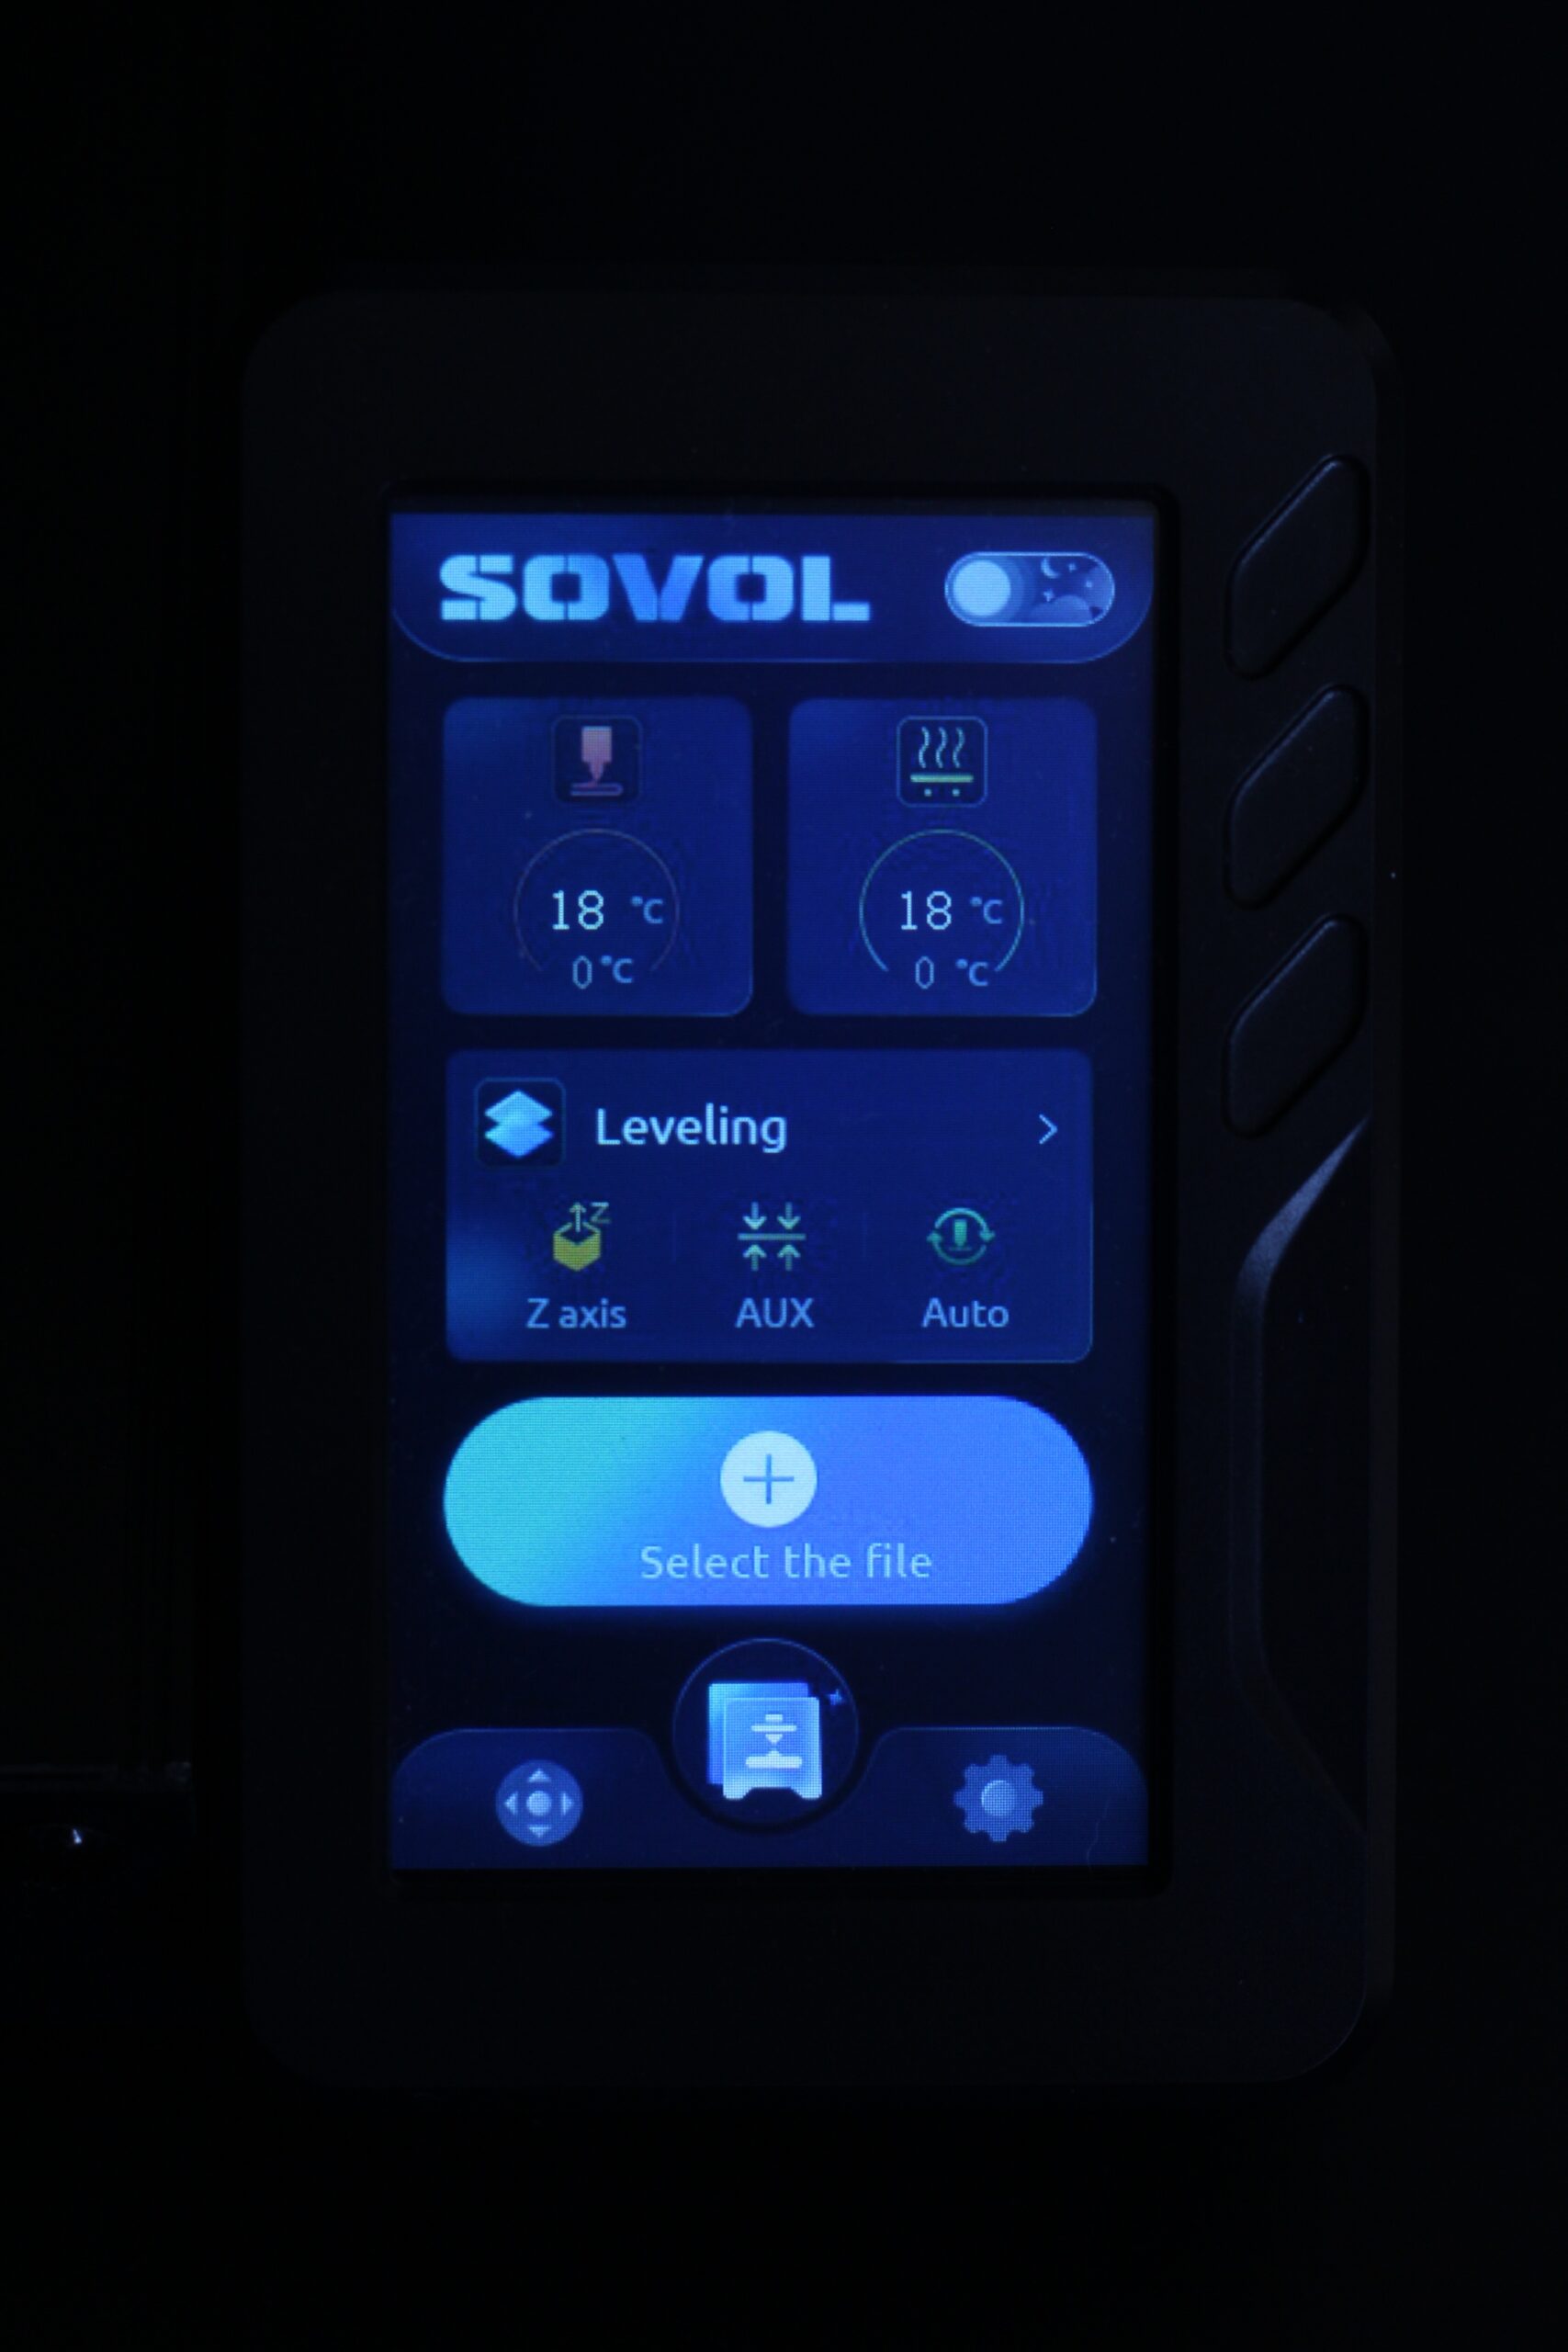
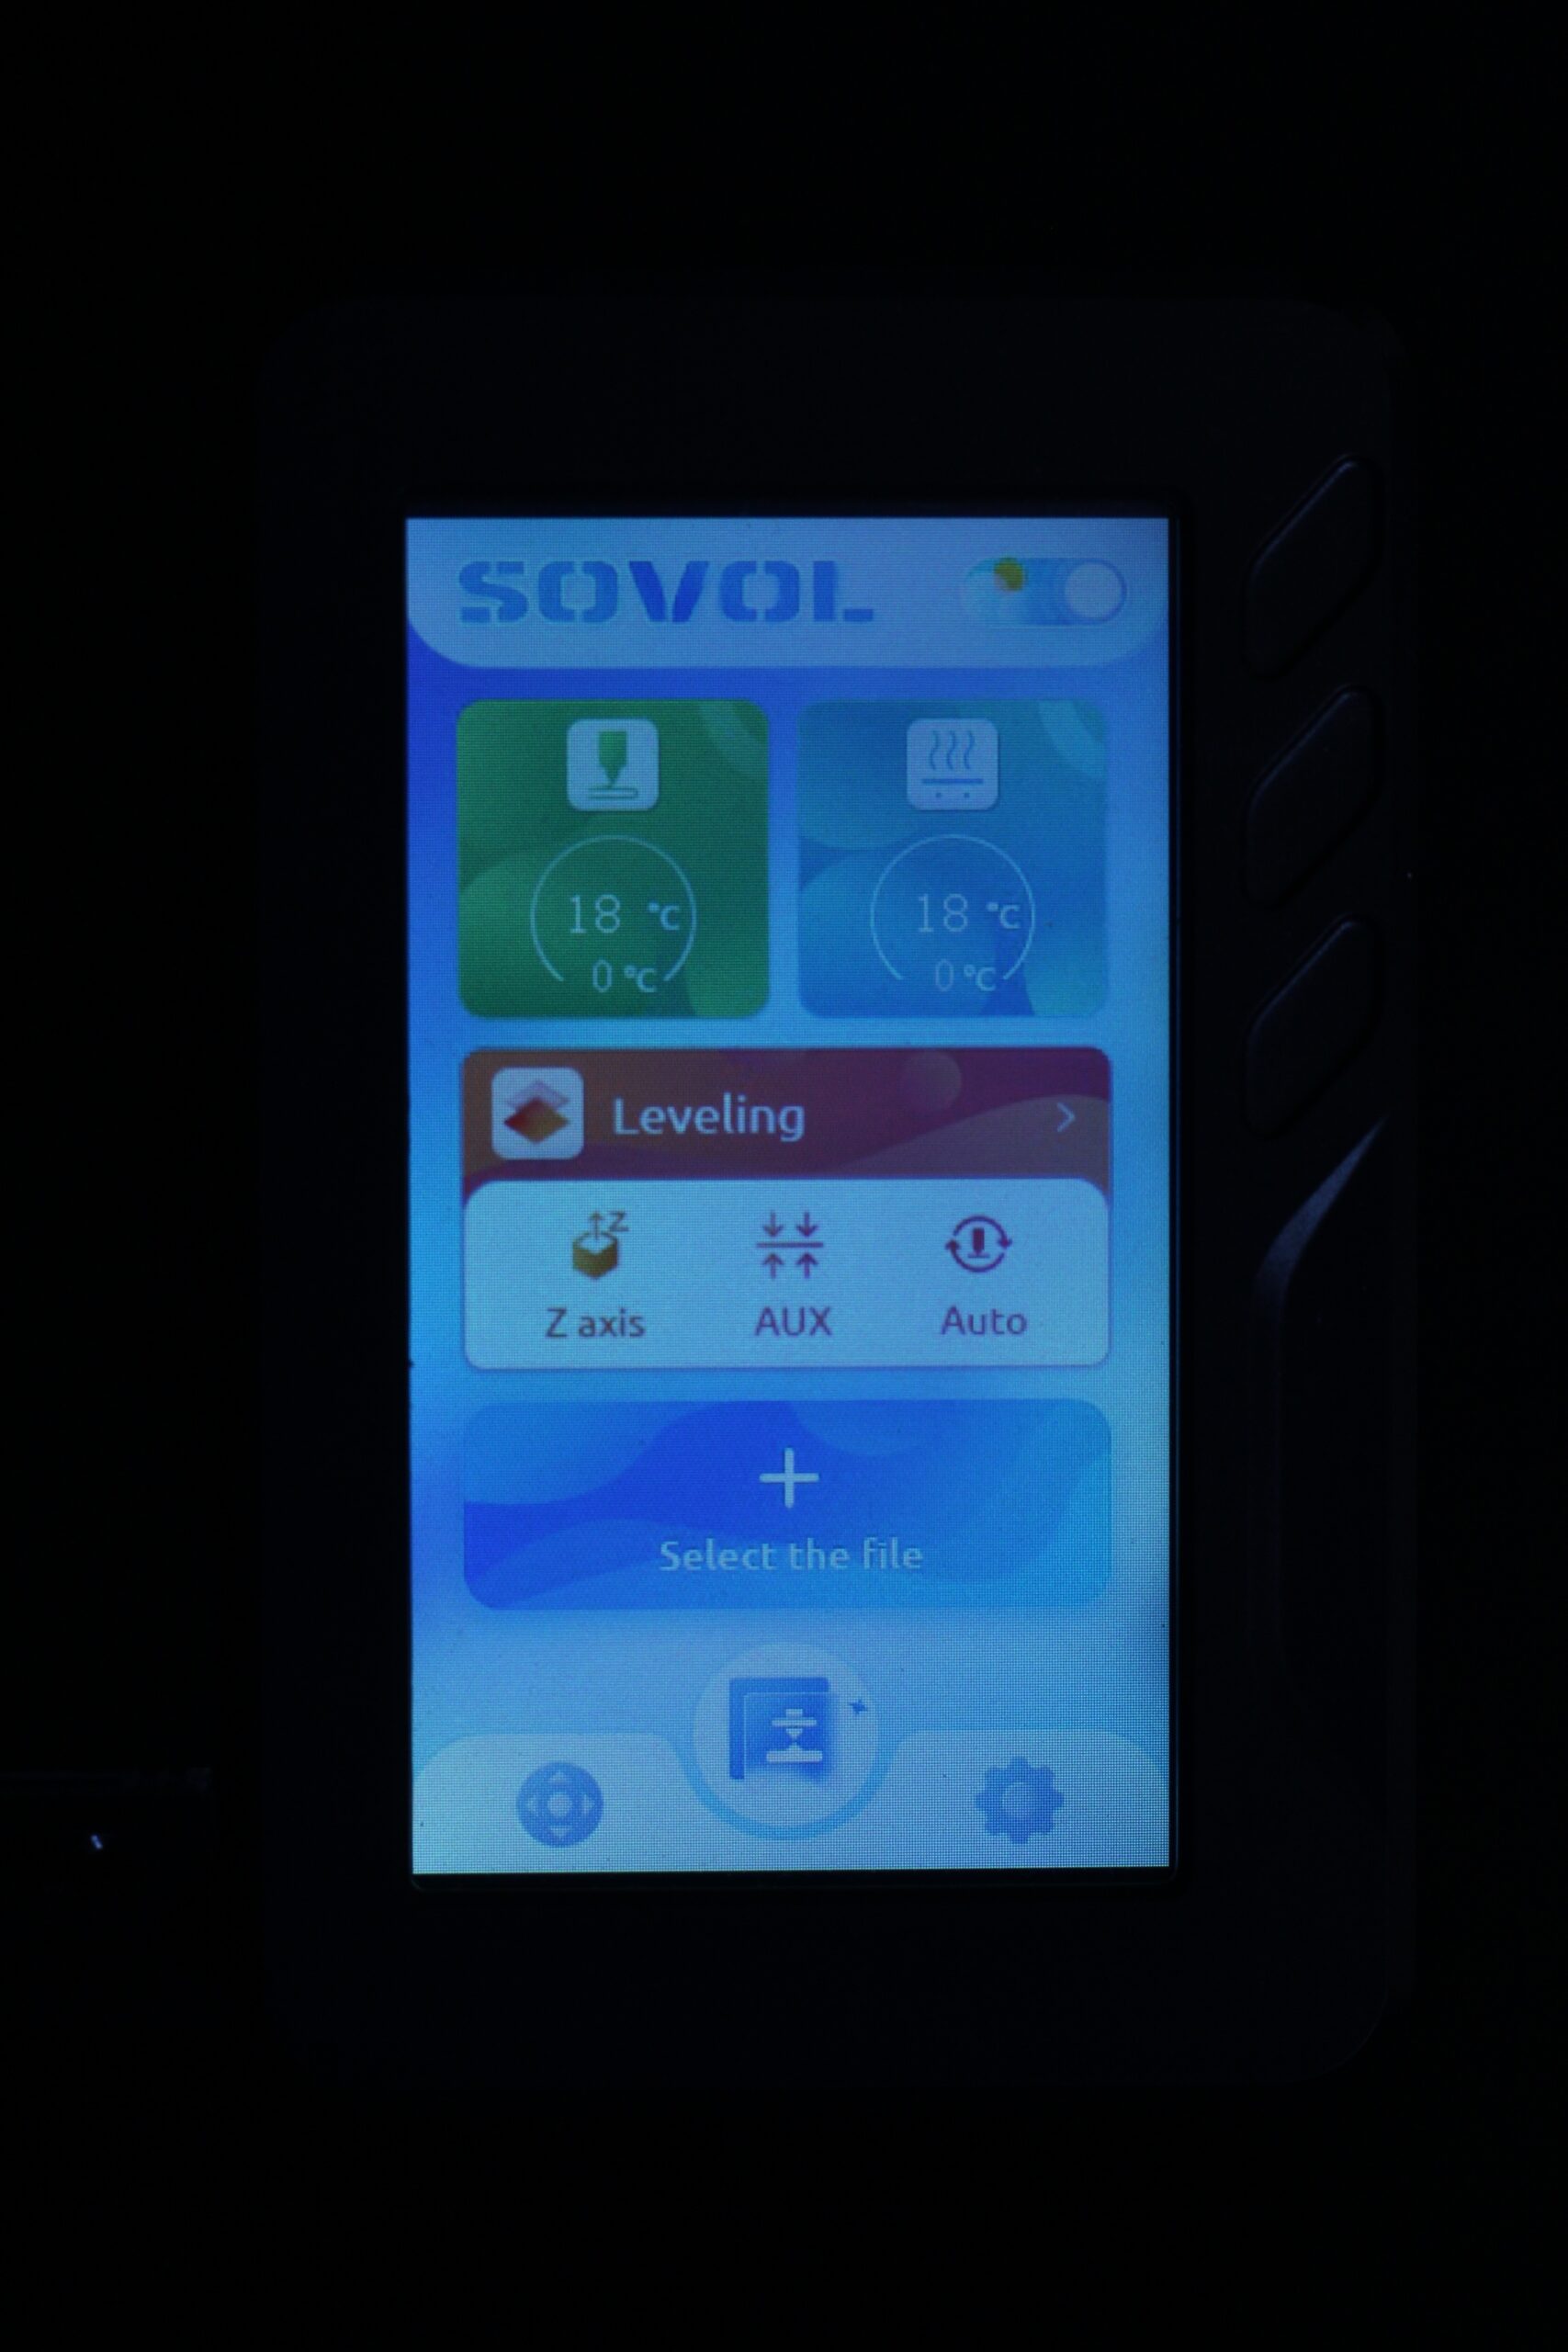
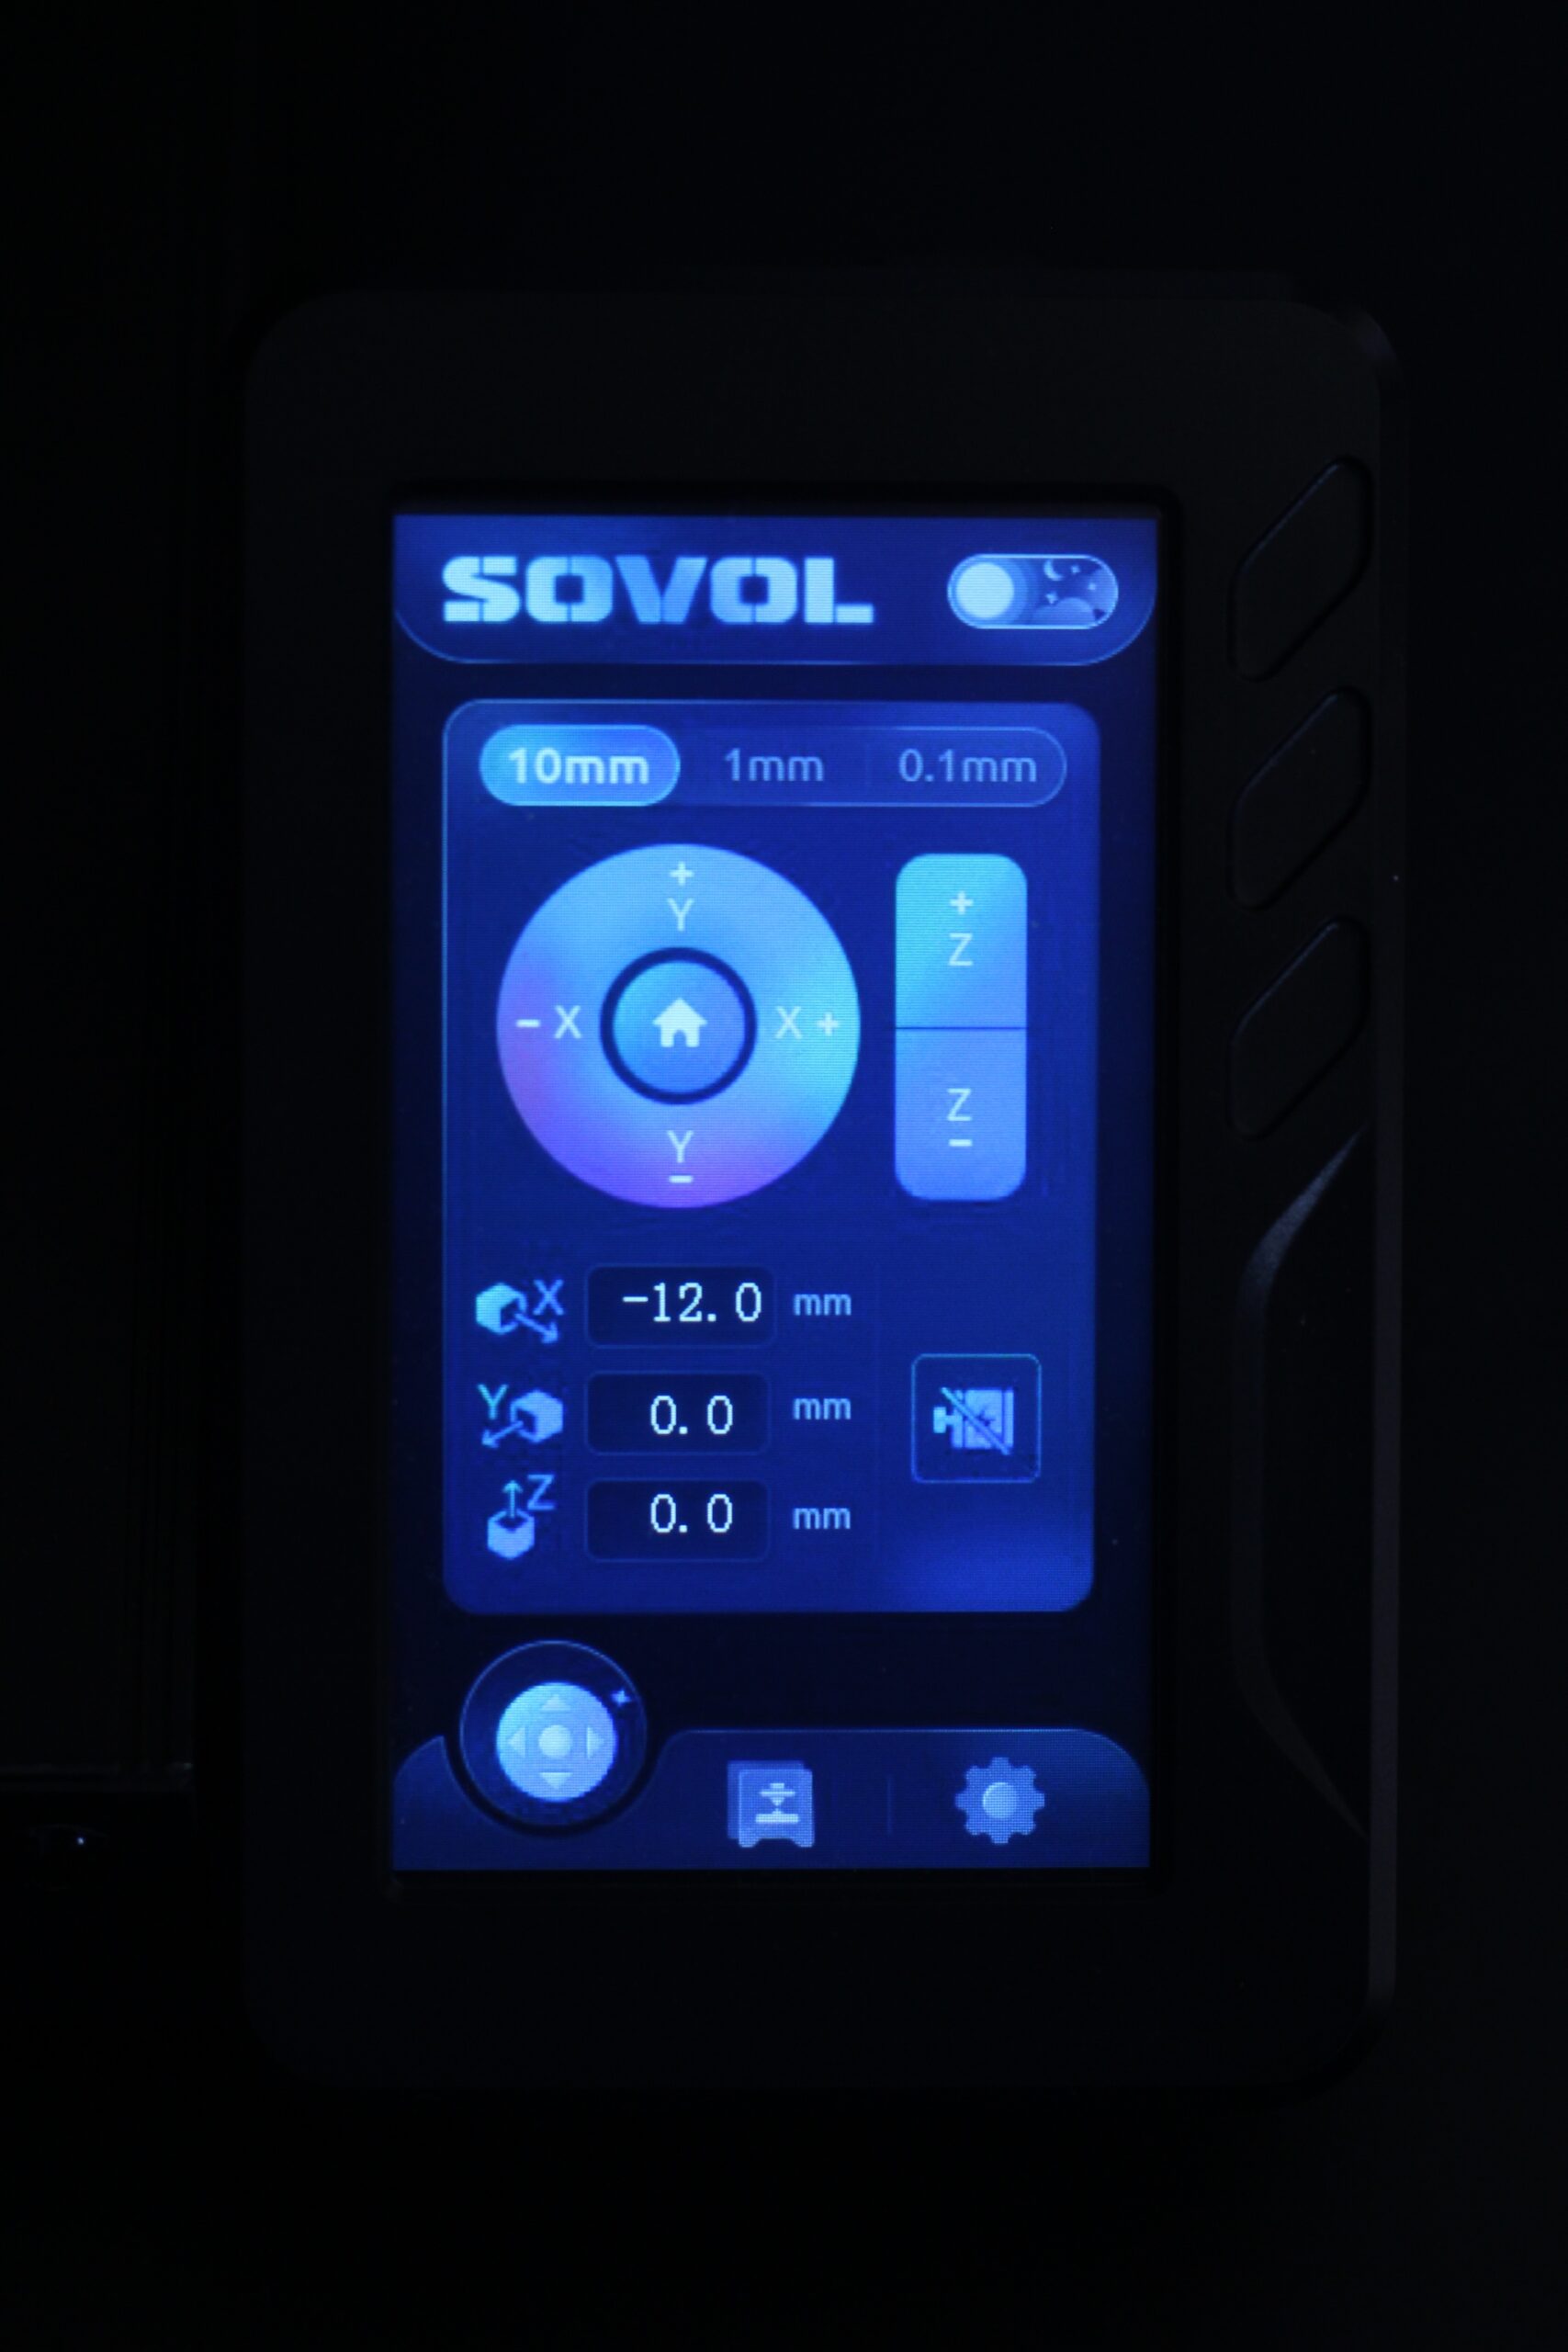
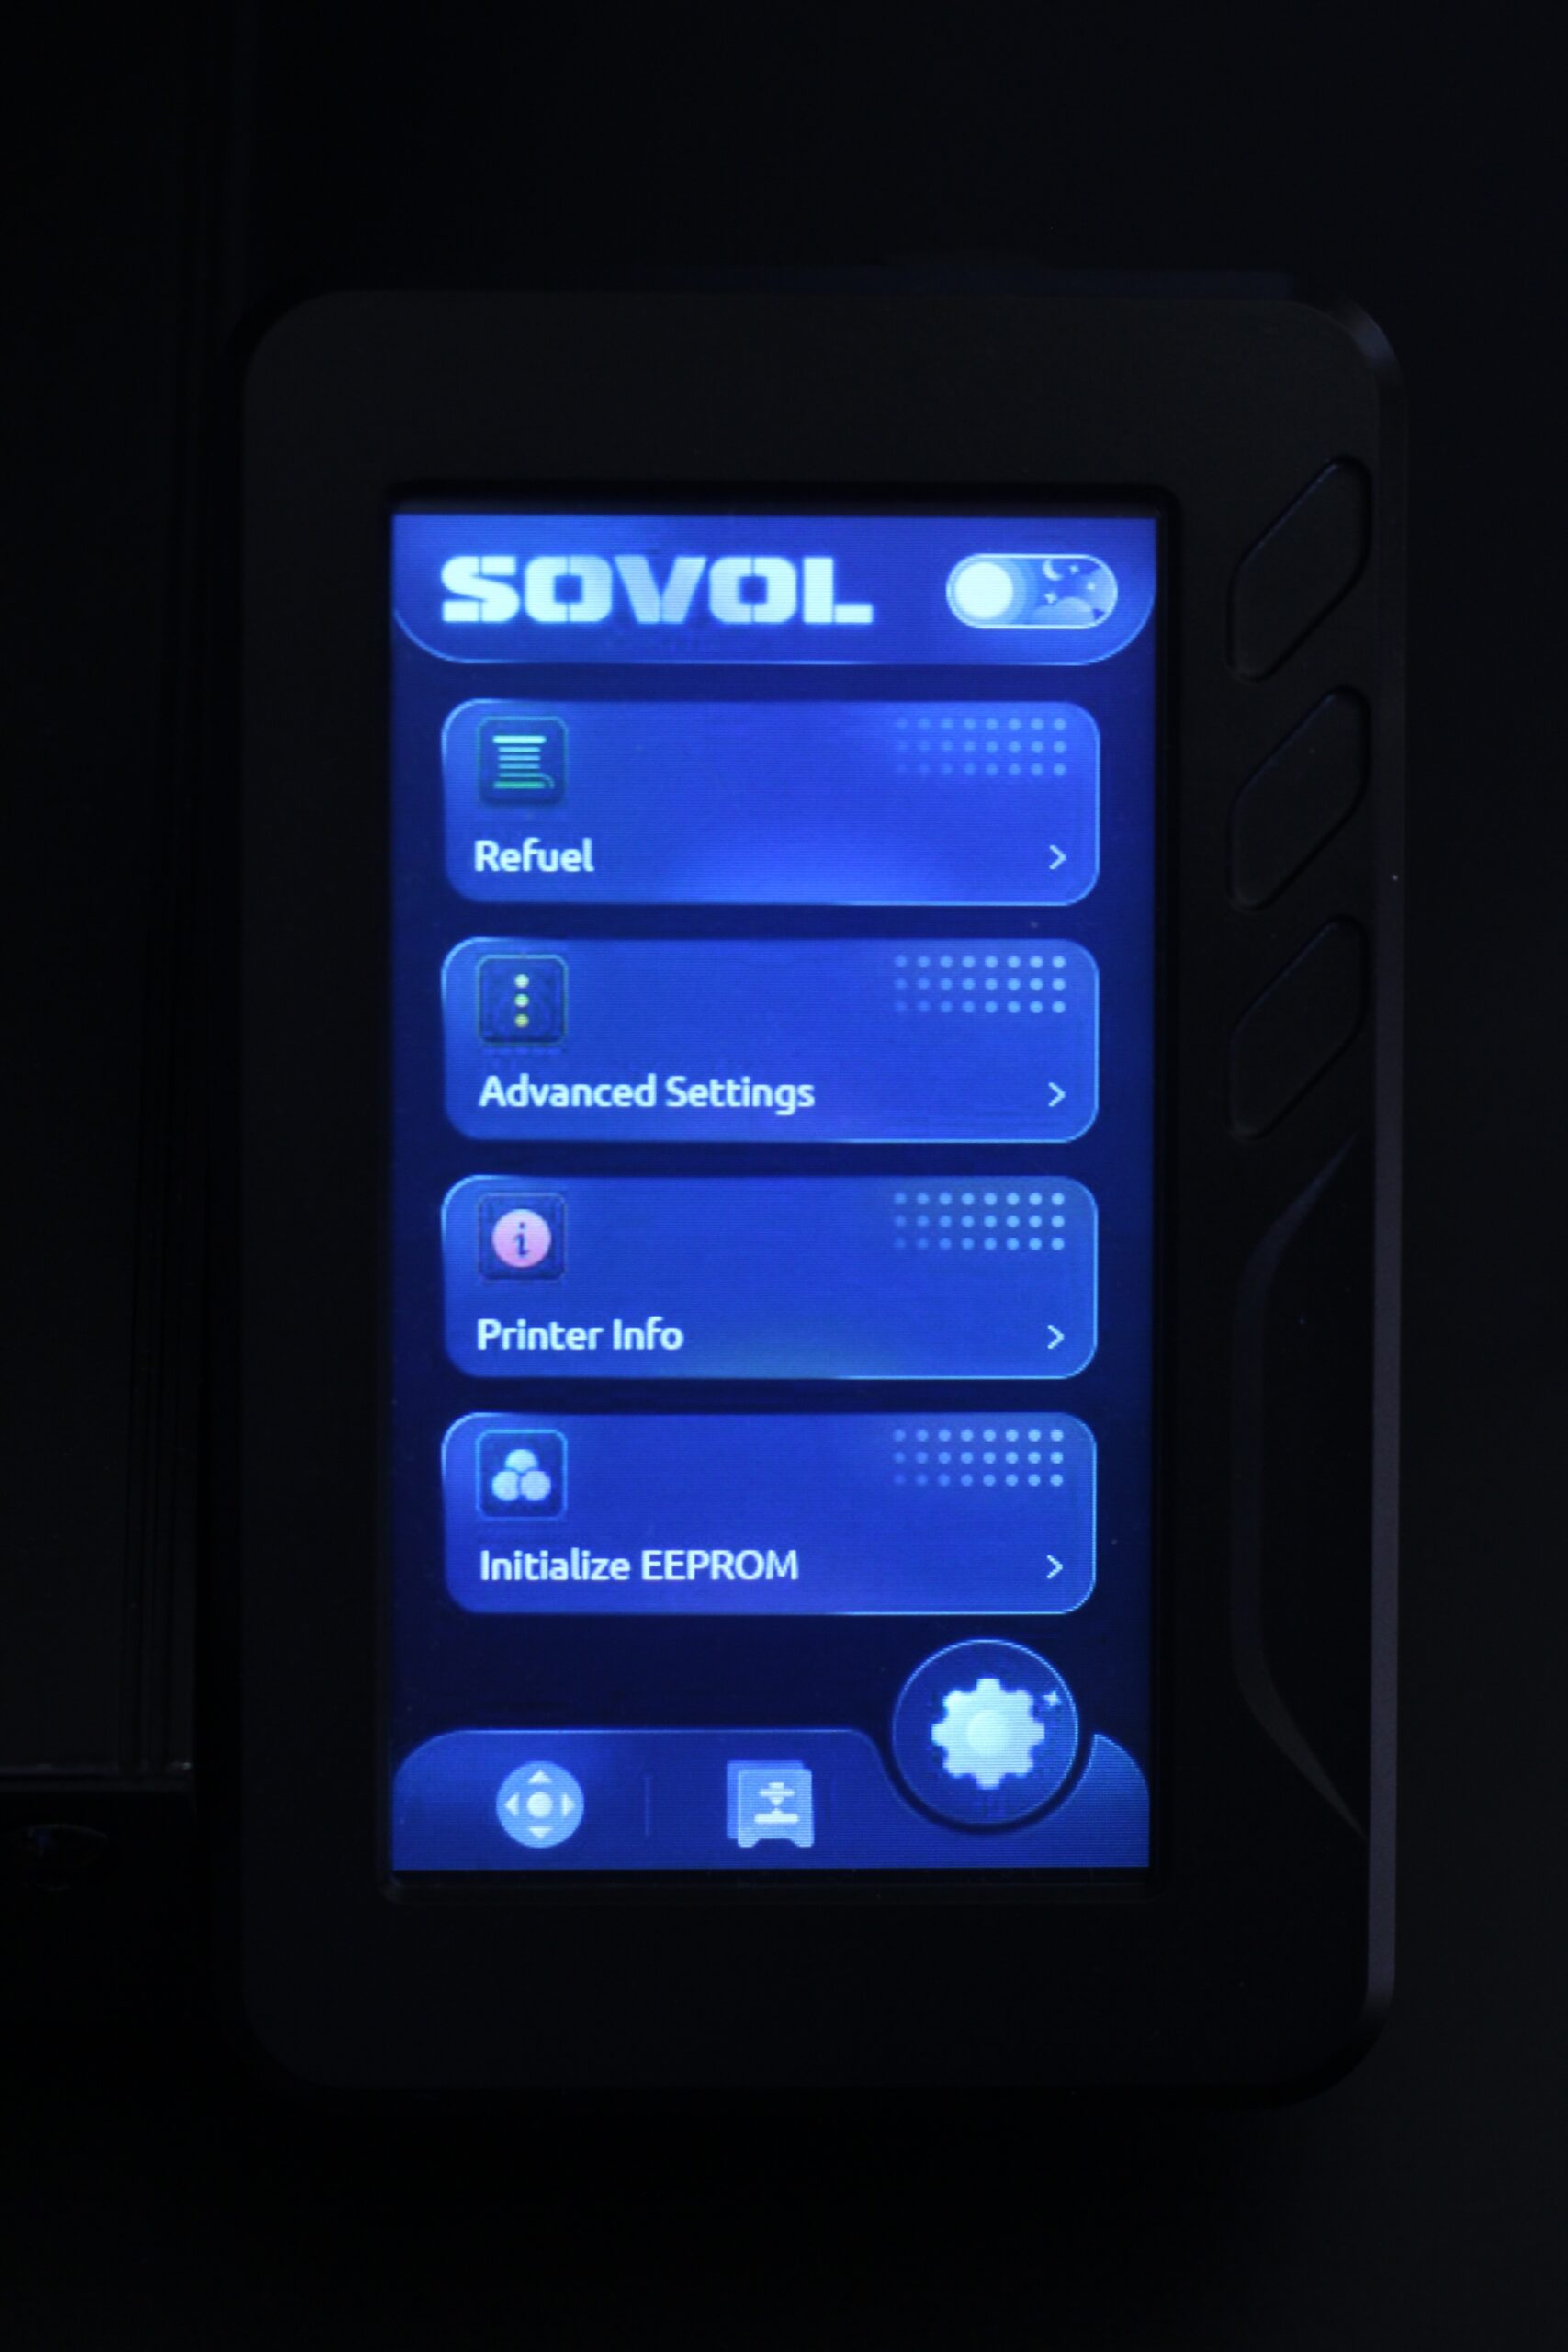
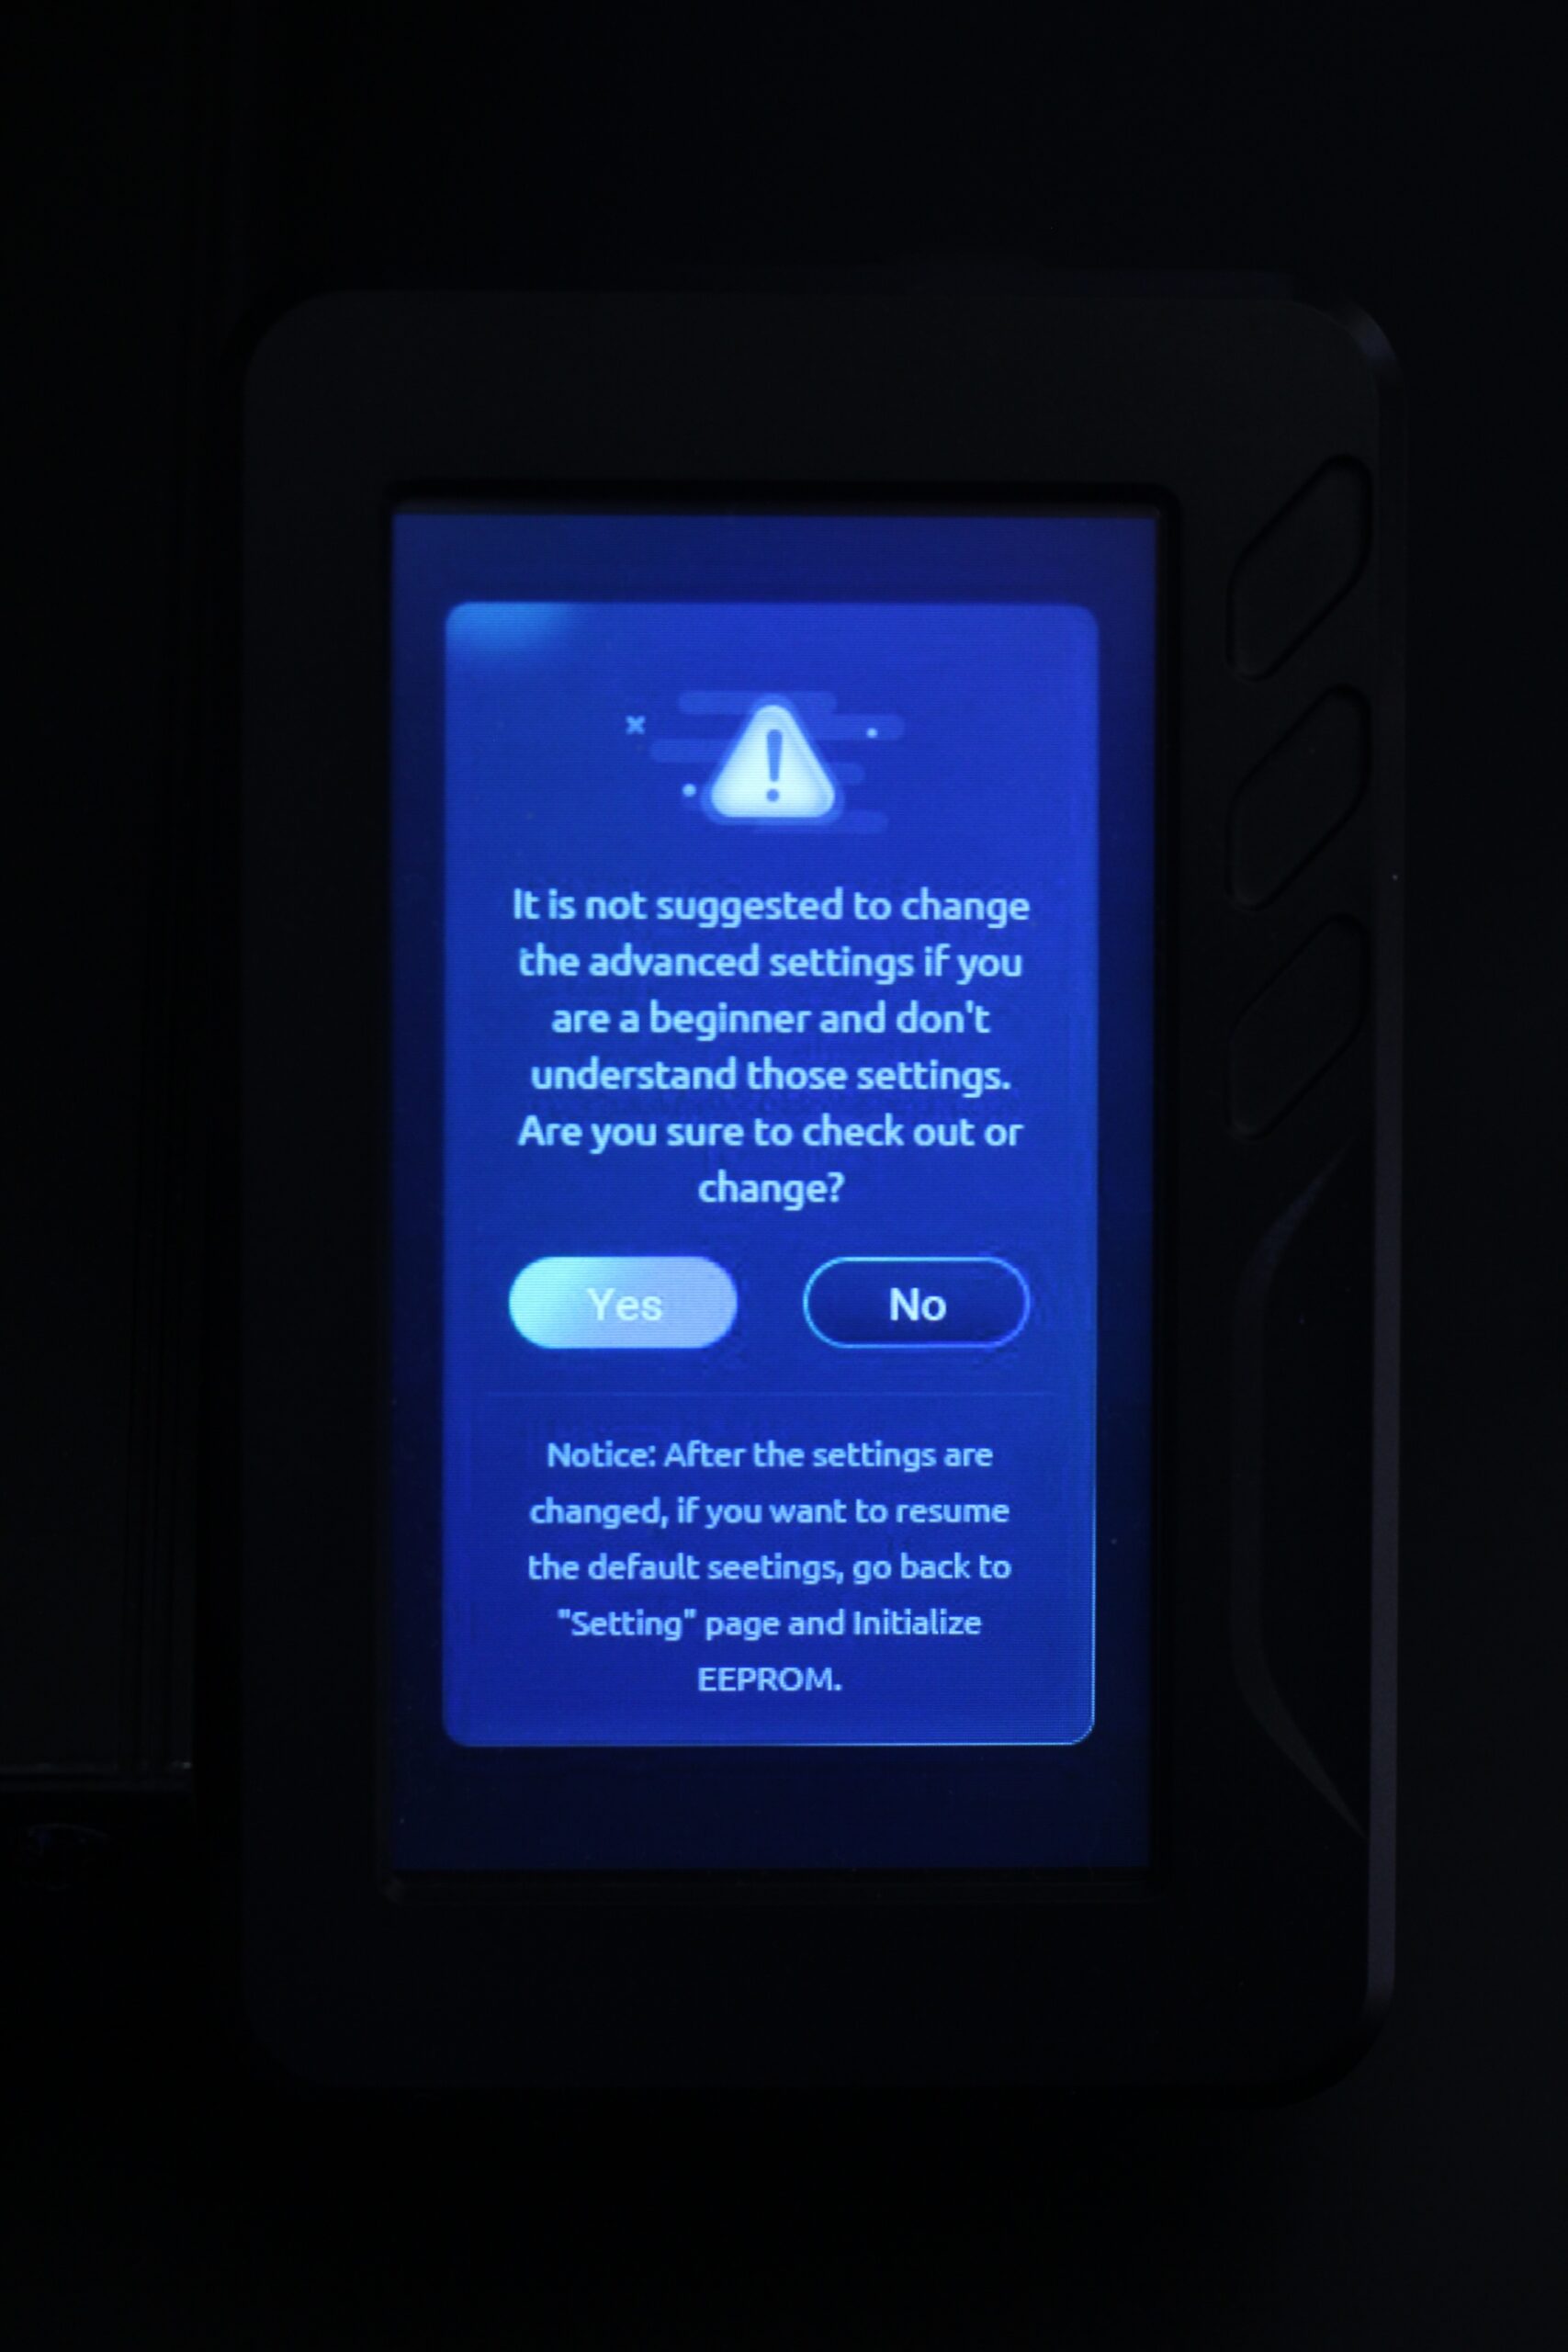
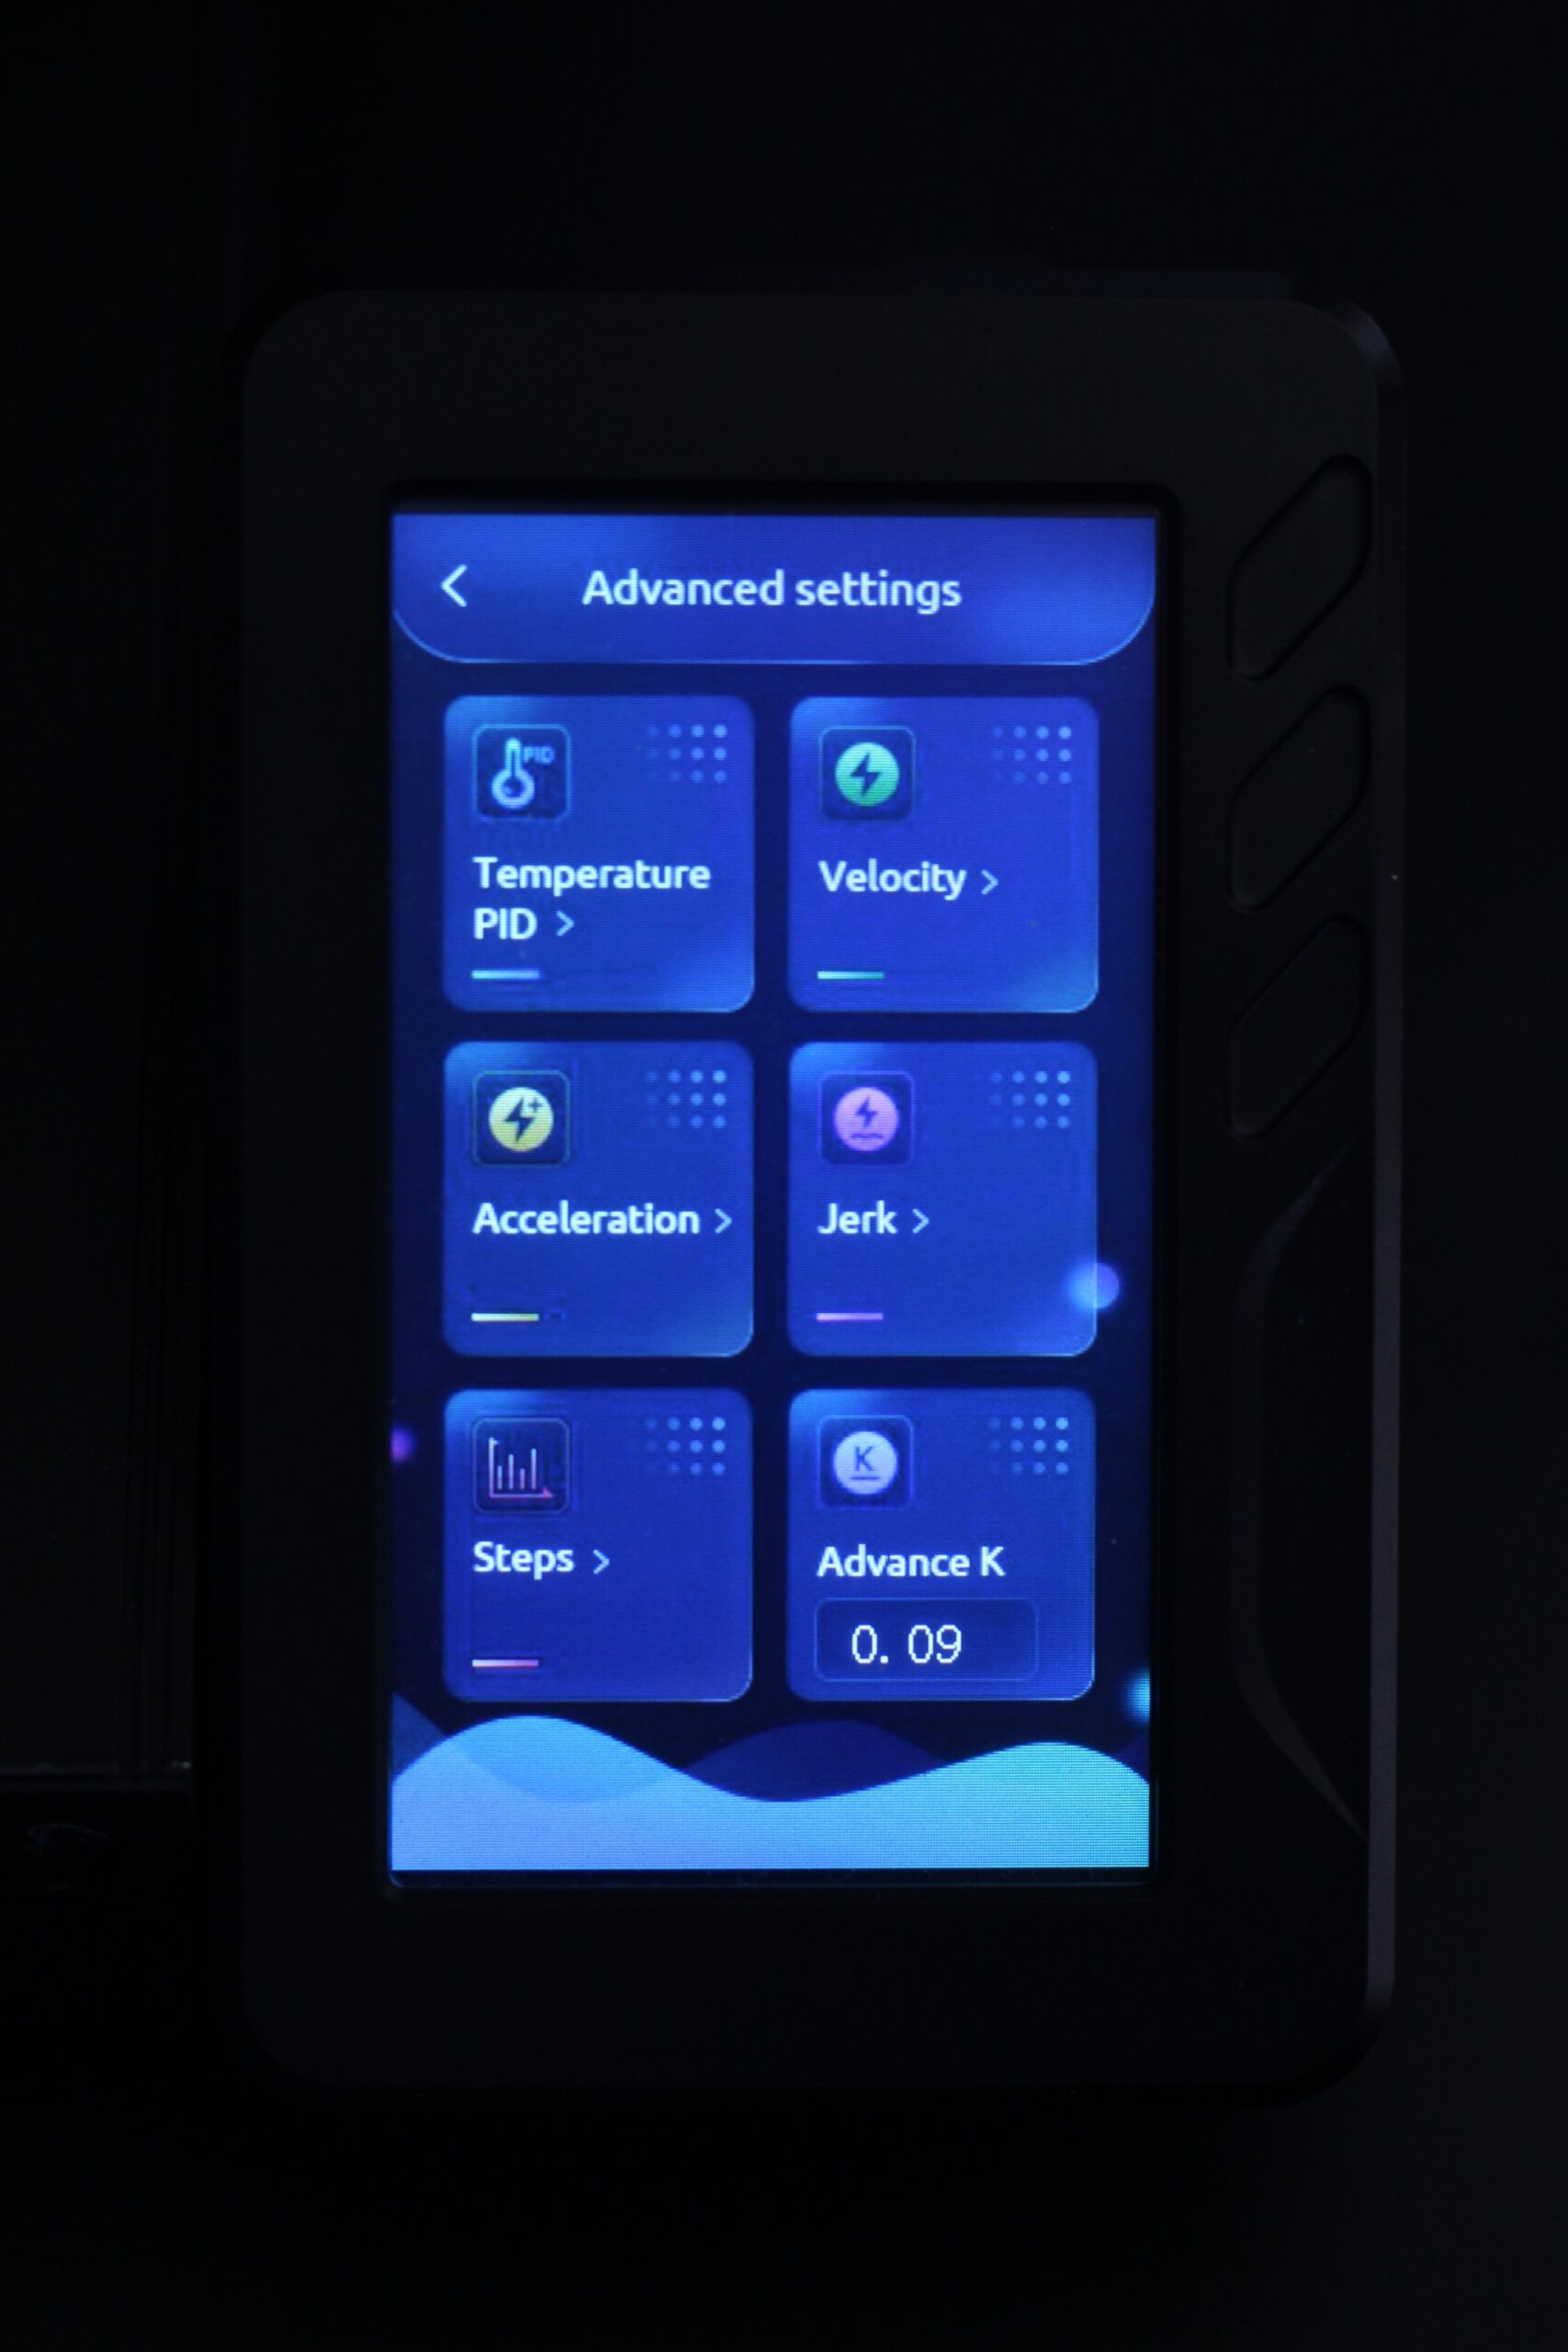
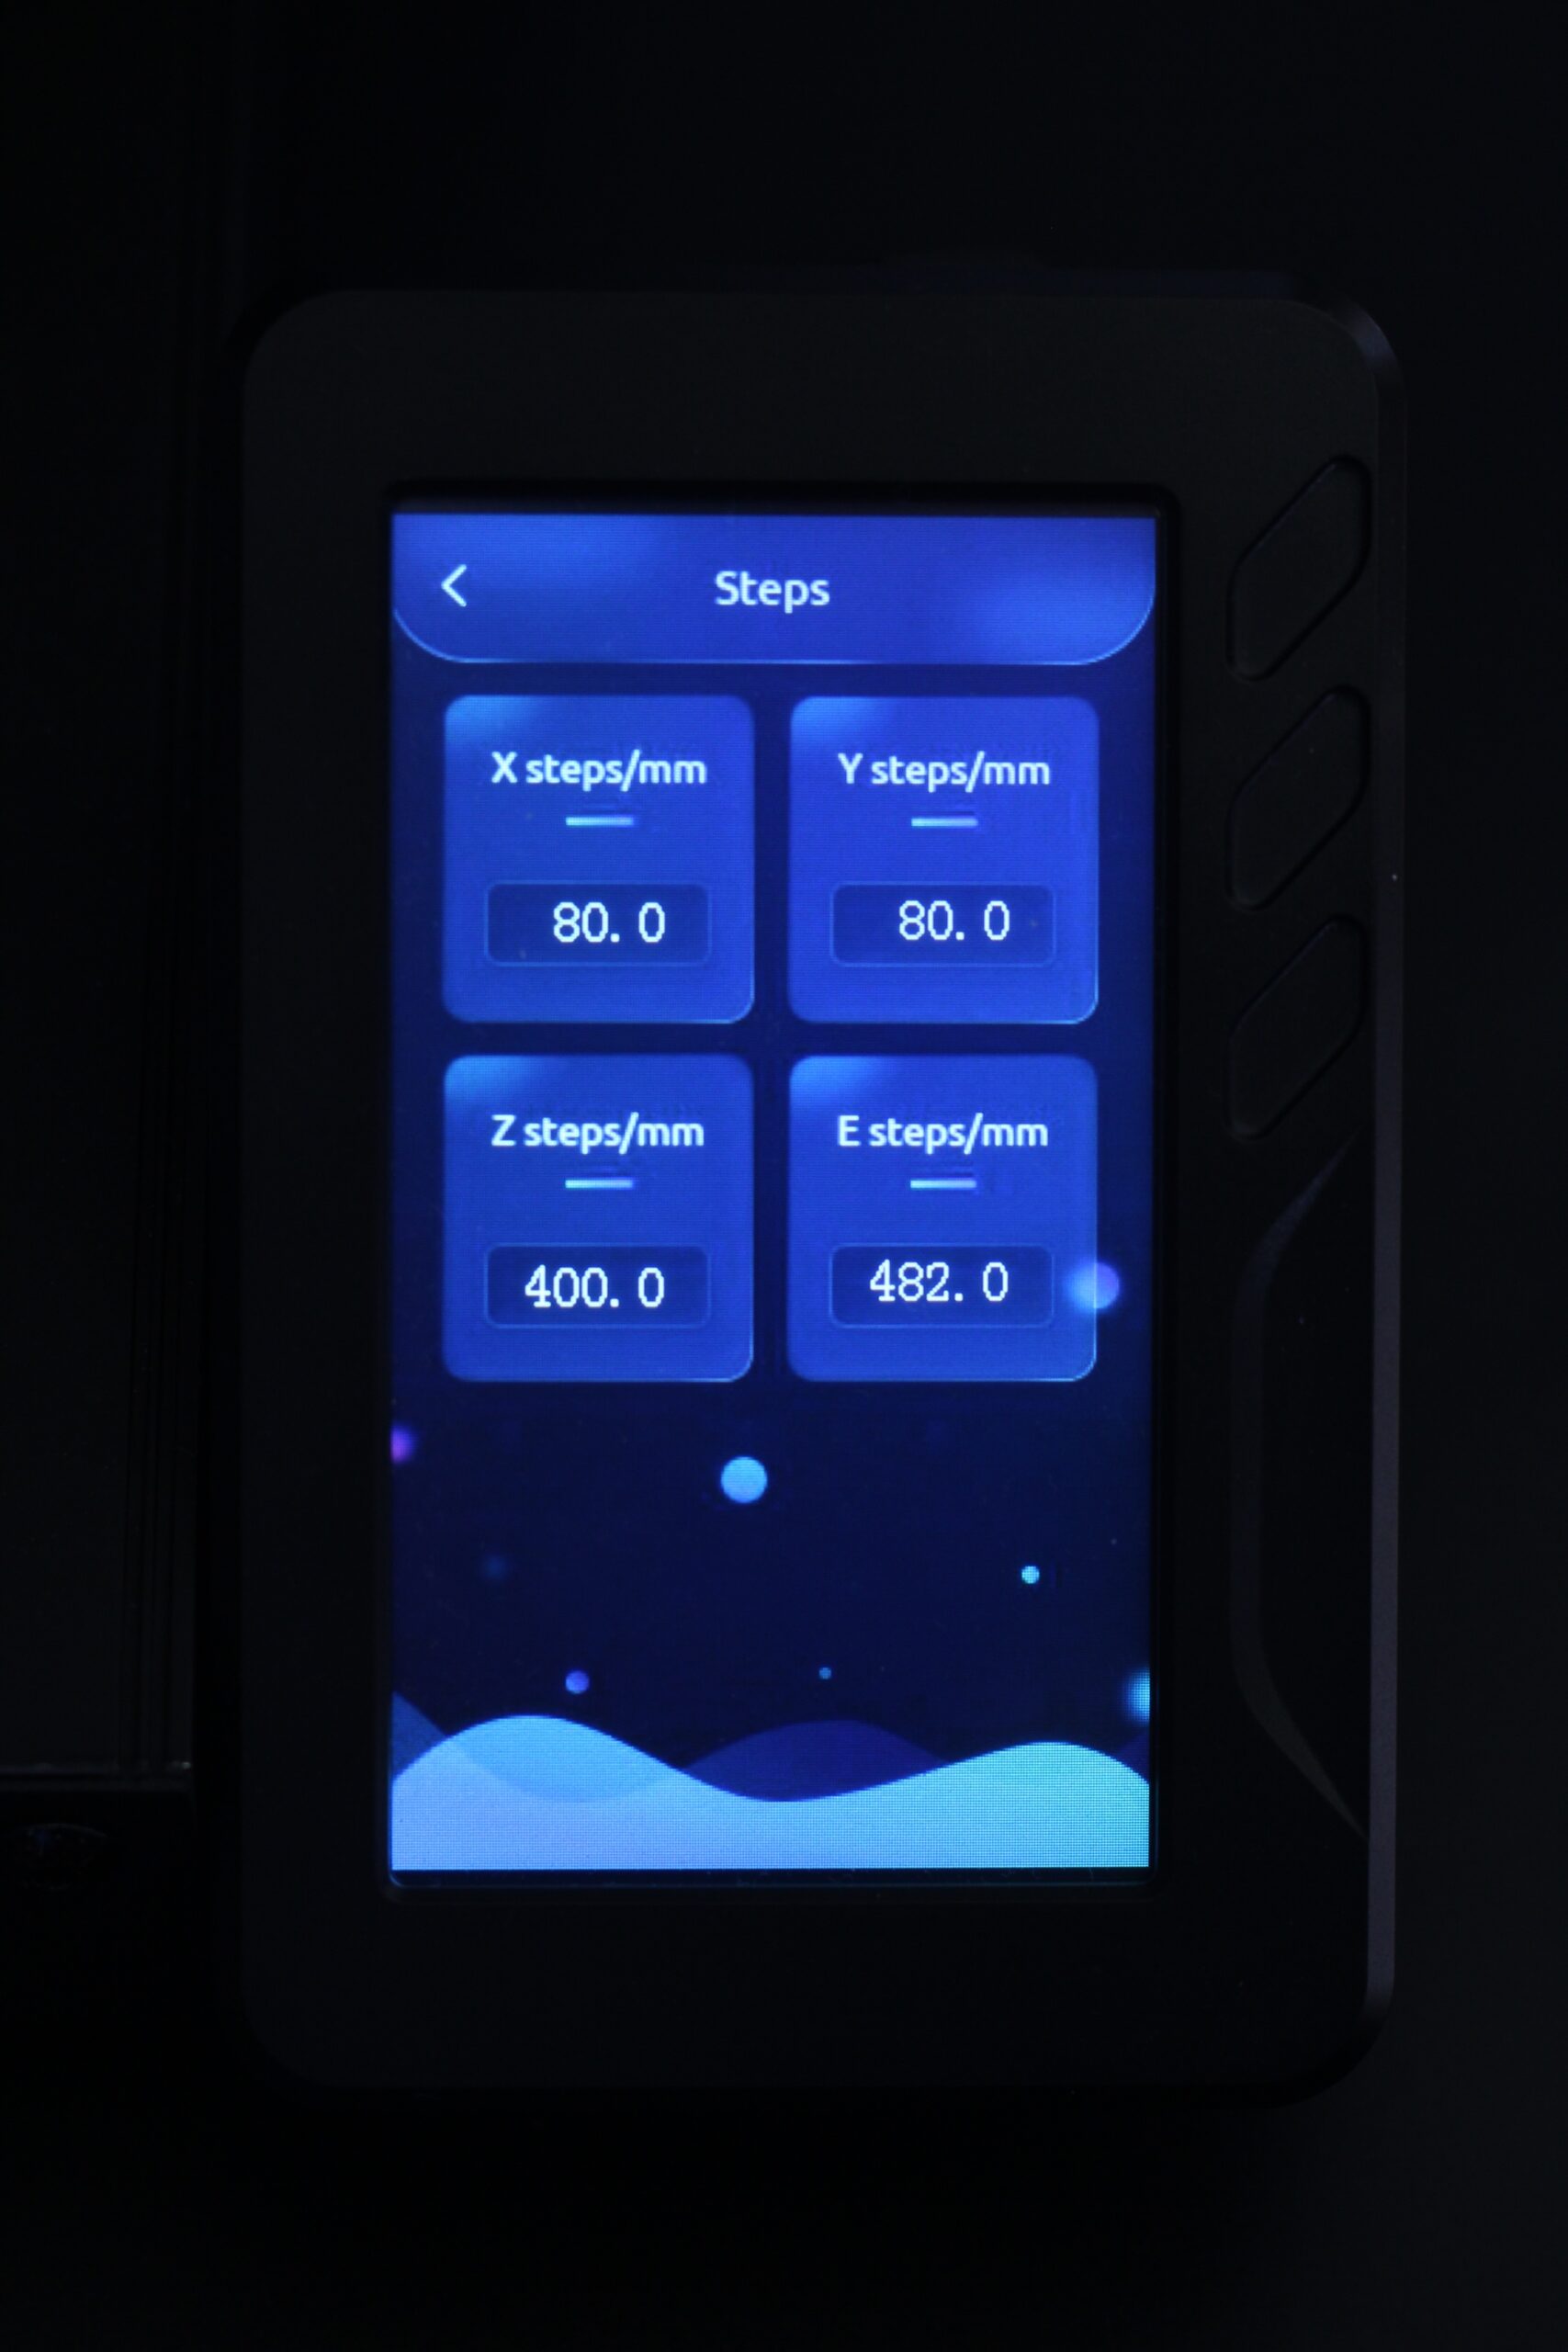
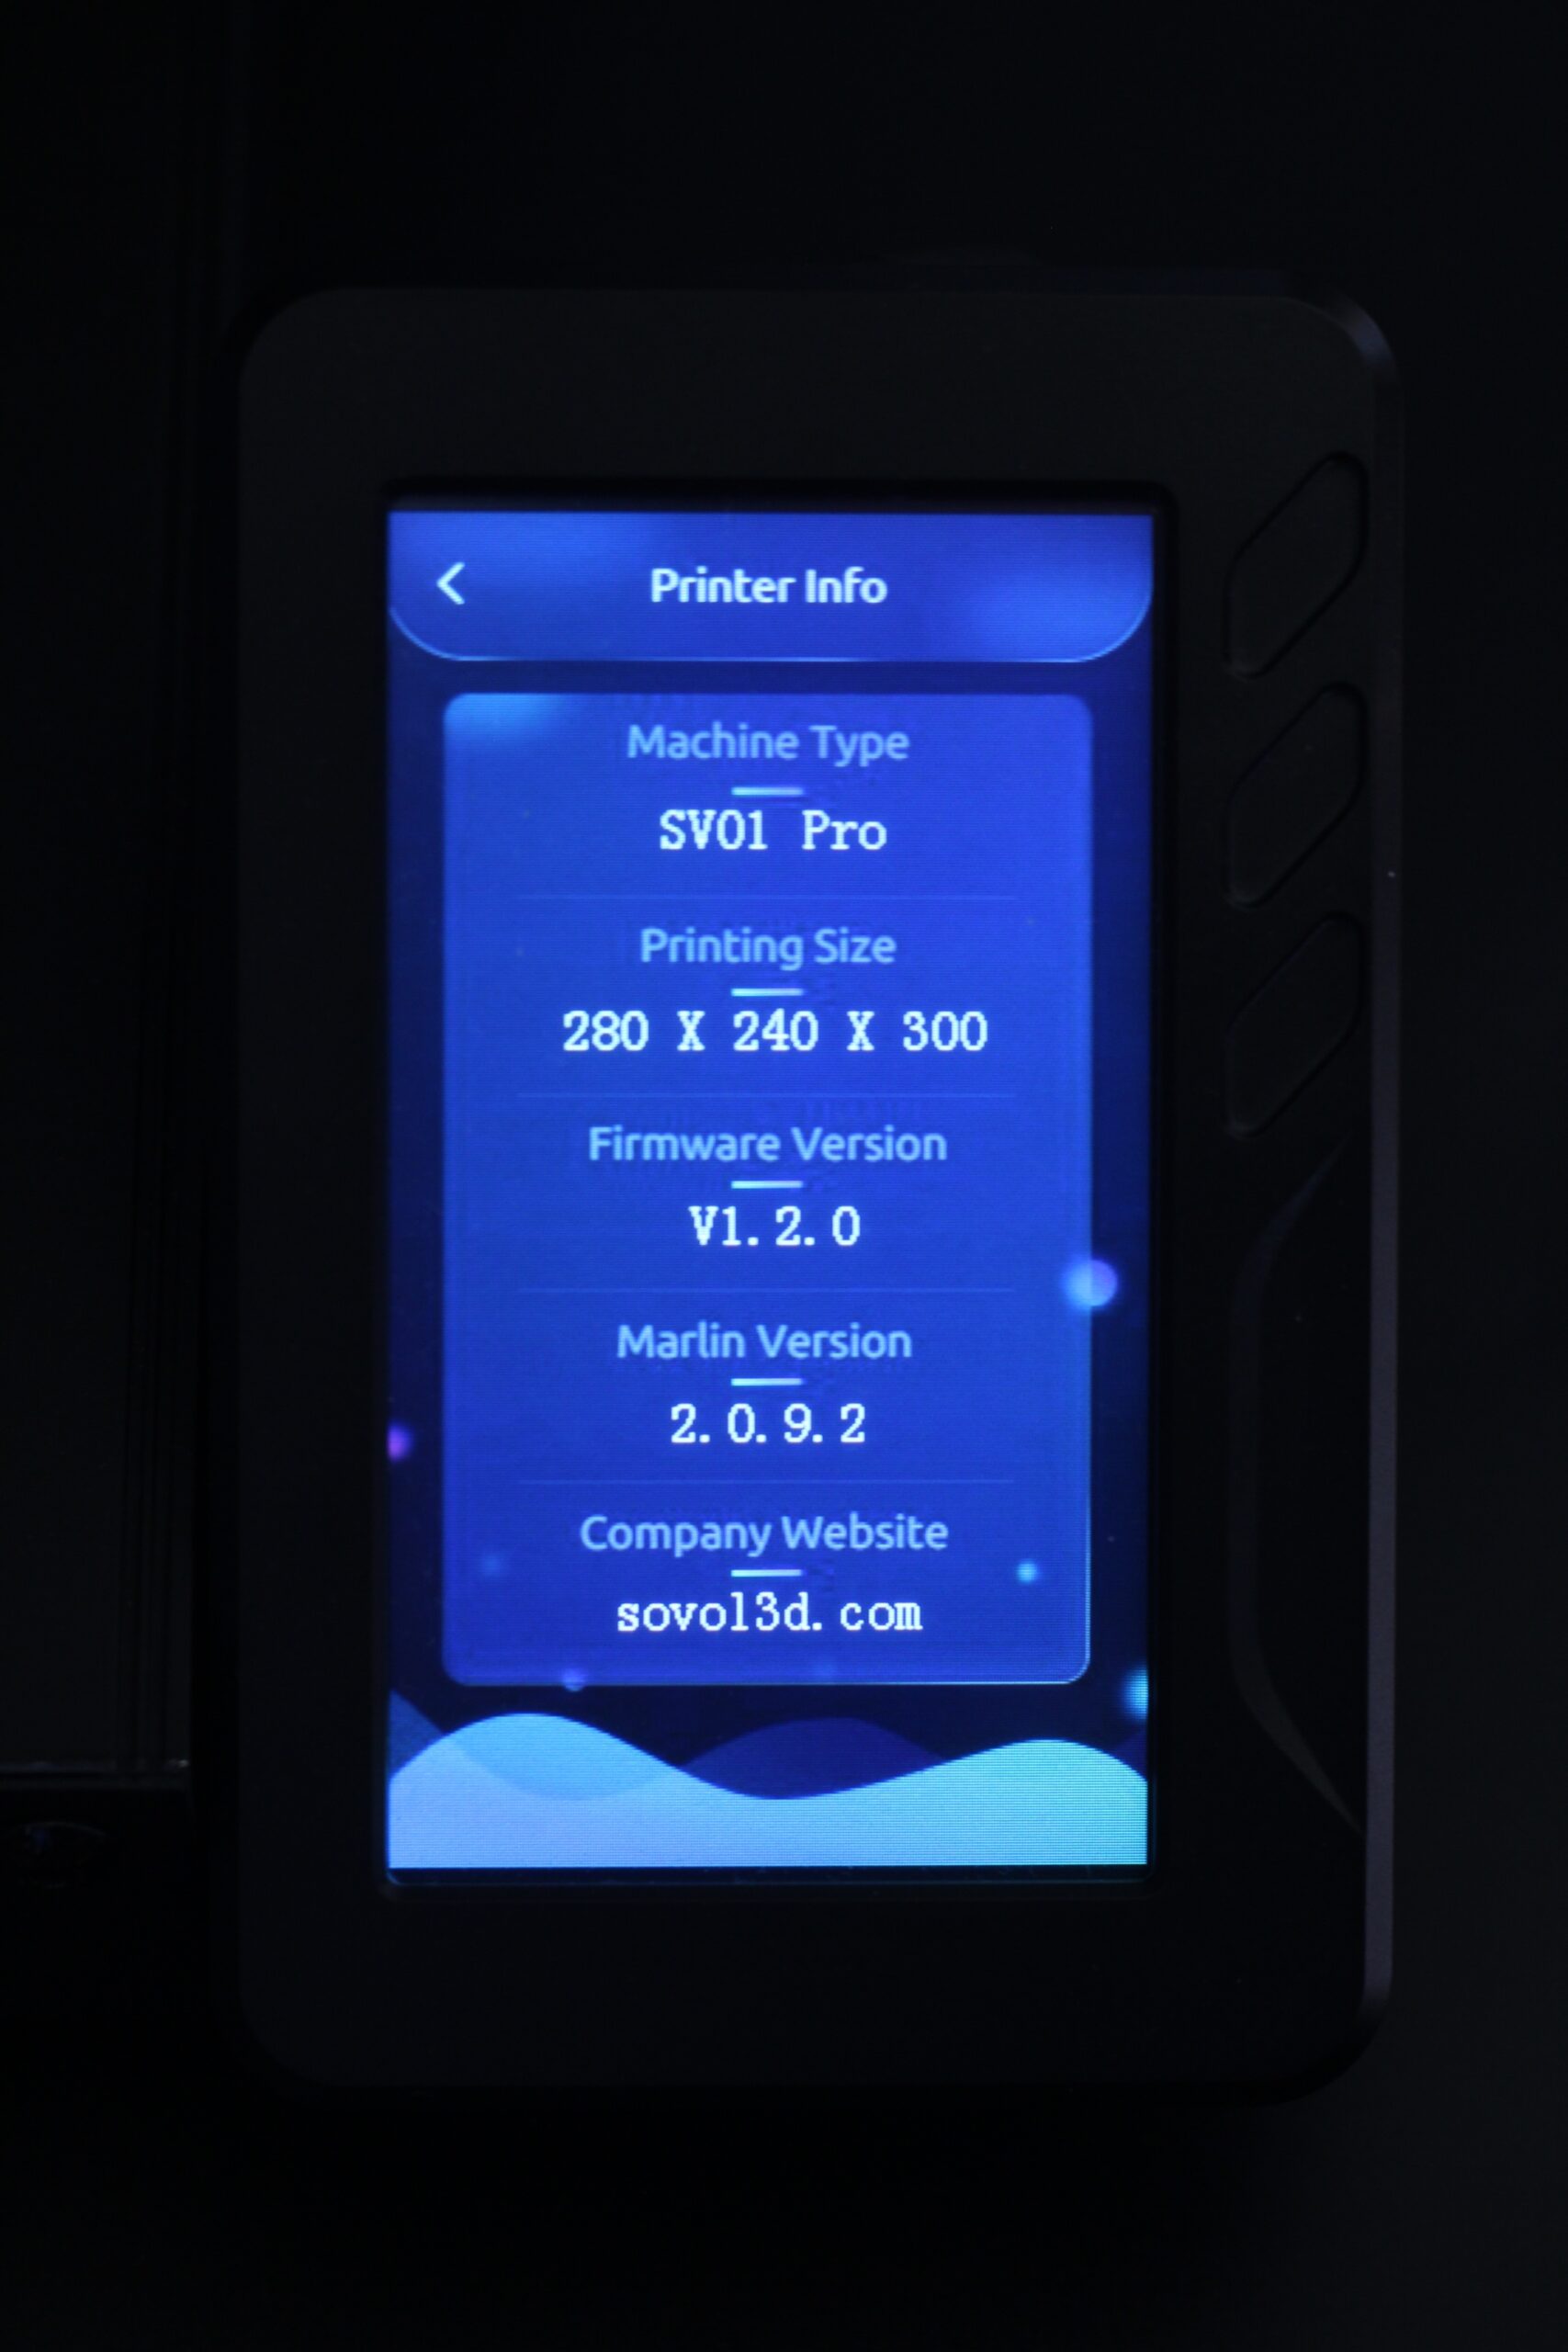
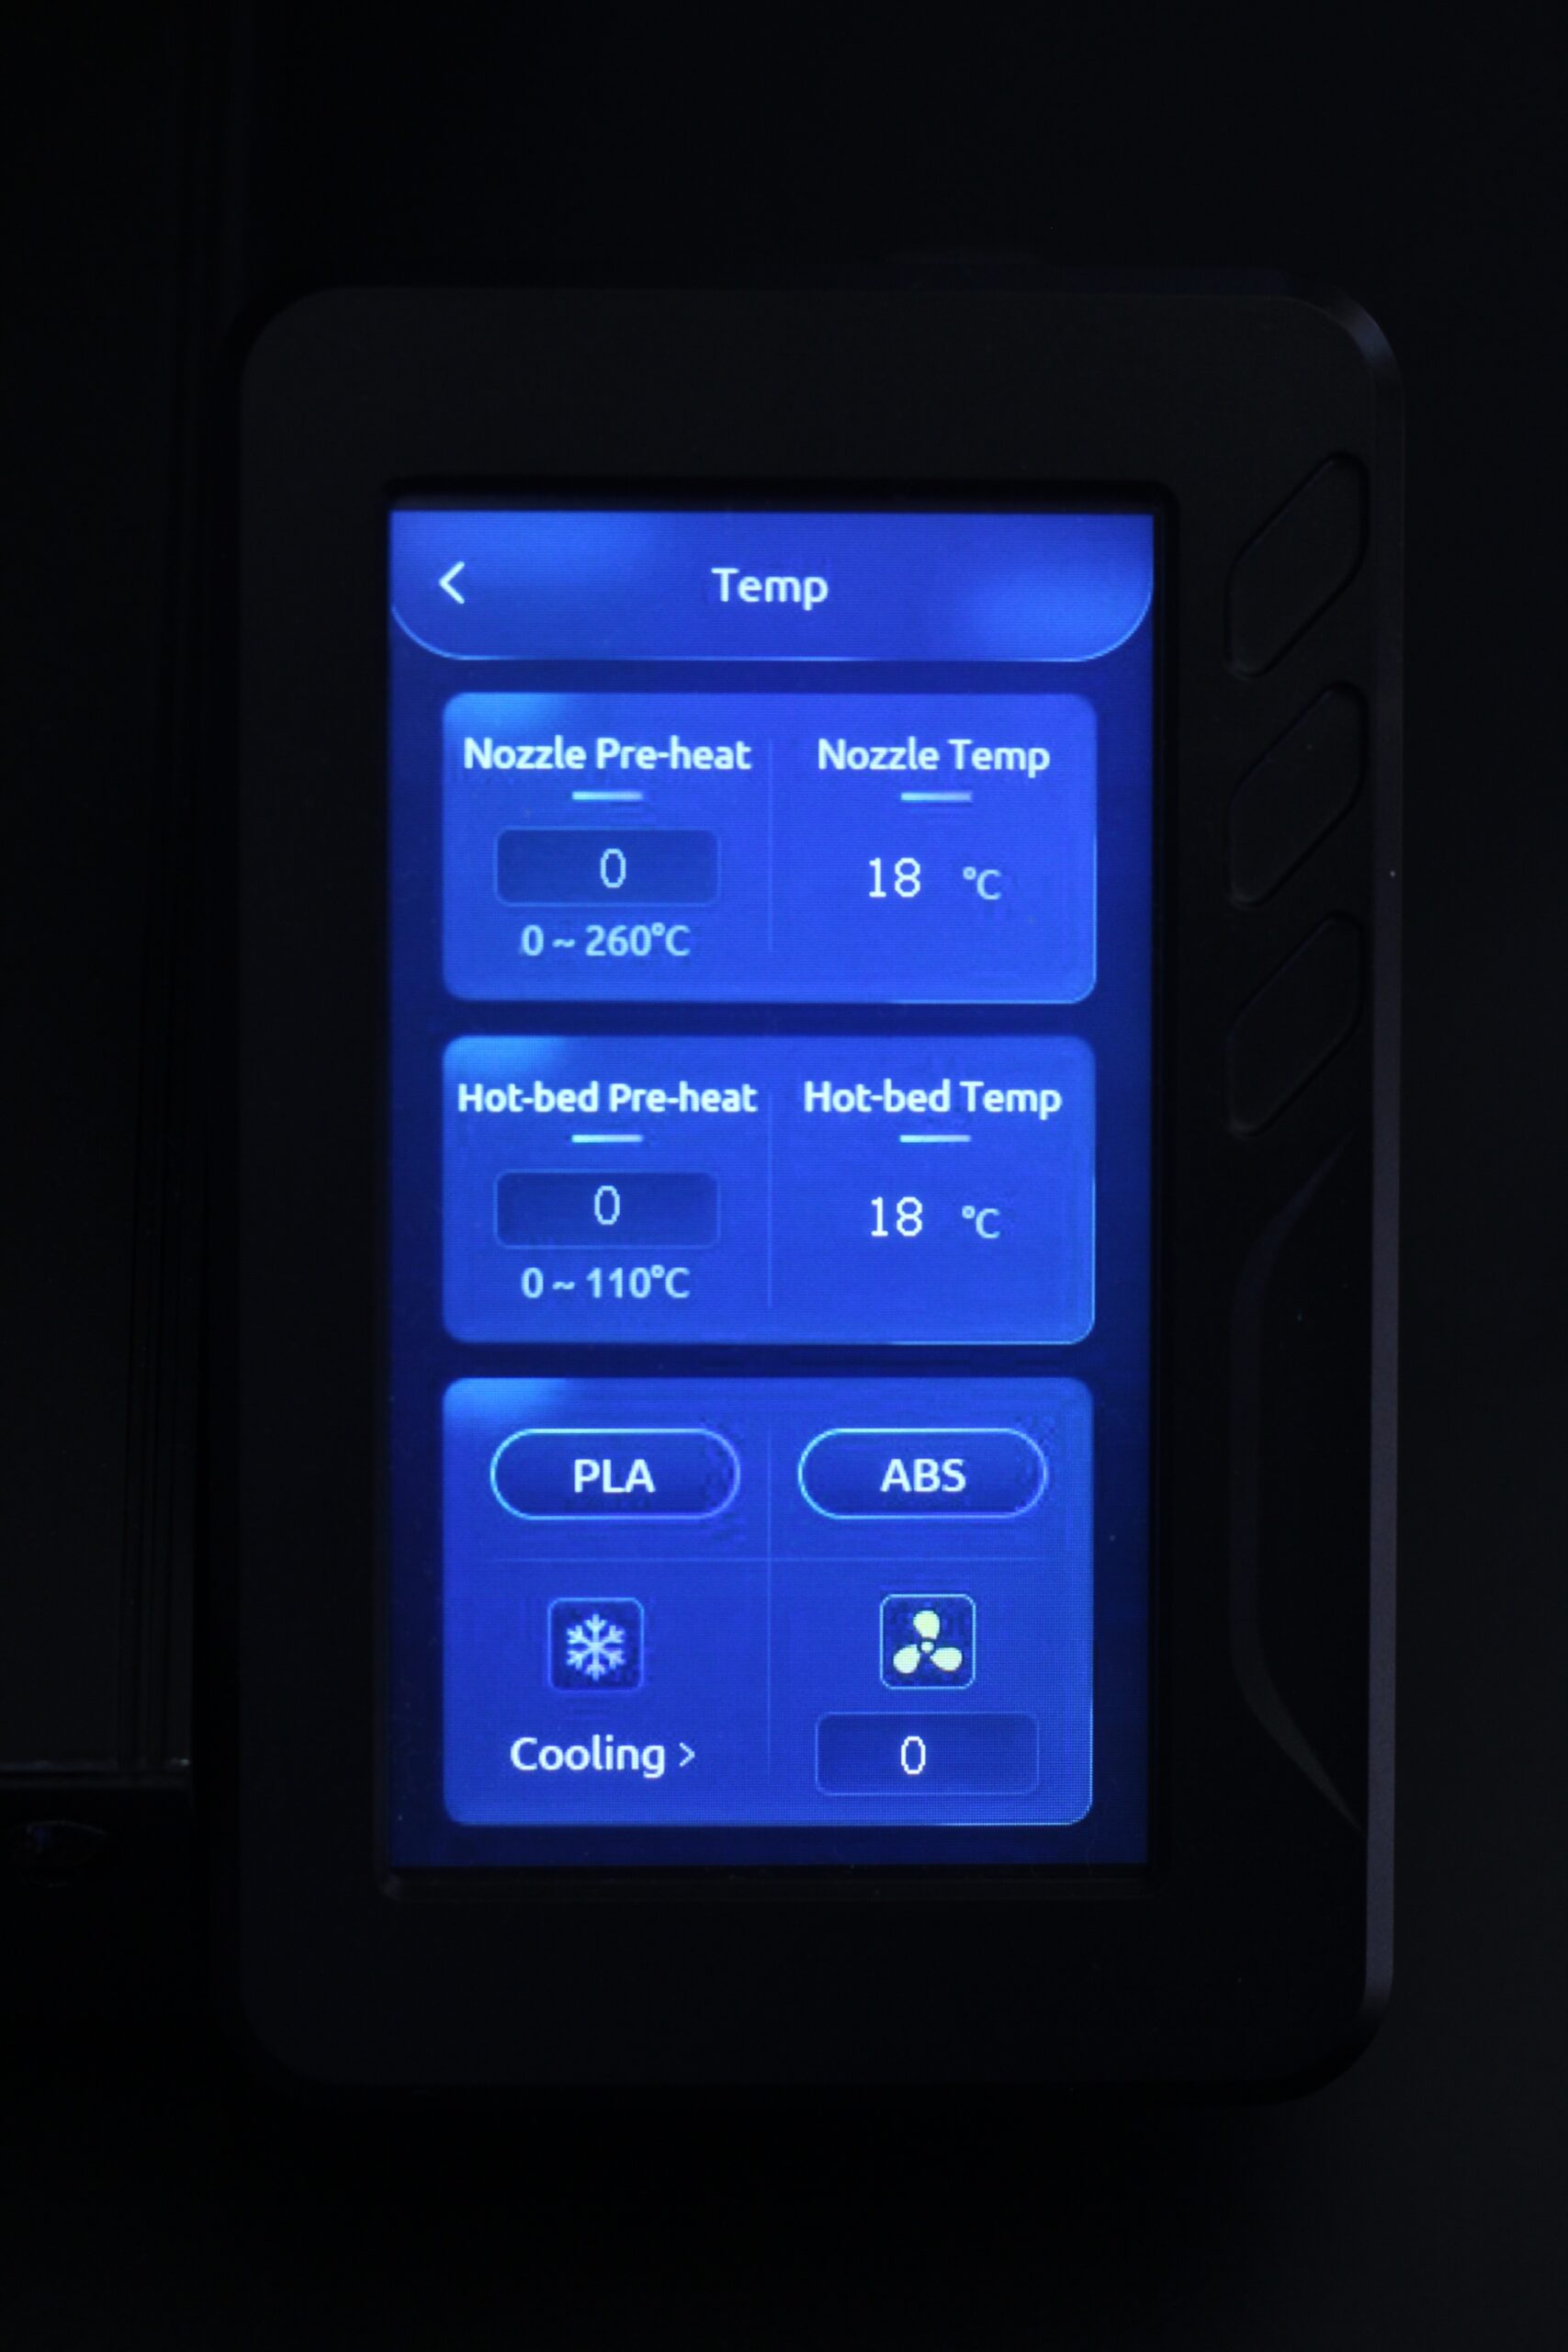
Sovol even included M600 filament change support which is also a feature that is not present on most 3D printers right now. Not because the printers can’t do it, but because most of the companies don’t actually invest the time to implement support for this. And it’s not that hard, but Sovol is actually smart about this and uses free Marlin features as selling points for their printers. And I like that.
Dual Z-axis
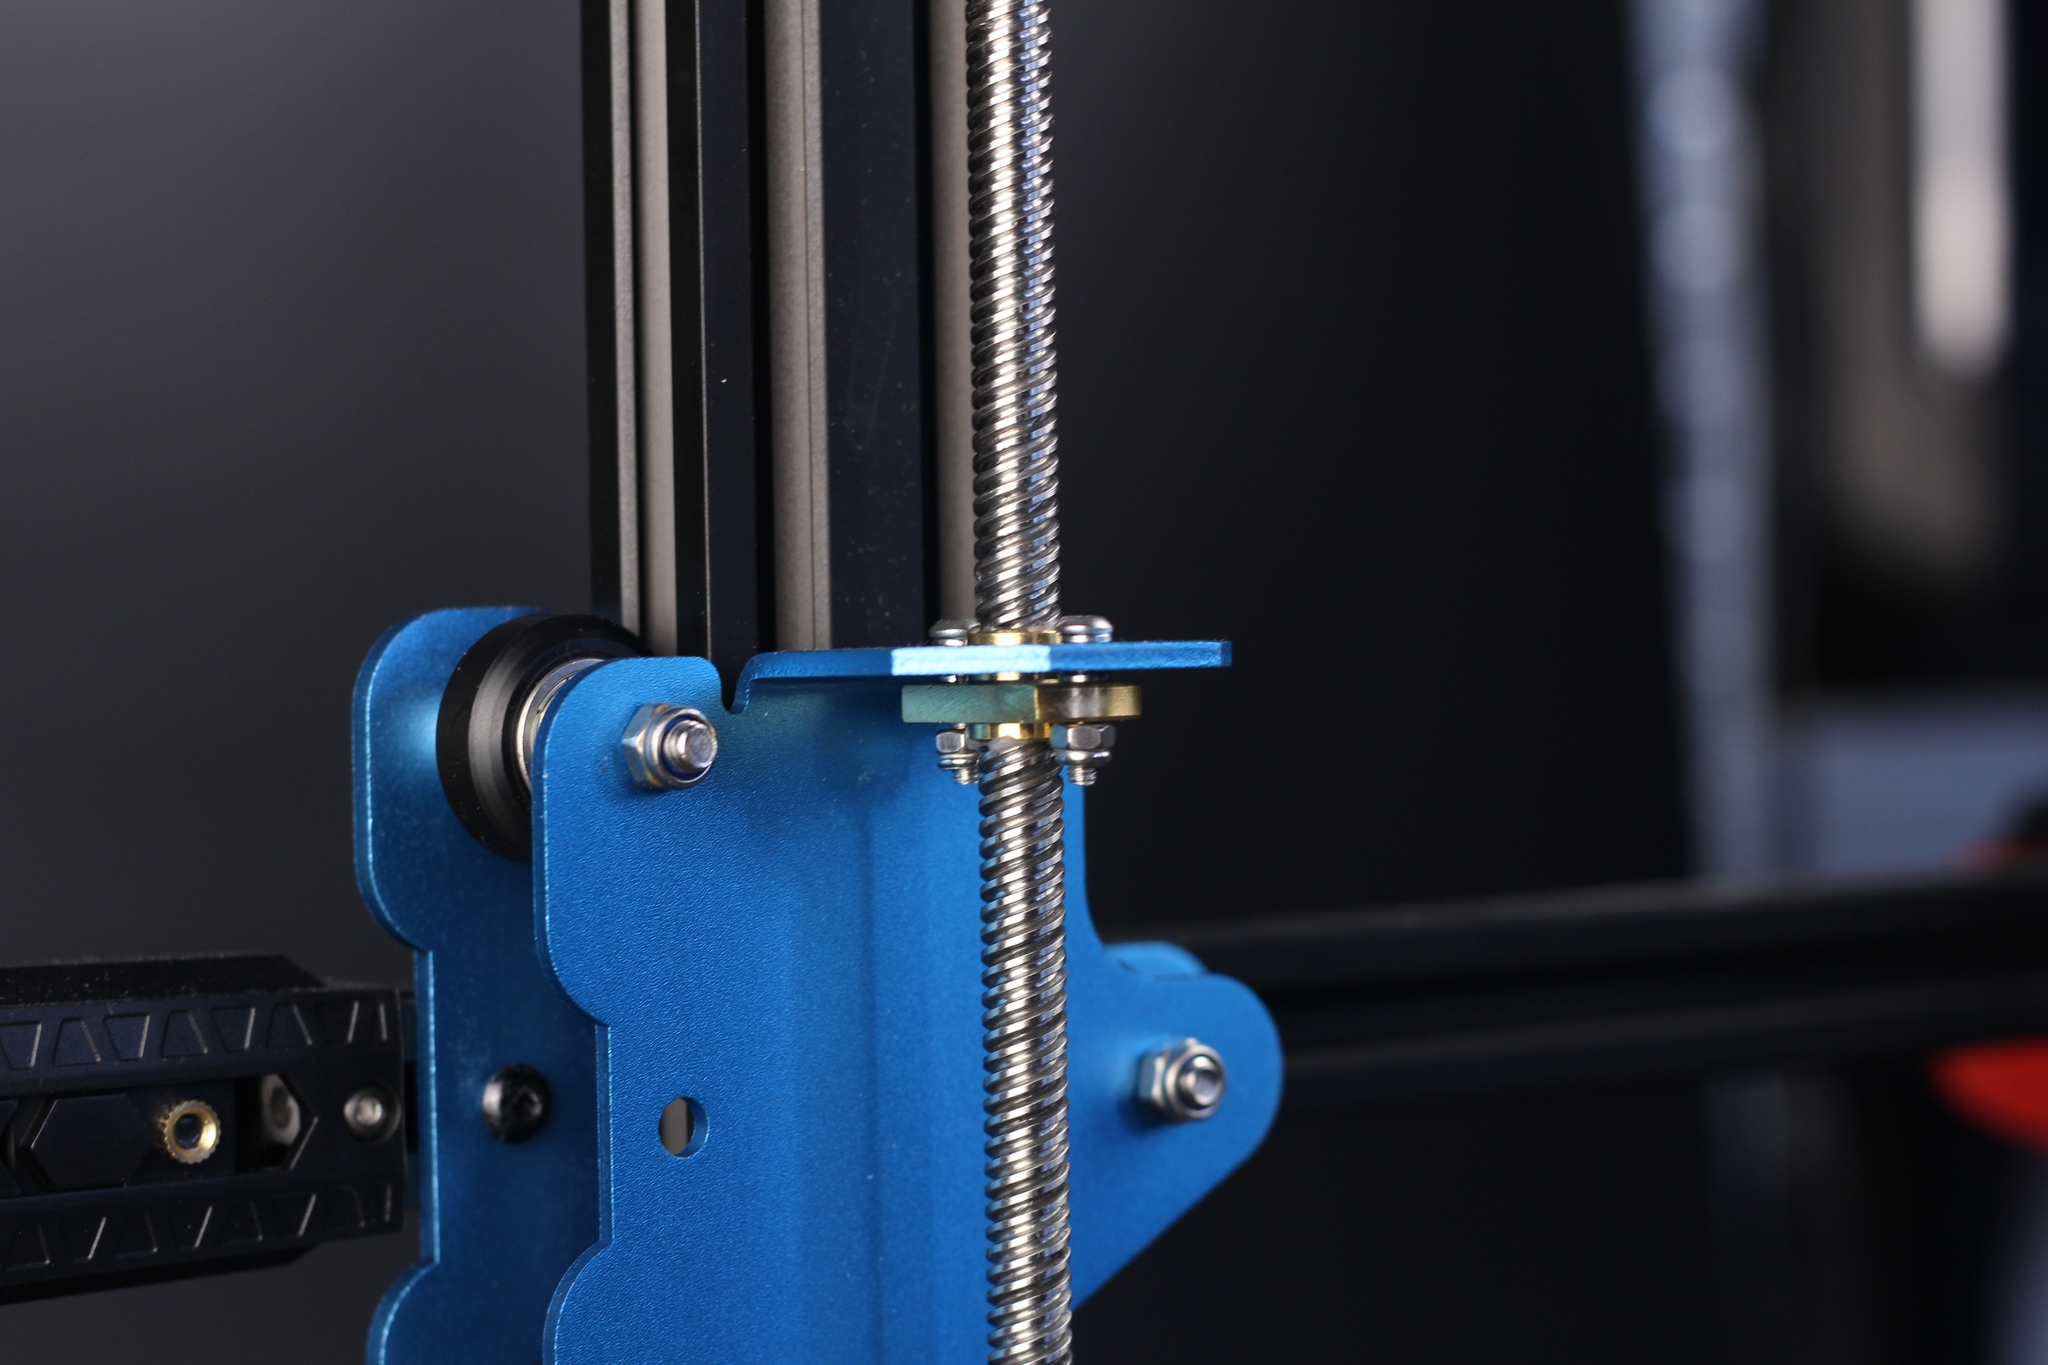
Another attractive feature of the SV01 Pro is the Dual Z axis support. Most “mid-tier” printers come with dual Z lead screws which is nice, but the SV01 Pro doesn’t have a Z sync belt to keep the motors in sync.
This is not a huge issue, because the X gantry is pretty stable after you set the printer, but having that Z sync belt would keep the gantry more stable, especially considering that there’s no G34 support.
There are also no anti-backlash nuts installed out of the box, so considering everything I mentioned regarding the Z-axis, I think a compromise should have been made. Either an extra stepper driver for G34 support or a Z sync belt/anti-backlash nuts.
Belt tensioners on the X and Y-axis
As you might expect from a 2022 3D printer, the Sovol SV01 Pro comes with belt tensioners on both the X and Y-axis. Nothing special to be honest, but it’s good to have them in case you need to adjust belt tension.
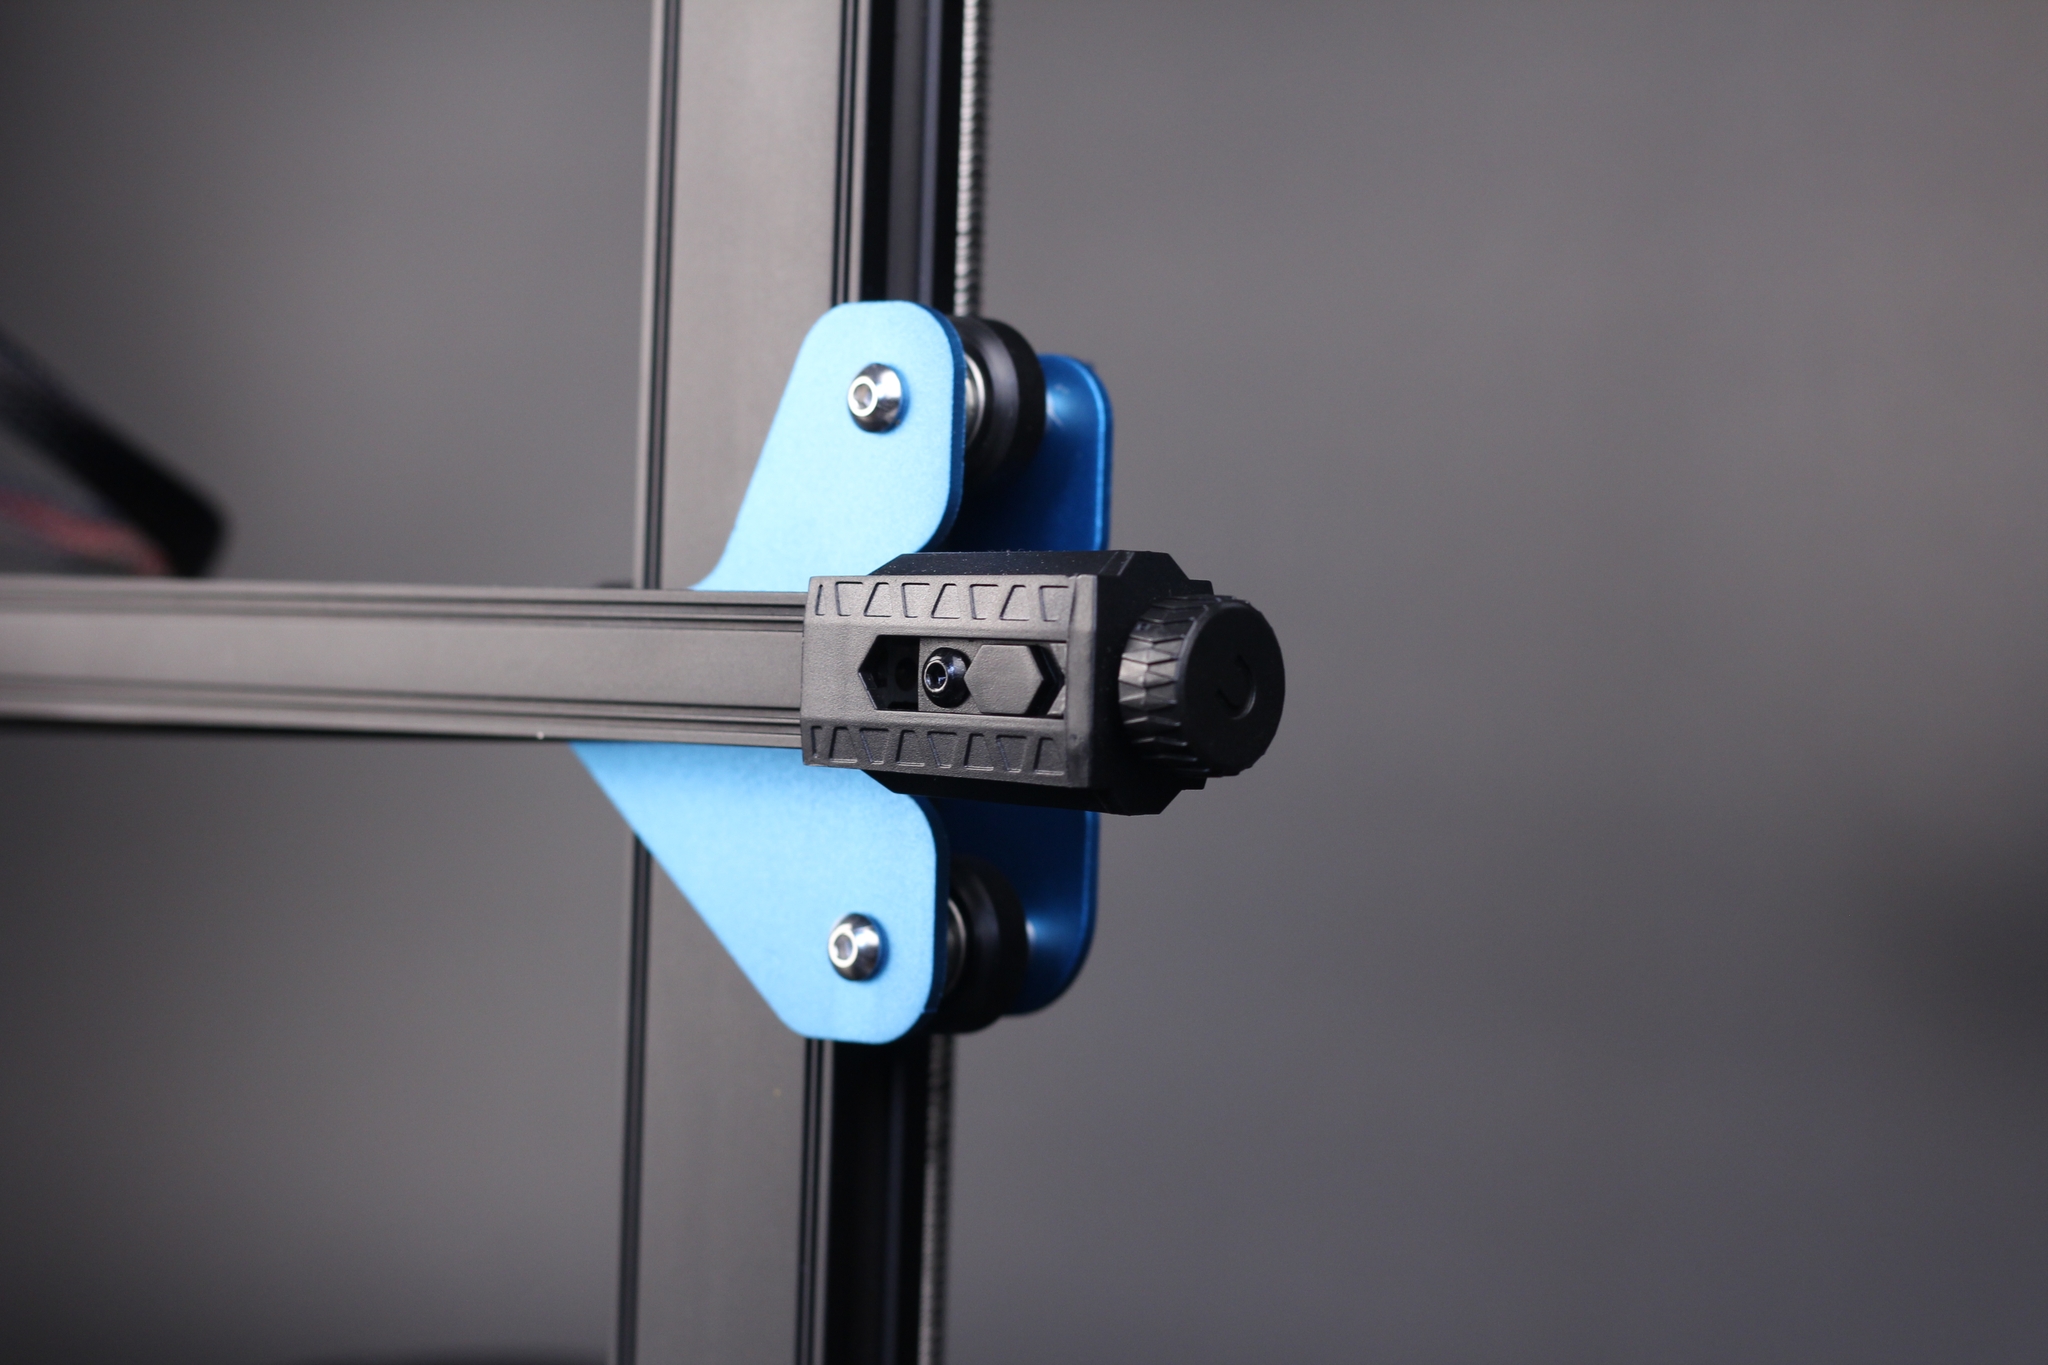
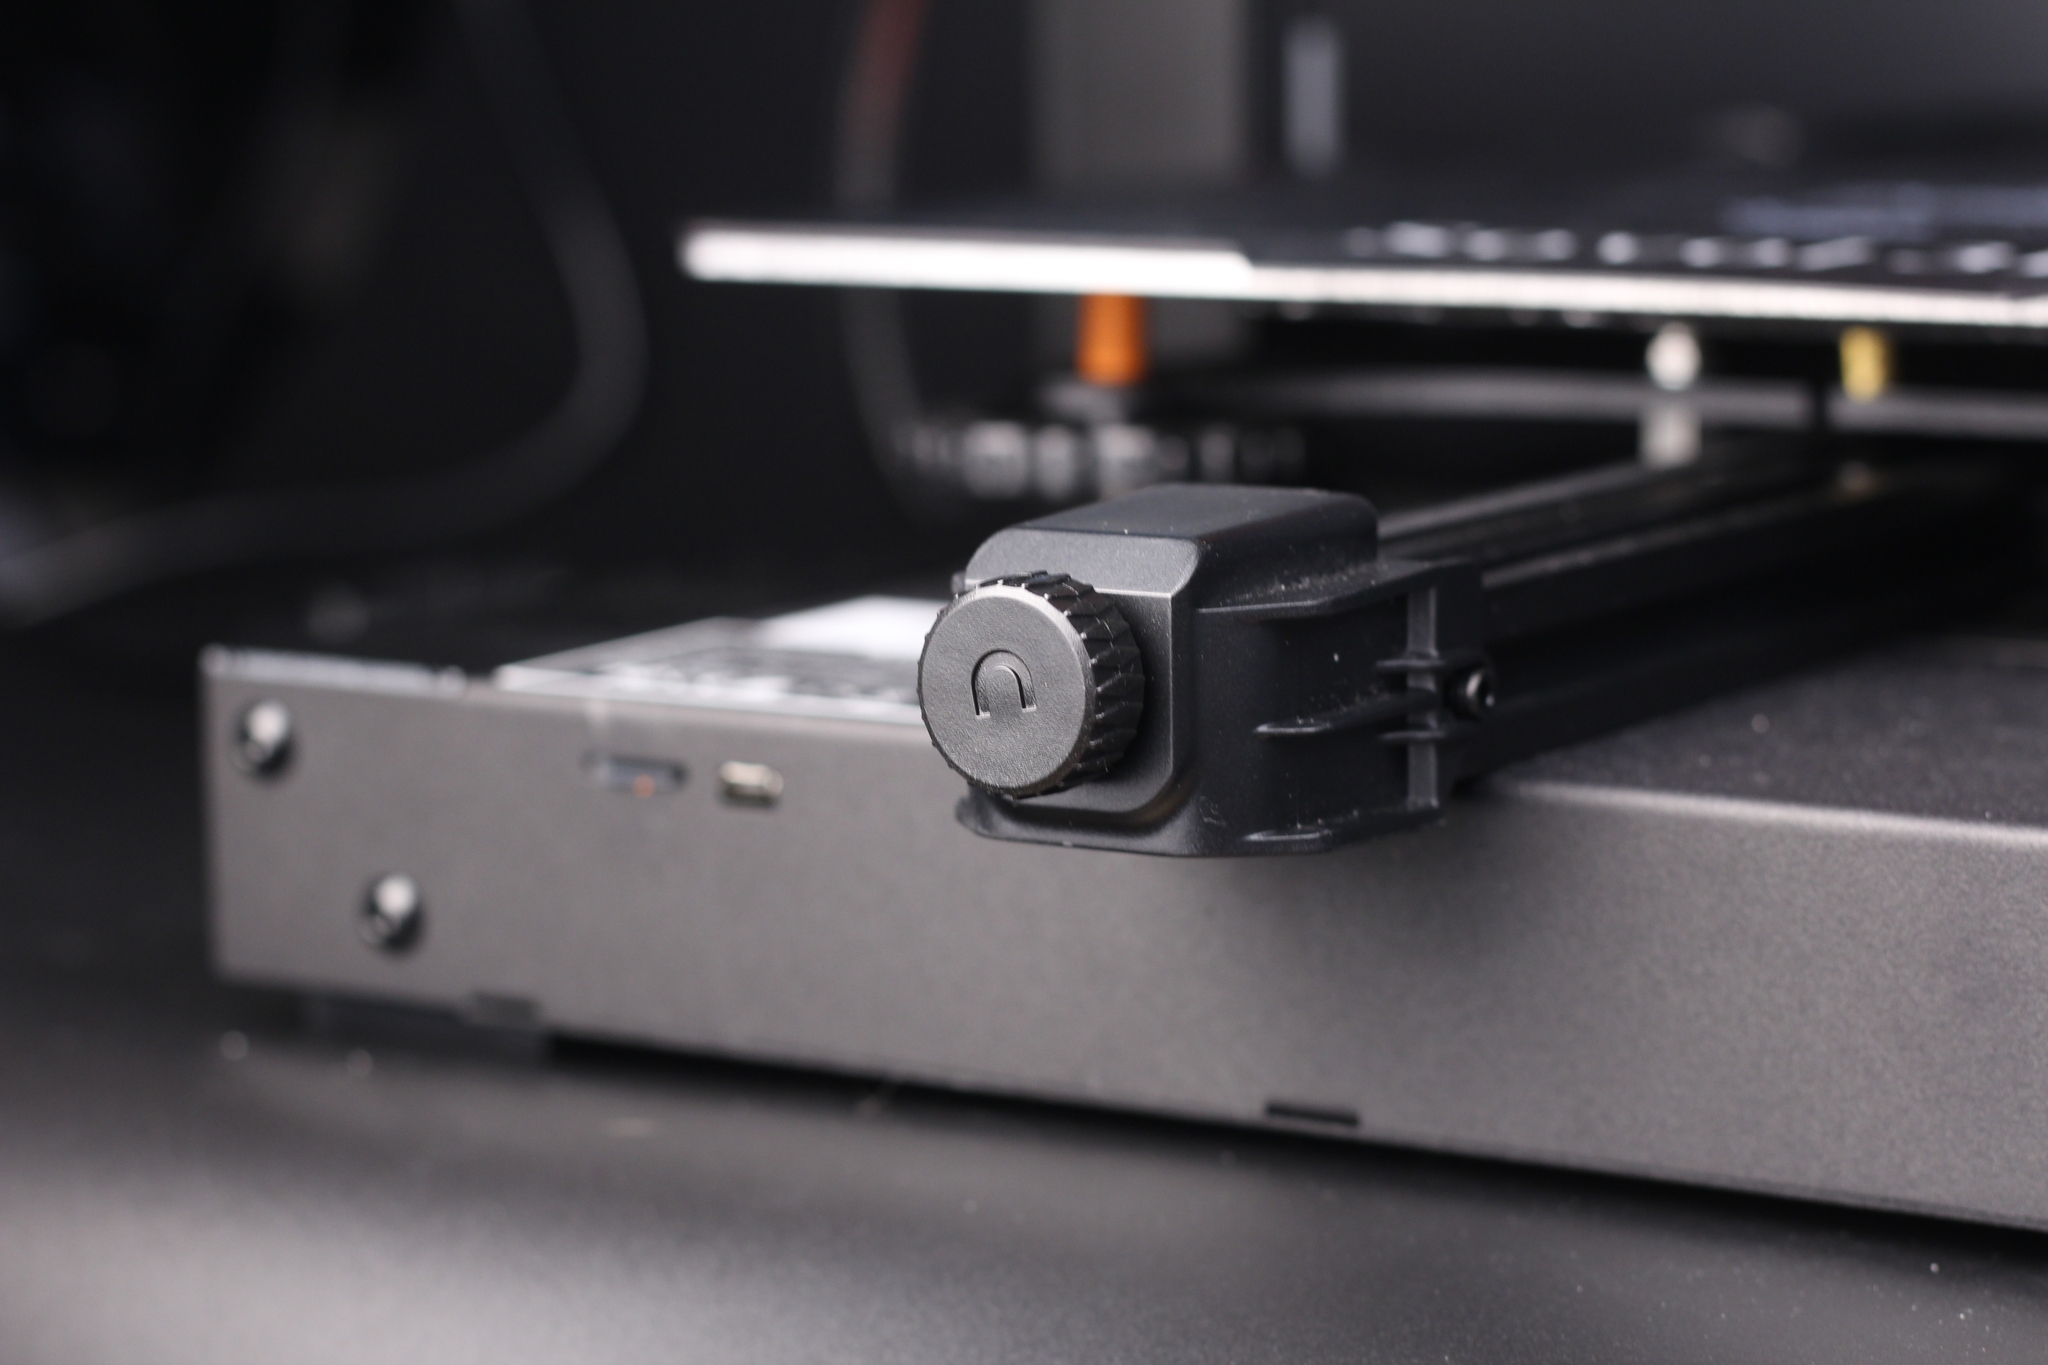
Just don’t go nuts with them, and overtighten the belts. You will only decrease the print quality.
24V 350W Creality Power Supply
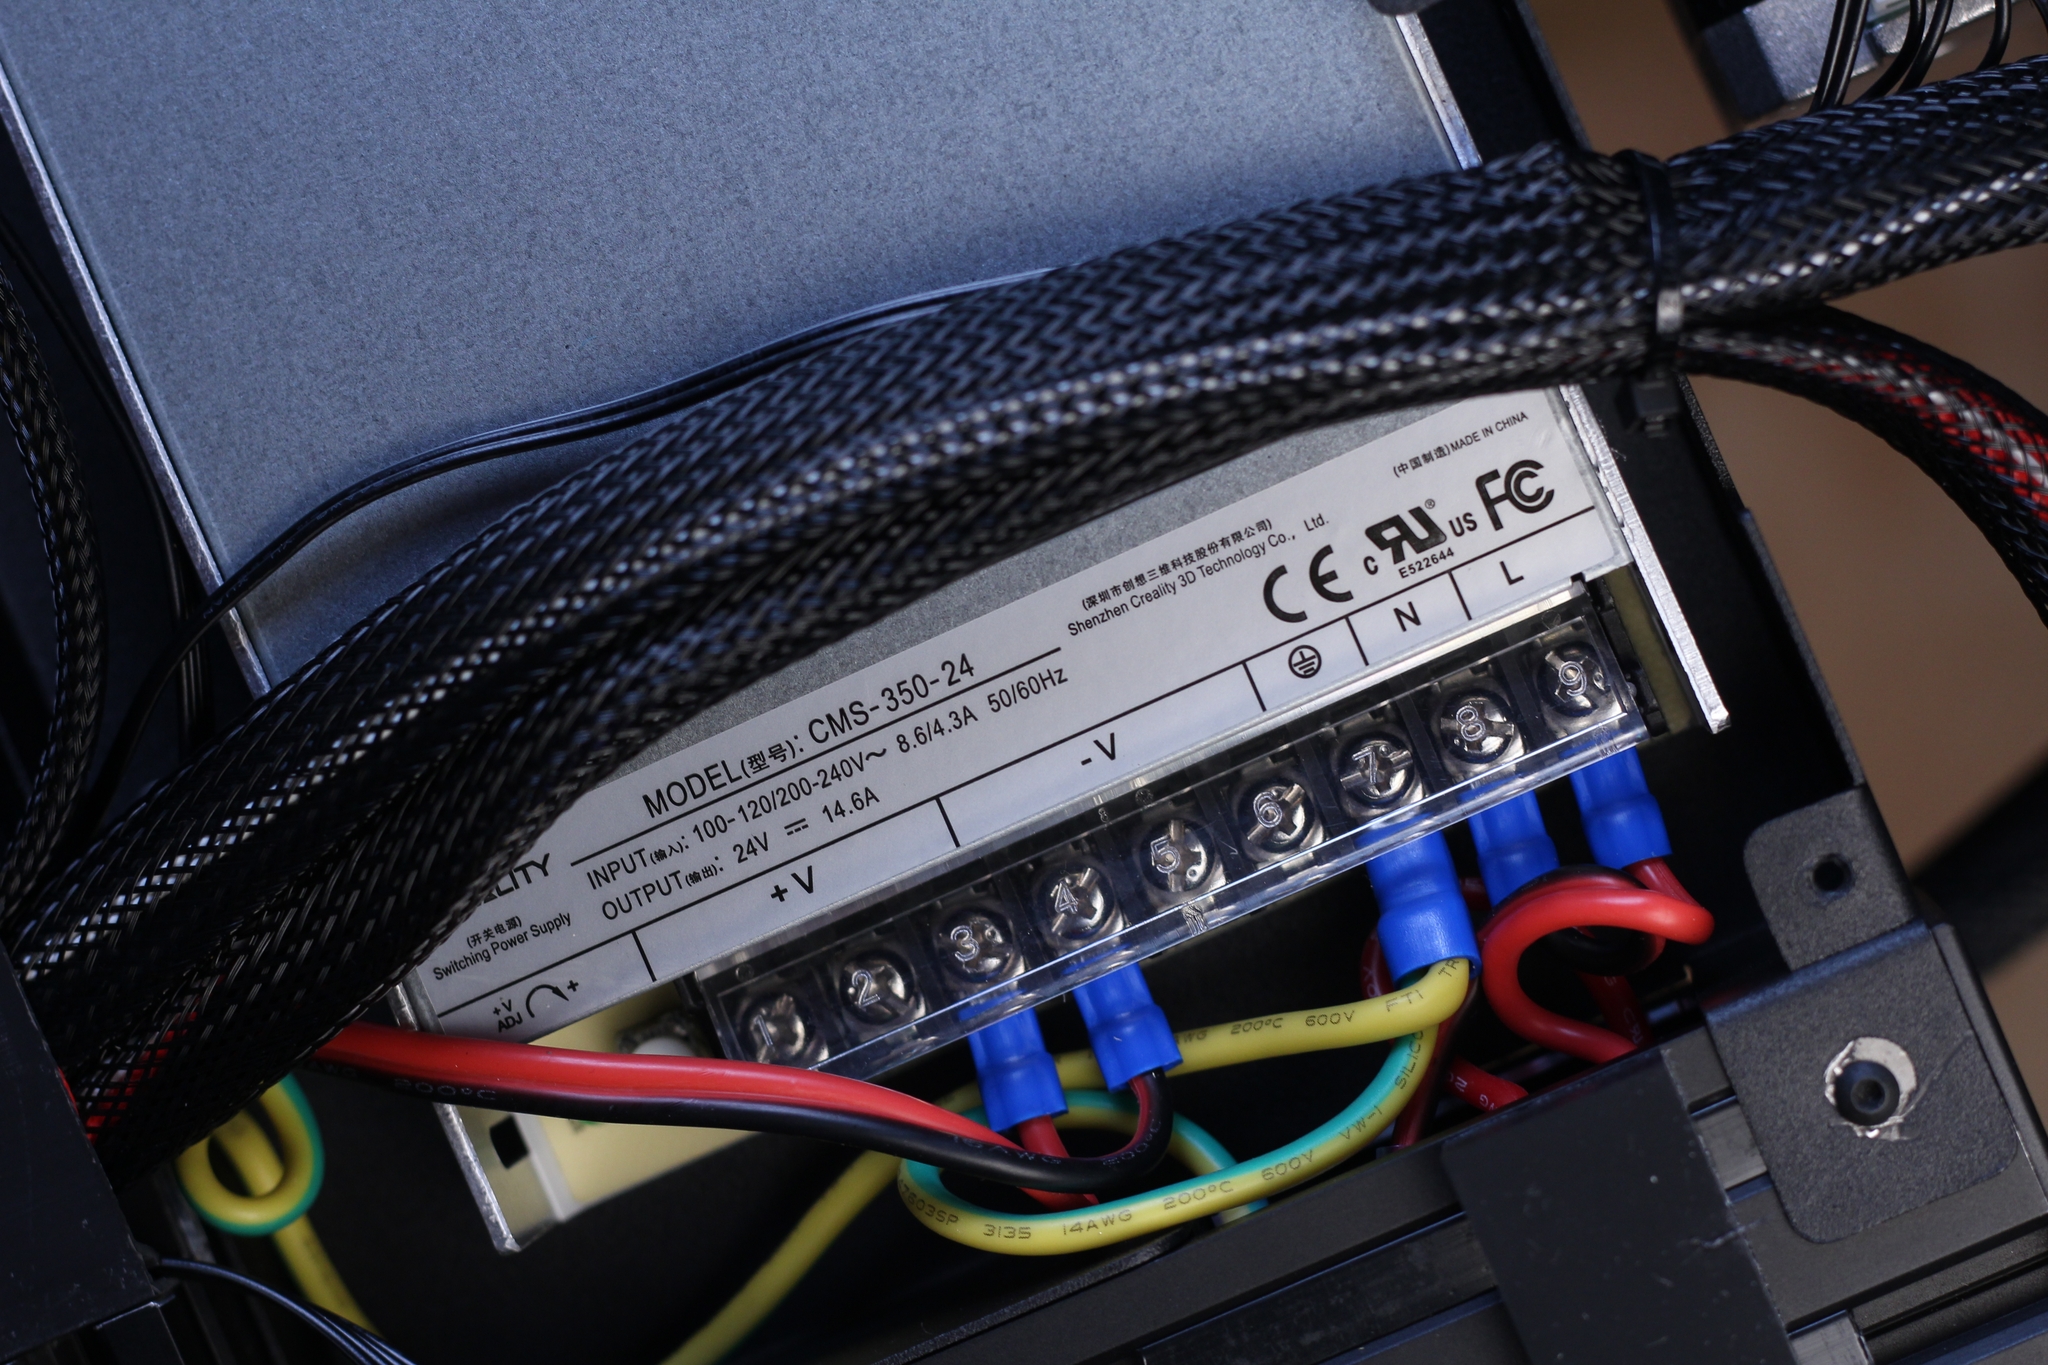
The power supply installed on the Sovol SV01 Pro is made from Creality and it’s a 24V 350W unit, similar to what you get with other Creality machines. It’s a decent power supply with a pretty quiet fan so I can’t really complain about it.
Heating time and power consumption
I tested the heating time for both hotend and heat bed and here are the results:
Hotend
- 200C in 1 minute and 20 seconds
- 250C in 1 minute and 50 seconds
Heatbed
- 60C in 2 minutes and 30 seconds
- 100C in 8 minutes
Power Draw.
Idle power draw is around 10W. When the hotend and heatbed are heating up, the Sovol SV01 Pro draws around 290W. After it starts printing, the power draw stabilizes to around 65W.
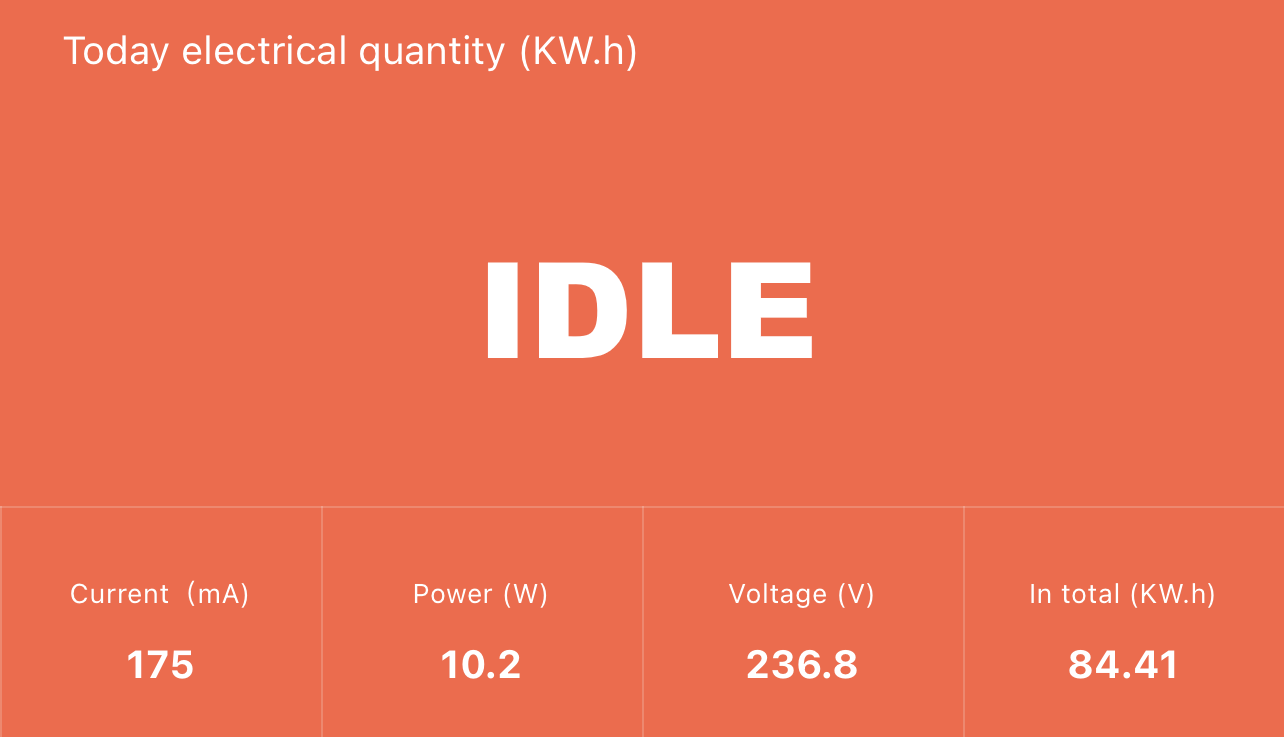
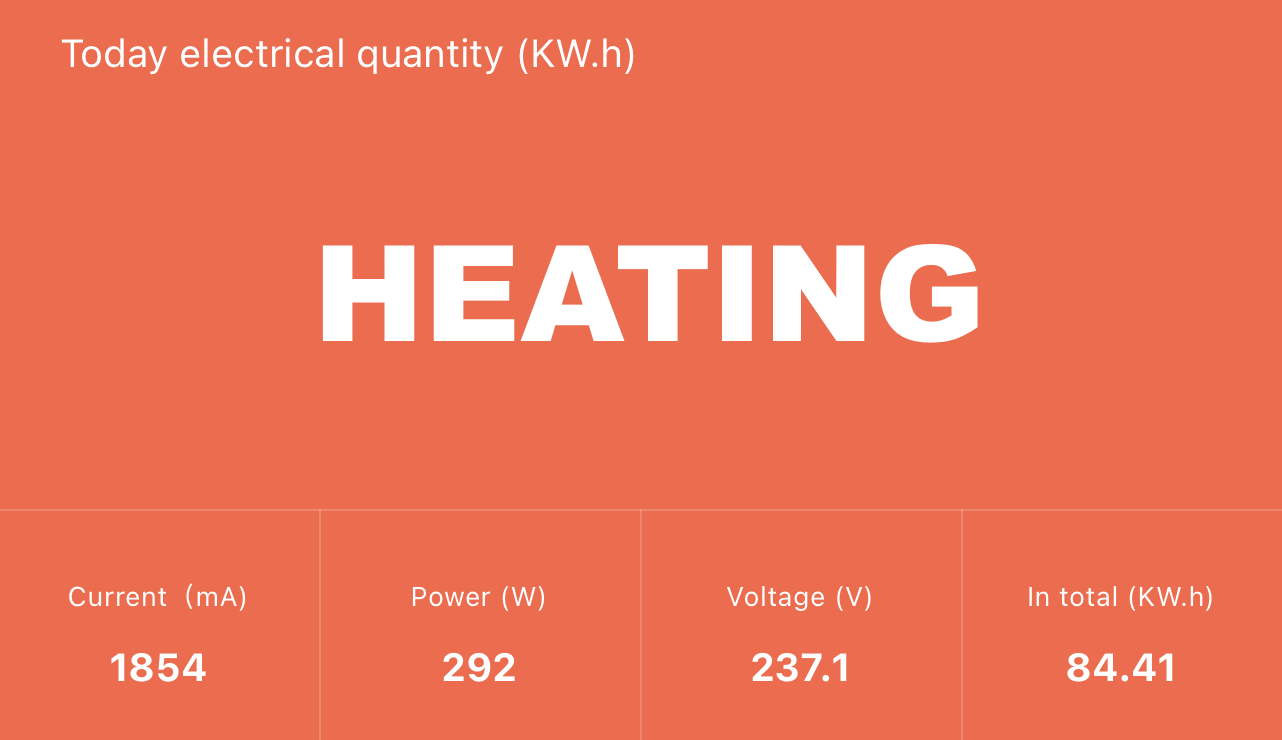
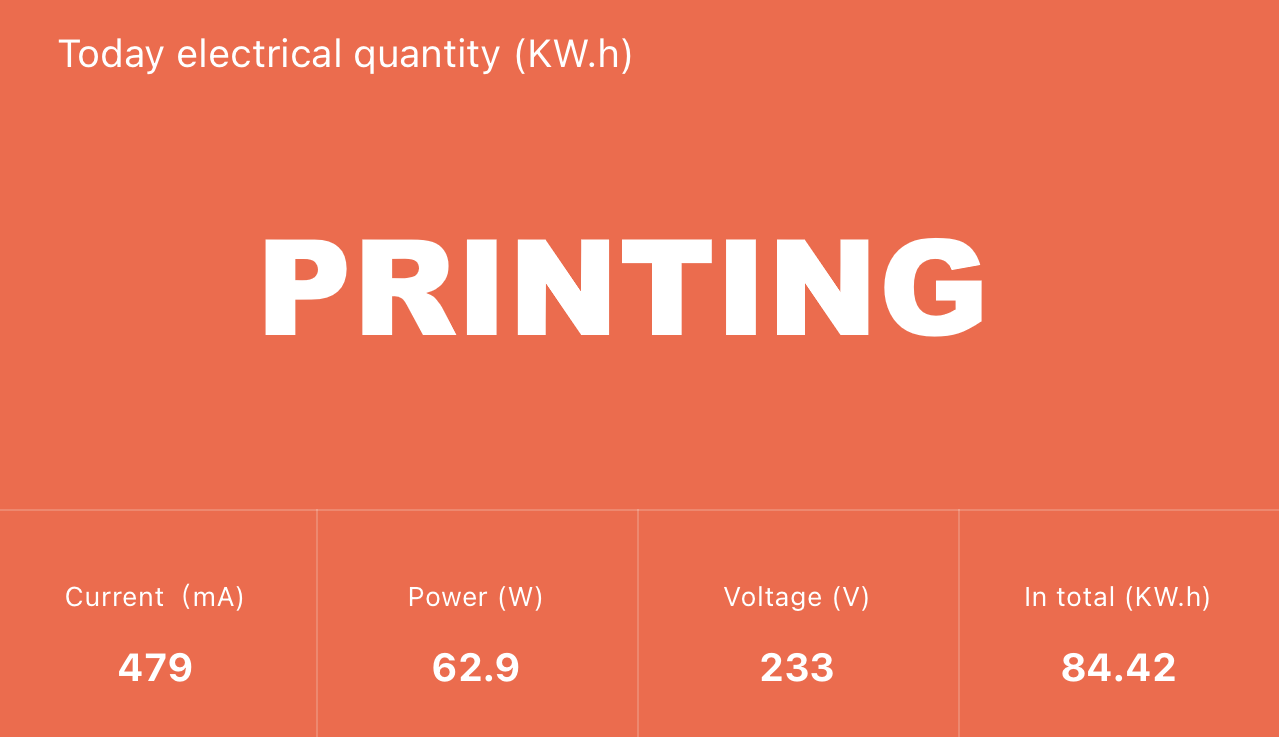
All these measurements were taken with a Blitzwolf smart power socket which indicates the power draw, and it can also be used for remotely powering on and off the printer.
Bed Temperature Uniformity
I tested the temperature uniformity for the Sovol SV01 Pro bed with the FLIR Camera installed on the CAT S62 Pro. The bed has been set to 60C and I waited 2 minutes for the temperature to stabilize.
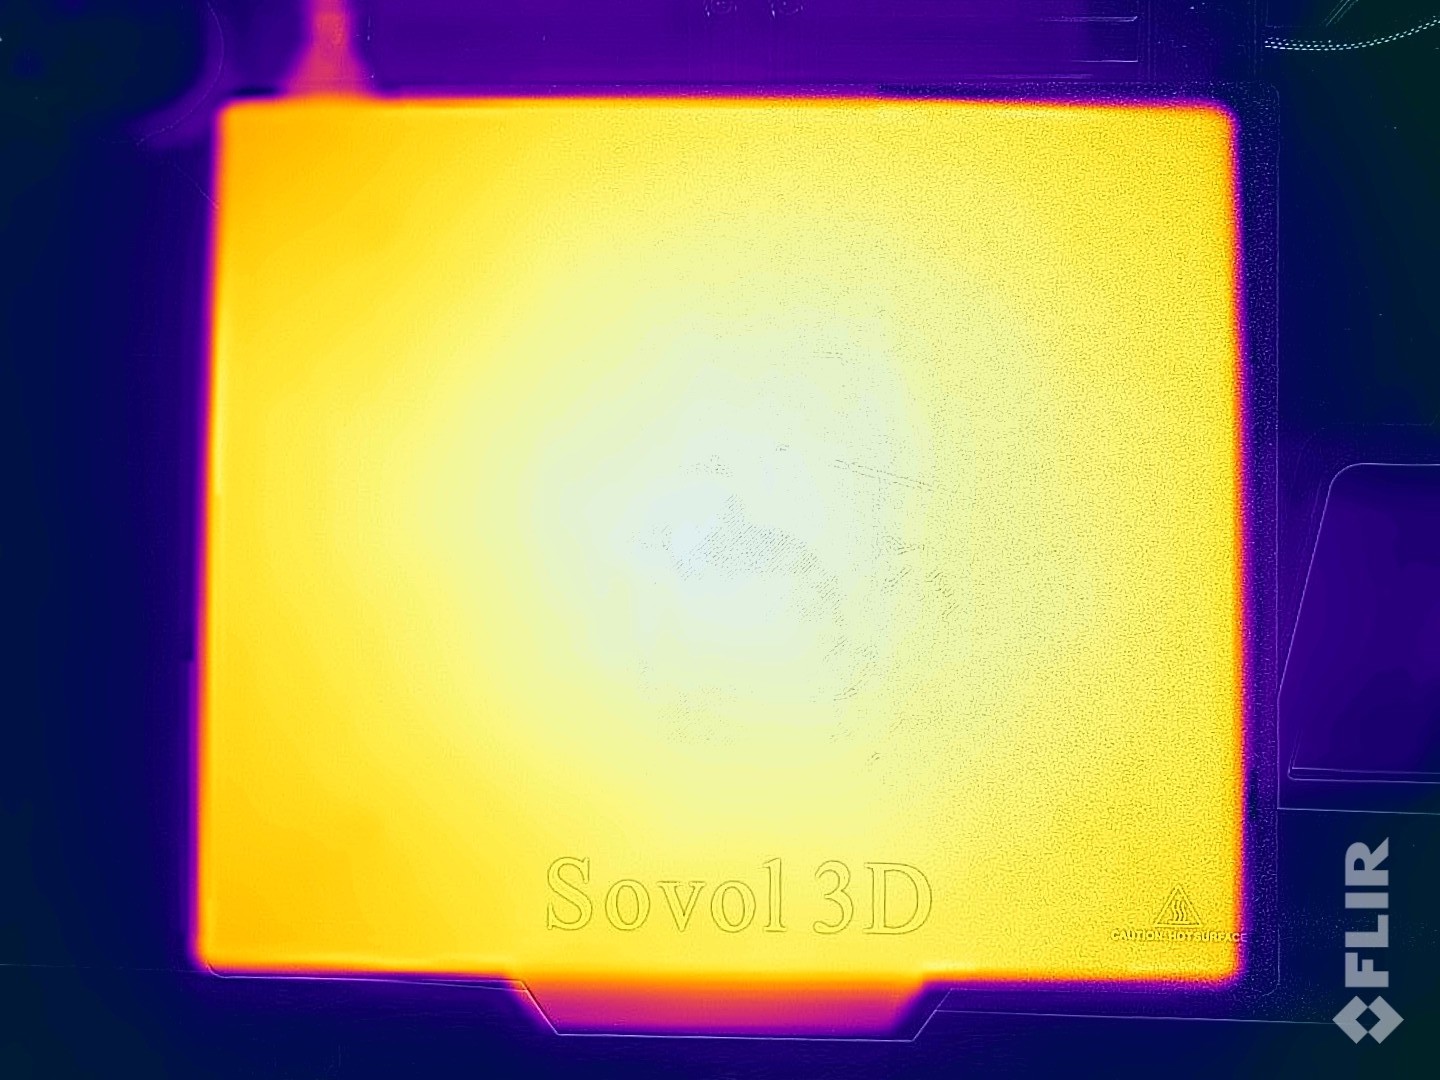
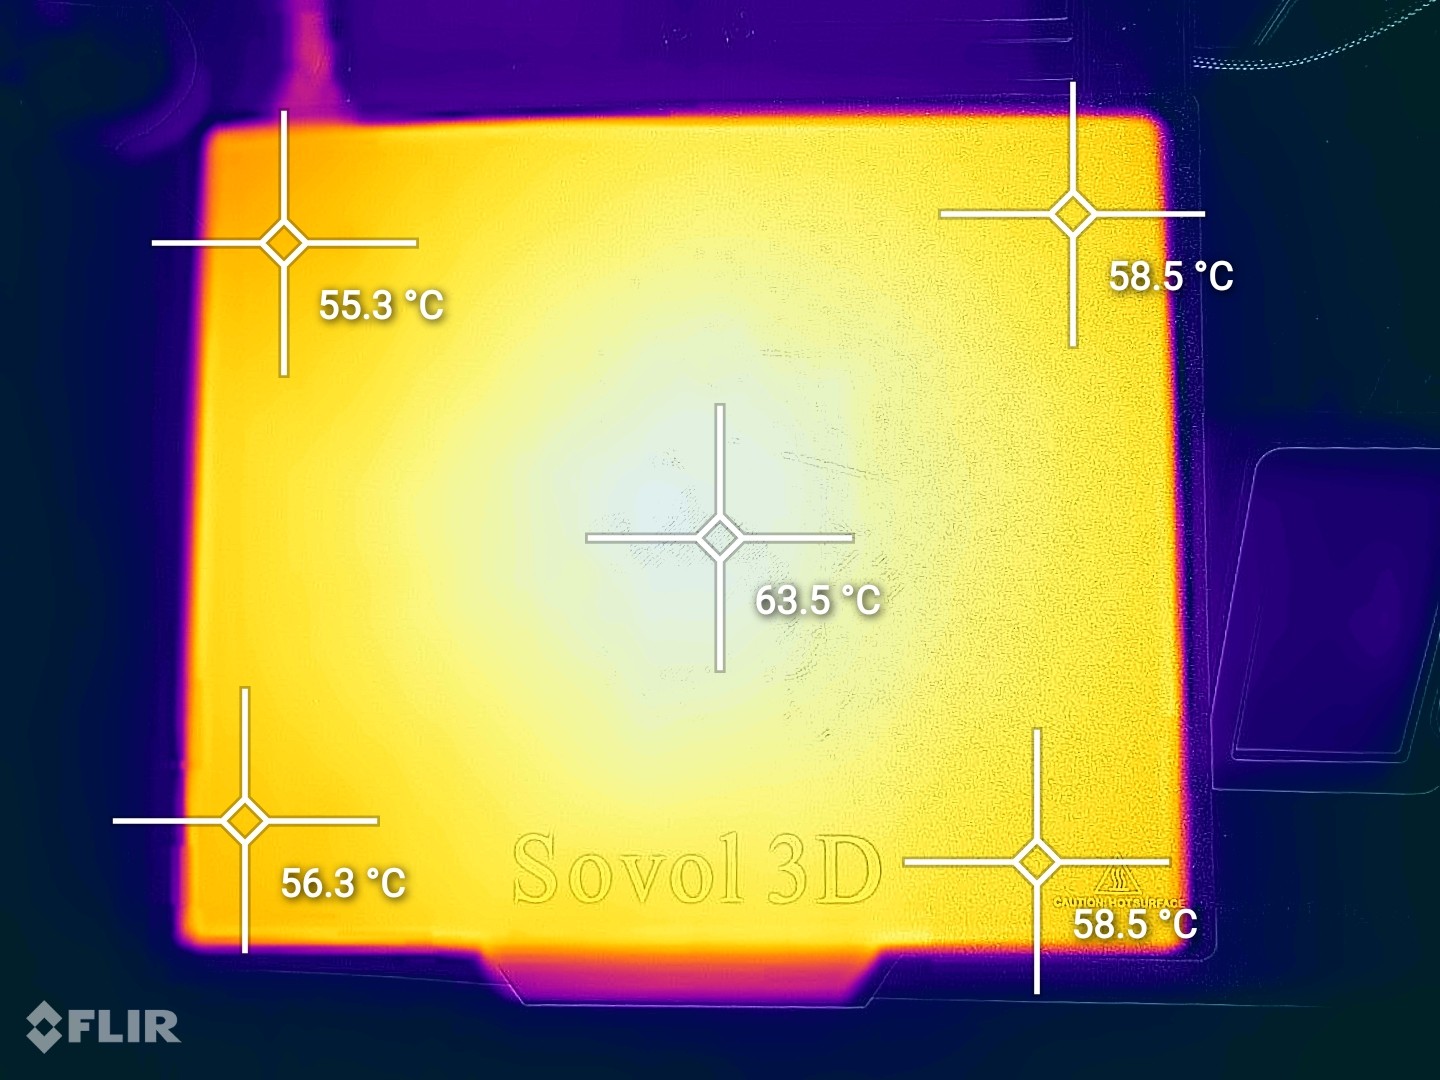
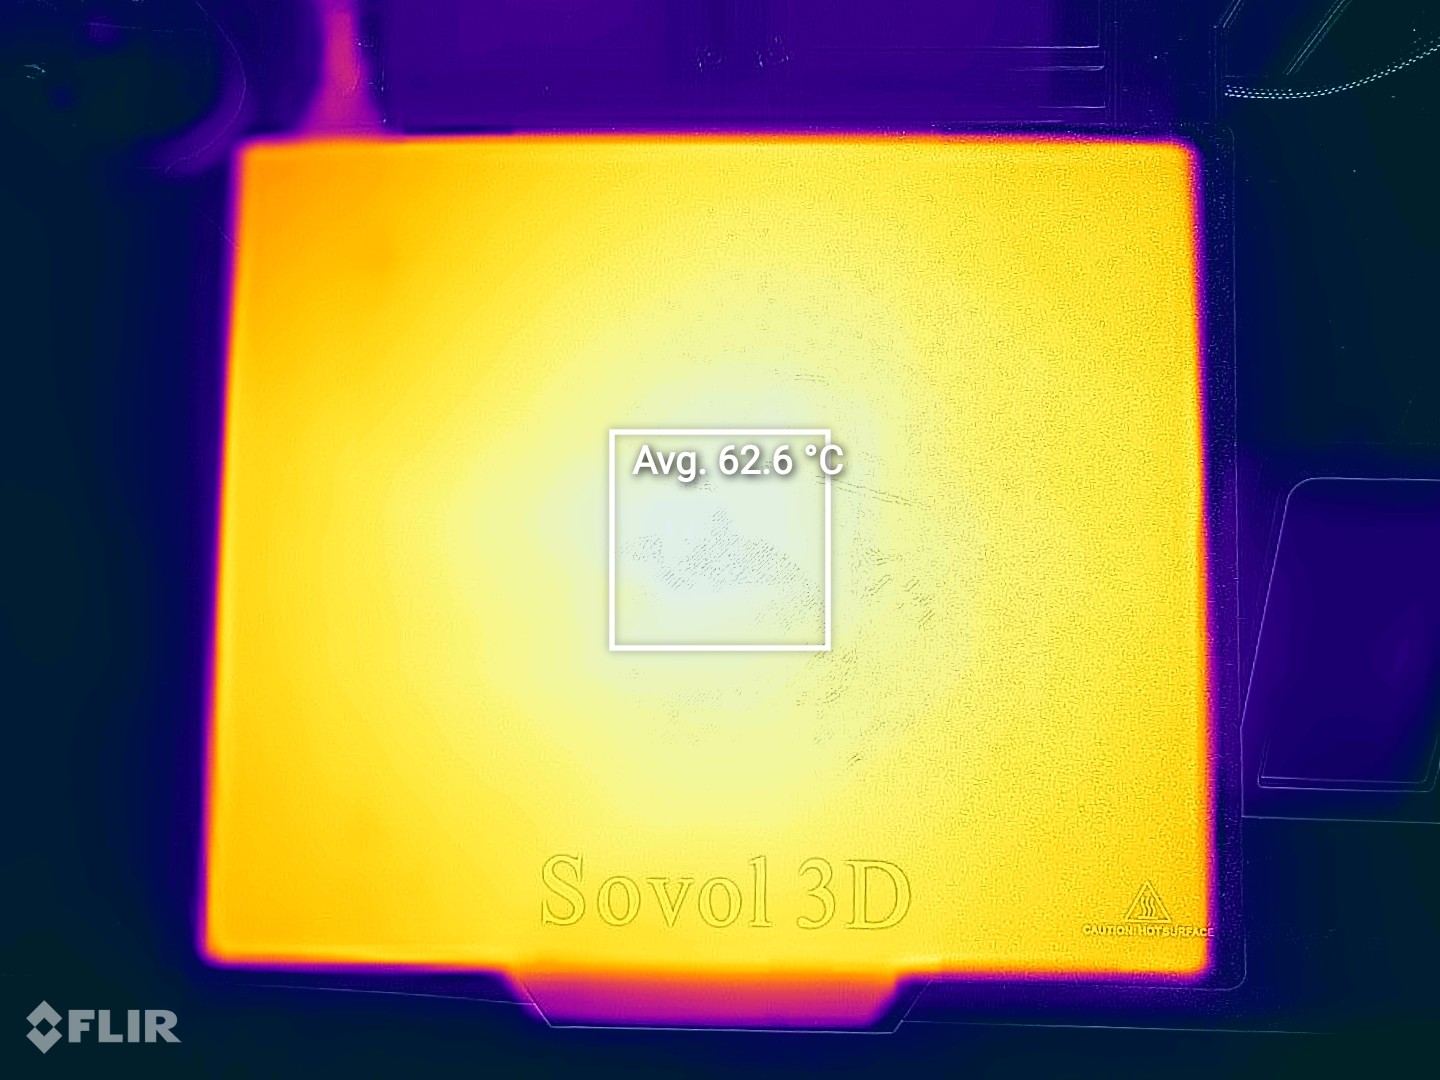
The temperature uniformity is decent, but the corners have a ~5C temperature difference, just over the section where the bed insulation material doesn’t cover the heated bed.
Sovol SV01 Pro Noise Levels
The Sovol SV01 Pro is not the quietest machine out there, but I can’t say it’s noisy either. Most of the noise is generated by the part cooling fan and the printer movements.
IdeaMaker and Prusa Slicer profiles for Sovol SV01 Pro
During my time with the Sovol SS01 Pro, I tuned a few IdeaMaker and Prusa Slicer profiles using the tools available in the 3D Printer Calibration Guide using IdeaMaker article. These profiles are made for the stock printer and are available to my Patreon supporters, but please don’t expect these to be a magical fix for any of your 3D printing issues. Other profiles will be added over time, and current profiles might be updated.
As usual, the flow rate will still need to be calibrated, according to your filament, and hardware problems need to be addressed for consistent results.
Test prints on Sovol SV01 Pro
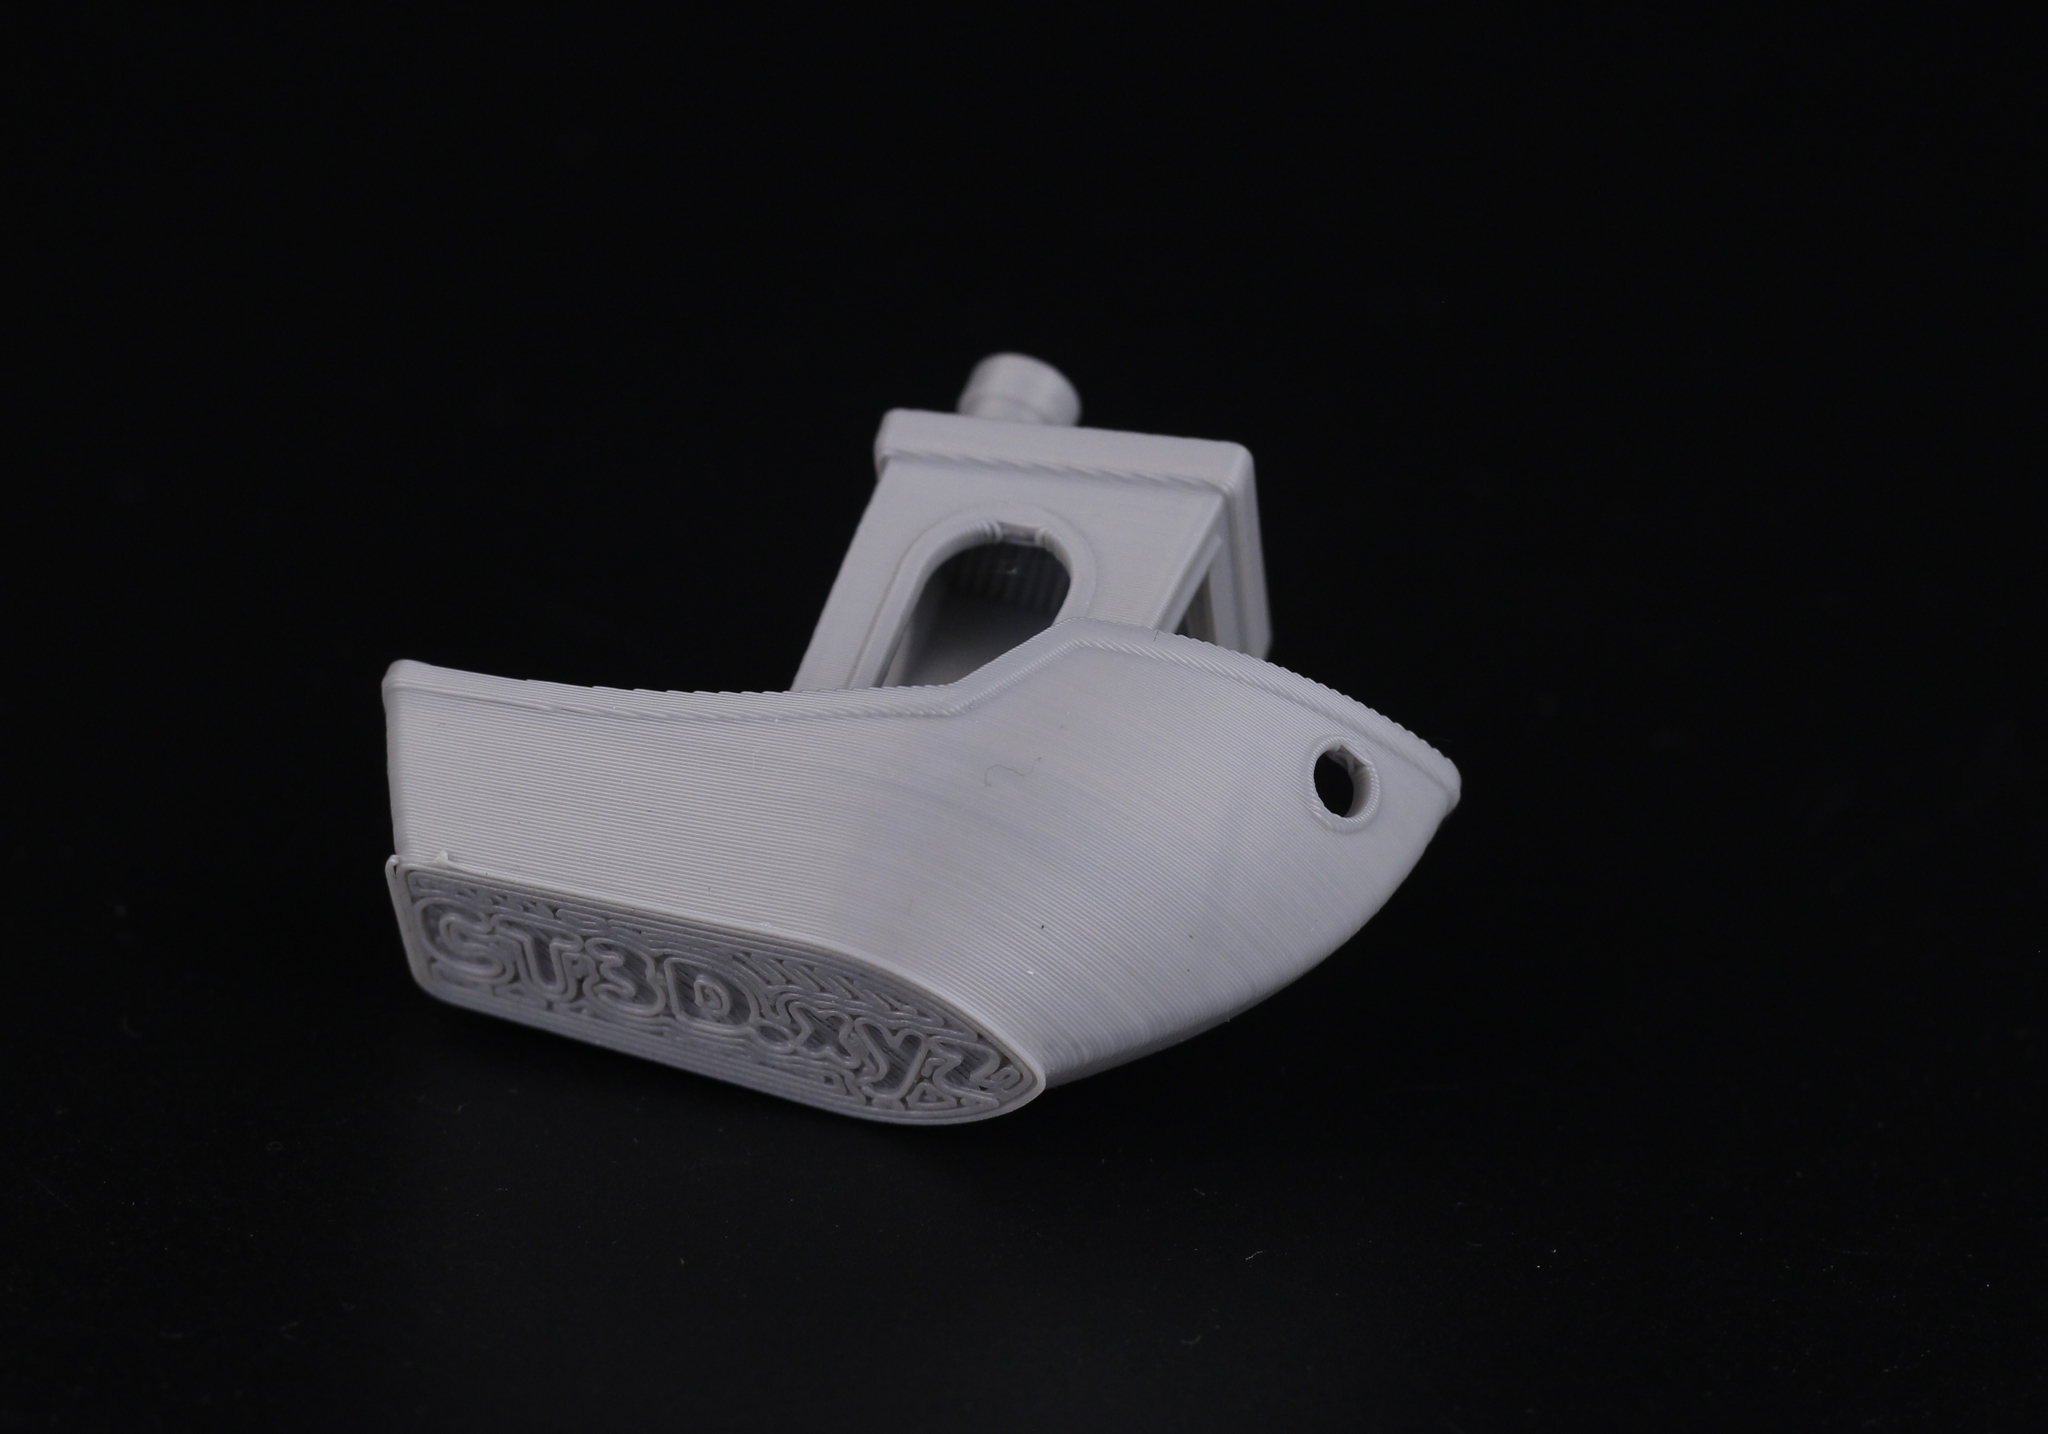
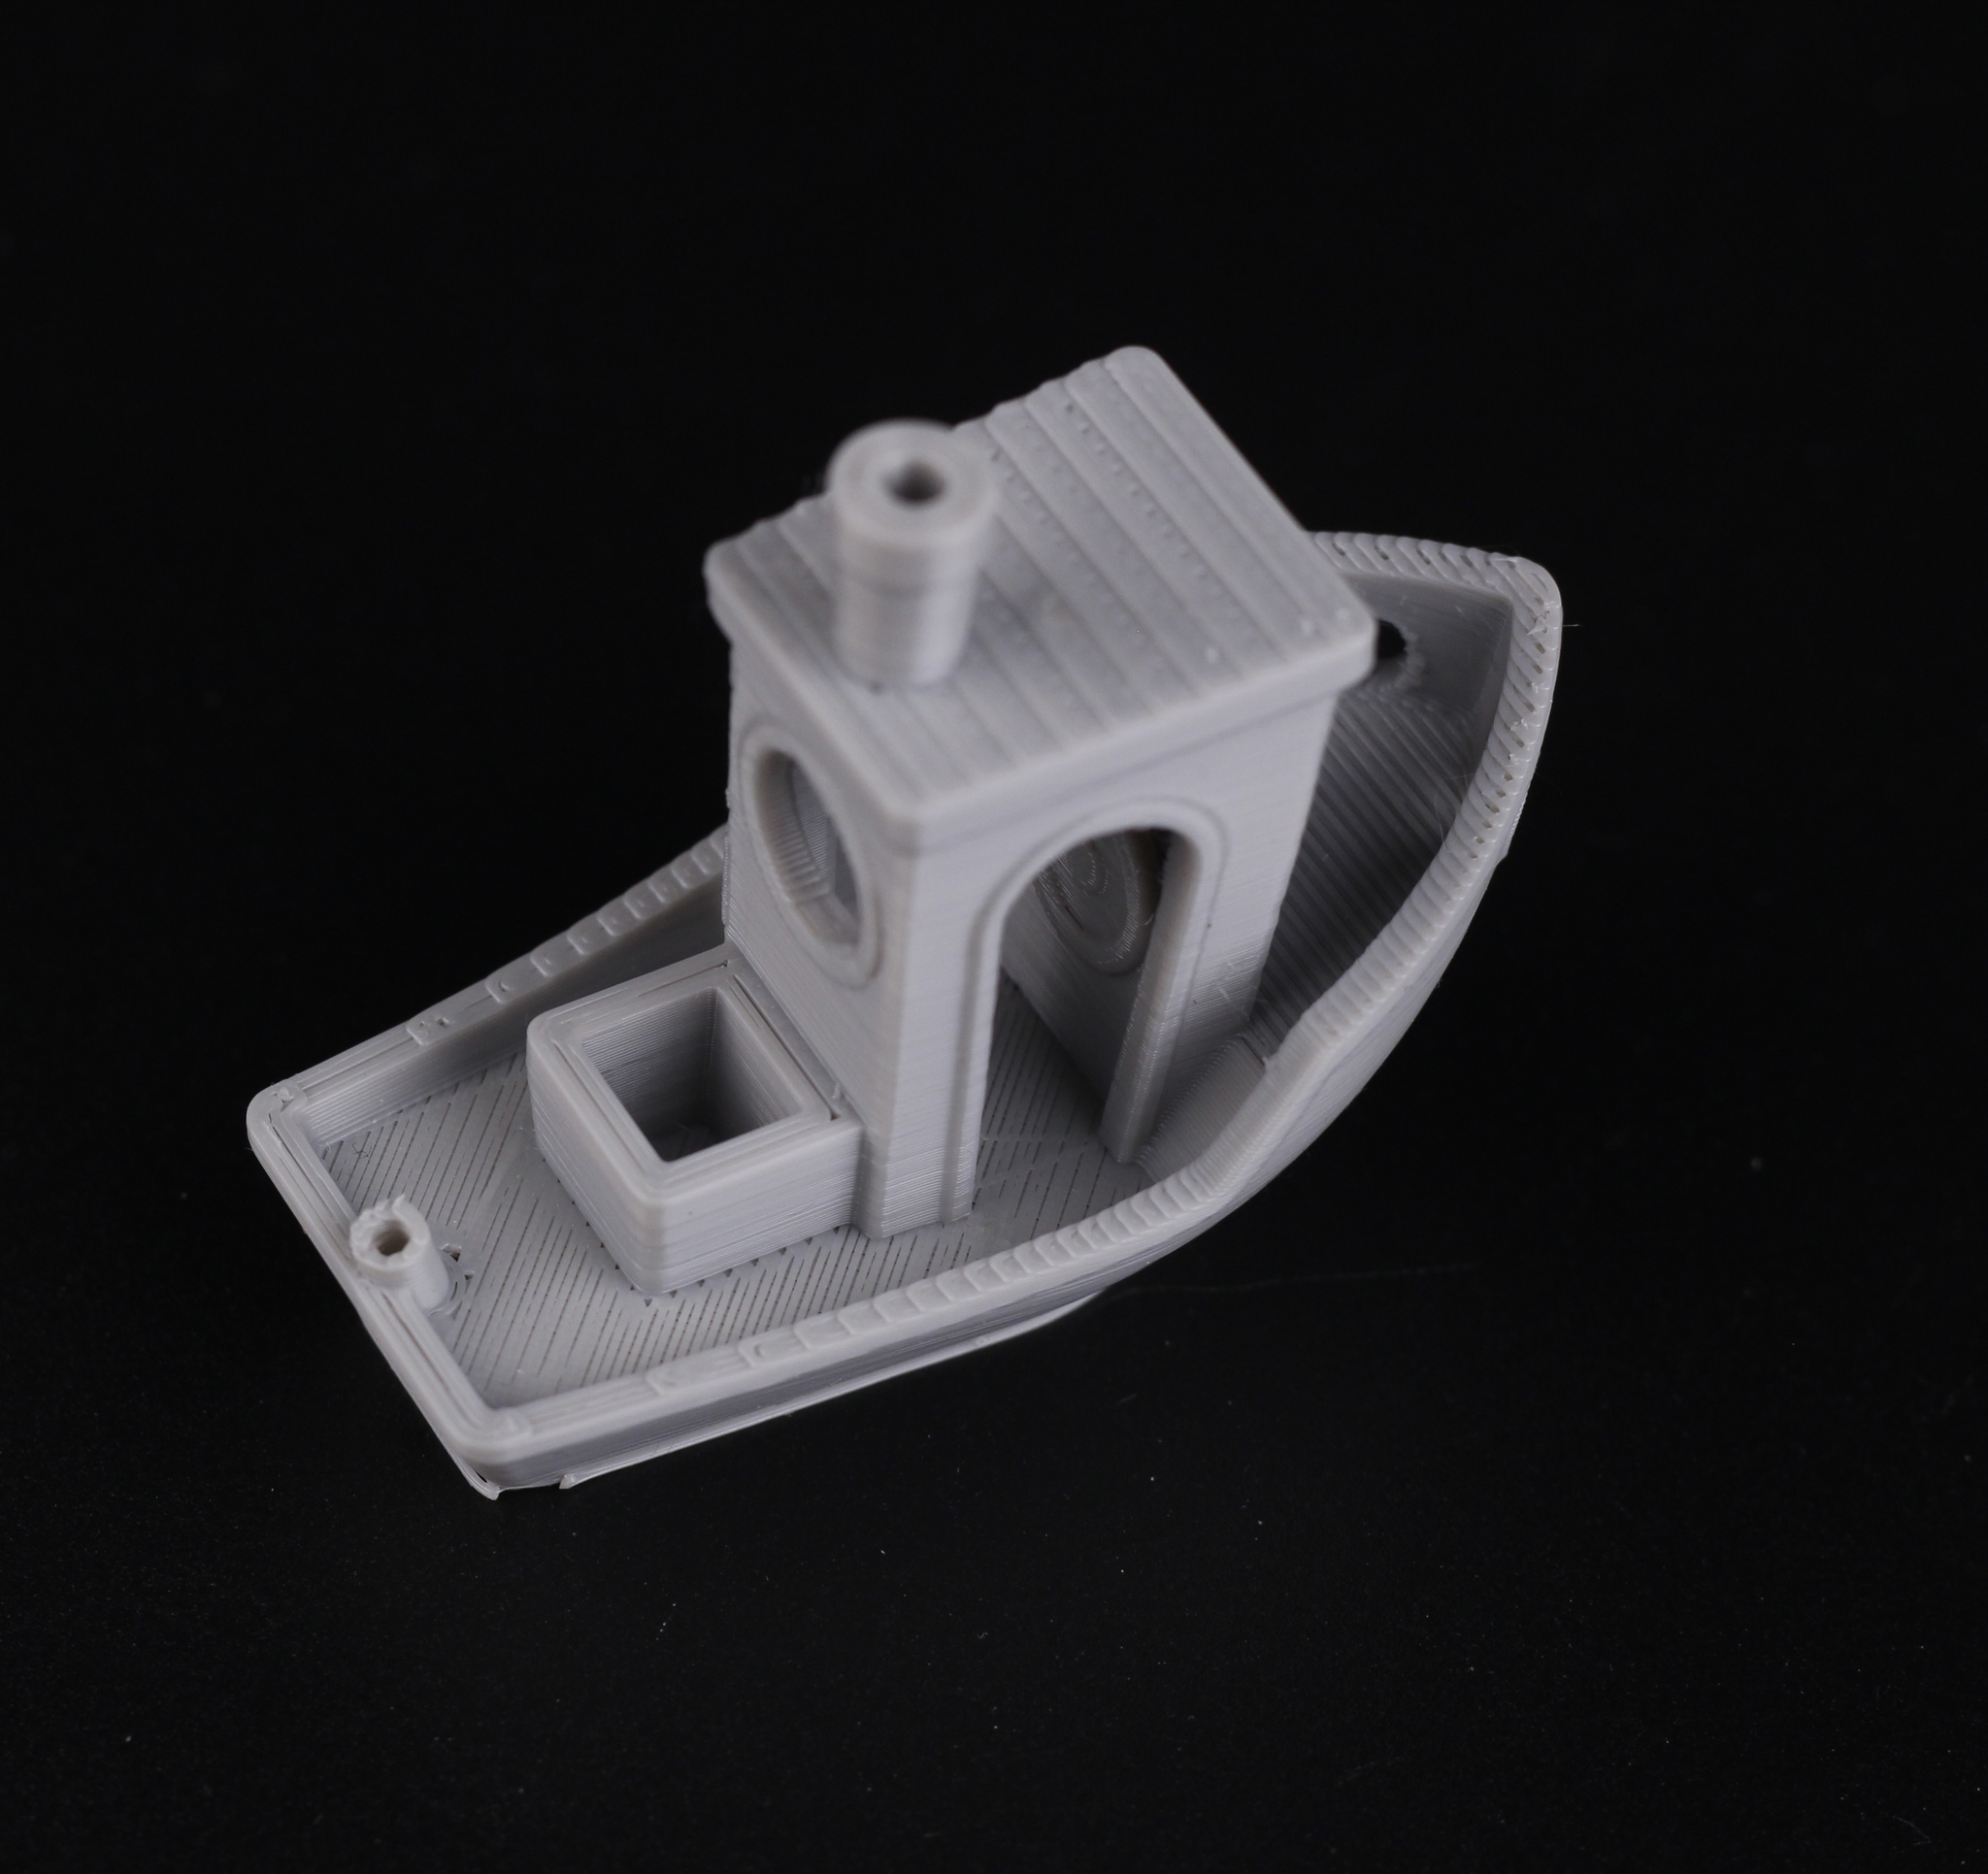
3D Benchy
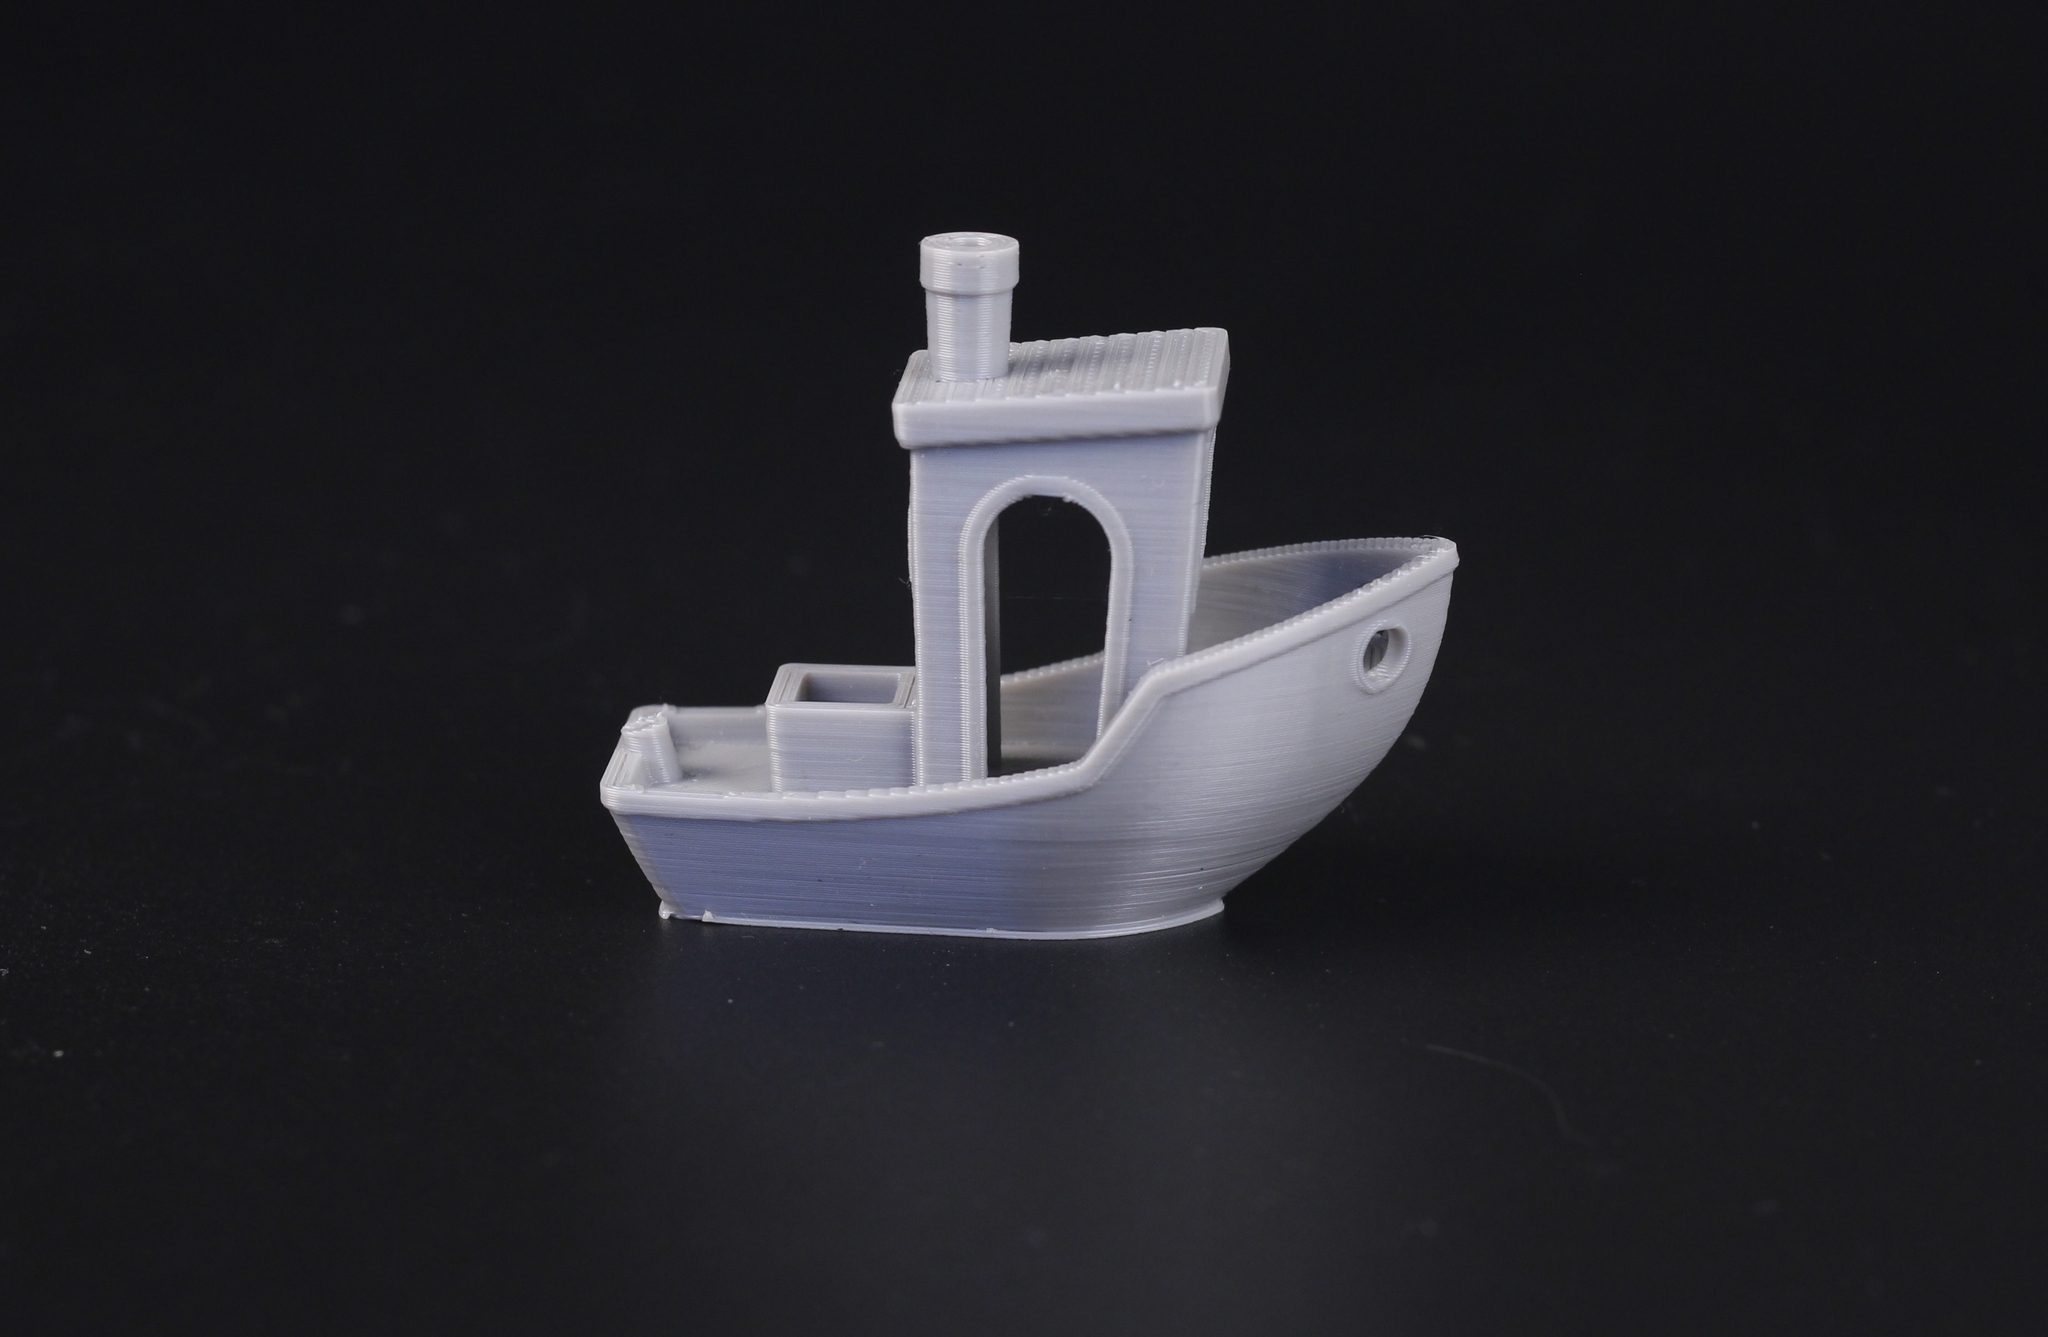
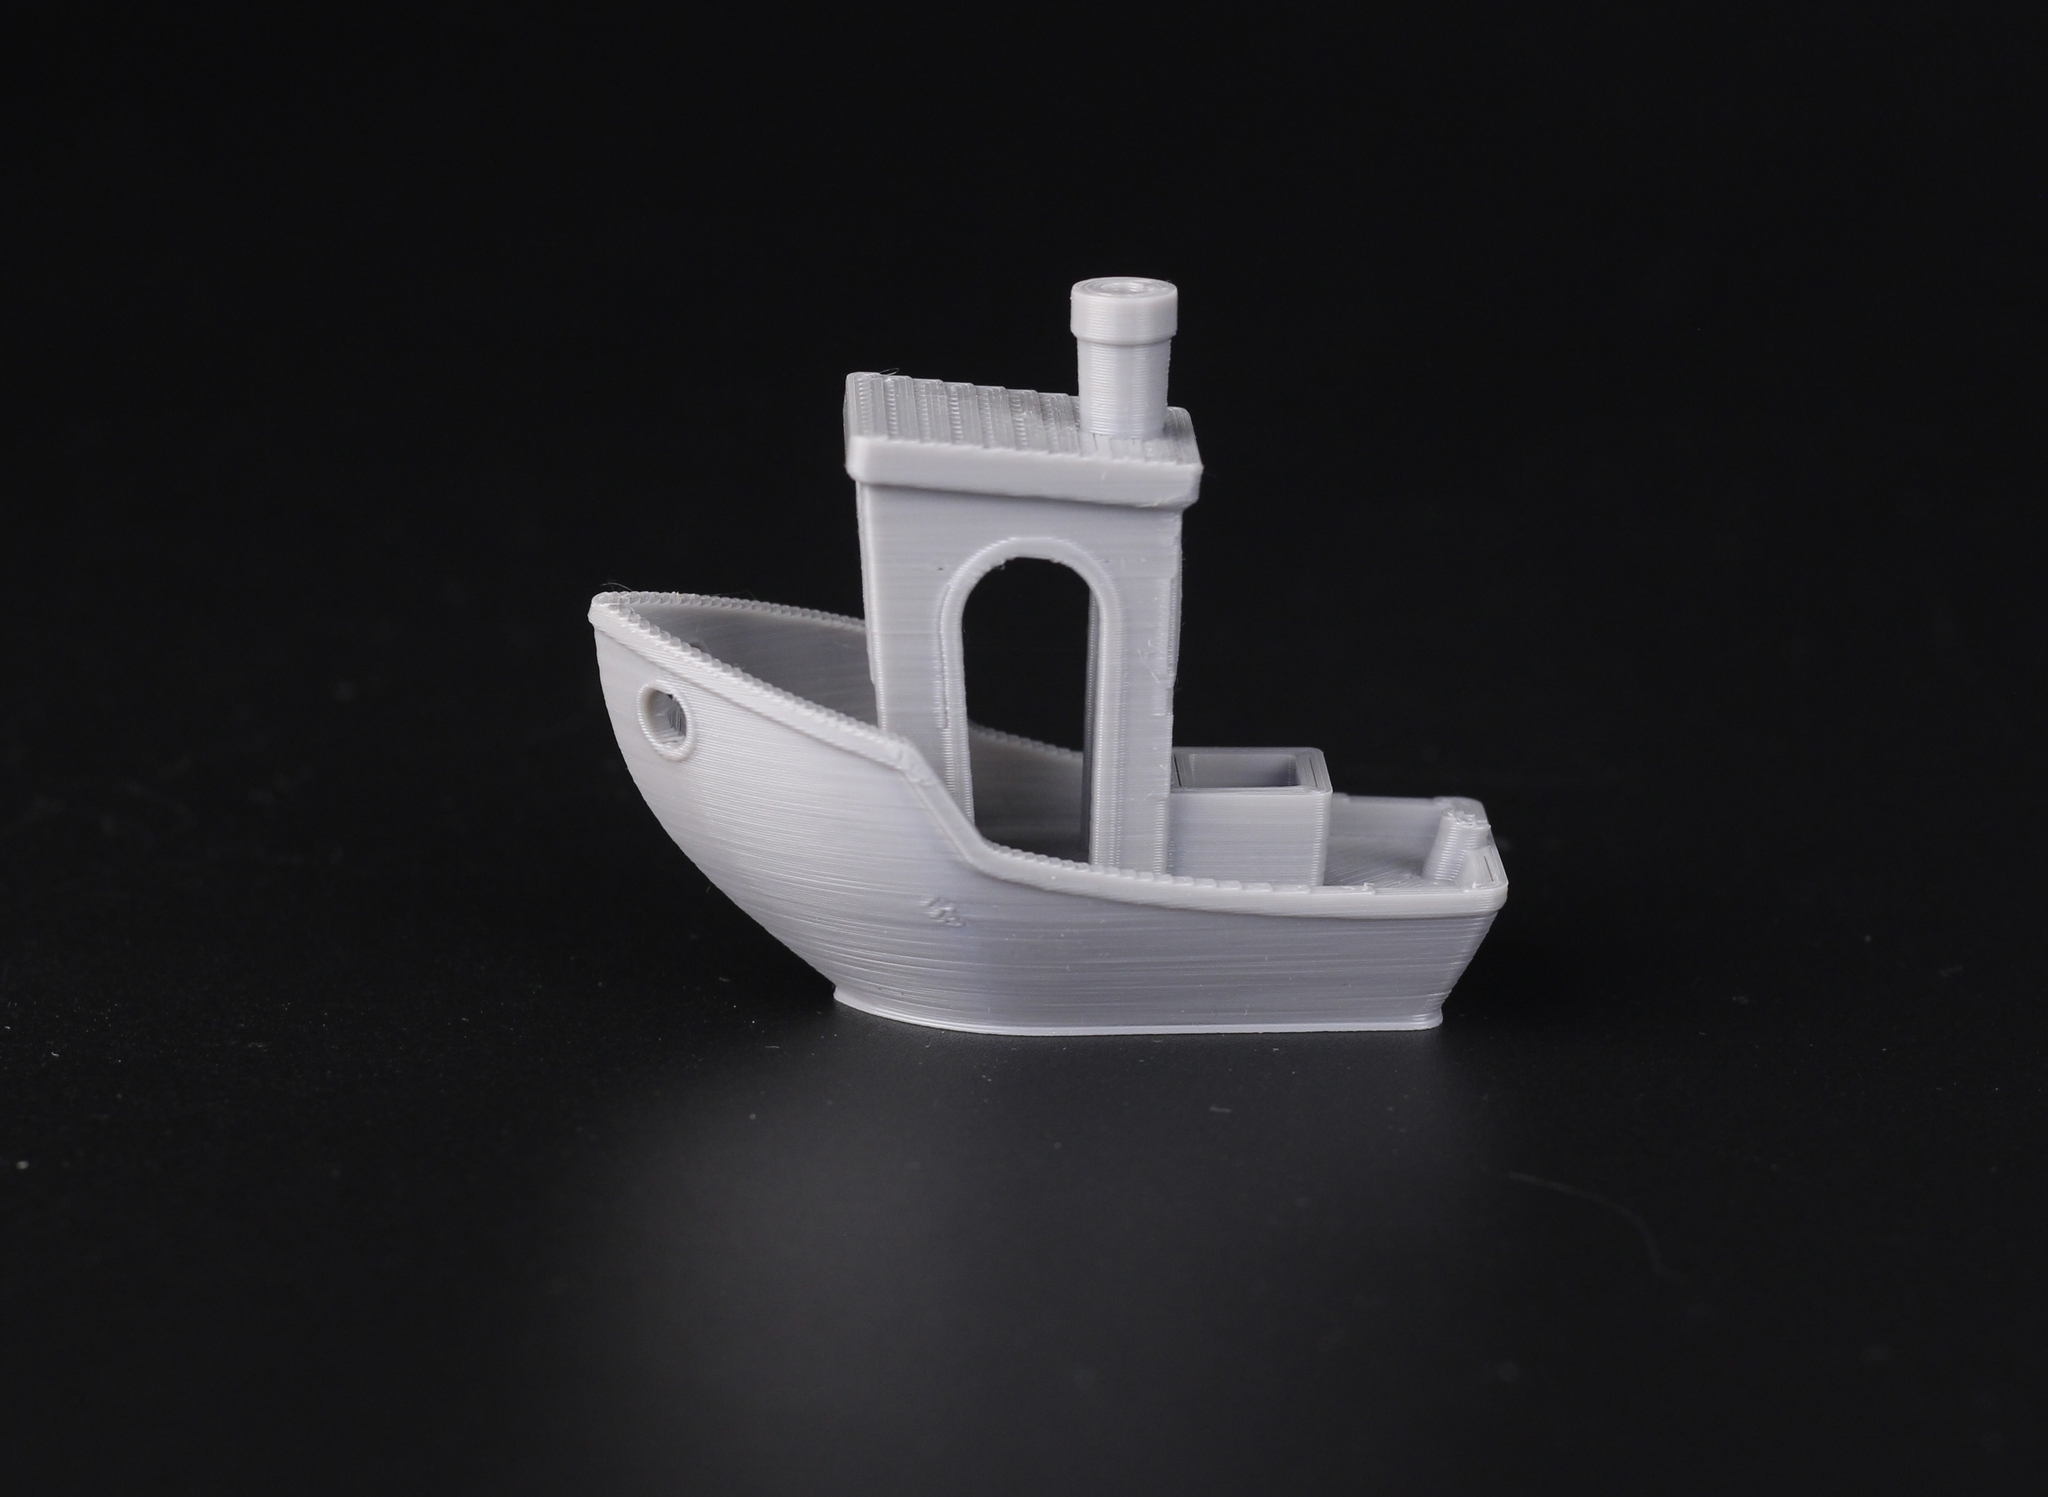
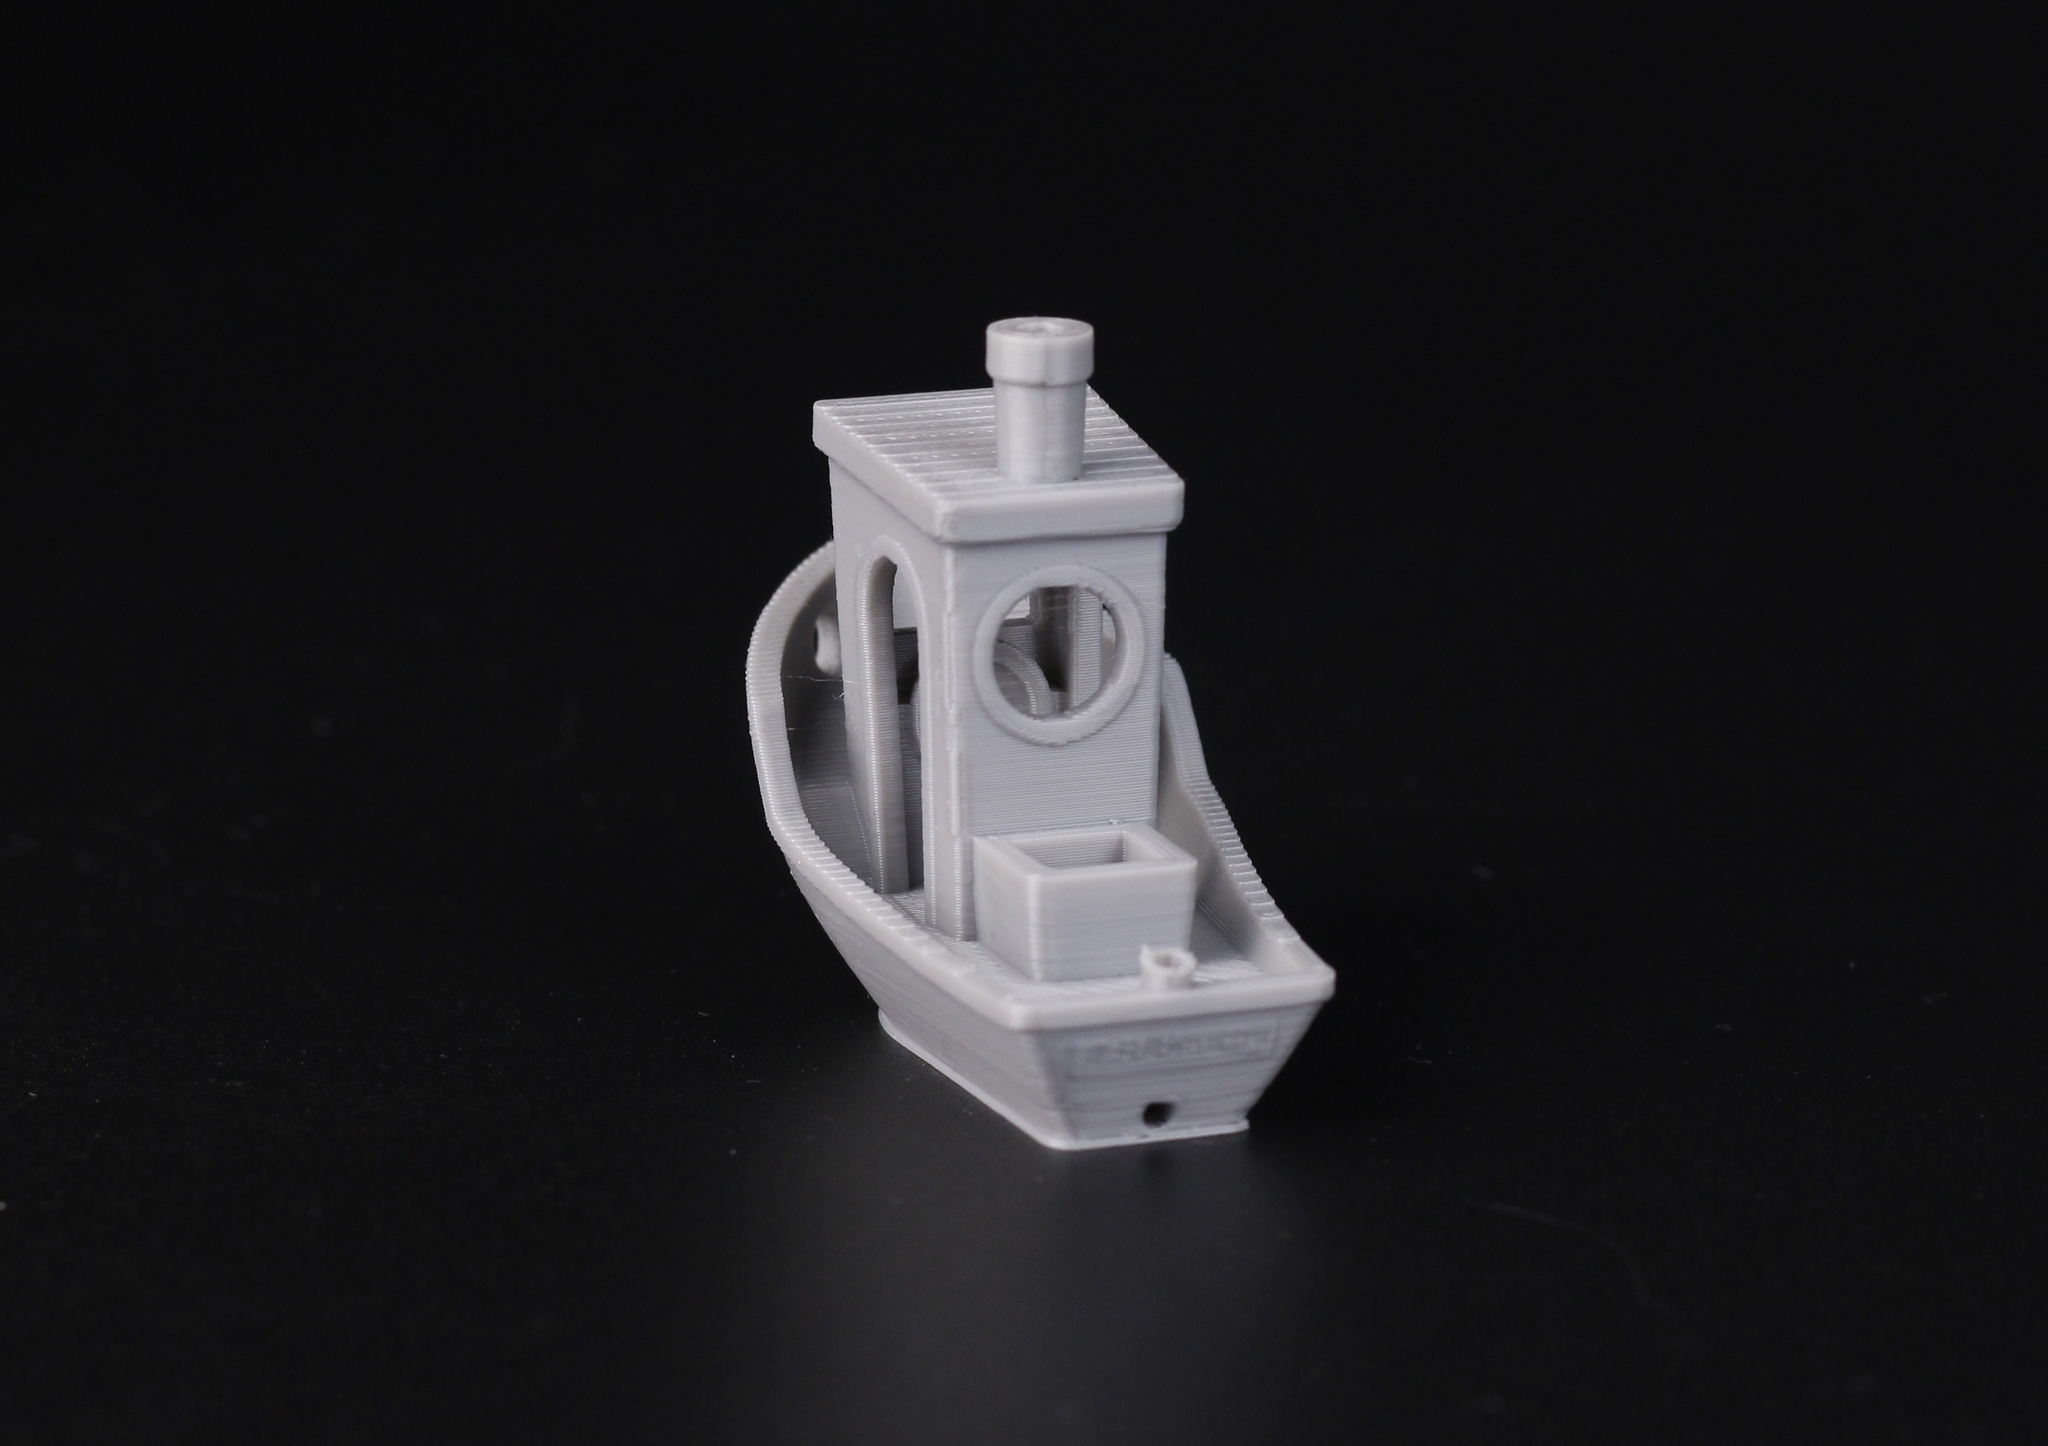
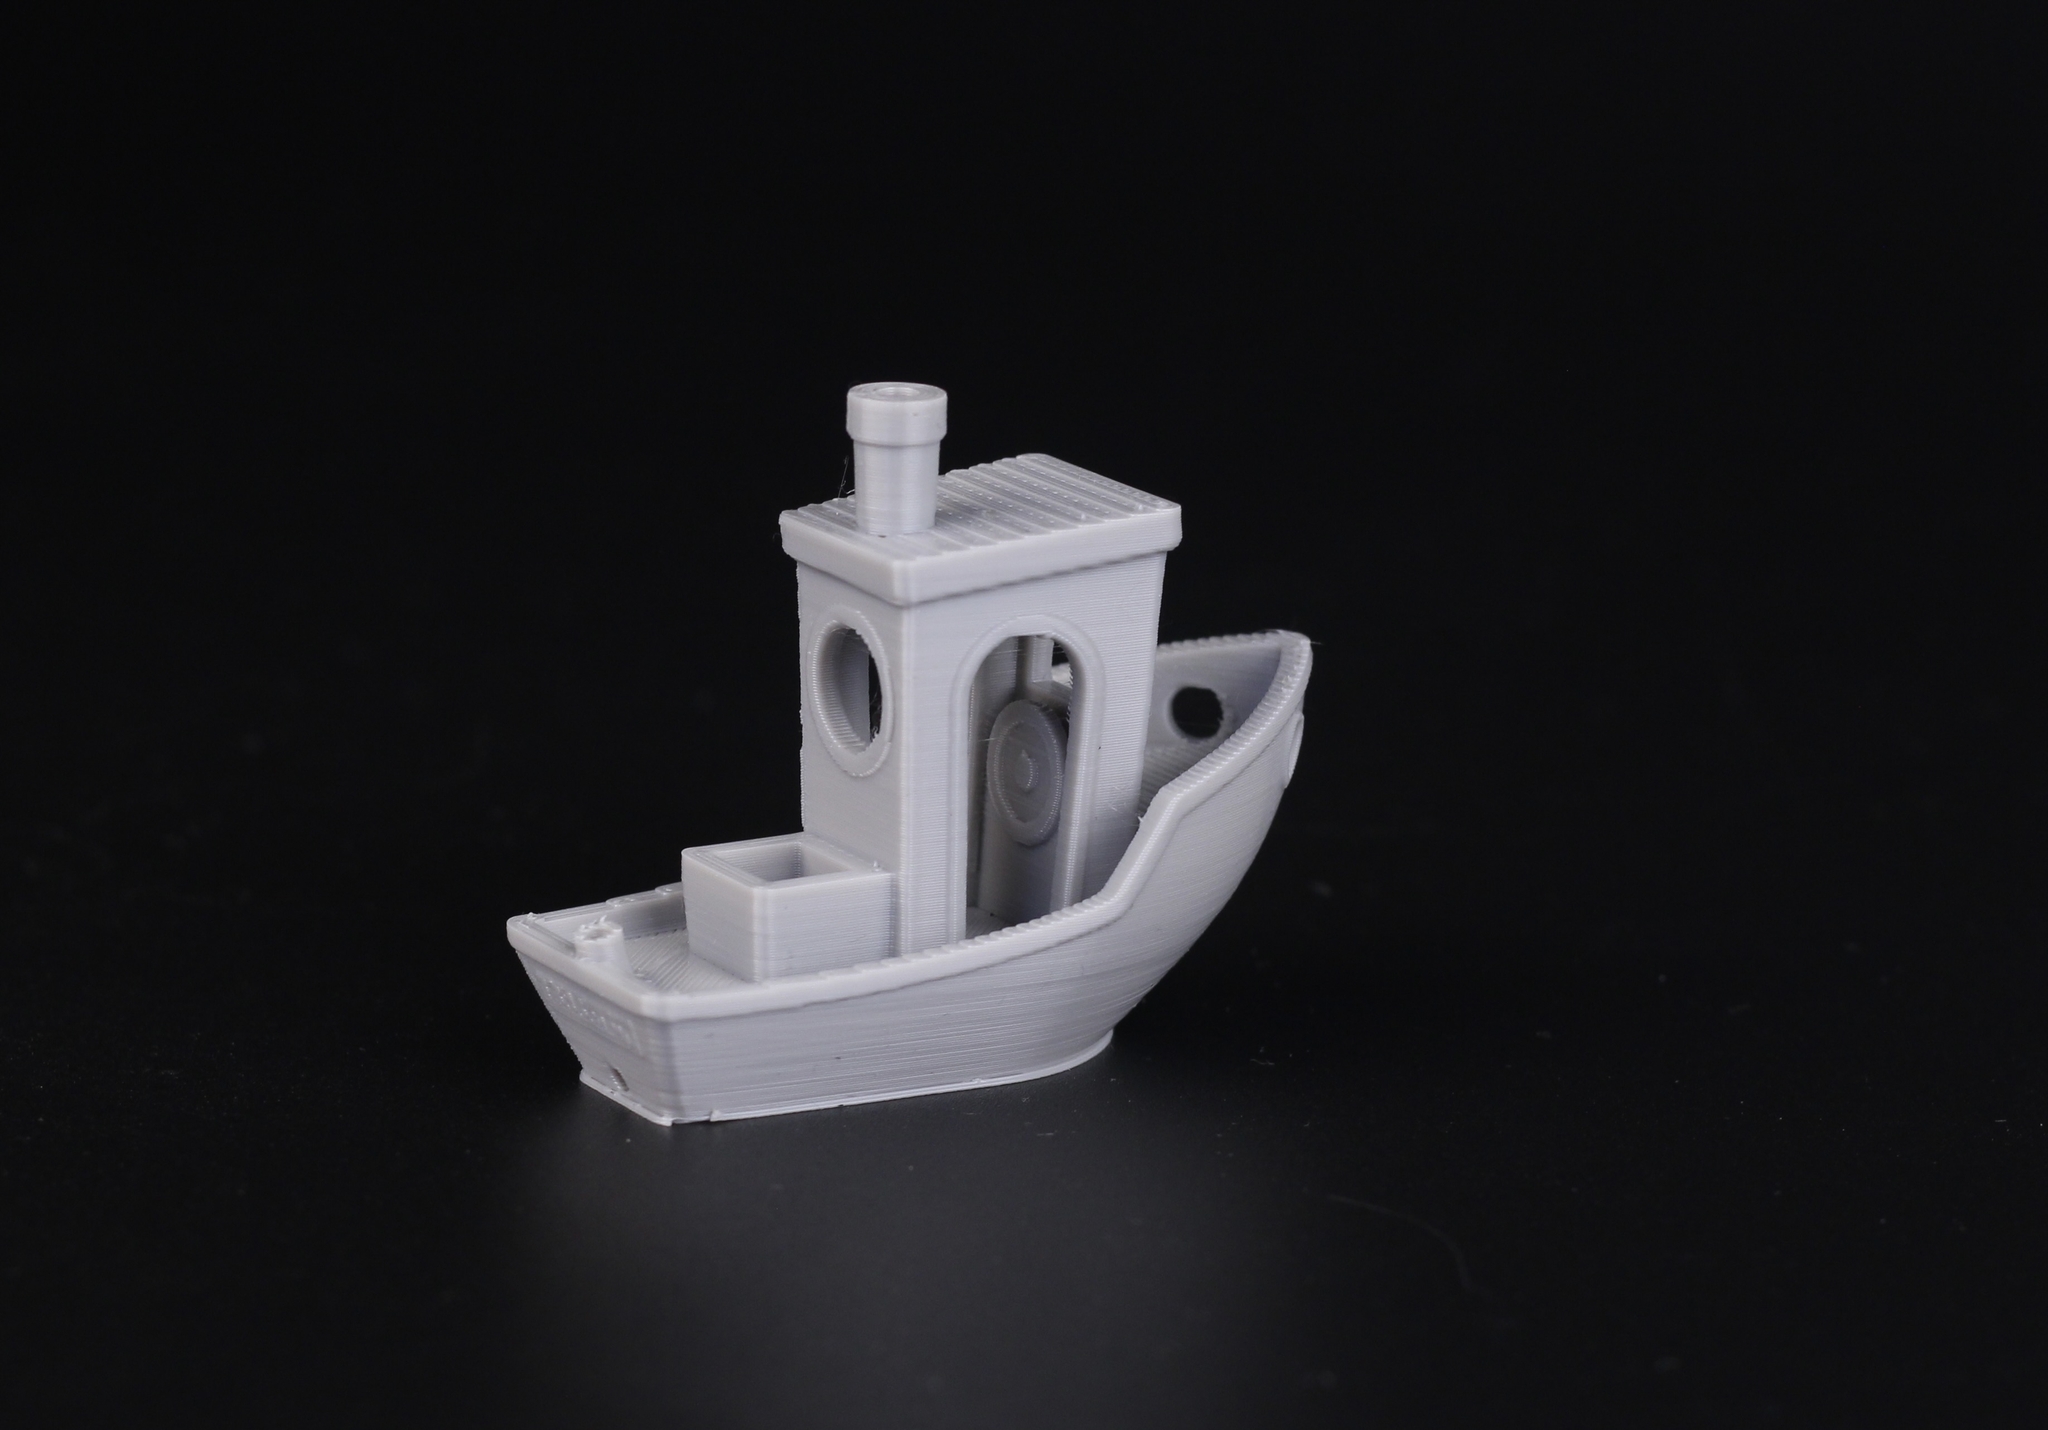
I started my testing with the usual 3D Benchy. But this is the model included on the SD card sliced by Sovol. While it’s not the best benchy out there, the print looks good and has pretty respectable results out of the box.
Calibration Cubes
I was troubleshooting the extrusion issue from the extruder, so I printed these 40mm calibration cubes sliced with my Prusa Slicer profile. The results are pretty good but because of the moving idler, the flow rate seems to change during printing and this causes inconsistent layers. A fix similar to what others did for the Artillery extruder can help keep the idler more stable and improve extrusion quality.
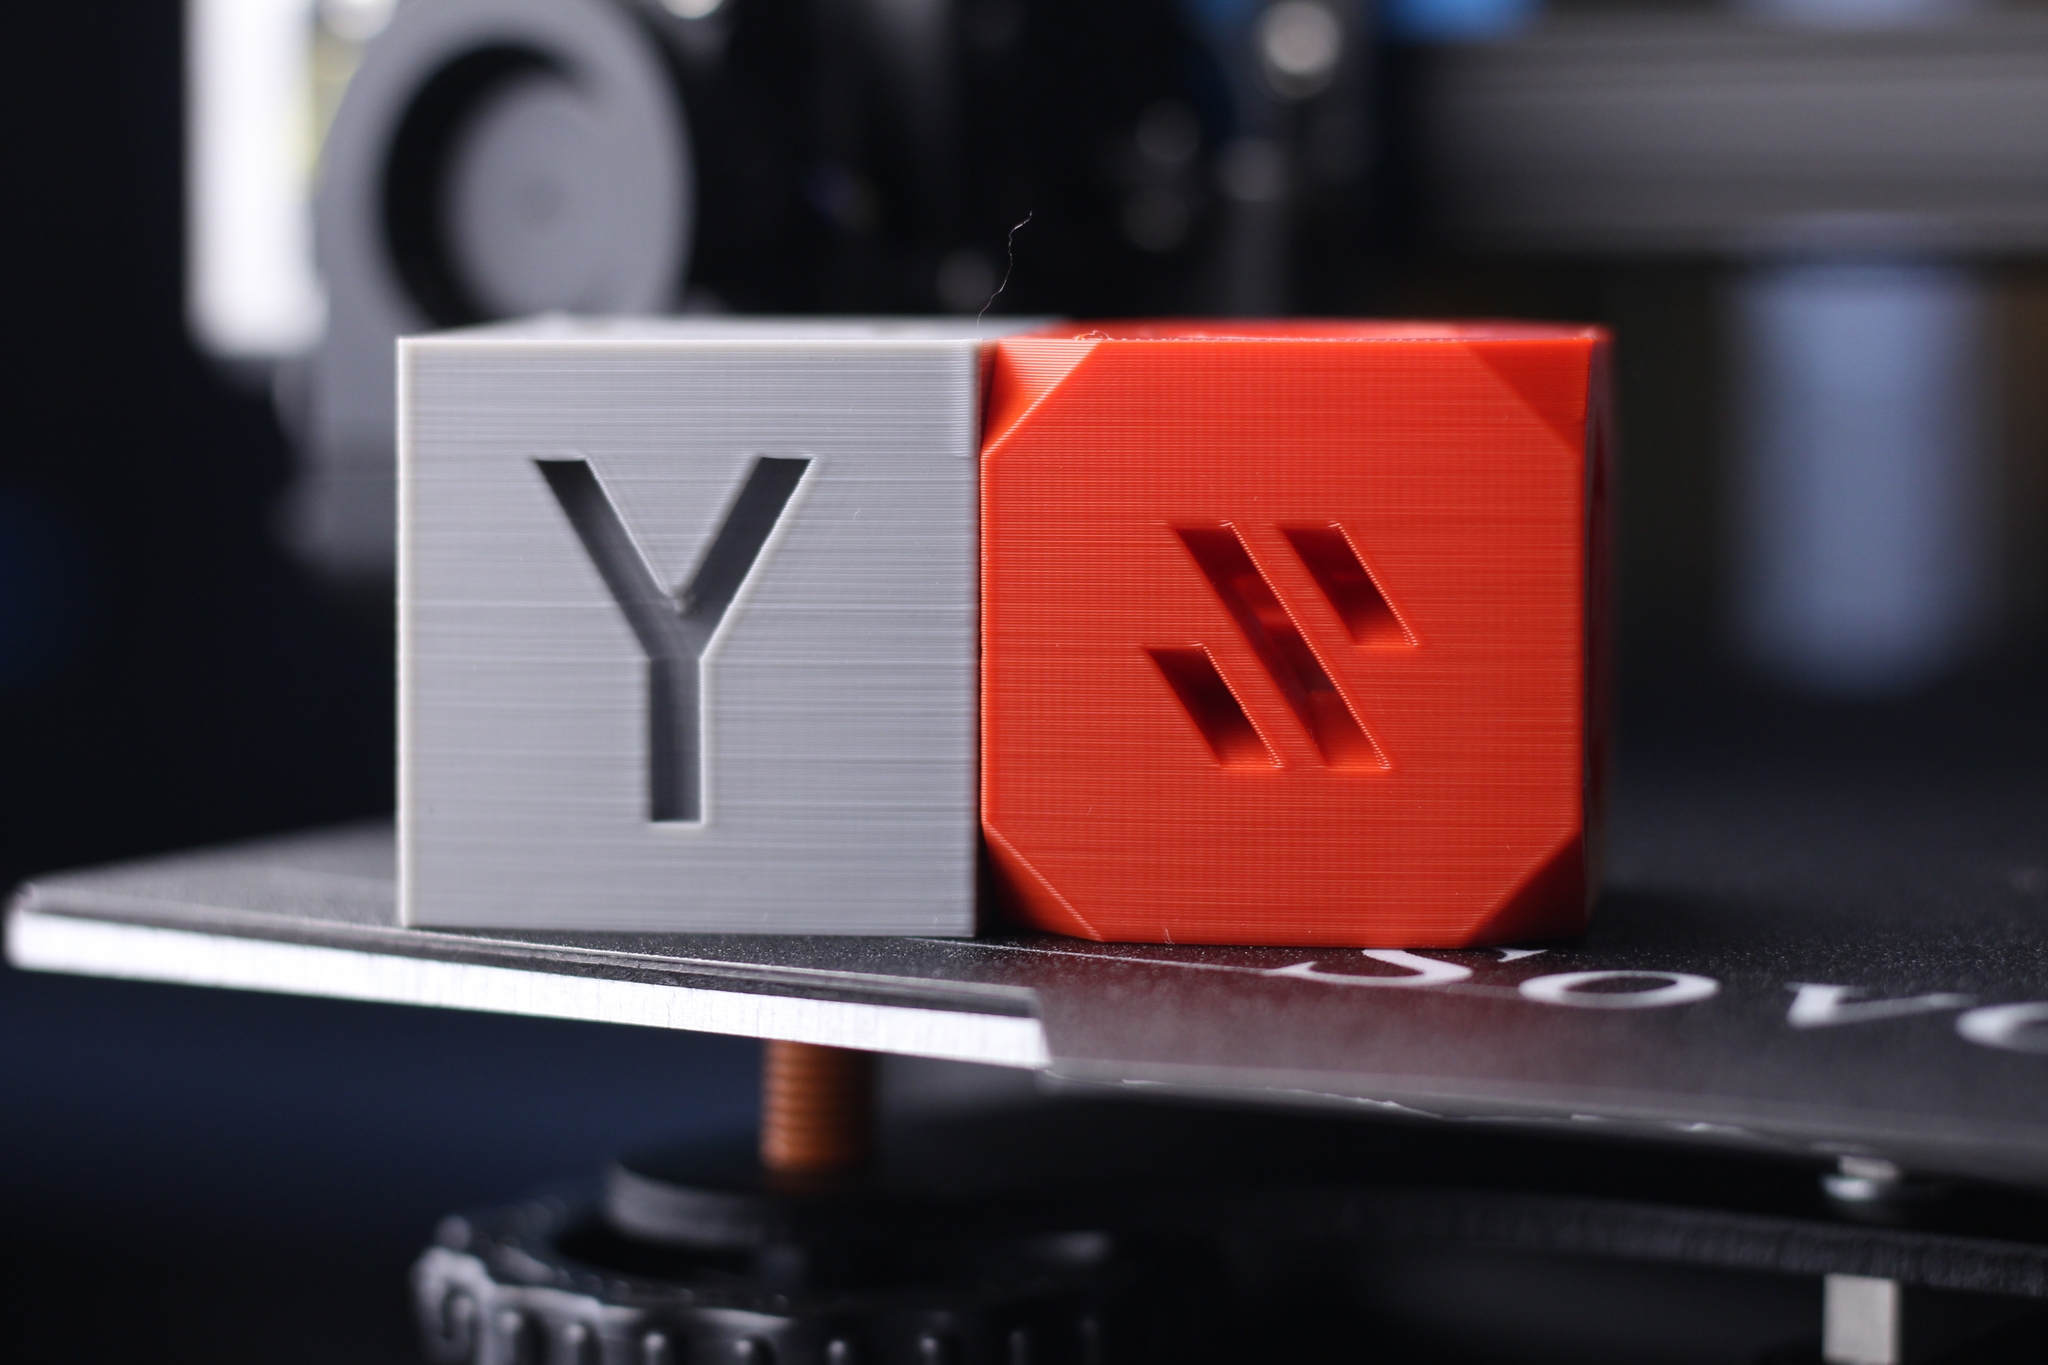
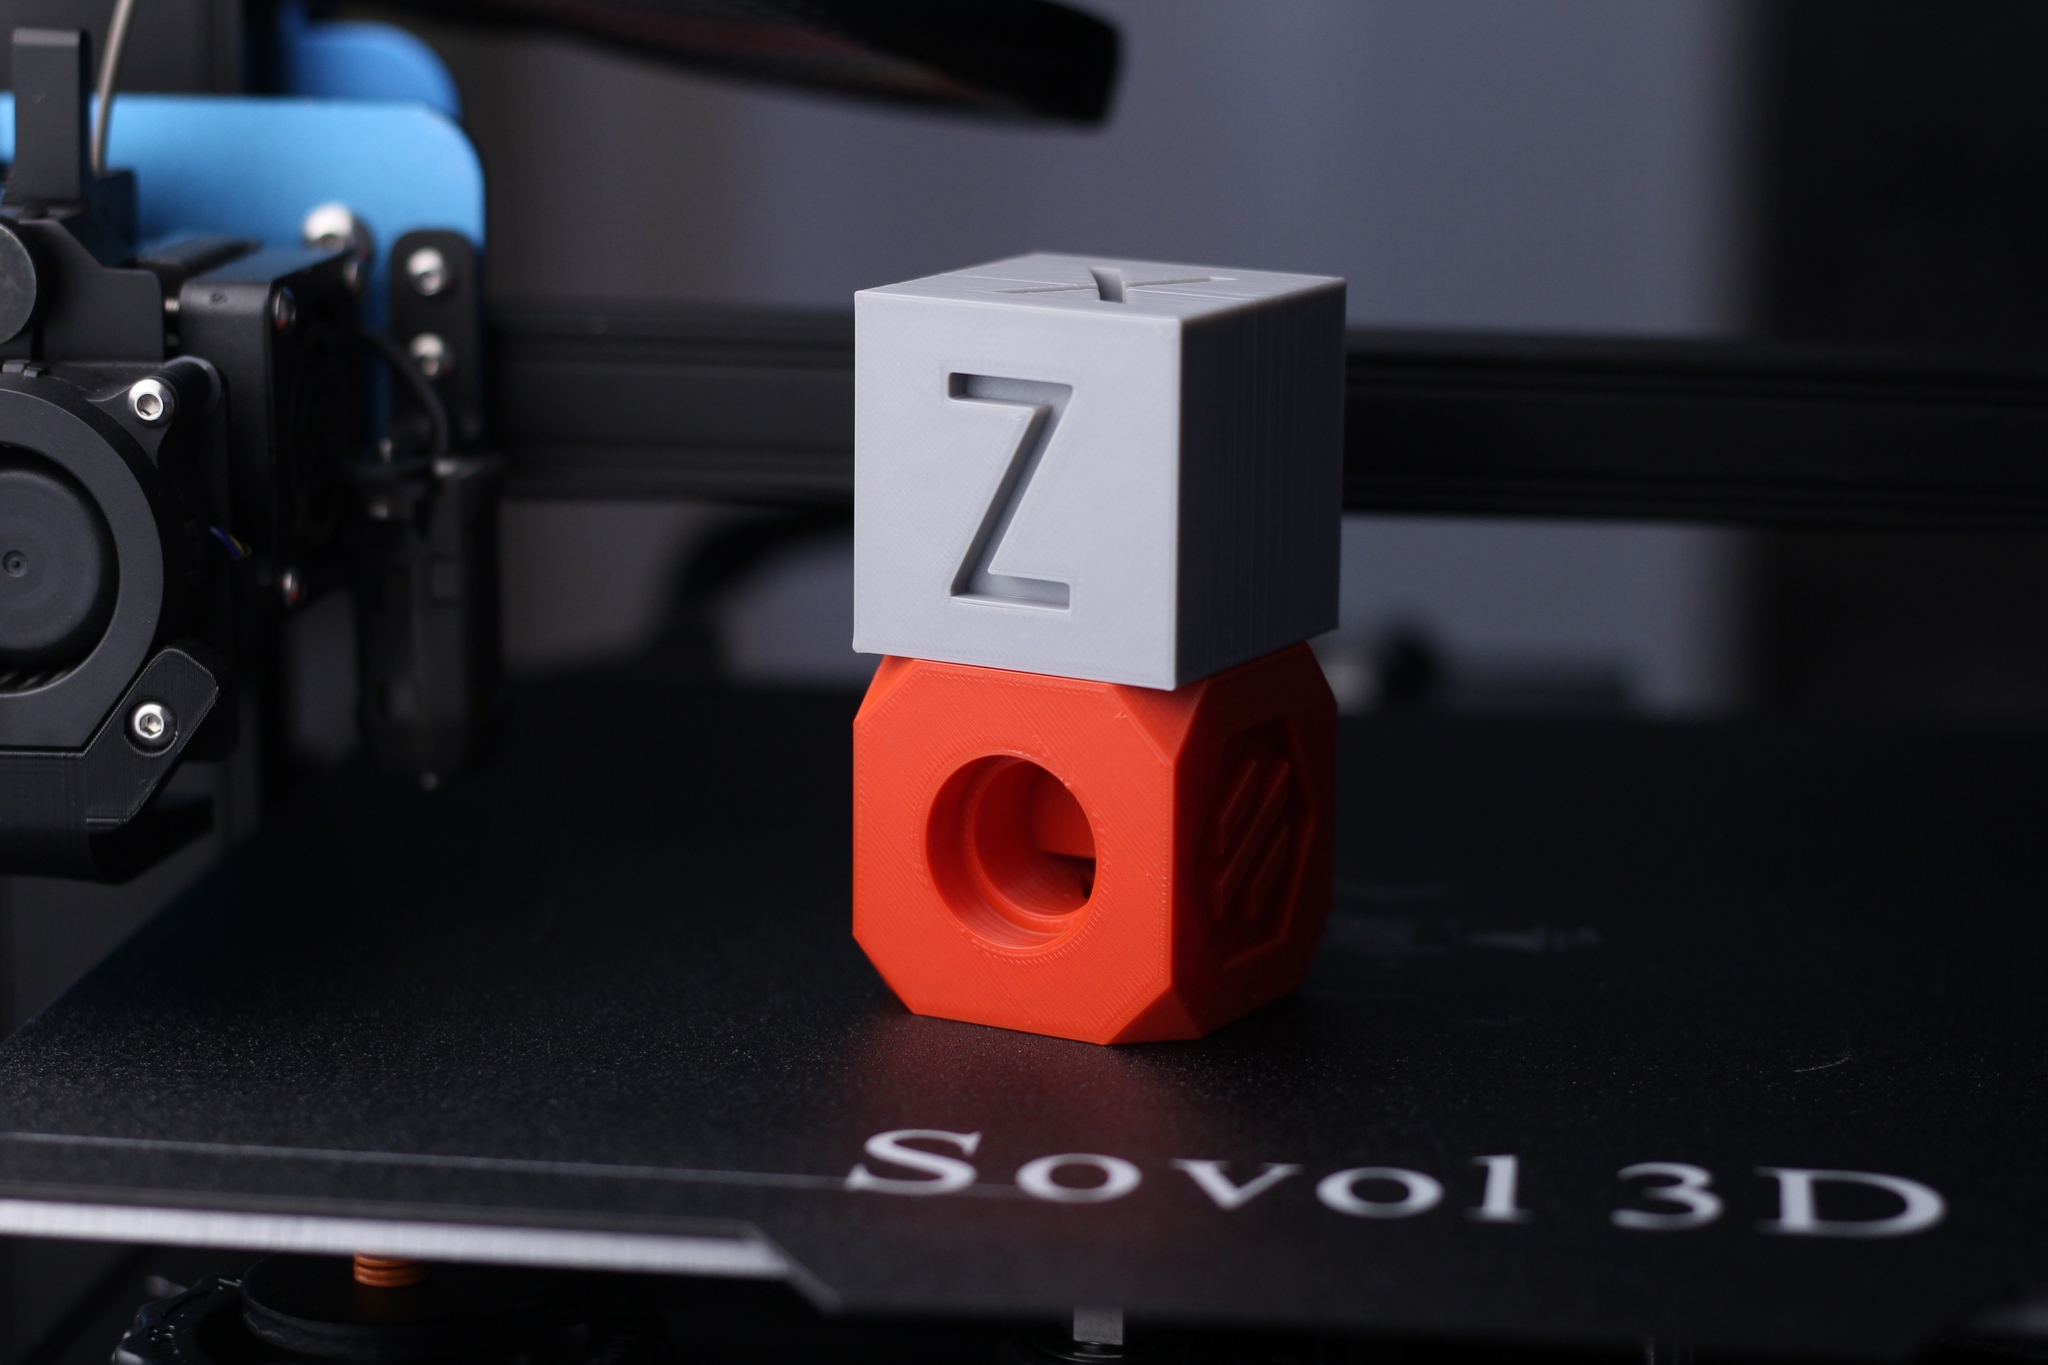
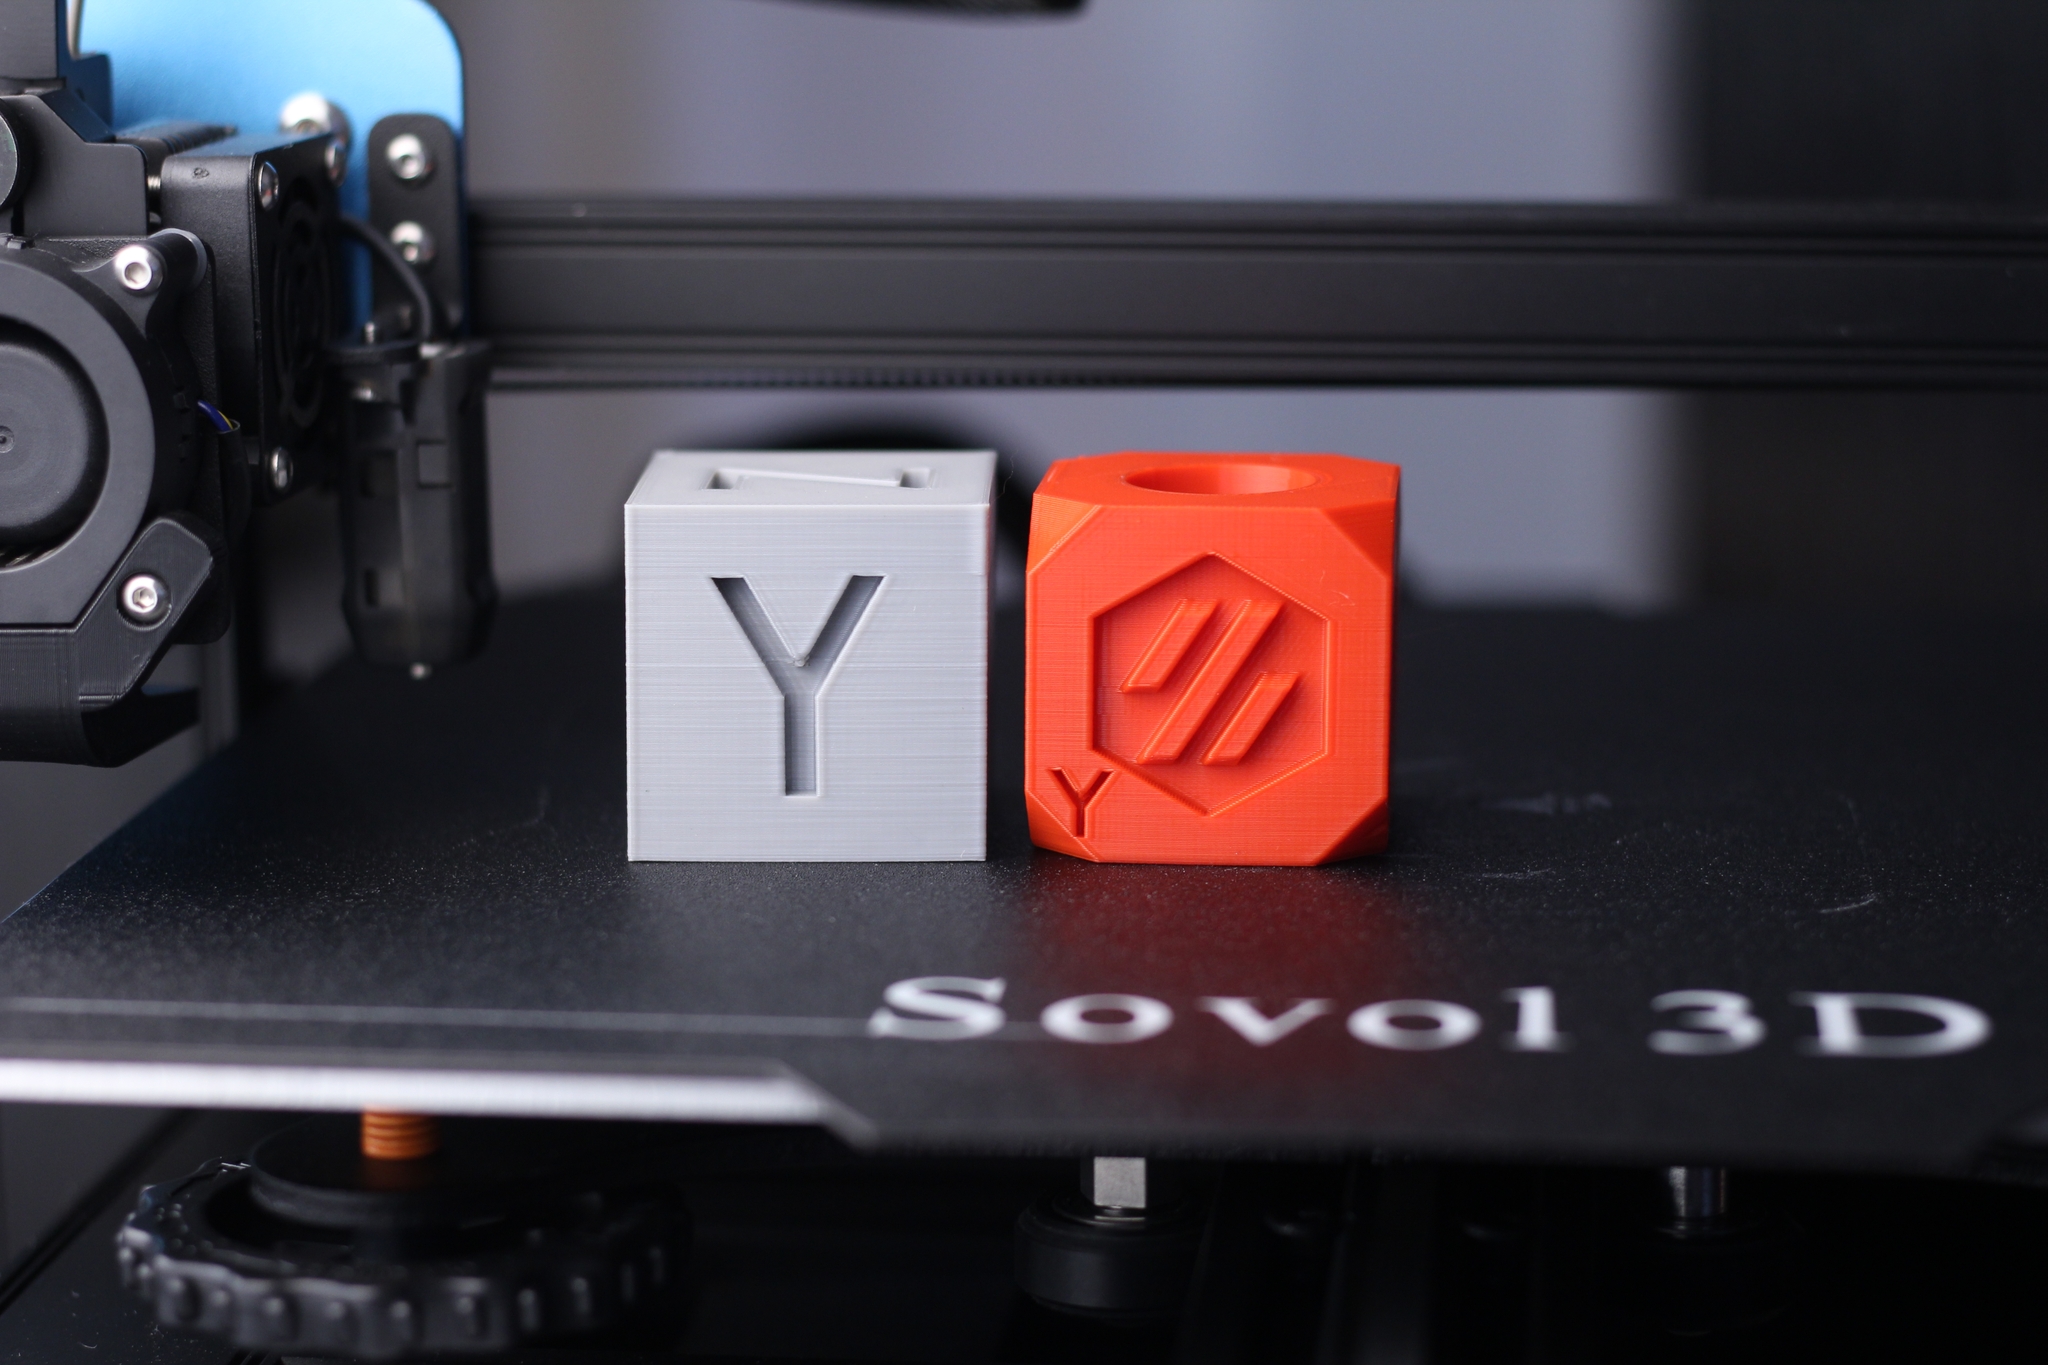
- Material: Sunlu Grey PLA and Red PLA
- Layer Height: 0.2mm
- Nozzle Temperature: 210C
- Bed Temperature: 60C
- Print Speed: 50 mm/s
Phil-A-Ment
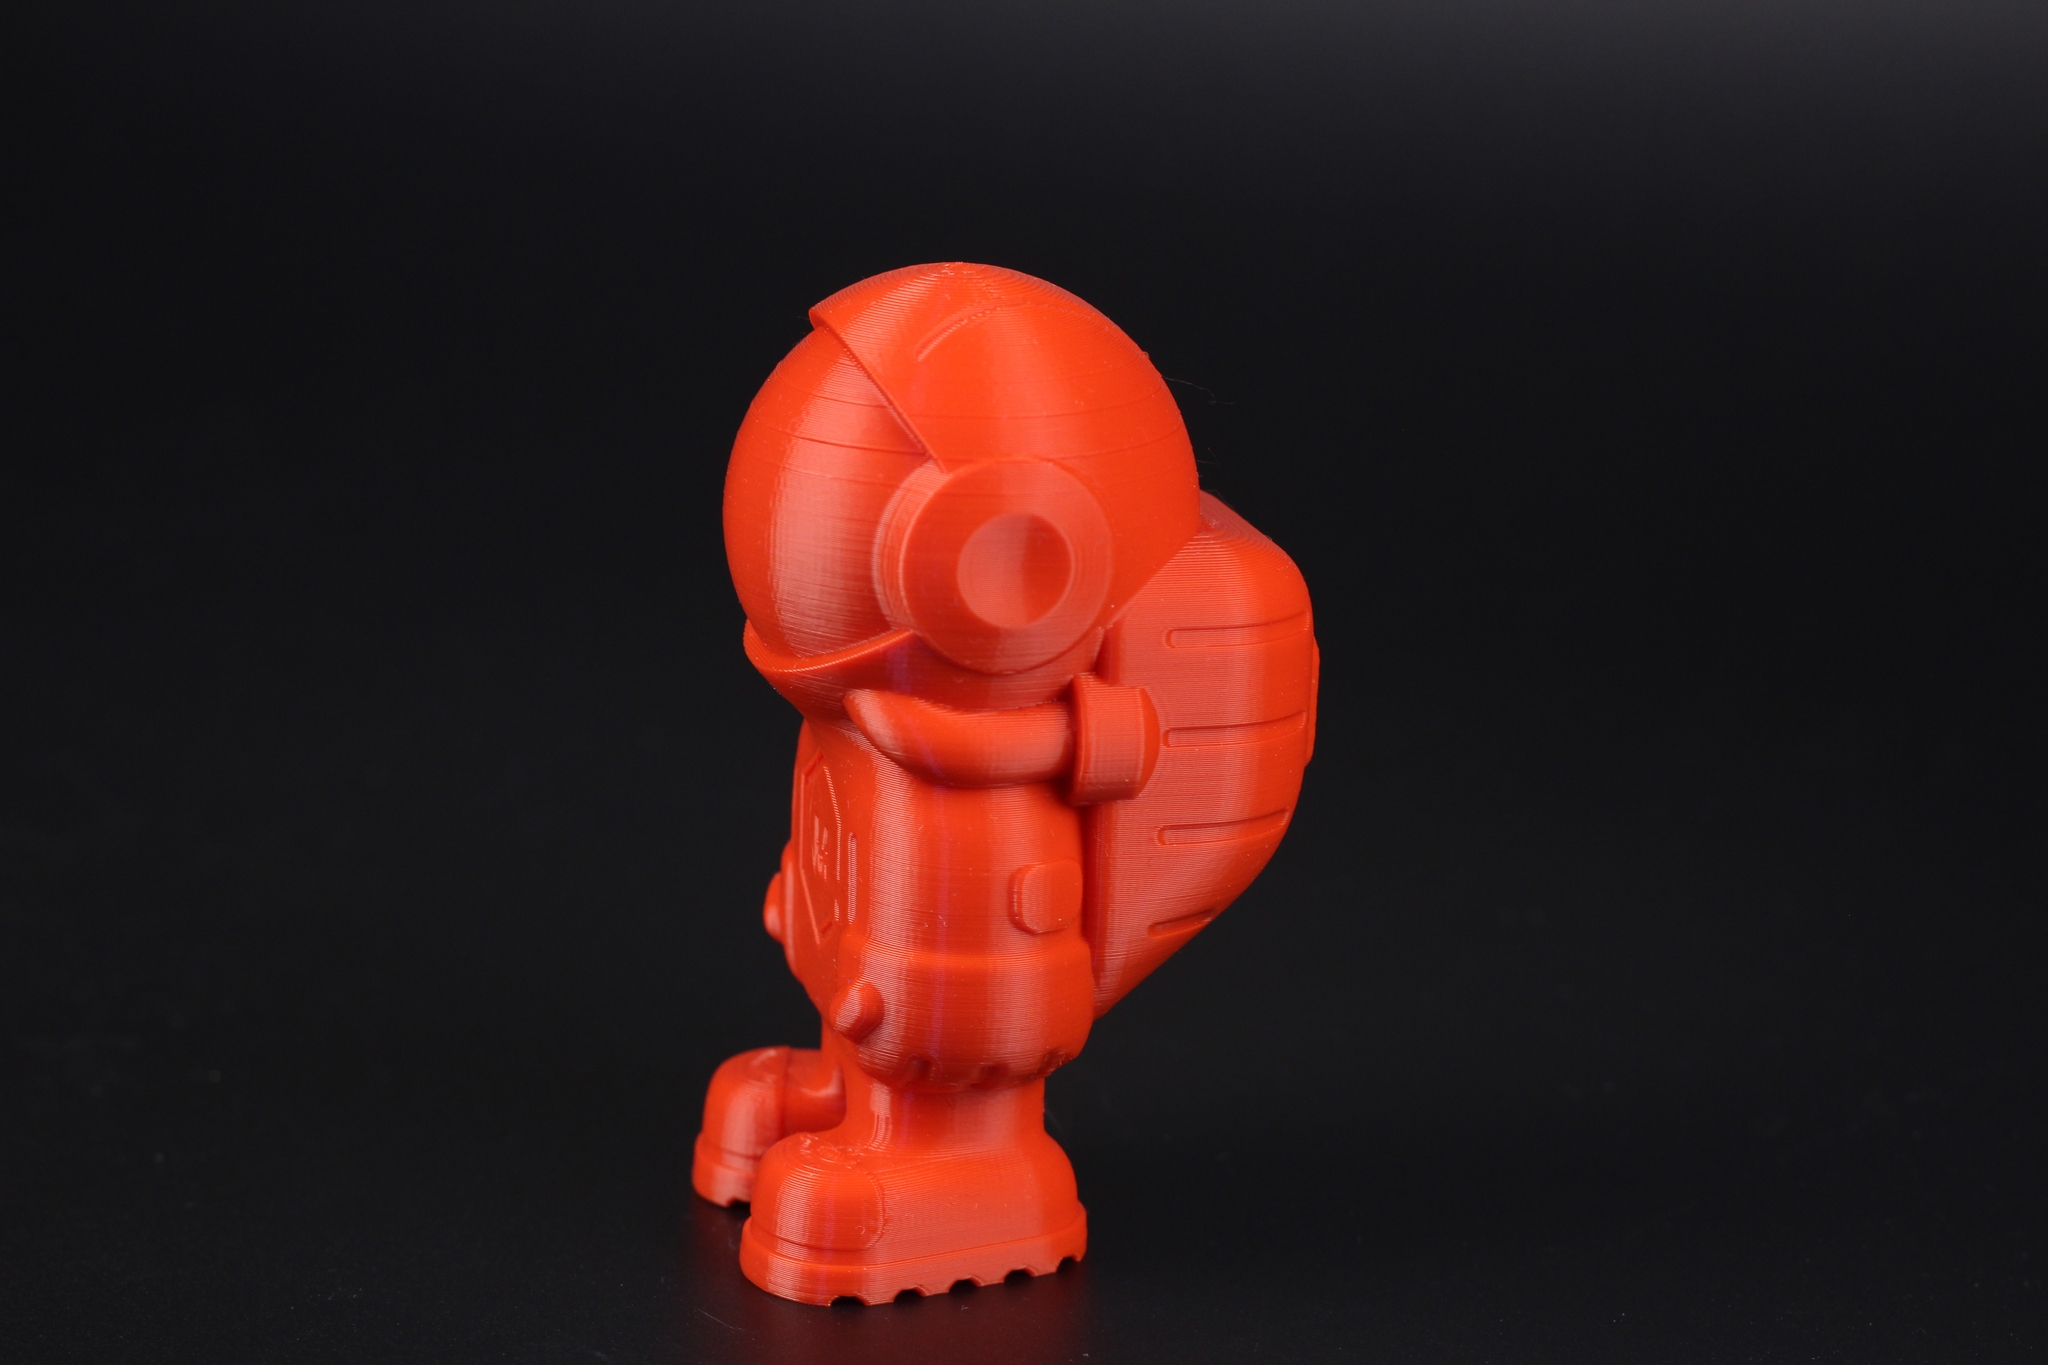
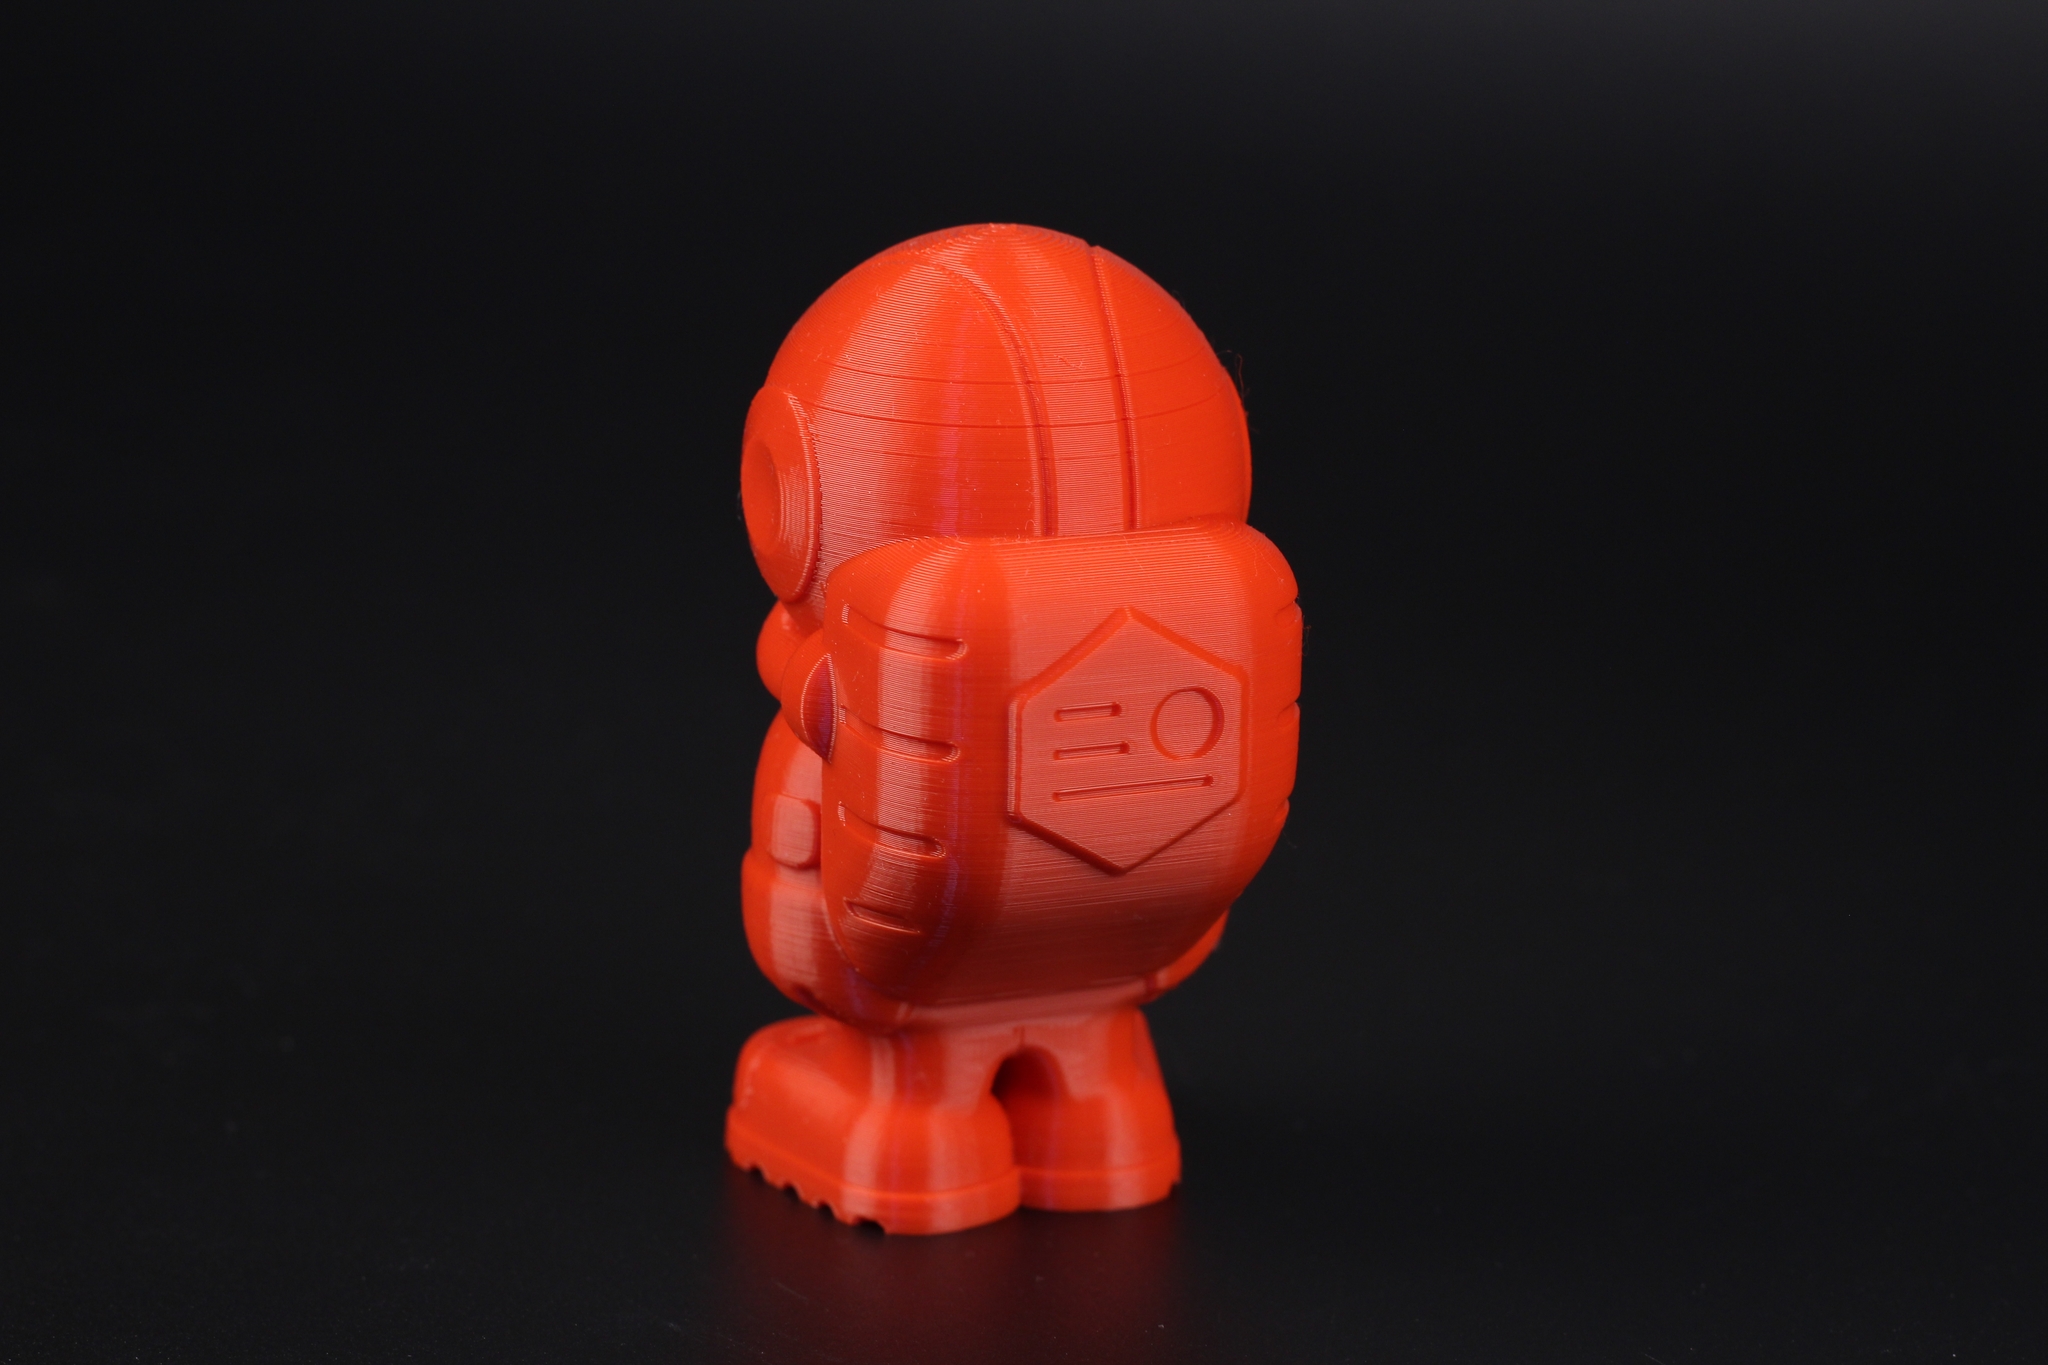
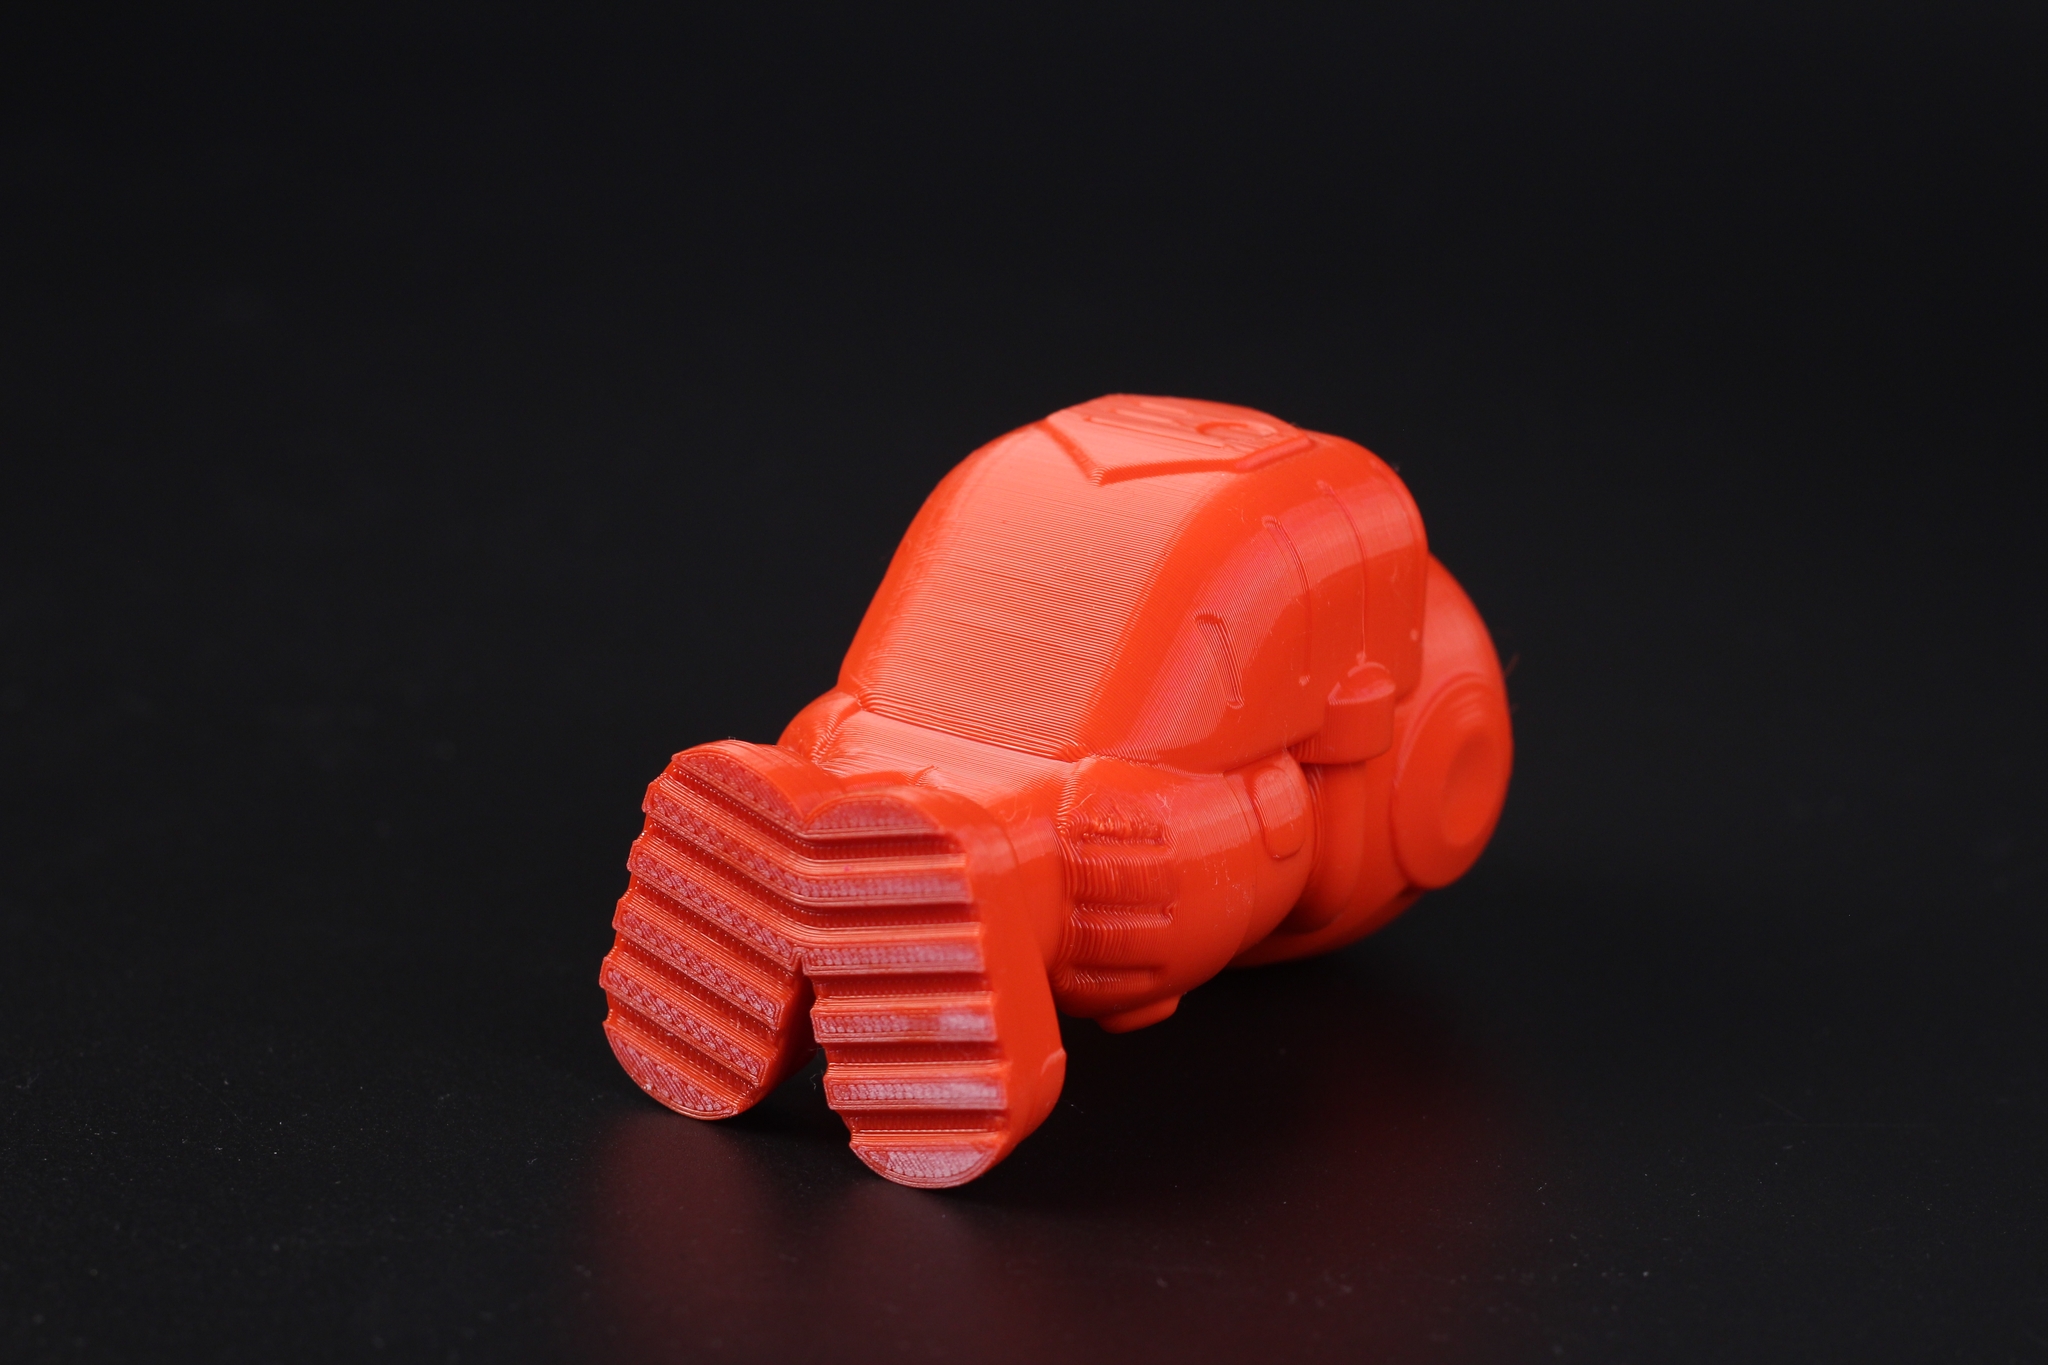
Another test print is this Phil-A-Ment model I usually print to test the cooling performance of the machine. This time, please take the part cooling results with a grain of salt, because I used my custom fan duct and not the original one which changes the results.
What’s more important here is the binding issues I had for the Z-axis which can be seen on the top of the print. The lead screws were not moving smoothly and this caused them to bind a bit creating inconsistencies in the printing quality. I also had Z hop enabled which also didn’t help too much in keeping the Z-axis movement accurate.
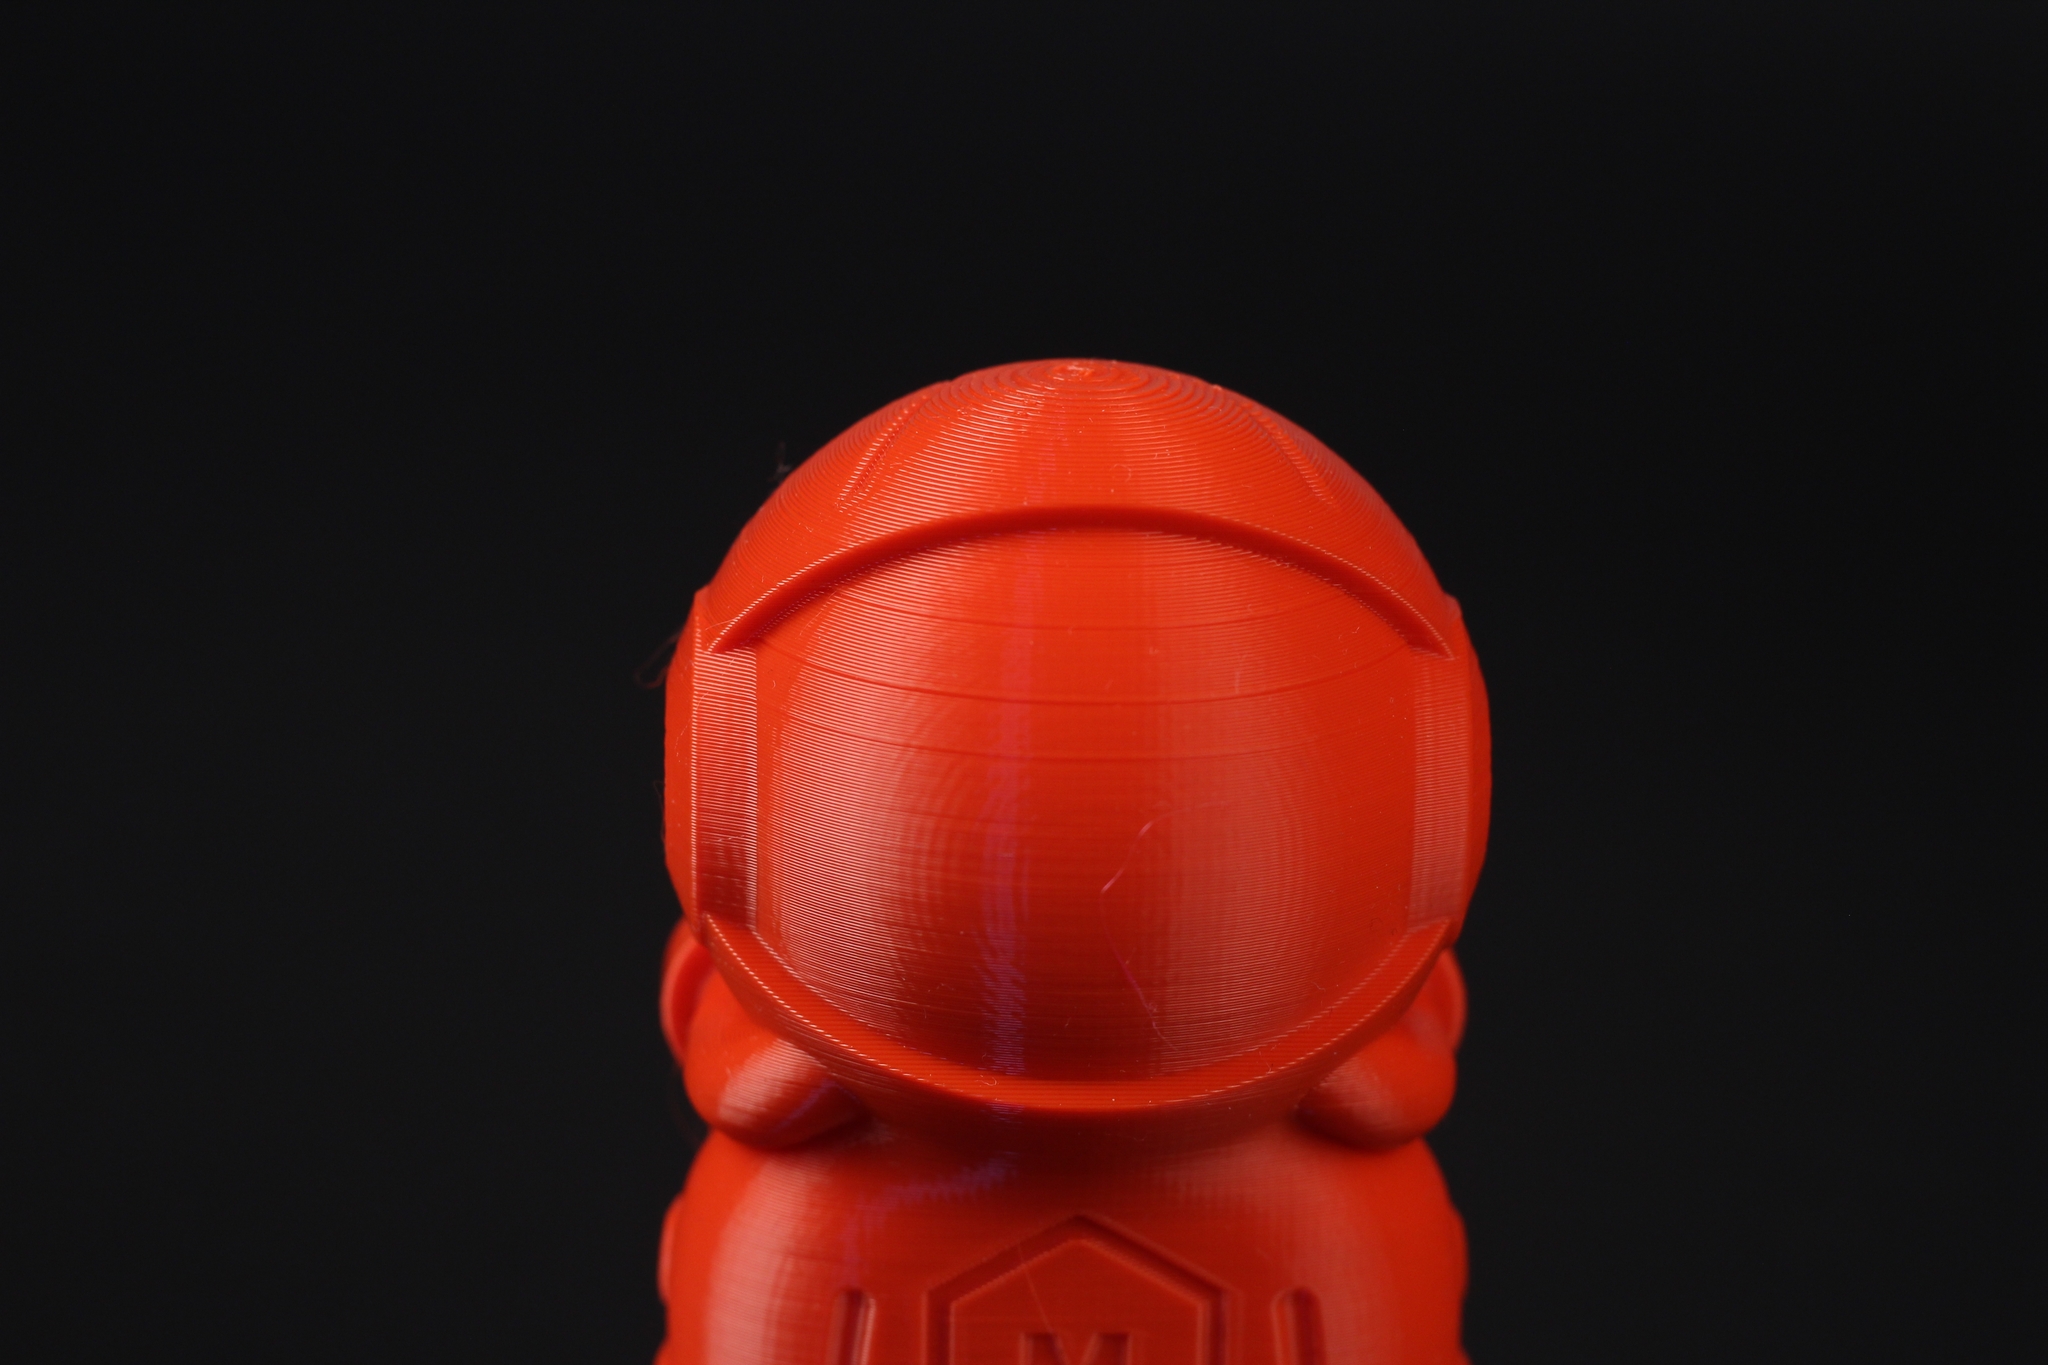
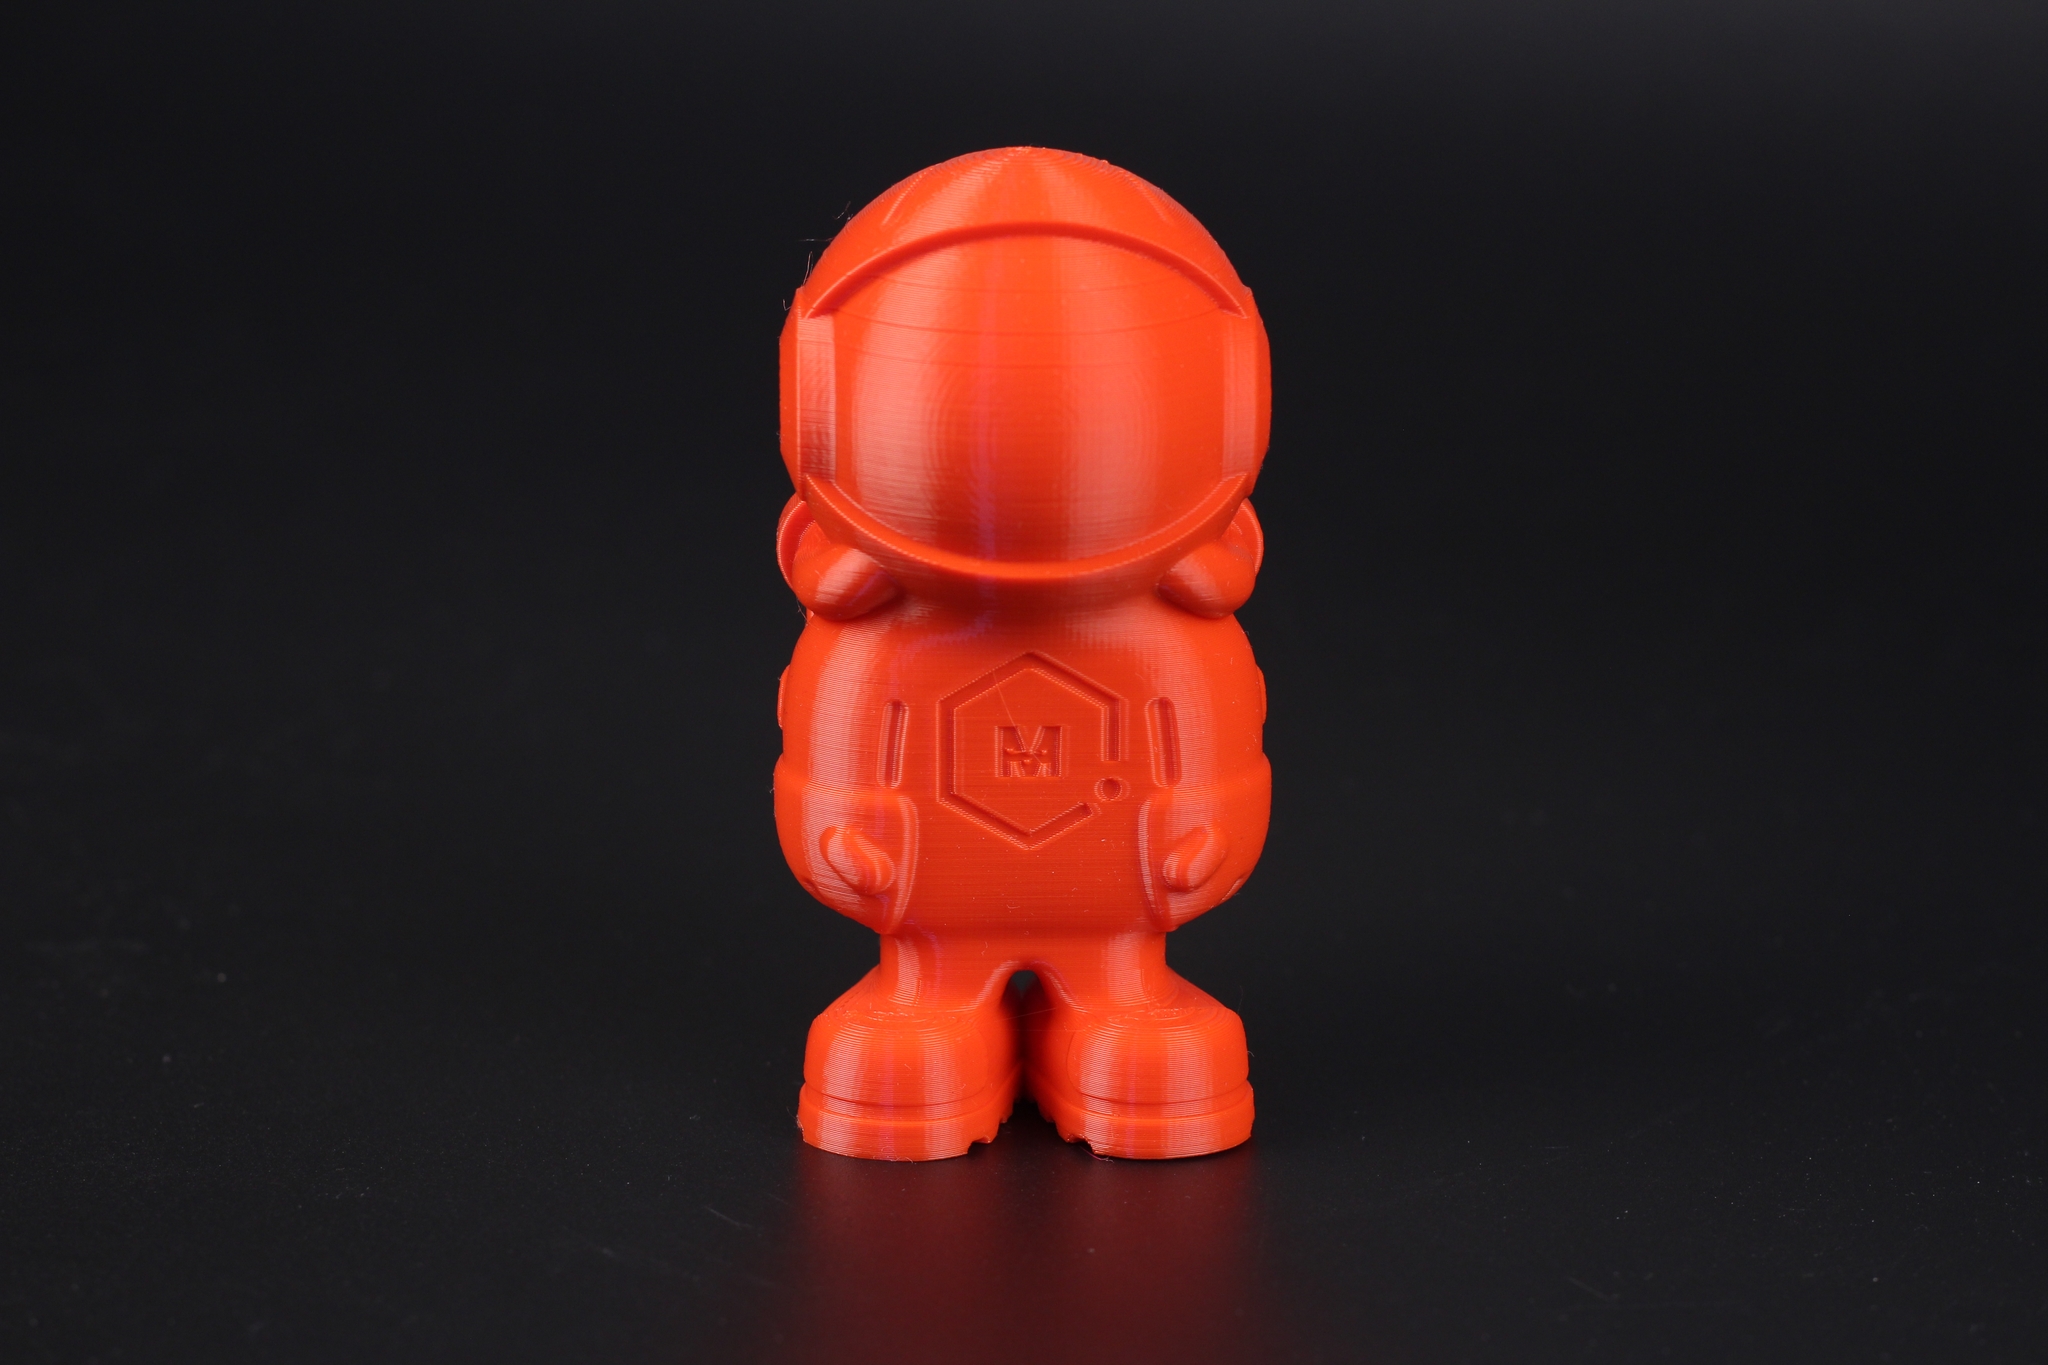
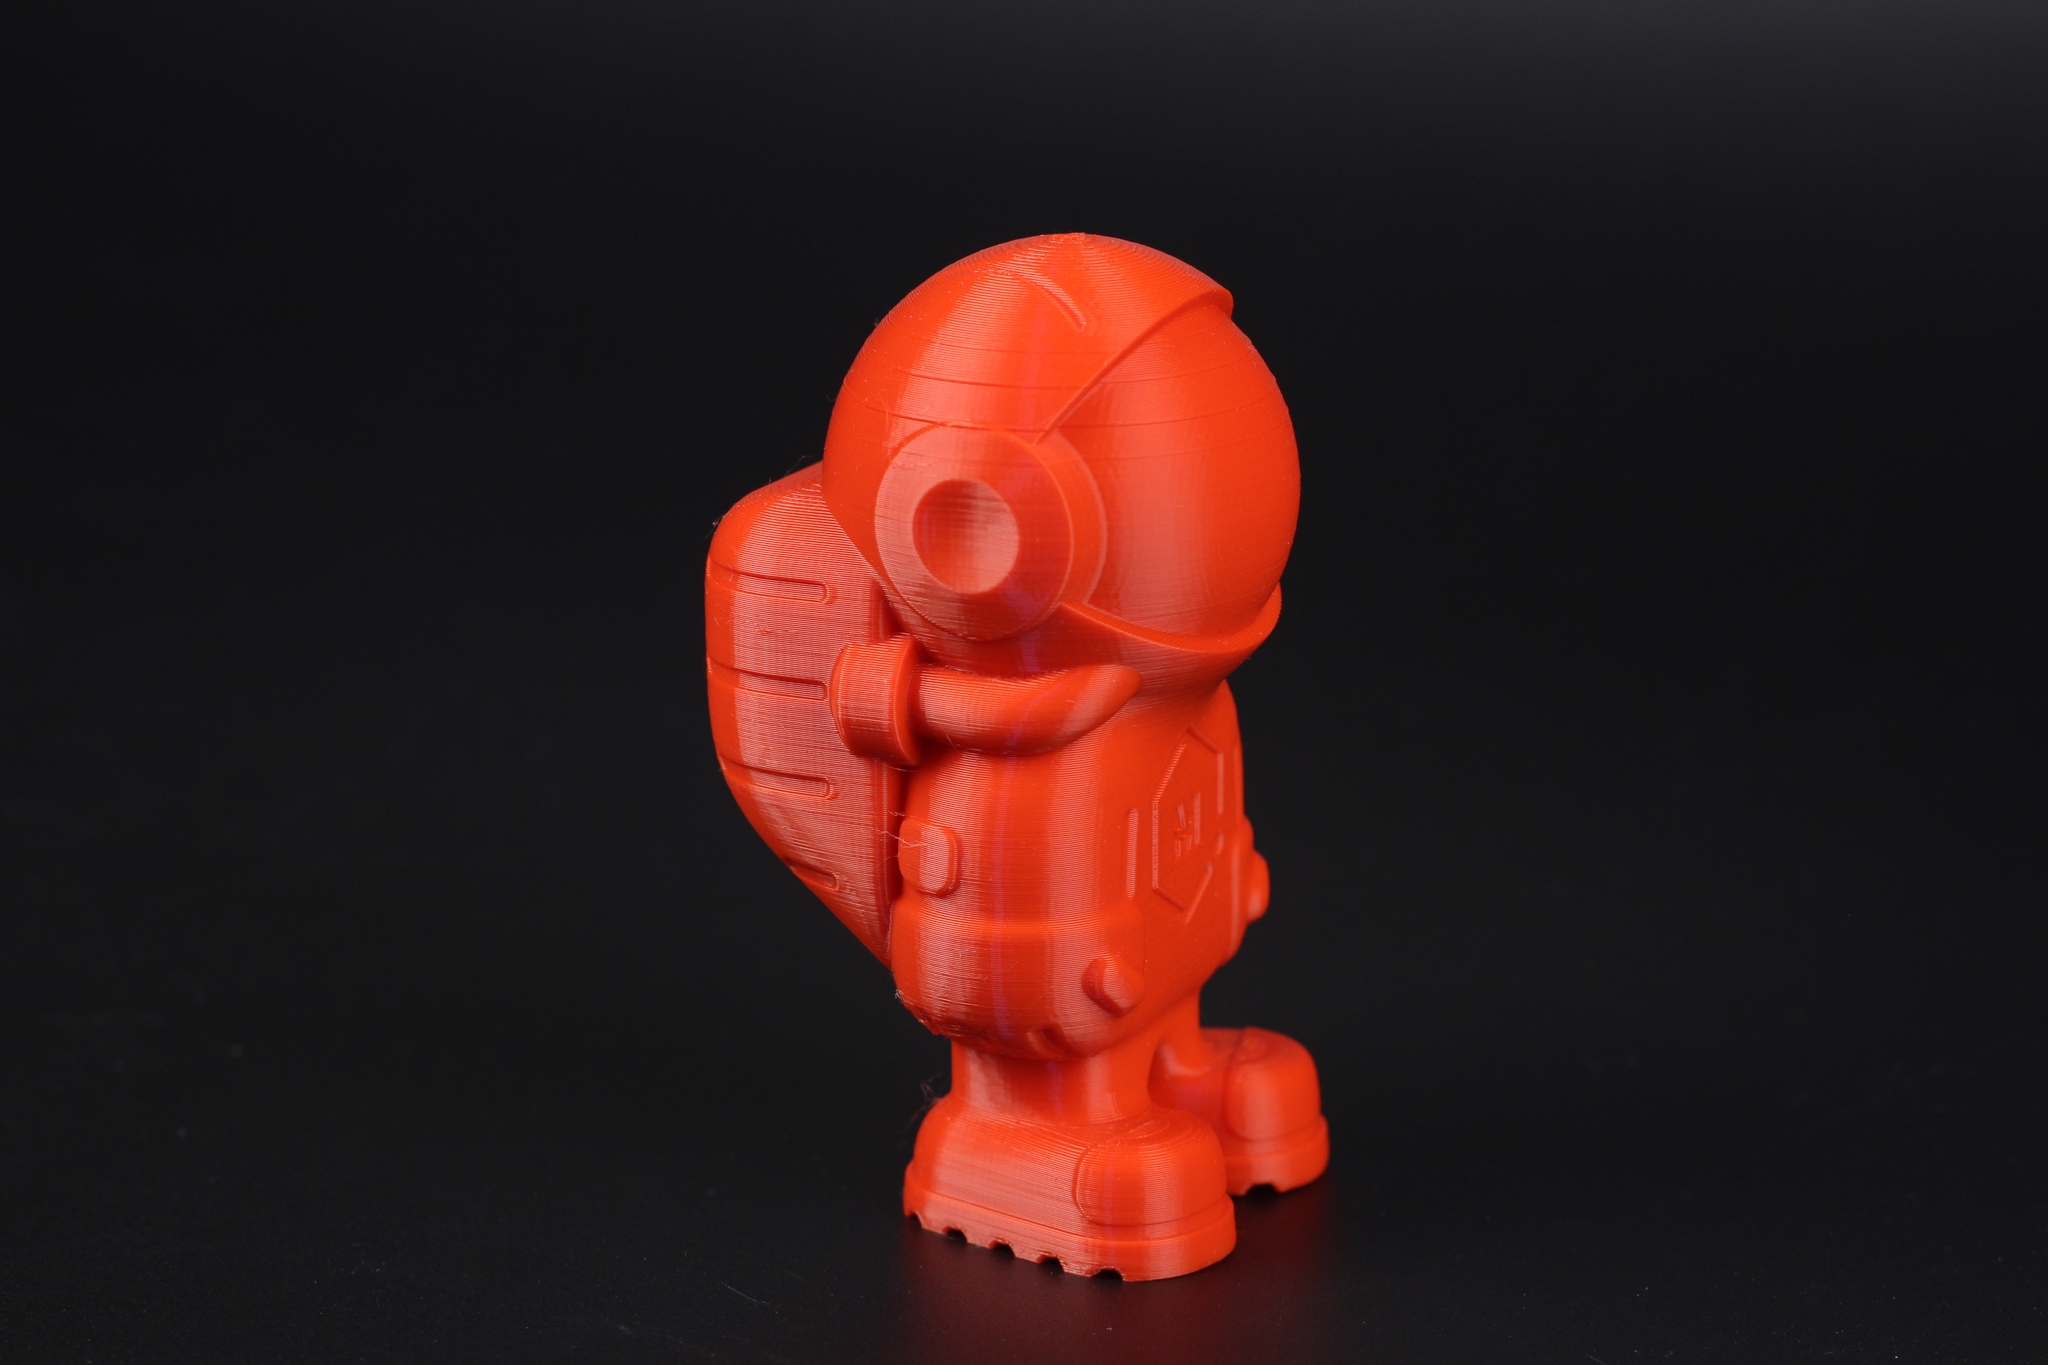
- Material: Sunlu Red PLA
- Layer Height: 0.2mm
- Nozzle Temperature: 210C
- Bed Temperature: 50C
- Print Speed: 60 mm/s
Flexi Fox
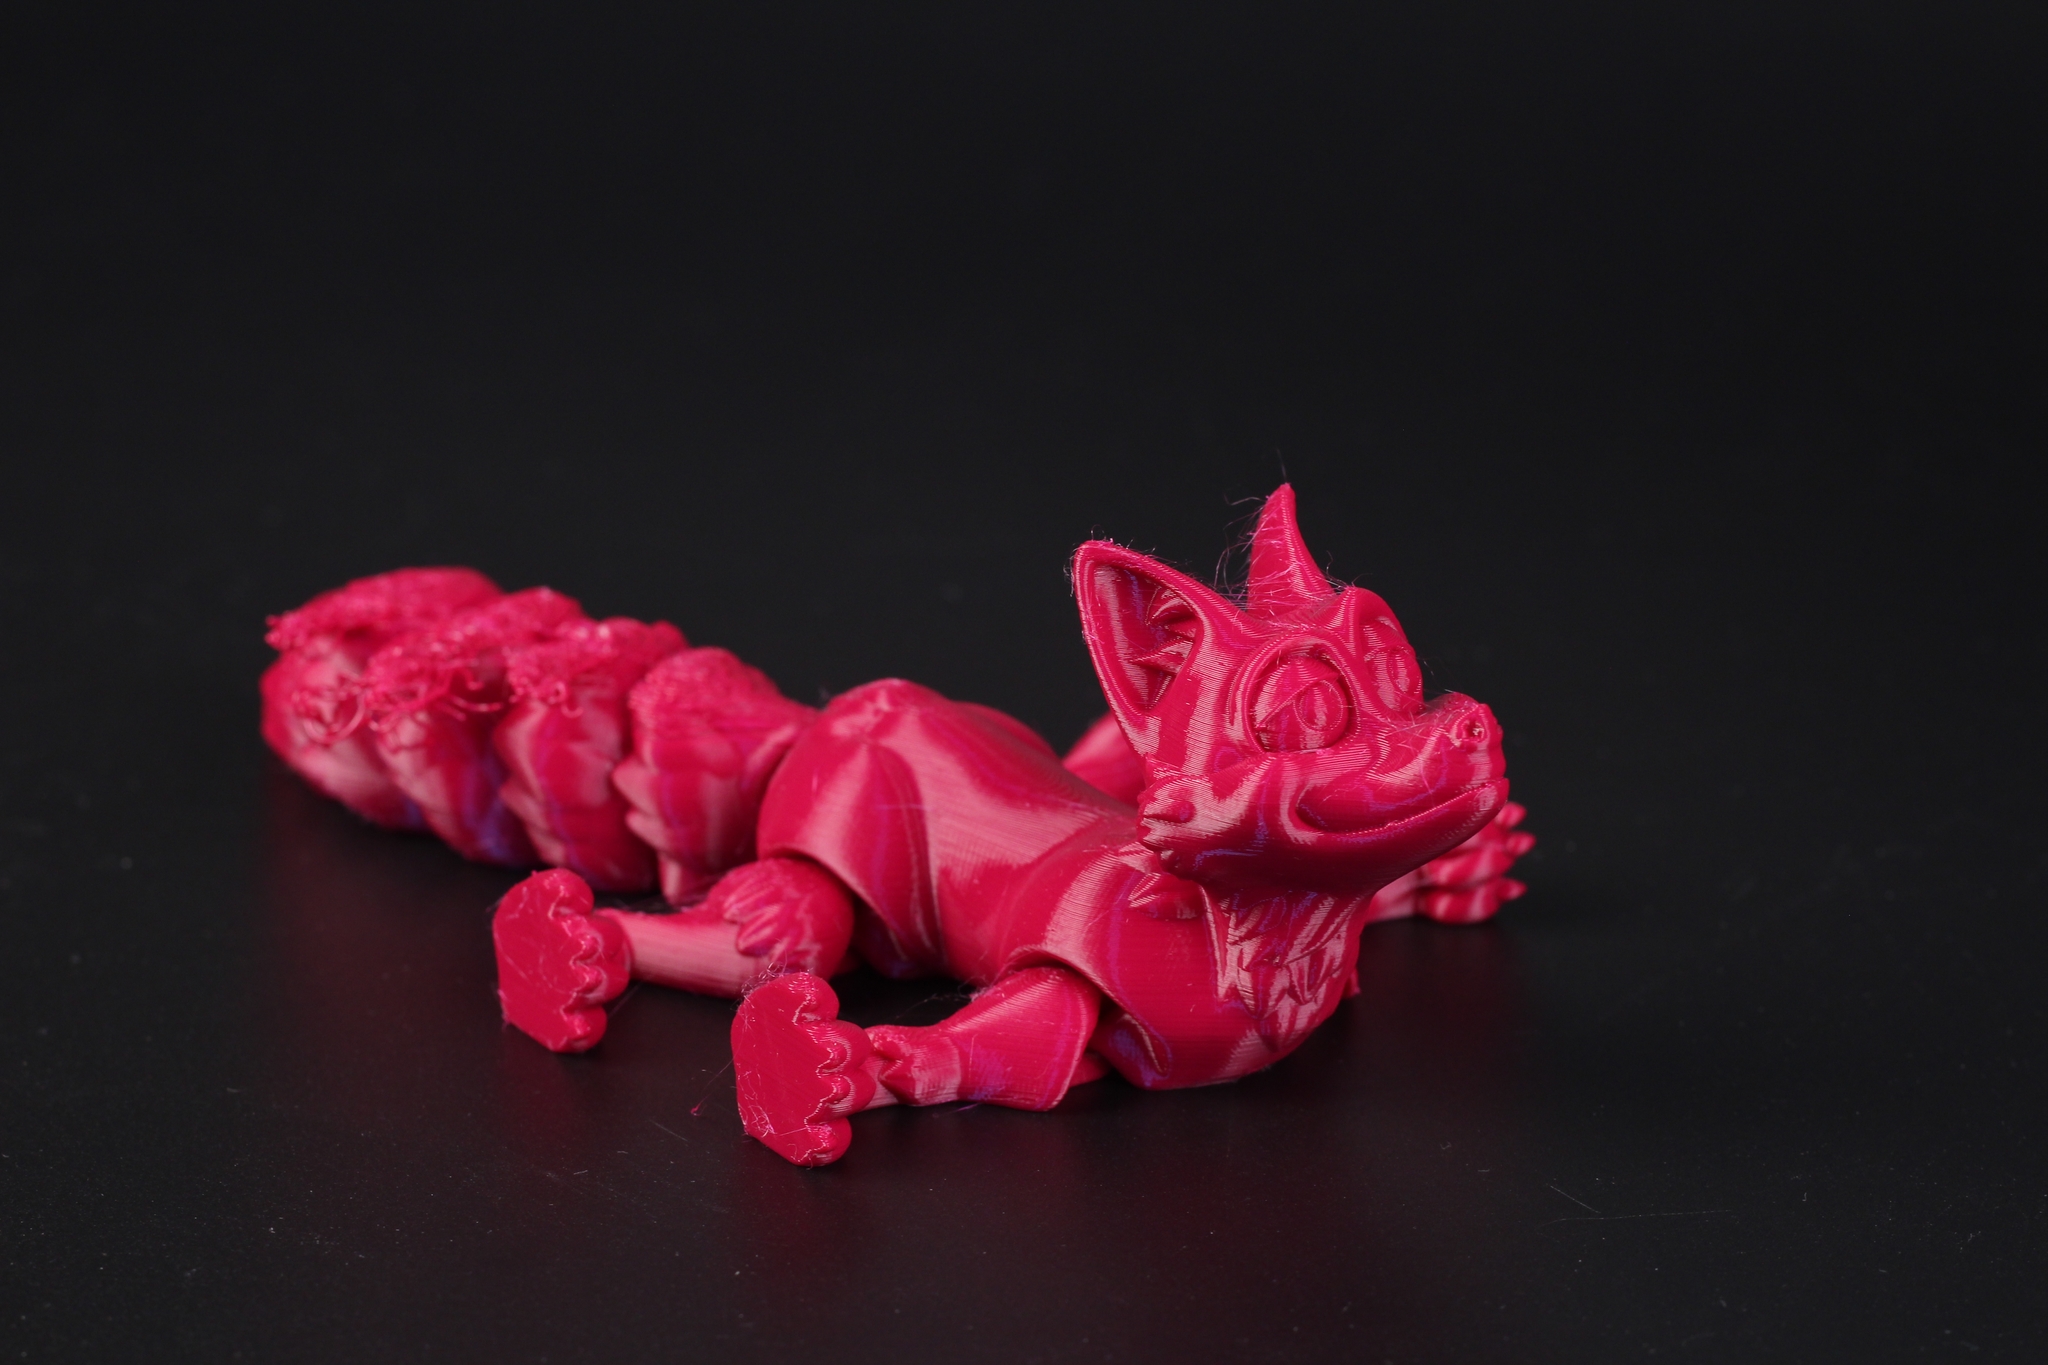
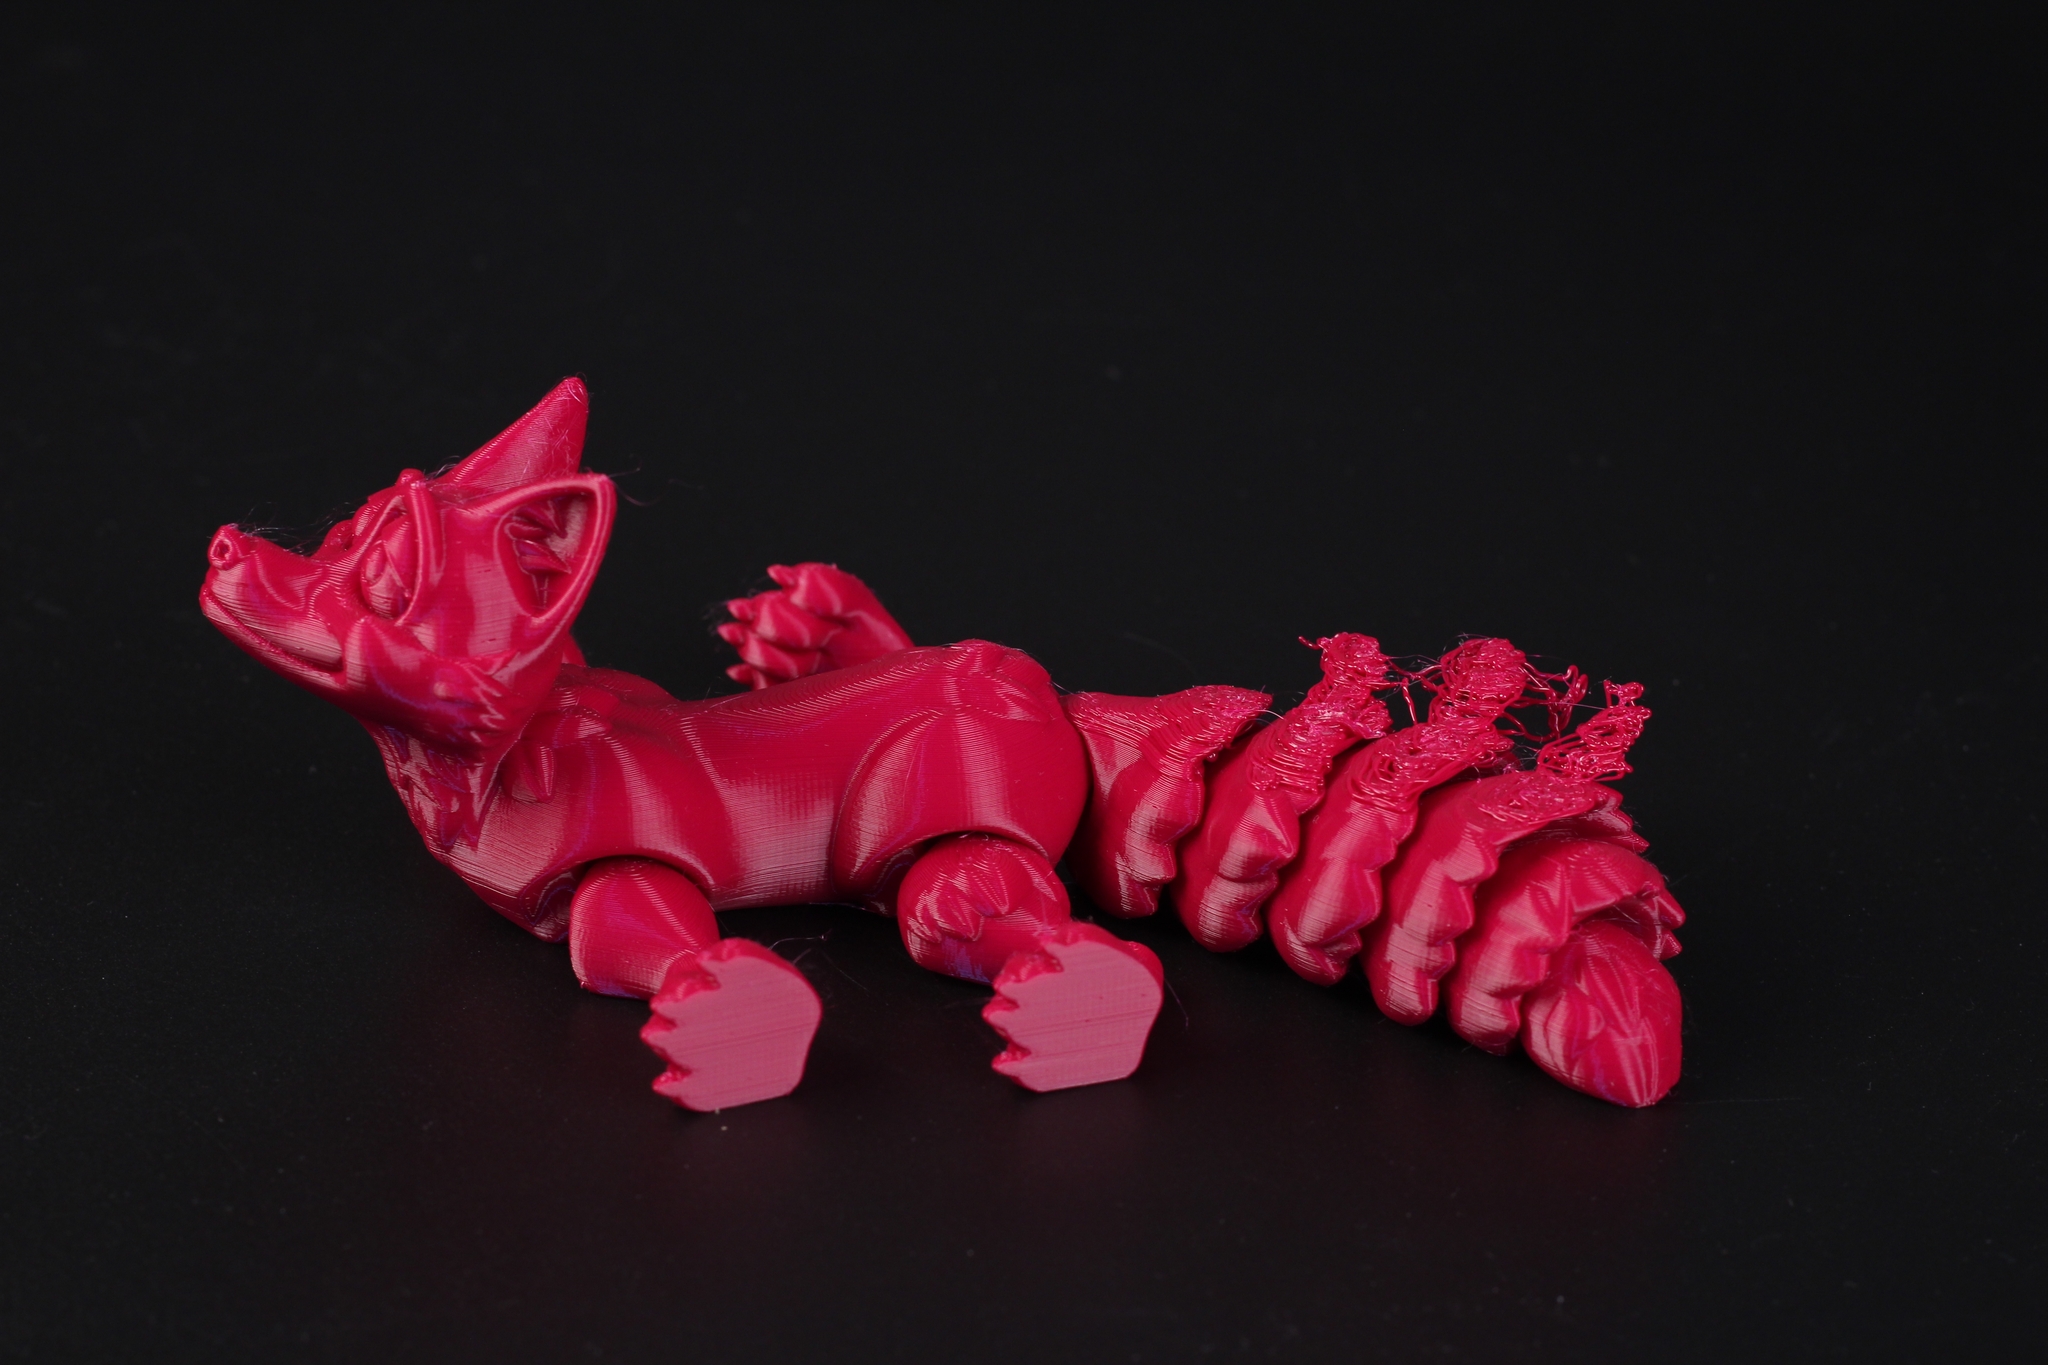
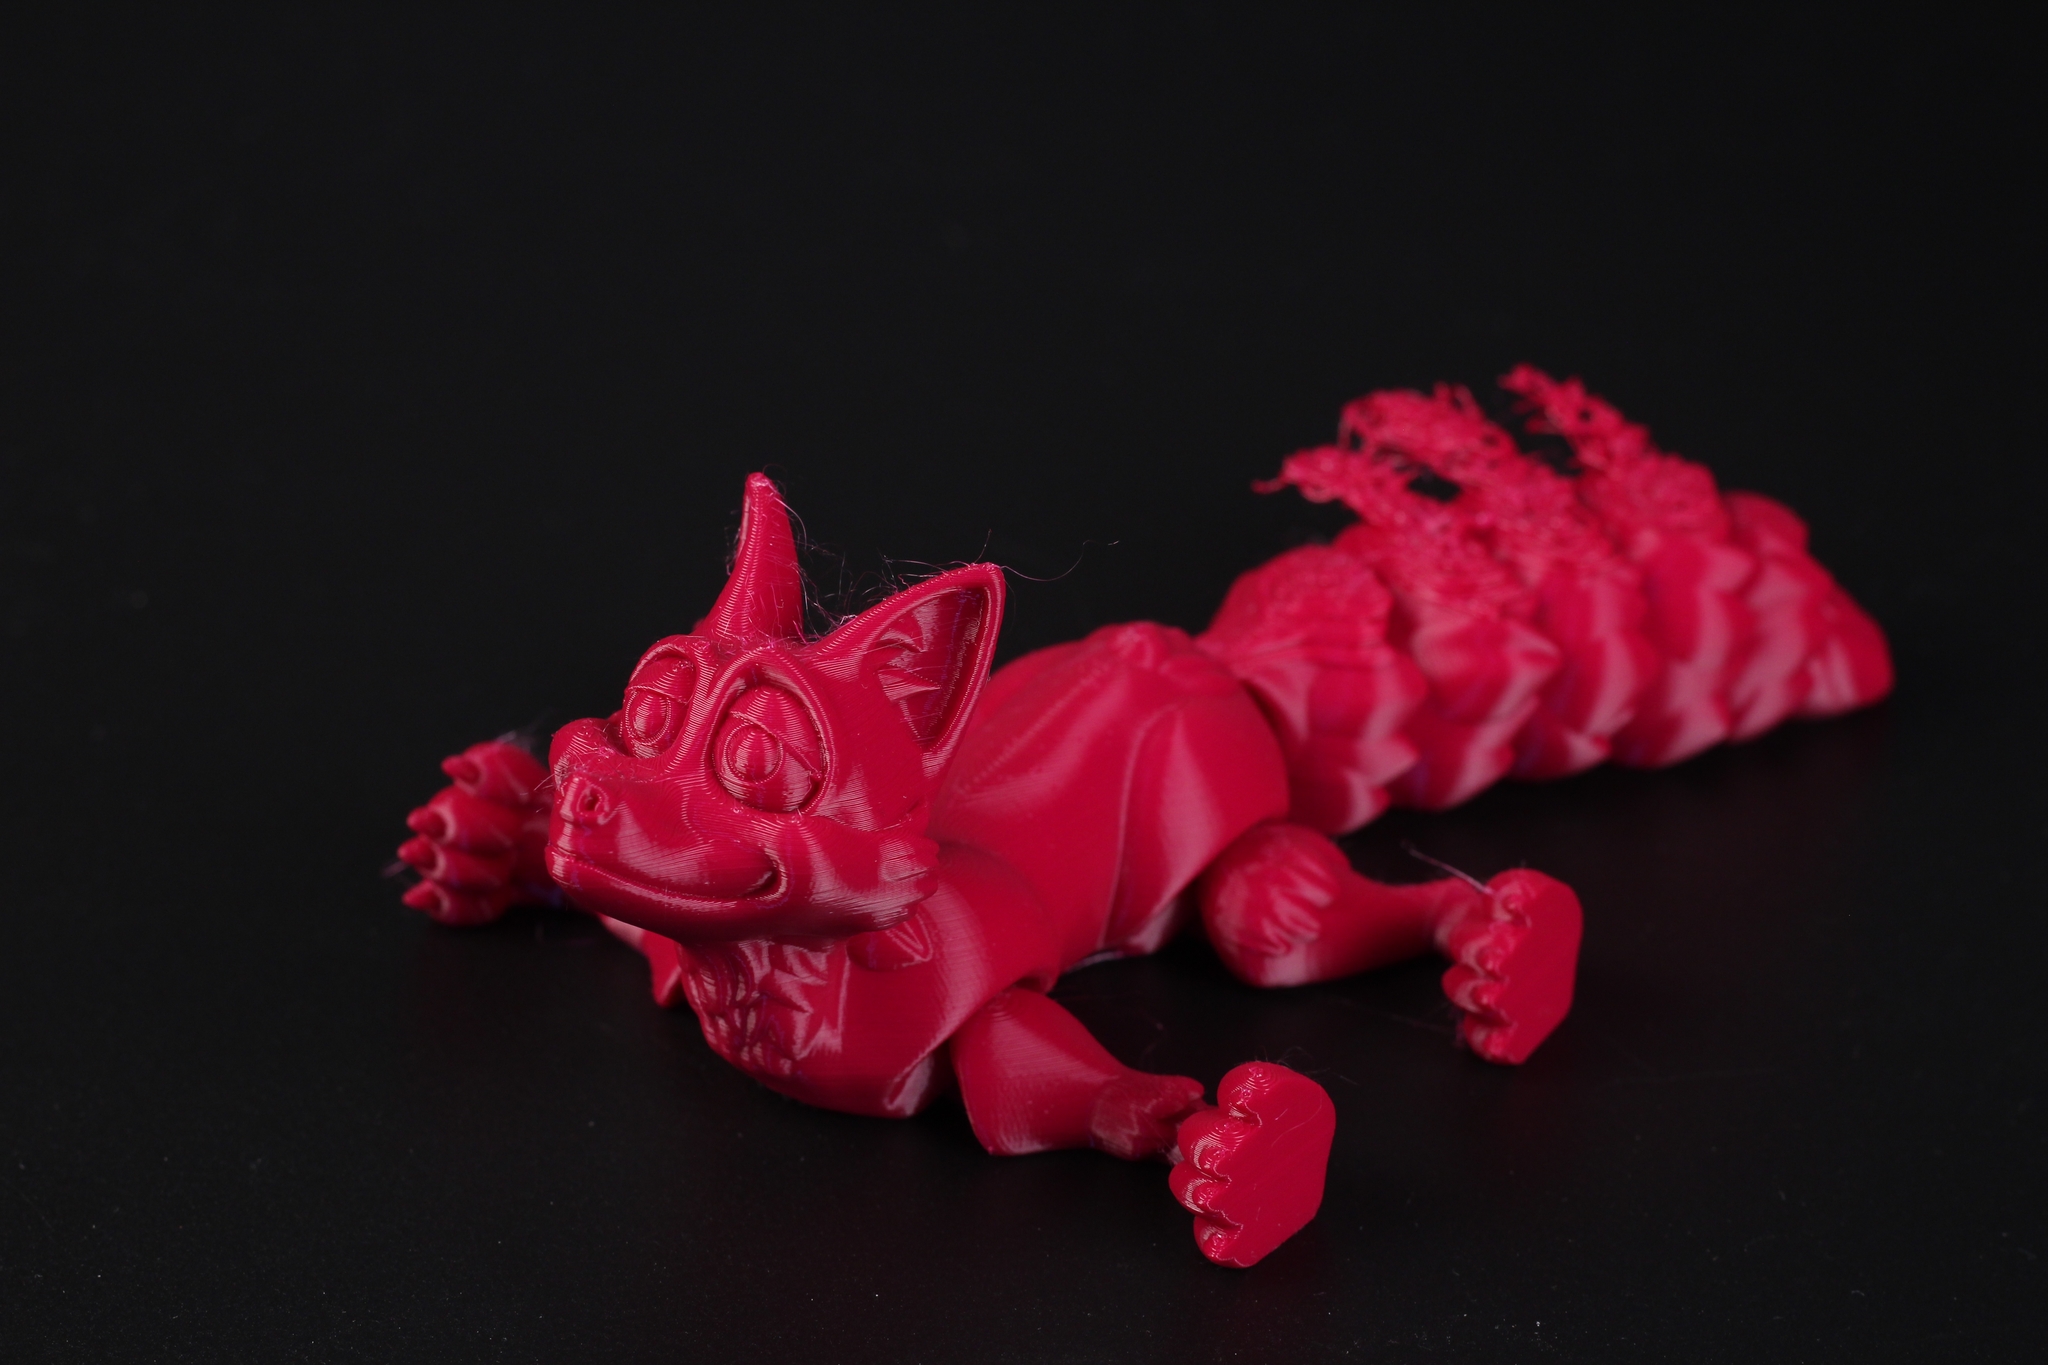
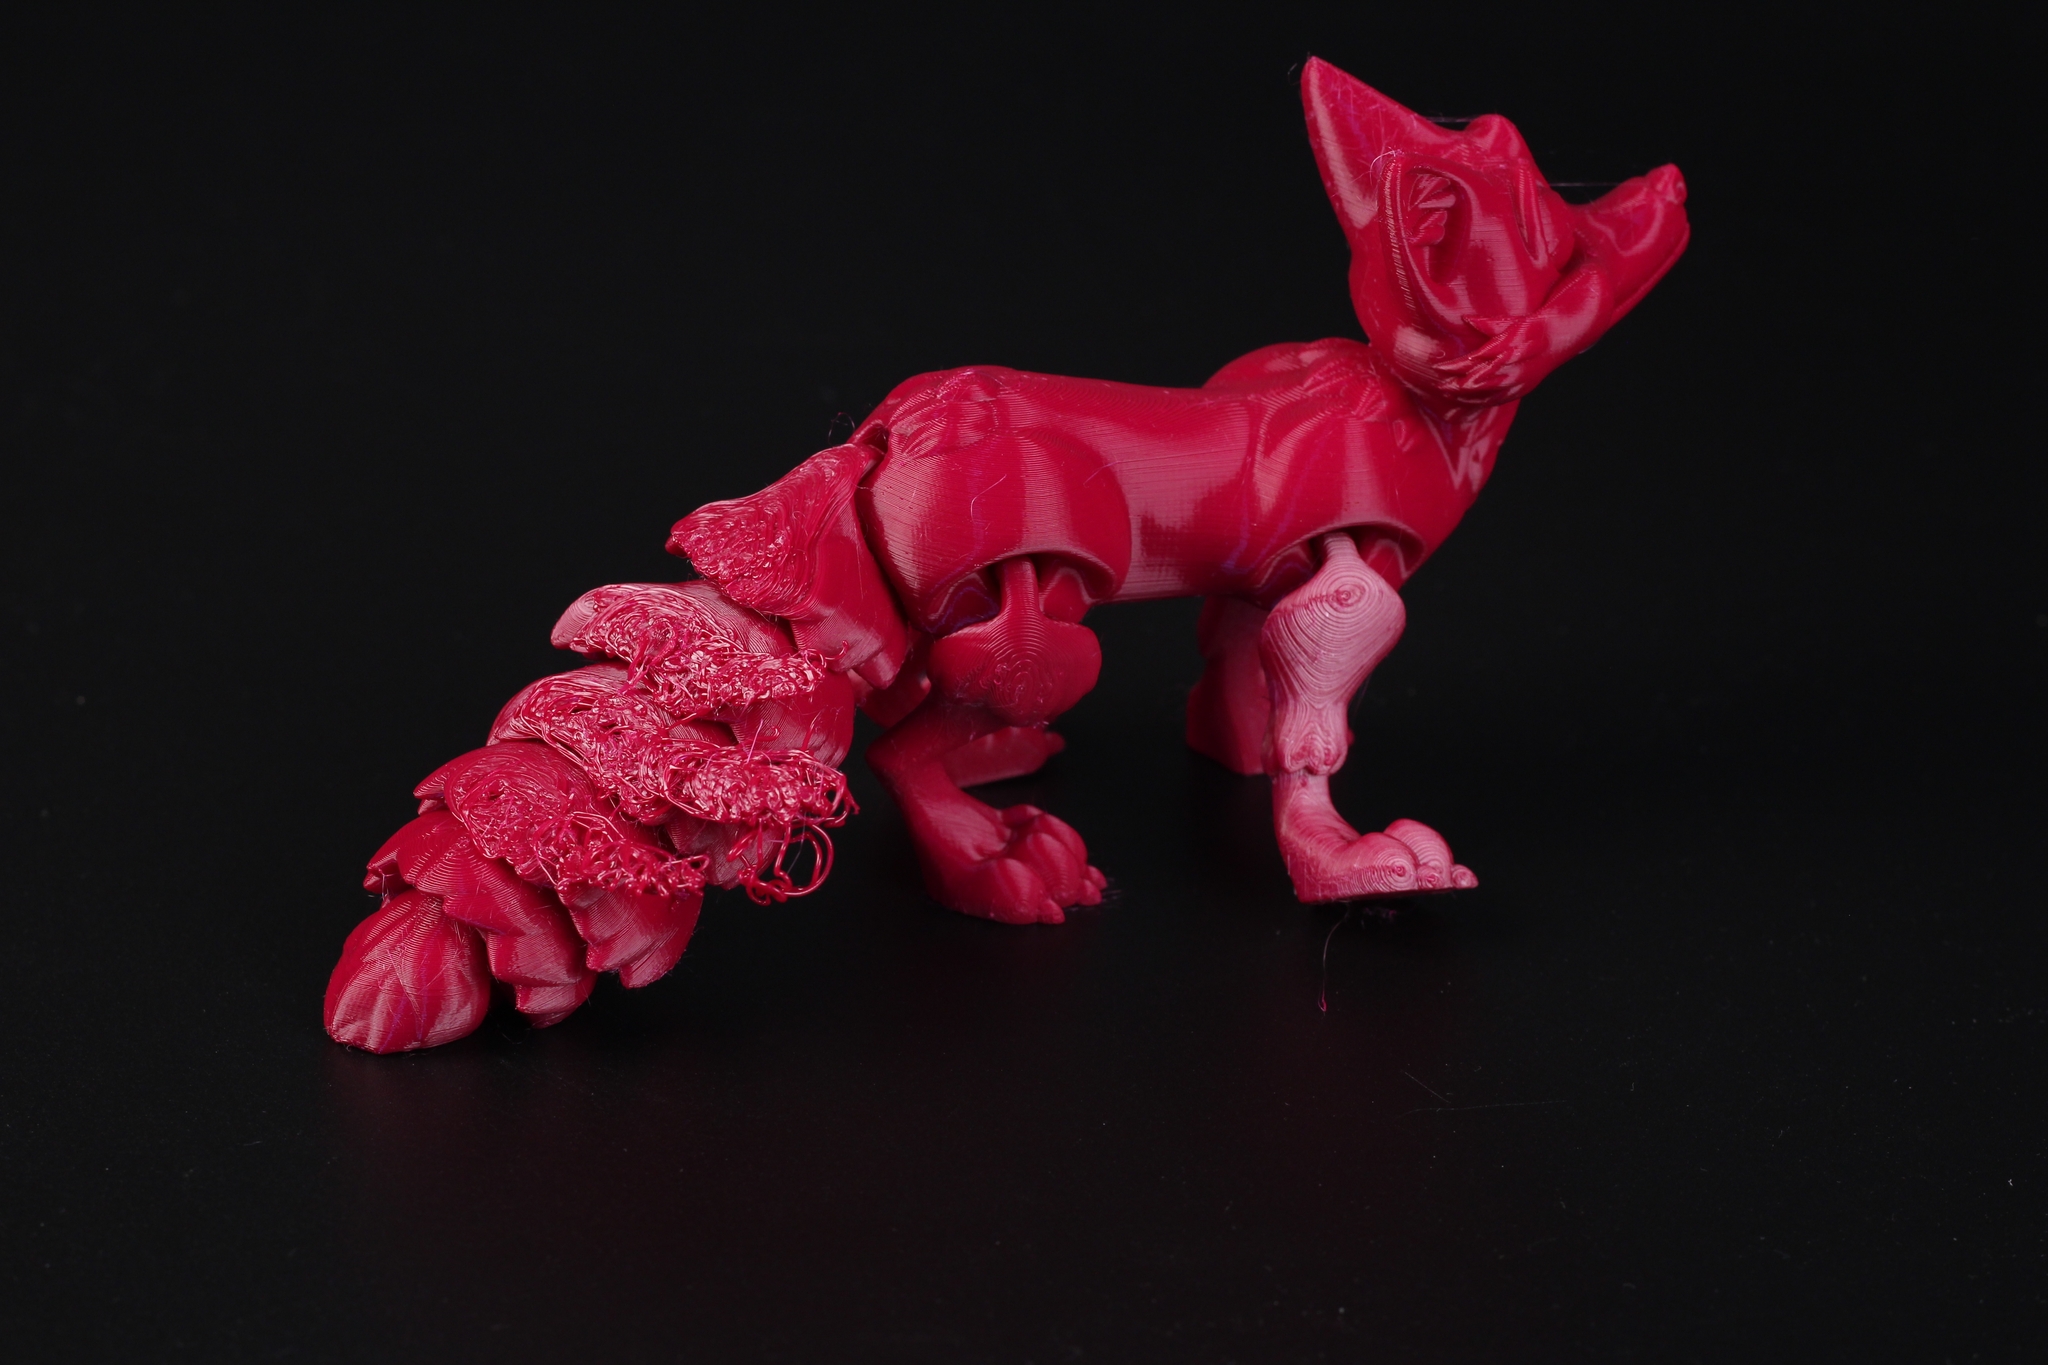
I like printing this Flexi Fox because it’s a good test when it comes to cooling and also bed adhesion. I printed this one in PETG and as you can see, it’s not a successful print. The tail section didn’t remain attached to the bed until the end which shows the less than ideal adhesion performance of the SV01 Pro print surface.
Otherwise, the print came out pretty good, with a bit of stringing caused by my old PETG.
- Material: Devil Design Raspberry PETG
- Layer Height: 0.15mm
- Nozzle Temperature: 230C
- Bed Temperature: 70C
- Print Speed: 50 mm/s
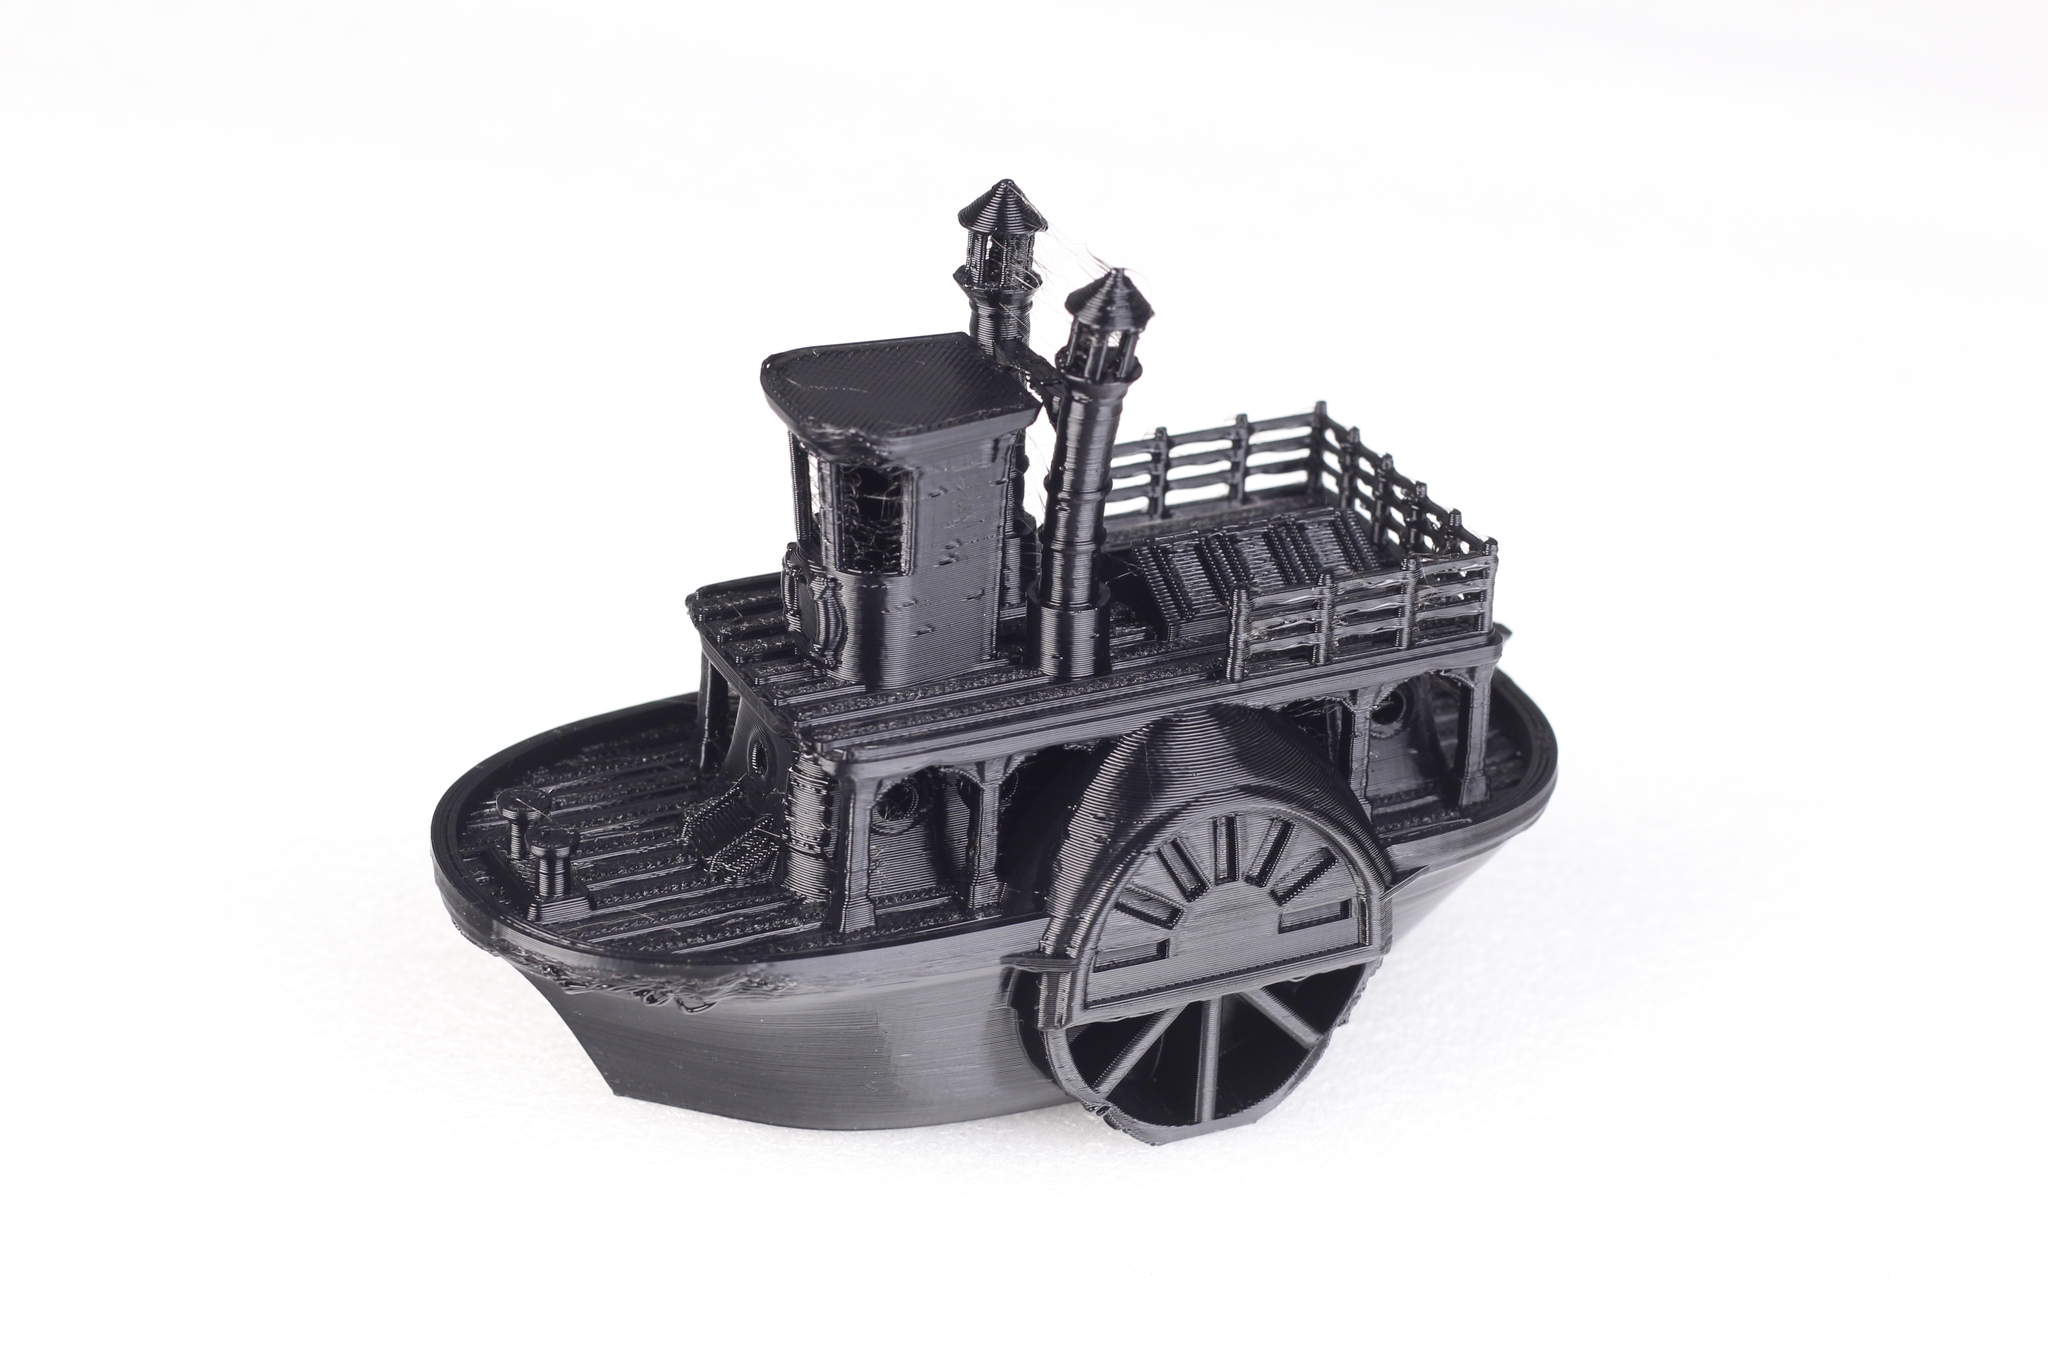
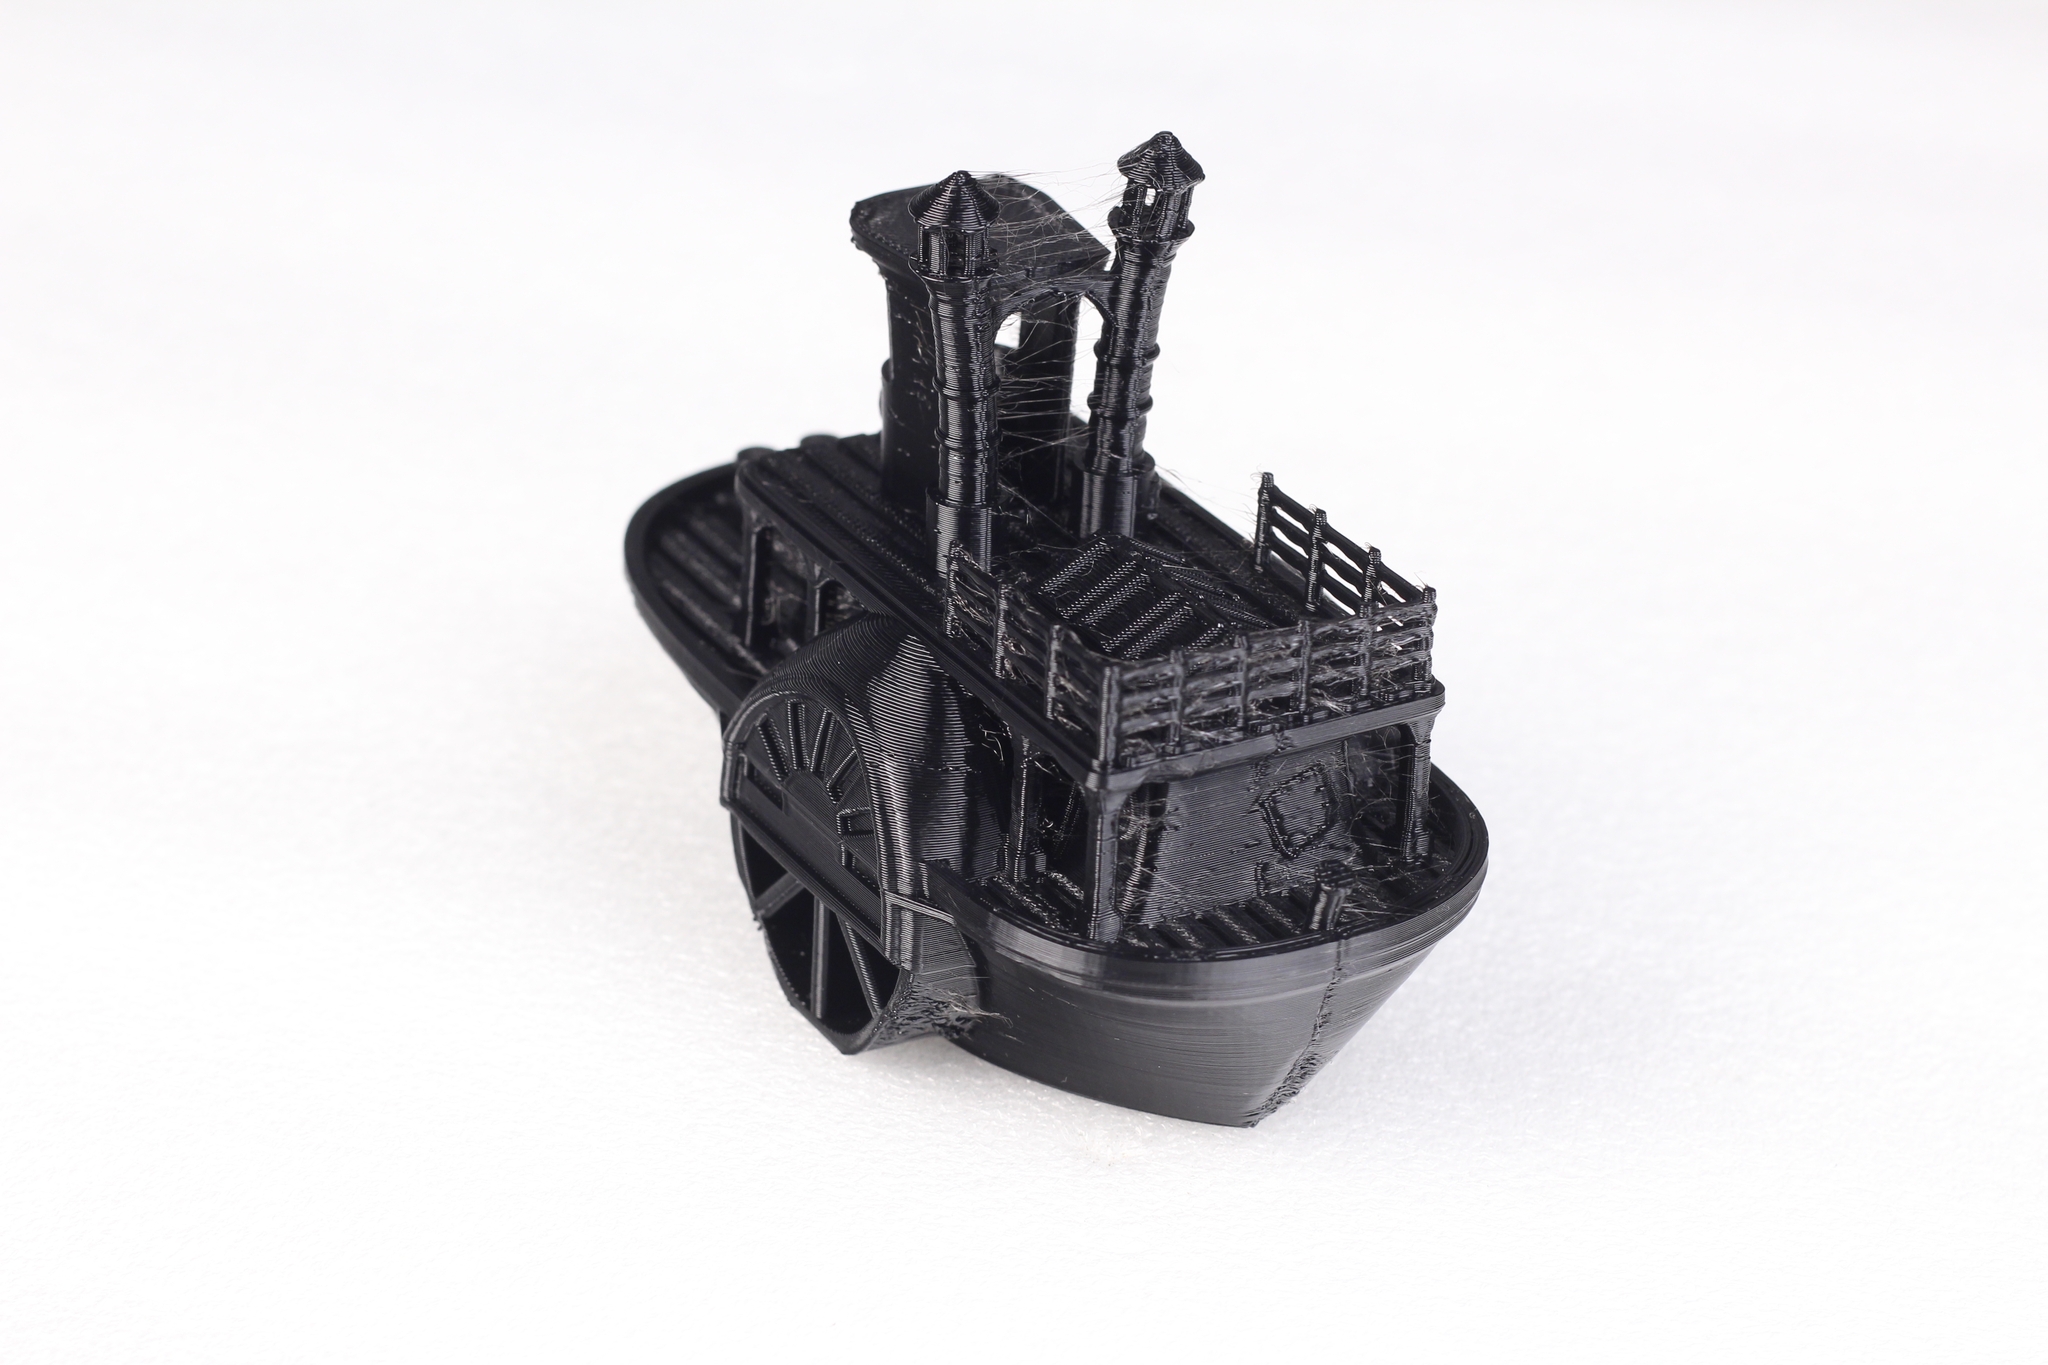
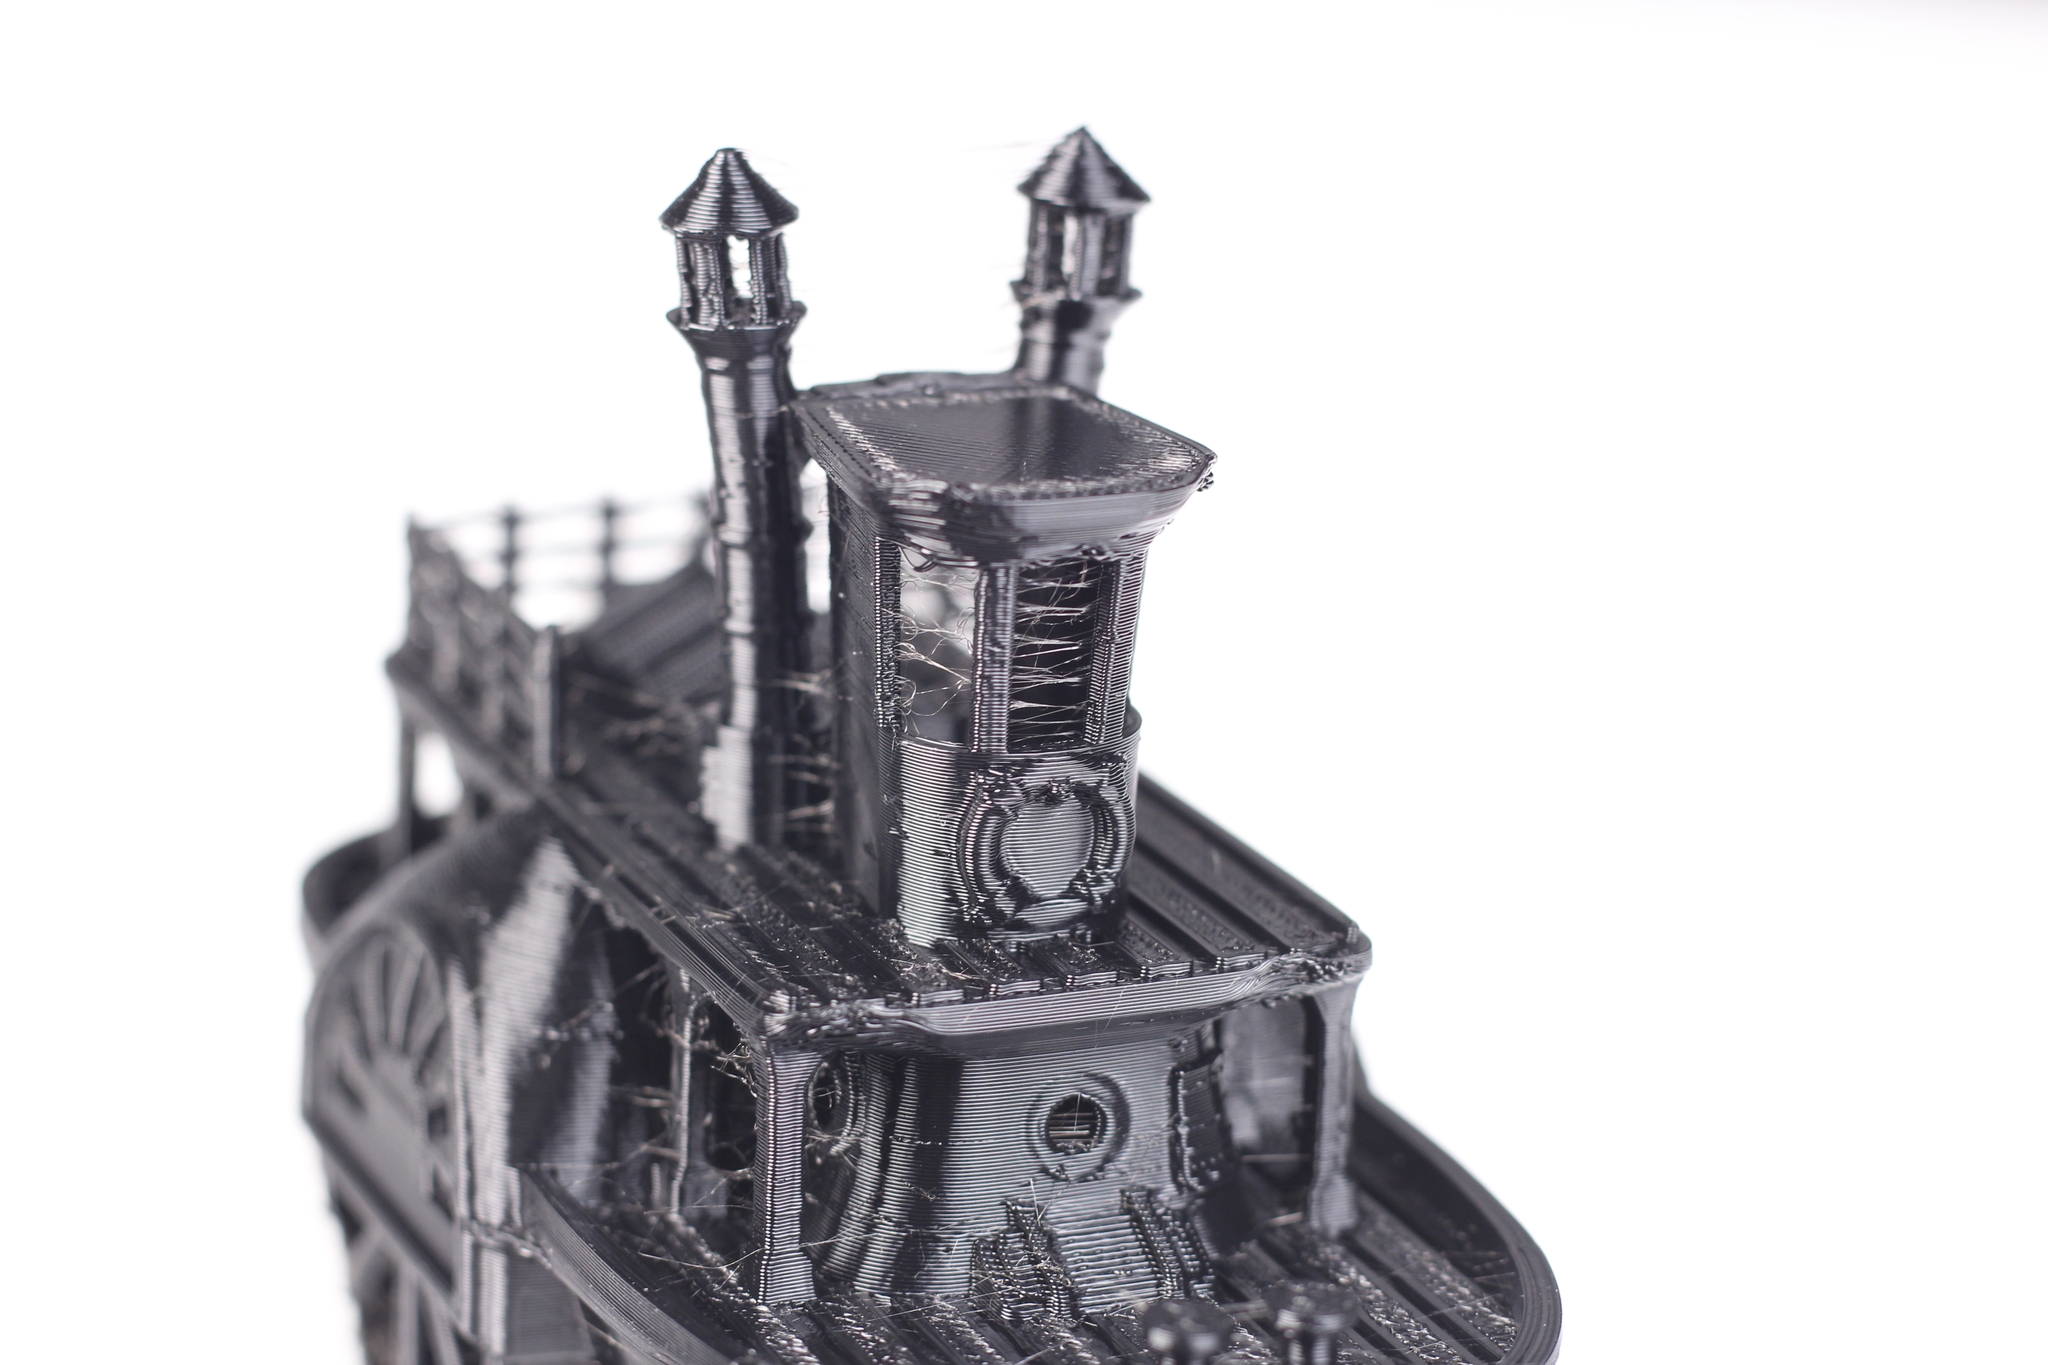
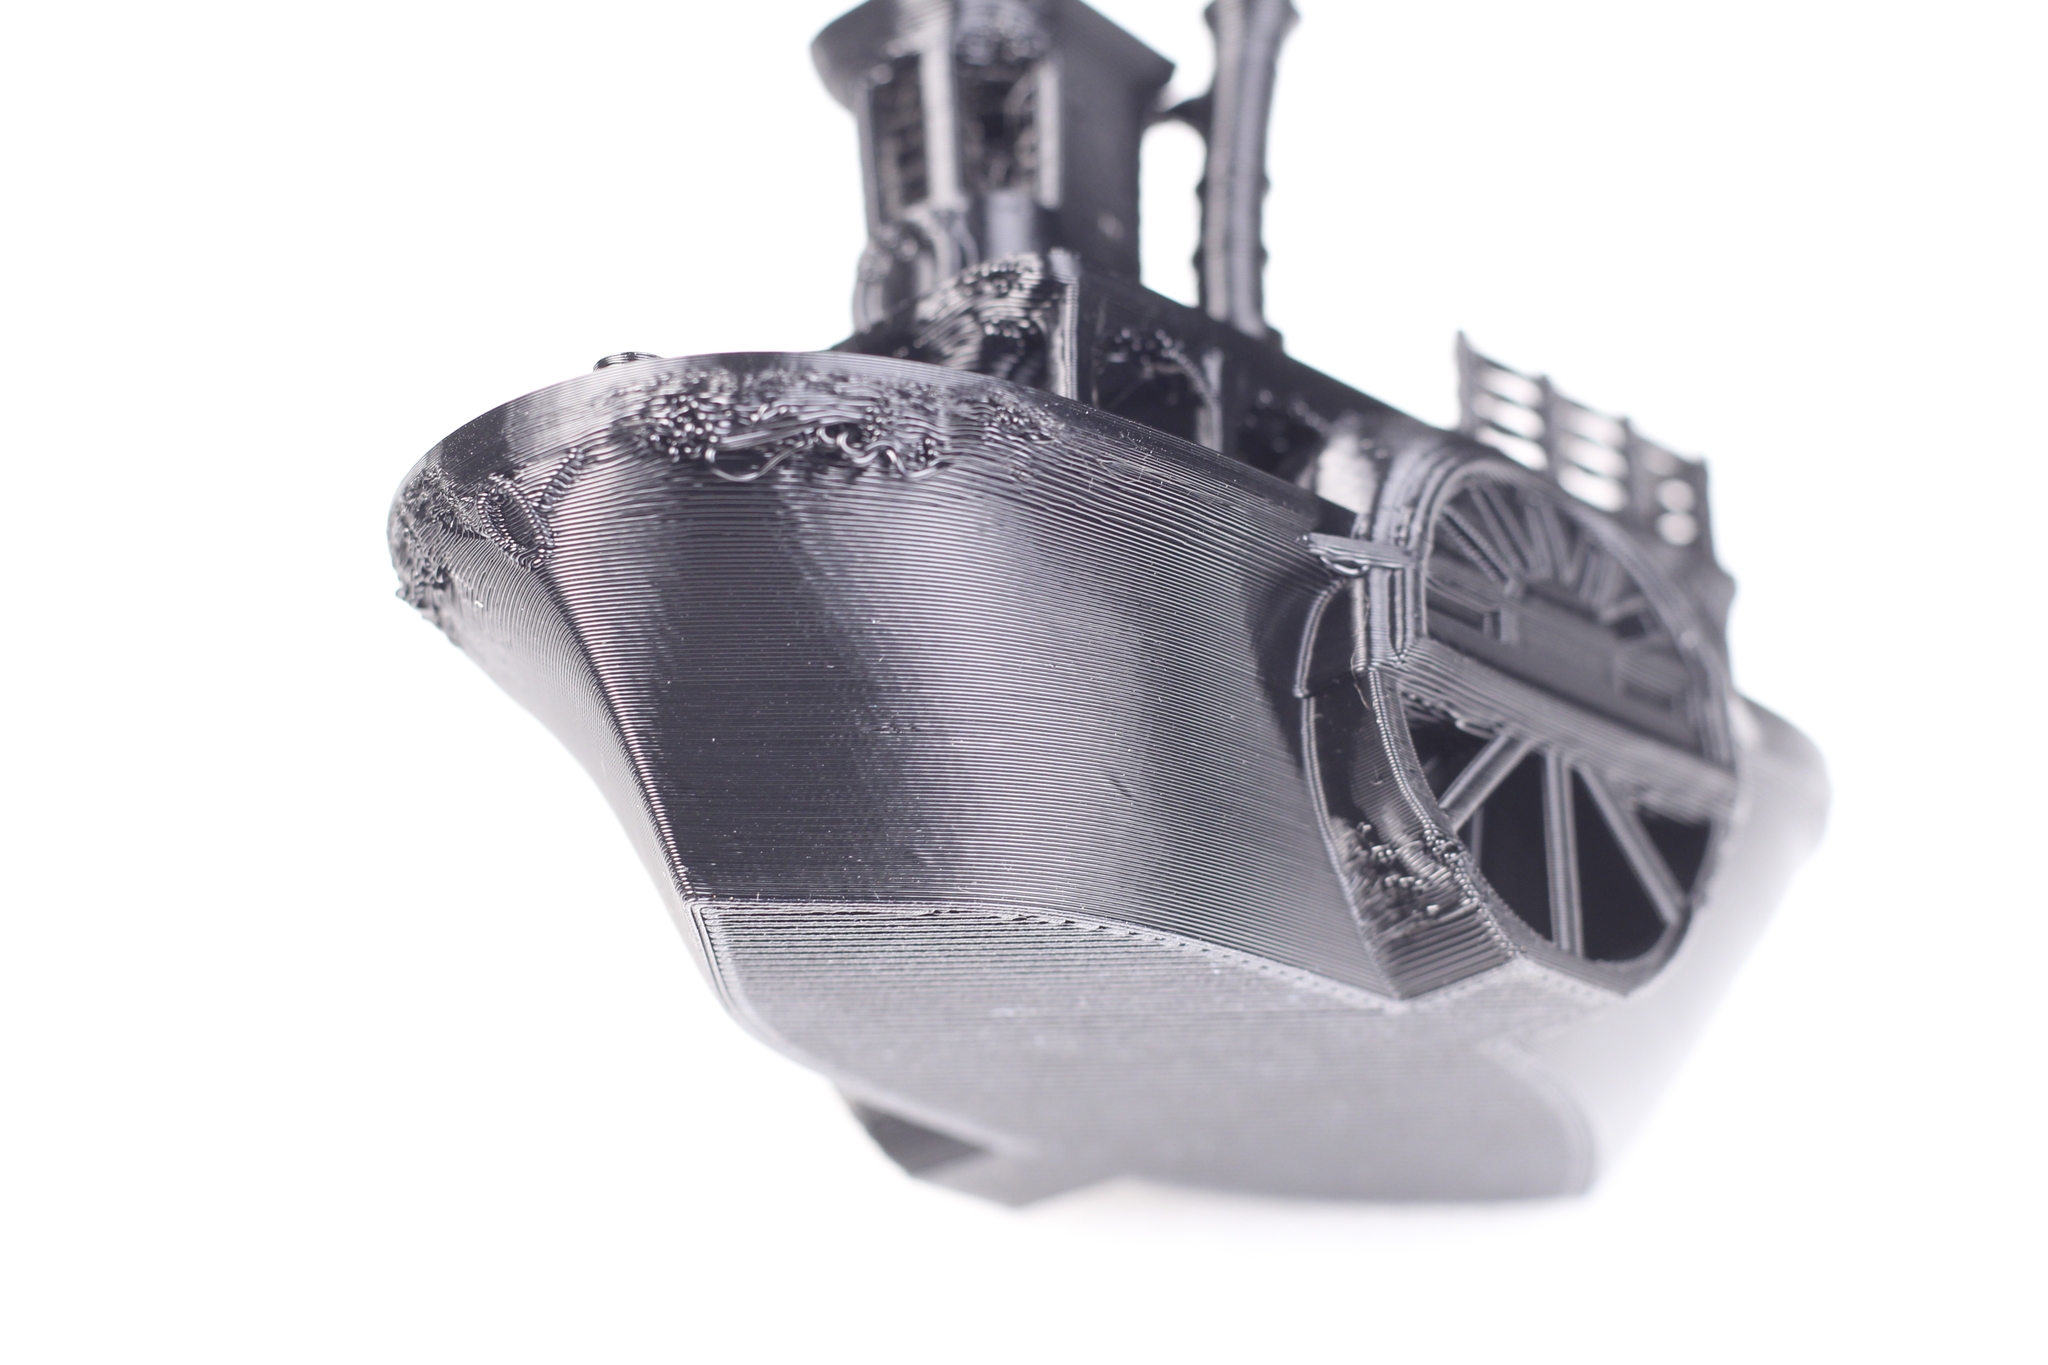
Bathtub Tug Boat
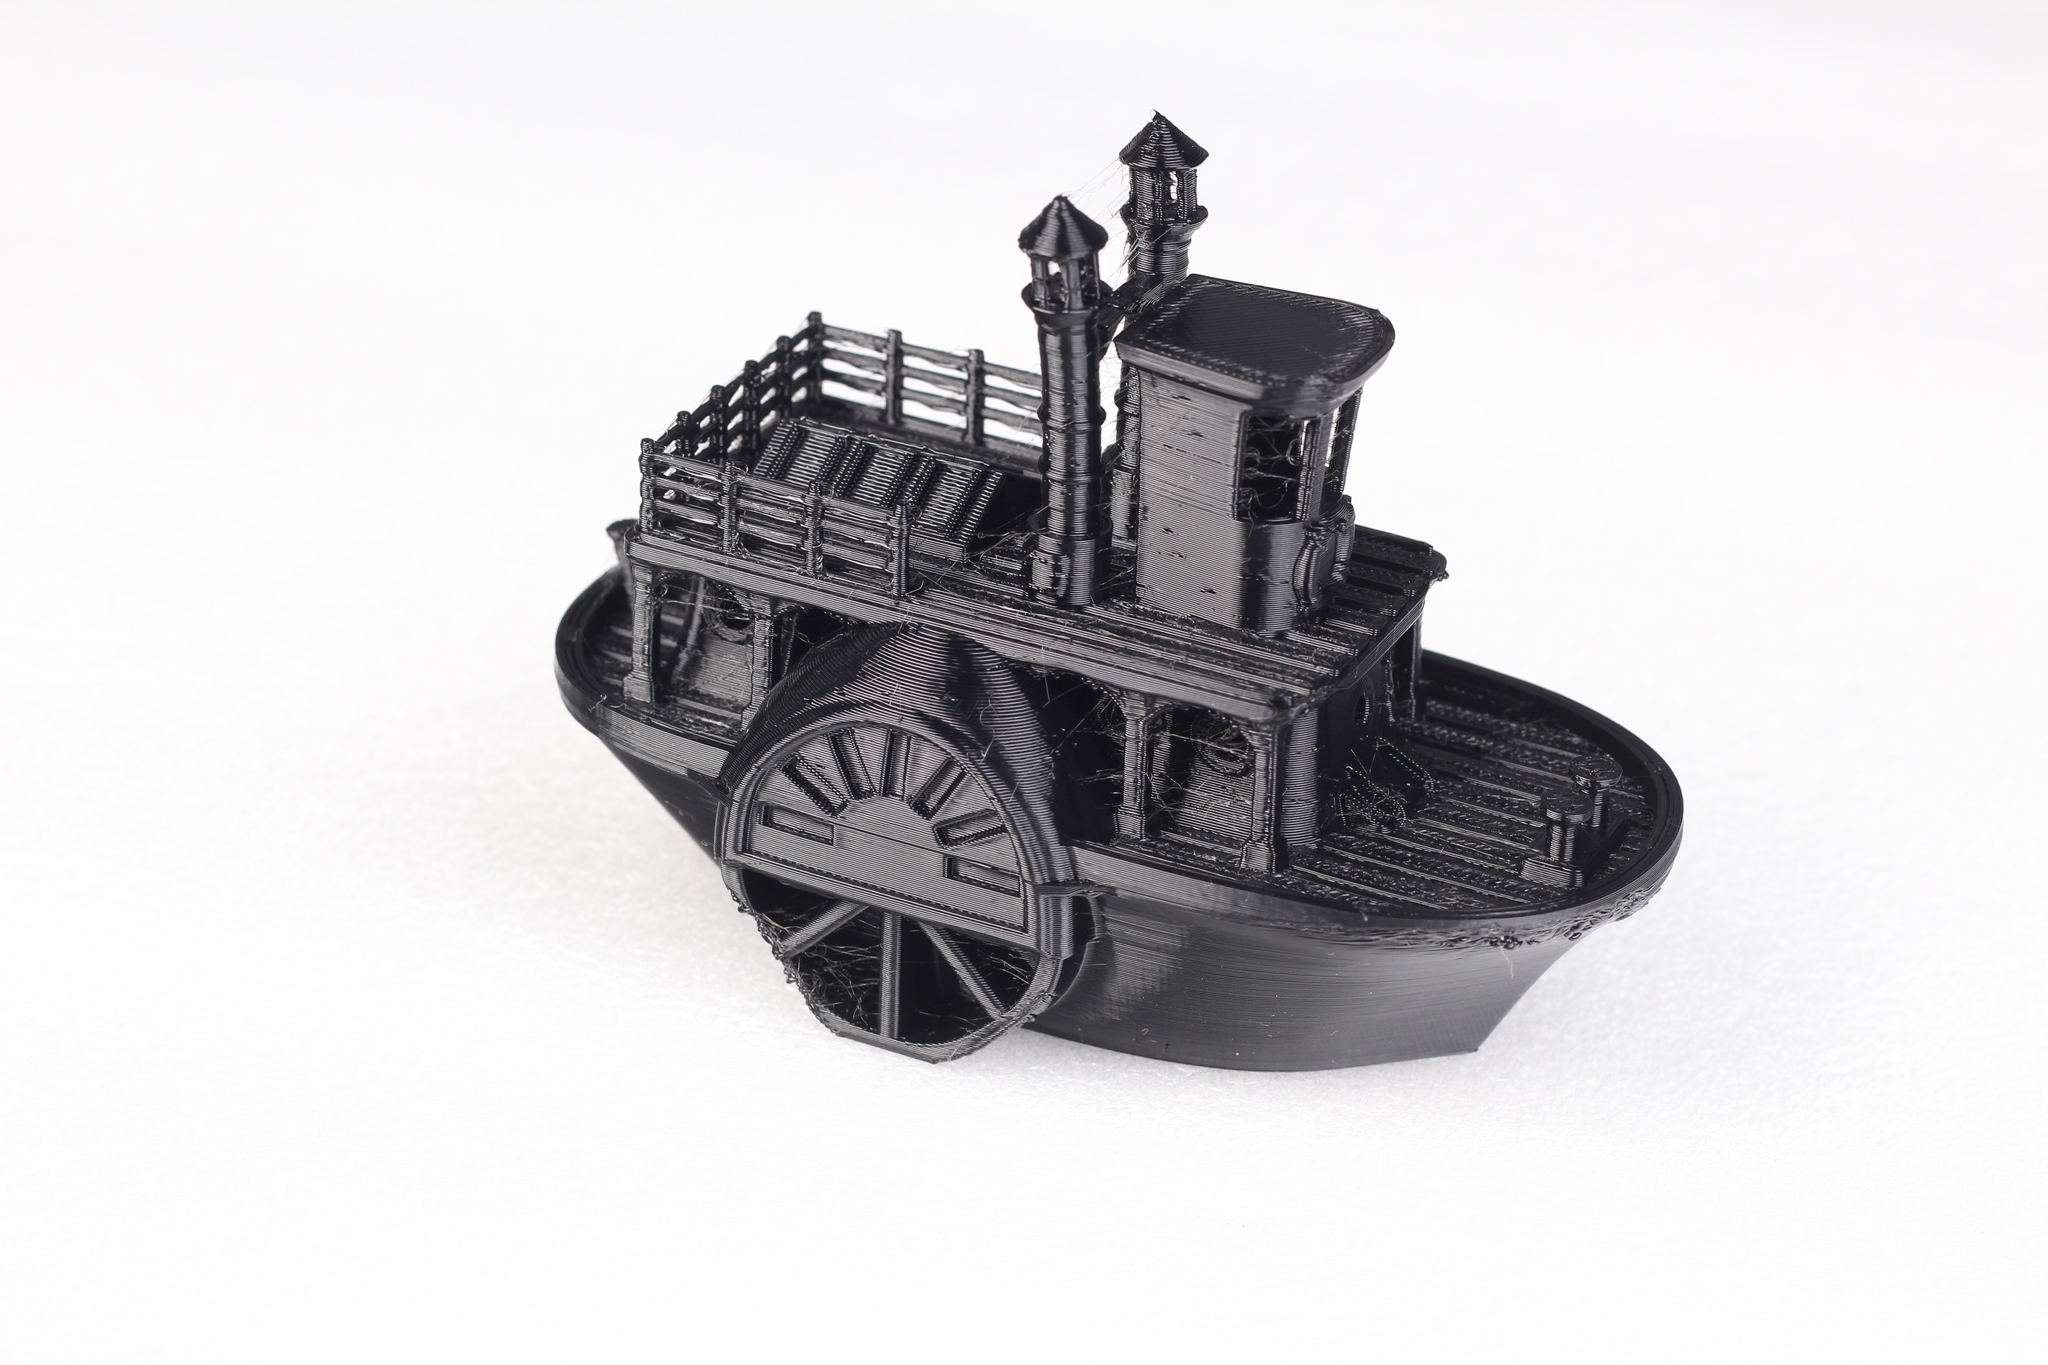
I also tried printing my favorite TPU test model which is the Bathtub Tug Boat from vandragon_de. It’s a quite difficult print, especially for TPU.
In this case, the Sovol SV01 Pro was able to print it successfully, but with some stringing and a few bad sections which are caused by improper part cooling. With a bit less speed and better cooling, I am sure TPU prints will come out better, but I don’t think the end result will compete with a dual-gear extruder.
- Material: Polymaker HFTPU
- Layer Height: 0.2mm
- Nozzle Temperature: 210C
- Bed Temperature: 50C
- Print Speed: 50 mm/s
Overhang Egg
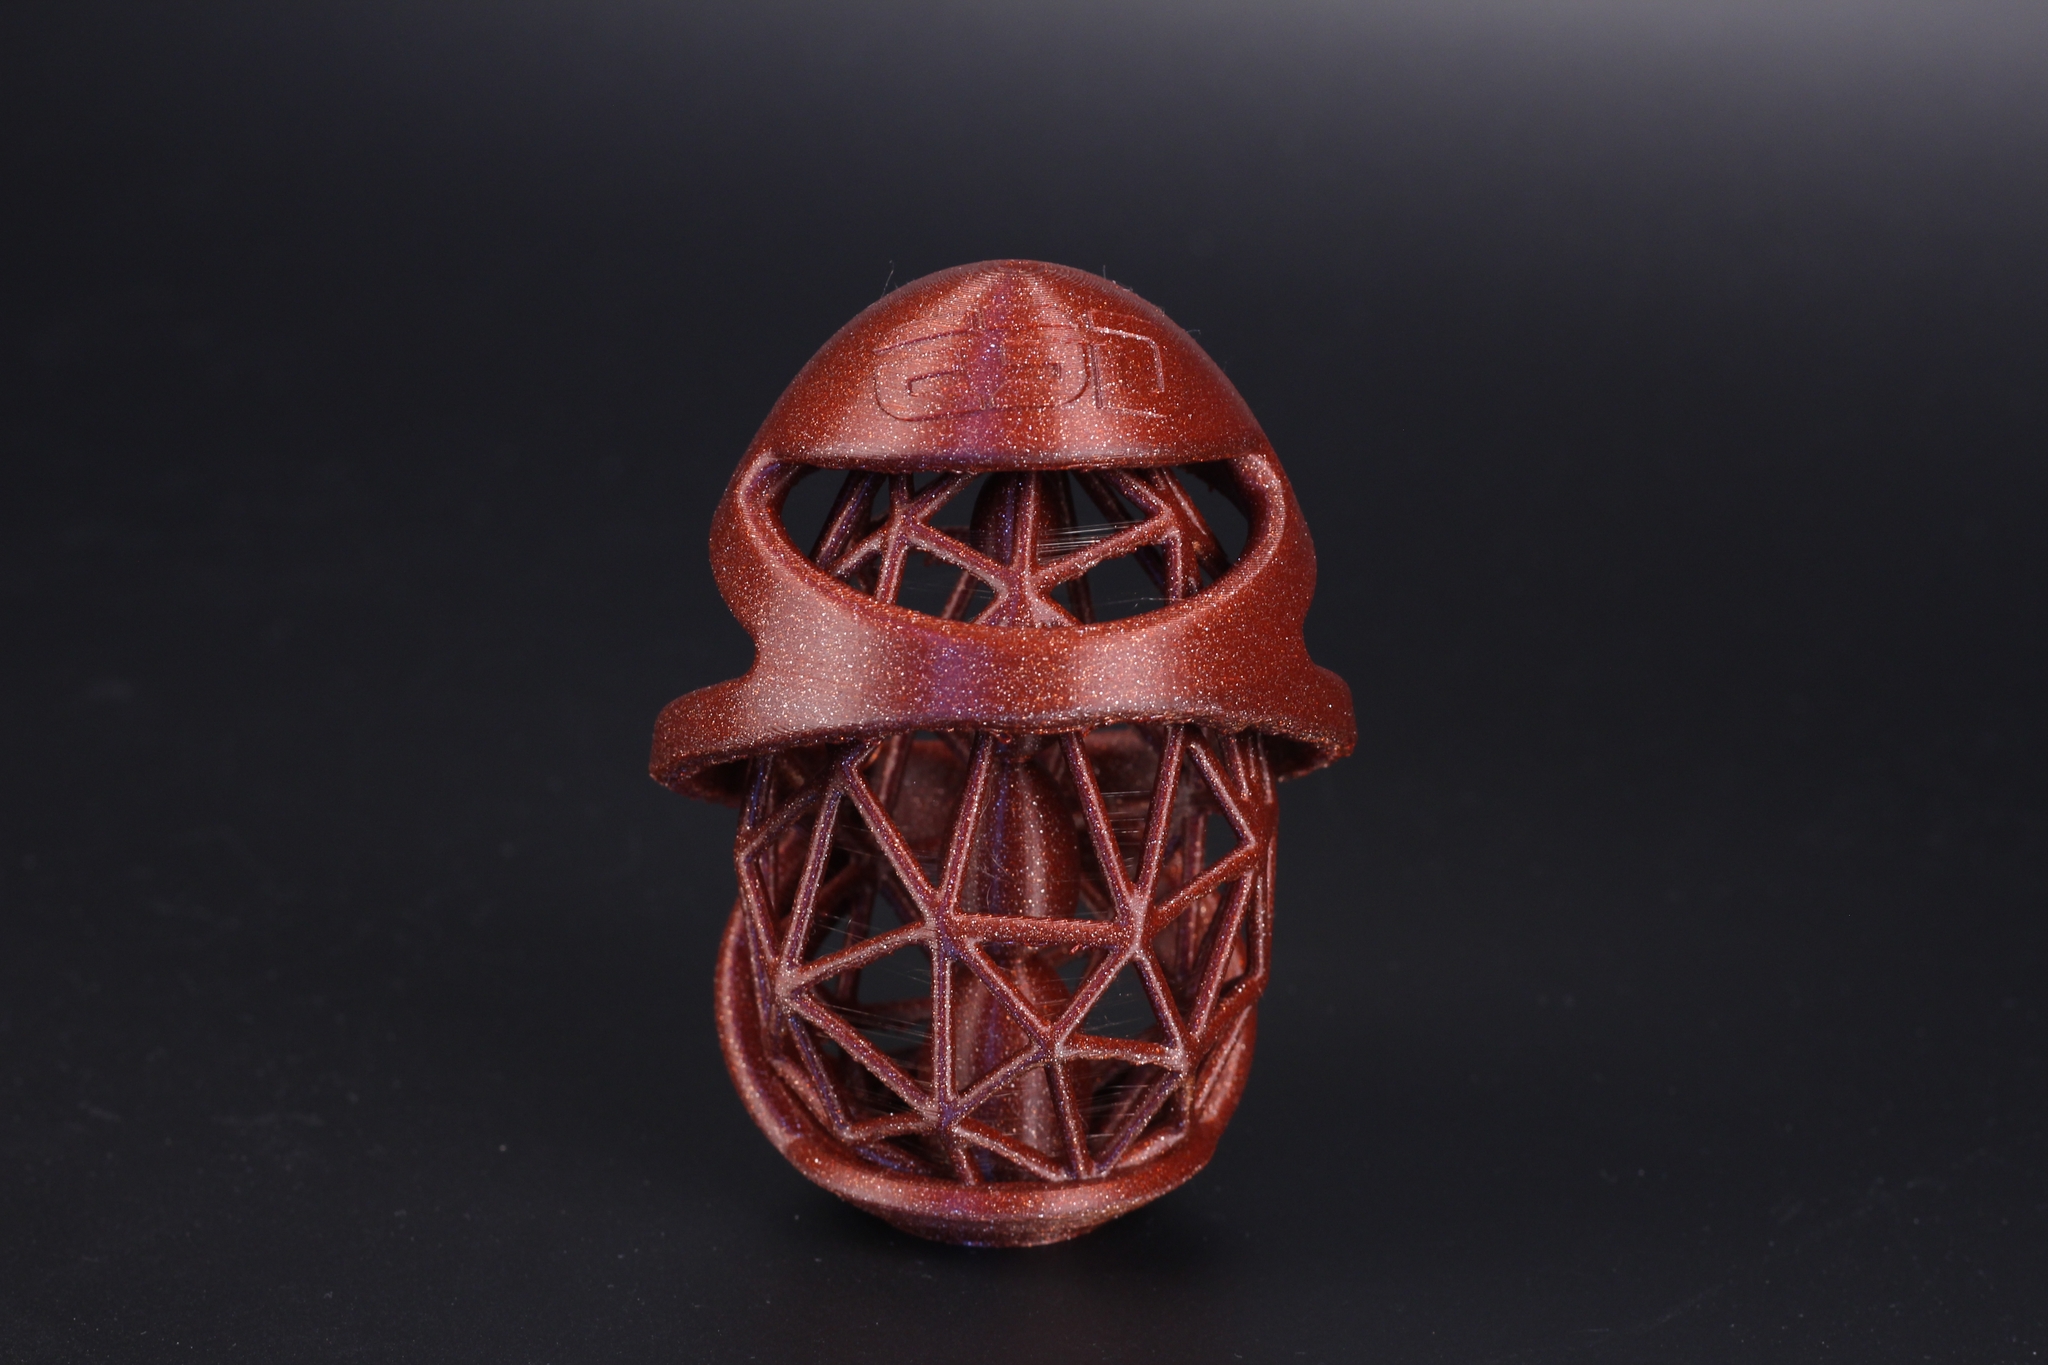
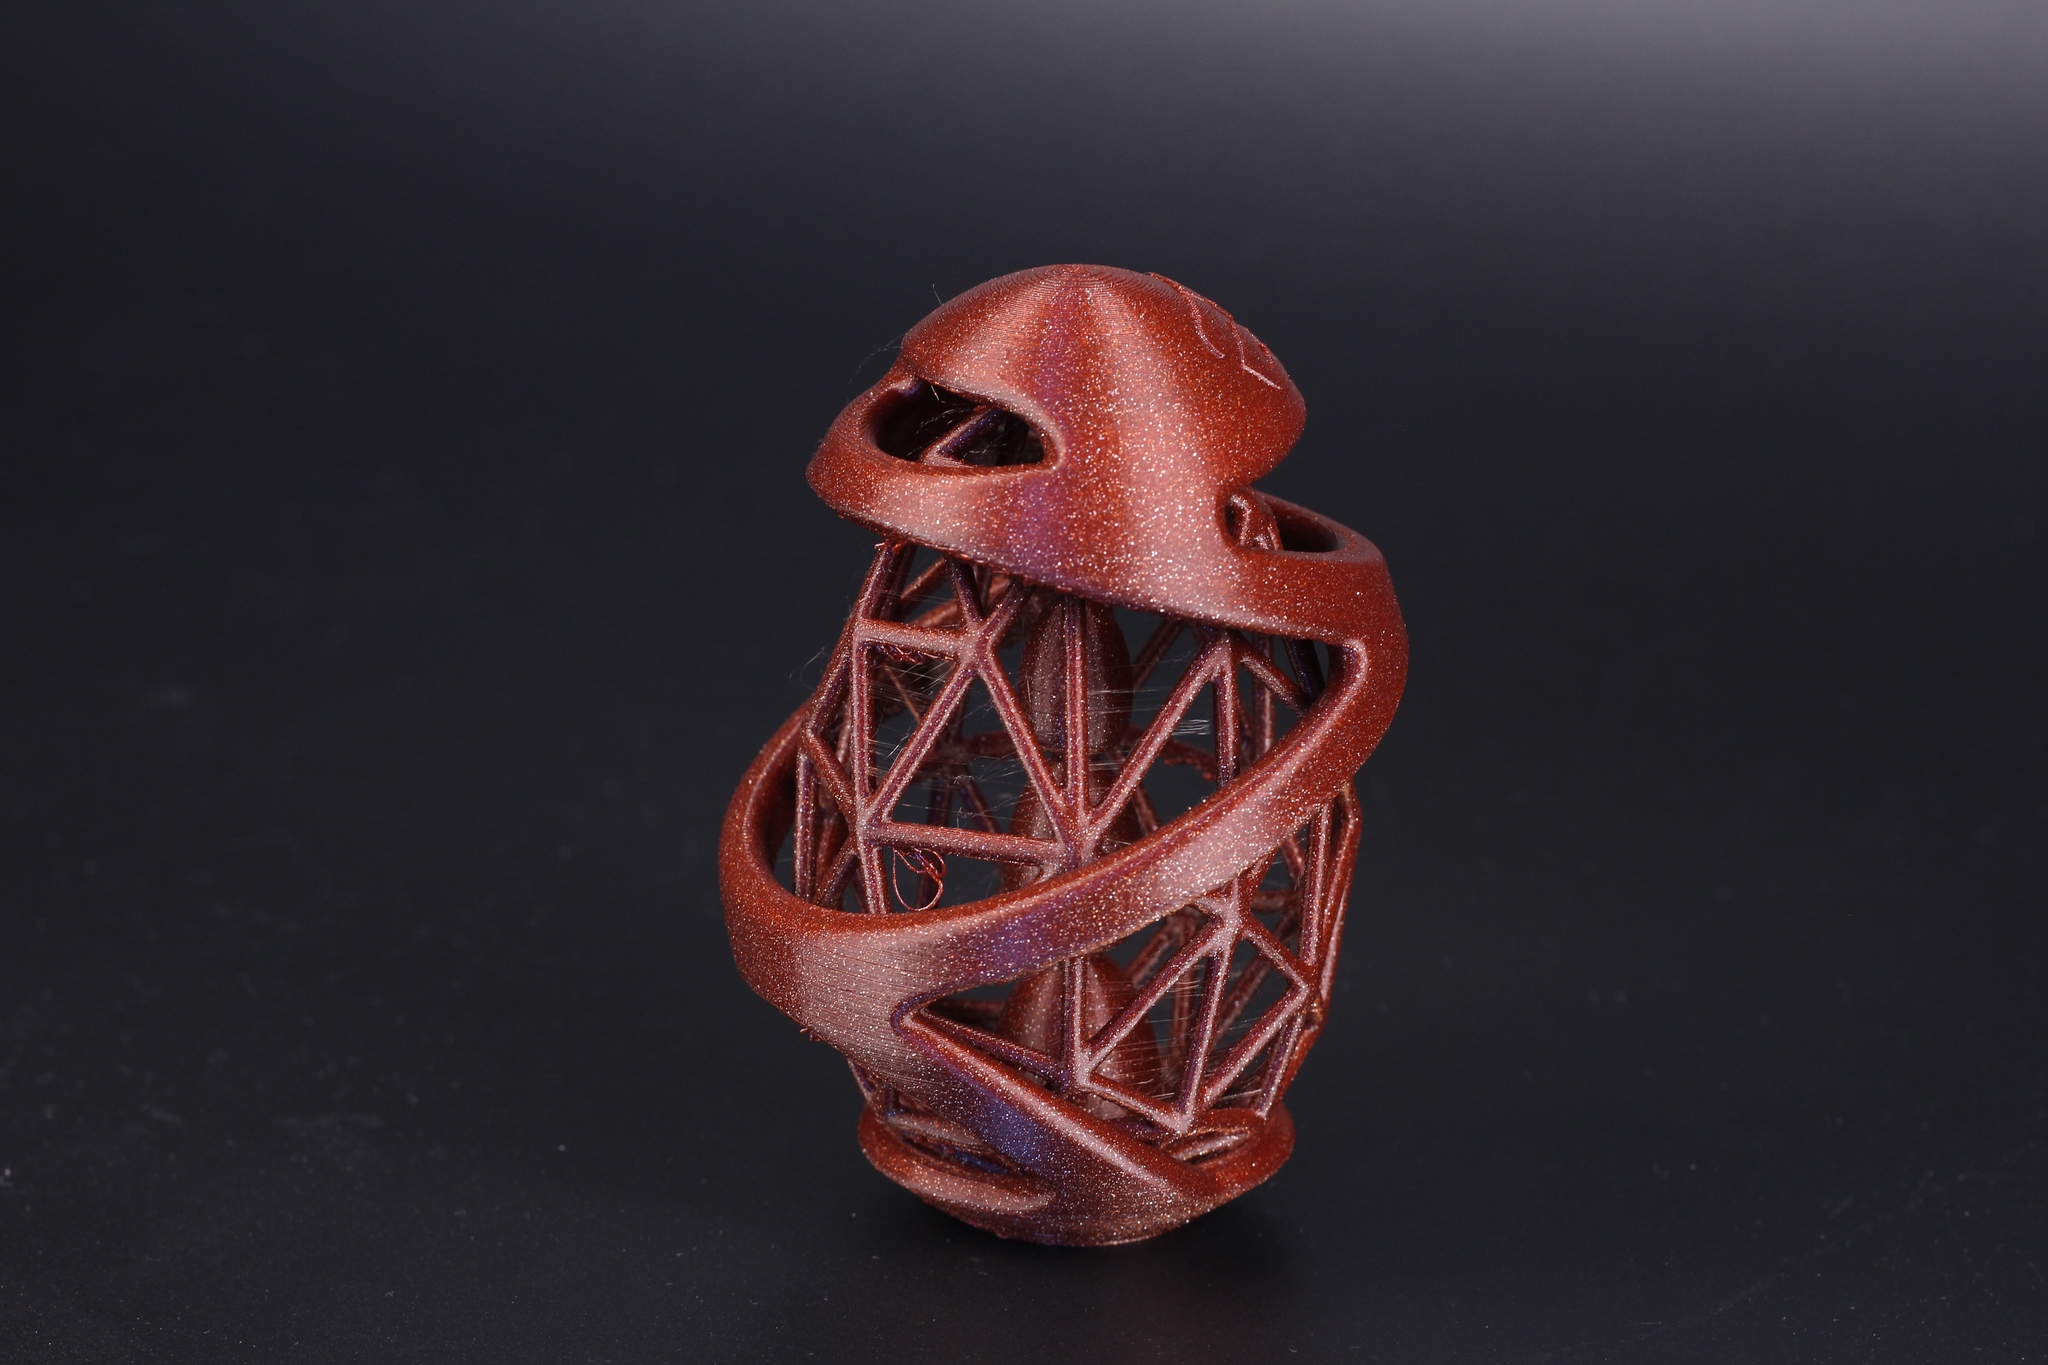
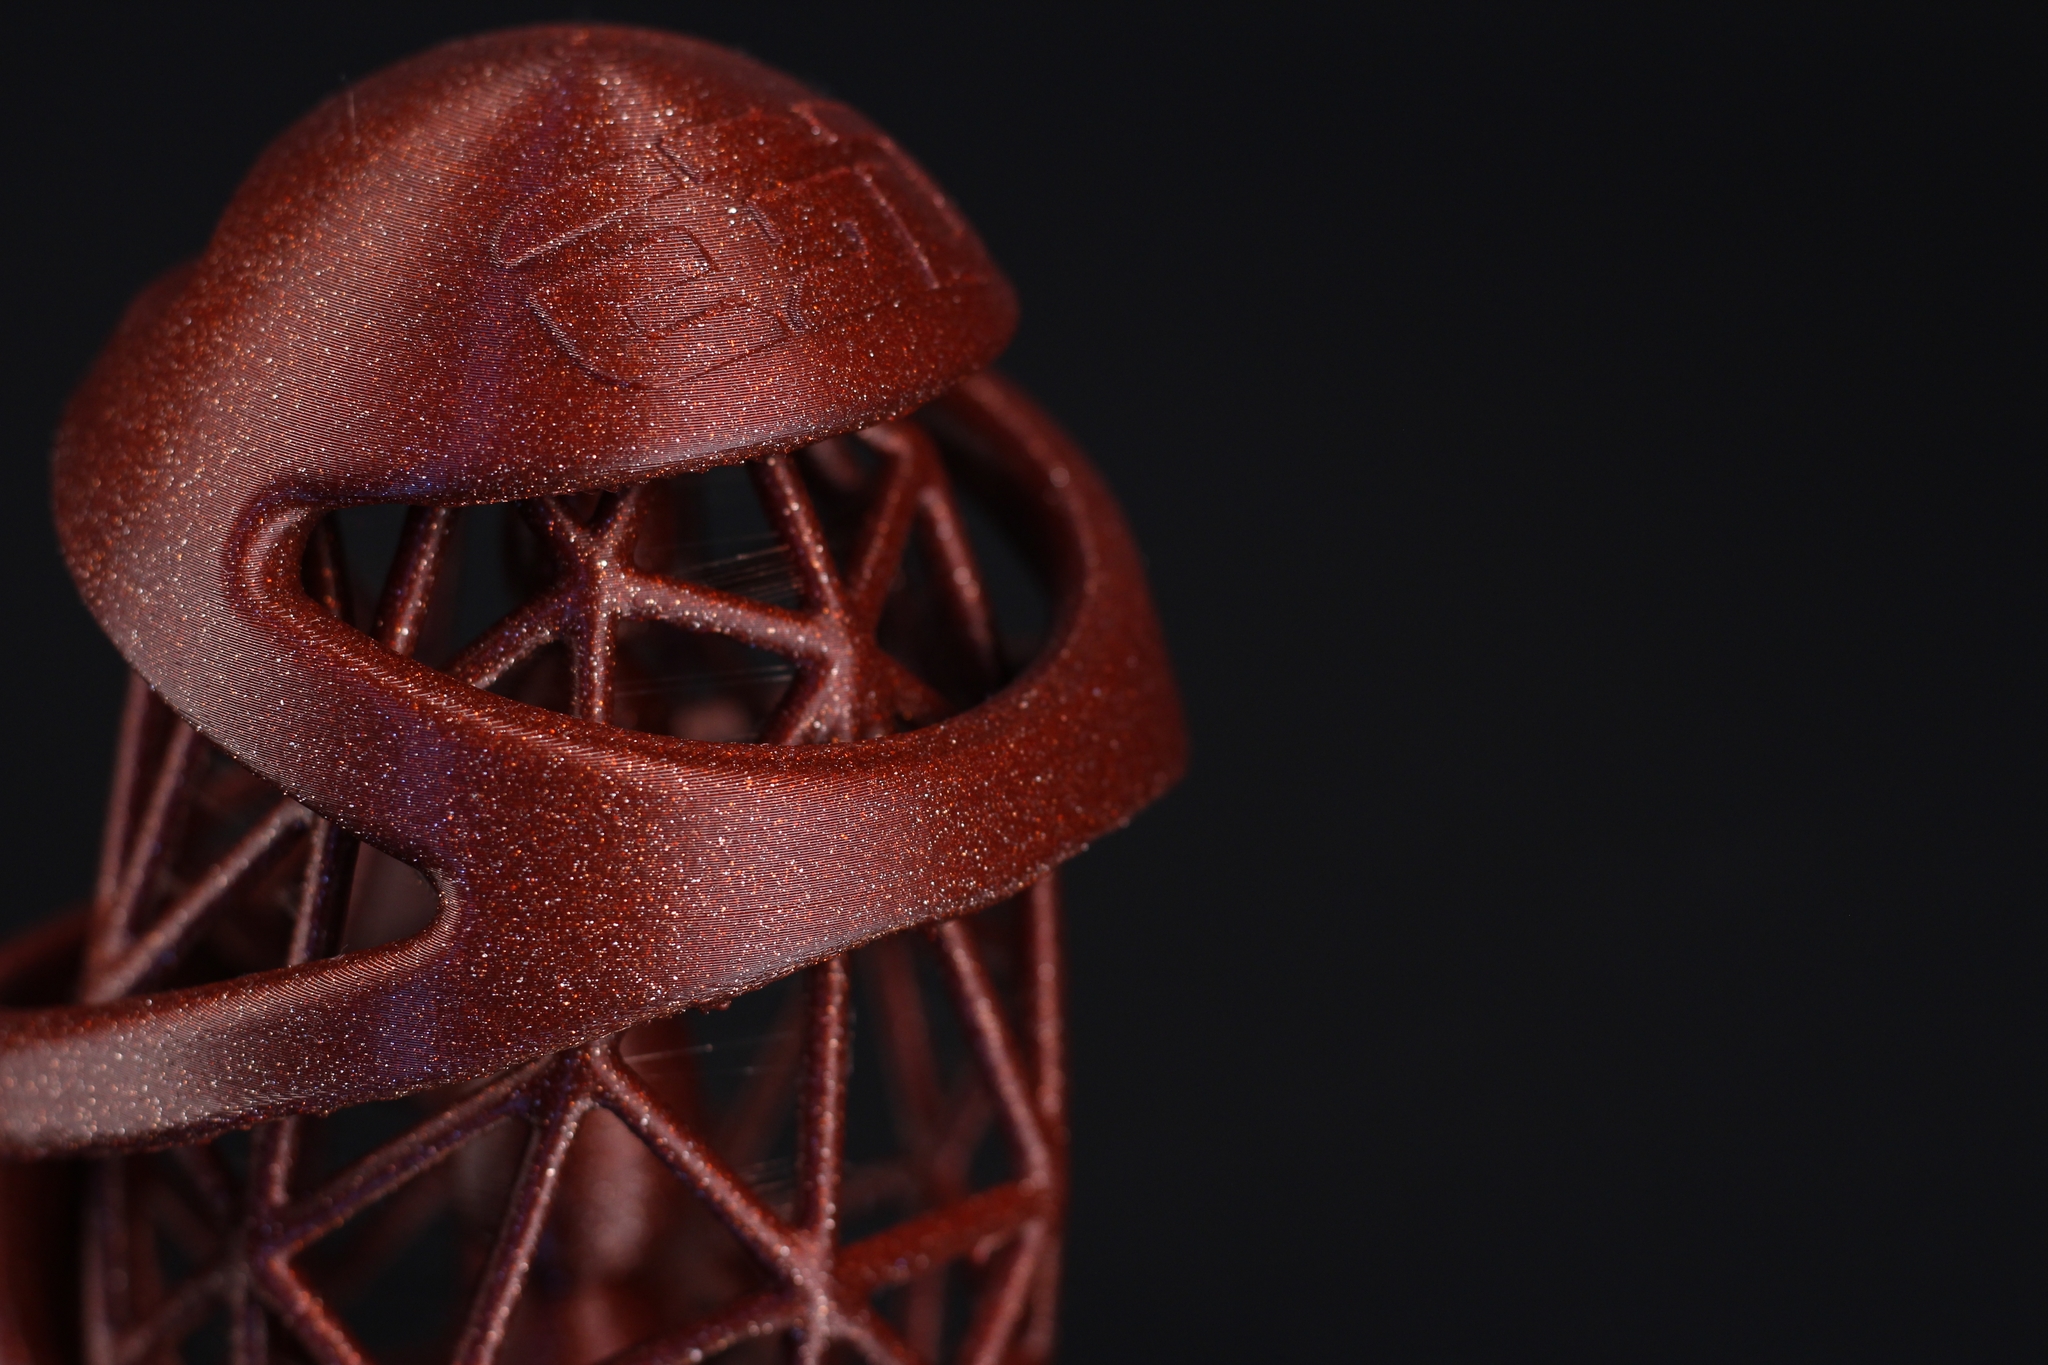
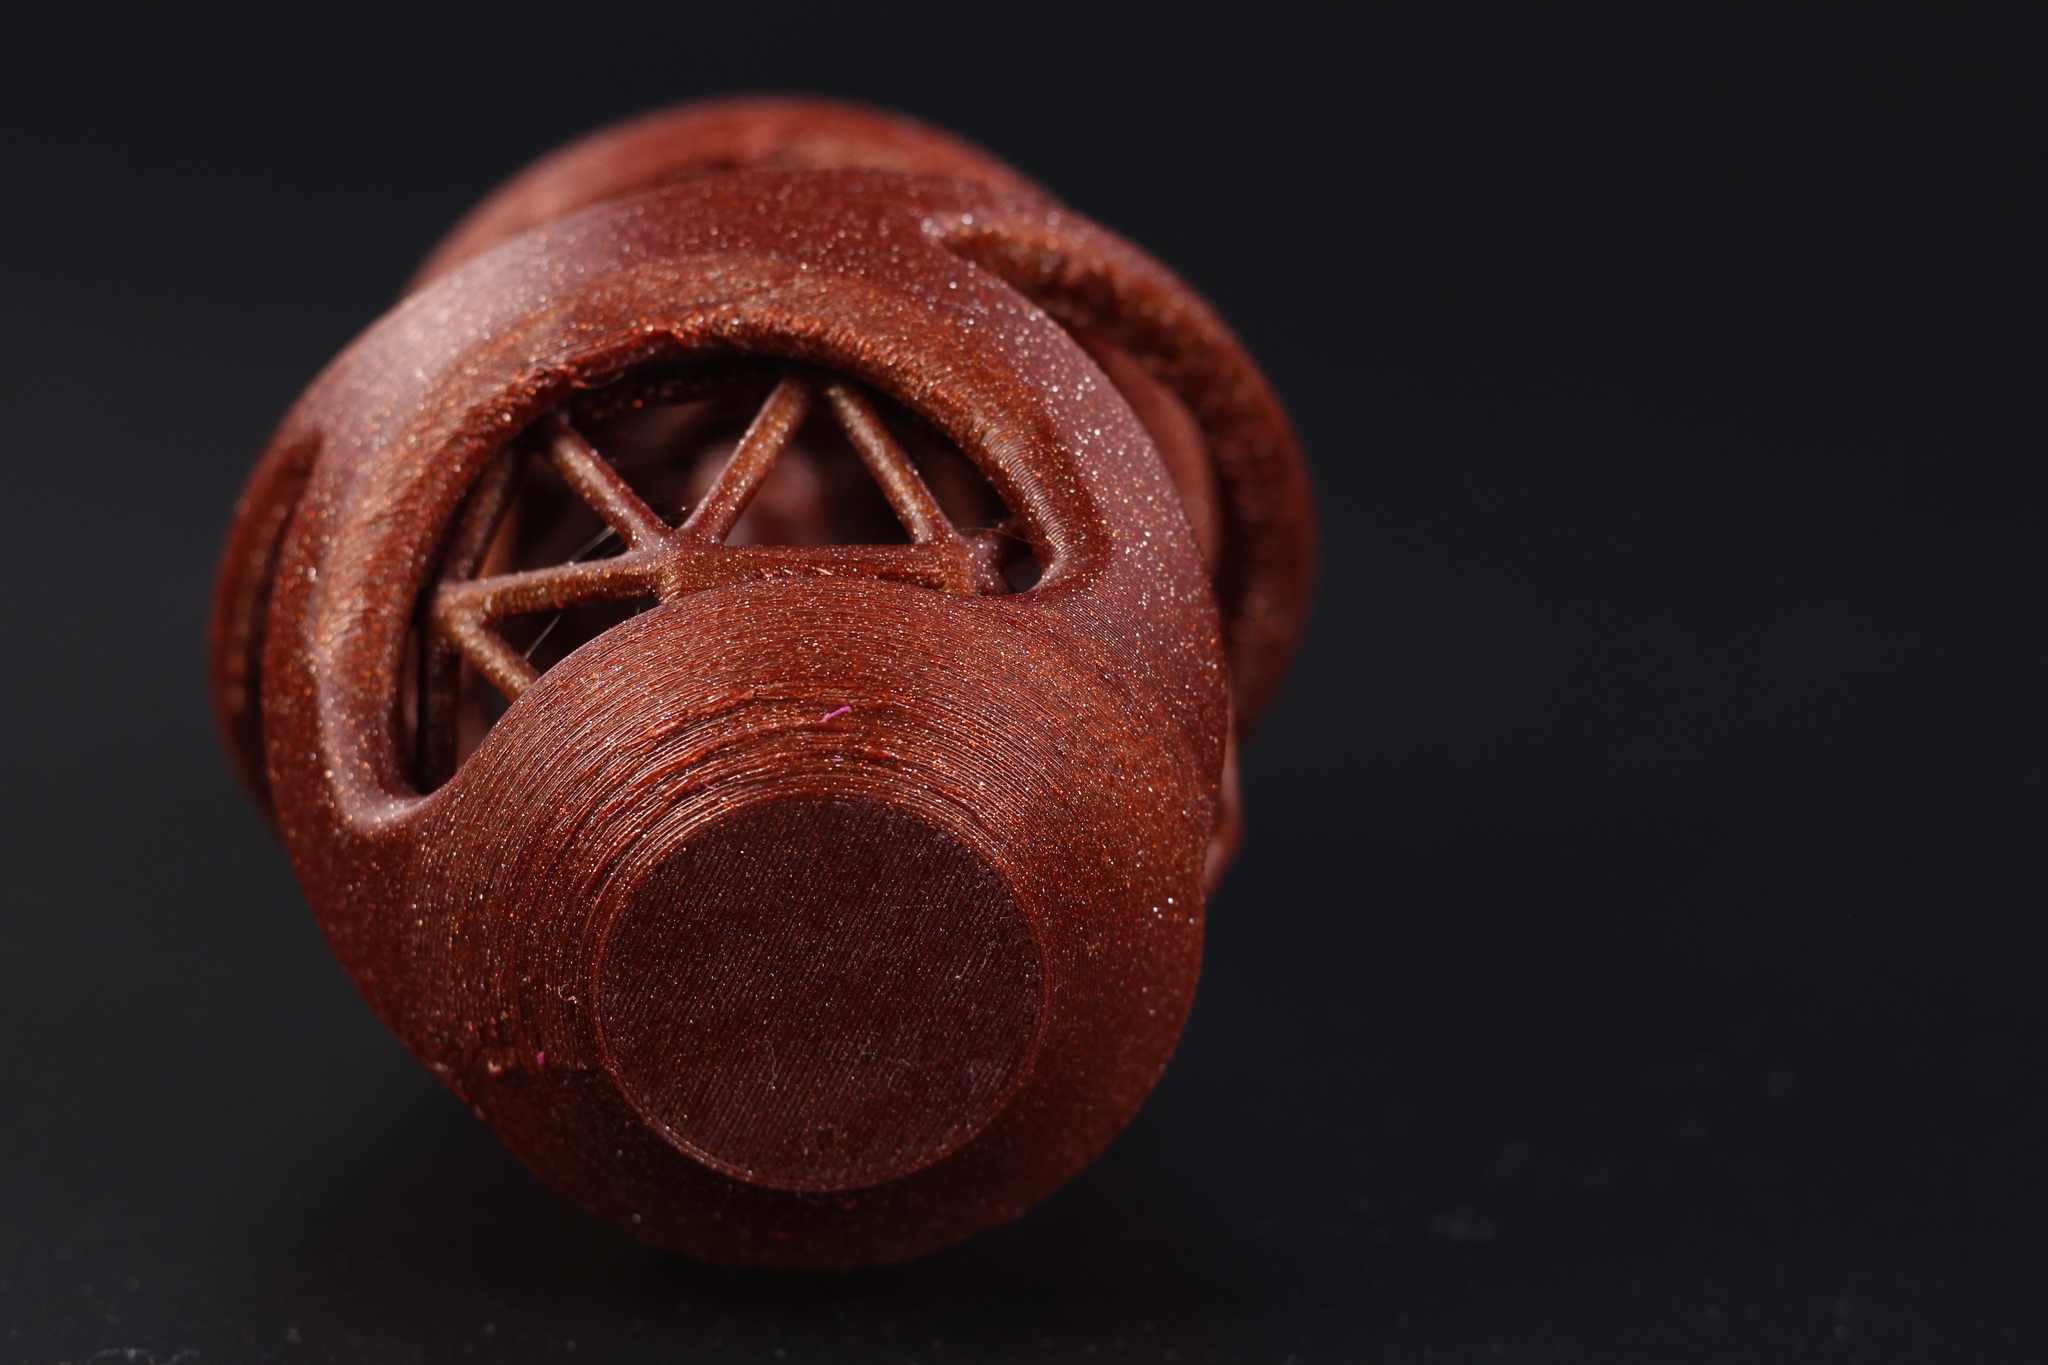
During the review period for the Sovol SV01 Pro, E3D had an easter challenge to print this E3D Overhang Egg. As you can see, it’s quite a challenging print for any 3D printer but the Sovol SV01 Pro was able to print it successfully on the first try.
The model is scaled to 200% but it still needs a well-tuned machine and slicer profile. As seen in the images below, part cooling works pretty well but cooling the model from a single side has its drawbacks. Even so, the steep overhangs and small print features were completed successfully with some stringing present. I’d say it’s a respectable result.
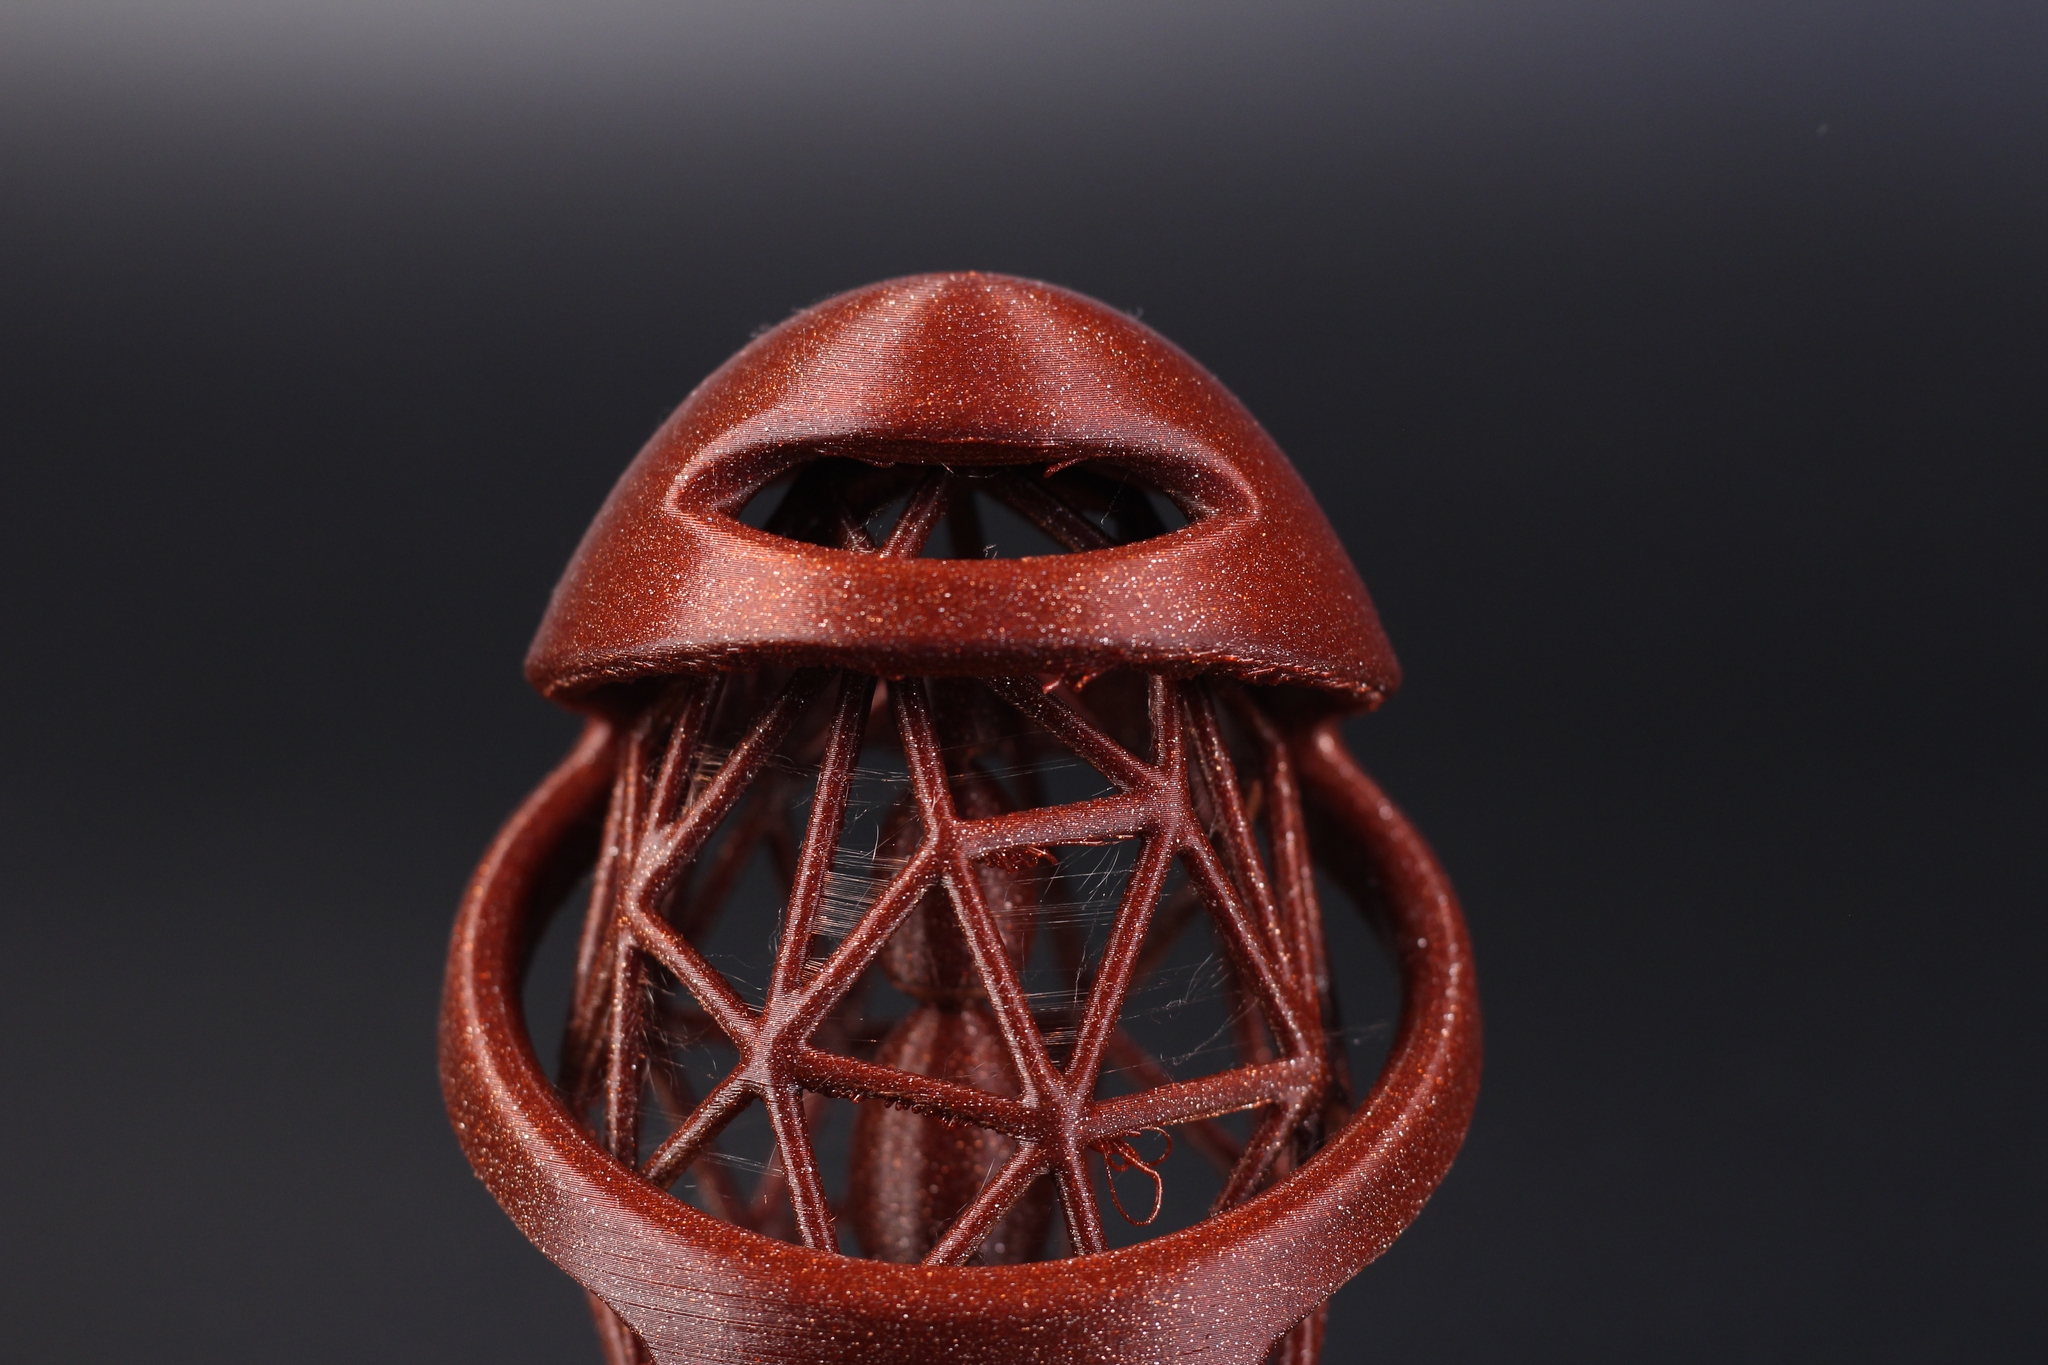
- Material: FilamentOne Glint PLA
- Layer Height: 0.15mm
- Nozzle Temperature: 200C
- Bed Temperature: 60C
- Print Speed: 40 mm/s
The Comedian
Finally, I printed The Comedian bust from Fotis Mint to check the printer’s performance with a large model and silk filament. The model turned out great, but some cooling issues can be seen on some sections of the model. Besides that, some inconsistent extrusion issues can also be noticed in some parts of the model caused by the extruder idler.
Overall, a good print, but I know this printer can do better with a bit of time invested in fixing the Z axis movement and the extruder.
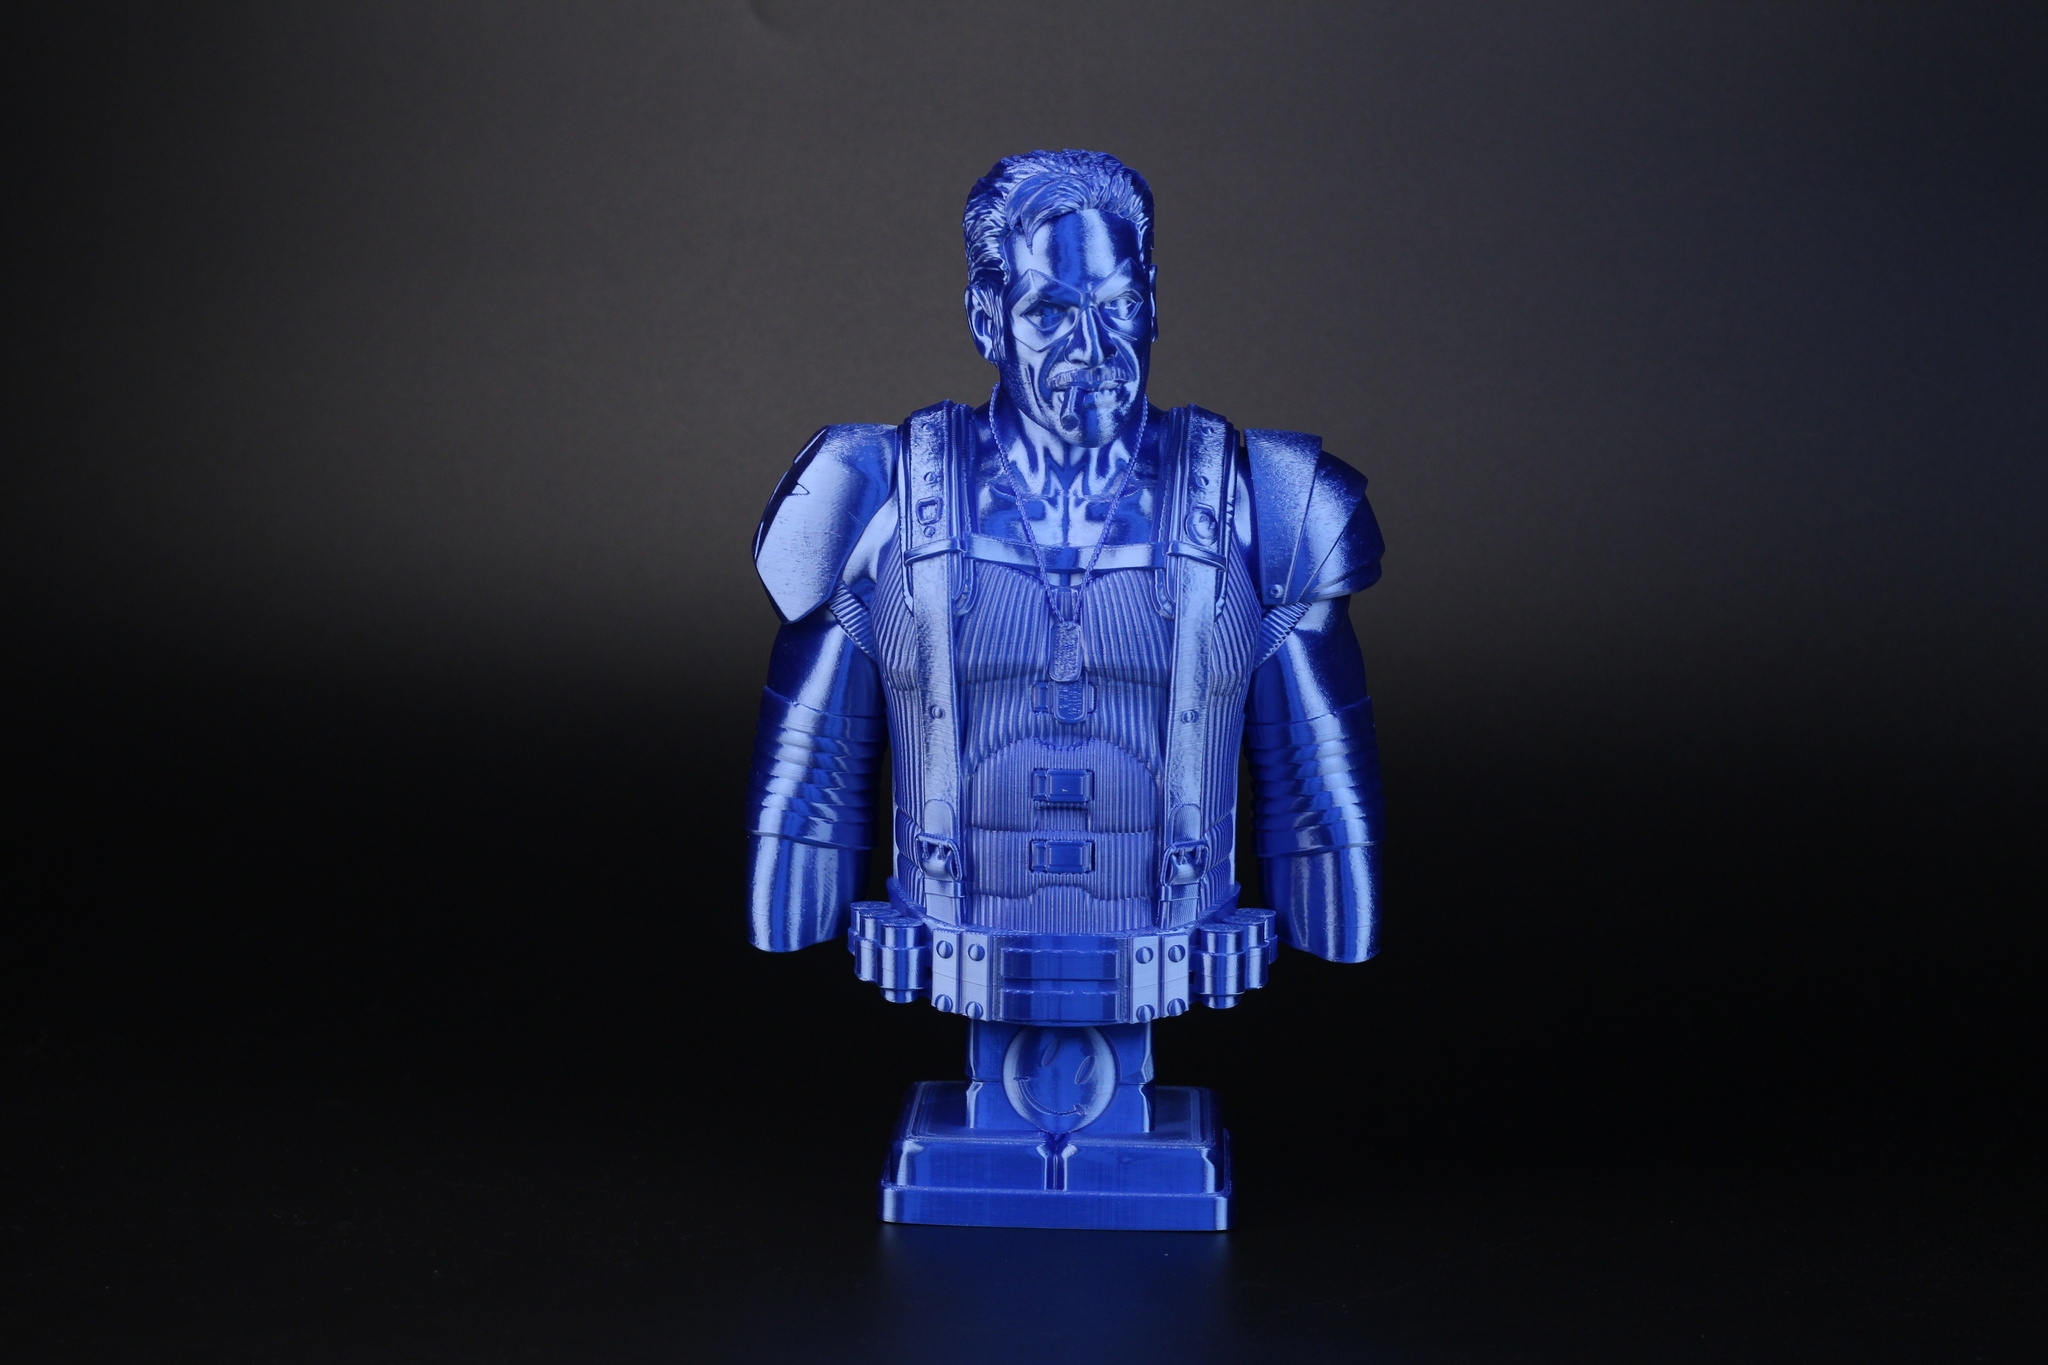
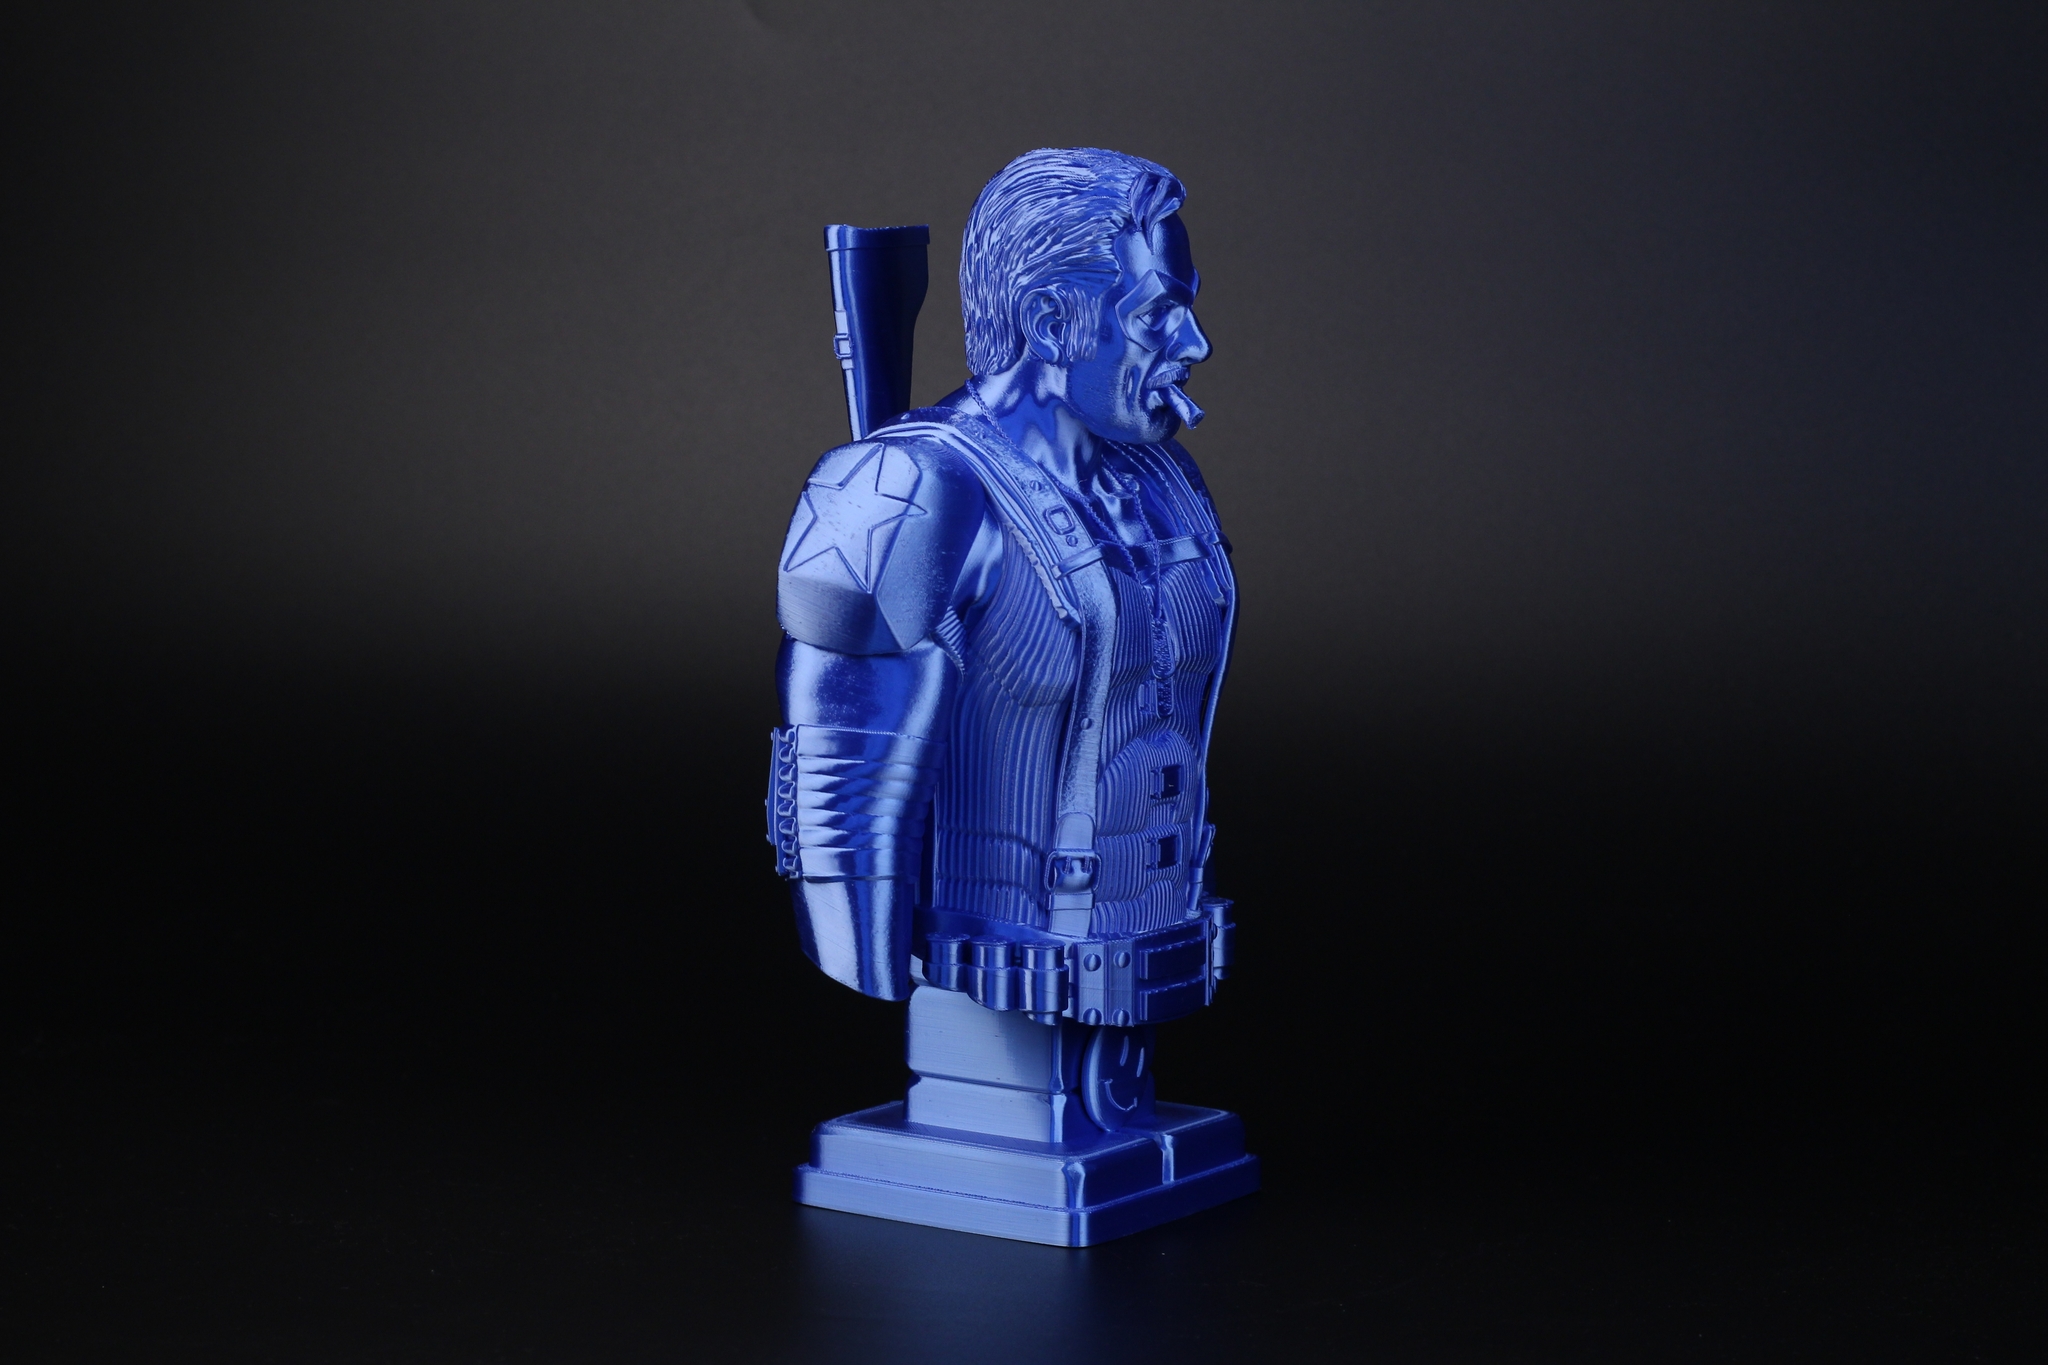
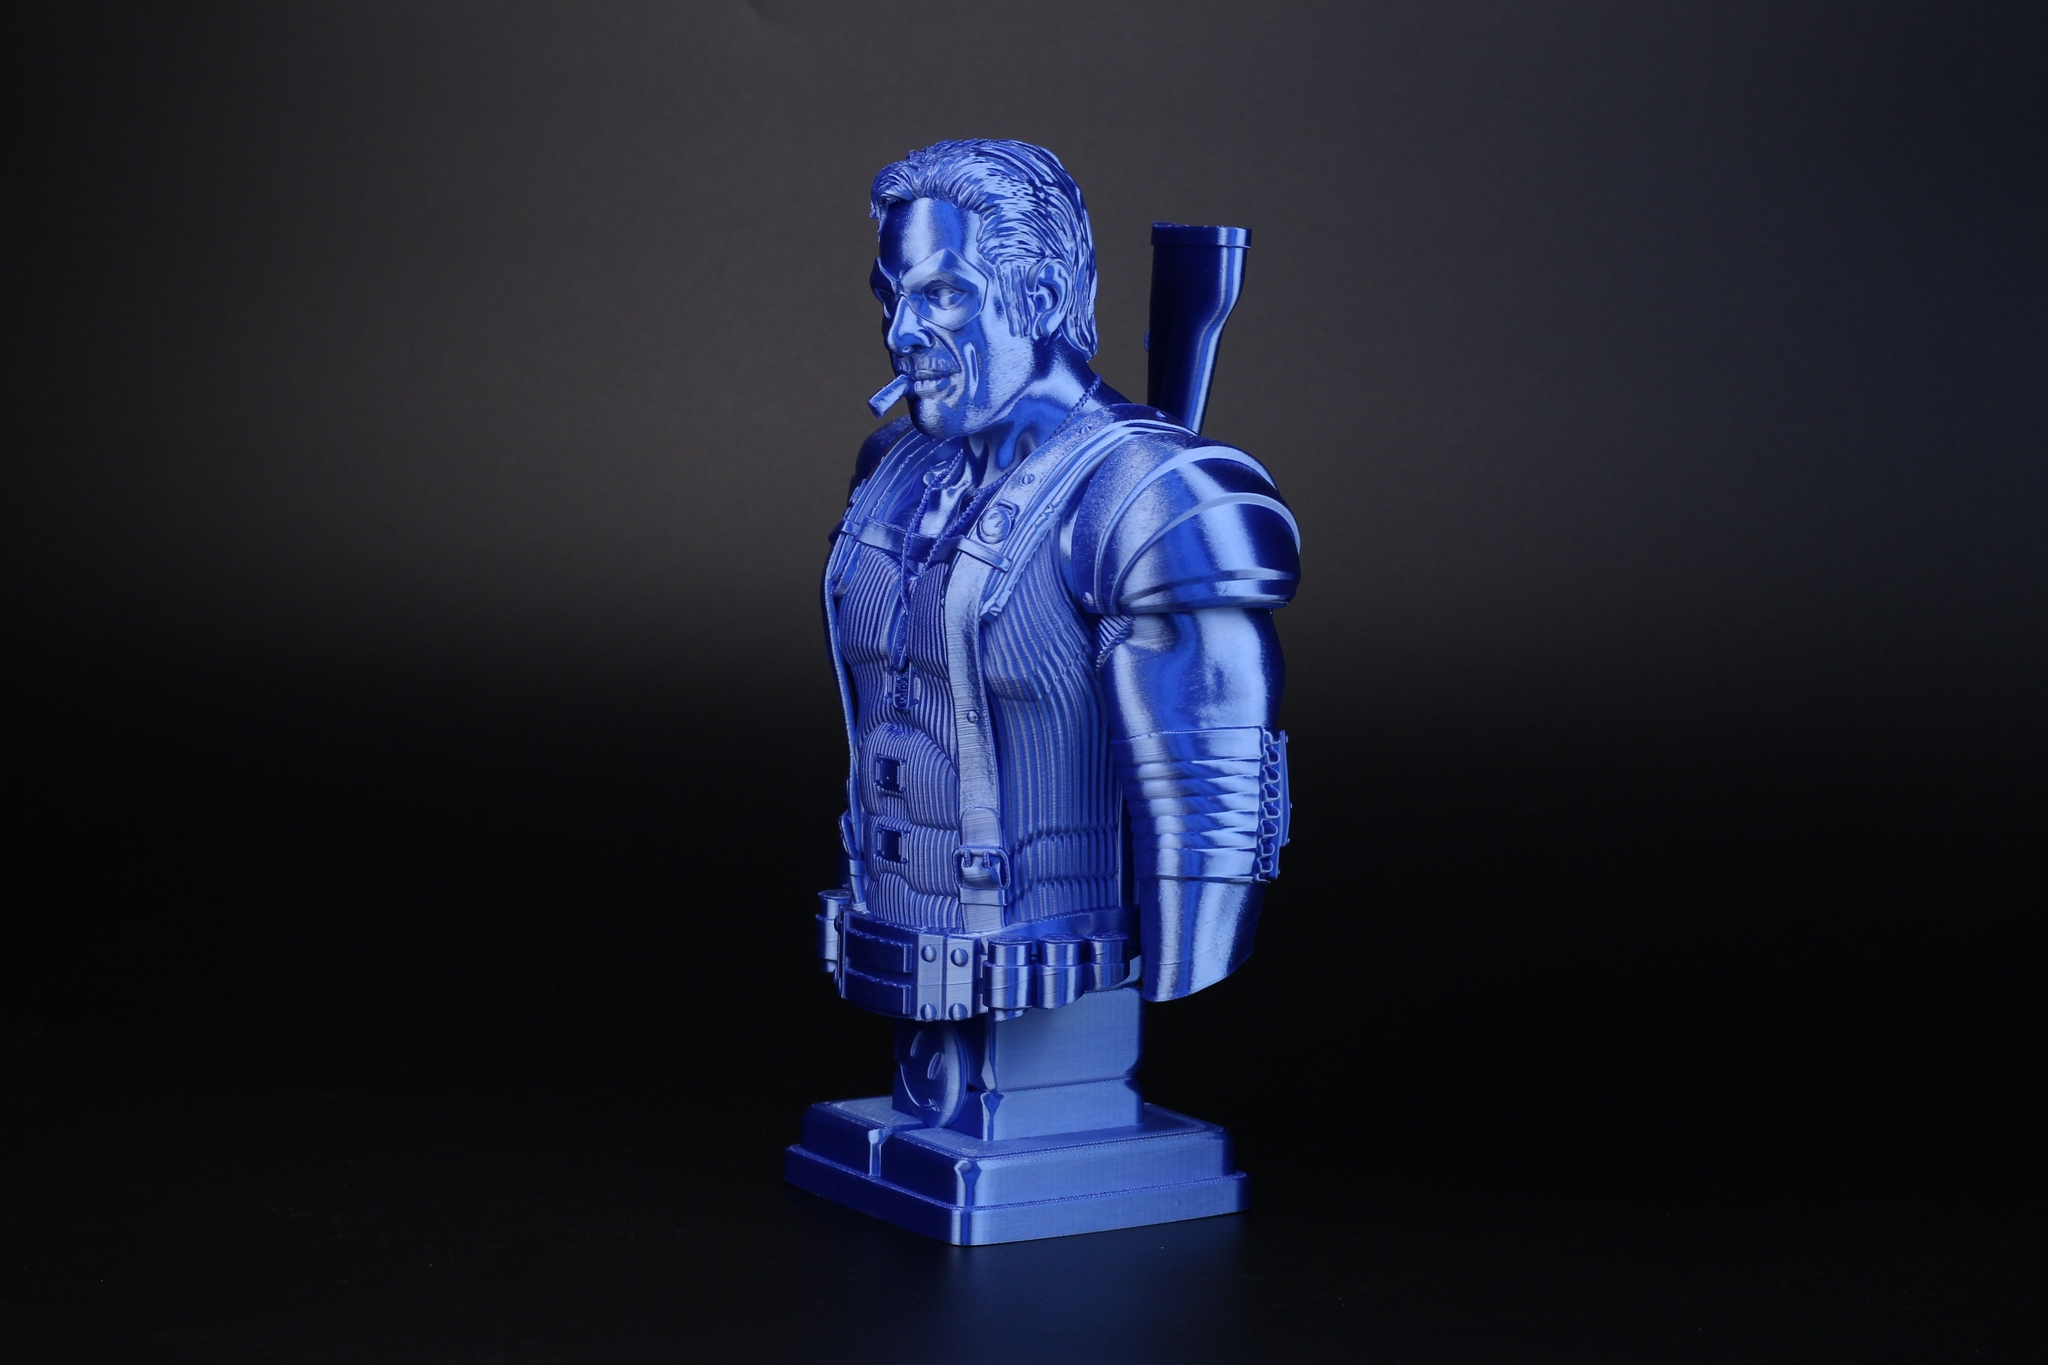
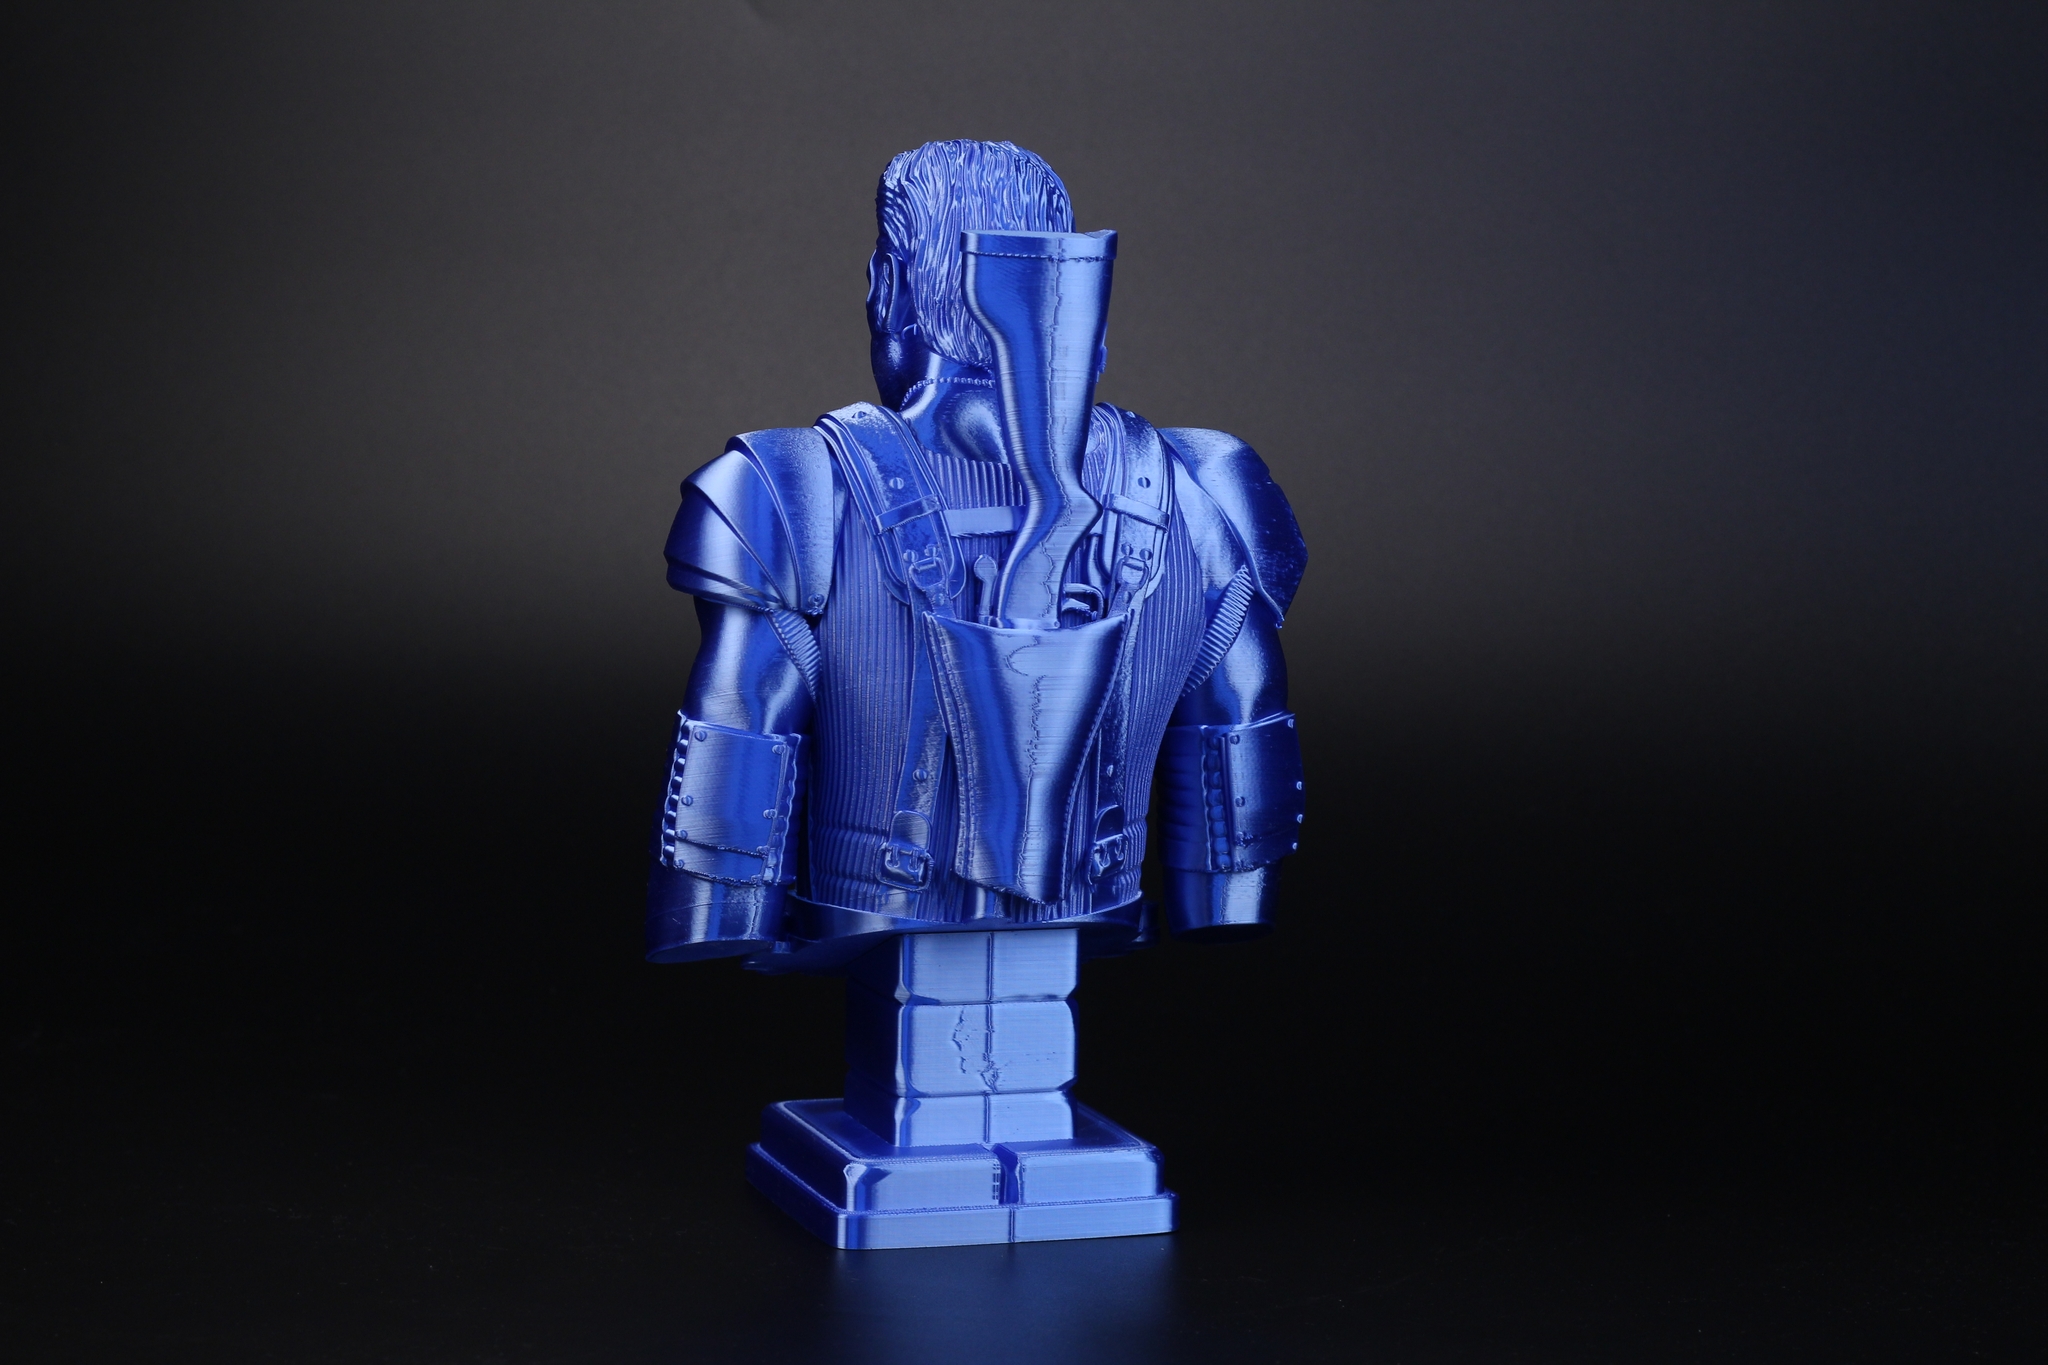
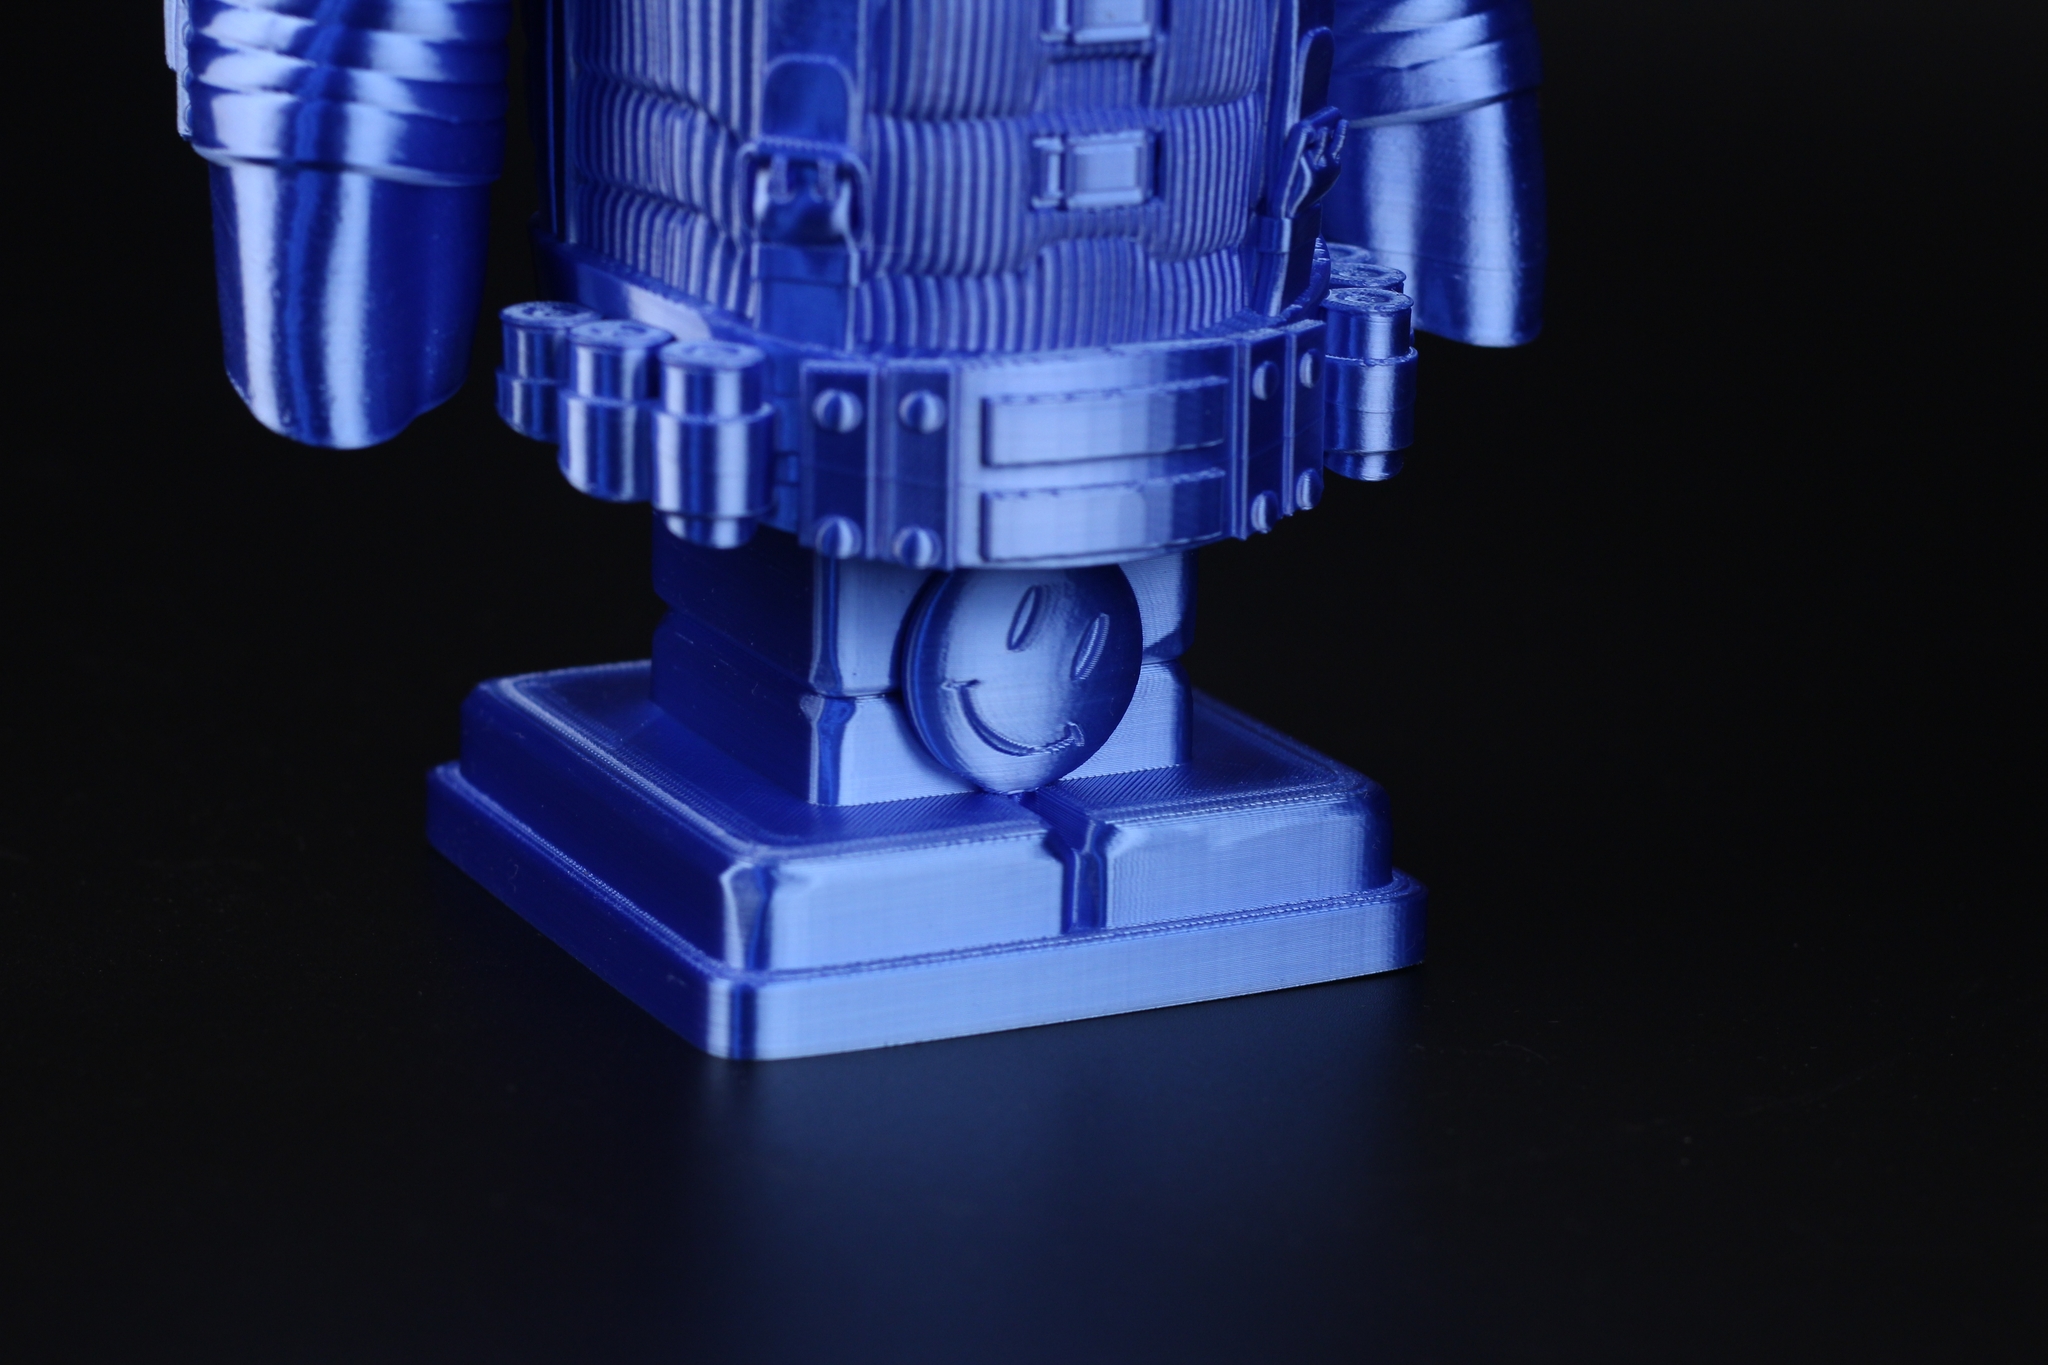
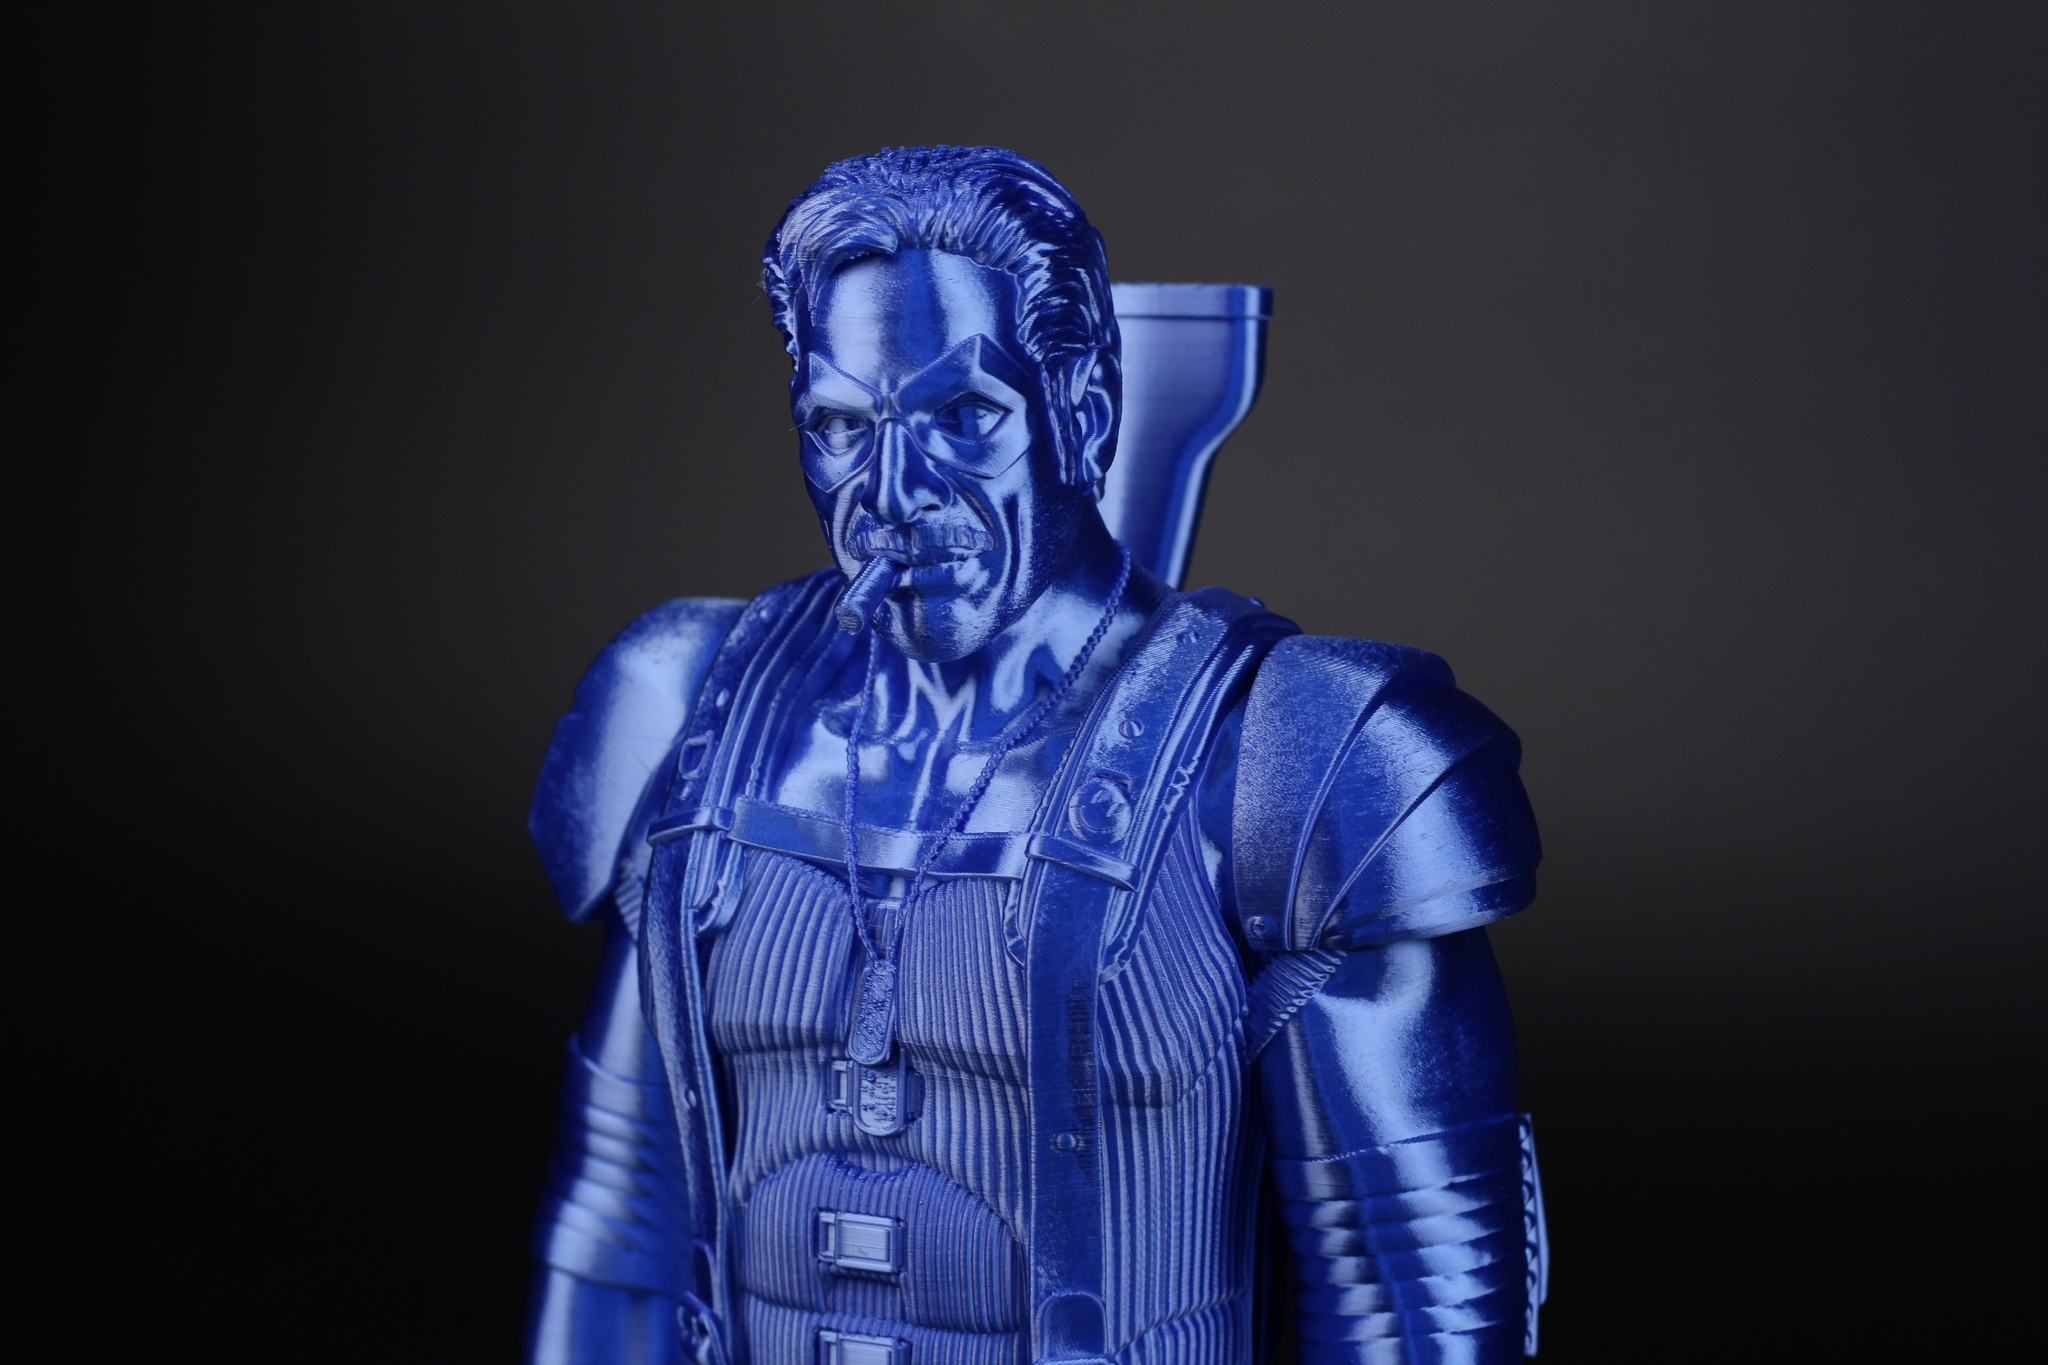
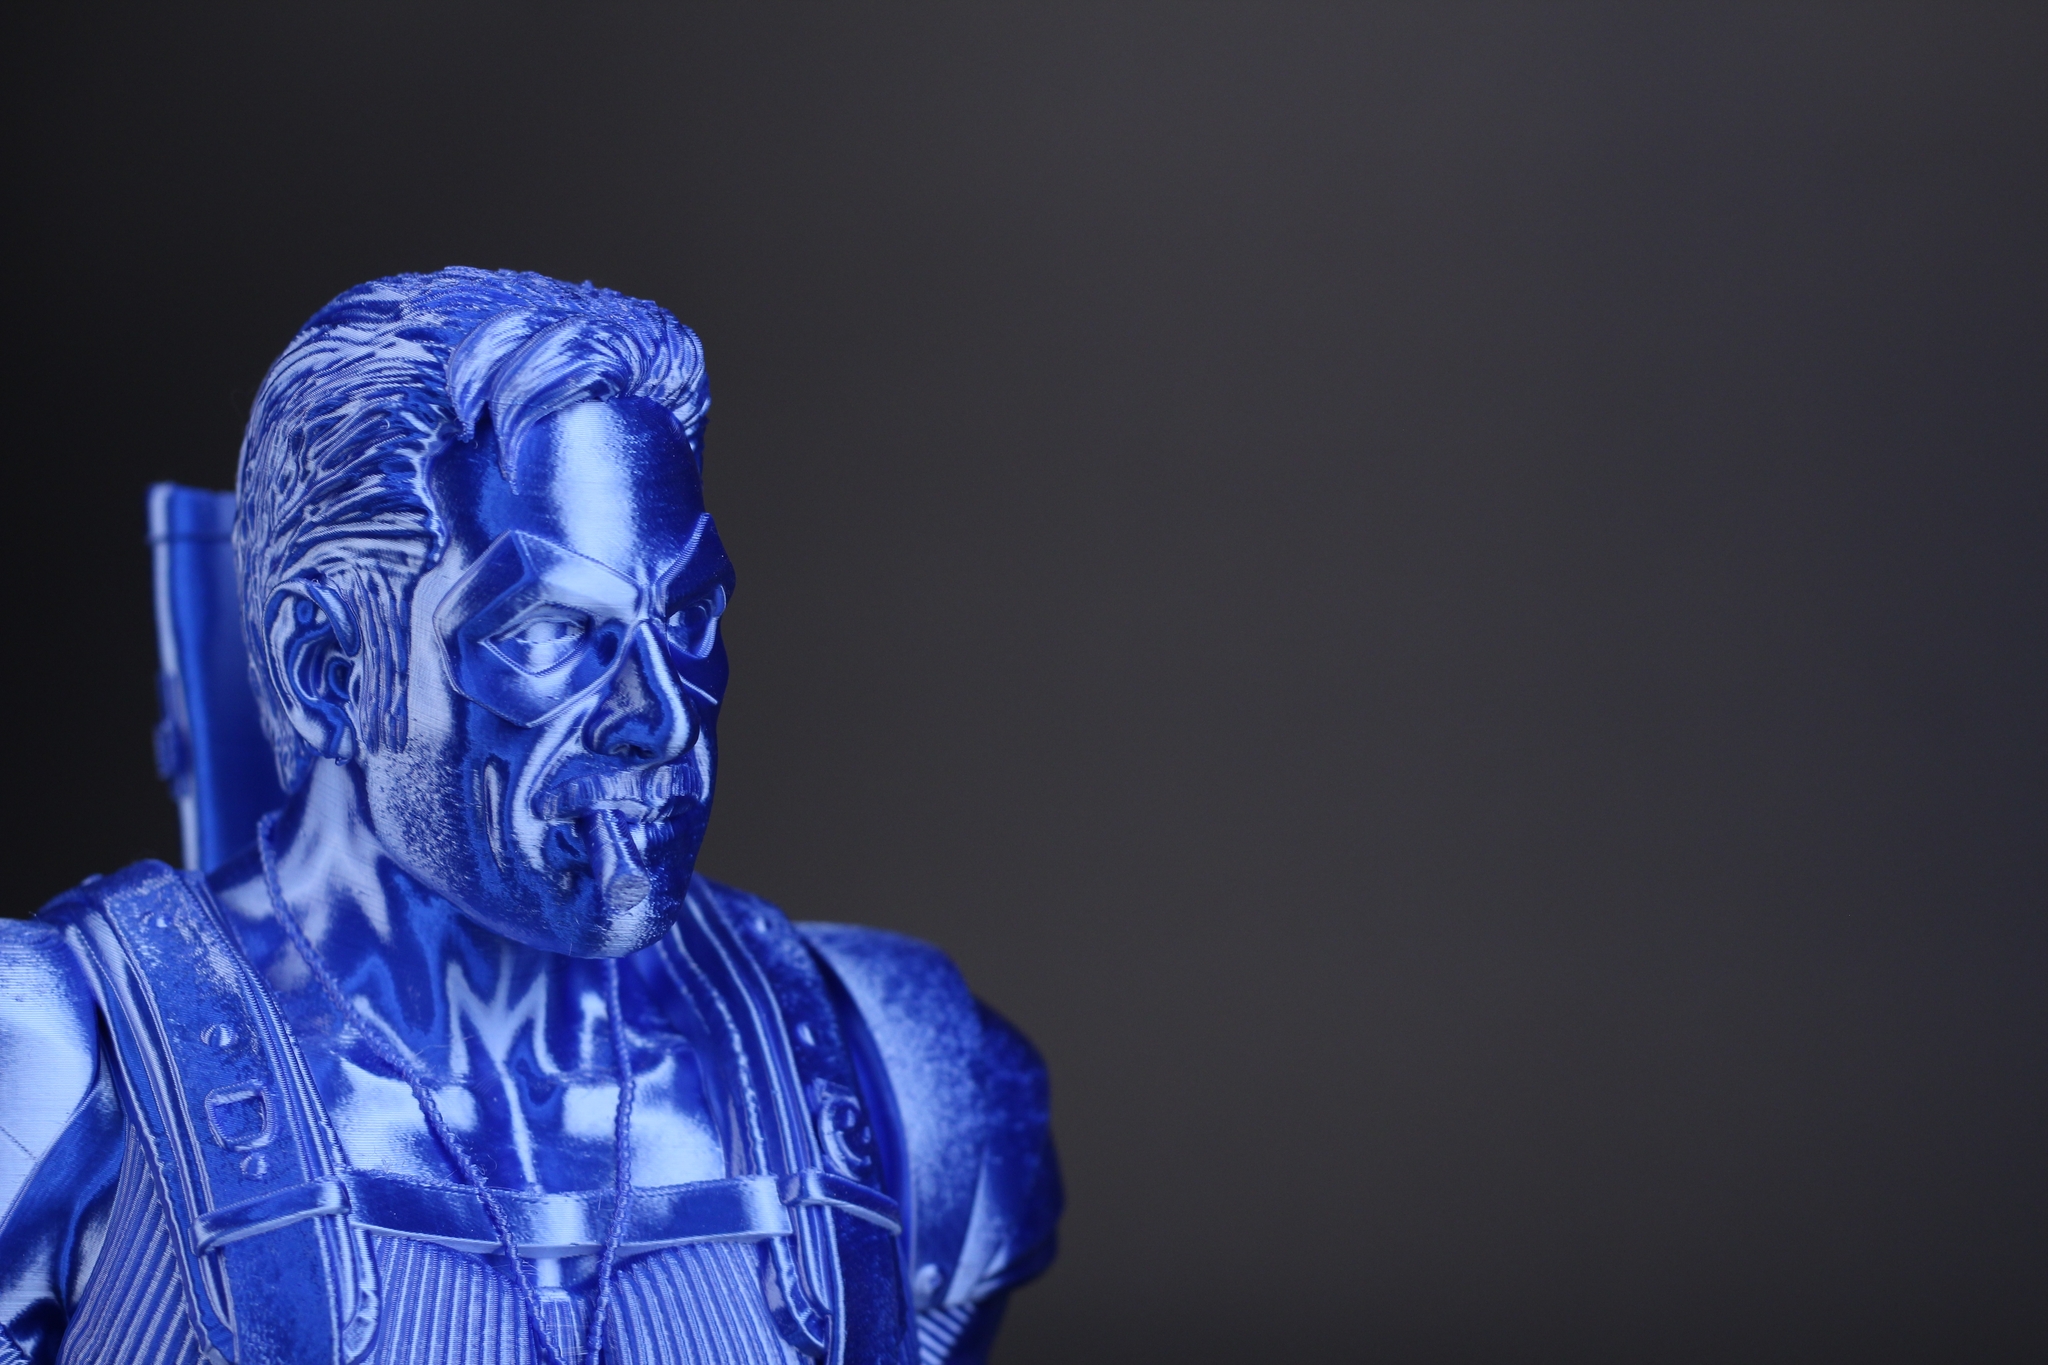
- Material: Devil Design Blue Silk PLA
- Layer Height: 0.15mm
- Nozzle Temperature: 216C
- Bed Temperature: 60C
- Print Speed: 40 mm/s
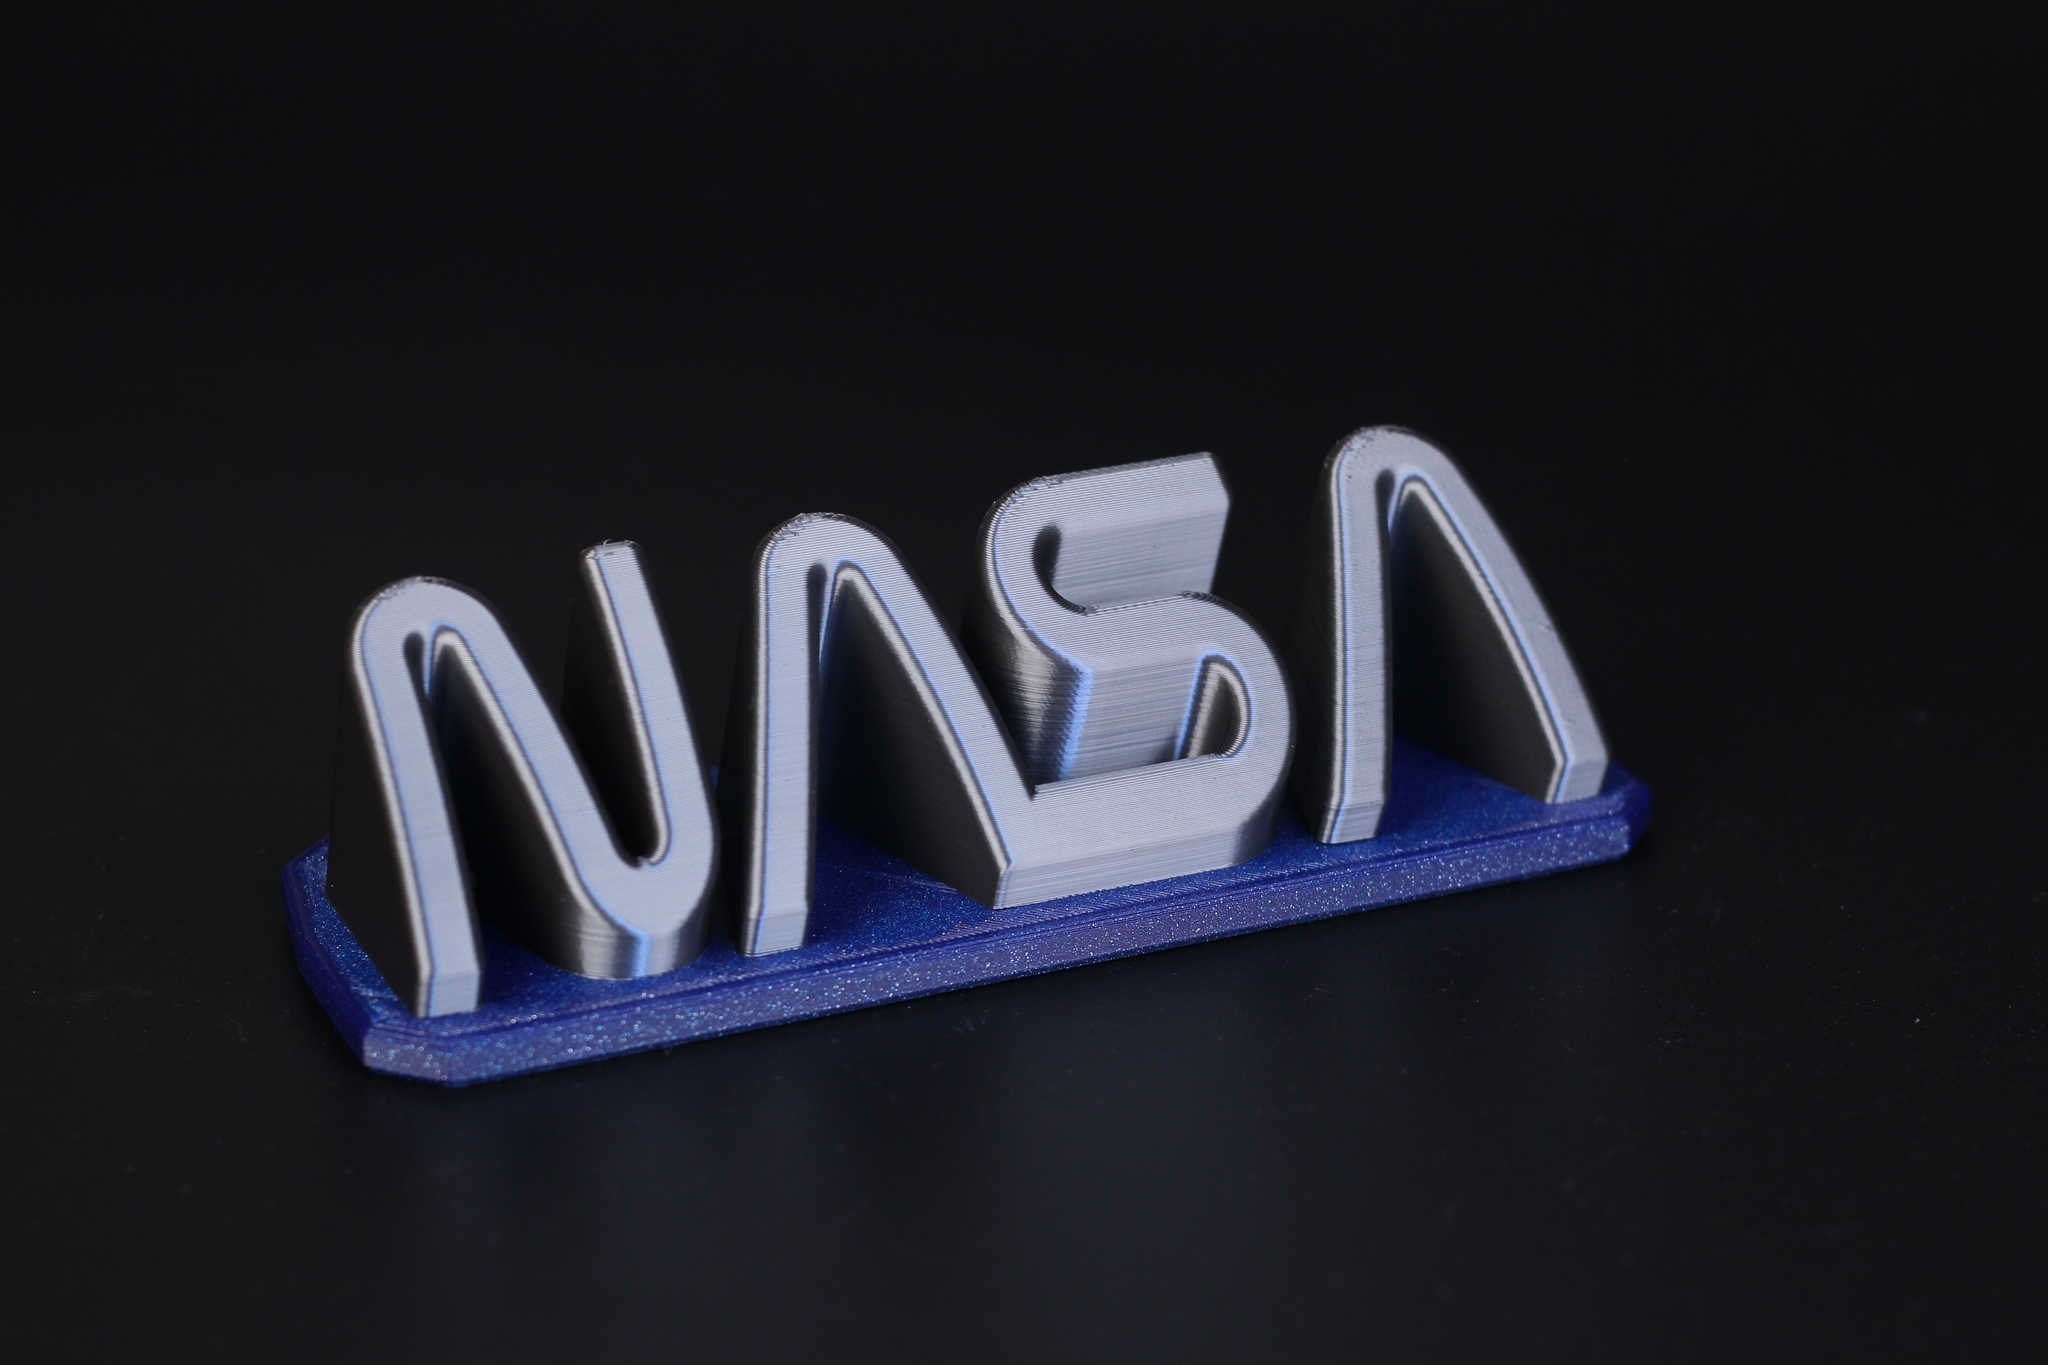
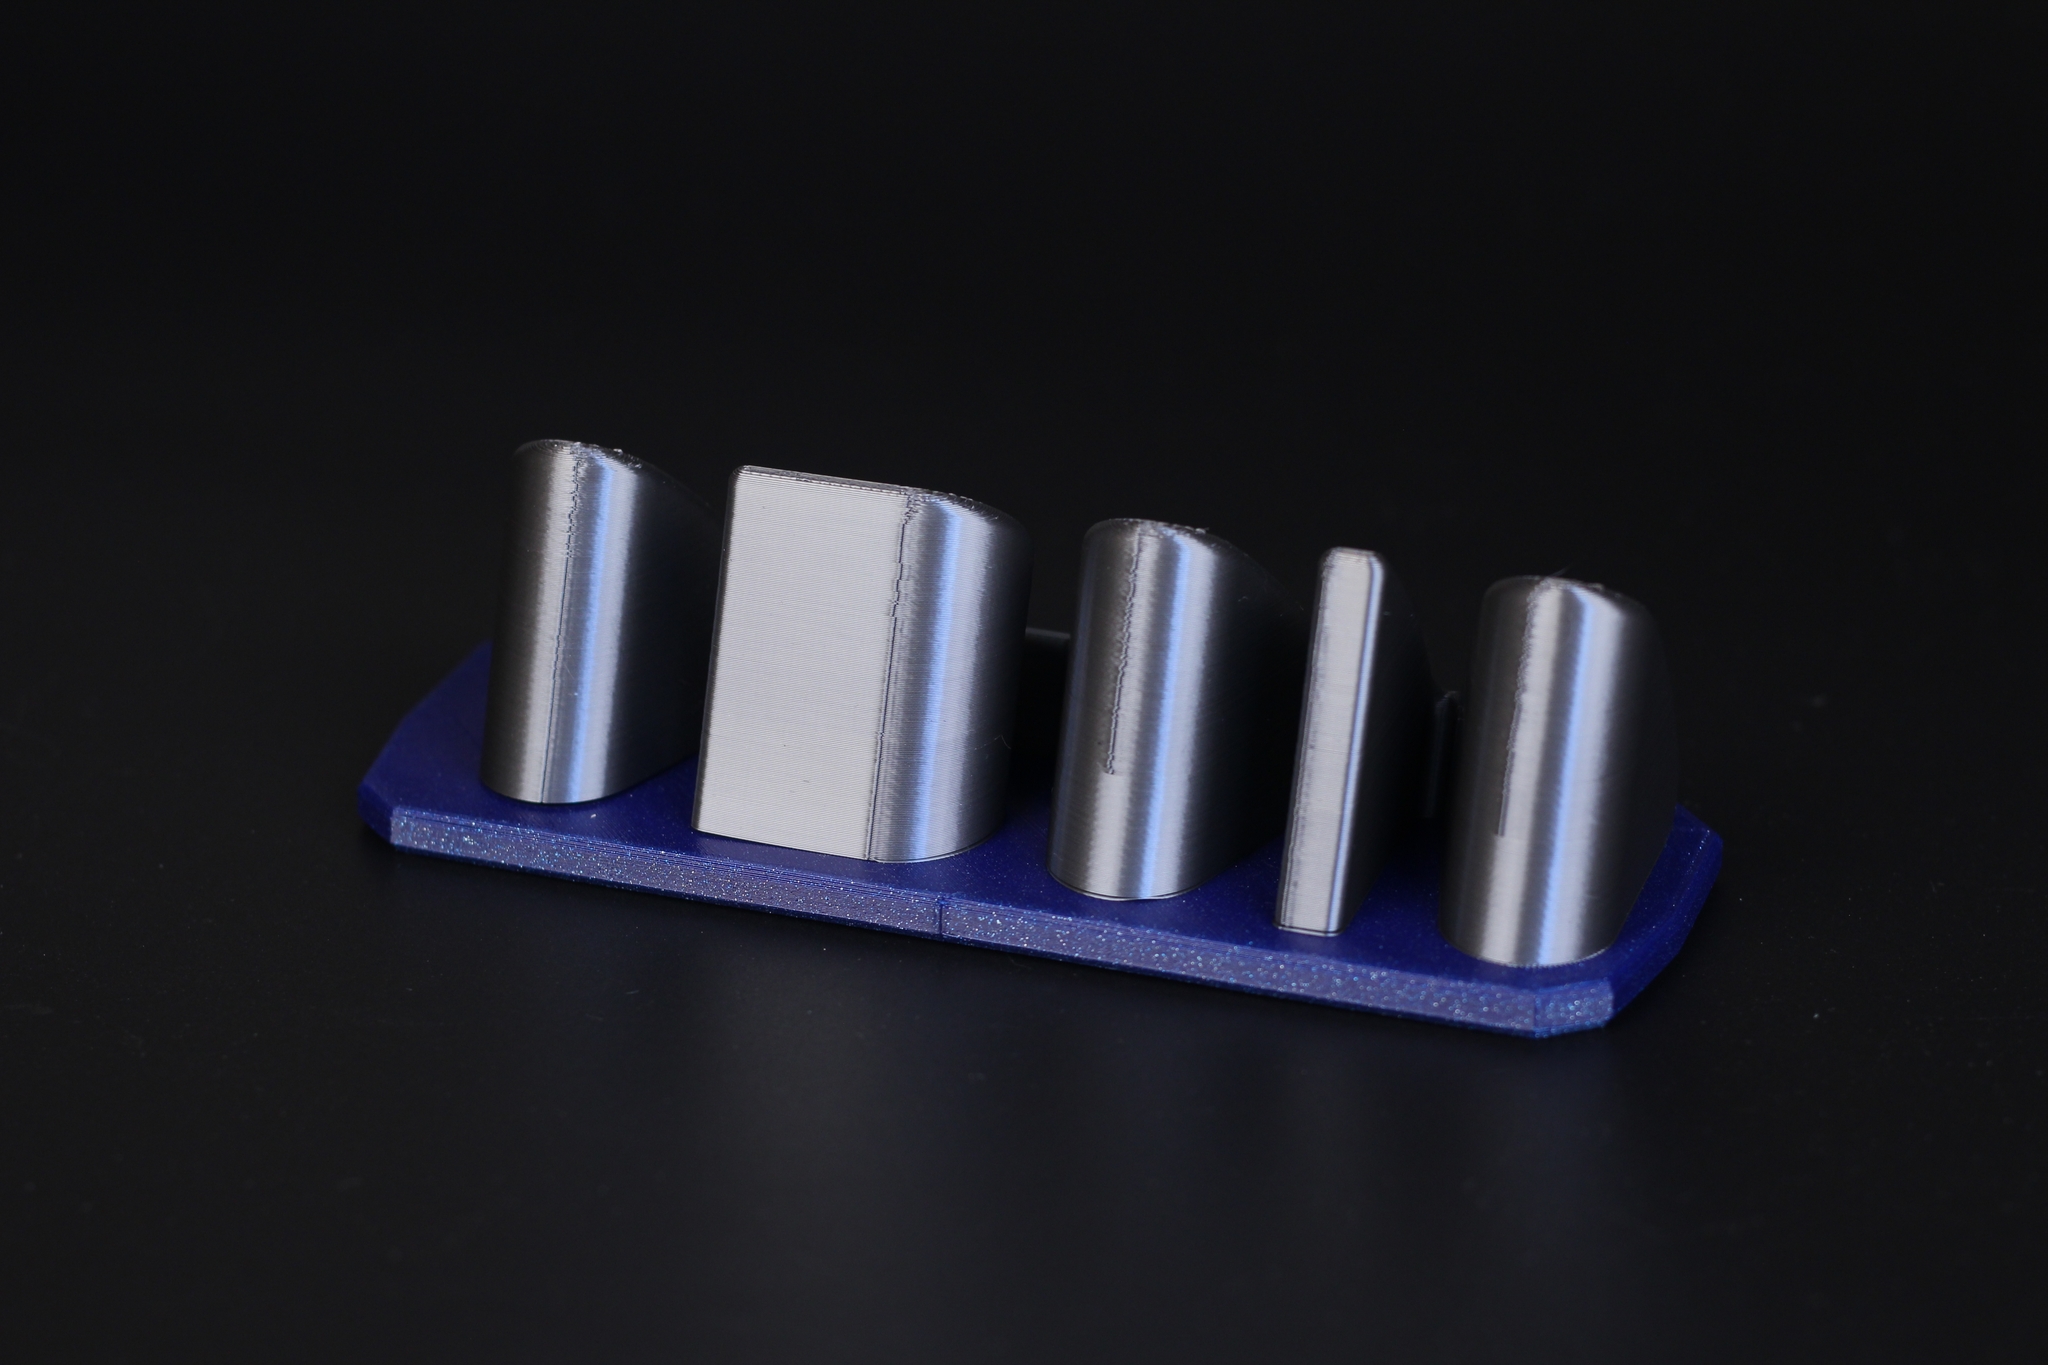
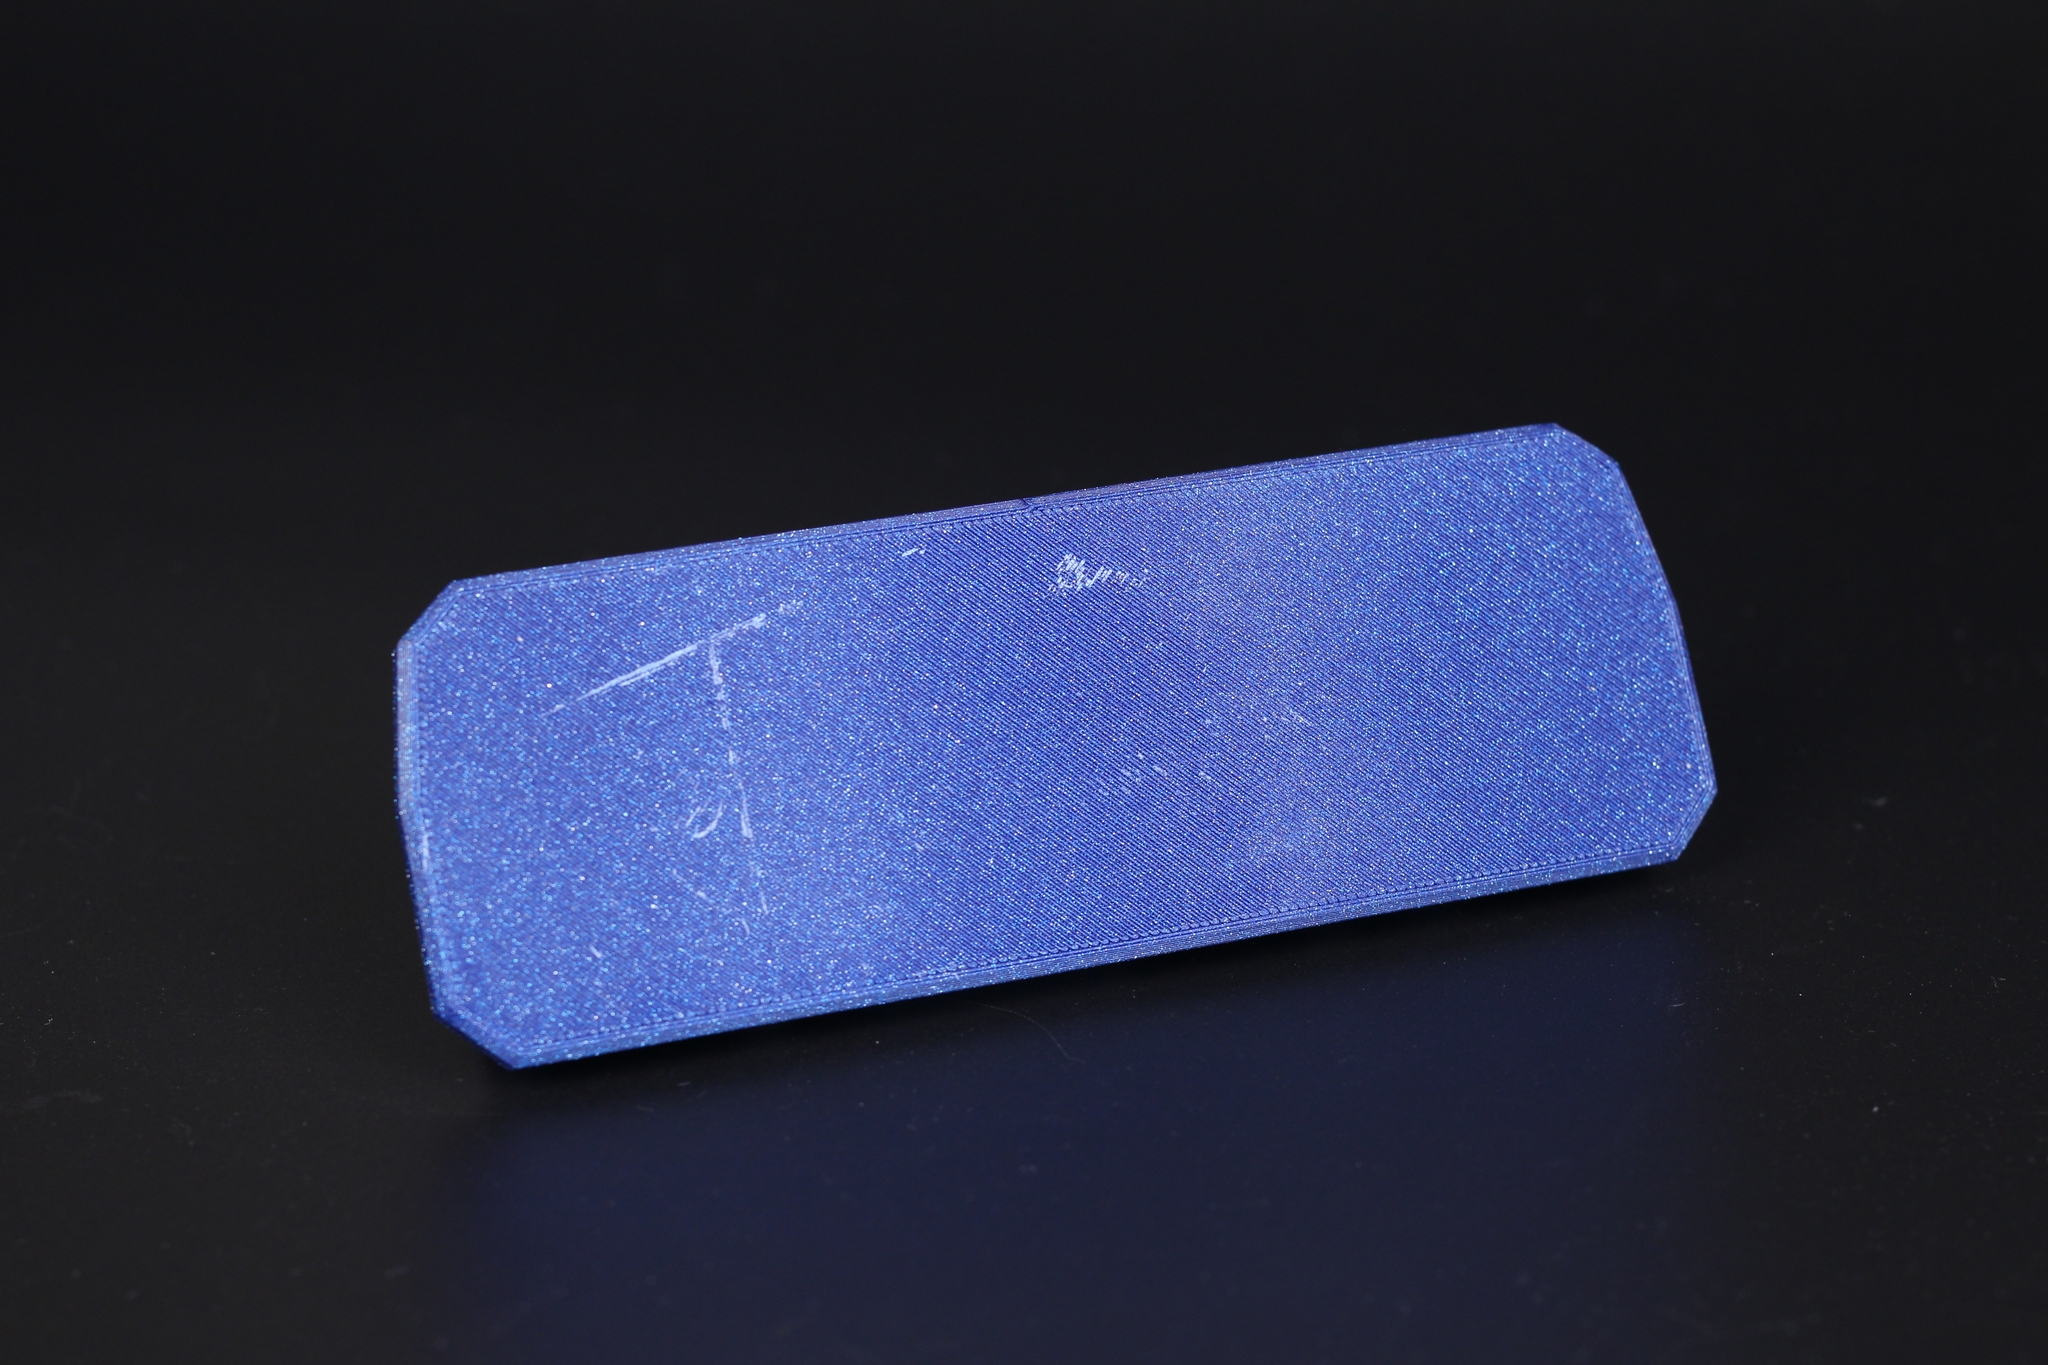
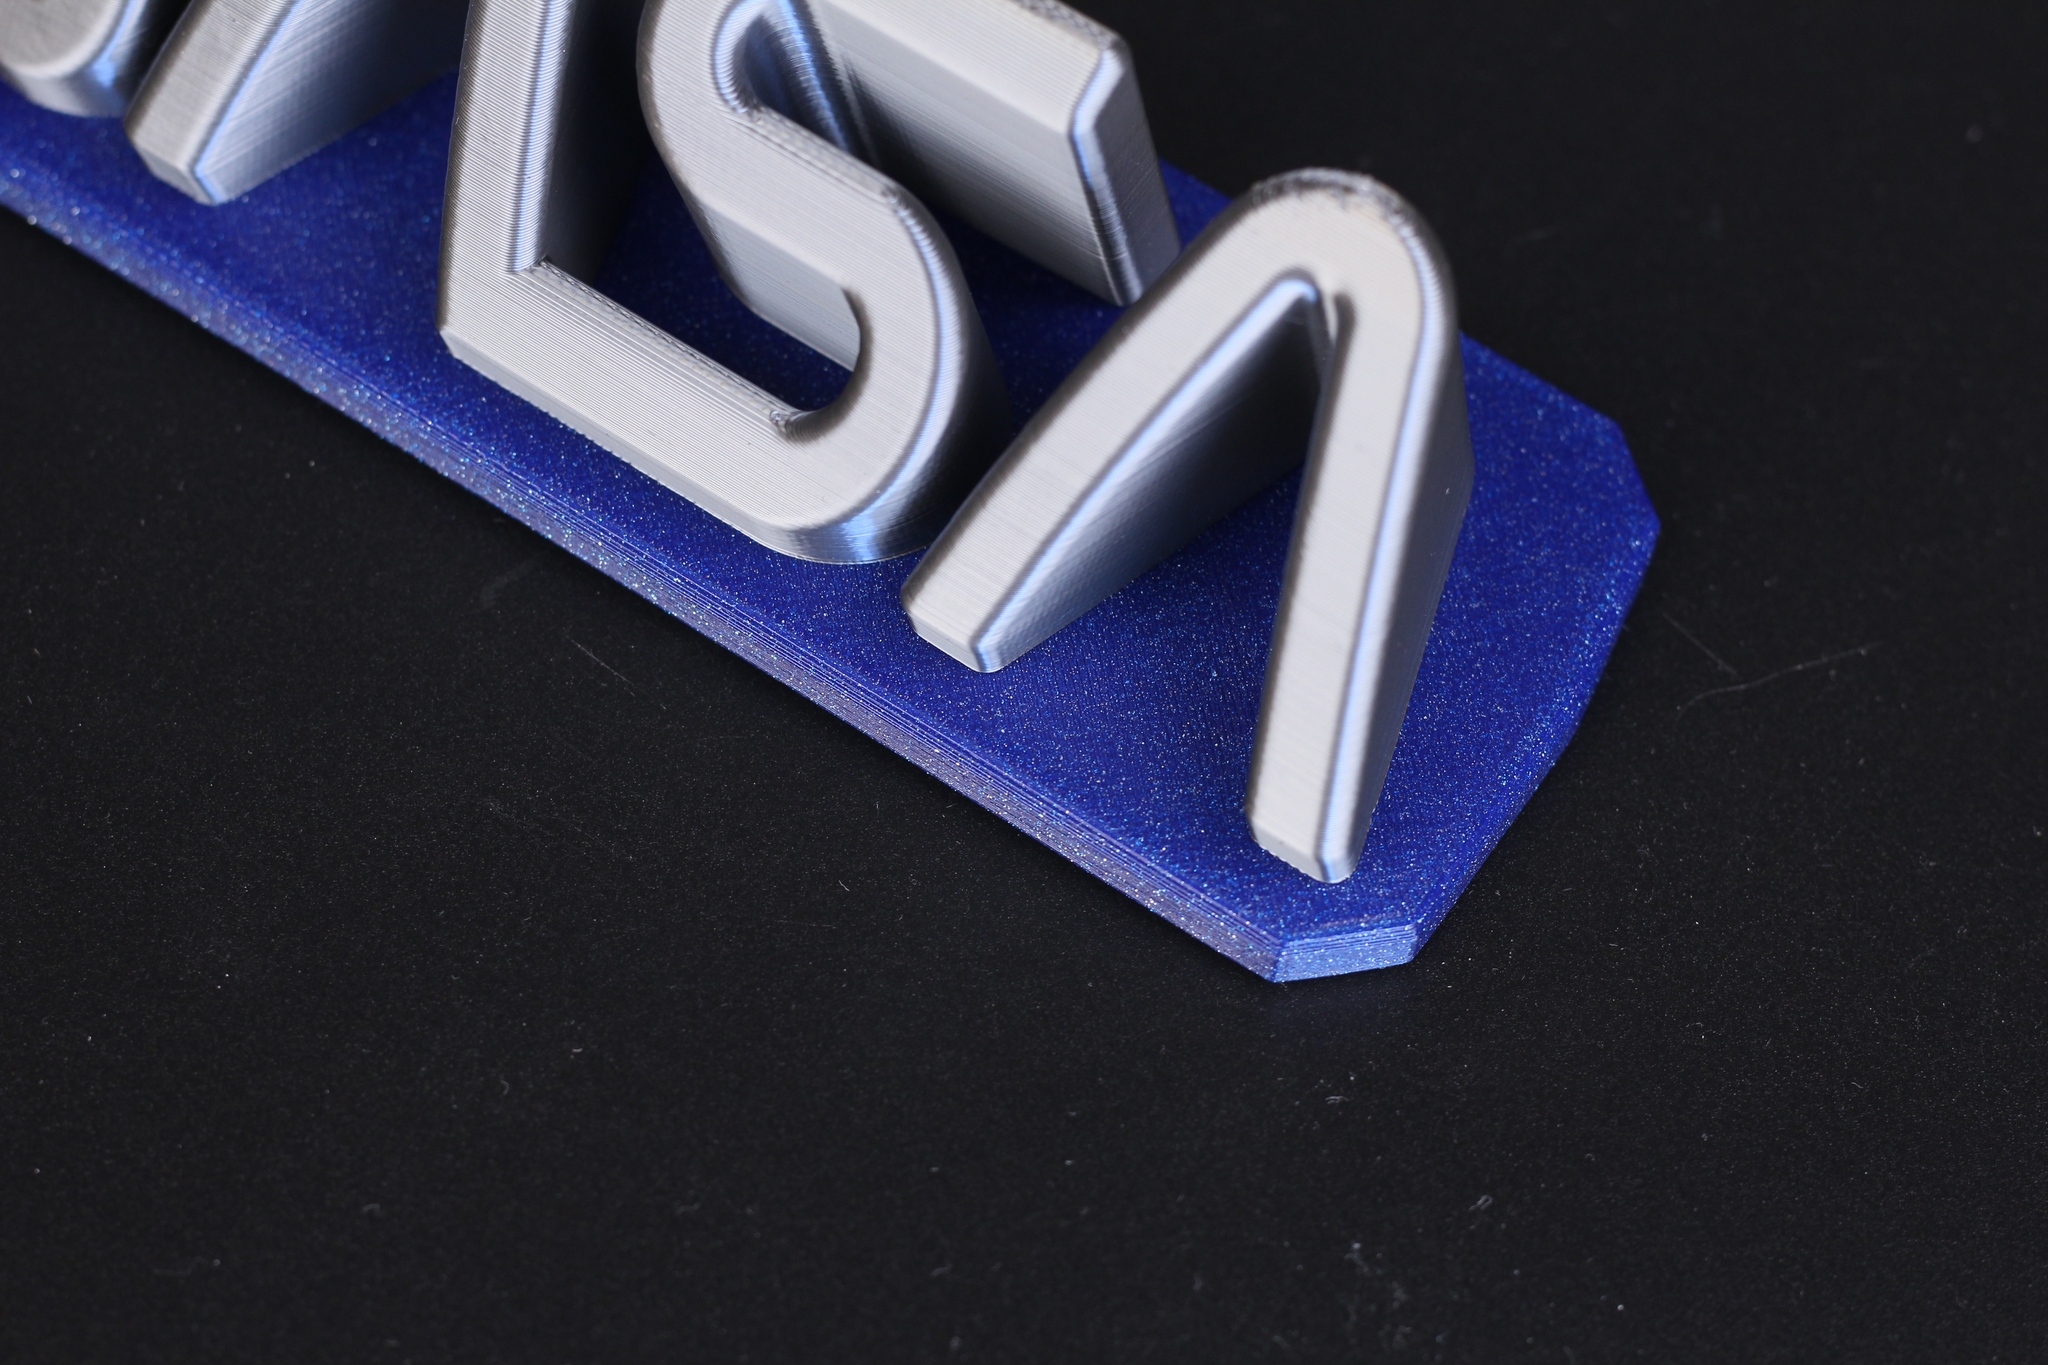
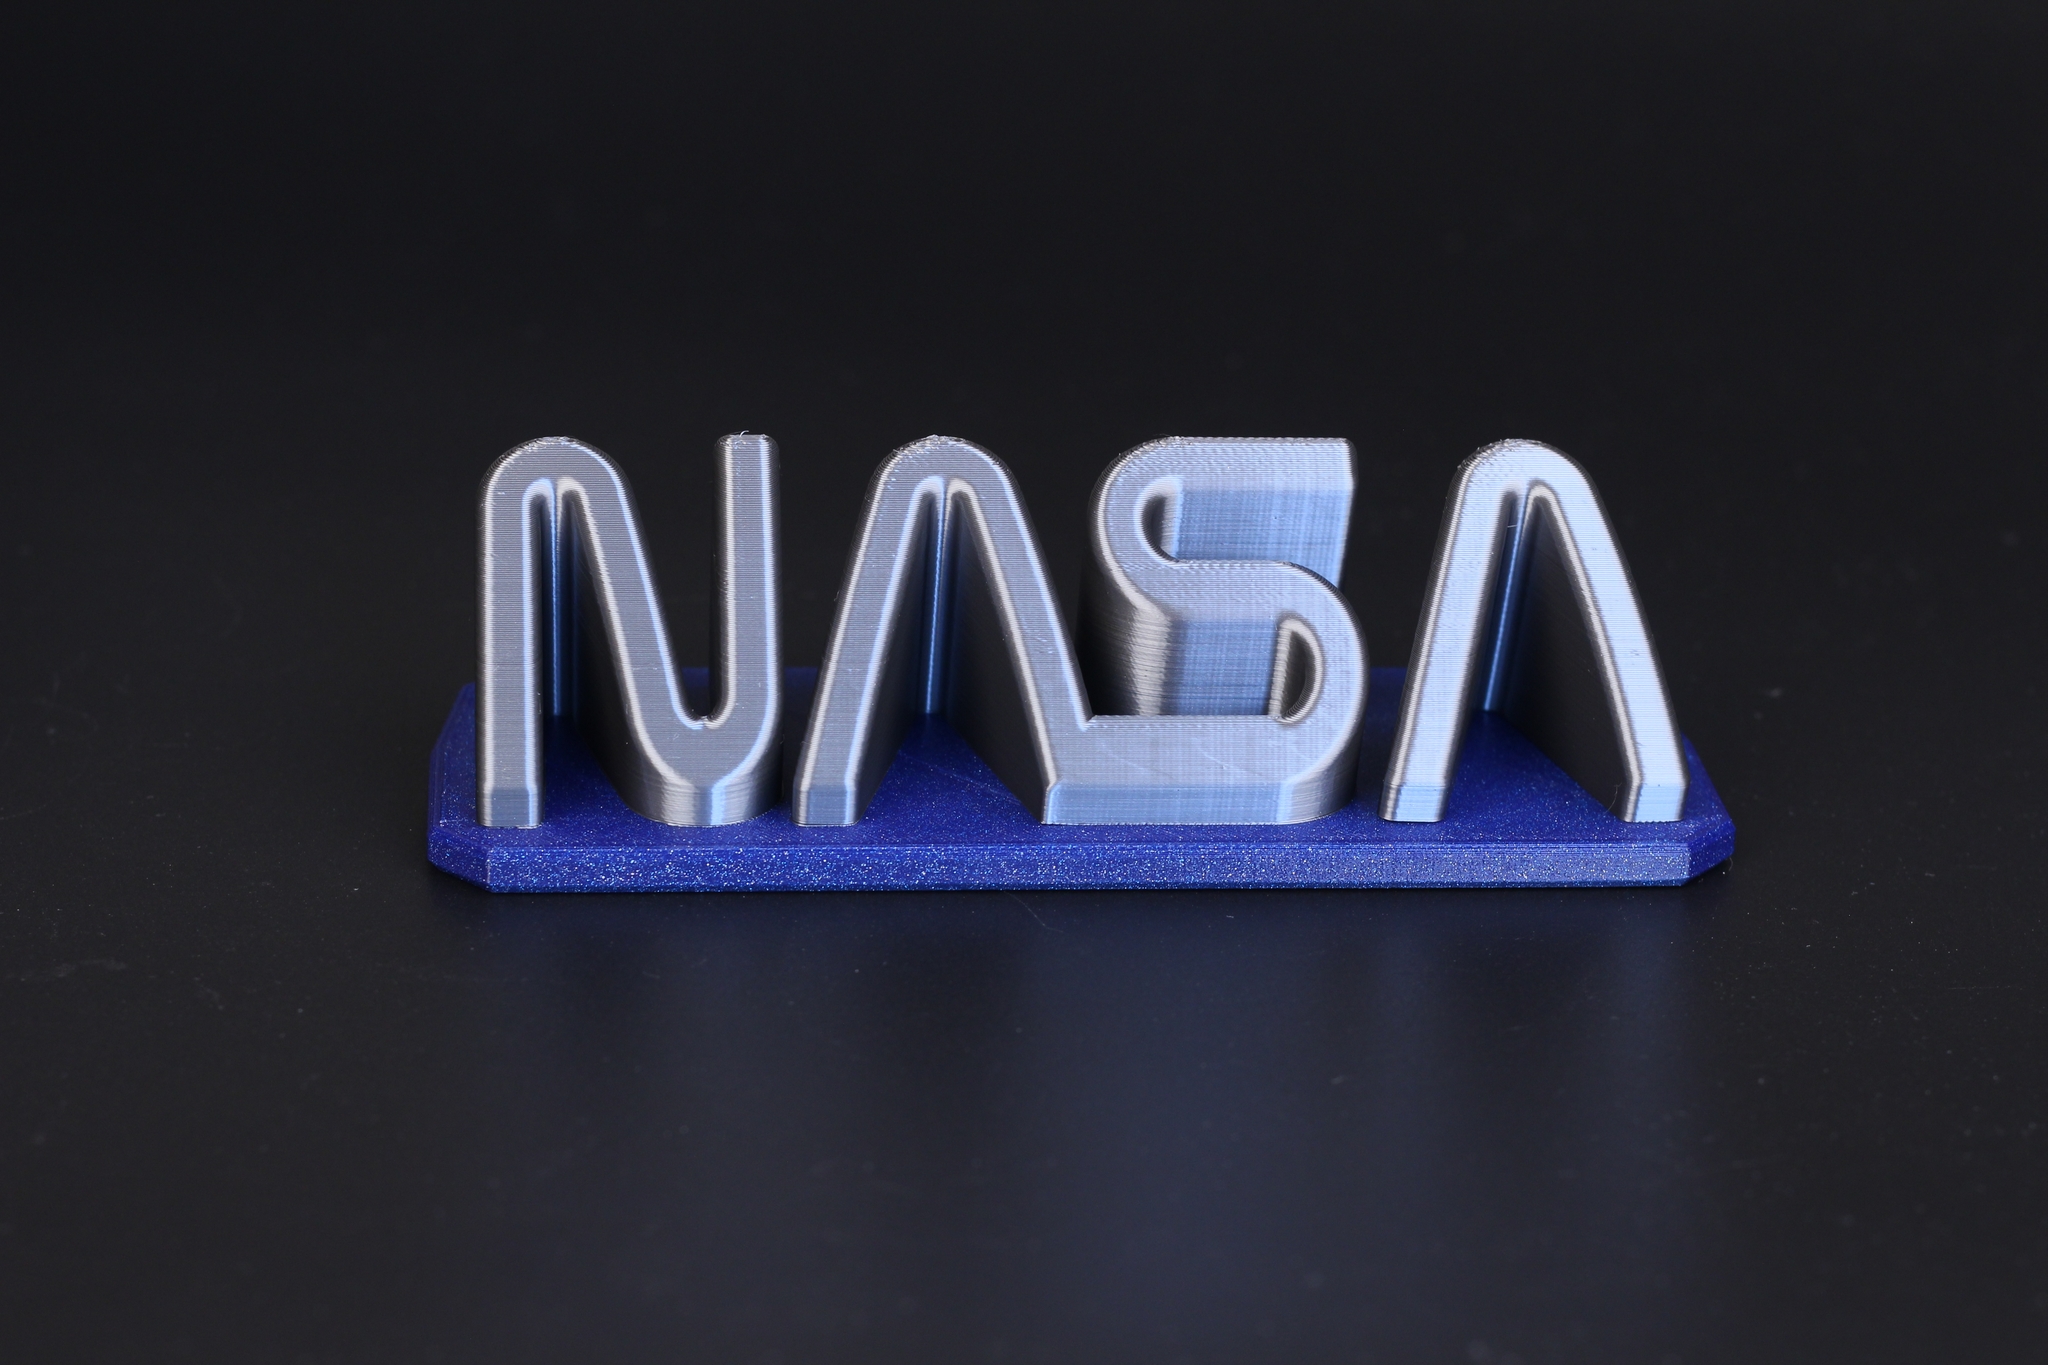
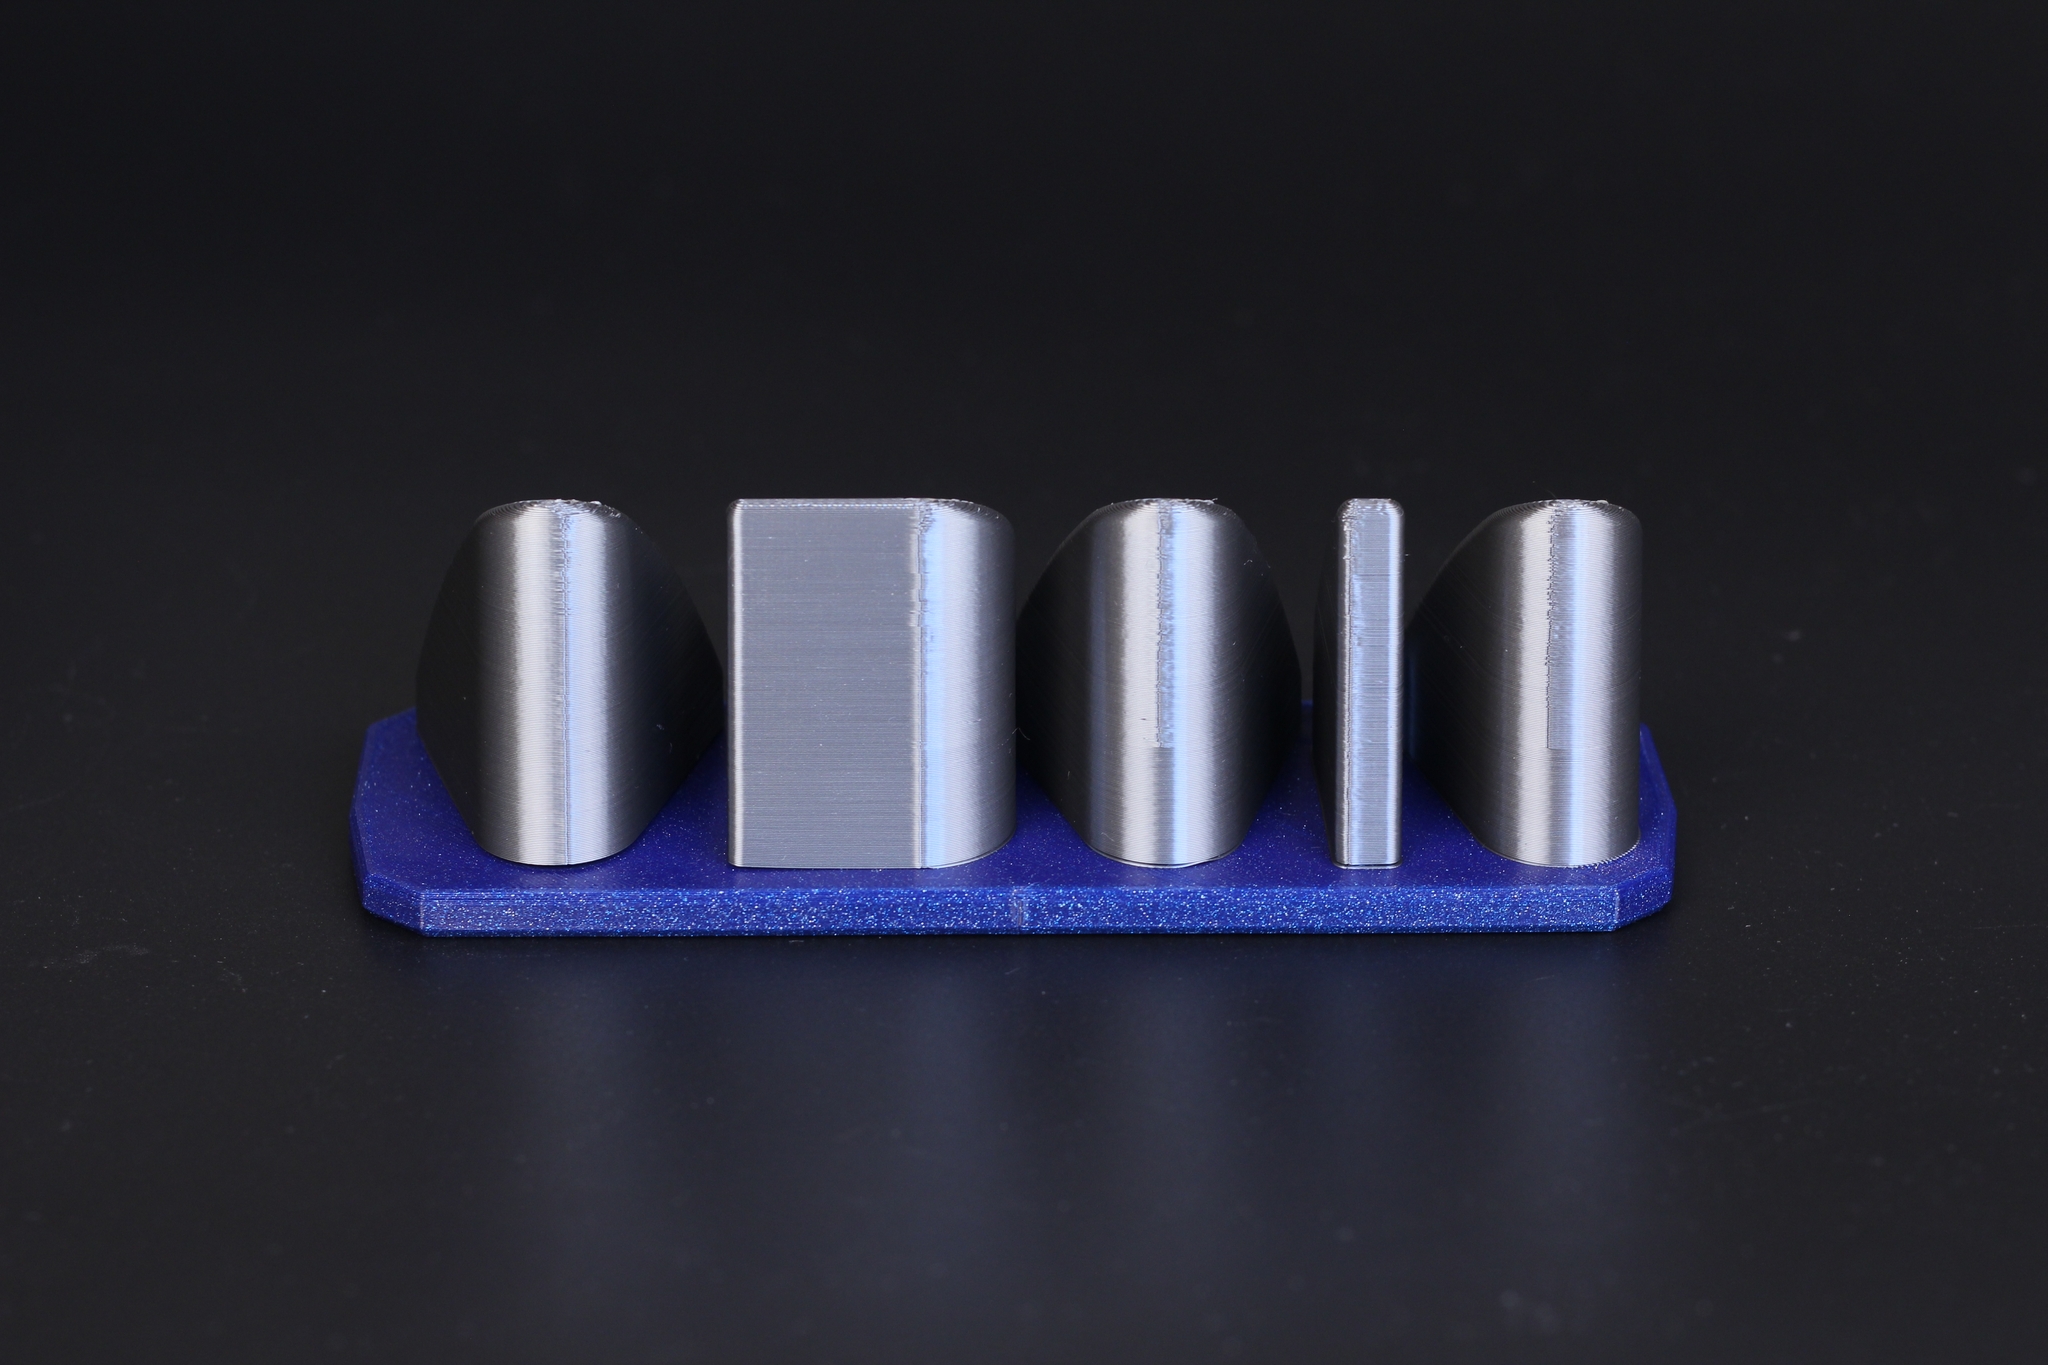
NASA Worm 3D Plaque
I also wanted to test the M600 filament change feature, so I printed this NASA plate from Printables. The filament change worked out well, but during printing, I also had a power failure. This triggered the resume printing feature and I noticed that the layer where the power failed was printed again which made the top layers look a bit bad.
Overall, the print came out pretty good but inconsistent extrusion can be seen on the lettering, and the damage on the printing surface can be seen on the bottom of the plaque.
- Material: FilamentOne Glint PLA and Extrudr BioFusion Silver
- Layer Height: 0.15mm
- Nozzle Temperature: 216C
- Bed Temperature: 60C
- Print Speed: 60 mm/s
Conclusions: Is the Sovol SV01 Pro worth it?
The Sovol SV01 Pro is being sold at ~330$, a bit more compared to the Anycubic Kobra which is currently one of my favorite budget 3D printers. But it’s also cheaper than the Creality Ender 3 S1 which is one of the best 3D printers out there, out of the box.
Considering the price point, and the extra print volume of the Sovol SV01 Pro, I think it’s worth the asking price, but only if you want to accept some of the compromises Sovol did with the Z-axis and the print surface. If they would have added G34 support or a Z sync belt while also including a better print surface, the SV01 Pro would have been a best buy in this price bracket.
The Sovol support seems to be good from what I’ve seen online and considering that Sovol actually invested some time in making the firmware work well with useful features like Linear Advance and M600 Filament Change support, it might weigh a bit when making a purchase decision in favor of the SV01 Pro.
Sovol SV01 Pro Rating
Design
Specs
Noise Levels
Ease of use
Print Quality
Price
The Sovol SV01 Pro hits most of the checkmarks for a good 3D printer, but fails to deliver the print quality expected from a Pro machine, while also making some compromises when it comes to hardware. Even so, the increased printing volume and the features are quite attractive for the price.
Where to buy the Sovol SV01 Pro?
The Sovol SV01 Pro can be purchased from the following sites:
Sovol – Discount code 3DPBSV01PRO
I recommend checking out the Discount Codes page before purchasing. I regularly update the article with discount codes for various online shops, and you might find one for this particular model.
The Sovol SV01 Pro was provided free of charge by Sovol for the purpose of this review. While the article includes affiliate links, all opinions are my own. Nobody reviewed the article before it was posted, following the Review Guidelines.
Liked it?
|
|




Could you share the stl for your fan duct? I would appreciate it!
Here it is. But please note that it is not perfect.
I also glued it to the fan, to ensure it doesn’t fall.
Thank you. It has to be better than what they come with. When I have some time I’m going to design one the hits both sides and still offers so visibility to the print head. Should be fun.
I’ve just discovered this site while looking for SV01 Pro reviews, and I have to say I’m impressed. I was ready to order up an SV01, but I have some hesitation after reading the review. I was under the impression that a dual Z setup would be sufficient, but the review mentions the Z axis could be better. I’d also considered the Ender 3-S1, but have heard very poor things about Creality and may want to avoid them as a company.
Company aside, the 3-S1 is $430 via Amazon, and the SV01 Pro is $330. I’d likely add a PEI magnetic sheet to the SV01, so is $100 (PEI upgrade aside) really worth the jump to the 3-S1? I’d be curious for anyone to weigh in and help me pull the trigger on something.
I would recommend getting the SV01 Pro instead of the Ender 3 S1 only if you really need the extra printing volume and also want to support the company. Print quality was better for me with the Ender 3 S1.
You could also get the S1-Pro if the price difference is not huge, and you would benefit from the all-metal hotend and LED light.
I’ve looked at the Genius pro as well, but I understand that may require some upgrades down the road. My hesitation with Creality is the QC seems quite loose. I’ve got a serious case of analysis paralysis right now.
Other Creality printers, yeah. But the S1 is really nice.
Nice Review! Could you share the stl for the idler fix? I would appreciate it!
I modified the fan duct, I added a screw mount so it can be attached without glue. Thanks just wanted to contribute back.
Could you share the spacer stl?