Creality Sonic Pad Review: Klipper Firmware with Compromises
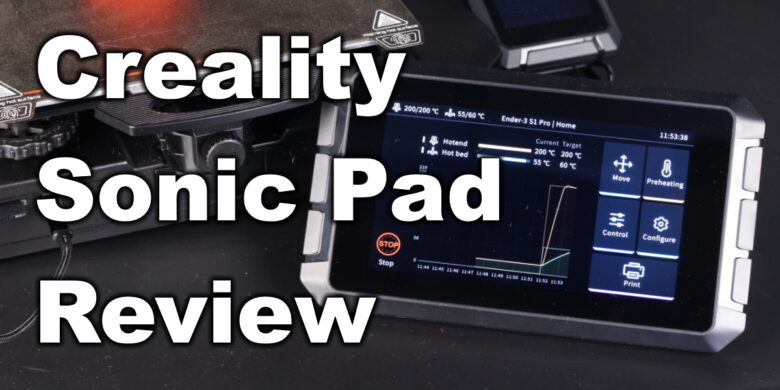
Klipper firmware is becoming more popular, and 3D printer manufacturers have already started making printers that run Klipper firmware out of the box.
Creality came up with their own solution for adding Klipper to their existing printers, in the form of Creality Sonic Pad. This is a tablet-like device running Linux made to be used with Creality 3D printers to convert them from Marlin to Klipper easily.
In this article, we’ll check out the Creality Sonic Pad to see how well it performs and decide if it’s worth the price of an entry-level Ender 3.
Creality Sonic Pad Shipping and Packaging
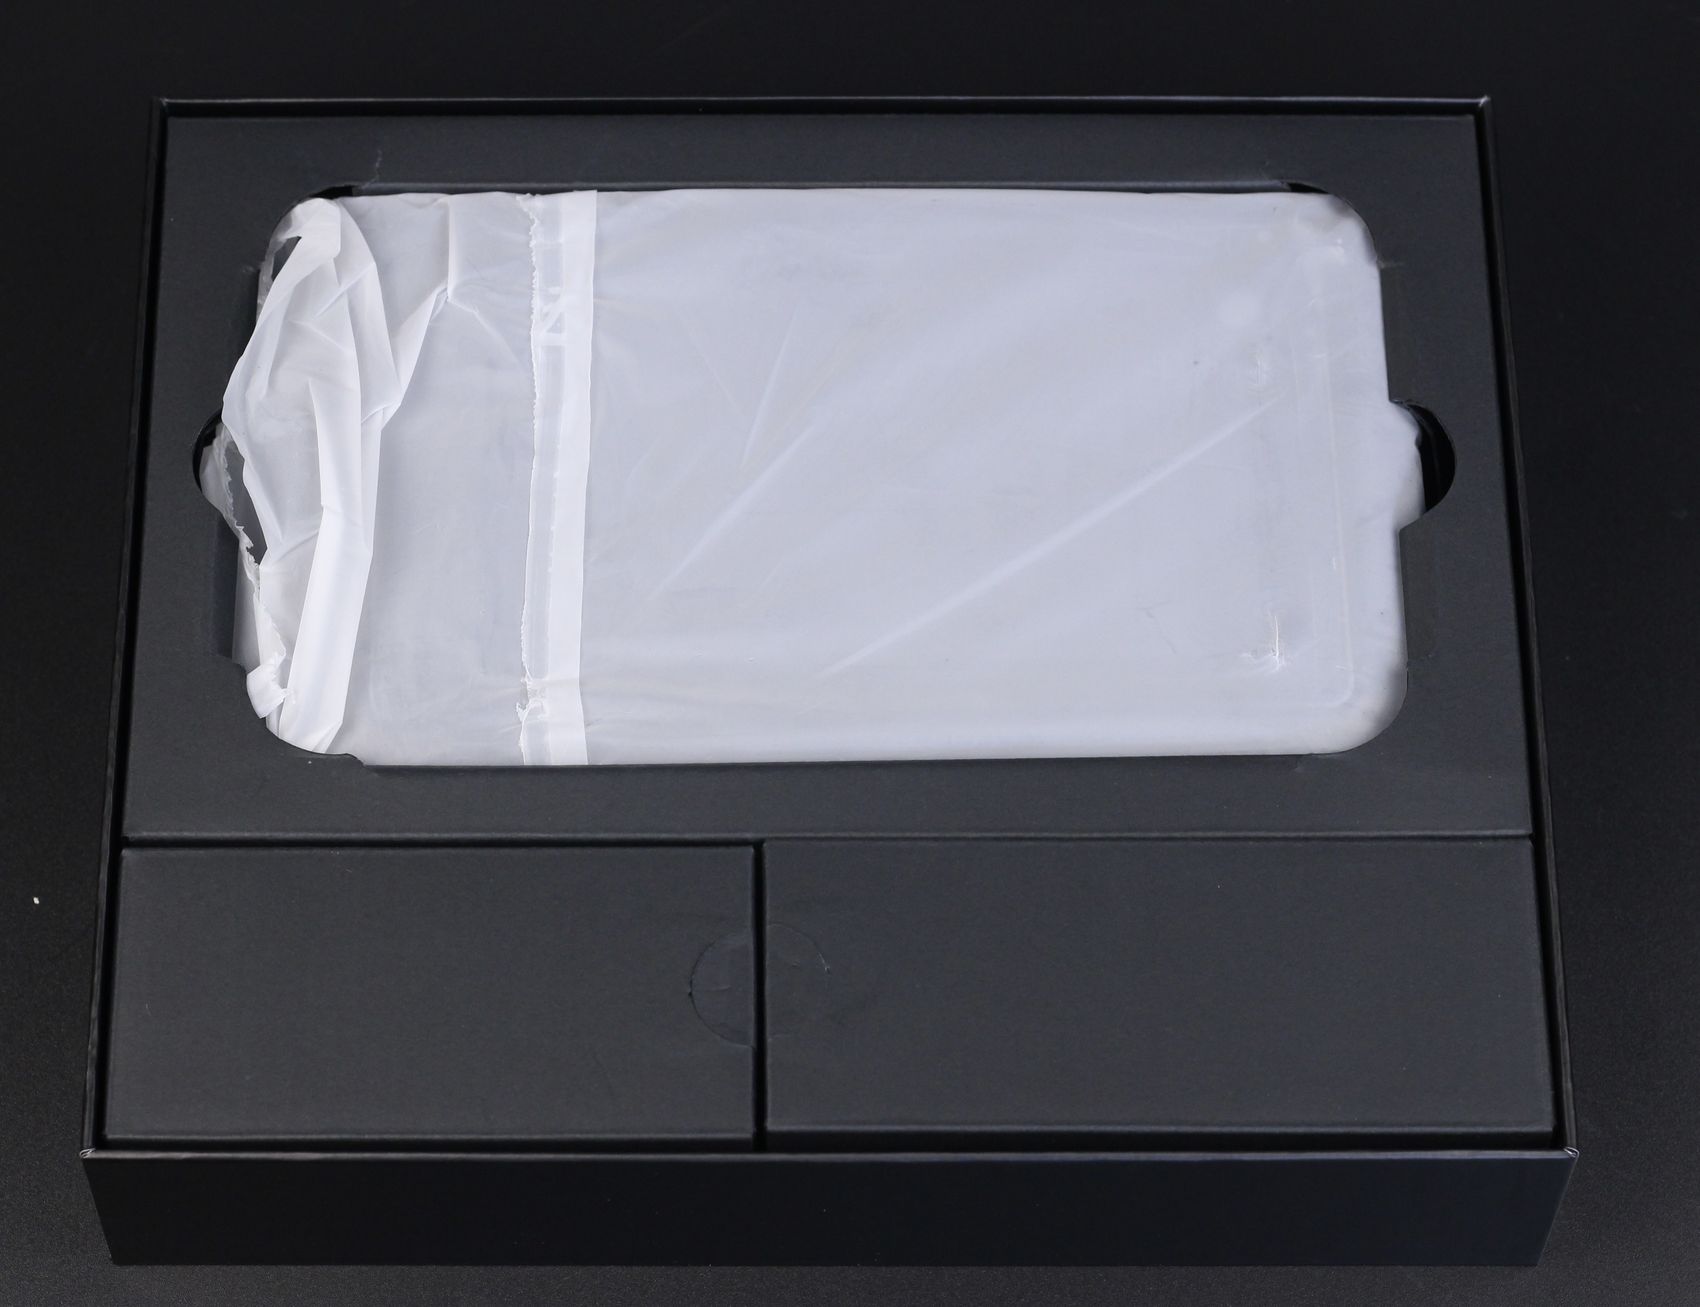
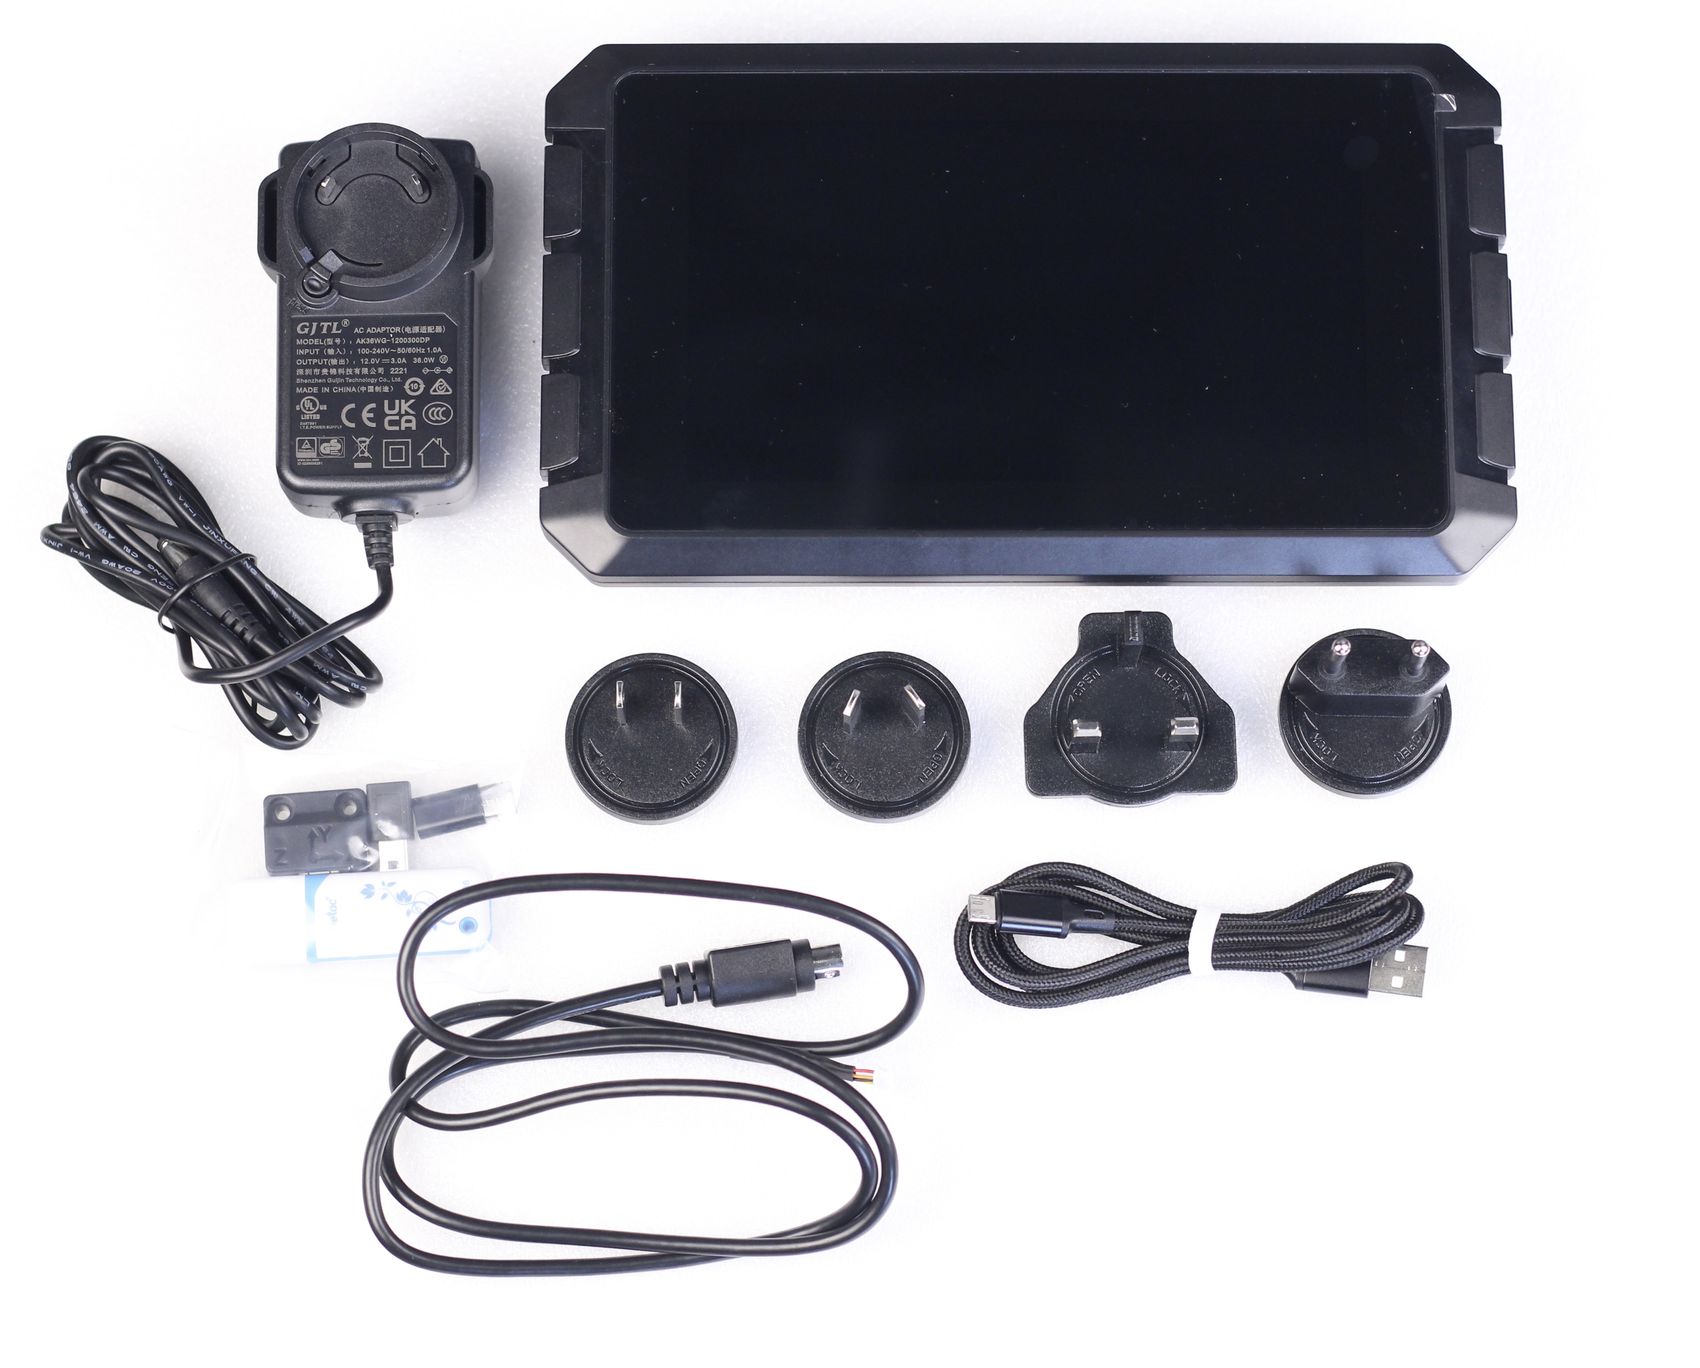
The Creality Sonic Pad comes in a pretty big box, similar to what you would get with a regular tablet. In the box, we get the Sonic Pad, a 12V 3A power adapter, four wall adapters for it, a USB to Micro USB cable, a cable for the ADXL sensor, an 8GB USB drive, two adapters for various USB connections, and the ADXL sensor.
Creality Sonic Pad Design
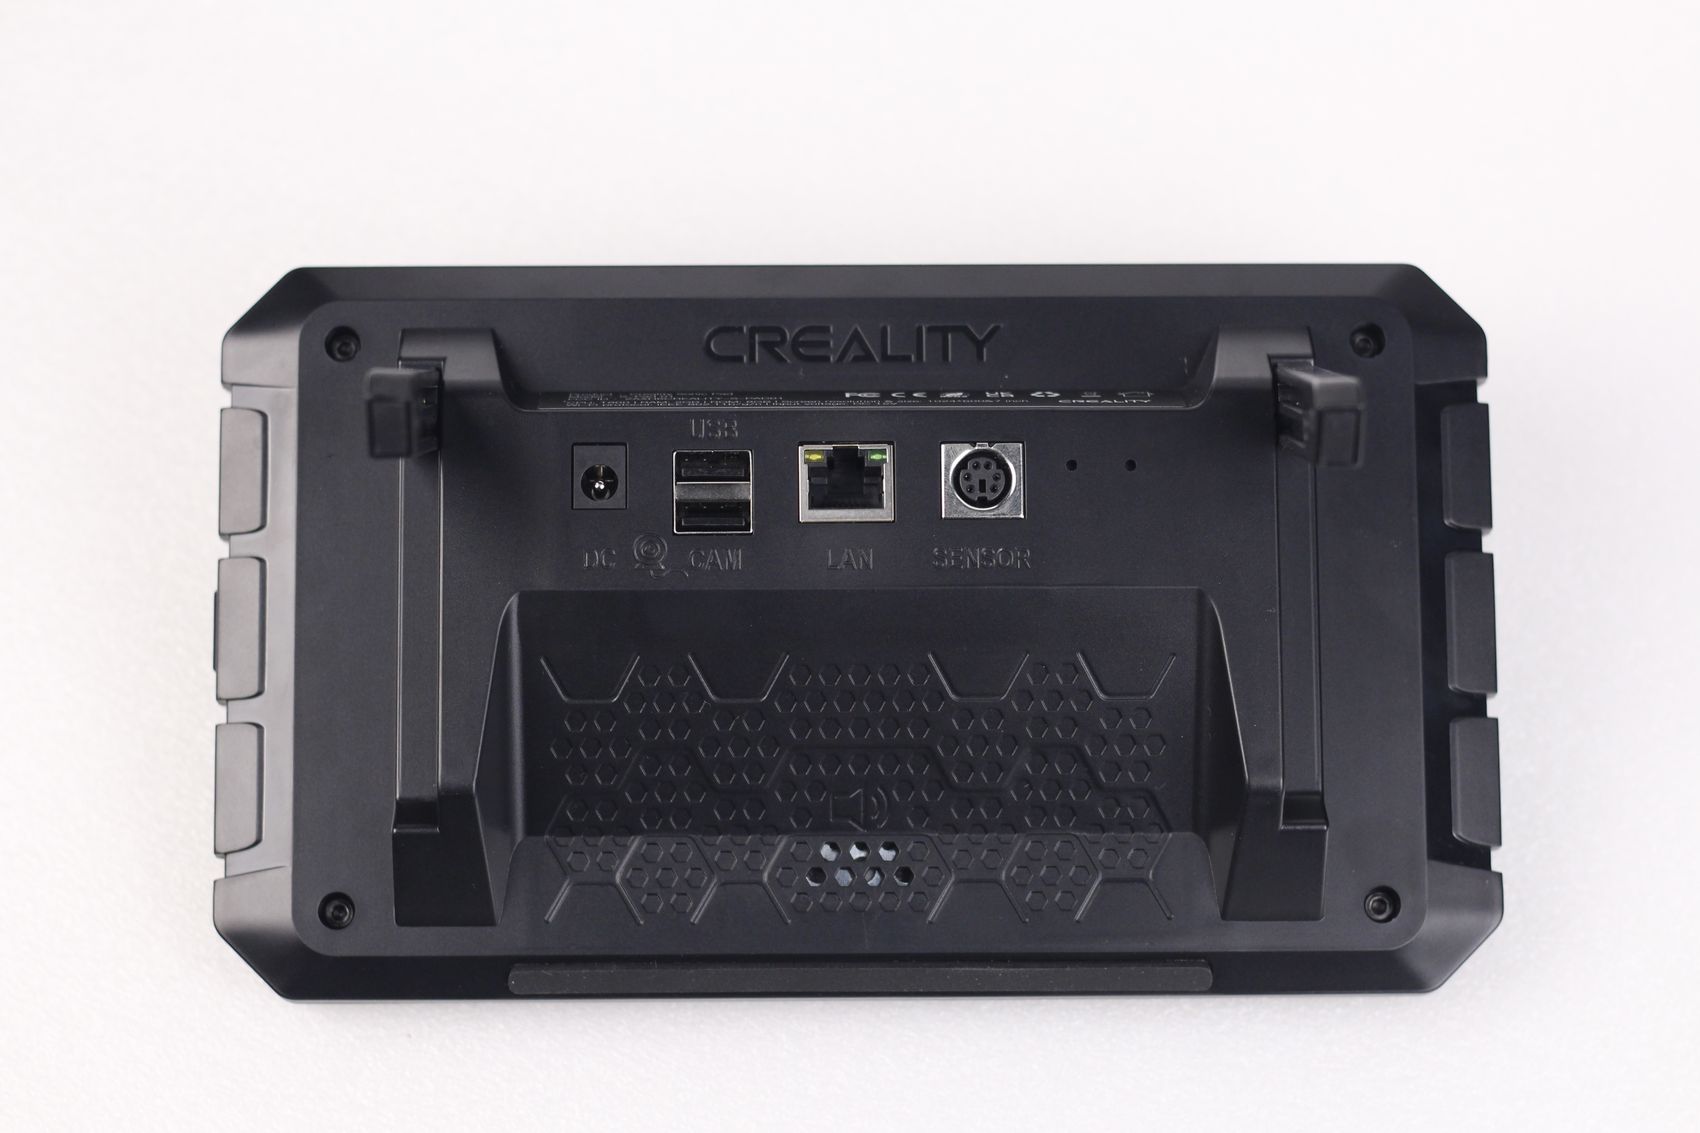
At first glance, the Creality Sonic Pad looks like a lower-end tablet with a large body and a smaller touchscreen. In the front, we get a 7-inch color touchscreen with 1024×600 resolution. On the back of the Sonic Pad, we get a power connector, two USB A connectors, an RJ-45 connector and a dedicated connector for the ADXL sensor cable.
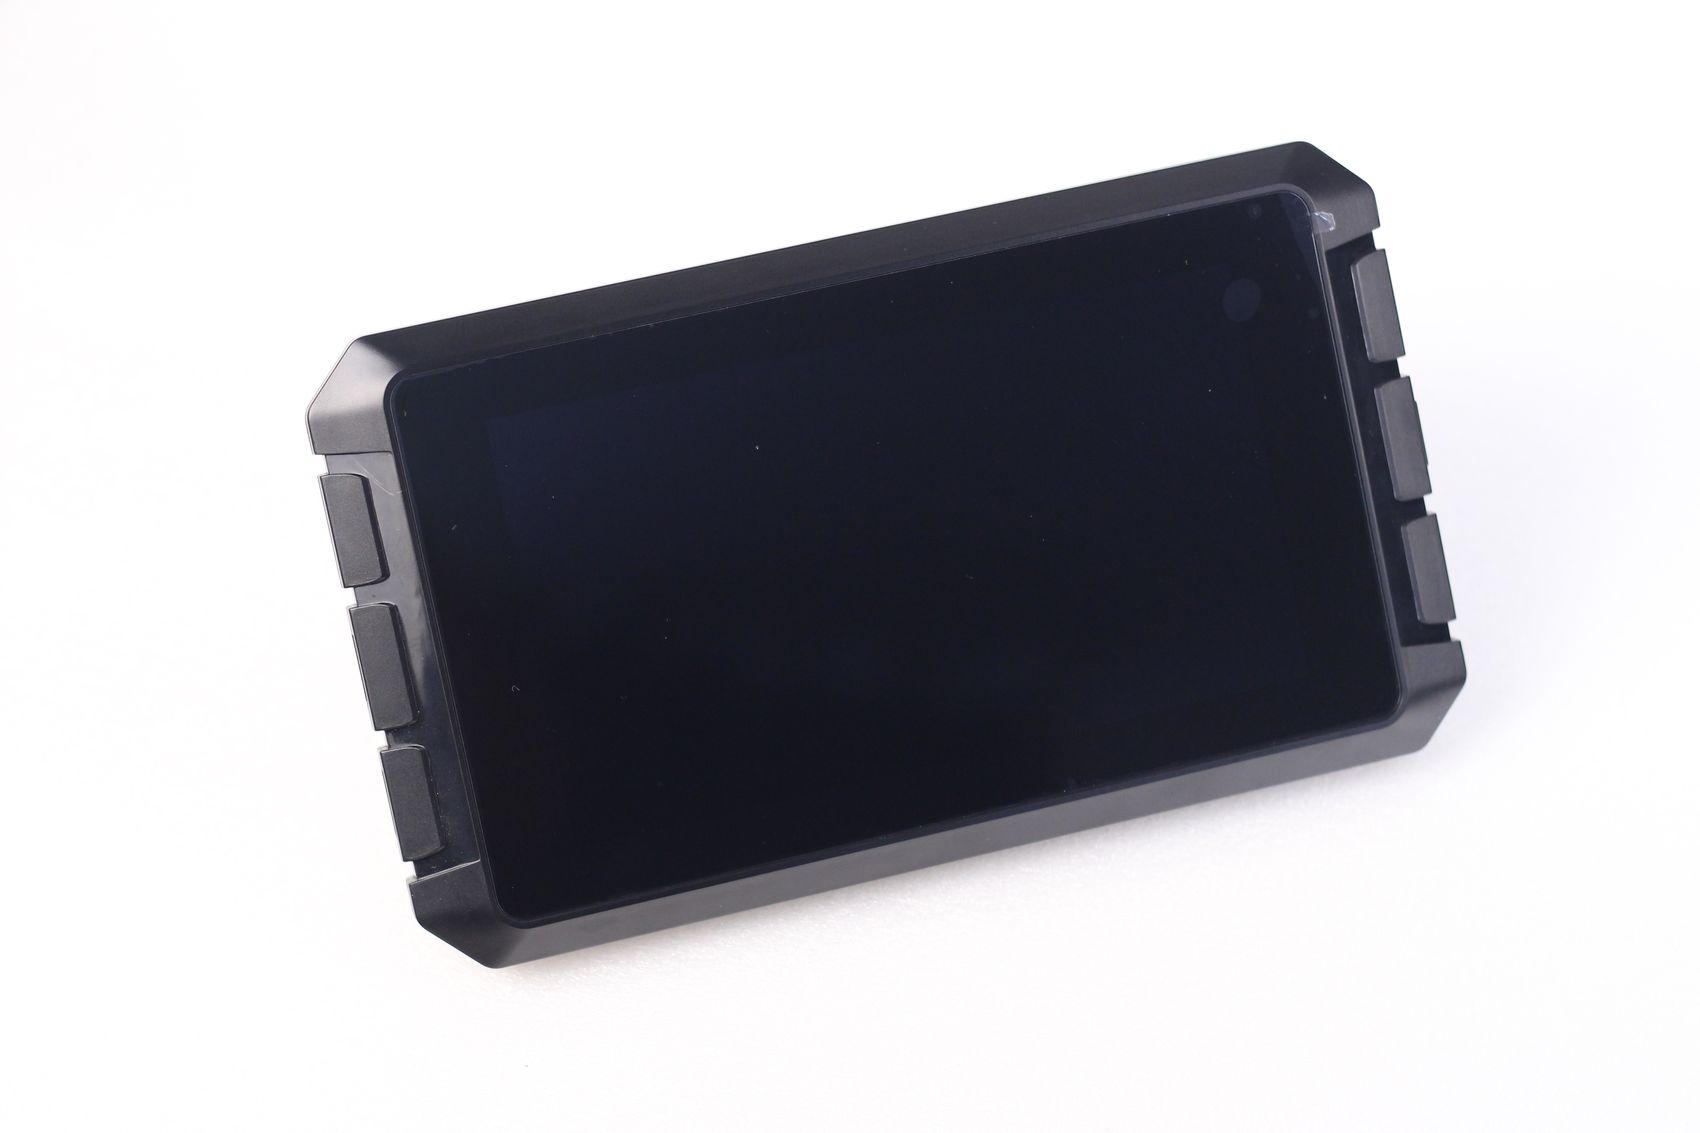
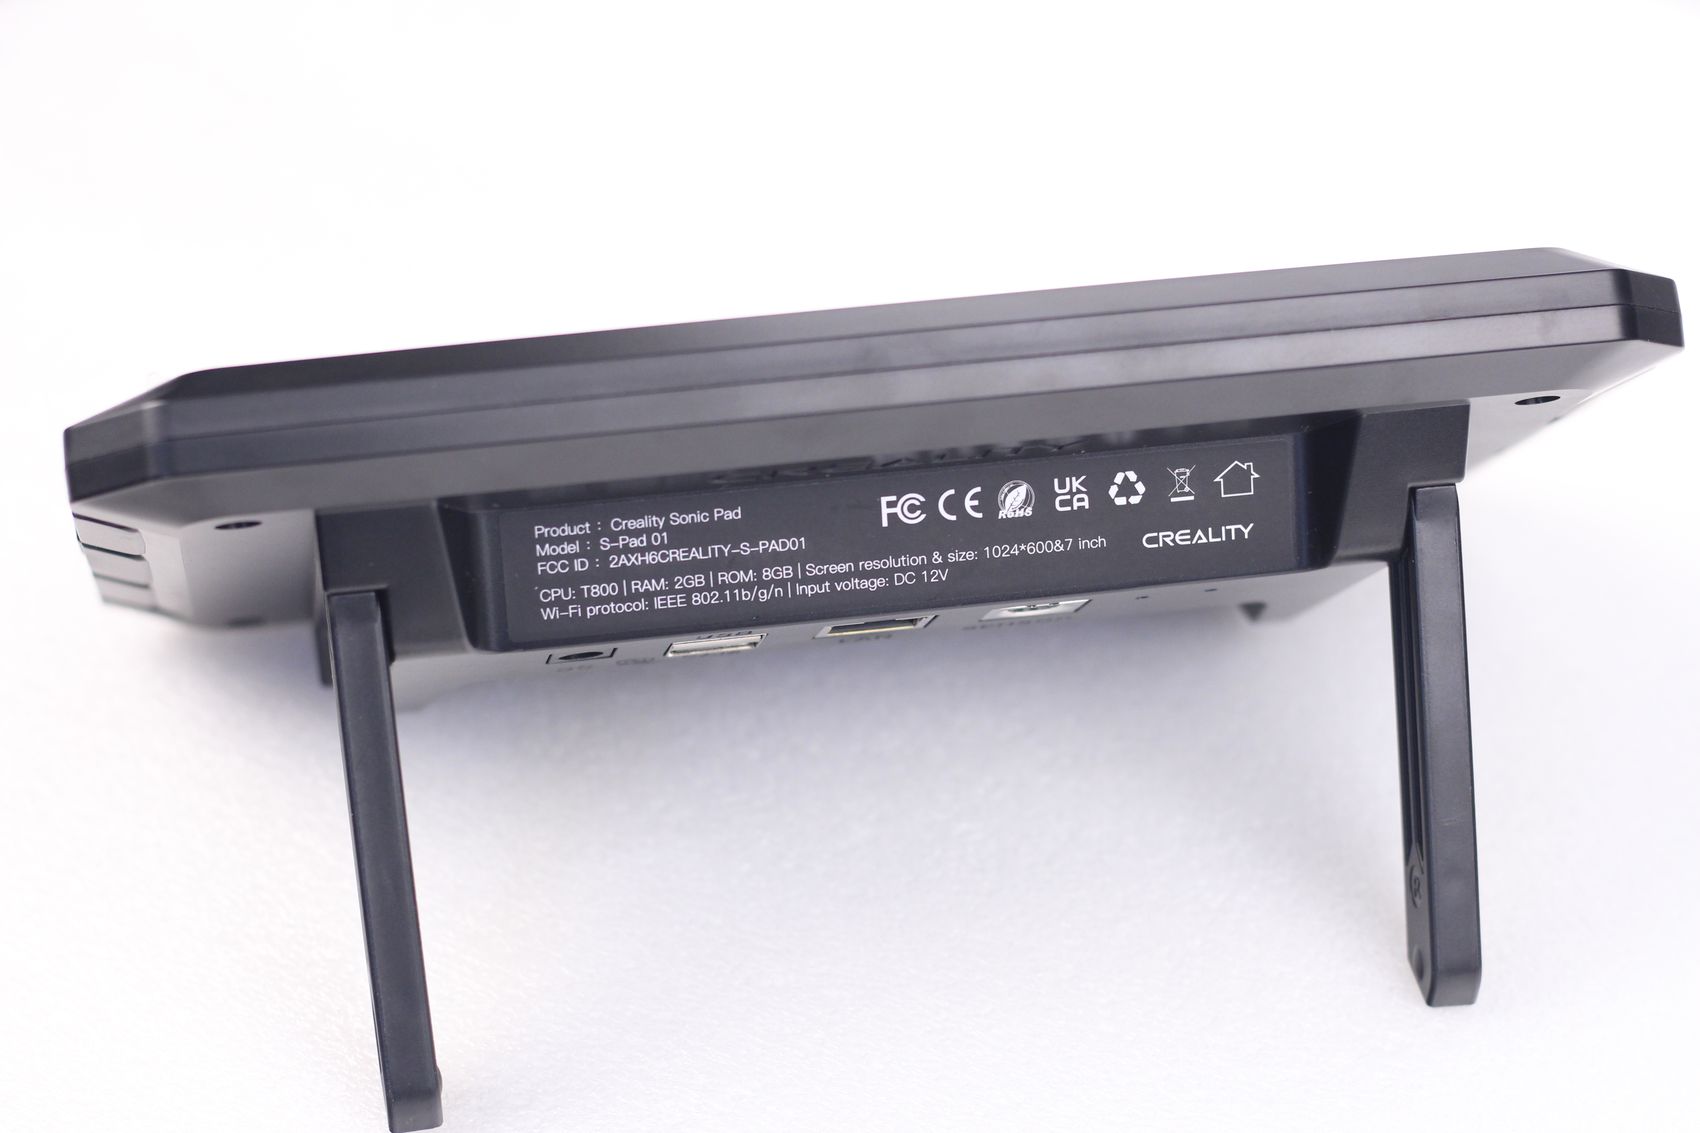
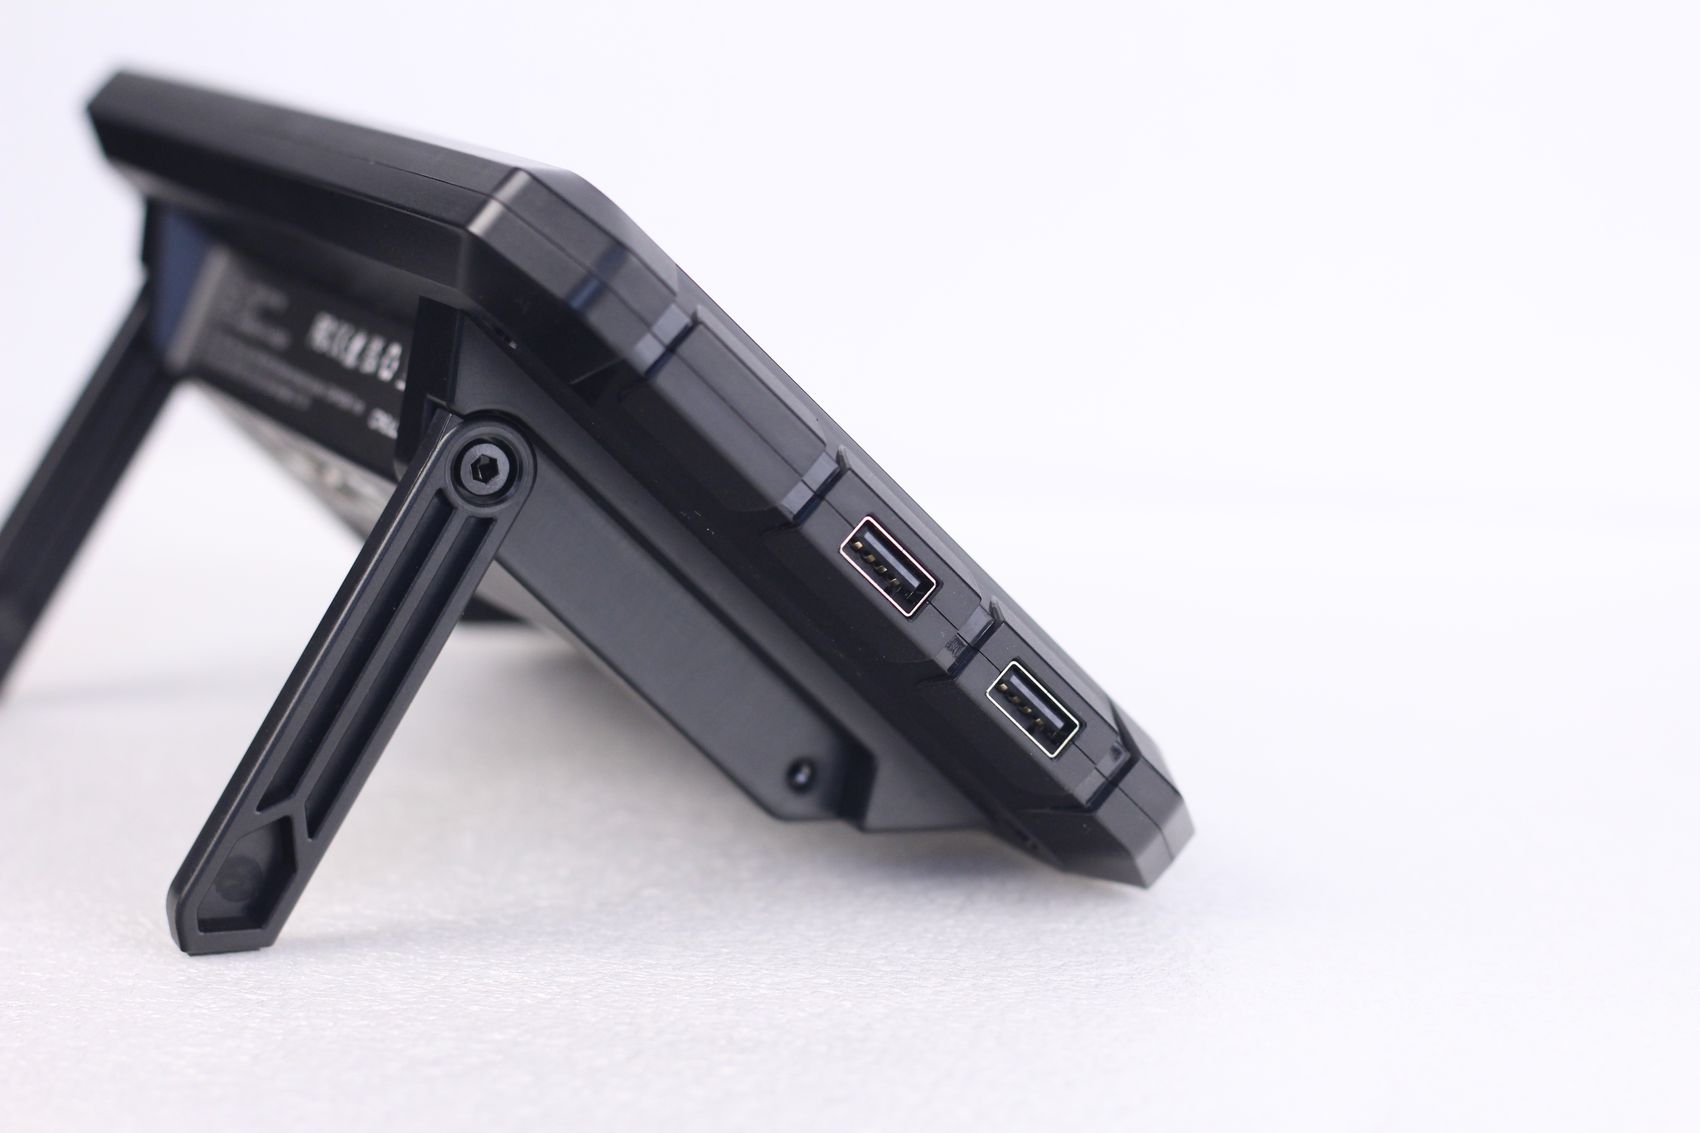
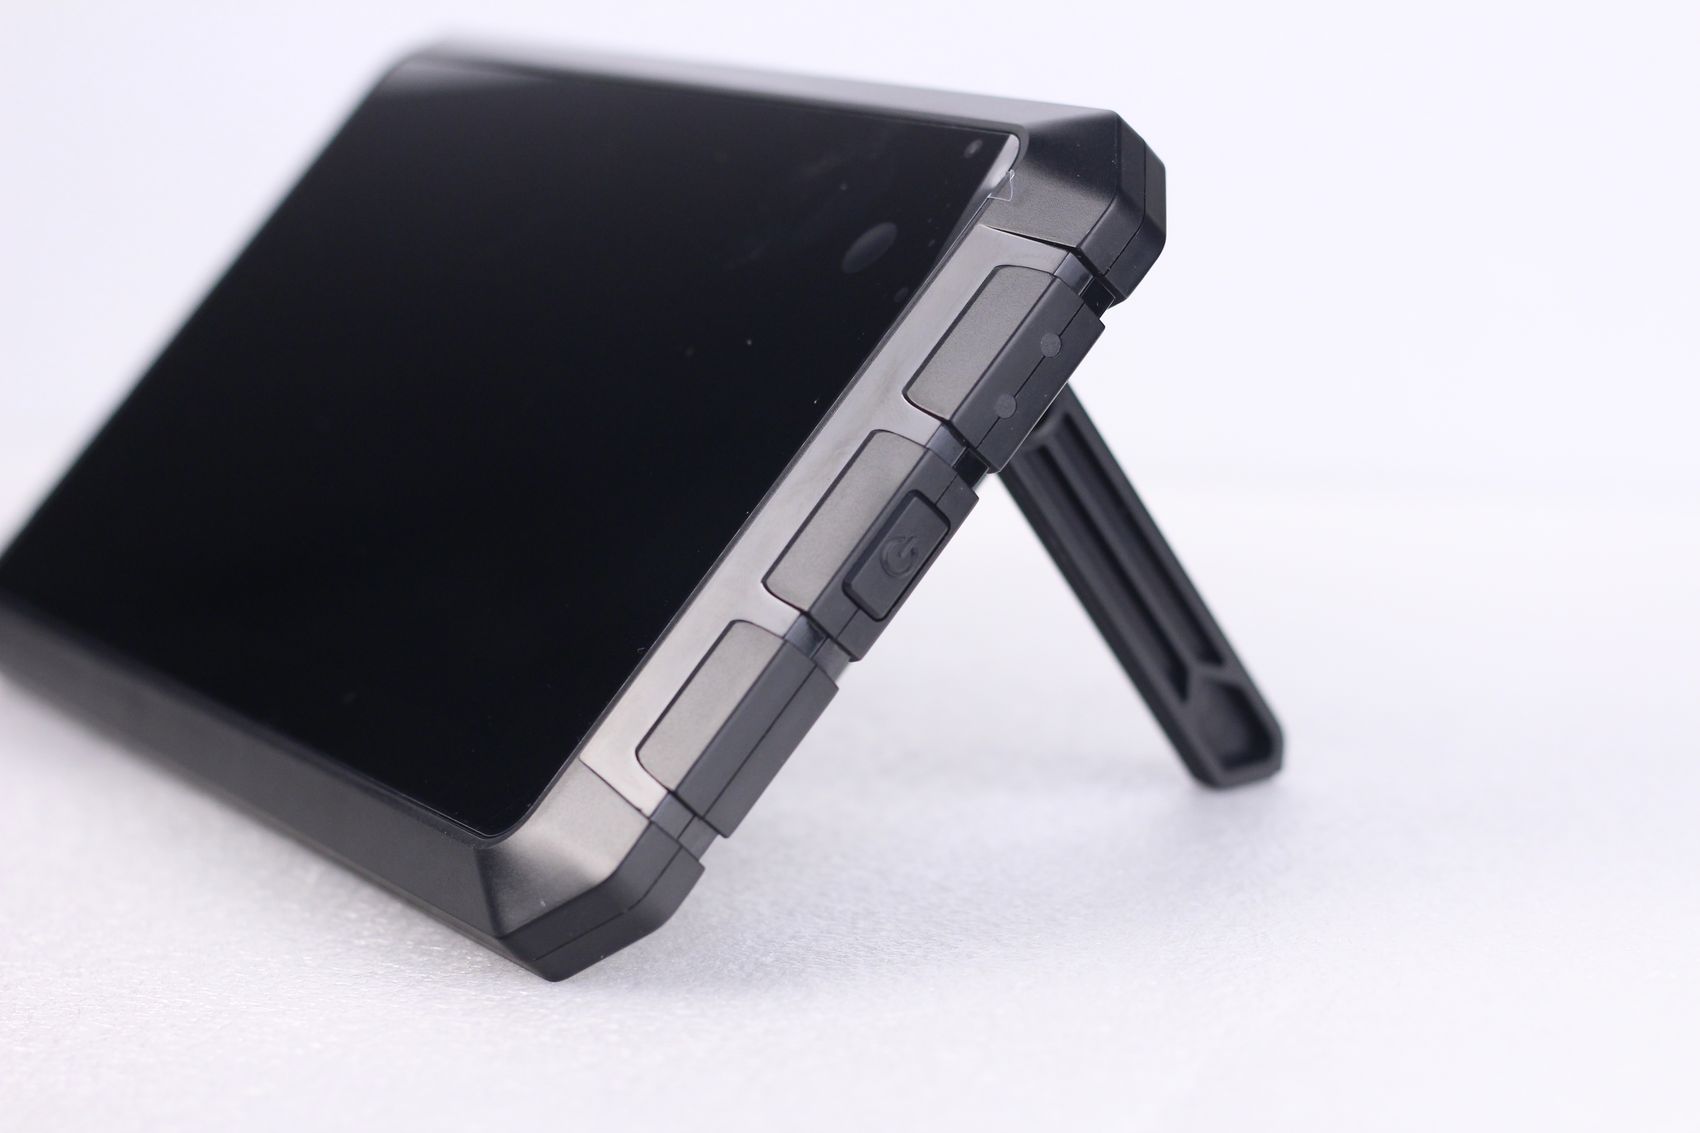
On the left side of the Sonic Pad, we get an extra pair of USB A connectors and on the right side, we get a power button and two LED indicator lights.
The pad also has a handy colapsible stand which can be used to keep the screen upright.
Specs
| SoC | Creality T800 |
| SoC Data Bus Width | 64-bit |
| RAM | 2 GB |
| ROM | 8 GB |
| WiFi Standard | 802.11 b/g/n |
| USB Port | USB2.0 x 4 |
| LAN Port | RJ45 x 1(100Mbps) |
| Vibration Sensor Interface | 1 |
| RatedVoltage | 12V |
| Display Type | IPS |
| Display Size | 7 inches |
| Display Resolution | 1024*600 |
| Multi-touch | Yes |
| Speaker | Yes |
| Vibration Sensor | Yes |
| PackageDimensions | 282*241*55mm |
| Product Dimensions | 222*128*40mm |
| Net Weight | 0.46Kg |
| Gross Weight | 1.15Kg |
7-inch IPS touchscreen
As previously mentioned, the Creality Sonic Pad has a 7-inch IPS touchscreen with a resolution of 1024×600. While the screen resolution seems low, the image is decent but it won’t win any high-dpi awards.
Considering the price of the Sonic Pad, I would have expected at least a full-HD screen even though I can say it’s needed. But the price of these types of screens is quite low so I can’t see any reason not to have a better resolution.
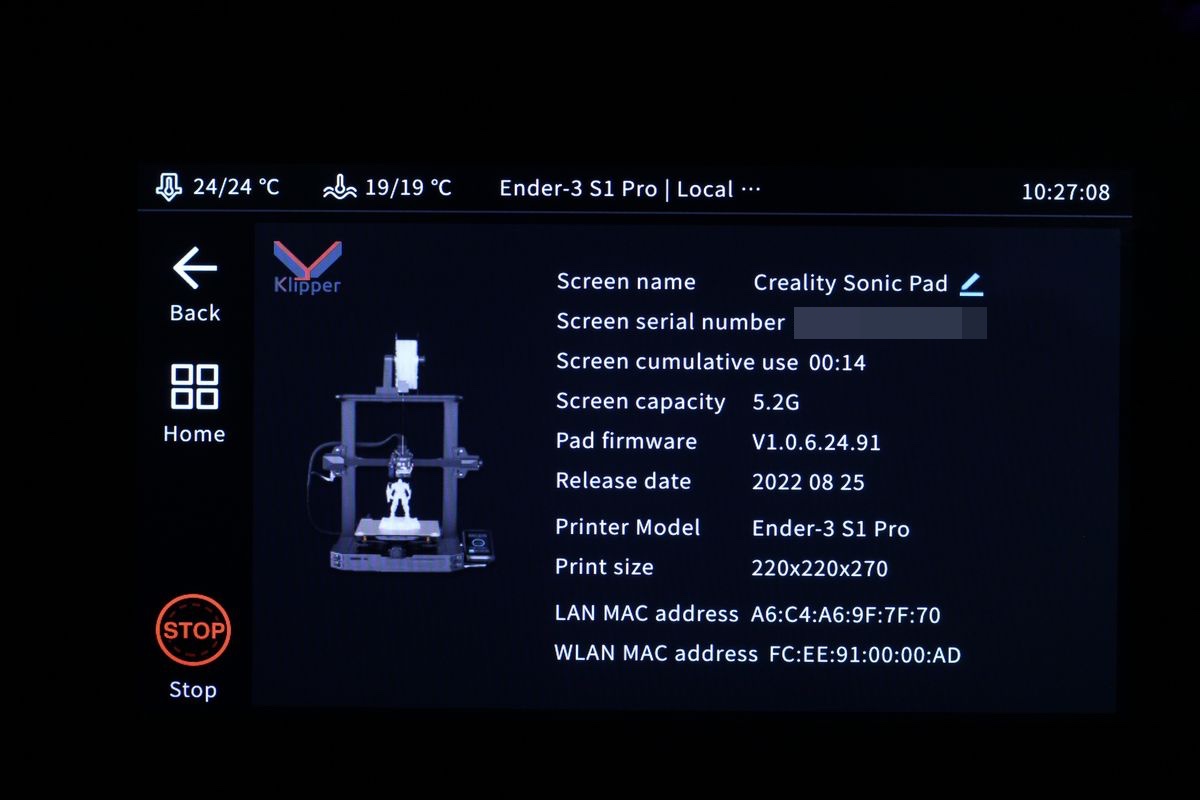
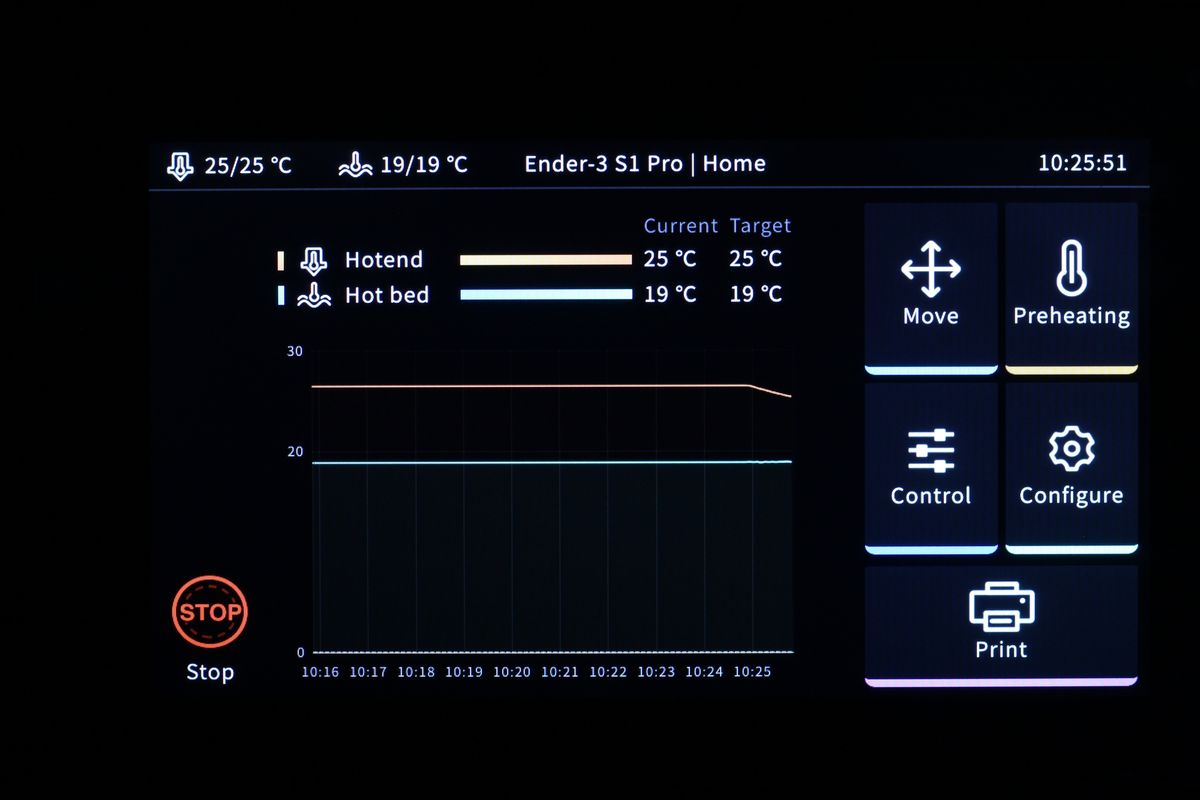
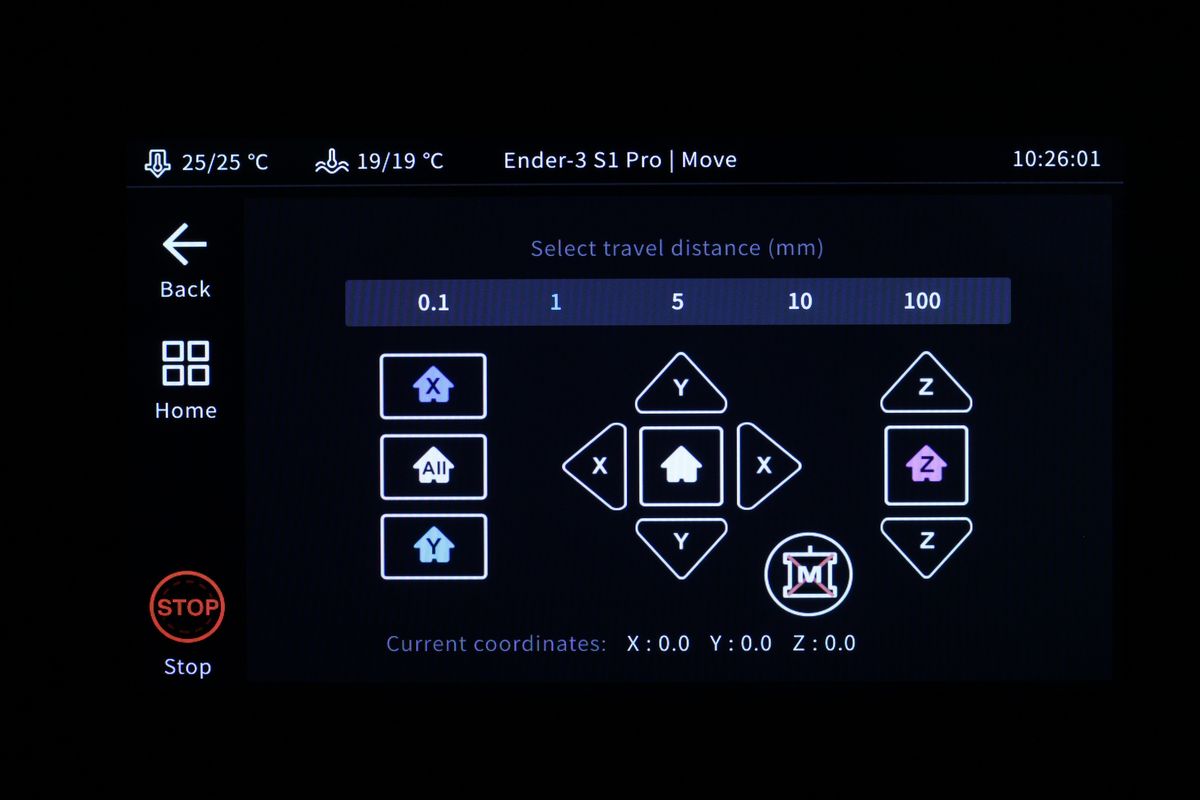
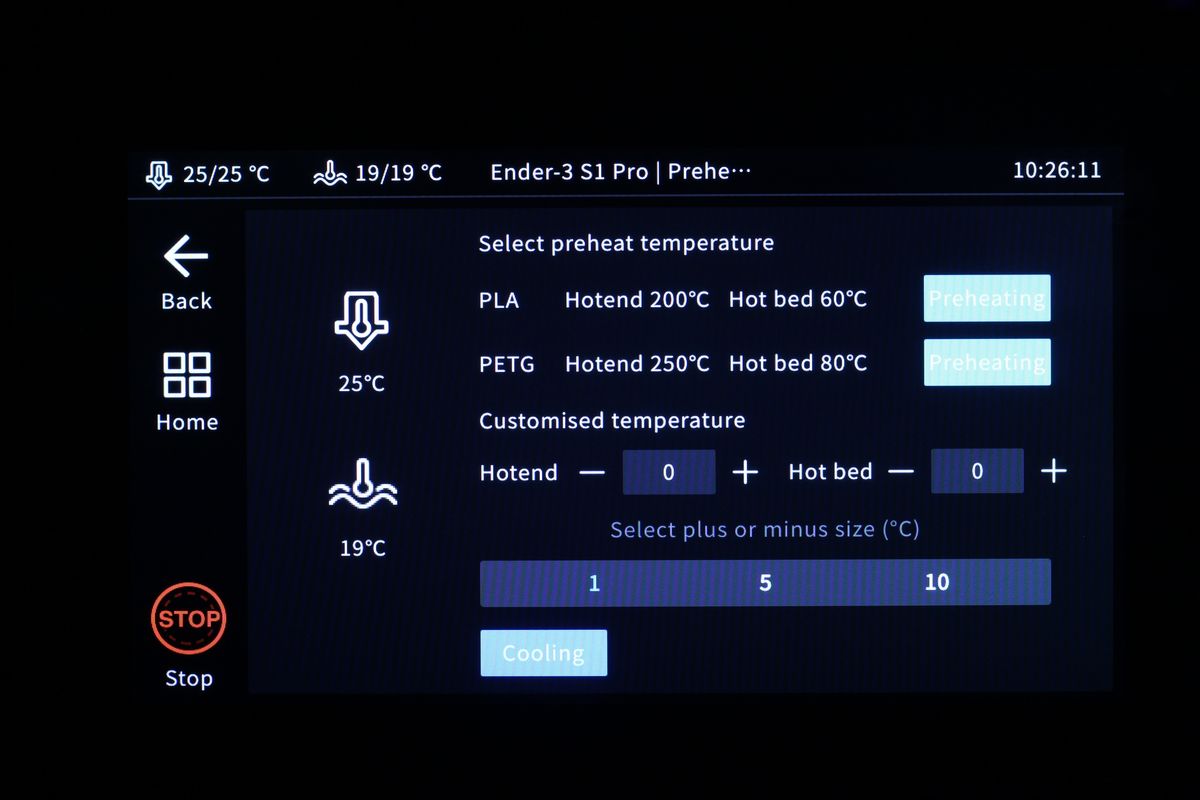
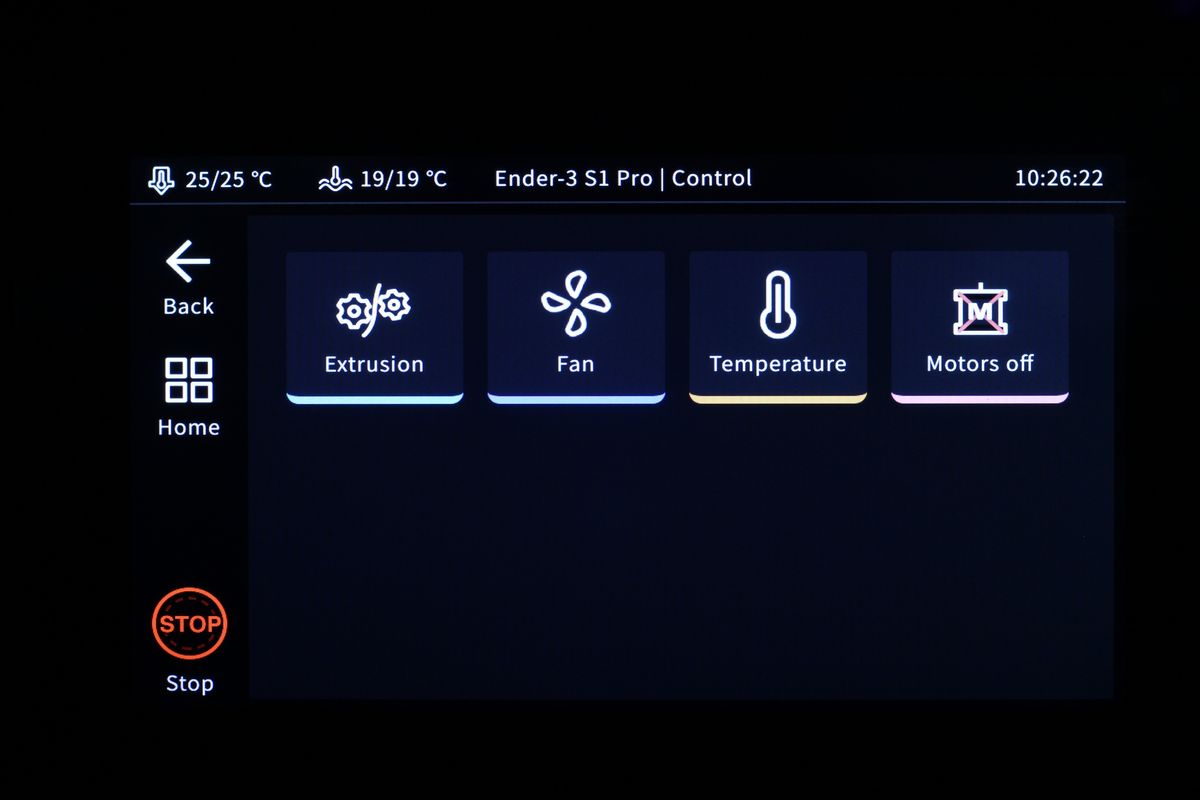
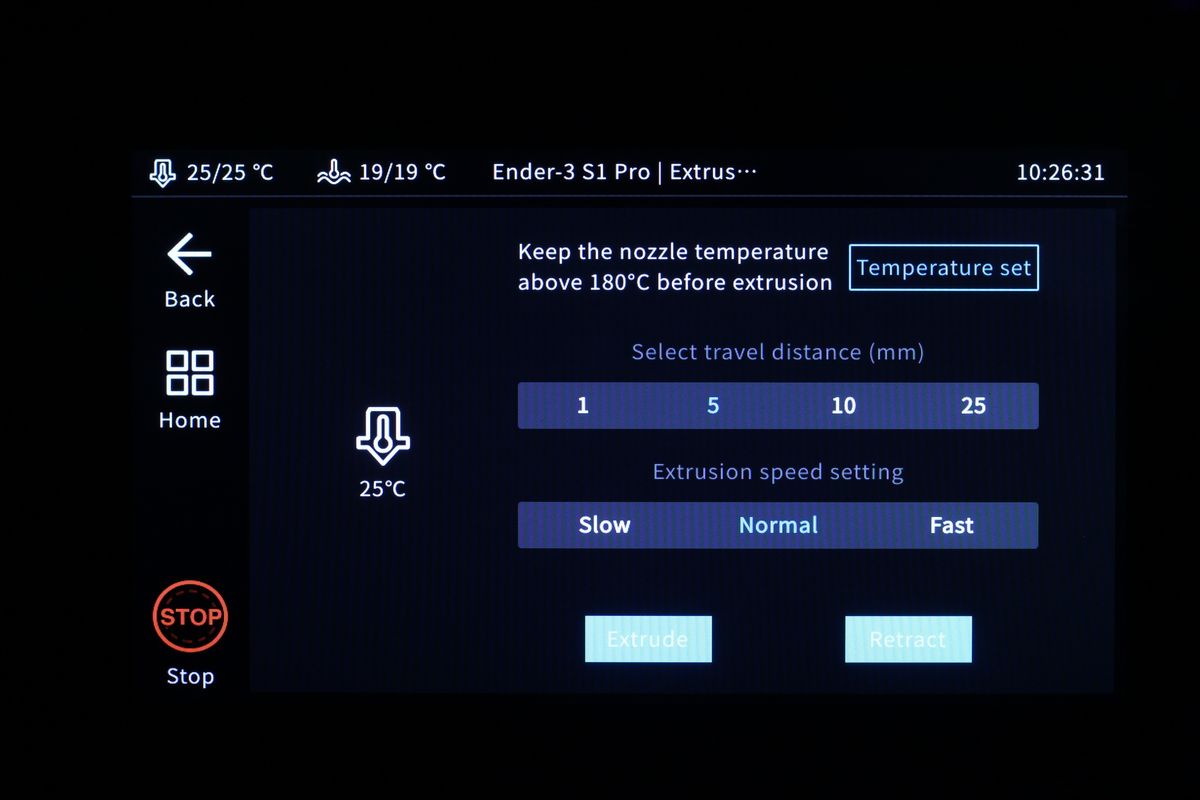
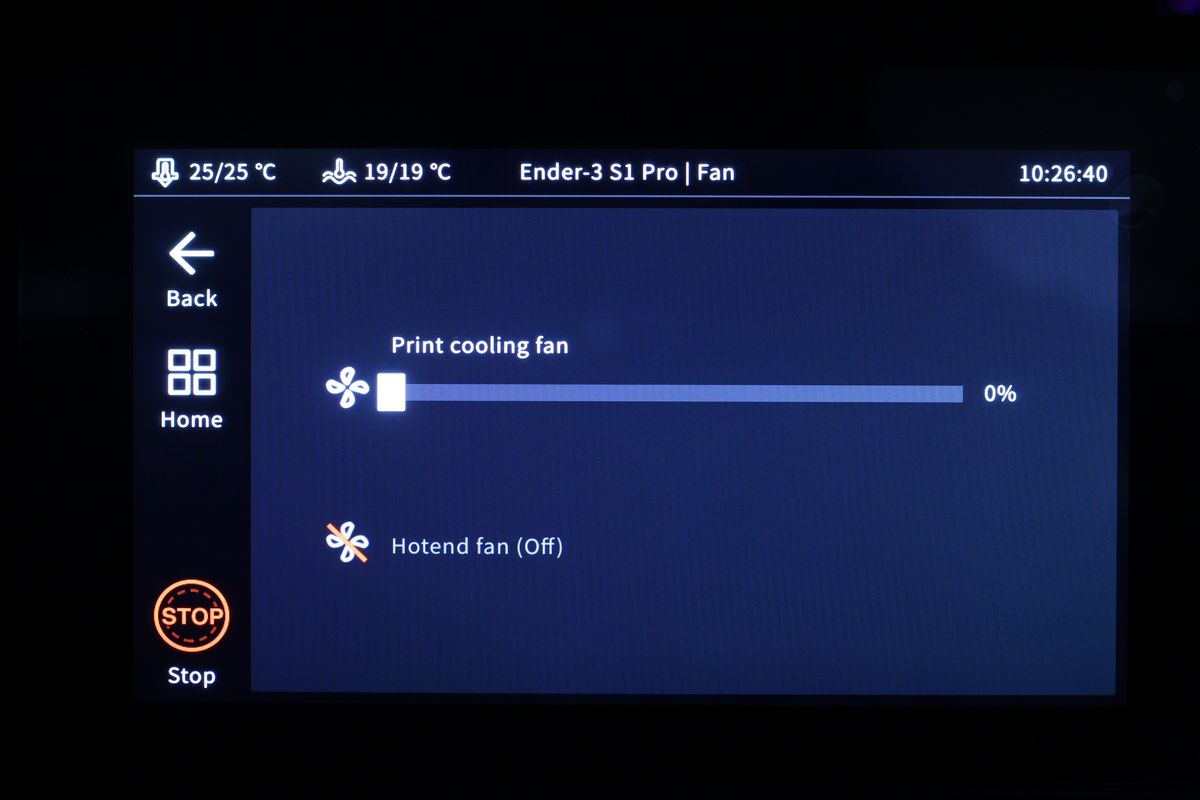
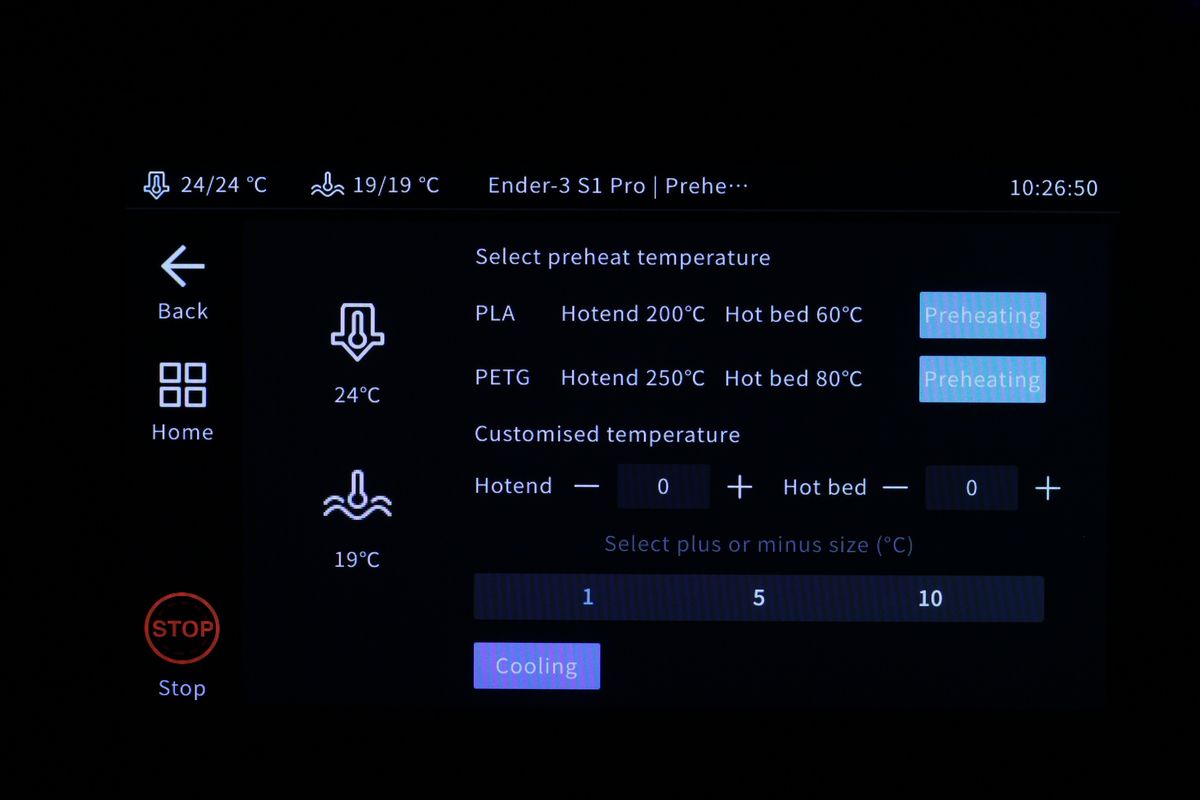
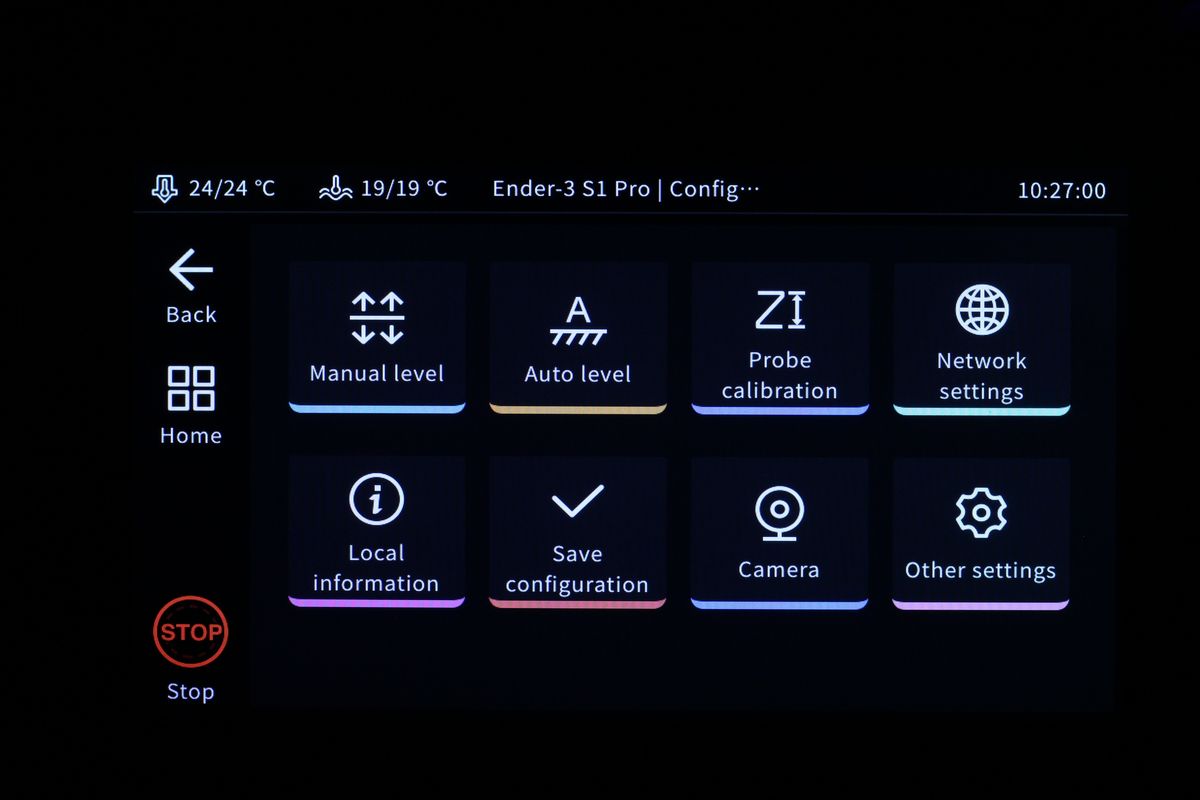
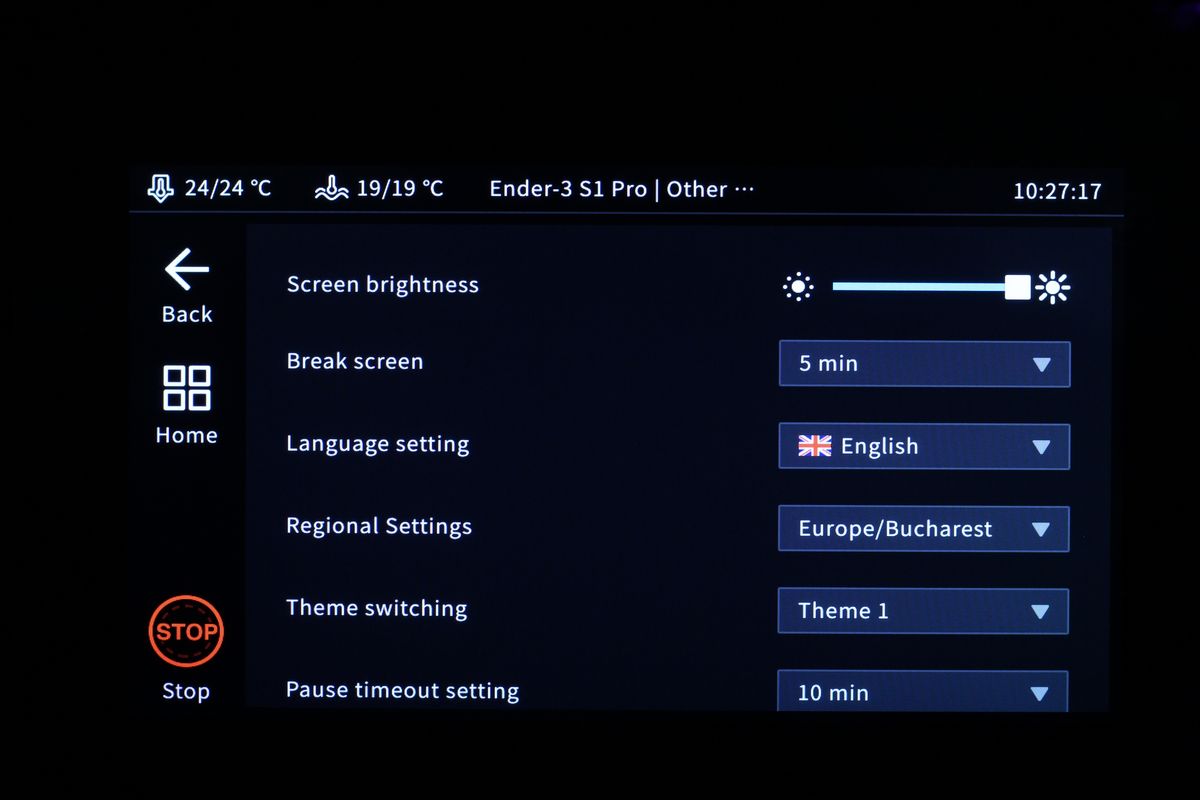
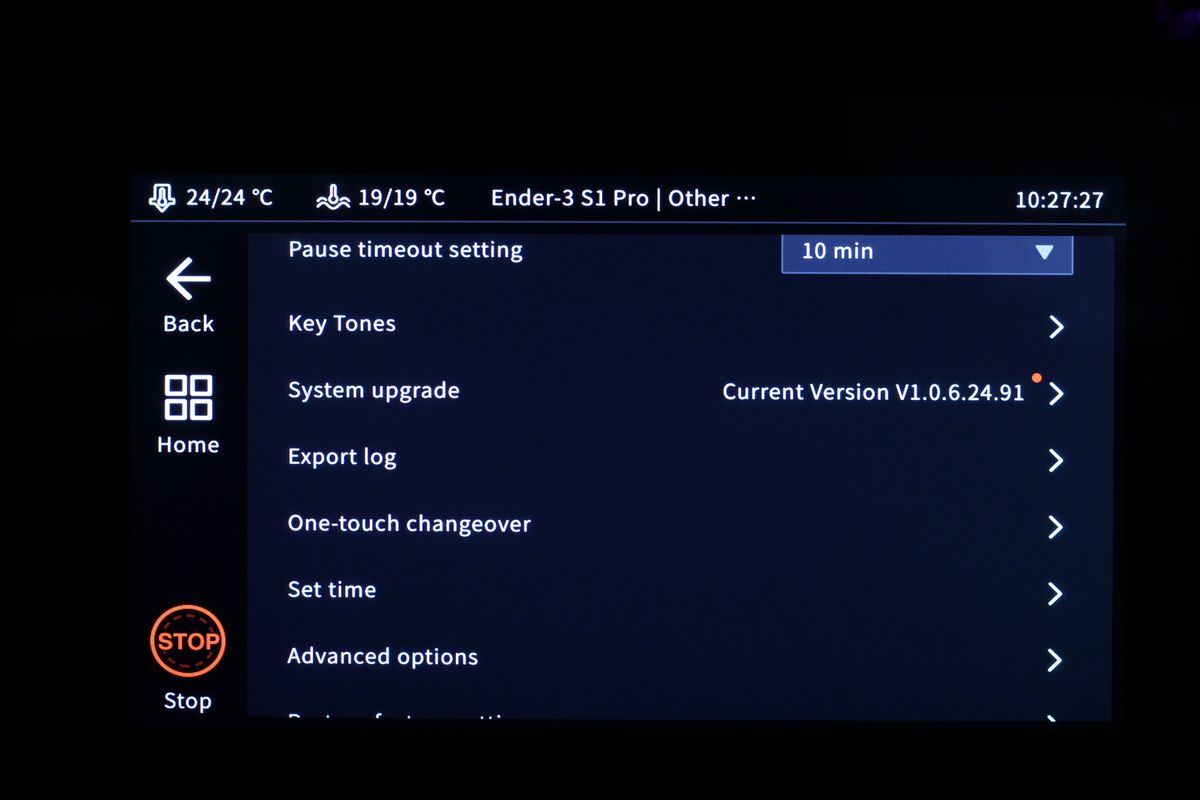
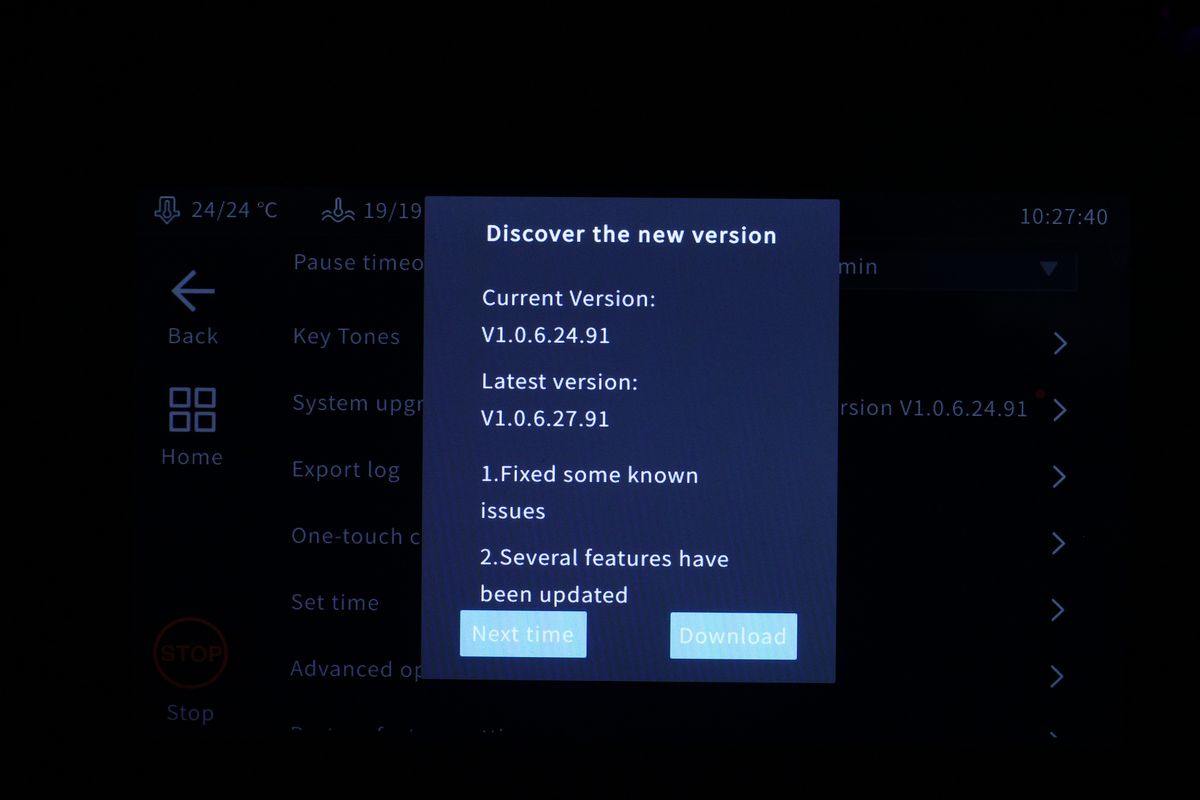
The Sonic Pad runs a themed version of Klipper Screen, and you can see how this looks in the images below:
Creality T800 Chip with 2GB of RAM
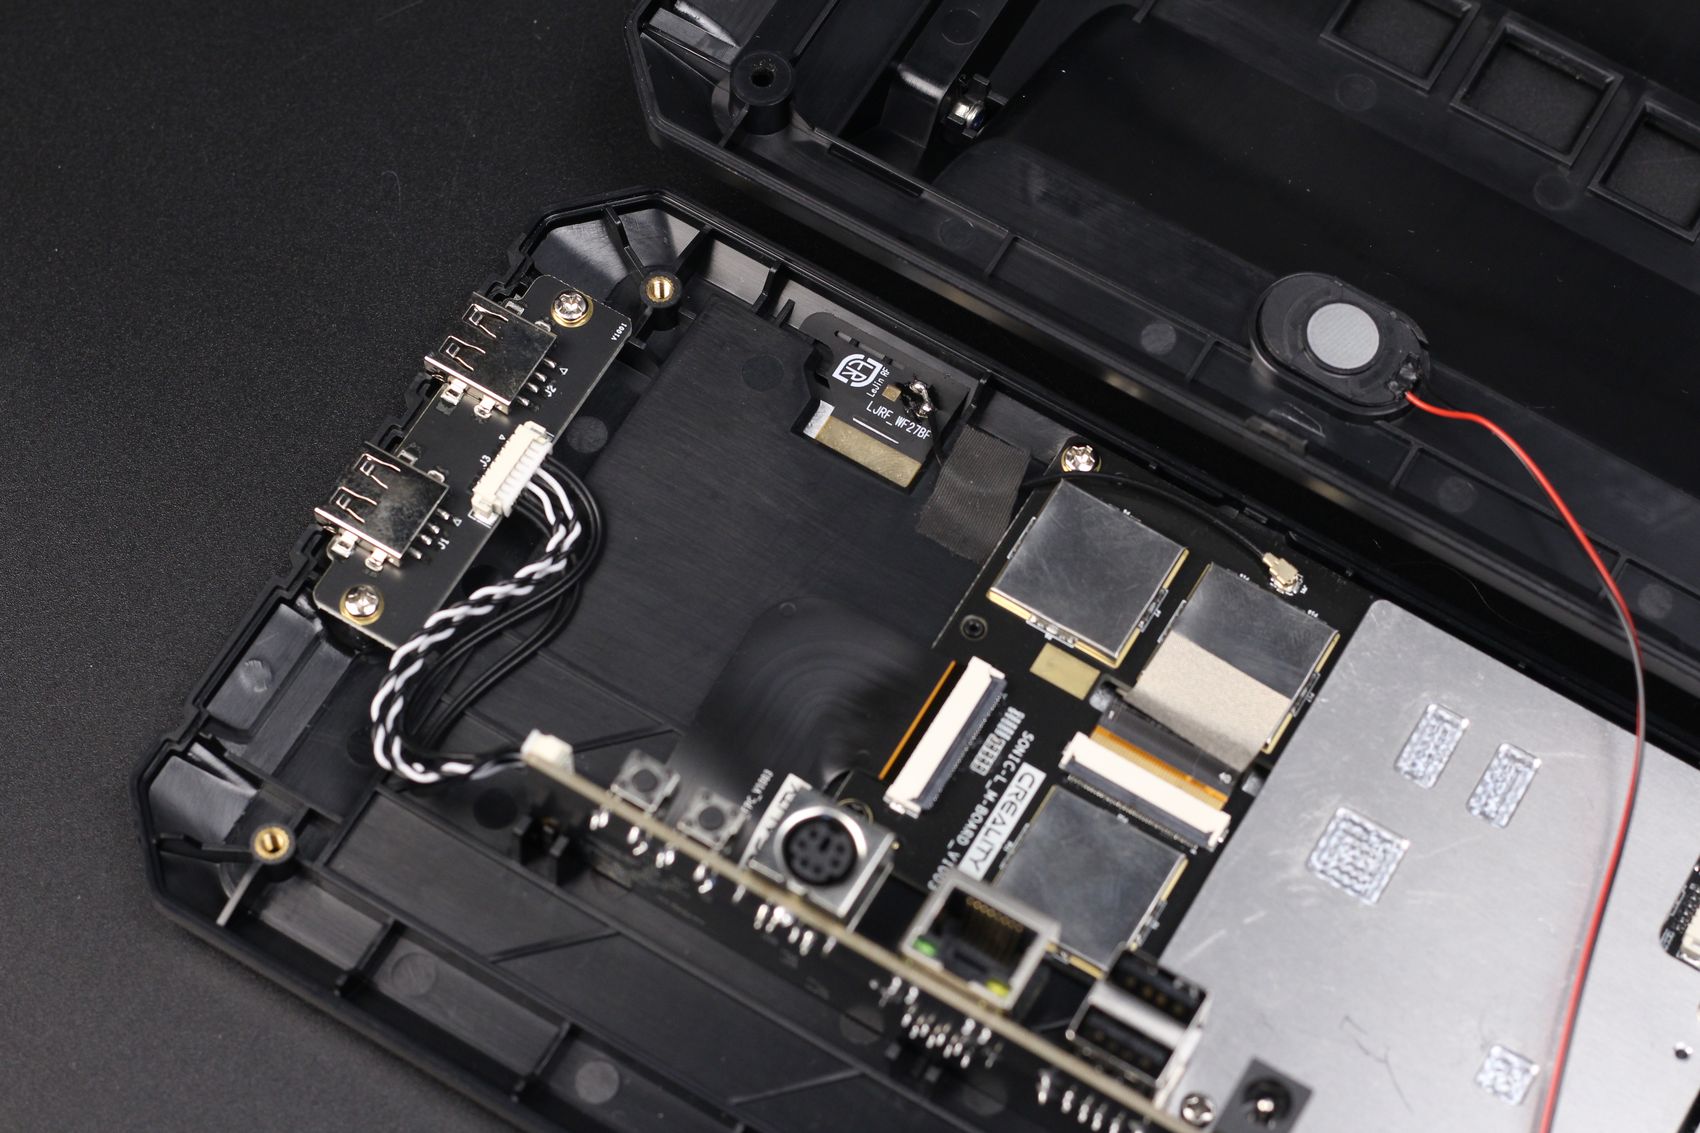
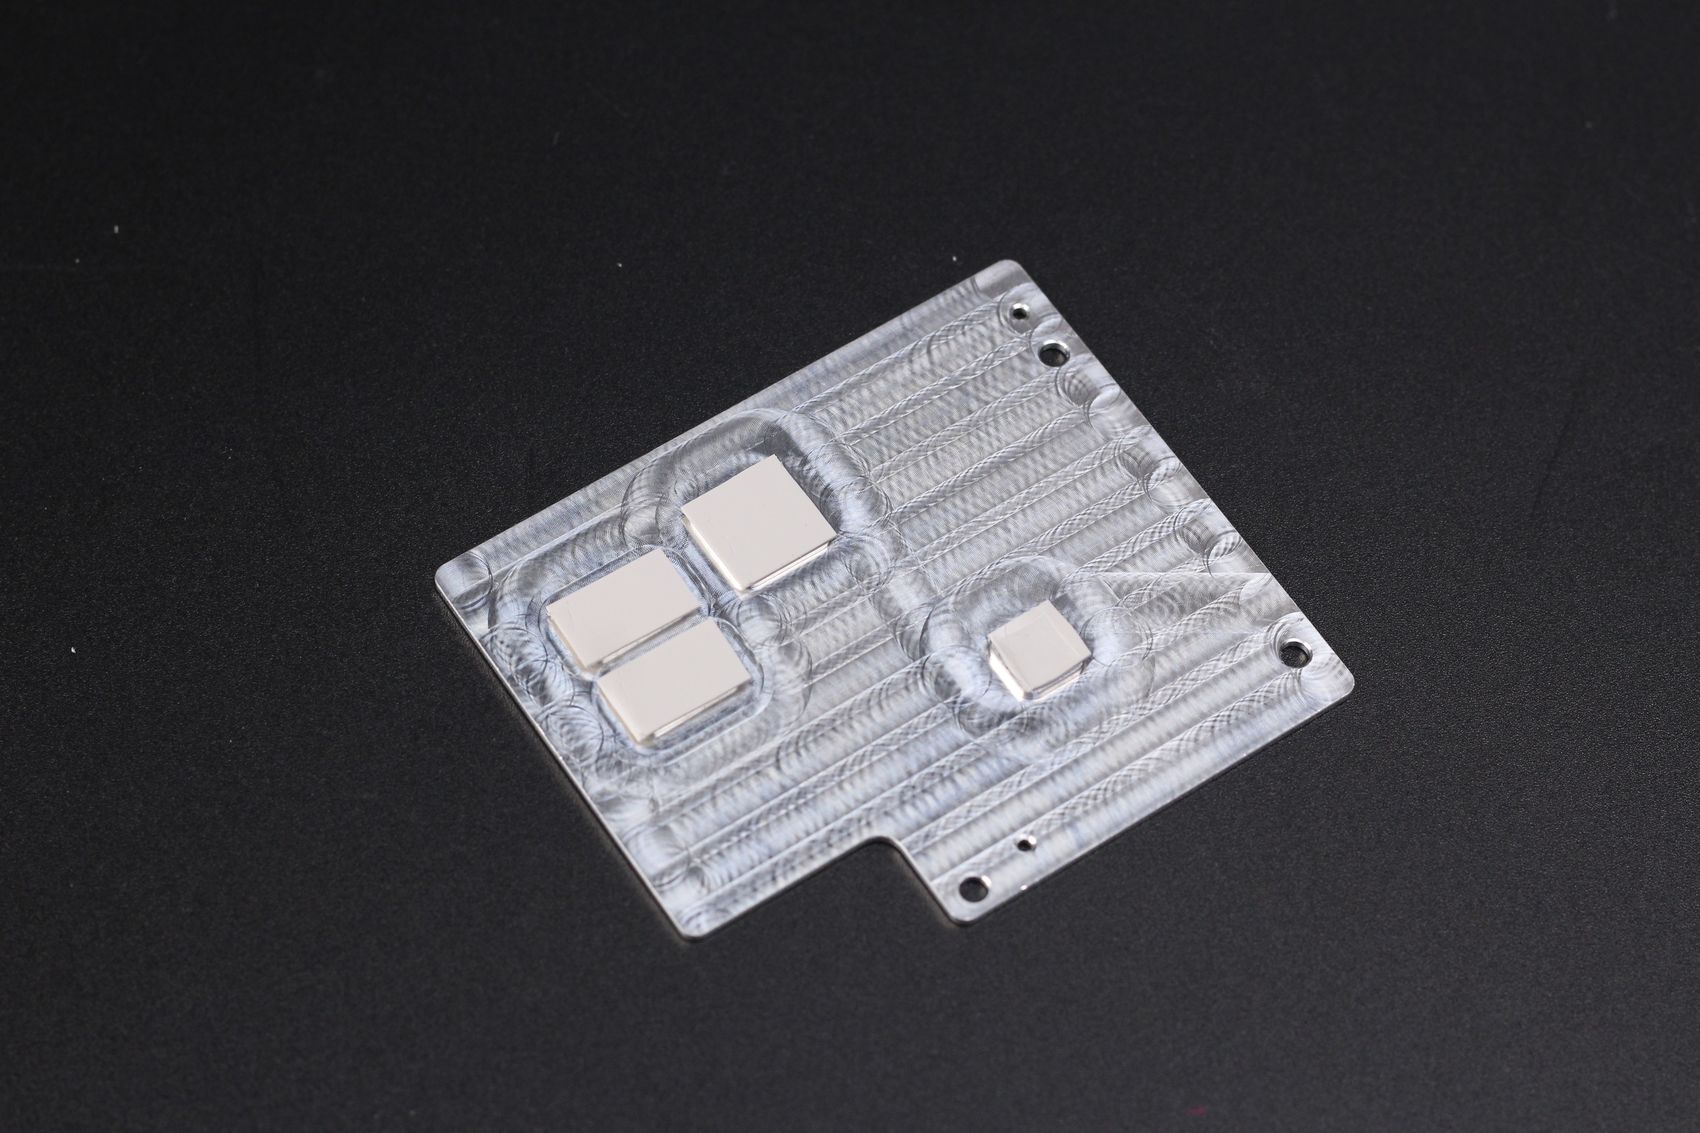
I guess it wouldn’t be a 3DPrintBeginner review if we’re not taking things apart, so I was curious to see what kind of chip is the Creality Sonic Pad using. I expected this to be different, but it actually looks like Creality has a branded CR-T800C inside.
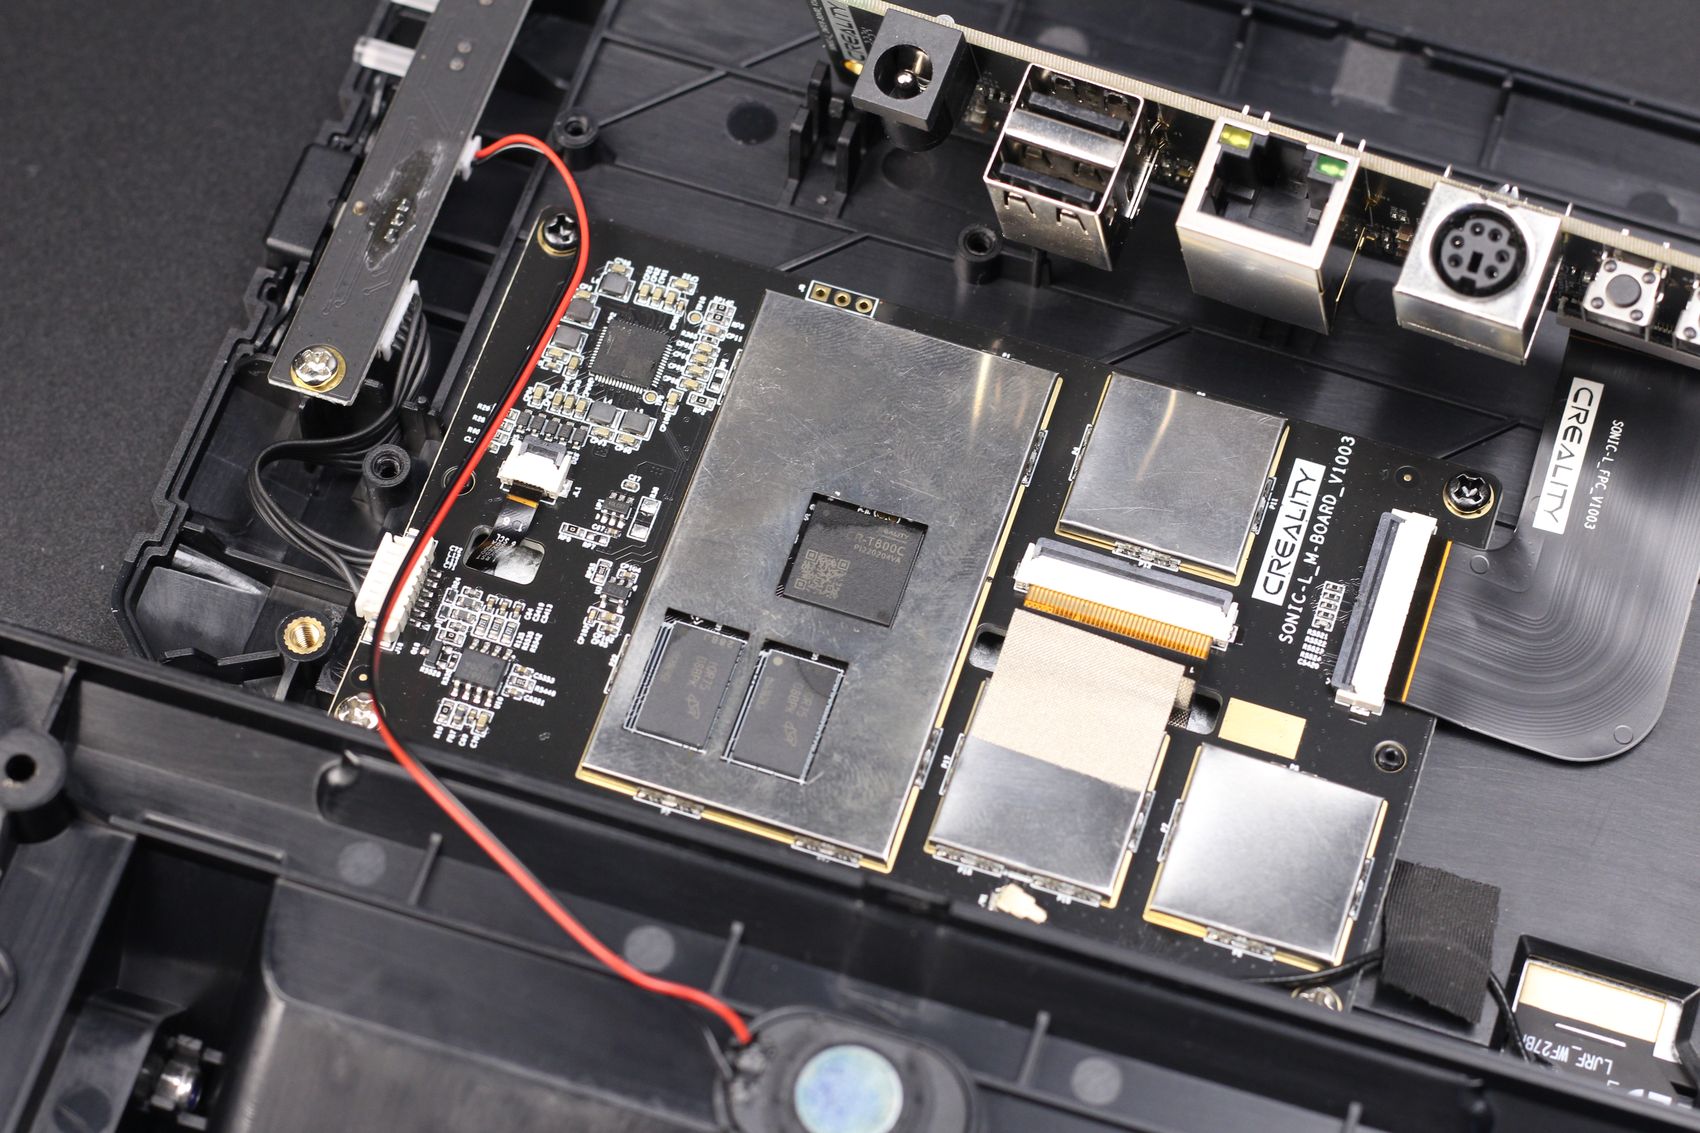
To keep everything cool, Creality added an aluminum plate with thermal pads that cover the CPU, RAM, and WiFi chip which is great. It should be more than enough to take the small spikes of load that might generate heat.
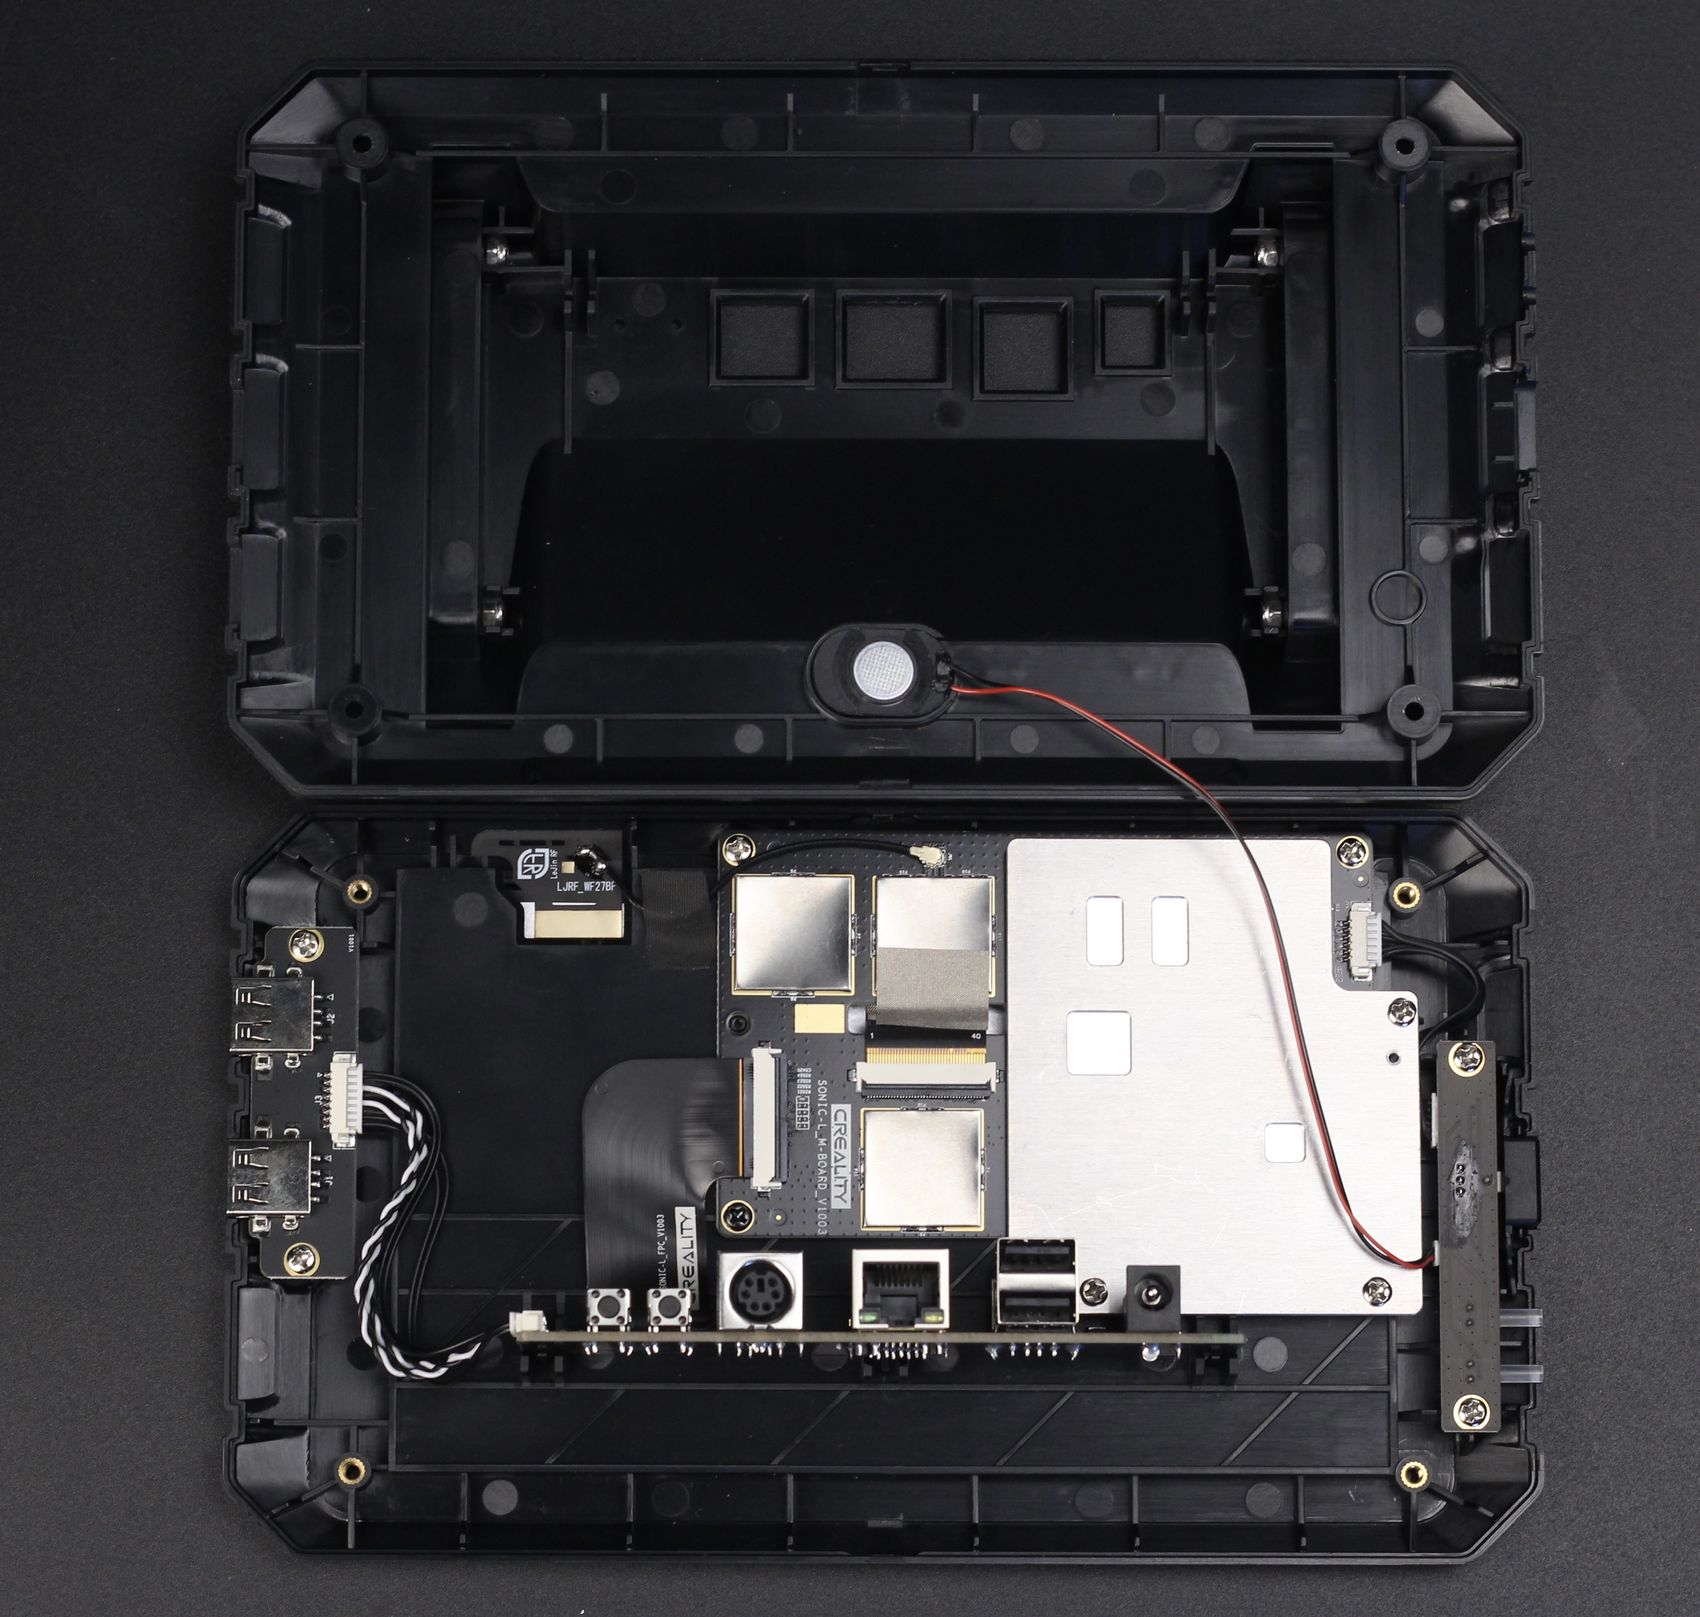
The unit is modular, and it will be easy to repair if the ports fail at some point (granted that replacements will be provided by Creality if needed). There’s also a speaker unit present.
ADXL sensor for Input Shaper calibration
In the box, we also get an ADXL sensor which is used for Input Shaper calibration.
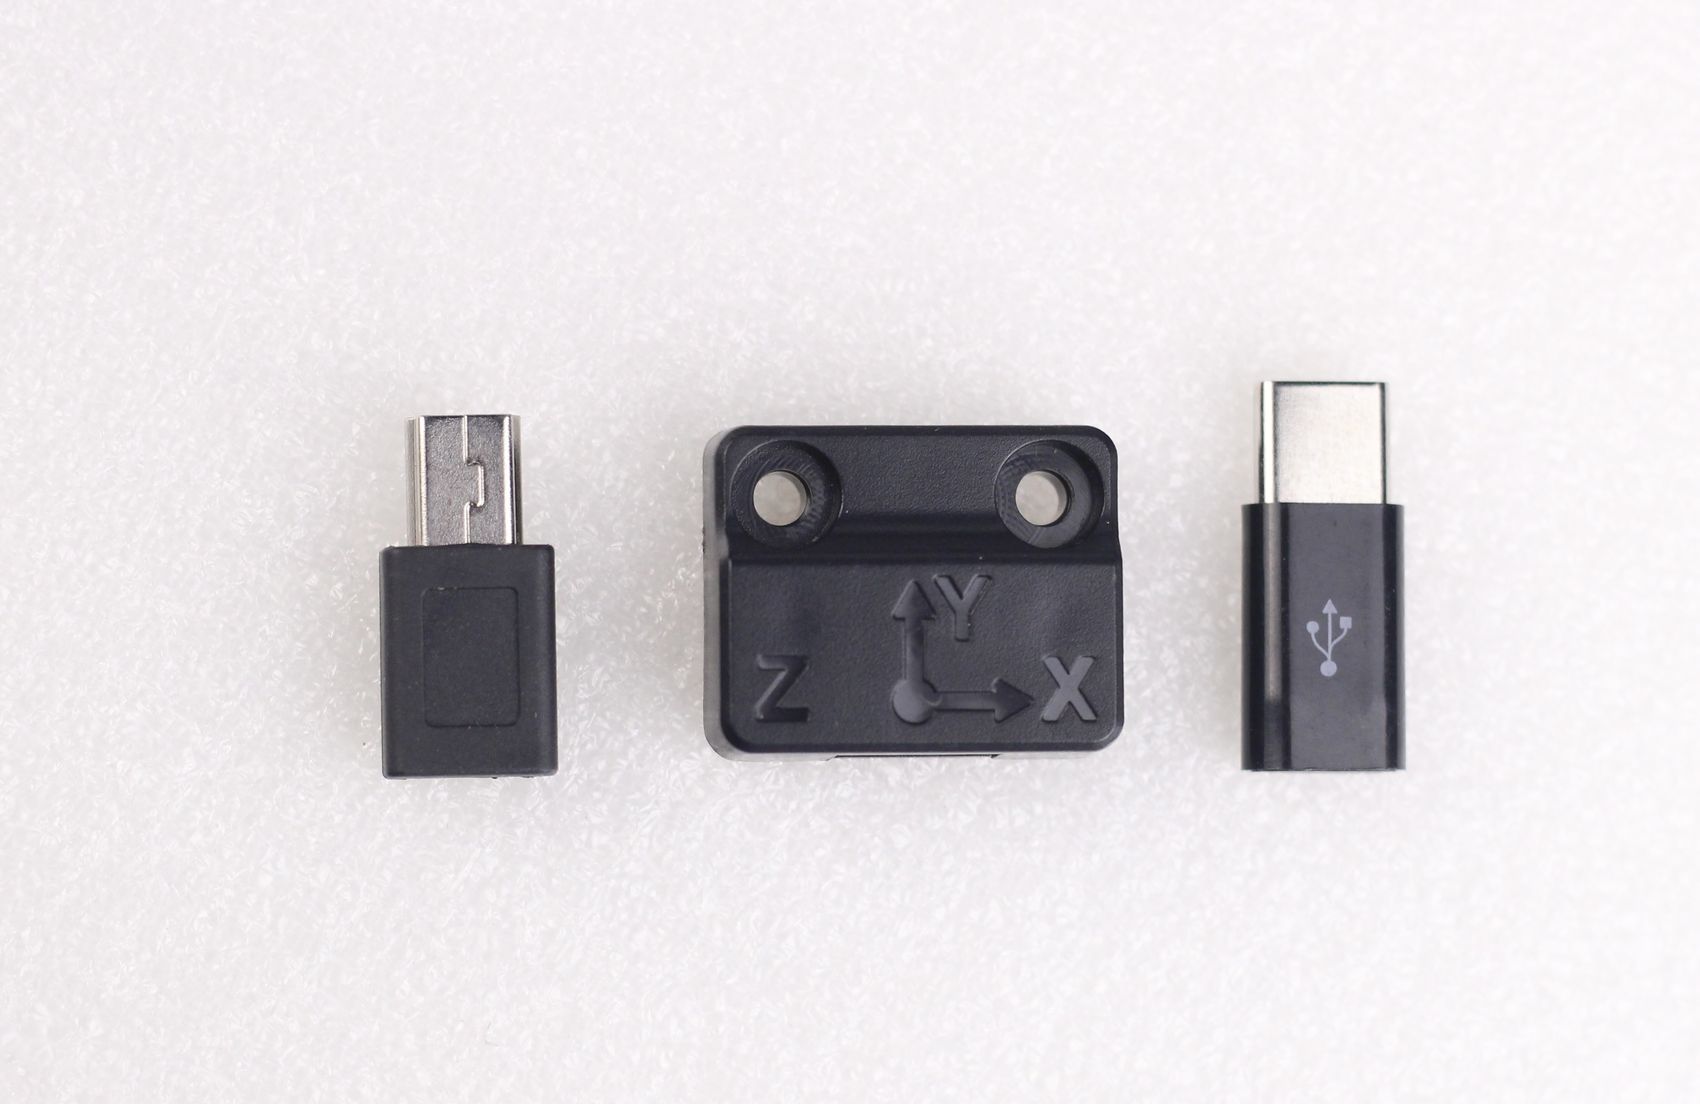
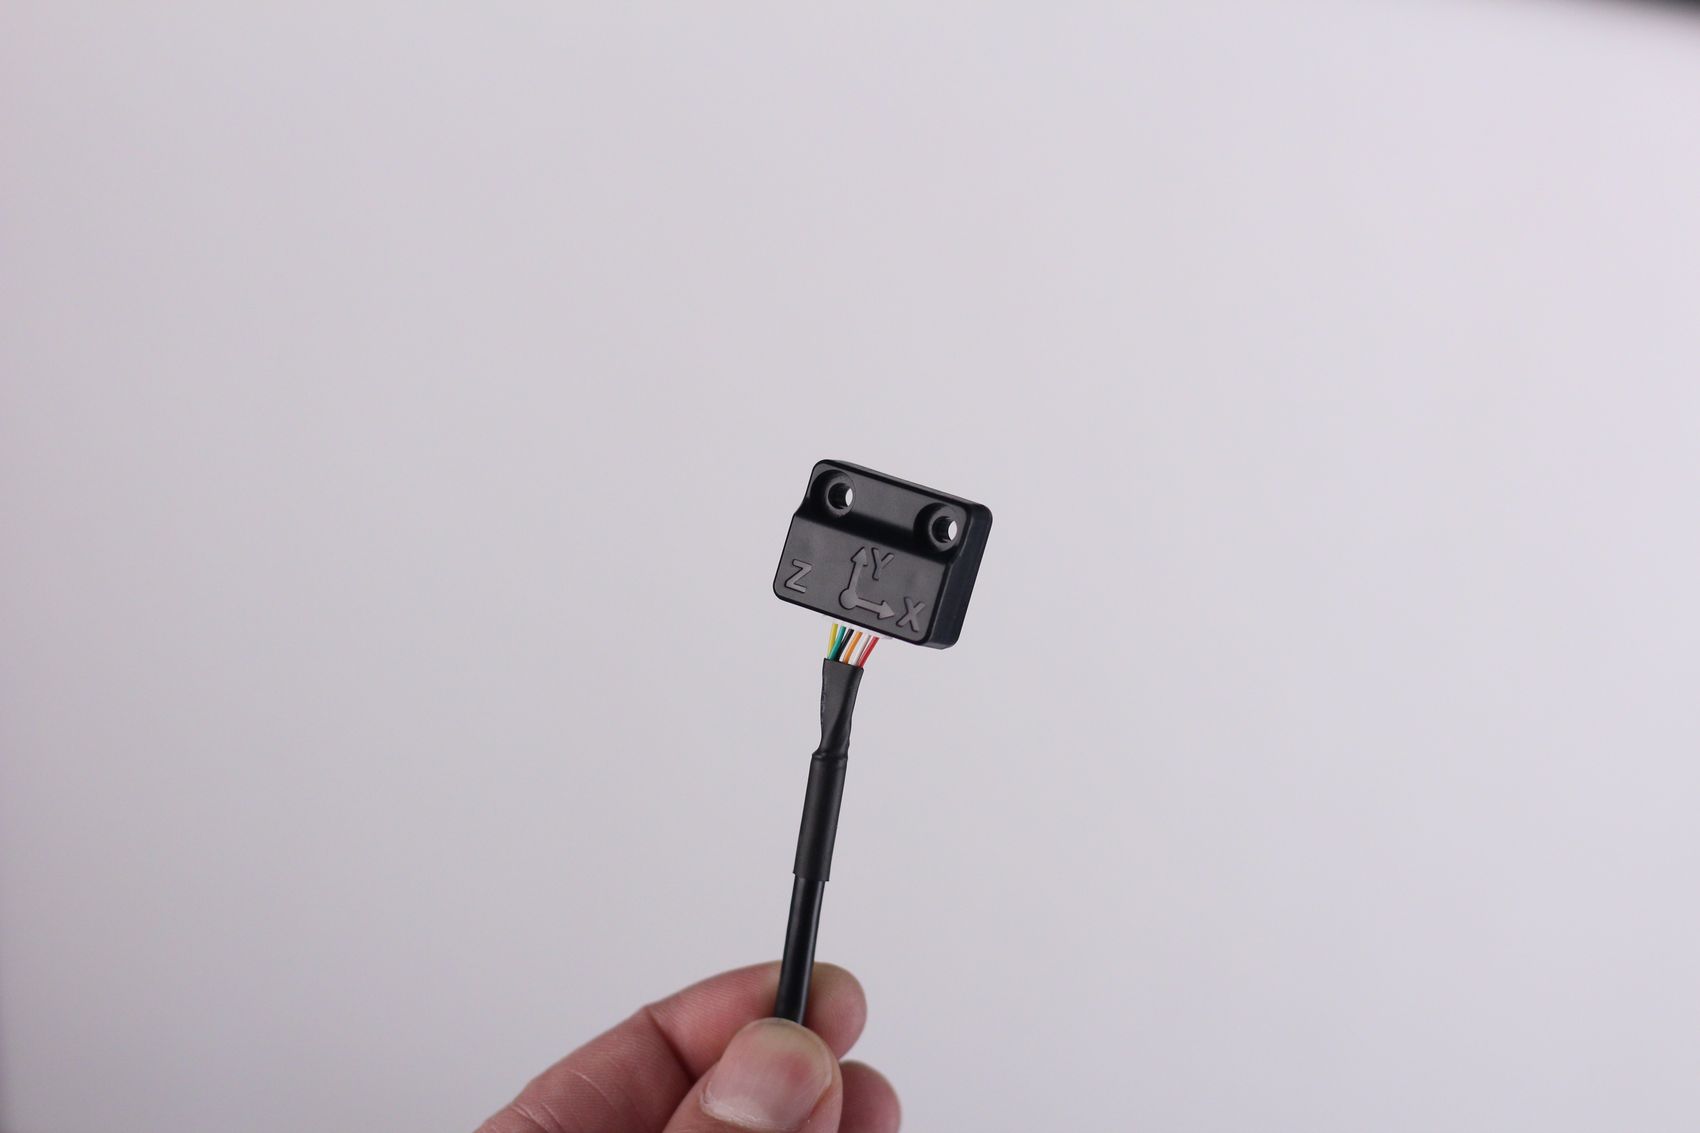
If you are not familiar with this, Klipper firmware allows you to measure the resonance of the printer on X and Y axis, then tune Input Shaper accordingly. This is one of the most interesting features available in Klipper and it’s also one of the reasons printers can print faster without a noticeable drop in print quality.
To use the sensor, you need to print a mount for it and Creality includes some files on the USB drive included with the Pad. While the mount can be used on the extruder to calibrate the X-axis, there’s no mount for calibrating the Y-axis.
In the images below, you can see the files included on the USB drive for various mounting points on the X-axis, but nothing for the Y-axis.
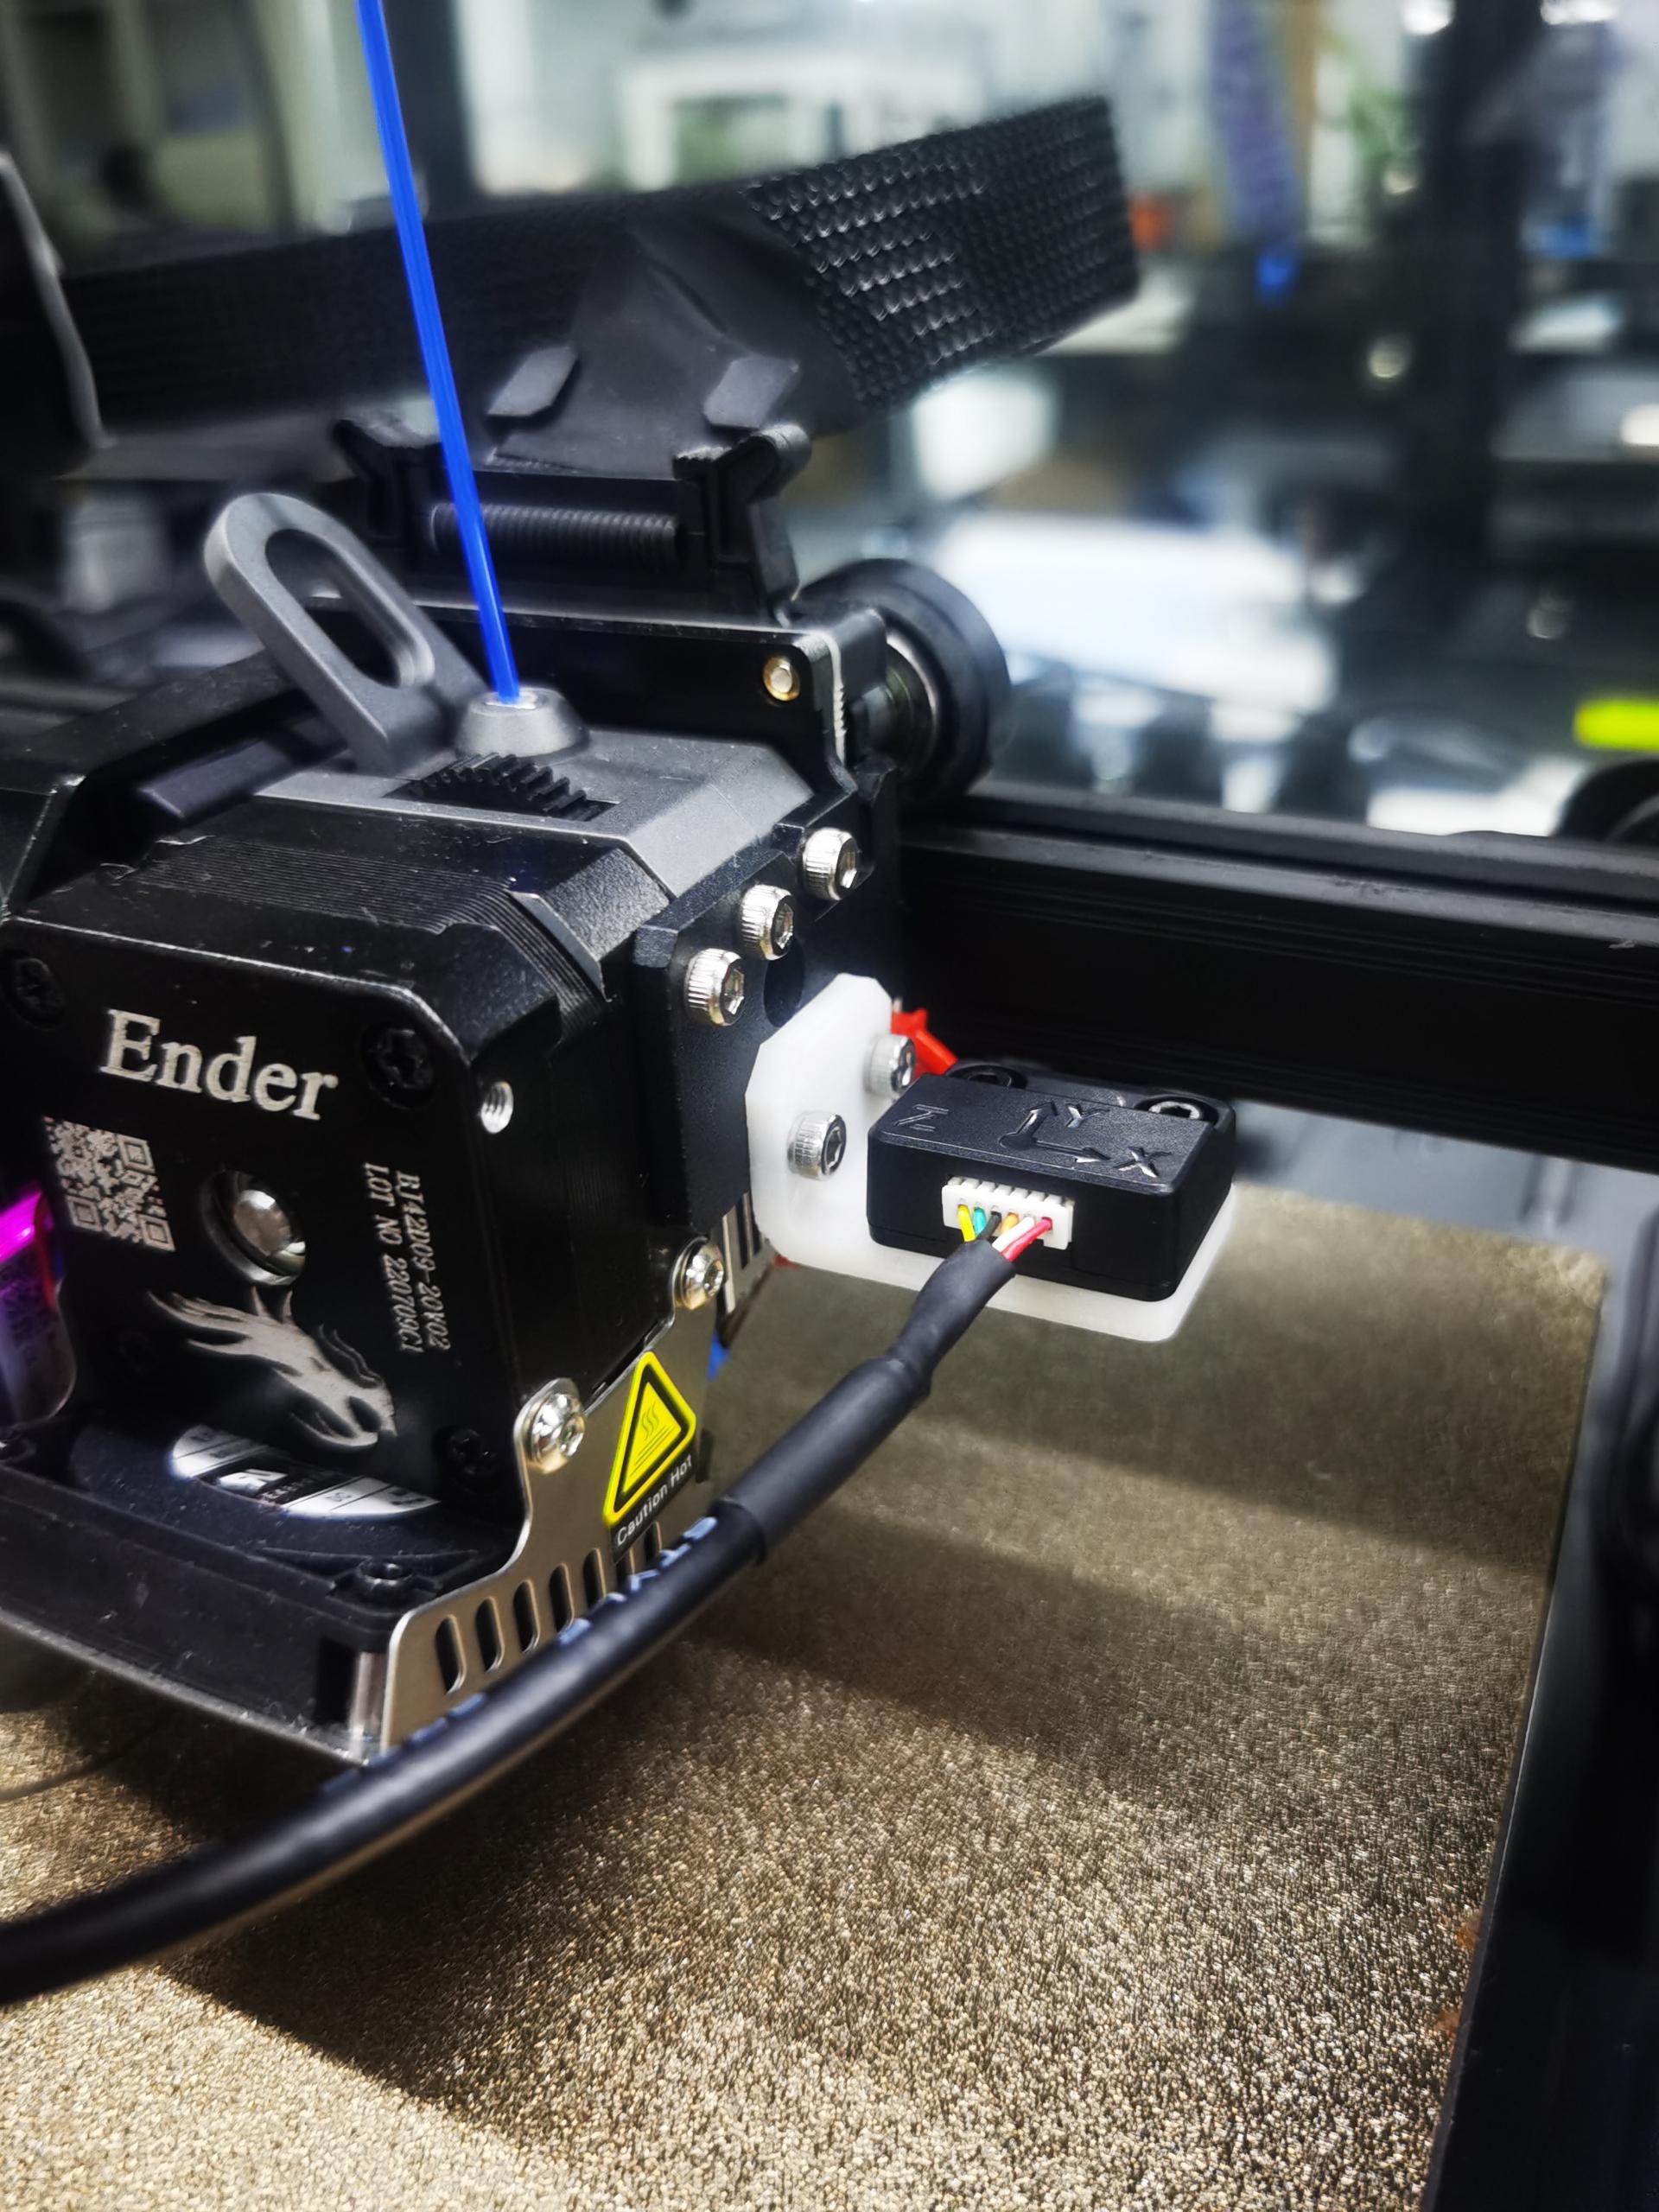
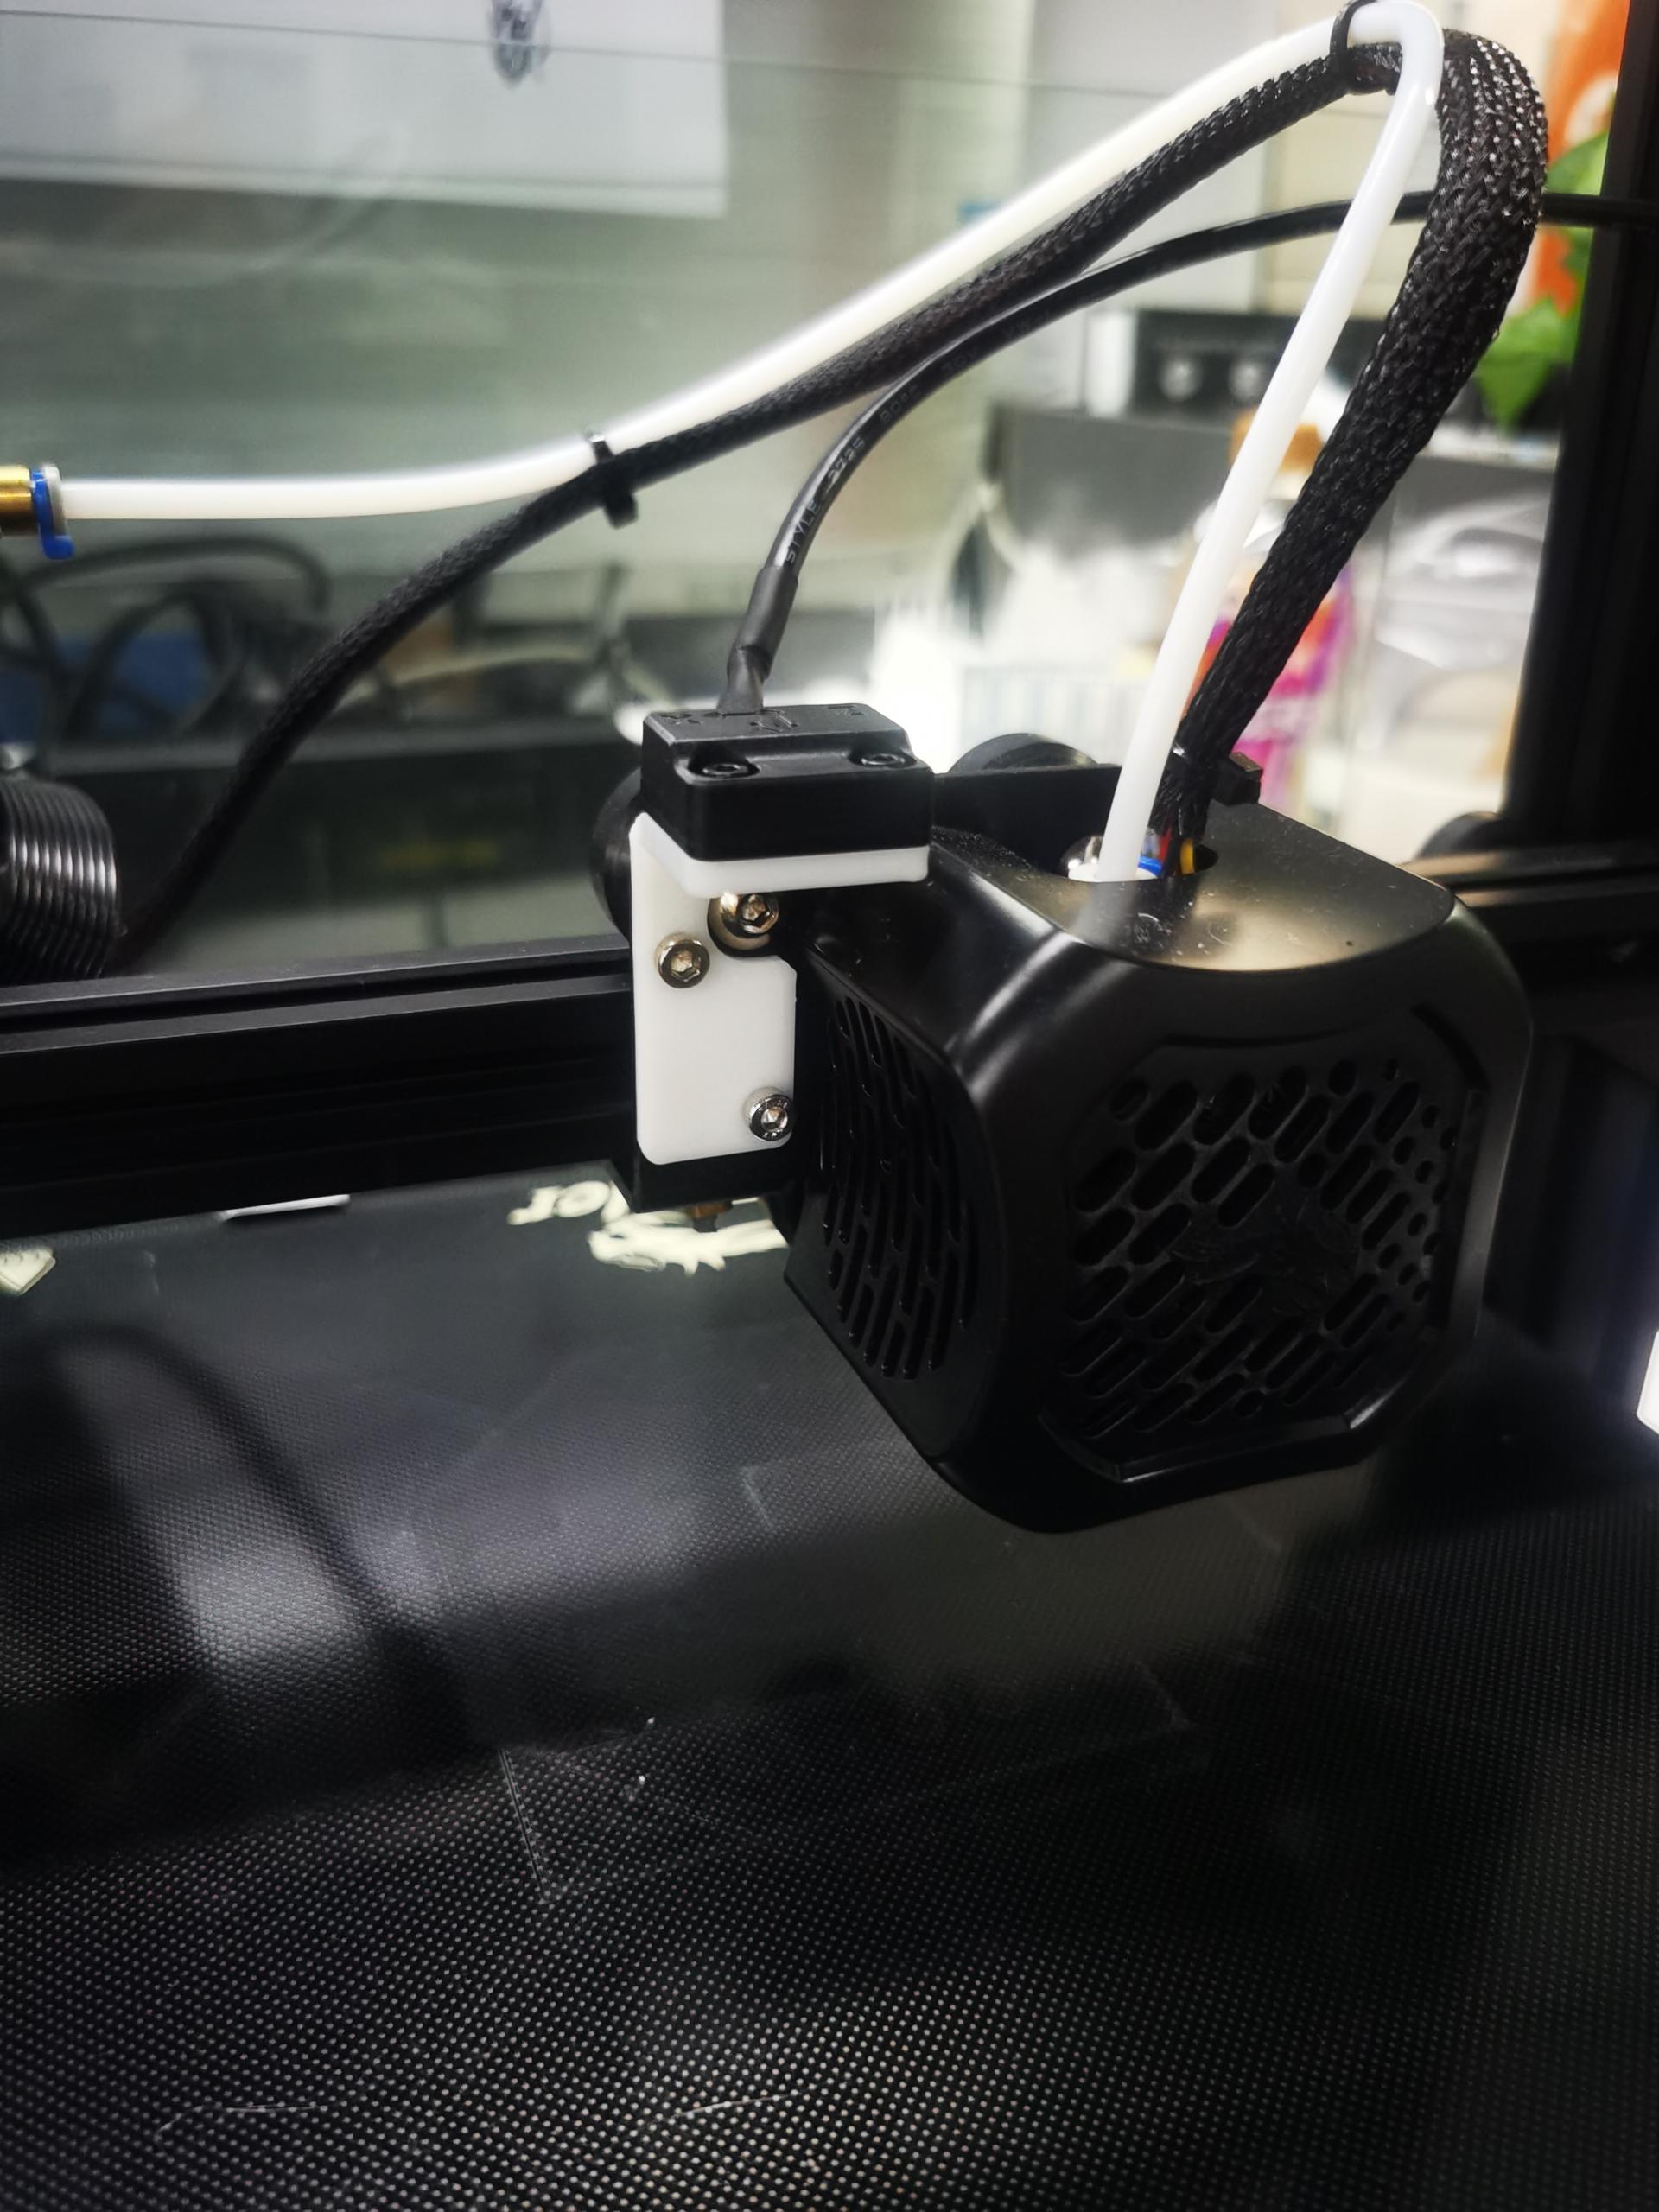
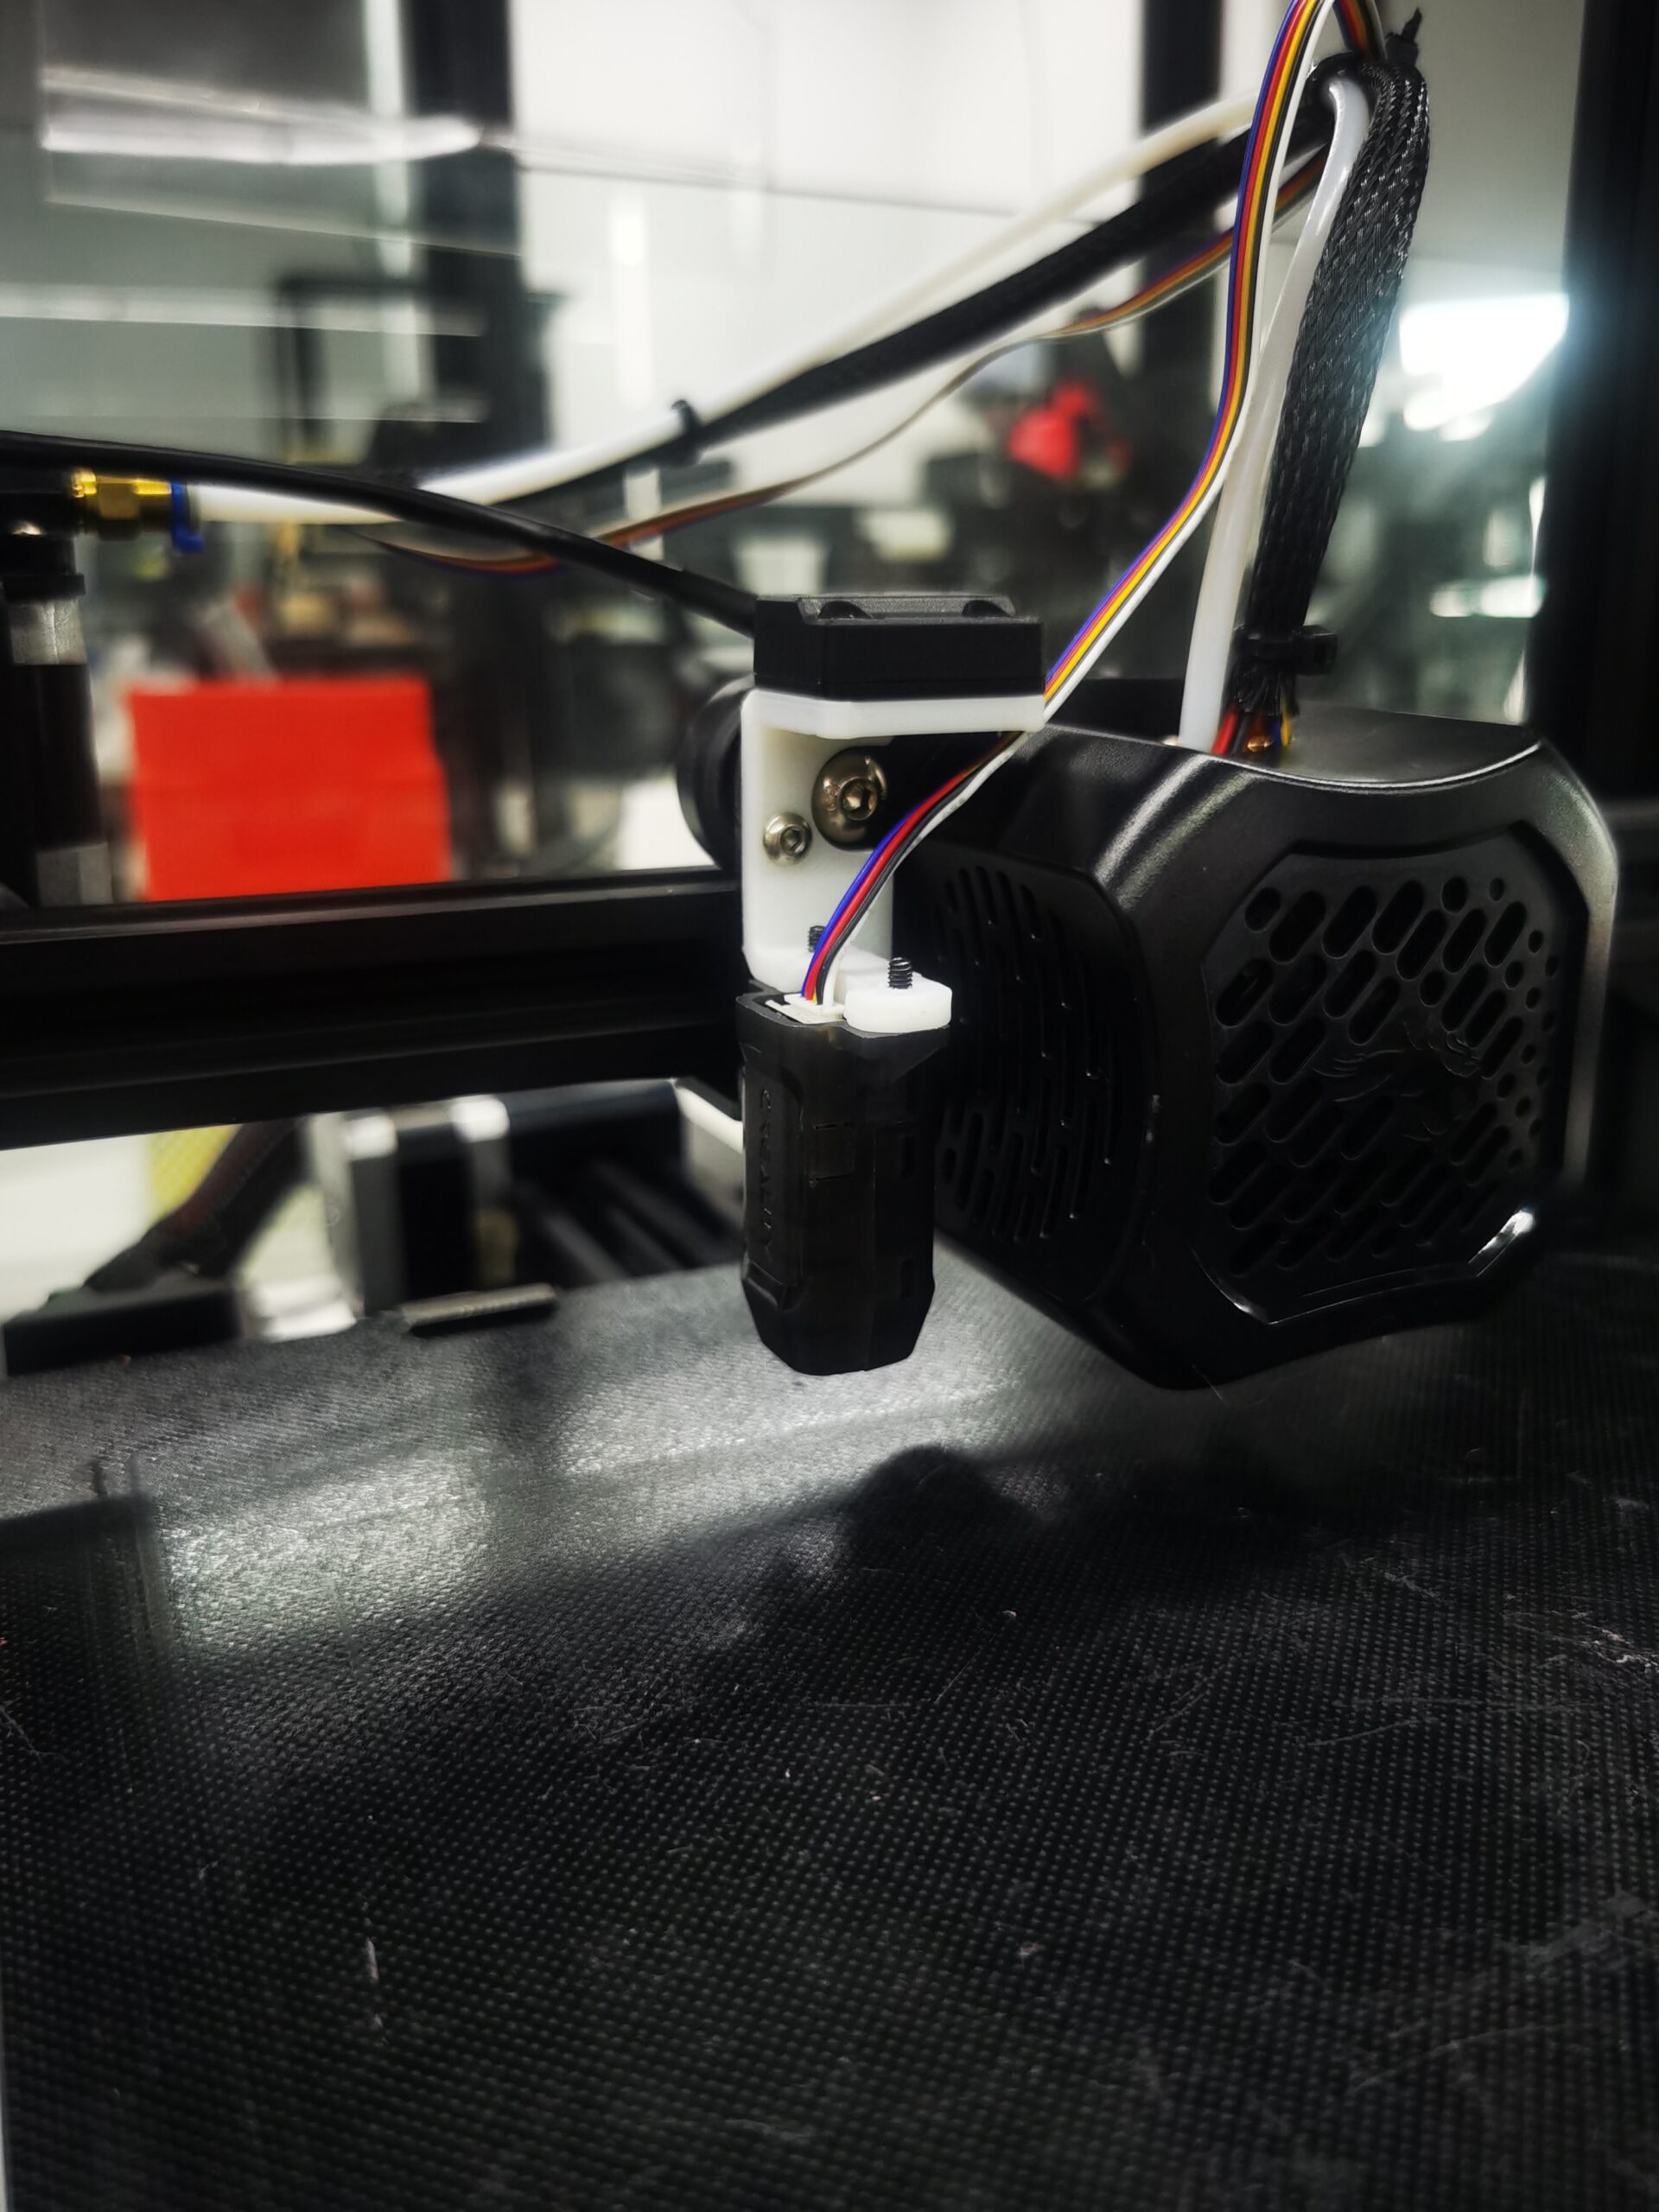
The calibration option on the screen also does X and Y axis measurements one after the other, not to mention the need of moving the position of the sensor for each measurement, which is plain wrong and an example that the people working on this don’t have a good understanding on how Klipper and Input Shaper work.
Wired and Wireless Network Connections
The Creality Sonic Pad gives you the option to use both a wired connection through the 100Mbps RJ45 connector and a Wi-Fi connection with 802.11 b/g/n capabilities.
Wi-Fi came a long way and it’s quite reliable nowadays, so I don’t see a need for the RJ45 wired connector, but I am sure other users might appreciate it.
4x USB A 2.0 connectors
While you only need a single USB connection between the Creality Sonic Pad and the printer, it’s nice to see that you have four available USB connectors to use.
Having multiple USB connectors will allow you to connect a webcam for remote monitoring and even timelapse videos.
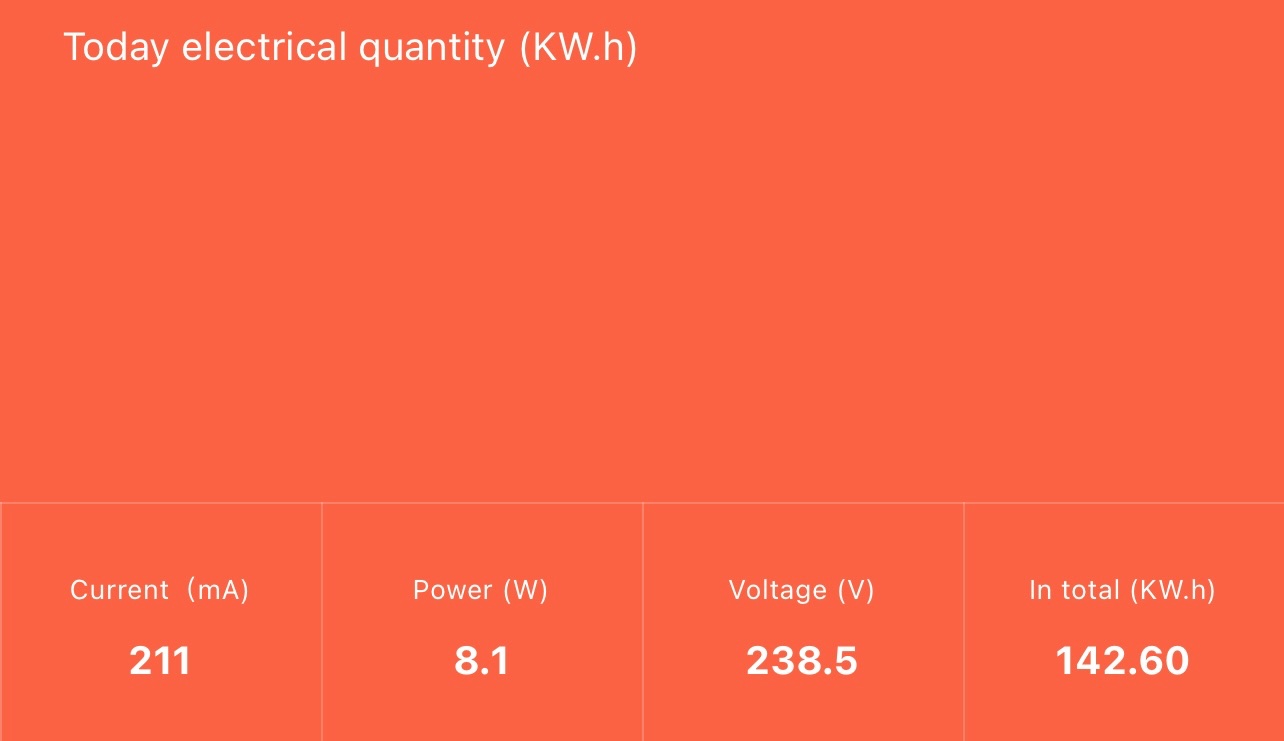
I was curious how much power the Sonic Pad draws, and it’s around 8W. If you think this information helps, it’s here.
Power Draw
The measurement was taken with a Blitzwolf smart power socket which indicates the power draw.
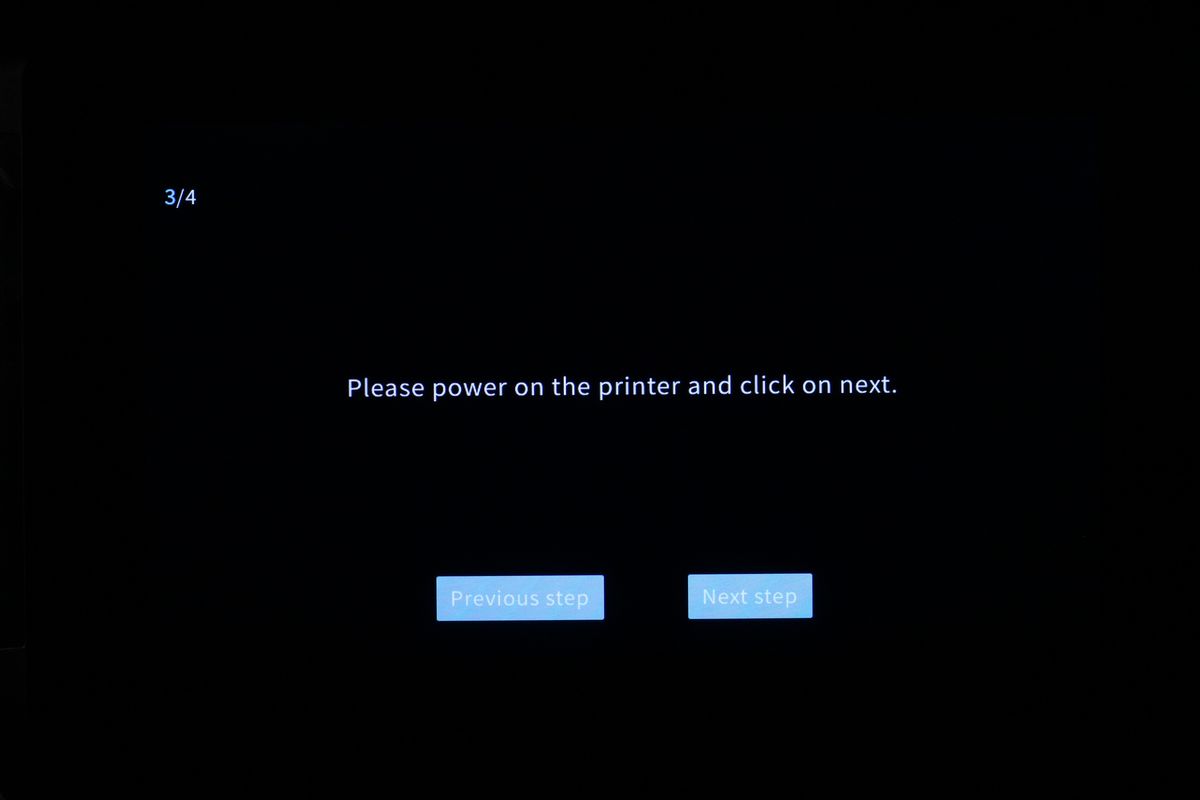
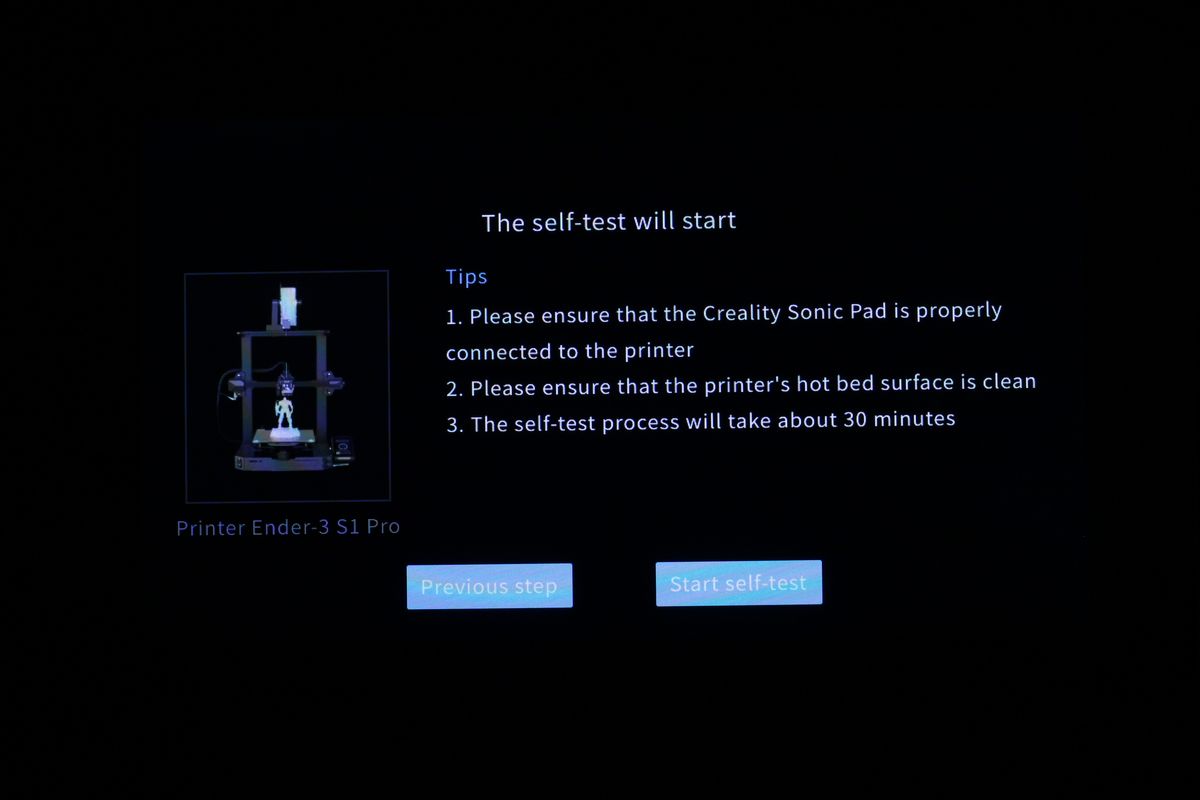
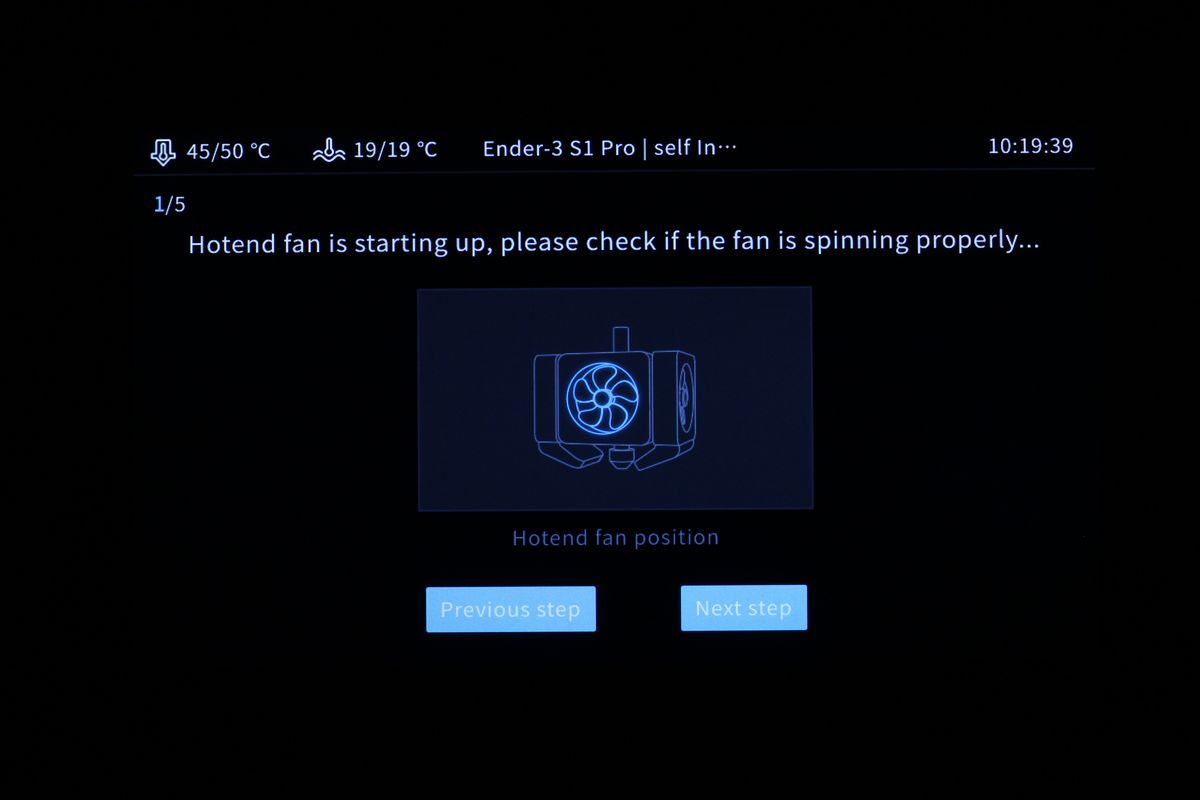
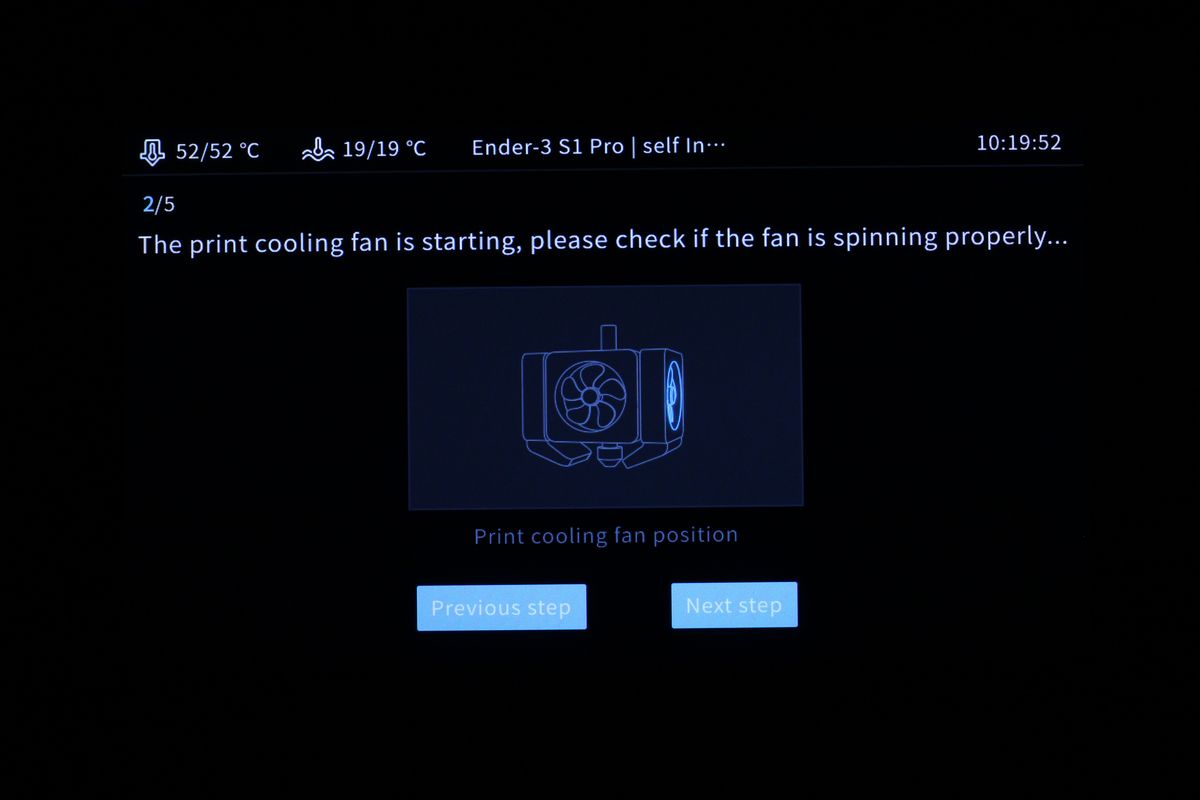
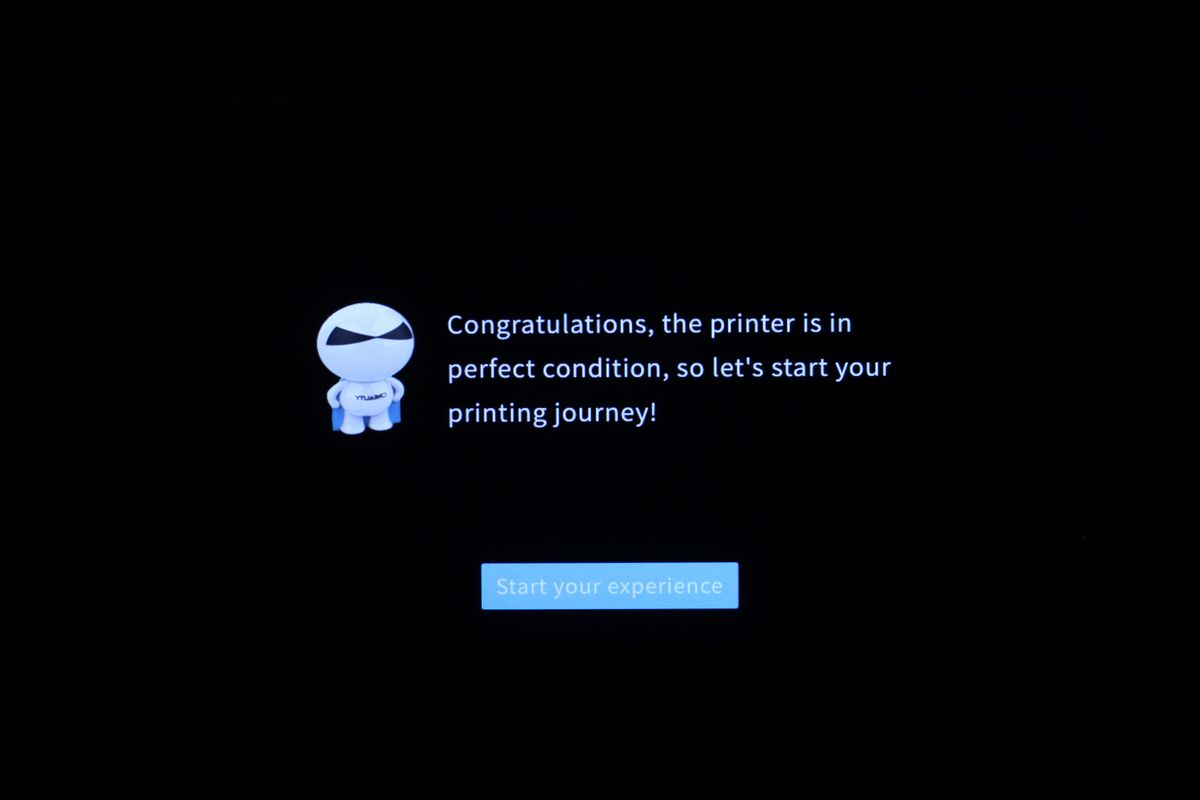
Sonic Pad Klipper Installation Wizzard
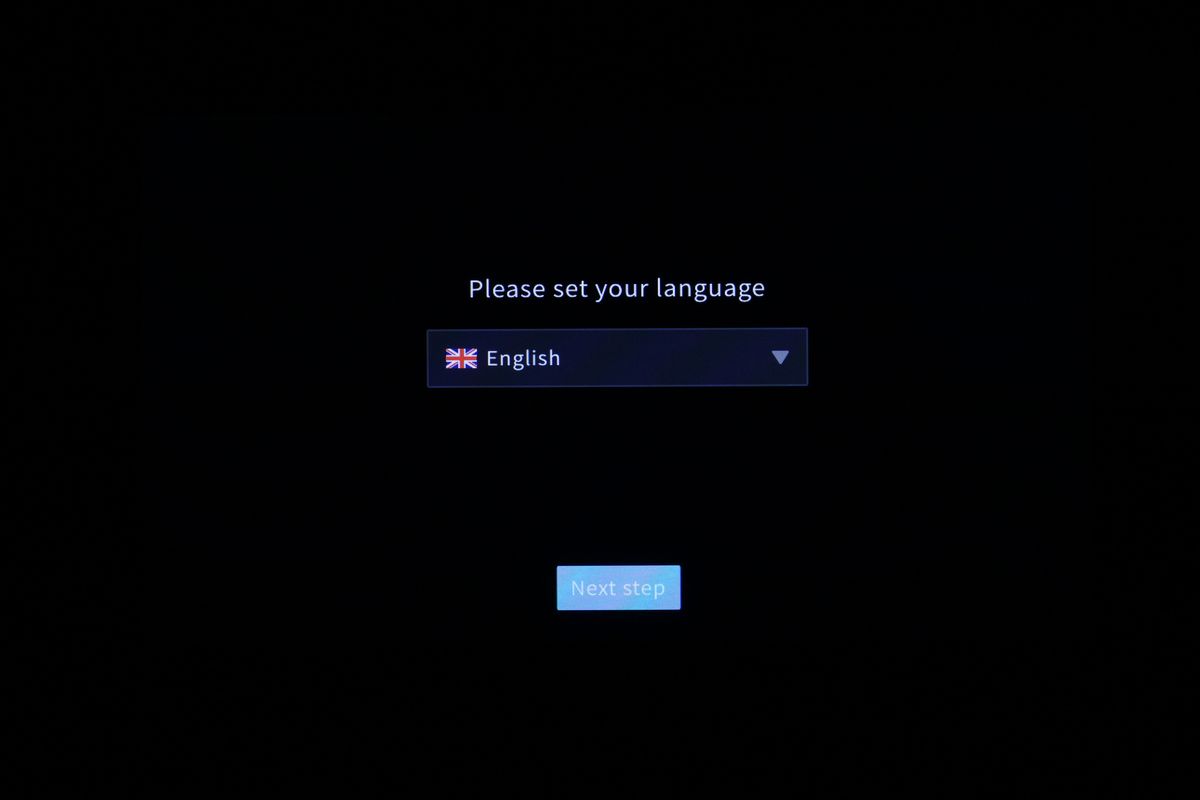
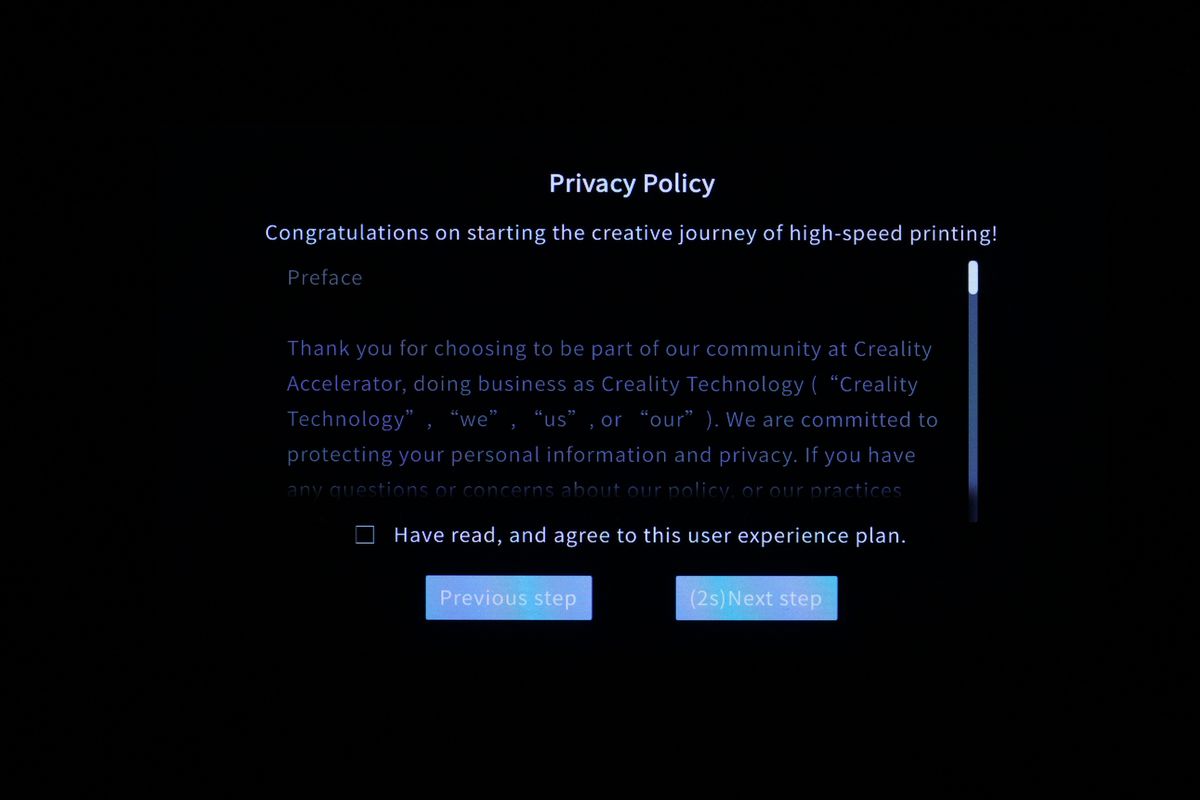
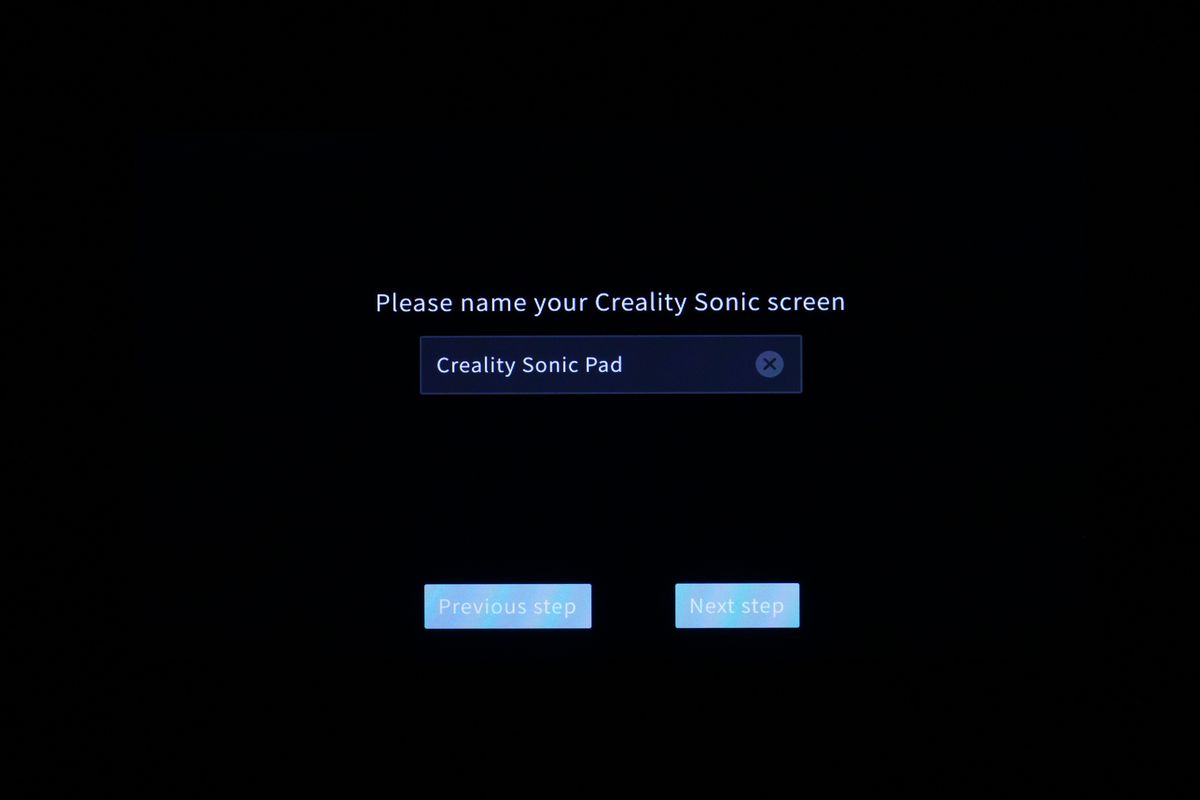
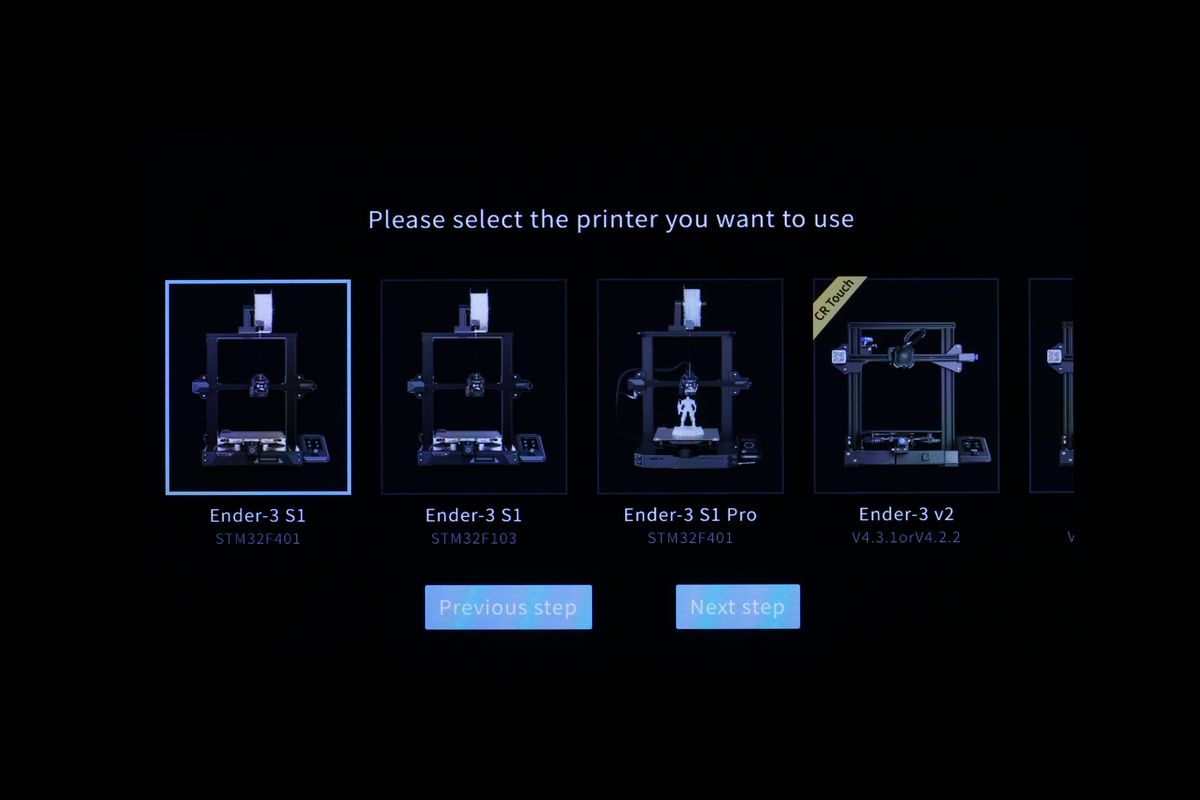
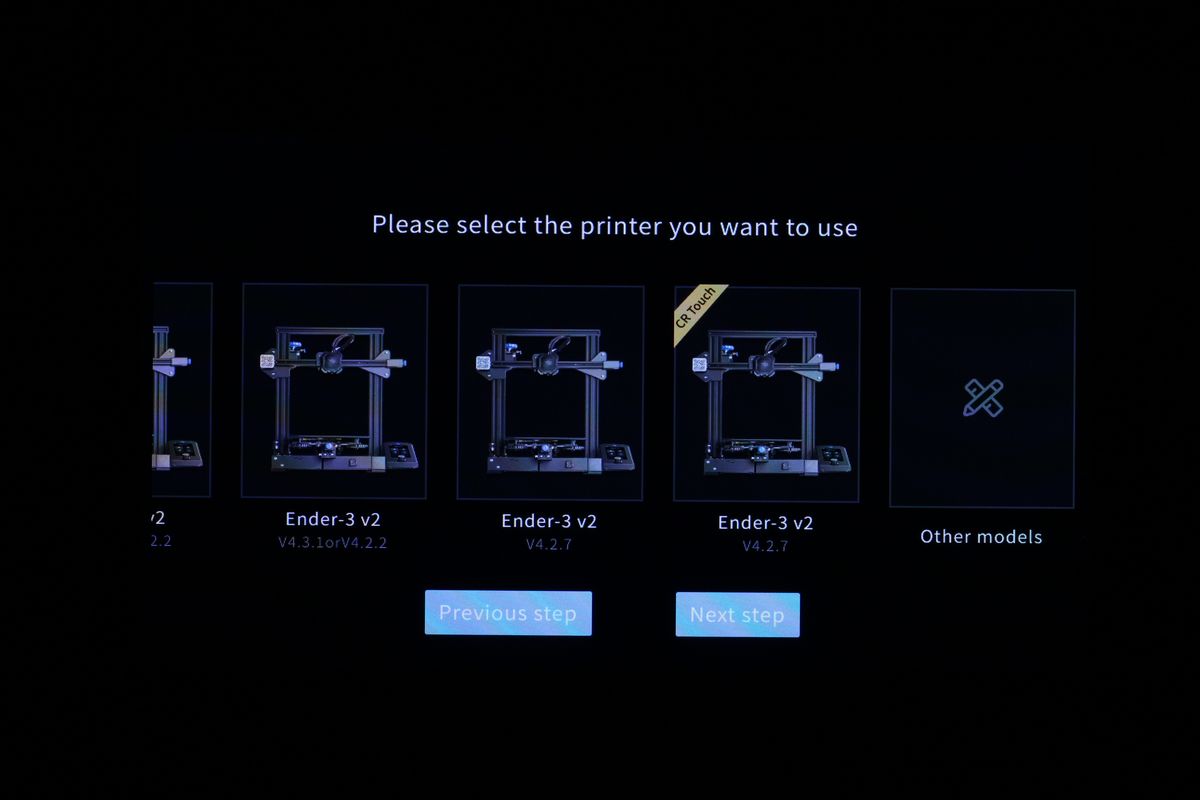
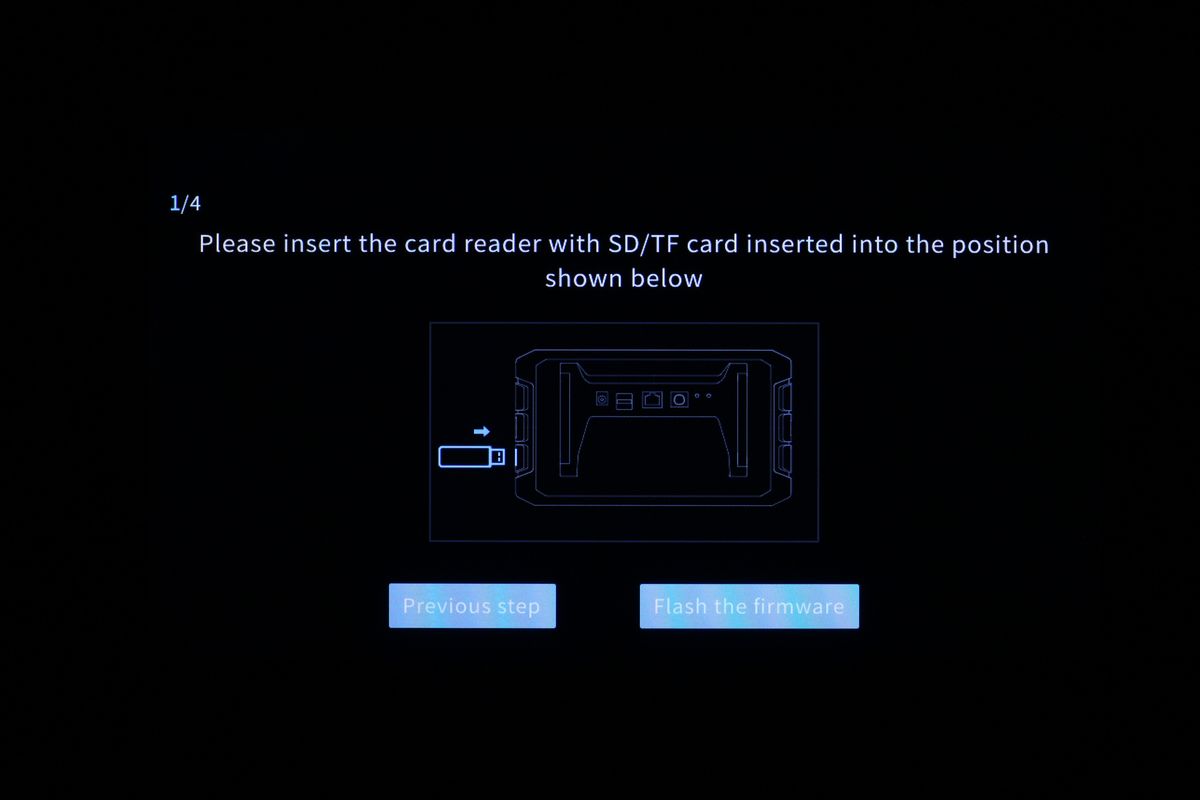
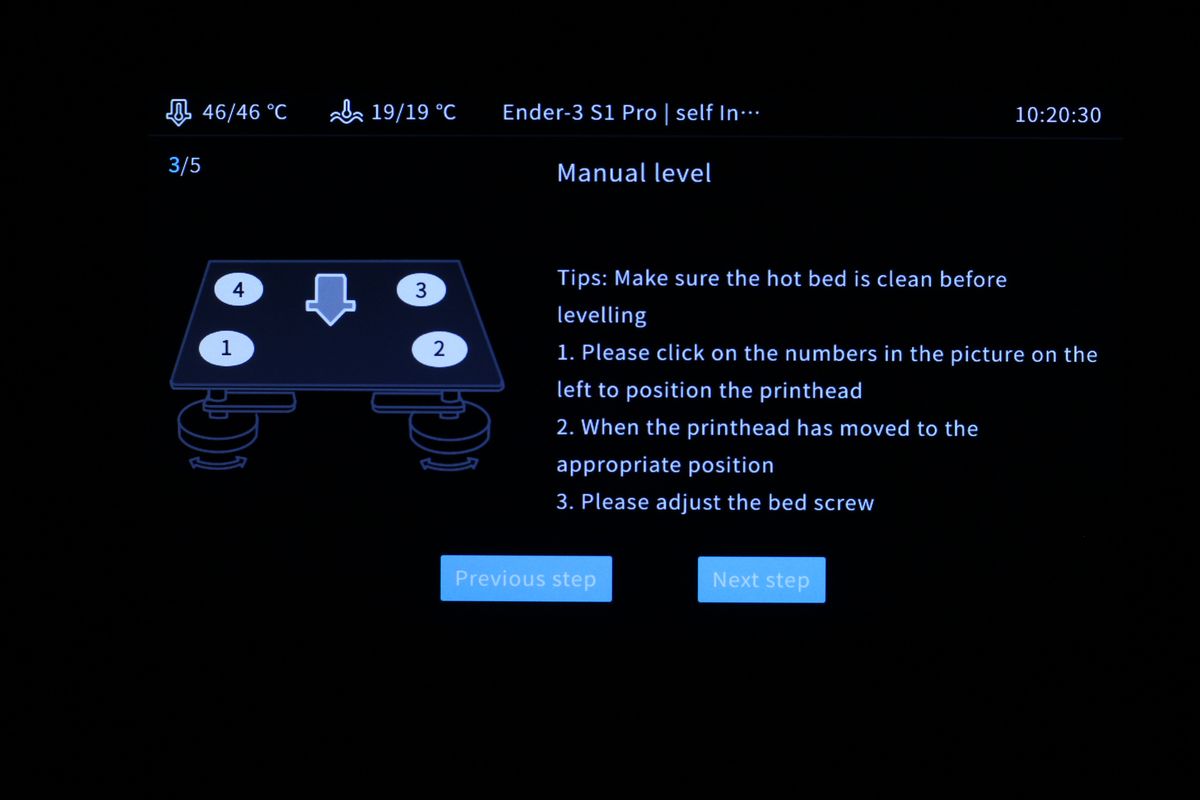
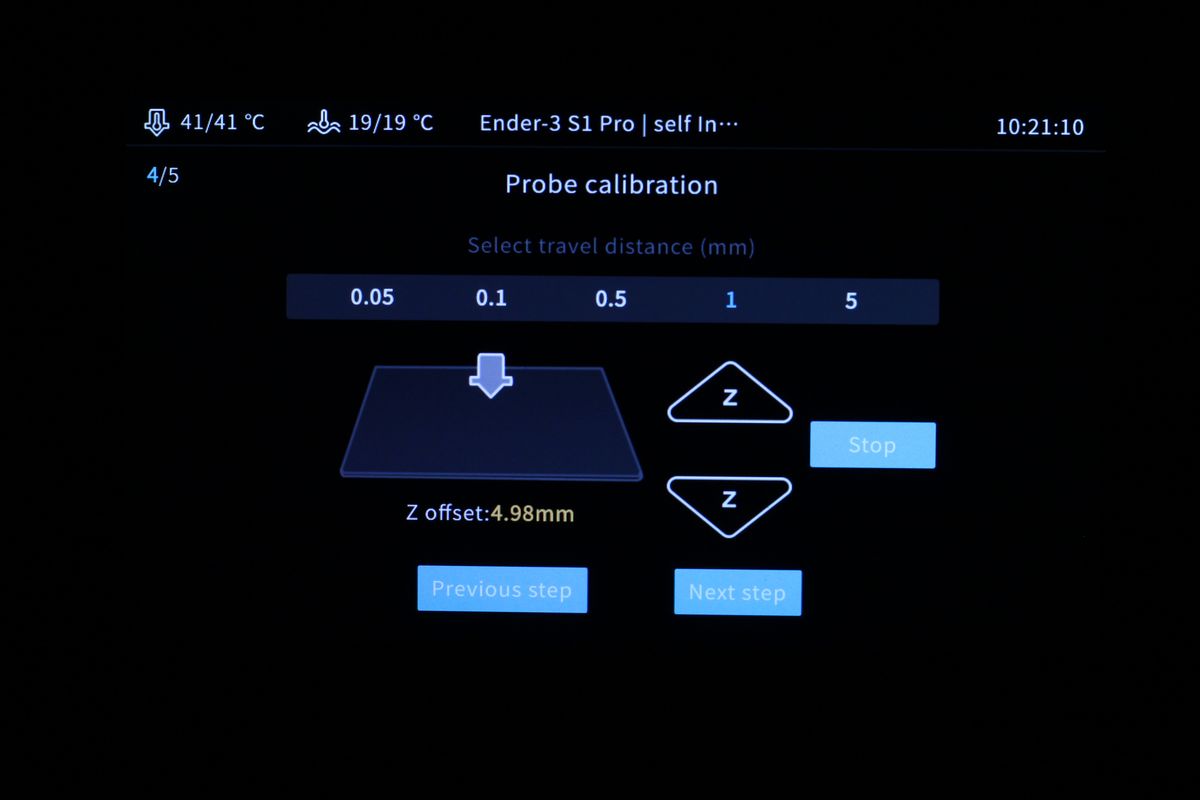
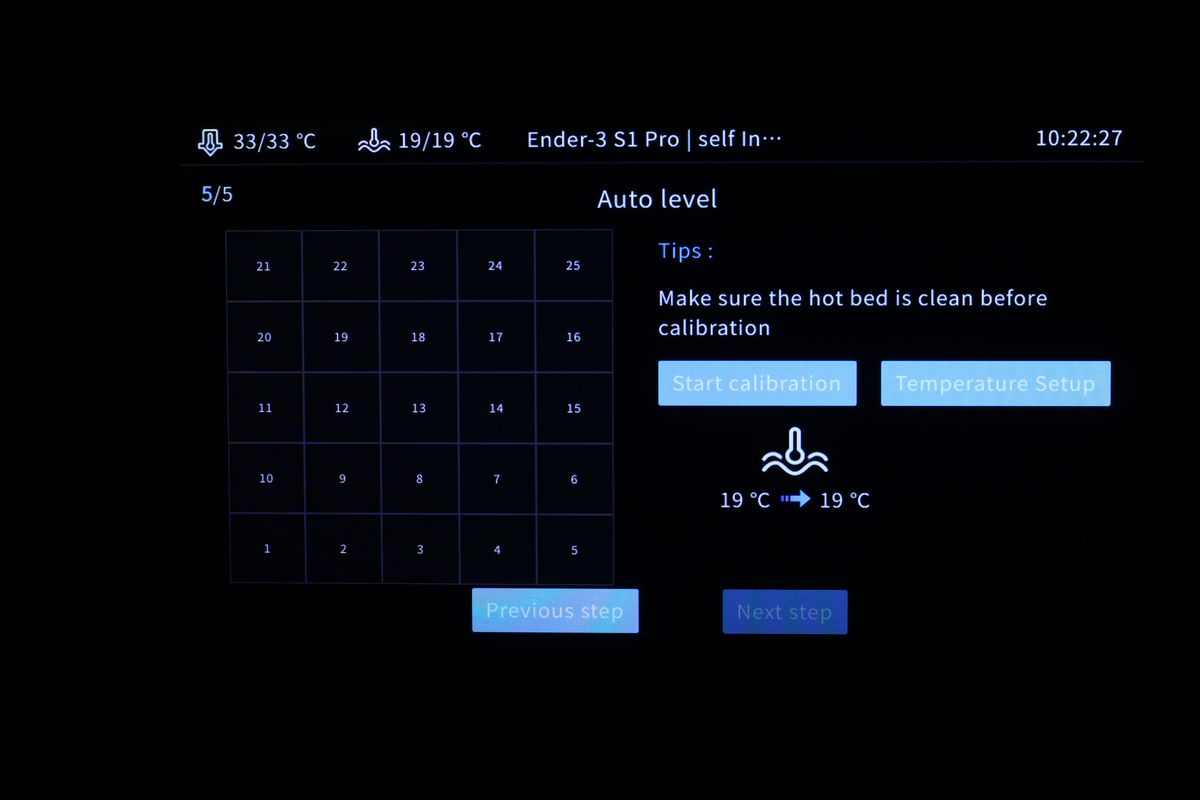
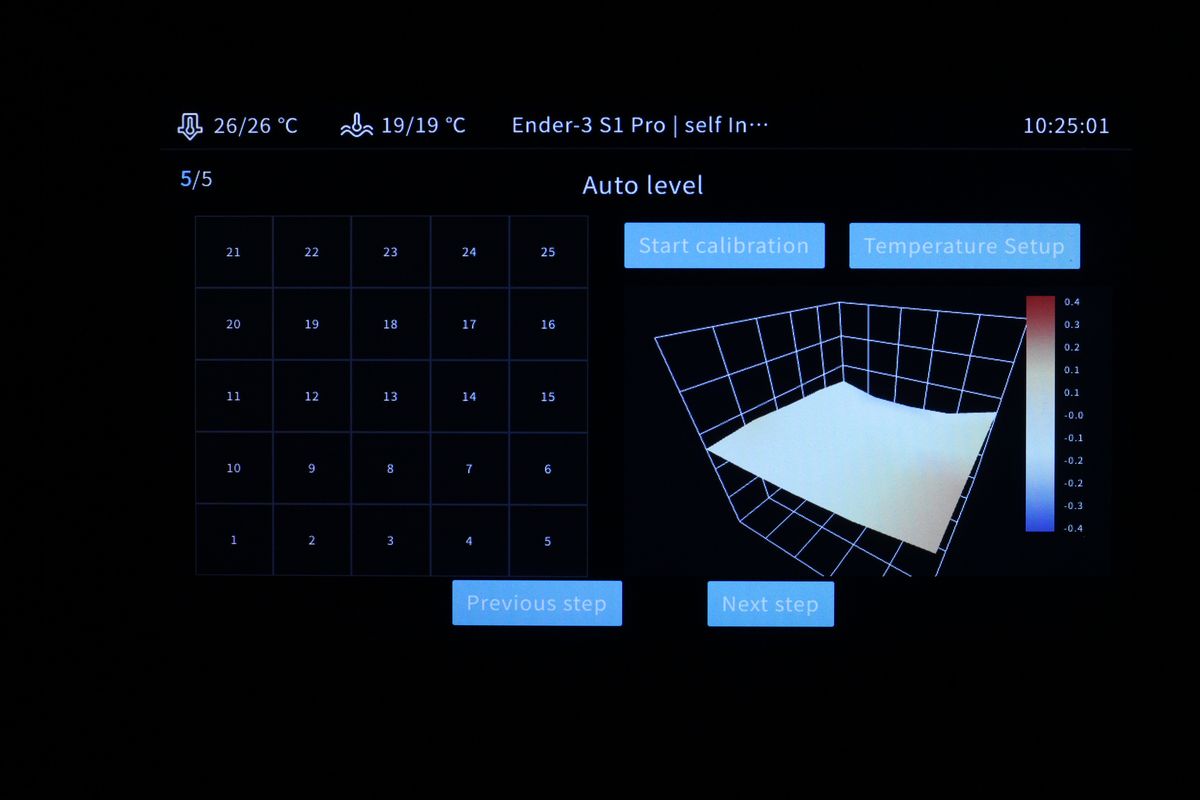
I decided to try installing Klipper firmware on the Ender 3 S1 Pro which I reviewed previously, and I also wrote a guide on how to install Klipper. The Klipper installation process with the Sonic Pad was straightforward and quite easy.
If you ask me, it’s much easier for a beginner compared to the steps needed in a regular installation, so after a few quick easy steps from the wizard, the Ender 3 S1 Pro was running Klipper firmware.

Creality Sonic Pad Compatibility List
At the time of writing this review, the Sonic Pad only has a handful of Ender 3 printers that are compatible with it, but I hope to see most of Creality’s machines added over time as it’s only a matter of preparing the Klipper firmware file and config.


Another thing to note is that because of the various CPUs used by Creality in their printers, you need to manually check the board used to confirm it before you choose one. This is annoying and cumbersome, as you need to remove the bottom cover of the printer to check.
Of course, this wouldn’t be a problem if Creality would be more consistent with their hardware, but what can you do?
Sonic Pad Web Interface and Config
The Creality Sonic Pad comes with Fluidd pre-loaded and customized by Creality. It’s what you would expect from Fluidd so not much can be said about it.
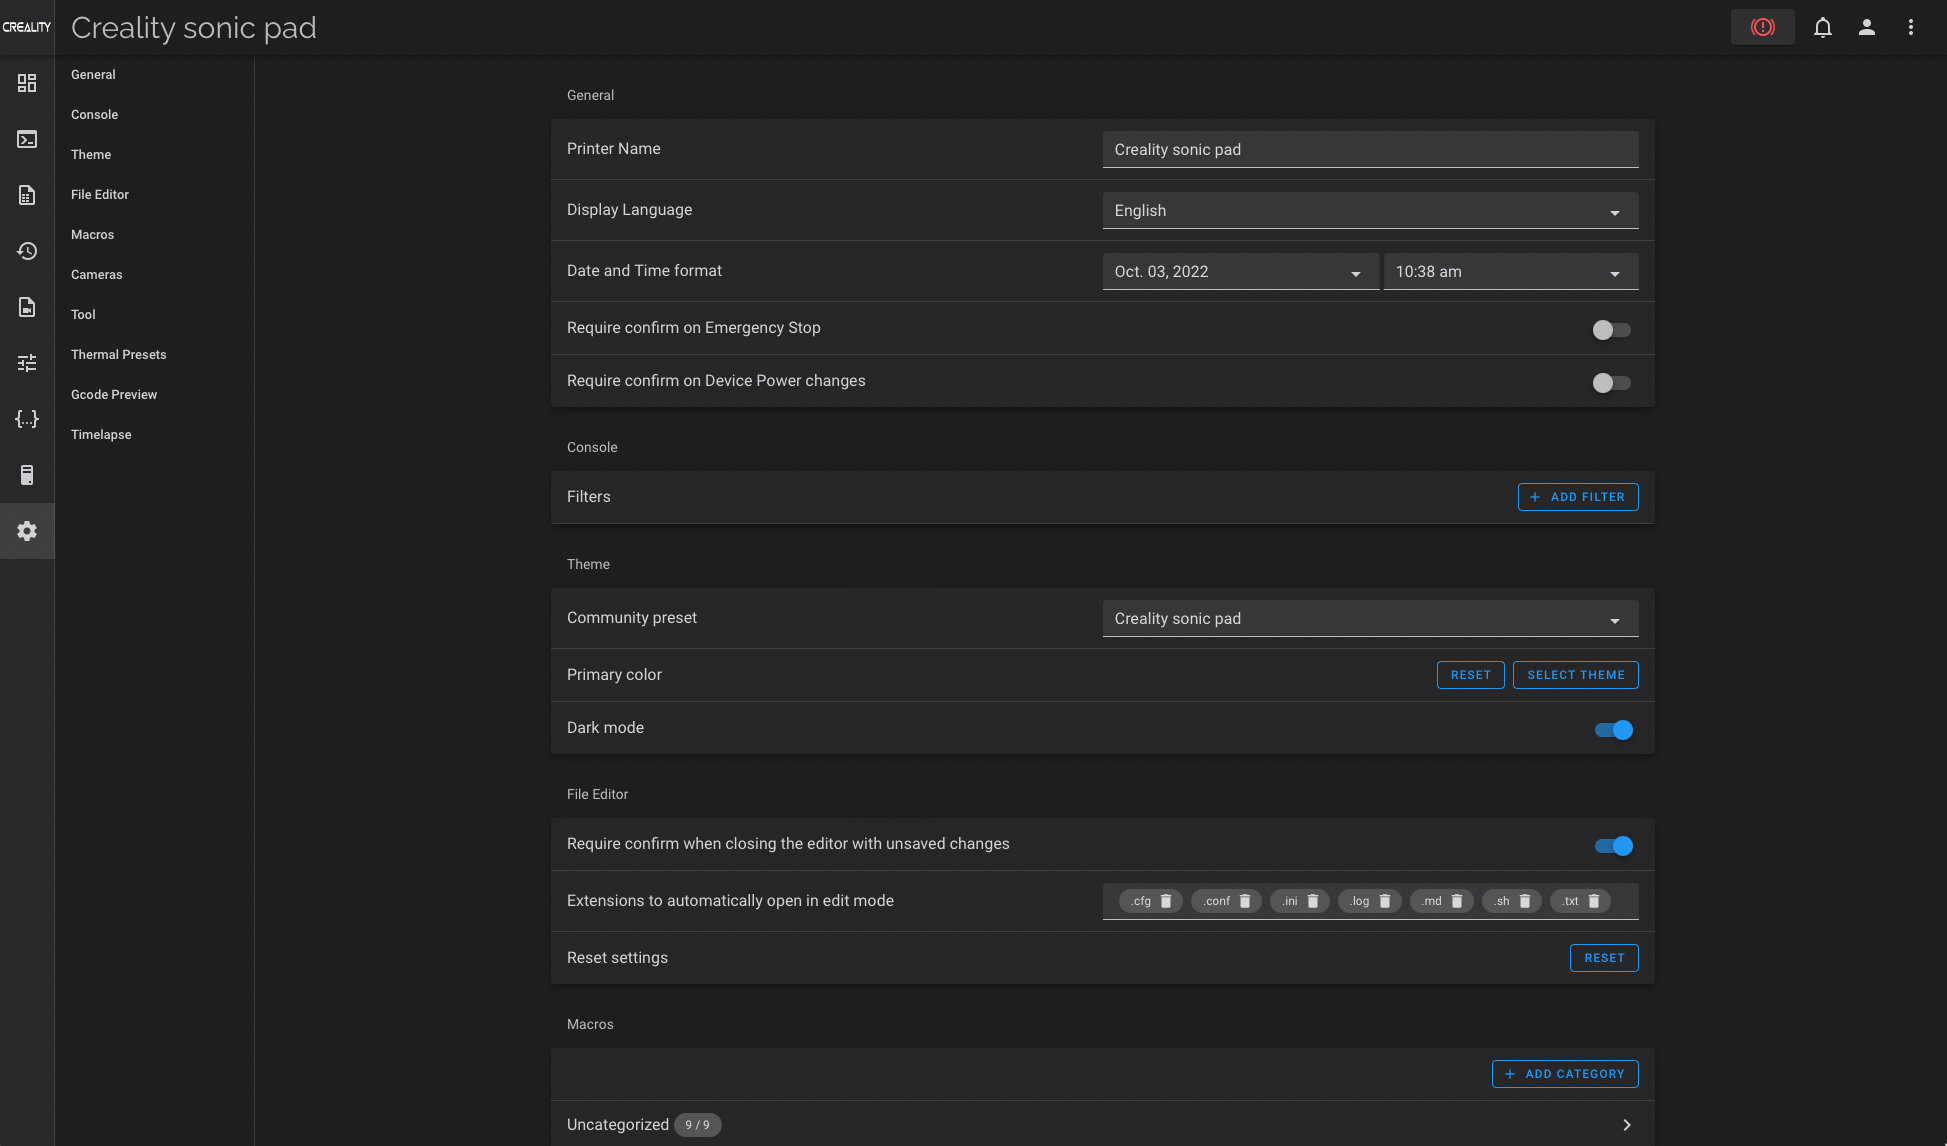
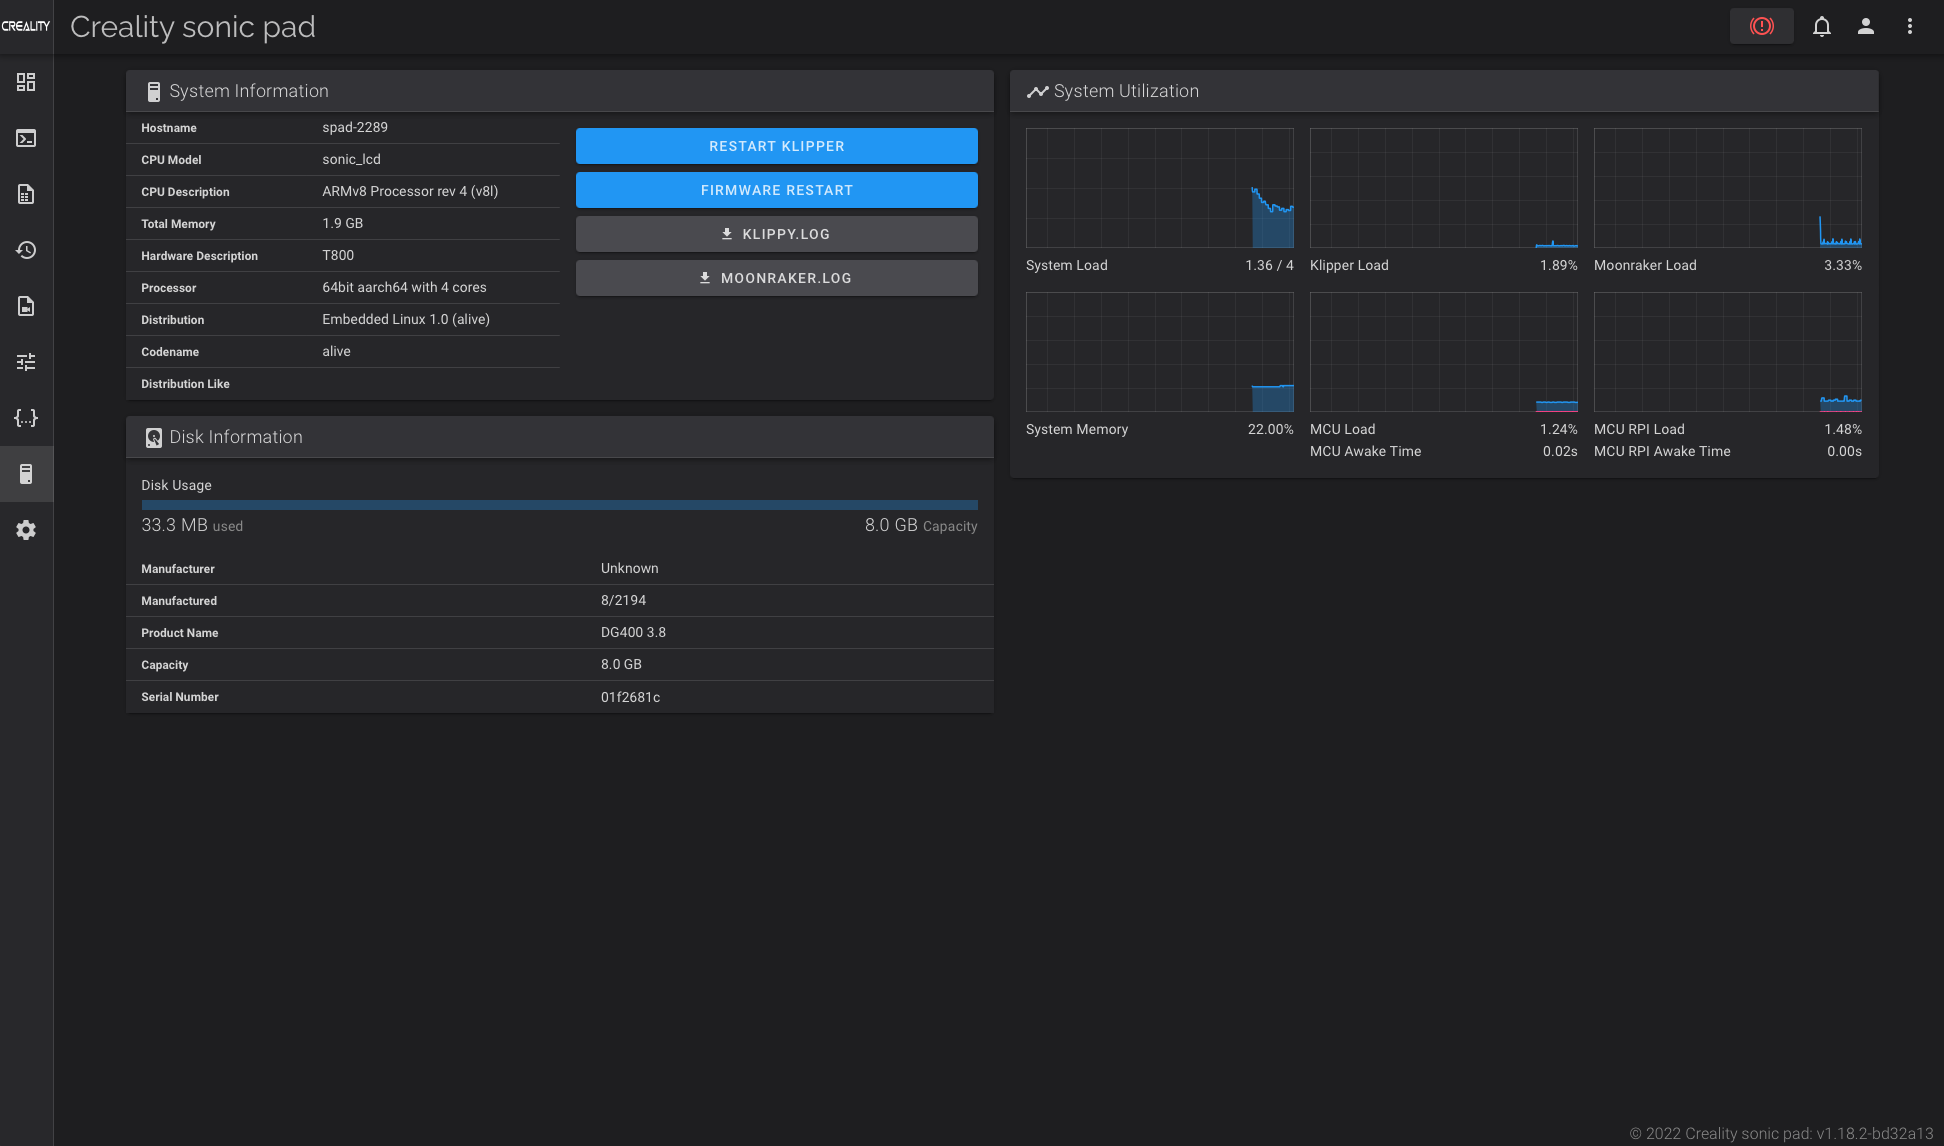
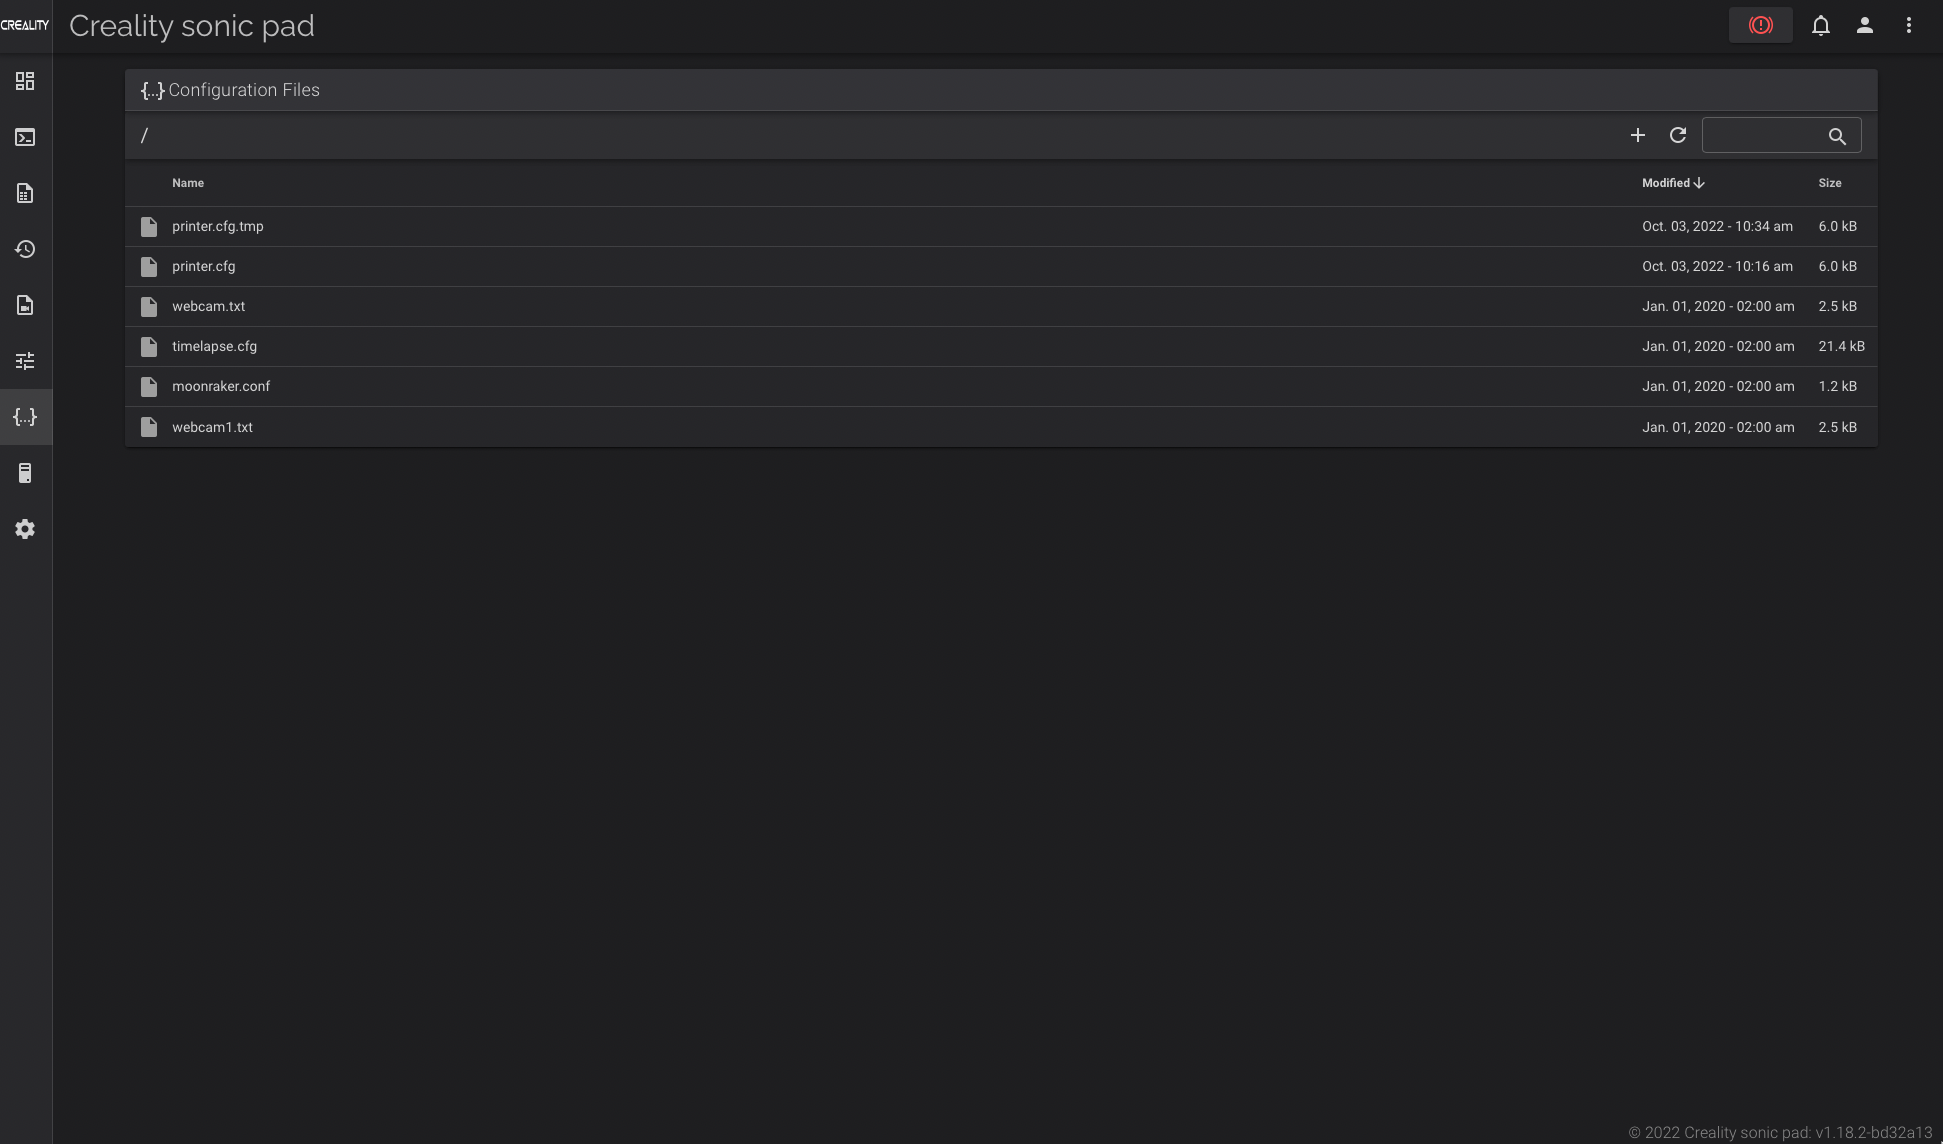
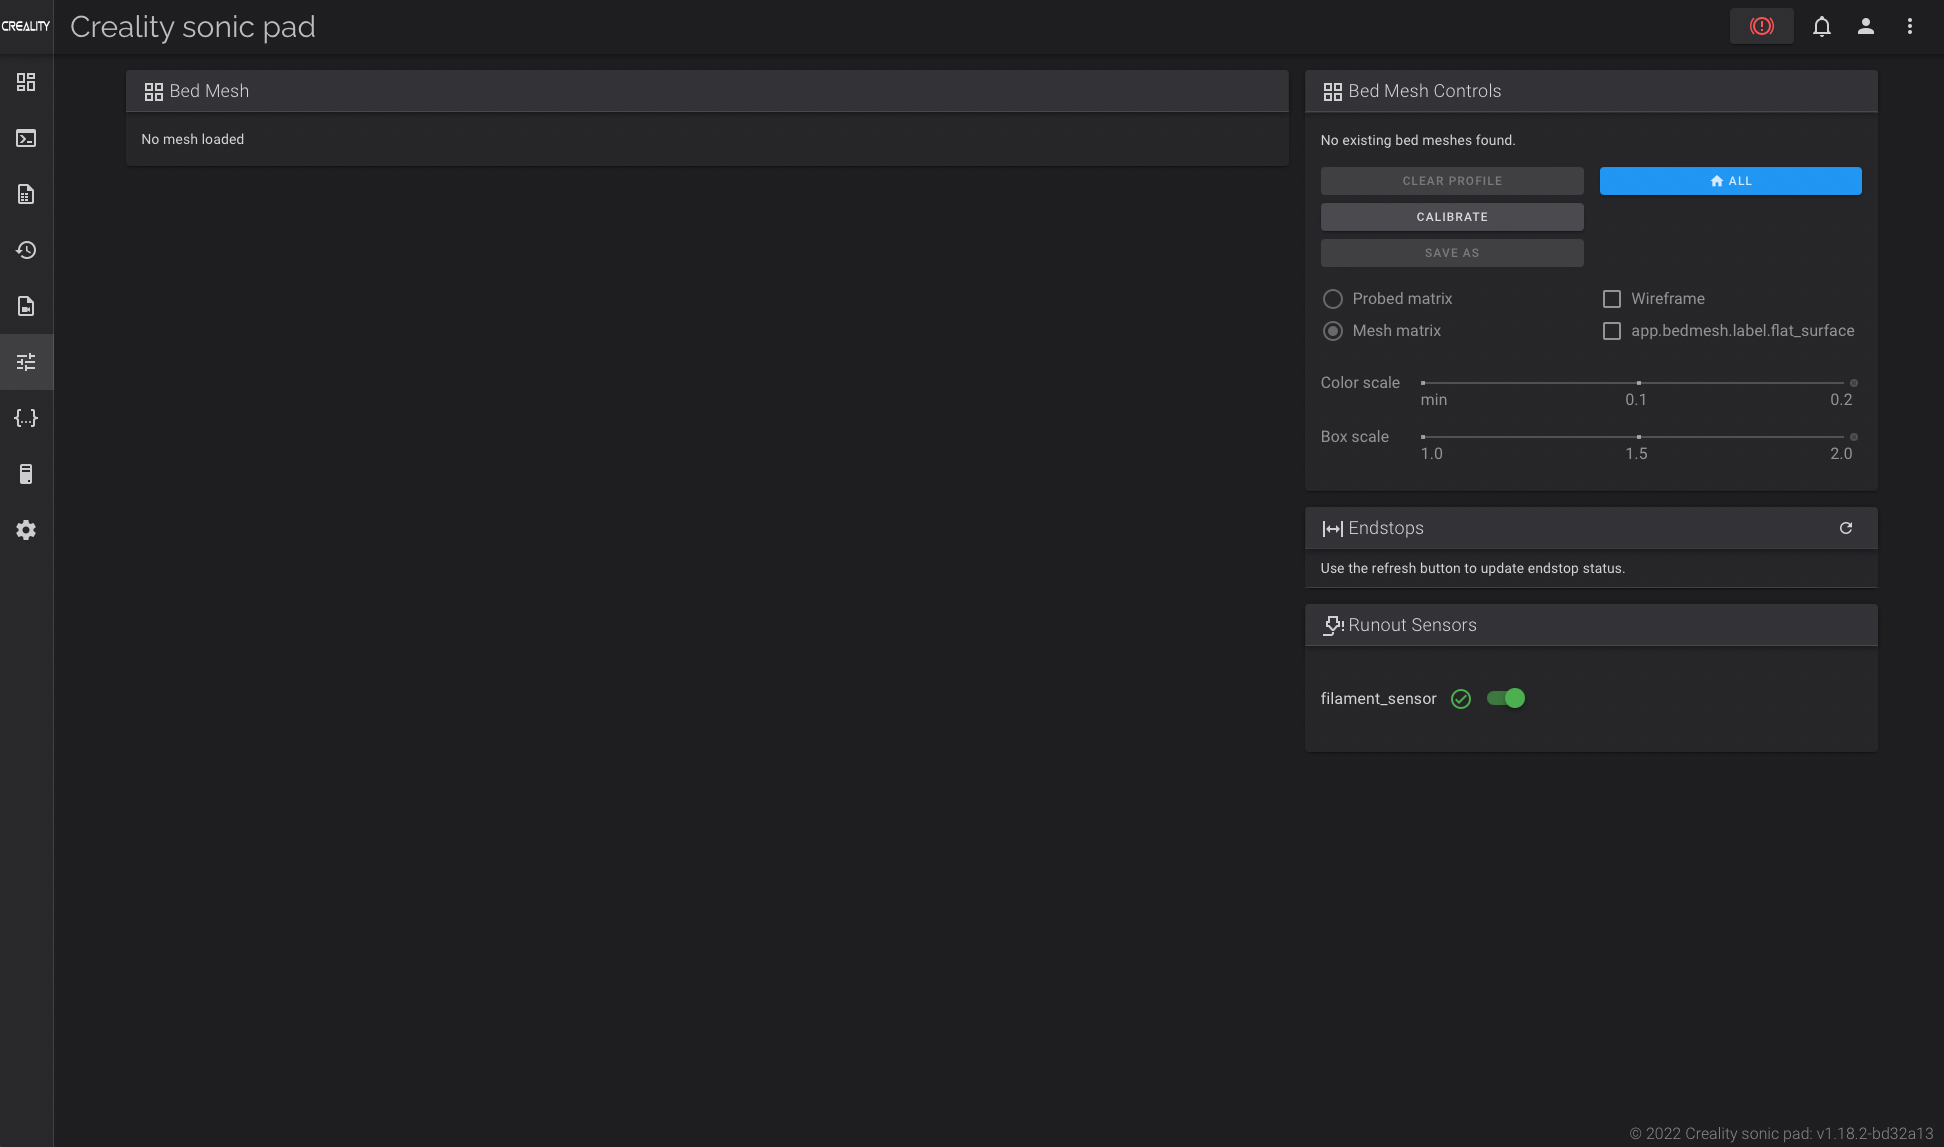
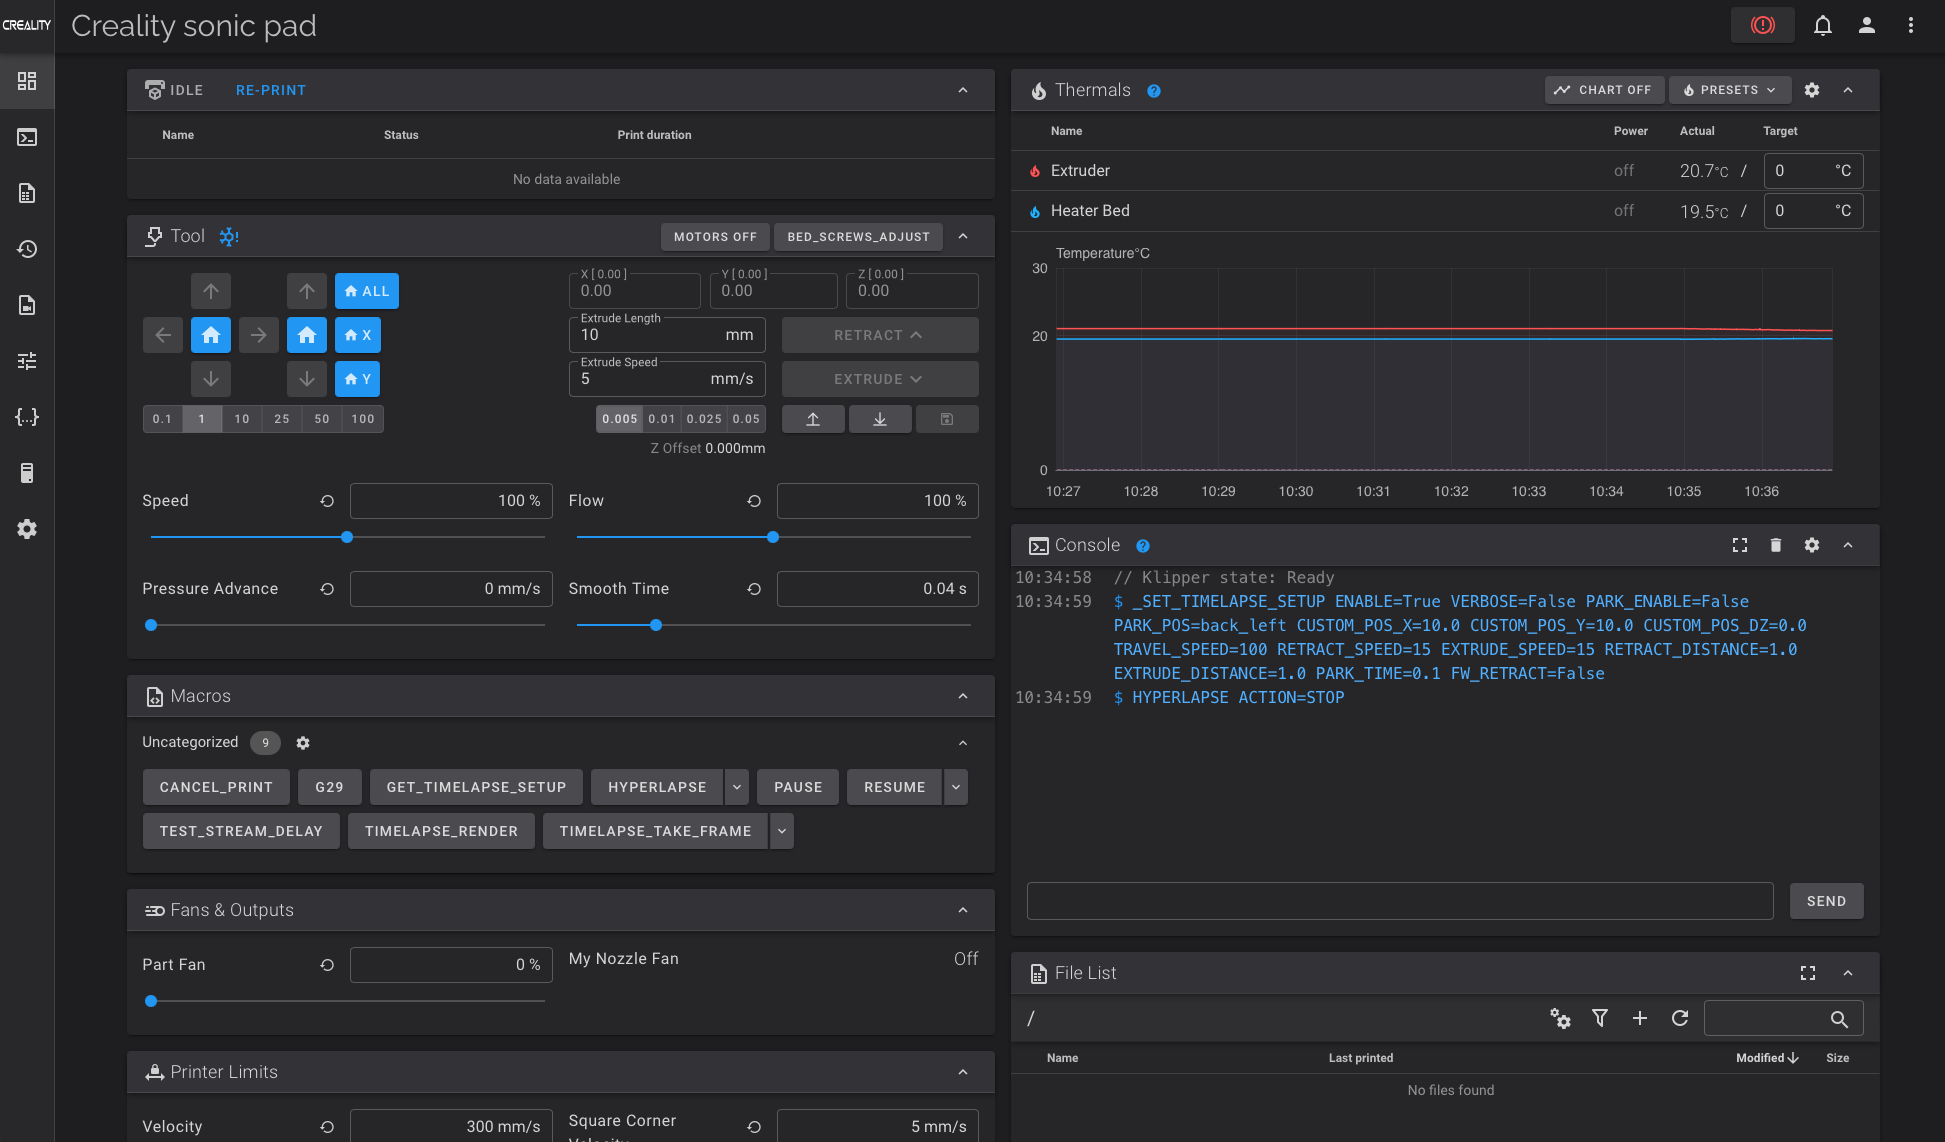
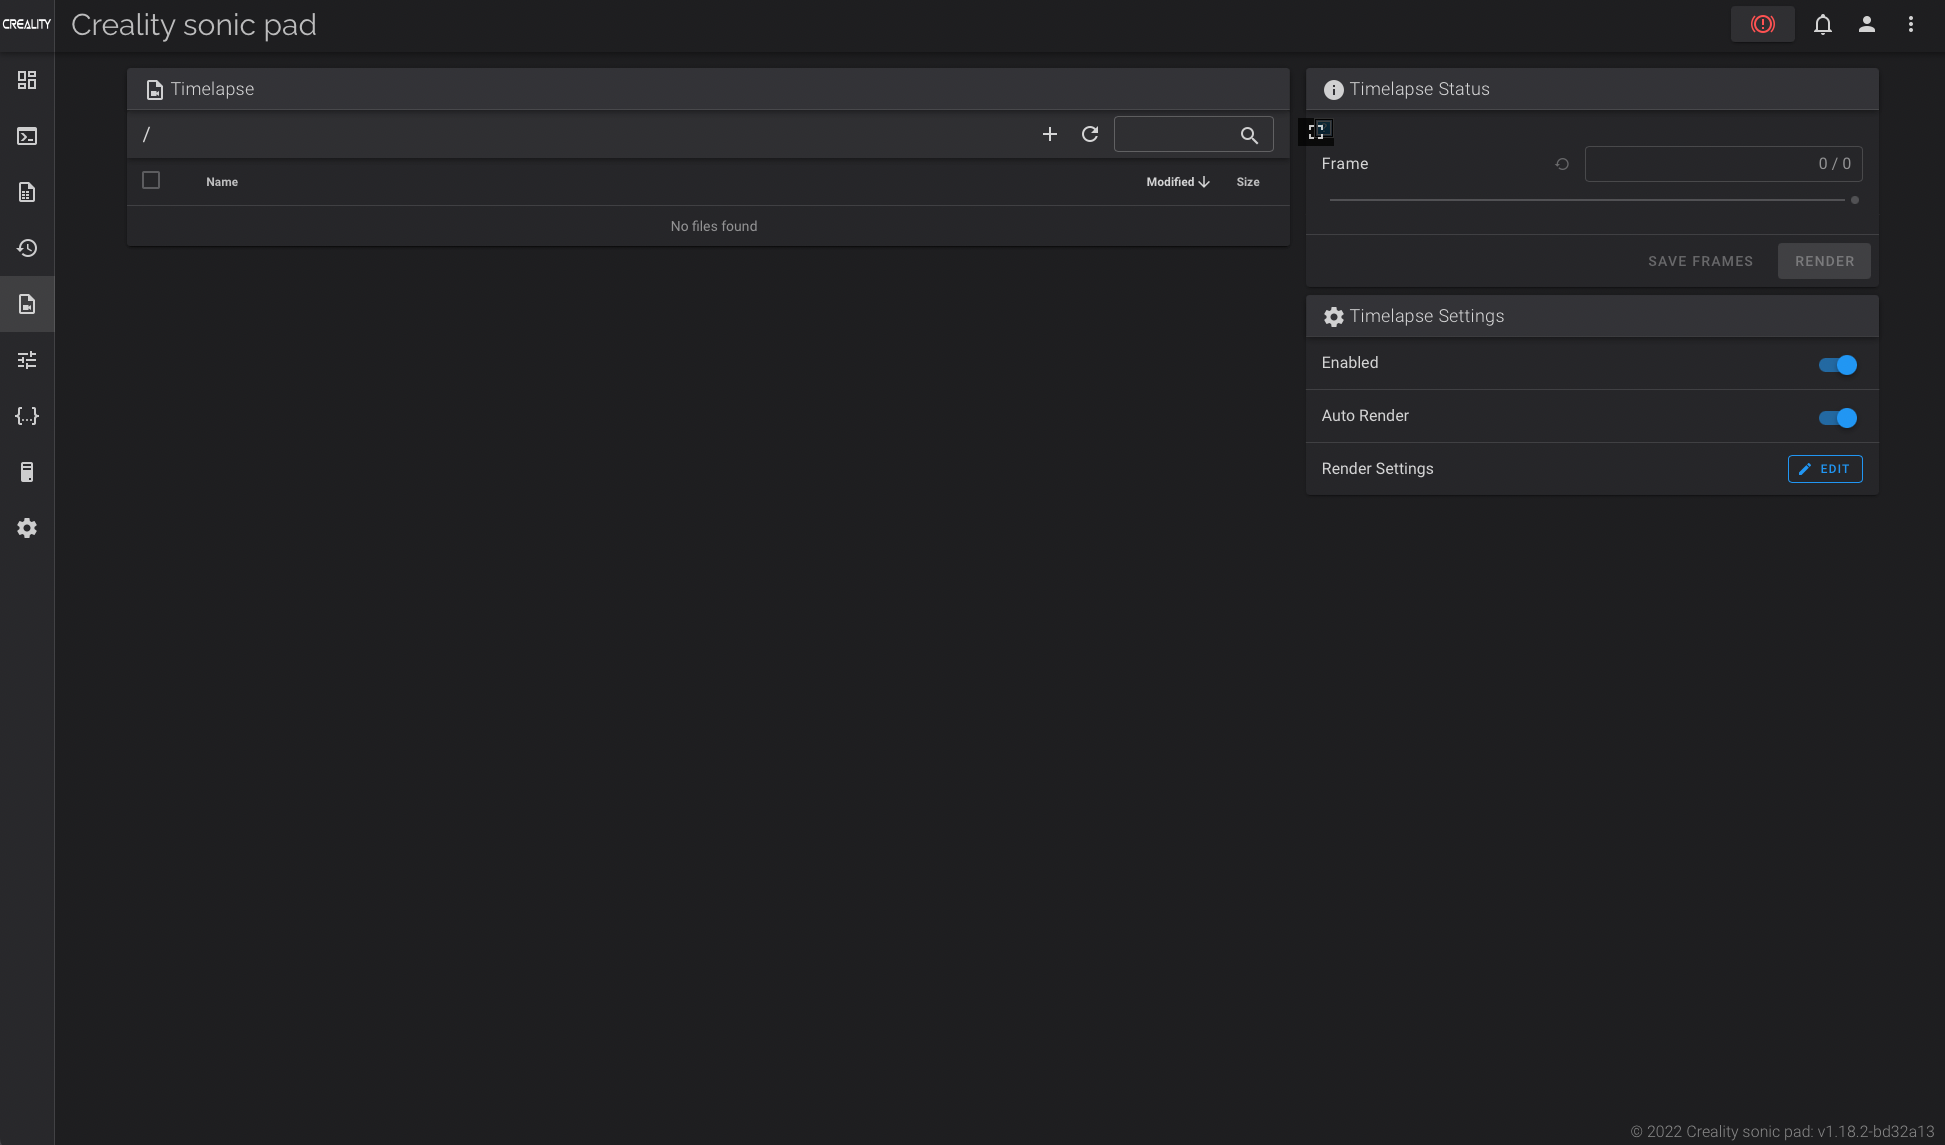

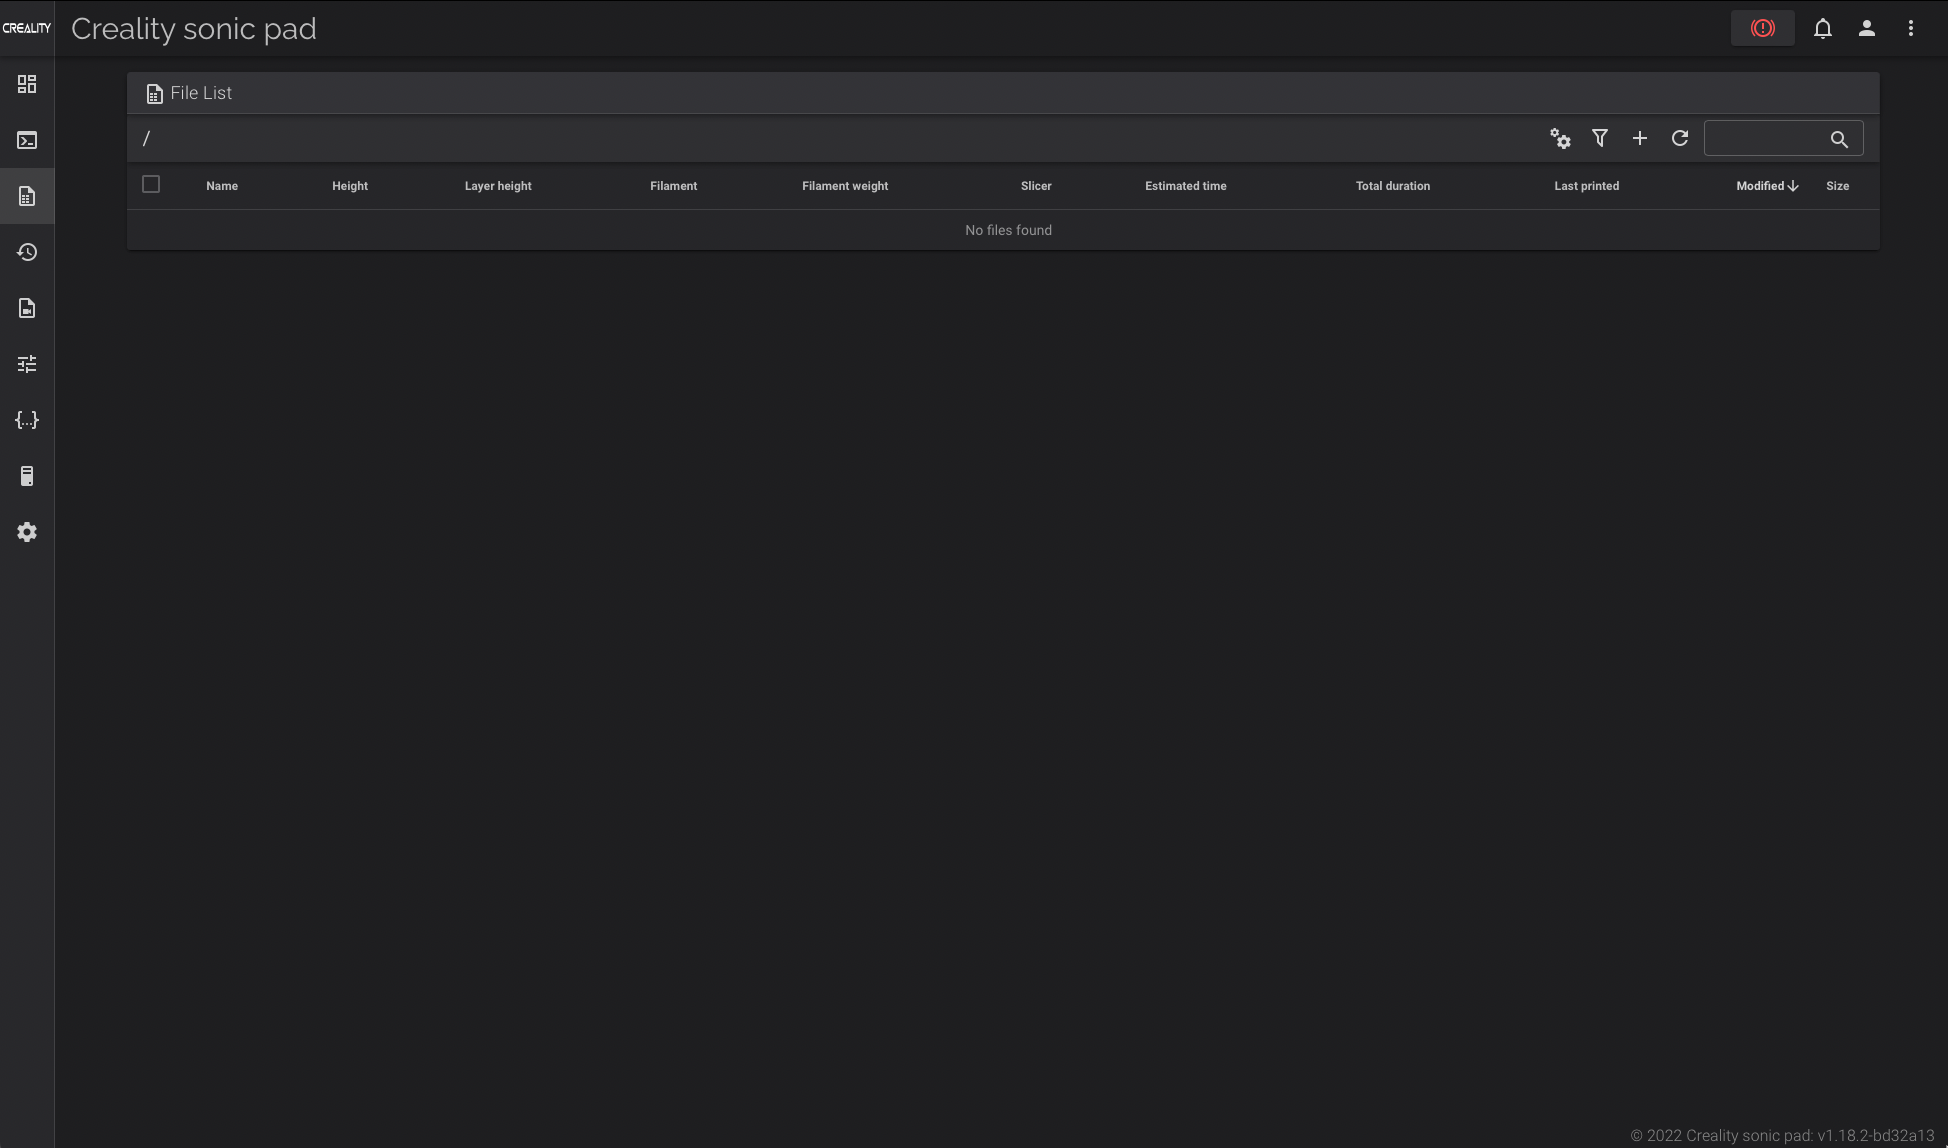
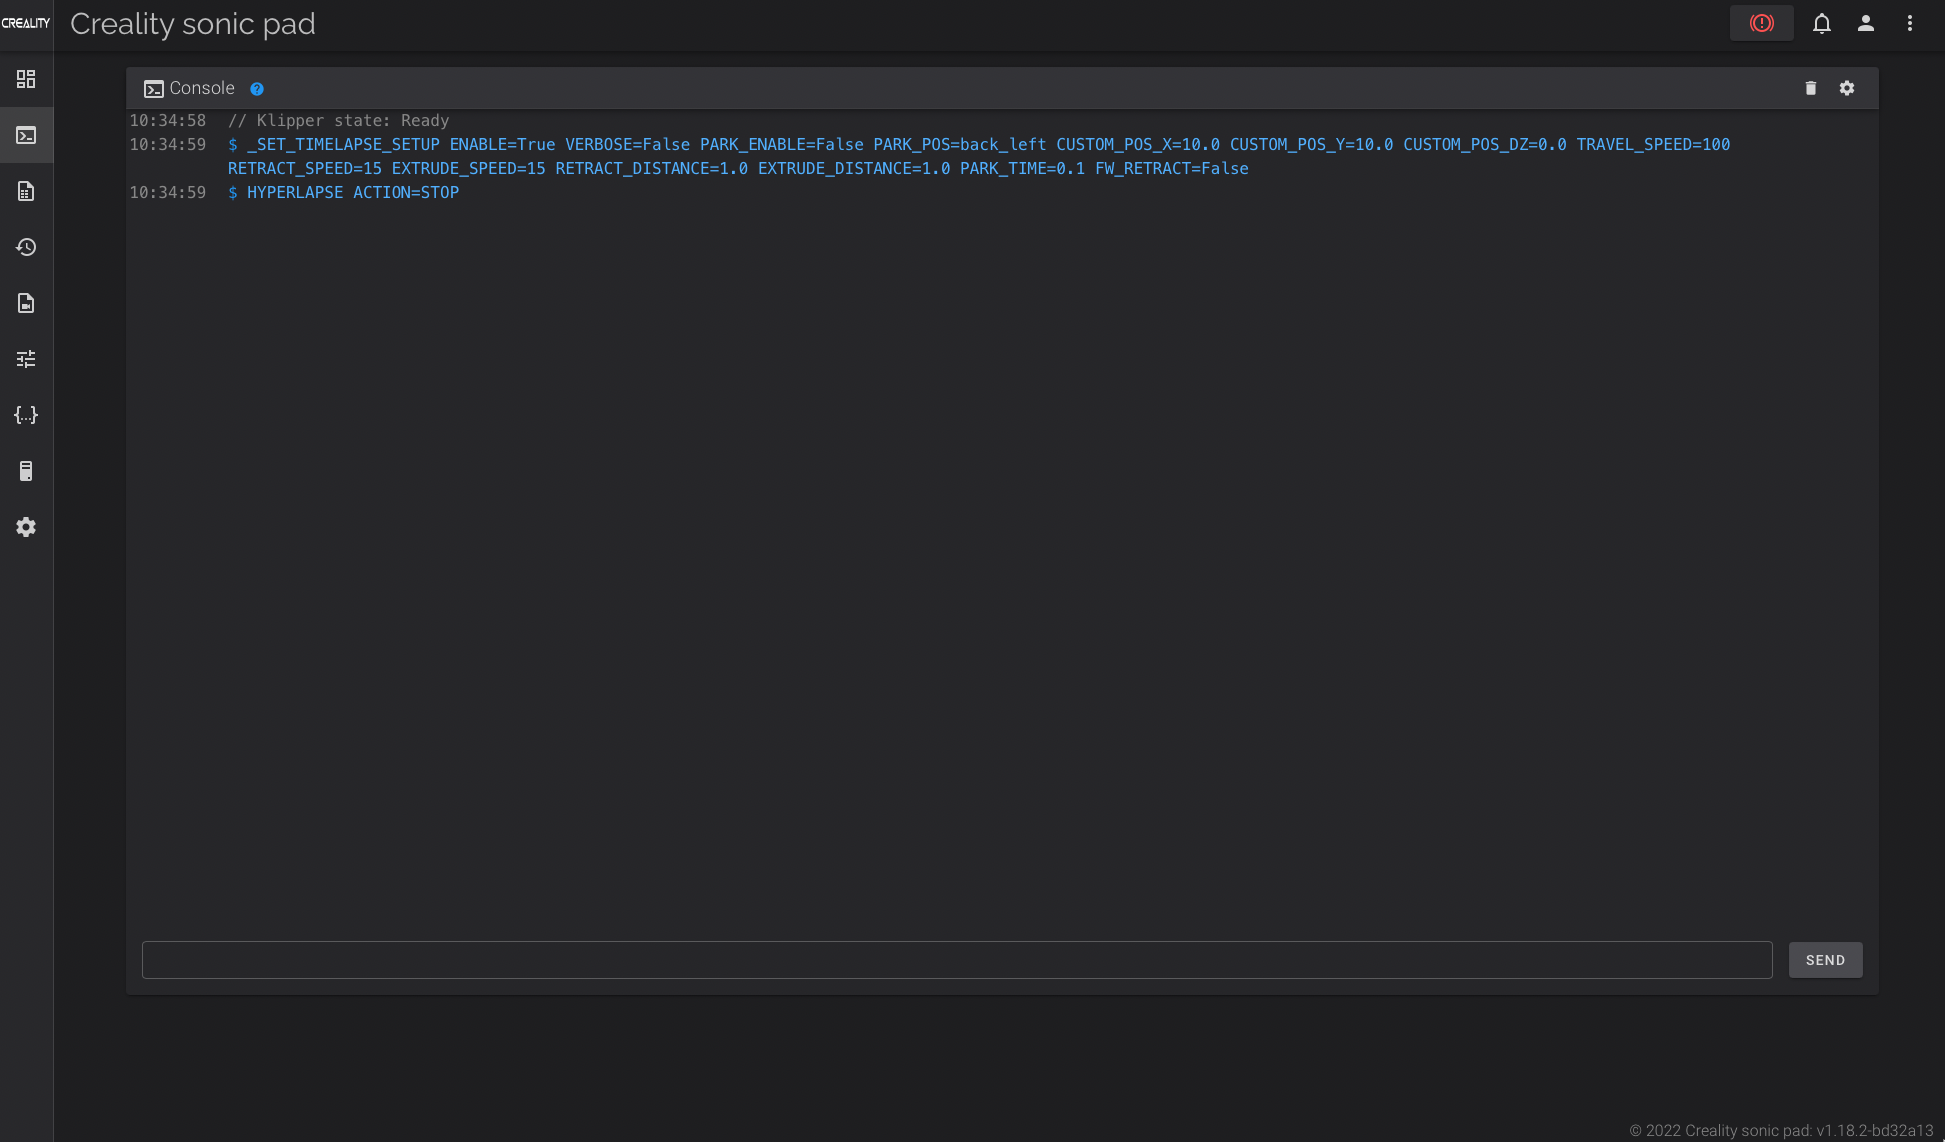
In case you were wondering, I also included the pre-loaded Klipper config for the Ender 3 S1 Pro. I tested the PID config and it seems fine.
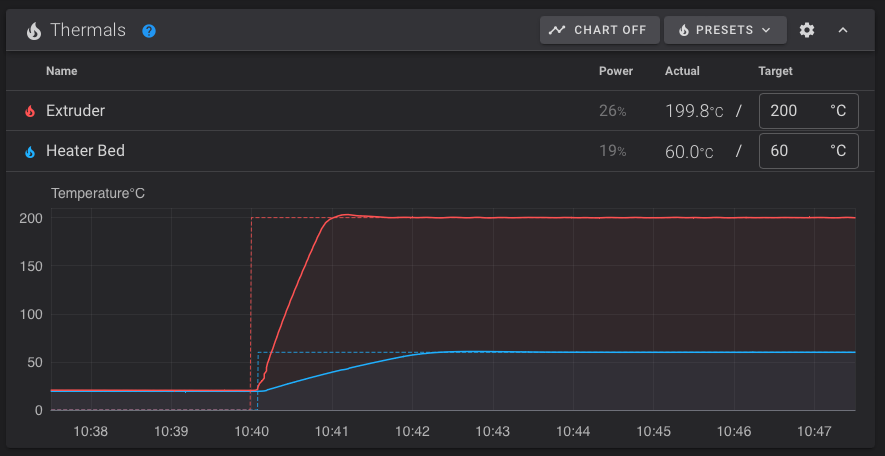
That’s all nice at first glance, but in typical Creality fashion, the config is barebones with only the minimum configuration for the printer to work. The Acceleration value is set to 5000, but there is no Pressure Advance value or Input Shaper. Just a plain config to allow the printer to work.
While most of the time, you need to calibrate those values depending on your machine, I was expecting to have some default values configured out of the box. As in the current state, there’s no benefit from running Klipper on the Ender 3 S1 Pro with the stock config. The machine prints with faster acceleration but with worse print quality than with stock firmware which is kind of stupid if you ask me.
I mean, sure, it allows quick Klipper installation for a beginner, but why not do a proper config for every machine? The Sonic Pad is just another product developed until it barely works, and the development stopped at that. I really hope this changes in the future, with new firmware updates.
Another important issue I see with the Sonic Pad is the lack of SSH connectivity. This is important because, without it, you are unable to connect to it and build the firmware manually for other printers that are not currently supported. If you ever decide to do it, you need to have access to another Linux machine for that.
Creality has a guide for doing this in a virtual box, but it’s a convoluted process that could have been skipped by simply providing SSH credentials to users and a quick guide on how to build the firmware locally.
Test prints using the Creality Sonic Pad
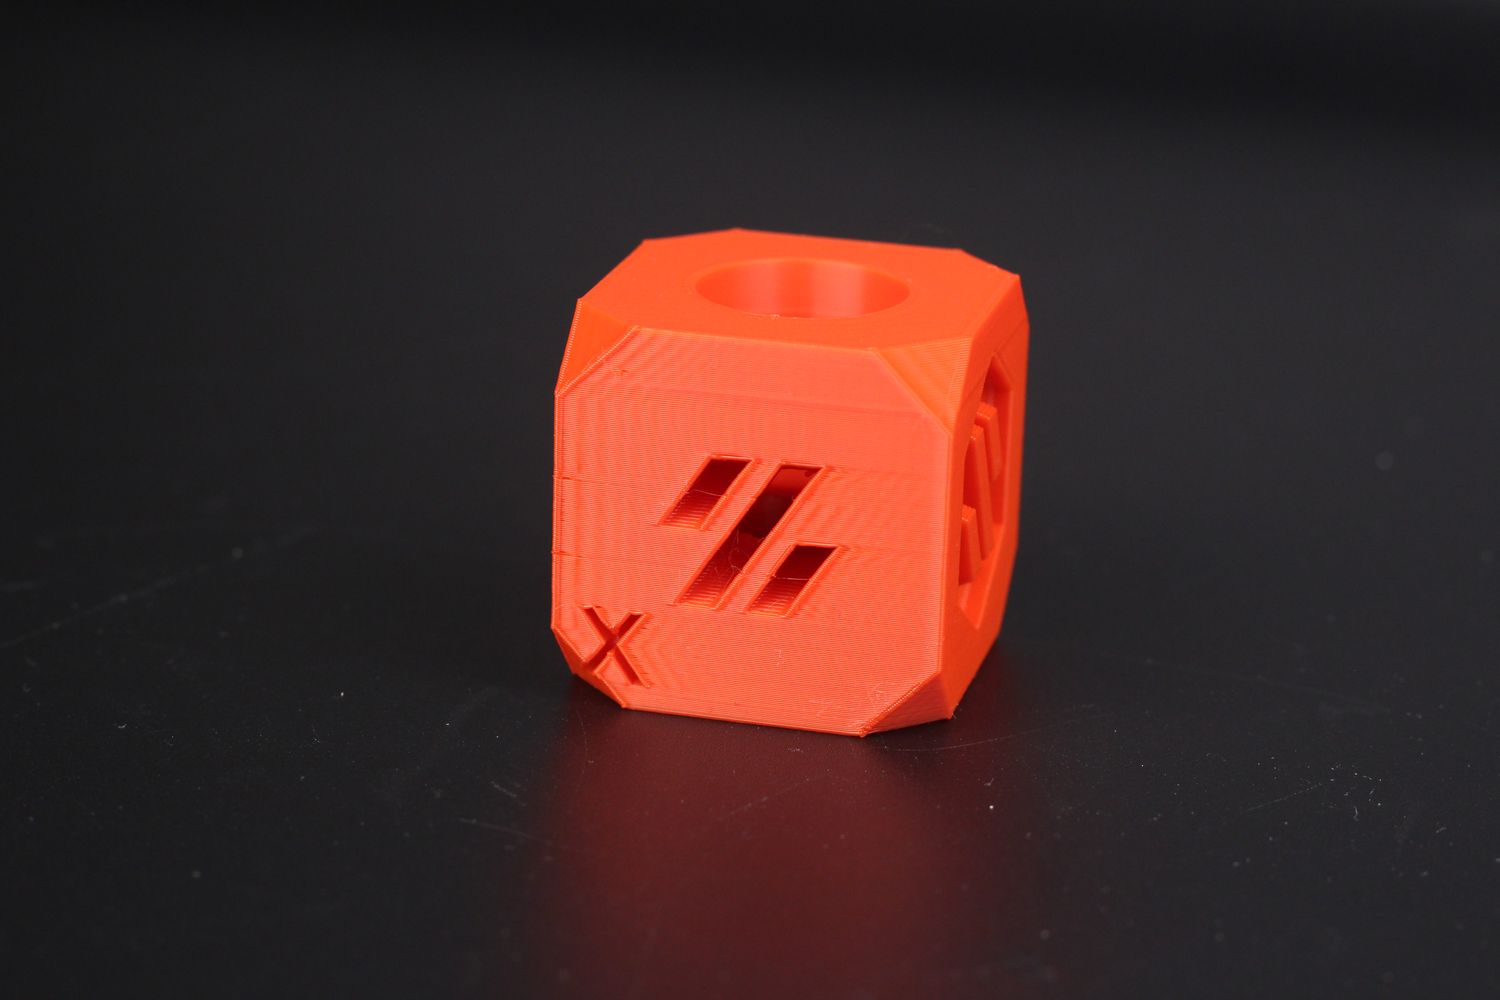
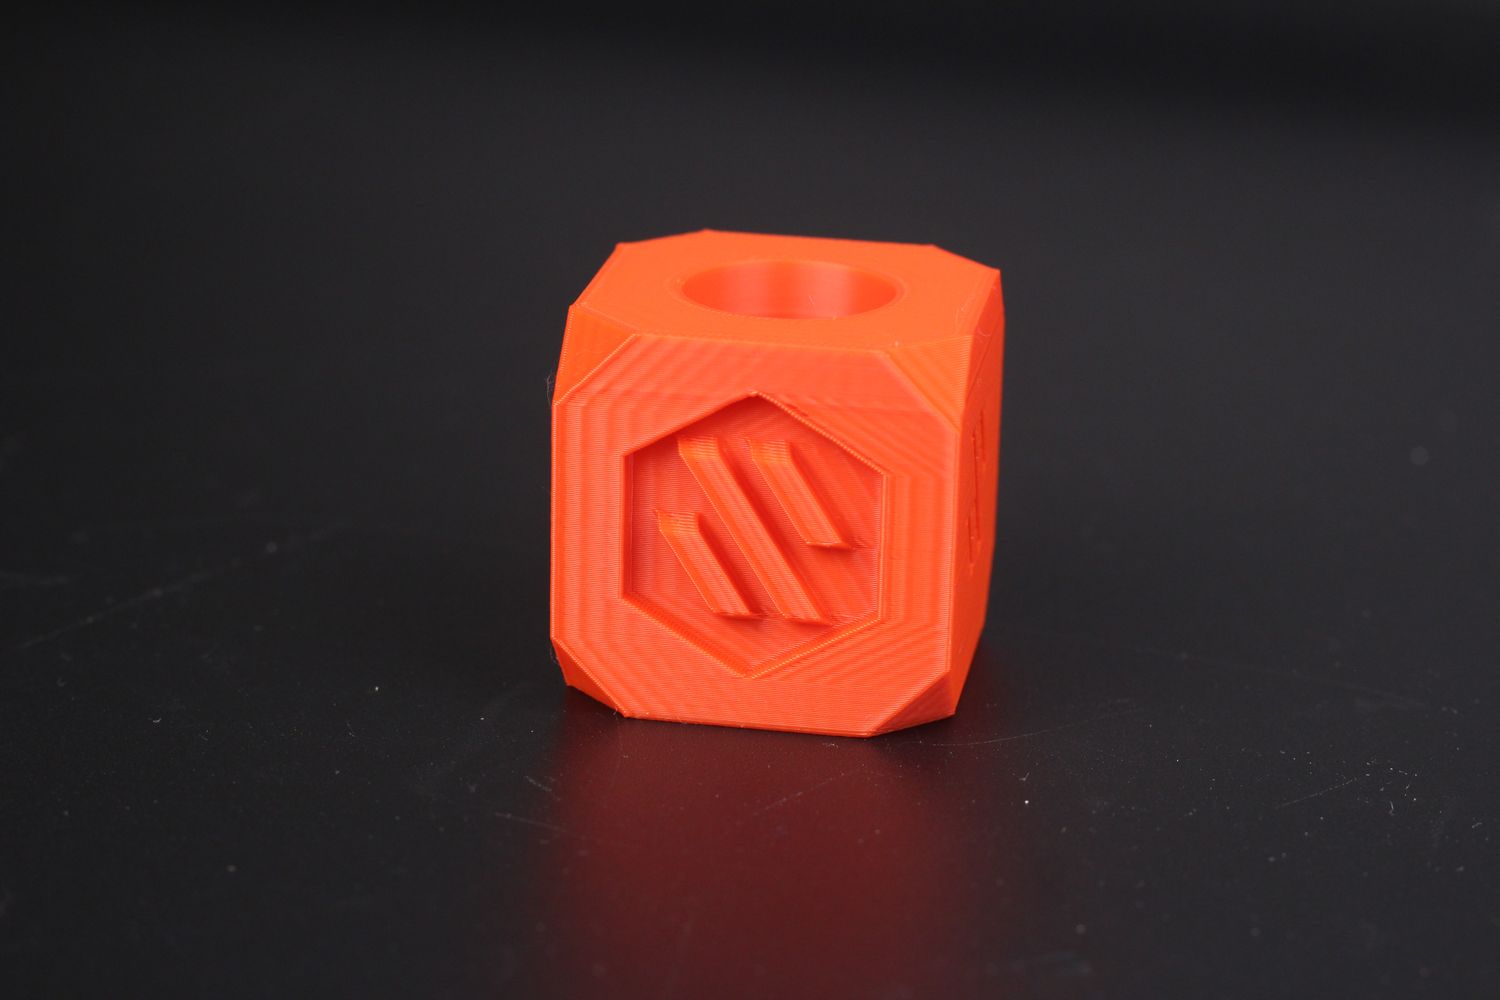
40mm Voron Calibration Cube
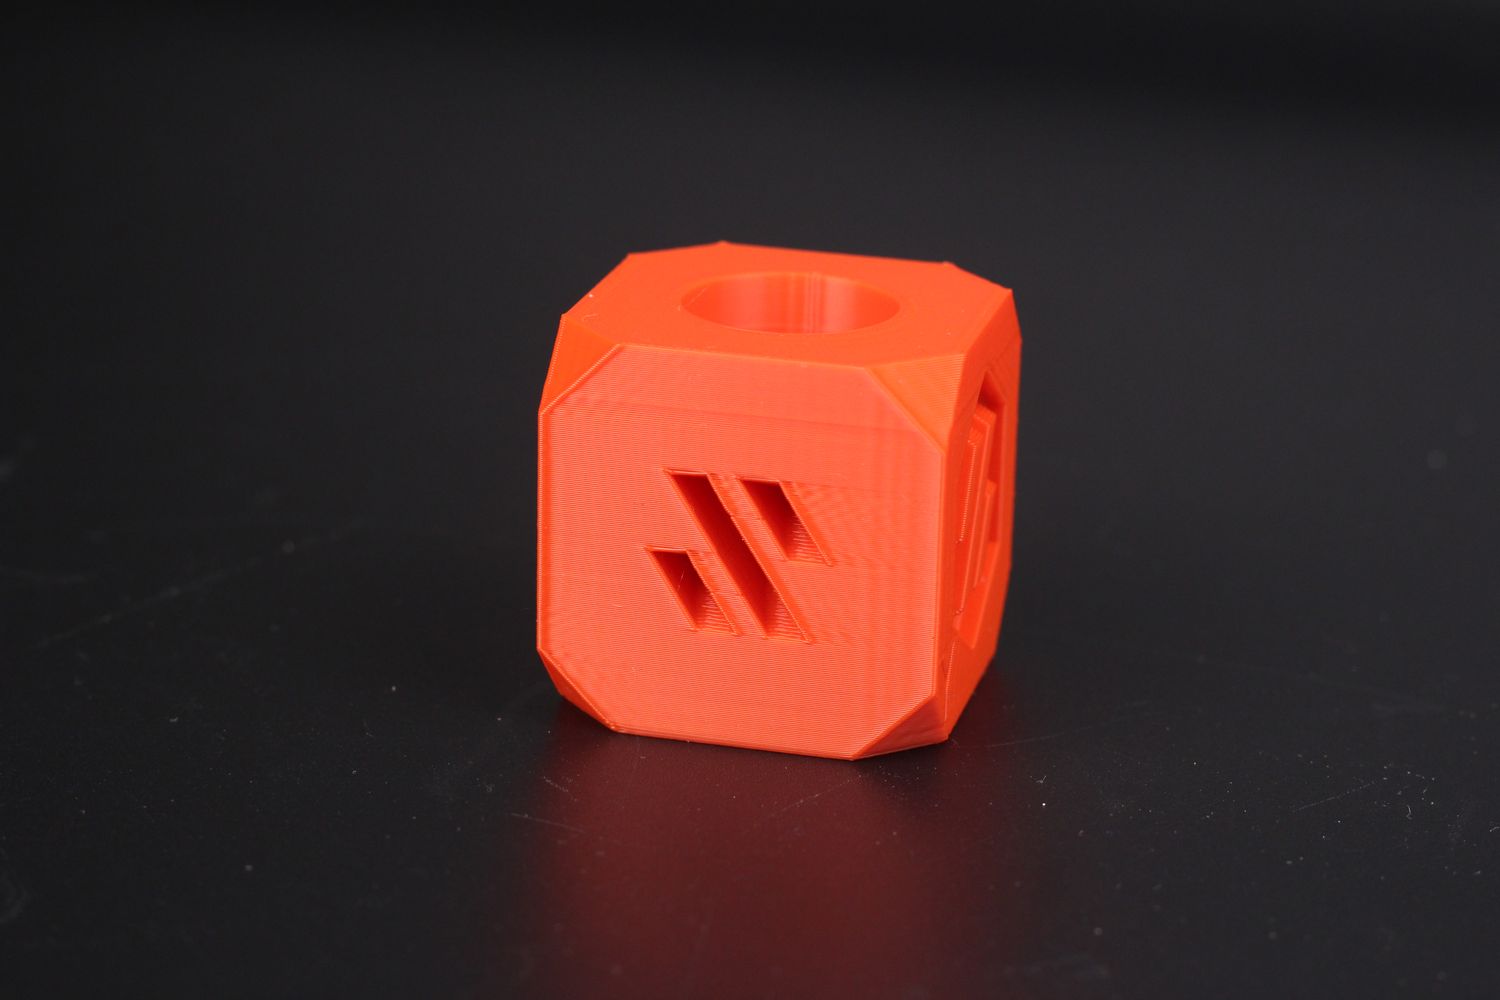
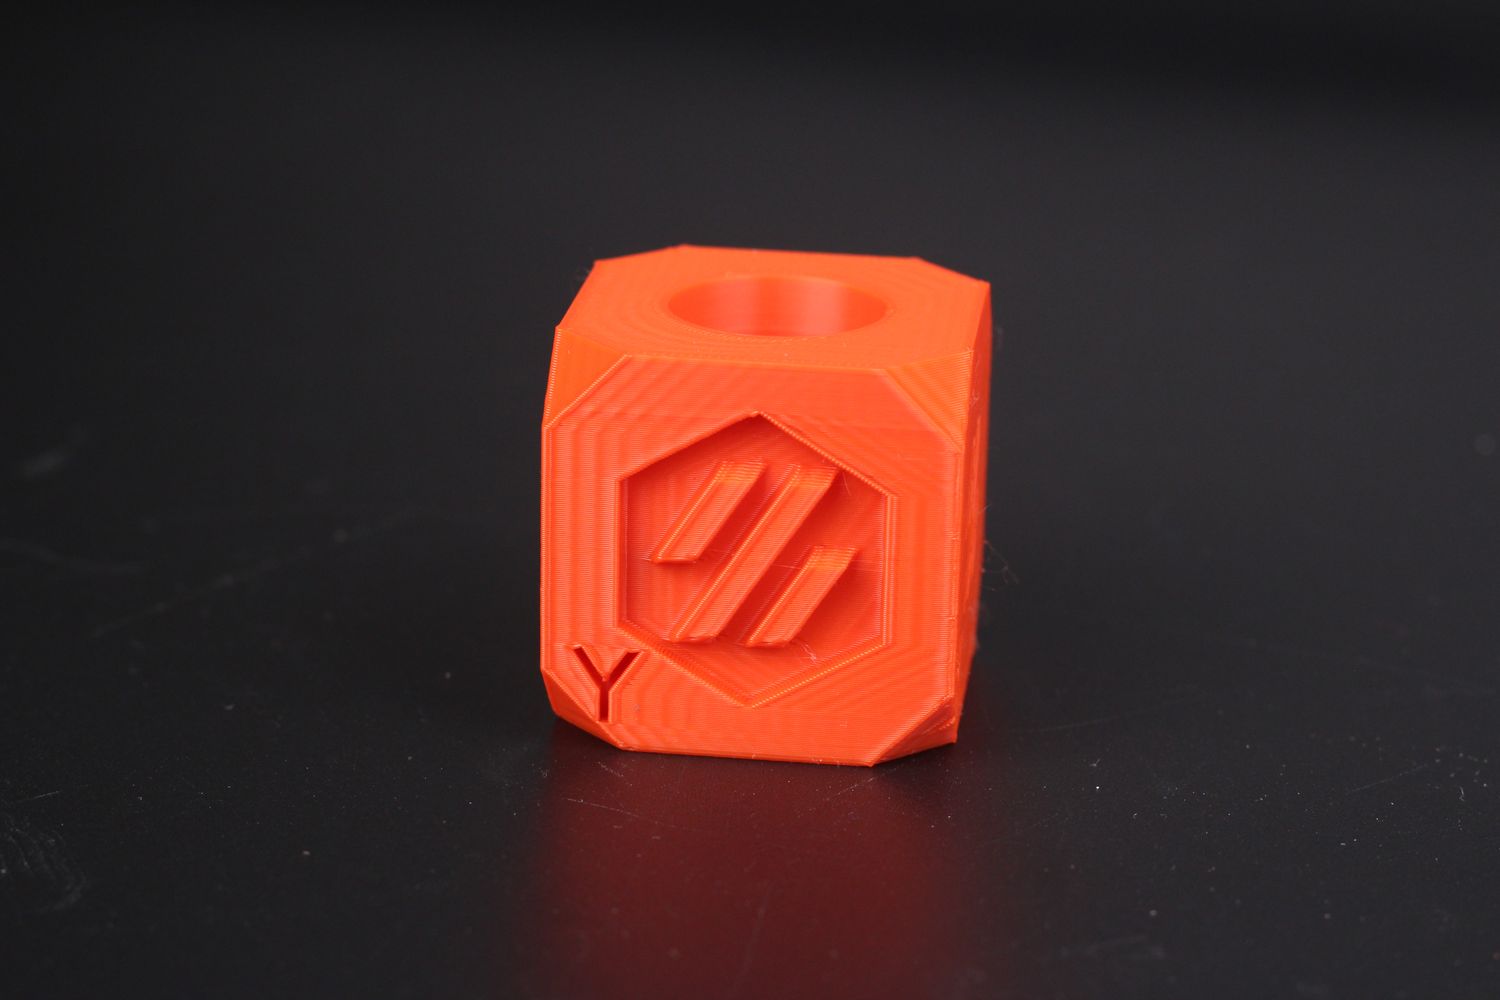
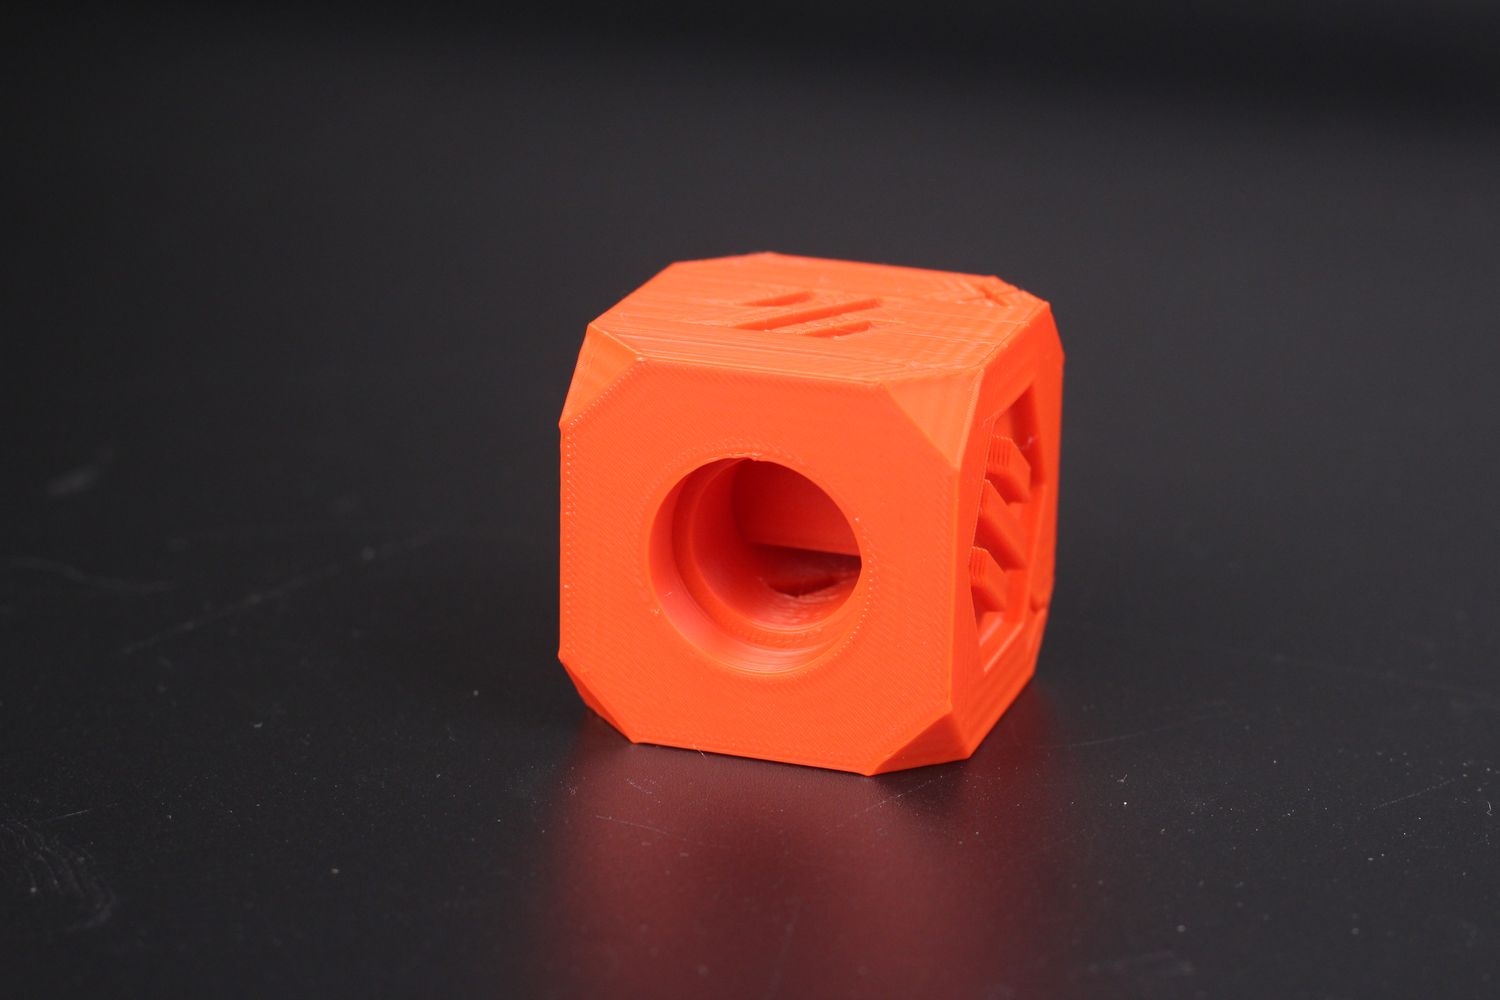
My first test was printing this 40mm Calibration cube using my Ender 3 S1 Pro Klipper Profile. It uses speeds of about 100mm/s and as you can see, because of the lack of proper config for acceleration, input shaper, and pressure advance, the quality is worse than what you would get with a stock setup.
Sure, the print was completed faster, but the ringing is quite significant and the corners are not as clean as they could be.
3D Benchy
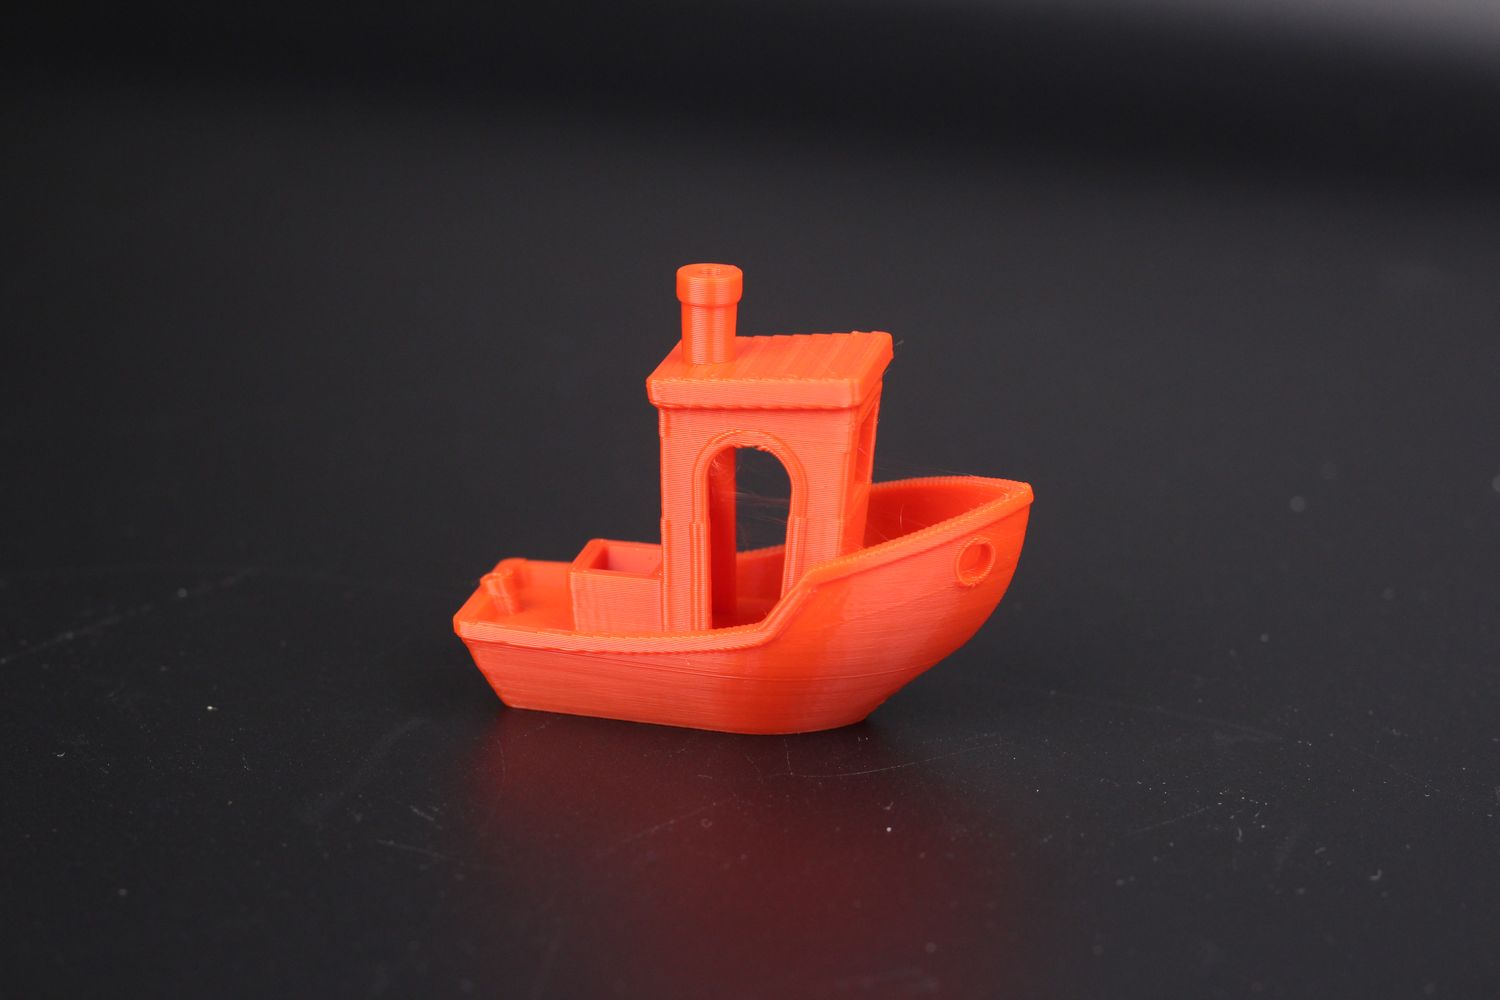
The second print is the good old Benchy printed with the same slicing profile. The ringing issues are still present, and you can see some inconsistent print quality on some of the model’s sections. The increased acceleration also generates some cooling issues that are not taken into consideration when Creality configured the 5k acceleration values.
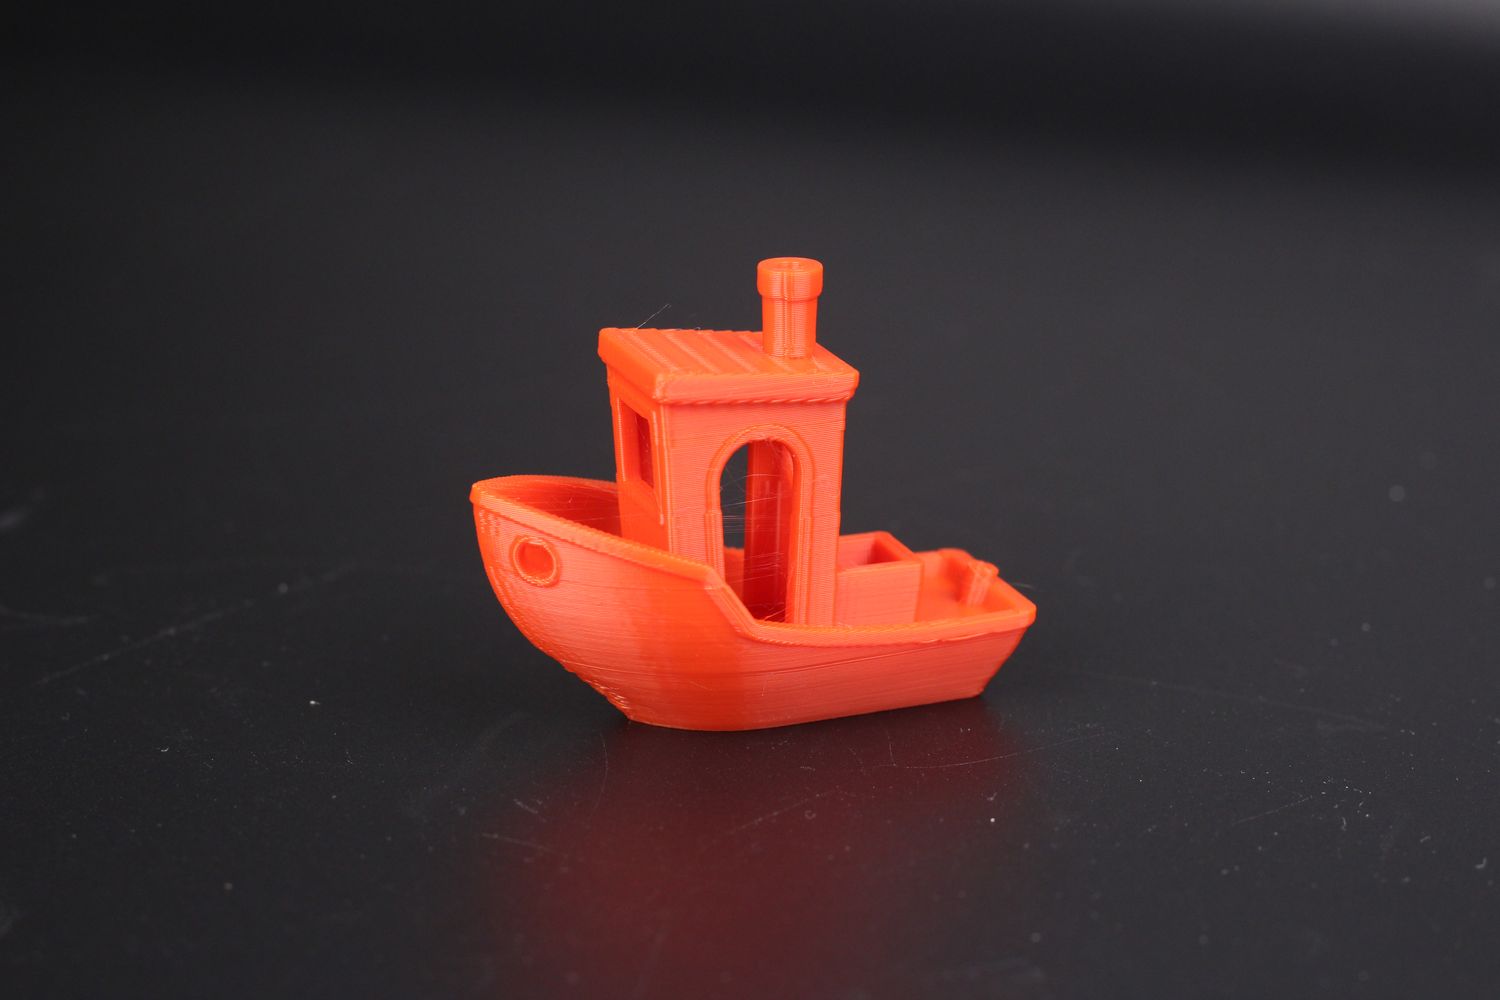
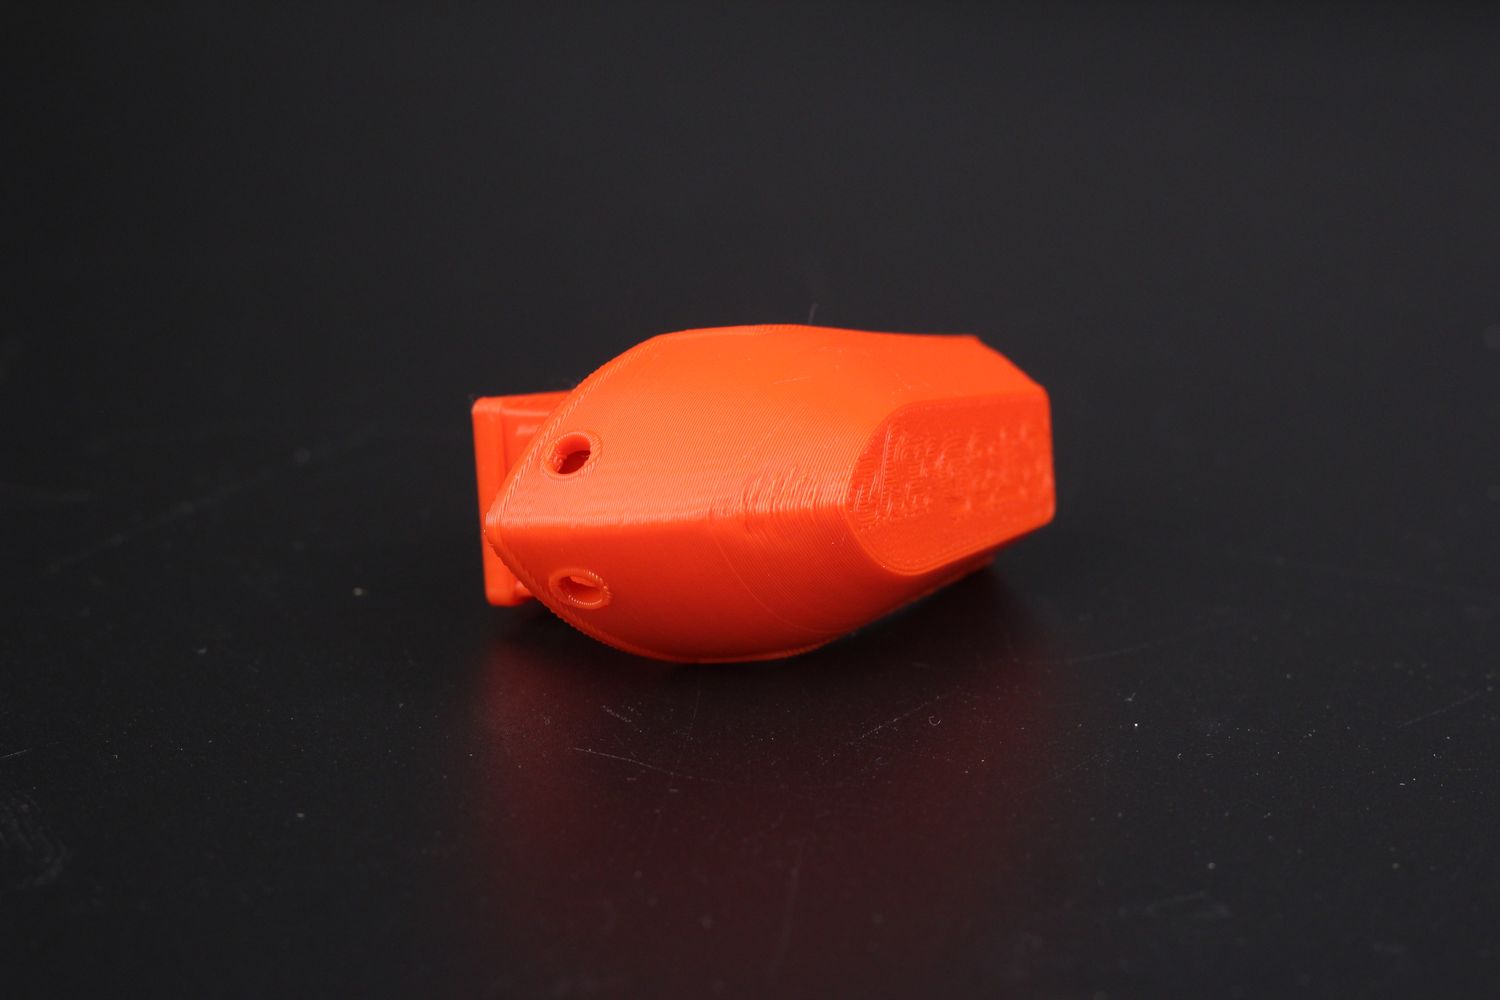
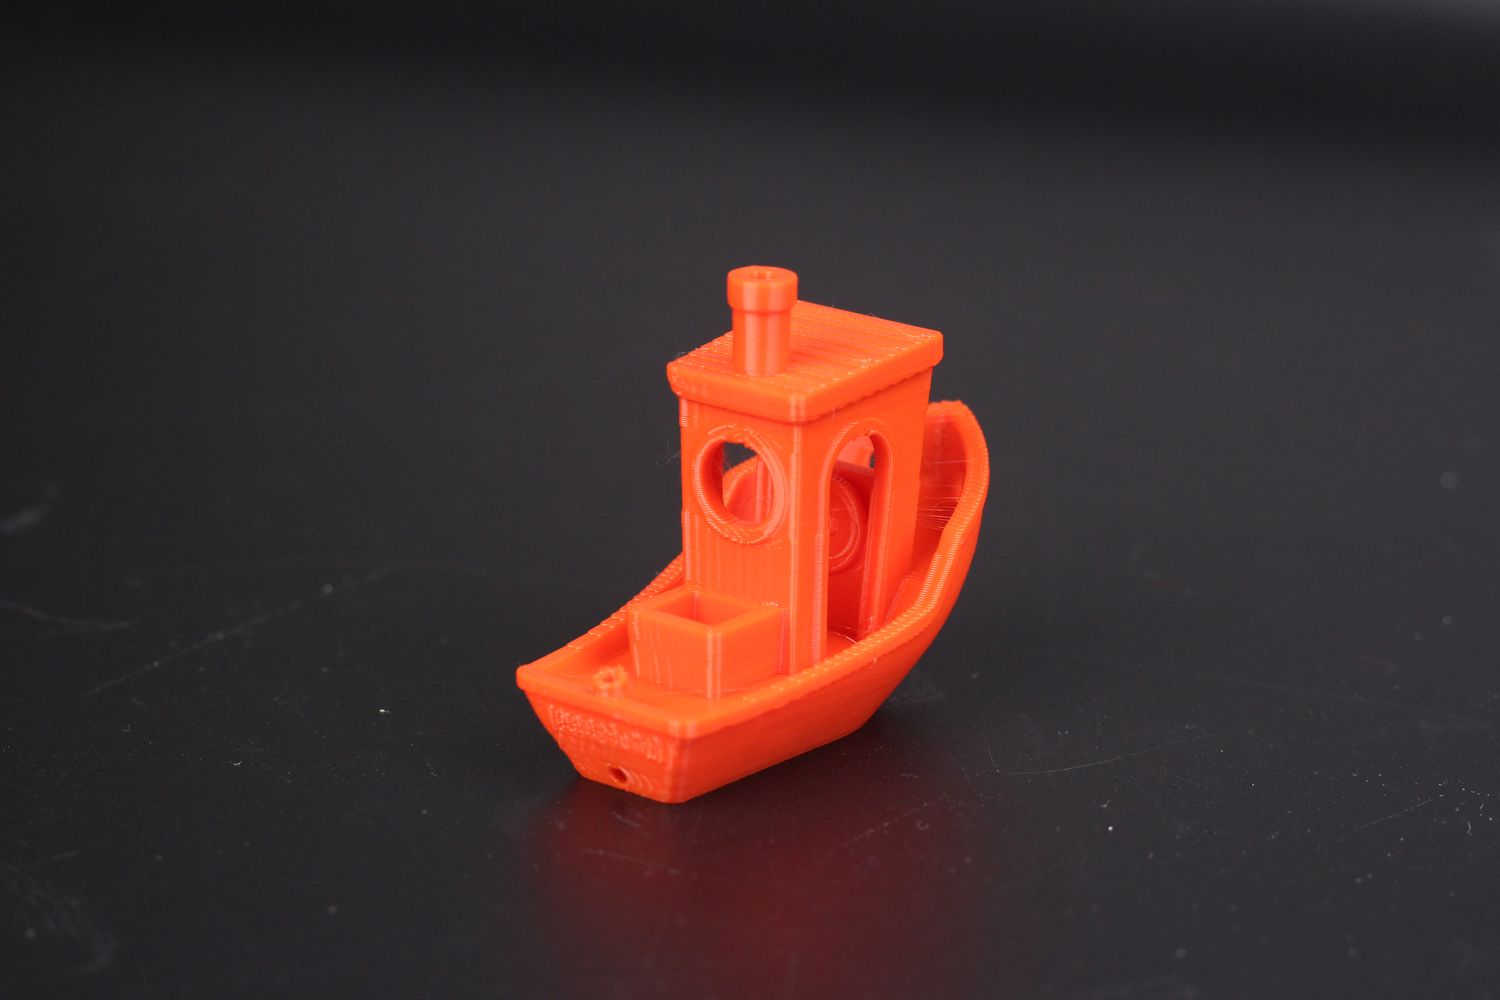
Conclusions: Is the Creality Sonic Pad worth it?
At the moment, Raspberry Pi’s are quite expensive and if you want to have a similar setup like the Creality Sonic Pad, you would need to spend even more than the price of a Sonic Pad.
For example, you could choose to get a BIQU CB1 and a 7inch HDMI screen (if you can get them in stock) and then print a case for them. In the end, you will reach a similar amount of money spent for similar functionality when it comes to Klipper.
The Creality Sonic Pad will probably be well-stocked in the future, and the price seems reasonable considering the alternatives. But I am still unhappy with the lack of properly tuned Klipper firmware configs for their machines which makes the value proposition less attractive.
Sure, you can start calibrating and configuring your own settings, but this shouldn’t be the case most of the time, especially for Creality machines where you should have these settings pre-calibrated. With a bit more work, Creality could have spent another week calibrating the printers and setting up the configs right from the start, to impress their customers. But they chose to release a partially complete product in my opinion.
Overall, the Creality Sonic Pad is a decent but incomplete solution at the moment. If you are already experienced with Klipper, and don’t mind the extra work for calibration, then you’re good. But we need to be more vocal about incomplete software and features, otherwise, we’ll get the same unfinished products that might not be developed further, or when they do, they are usually a V2.
In the end, it’s your choice if you want to buy the Creality Sonic Pad or not. It does what the marketing materials say, and that’s helping you install Klipper easily. But don’t purchase it only based on the promises they make in supporting other machines in the future as that might not happen.
Creality Sonic Pad Rating
Design
Specs
Functions
Ease of use
Price
The Creality Sonic Pad is a nice option for complete beginners with Klipper, but the high price doesn't justify the lack of properly configured settings for the pre-loaded Klipper configurations.
Where to buy the Creality Sonic Pad?
The Creality Sonic Pad was provided free of charge by Creality for the purpose of this review. While the article includes affiliate links, all opinions are my own. Nobody reviewed the article before it was posted, following the Review Guidelines.
Liked it?
|
|



excellent article as always, just one correction, CB1 with adapter would cost you less than $50 delivered, 7" HDMI screen around $40, if we add power adapter and USB adxl sensor we are talking about ~$110 so still $40-50 cheaper than creality pad
BIGTREETECH PI4B Adapter V1.0 for core board CM4 or CB1 | Biqu Equipment
7 Inch 7" 7006 Hdmi Screen Display 1024x600
Fysetc Portable Input Shaper
Dc 5v 3a Power Adapter Eu Us Au Uk Plug
On the other hand one has to understand that going DIY route cost some time and requires some basic knowledge so it’s not for everyone…
When you add the printed case for all, shipping, and the customs taxes you might need to pay, it’s close to the price of the Sonic Pad.
Still, this could have been a great thing for beginners, as long as the configs would be made well.
But the opportunity is lost. I can only hope they will work more on this, and not leave it to the community again…
FYI: Creality released a new firmware for the Sonnic Pad Nov. 2nd. It includes profiles for 7 more printers as well as support for Mainsail and 2-step input shaping (yay). They say it includes ssh access, but no idea if this means root. Will be checking it out later today…
Yes, I updated and I plan to share an update to the review too.
It’s nice to see they actually work on making it better as that doesn’t happen very often for them
SSH yes, creality/creality is the u/p, but no root access. I am bummed, I was hopping to install PiVPN on it so I can remote into it when I am not home. I would also like to know what their pinout is on the accelerometer they provide with it…
in your opinion which is better flsun speeder pad os creality sonic? am absolutely new in klipper and i want to upgrade to kliper my flsun qqs pro im trying to find out the best choice to do it thats why im asking this thanks
The sonic pad is getting better and better every day, so it’s nice to see that Creality is actually doing the right thing this time and adding more printers.
I’d say that the Sonic Pad is actually worth it now, considering the new update and potential future additions. I also like the easy-to-use ADXL sensor, which makes it easy for me to do measurements on any printer with no complicated setup.
thanks for the answer, as i had mention i want to klipperize my flsun qqs-pro with the “sonic pad” cuz due of its electronics, feautures and updates i think the sonic is better choice than the speeder pad. there is a firmware to do it in github
CobraPi/Klipper-Firmware-FLSUN-QQ-S-Pro-Delta-Printer
BUT the process ask for a raspberry pi,
so im wondering if, this firmware will works with the sonic pad too and as well with other computers or “devices” runnin klipper under linux instead?.
at first glance it should works since as i see it the firmware for the printer is just the pin asigments but i rather to ask instead of suppouse, so please tell me what you think i will really appreciate it
i guess the real question here is if someone have hooked up any other non creality printer with klipper(factory configured or flashed) to the sonic pad, and if it works well just like that, just plug and play
So let me know if I am correct or wrong. The differences between the Sonic Pad and Pi Klipper is that the Sonic pad can send g code to the printer from a USB drive and the Pi Klipper can not. The touch screen for the Sonic pad is lower resolution. The Sonic pad can be connected with ethernet. Sonic pad is partially preloaded. (one less chance of a mistake for a nubie) Connecting a webcam is already set up on Sonic pad Pi needs an extension(?) Pi has better user interface? Pi has a faster speed? I probably am missing something. FYI I have a Ender 3 S1 Pro with glass bed and silicone bushings. I also have access to a Raspberry Pi4 for little or no cost. I am hesitant to upgrade after reading all the posts of people having trouble with the process. My brother could probably assist with the upgrade. (he is the source of the Pi) Thanks for your thoughts.