OctoPrint Baby Stepping – Enable Live-Z Probe Offset
Beginners often have issues with the first layer when starting a print. It’s either a bit too high or too low causing issues with layer adhesion.
If the nozzle is too high, the print will not adhere to the heated bed properly. If it’s too low there’s a risk of scratching the print surface or making the print stick too well making the removal harder.
By adding the OctoPrint Baby Stepping feature, you will be able to change the distance between the nozzle and heated bed and have it just right.
If you need help with installing OctoPrint first, I previously covered the installation process of OctoPrint on the Raspberry Pi with OctoPi.
What is Baby Stepping ?
Baby Stepping is a feature from Marlin Firmware that allows you to move the Z-axis up or down in small increments in order to fine-tune the first layer height.
This feature is usually disabled by default in Marlin but can be enabled when recompiling the firmware. If you want to use the OctoPrint Baby Stepping feature described in this article, you must have this feature enabled in your current firmware.
I’ve read a few posts online where people were saying that OctoPrint Baby Stepping is not possible, but after some research, I found this post with the code needed to achieve this functionality
Add OctoPrint Baby Stepping
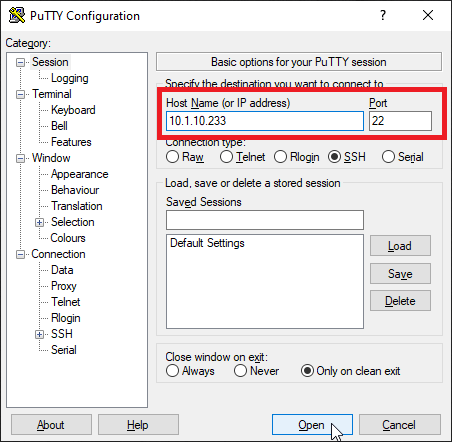
Download Putty, enter the IP of your Raspberry Pi then click Open
In the Login prompt, you need to enter the credentials for OctoPi. The default user is pi and the password is raspberry. Please note that the password will not be shown when typing.
If you changed the SSH credentials when you installed OctoPrint, you need to use the new credentials.
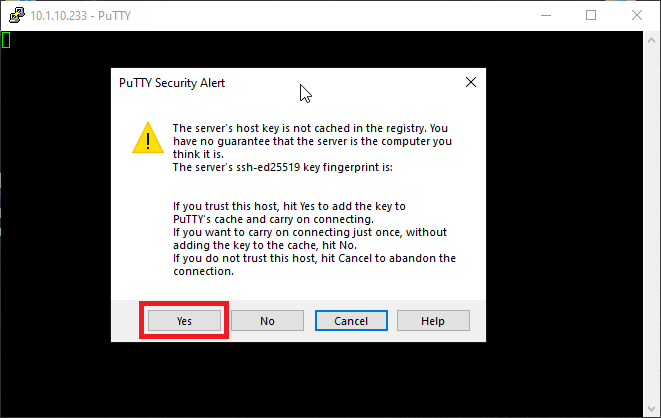
If you enter the credentials correctly, the servers’ SSH fingerprint prompt will show up. Click on Yes.
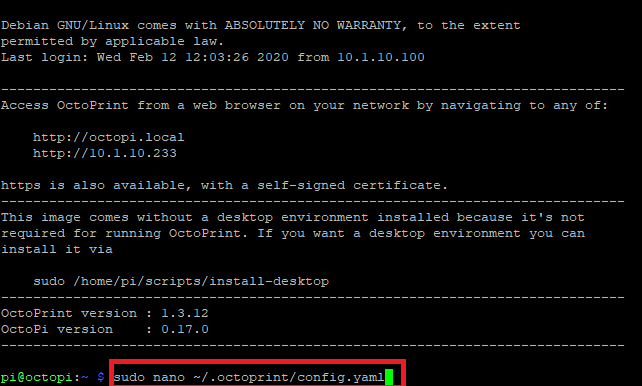
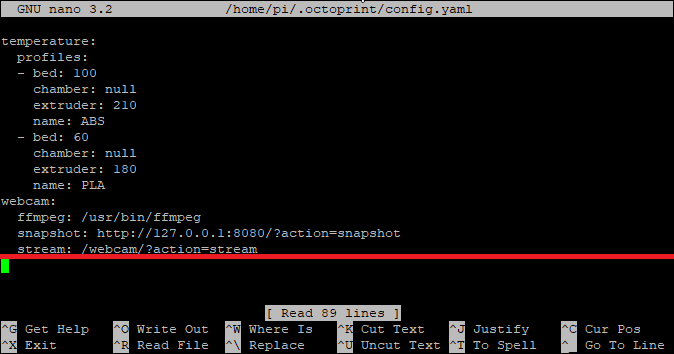
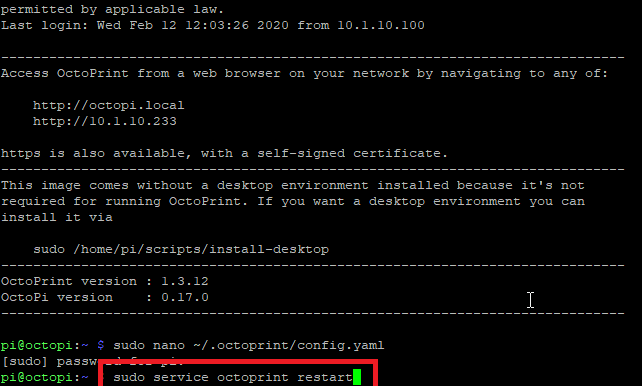
Enter the sudo nano ~/.octoprint/config.yaml command and press Enter.
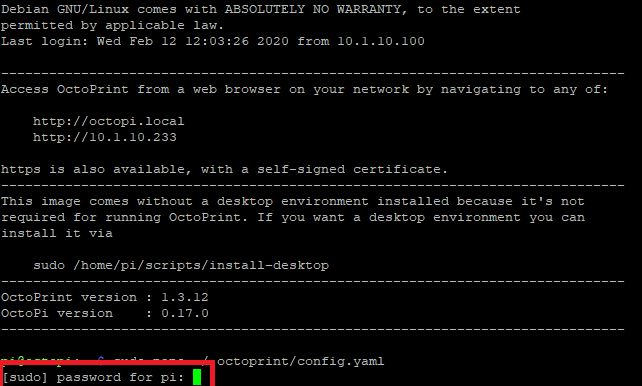
Enter your sudo password. This is the same password you used for logging in.
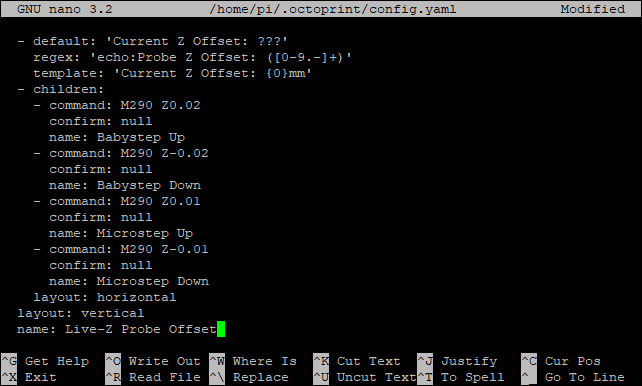
Using the arrow keys, navigate to the end of the file. Copy the code below and paste it in the terminal window right under the stream line
controls:
- children:
  - children:
    - command: M851
      confirm: null
      name: Get
    - command: M500
      confirm: null
      name: Save
    layout: horizontal
  - default: 'Current Z Offset: ???'
    regex: 'echo:Probe Z Offset: ([0-9.-]+)'
    template: 'Current Z Offset: {0}mm'
  - children:
    - command: M290 Z0.02
      confirm: null
      name: Babystep Up
    - command: M290 Z-0.02
      confirm: null
      name: Babystep Down
    - command: M290 Z0.01
      confirm: null
      name: Microstep Up
    - command: M290 Z-0.01
      confirm: null
      name: Microstep Down
    layout: horizontal
  layout: vertical
  name: Live-Z Probe Offset
Save the edited file by pressing ctrl+x then press Y to confirm.
Enter the sudo service OctoPrint restart command to restart the OctoPrint service.
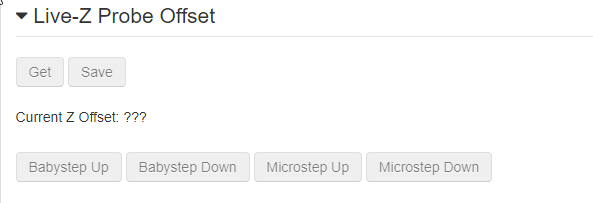
Navigate to the OctoPrint interface and now you will see the Live-Z Probe Offset section where you can use baby stepping during the print.
Wrapping Up
Now that you added OctoPrint Baby Stepping, a perfect first layer will be easier to achieve.
Check back soon for more guides about OctoPrint and added functionality.
Liked it?
|
|

